Brad's 1972 FJ40 rear 9.5" 3rd gets "newer" 410 gears and bearings/solid collar.
(59 good size pics loading)
APRIL 21 2013

Brad is local to me and had a little problem with the pinion nut
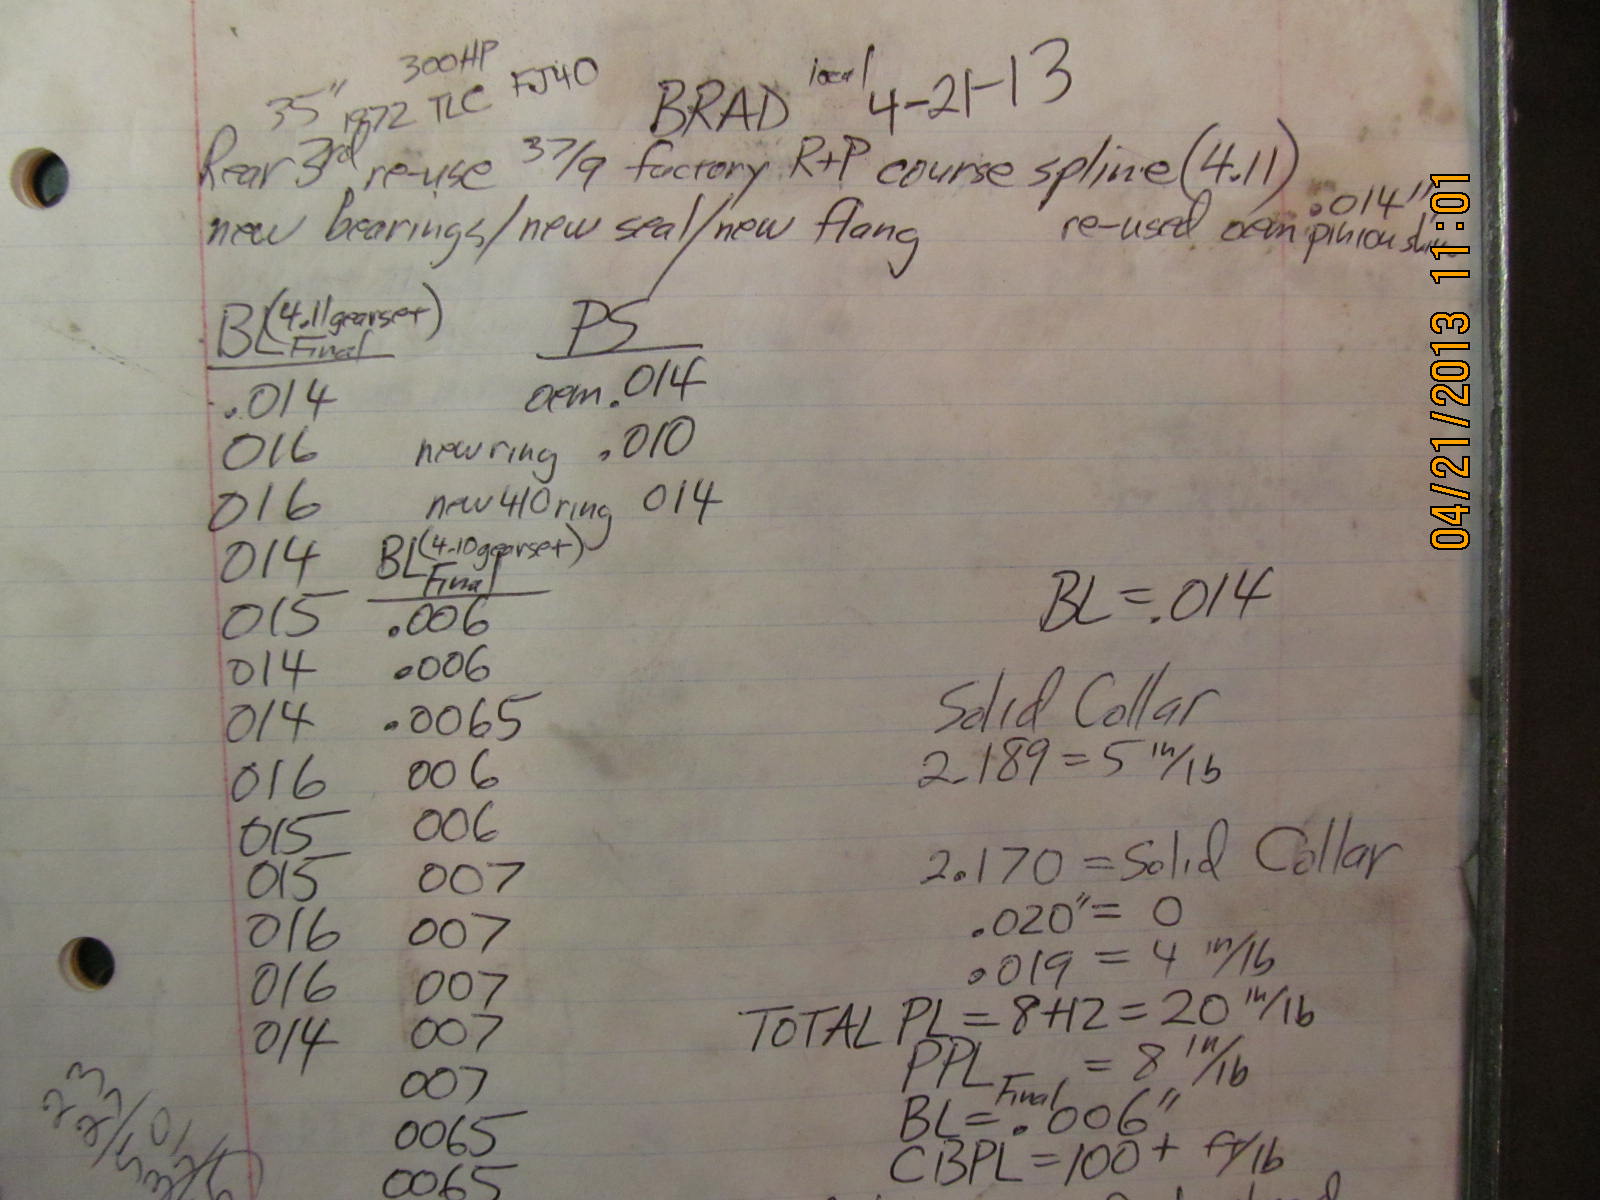
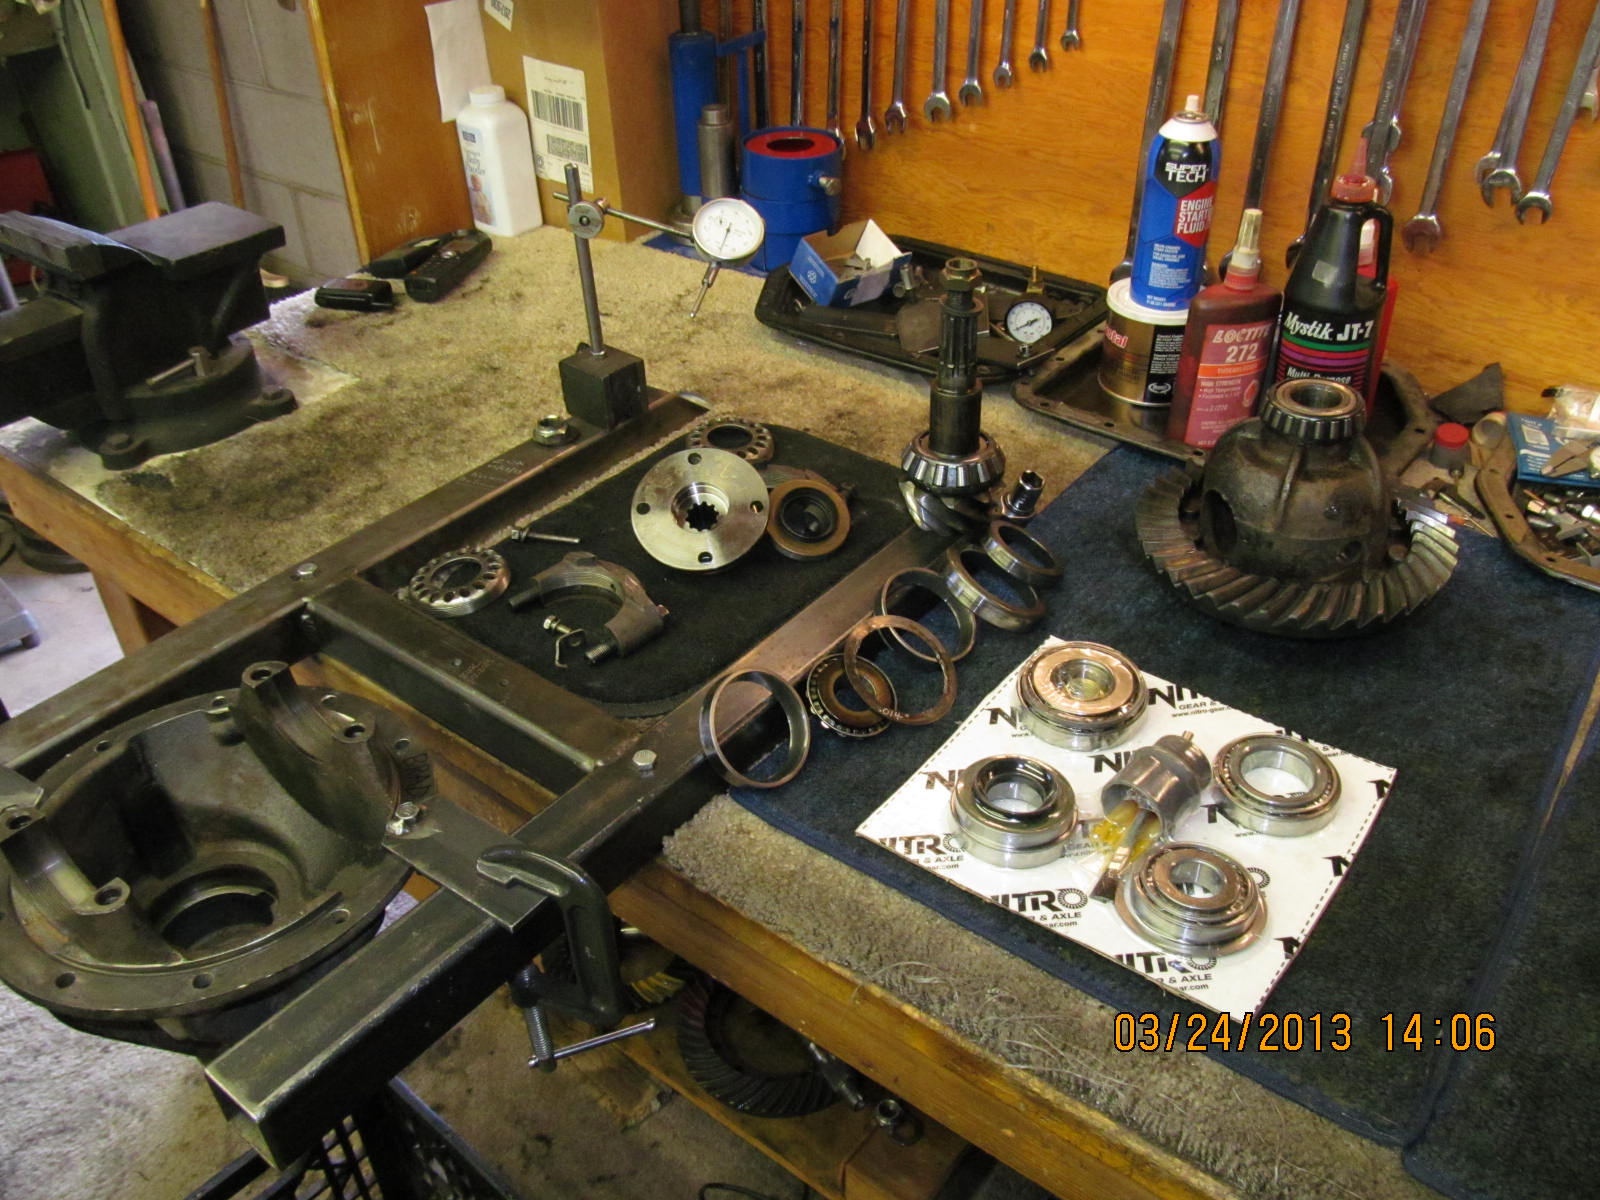
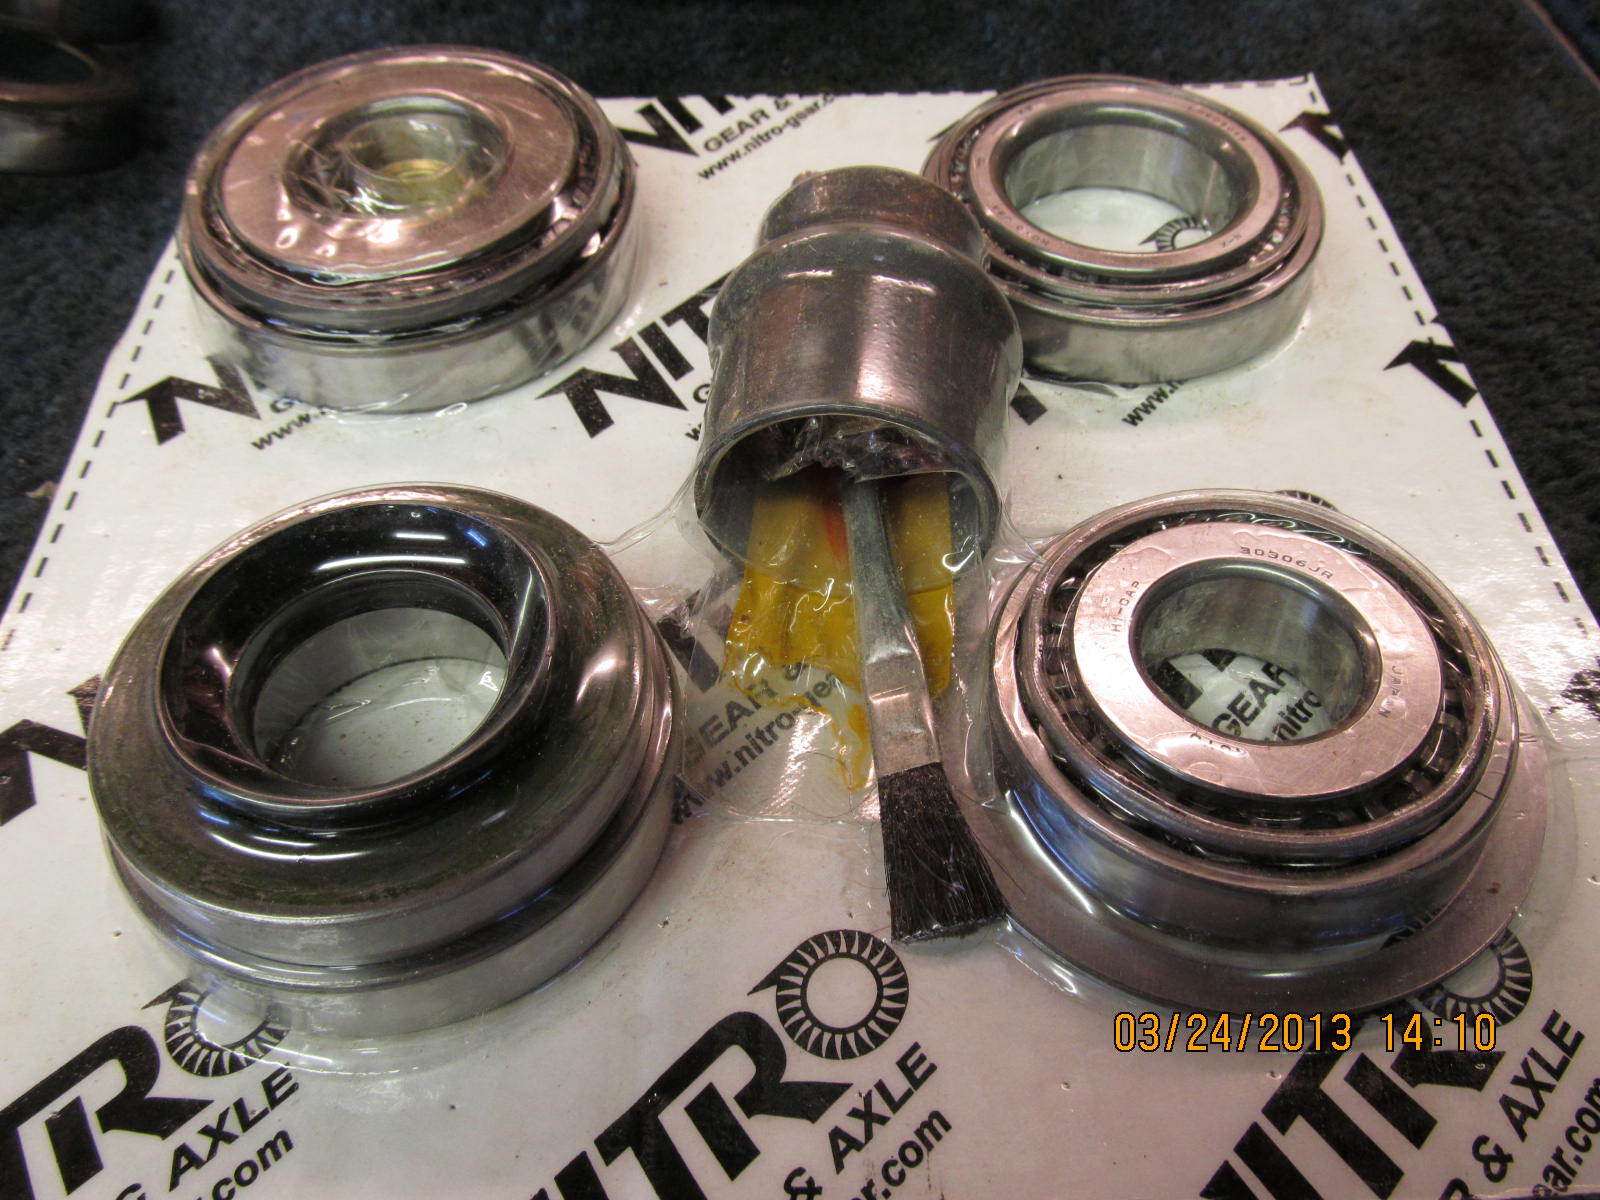
working its way loose. This was a good time to get all new
bearings in the 9.5" 3rd while the engine bay is being stuffed
with a 330 horse power LT1 with auto tranny. As it turns
out, the 411 original gearset would also need replacing
but more on that later.

The master install kit has arrived from JustDifferentials.

...

...

Brad had an Aussie in it but removed it before bringing the
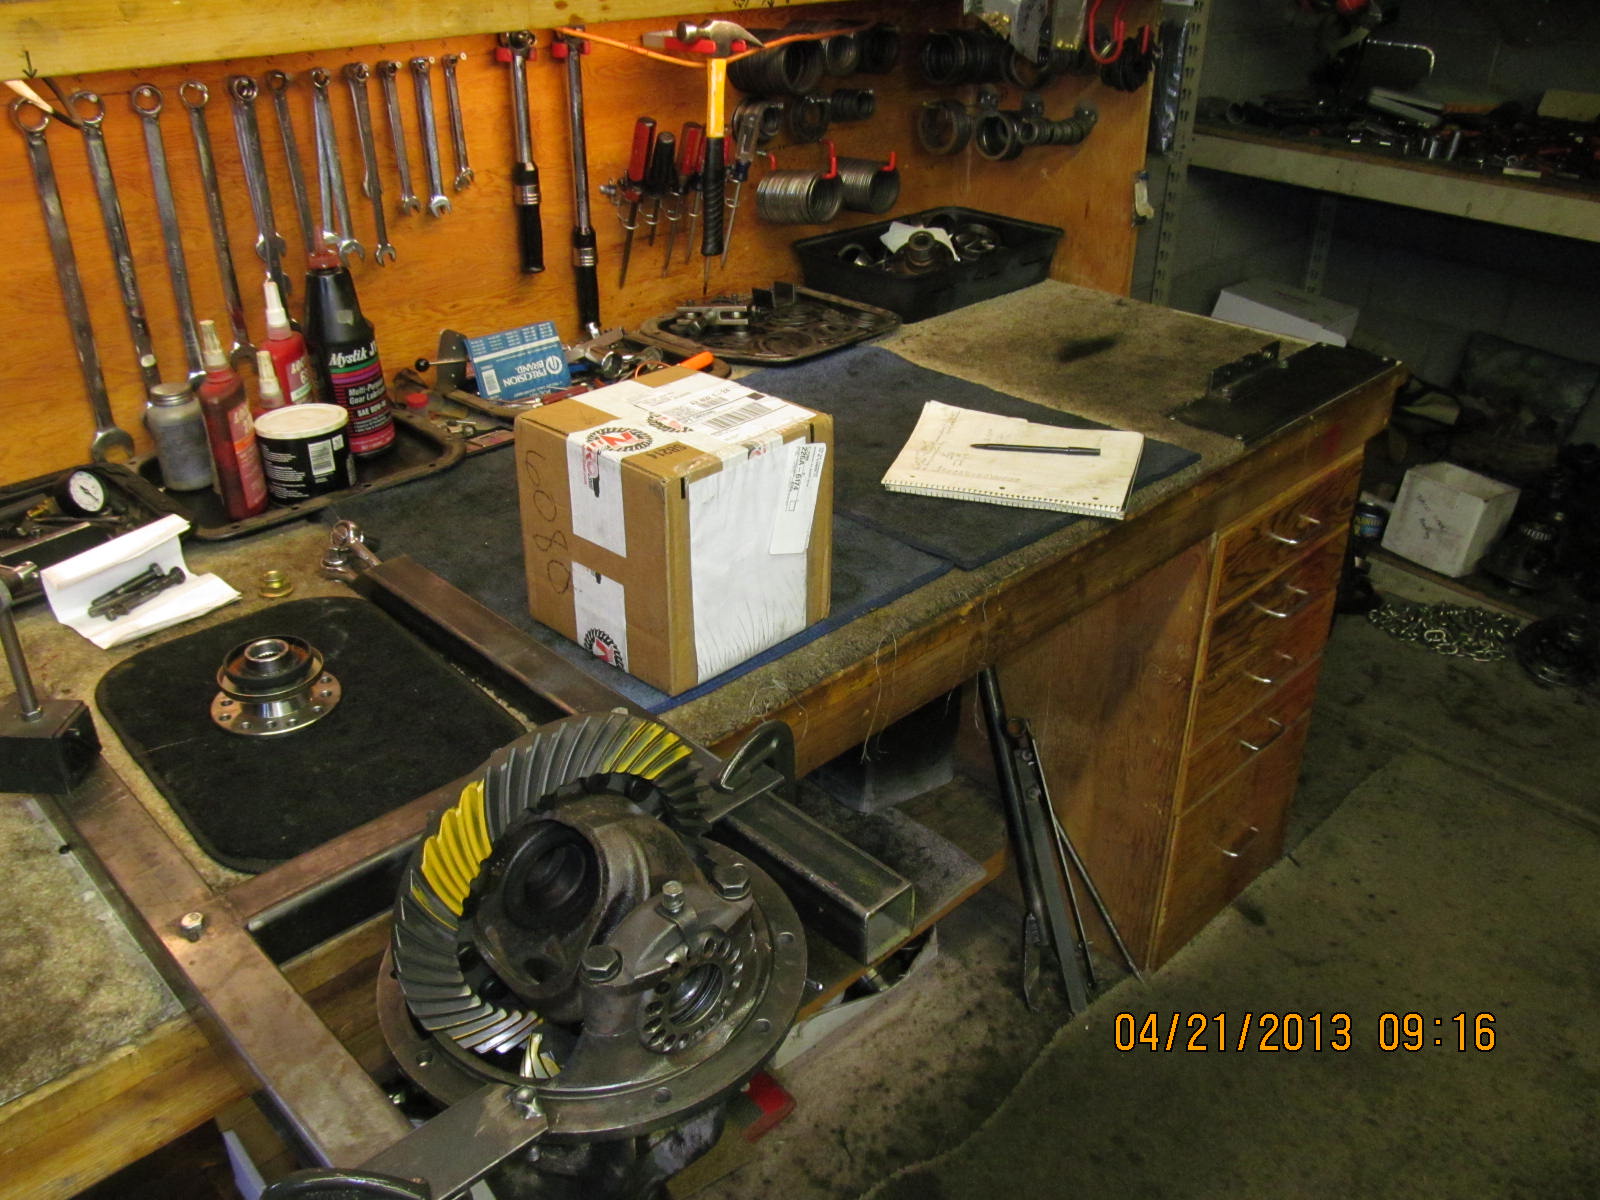
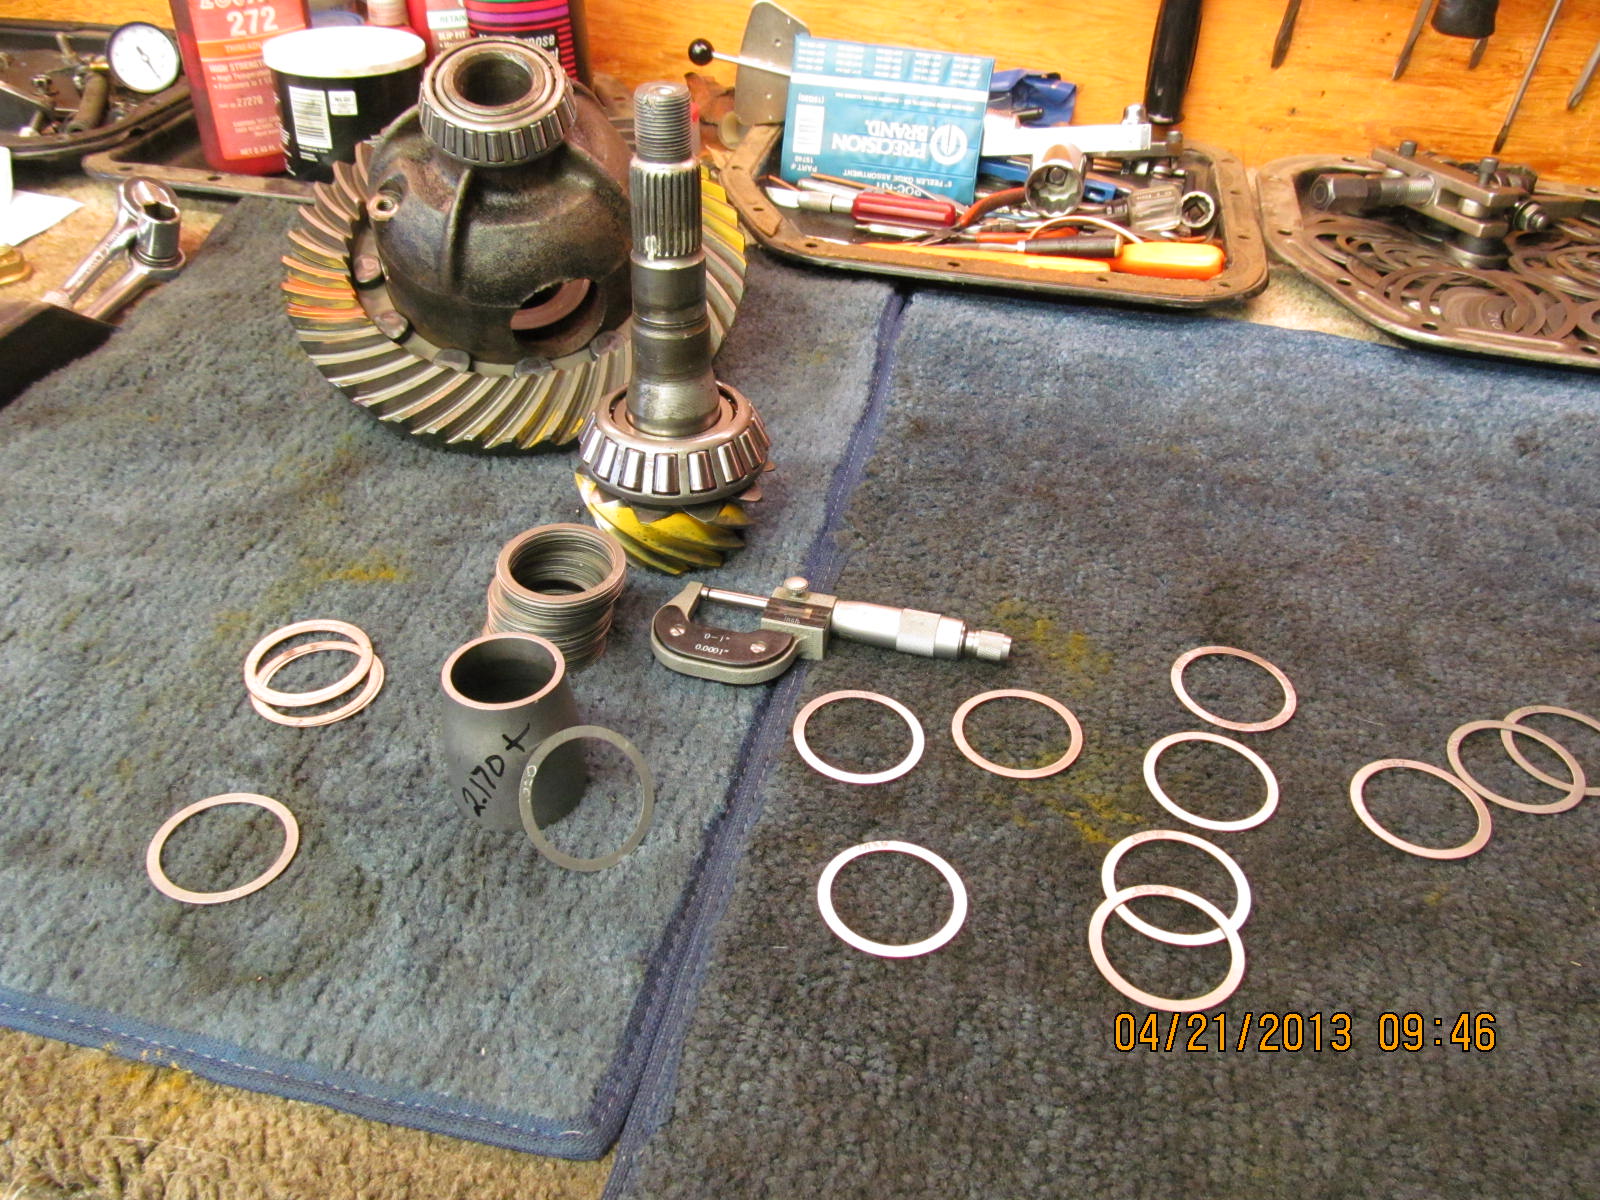
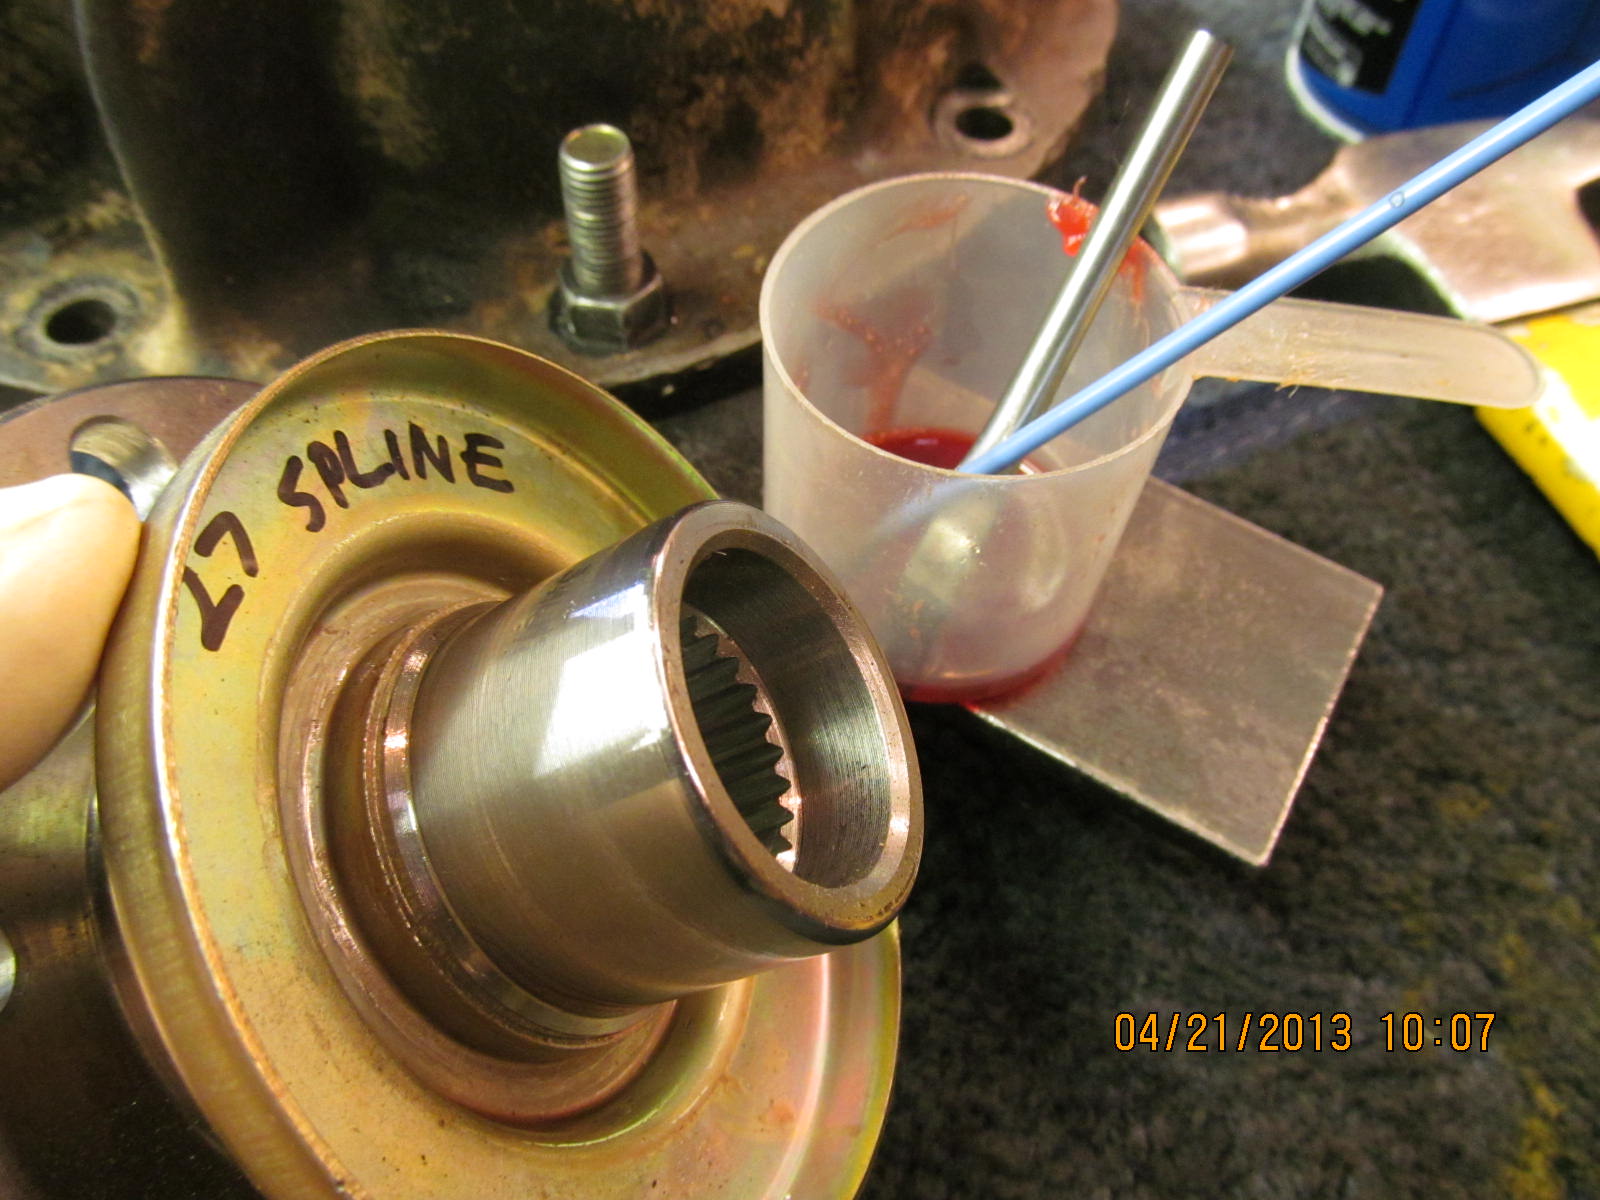
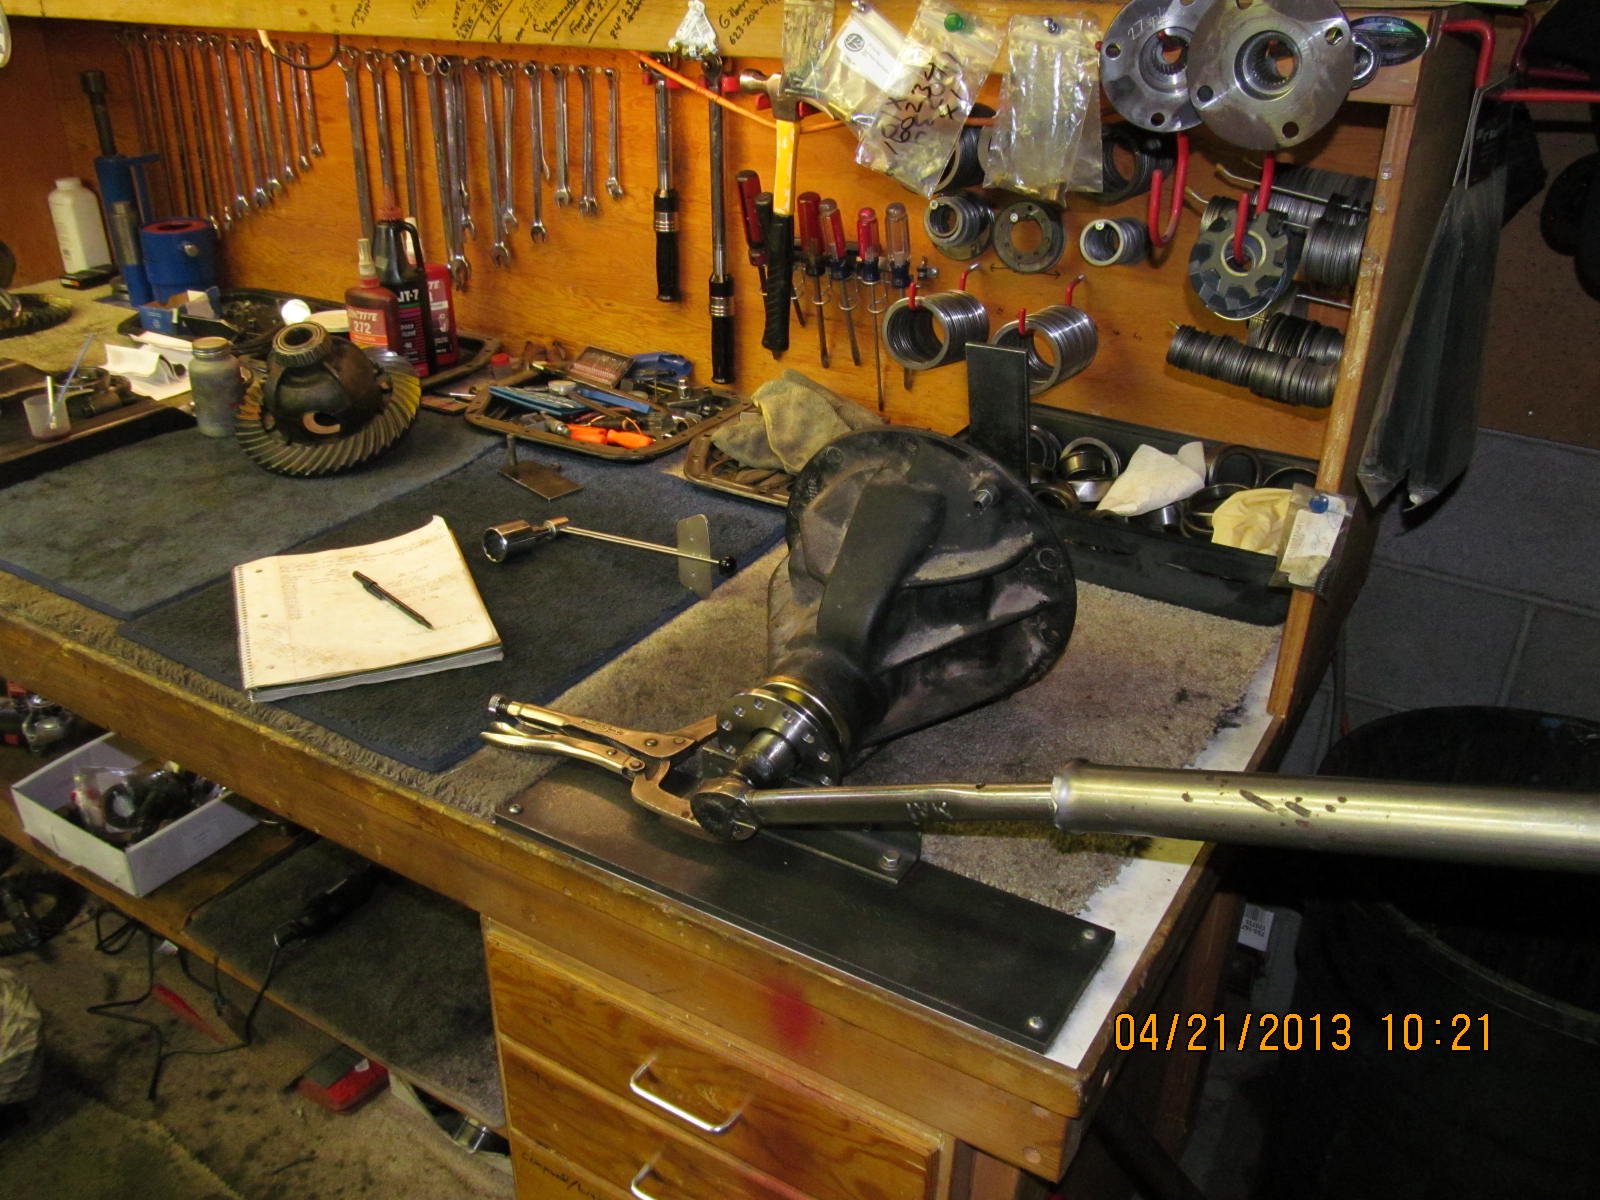
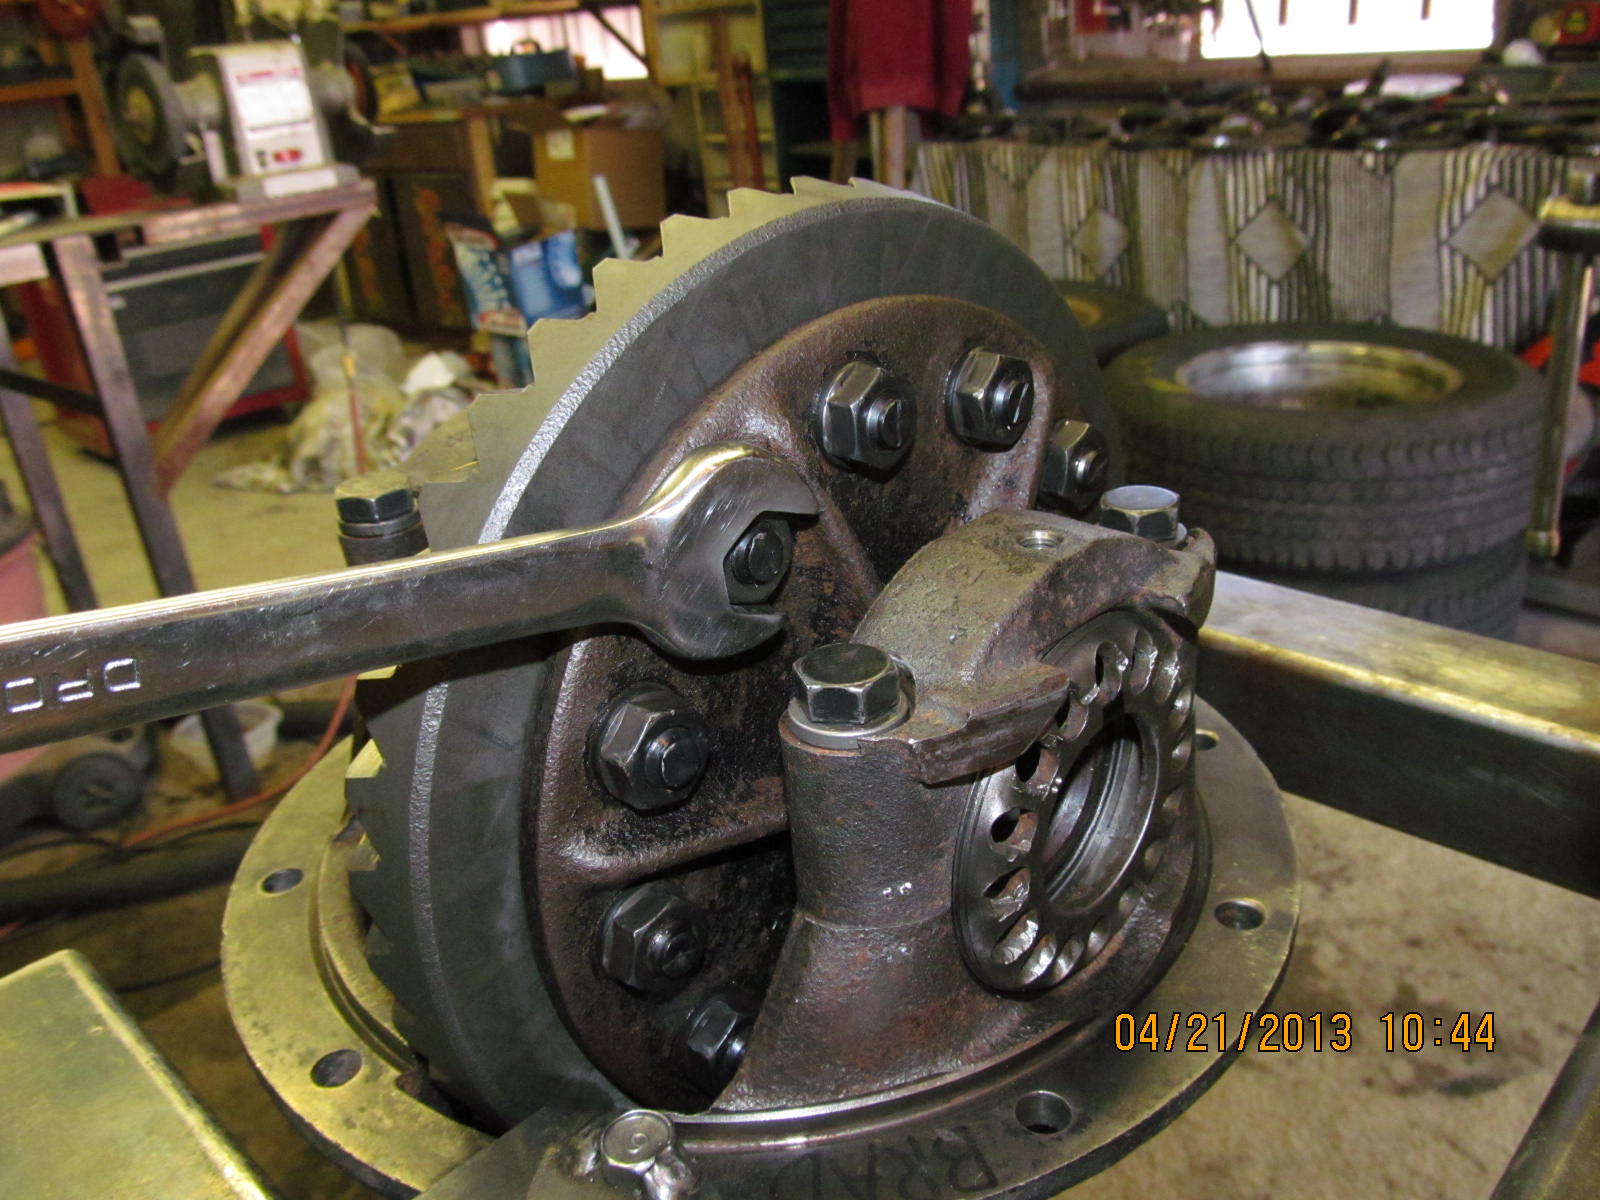
dis-assembled package over to me. By the way, Brad reports
that the Aussie works great. Note the coarse spline pinion
and the brand new coarse spline flange.

Coarse spline pinion....does not use a crush sleeve. Has a
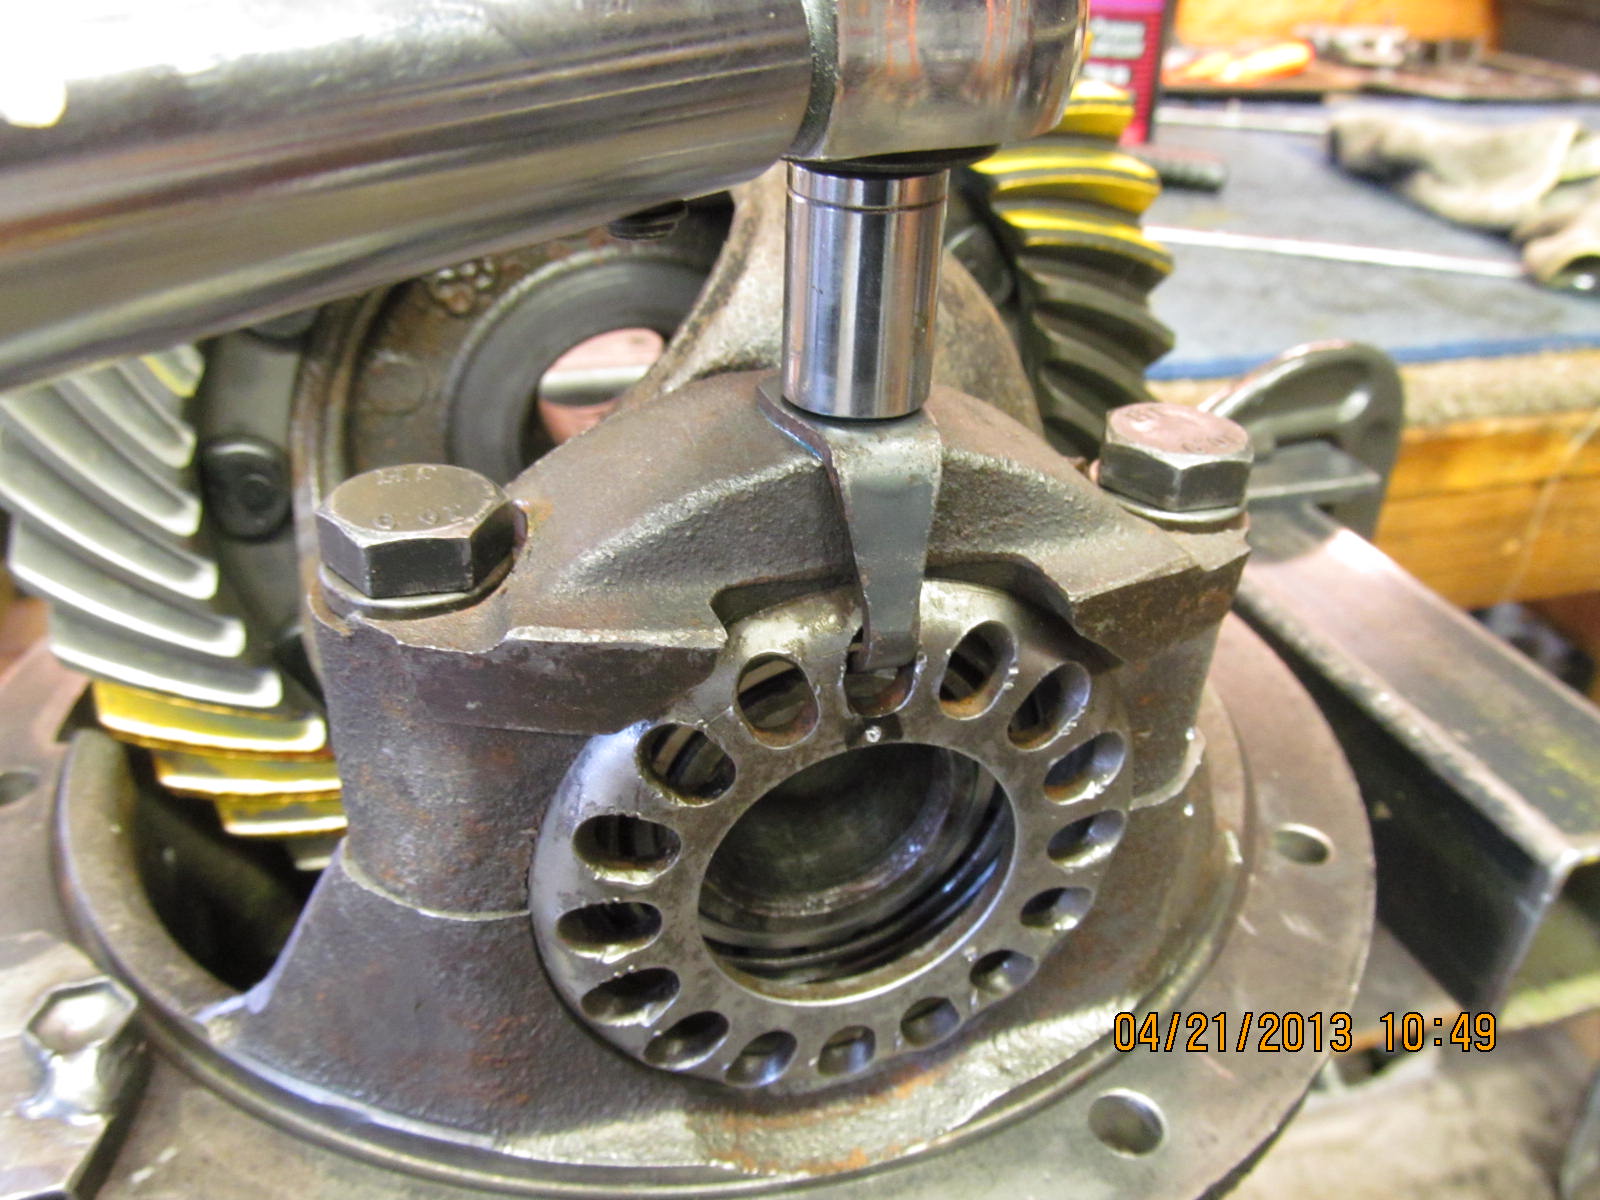
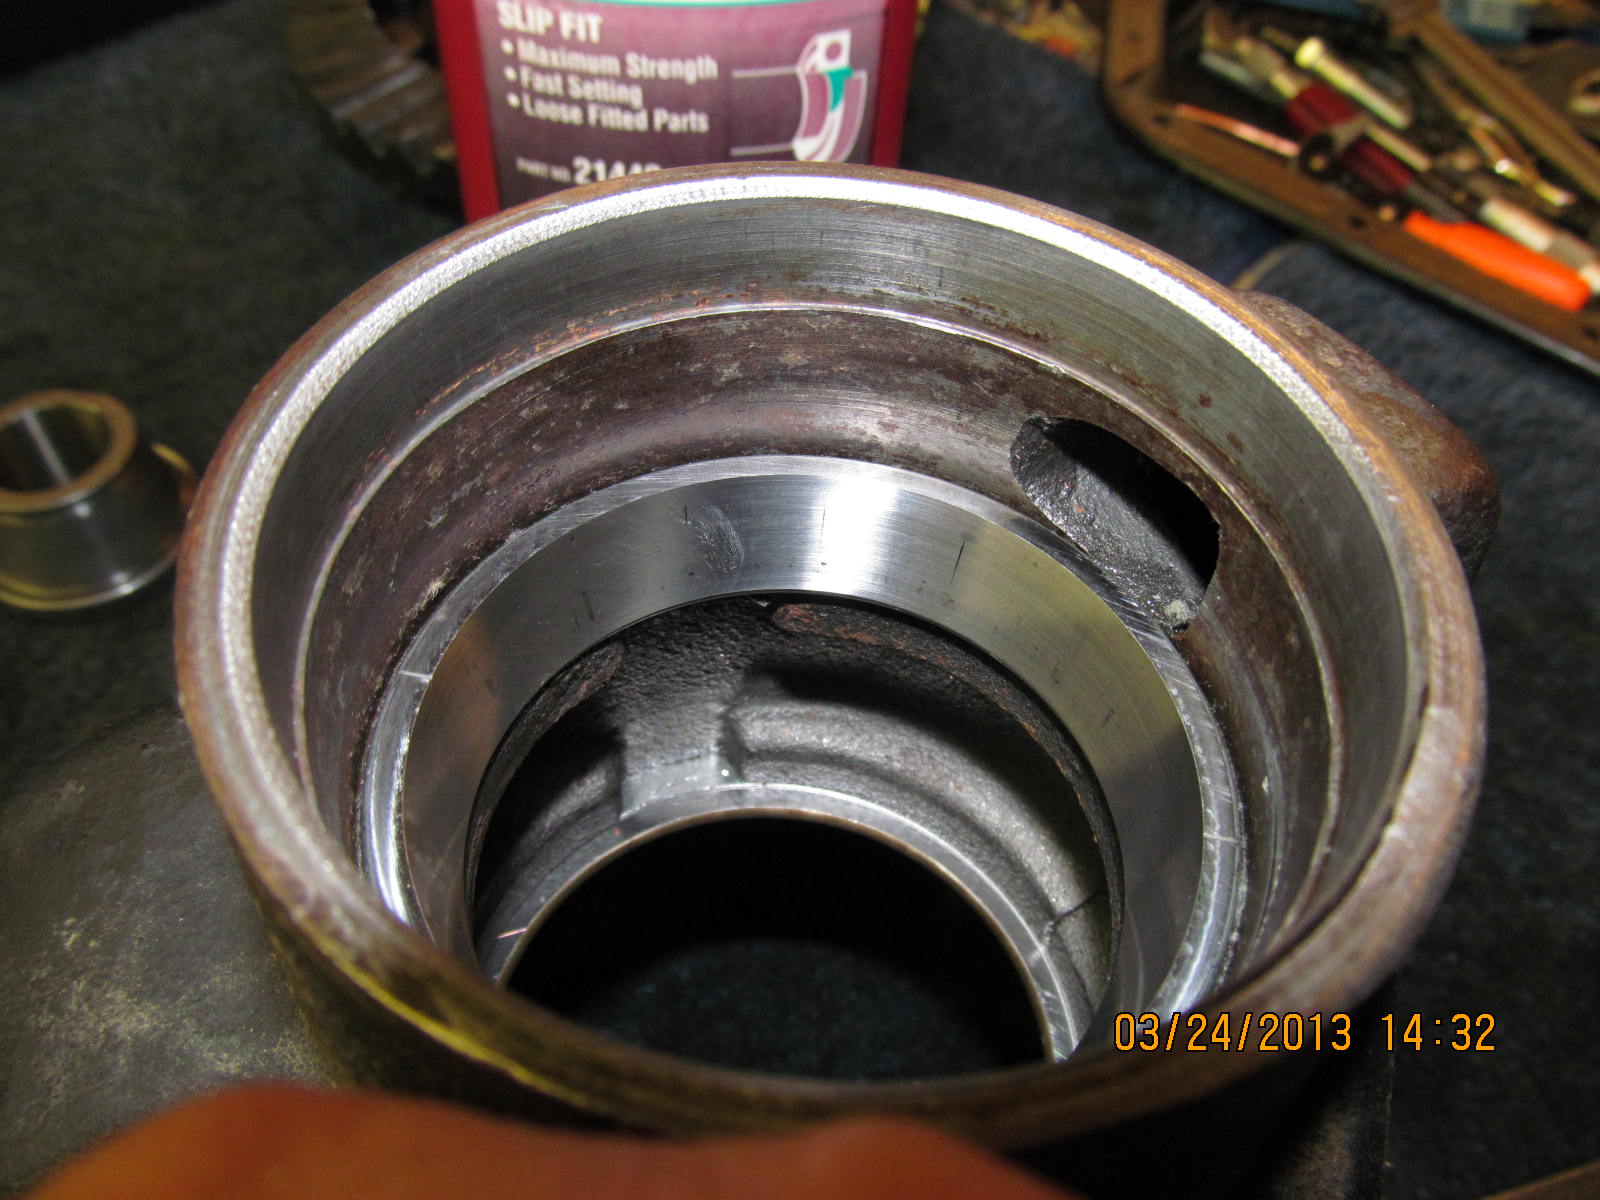
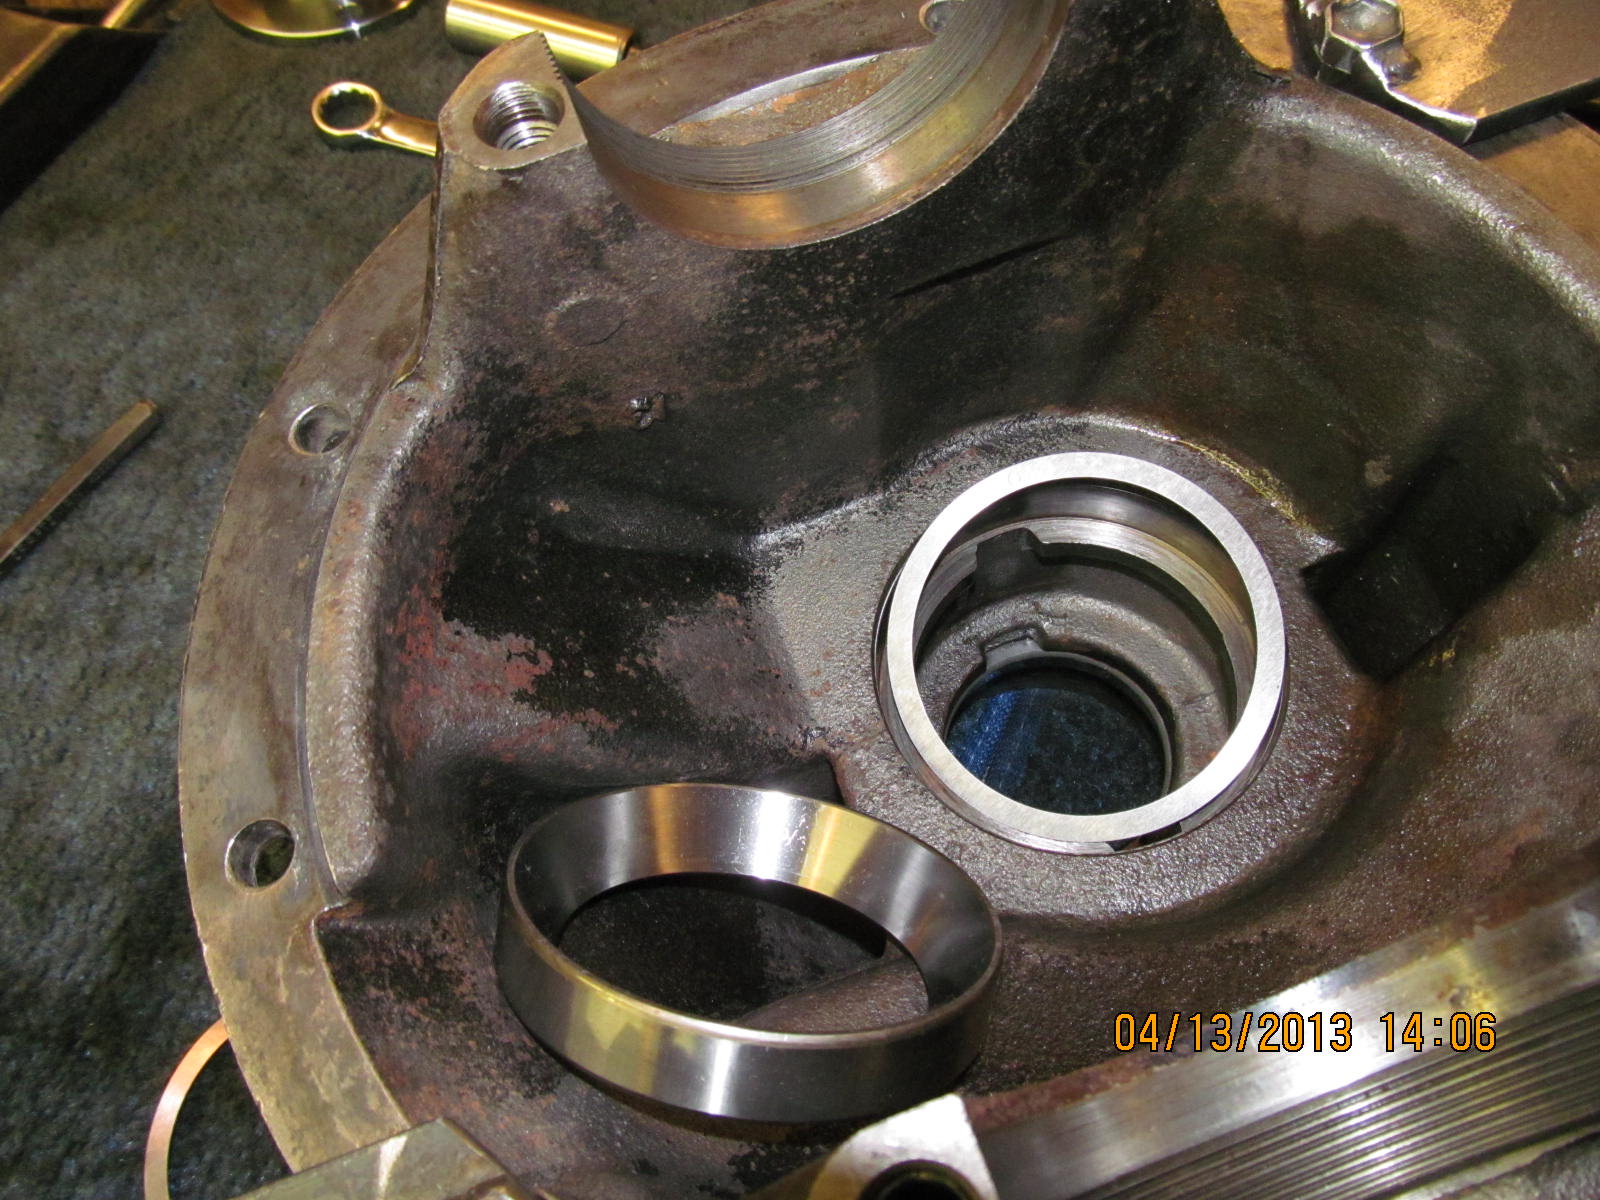
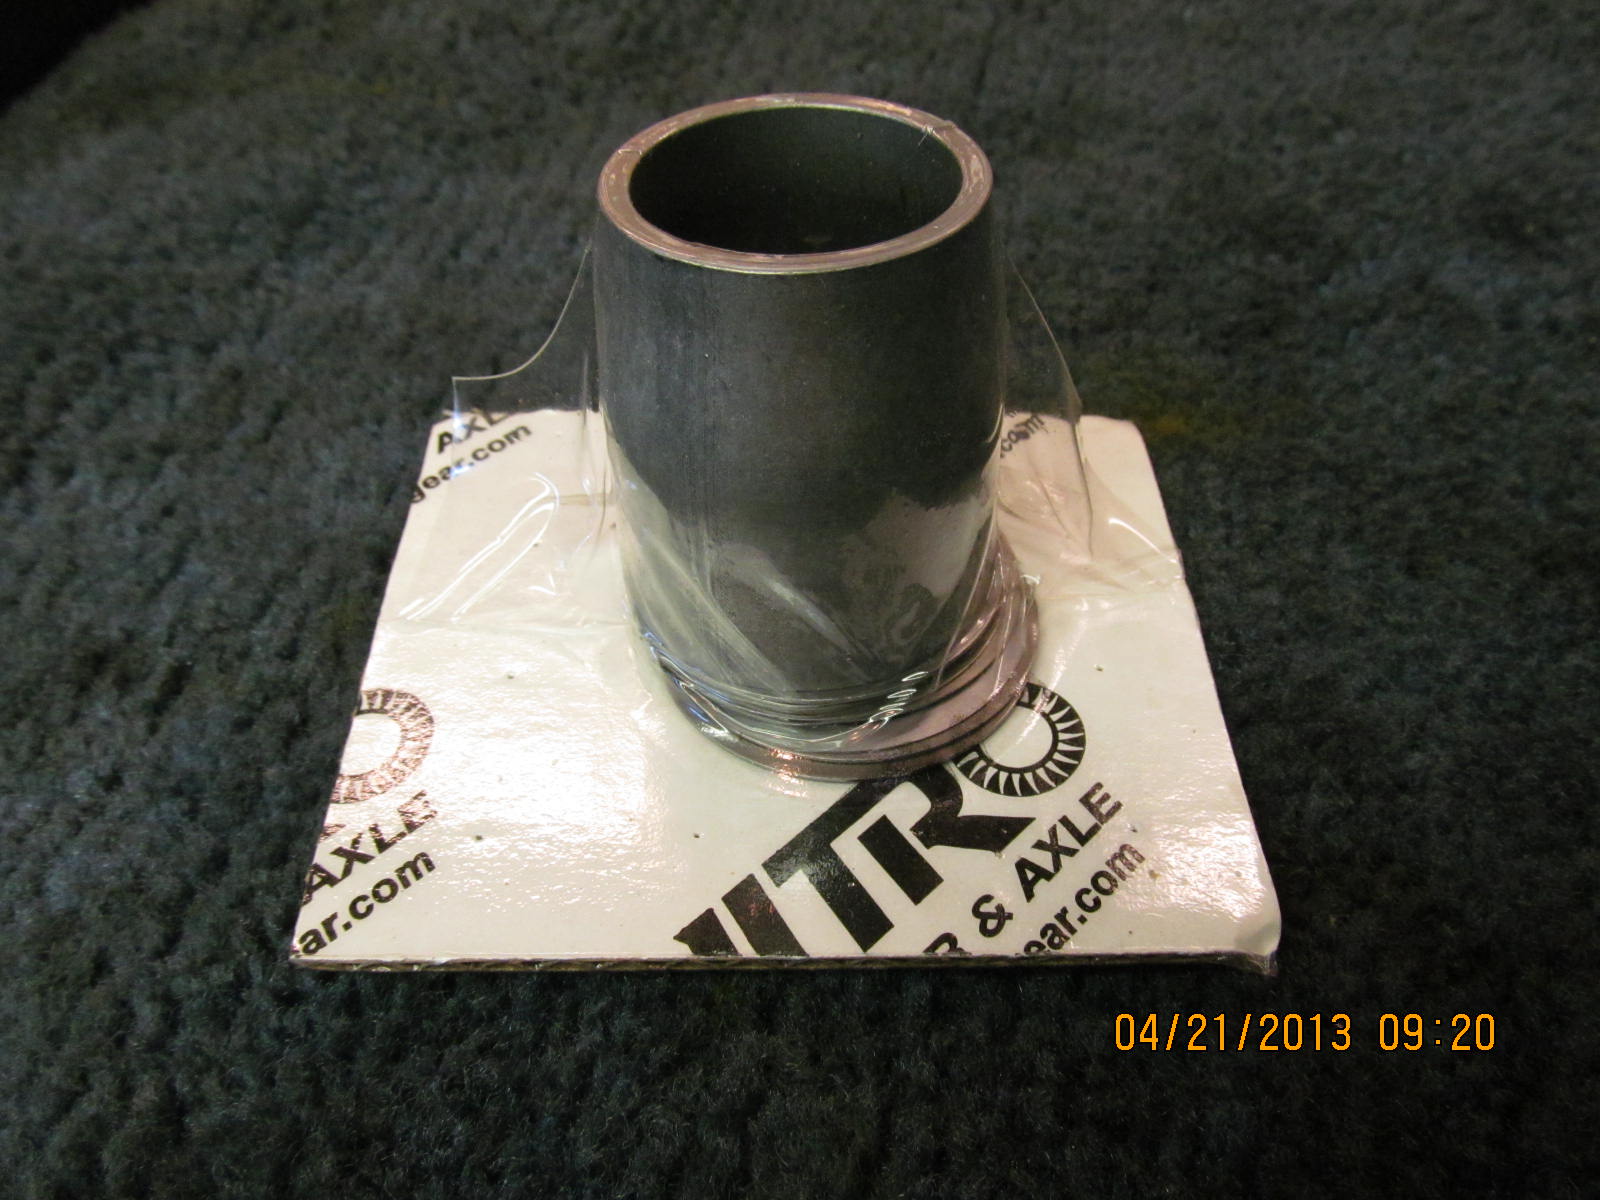
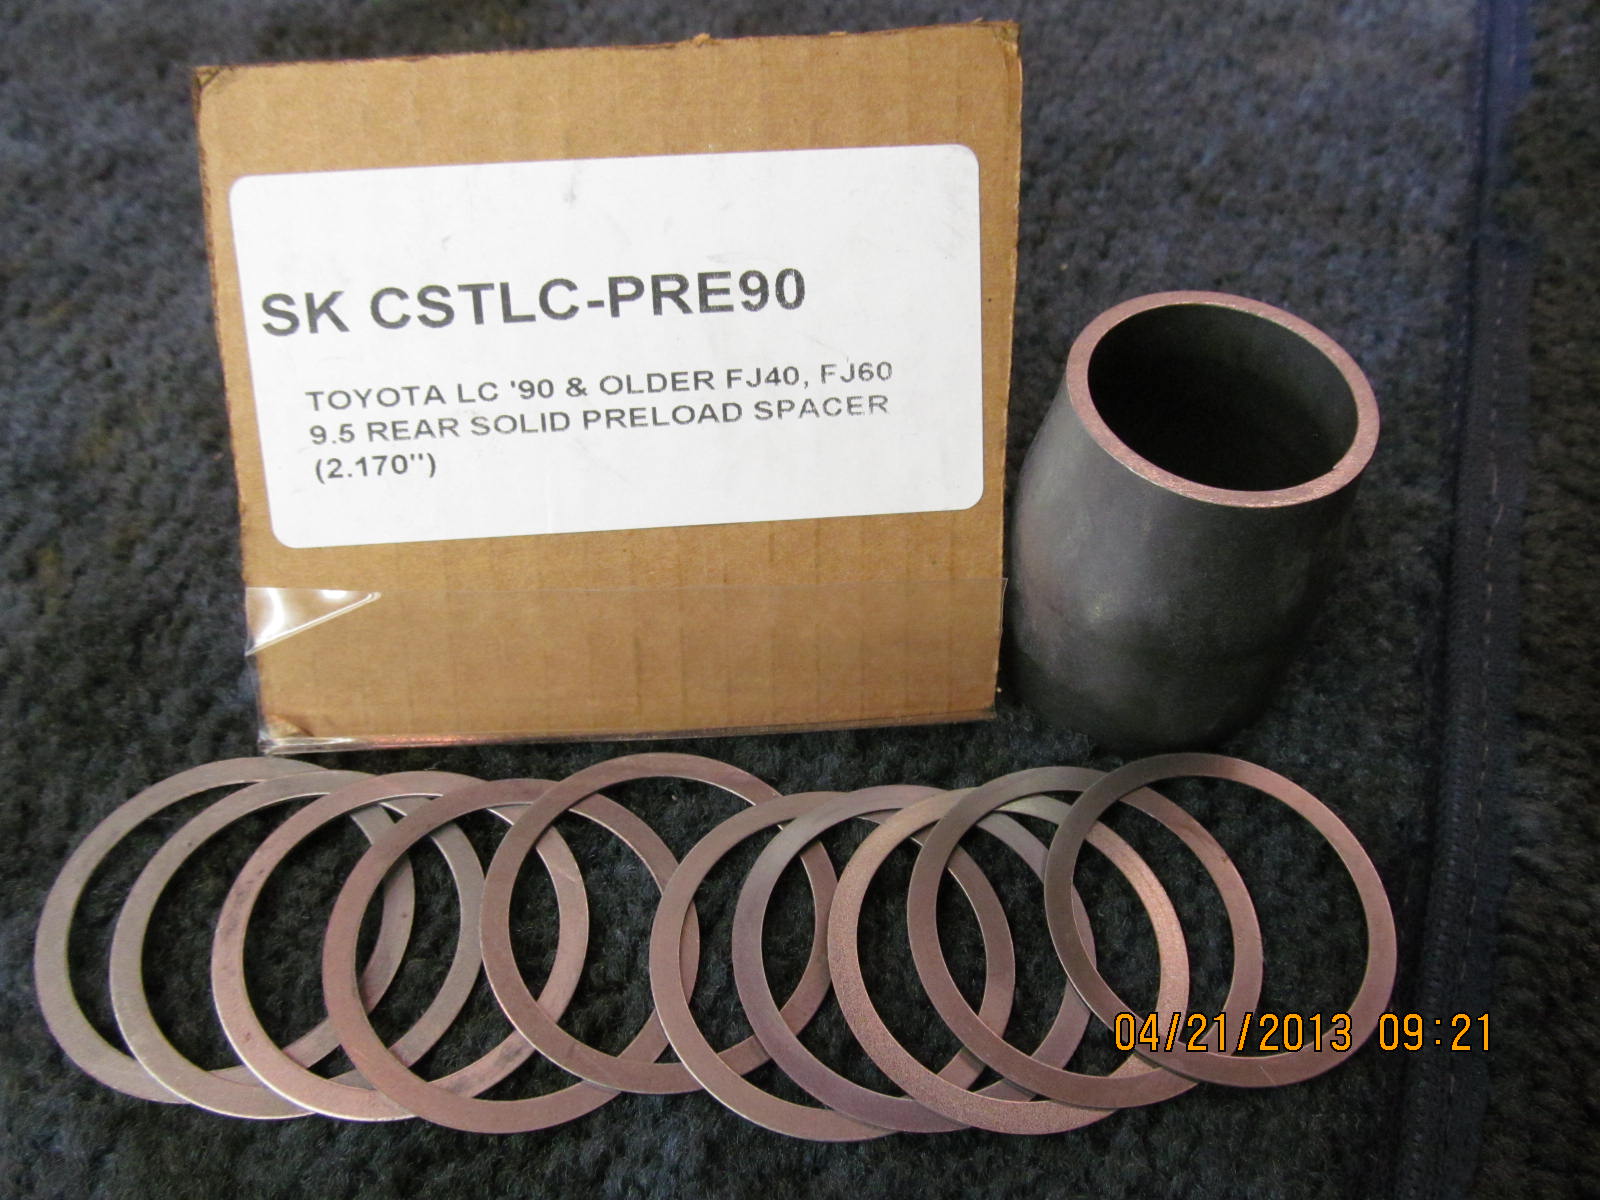
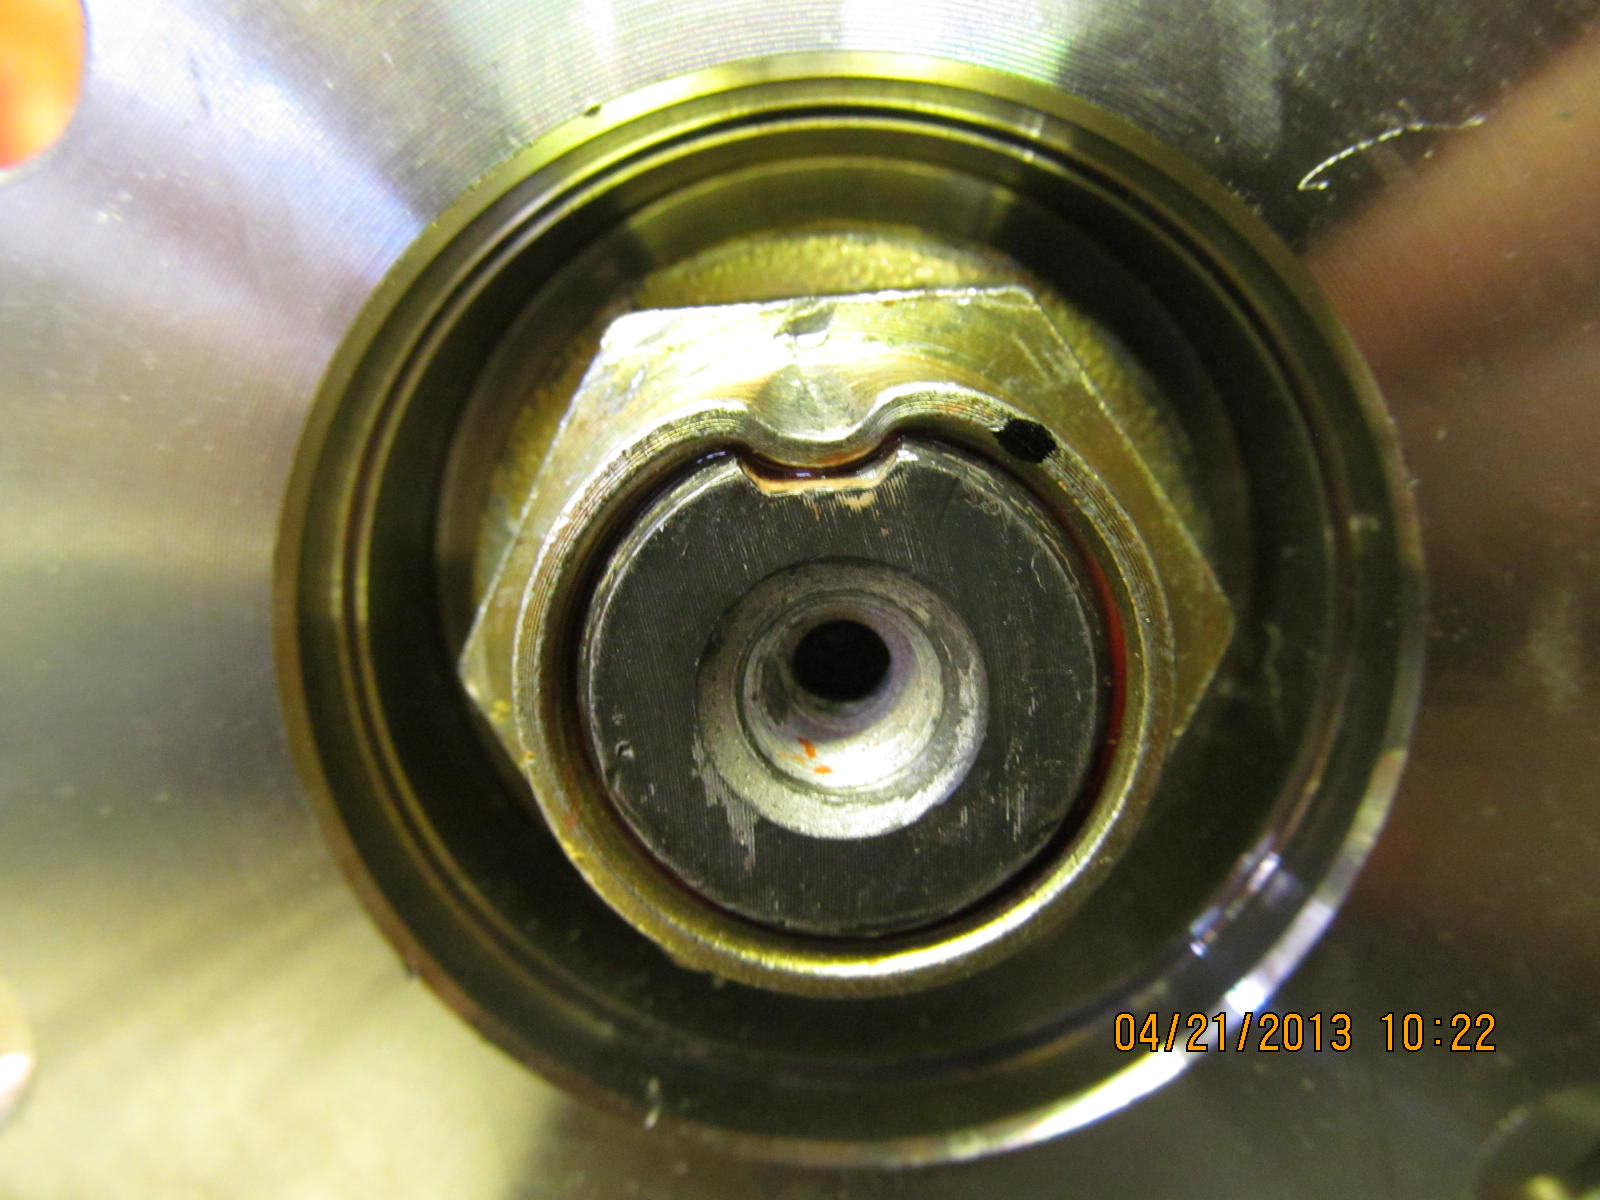
built in 'solid collar'.

Just need the 4 bearings and seal from the master kit.

The top pinion shim is the original .014" factory shim.

The pinion shim goes behind the new inner race.

Keep your old bearings and races because they can come in handy.
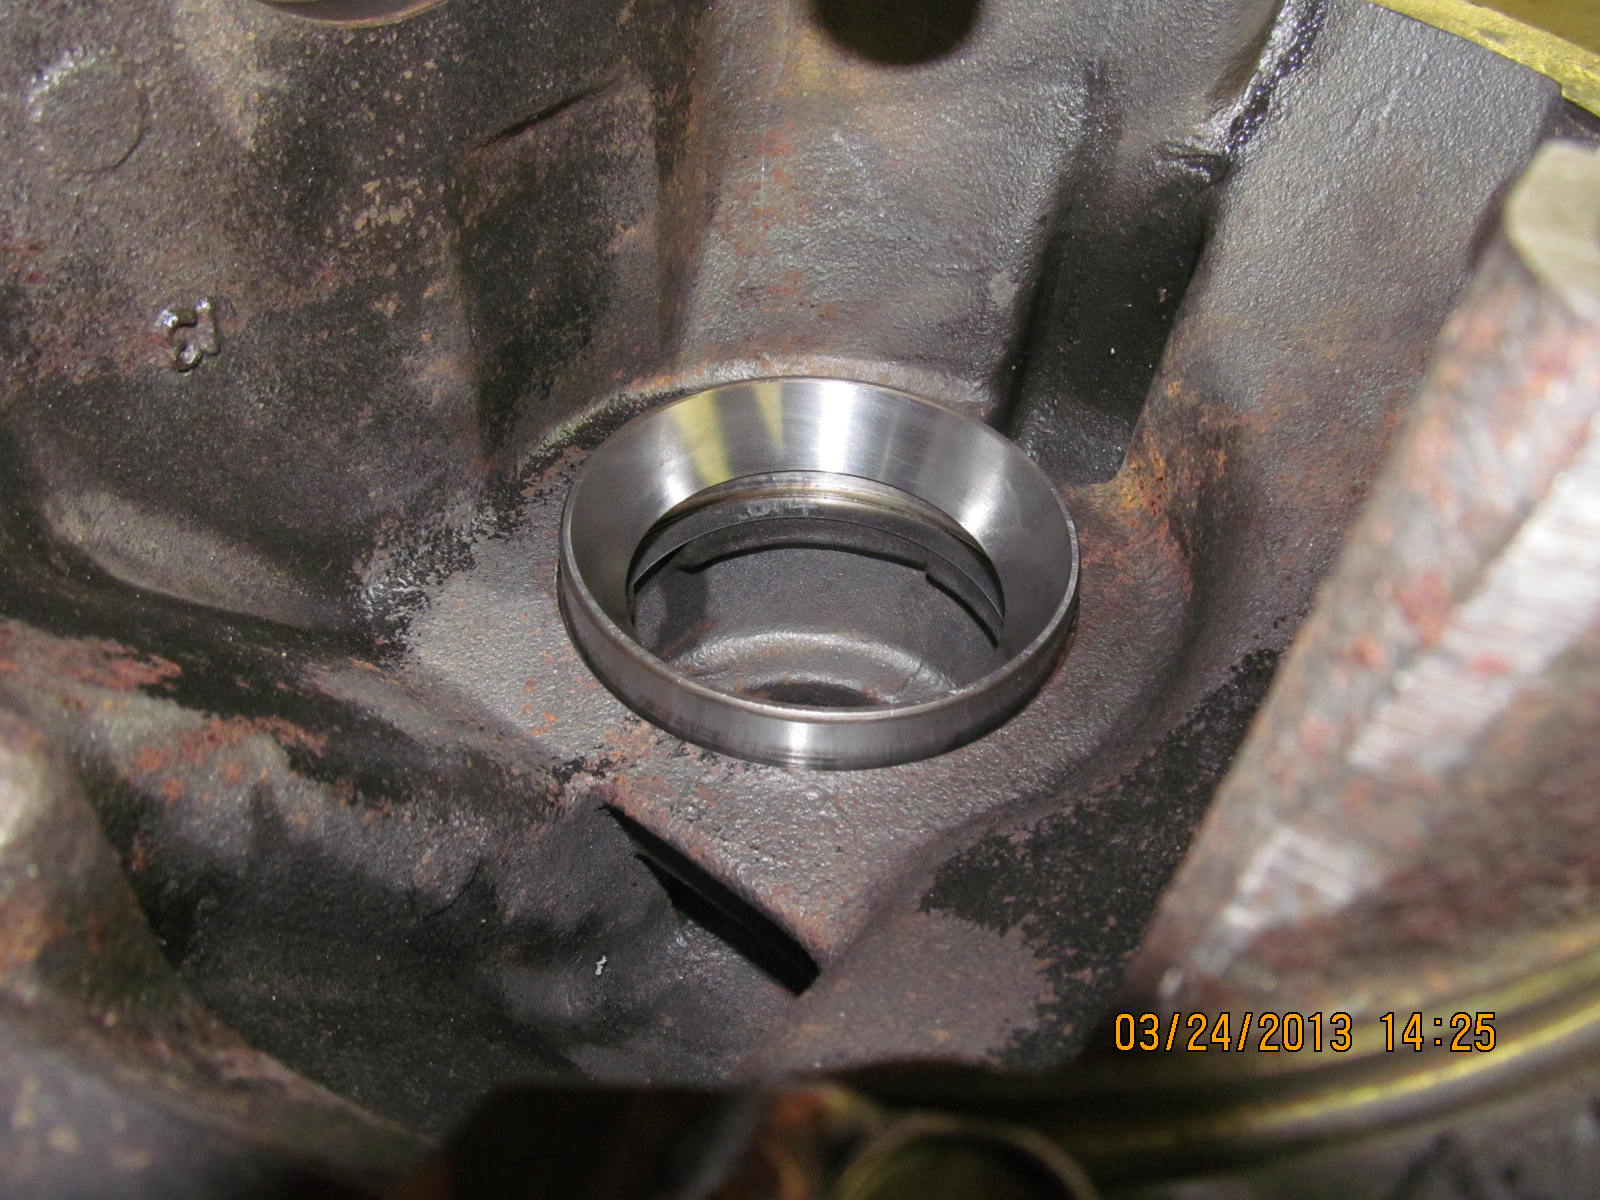
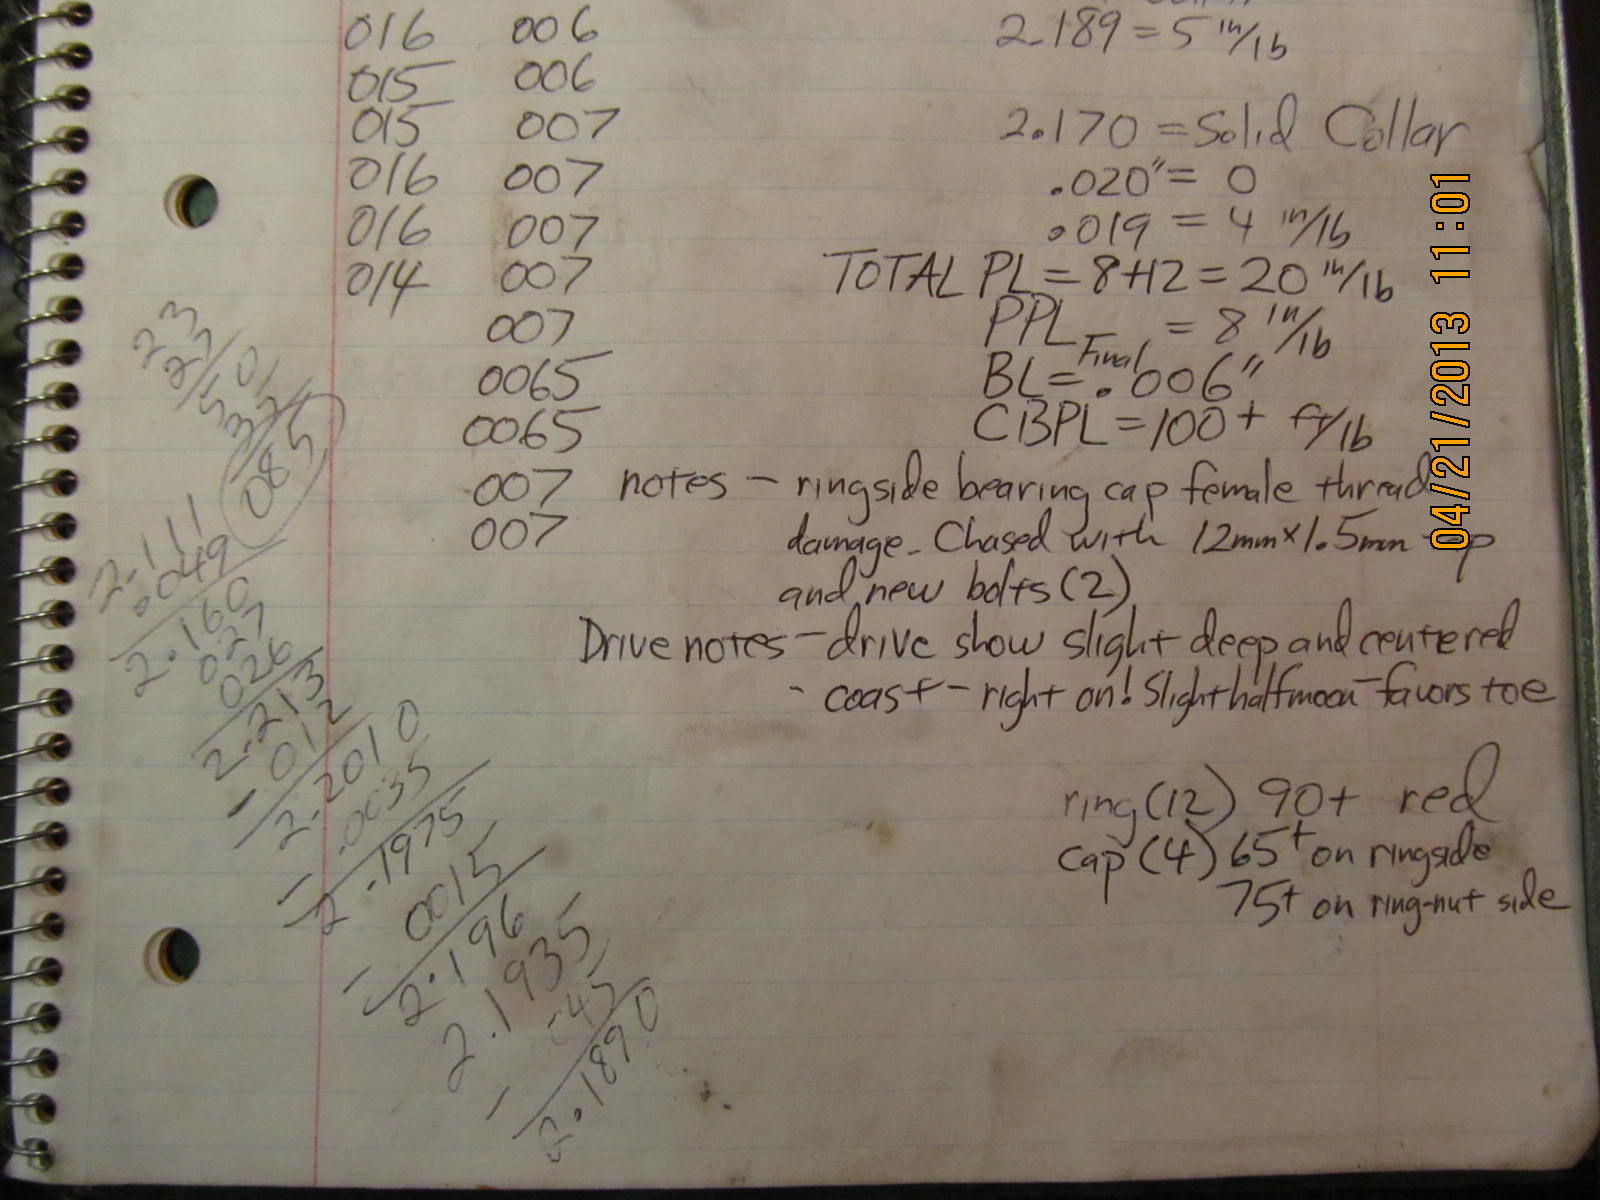
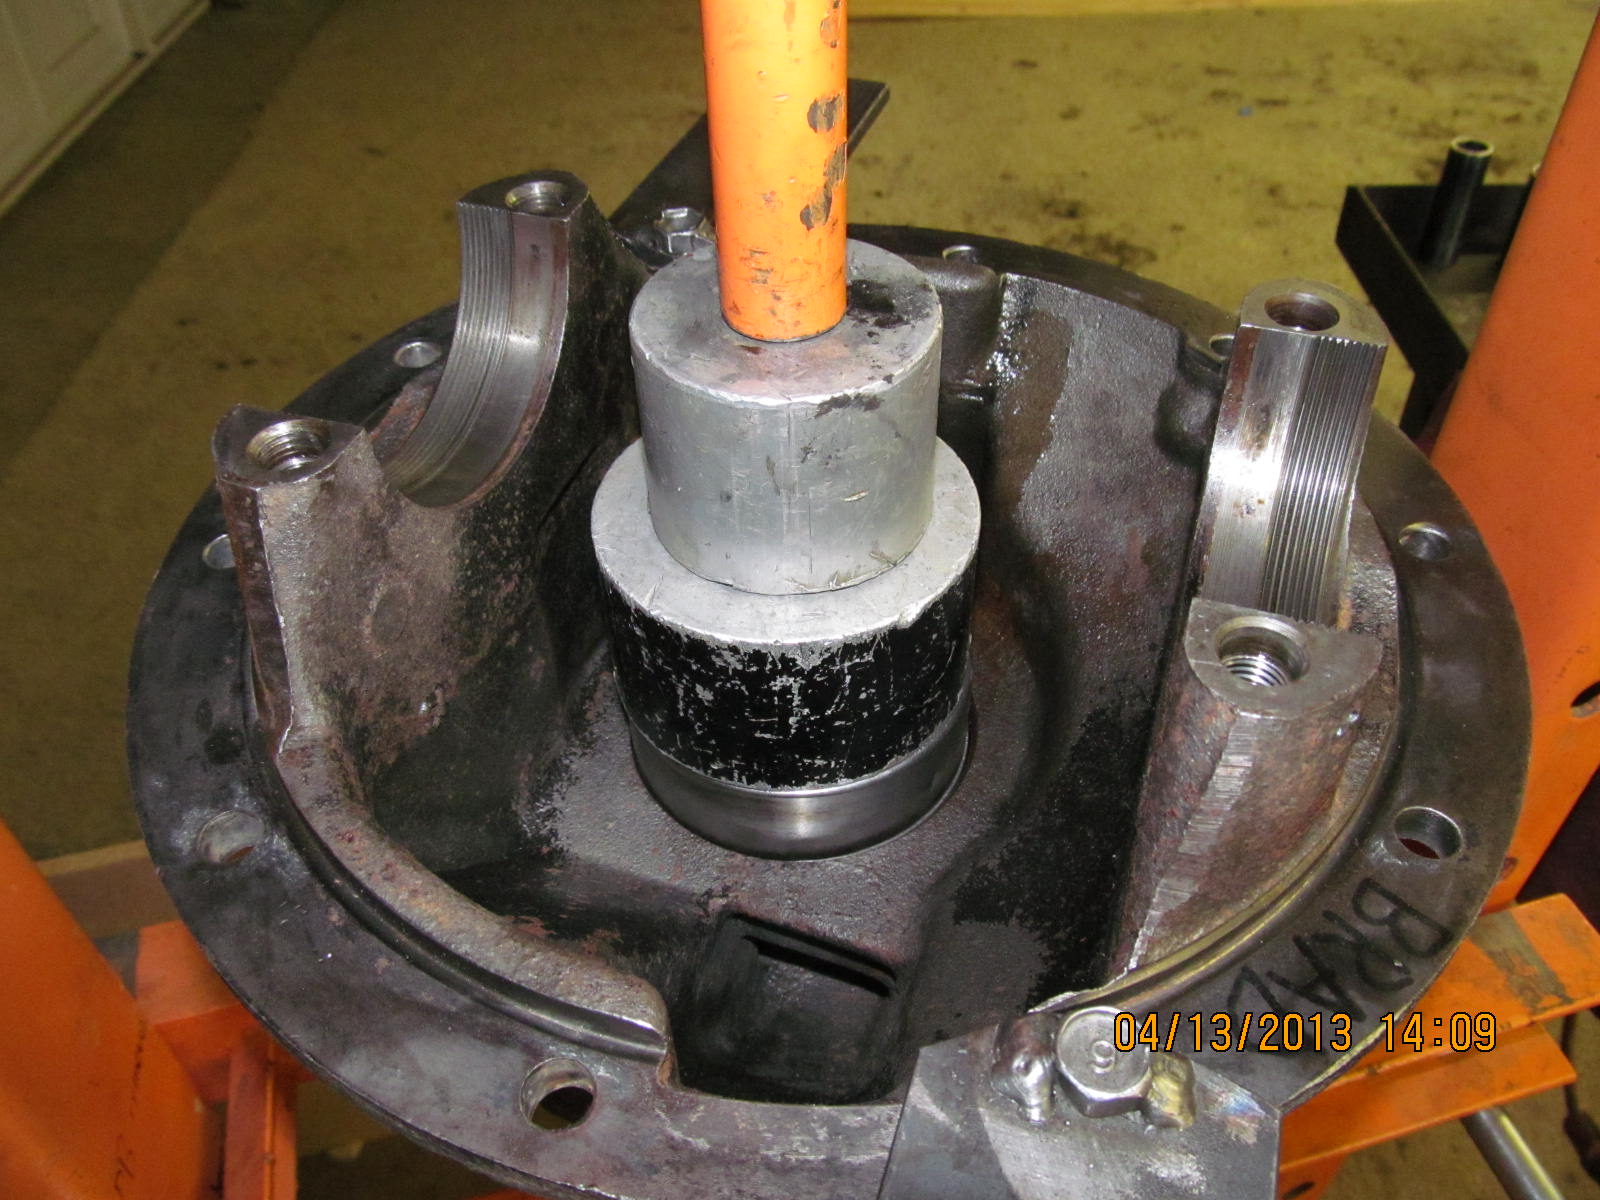
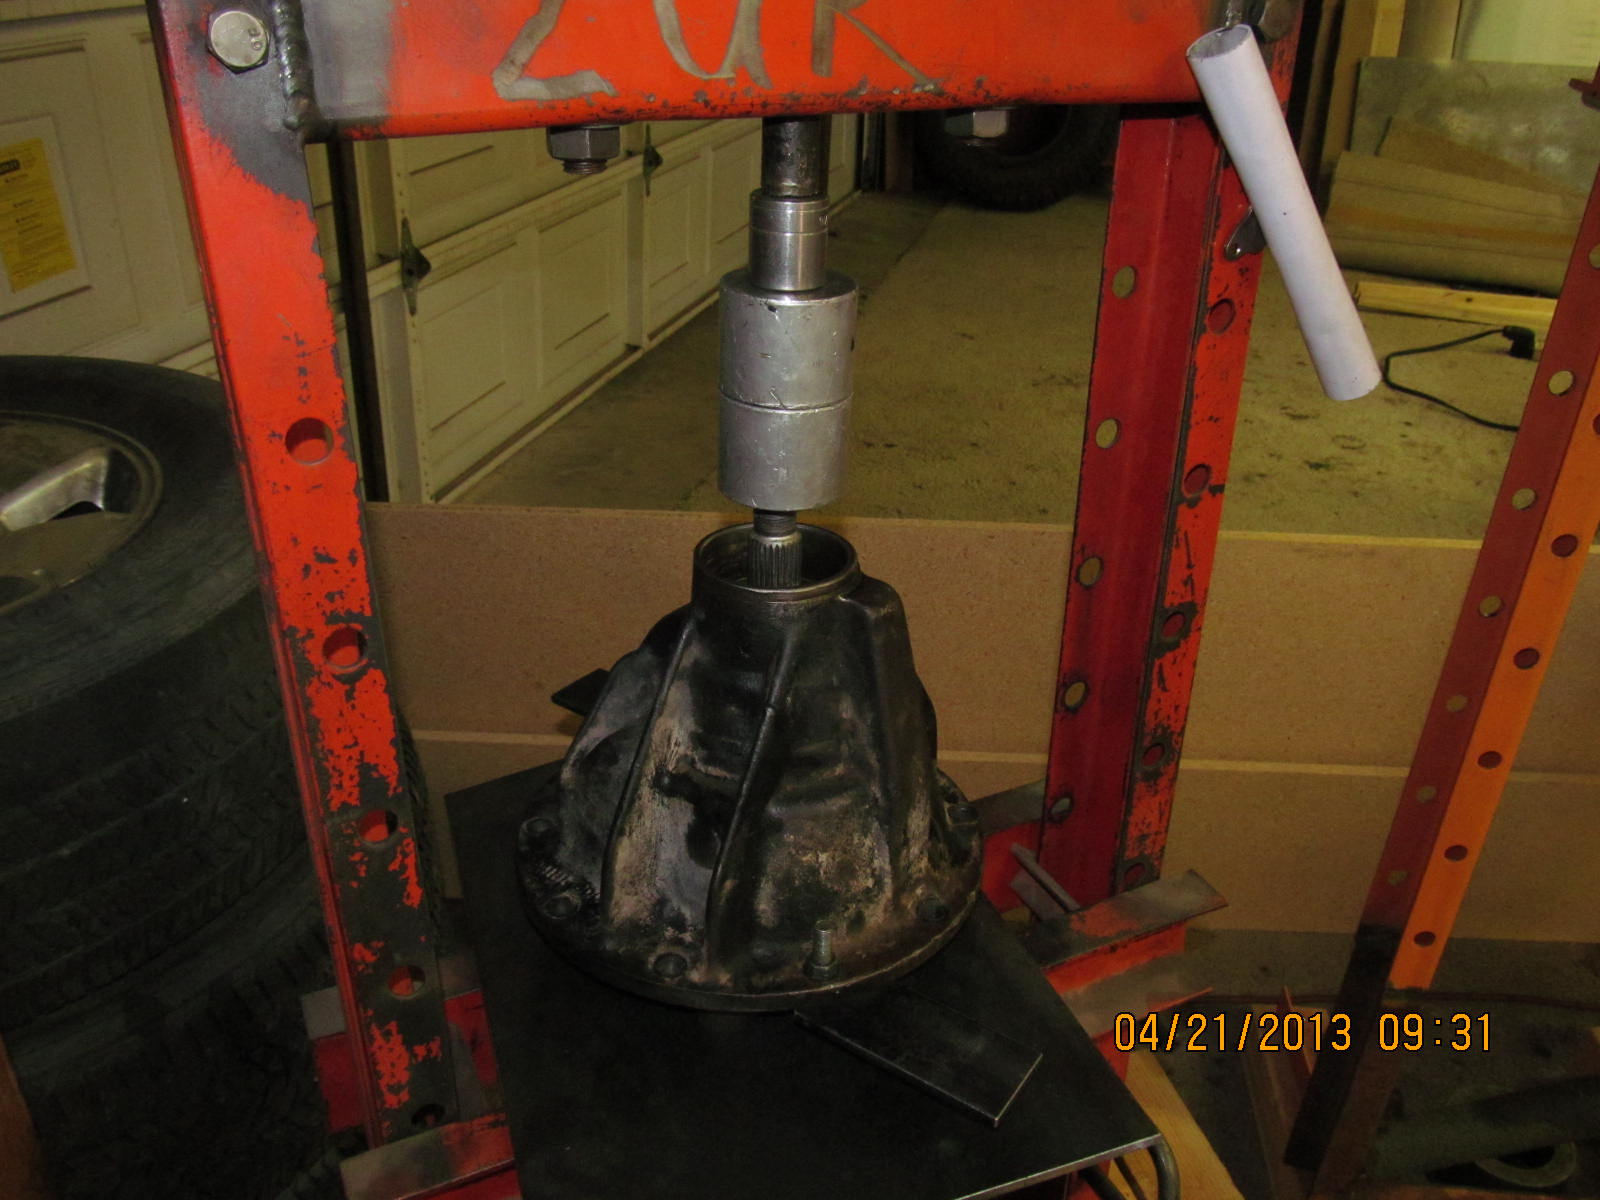
An old race is used to press the new one in all the way.

The outer race dropped in too easy. Surfaces were cleaned
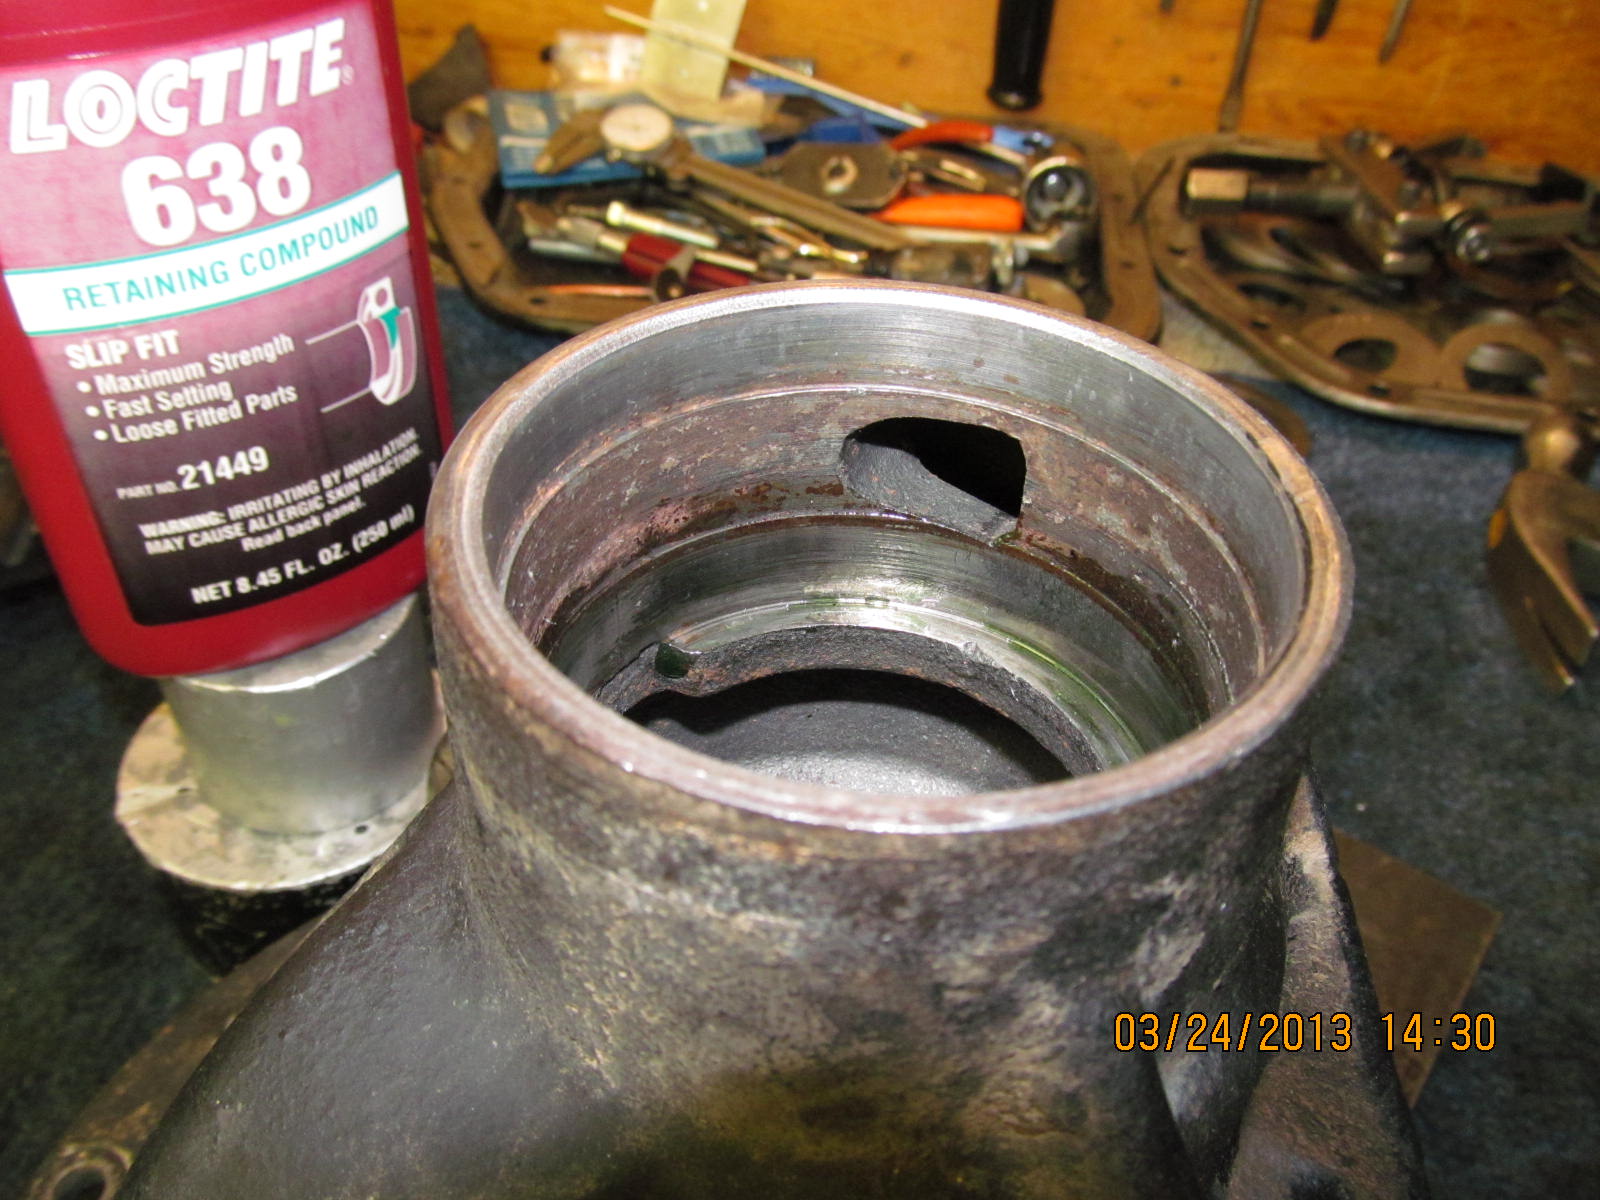
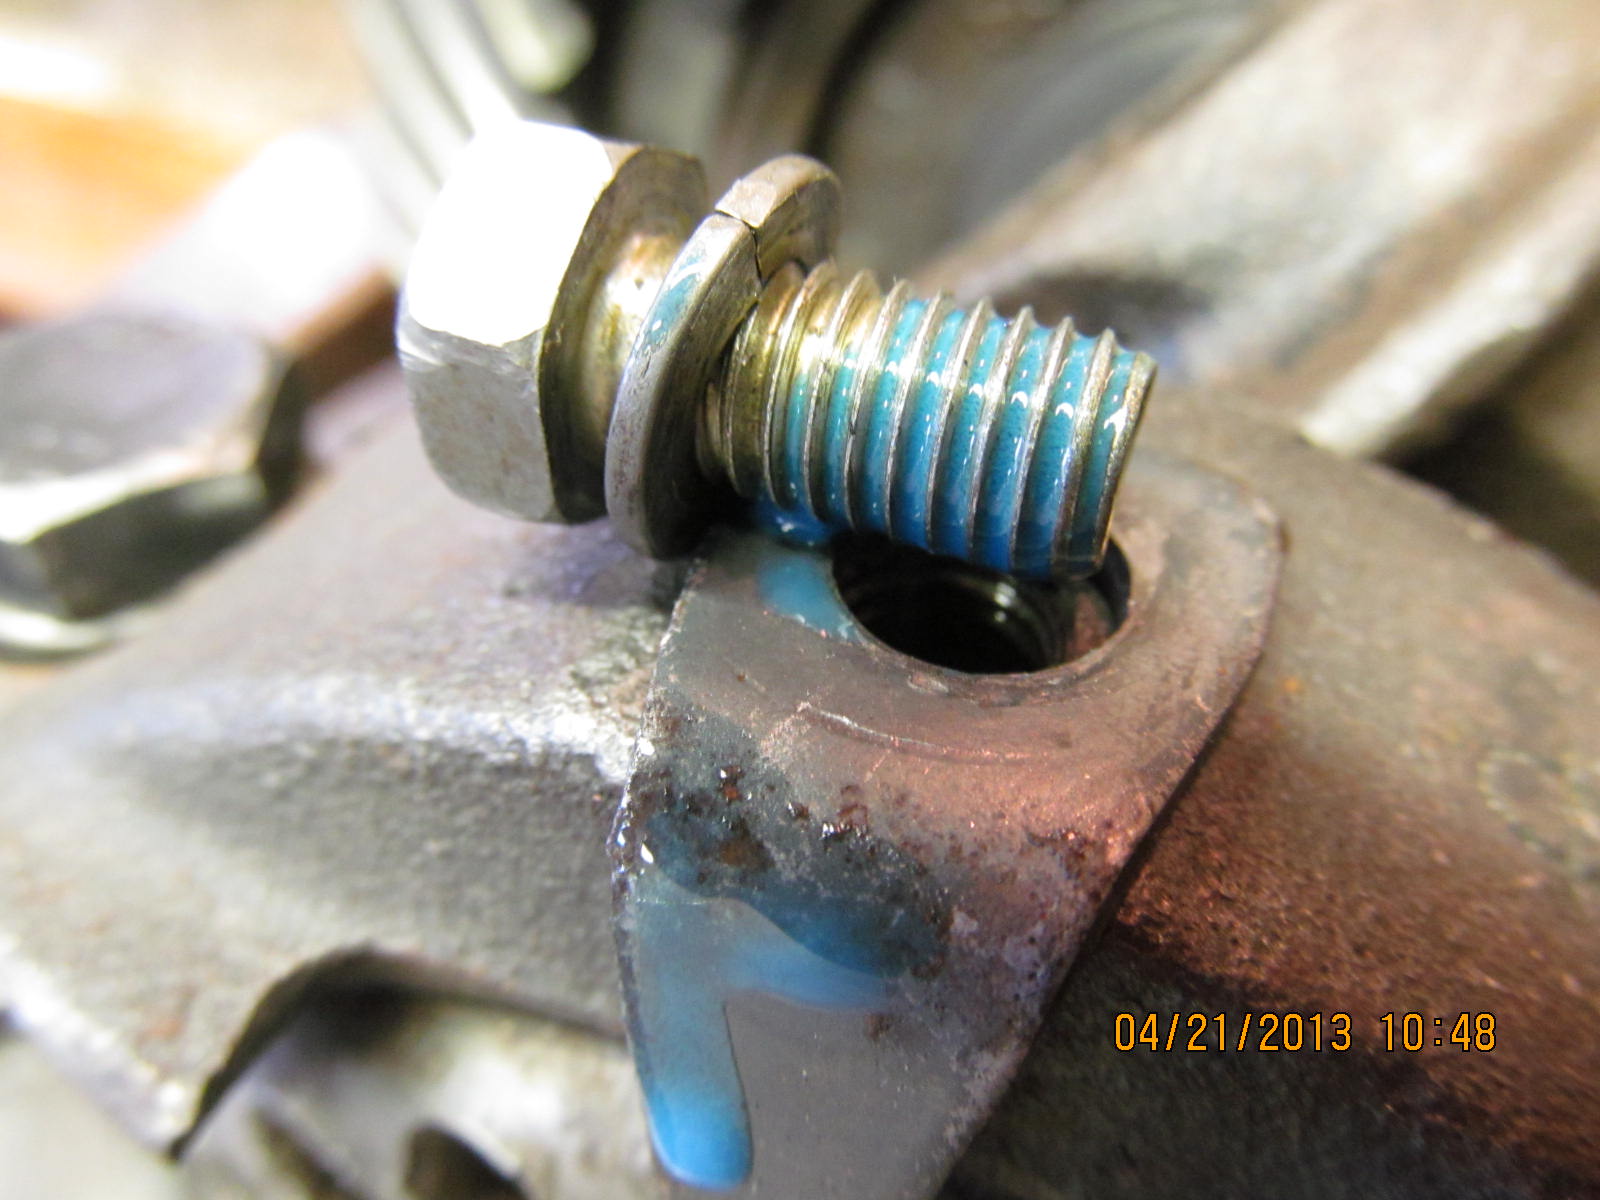
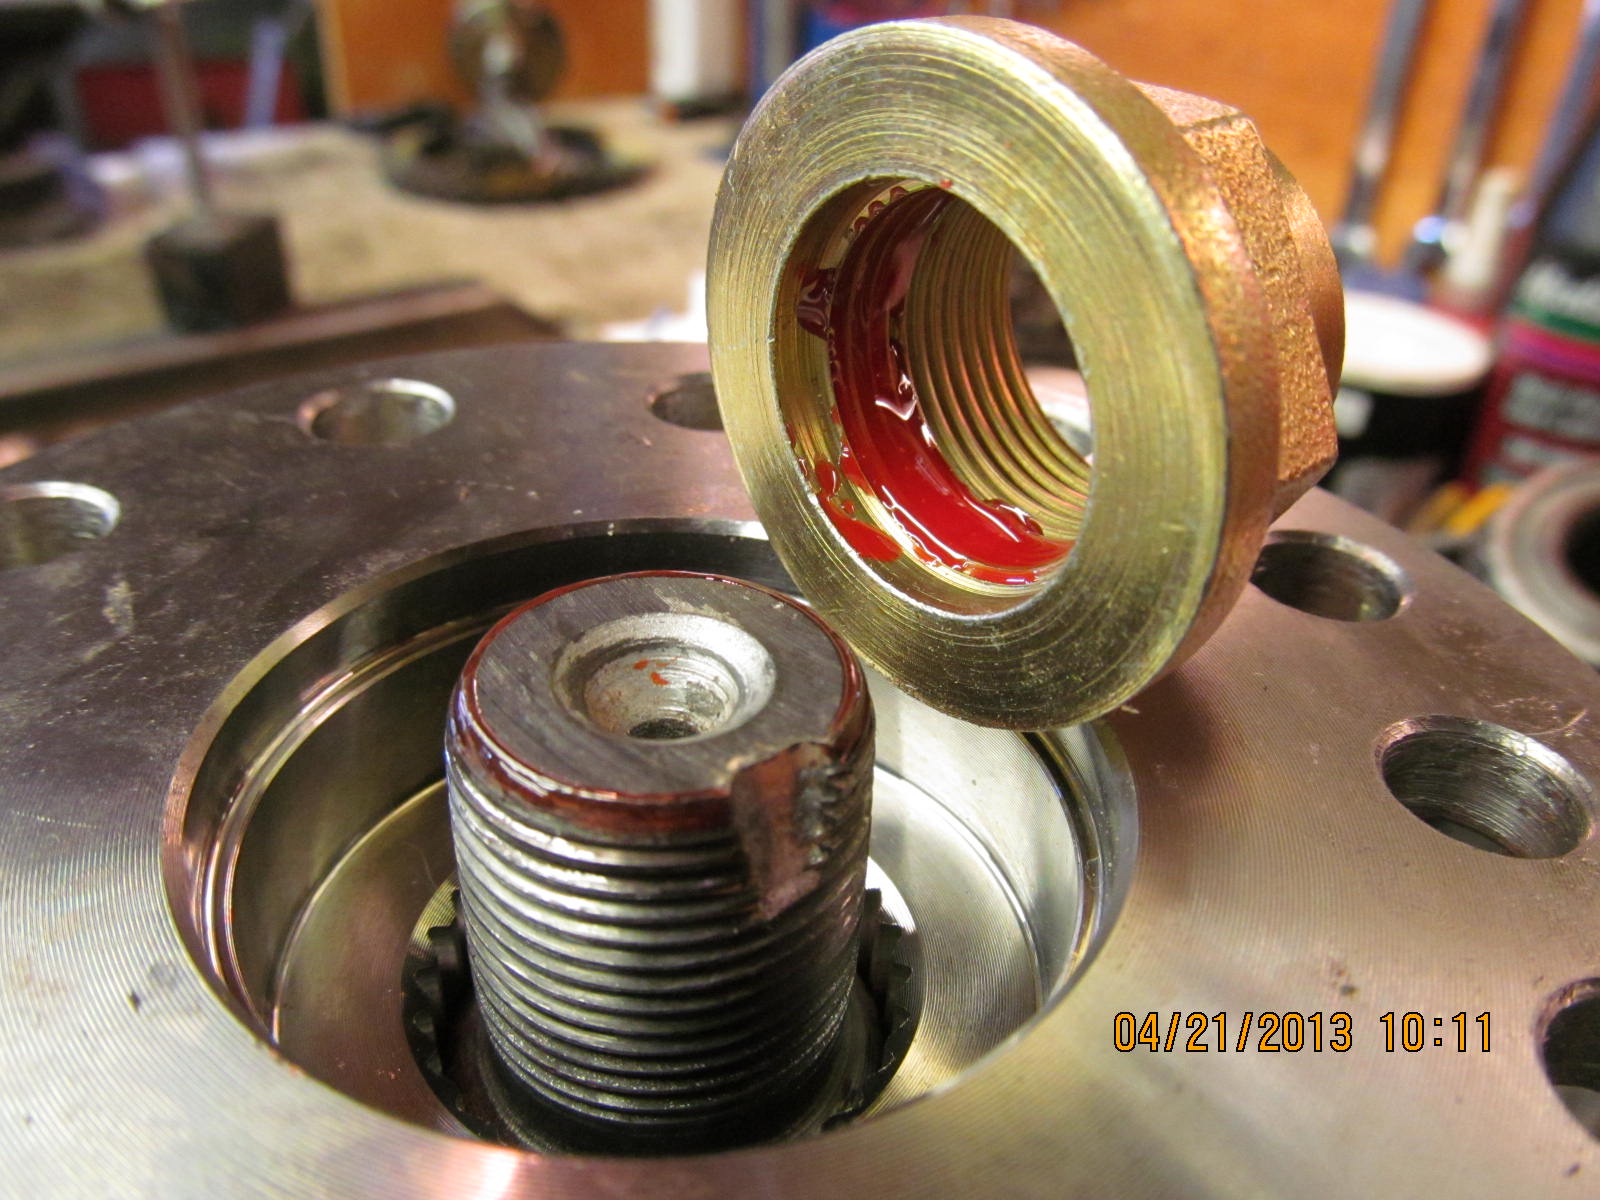
thoroughly and green sleeve-locking compound will fix that.

24 hours should be allowed for the sleeve-lock to set up.

The threads on this bearing cap were in rough shape but a
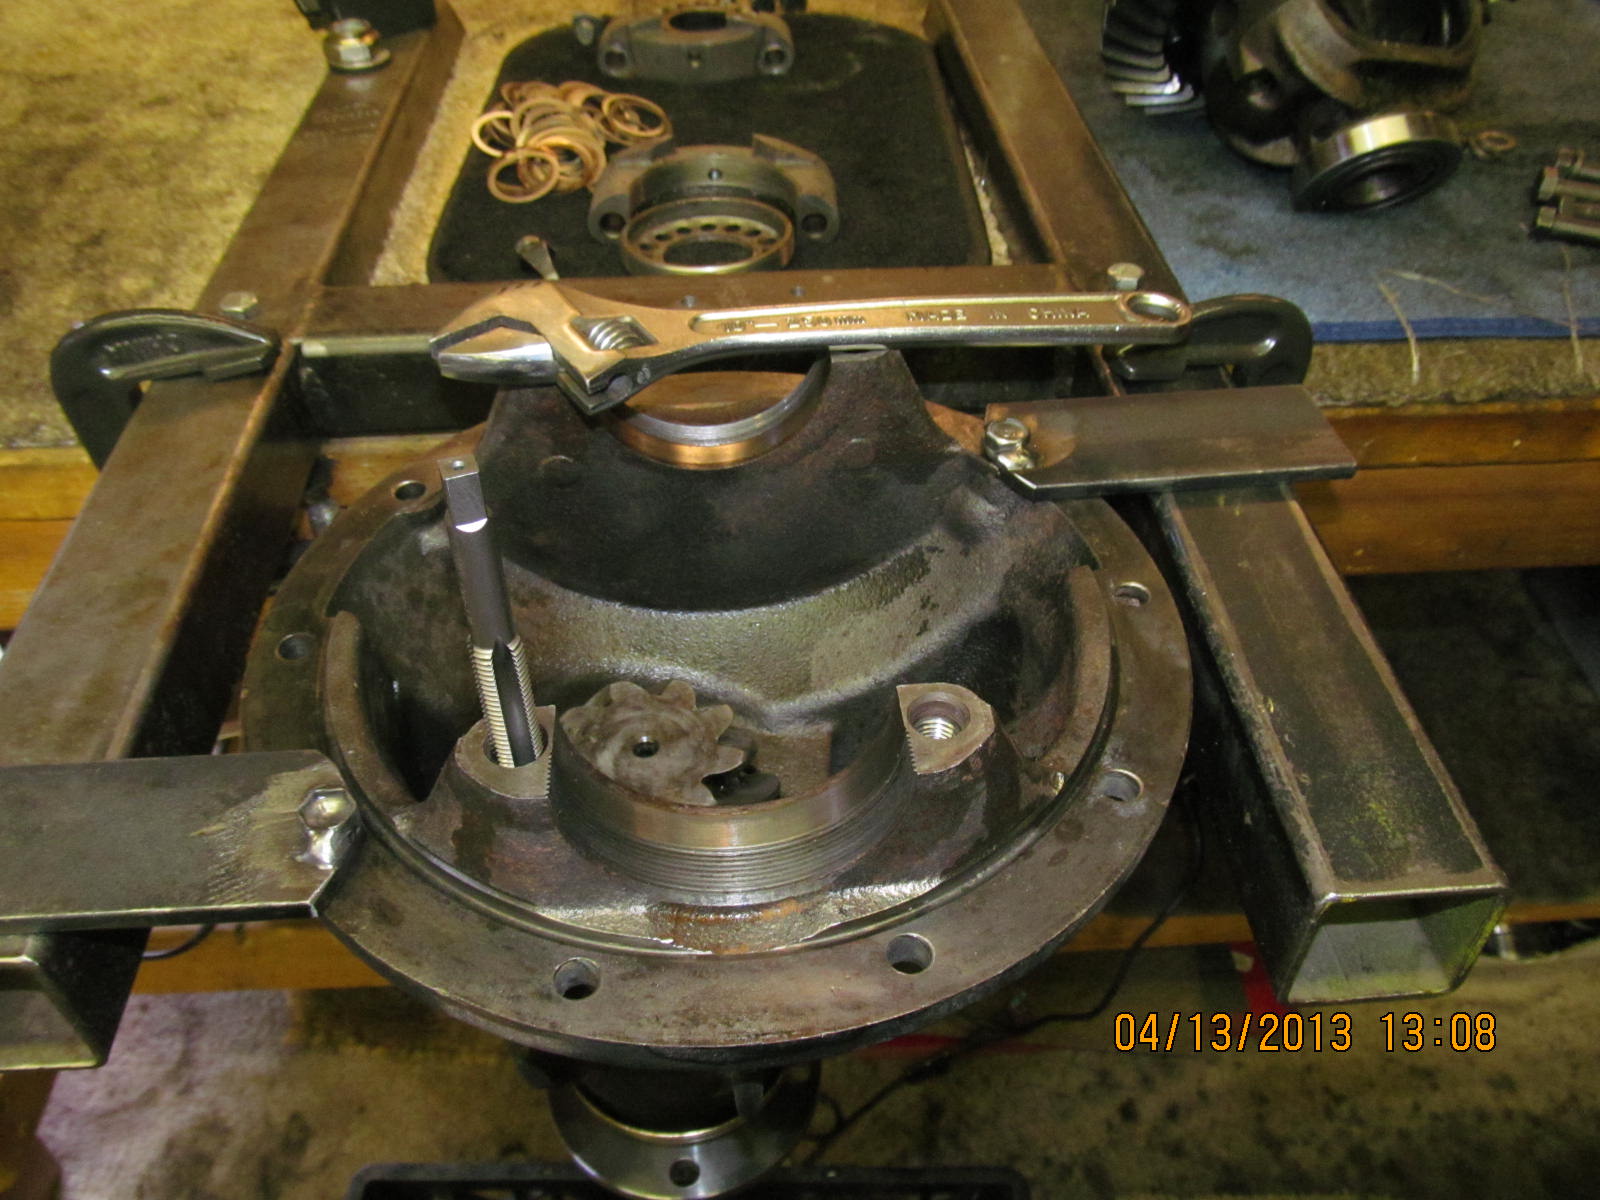
12mm x 1.5mm tap chased the threads as good as good gets.
The 2 related metric bolts had to be replaced and, as you
know, Ace is the place. You Russian guys that are running
this page thru the translaters are probably wondering what
the heckski is this American guy talking about :) Ace is
a popular super sized hardware store on the west
coast, at least.

Backlash is set with some carrier bearing pre-load.

Drive side--favors the toe heavily and turned very "rough" when
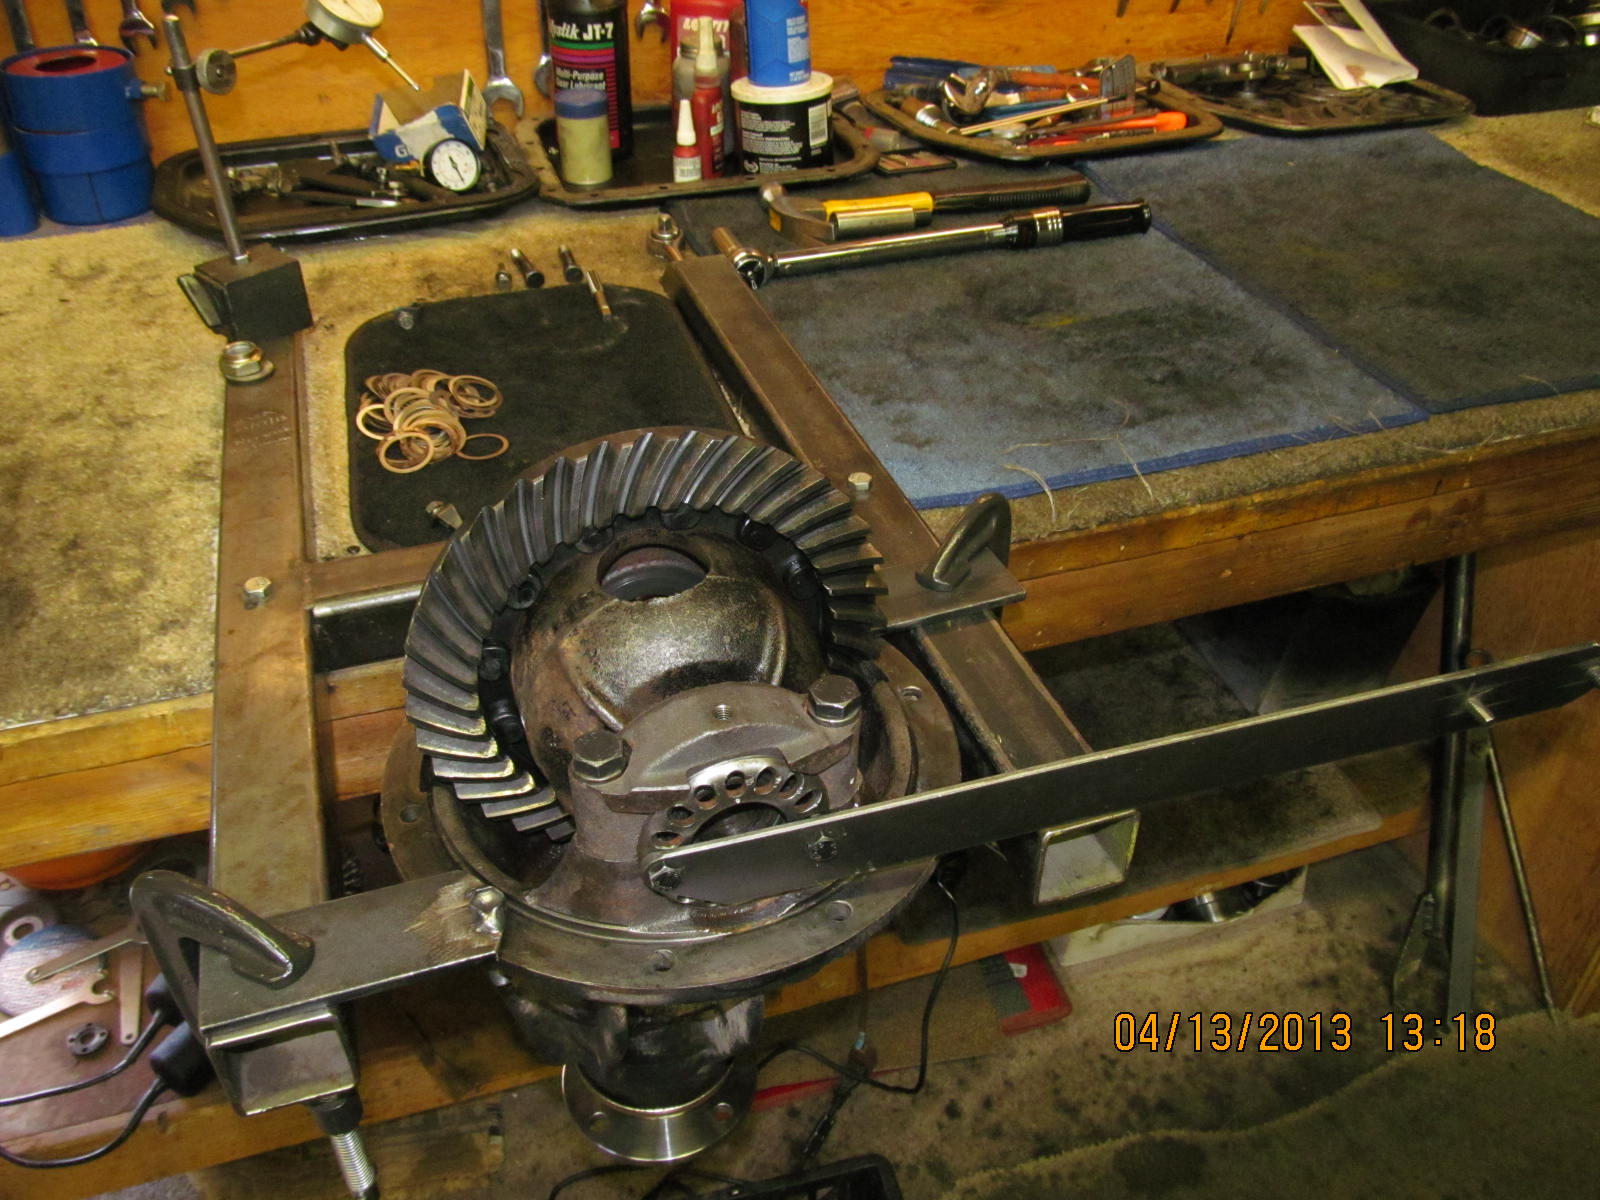
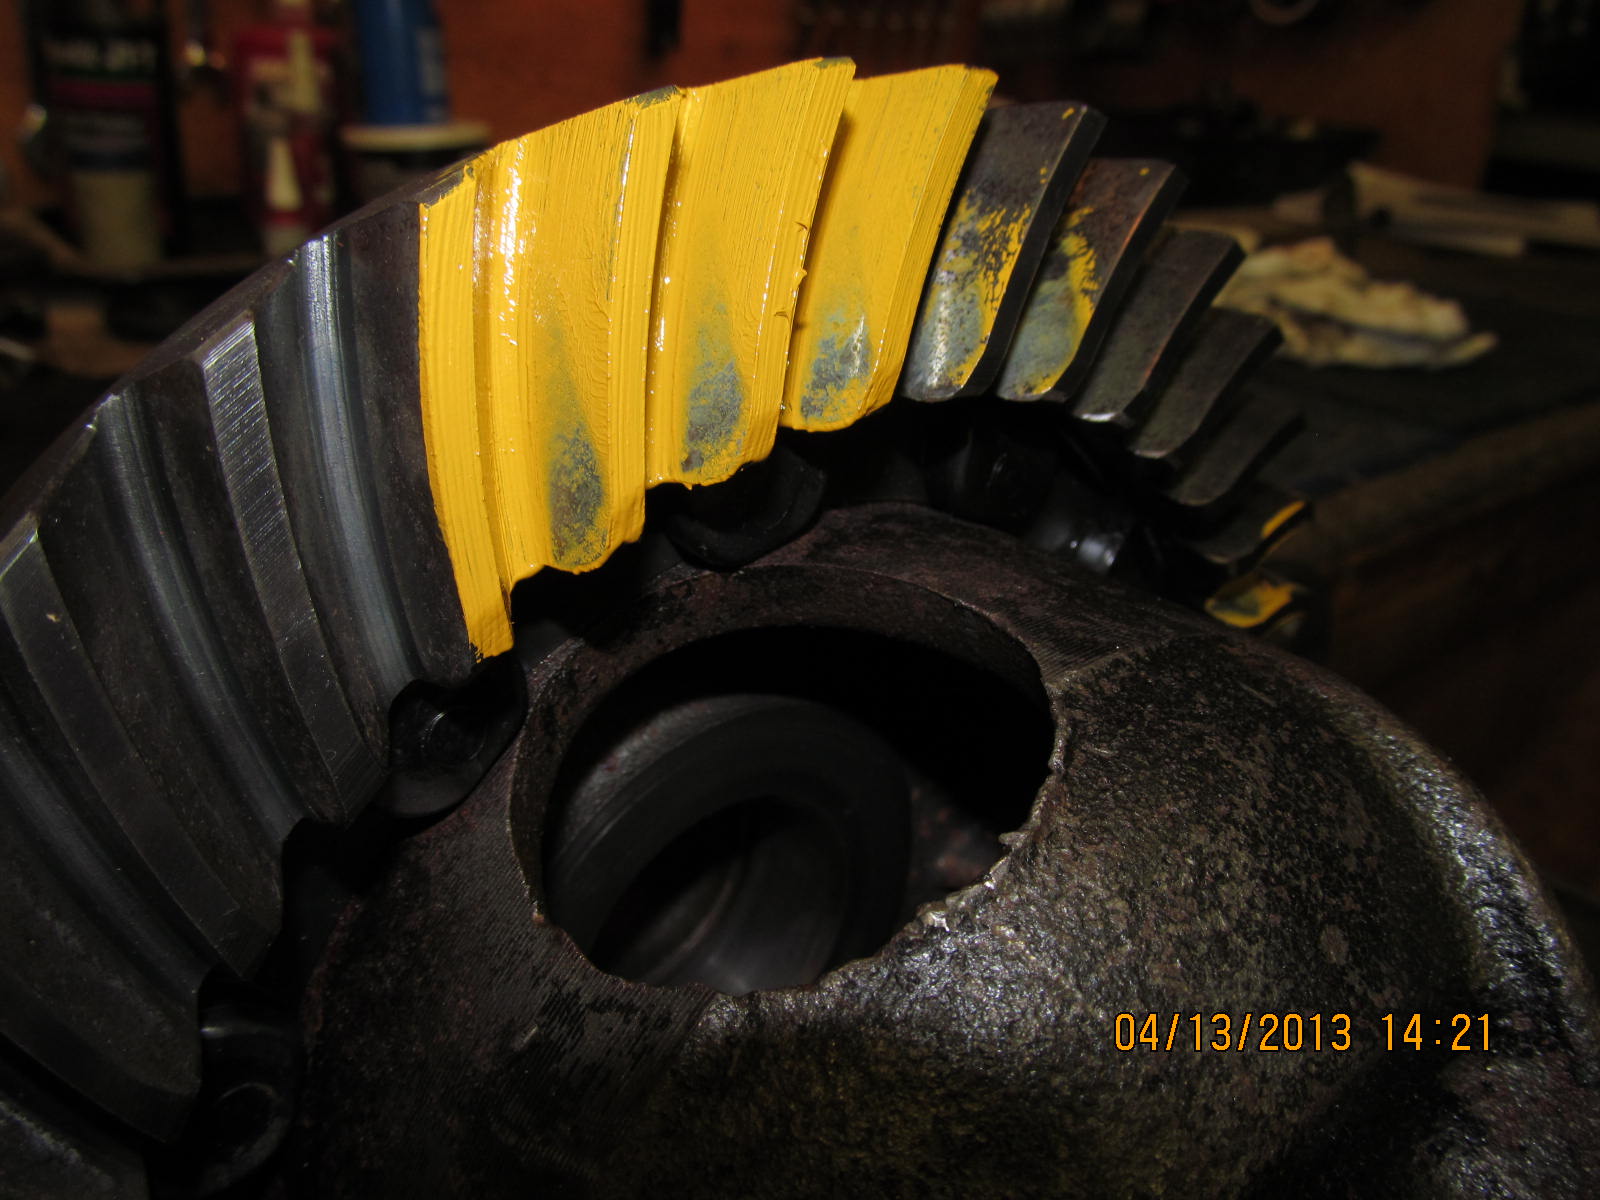
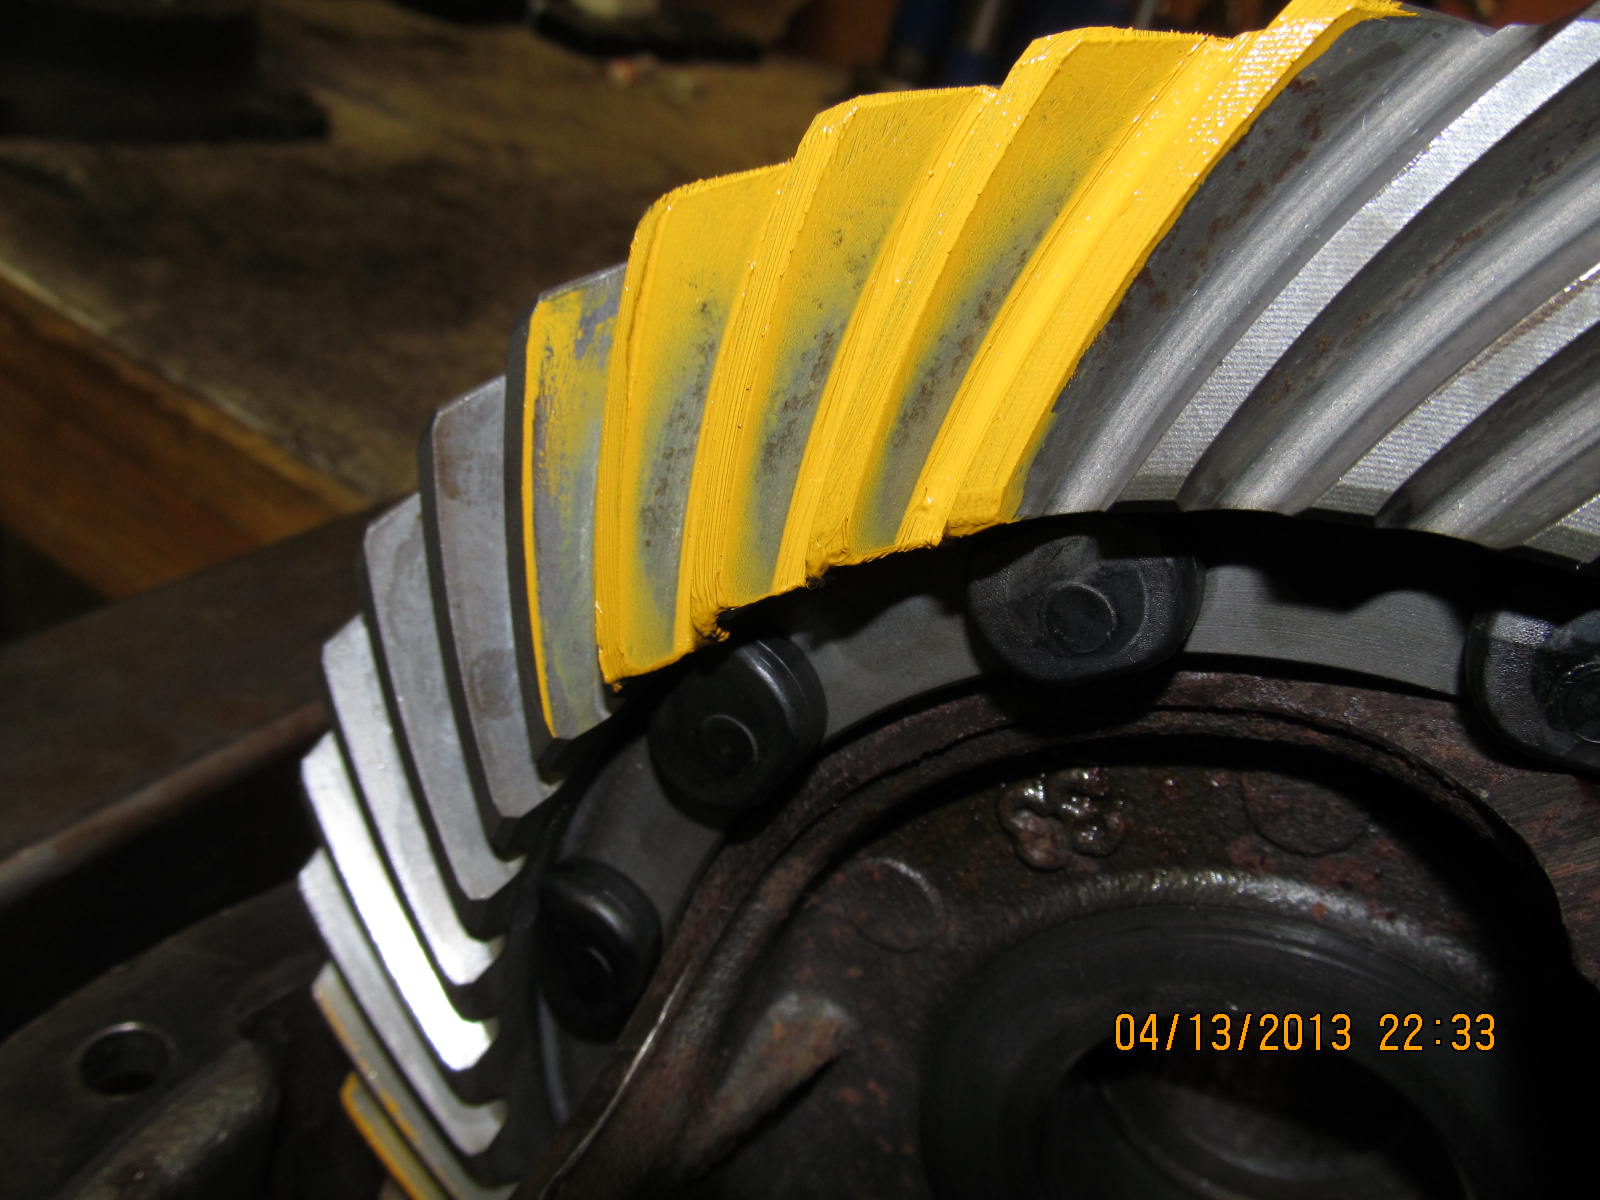
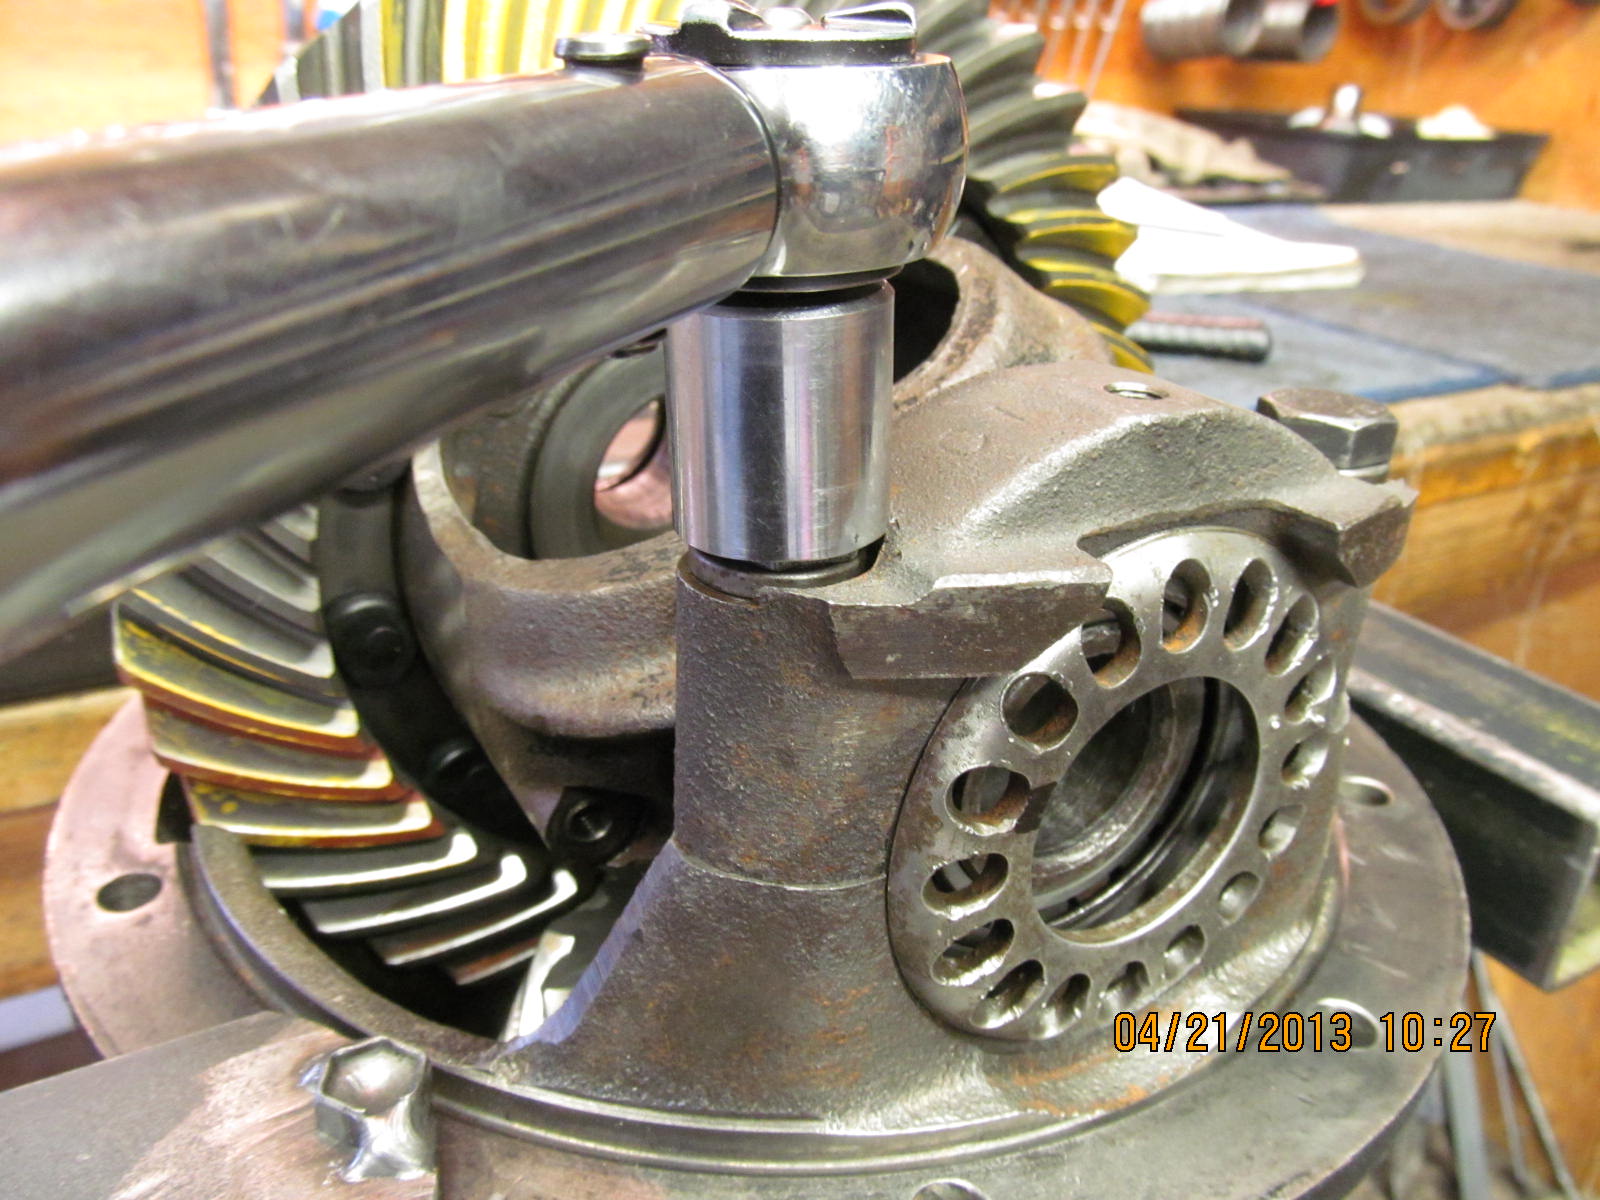
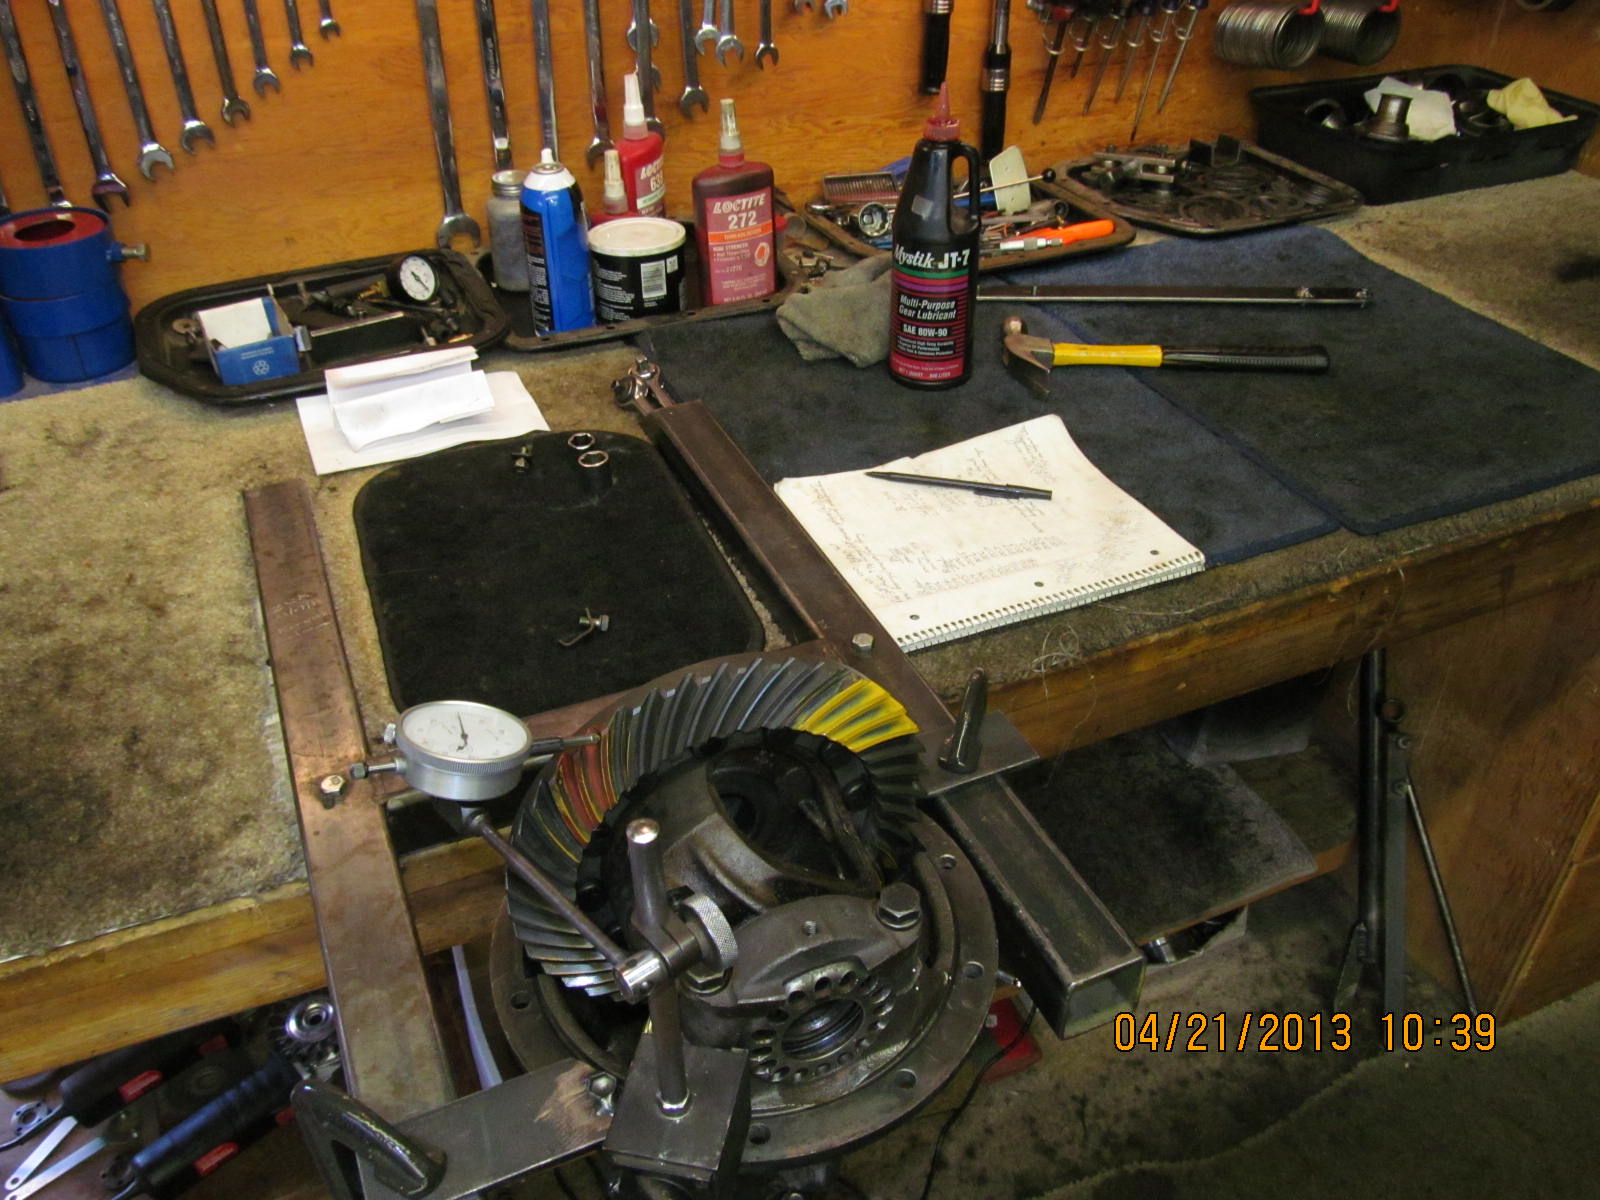
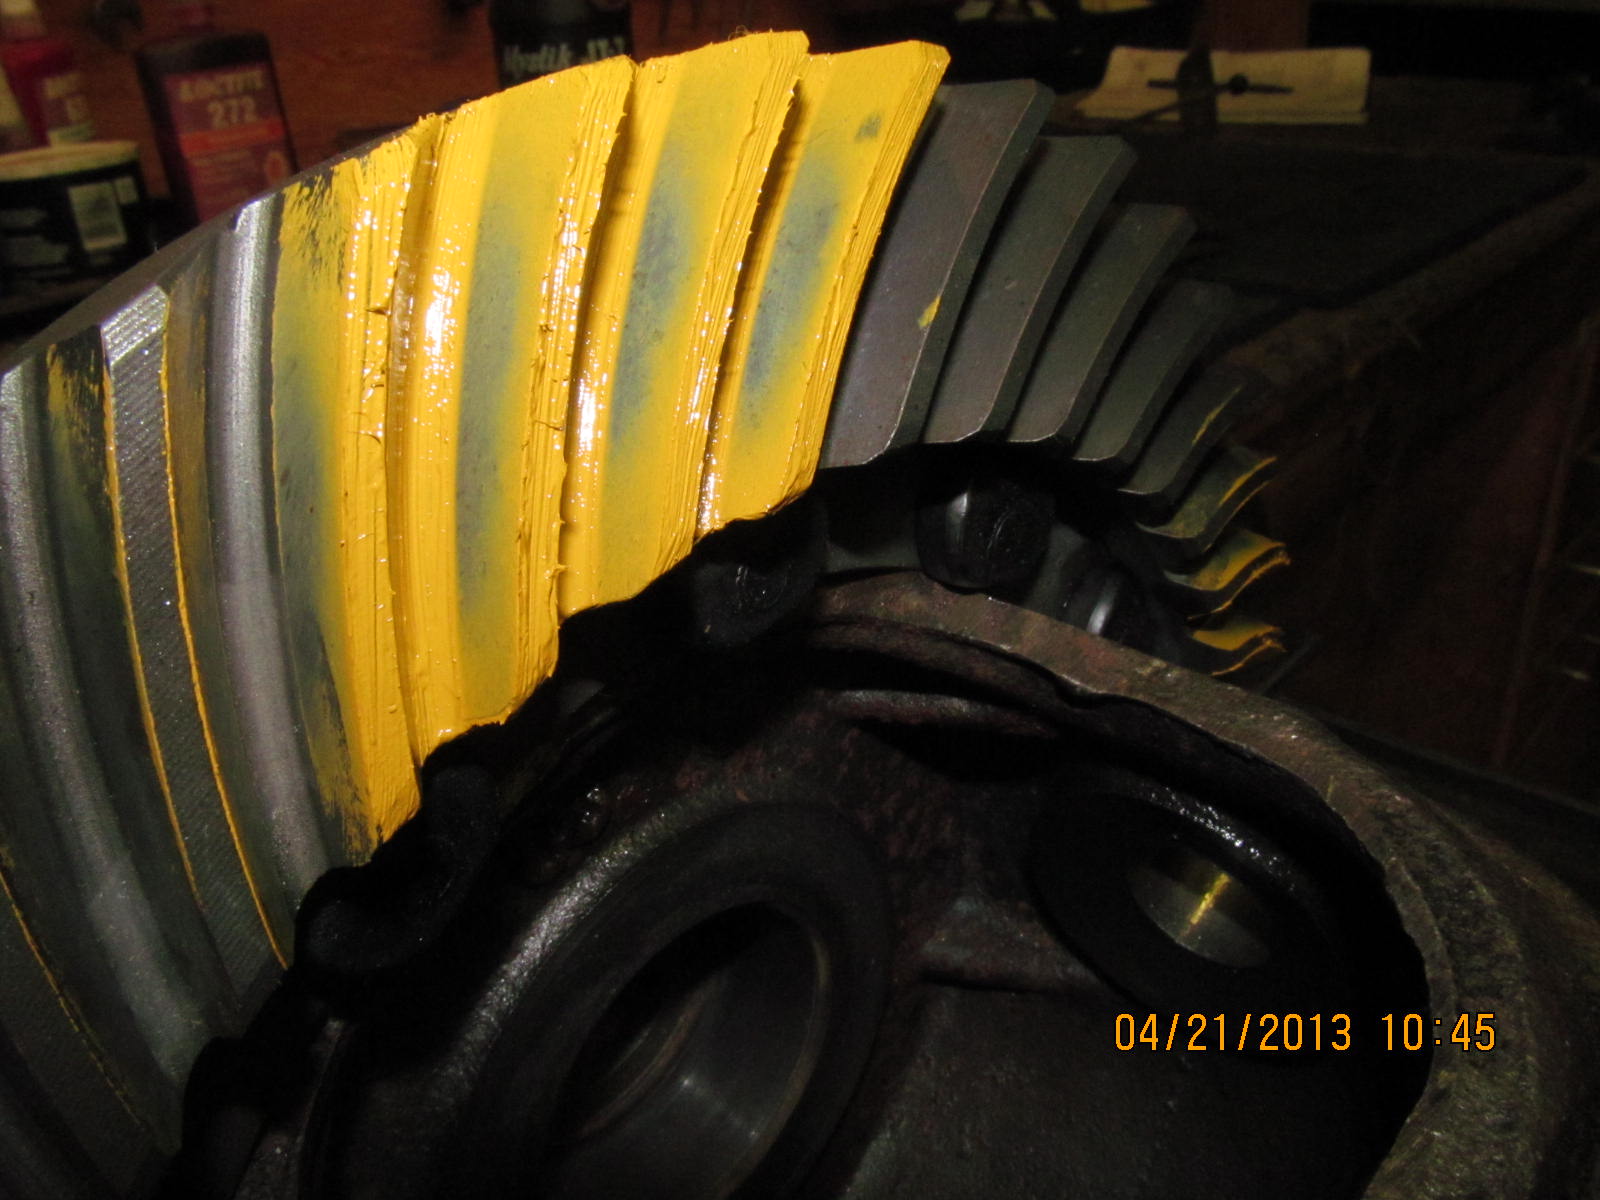
I was using the 19mm wrench to turn the ring gear. Not only could
I feel it in the wrench but I could also hear the rumble noise.
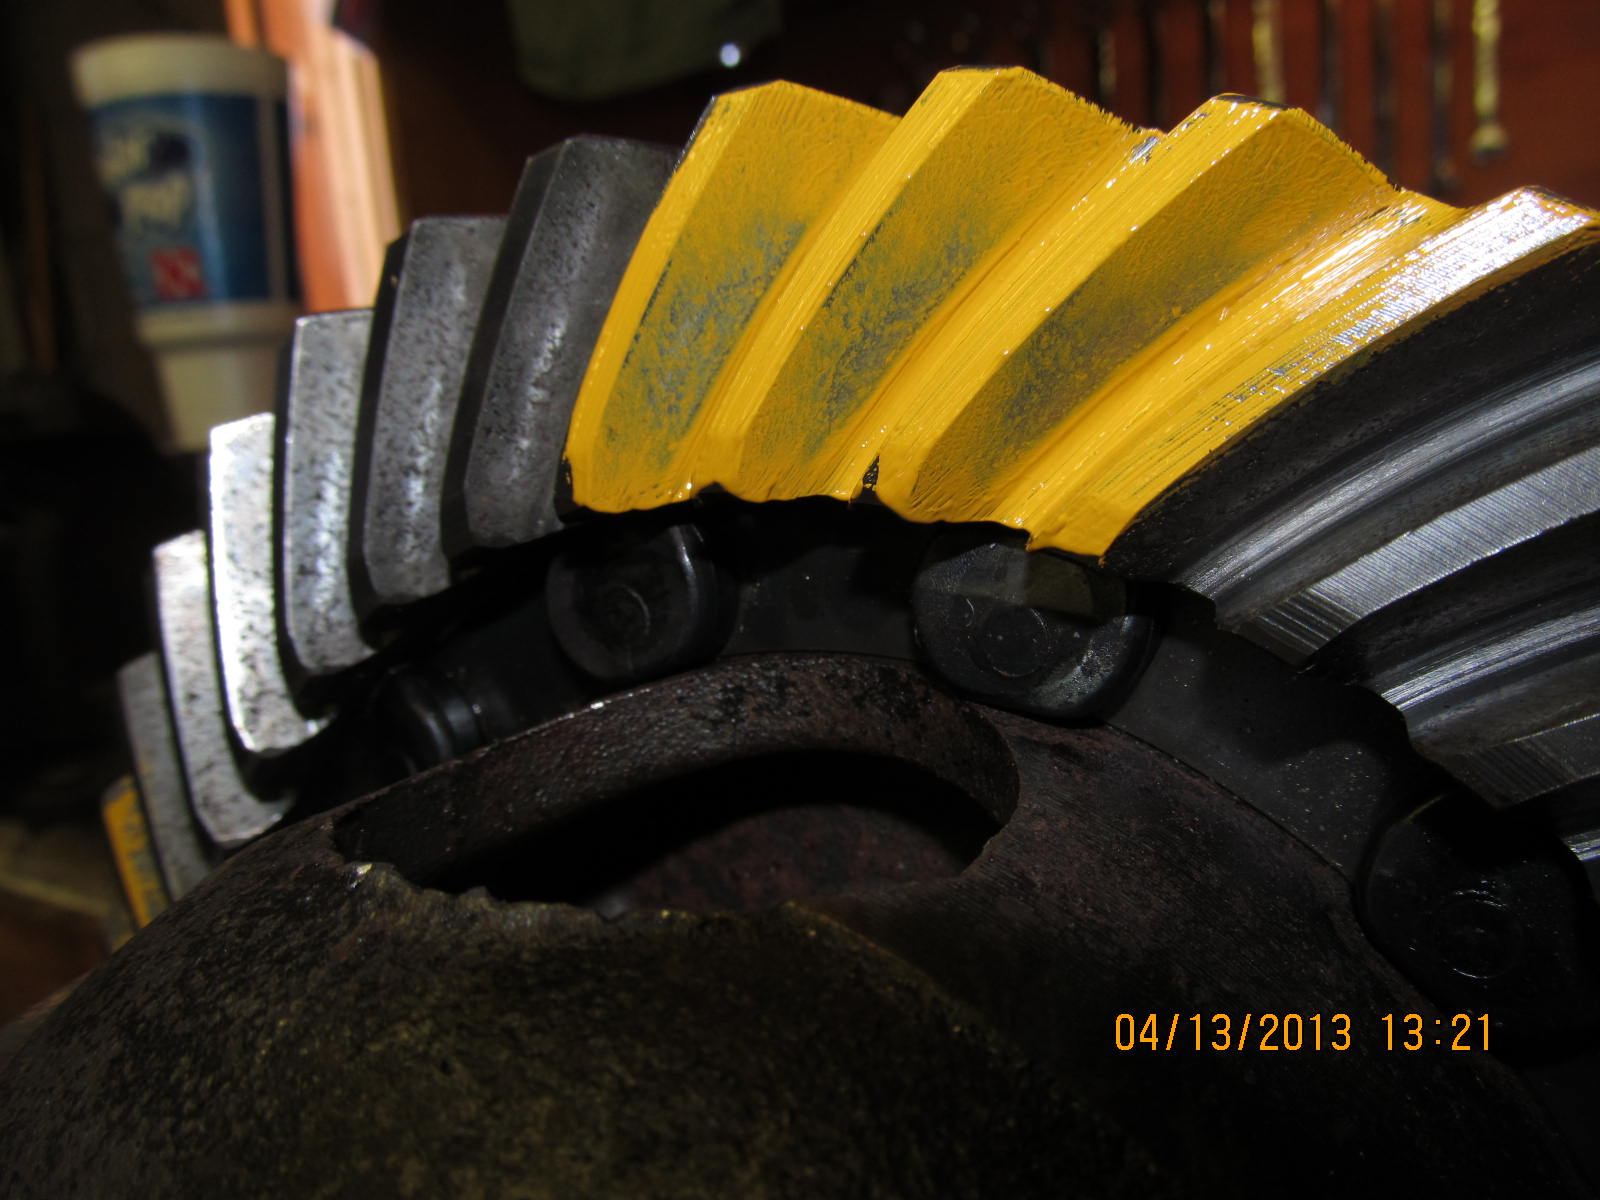
Coast side looks ok. The paint cannot hide the rough surface of
the tooth also.

Backlash was widened and still resulted in the same looking
pattern and rumble.

Just for my curiousity, the .014" shim was removed...

...and a thinner .010" replaced it. Trying a more shallow
condition in an attempt to move the drive pattern off
the toe end.

No different...same crappy drive side.

Coast.

I reported to Brad that he would not be happy with this beat up
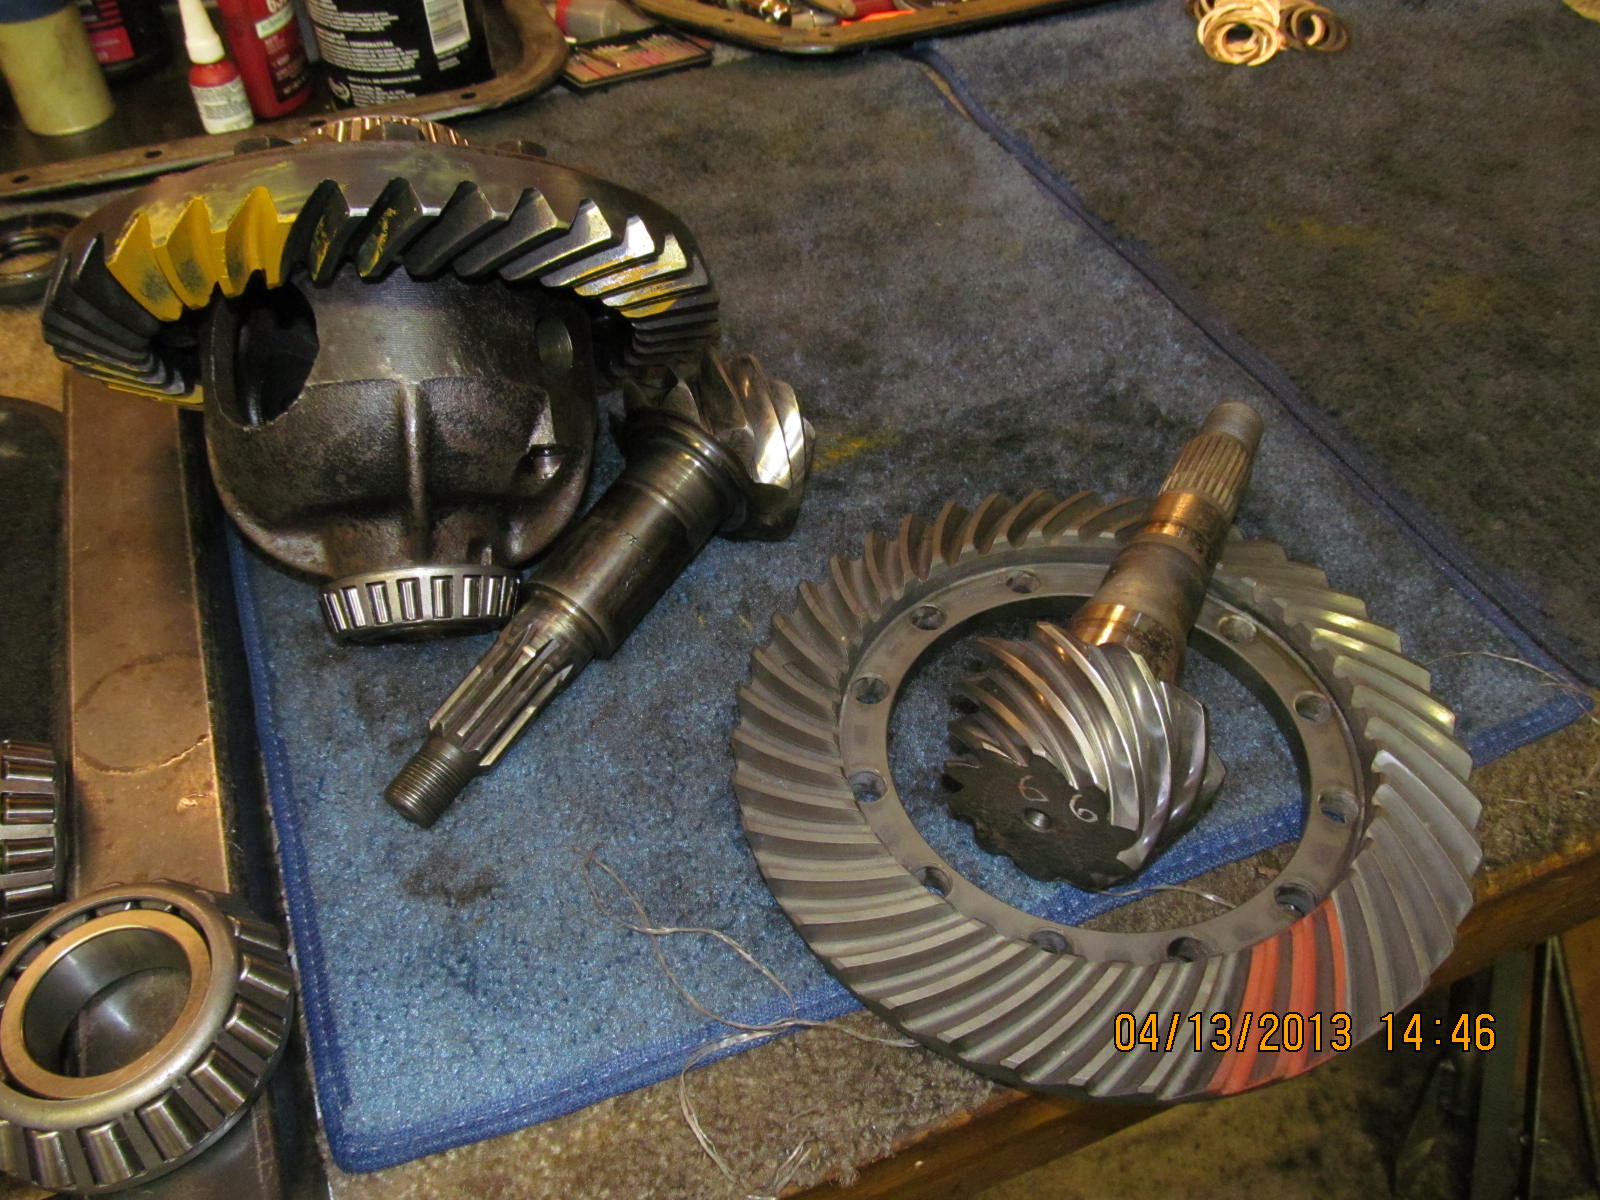
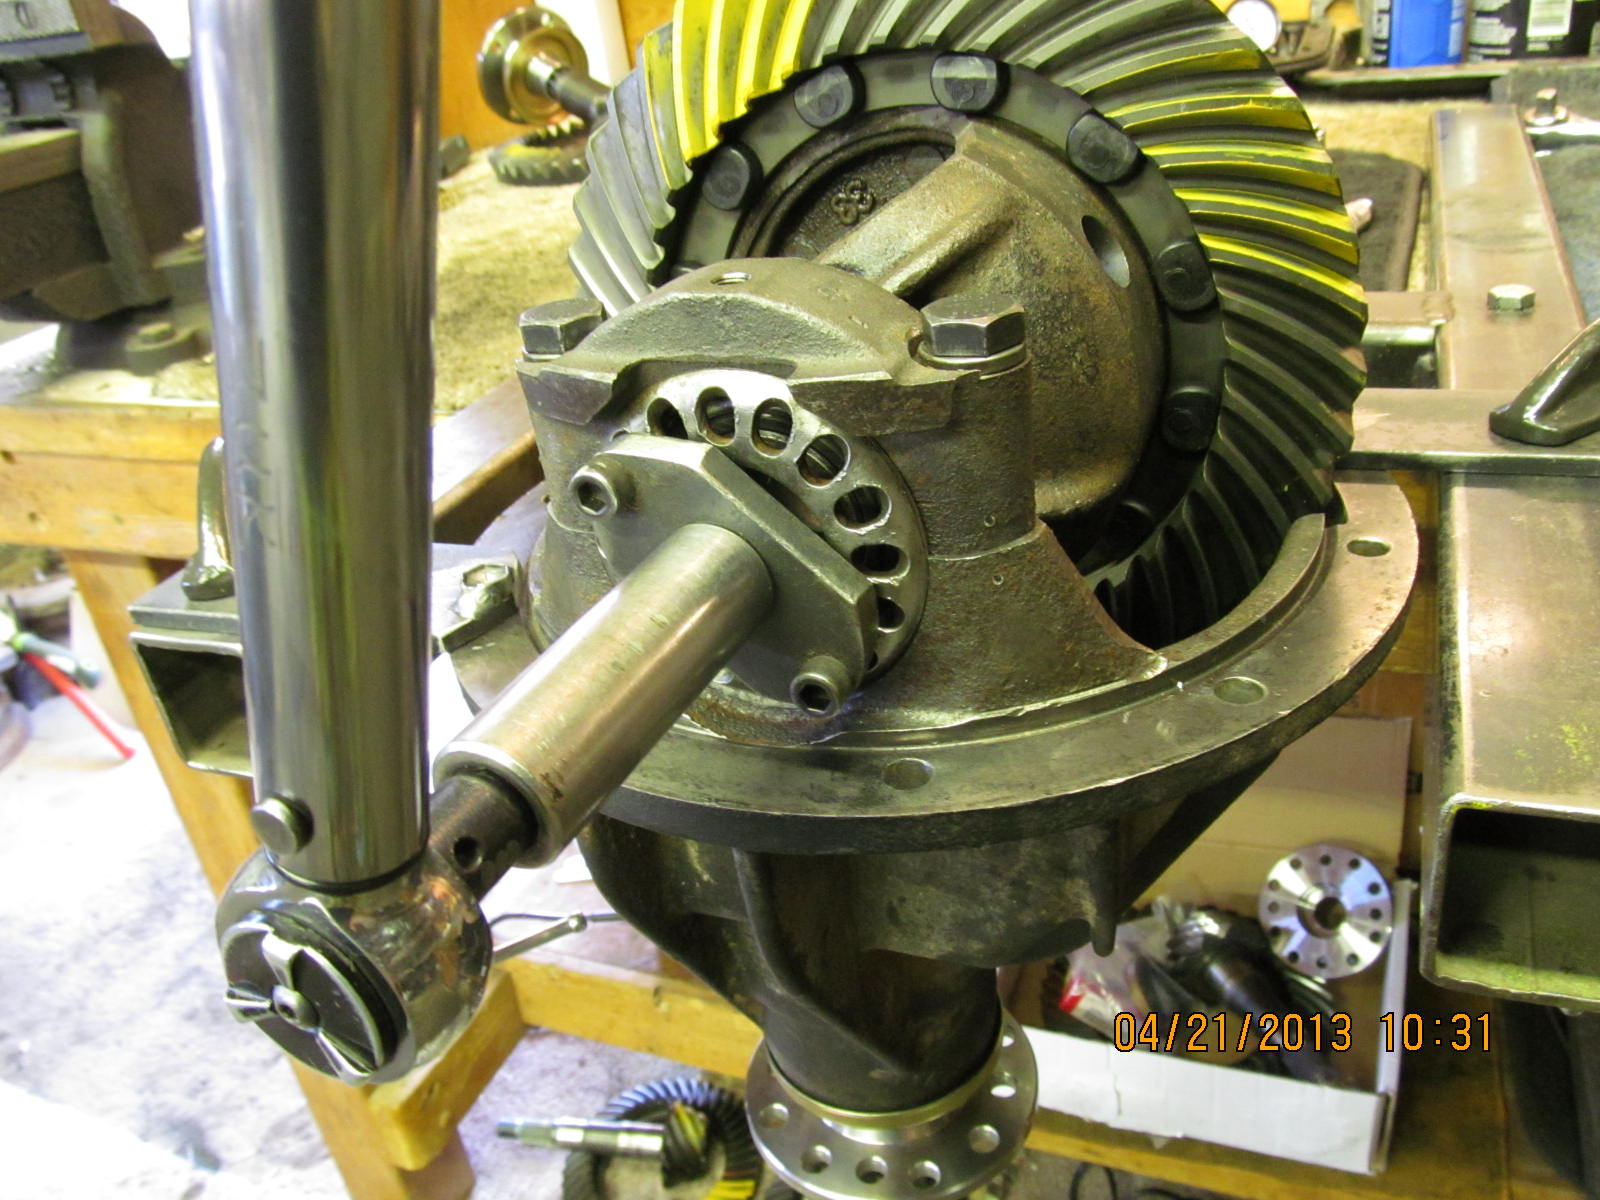
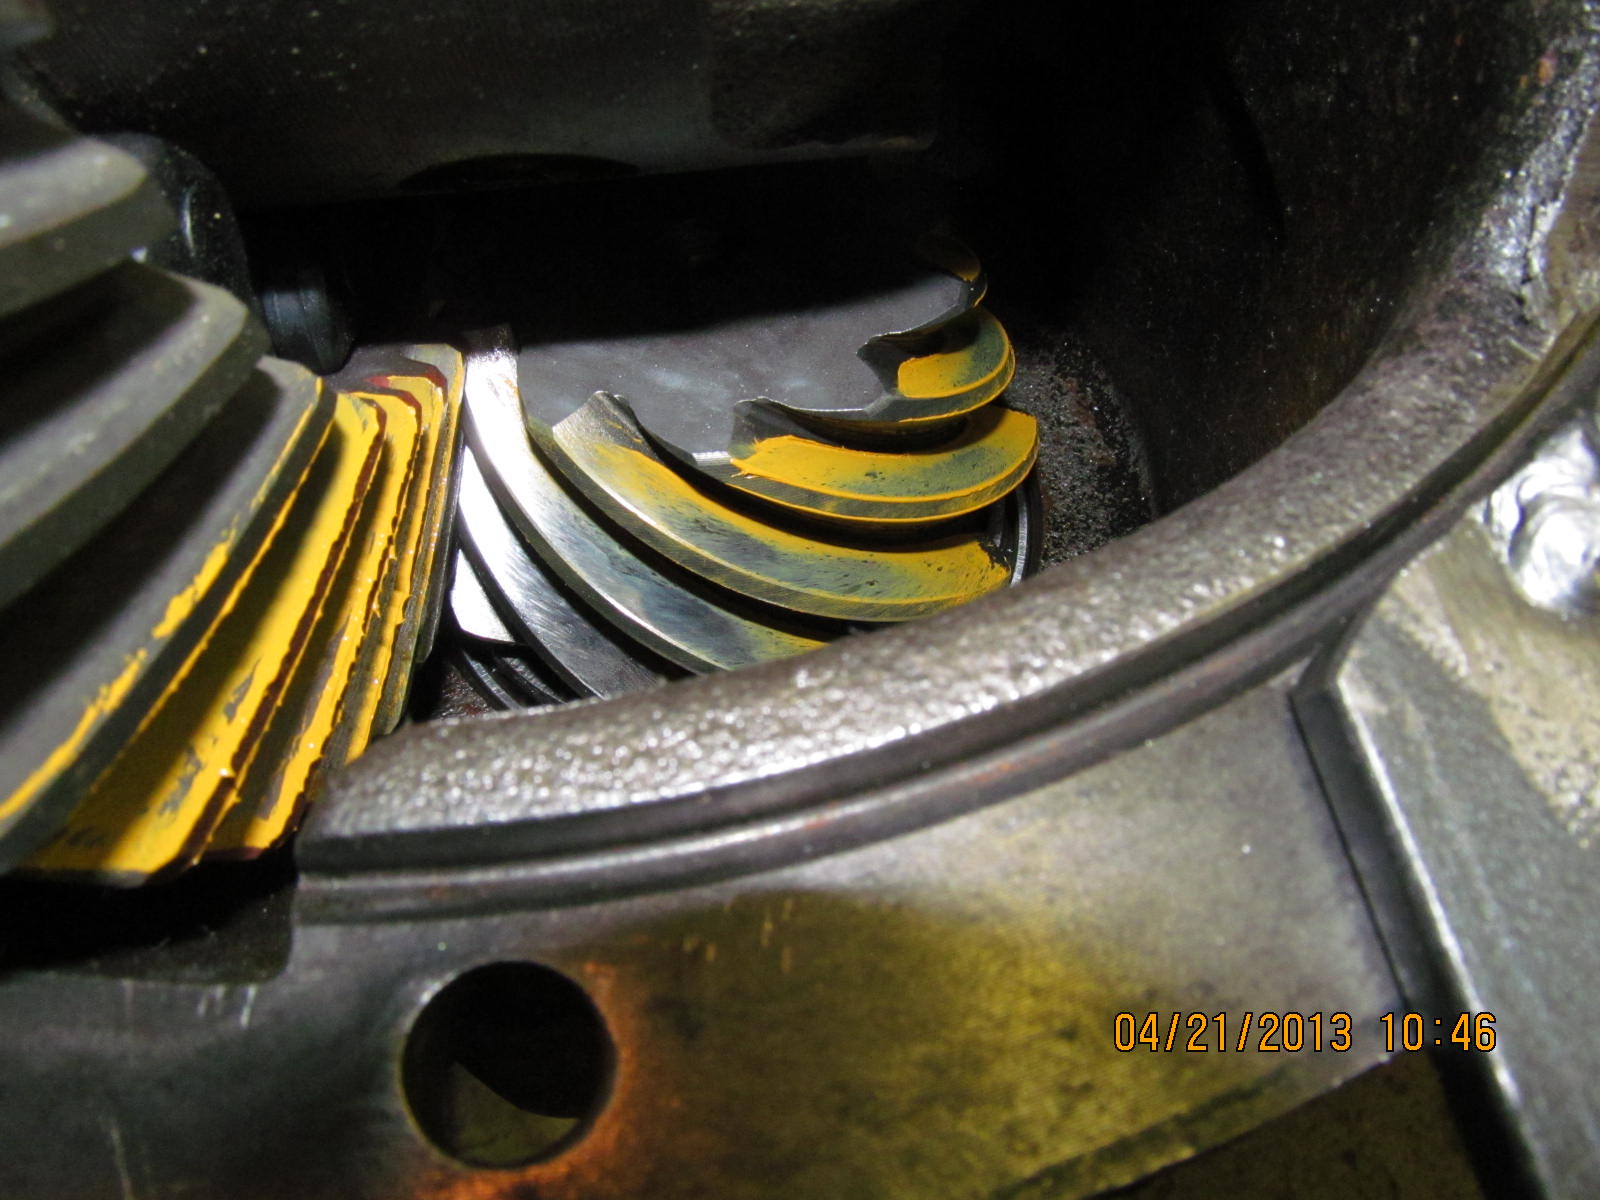
4.11 ring/pinion. I had another used 4.10 later model
ring/pinion that would fit perfectly and do the job very
quietly.

The new pinion bearing was moved over to the 410 pinion.

The ring was also moved over and a quick pattern check shows
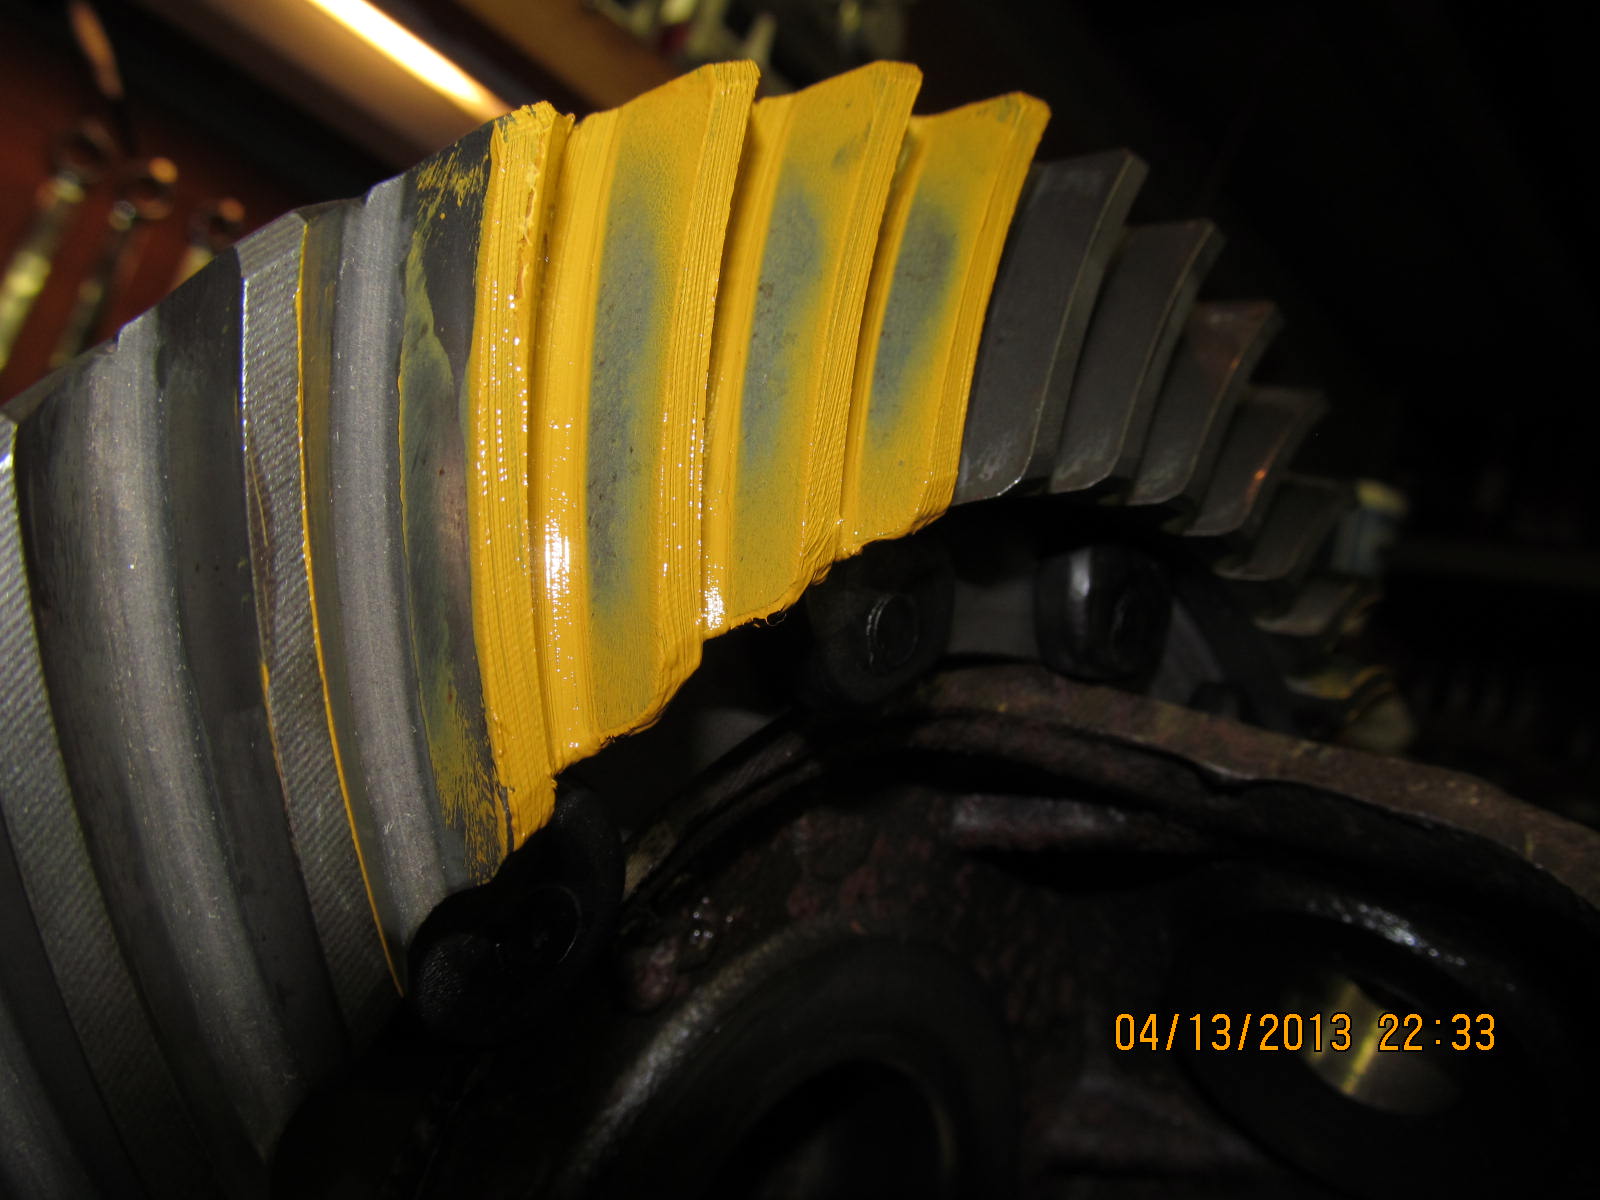
much better results. I like how the contact is deep in the tooth.

Coast...deep in the tooth.

Another package has arrived from JT's.

This 27 spliner gearset does need a solid collar.

...

Pinion is pressed out...

I will add a .020" shim to the 2.170" solid collar and see how
close that gets me to some PPL.

It shows zero pre-load. It's far from loose....no bearing
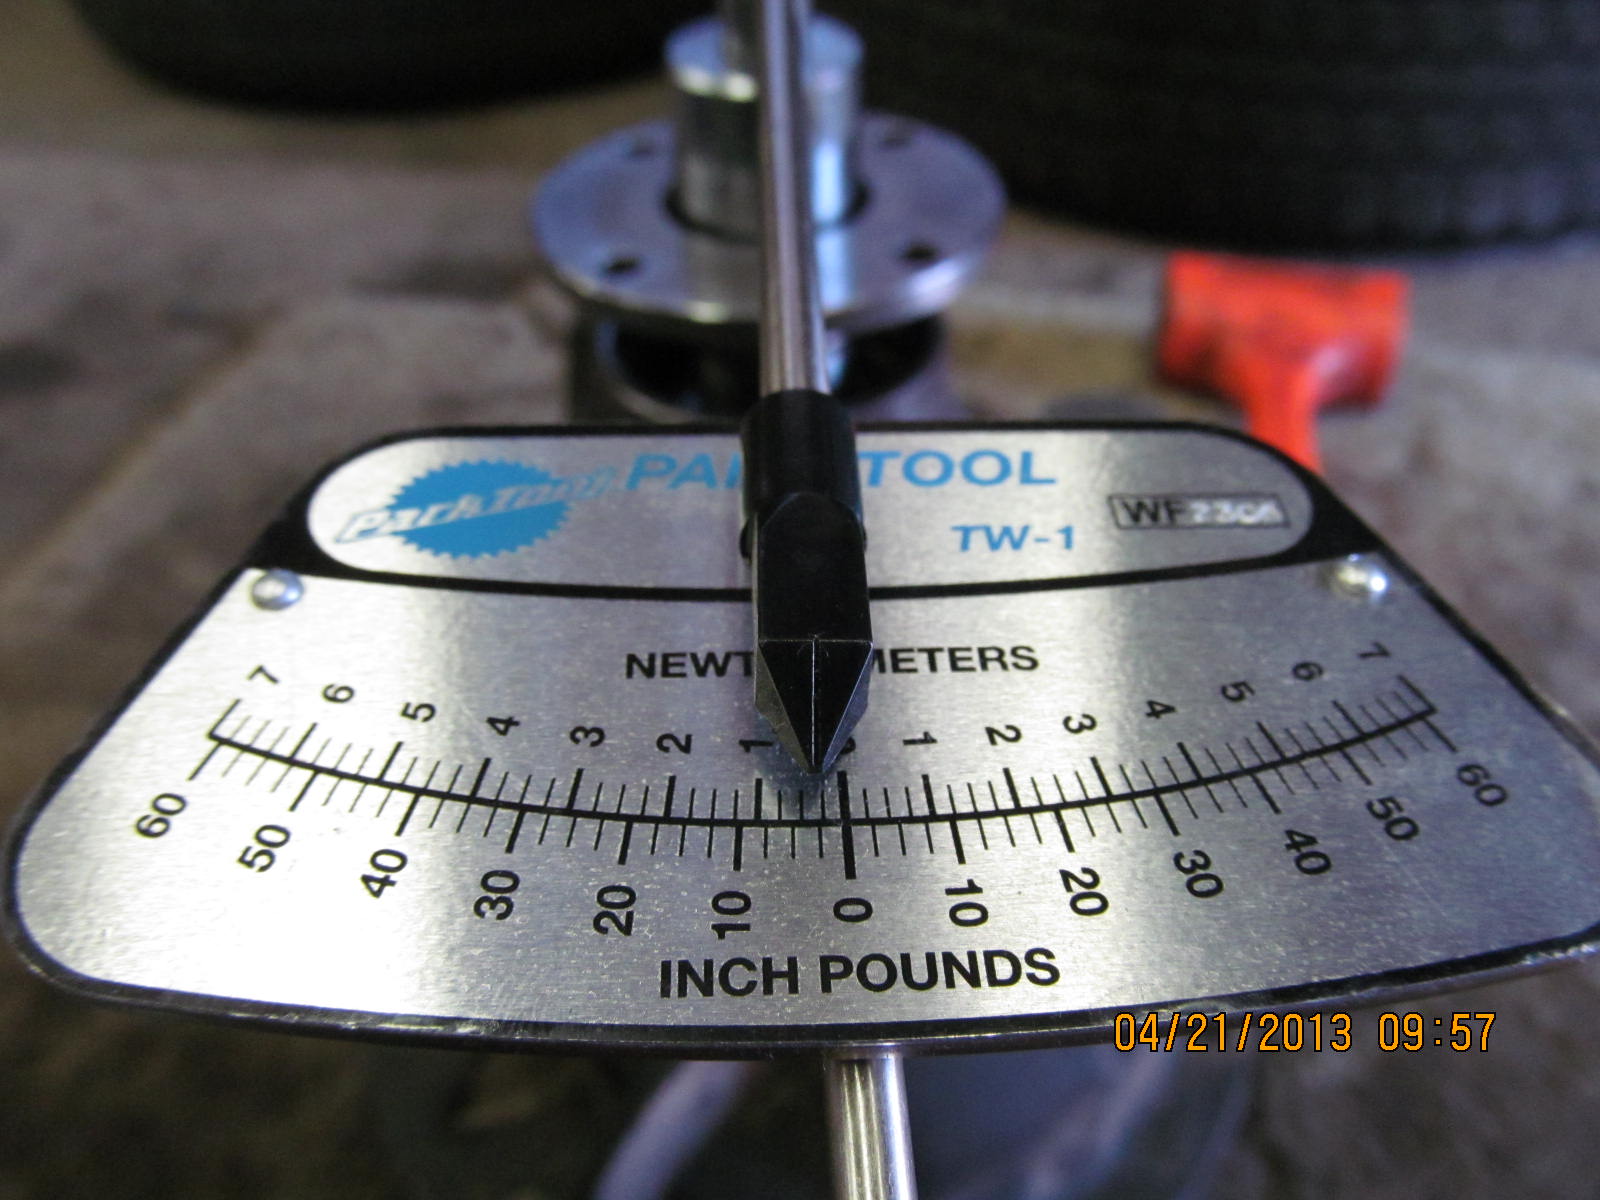
play at all. It will take less than .001" to show some
pre-load on the torque wrench.

Out comes the pinion again. This is why it's good to have all the
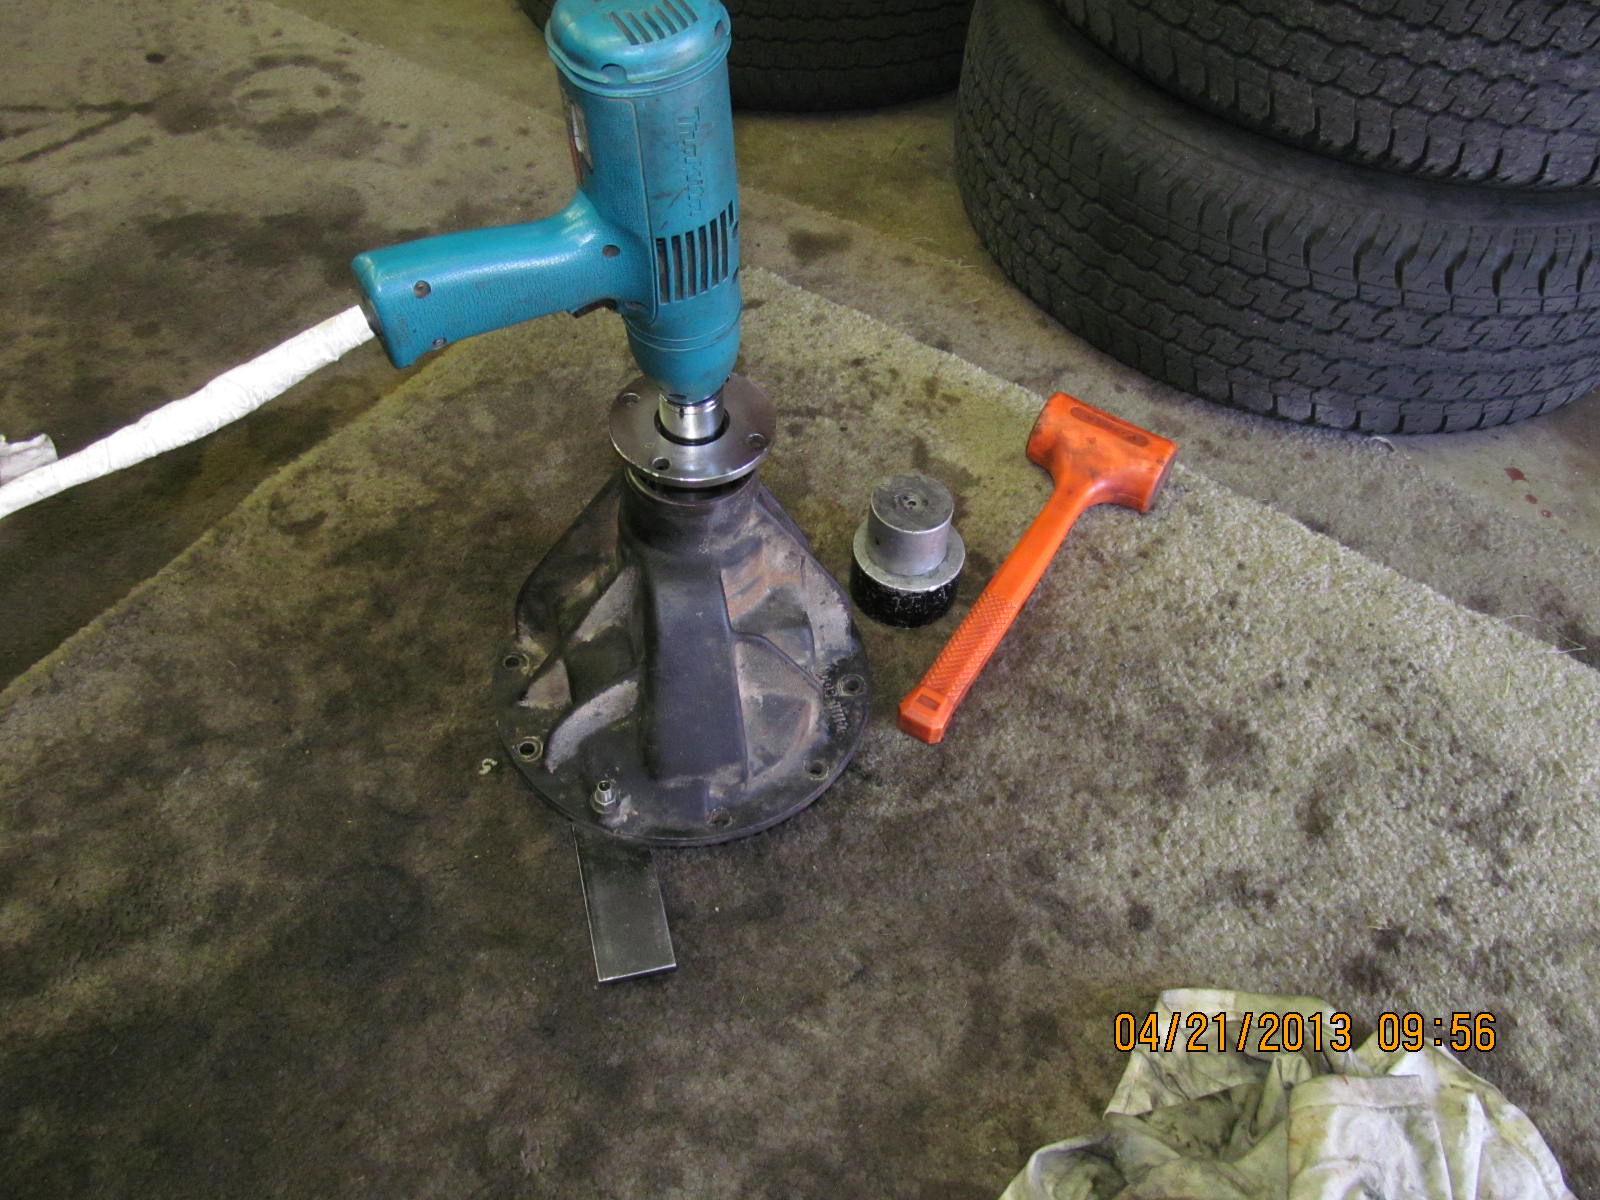
right tools. All the repetition goes so much faster with the
right tools.

I found a shim that was slightly thinner than the 020.

Using the electric impact to wizz the 30mm pinion nut on...

...shows that there is now 3 or 4 inch/pounds of start pre-load.
Perfect. Because I can tweak/increase that with the 4 foot cheater
bar. Solid collars do compress a small amount with proper coaxing.

With the solid collar shim selected, now I can put the seal and
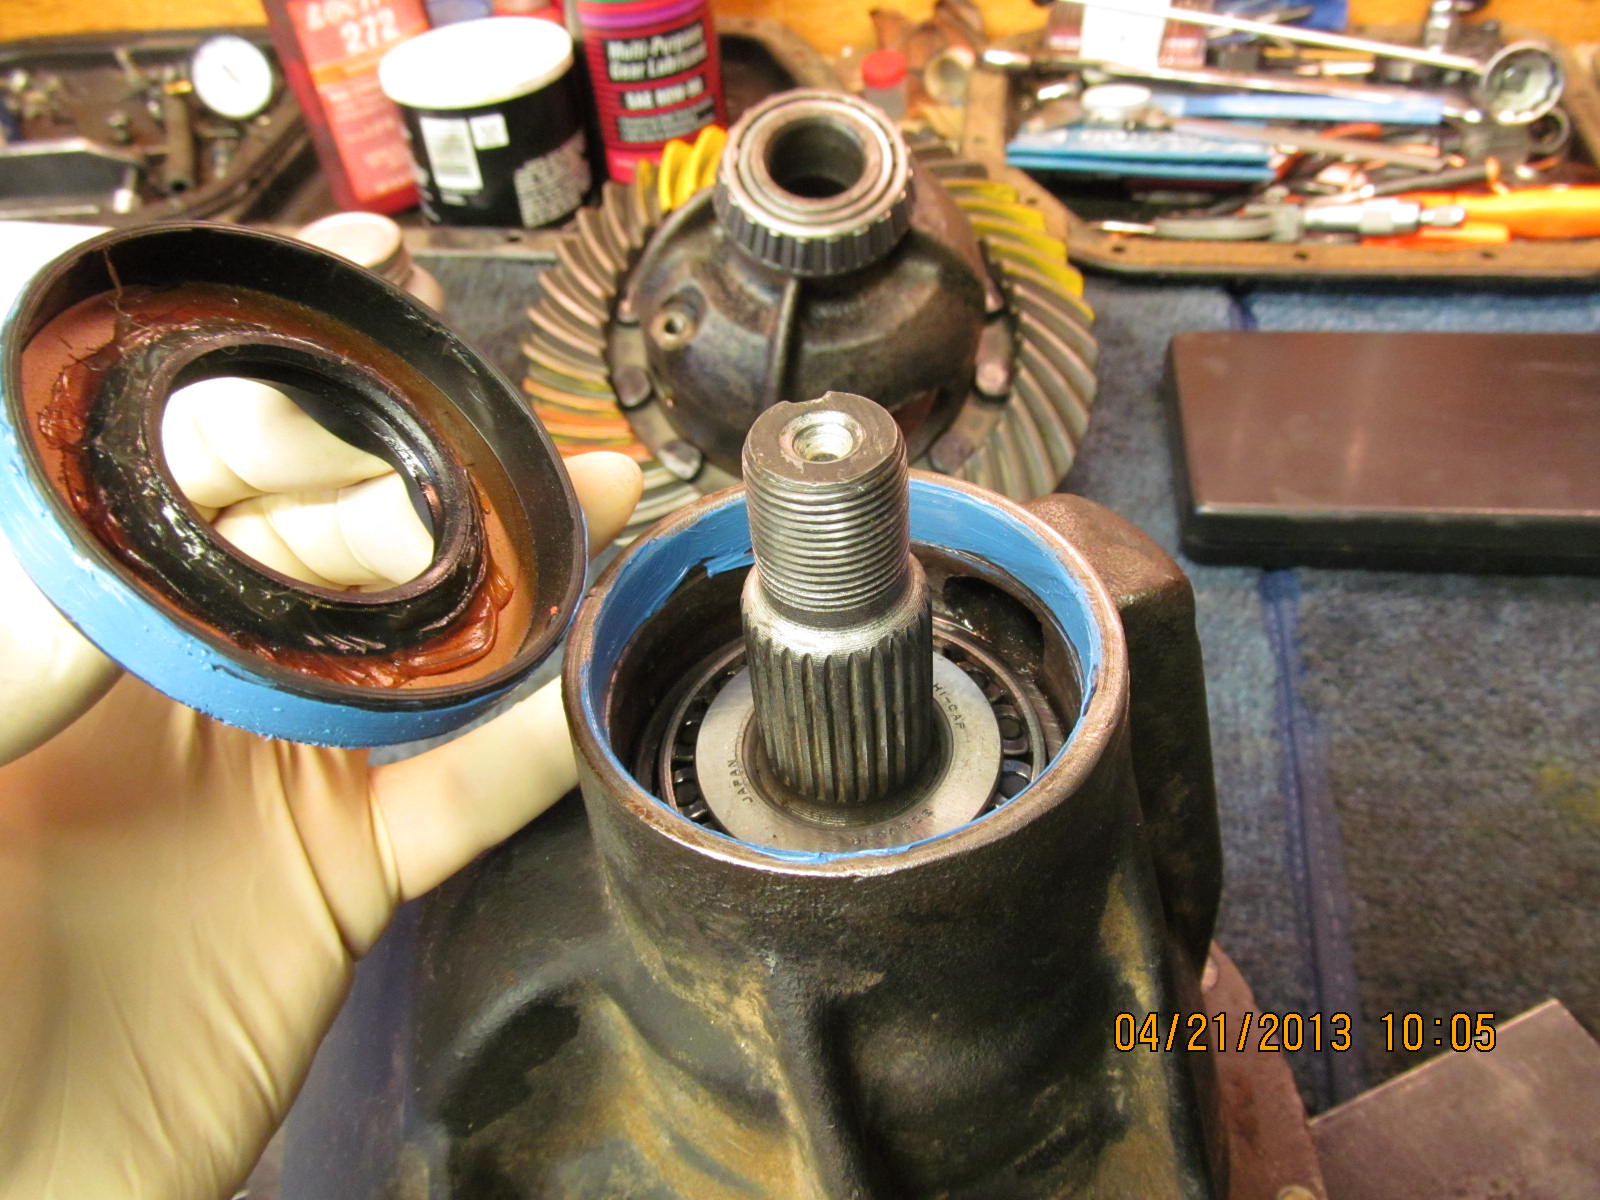
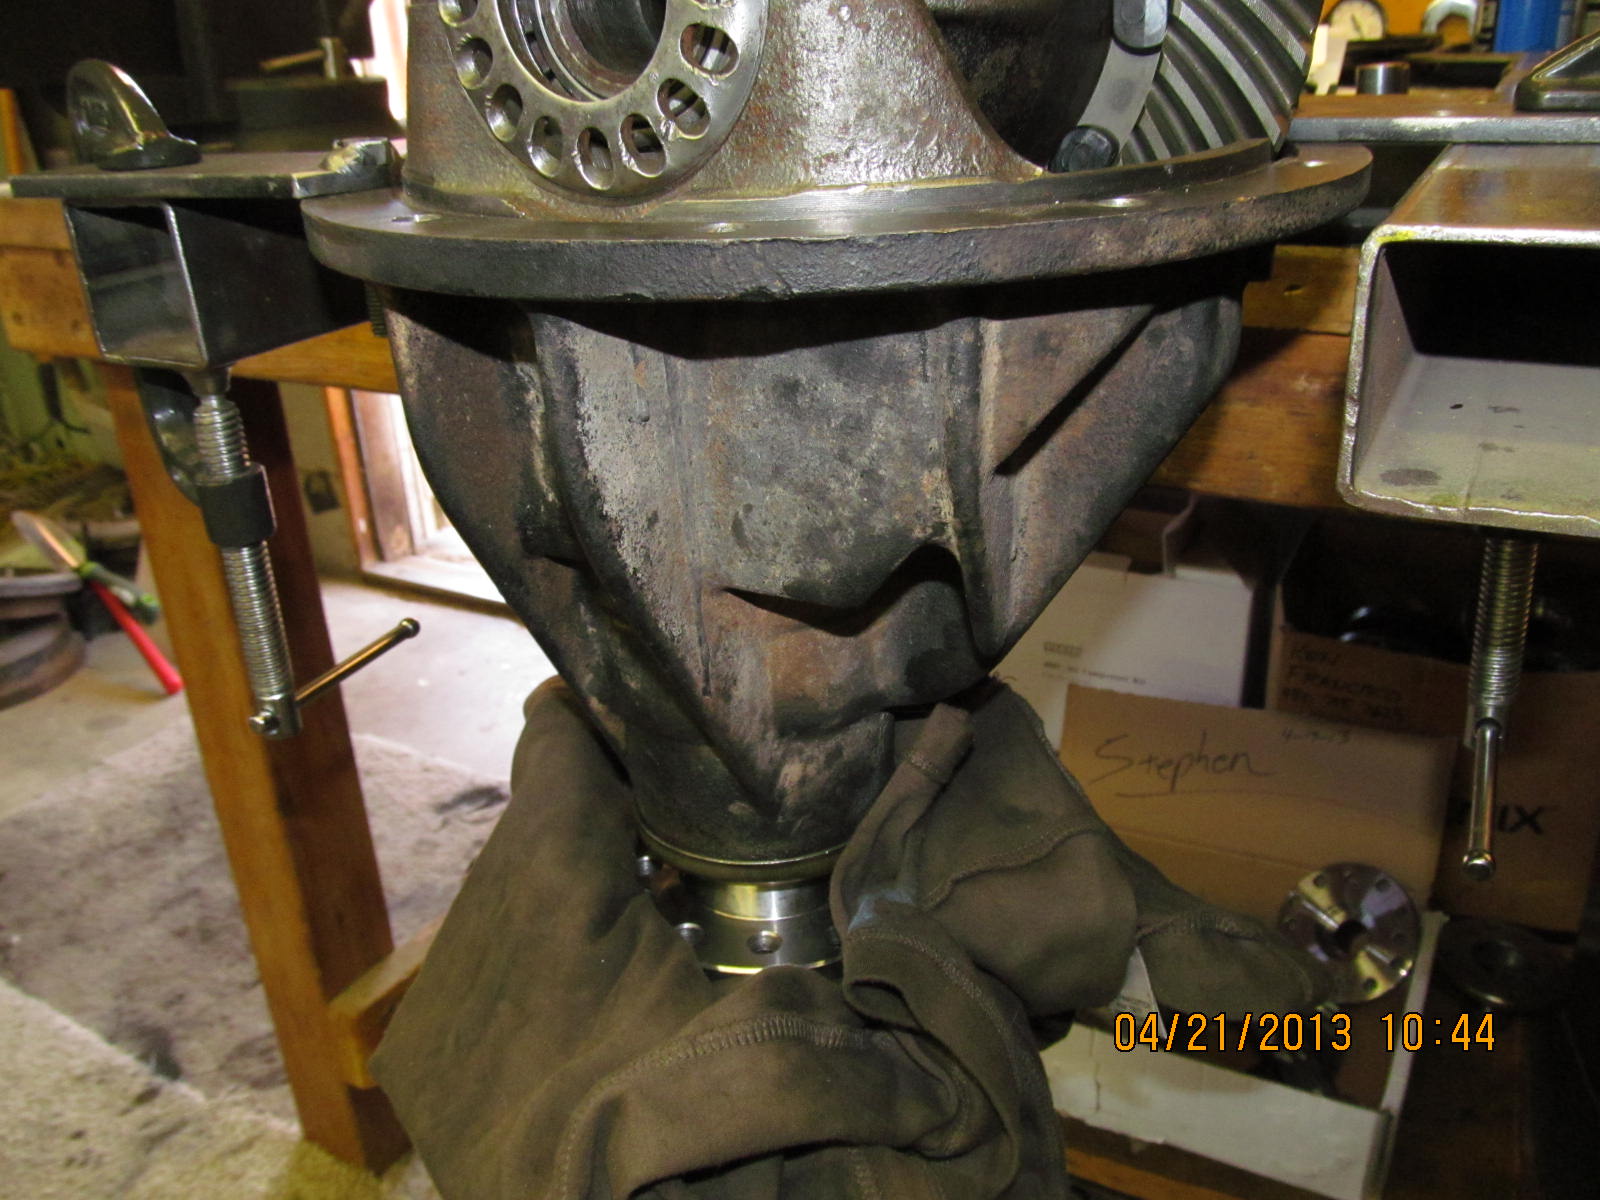
flange on. I like the way Permatex "Ultra-Blue" spreads around
so future gear installs will be more blue.

A small dabber spreads around some gear oil to lubricate the
rubber seal to the max. Trying to eliminate residual drag
contributions from the rubber seals.

Probably overkill to use red loctite on a nut that is to be
staked....but so be it.

The cheater bar allows me to tighten the nut considerably tighter
than what the electric impact will do.

DING and this end is done. I measured a moderate
8 inch/pounds start torq.

This particular threaded hole had the worst damage...I cleaned
up the remaining threads with a tapered tap. I didn't feel
comfortable with a full 75 ft/lb so 65 on this one and the
one to the right of it in the picture.

100 plus ft/lbs on both wheel adjusters was verified. The trick is
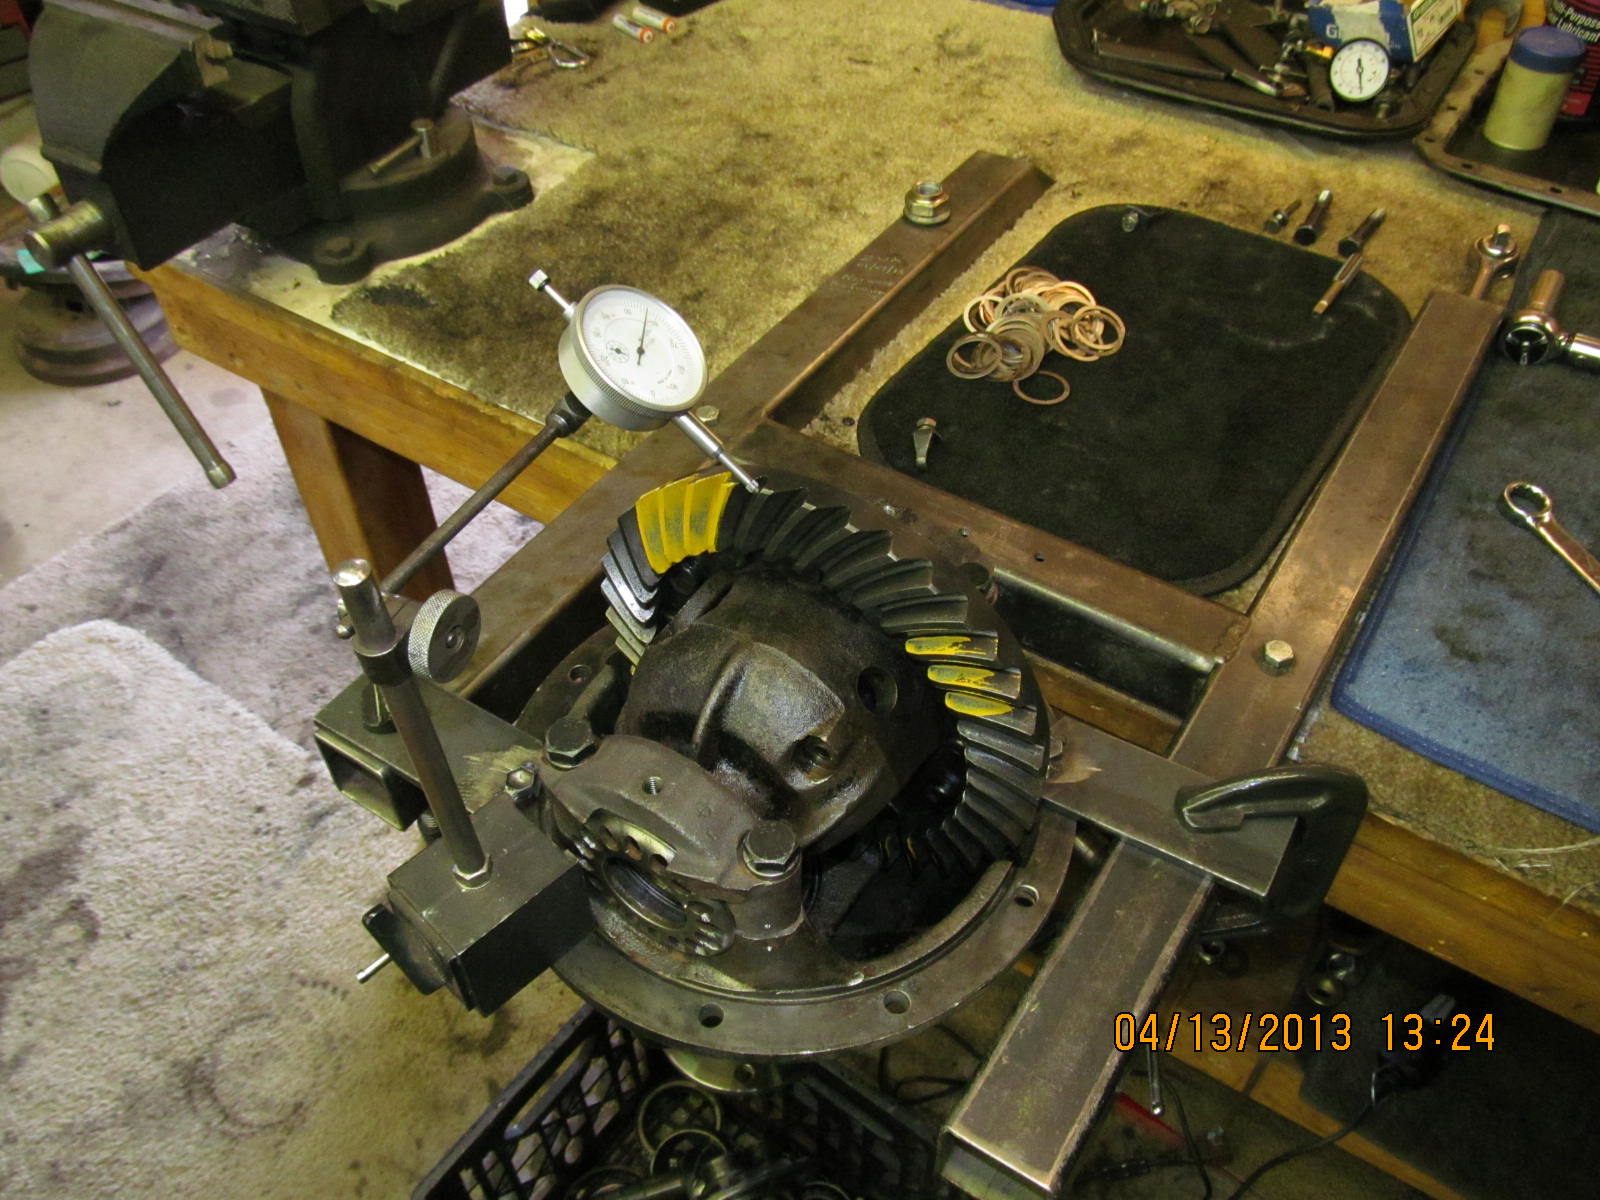
to get the CBPL to spec and guide the backlash to its target at
the same time.

Backlash was verified on every other tooth(about 20 readings)
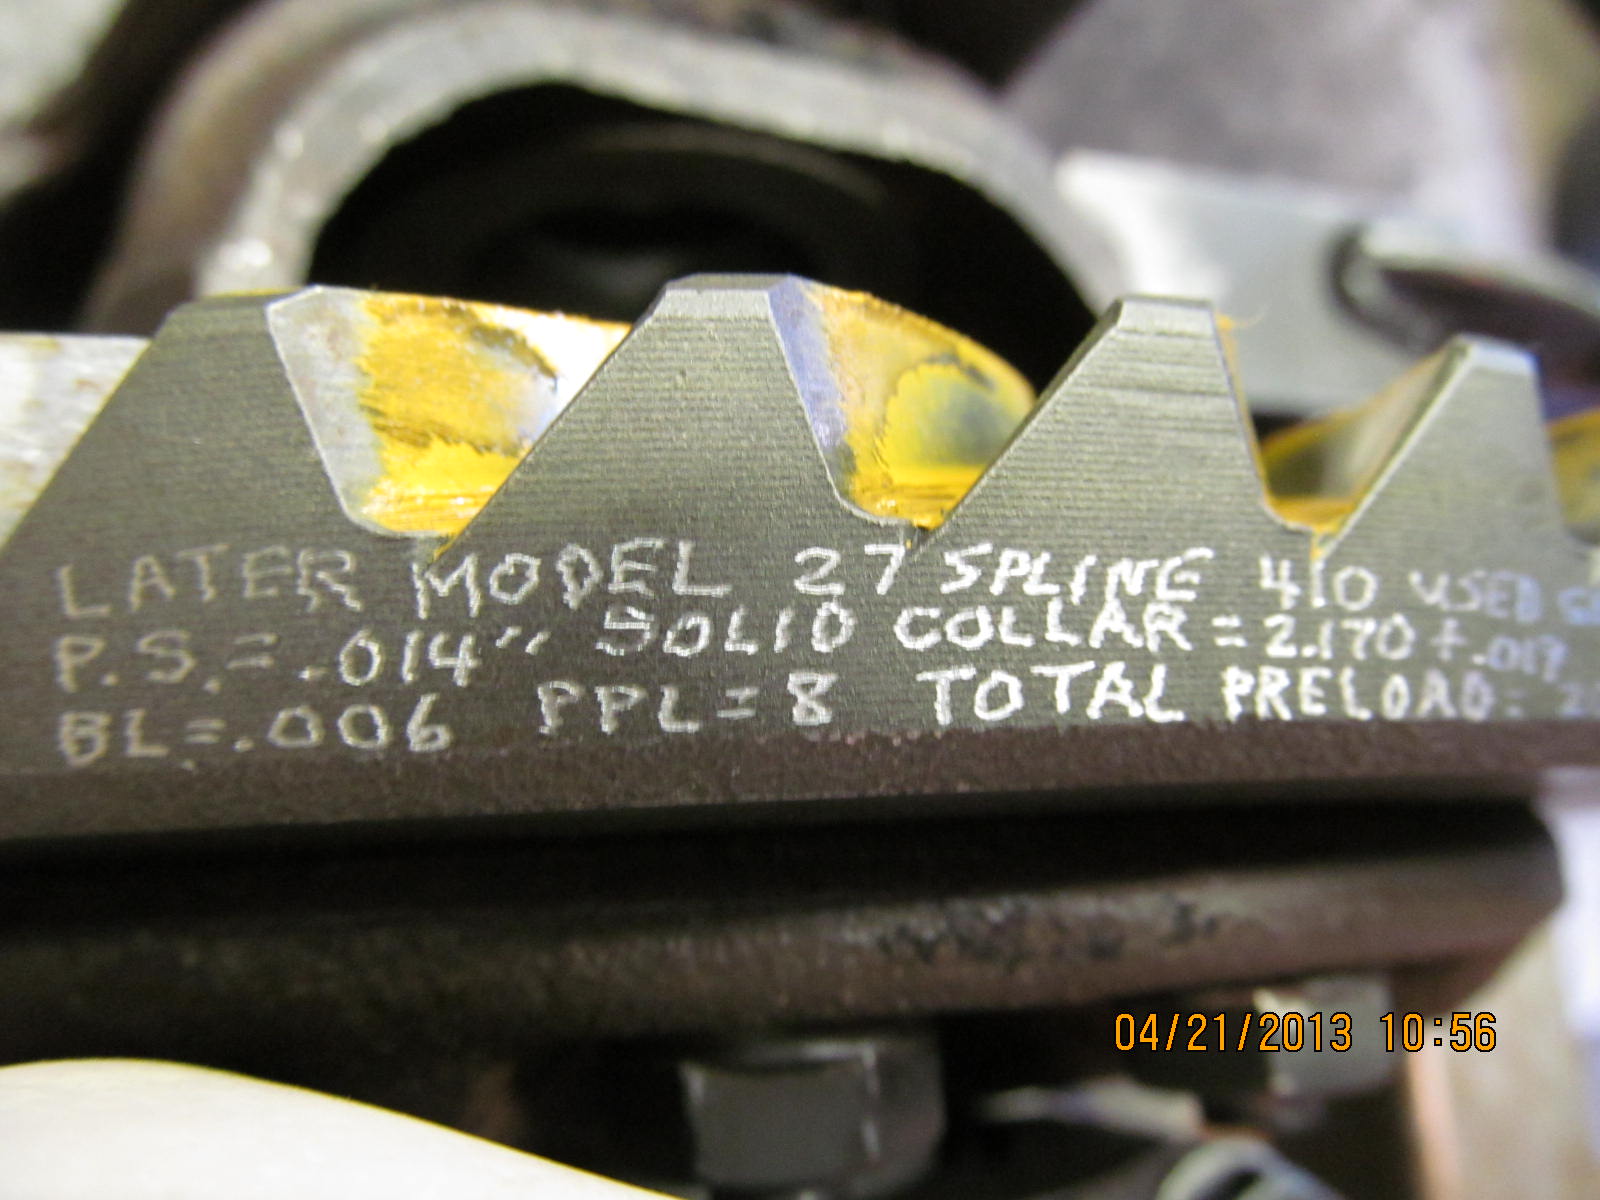
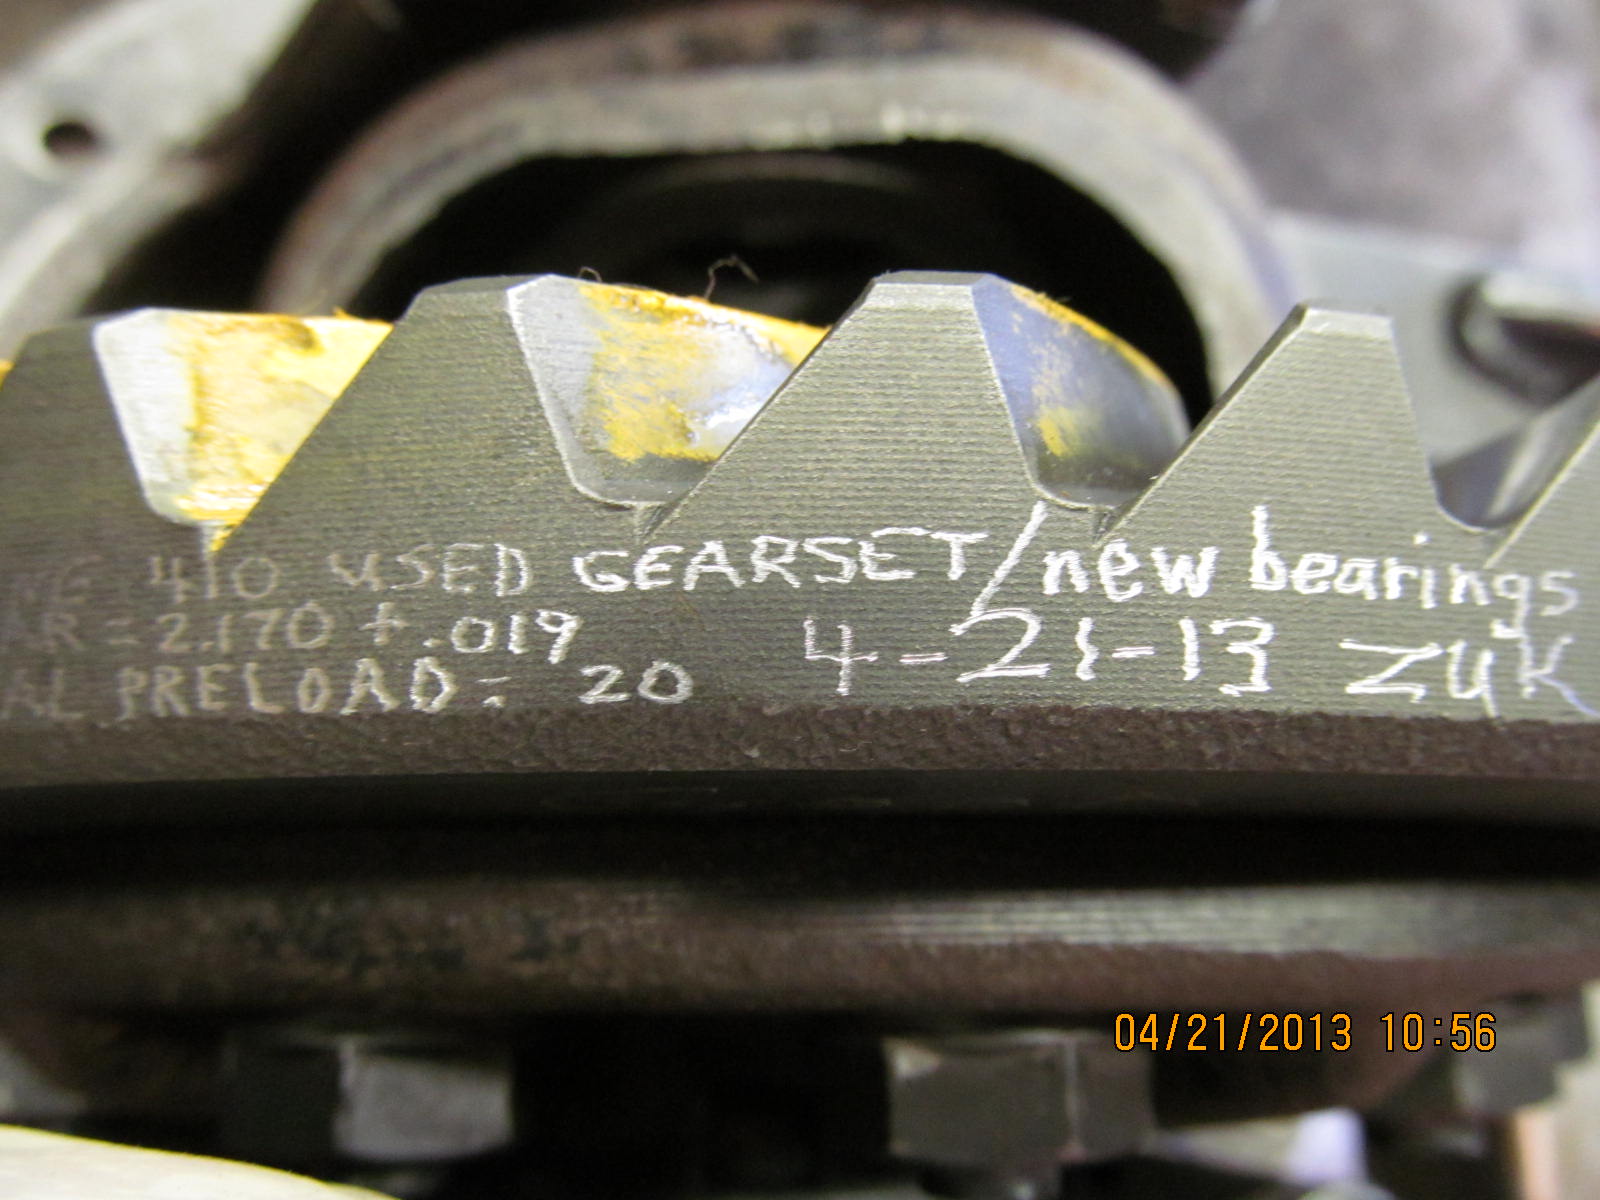
and recorded on the "data sheet" shown at the end of this link.

Flip the diff over and measure the start torq required to get the
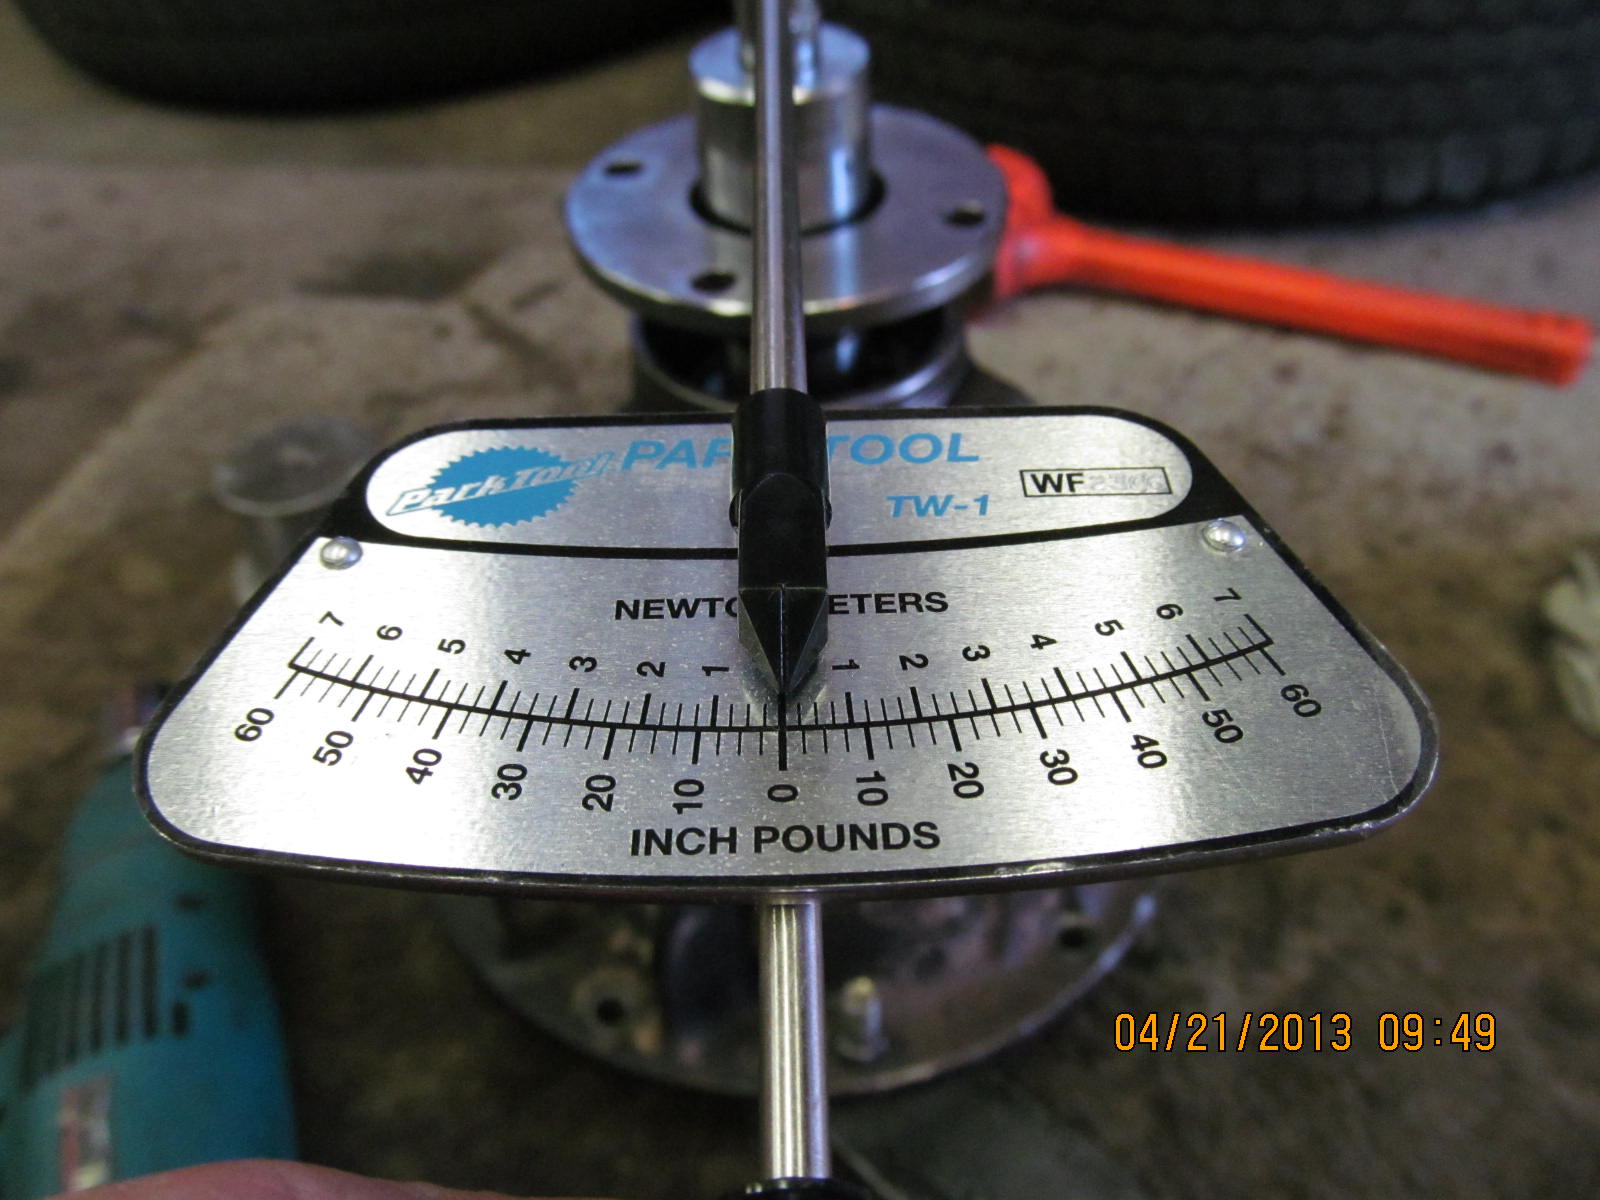
pinion AND carrier bearings to start to roll. I measured 20 in/lb
total...plenty of anti-deflection pre-load.

Almost done....one last paint check. Fresh yellow marking paint
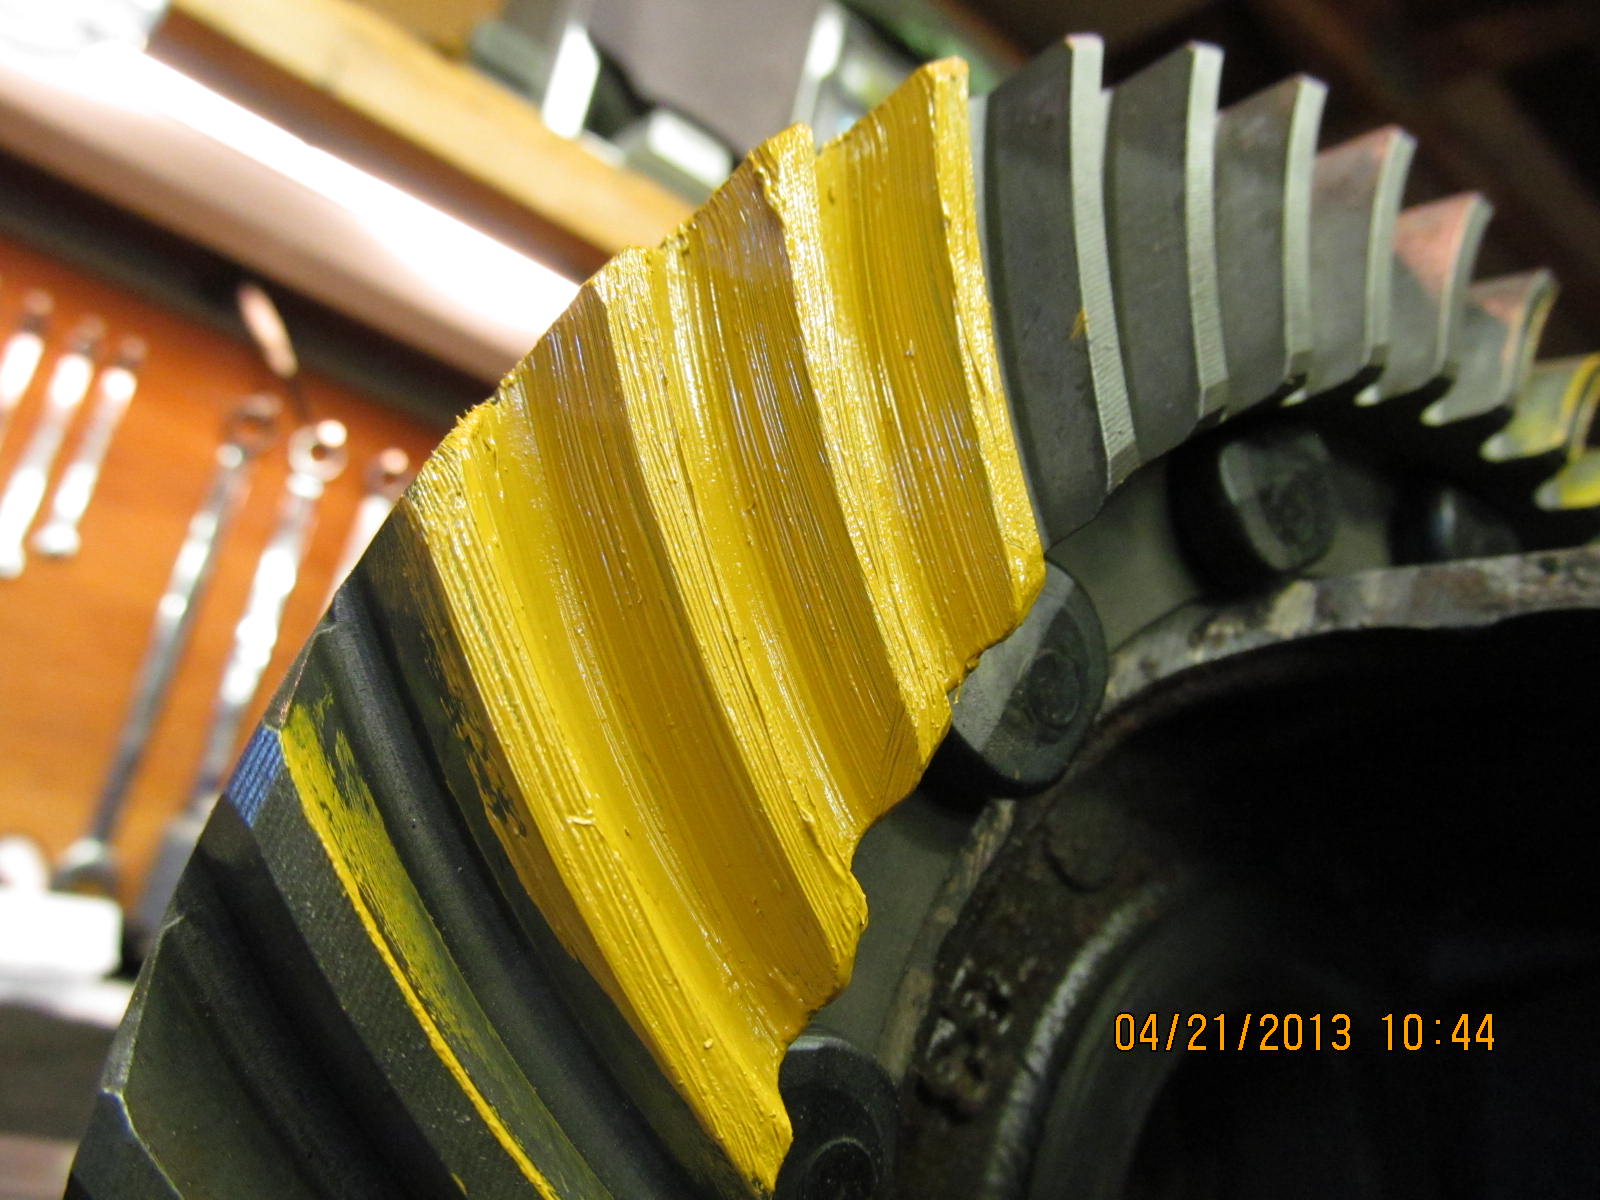
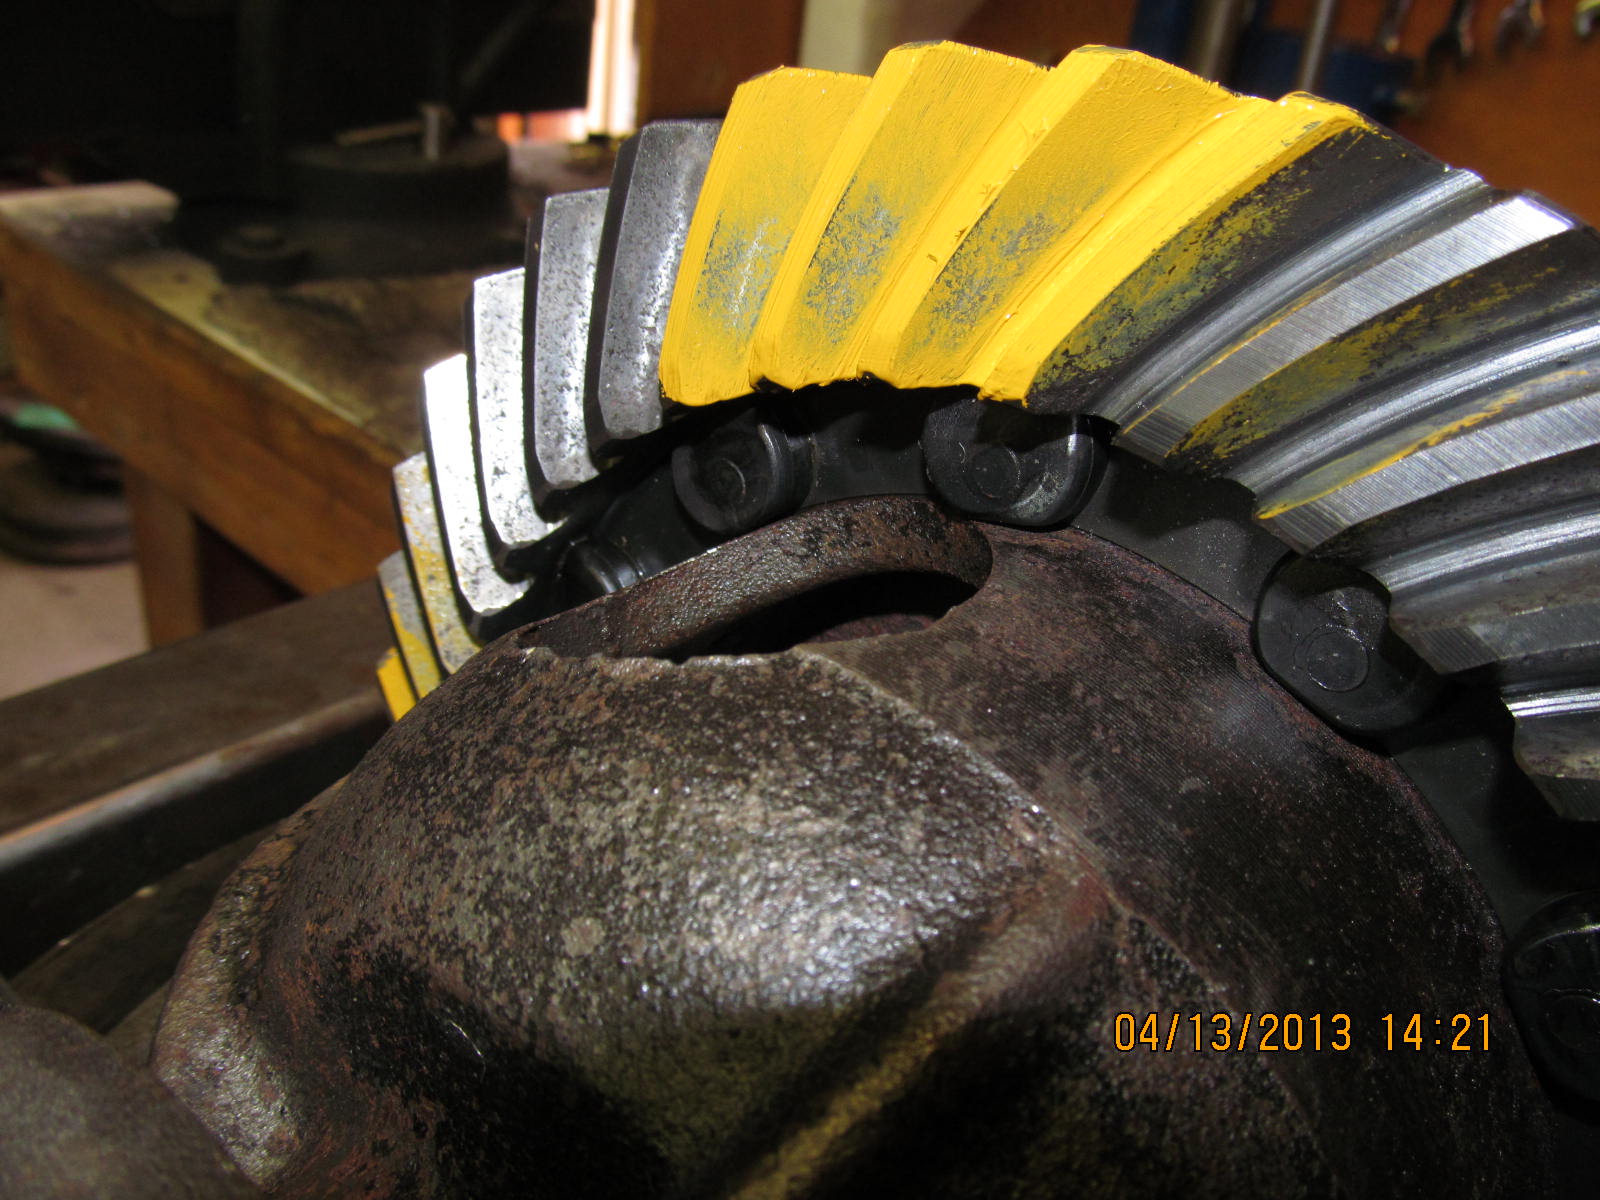
is applied to 3 teeth.

Now apply modest resistance to the flange with a rag here...

...and turn the 19mm wrench back and forth briskly 3 times.

Drive---very nice for a used gear....centered and pattern favors
the tooth root. Pattern also appears slightly deep and I'm good
with that knowing Brad is bolting in an LT1.

Coast--- Favors toe inside which is my preferred condition.
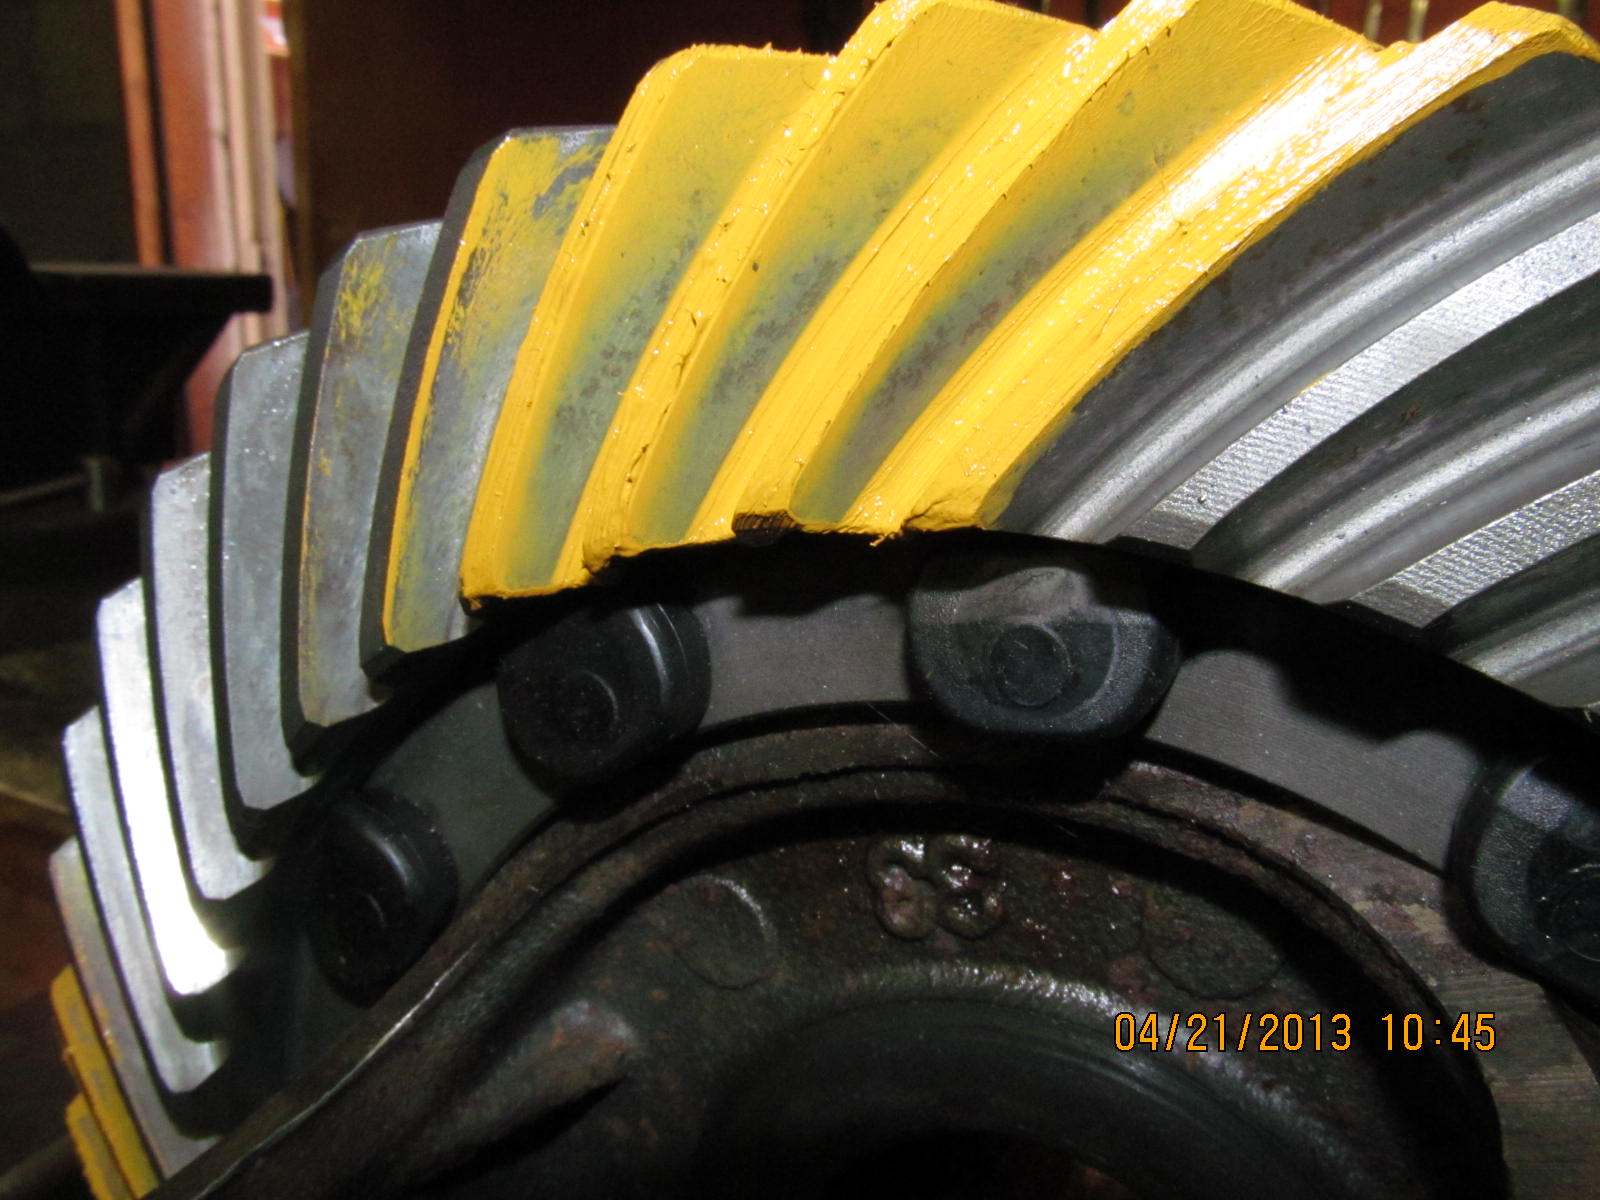
Reading the depth looks like it is set right where it should be.

Drive on pinion tooth....looks nice is all I can say here.
his set up should run strong and quiet.

Time to blue loctite the locking tabs in place.

10 ft/lbs.

Looks like I wrote a book here.

...

Notes I took during the gear install.