(22 low res pics loading)
August 19 2004
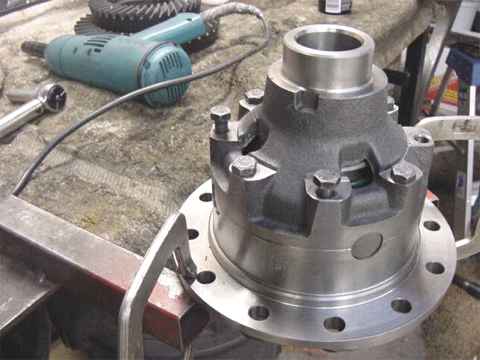
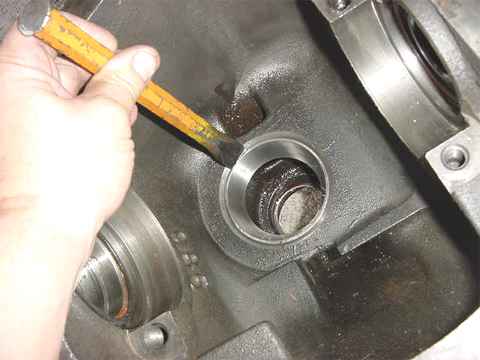
Roger ordered all the right stuff for his gear install.....2 Dana brand 6.17 gearsets.....2 master kits......a Detroit SoftLocker for the front end application....and a Yukon spool for the rear. In this link, we're doing the front with the SoftLocker. Roger had to take a peek inside the Detroit to see the engineering involved....and also to use a dremel grinder on the 4 rectangular ports due to qual control. See pic below.
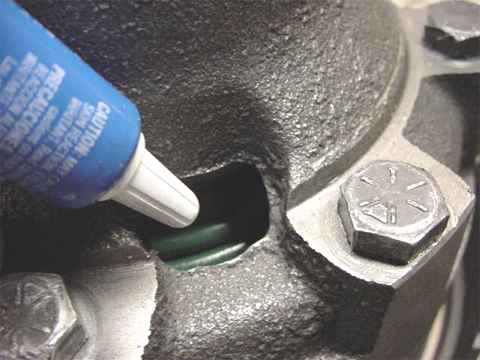
I don't have a 'before' pic but the tip of this loctite applicator would not fit thru the casted hole due to excessive overcasting and 3 of the holes were nearly closed up.....a dremel opened the square holes back up.
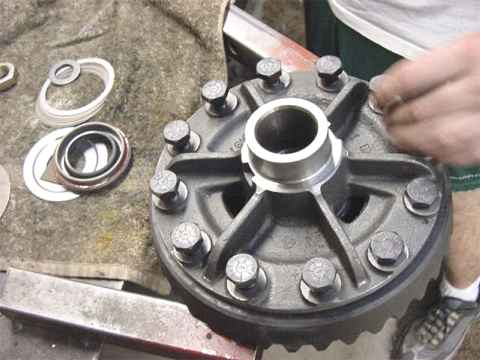
The first step was to mount the ring gear to the 12 bolts. We ran a flat file around the surface that the ring bolts to to minimize run-out/backlash issues. Loctited and 110 ft/lbs.
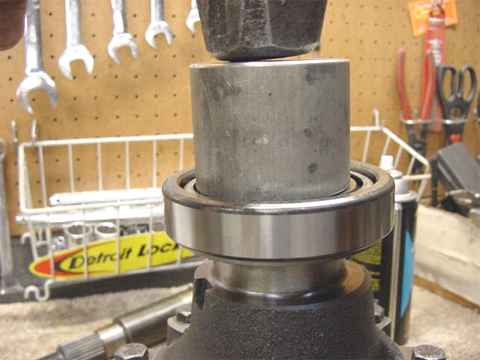
Carrier bearings were tapped on with a hammer and aluminum puck. I was unsure as to what shim values to use on each side so I left a 50 thou air gap on each side.
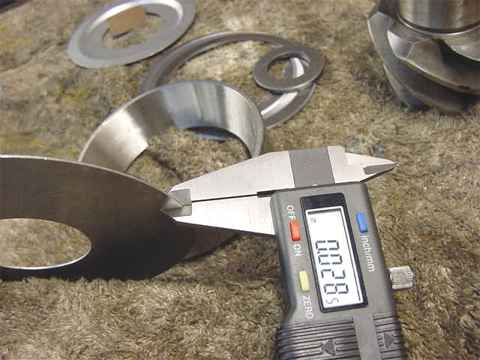
I picked up these digital calipers at Harborfreight on sale for about $20. Go to that site and enter CALIPER in the search bar.
The front gearset uses this large splashguard where the pinion shims would normally go....the pinion shims will be put behind the main pinion bearing cup instead.
We started with .053" for the pinion shim.
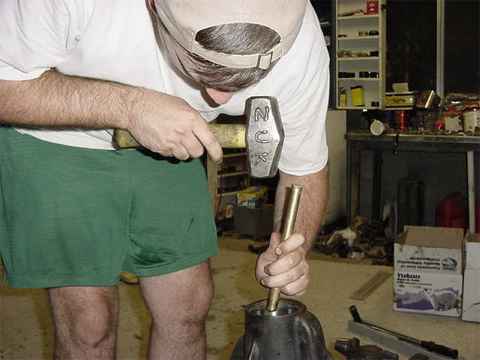
Roger taps both cups in place with a brass drift.
I skipped a few steps here but basically loaded the pinion in place with .072" worth of pinion pre-load shims. Carefully loaded the case in place and tightened down the bearing caps to 80 ft/lb spec. Painted the drive side.....as shown here it is close (pinion depth=.053") but perhaps could be about 4 thou deeper.
coast.
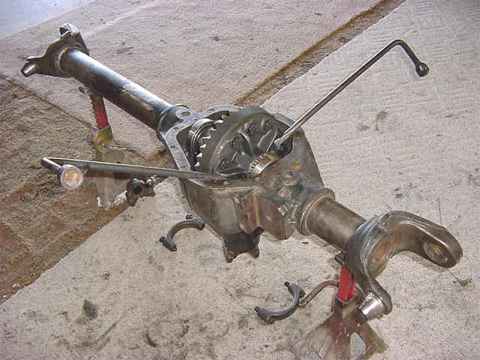
We have to break it down all the way to add 4 thou to the pinion depth. Getting the case out can be interesting but this simple method of using 2 crowbars makes quick work of it.
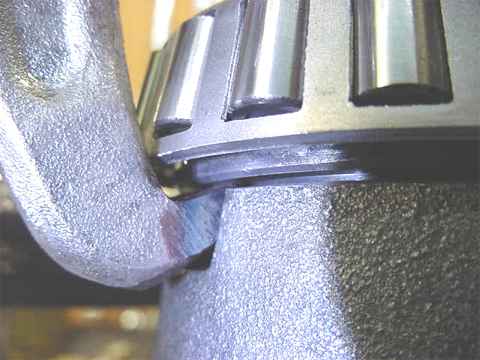
I measured the airgap between the bearing and the case.....figured in the excess backlash I had....and came up with a usable shim value of .068" for the ring gear side and .034 for the non-ring gear side. Normally, just use the same shim values as the old carrier had for starters but our D60 housing had no 'guts in it so I had to get creative. I then removed the bearings with a regular 2 jaw puller. I had to grind on the fingers to make it catch under the bearing properly. See my puller set-up below. No damage to the bearings at all.
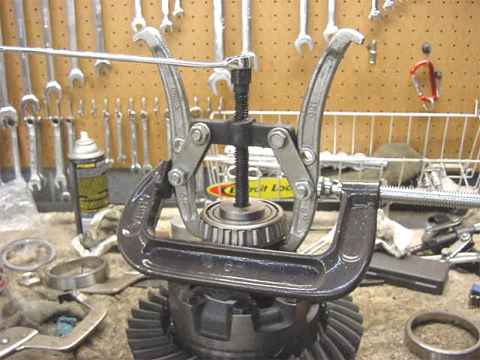
With a little enginuity, a tool can be made to do the job....a grinder helps, too. This puller arrangement was VERY temporary. This is what I use now. see pic below.
This wonderful carrier bearing puller is available for 49 plus 10 shipping by going to http://ebay.com/ and inputting DIFFERENTIAL PULLER in the search bar. A few other places have it according to Google but it's at least 10 bucks more.
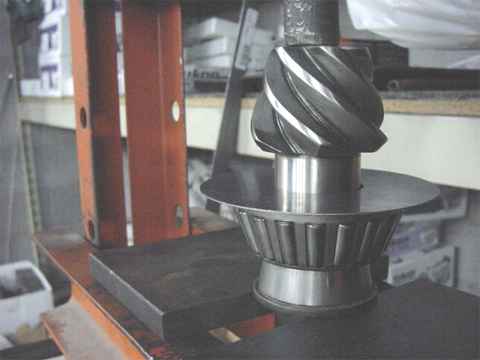
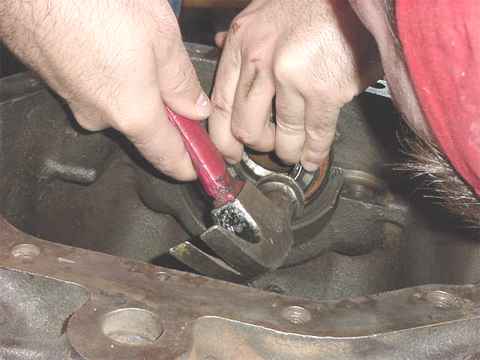
We added 4 thou behind the main pinion cup (new value=.057) and employed this soft steel punch to coax the cup back in place. Trust me, the punches from Harborfreight are much softer than the bearing cup material.....the same might not be true of actual high-quality punches.

Since I added 4 thou BEHIND THE CUP to increase pinion depth, I also have to make the pinion pre-load pack grow by the same amount.....4 thou. But figuring in that the pre-load was on the low side anyways, I ended up letting it grow only about 2 thou.......going from 072 to 074 (3 shims of 20, 24, and 30).
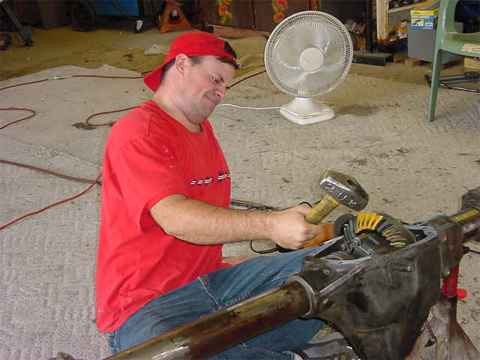
It was only 105 outside....but the garage acts like an oven.
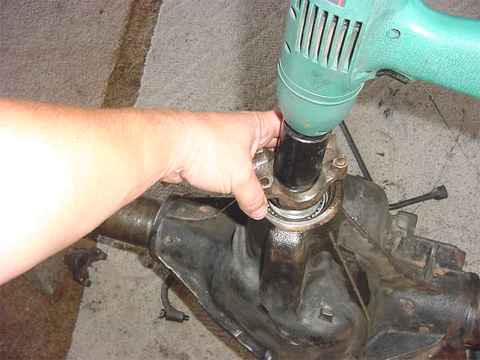
The electric impact made quick work of securing the yoke.
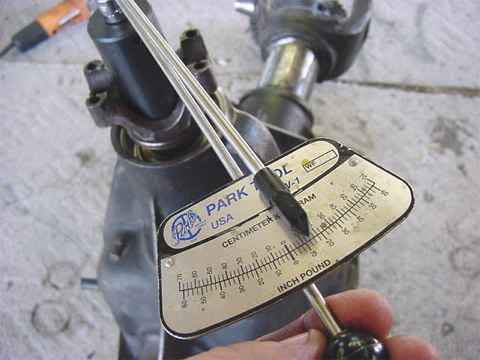
This 40 dollar tool (TW-1 torque wrench) is available from large bicycle shops and takes the guess work out of pinion preload measurements. I actually had about a good 20 in/lb here.
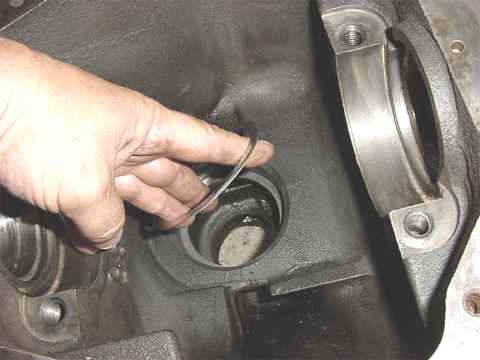
Roger gets this task out of the way and taps in the new inner axle seals.
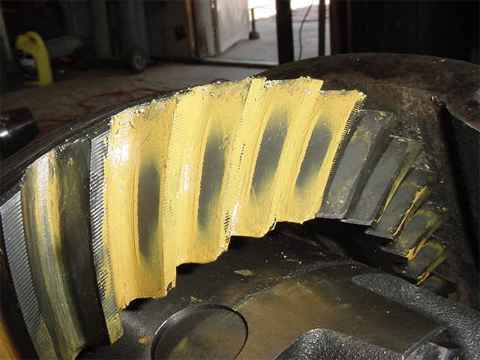
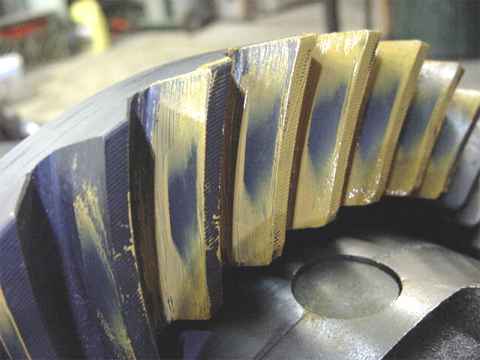
Drive side....57 thou......beautiful.
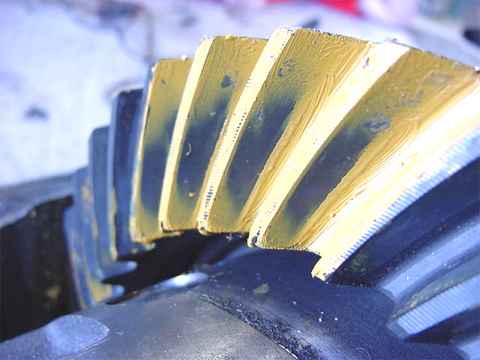
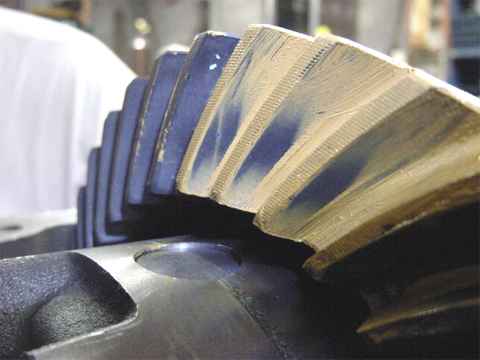
coast...57 thou.....ok.
Roger wanted to do this....we tried to meet it halfway and reshimmed it for 2 thou less in depth but that proved unsatisfactory so ended back at the .057 as it appeared to the over-all best. Actually, I can't believe, now that I think about it, that we went to so much trouble over the slight deep appearance of the coast side. Having it a little deep on either side could be actually beneficial. But that's another whole link. For an interesting read on that, just go to this link at Randysringandpinion.com about setting PRELOAD.
The 'starter' values below will be referenced in the rear install.
pinion depth .057" (add .030" for the splashgaurd: total=.087")
pinion pre-load shim value .074"
BL=5~6 thou
CB ring side .068"
CB case side .034"
click here for REAR install
HOME