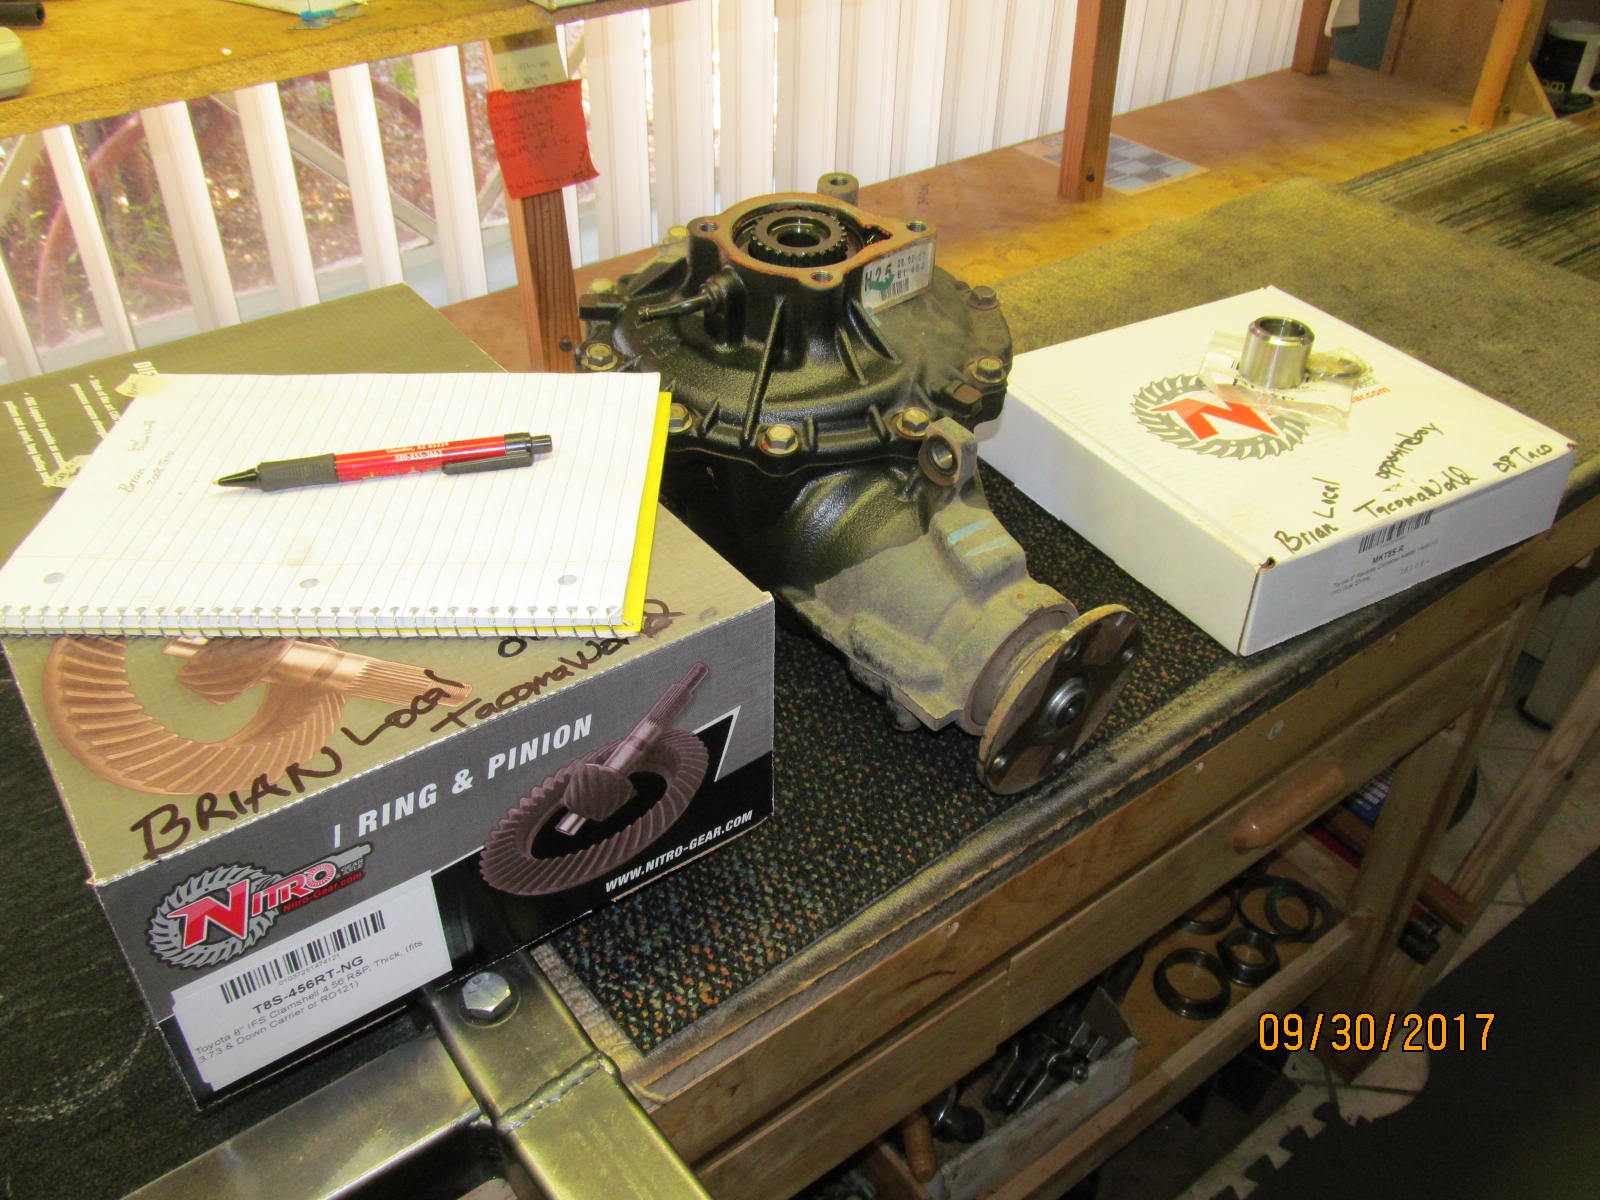
| Brian's 2008 Taco front 8" clam gets Nitro 4.56 gears |
|---|
| (50 BIG pics loading) |
|---|
| DEC 1 2017 |
|---|
|
| Brian is keeping the front open mode for now. Just a 4.56 Nitro ring/pinion with new Koyo bearings and a solid collar upgrade. |
|---|
|
|
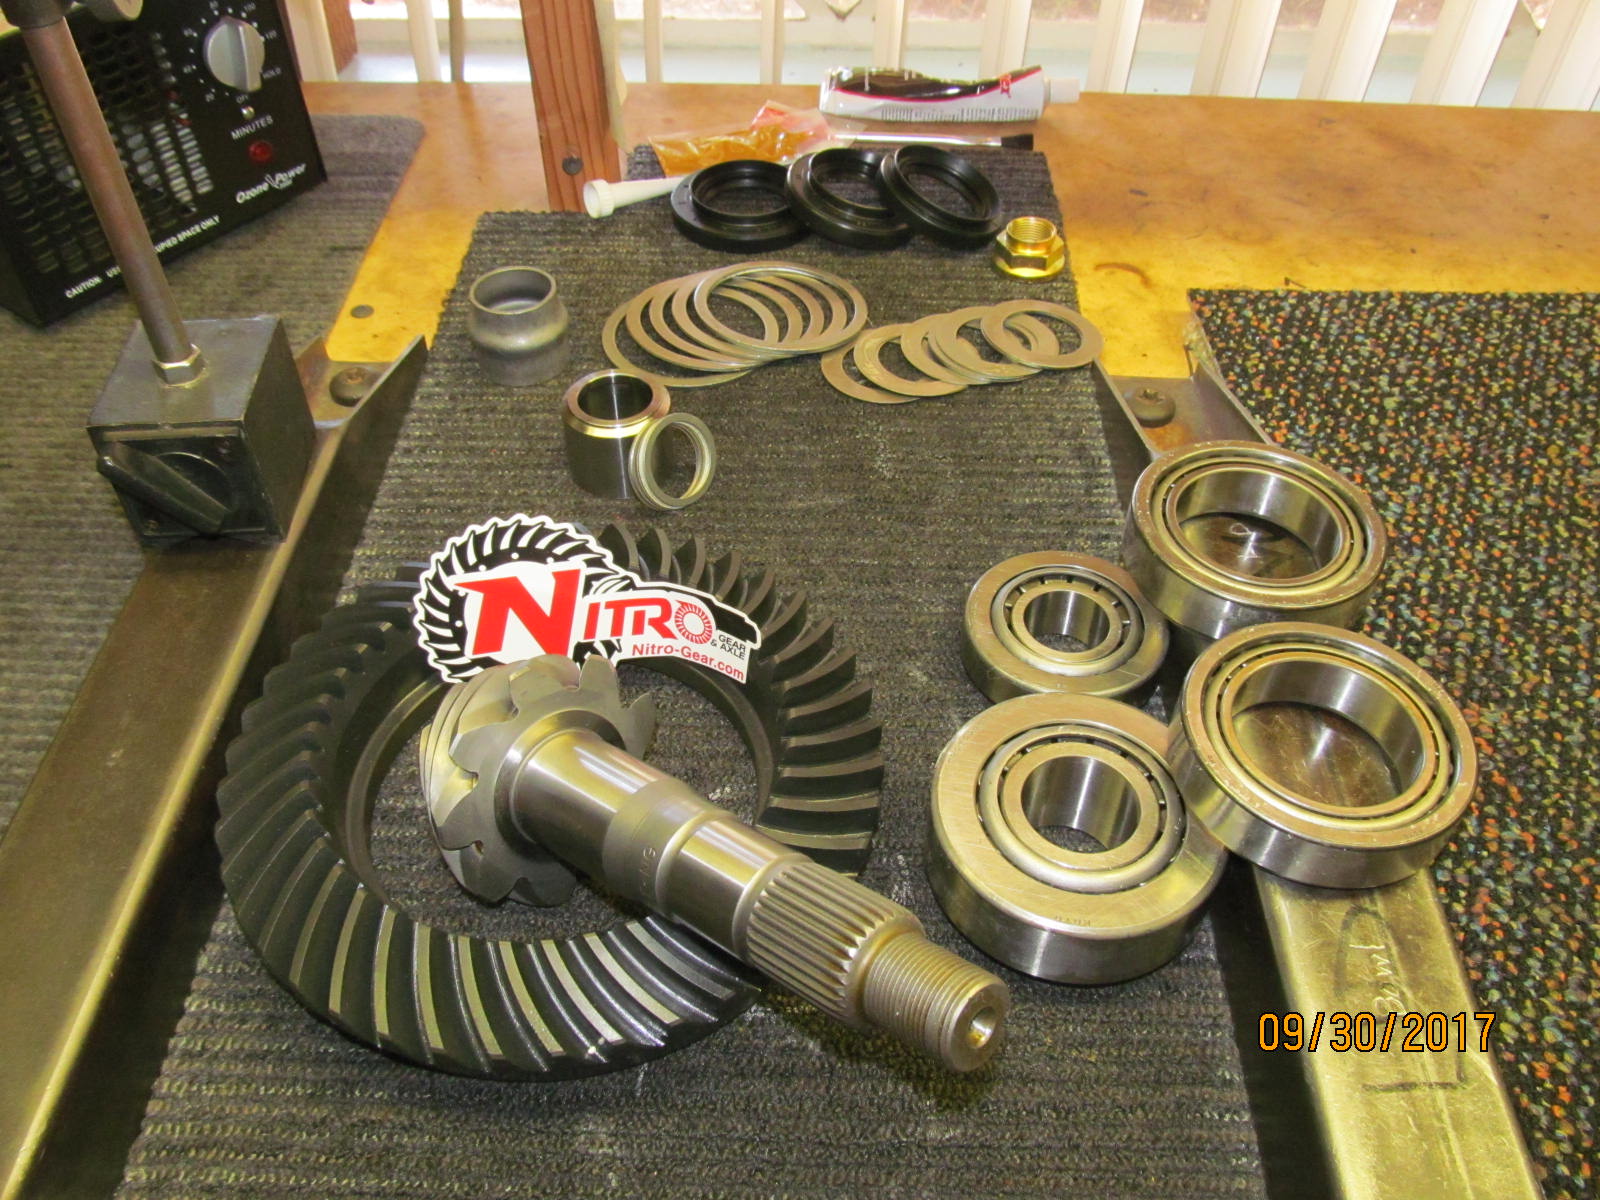
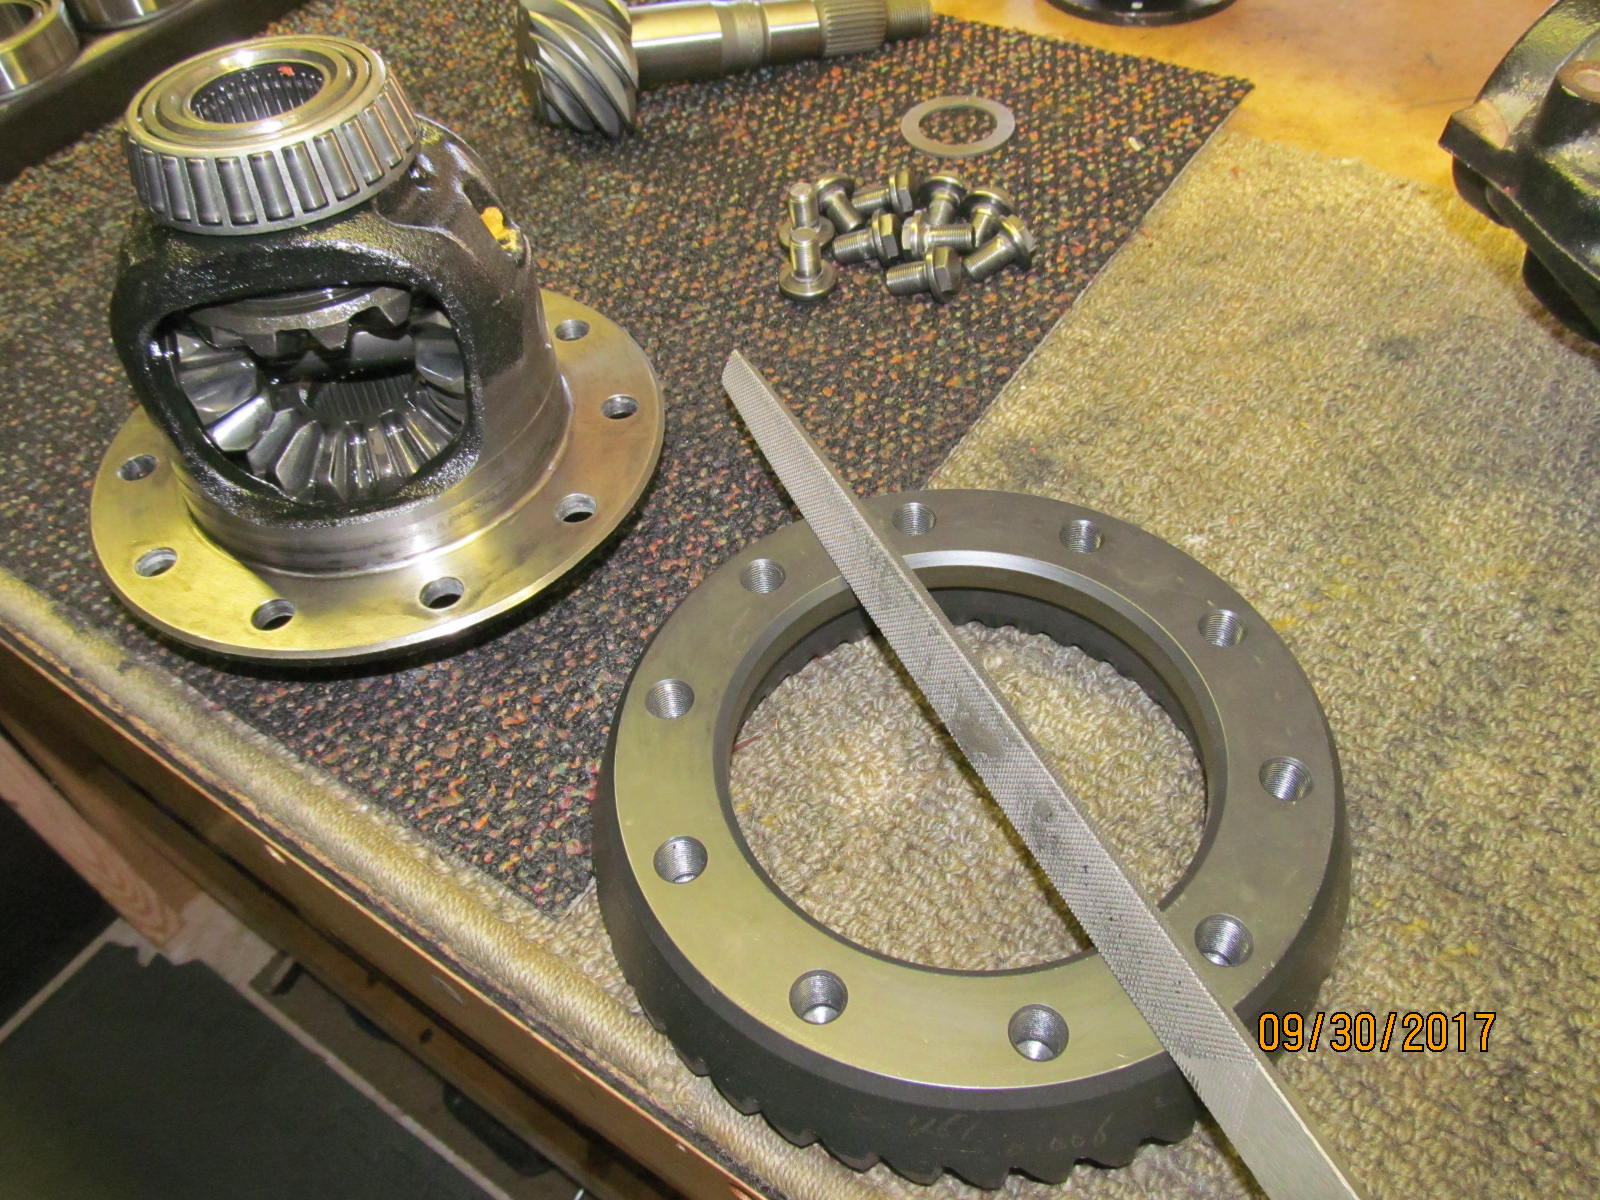
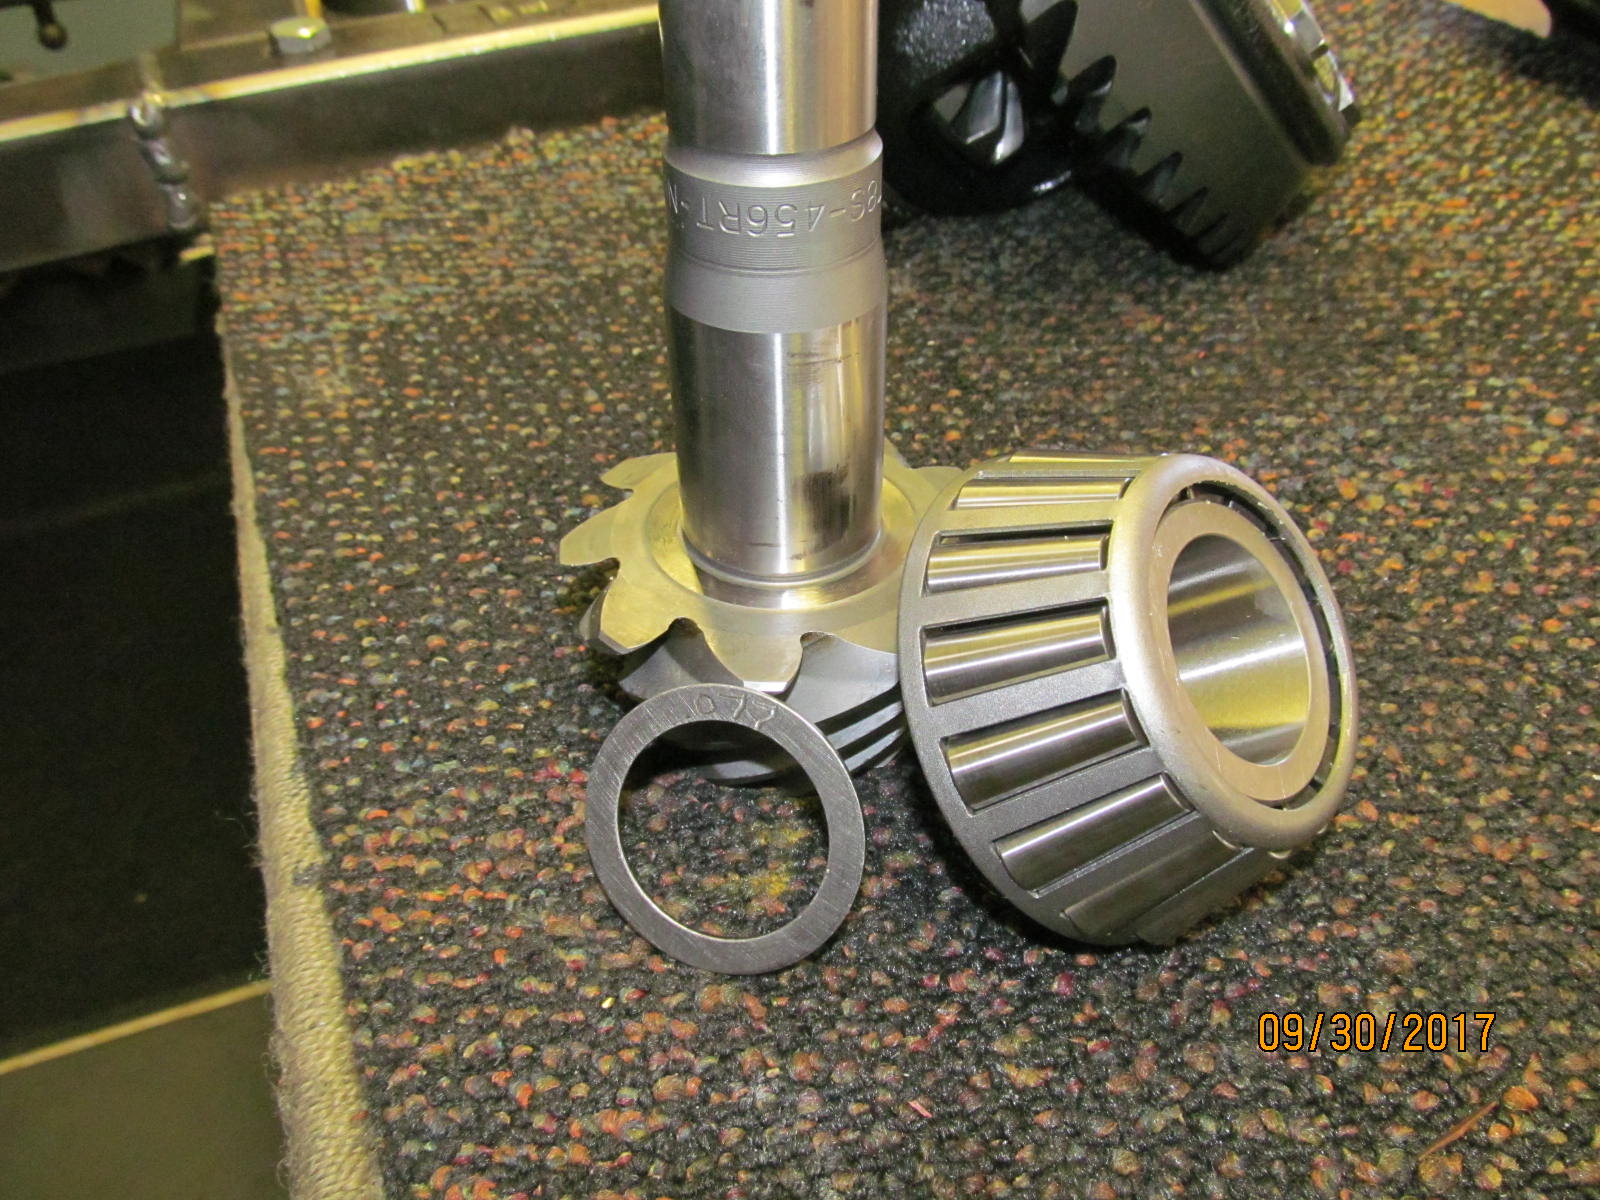
| Parts are unboxed and layed out. |
|---|
|
|
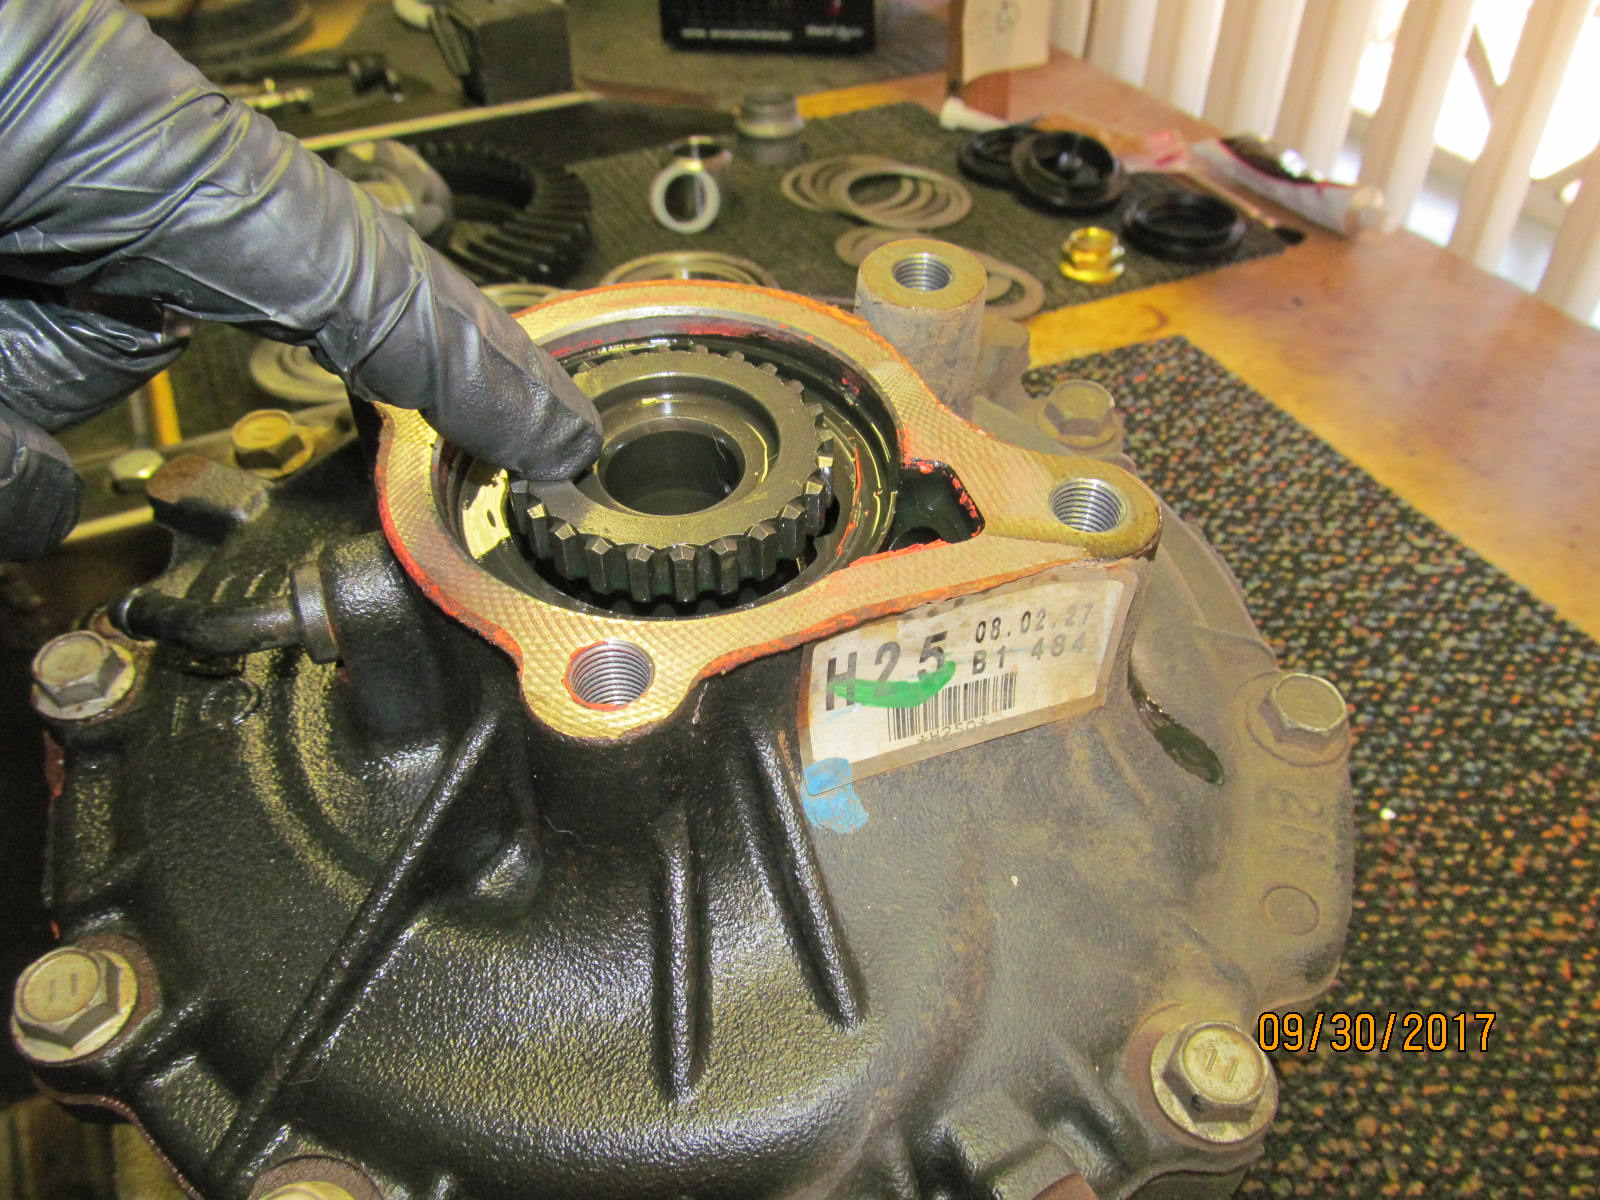
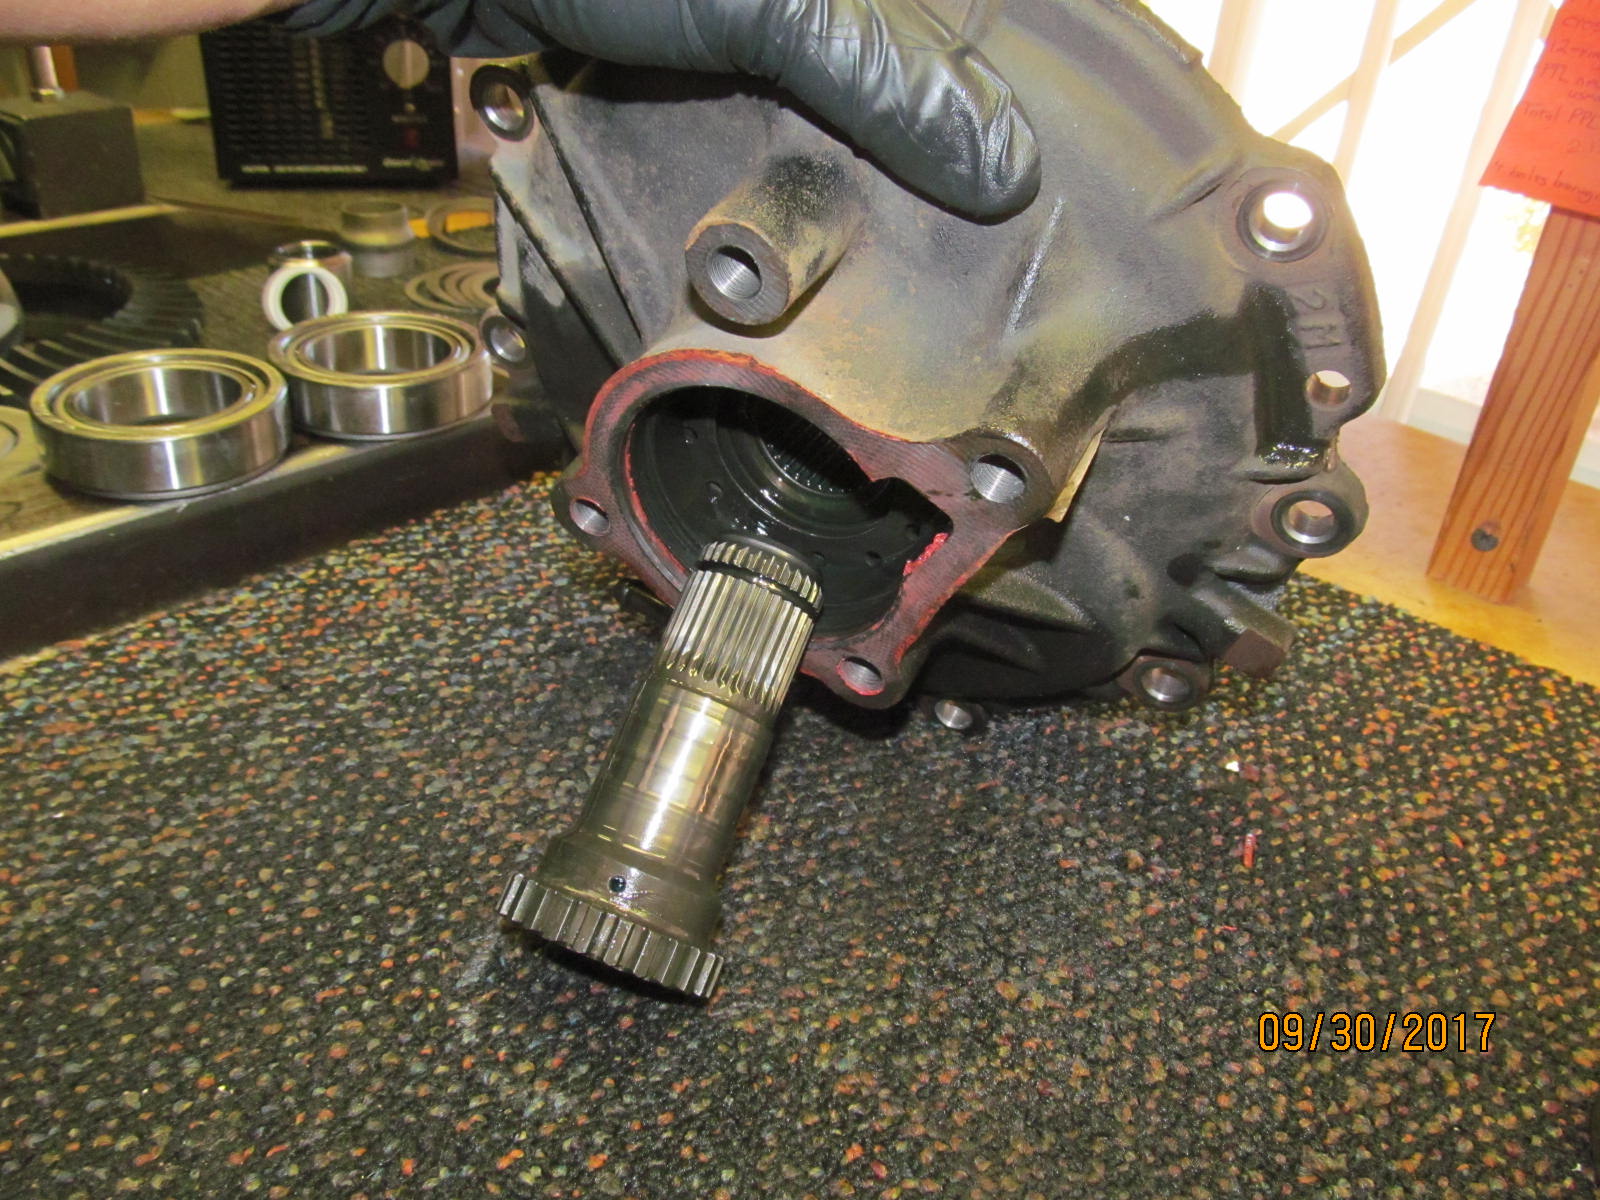
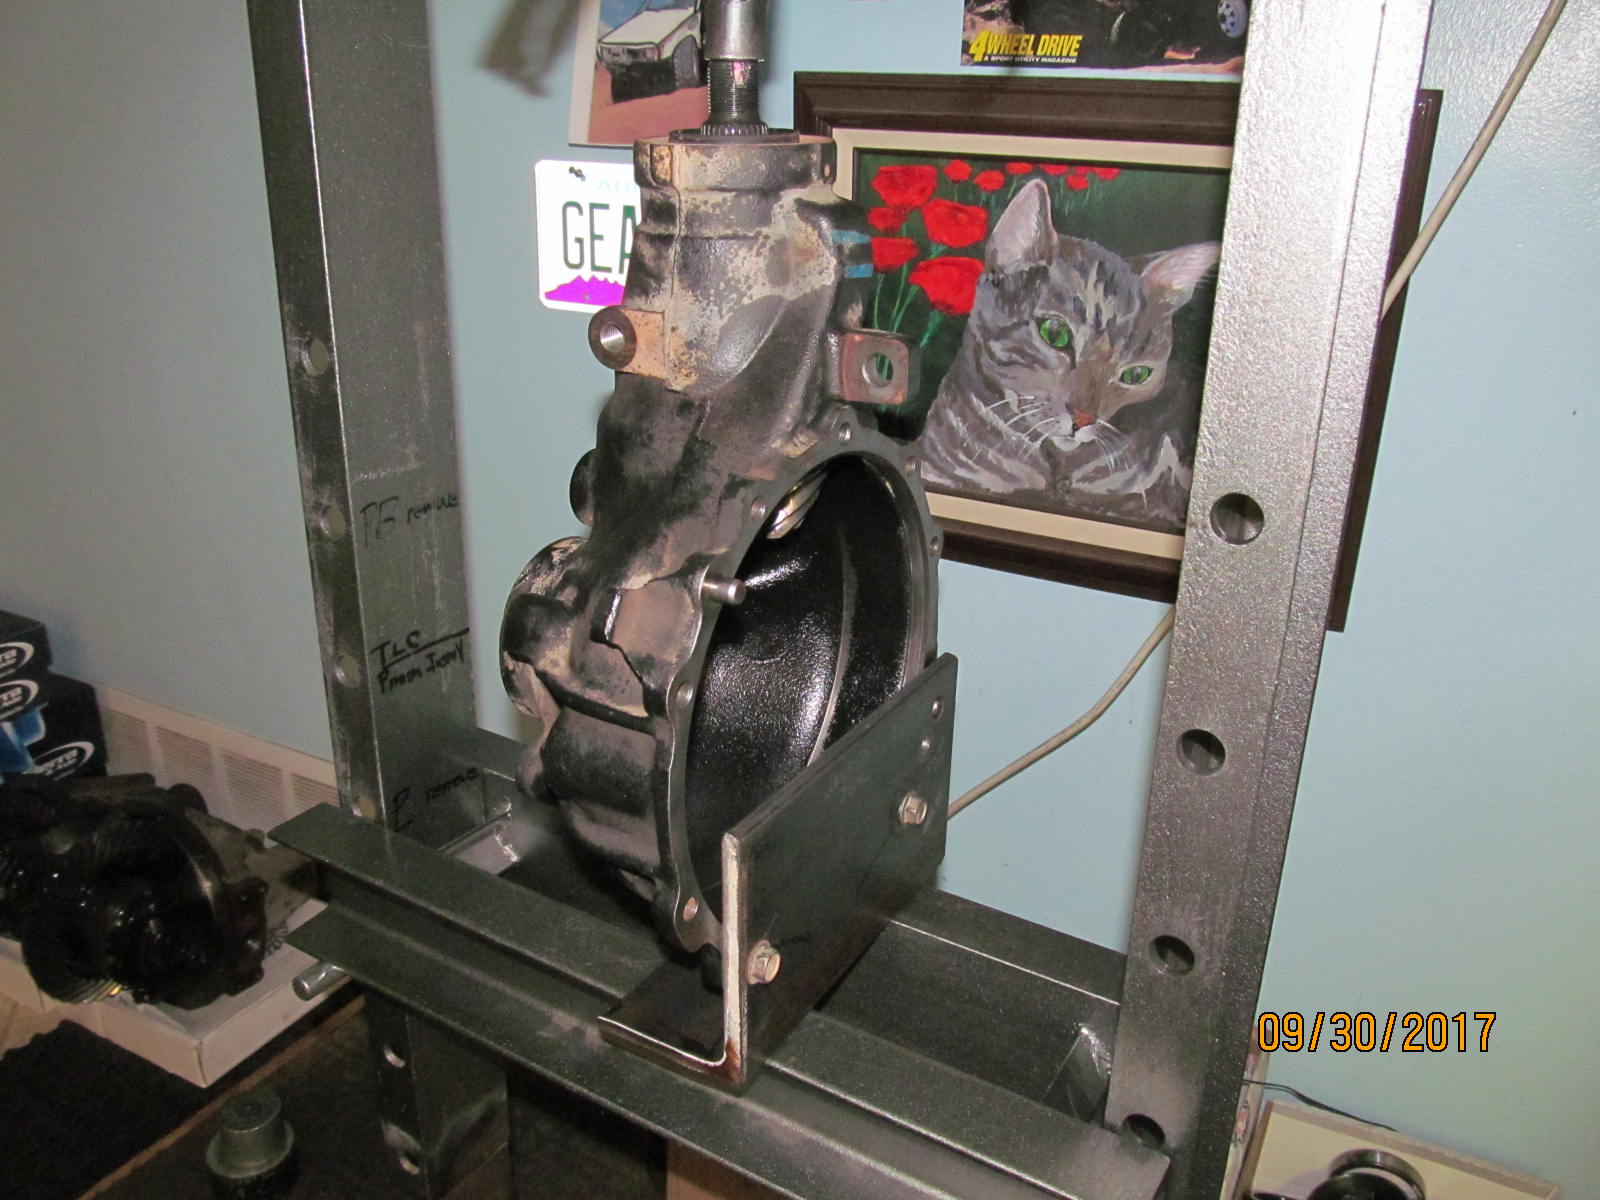
| This stub shaft does not pry out very easy at all. You could tap it out from the other side.....or do it the way I'm going to do it here. |
|---|
|
|
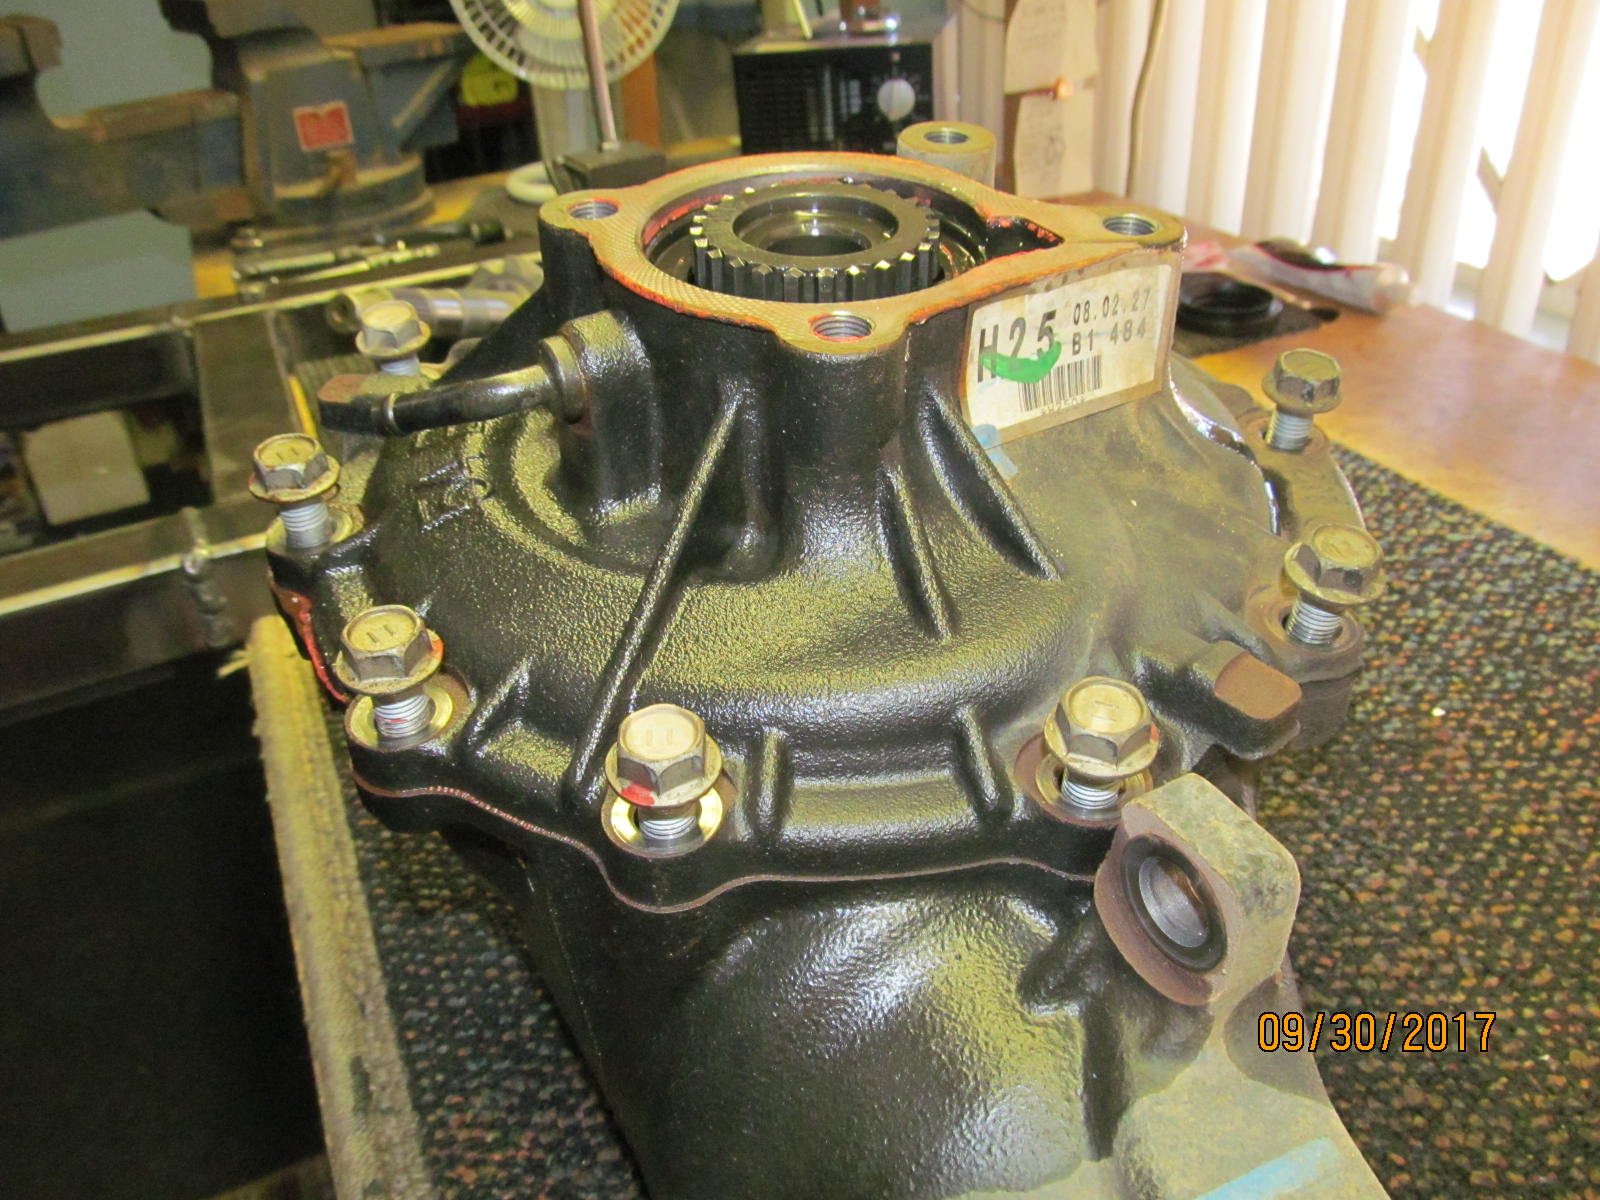
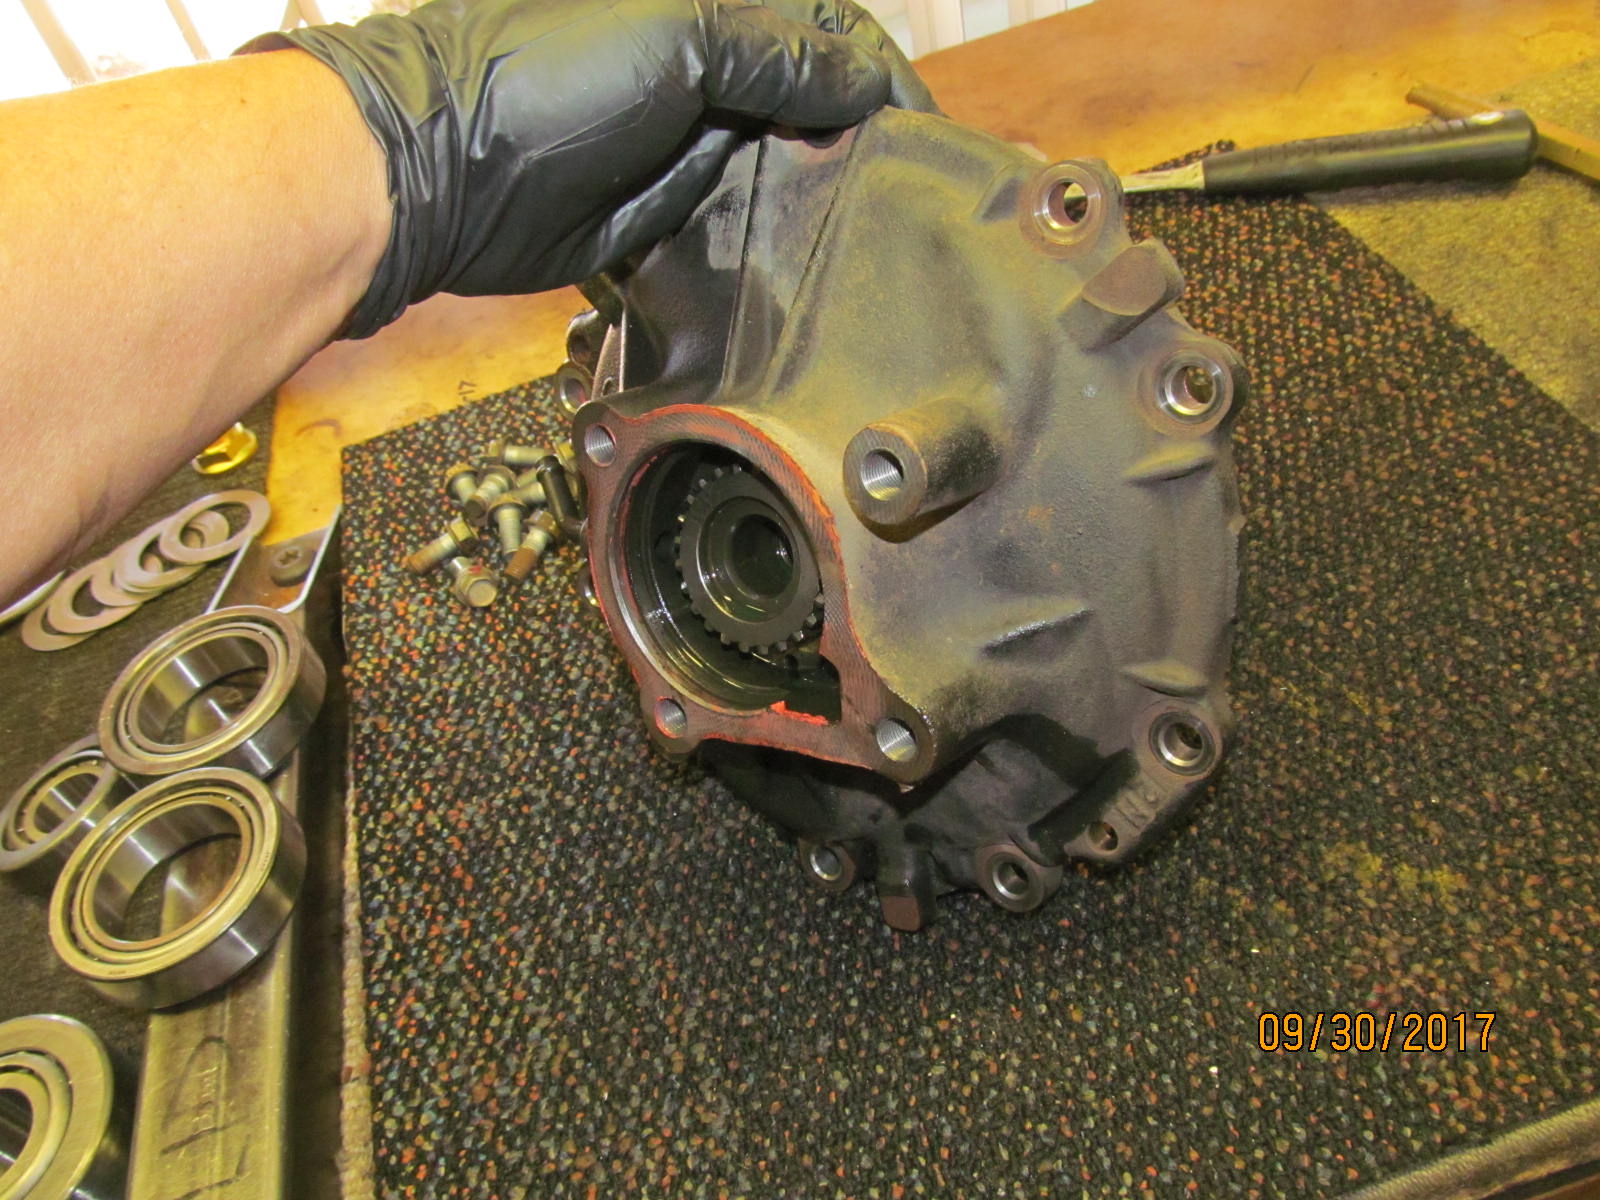
| Whizz off the 10 bolts that secure the lid. |
|---|
|
|
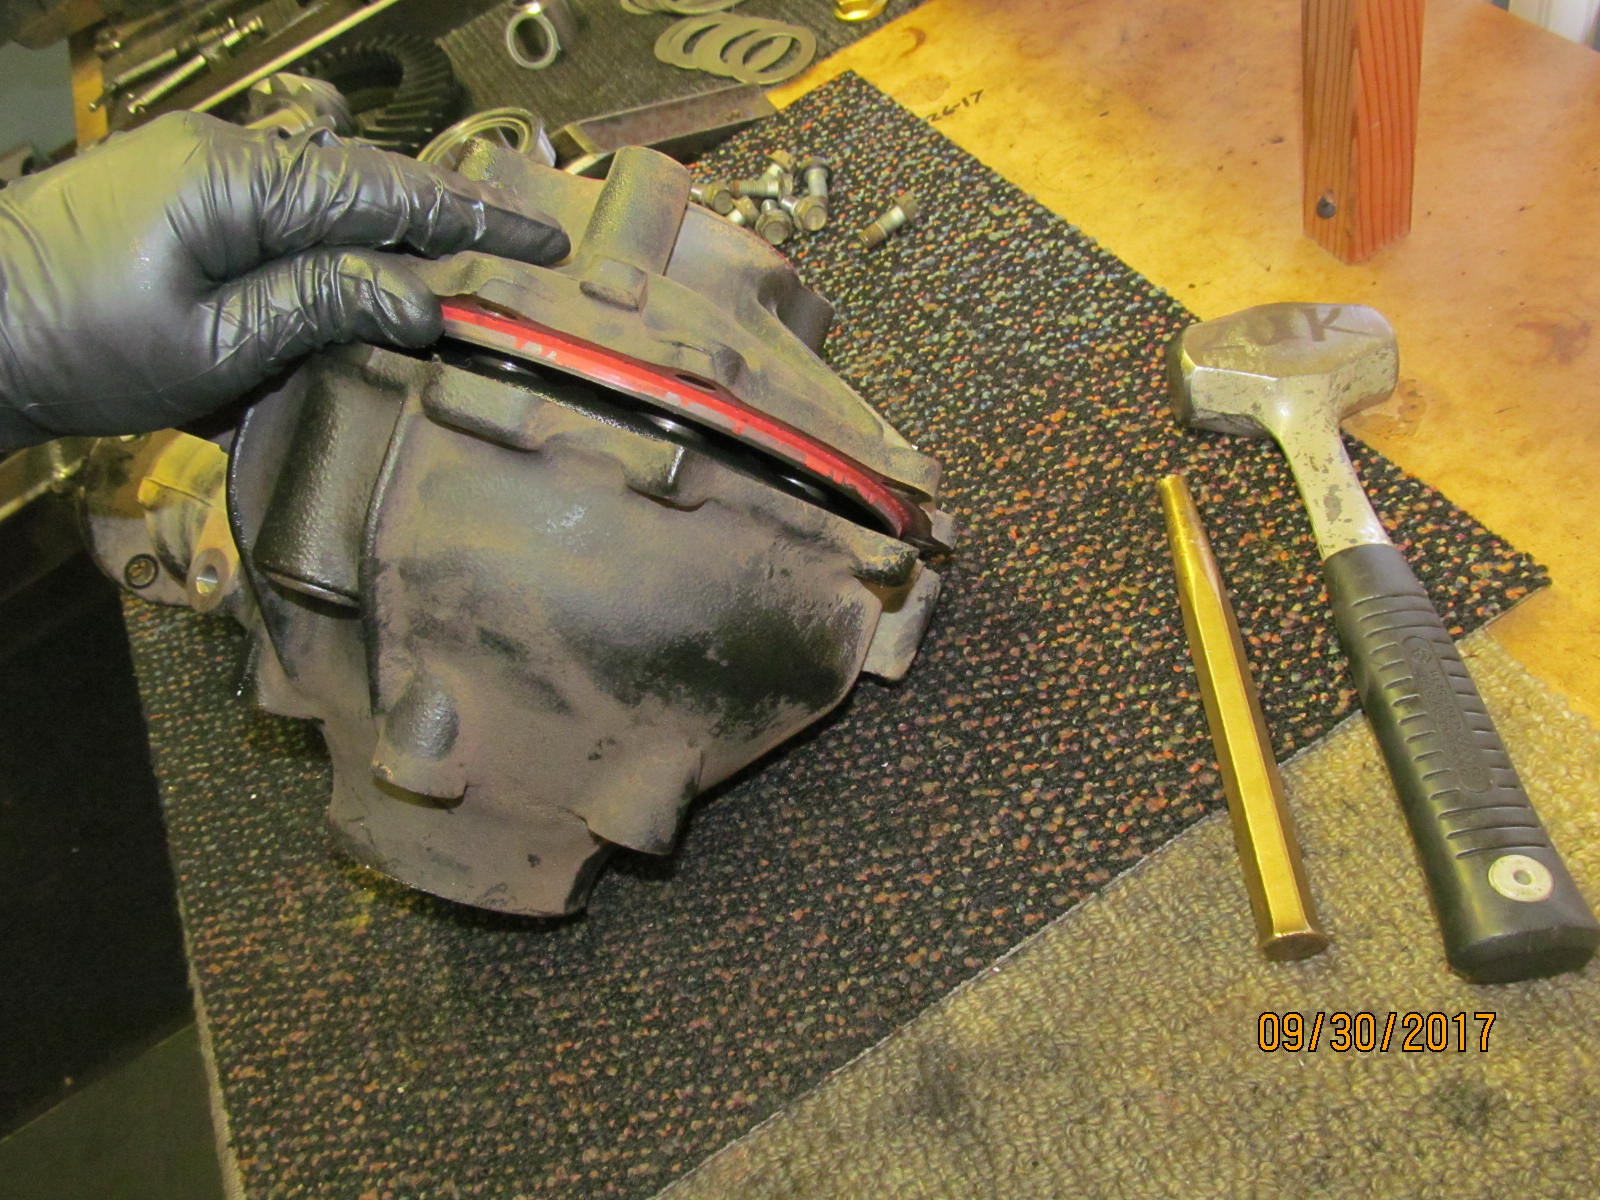
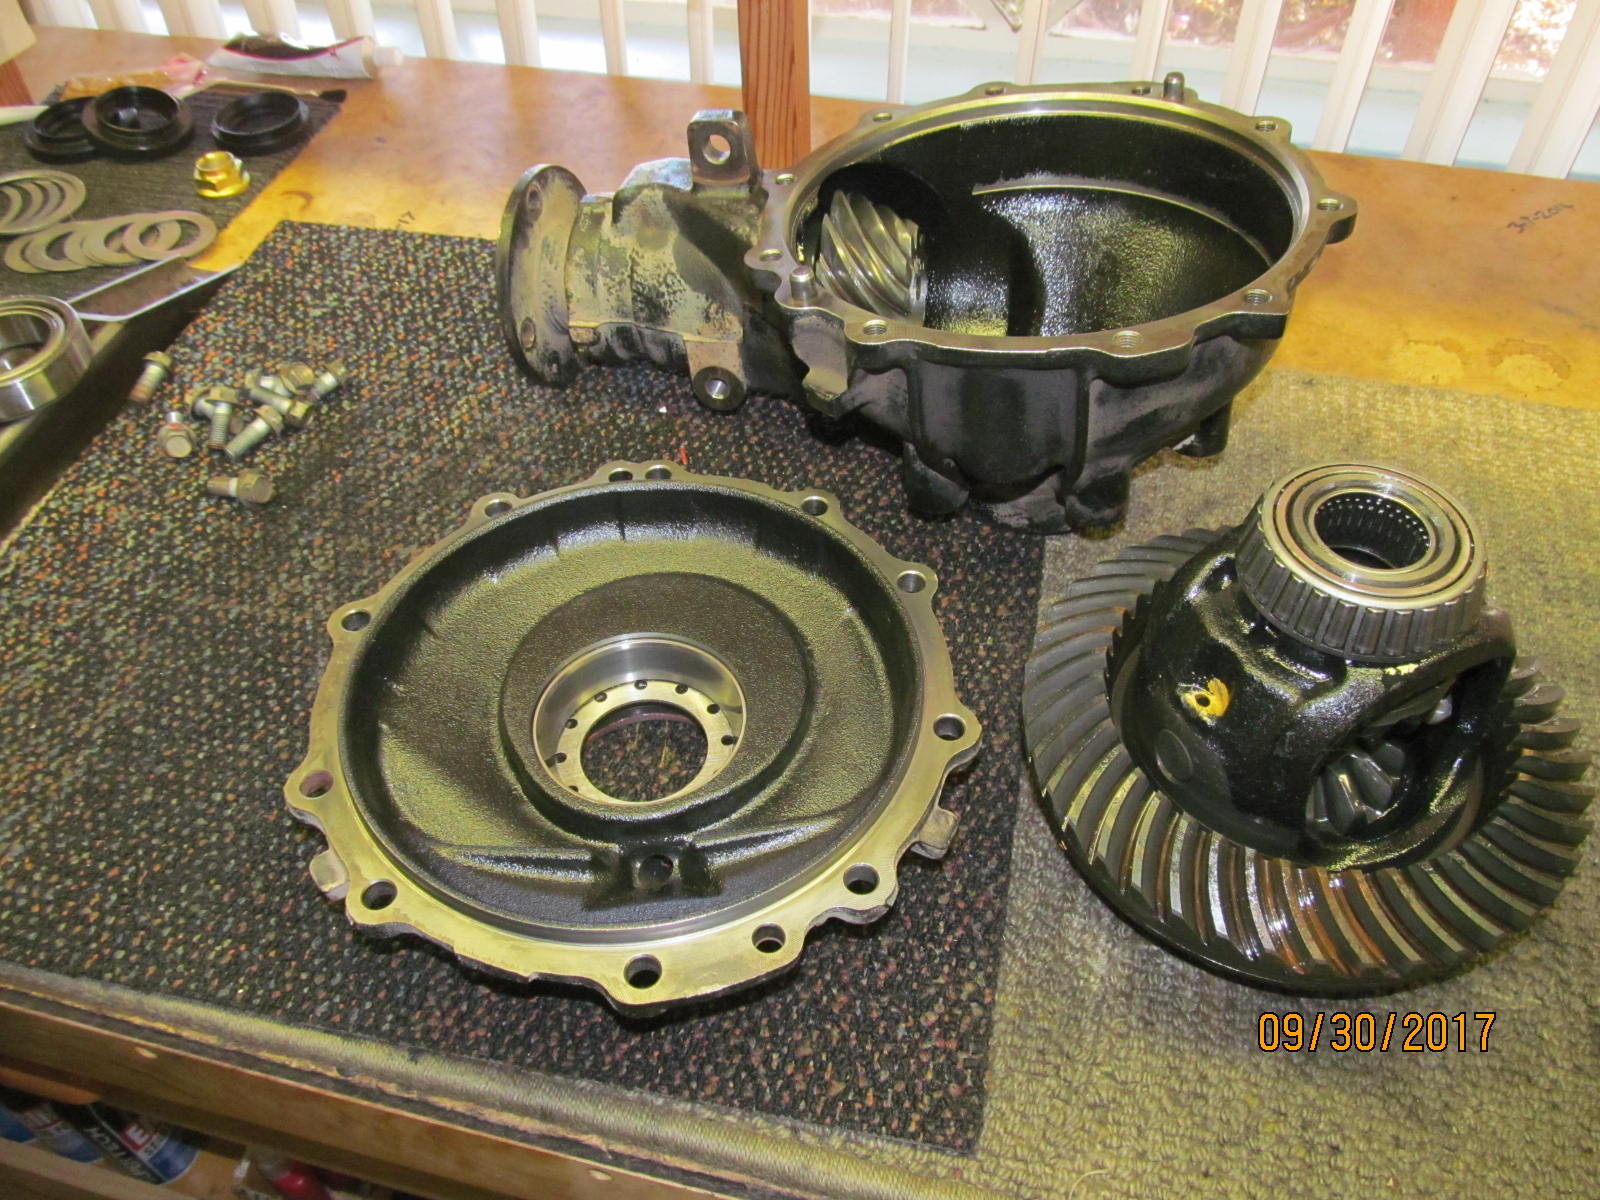
| I use a brass drift and hammer to separate the cases. |
|---|
|
|
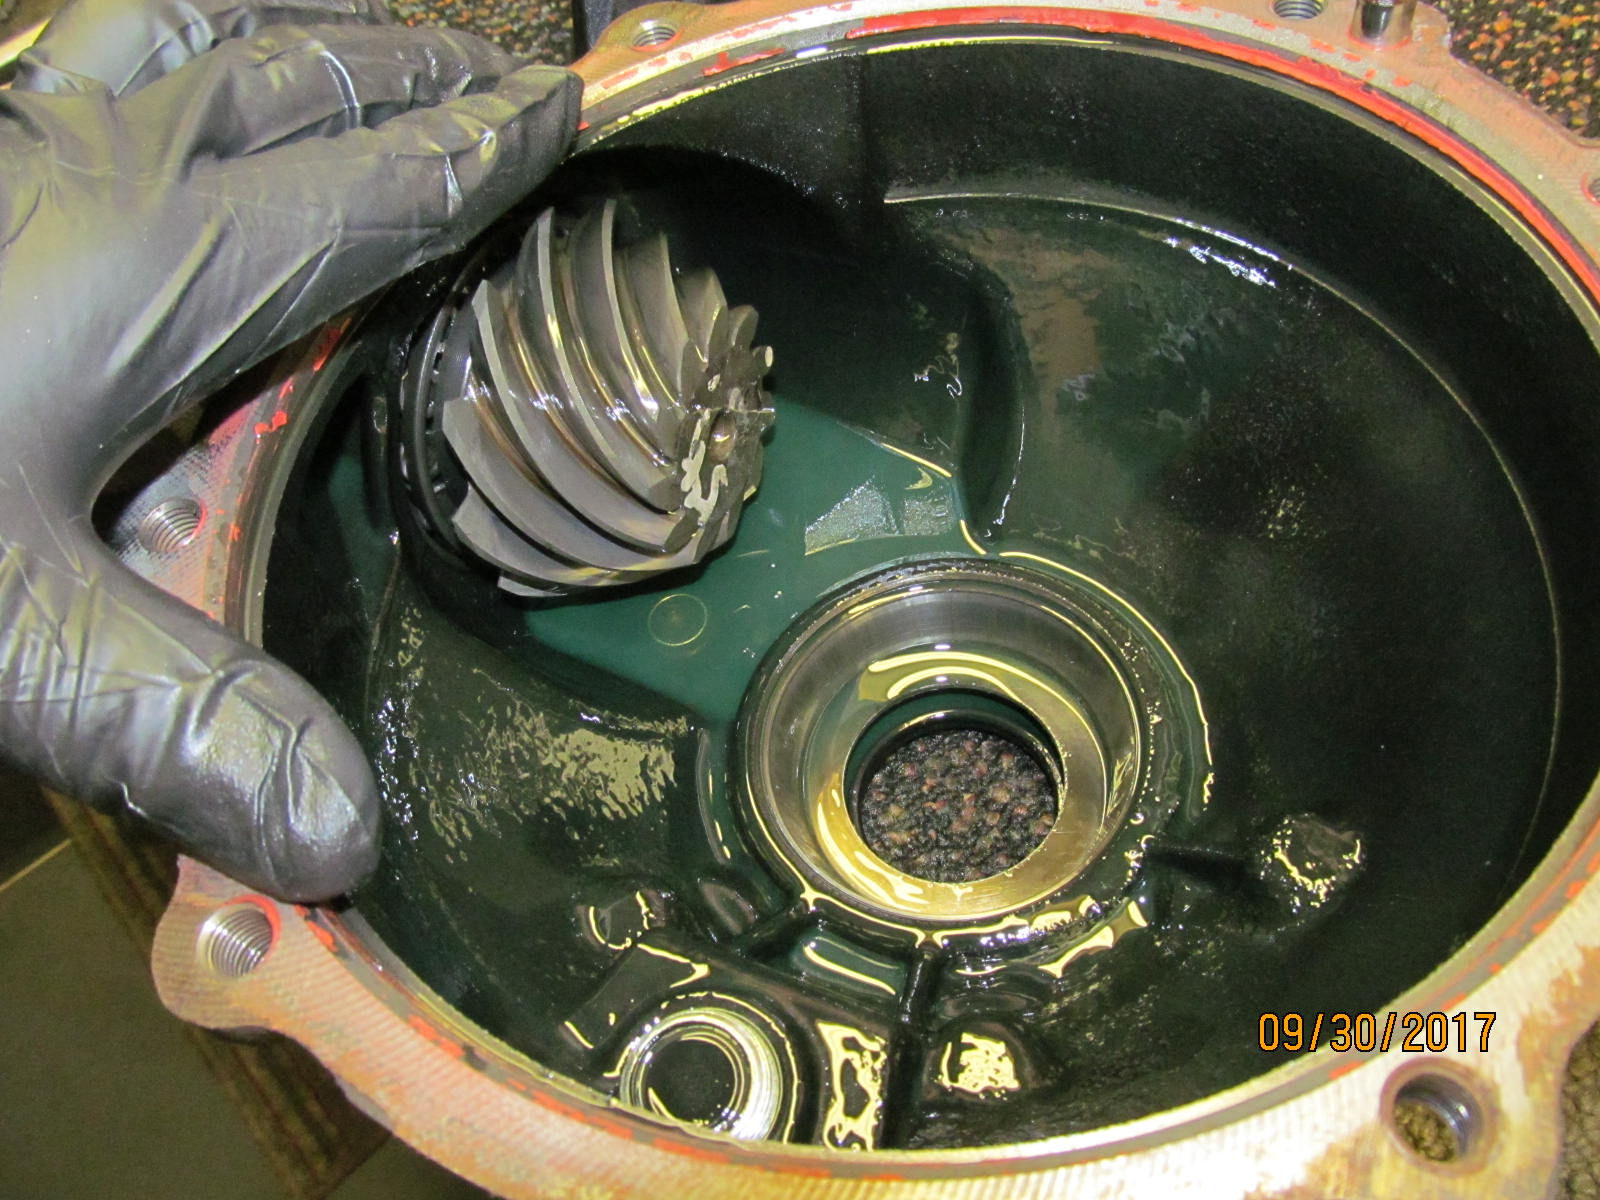
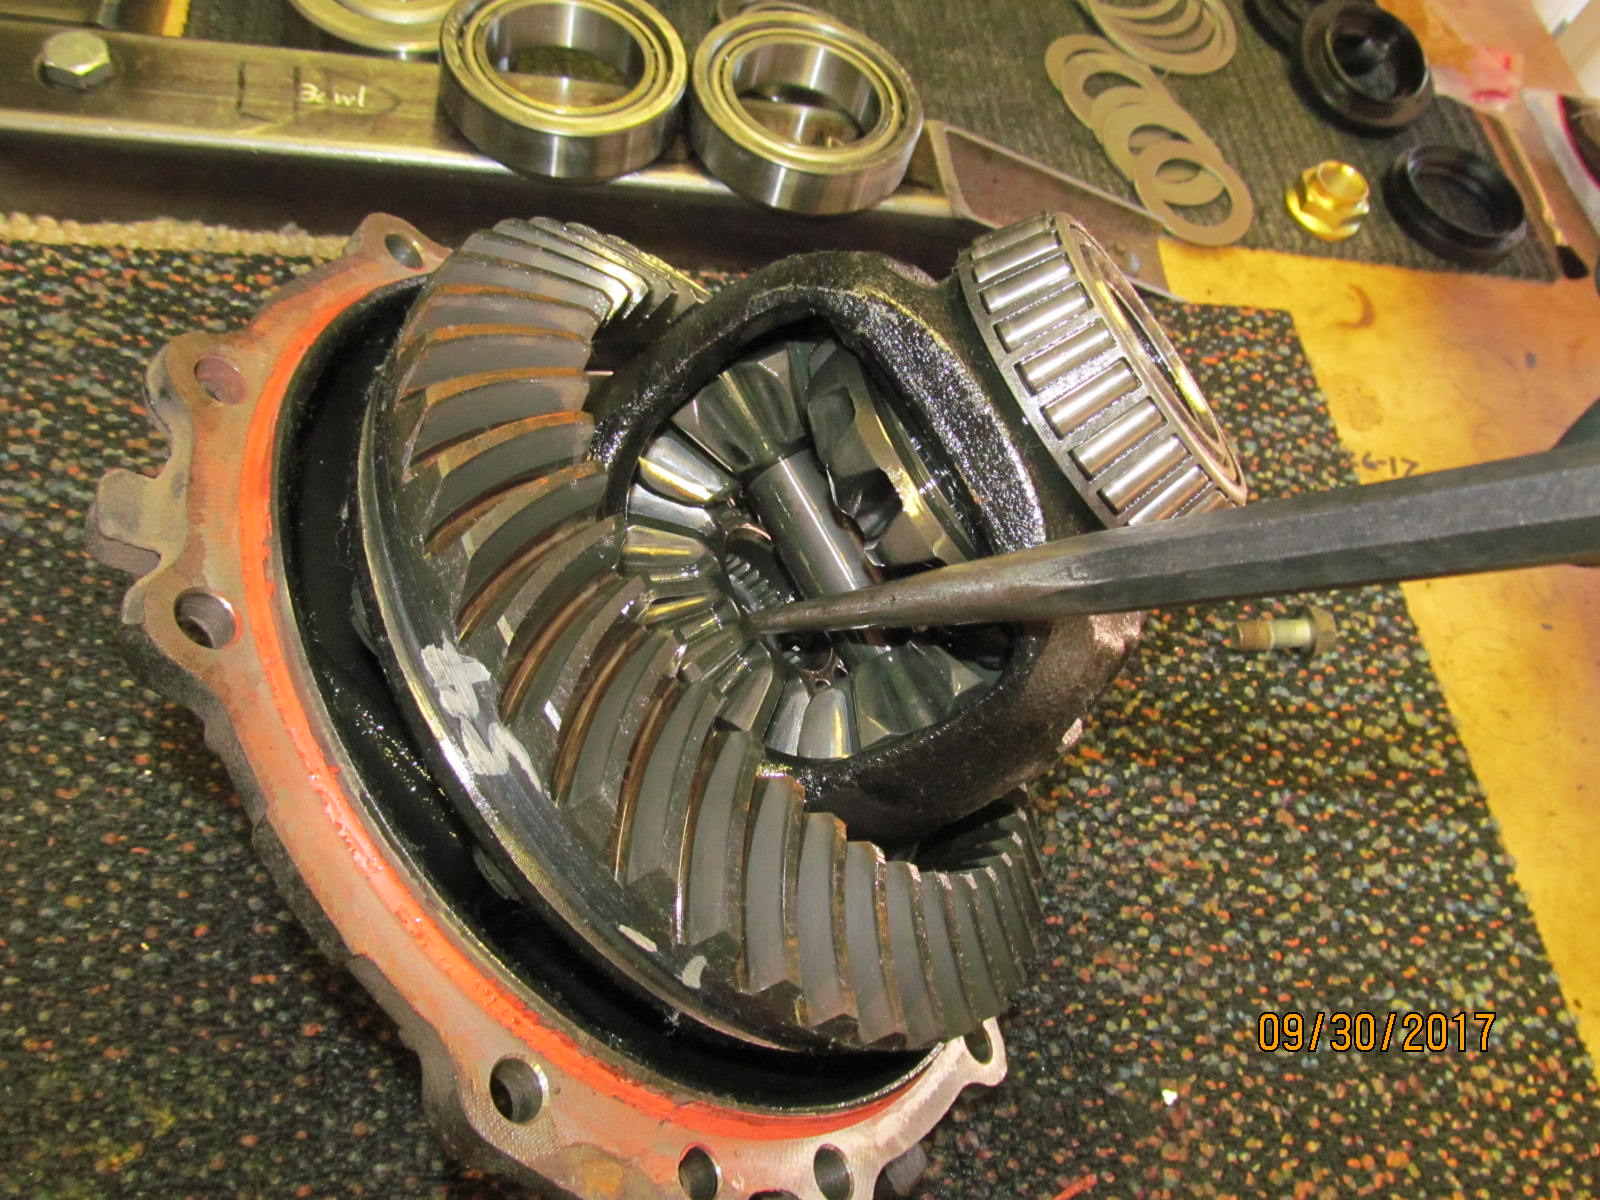
| Looking in the bowl....still have a little gear oil that did not drain out. |
|---|
|
|
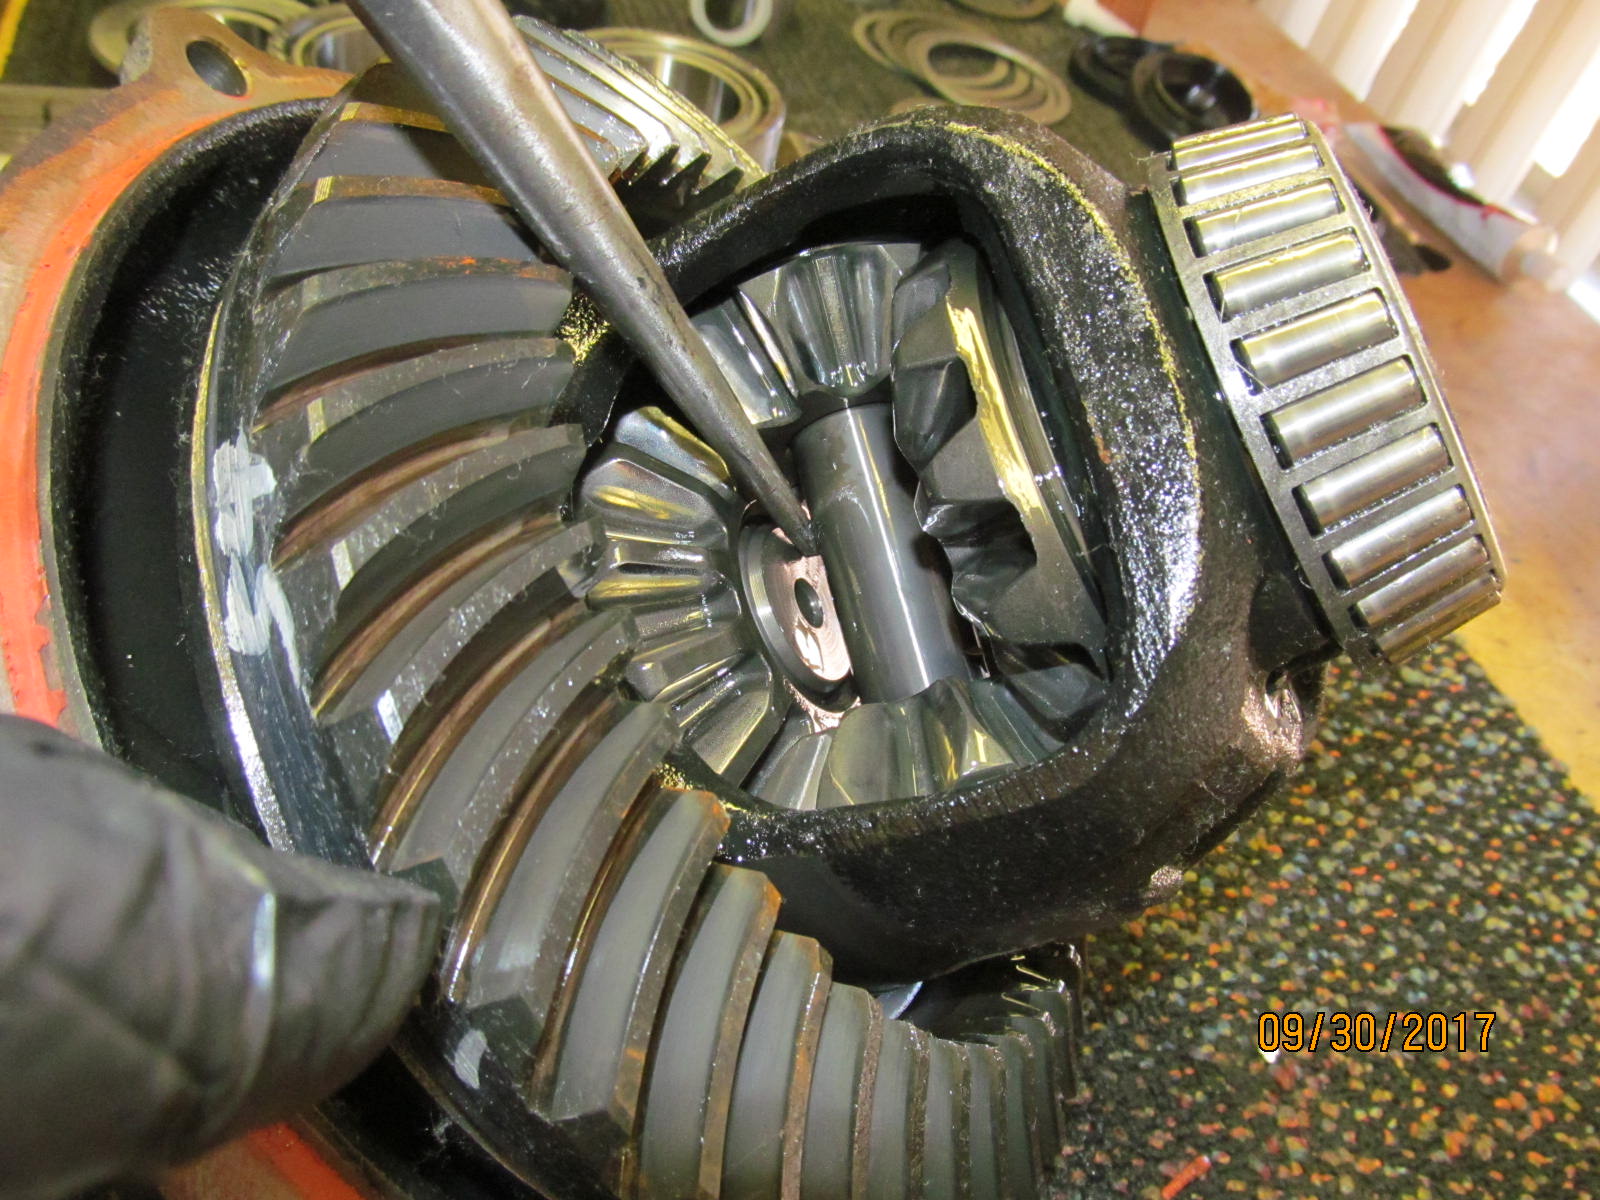
| Now to remove the stub axle..... |
|---|
|
|
| ....just turn it over and tap a chisel between the cross pin and axle end. It pops right out. |
|---|
|
|
| ,,,,,,,,,,,,,,,,,,, |
|---|
|
|
| Easy :) |
|---|
|
|
| Red FIPG and excess gear oils are cleaned off. |
|---|
|
|
| Pinion end is disassembled. The "old" flange is in near perfect condition. |
|---|
|
|
| Push the pinion out. |
|---|
|
|
| Back over to the open carrier....the new 456 Nitro is checked and no burrs are found. |
|---|
|
|
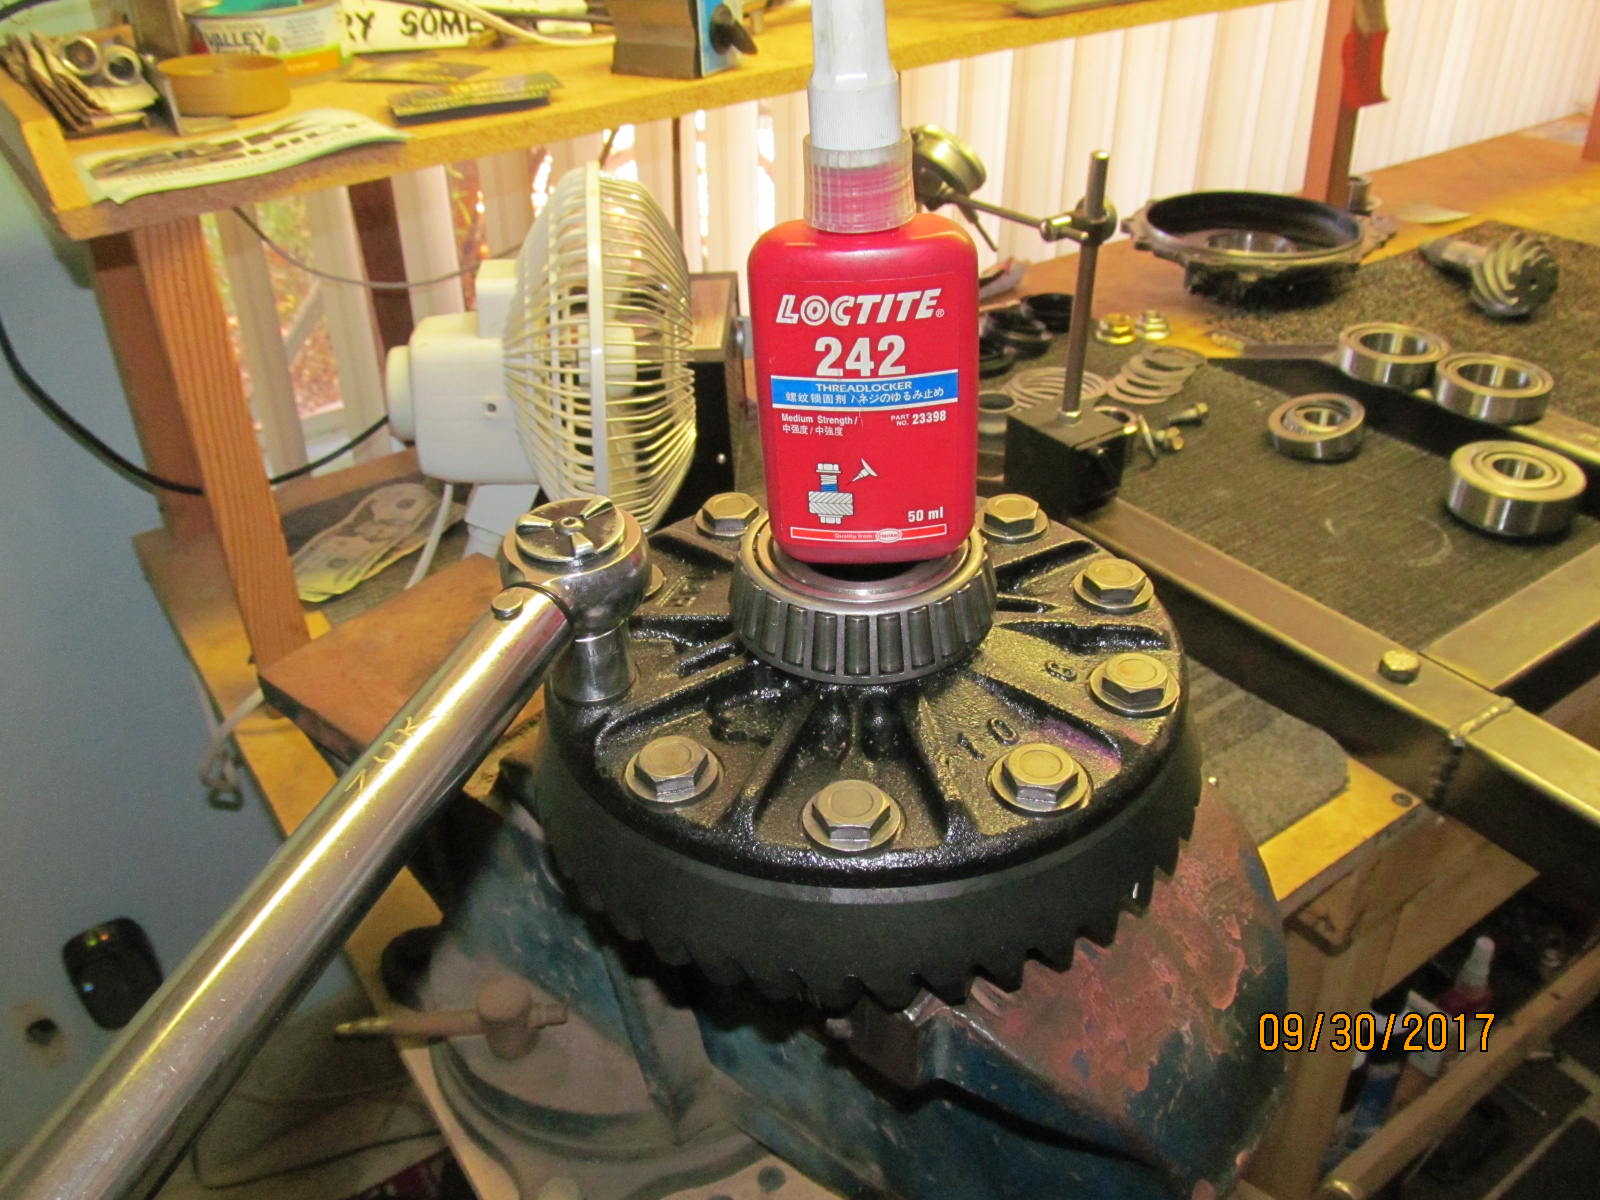
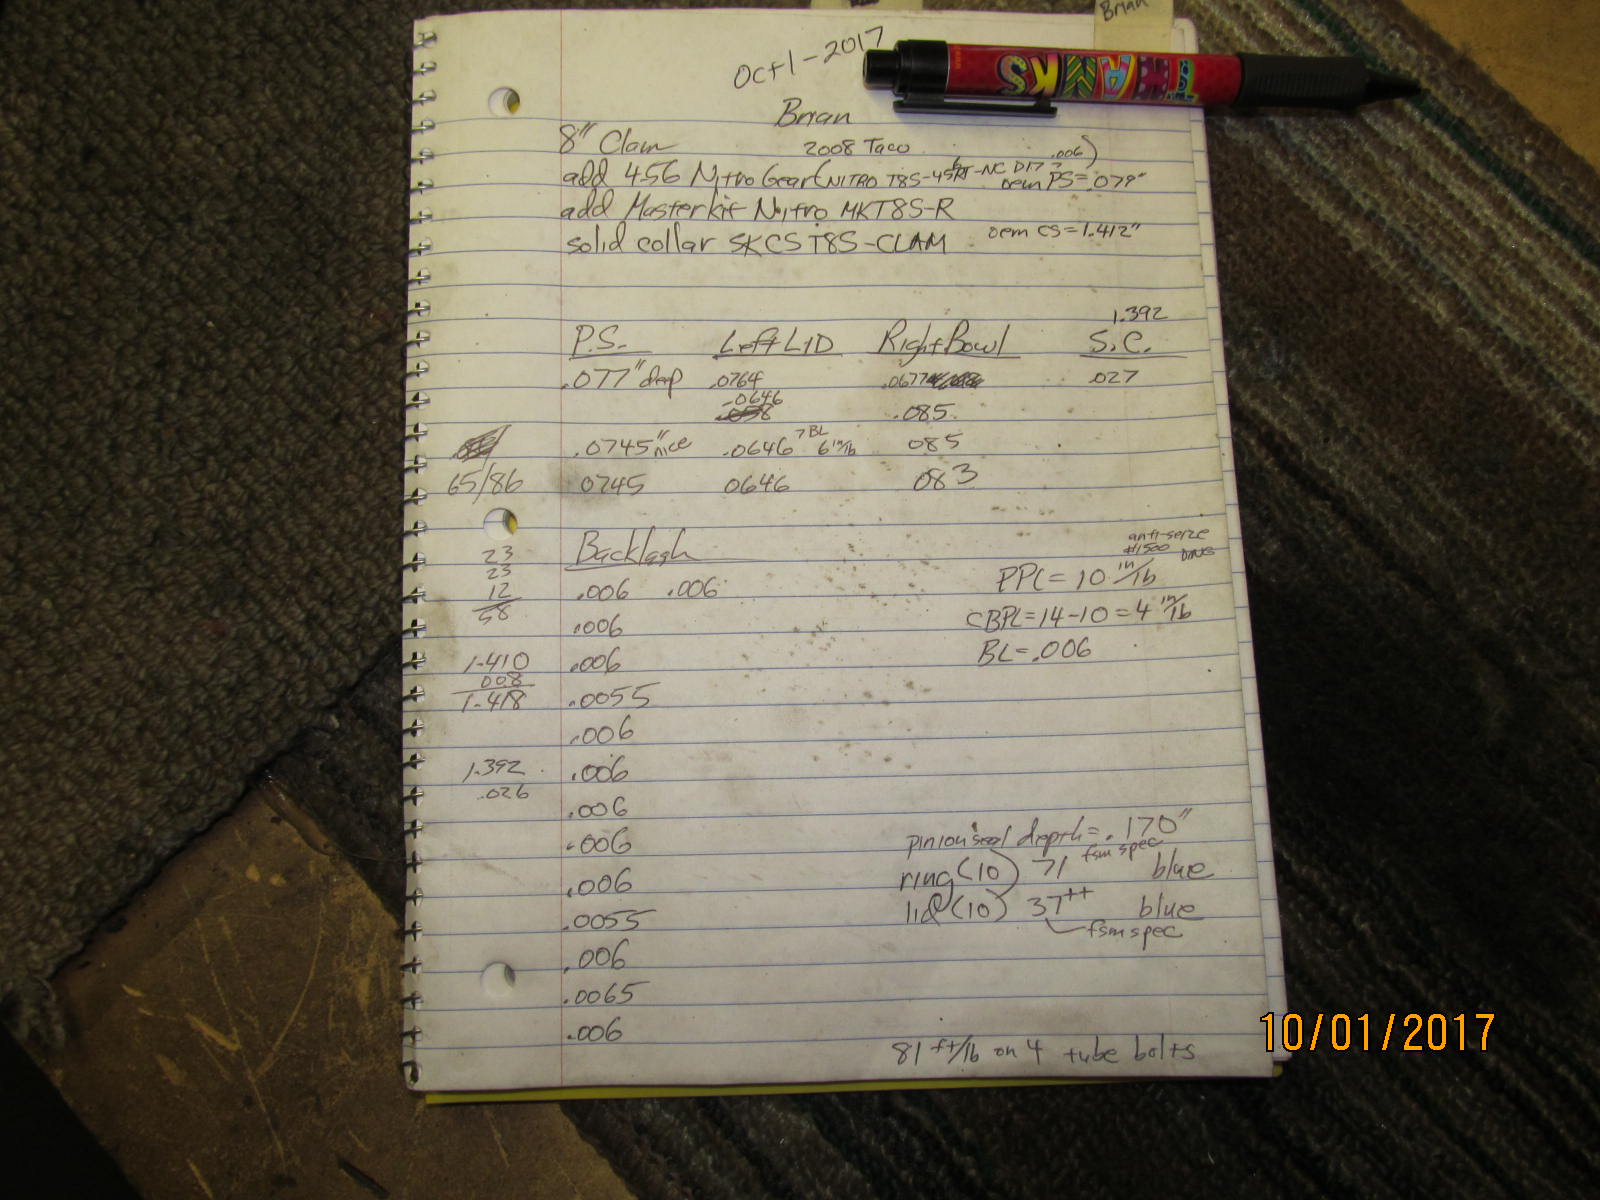
| Blue Loctite and 71 ft/lb is the FSM spec. |
|---|
|
|
| The old carrier bearings were removed and the new ones tapped in place. |
|---|
|
|
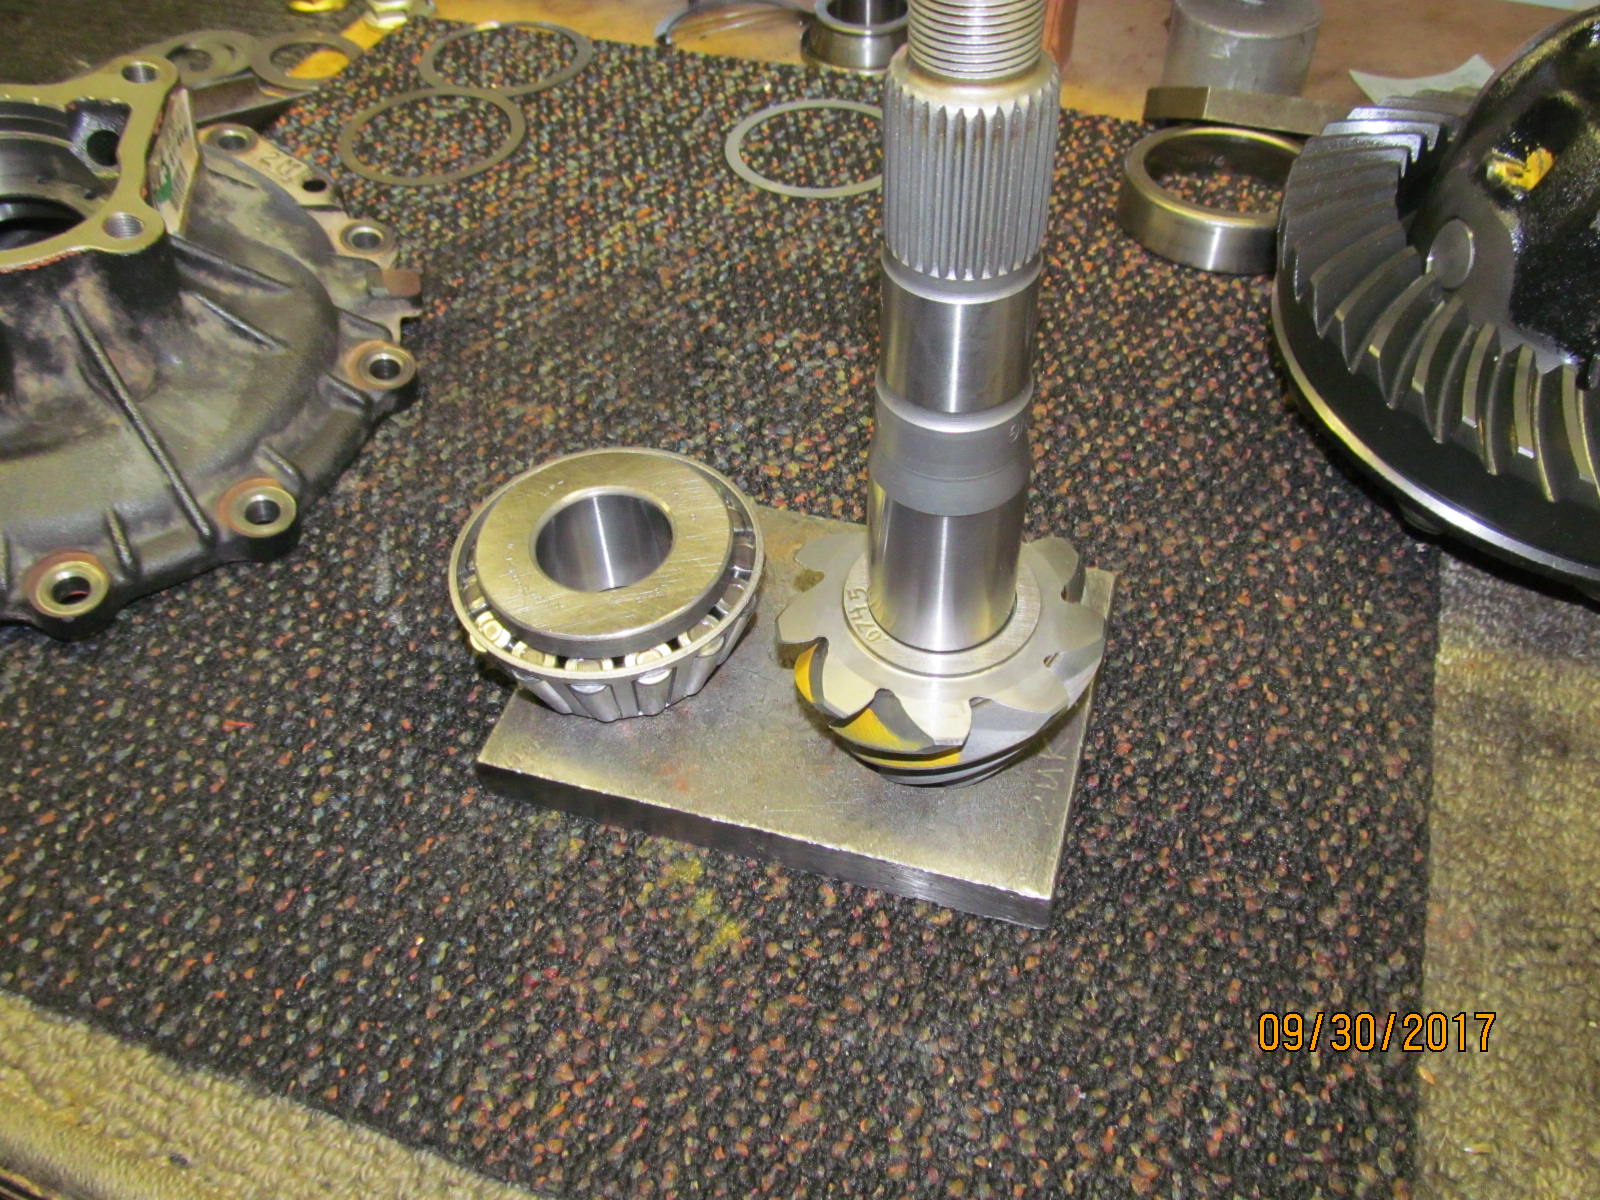
| .077" shim with the new pinion bearing are now pressed in place. |
|---|
|

|
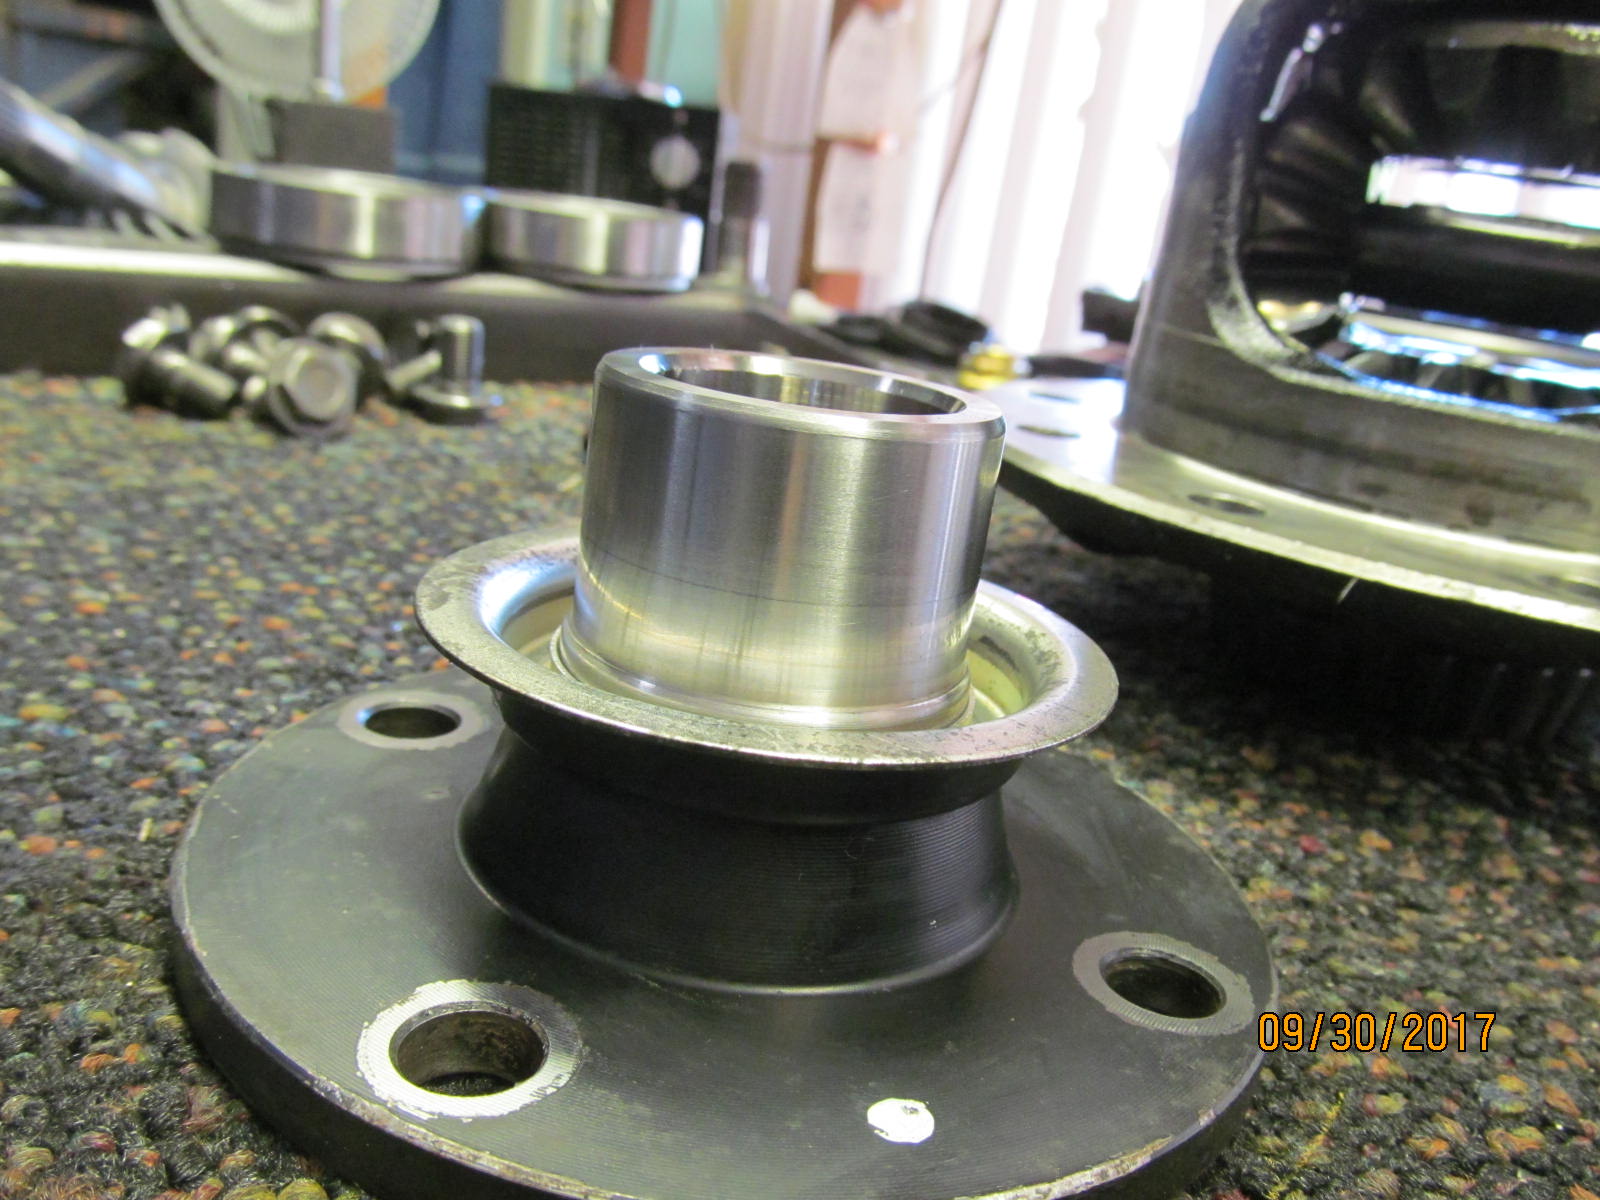
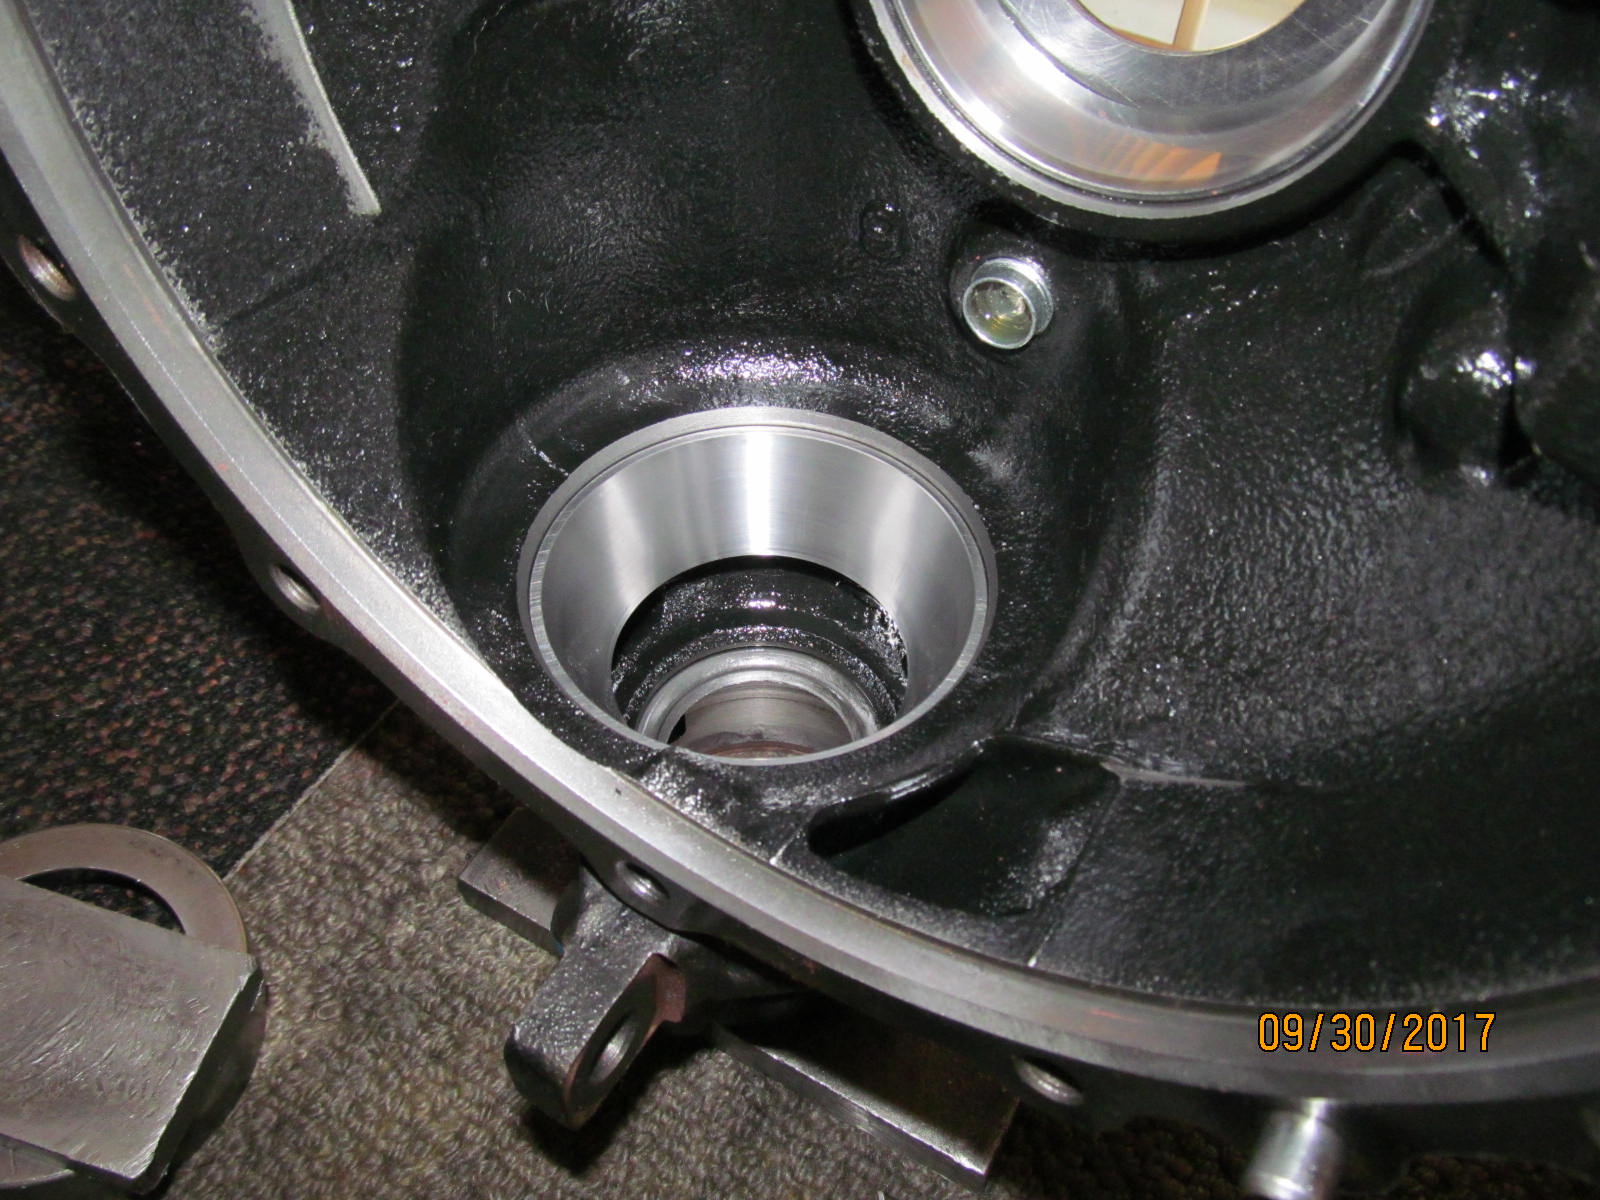
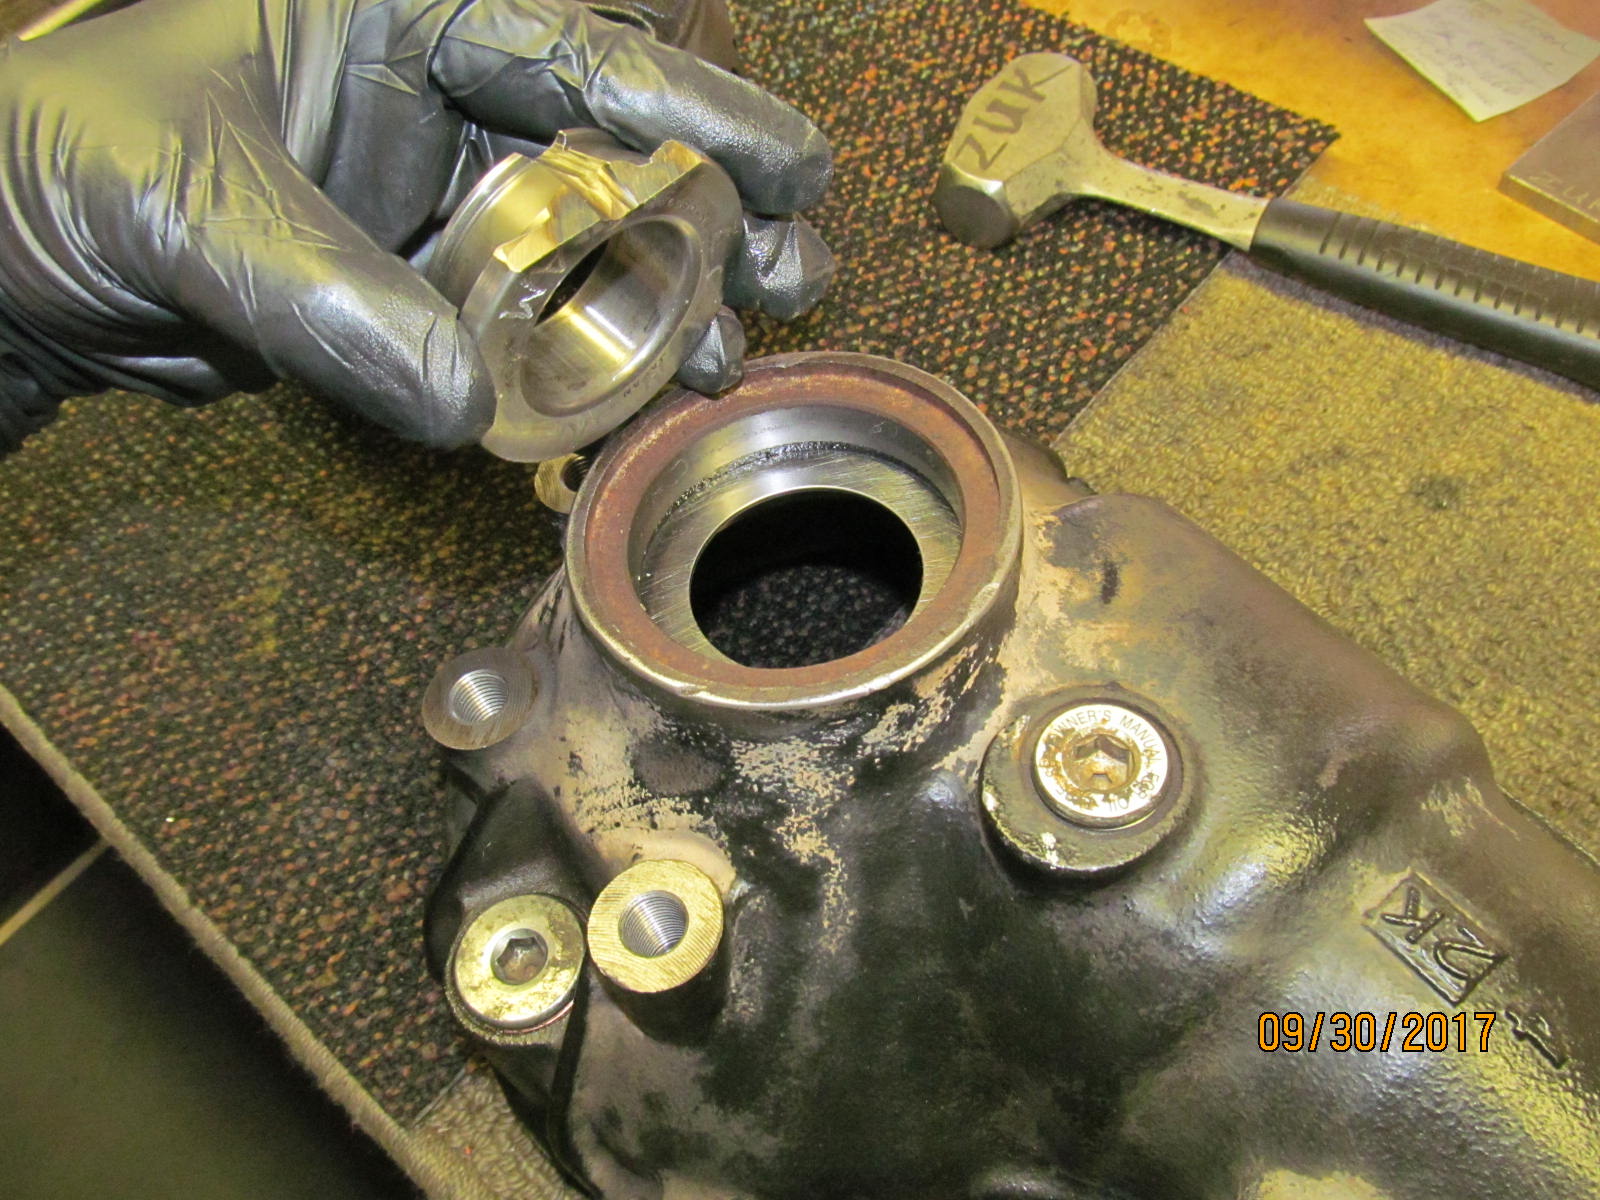
| The "bowl" now gets new races....the small outer race is tapped in place. |
|---|
|
|
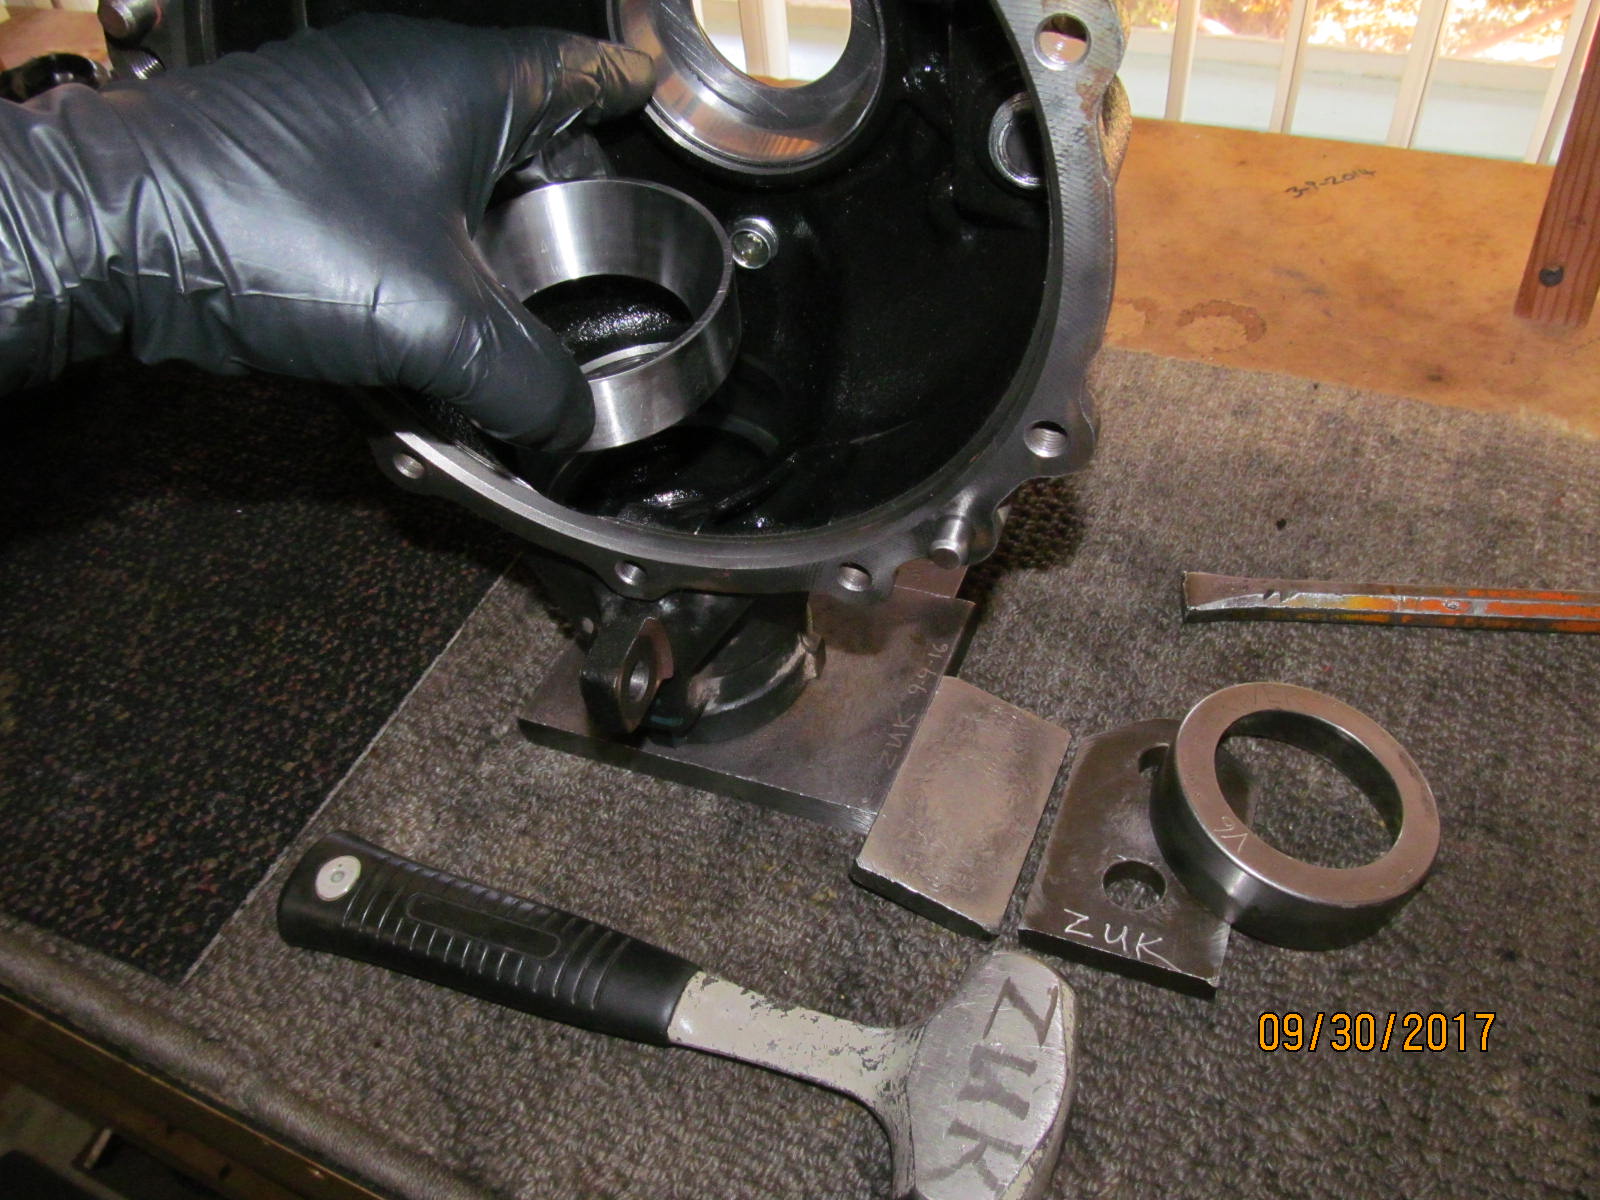
| The large inner race requires a certain finesse to get it to seat down. There is a fancy Toyota tool for this but I used my common sense tool... |
|---|
|
|
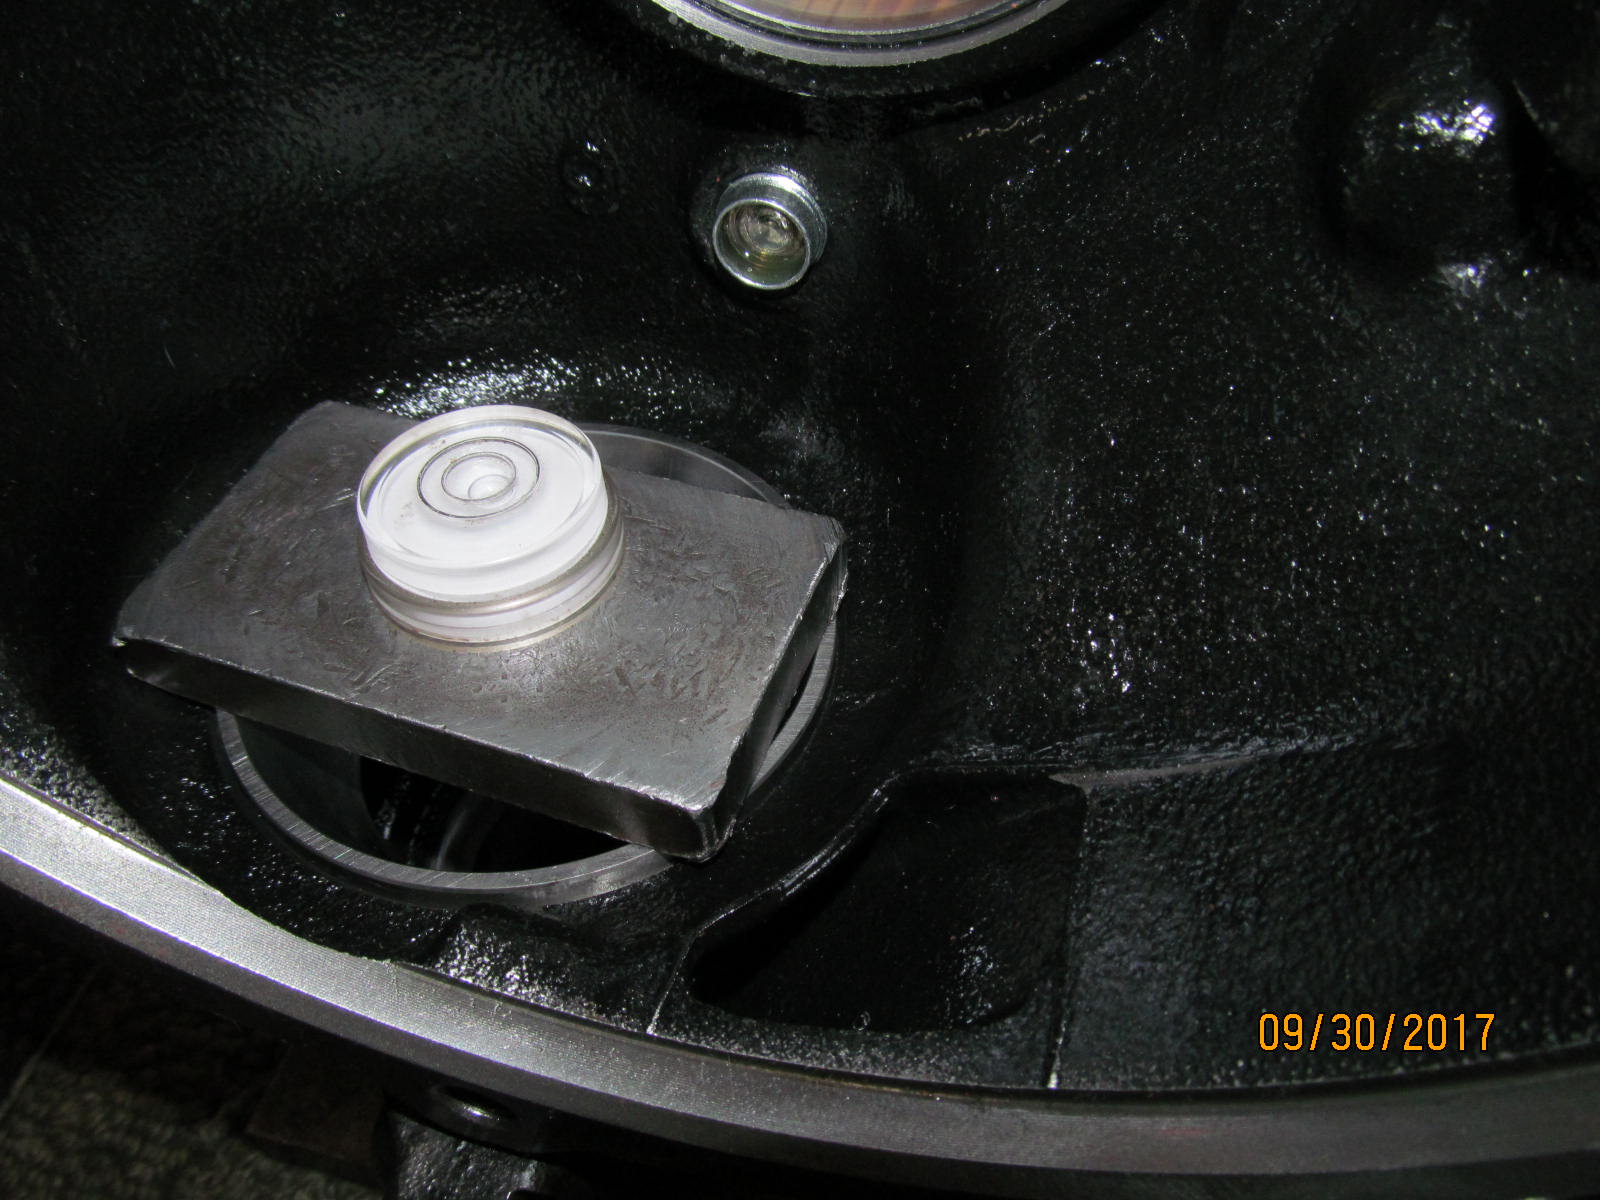
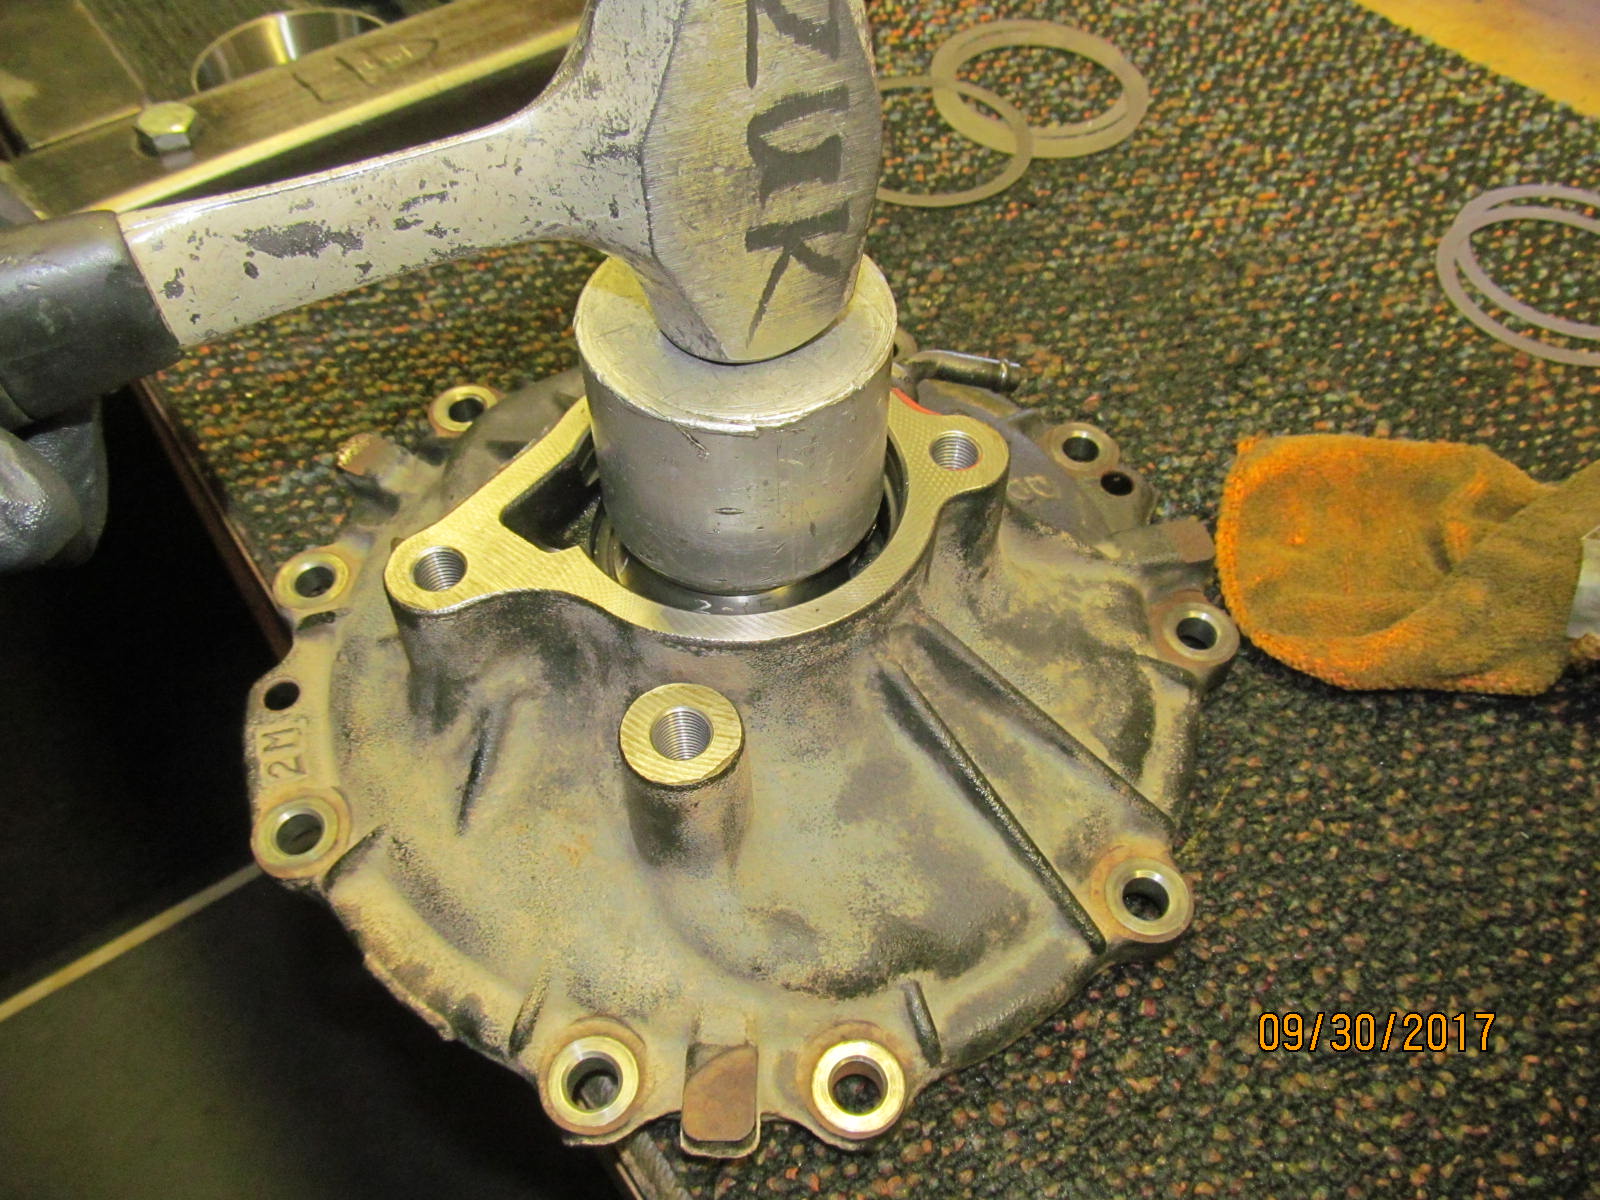
| This little 99 cent bubble allowed me to tap down the race evenly. It's important to use the right kind of hammer for the limited space involved. |
|---|
|
|
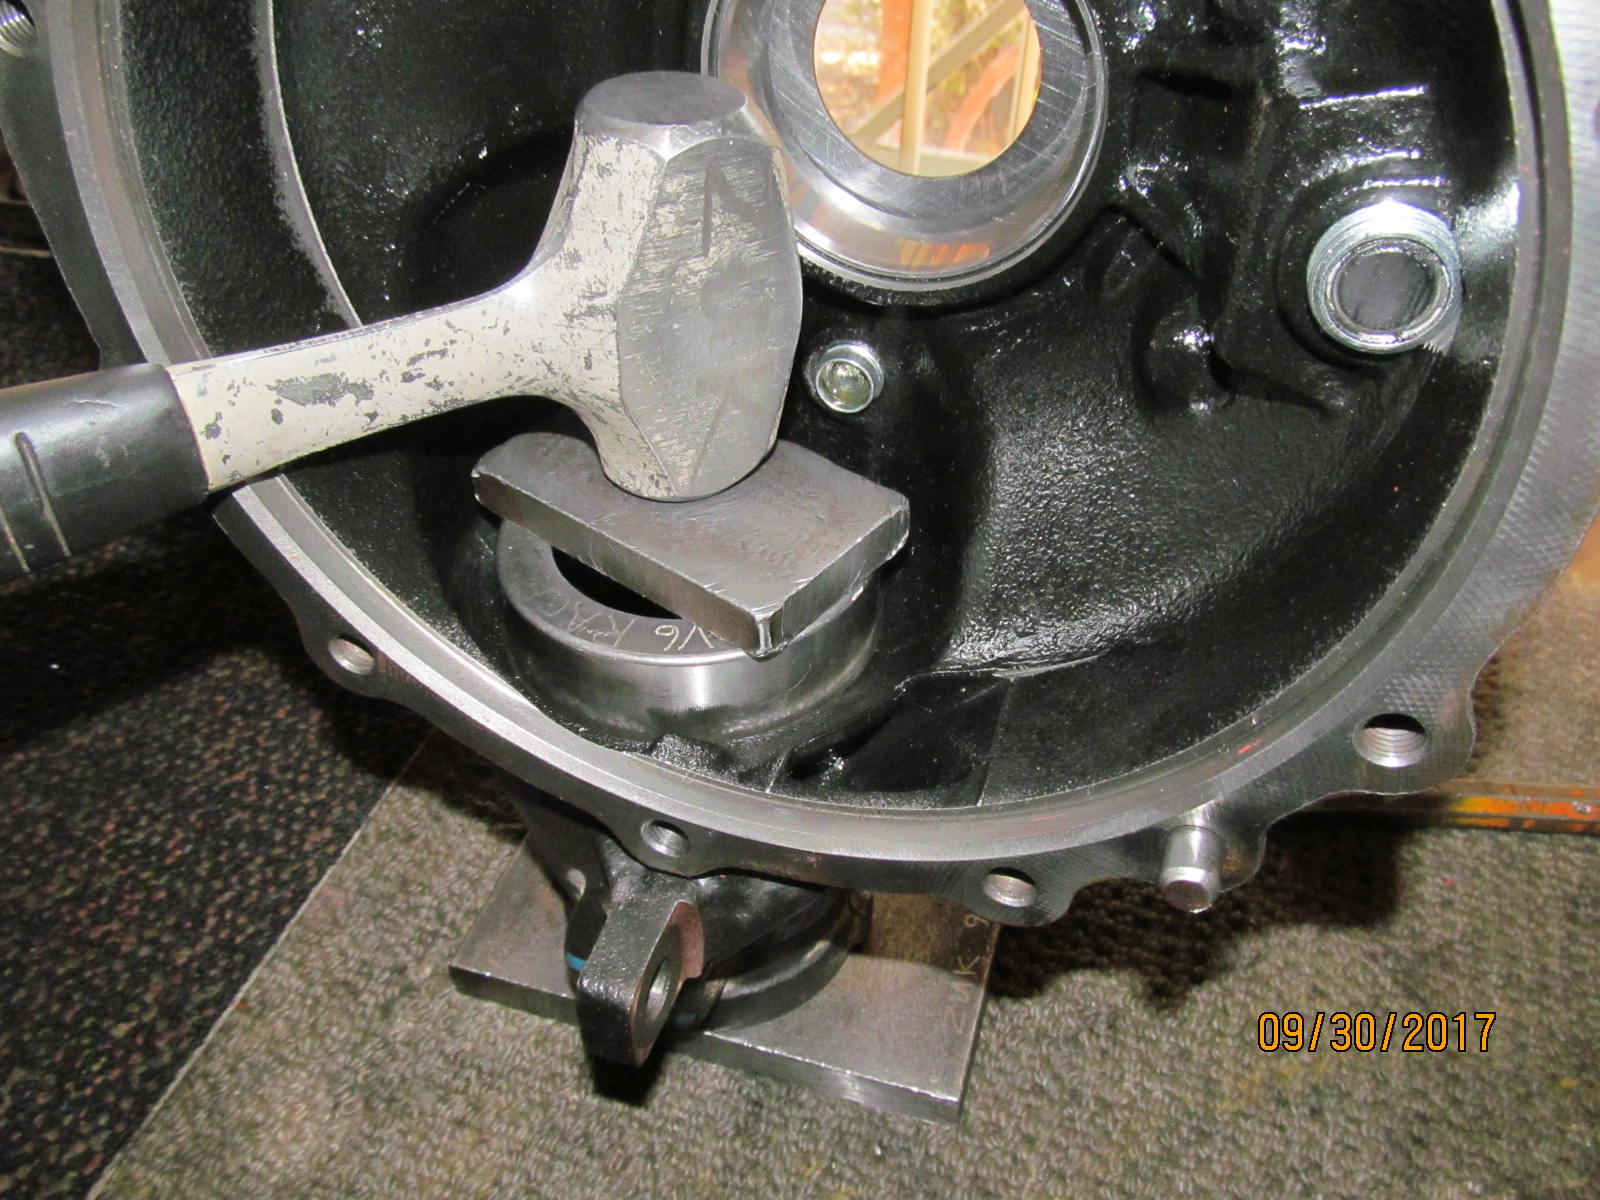
| It has to be a low profile heavy hammer like this one. The standard claw hammer does not allow a decent swinging force. |
|---|
|
|
| Bada bing bada boom. Done..... 100% seated. |
|---|
|
|
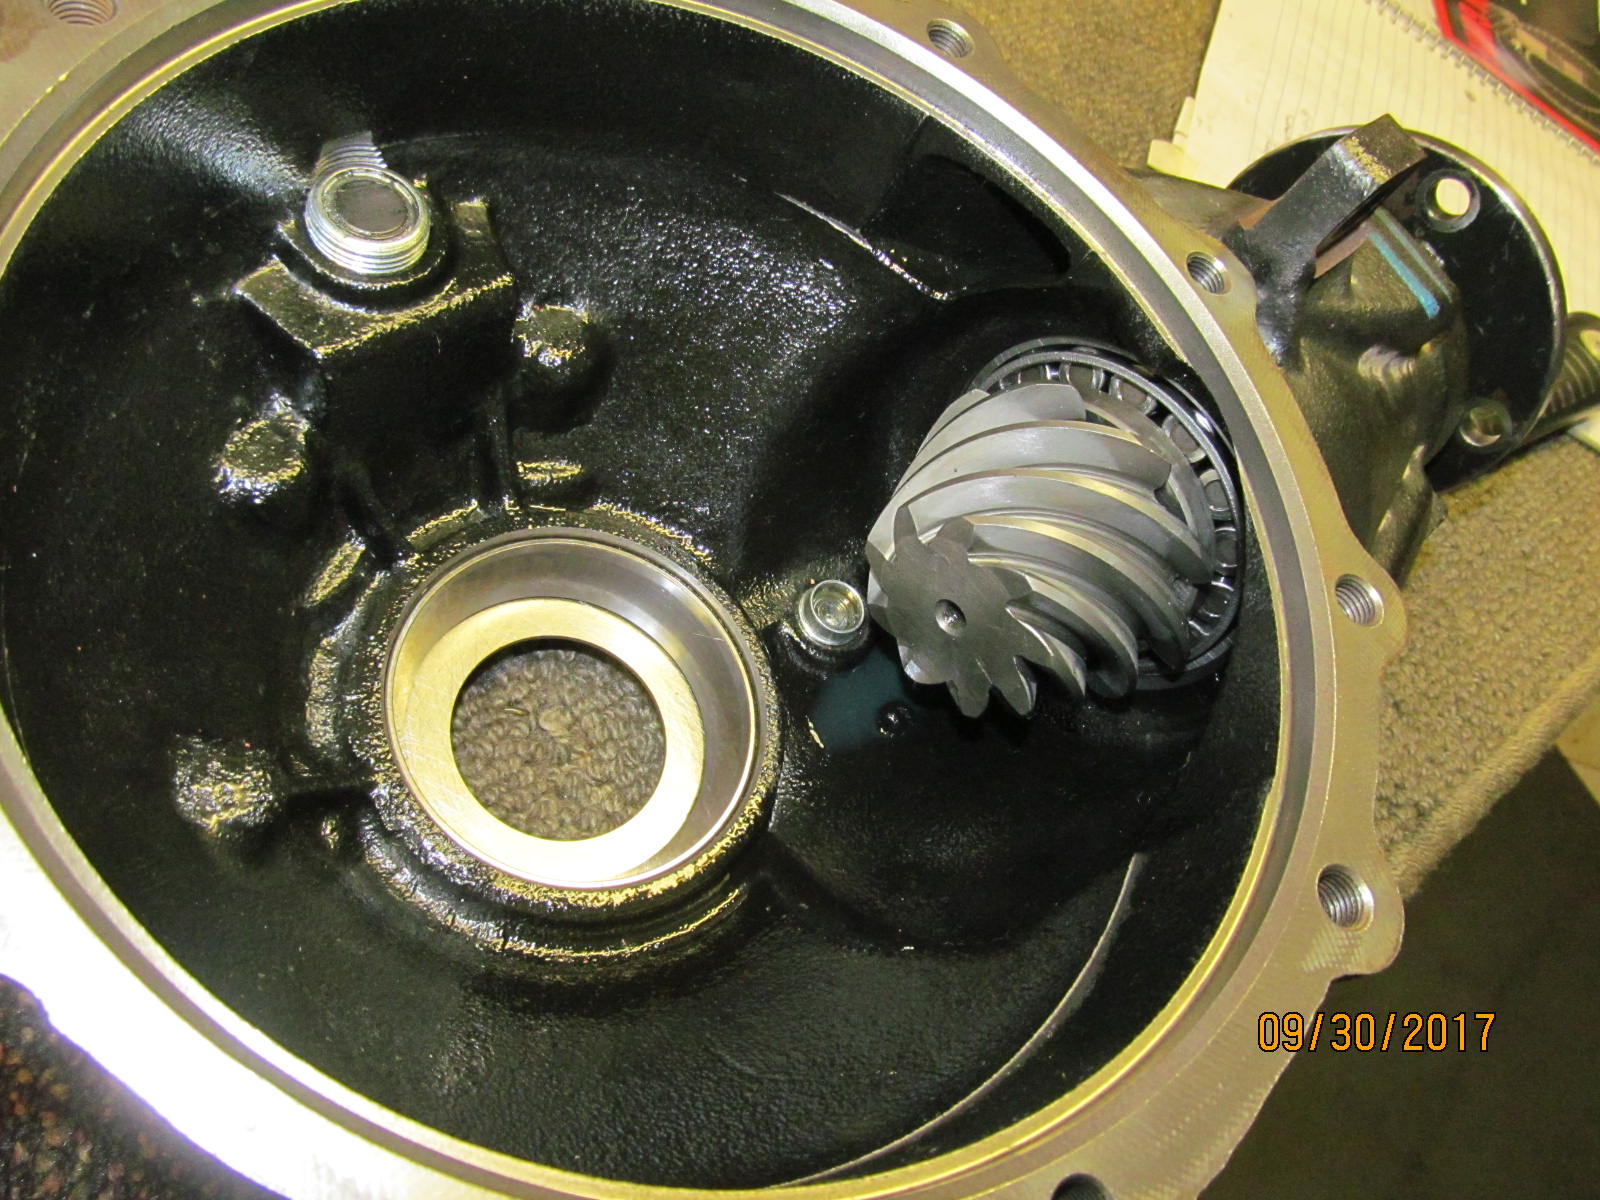
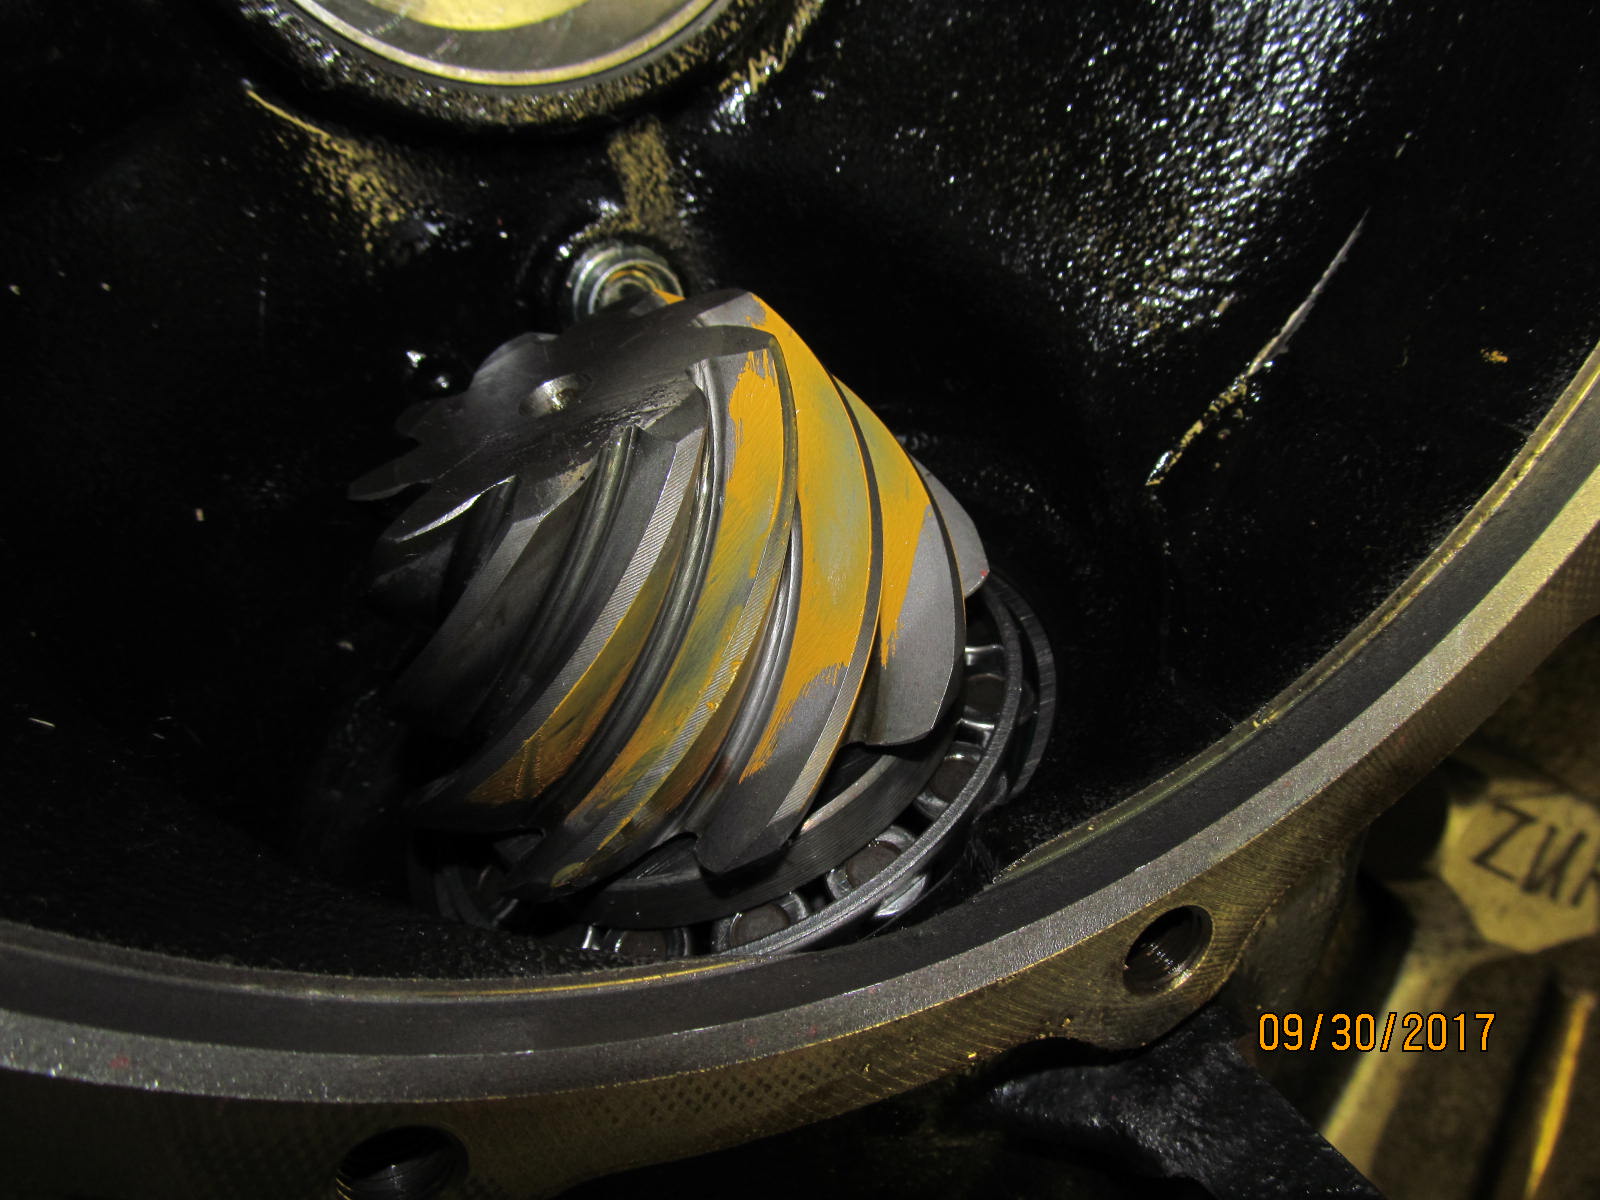
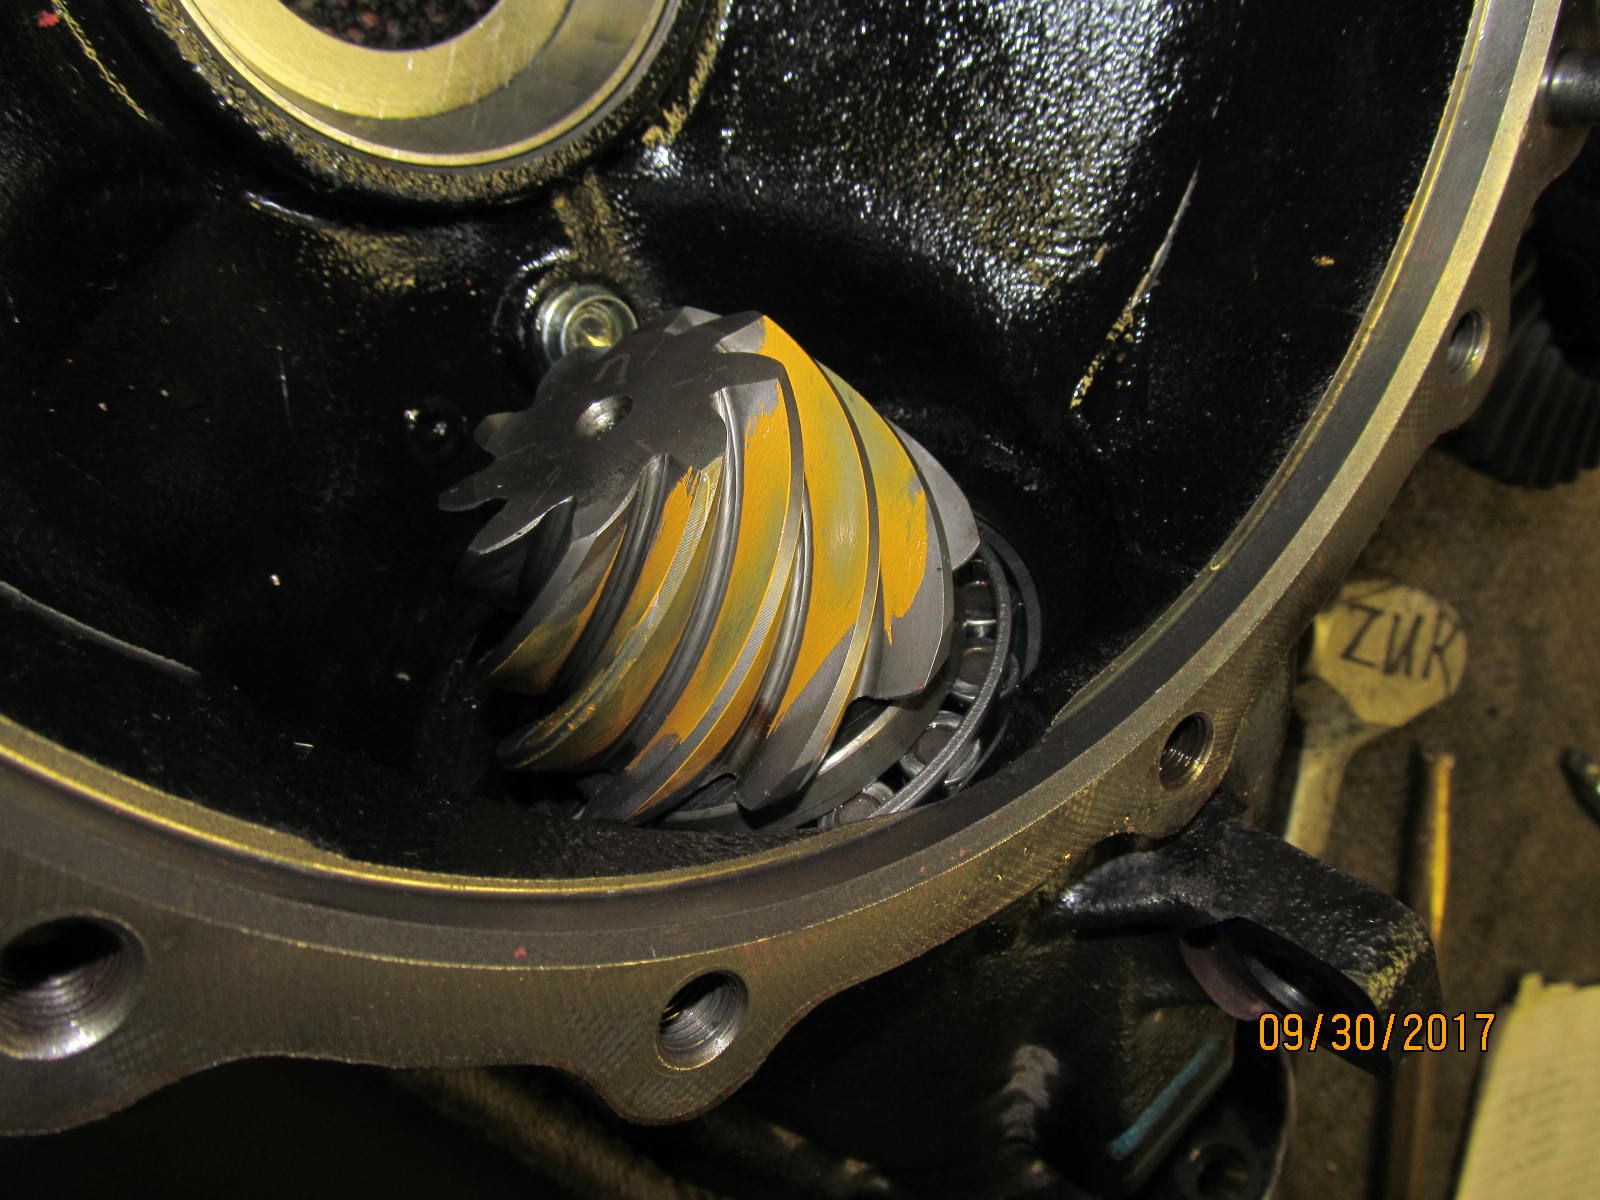
| 456 pinion has been mounted for pre-test setup. The old races are left undisturbed for the moment. |
|---|
|
|
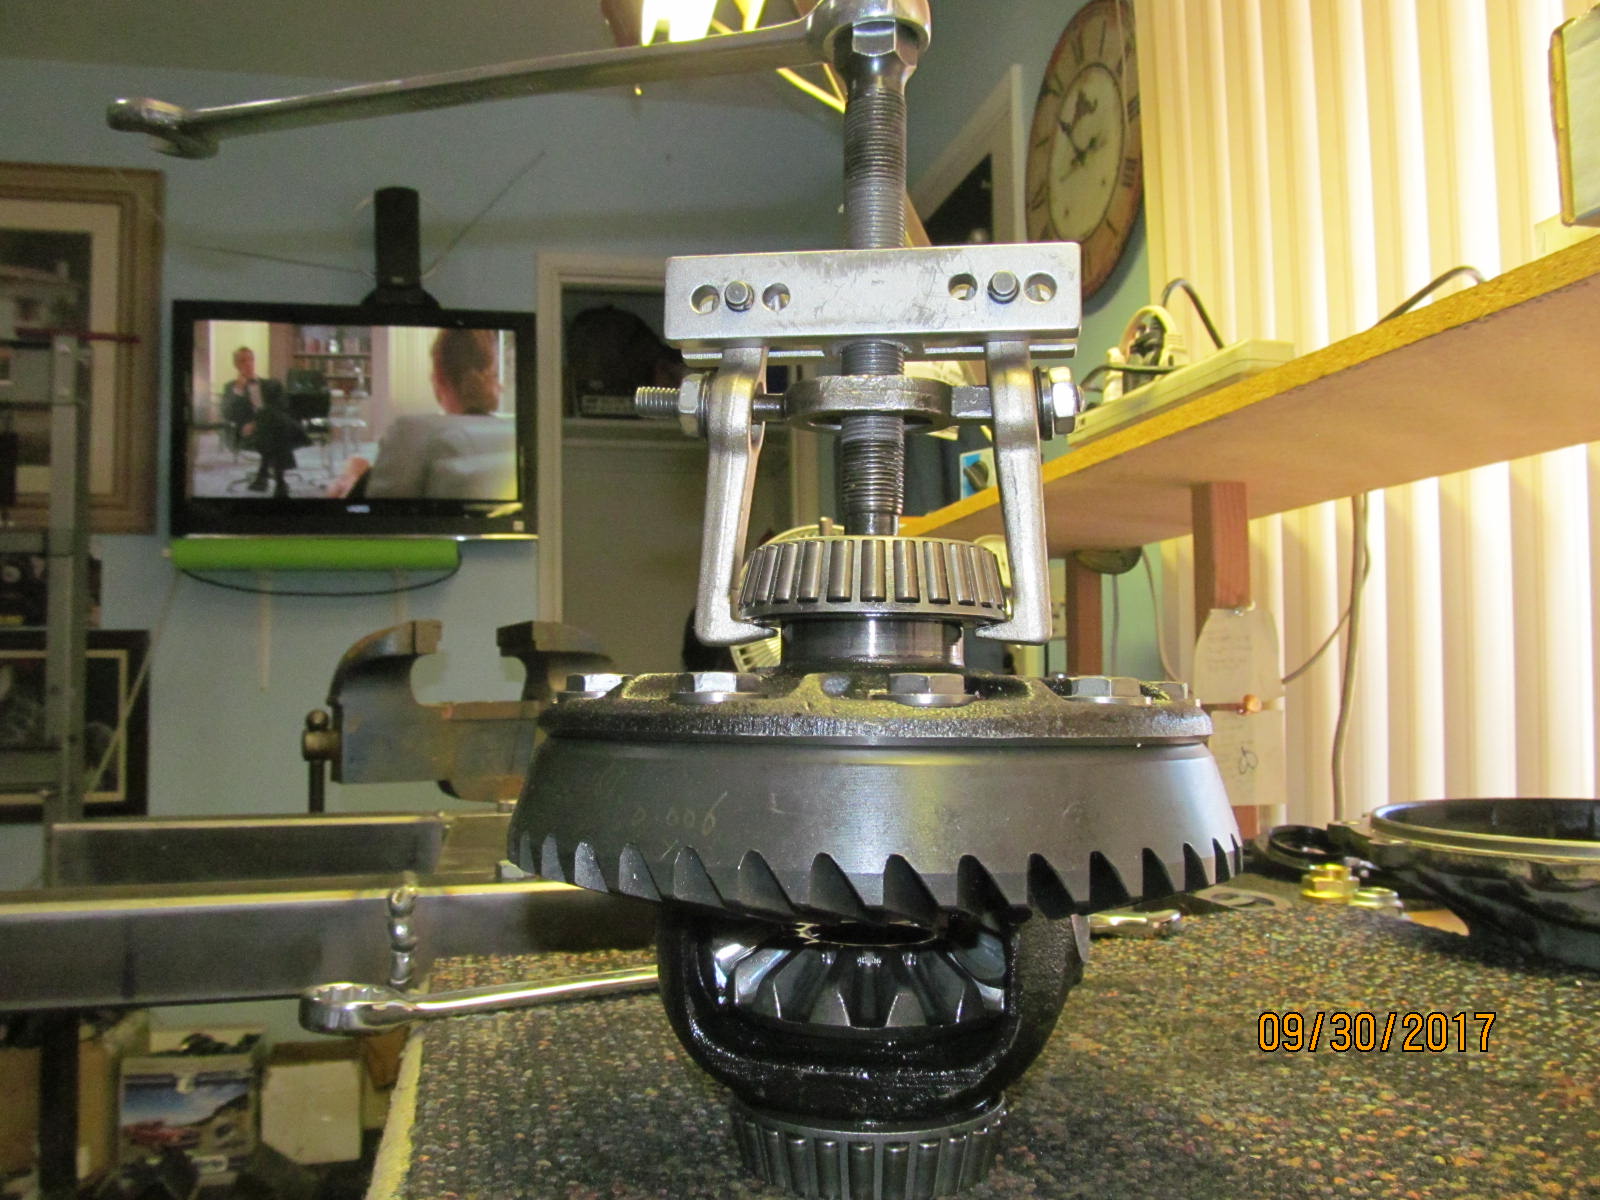
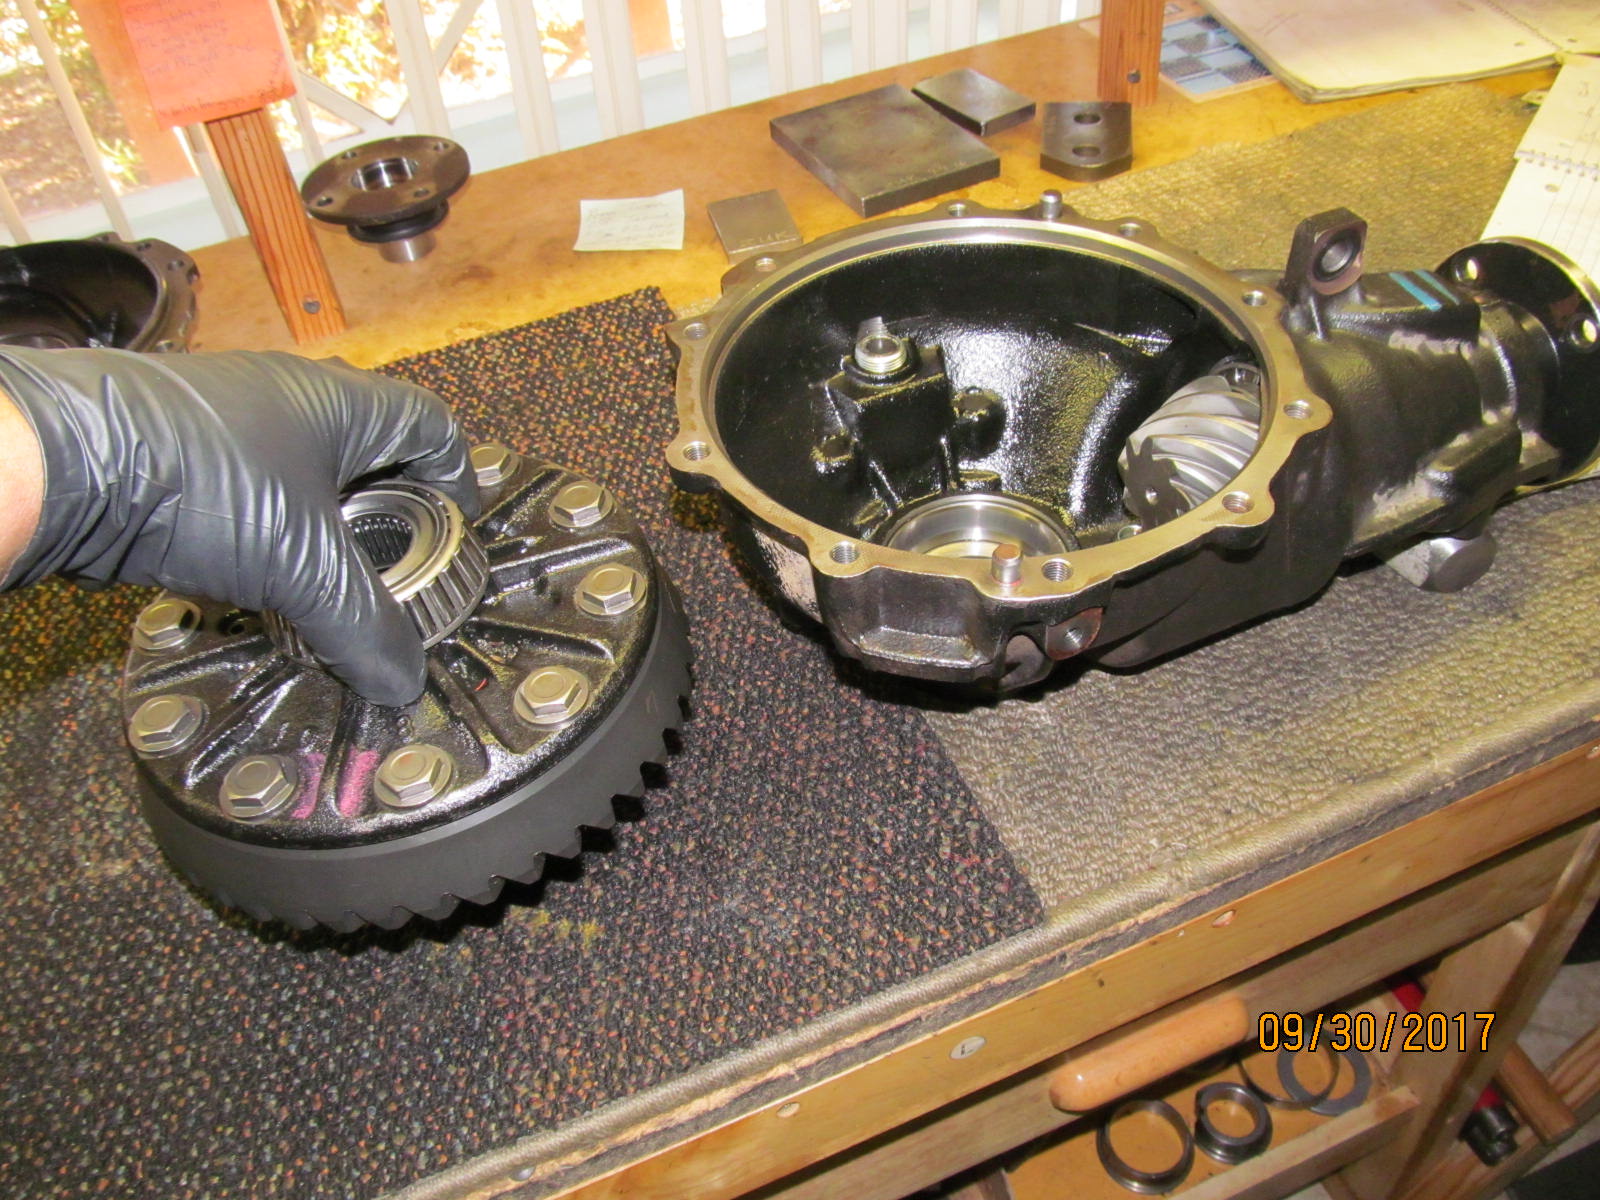
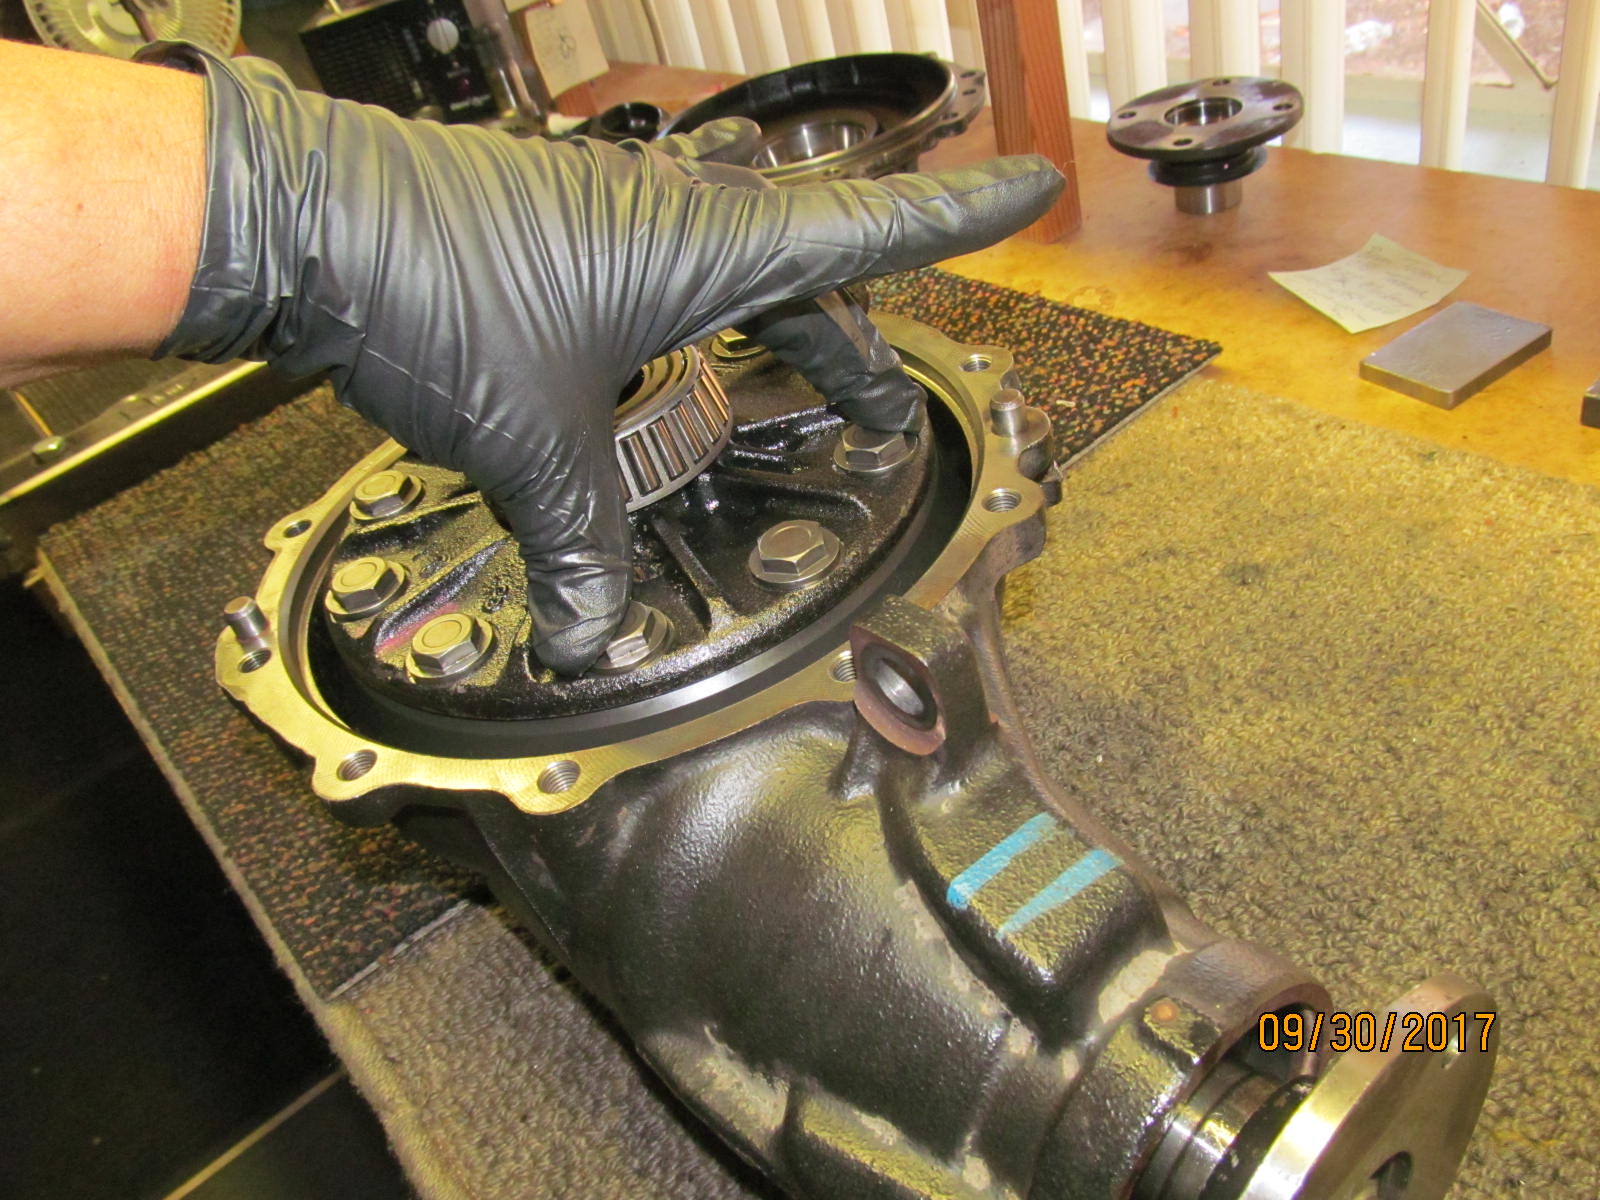
| The heavy carrier is picked up and lowered in place. |
|---|
|
|
This is very un-scientific....but I feel no backlash at all. I need to feel about .010" backlash before anything can happen.
That means the washer plate behind the used carrier bearing race has to be at least .010" thicker....probably more. |
|---|
|
|
| Turn the bowl upside down and tap out the washer plate. |
|---|
|
|
| Tap tap. Skipped a few pics but replaced the oem washer plate(.068") in the bowl with .085" and that did the trick. |
|---|
|
|
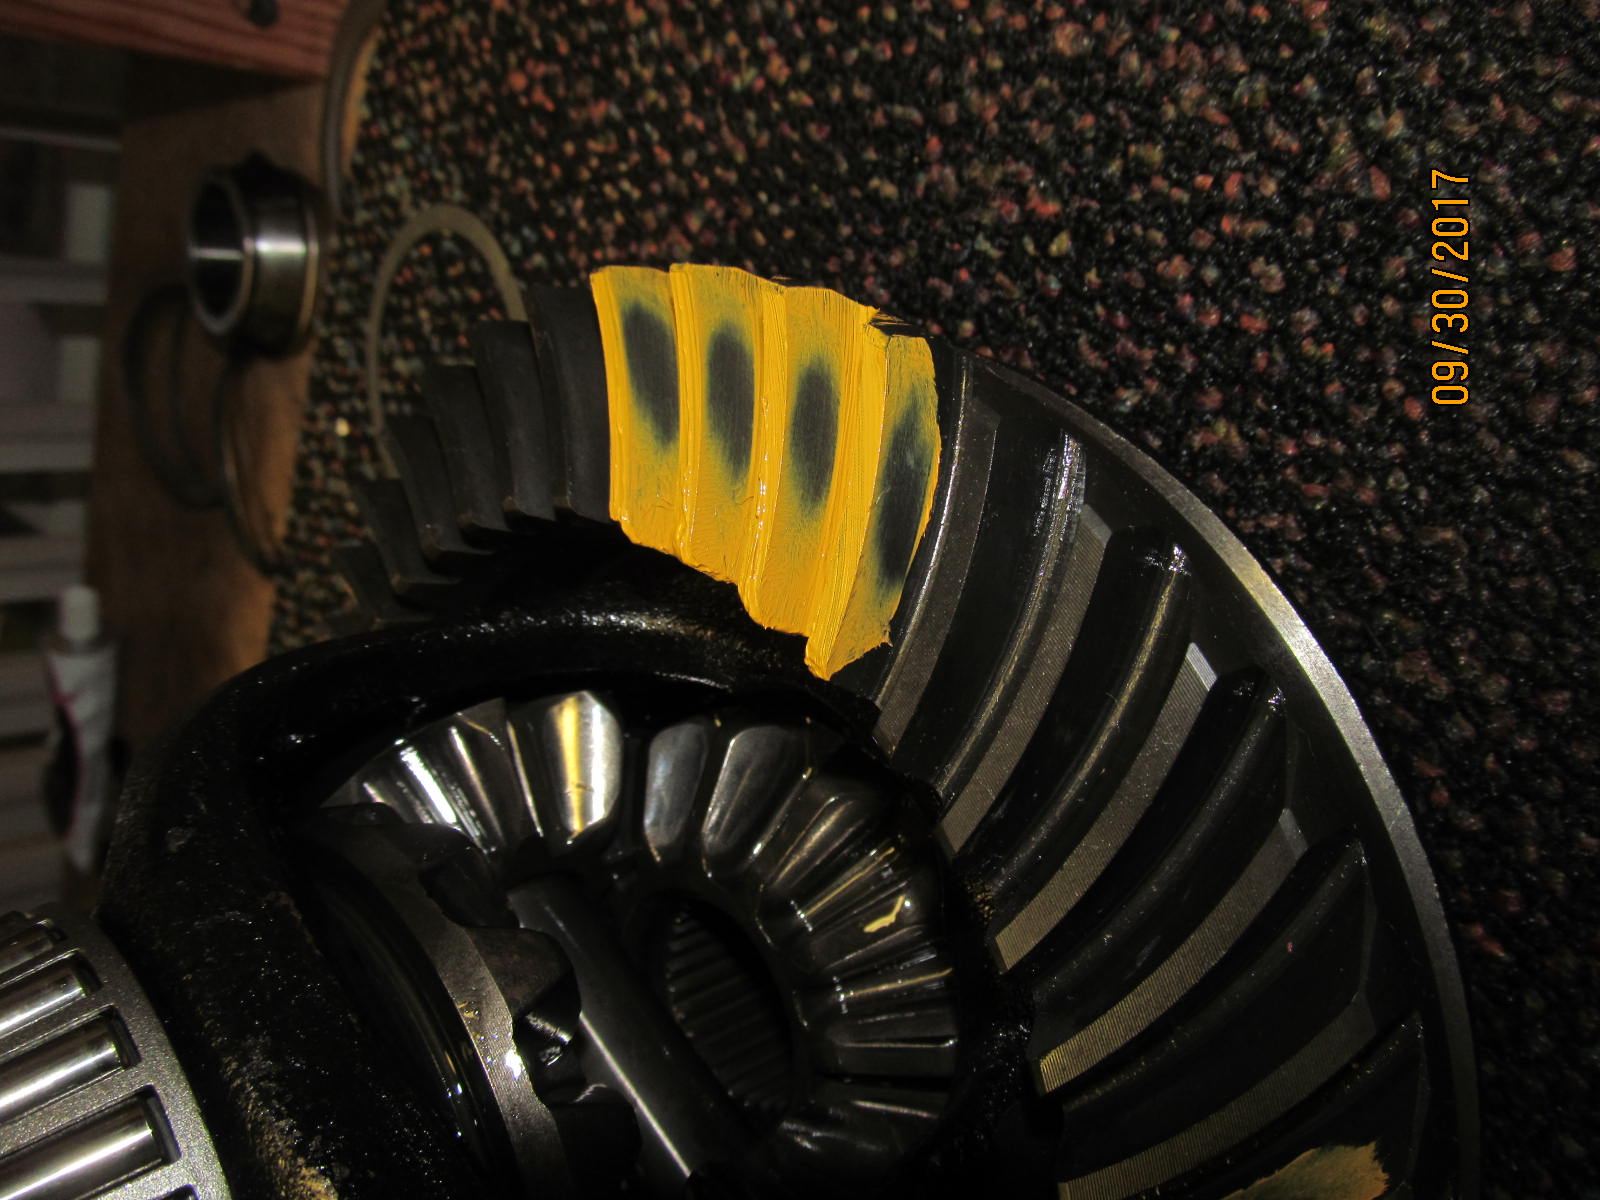
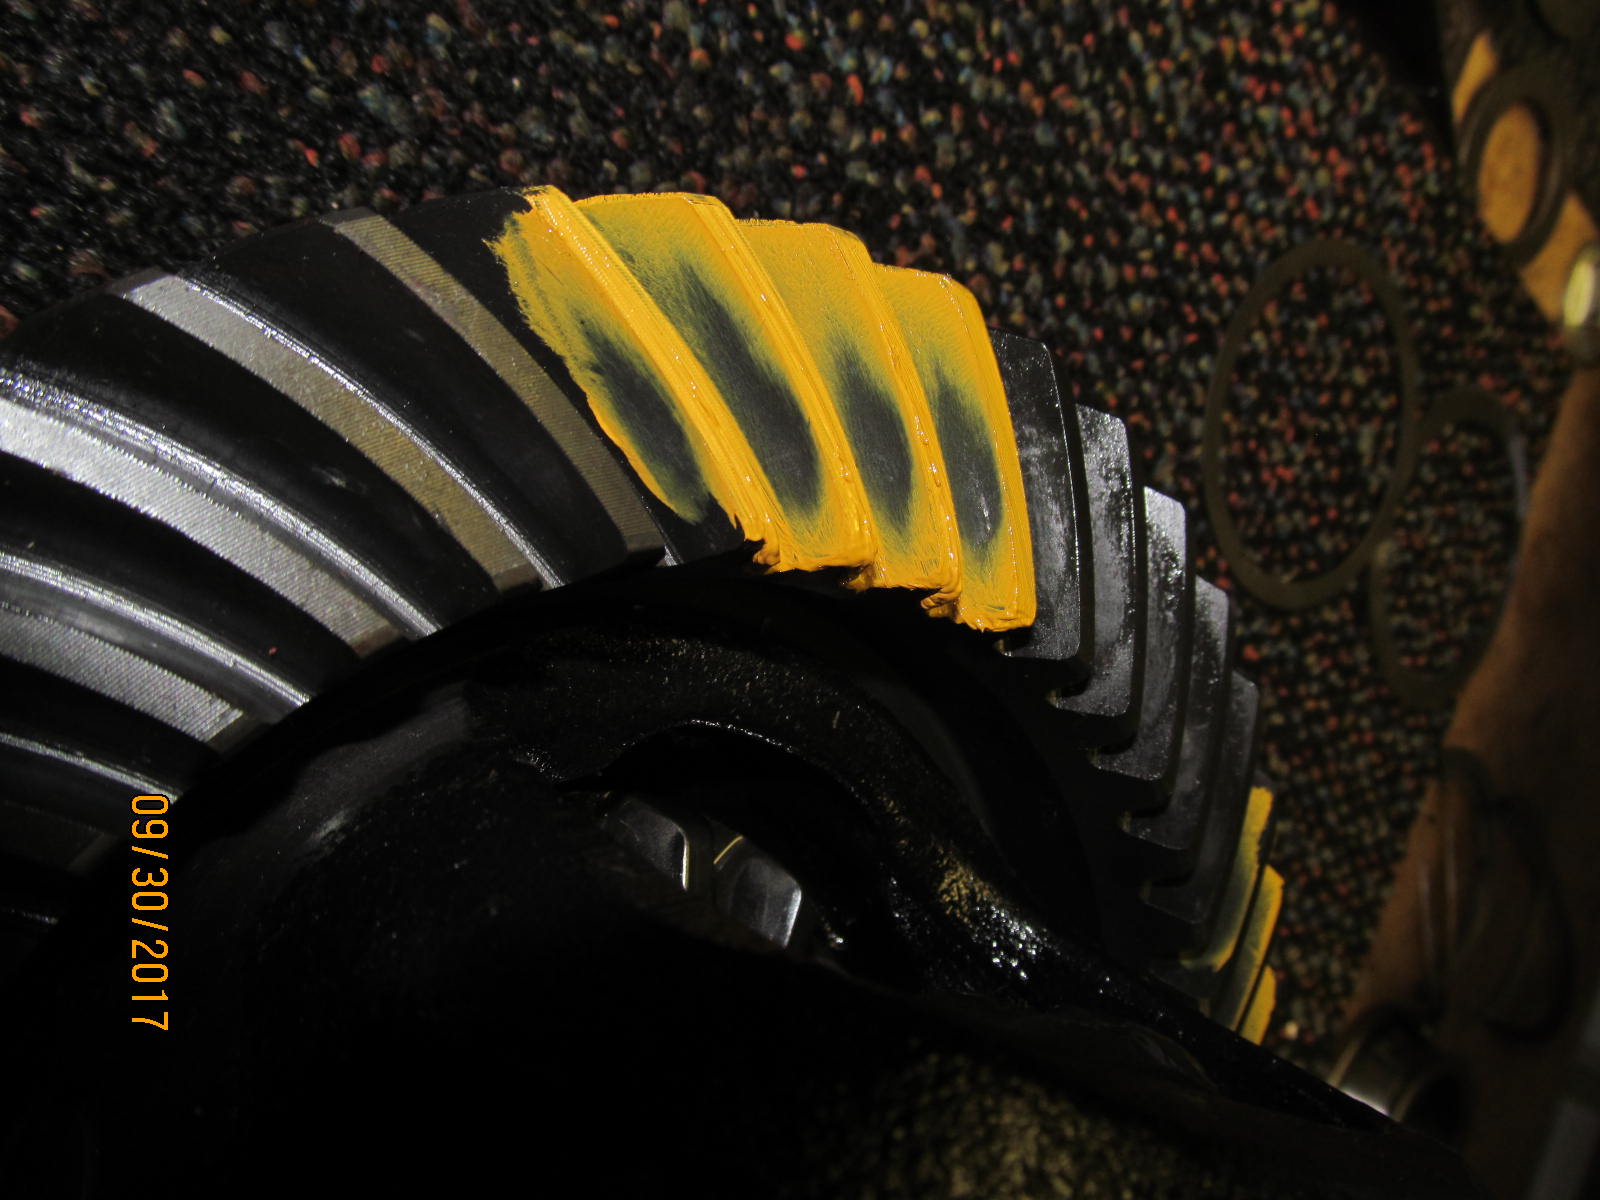
The 1st paint check shows the drive side as being too deep with the .077" pinion shim.
Didn't use alot of pressure so the paints are not that hi-quality here.... |
|---|
|
|
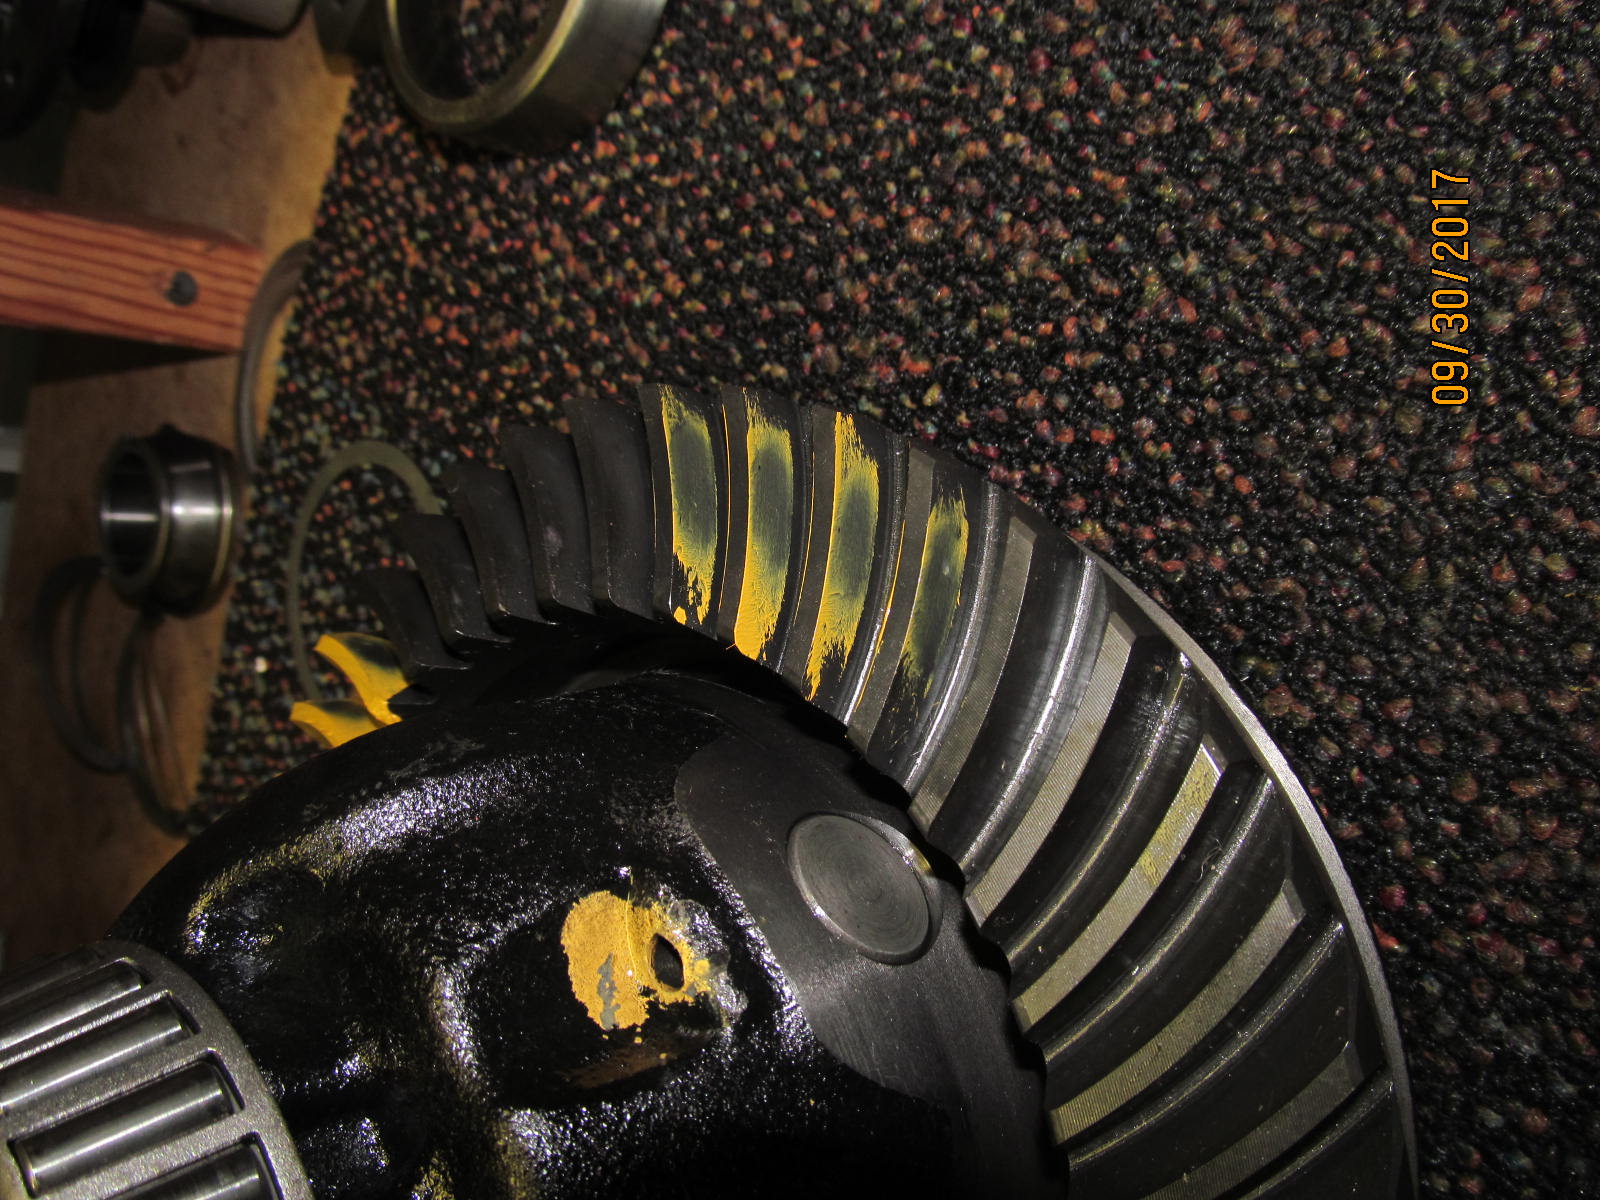
| Coast. |
|---|
|
|
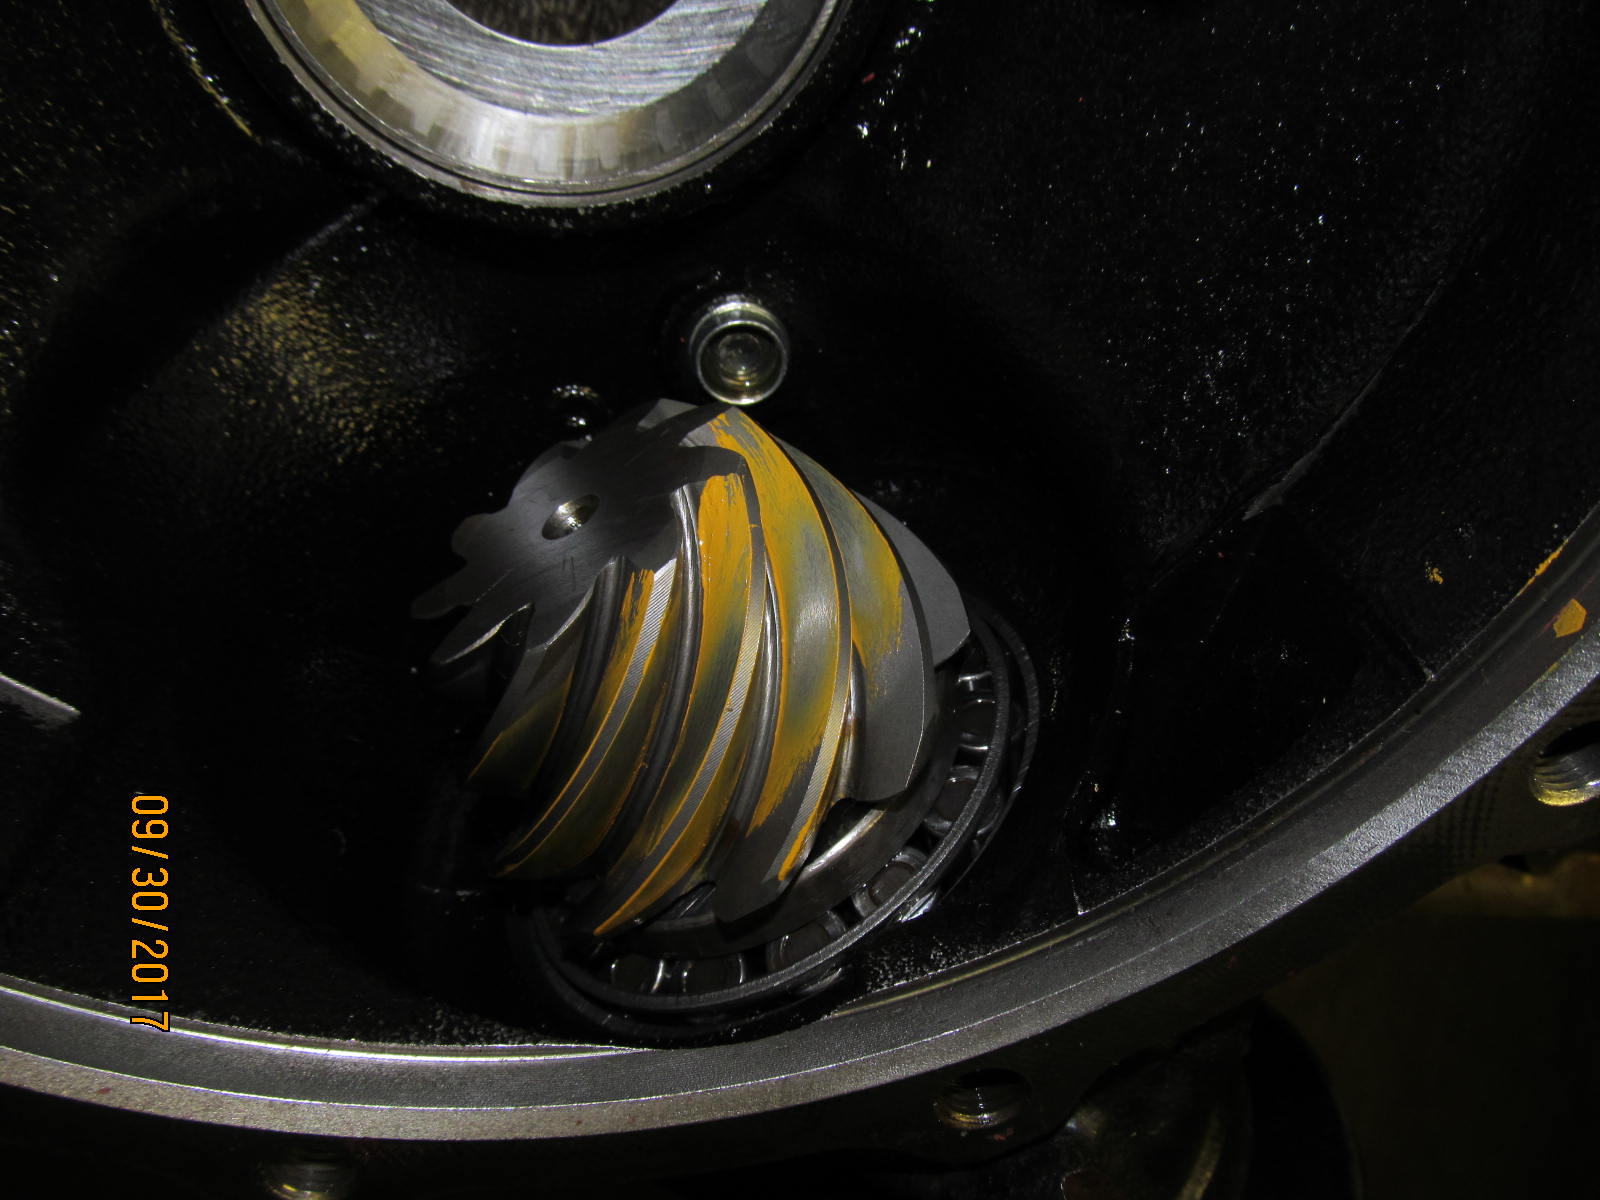
| Pinion paints.... |
|---|
|
|
| Bad angles and hard to tell..... |
|---|
|
|
| Teardown and just a little bit thinner pinion shim.....only 2.5 thou thinner. |
|---|
|
|
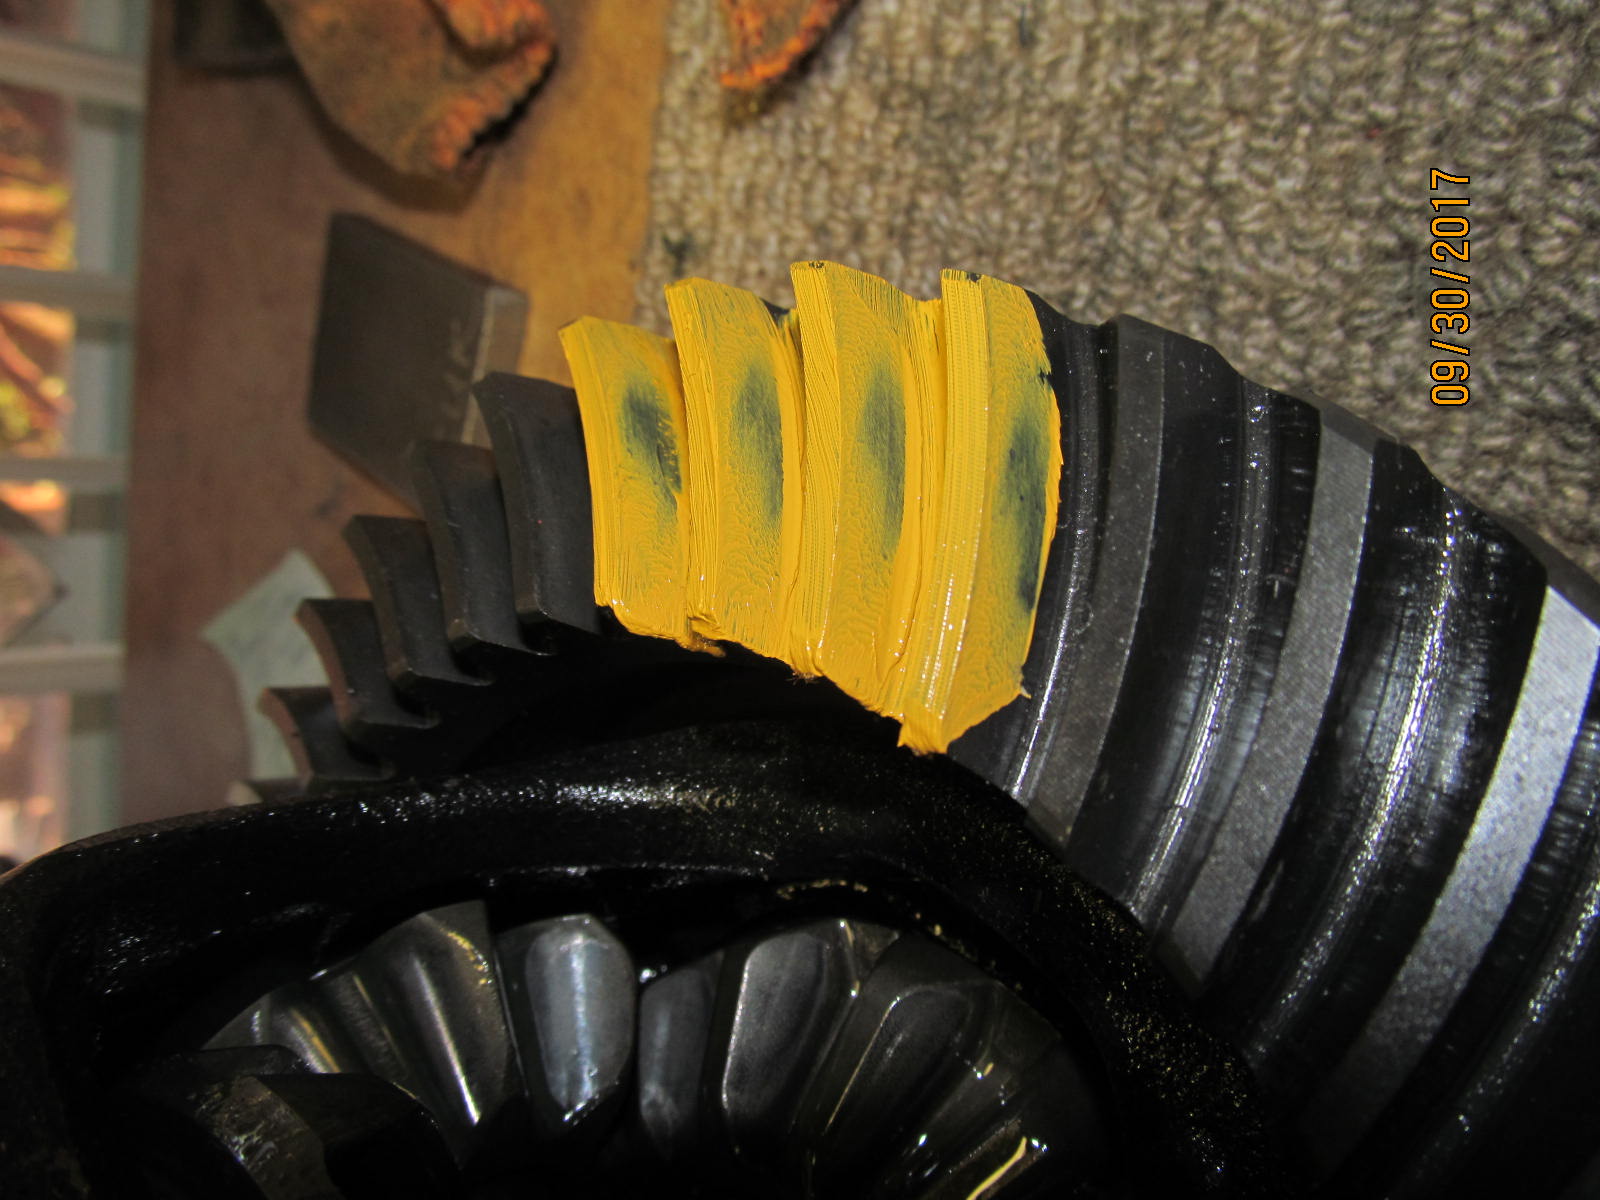
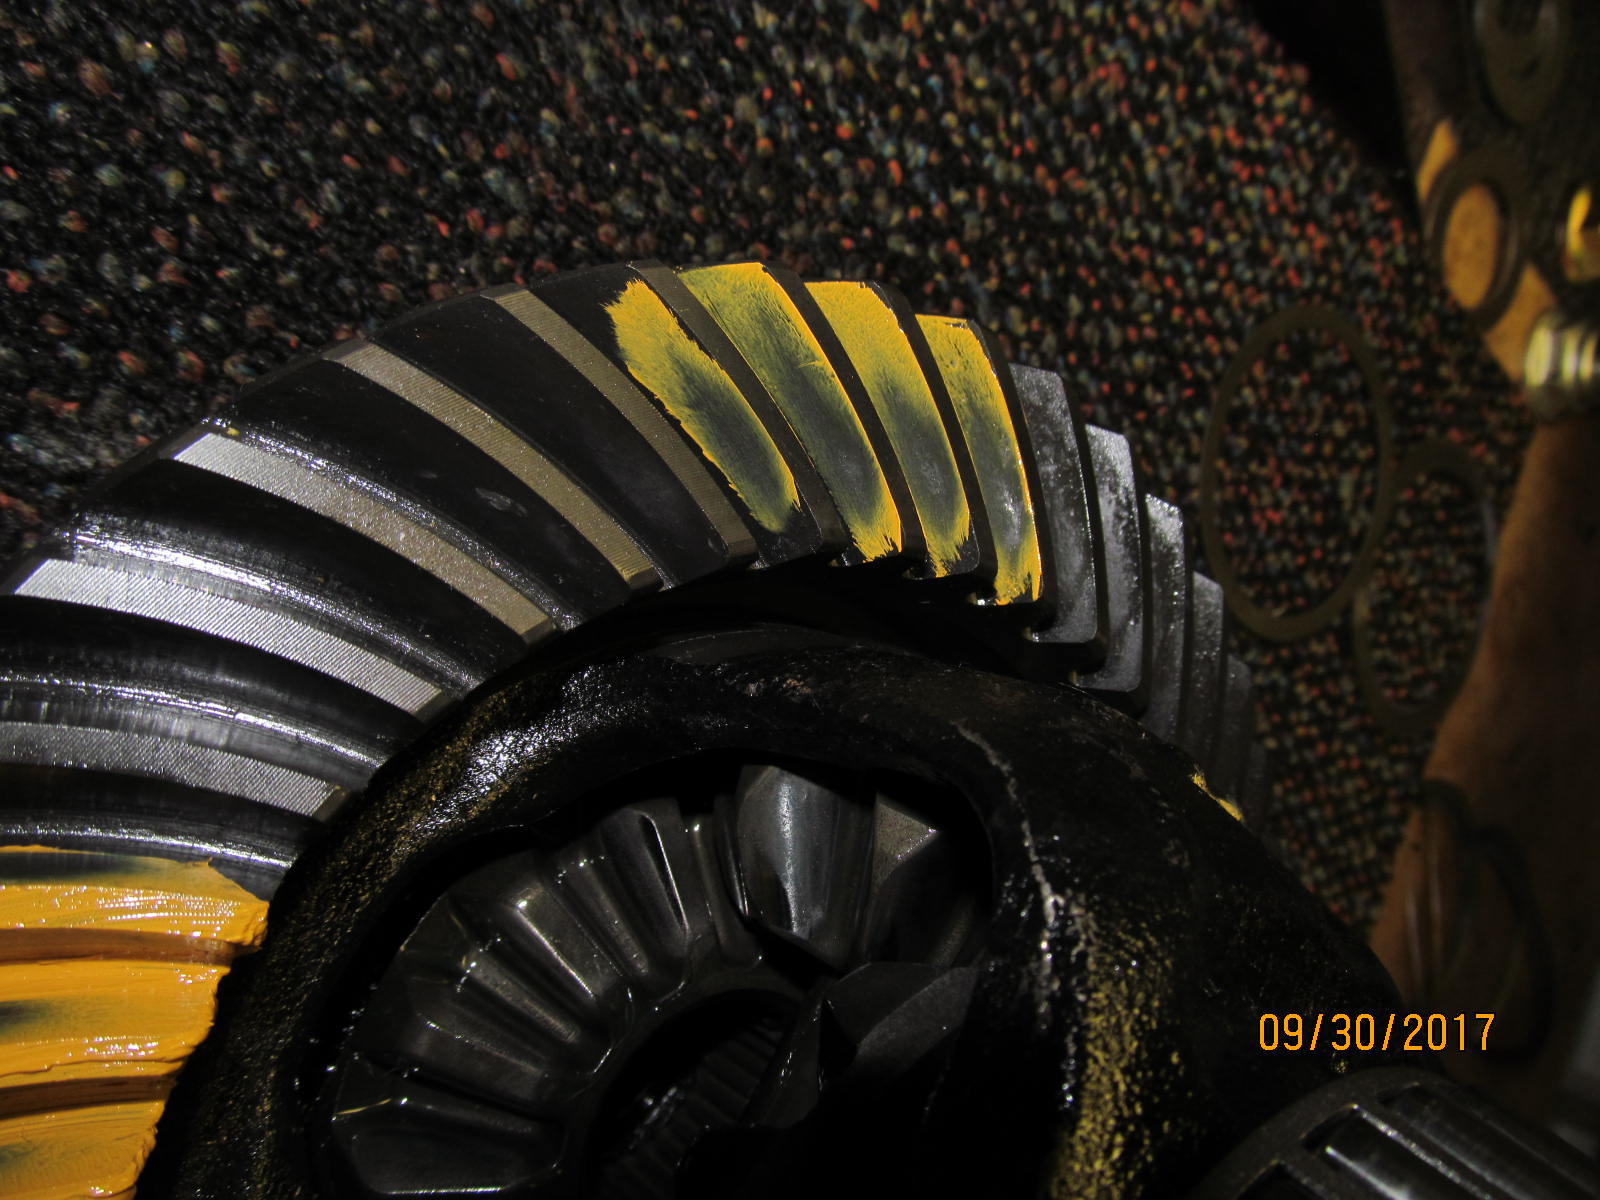
This time I was more careful about using good pressure and even swipes.
Drive side....very nice depth and a slight favoring to the heel. |
|---|
|
|
| Coast look wonderful. |
|---|
|
|
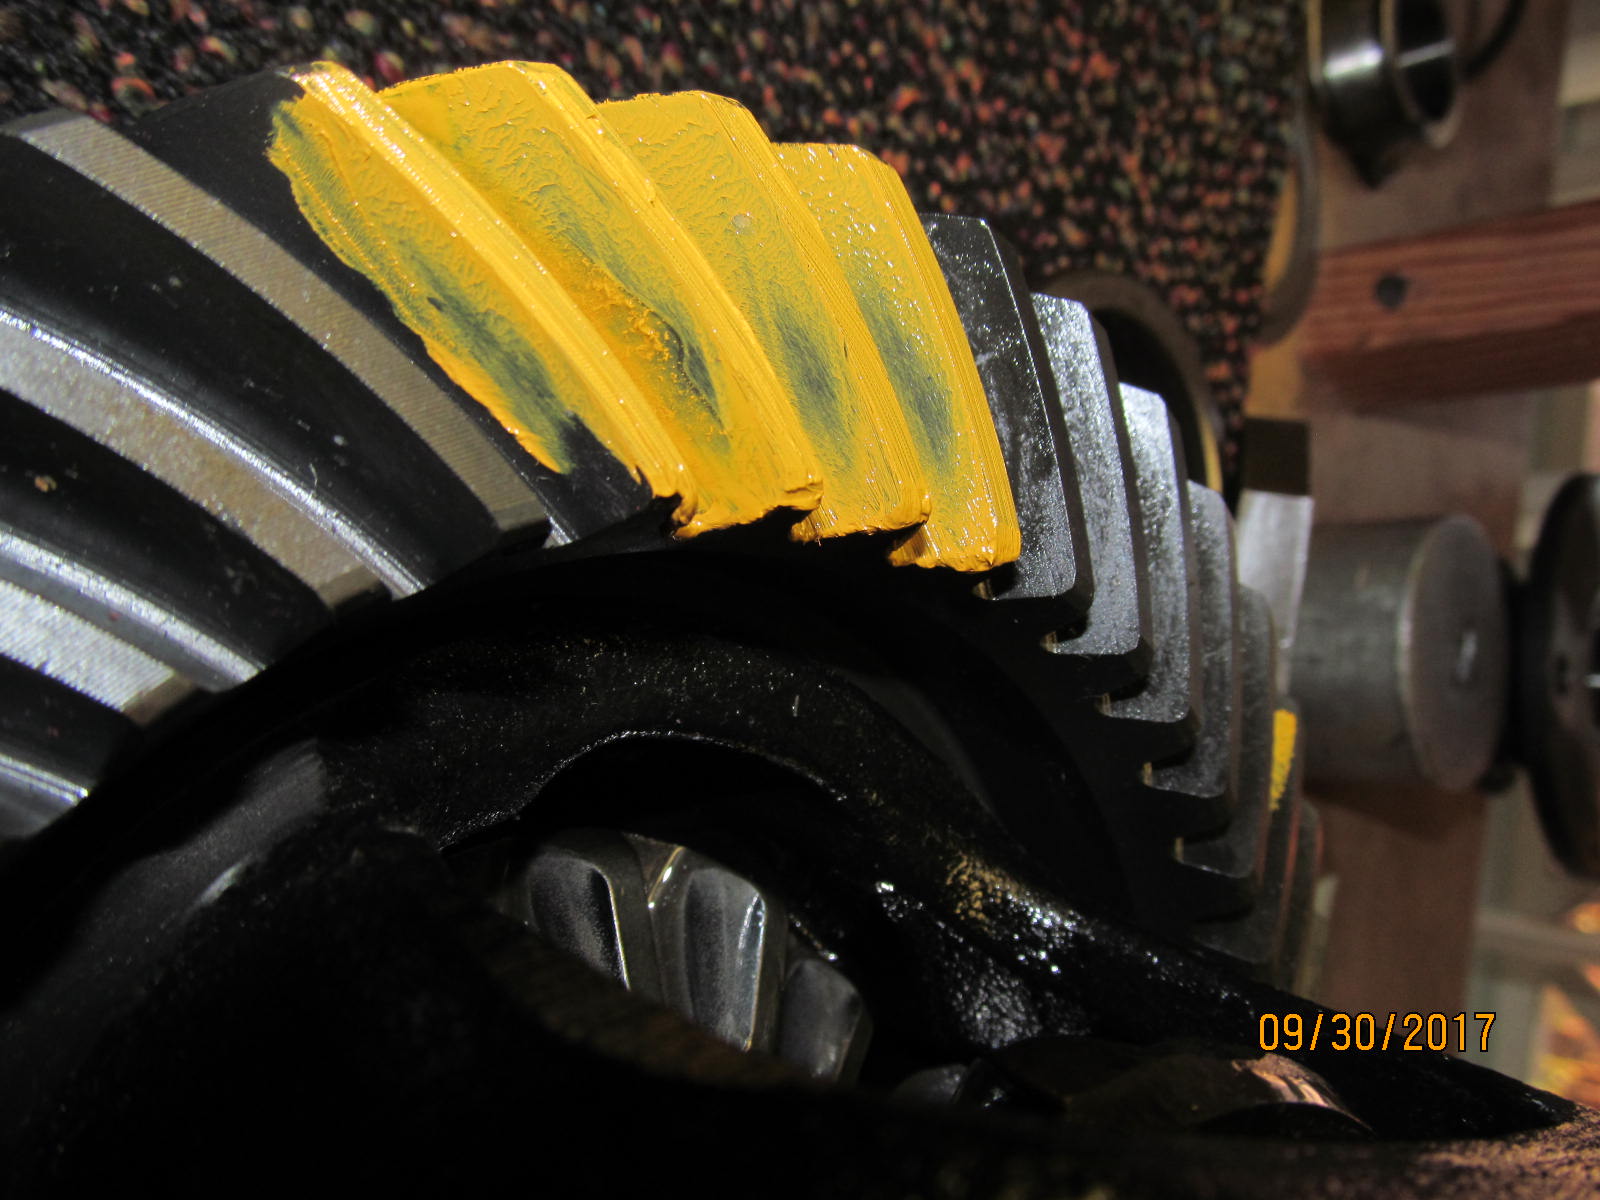
| Drive ...reverse painted. |
|---|
|
|
| Coast....reverse painted. |
|---|
|
|
| Comet tail looks good. |
|---|
|
|
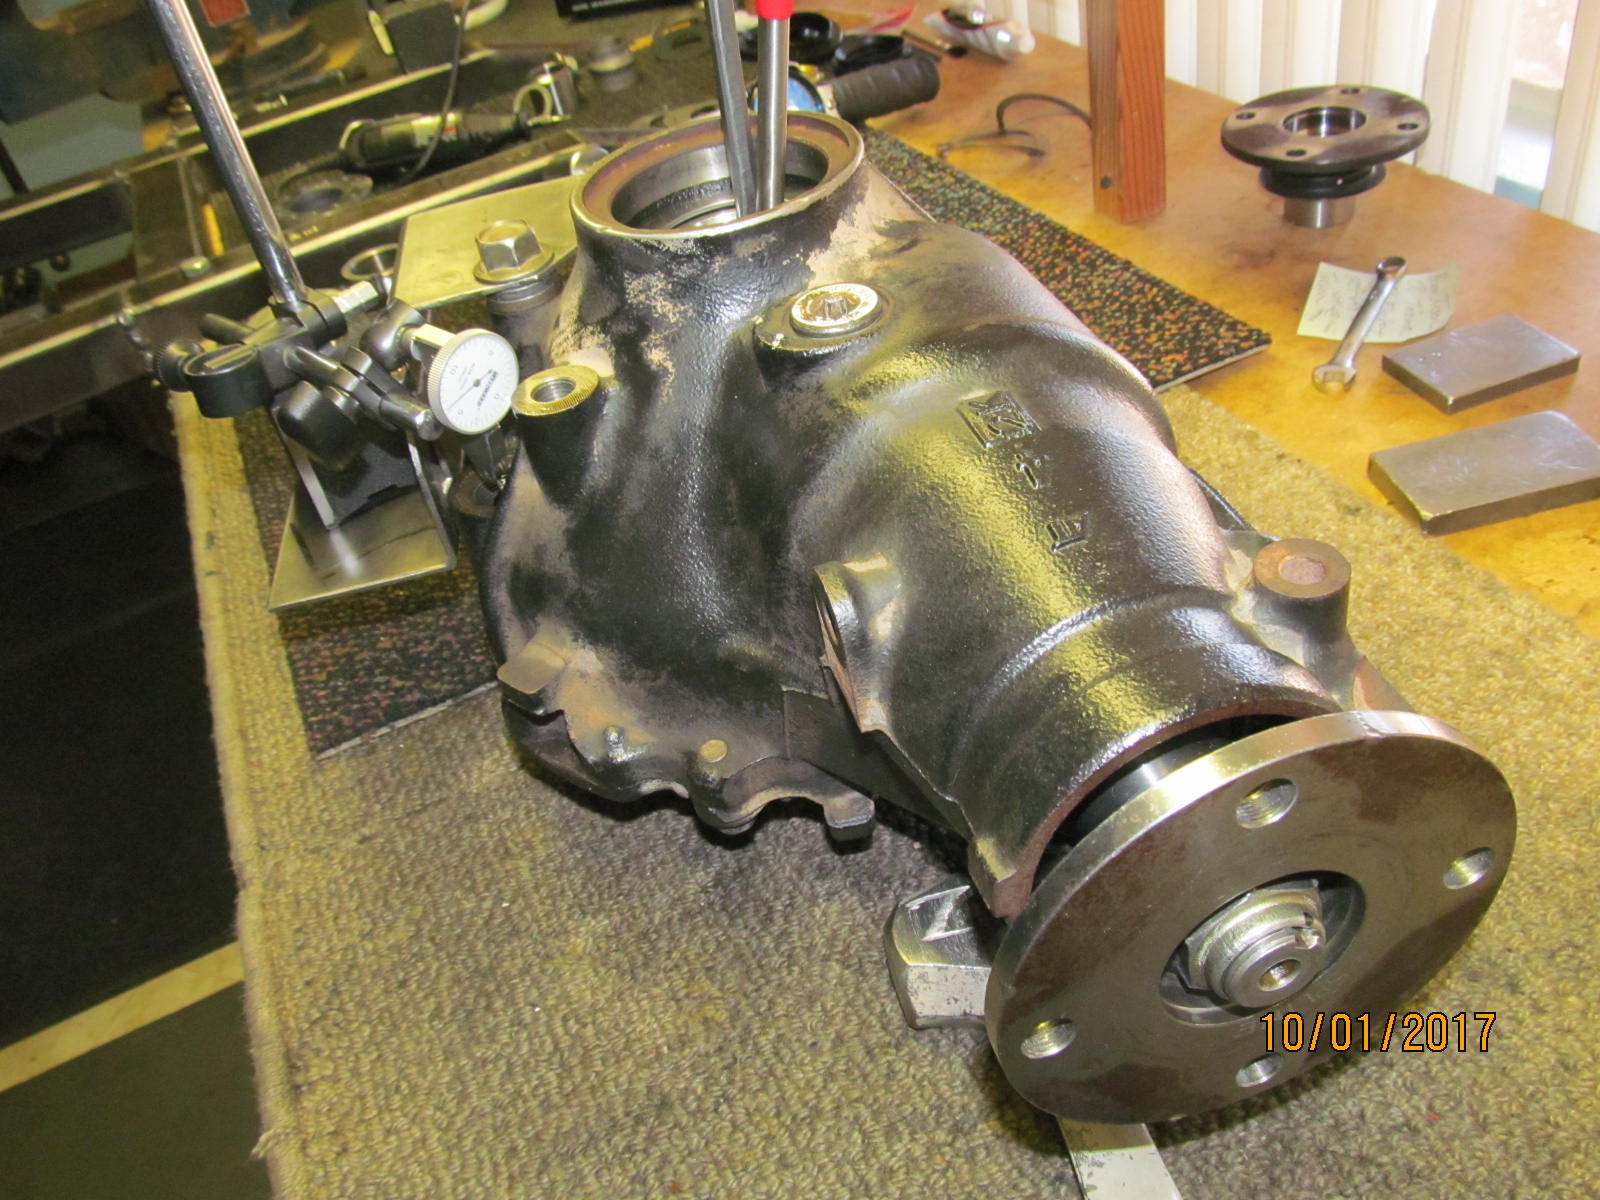
| Now is the time to fine tune both the backlash and the carrier bearing preloading. Using the lever style indicator is a little awkwards but it has to be done. |
|---|
|
|
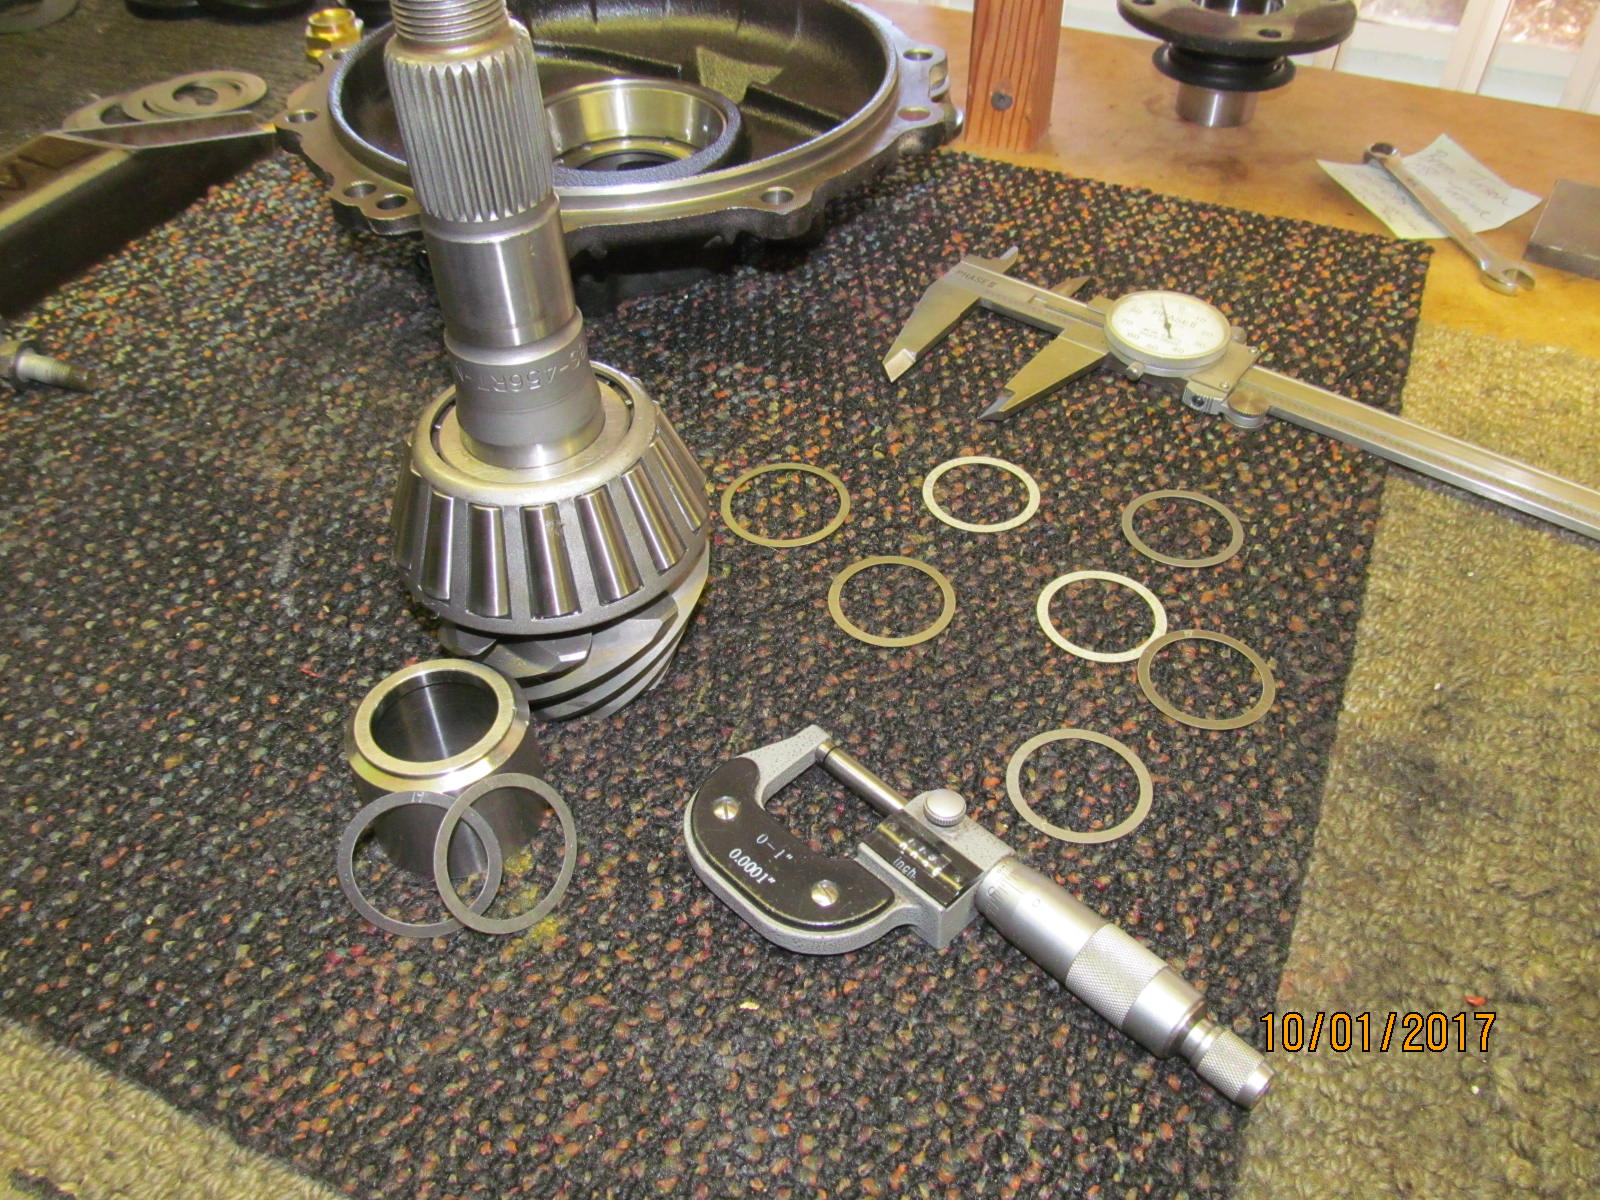
| Talk about luck....the solid collar measured 1.392" and the 1st shim I used was .027" and it hit the nail on the head. No further adjustment needed. |
|---|
|

|
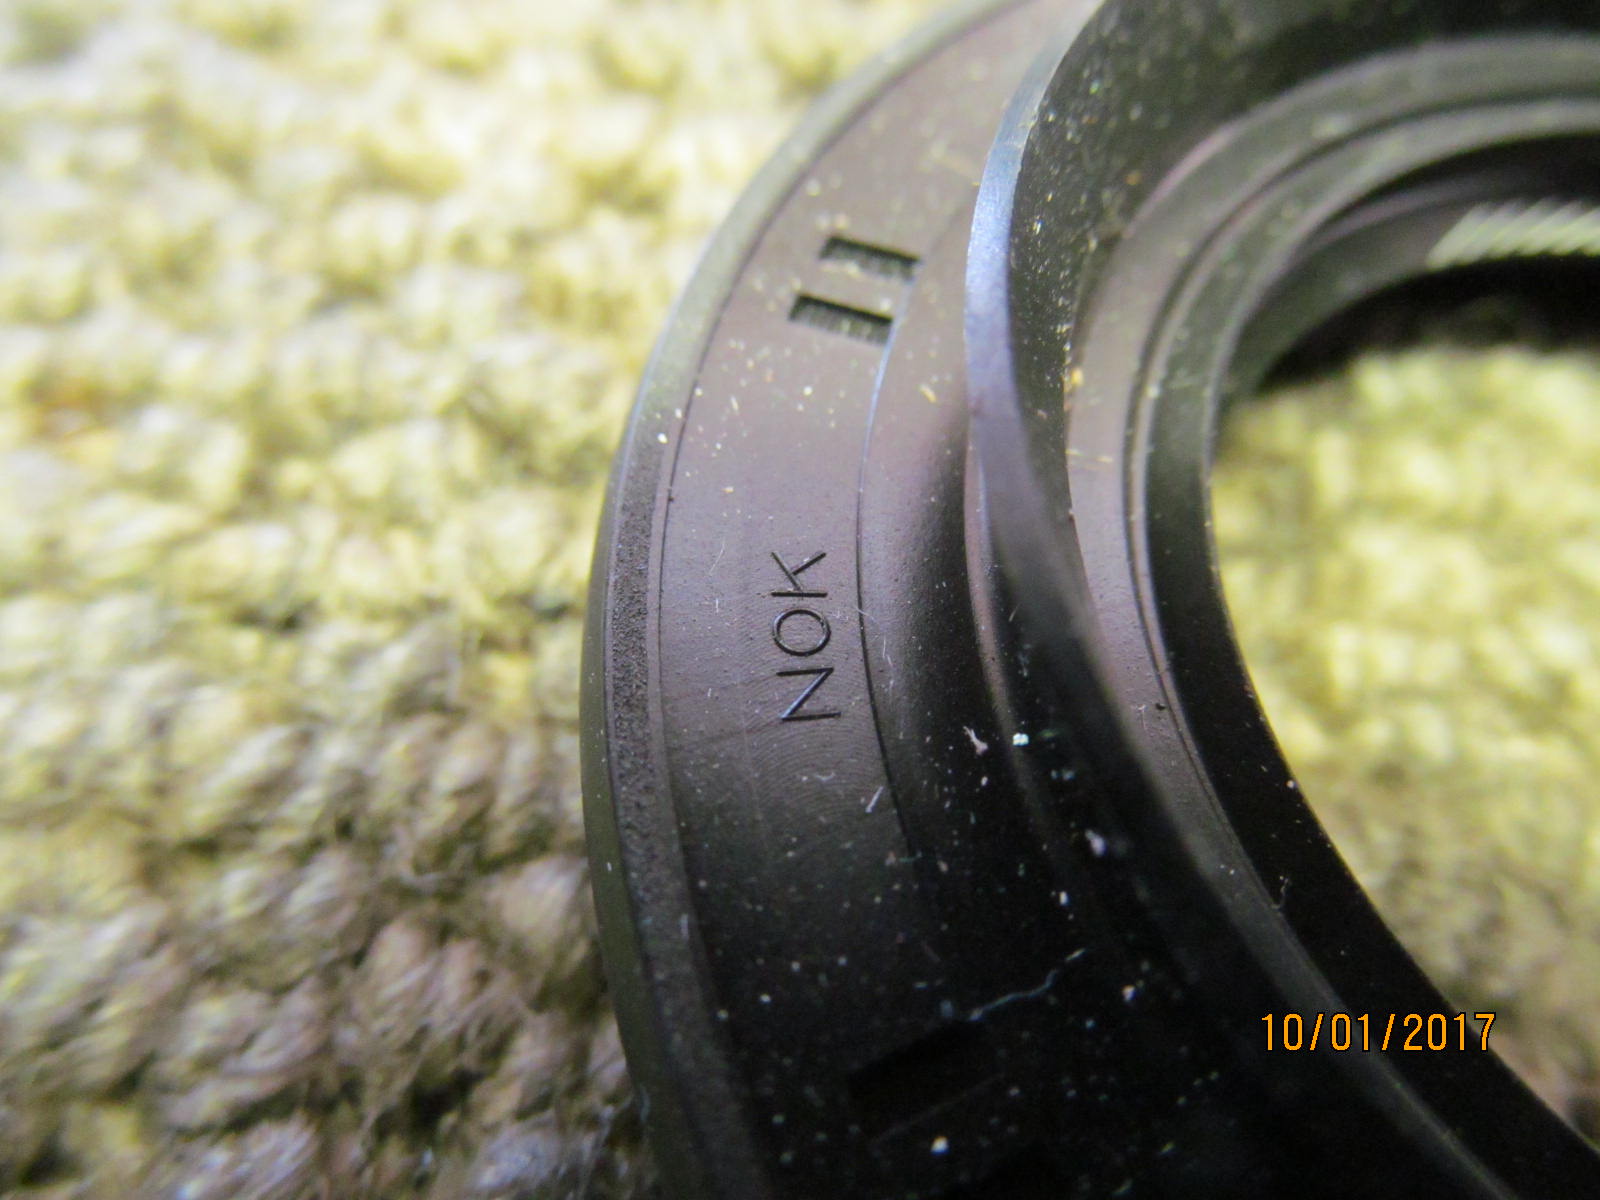
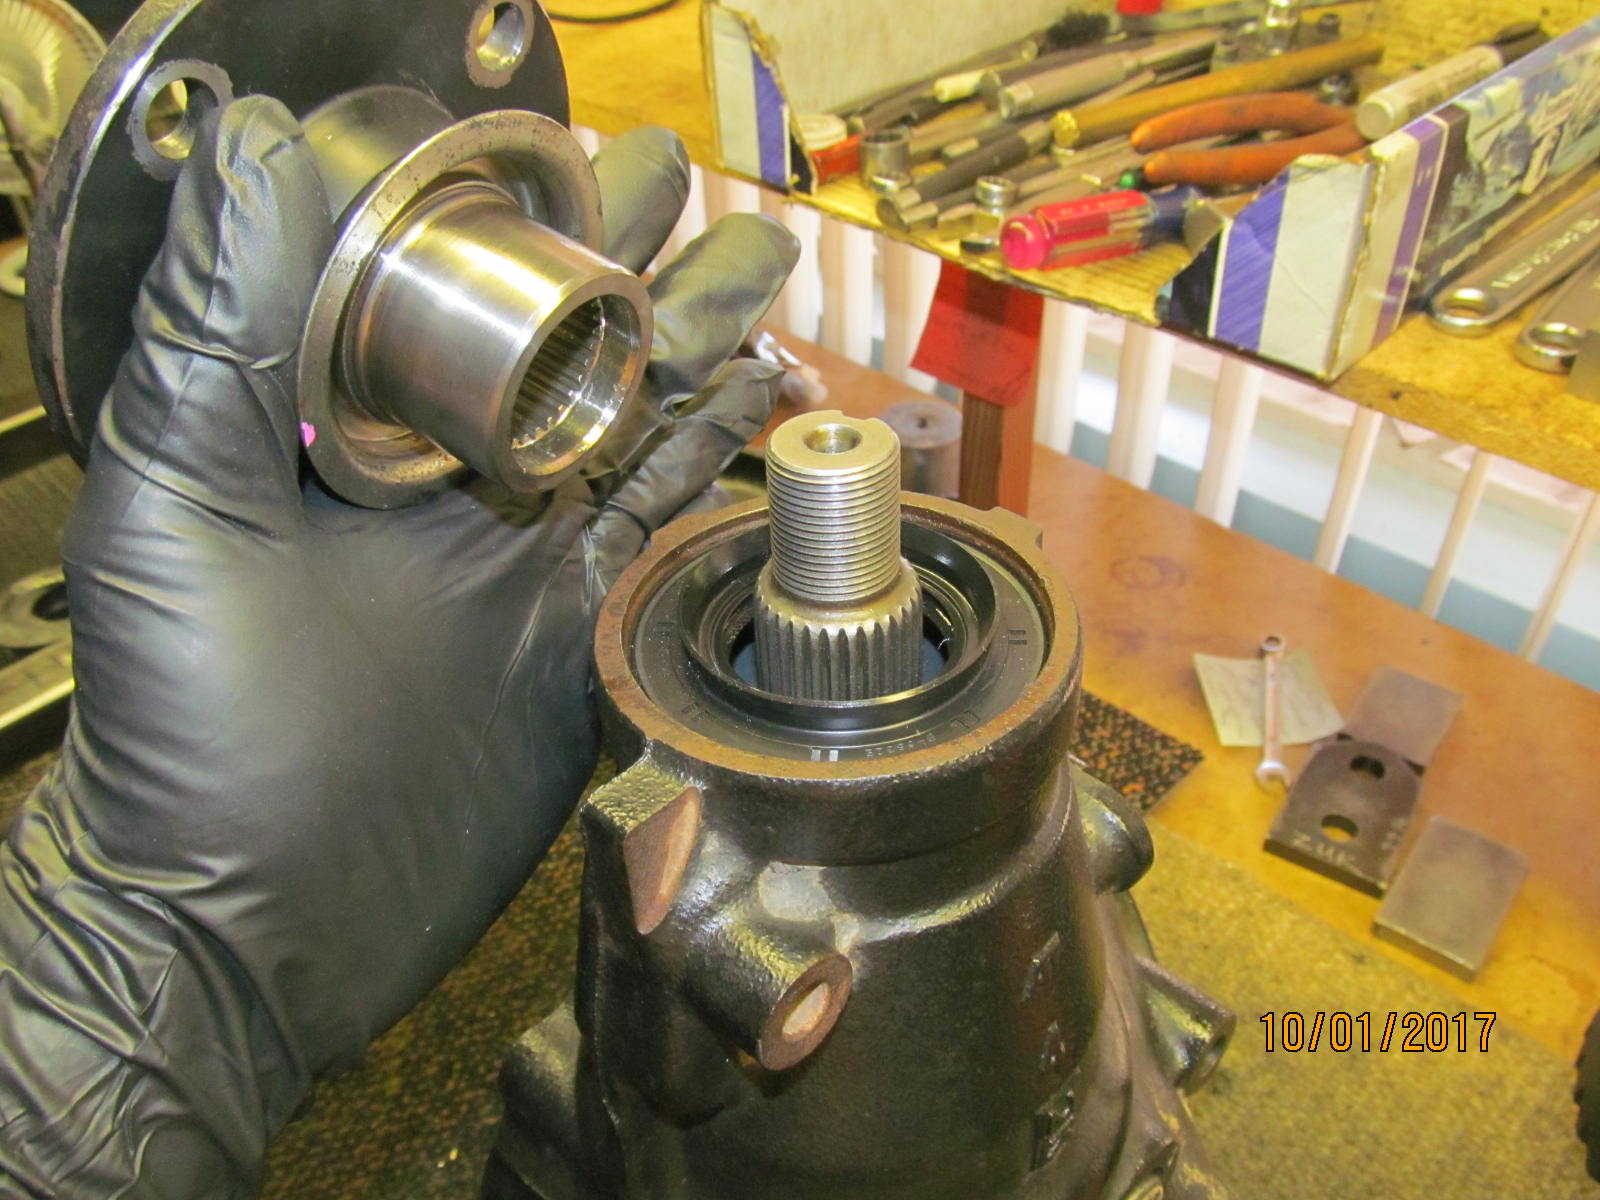
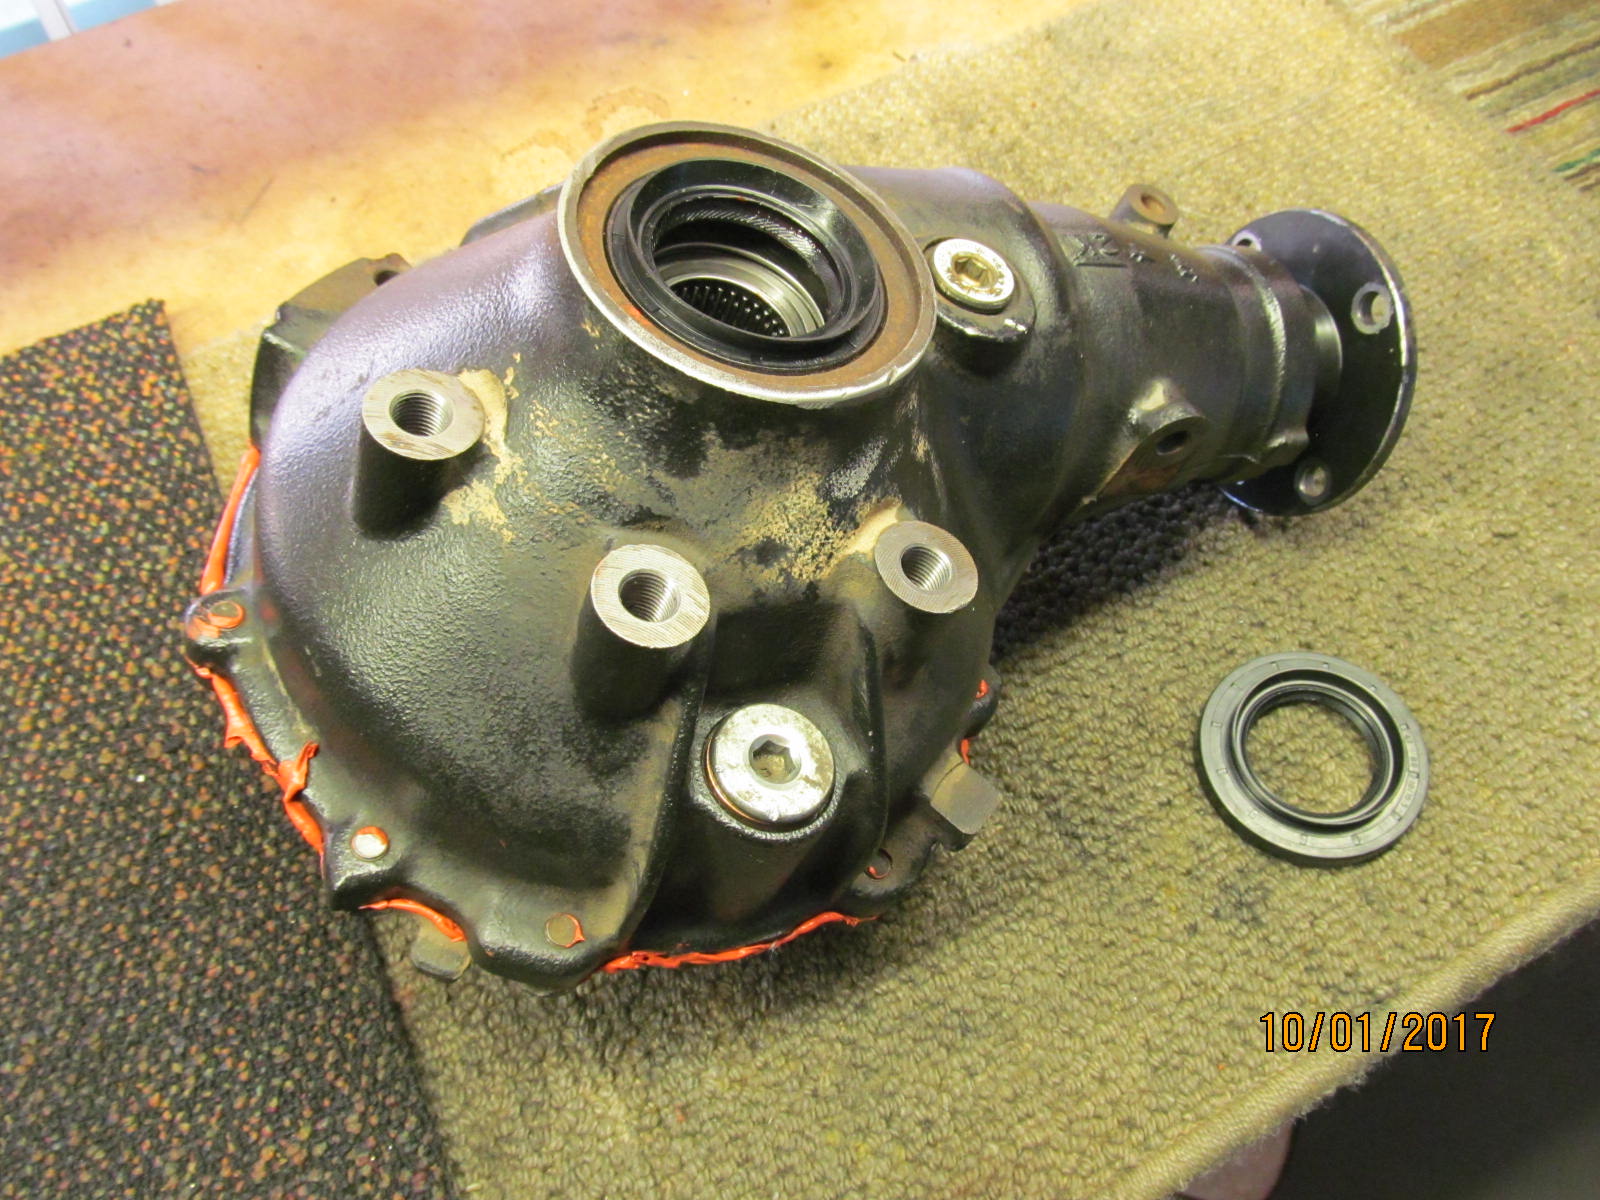
| This Nitro kit had the genuine oem NOK pinion seal. This is the preferred seal. |
|---|
|
|
| ,,,,,,,,,,,,,,,,,,,,,,,,,,, |
|---|
|
|
| ,,,,,,,,,,,,,,,,,,,,,,,,,,,,, |
|---|
|
|
| Gradual tapdown. |
|---|
|
|
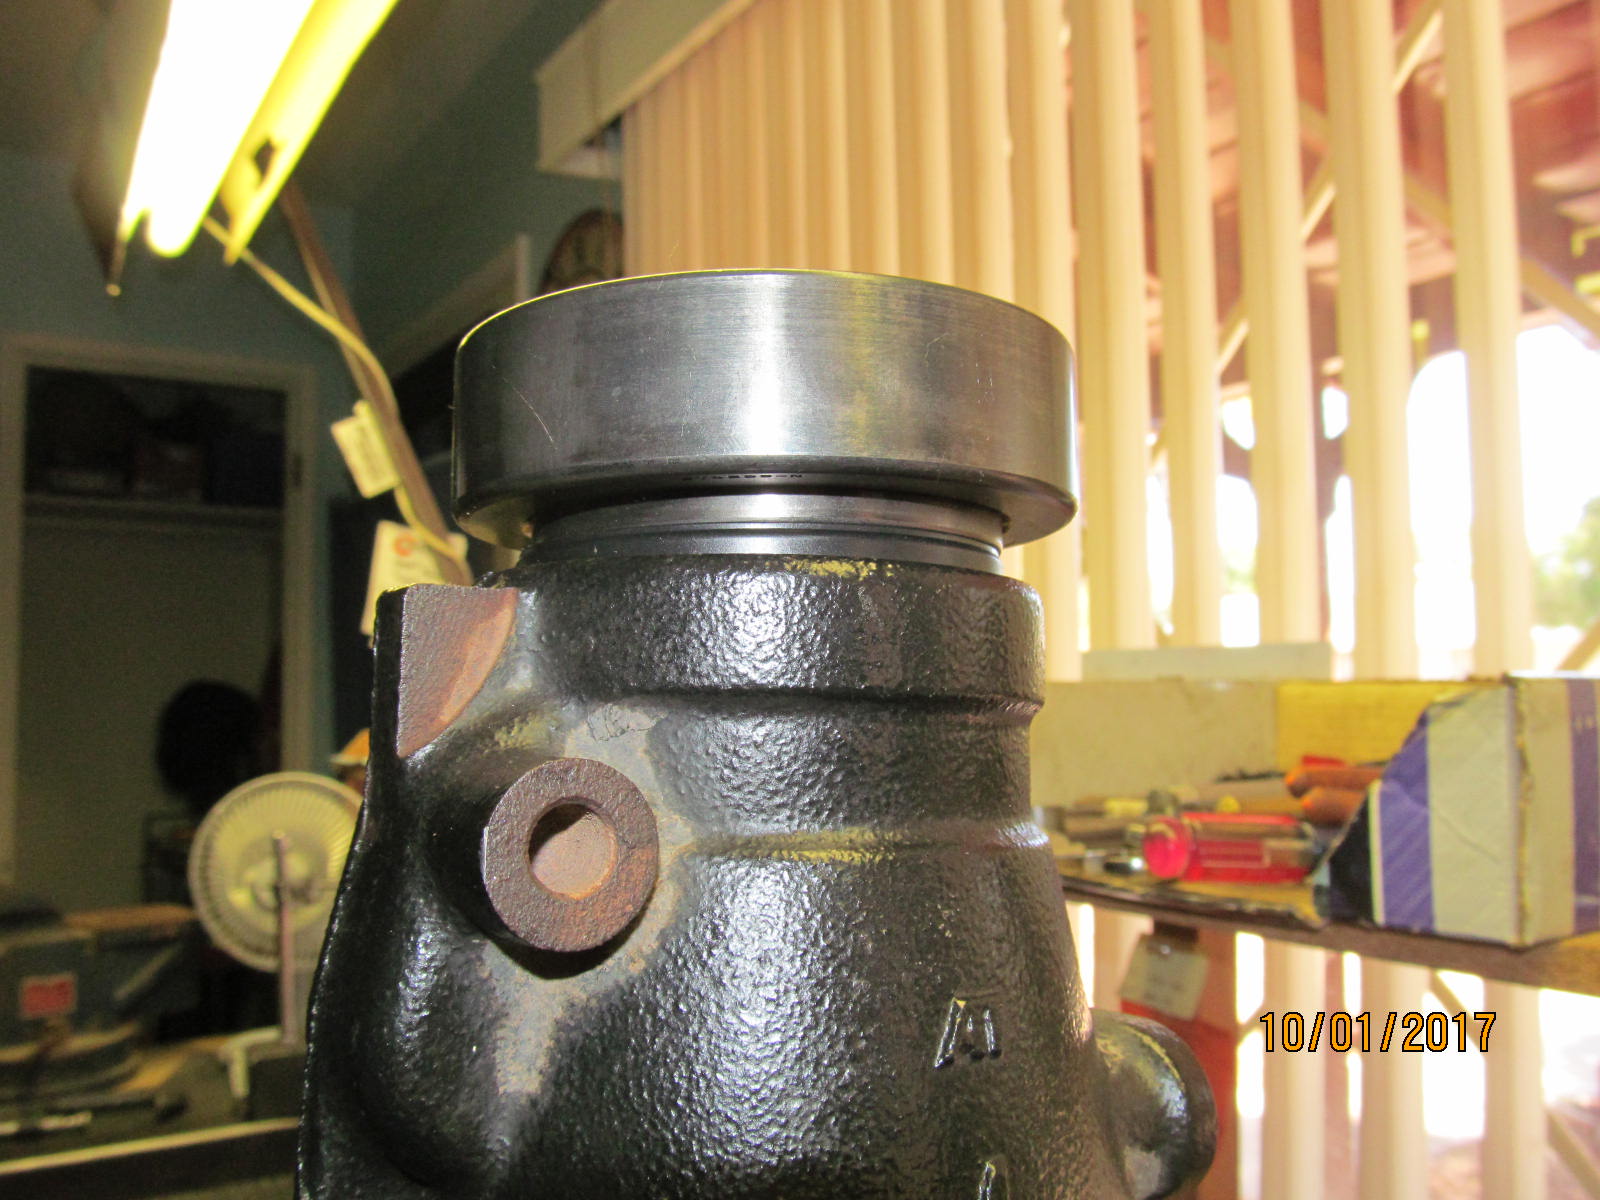
| Recessed the seal exactly .170" per the fsm. Oil is applied to the seal surface and the flange can now be installed. |
|---|
|

|
| Aluminum anti-seize and kept tightening the nut until I measured a smooth 10 in/lb of pinion bearing preload. |
|---|
|
|
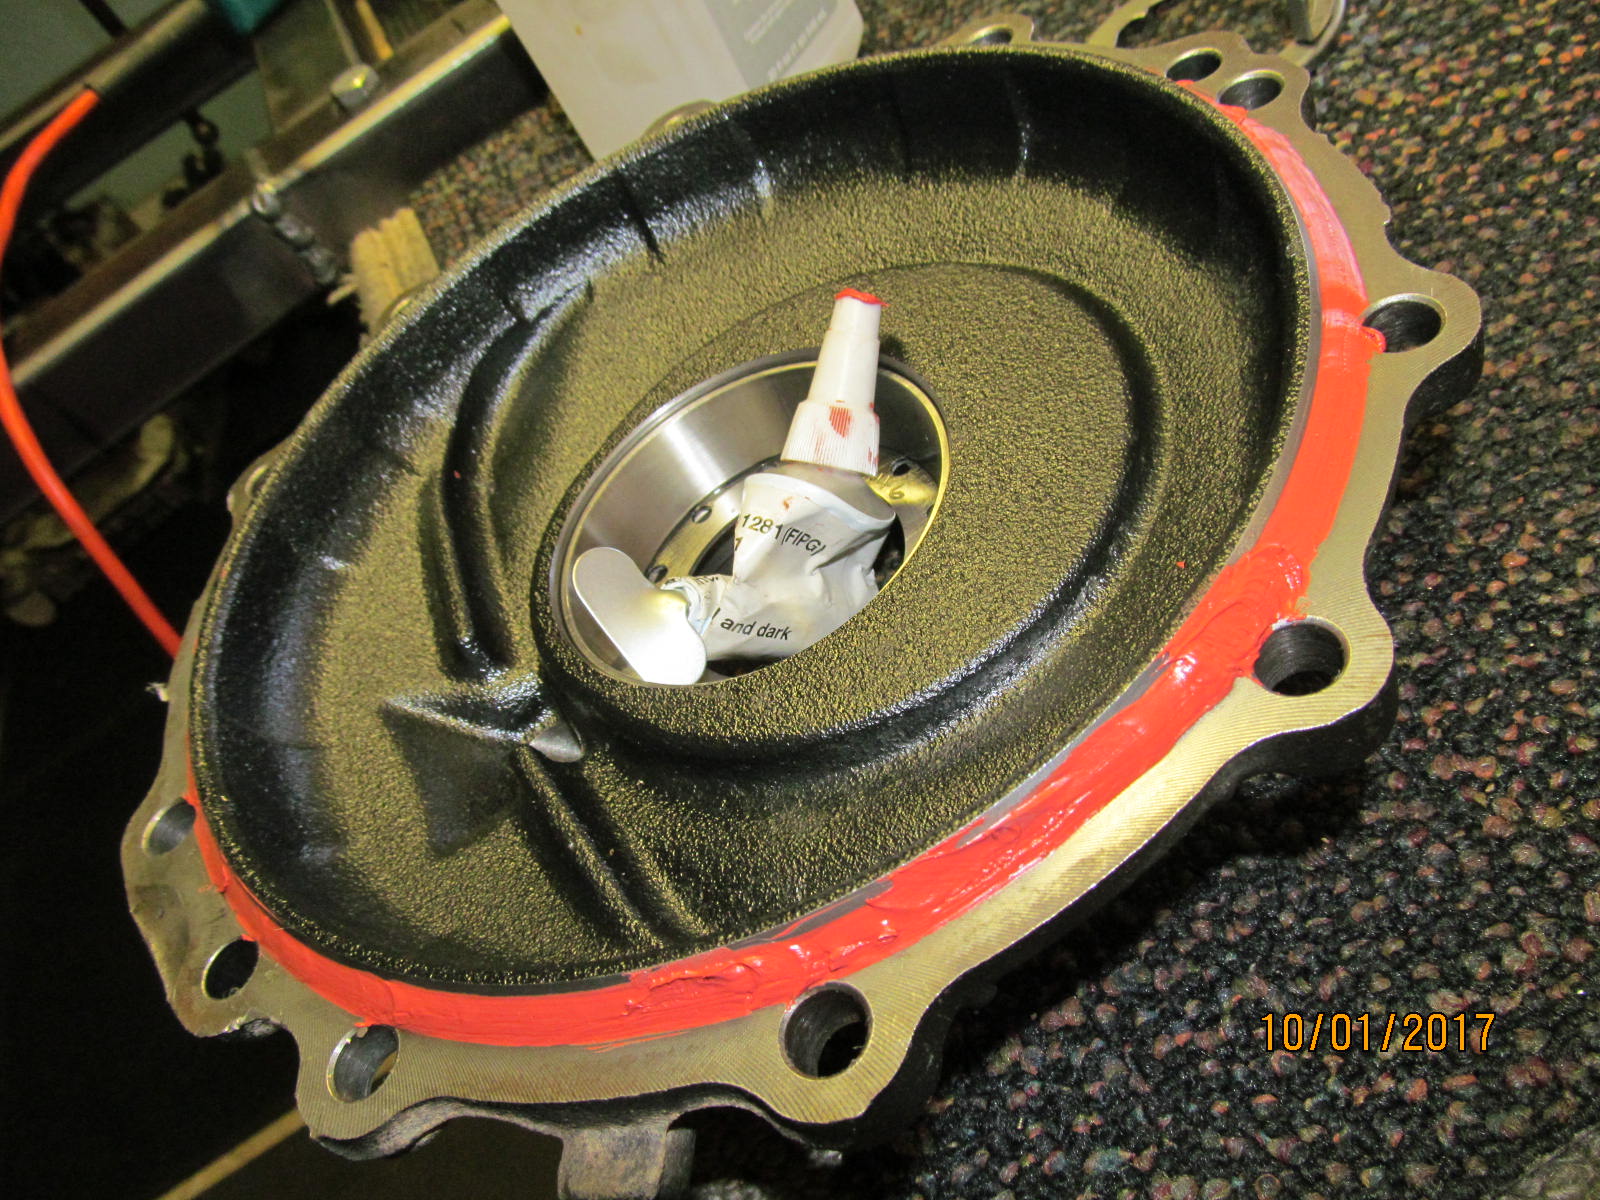
| #1281 FIPG on the lid lip...... |
|---|
|
|
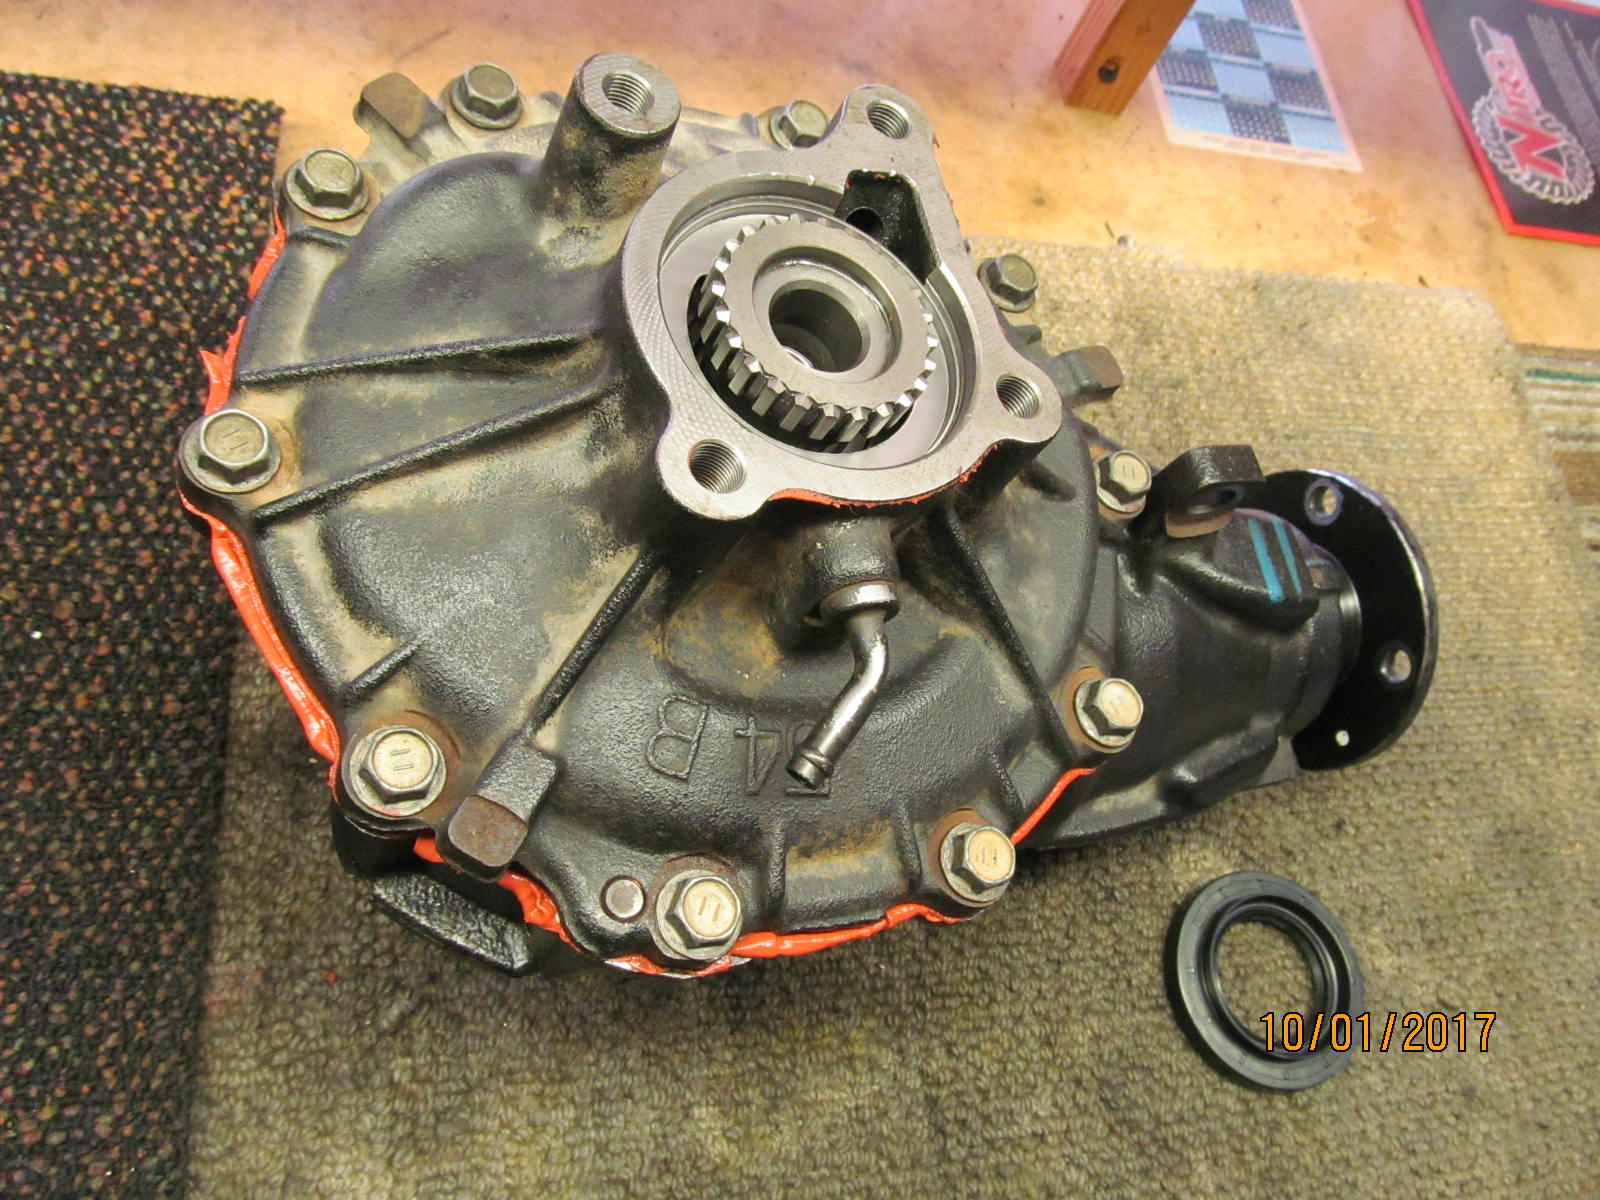
| 37 ft/lb on the 10 lid bolts per the fsm. |
|---|
|
|
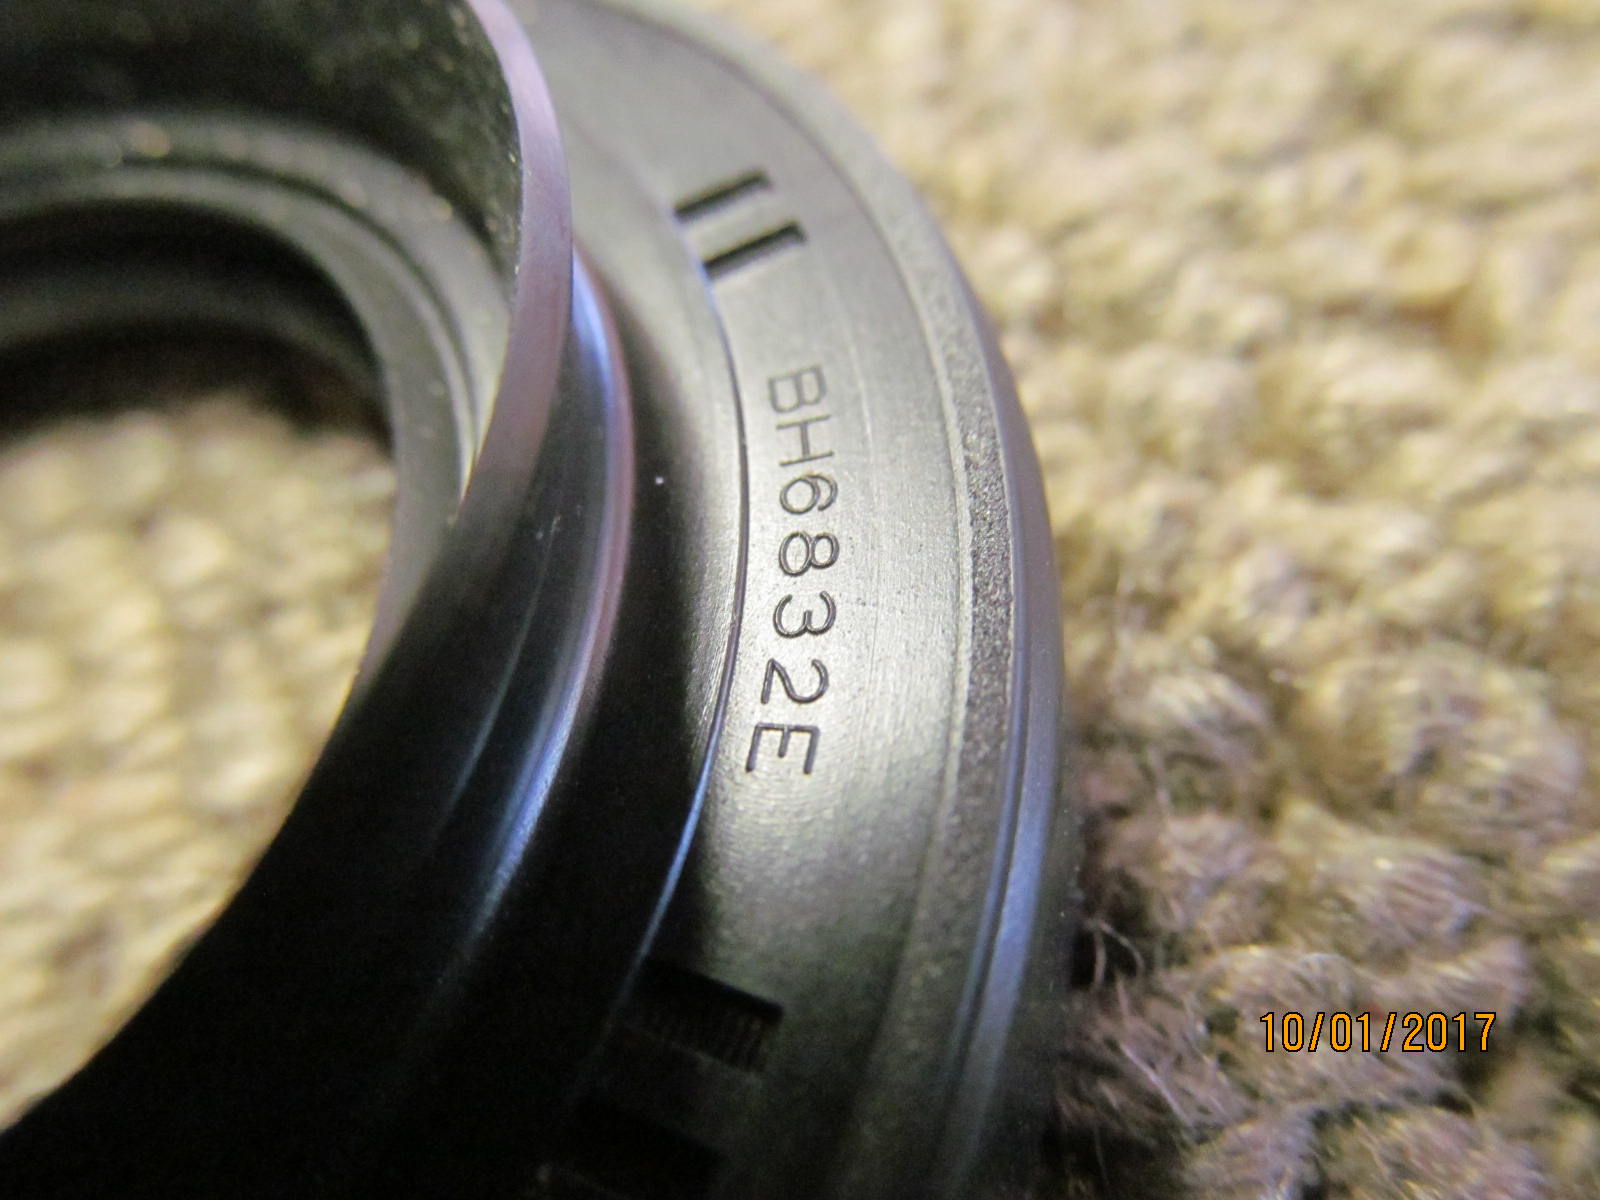
The driverside axle stub seal is a new genuine NOK seal also(BH5320F).
That other seal shown in the pic is the passenger side seal at the end of the steel extensiion tube. |
|---|
|
|
| Final notes. |
|---|
|
|

|