(rear 8" ring/pinion delayed a few days)


| Carlos Upgrades his 98 4Runner with a Rear Harrop and 488 Nitro Gears |
|---|
| (49 BIG pics loading) |
| March 16 2020 |
|
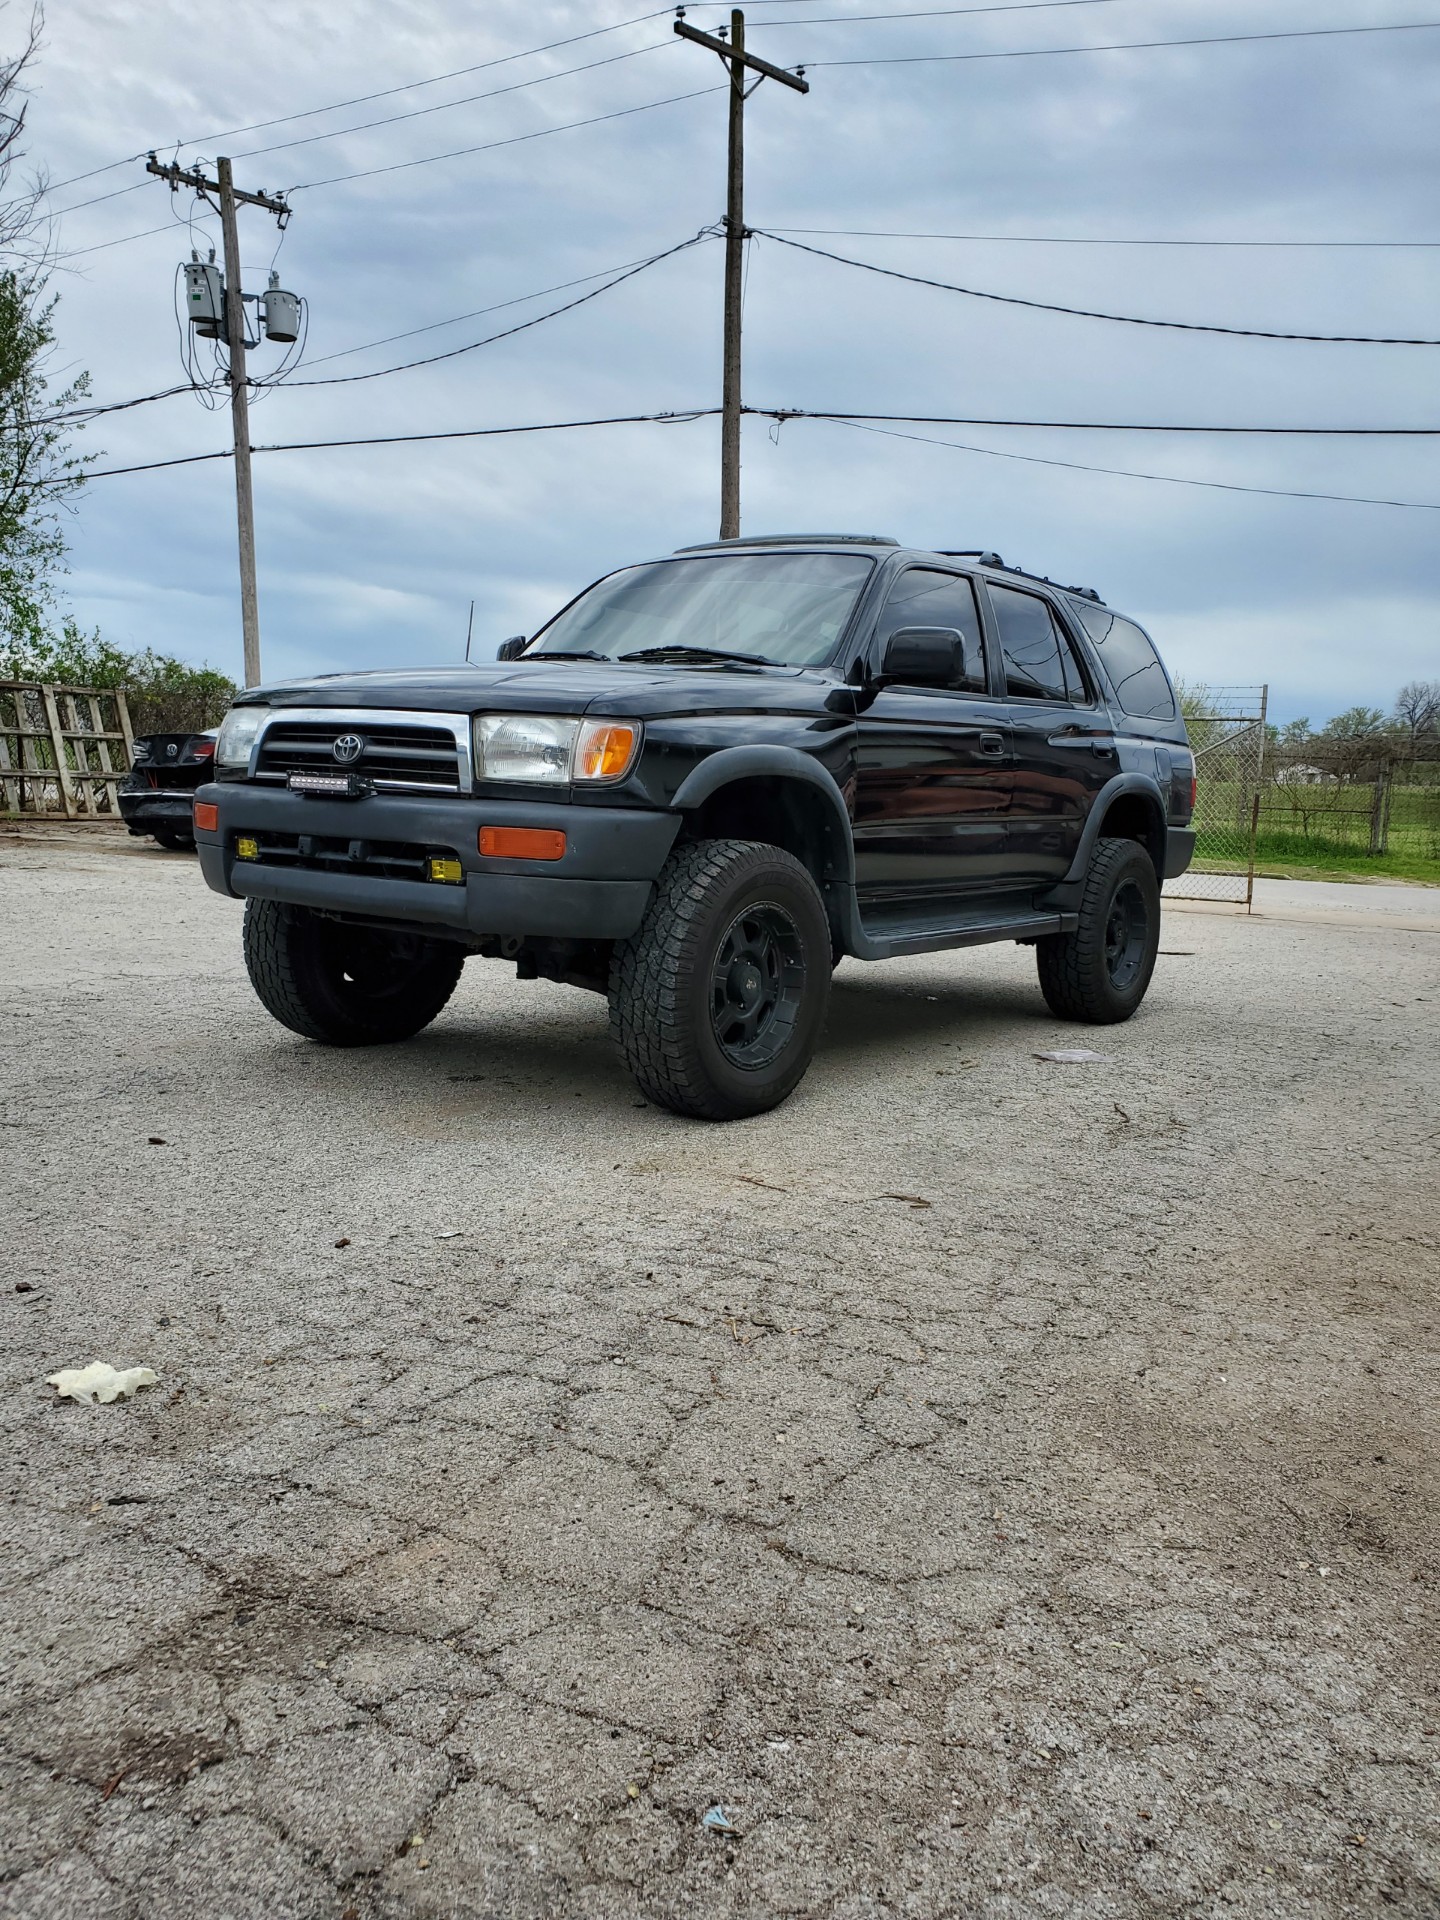
| Carlos's 1998 4Runner |
|---|
|
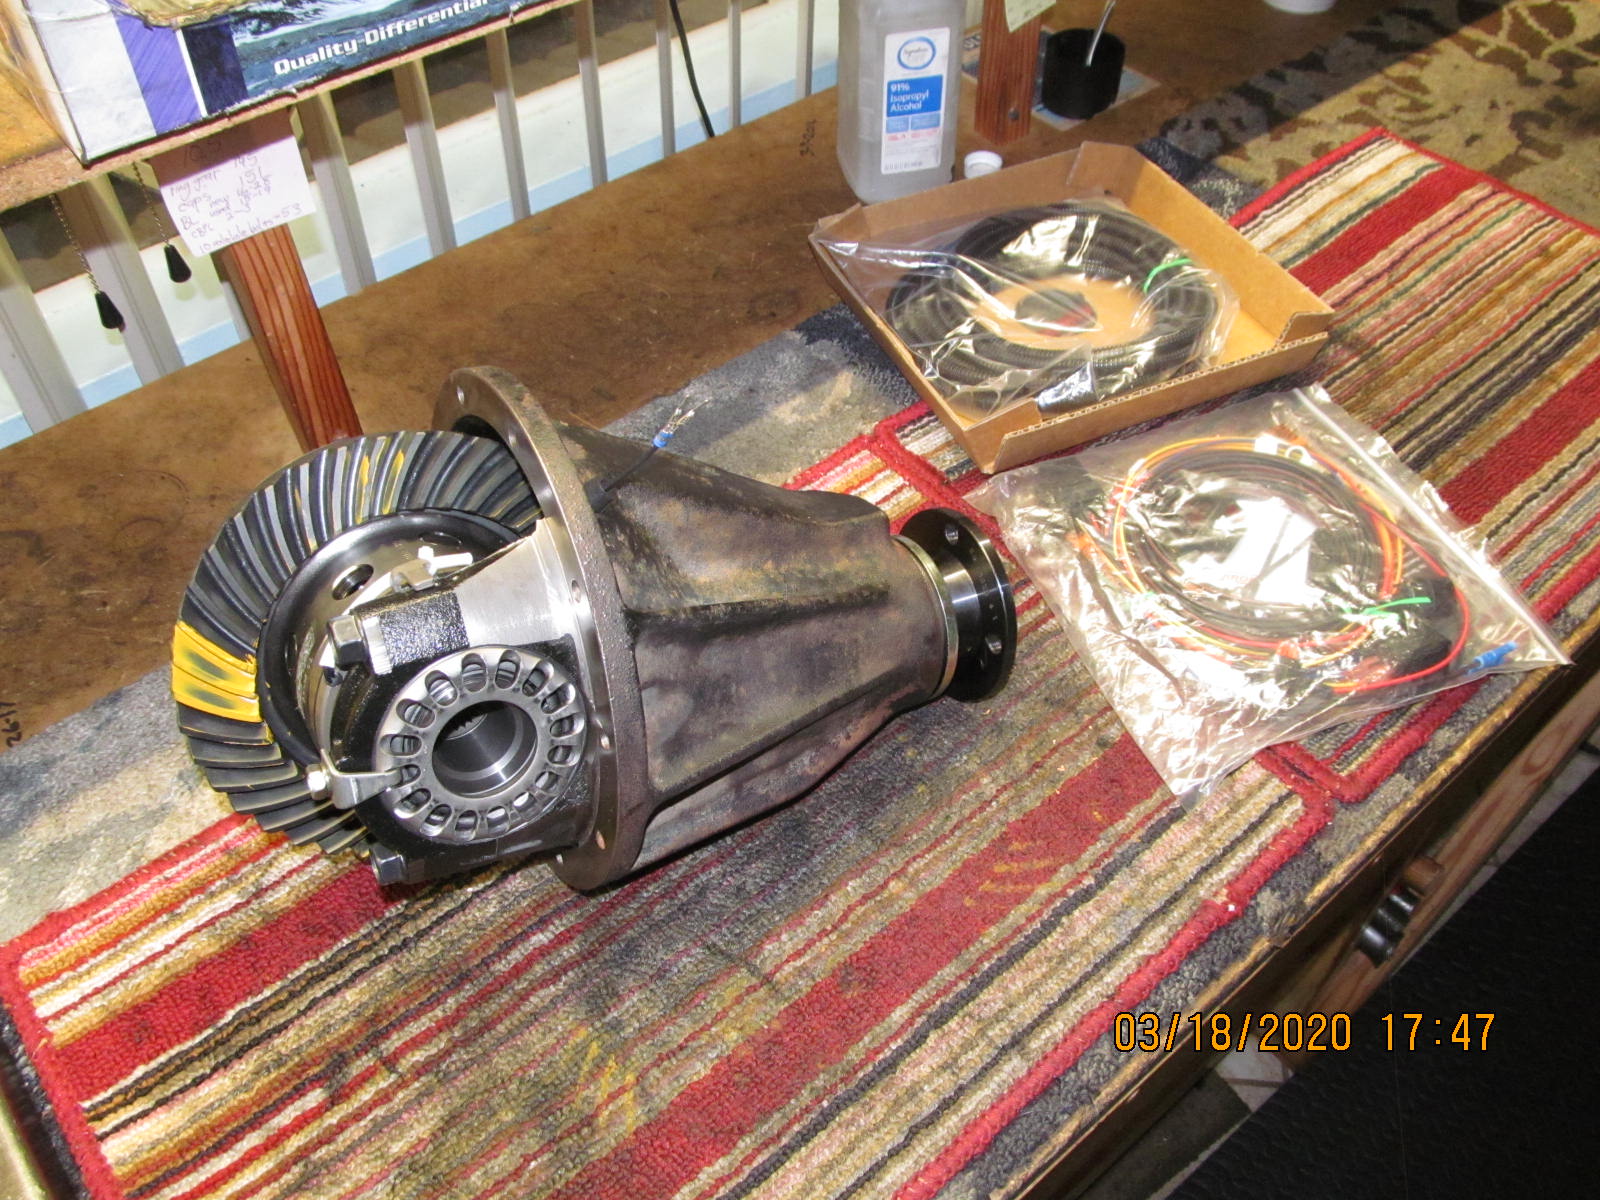
| As received from Oklahoma....front 7.5" clamshell and an open 8" rear 3rd. |
|
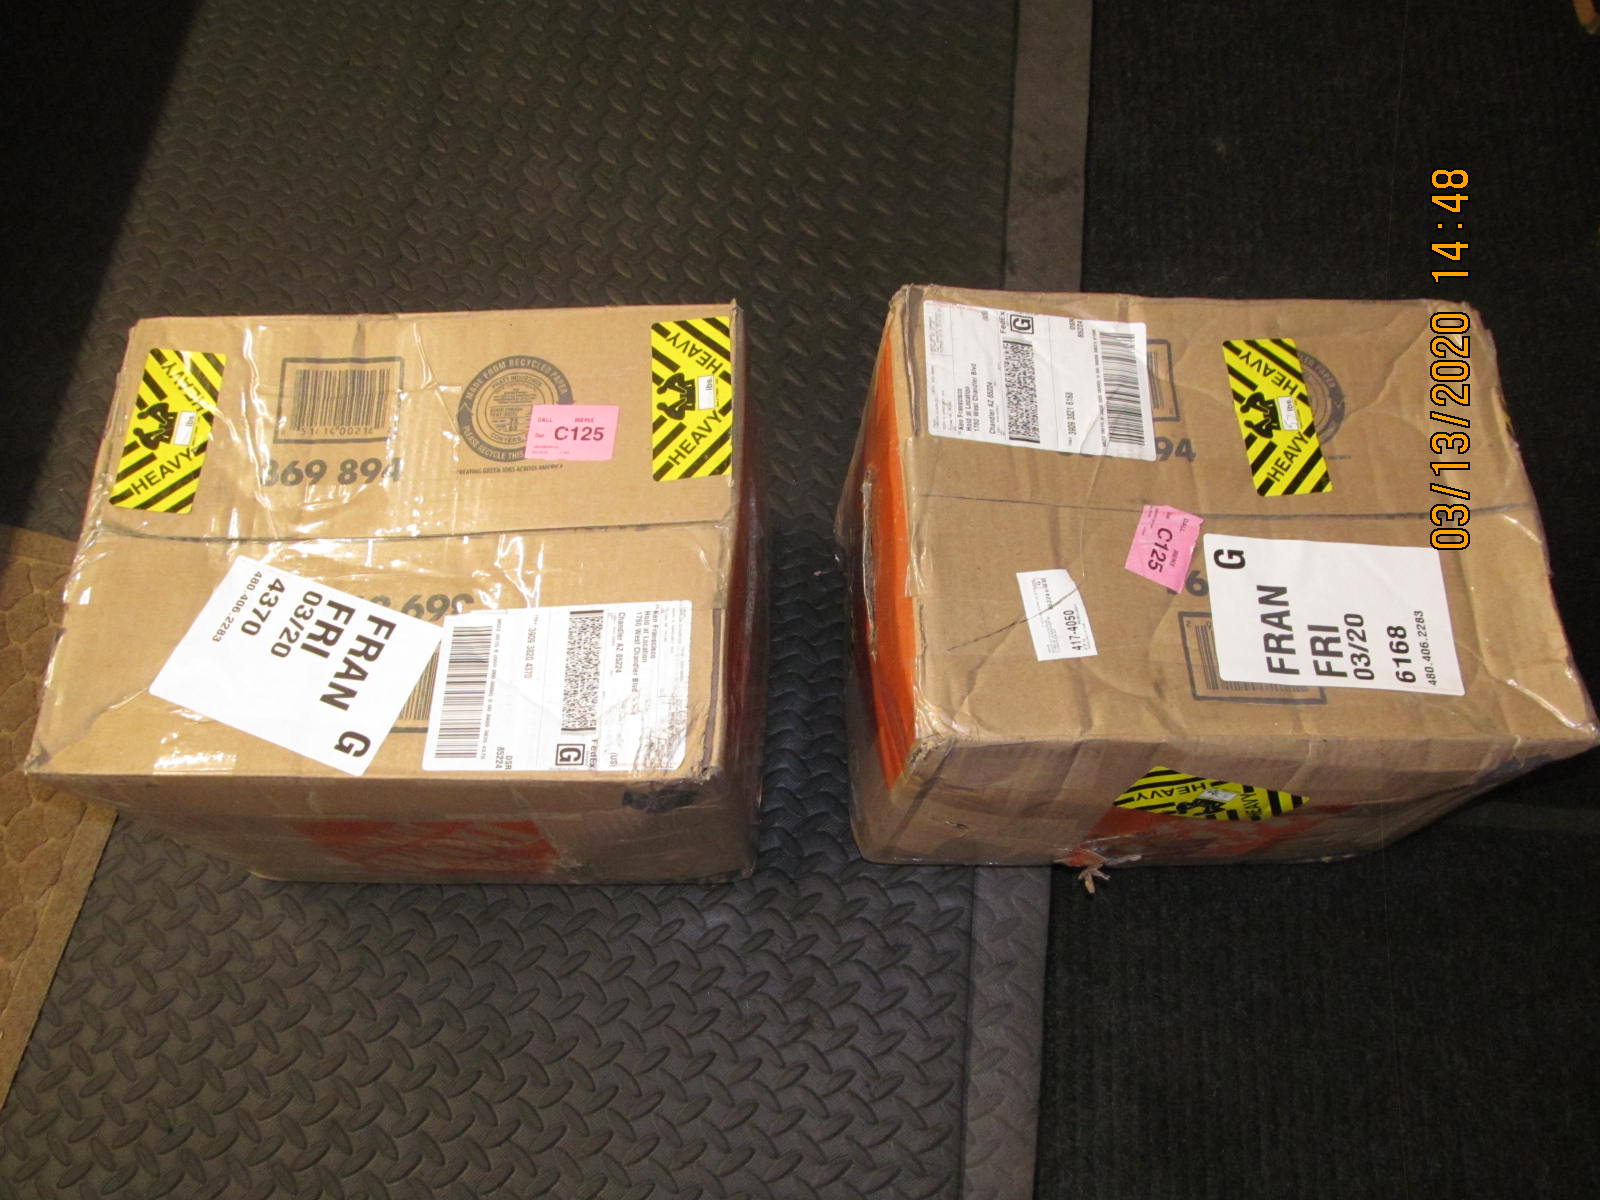
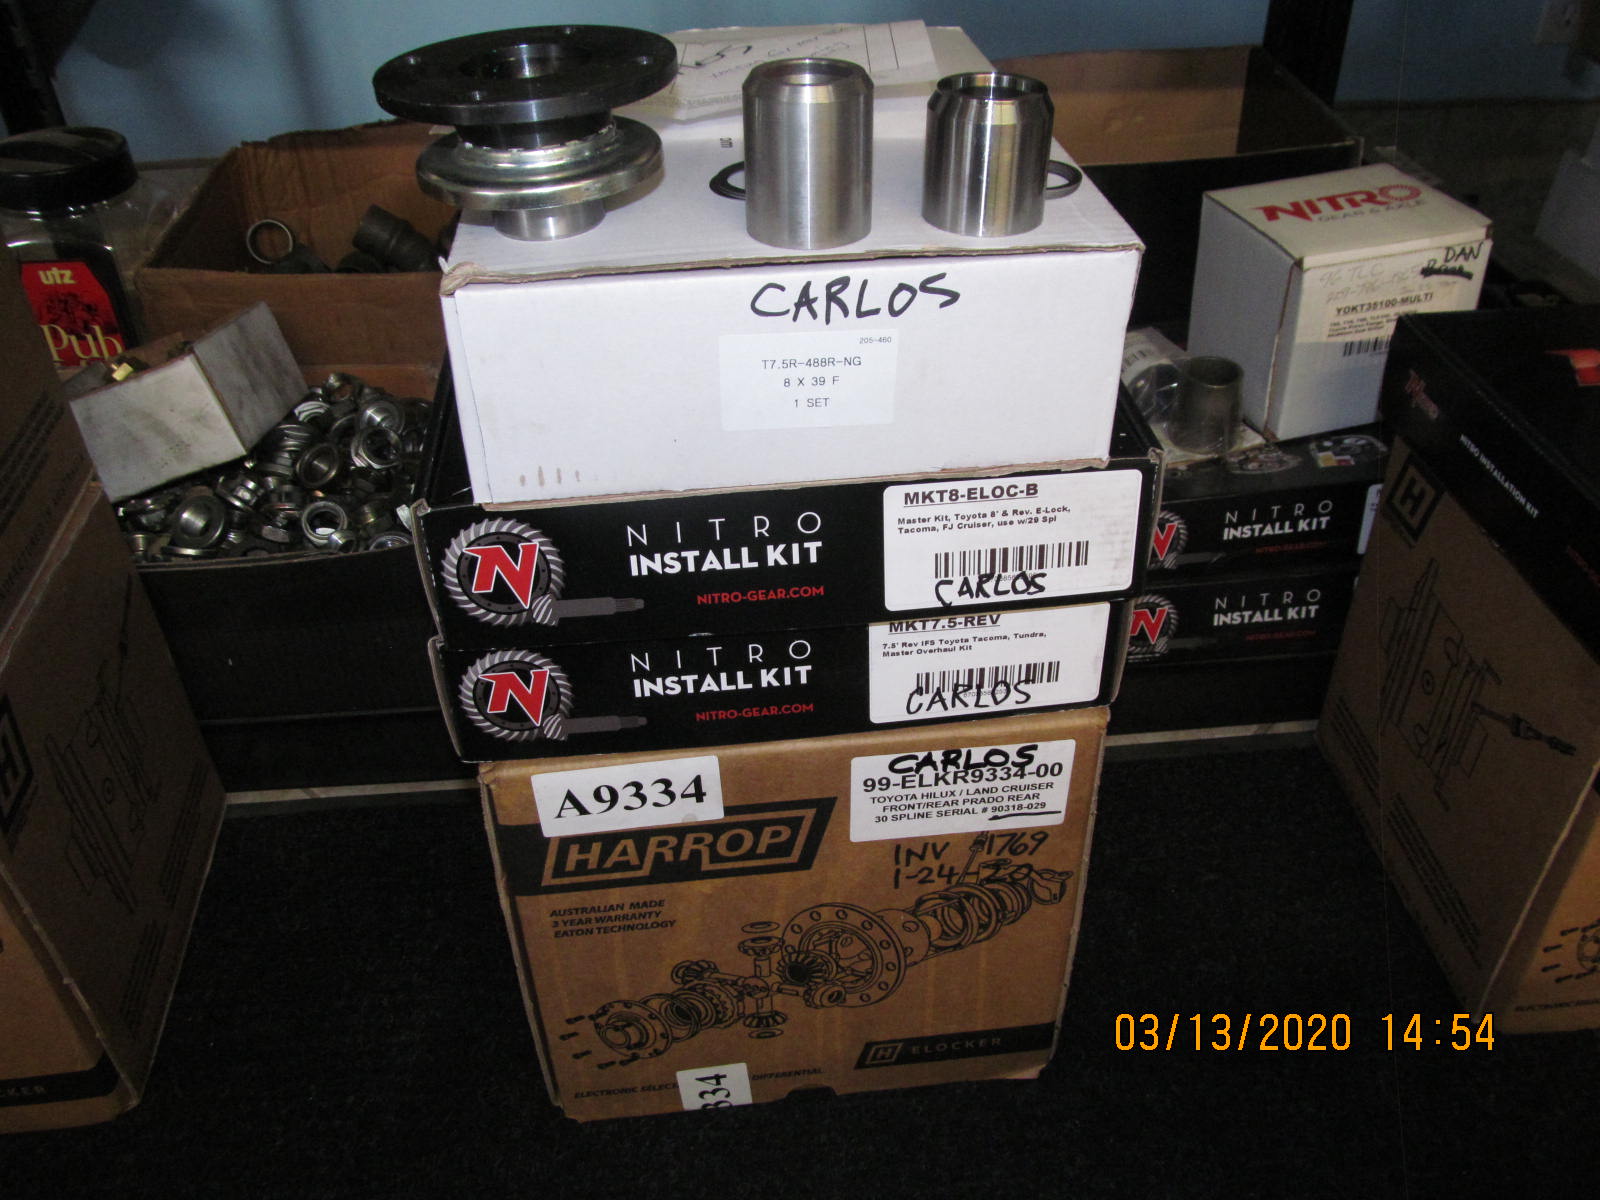
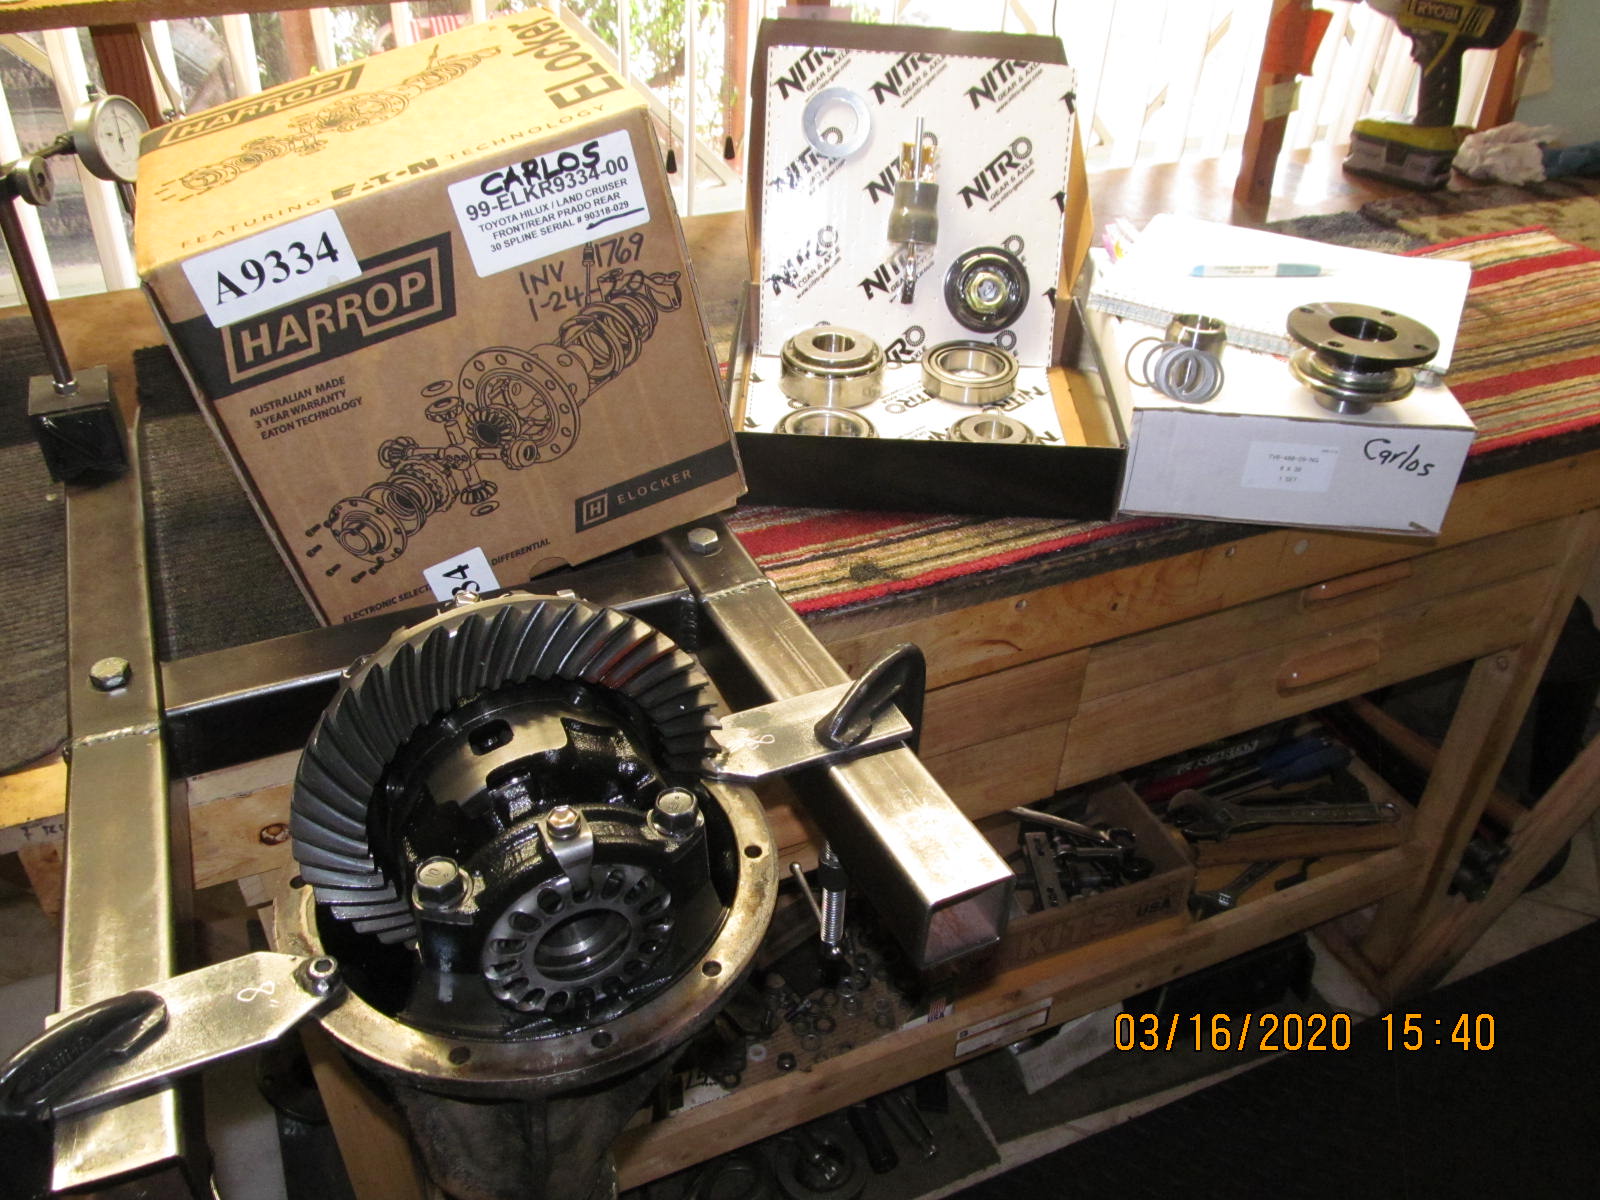
| 488 Nitro gear package from Justdifferentials.com and a Harrop A9334 from Cruiserbrothers.com (rear 8" ring/pinion delayed a few days) |
|
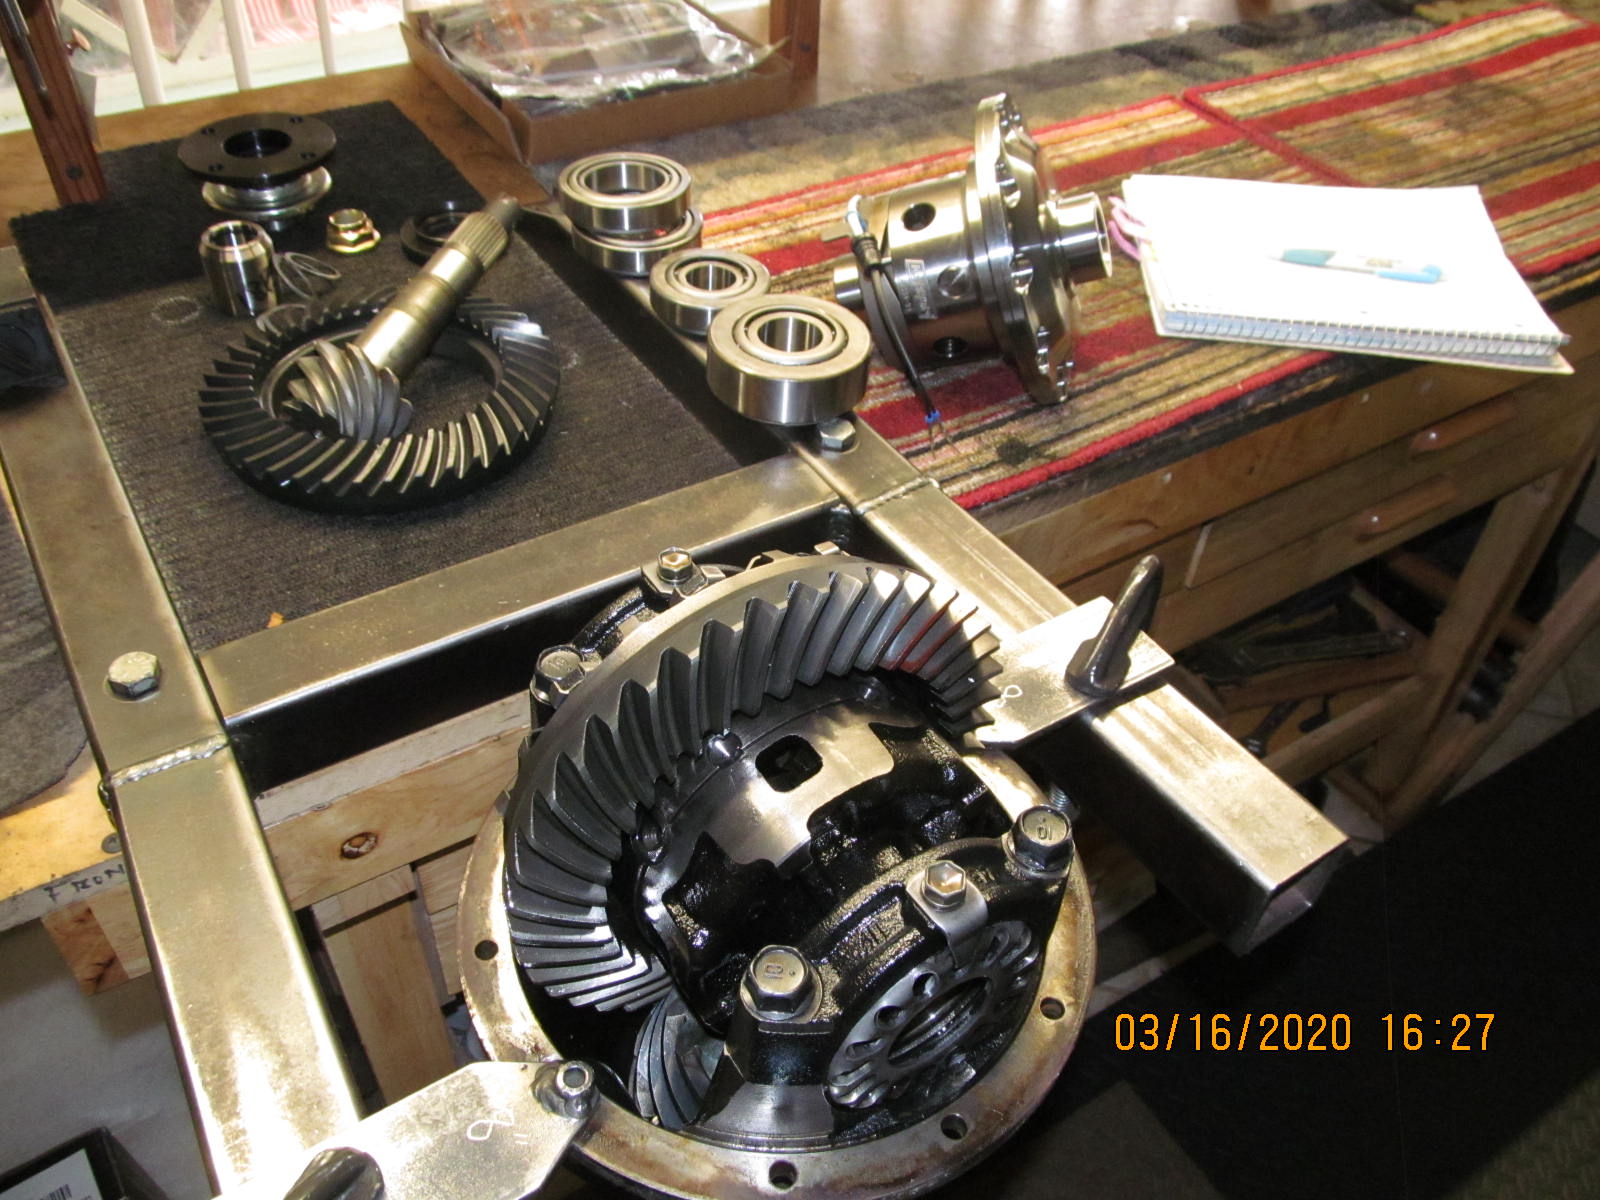
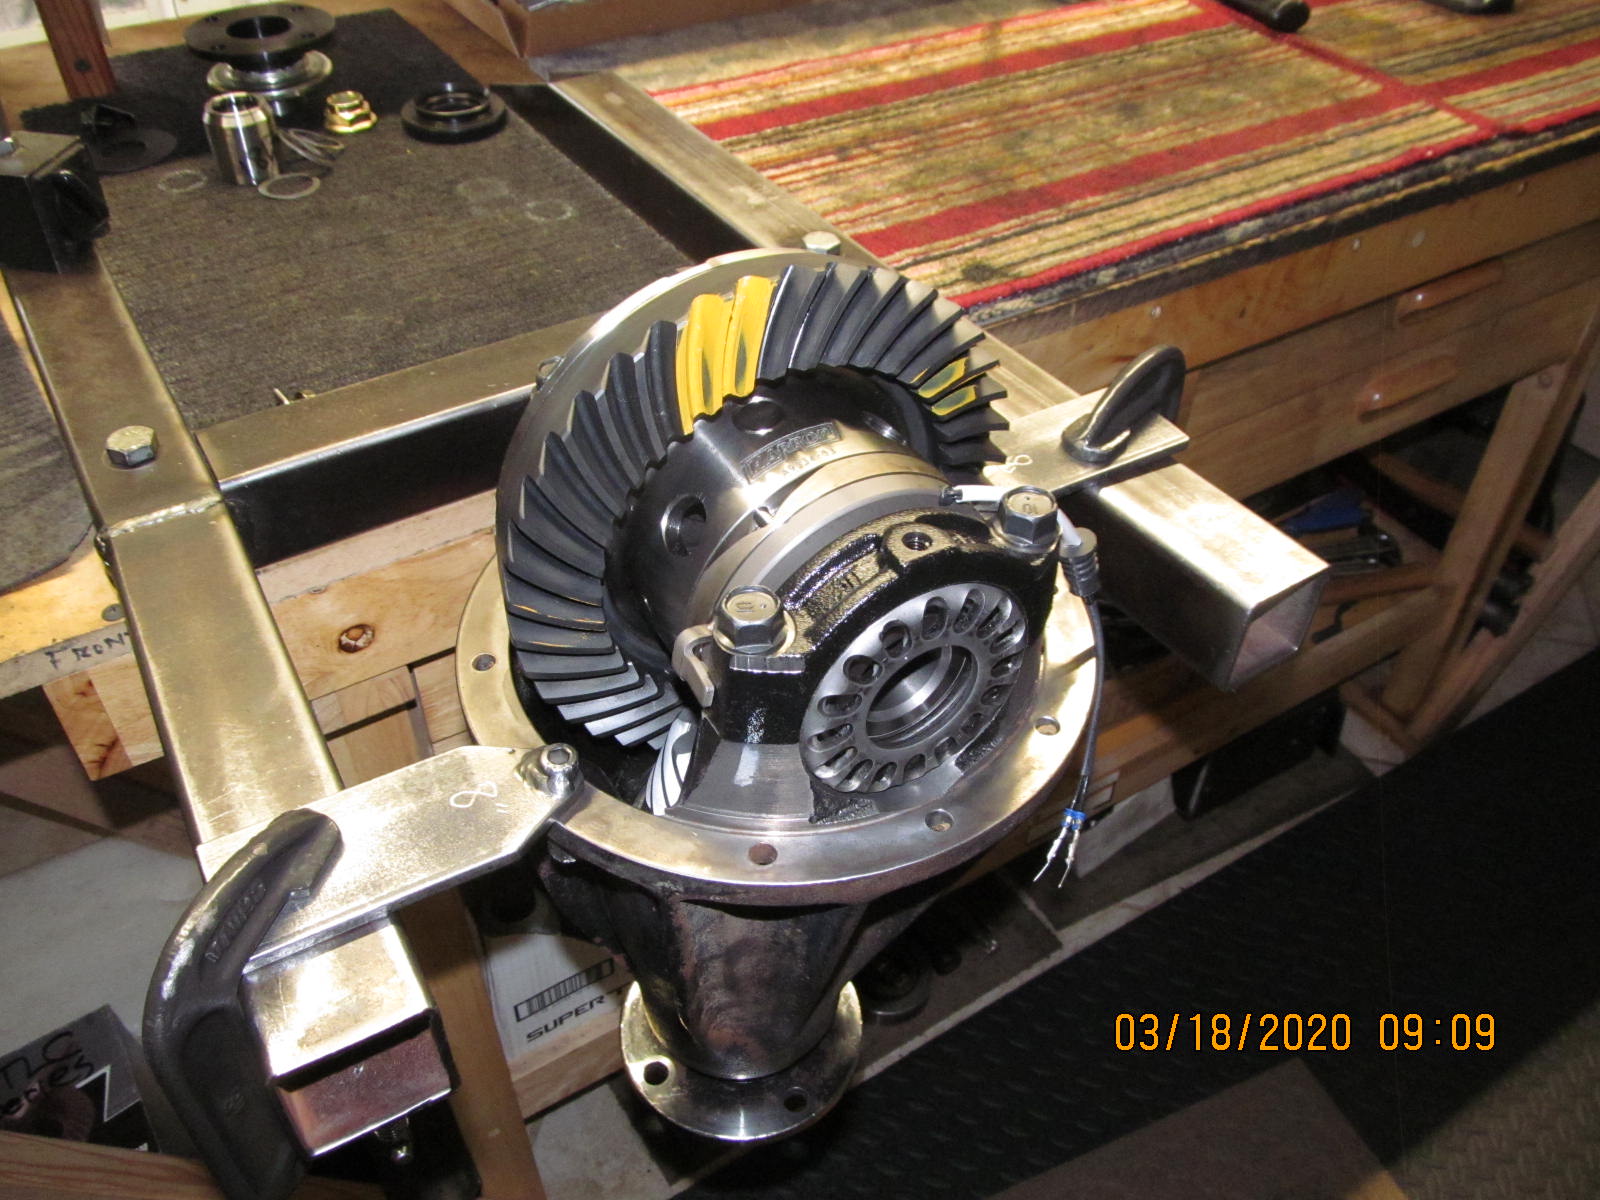
| This link is for the rebuild of the rear diff which is in the fixture right now. |
|
| Product is unpacked and organized. |
|
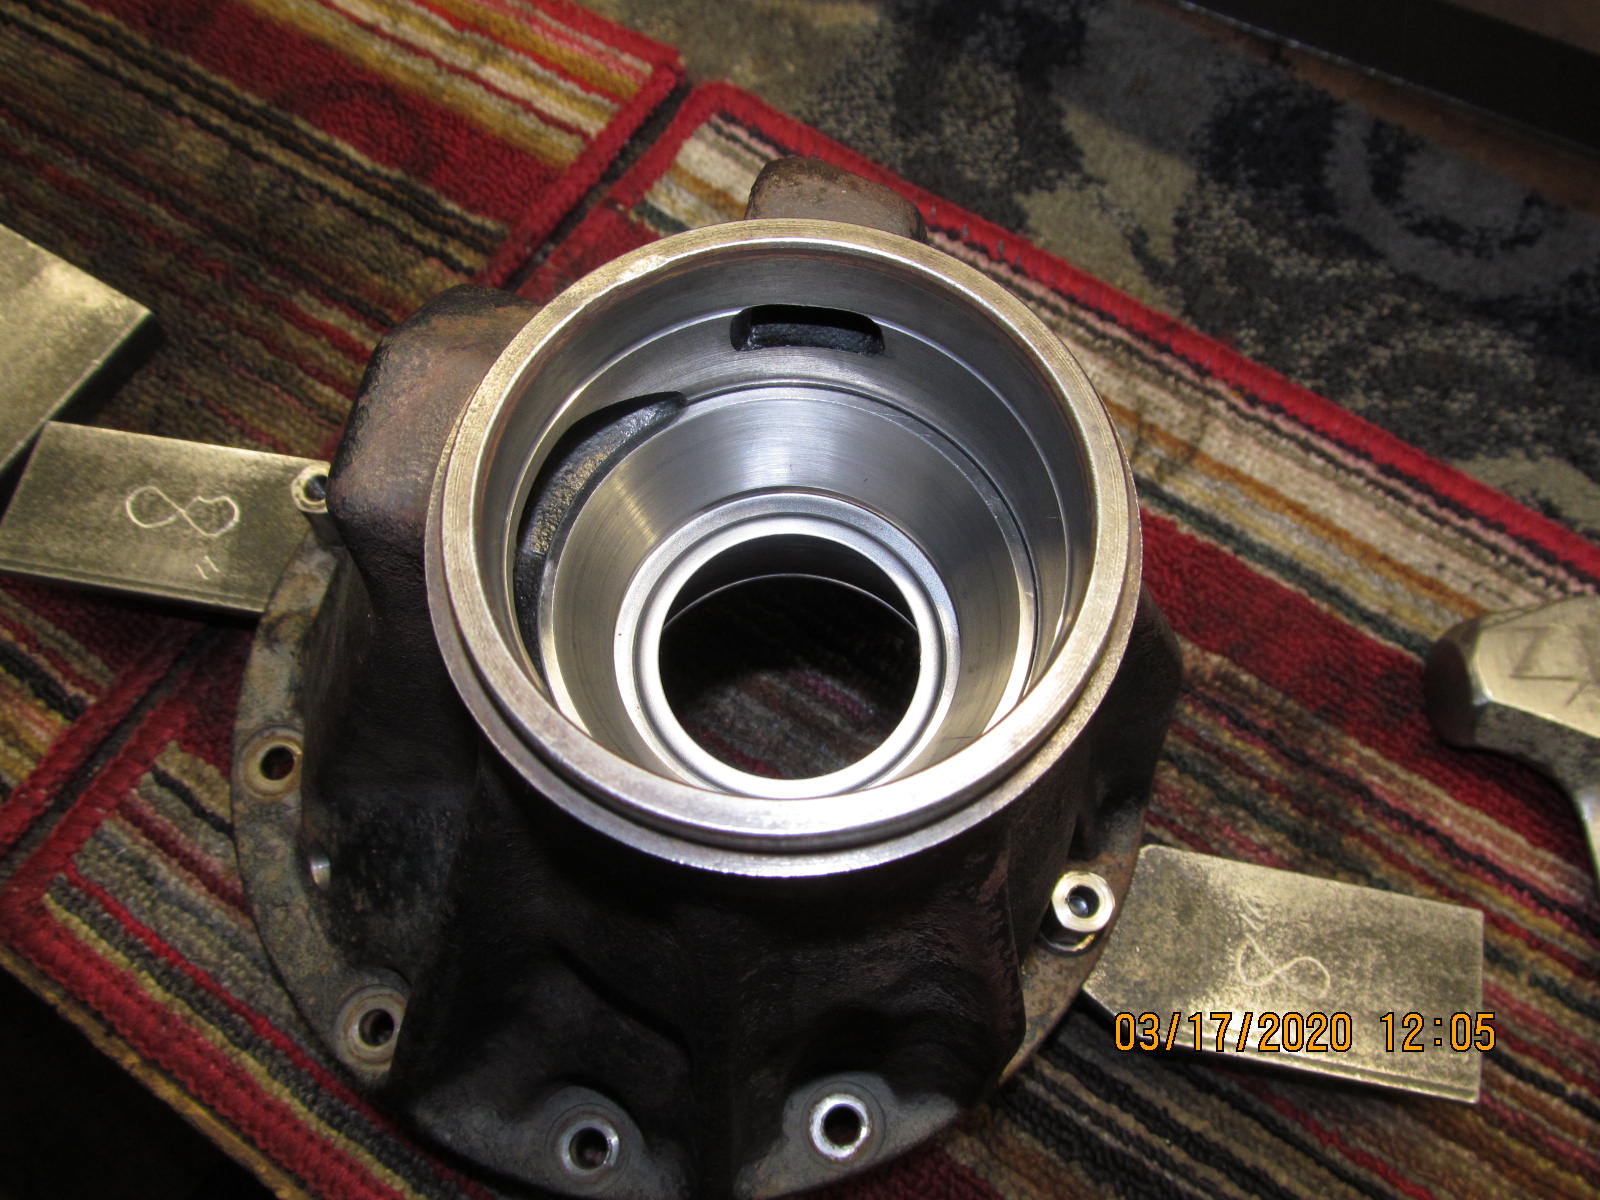
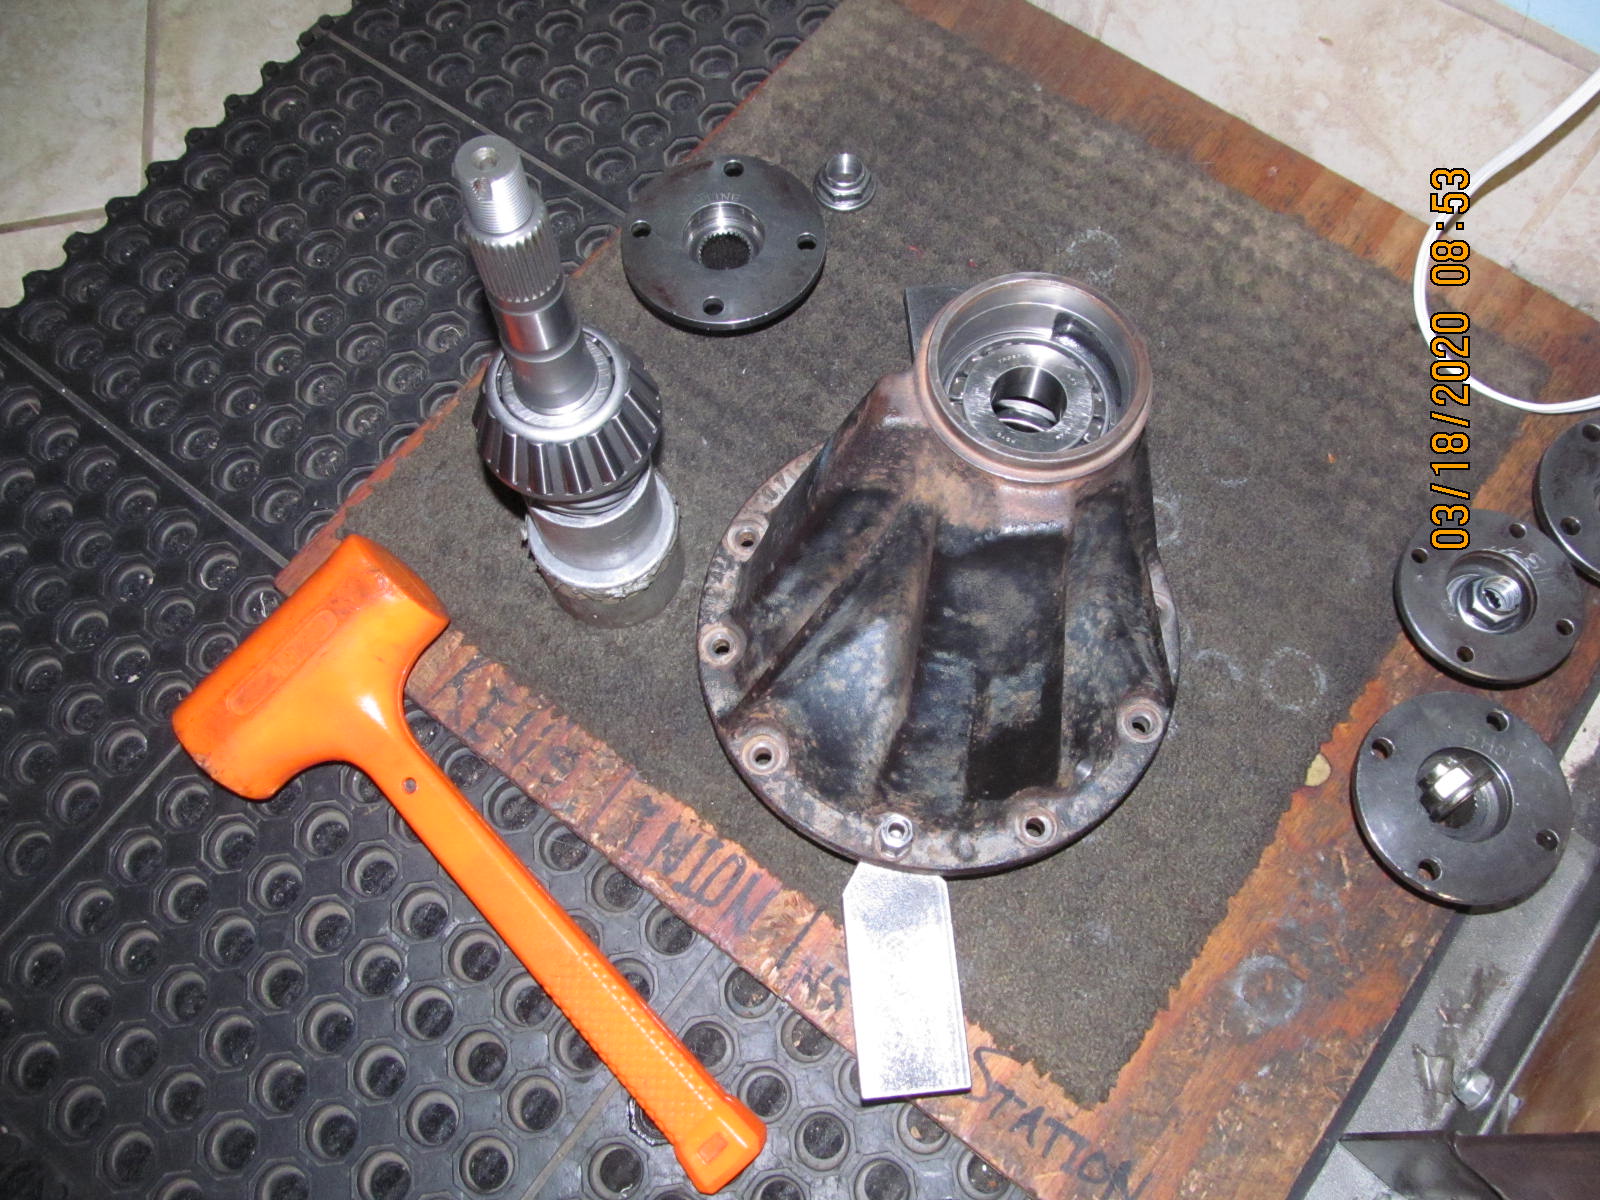
| Diff has been cleaned using starting fluid and also a 10,000 rpm angle grinder with wire wheel attachment.. |
|
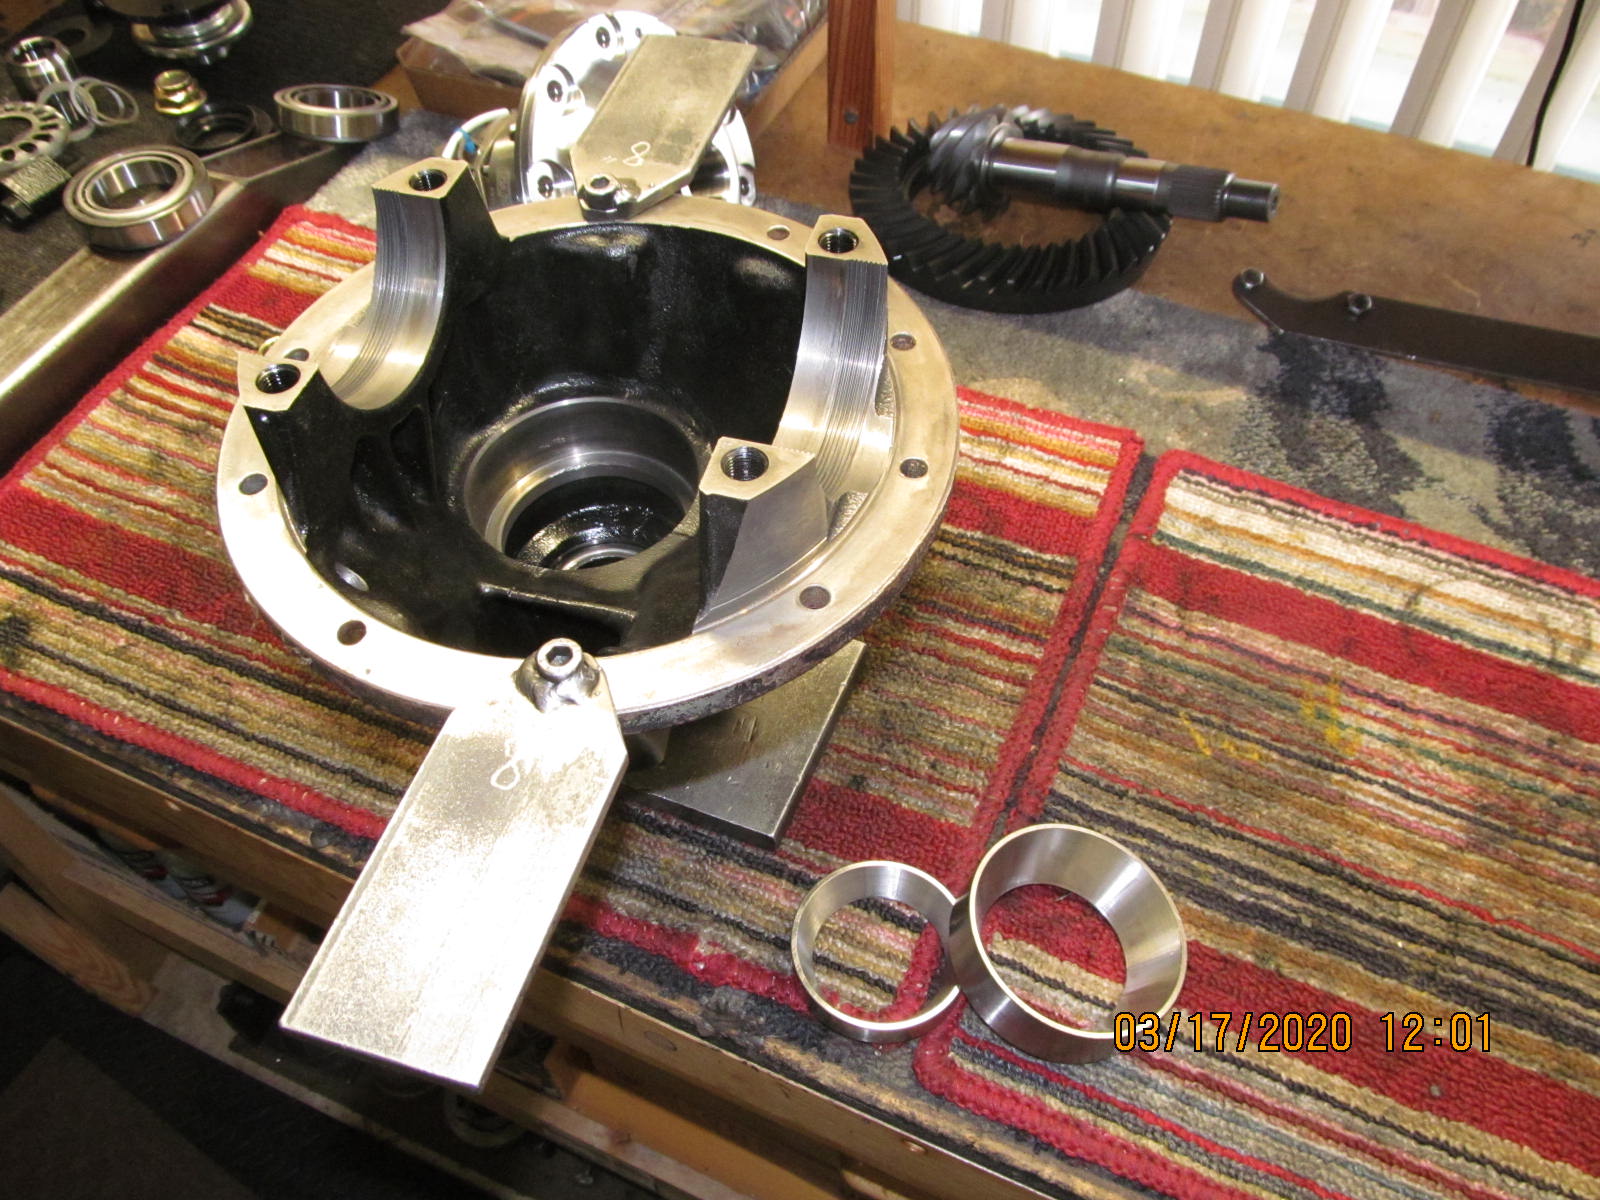
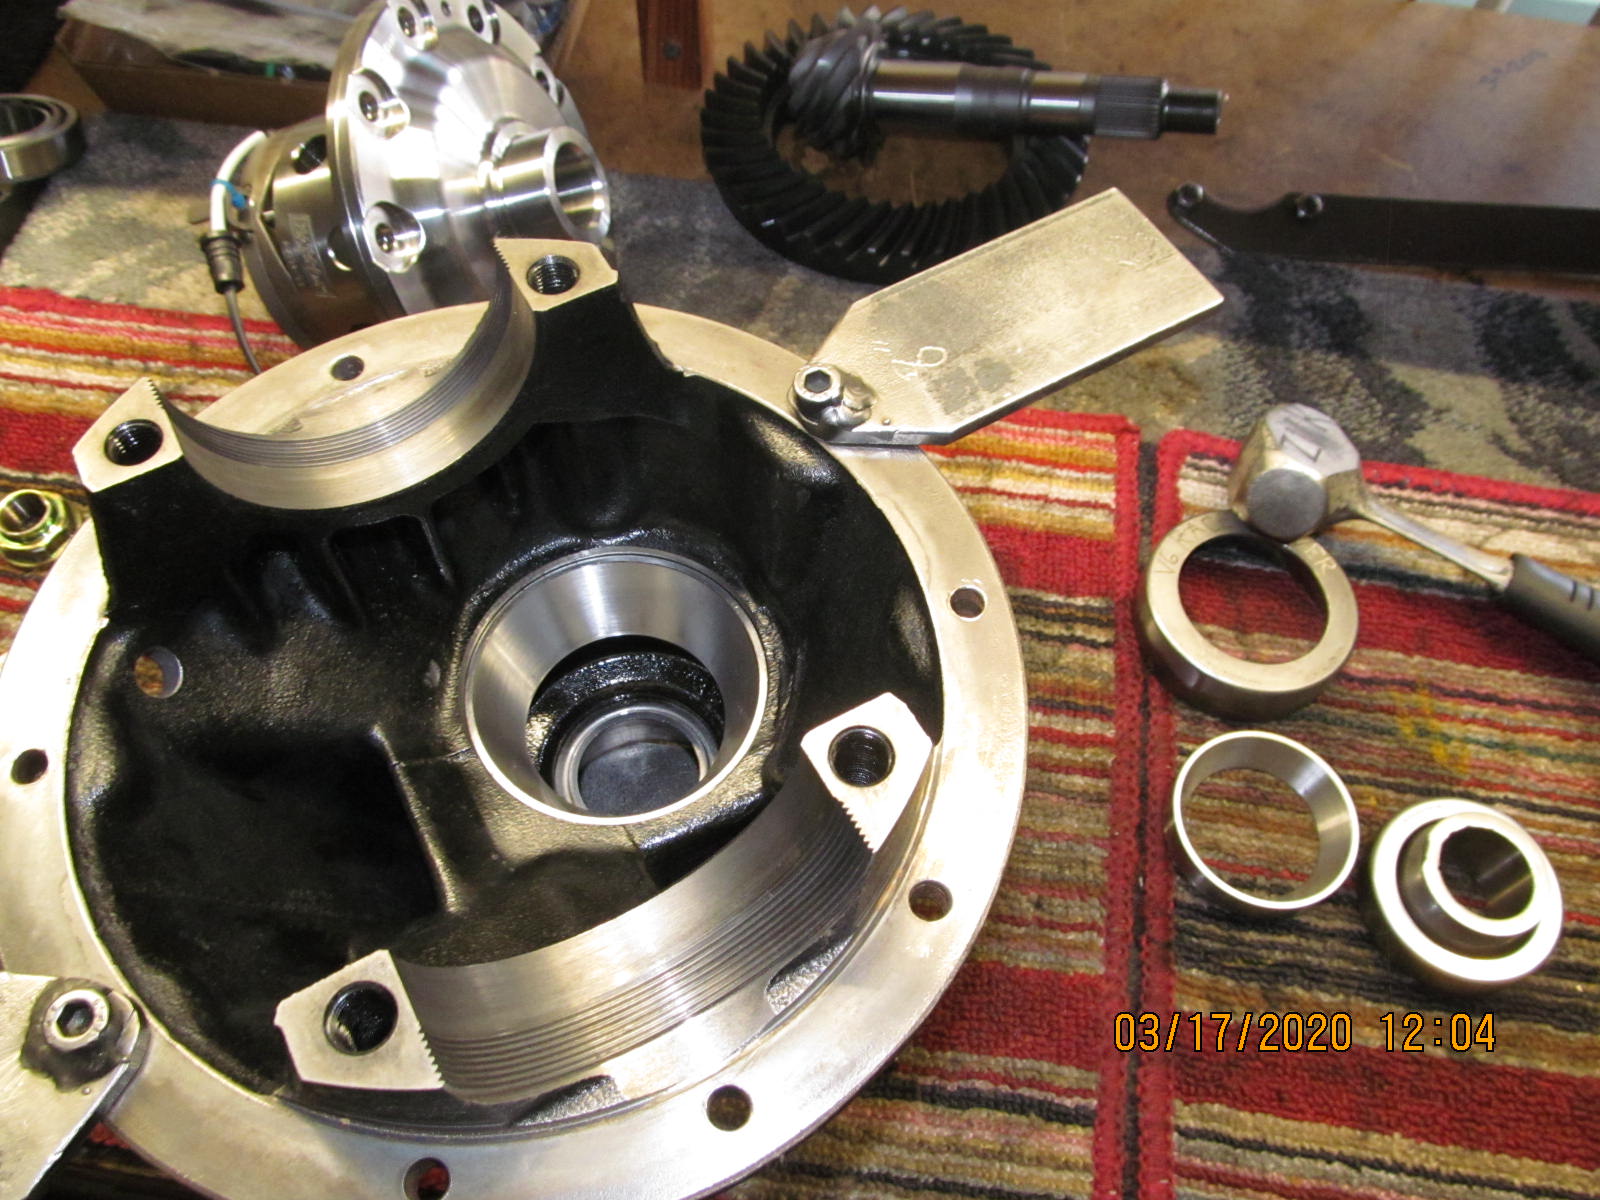
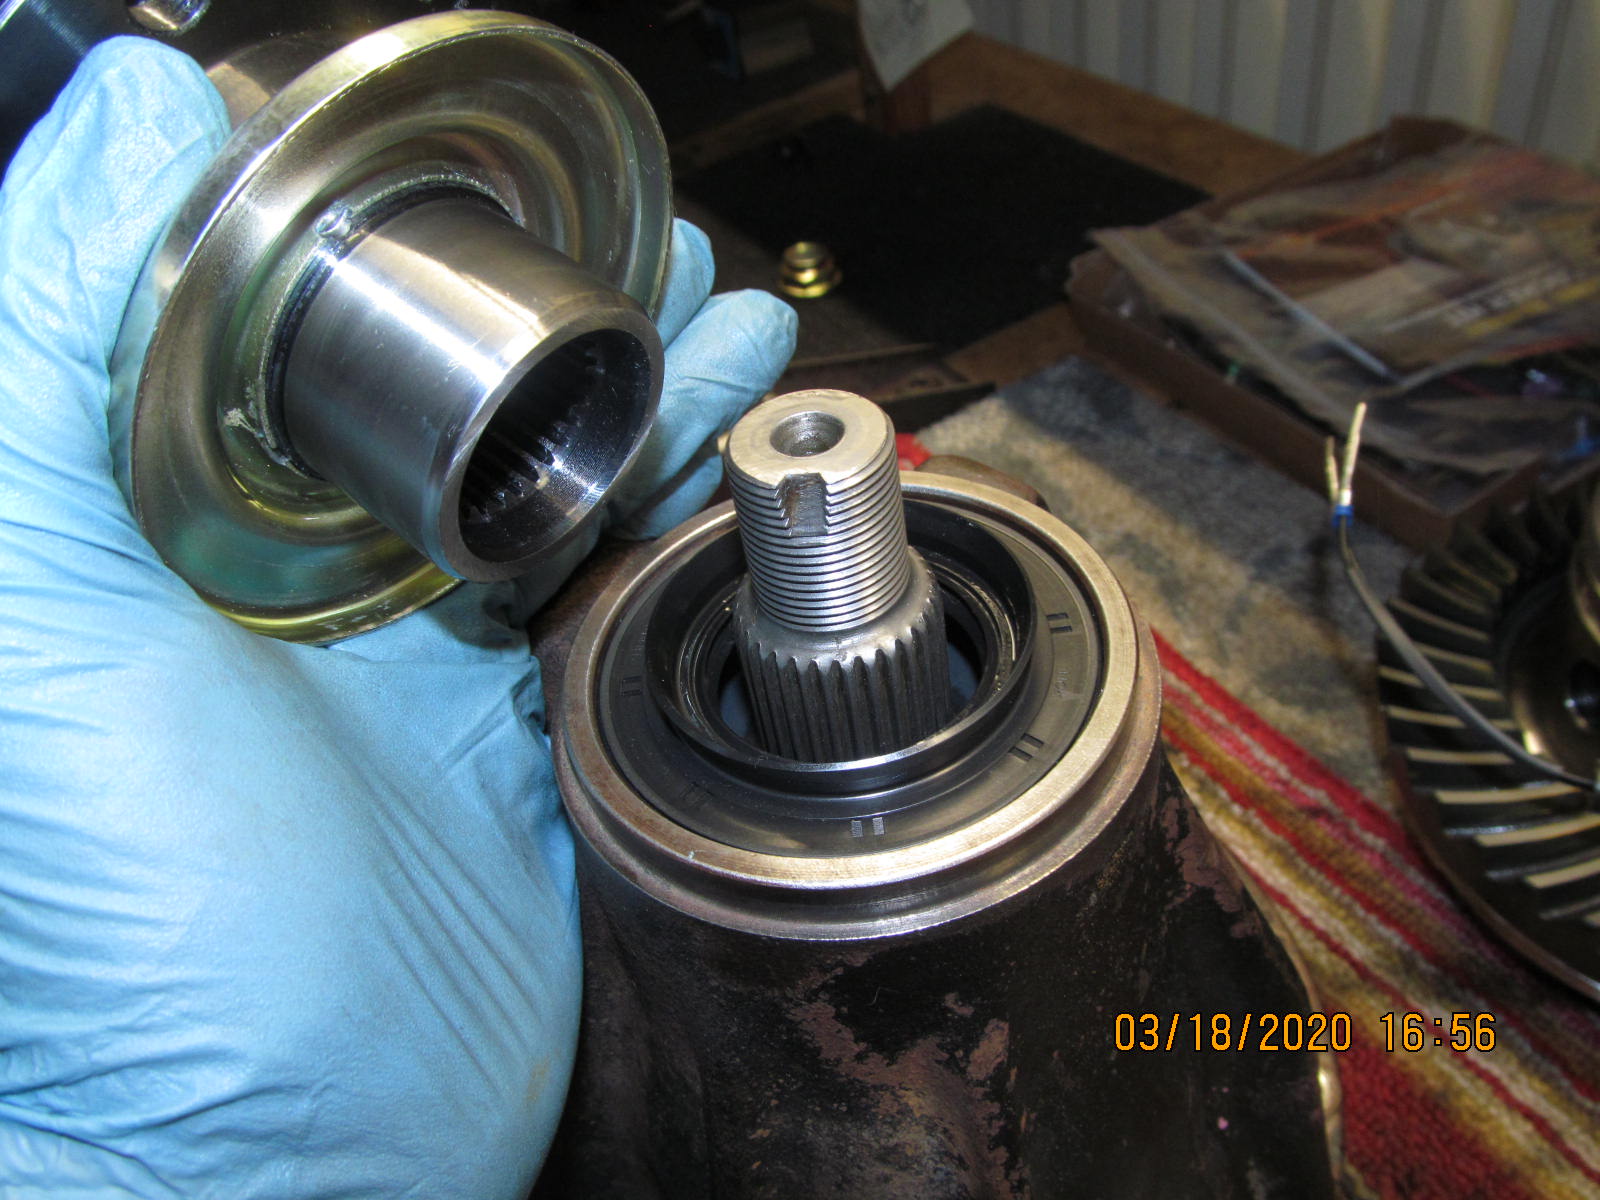
| New large inner race is tapped in with 360 degree support. |
|
| The small outer race is tapped in with 360 degree support using an old race on top. |
|
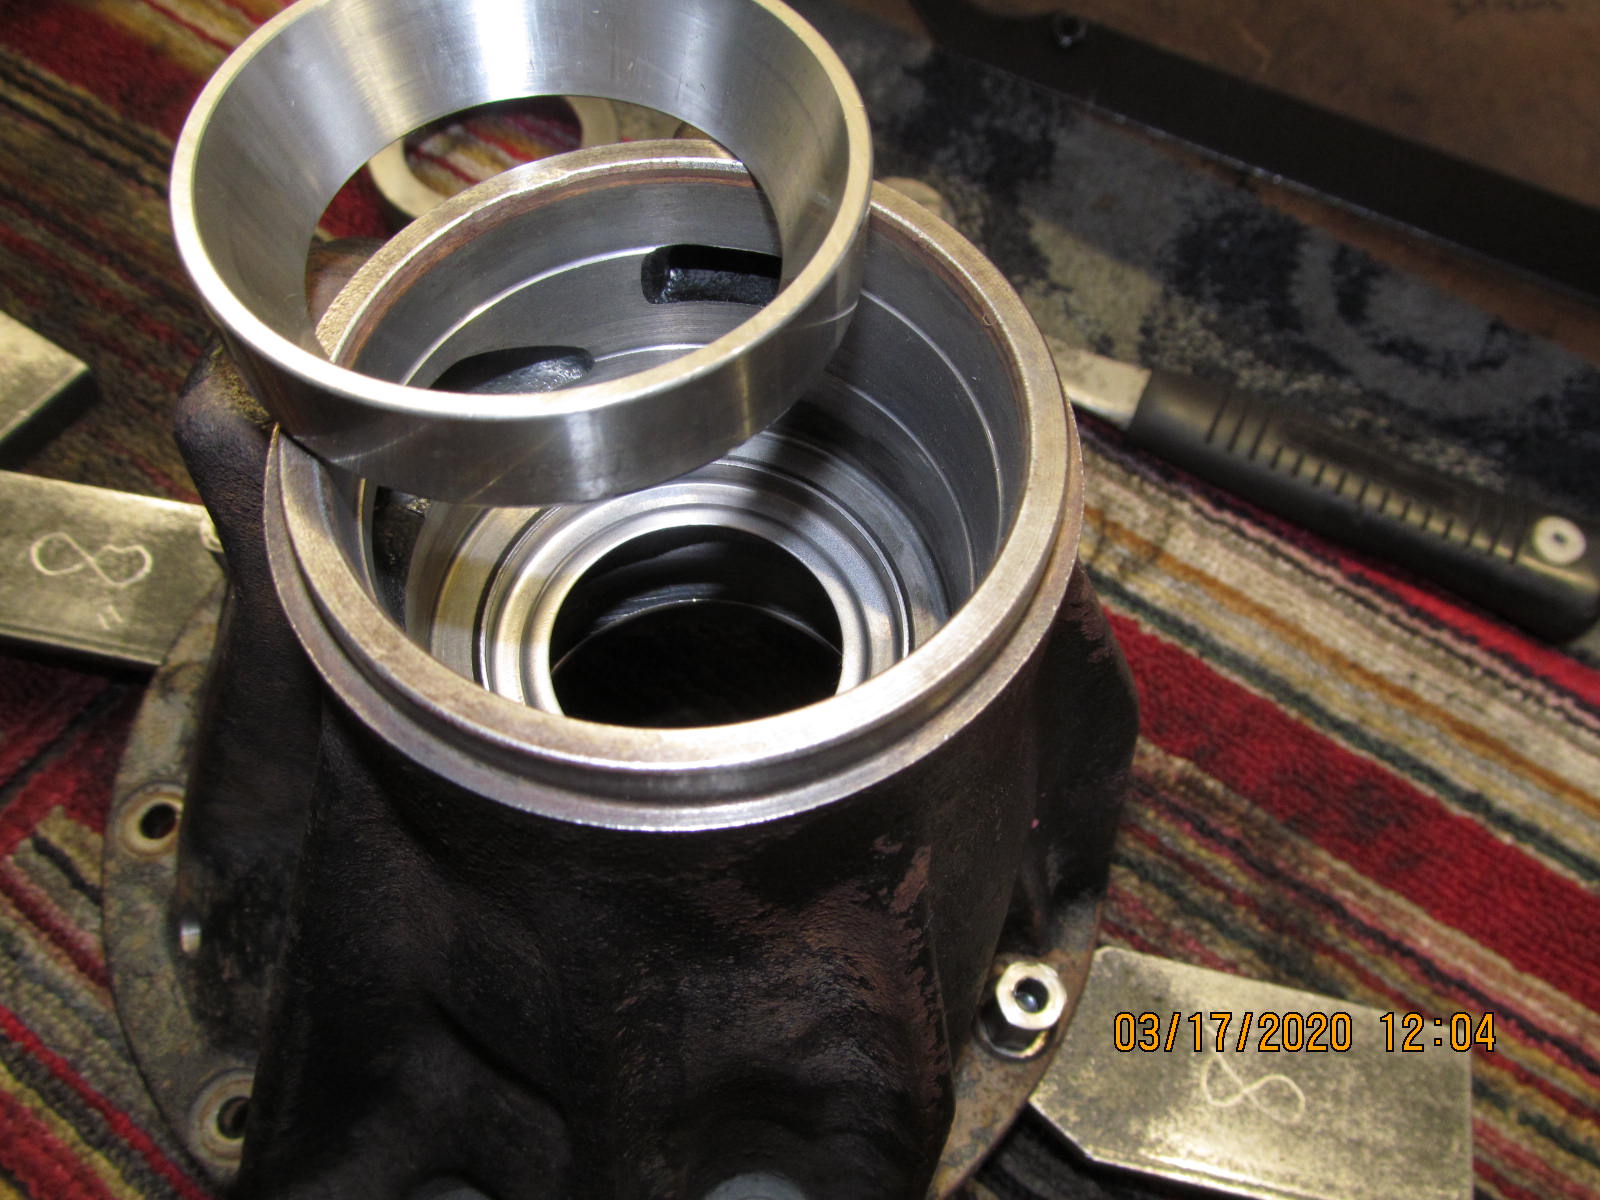
| The oil retainer under the race will need to be flared up with another tool. |
|
| Flared just enough to clear the solid collar. |
|
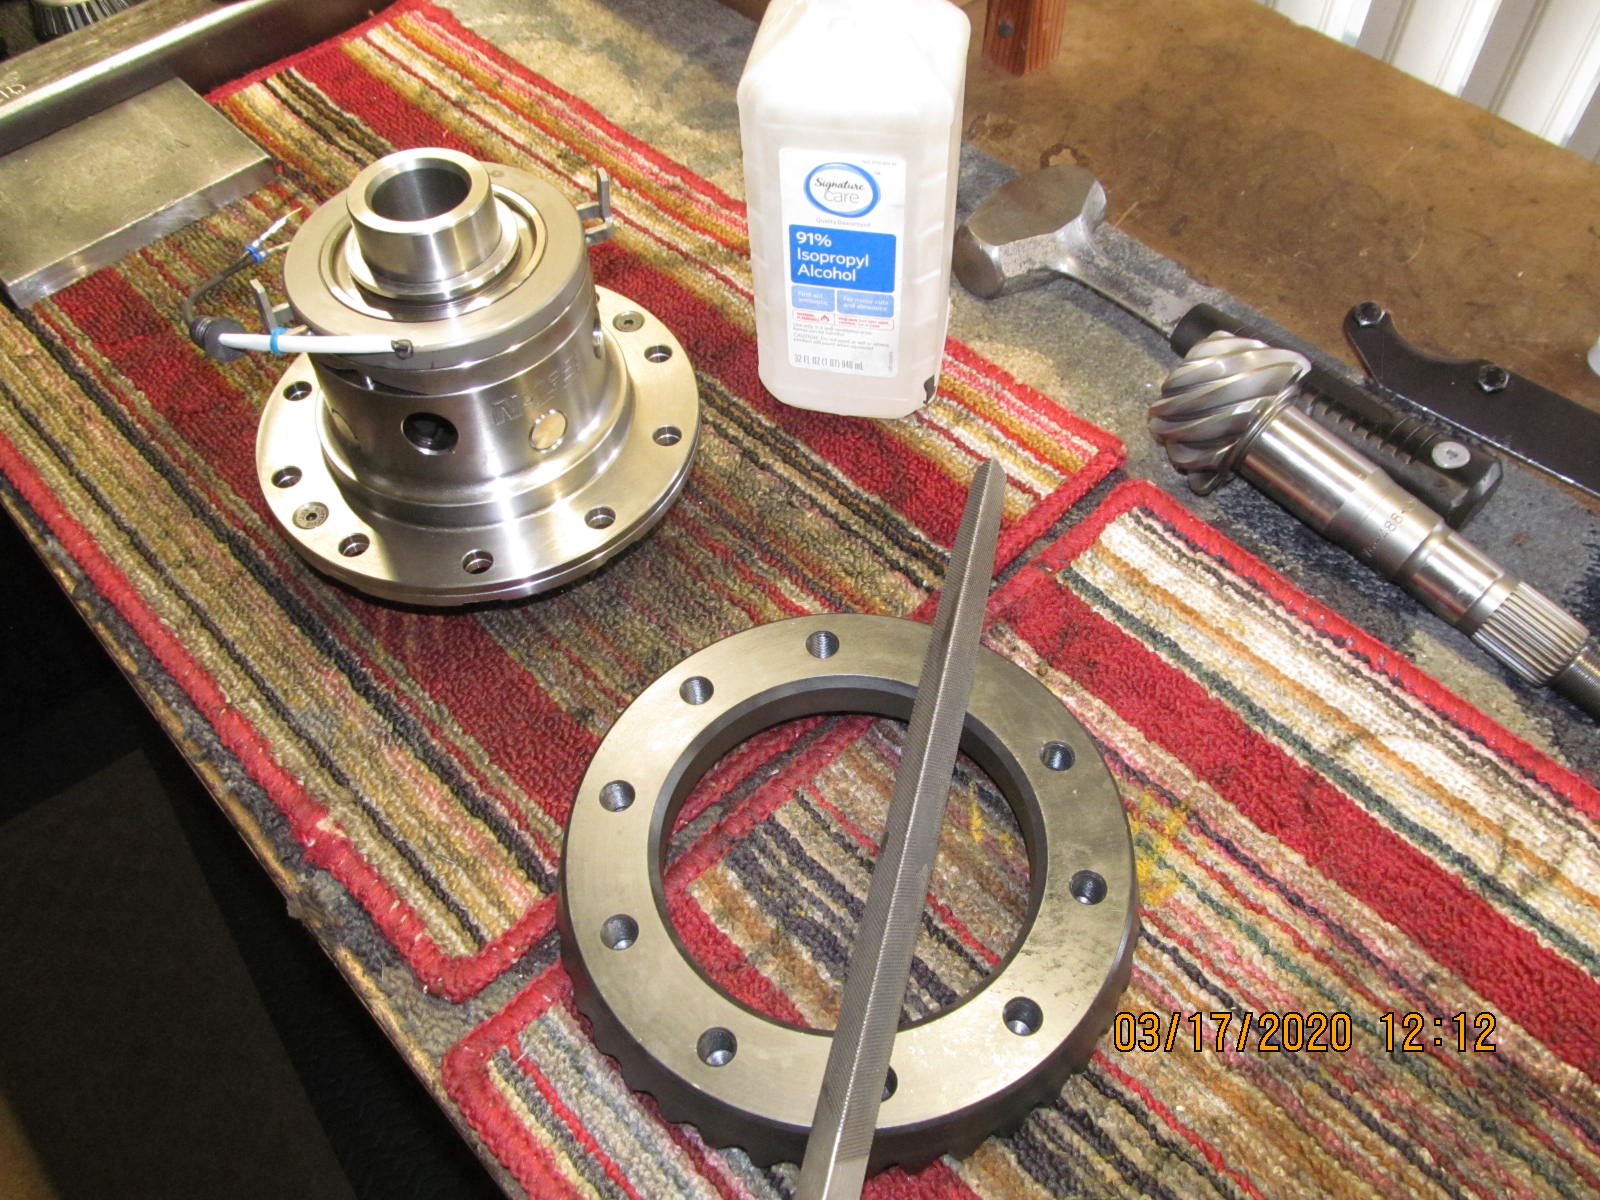
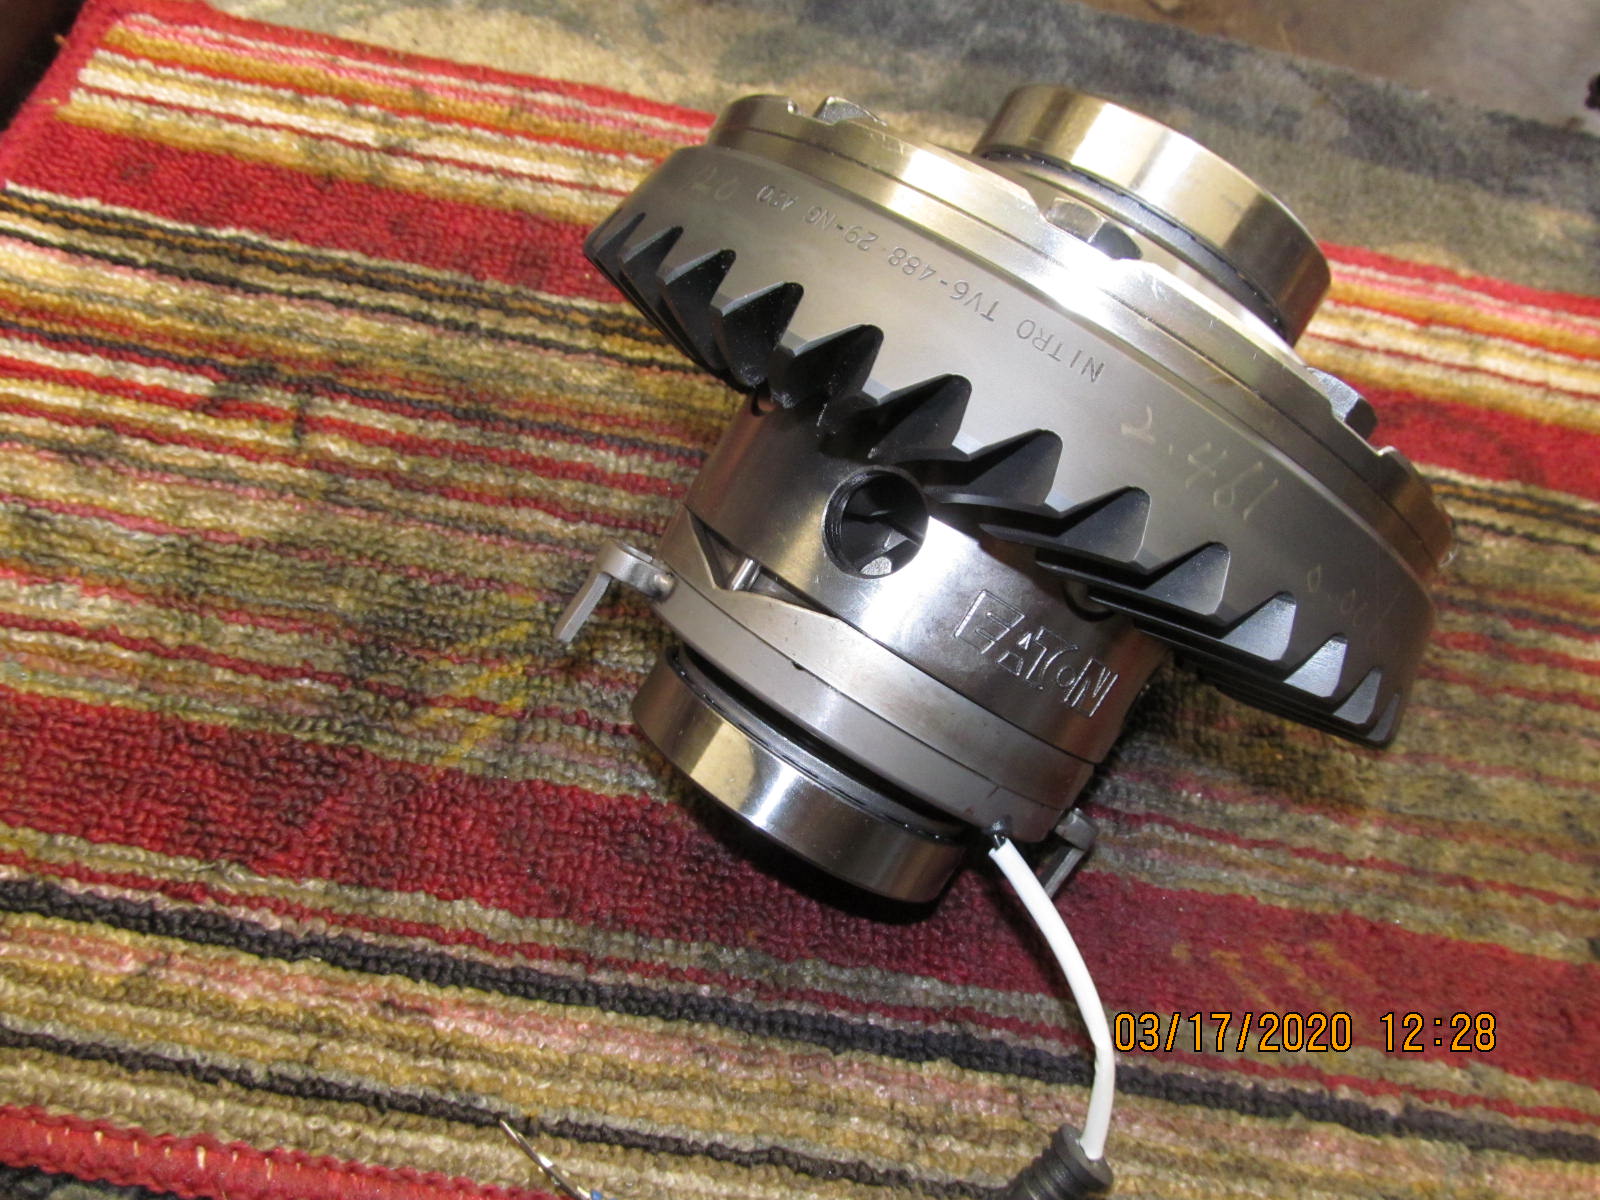
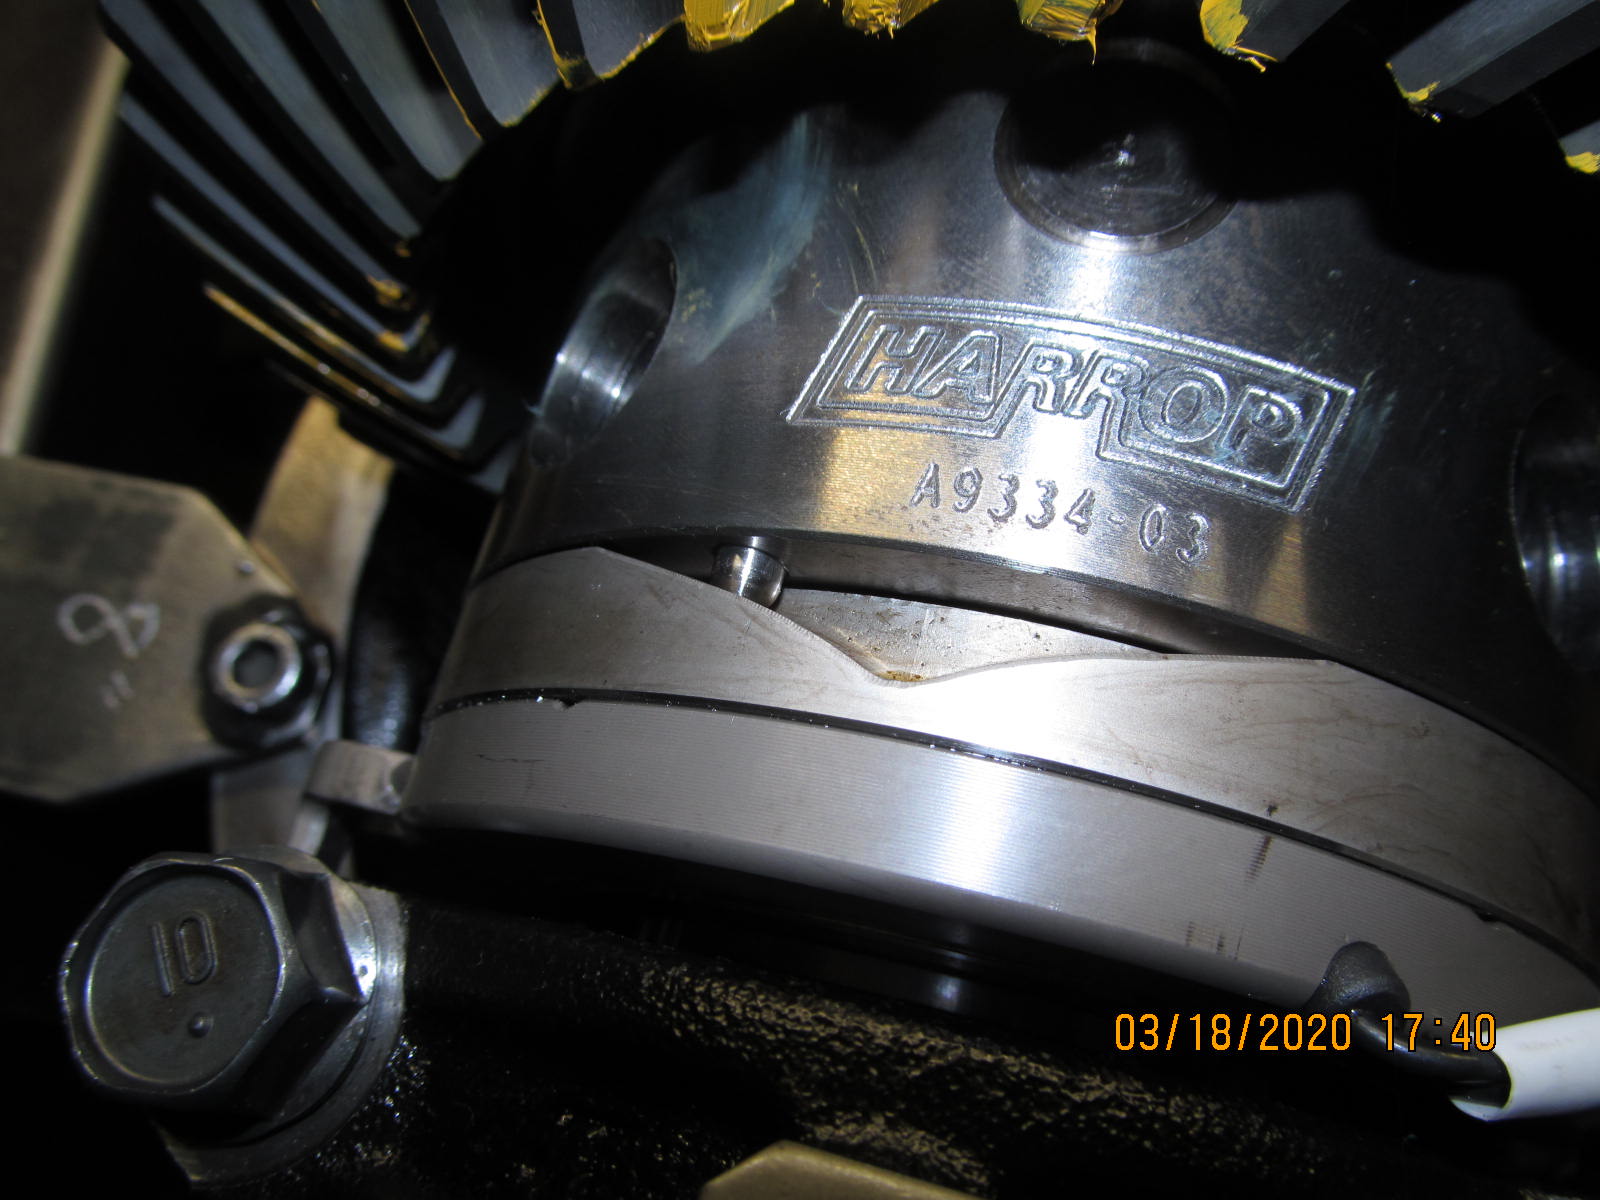
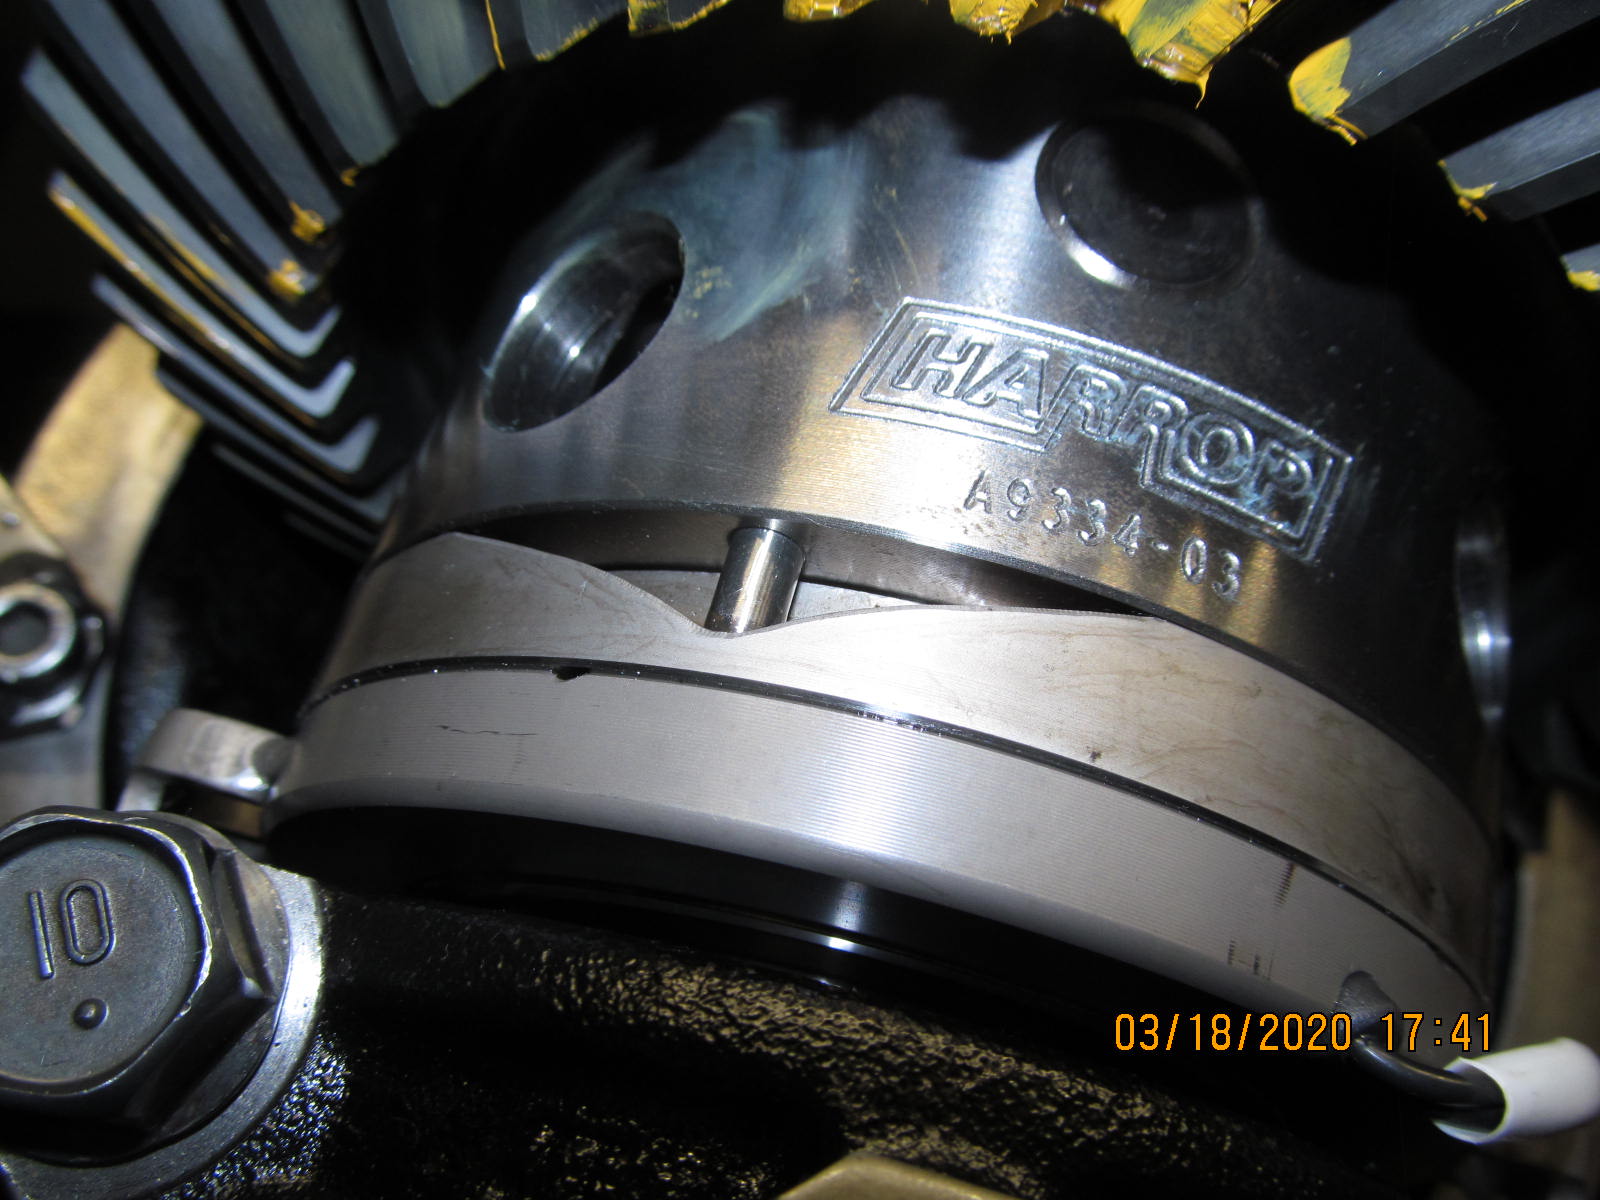
| Now onto the Harrop and the Nitro ring gear.....surfaces checked with a file and no unusual burrs or high spots found. |
|
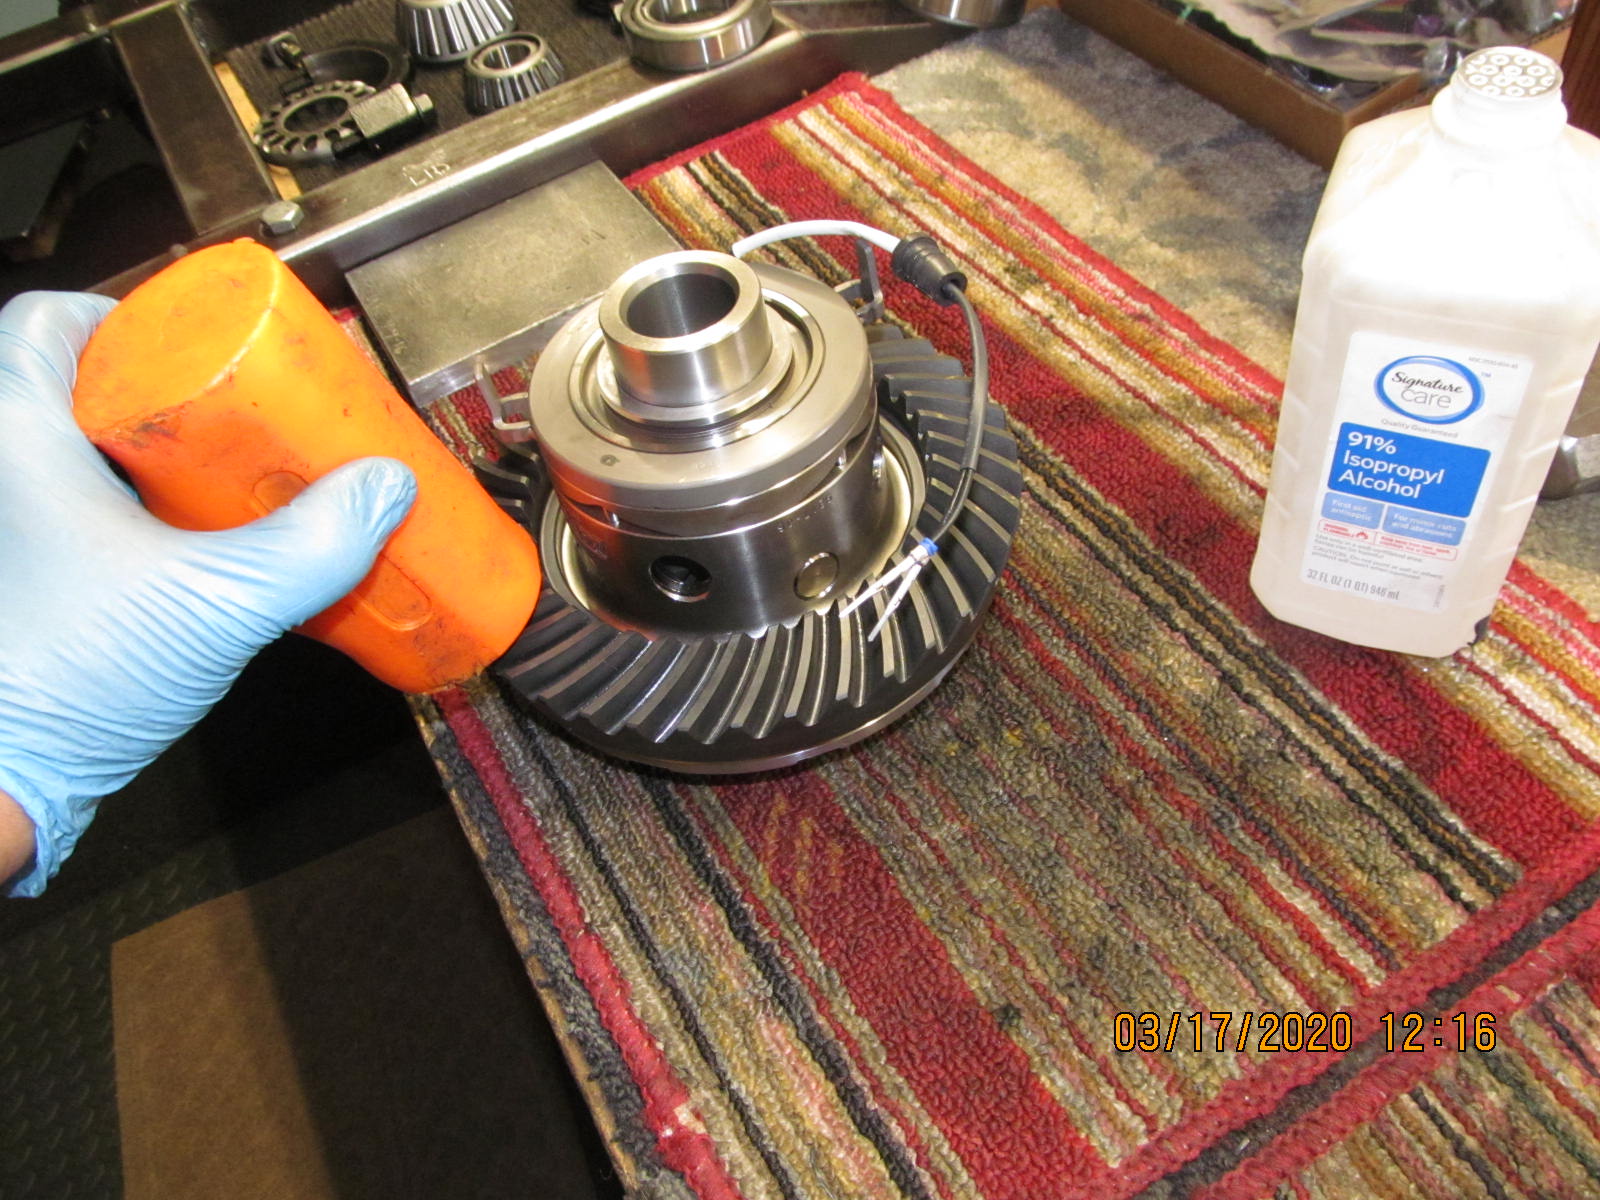
| 91% alcohol cleans the ring gear nicely. It only took gentle taps to get the ring to seat....a slip fit. |
|
| 73 ft/lb on pre-cleaned threads with red Loctite. |
|
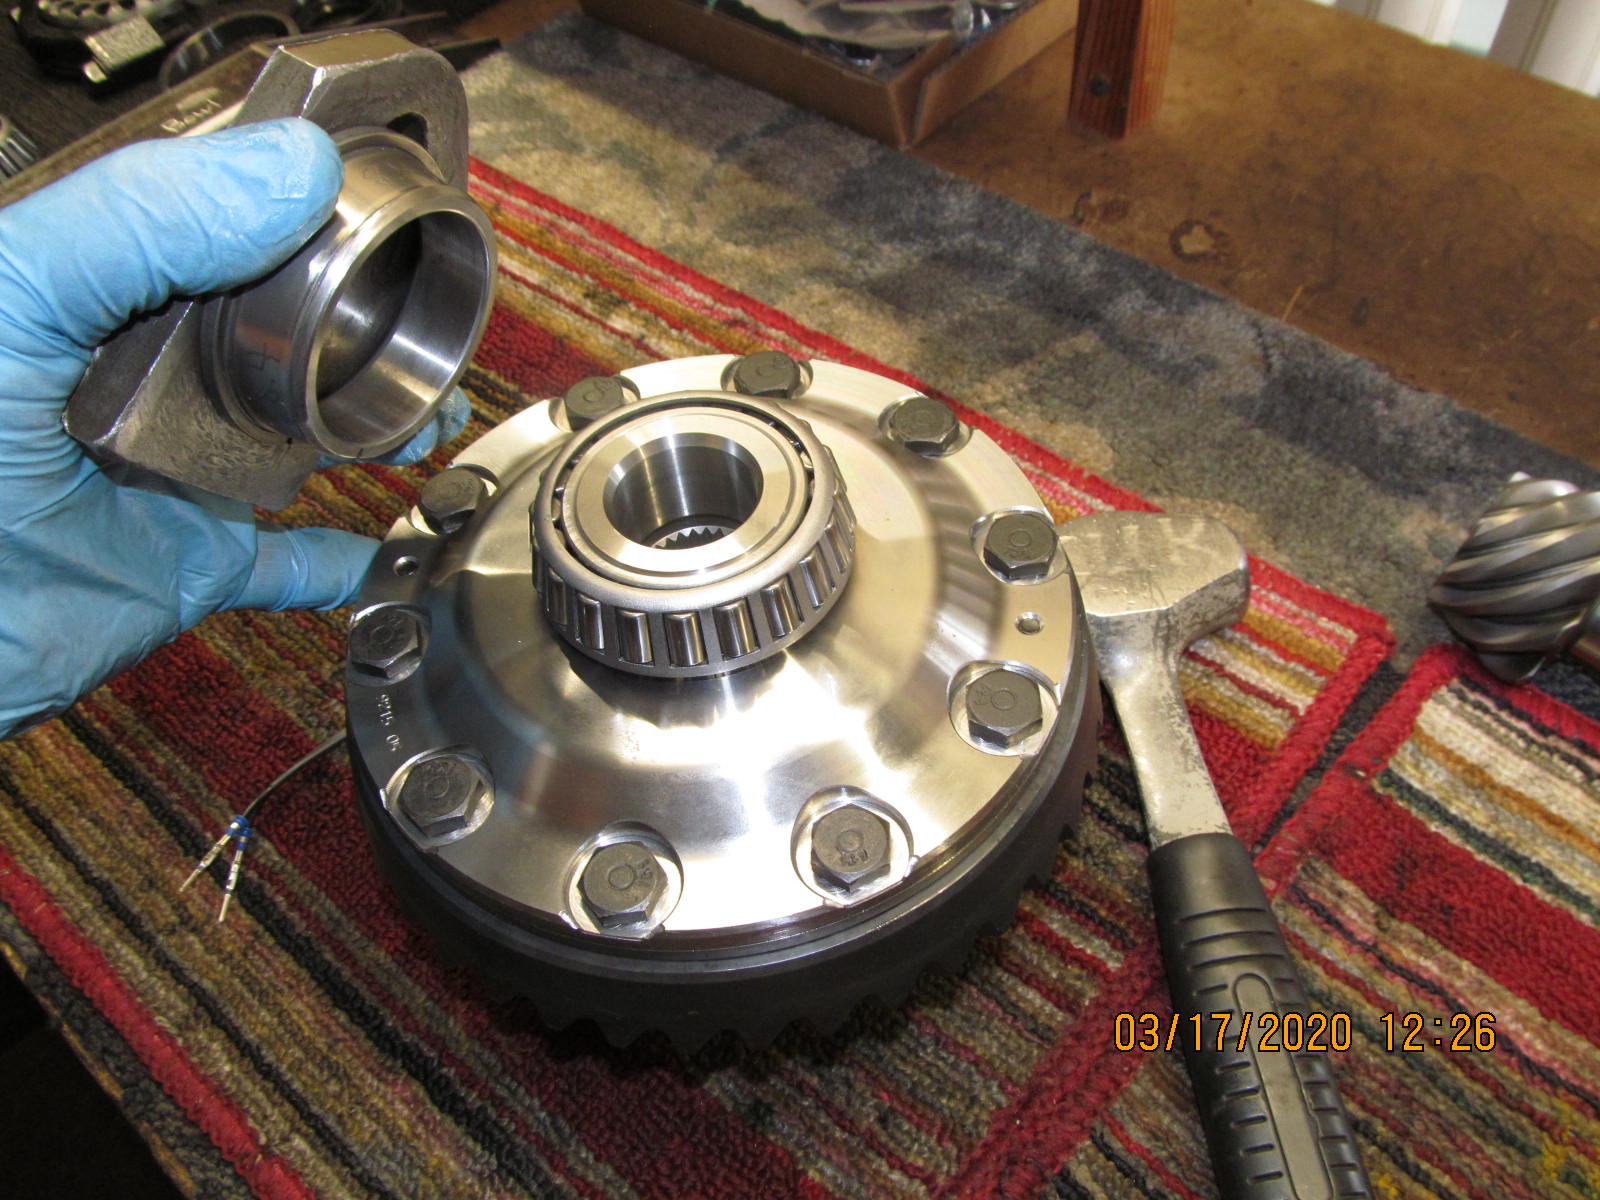
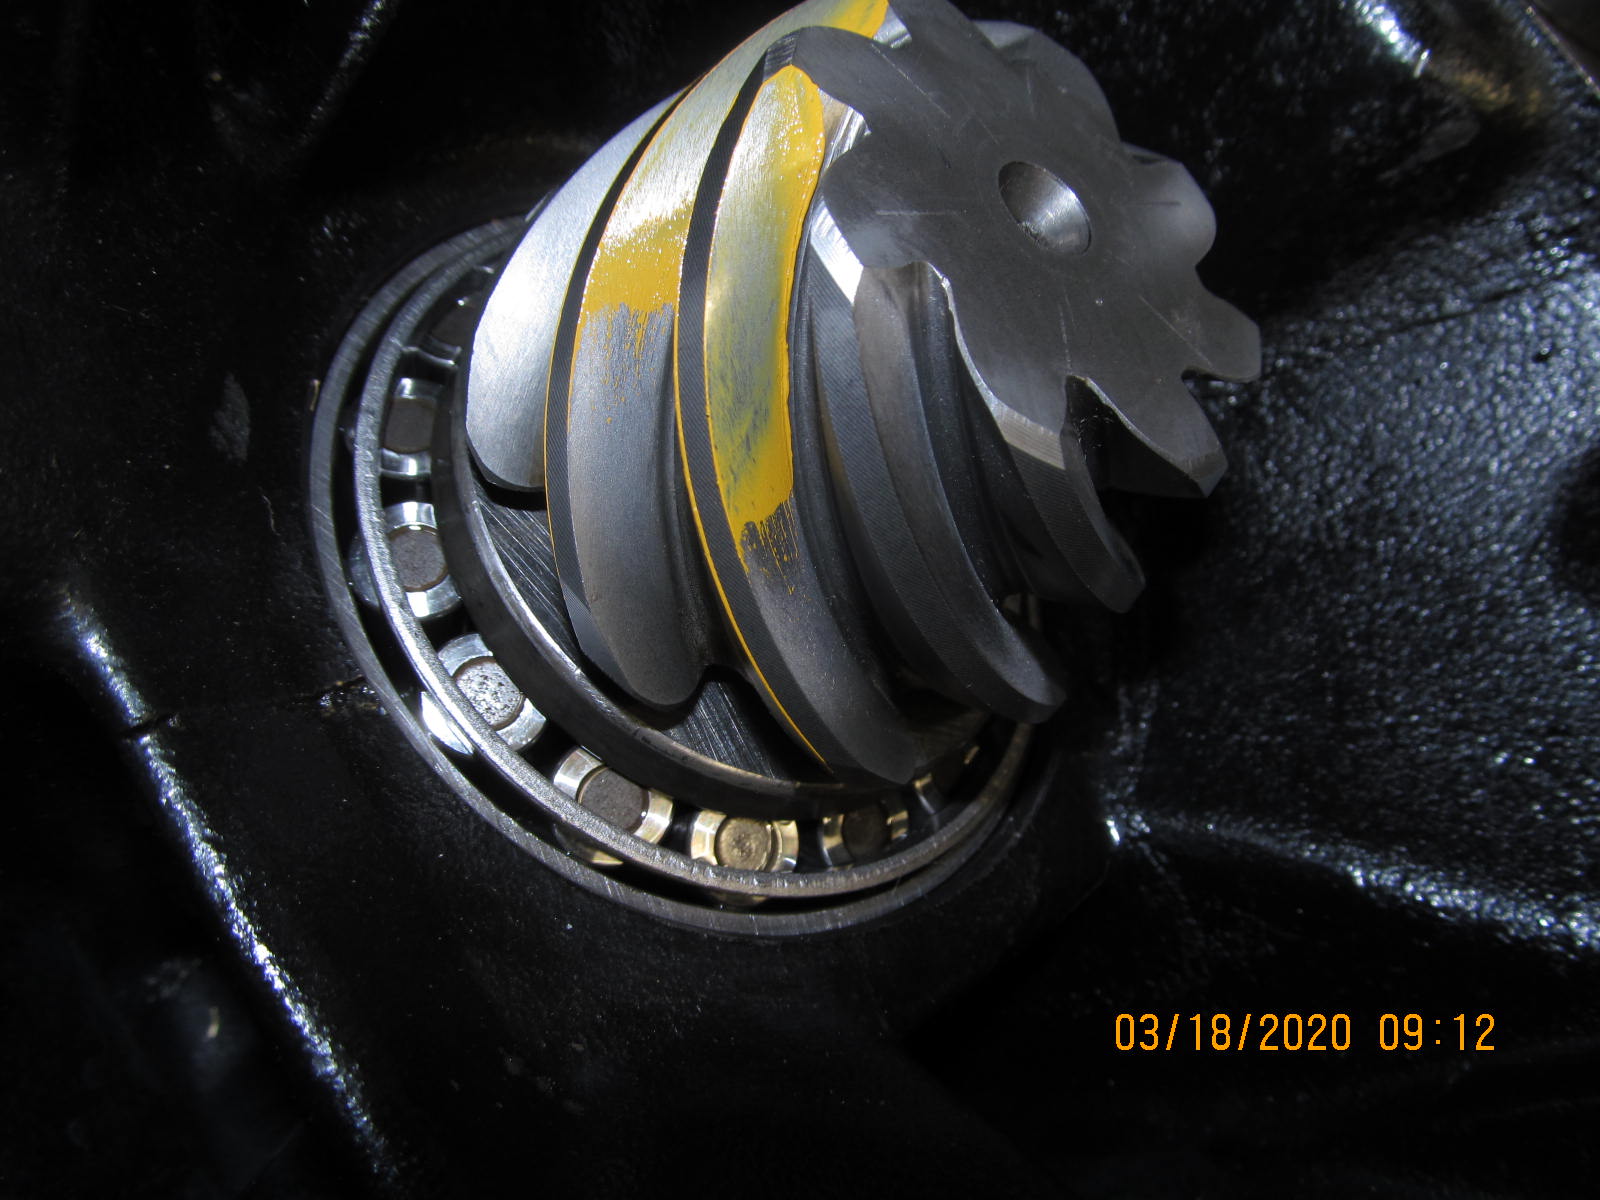
| New Koyo races are tapped in....the fit was very tight which is desired. |
|
| '''''''''''''''''''''''''''''' |
|
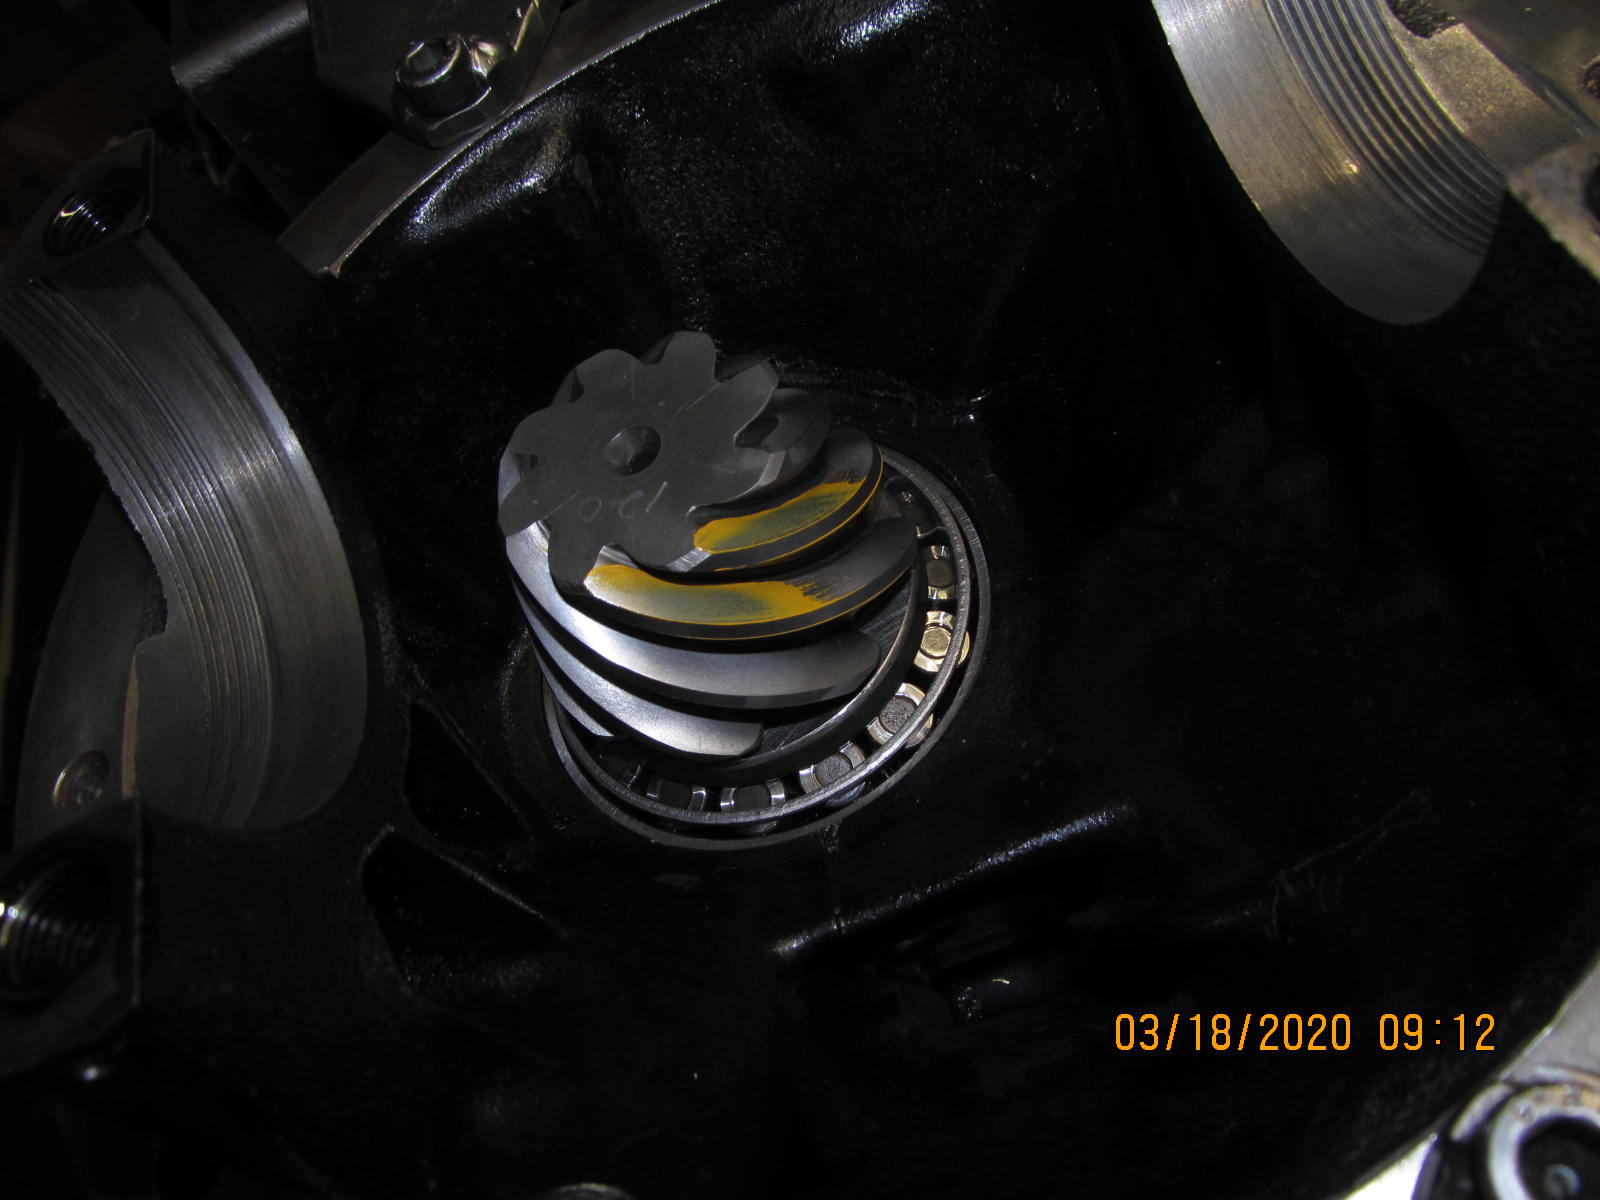
| This center carrier is now complete....now onto the pinion. |
|
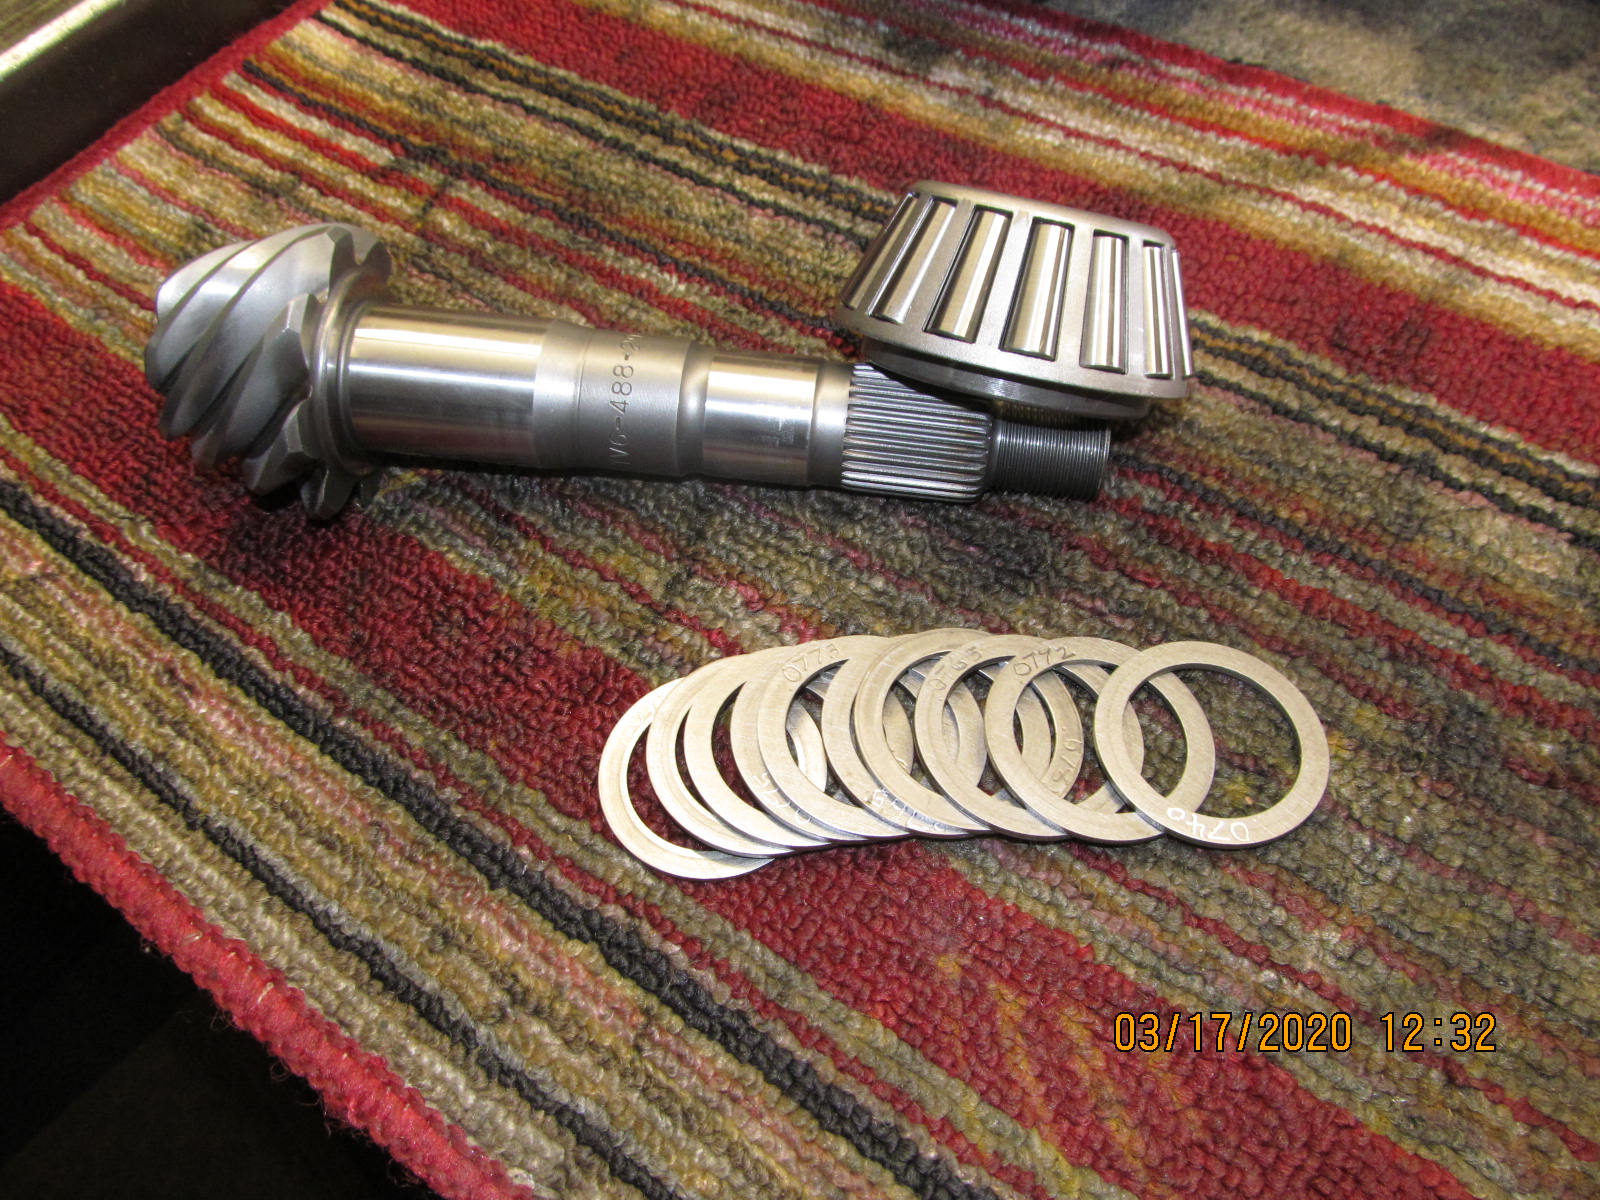
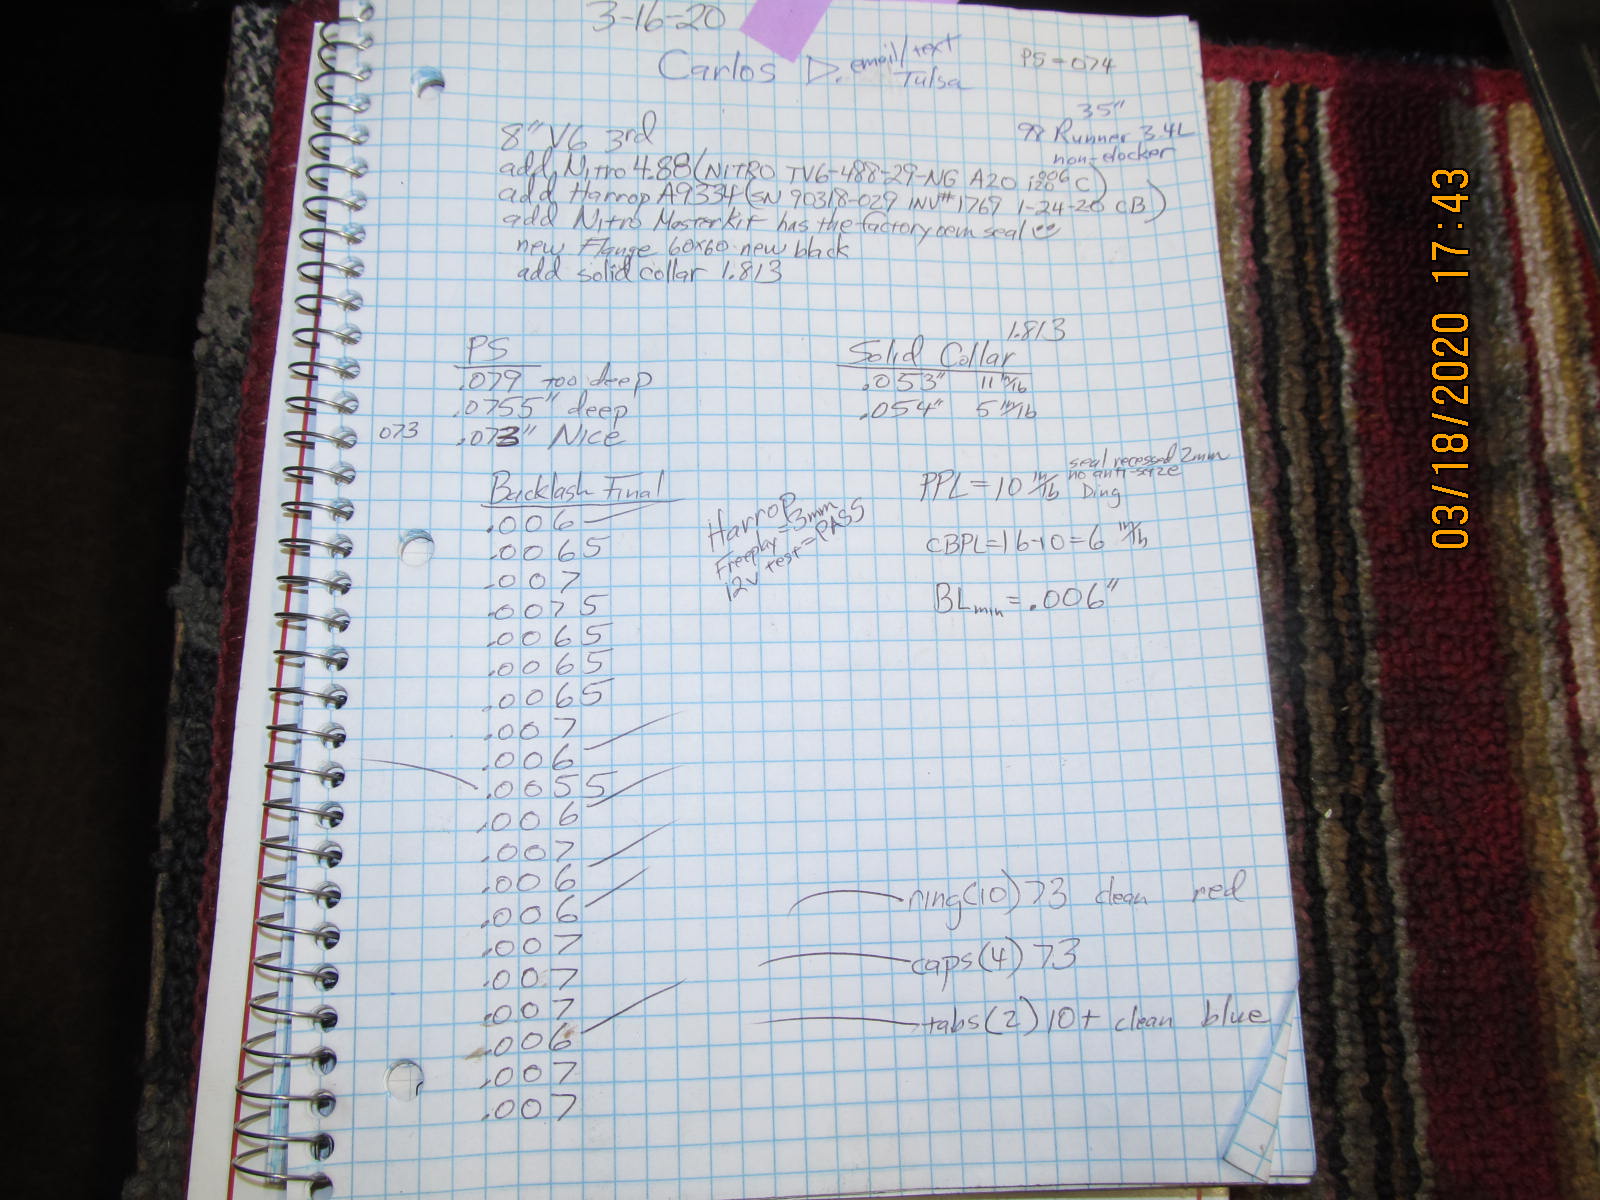
| Taking a best guess and starting with a .079" shim |
|
| Mounting the pinion with no crush sleeve or solid collar. Those are not needed for just a paint test. |
|
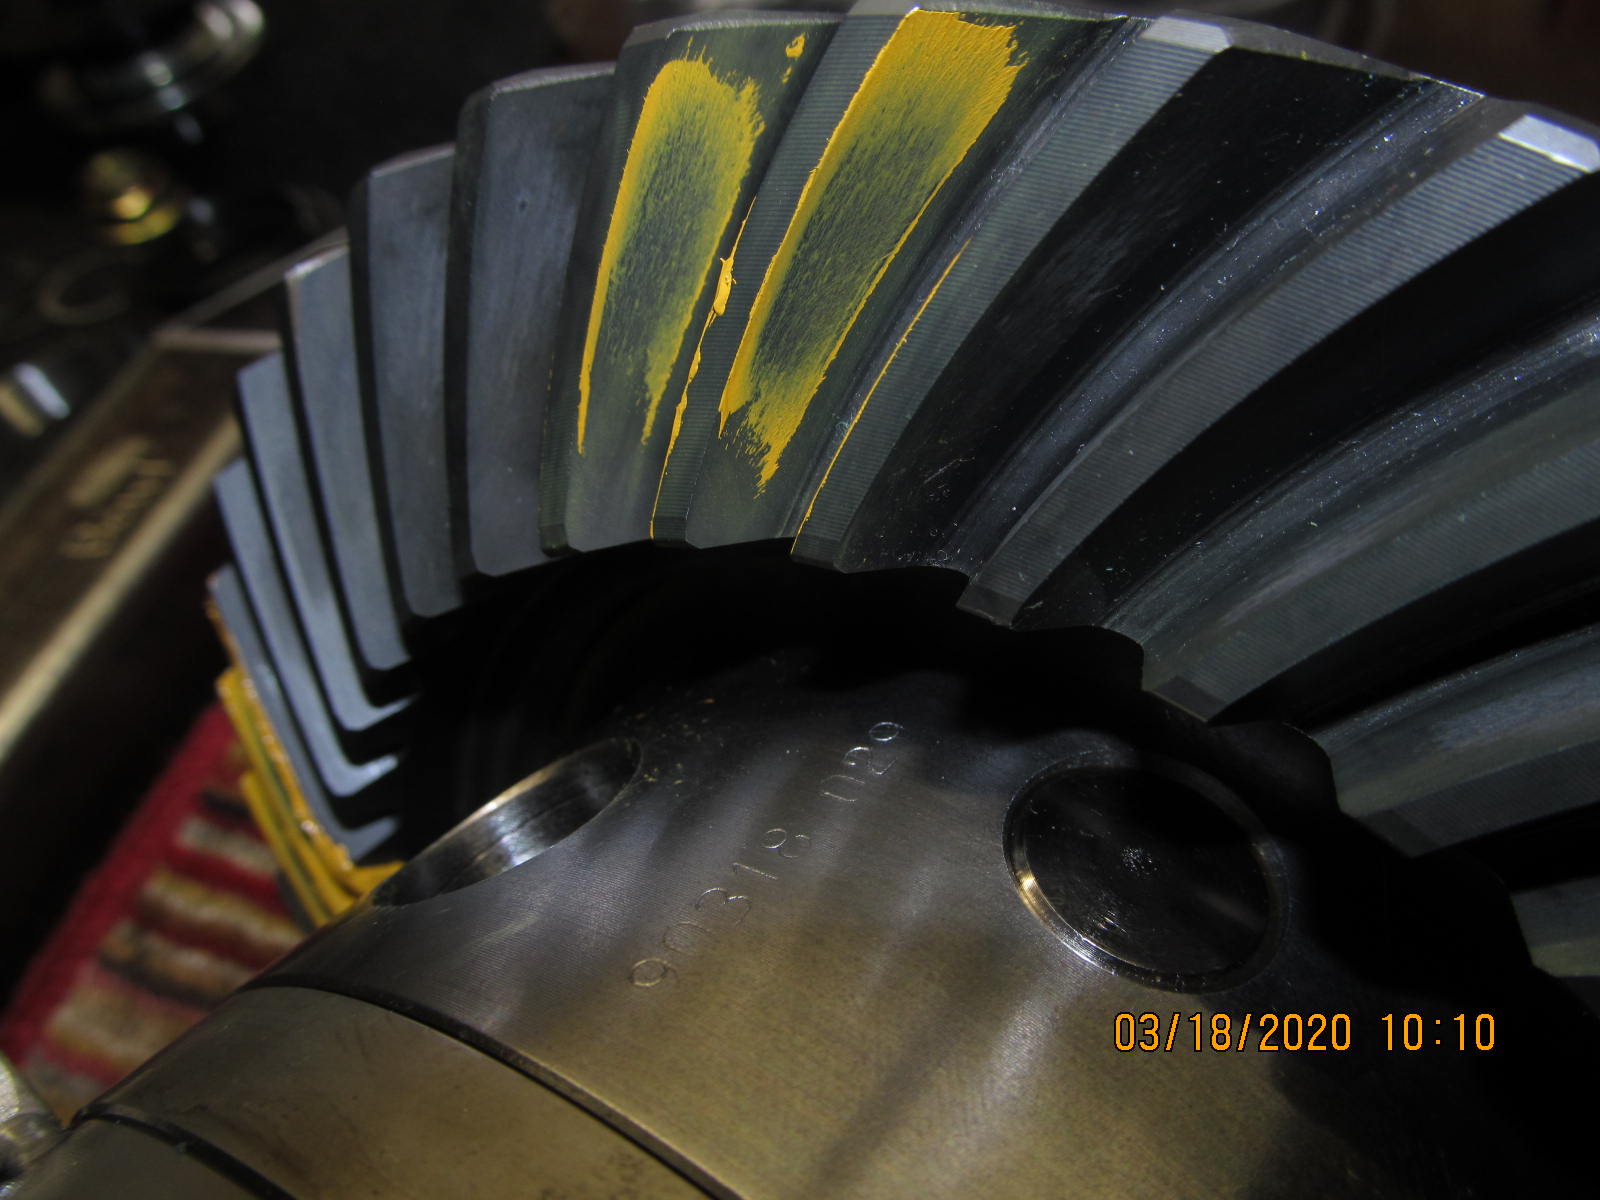
| DRIVE side......favors toe end but the main concern it is way too deep. |
|
| DRIVE |
|
| COAST....looks actually kinda good....ever so slightly to the heel end. |
|
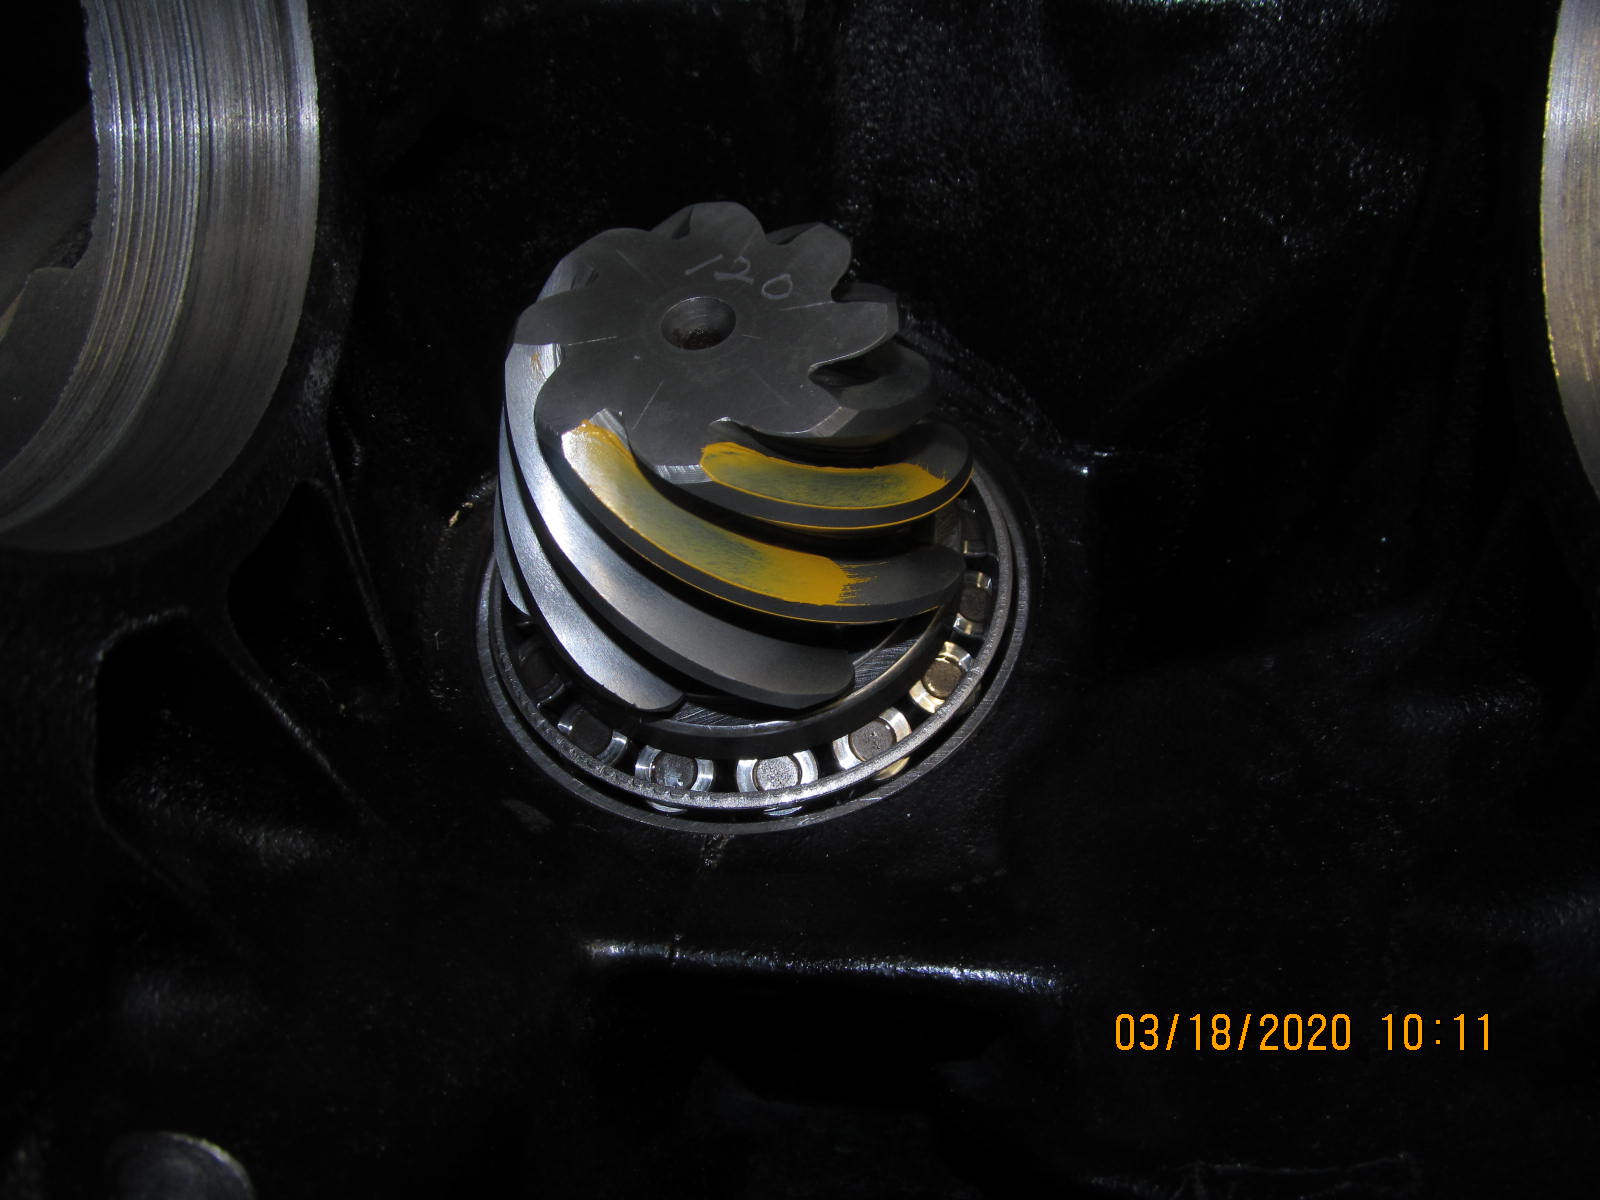
| Comet tail.....it talks to me.....says that it is too deep....remove some shim. |
|
| Definitely remove some shim..... |
|
| Please remove some shim.(comet tail is favoring the outside) |
|
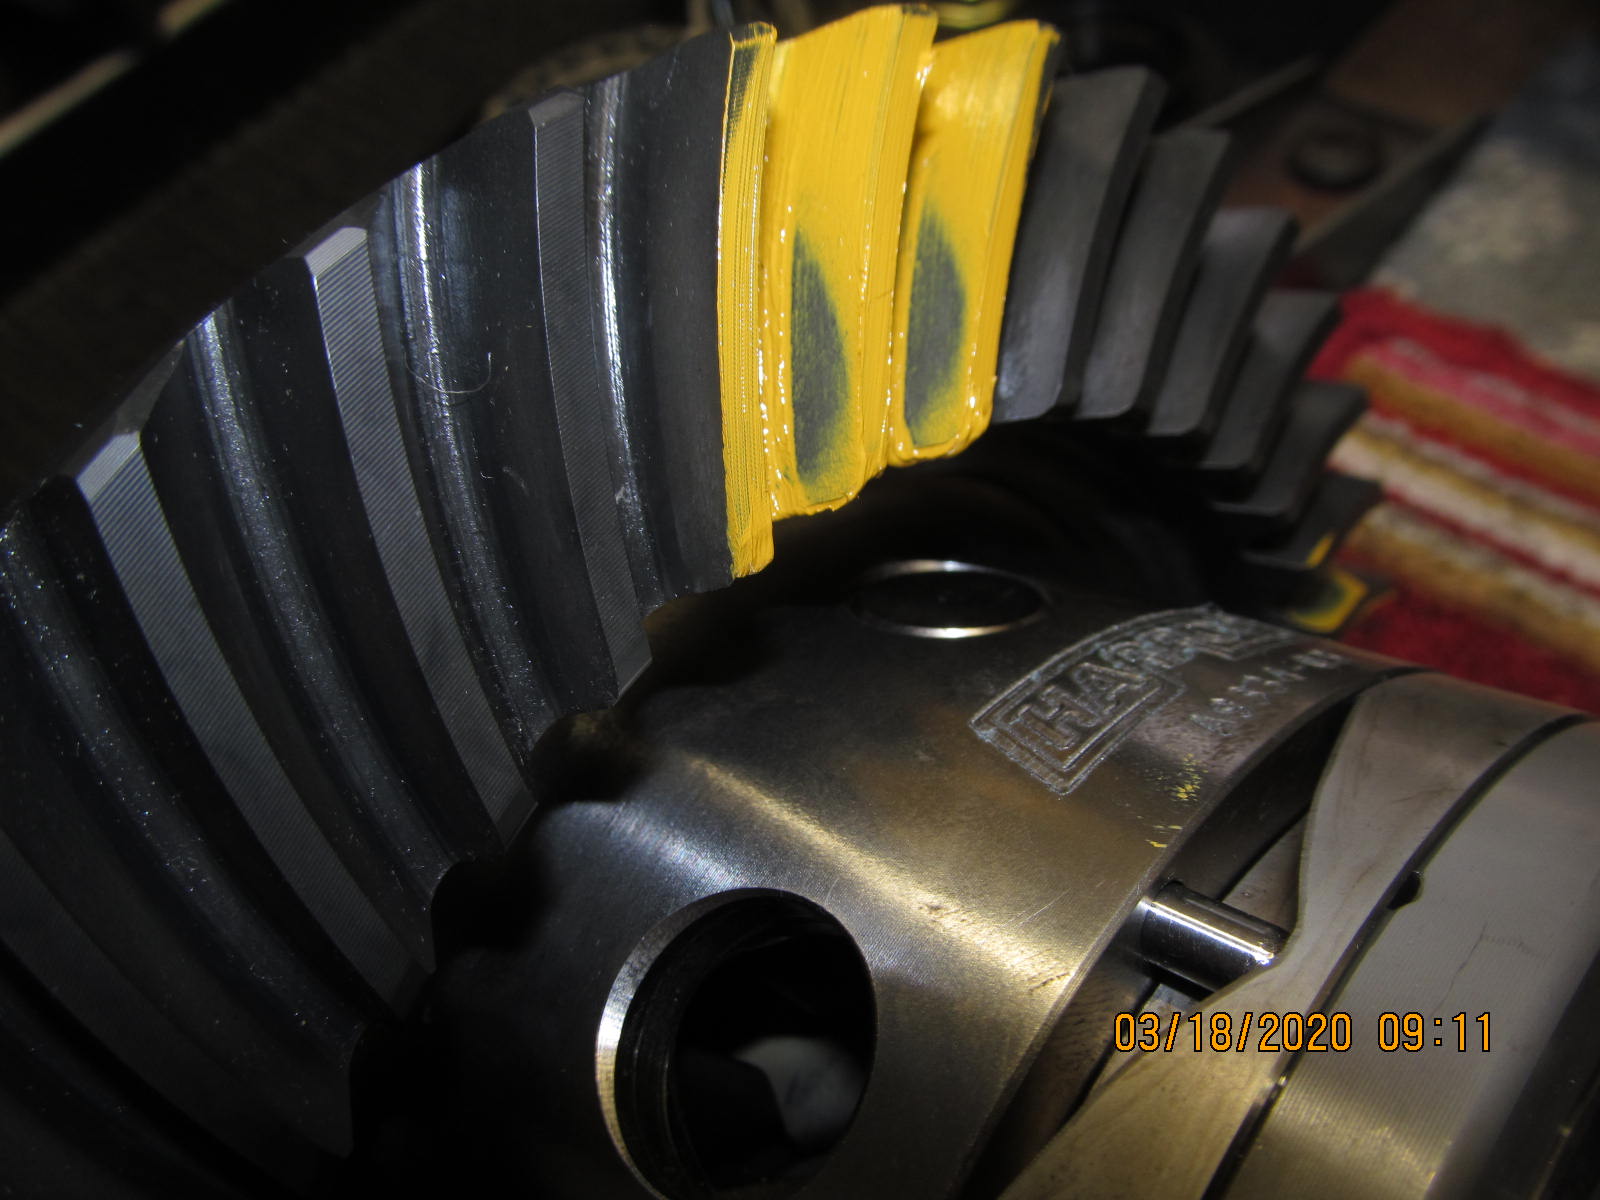
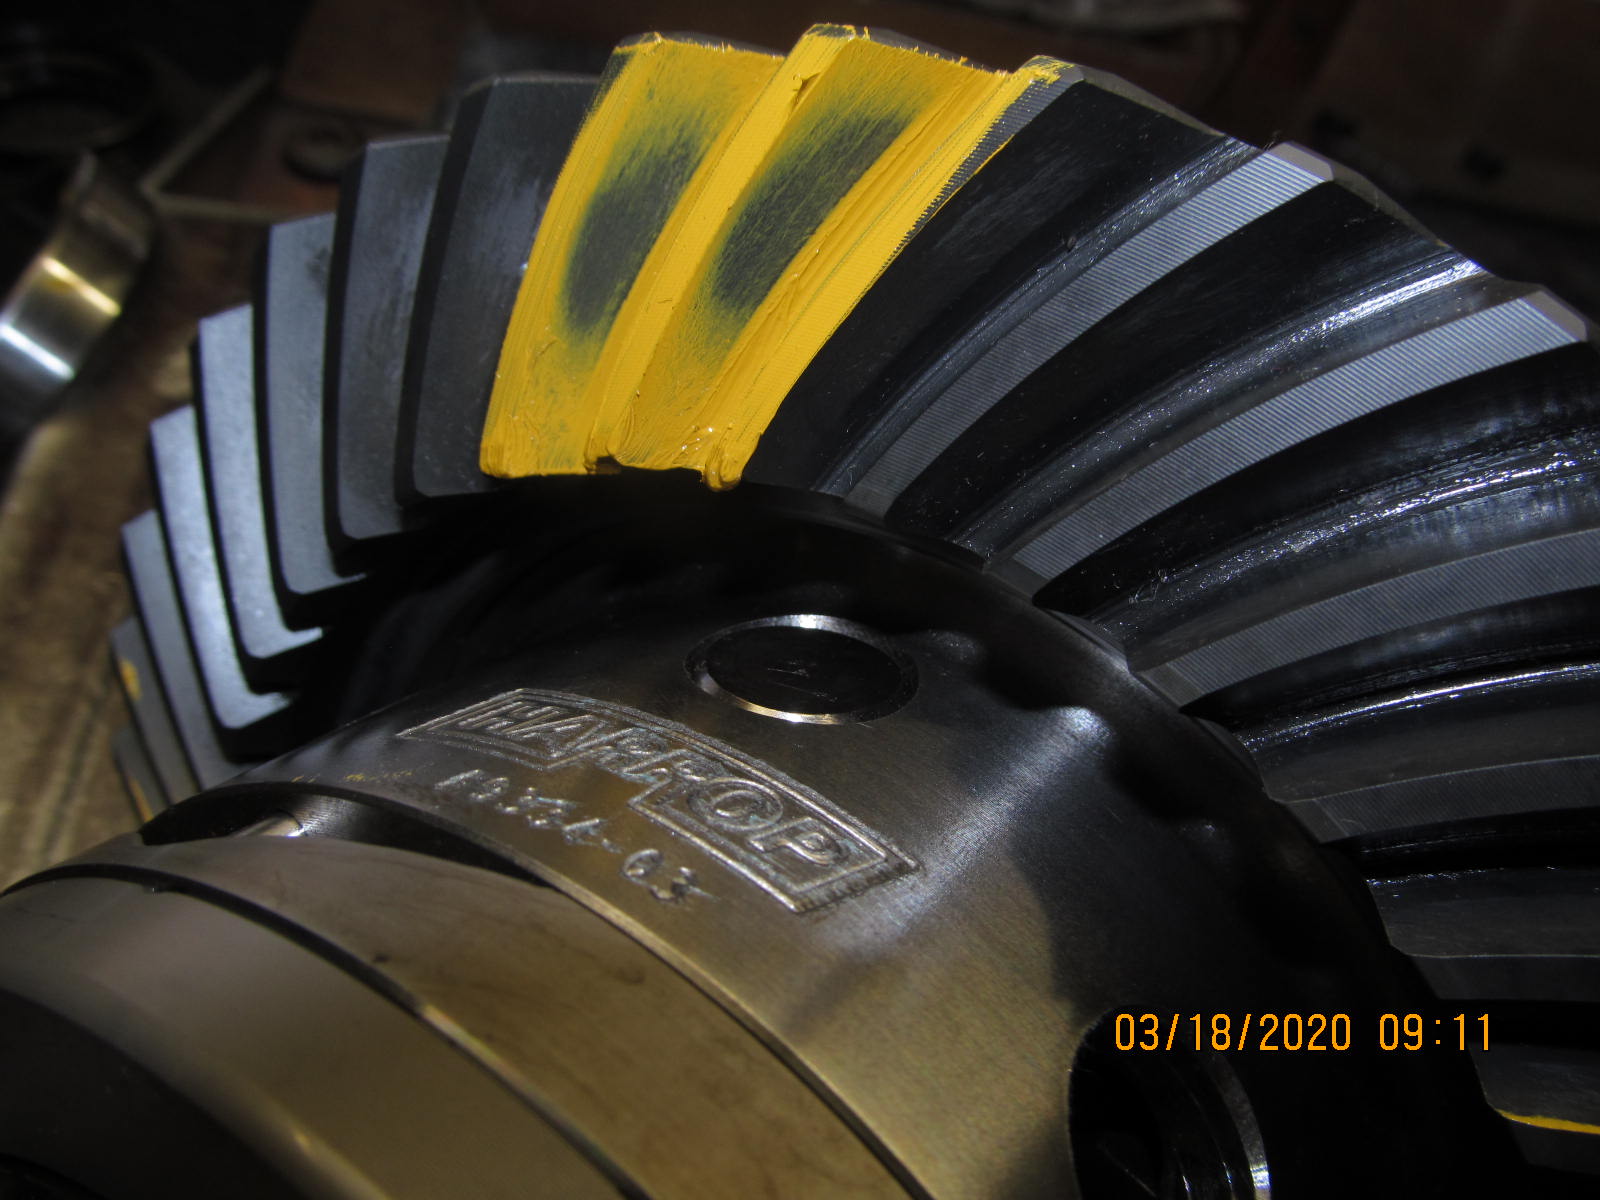
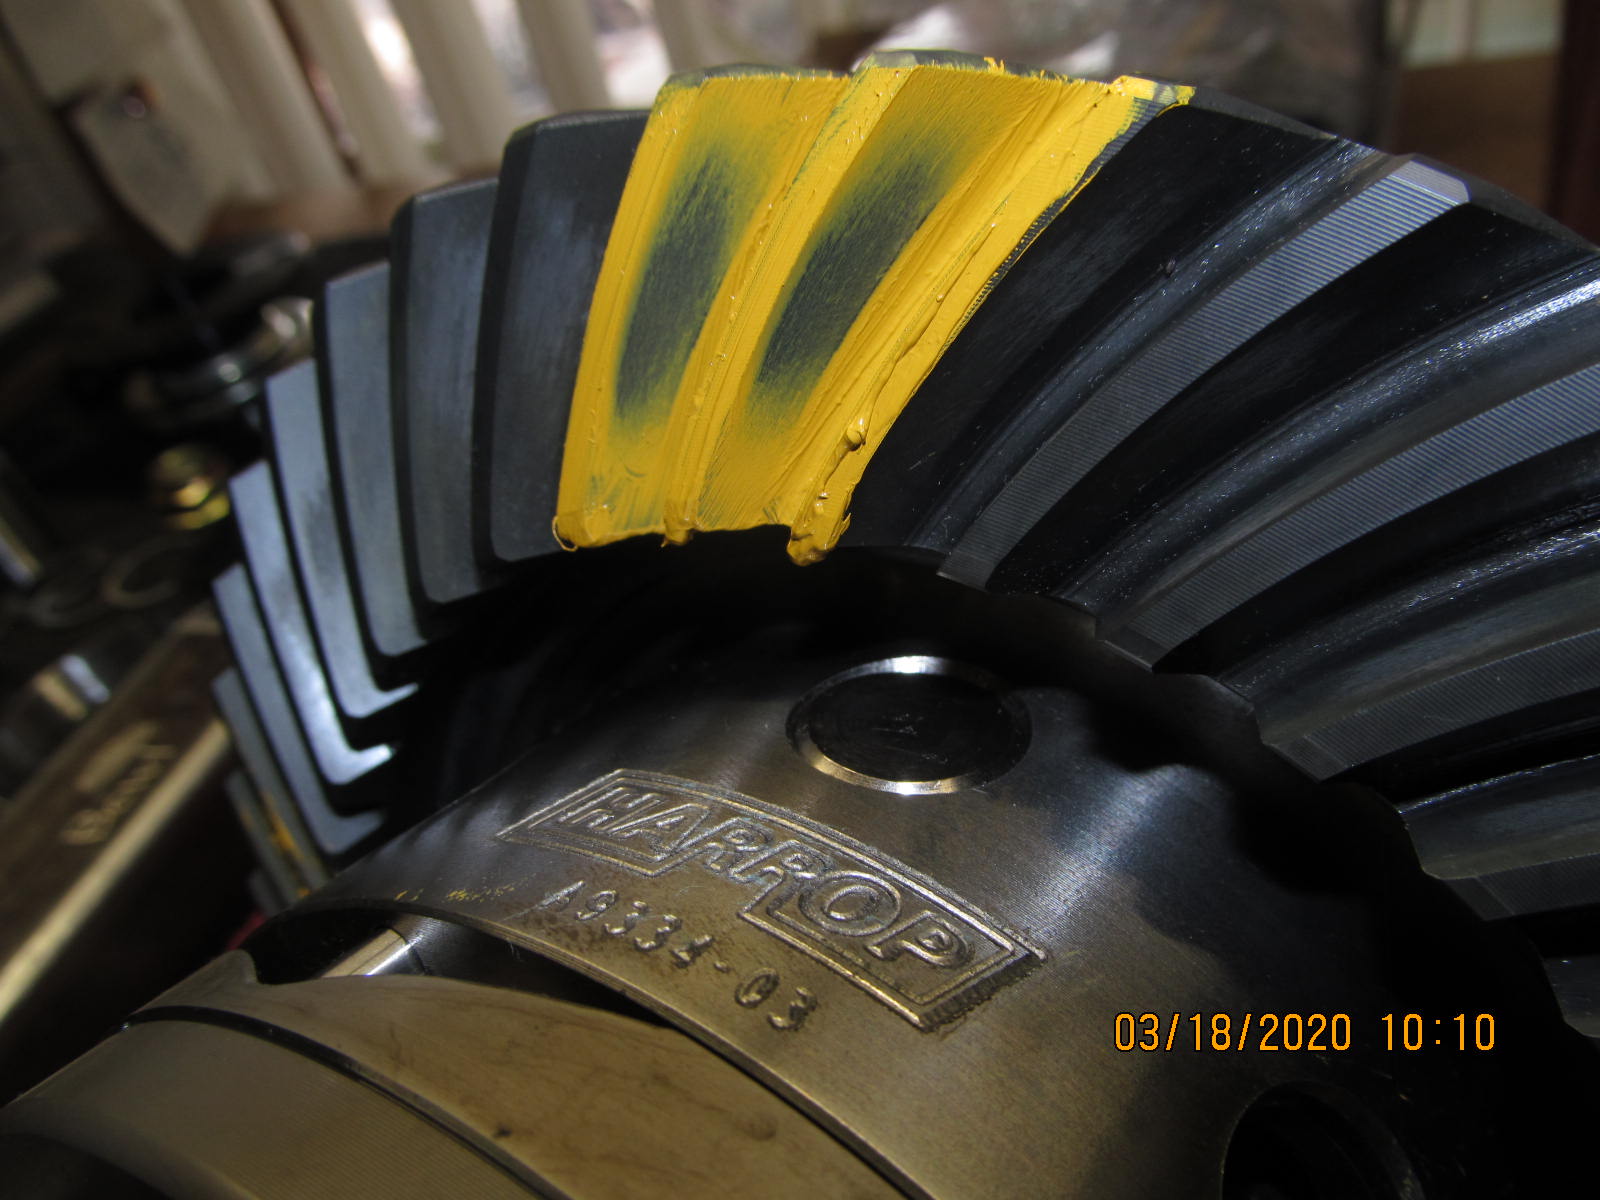
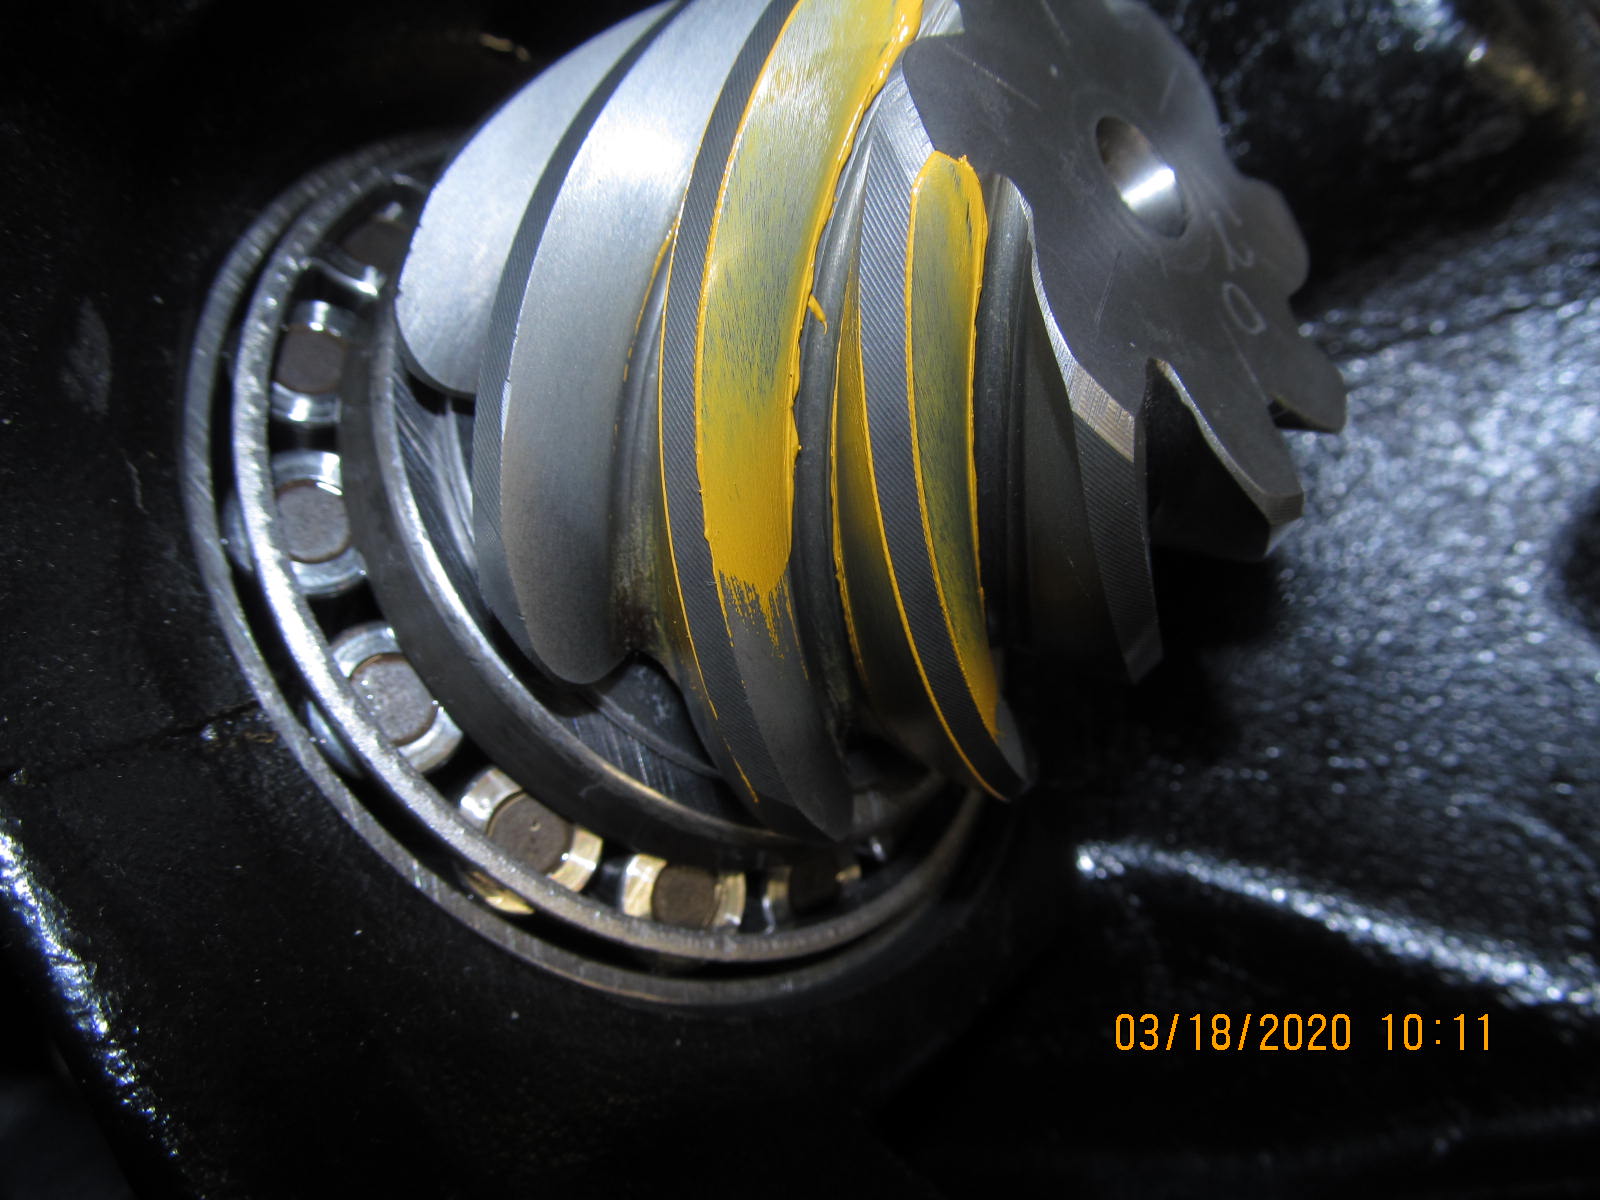
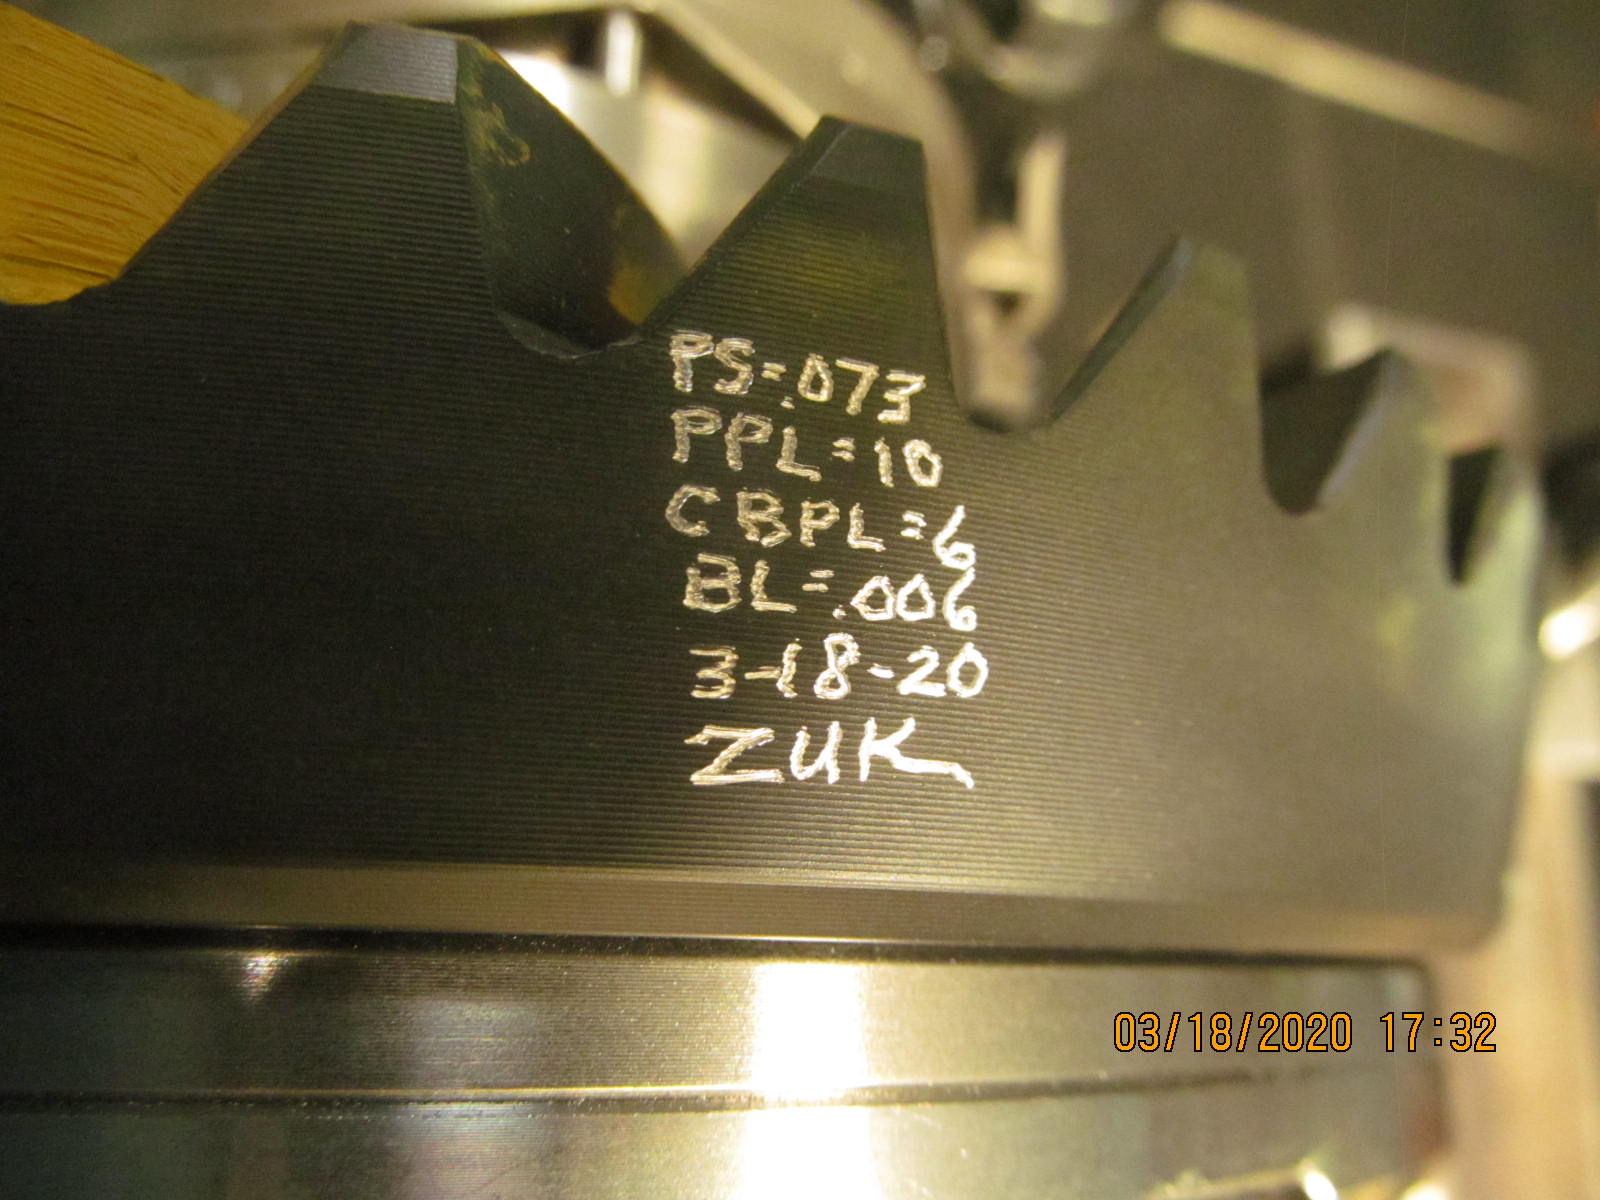
| DRIVE....reshimmed to .073" and a slight deep condition that I prefer...favors toe end. |
|
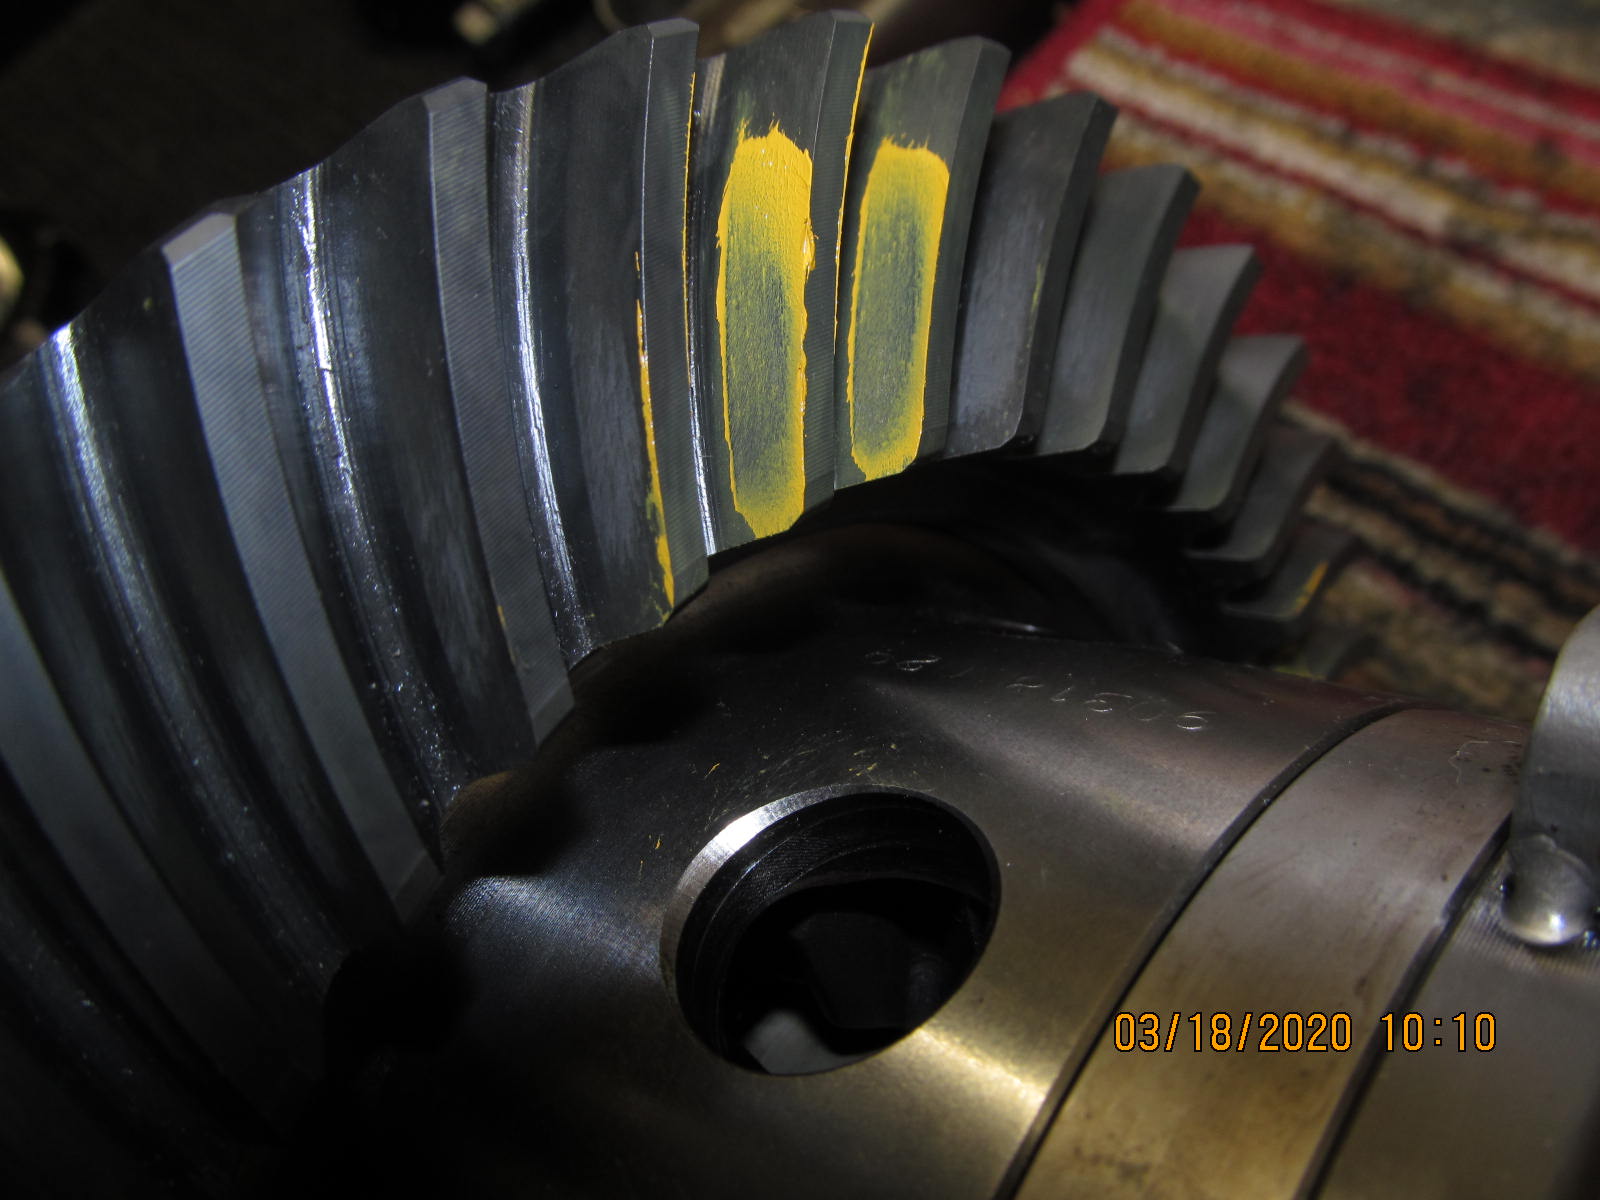
| COAST....can't go any more shallow. |
|
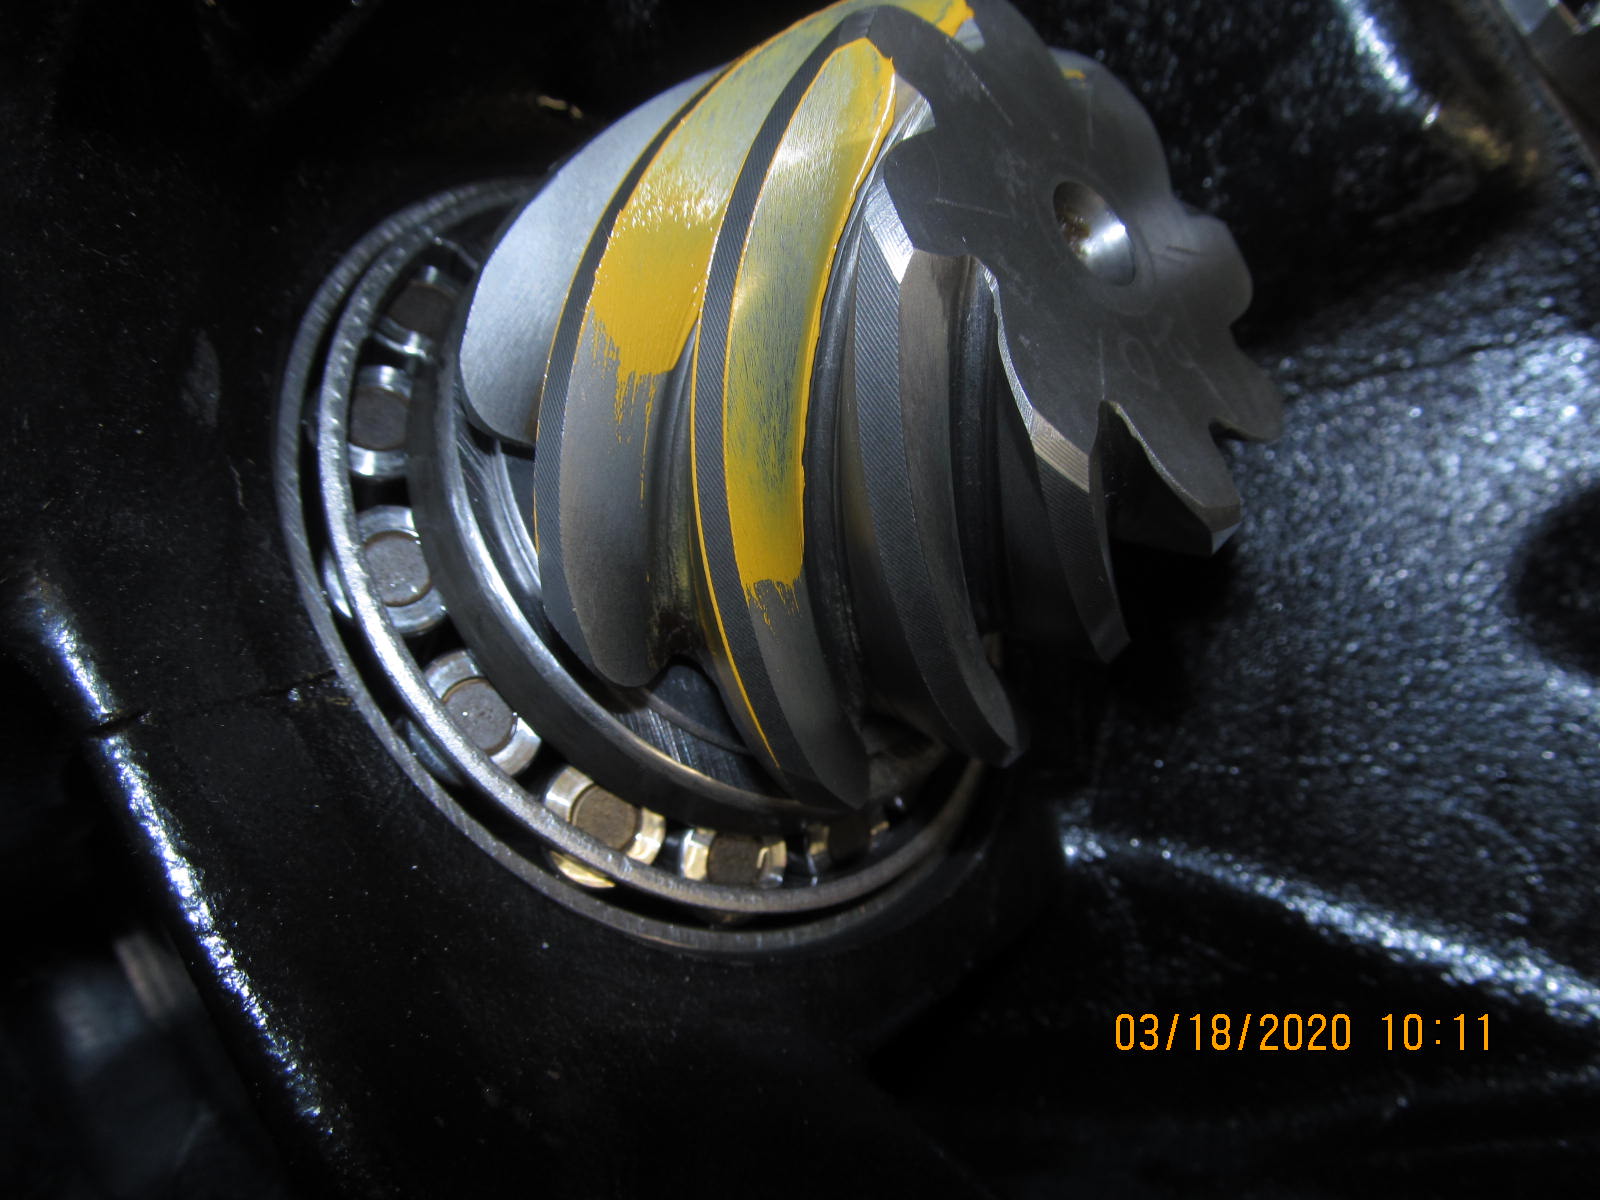
| Looking at the reverse painted DRIVE looks very nice. |
|
| COAST....reverse painted......good. |
|
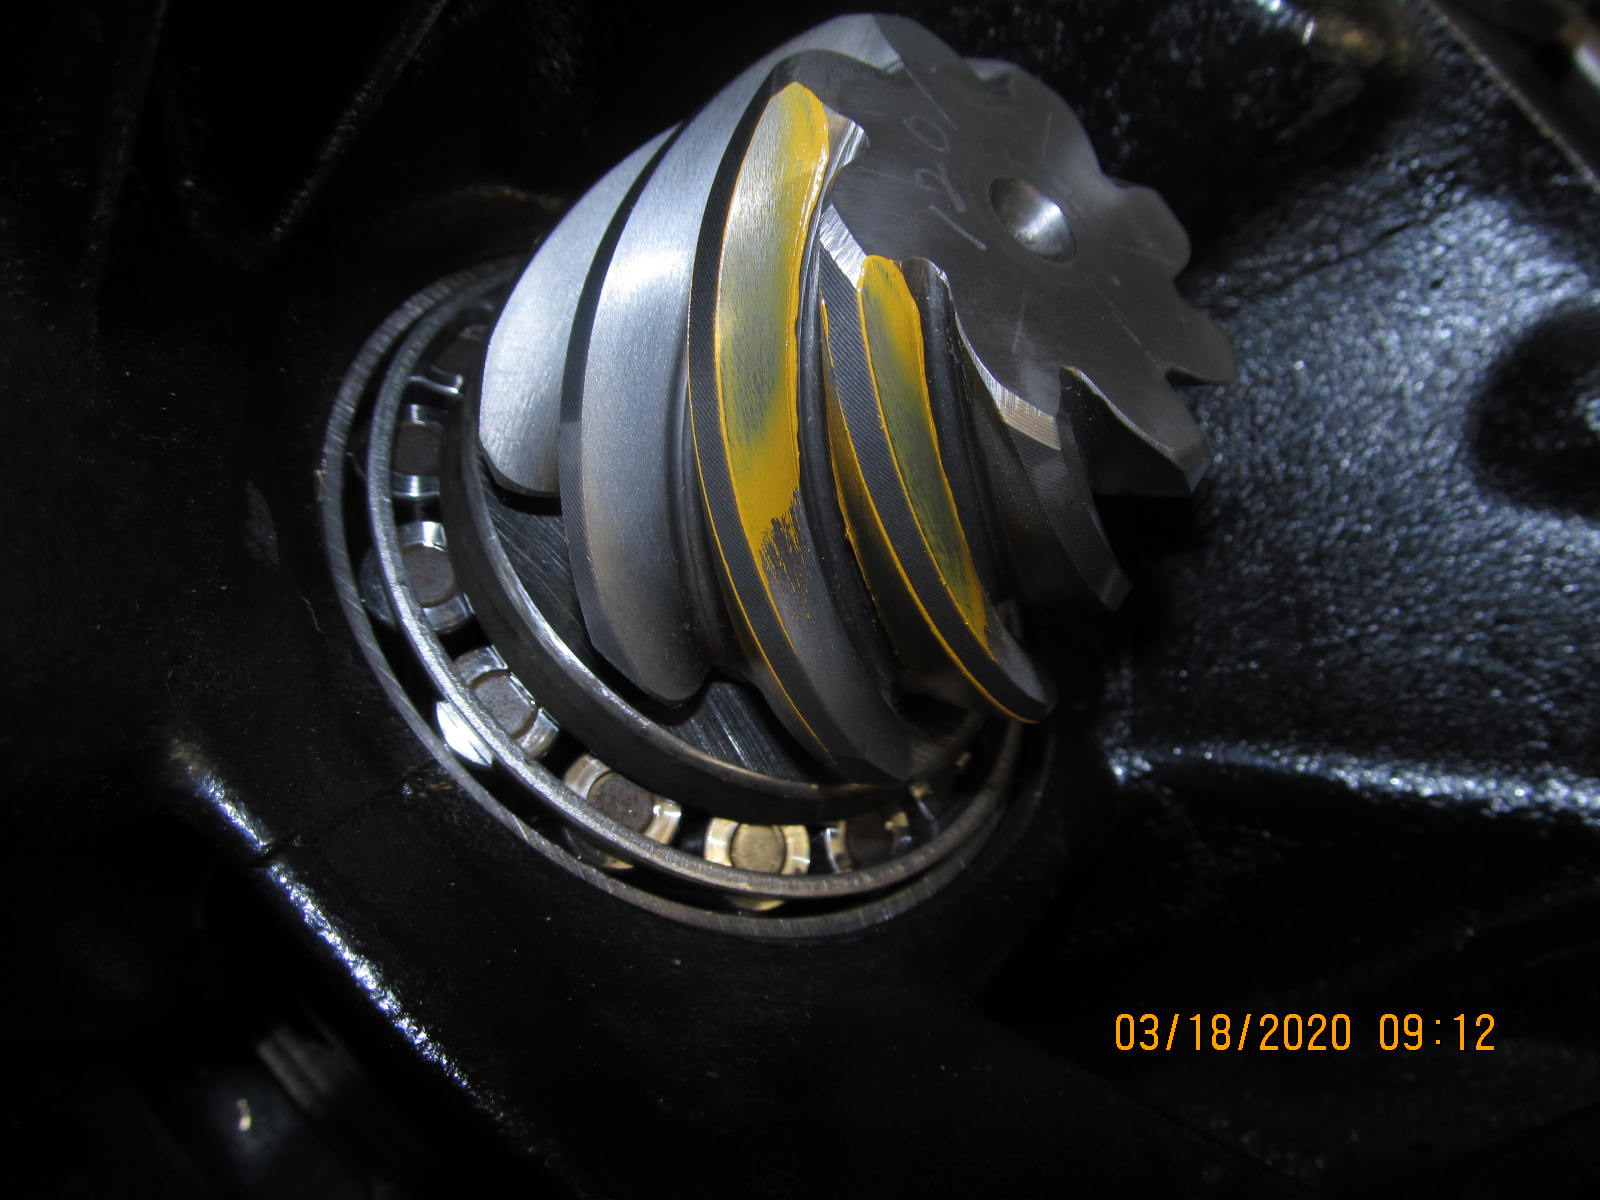
| Comet tail is now where it should be. ....halfway between the center and the root. |
|
| ,,,,,,,,,,,,,,,,,,,,,,,,, |
|
| Tail looks good right where it is. |
|
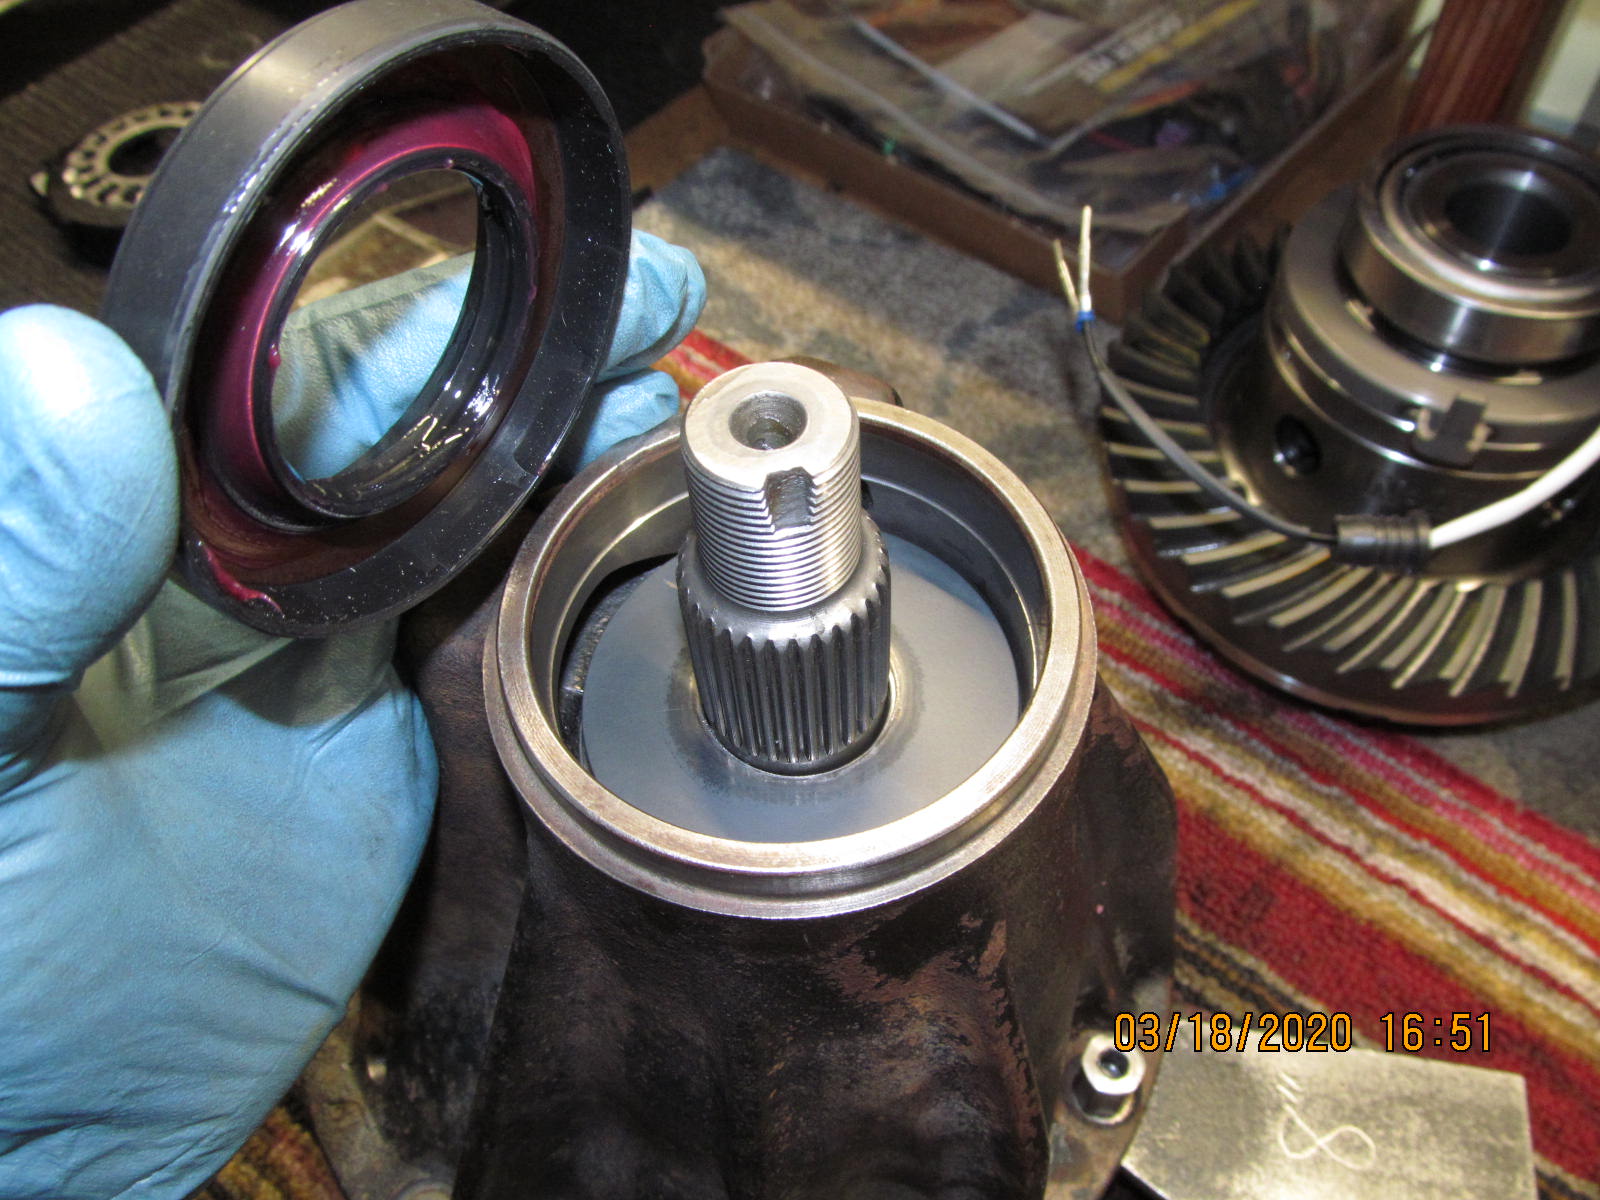
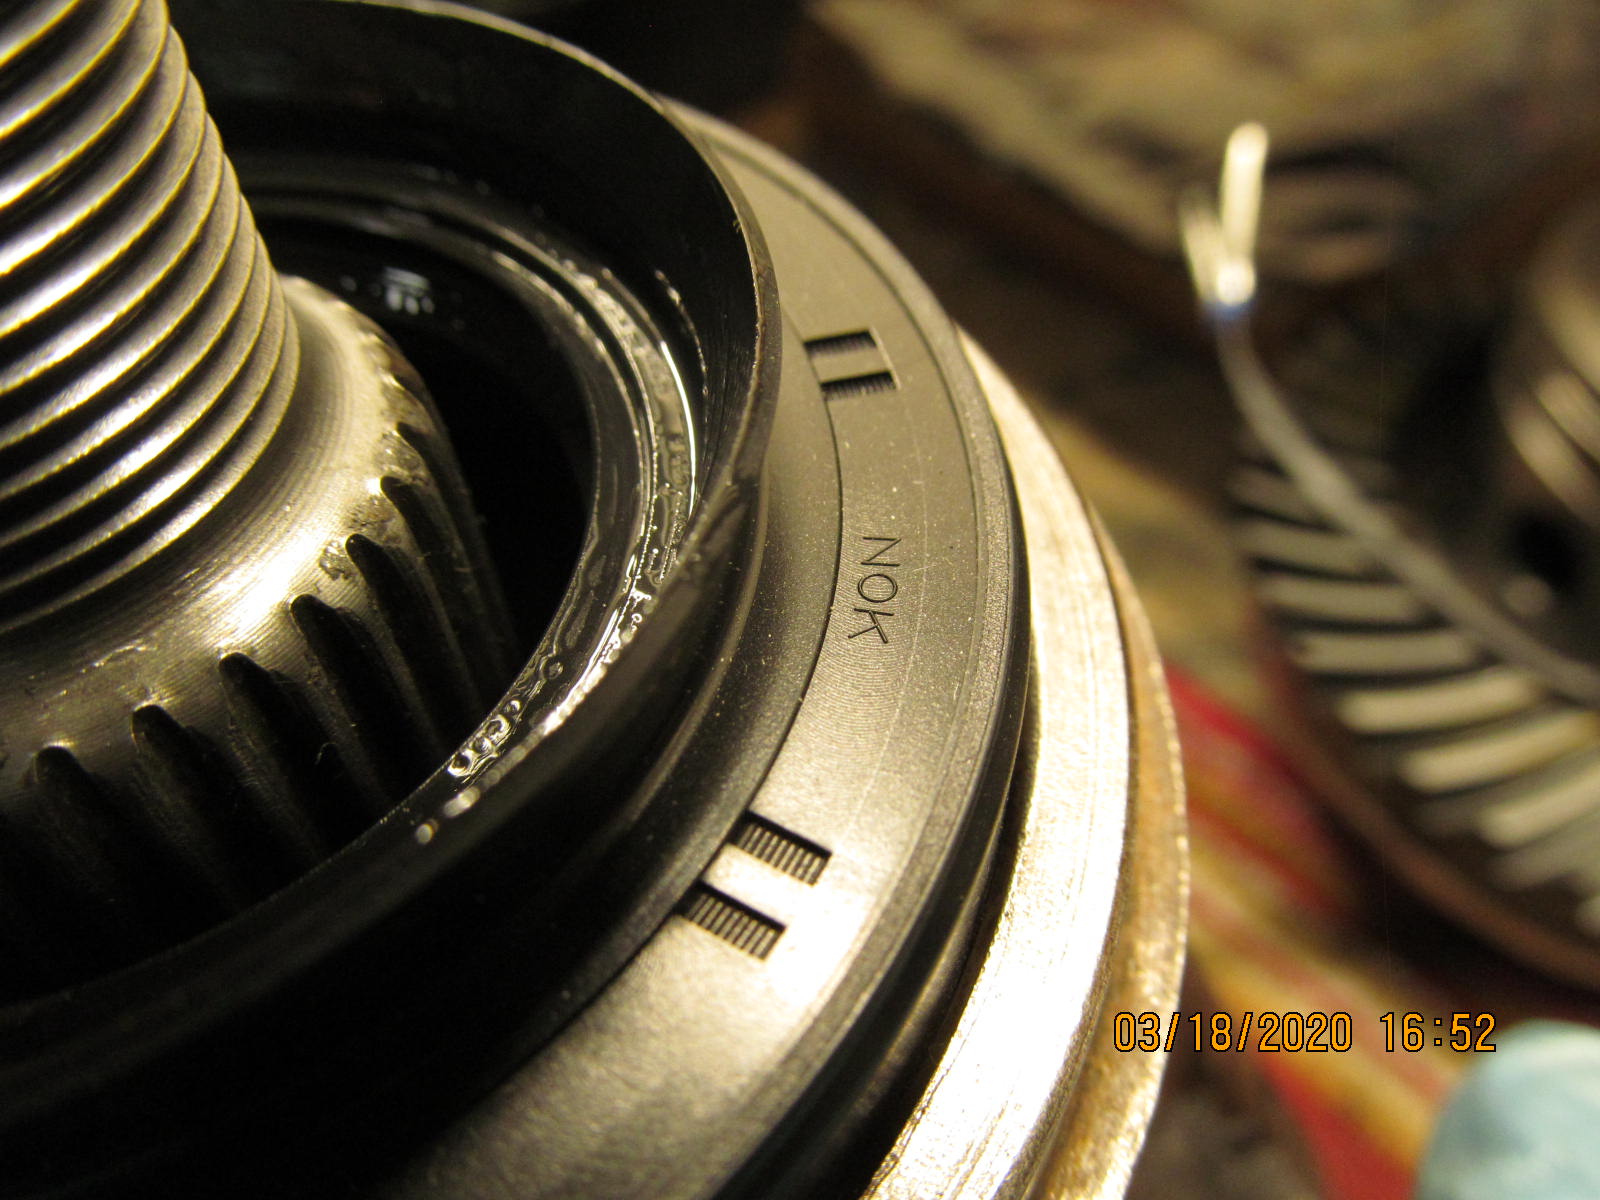
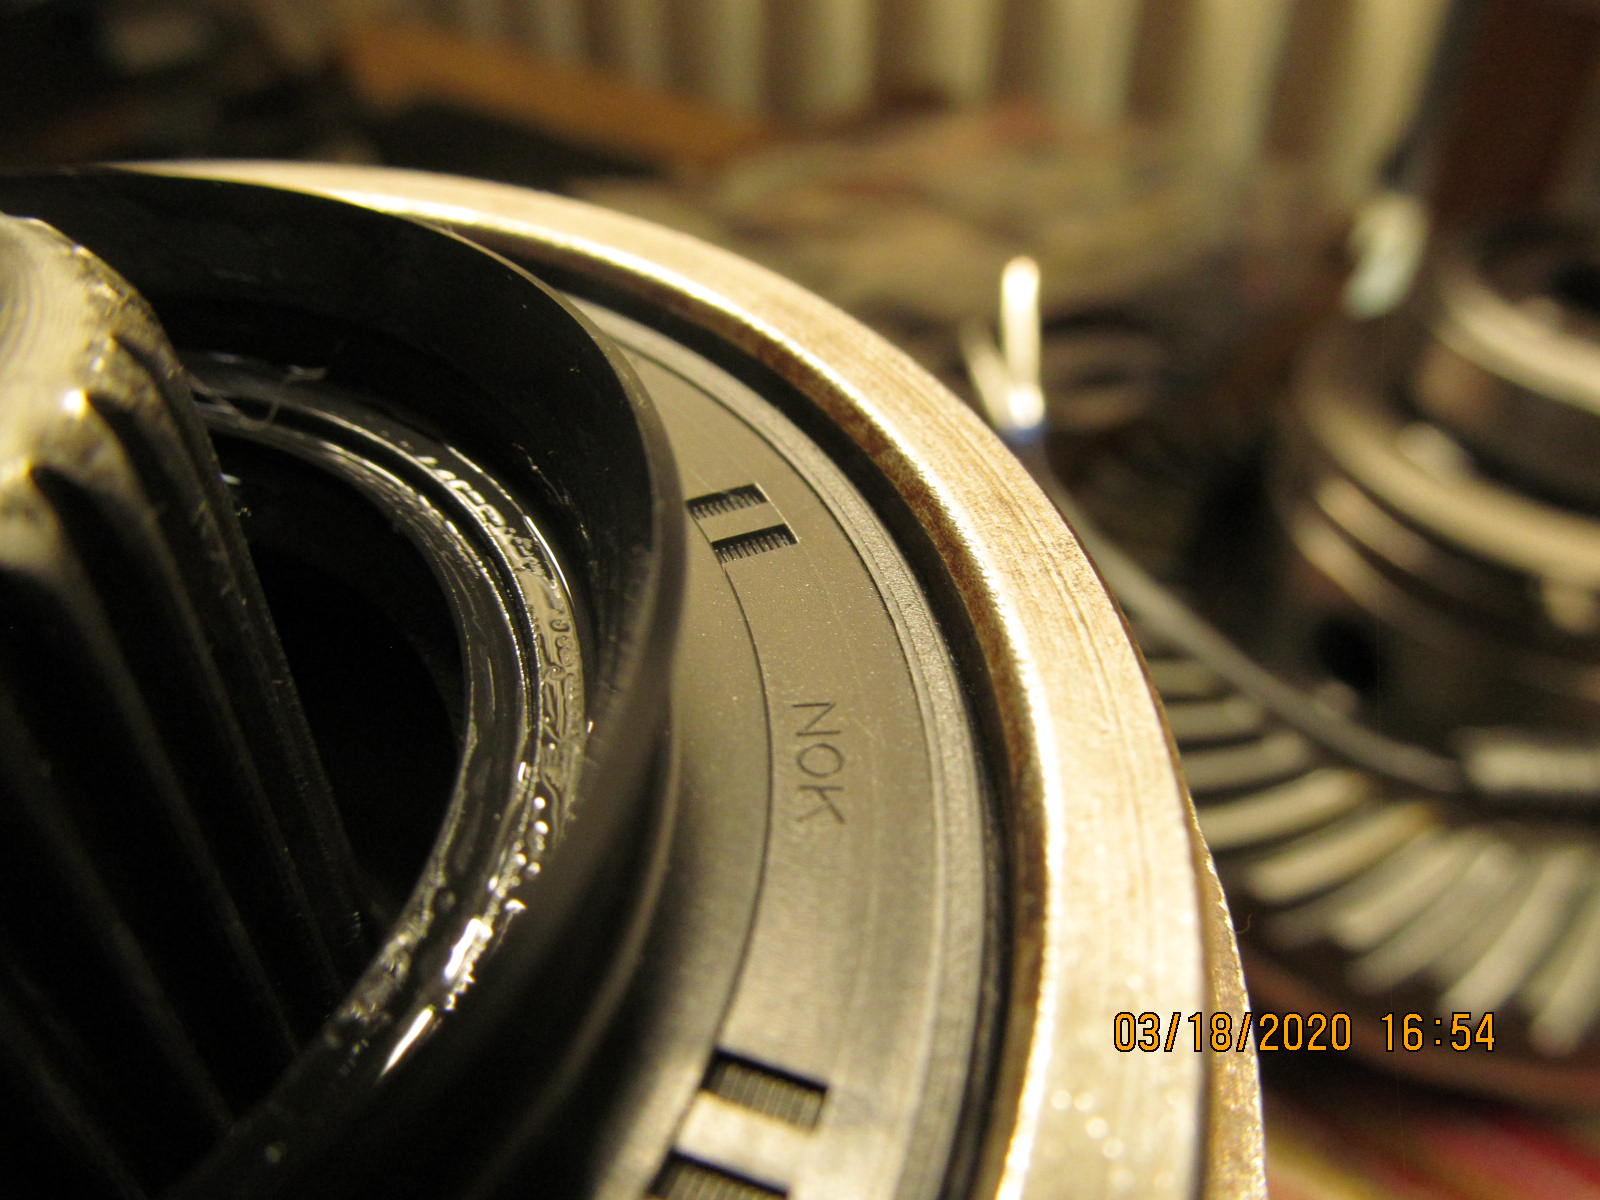
| The Nitro kit actually had a factory pinion seal in it. Probably the best insurance against a oil leak down the road. |
|
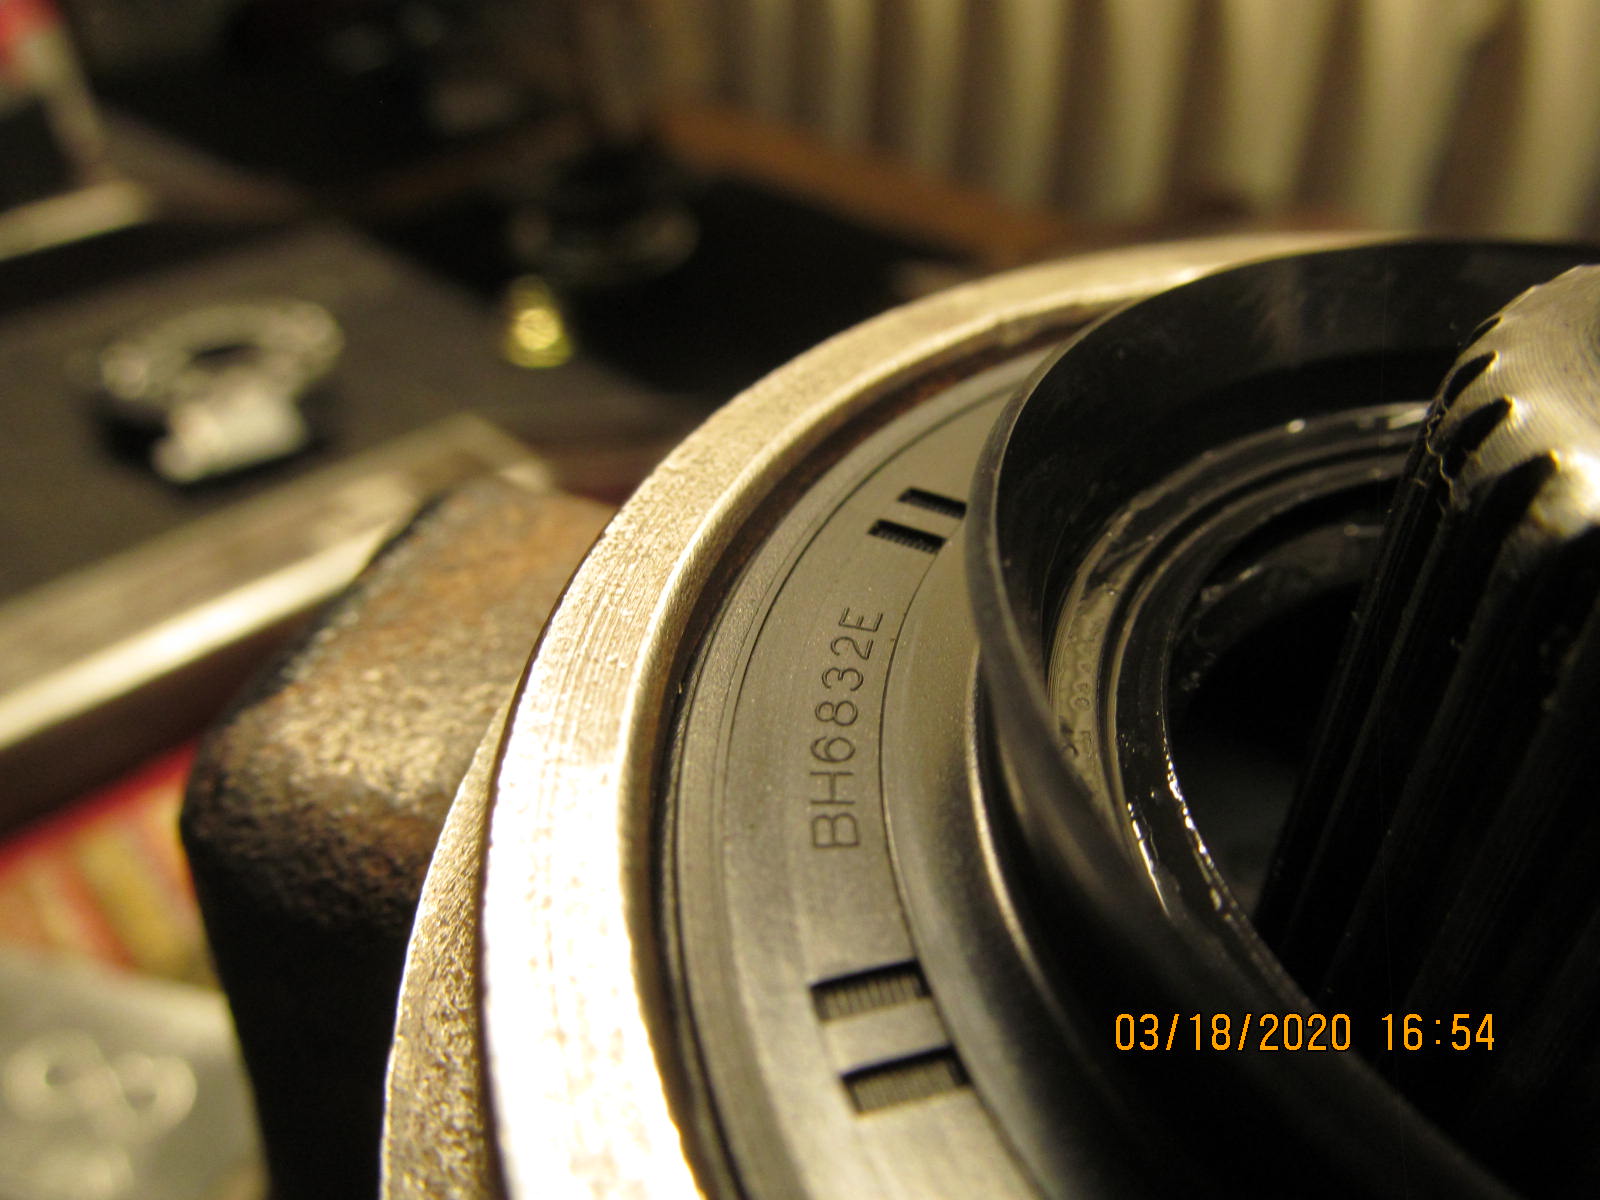
| NOK brand. |
|
| BH6832E |
|
| ,,,,,,,,,,,,,,,,,,,,,,,,,,,,,,,,,,,,,,, |
|
| New Nitro 29 spline flange. I skipped a few steps but the solid collar is already in. |
|
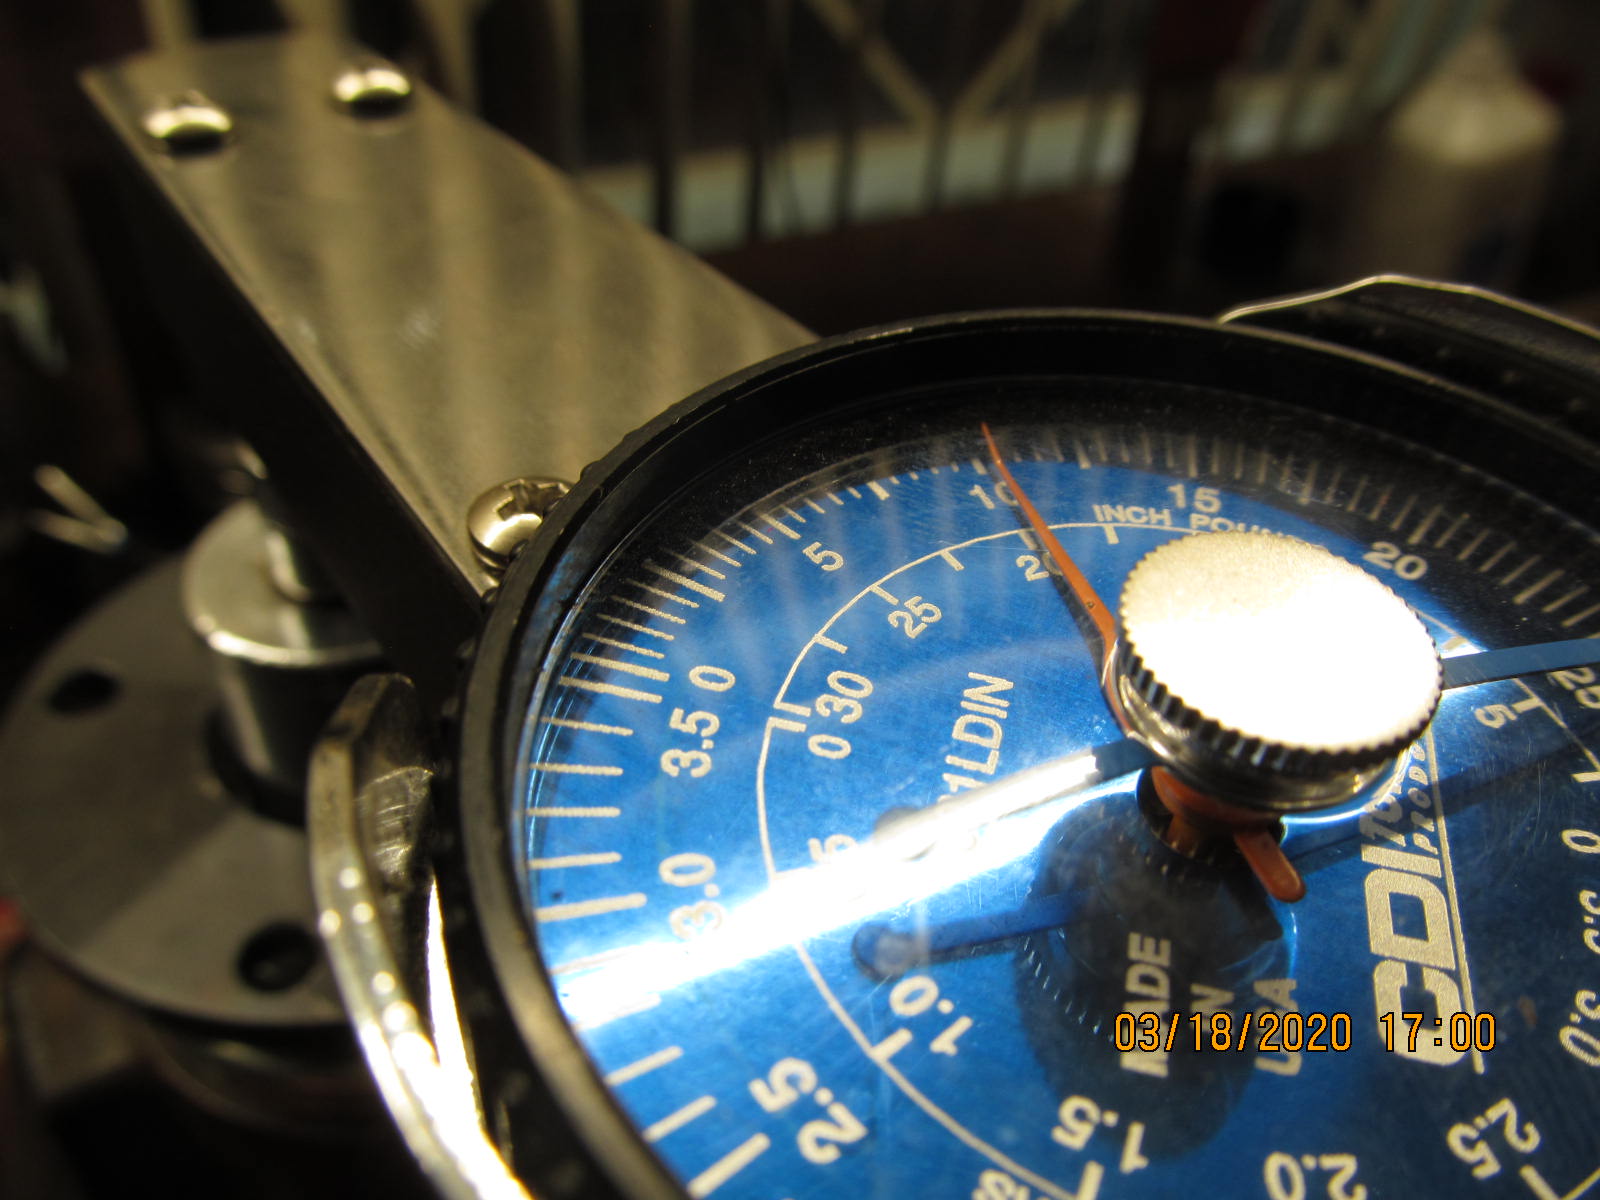
| Crank on the pinion nut until I see 10 inch/pounds start torque. |
|
| The tabs are tweaked until I see about 2mm of freeplay....3 in this case. |
|
| Got a new Husky brand torque wrench(Home Depot)....old one lasted 10 years worth of gear installs....not bad. |
|
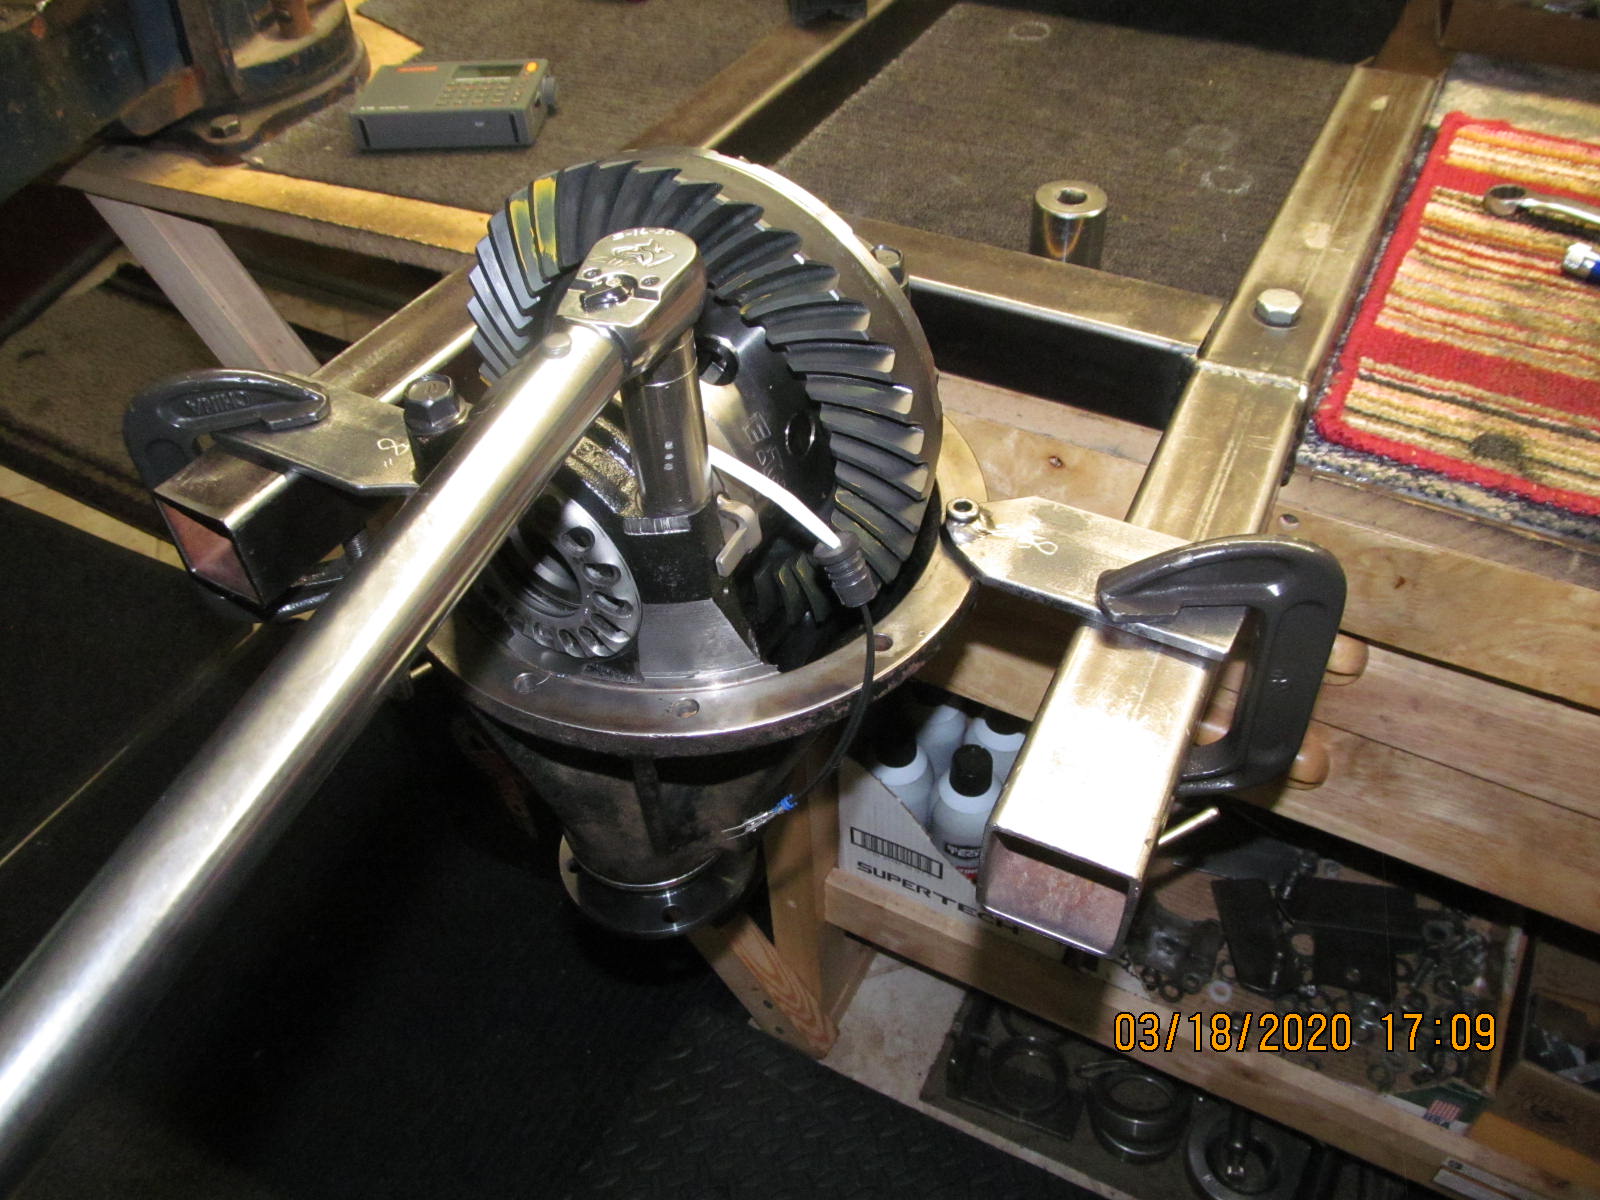
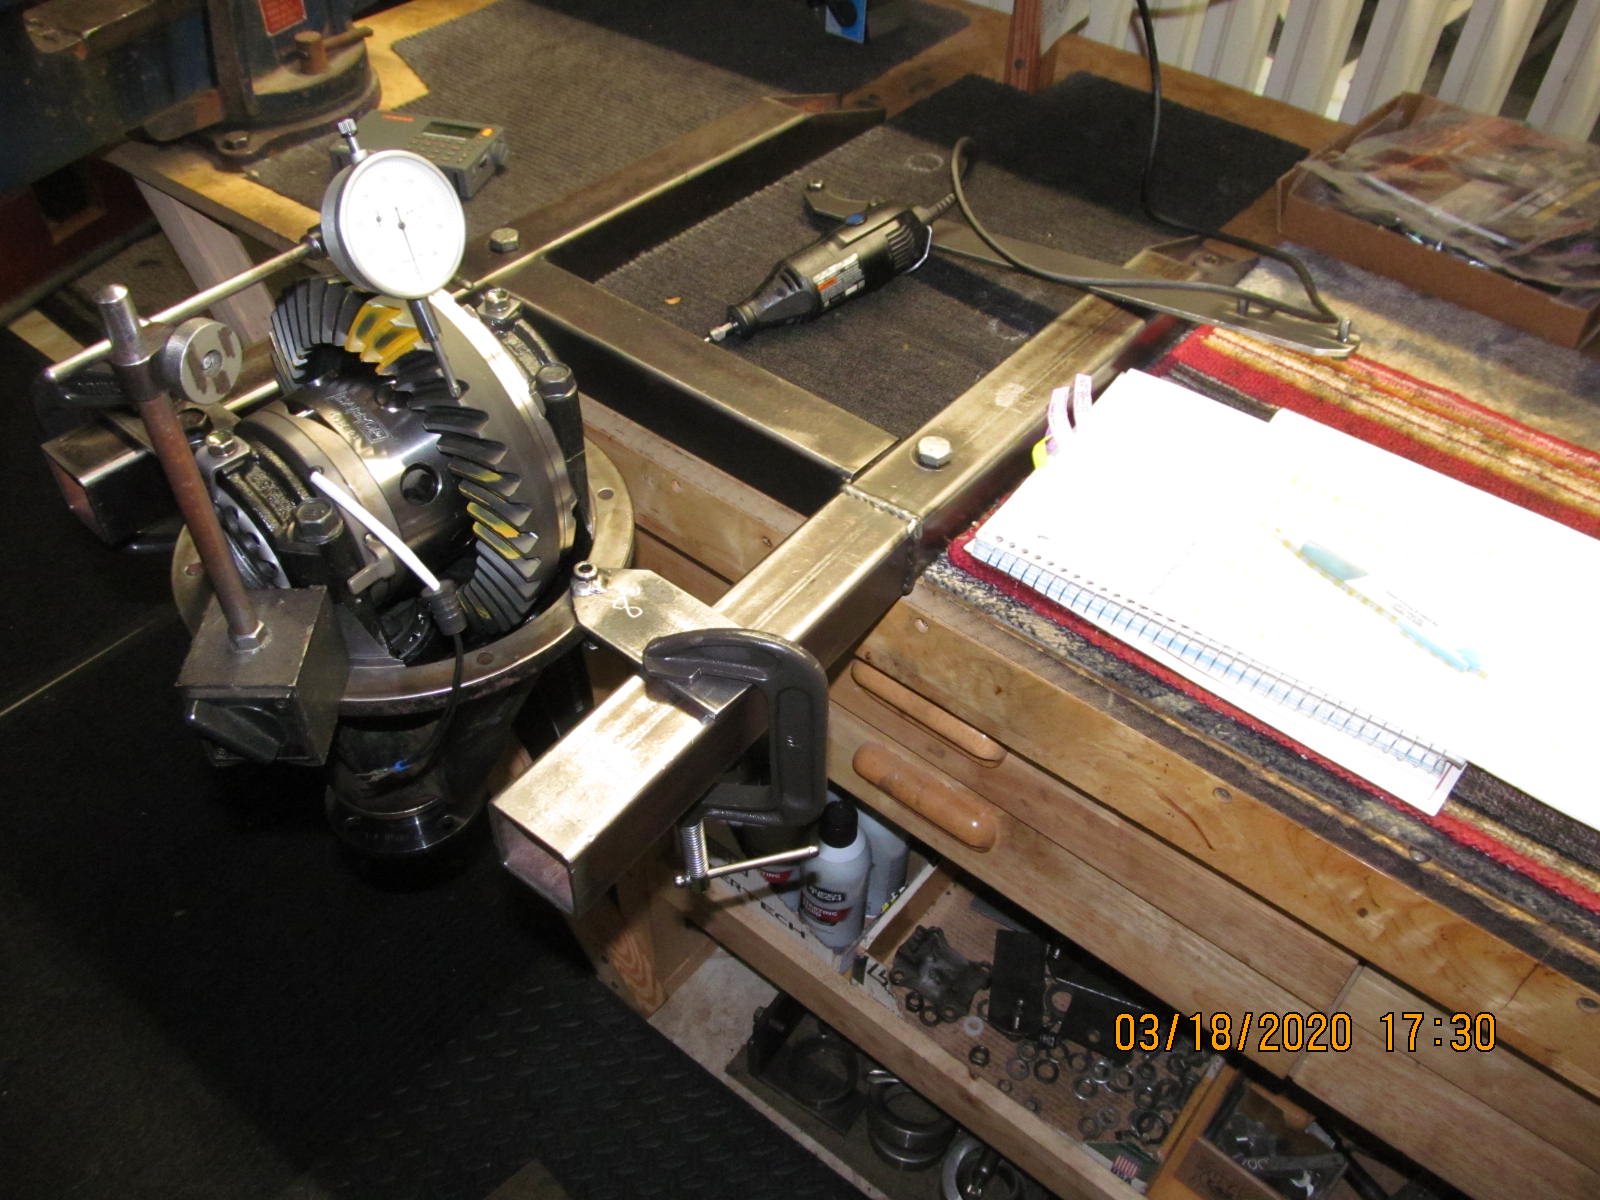
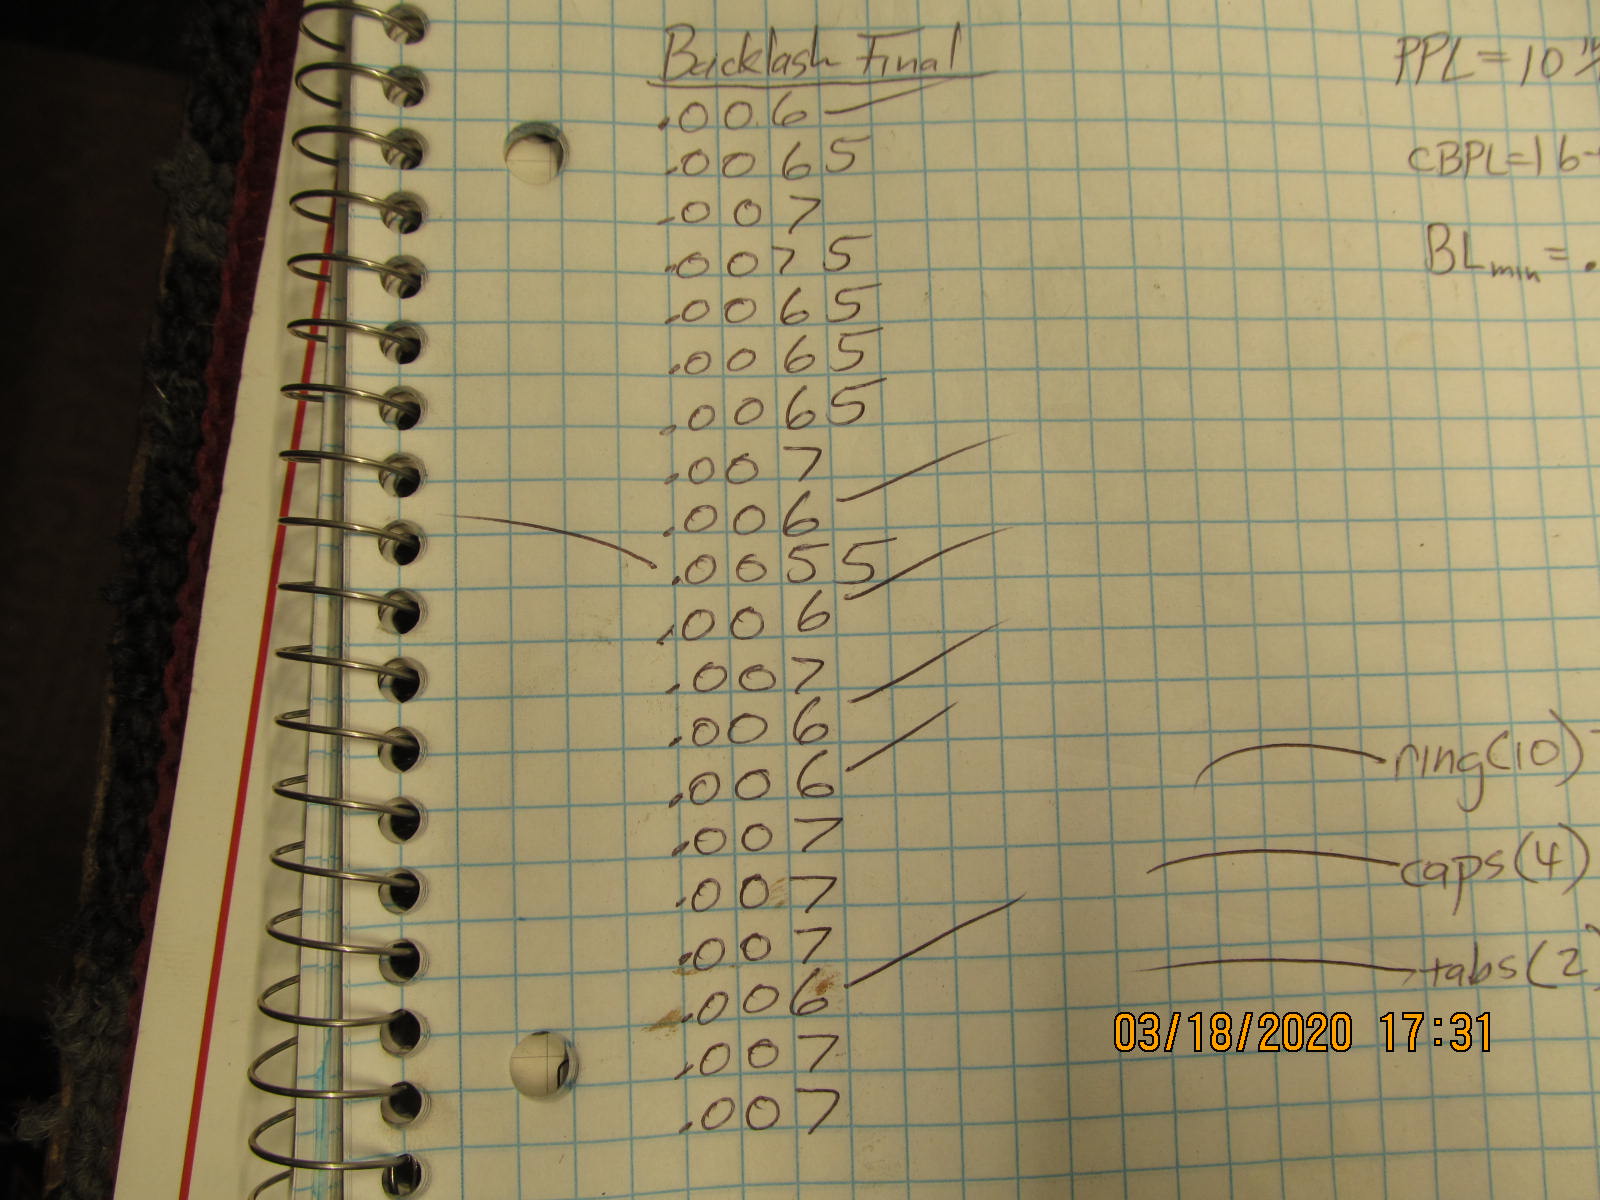
| Backlash is recorded from every other tooth. |
|
| Minimum is .006" |
|
| ,,,,,,,,,,,,,,,,,,,,,,,,,,,,,,,,,,,,,, |
|
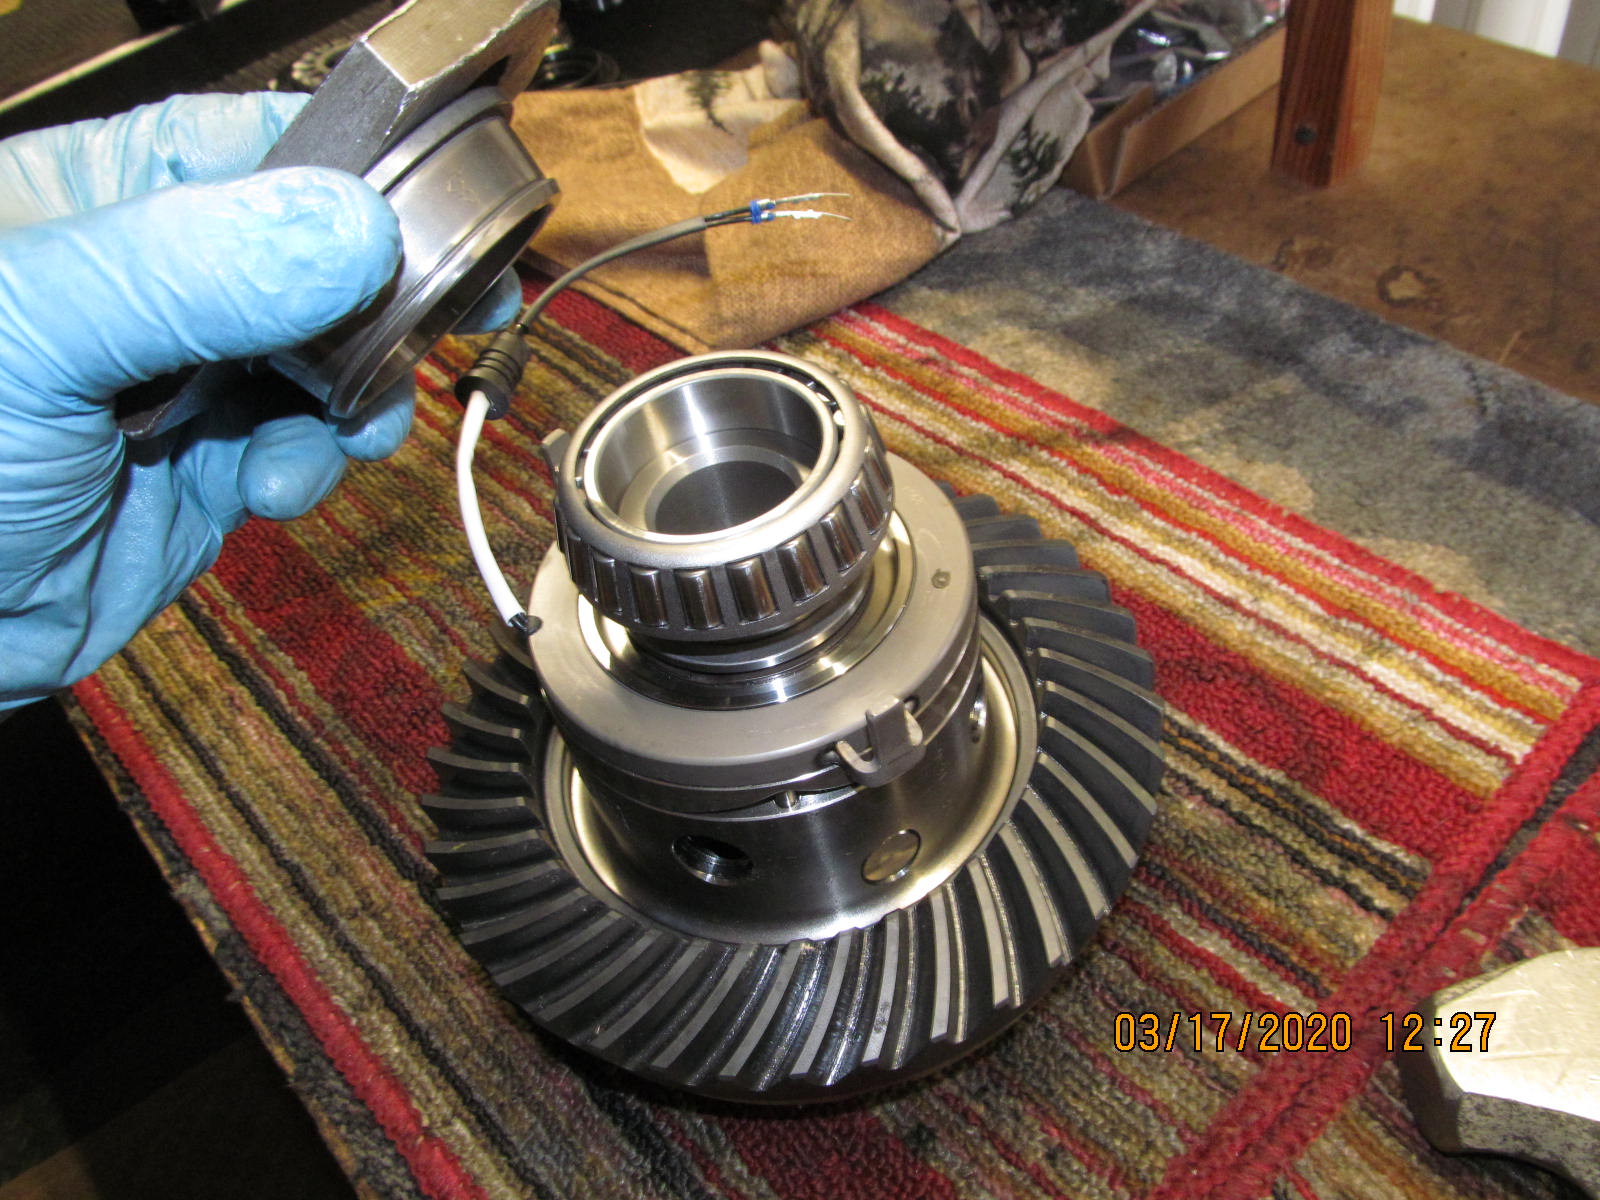
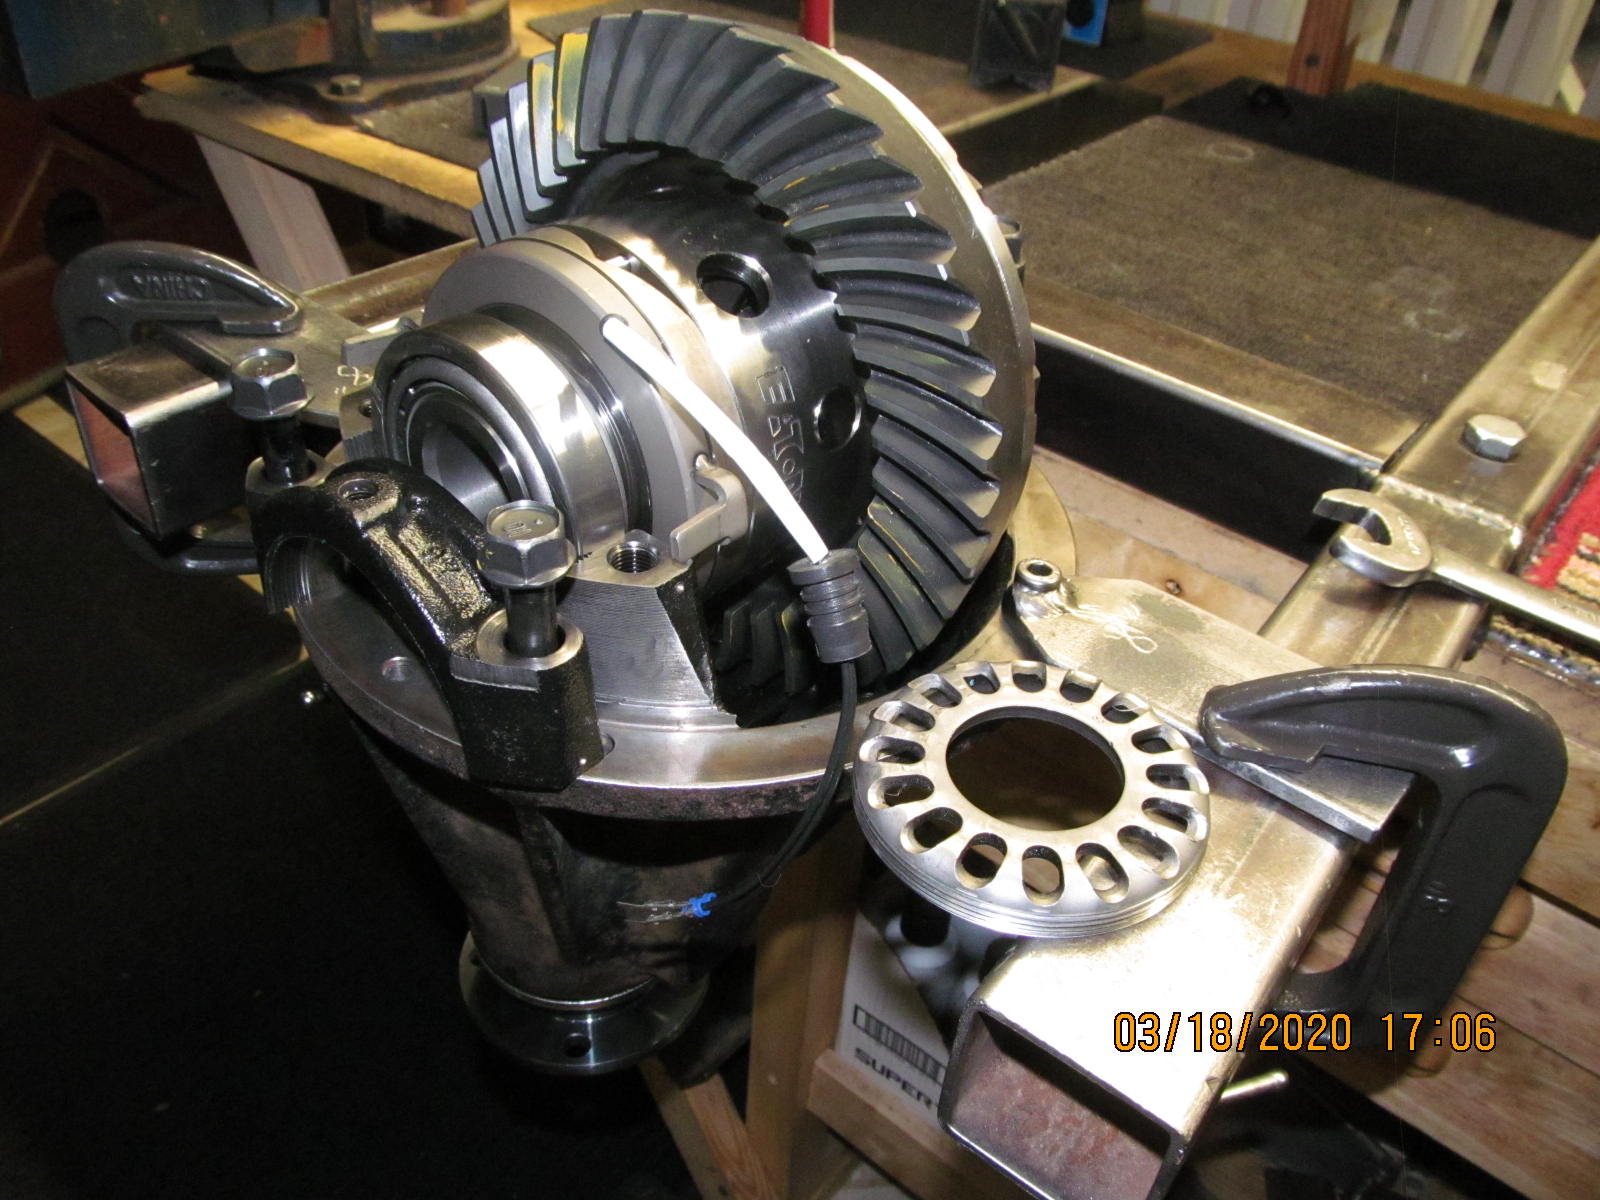
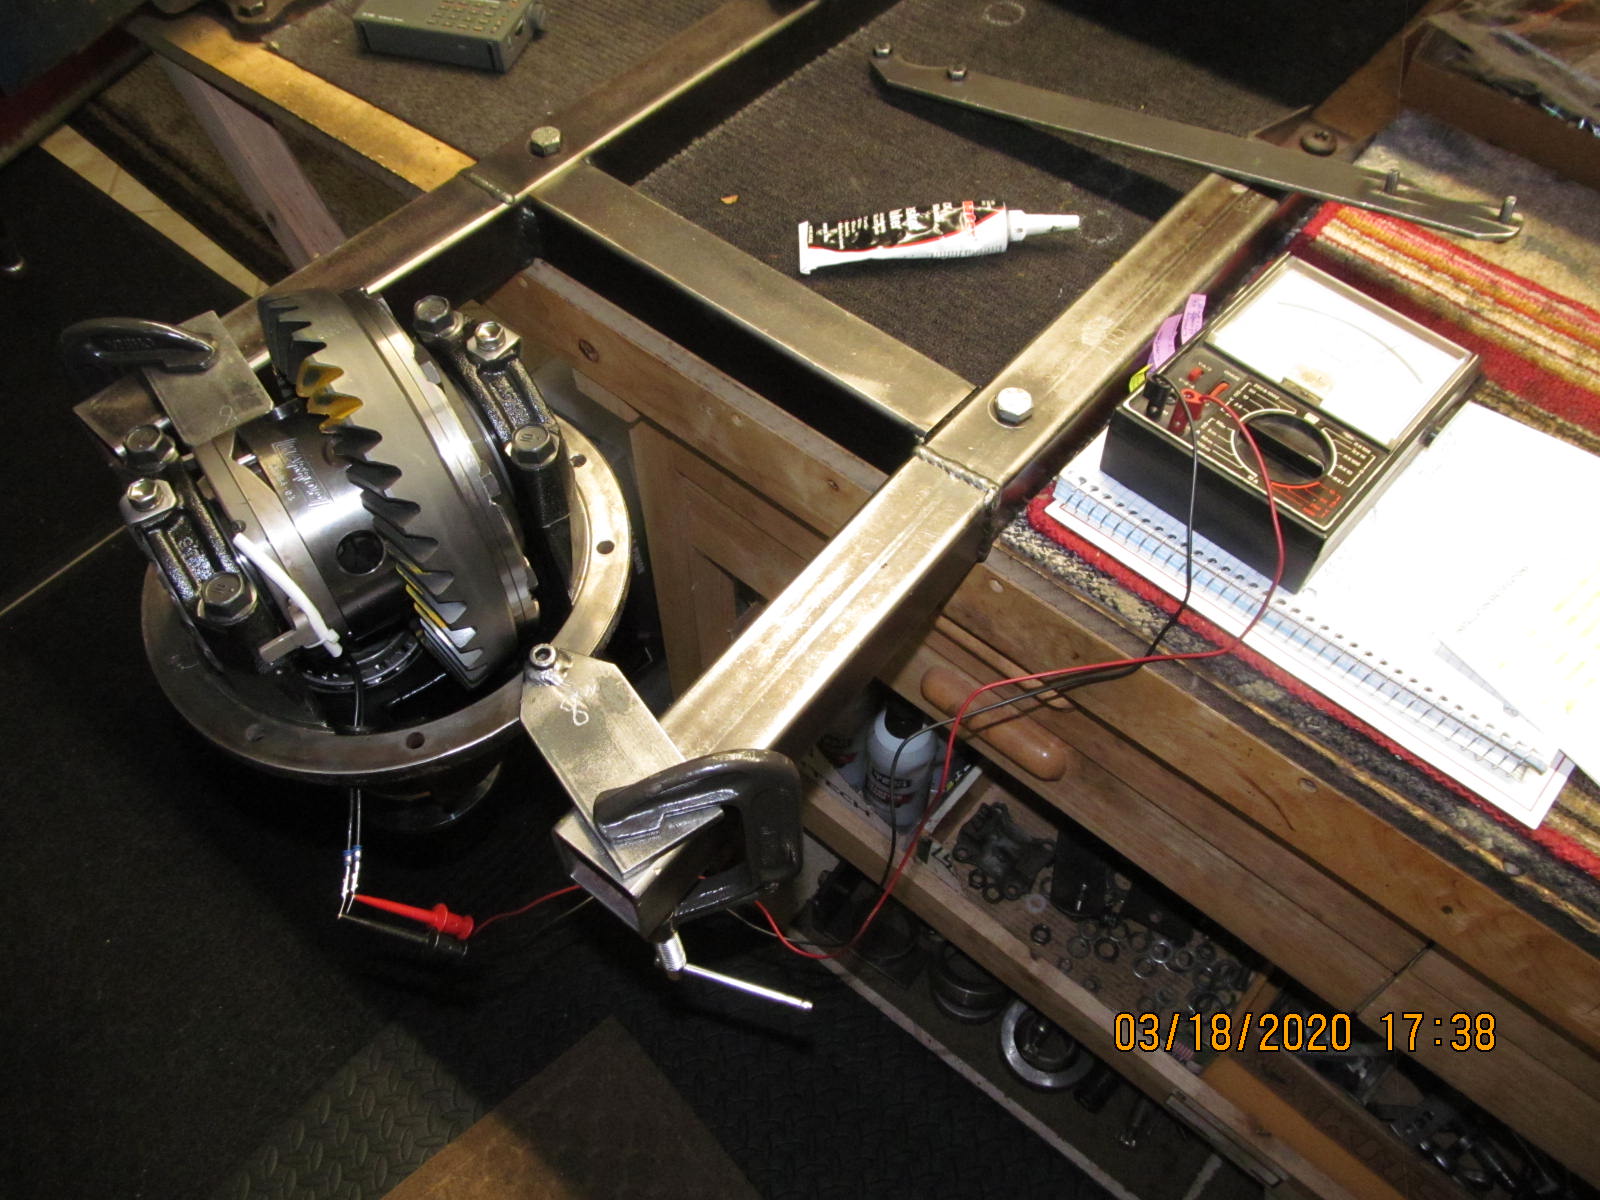
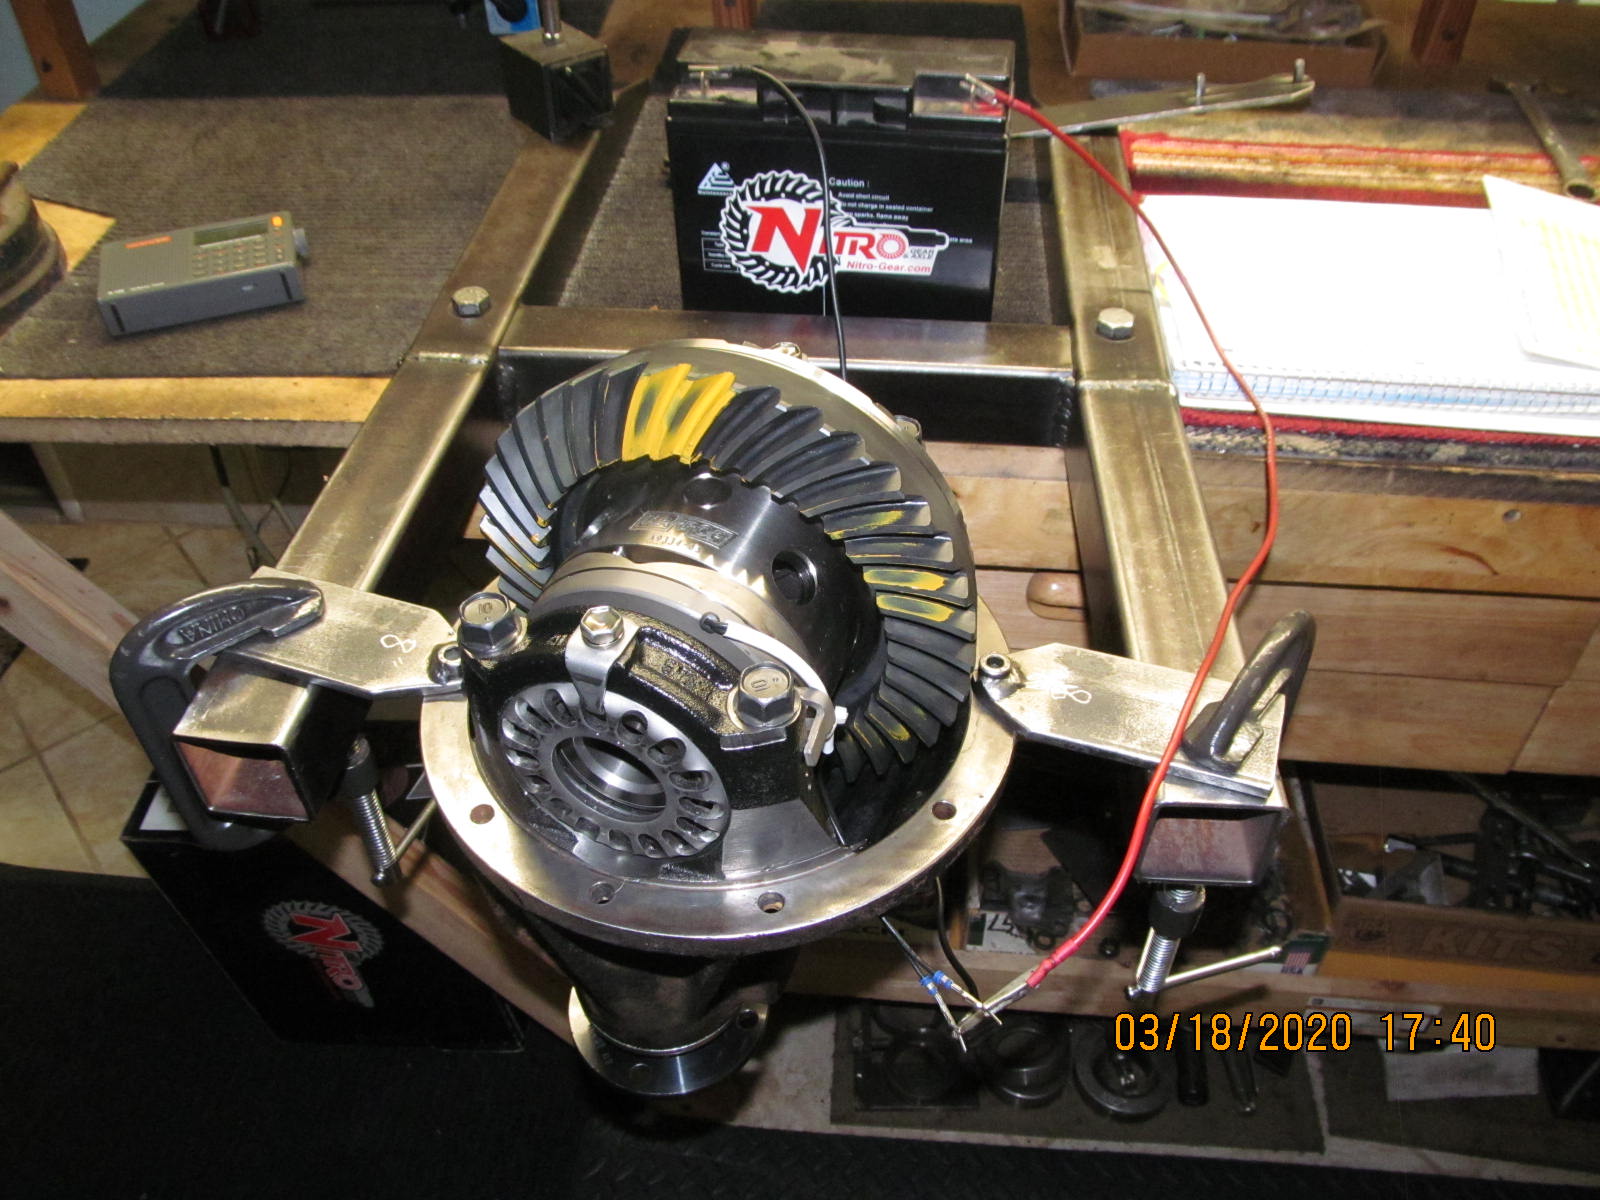
| Now to check a few things on the Harrop. Verifying the magnetic coil resistance of 3.7 ohms. |
|
| Now the 12 volt functional test |
|
| 12 volts applied...turn the pinion which turns the ring gear which forces the 3 pins to ramp up into the case. |
|
| Remove the 12 volts and the pins SNAP back out. Harrop works fine. |
|
| Done....except for a cosmetic coat of Black Satin Krylon paint. |
|
| Notes of the install. |
