| Harrop elockers and cryo-treated Nitro 4.10 gears for Morgan's 1997 Landcruiser |
|---|
| (49 BIG pics loading) |
|---|
| FEB 20 2018 |
|---|
|
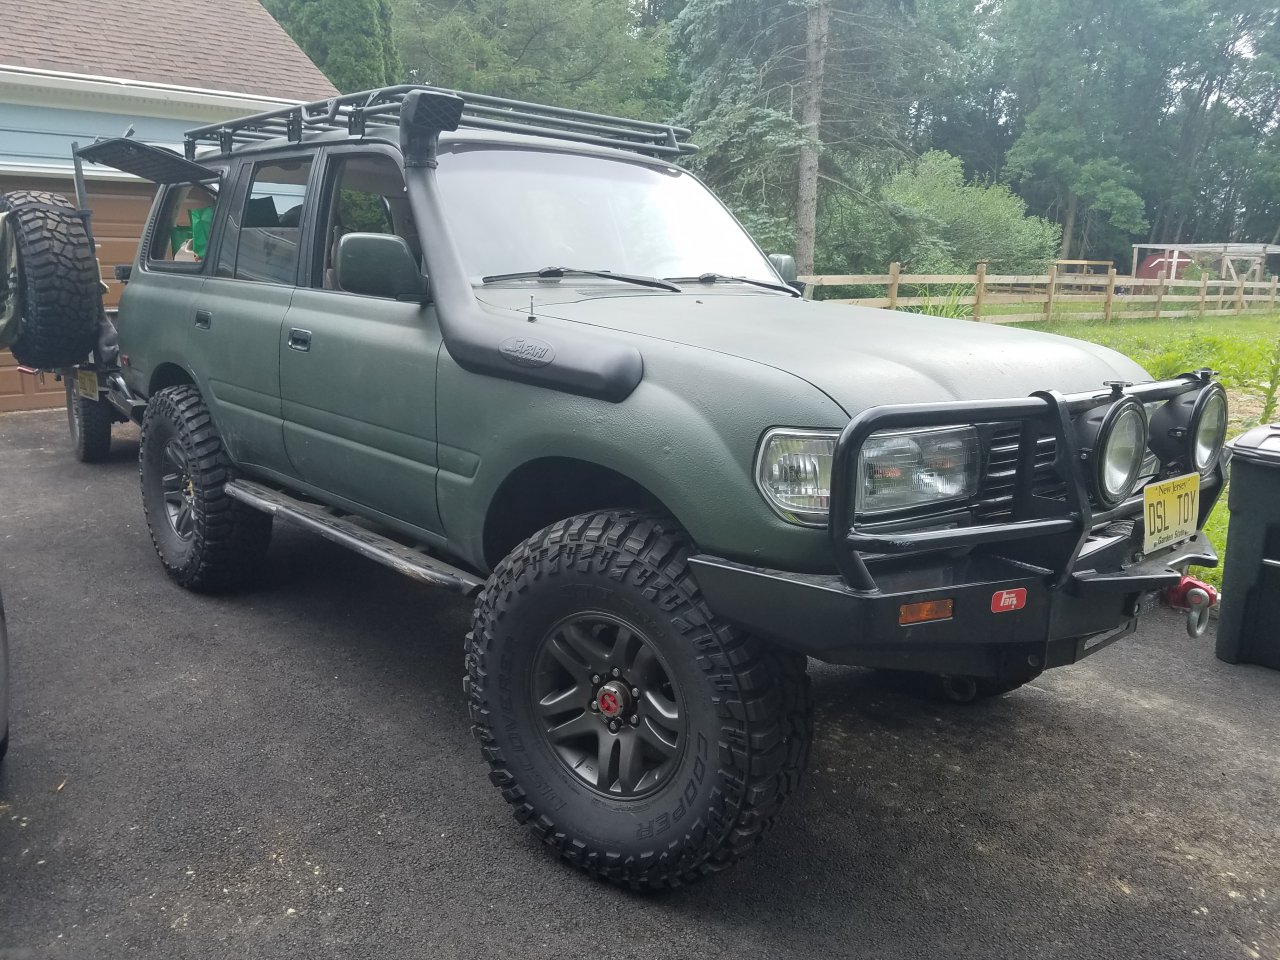
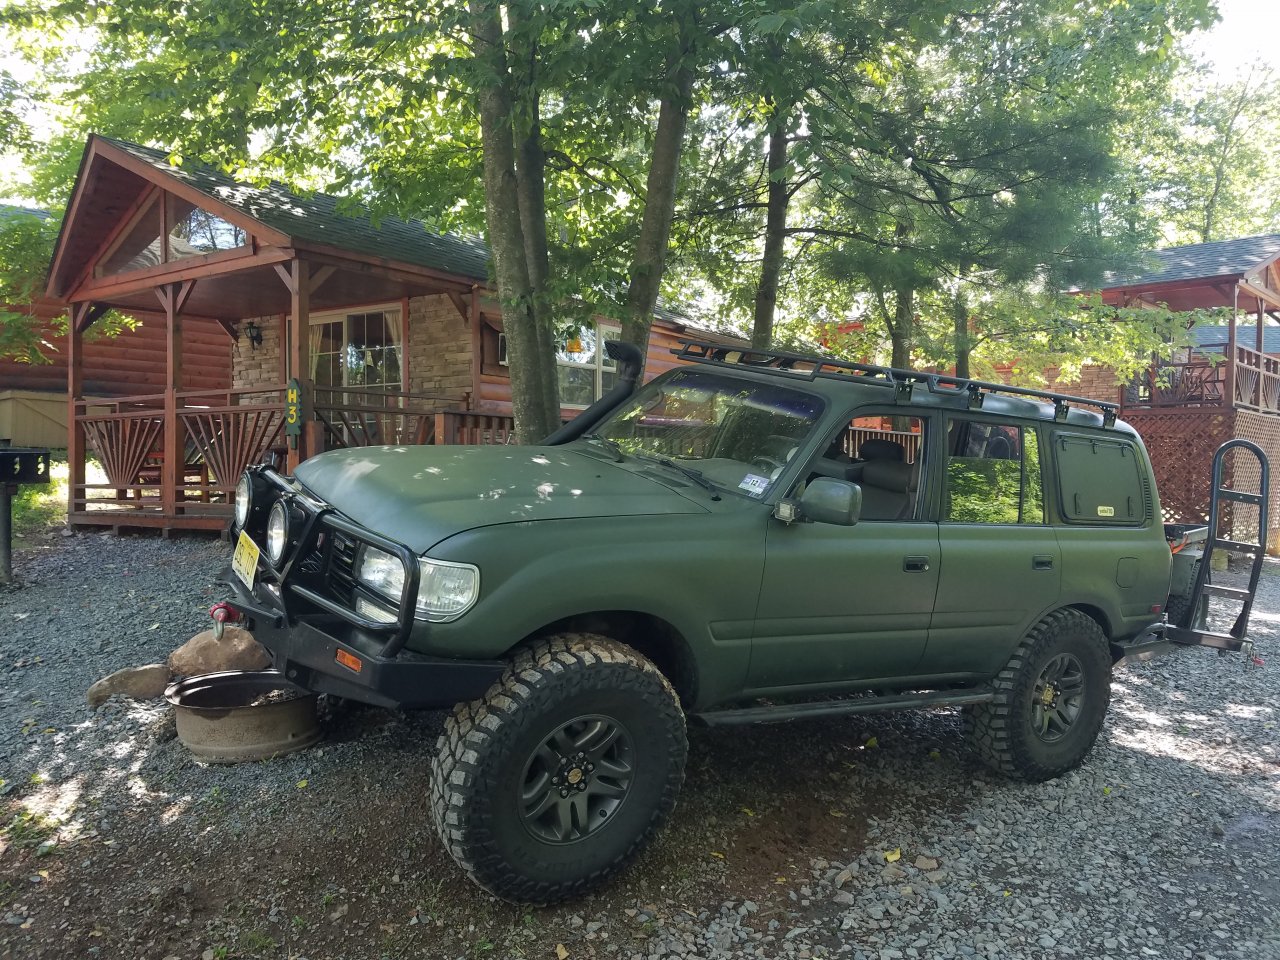
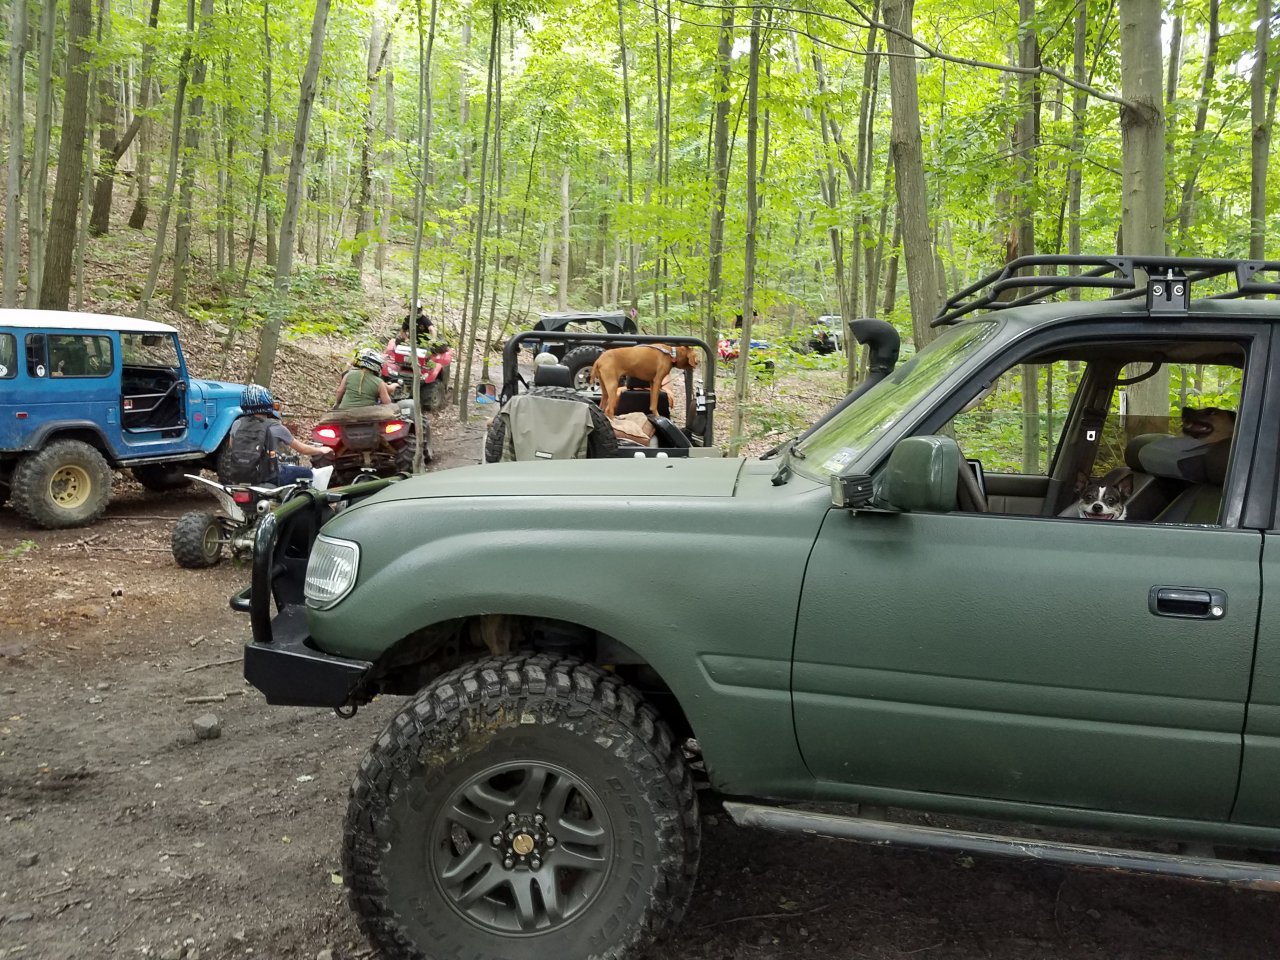
| Morgan's 97. |
|---|
|
|
| ,,,,,,,,,,,,,,,,,,,,,,,,,,,,,,, |
|---|
|
|
| ,,,,,,,,,,,,,,,,,,,,,,,,,,,,, |
|---|
|
|
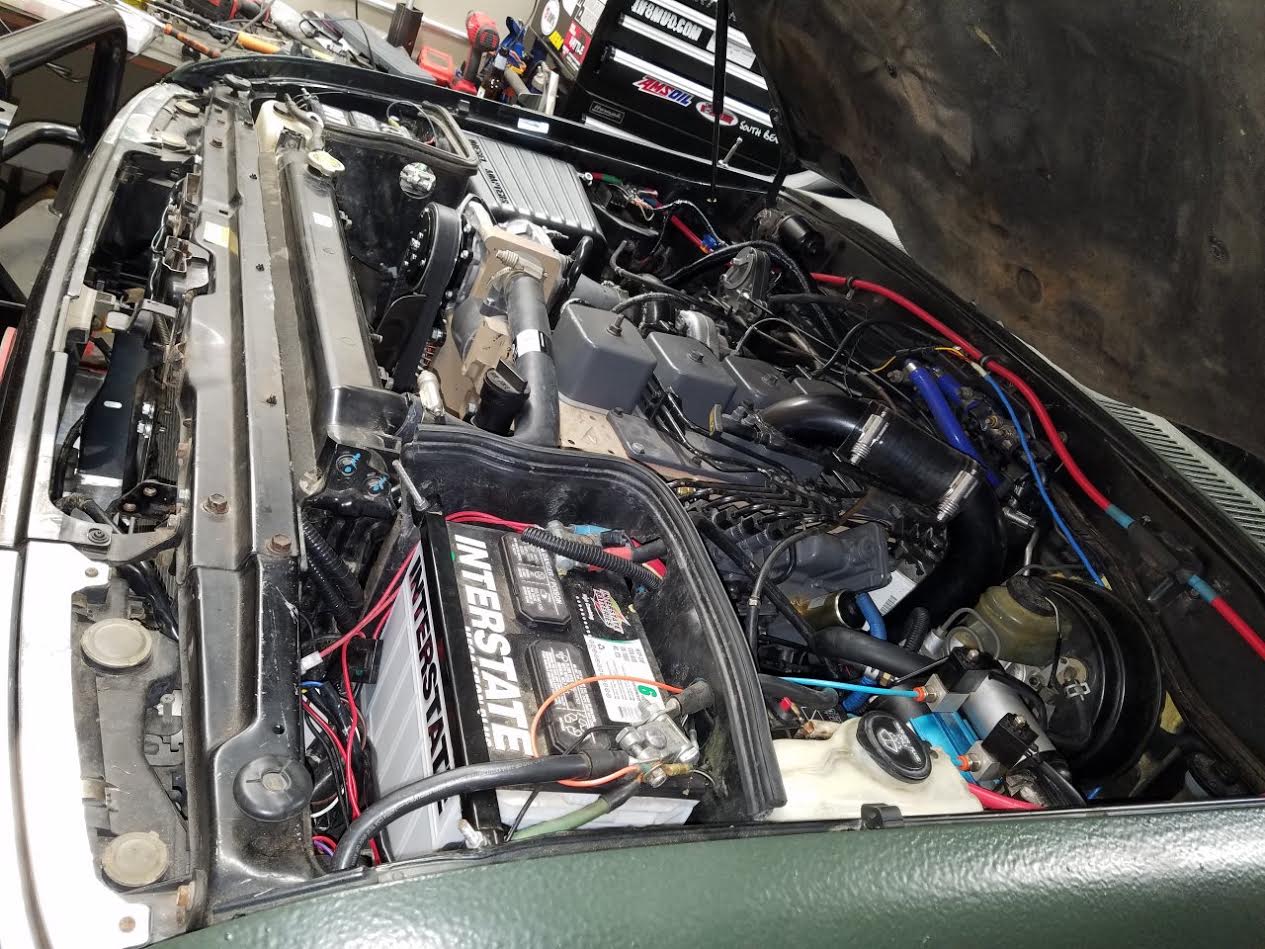
The Cummins deisel.
.............Here is a summary of mods that I have already done.............
New Leather Seat and Console Upholstery
Door panel upholstery to match seats/console
ARB front (winch) & Slee Rear bumper
Monstaliner - Toyota Army Green
Custom Gamviti Rack
Custom Drawers and Fridge Slide / Sleeping Platform
ARB 60L Fridge/Freezer
YodaTEQ Gullwing's
Cummins 6BT Conversion with NV4500 5 speed Trans
Dual Parallel Main Batteries
Boost and Pyro Guages
On-board Air (ARB & Puma)
Replace ARB's & 4.88's with Harrops & Cryo Treated 4.10's (Zuk)
37" Tires on 17" Sequoia Wheels
Heat Shield and Sound Damping throughout truck
2M HAM Radio
Baja Designs HID Driving Lights
...................Here is a list of mods that I have on the shelf waiting for enough time to install.....................
Slinky Stage 4 suspension - 4XOverland
HD Black Hawk Rear Sway-Bar
Black Hawk Rear Control arms (upper & lower)
Marlin 3.1 low range gears (Xfer Case)
Terrain Tamer 0.9 High Range Gears (Xfer Case)
Eezi-Awn Stealth RTT
Eezi-Awn Batwing (270 Degree Awning)
Wits's End Quarter Mount Panel
REDARC BCDC1225D Battery Charger/Controller
Solar Panel Integration
House Battery in Cargo Area
Slee HD Tie Rod
Wit's End Battery Disconnect Panel
LED light bar (Rack)
Rear Camp Light
Rock Lights
Front Runner Drop down Table (swingout)
Attic Rack |
|---|
|
|
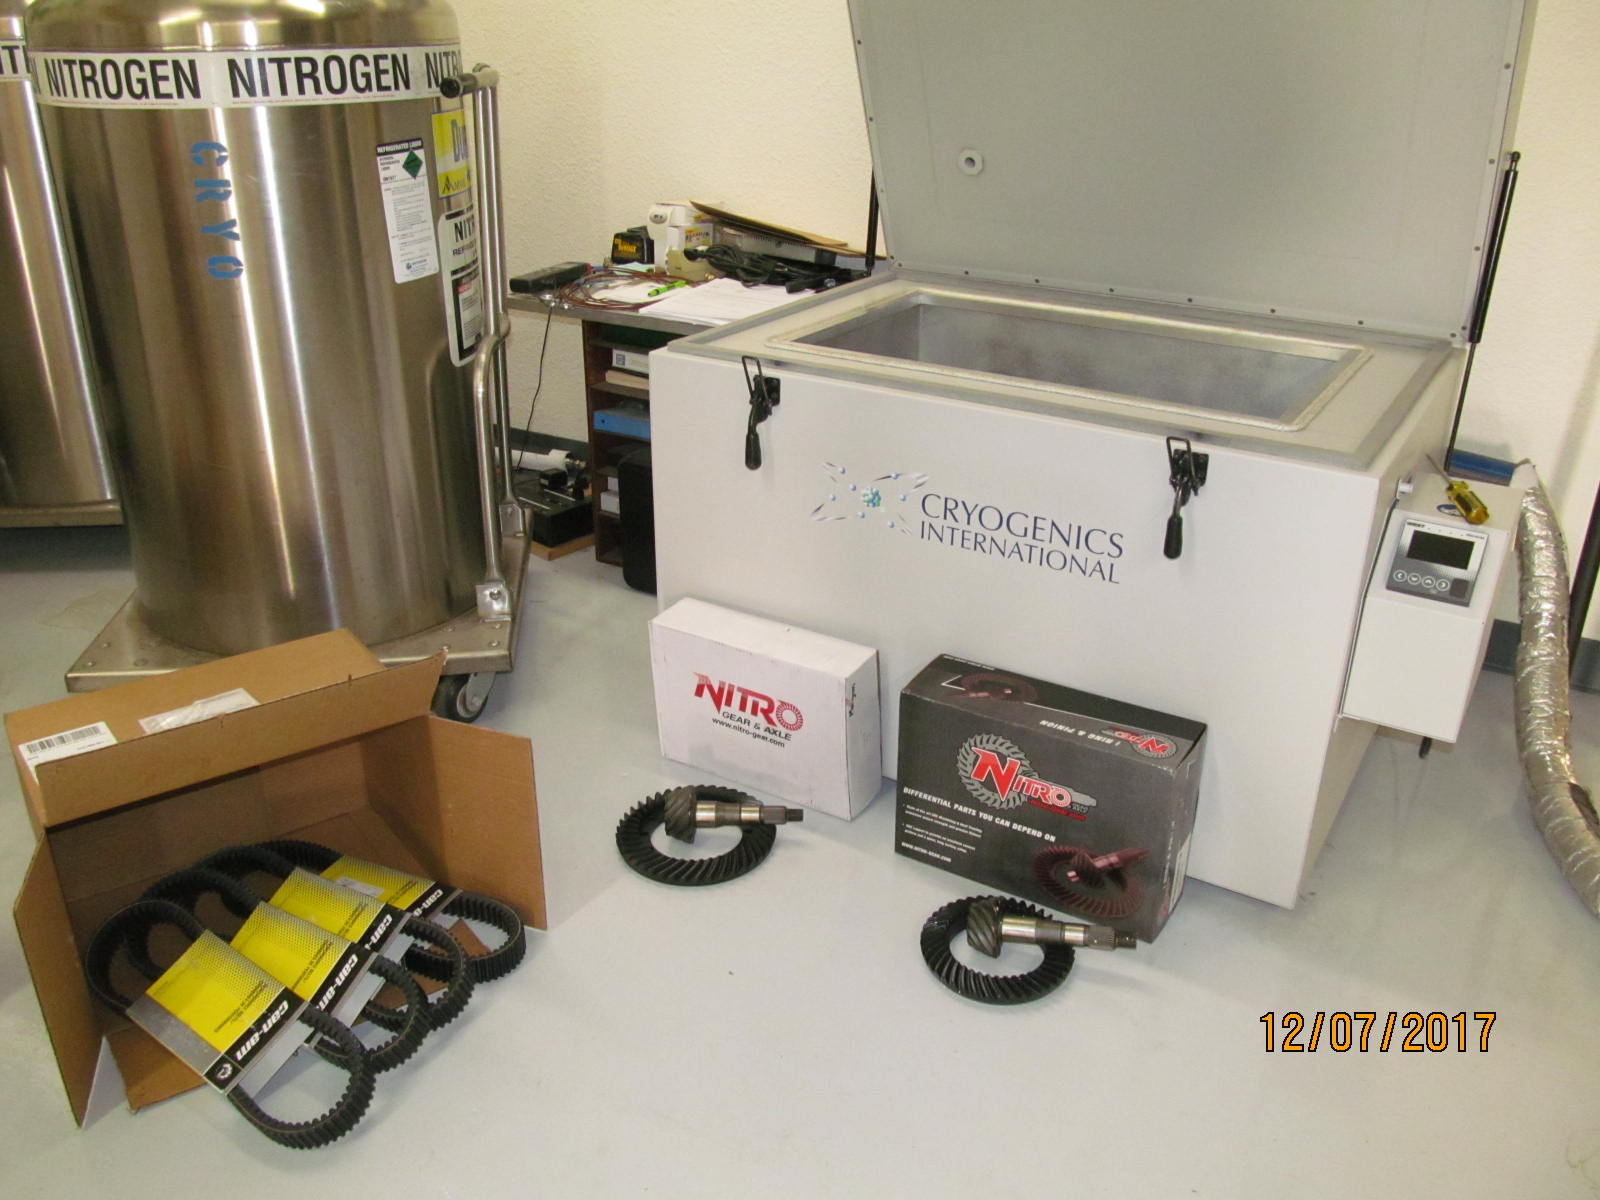
Morgan's 97TLC is getting a Cummins deisel so to keep it in the torque band the 410 ratio works best.
The combination of a good gear install and cryo treated gears will allow the new Nitro ring and pinions to handle the massive torque.
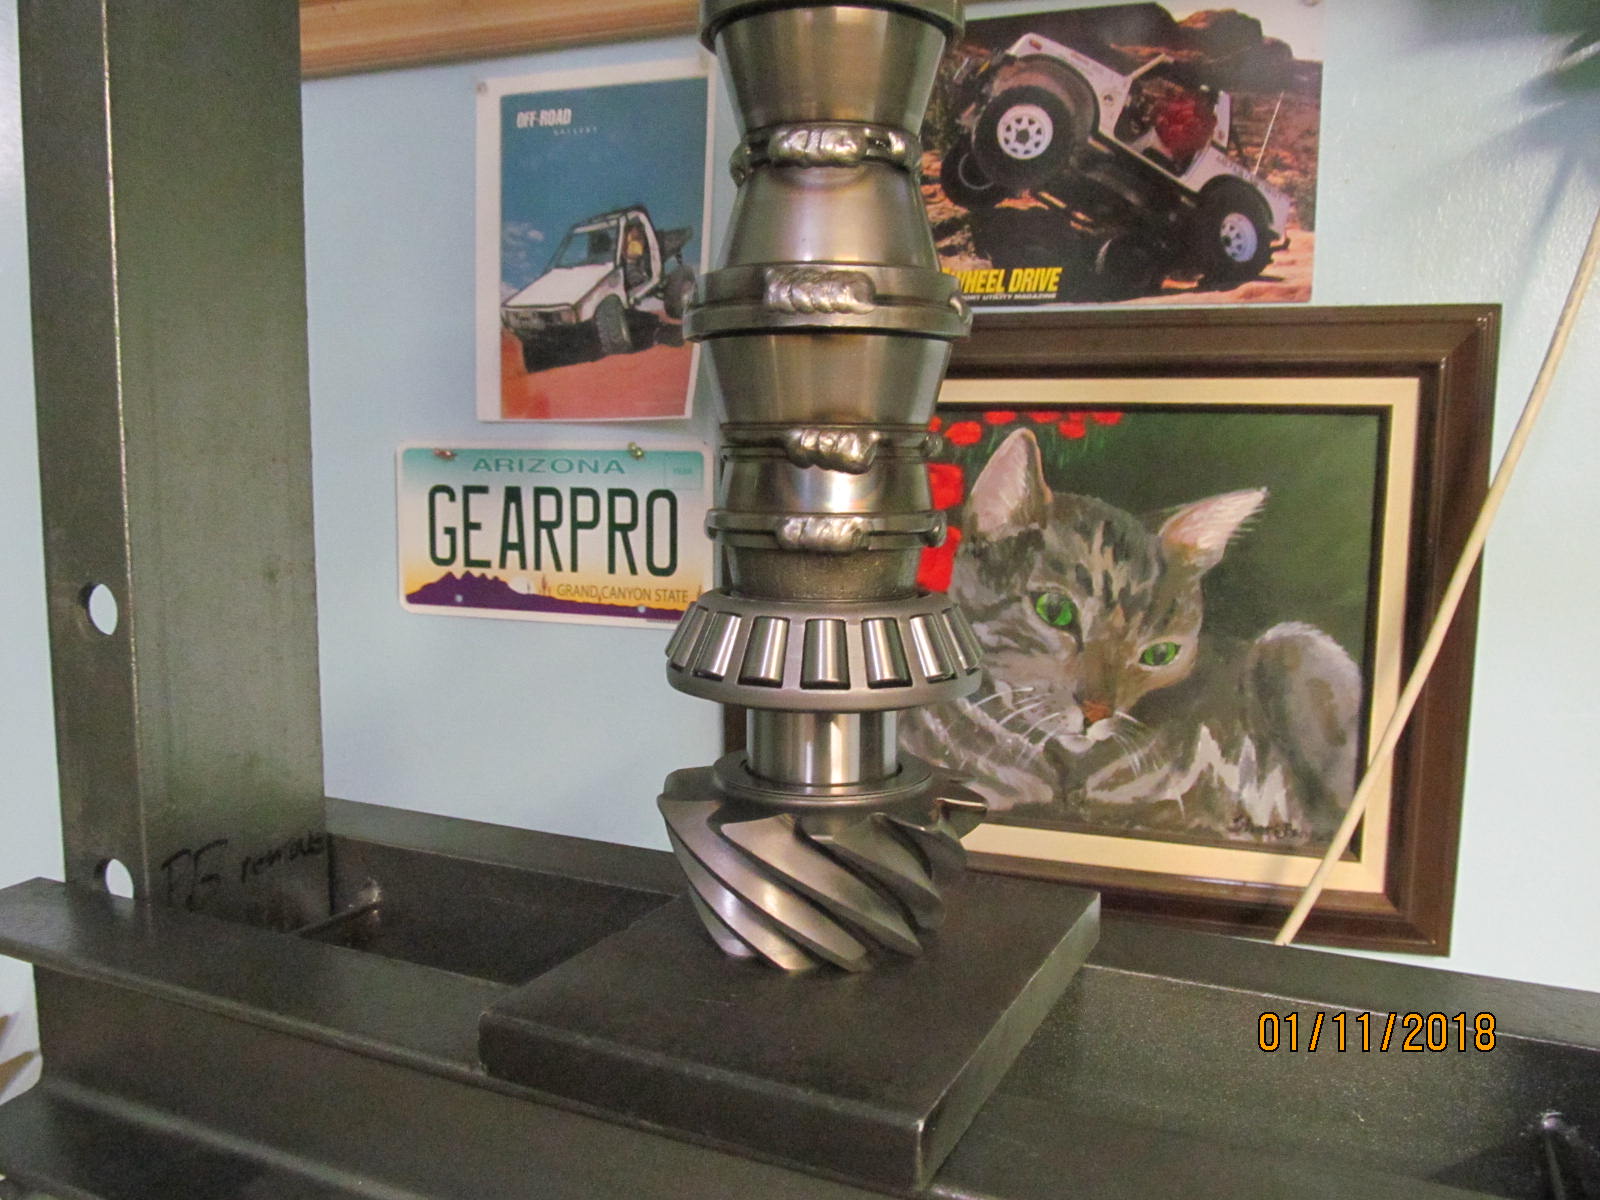
I ran the Nitro gears down to CryogenicsInternational.com. |
|---|
|
|
| |
|---|
|
|
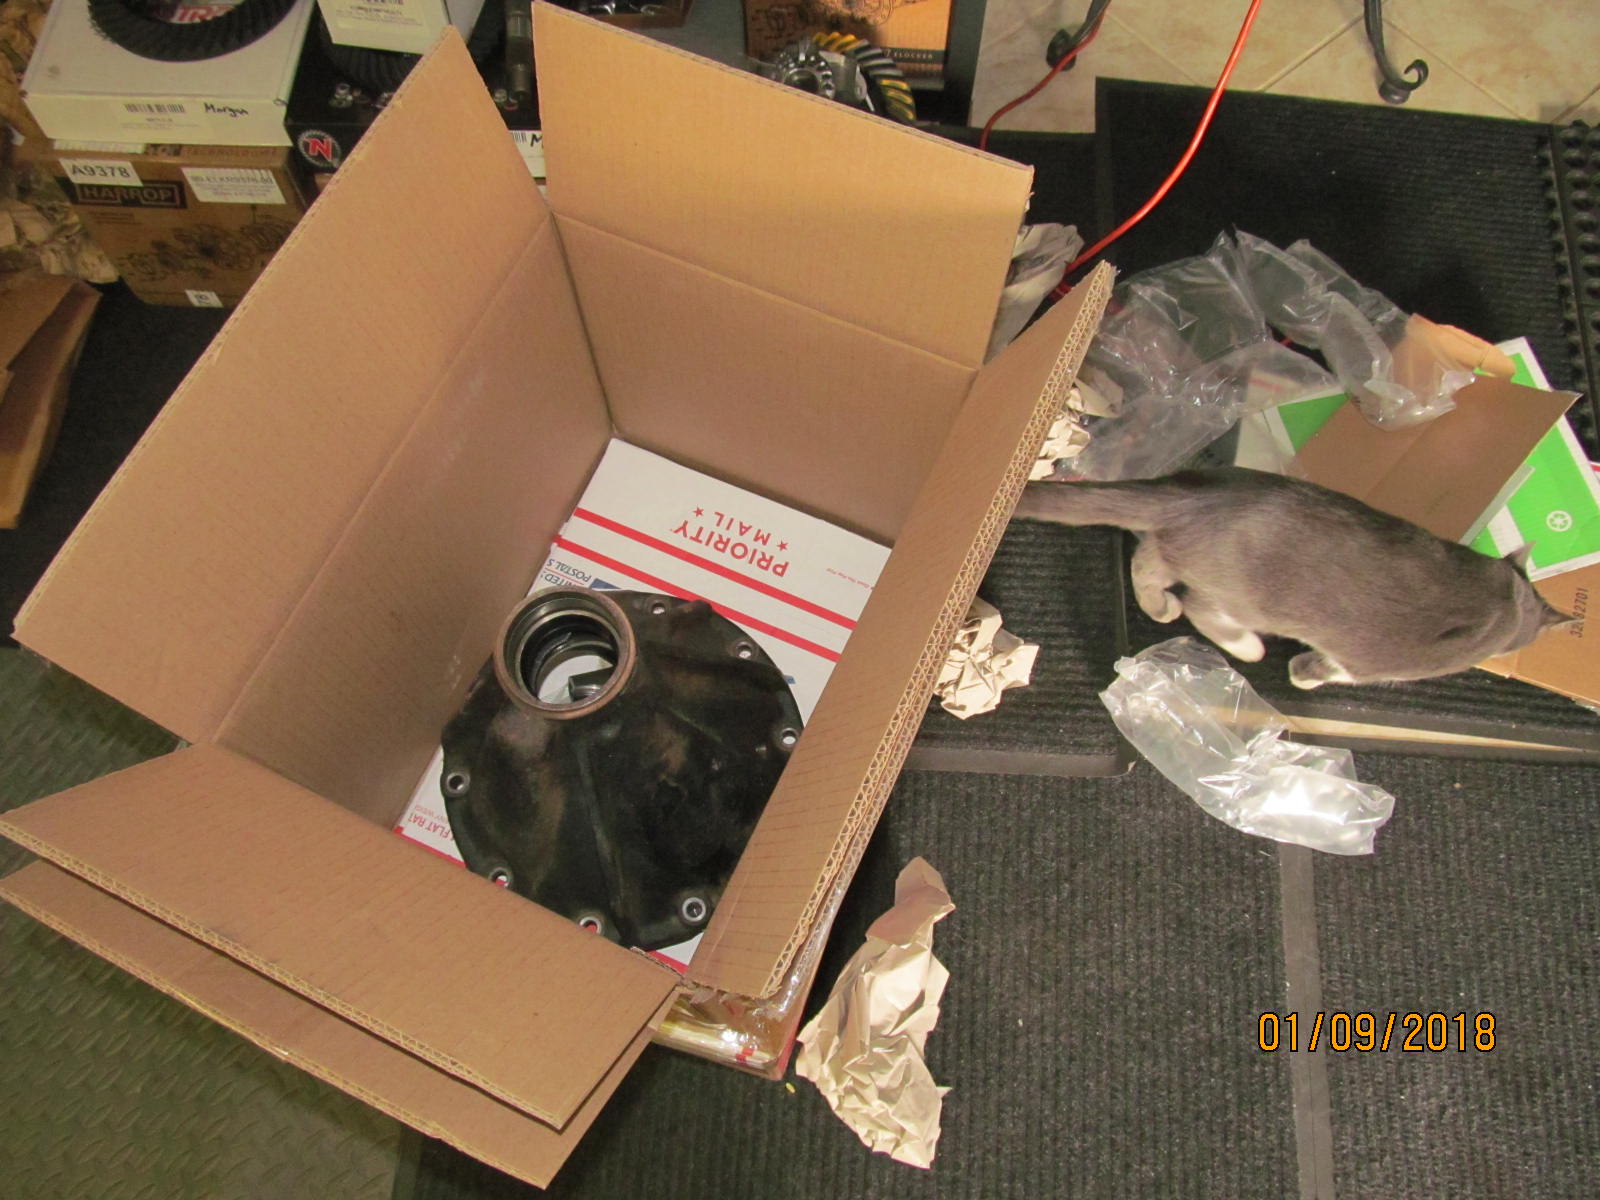
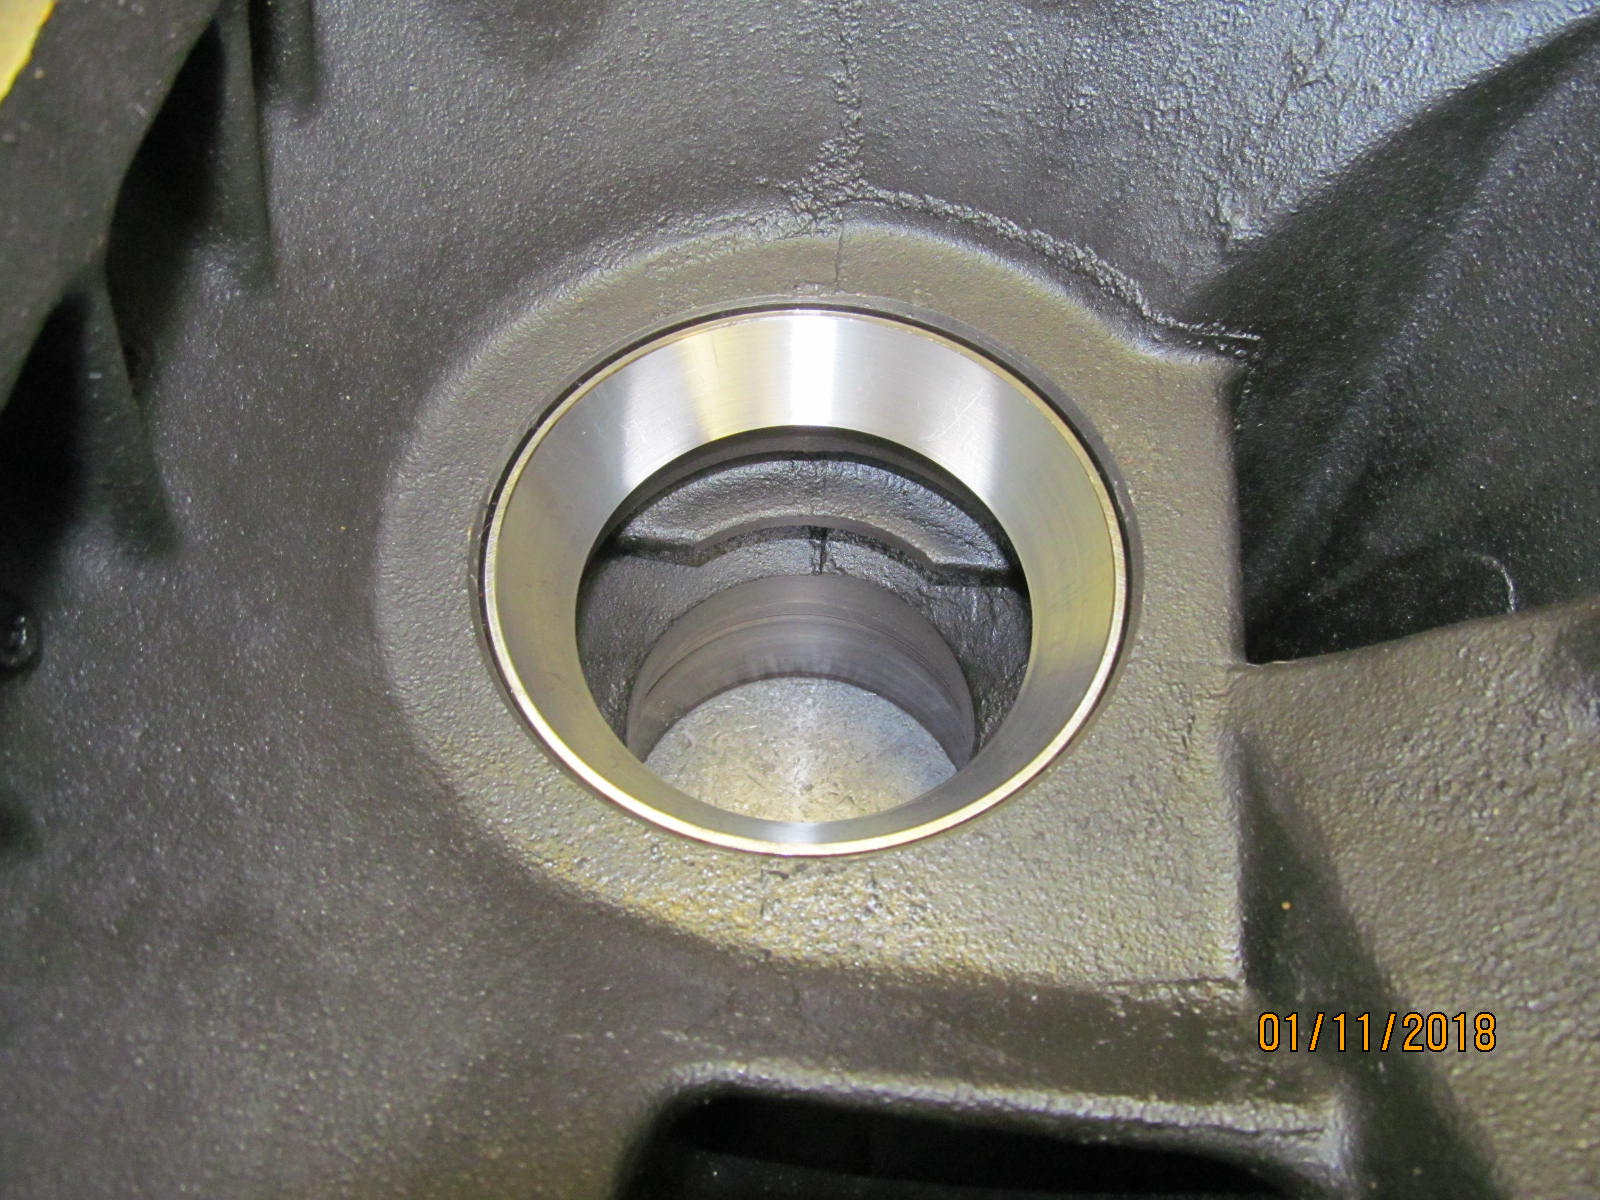
It looks like Morgan spent some time on a little bit of cleanup. It's nice to get a diff that is not loaded with grease on the outside ;)
The old ARB and the ring/pinion were not needed and thus they were removed.
This also meant that the shipping was cut in about half from New Jersey to Chandler Arizona.
And that shipping (Fedex ground) is normally around $110 per 75 pound diff with no discounts. |
|---|
|
|
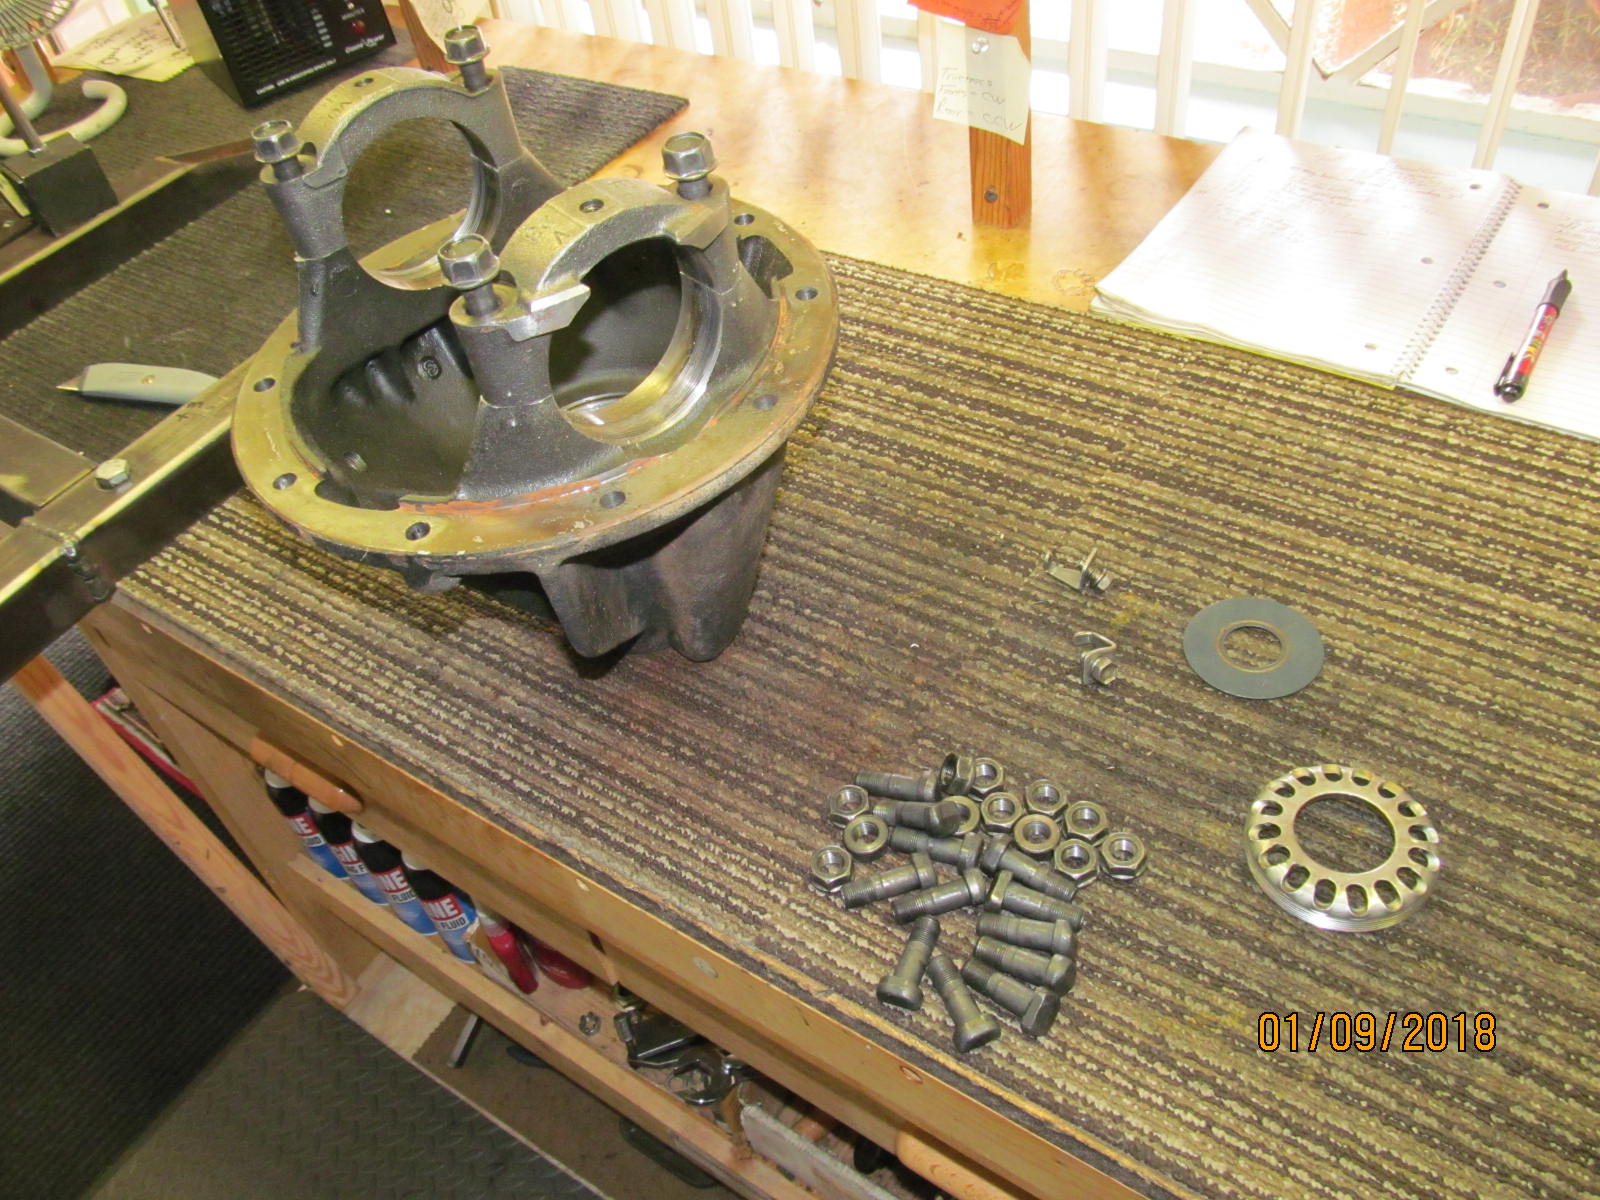
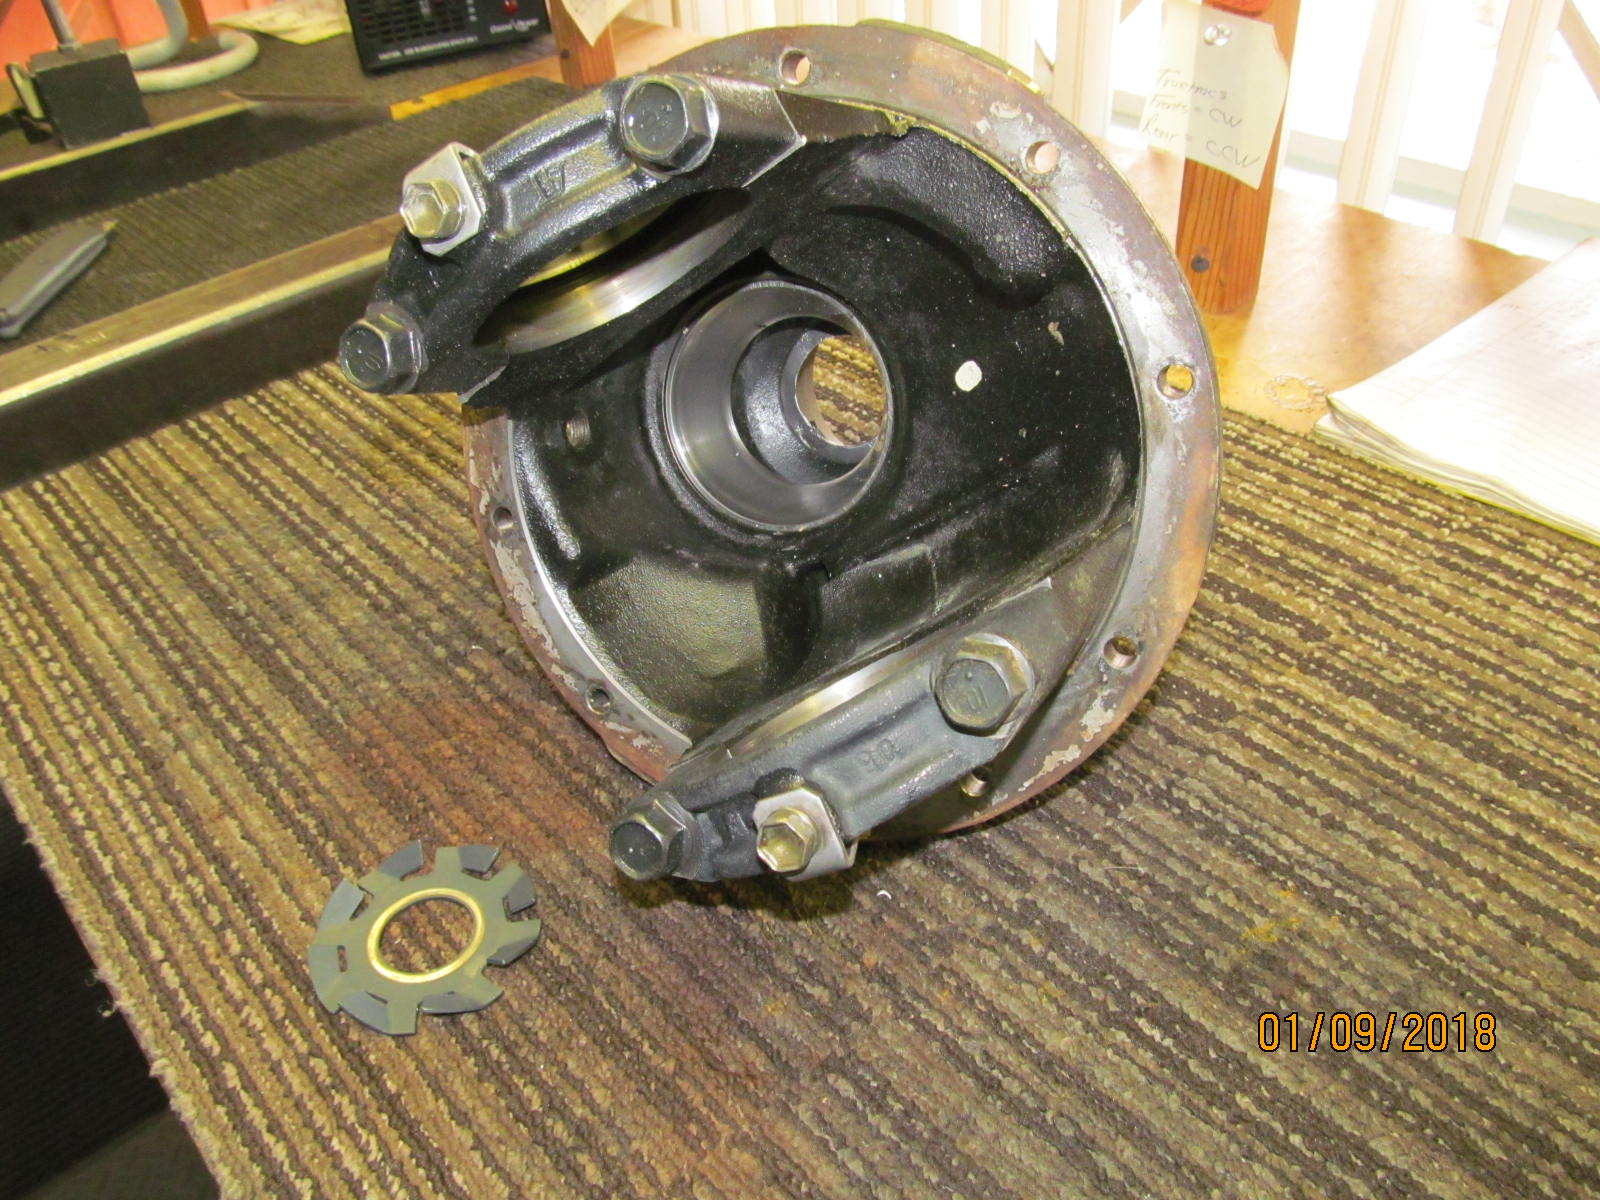
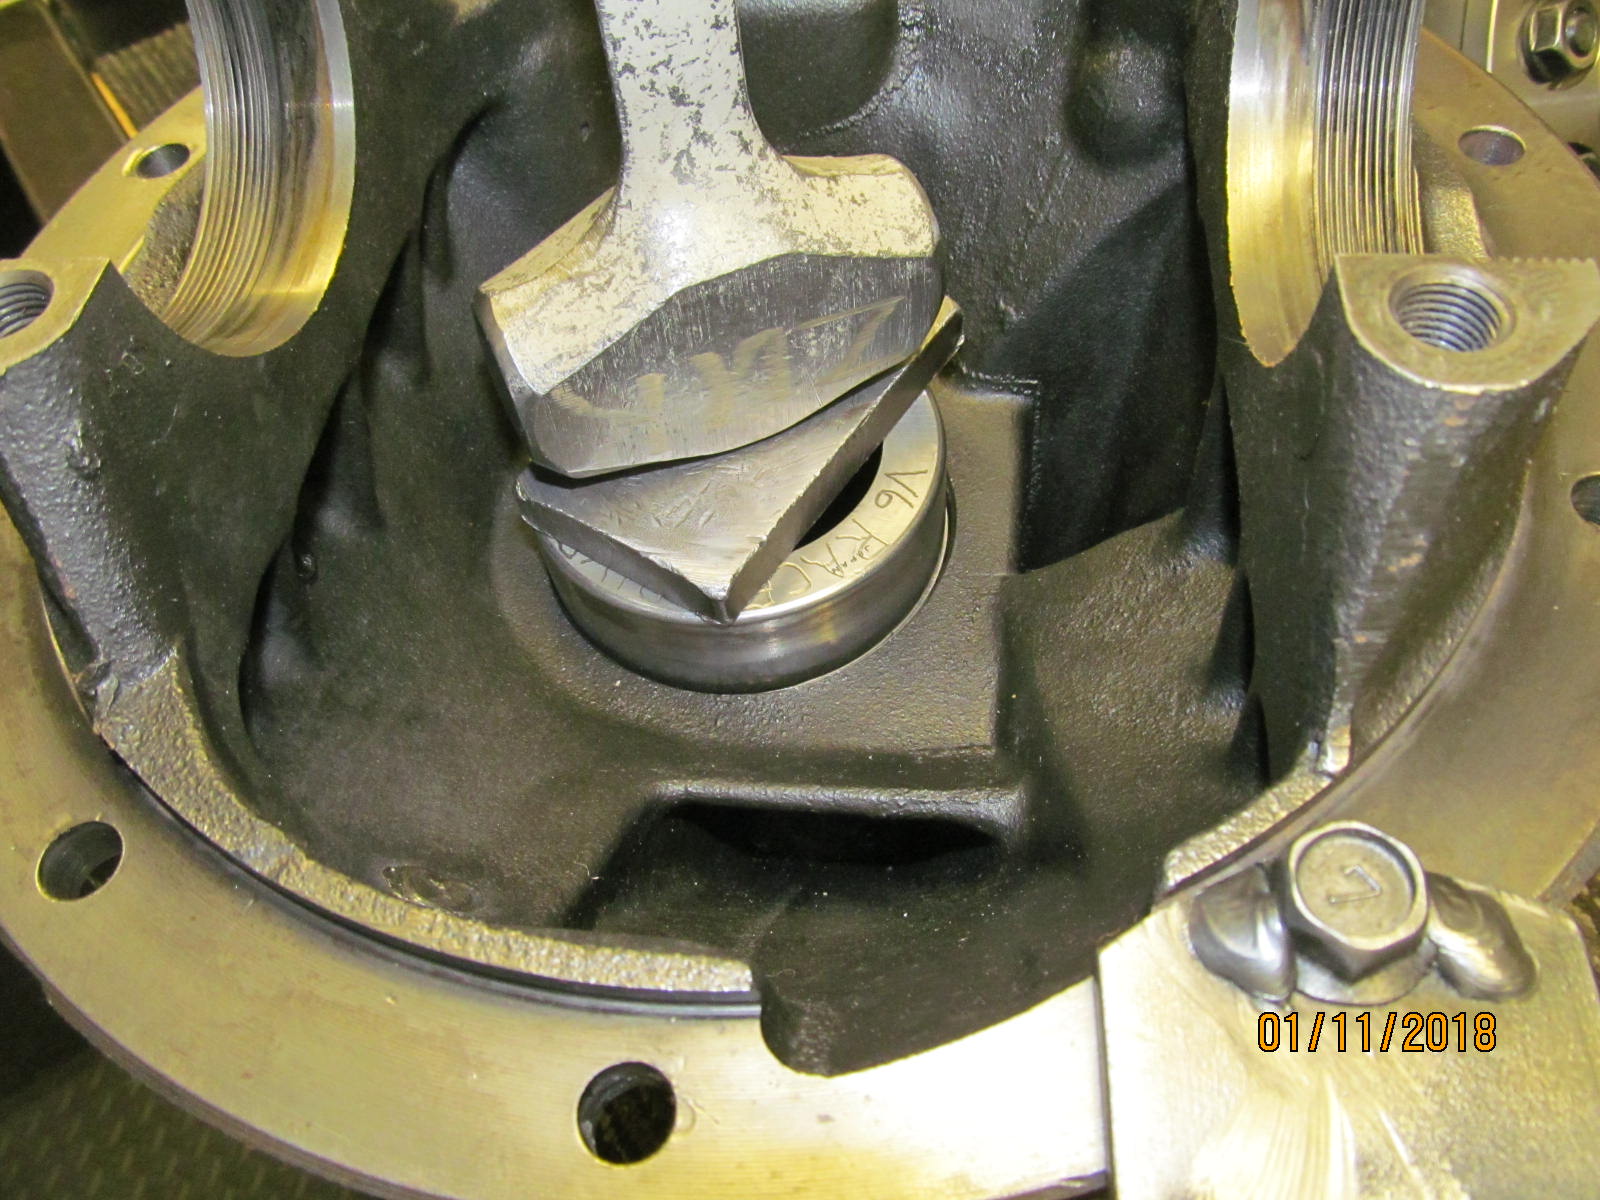
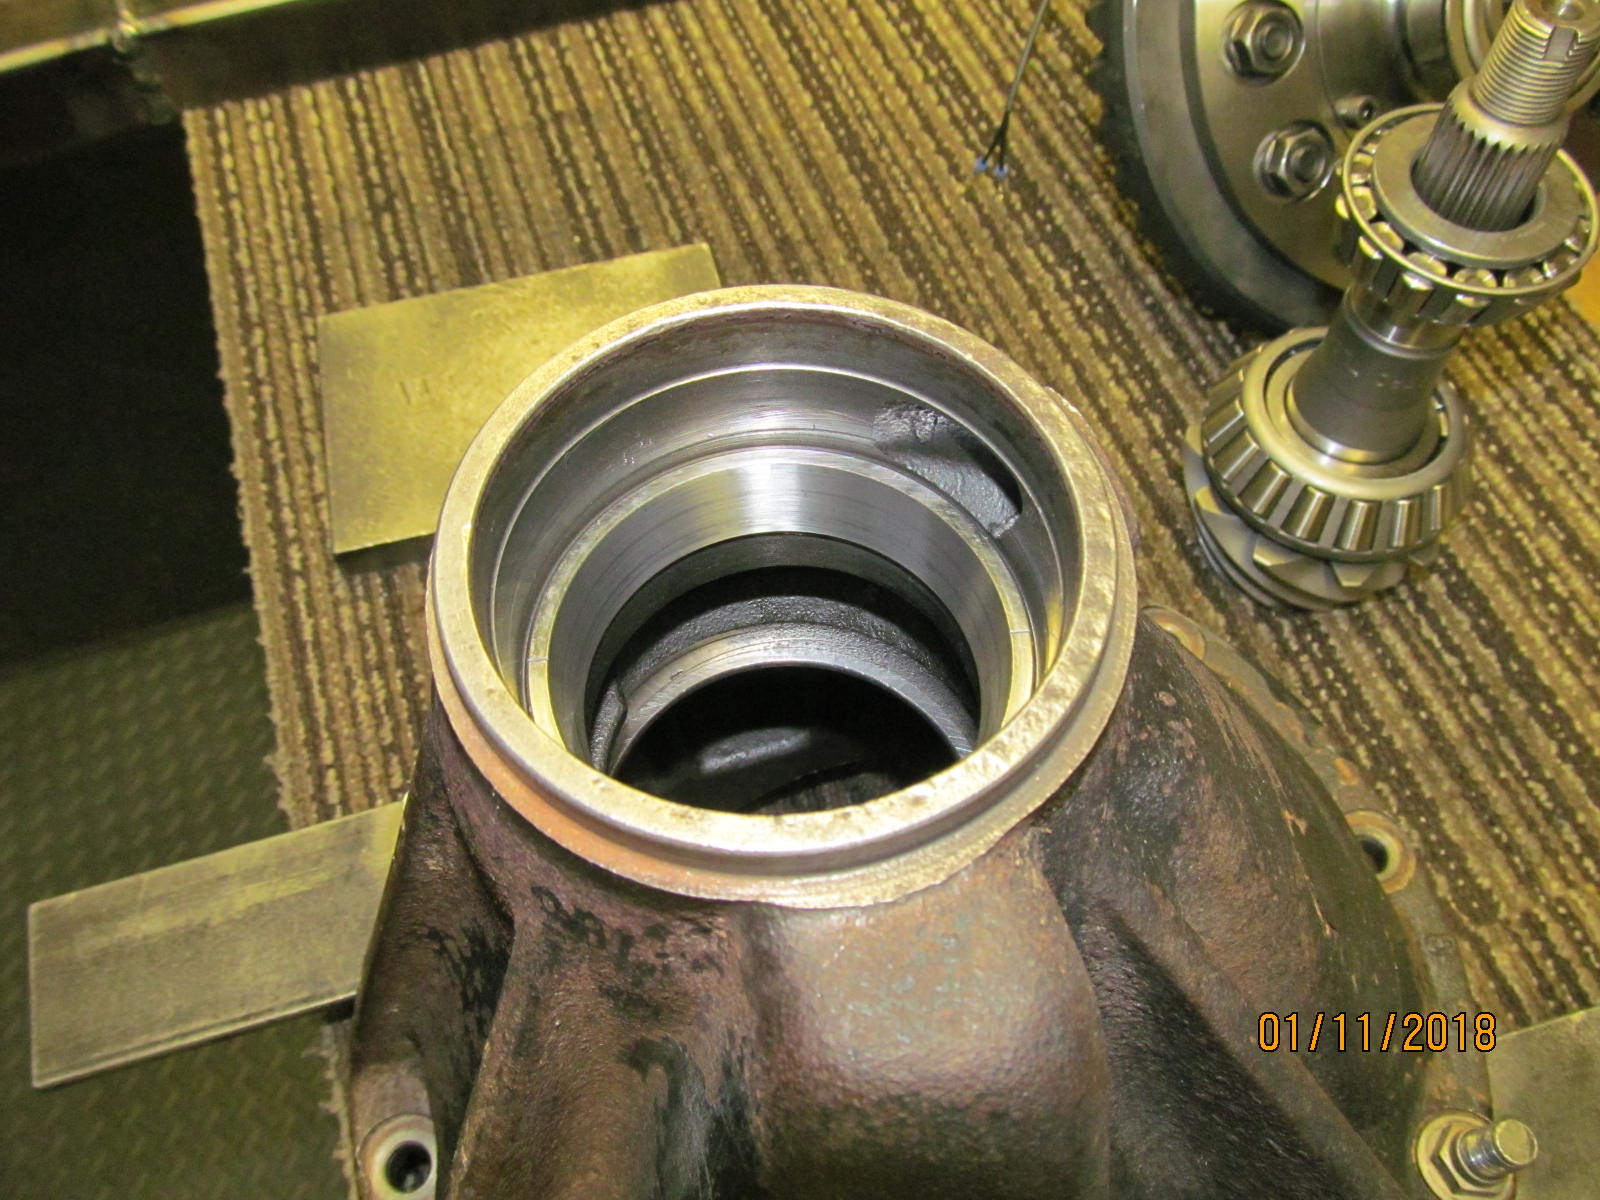
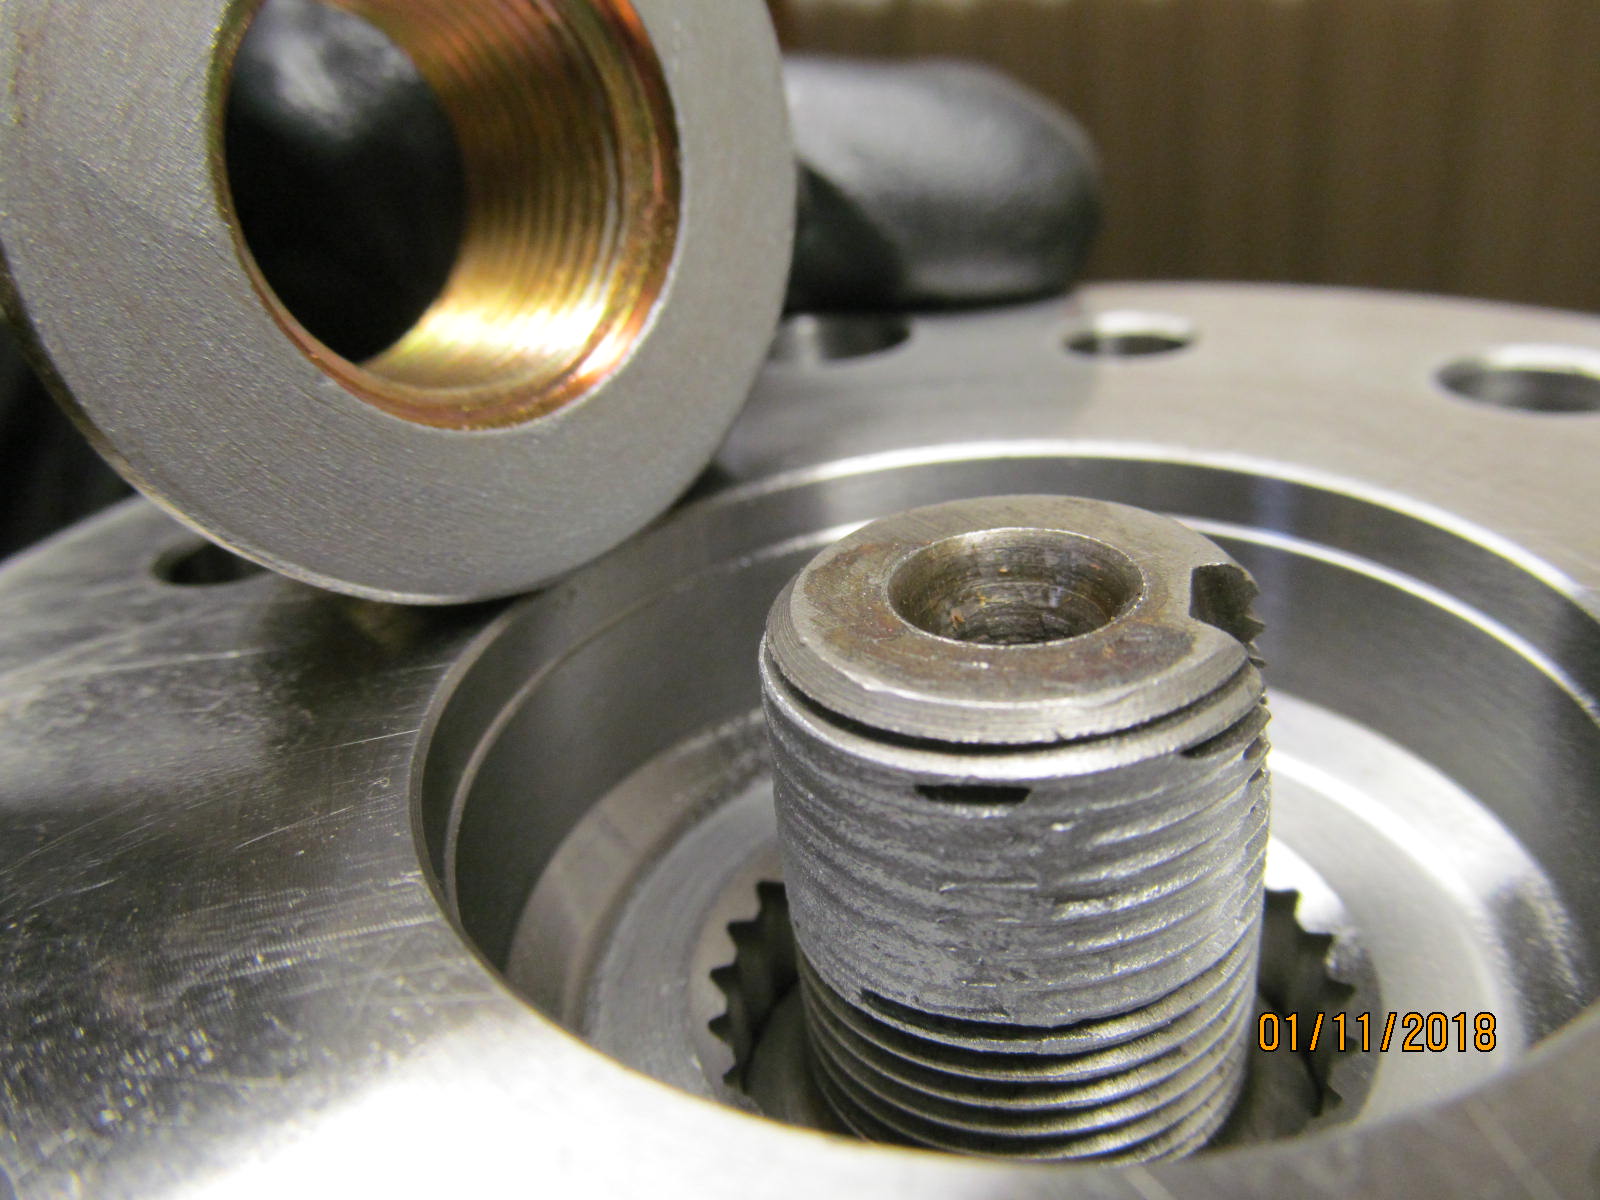
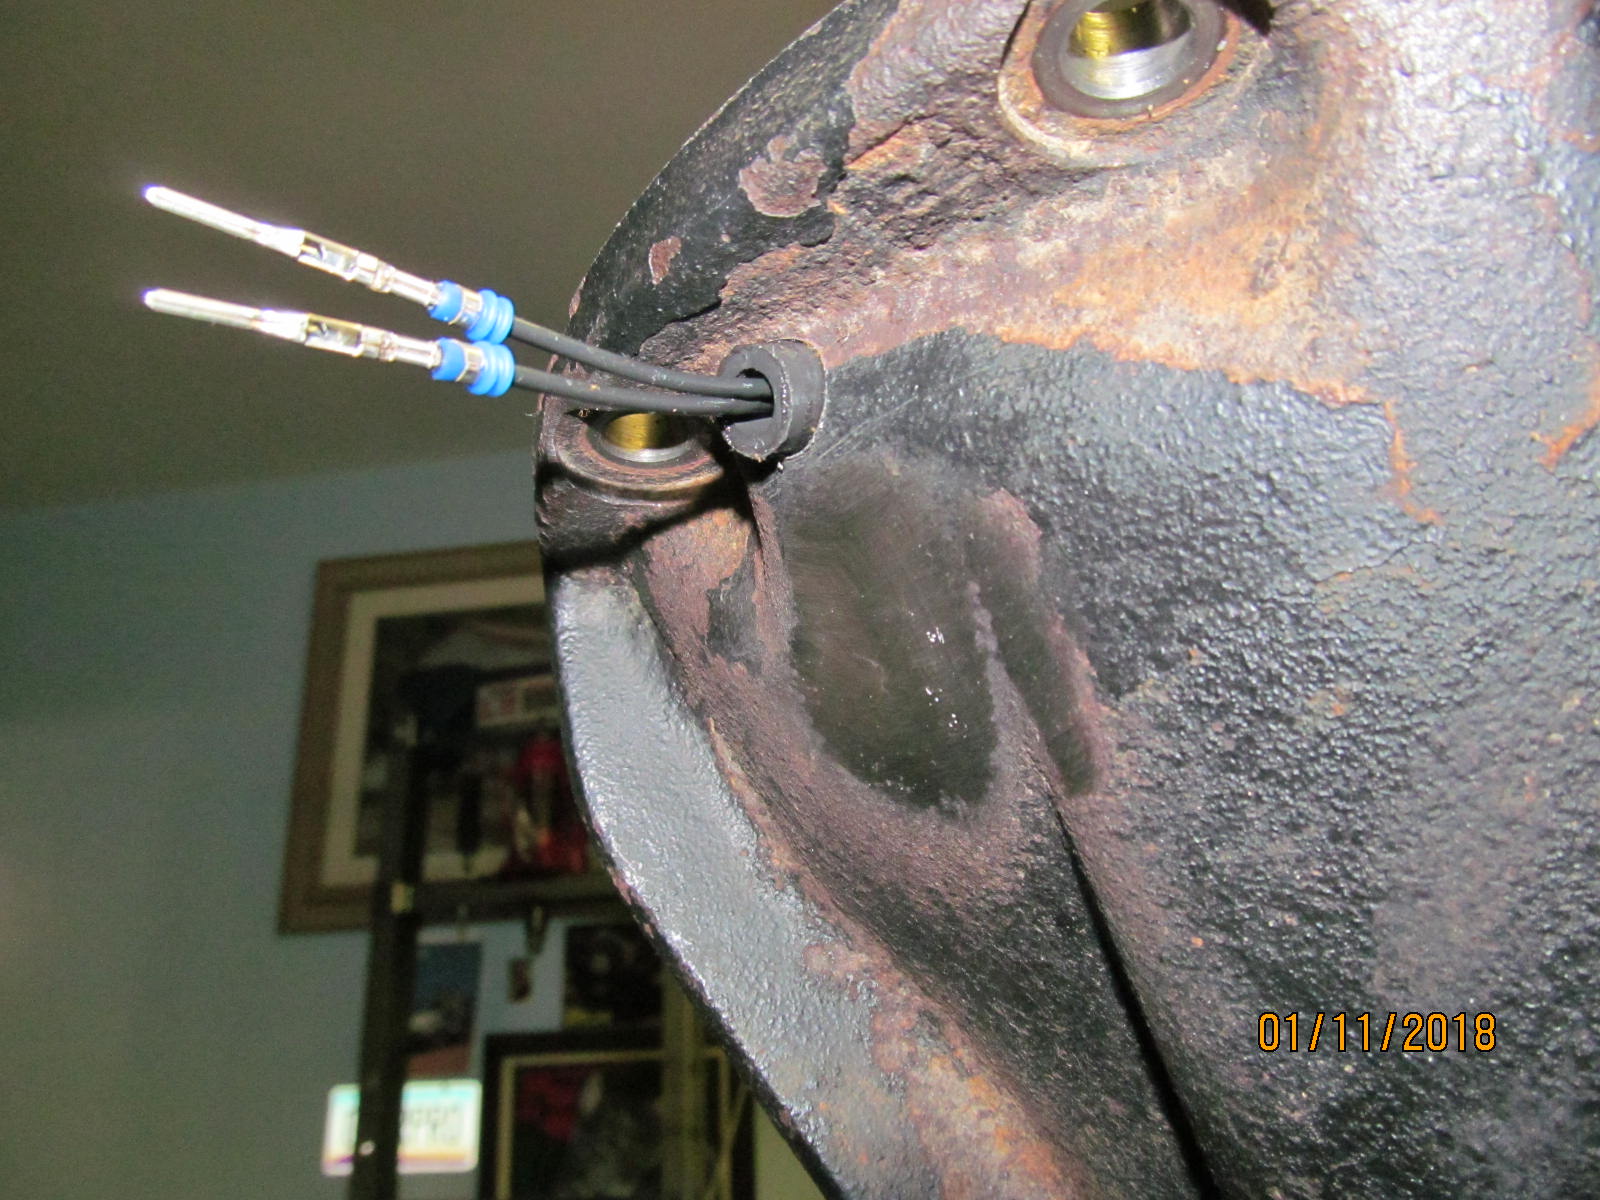
Morgan stripped down the old front and rear 3rds....took the ARB air lockers out and sent me just the essential parts that I would need.
Notice the ARB threaded hole is visible on the left side. That was sealed with my MIG welder
and a new unthreaded hole (29/64") drilled in a better location. |
|---|
|

|
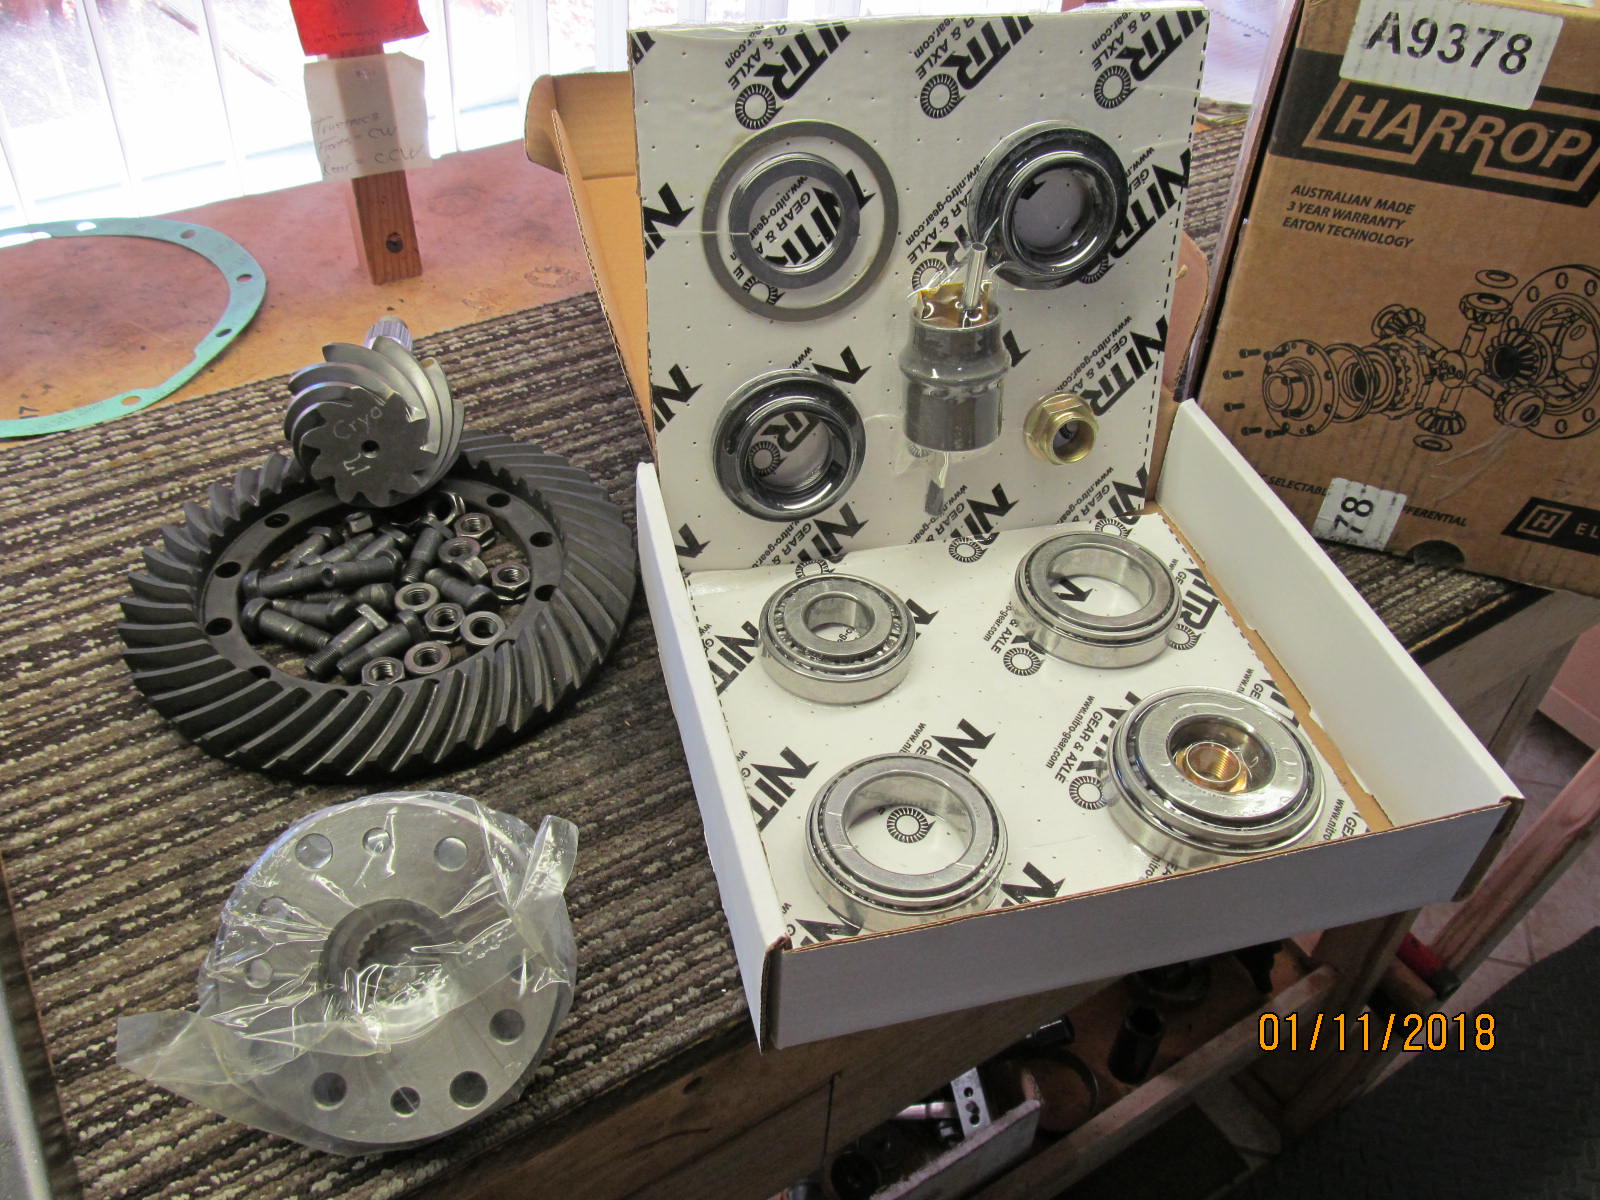
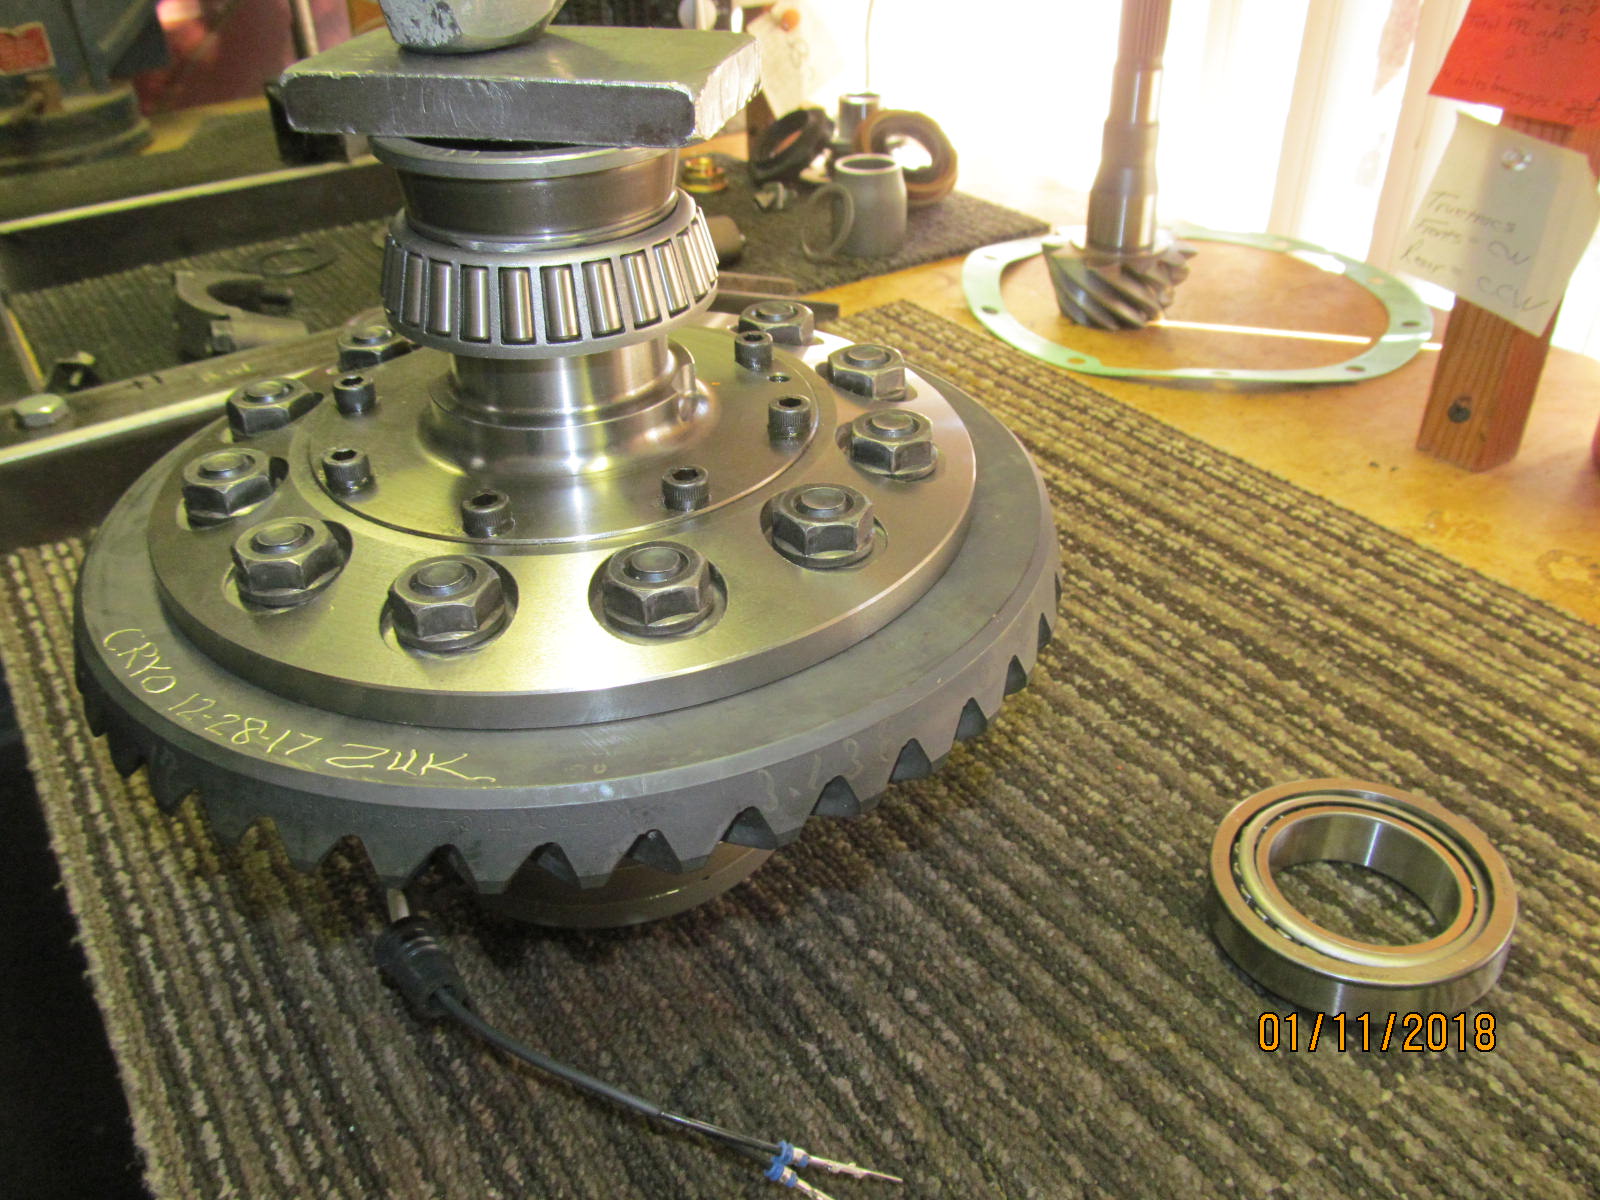
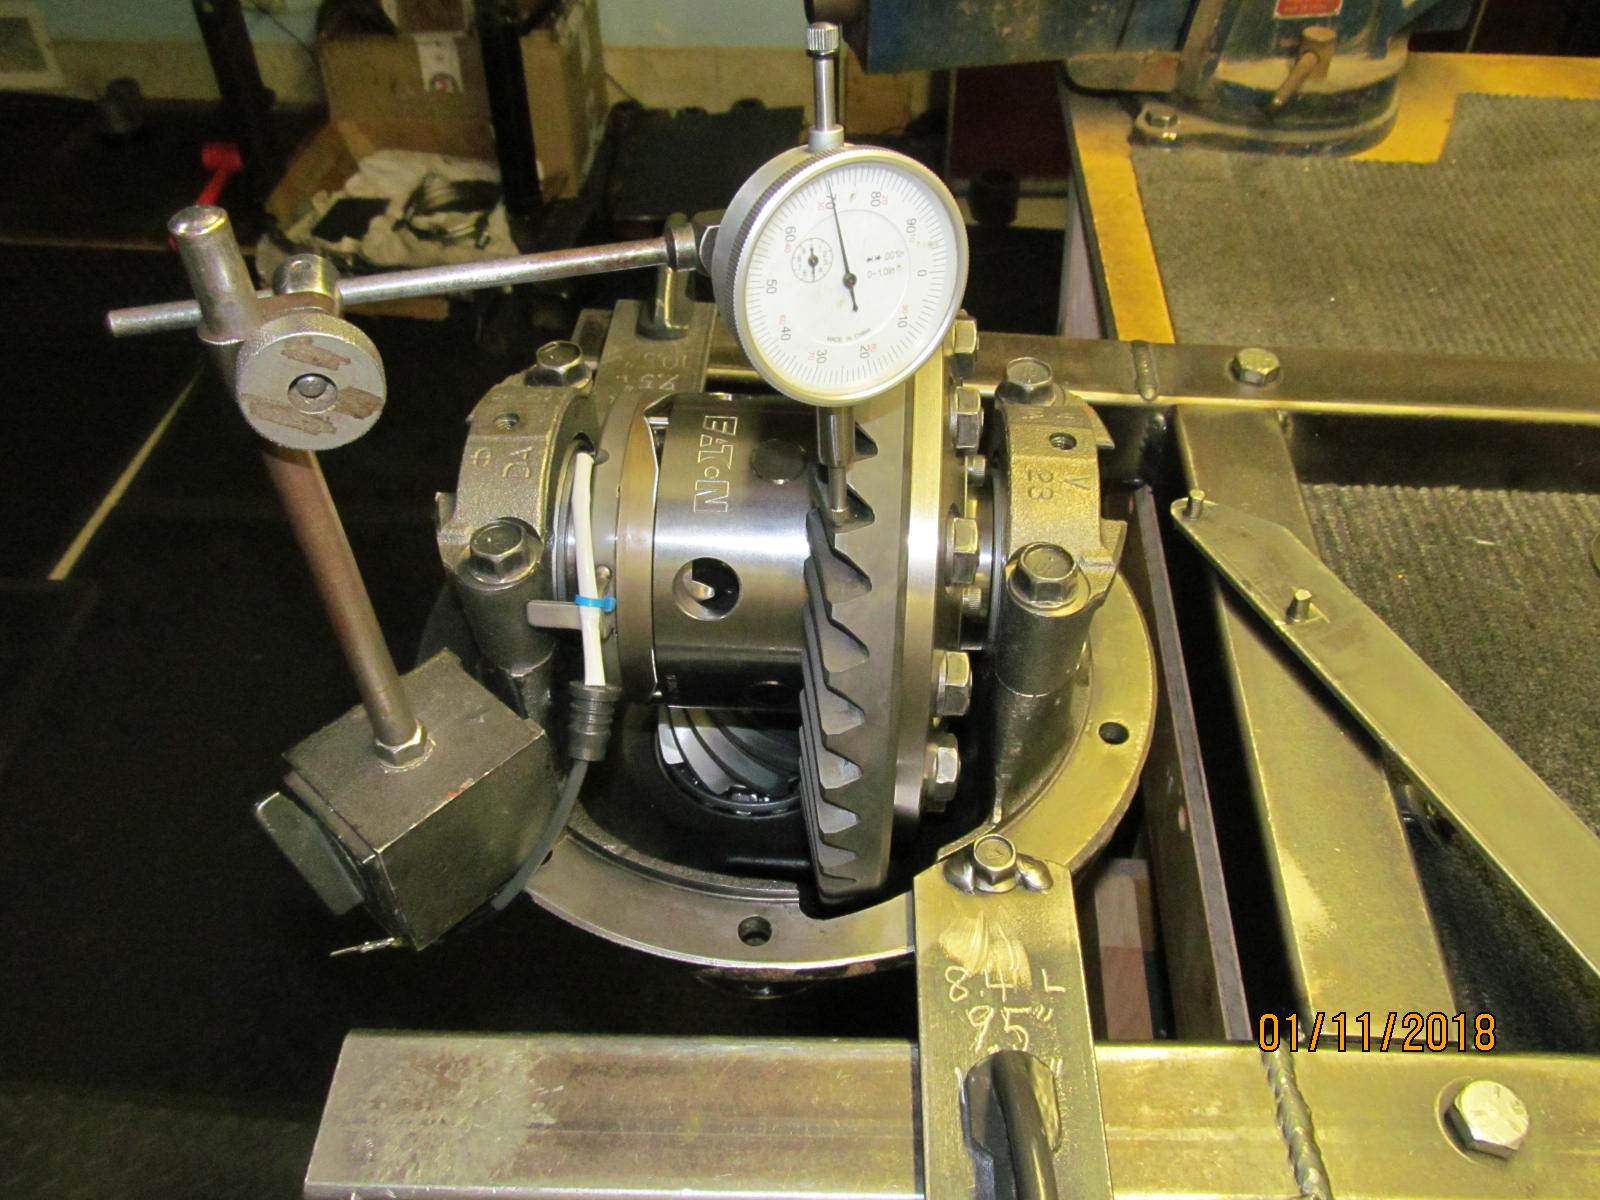
The rear 9.5" 3rd is secured to the bench fixture which is in my livingroom. Tell me that I'm not the luckiest guy alive to set gears in my livingroom :)
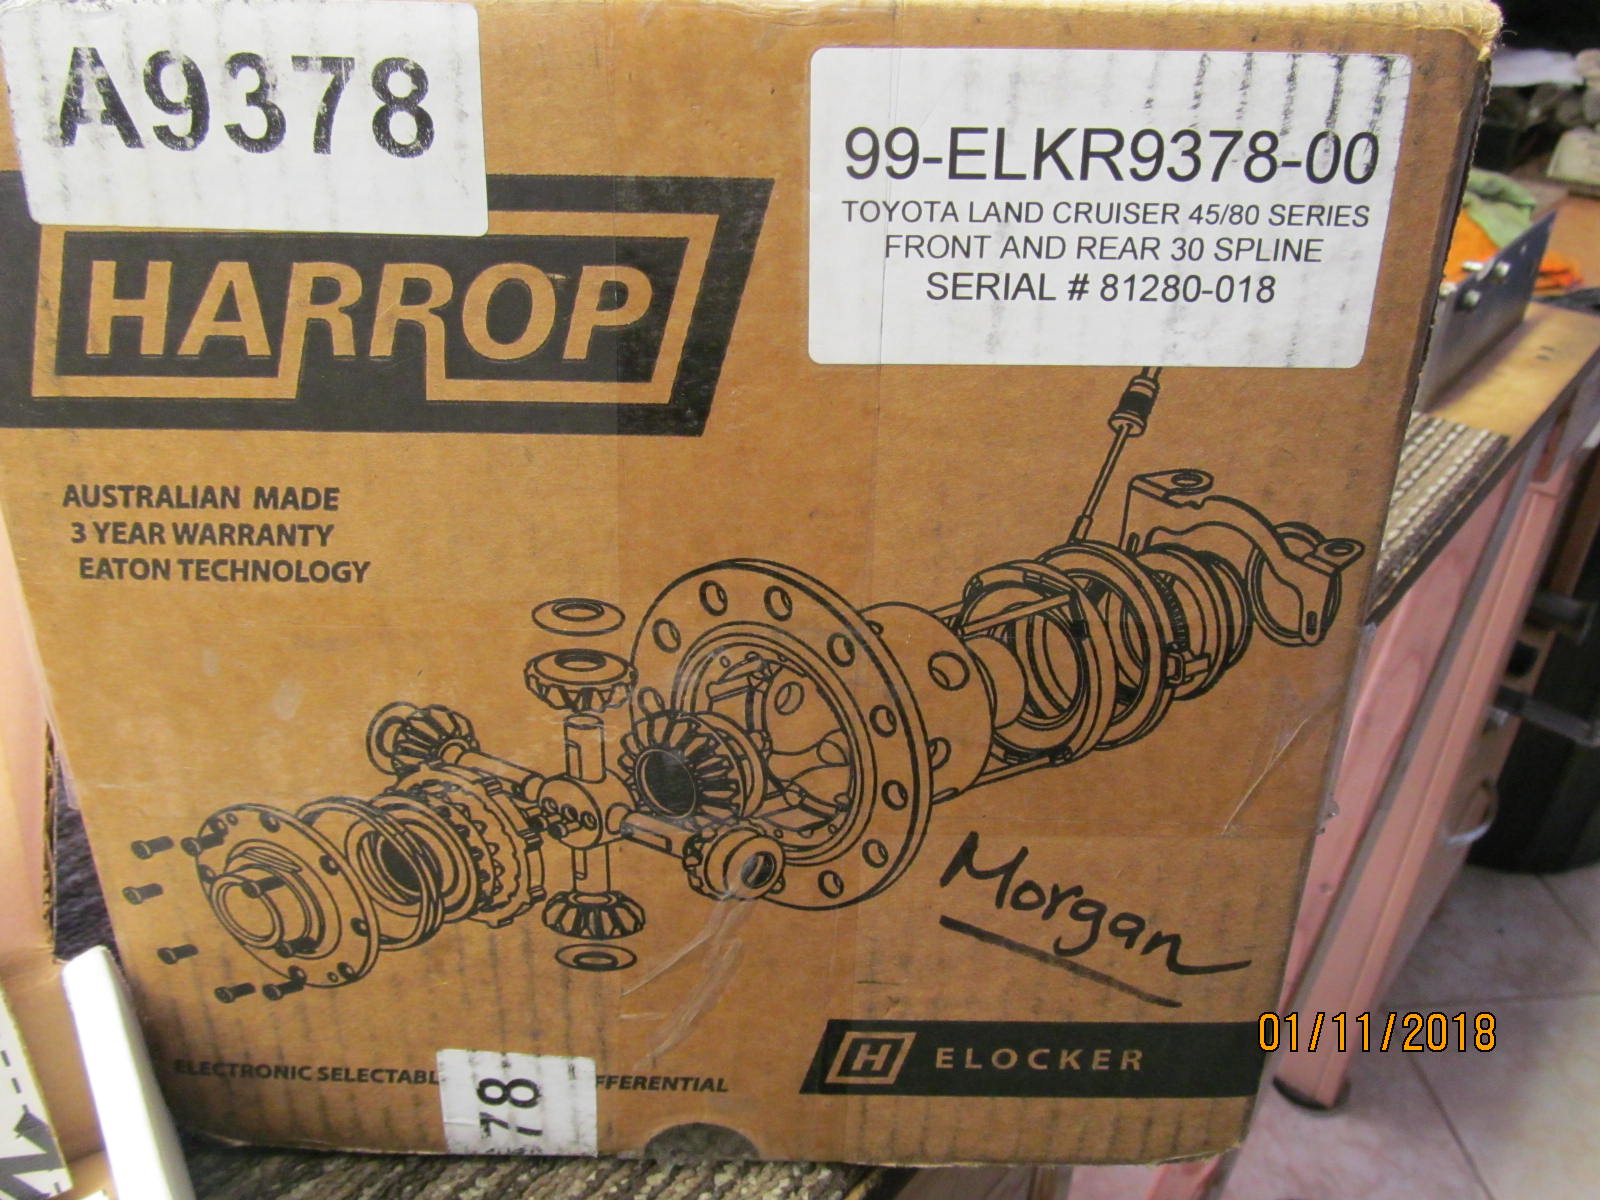
All the good stuff is shown....the cryogenically treated 410 gears and the new flange and the Nitro master kit and the Harrop #9378 elocker. |
|---|
|
|
| The Nitro kit has all KOYO bearings. |
|---|
|
|
| Fresh out of Australia. |
|---|
|
|
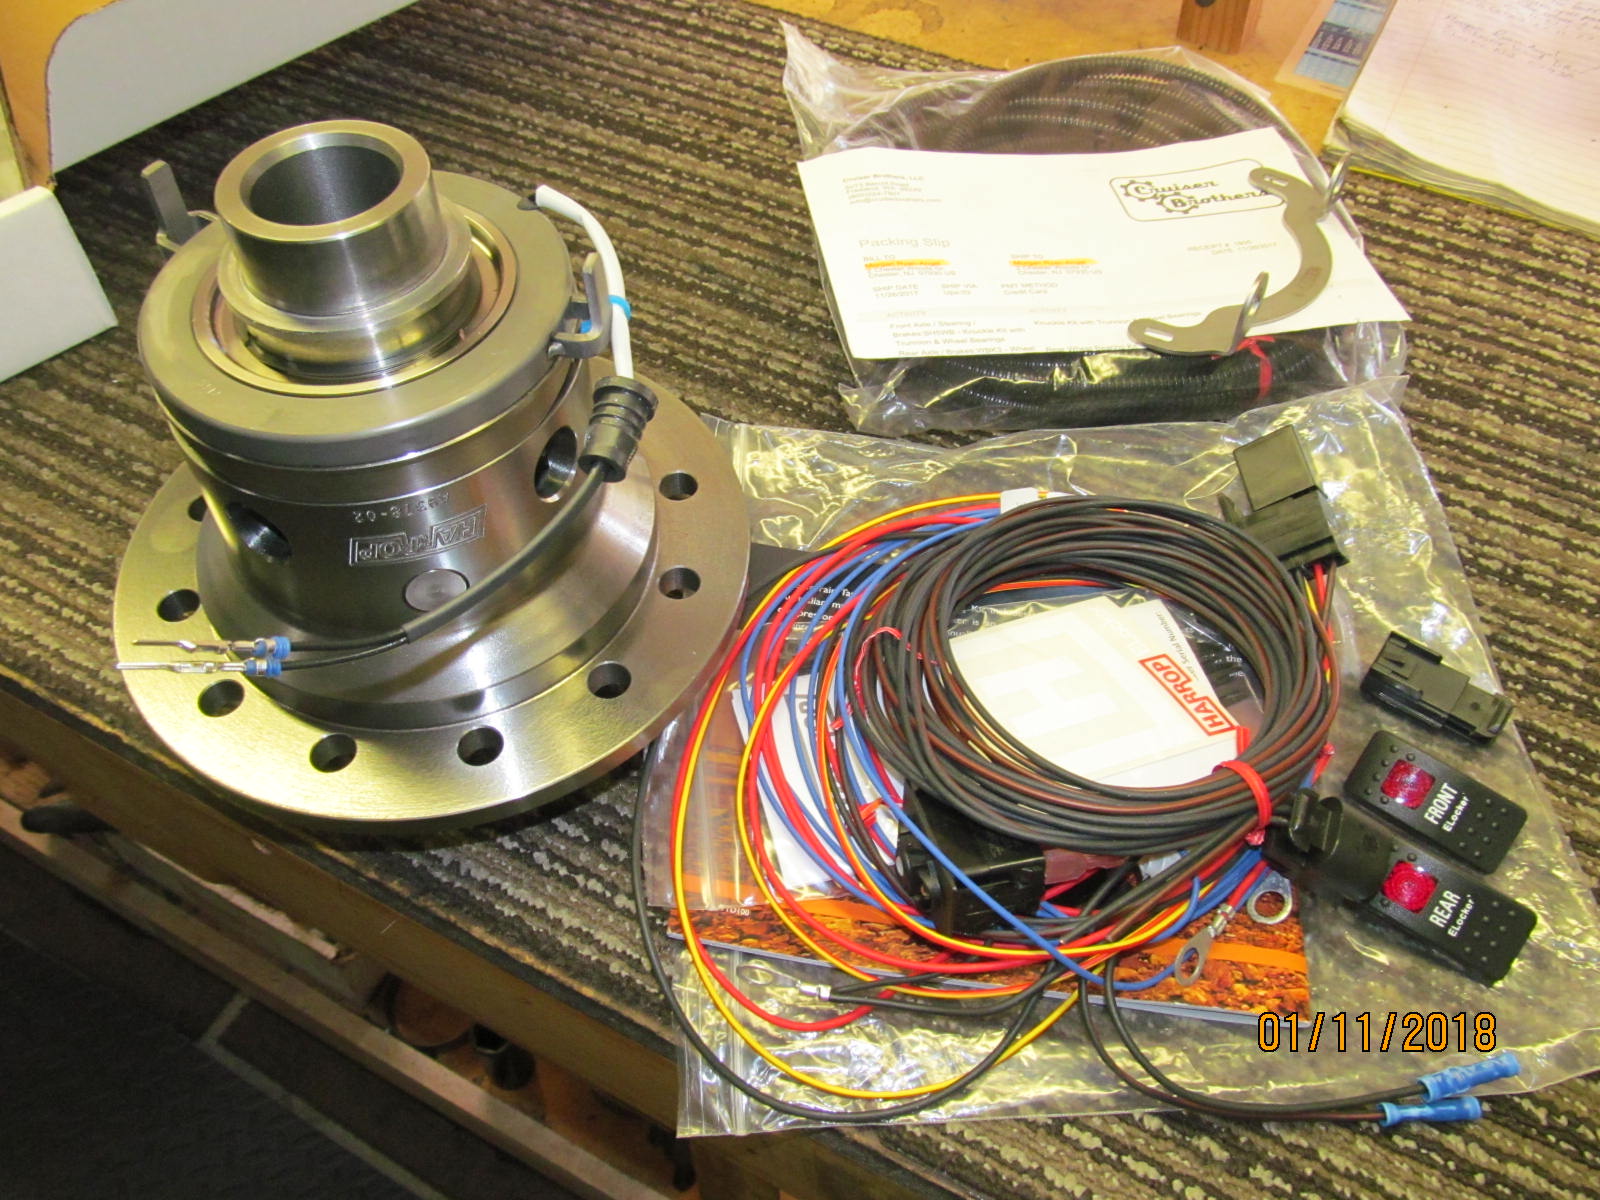
| The supplied wiring harness is super easy to hook up...just locate a constant +12 volts.....a 12v ignition....and a ground. How tough can that be? |
|---|
|
|
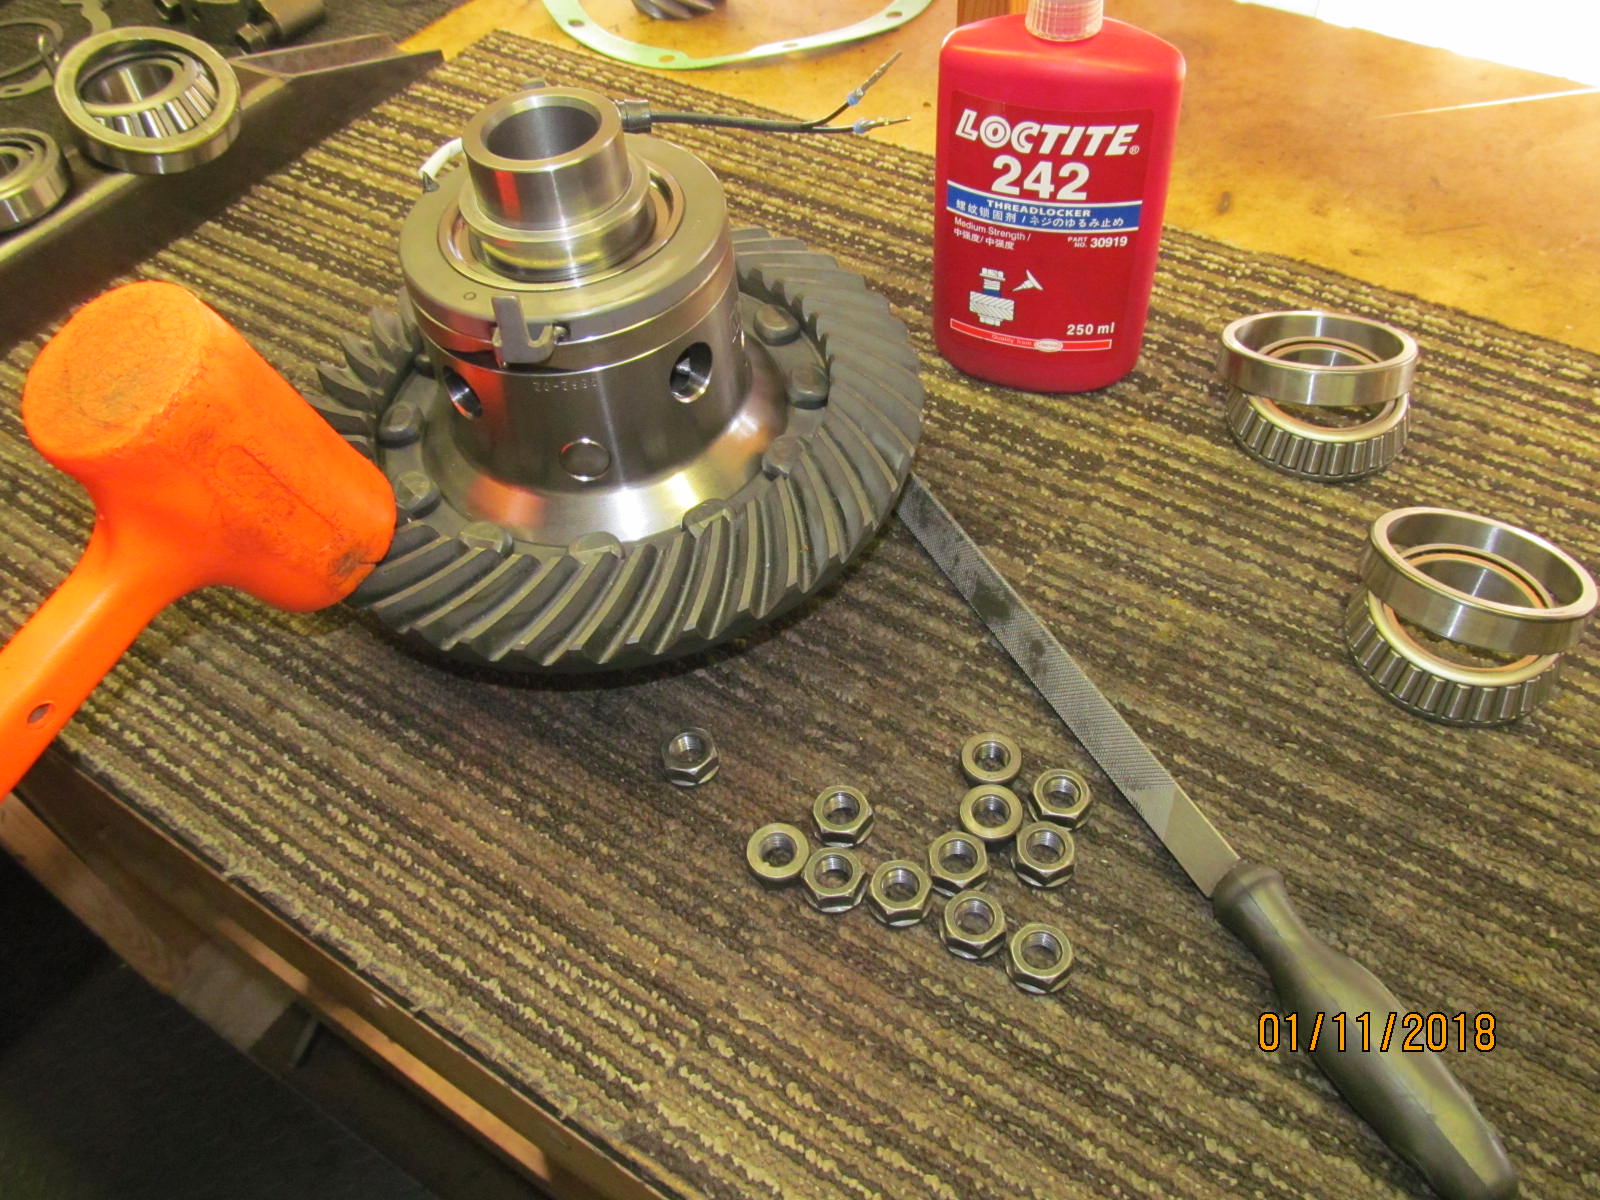
| Have to start someplace.....the ring gear and the carrier bearings. |
|---|
|
|
| Blue Loctite and 81 ft/lb on all 12 ring gear bolts. Then tap the 50mm carrier bearings on. |
|---|
|
|
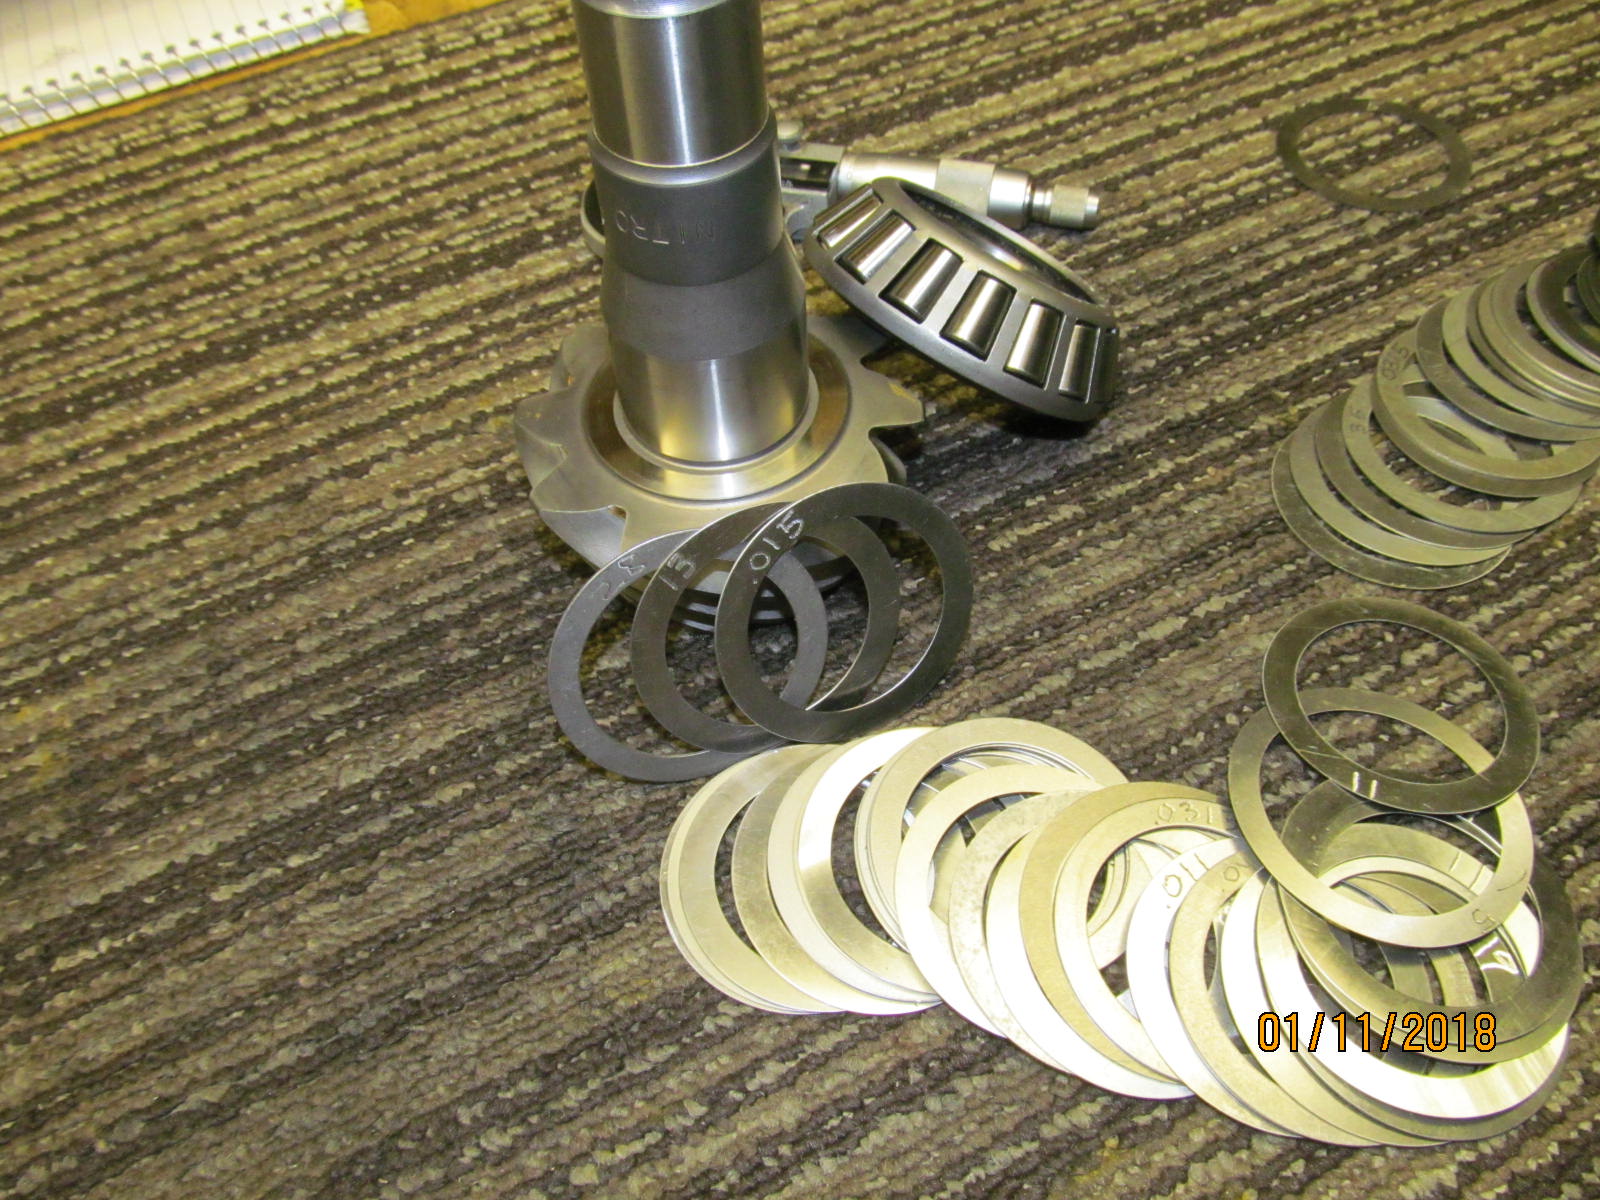
| 28 plus 28 is .056" which is the first pinion depth shim to try. |
|---|
|
|
| New Koyo bearing is pressed on. |
|---|
|
|
| Inner pinion race is now tapped in. |
|---|
|
|
| 100% fully seated. |
|---|
|
|
| The smaller outer race is easy to tap in place. |
|---|
|
|
| No crush sleeve or solid collar at this point....we are getting it ready to do a paint depth test. |
|---|
|
|
| Elocker was mounted in place and backlash was set close to .007". |
|---|
|
|
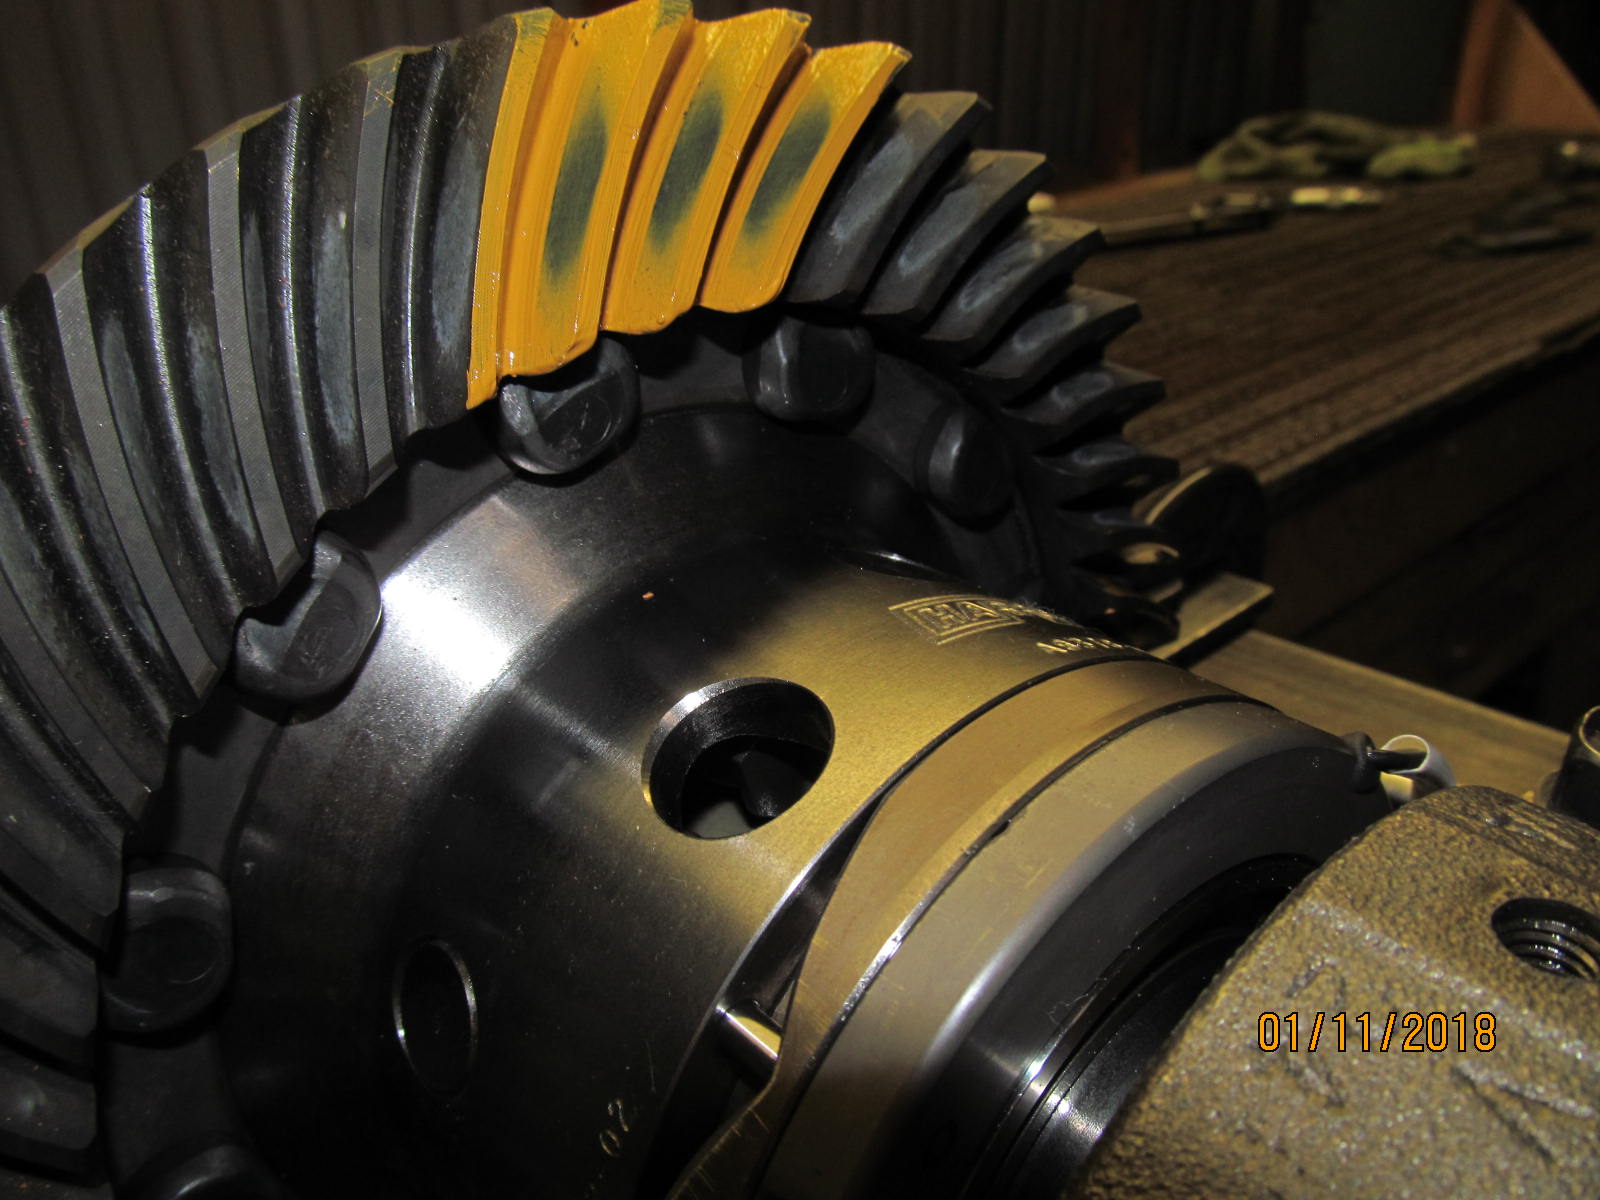
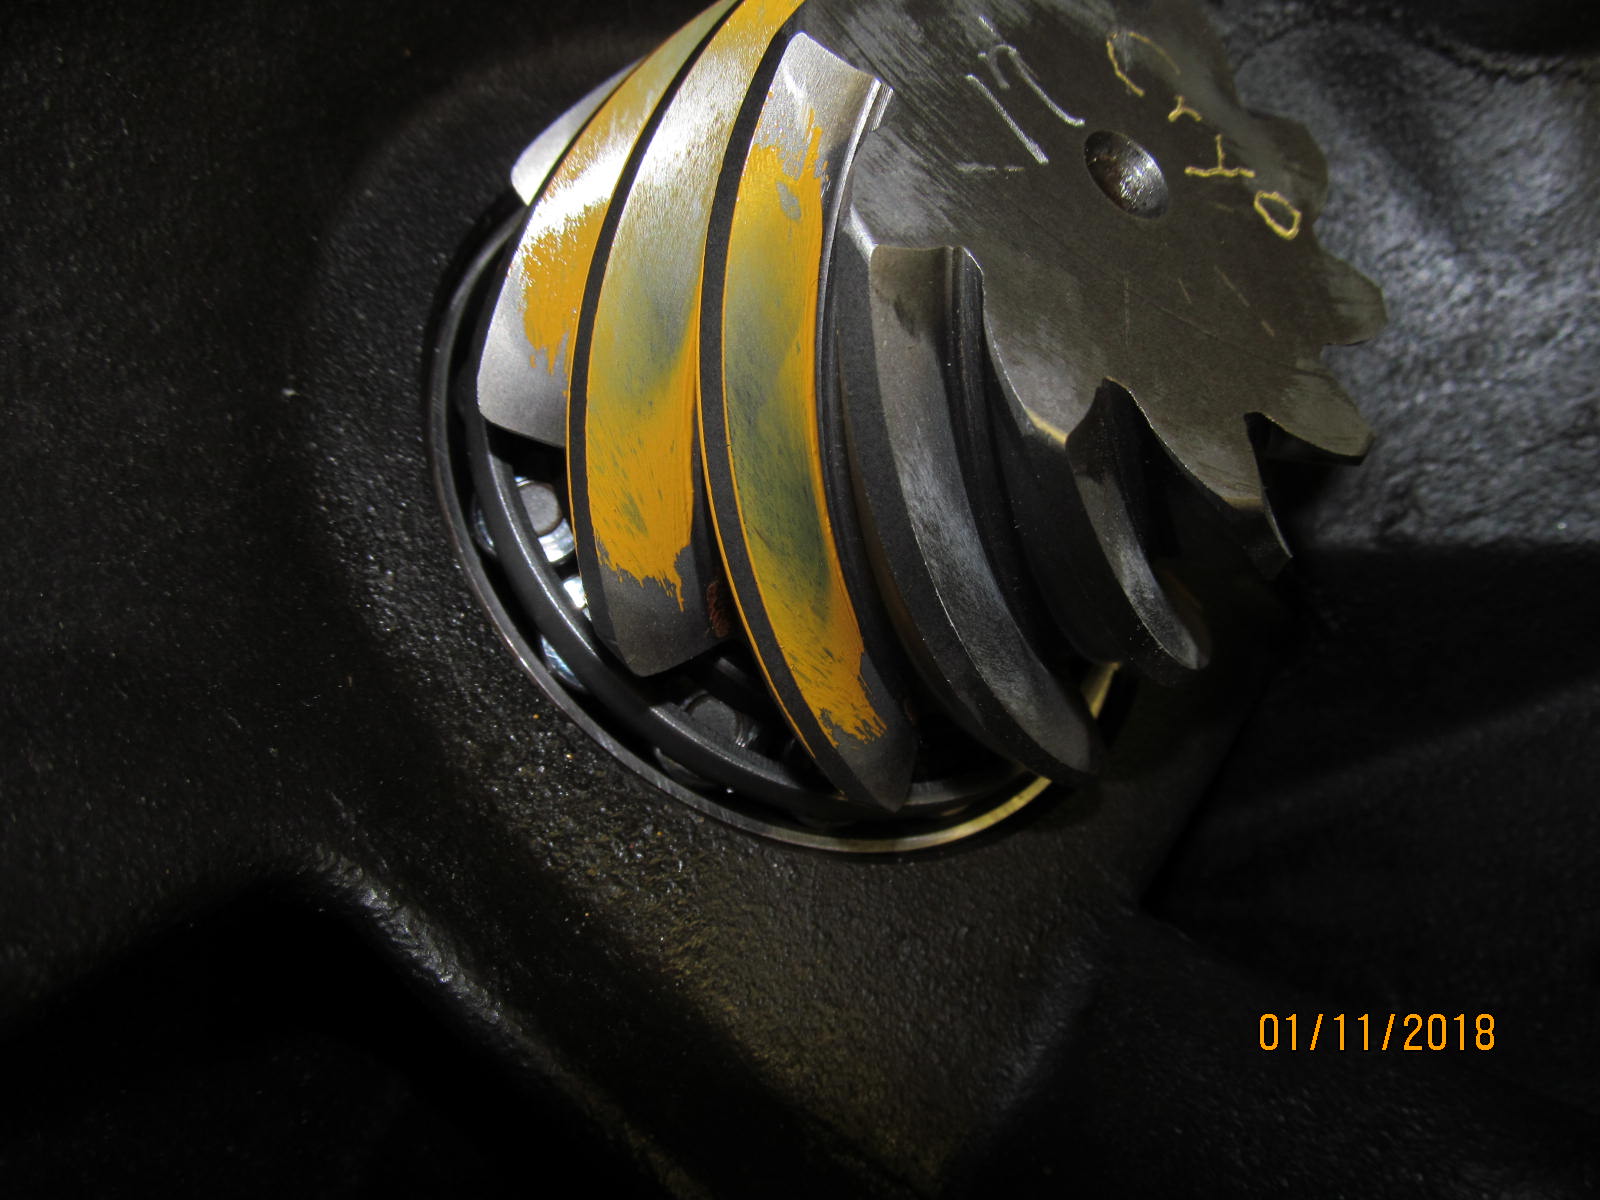
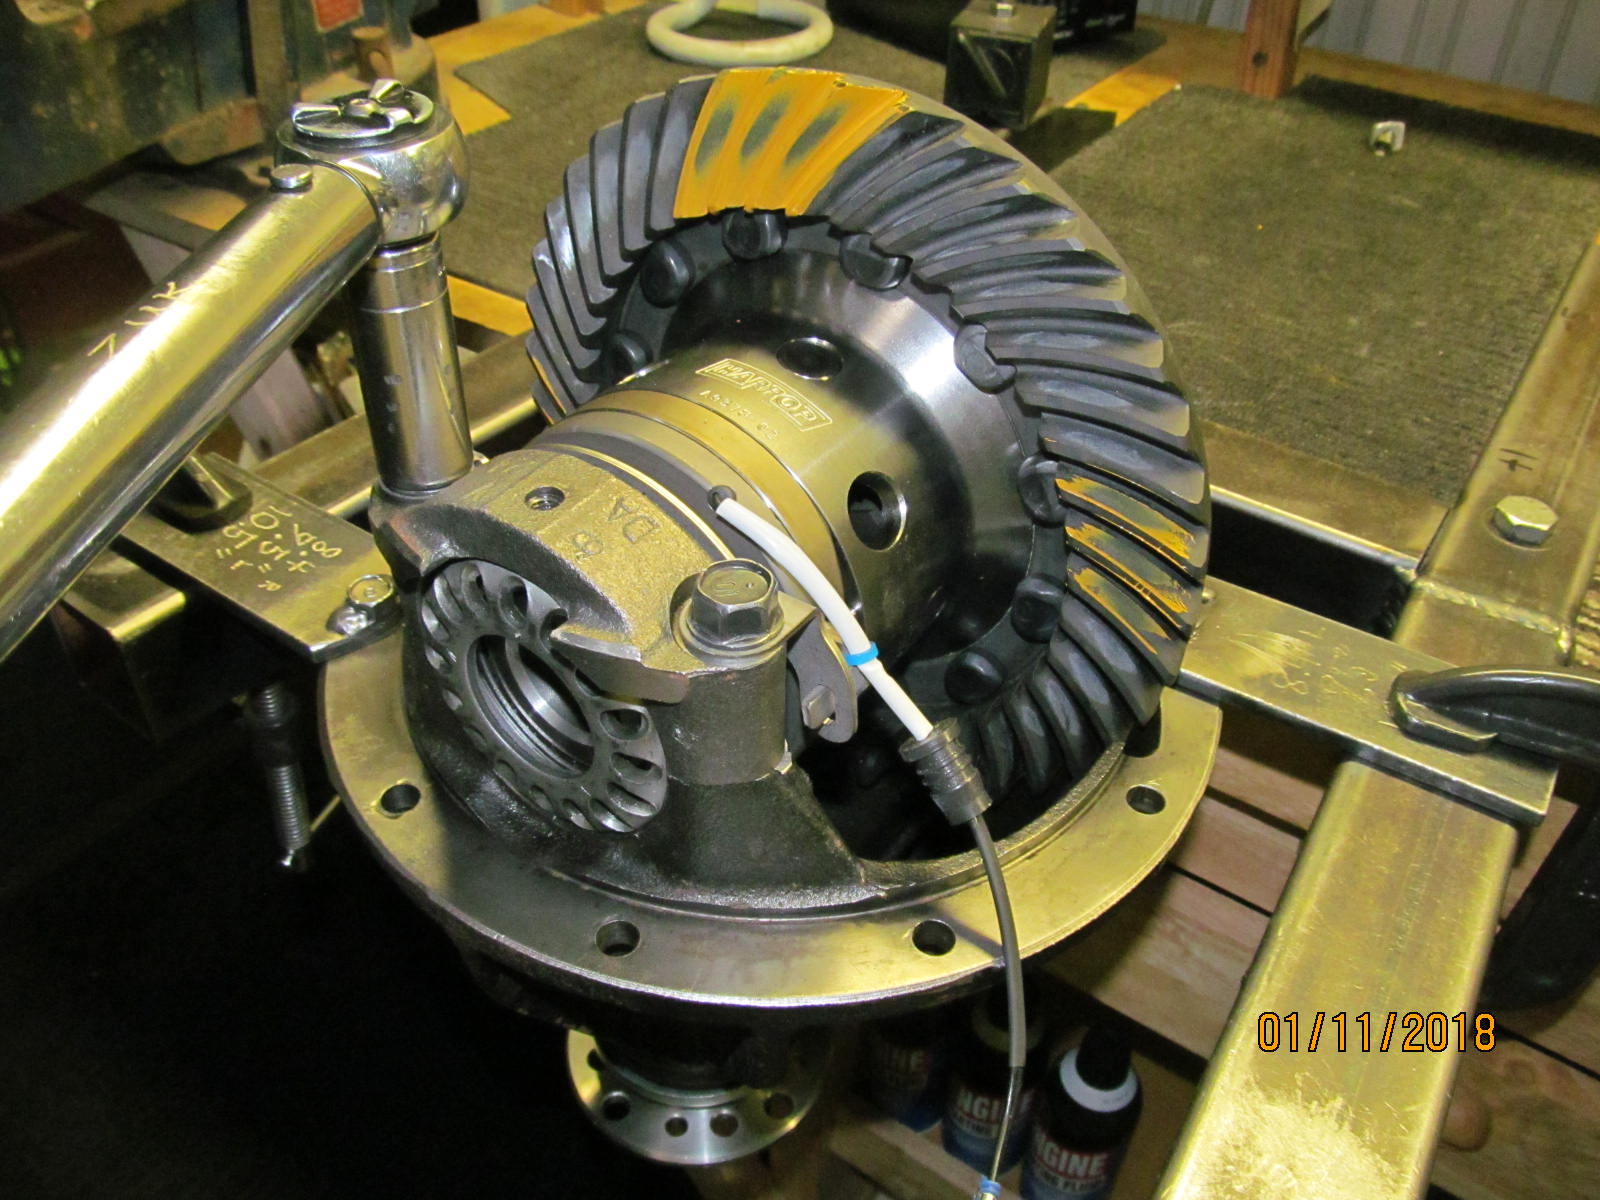
Painted 3 teeth and spun the ring gear back and forth and a very nice drive side pattern.
It's about centered and has the proper depth from face to flank. |
|---|
|
|
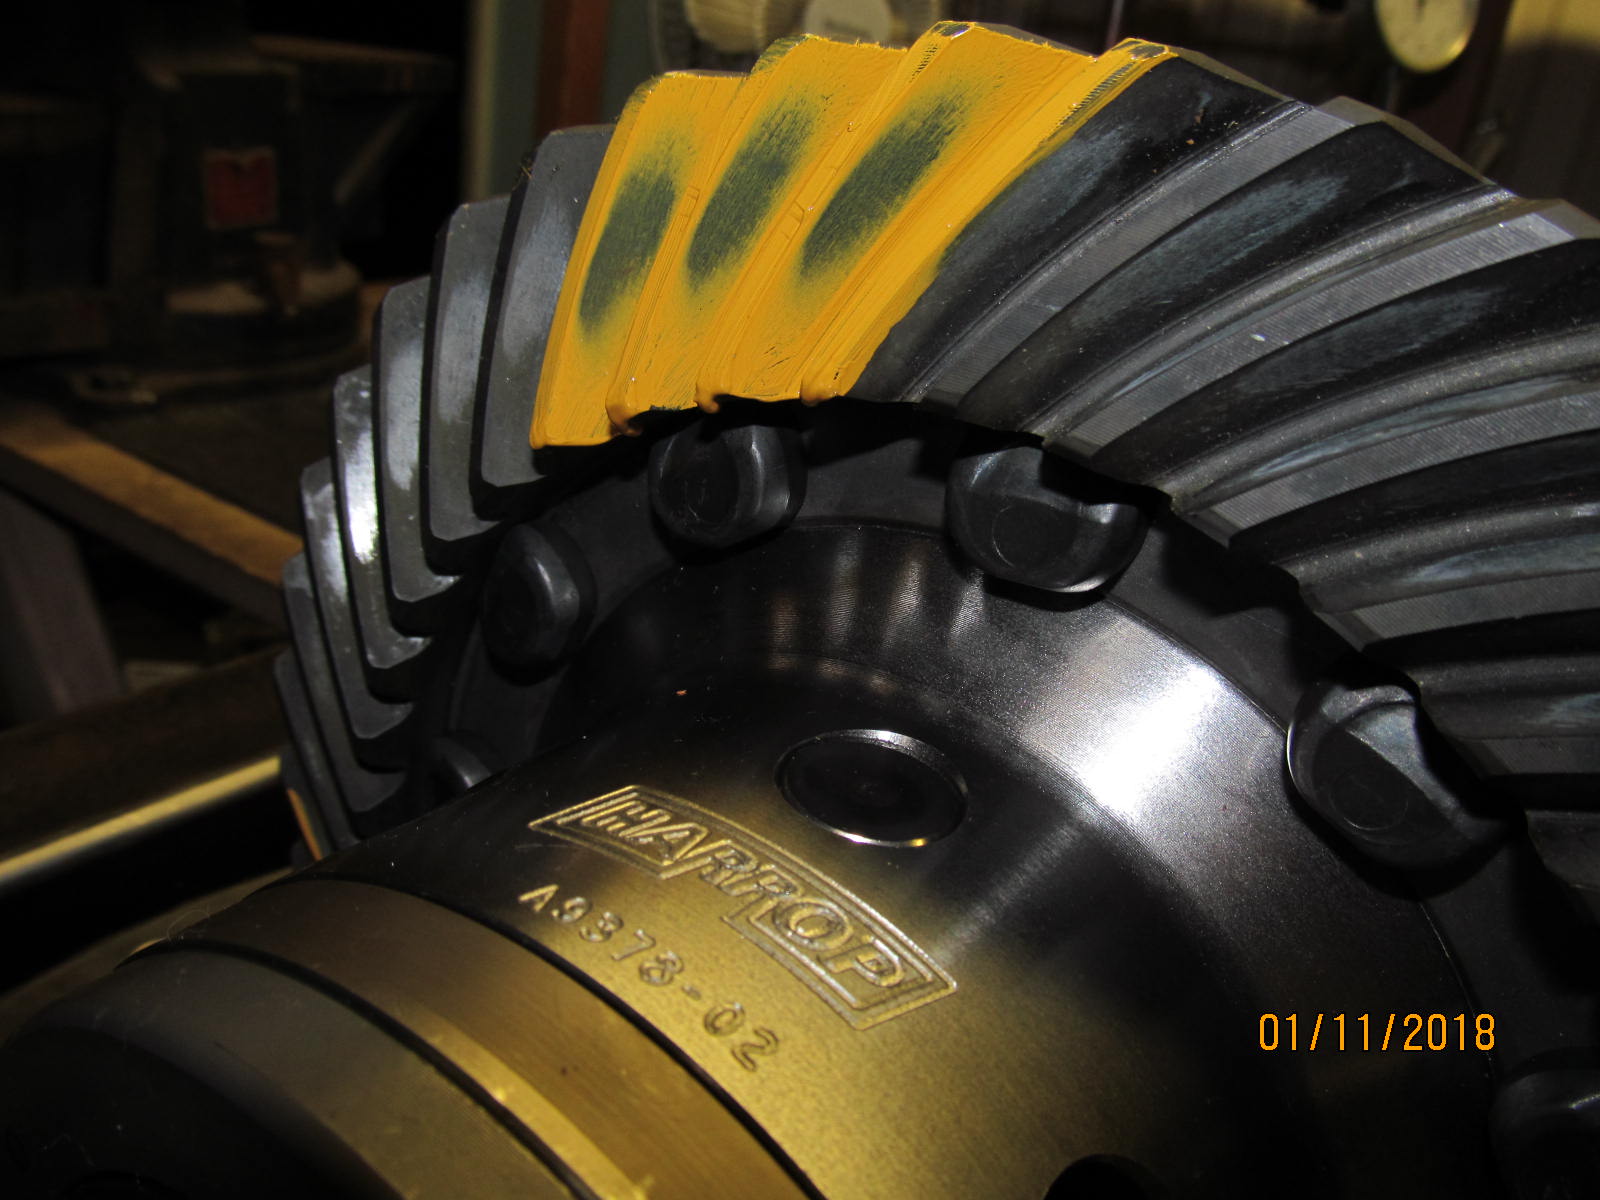
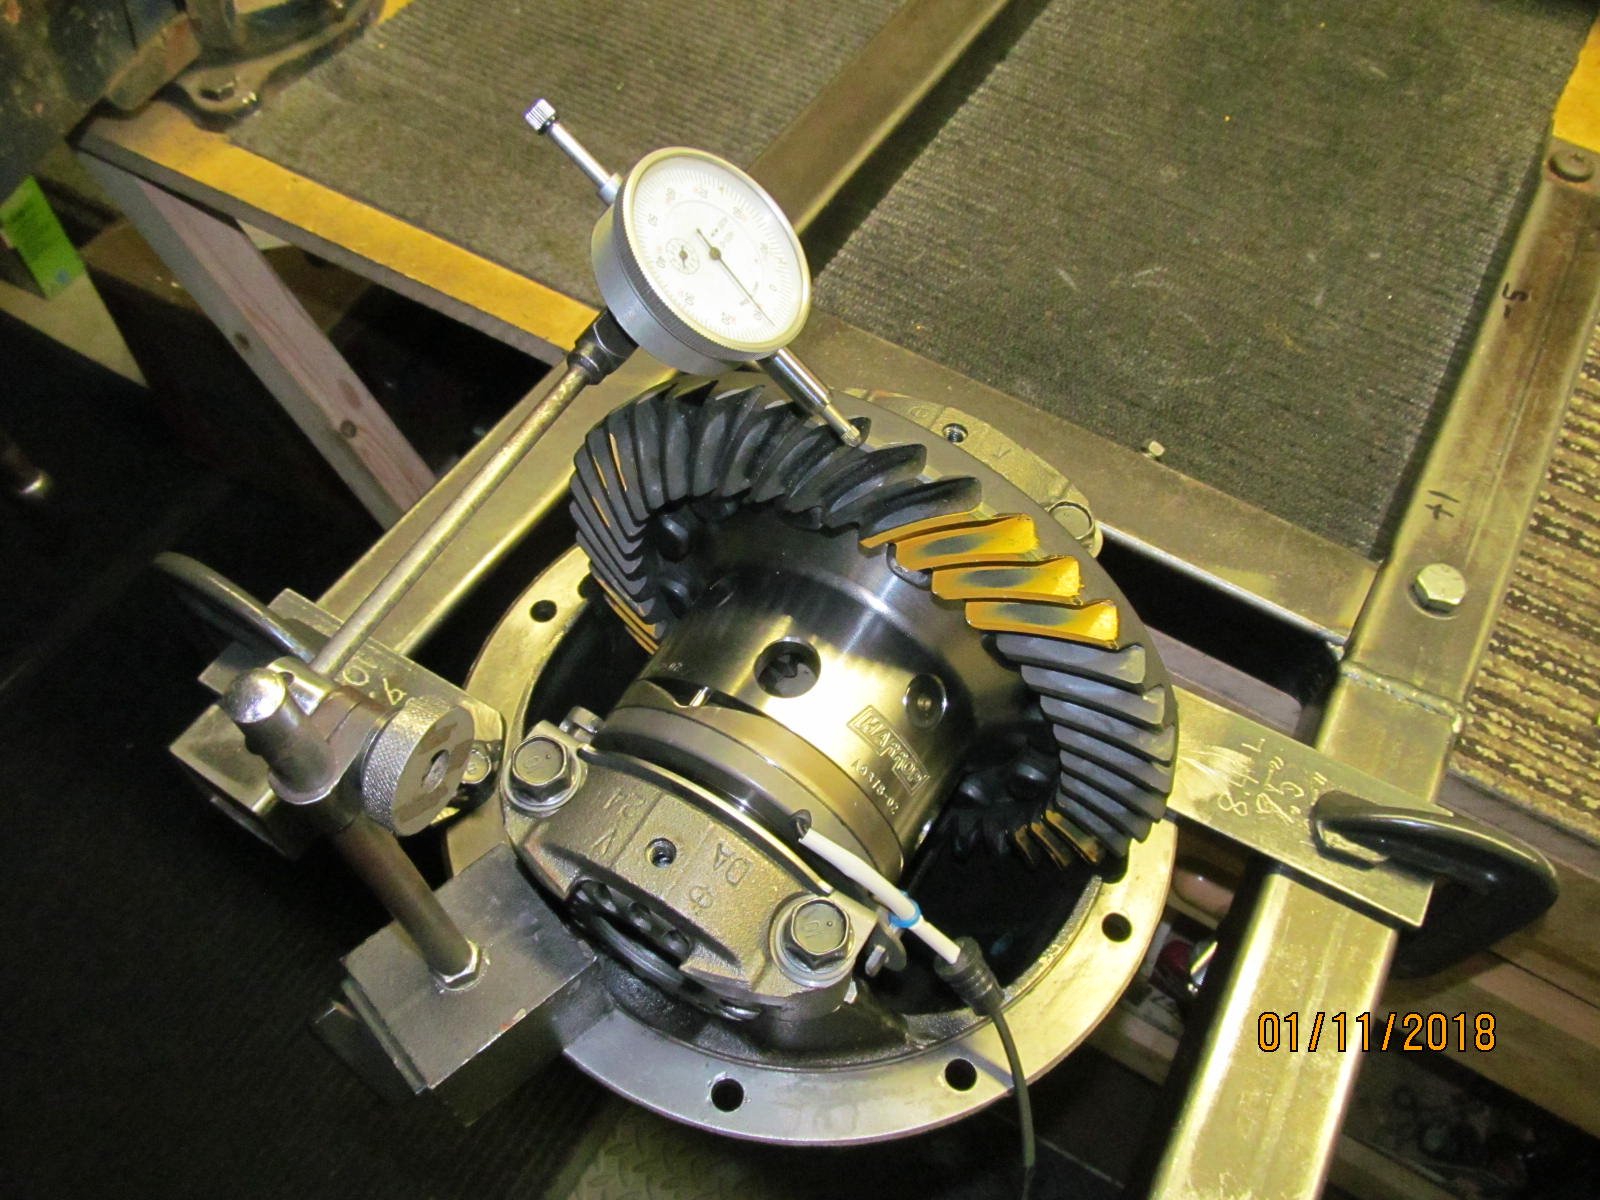
| The coast looks nice. Close to center(toe to heel) and has the proper depth. |
|---|
|
|
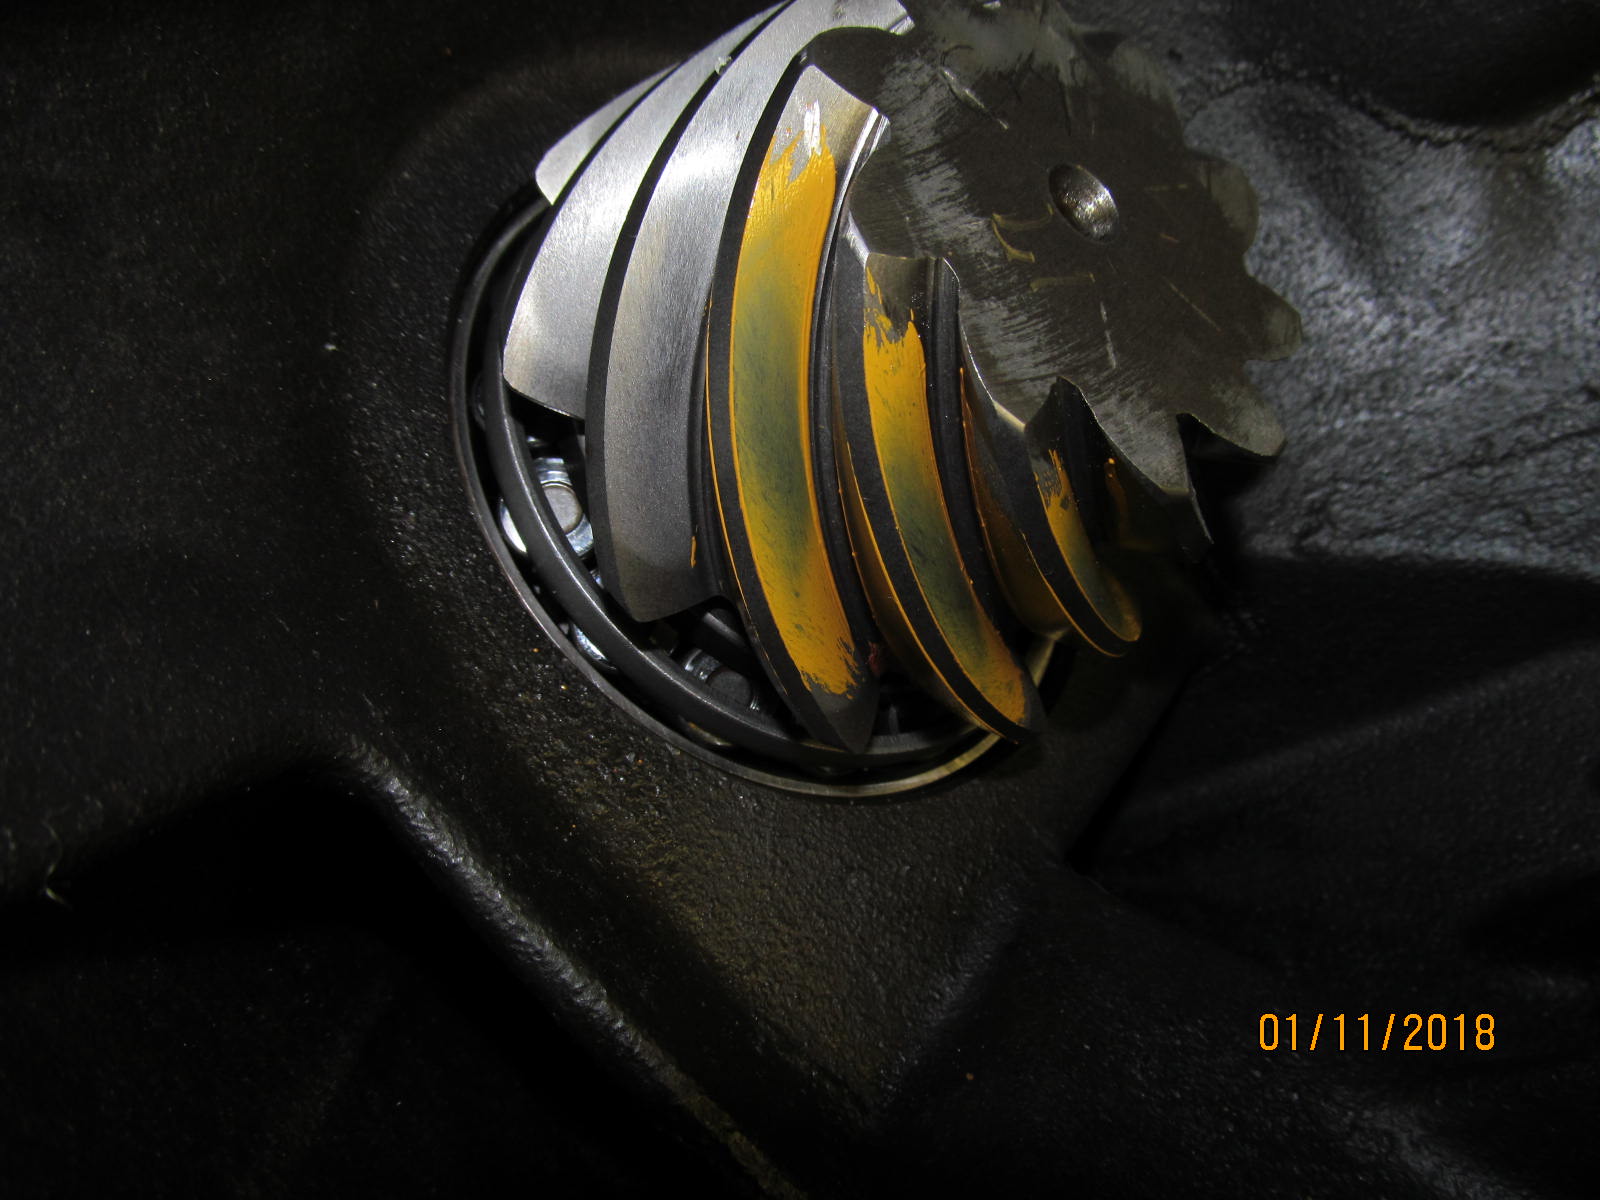
The drive side of the pinion tooth gives me a 3rd opinion....the comet tail is not hugging the root of the tooth hard.
It's swinging a bit towards the center of the tooth. |
|---|
|
|
| The comet tail I refer to is the lower portion shown here. |
|---|
|
|
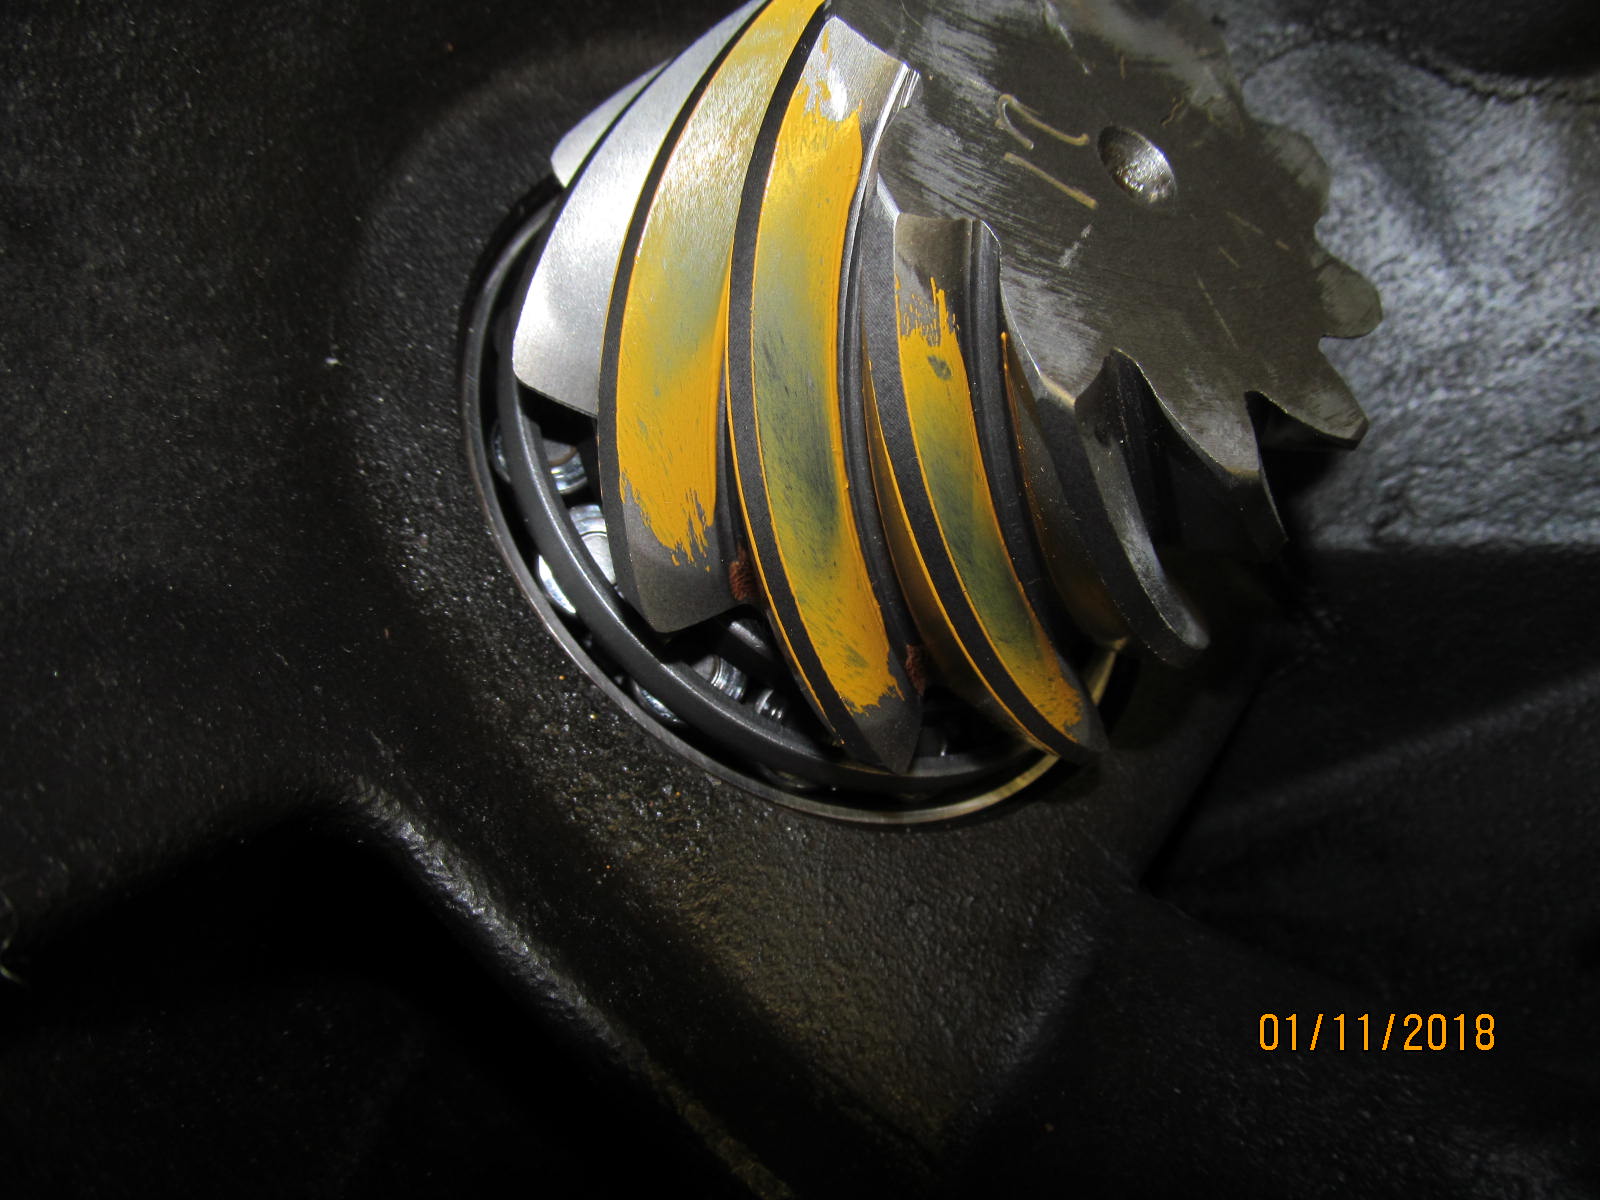
Easy to see here that the tail is not hard in the root....
"hard in the root" would mean that the pinion shim needs to be thicker for a deeper pattern in the ring gear. |
|---|
|
|
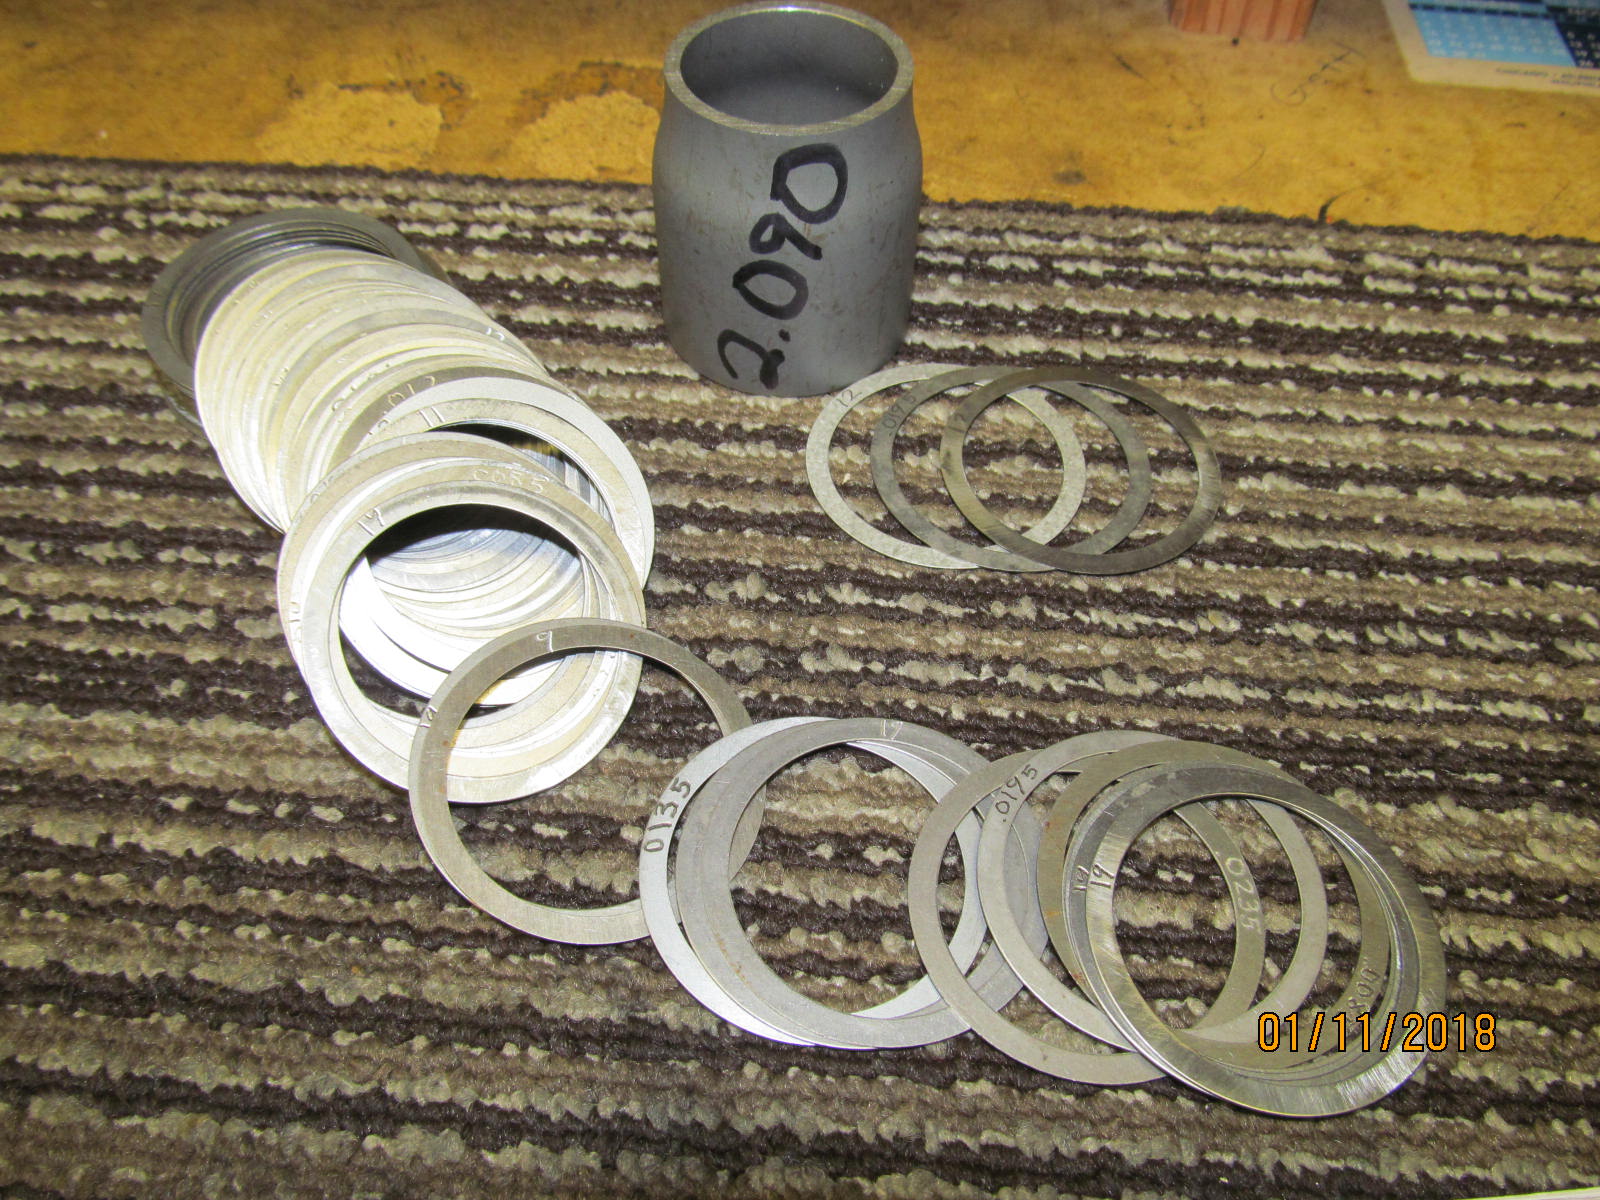
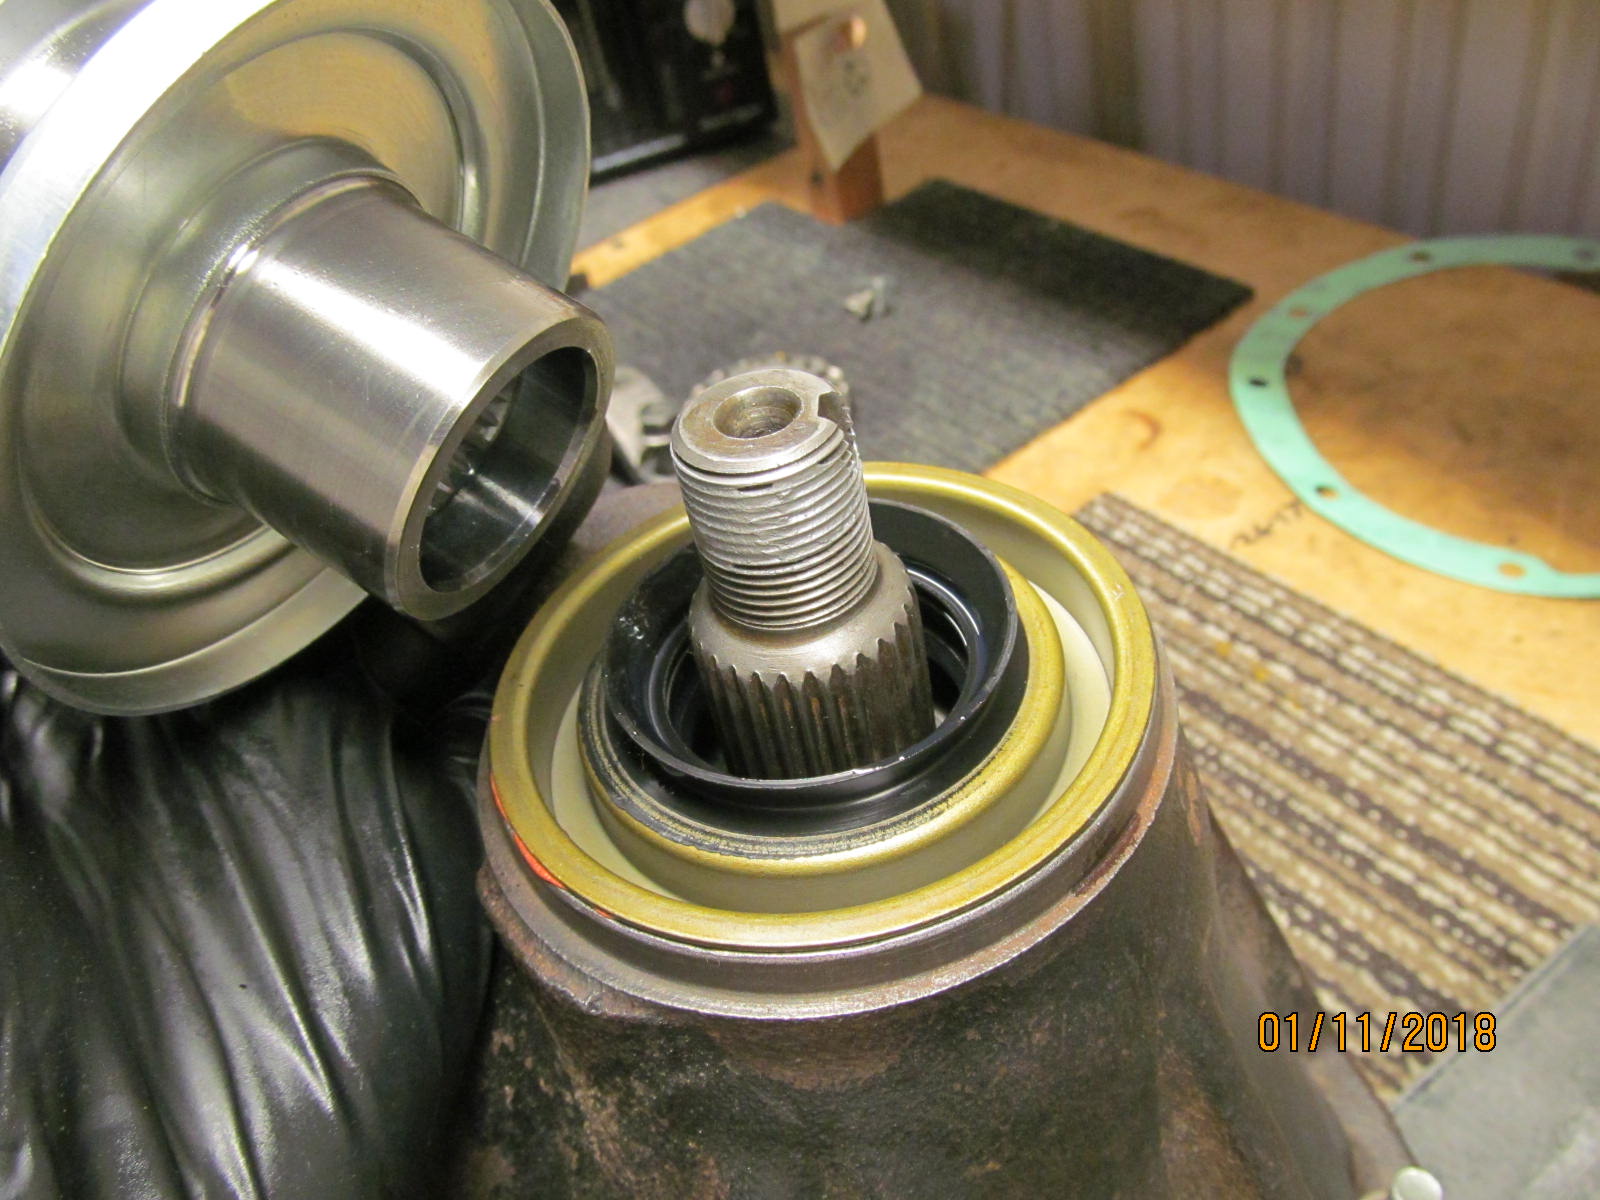
Now the solid collar can be installed along with the pinion seal.
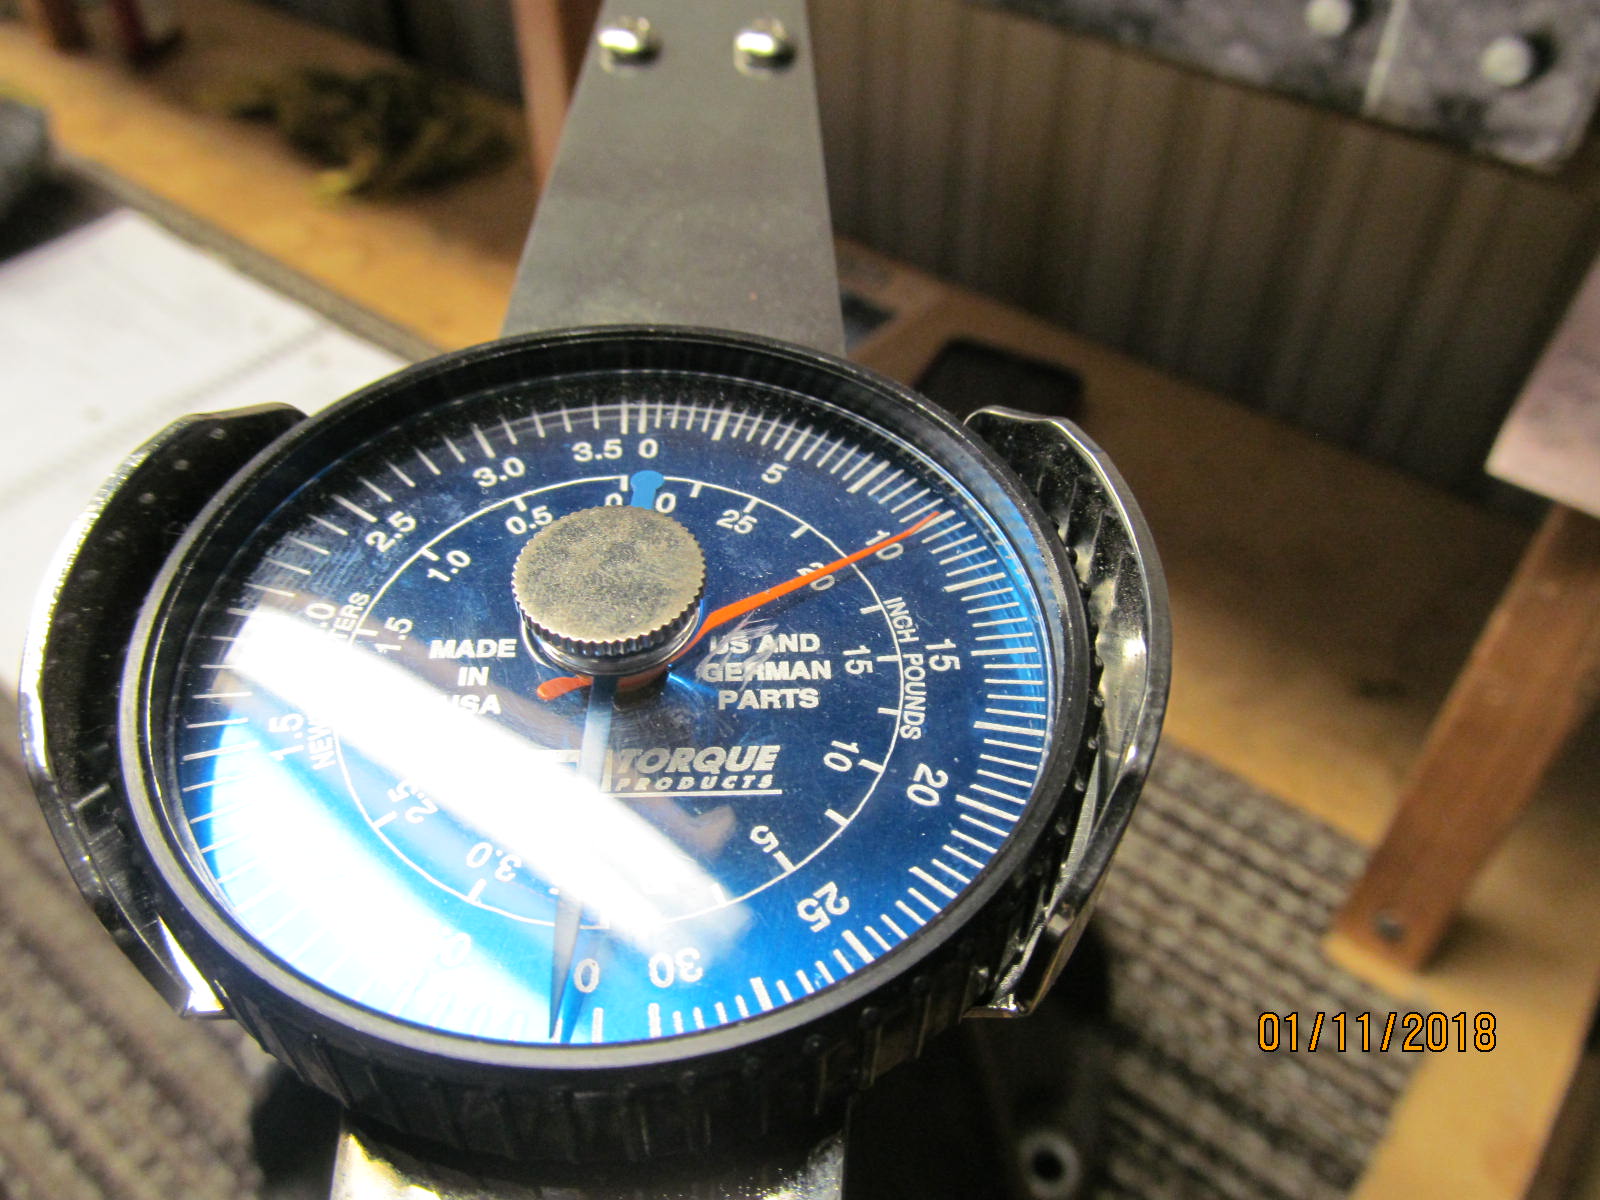
2.090" plus .043" was the perfect combo for this 3rd member to produce 10 in/lb of PPL. |
|---|
|
|
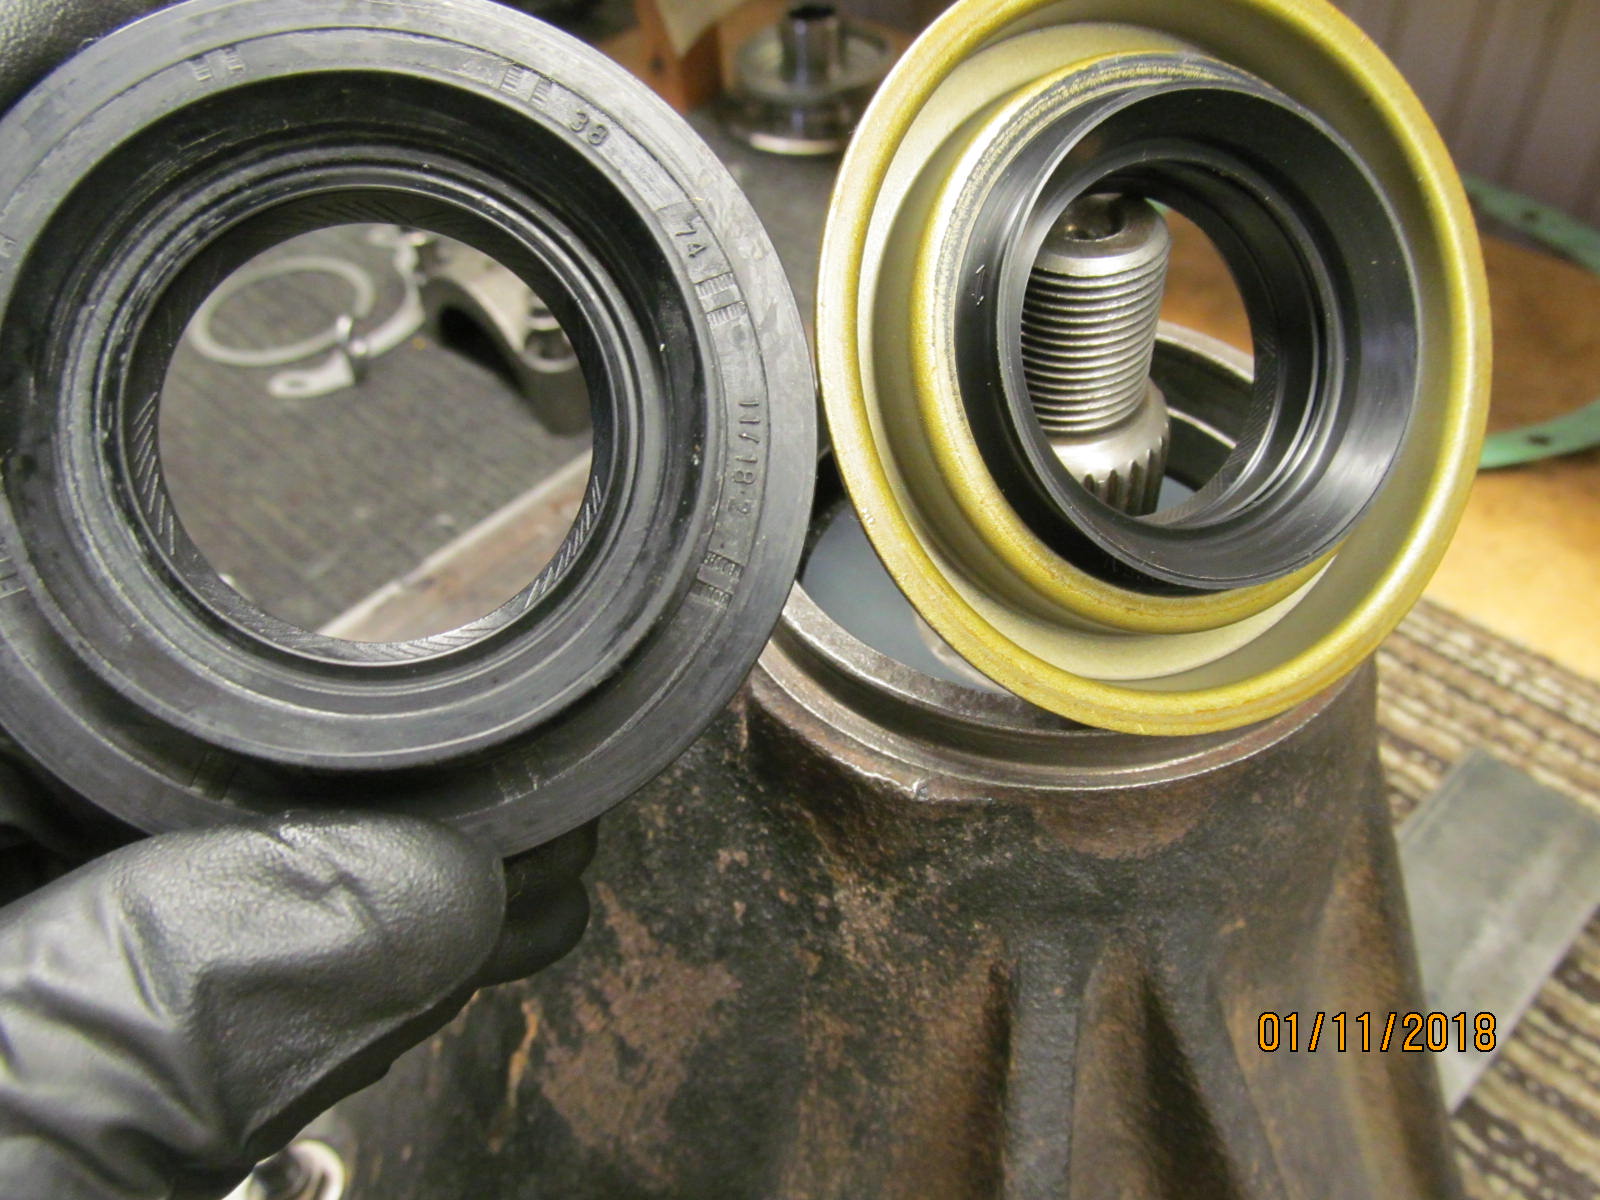
Sometimes the Nitro kits have a "preferred" good quality pinion seal supplied with them....but not this time.
The supplied generic one is on the left. The seal of choice for the 27 spline pinions is MARLIN.
On my own daily driver 2001 Tacoma with 9.5" Landcruiser diffs on both ends, I have Marlin "eco" seals on both ends. No leaks ever. |
|---|
|
|
| Dang. That Canon SX150 has a nice macro mode. |
|---|
|
|
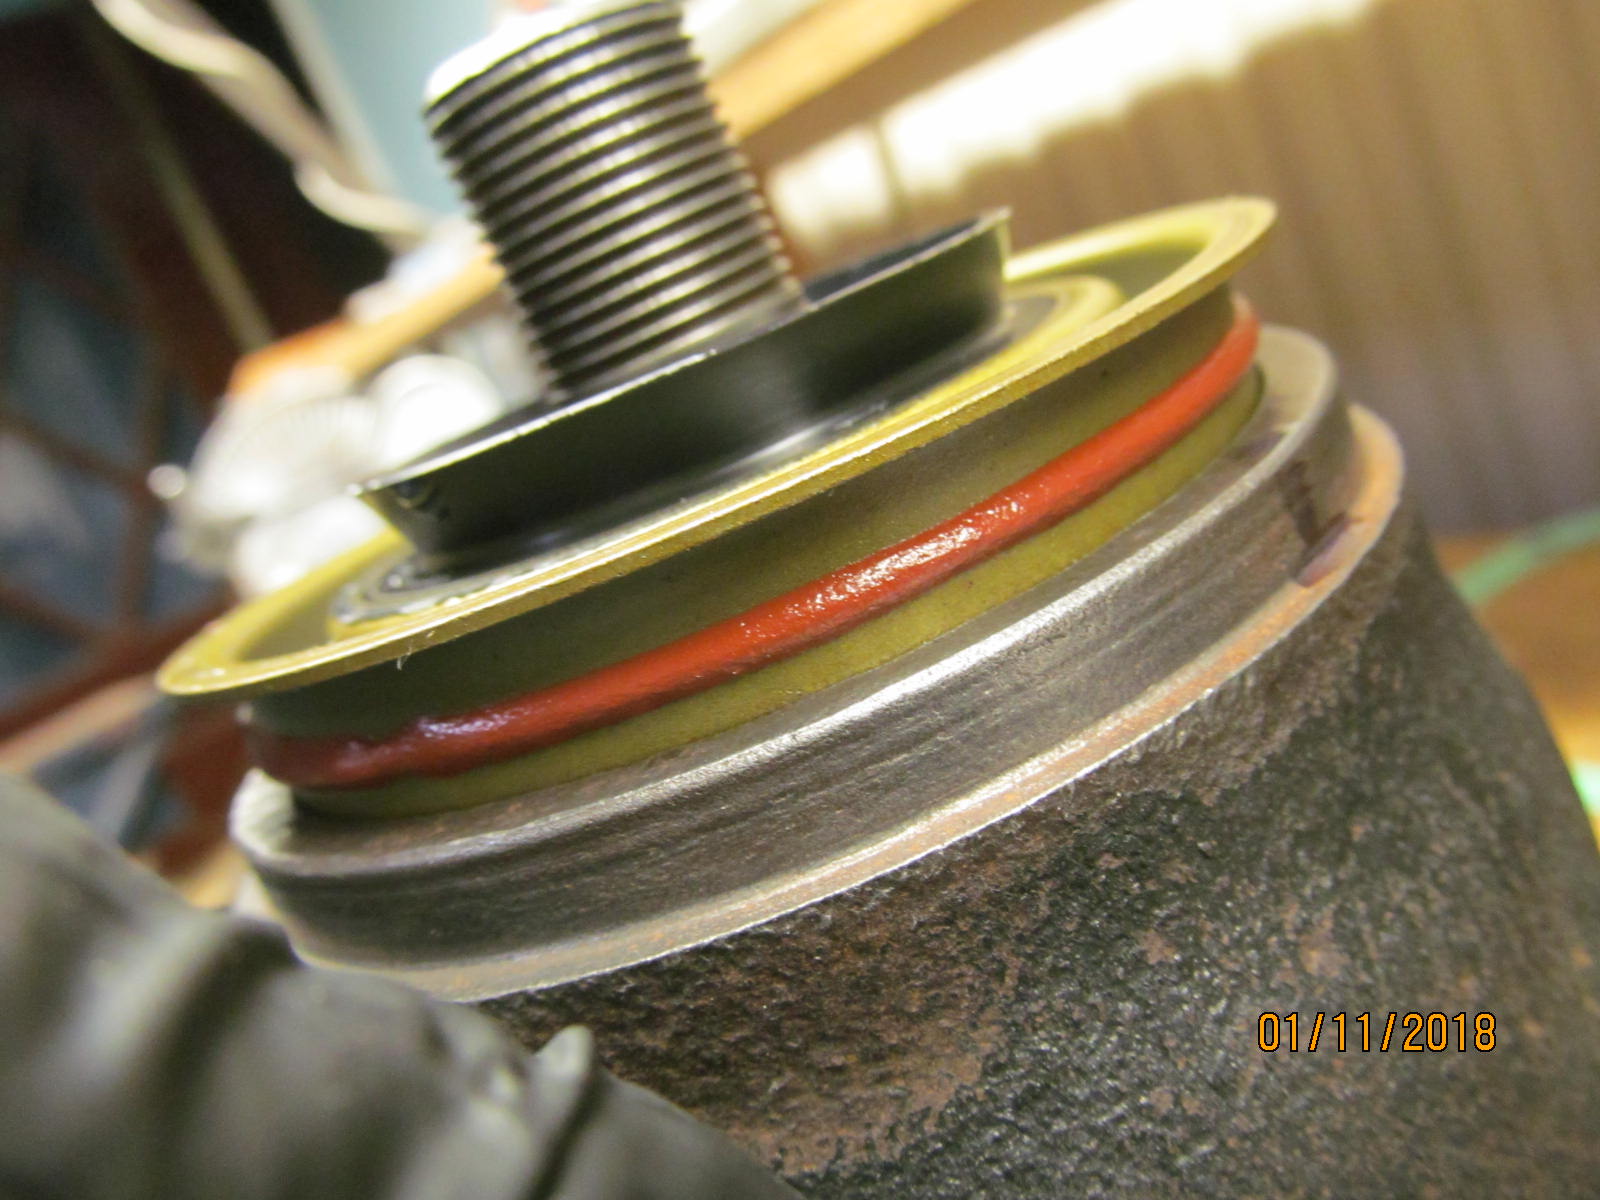
| Seal is tapped on and gear oil liberally applied to the rubber surfaces. You can see the aluminum anti-seize on the pinion threads. |
|---|
|
|
| ,,,,,,,,,,,,,,,,,,,,,,,,,,,,,, |
|---|
|
|
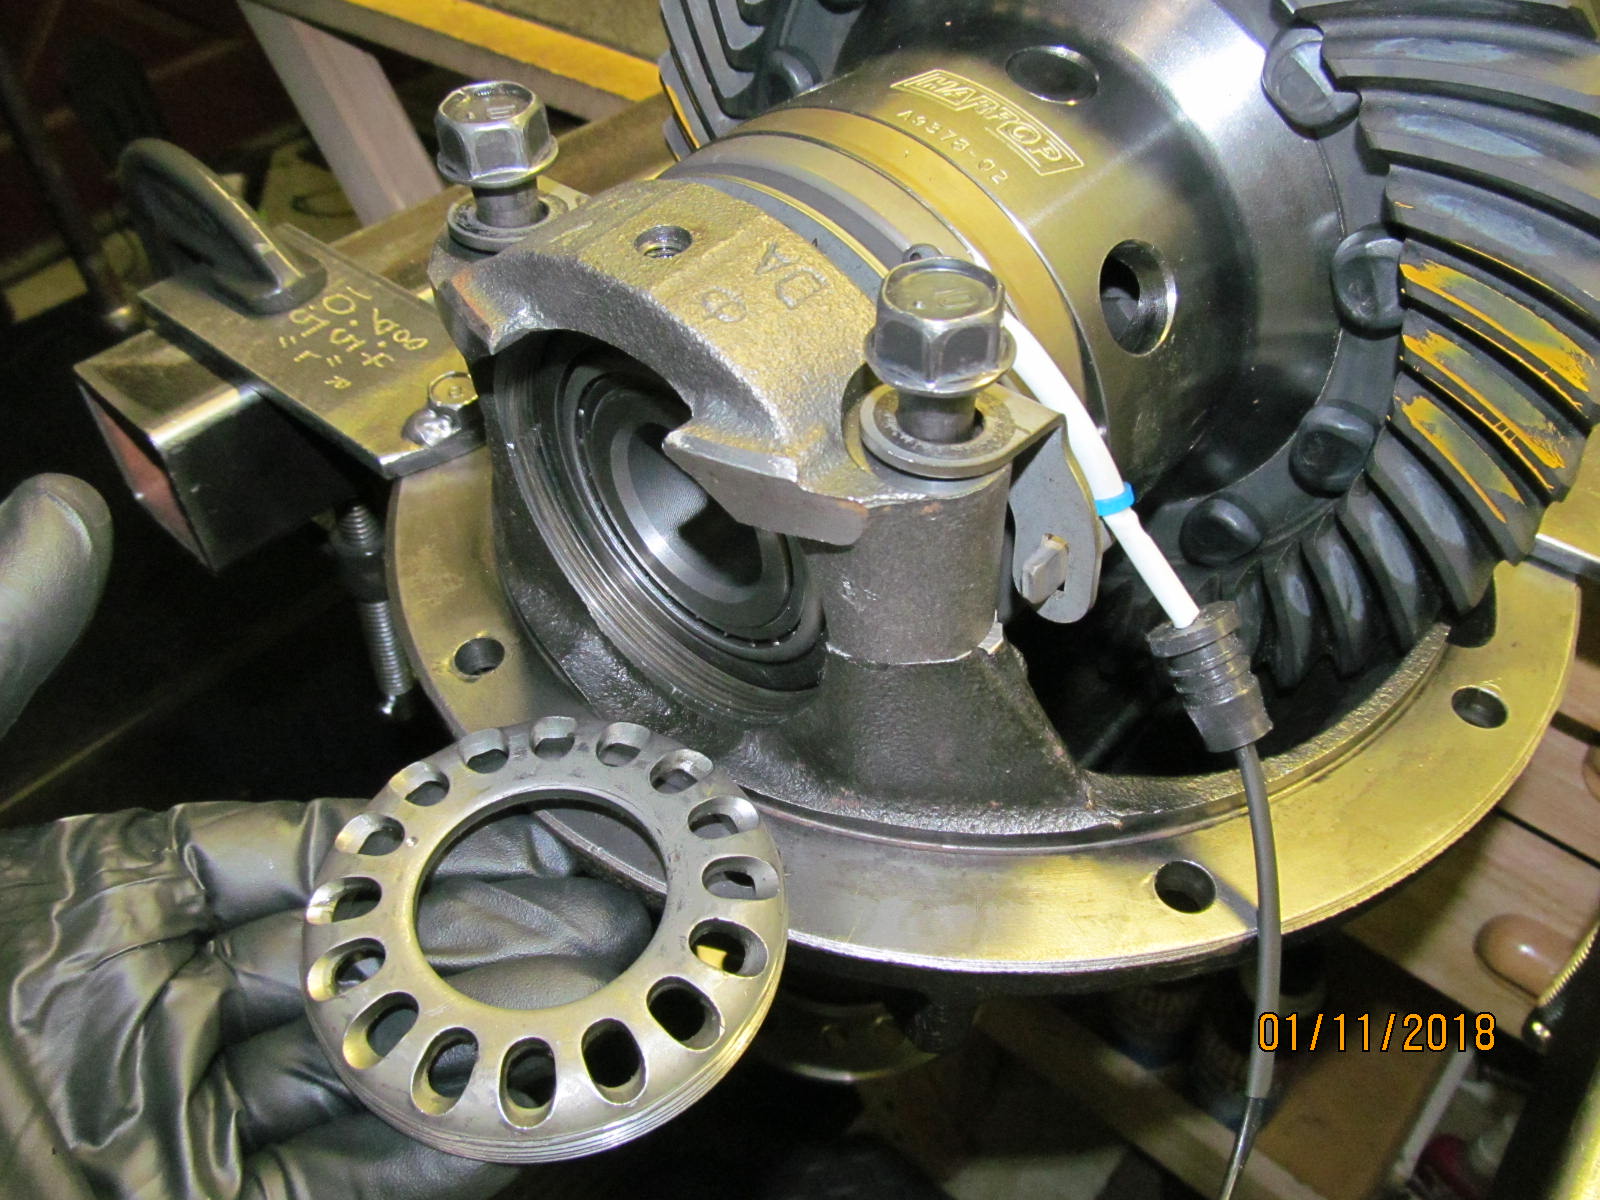
| The pinion nut was tightened and a nice, smooth 10 in/lb of PPL(pinion pre-load) was observed. |
|---|
|
|
| The freeplay on the elocker tabs was a little too tight so the dremel works nicely here. |
|---|
|
|
| The bearing cap is slid in place first. Then tighten the bearing cap bolts. |
|---|
|
|
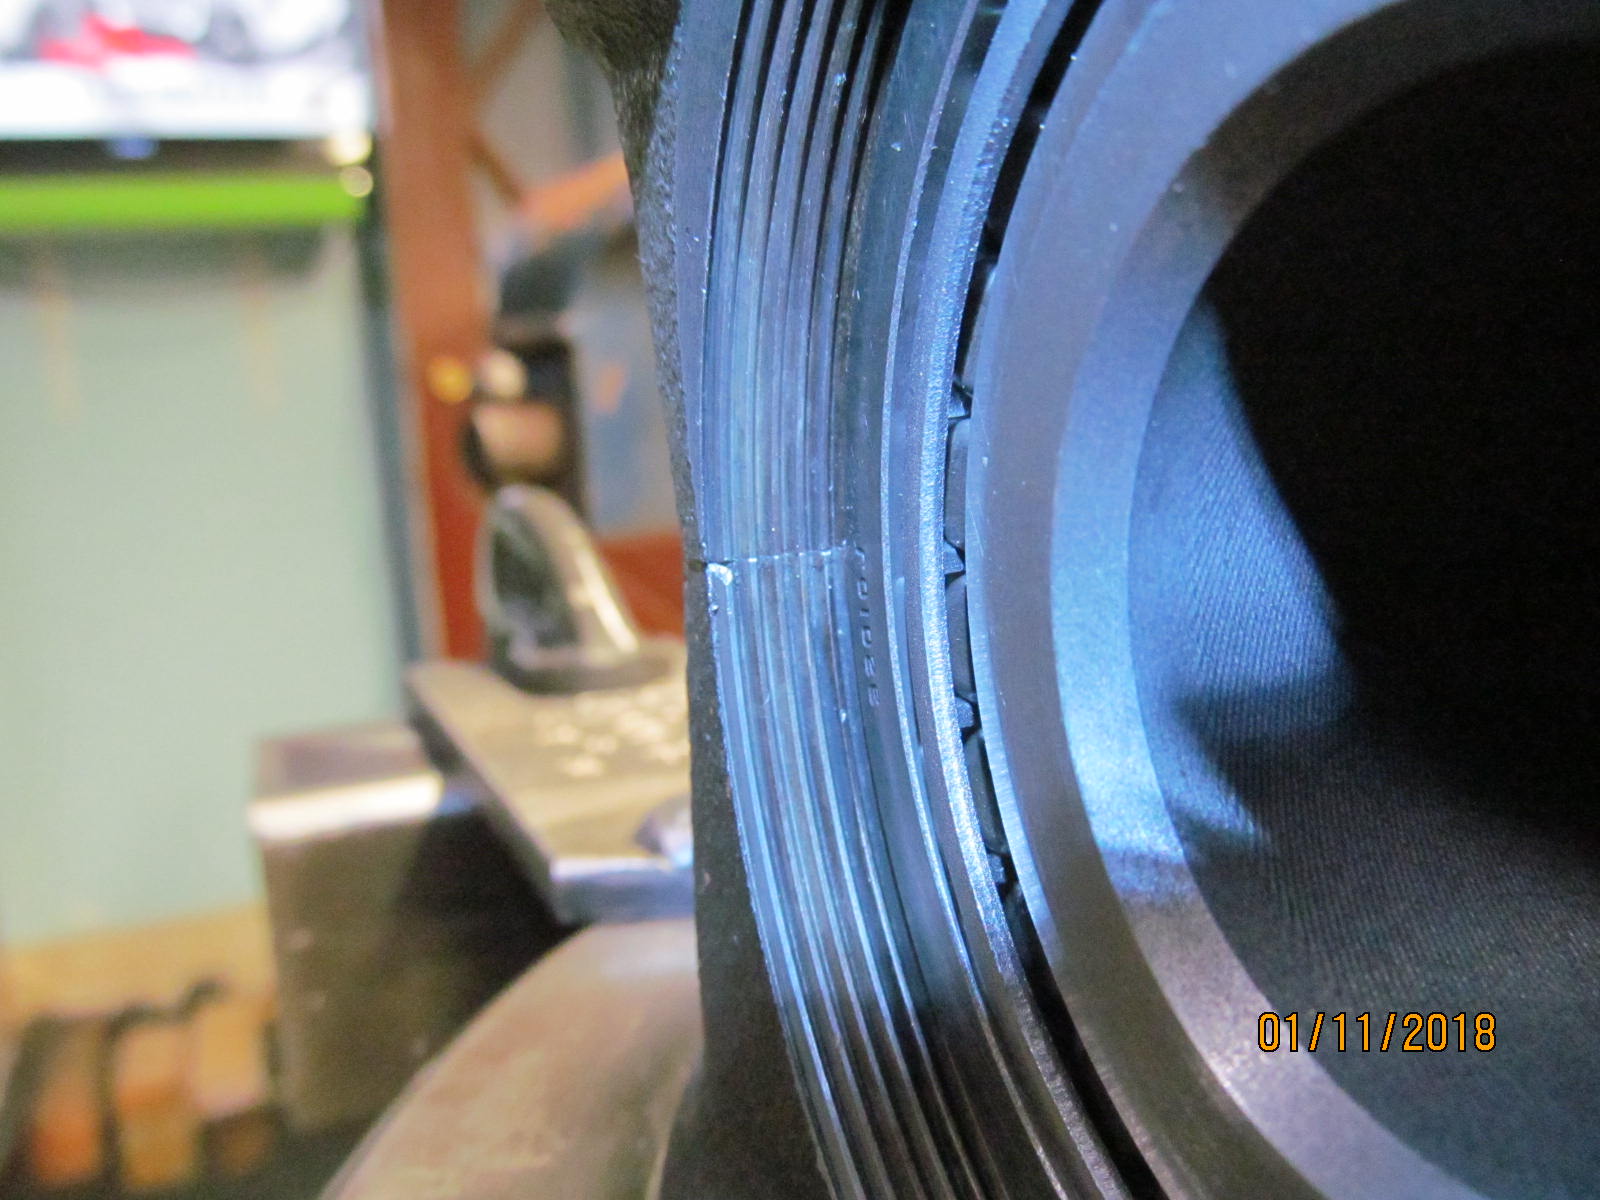
| The threads are carefully lined up. |
|---|
|
|
| And then the wagon wheels will thread easy. |
|---|
|
|
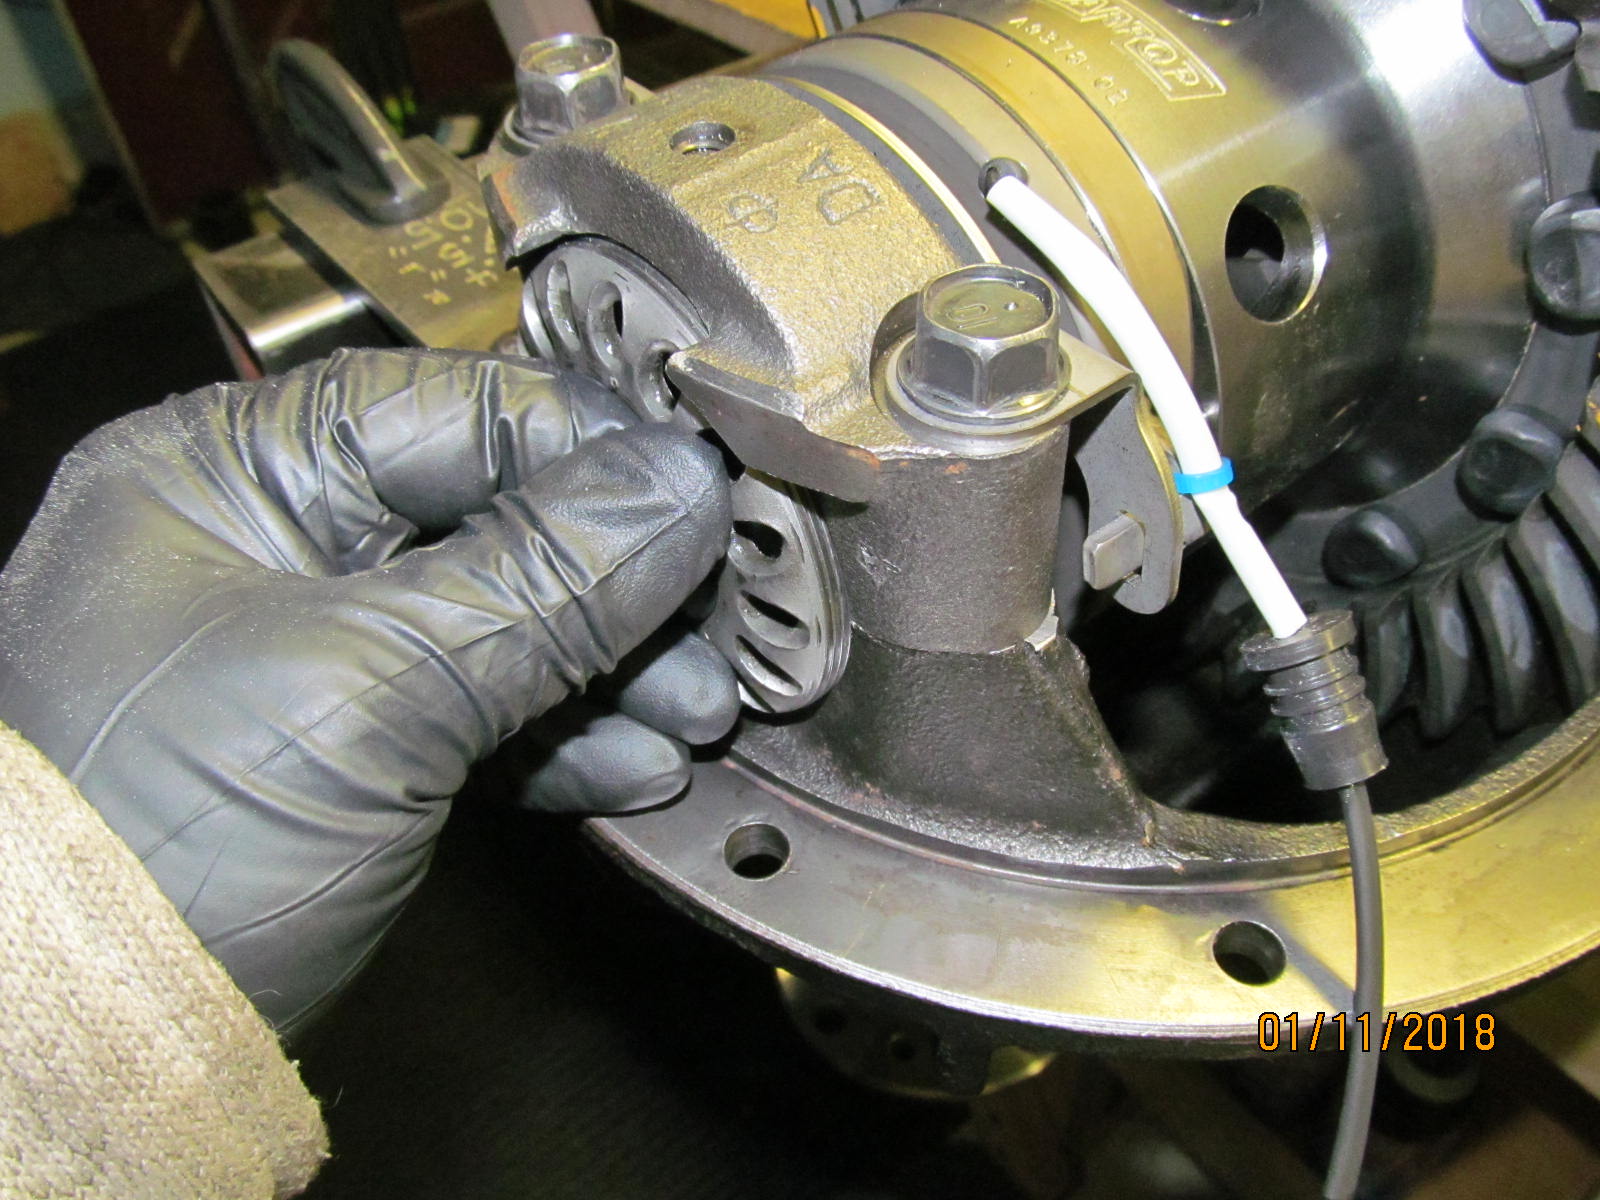
| The locktab freeplay was now measuring 2.5mm which is just fine. |
|---|
|
|
| The 4 bearing caps were verified to be at 80 ft/lb. |
|---|
|
|
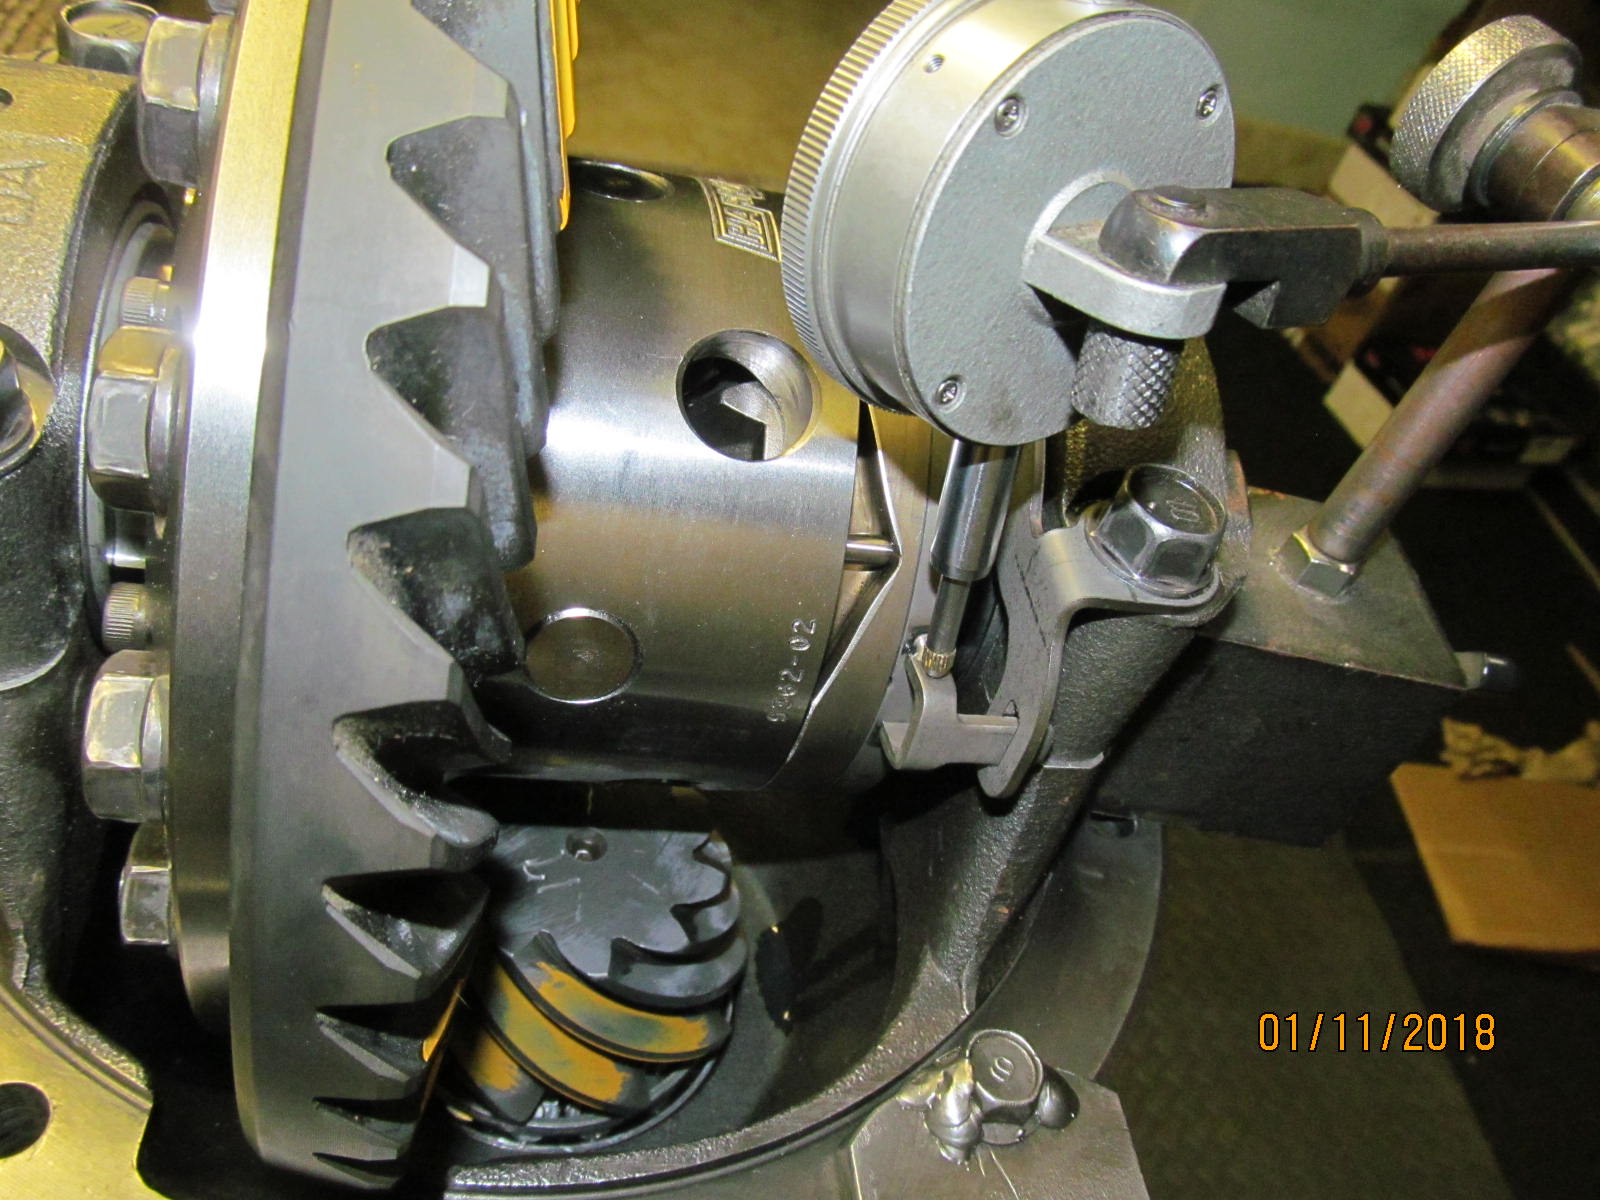
Both carrier bearing preload and backlash is adjusted.
Backlash is recorded on every other tooth for about 20 readings. |
|---|
|
|
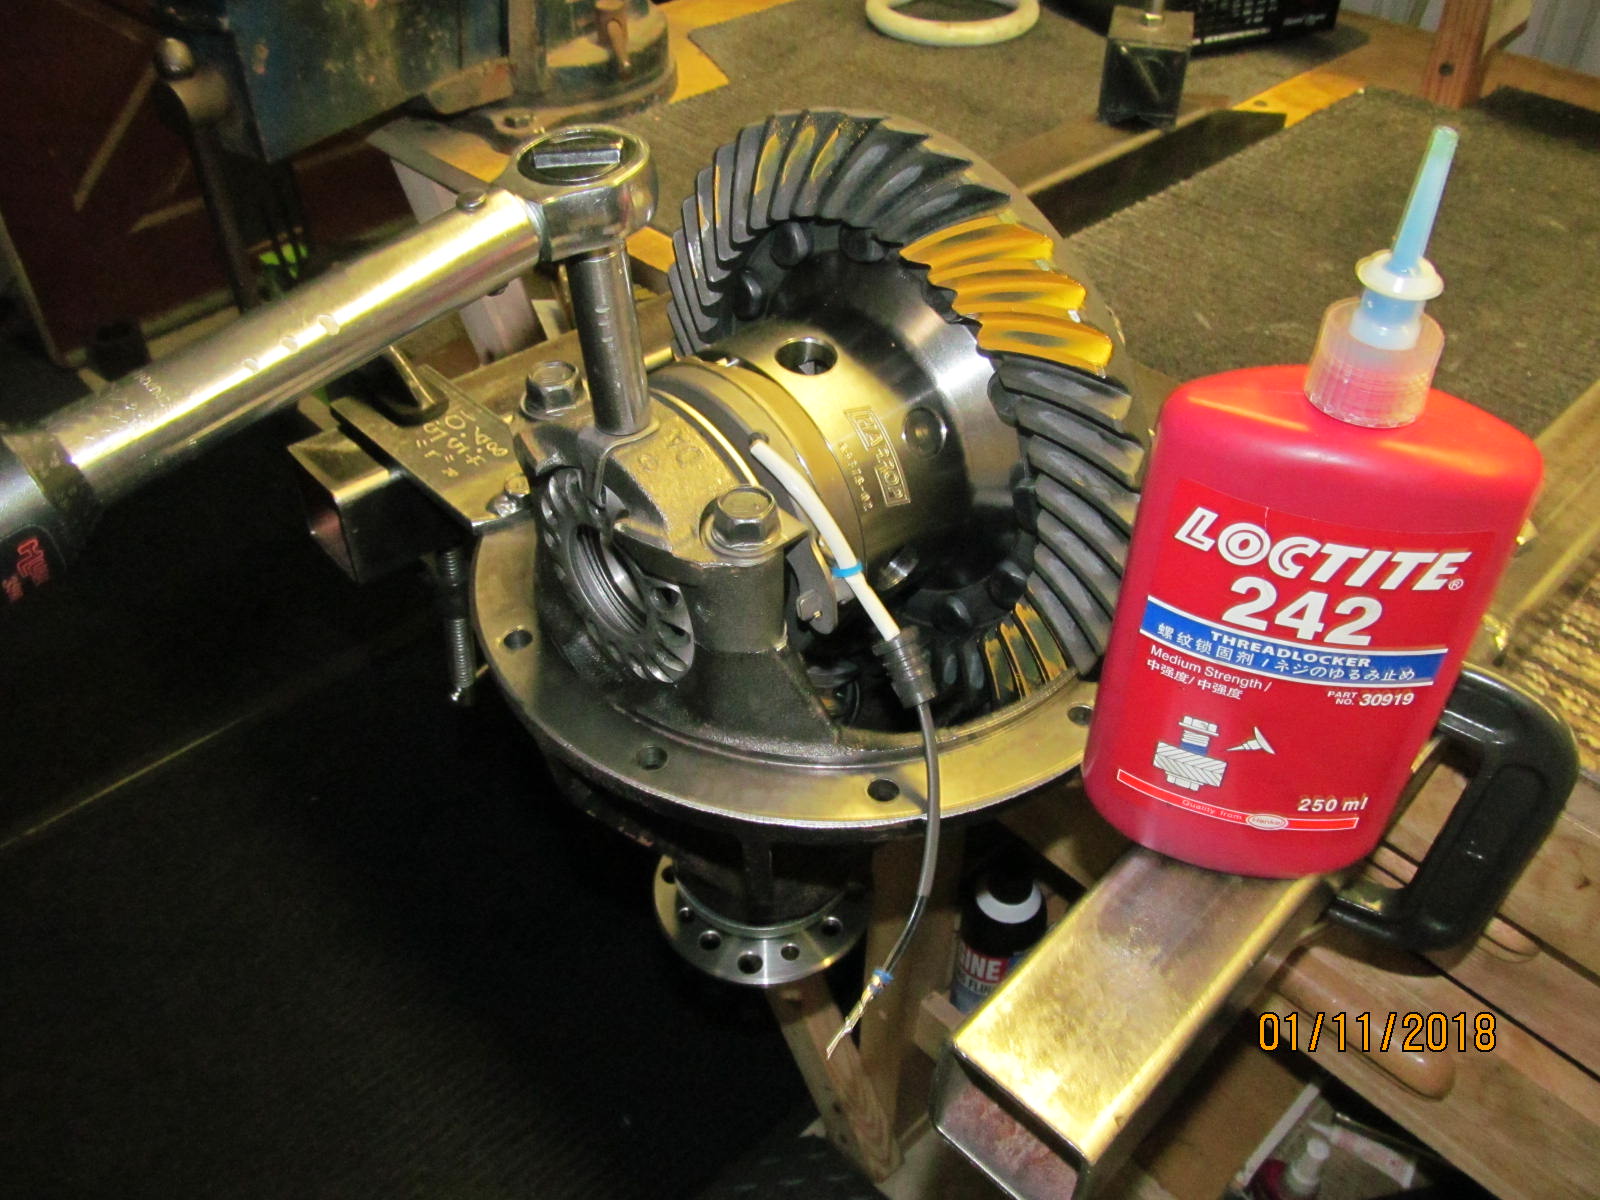
| Locktabs are secured with 10 ft/lb and blue Loctite. |
|---|
|
|
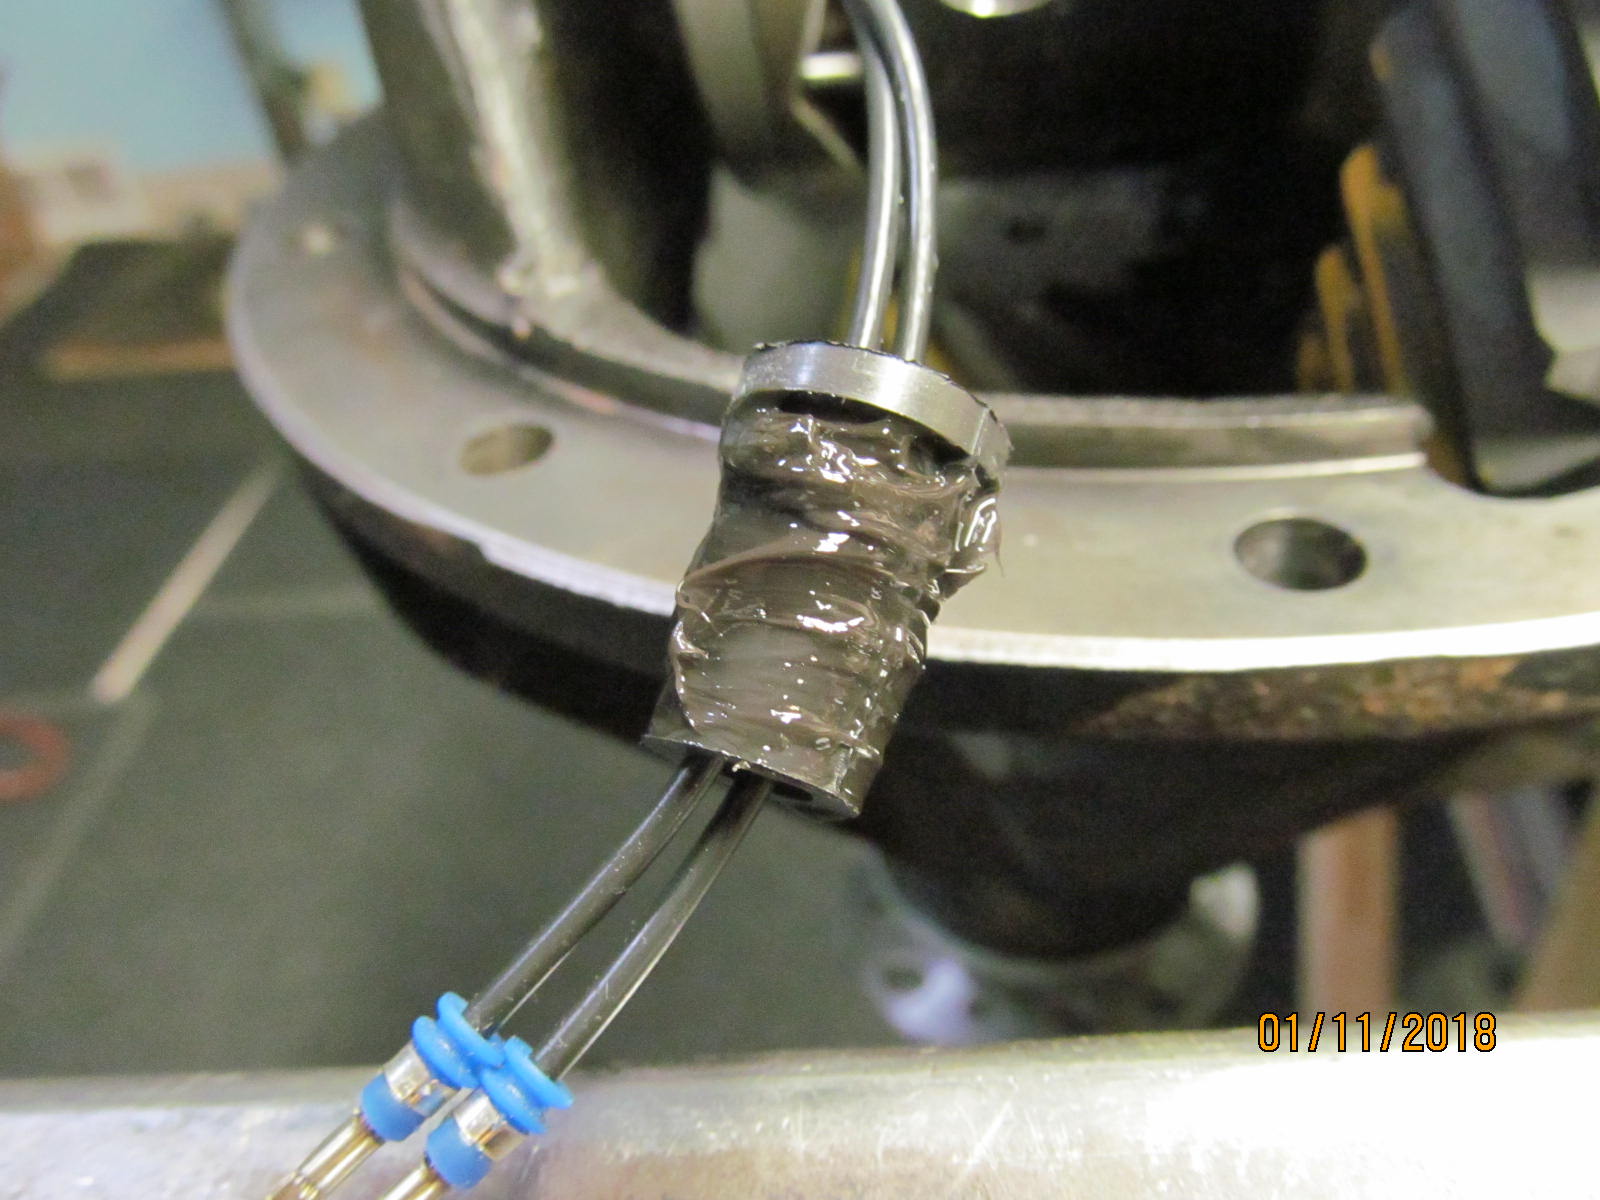
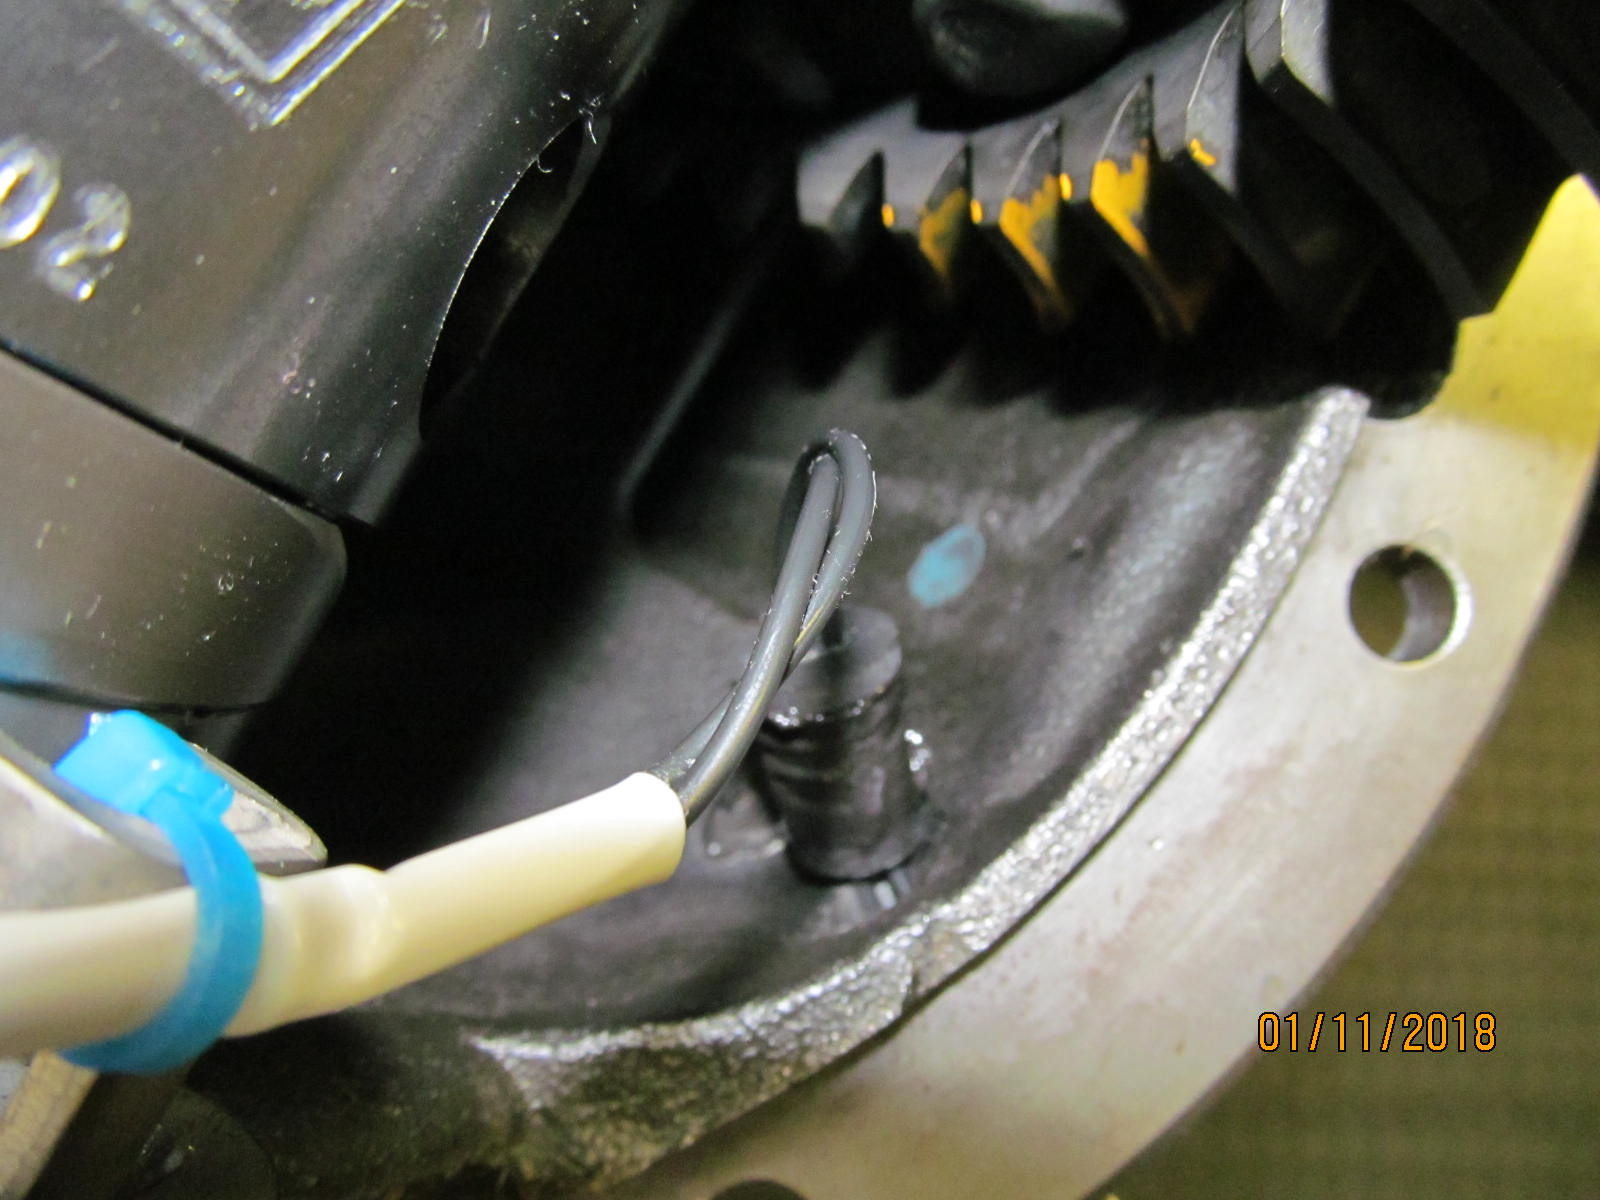
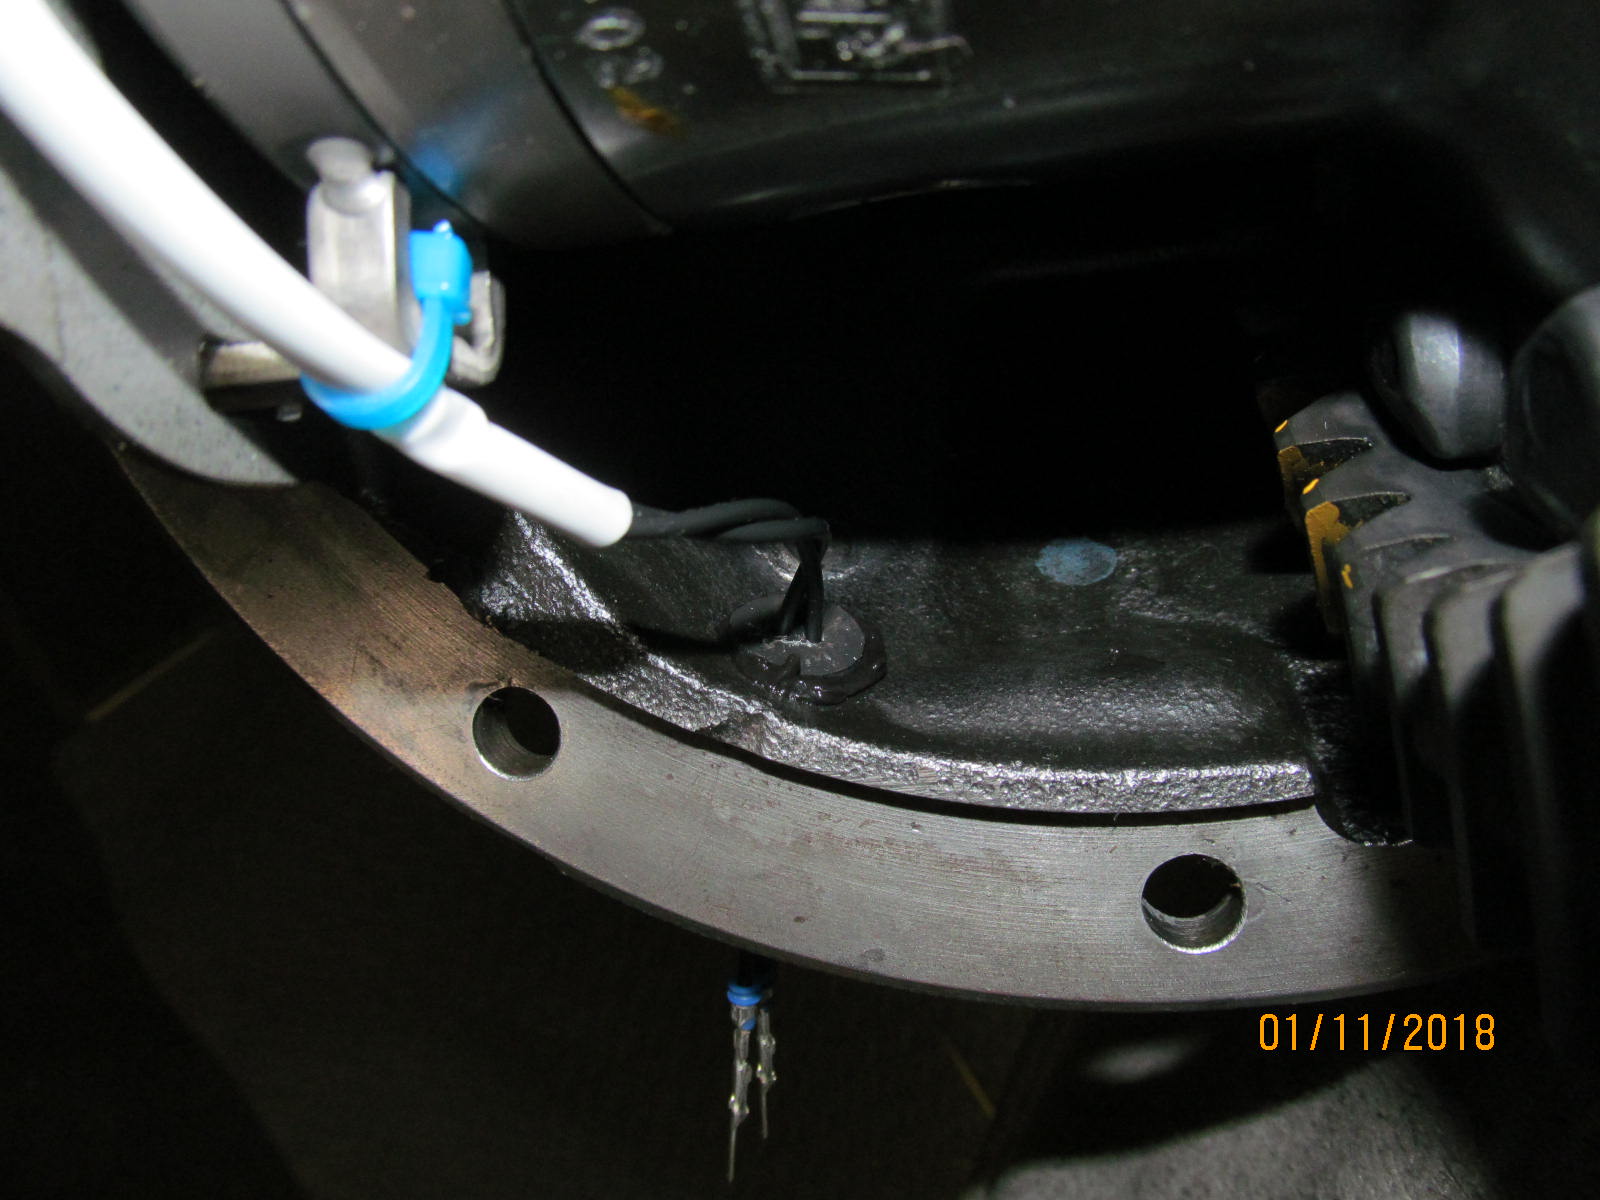
| RTV helps the rubber grommet slip thru the hole. Still not easy to push it thru. |
|---|
|
|
| Line it up.... |
|---|
|
|
| Success! The MIG welded hole is seen just behind it. |
|---|
|
|
| This rubber grommet is on the top of the diff and no gear oil will ever leak out. |
|---|
|

|
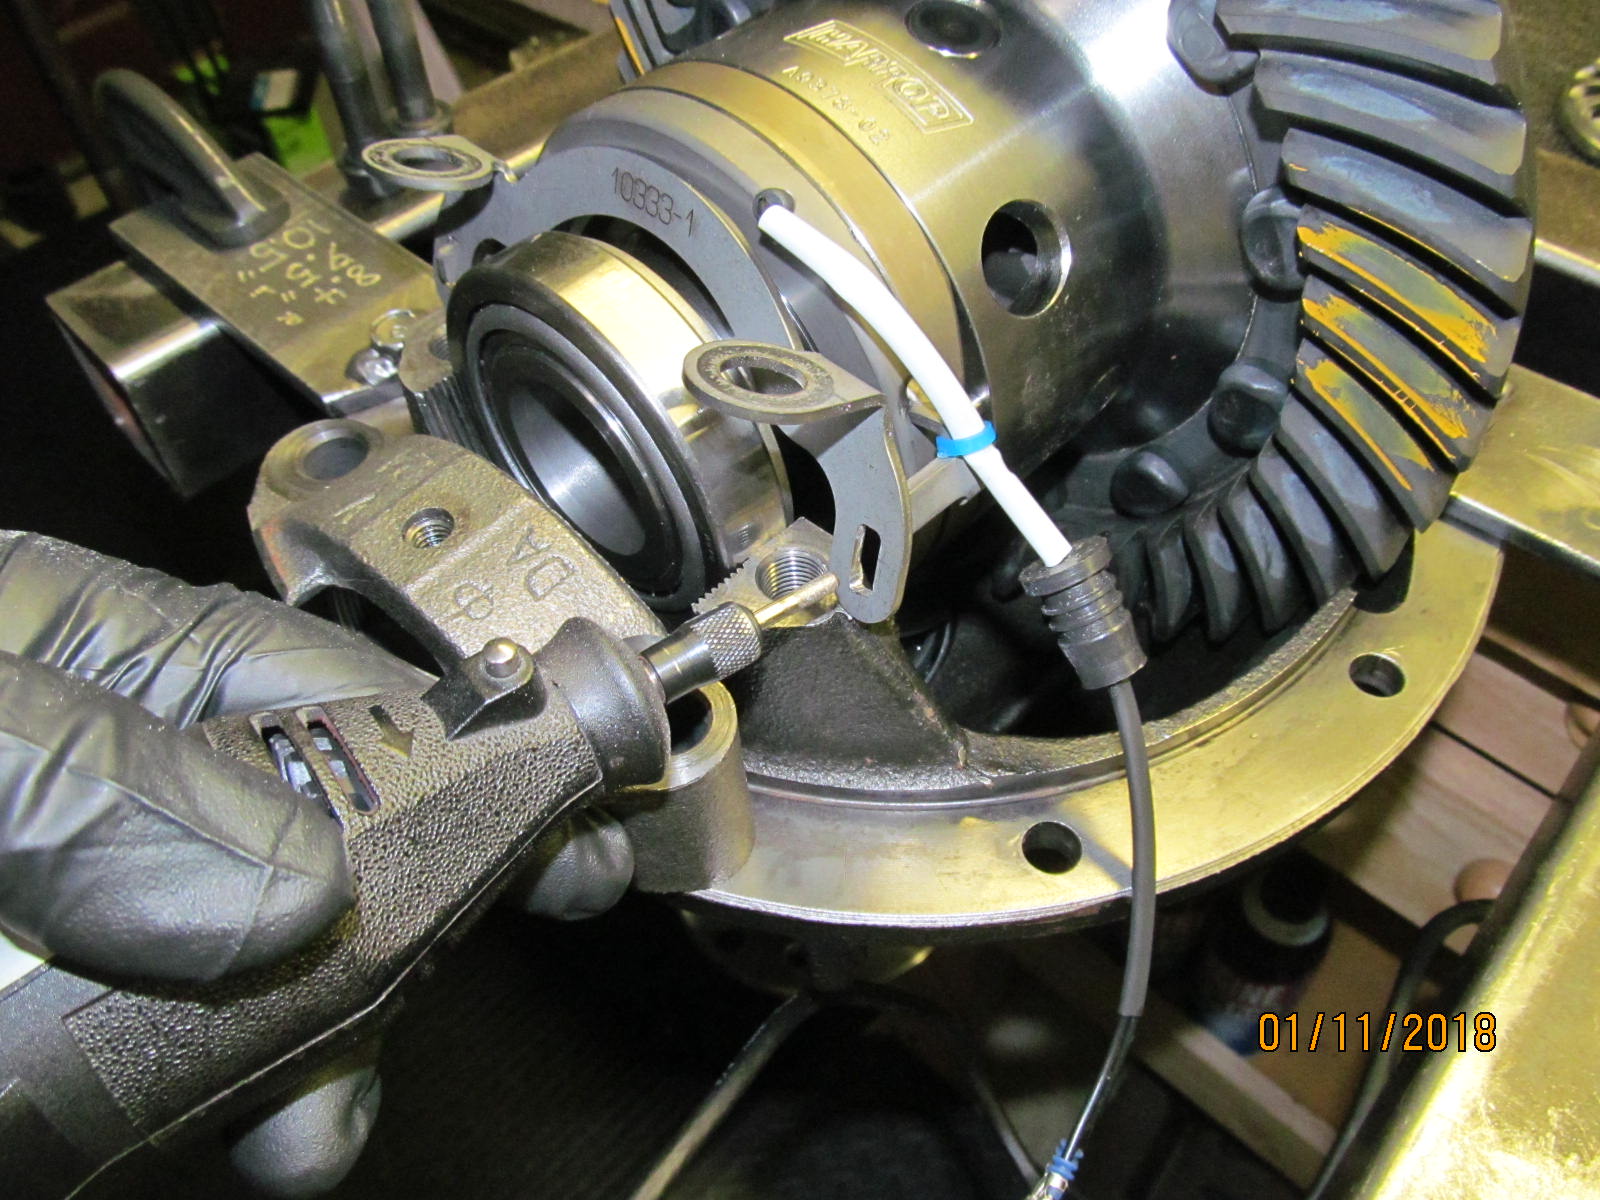
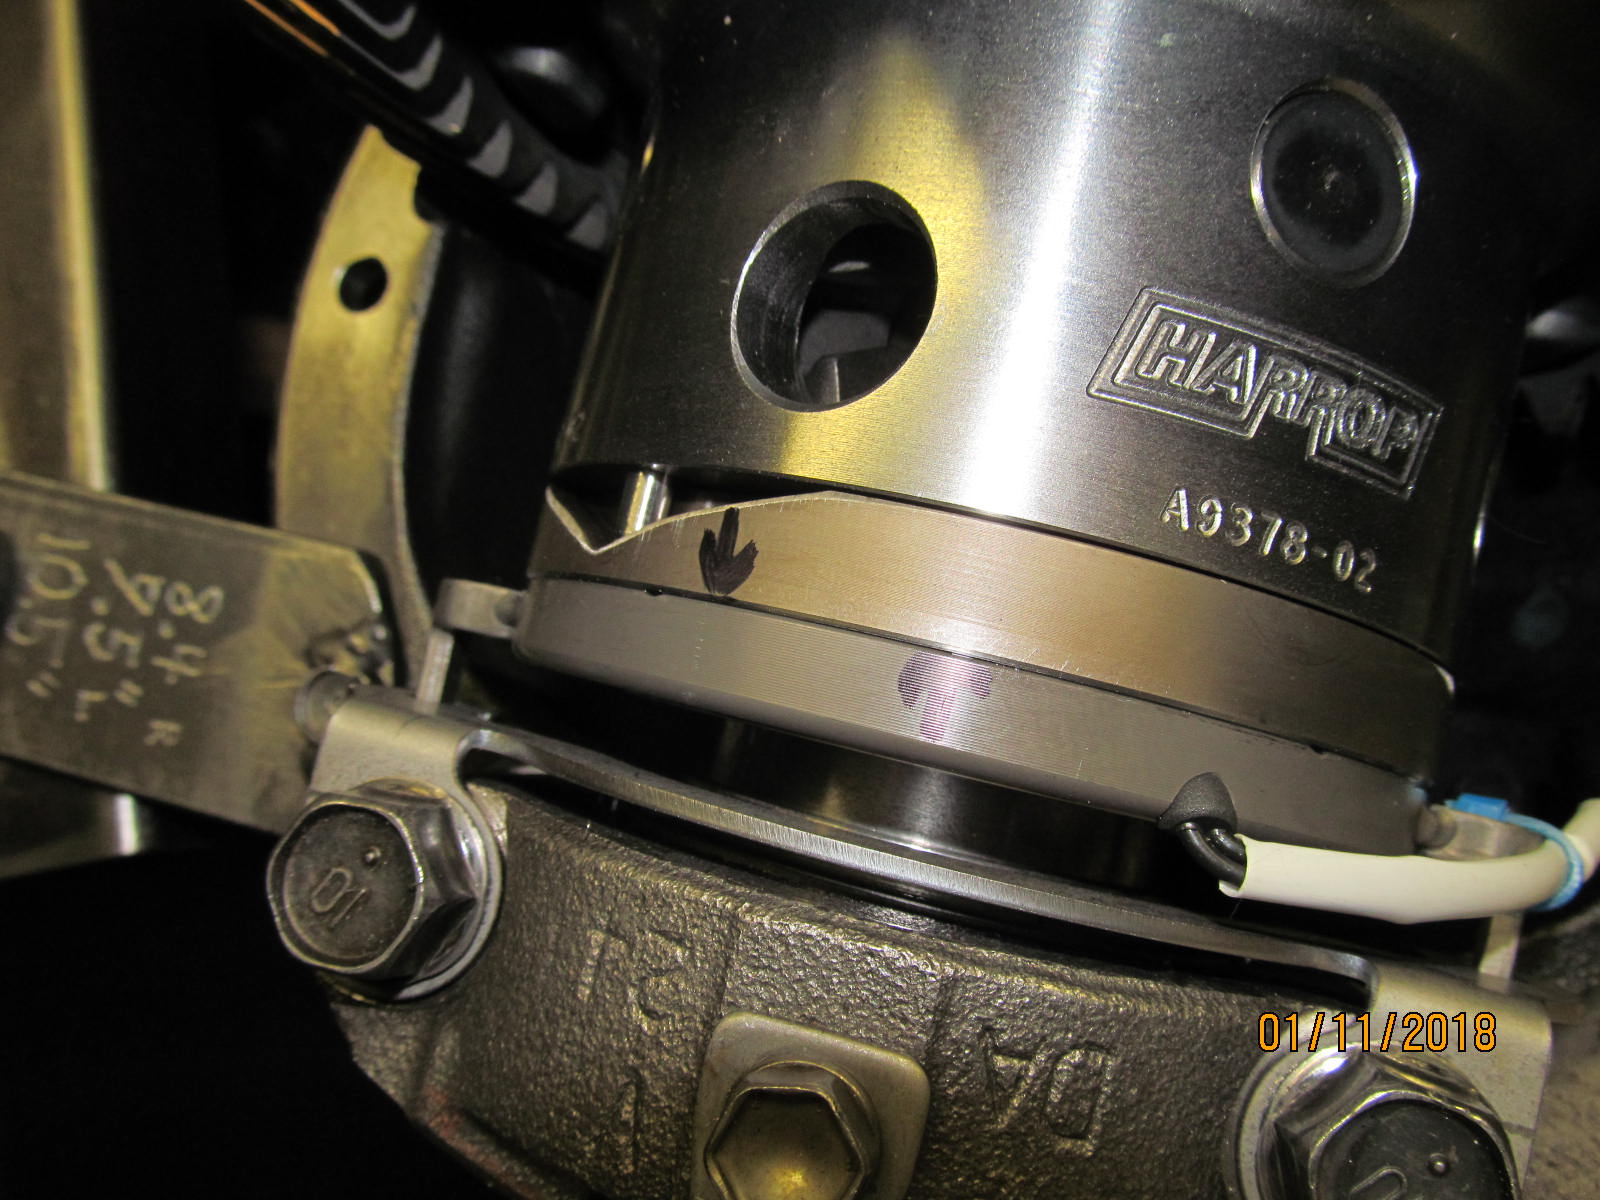
The resistance of the electromagnet is always recorded on my installs. I measured a typical 3.9 ohms.
Shown above, the actual 12 volt engagement test is being performed. |
|---|
|

|
With the 12 volts applied to the 2 wires, the ring gear was then turned.
The ramp ring is magnetically "locked" in place so this pushes the 3 steel pins into the case and engages the locking internal teeth. |
|---|
|
|
Remove the 12 volts and BAM! The ramp ring slides over instantly and the strongly spring loaded pin pops out.
Pass.
Never had one fail yet. |
|---|
|
|
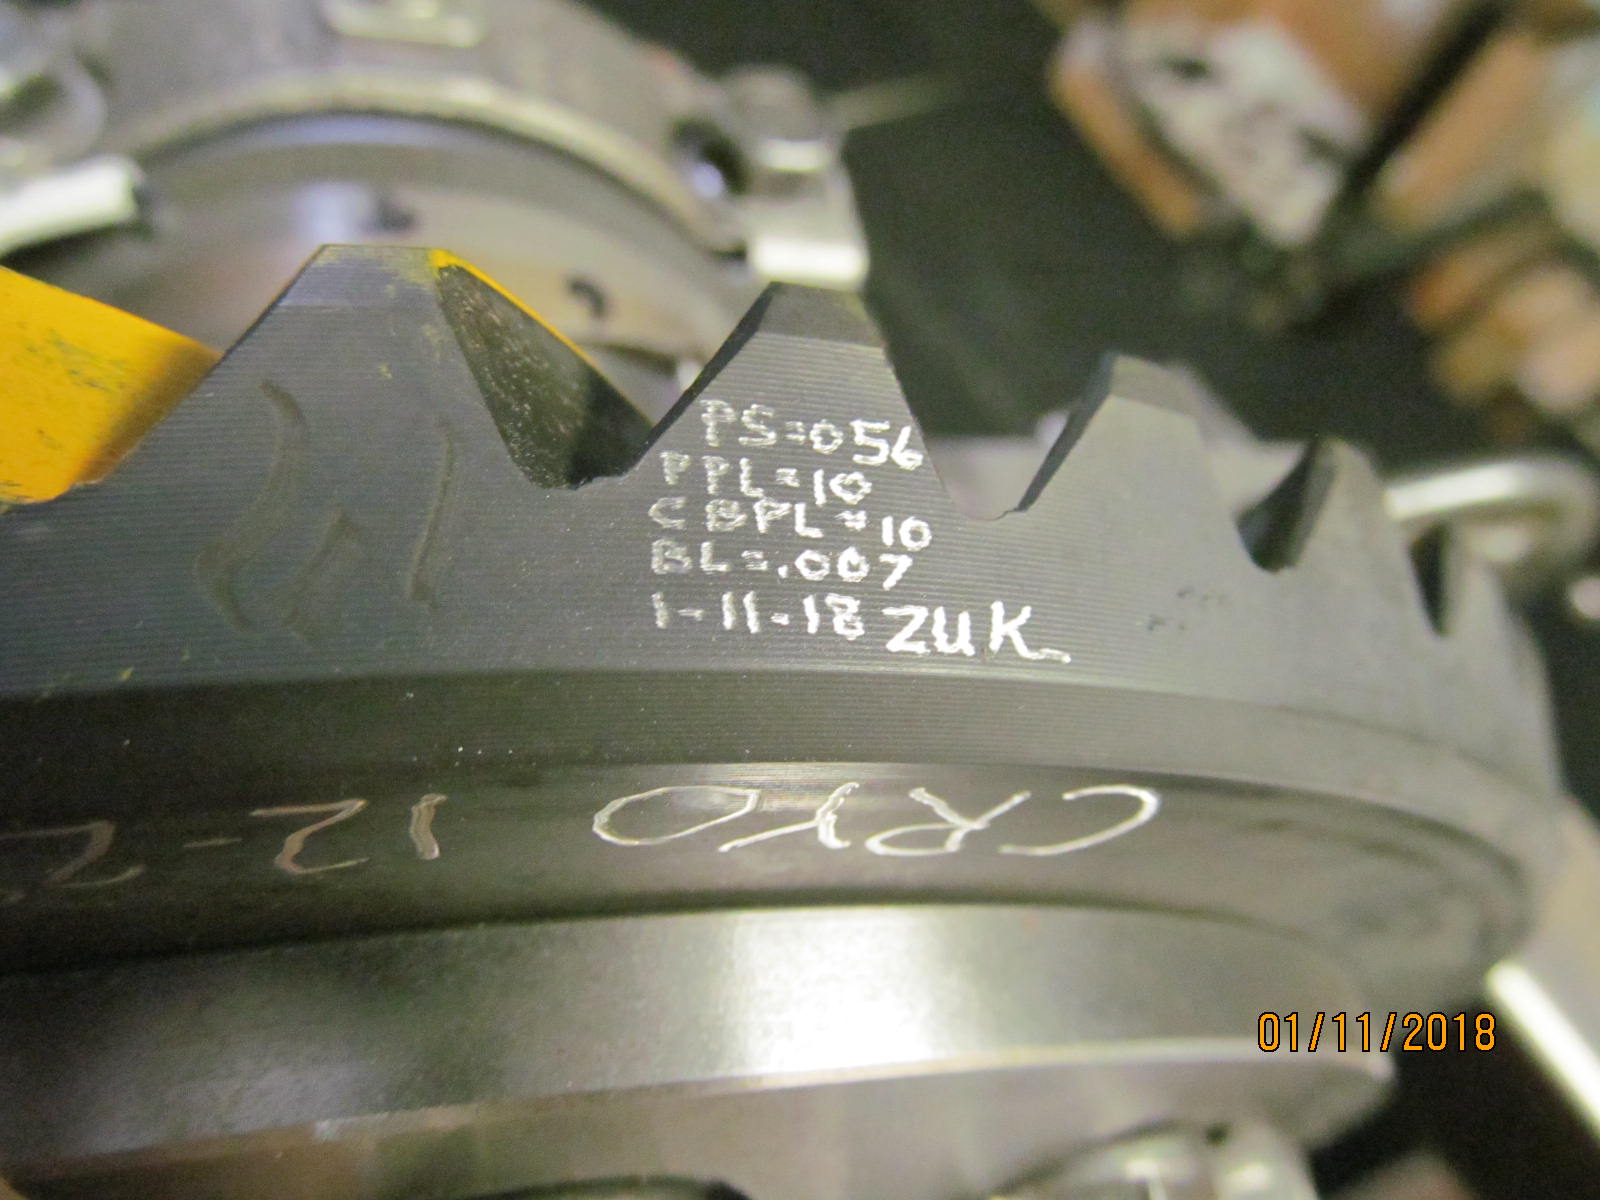
| Basic specs are recorded. |
|---|
|
|
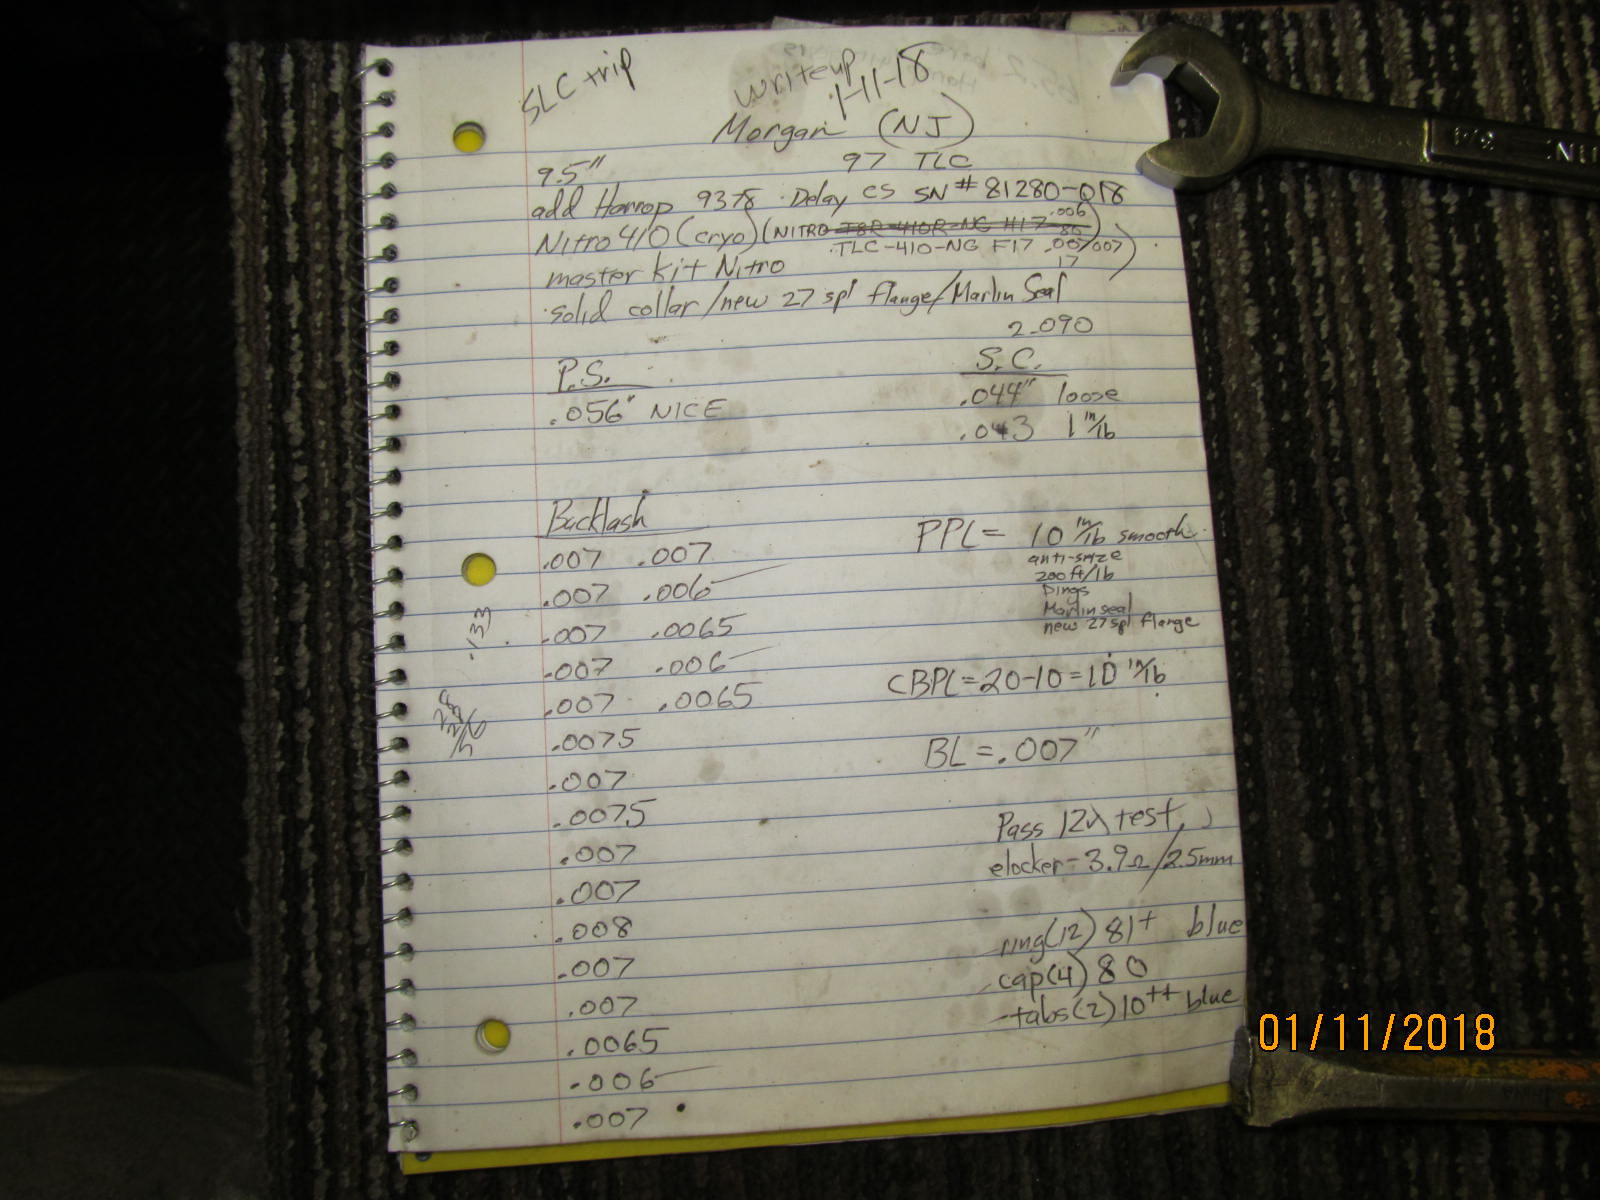
| A final snapshot of the install notes. |
|---|
|
|

|