| Harrop elocker (8.4" 3rd) and Nitro 488 gears for Jose's '04 Tundra |
|---|
| (74 BIG pics loading) |
|---|
| SEPT 14 2017 |
|---|

|
| 2004 Tundra. Talk about a bird's eye view. |
|---|
|

|
| Beachin it. |
|---|
|

|
| Jose from California uses his Tundra for all the right purposes.....camping.... |
|---|
|

|
| ....more beaching...... |
|---|
|

|
| ....snowing.... |
|---|
|

|
Jose was needing more traction for some of the stuff he was running across and found out about a strong, selectable electric locker that was
available for the 8.4" diff. Yotalockers.com |
|---|
|

|
| A Nitro Gear 488 will be going in the front 7.5" clam but that's being saved for another link. |
|---|
|

|
| This box also arrived from Jose....most of the product had already purchased from Yukon before he found out about Nitro. |
|---|
|

|
| This link documents the rear 8.4" Harrop install. |
|---|
|

|
| Shown is the elocker, the Yukon master kit, the solid collar, and the Yukon 488. |
|---|
|

|
| A quick pre-check is made by applying 12 volts and verifying that the 3 pins start to cam into the case and they did. |
|---|
|

|
Koyo bearings were supplied(preferred). Surprisingly, the kit also had the 12 flange style ring gear bolts.
The oem pinion seal was supplied by Jose. I have had some bad luck with generics in the past
and was happy to see that Jose had supplied the rear deal. |
|---|
|

|
| Good gears....manufactured in Korea. |
|---|
|

|
| Nice cuts all around....even in the root of the tooth shown here. |
|---|
|

|
| OEM rules....or even the Marlin seals work very nicely. BH4053G made by NOK. |
|---|
|

|
| Disassembly begins....the brace comes off first. |
|---|
|

|
| The 2 washer plates are removed and then the center carrier. |
|---|
|

|
| Pinion end next. The electric impact wizzed off the nut in 1 second. |
|---|
|

|
Out with the old races and in with the new. Not seen but the factory .081" pinion depth plate was backed up with another .006" shim
for a total of .087" pinion shim depth. |
|---|
|

|
| An old race will knock it all the way down 100%. |
|---|
|

|
| Visible is the thick .081" factory washer plate and an almost hidden .006"shim. |
|---|
|

|
| The outer race is very easy to knock down. |
|---|
|

|
| Done |
|---|
|

|
| The pinion shim is already located behind the inner race so just the new bearing gets pressed on here. |
|---|
|

|
| The 12 ton makes easy work of it. |
|---|
|

|
| The pinion is temporarily mounted and the nut tightened just enough have some preload. |
|---|
|

|
| A couple things need to be put on the Harrop elocker now. |
|---|
|

|
| Surface check.....no unusual ridges or burrs. |
|---|
|

|
| This particular Nitro was a very tight fit.....took forever just to get it started 1/8" down. |
|---|
|

|
| This made the other 1/2" go on like melted butter. All the time constantly checking the stop tabs to make sure nothing is binding or getting bent. |
|---|
|

|
| Securing the Harrop in the vice without scratching it. |
|---|
|

|
| The 12 ring gear bolts all get 92 ft/lbs and blue Loctite. |
|---|
|

|
| Carrier bearings next. |
|---|
|

|
| The factory washer plates went in too easy.... |
|---|
|

|
...so after a few tries, adding .003 to one side and adding .009" to the other made it fit tight enough with an adequate amount of backlash
to actually paint a legitimate pattern. |
|---|
|

|
| With the proper washer plates the backlash was checked. |
|---|
|

|
| The tabs were in the way of the brace....slight bending of each tab to clear the brace and to give the recommended ~2mm of stop tab play. |
|---|
|

|
| Drive looks nice. Depth is correct. Favoring of the toe. |
|---|
|

|
| Coast verifies that the depth is good. It's favoring the heel end. |
|---|
|

|
| Drive of the pinion tooth......comet tail is not tucked in hard to the tooth root. |
|---|
|

|
| Pretty much in the center which is perfect....actually that would mean "slight deep". |
|---|
|

|
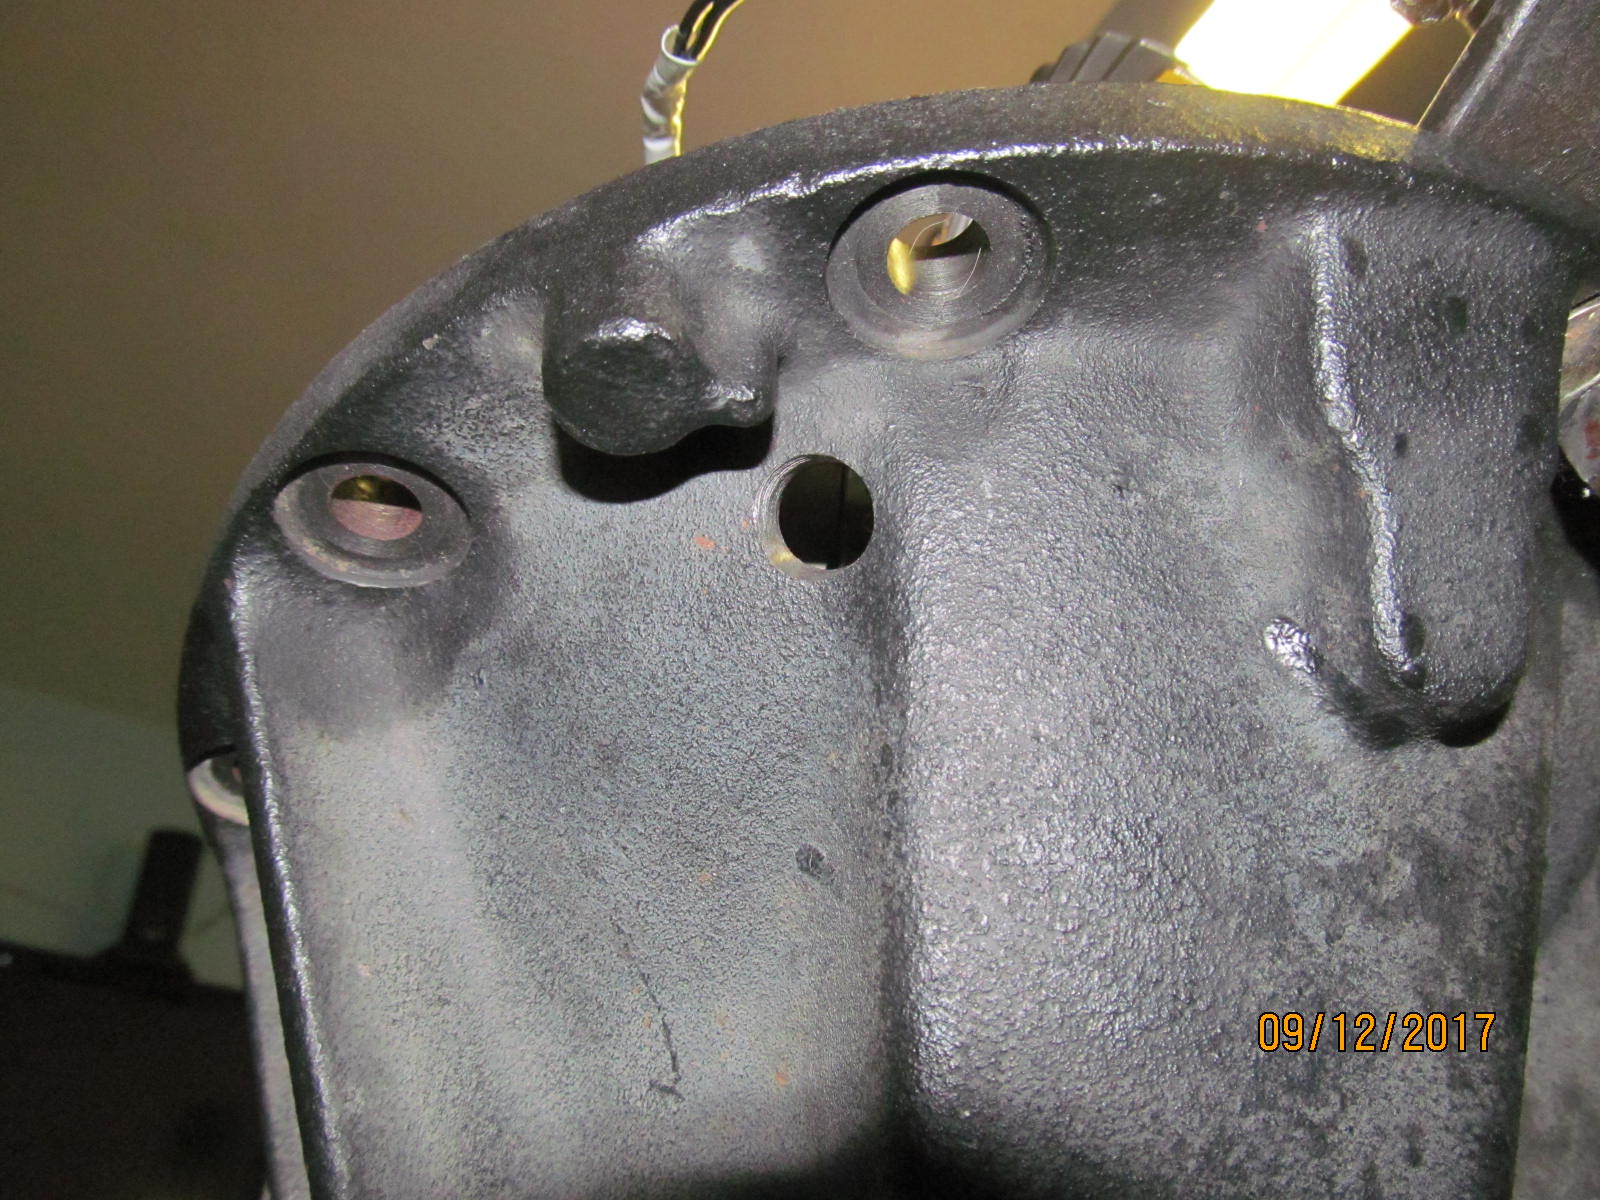
| With pinion depth established, now I can turn attention to the grommet. |
|---|
|

|
| The .453" hole will be drilled about here.... |
|---|
|
|
| .....right about here. |
|---|
|

|
| Solid collar to be installed now. |
|---|
|

|
| Doing the math, I'll start with .051". |
|---|
|

|
| The pinion is installed and the electric impact is used to cautiously tighten the pinion nut. |
|---|
|

|
| Pinion preload was way too high at about 35~40 inch/pounds. |
|---|
|

|
From previous experience, for every .001" added to the shim will reduce the preload by about 8 in/lb.
Adding .004" should relax 32 of those inch/pounds. |
|---|
|

|
| NICE. Right on schedule. Just lucky again. |
|---|
|

|
| The master install kits generally come with generic pinion seals. A genuine Toyota seal is the best insurance against a leak. |
|---|
|

|
| Grease on the garter spring prevents it from popping off during the hammer hits. |
|---|
|

|
| All rubber surfaces are oiled up... |
|---|
|

|
| BAM!! The seal is tapped evenly down....fully flush. |
|---|
|

|
| Seal by NOK in Japan. |
|---|
|

|
| BH4053G for the 8.4" application. |
|---|
|

|
| #1500 fine grade wet/dry sandpaper is always used on the re-used flanges. |
|---|
|

|
| ,,,,,,,,,,,,,,,,,,,,, |
|---|
|

|
| .................... |
|---|
|
|
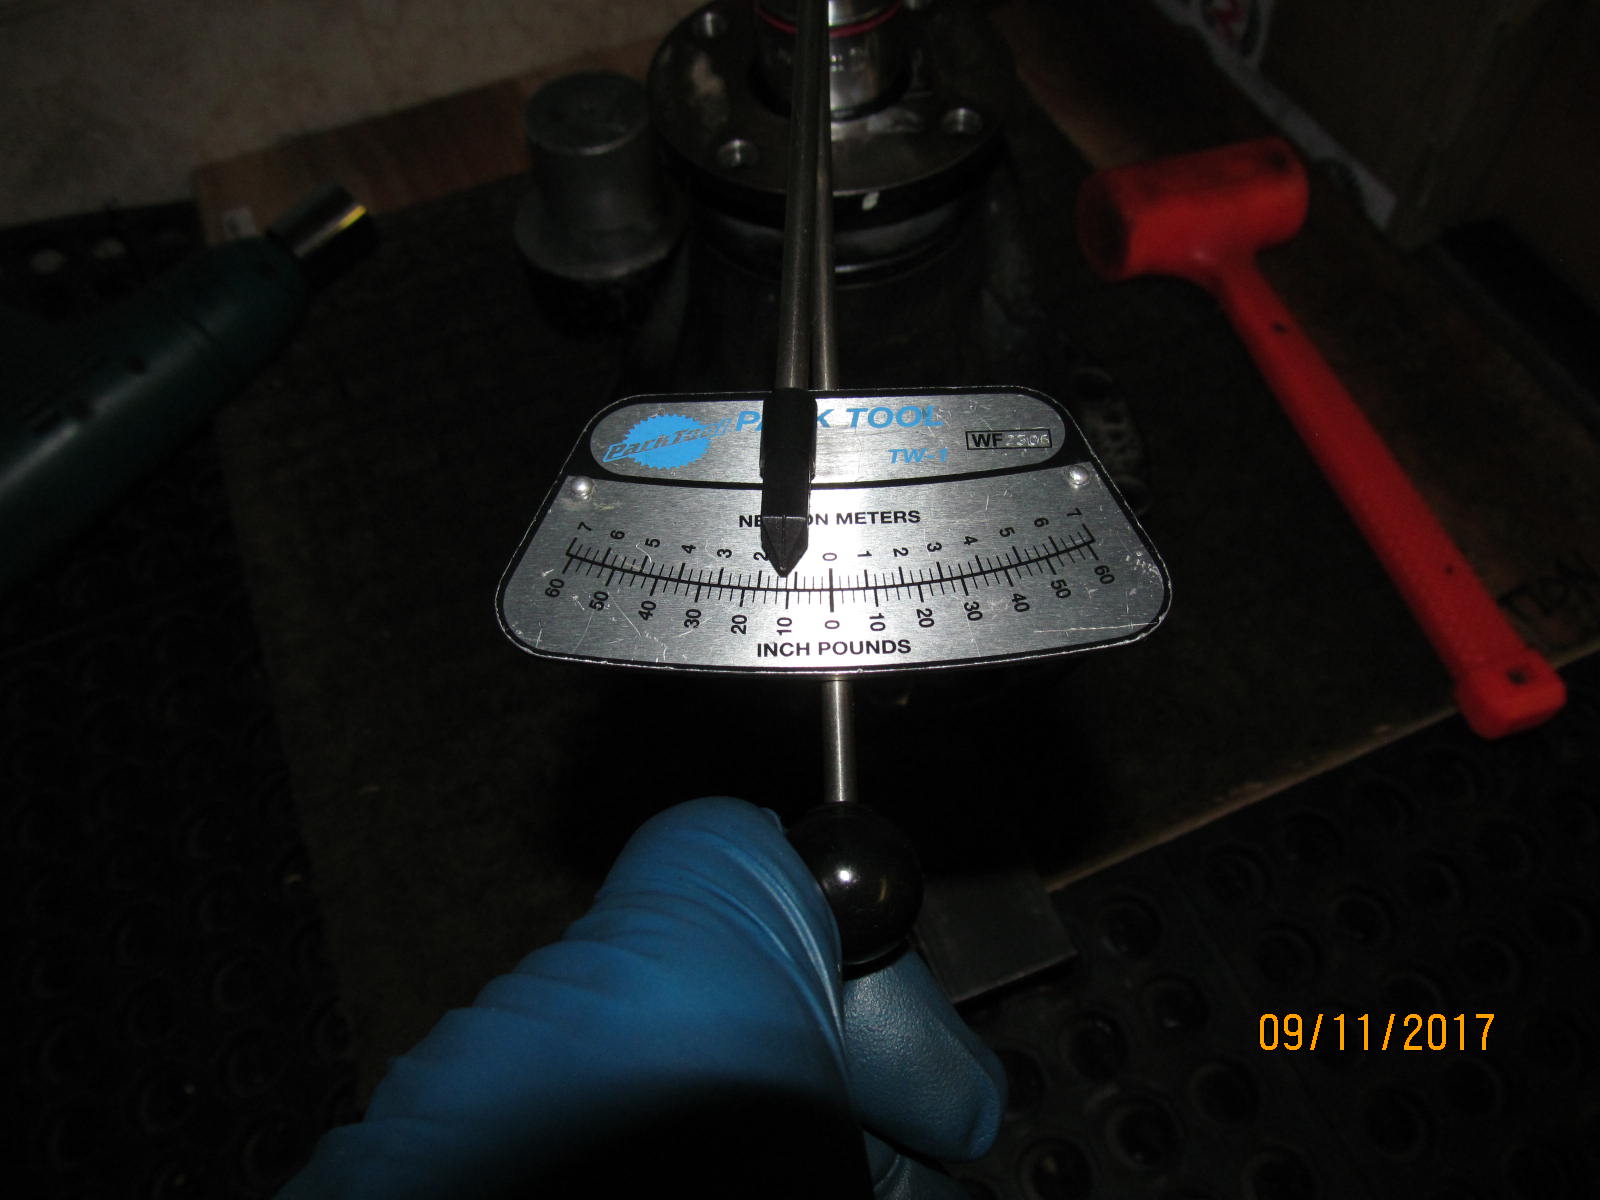
| The pinion nut is cranked extra tight til a good solid 10 in/lb is noted....proof that the solid collars are not fully "solid". |
|---|
|

|
| DING!!! and the pinion nut will never loosen on its own. |
|---|
|
|
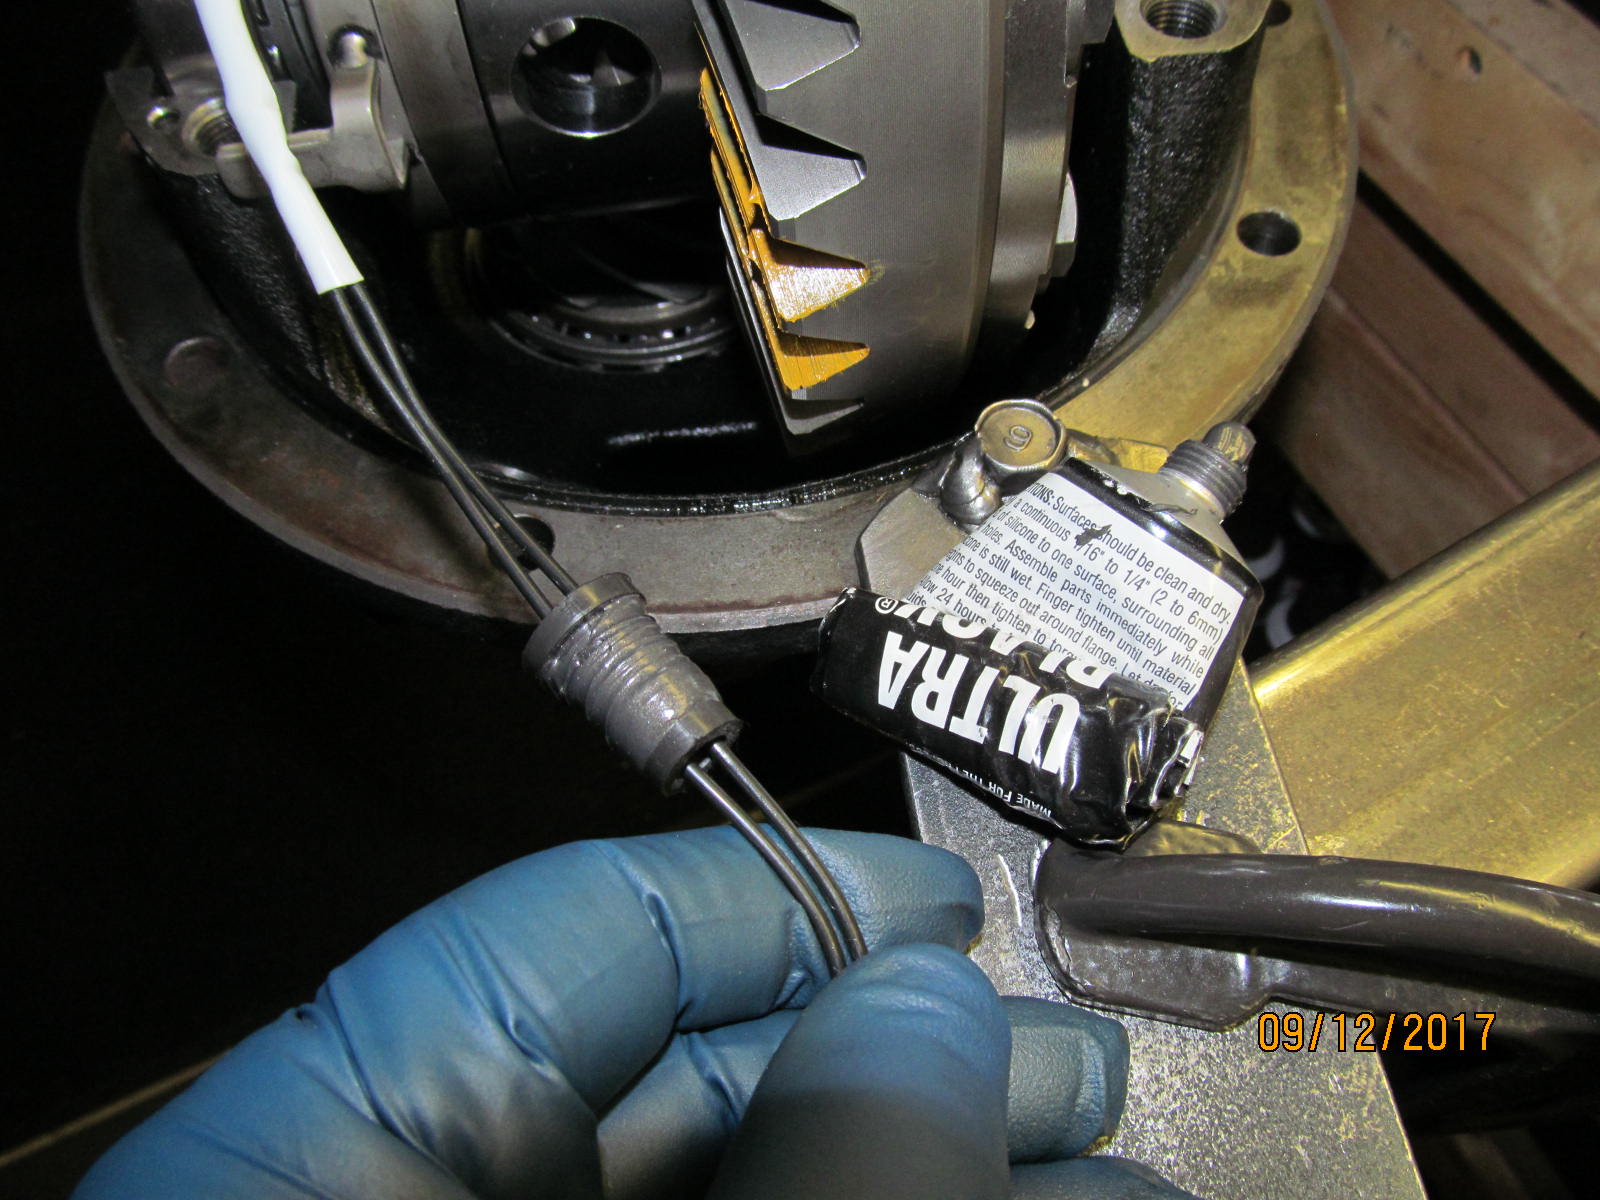
| I like to use RTV on the rubber grommet....acts as a lubricant and makes it possible to push the grommet thru the hole with less bad words. |
|---|
|
|
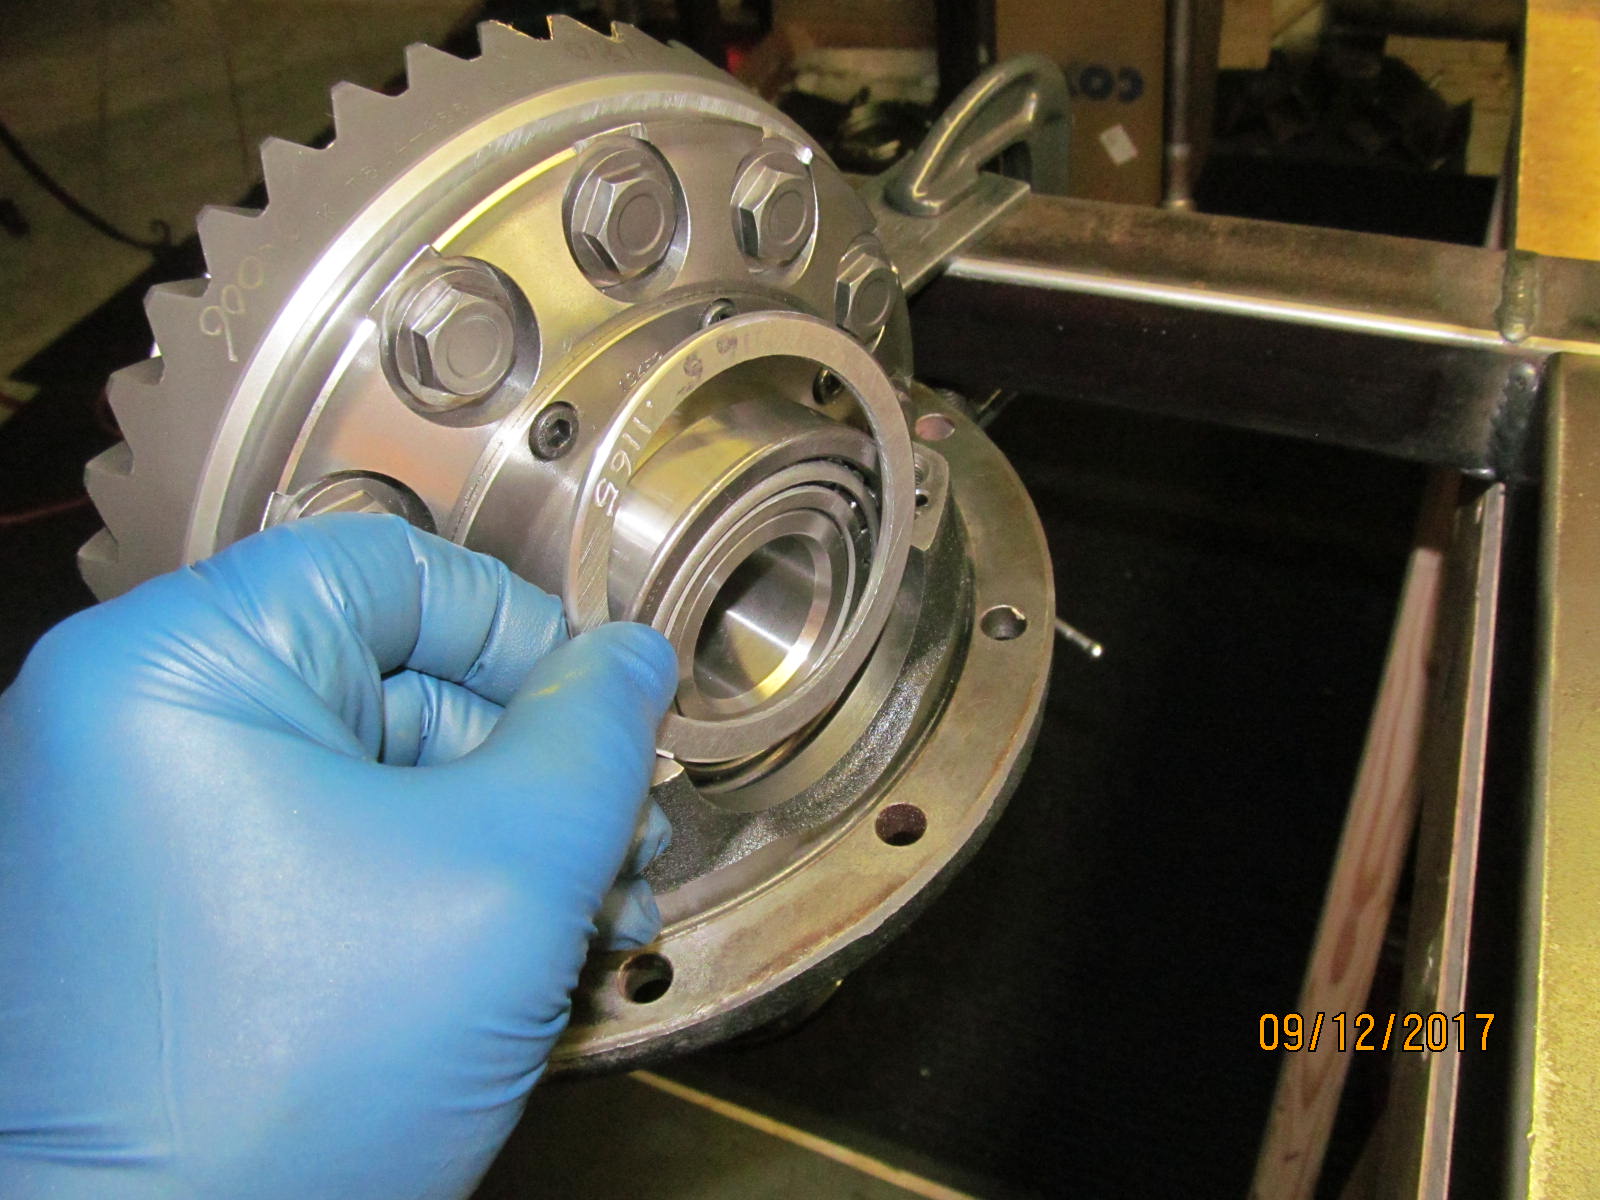
A final tweak on the washer plates to open up the backlash to the .006" spec.
Without a good selection of factory plates, this is not possible.
And trying to add in .005" thin shims with the thick washer plates is unworkable. |
|---|
|
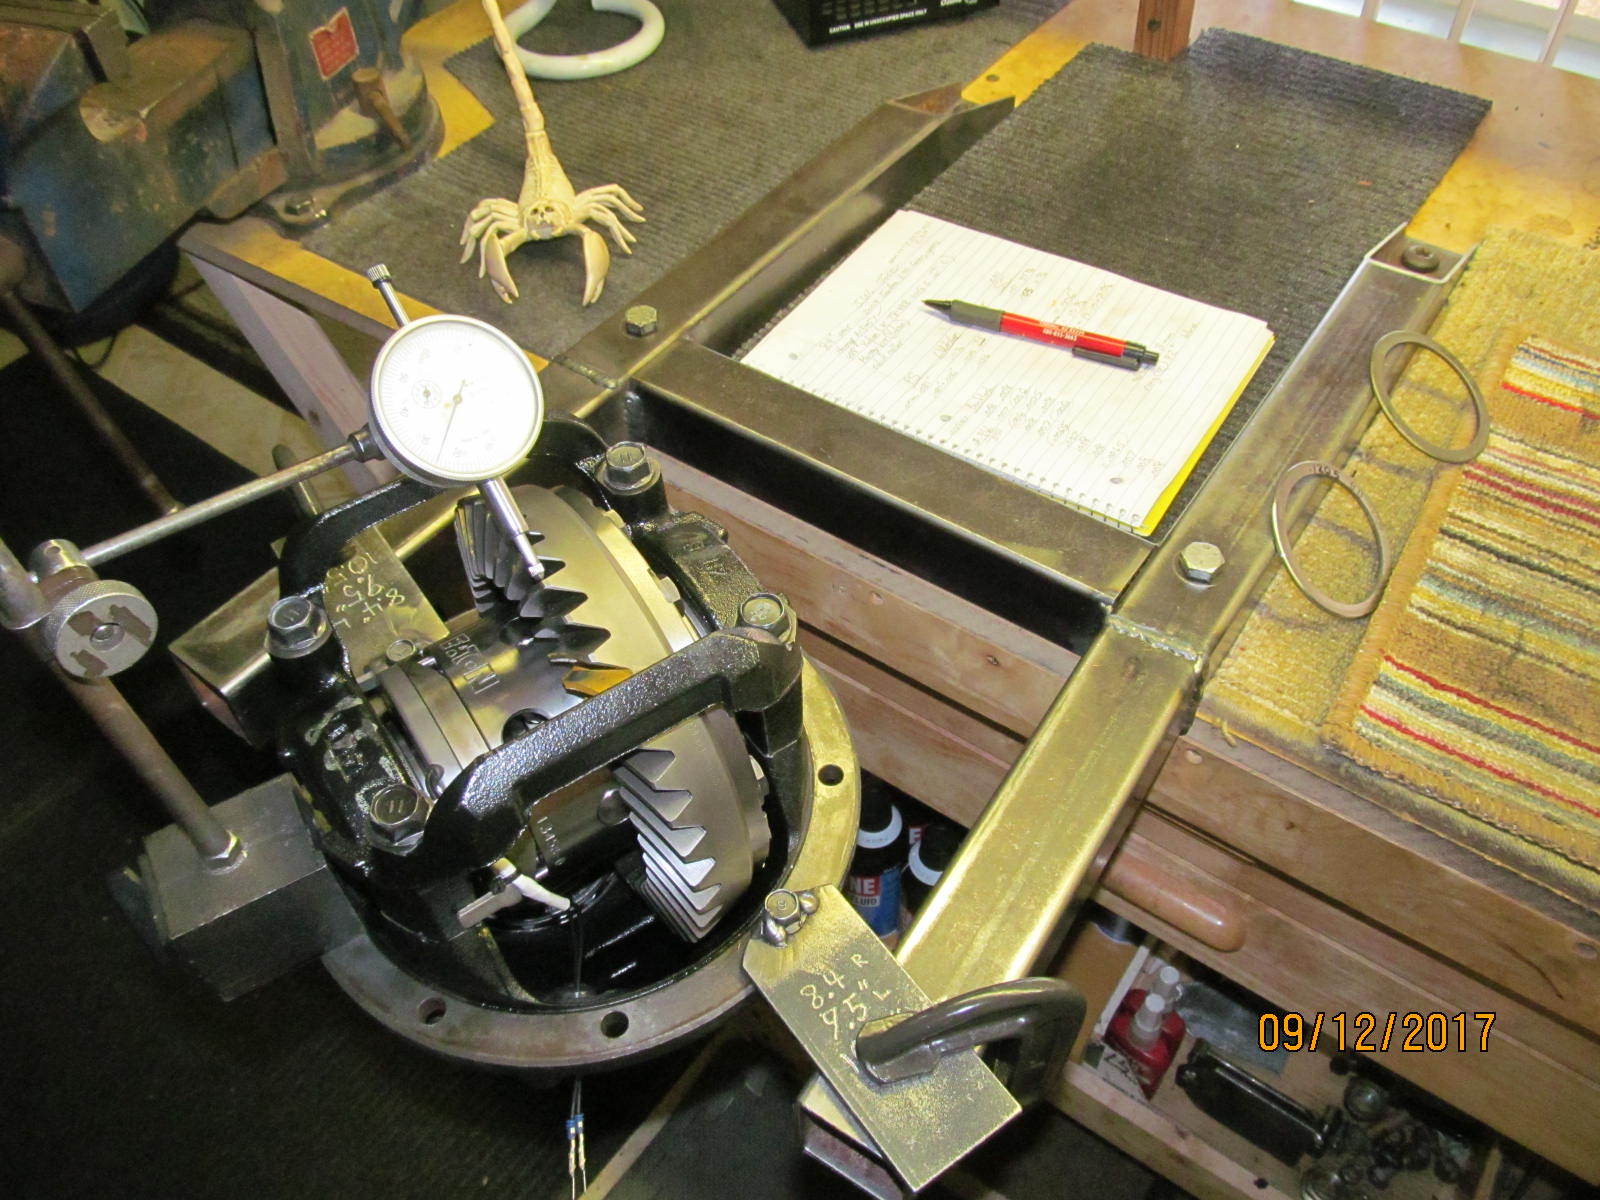
|
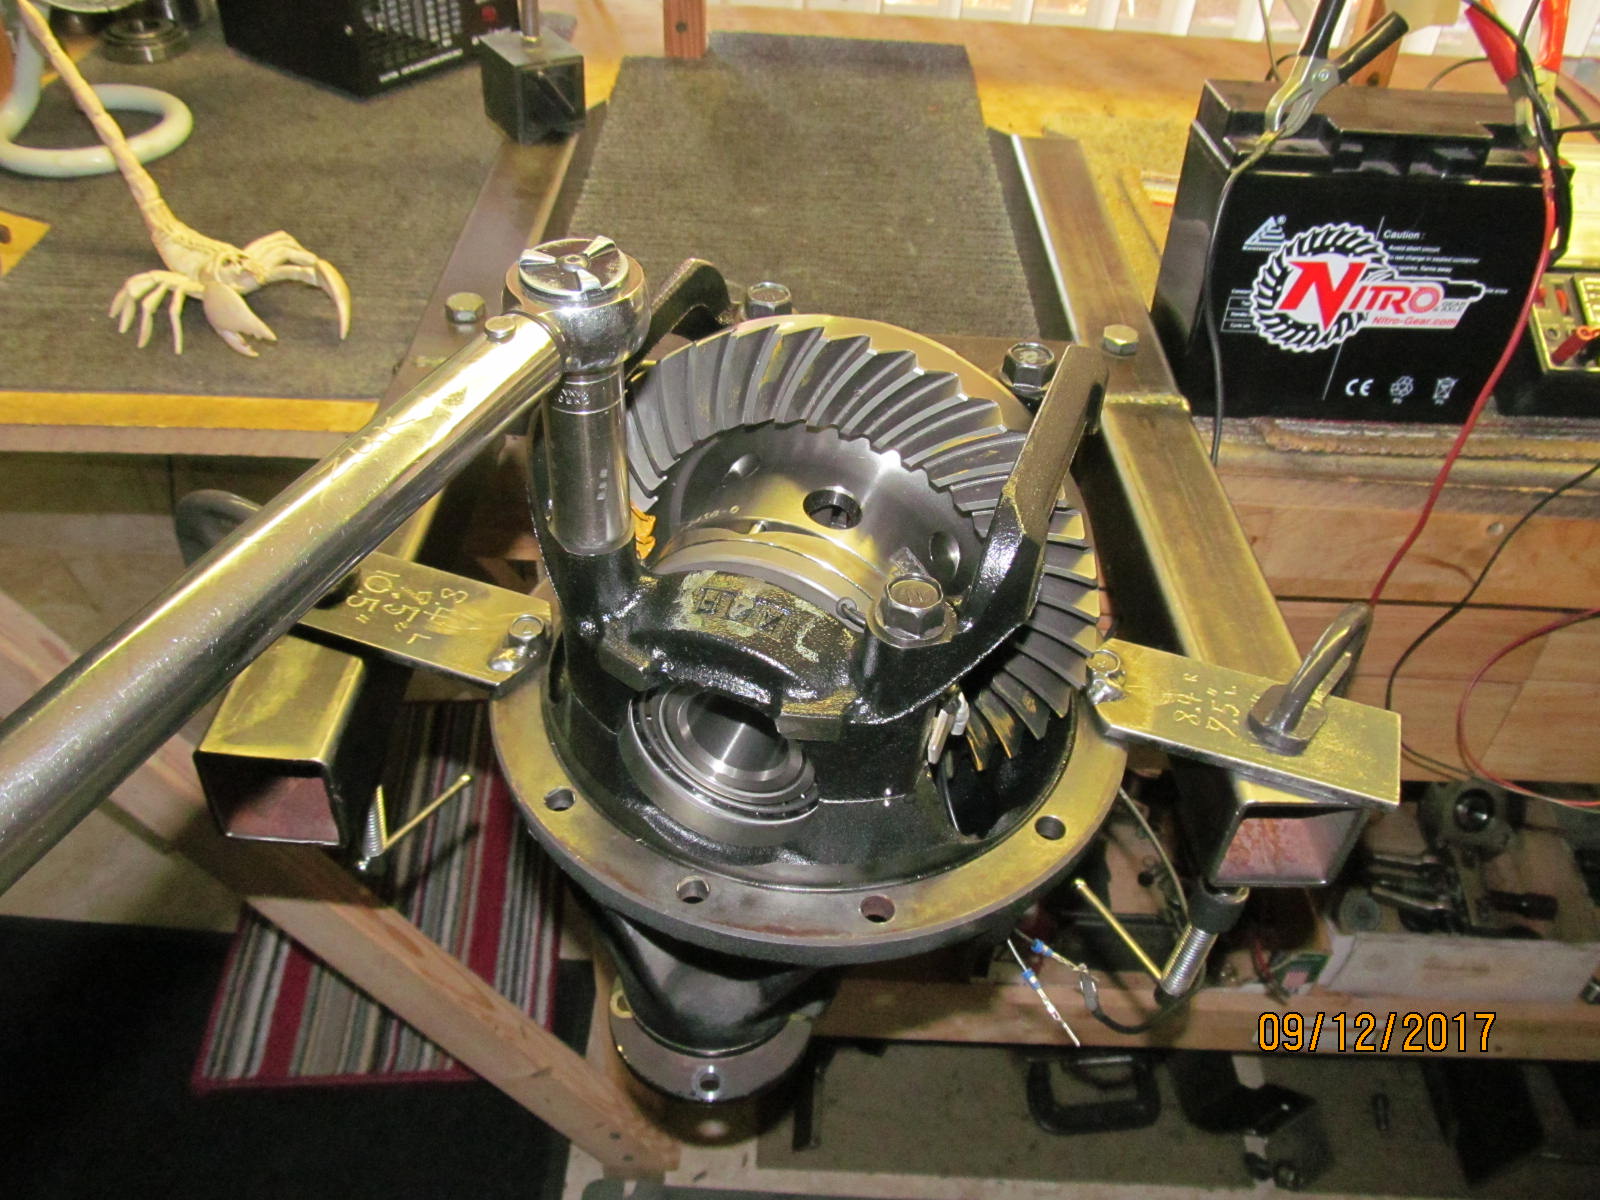
| With the bridge brace bolted in place and 83 ft/lb on all 4 bolts, now the final backlash readings can be recorded for every other tooth. |
|---|
|
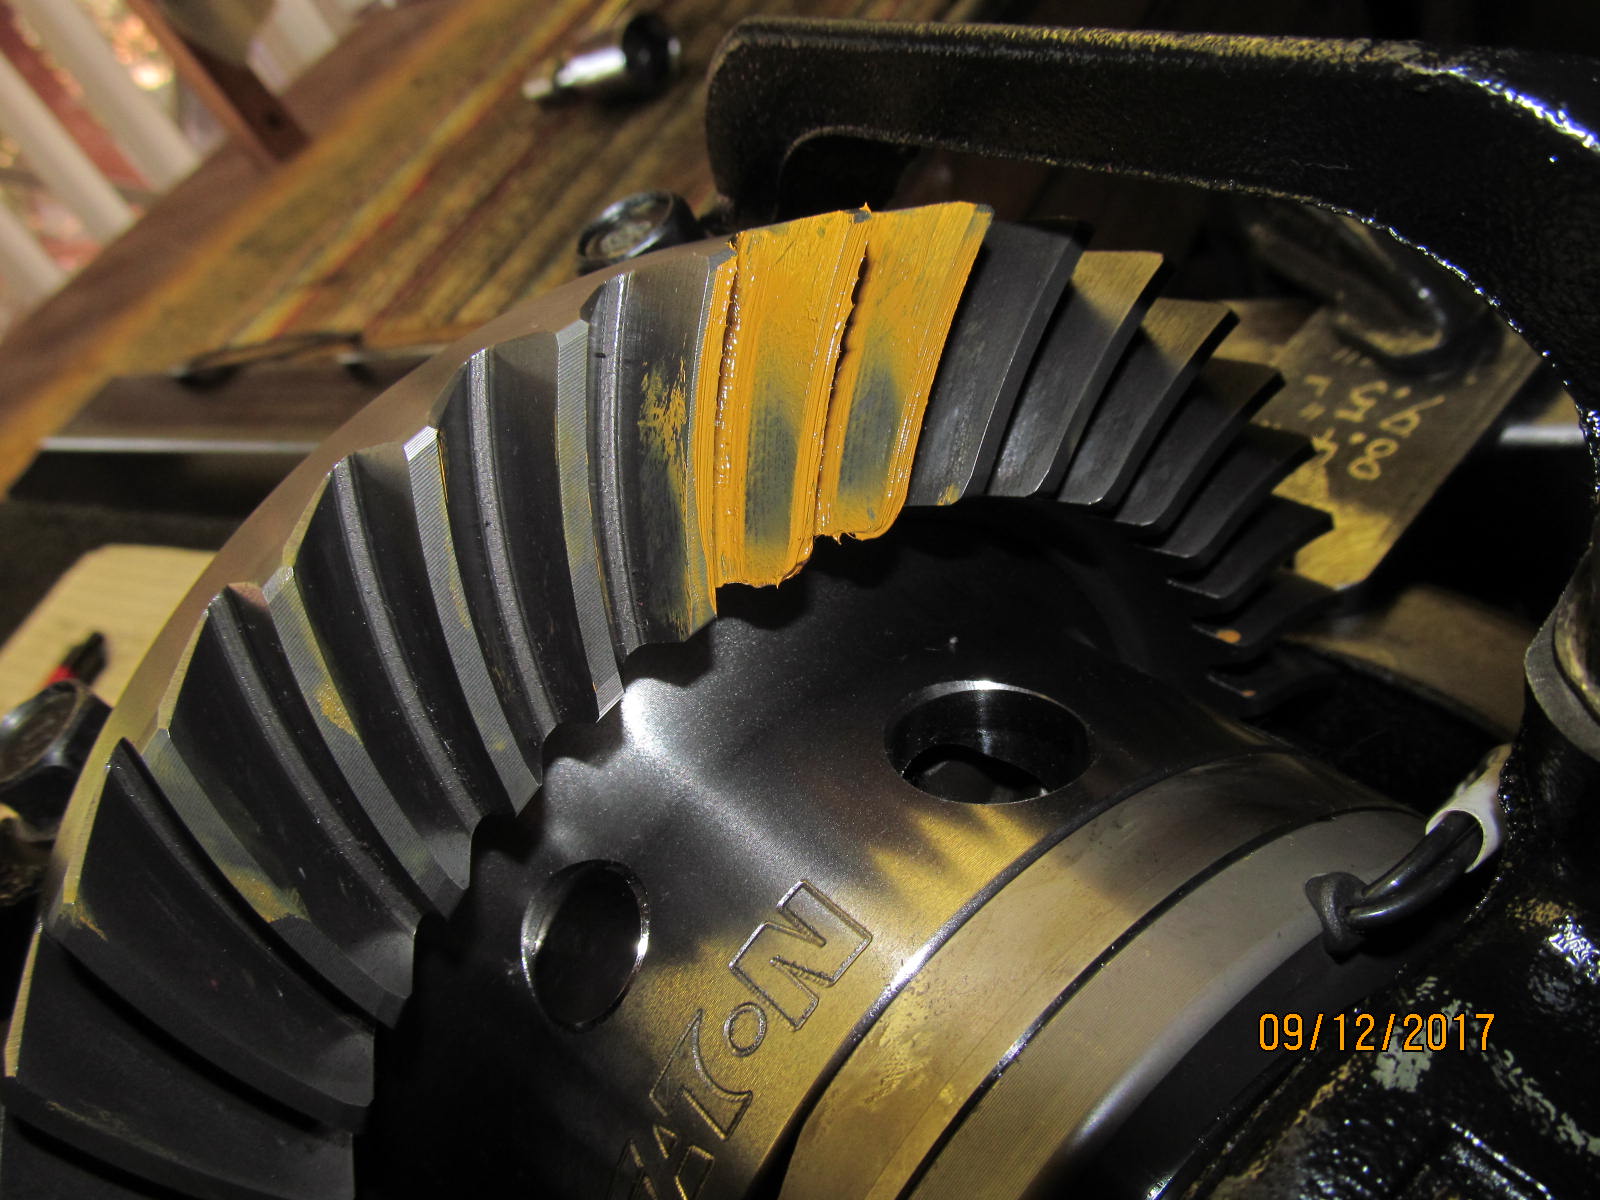
|
| Pattern check. Only added about .0025" more backlash so the pattern really does not reflect any drastic change. |
|---|
|

|
| ,,,,,,,,,,,,,,,,,,,,,,,, |
|---|
|
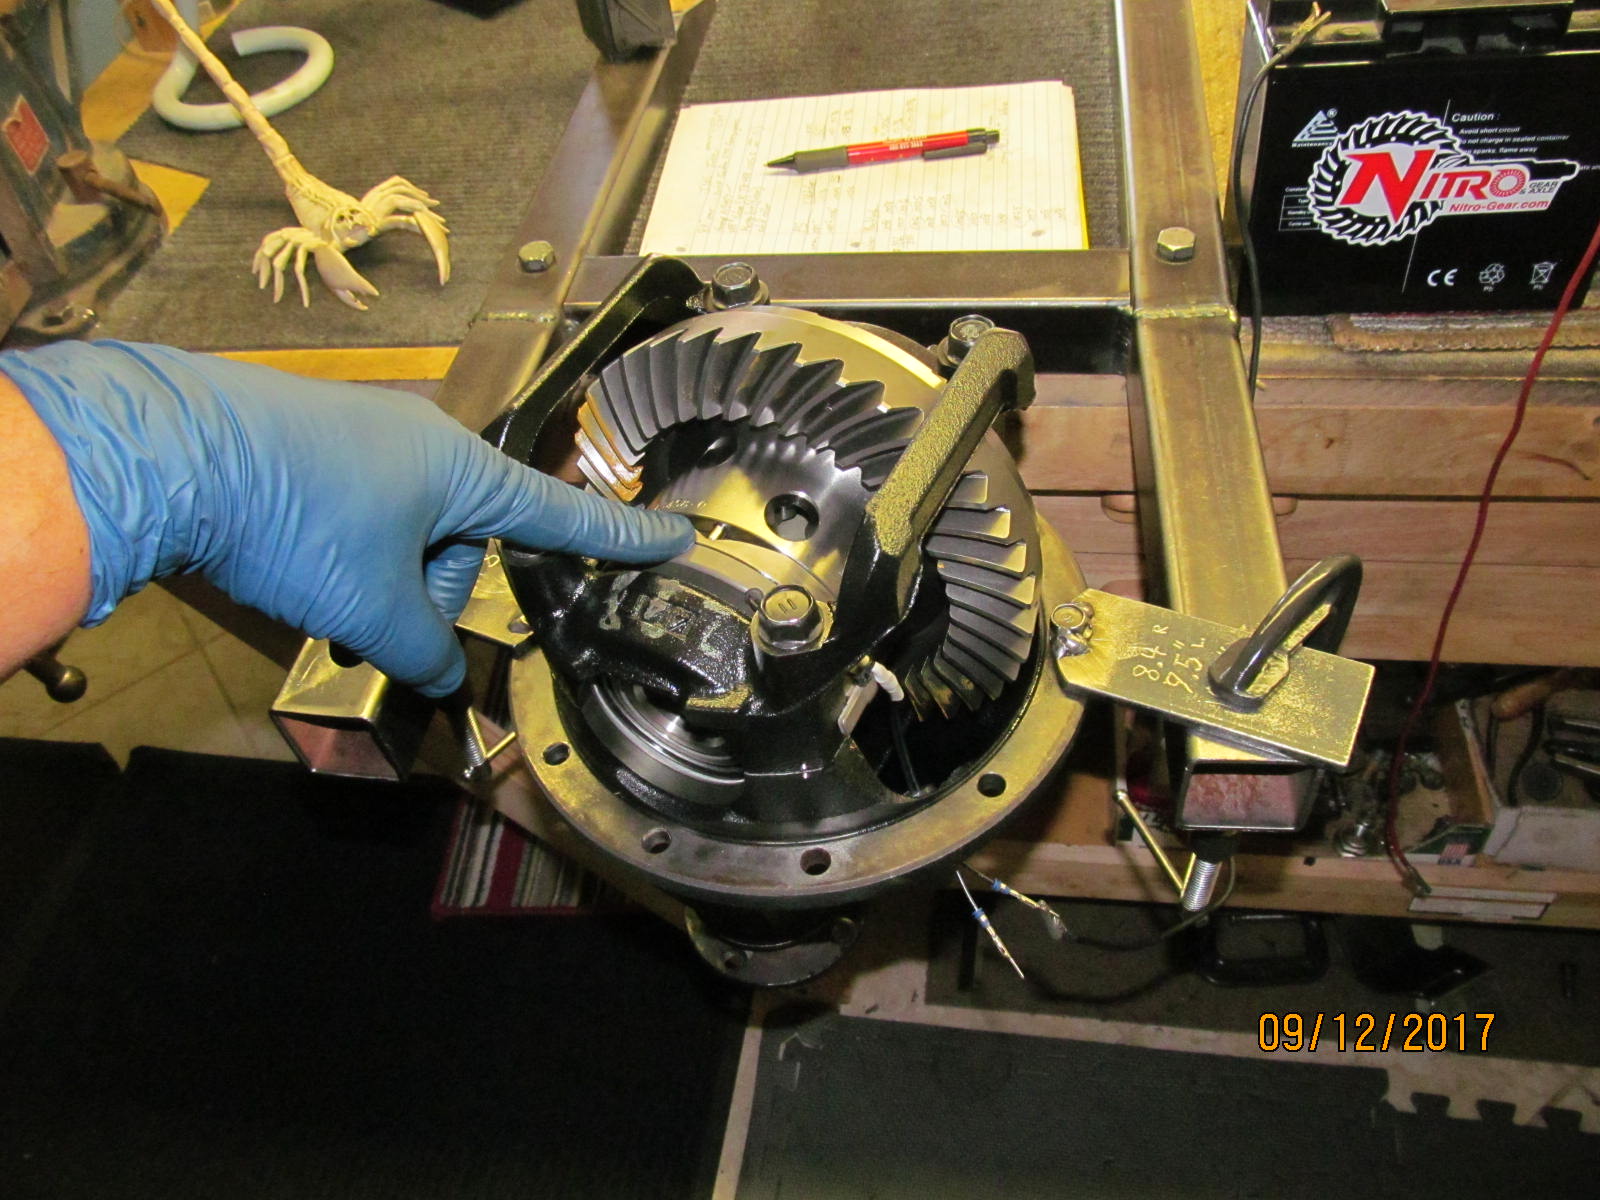
|
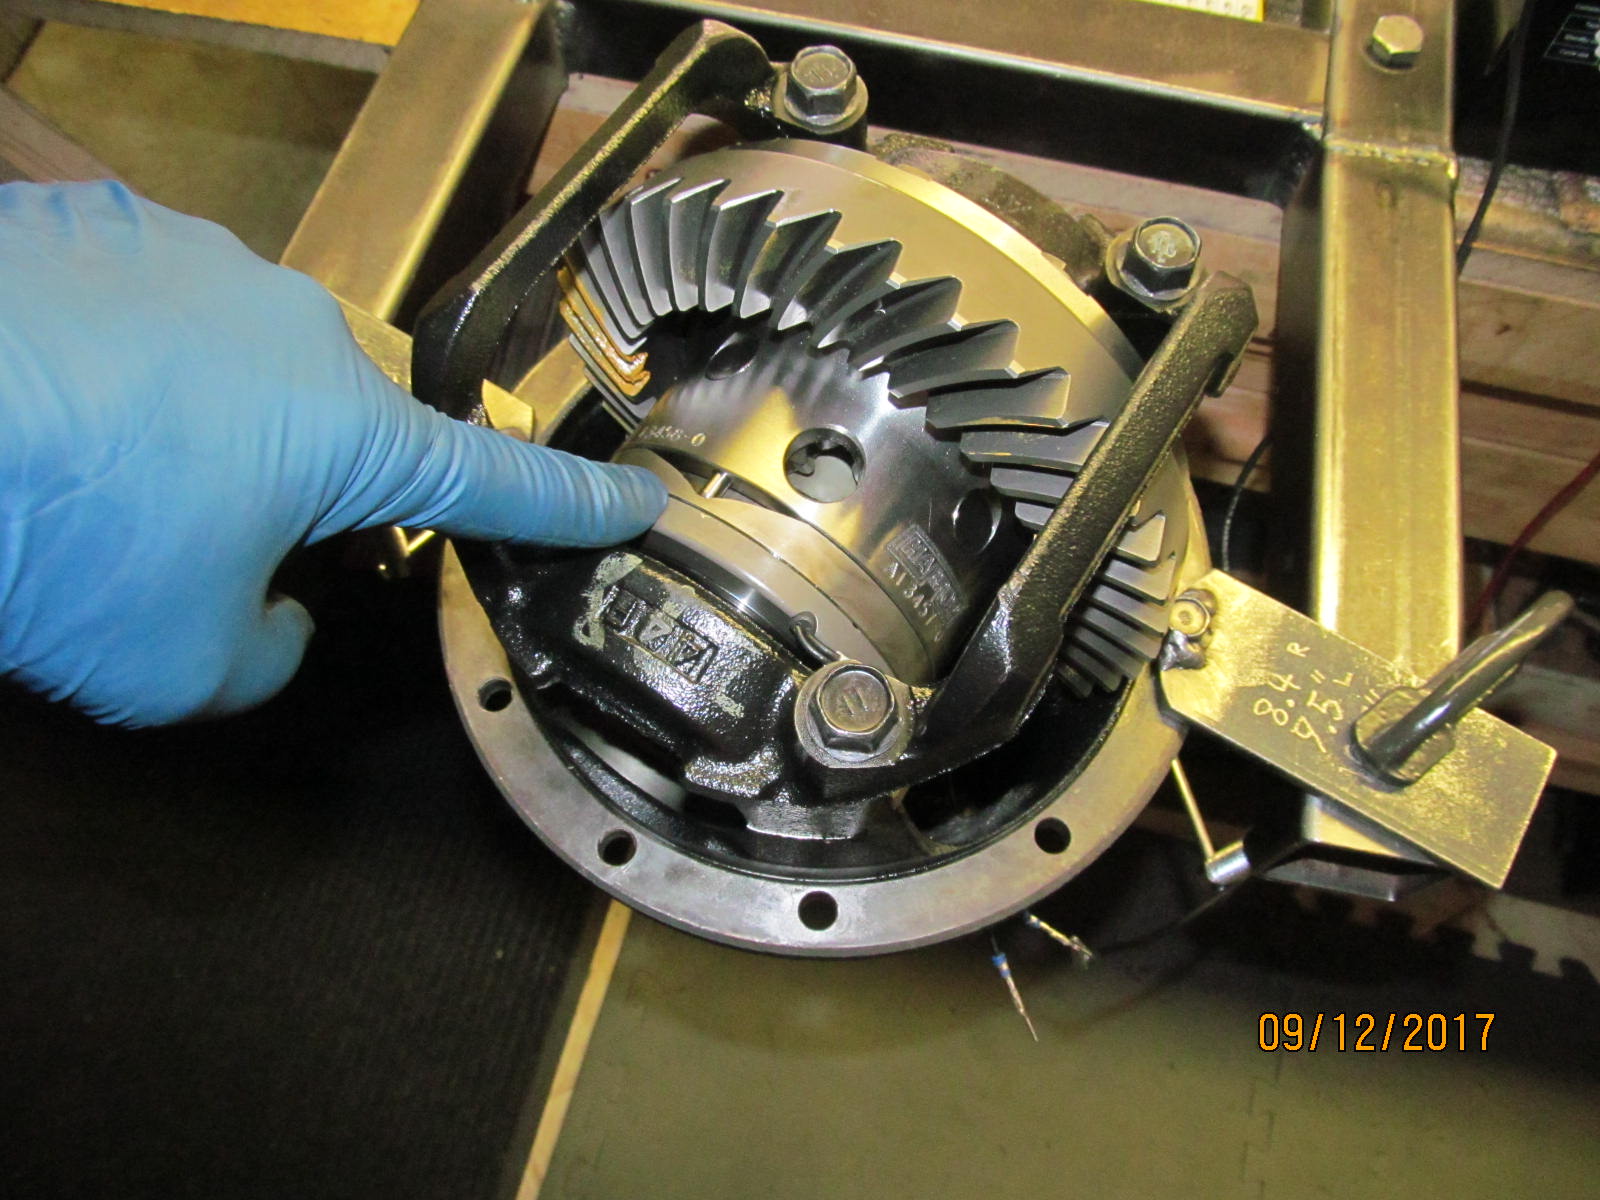
| Testing the grey electromagnetic ring is easy. |
|---|
|
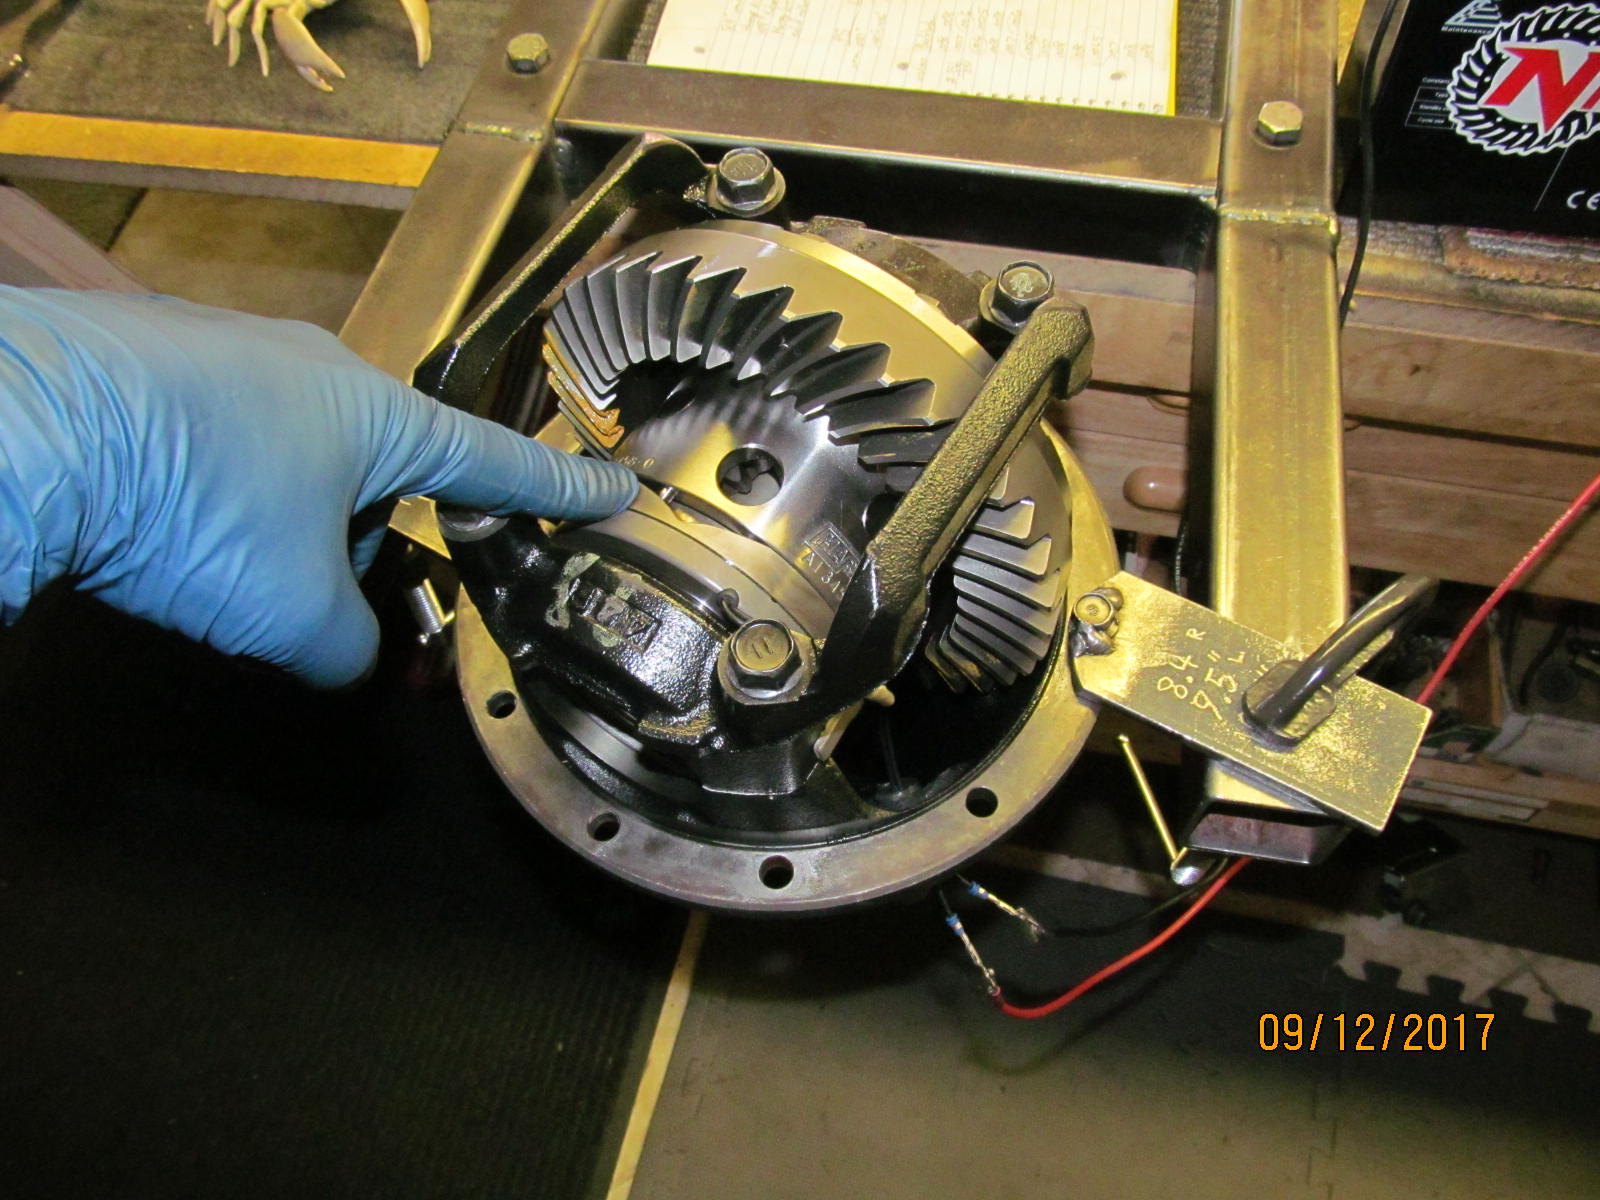
|
Applying 12 volts as shown locks the camming ring to the grey electro ring....
Well, not really "locks" it but is attracted enough to allow the 3 pins to ride up the cam ring. |
|---|
|
|
| Disconnect the 12 volts and the cam ring snaps immediately into the resting position shown.(unlocked) |
|---|
|
|
Double check....making sure there really is 83 ft/lb on the 4 bolts and there was.
Also, making sure there is about 2mm of stop tab play and there was actually closer to 3mm which is also just fine. |
|---|
|
|
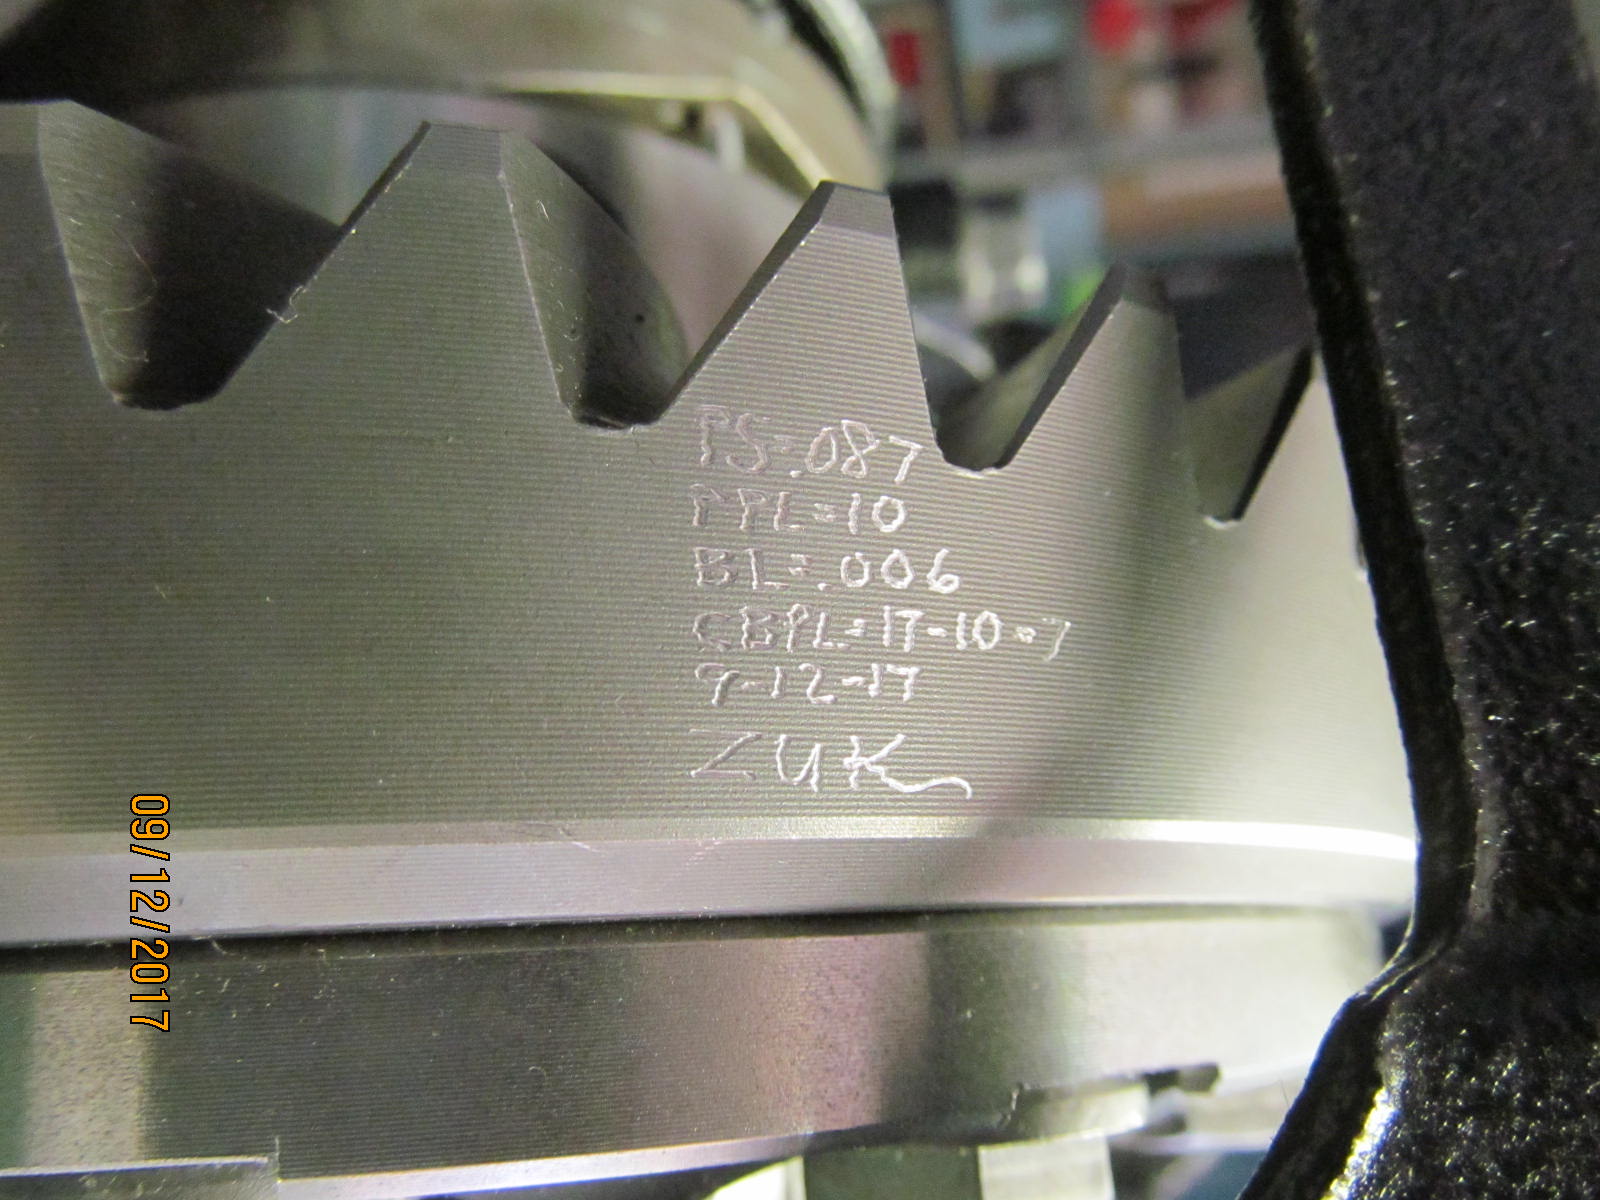
| Engraving the ring with basic specs. |
|---|
|
|
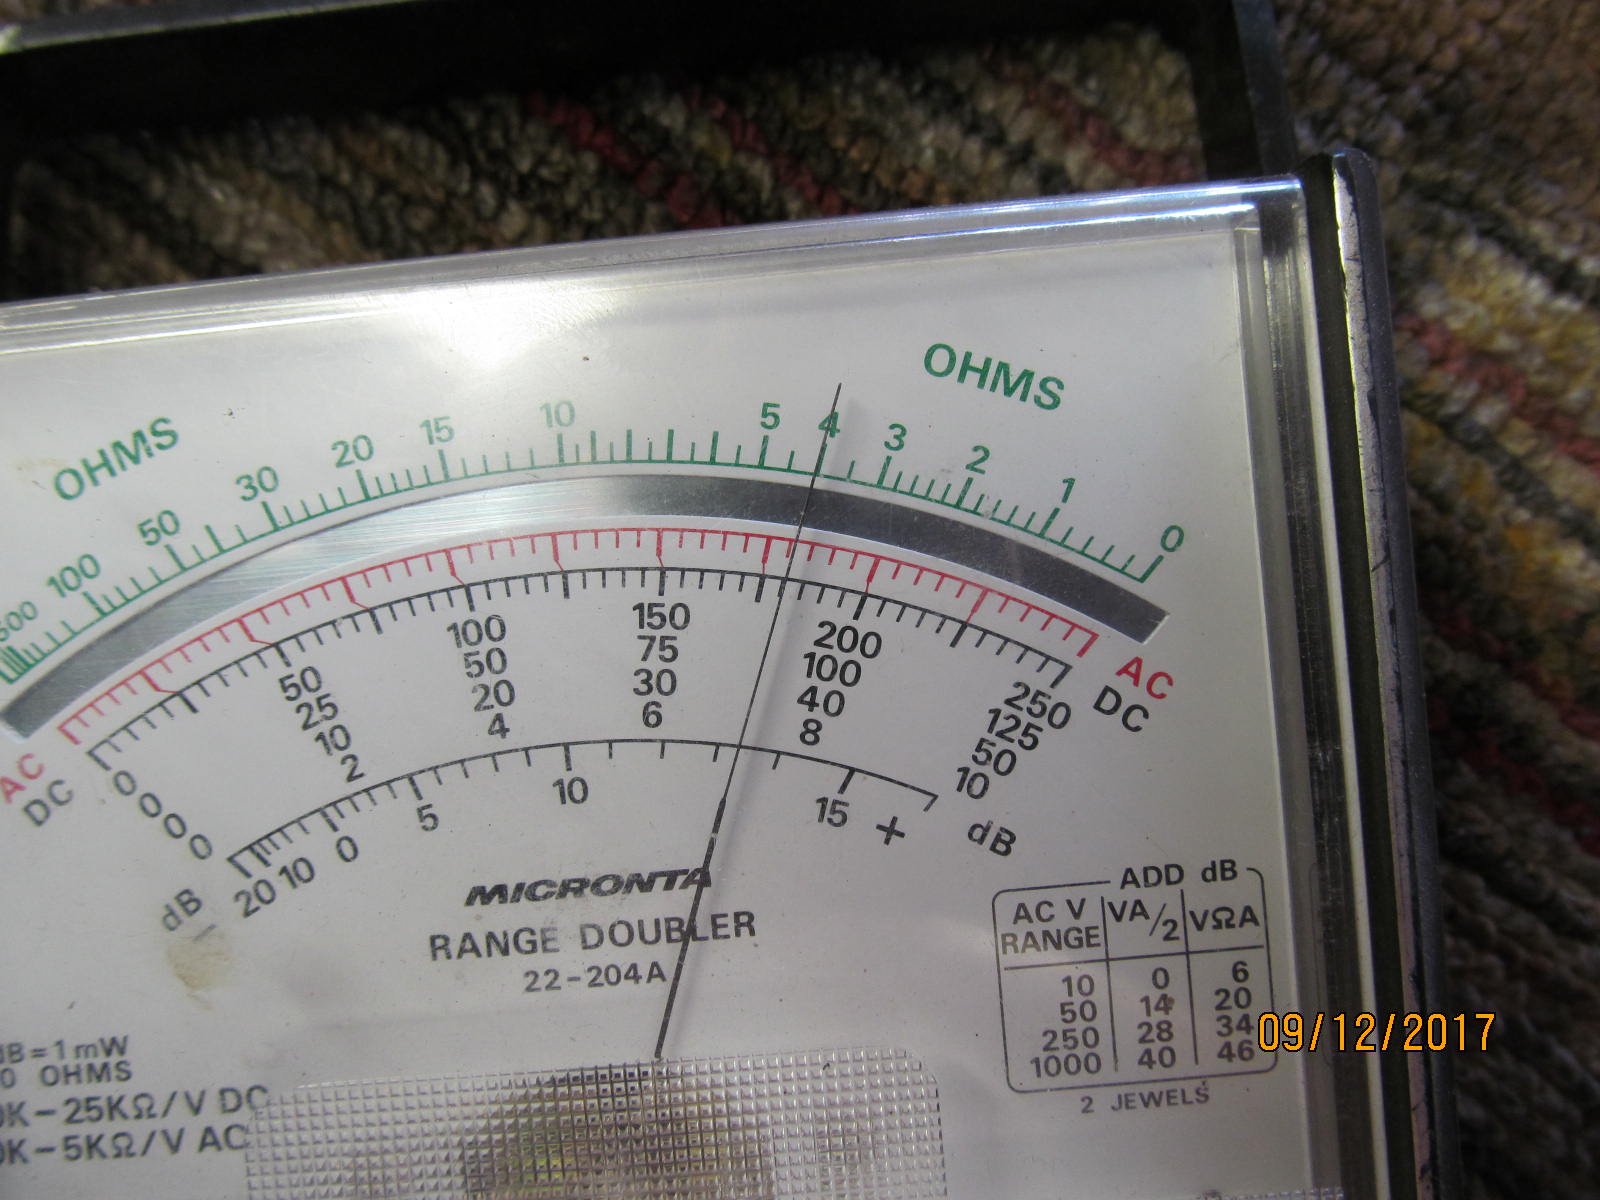
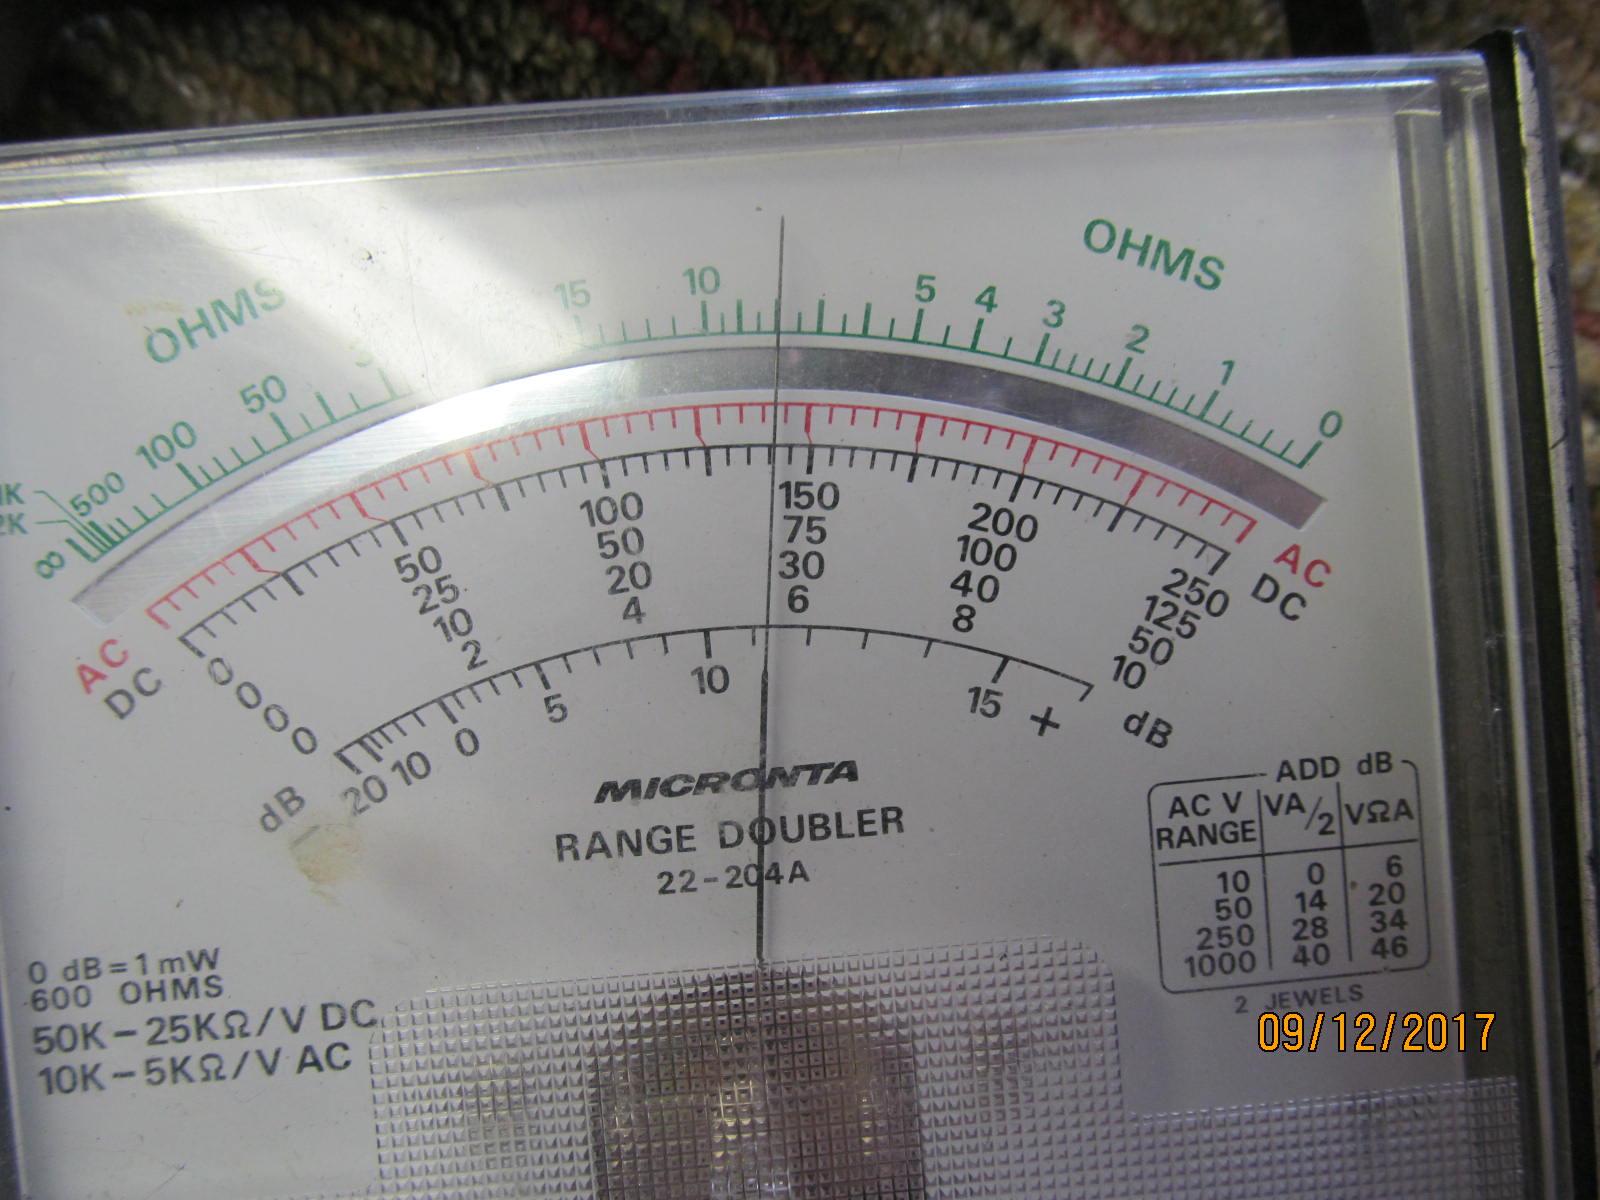
Measuring the resistance of the electromagnet coil and was almost exactly 4.0 ohms.
Ohm's Law says that even in a 16 volt system that the amps drawn thru a 4 ohm coil will be 16/4 = 4 amps.
E/R=I |
|---|
|
|
| My little test battery when loaded down was below 12 volts....and the current draw shown above (2.8 amps) reflects that. |
|---|
|
|
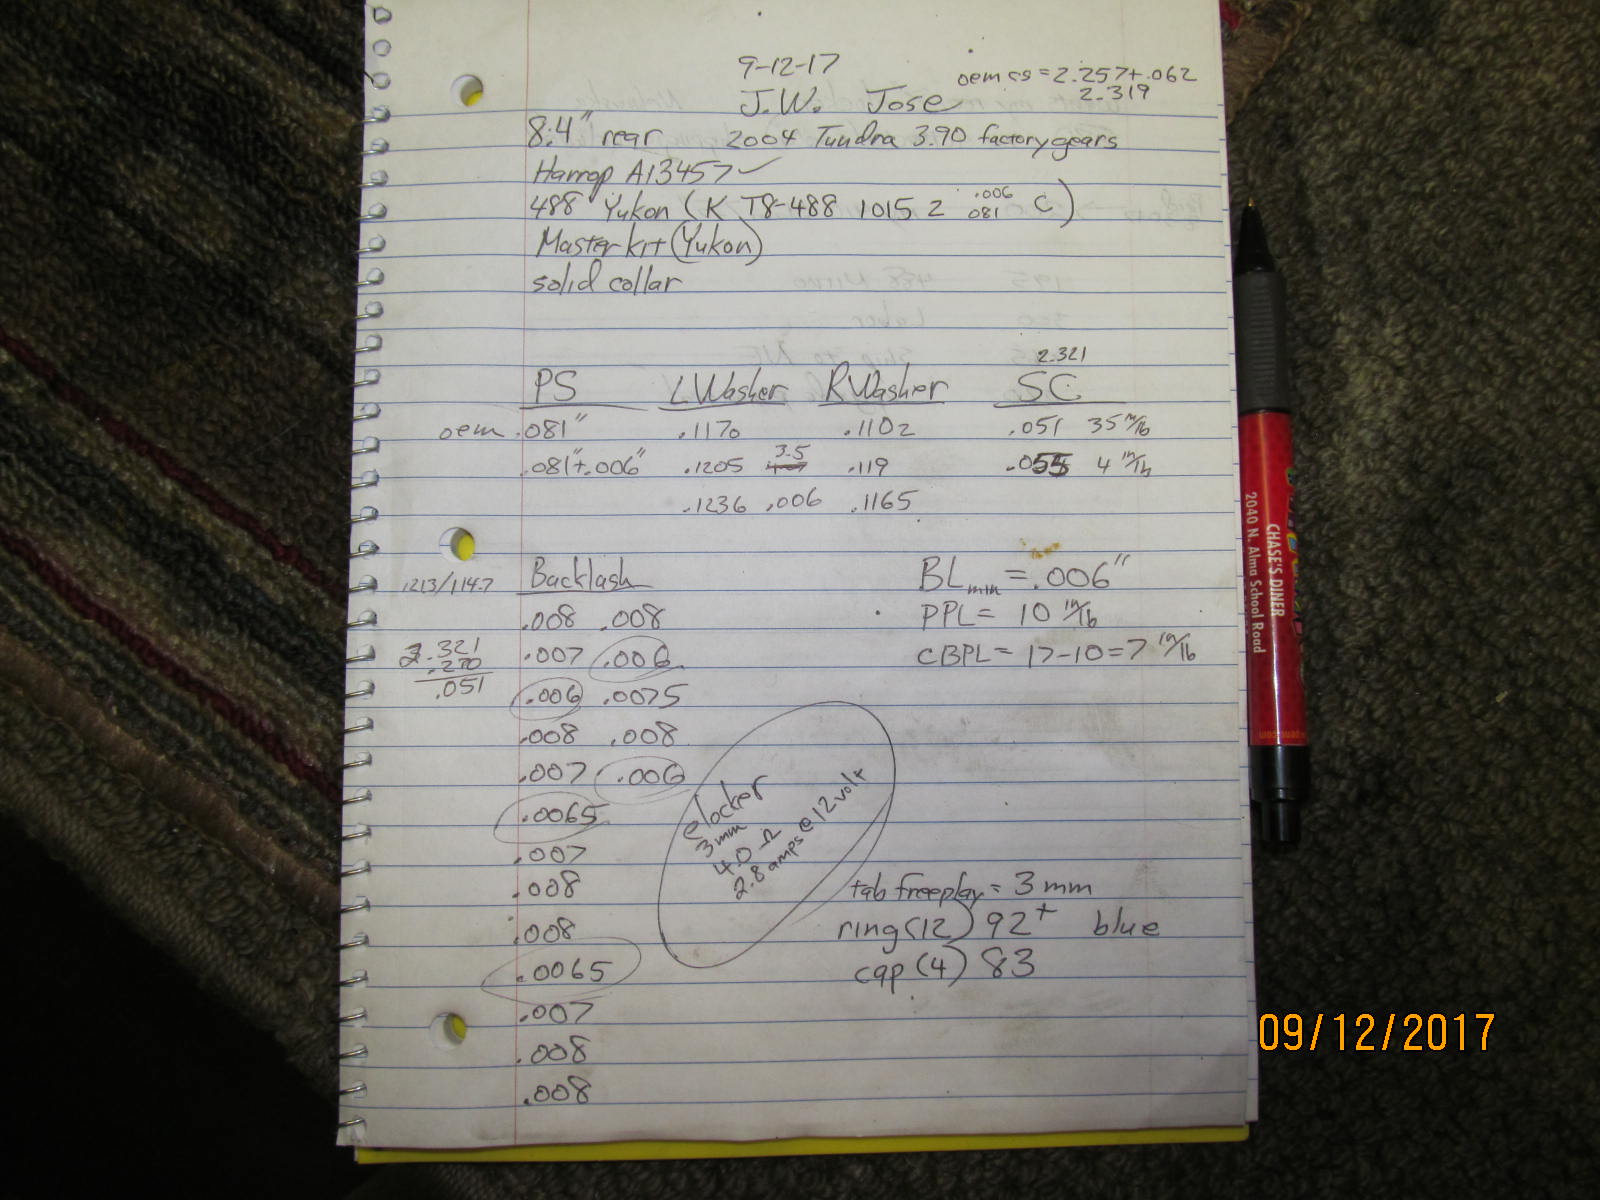
| A final snapshot of the notes. |
|---|
|
|

|
