|
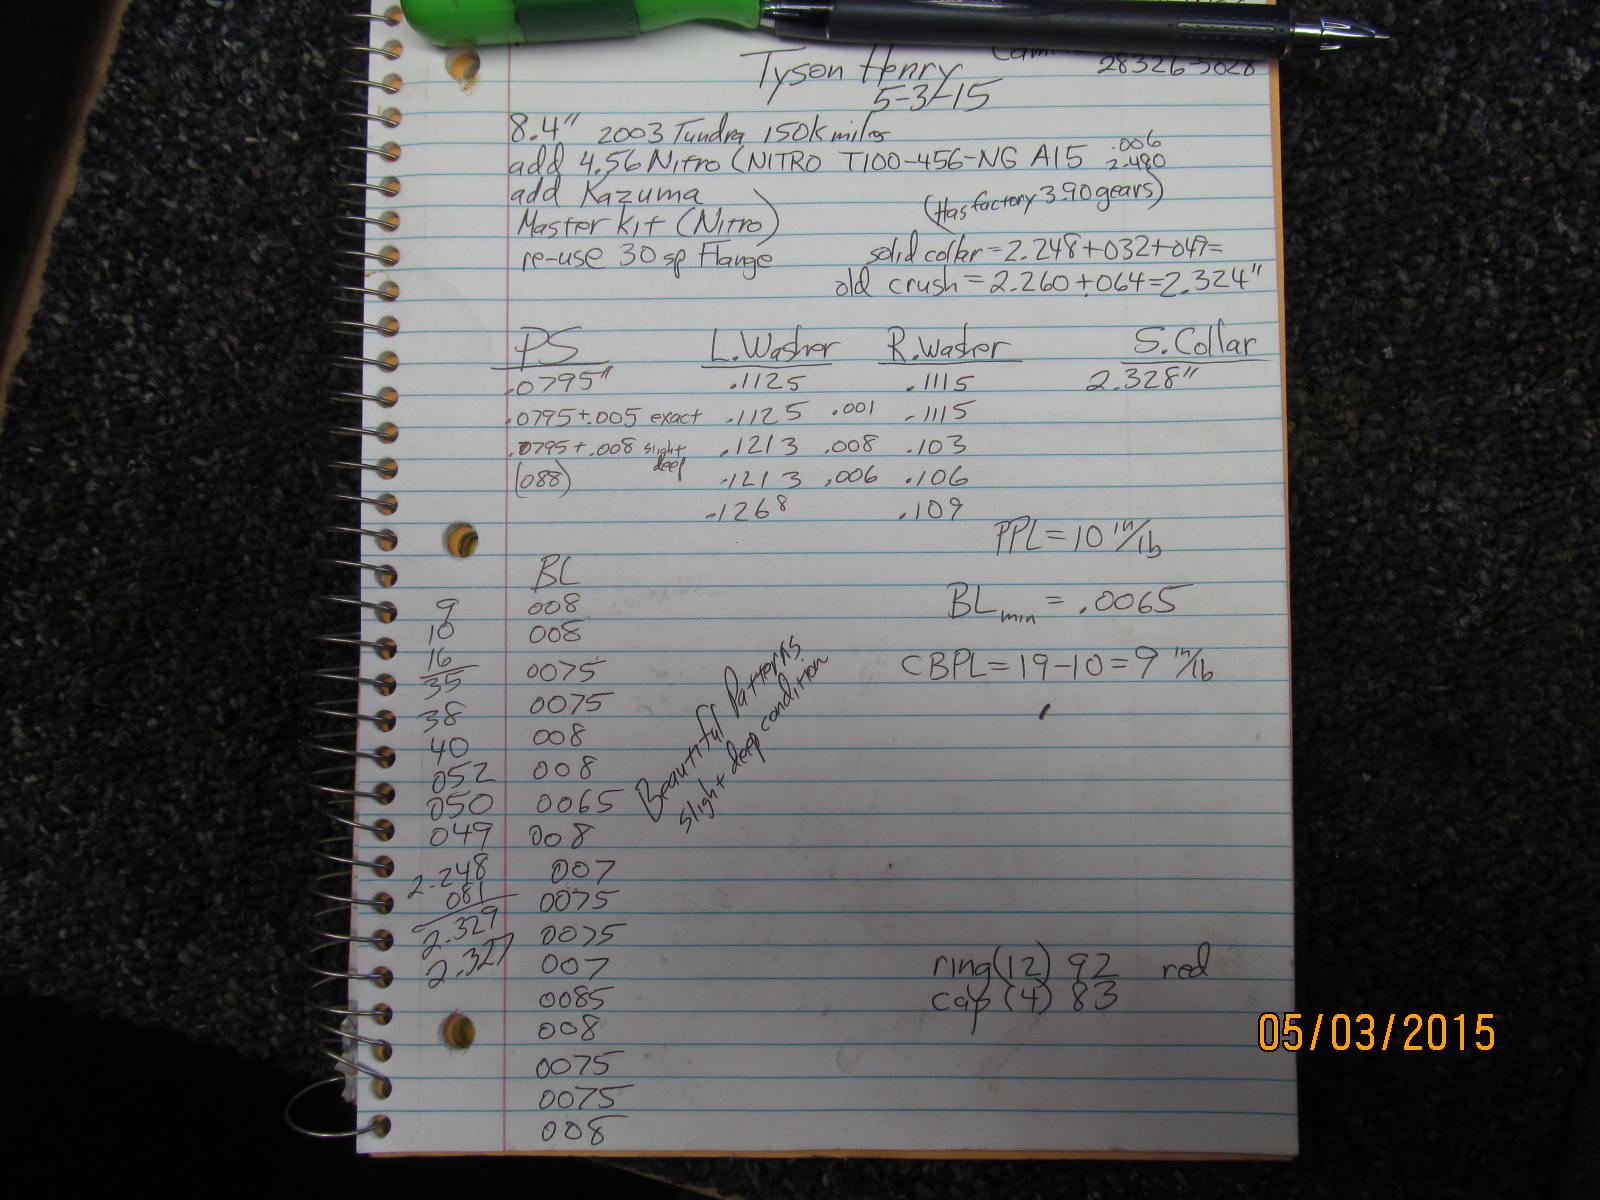
Kazuma LSD and 4.56 Nitro Gears for Tyson's 2003 Tundra
|
|
(38 BIG pics loading)
|
|
May 11 2015
|
|
|
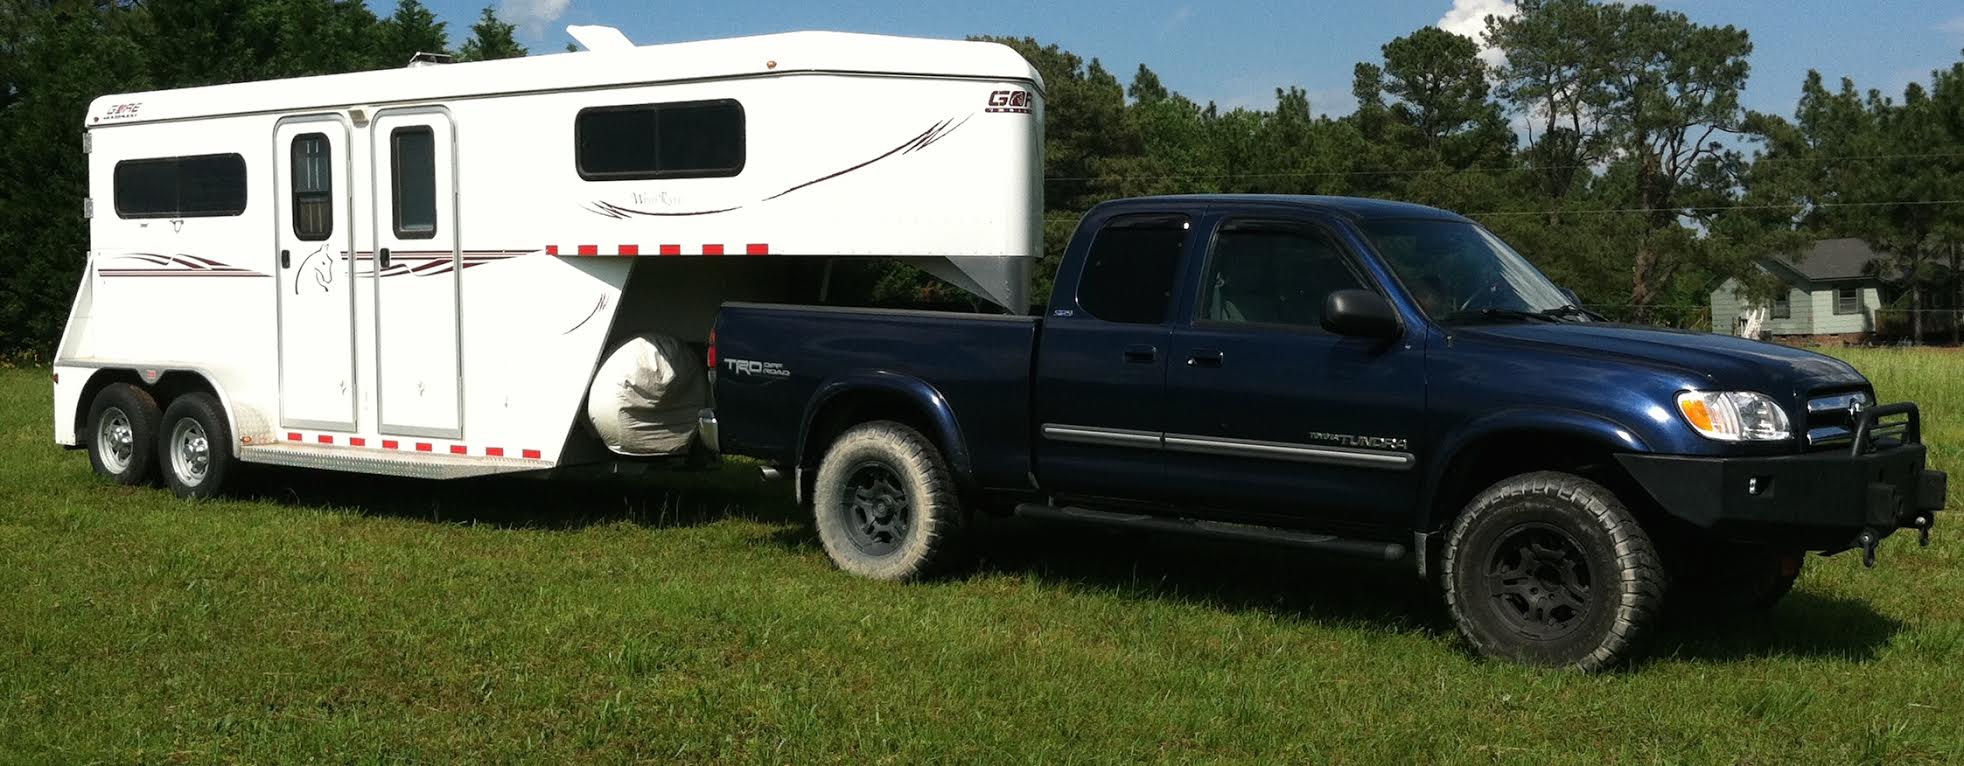
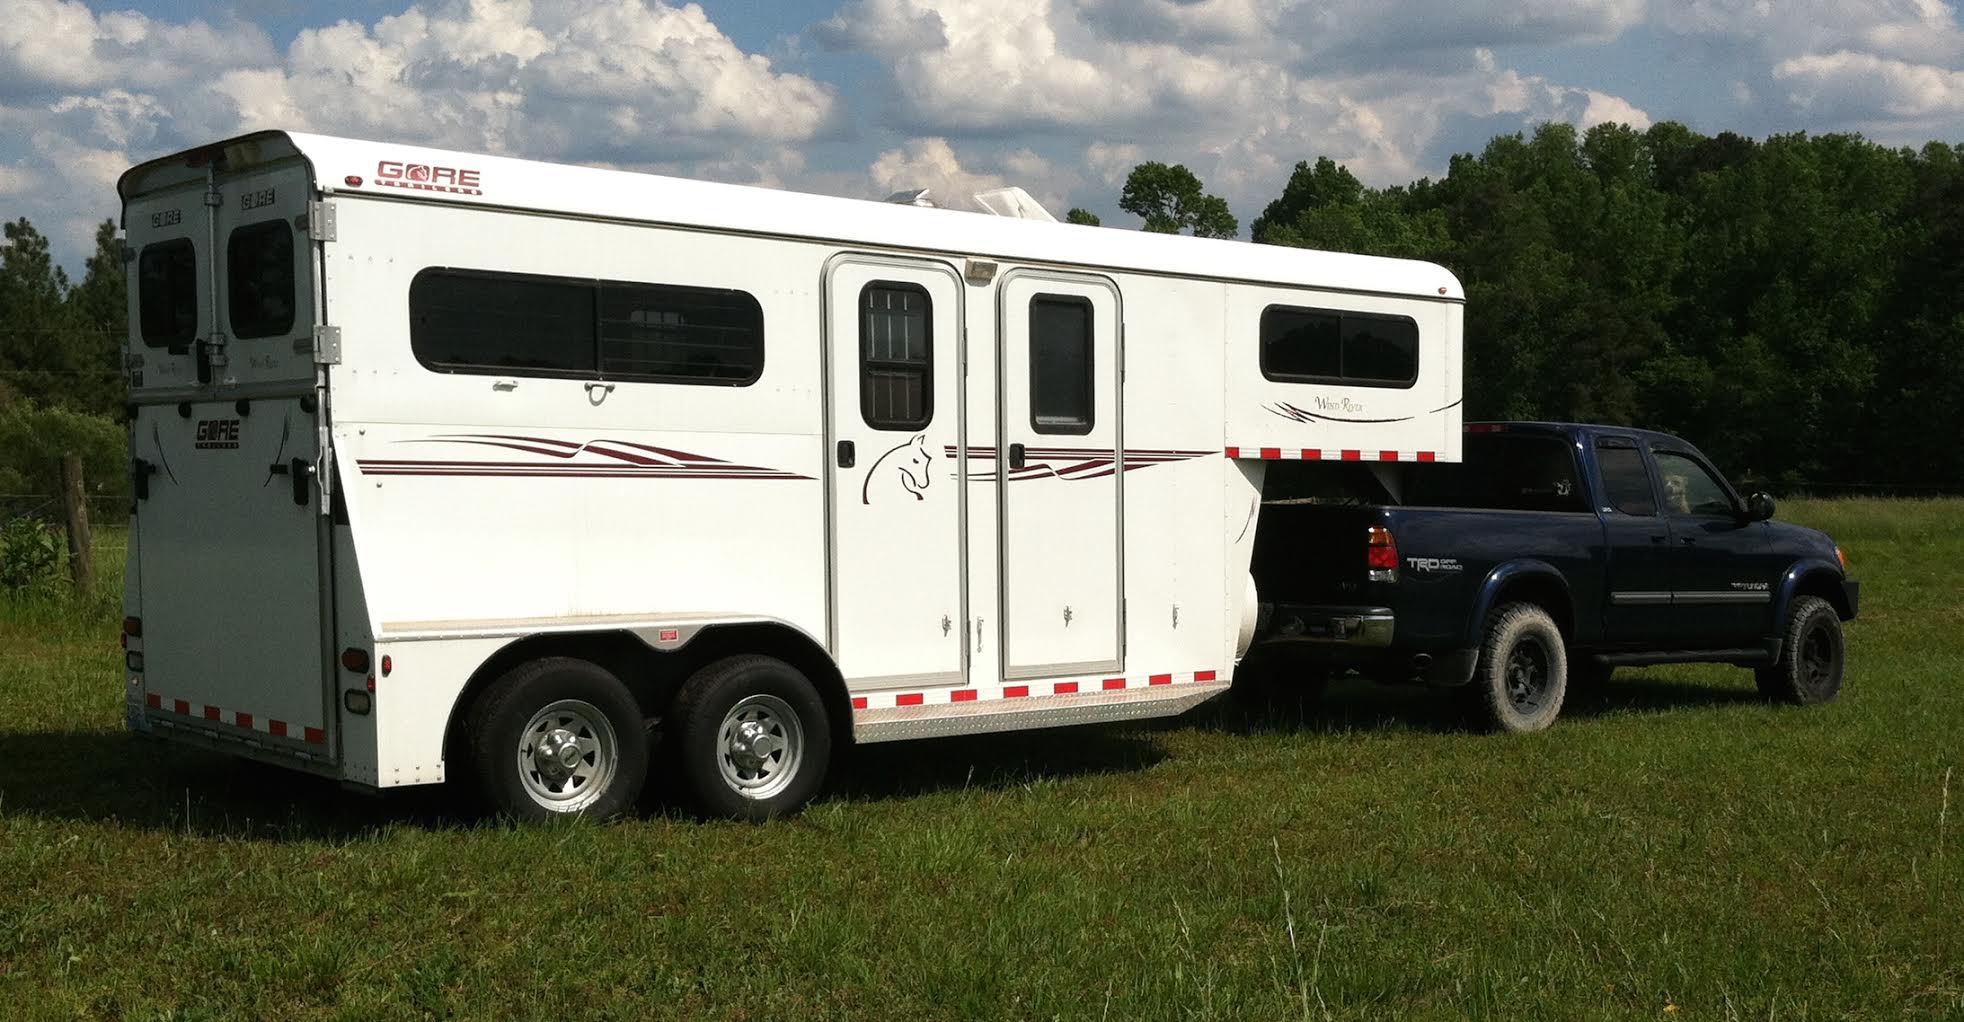
Tyson is in North Carolina and his 03 Tundra is called upon to do some unusual duties....
like pulling a 24' gooseneck trailer with horses inside thru the wet, soggy and sometimes mucky grass.
|
|
|
|
Excellent traction is a must for this useage in this 1st gen 2WD Tundra with 4.7L 245 horsepower V8
with A340E auto tranny. In the differential is a limited slip but it's the weak factory
version and very worn out.
|
|
|
|
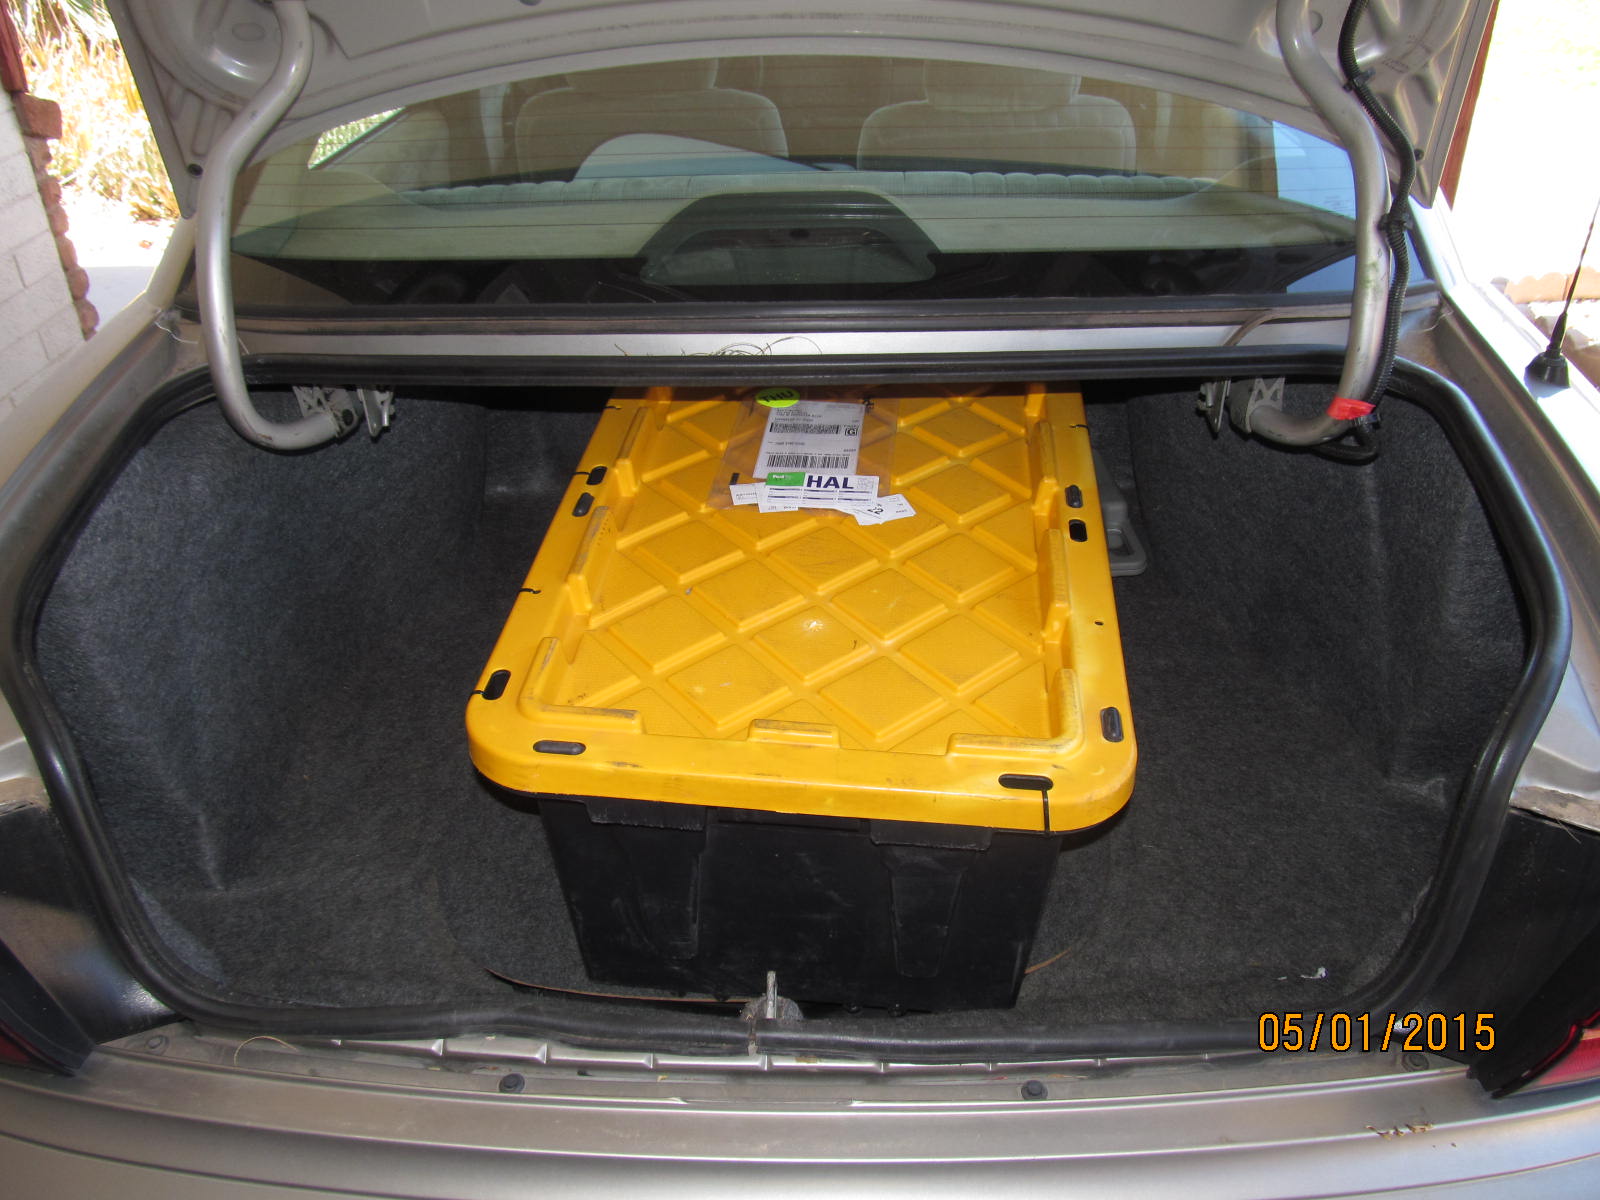
As received from Tyson. I've seen these extra heavy duty totes at Home Depot and also
at Lowe's. I think they were priced at about $15.
|
|
|
|
|
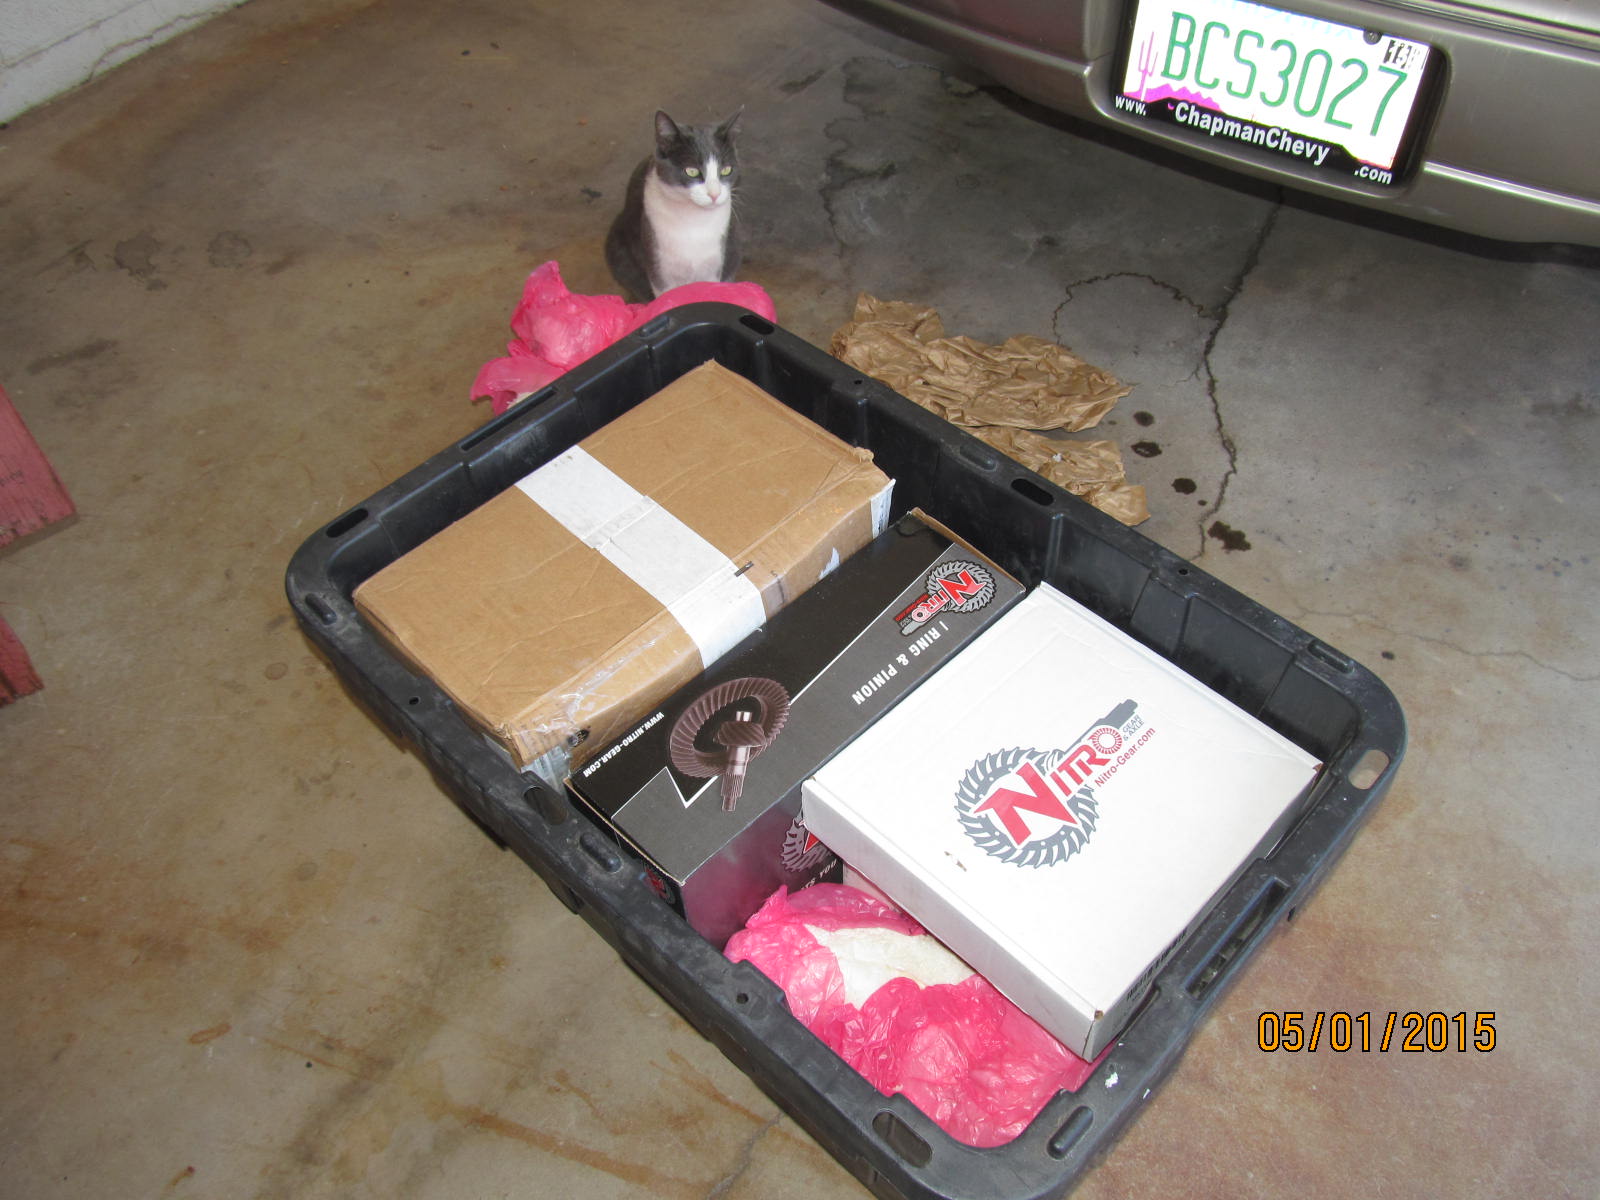
115 pounds.
|
|
|
|
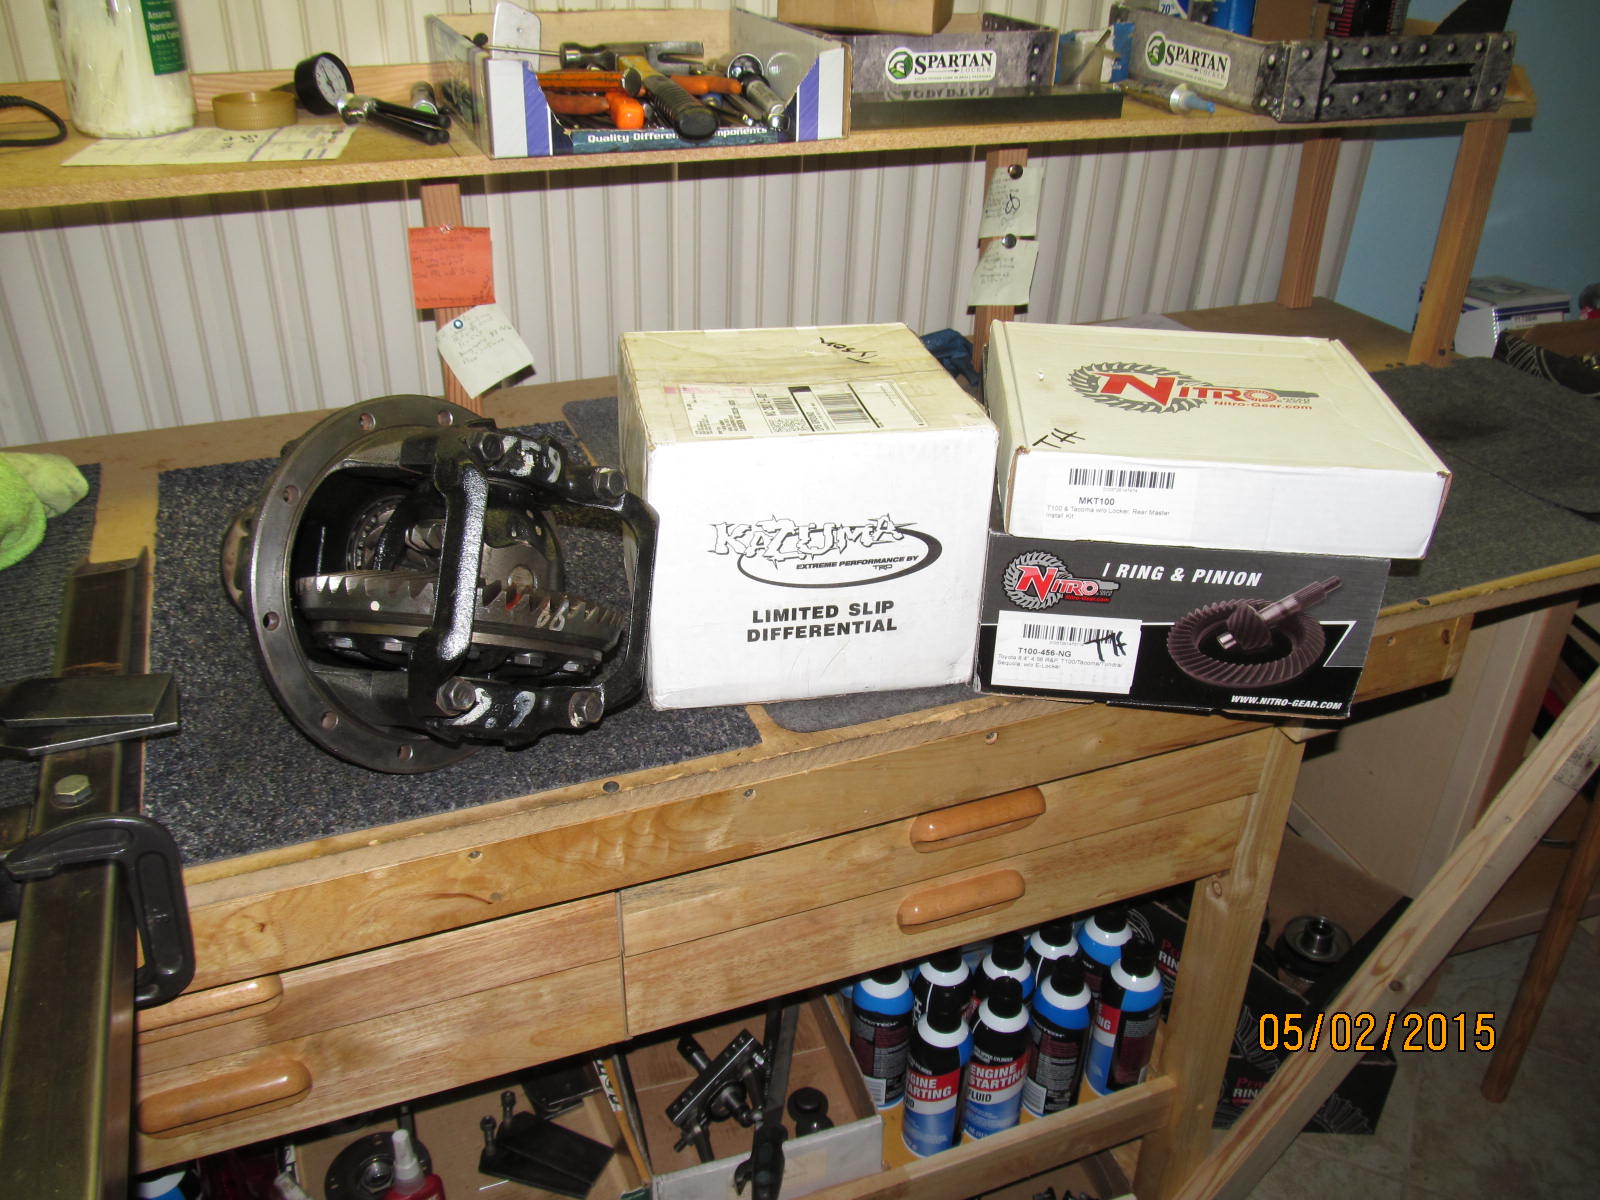
The spare open Tundra 3rd, Kazuma LSD, Nitro 456 gears and the master install kit.
JustDifferential 8.4" Nitro Gears
JustDifferential 8.4" master kit
|
|
|
|
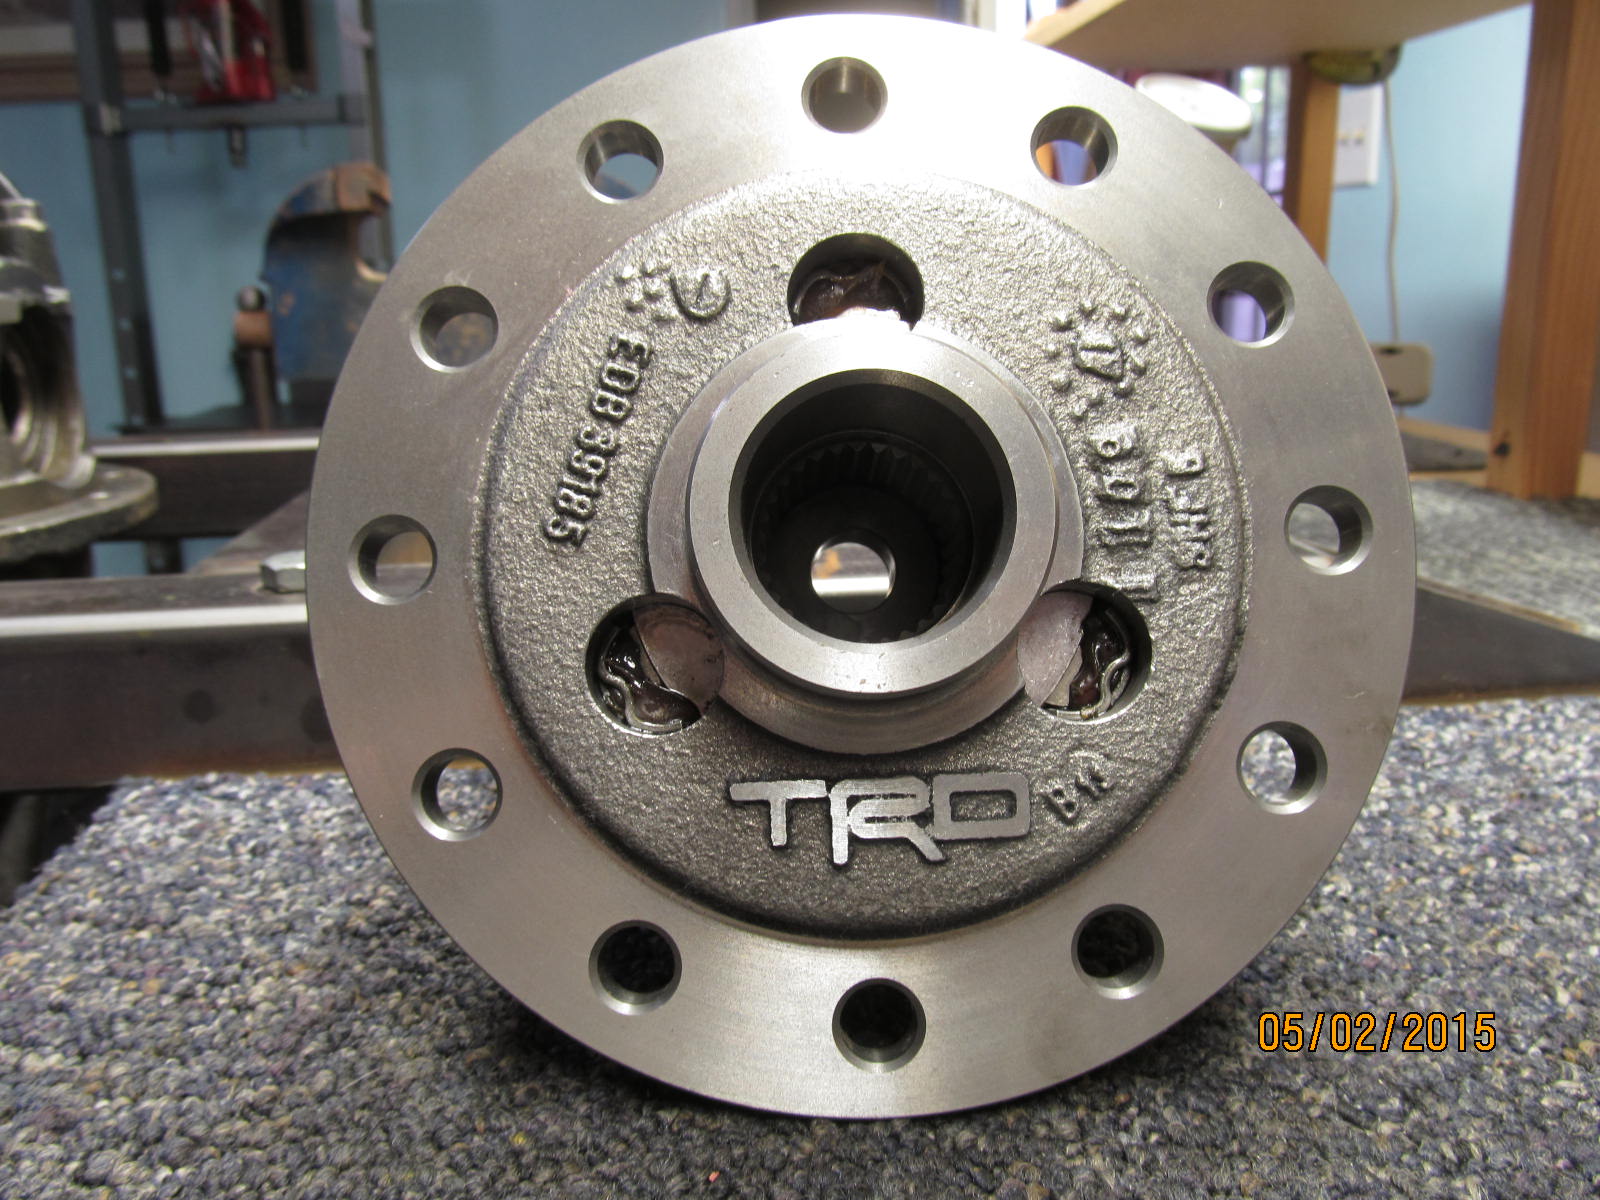
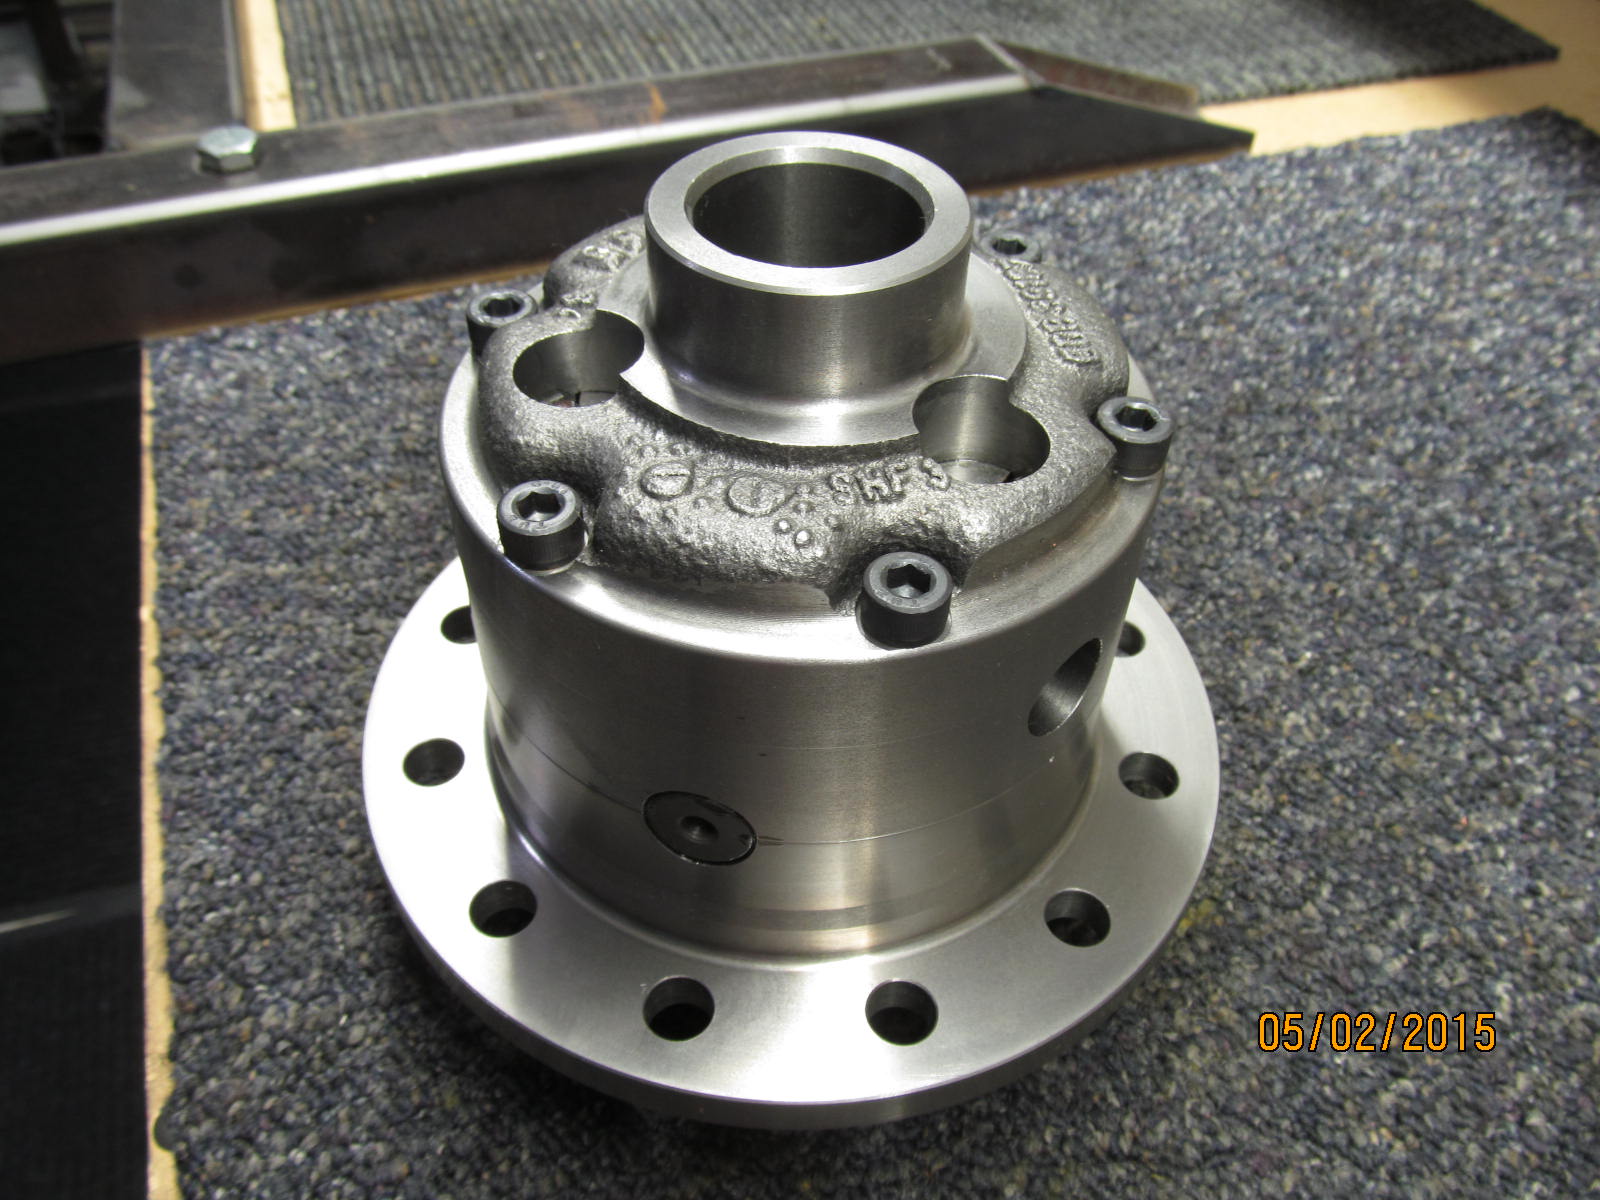
Manufactured by Eaton for TRD, this lsd is much better than the OEM version that Toyota sometimes
puts in the Tundras. Here's some of the reasons why.... Kazuma LSD
|
|
|
|
|
Cabe Toyota has them for $299 Cabe Toyota
|
|
|

|
|
=============================
|
|
|
|
|
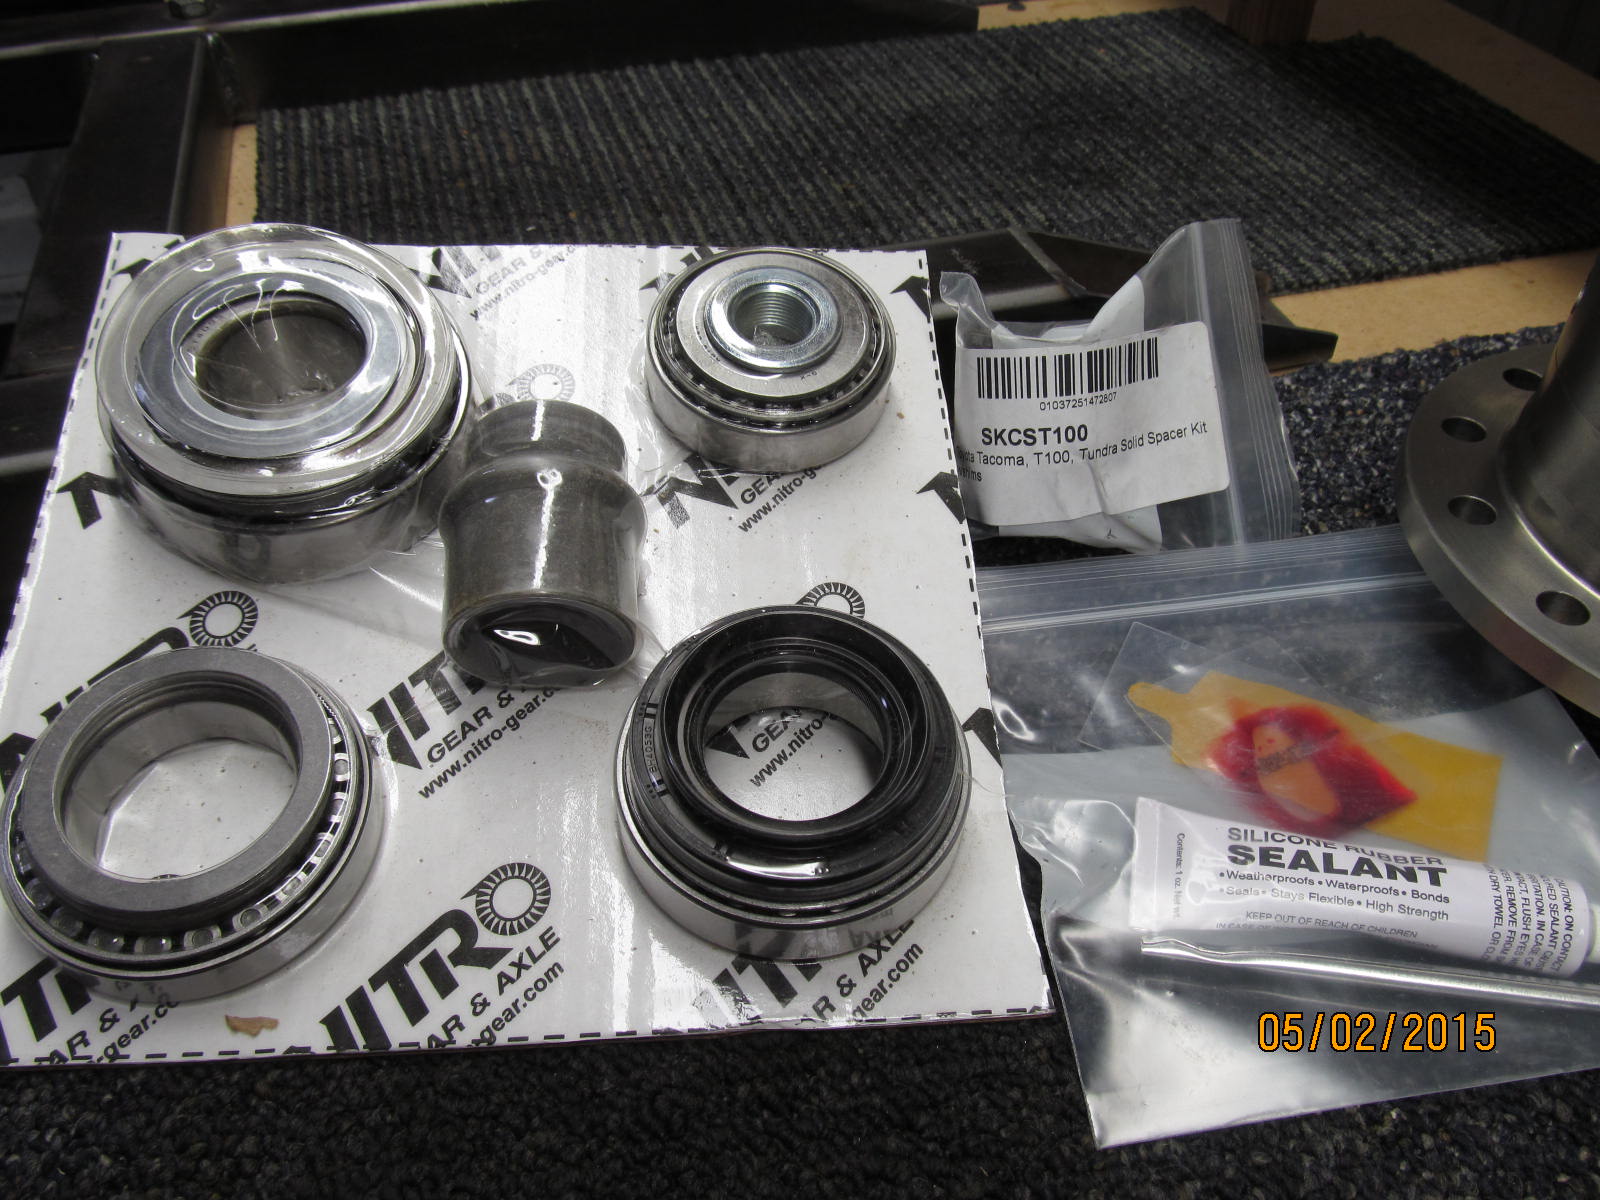
8.4" master install kit
|
|
|
|
|
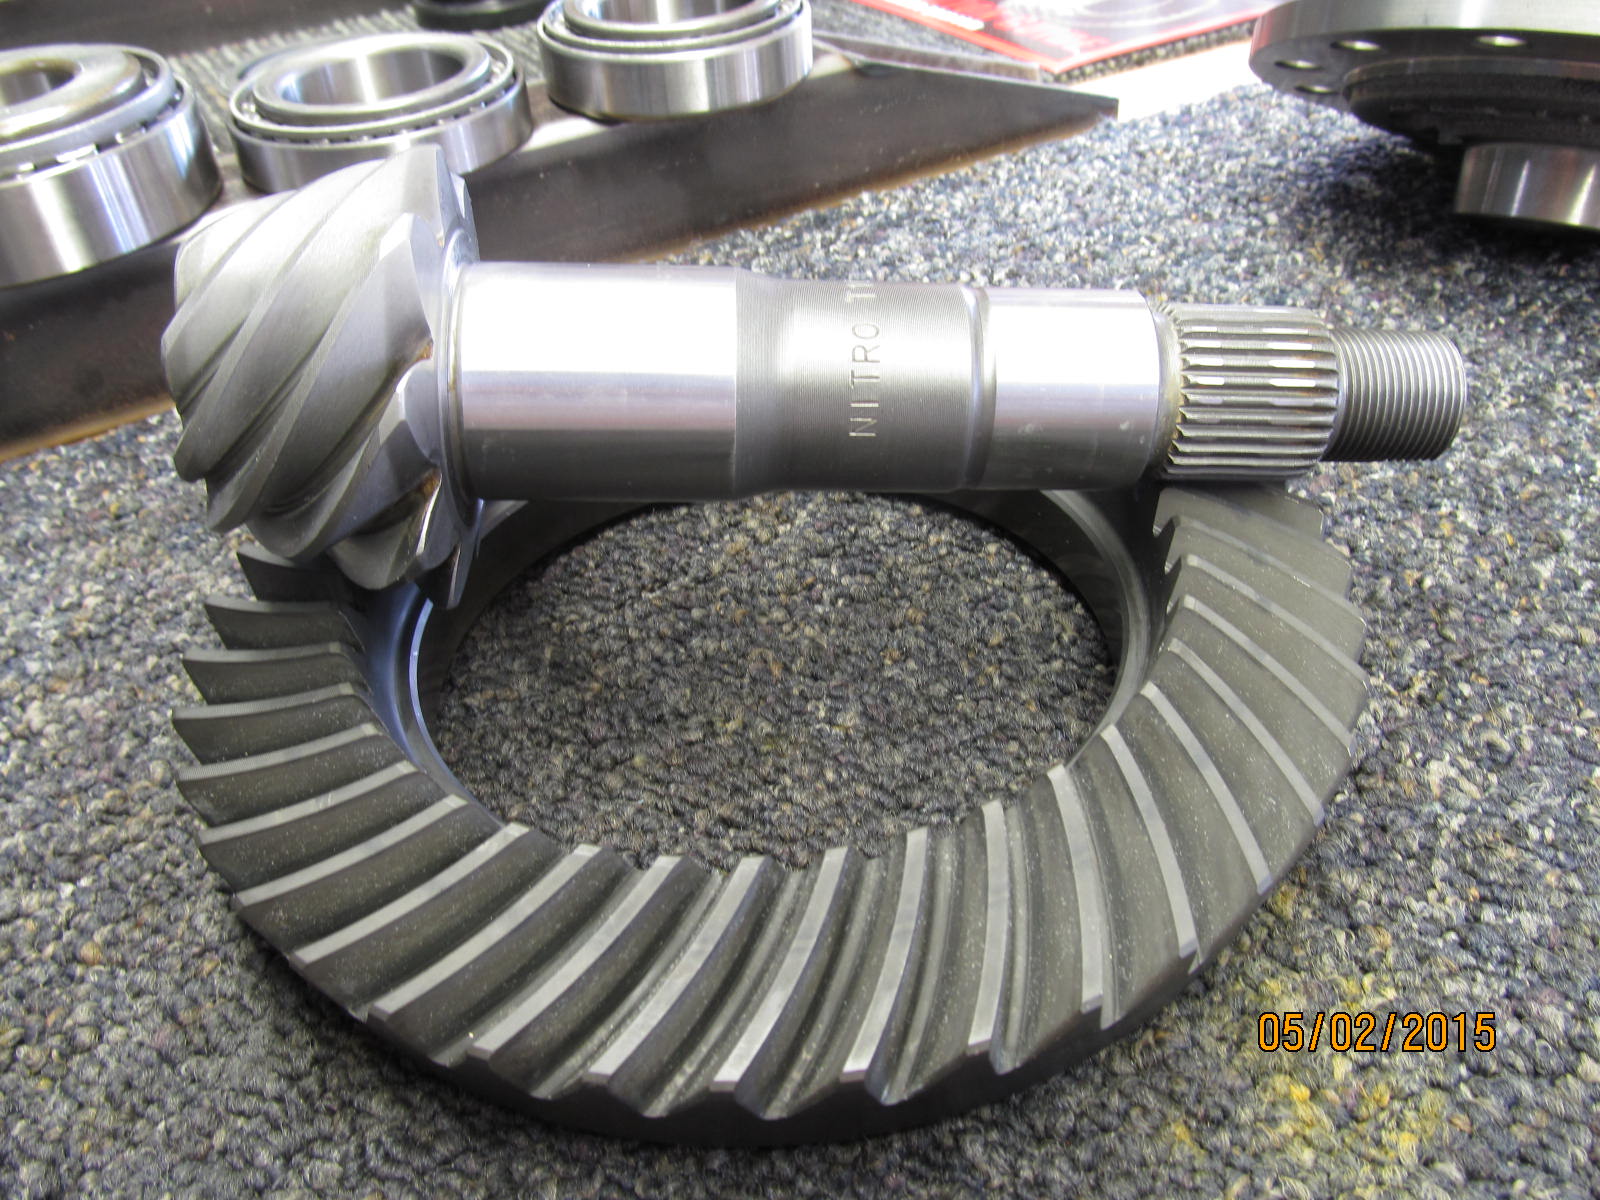
4.56 30 spline Nitro Gears...very beefy thick pinion shaft.
|
|
|
|
|
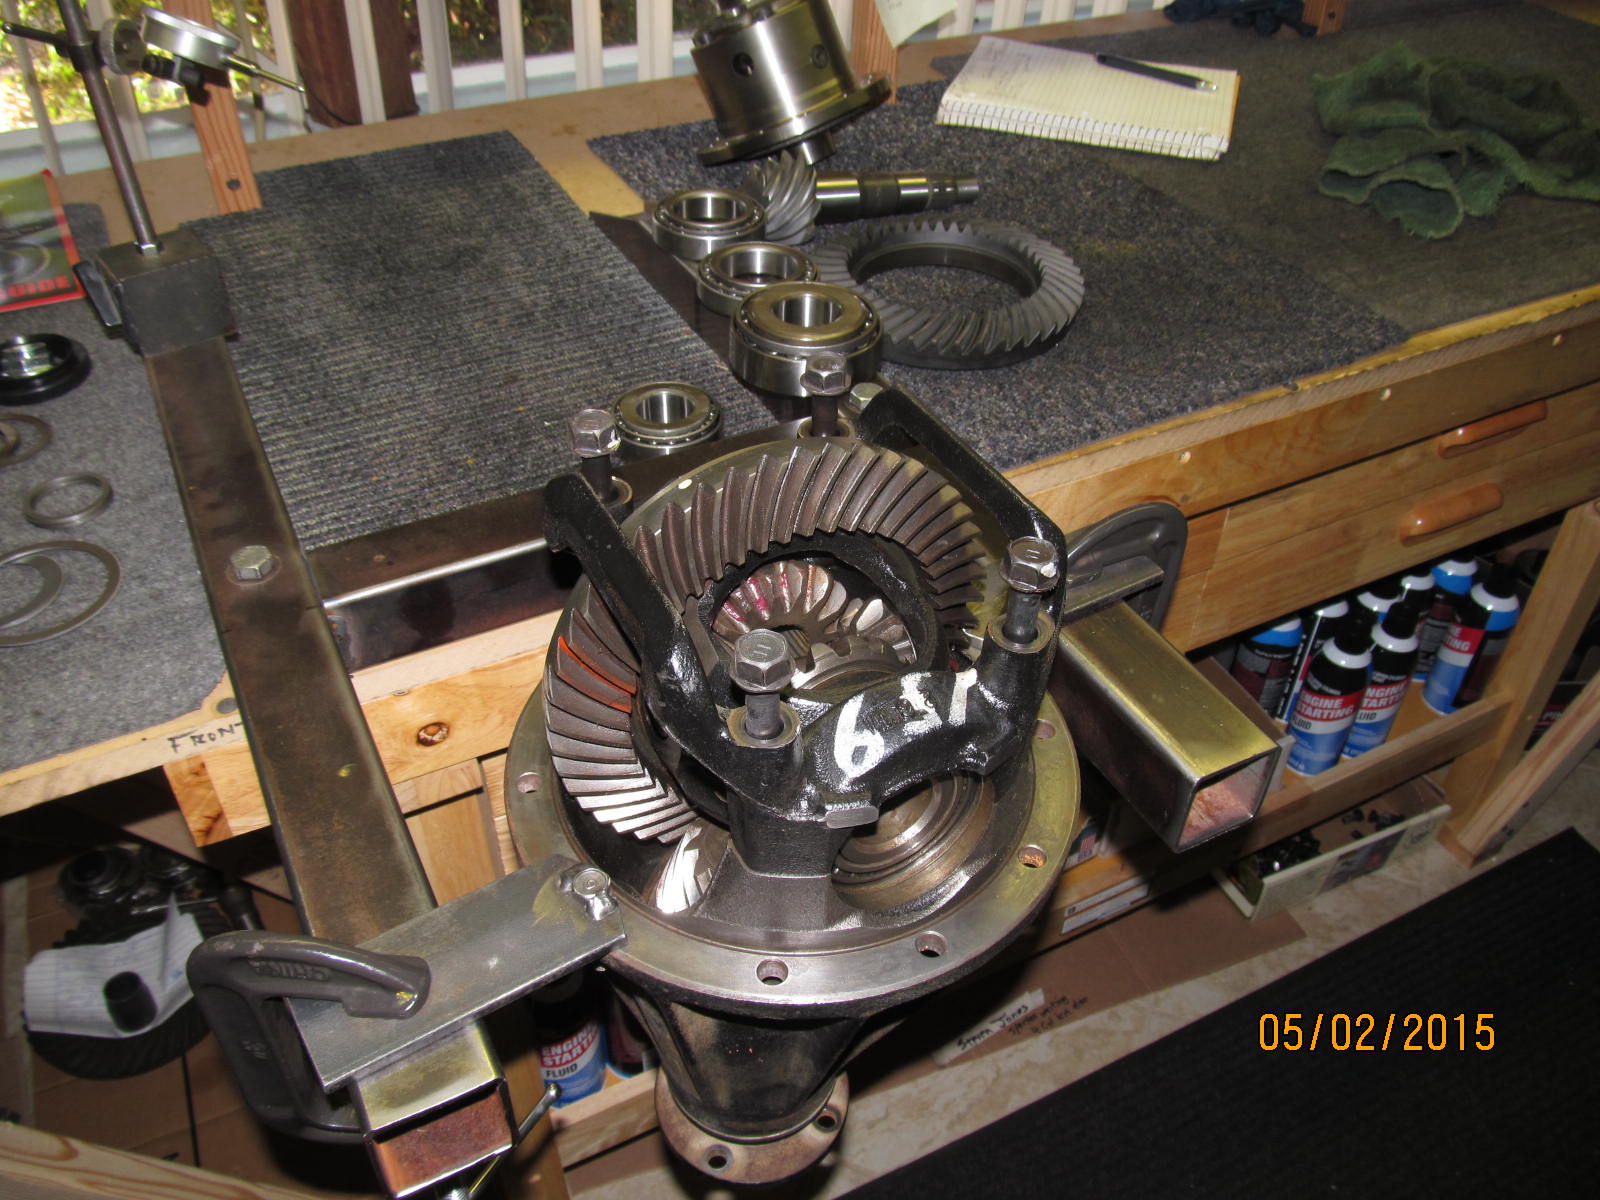
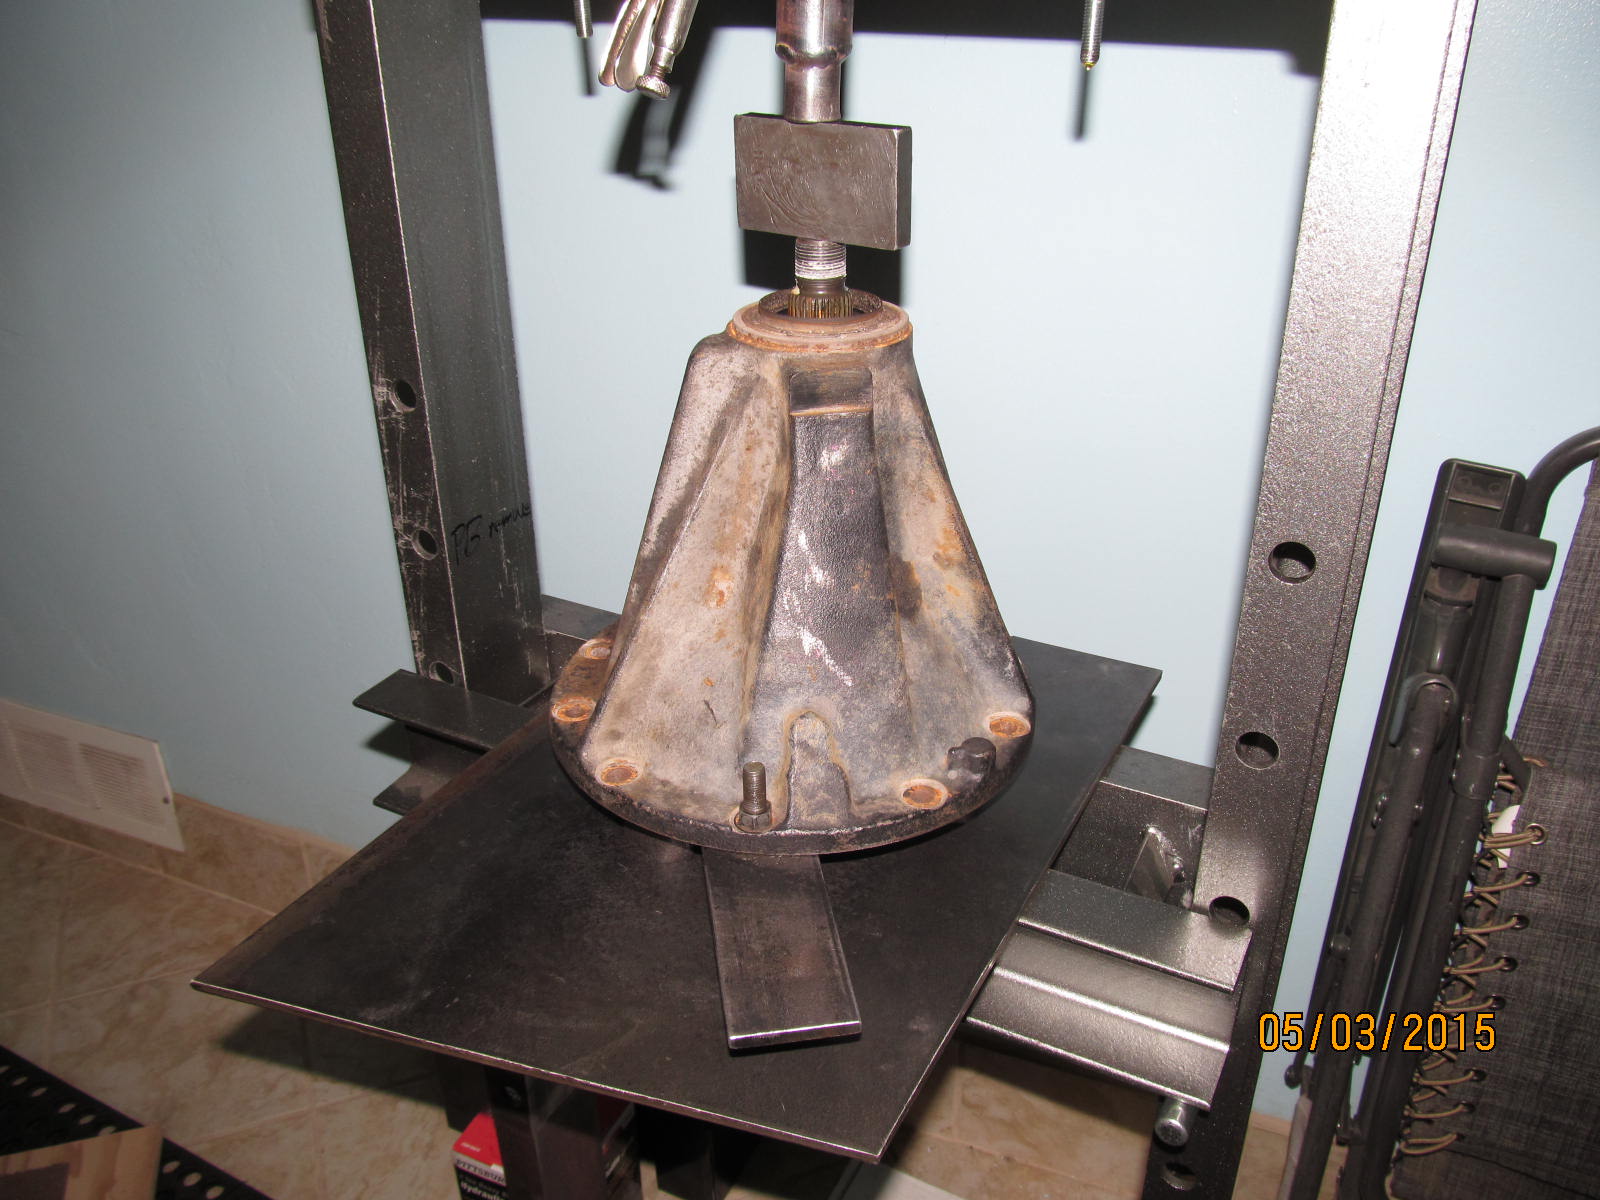
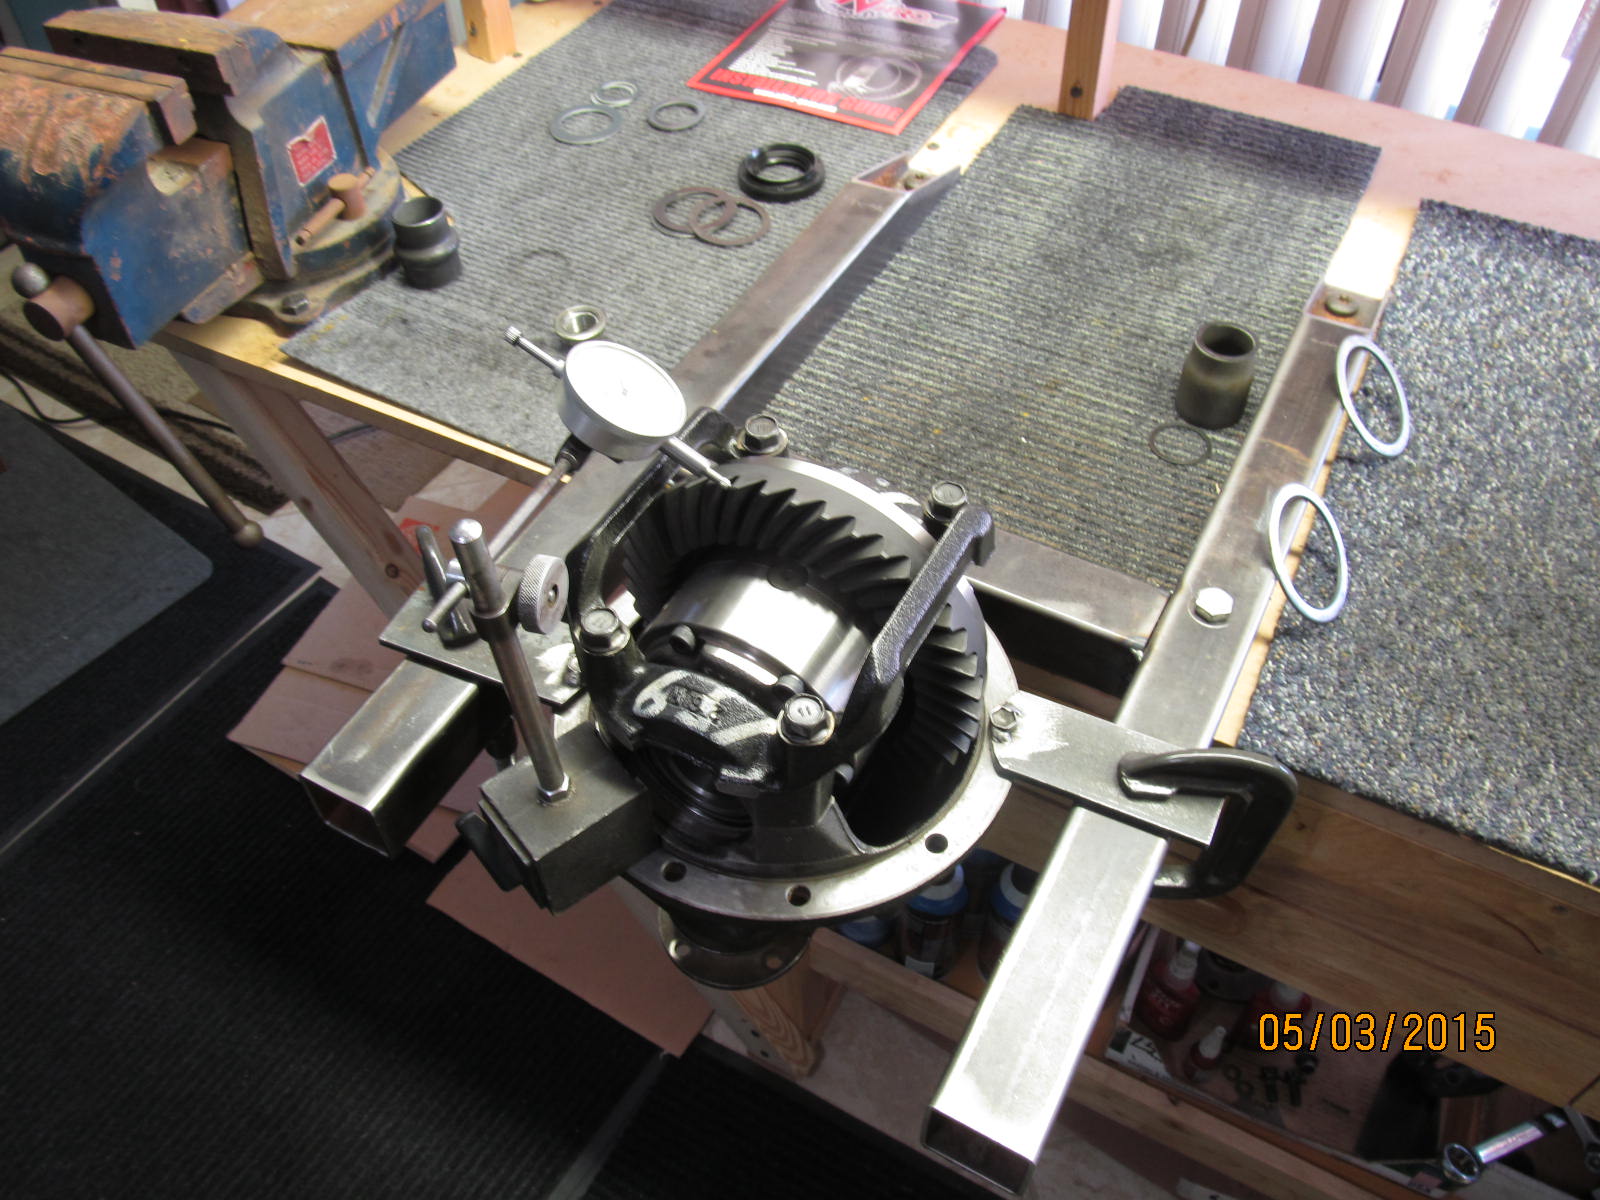
Teardown starts by removing the cross-brace.
|
|
|
|
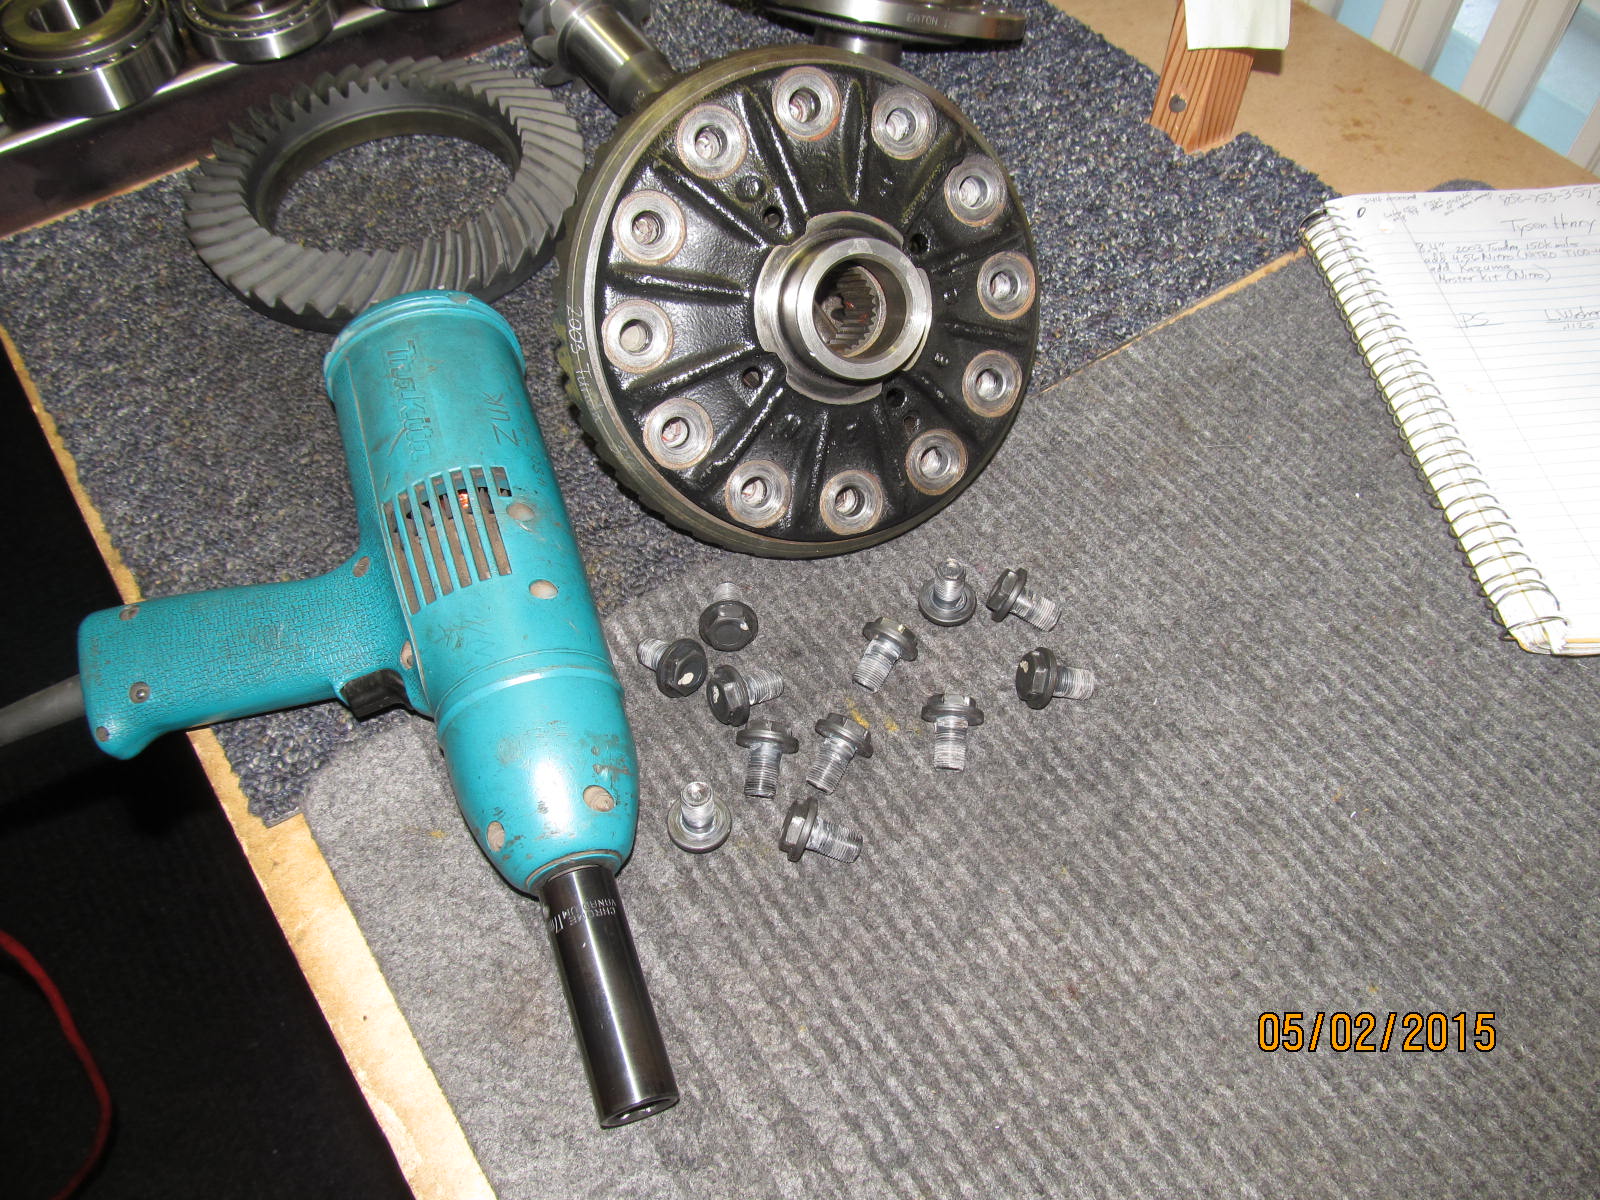
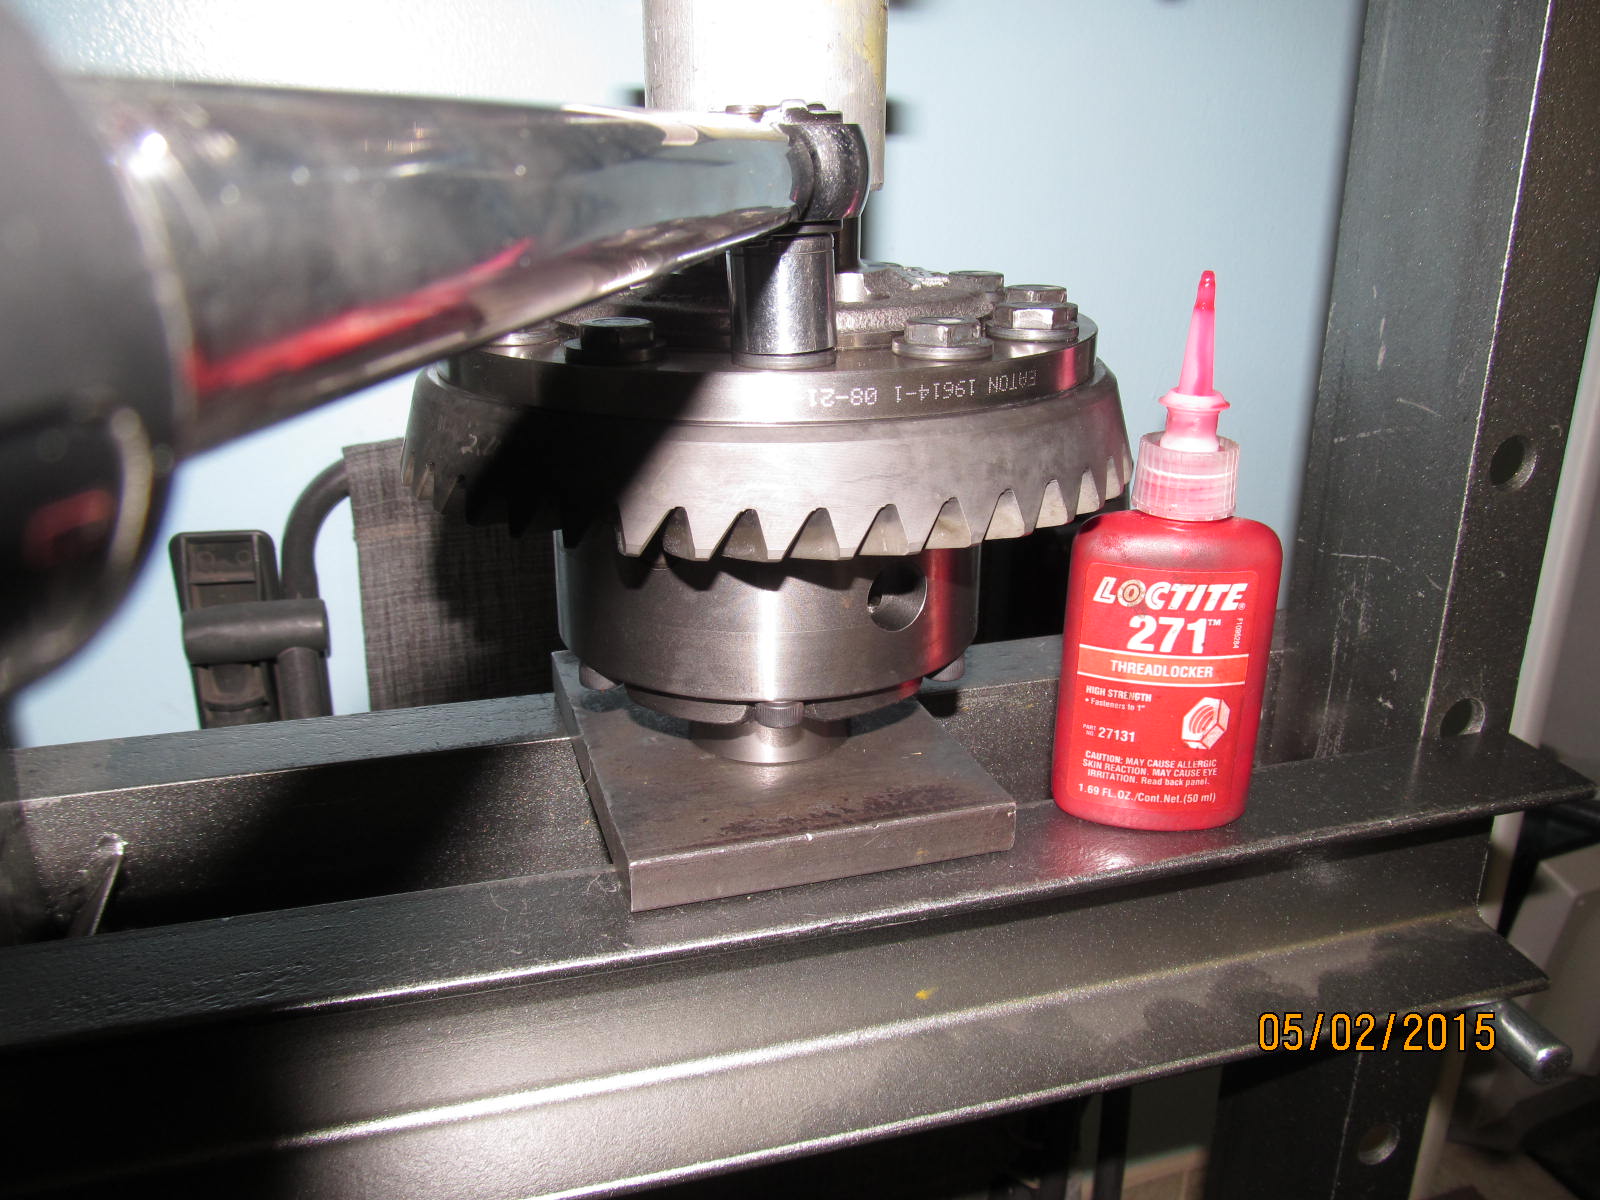
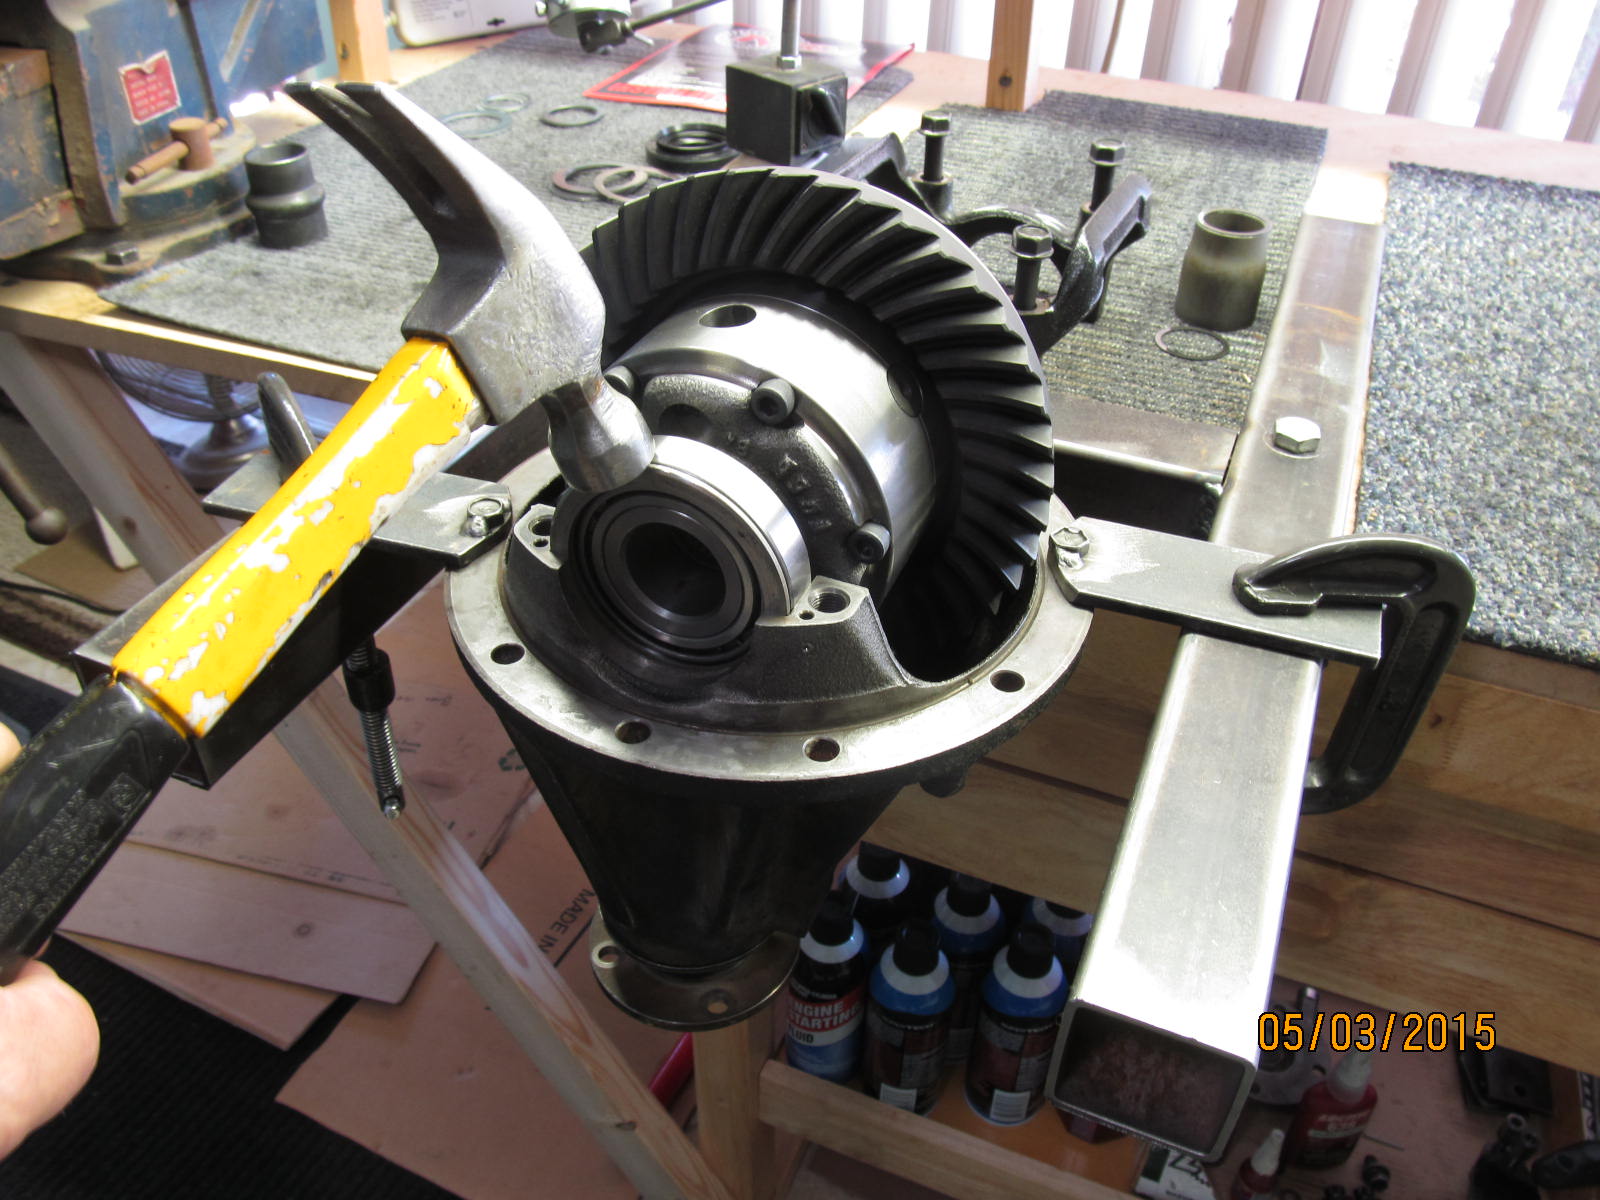
The 12 ring gear flange style bolts had some sort of oem high strength loctite on them
so the electric impact got a work-out getting them off.
|
|
|
|
|
The ring gear was a very tight fit.
|
|
|
|
|
Red loctite and 92 ft/lb on the 12 bolts.
|
|
|
|
|
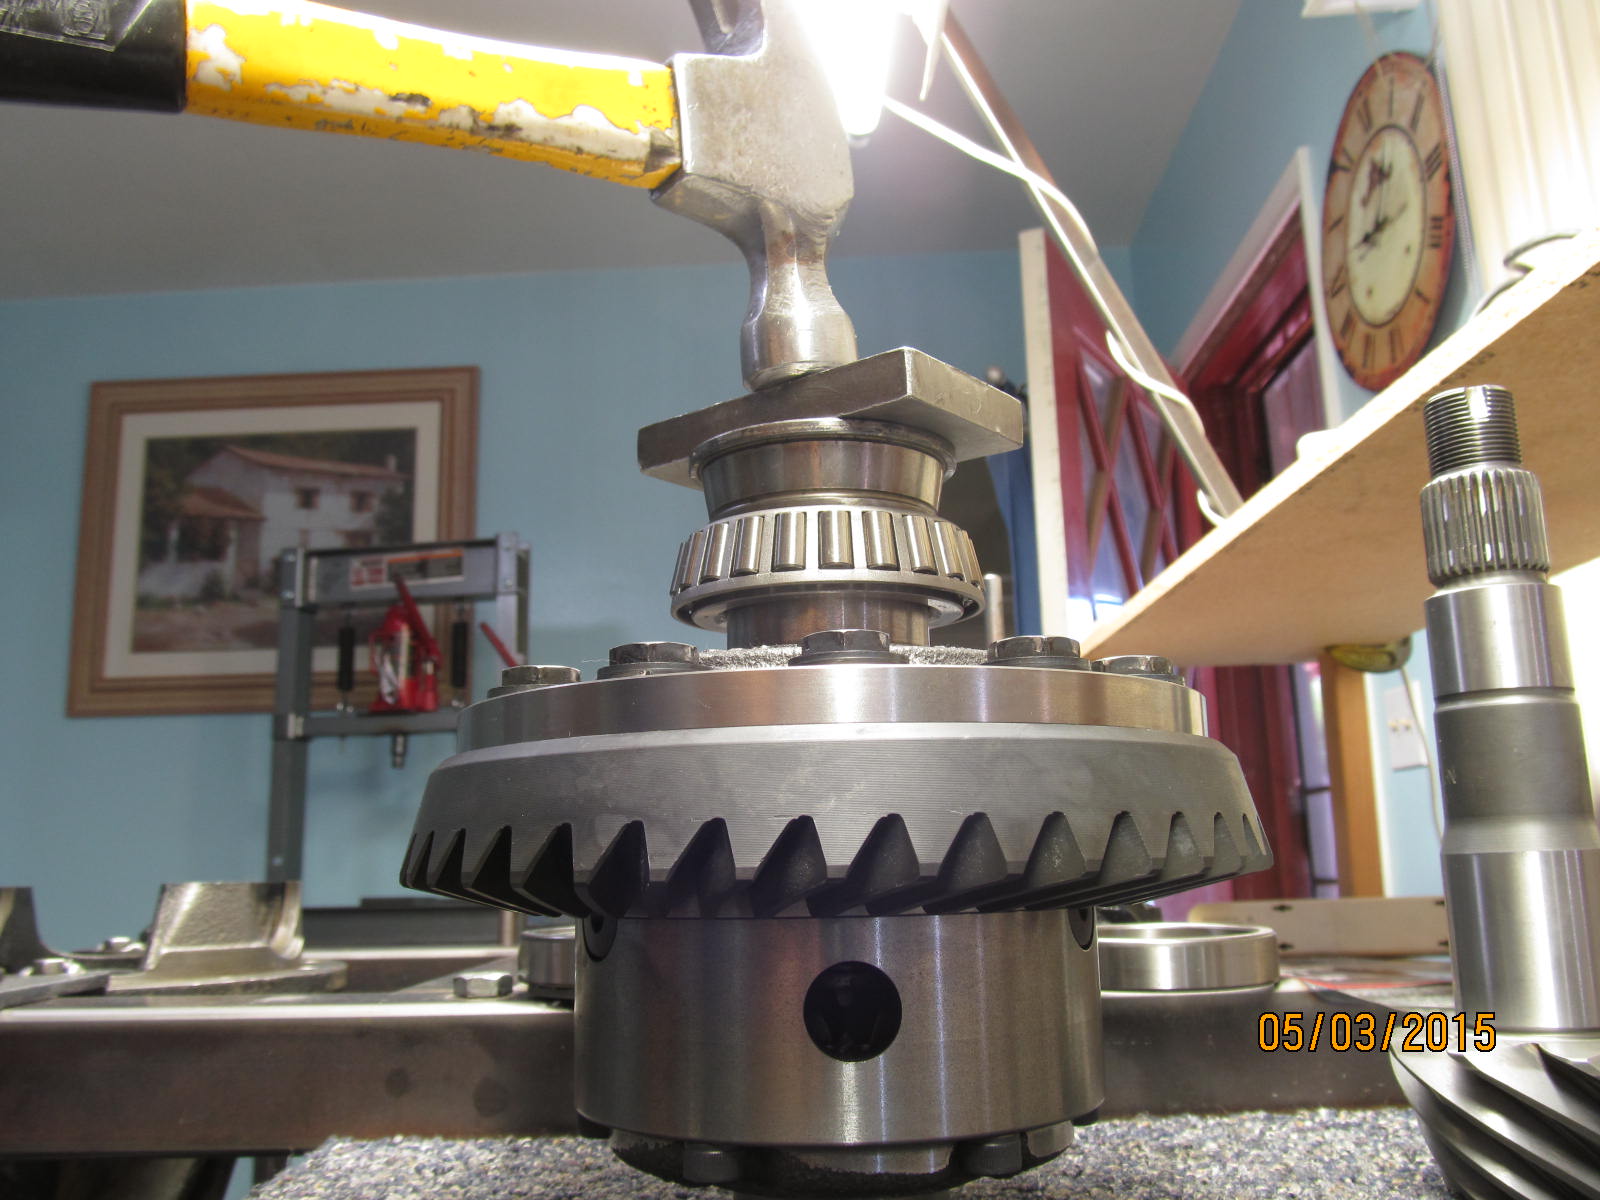
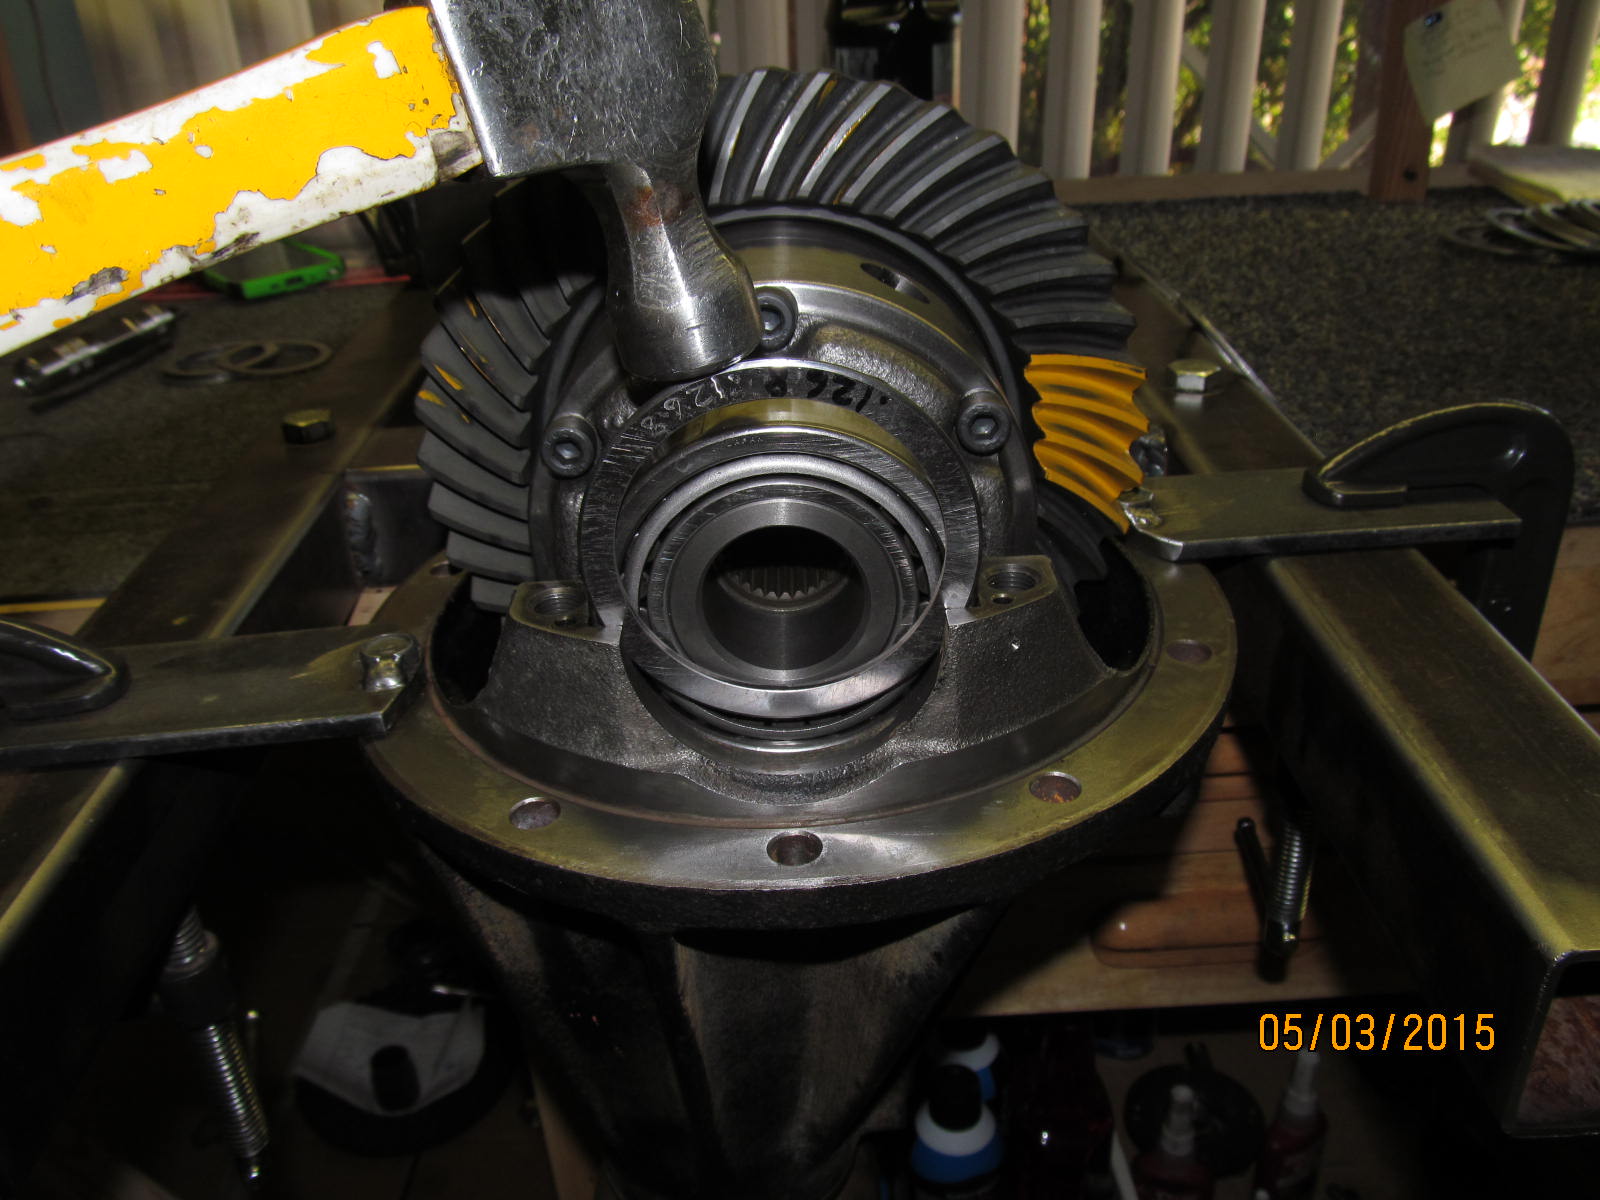
Carrier bearings tapped on very tight.
|
|
|
|
|
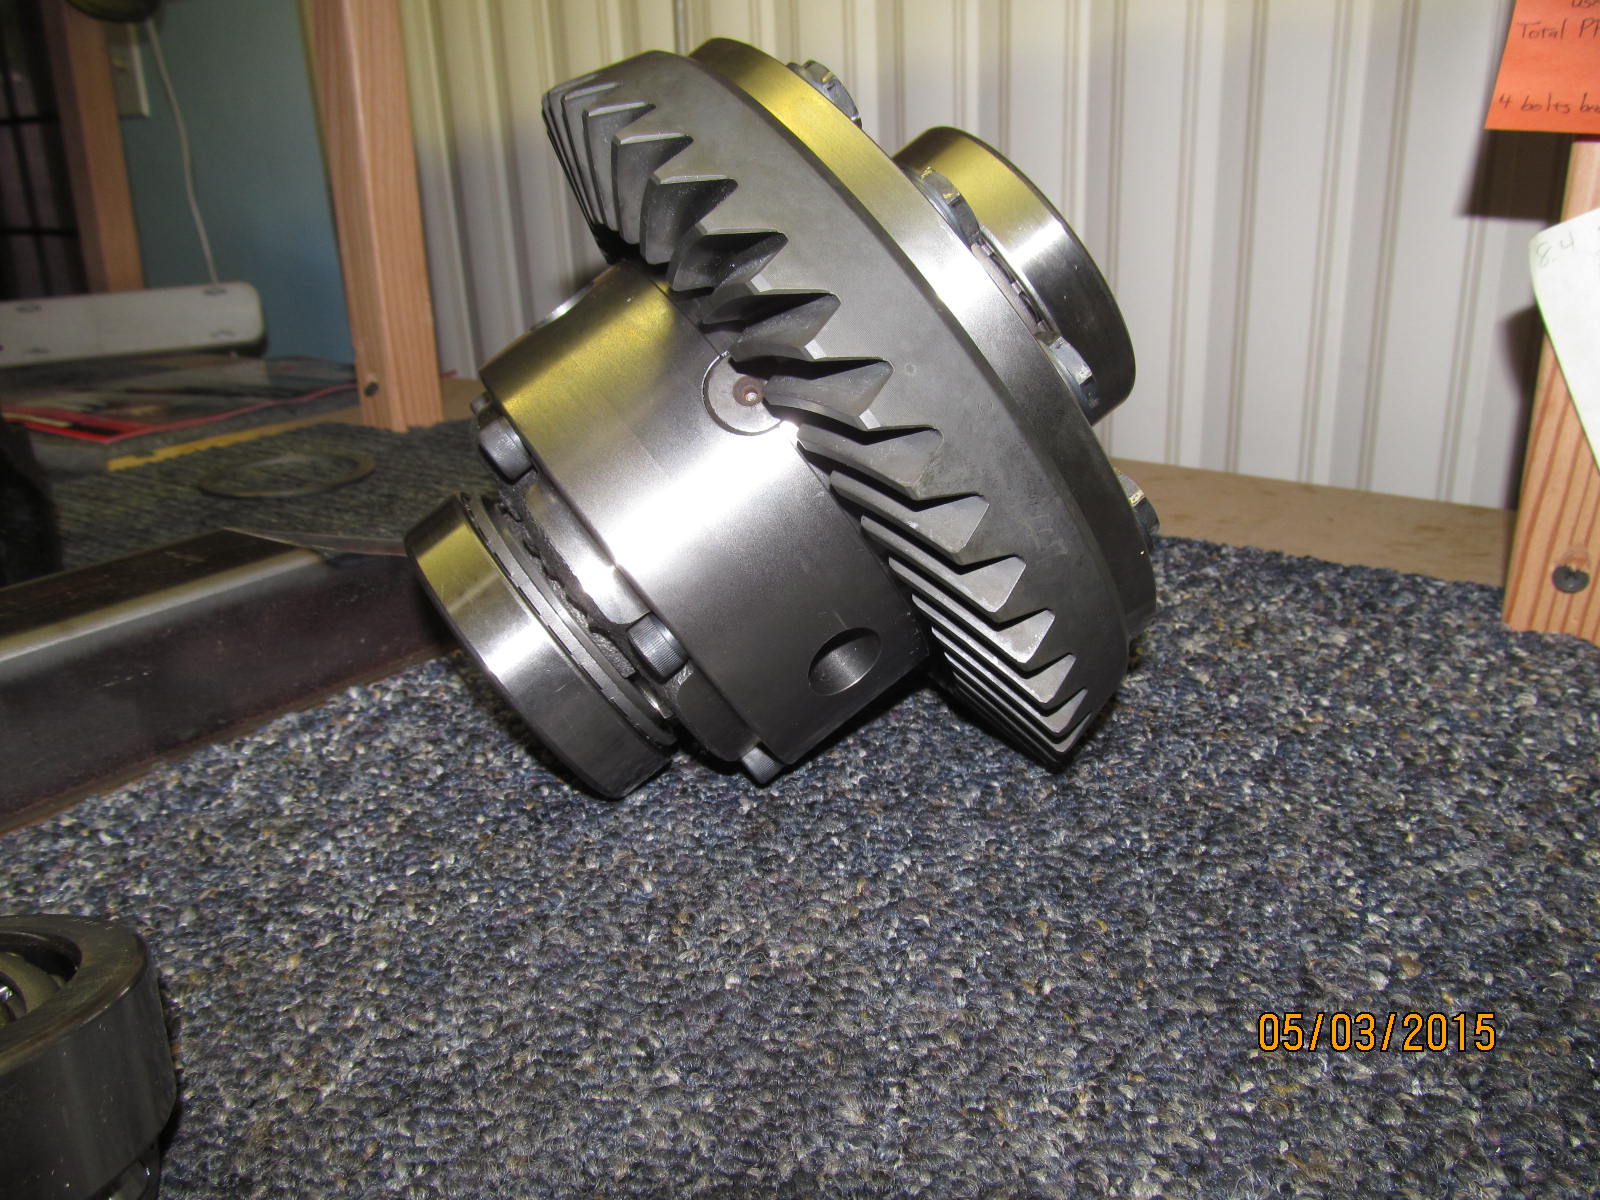
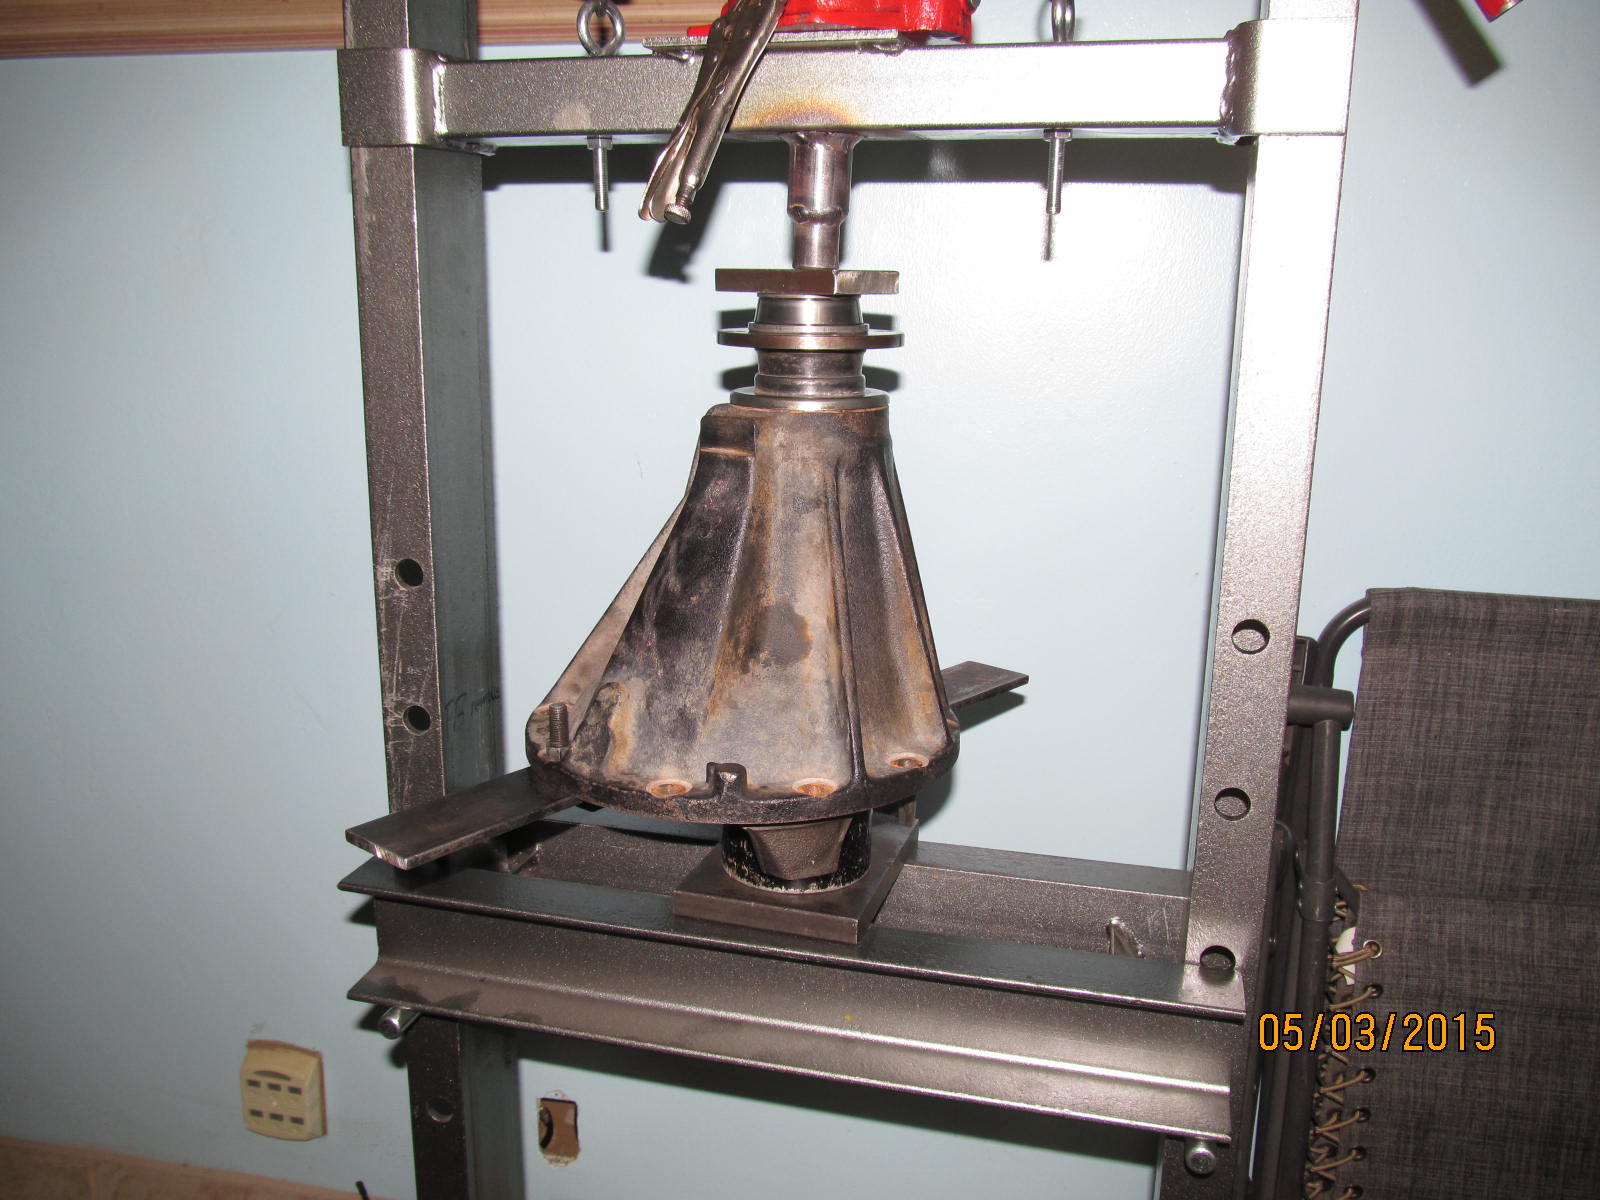
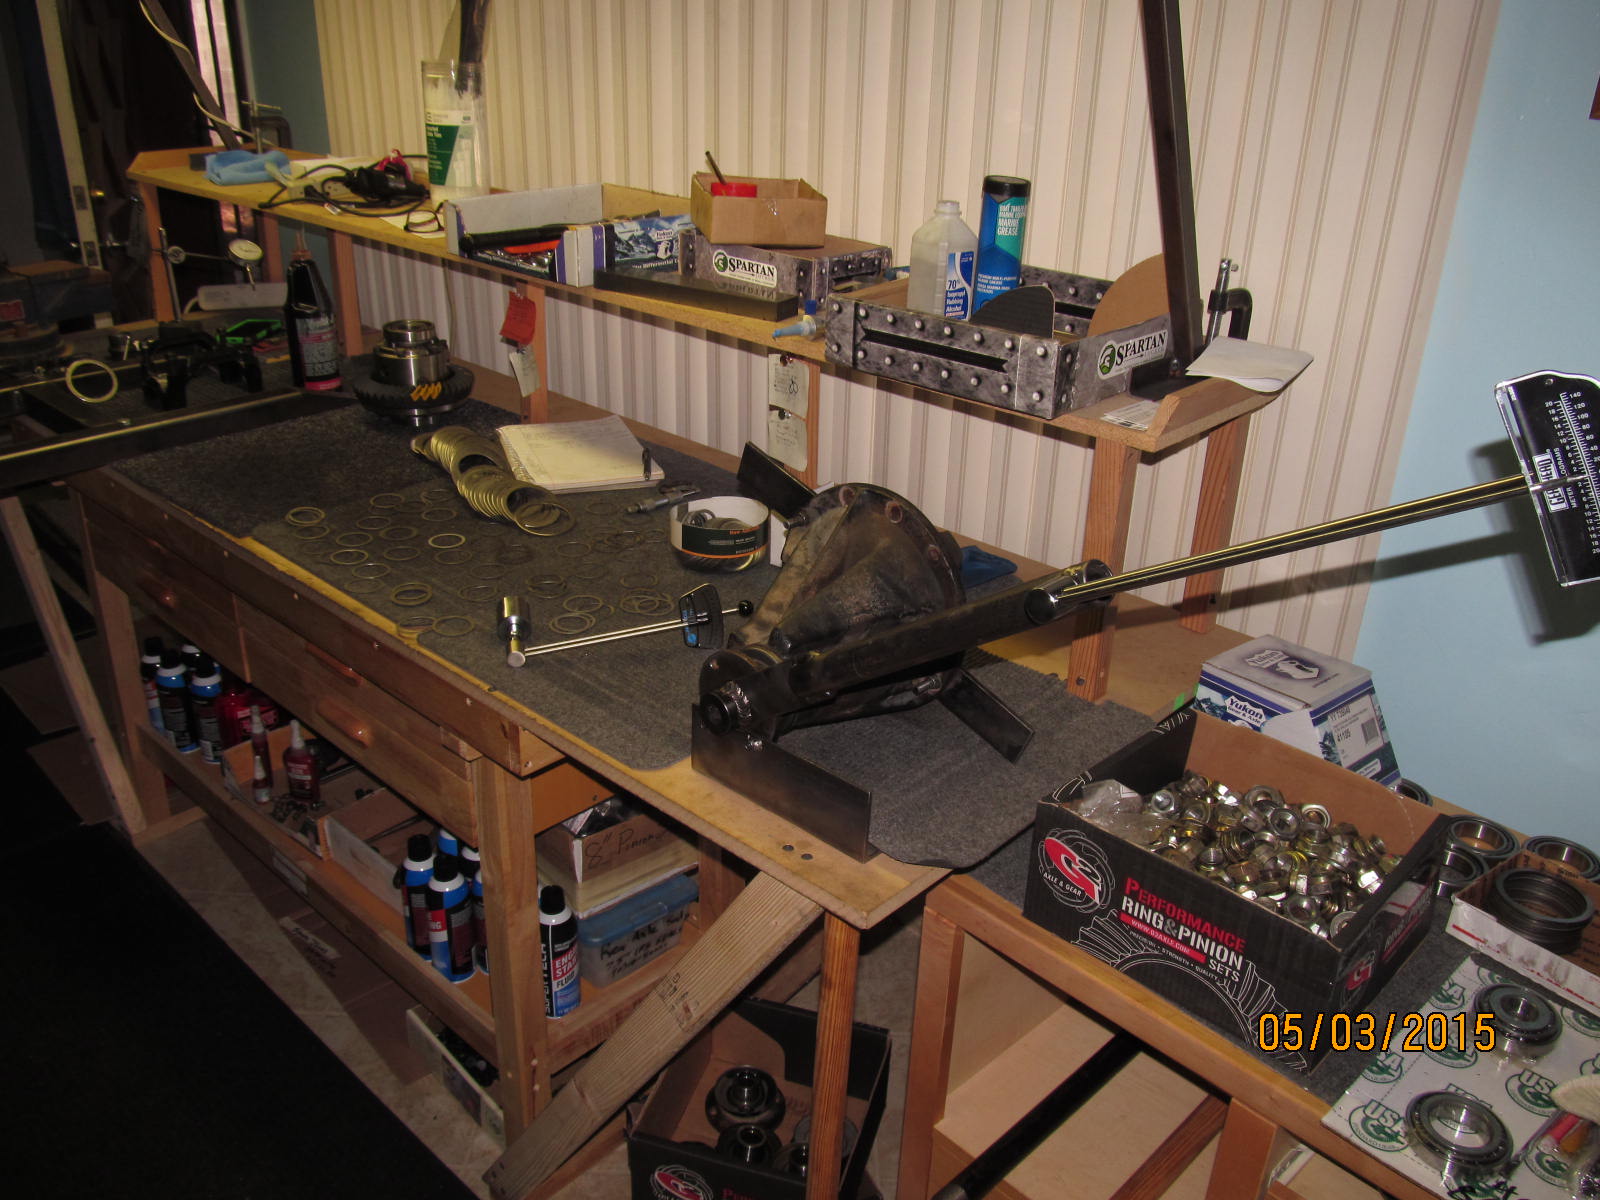
The "carrier" is now put aside and the pinion end begins.
|
|
|
|
|
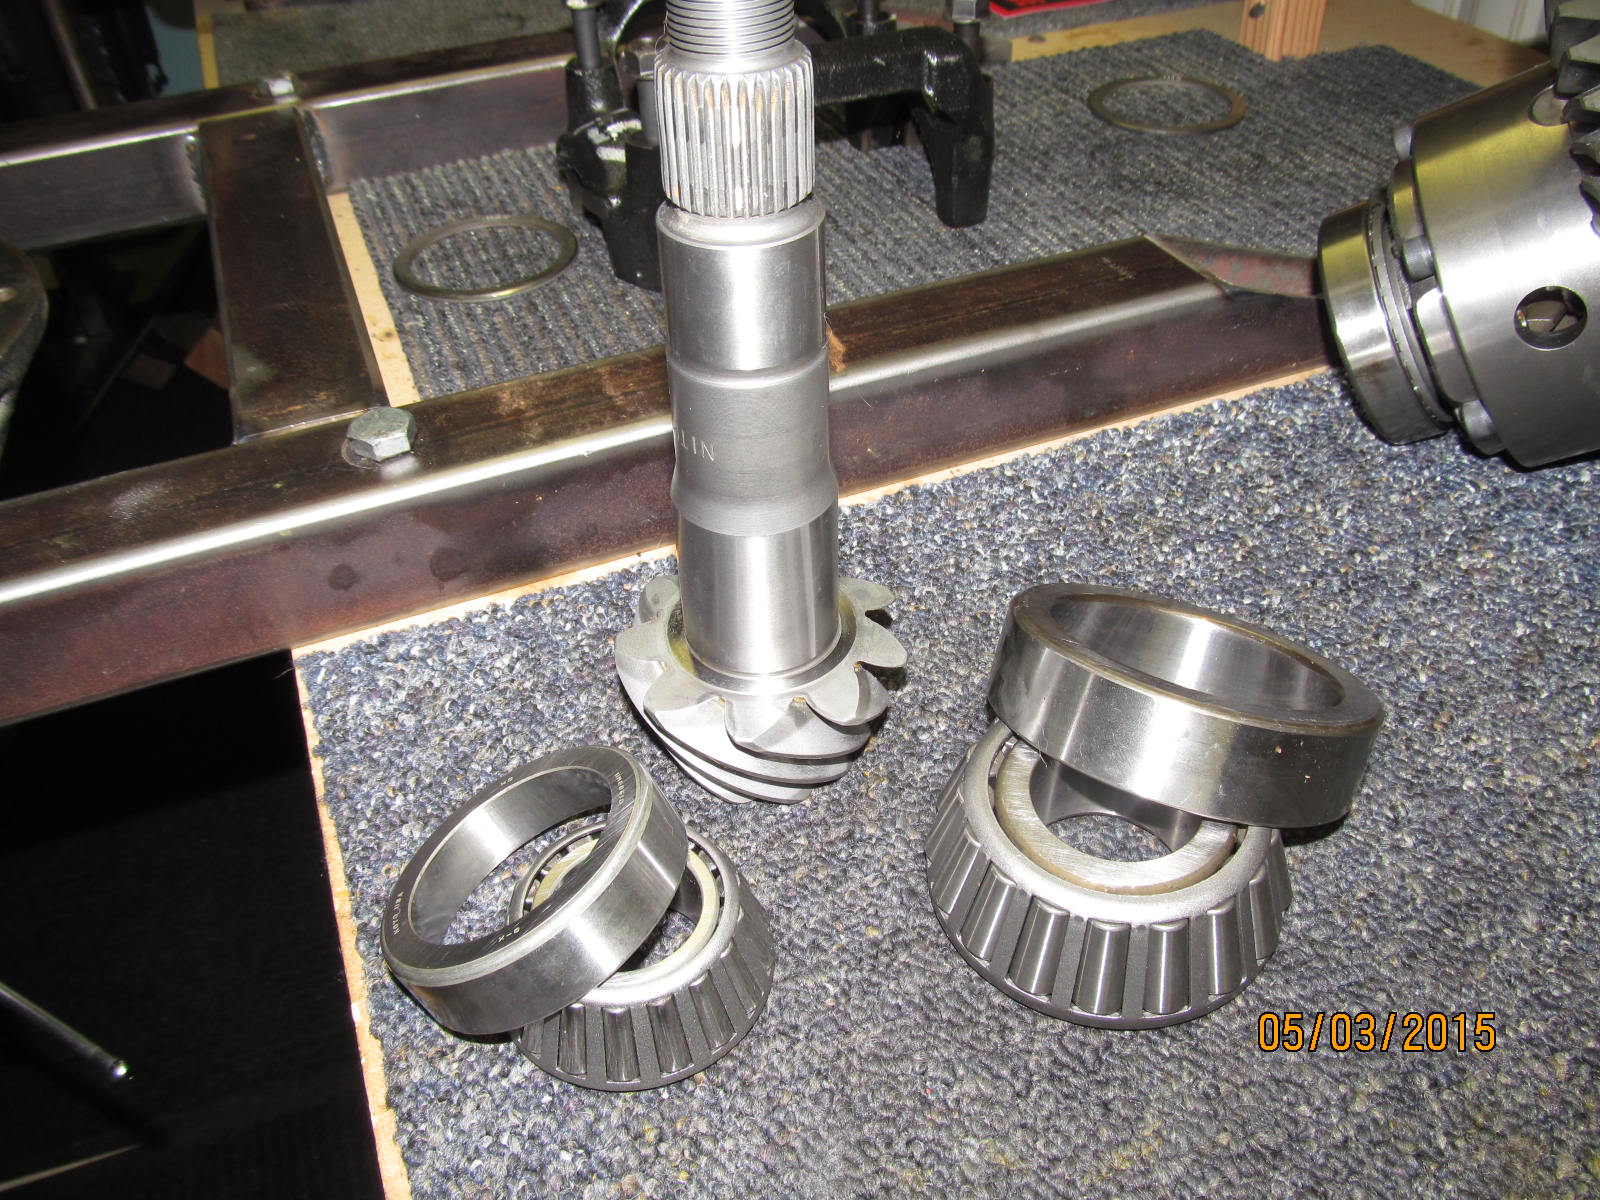
New outer and inner bearings are waiting. But first...
|
|
|
|
|
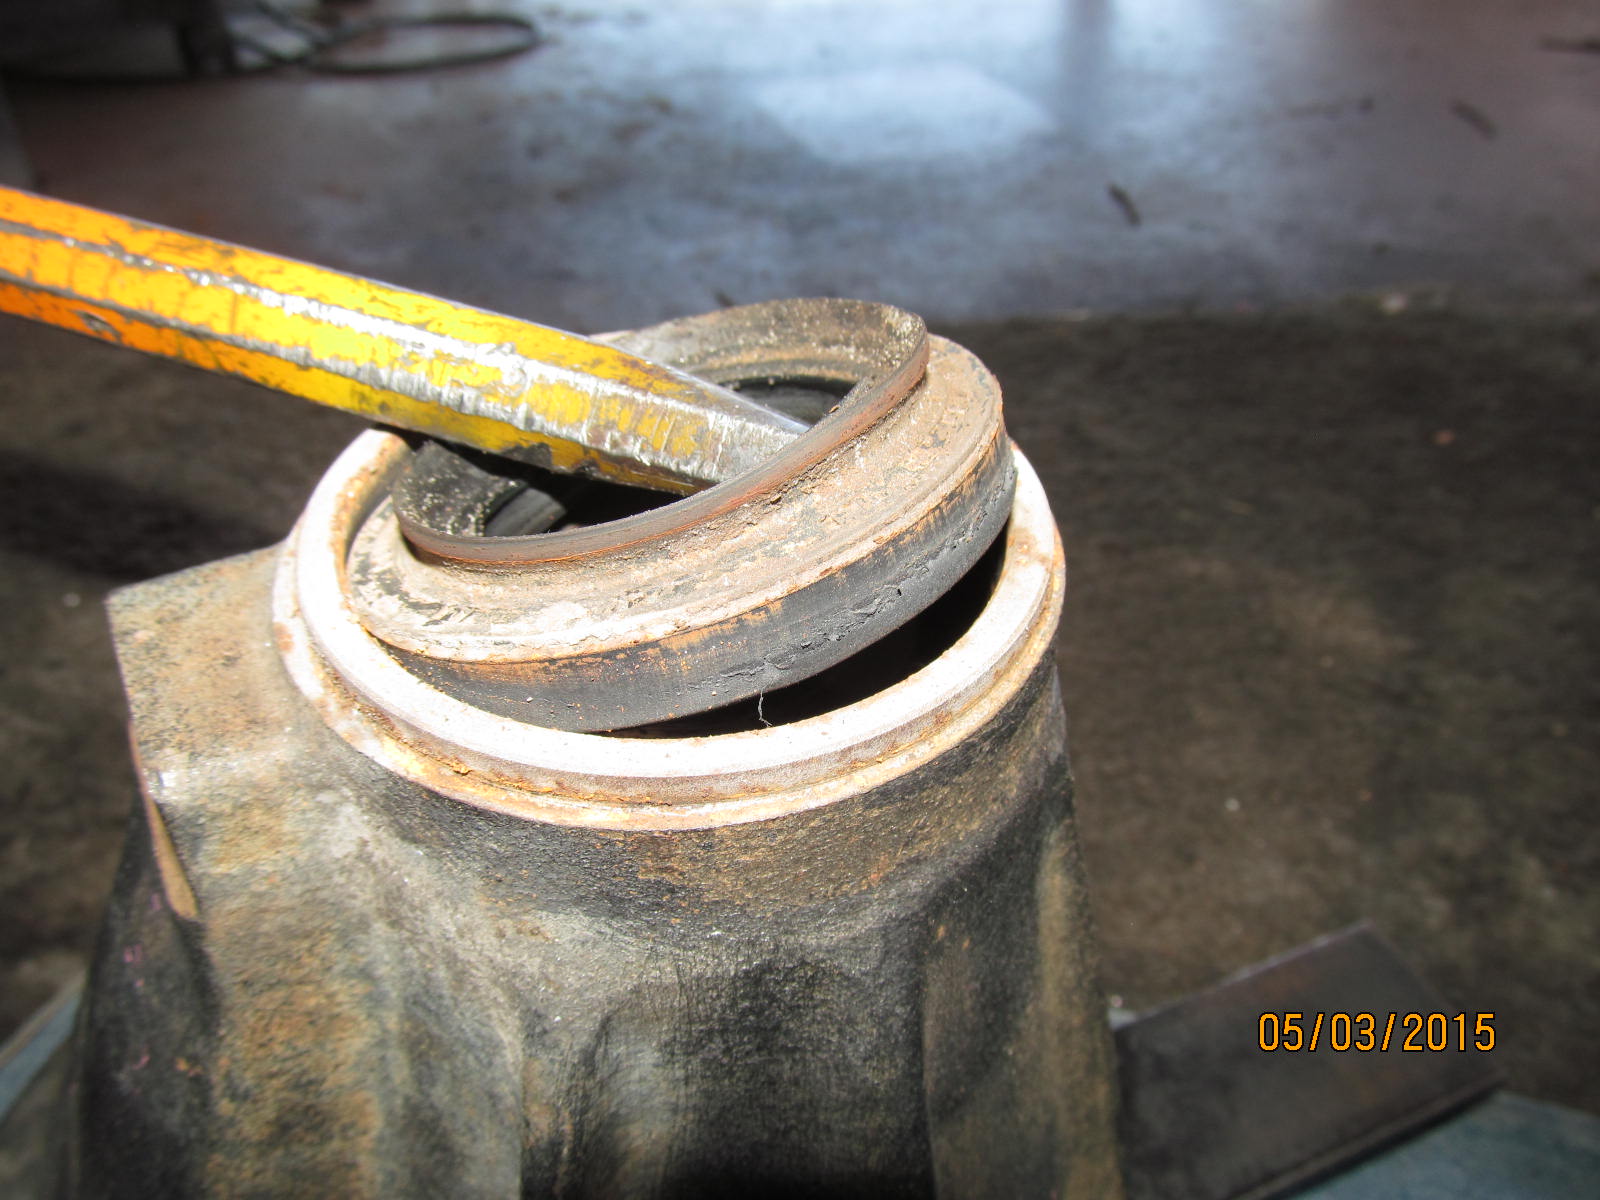
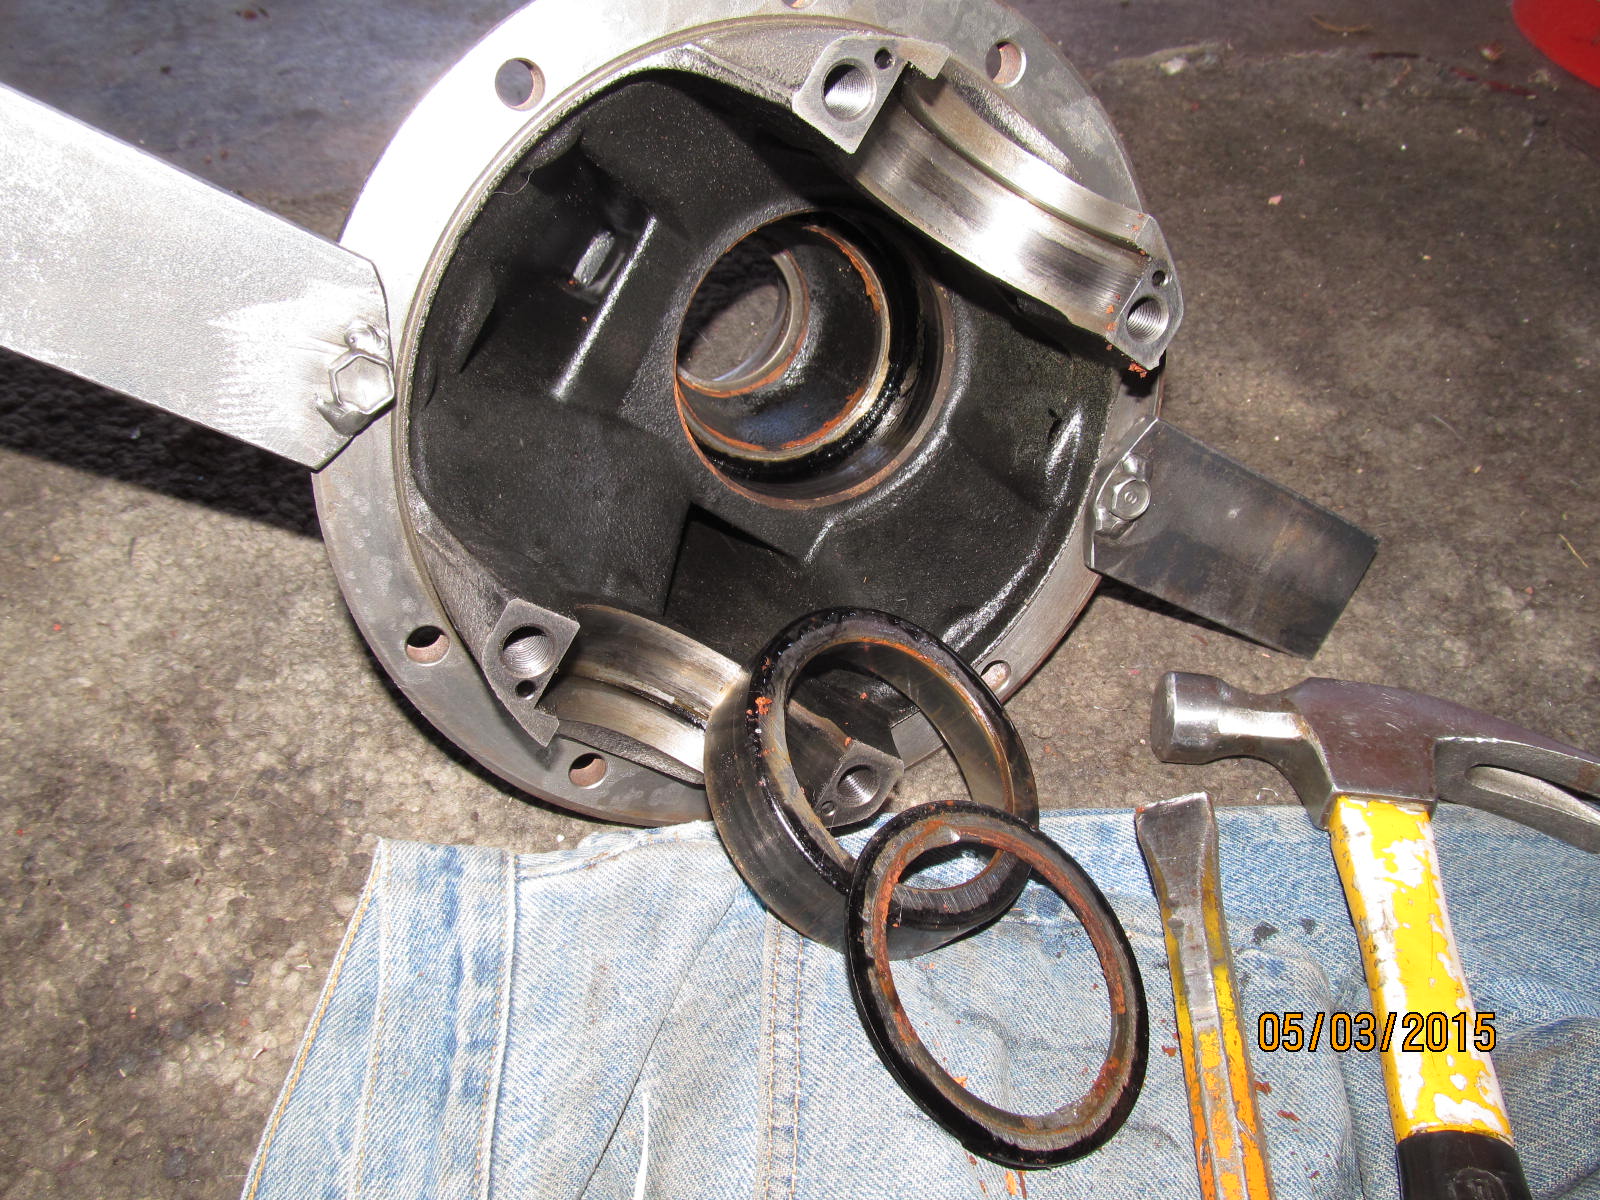
...the old pinion and races have to be purged of the differential.
|
|
|
|
|
Old race comes out.
|
|
|
|
|
Use the same chisel and tap out the old inner race. The pinion sham is behind the race on these 8.4" 3rds.
|
|
|
|
|
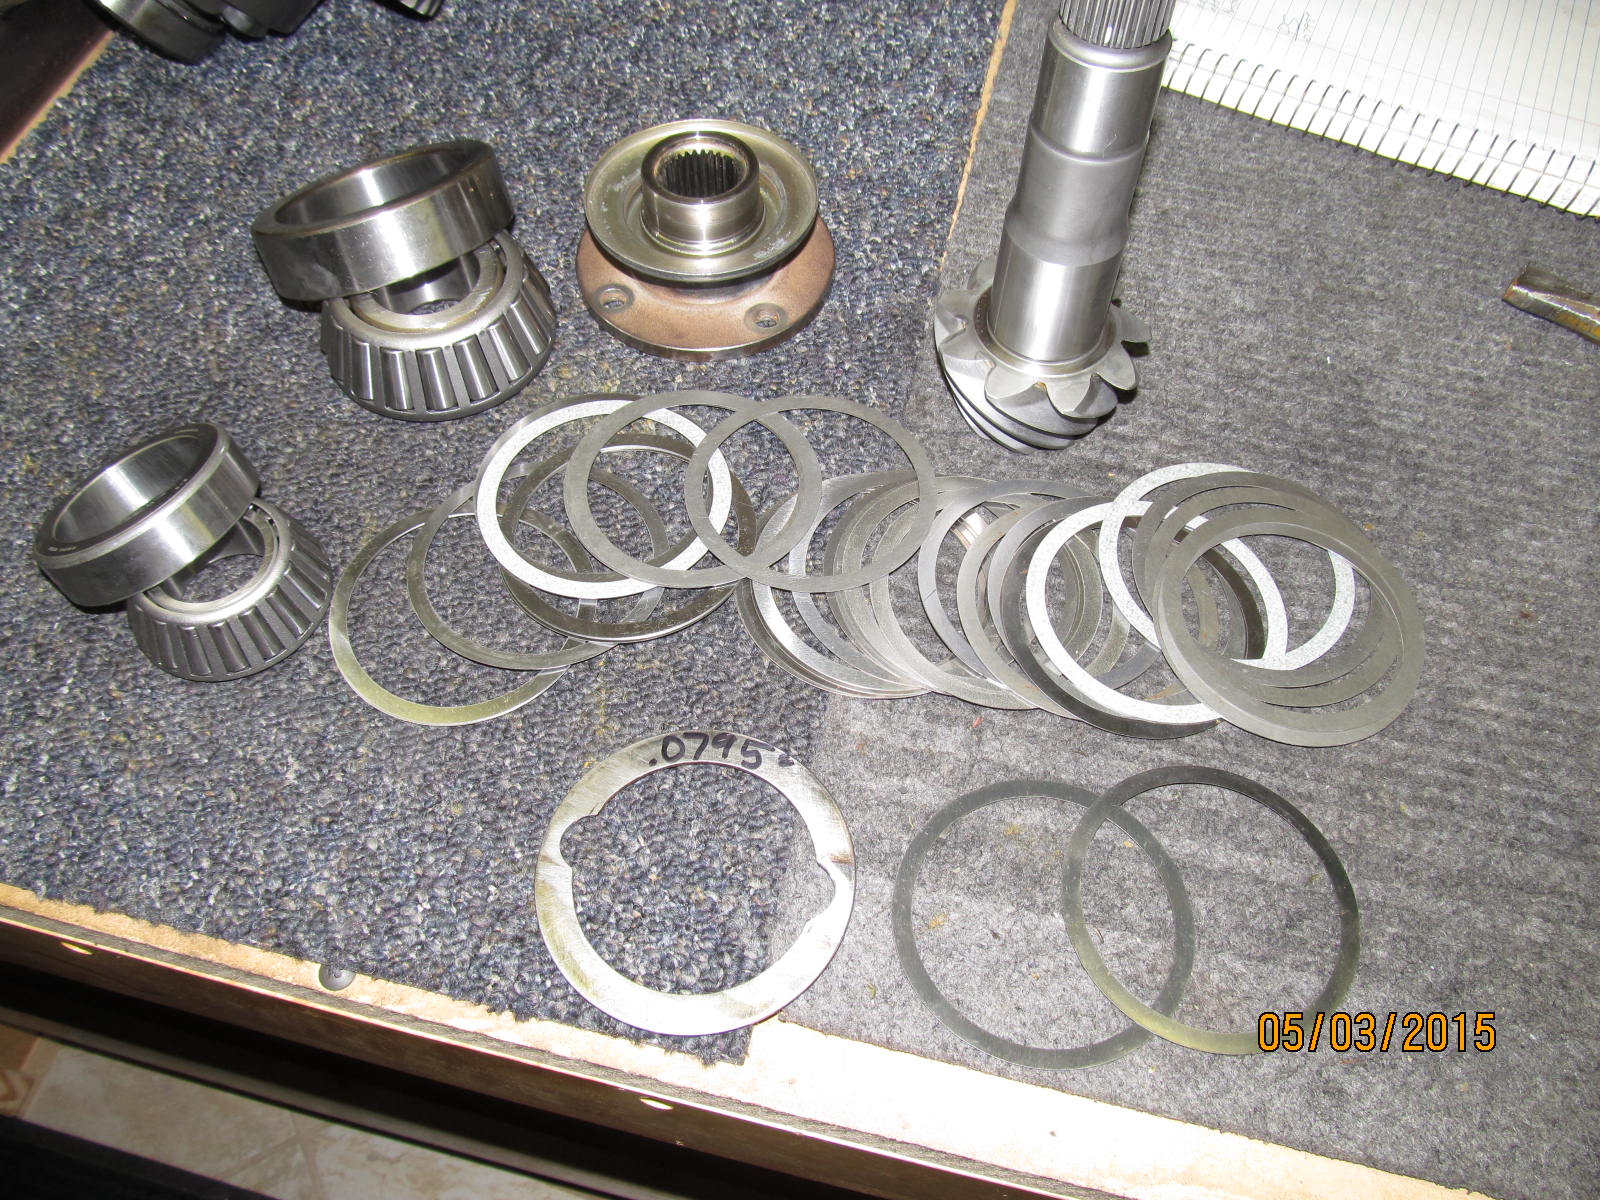
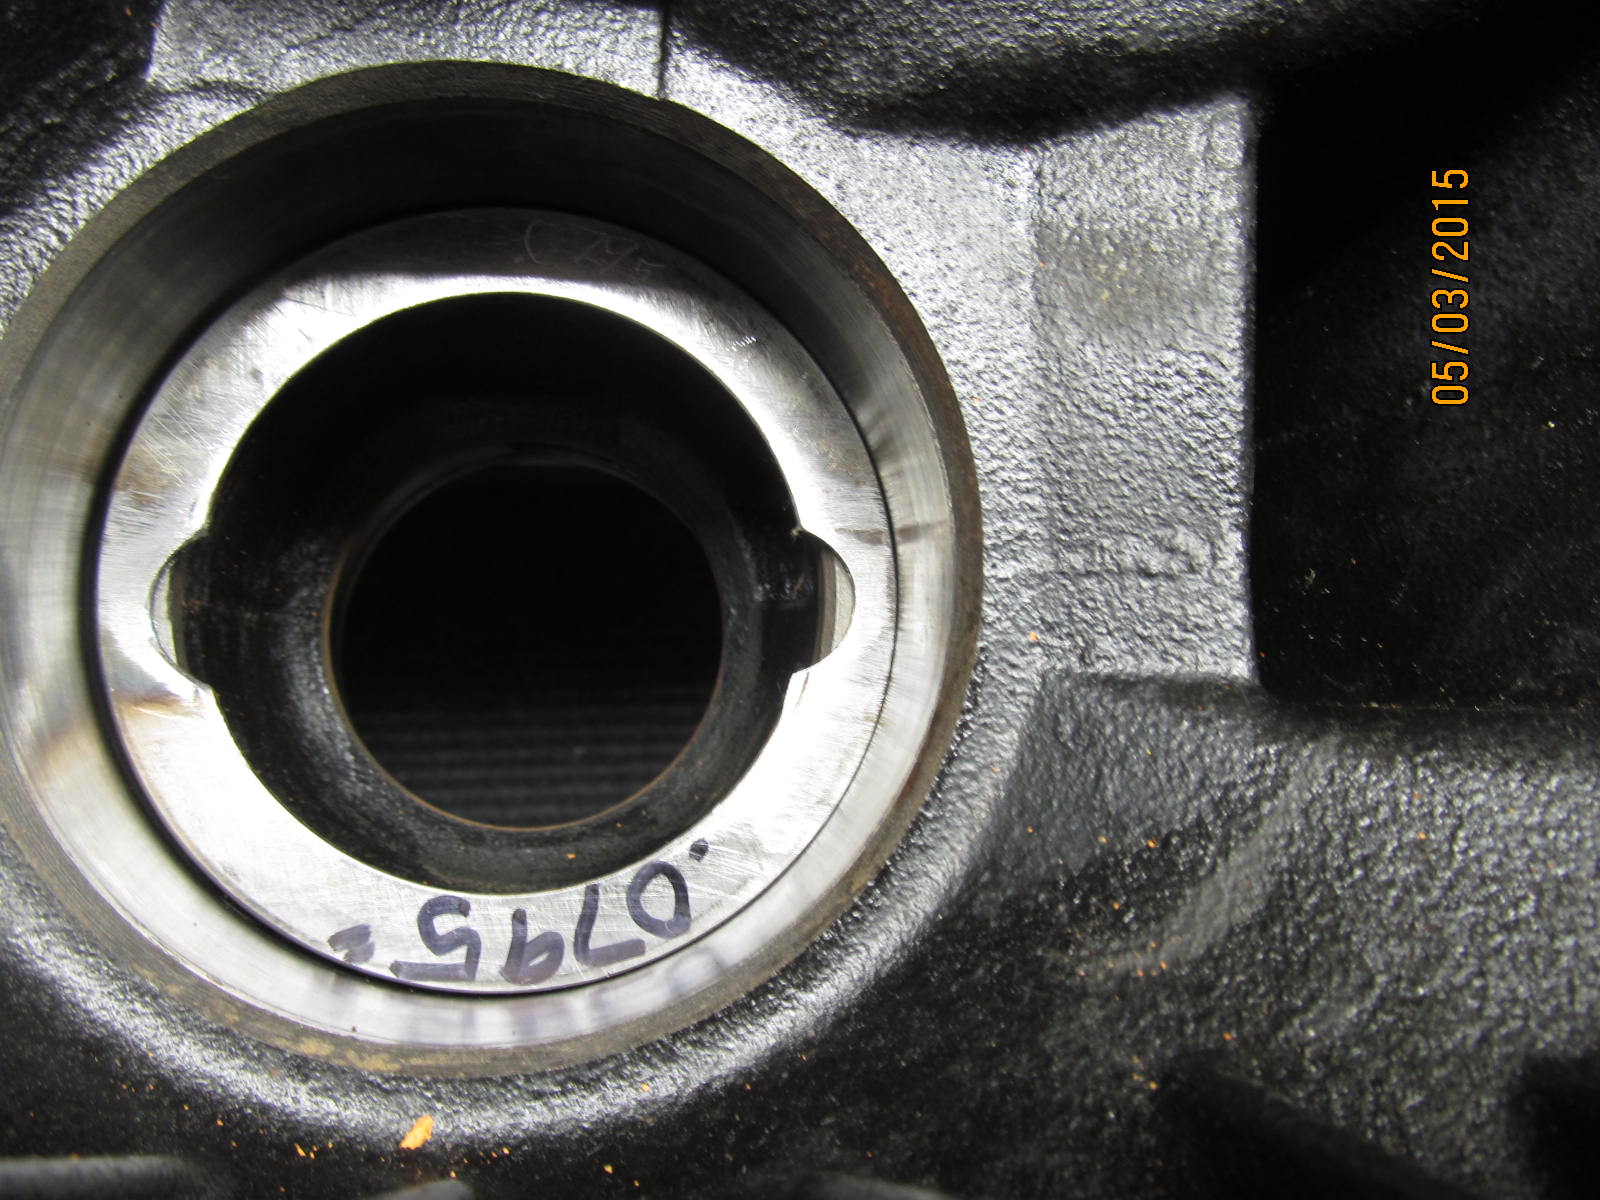
The original .0795" washer plate is re-useable if one takes the time to remove the damaged material.
|
|
|
|
|
Notches were ground out such that I can tap the race out in the future to change pinion depth with no damage.
|
|
|
|
I'll add .005 to the oem .0795" plate. I know the Nitros need a little more than the oem value
to dial in the best pattern.
|
|
|
|
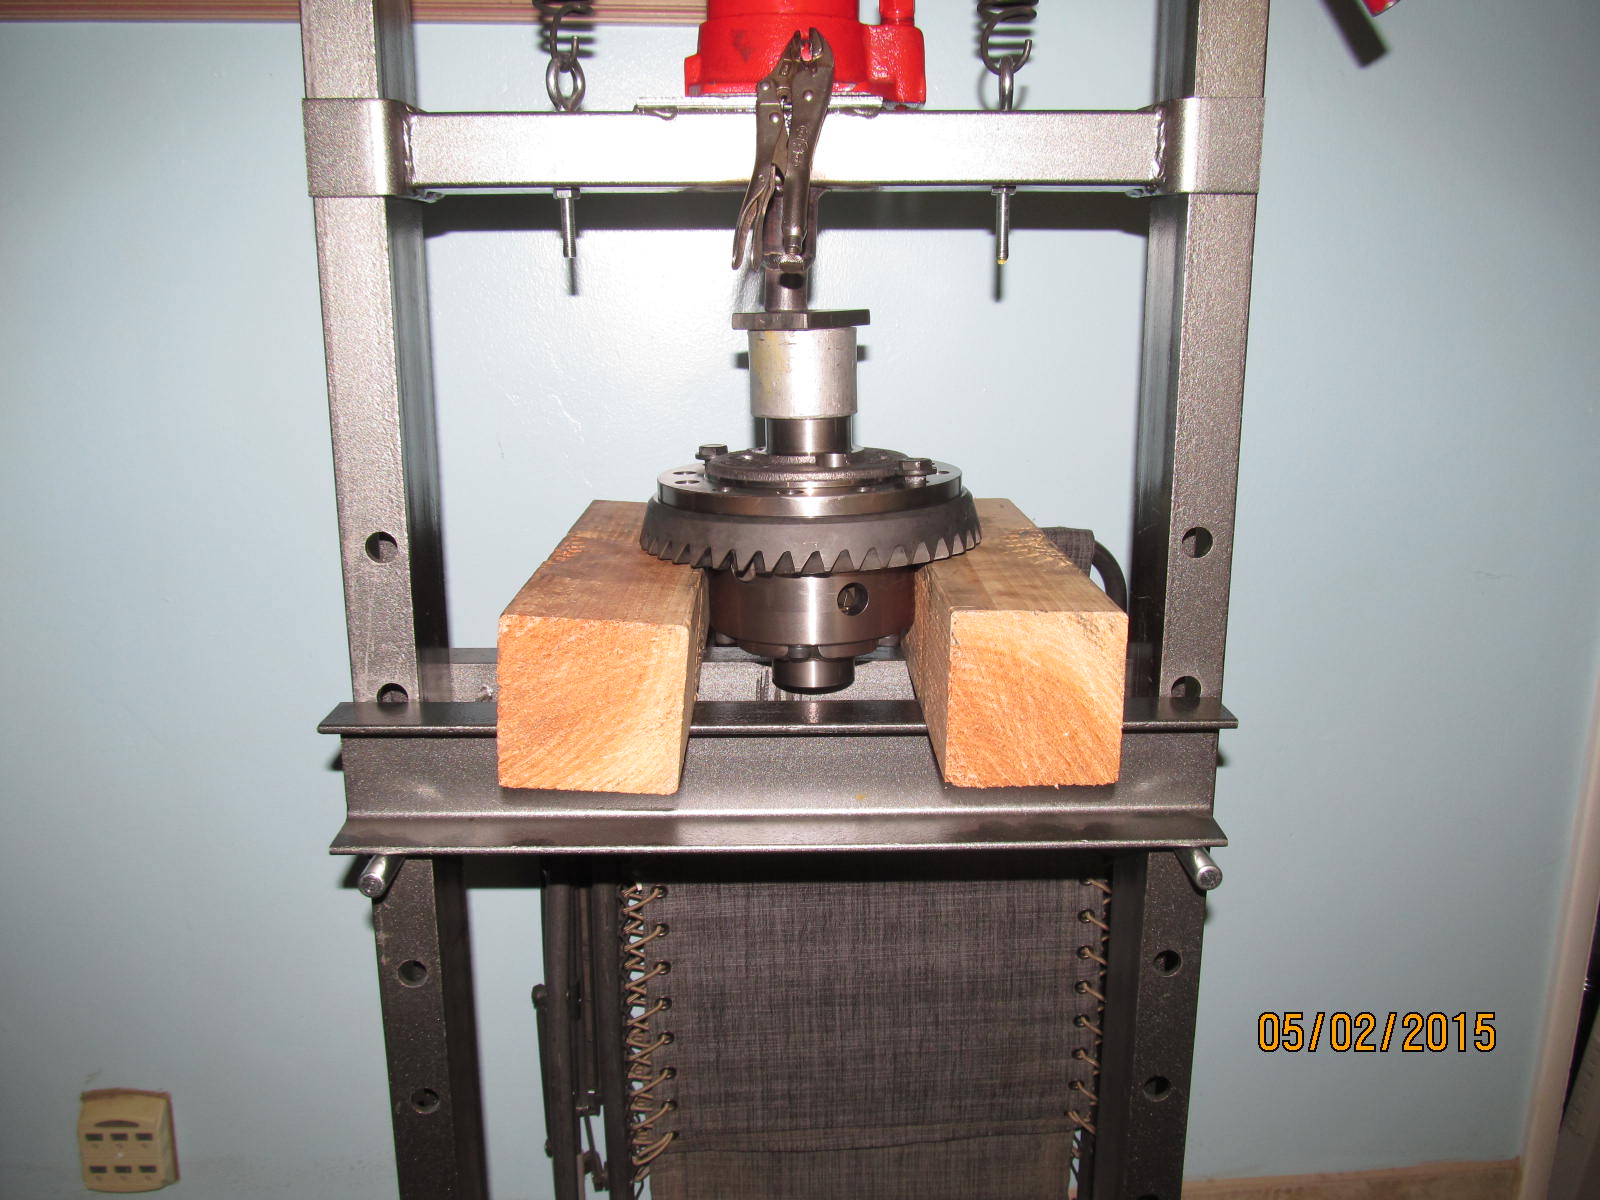
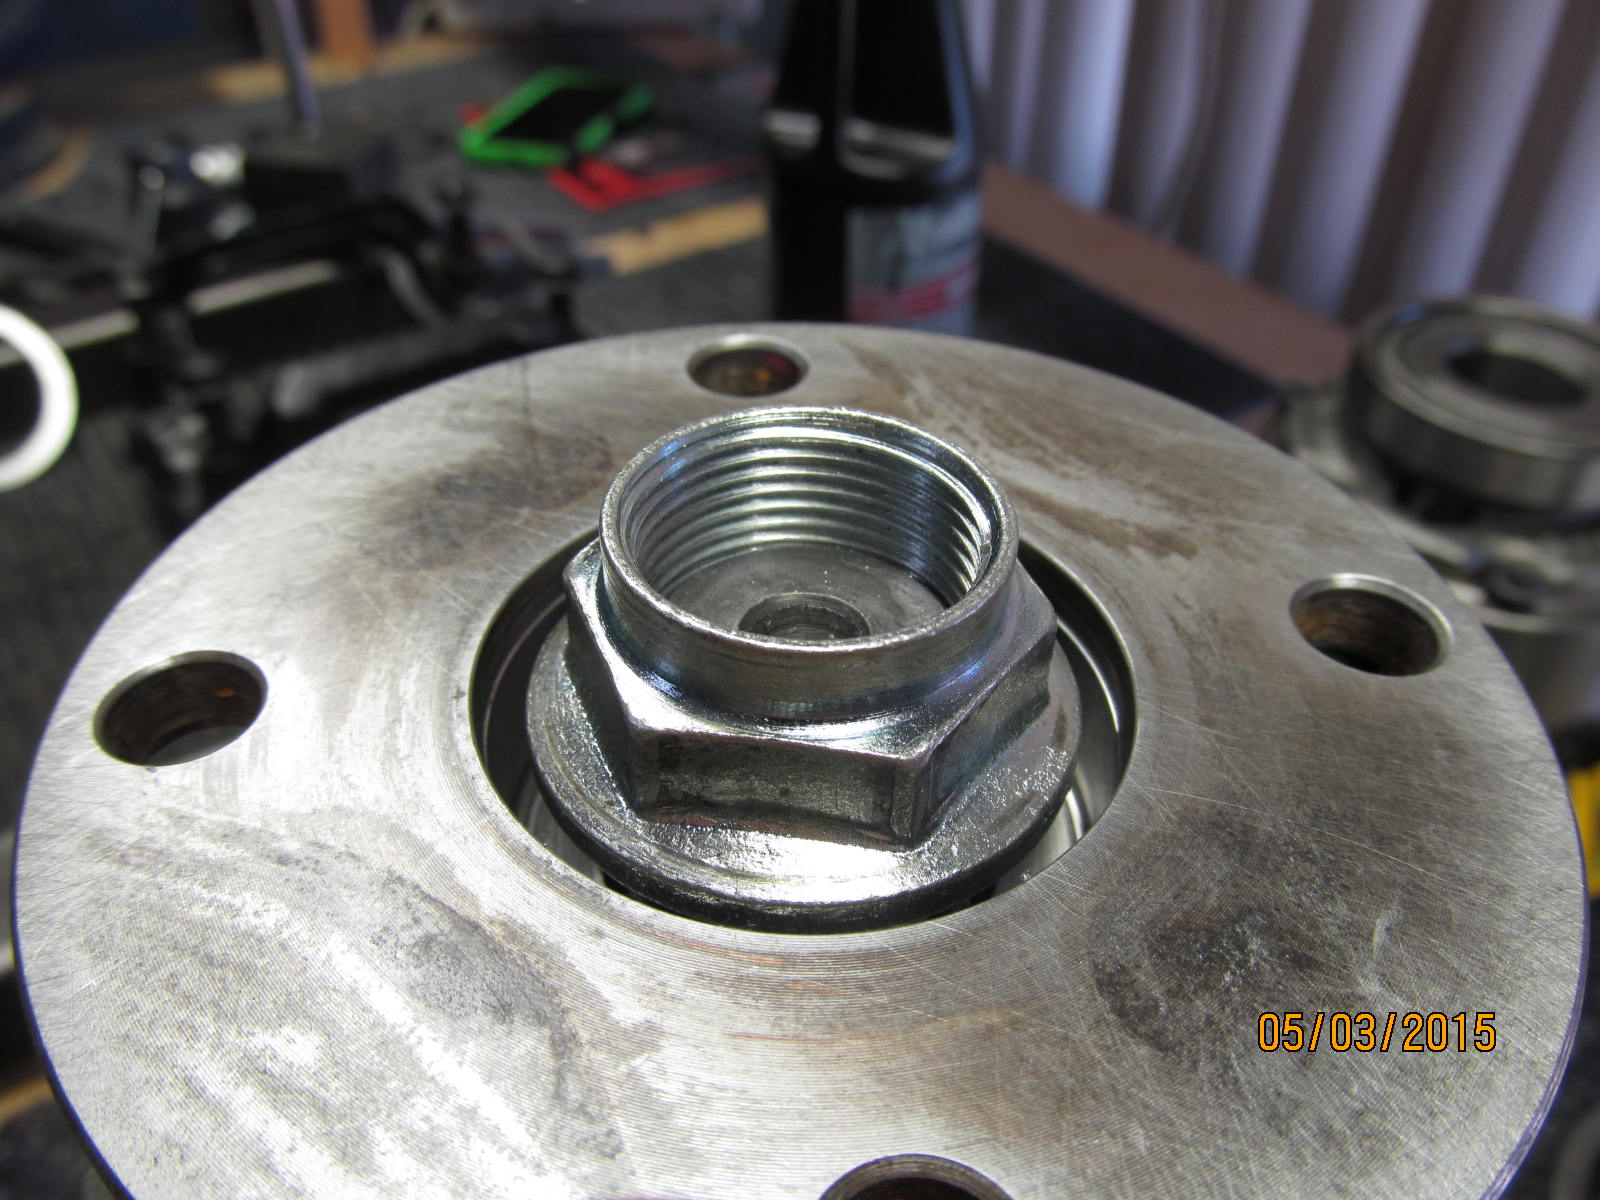
The 30 spline OEM flange is an amazingly tight fit over the pinion splines so I like to
use the press to ease the flange down 95% of the way. Then tighten the pinion
nut with the electric impact until about 20 in/lb of drag is felt.
|
|
|
|
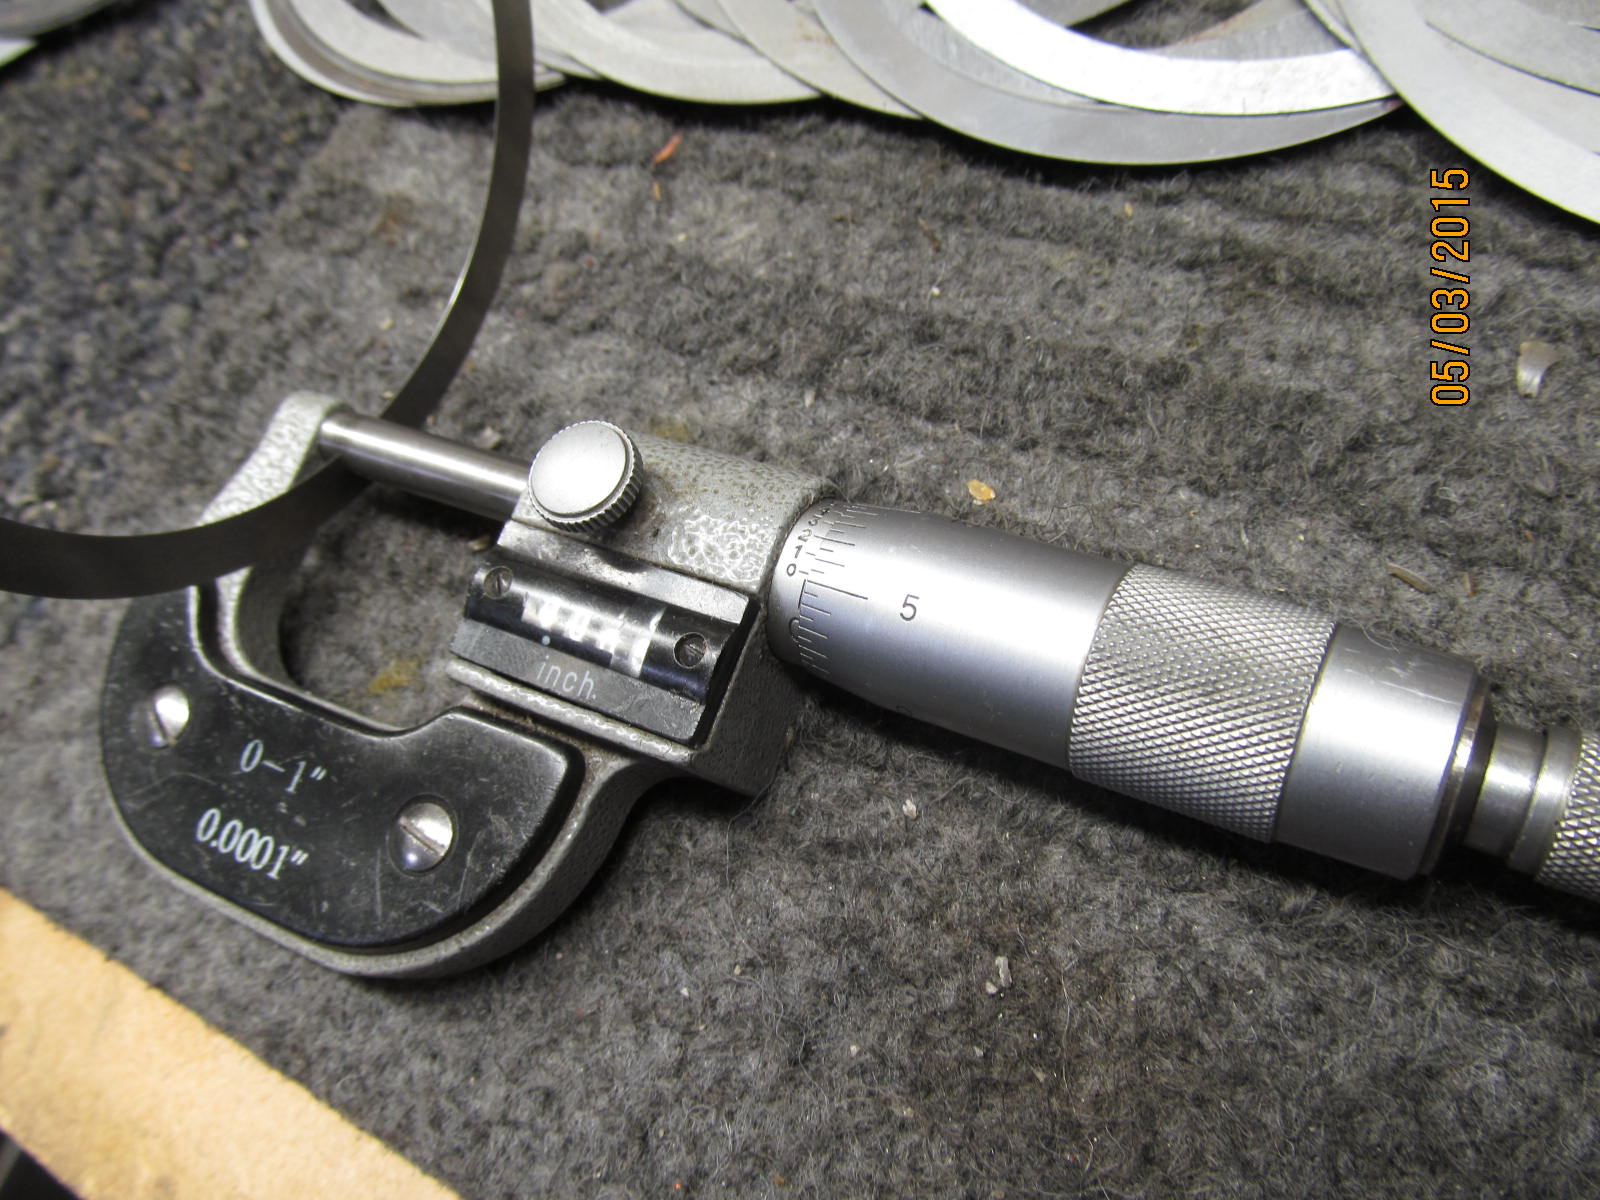
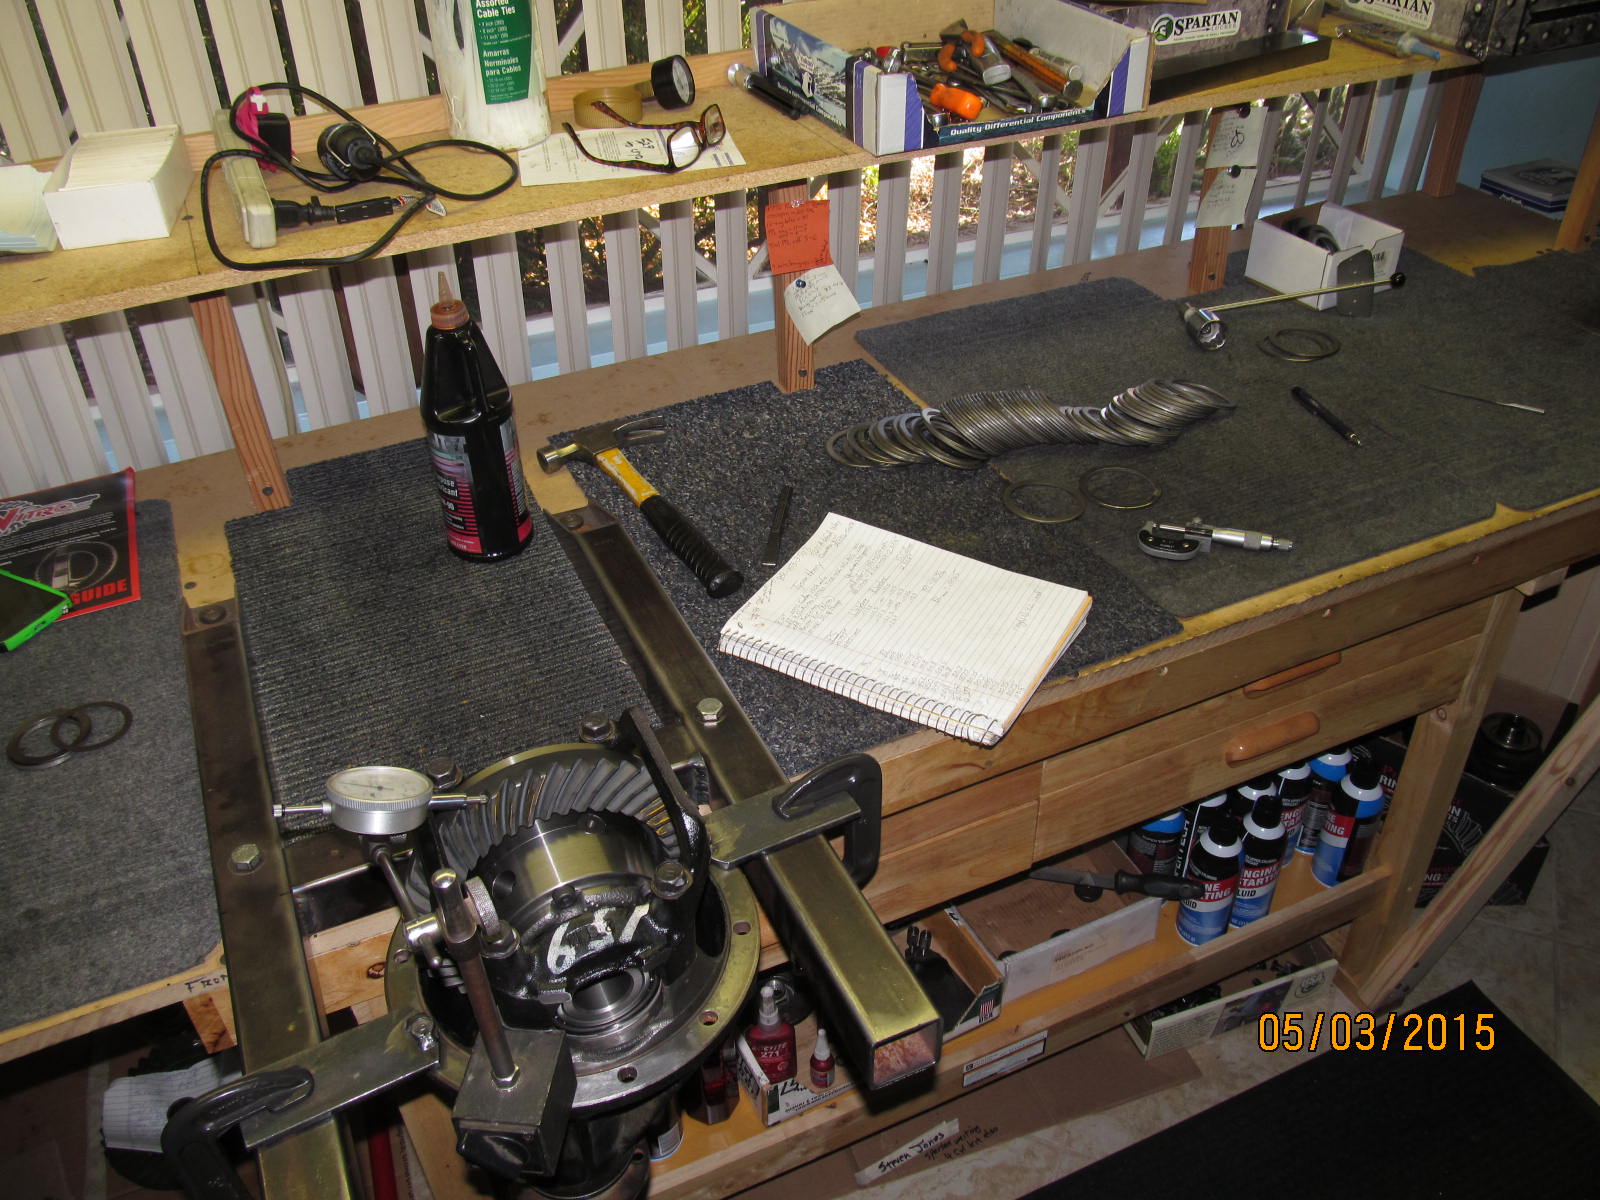
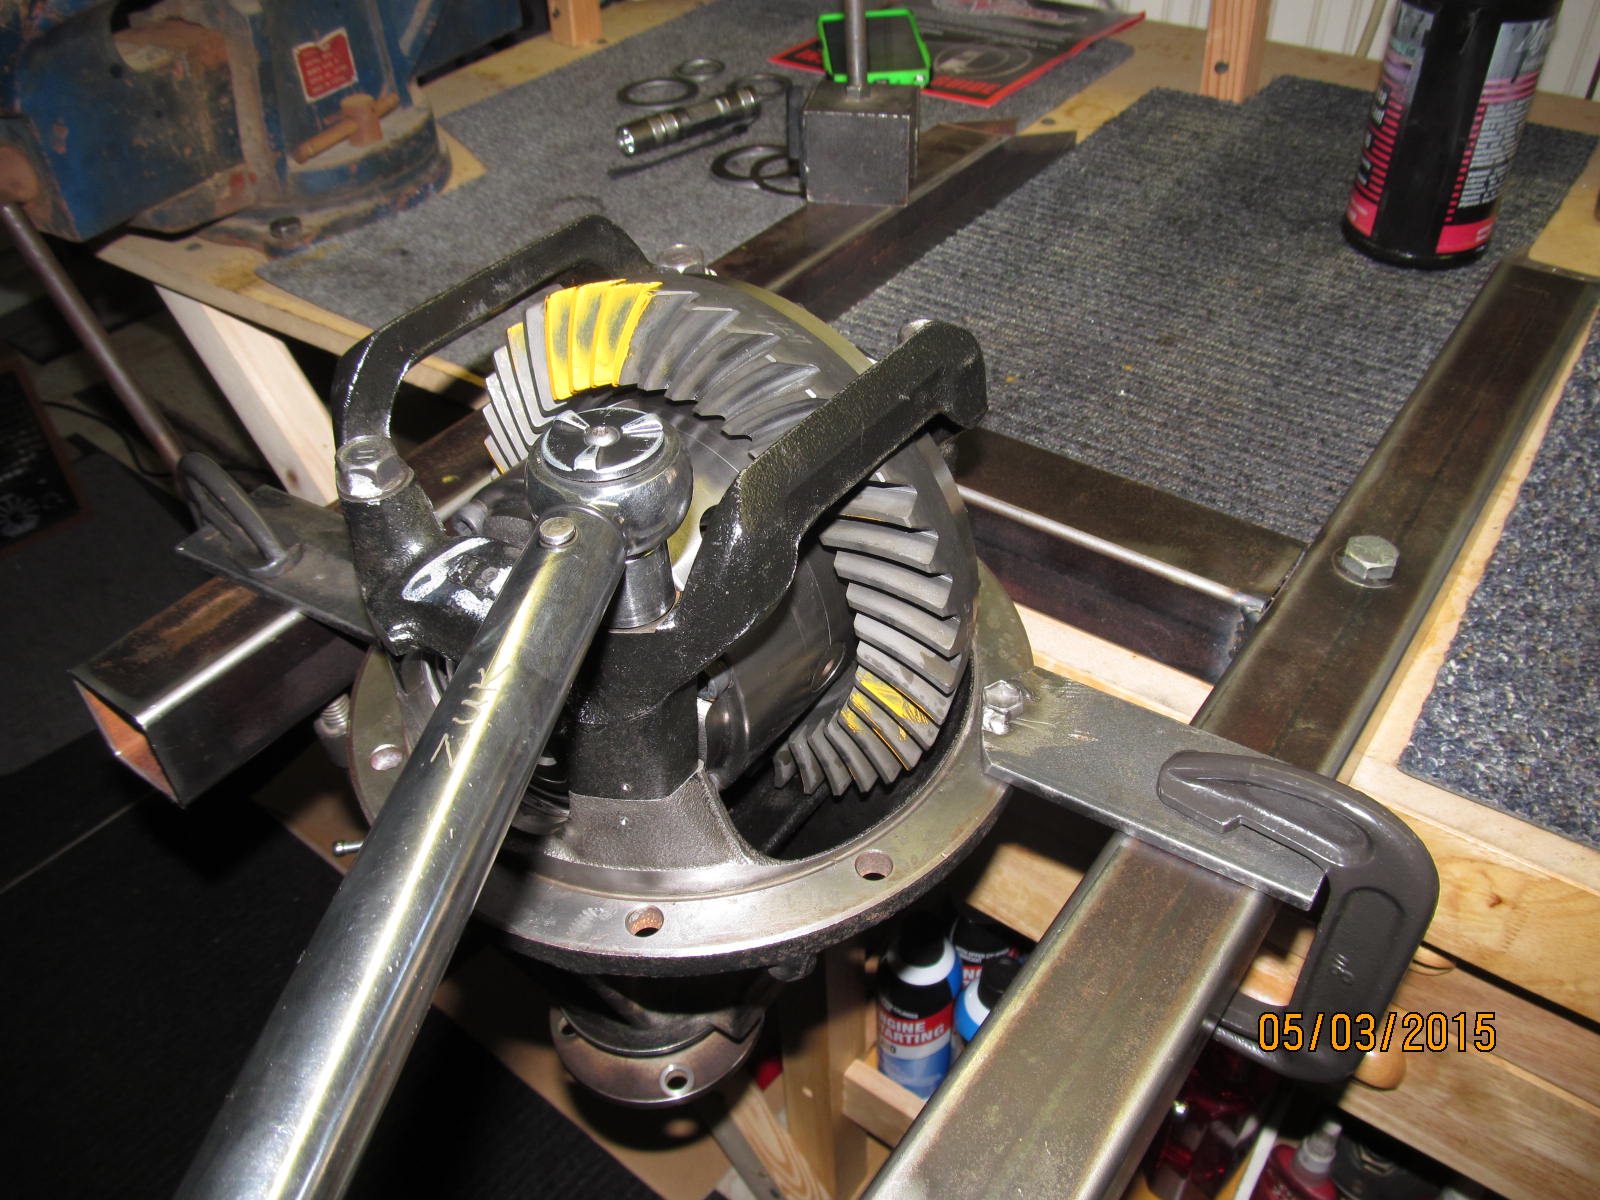
The Kazuma is loaded in place...start with the oem washer plates and see if the backlash is close
enough for a paint check. I observed that it was not. Was only measuring .001" backlash.
|
|
|
|
By adding .008" to one side and taking the same amount off the other side, the backlash
increased by about another .006" giving us the green light for a paint check.
|
|
|
|
|
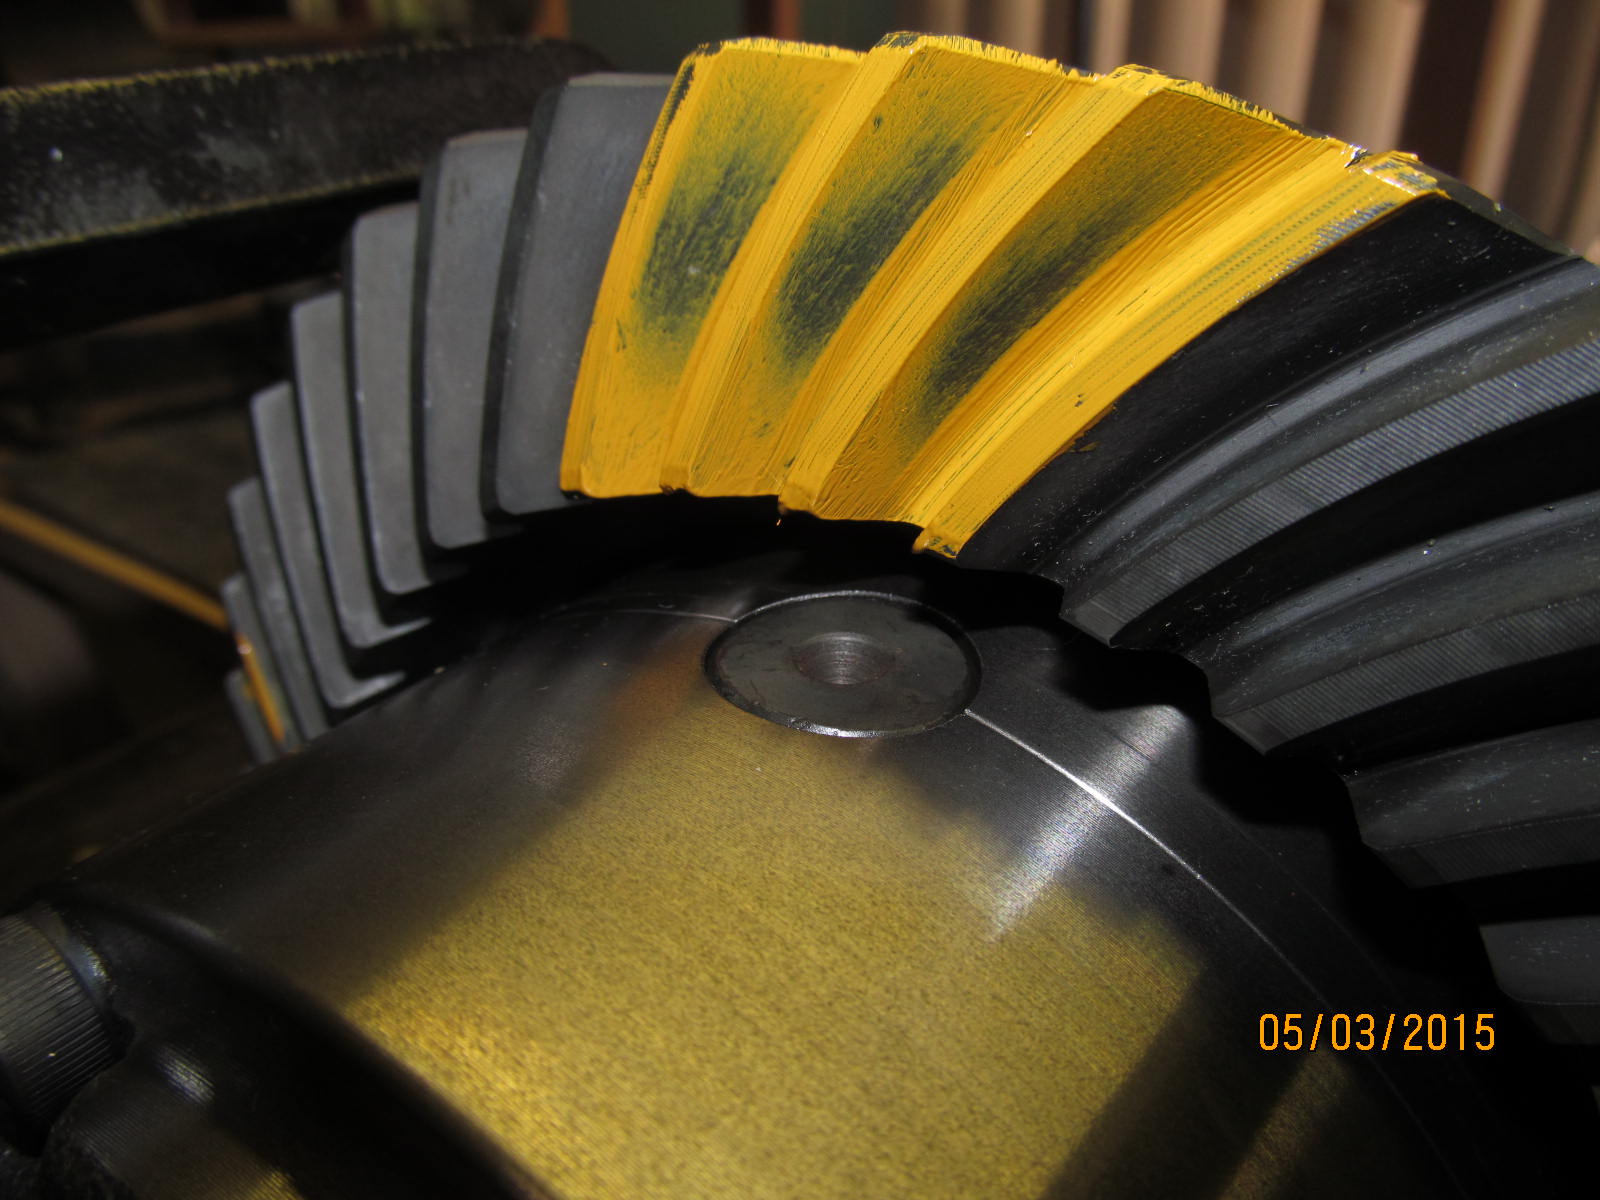
close but could be deeper.
|
|
|
|
|
Right in the center but too soft....could be deeper.
|
|
|

|
|
Teardown time. Take the .005" shim out and replace it with a .008" shim.
|
|
|
|
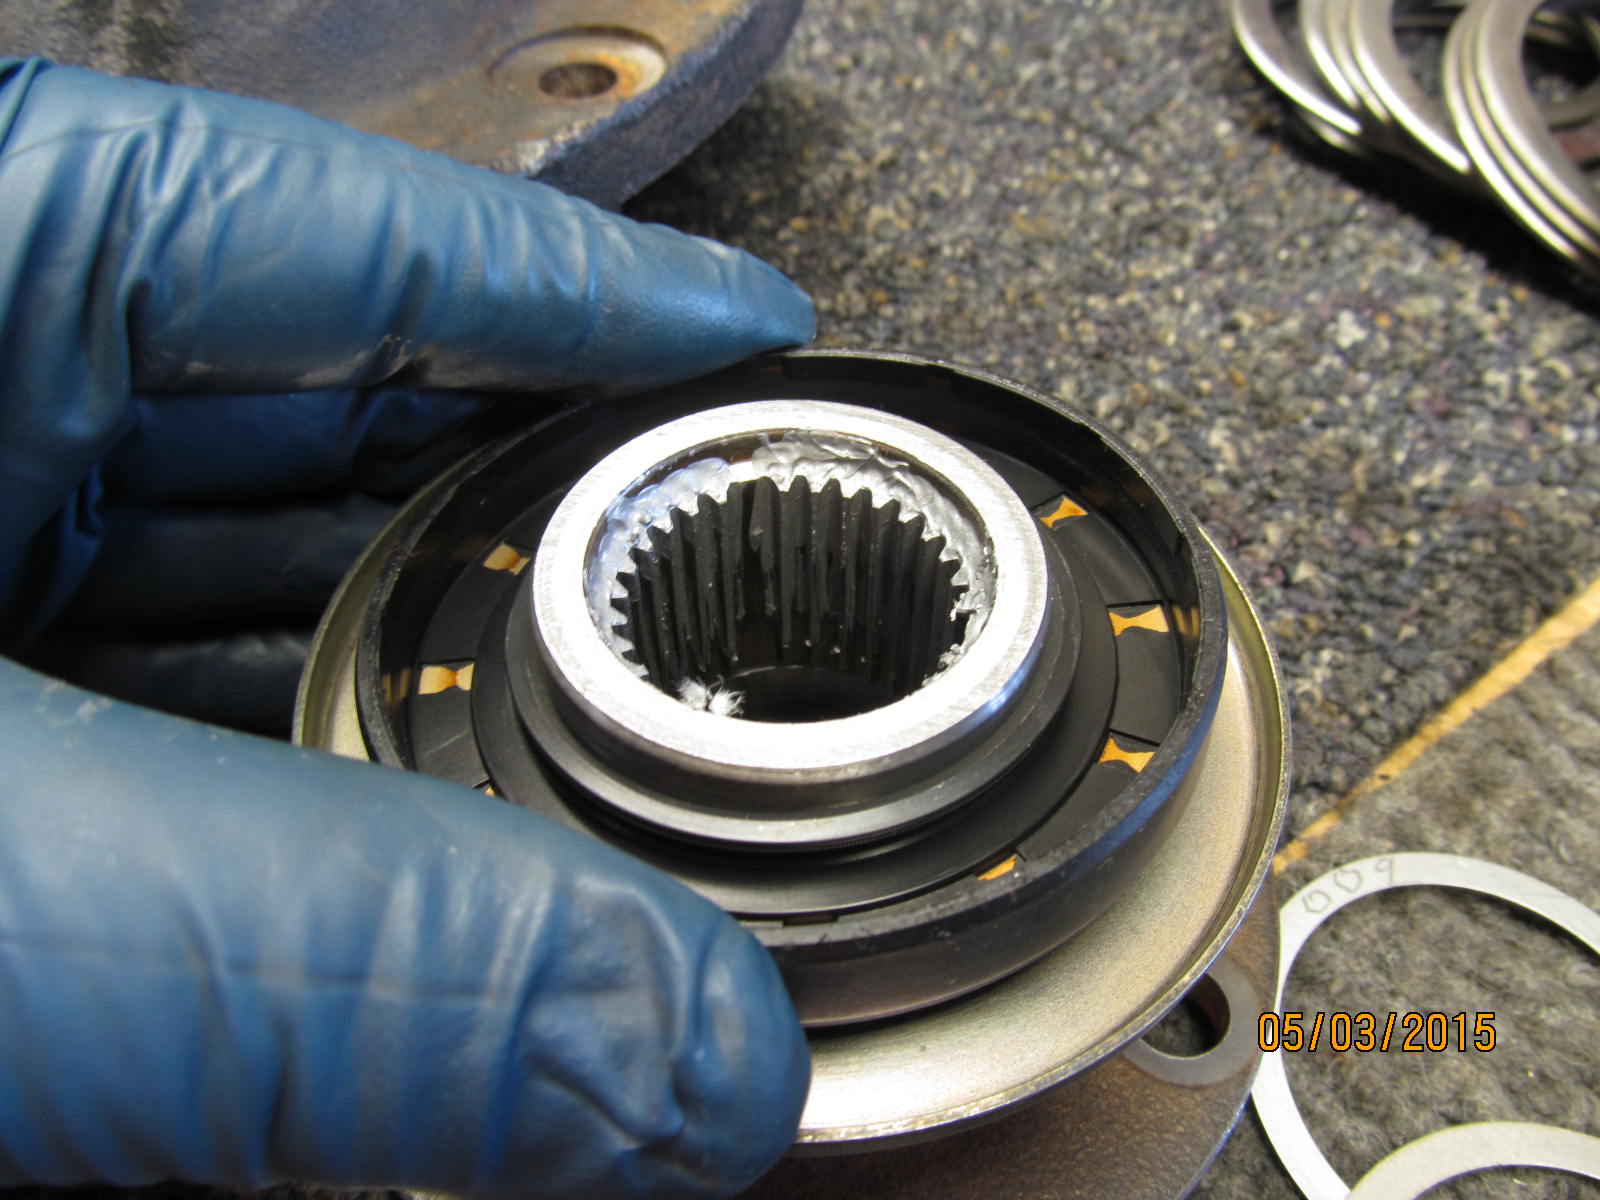
Now is a good time to check how snug the lip of the pinion seal fits. Nice.
Not shown but a solid collar was also installed.
|
|
|
|
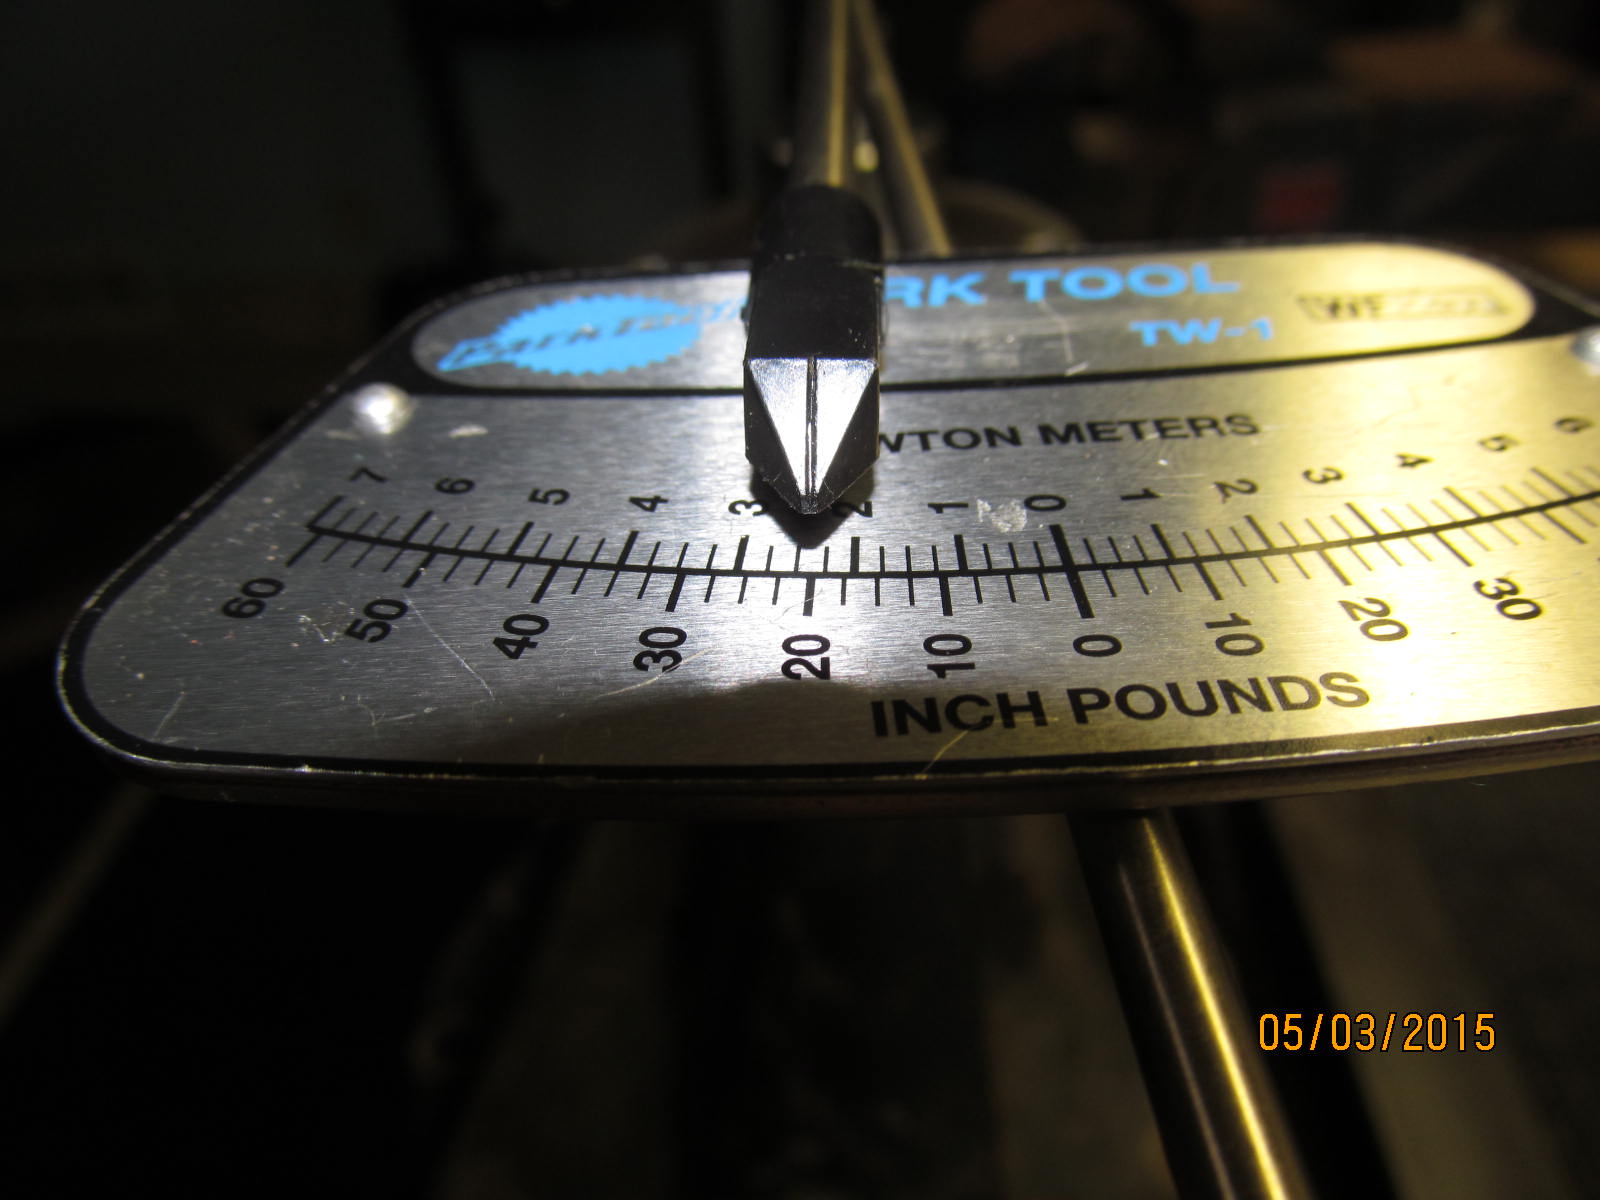
With the thicker pinion shim installed and the solid collar, now it's time to tighten the pinion nut
til about 9 or 10 in/lb of drag is measured.
|
|
|
|
|
I was able to tweak it in to a nice 10 in/lb.
|
|
|

|
|
Ding the nut and done.
|
|
|
|
I added another .005" on this side shown and .003" on the other to increase the backlash
and also the pre-loading.
|
|
|
|
|
Backlash was measured on every other tooth. The minimum was noted to be .0065"
|
|
|
|
Combined preload was 19 in/lb. Pinion preload was previously measured at 10 so that means
the carrier bearing preload is 19 - 10 = 9 in/lb
|
|
|
|
|
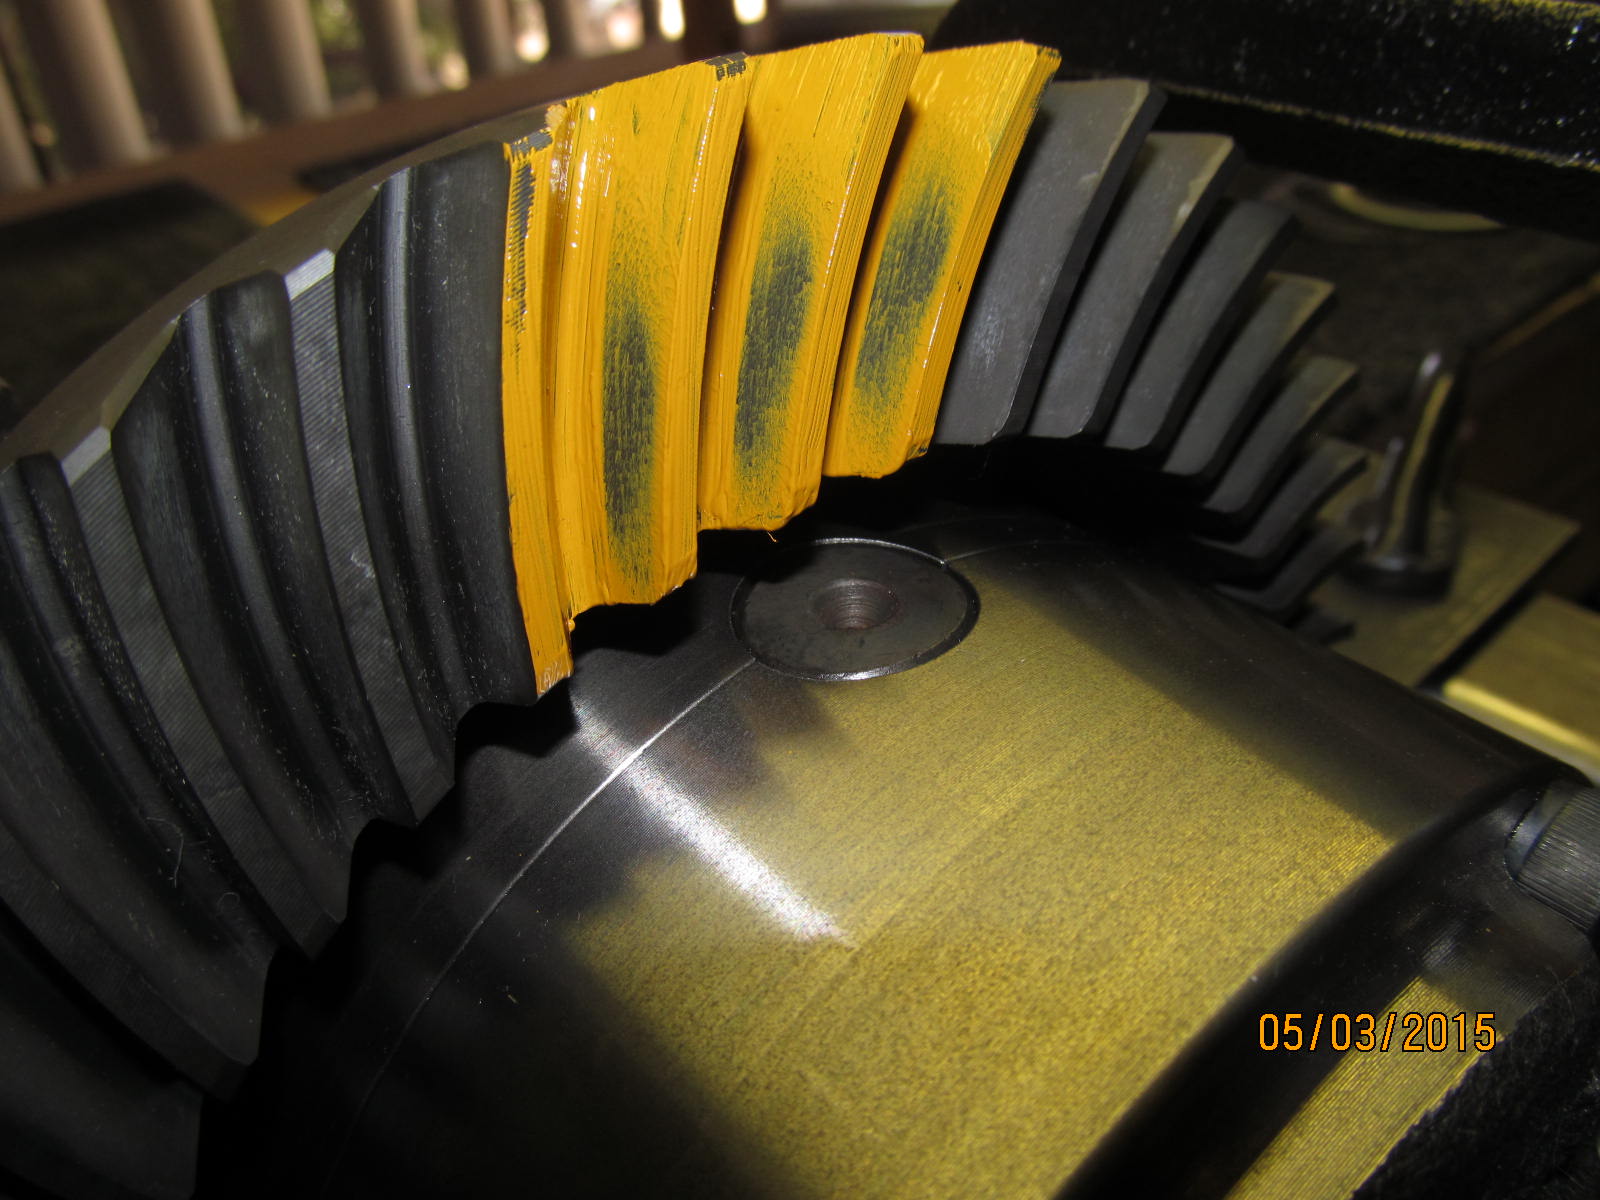
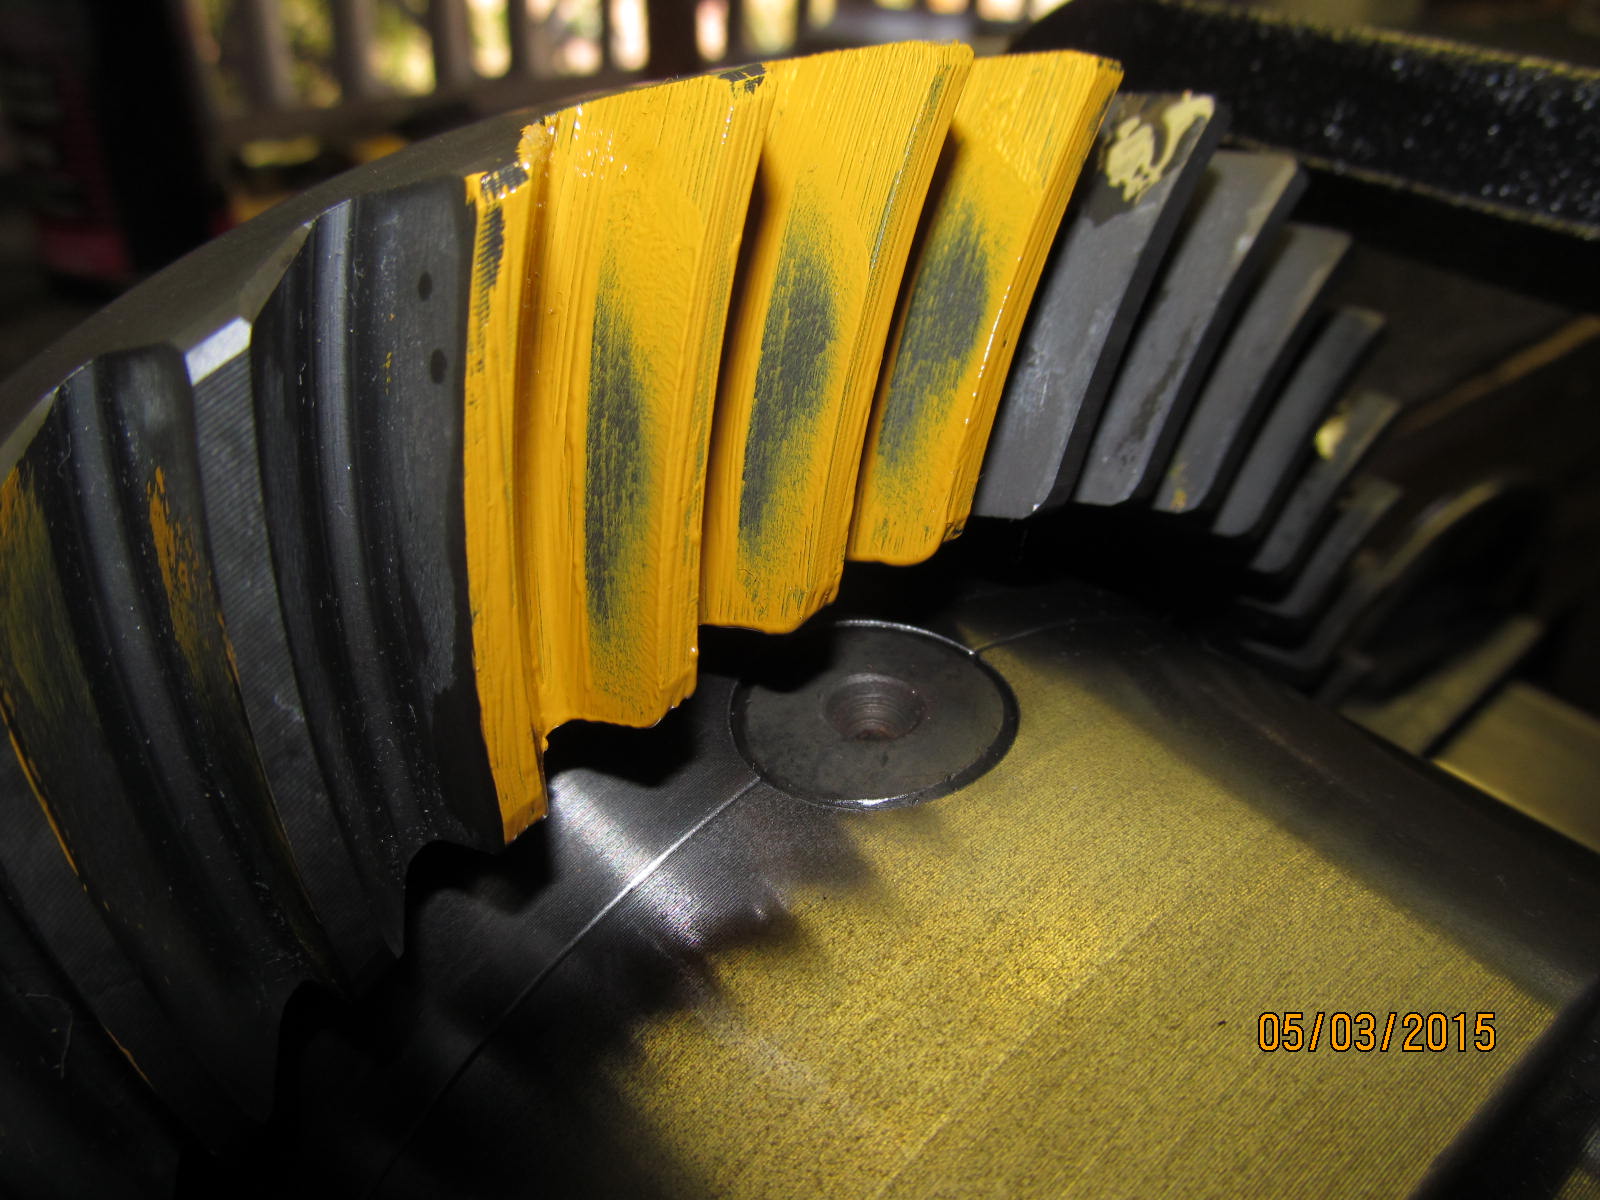
Last paint check and the drive side looks to be my preferred slight deep depth. Well centered too.
|
|
|
|
|
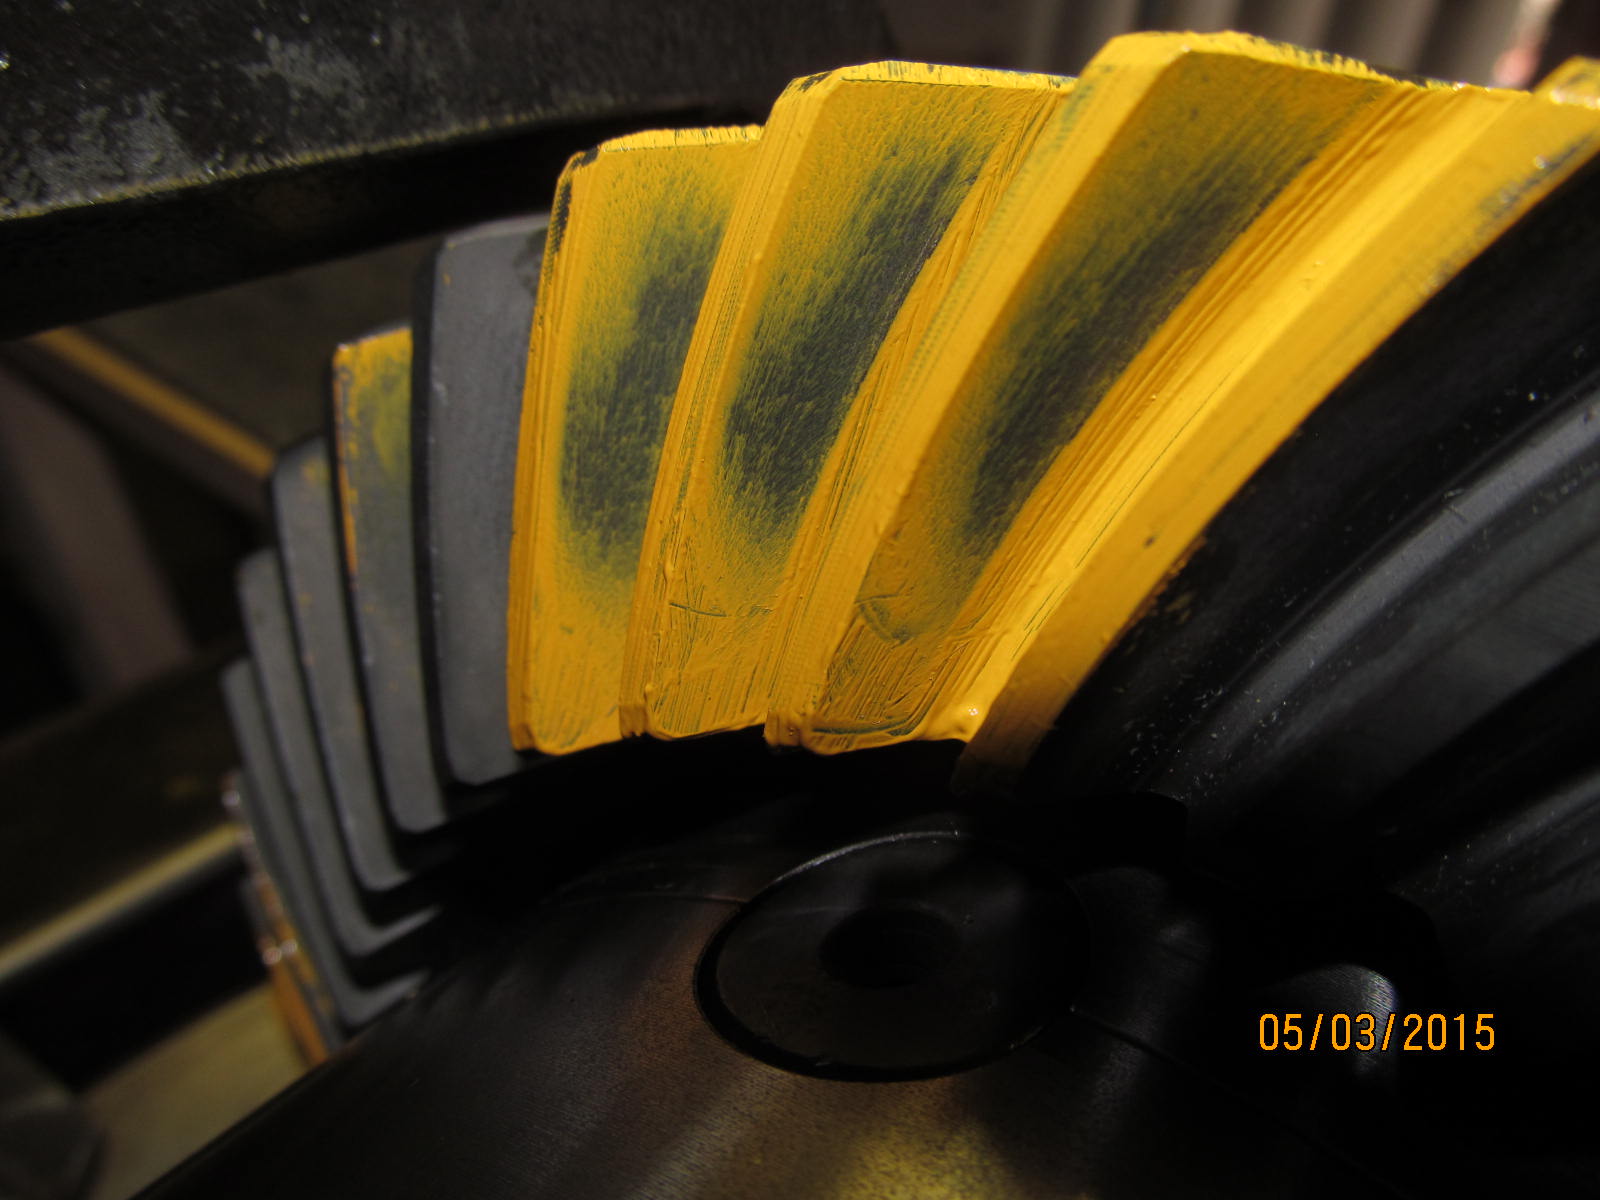
Coast..proper root contact and slightly favoring the heel.
|
|
|
|
|
A double-check...The FSM says 83 ft/lb and I like the sound of that number too :)
|
|
|
|
|
======================
|
|
|

|