|
|
|
|
|
|
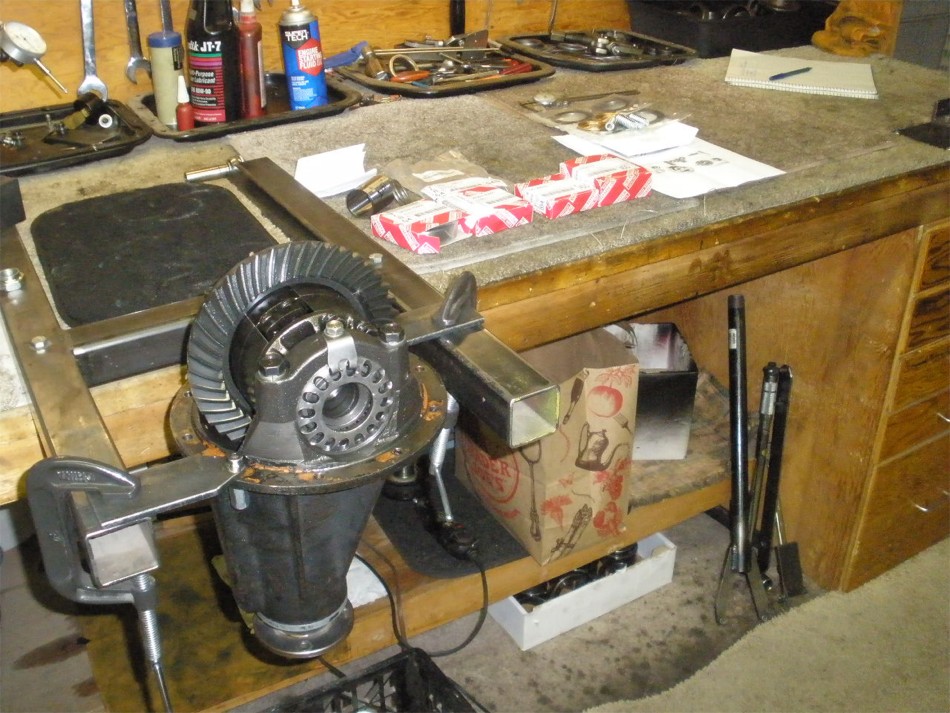
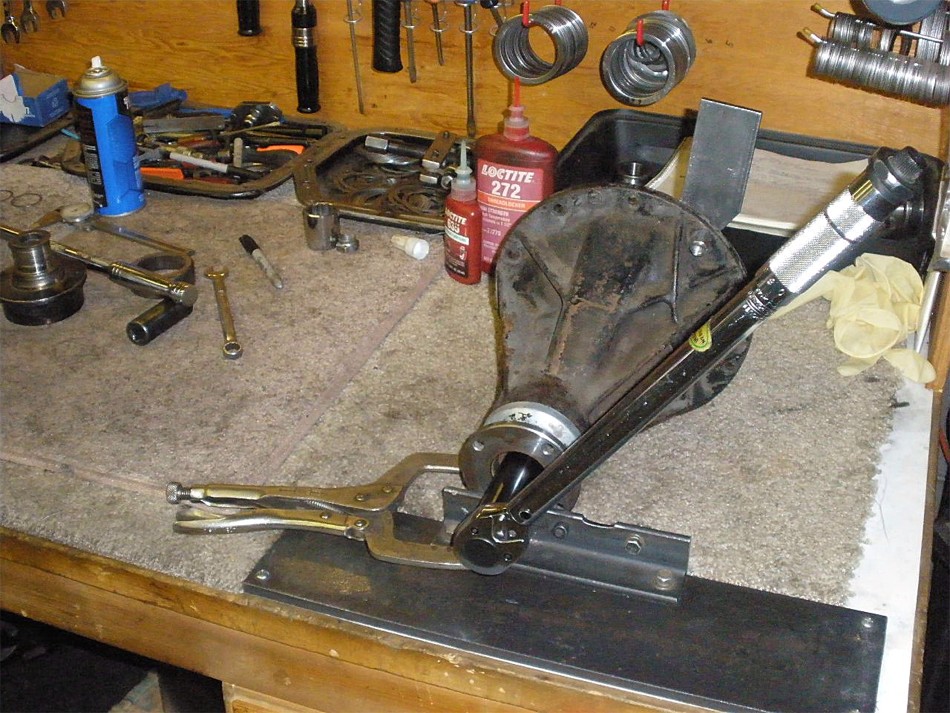
John lives nearby and dropped this off to me. This will be going into his 1976 Celica.
Information update::::: The 3rd member itself came from a 1980 Supra and the LSD was from
an 85 Celica Supra. The guys at Weir said to keep your eye out for an MK1 or MK2 Cressida irs 1982~86 for the LSD option.
|
|
Some of the 2wd Toyota trucks would love to have this 7.5" with LSD. Also, the LSD itself should drop right into the front IFS 3rds of the
1986~95 4WD Trucks/Runners |
|
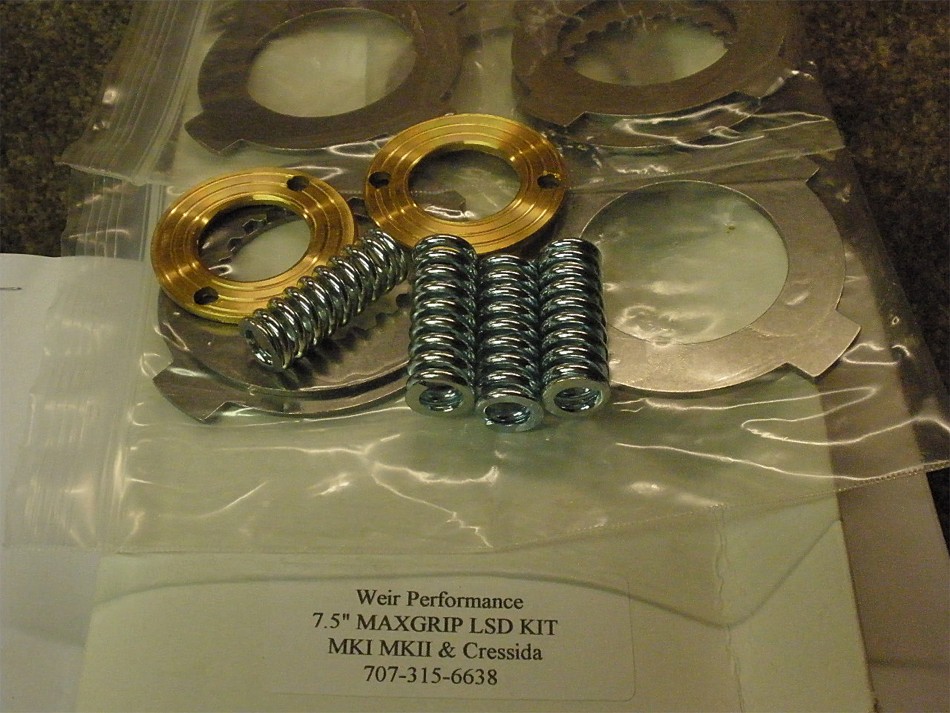
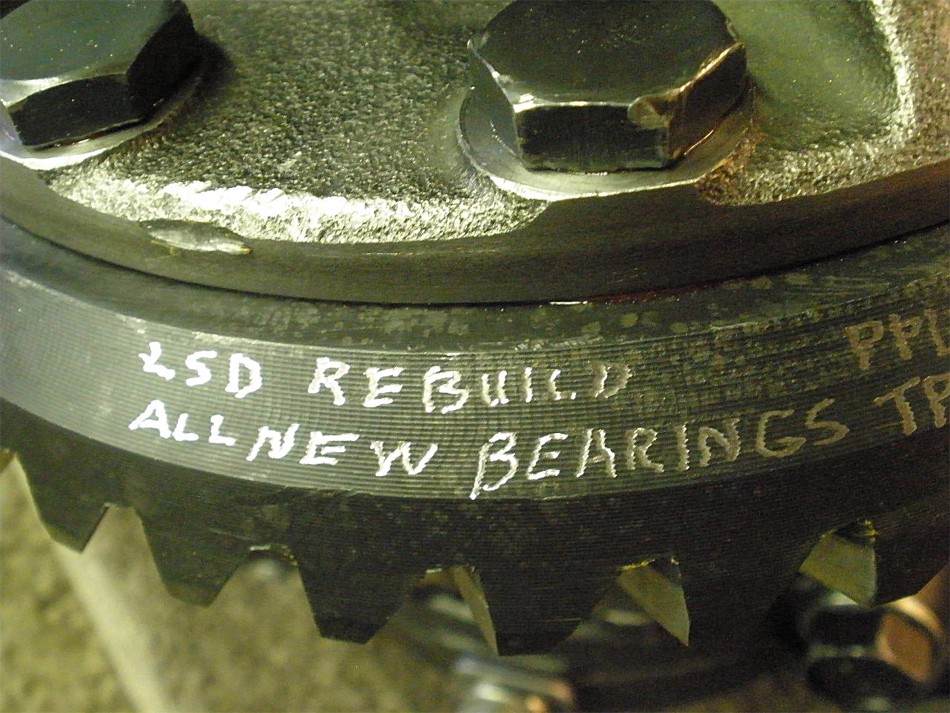
John ordered the LSD rebuild kit from Weir Performance at roughly $190. |
|
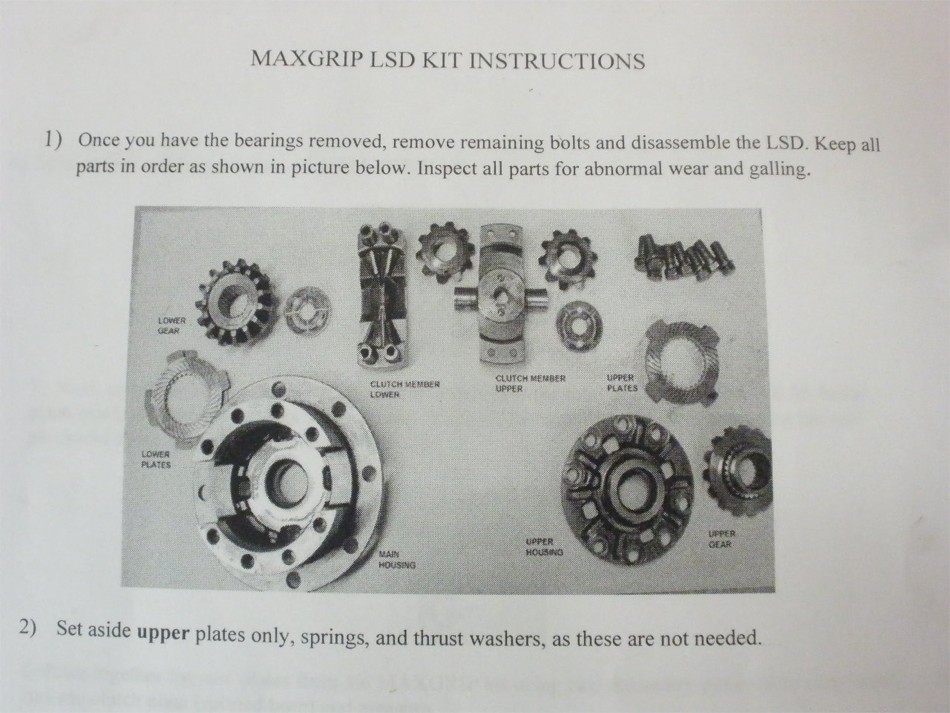
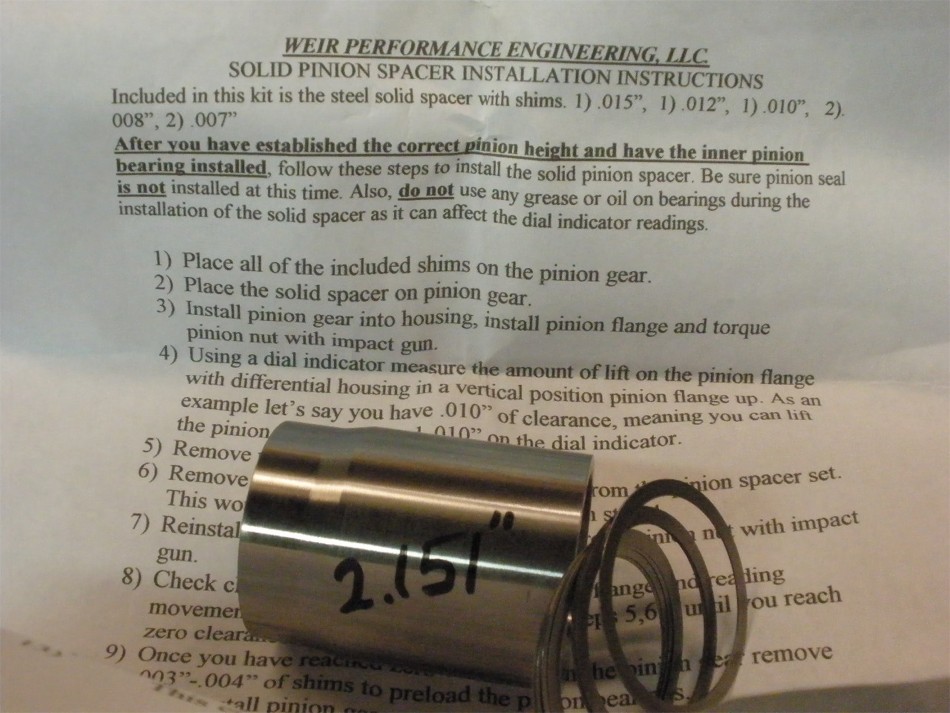
Here's a sample picture from page 1 of the LSD rebuild instructions. |
|
Oh ya....they also sell a quality machined 7.5" SOLID COLLAR.
Perfect for our 4WD trucks /Runners with the FRONT IFS 7.5" 3rds...finally, a source of solid collars for the fronts. |
|
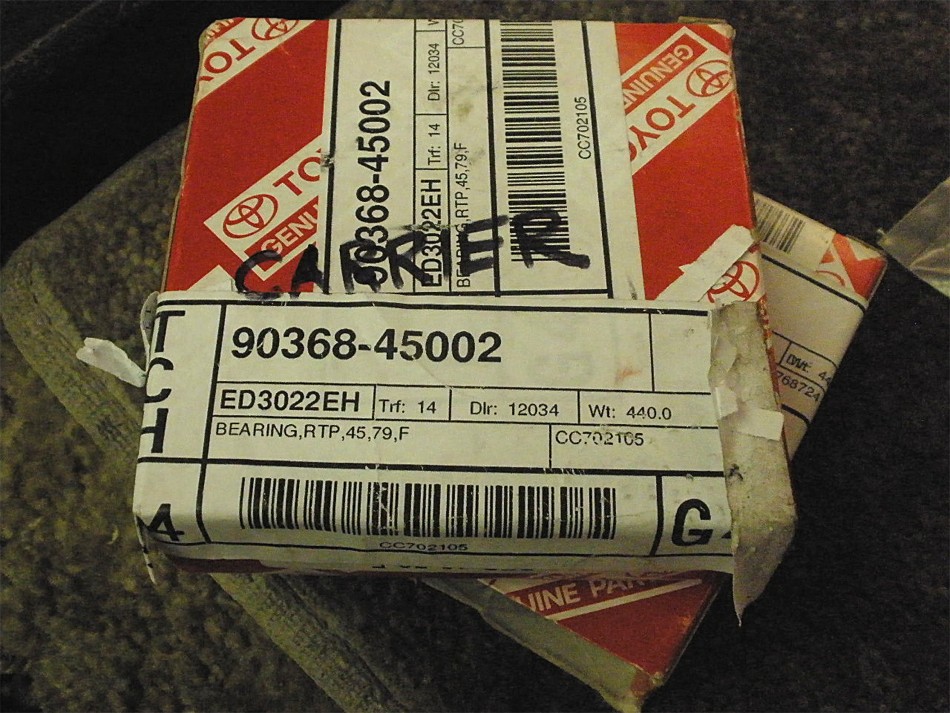
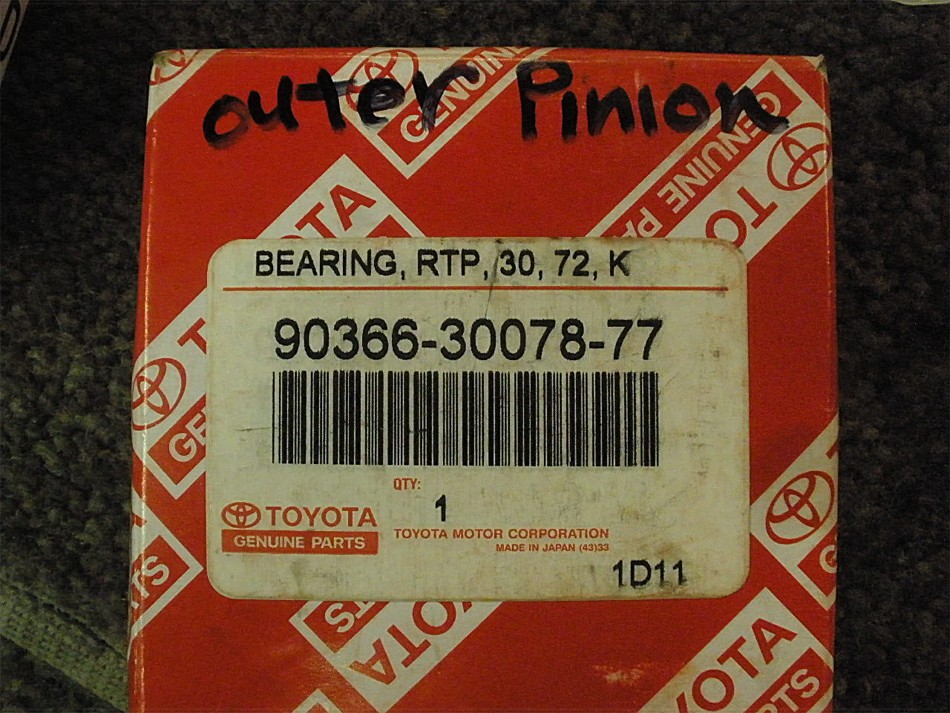
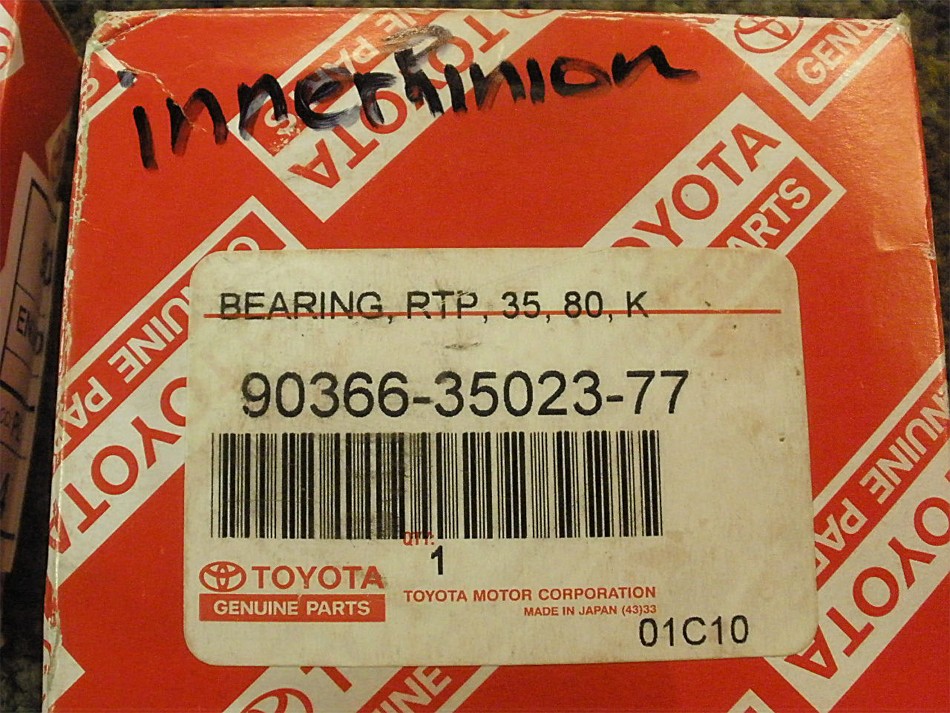
Weirs also supplied the quality KOYO bearings. |
|
... |
|
.... |
|
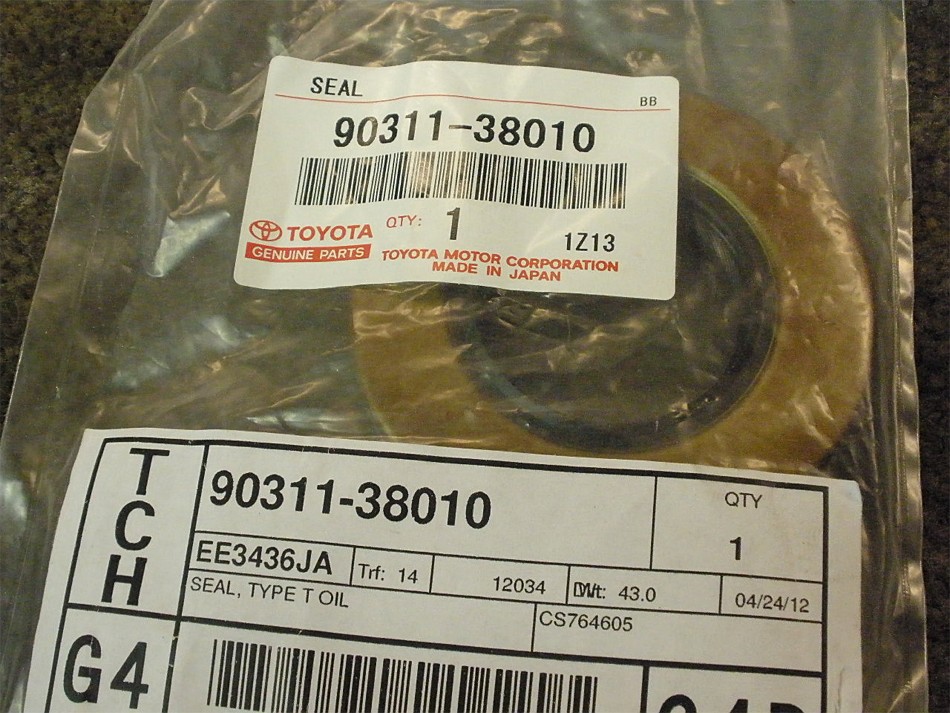
...and a seal. |
|
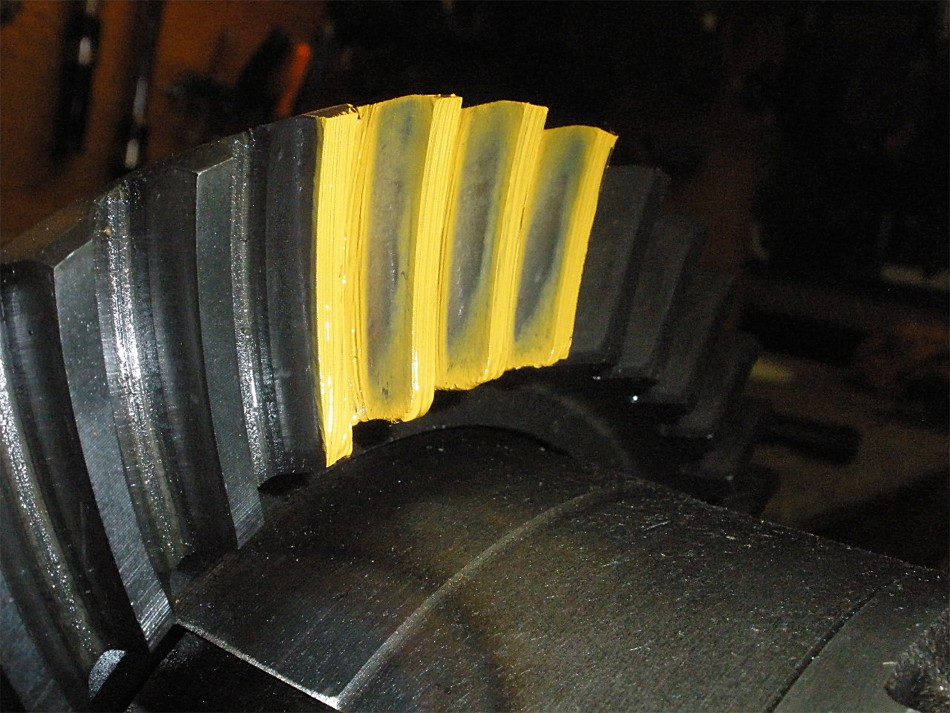
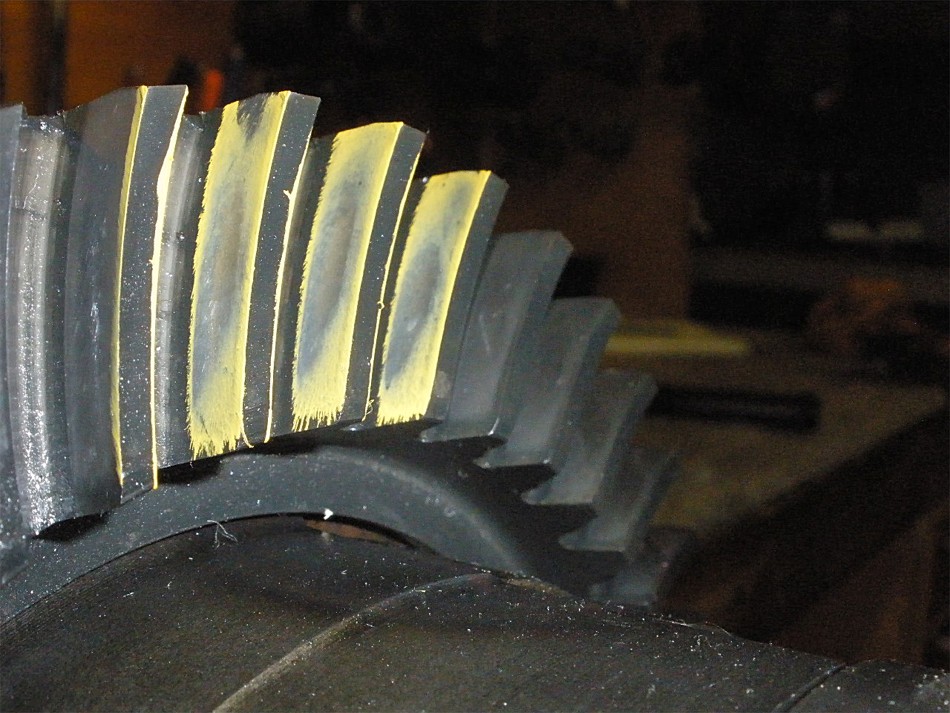
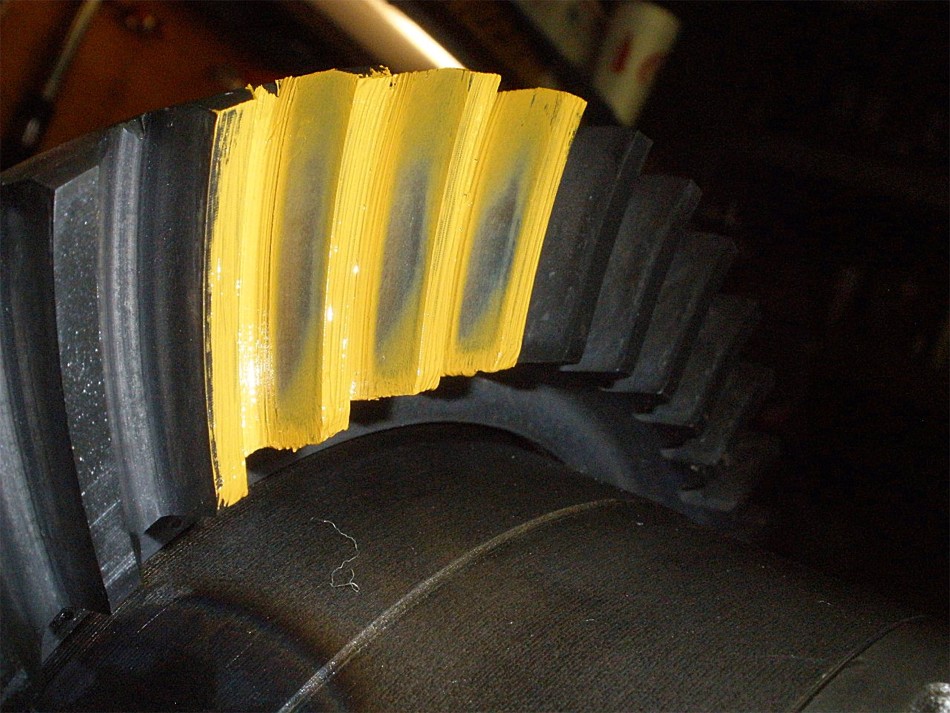
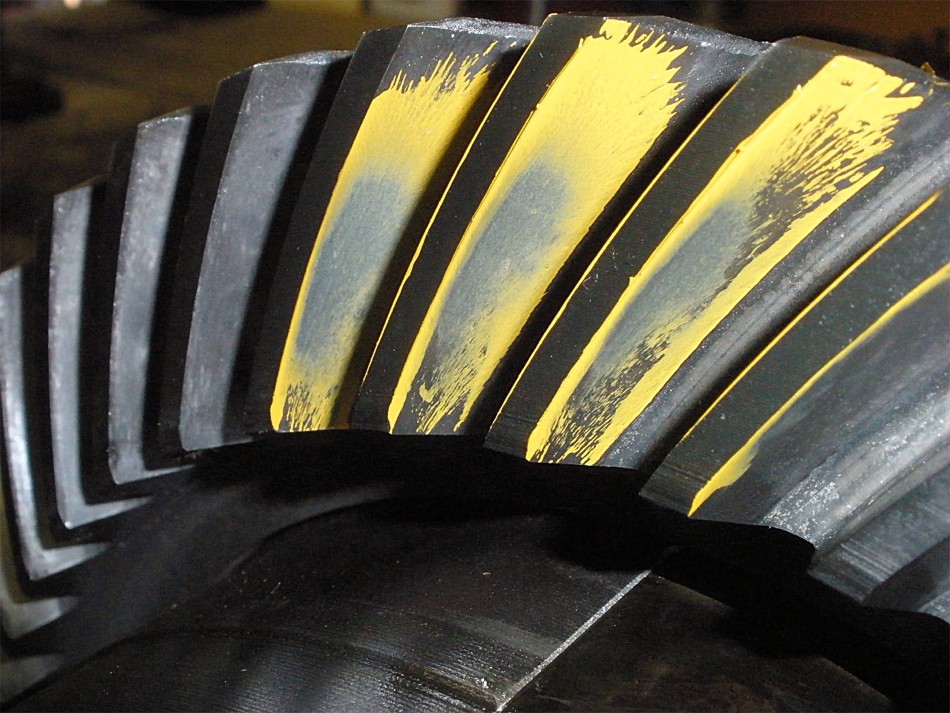
First, I needed to see what the painted pattern looked like. Driveside...centered...looks great. |
|
Coast....right on...favors toe which is even better. |
|
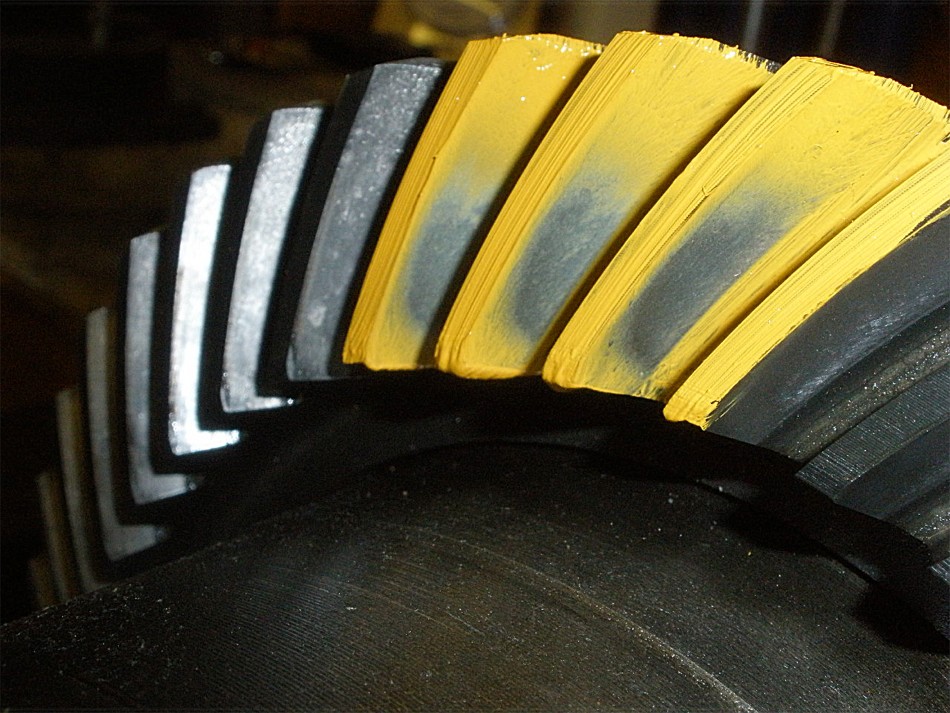
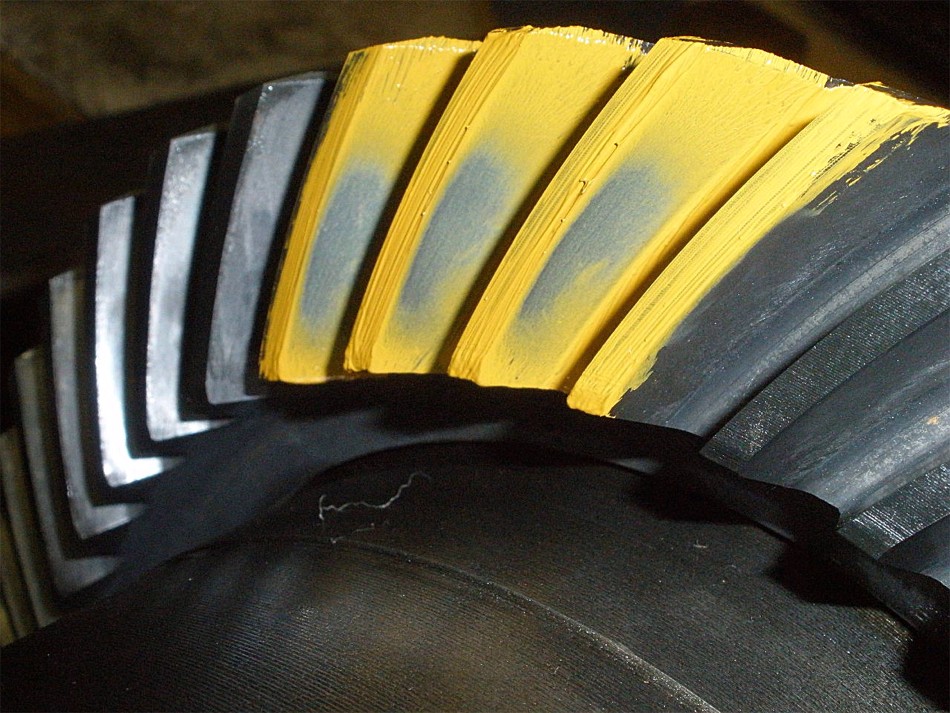
Pinion driveside is nice. |
|
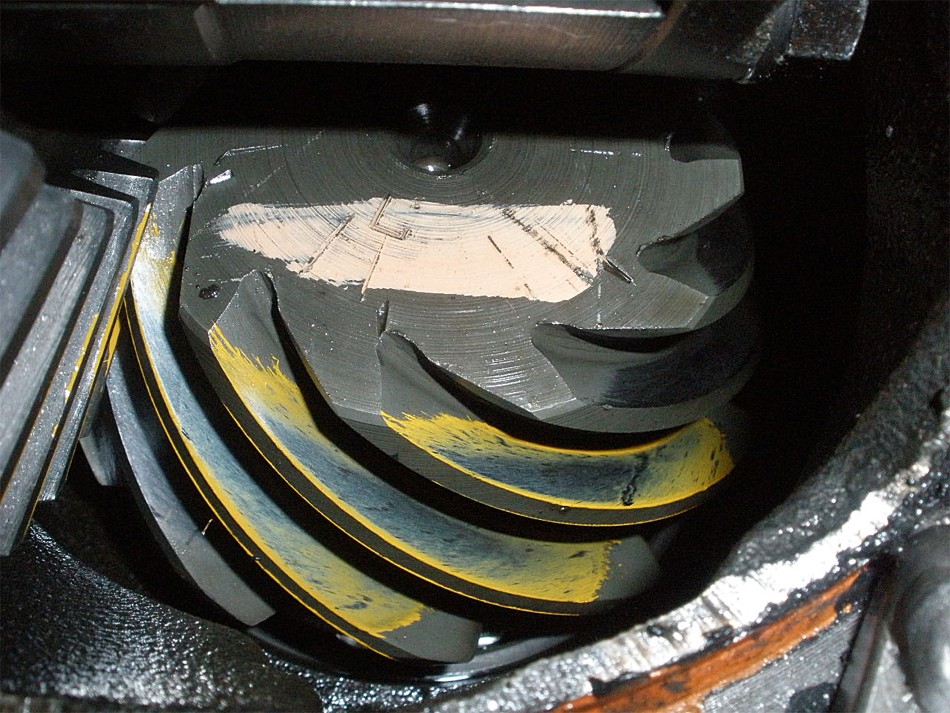
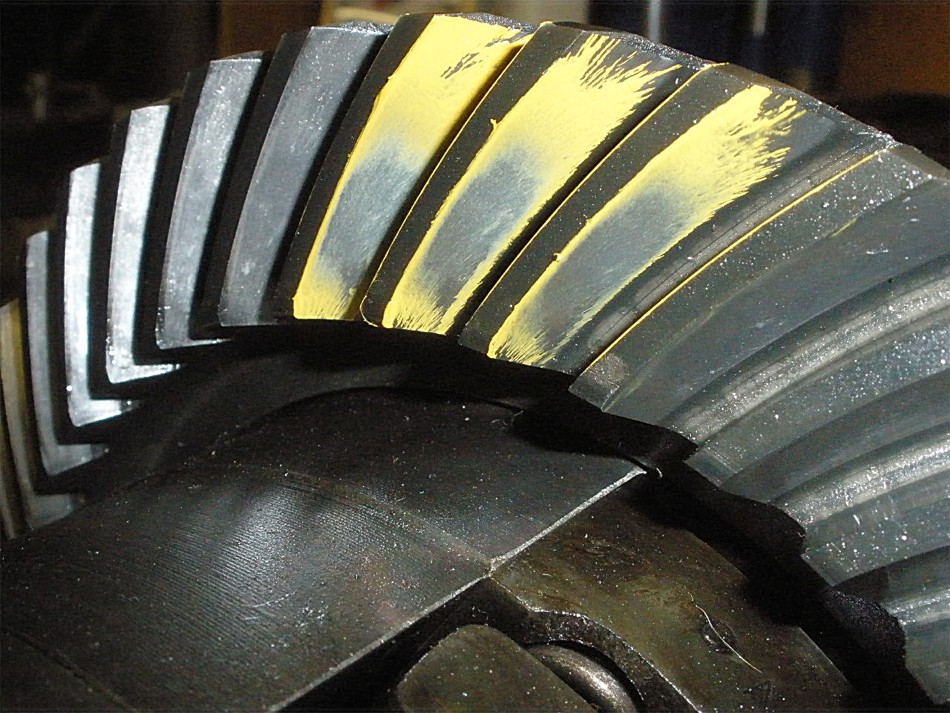
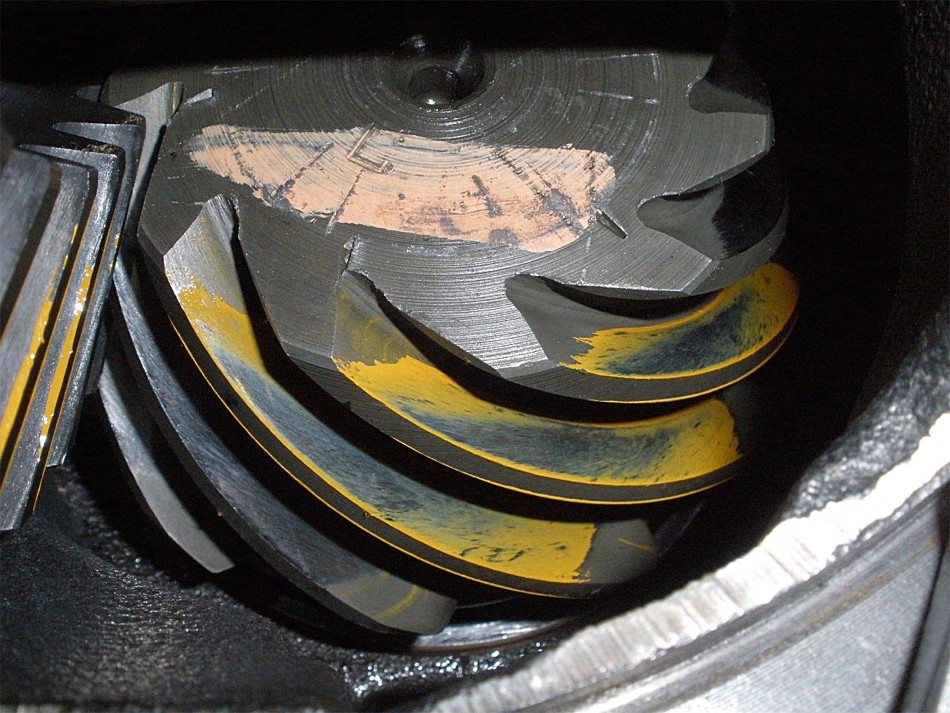
Drive...reverse painted. |
|
Coast...reverse painted. |

|
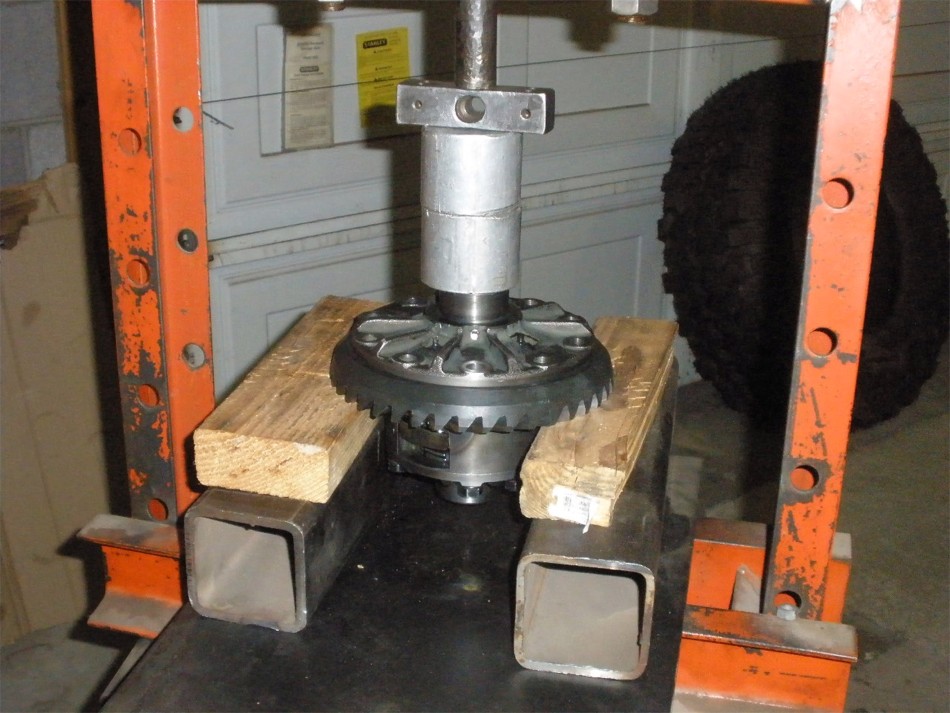
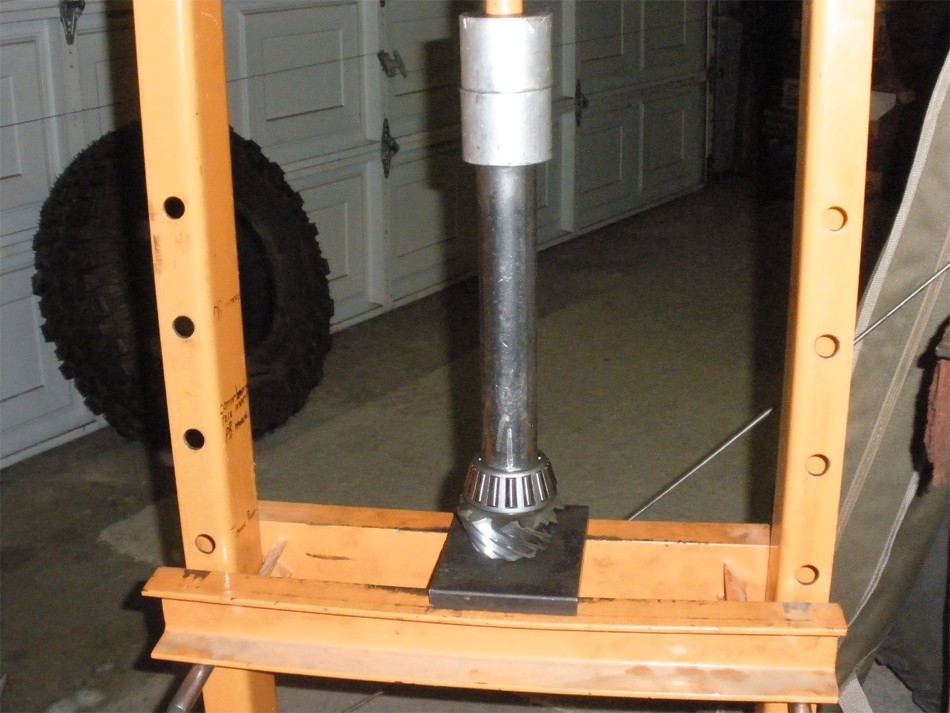
Remove the ring gear and old carrier bearings. The bearings were being stubborn coming off with my 2-jawed puller so out came the dremel tool with mini-cutting wheels. Cut the outer cage off and throw away all the tapered rollers... |
|
Make a long deep cut into the inner bearing and it will split with a screwdriver and a light tap from a hammer. |
|
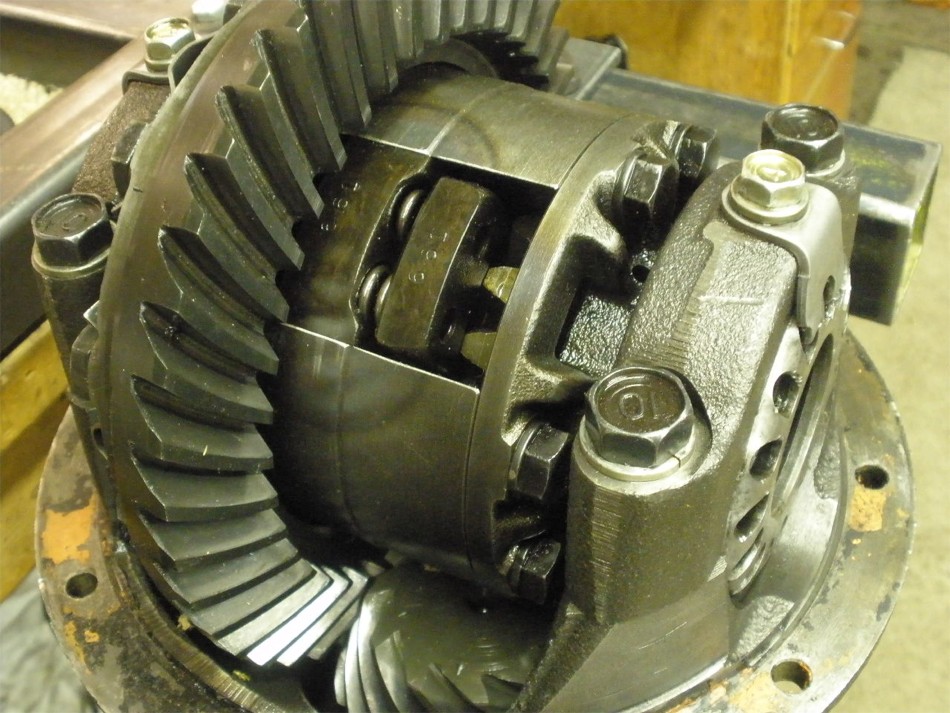
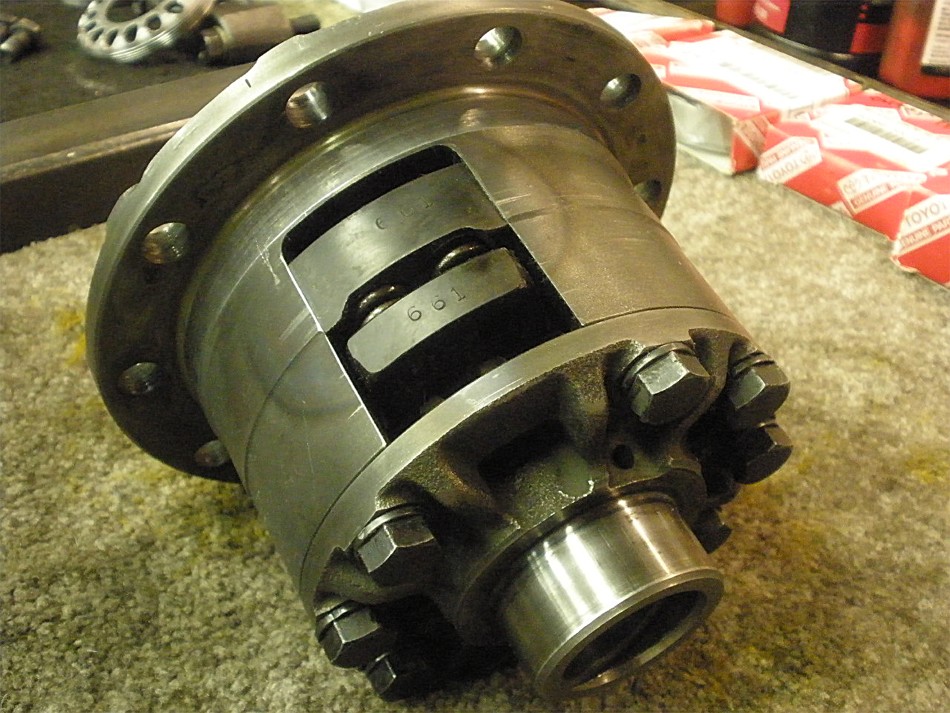
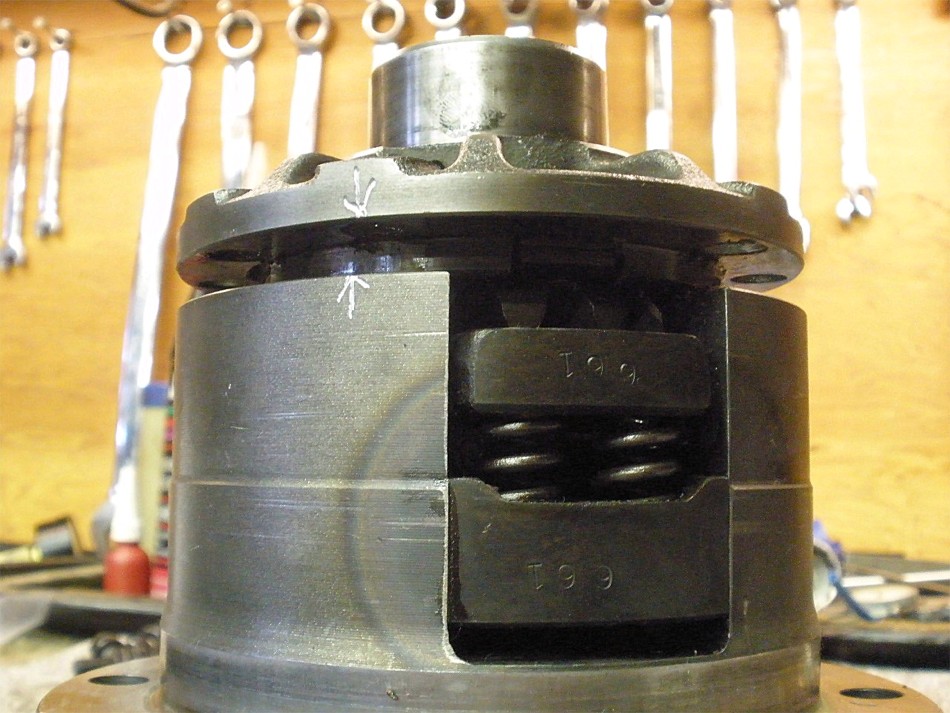
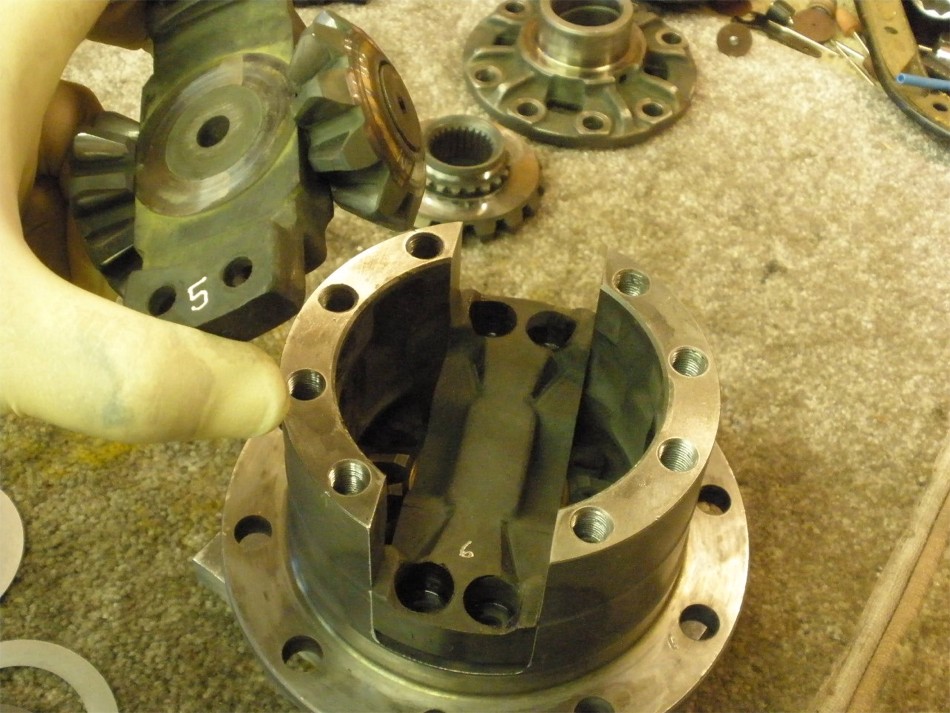
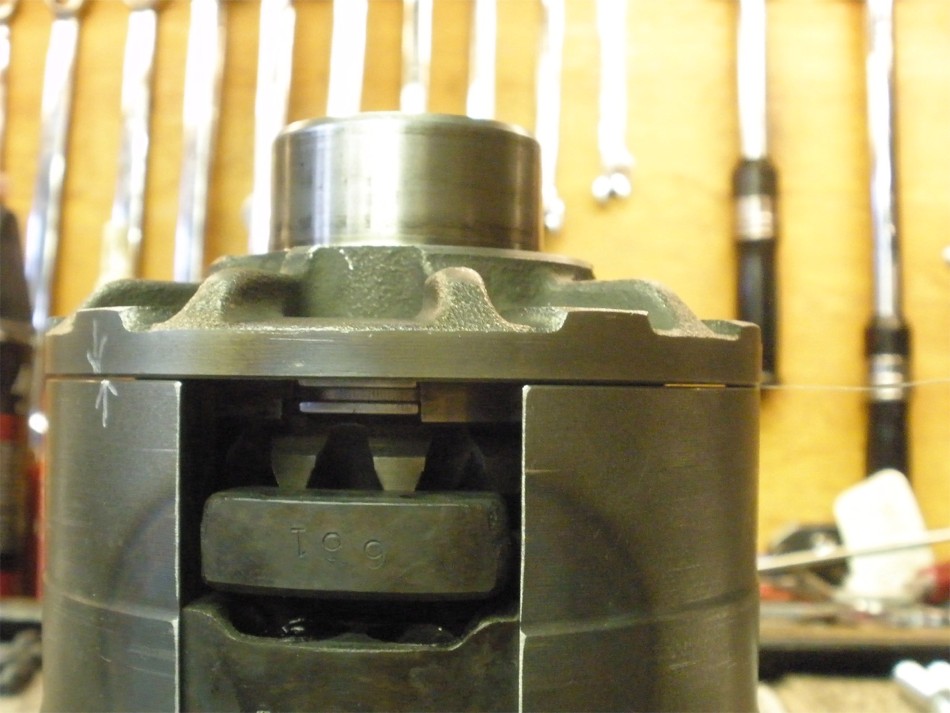
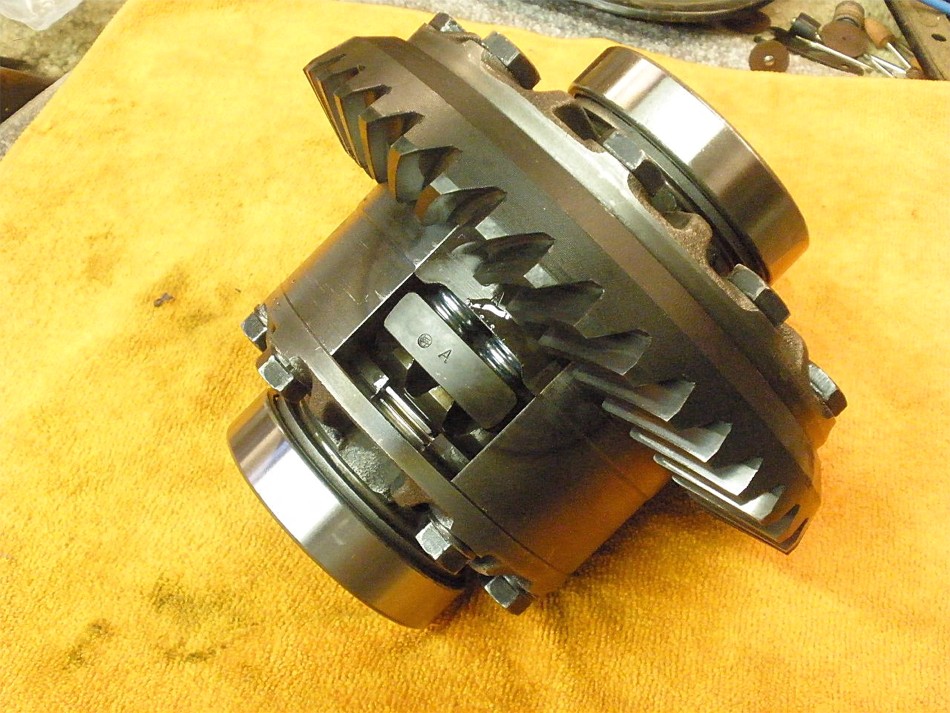
LSD is now ready for teardown. |
|
Mark and remove the 8 bolts. Loosen them evenly and most of the spring tension will be relieved. |

|
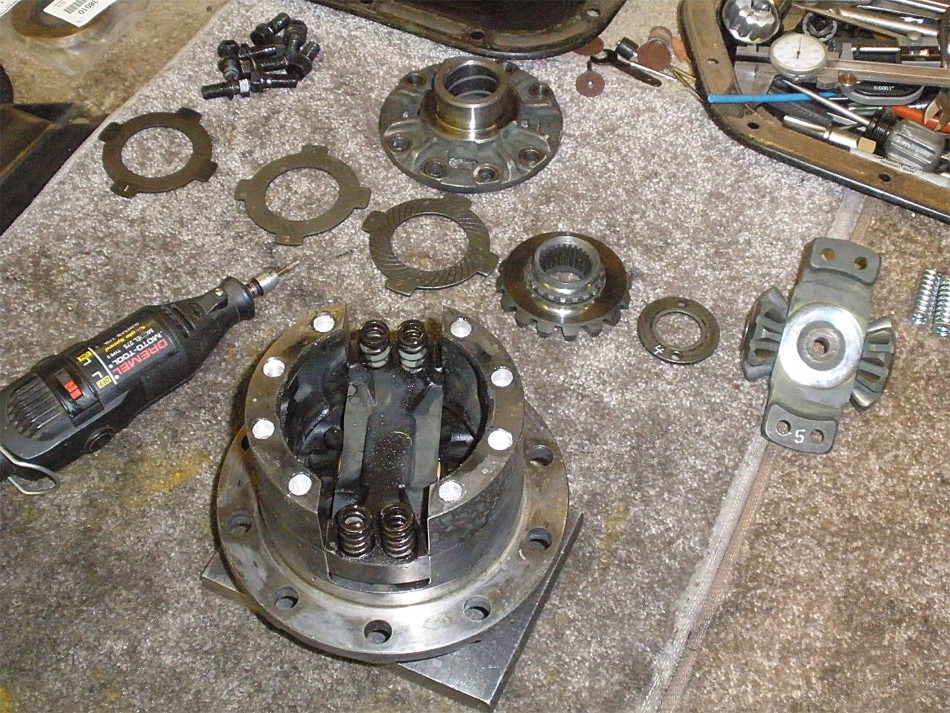
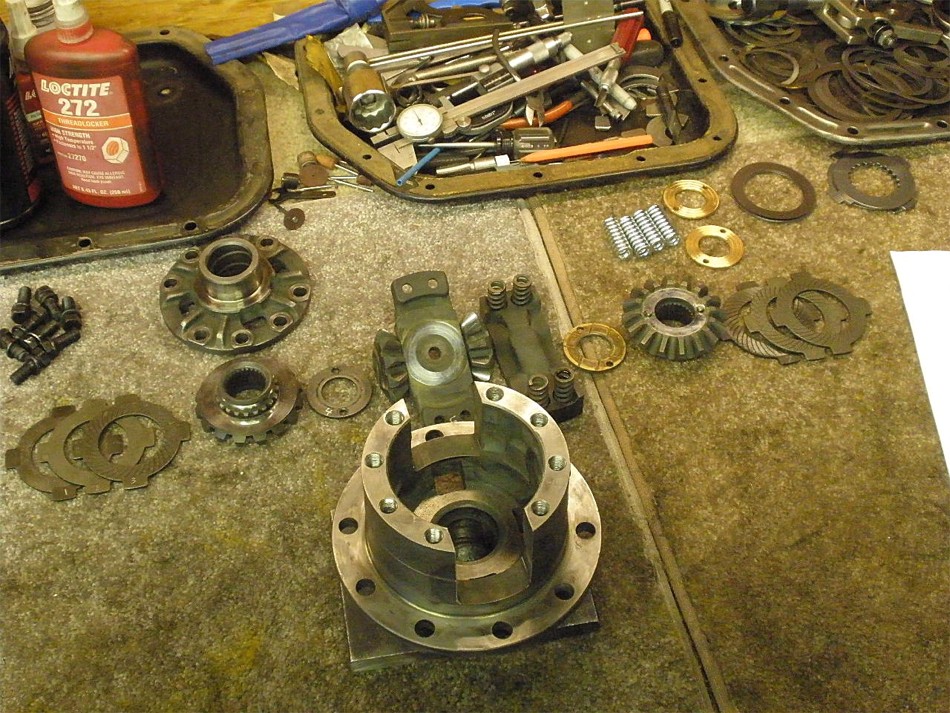
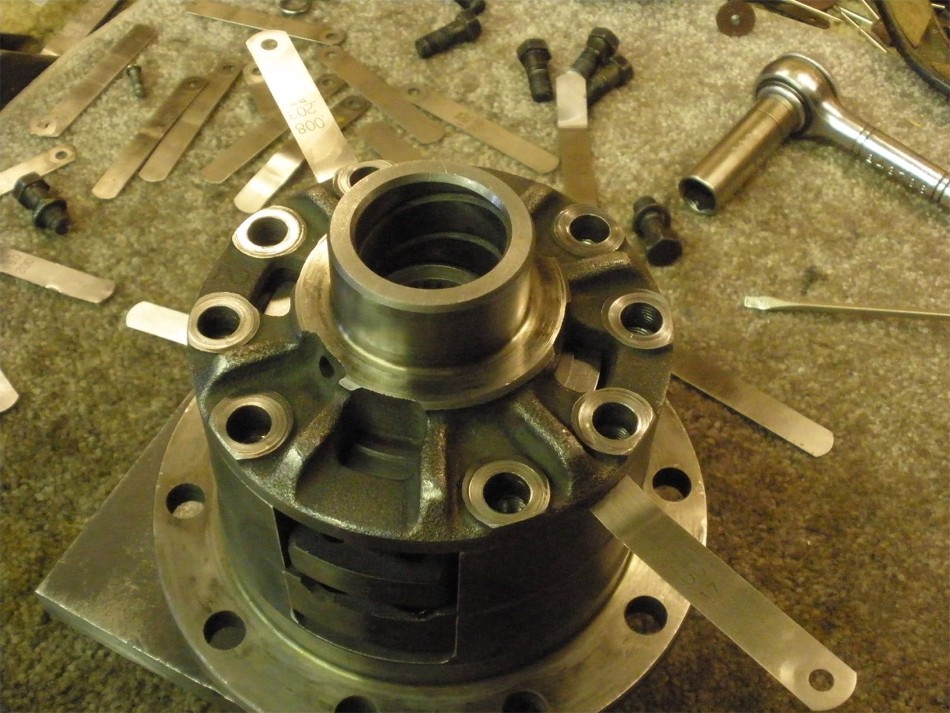
Per the instructions, I layed everything out in the order of removal....looks like my camera overly highlighted the white, powdery Locktite that was in the 8 threaded holes. |
|
... |
|
... |
|
... |
|
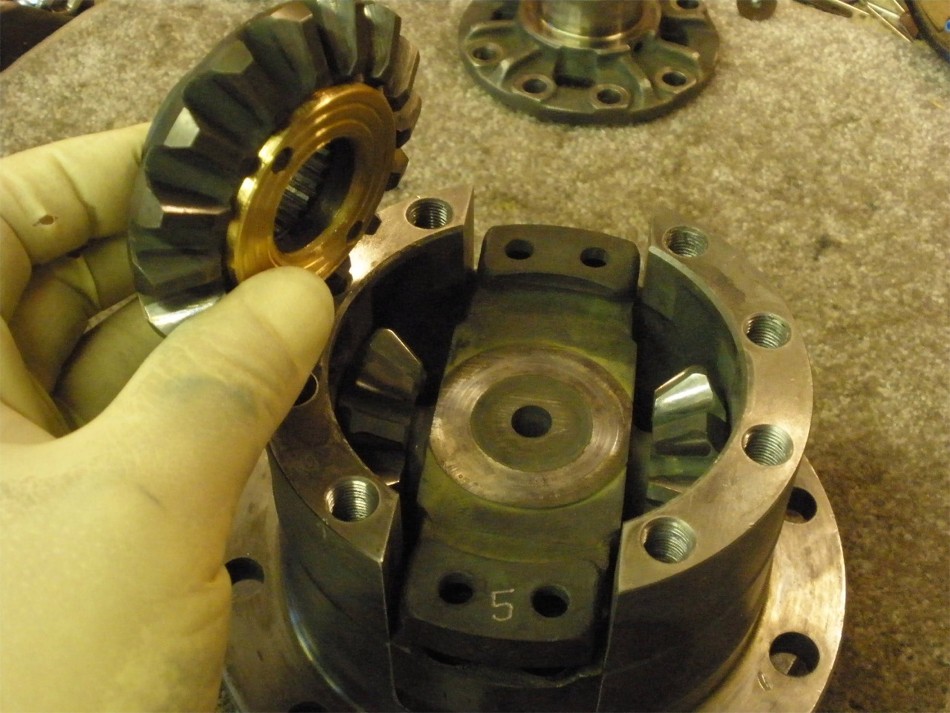
All old parts are layed out left to right. |

|
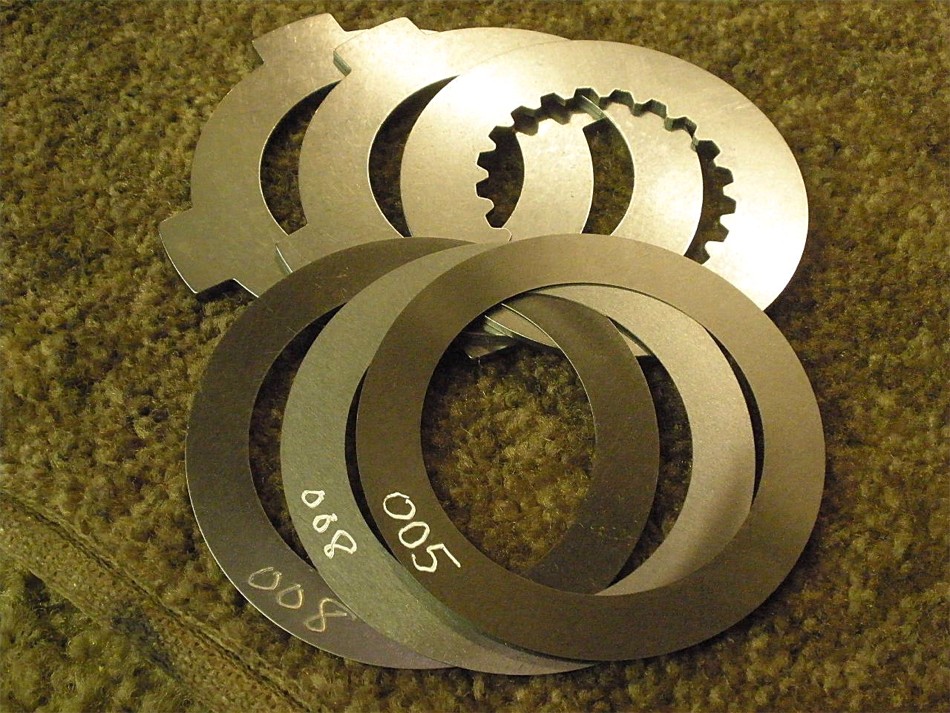
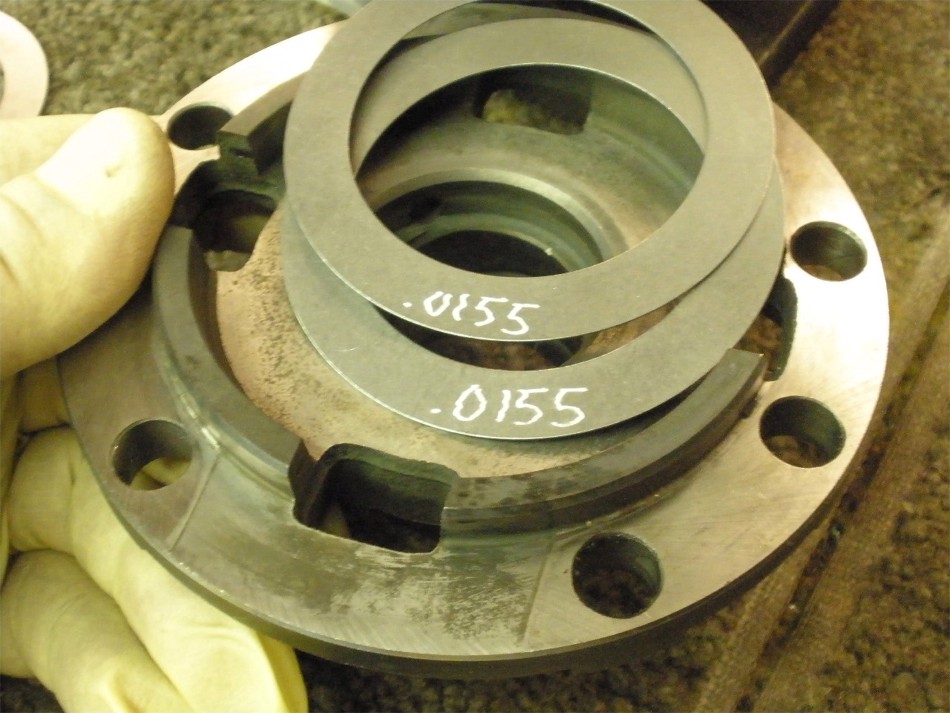
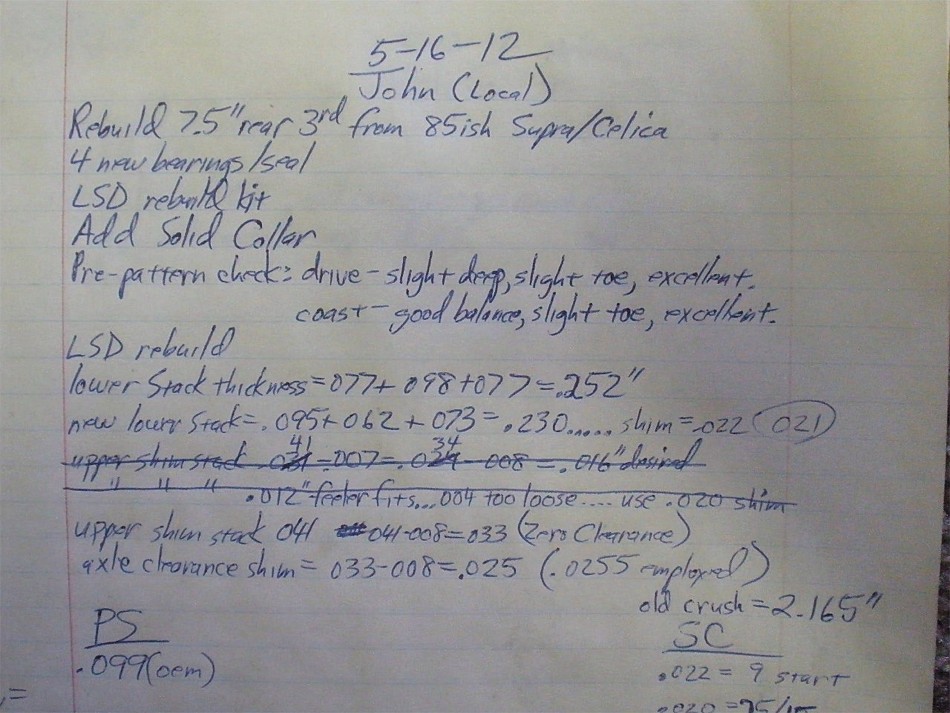
Old, lower stack of 3 is carefully measured and add up to .252". |
|
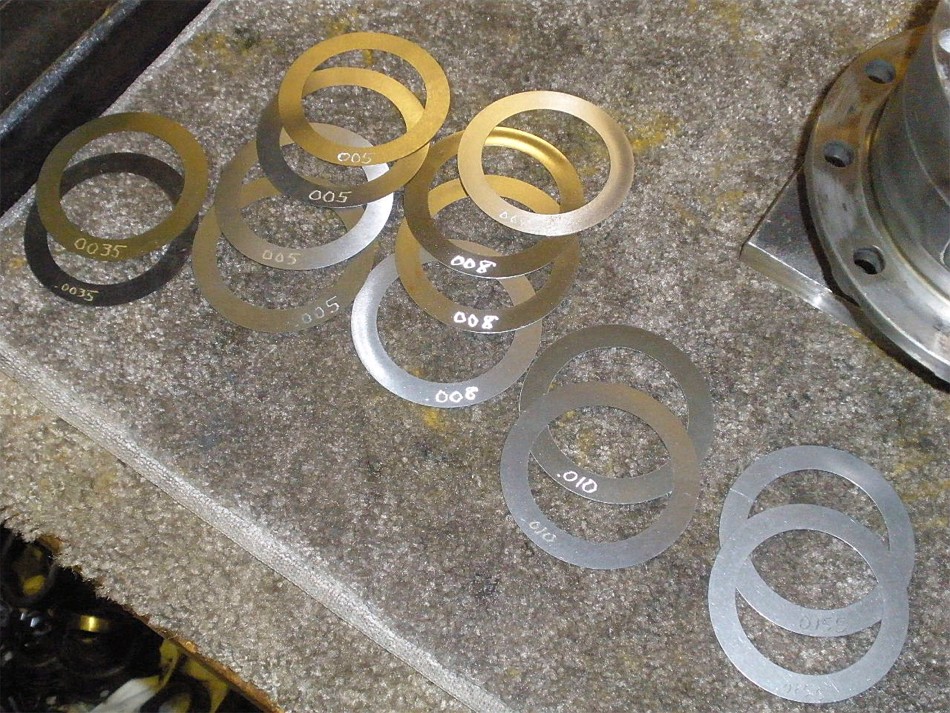
The new stack of 3 must add up to .252" as close as possible. Shown above are the shims they supplied to help this happen. I marked them with the dremel to make things easier. |
|
The new stack of 3 added up to .230" So, that means I need a shim of .022" to get to the old shim stack value of .252.... .021" is what we will use. |
|
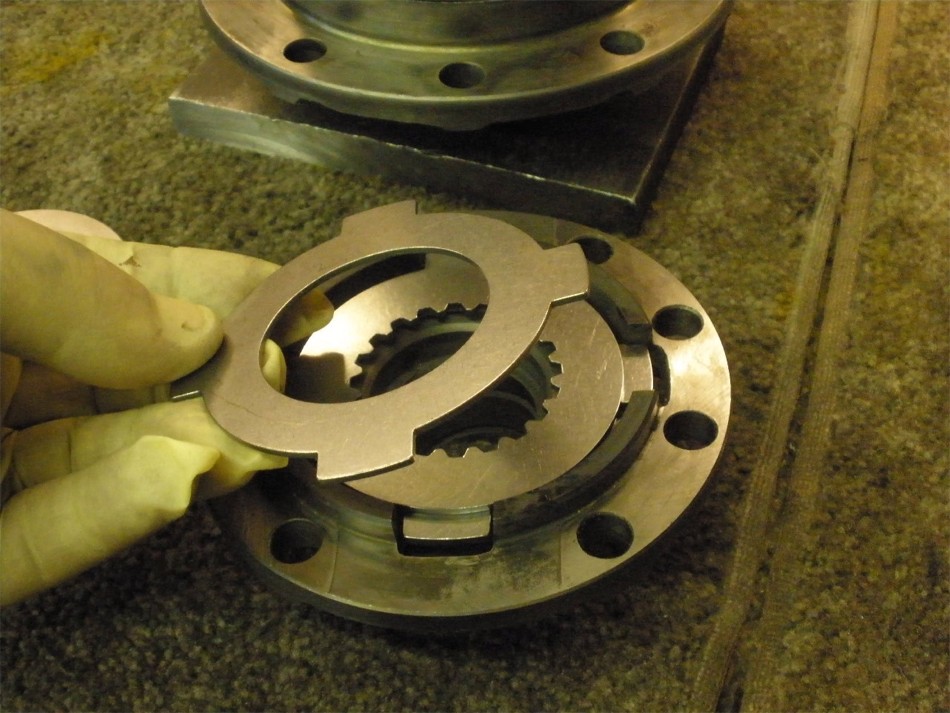
.021" shims first then the 3 new plates with the splined one in the middle... |

|
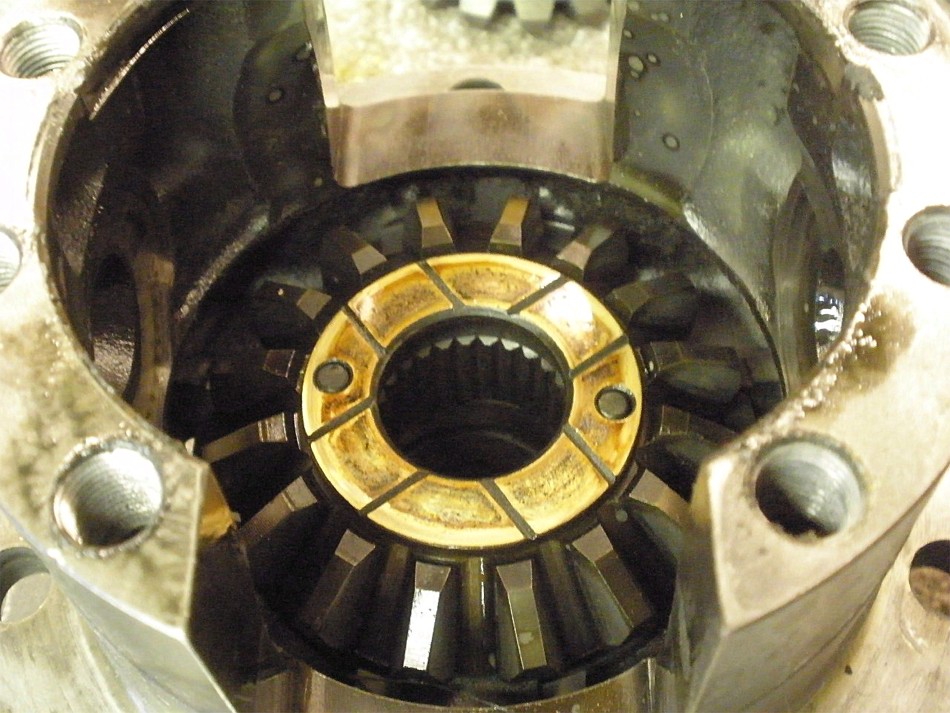
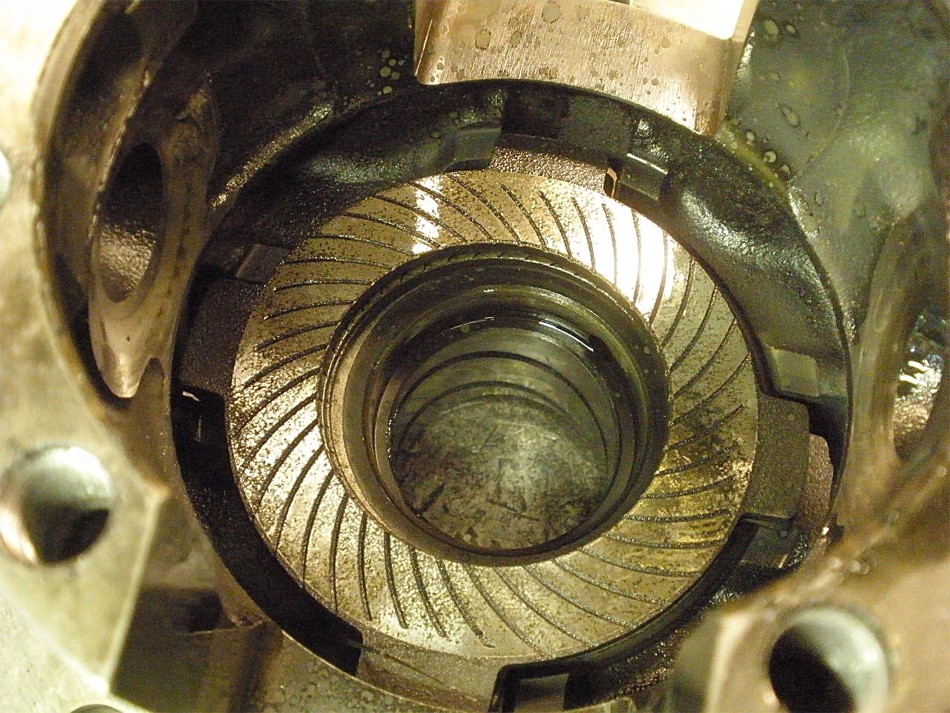
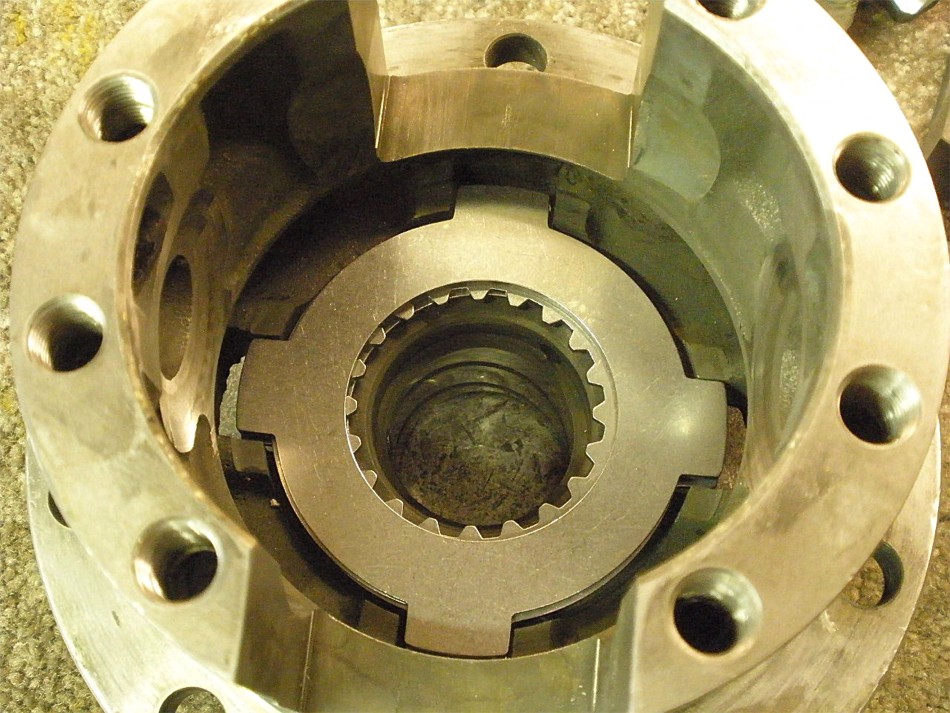
Lower side gear followed by the new brass thrust washer. |
|
Add the lower clutch assembly followed by the upper assembly. No springs at this point. |
|
Add the upper side gear with the brass washer... |
|
I started with .031" here but that wasn't enough to do the "lid test" so I had to add another .010" shim not shown here. |

|
.041" worth of shims followed by the 3 new clutch plates. |

|
Splined one must be in the middle. |
|
Last plate. |
|
Average lid gap needs to be measured. |
|
Using only hand pressure to push down the lid and feeler gauges, .008" is the average lid gap all around. Based on this, removing .008" gets me to the "zero axial clearance" value....and then remove an additional .008" for the required axial clearance(free-play). 041 minus 008 minus the recommended 008 is 025"....this is the desired upper shim value. Done. |
|
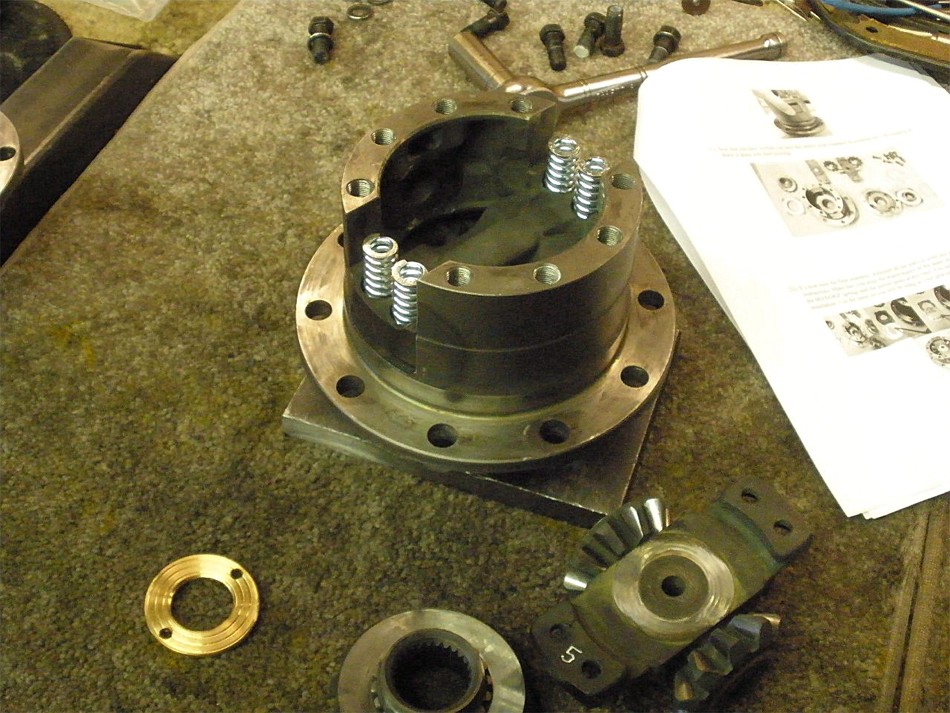
Now, dis-assemble fully, add the 4 springs in, and oil everything. |
|
It was easier for me to carefully compress the springs until the lid touched the case. The upper brass washer was a PITA to make sure it stayed aligned during this operation....there's 2 small holes in the brass washer and they must stay aligned with the sidegear "nubs" during the lid installation. |
|
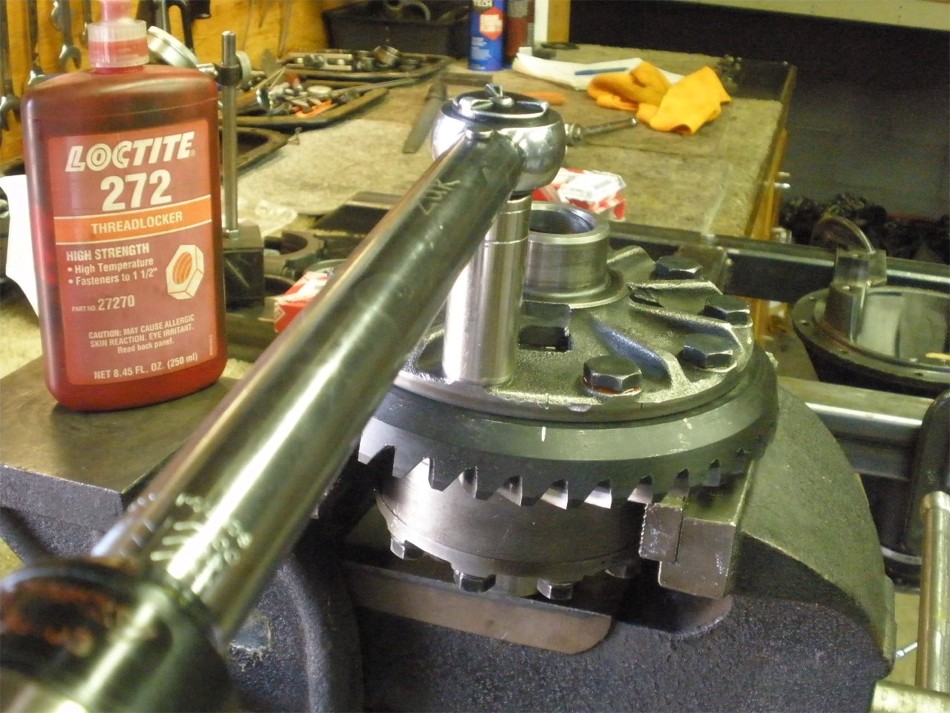
Red Loctite... |
|
...and 35 ft/lbs. |
|
Old ring is helped on. |
|
Red Loctite and 75 ft/lbs. |

|
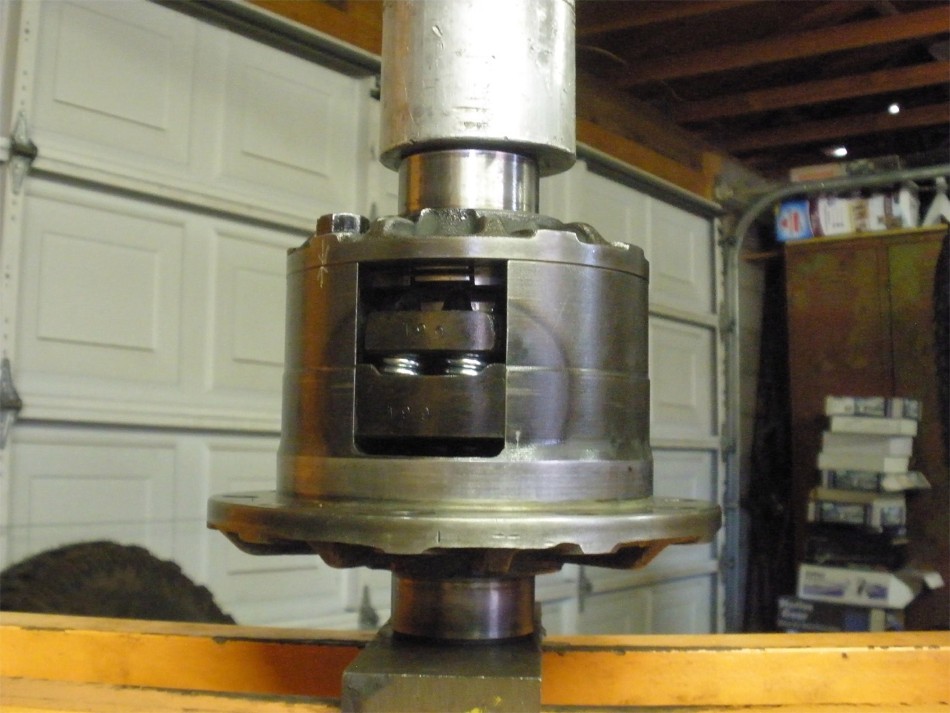
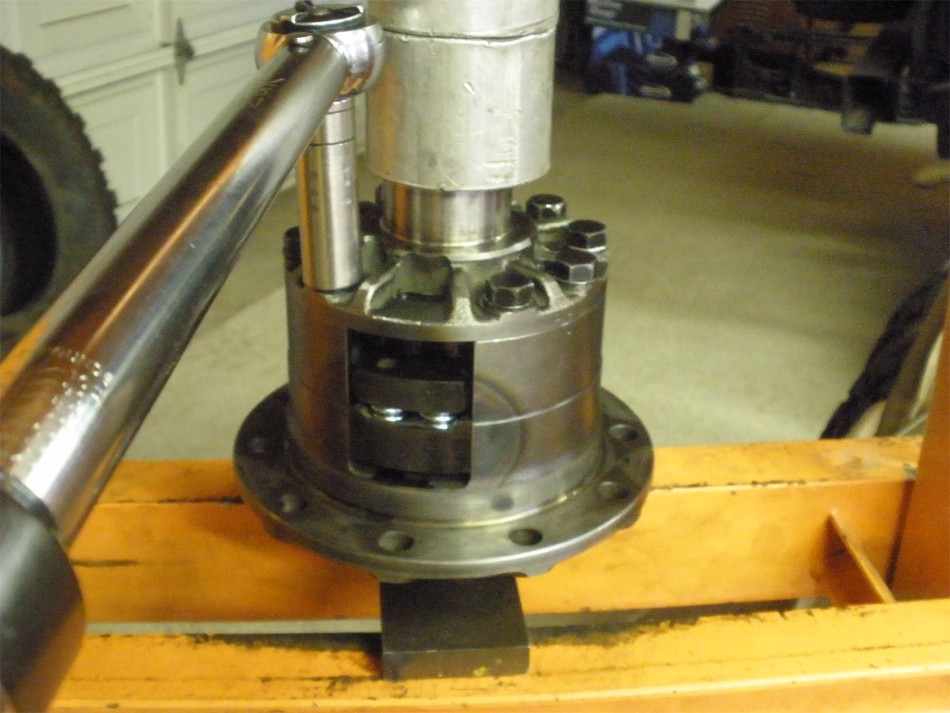
Carrier bearings are pressed on at the same time. |
|
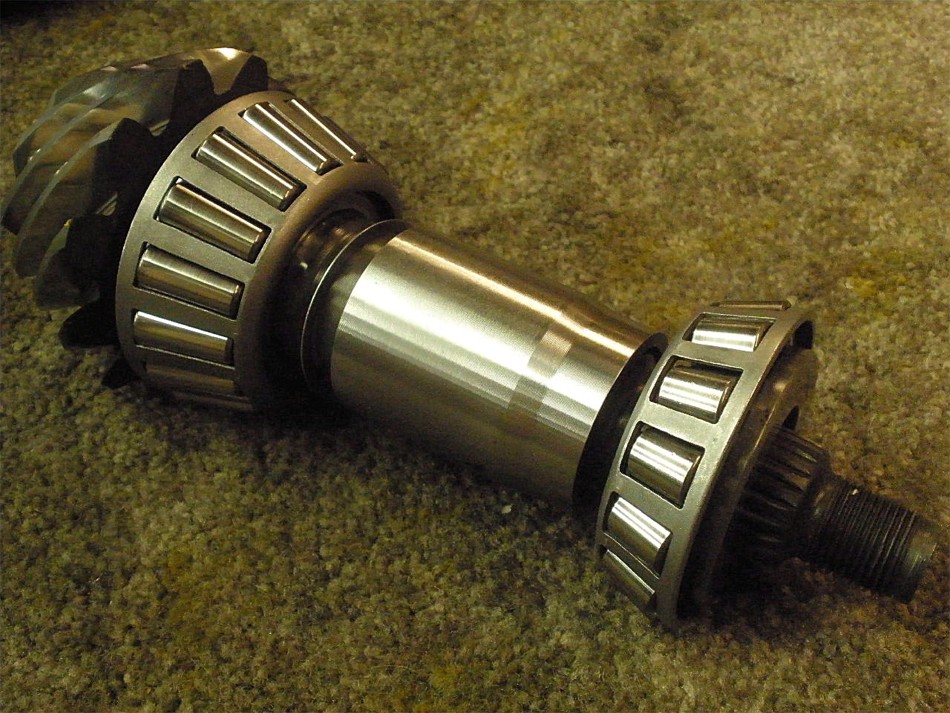
This end is done...onto the pinion end of things. |
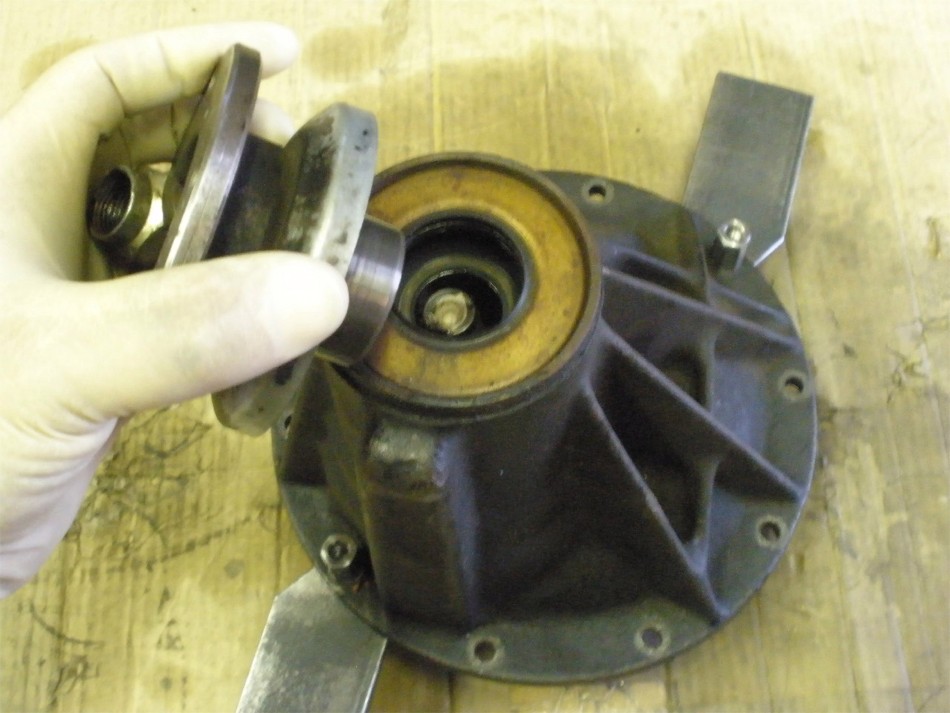
|
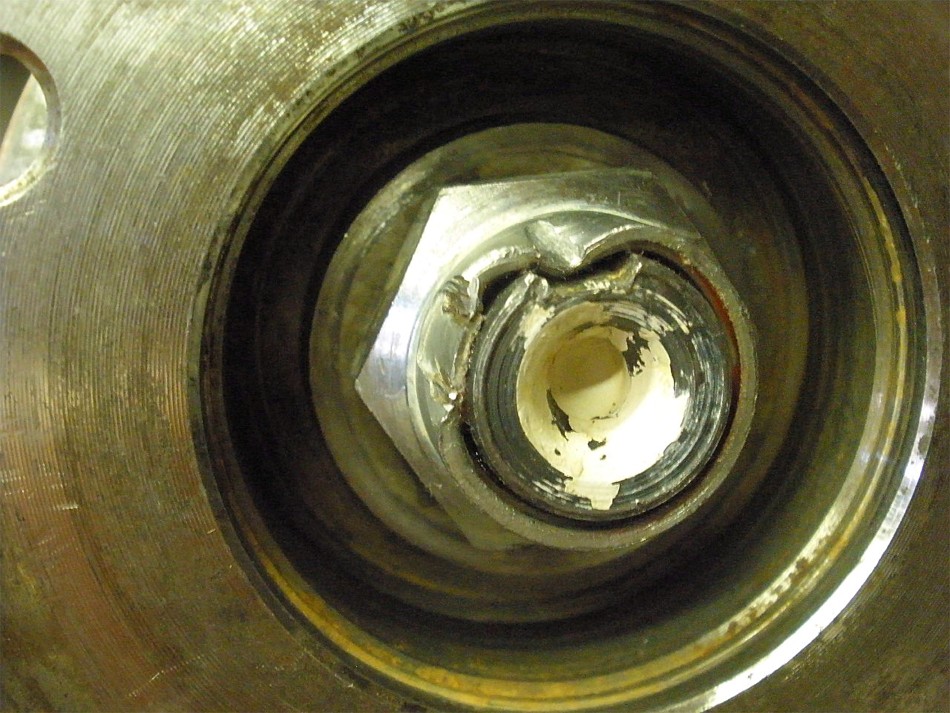
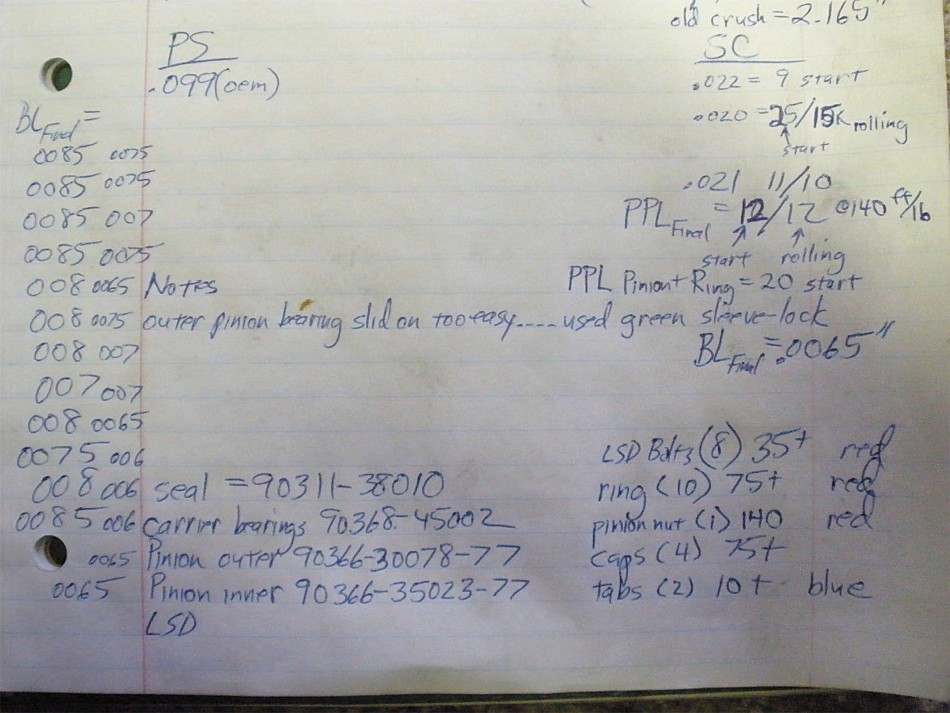
Flange is removed and the pinion just dropped straight out which indicates the outer pinion bearing fit went sloppy over time. |
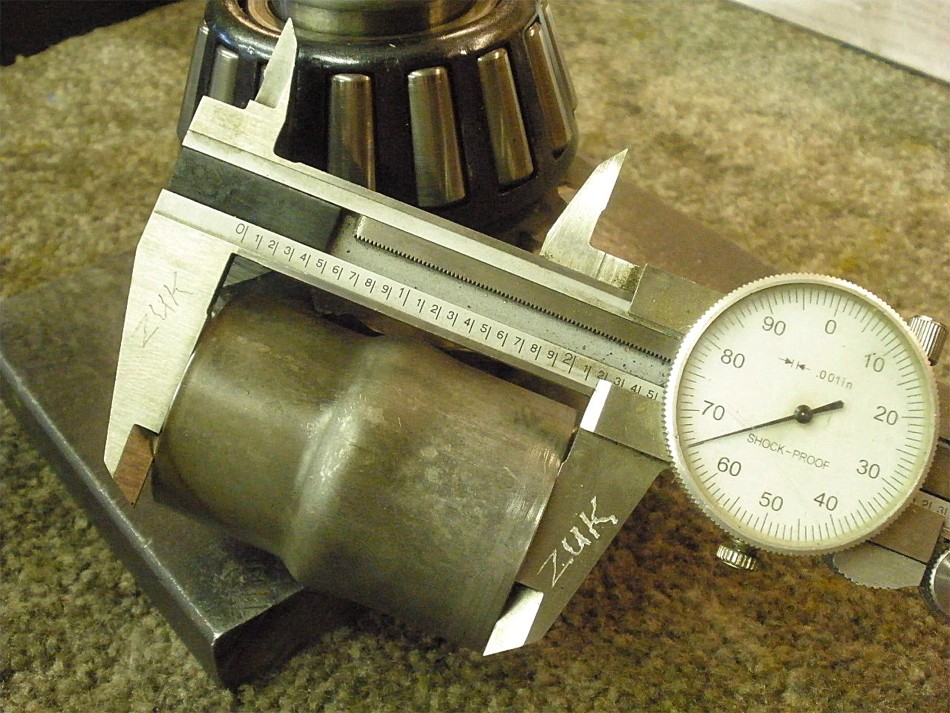
|
I will use this measurement of the old crush sleeve when I get ready to shim up the solid collar. |
|
Press the old one off... |
|
...and new one on. |
|
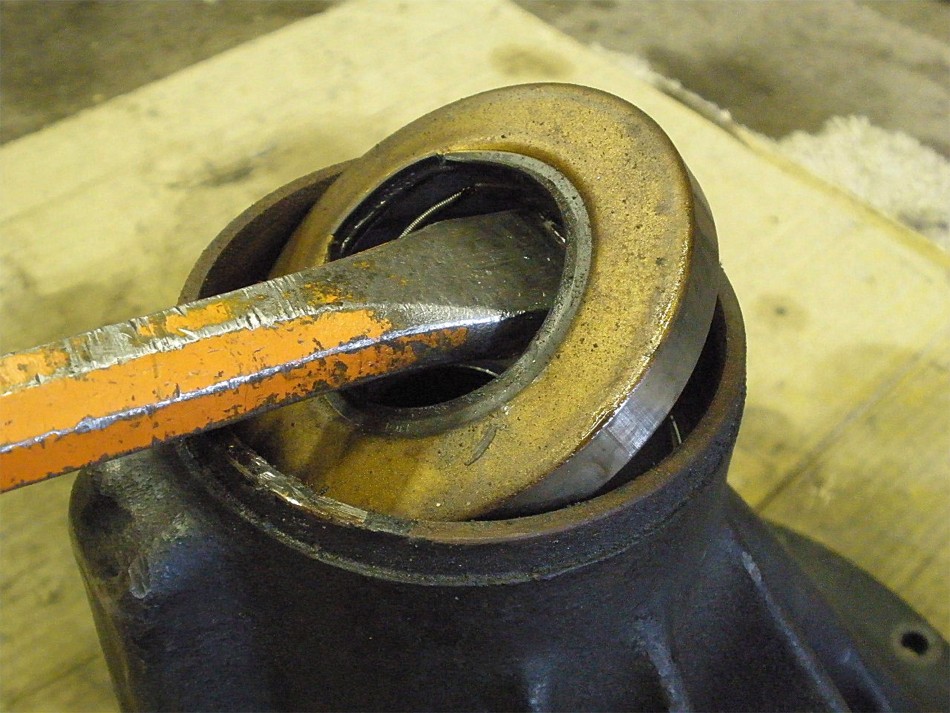
Seal is removed and old races are removed with this same tool. |
|
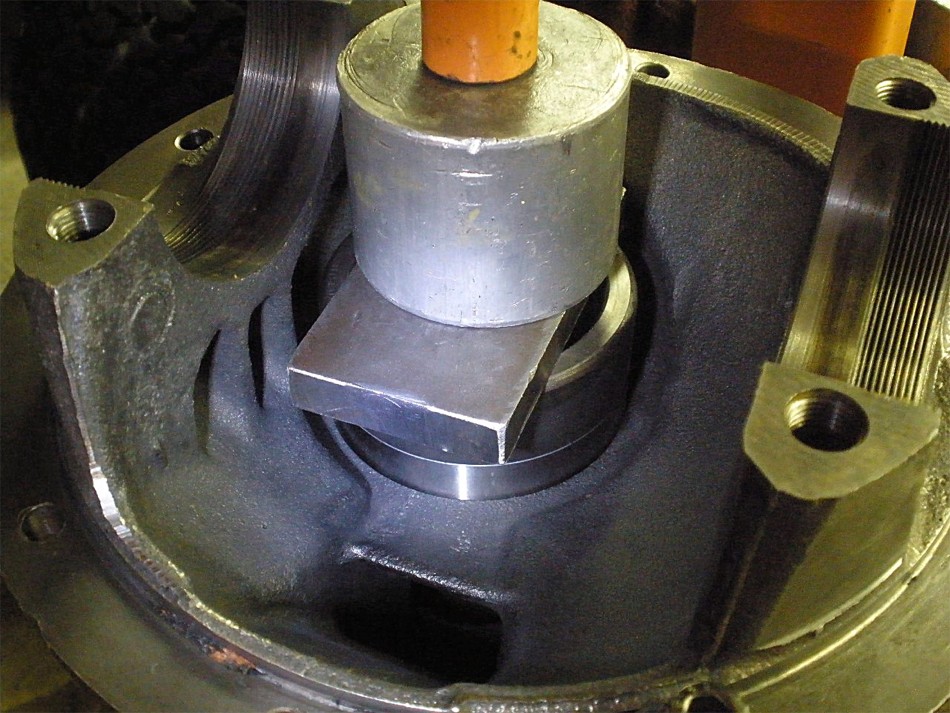
New races are pressed in. |
|
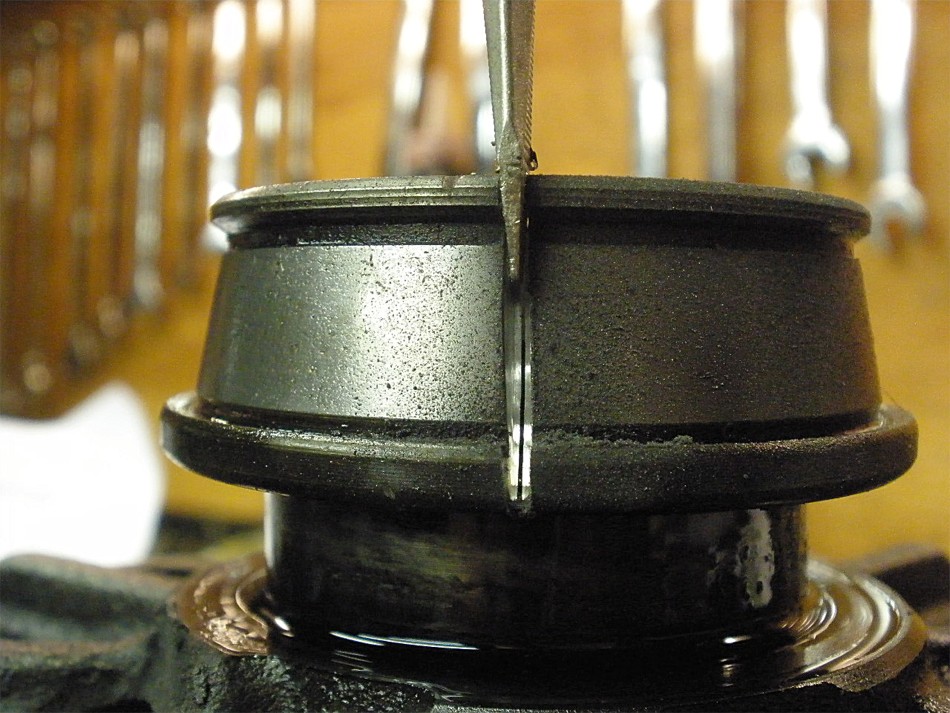
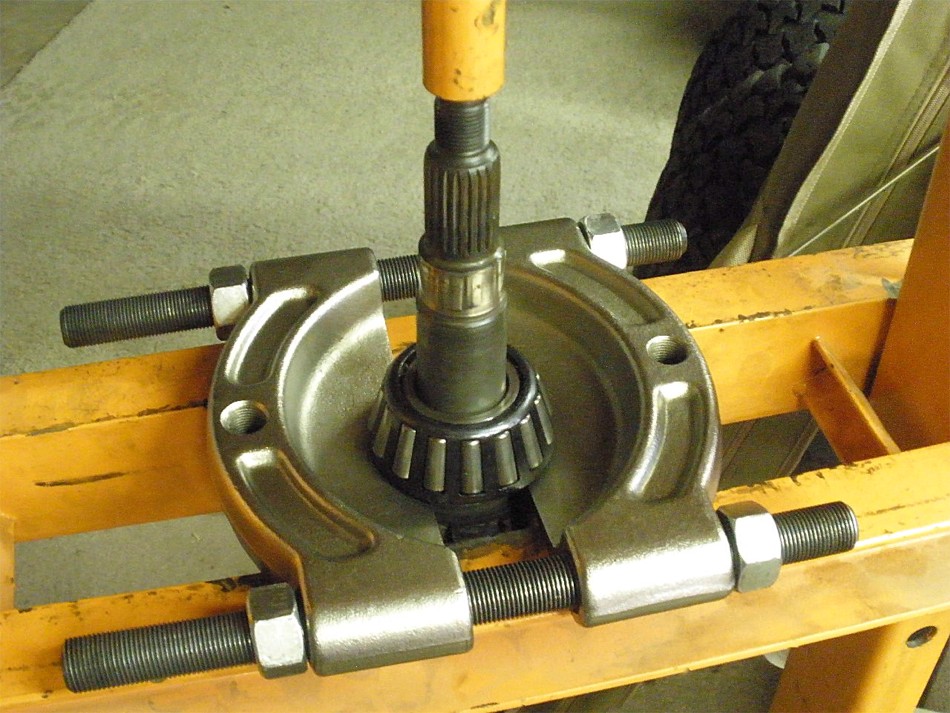
I installed the solid collar... |
|
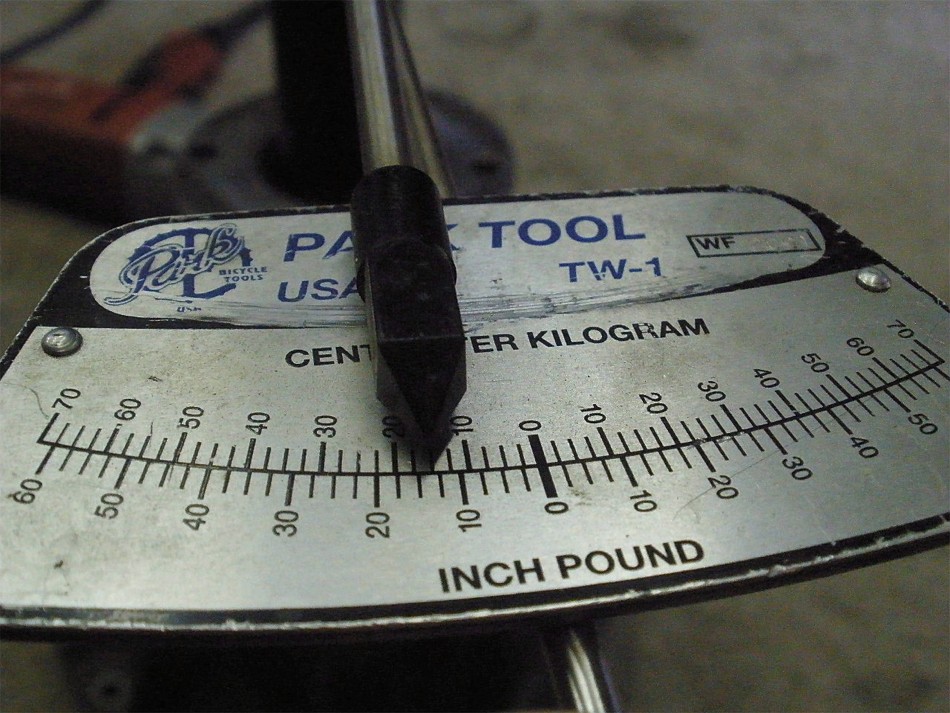
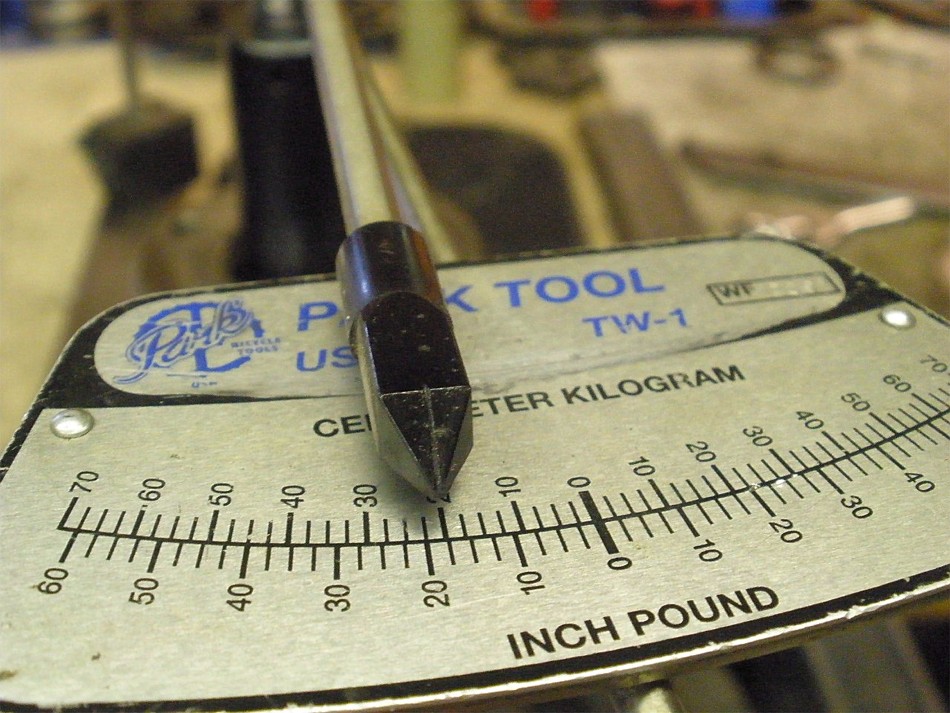
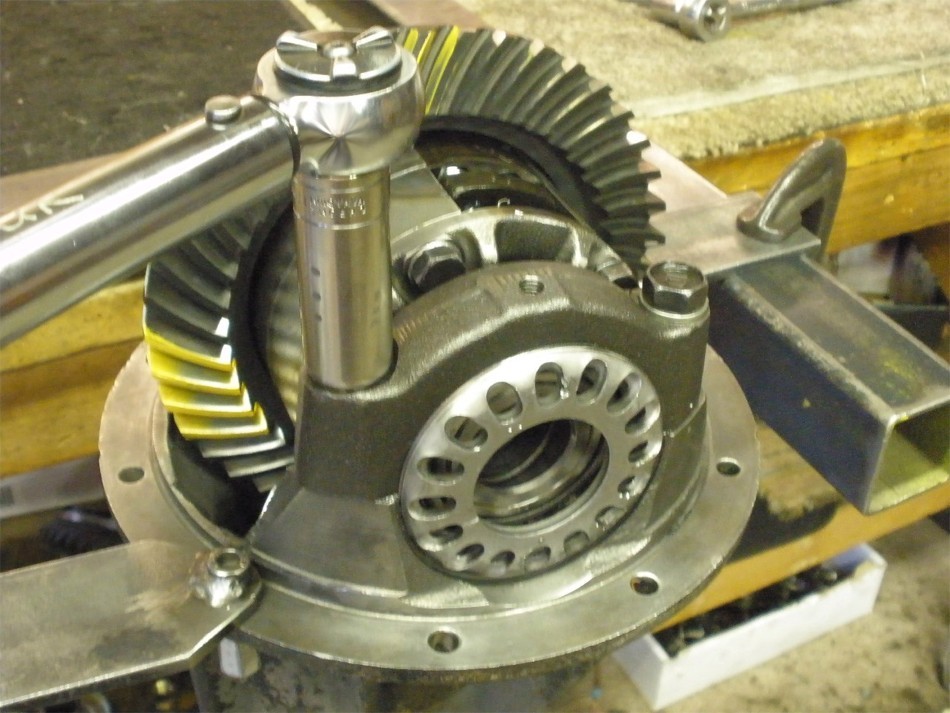
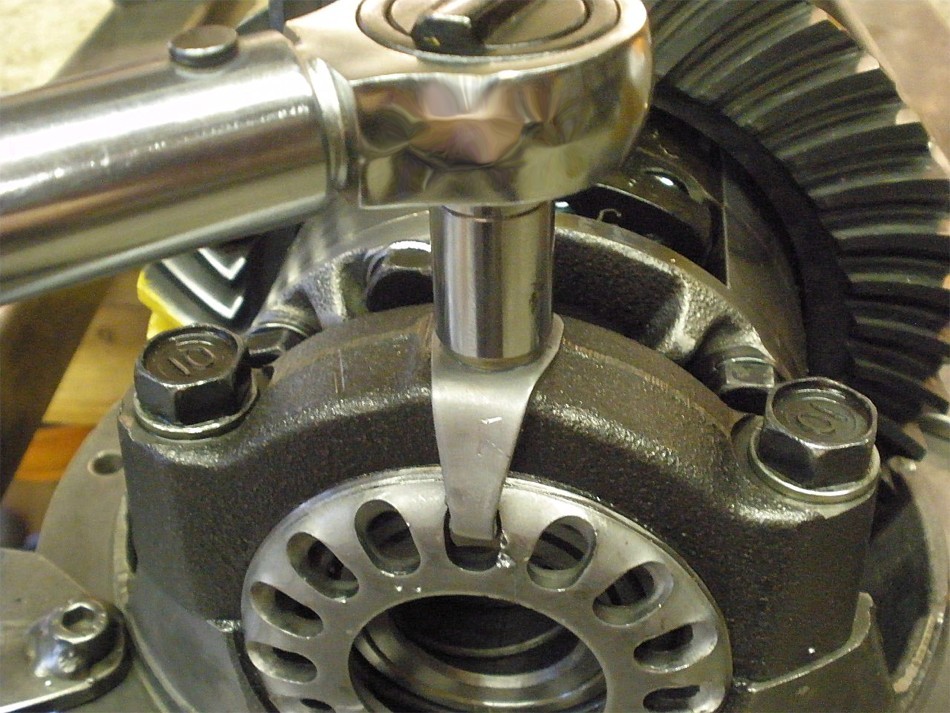
...and on the 3rd try I had a final PPL of 12~14 inch/pounds and that was STARTING torque. |

|
Some rtv on the steel outer seal surface to help the seal tap on easier. |
|
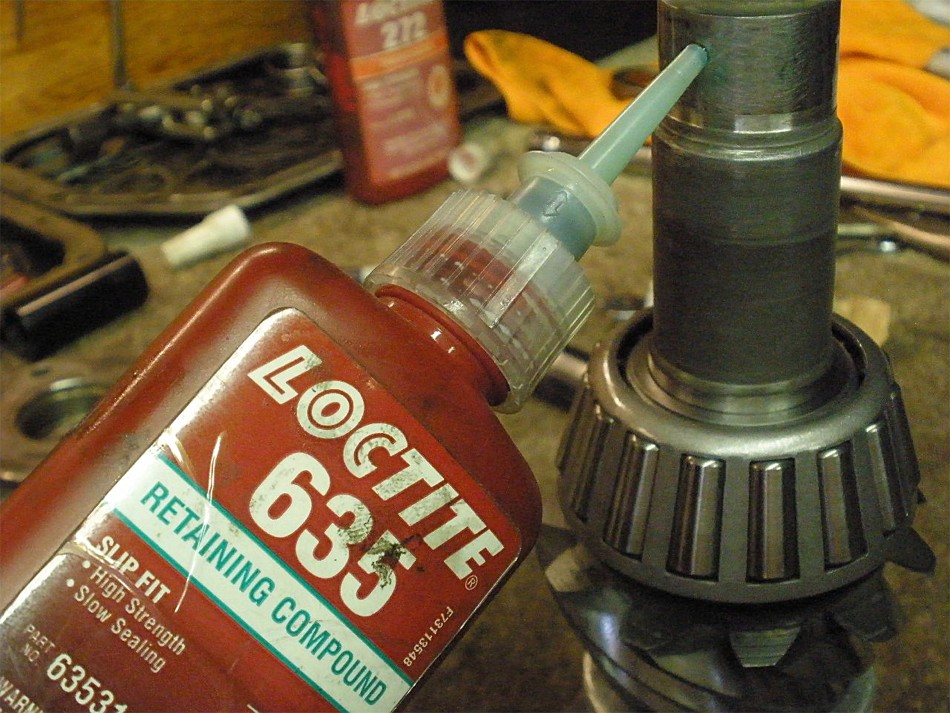
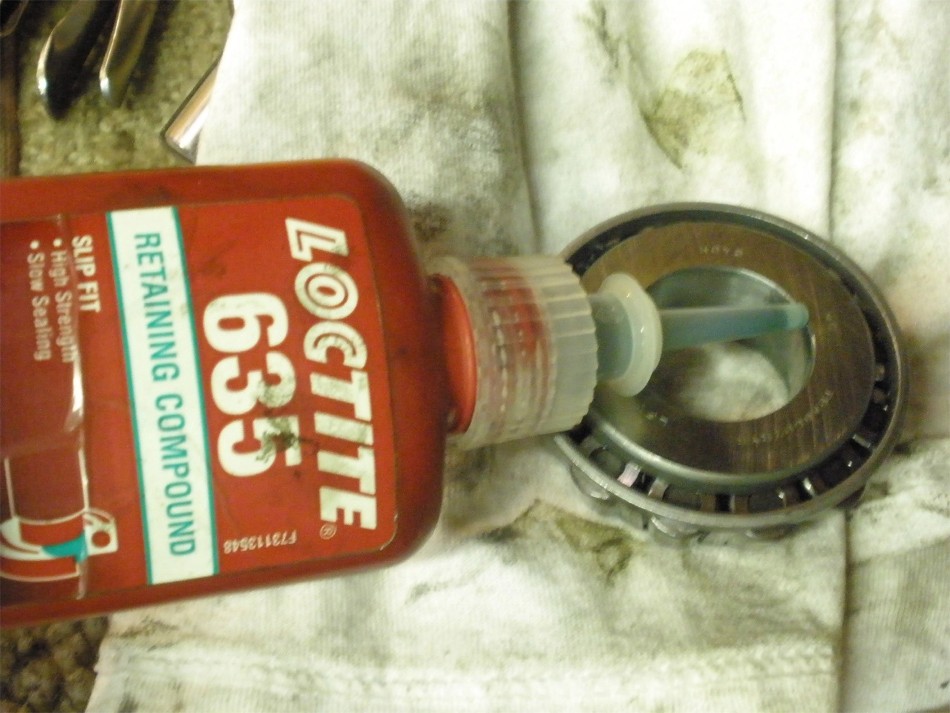
I normally don't use the sleeve lock on this pinion shaft surface but this used pinion had some wear and it was needed. This surface and the inside mating bearing surface were thoroughly cleaned. A thin layer of the green was applied. |
|
... |
|
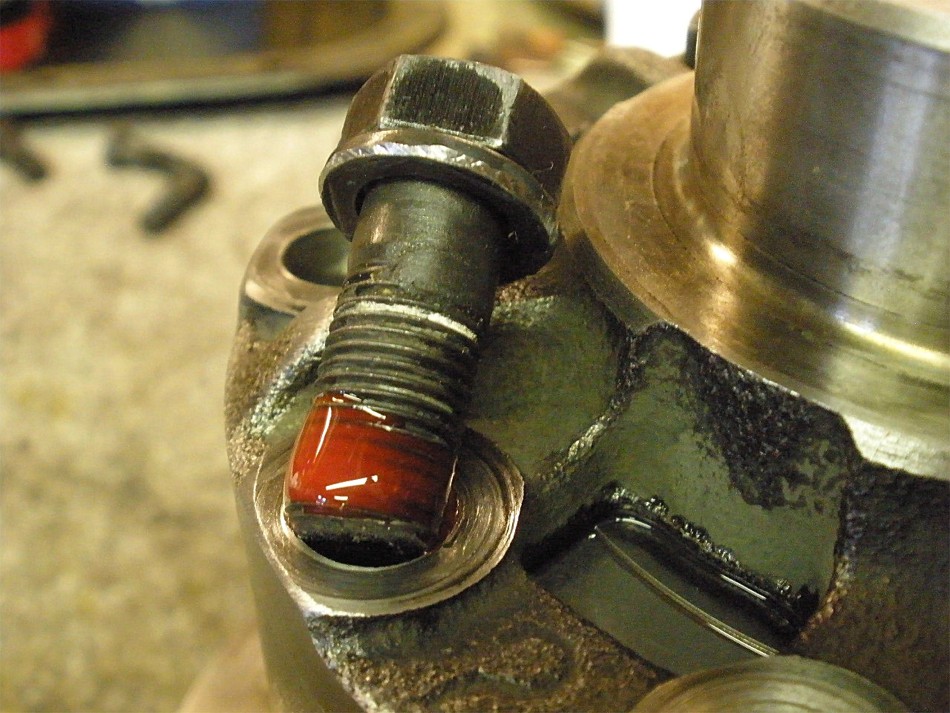
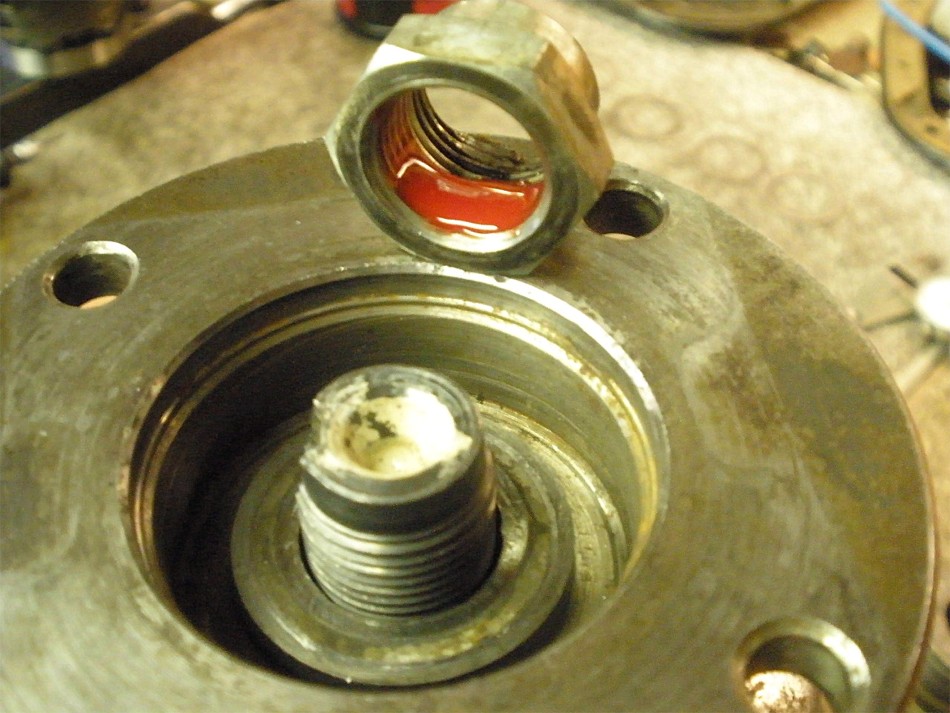
Red Loctite is applied to the pinion nut. |
|
140 ft/lbs is applied. |
|
Ding. |
|
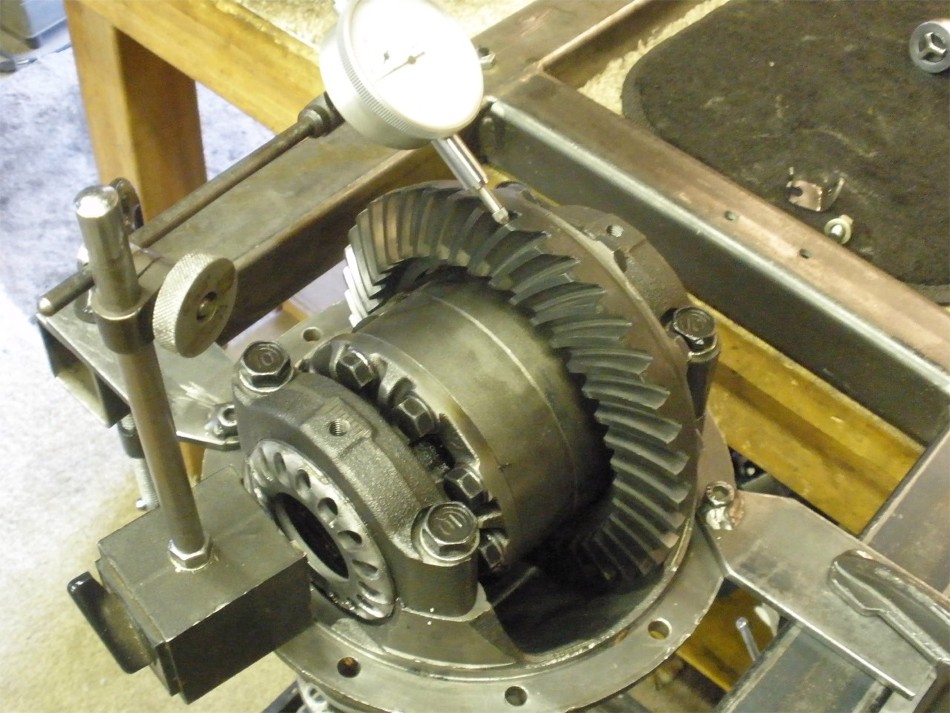
Every change of 1 notch on the adjuster wheels works out to about .001" change in backlash perhaps a smidge more. Final BL ended up being at .0065" which is well within the OEM factory spec of 0055~007. |
|
Measuring the pinion pre-load with the ring gear in place is the TOTAL PRE-LOAD and that was about 18~20 in/lbs(start torq). |
|
Drive....sweet. |
|
Coast. |
|
Drive on the pinion tooth. |
|
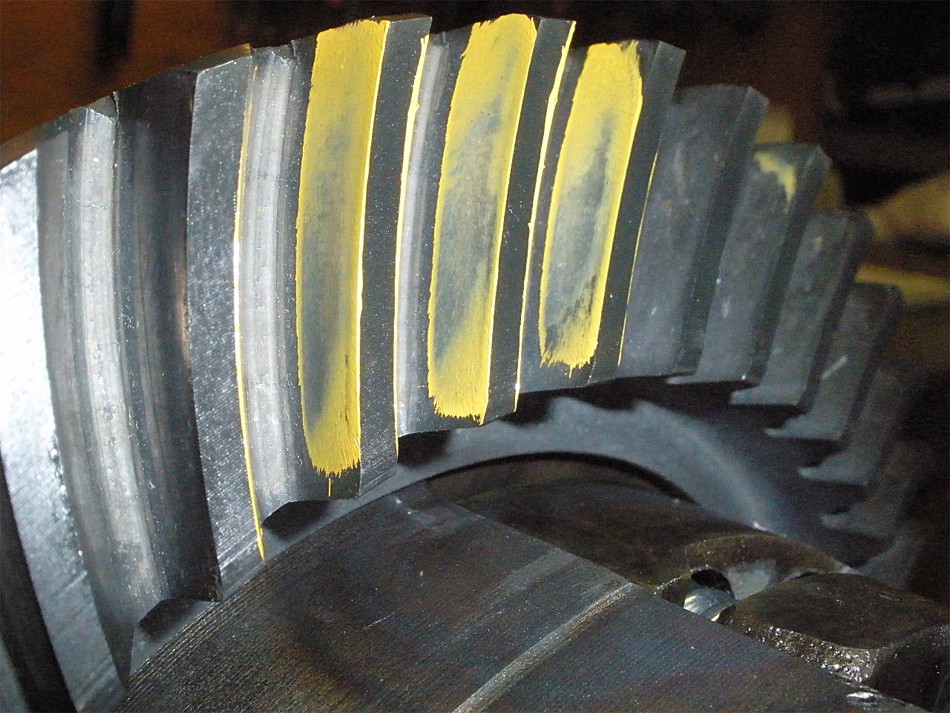
Drive ...reverse painted. |
|
Coast...reverse painted. |
|
The 4 bearing cap bolts are verified to be 75 ft/lb. |
|
Blue Loctite and 10 ft/lb on the 2 lock tabs....factory says 9. |
|
... |

|
... |
|
... |
|
Done |

|
