|
|
|
|
|
|
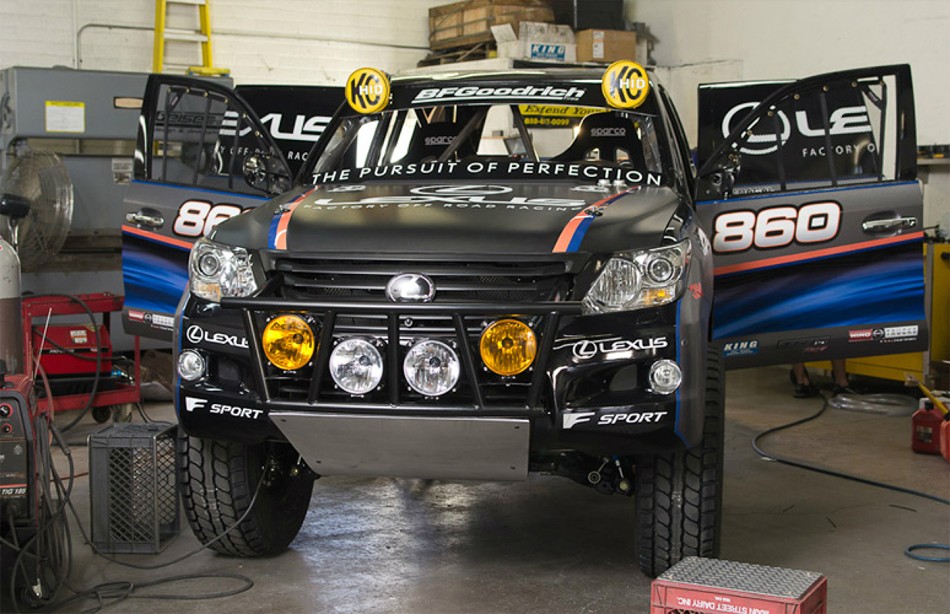
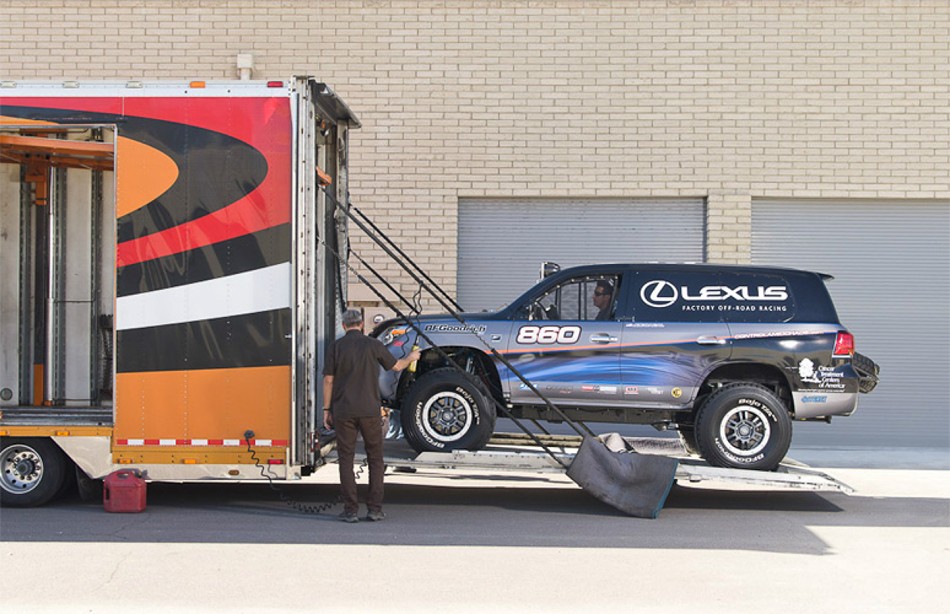
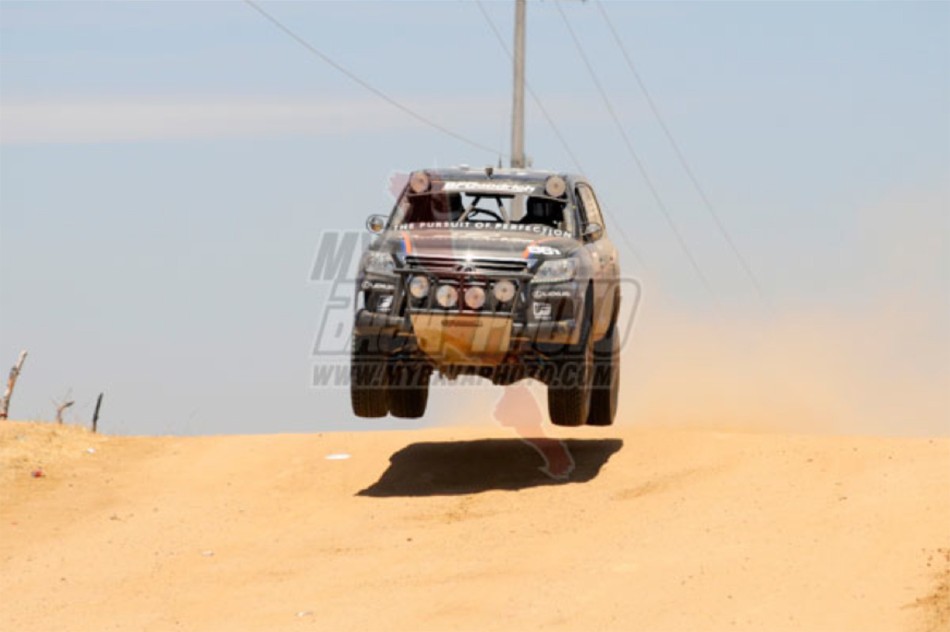
The LX570 race team story (click on the slide show) |
|
... |
|
... |
|
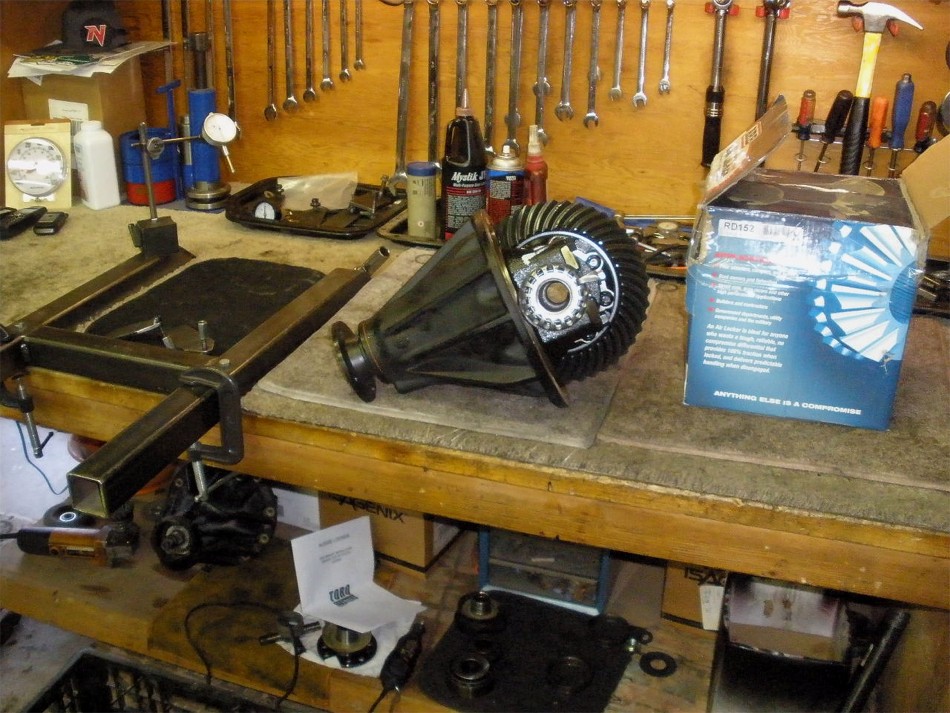
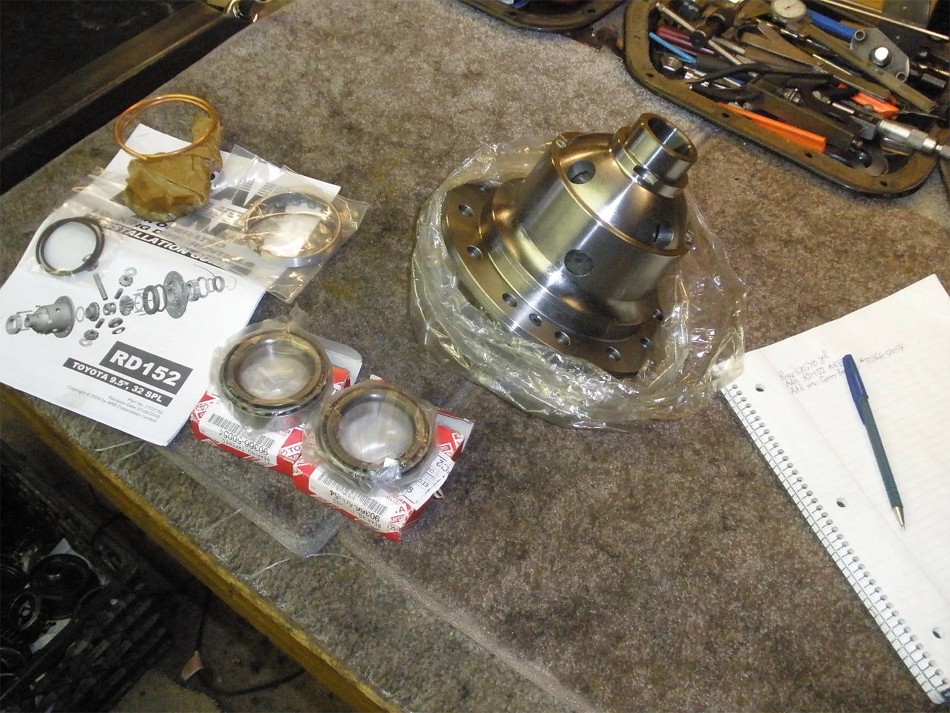
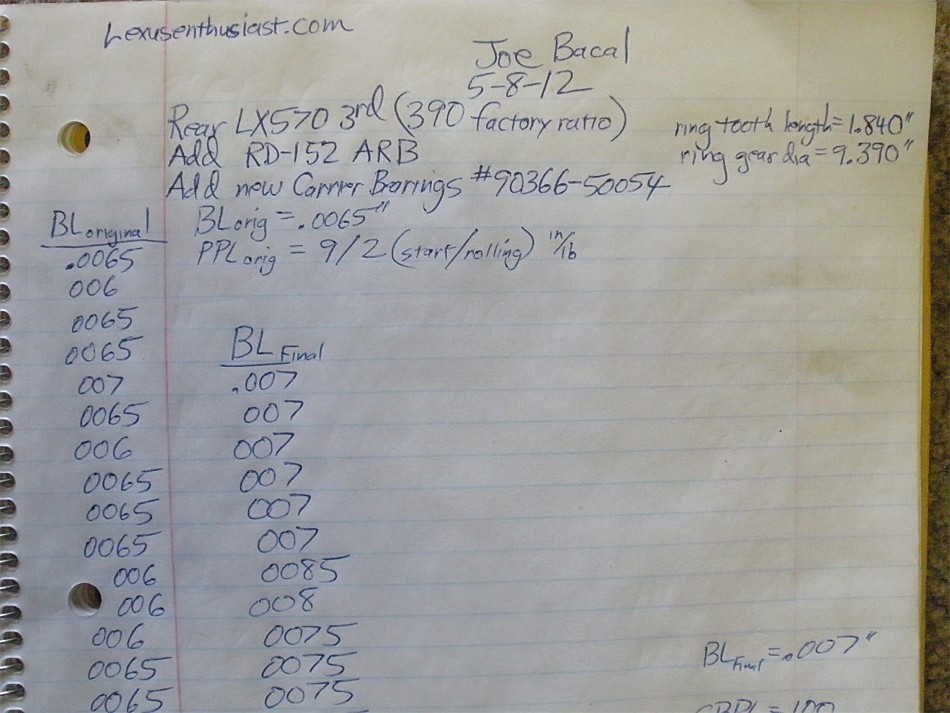
Joe Bacal, primary driver for the Lexus team, brought over the very heavy rear 3rd and one RD152 ARB locker. |
|
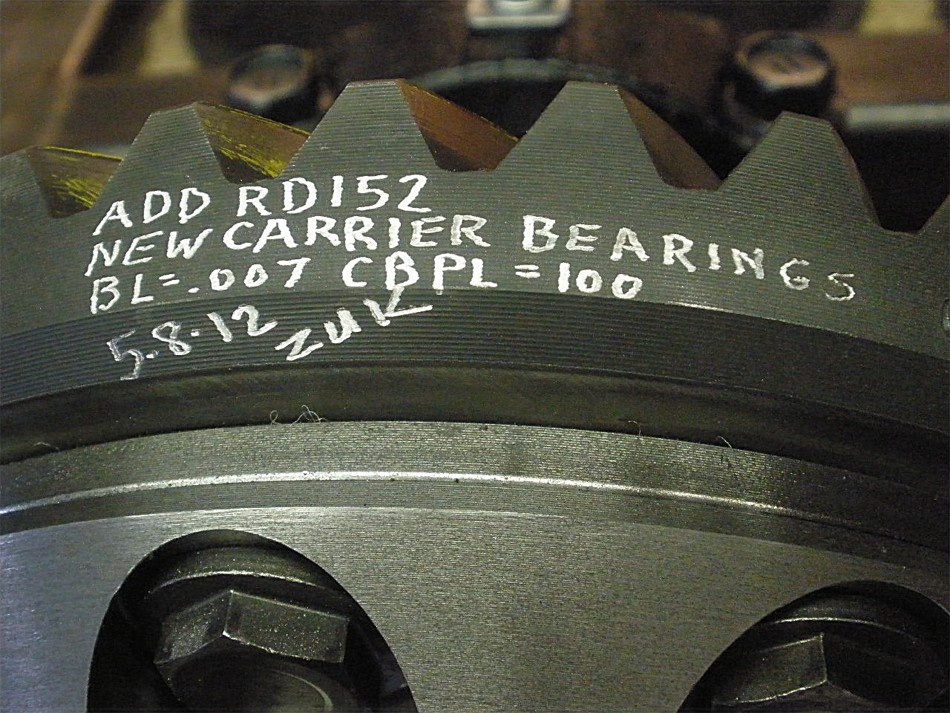
New carrier bearings will be pressed on even though the "old" ones are said to have only 200 miles on them. |
|
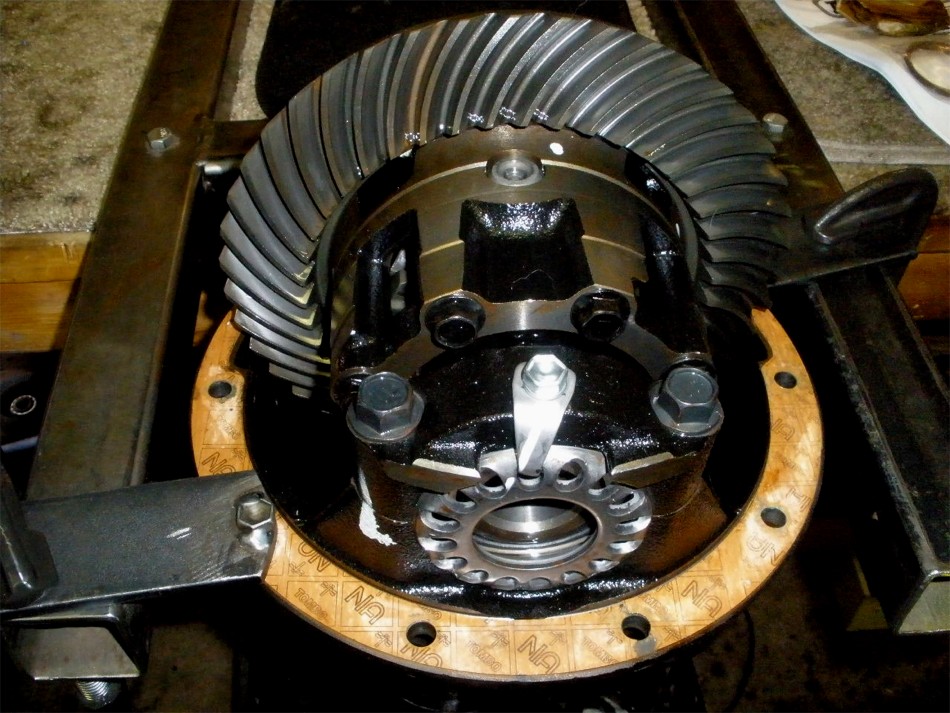
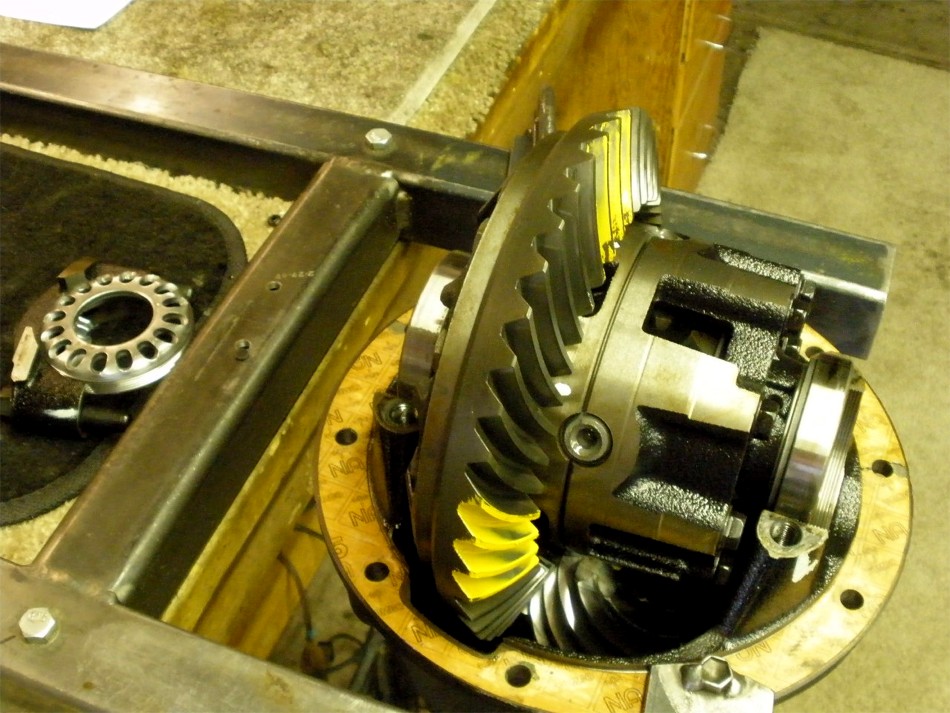
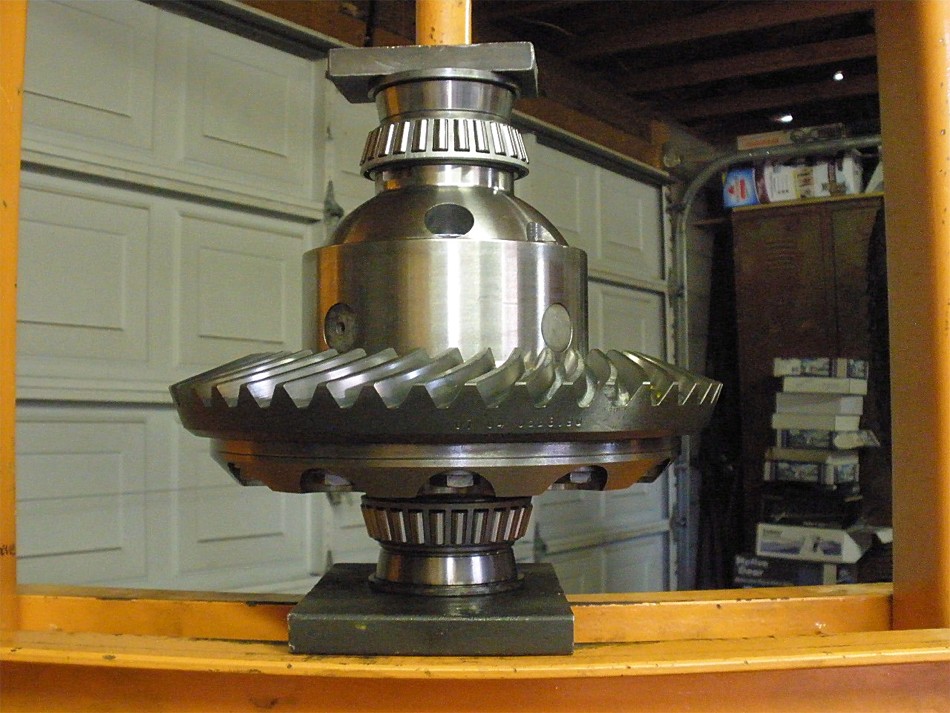
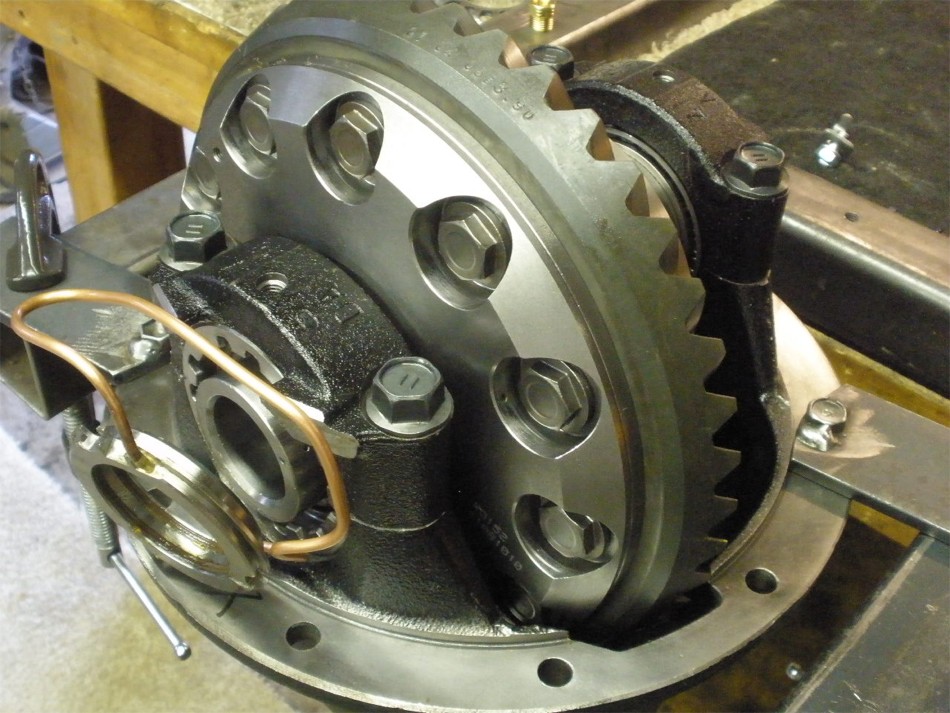
Beefy towers, beefy bearing caps, beefy carrier bearings, and an overbuilt 4 pinion open case make for a very robust 9.5" 3rd. |
|
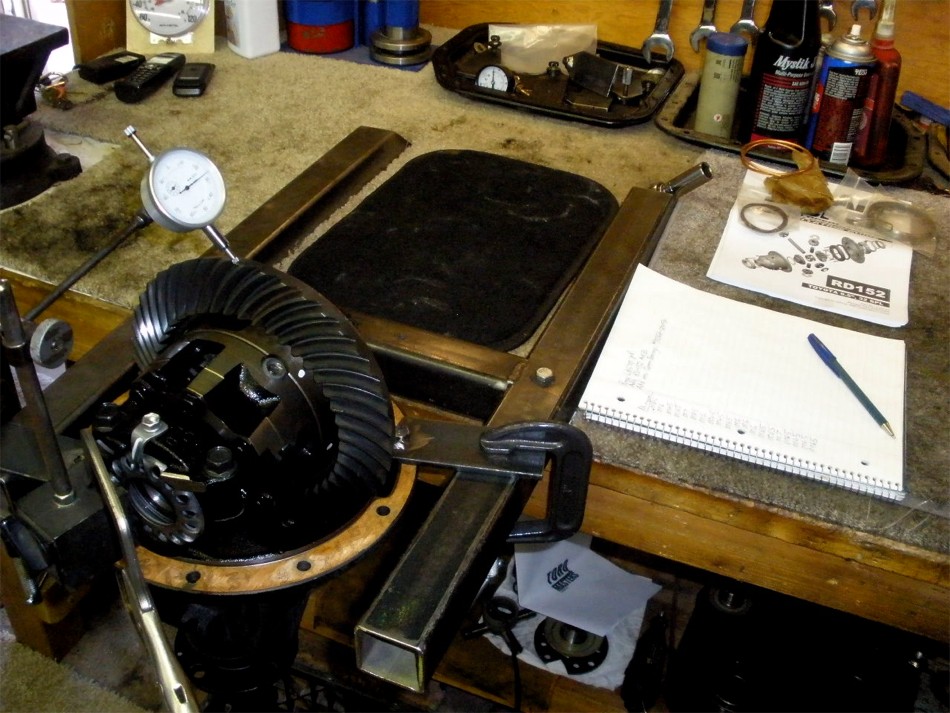
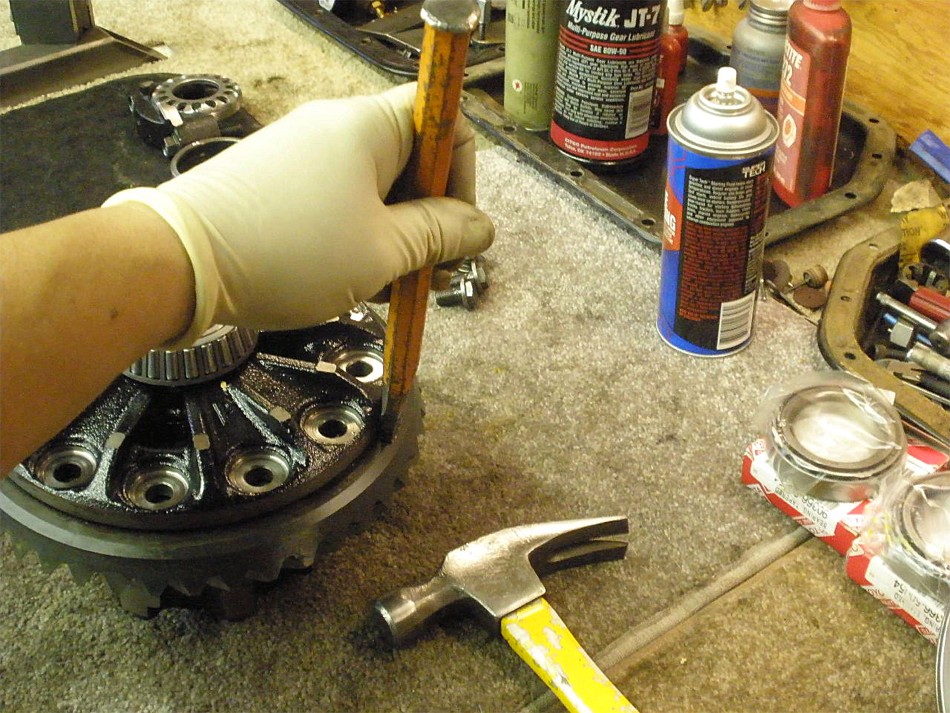
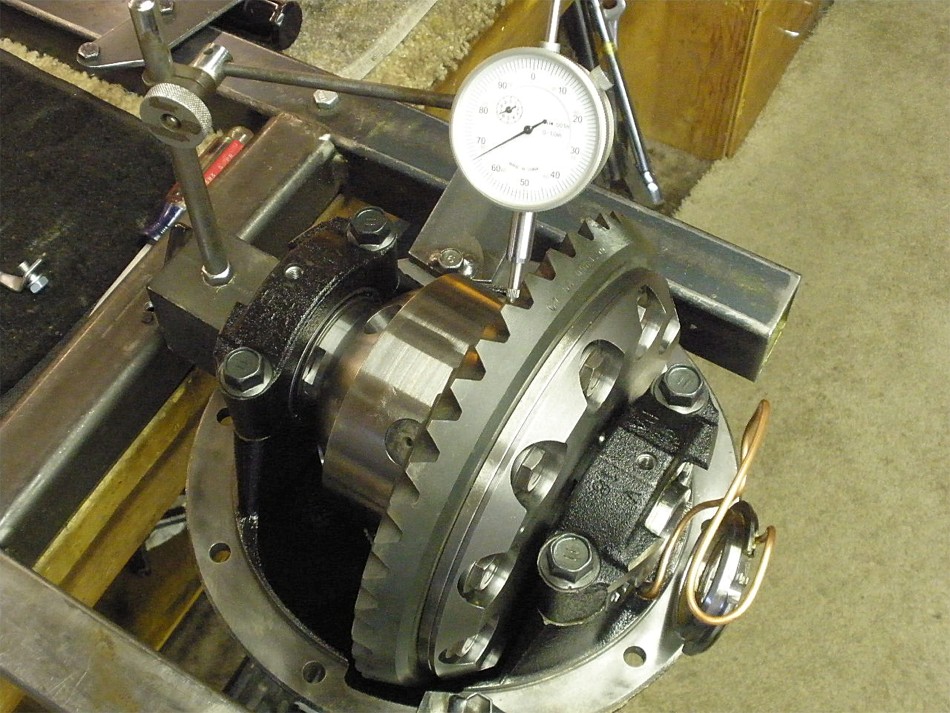
Backlash is characterized and recorded on every second or third tooth. Backlash averaged .0065". |
|
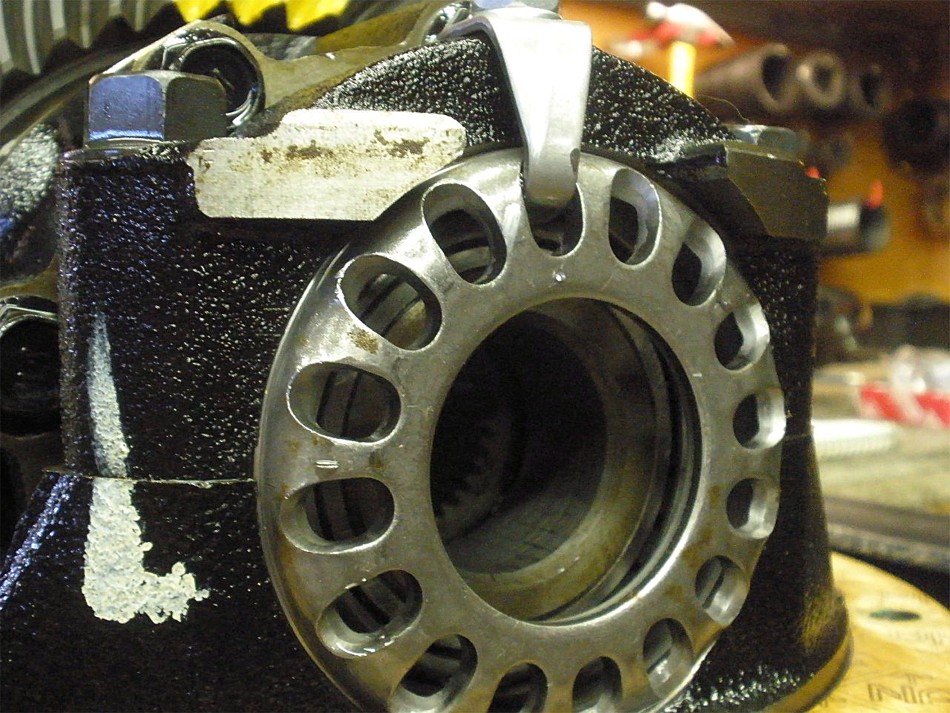
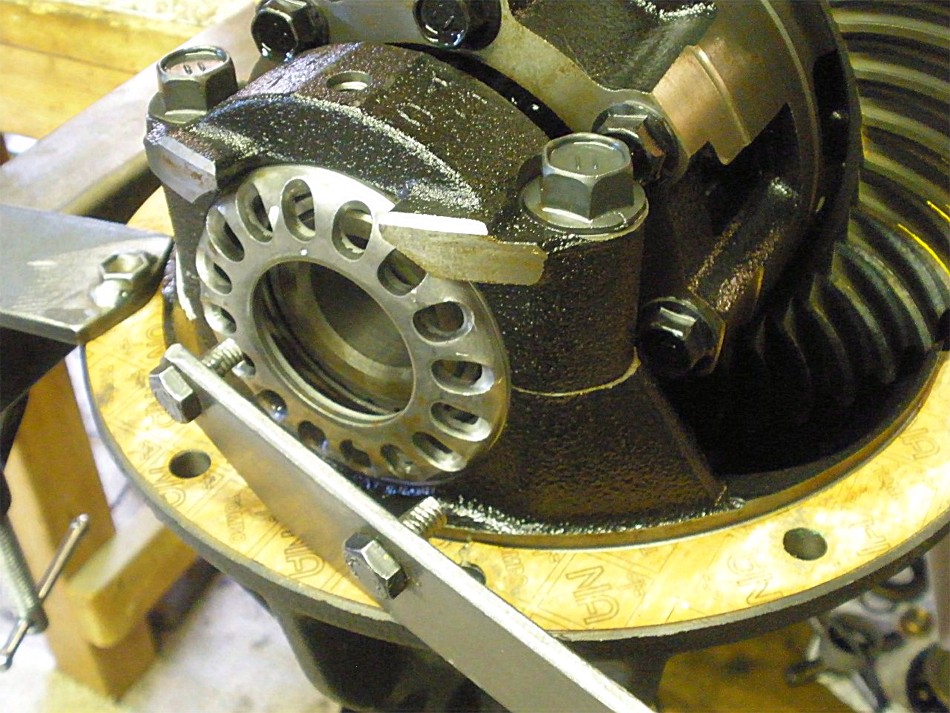
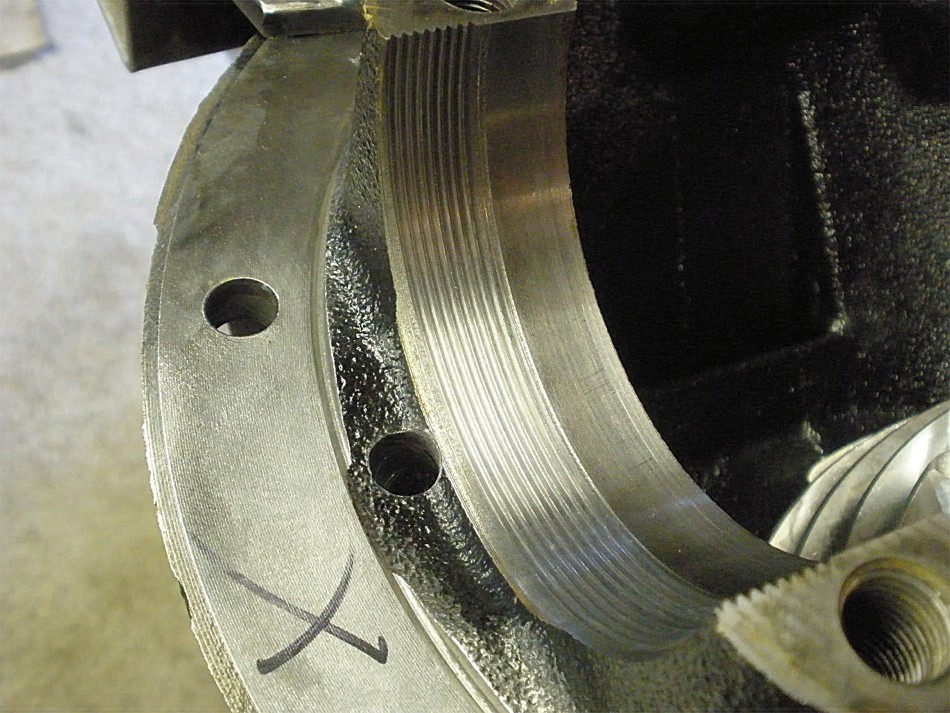
Not needed for this install but I'm in the habit of dimpling both adjuster wheels in the straight-up, 12 o'clock position as a reference during re-assembly. There's white paint on the left side of the bearing cap so no dimples needed there either. |
|
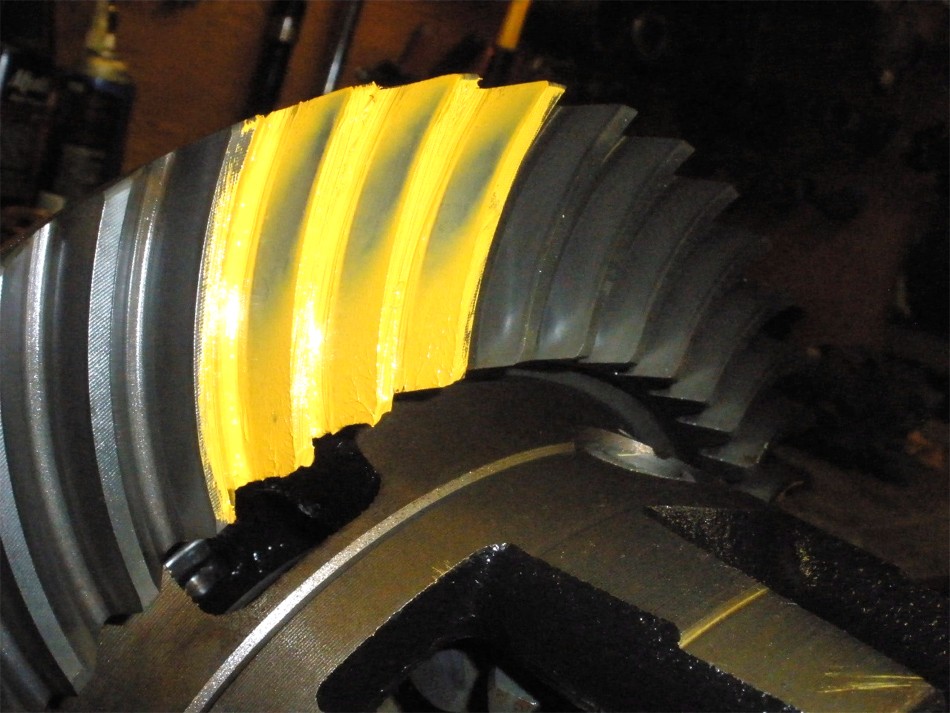
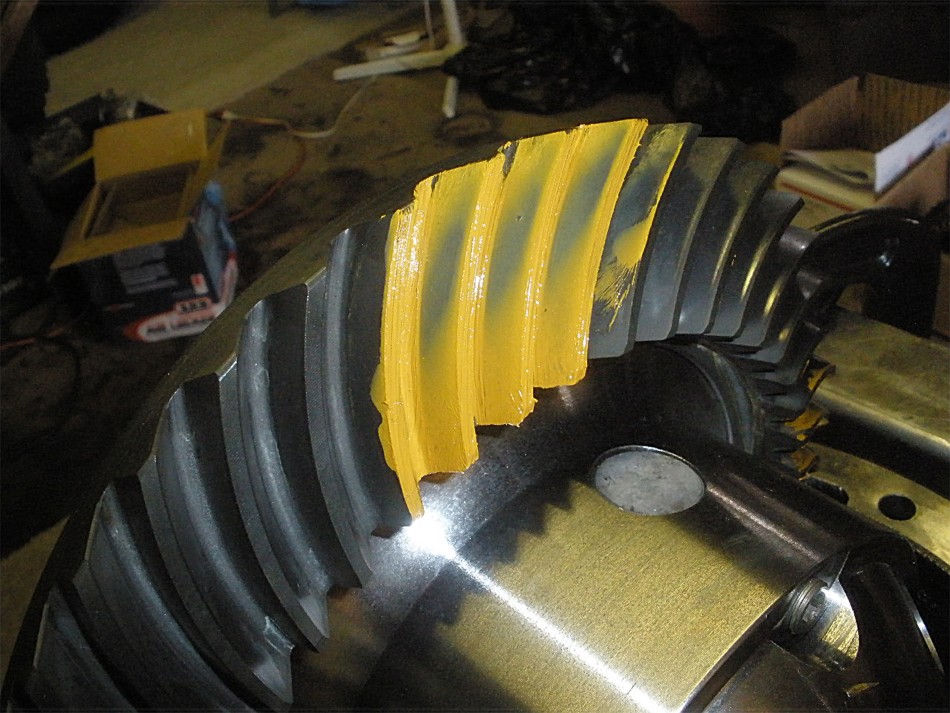
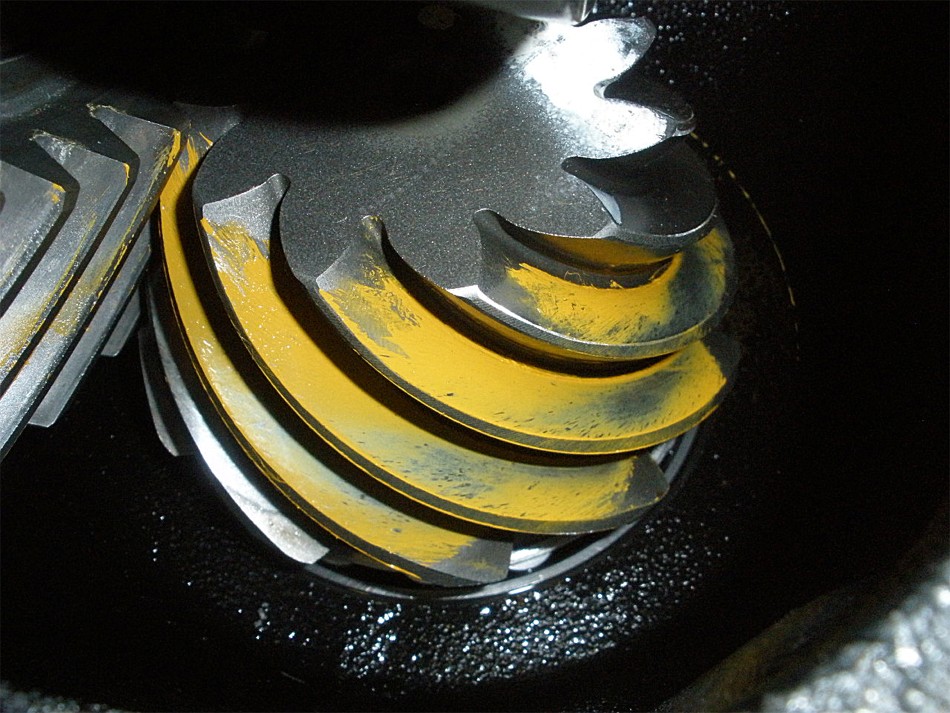
Always a good idea to paint the factory pattern before swapping in an ARB. Drive side shown here. |

|
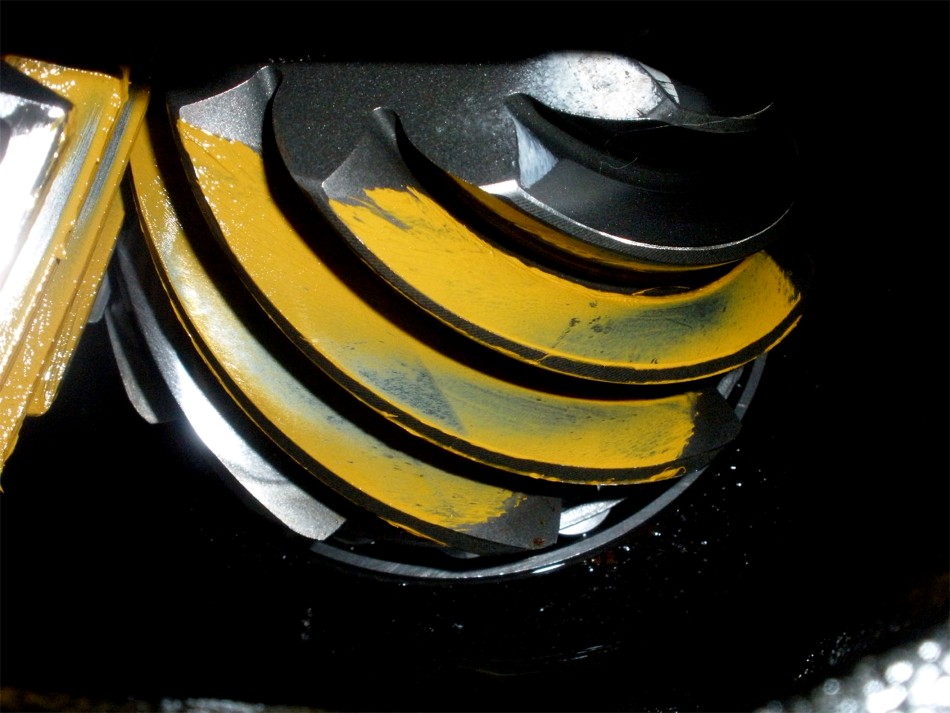
Here's the coast. |
|
Drive side on the pinion. |
|
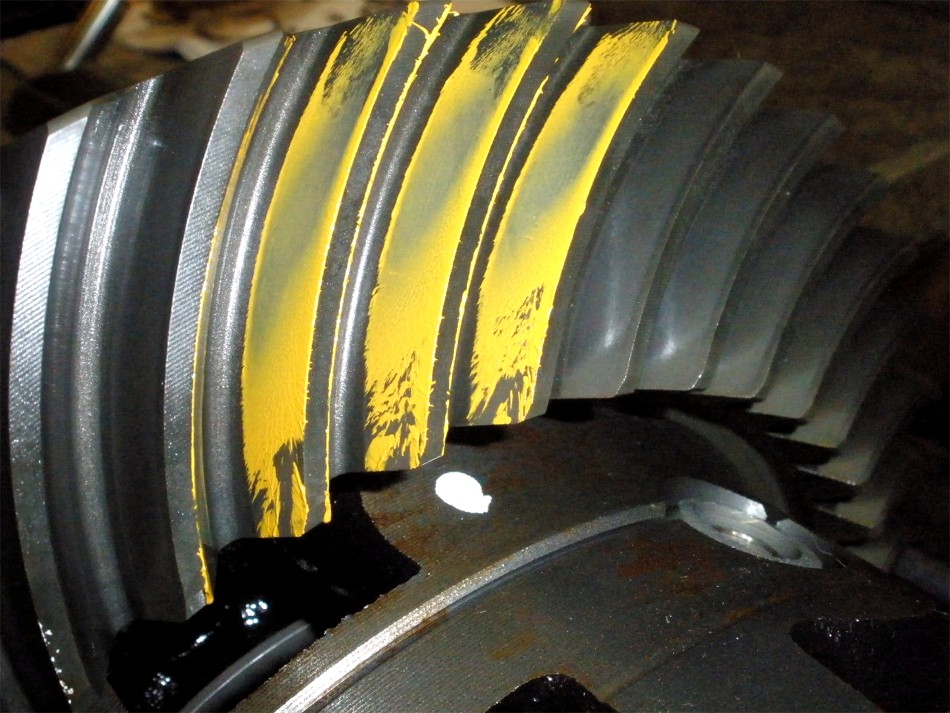
Drive side....reverse painted. |
|
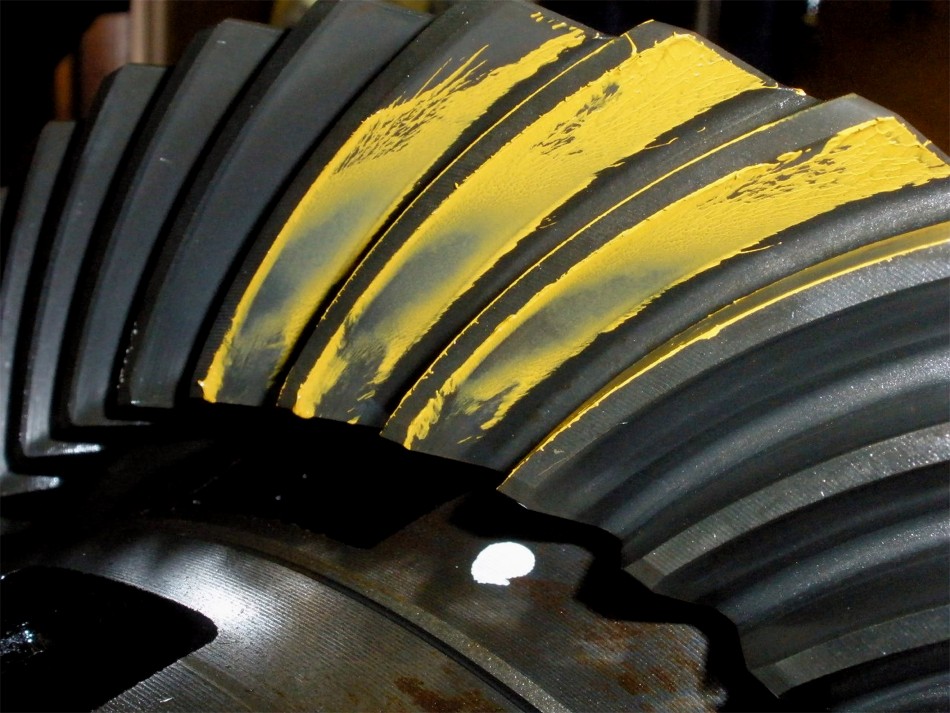
coast...reverse painted. |
|
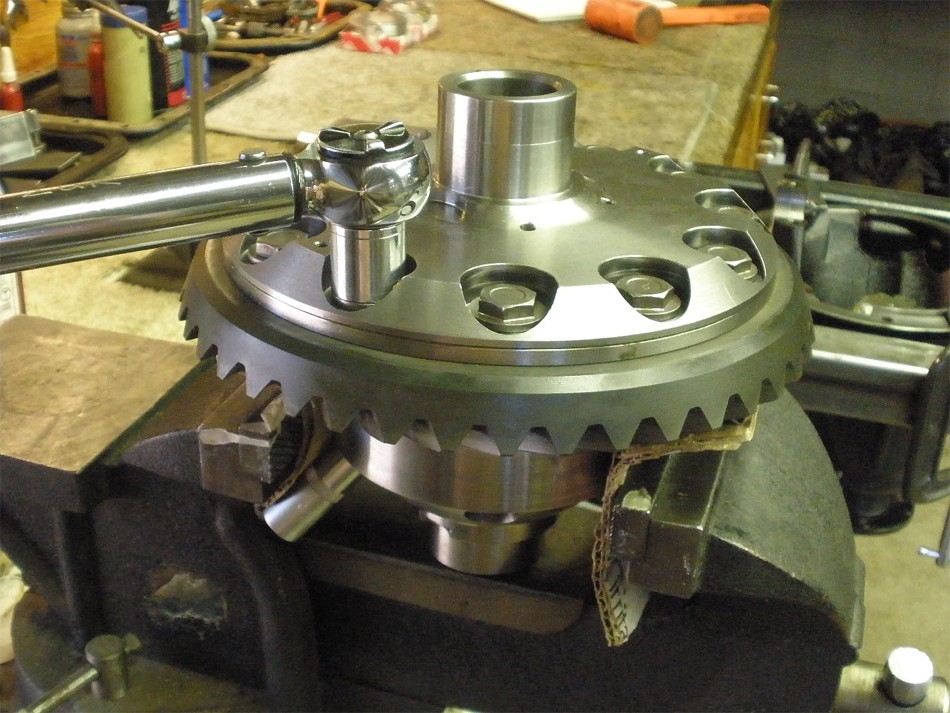
My favorite spanner tool. |
|
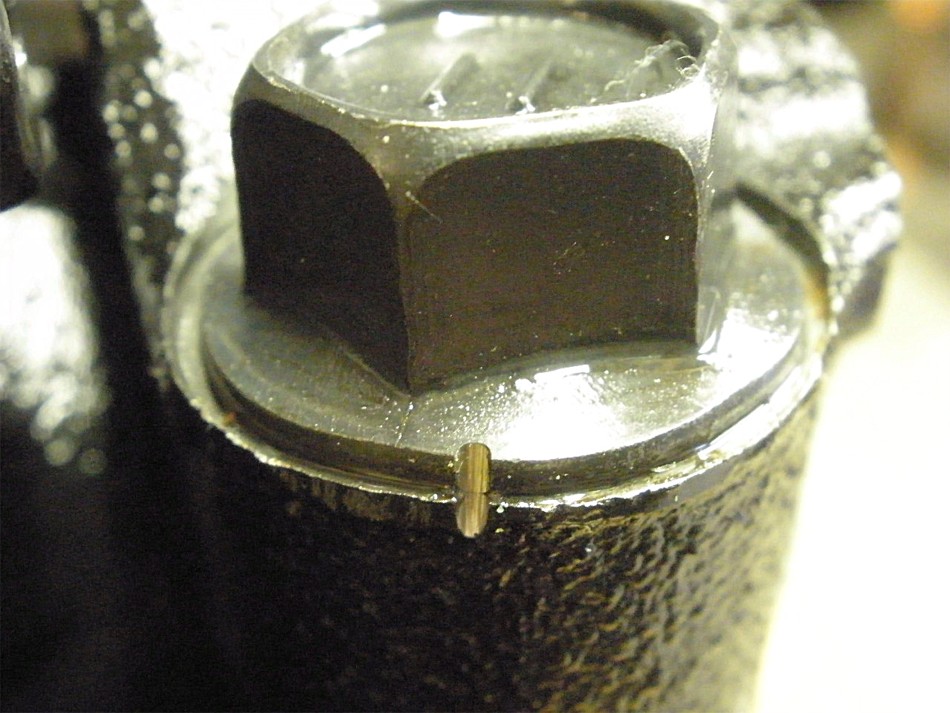
Sometimes, I use a tiny cutting wheel on the dremel tool to mark the bolt and bearing caps so I can be sure I get them AT LEAST this tight upon re-assembly. |
|
Bearing caps are removed and the heavy case is transferred to the work table. |
|
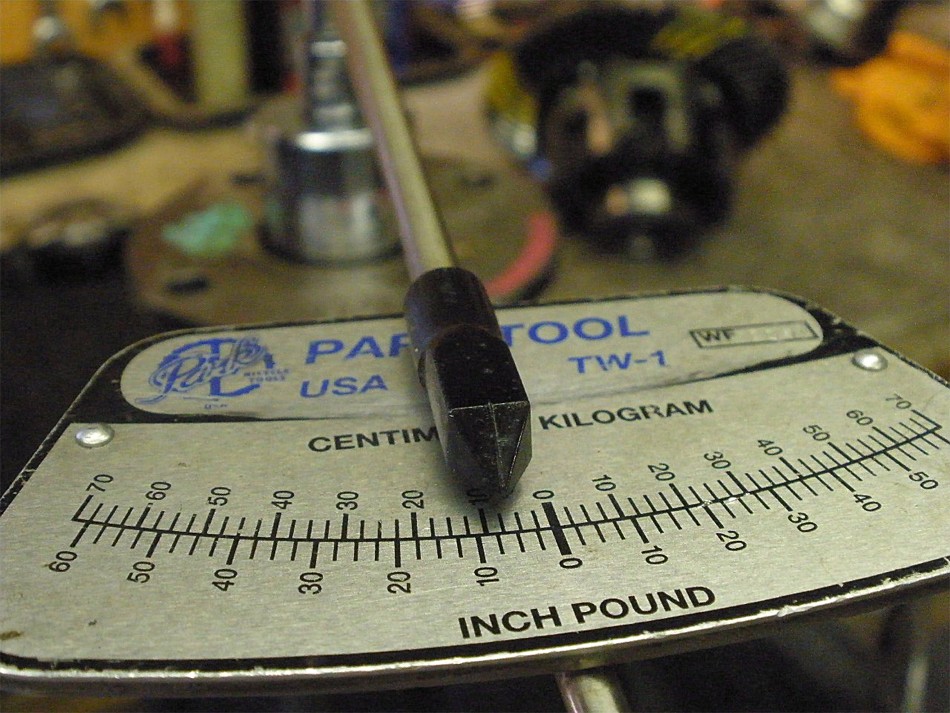
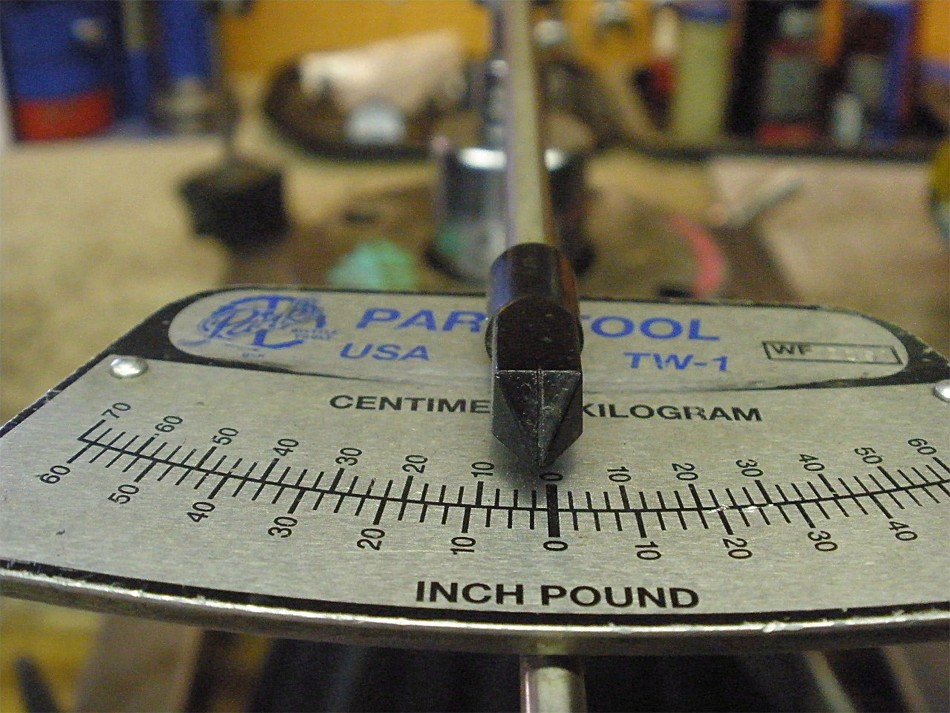
Pinion pre-load measured at 9 in/lb starting torque. This is factory after 200 miles at best. |
|
Rolling torque measured at a much lower 2 in/lb. Starting versus rolling can vary quite a bit. |
|
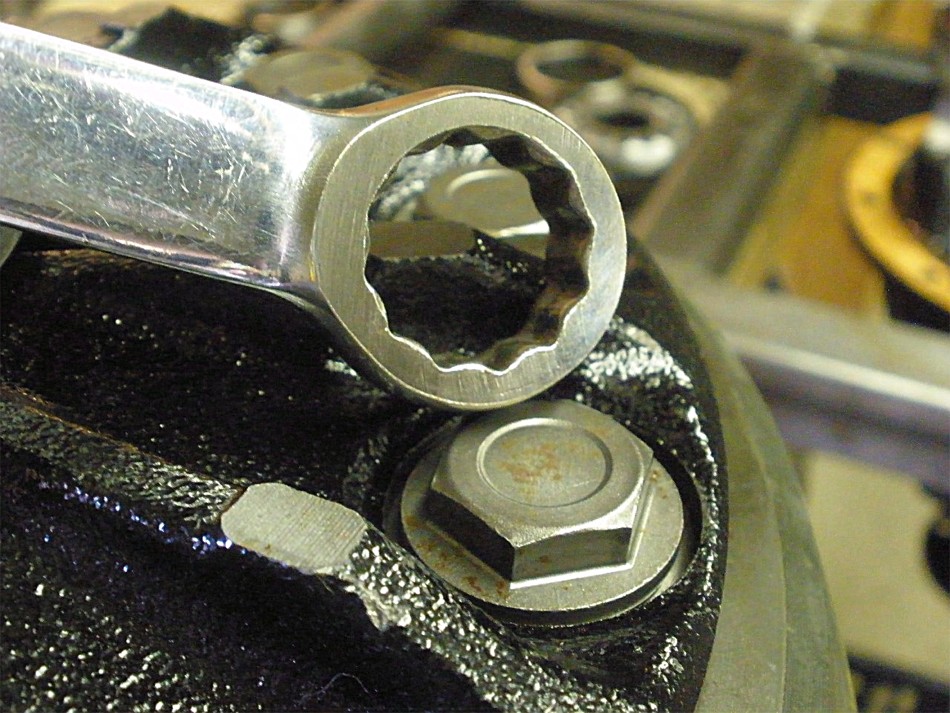
This wrench has been ground down flat to get maximum bite on the limited surface area of the very tight flange bolts. |
|
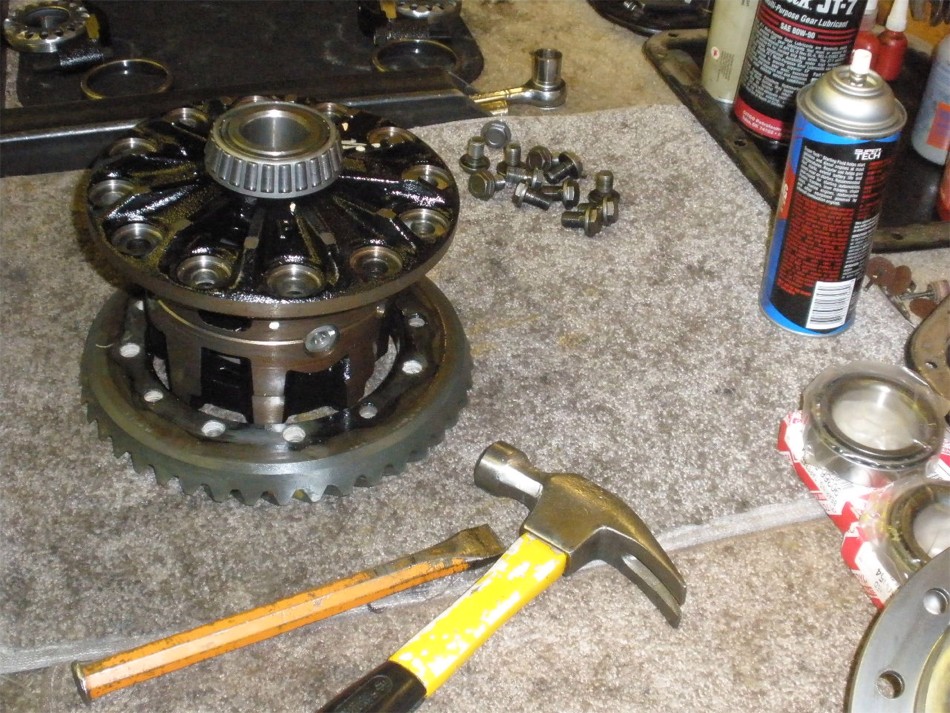
The high strength OEM loctite makes it a challenge to break loose some of these flange bolts. |
|
All are removed with no damage. |
|
The ring gear is tapped loose. |
|
... |
|
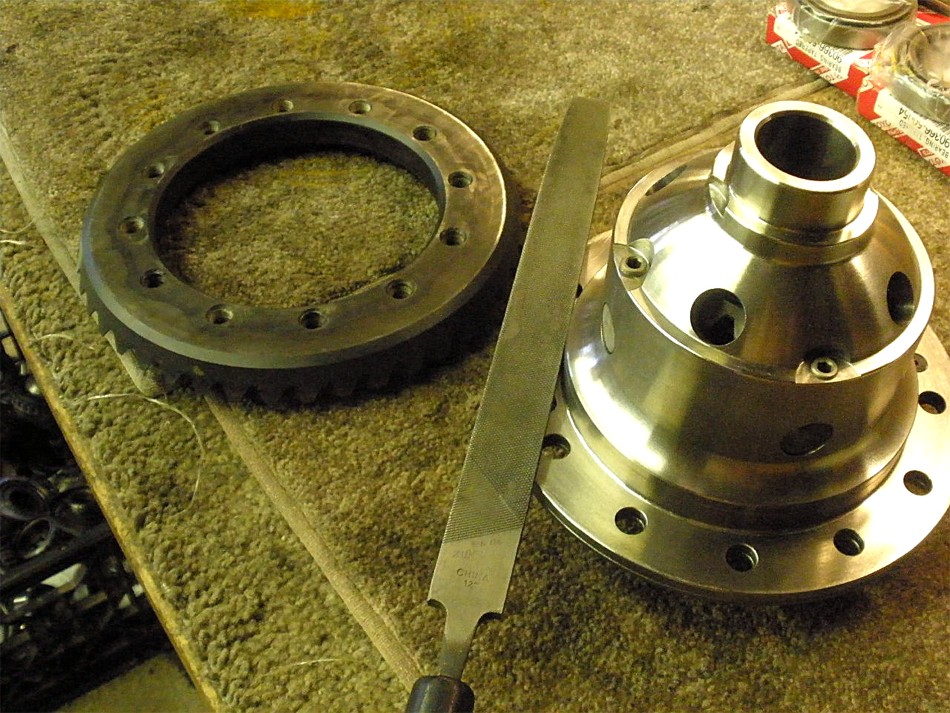
Before the ring gear is mounted to the ARB it's always a good idea to run a file over both surfaces to remove any high spots. |
|
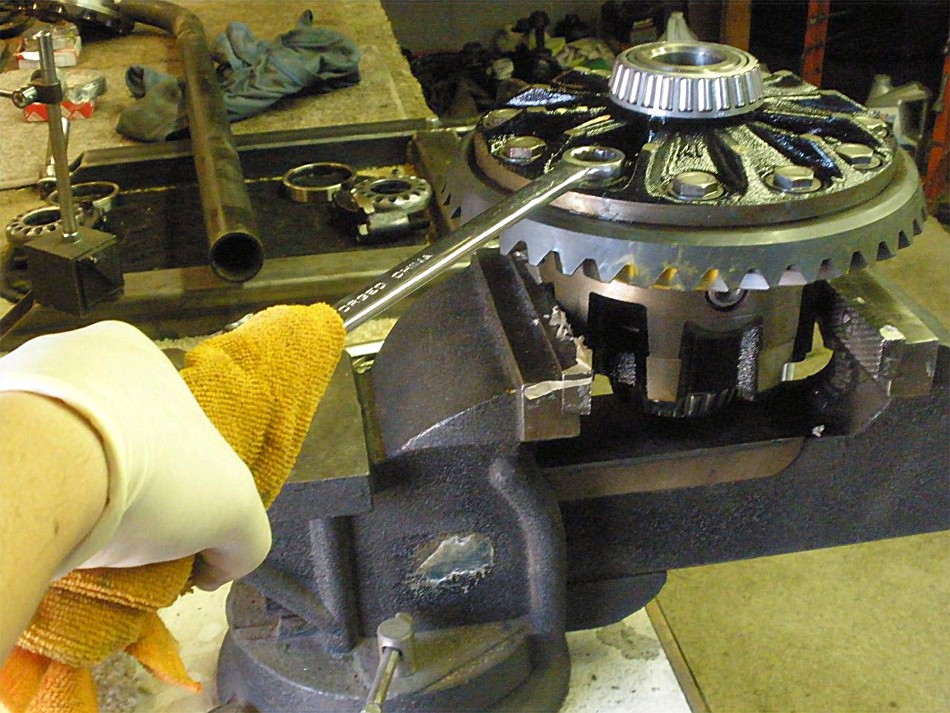
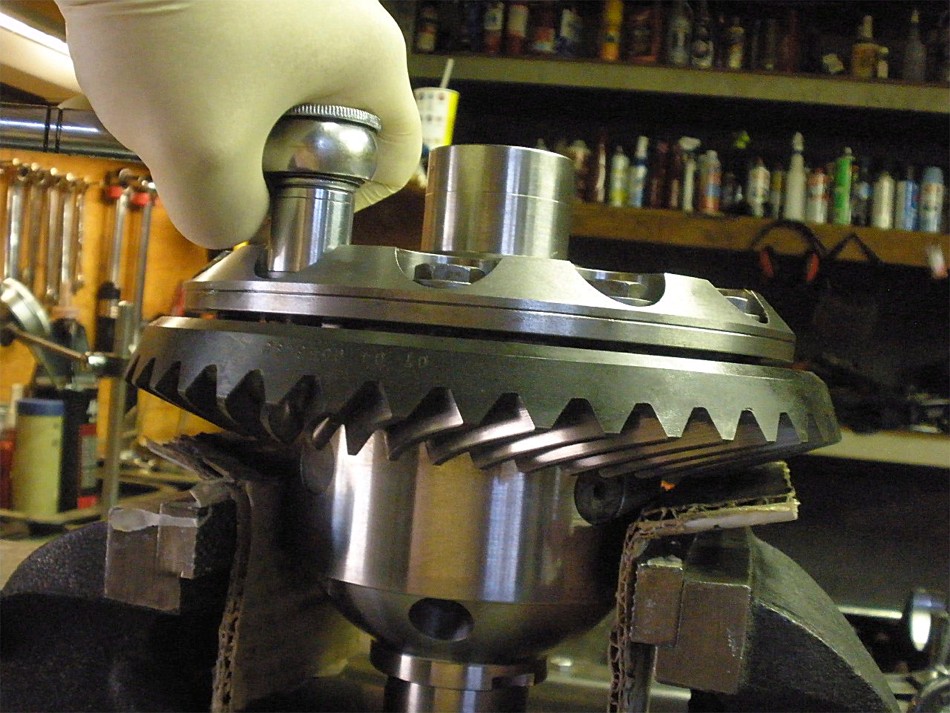
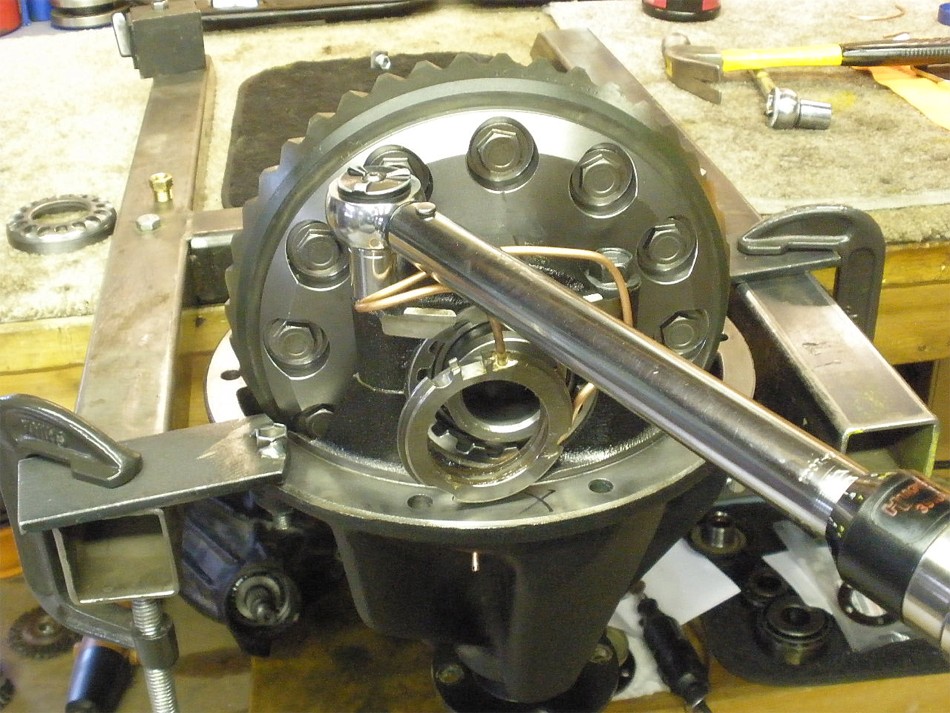
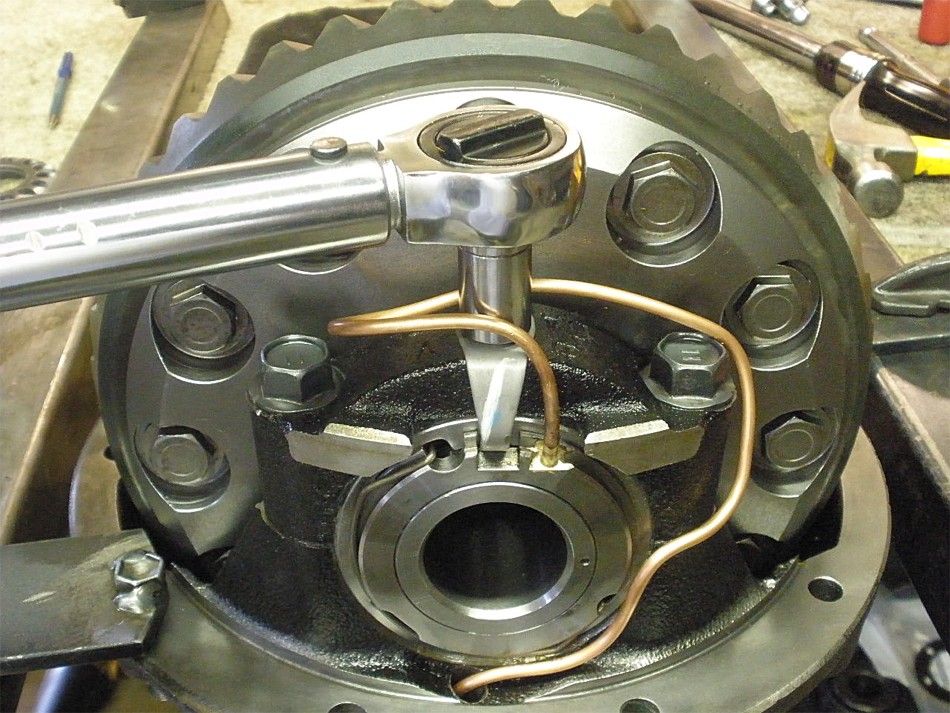
I could have seated the ring gear with the press but I opted to use the bolts to pull the ring on. No real force was applied to the ratchet. Just the way I am holding the ratchet in the pic was enough to pull it on steadily. |
|
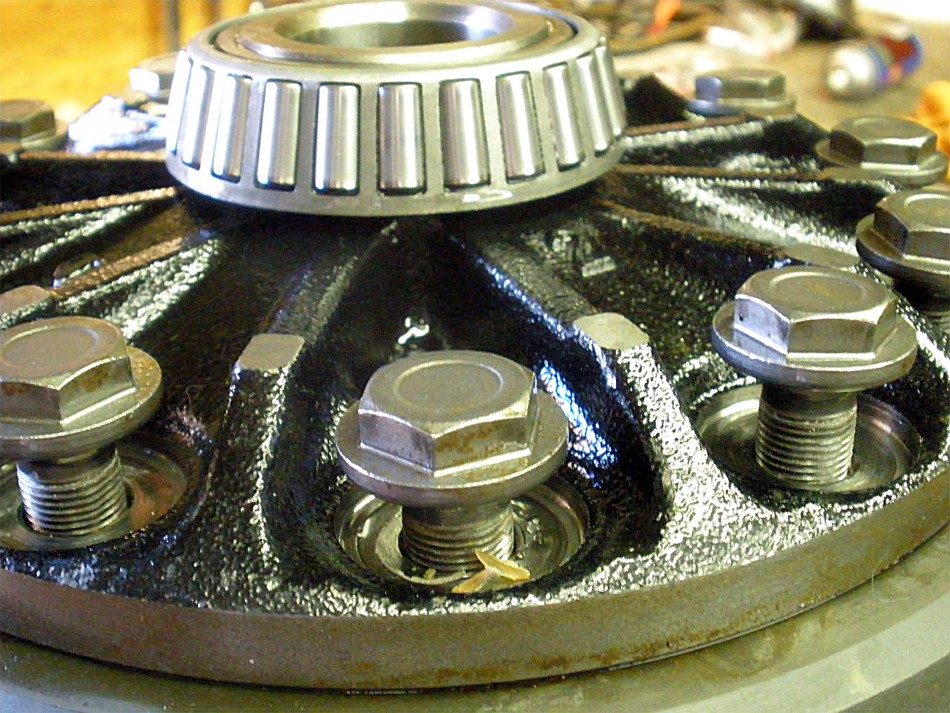
Threads were cleaned 100% and red Loctite applied. |
|
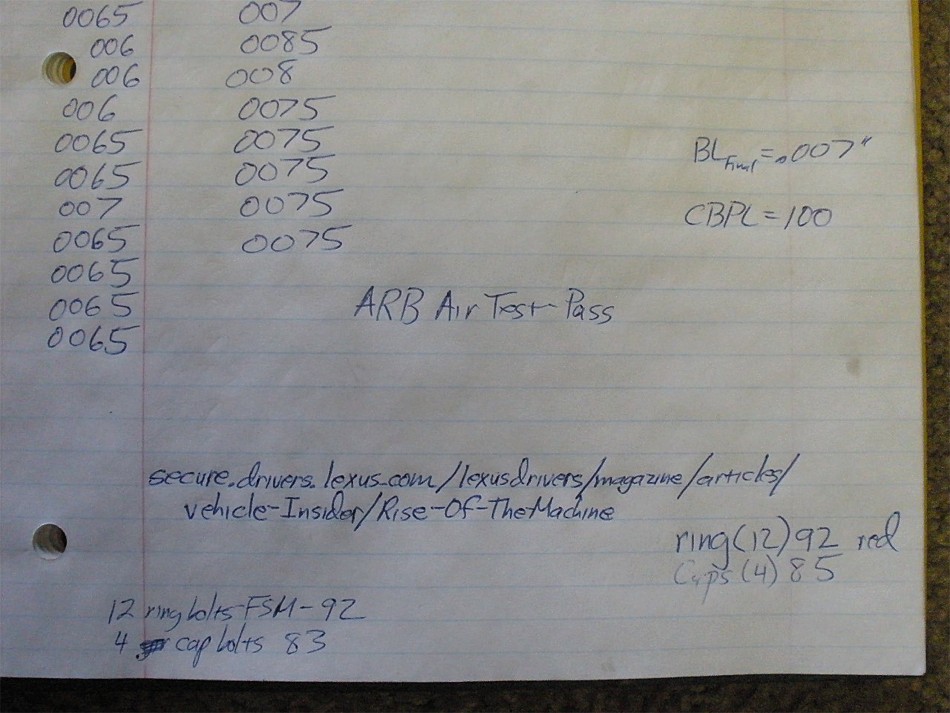
92 ft/lb verified on all 12. |
|
The new KOYO bearings pressed on very tight. |
|
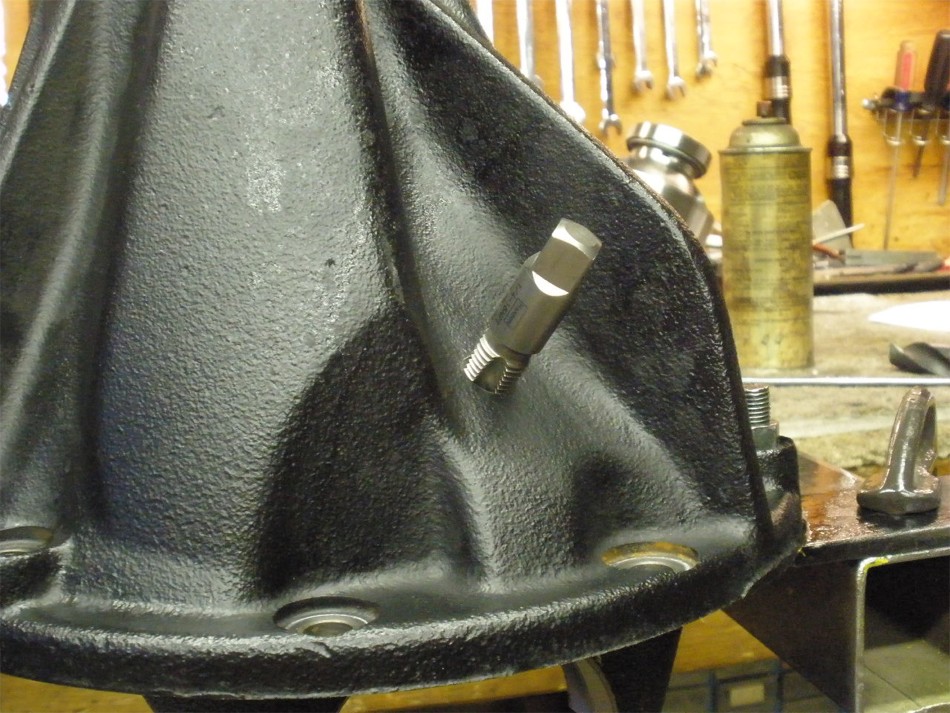
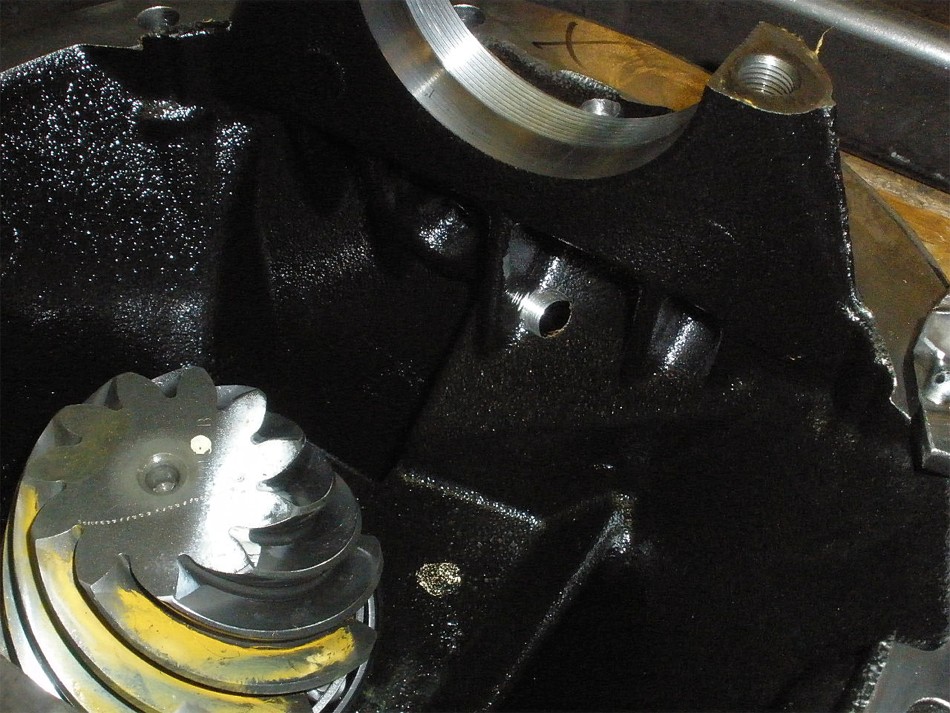
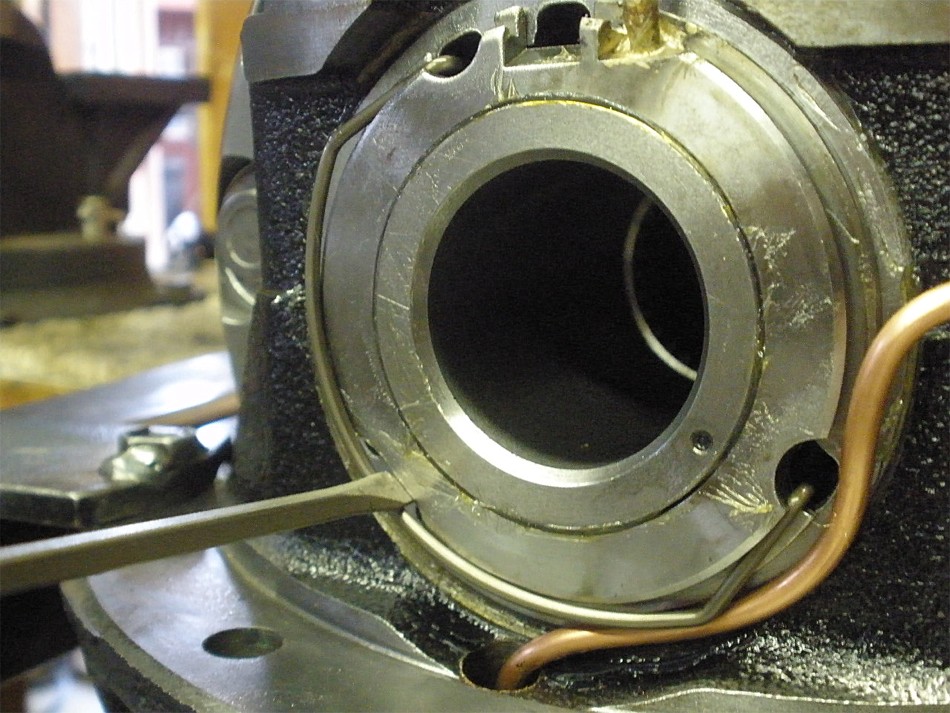
Per the ARB instructions, a hole is drilled from the outside in.... |
|
....then another is drilled and tapped for 1/8" NPT. |
|
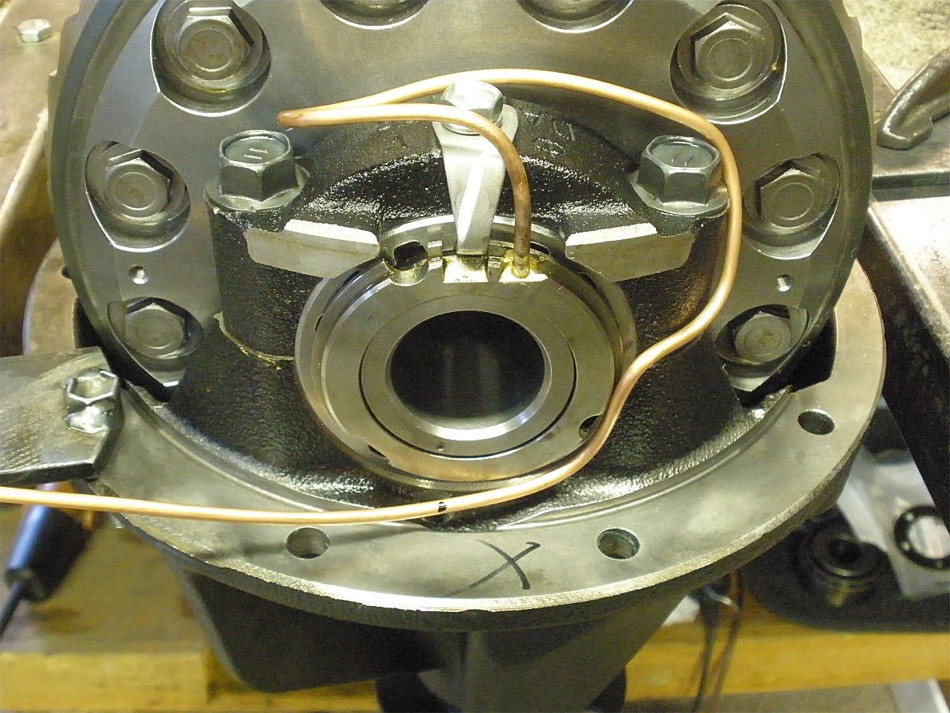
This keeps the copper tubing on the ring gear side and snakes the copper inside the 3rd and back out to the brass bulkhead fitting. It can be a small challenge to route it in a clean manner. |
|
... |
|
No way around it...forming it is a "bear". |
|
Finally, after playing with it for about an hour, it is done. |
|
It's not obvious in the pic but a thick grease has been applied to thread surfaces. |
|
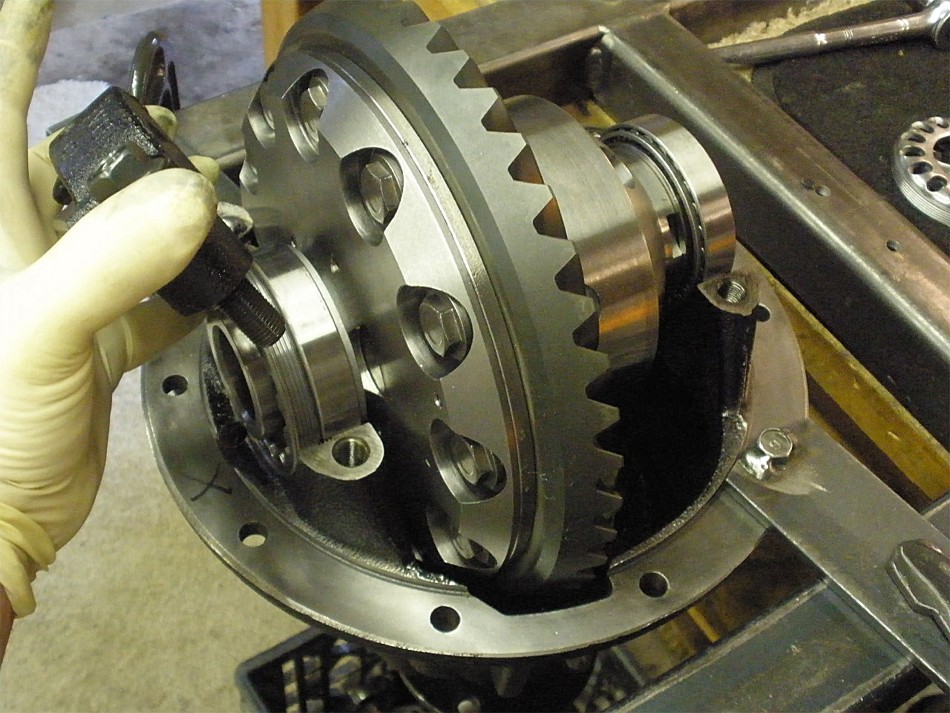
Bolts are threaded in about 3 turns each and the bearing caps are then tapped down fully. The way it seats...the noise it makes...and the way it feels tell me if the threads are 100% aligned. |
|
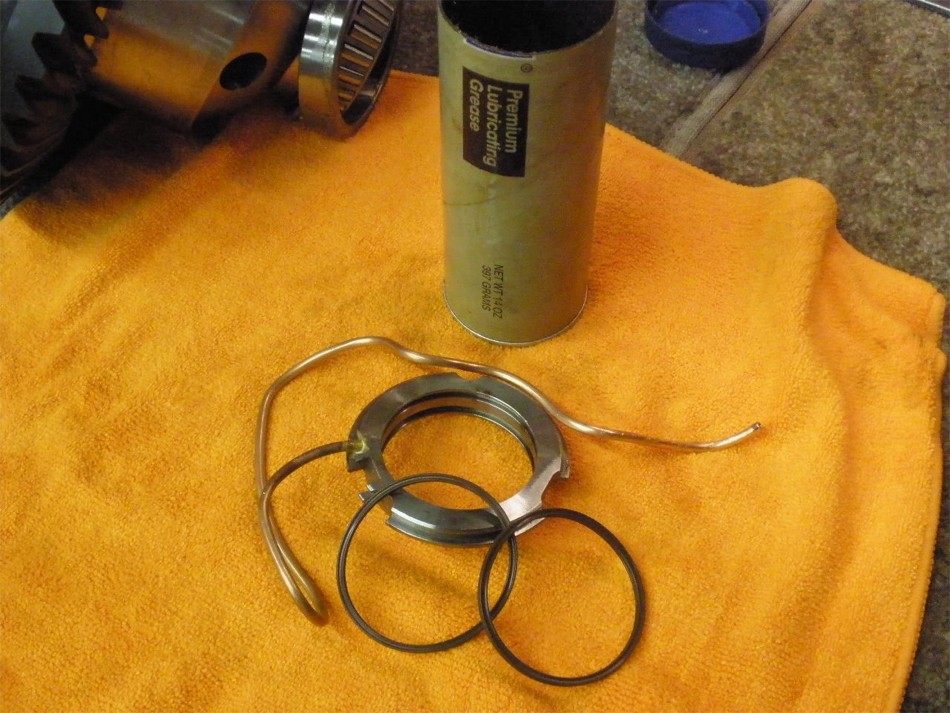
X-rings are lubed up and put in place. |
|
... |
|
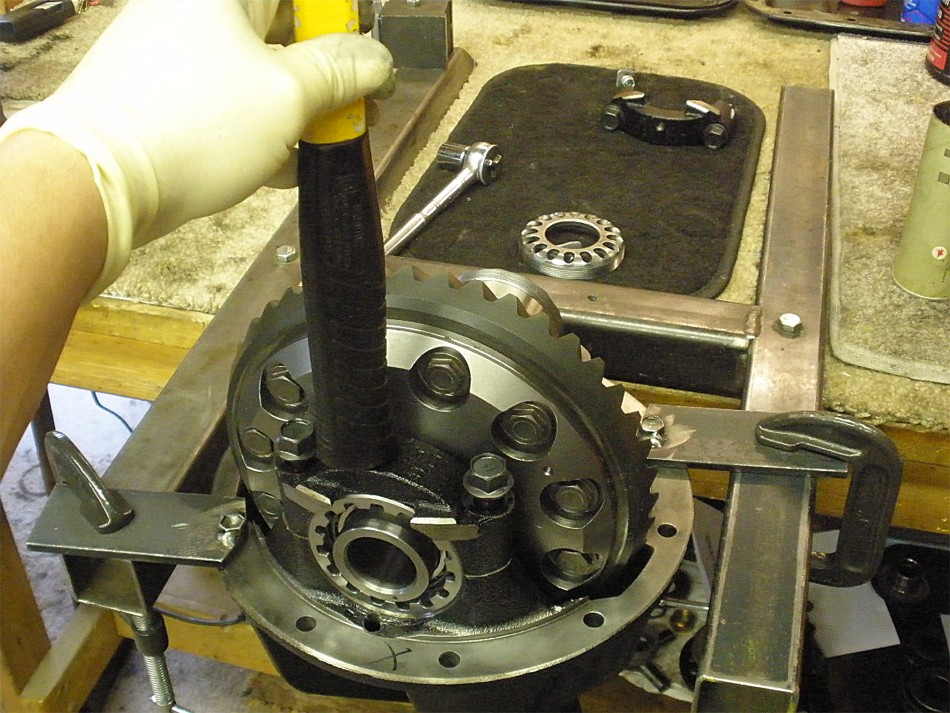
Bearing caps are then tightened to 85 ft/lb and the adjuster wheels still turn smoothly with very little real resistance...the ultimate verification that the threads are lined up :) |
|
Backlash is dialed in. Even though I do rap on the sides of the towers while turning the pinion to equalize the bearing tension on both sides I still make my last "turn the adjuster wheel in 1 notch" adjustment on the ring gear side itself....a good practice for all gear installs. |
|
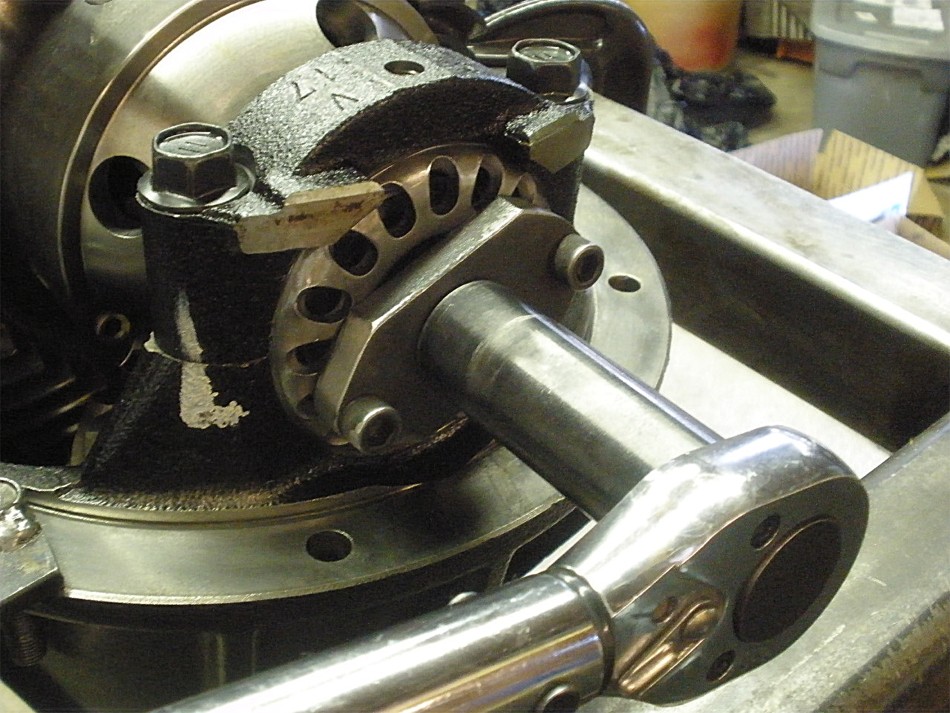
Even with well greased threads, it took 100ft/lbs before the wheel started to move. 100 is a good all-around pre-load to use. |
|
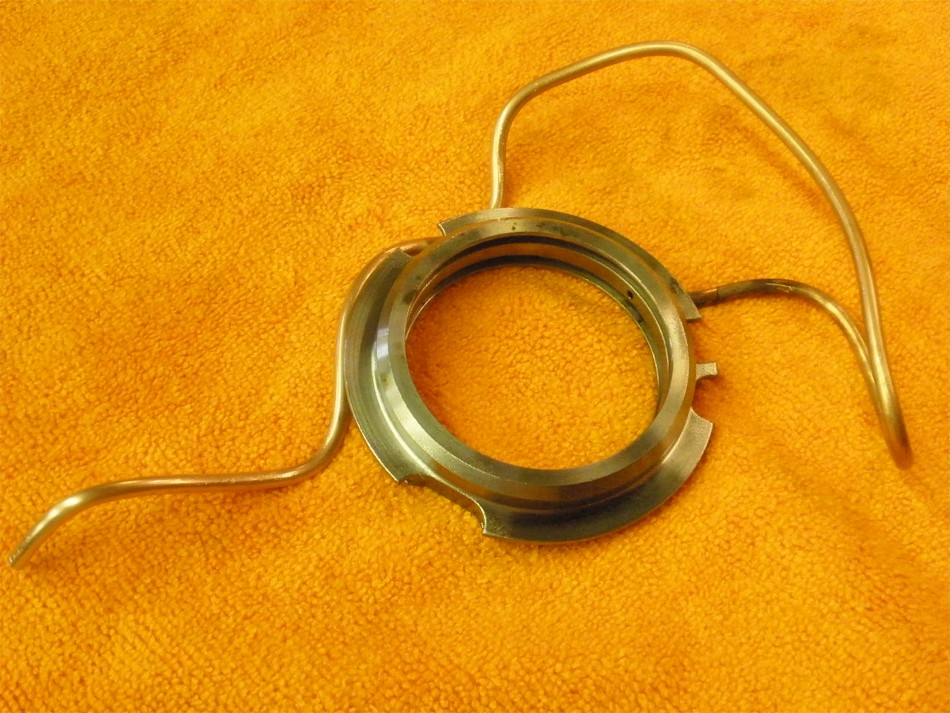
Retaining clip is snapped in place. |
|
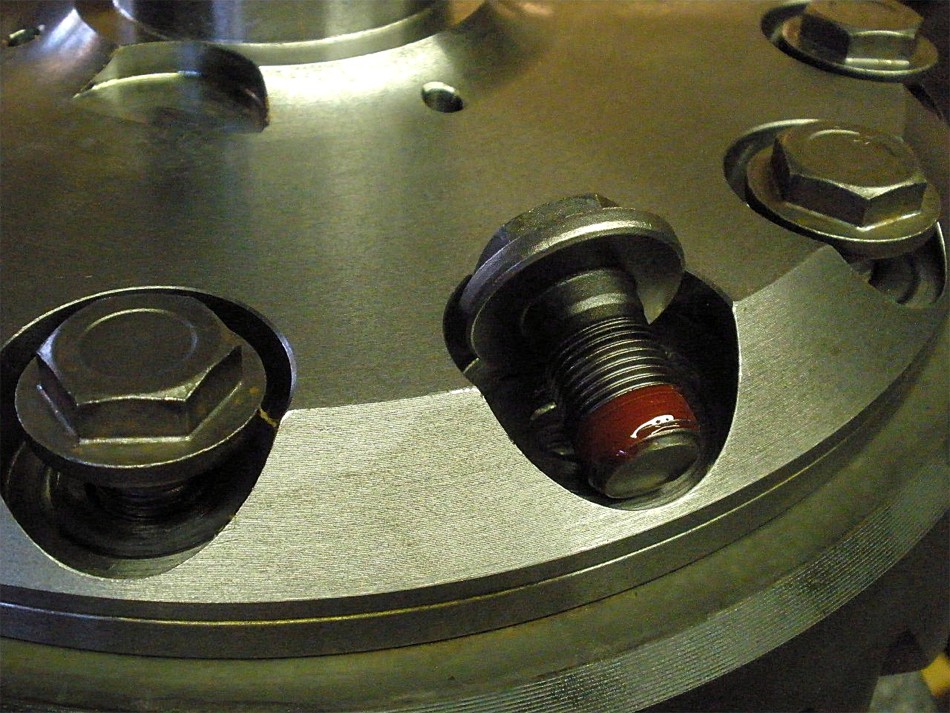
Blue Loctite and 10 ft/lb on both lock-tab bolts. |
|
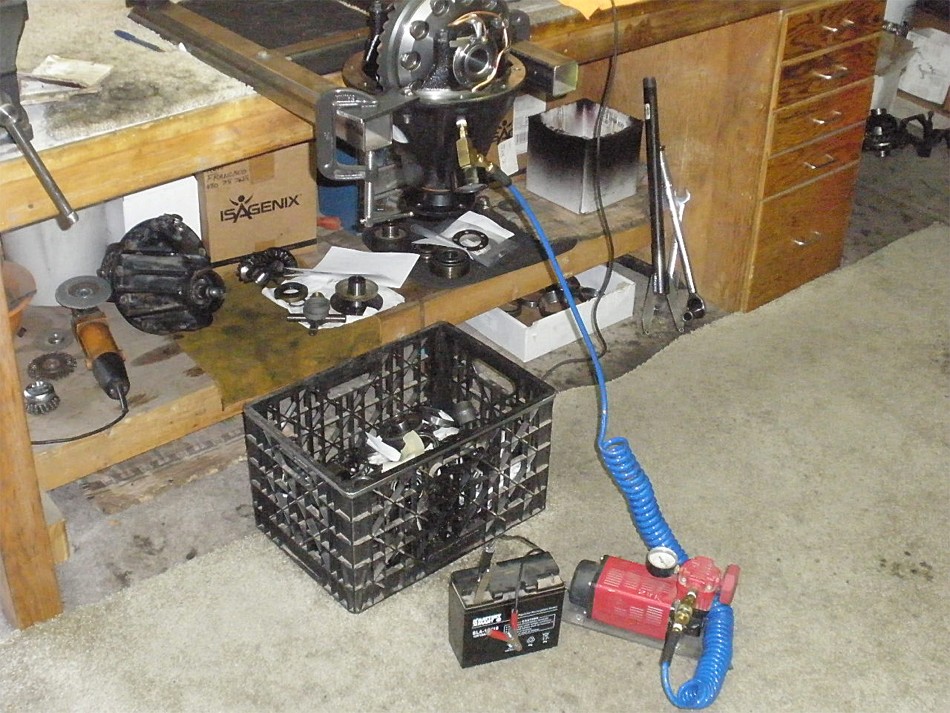
PASS the ARB air leak test. |
|
A final paint check to make sure it's the same as the initial paint and it is. |

|
Coast. |
|
Pinion driveside. |
|
... |
|
... |
|
Ready for pick up :) |

|