|
Harrop Install for Matt's Stock 2004 Lexas GX470
|
|
(43 BIG pics loading)
|
|
MAR 27 2017
|
|
|
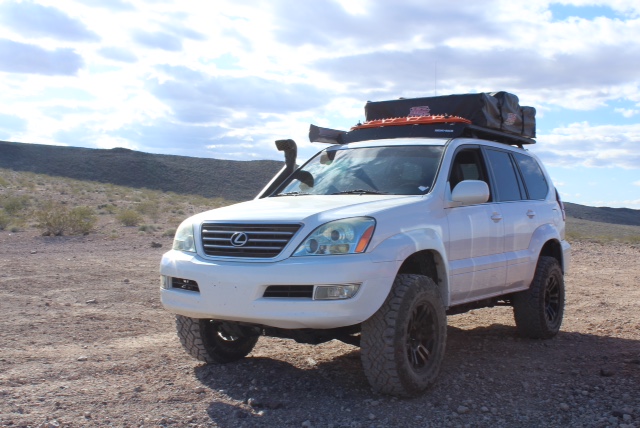
Matt is out of Bullhead City, AZ and has a very nice looking
04 Lexas GX470 with only 118,000 miles.
|
|
|
|
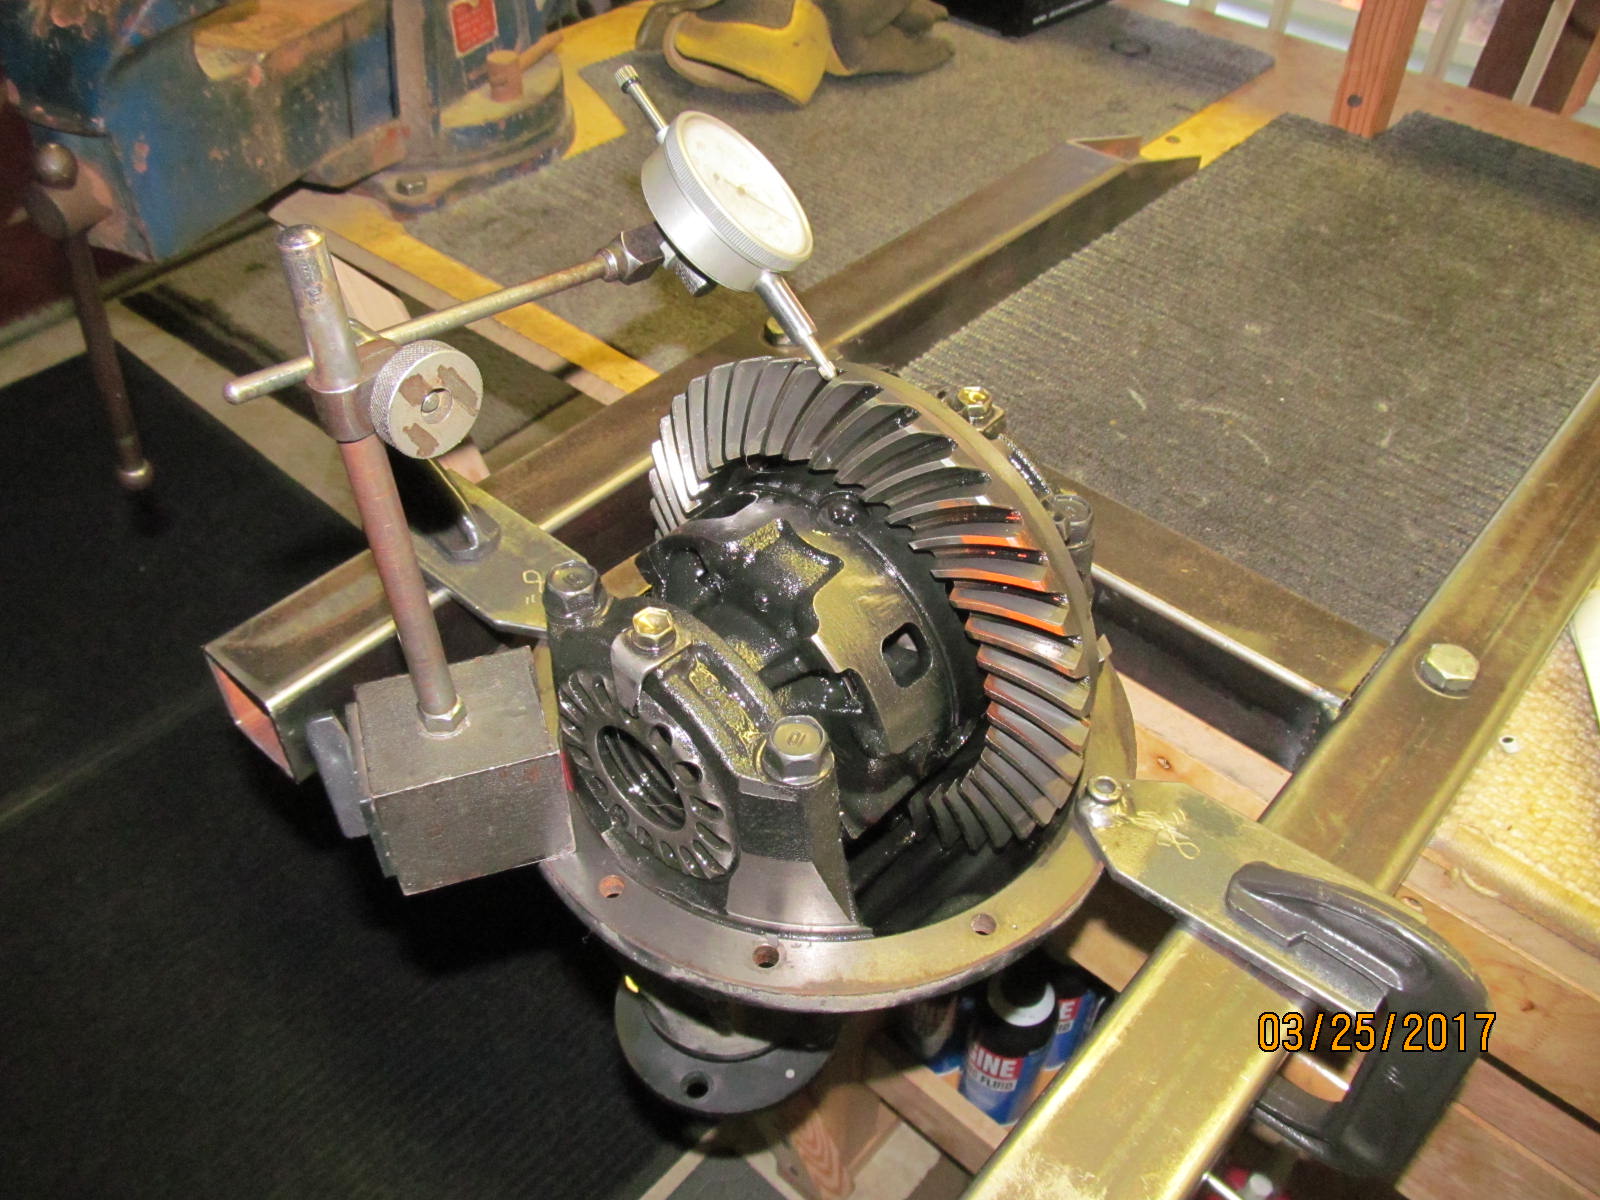
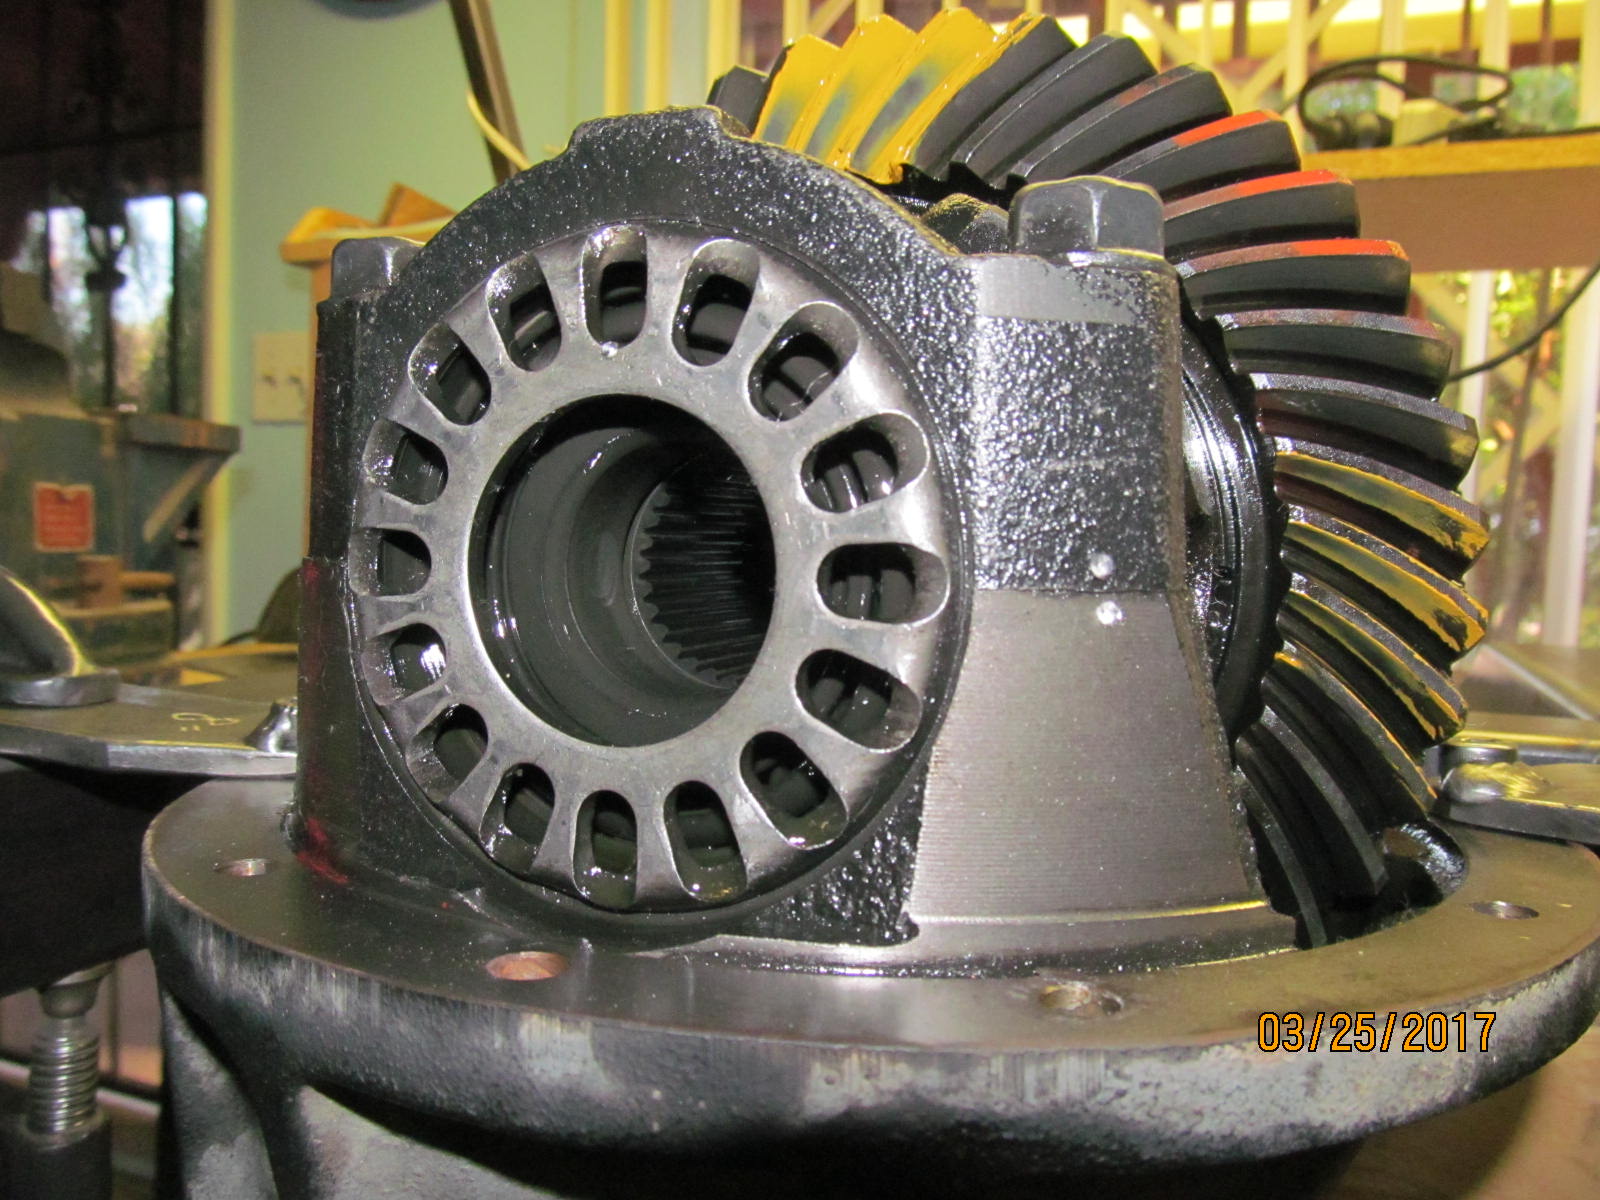
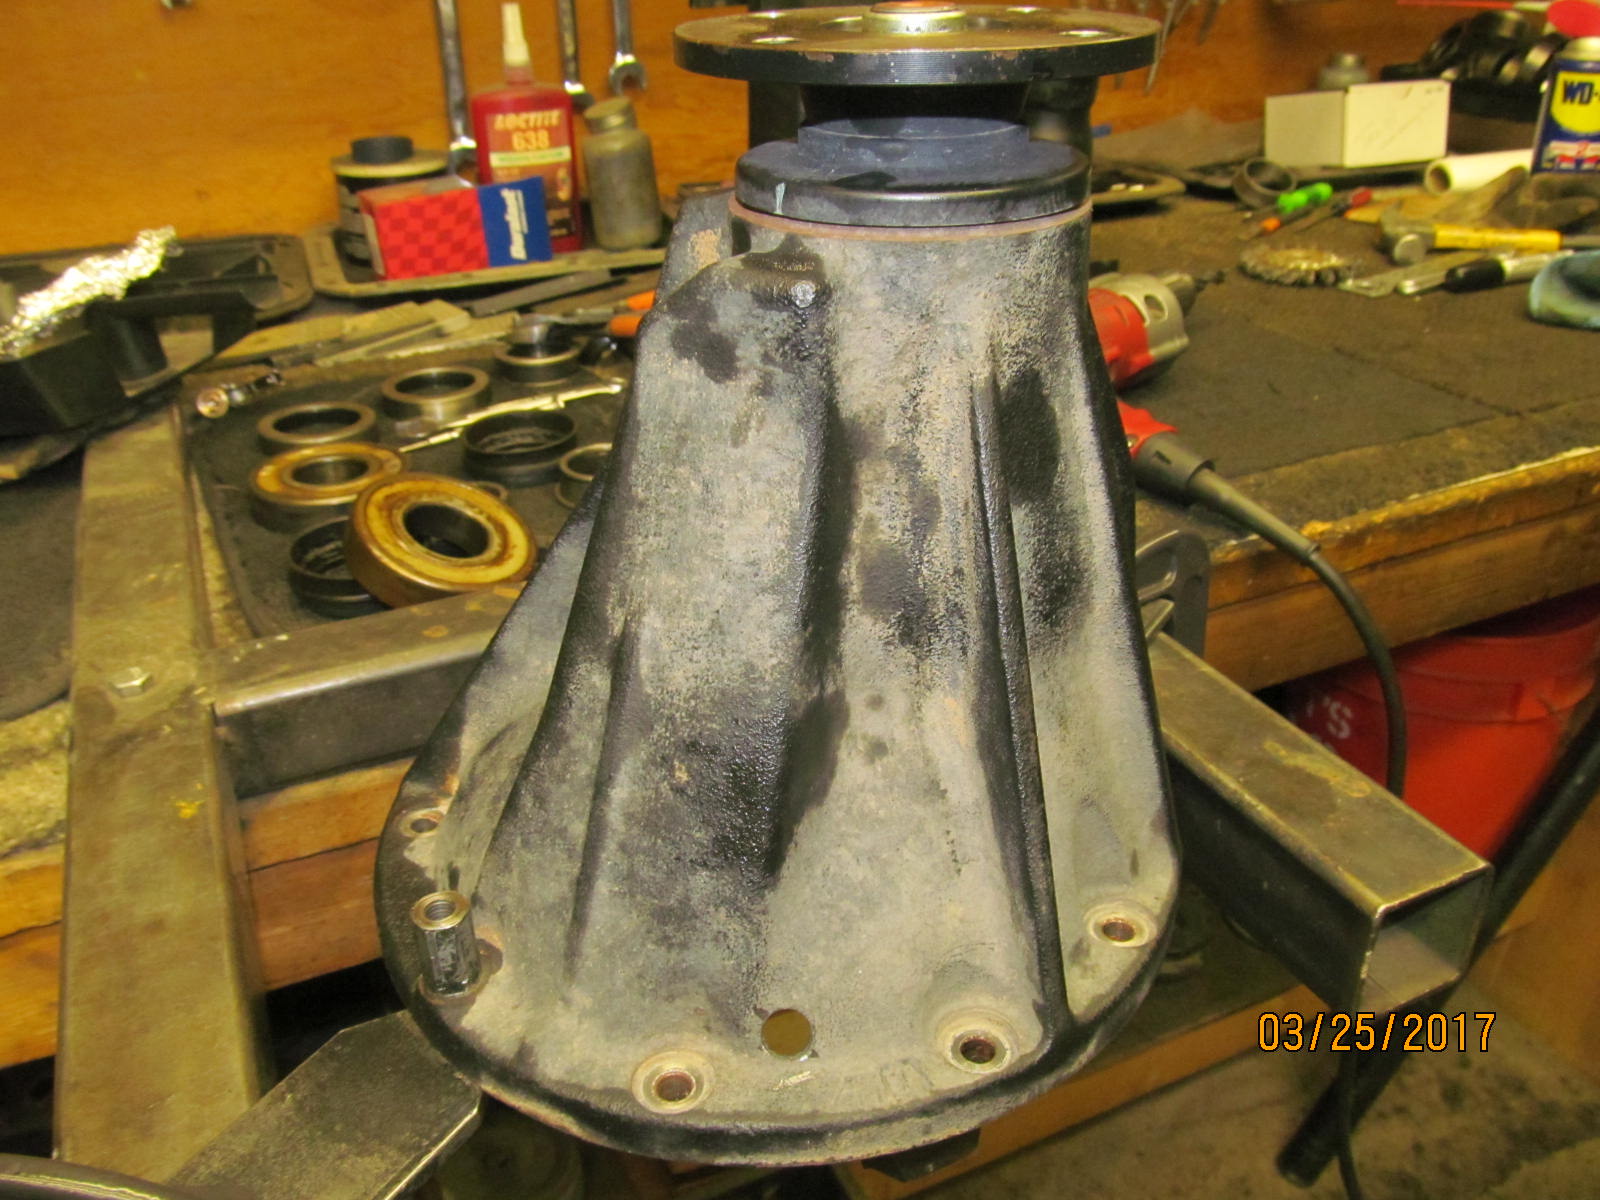
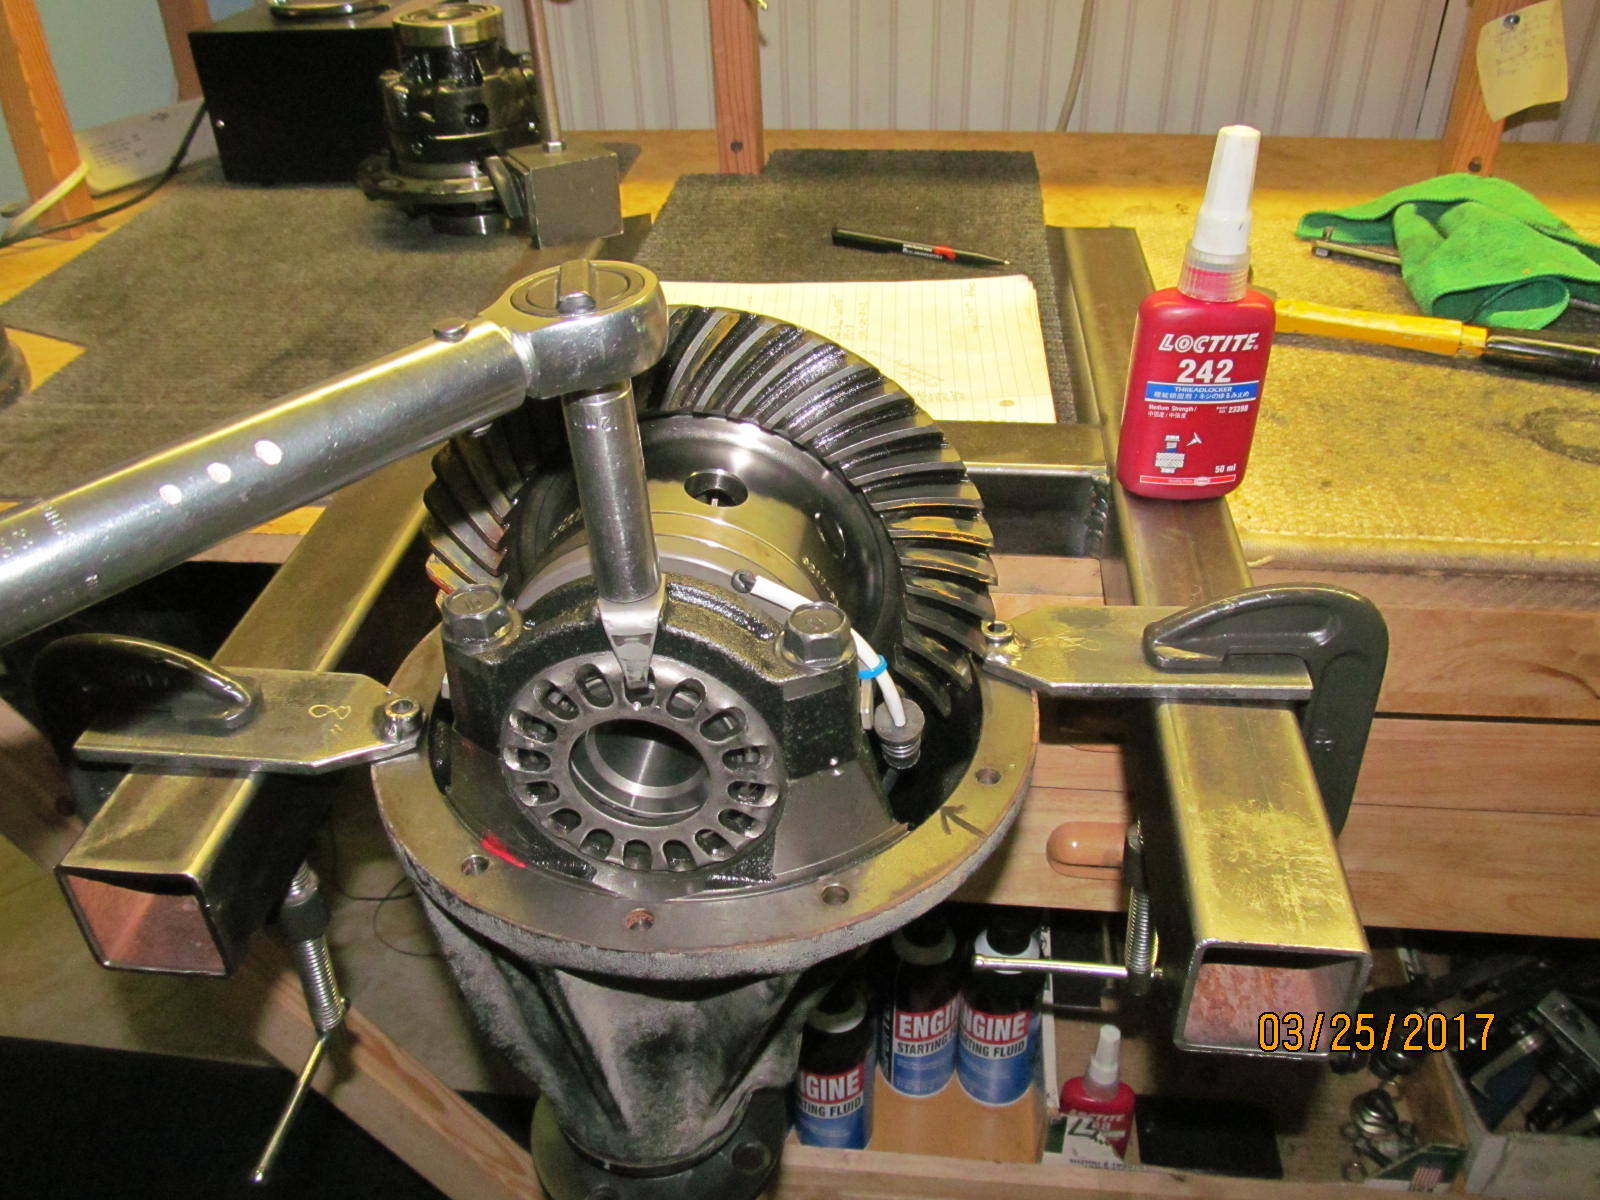
Matt just happened to have some business in the Phoenix area so he dropped off the 8" 3rd to me.
Characterizing the parameters like backlash and bearing preloads and checking the general
health of the diff is what is happening right now.
|
|
|
|
|
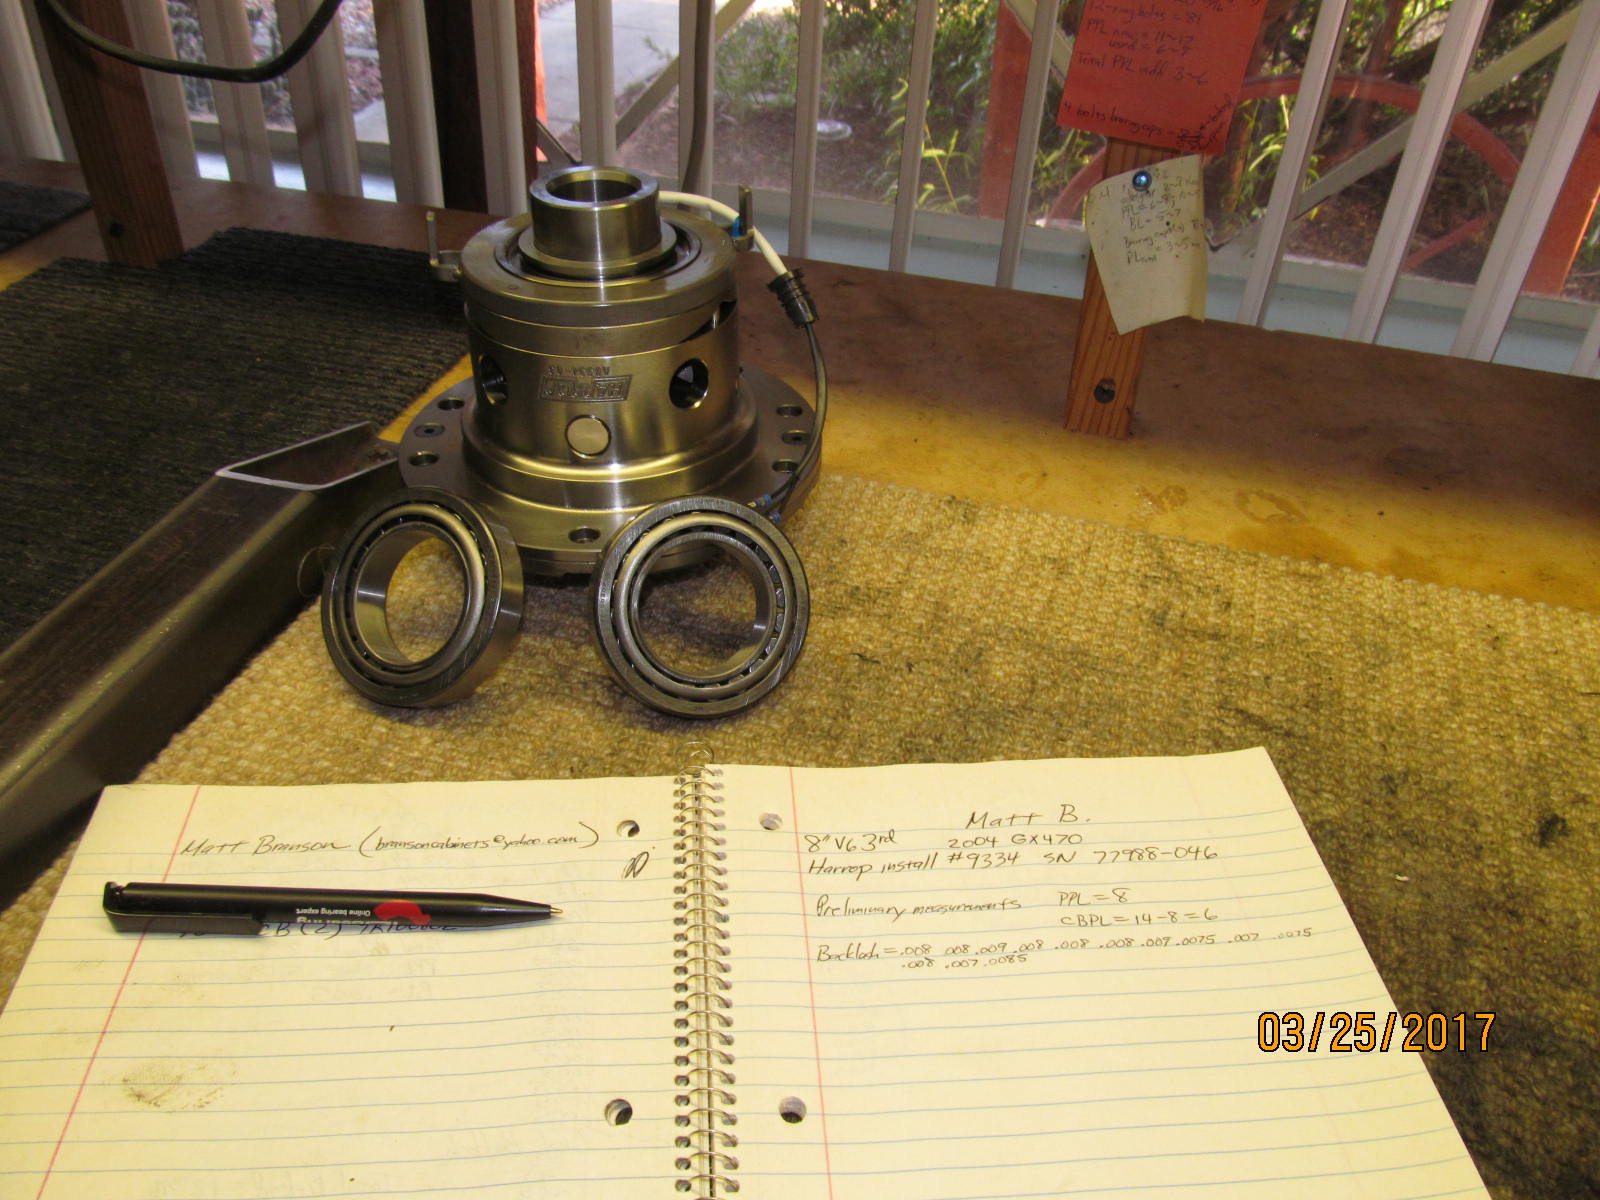
Matt went to Yotalockers.com and had a Harrop elocker #9334 sent directly to me.
|
|
|
|
|
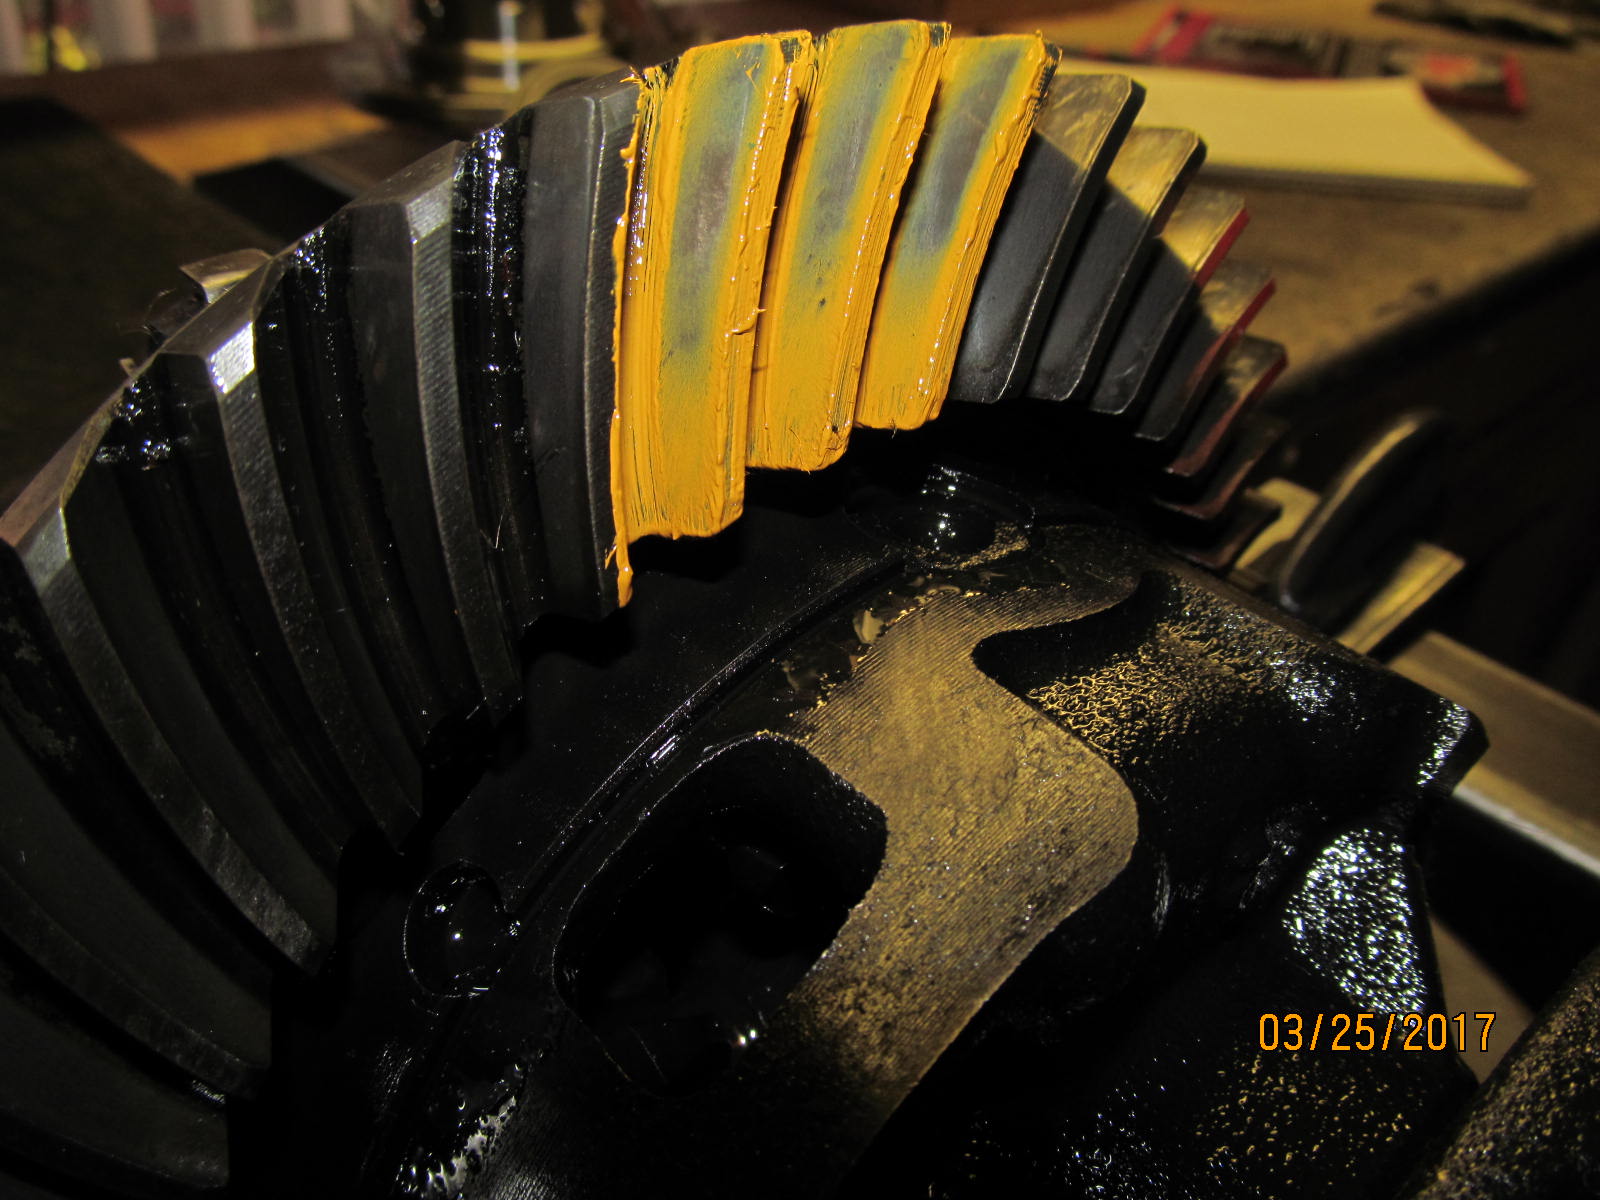
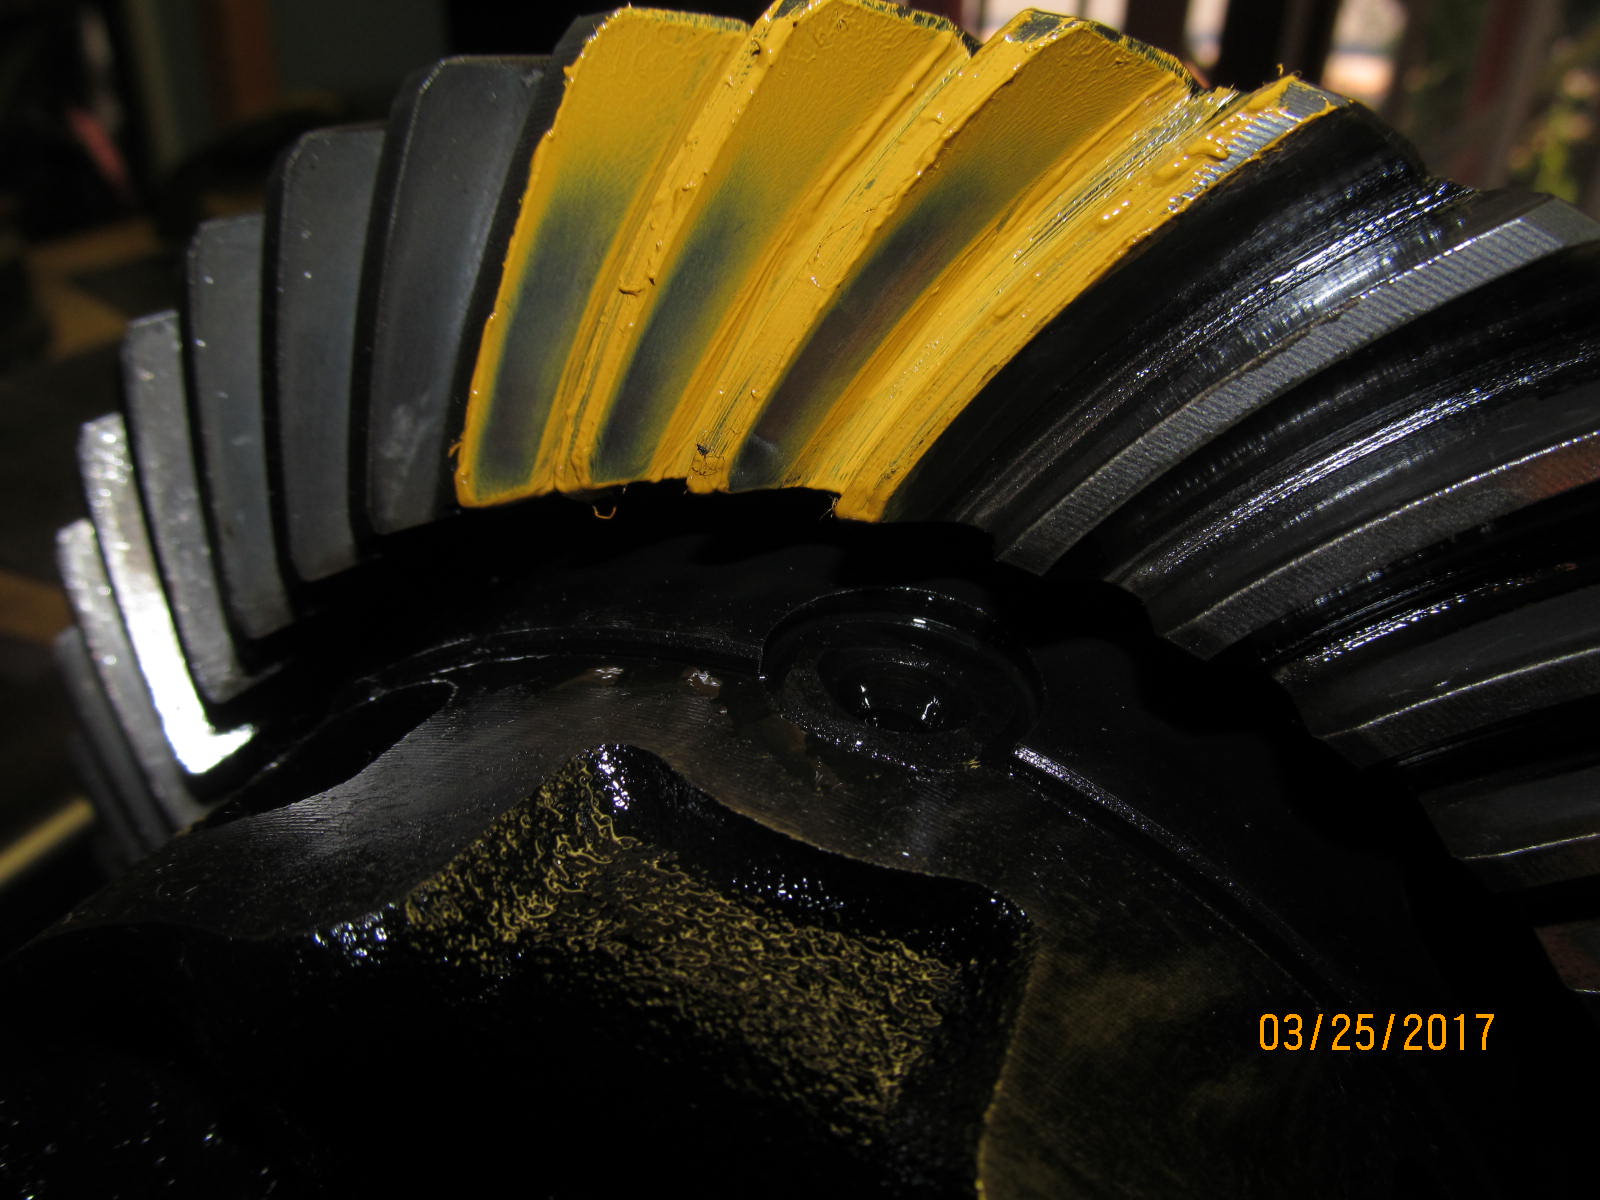
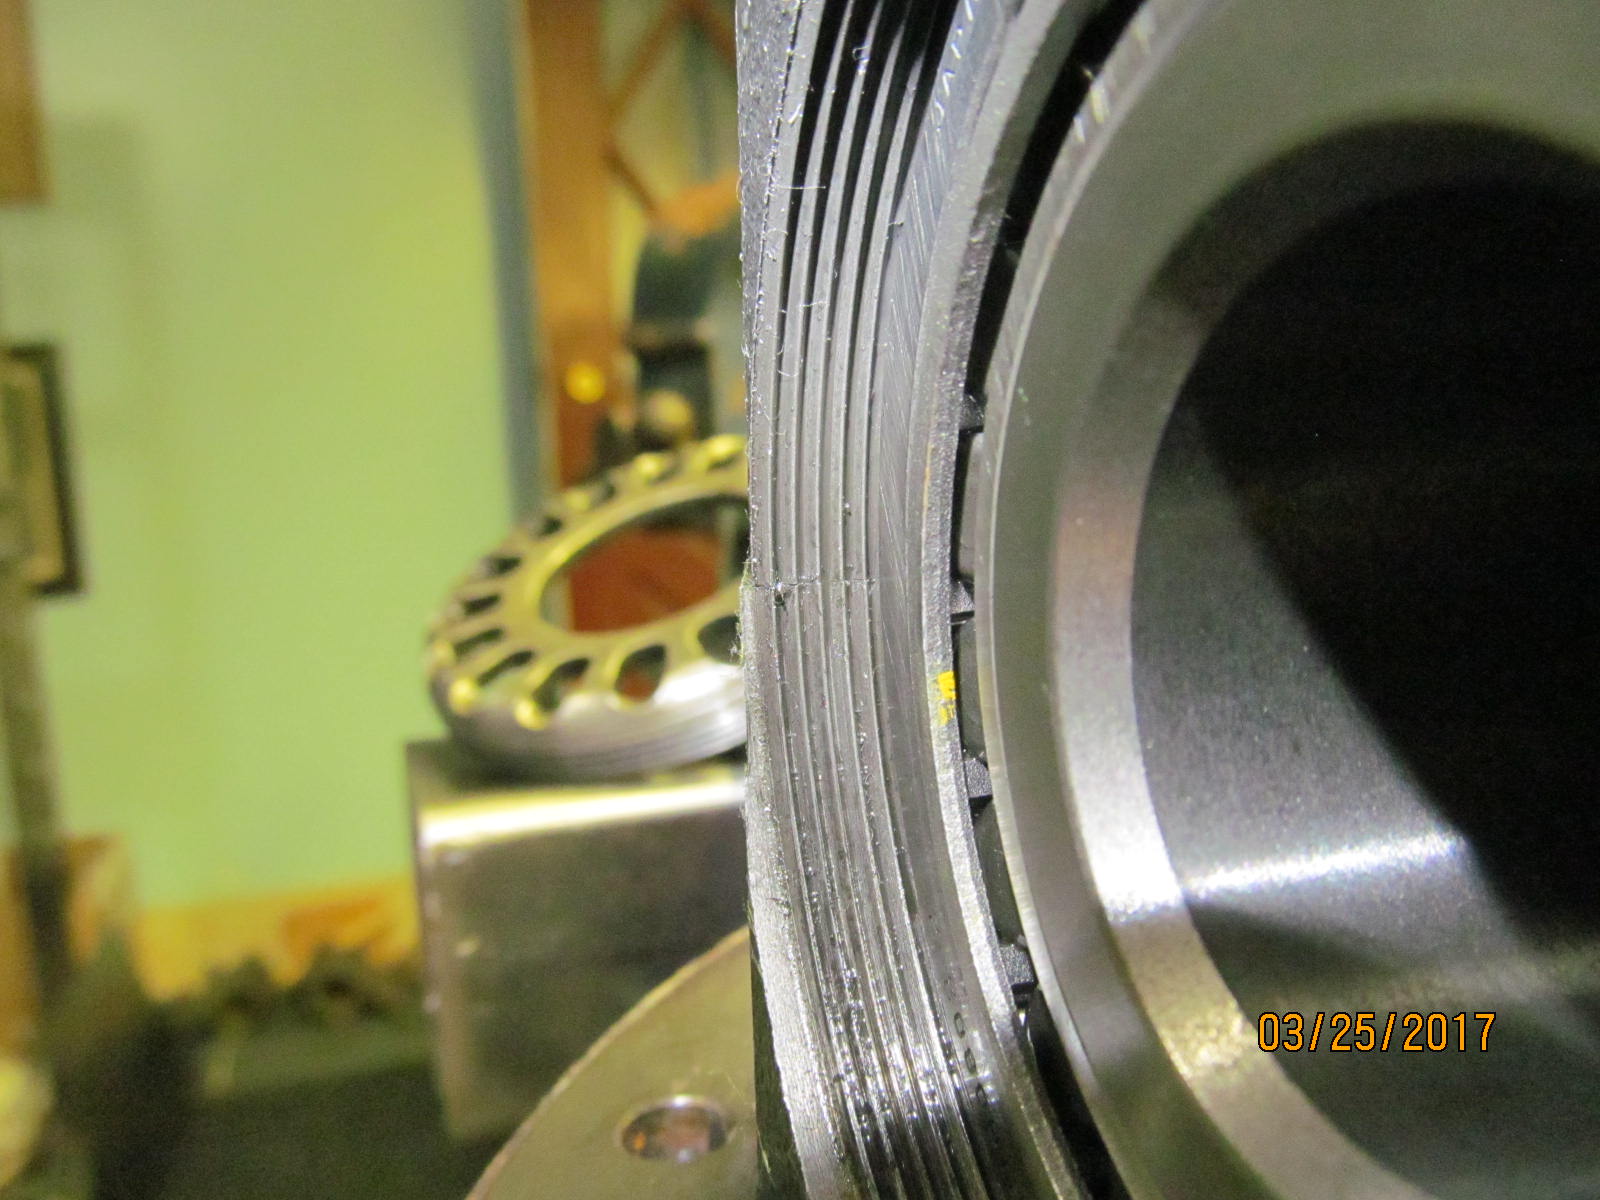
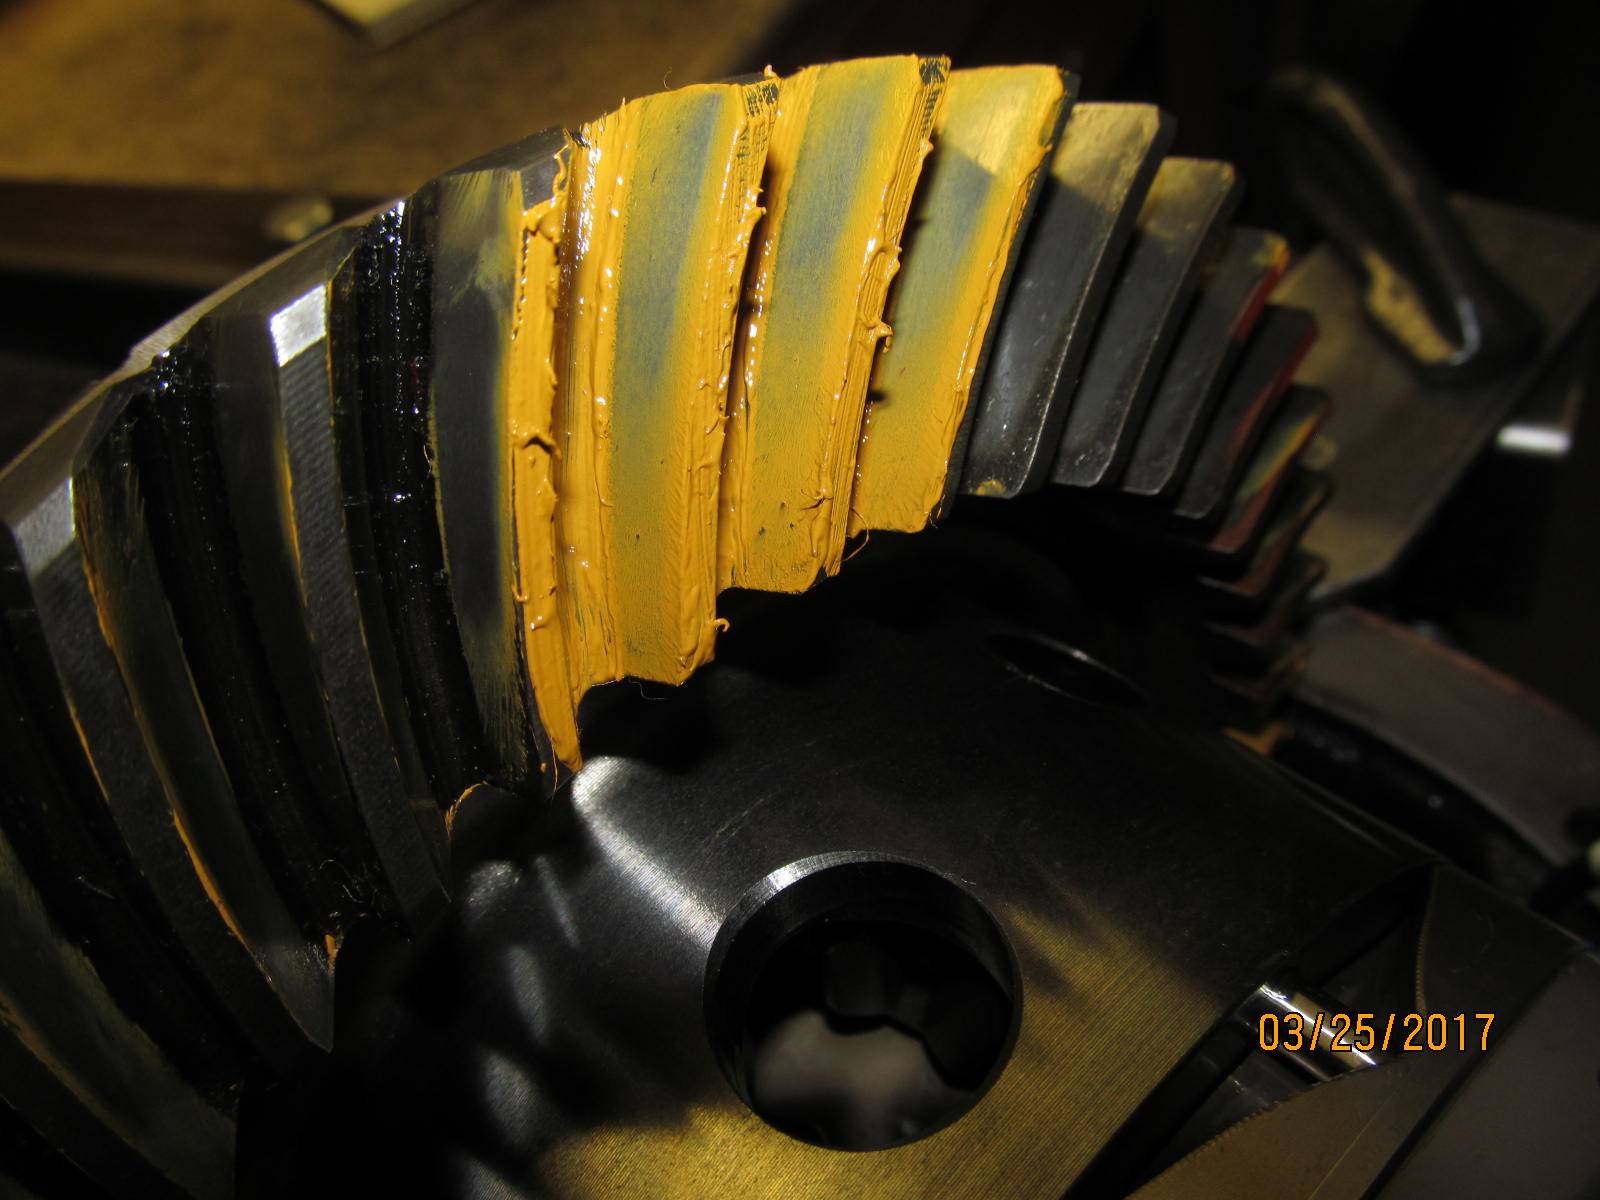
Not Mandatory but the painted pattern is checked also. Drive side.
|
|
|
|
|
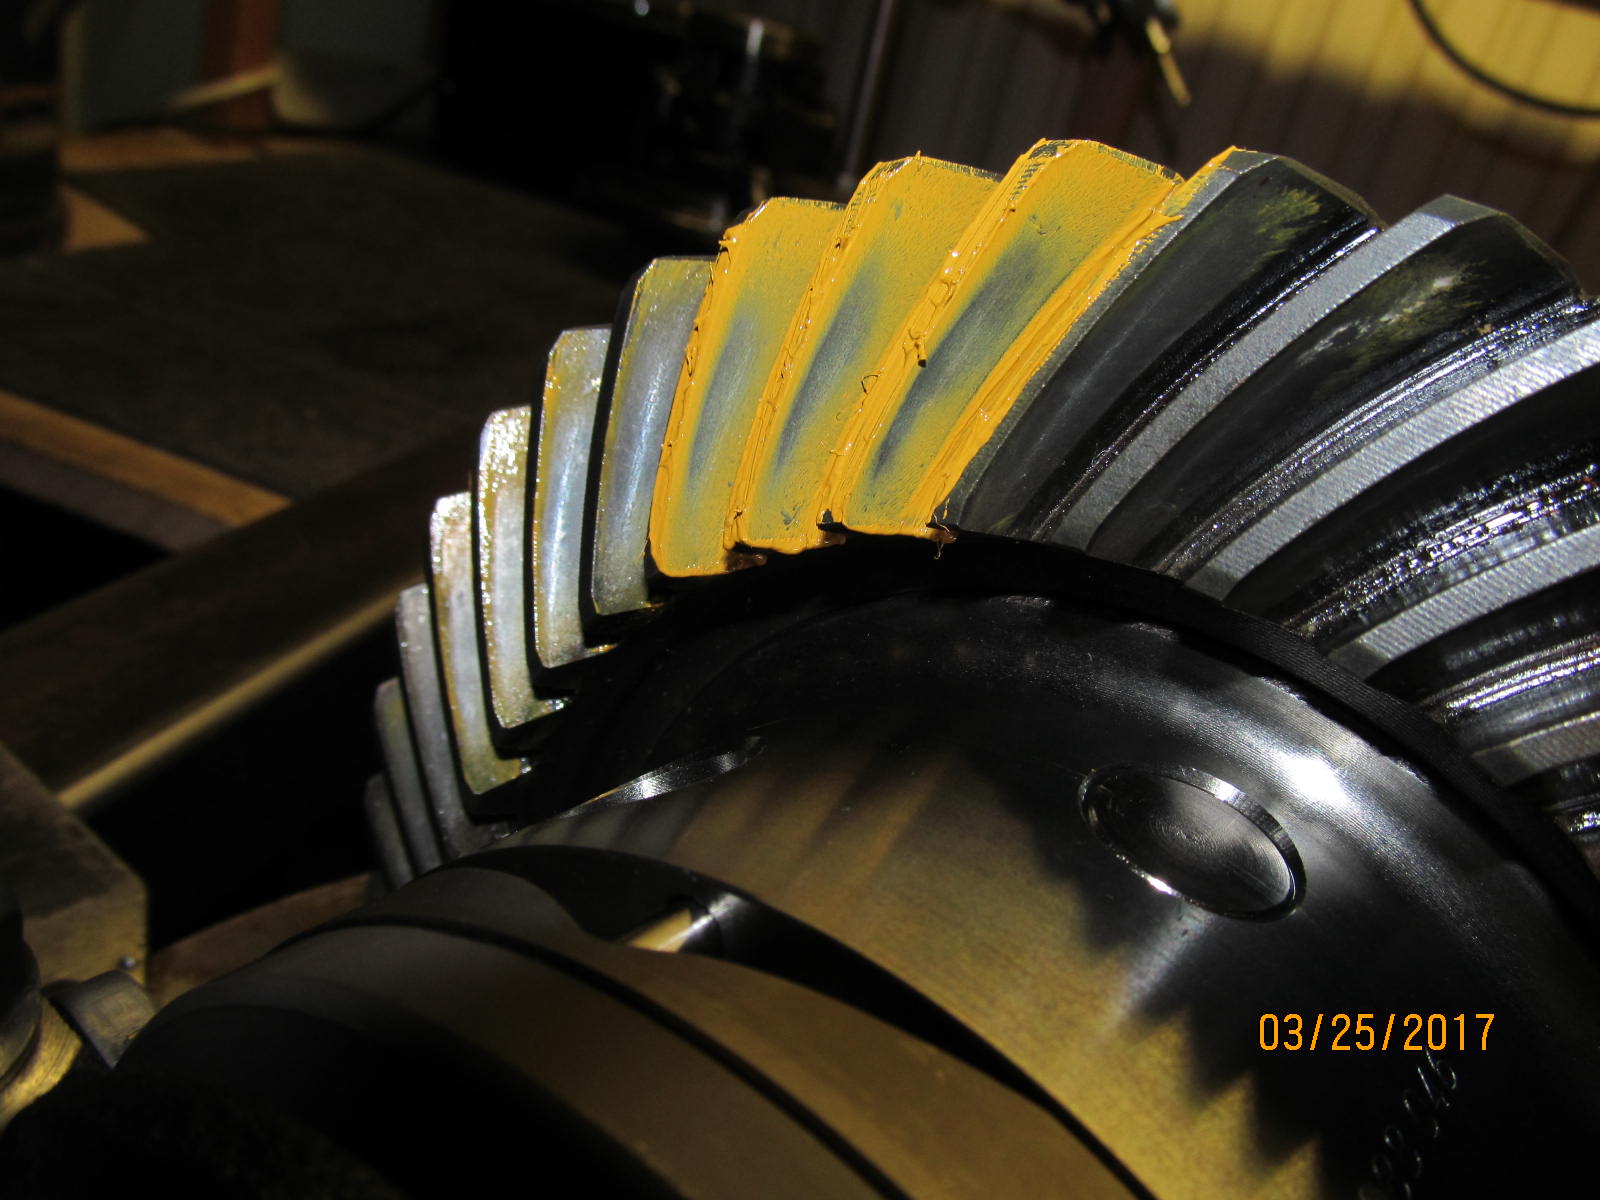
Coast side.
|
|
|
|
|
And, it's a darn good idea to mark at least one of the bearing caps like I did here.
|
|
|
|
|
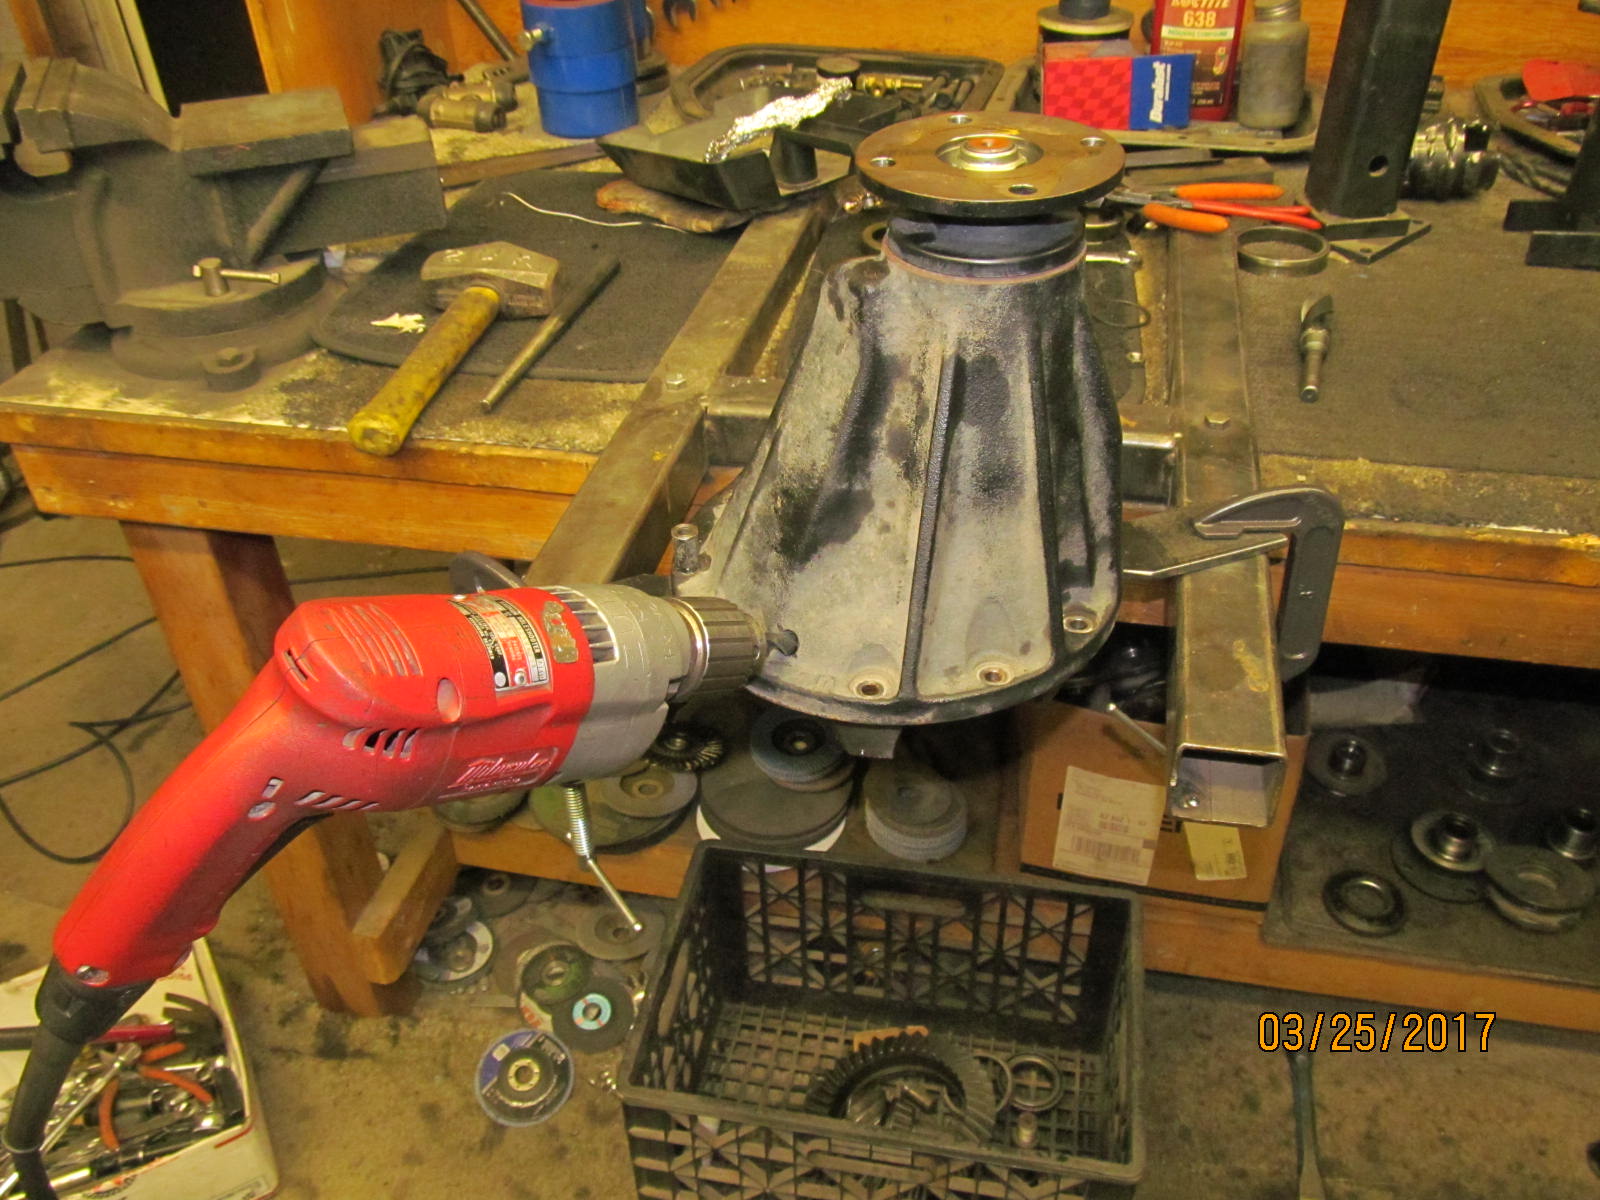
Disassembly begins.
|
|
|
|
|
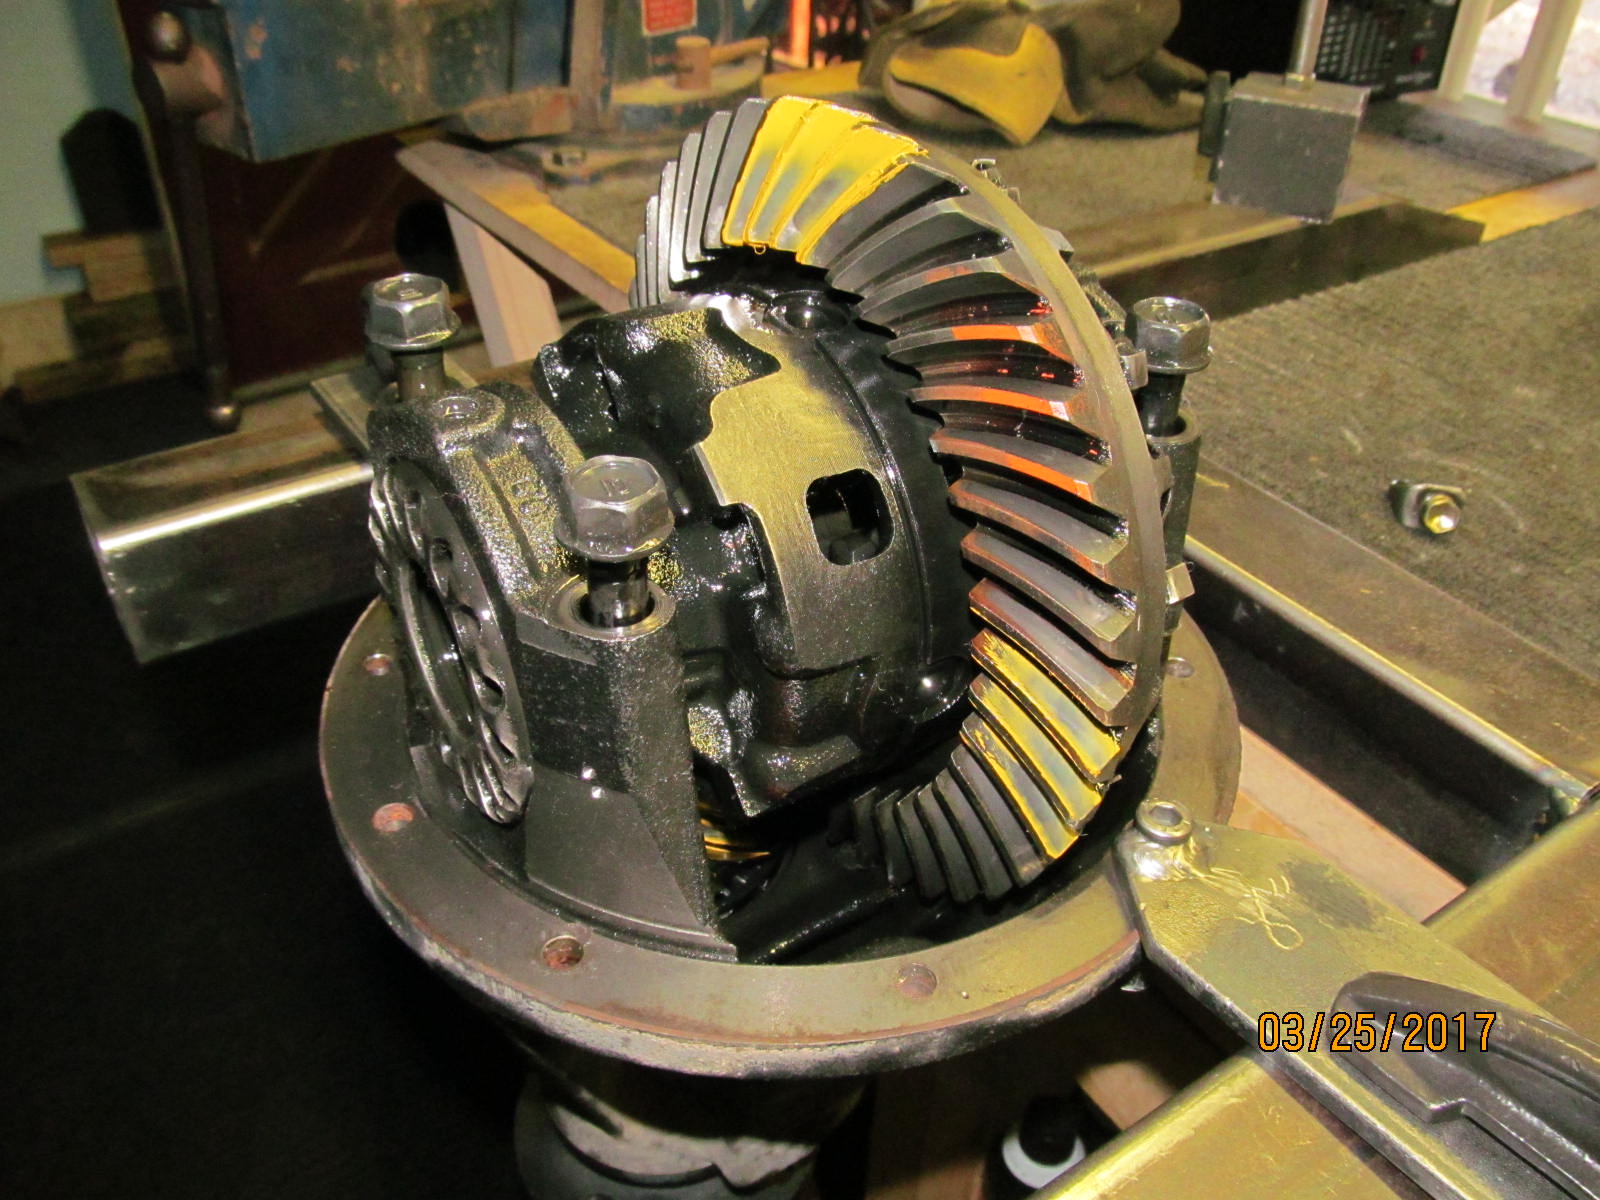
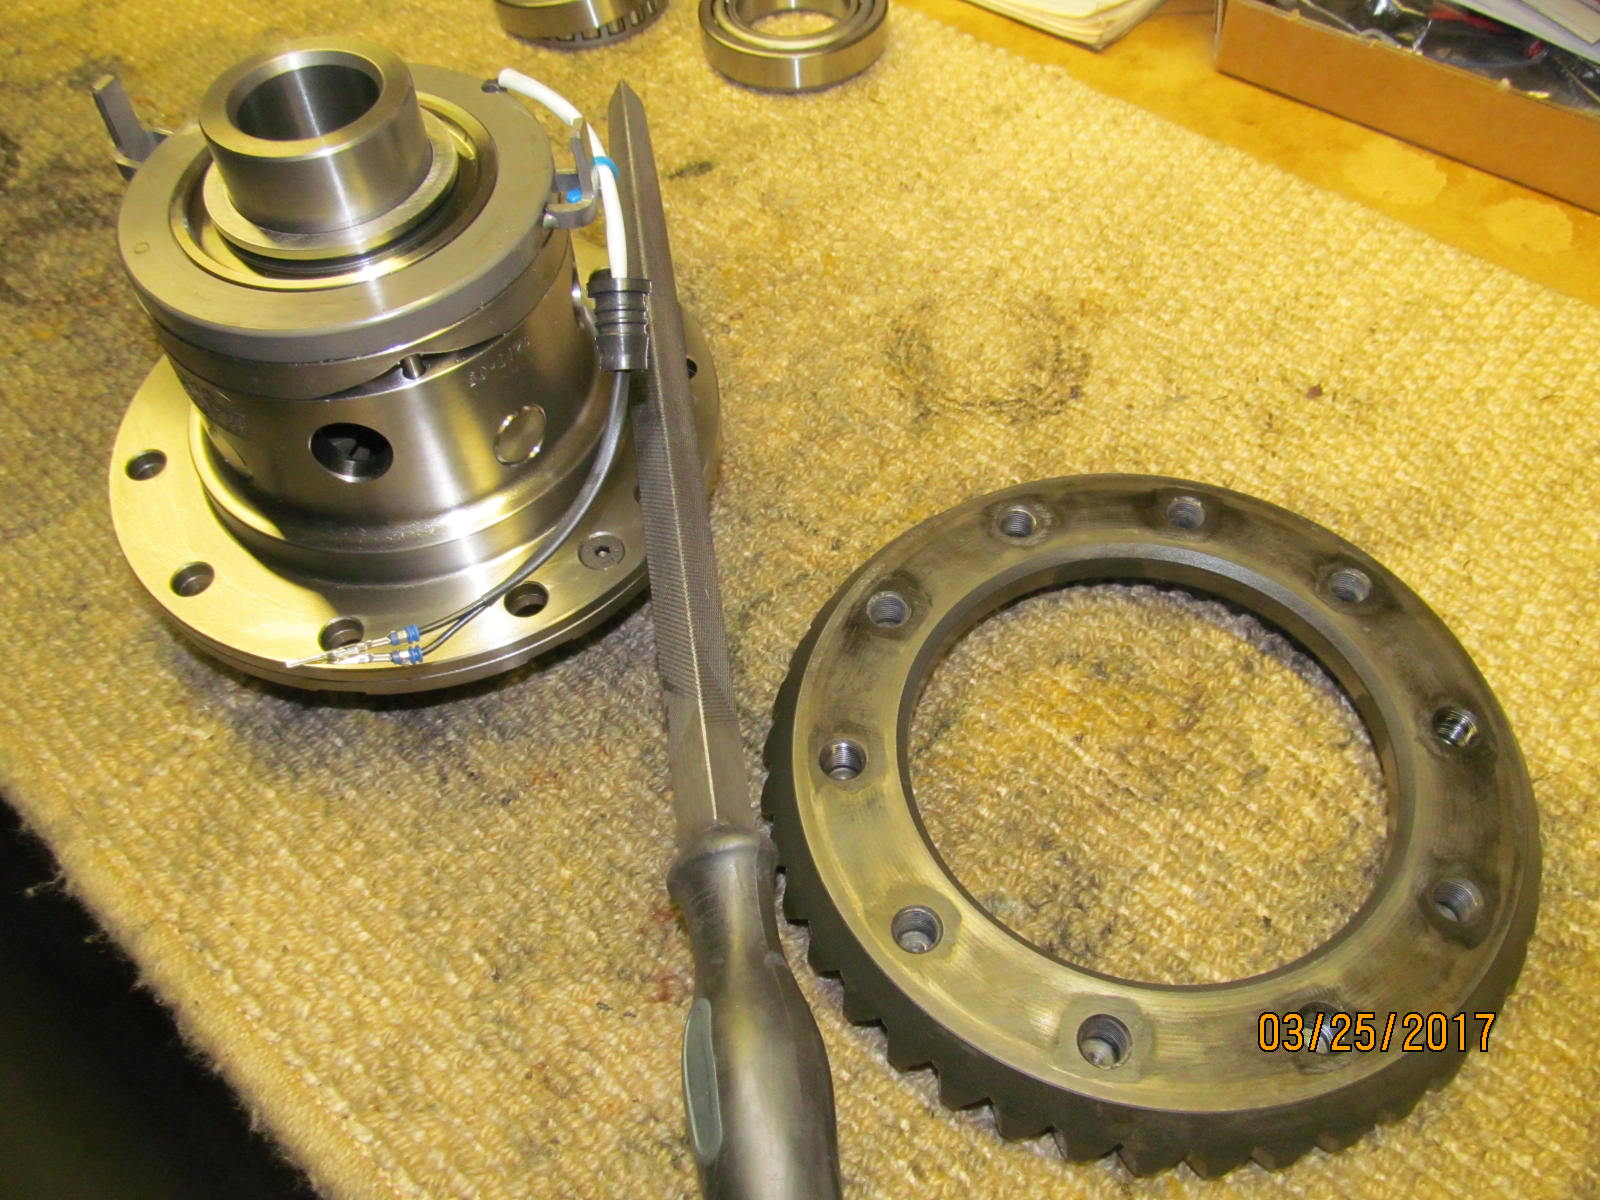
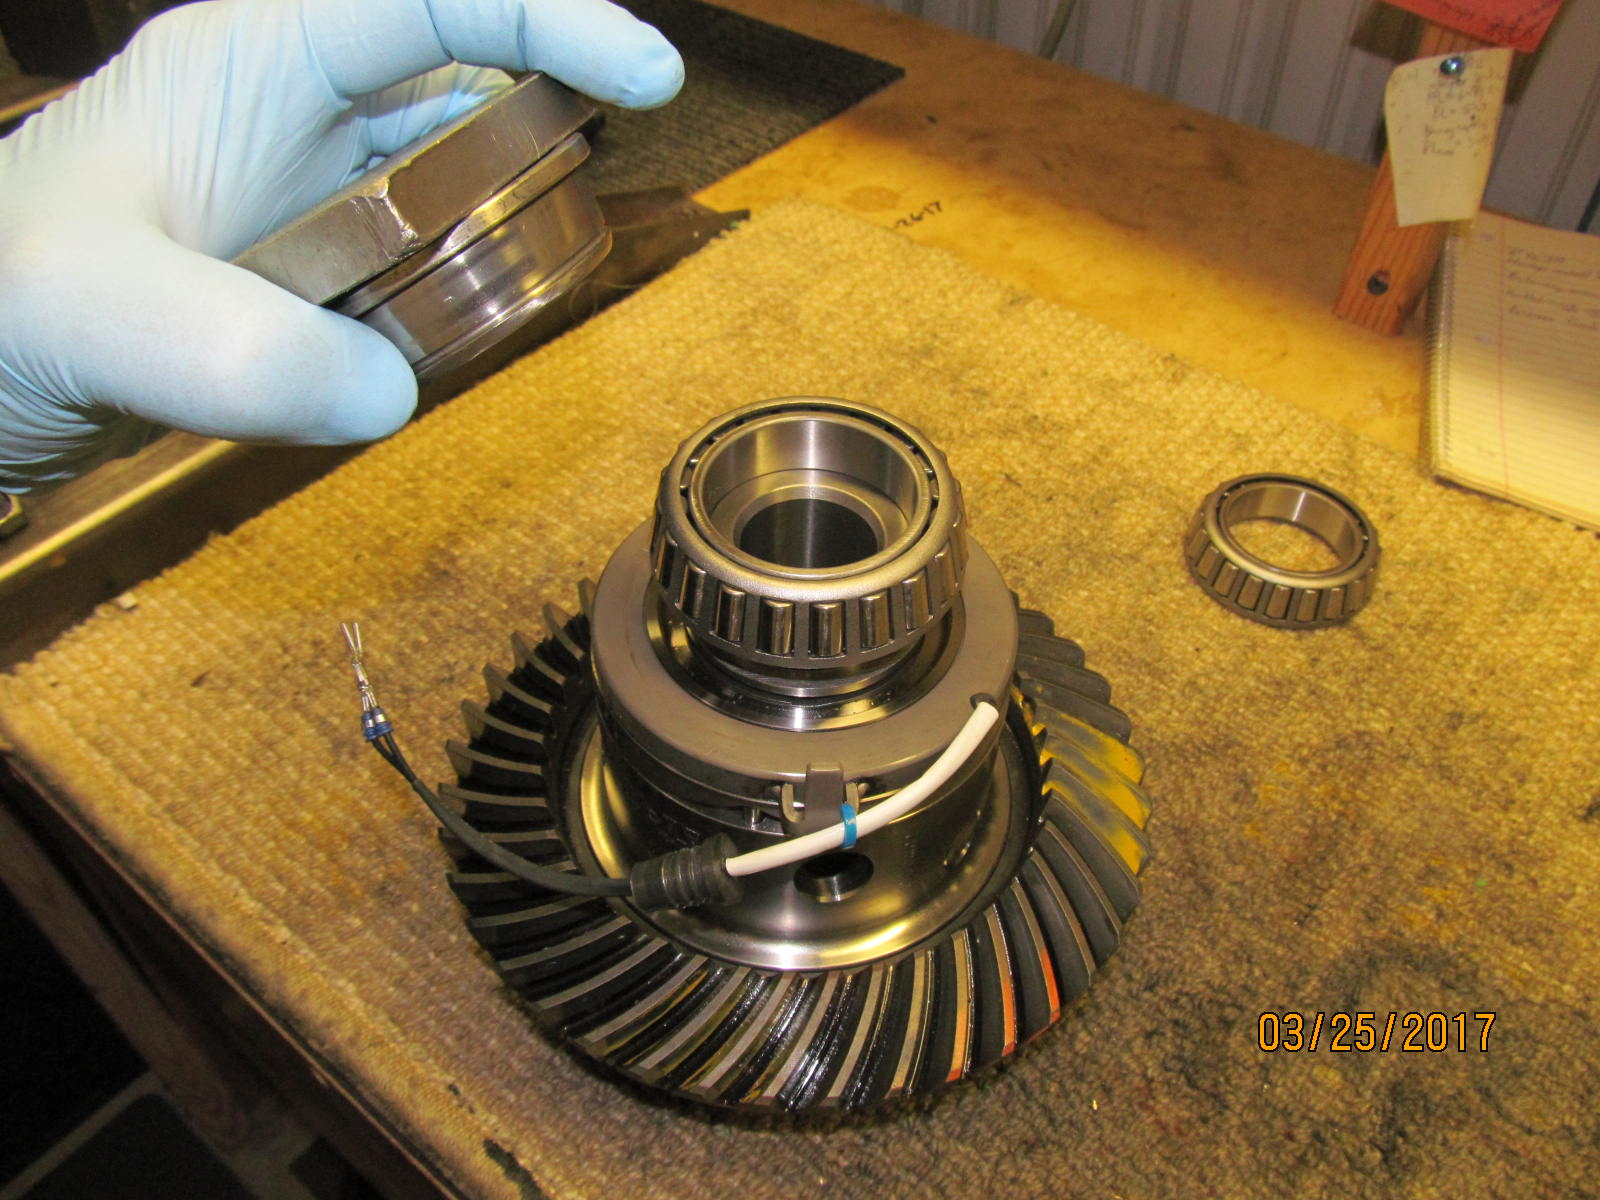
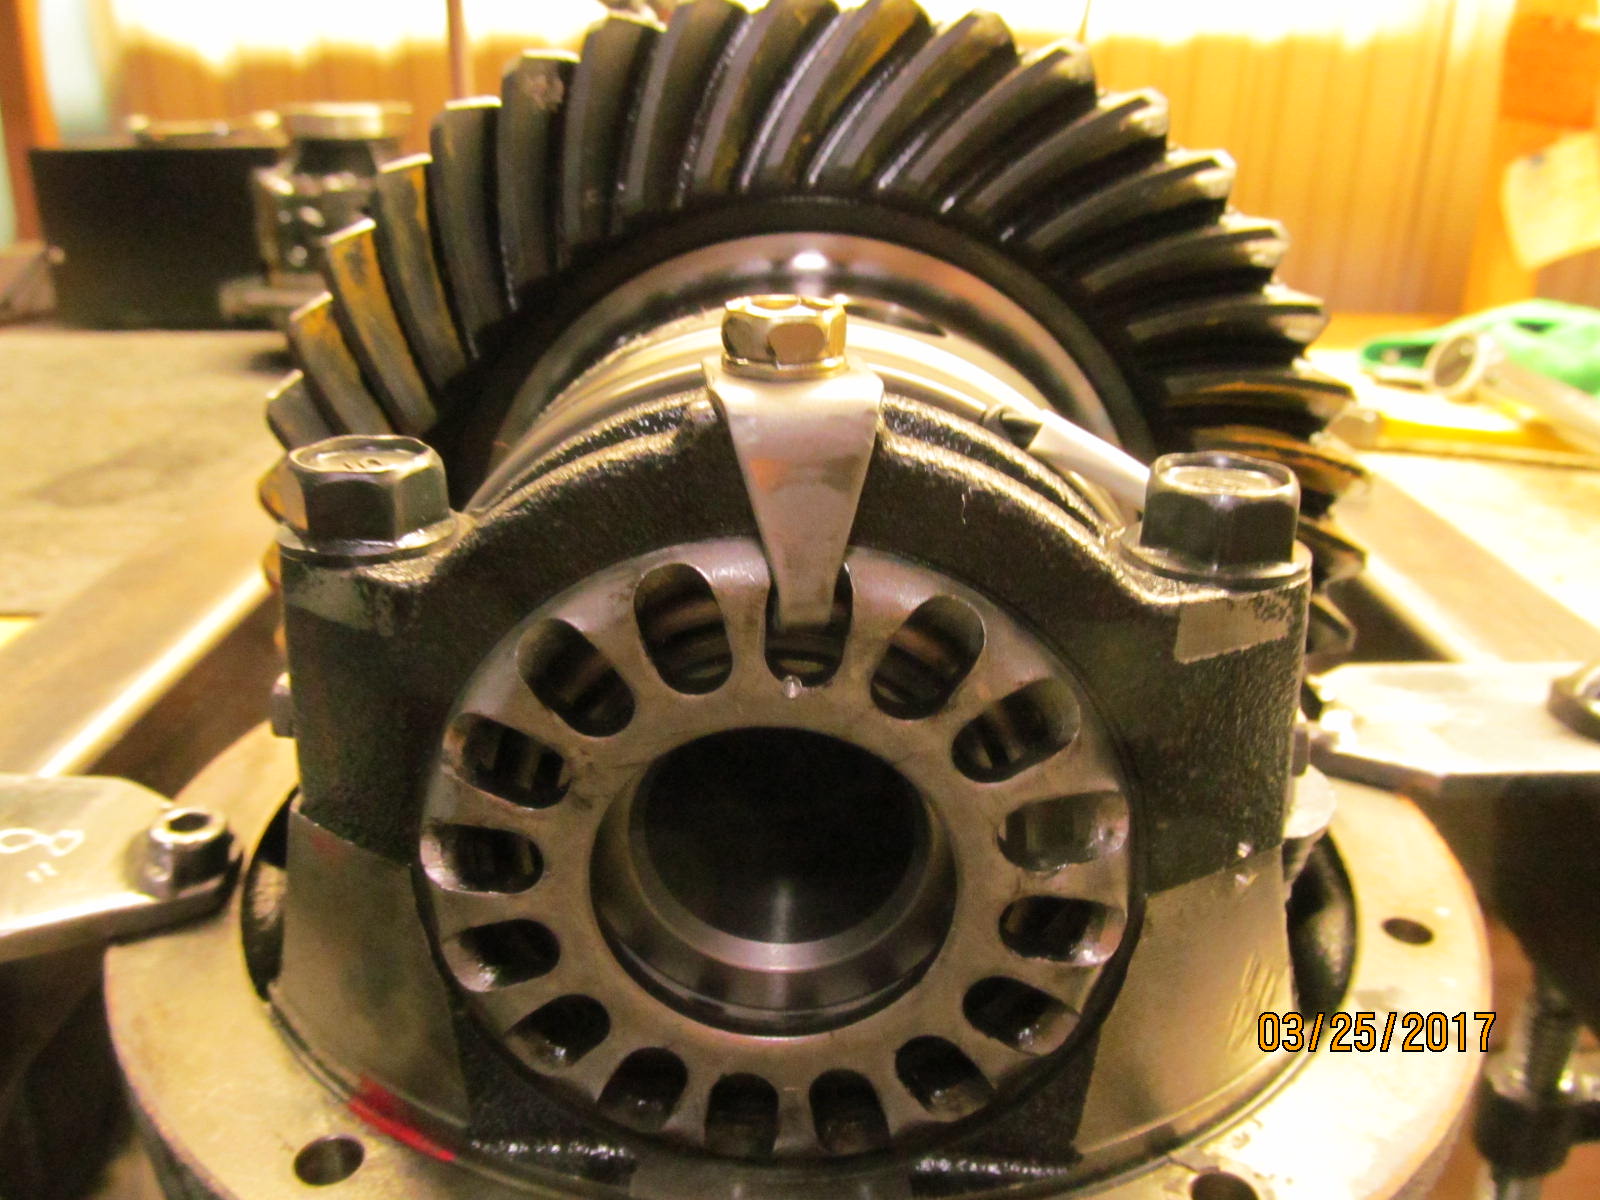
The factory 373 ring gear will be transferred over to the Harrop.
|
|
|
|
|
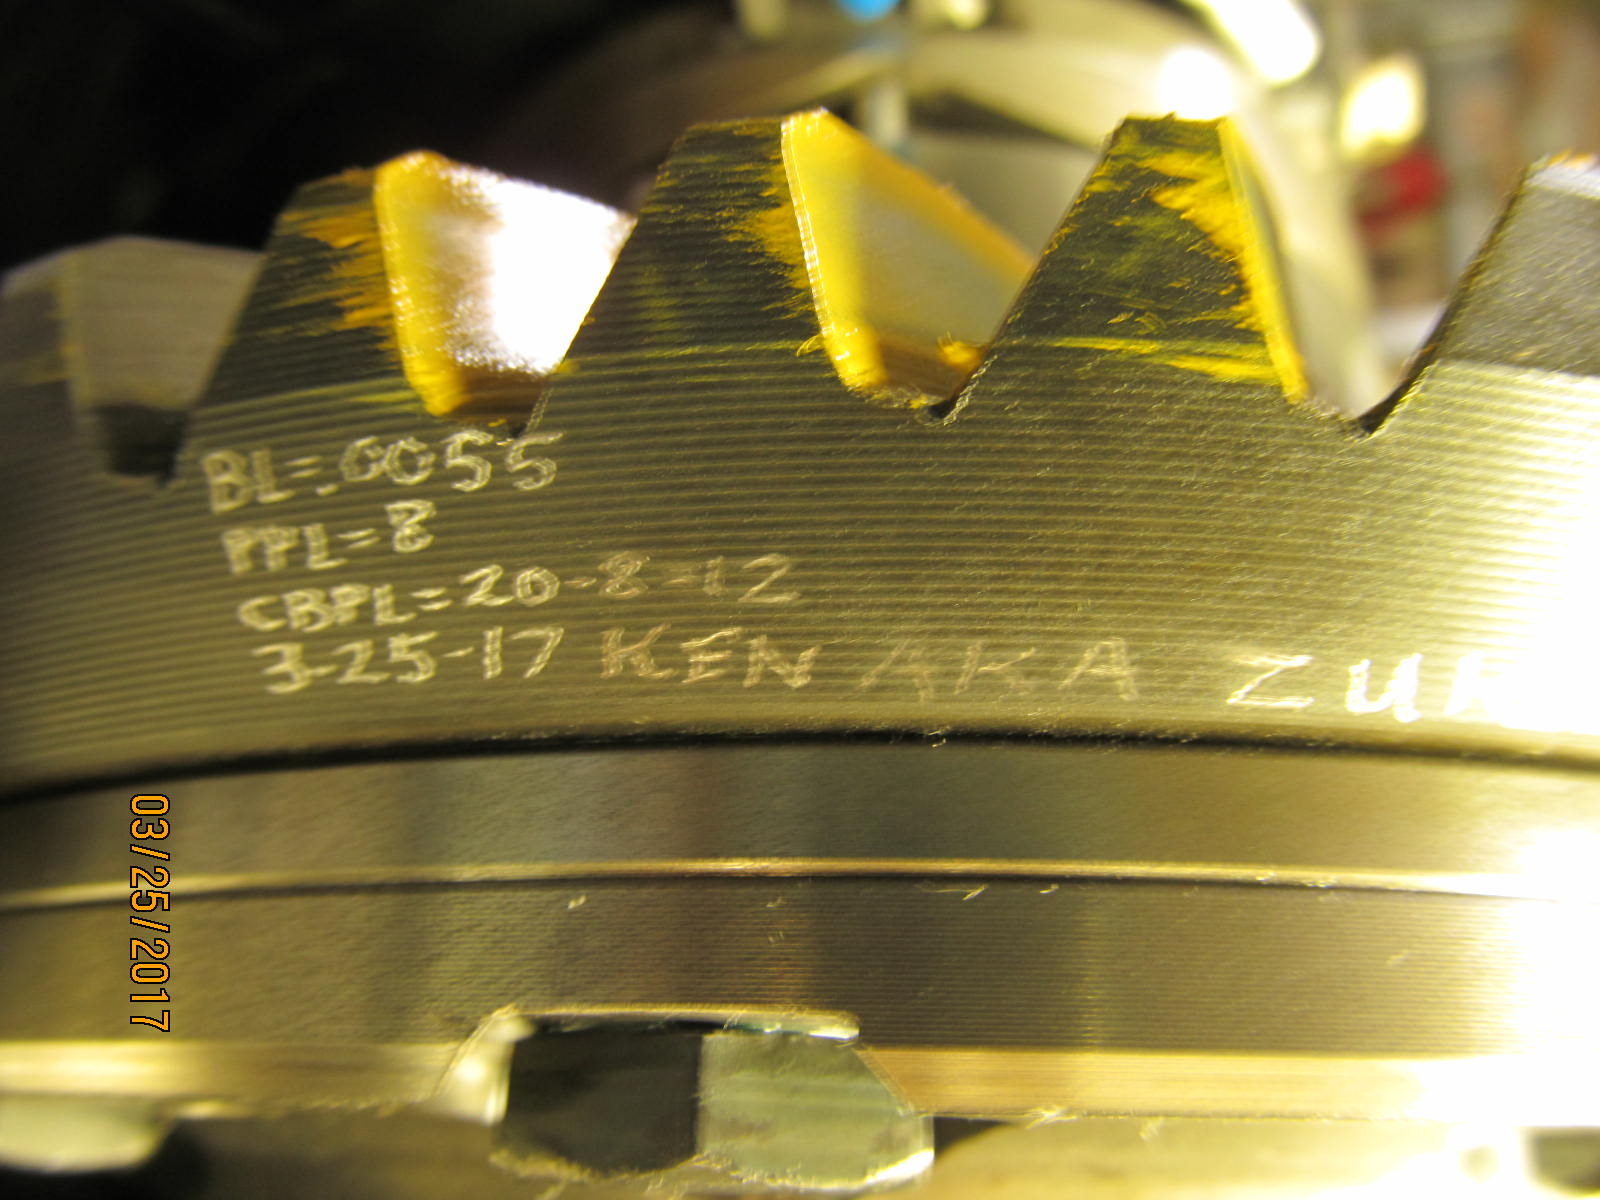
Surfaces are checked with a file and no burrs or high spots detected.
|
|
|
|
|
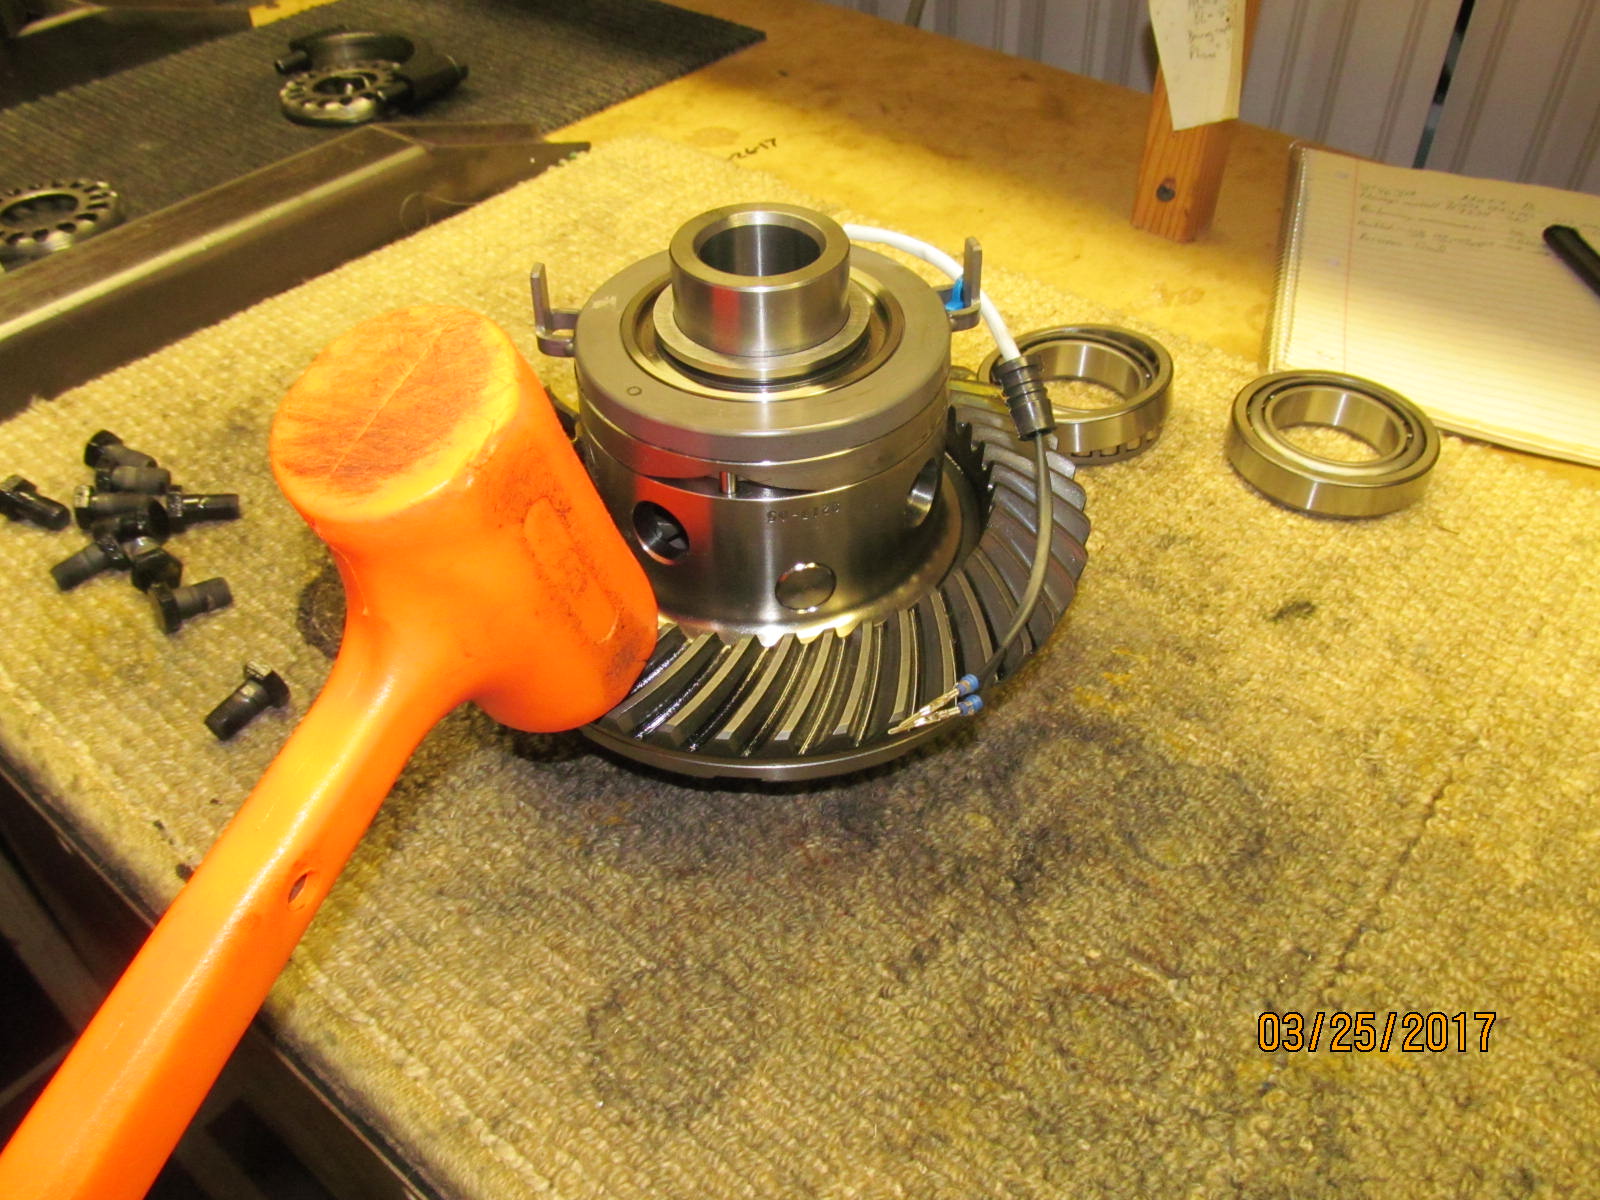
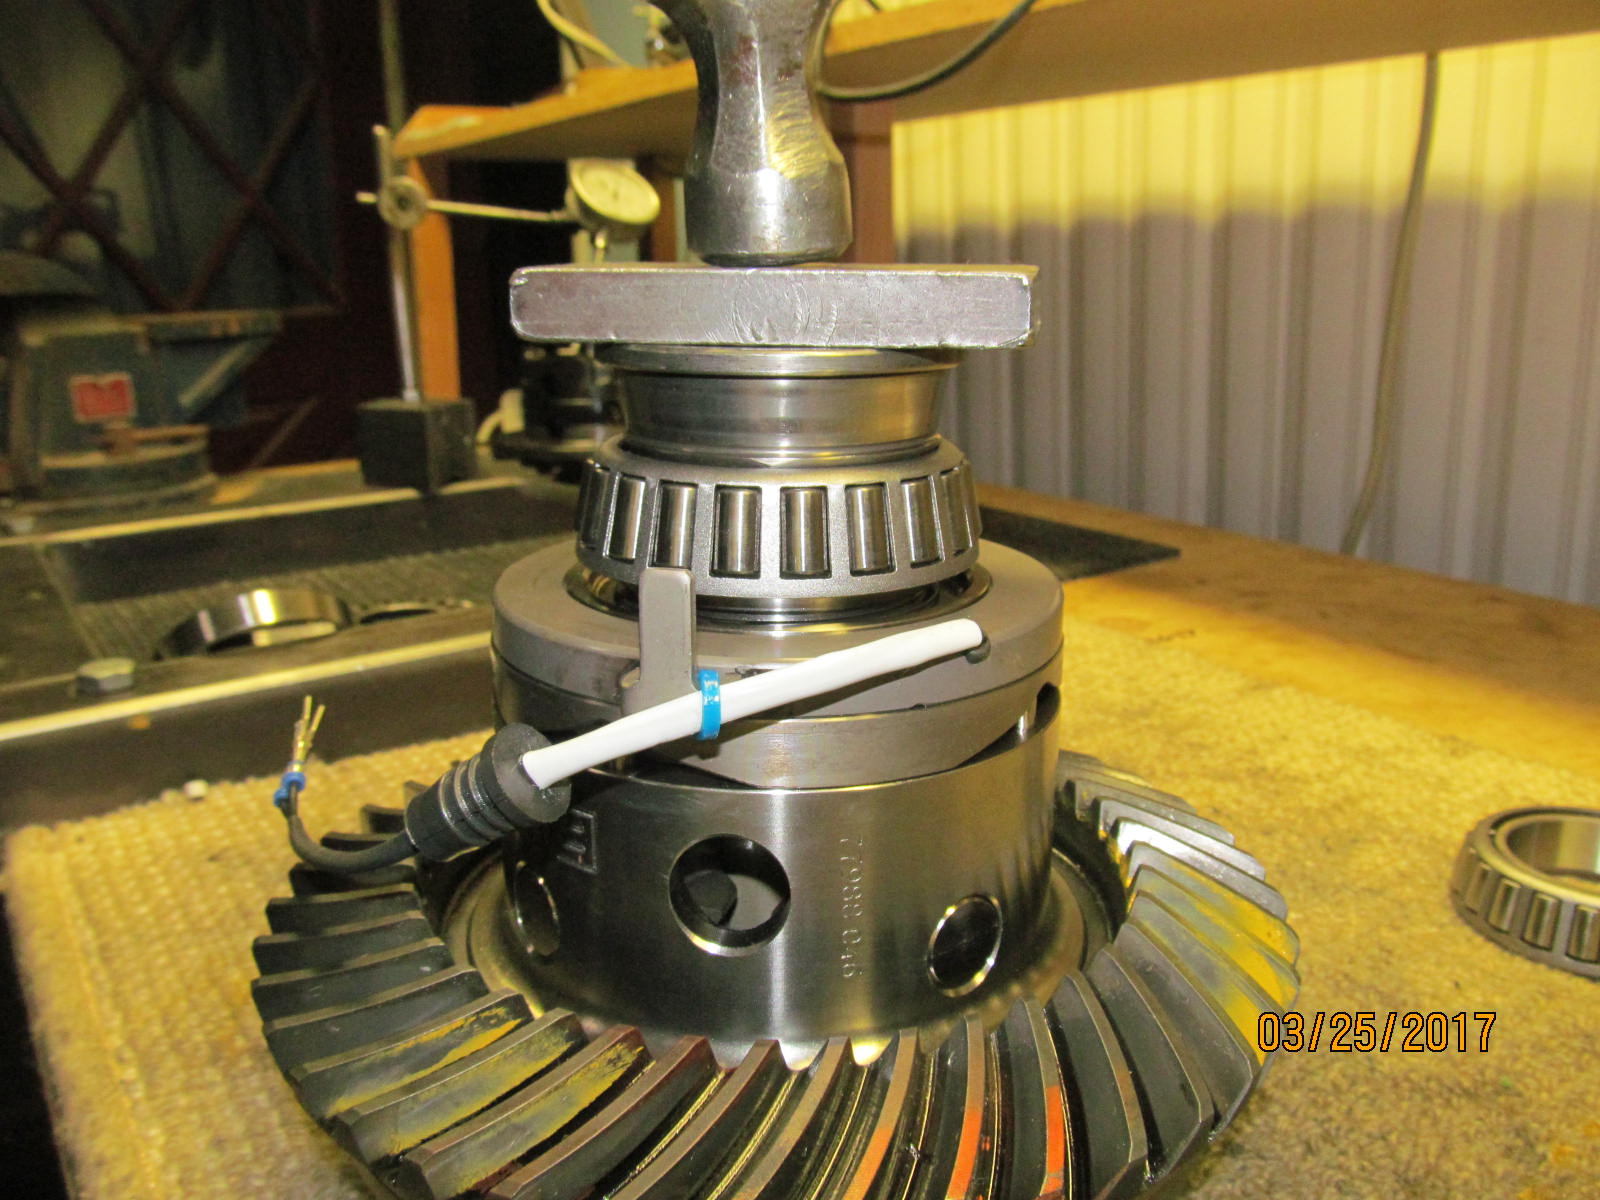
Ring gear was a very snug fit but the lead filled plastic hammer managed to do it.
|
|
|
|
|
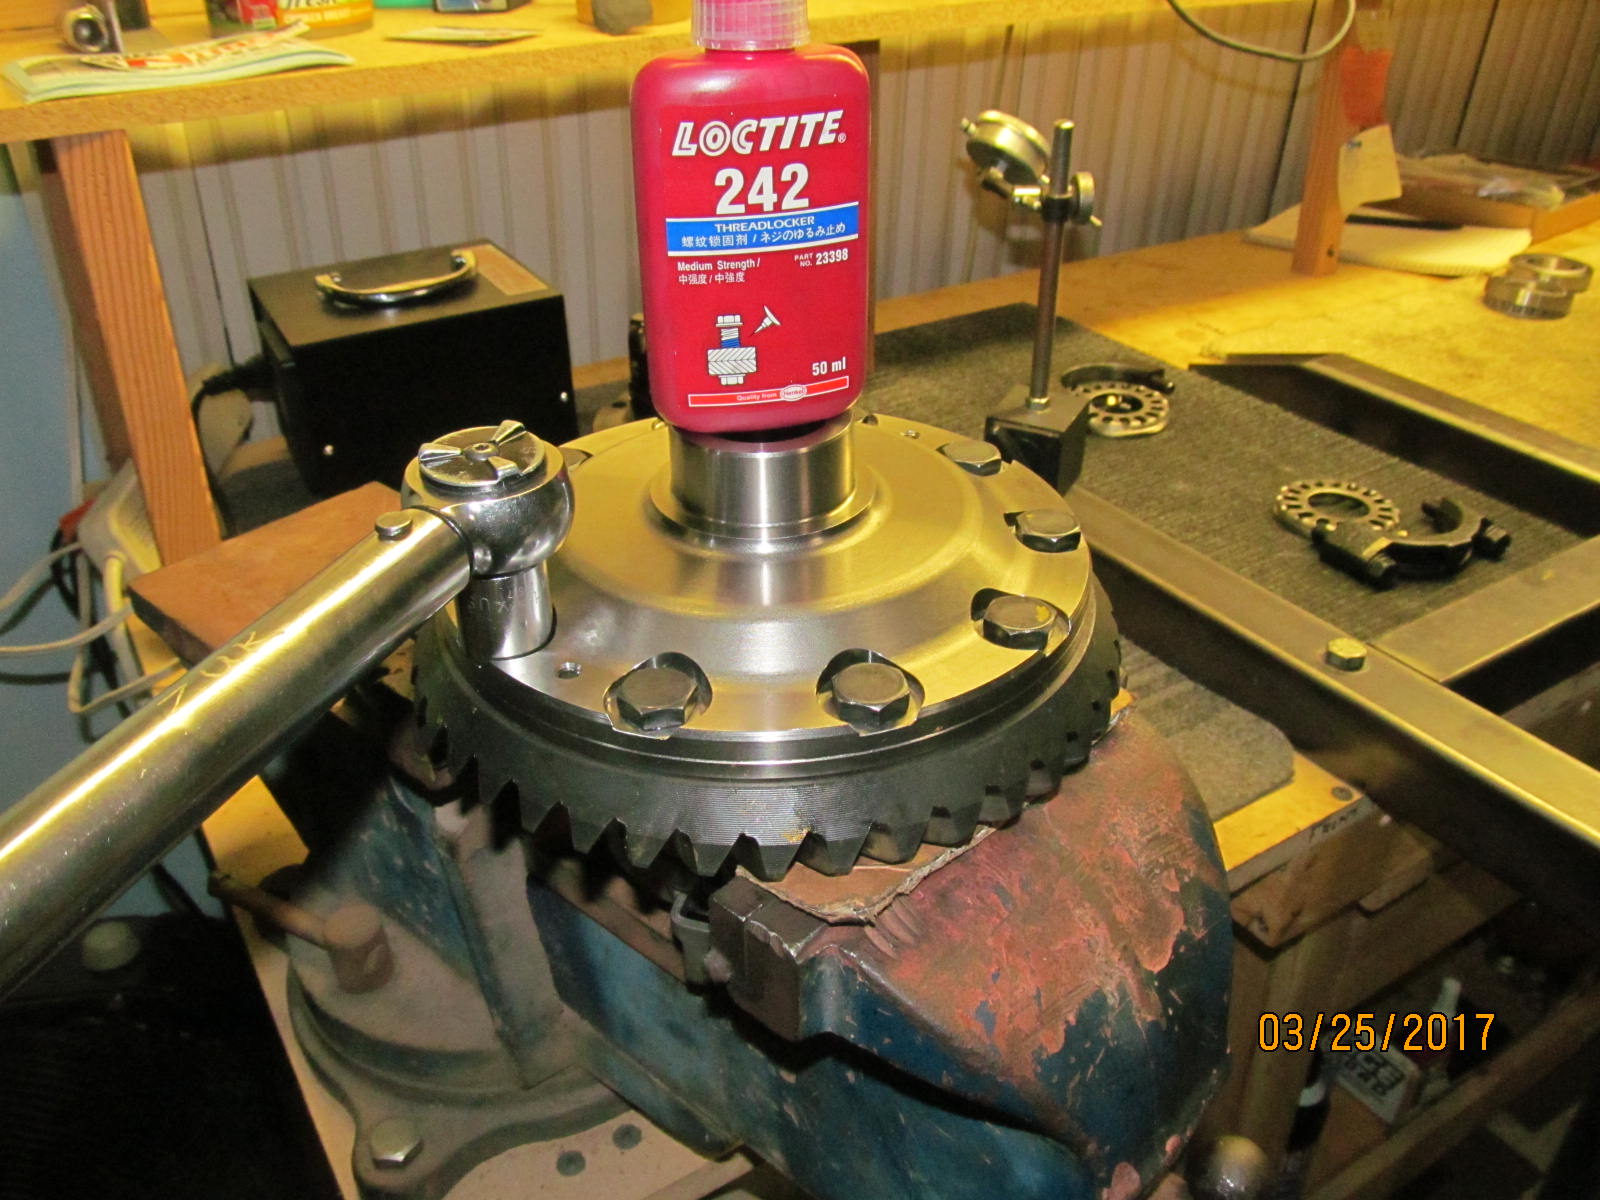
Blue loctite and 70 ft/lb.
|
|
|
|
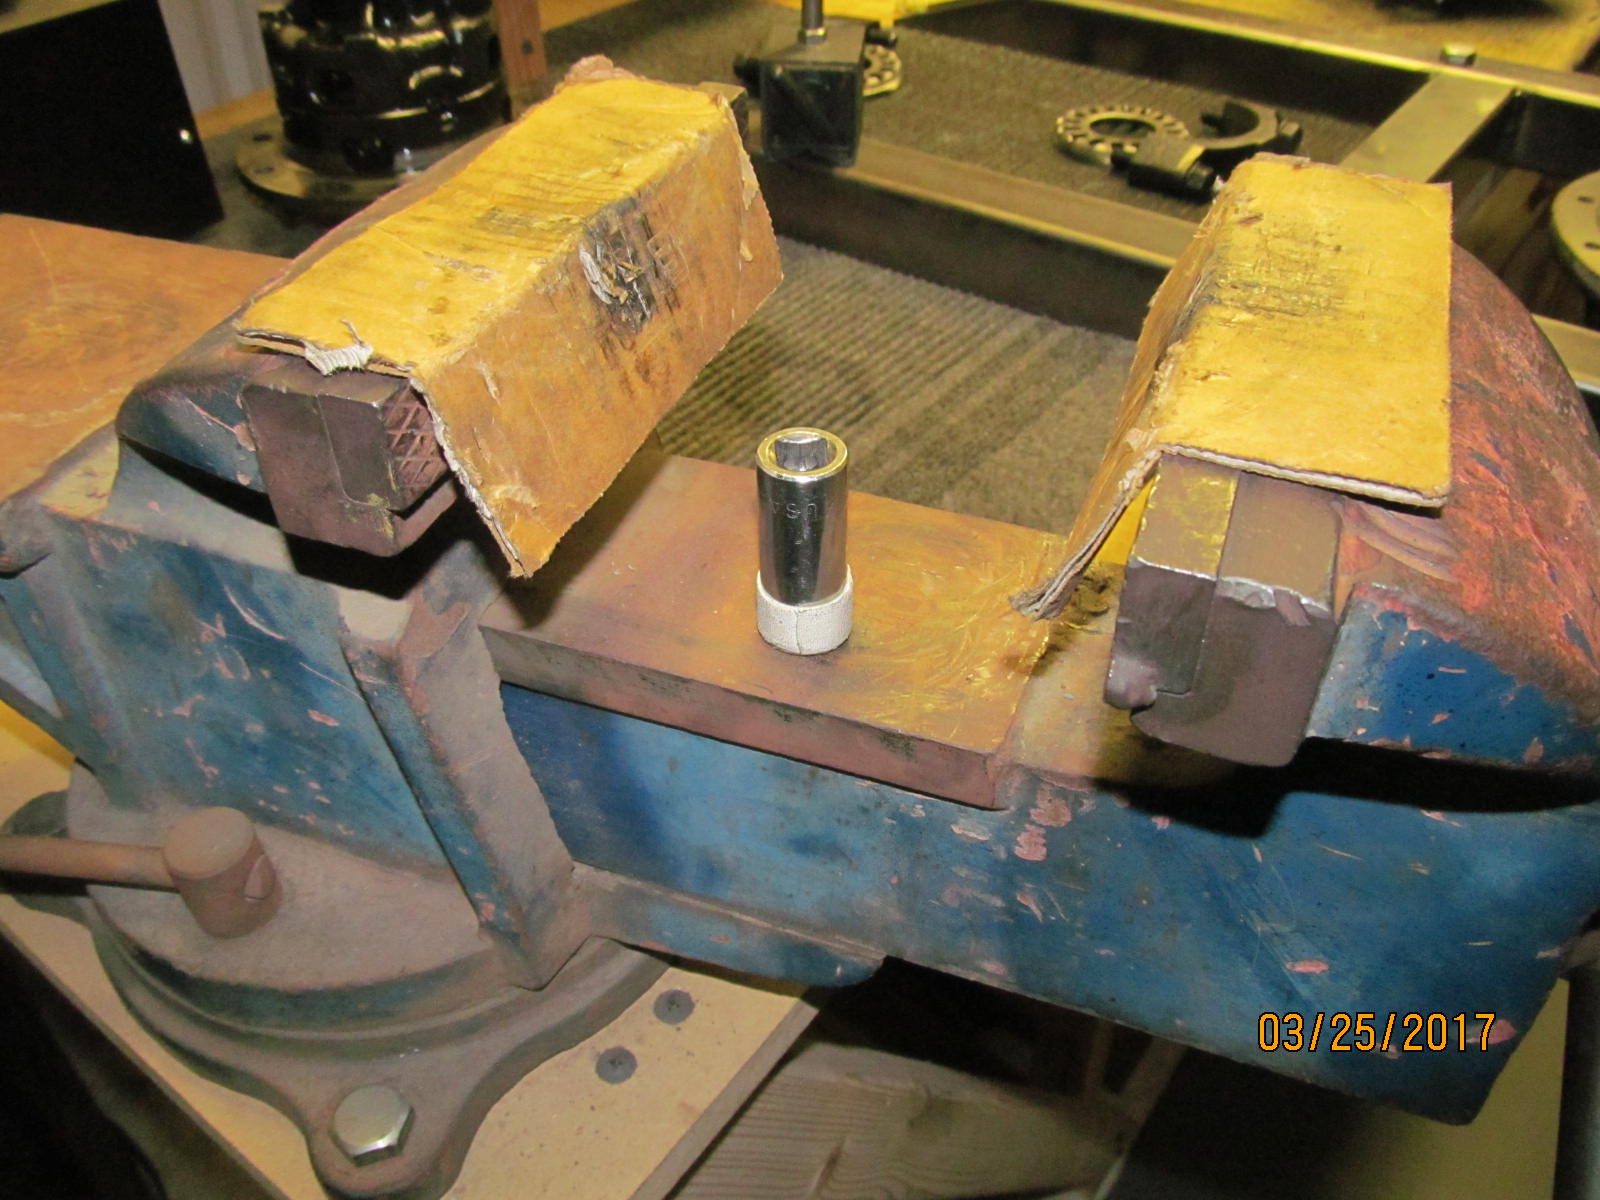
The case of the harrop need not get scratched so a couple pieces of cardboard and that just right socket will prevent
the case from spinning in the vice.
|
|
|
|
|
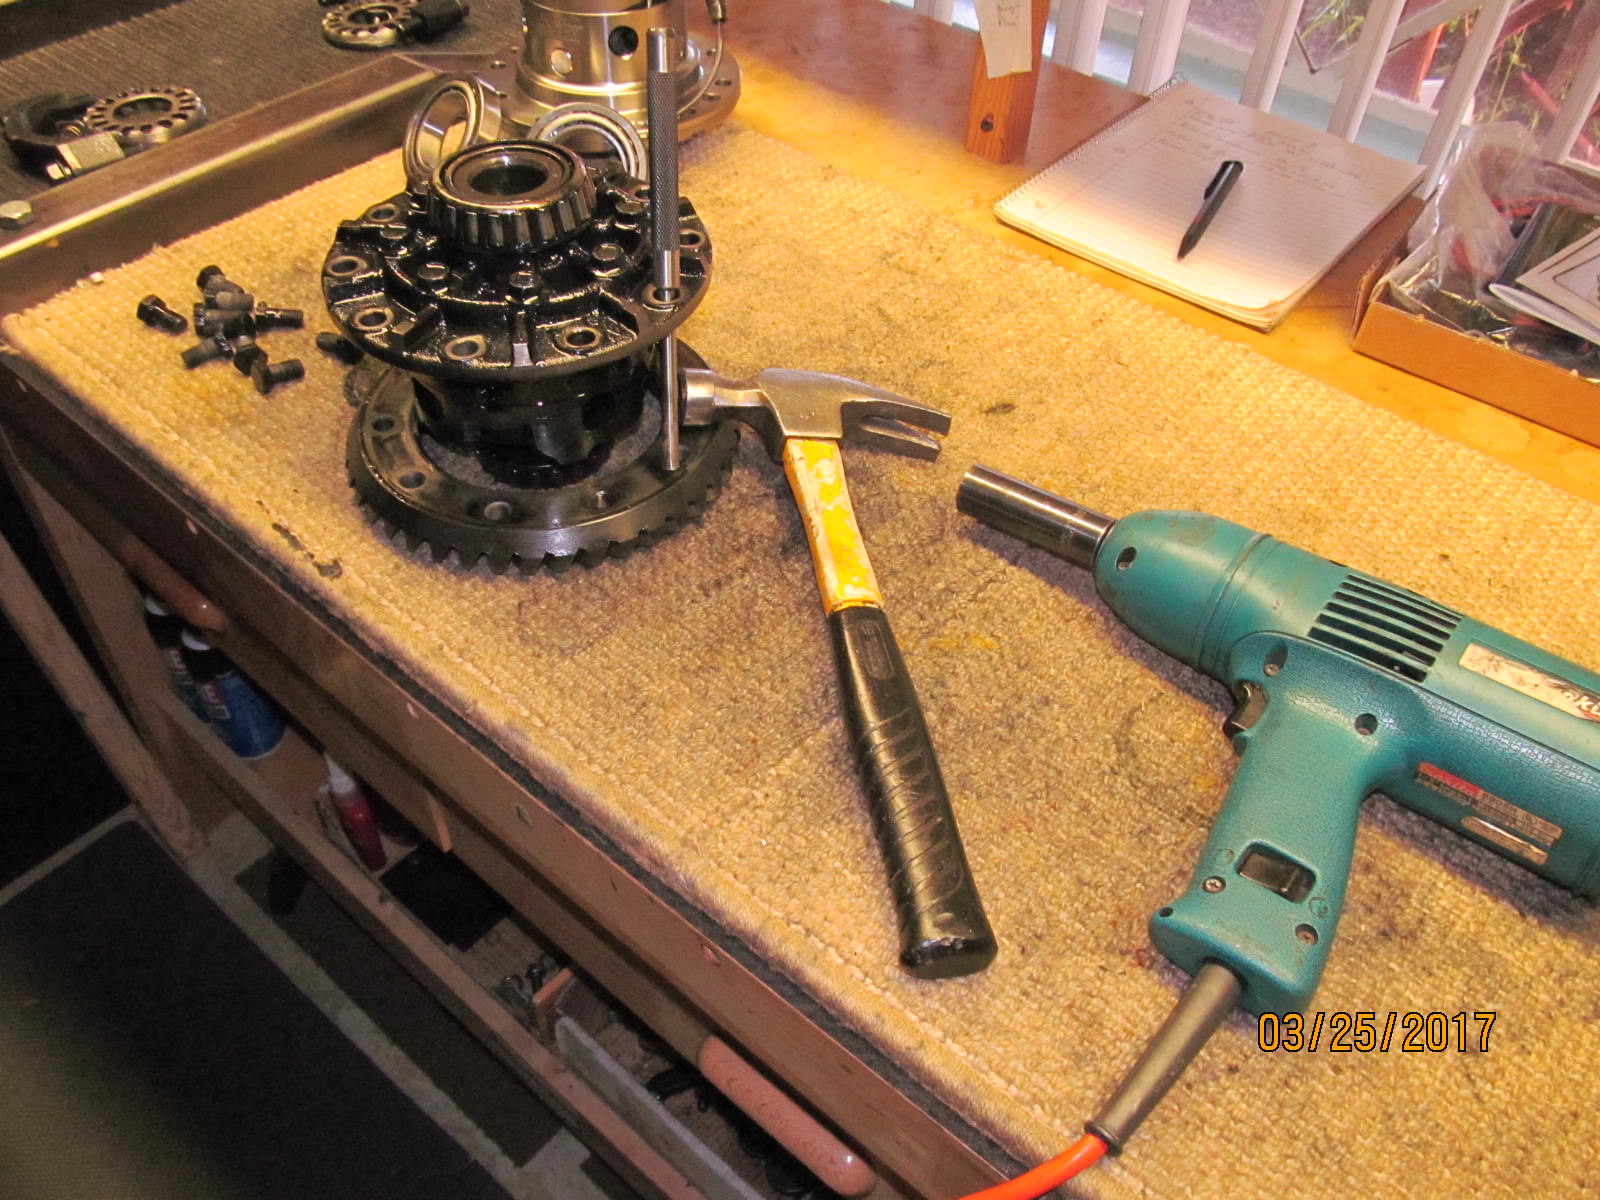
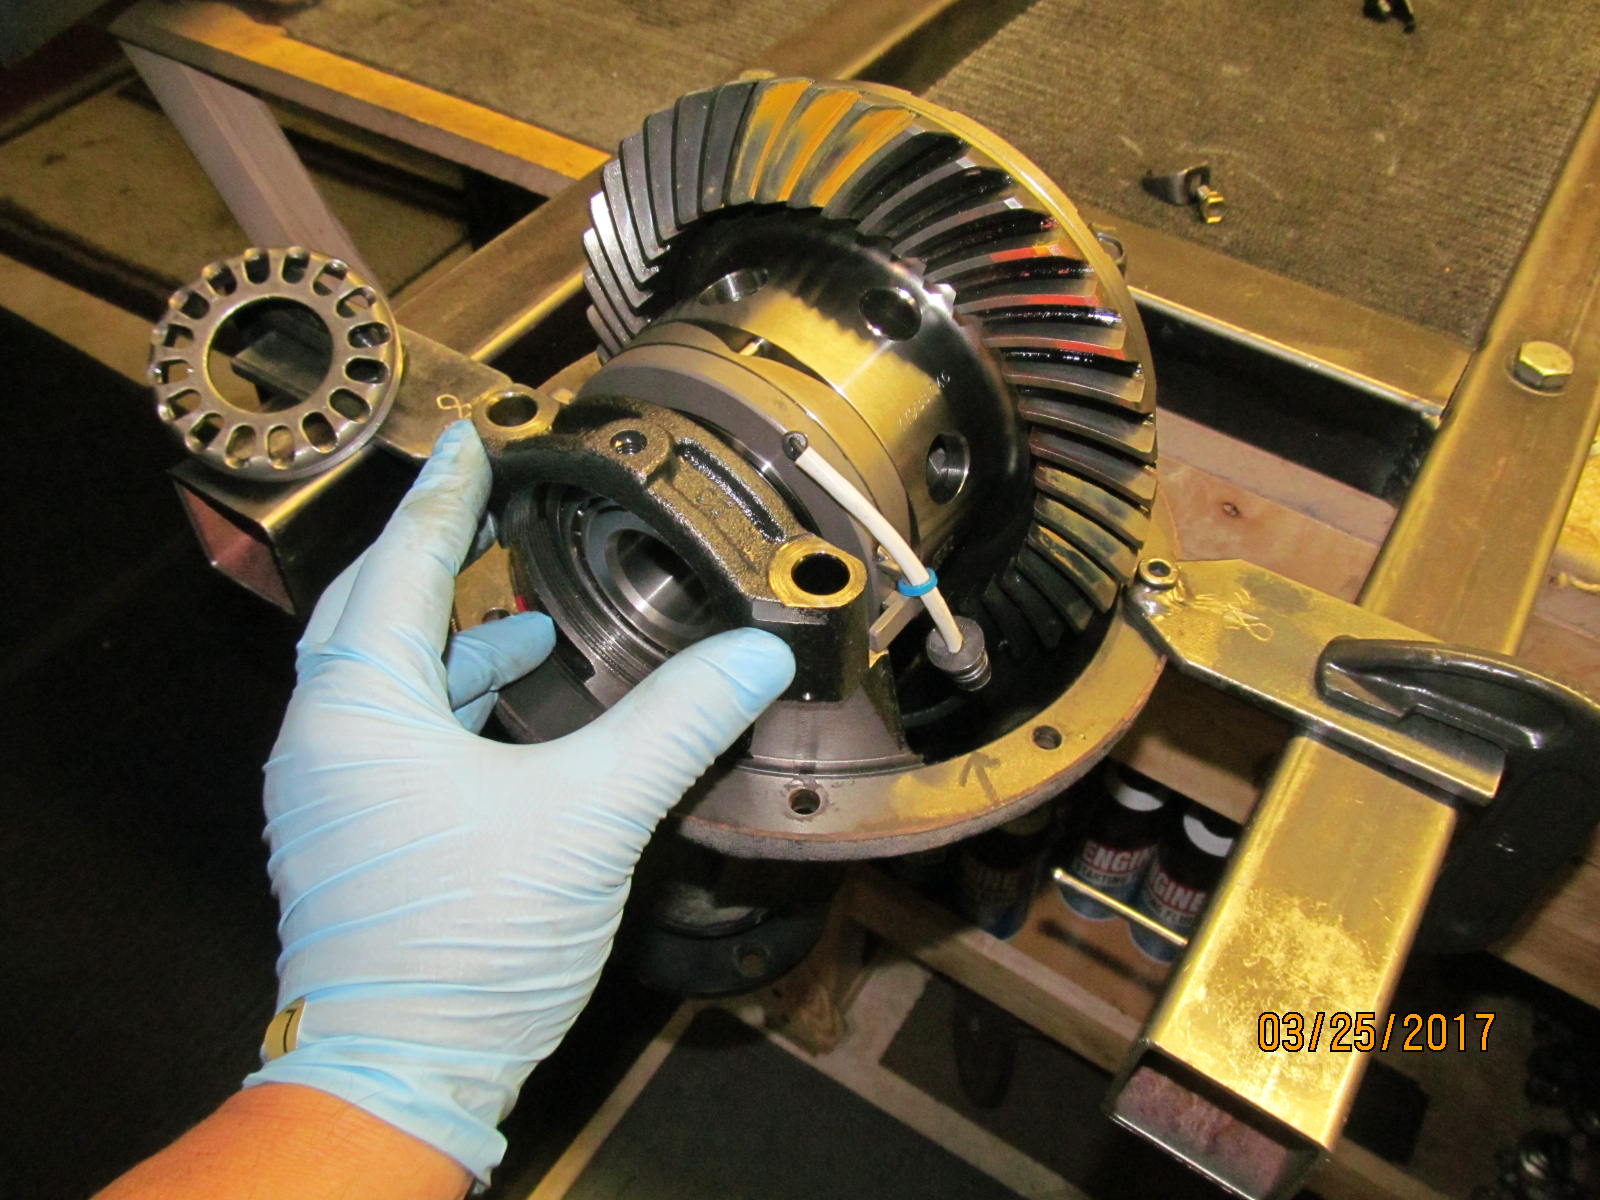
The carrier bearings can be pressed on or by using "that just right widget"....
|
|
|
|
|
....they can be tapped on.
|
|
|

|
|
Knock on wood...I have not smashed the skin of my thumb or 1st finger.
|
|
|
|
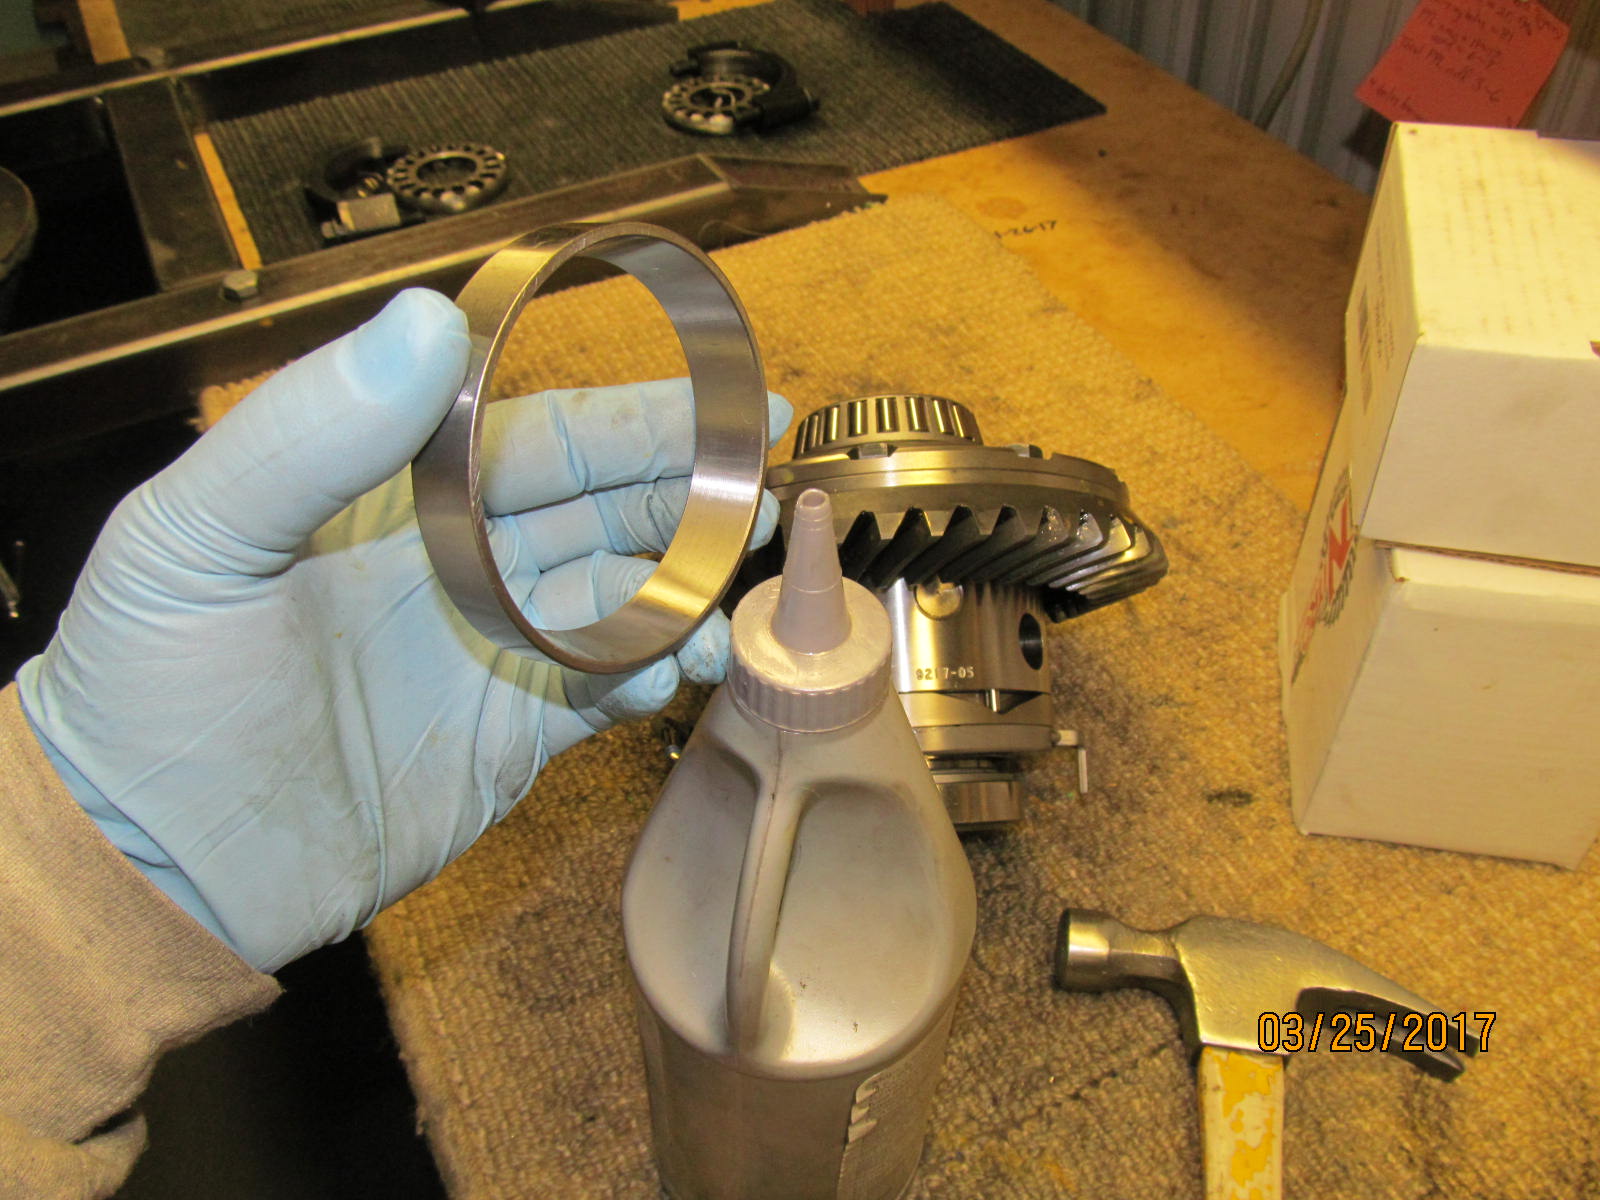
Squeeze a light ring of gear oil all the way around the race and plop it down on the bearing.
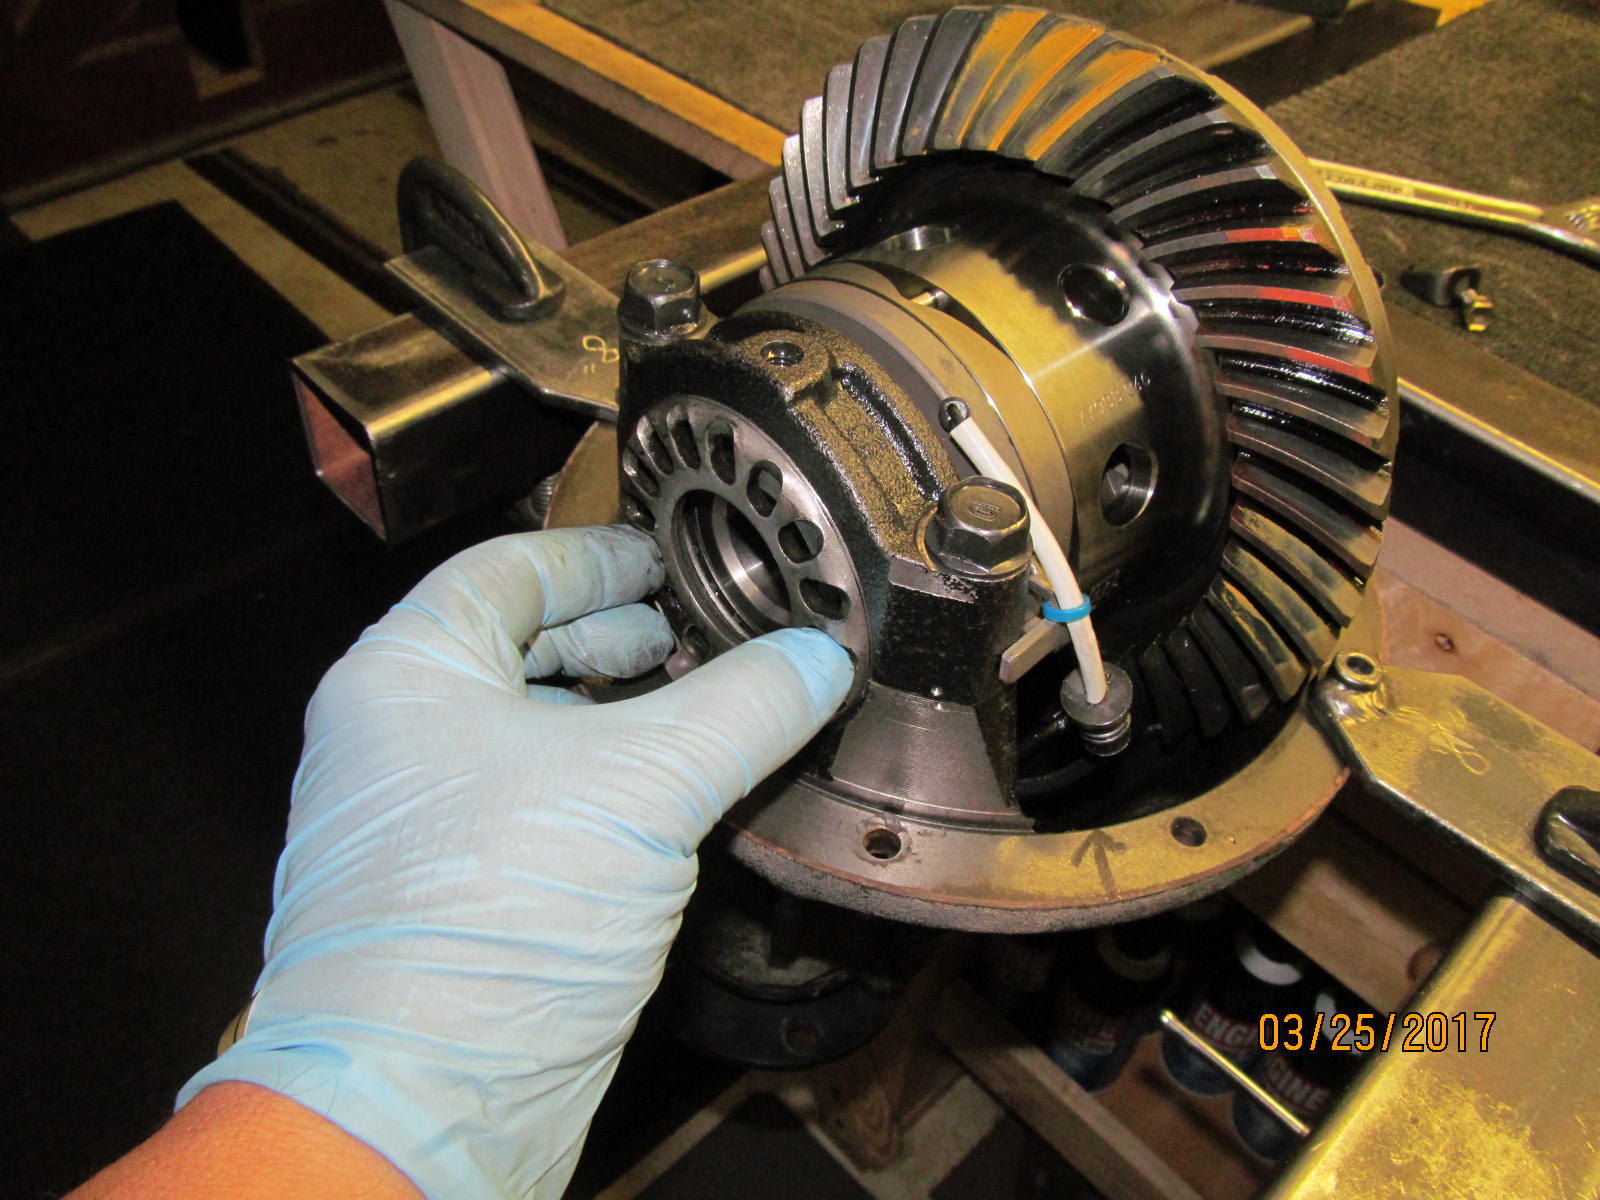
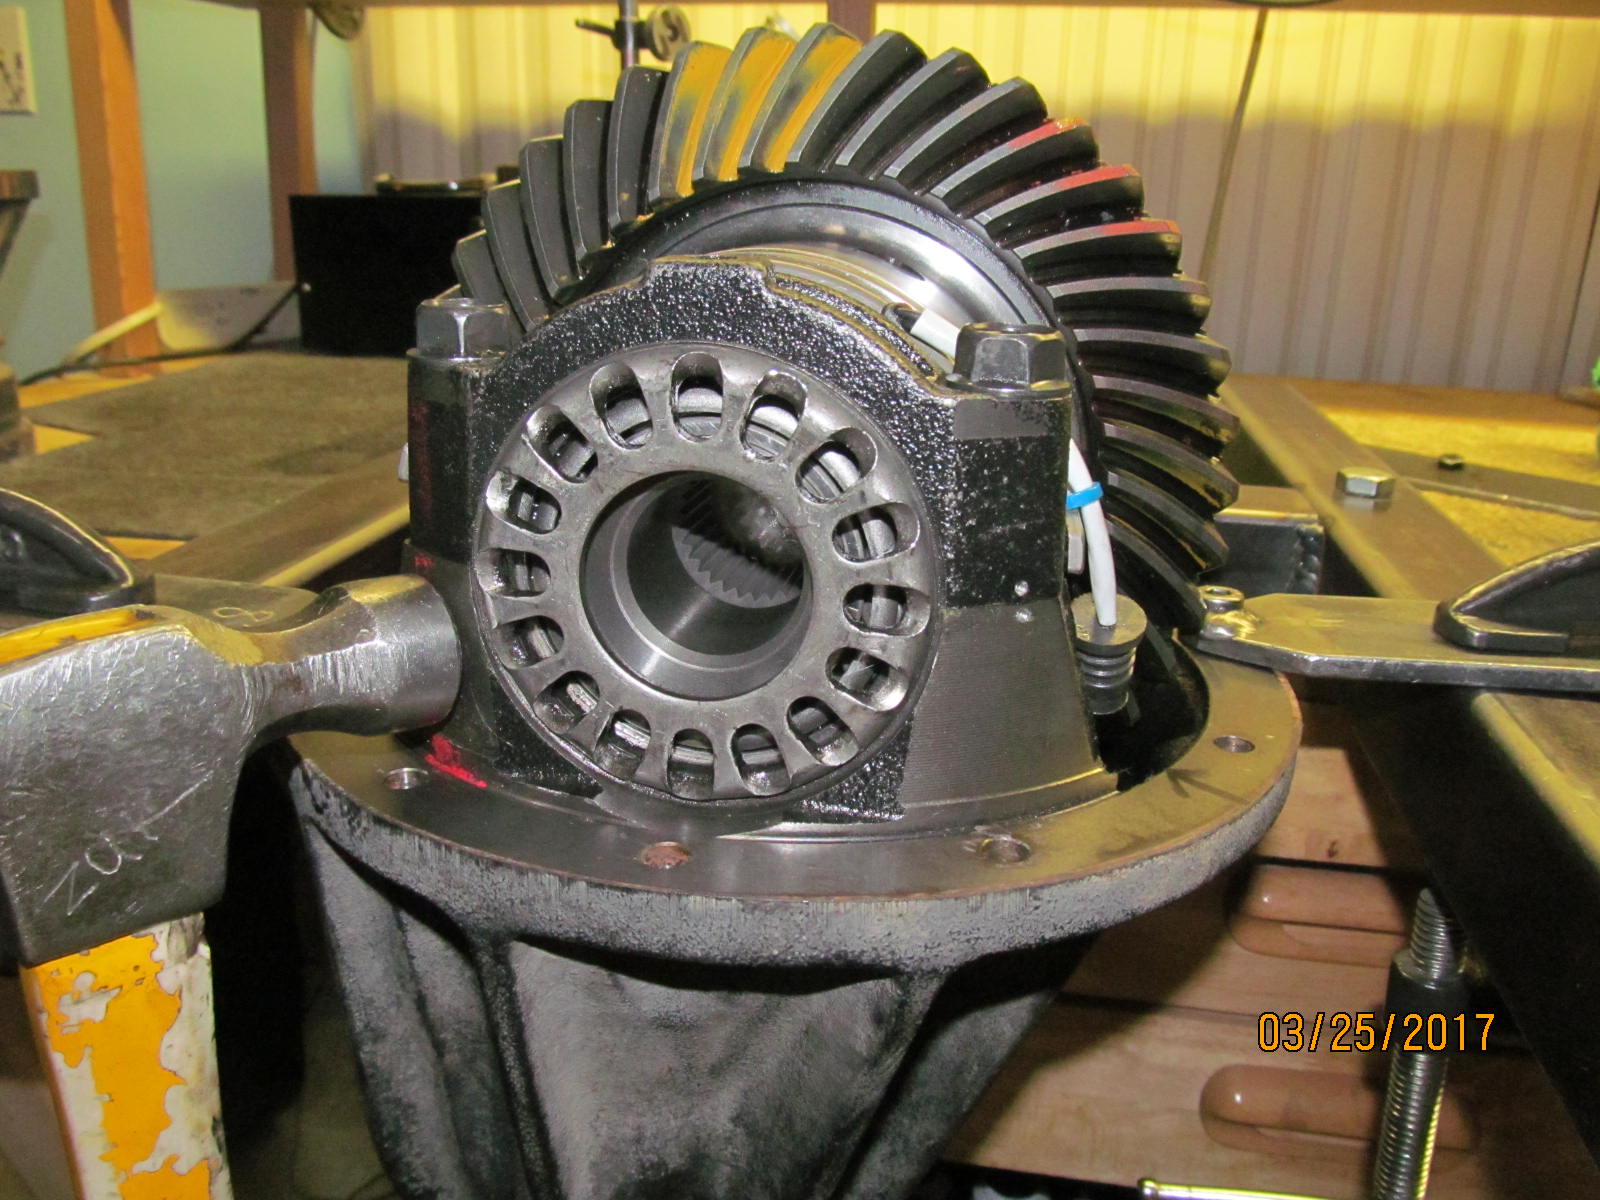
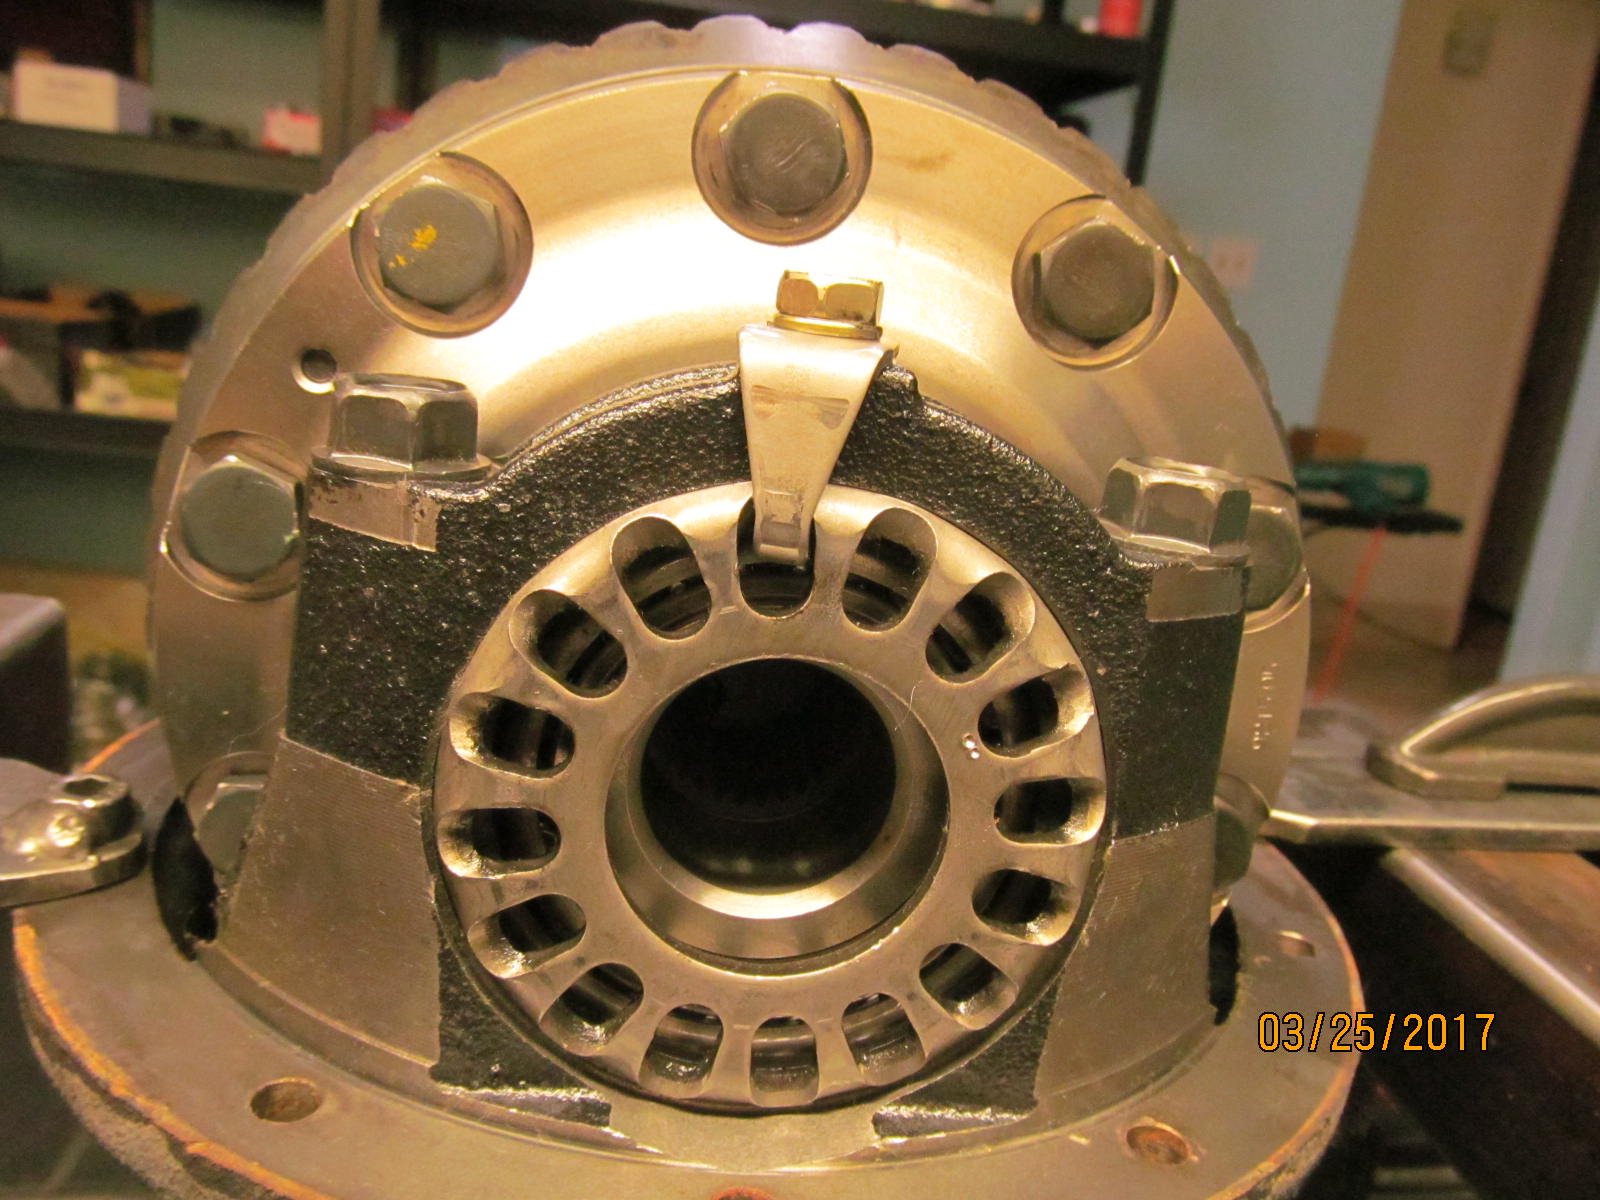
And the Harrop is now ready to put in the differential carrier.
|
|
|
|
|
But the differential carrier still needs a .453 (29/64") hole drilled for the rubber grommet.
|
|
|
|
|
Finished hole is shown drilled at the bottom center.
|
|
|

|
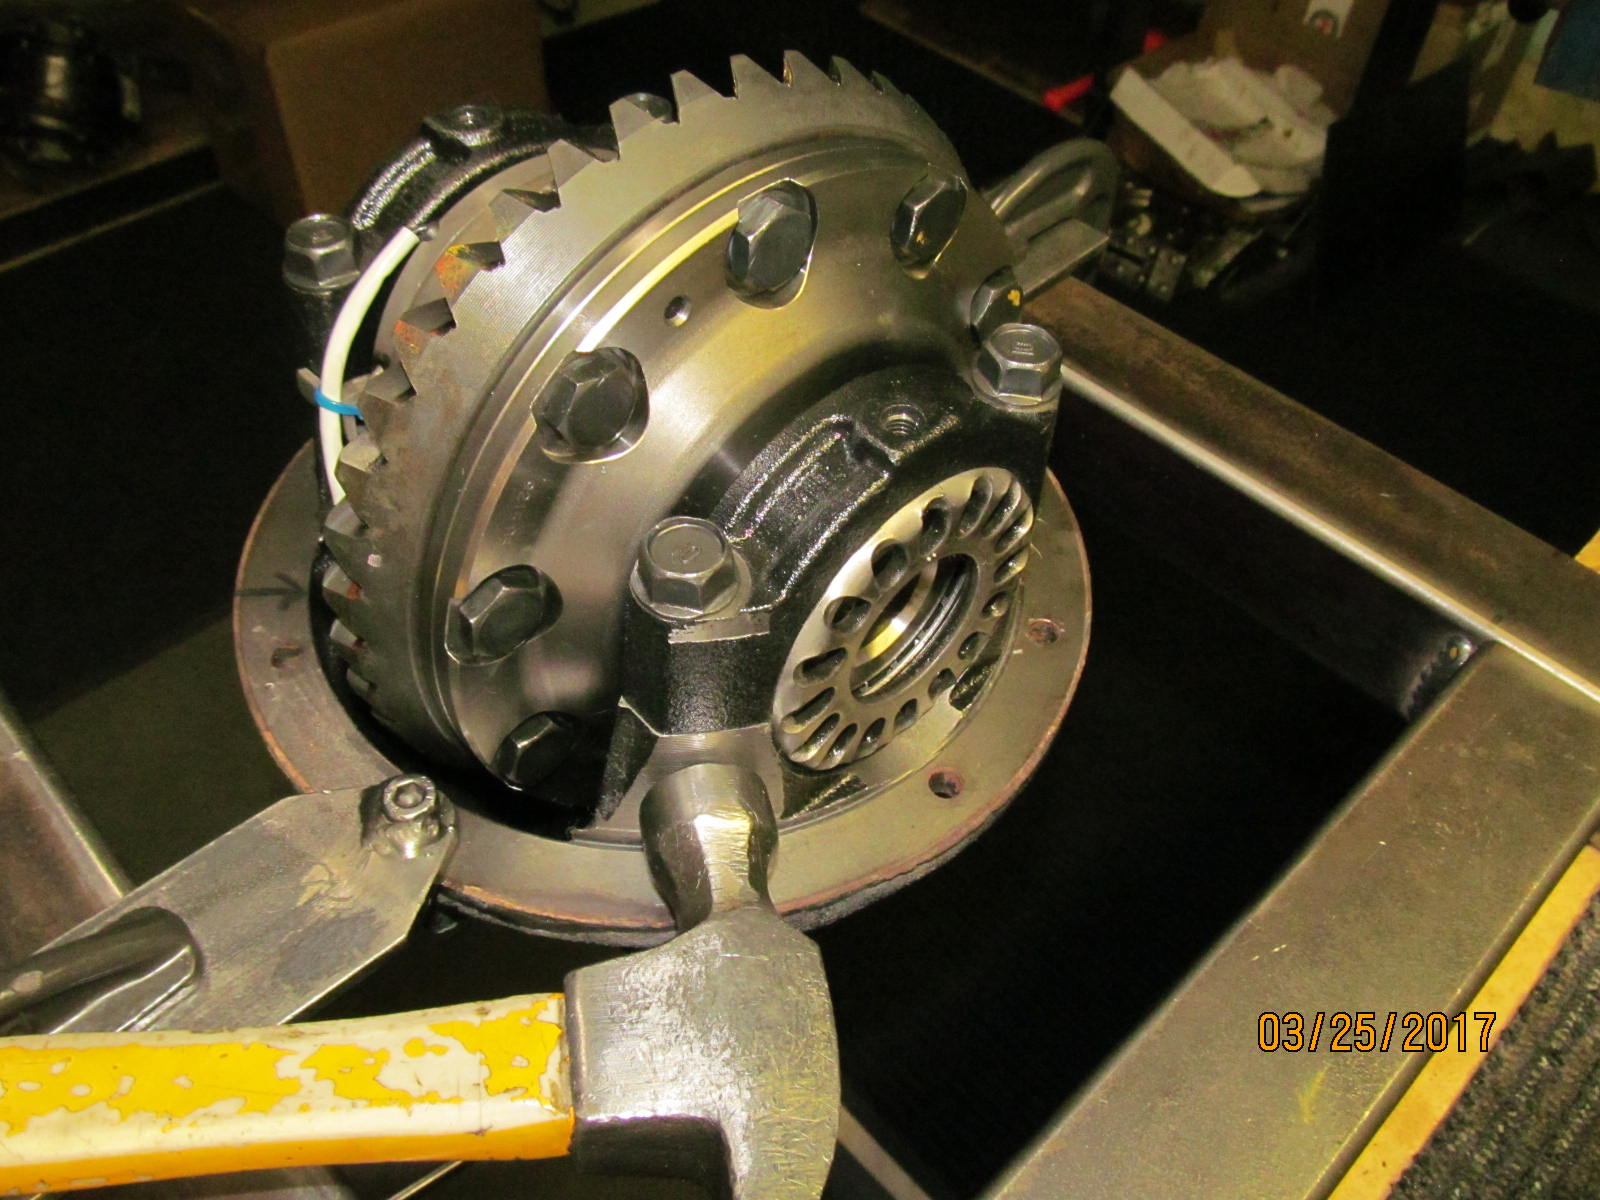
This ring gear side assemblies as usual....thread the wheel first....then drop the bearing cap on and start the 2 long bolts
....then tap the bearing cap down properly engaging the wheel threads.
|
|
|
|
The other side is a little different. The anti-rotate tabs have to be bent outwards a small amount
to even let the bearing cap clear when pushed in place horizontally.
|
|
|
|
|
Use common sense bending the tab with a crescent wrench.
|
|
|
|
|
Now the bearing cap will clear the tweaked tab and the 2 long bolts can be threaded down.
|
|
|
|
|
The threaded adjuster wheel will thread on if the threads are nicely aligned as shown here
|
|
|
|
|
Threaded on very easy.....just finger power all the way on.
|
|
|
|
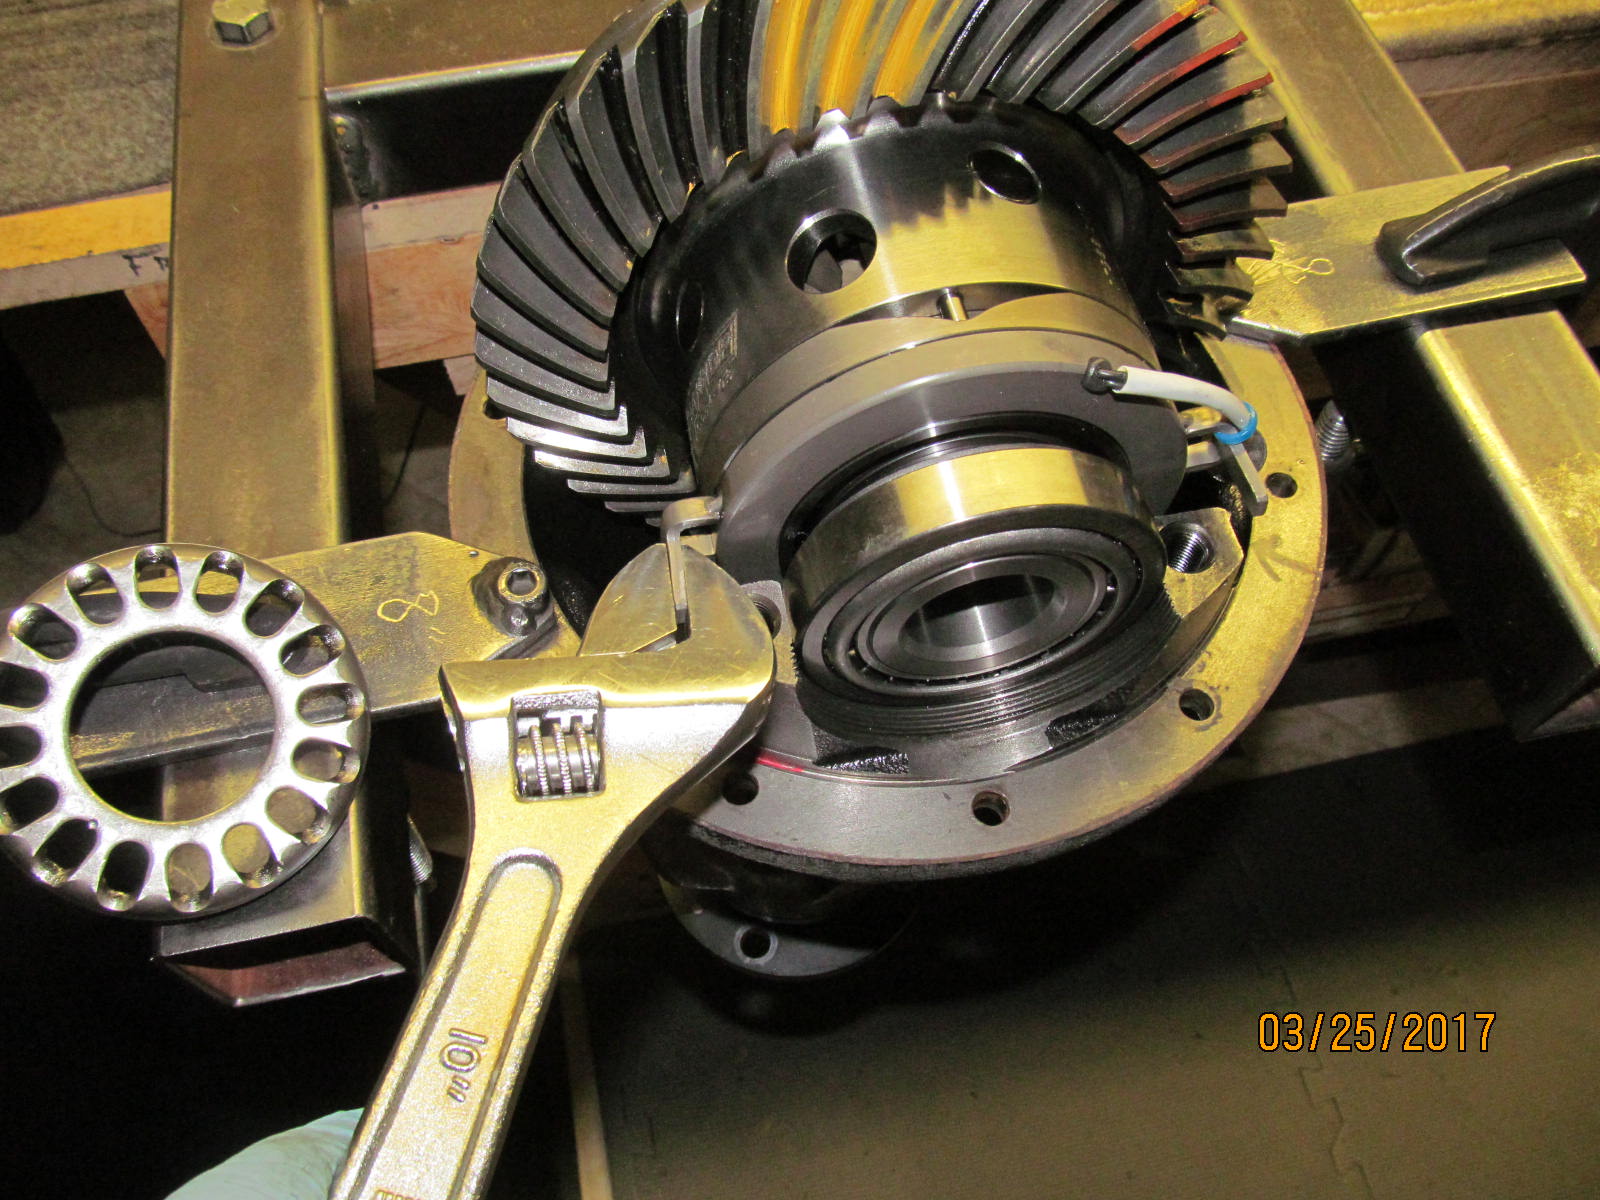
The 4 bearing cap bolts are tightened close to the 70 ft/lb spec and backlash is adjusted by tightening up the forward and
backside wheels. While turning the pinion flange, rap on the tower sides and bearing tensions will equalize.
|
|
|
|
|
Repeat with a few love taps on the bacside tower.
|
|
|
|
|
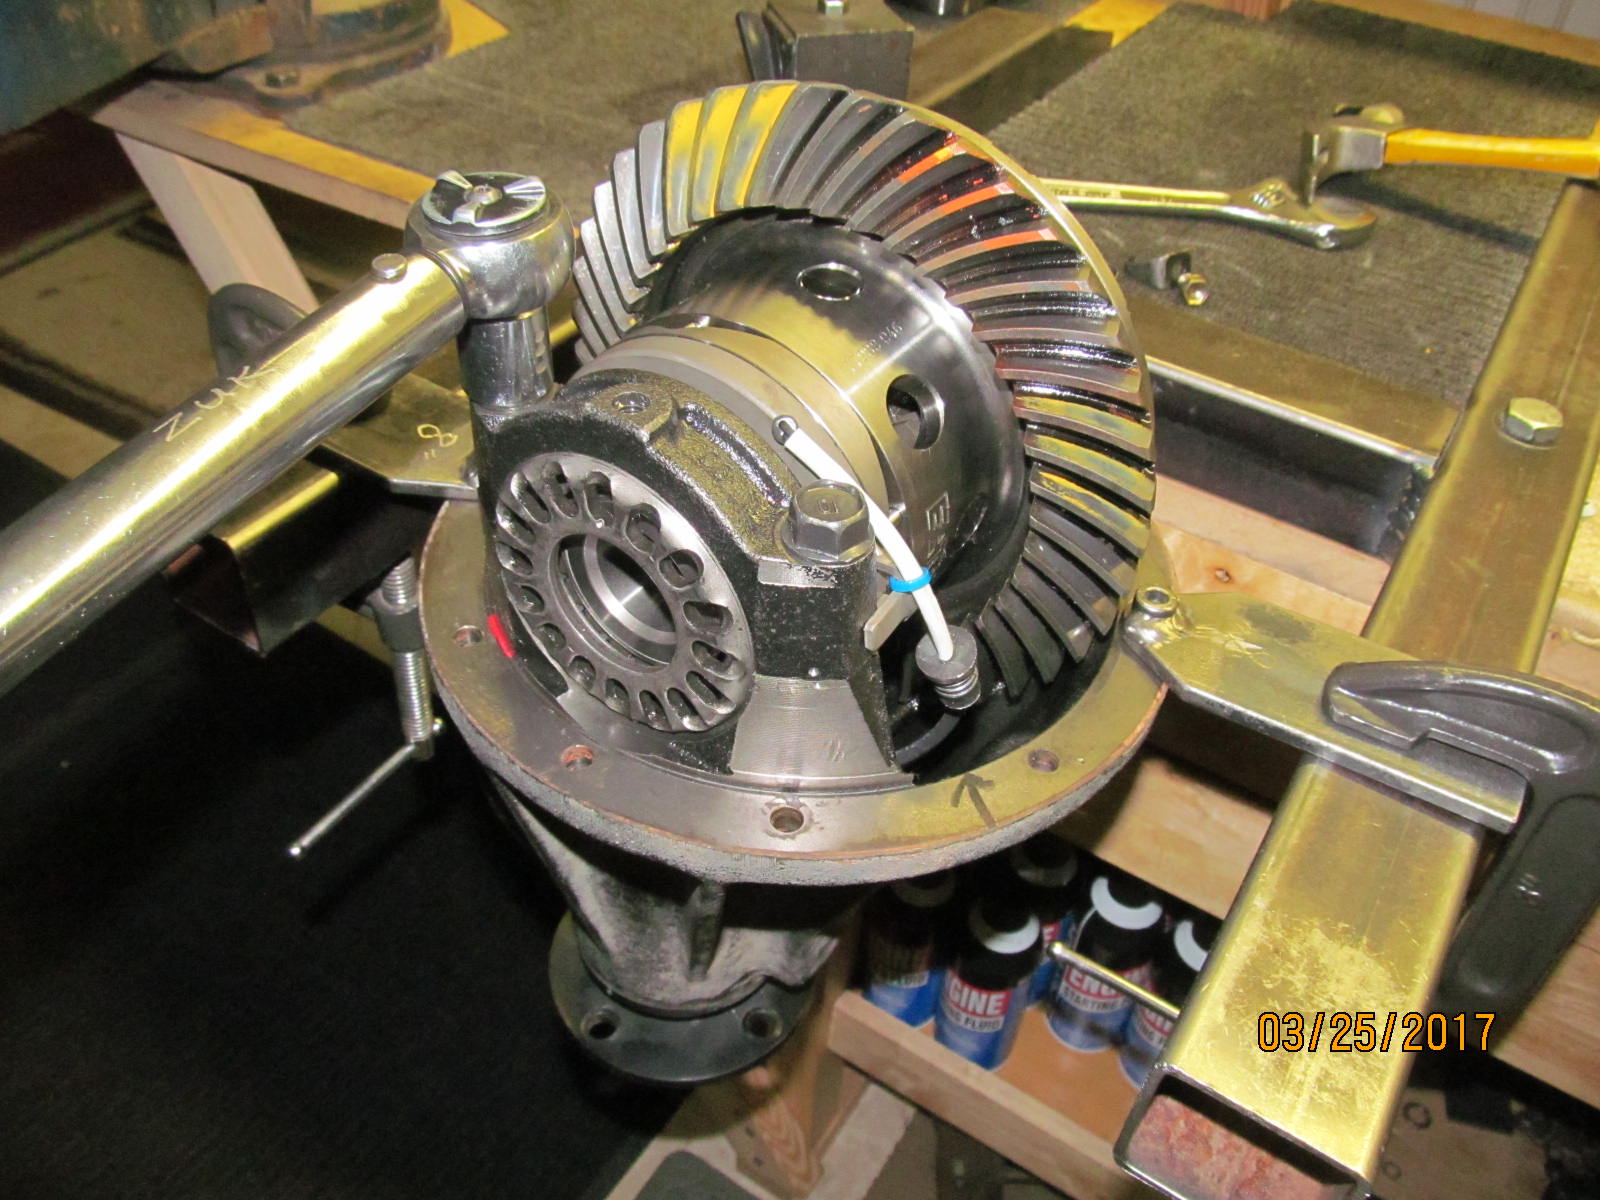
The freeplay of the anti-rotation bracket was measured and it was a good .130"....just over 3mm.
|
|
|
|
|
Happy with the results, a final tightening to 70 ft/lb on the 4 bolts was in order.
|
|
|
|
|
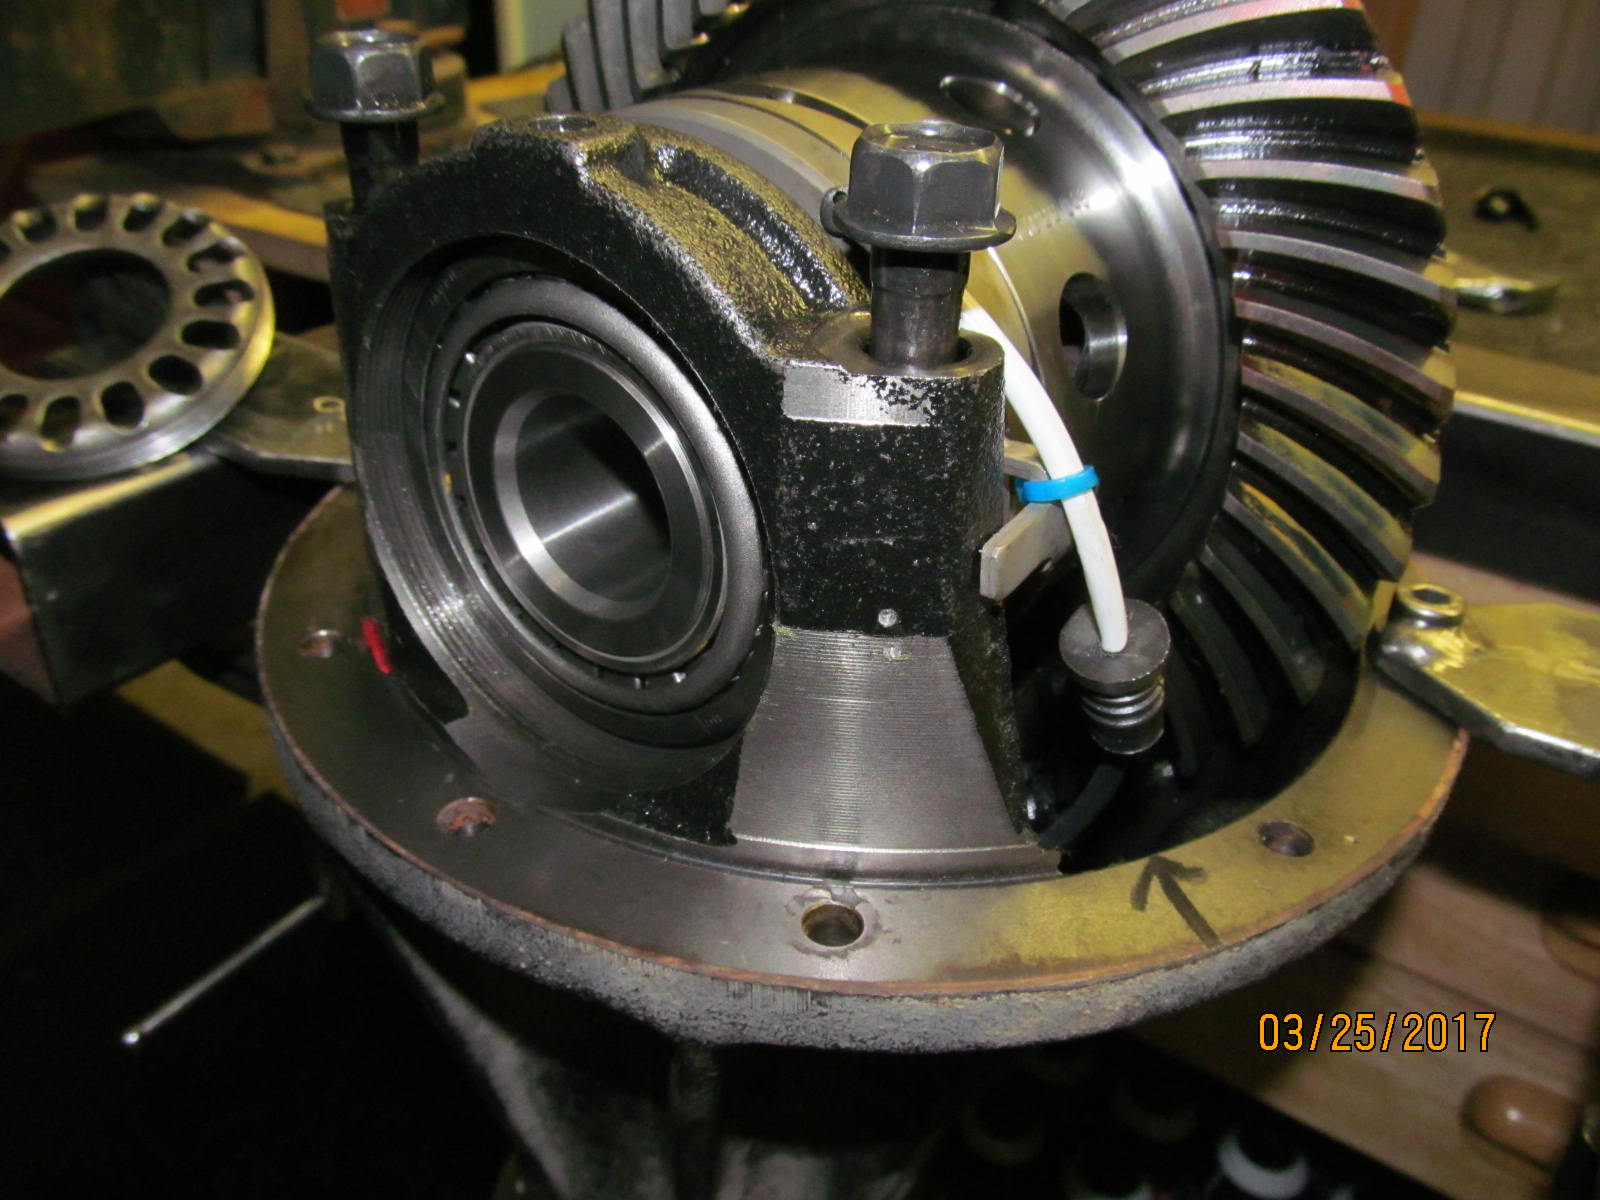
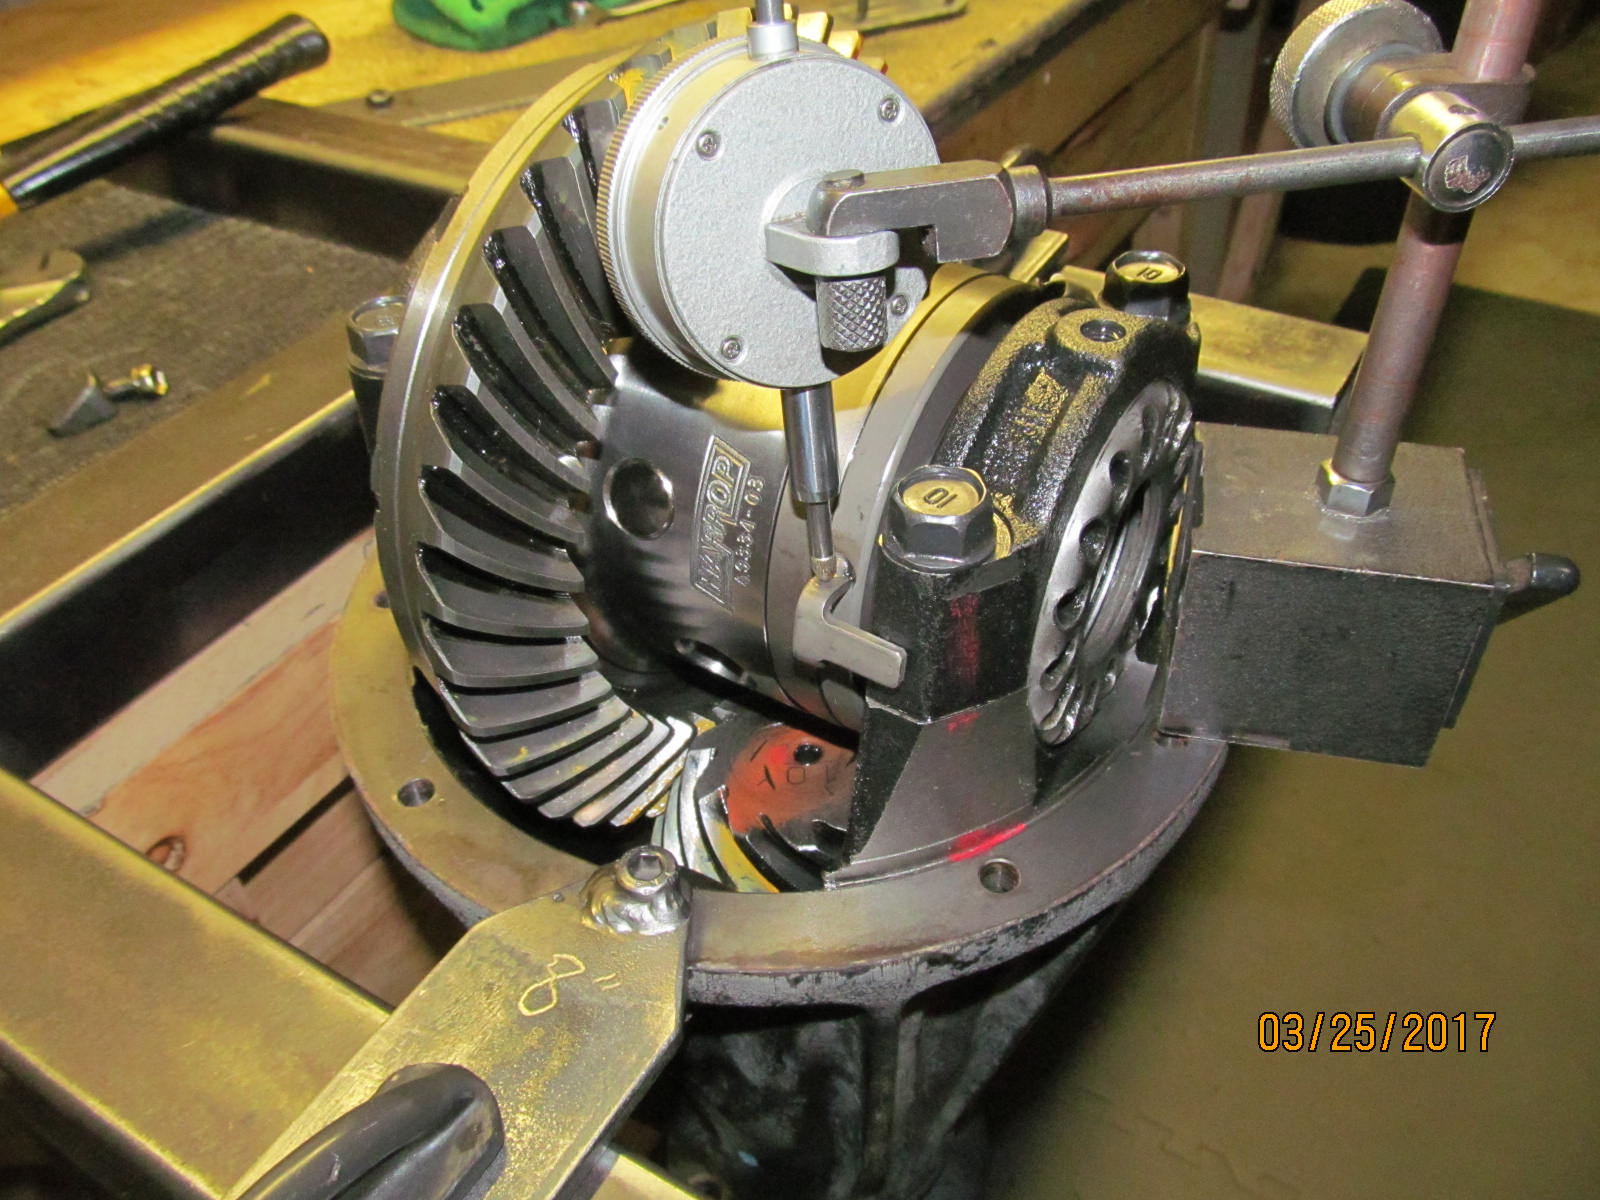
Backlash was measured on every other tooth. Some of the tightest backlash measurements were at .005".
|
|
|
|
|
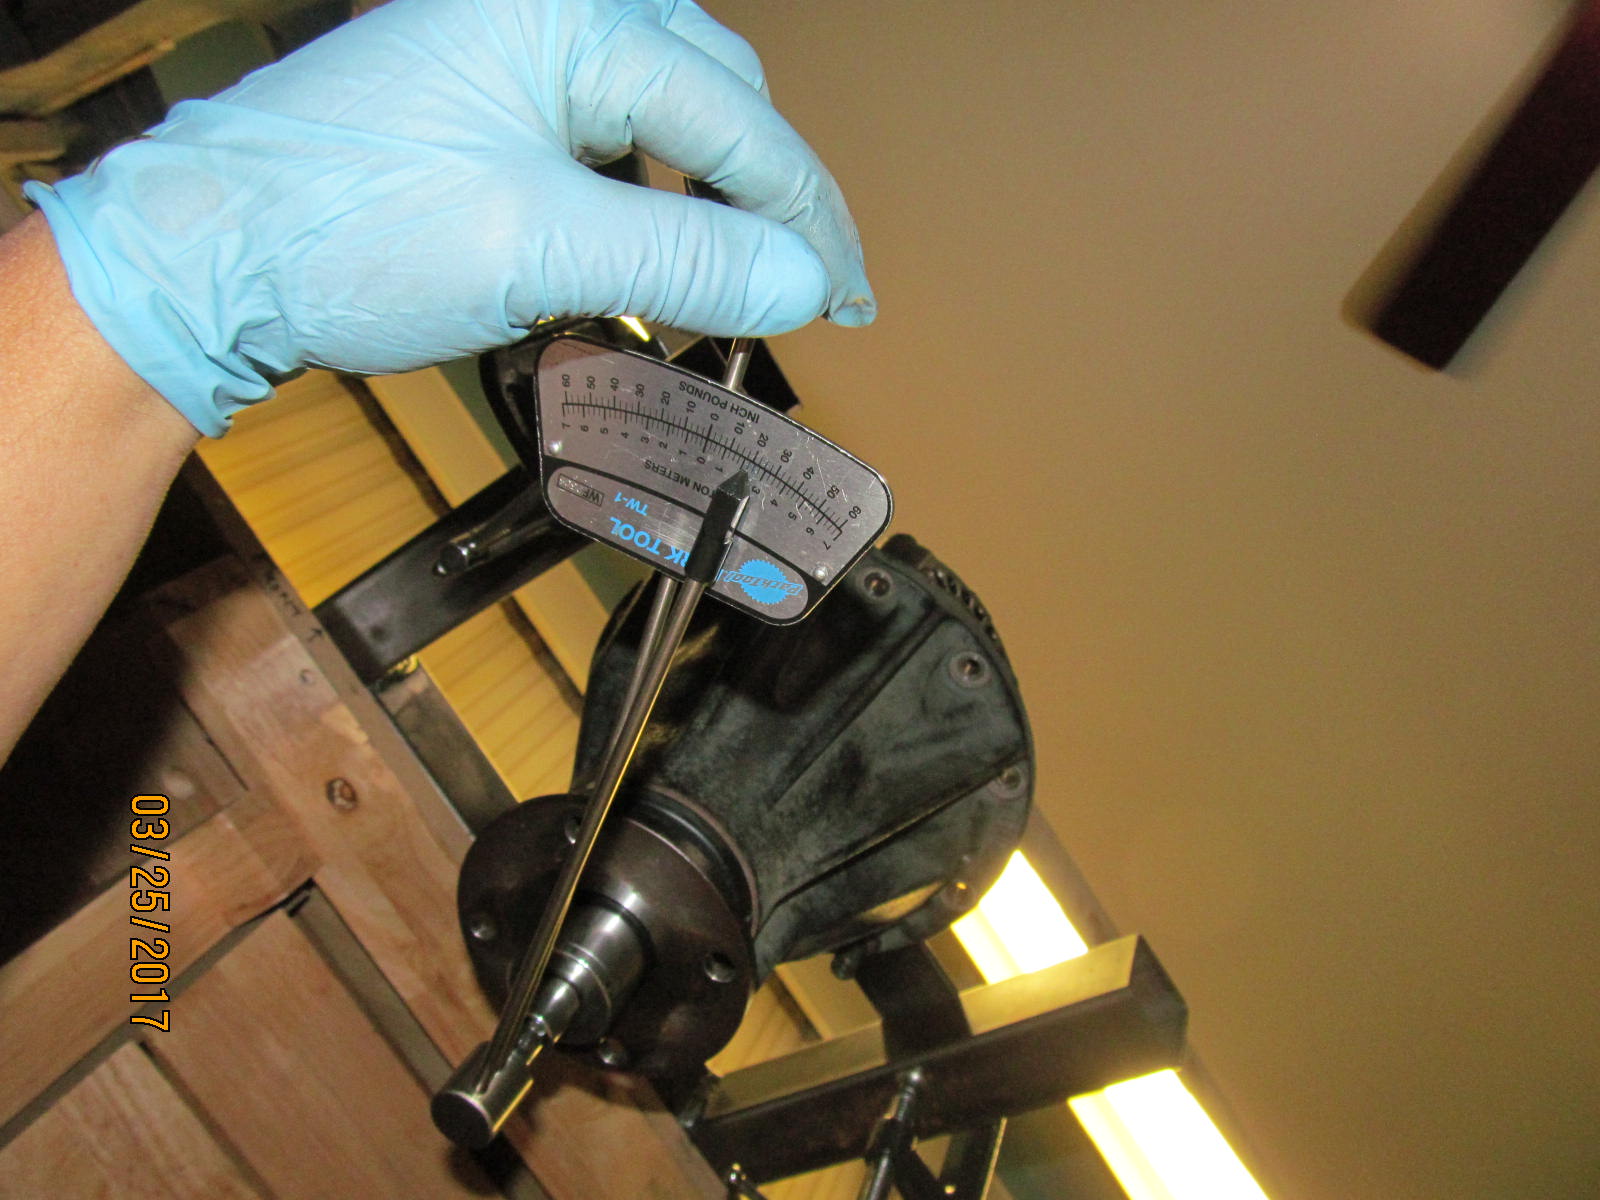
Total bearing preload of both the pinion and carrier bearings was at 20 in/lb.
|
|
|
|
|
Desiring to "tweak" the backlash for another .0005"(half a thou) is easy....
|
|
|
|
|
...just advance the wheel almost half a notch and then mount the locktab and torque the 12mm bolt to 10 ft/lb.
|
|
|
|
|
On the other side, just loosen the wheel about half a notch as shown. That will increase all backlash readings by about .0005"~.0010".
|
|
|
|
|
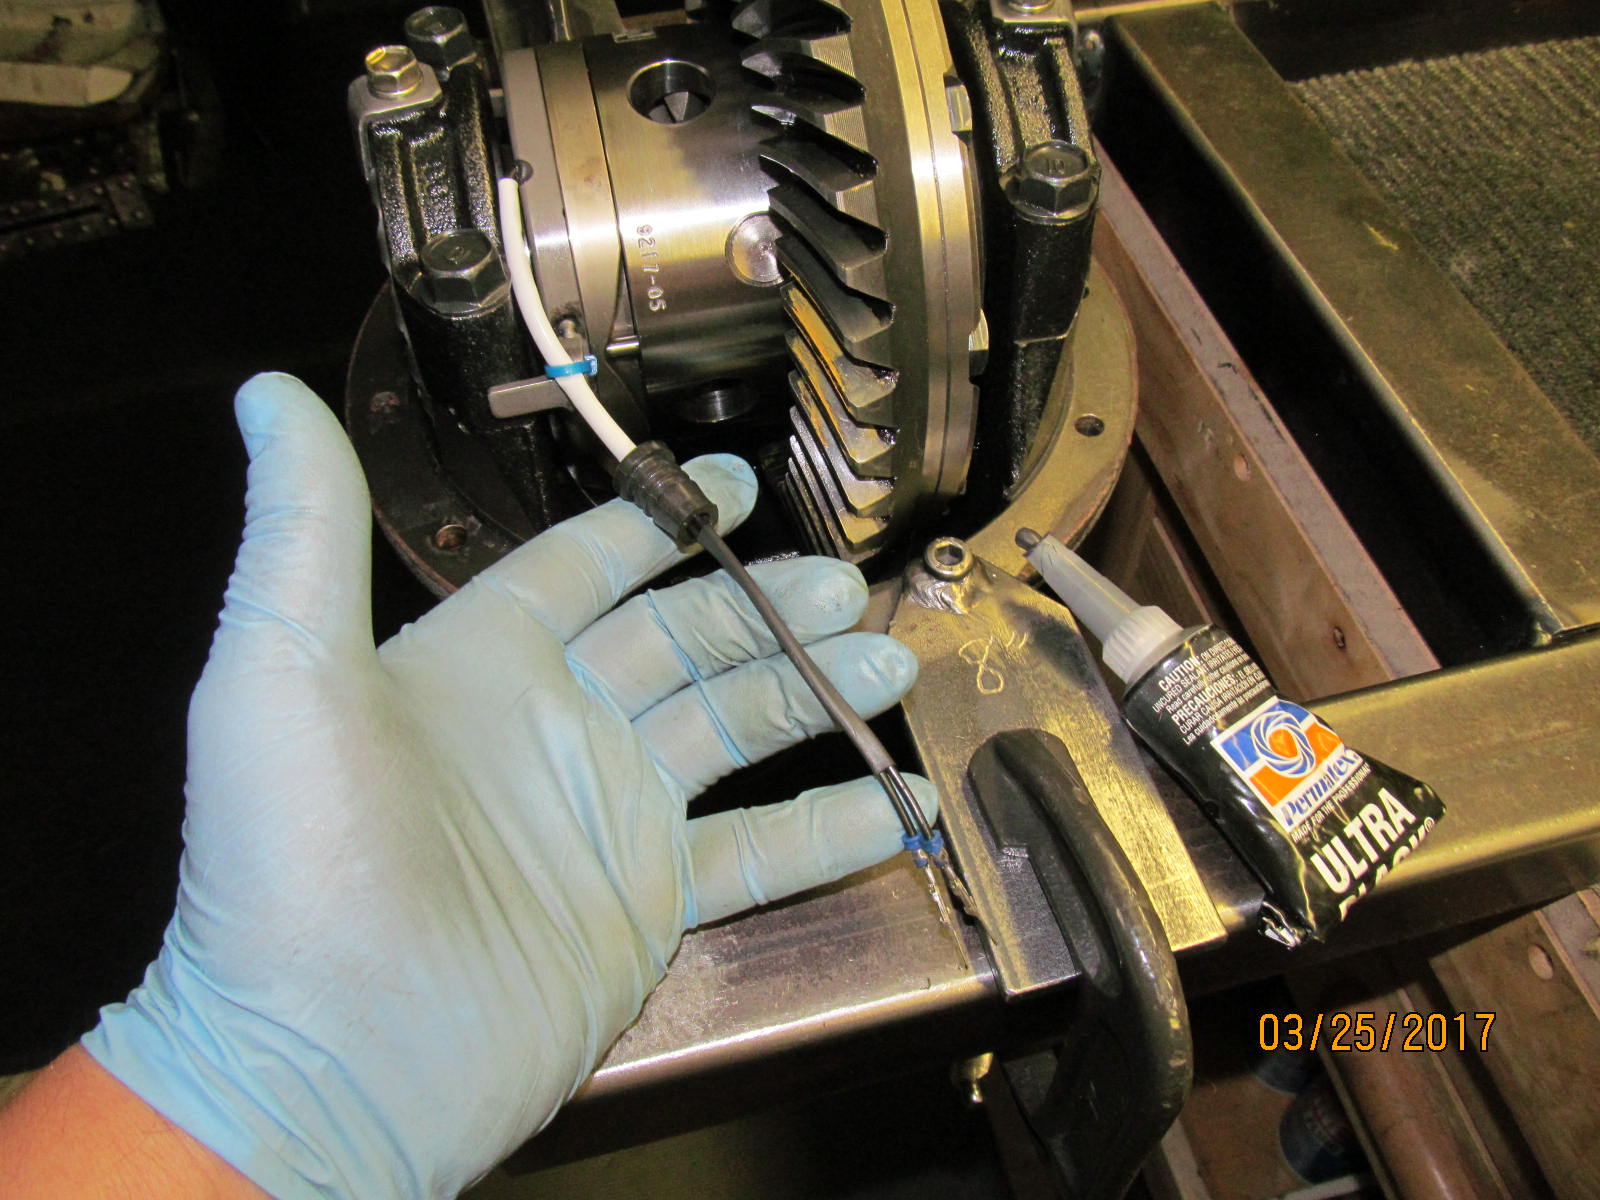
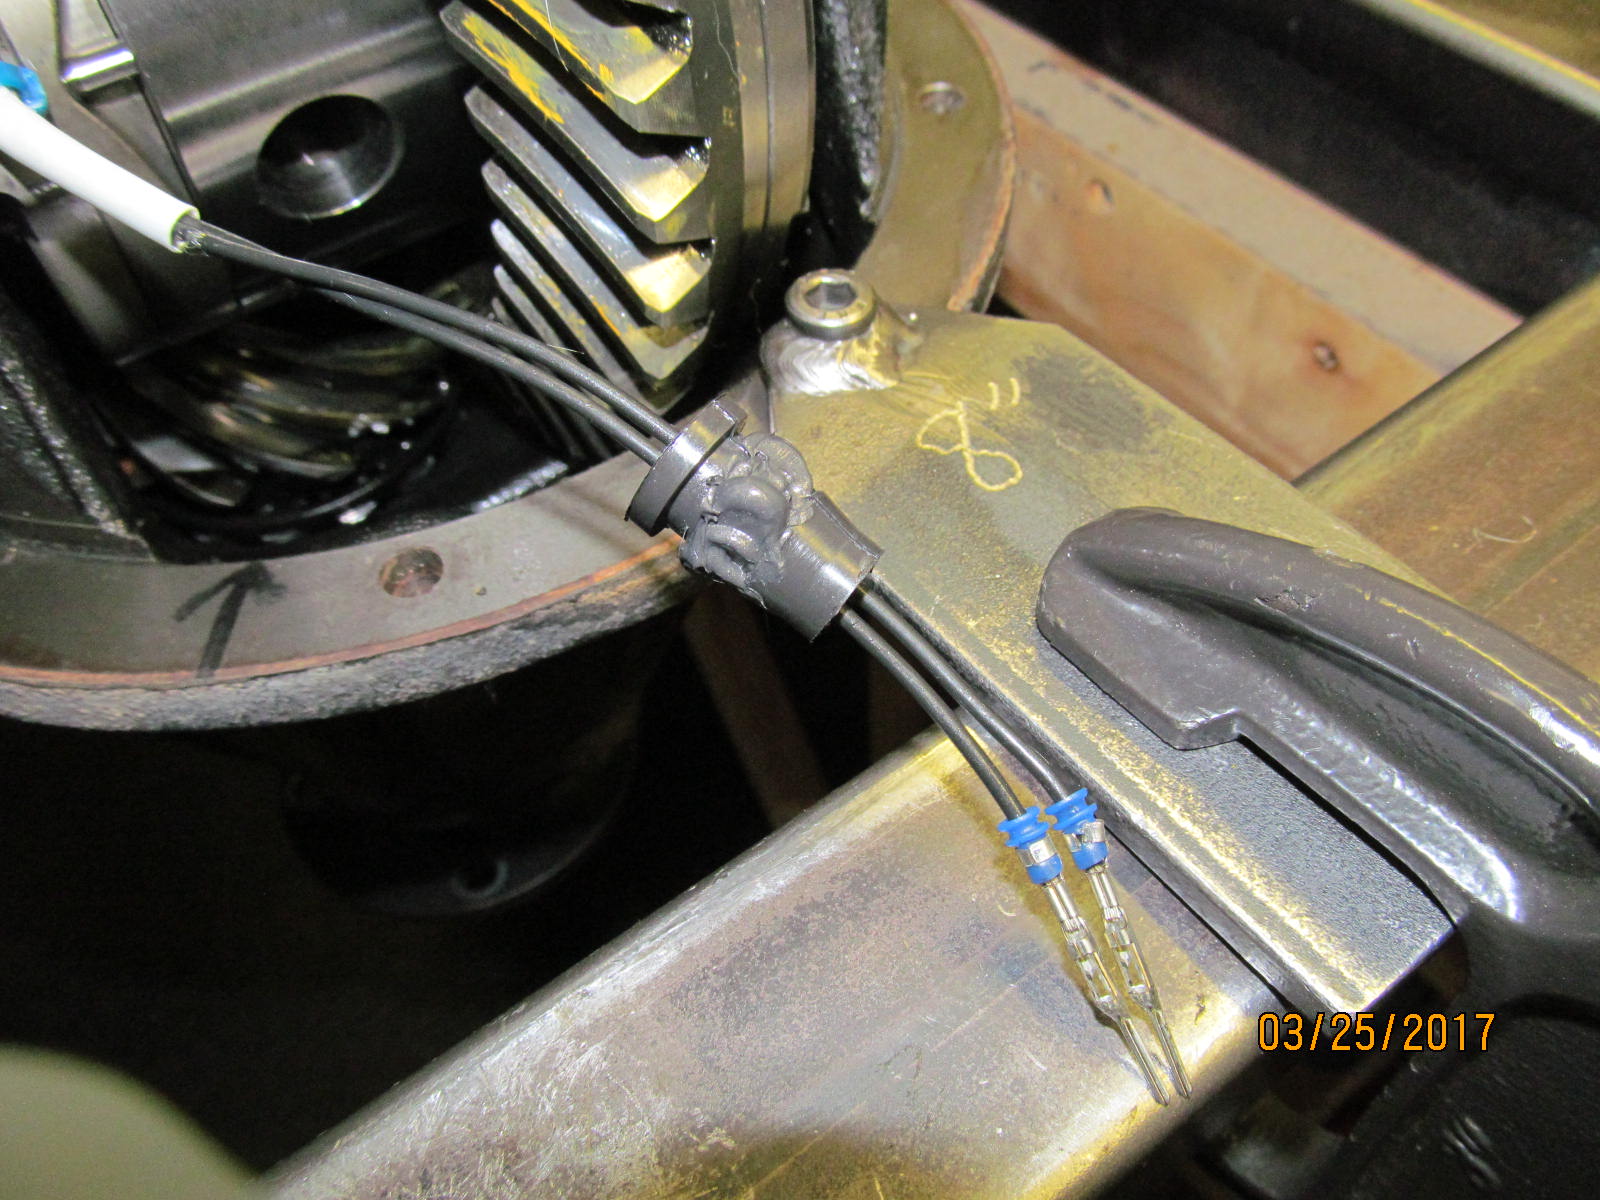
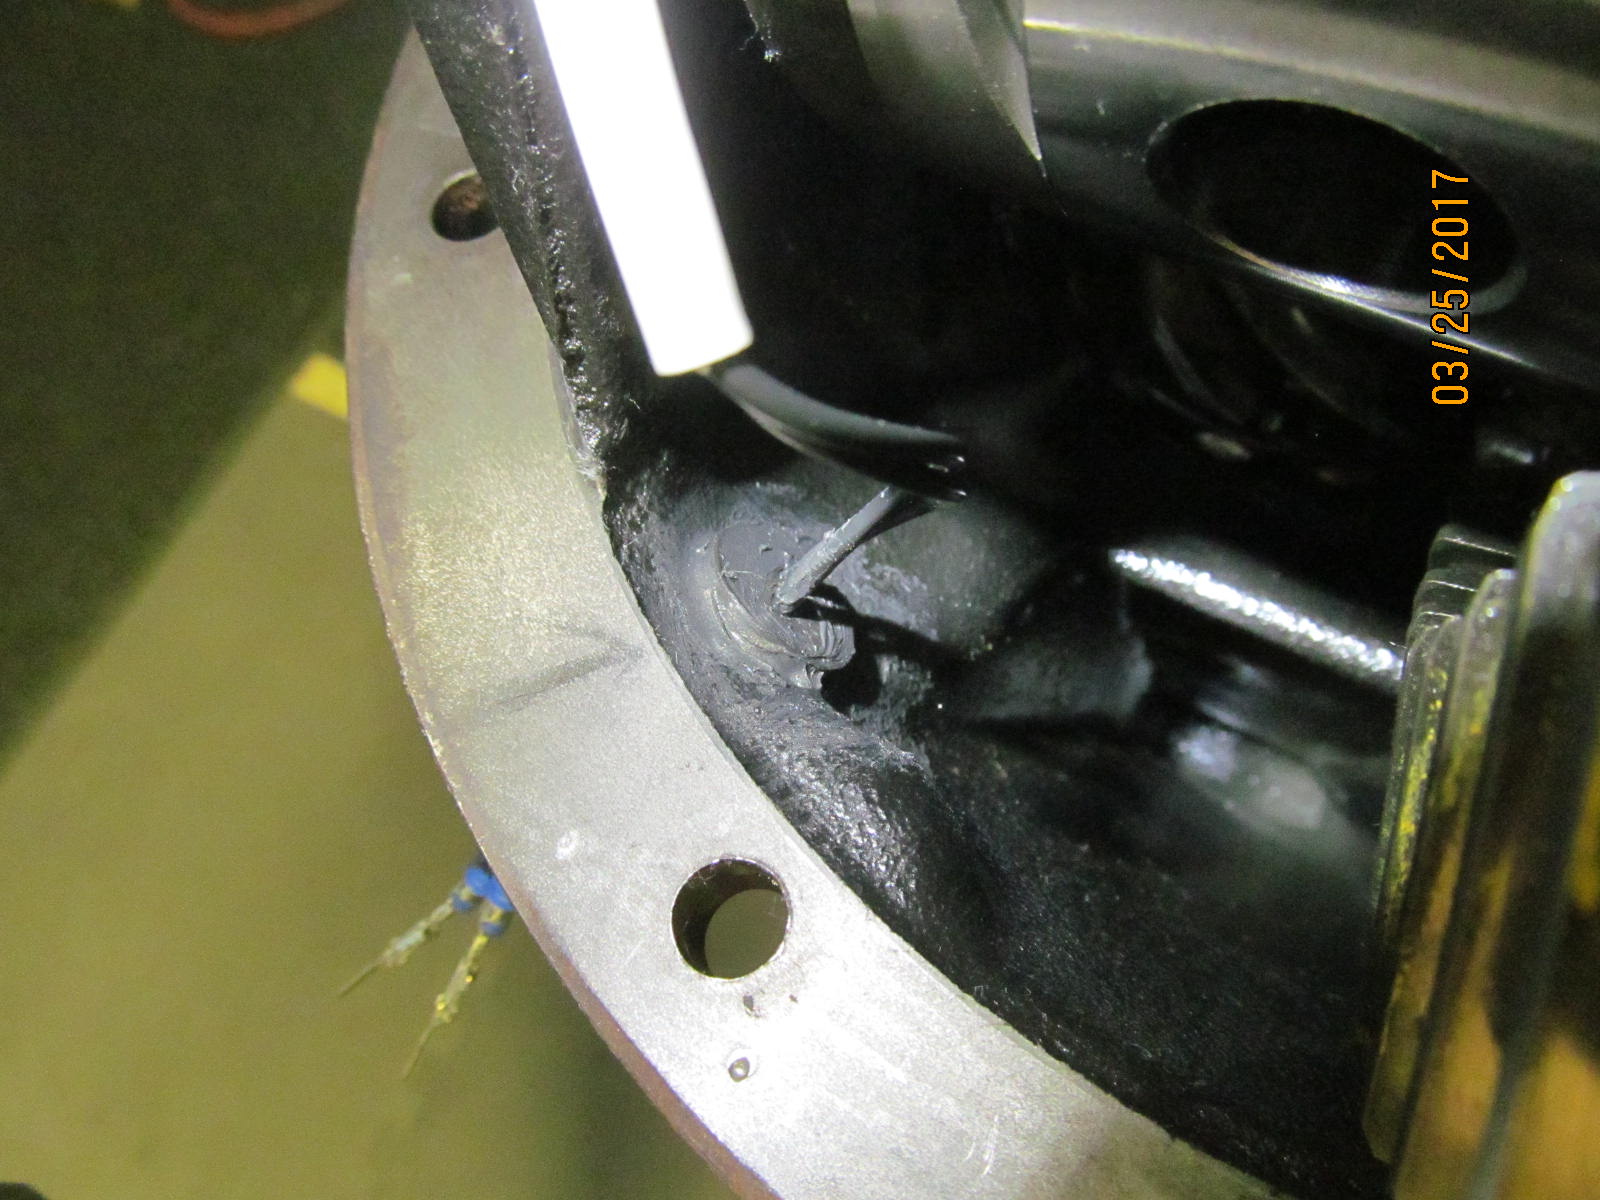
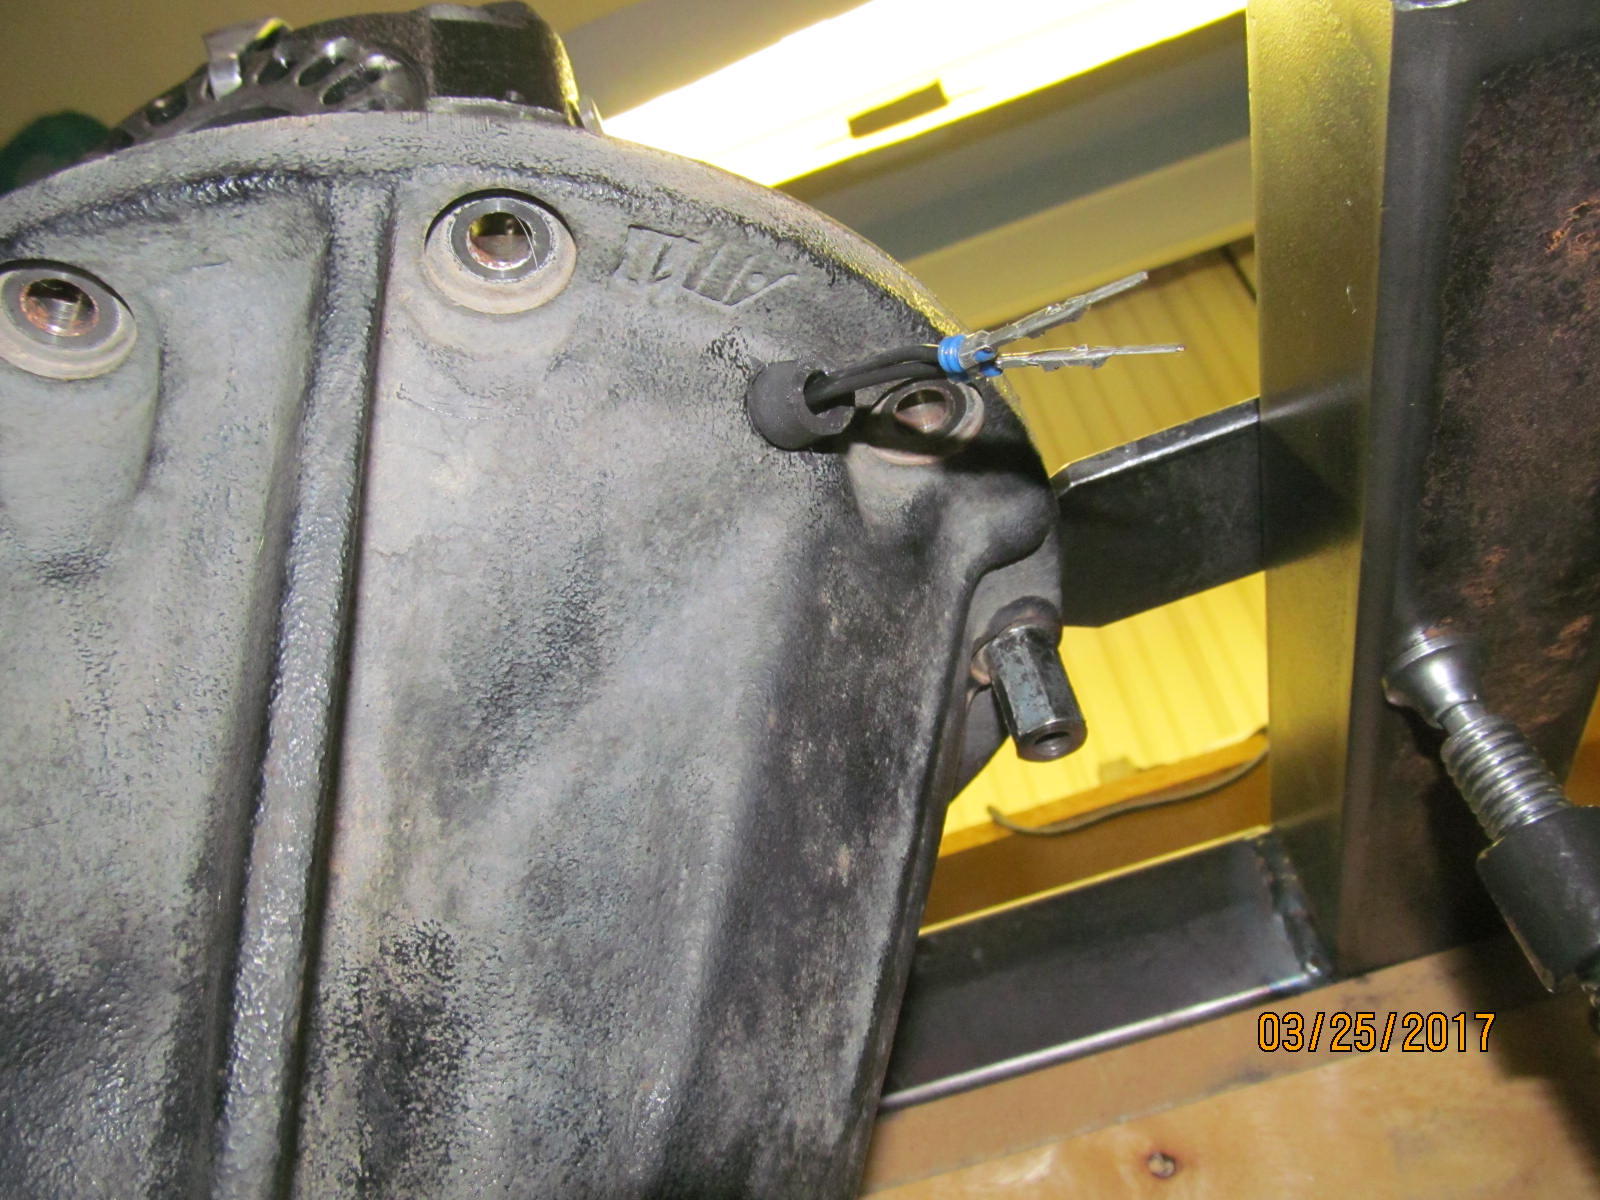
The only thing left is to push the grommet thru.
|
|
|
|
|
I like to apply rtv and smear it equally around.
|
|
|
|
|
Pushing it thru dry can be frustrating....rtv will bring a smile to your face.
|
|
|
|
|
...................
|
|
|

|
|
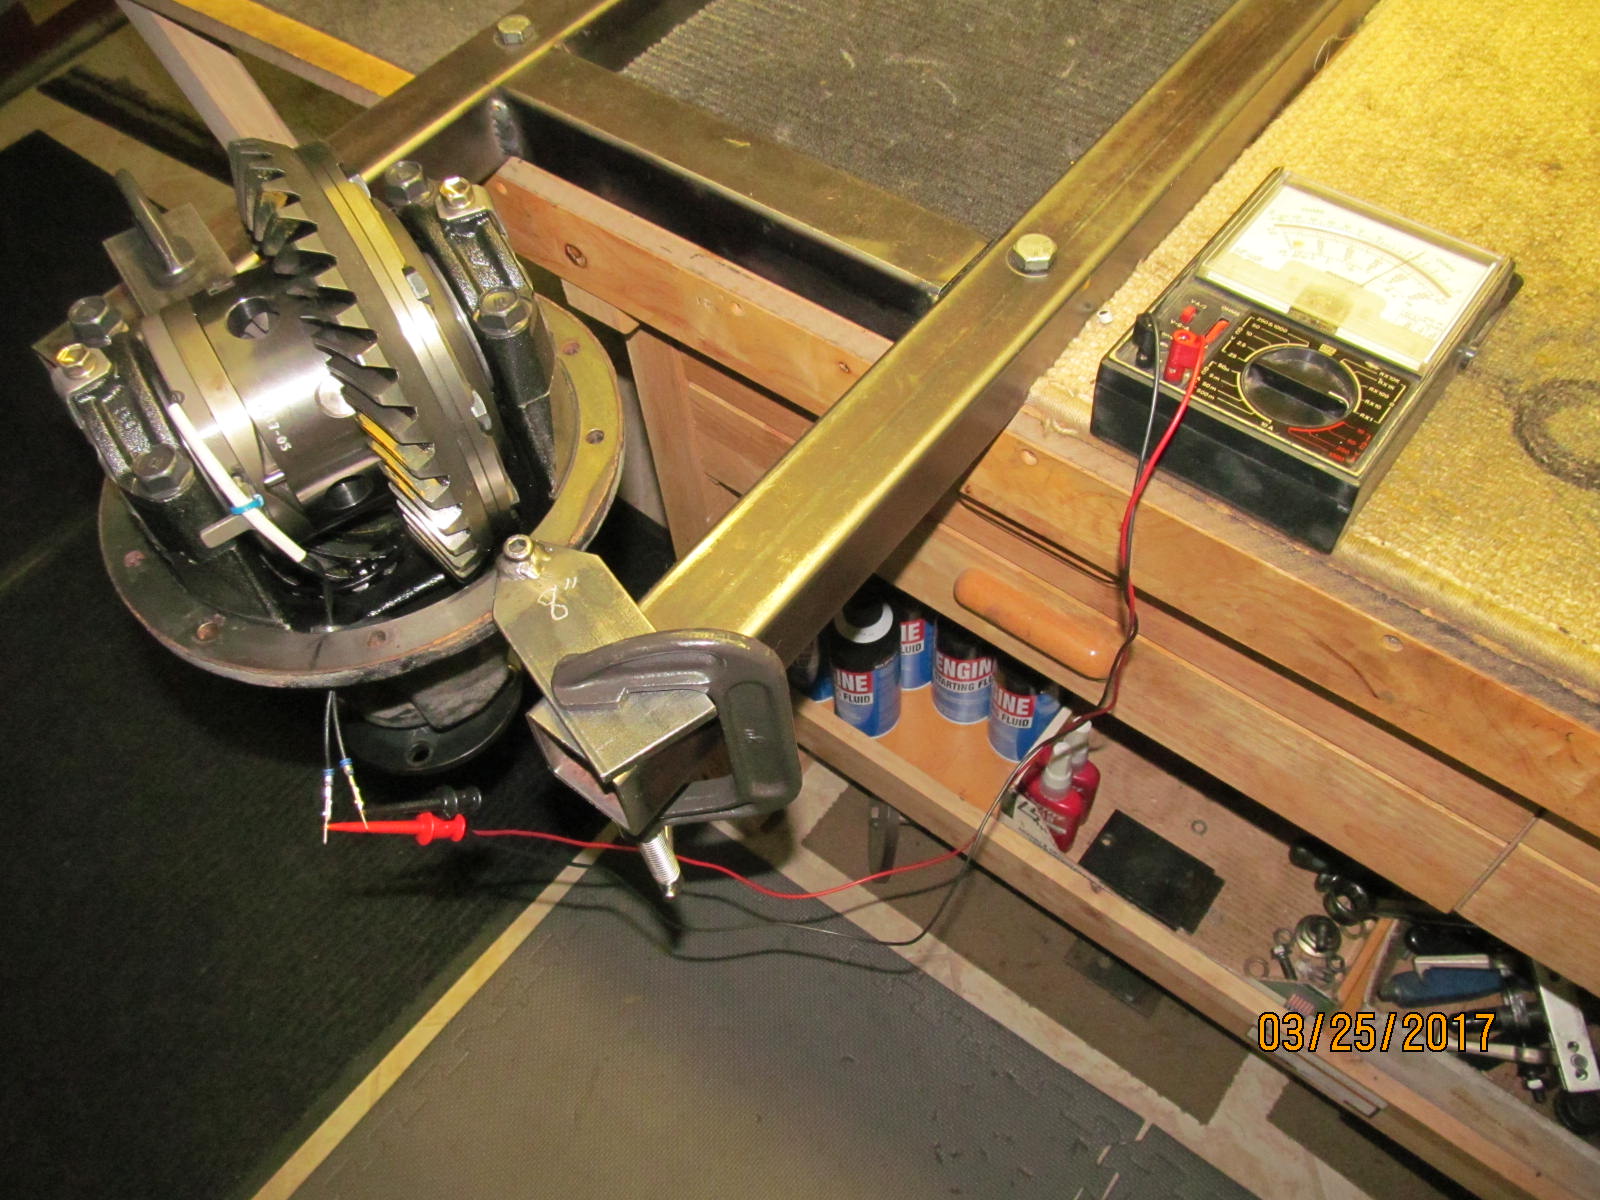
Testing the Harrop for current draw............. 3.4 amps
|
|
|
|
|
Resistance............ 3.9 ohms.
|
|
|
|
|
Drive side check.
|
|
|
|
|
Coast side check.
|
|
|
|
|
...............
|
|
|

|
|
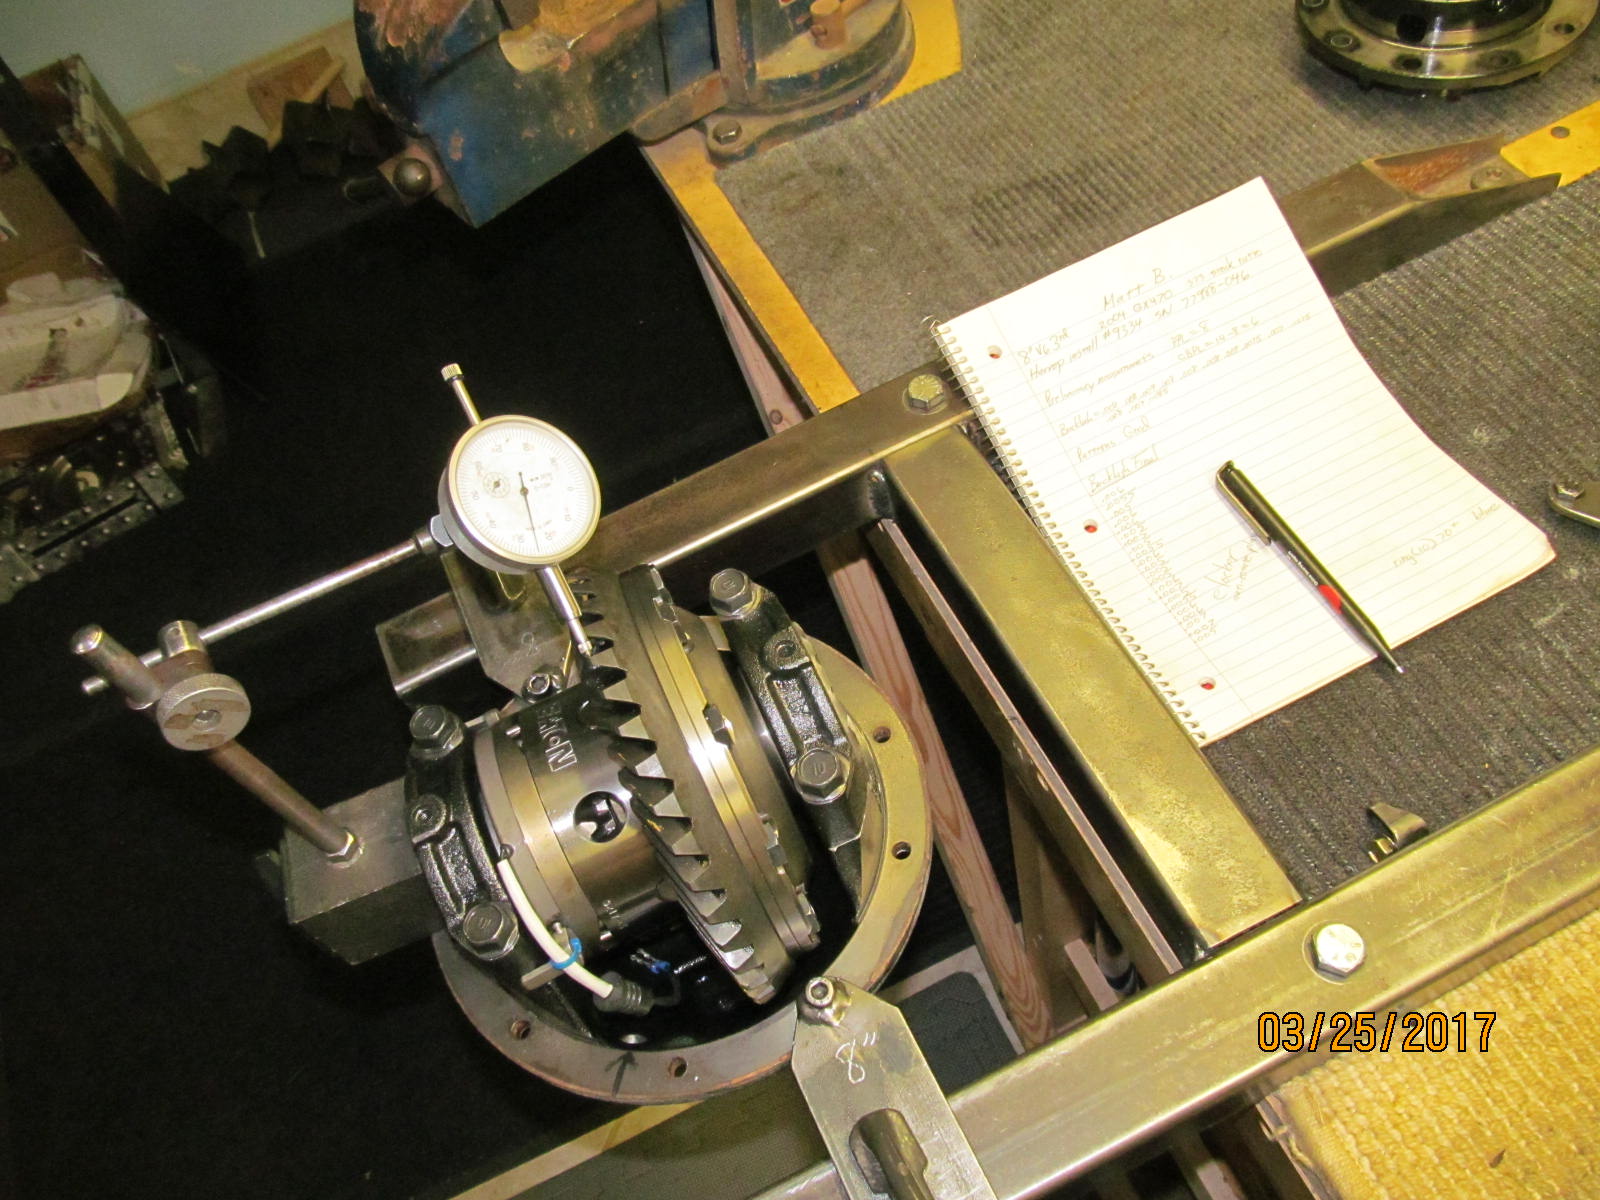
Notes taken during the Harrop Install.
|
|
|
|

|