| Mike's front 8" high pinion Harrop install for his 97 TLC |
|---|
| (61 BIG pics loading) |
|---|
| NOV 25 2017 |
|---|
|
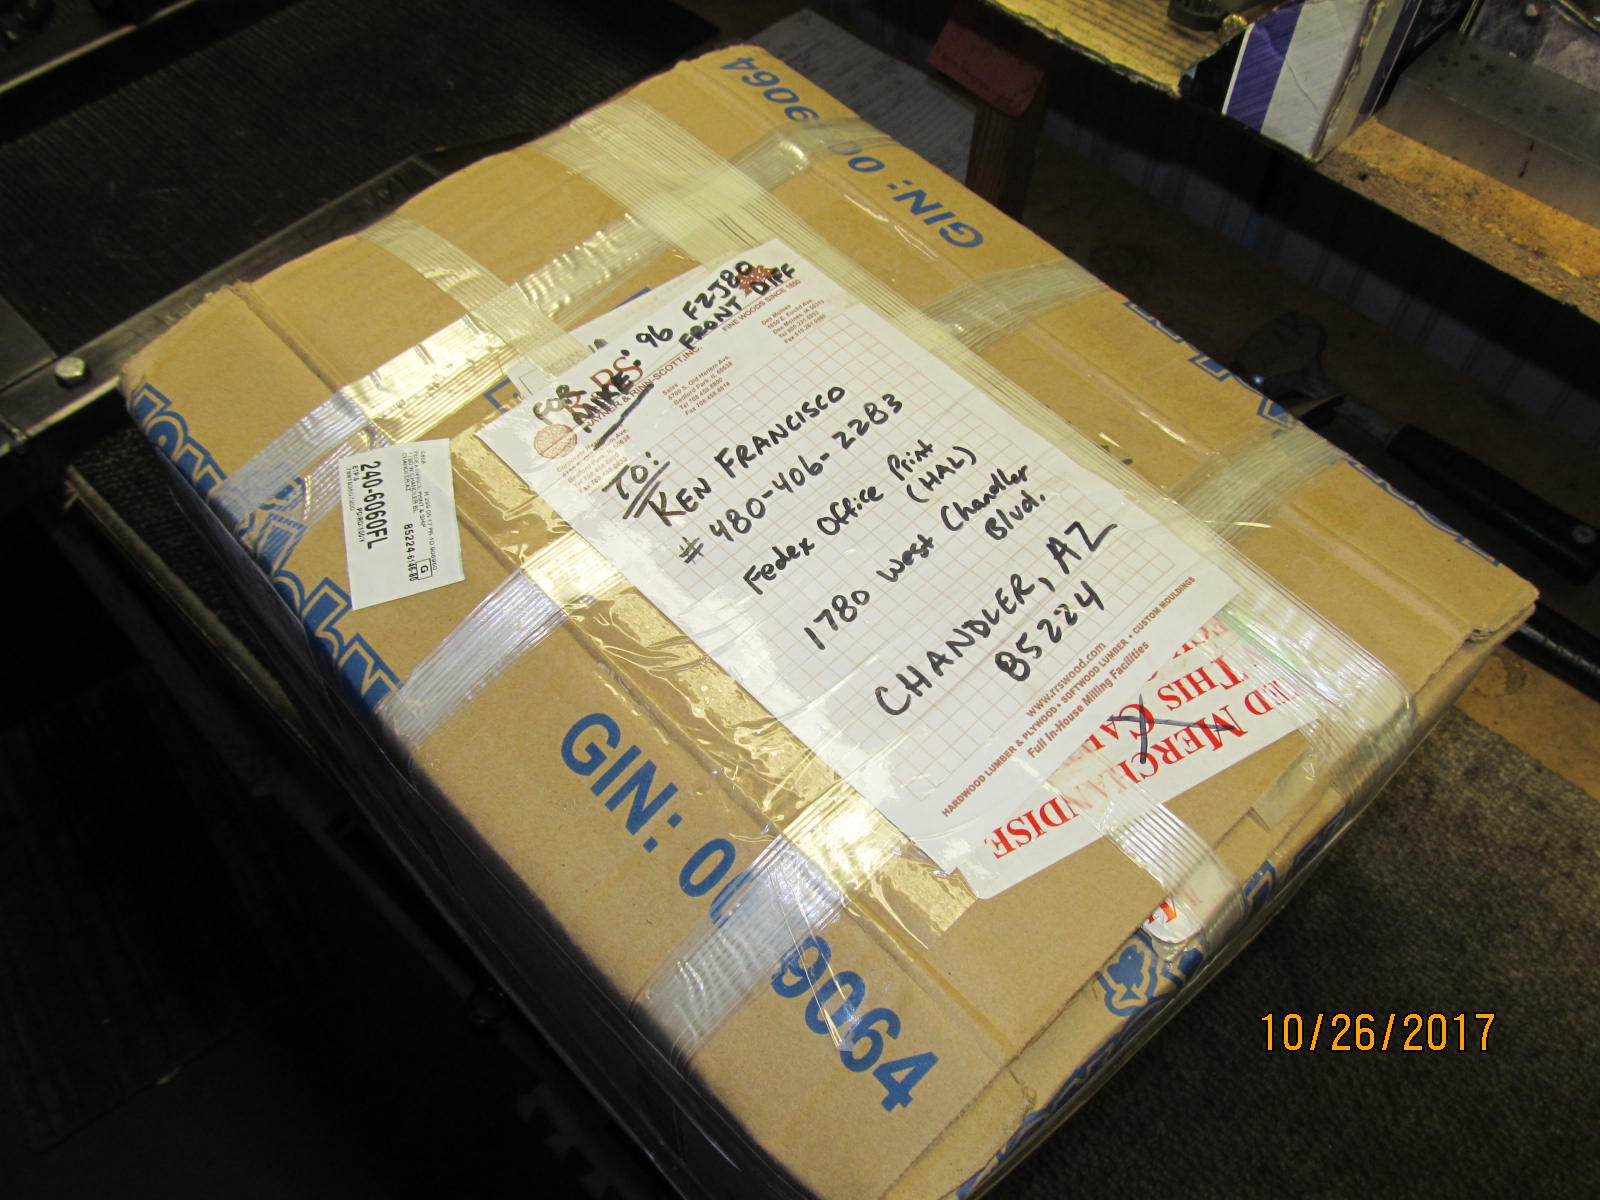
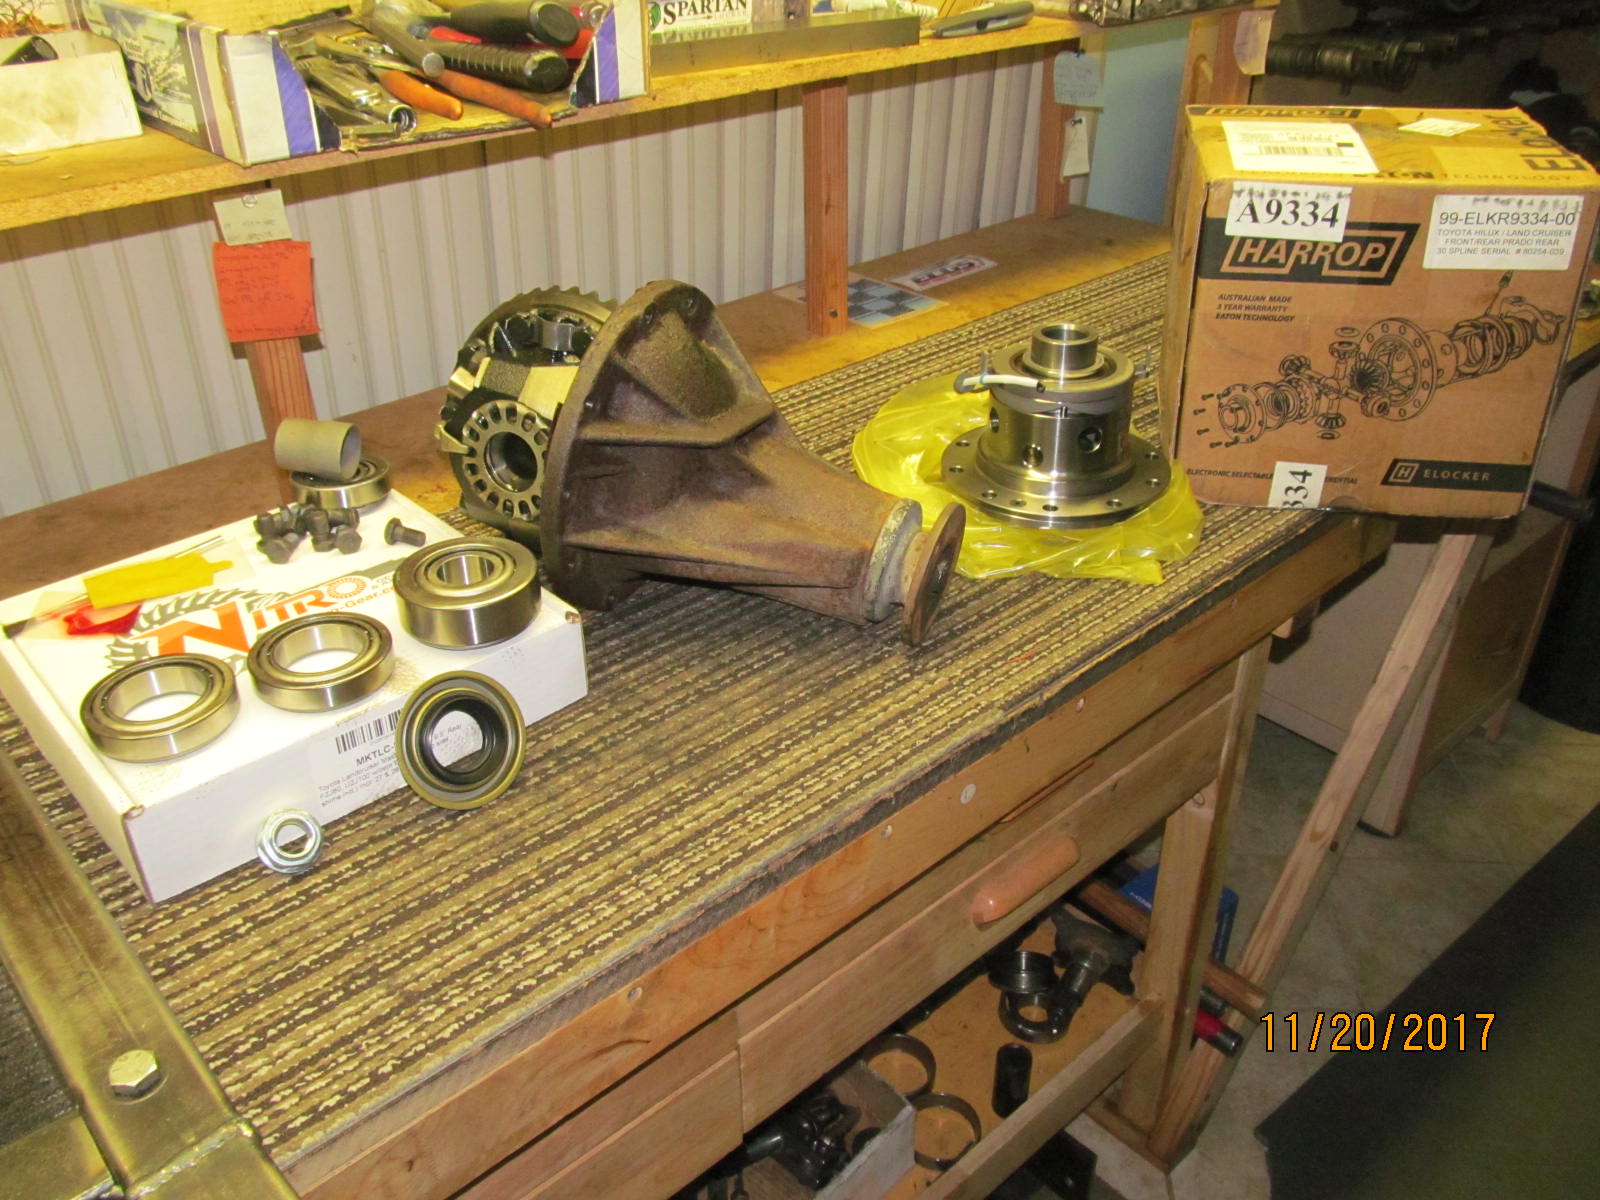
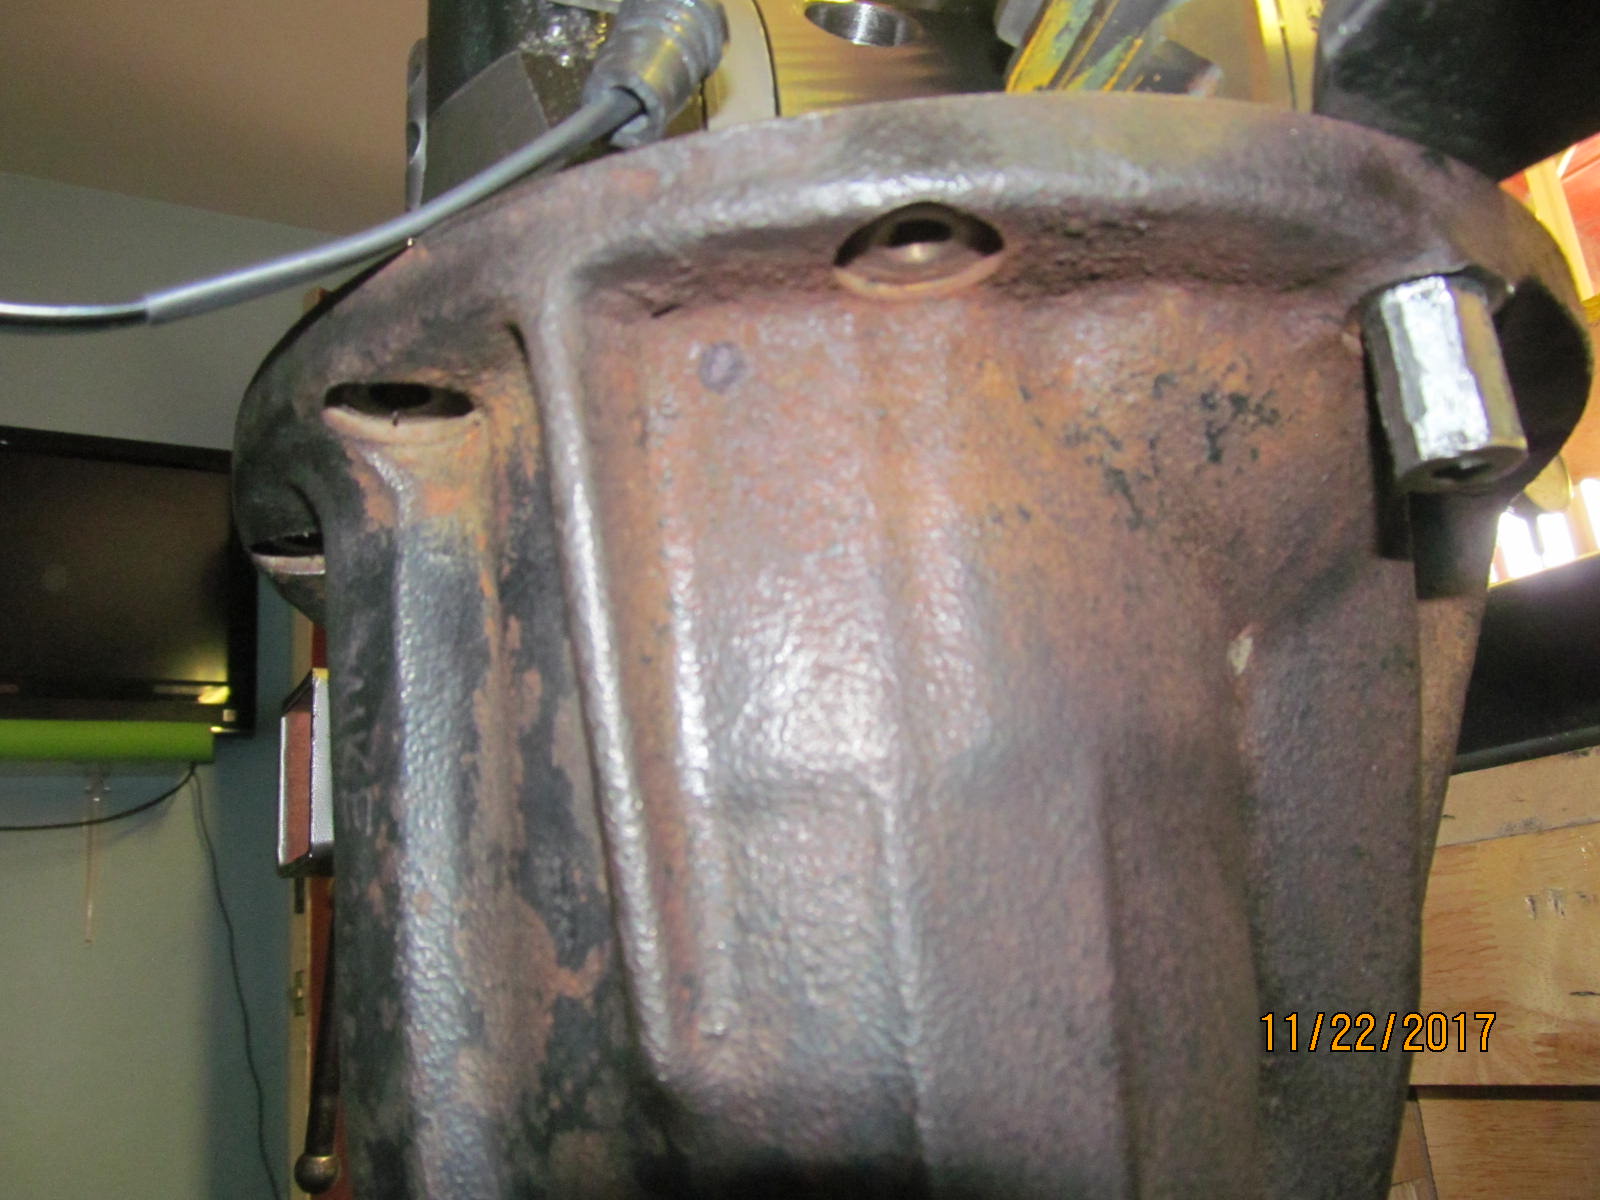
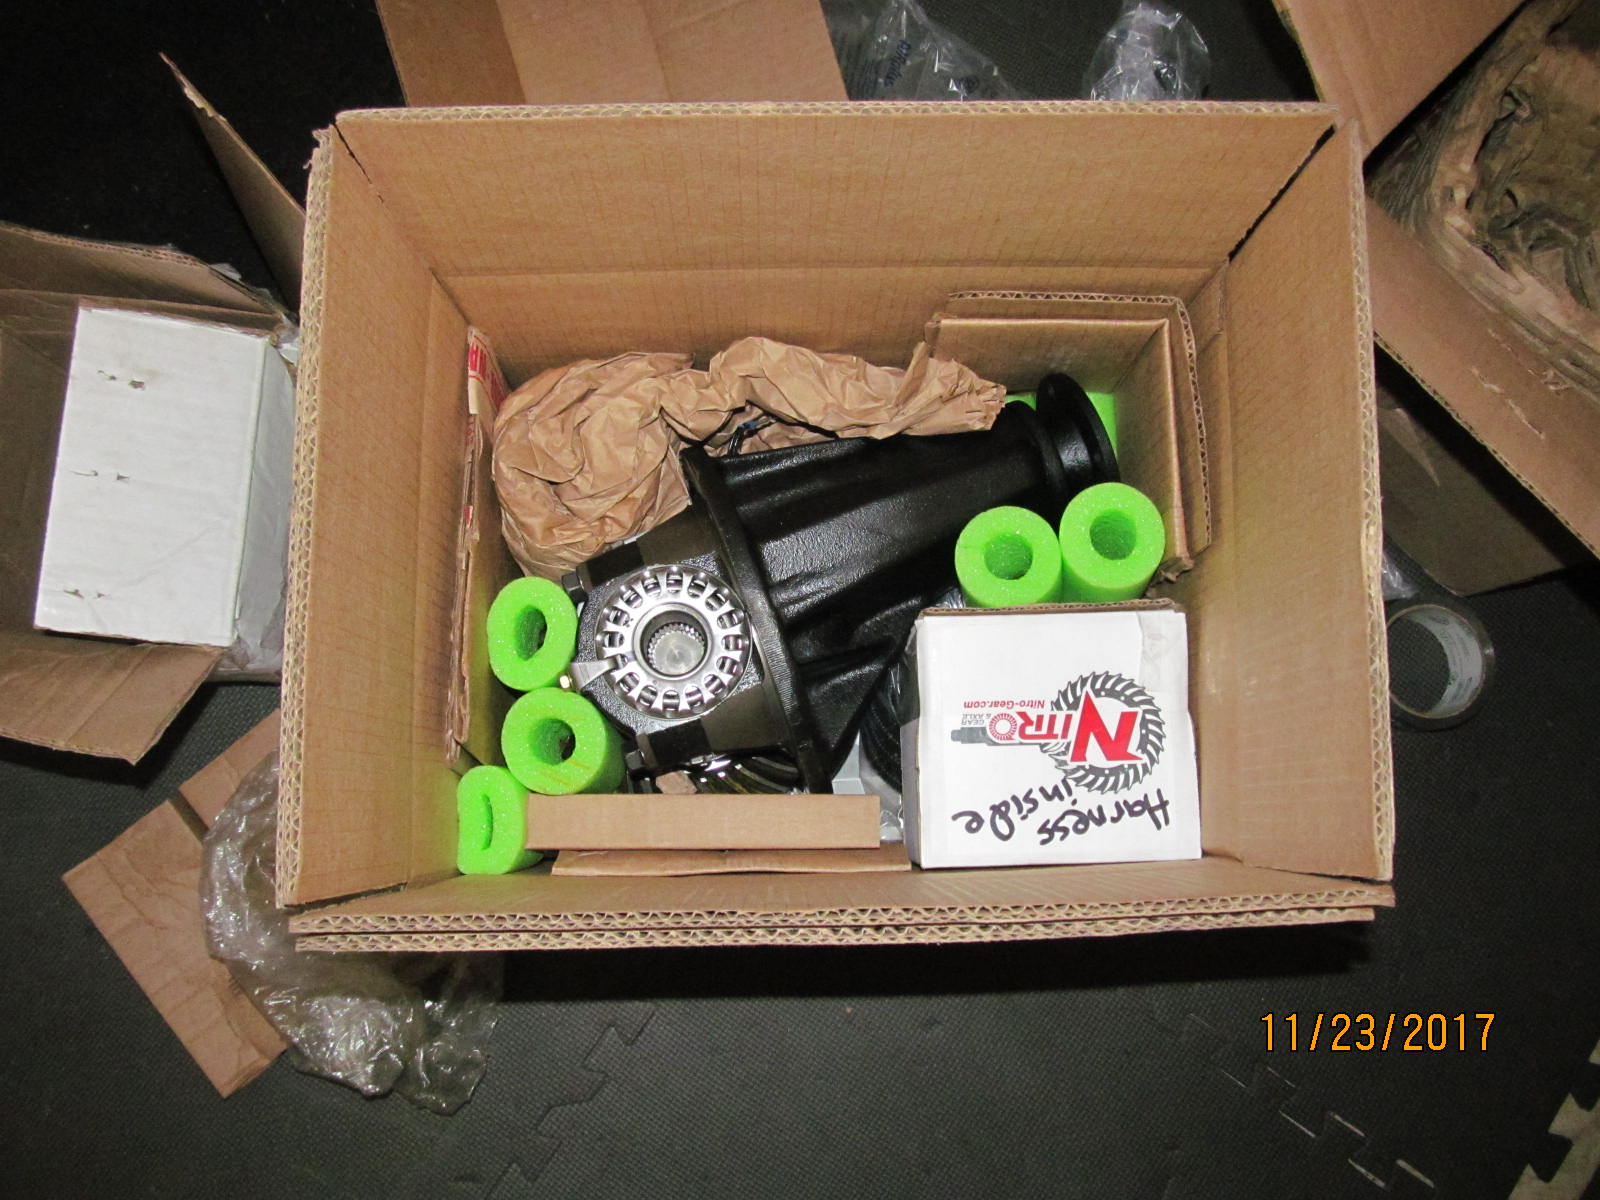
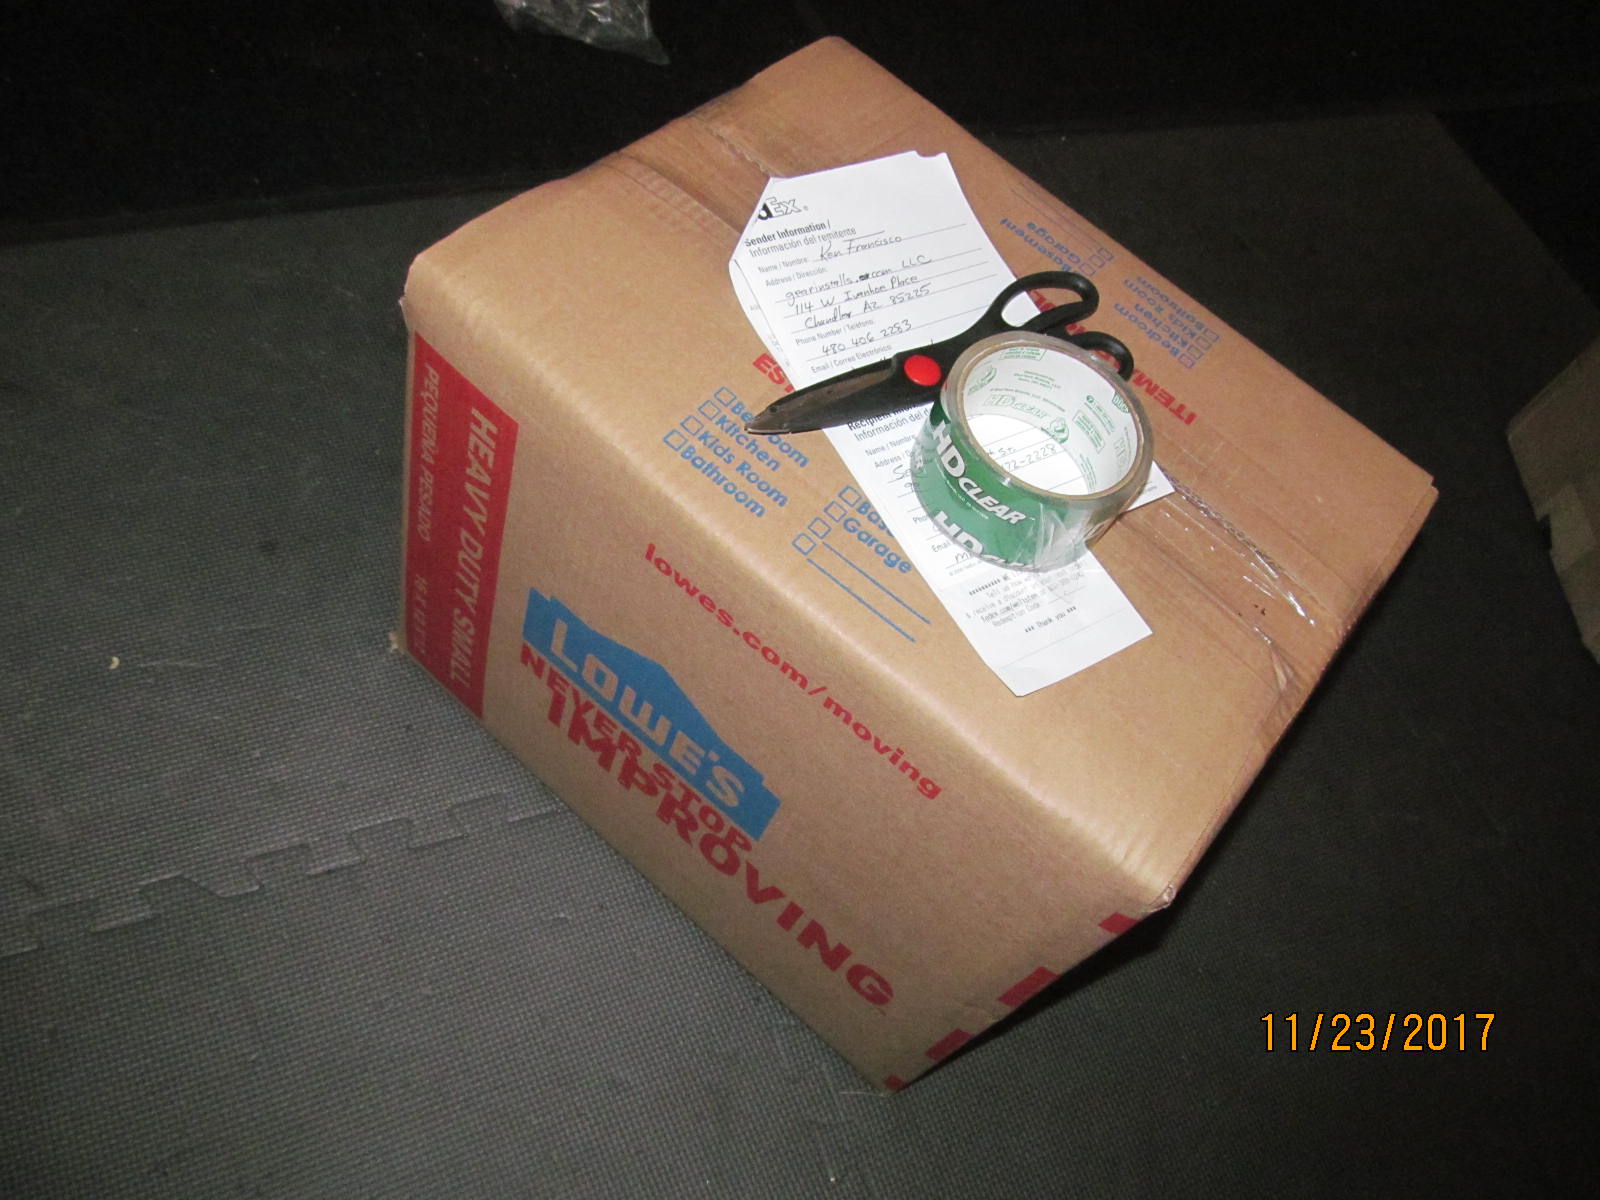
| This just arrived from the Ebay seller. Apparently, this 3rd came out of a 96. |
|---|
|
|
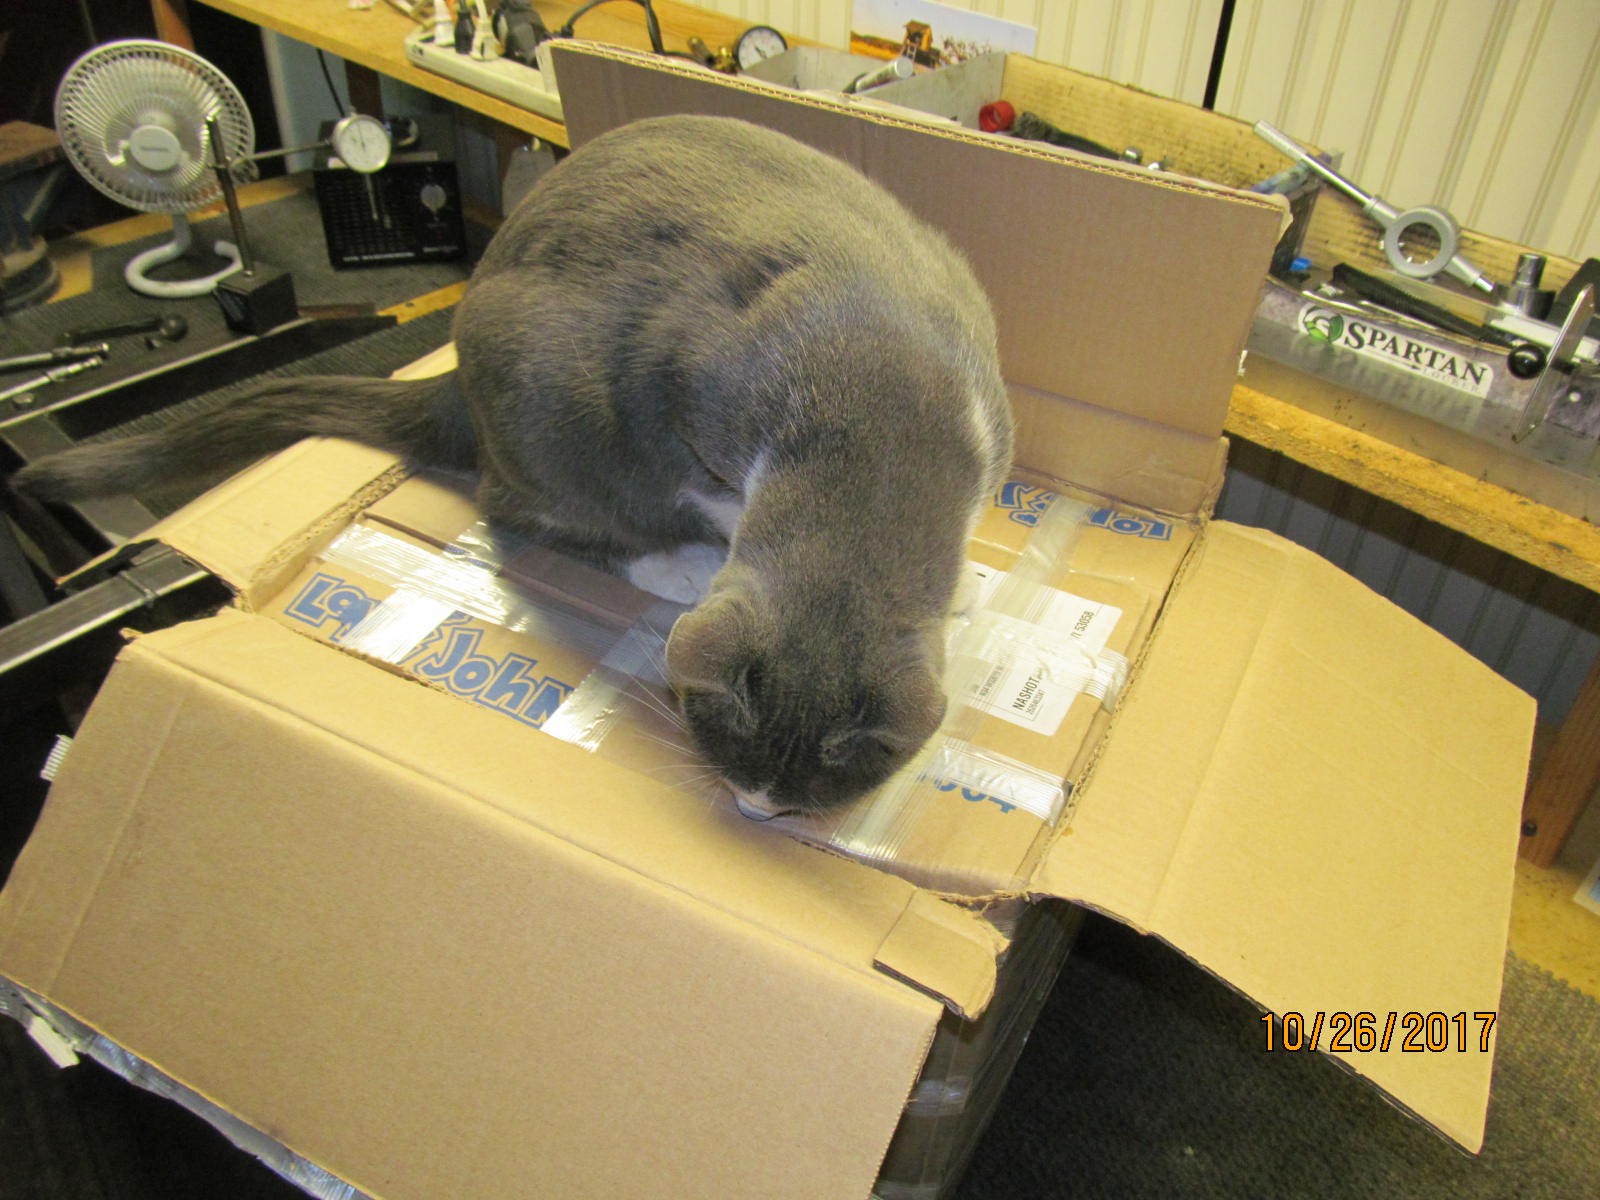
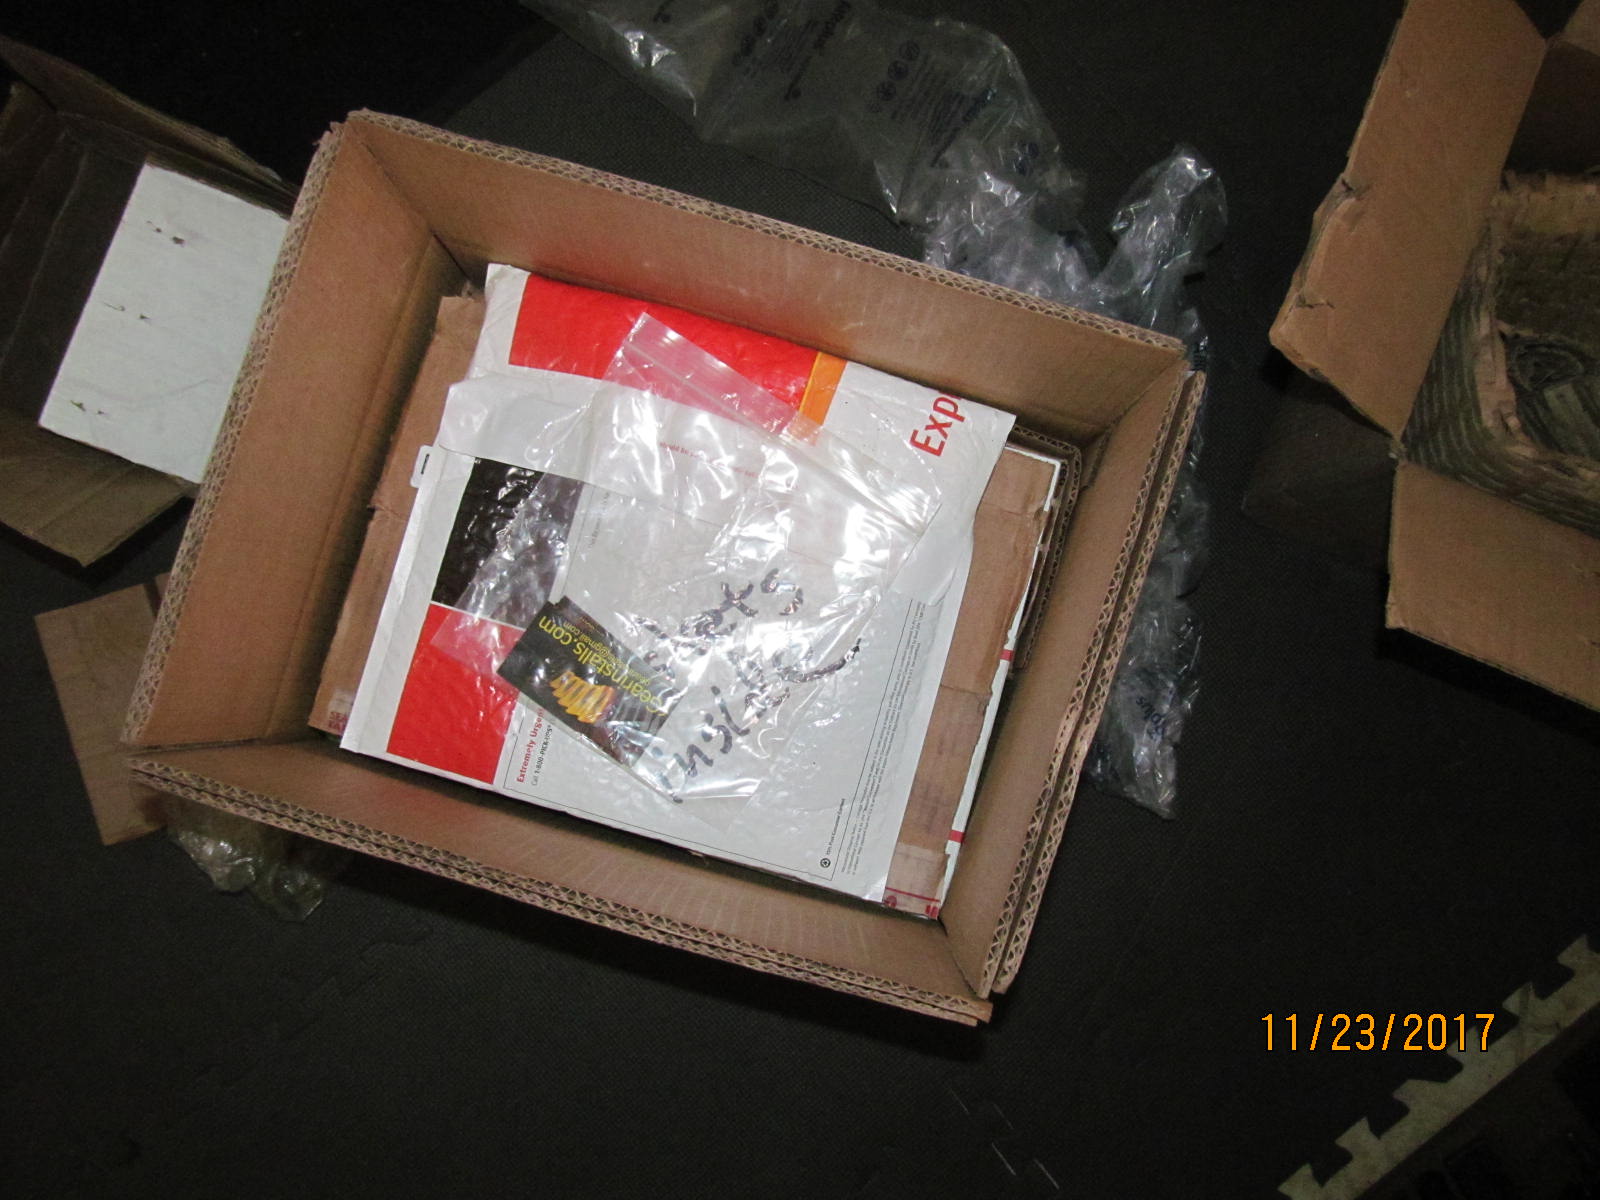
| I'm trying to cut open the dual boxes....and Cola has to see what's happening.. |
|---|
|
|
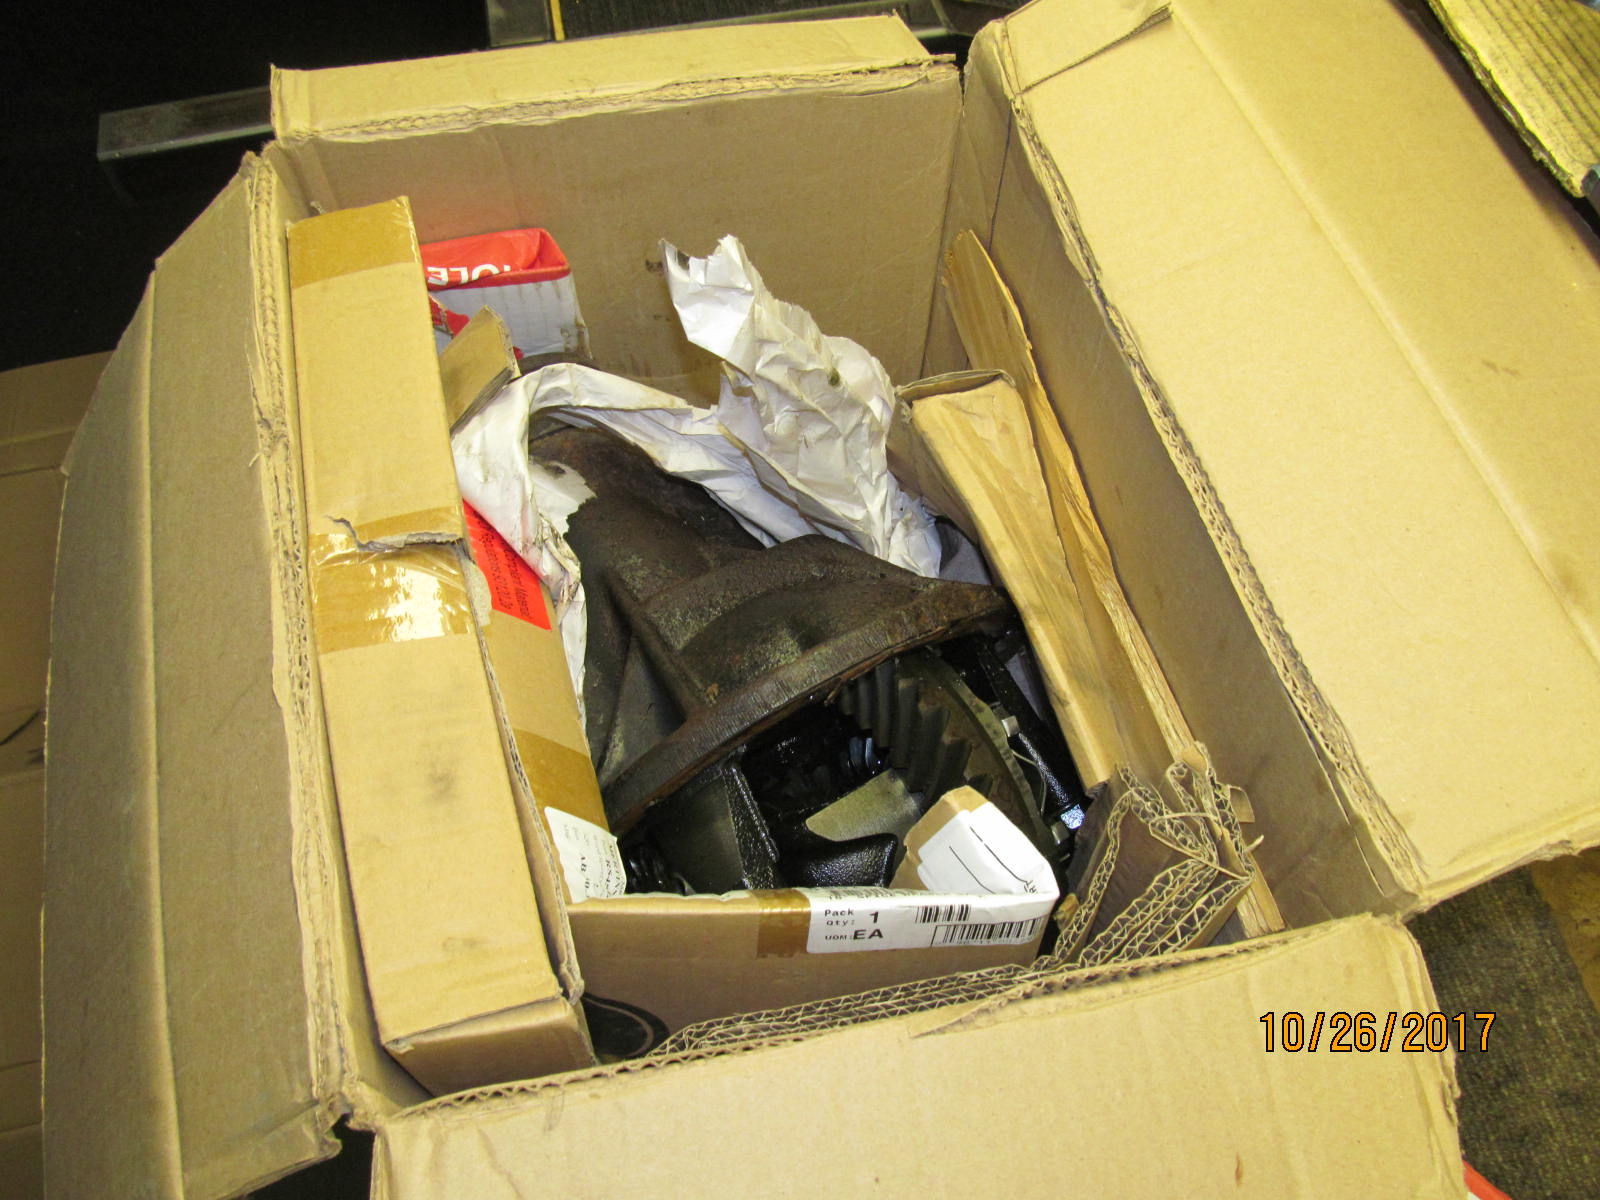
| Nice double boxing with good padding inside the box. |
|---|
|
|
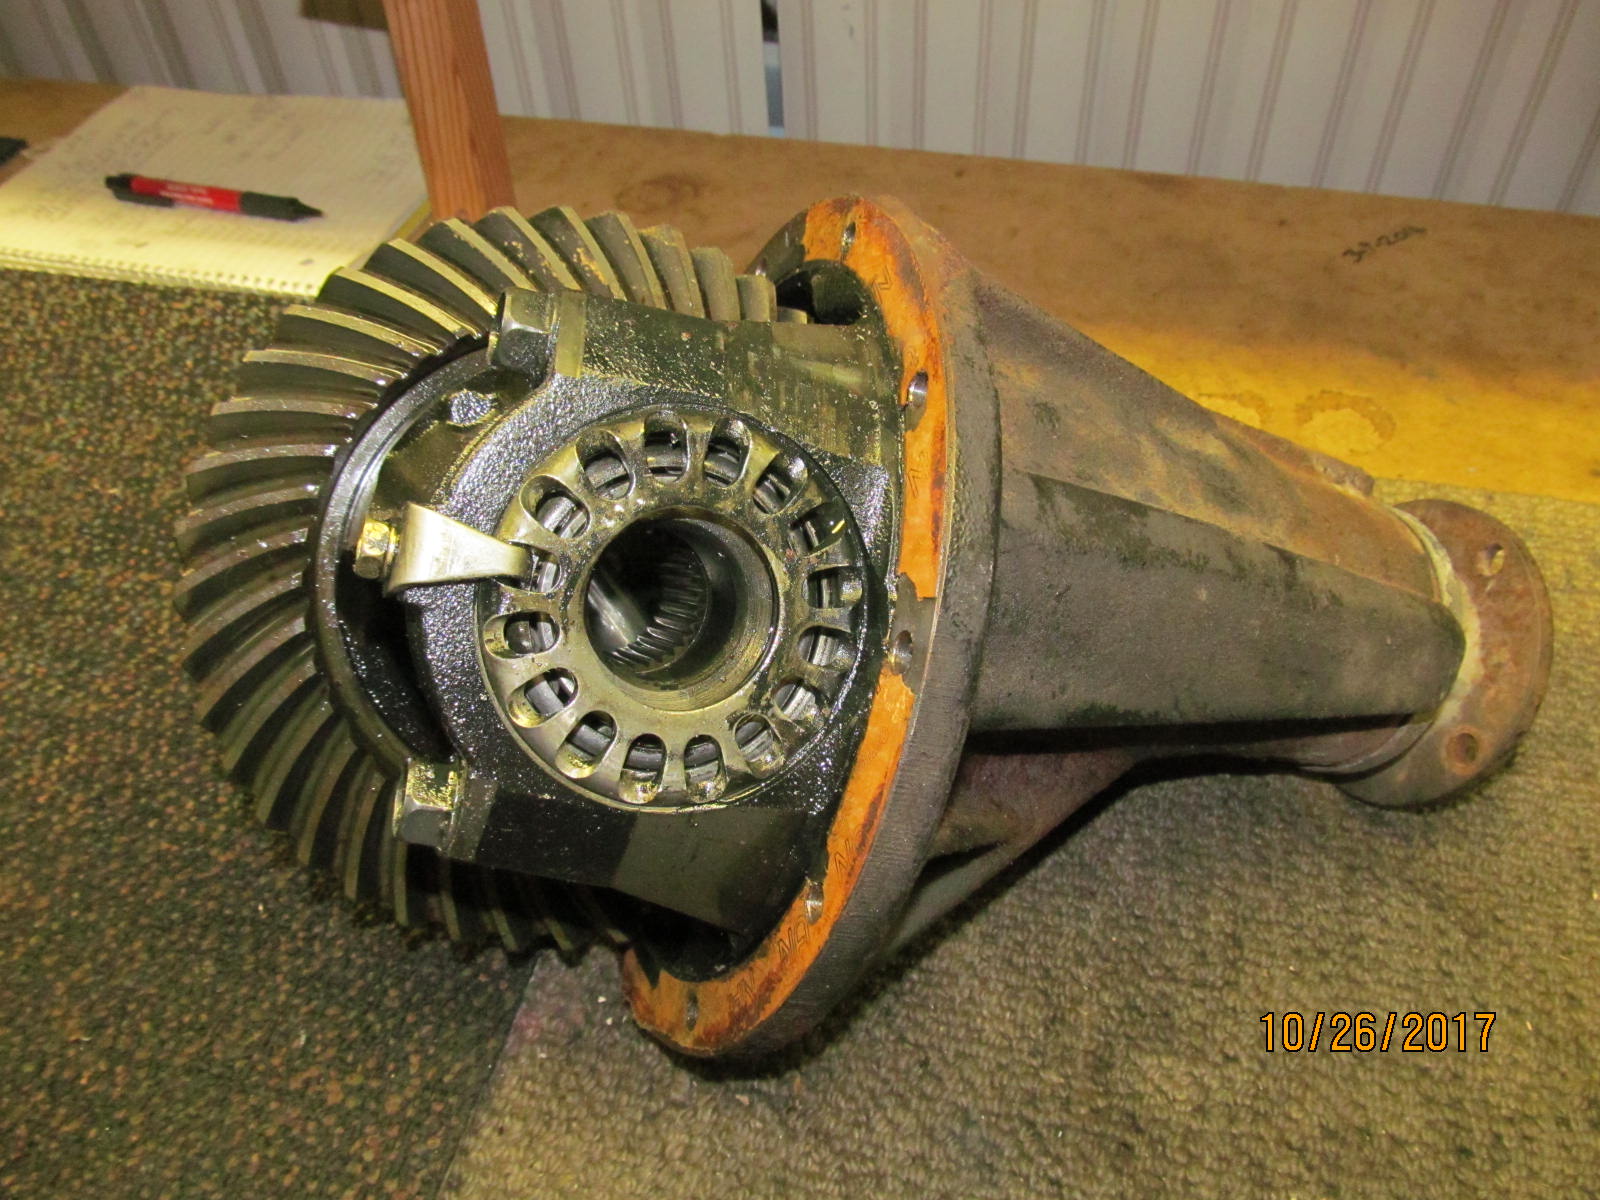
| This 3rd will be easy to clean up. |
|---|
|
|
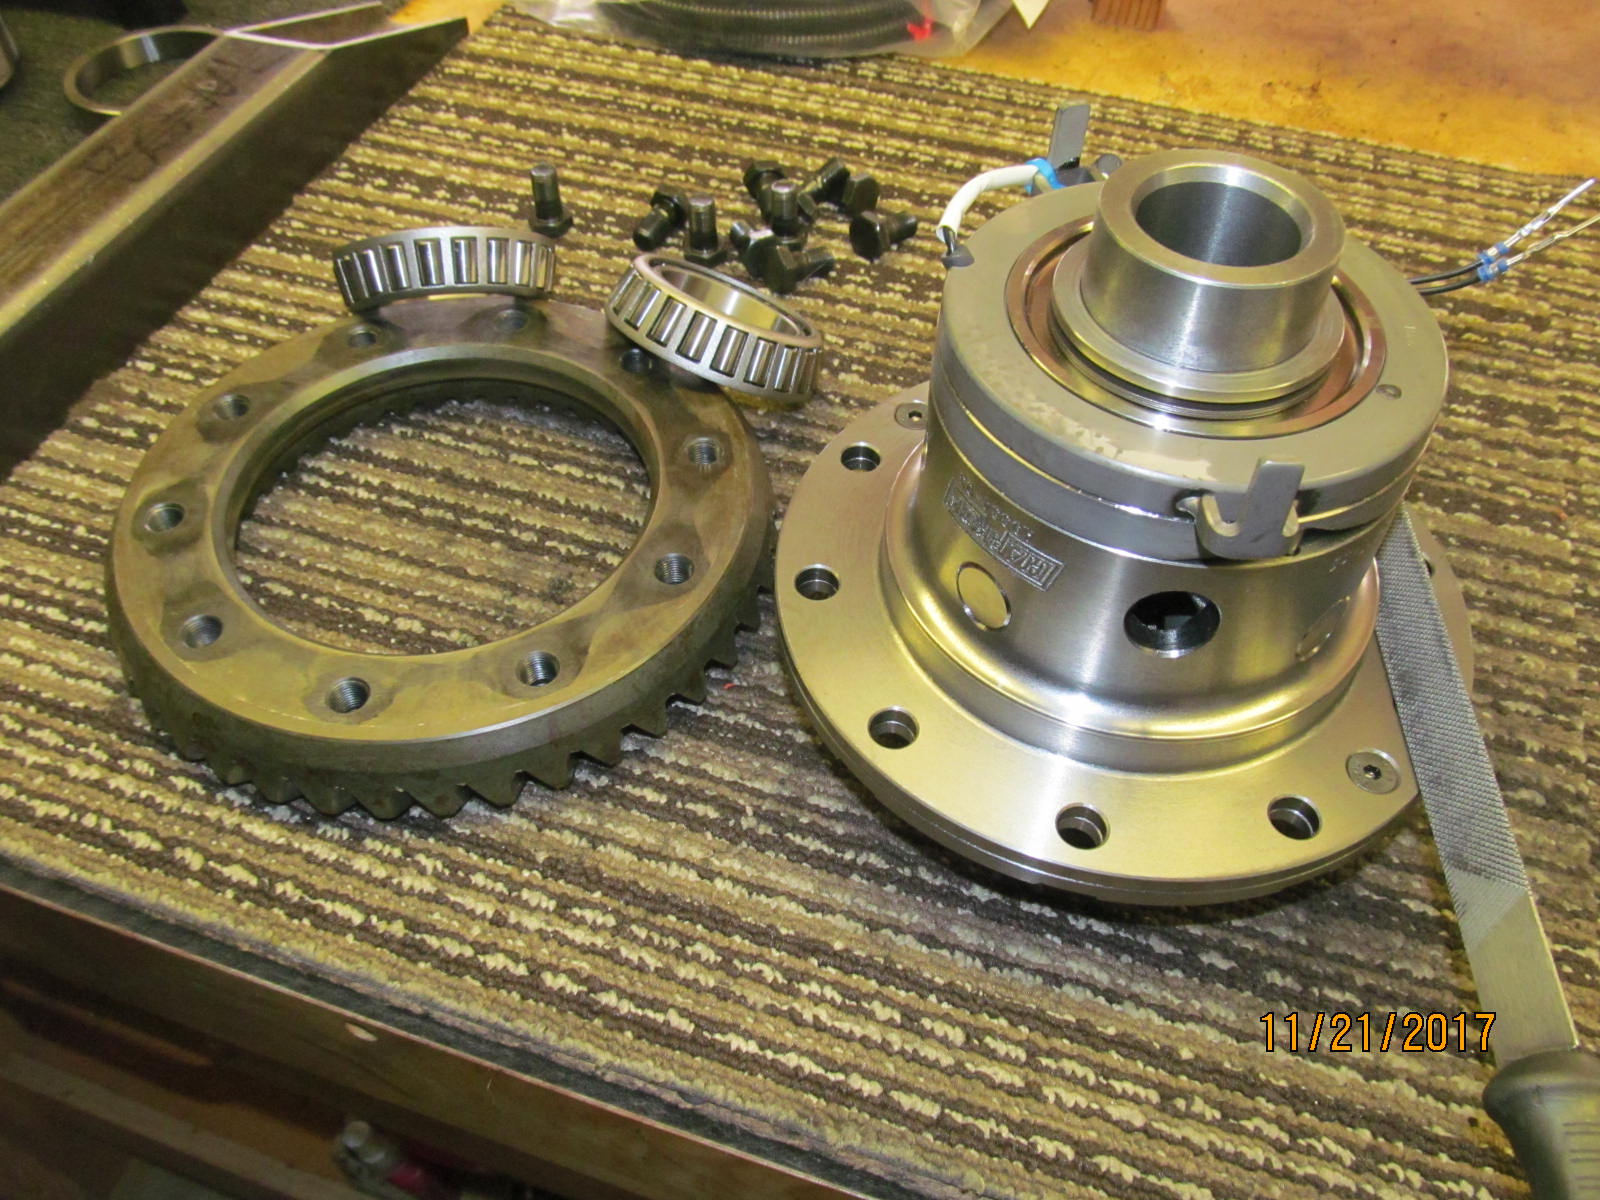
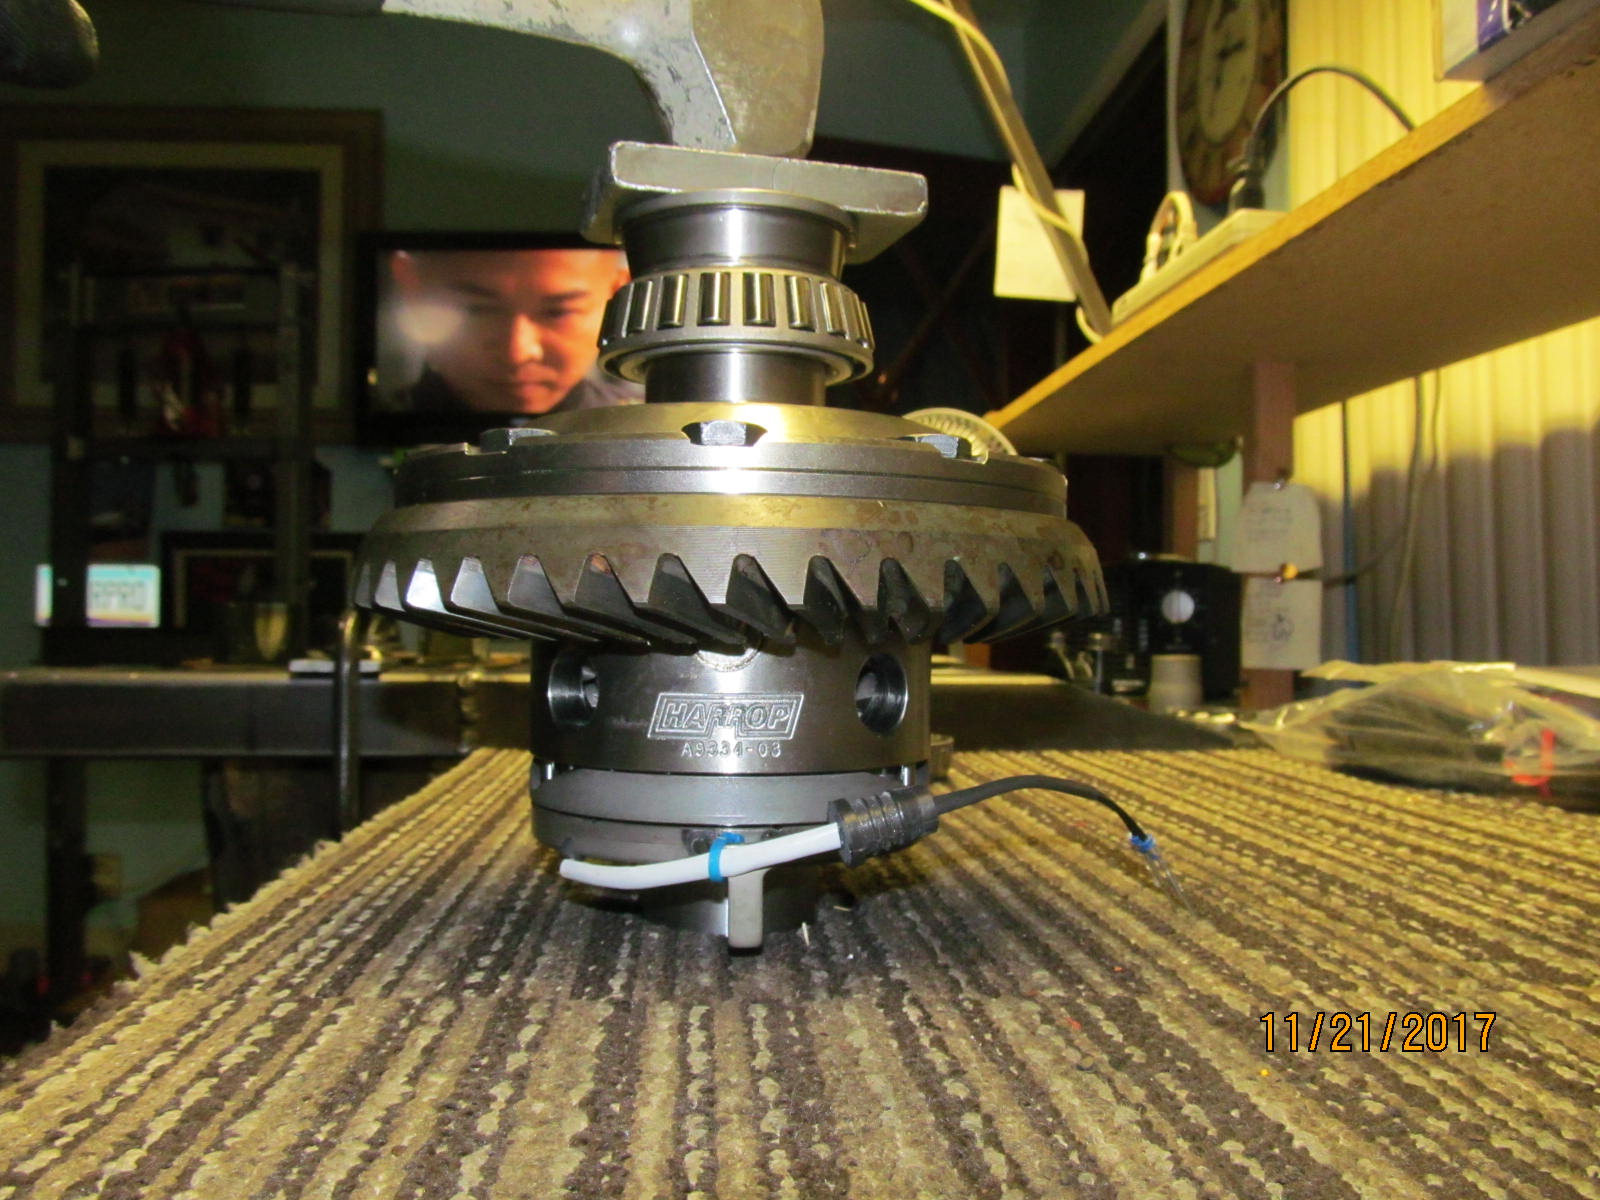
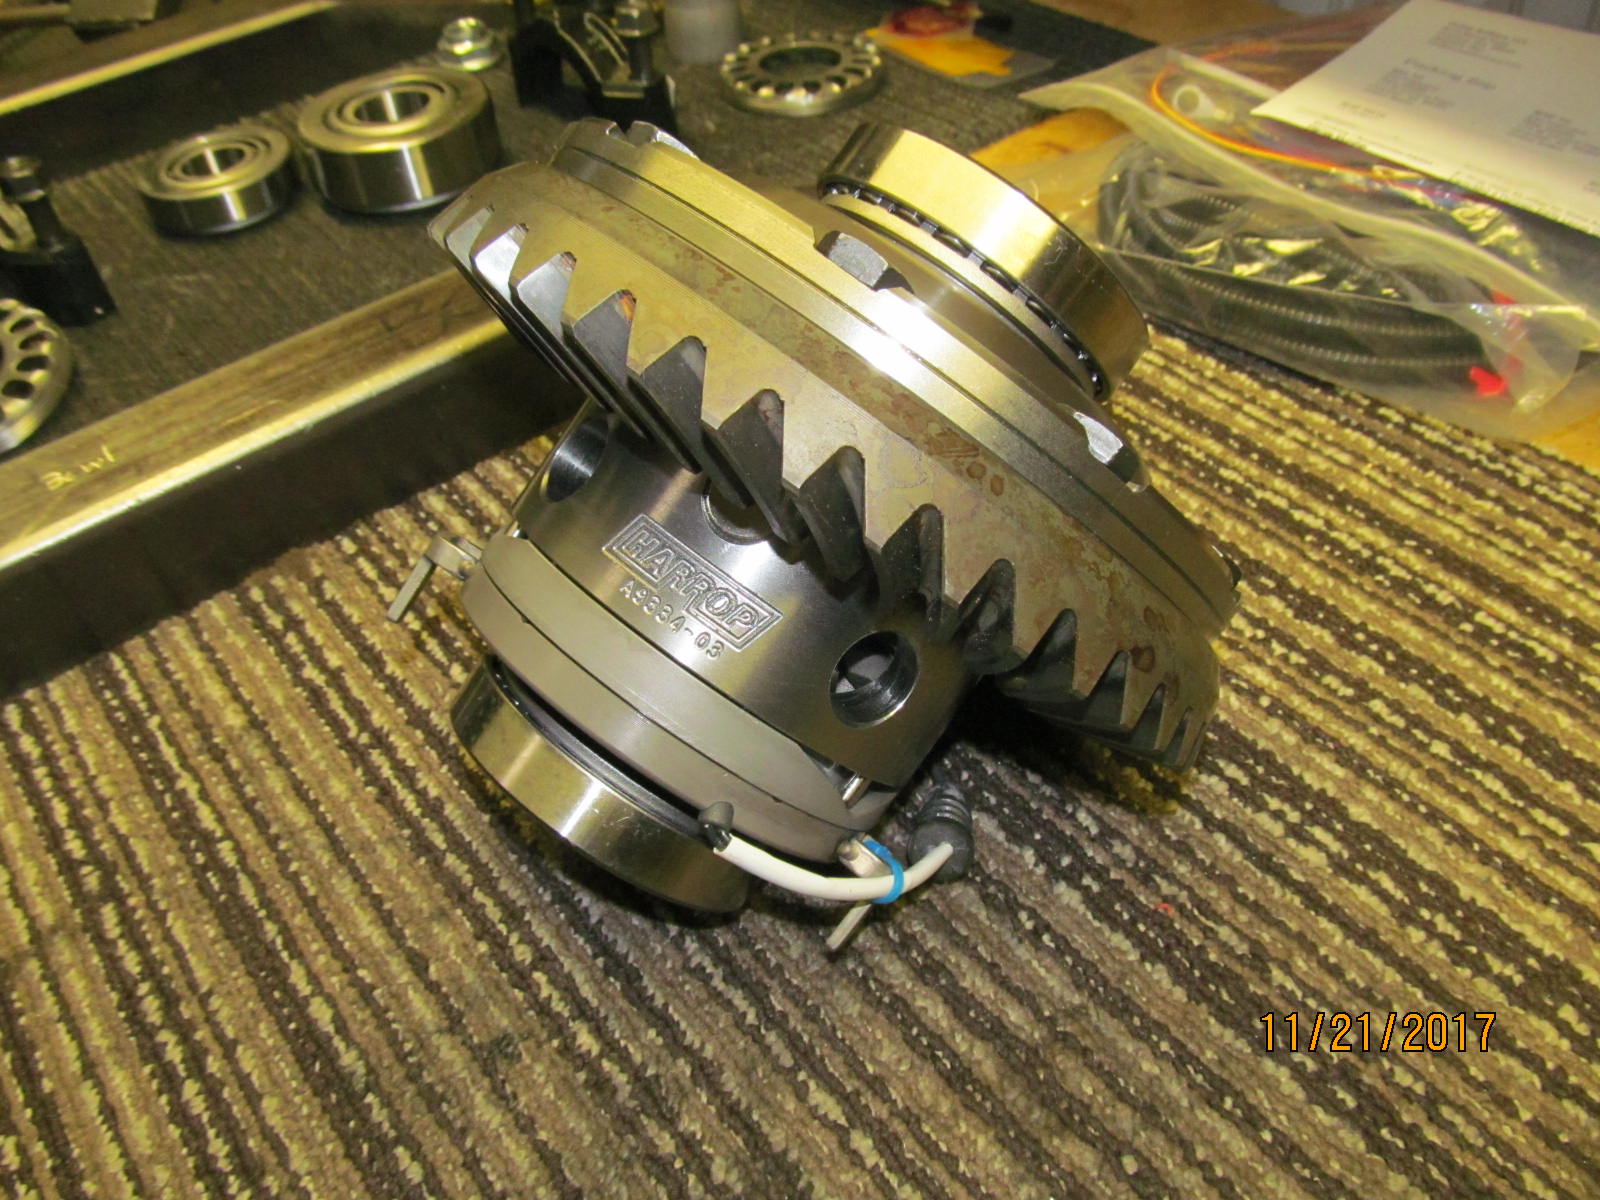
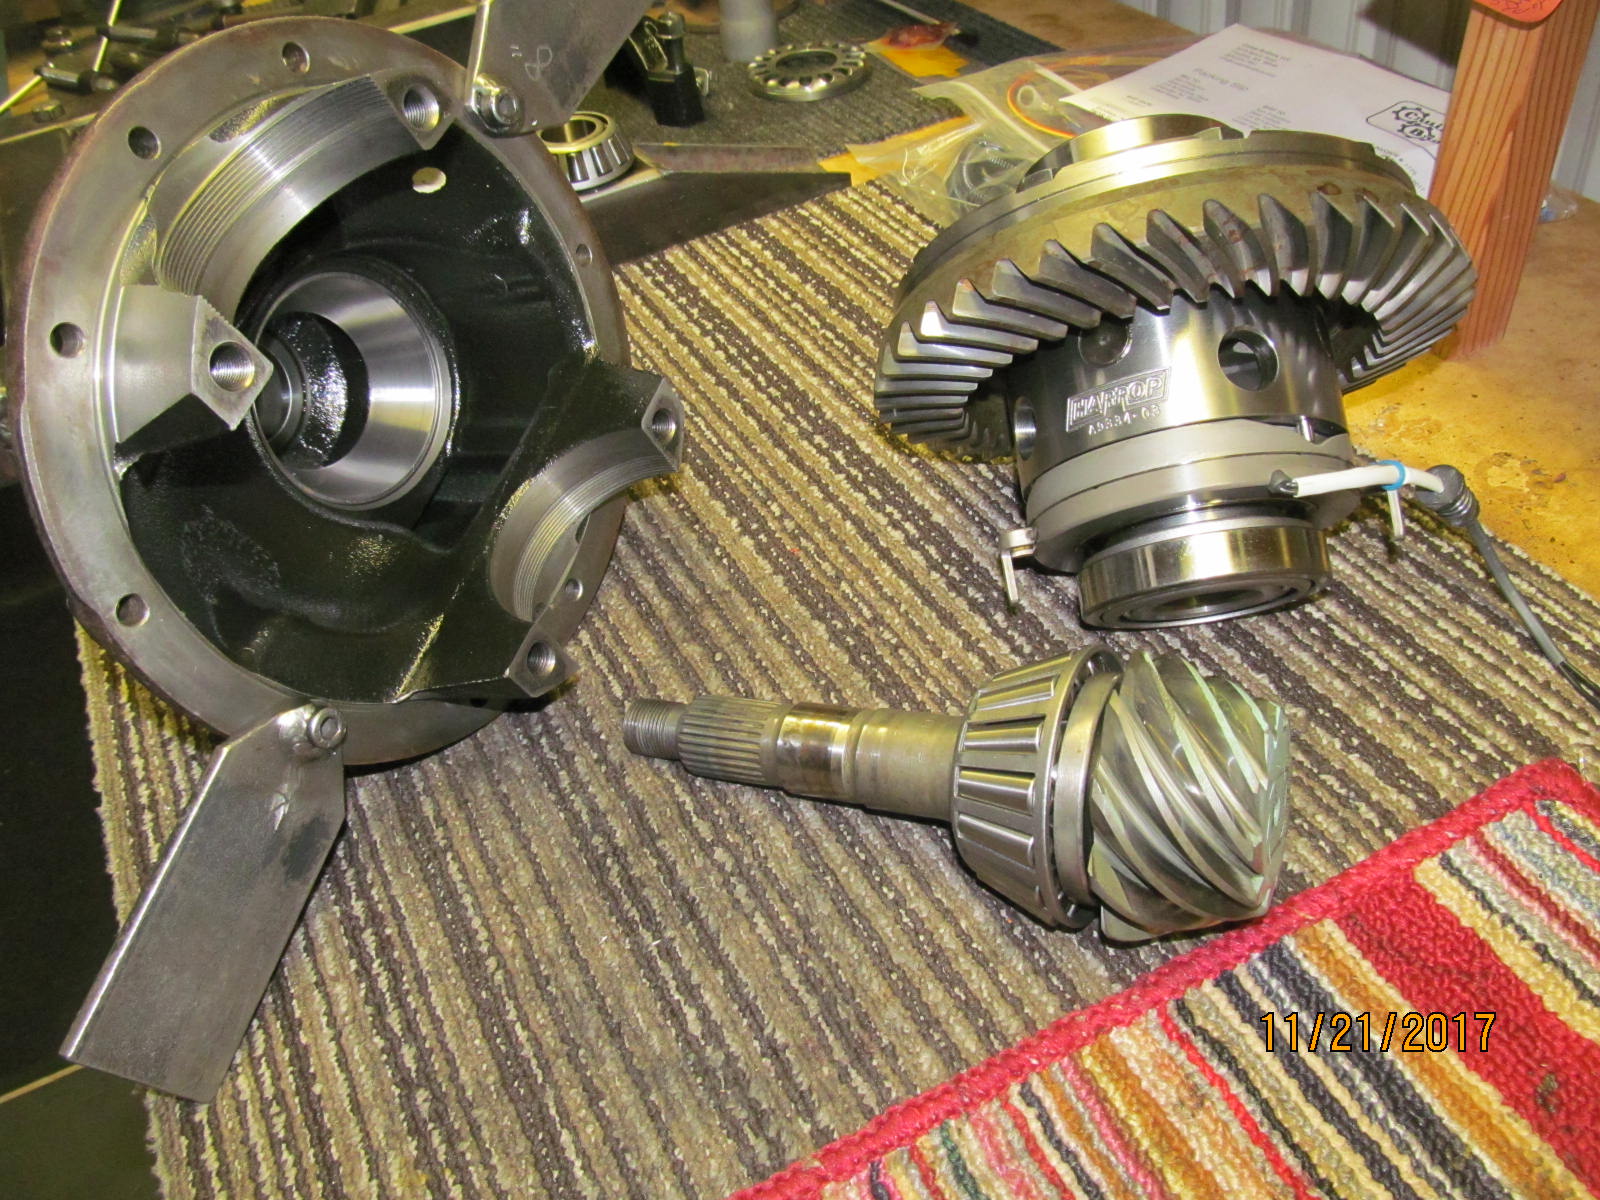
| This #9334 Harrop elocker will be installed. |
|---|
|
|
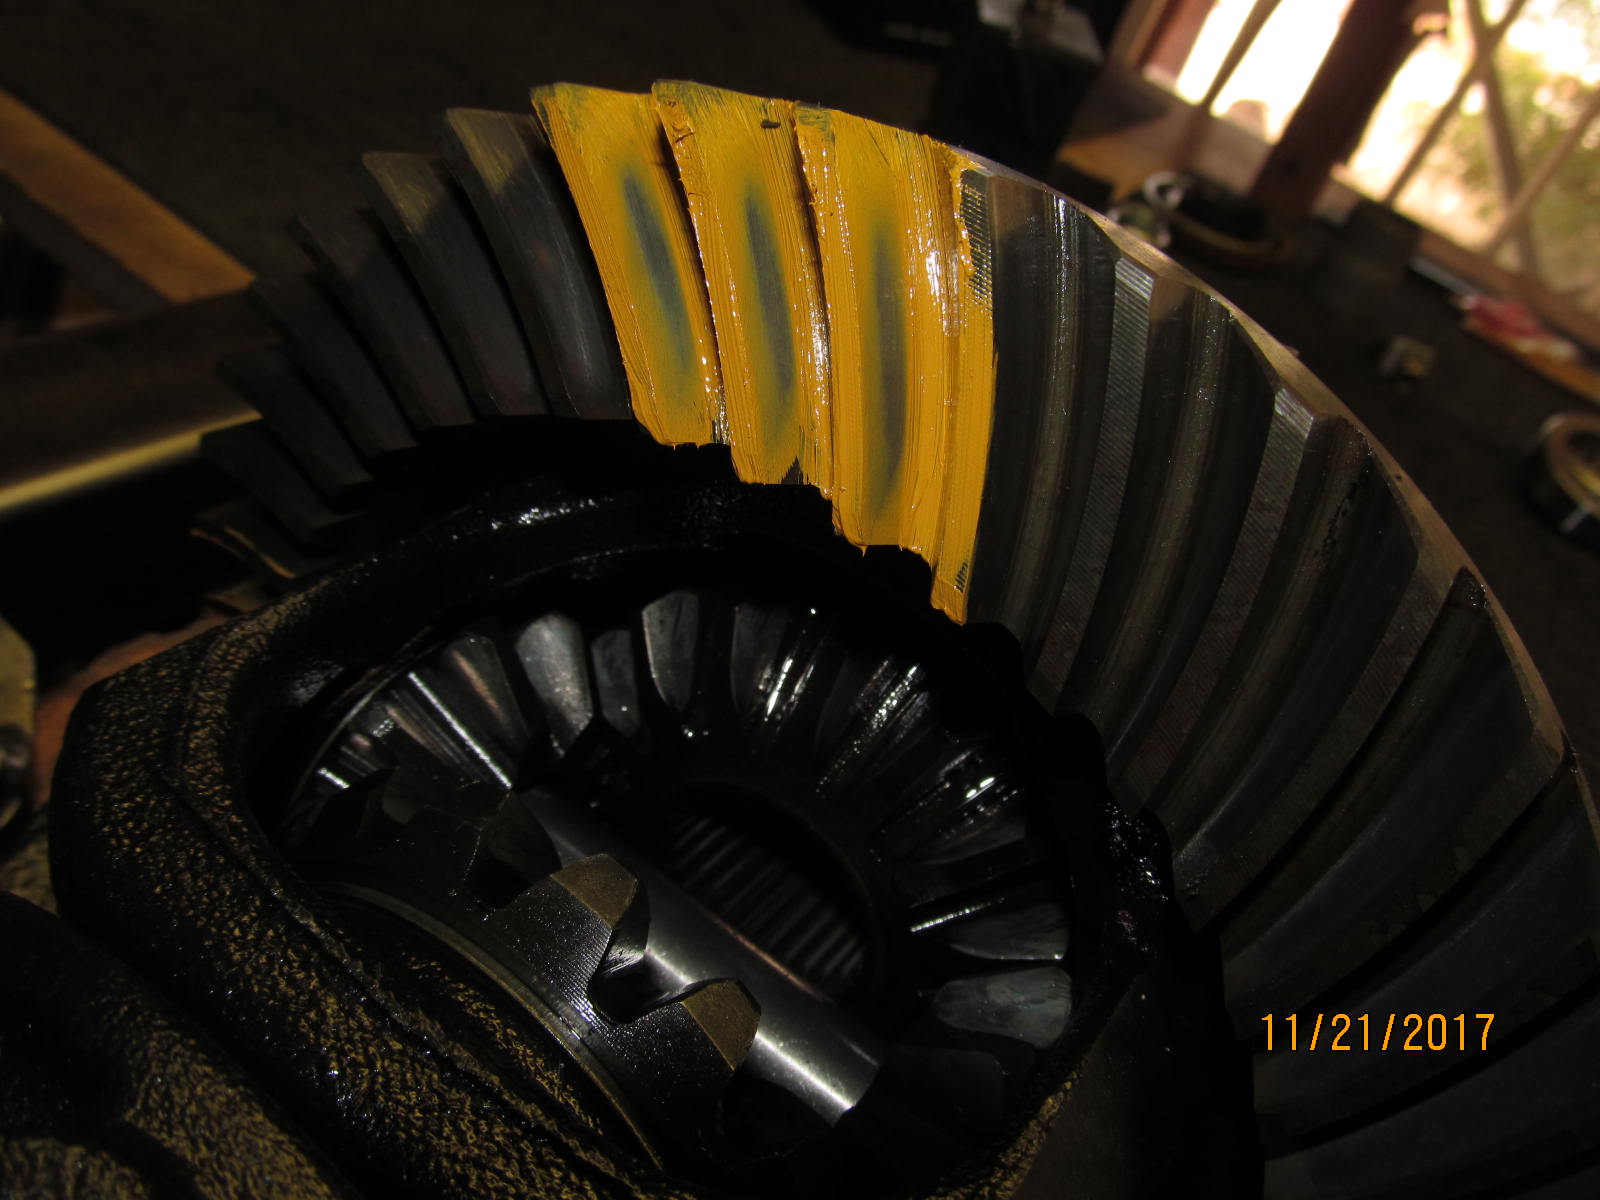
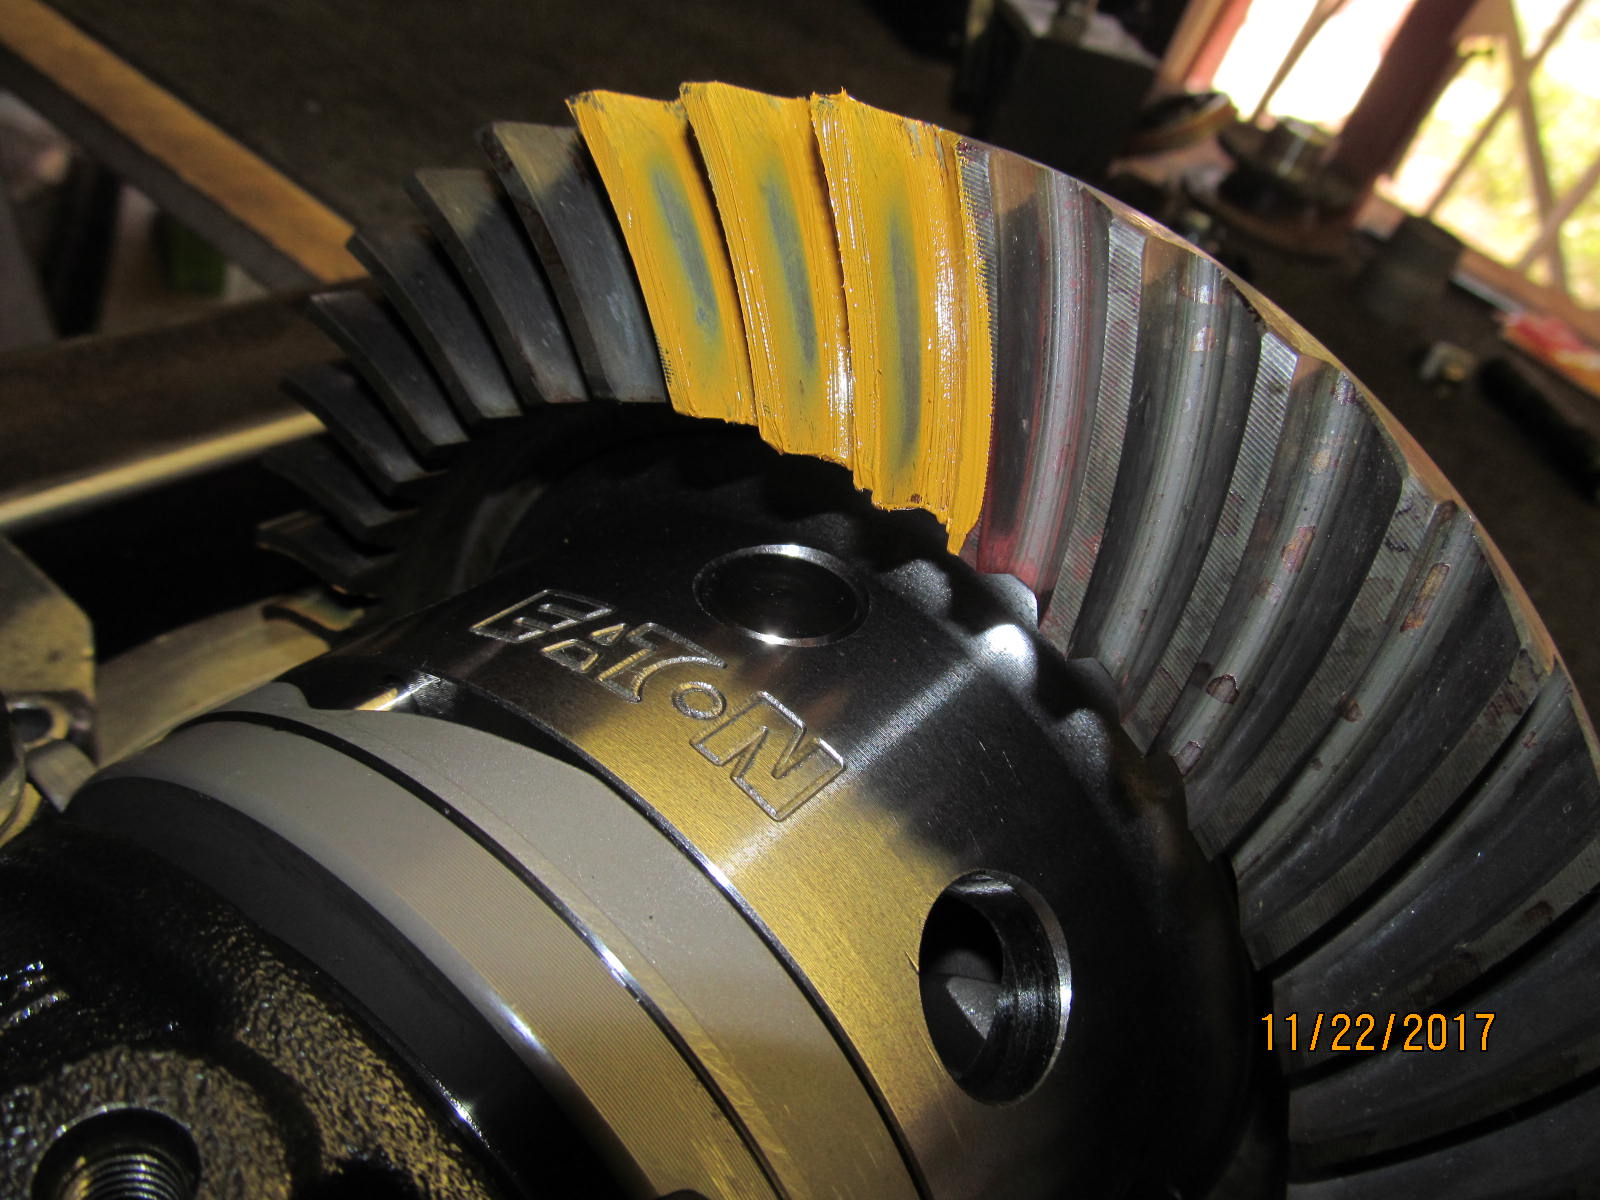
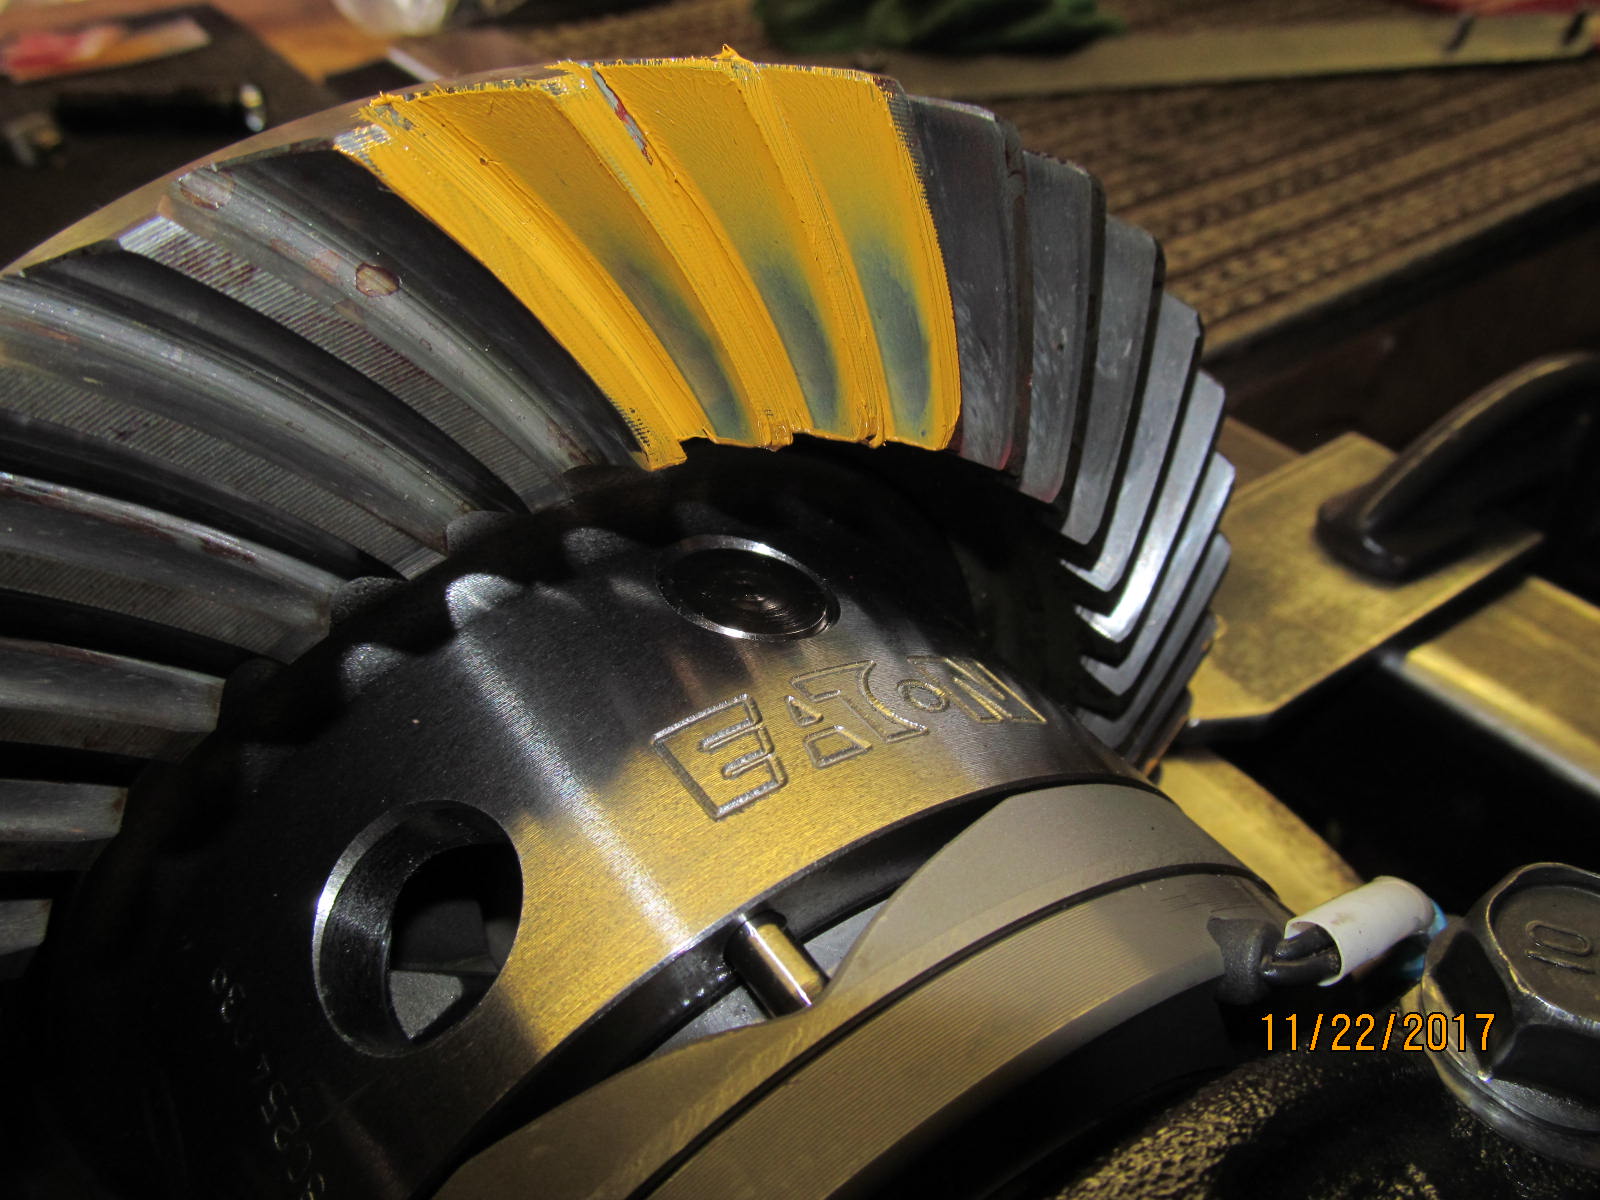
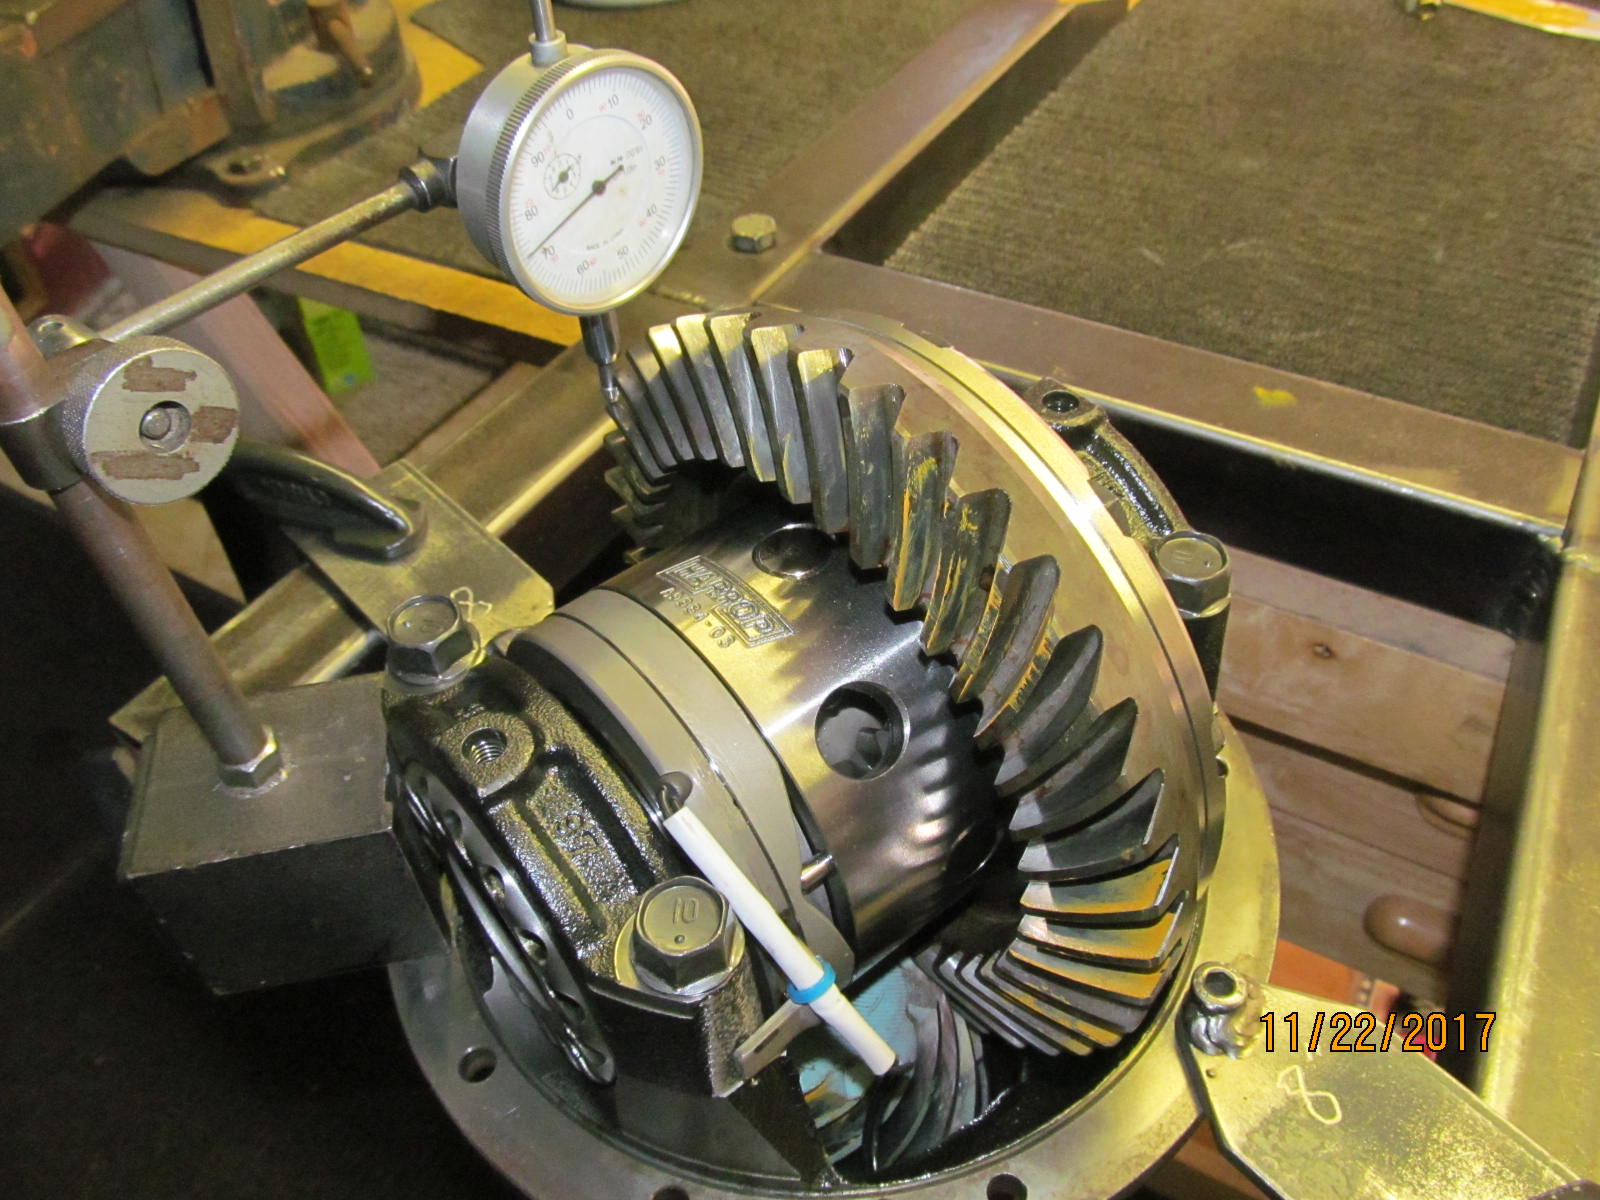
The 410 gears visually appeared aok.....but the pre-paint check tells us if the gears were wearing "out of place" which would means noisy gears.
This is the drive side and I'm very pleased with this pattern. |
|---|
|
|
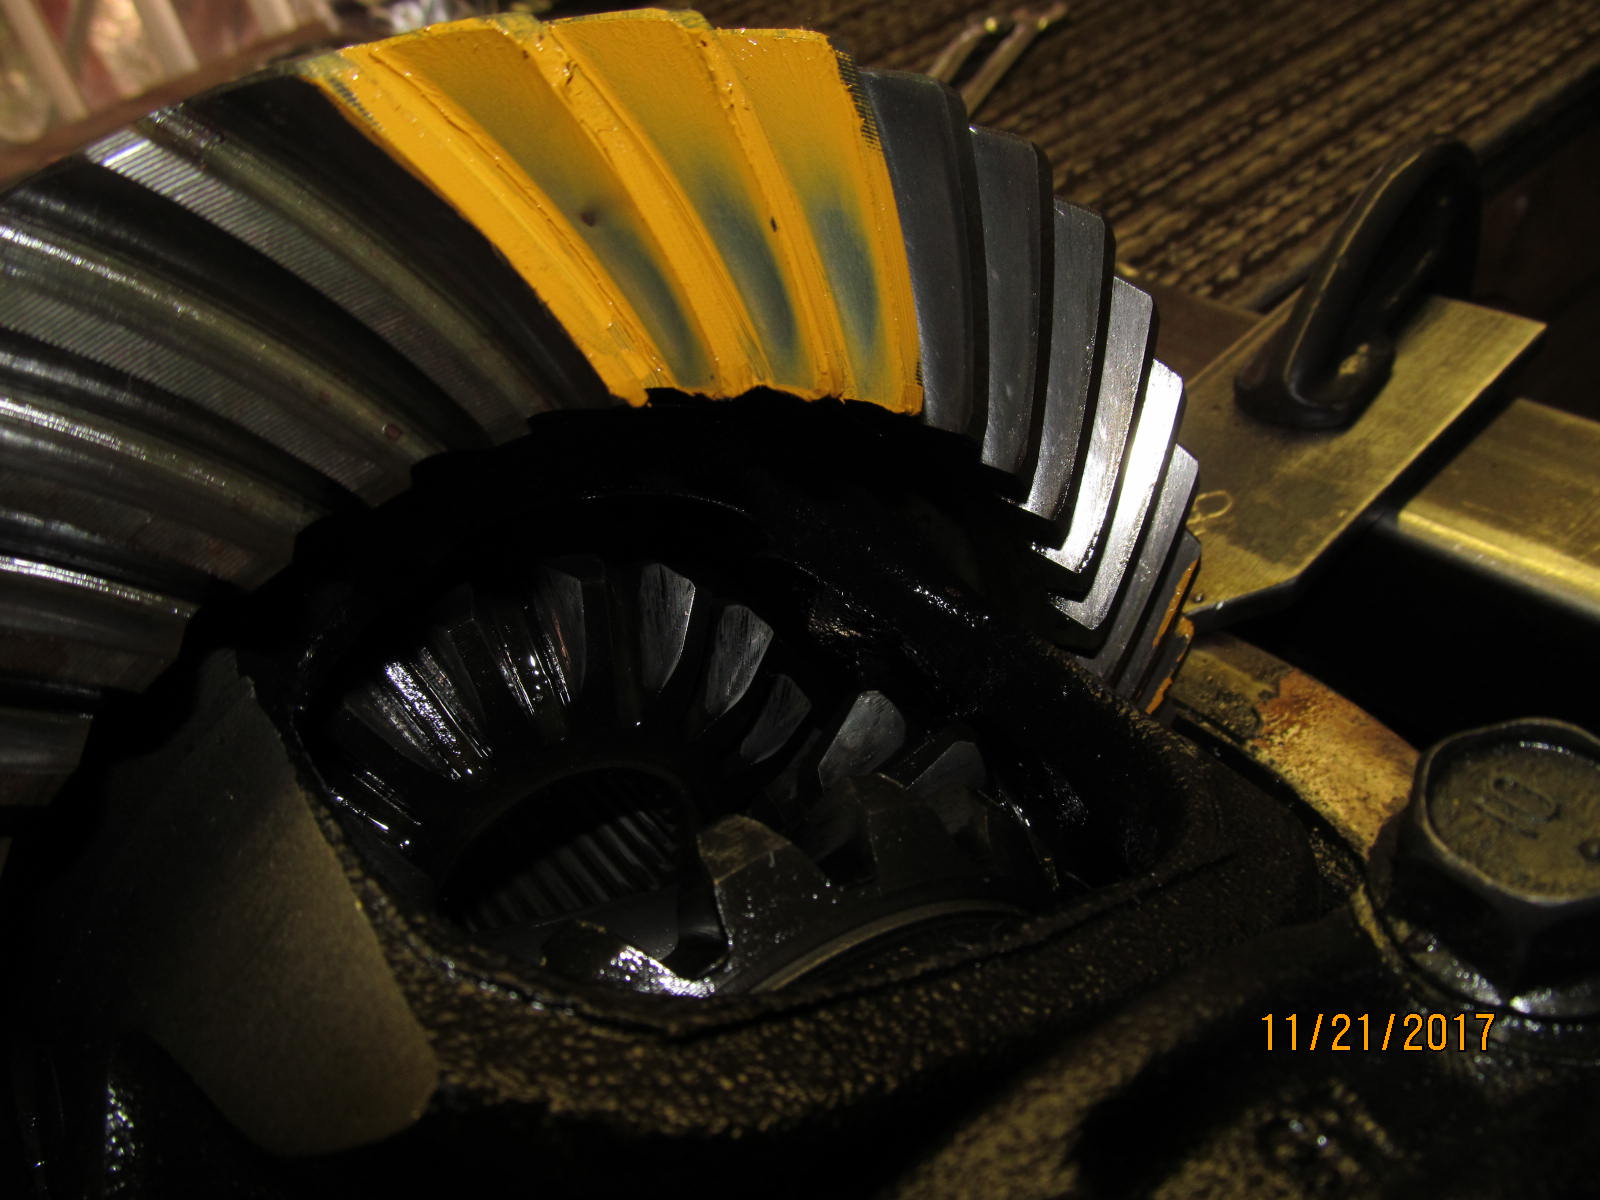
Coast and looks wonderful. These gears can go another 500,000 miles if the 85W-140 gear oil is kept clean ;)
Mike-If you're reading this... switch the inner axle seals to the MarlinCrawler "eco" version....
It will keep the gear oil on this side and the grease on the other side. |
|---|
|
|
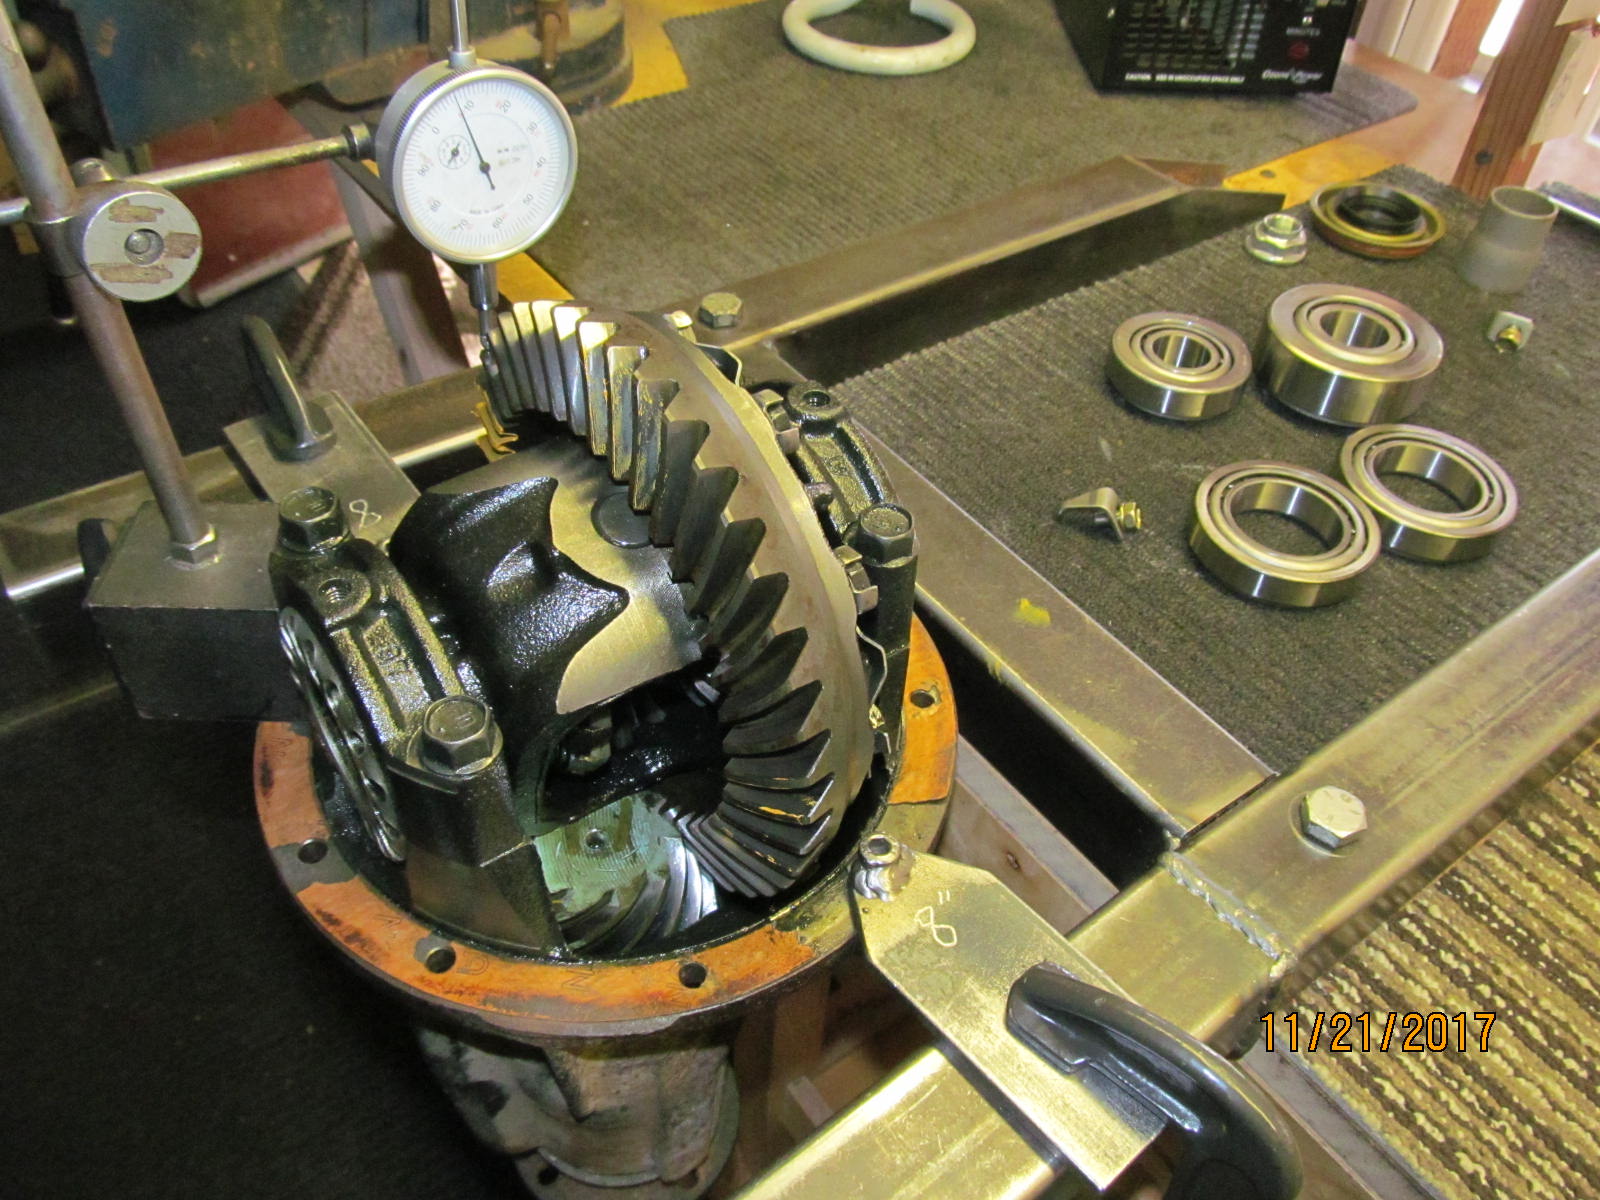
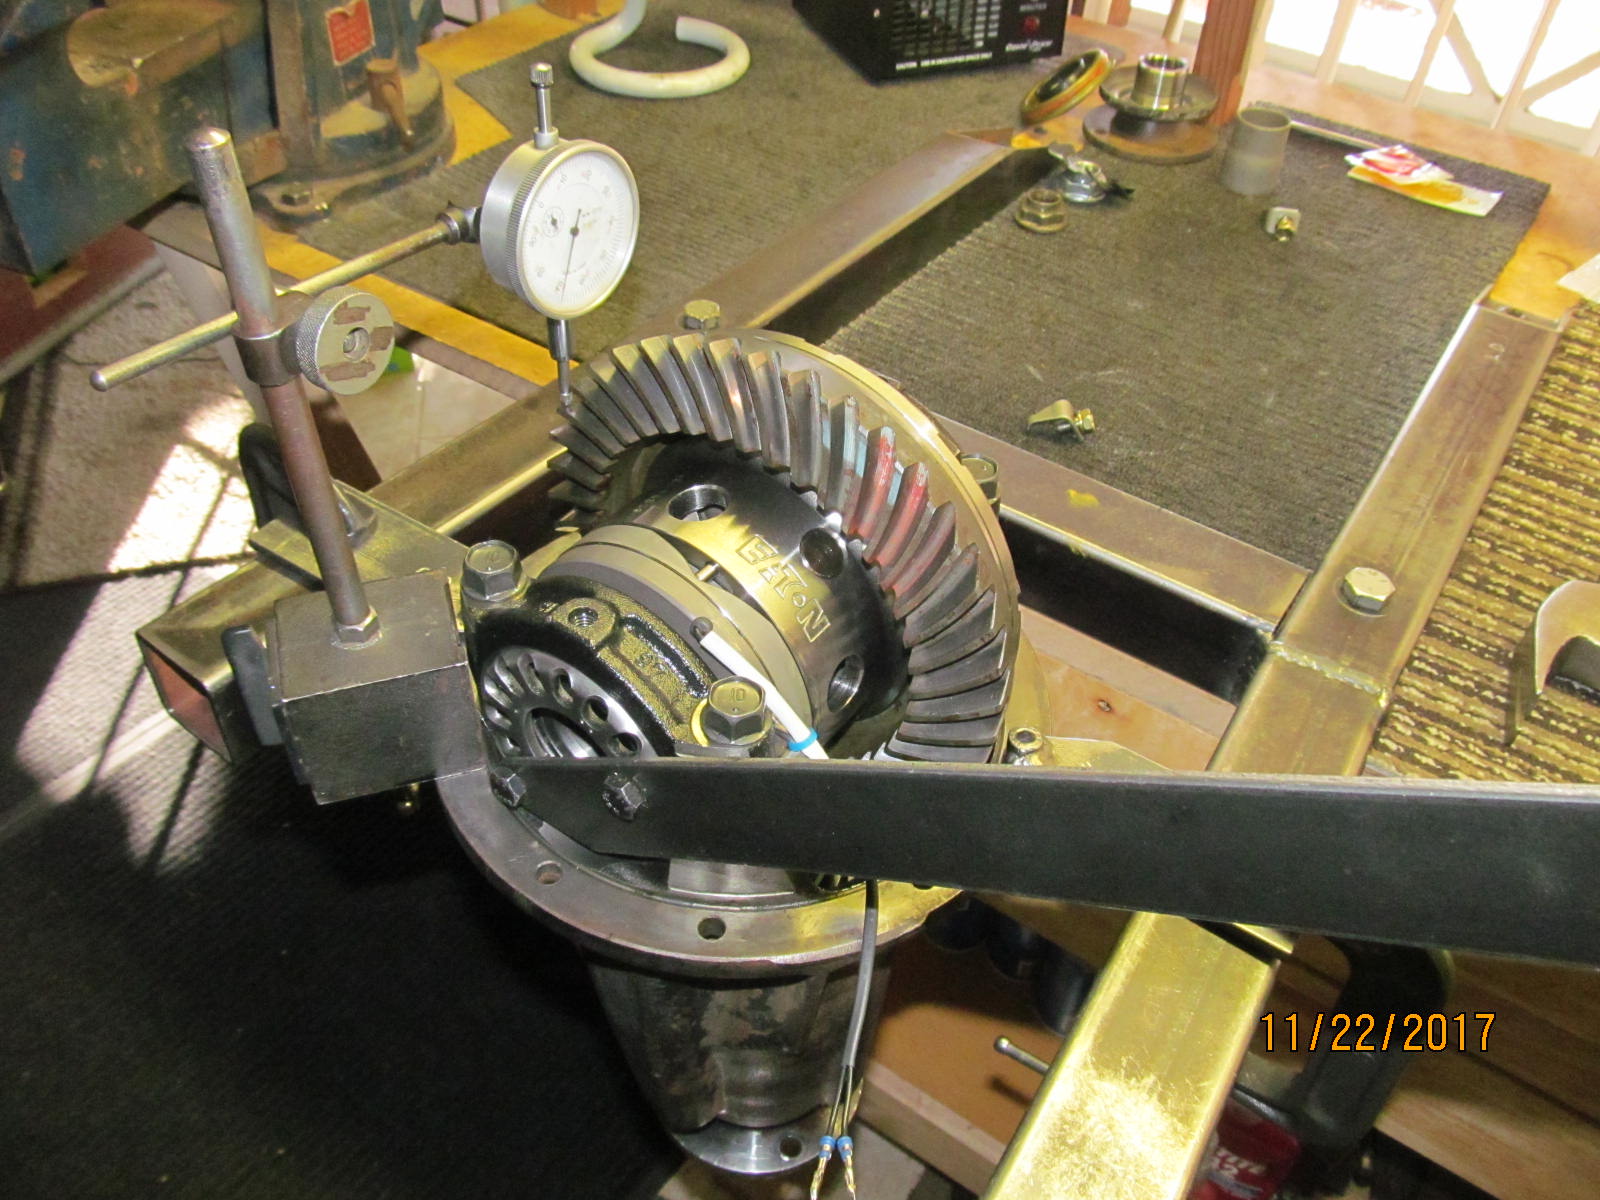
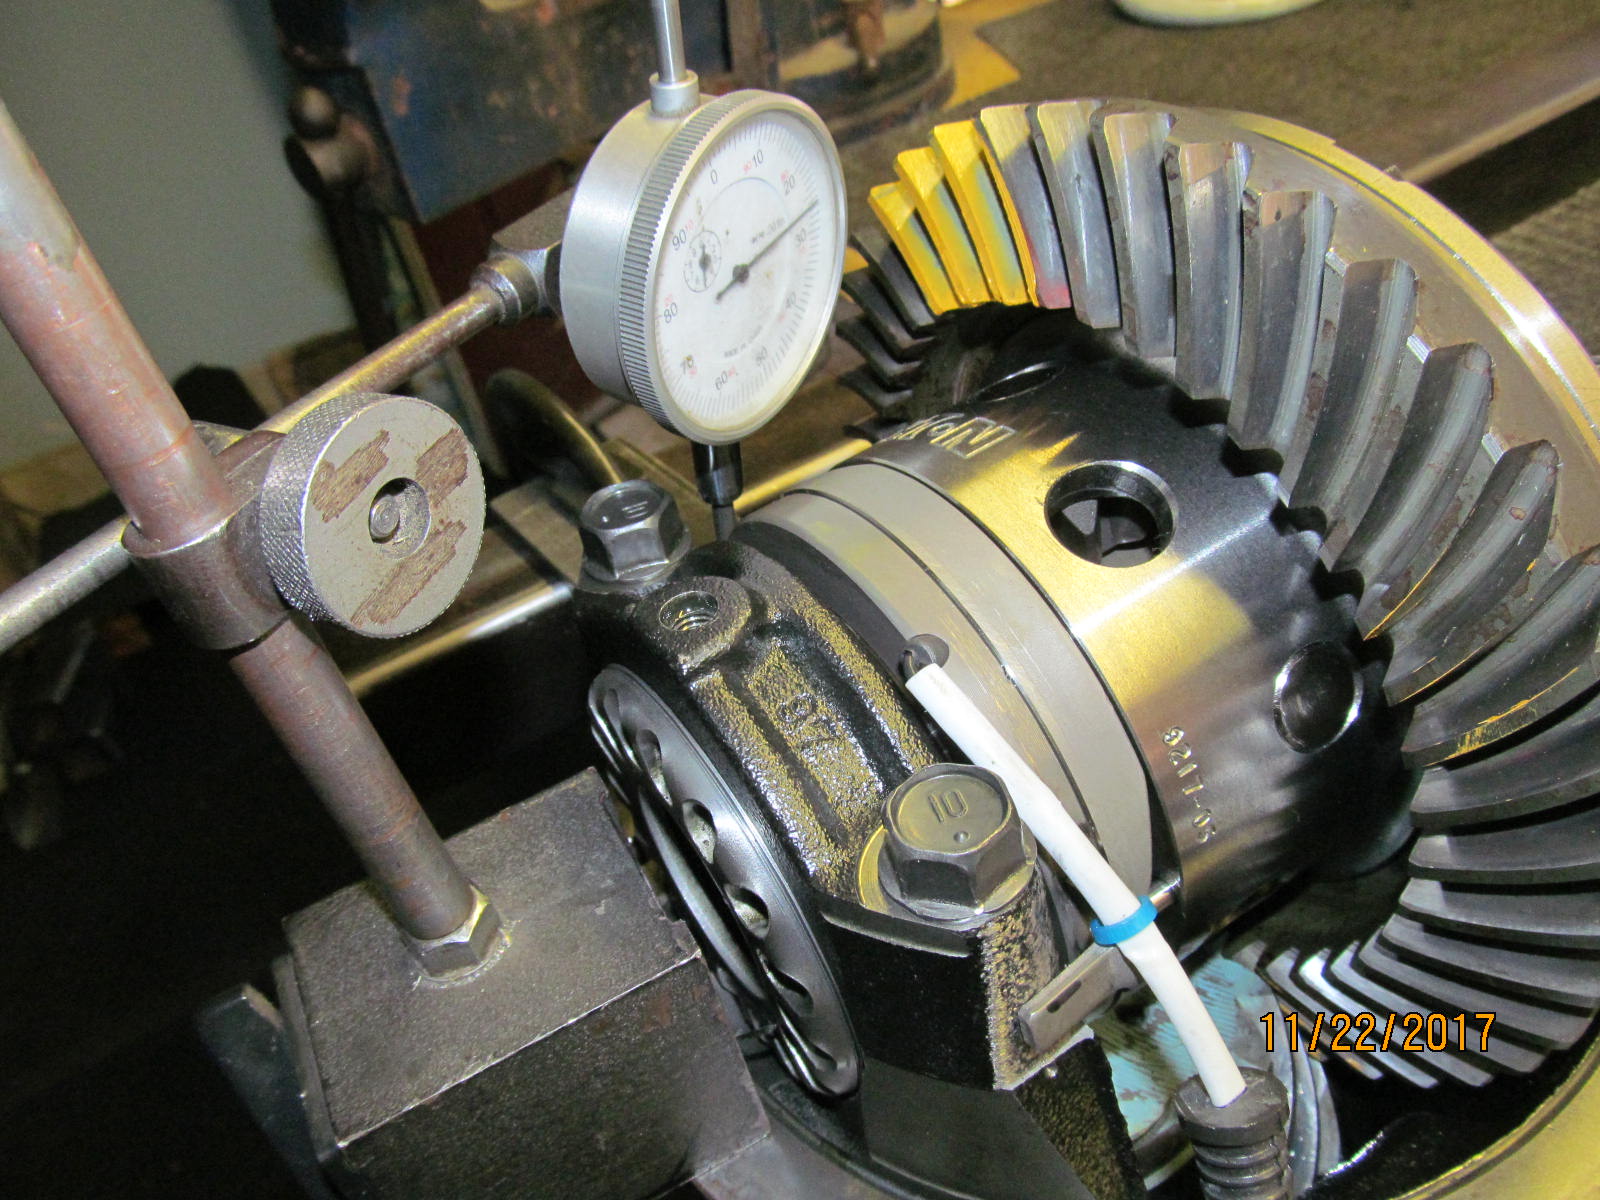
| Backlash check.....measuring in spec. |
|---|
|
|
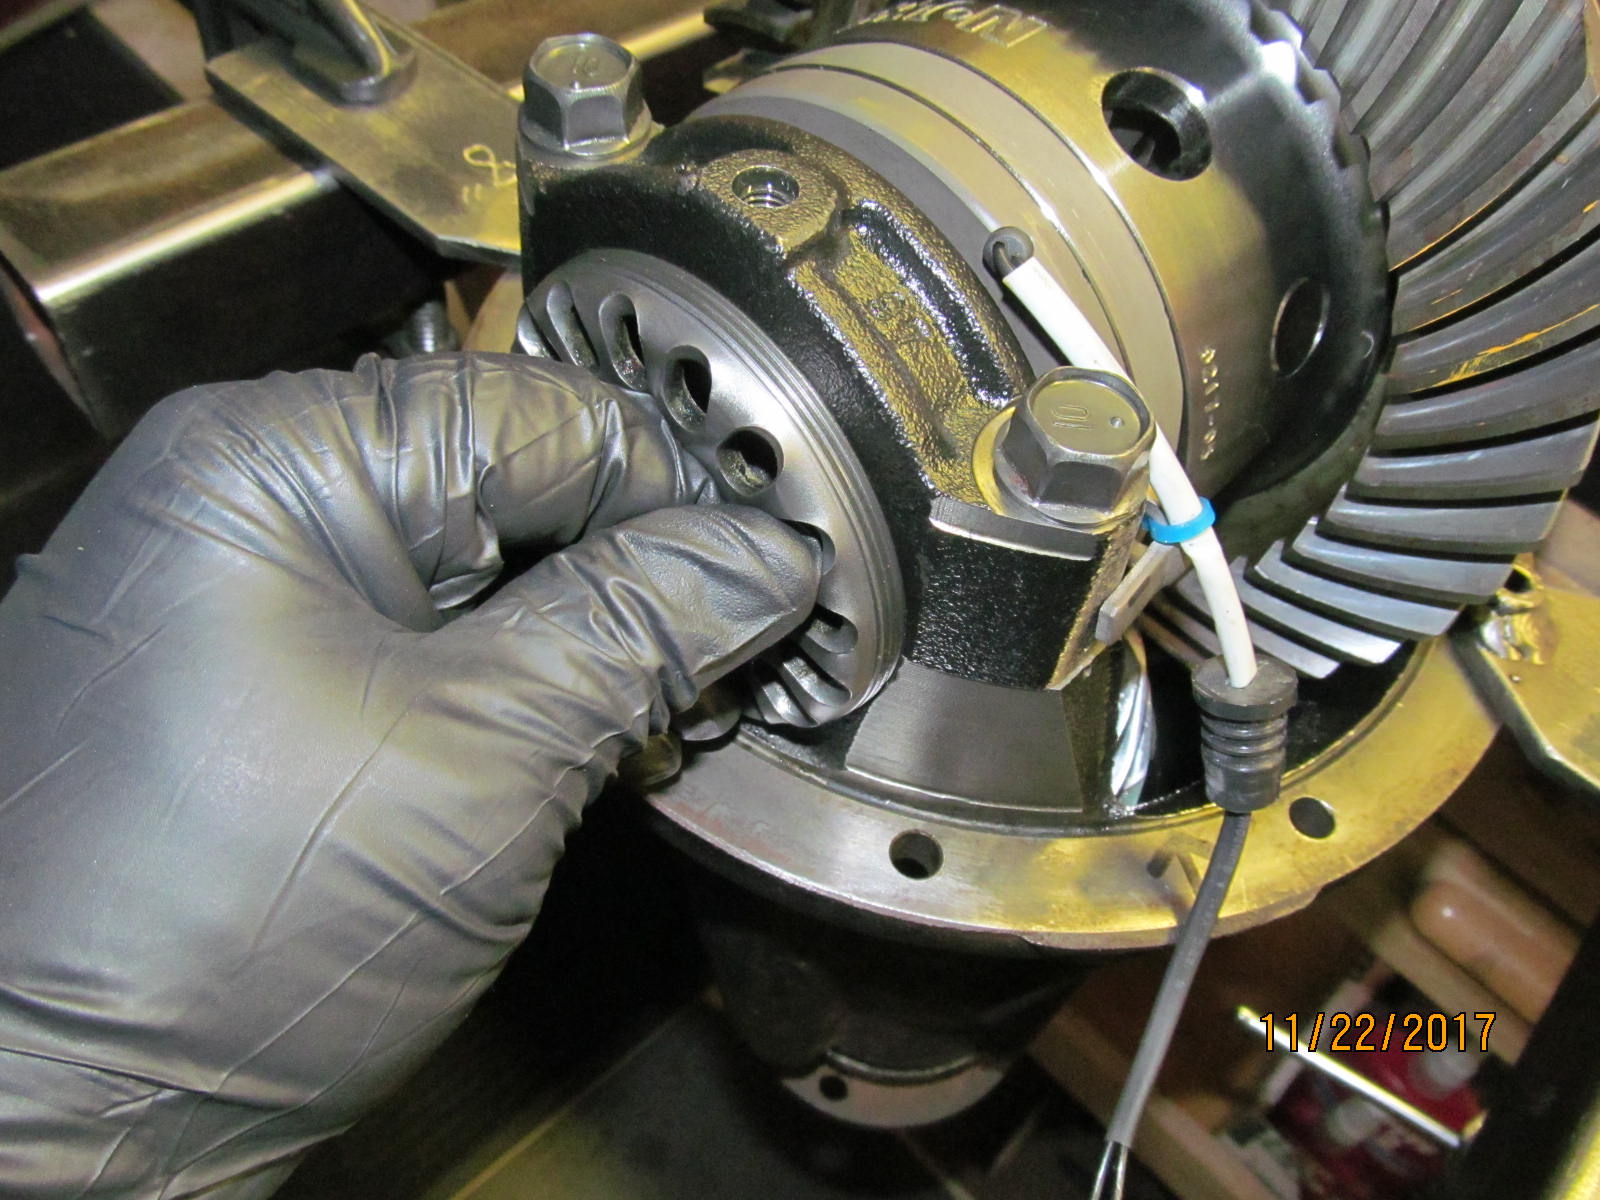
| So the original open carrier was discarded and the 410 ring/elocker are now checked for any burrs or ridges. All was great. |
|---|
|
|
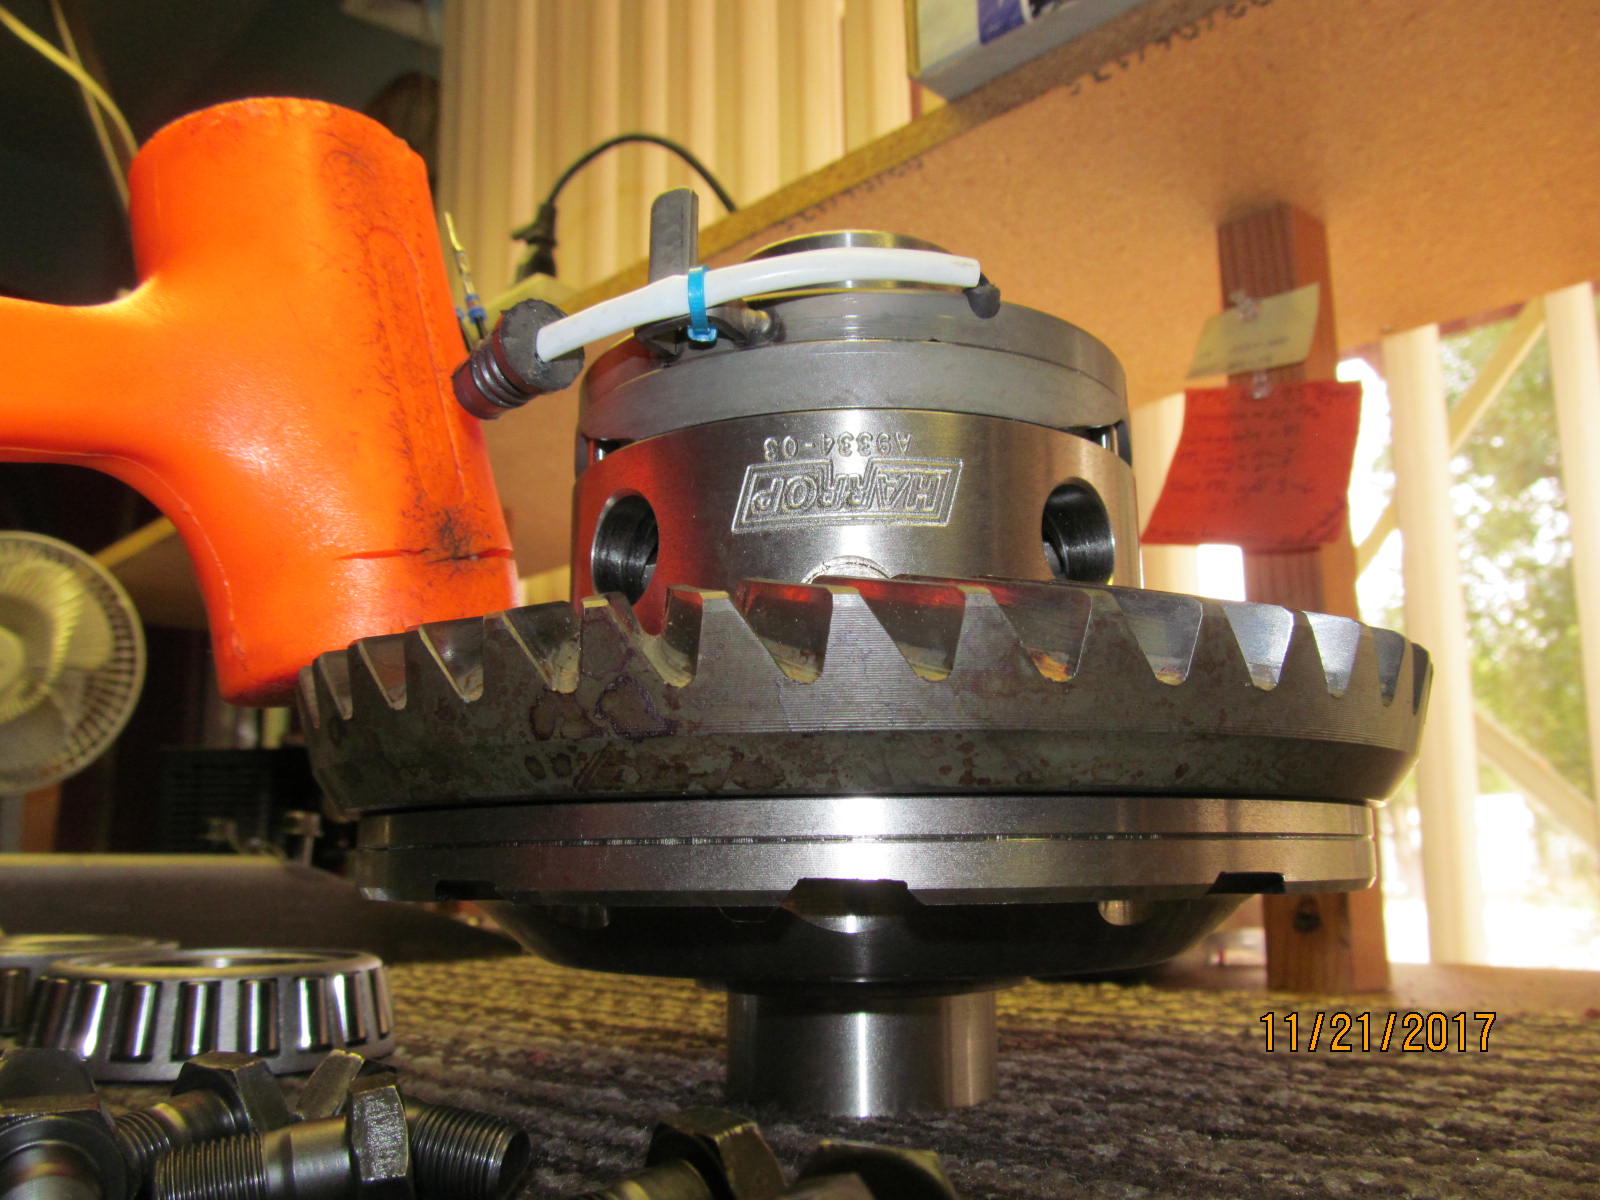
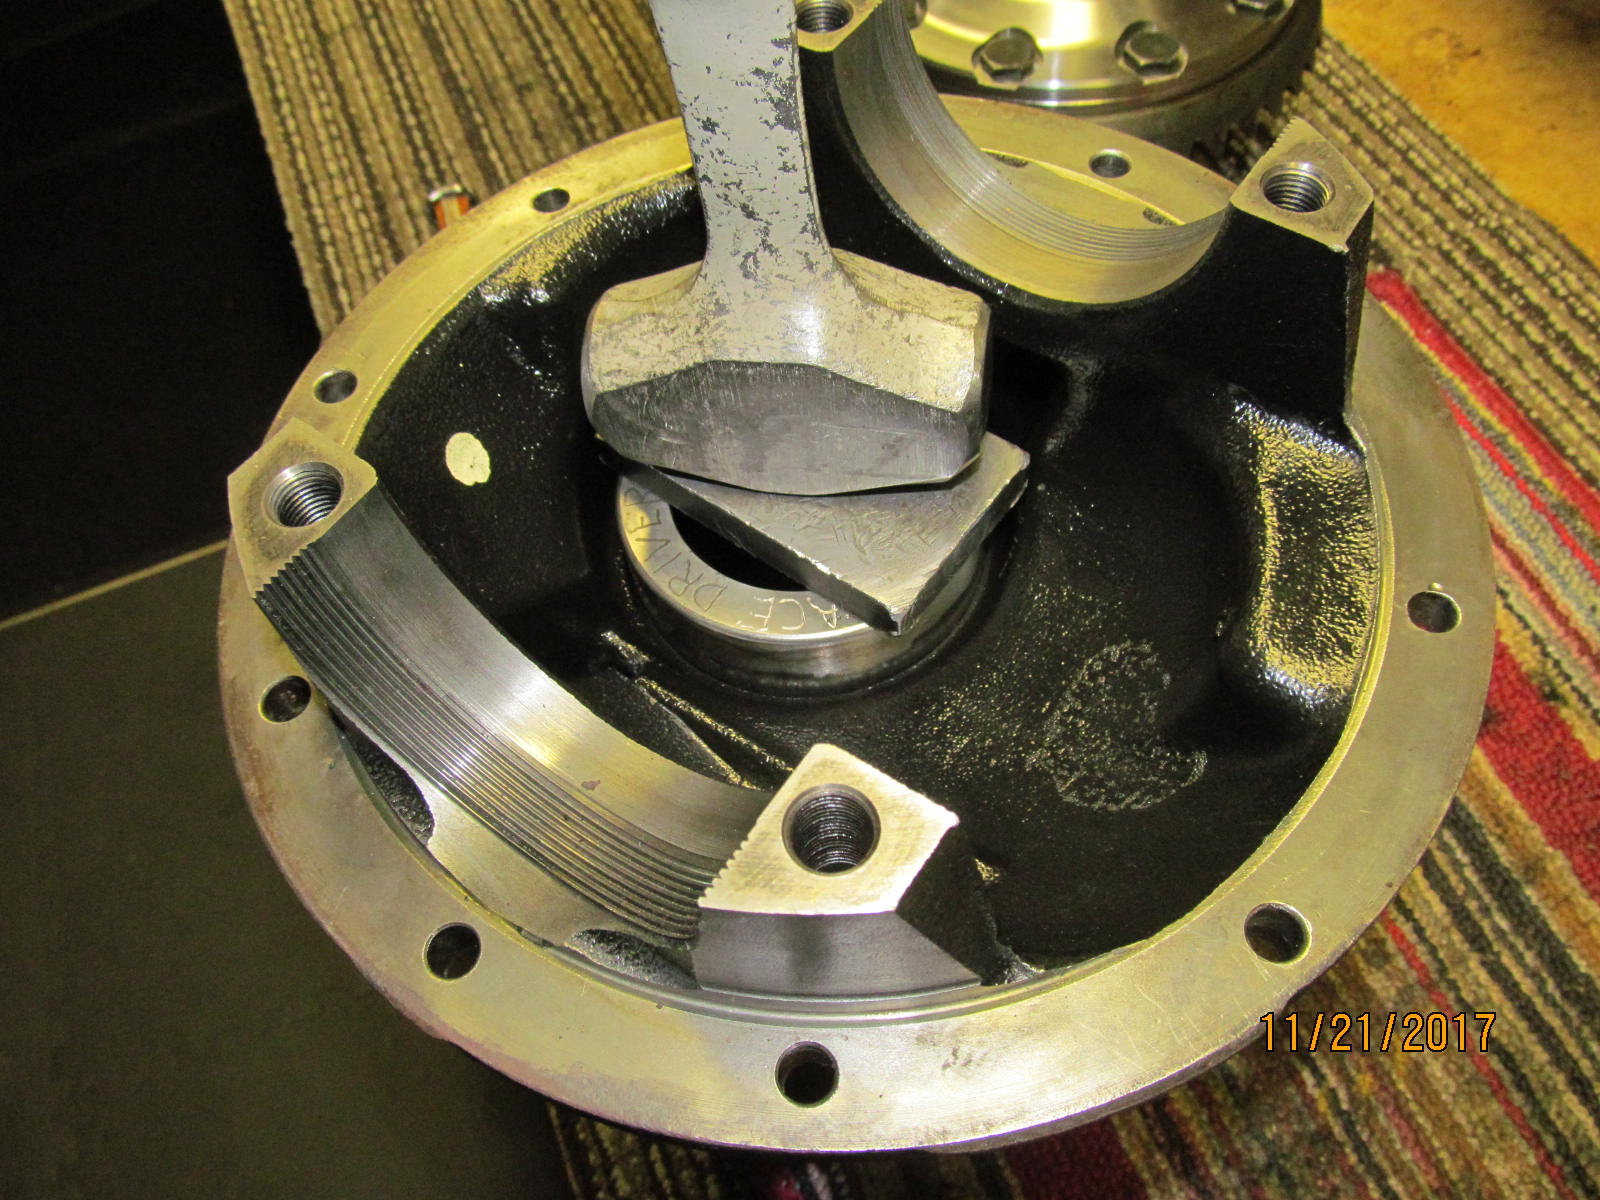
| Ring gear is tapped down with the help of the lead filled plastic hammer. Sometimes, patience really is the key. |
|---|
|
|
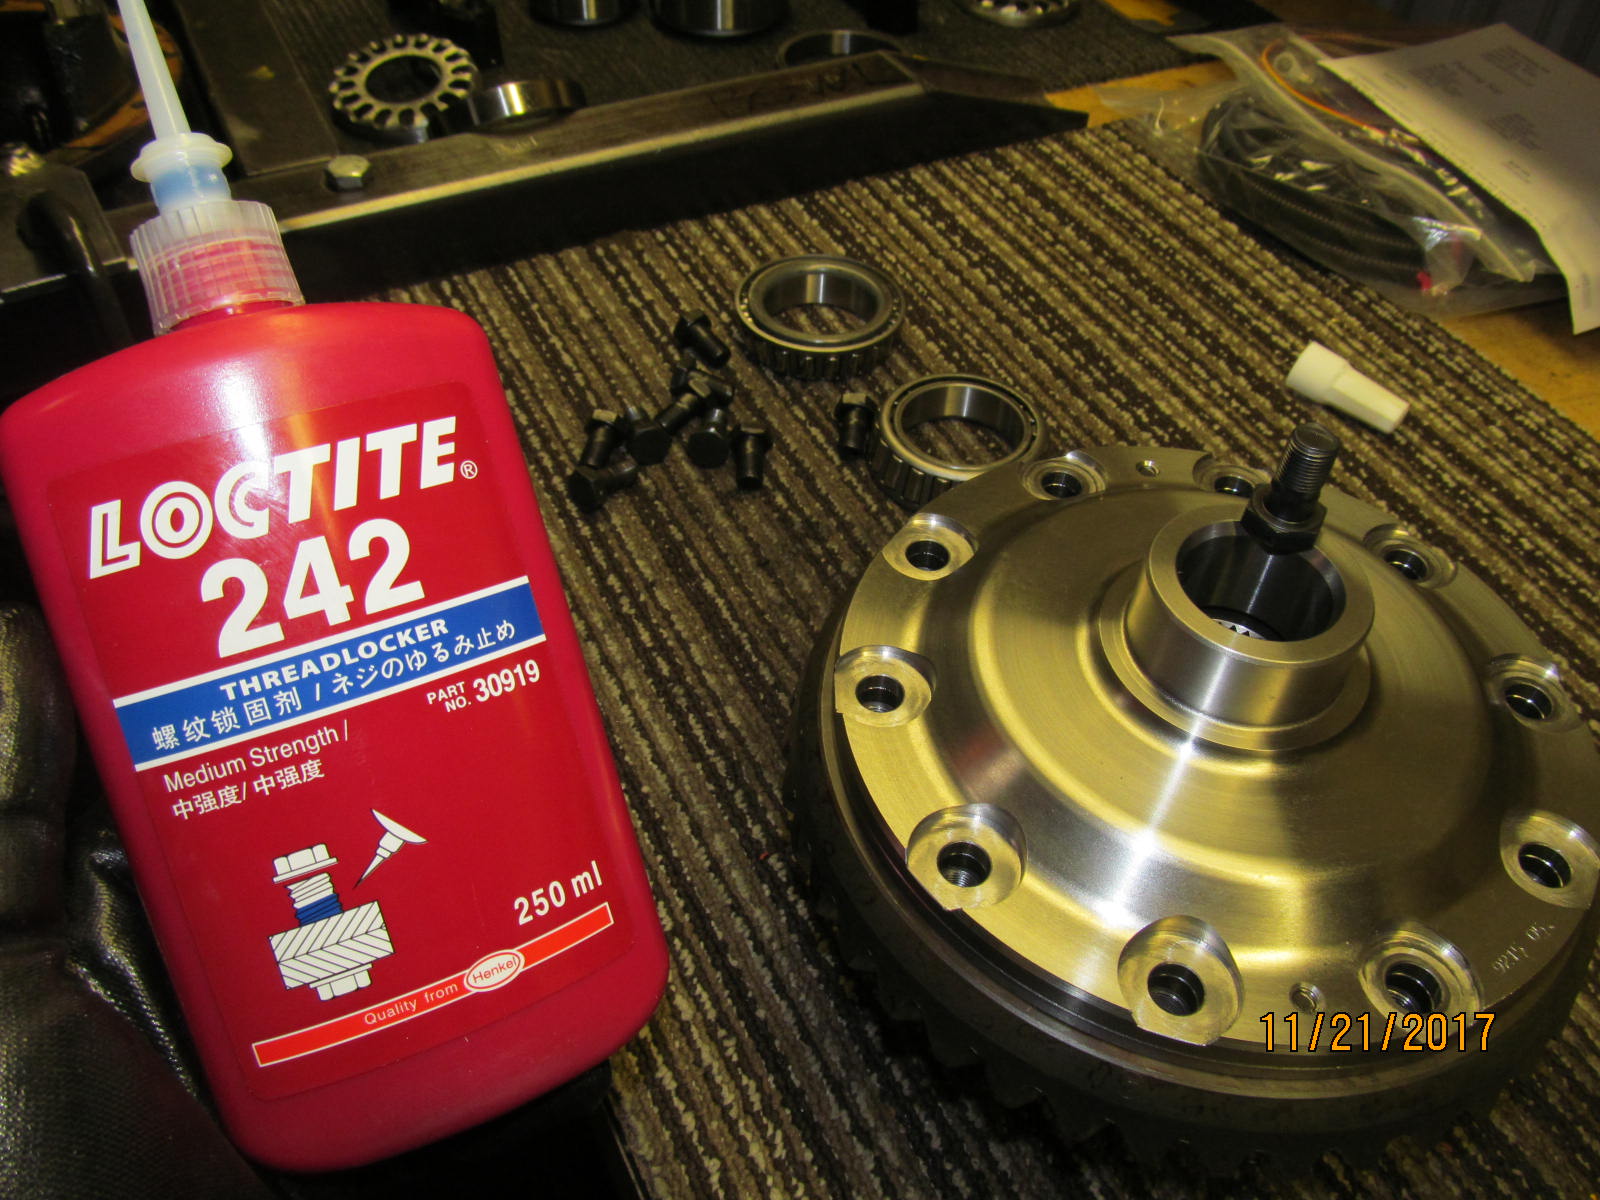
| The last 50ml bottle of blue Loctite lasted 6 months on the bench.....upgrading now to the Bigboy 250ml and see if it will last 2.5 years. |
|---|
|
|
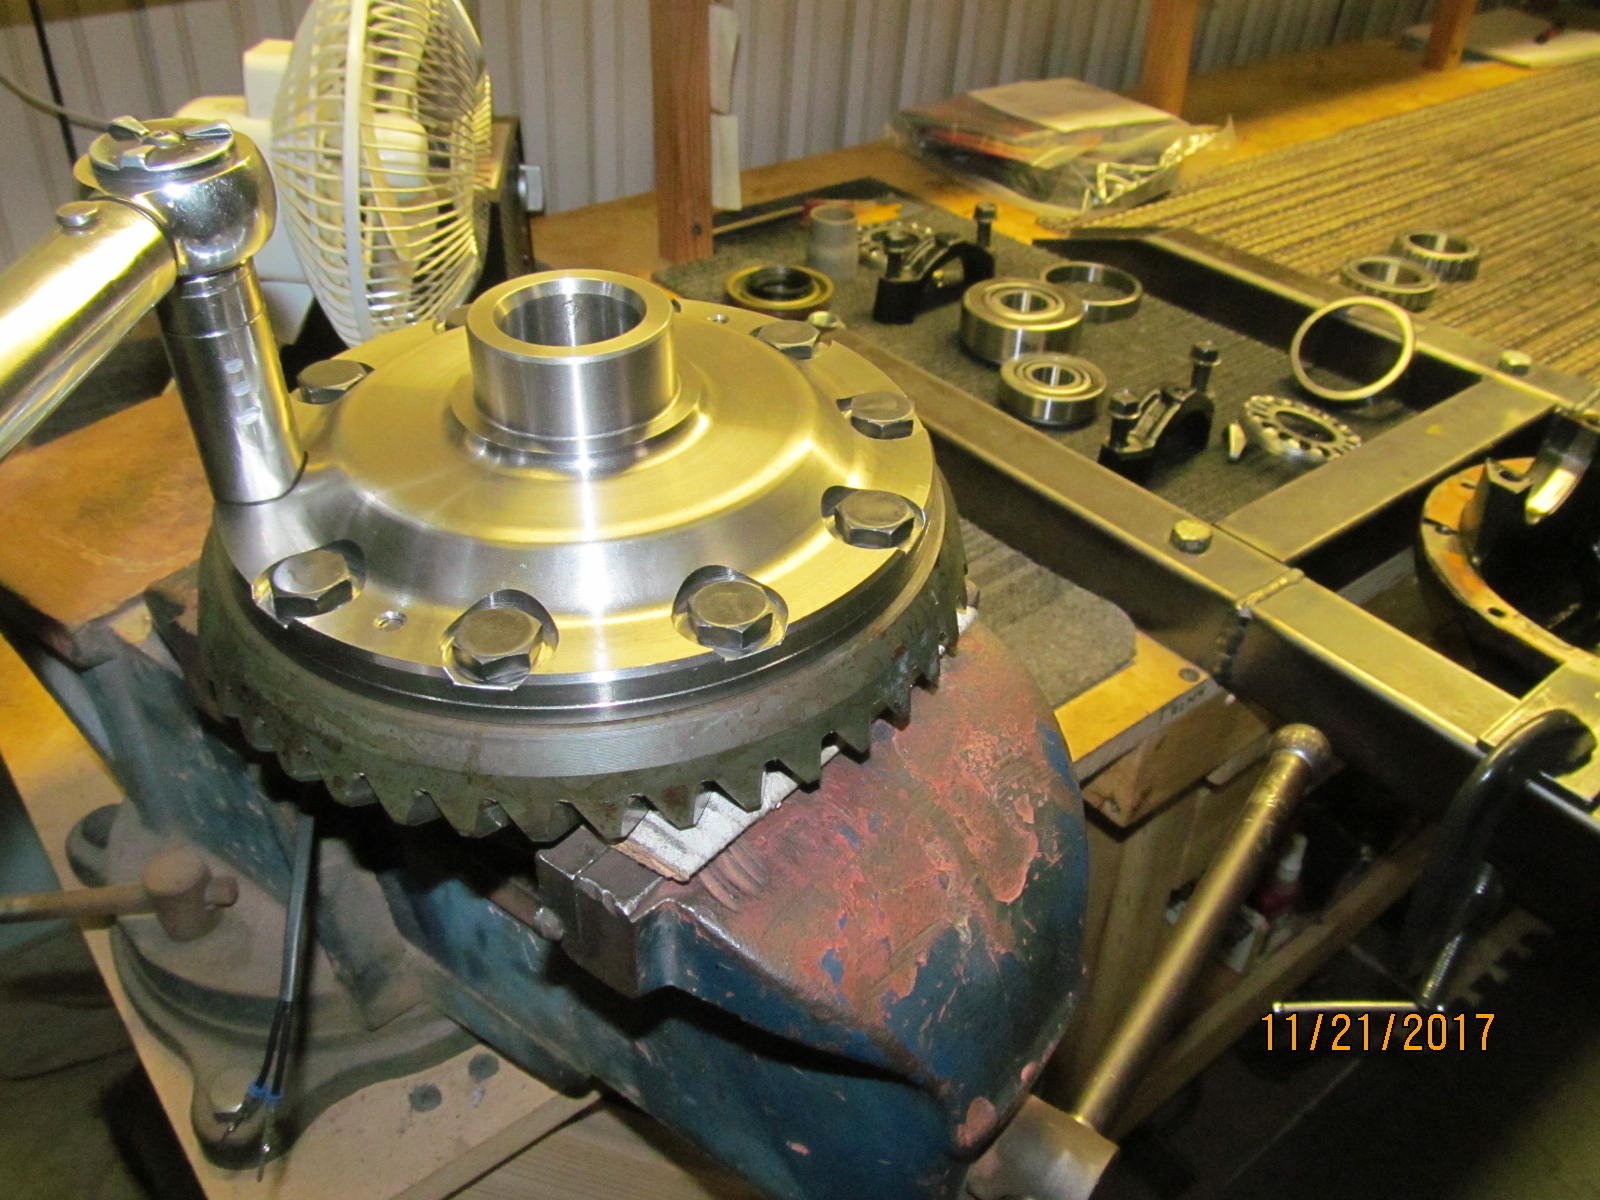
| 70+ ft/lb per the fsm. |
|---|
|
|
| The new carrier bearings are tapped on. Anybody guess at what Jet Li movie that is? One hint.....collar. |
|---|
|
|
| This portion is complete. |
|---|
|
|
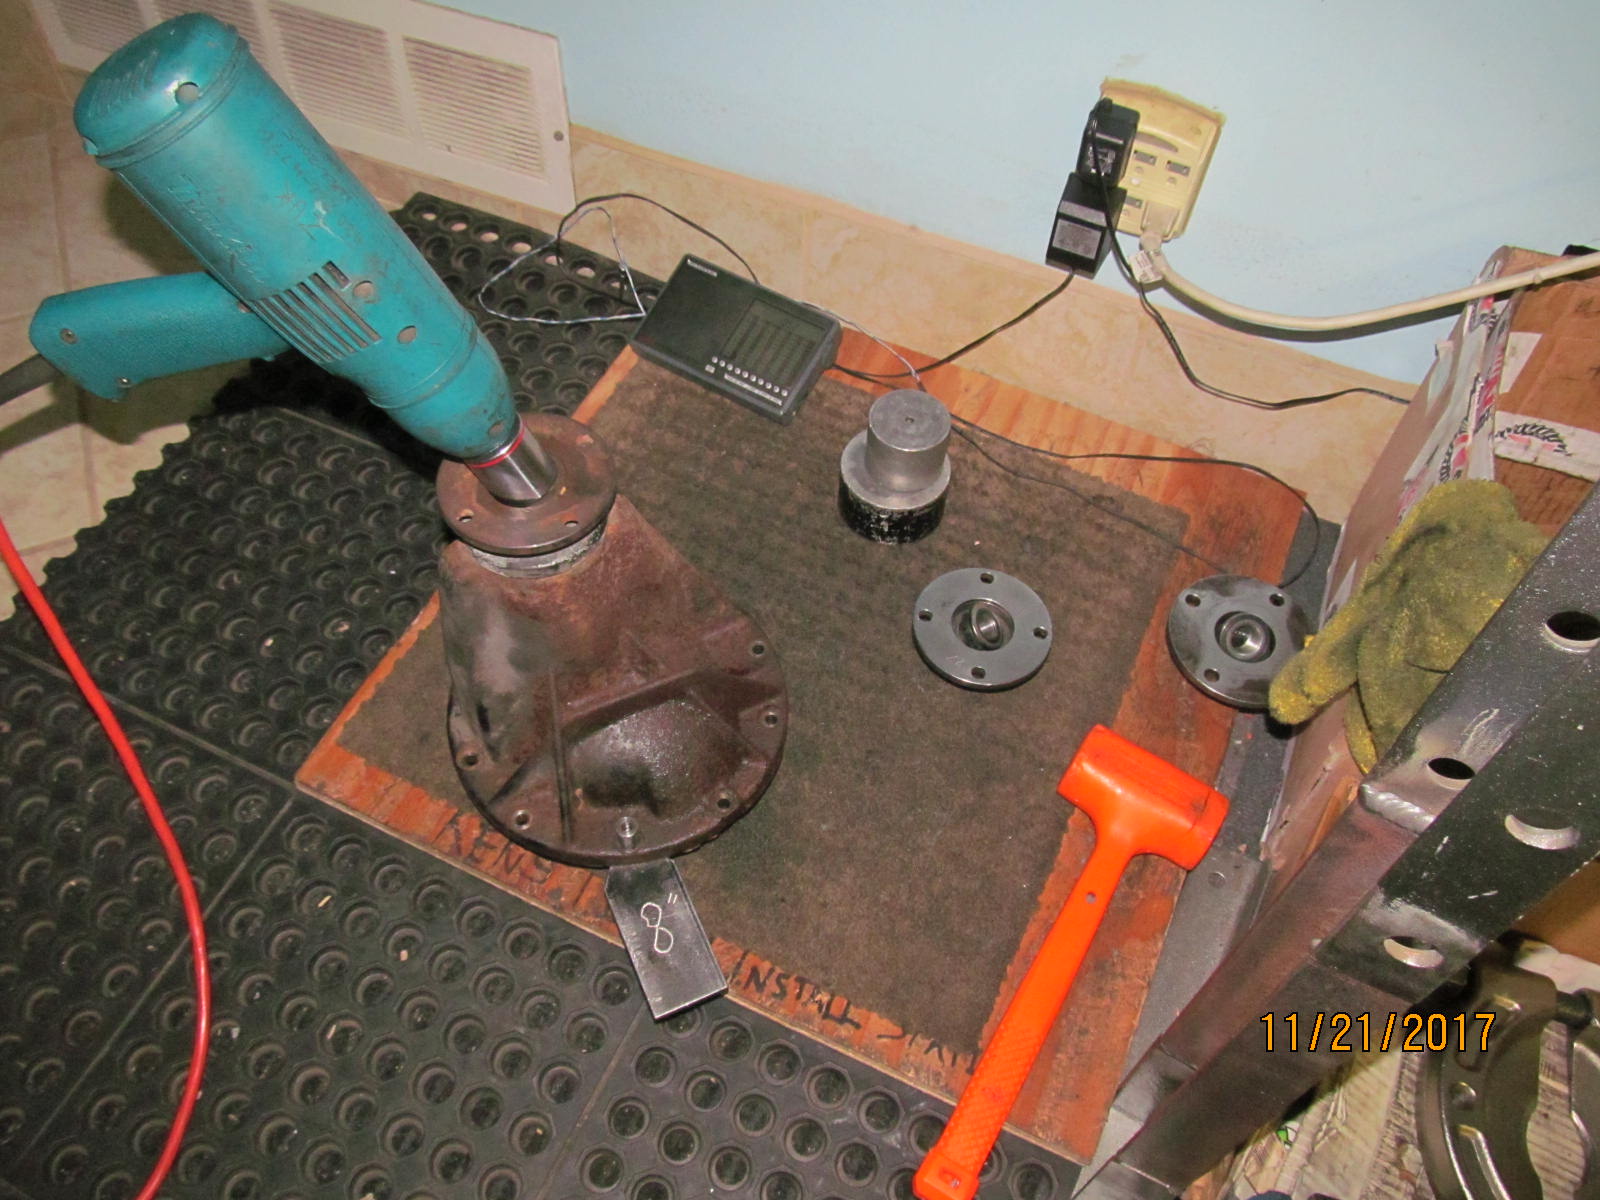
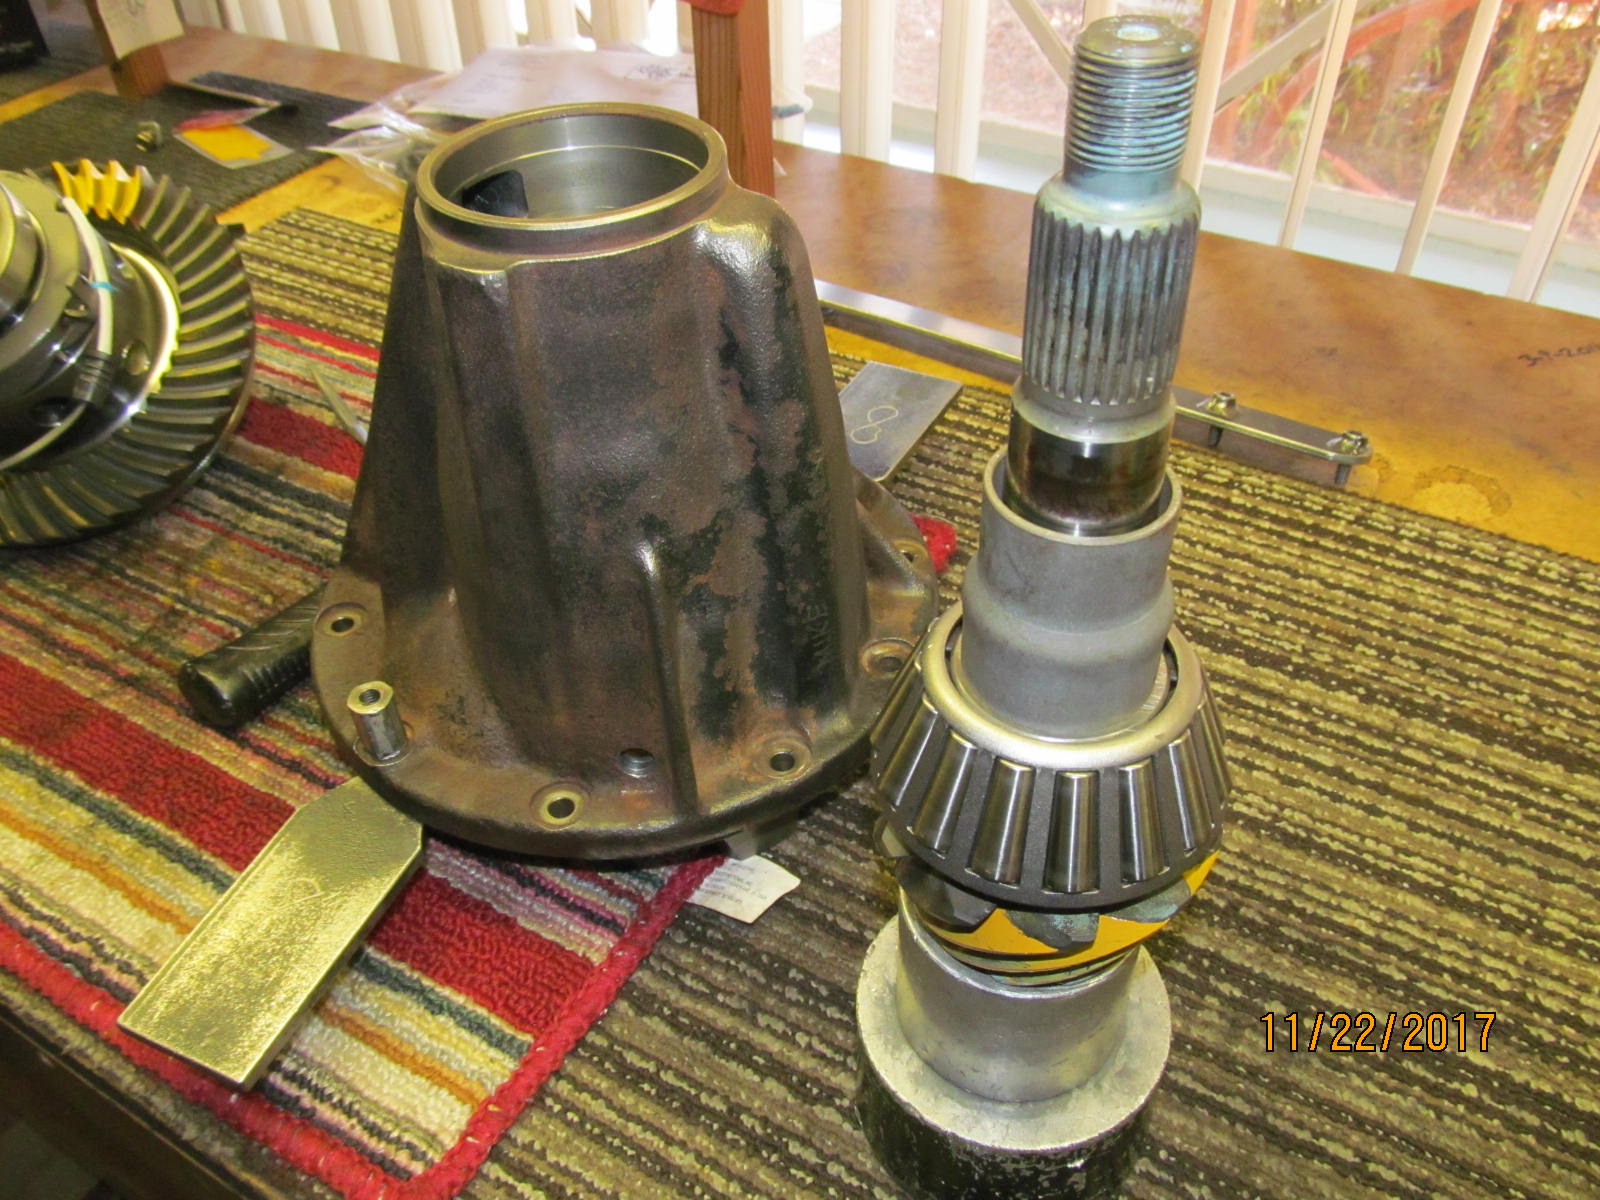
| Now on to the pinion end of things. |
|---|
|
|
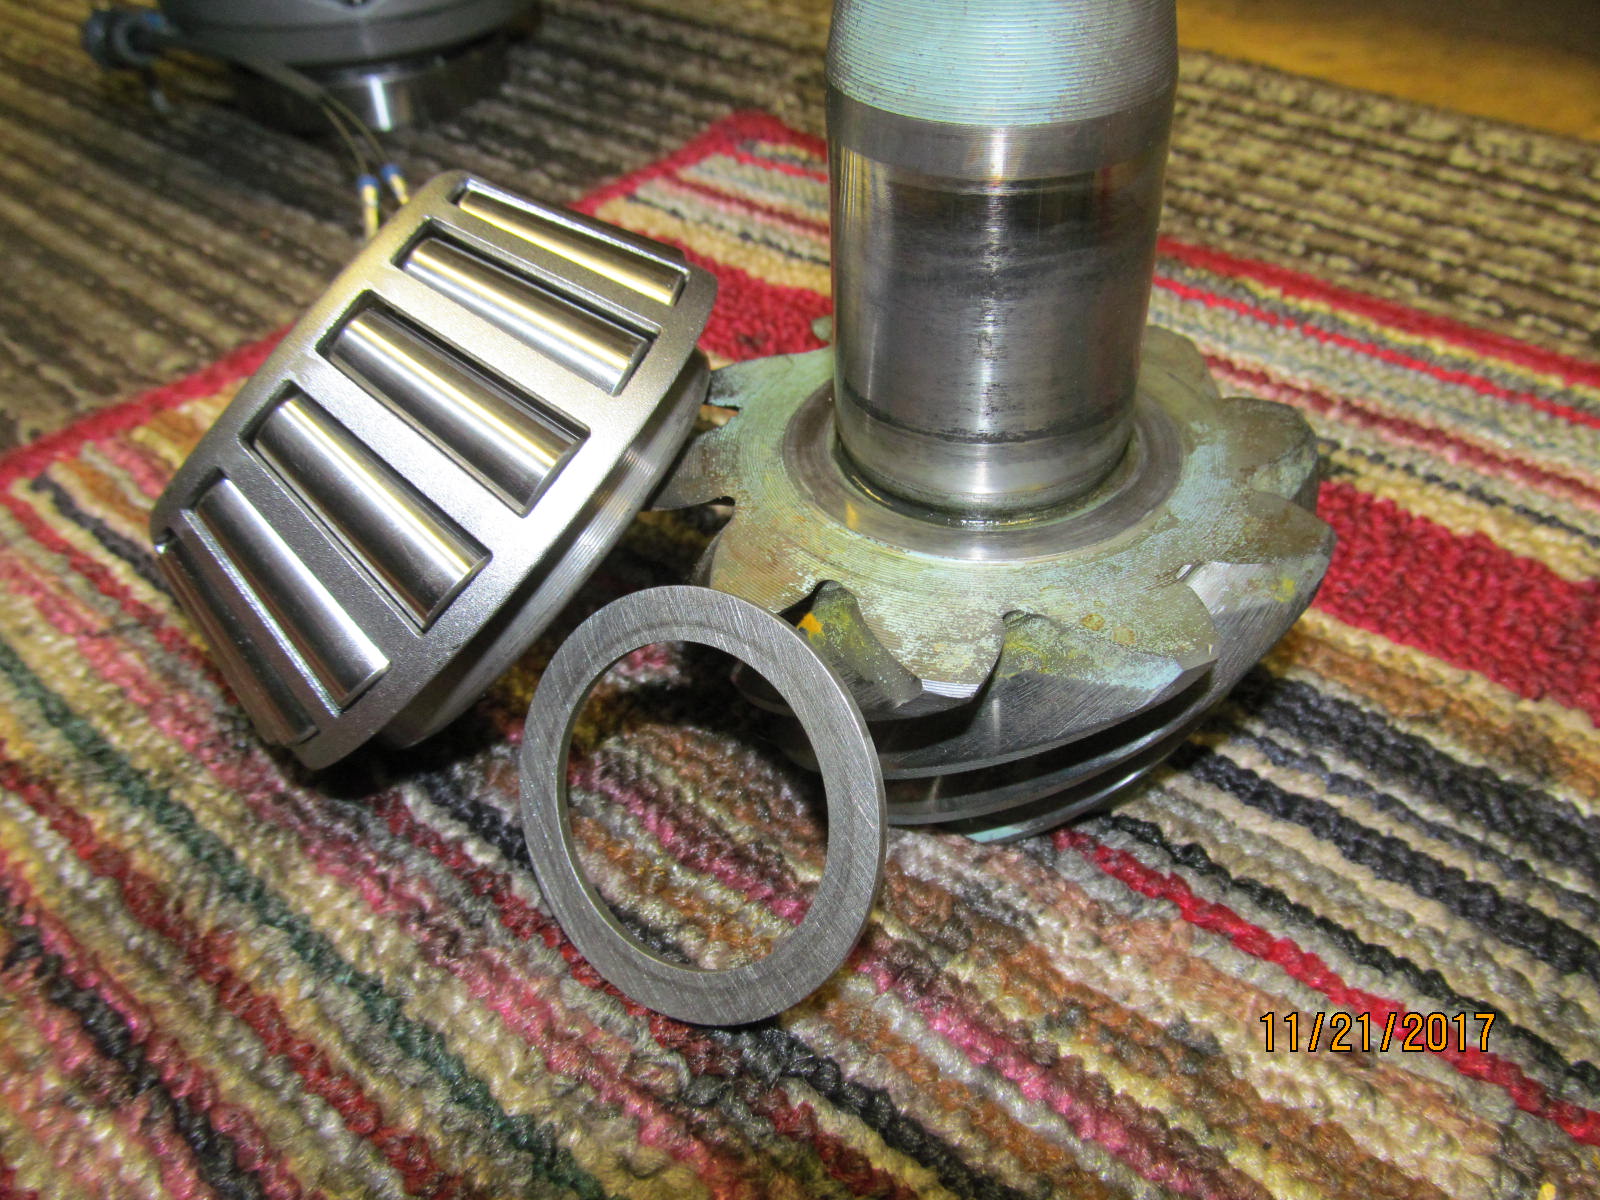
| New koyo inner bearing will be used with the original .047" pinion shim. |
|---|
|
|
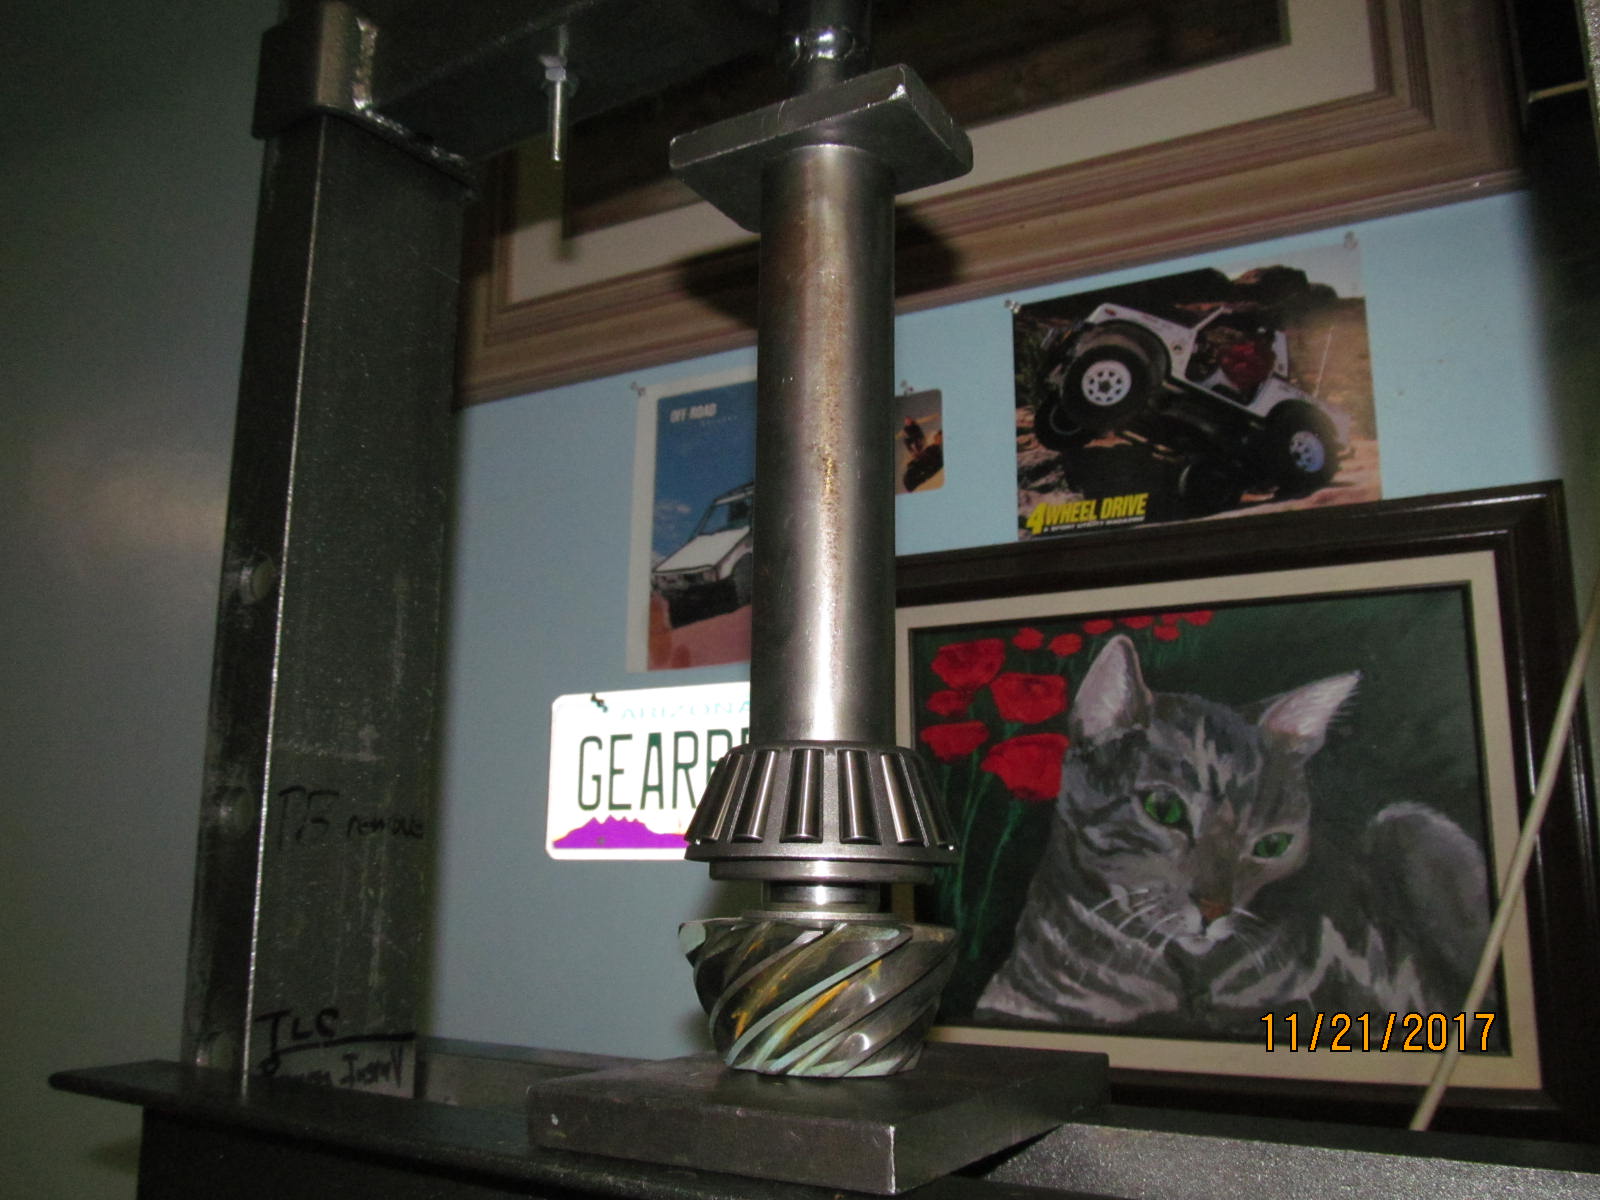
The 12ton Harborfreight press is perfect for gear installs. Never in 16 years have I needed anything else.
On sale at Harborfreight for $99 right at this moment. |
|---|
|
|
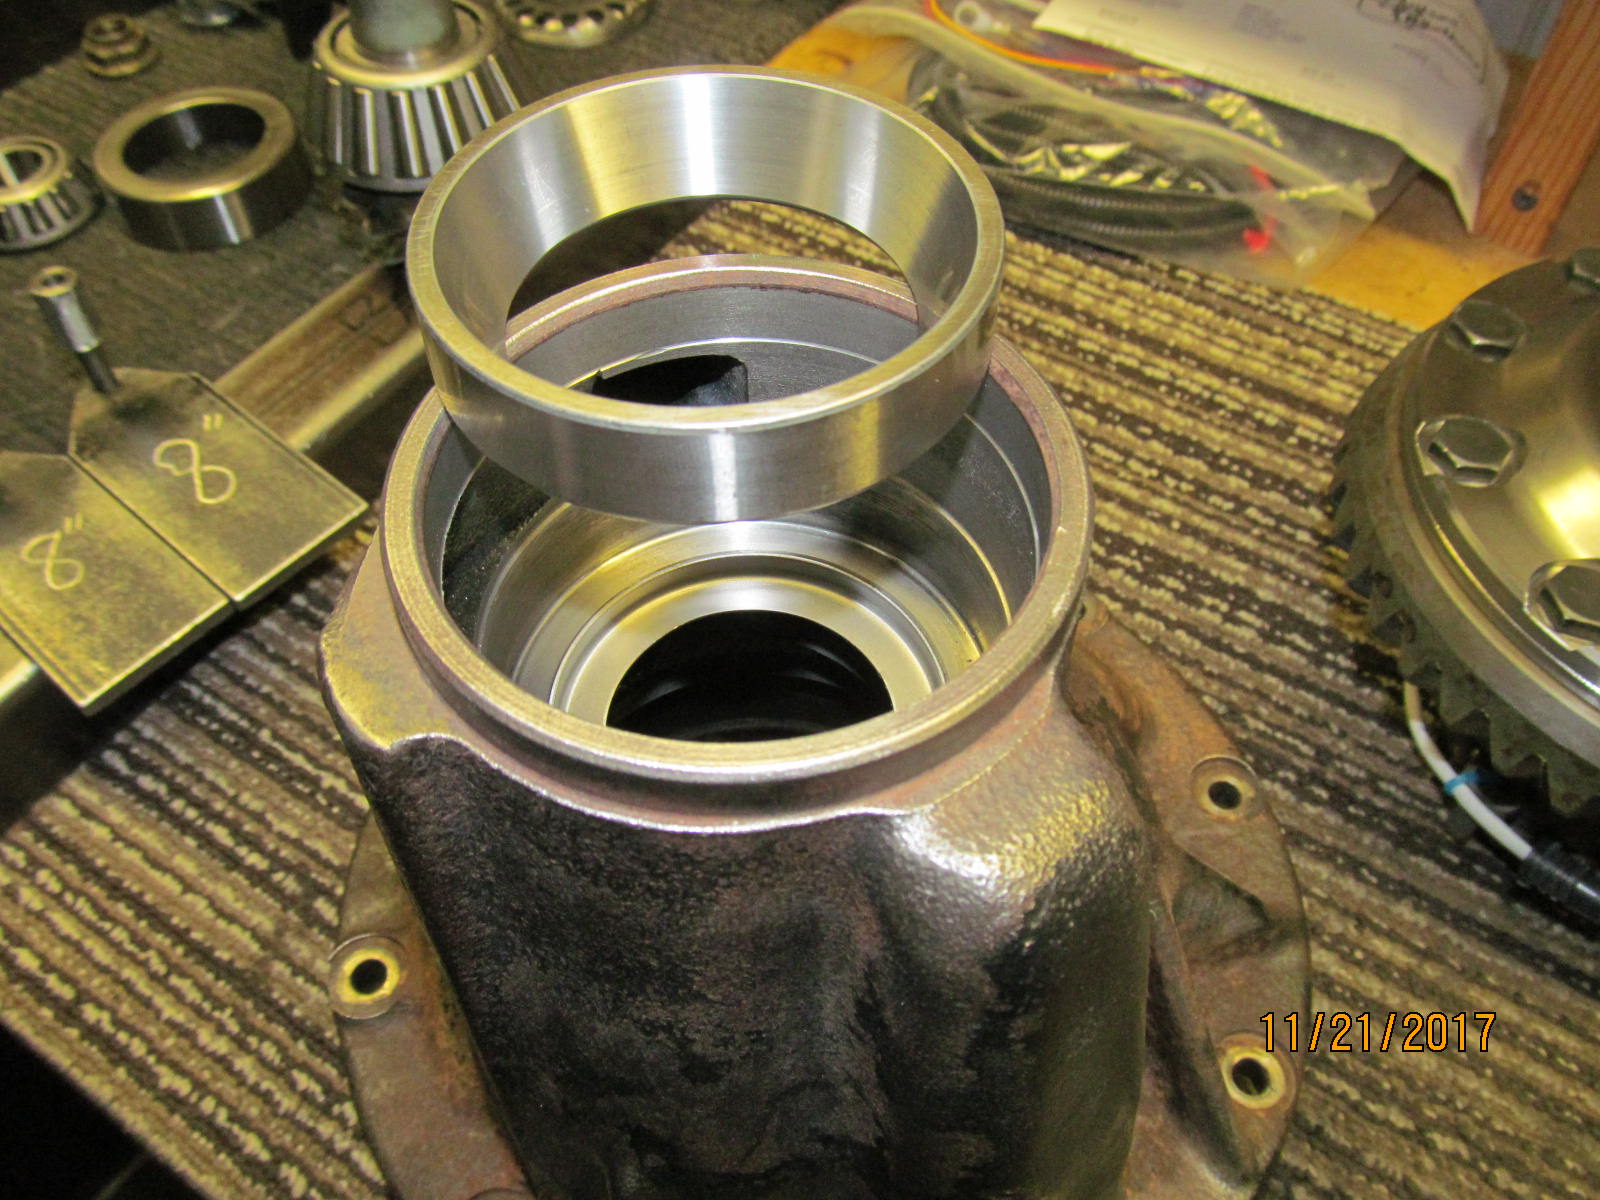
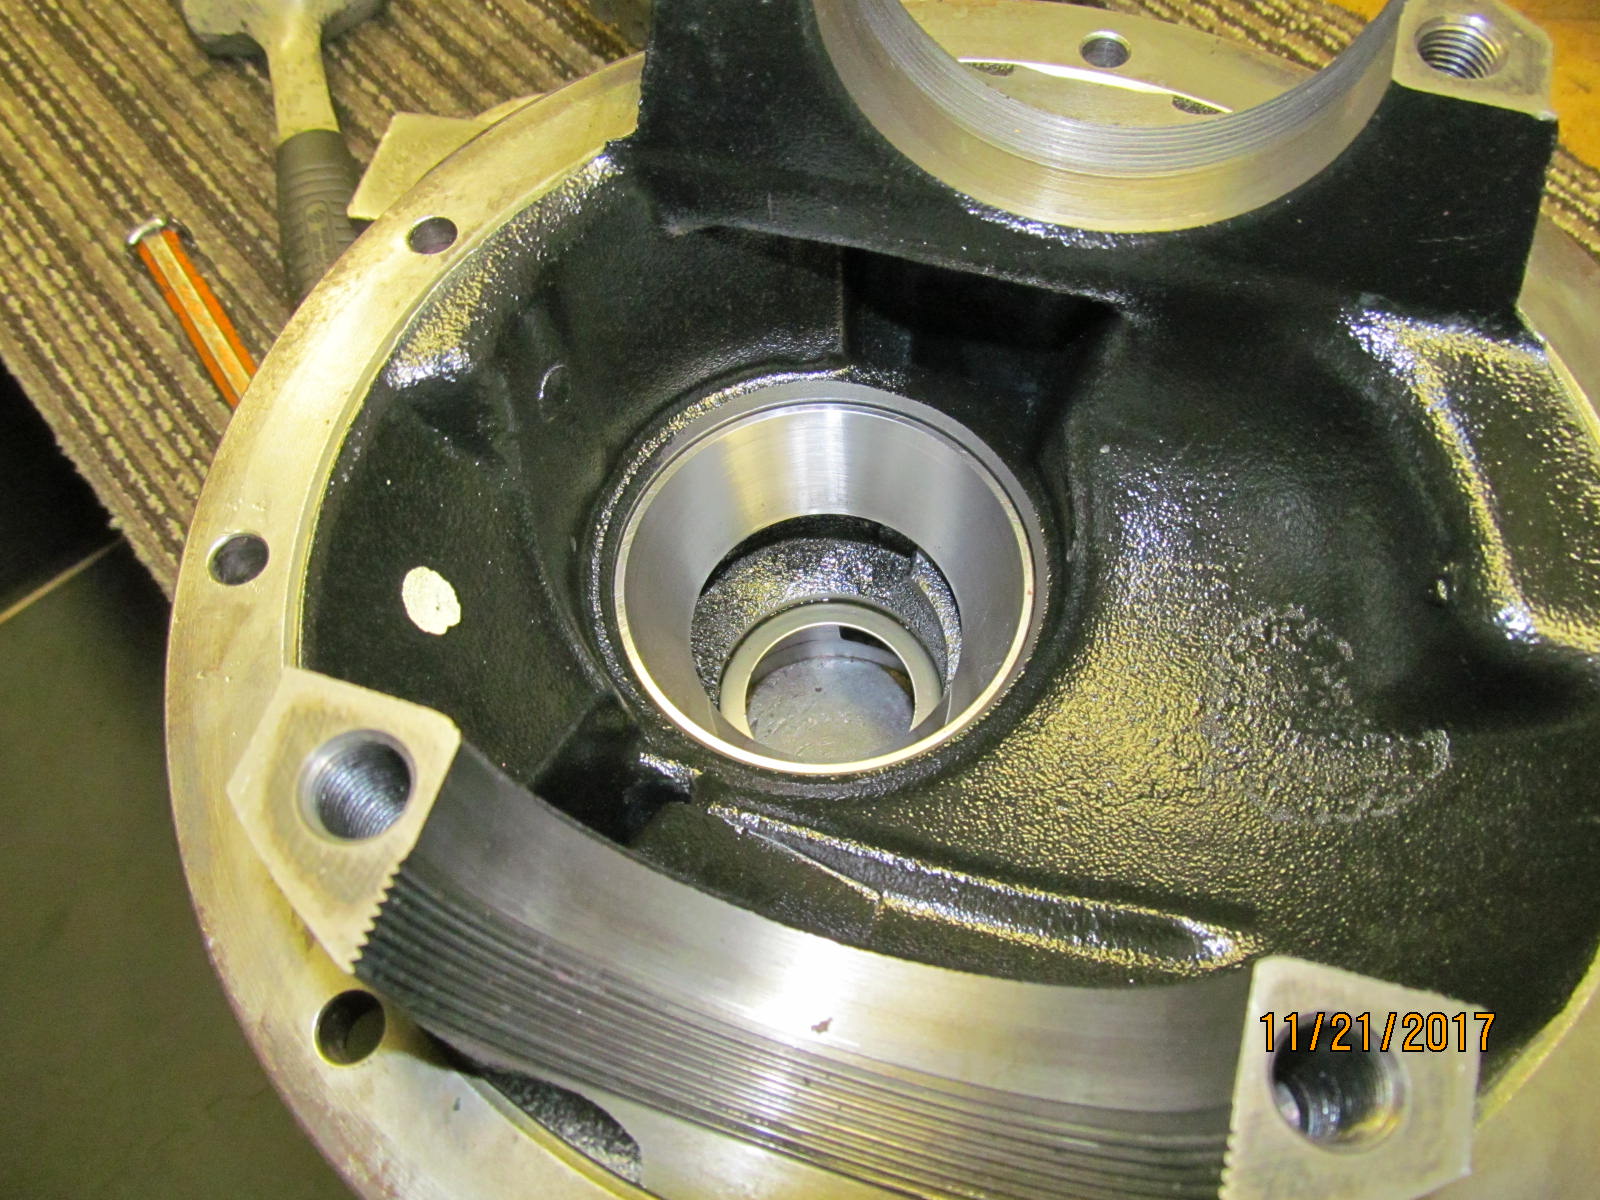
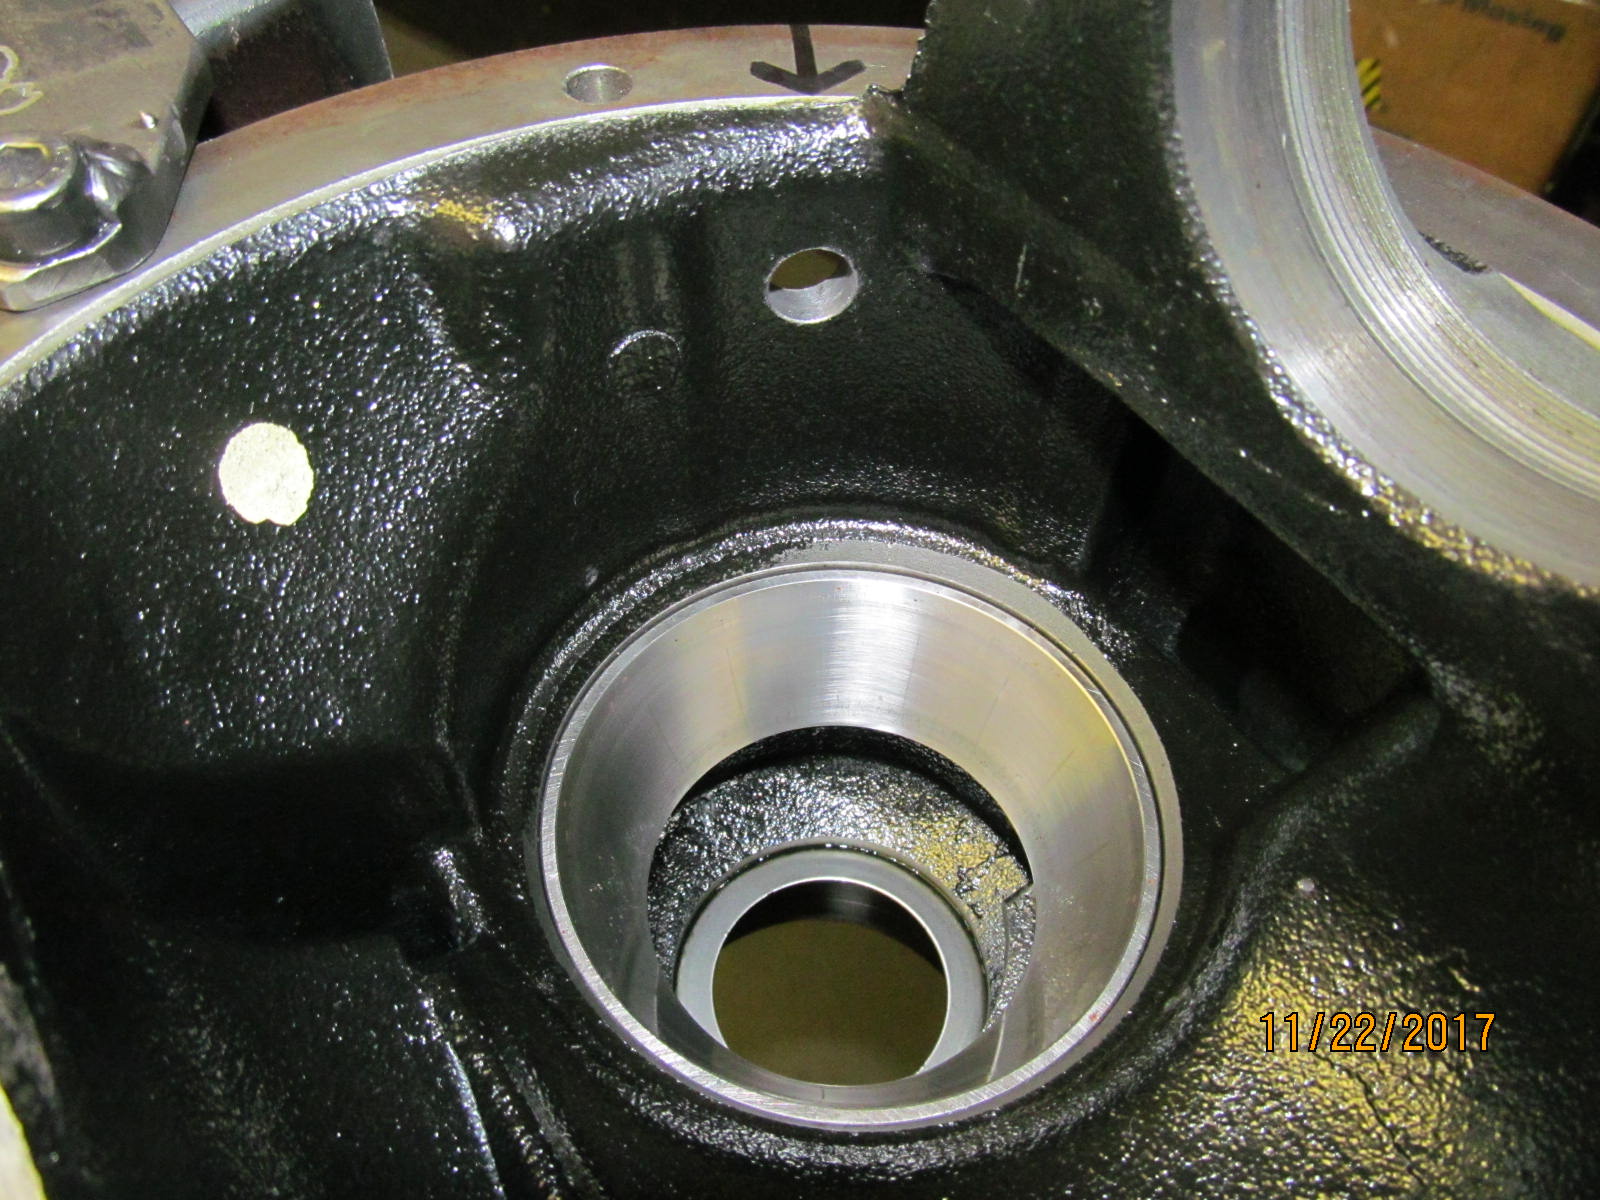
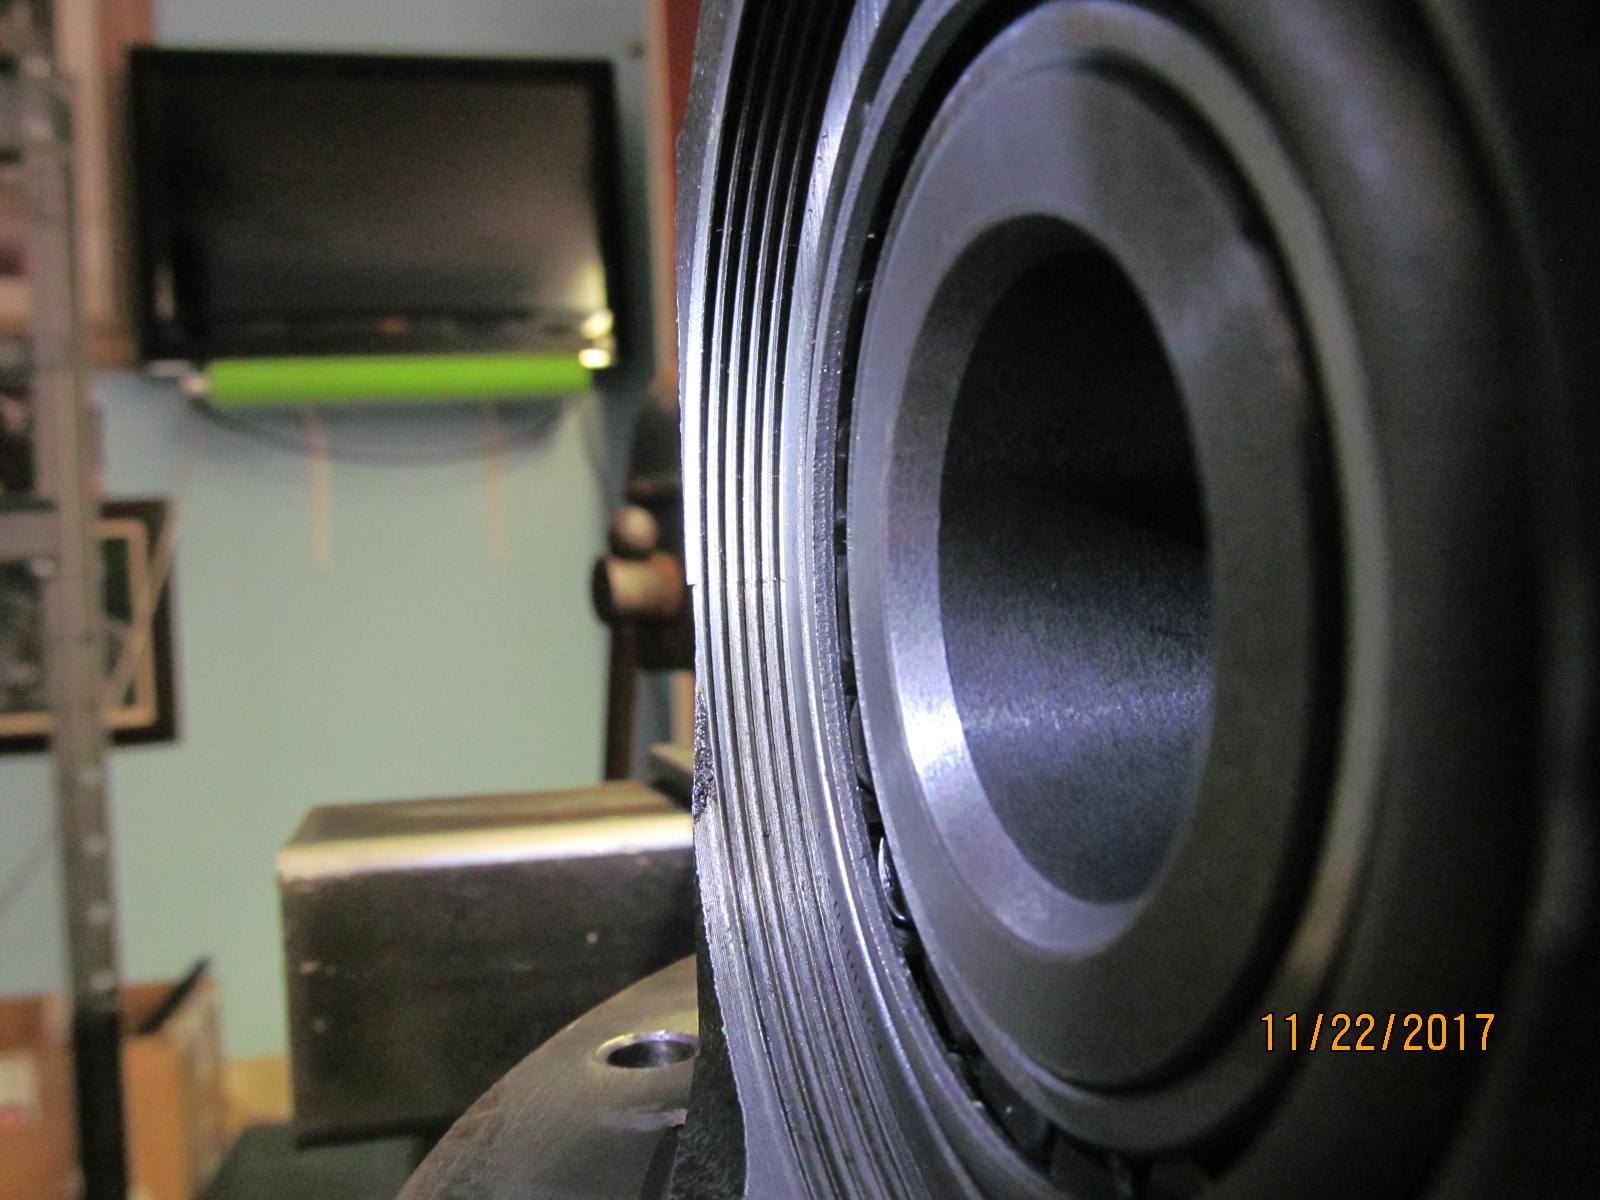
| The empty 3rd is cleaned up and now the outer race can go in. |
|---|
|

|
| '''''''''''''''''''''' |
|---|
|
|
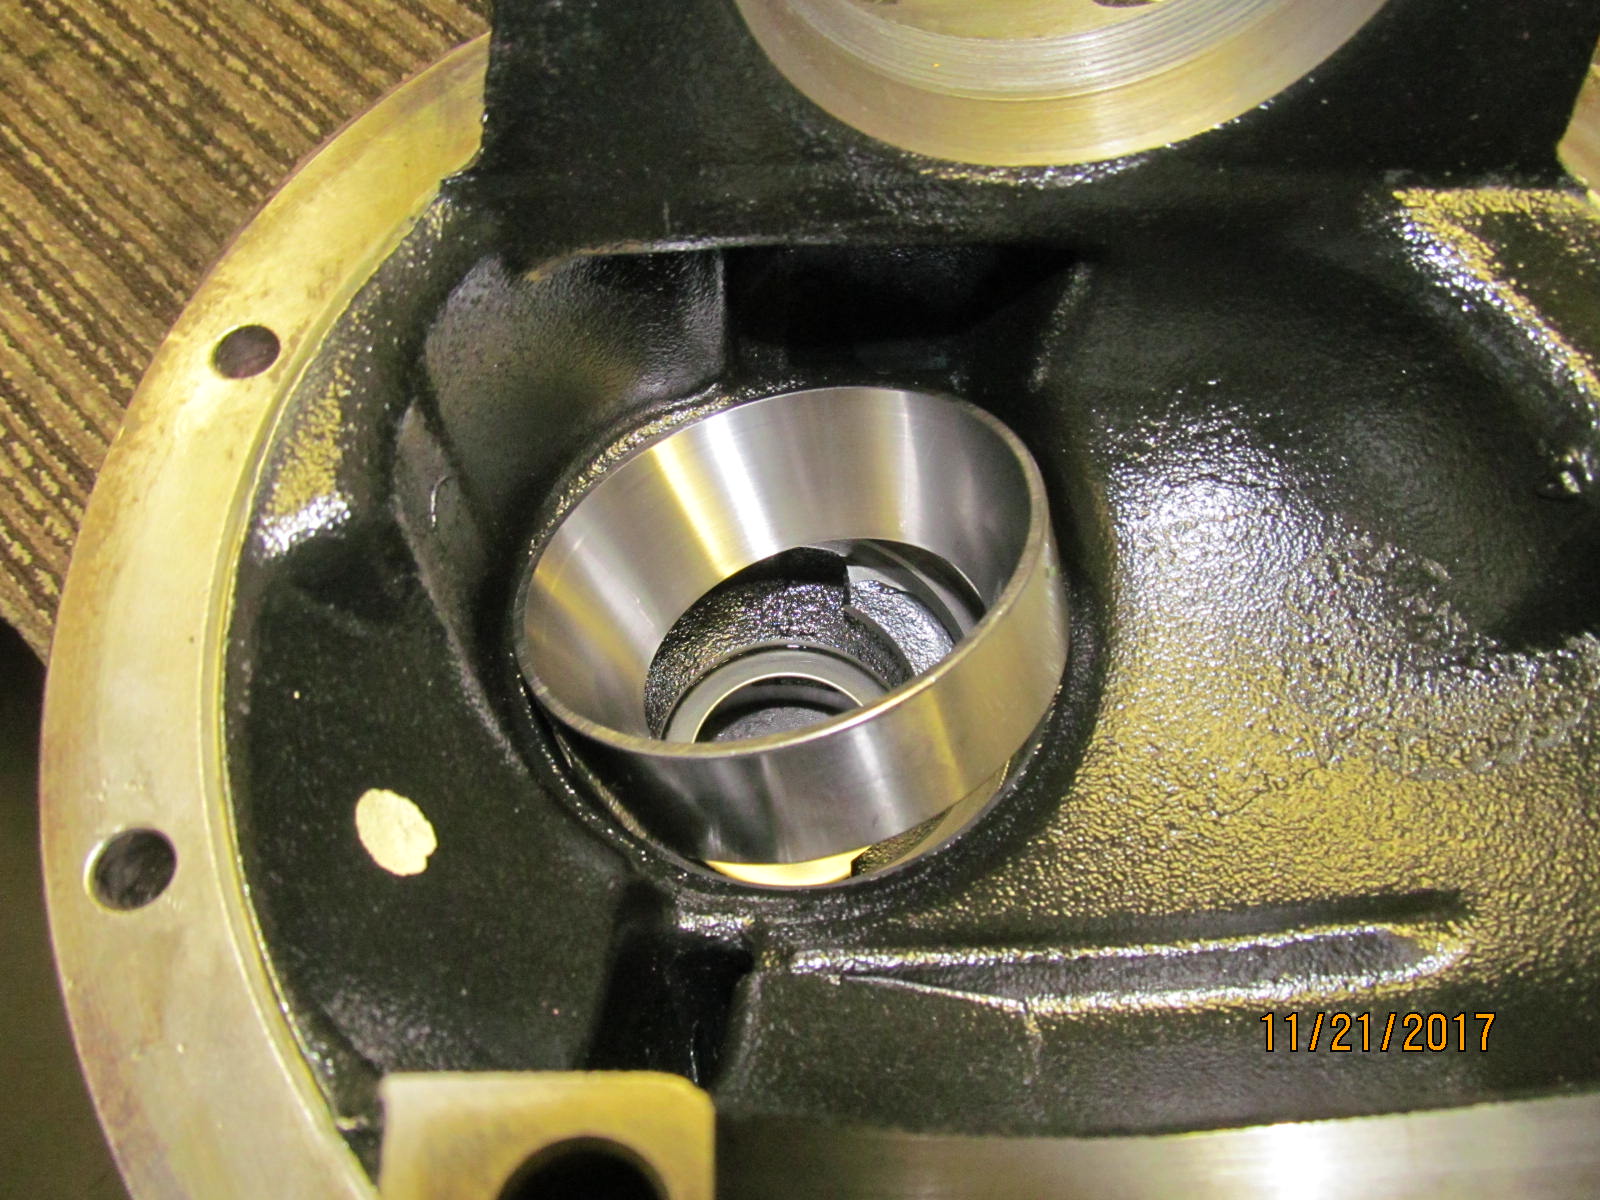
| It was a good tight fit in the bore. |
|---|
|
|
| The larger inner race takes more patience. |
|---|
|
|
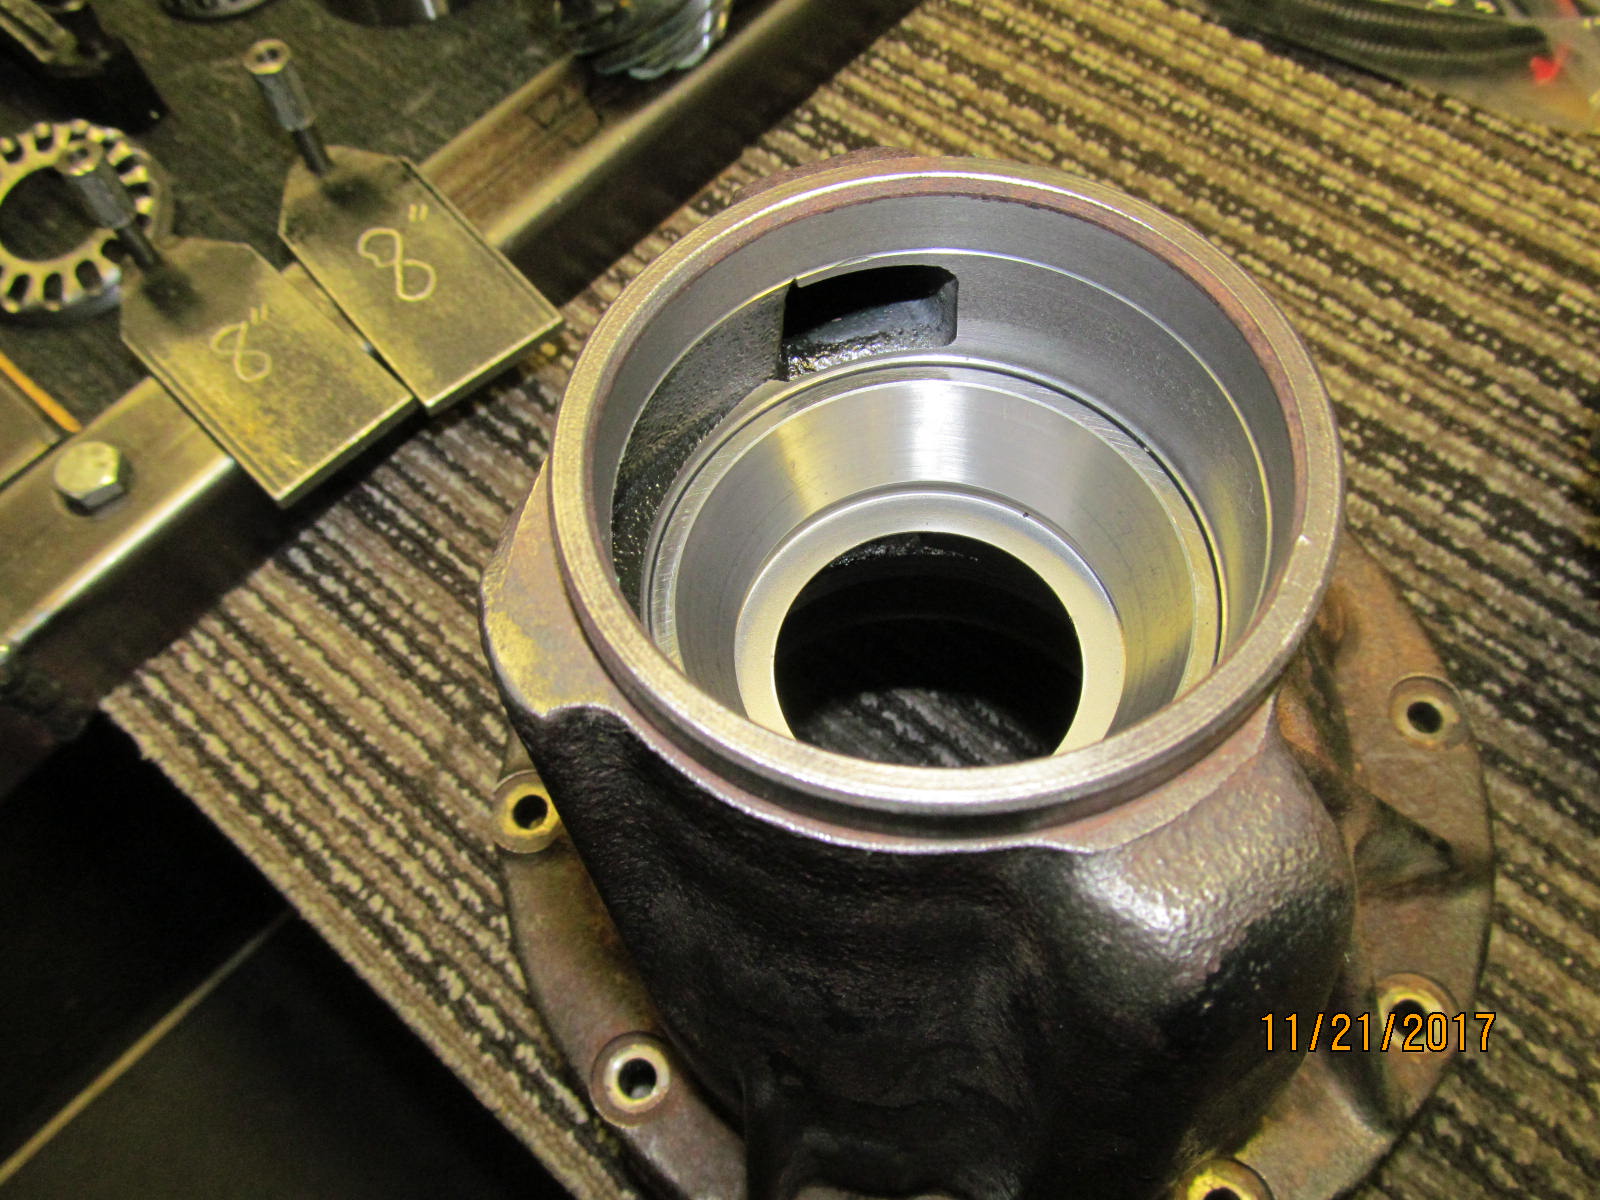
| But once it is started evenly then it will go smoothly after that. |
|---|
|
|
| 100% seated....no stress points from using a soft chisel either. |
|---|
|
|
| All 3 items are ready. Put the pinion in and tighten the nut just enough to offer some resistance. |
|---|
|
|
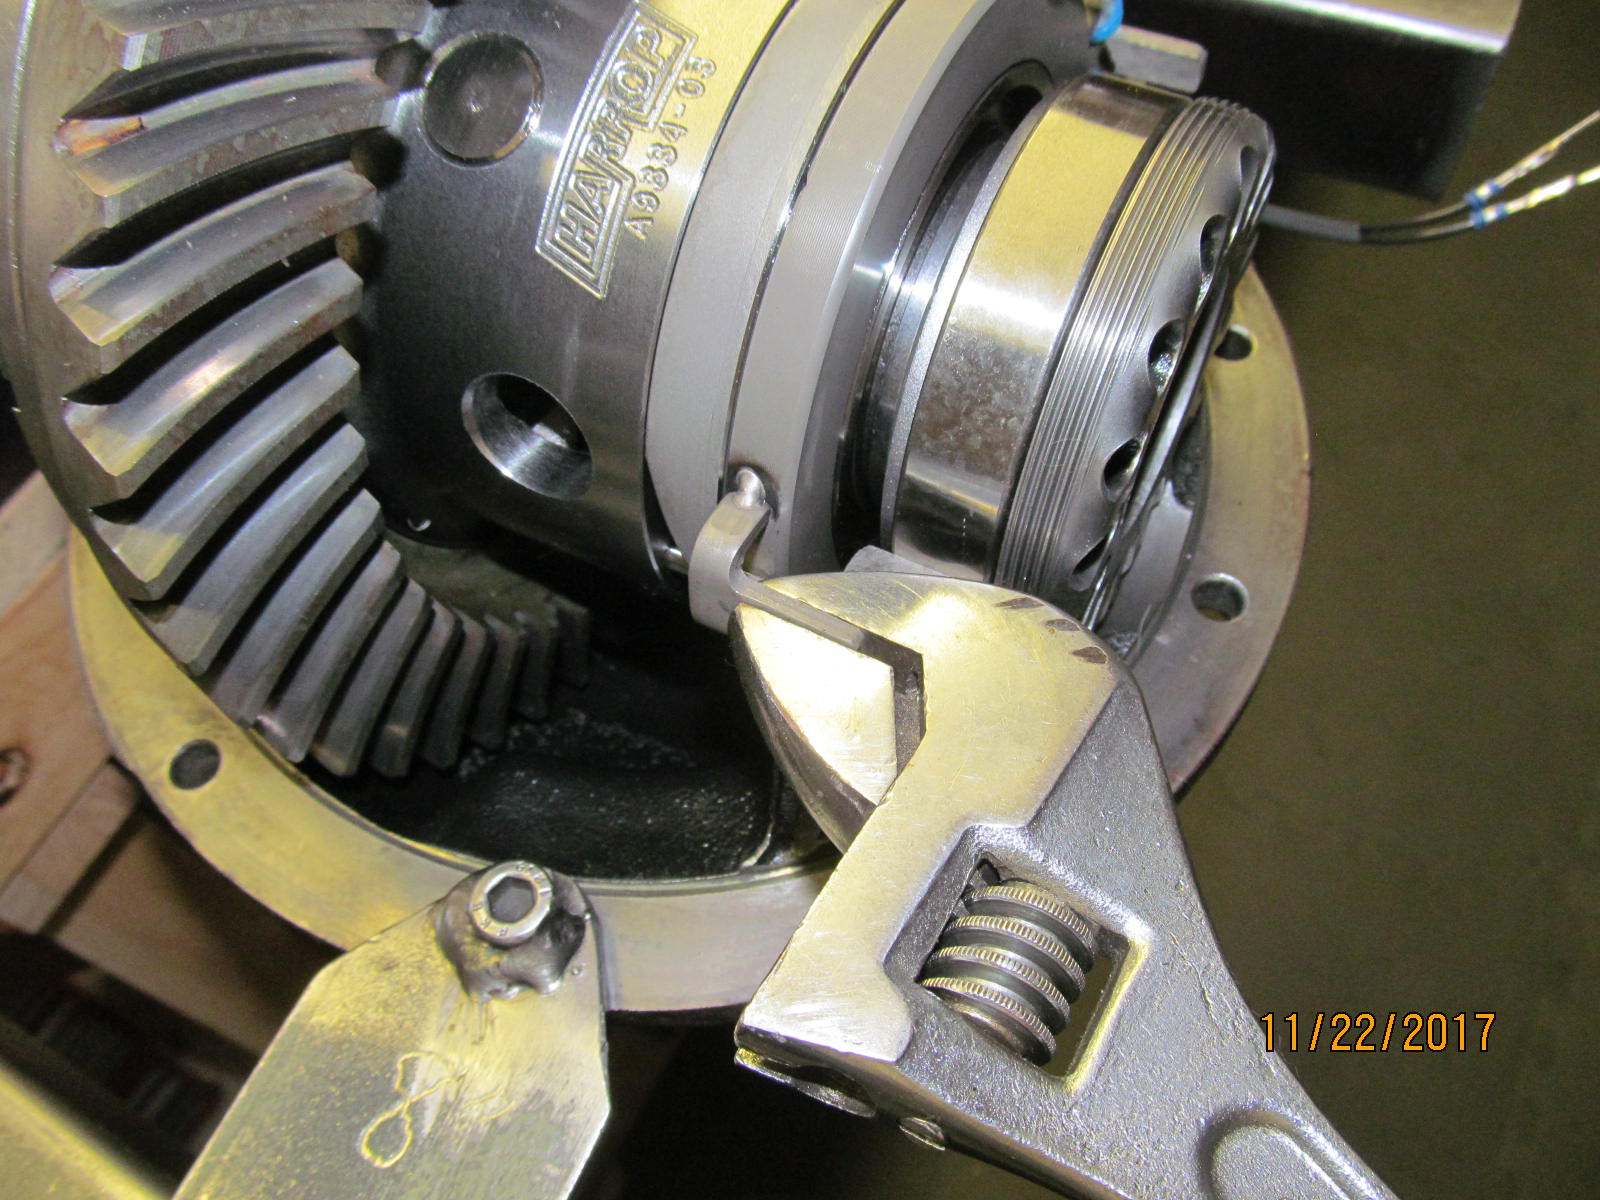
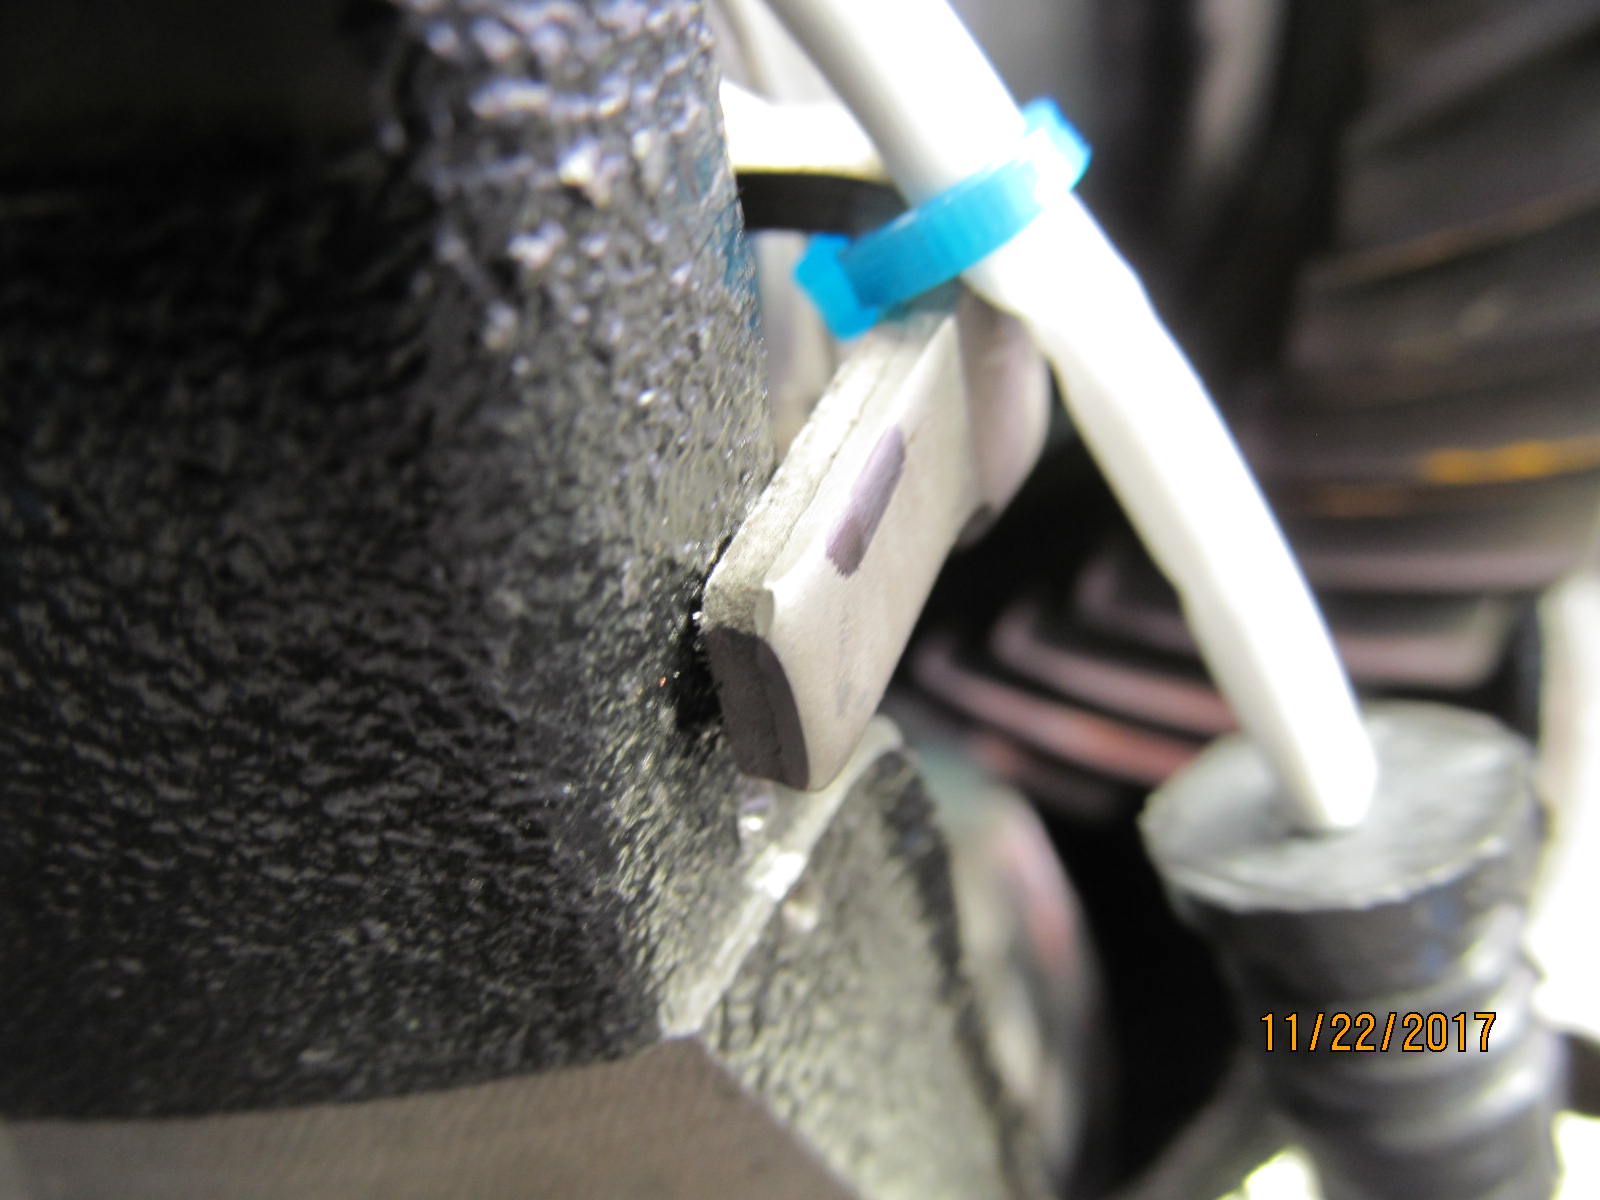
| Mount the Harrop elocker....I have a little bit of interference with the stop tab. |
|---|
|
|
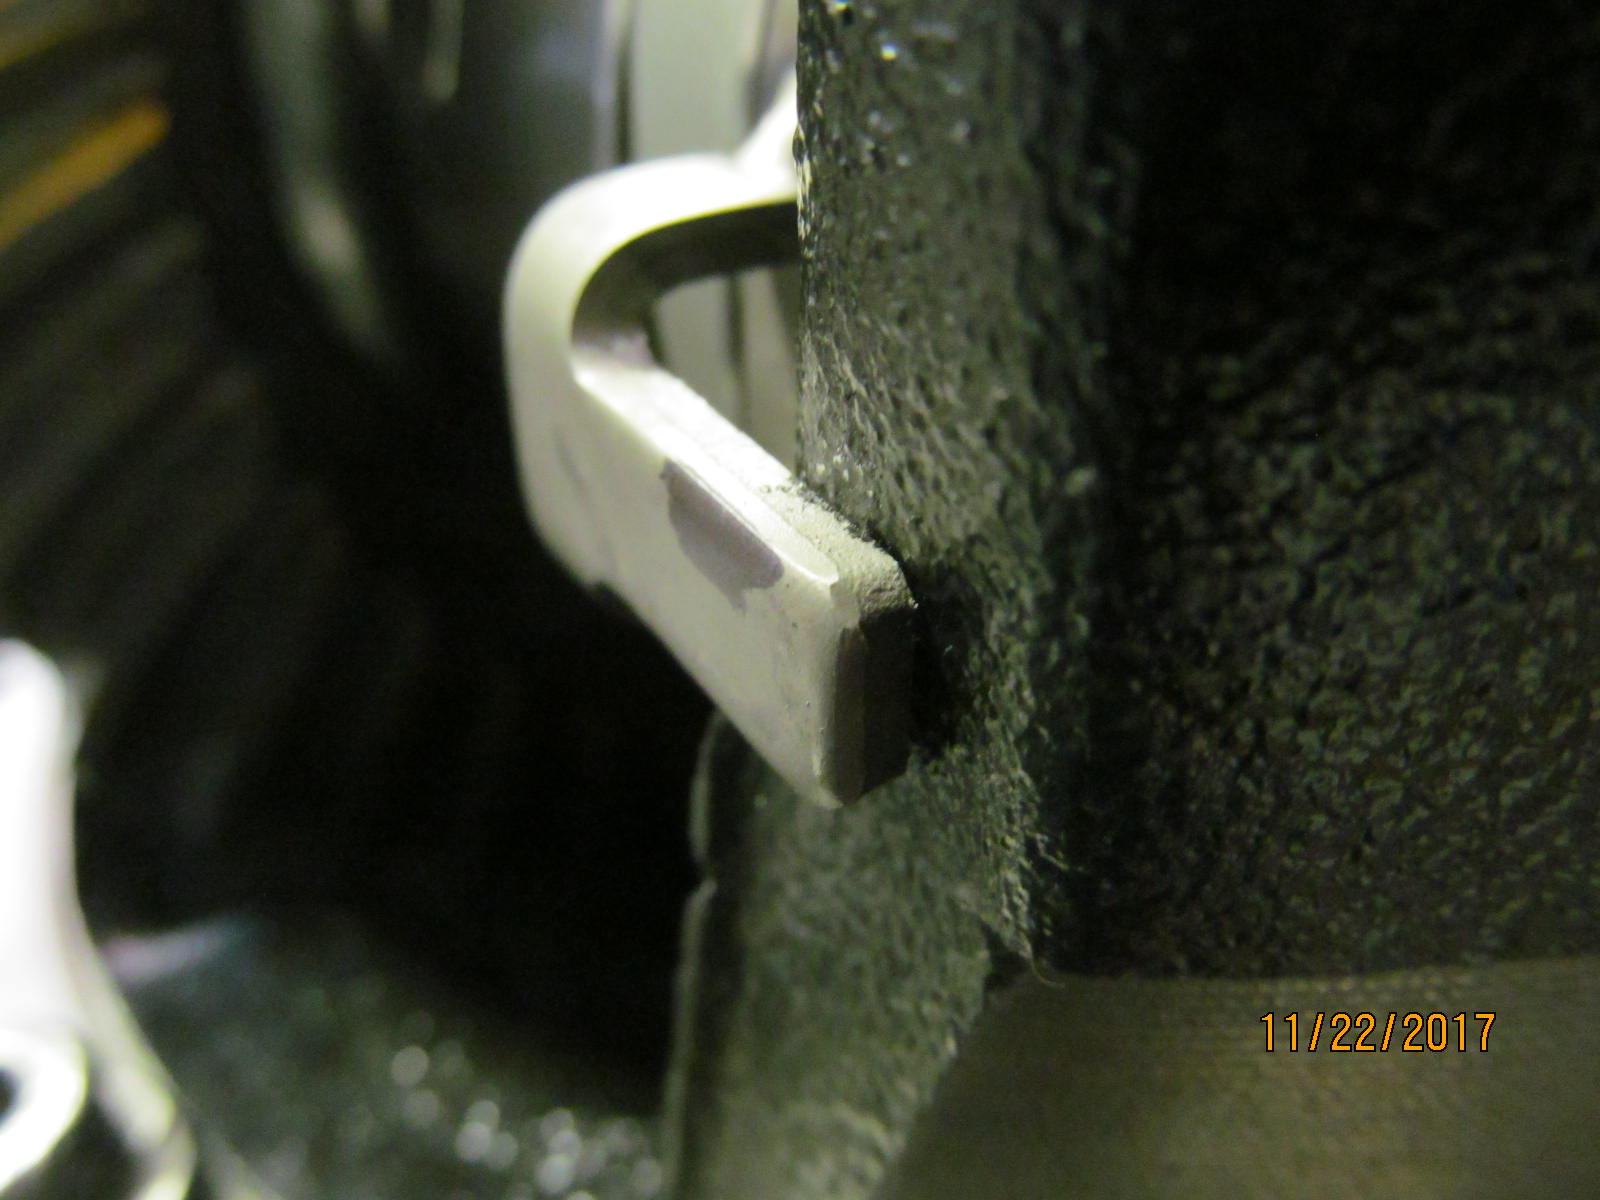
| Adjust the stop-tabs a little. |
|---|
|
|
| It's not the full 2mm of freeplay but good enough for the paint check. |
|---|
|
|
| A little bit of bearing pre-load and a backlash adjustment..... |
|---|
|
|
| And it's no surprise that the drive side looks about the same as it did with the old bearings. |
|---|
|
|
| Coast......Nice. |
|---|
|
|
| To increase the freeplay, I will smooth the edges and probably hit the sides of the bearing cap with a file. |
|---|
|
|
| Same with the other side. |
|---|
|
|
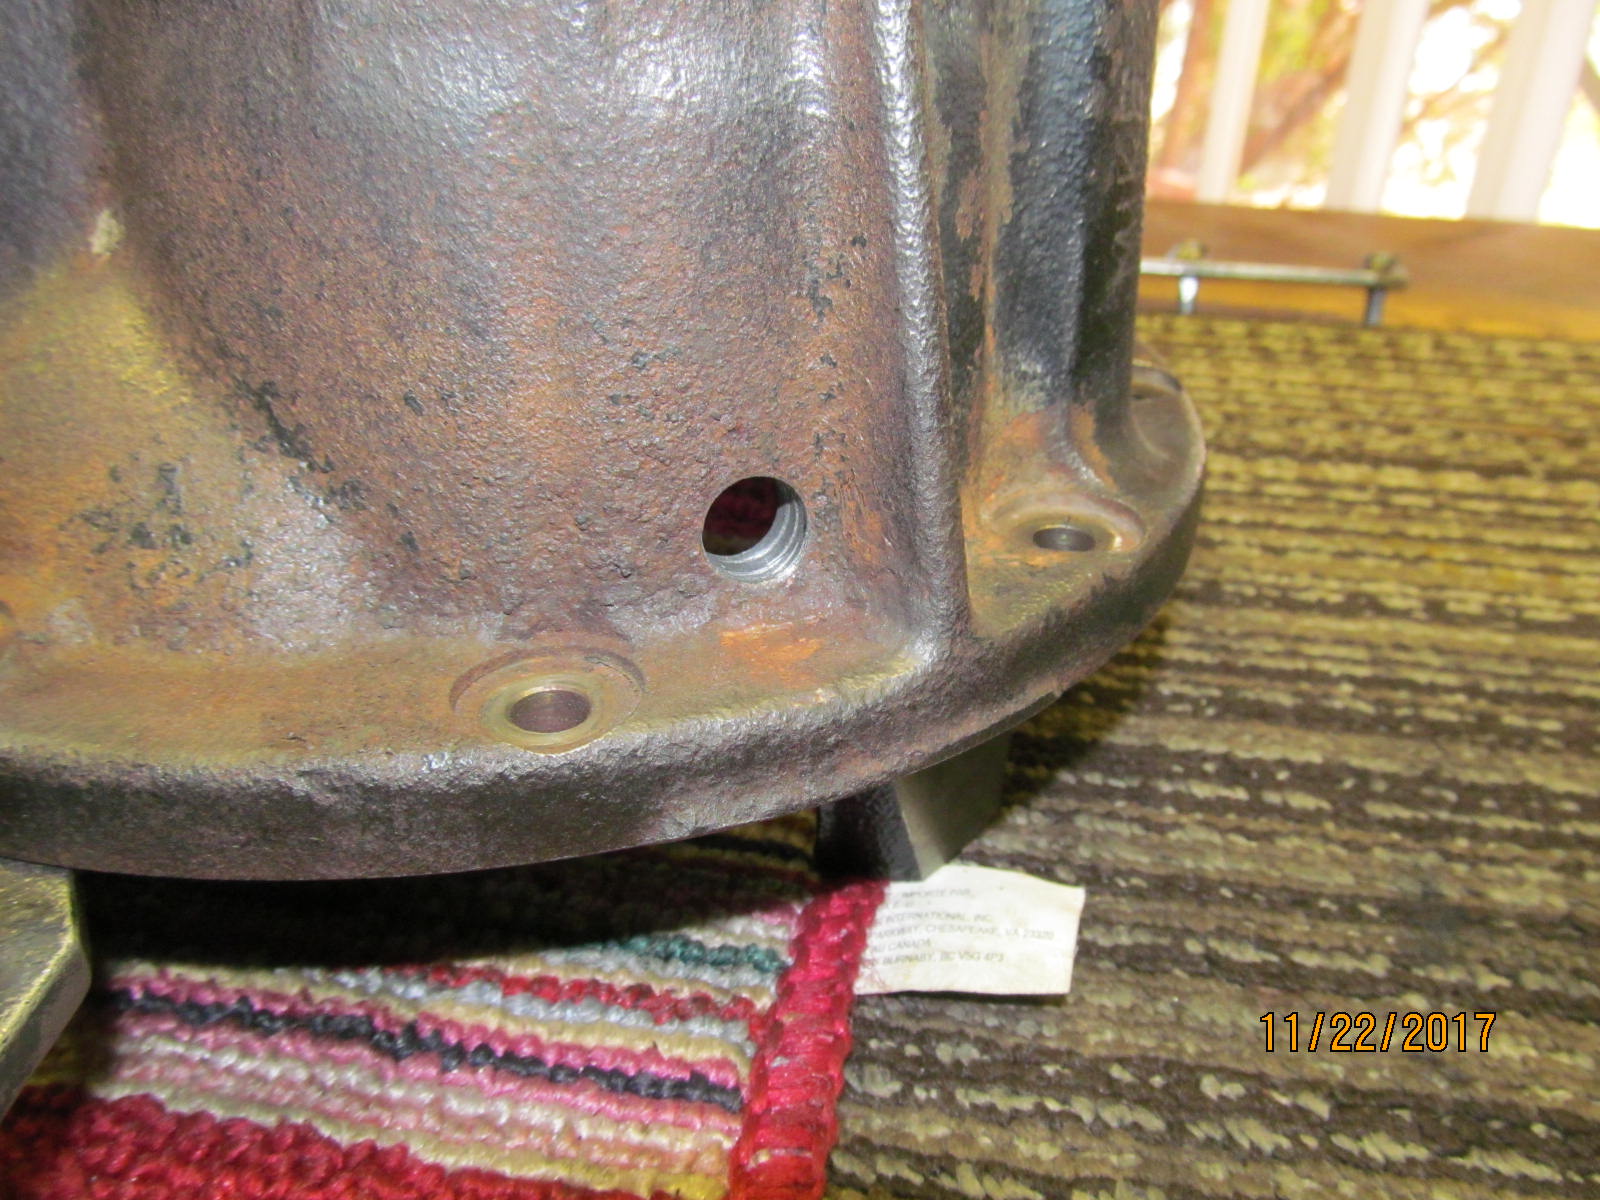
| Might as well drill the .453" hole |
|---|
|
|
| Mark the approximate spot with a big sharpie.... |
|---|
|
|
| The hole is drilled. |
|---|
|
|
| ,,,,,,,,,,,,,,,,,,,,,, |
|---|
|
|
| Crush sleeve time now. |
|---|
|

|
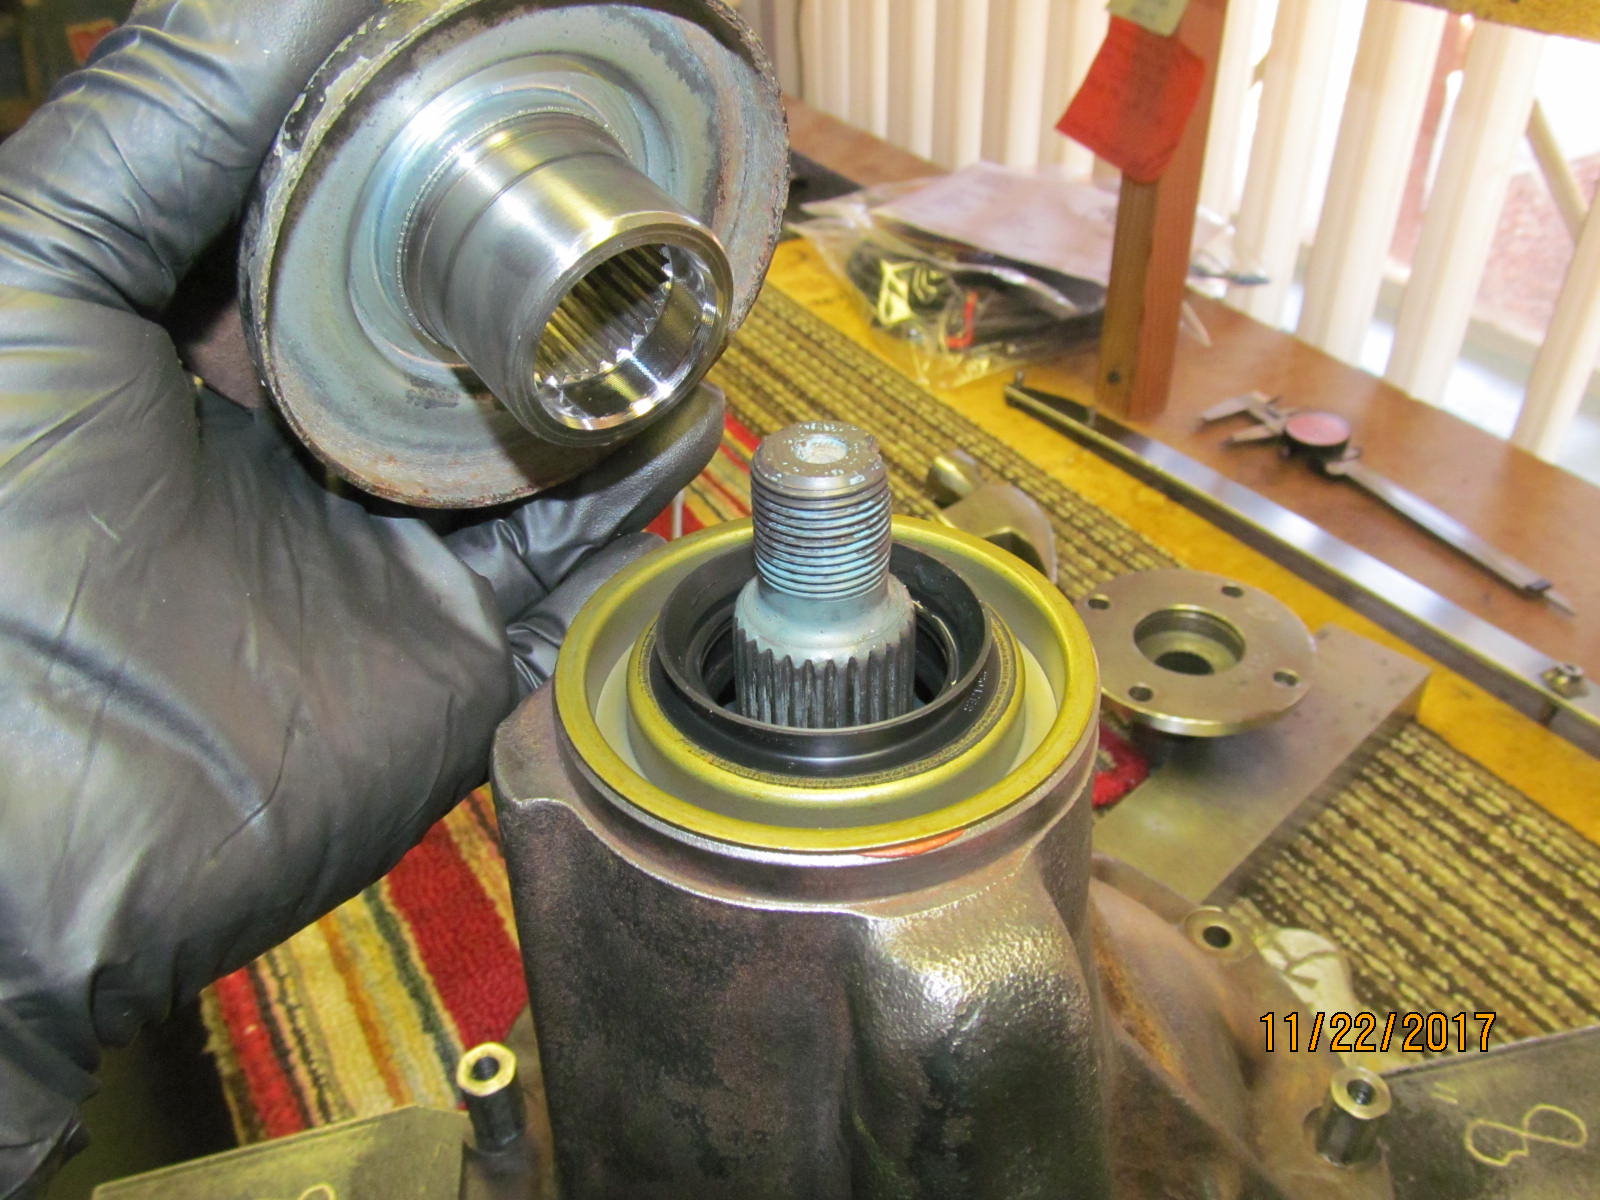
| Marlin seal is one of the best guarantees against leaks. |
|---|
|
|
| The original flange has been wire brushed, cleaned, and sanded with #1500 extra-fine paper. A light coating of gear oil has also been applied. |
|---|
|
|
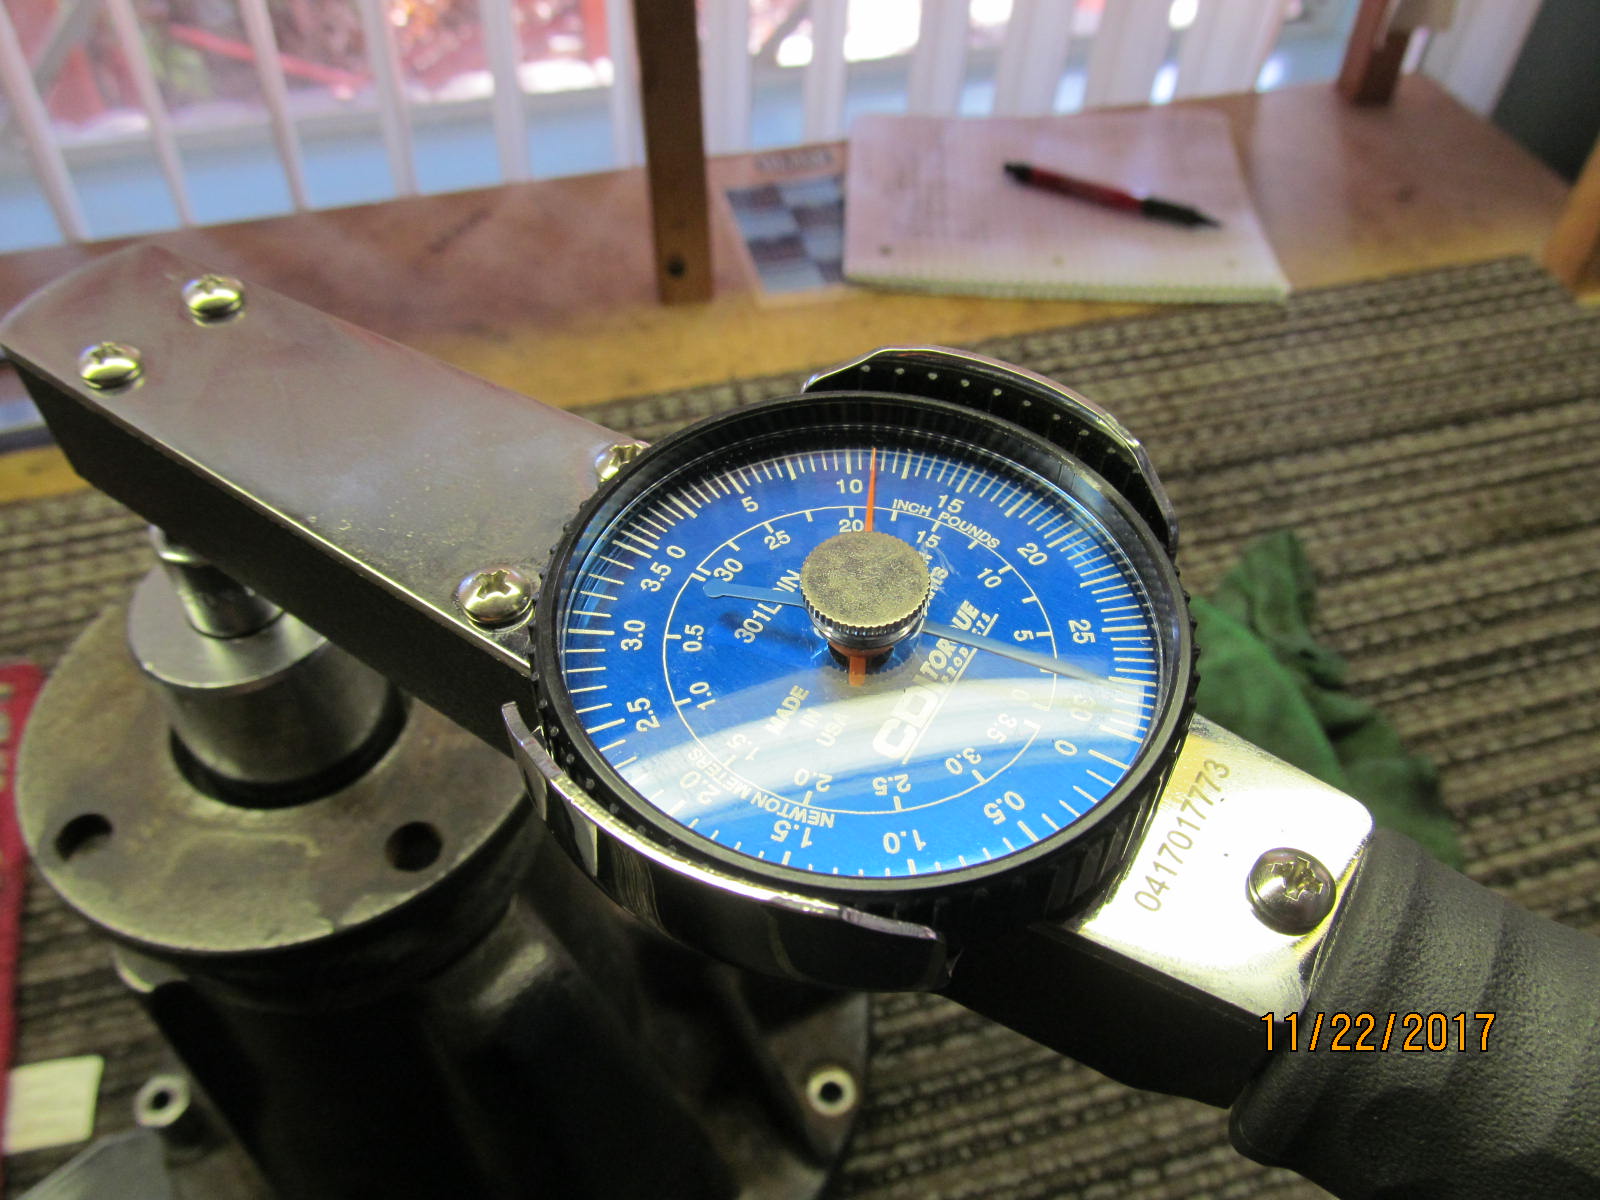
| A nice, smooth 11 of pinion preload has been accurately measured. |
|---|
|
|
| DING!! |
|---|
|
|
| Slide the bearing cap in horizontally....then thread the 2 bolts. |
|---|
|
|
| Threads for the adjusting wheel are perfectly lined up so now the cap bolts can be tightened properly. |
|---|
|
|
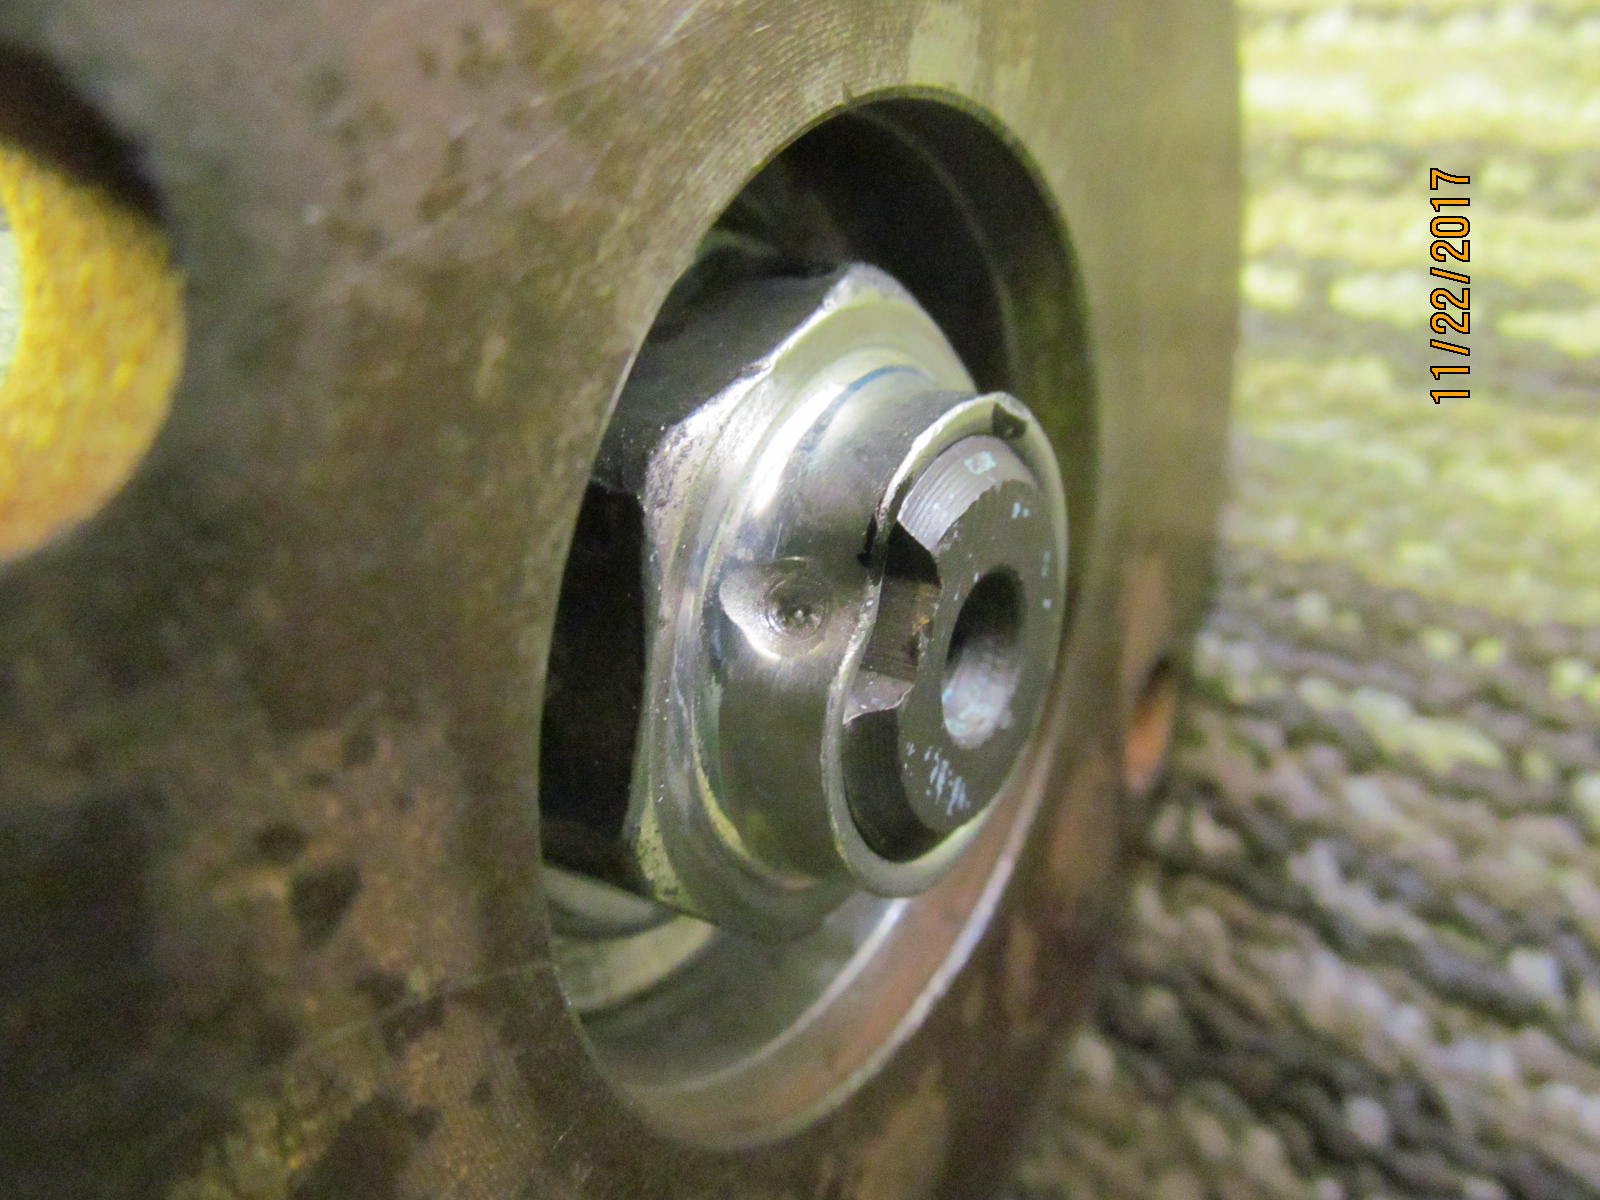
| Bingo....the adjuster wheel threads very nicely into the bearing cap. |
|---|
|
|
| I have my 2mm of freeplay now I note. |
|---|
|

|
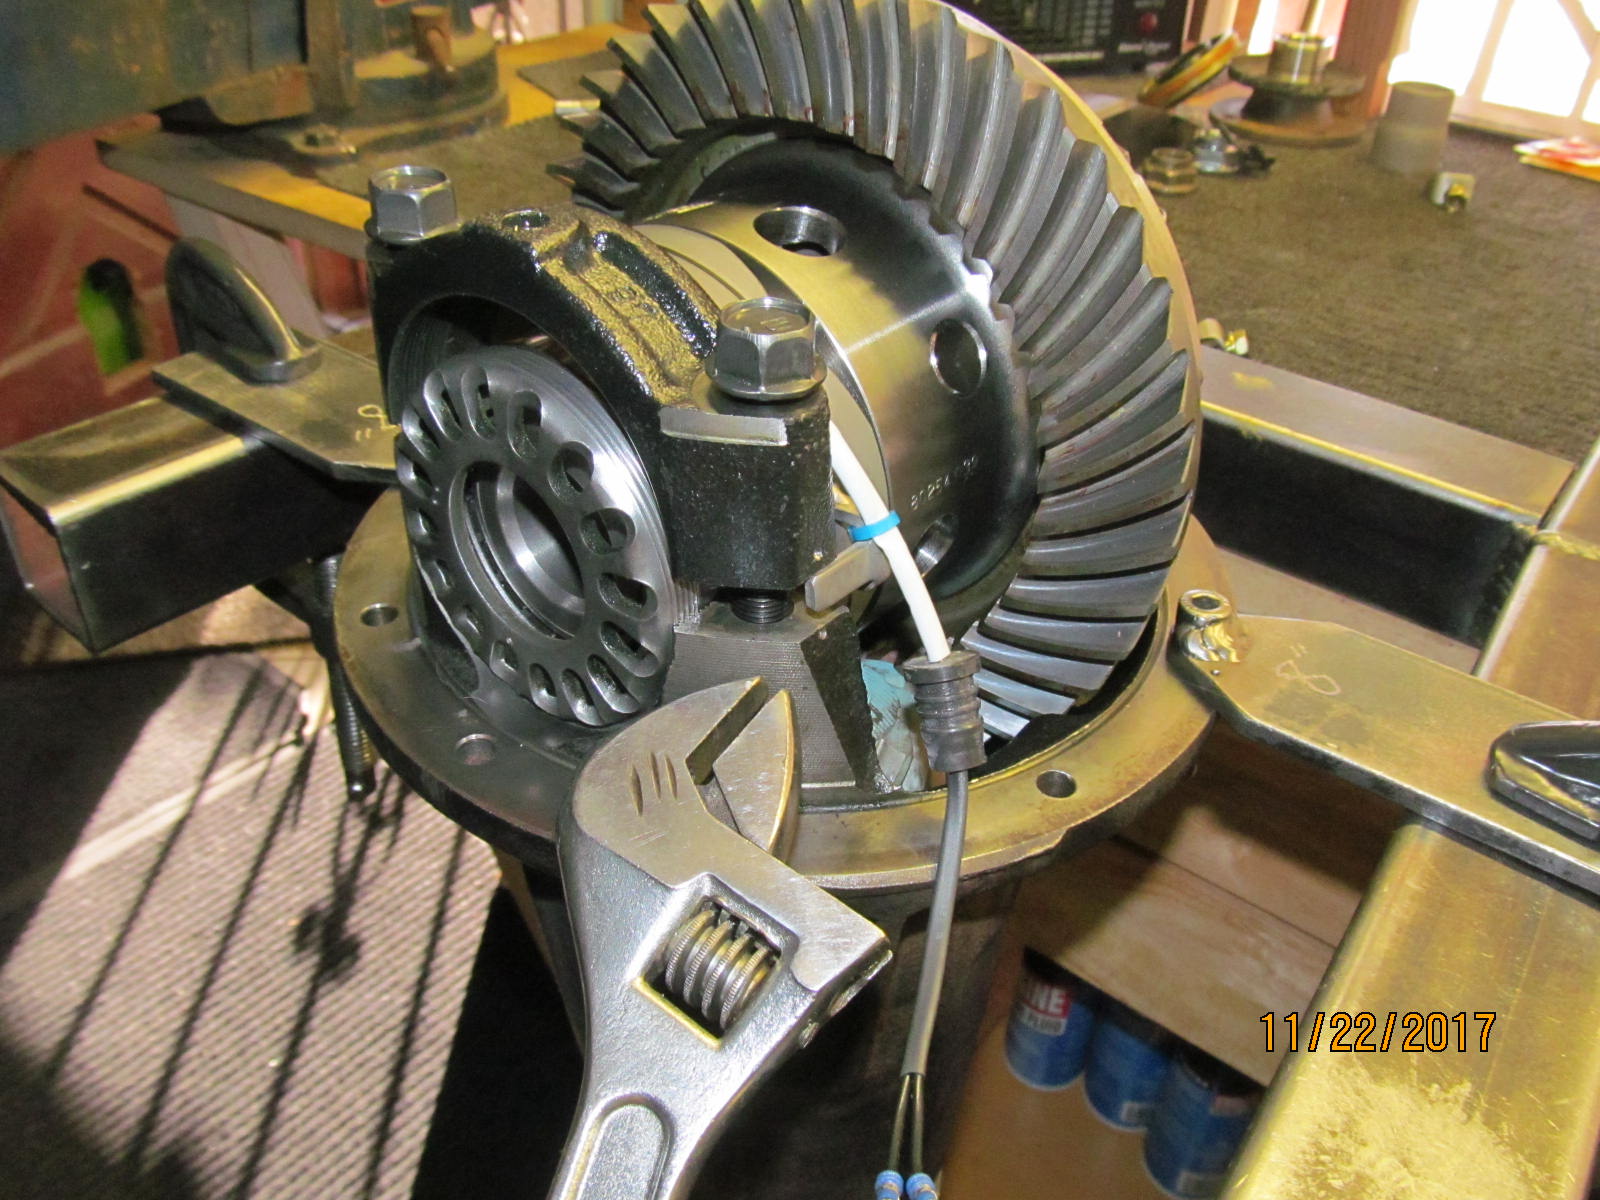
| Verifying the 4 bolts are all torqued to 70 ft/lb. |
|---|
|
|
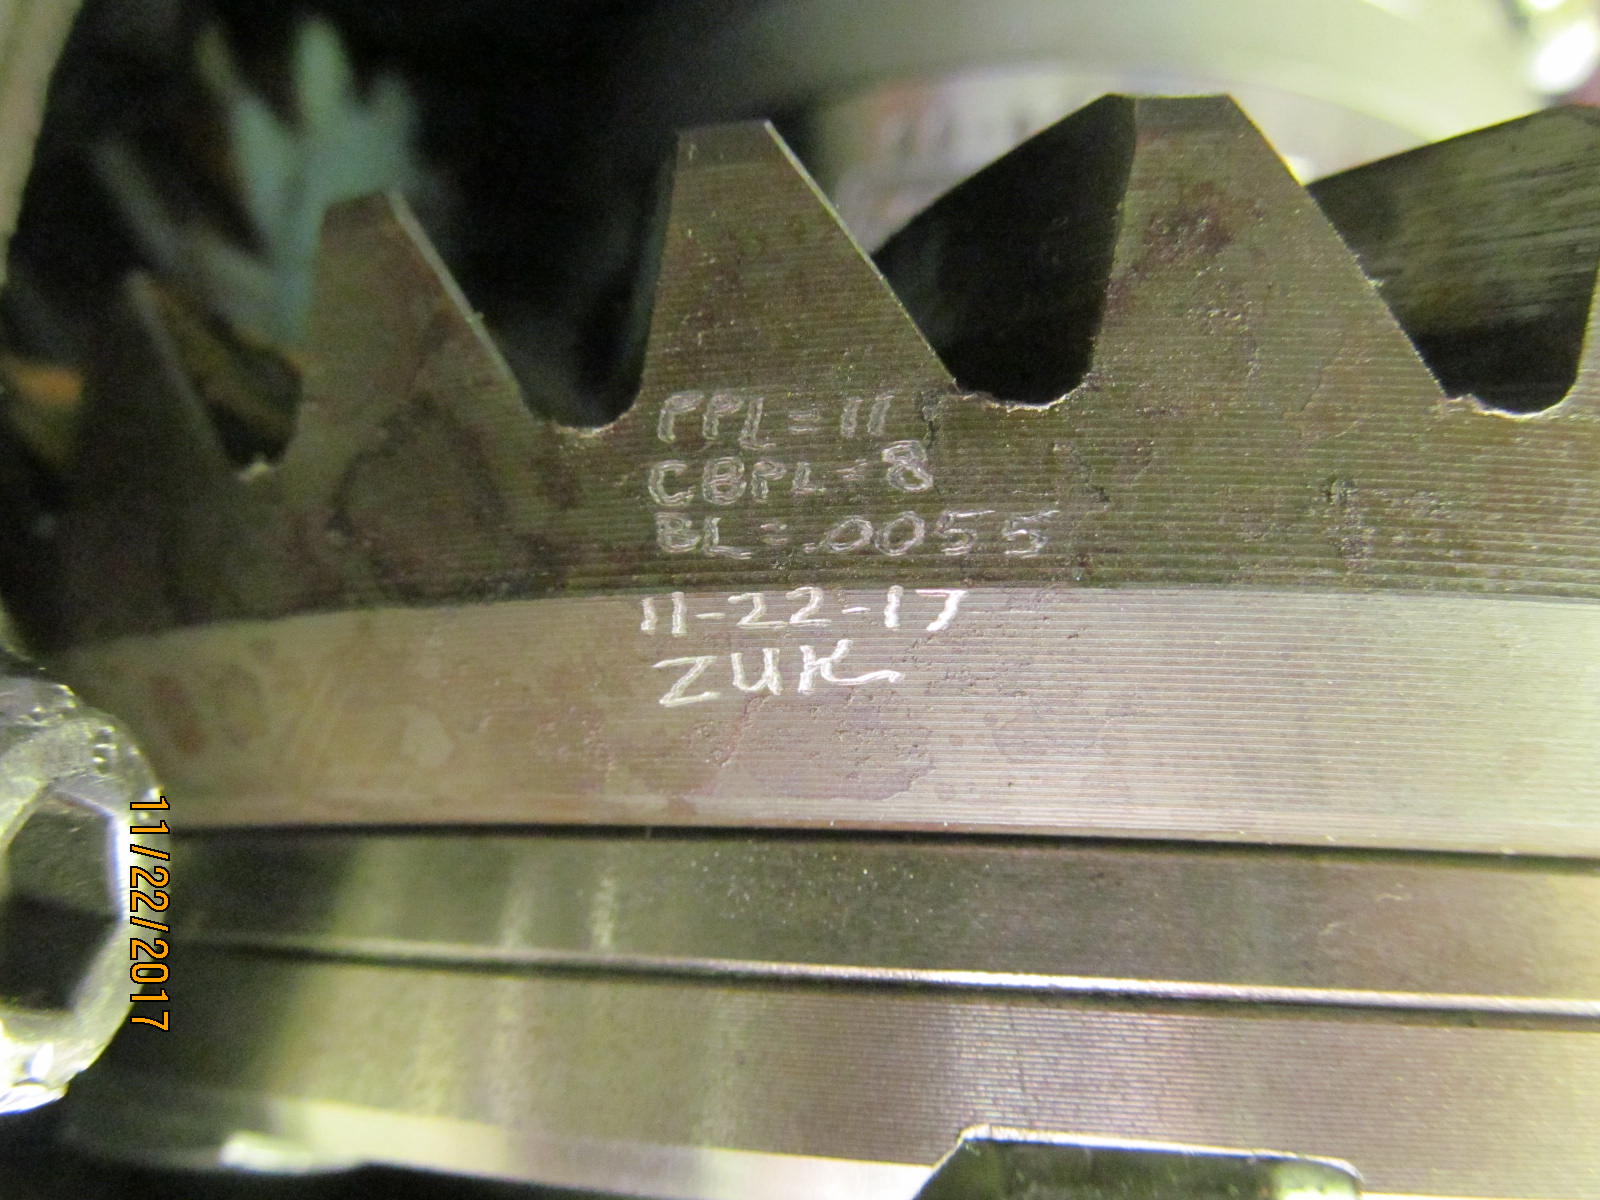
| Plenty of preload on the carrier bearings(8 in/lb) and the backlash is "spot on"(.0055" minimum). |
|---|
|
|
| Ring gear is inscribed. |
|---|
|
|
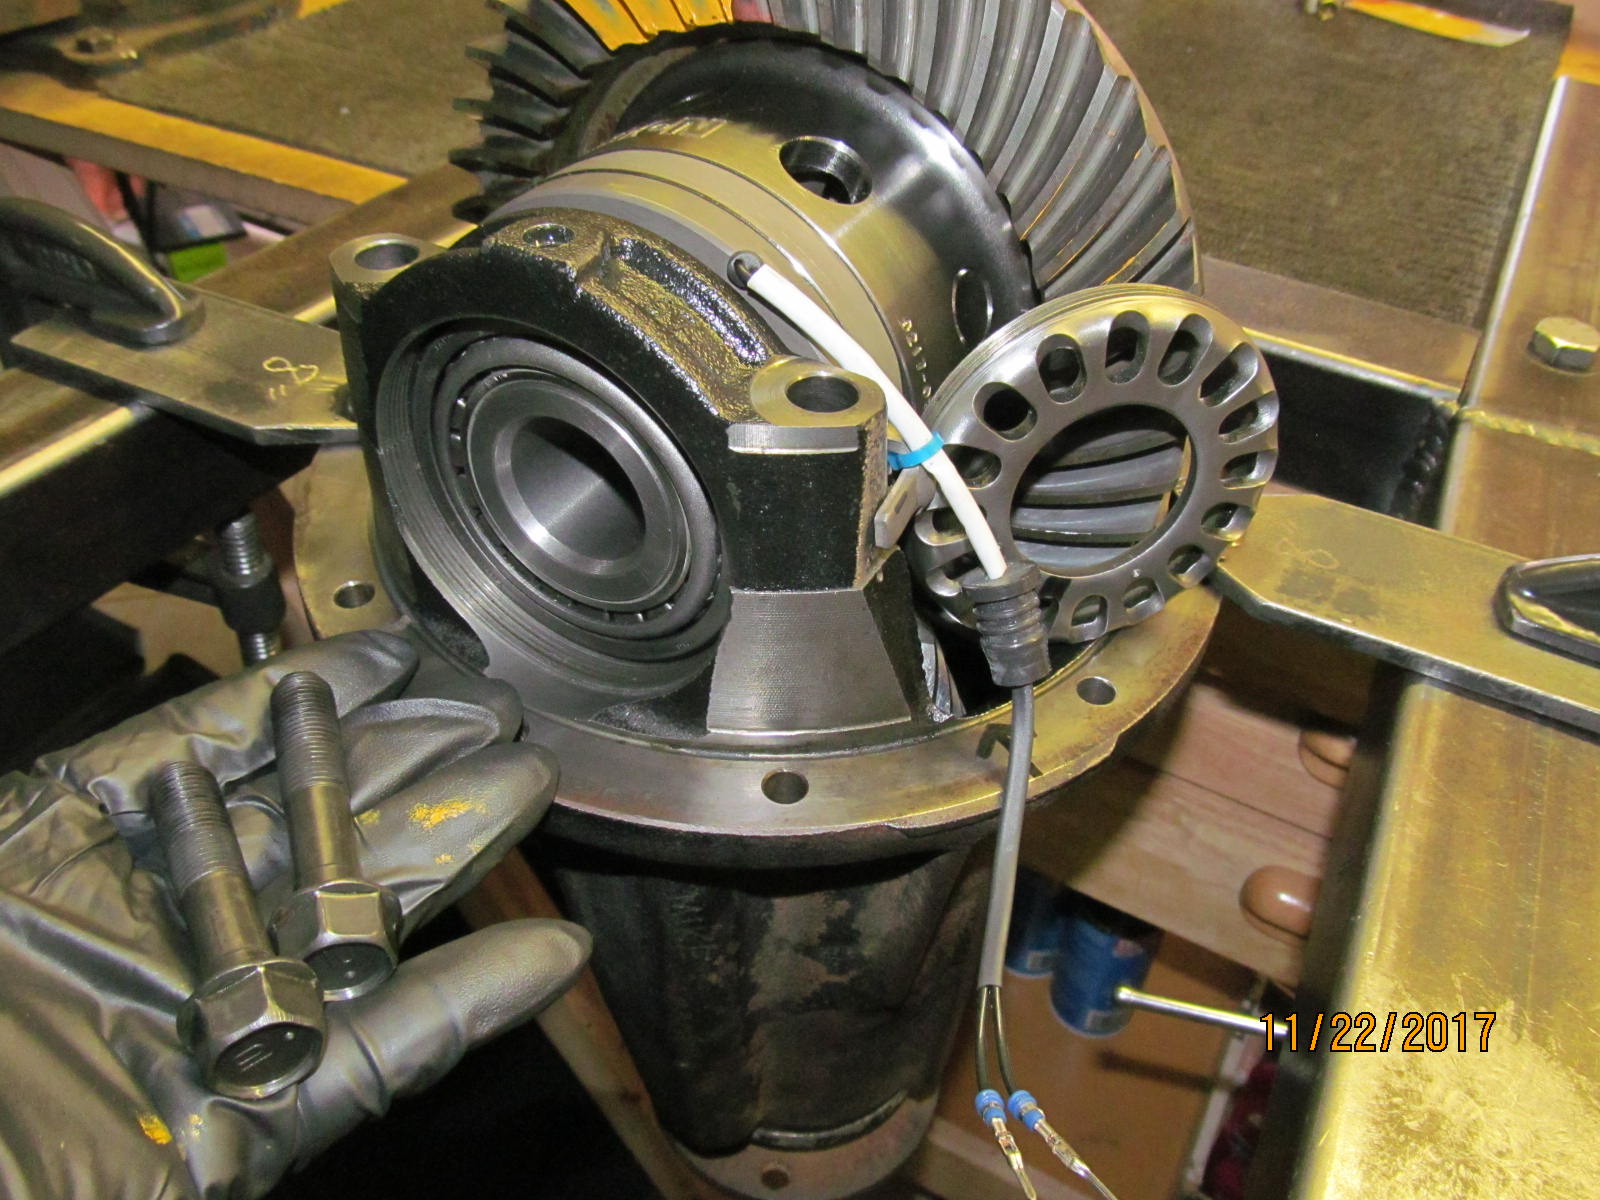
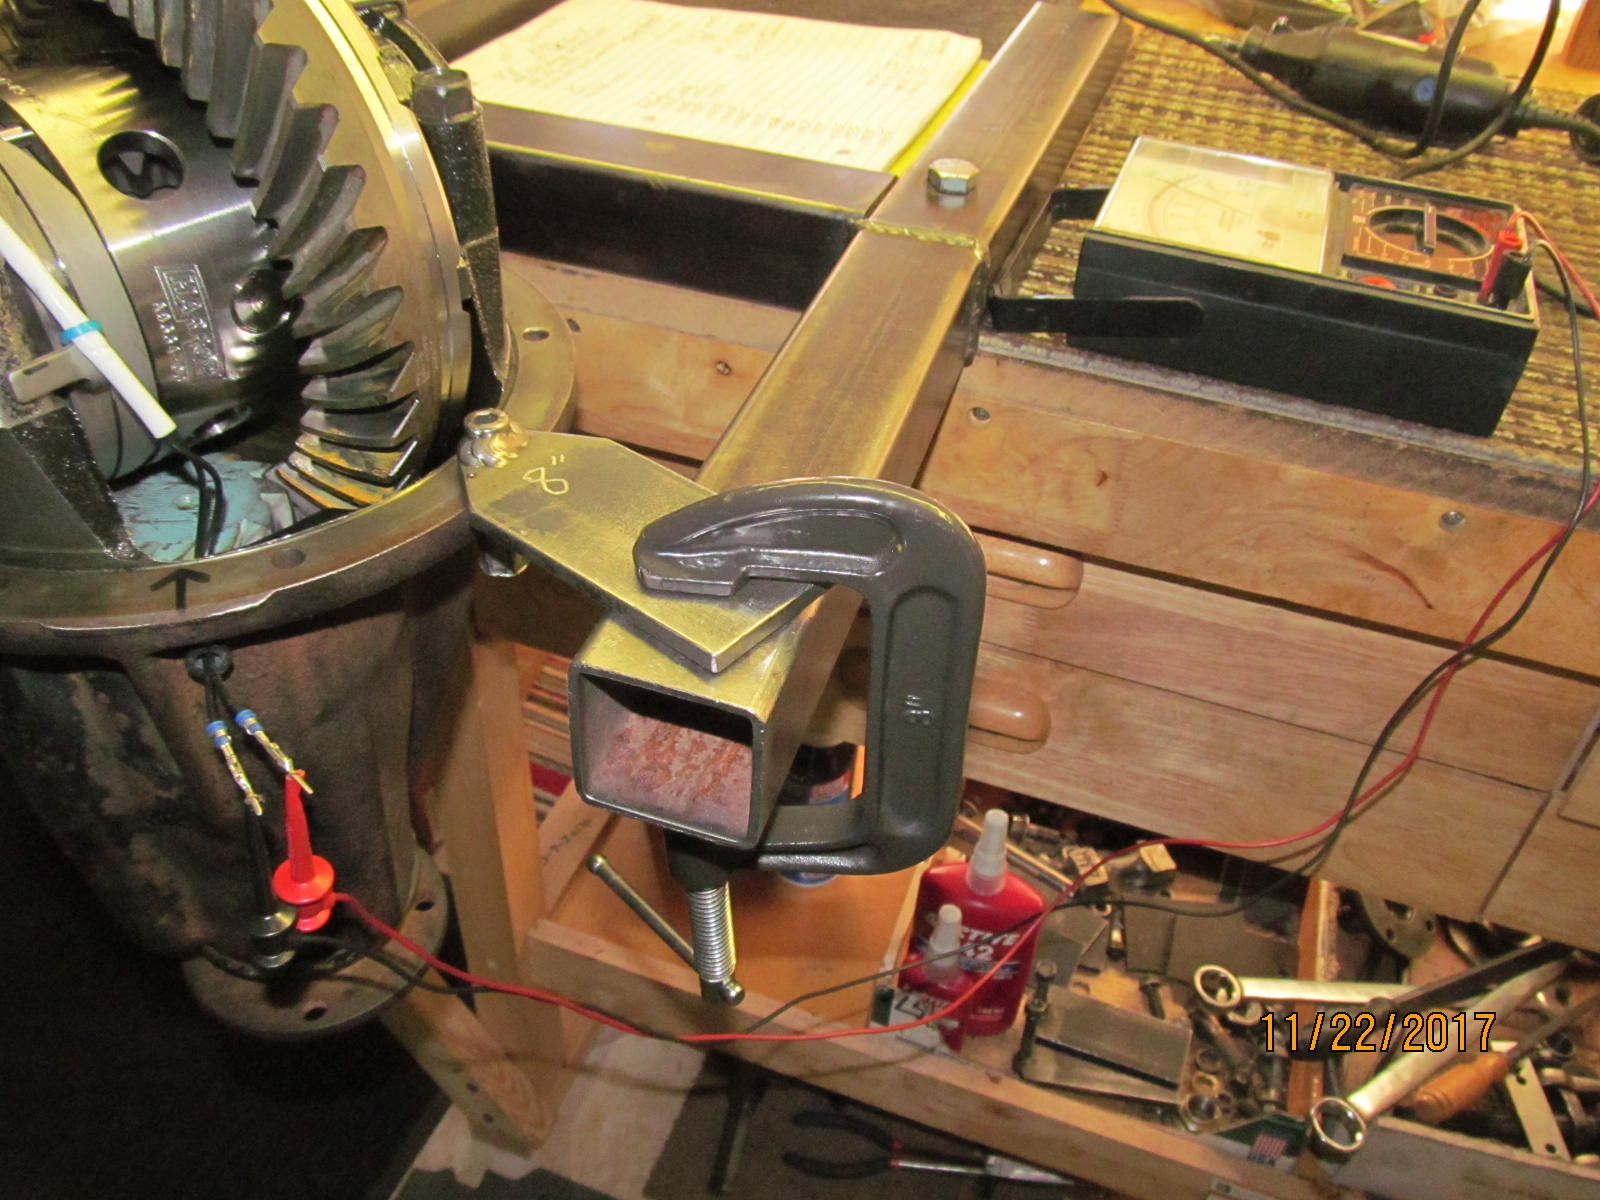
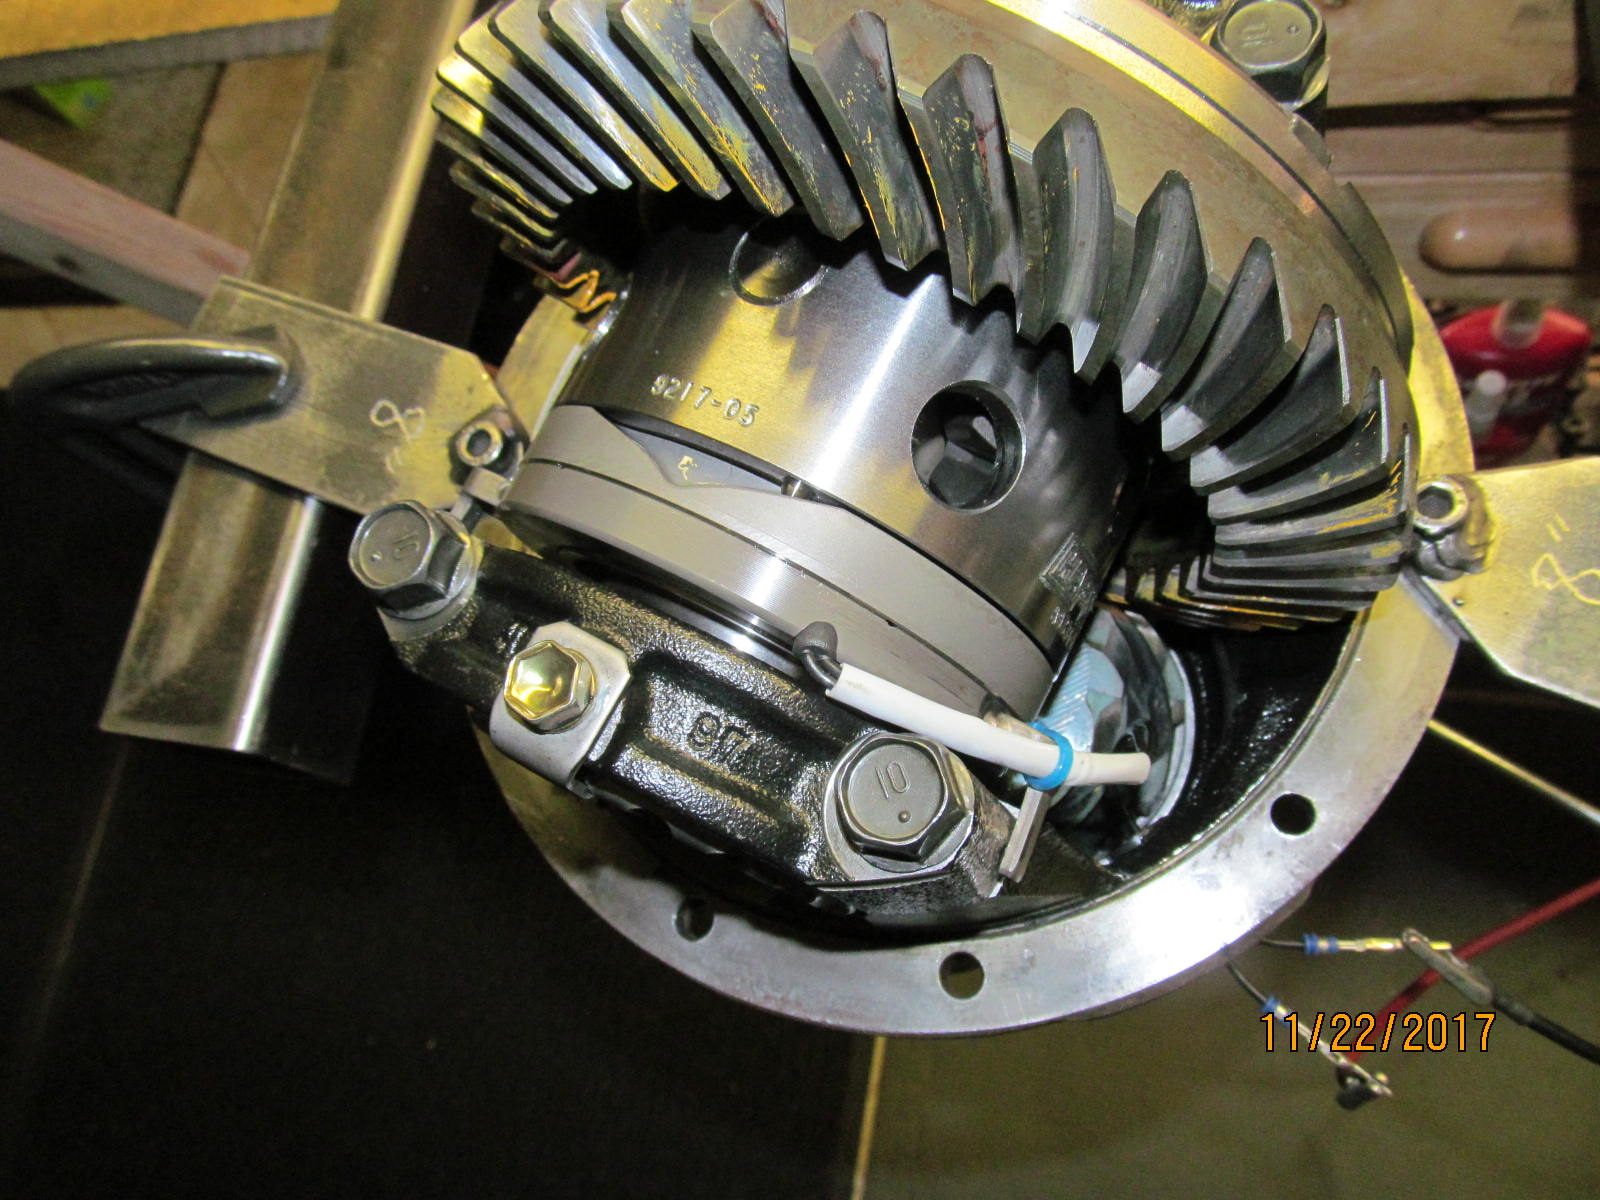
| Now to check the elocker operation. |
|---|
|
|
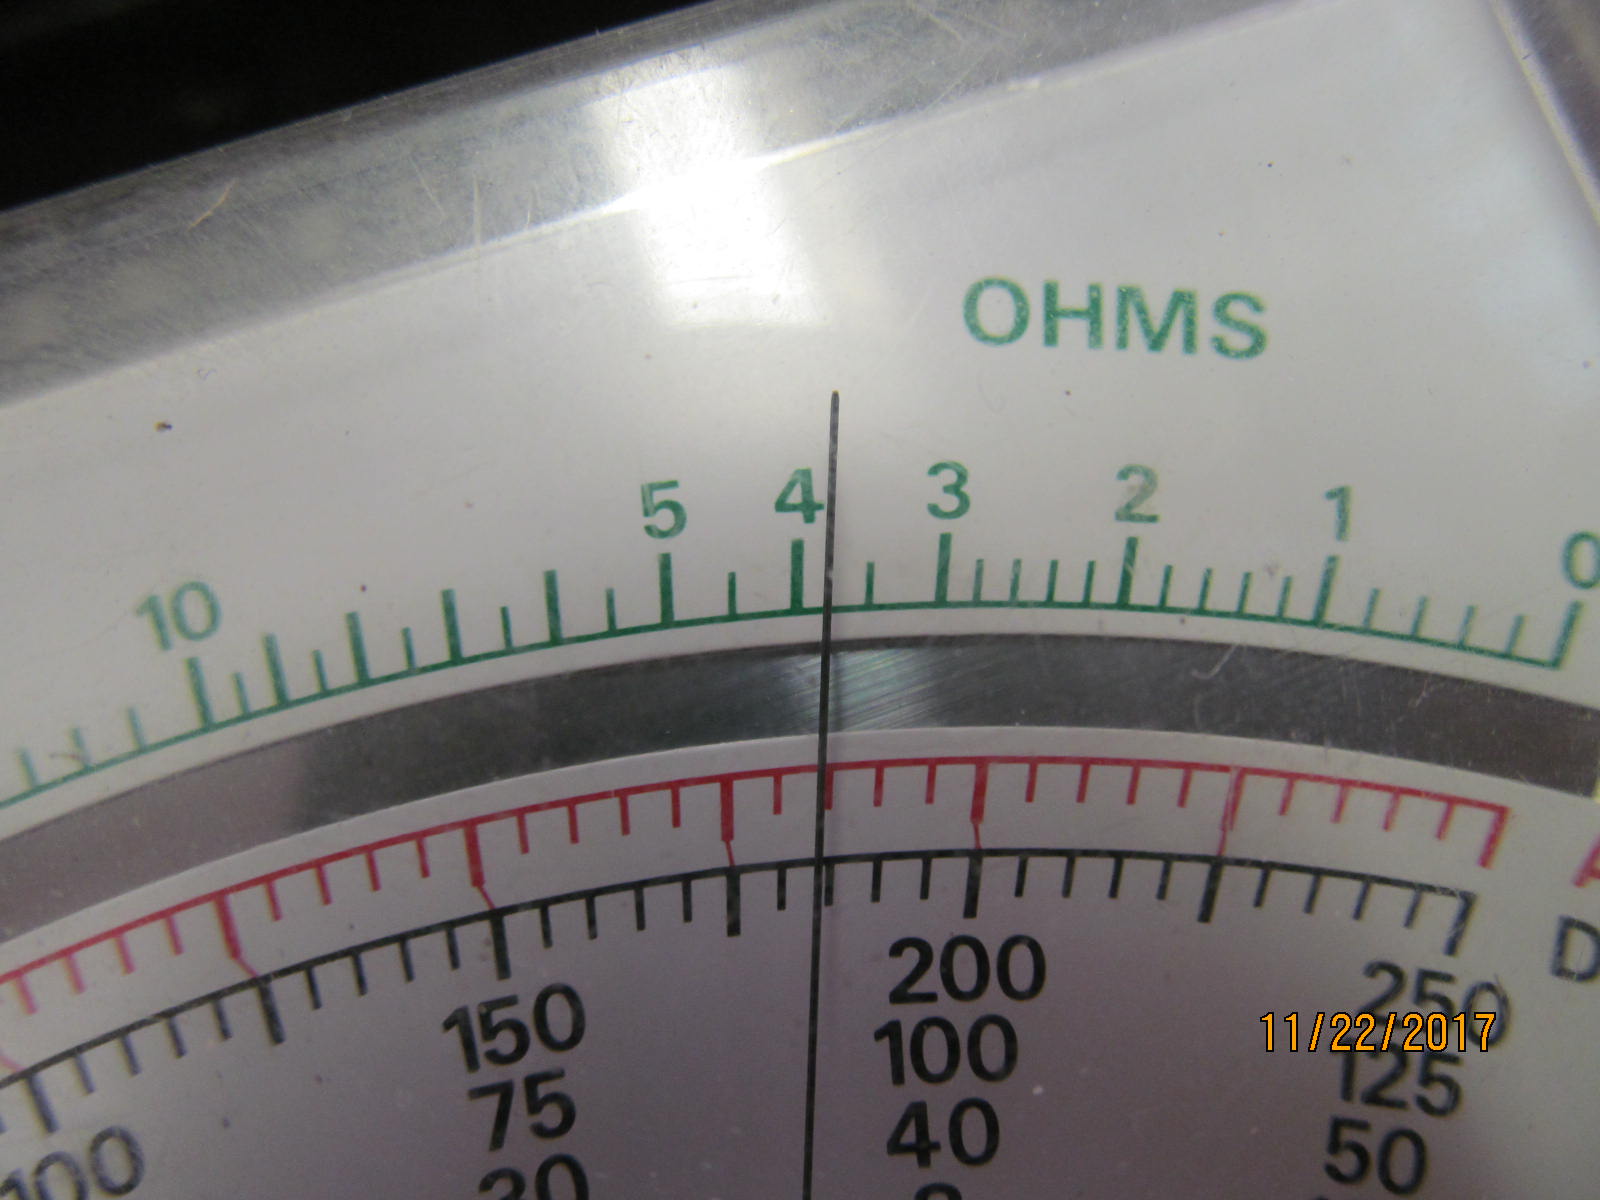
| Ohms measured at 3.8. |
|---|
|
|
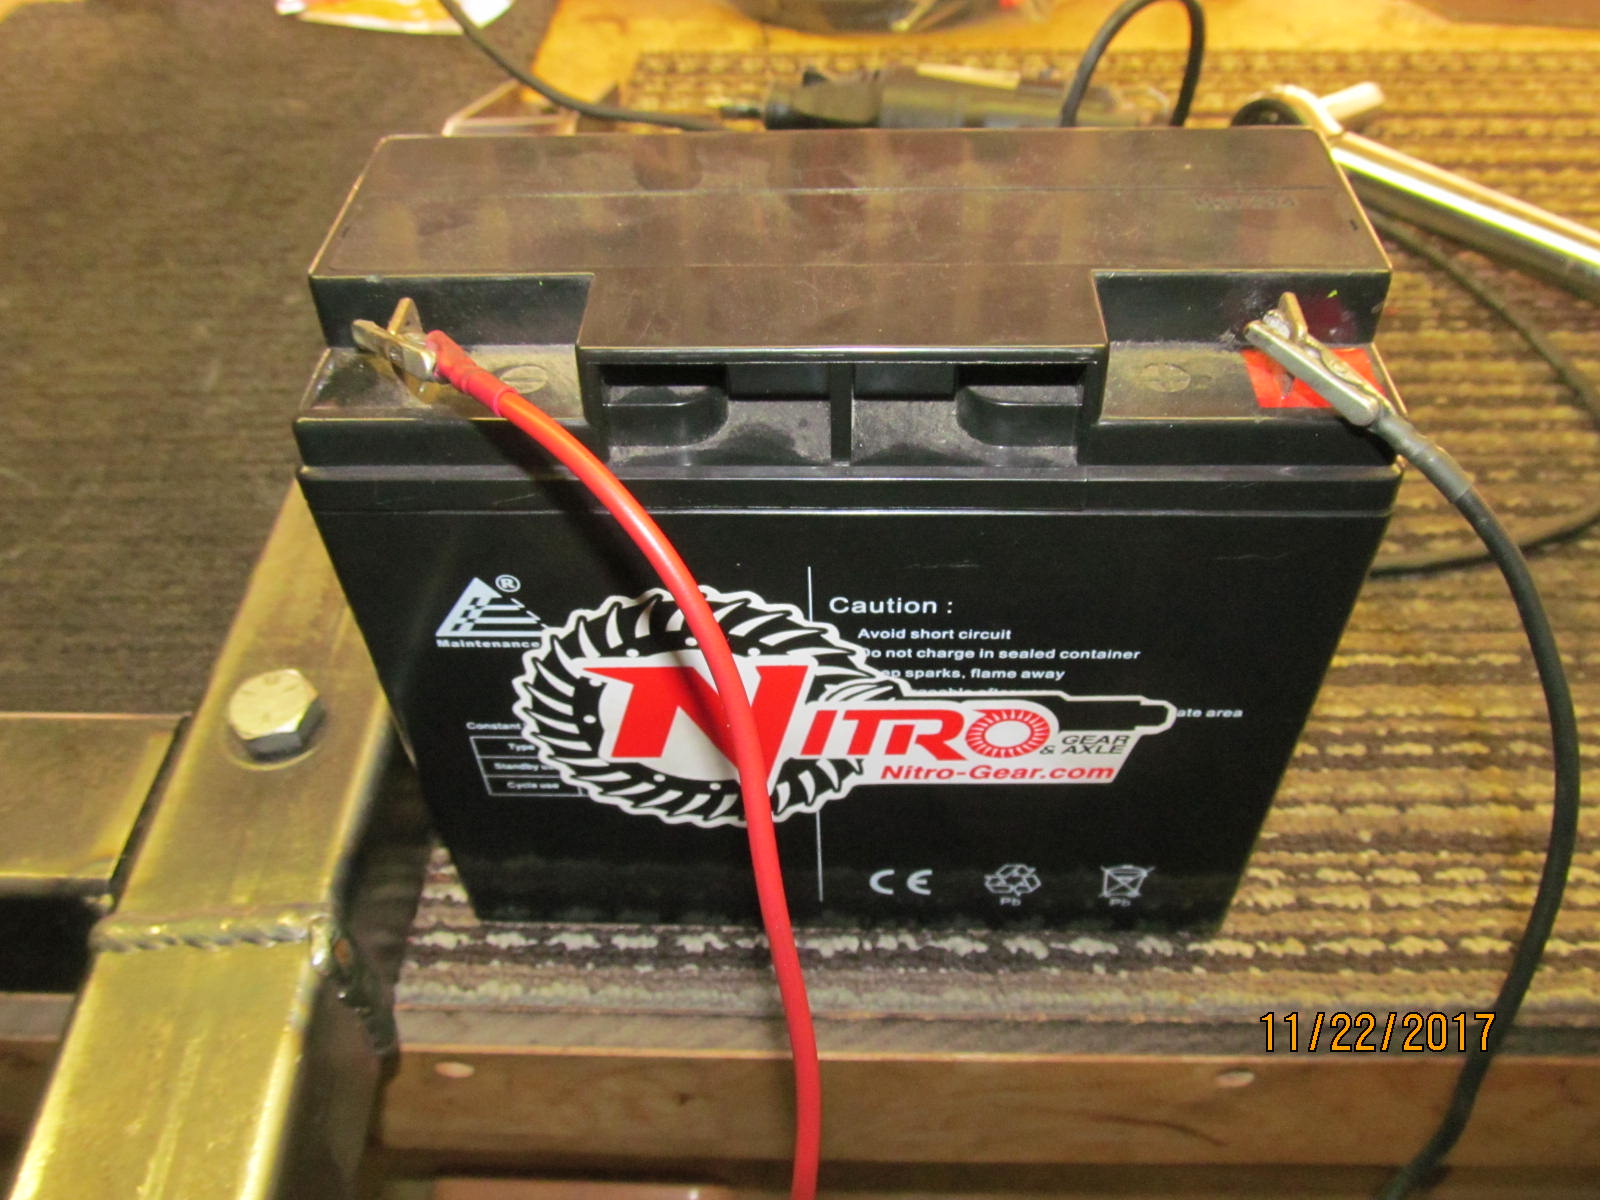
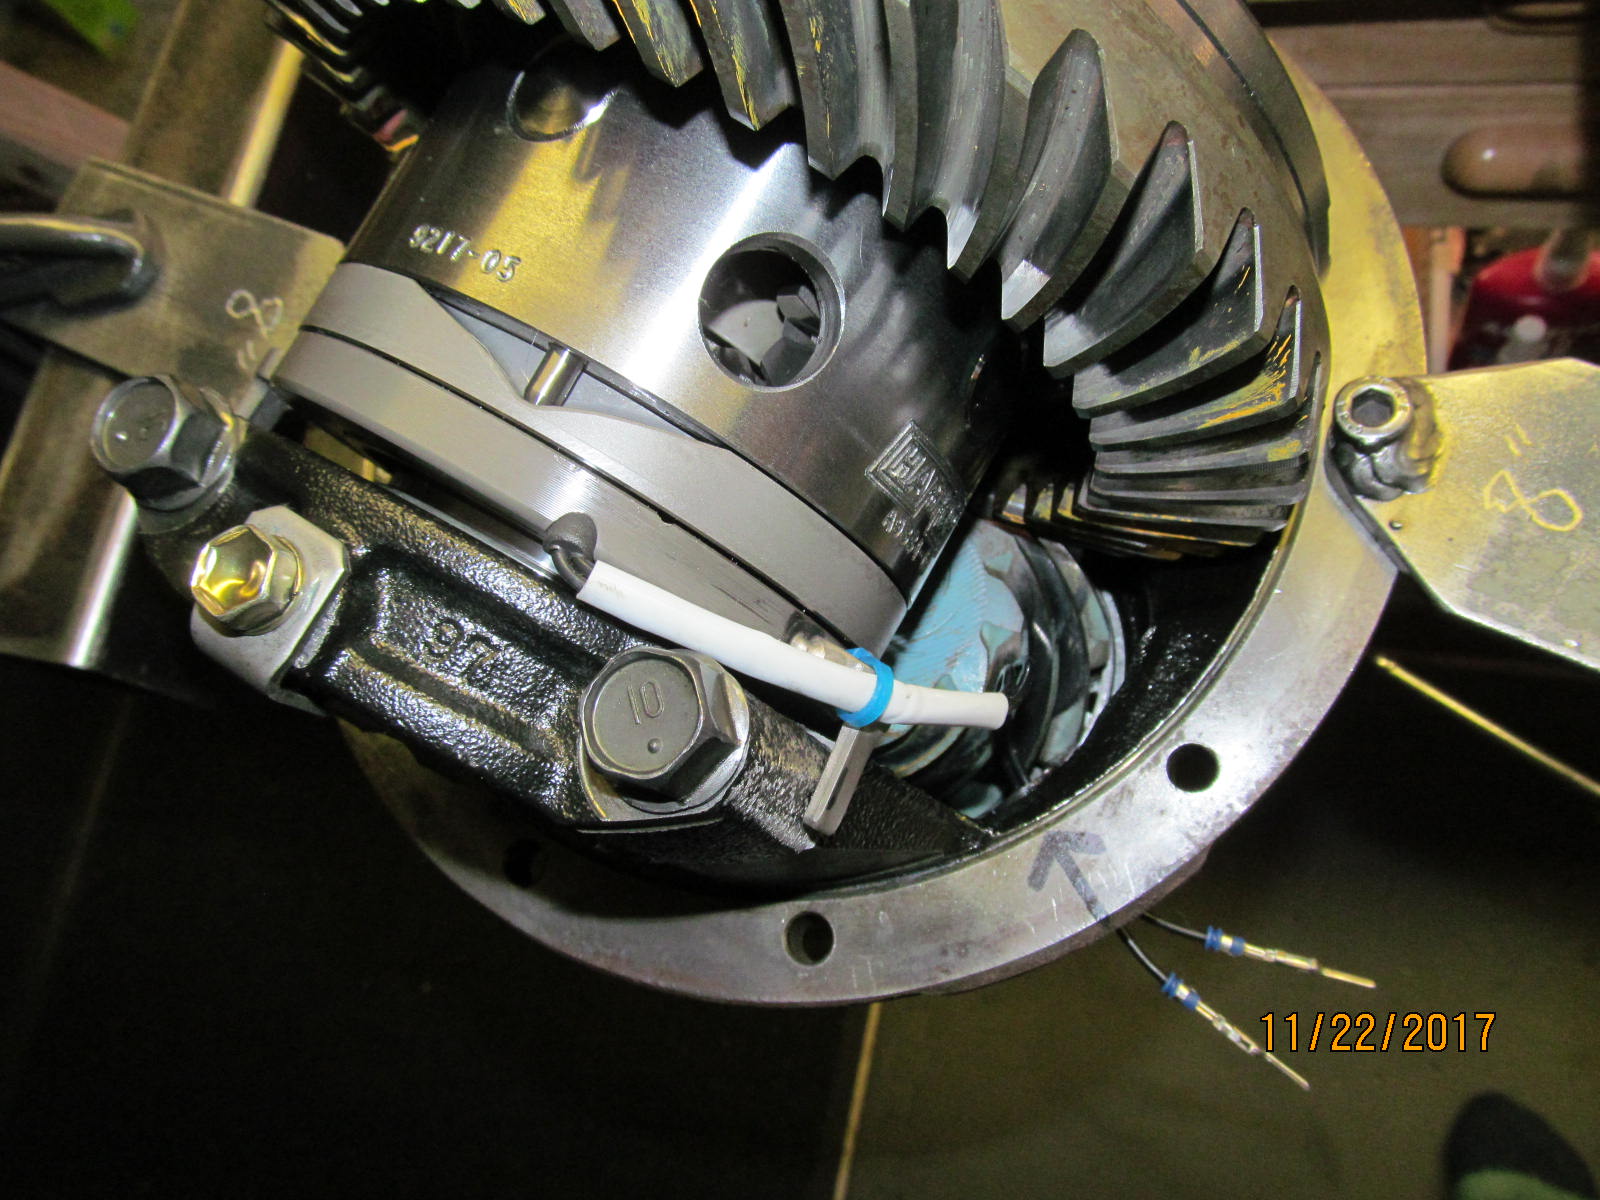
| Then 12 volts is applied..... |
|---|
|
|
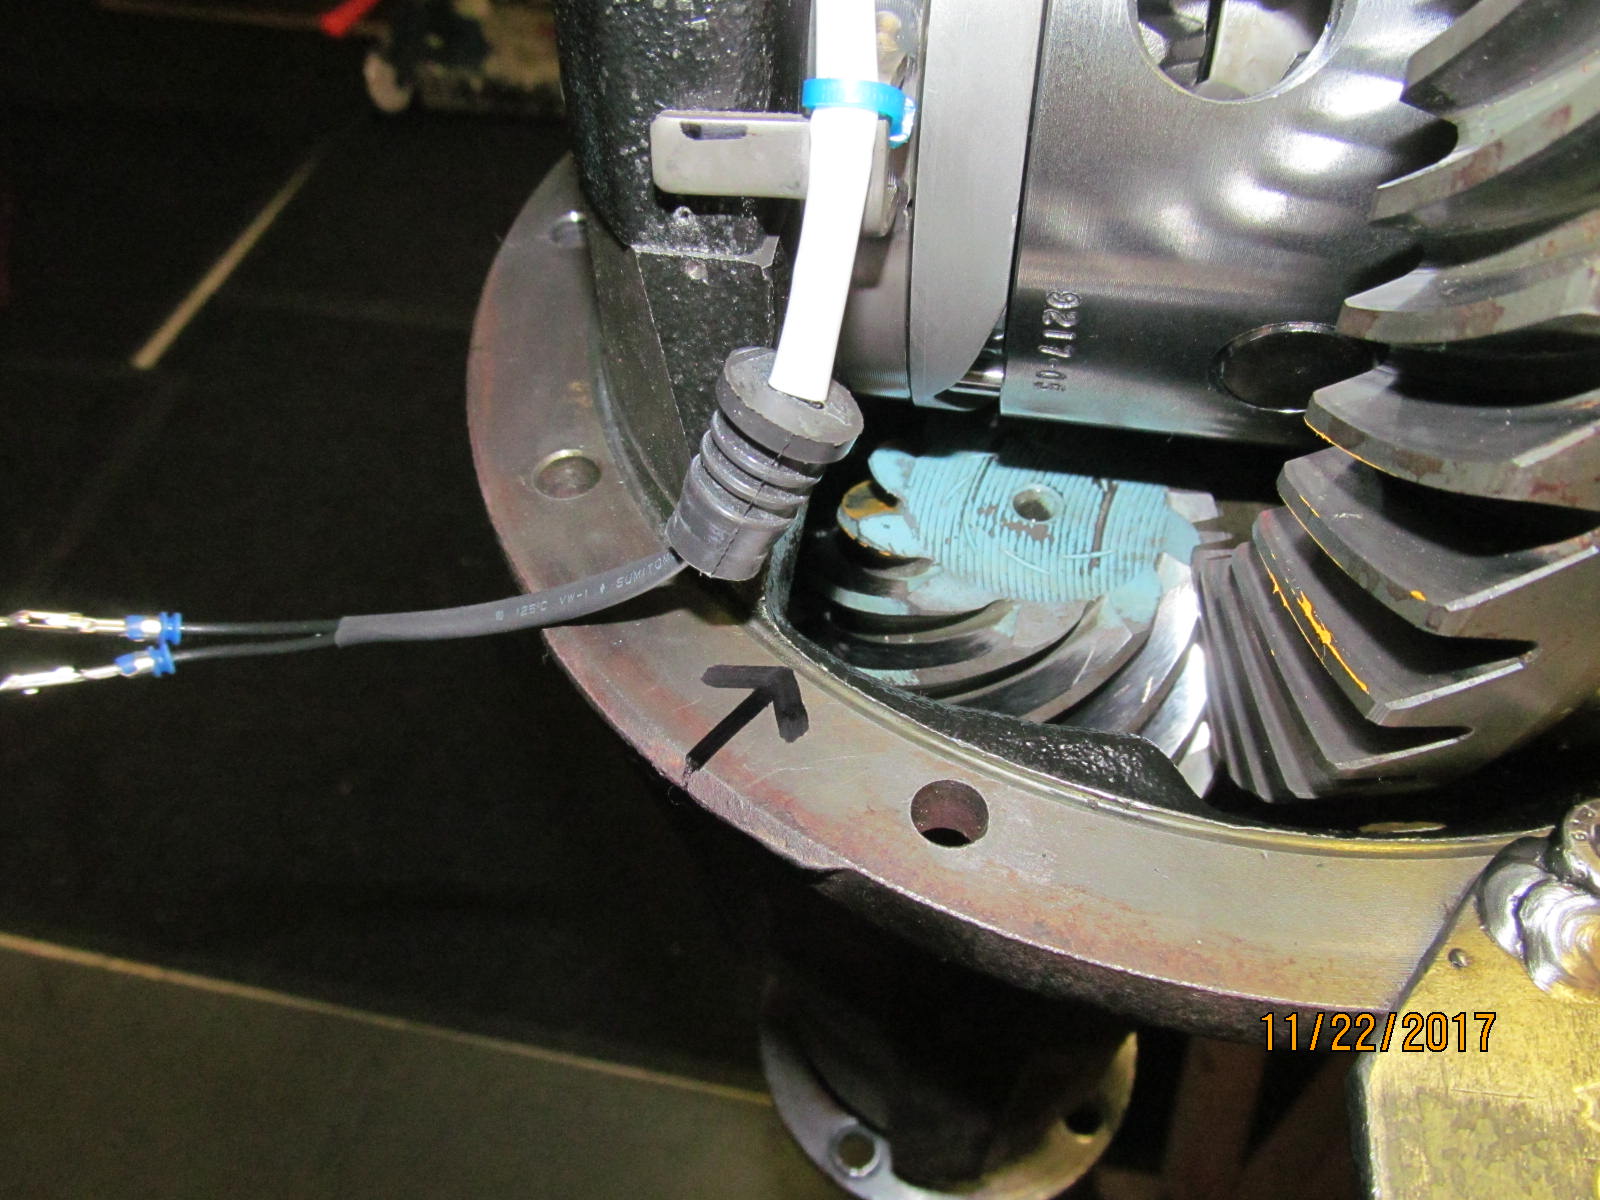
....to the 2 wires in the lower right and the order does not make any difference....they have no polarity.
Ring gear is then turned and the 3 steel pins get pushed into the case. |
|---|
|
|
| Then release the 12 volts and the steel pins pop out instantly. |
|---|
|
|
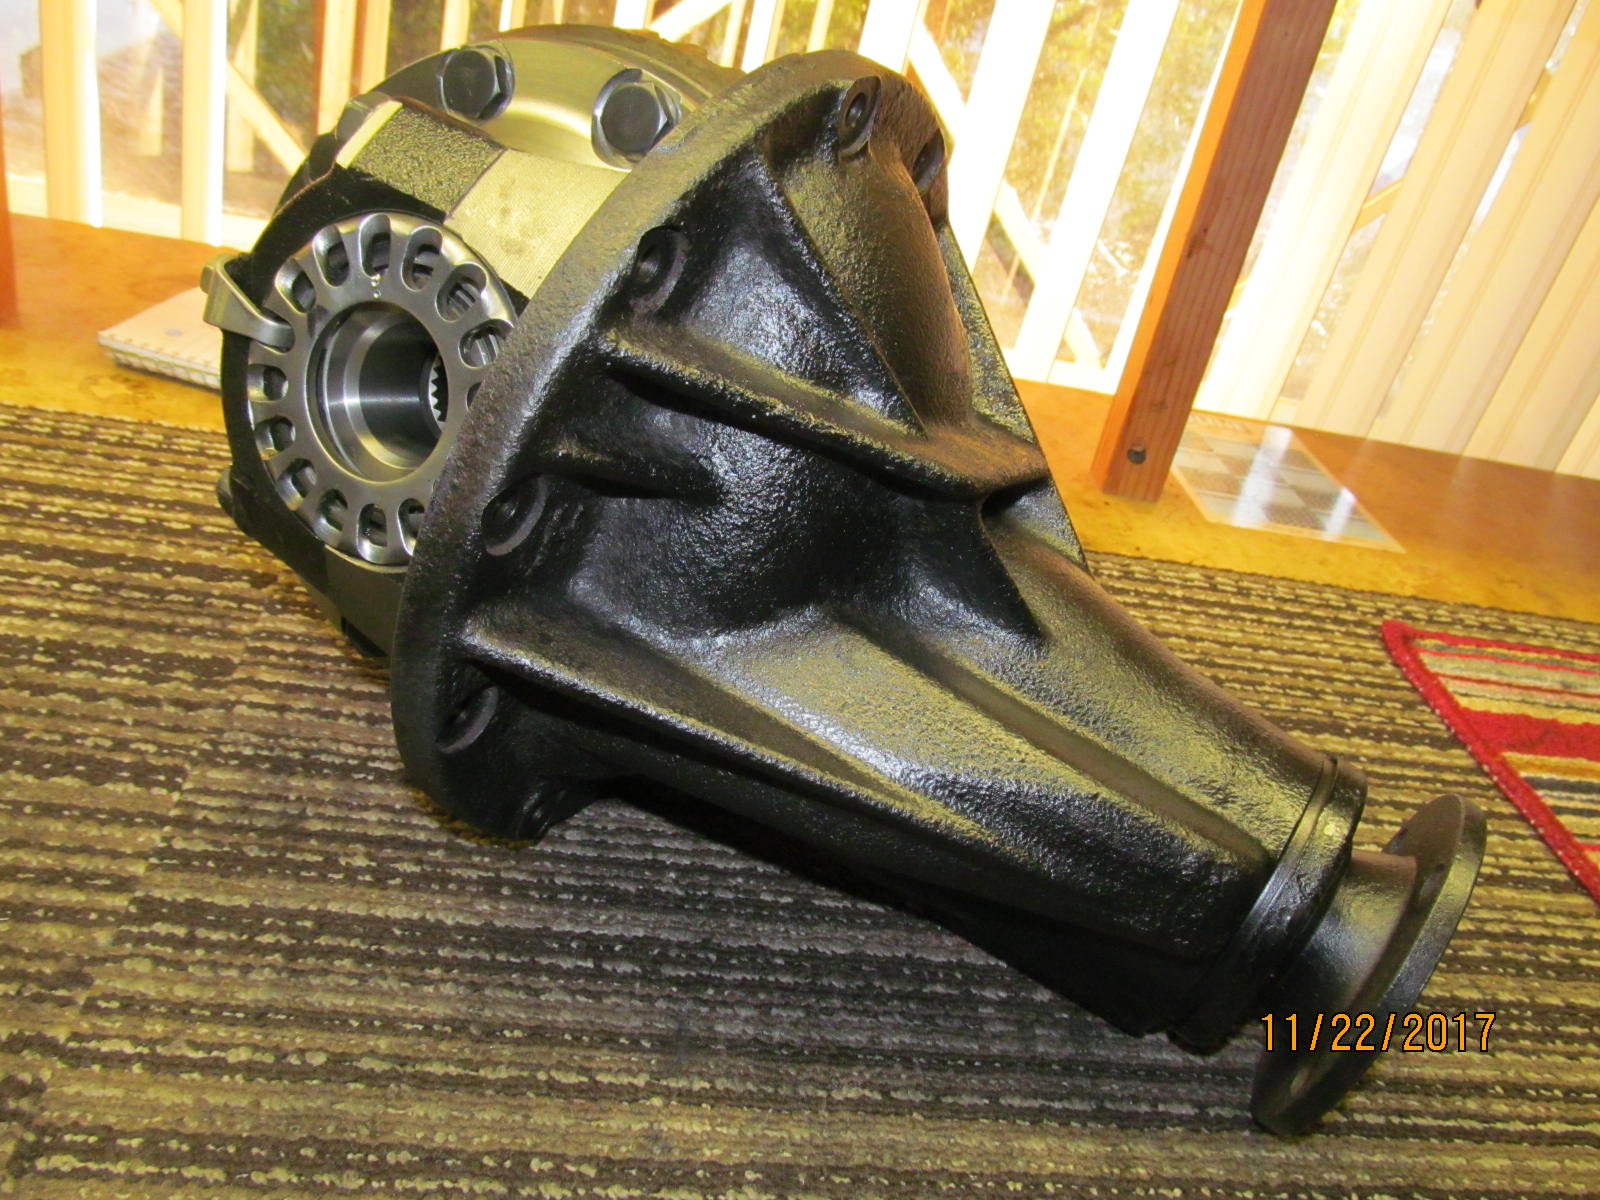
| The hi-pinion elocker really takes nicely to a coat of black. |
|---|
|
|
| ,,,,,,,,,,,,,,,,,,,,,,,,, |
|---|
|
|
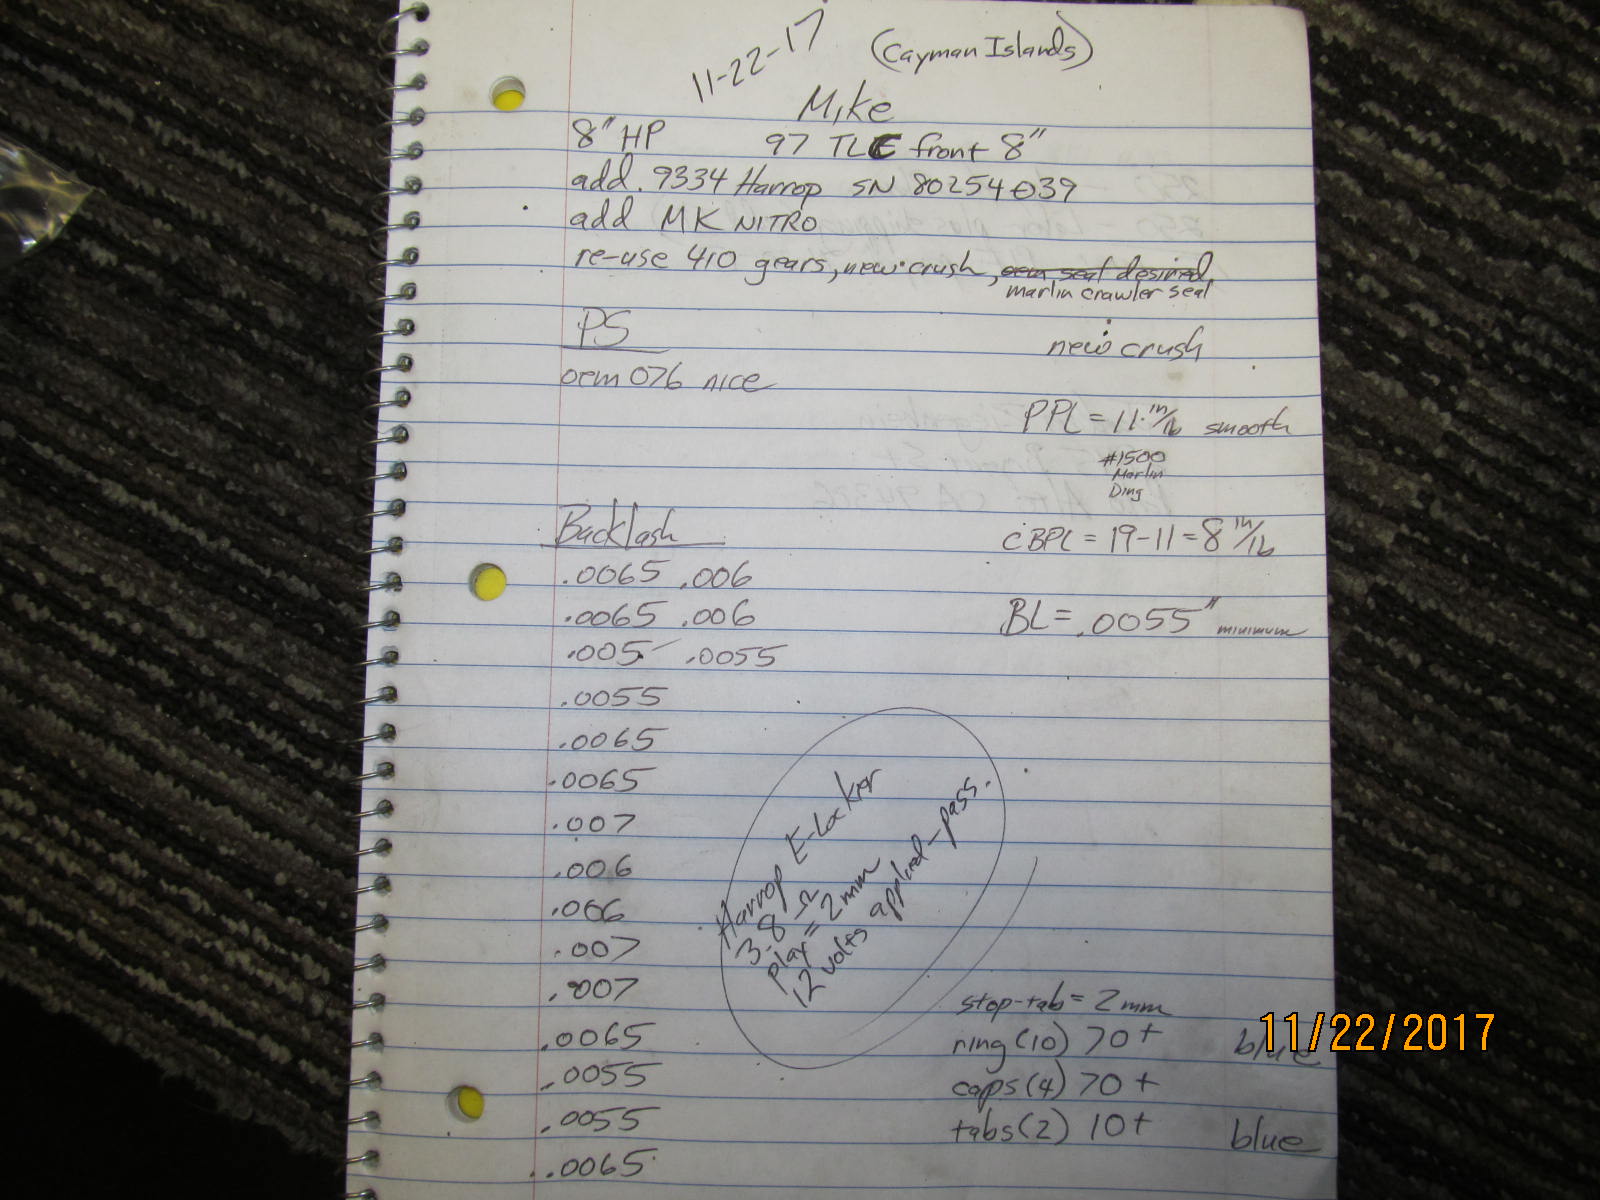
| A snapshot of the notes. |
|---|
|
|
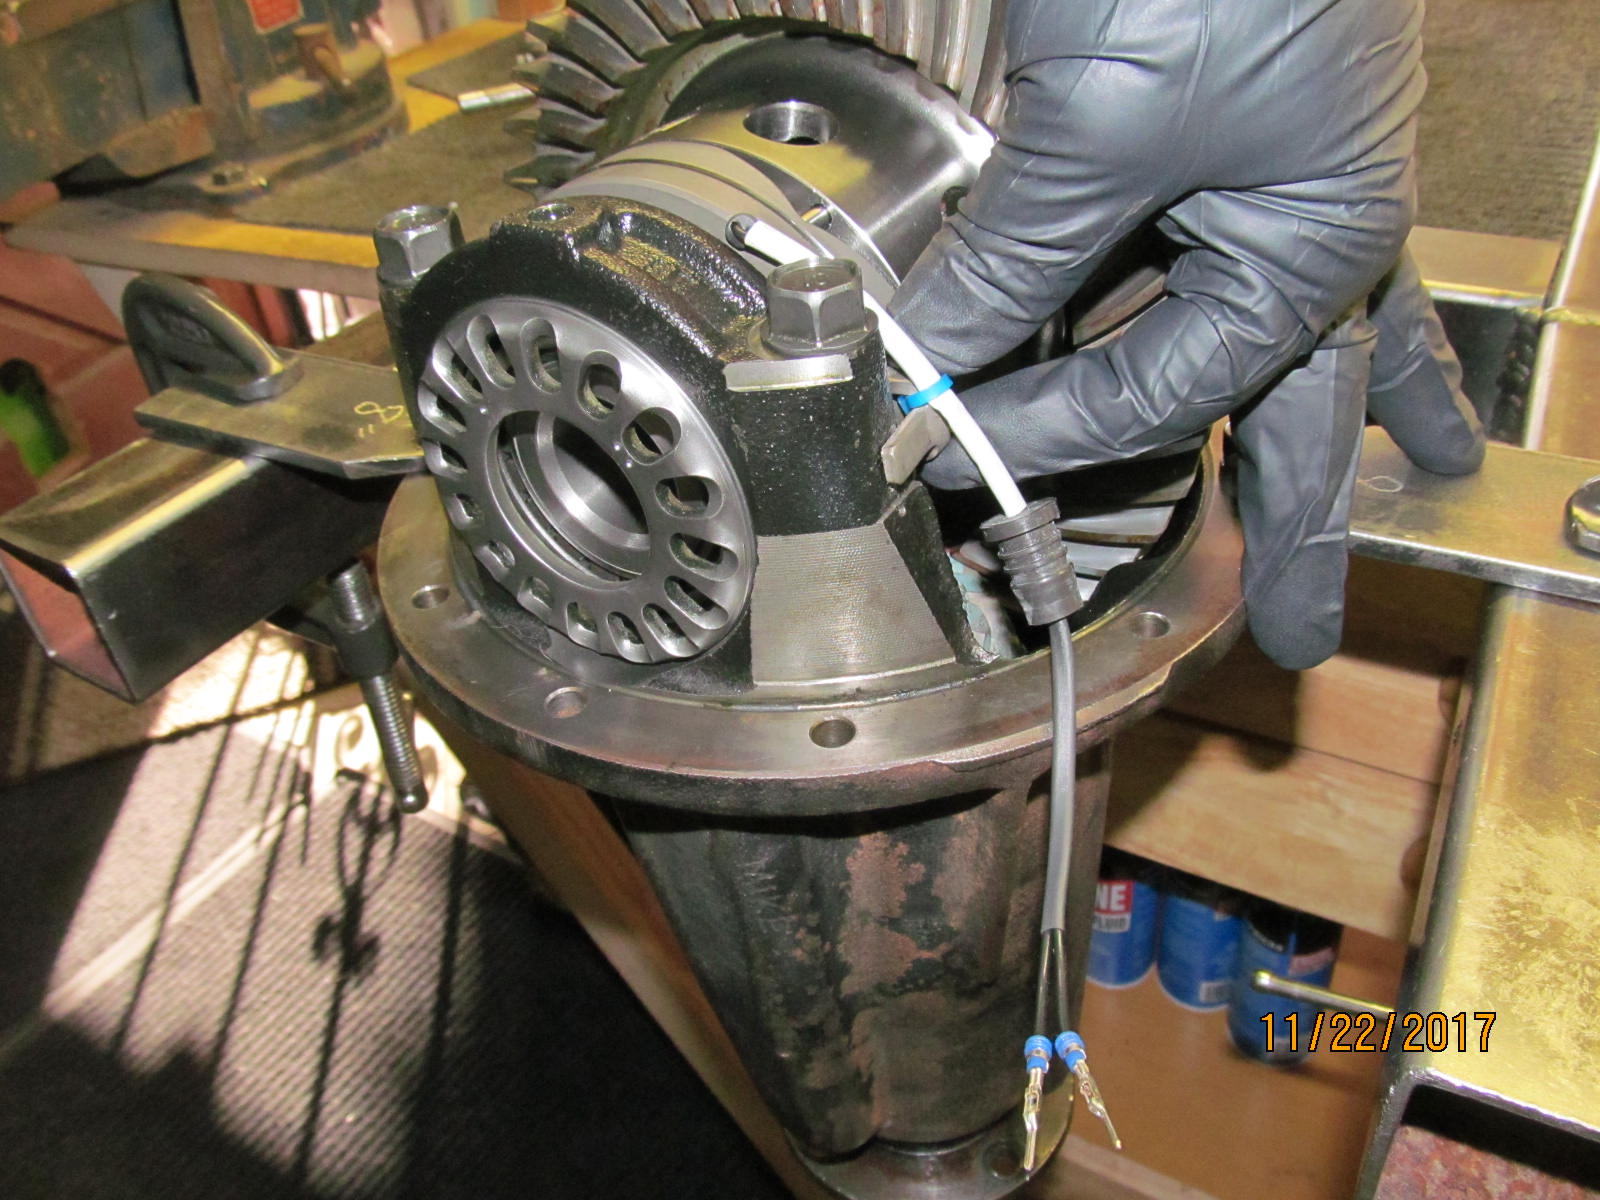
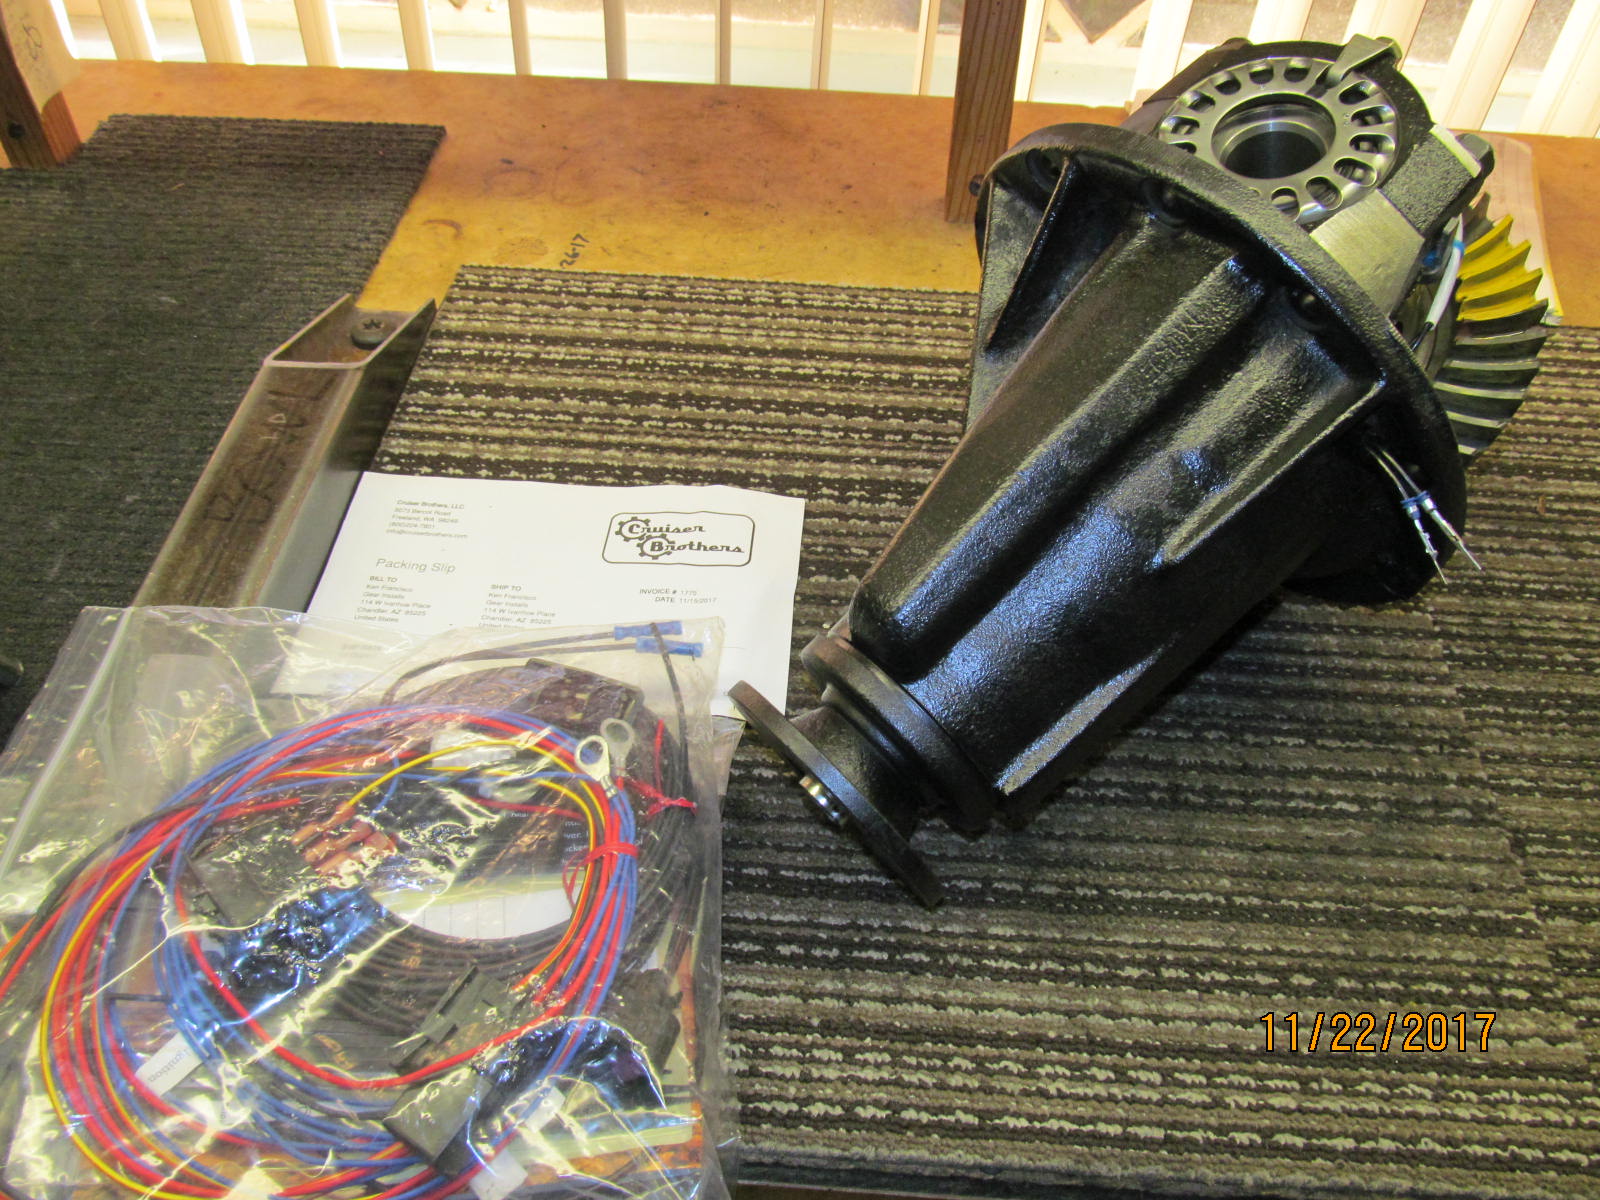
| Packing the 3rd with the harness. |
|---|
|
|
| .................... |
|---|
|
|
| Here it comes, Mike. |
|---|
|
|

|