| Mike's 2wd pickup with 7.5" rear diff gets a SUPRA MKII LSD and new bearings. |
|---|
| (83 BIG pics loading) |
|---|
| August 9 2017 |
|---|
|
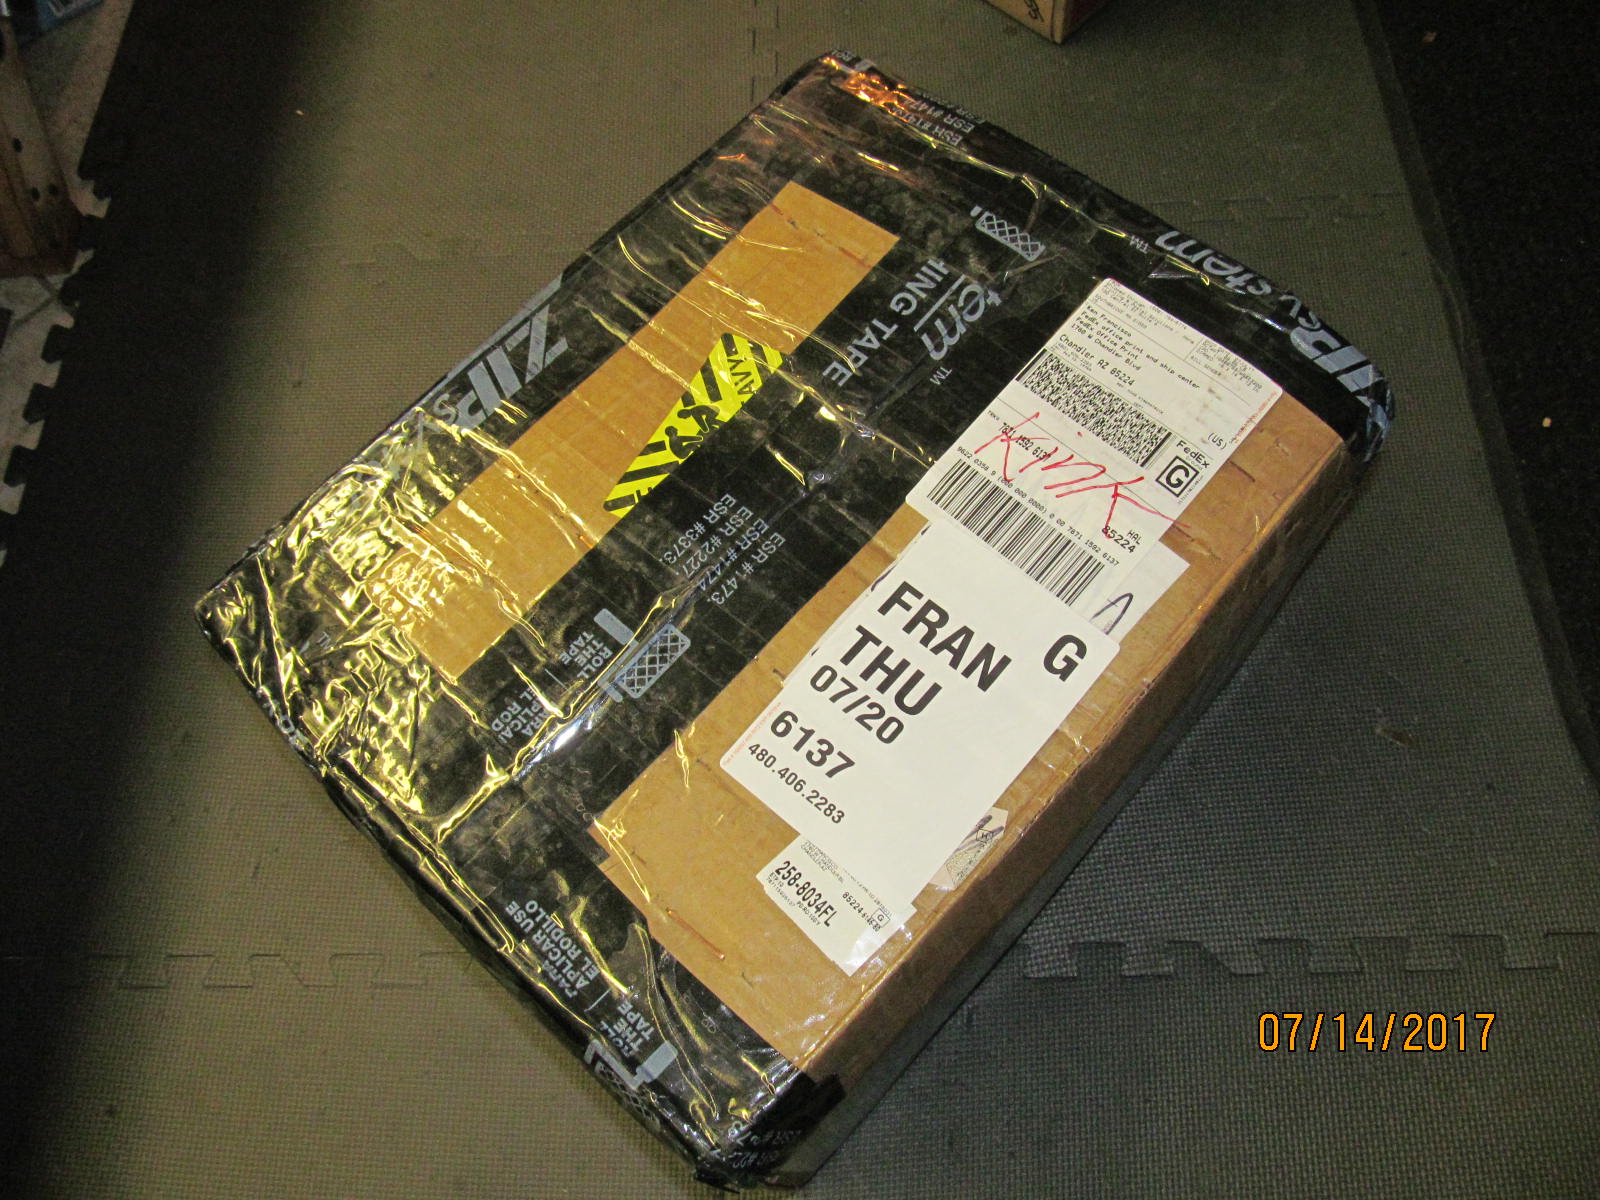
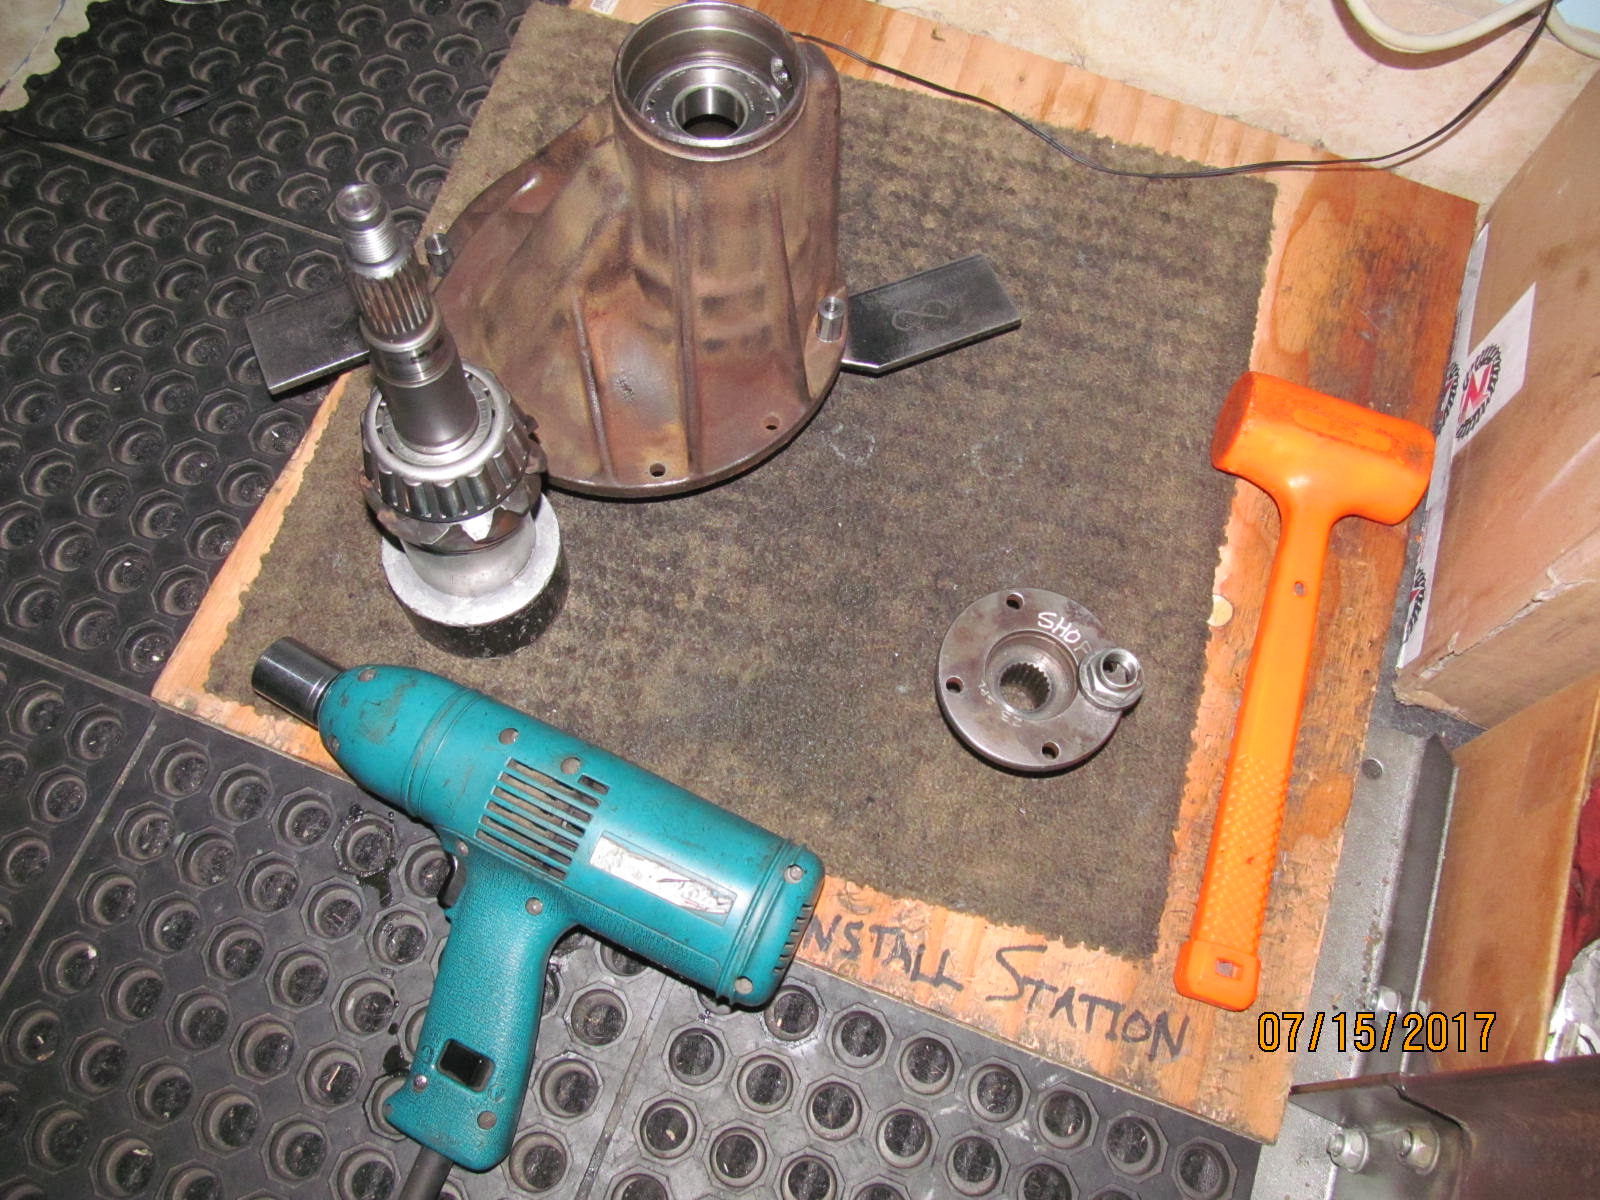
| After some email exchanges, this landed at my doorstep. |
|---|
|
|
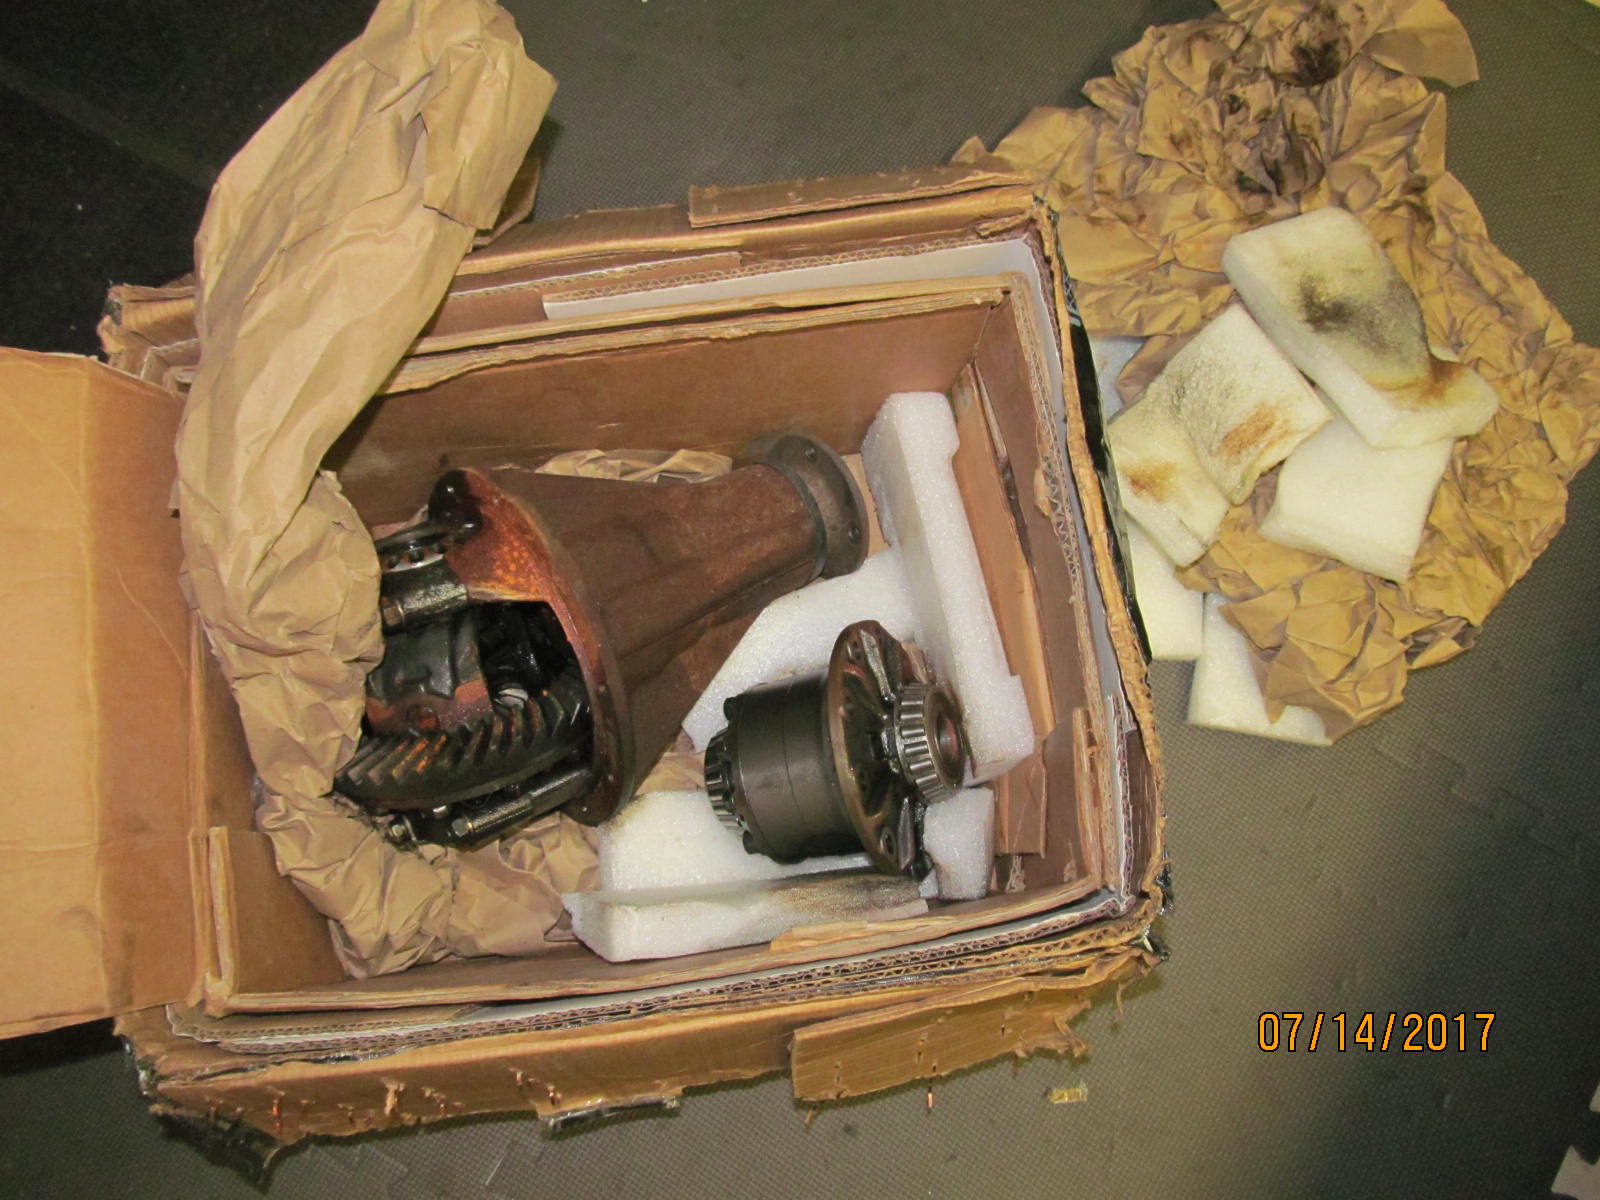
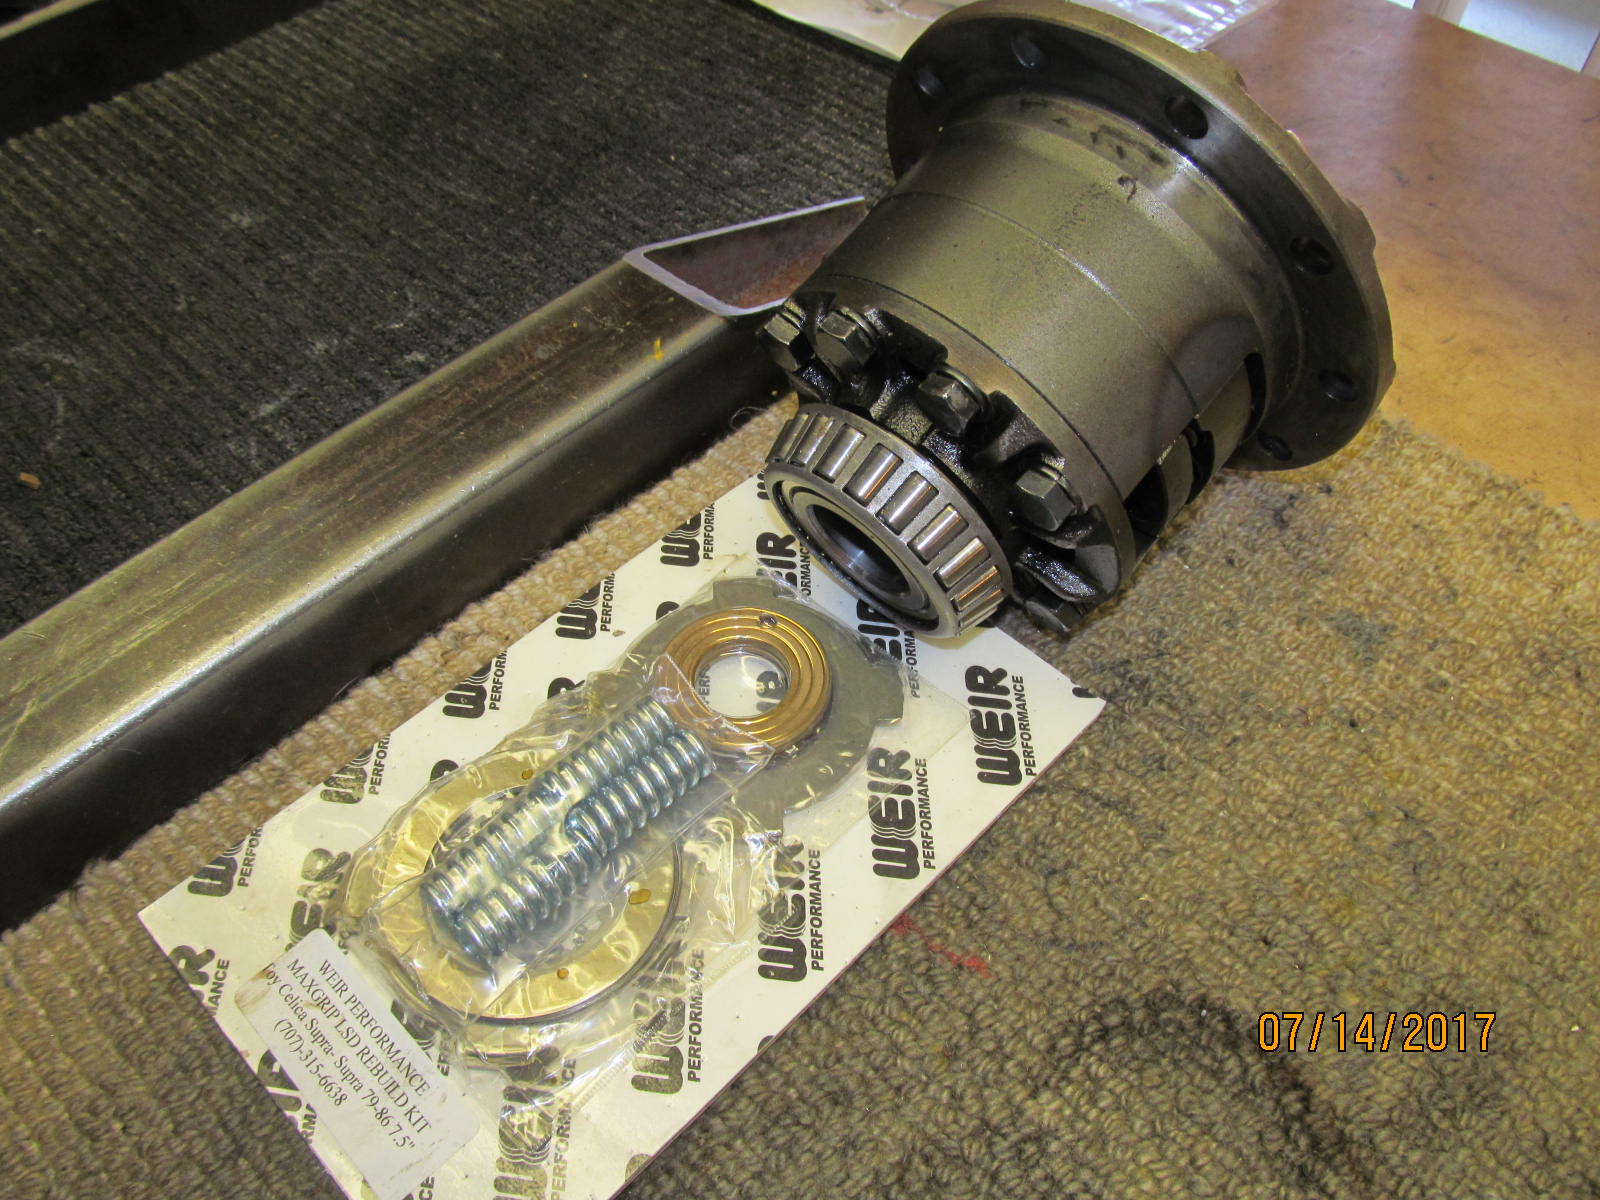
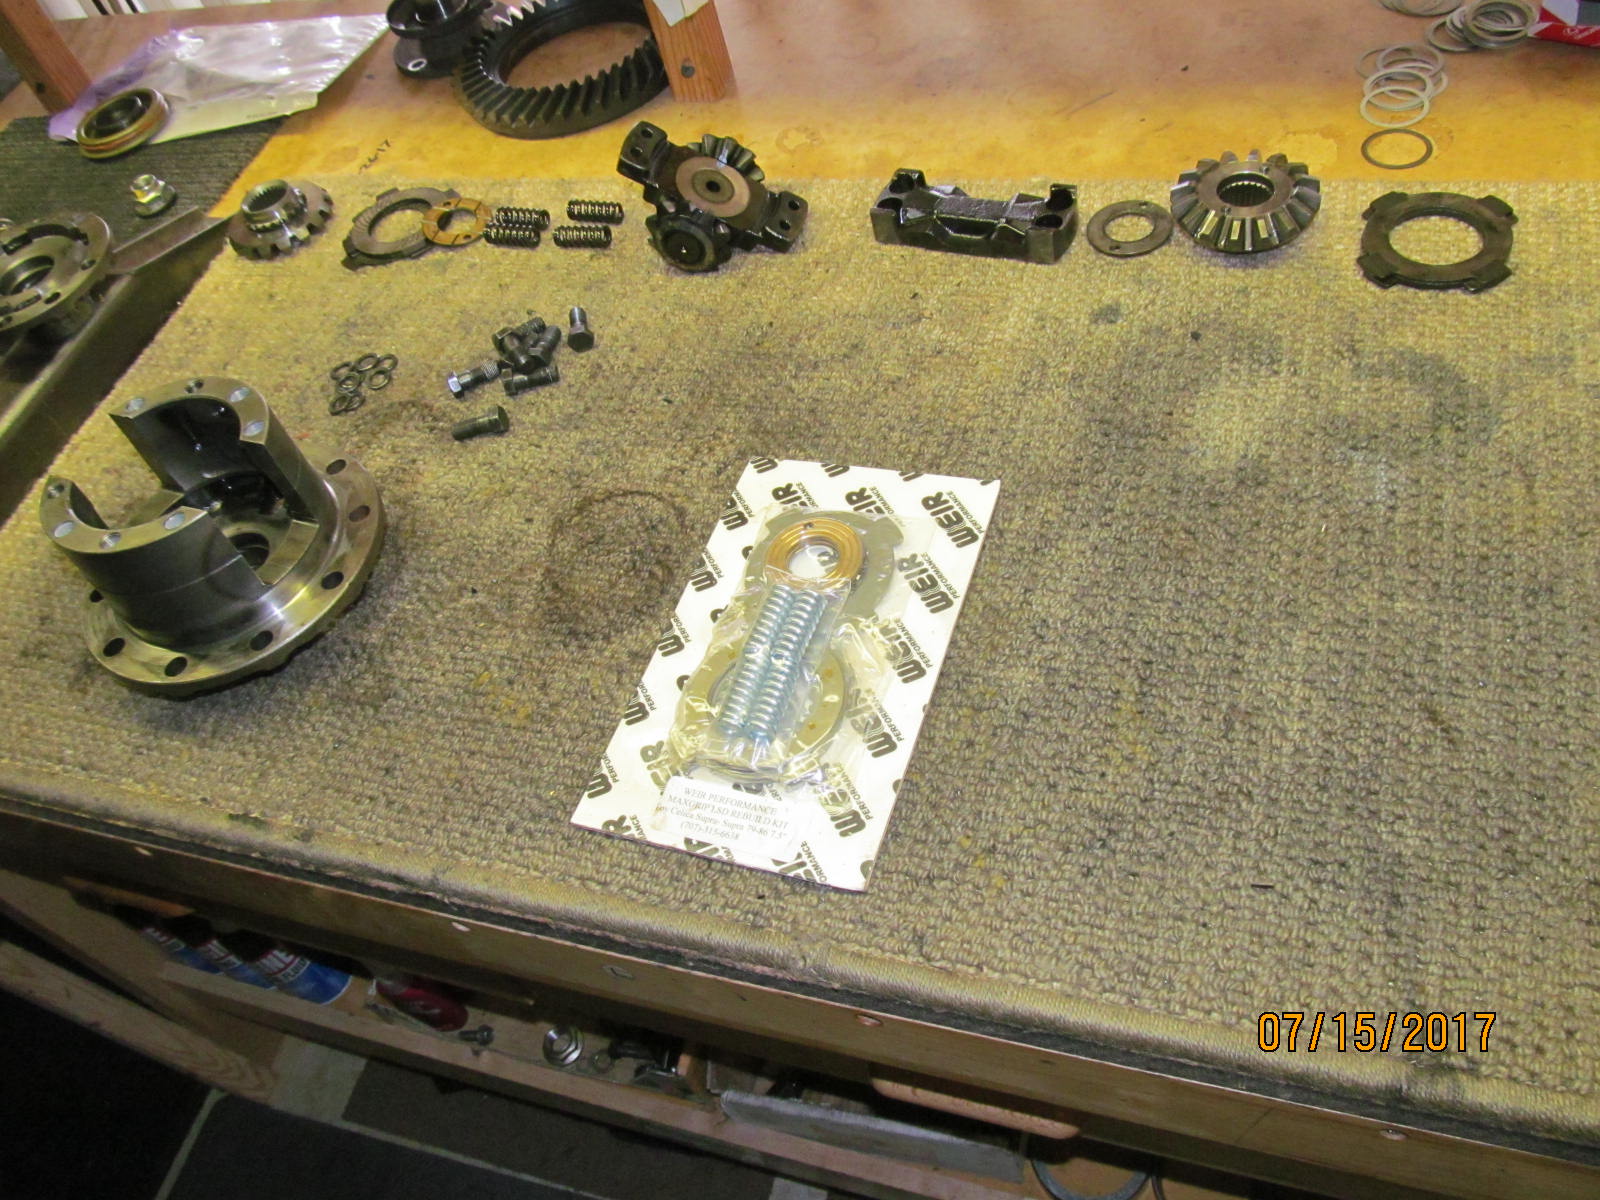
| The 7.5" 3rd, the well-used Supra MKII LSD, and the rebuild LSD kit which is already on the bench. |
|---|
|
|
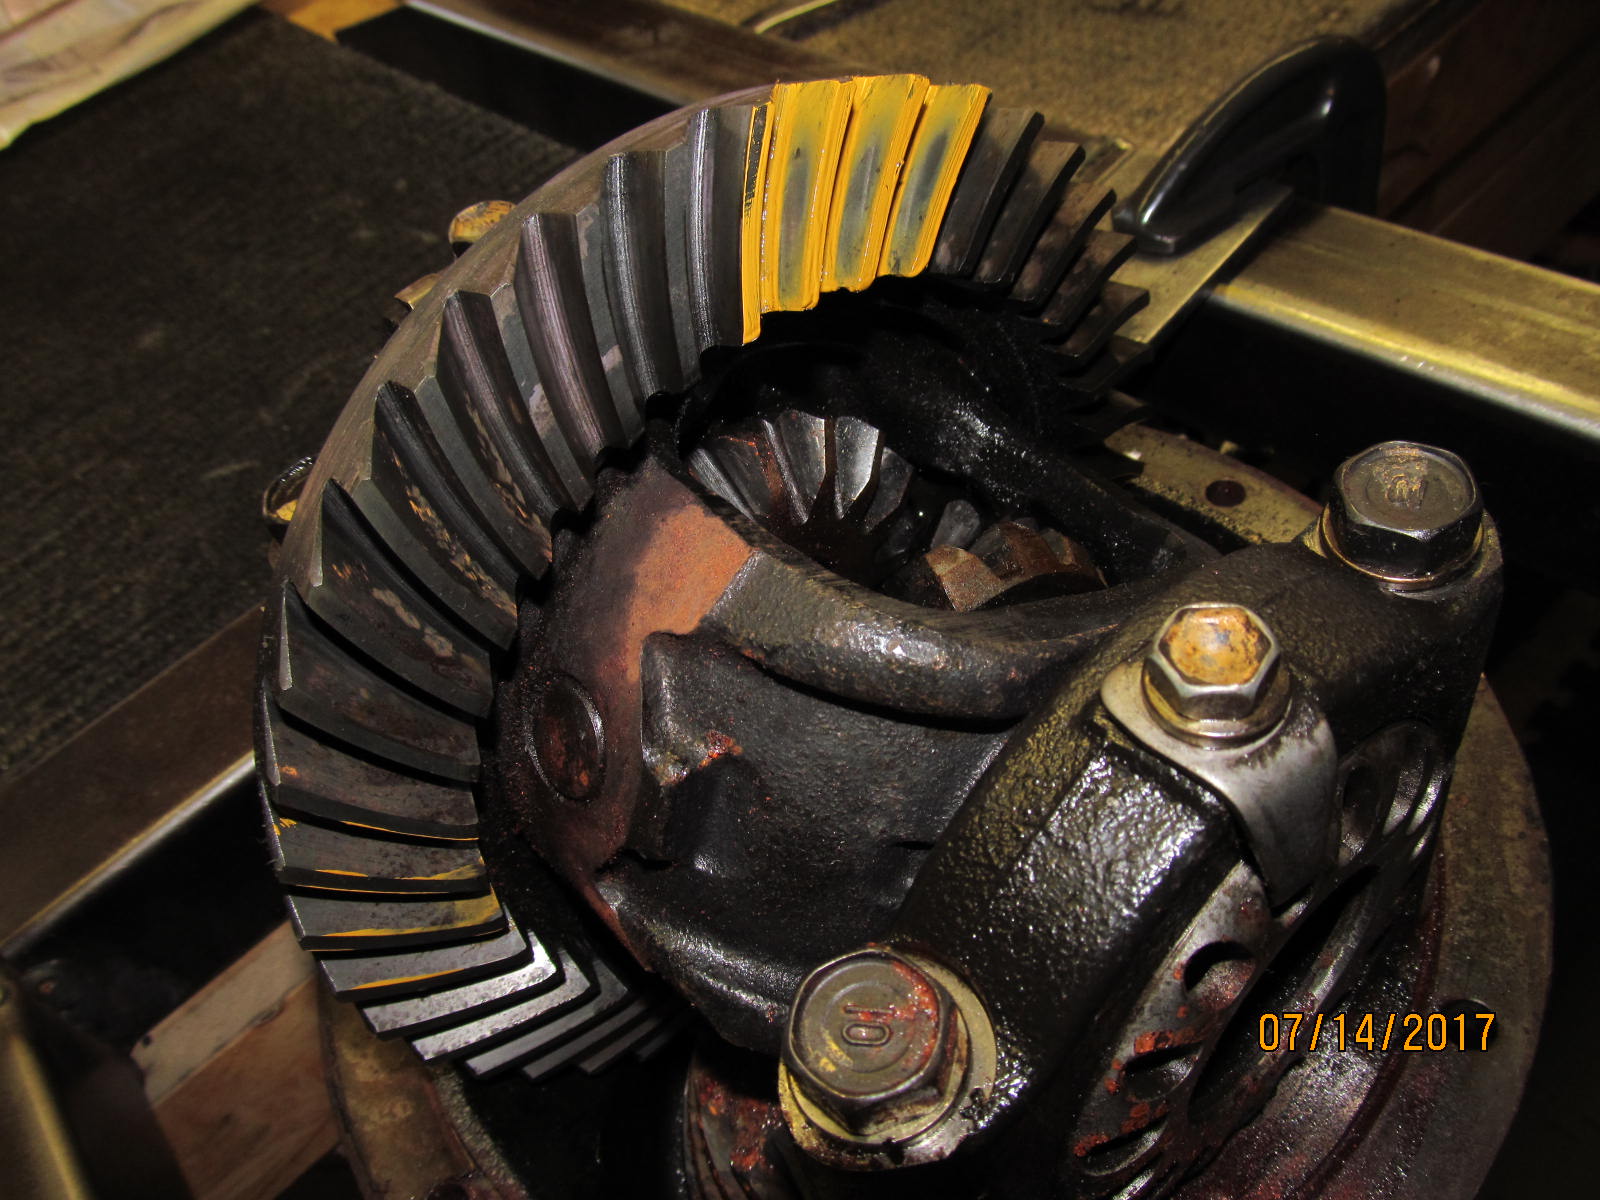
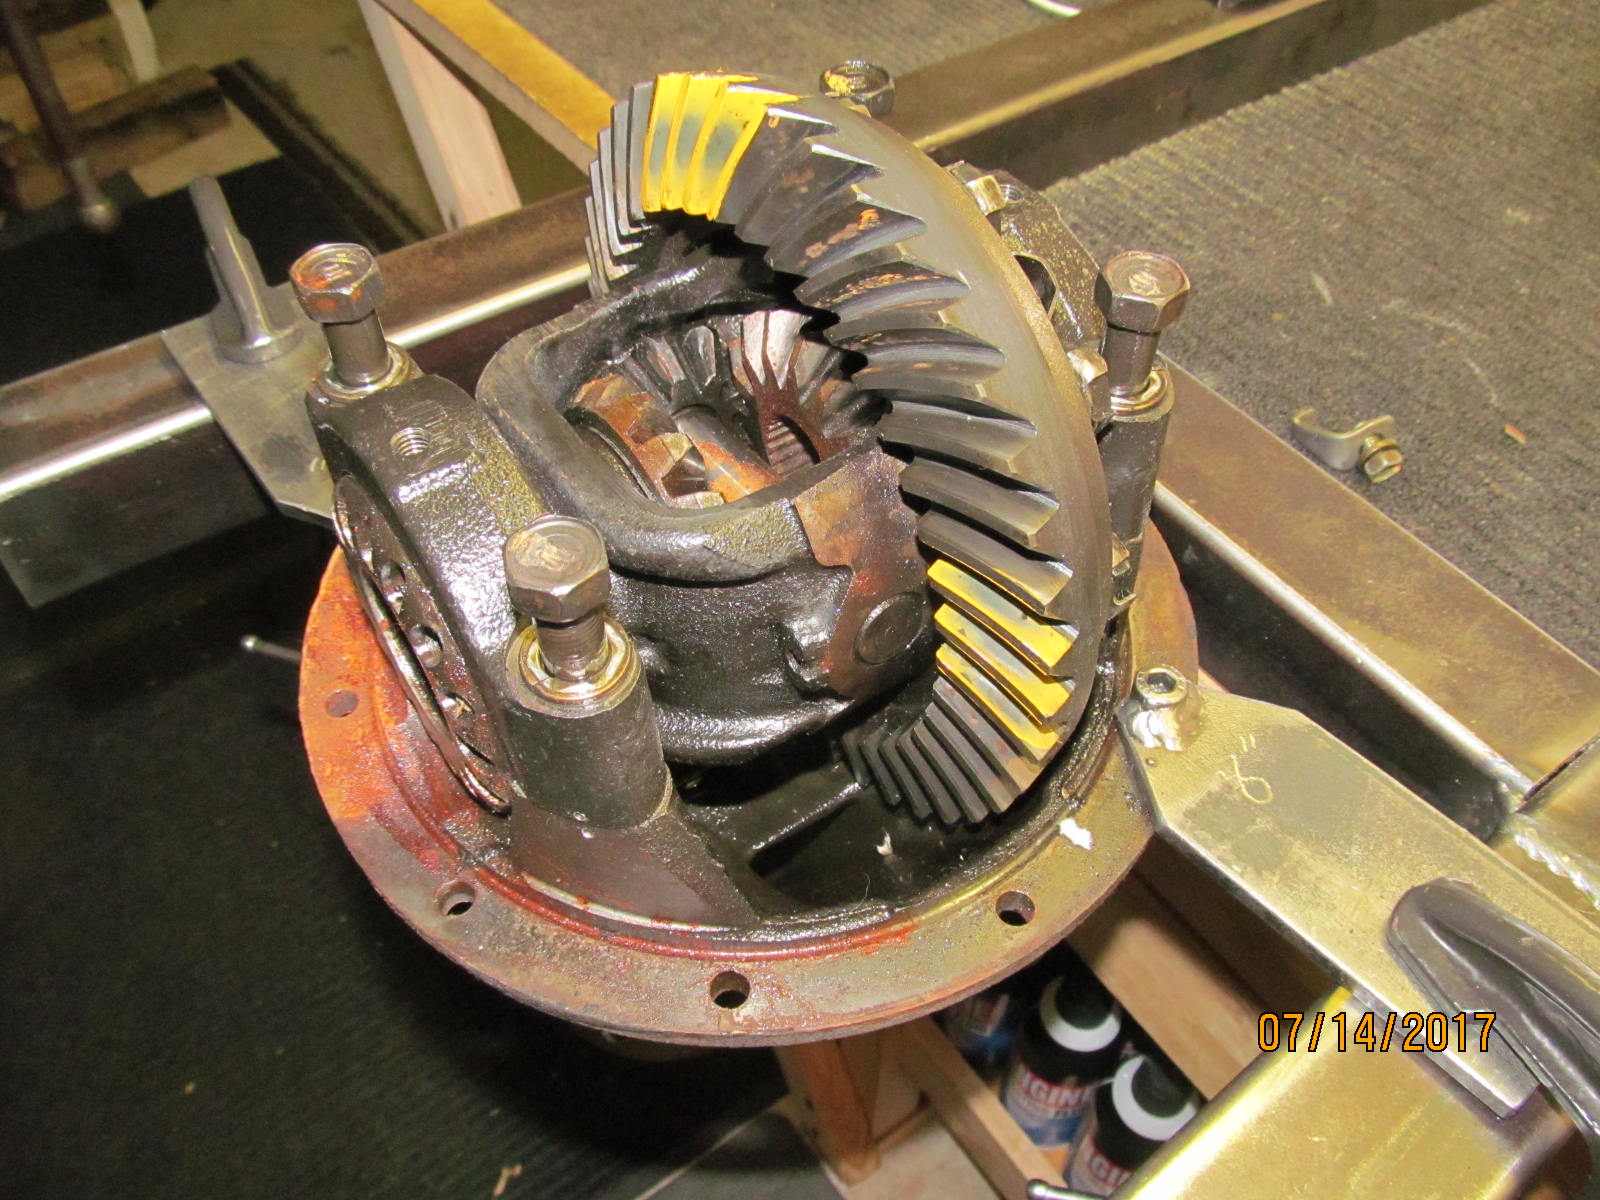
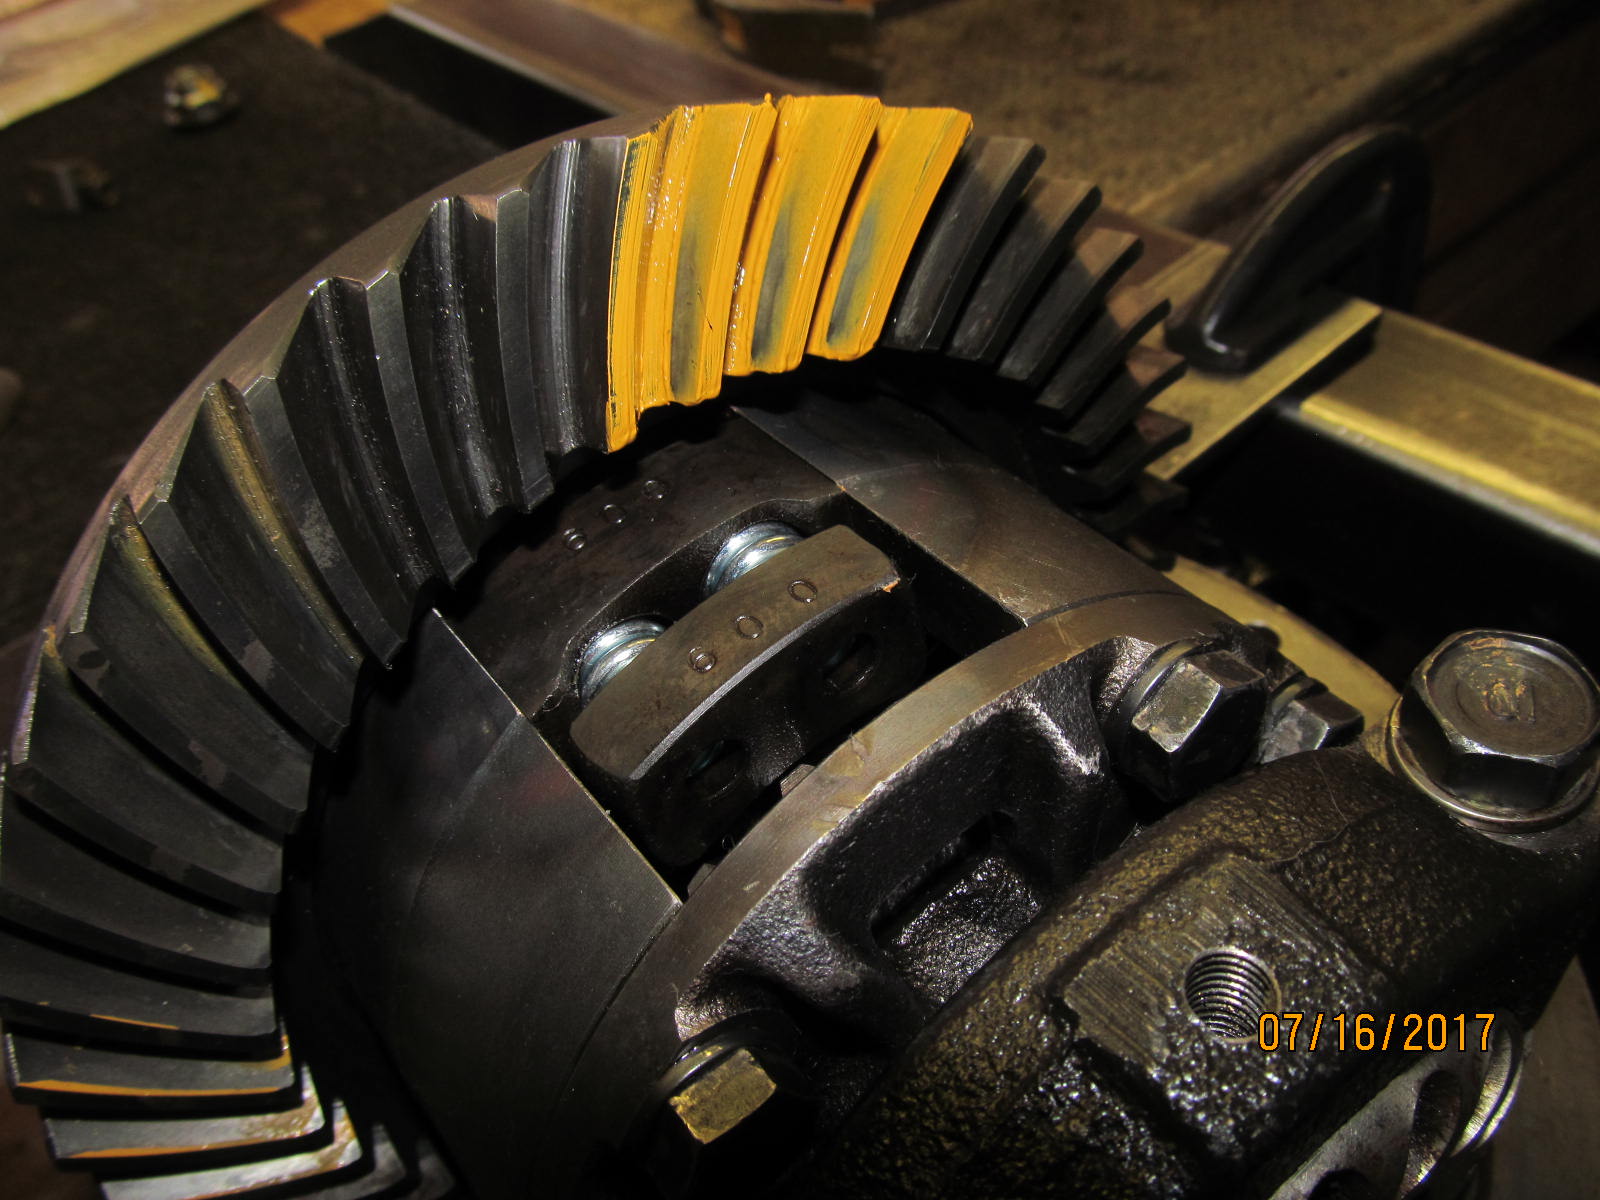
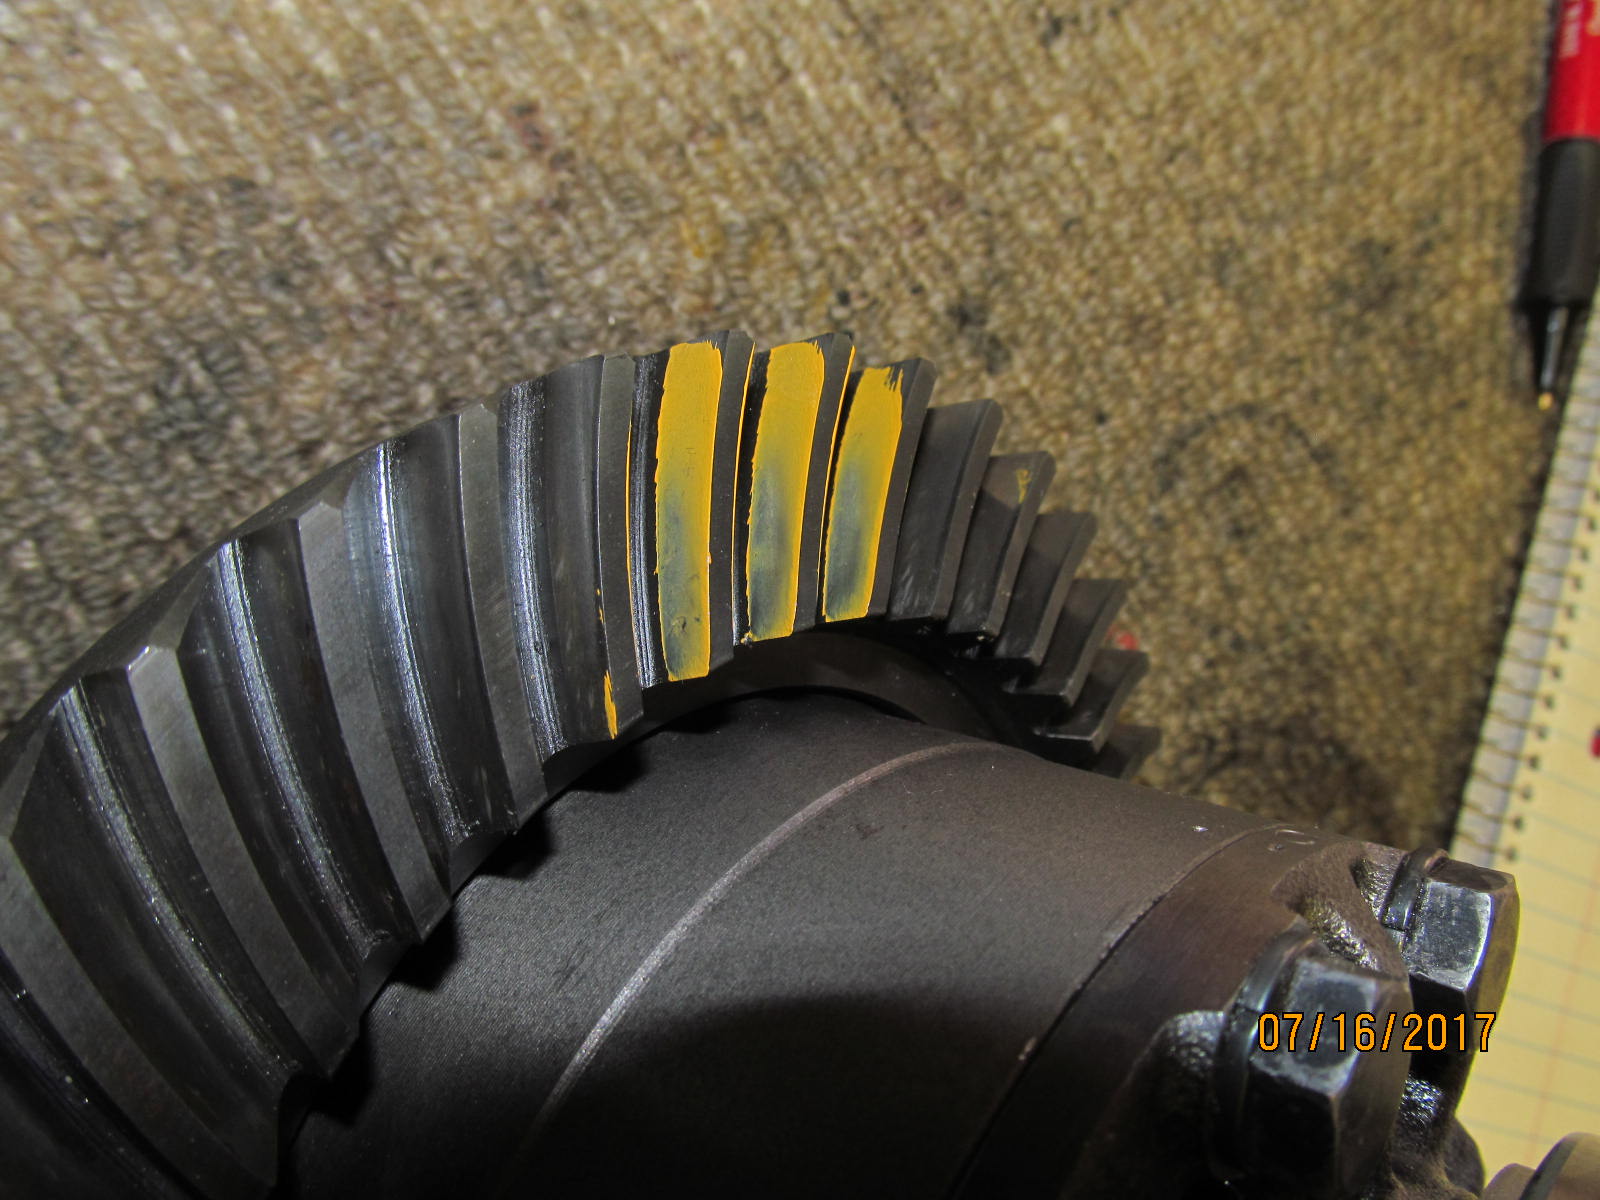
| The drive side of the ring gear looks promising with the paint check. |
|---|
|
|
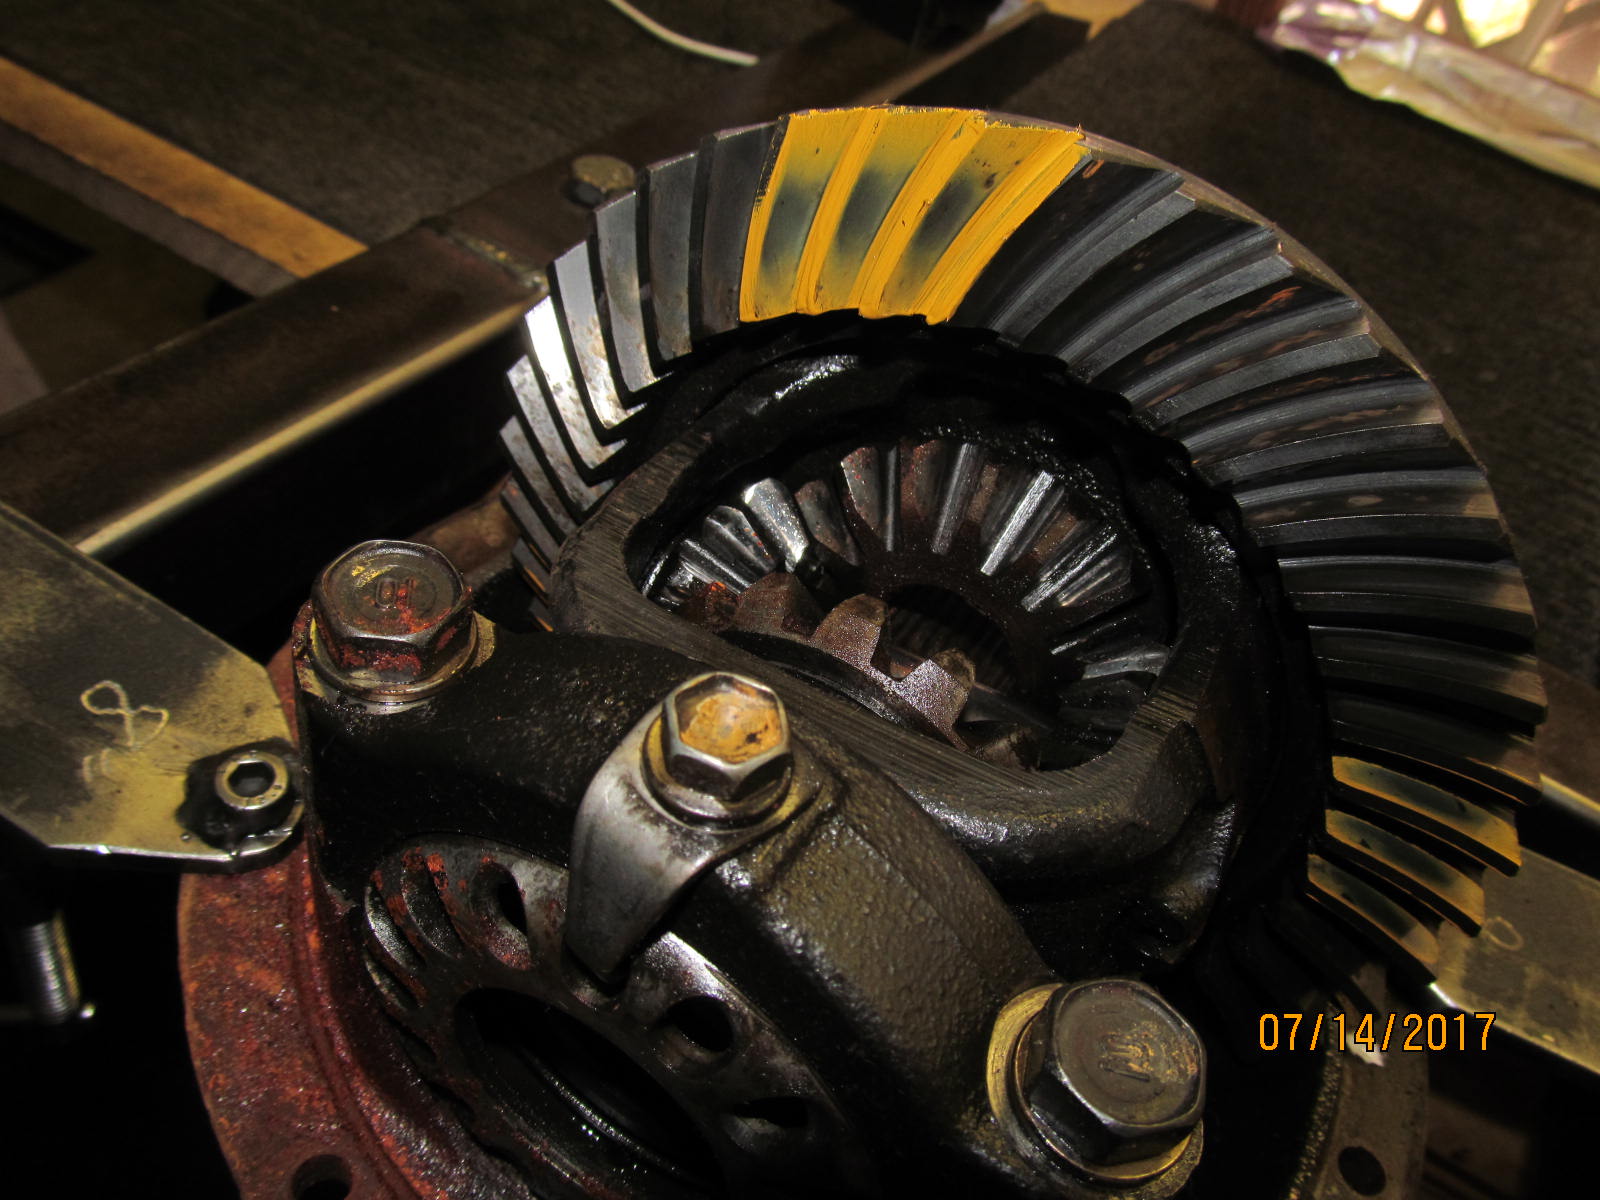
| Coast looks very nice. |
|---|
|
|
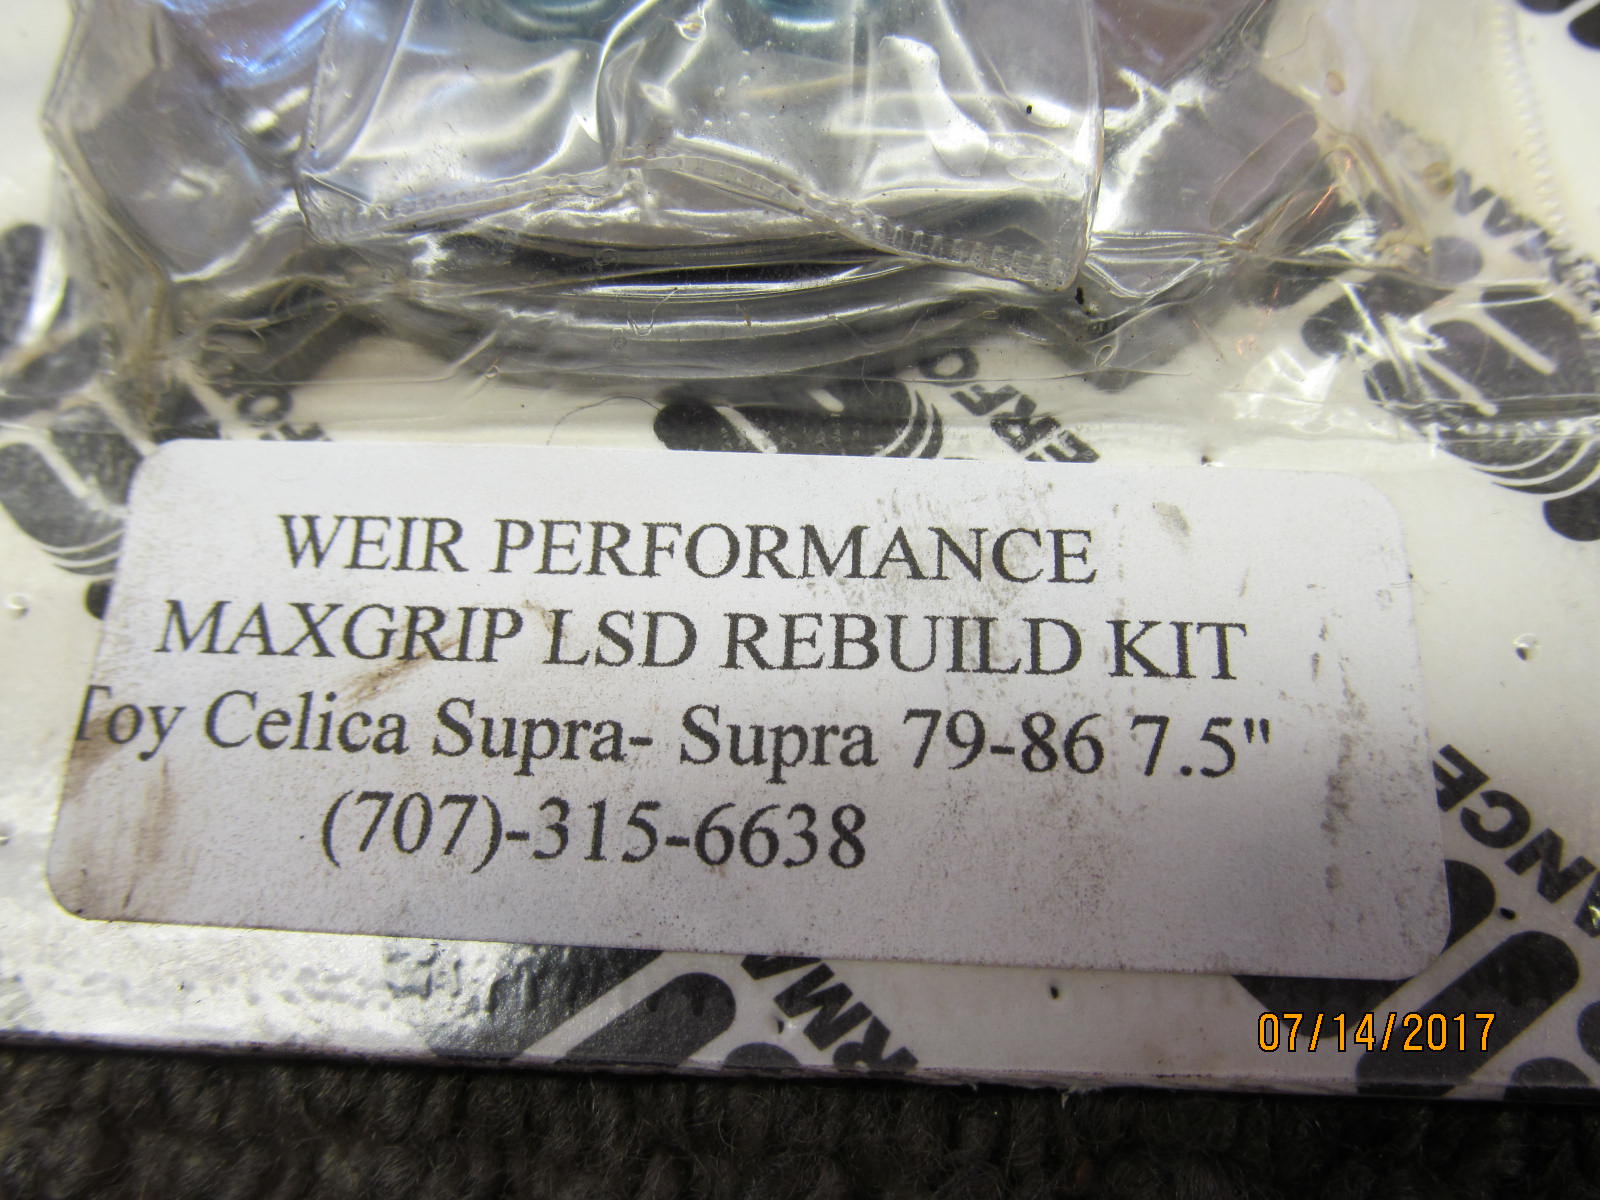
| Shown above, the used Supra MKII lsd and the kit from Weir Performance. |
|---|
|
|
| ........................ |
|---|
|
|
| Teardown begins with the removal of the bearing caps. |
|---|
|
|
| The camera flash makes the surface rust look worse than what it really is. |
|---|
|
|
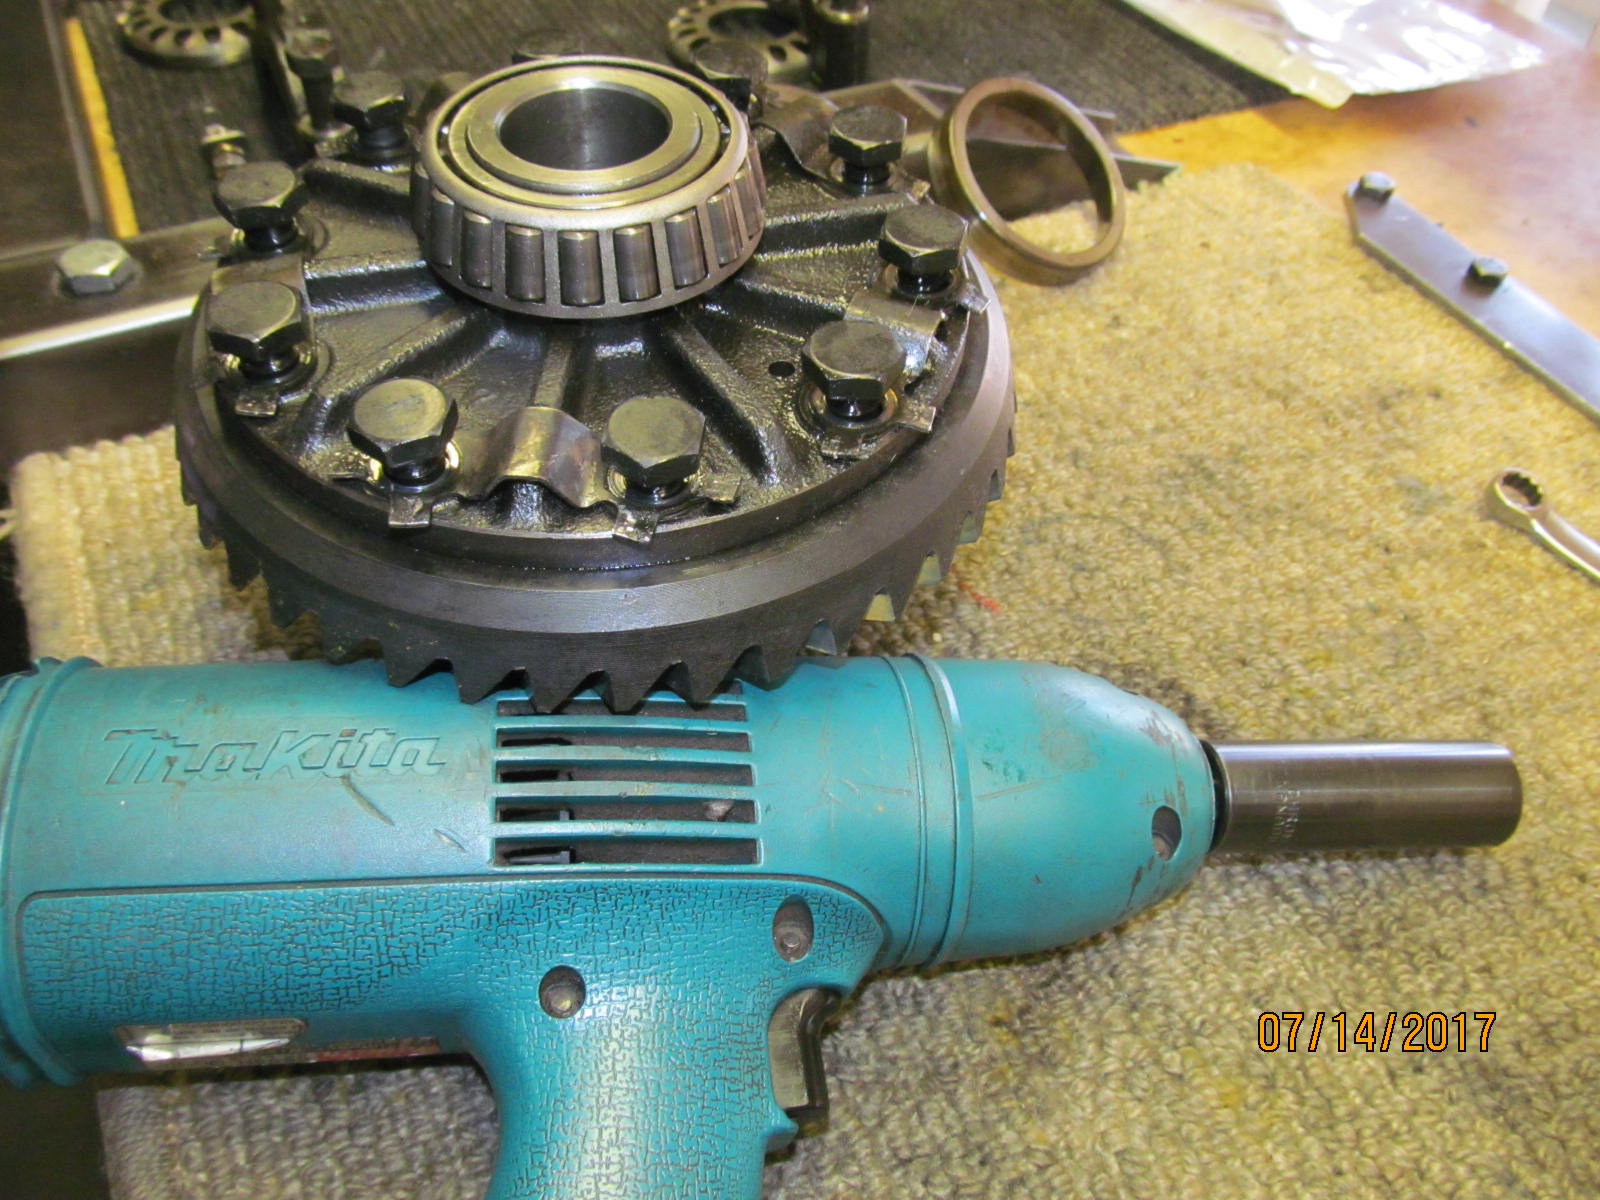
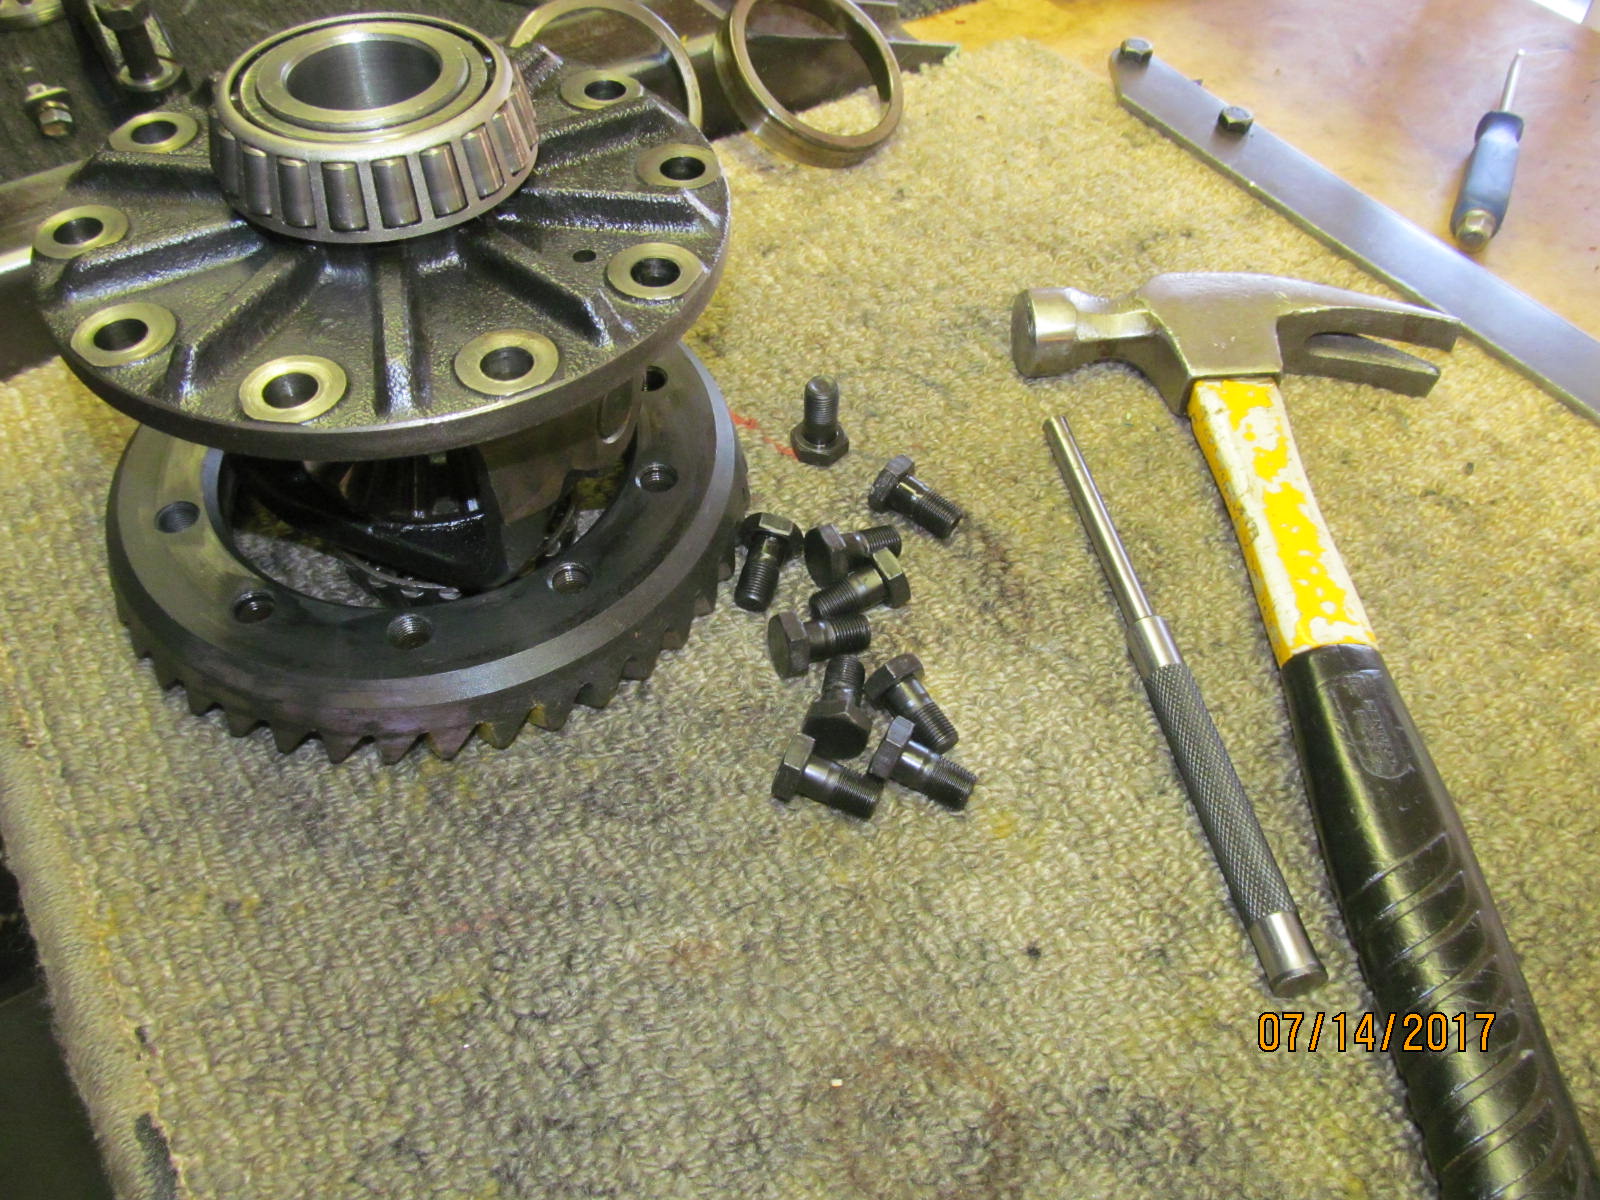
| We only need the ring gear. The electric impact quickly removes the 10 bolts. |
|---|
|
|
| Tap tap and it was off. |
|---|
|
|
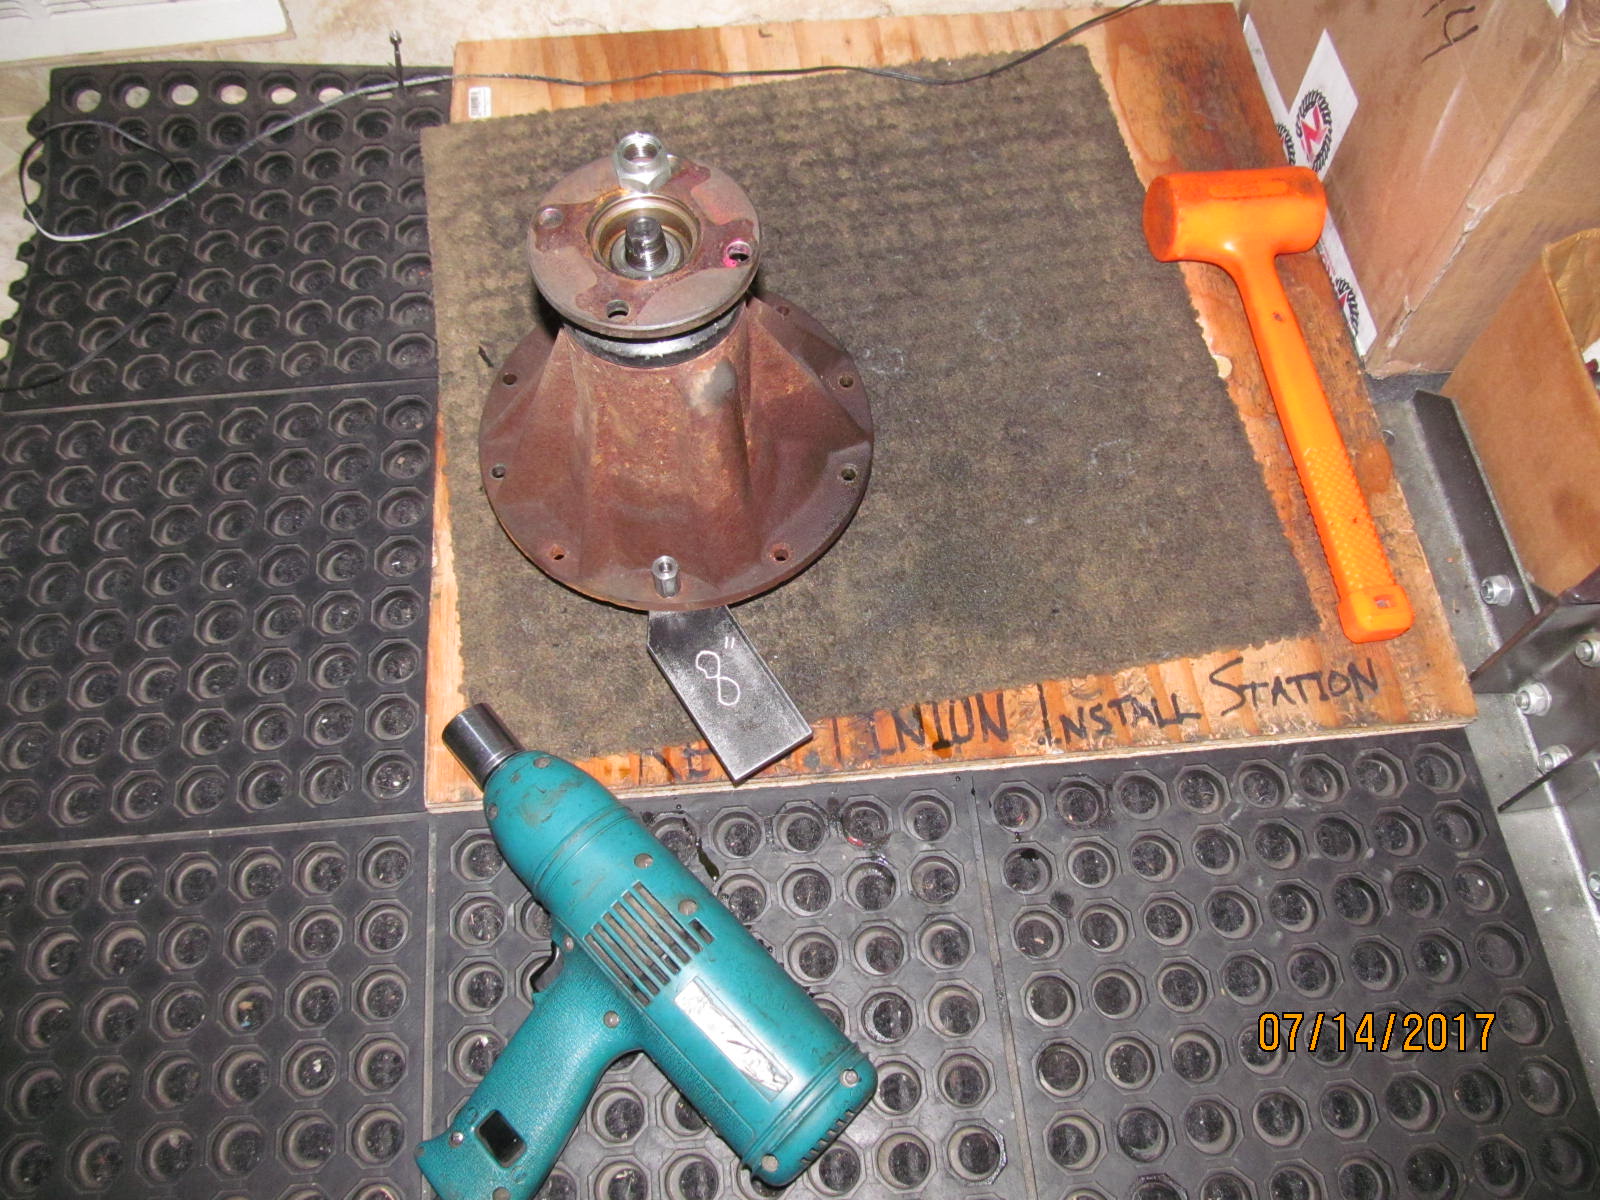
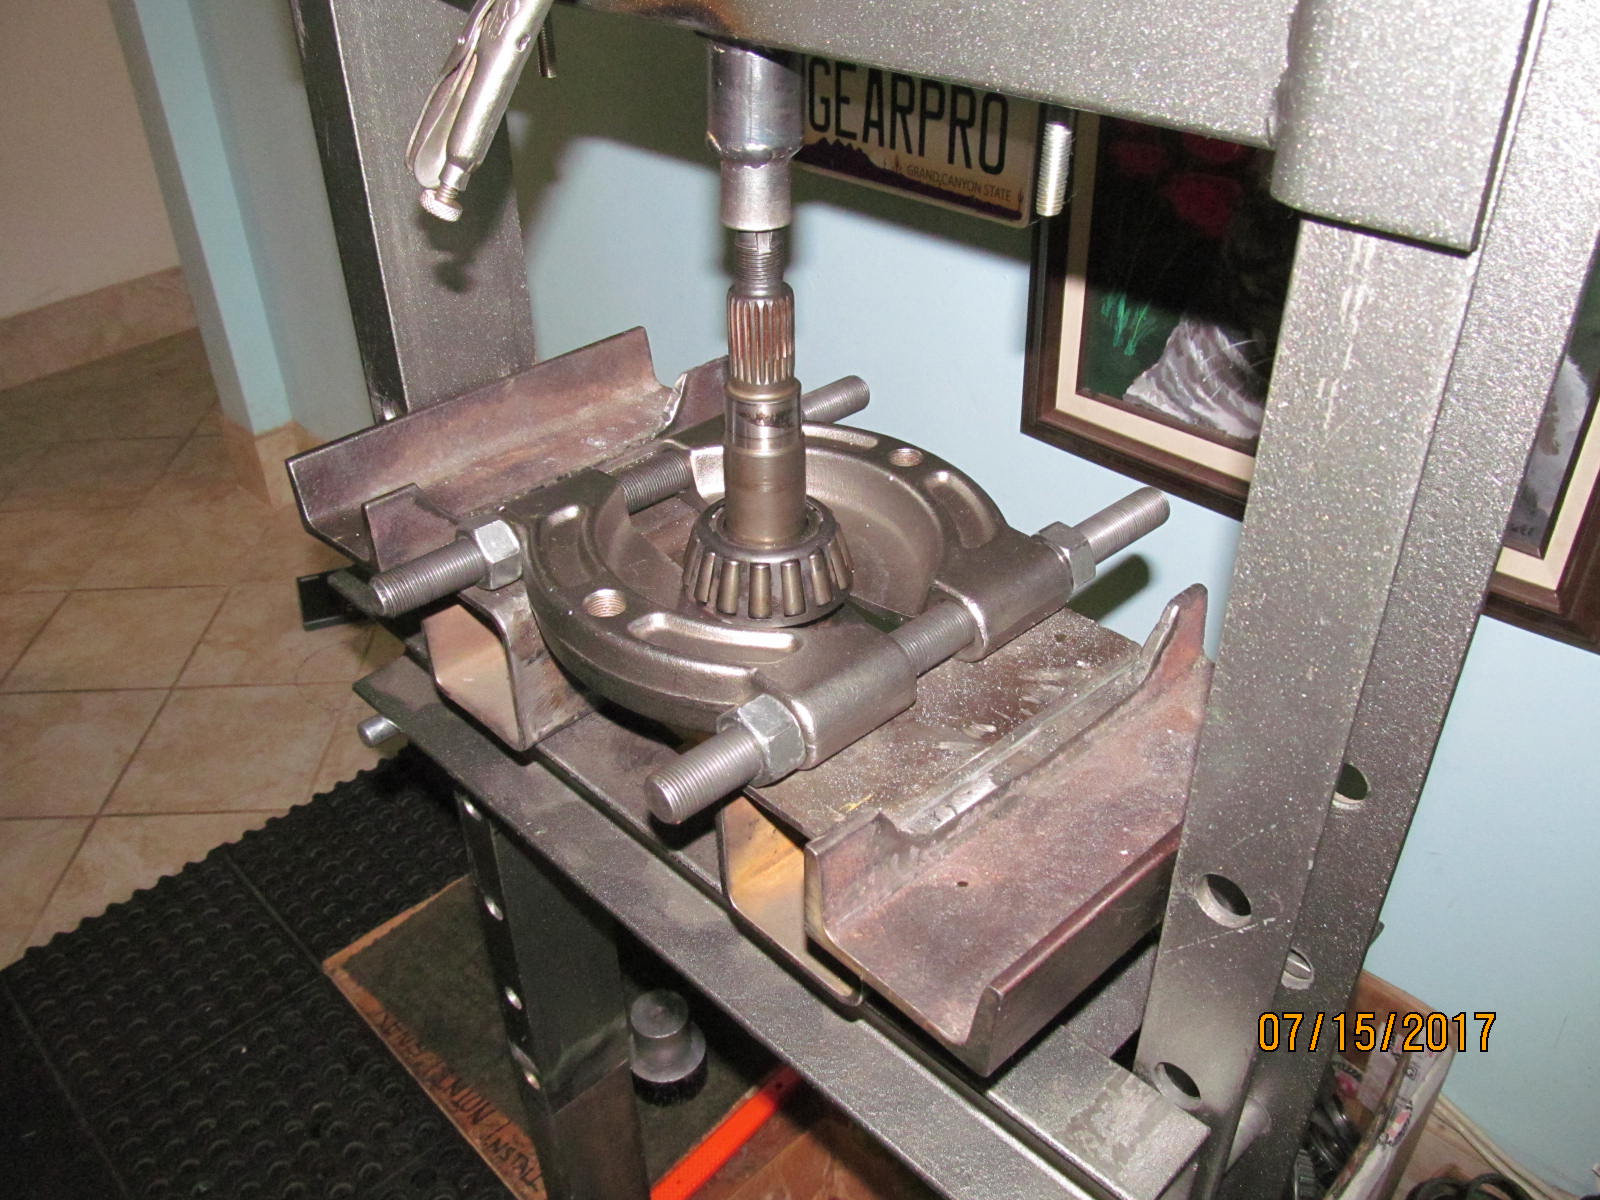
| Since we are also replacing the pinion bearings this end has to come apart, too. |
|---|
|

|
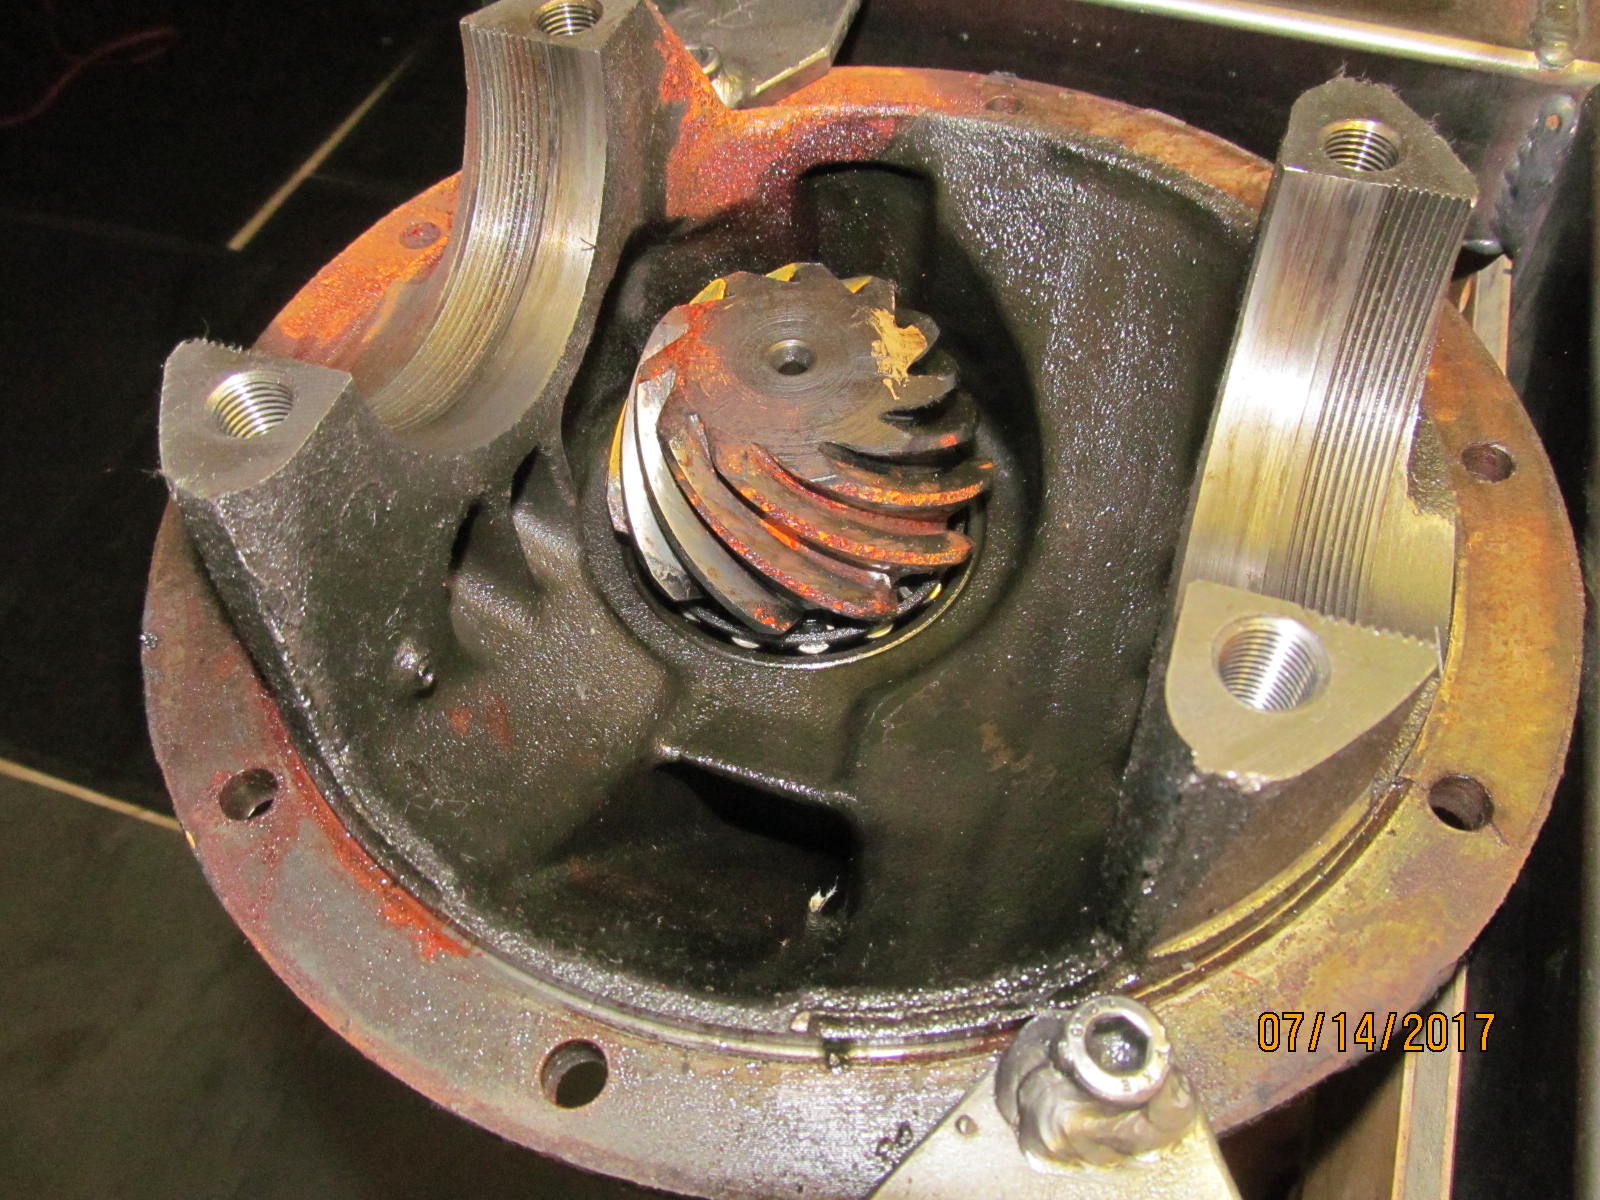
| Press the pinion out. |
|---|
|
|
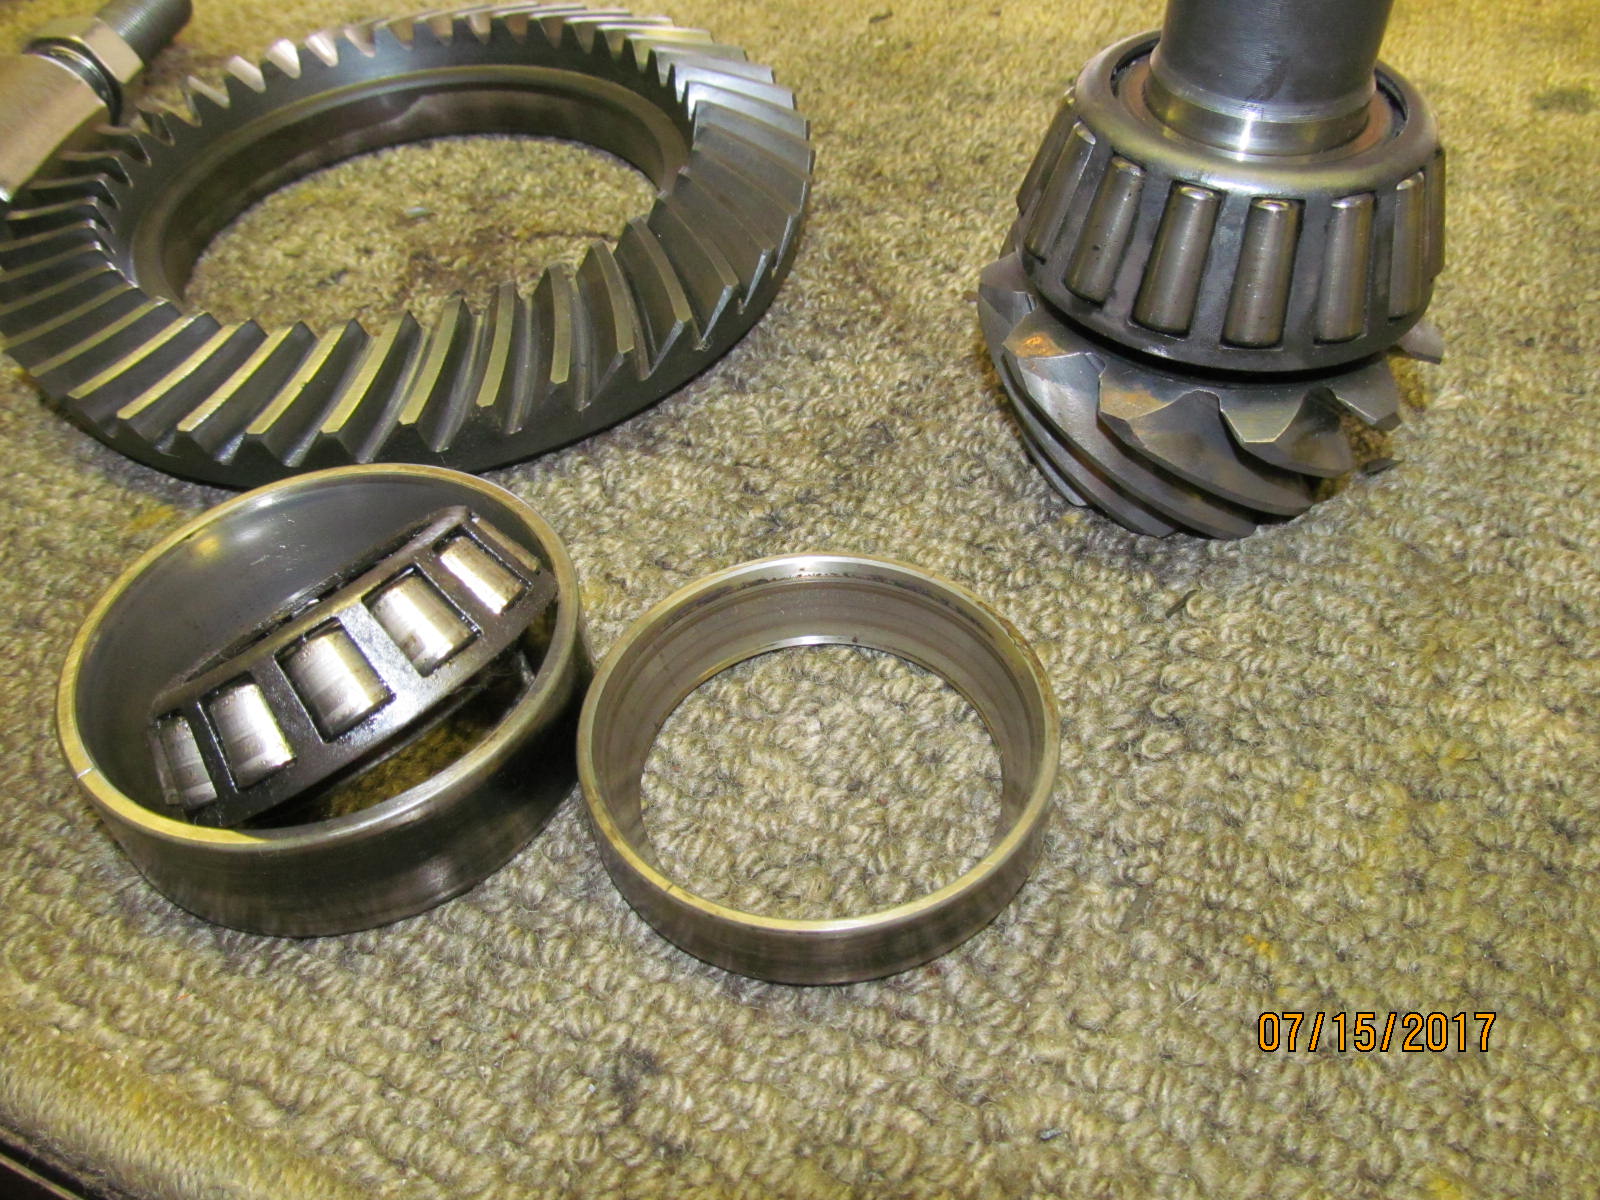
| The old pinion bearings have seen better days. |
|---|
|
|
| Remove the old inner pinion bearing....and throw it away. |
|---|
|
|
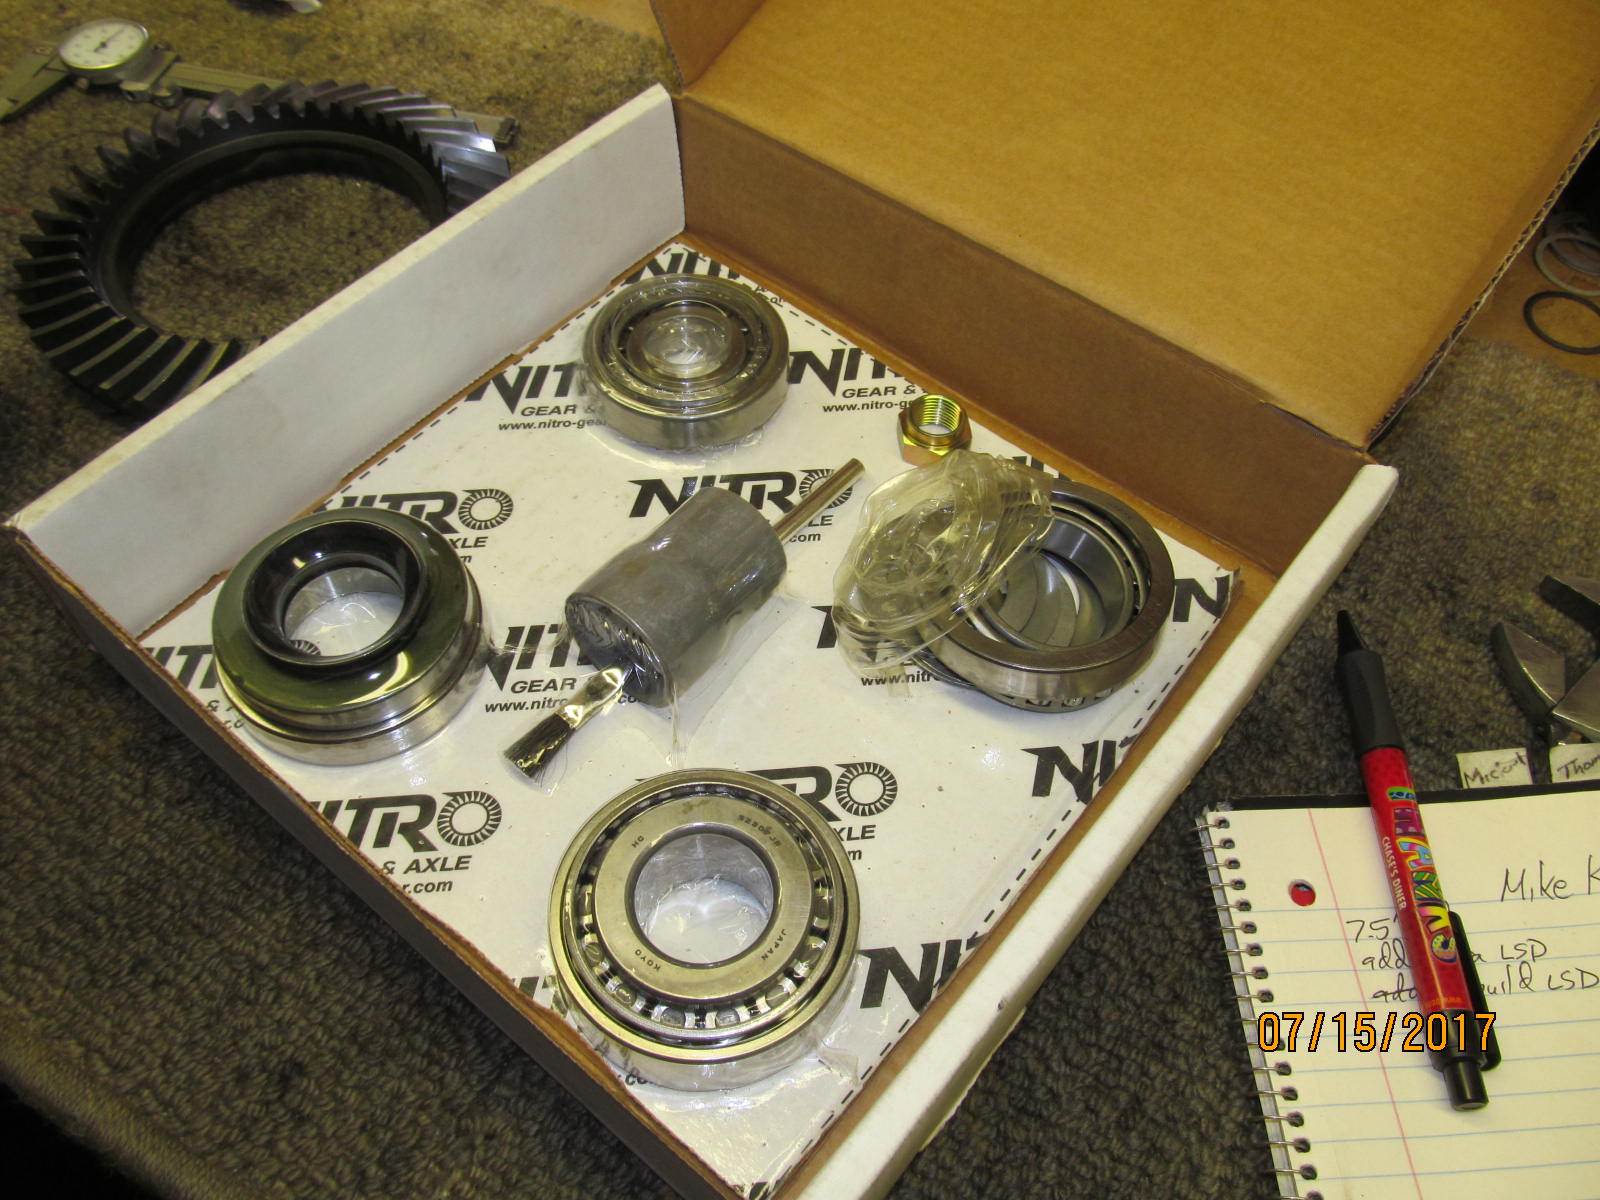
| 7.5" Nitro master kit |
|---|
|
|
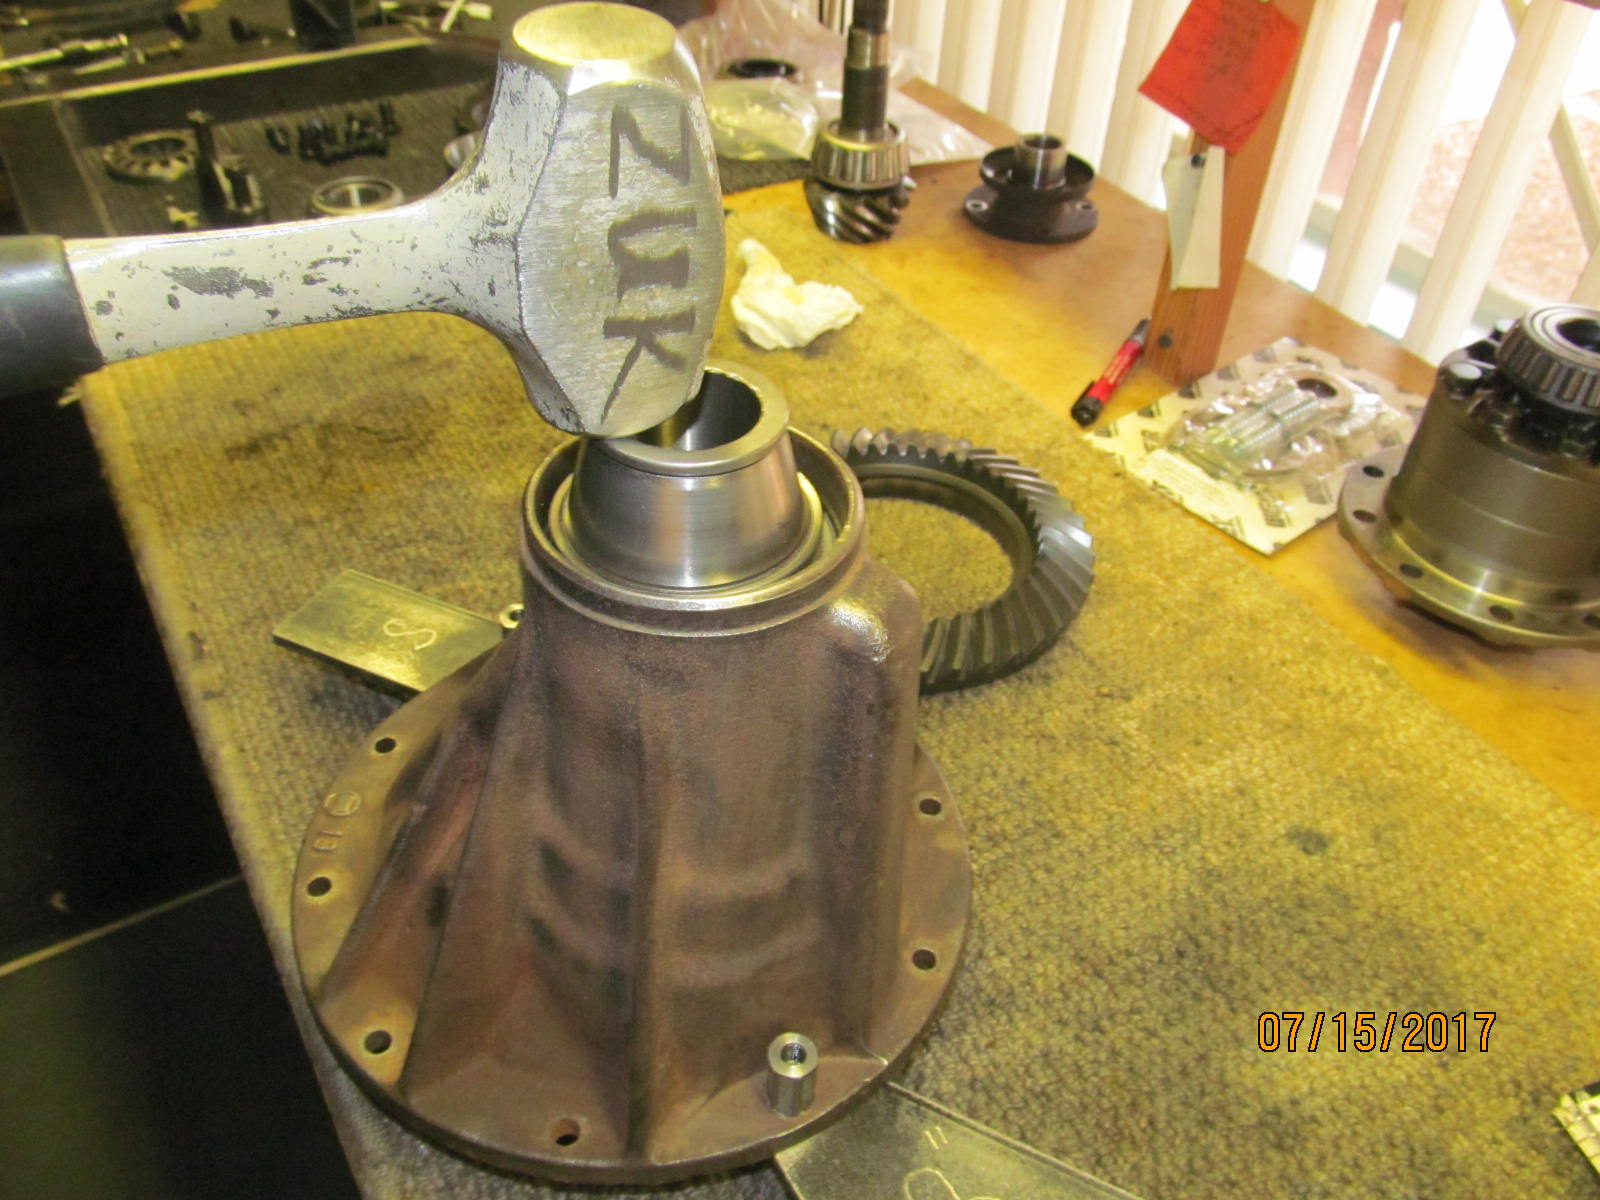
| New Koyo 32307 bearing is pressed on with the oem .098" pinion shim. |
|---|
|
|
| Full 360 degree support when tapping in the outer bearing. |
|---|
|
|
| ....................... |
|---|
|
|
| Tight fit and hammered in fully 100% down. |
|---|
|
|
| The larger inner race always seems to be more temperamental and must be tapped down evenly for a certain distance. |
|---|
|
|
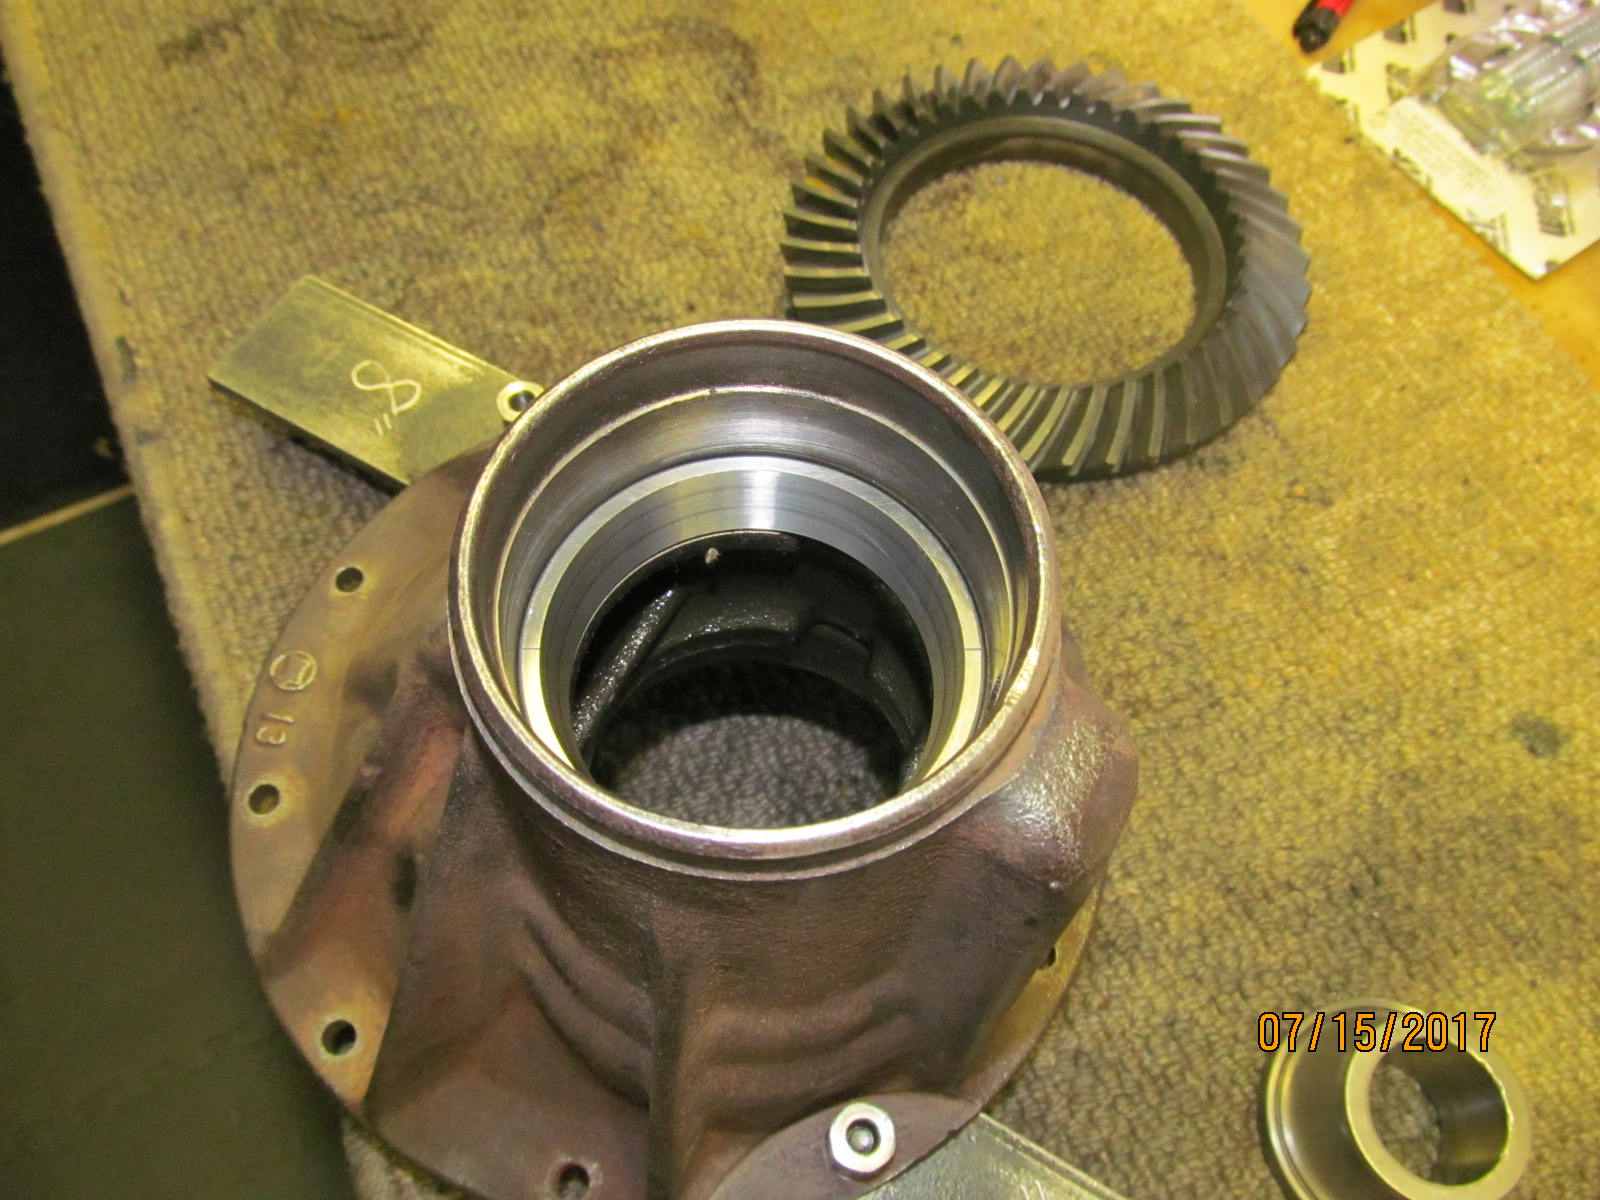
| Fully seated....no direct chisel contact ever. |
|---|
|
|
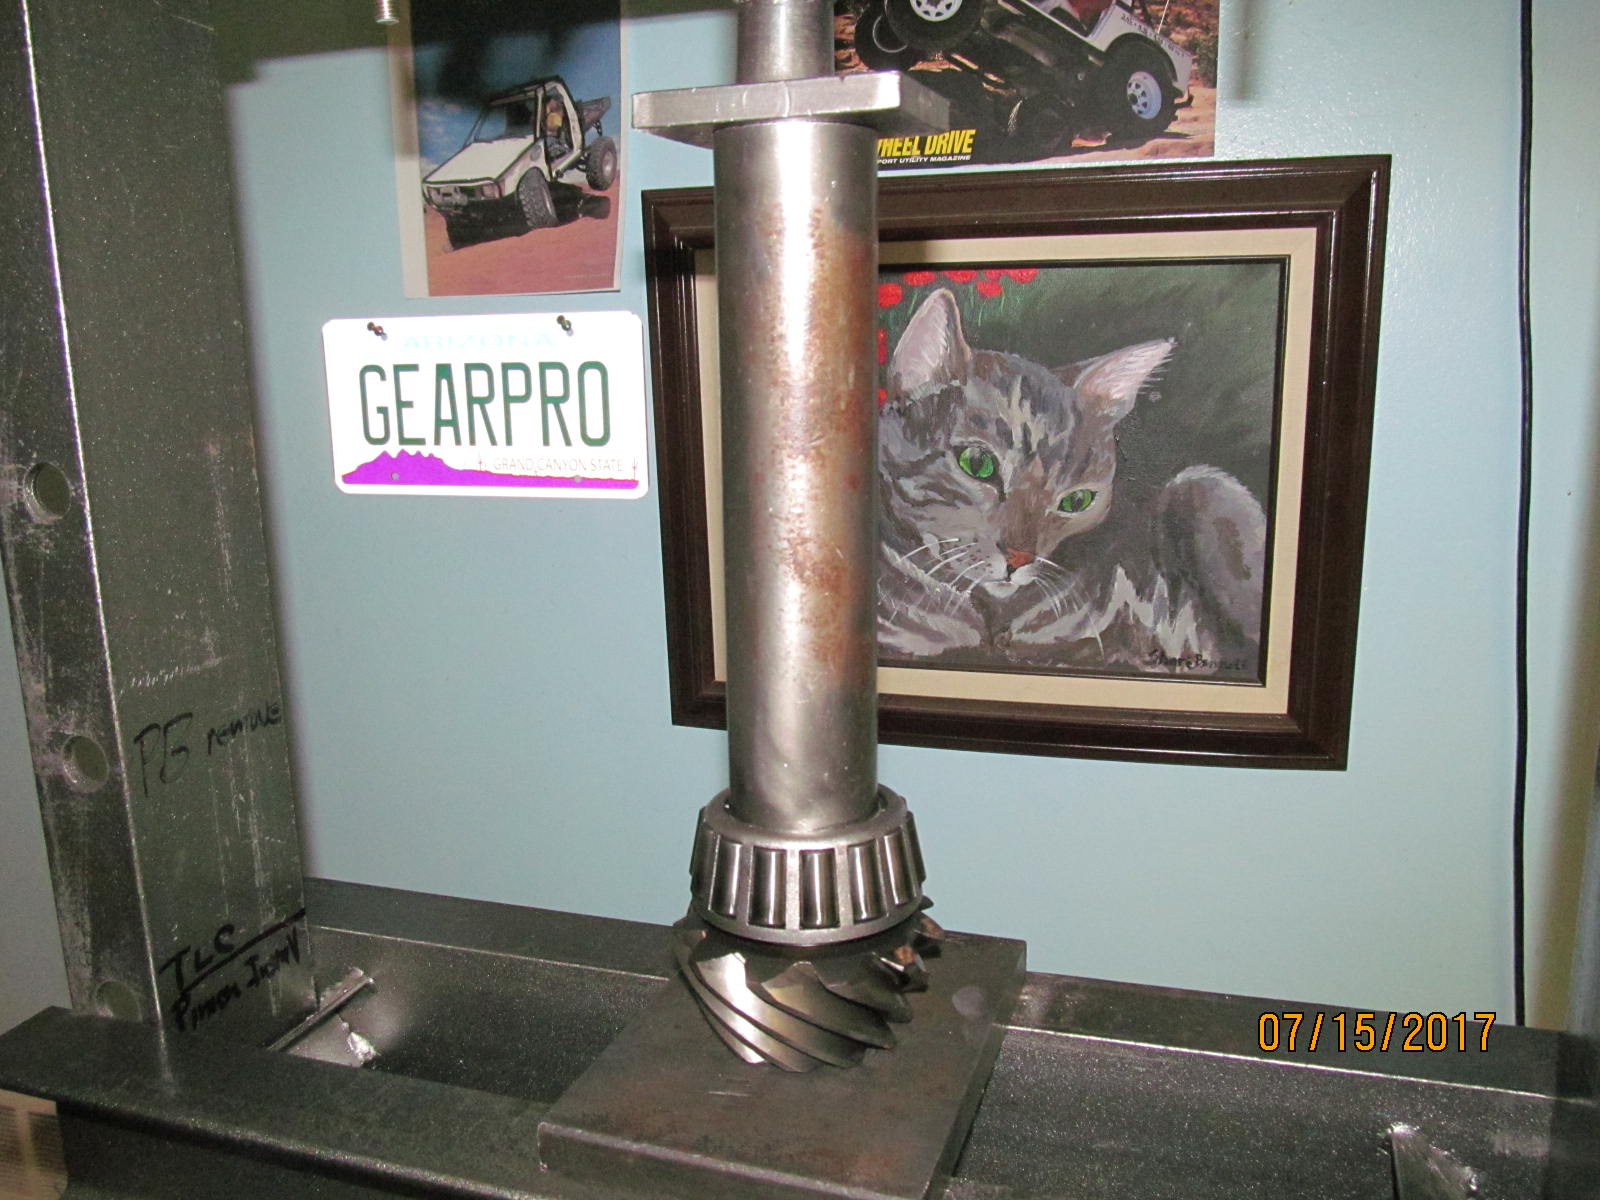
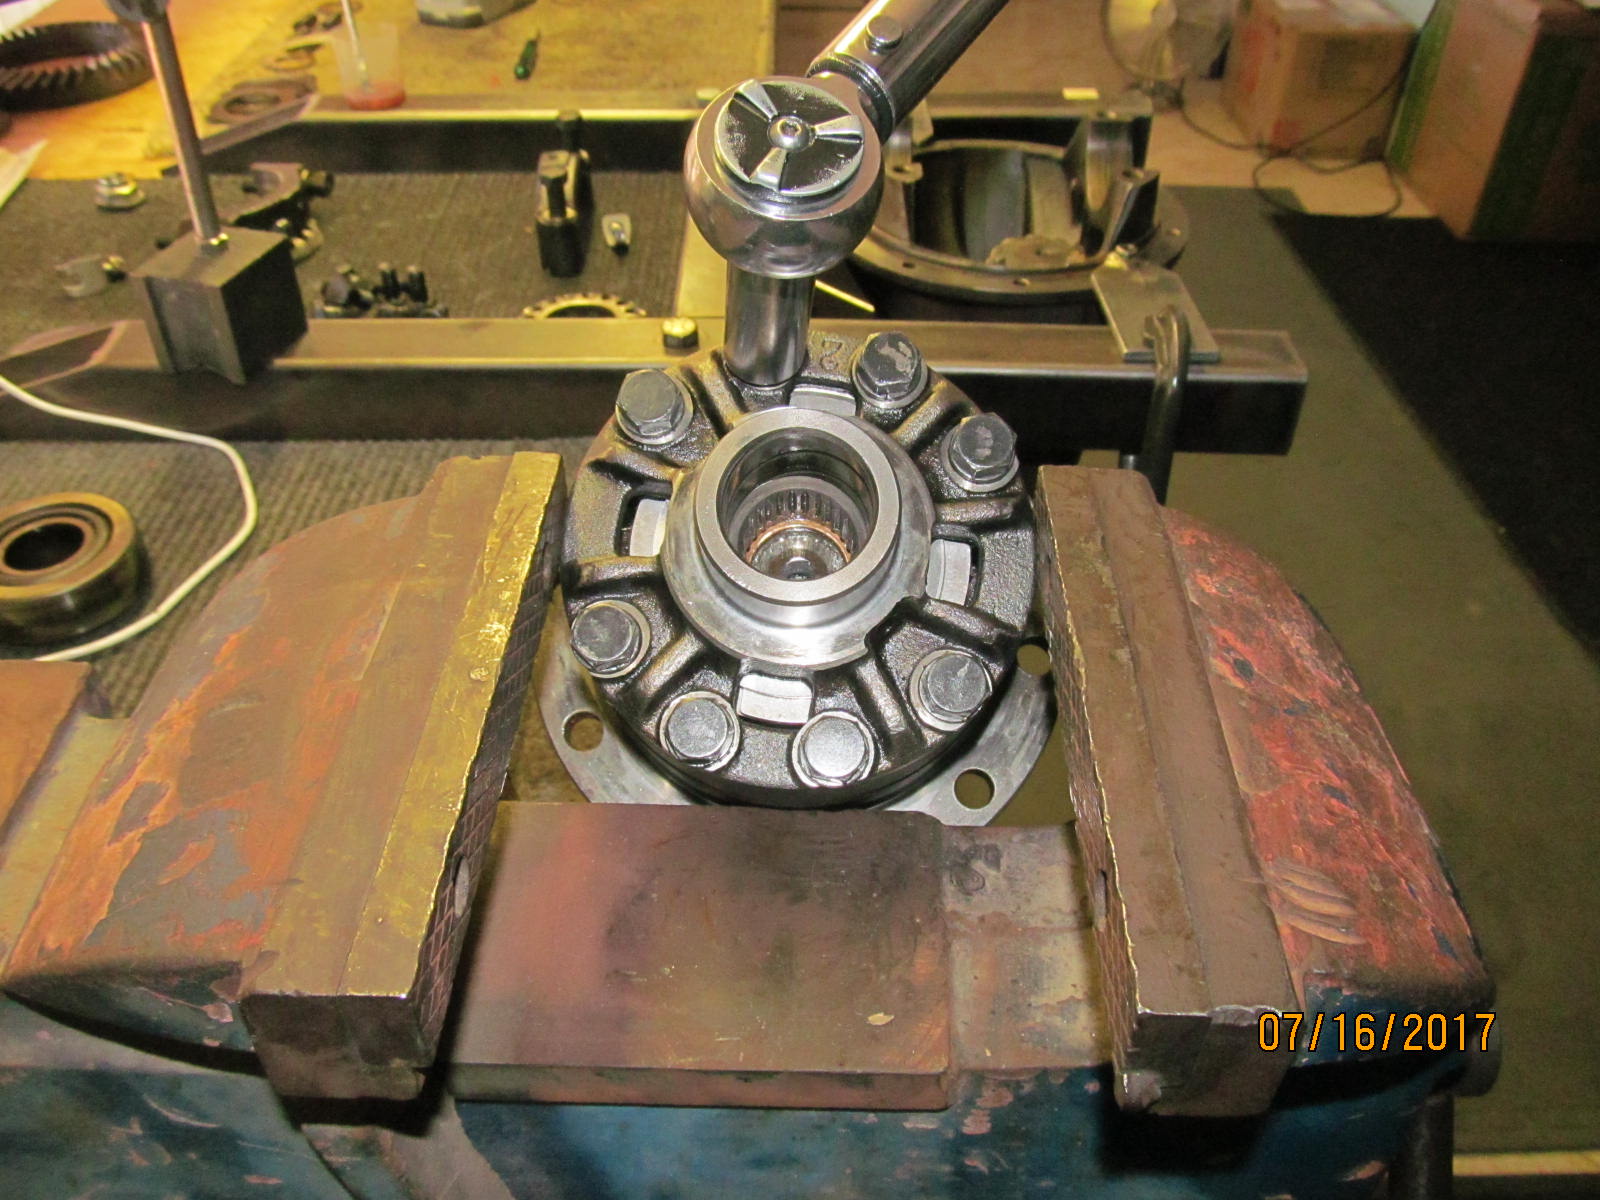
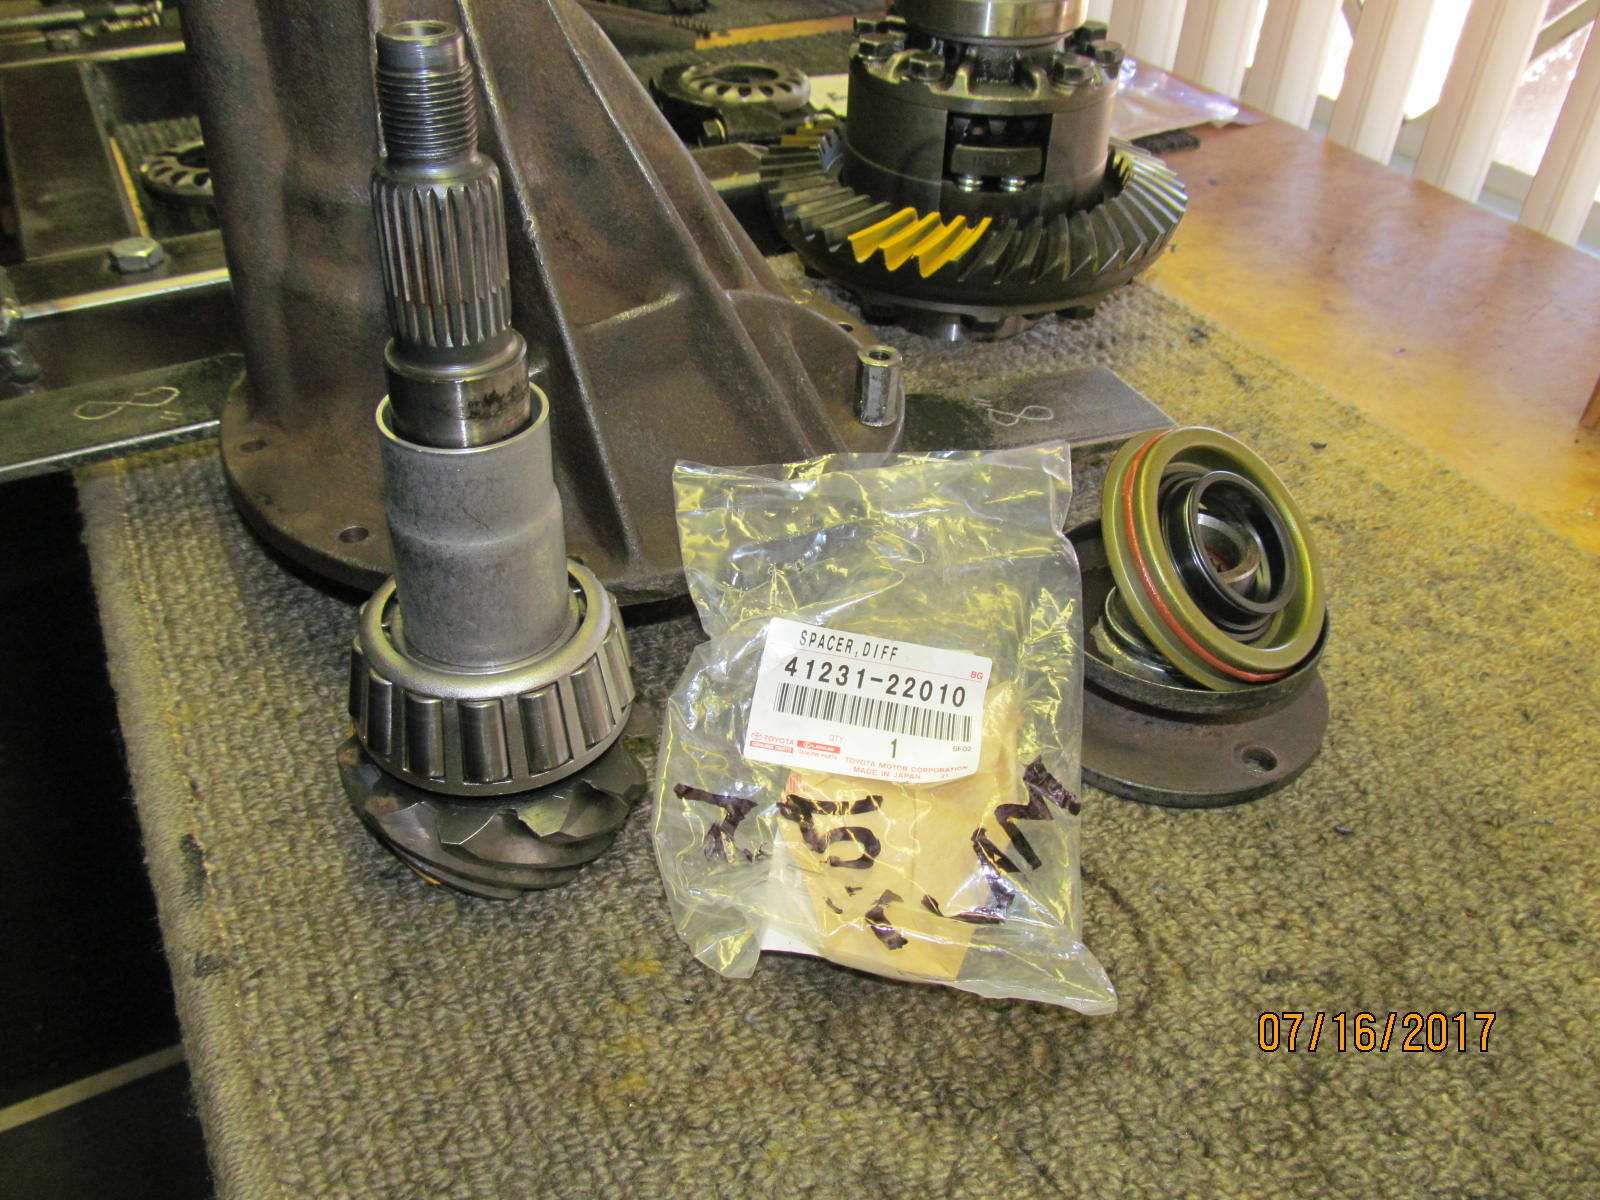
| The pinion can now be mounted into the 3rd. No crush sleeve at this stage yet. |
|---|
|
|
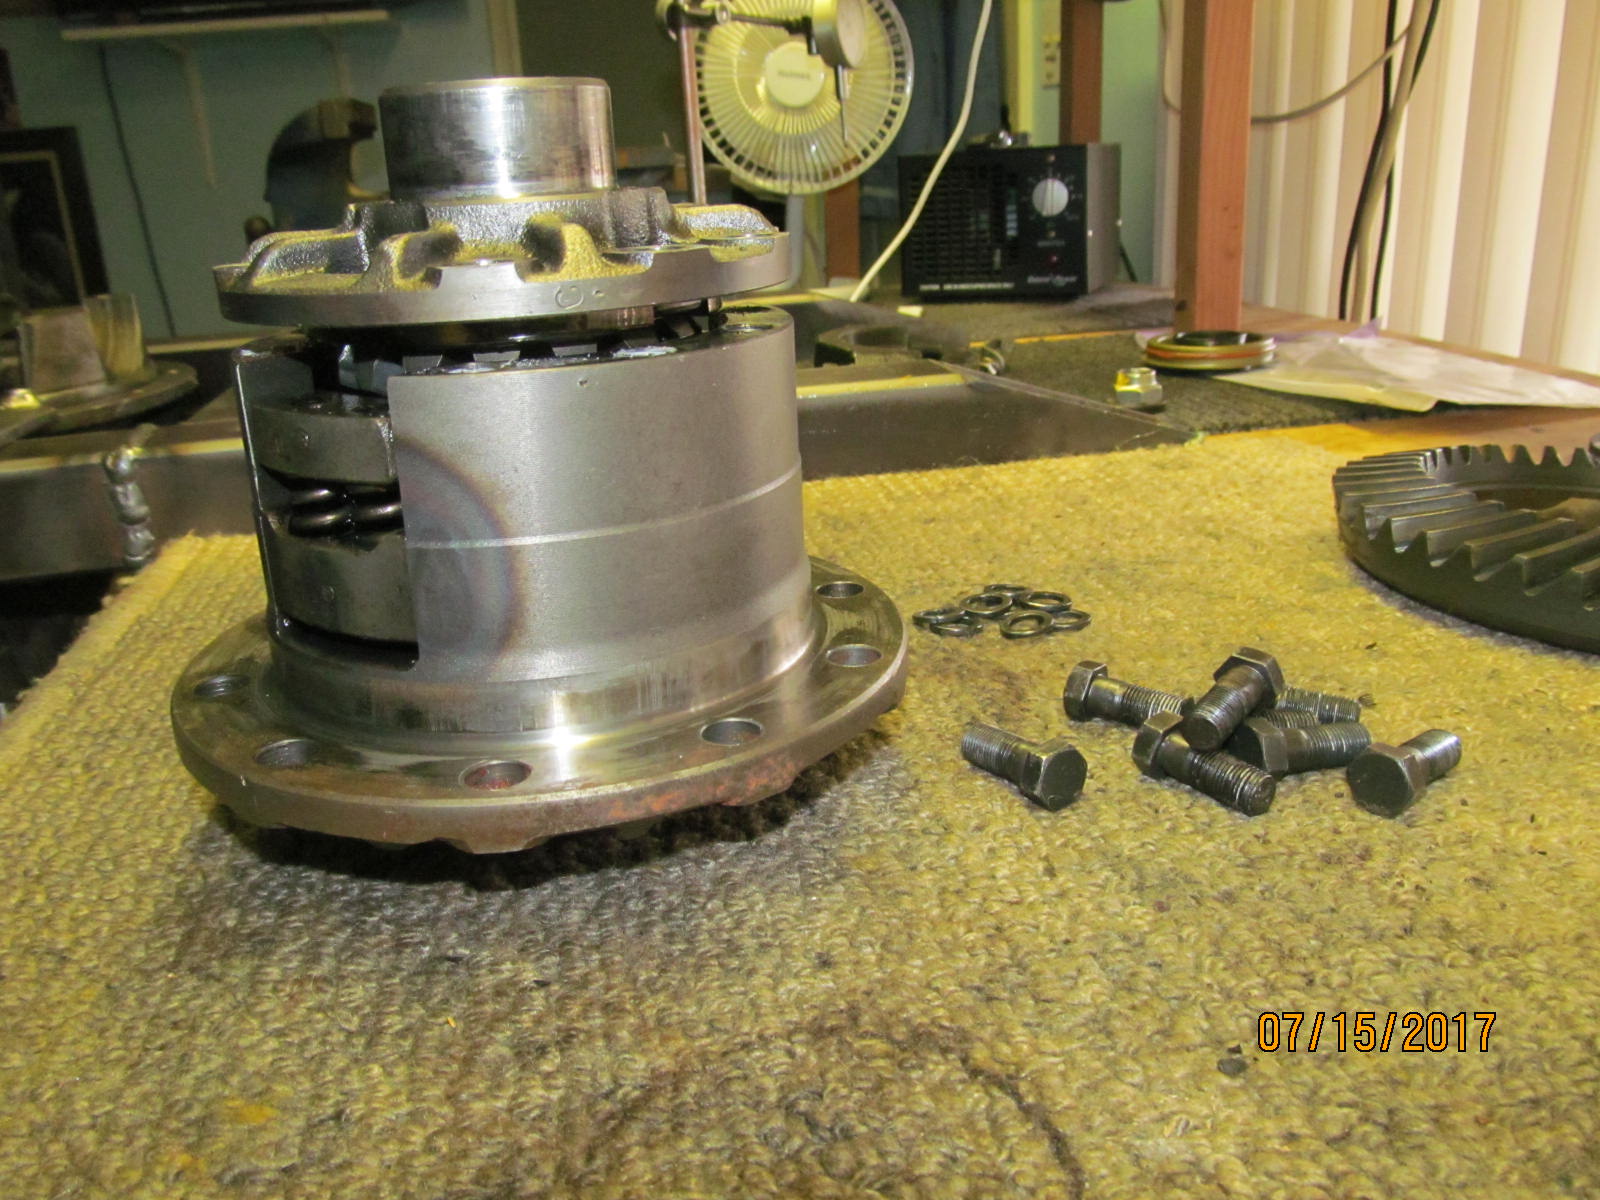
| Now to rebuild the factory Supra LSD |
|---|
|
|
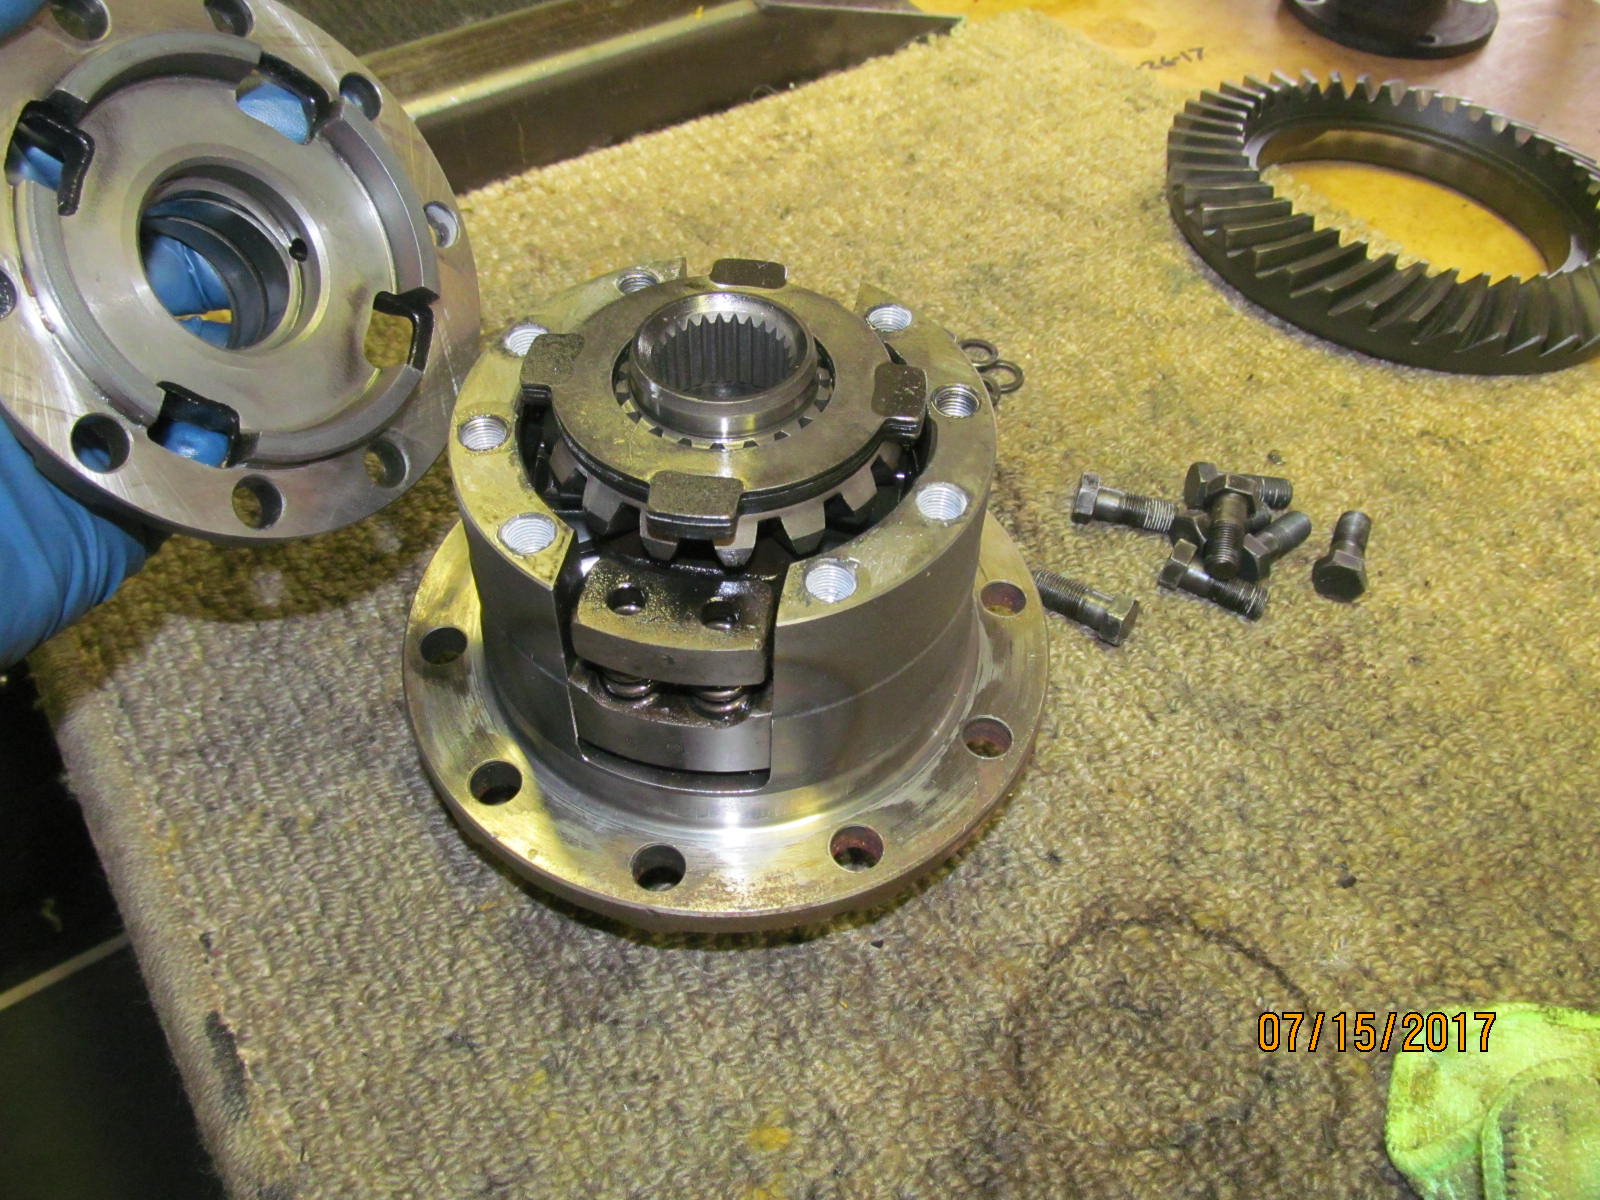
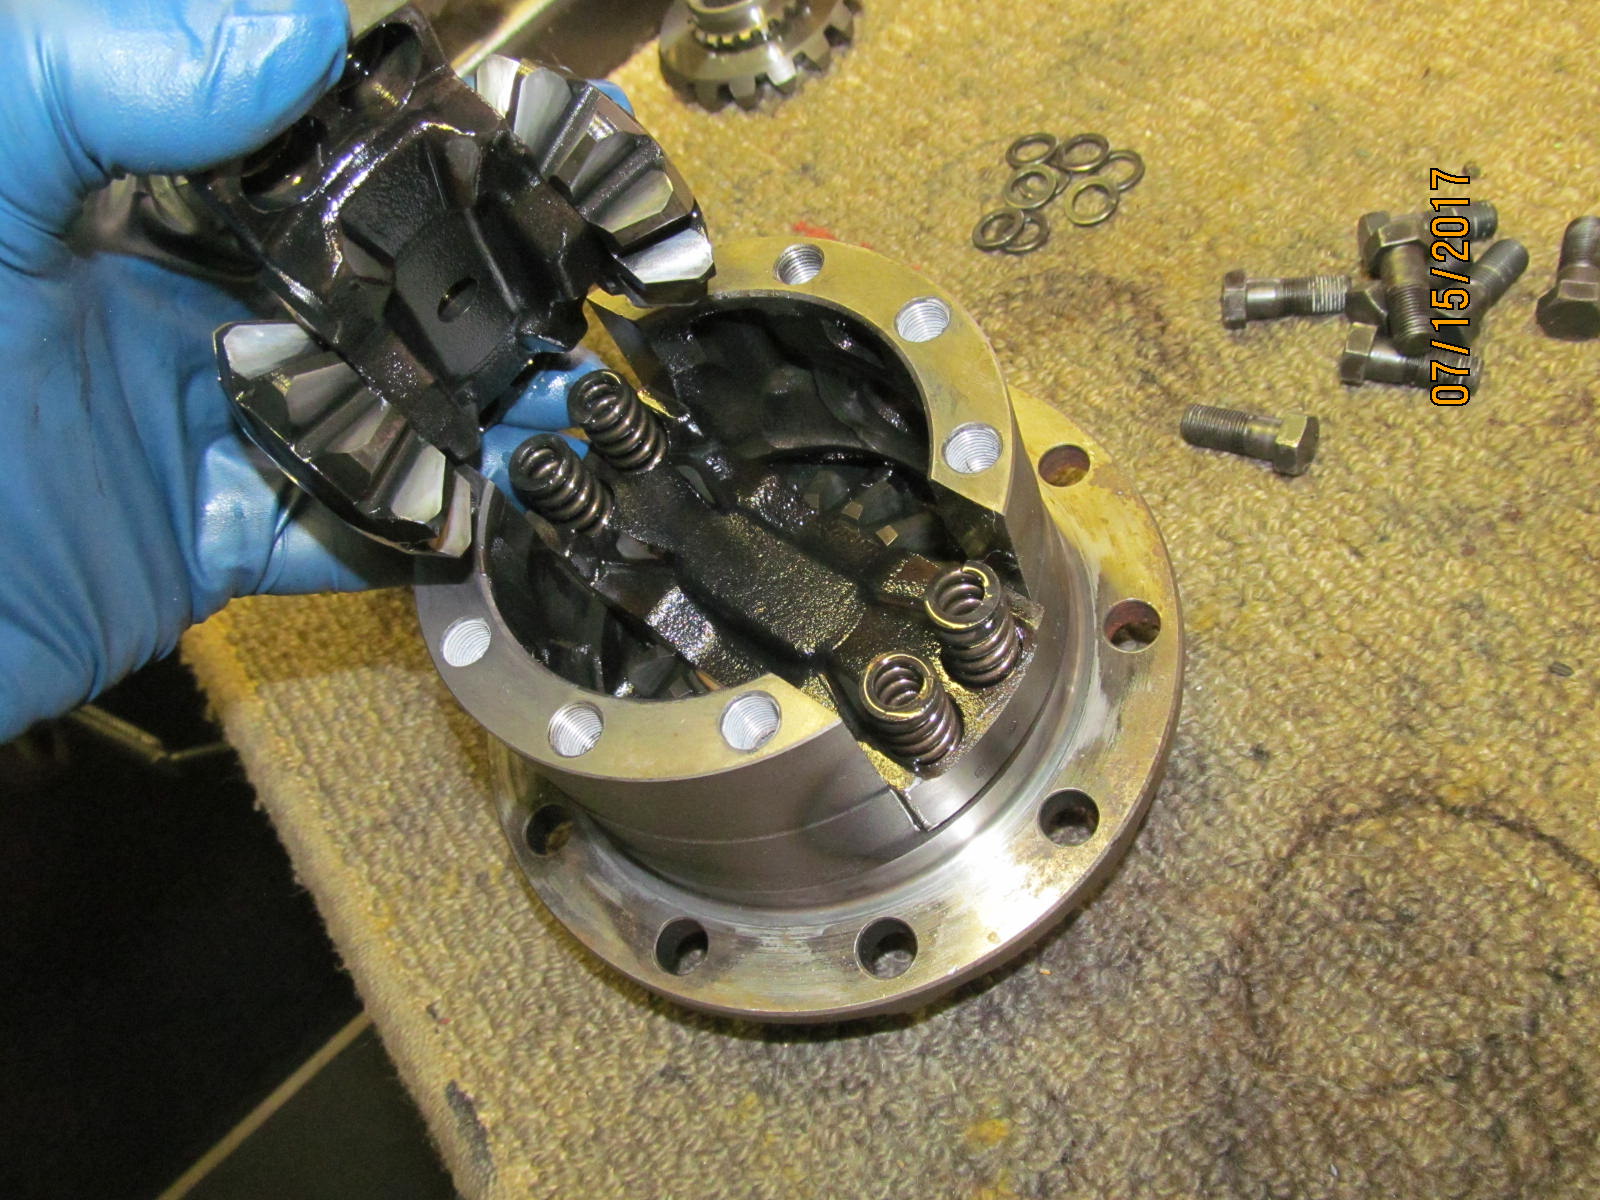
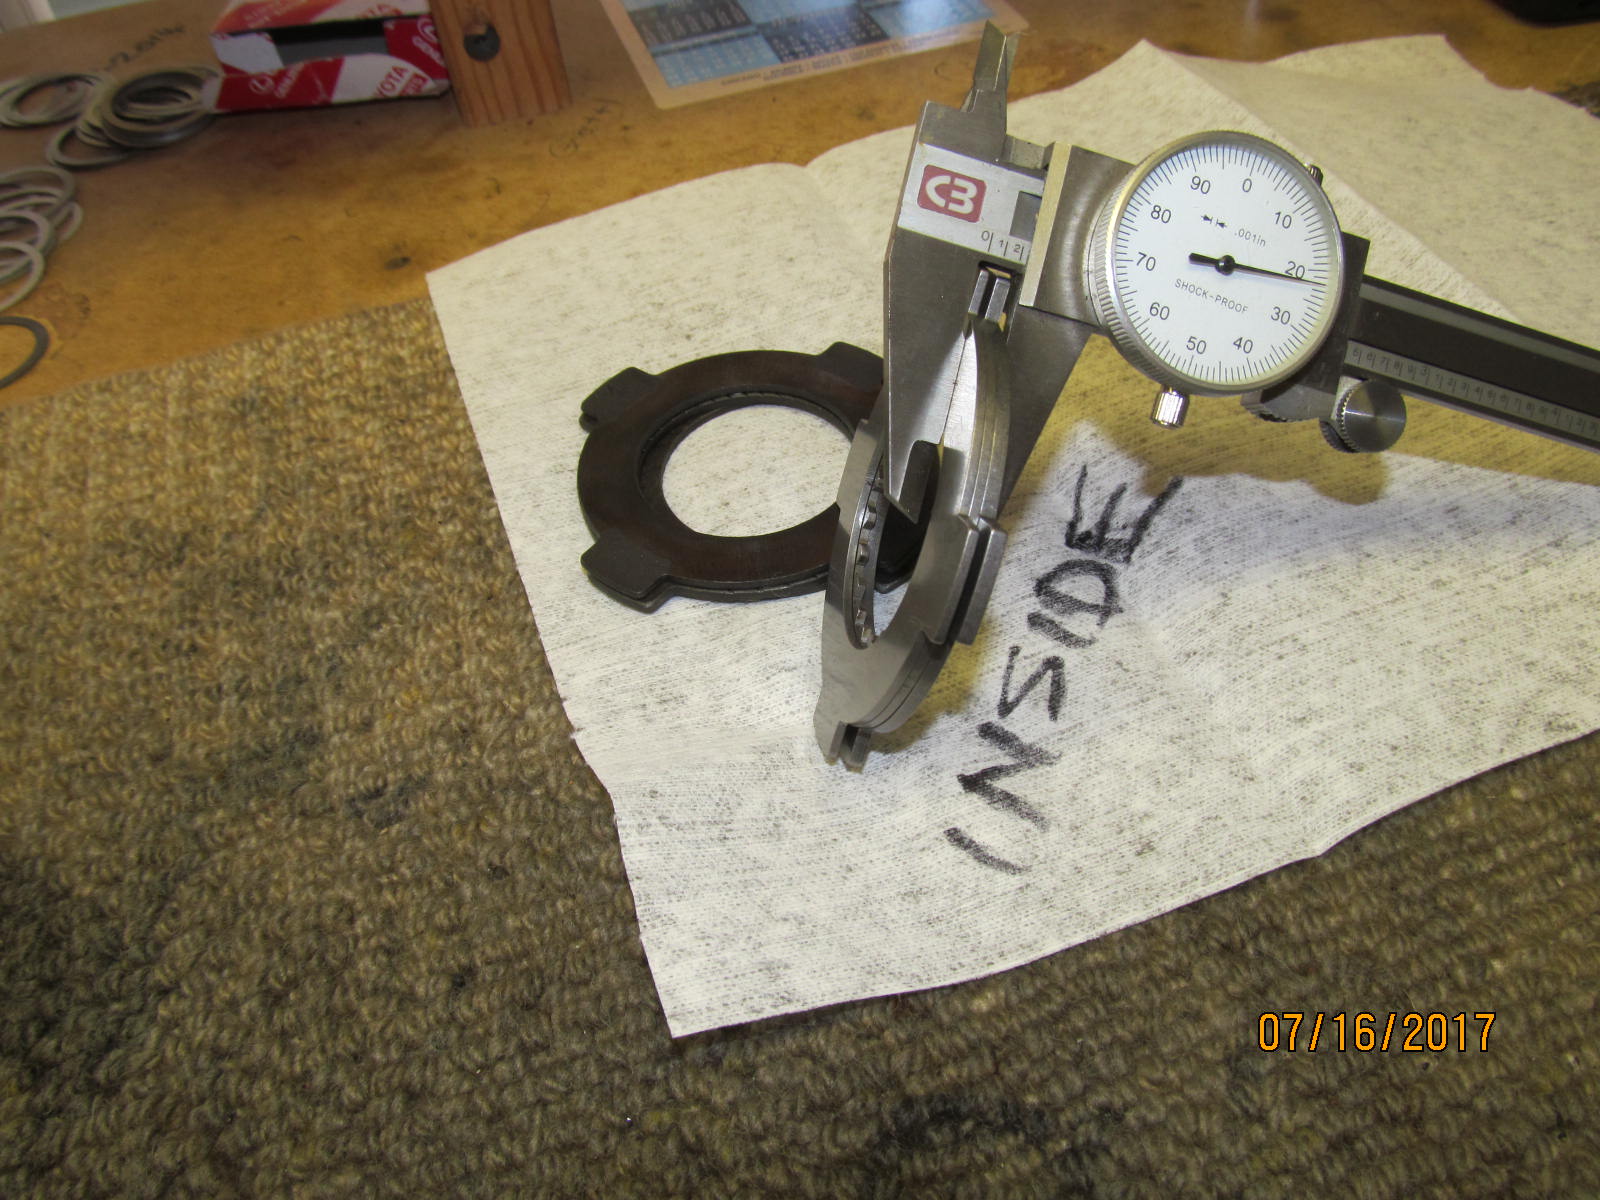
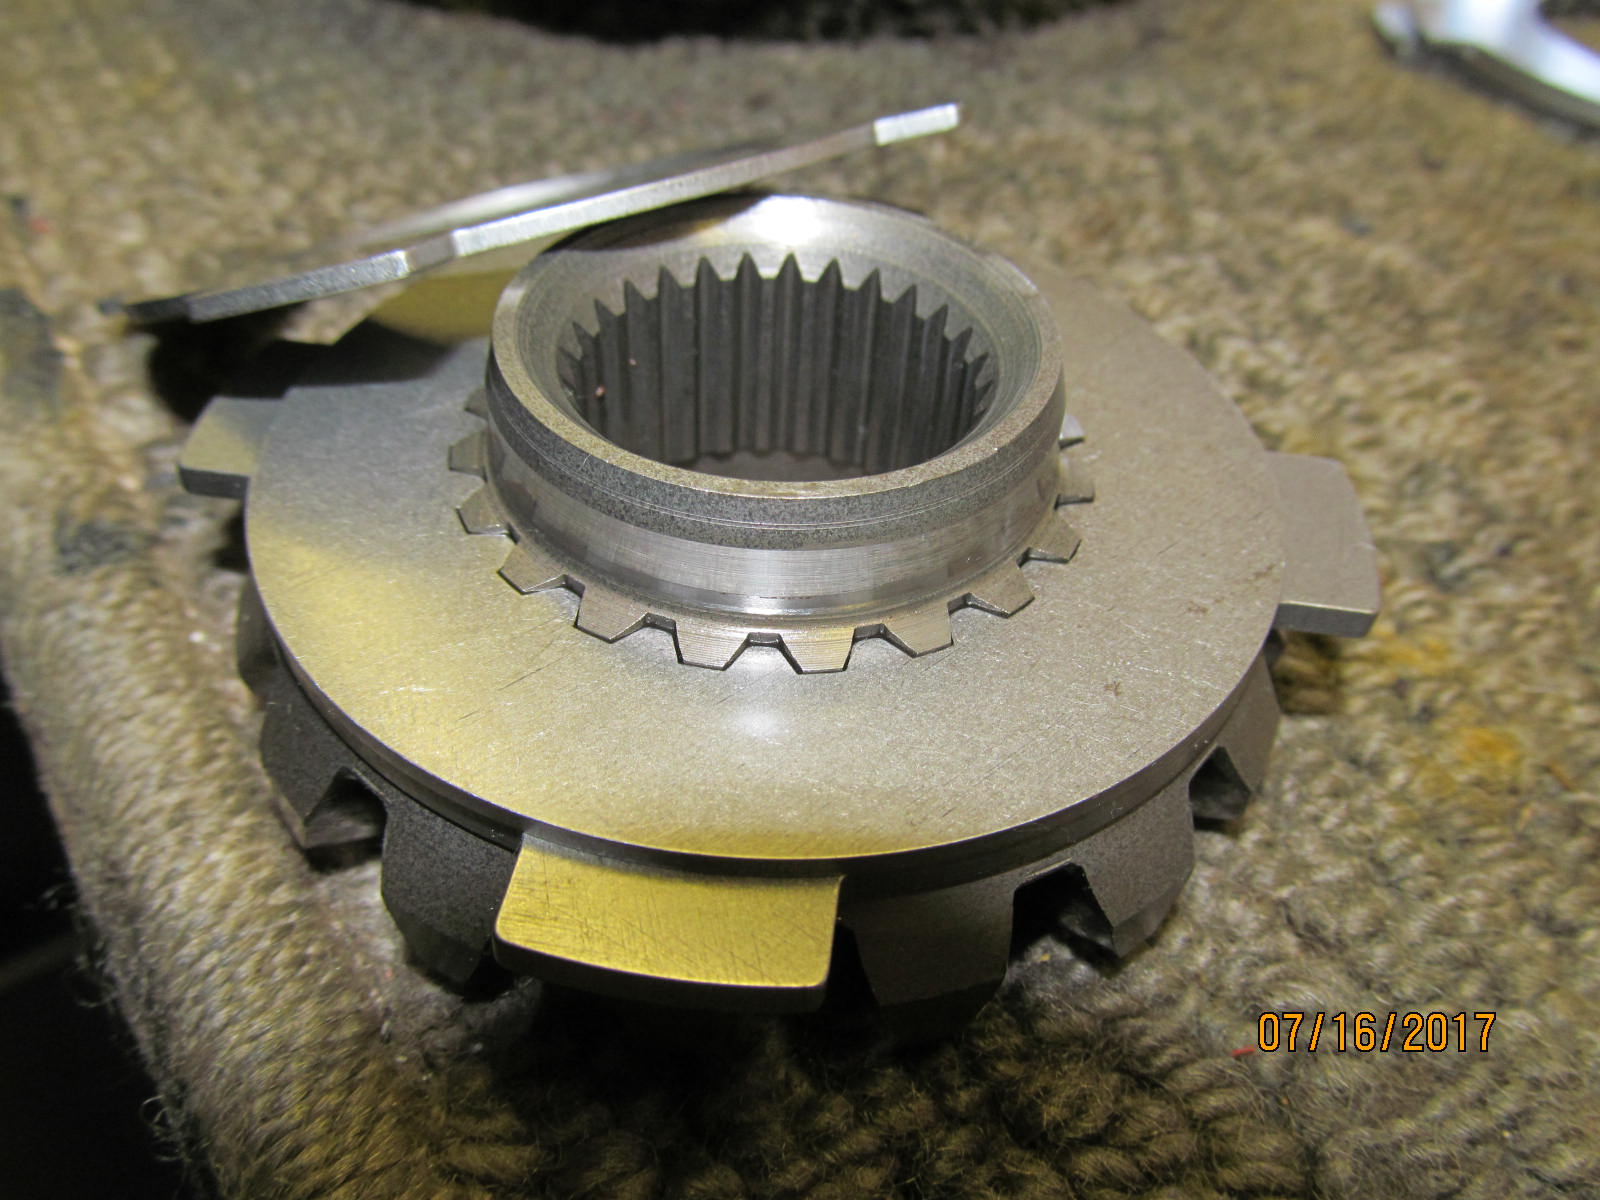
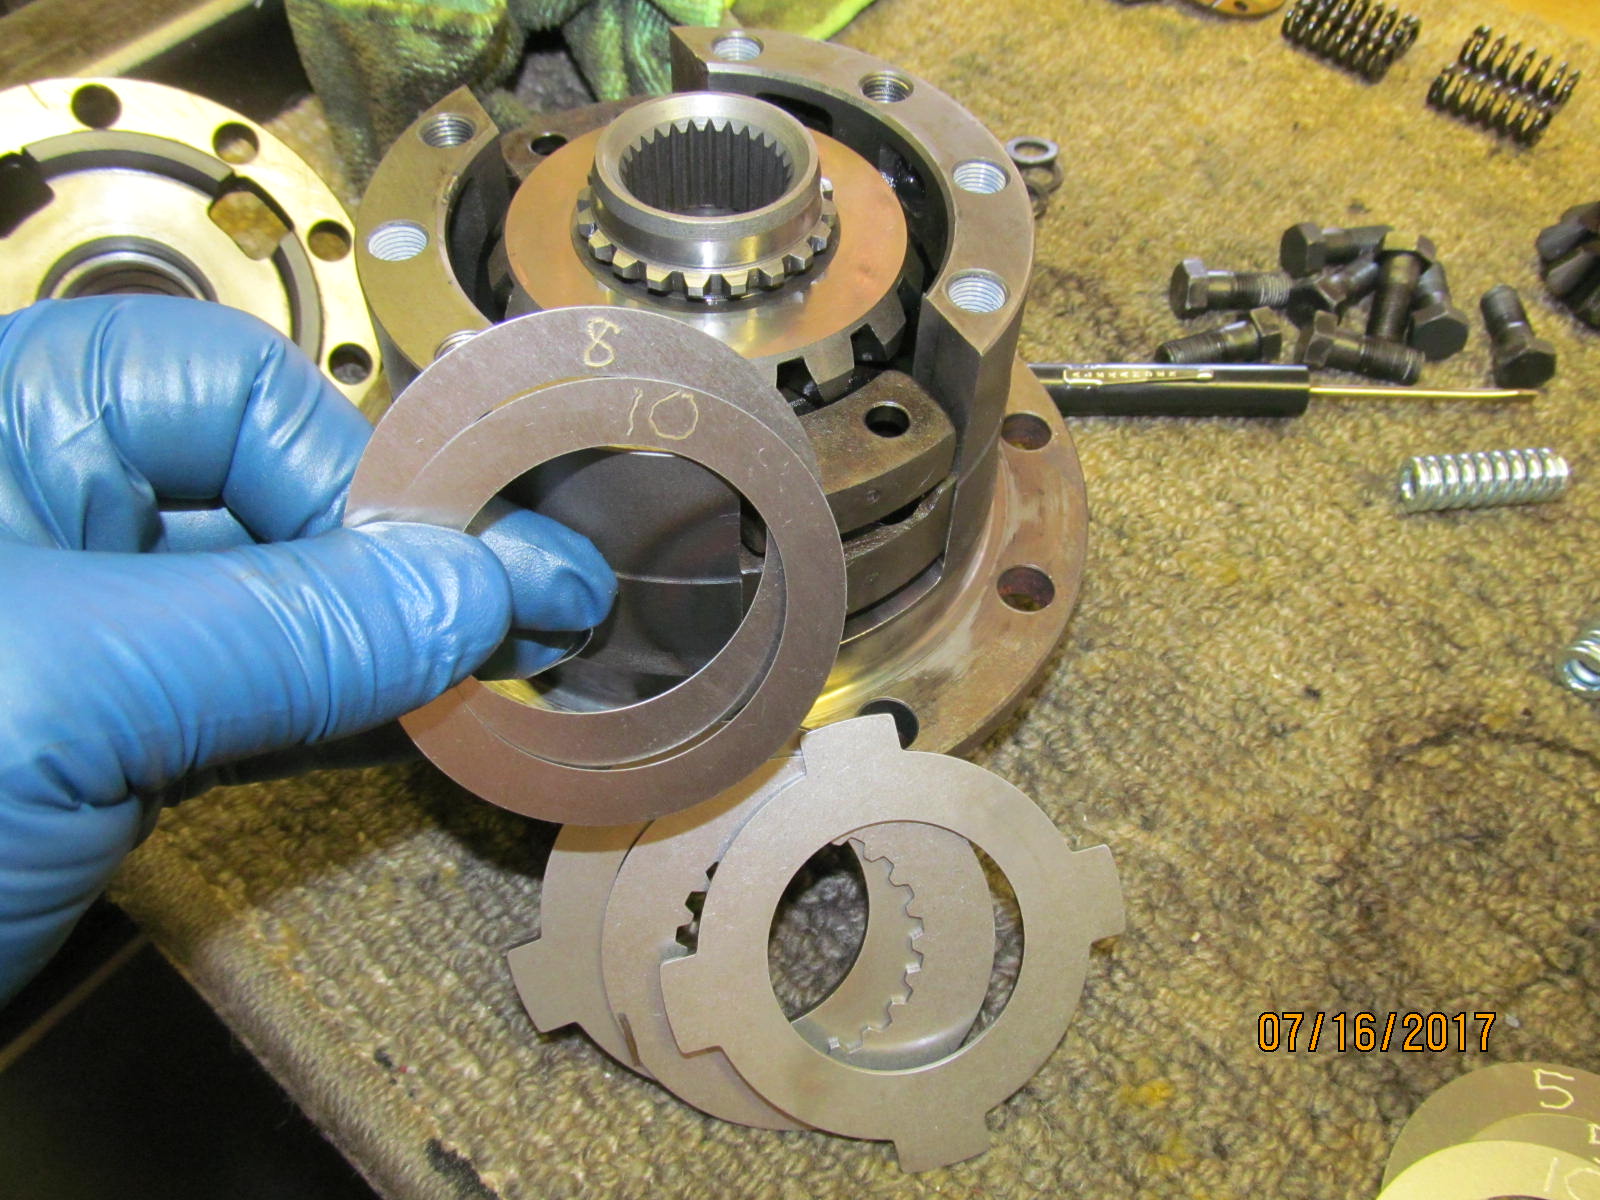
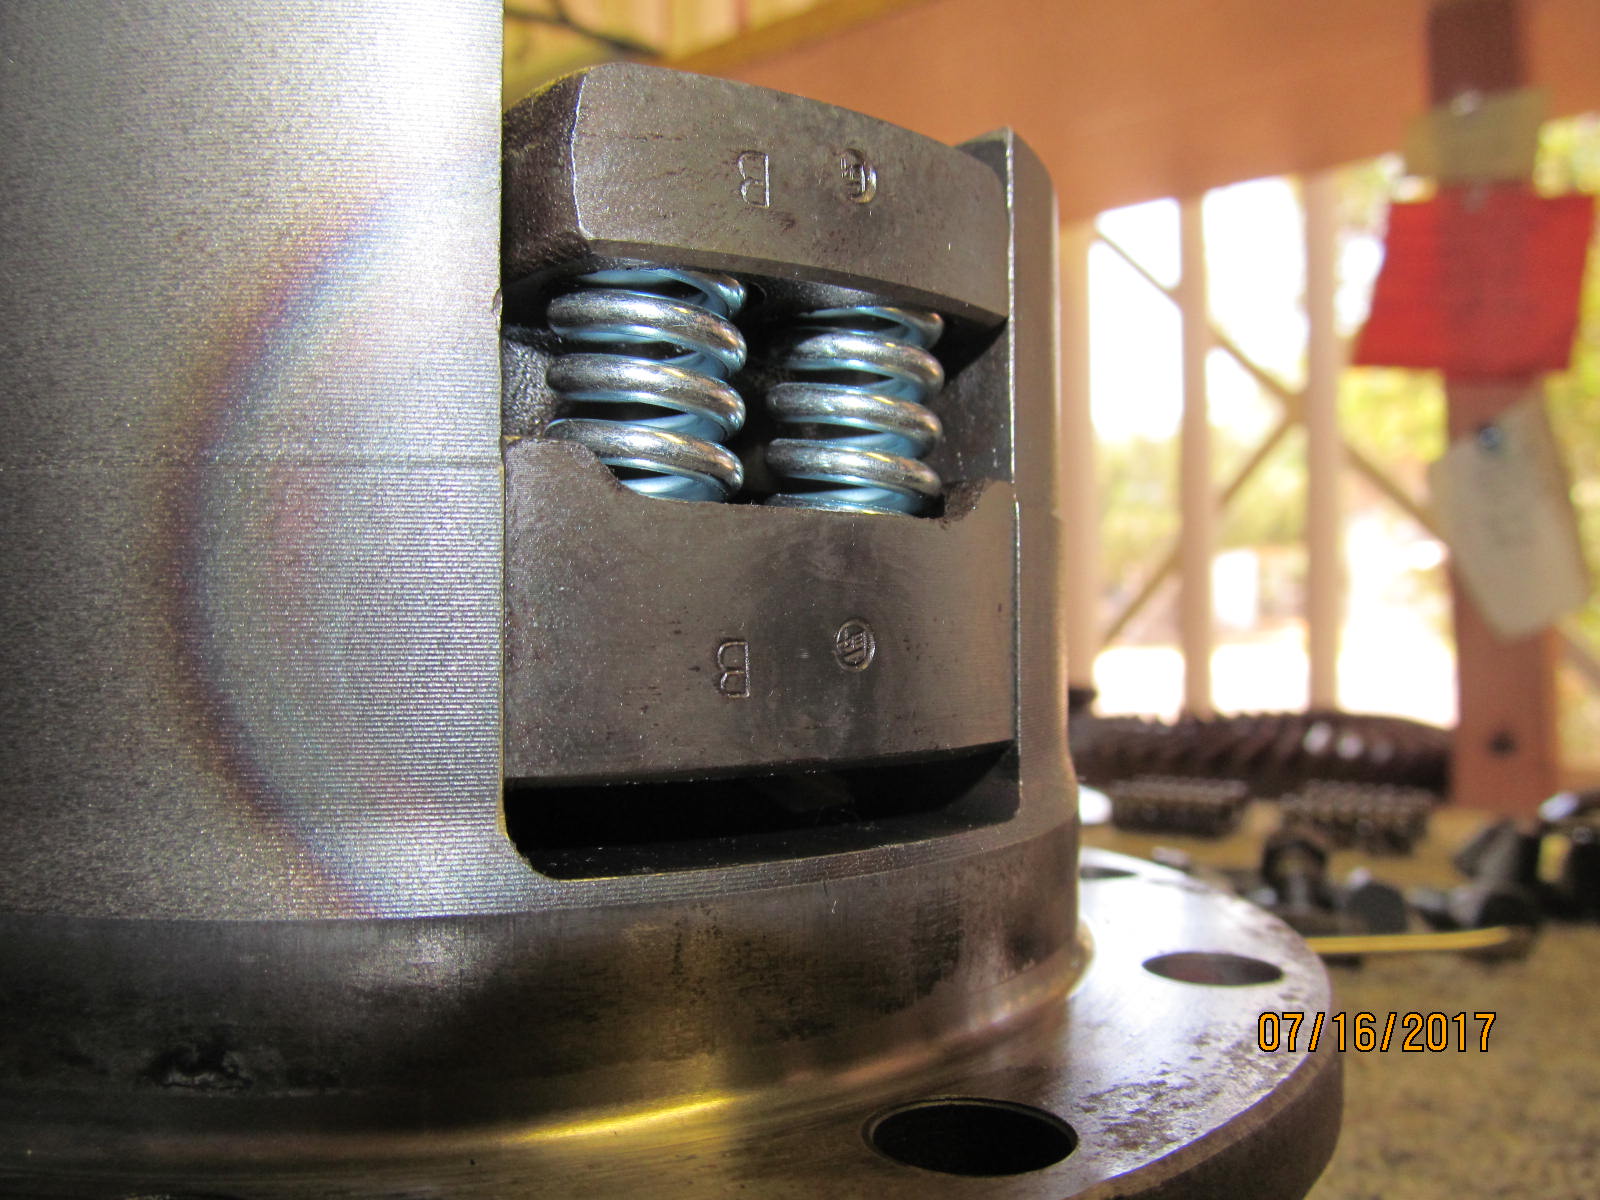
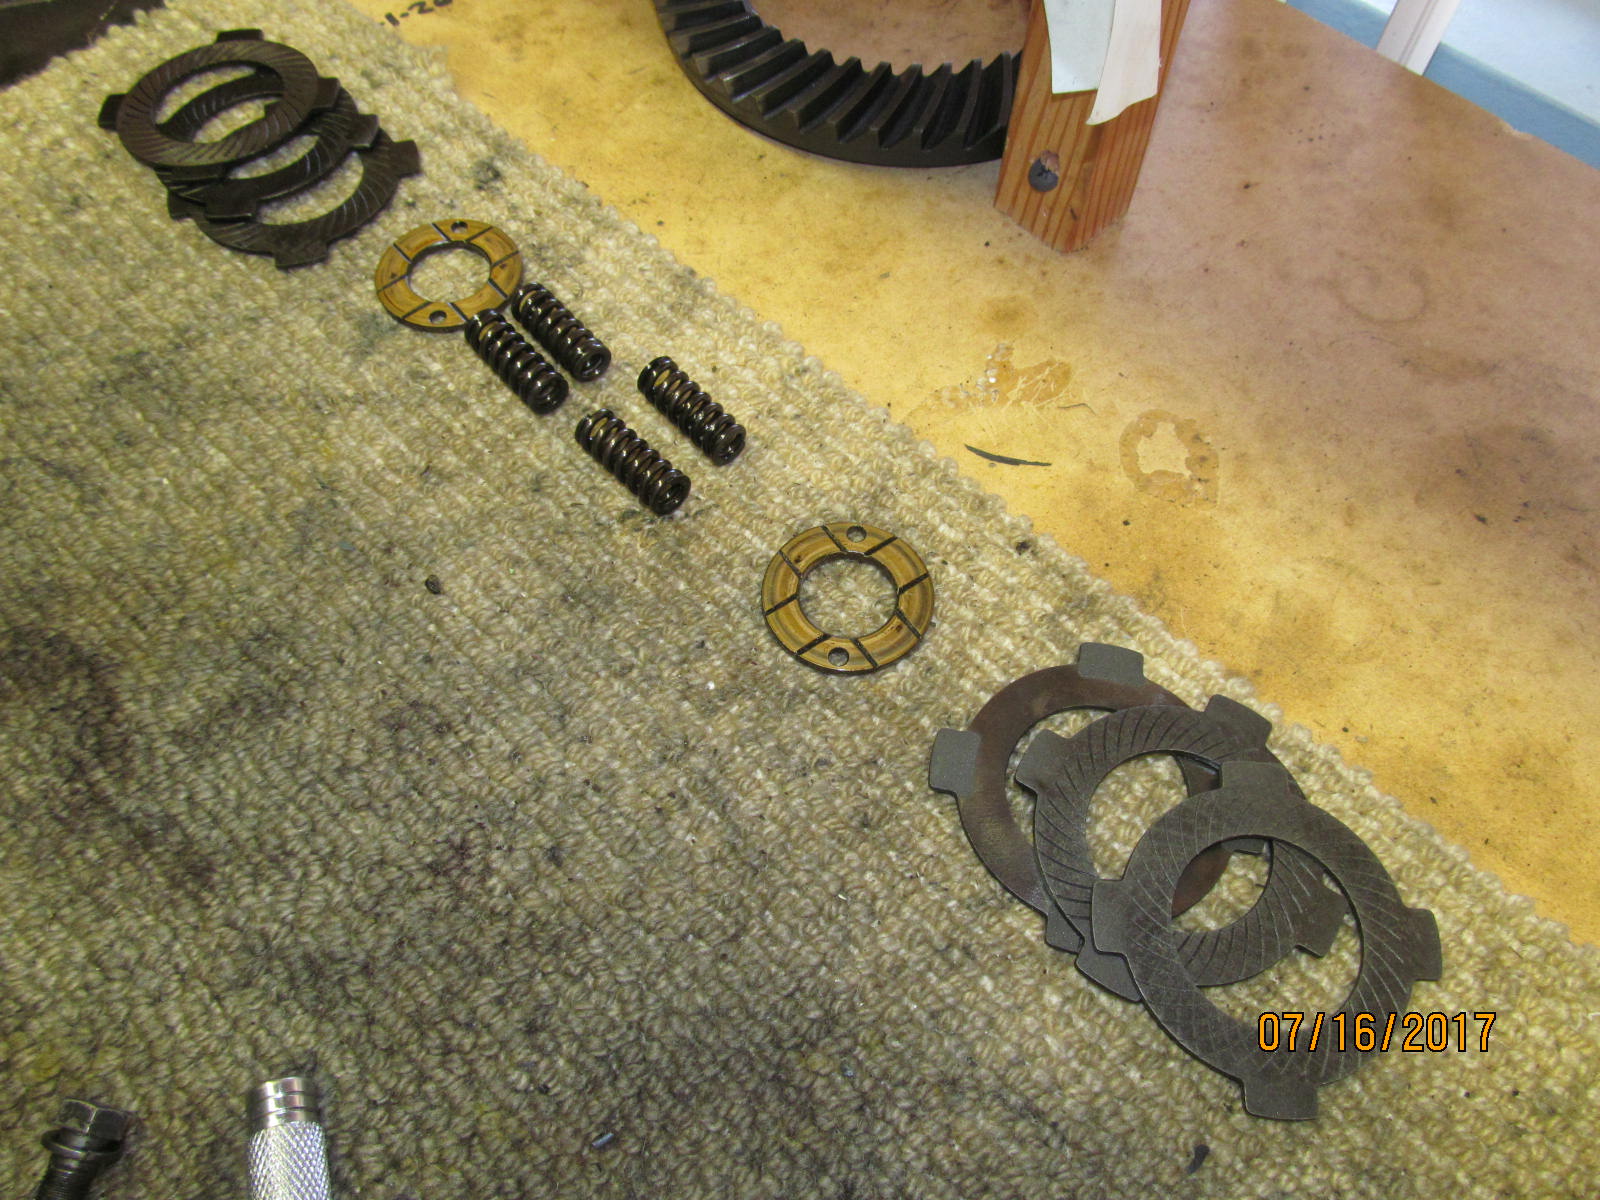
| 4 tabs on the clutch plates that lock into the 4 slots on the lid....but no inside teeth to catch the sidegear teeth seen. |
|---|
|
|
| .......................... |
|---|
|

|
A waste of surface contact.....only the single plate that is frictionally sliding on the seen sidegear surface is doing any work at all.
The other 2 plates are just acting as spacers....and doing ZILCH for traction. |
|---|
|
|
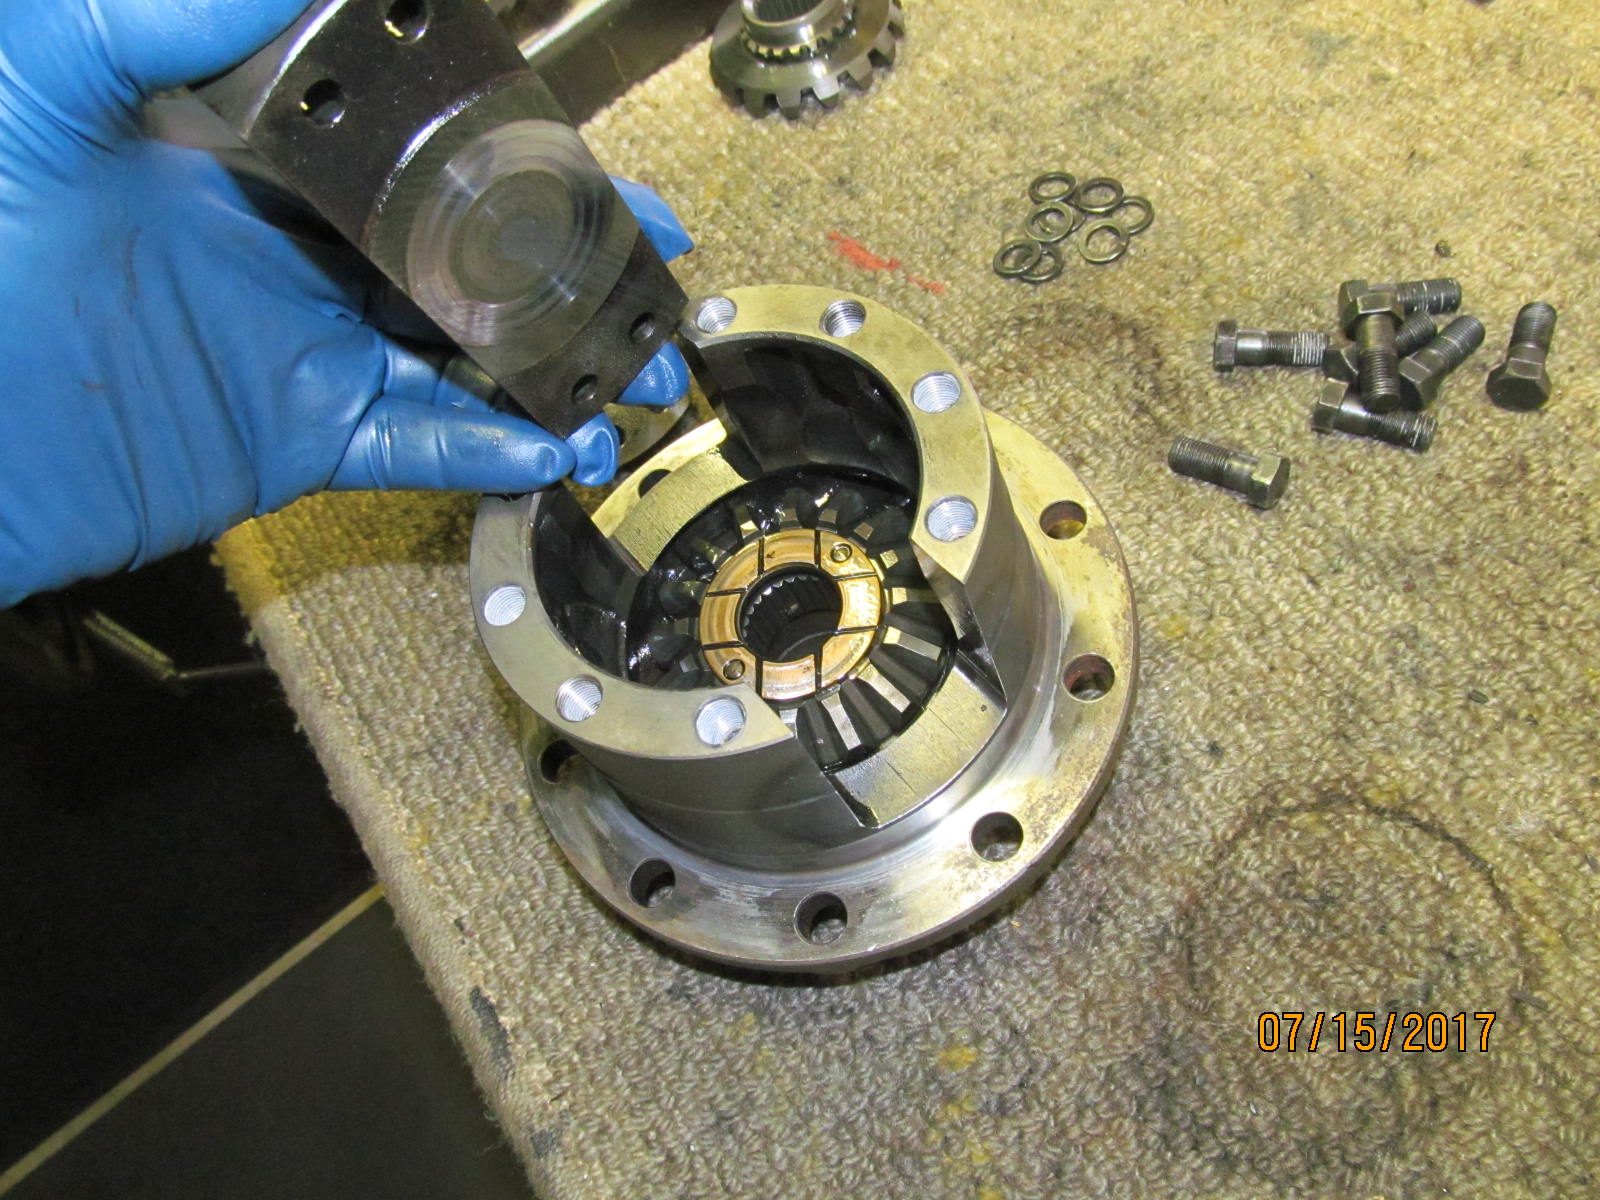
| Disassembly continues. Parts are layed out in order. |
|---|
|
|
| ............................ |
|---|
|
|
| See the smaller ring of teeth on the sidegear? They contact nothing in this LSD....they are there for a reason but not used at all on this particular LSD. |
|---|
|
|
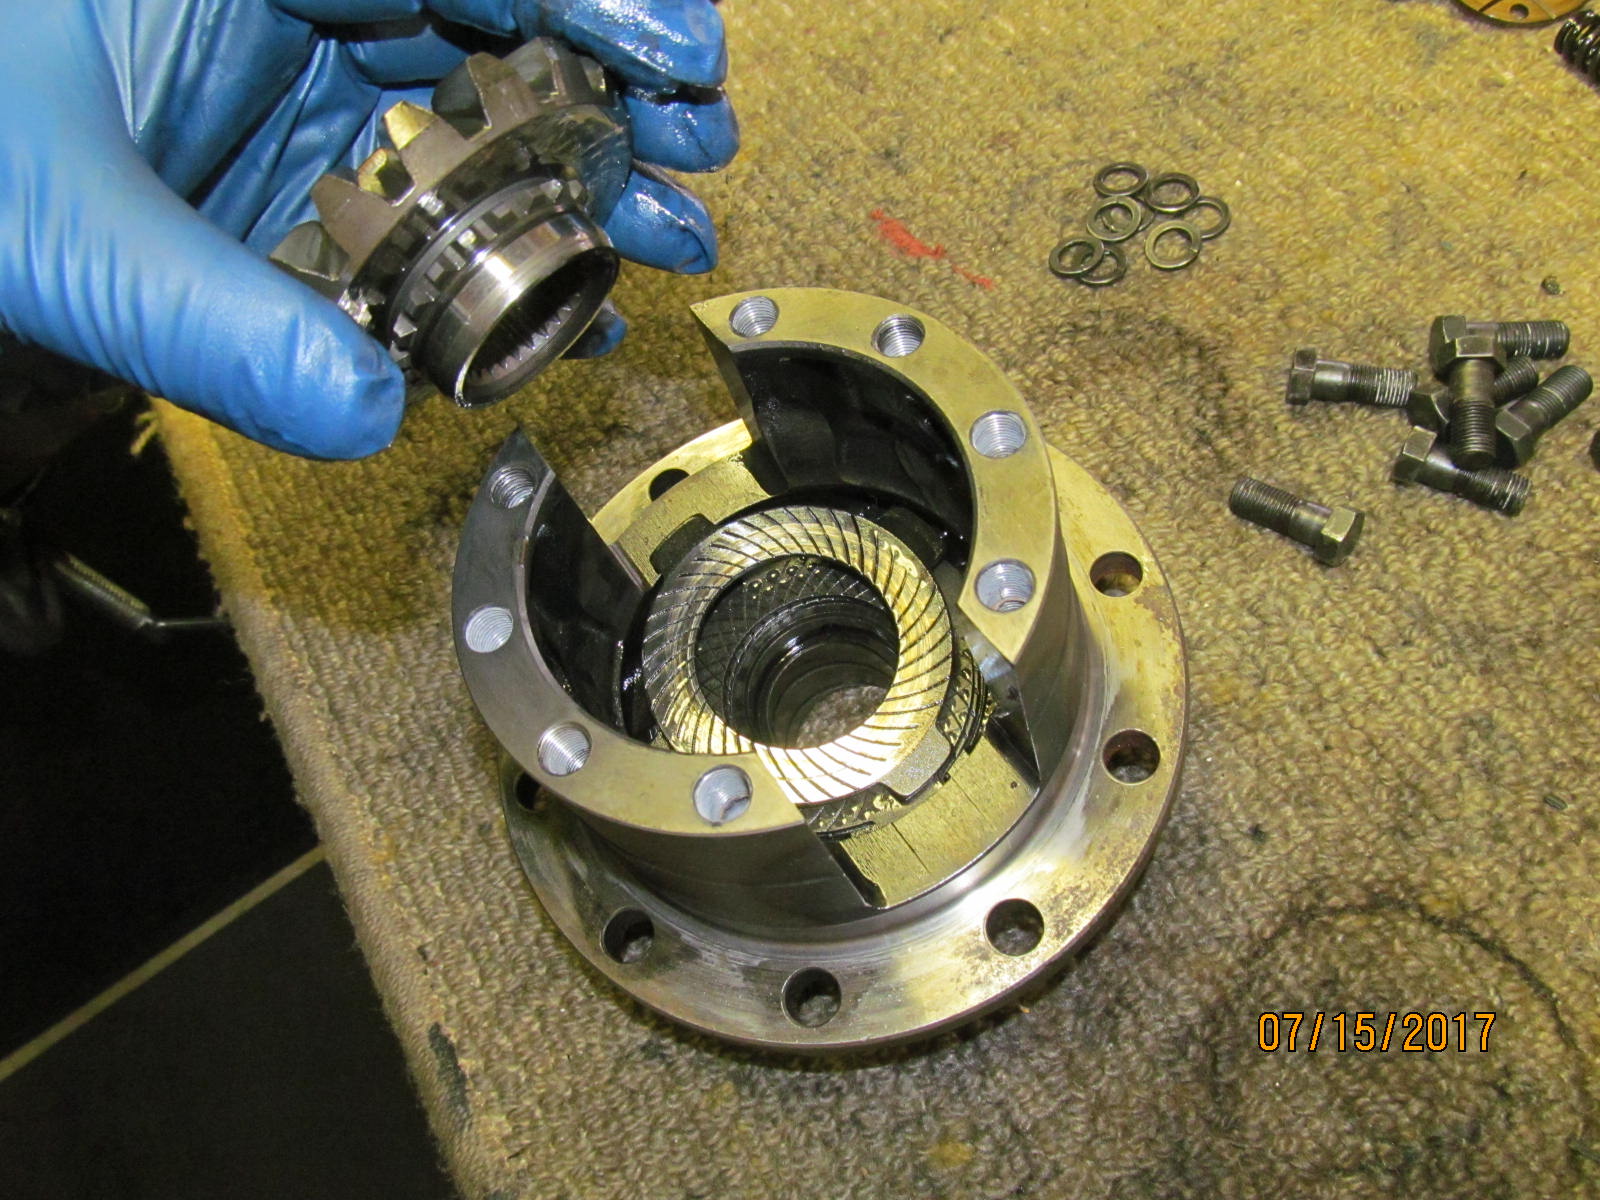
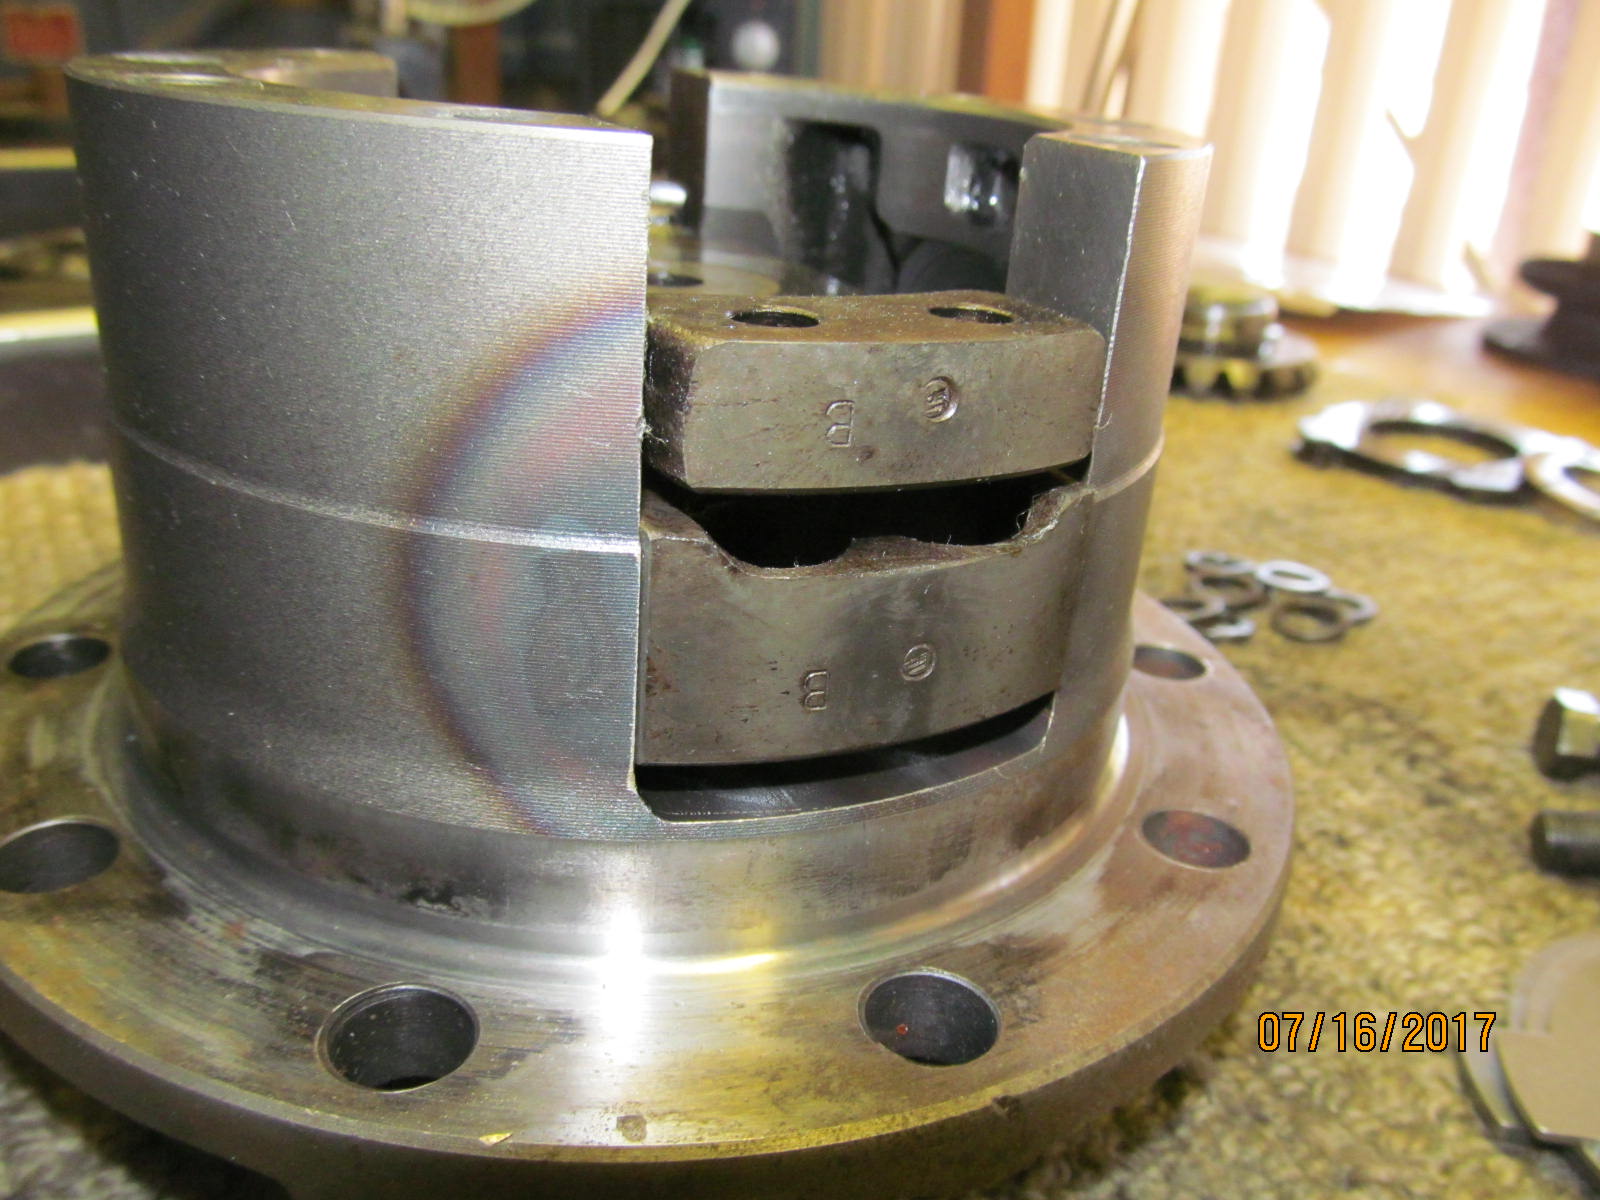
| The 3 remaining plates are removed. |
|---|
|
|
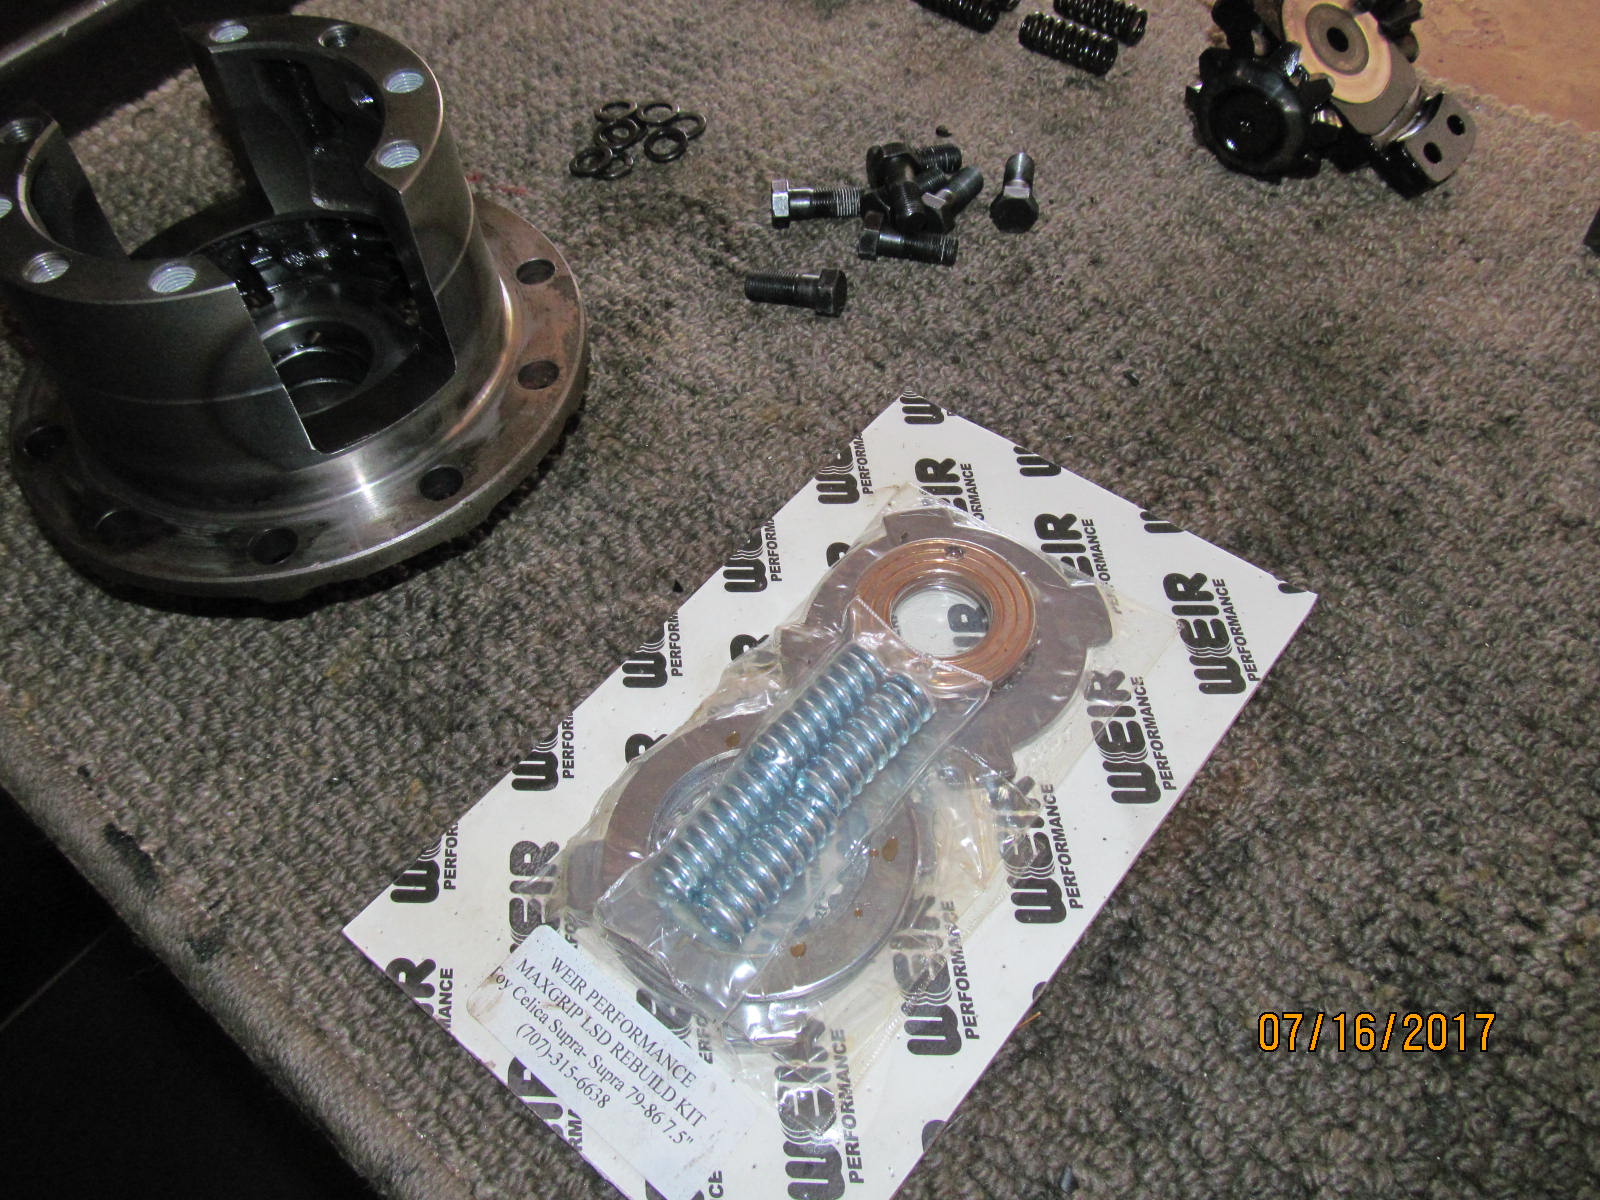
| Let's look at the Weir Performance Maxgrip LSD rebuild kit |
|---|
|
|
| Well packaged..... |
|---|
|
|
| ....................... |
|---|
|
|
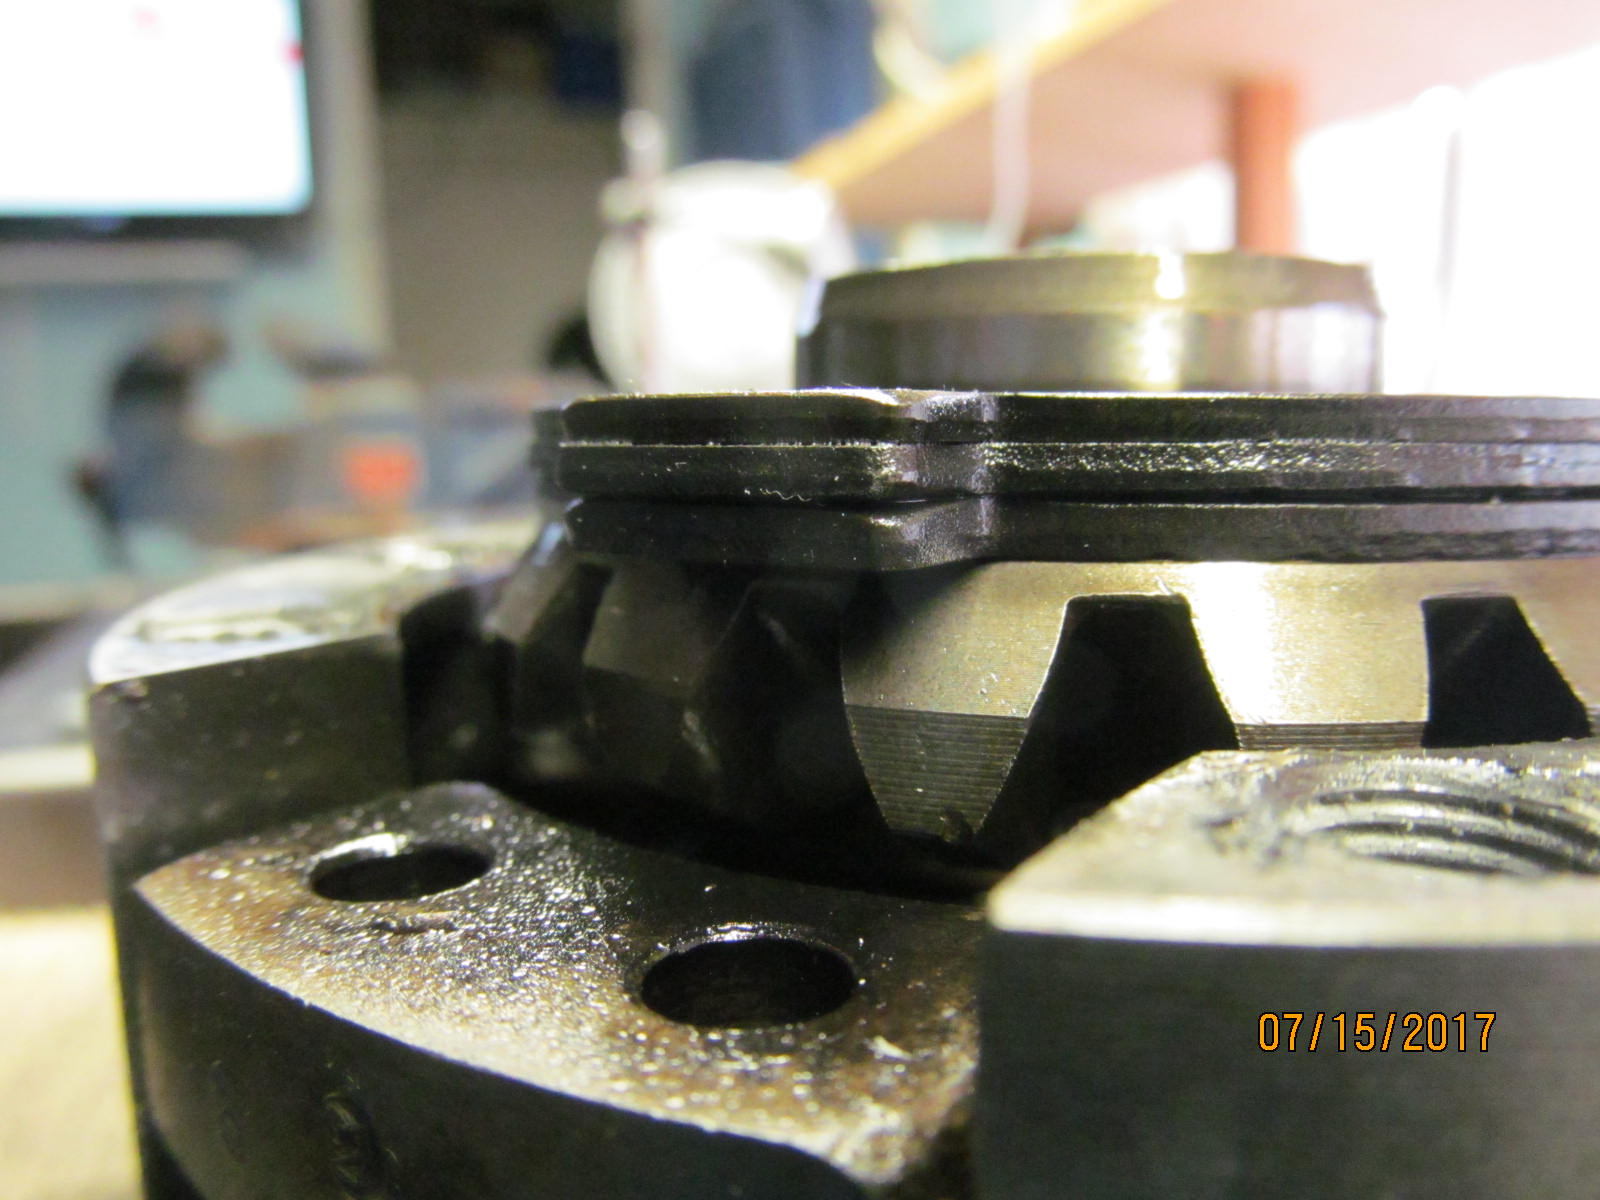
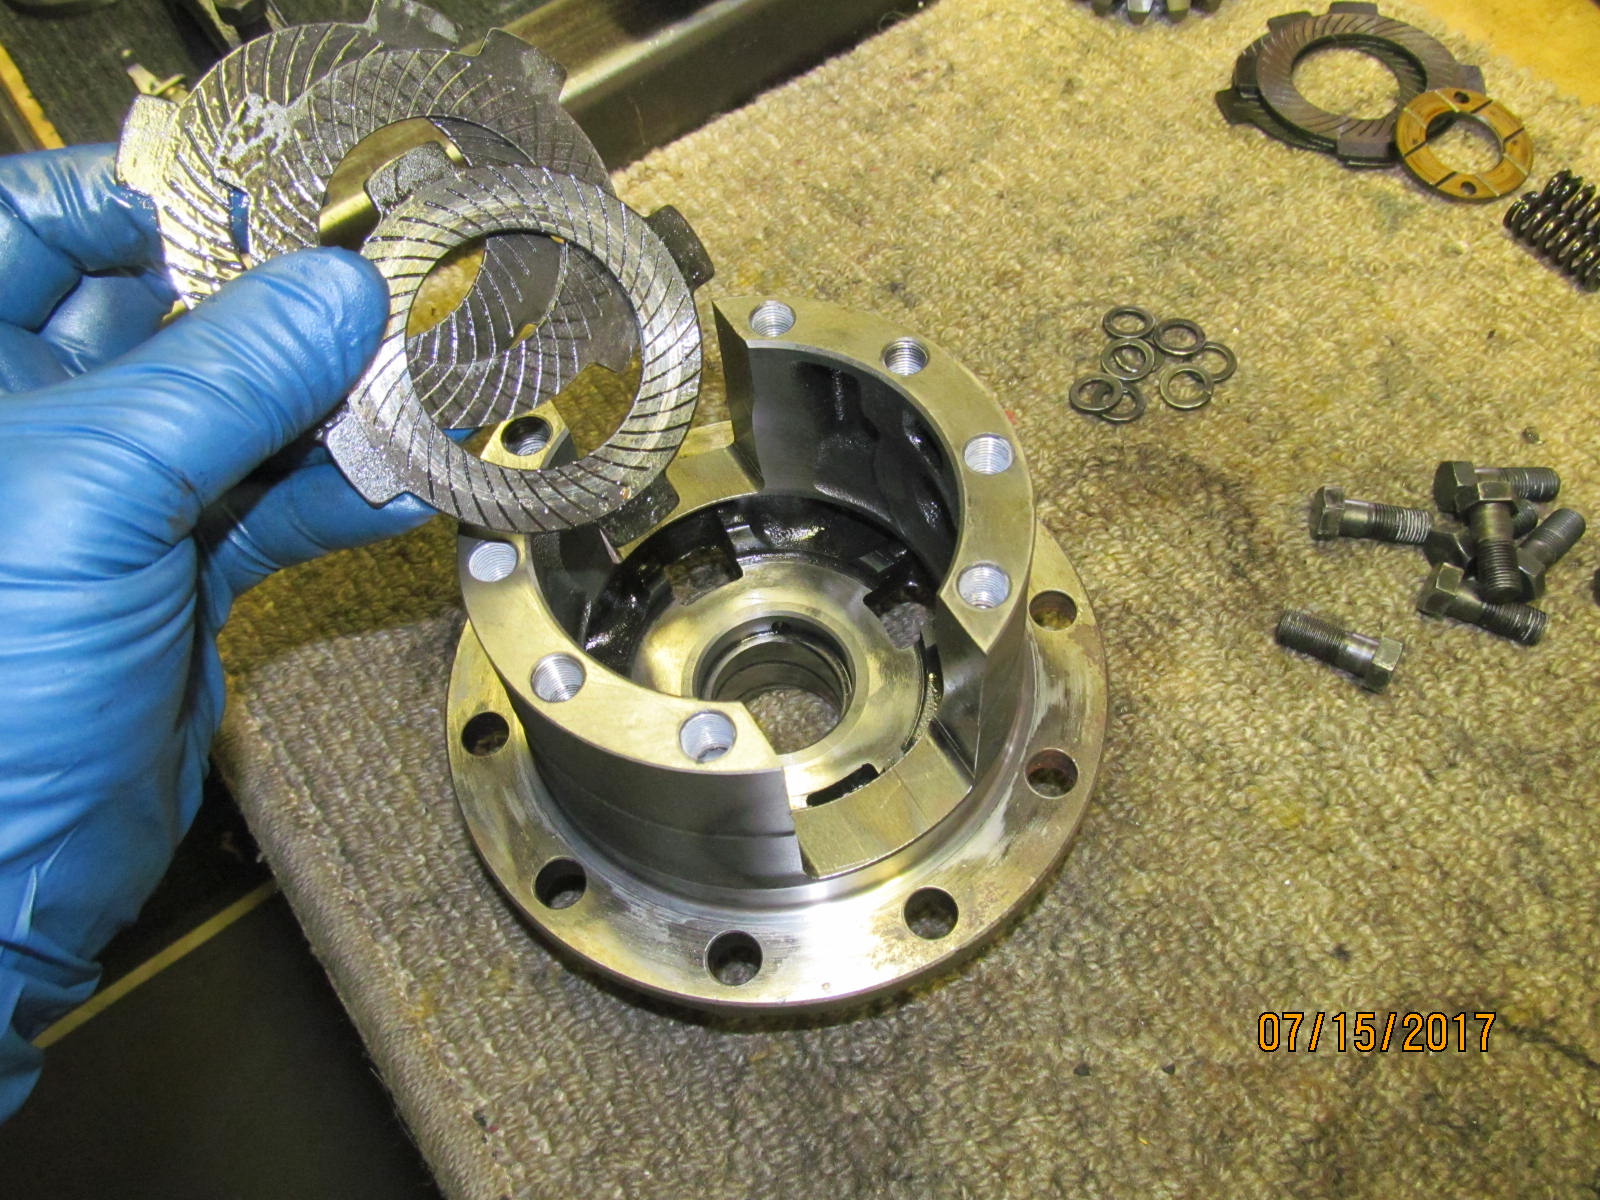
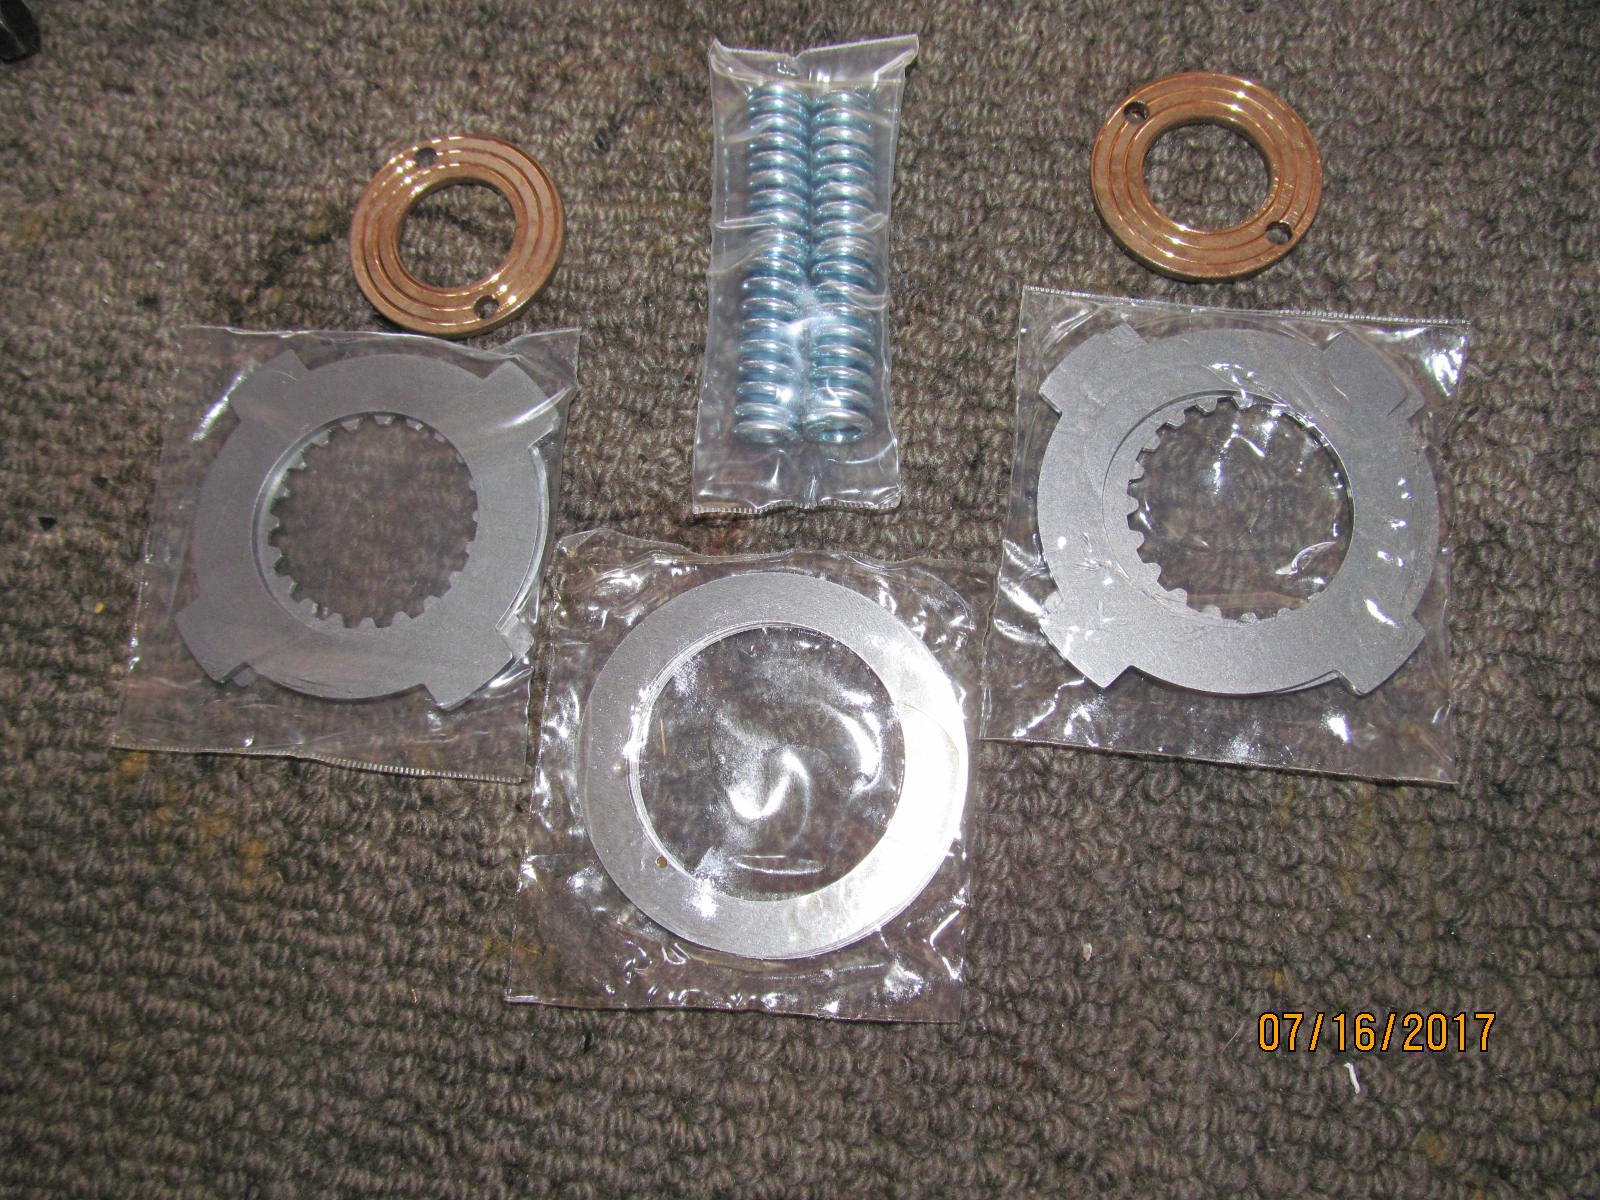
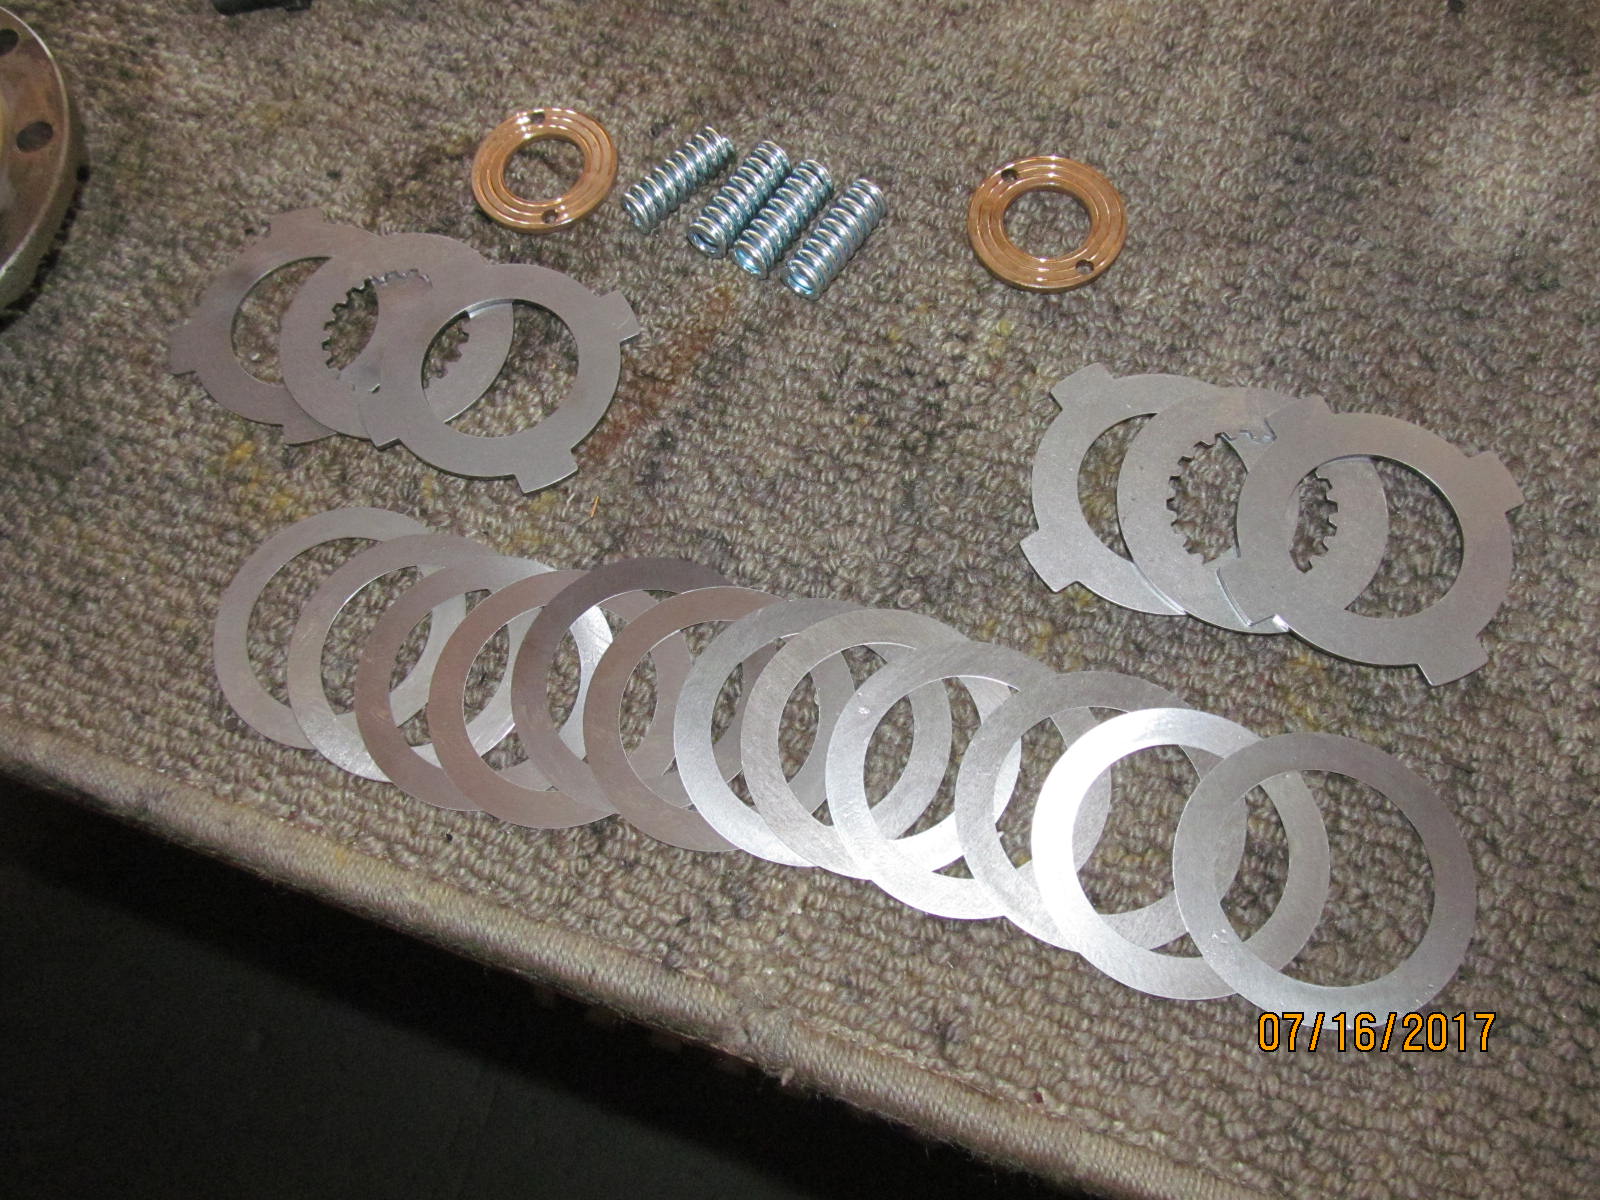
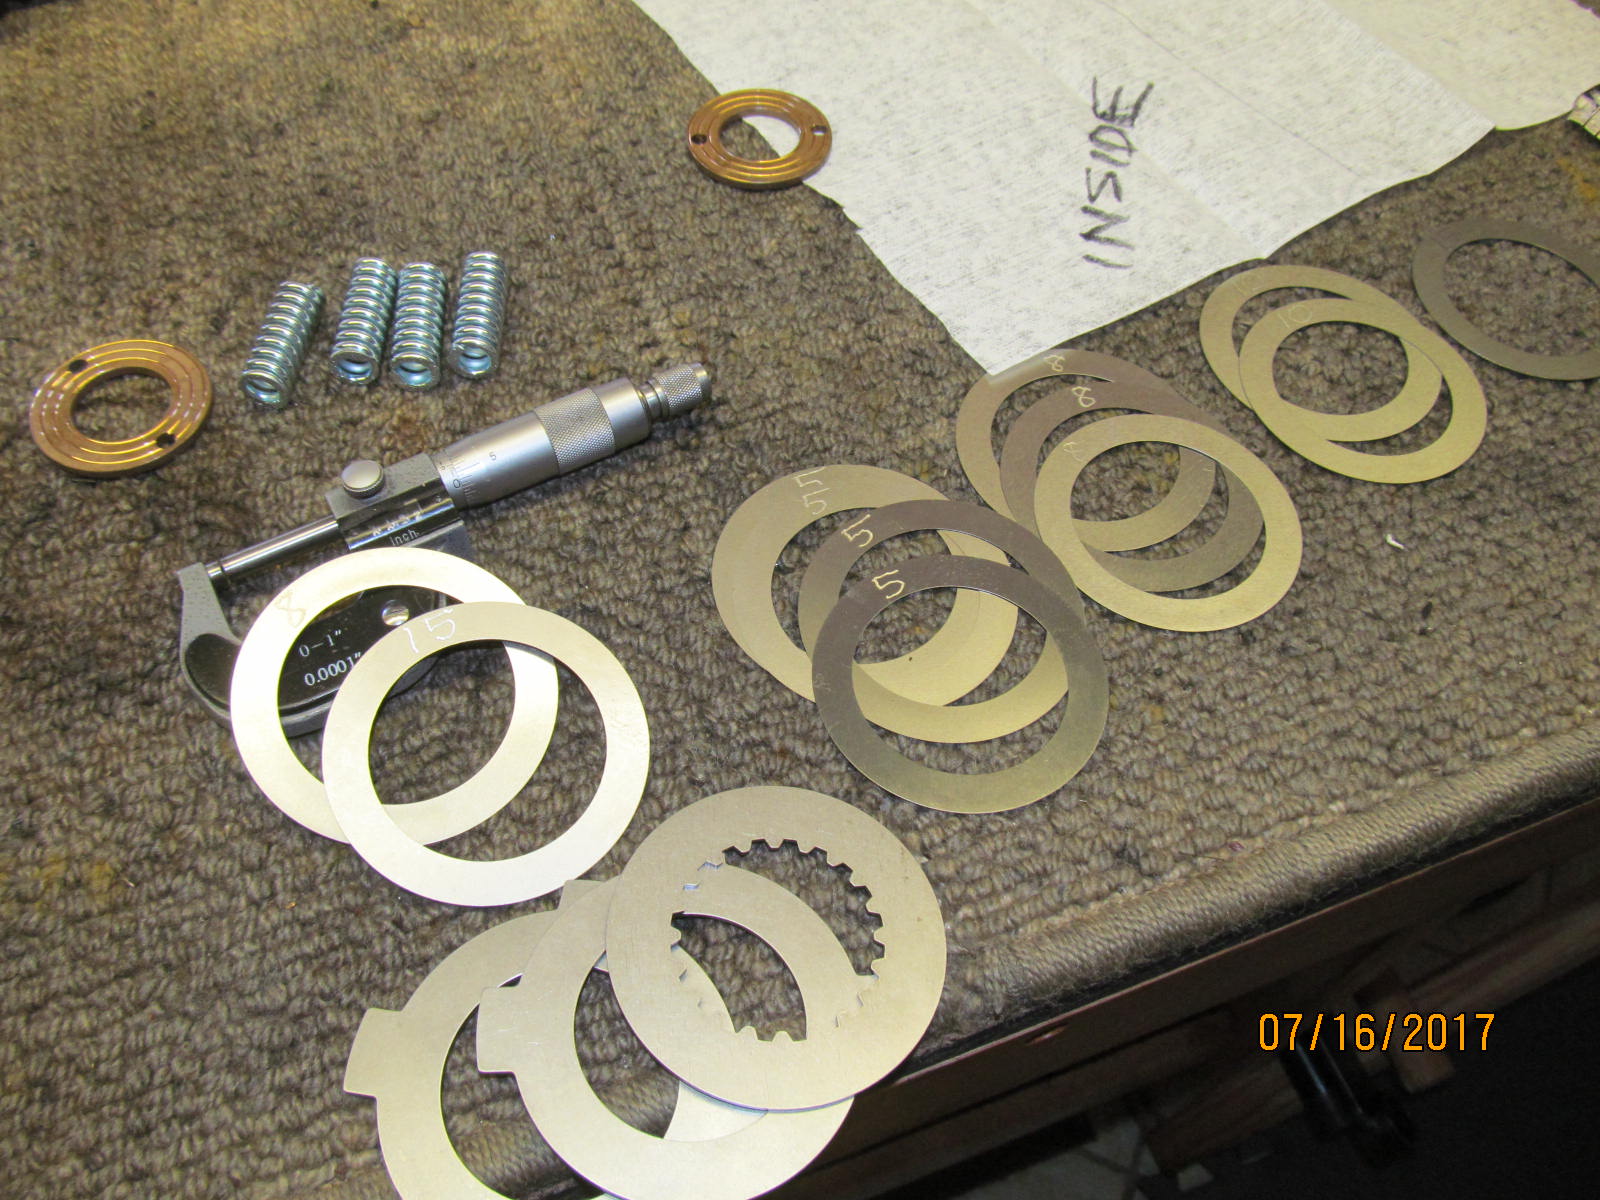
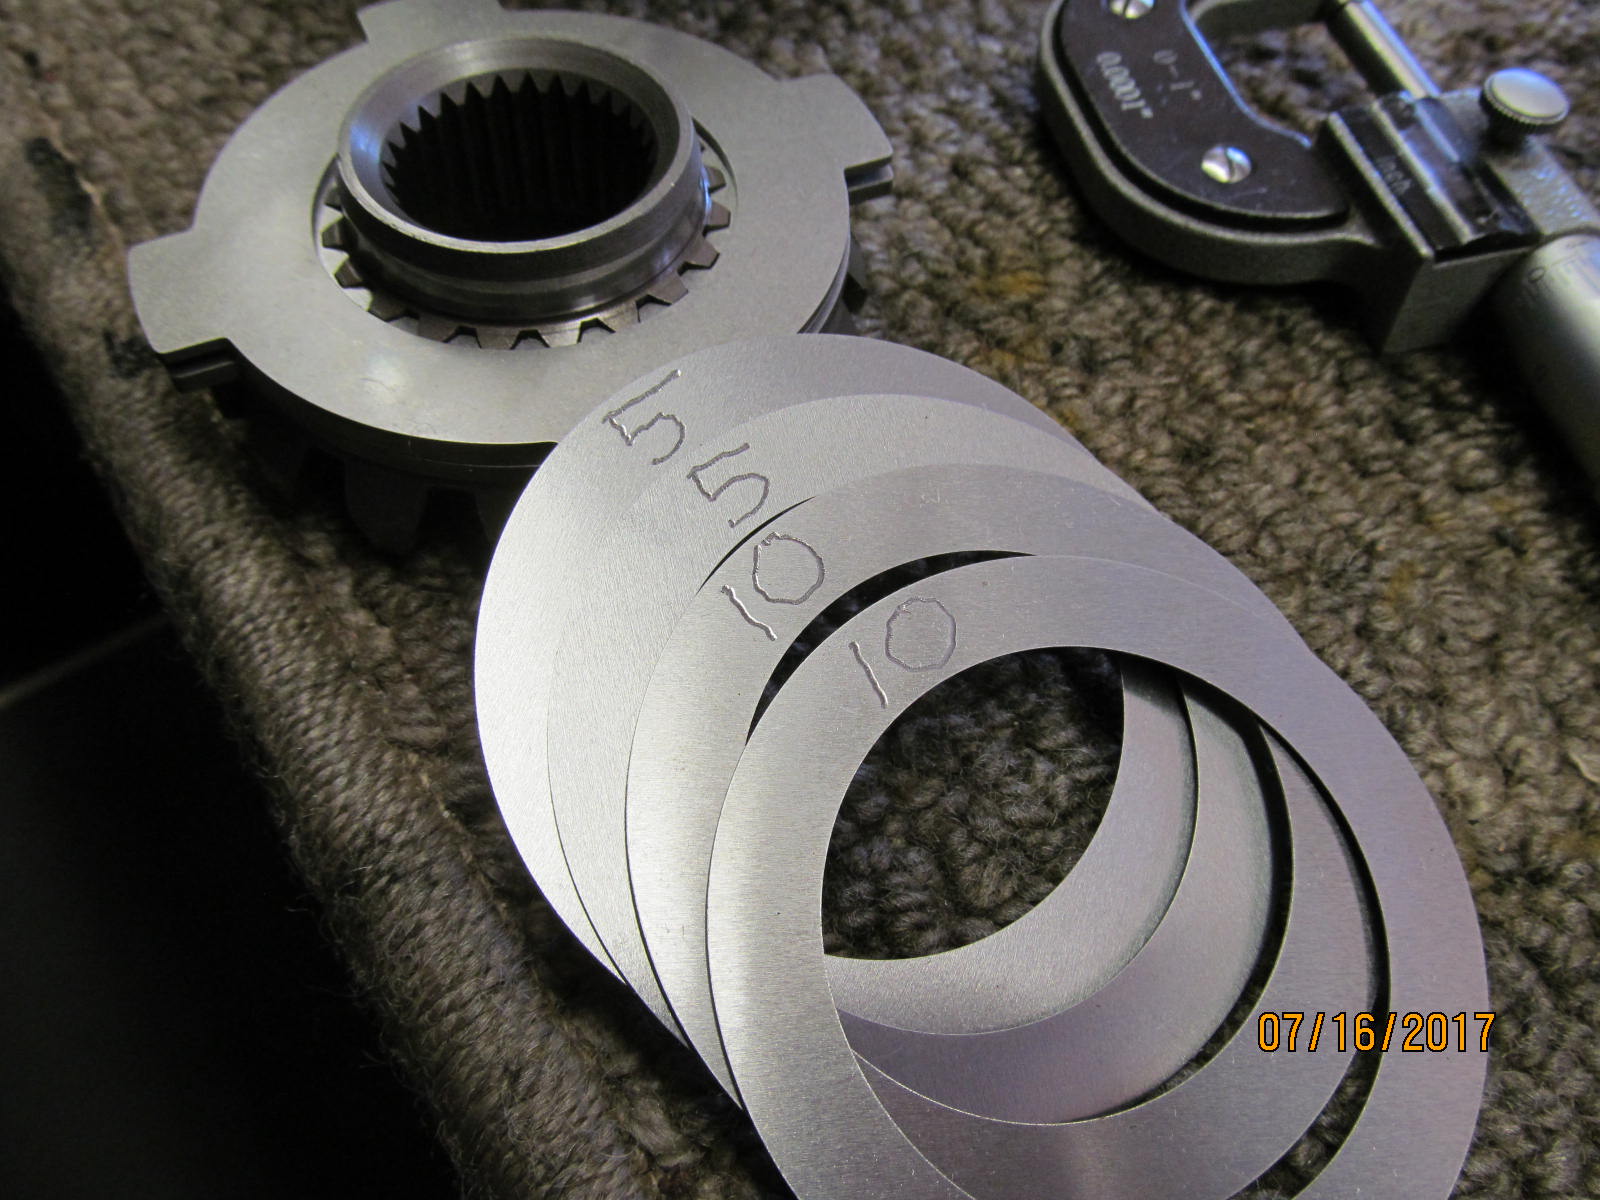
Nice assortment of shims. Stronger springs also. Notice the clutch packs have a center plate that has teeth on the inside.
That's responsible for tripling the surface grip area of the new LSD. |
|---|
|
|
| Per the supplied instructions....measure the new inner pack.... |
|---|
|
|
| ...and shim it just right to match the old factory inner pack. Measurements indicated a .022" shim will be needed. |
|---|
|
|
| .015 and .008" was the closest and that will suffice just fine. |
|---|
|
|
| .............................. |
|---|
|
|
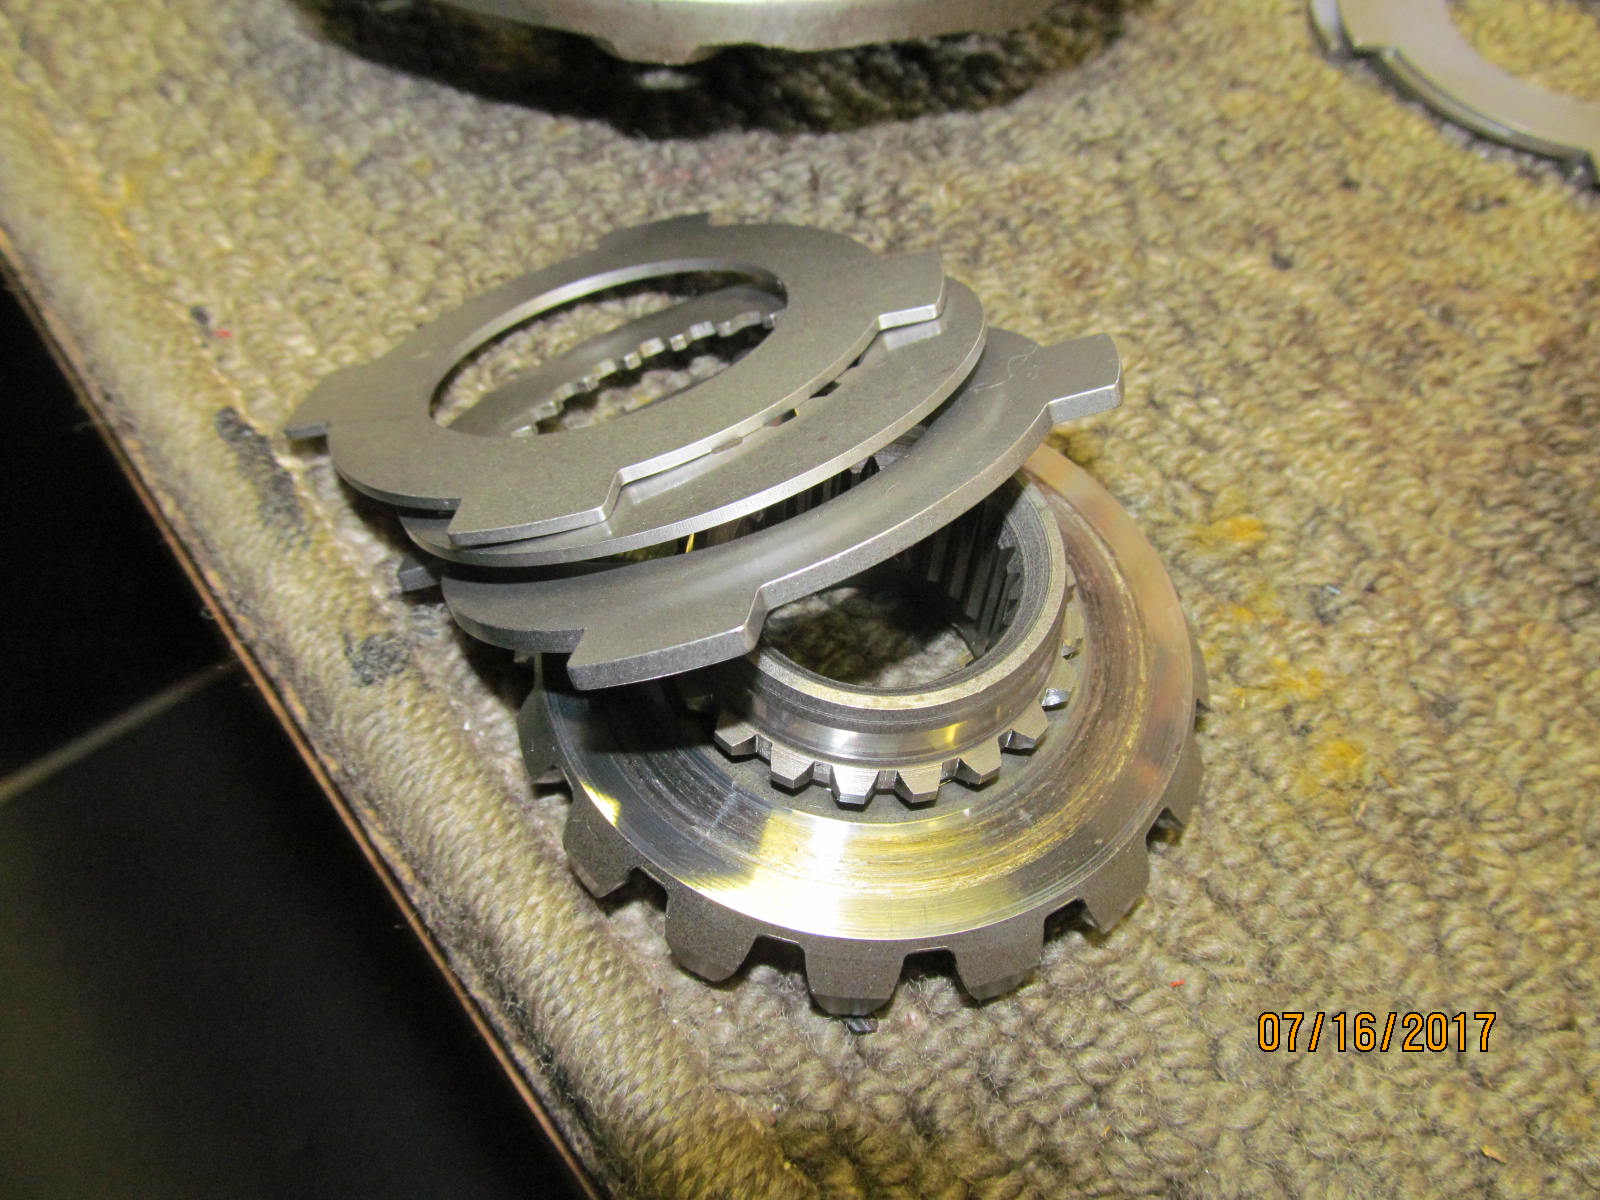
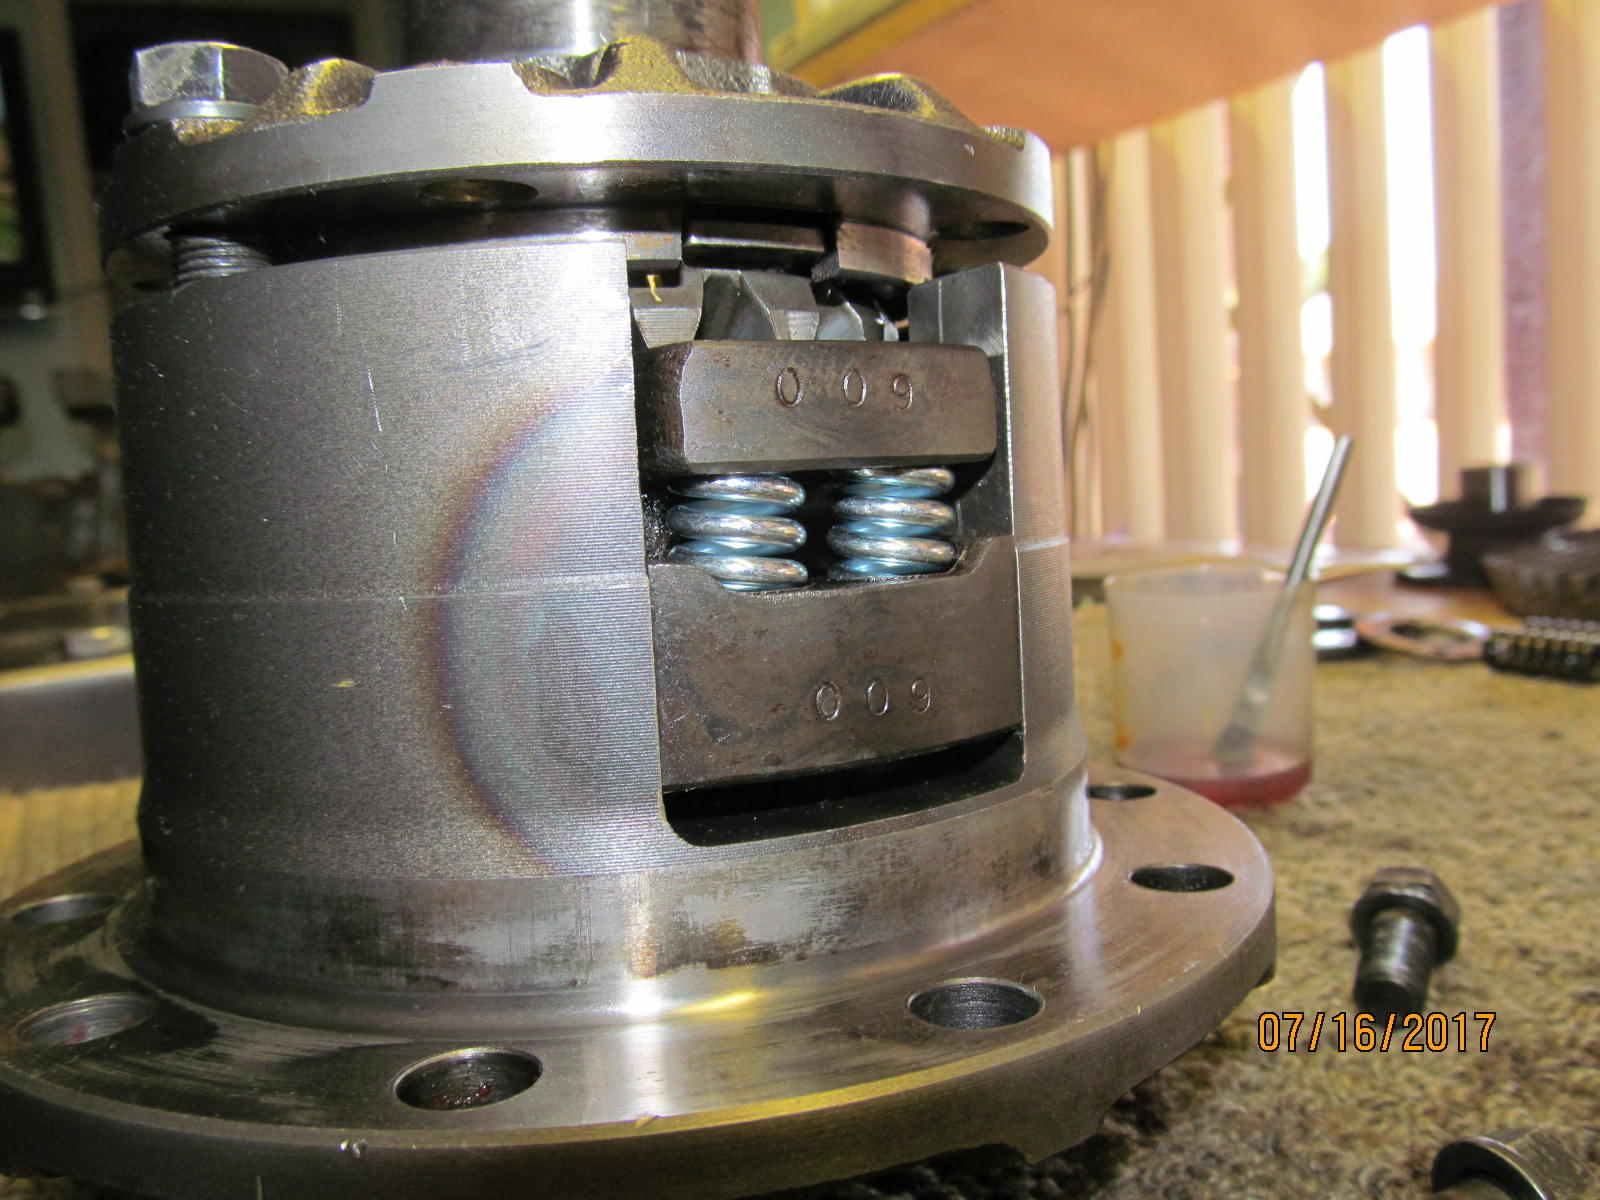
| This plate with the coupling teeth is the plate responsible for a much more effective grip quotient. |
|---|
|

|
| .......................... |
|---|
|
|
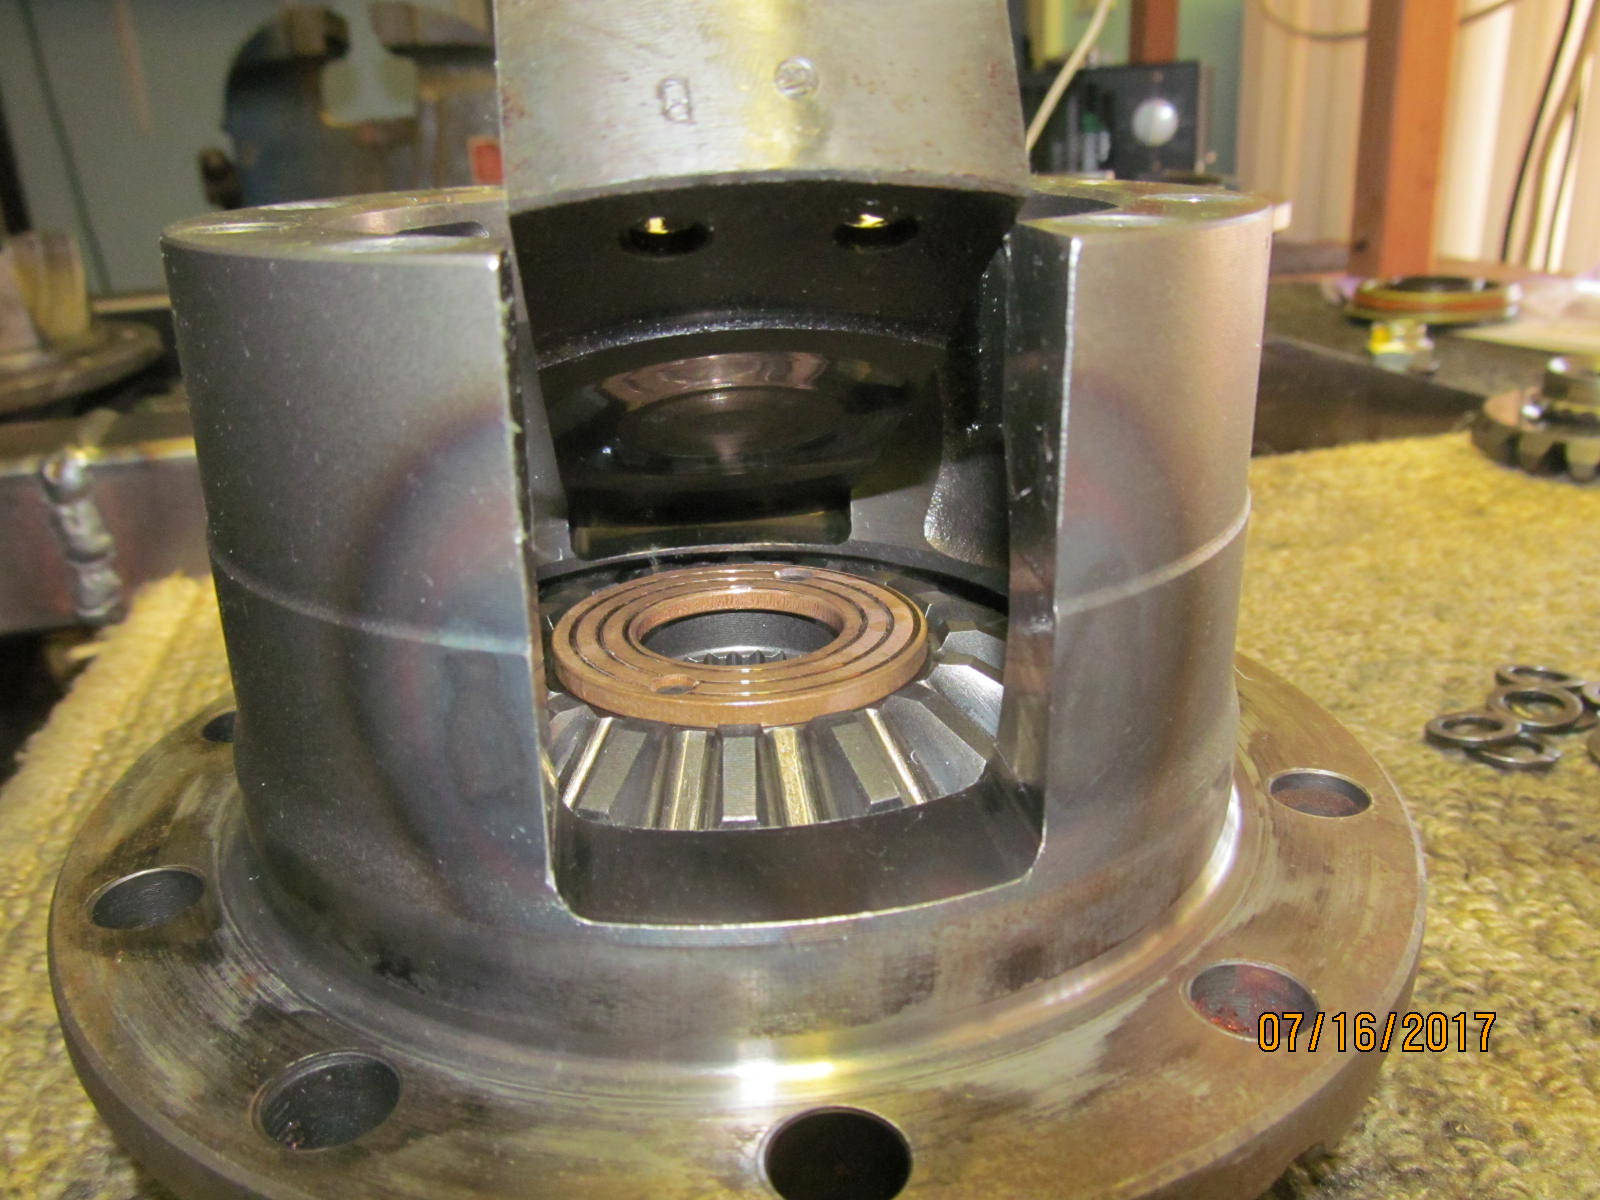
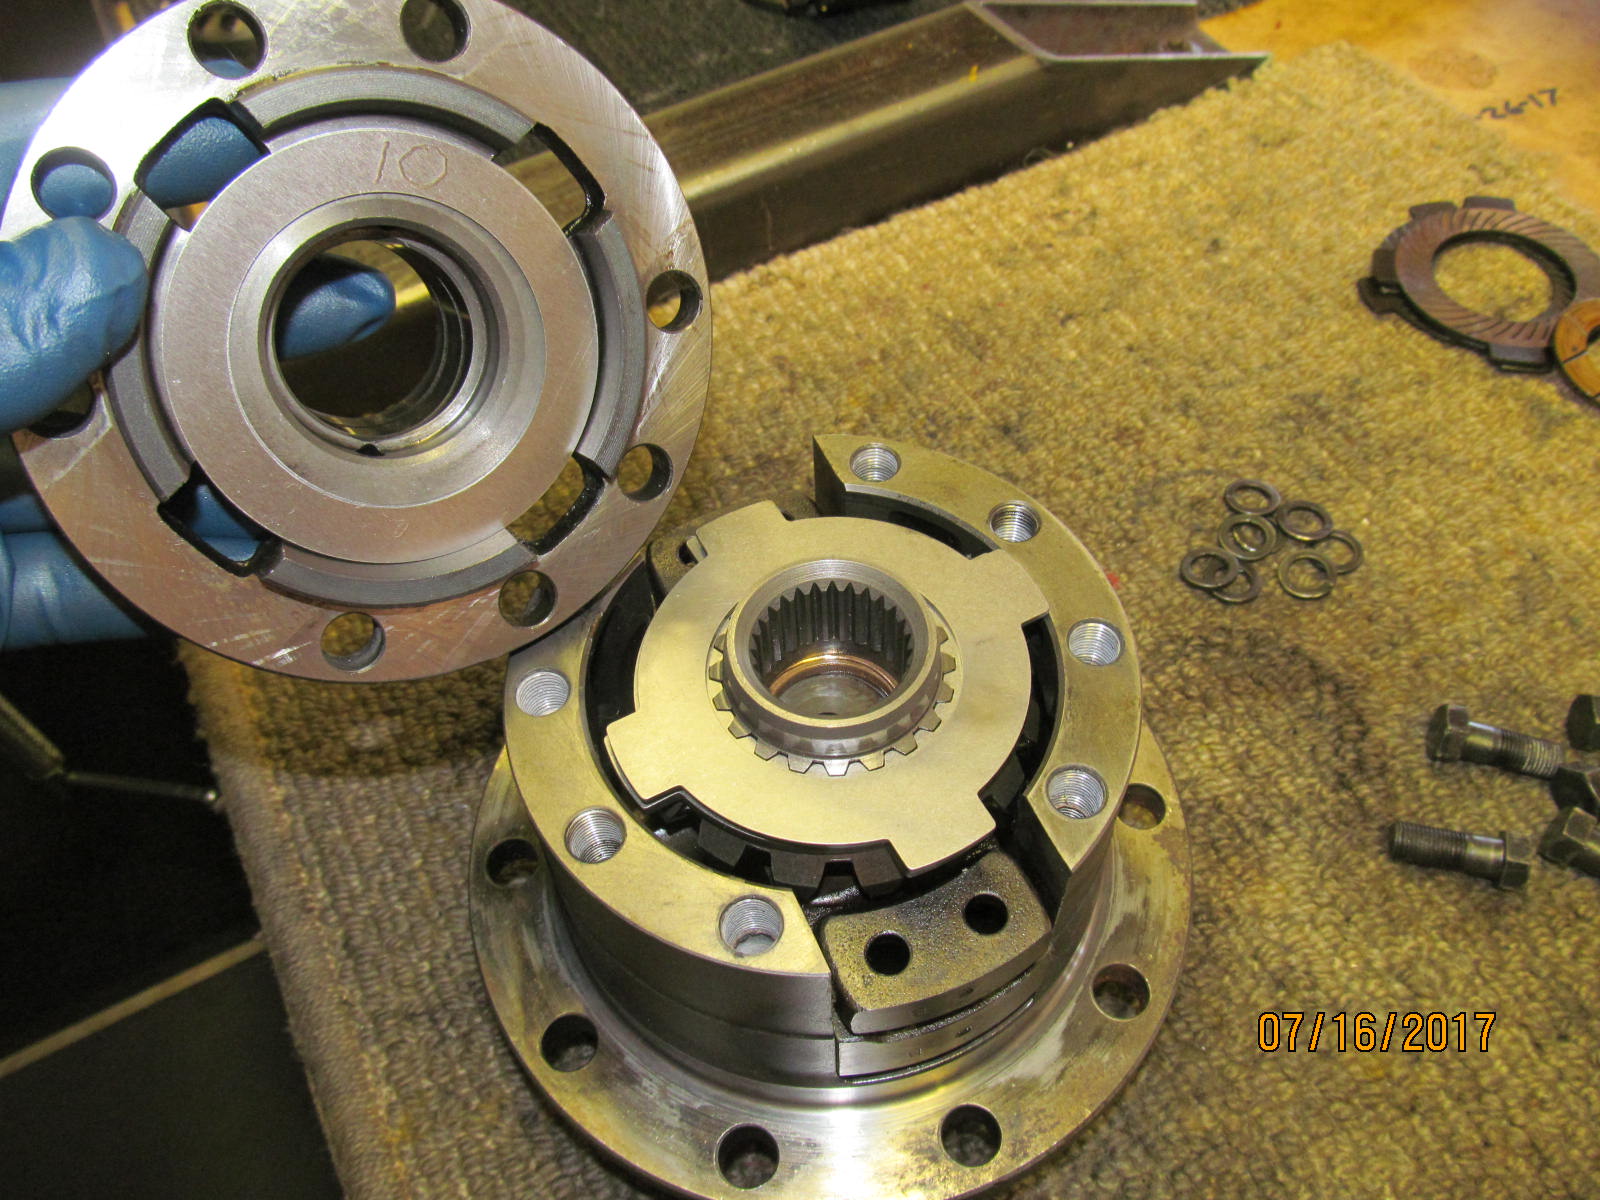
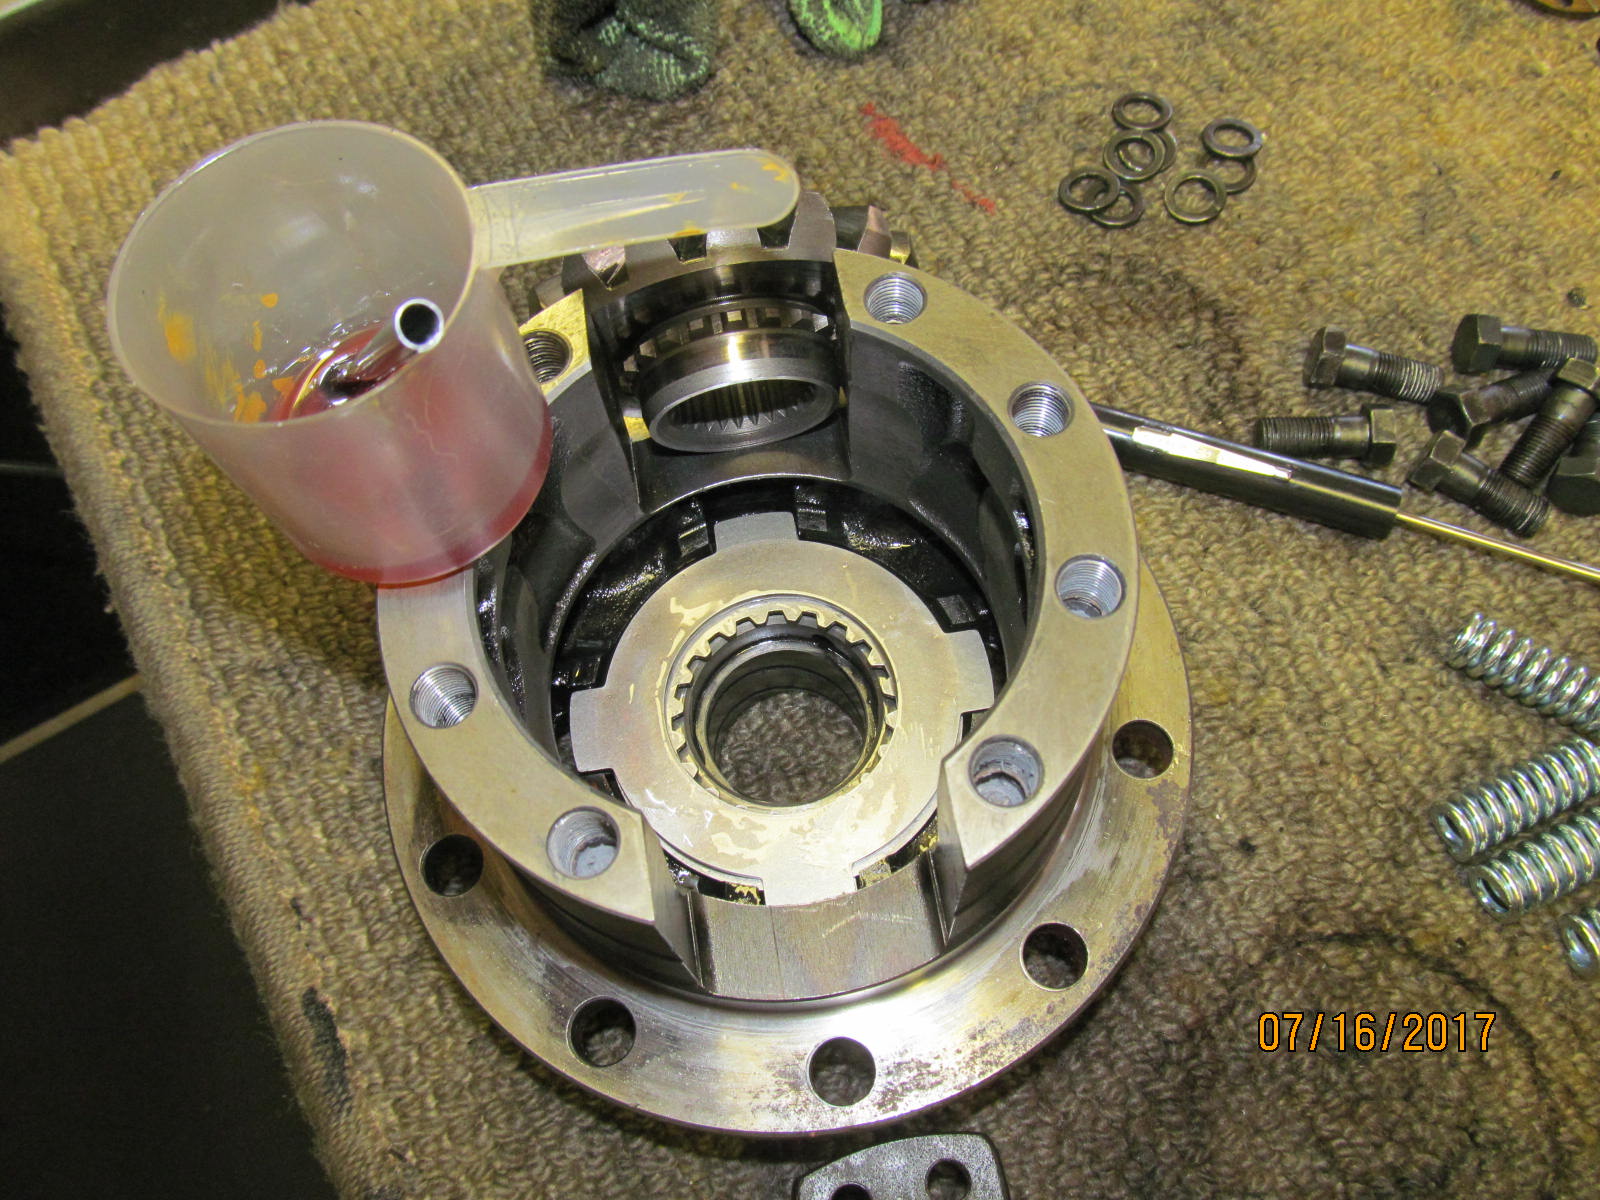
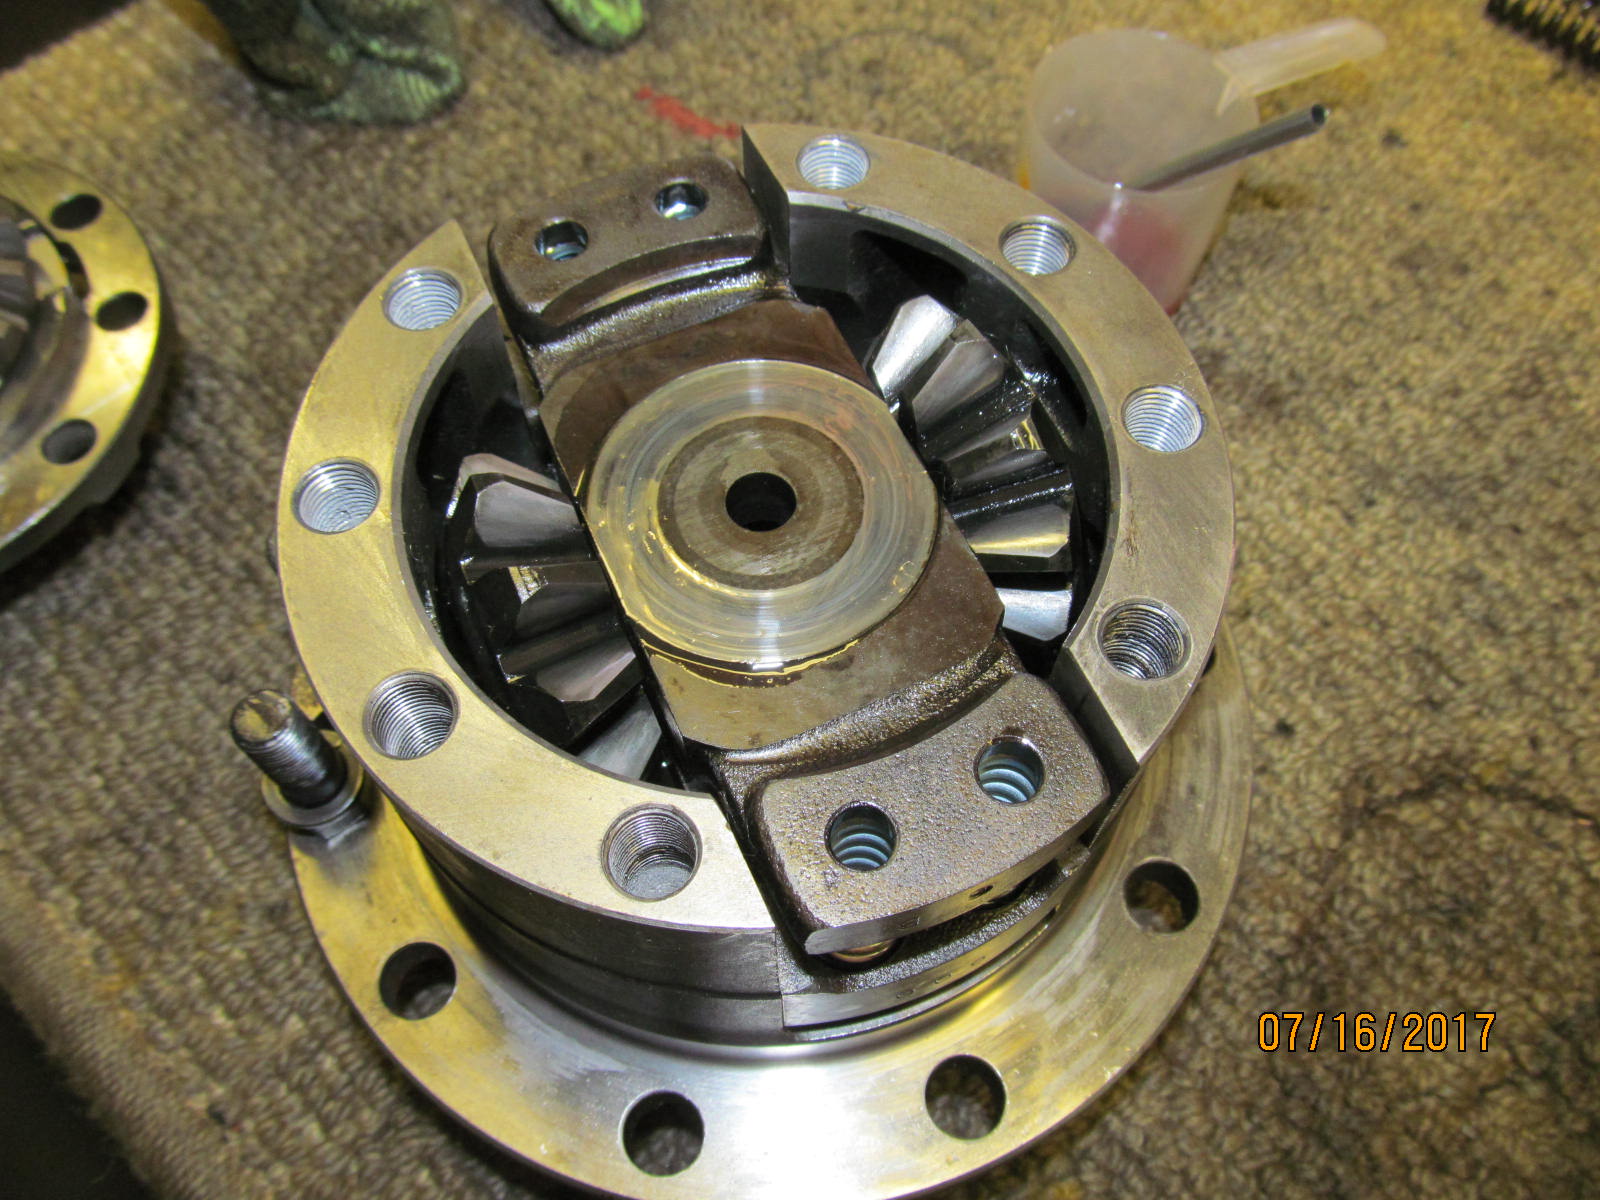
| Sidegear in place then the brass bushing. |
|---|
|
|
| Center spring hubs have matching stamped markings. |
|---|
|
|
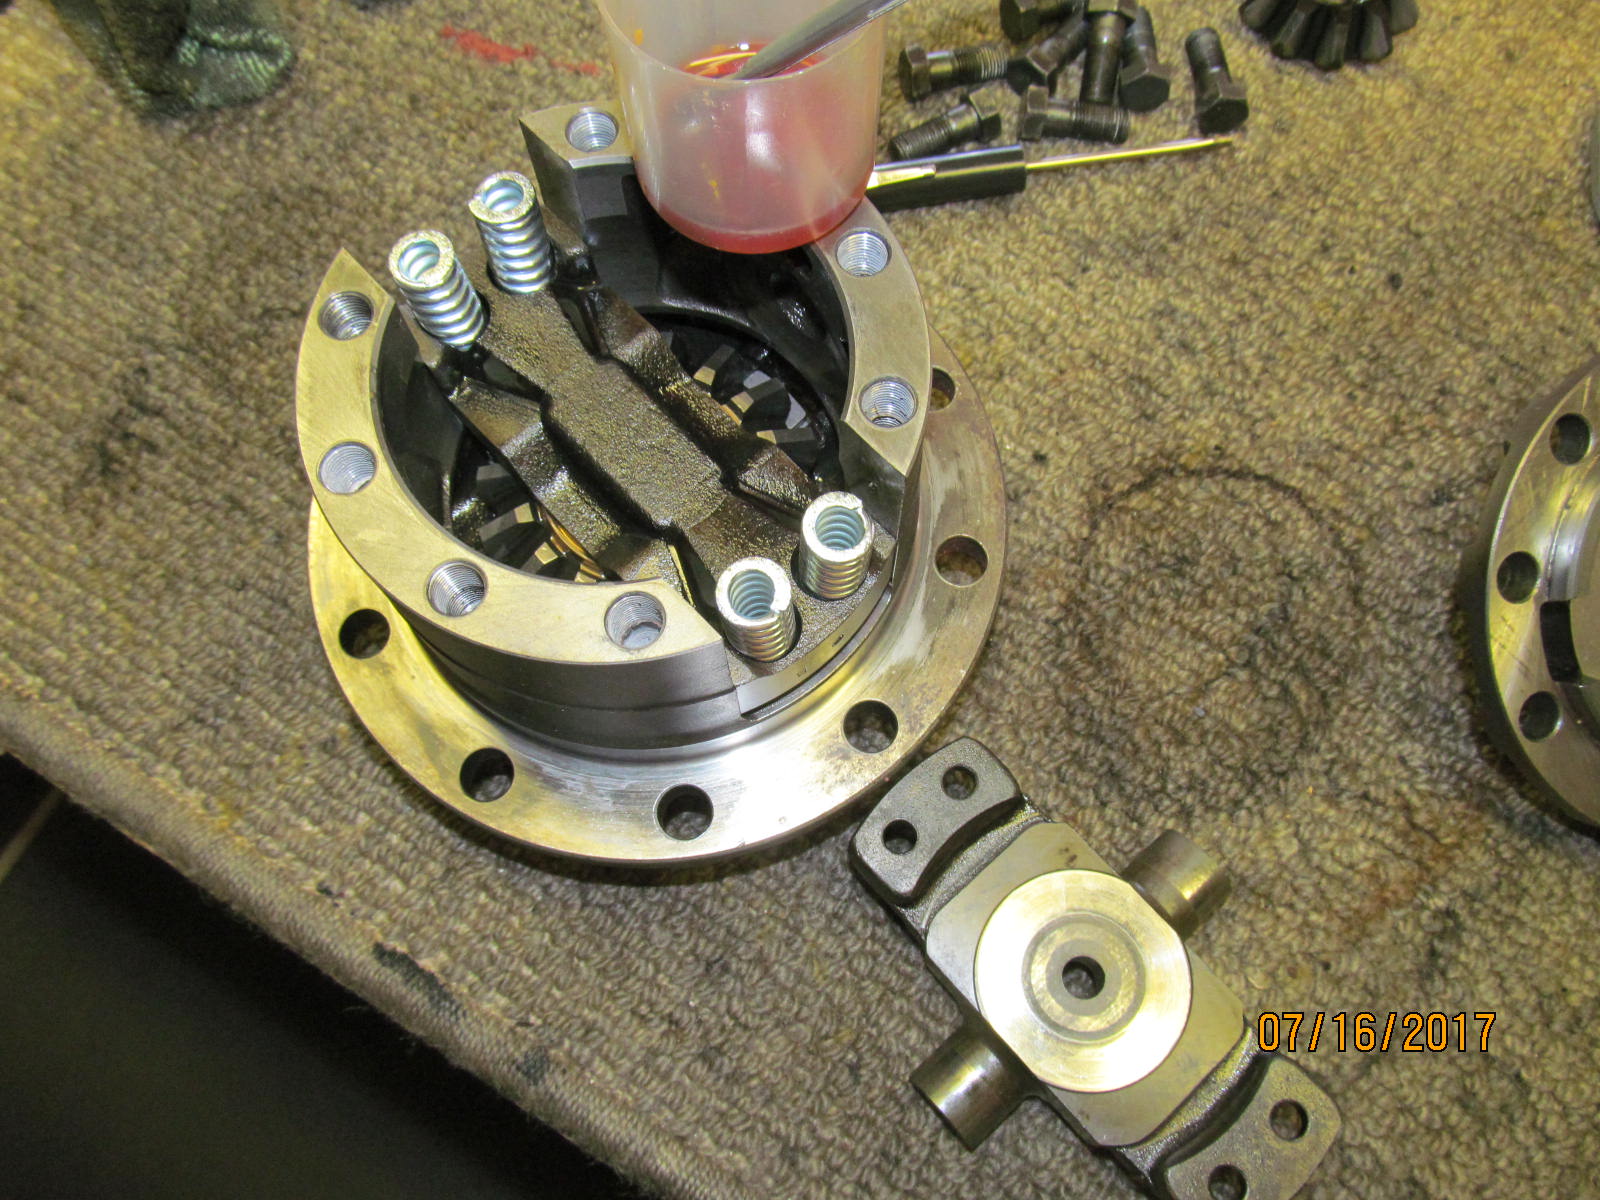
| Spiders and new springs will go in but not quite yet until the shimming of the top side is determined. |
|---|
|
|
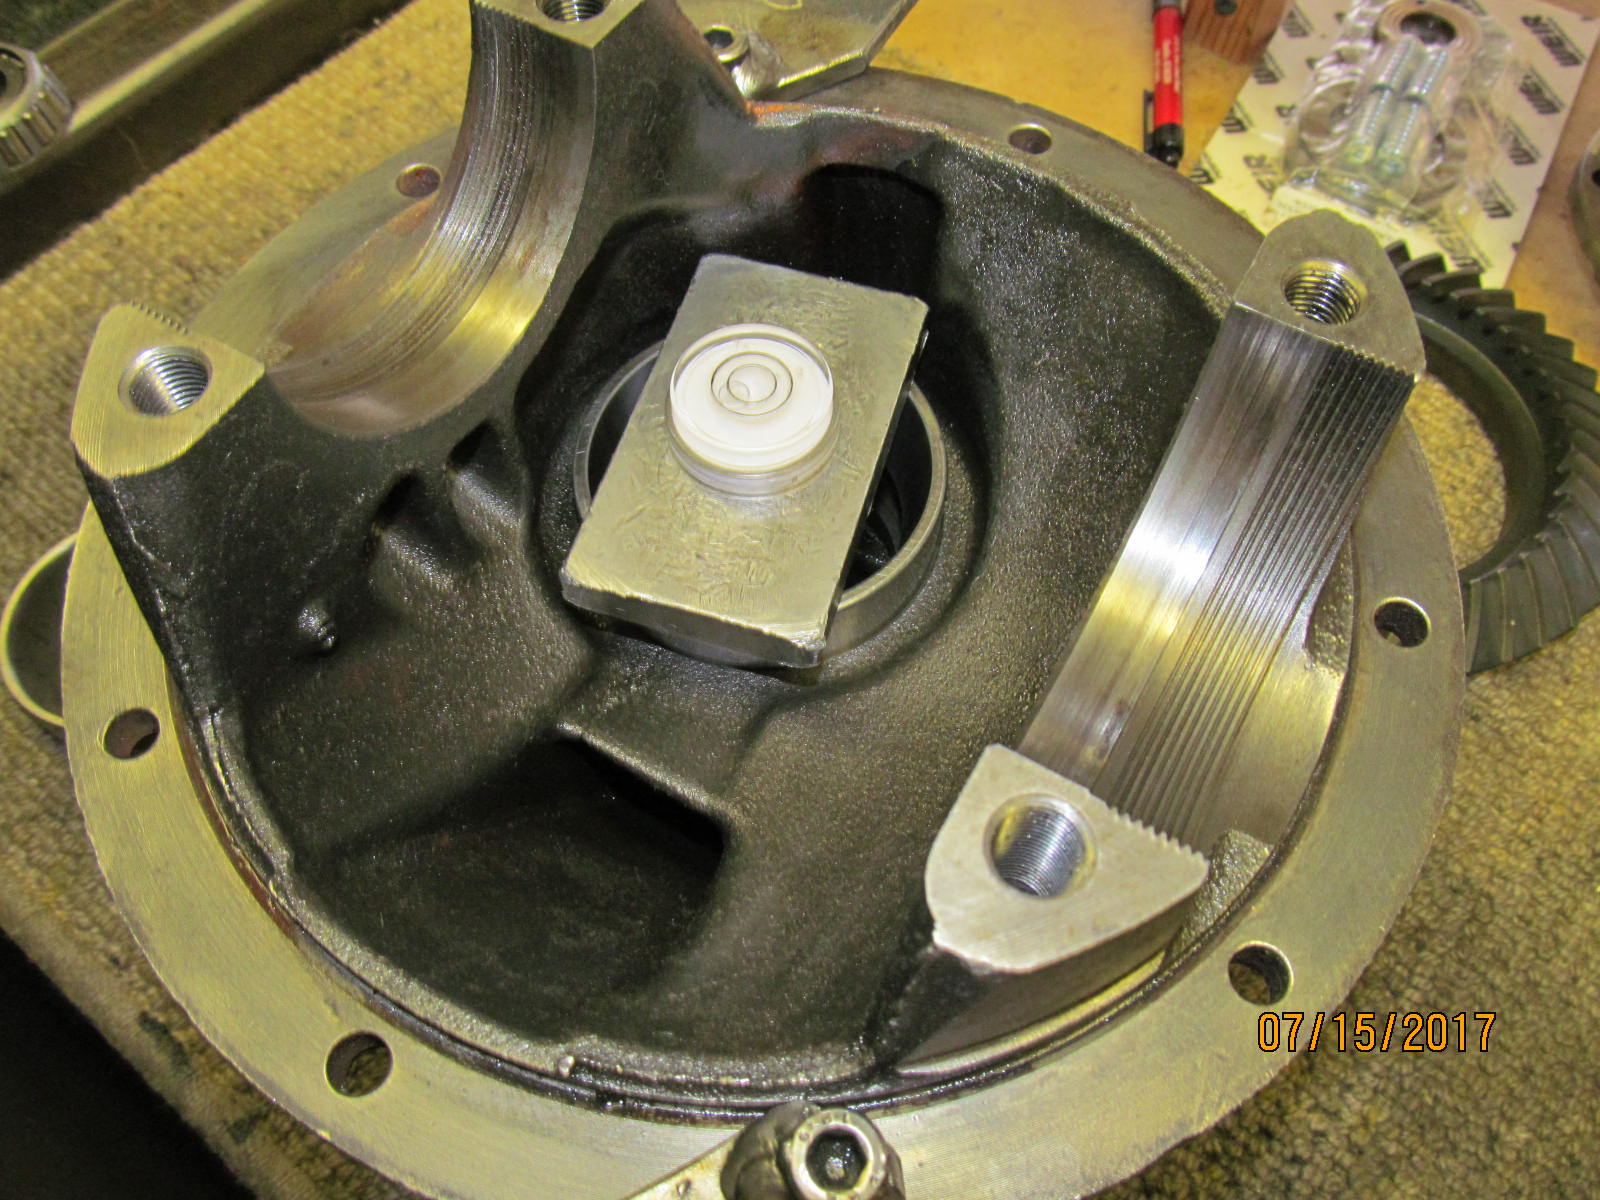
| Per the instructions, start with about .030" for shimming on the top side. |
|---|
|
|
| Seat the lid down....if the 4 clutchplate tabs line up like they should but never do....... |
|---|
|
|
| Might be easier to get the lid on easier by shoving the sidegear in the lid as shown above. |
|---|
|

|
| The air gap measured was .003" all around evenly. |
|---|
|
|
| ..................... |
|---|
|
|
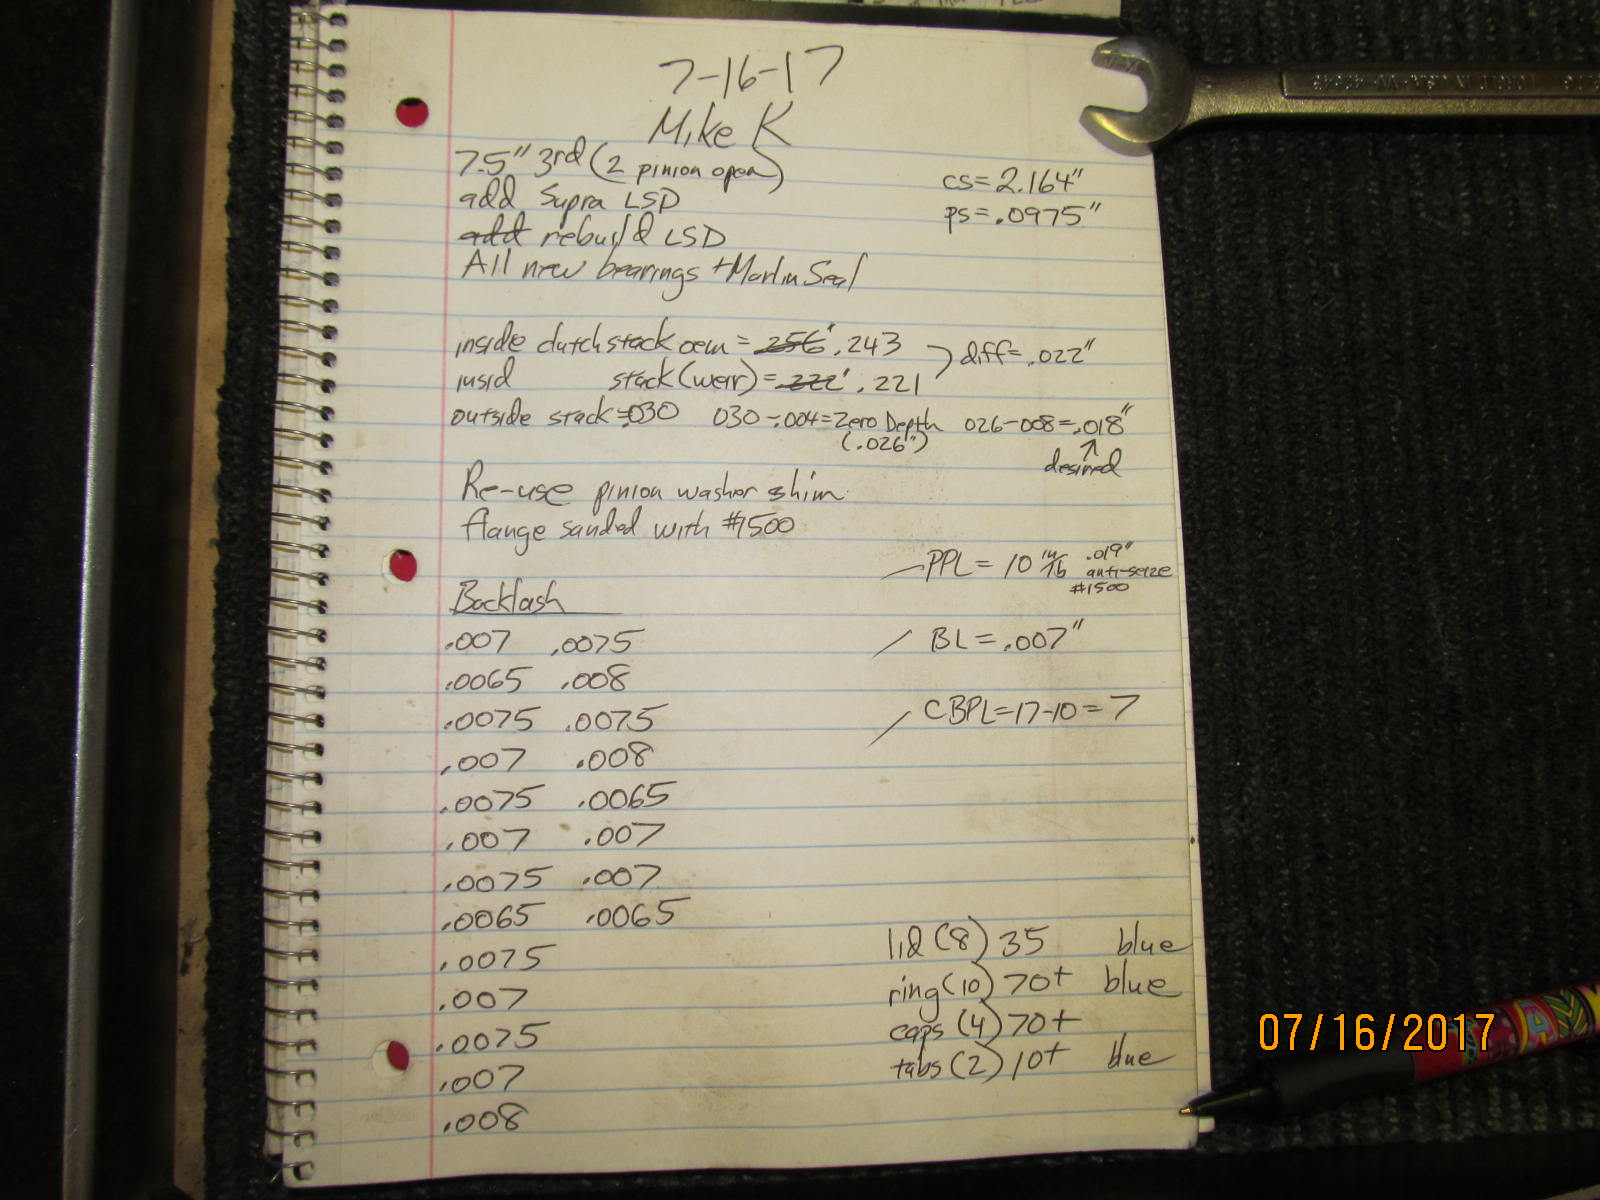
Started with .030" shim.....take .003" to make it the "zero air gap" which is .026 since there is no .027 shim available.
Then subtract another .008" per the instructions to arrive at .016" which is our target shim.
This closely agrees with the example values they used in the instructions. |
|---|
|
|
| Now disassemble and oil everything up. |
|---|
|
|
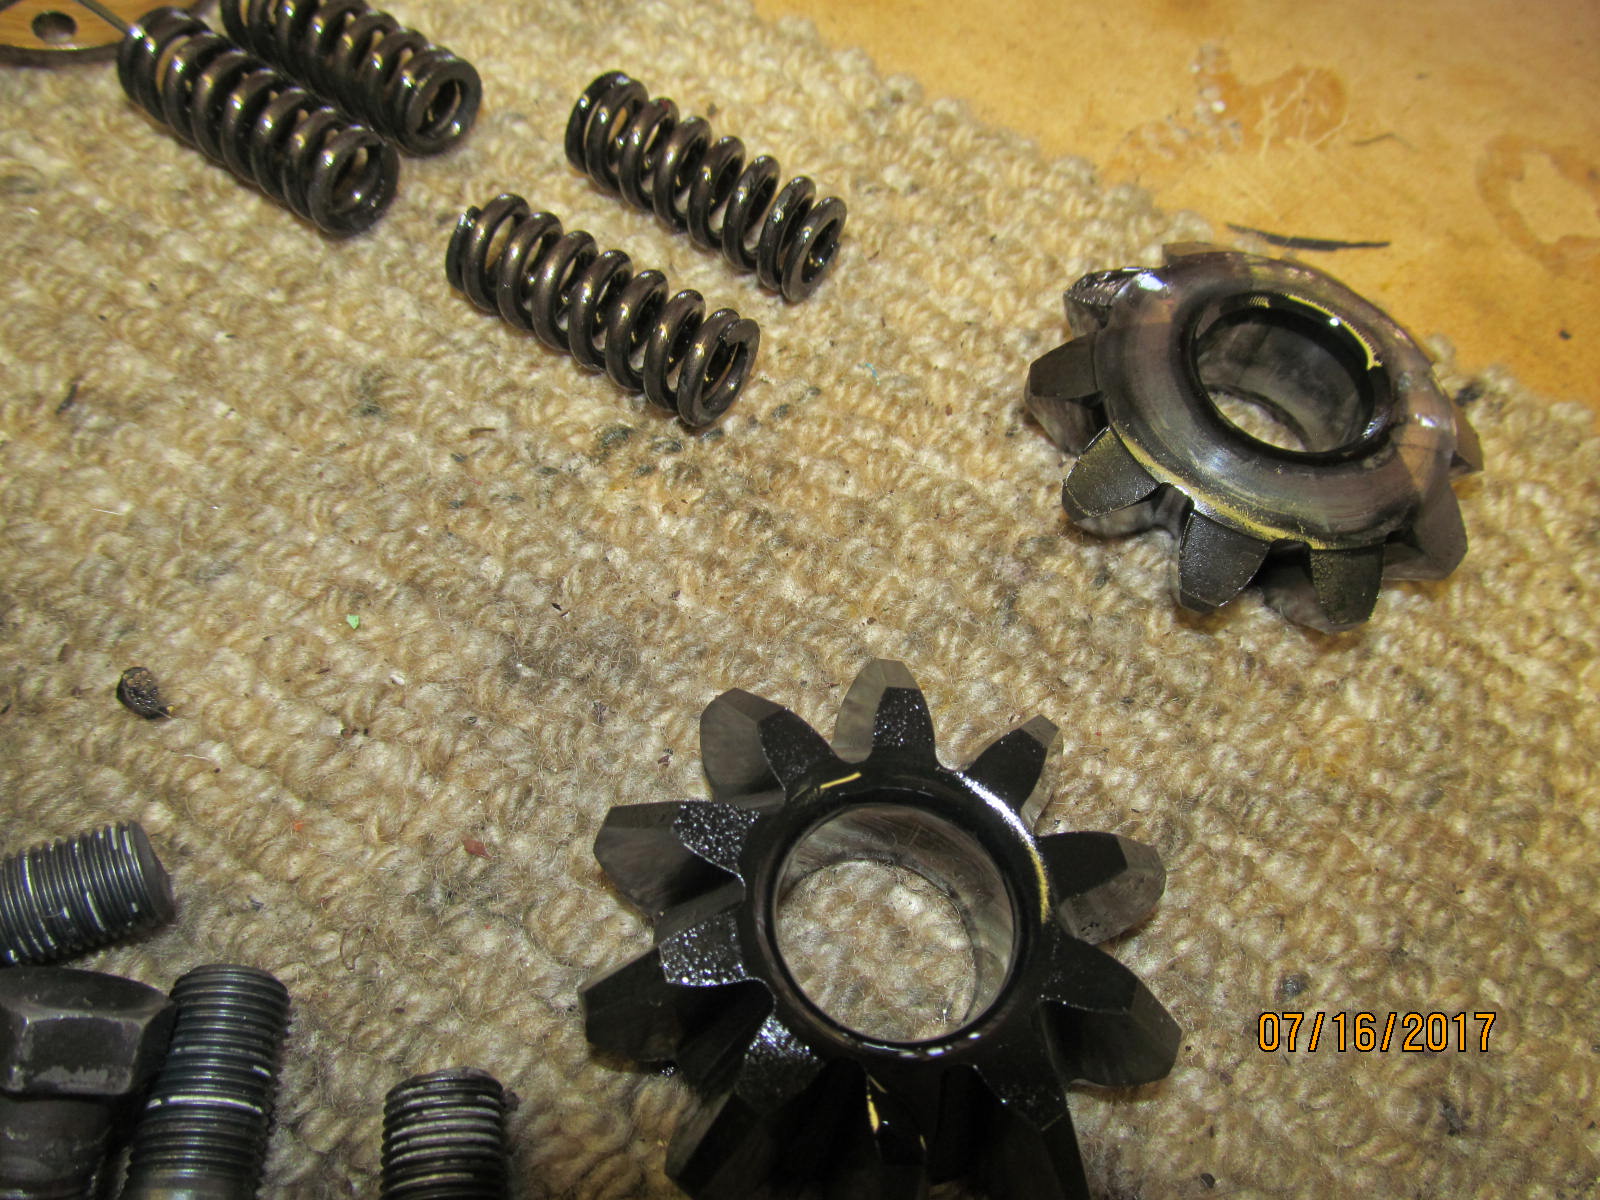
| New heavy duty springs go in now. |
|---|
|
|
| Don't forget the 2 spider gears. |
|---|
|
|
| Matching marks here means all is good so far. |
|---|
|
|
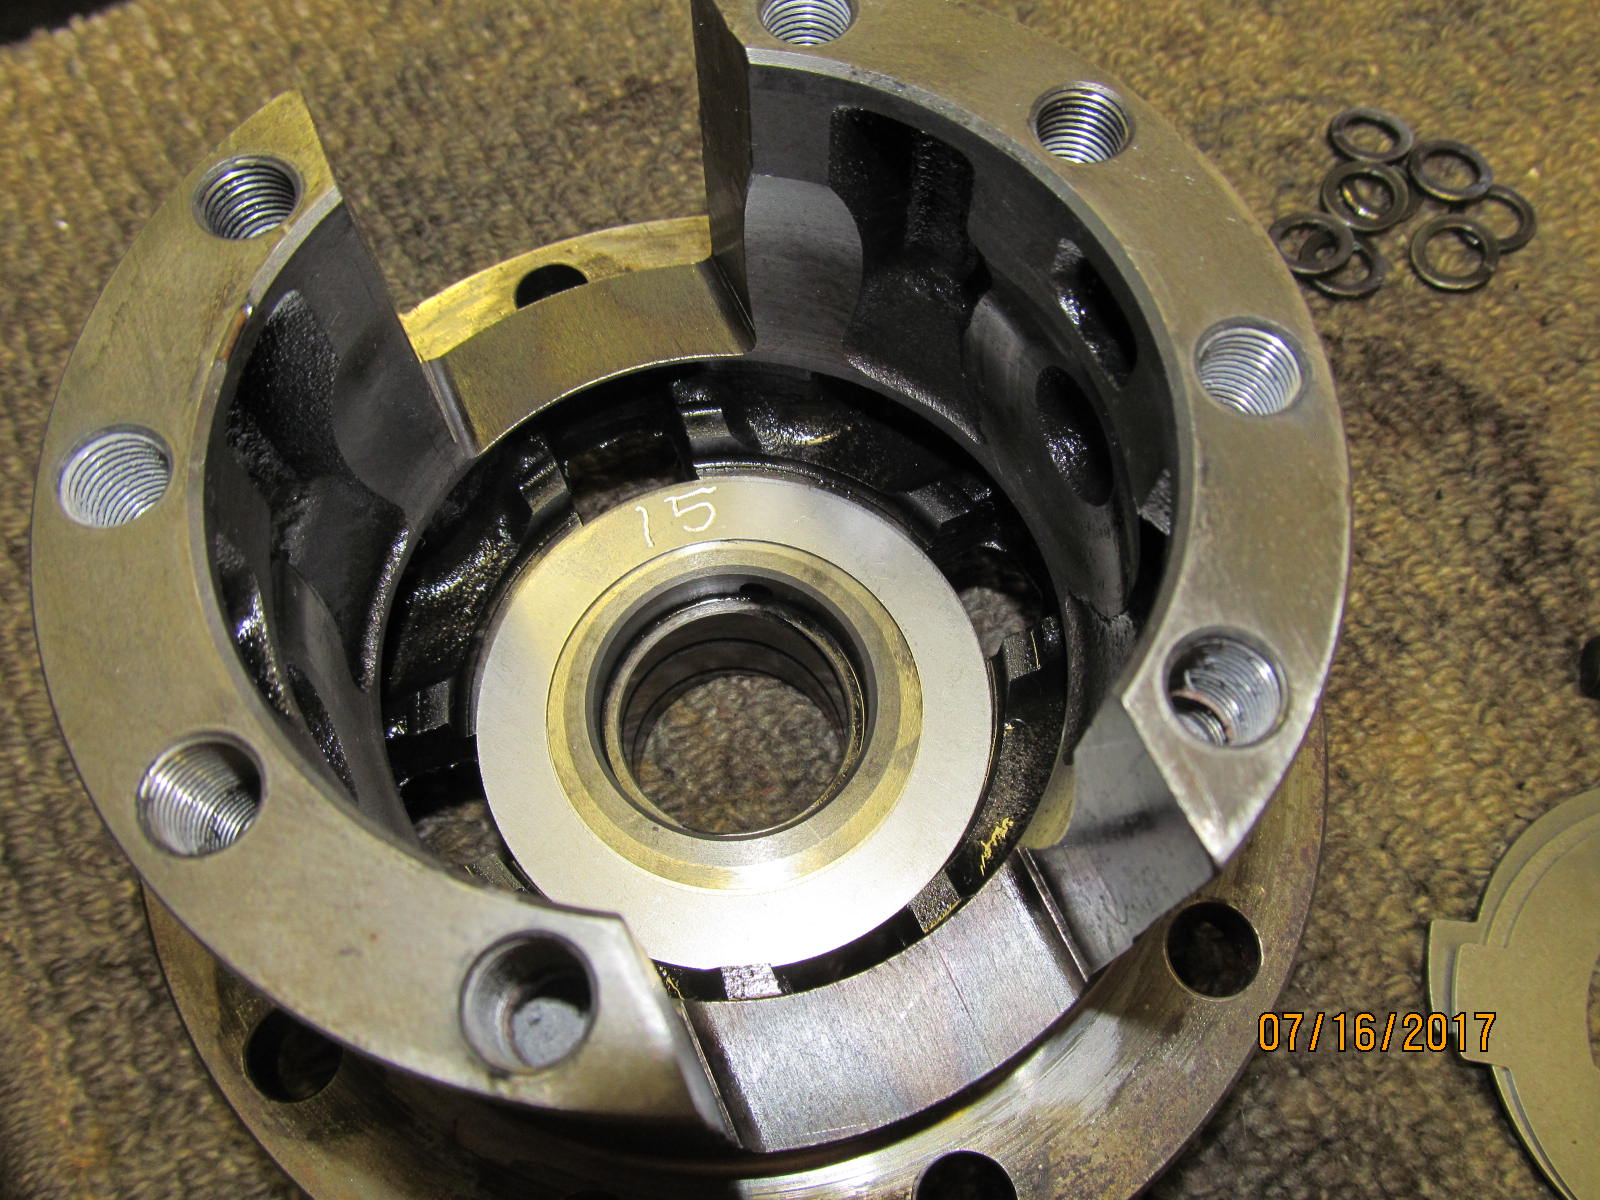
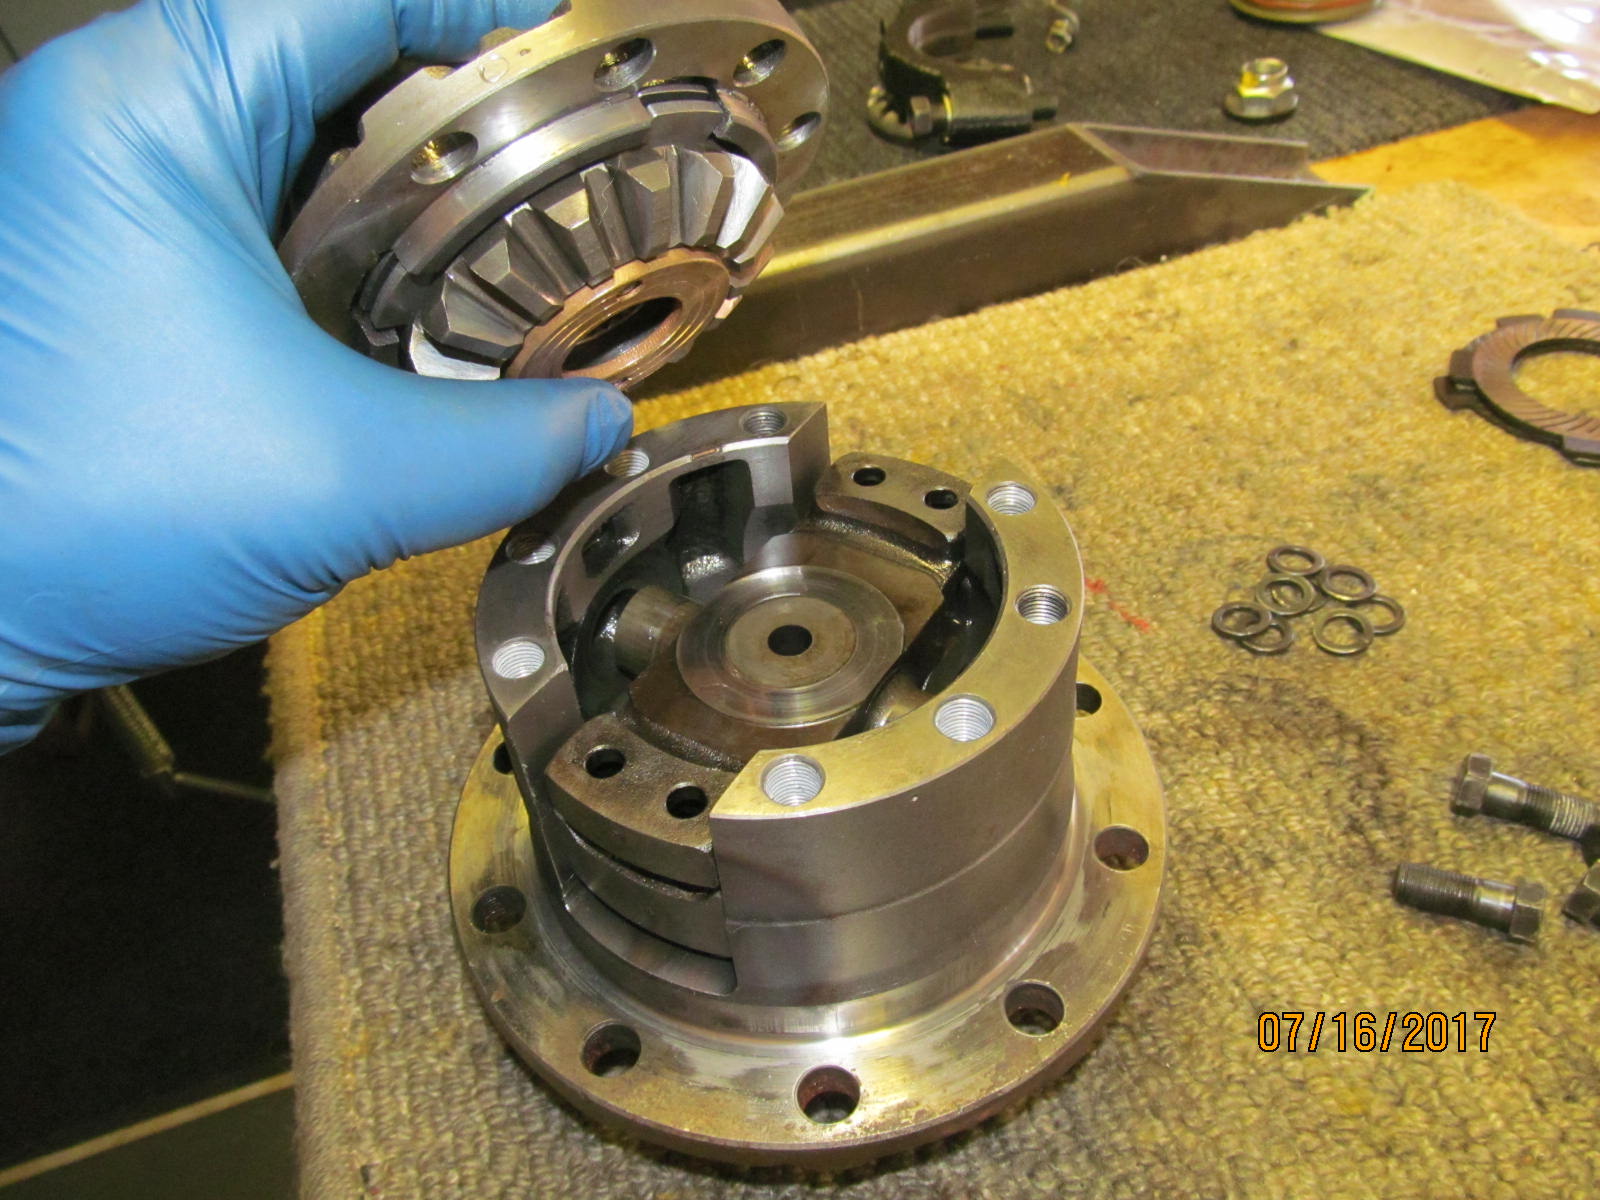
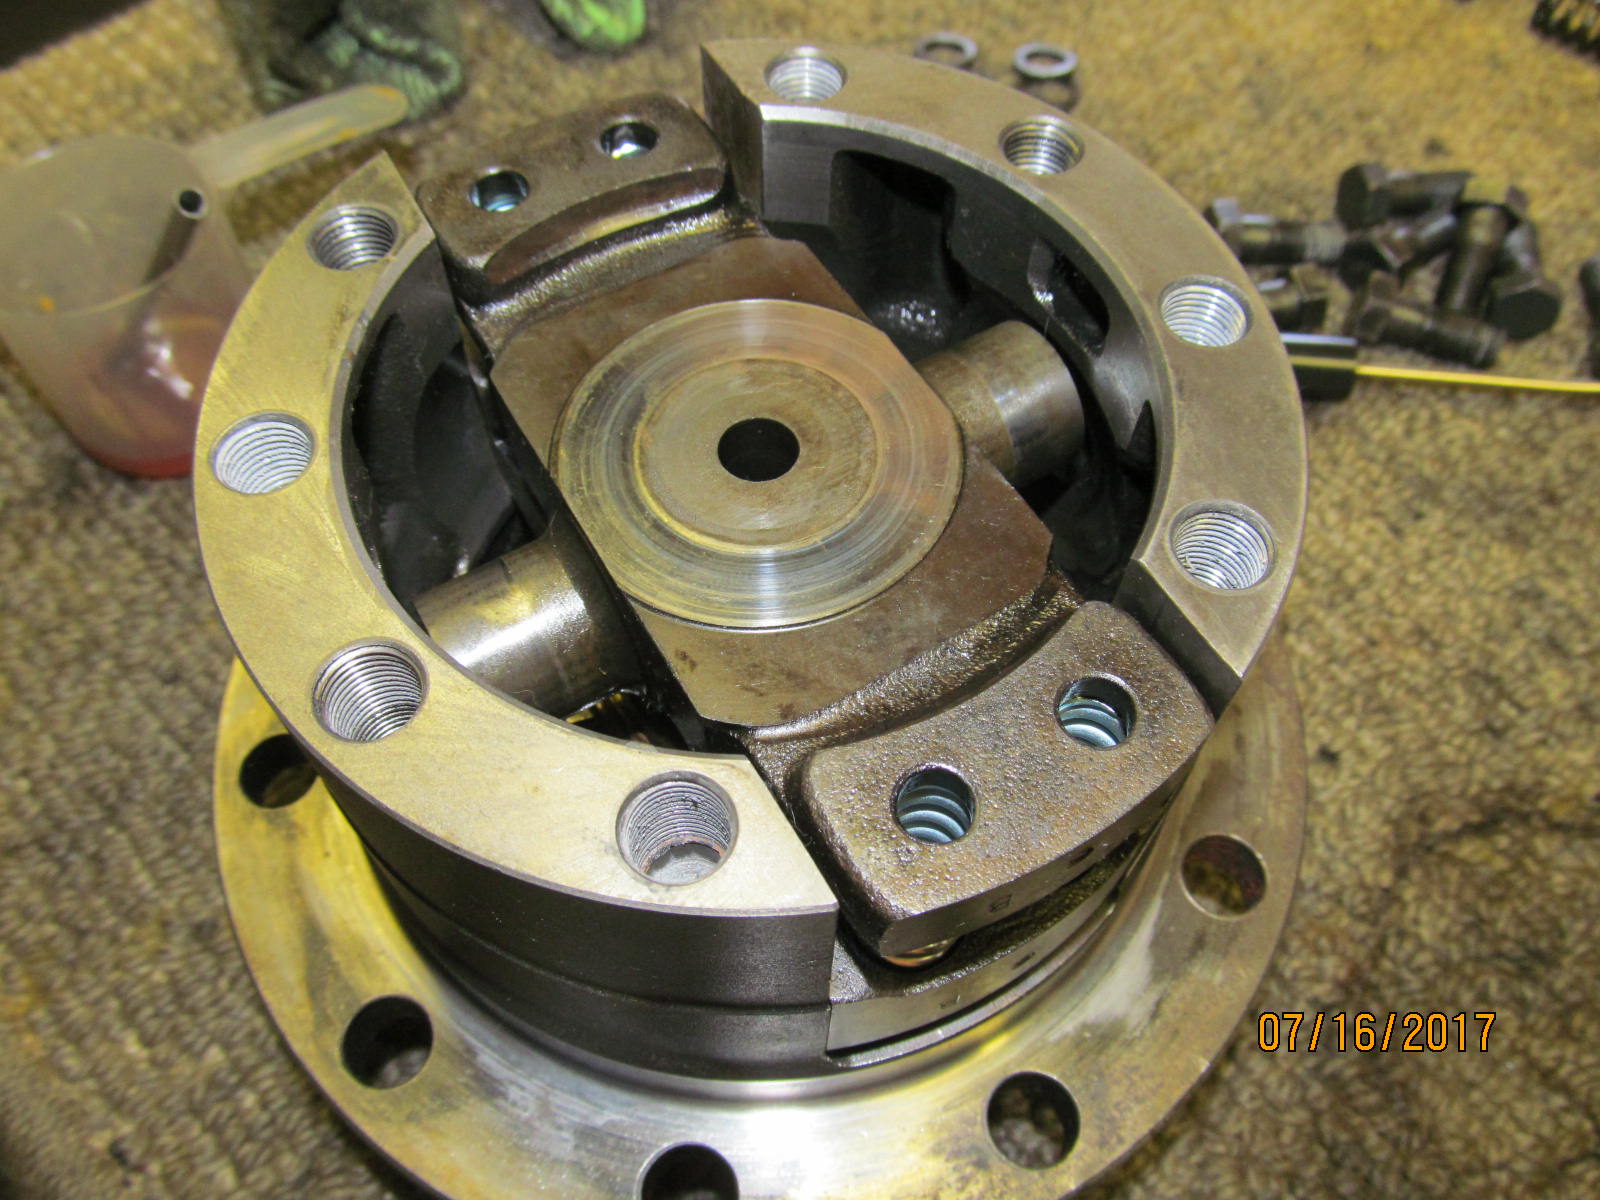
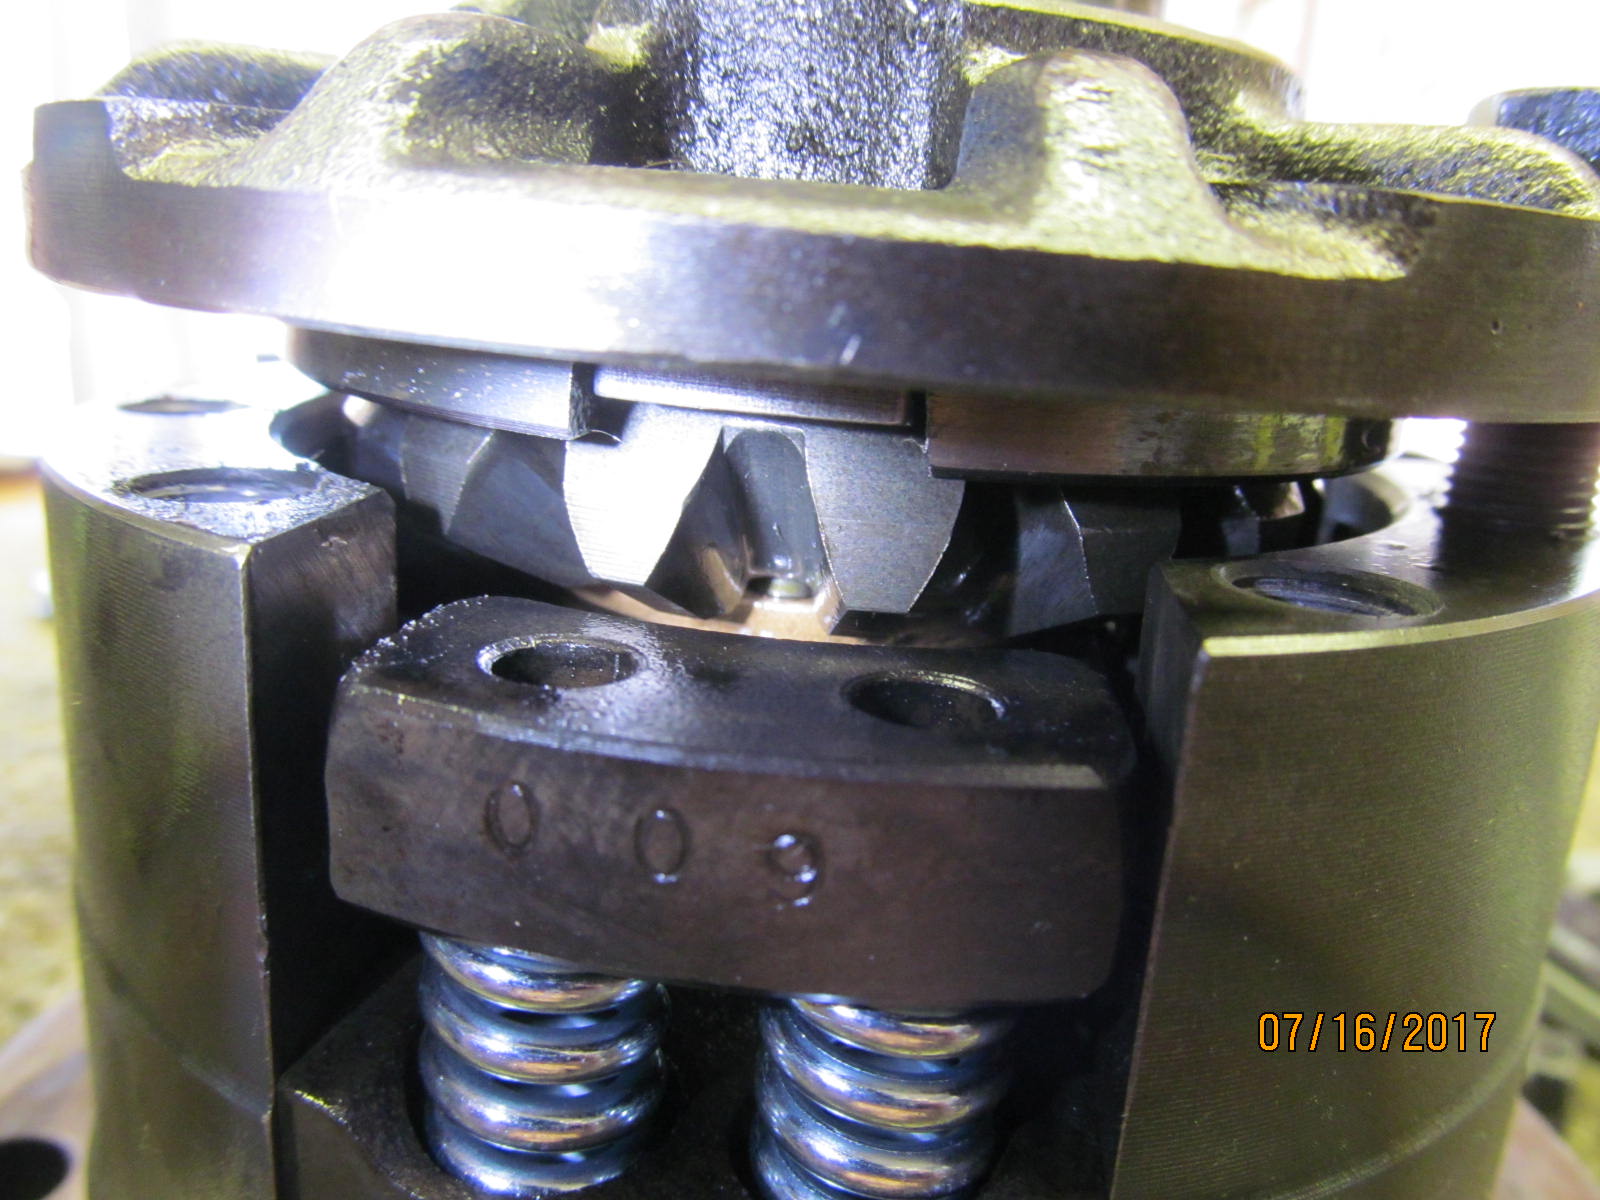
| Before compressing the lid down verify the pin is aligned with the matching hole in the brass bushing. |
|---|
|
|
| The brass bushing sits here.... |
|---|
|
|
| The trick is to seat the assembly down and keep the pin/hole lined up. There's just enough room to visually see that it's lined up right. |
|---|
|
|
| Two bolts are screwed in just past finger tight and everything is lined up. |
|---|
|
|
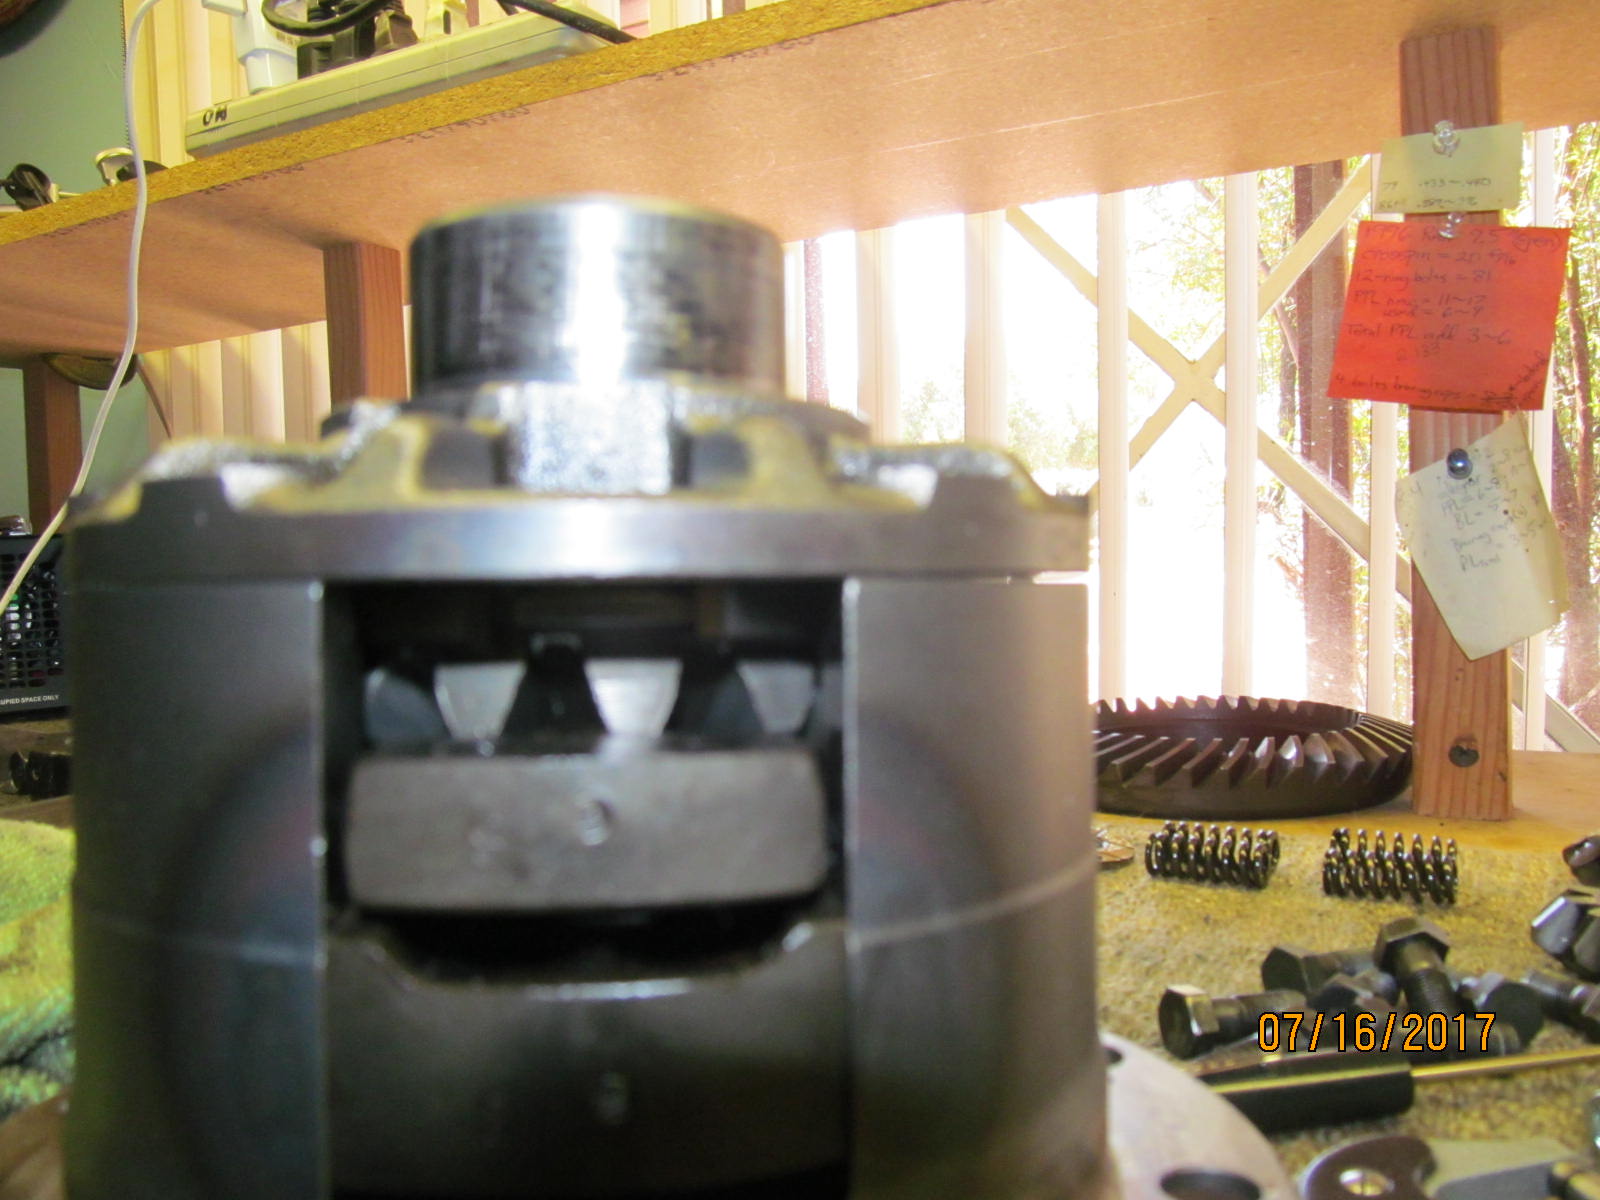
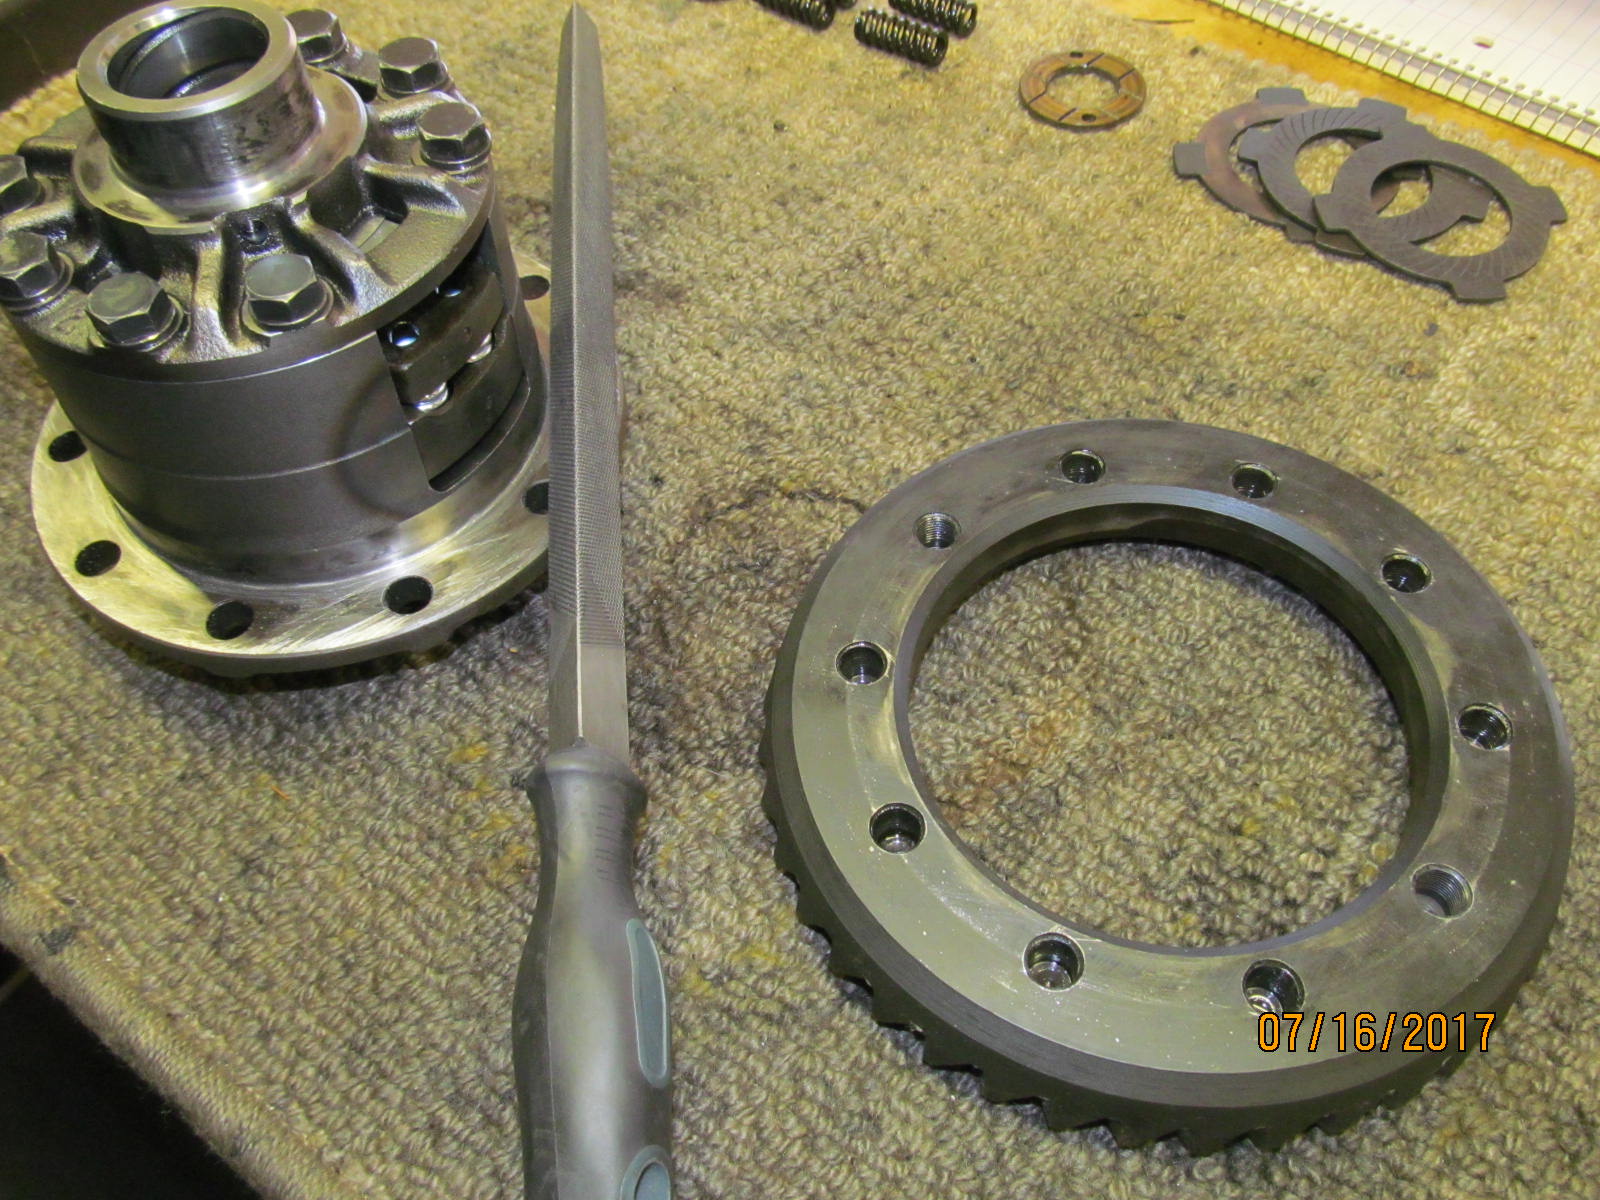
| These should be the only old parts left over. |
|---|
|
|
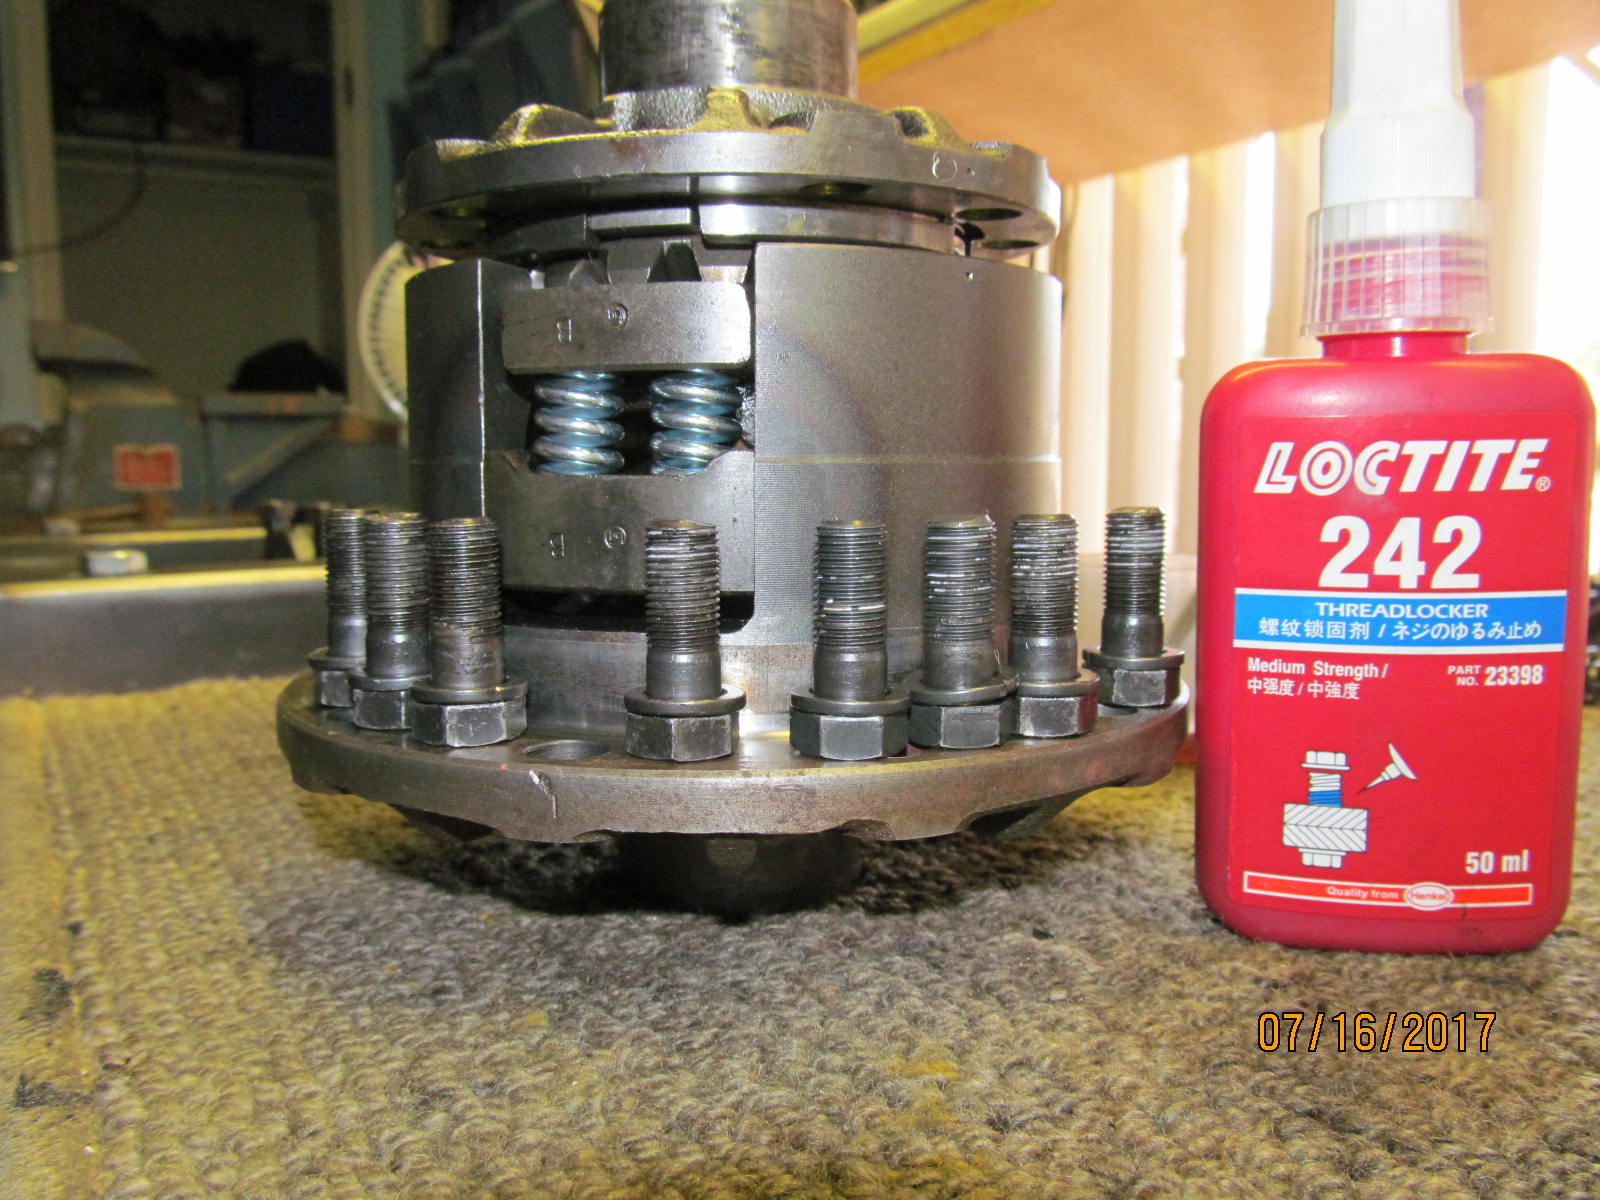
The lid is cross torqued evenly down. 35 ft/lb with blue Locktight. The vice is carefully locking down on just the lid itself....
...and only enough pressure to tighten the 8 lid bolts. |
|---|
|
|
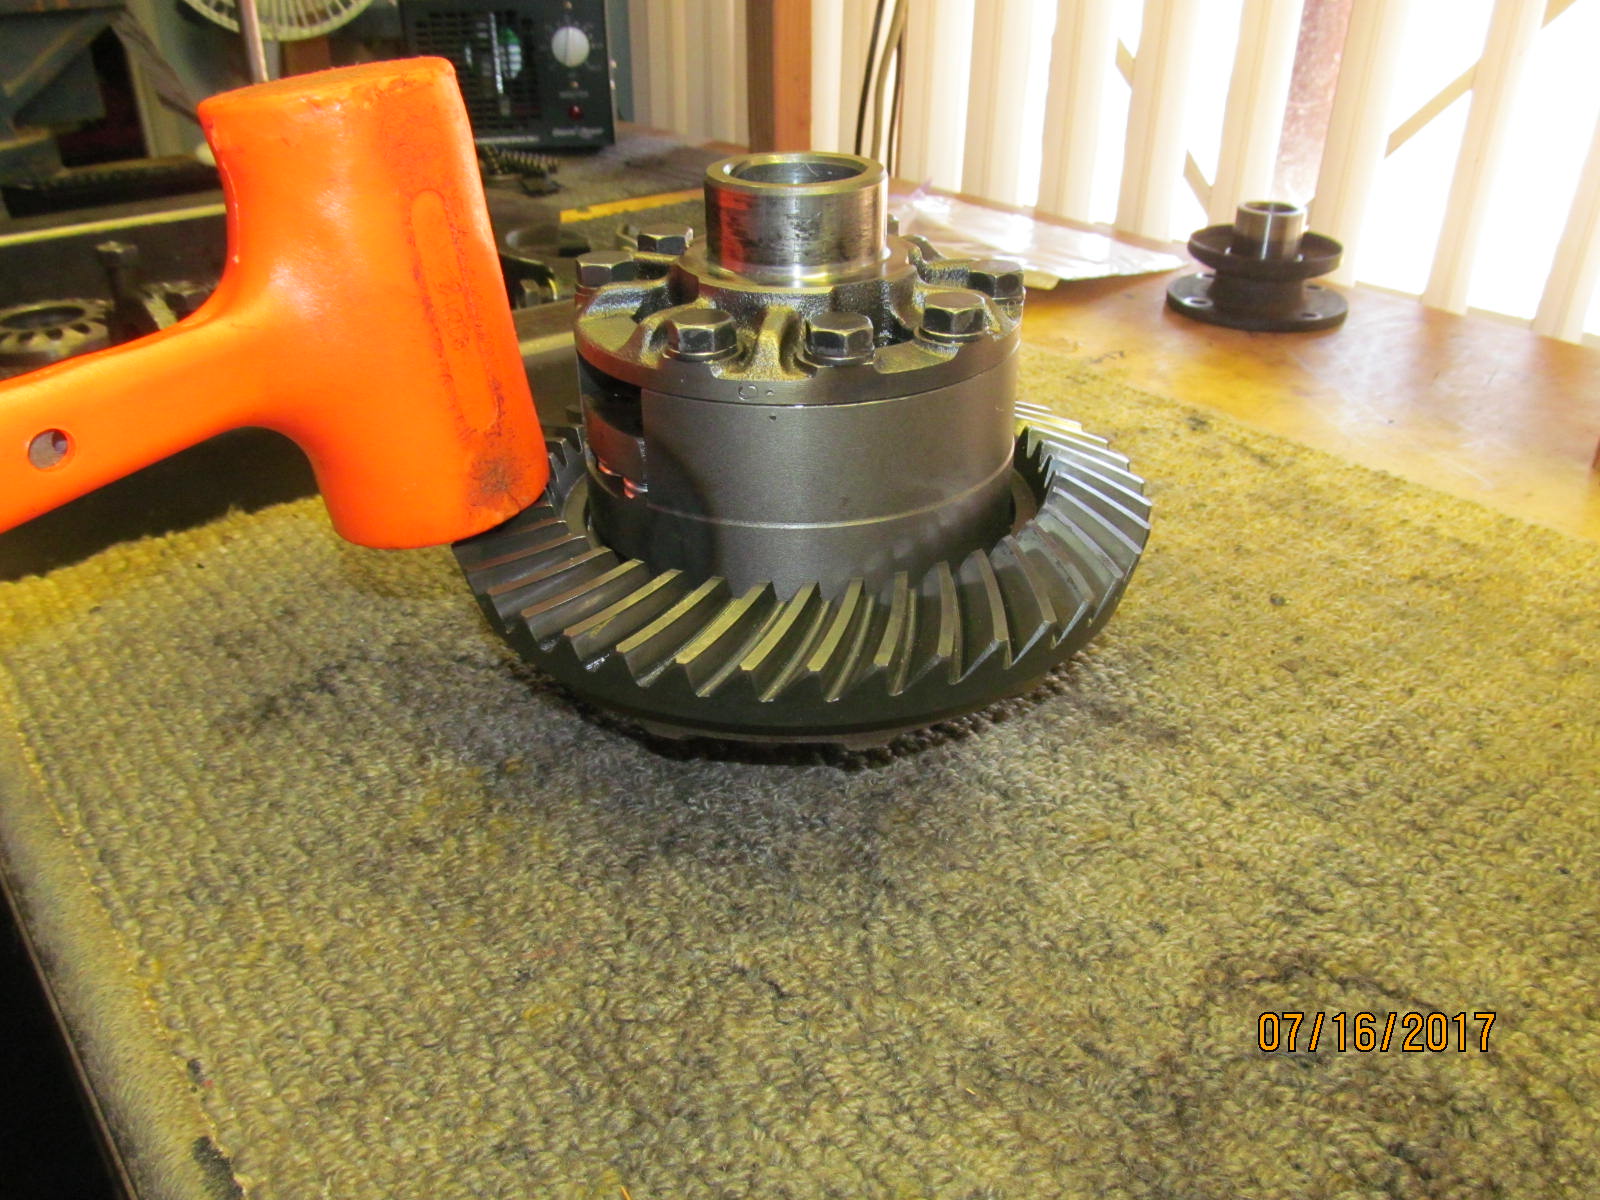
| Now the ring gear can be mounted. The surfaces are verified to be burr free with a file. |
|---|
|
|
| The lead filled plastic hammer did the job. |
|---|
|
|
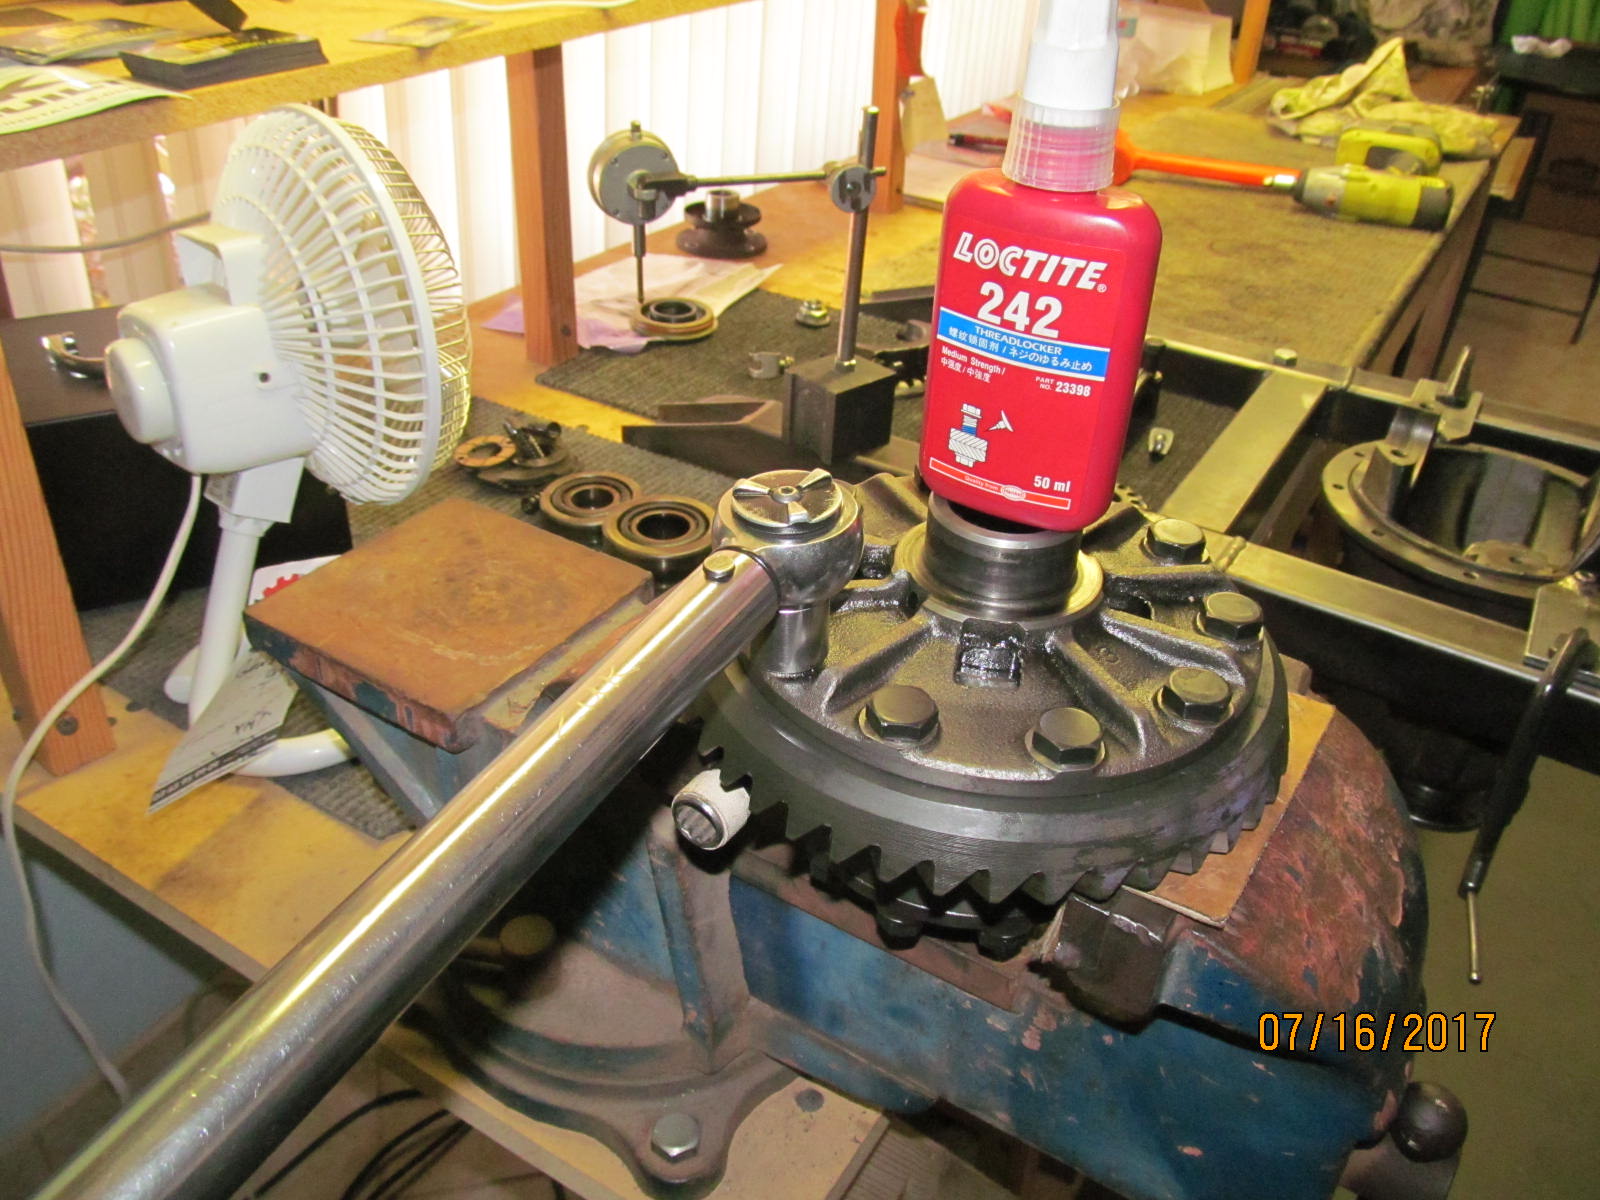
| 70 ft/lb and blue Locktight. |
|---|
|
|
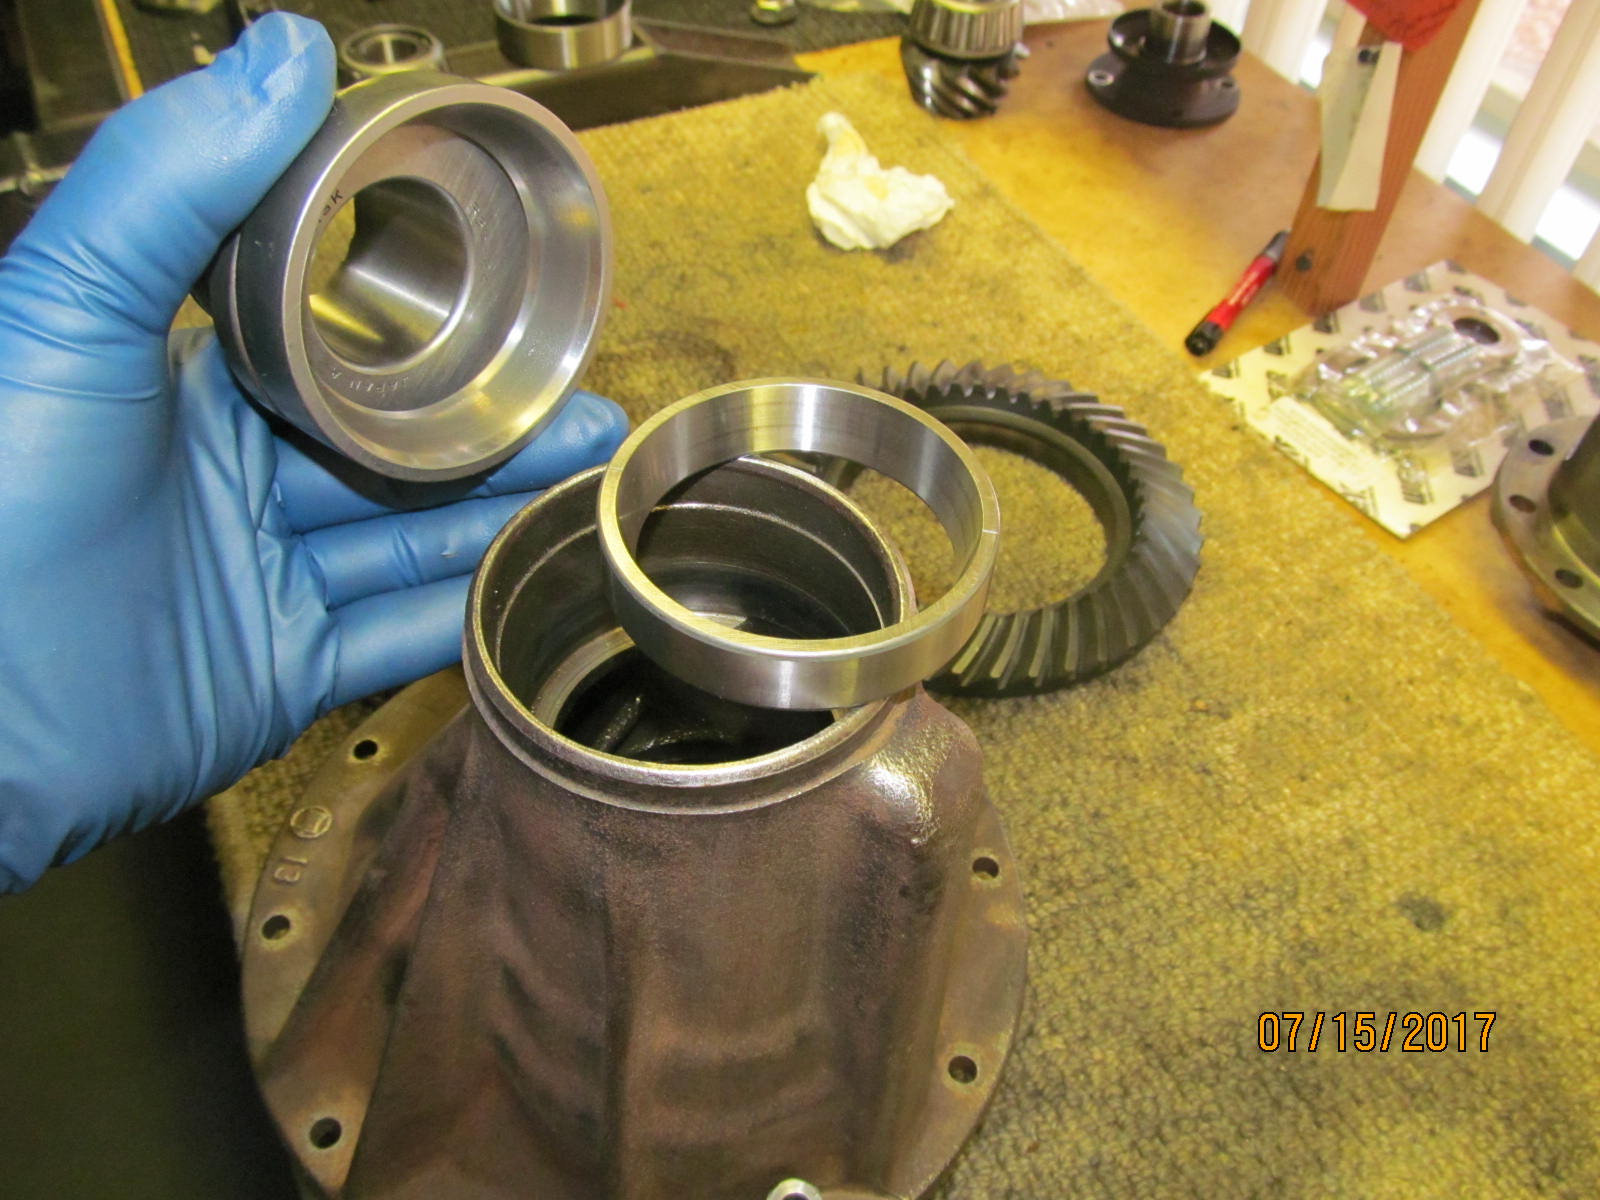
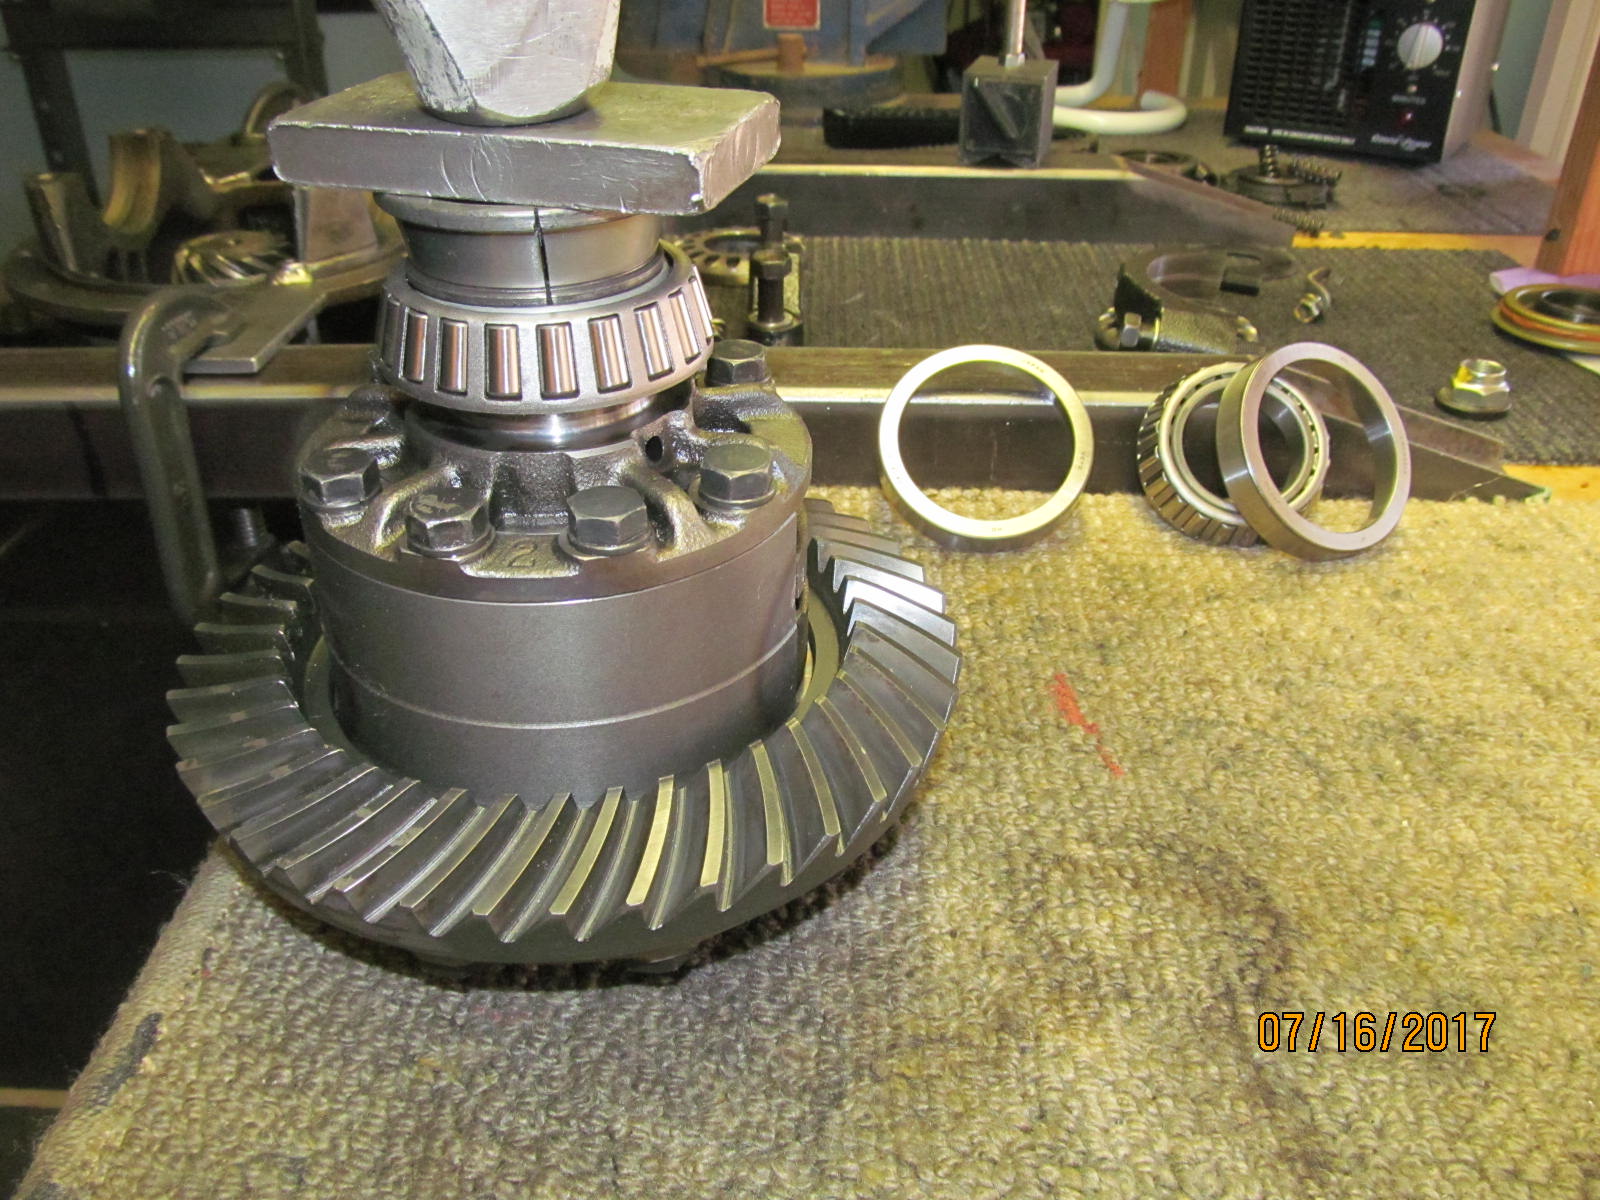
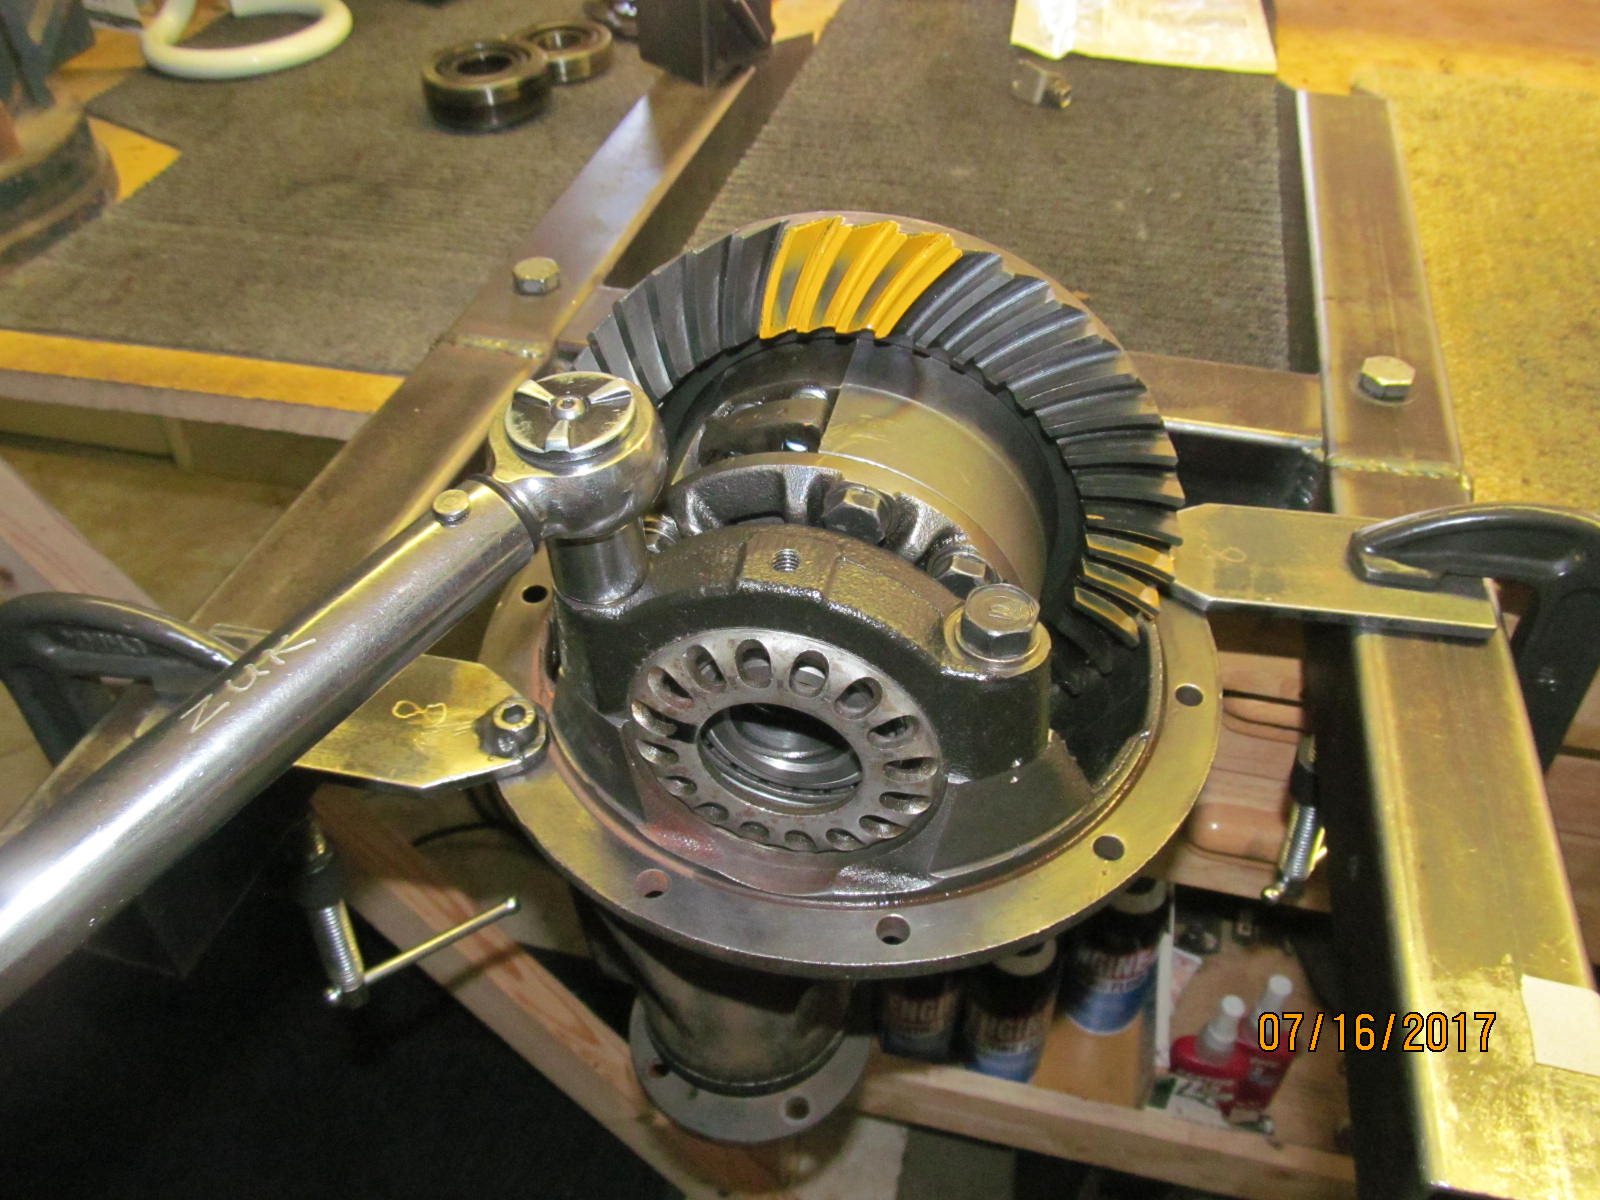
| New carrier bearings. |
|---|
|
|
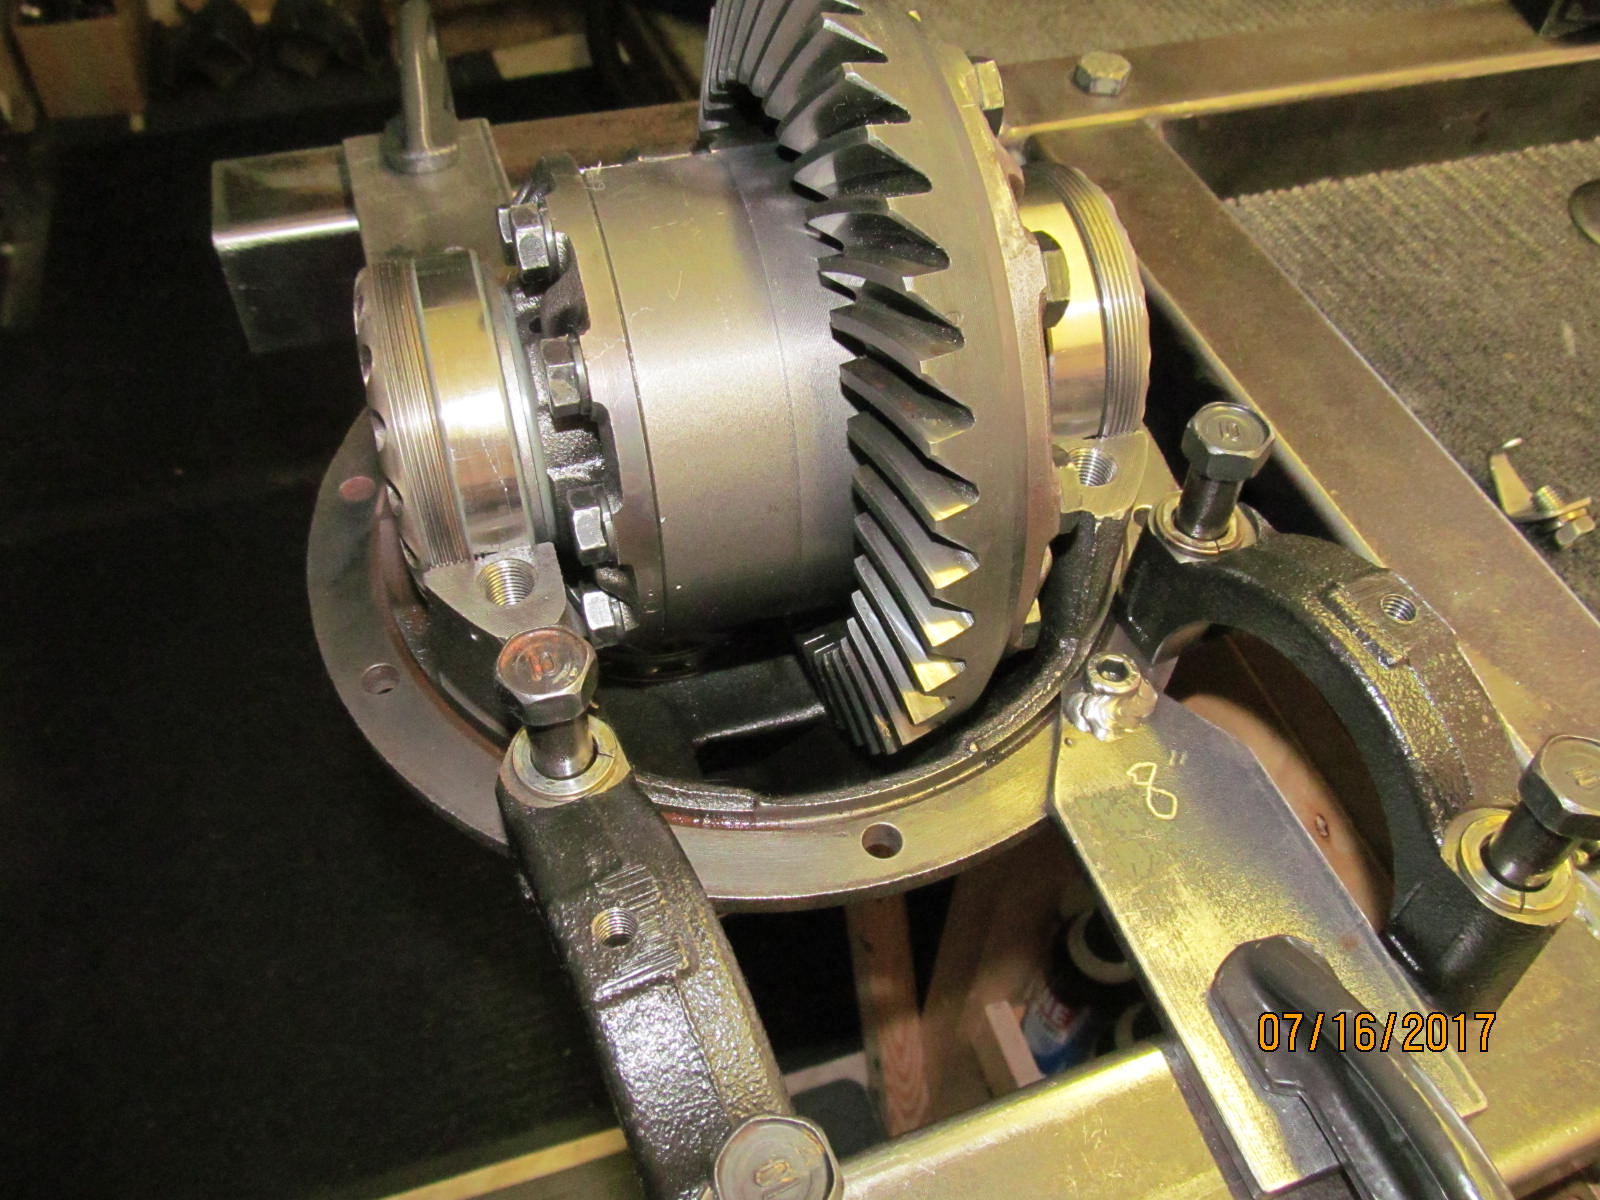
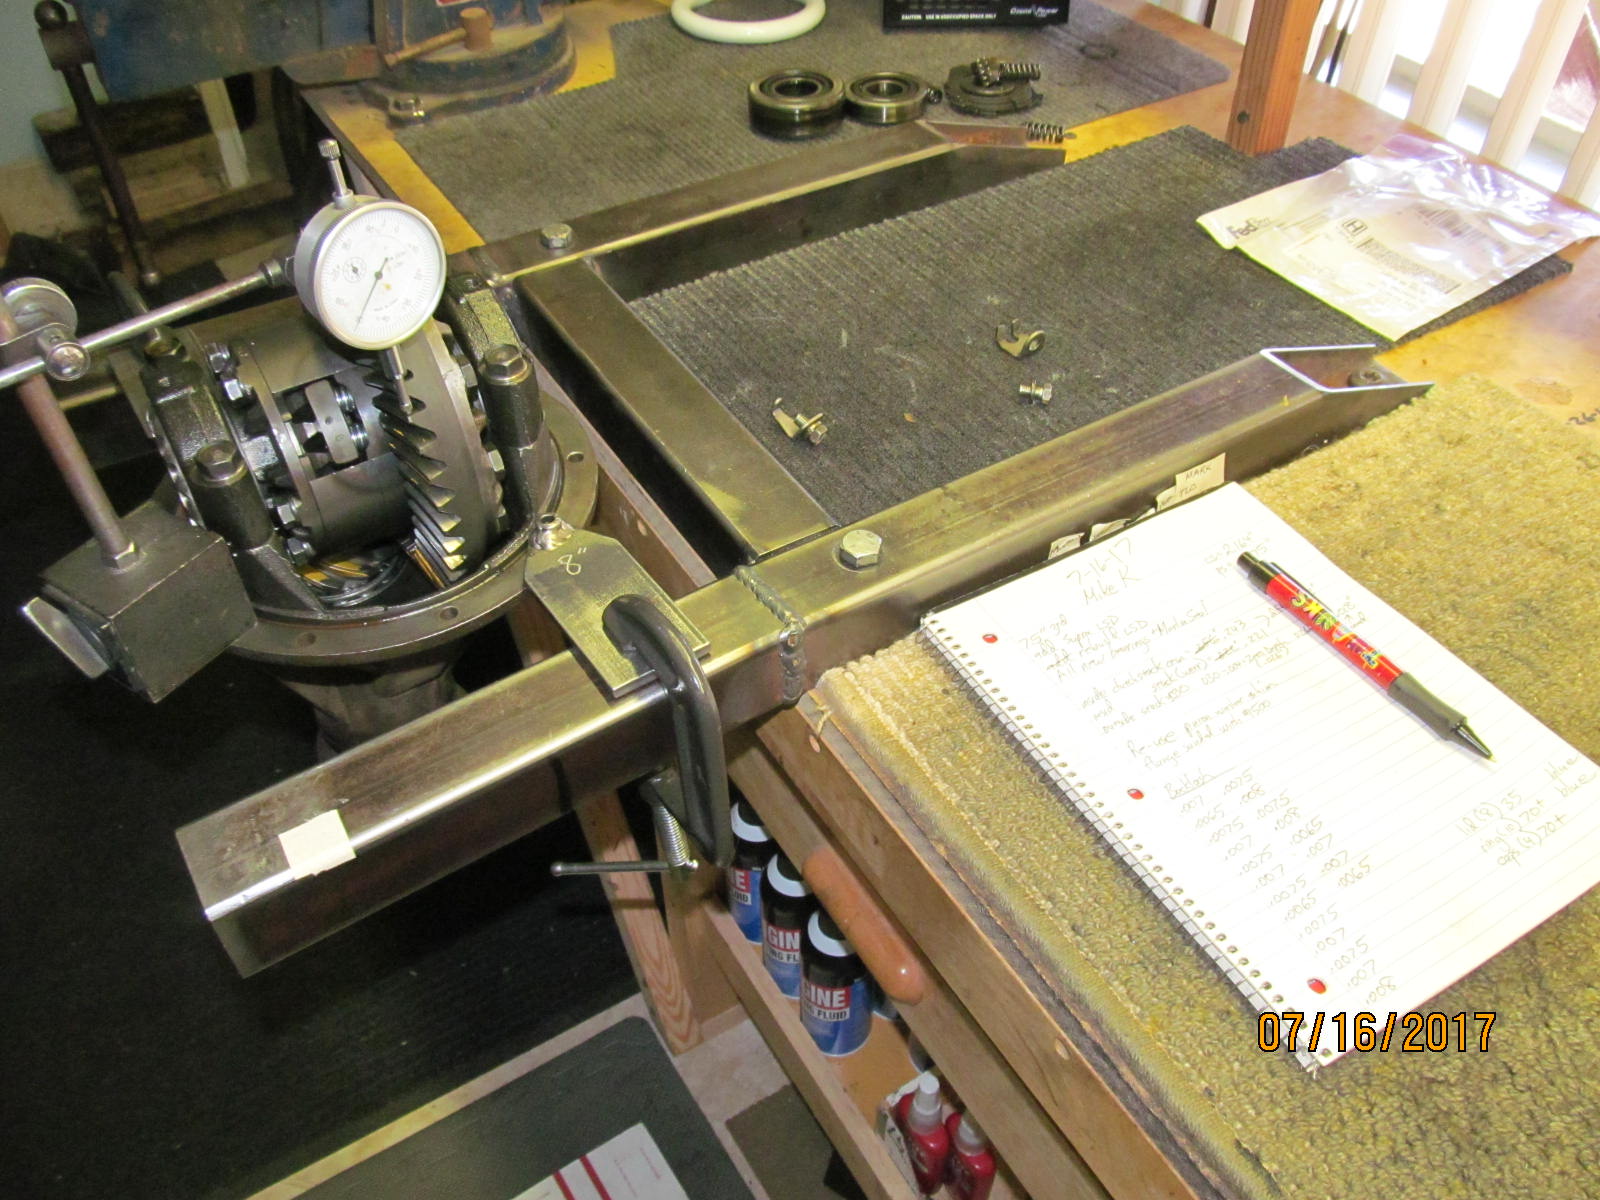
| Assemble with the bearings caps....set preload and backlash. |
|---|
|
|
| Re-paint...drive side is slight deep. Good. |
|---|
|
|
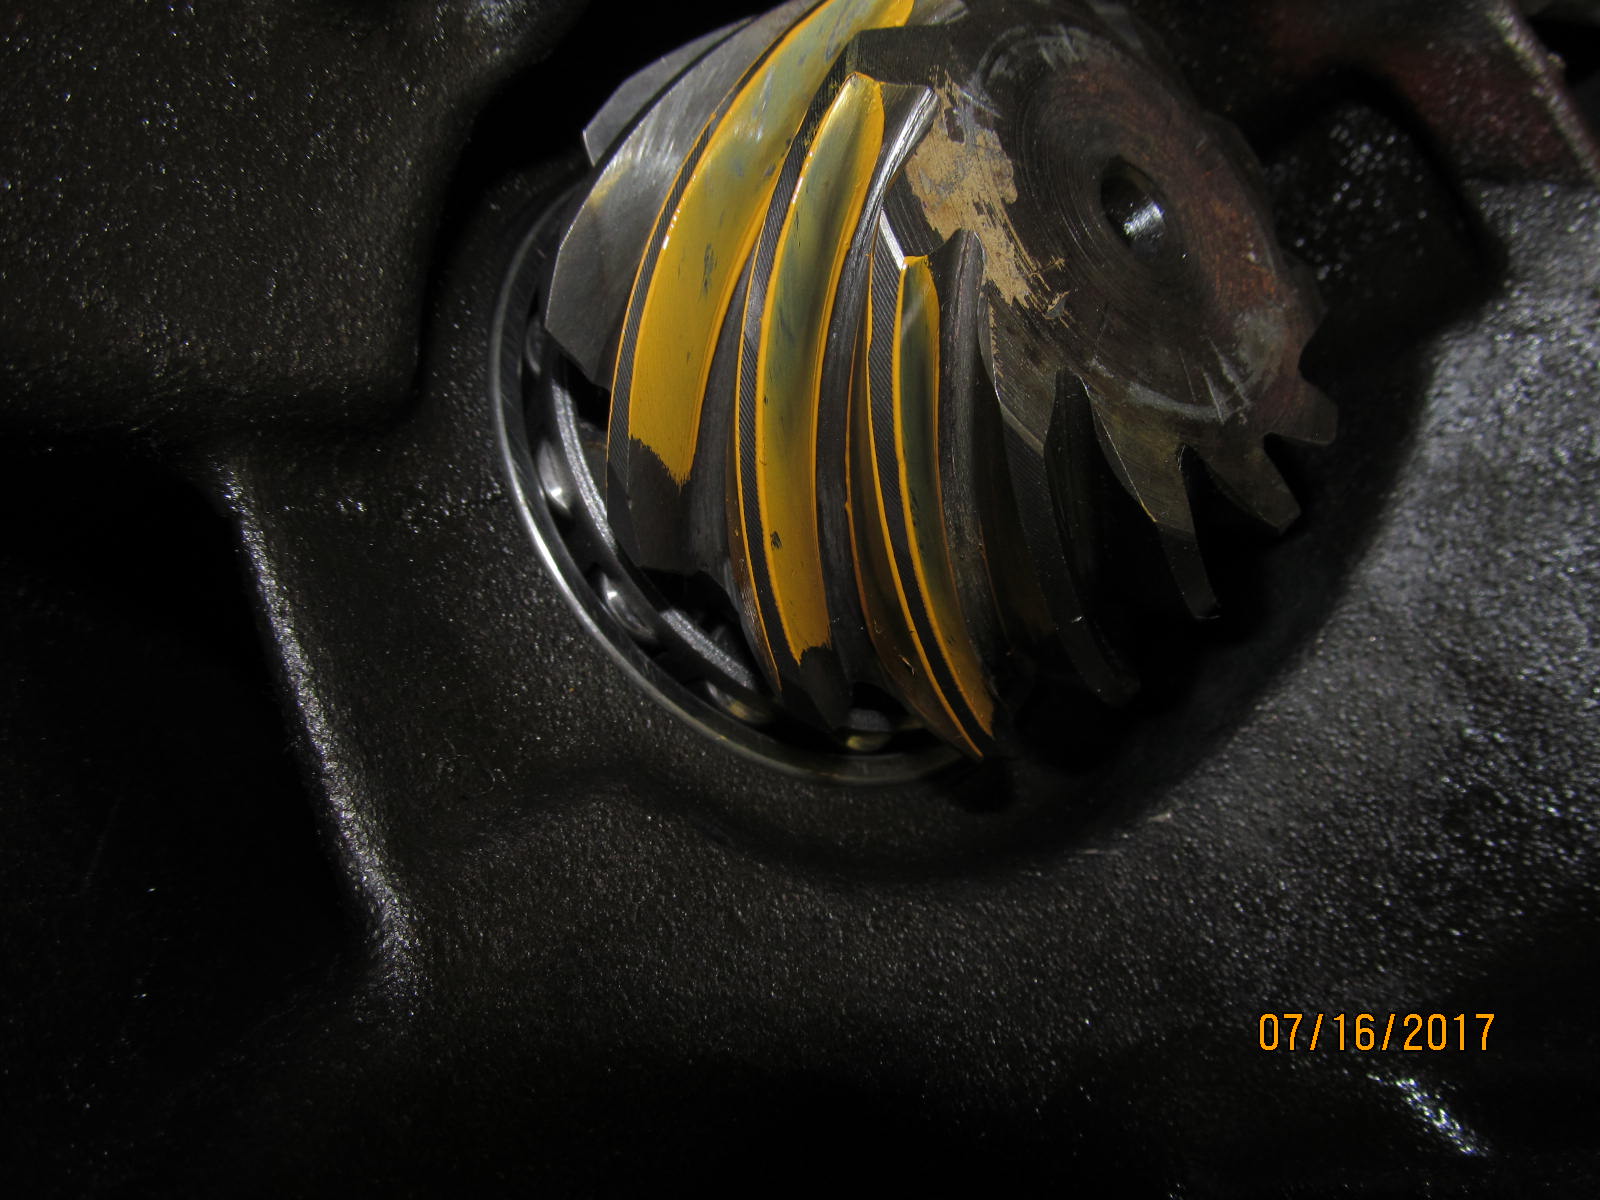
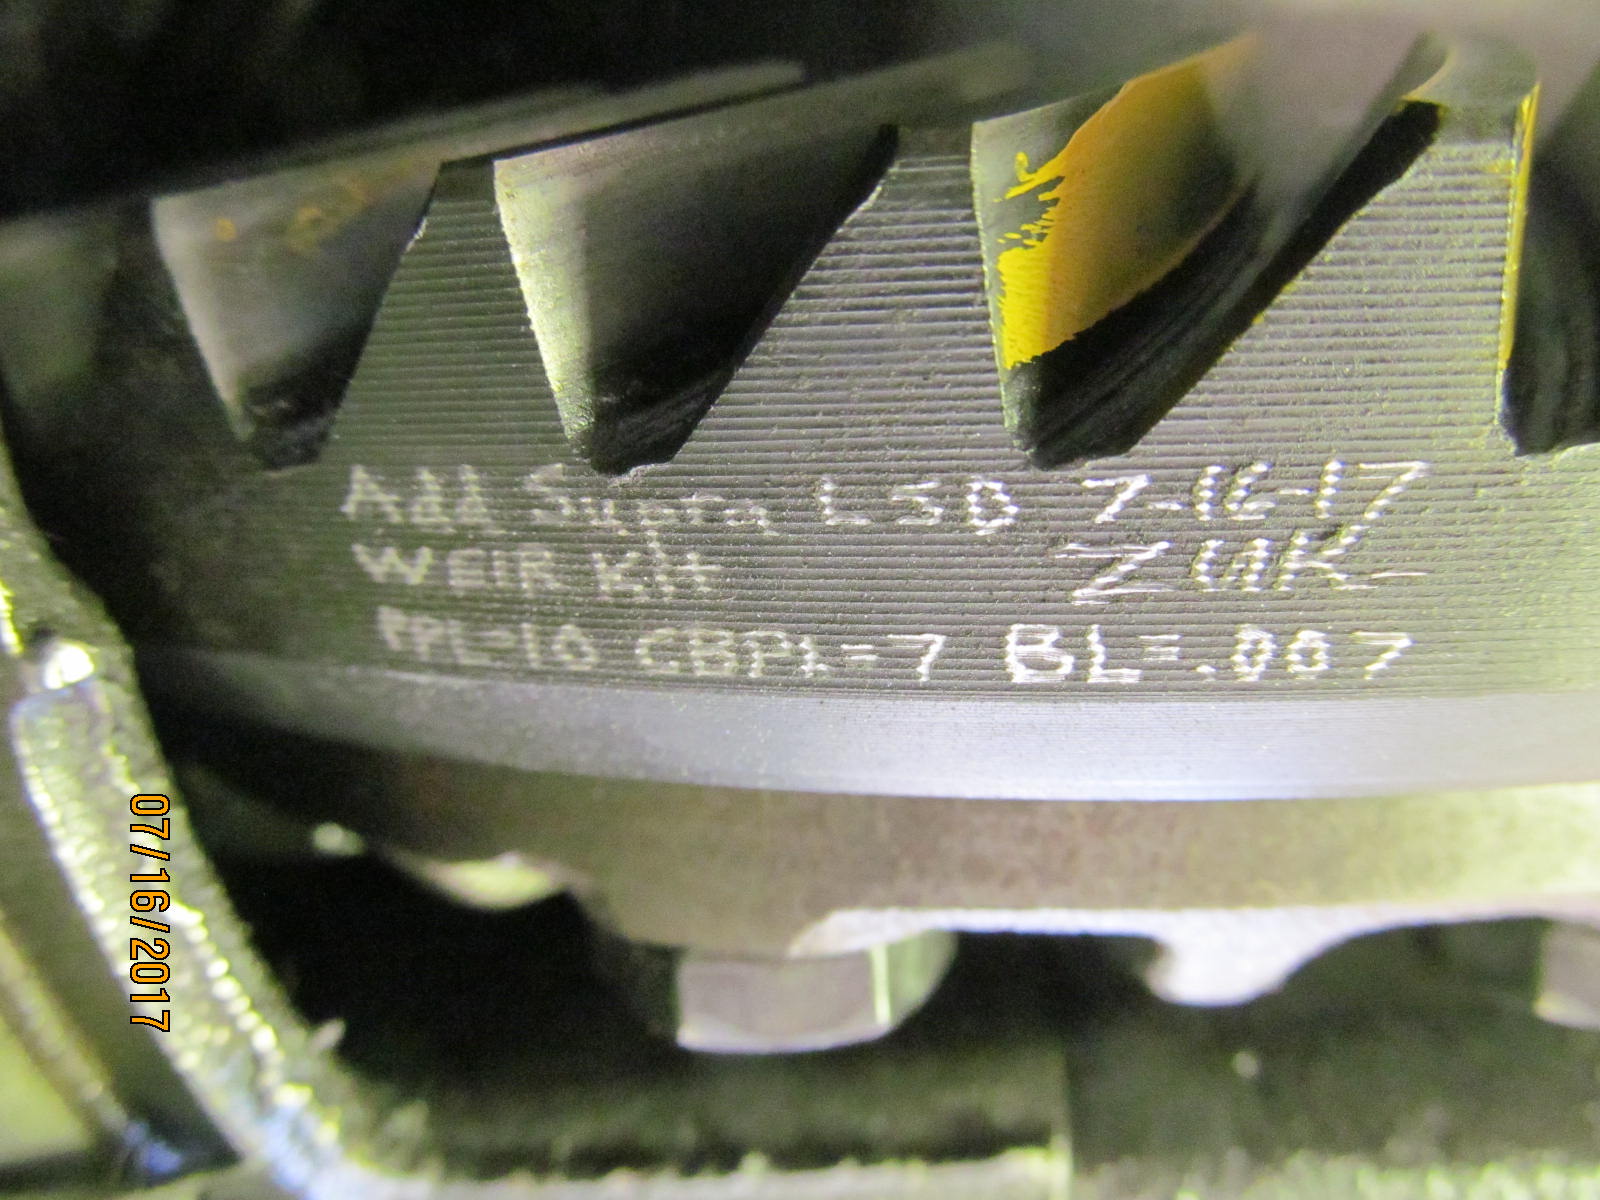
| pinion tooth. |
|---|
|
|
| Reverse painted drive side. |
|---|
|
|
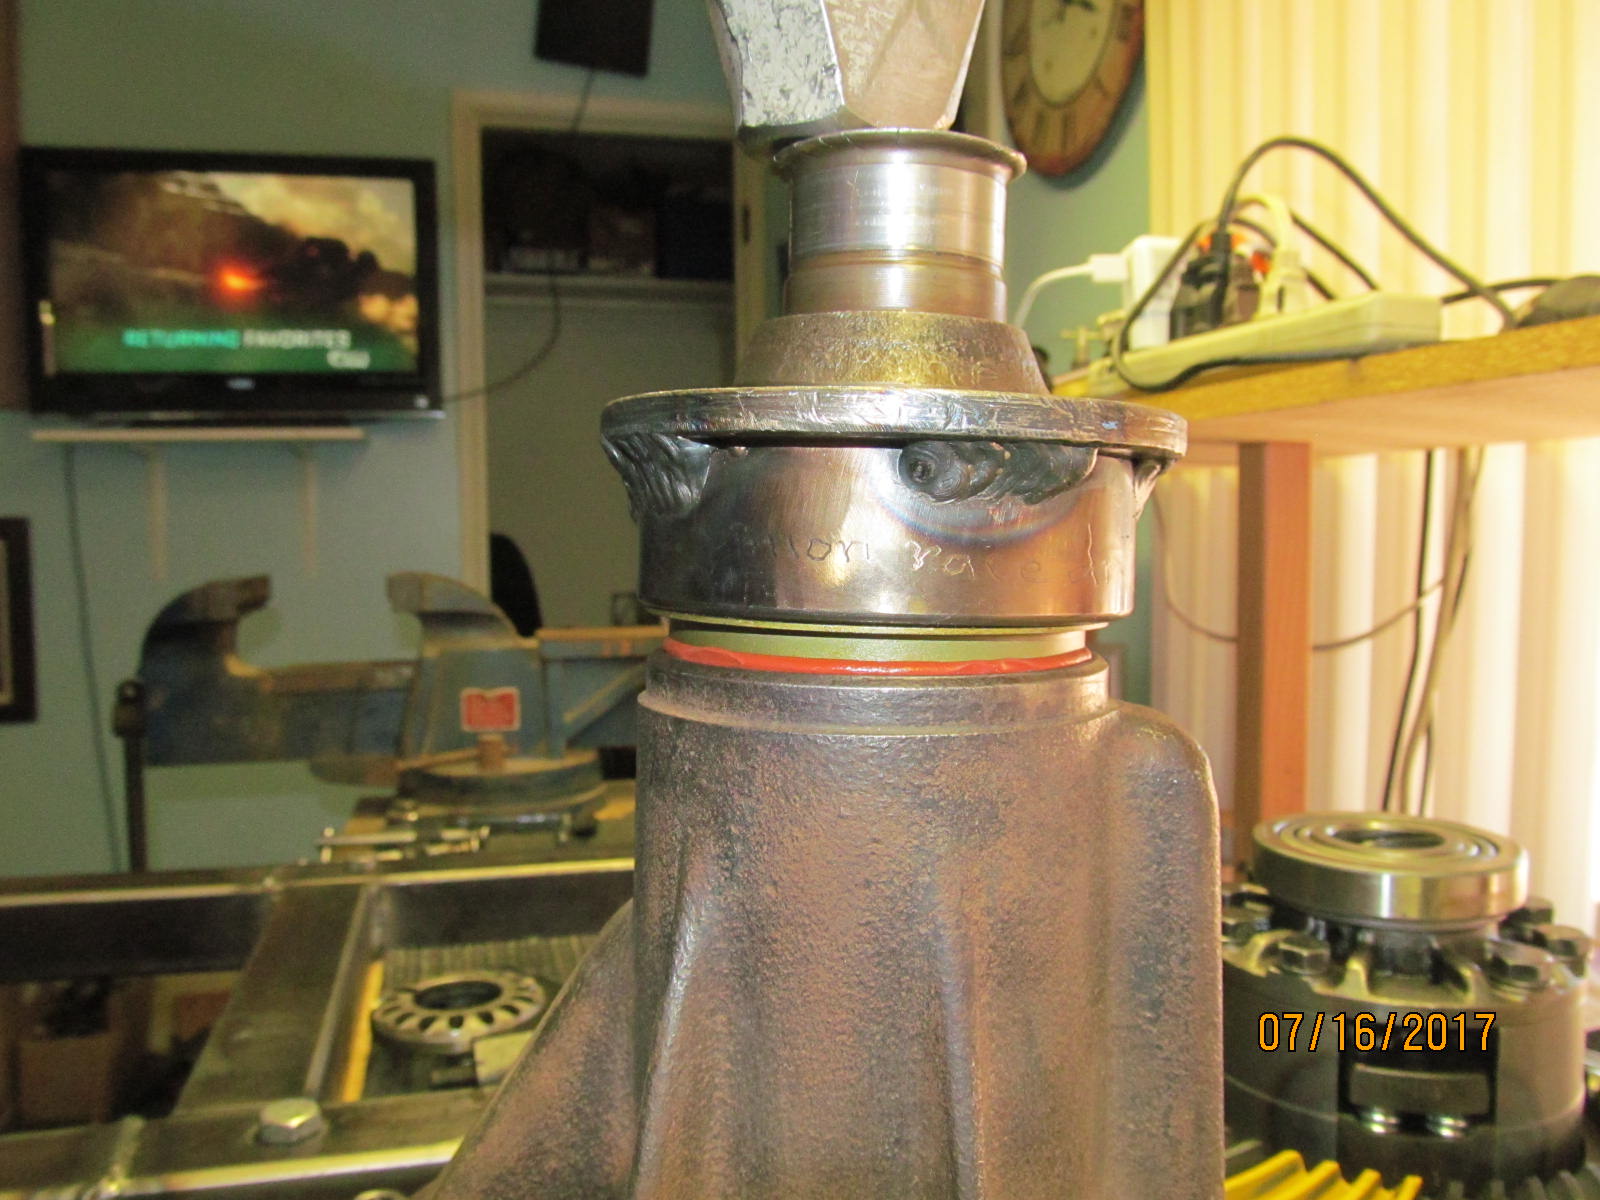
| New crush and Marlin seal. |
|---|
|
|
| .................... |
|---|
|
|
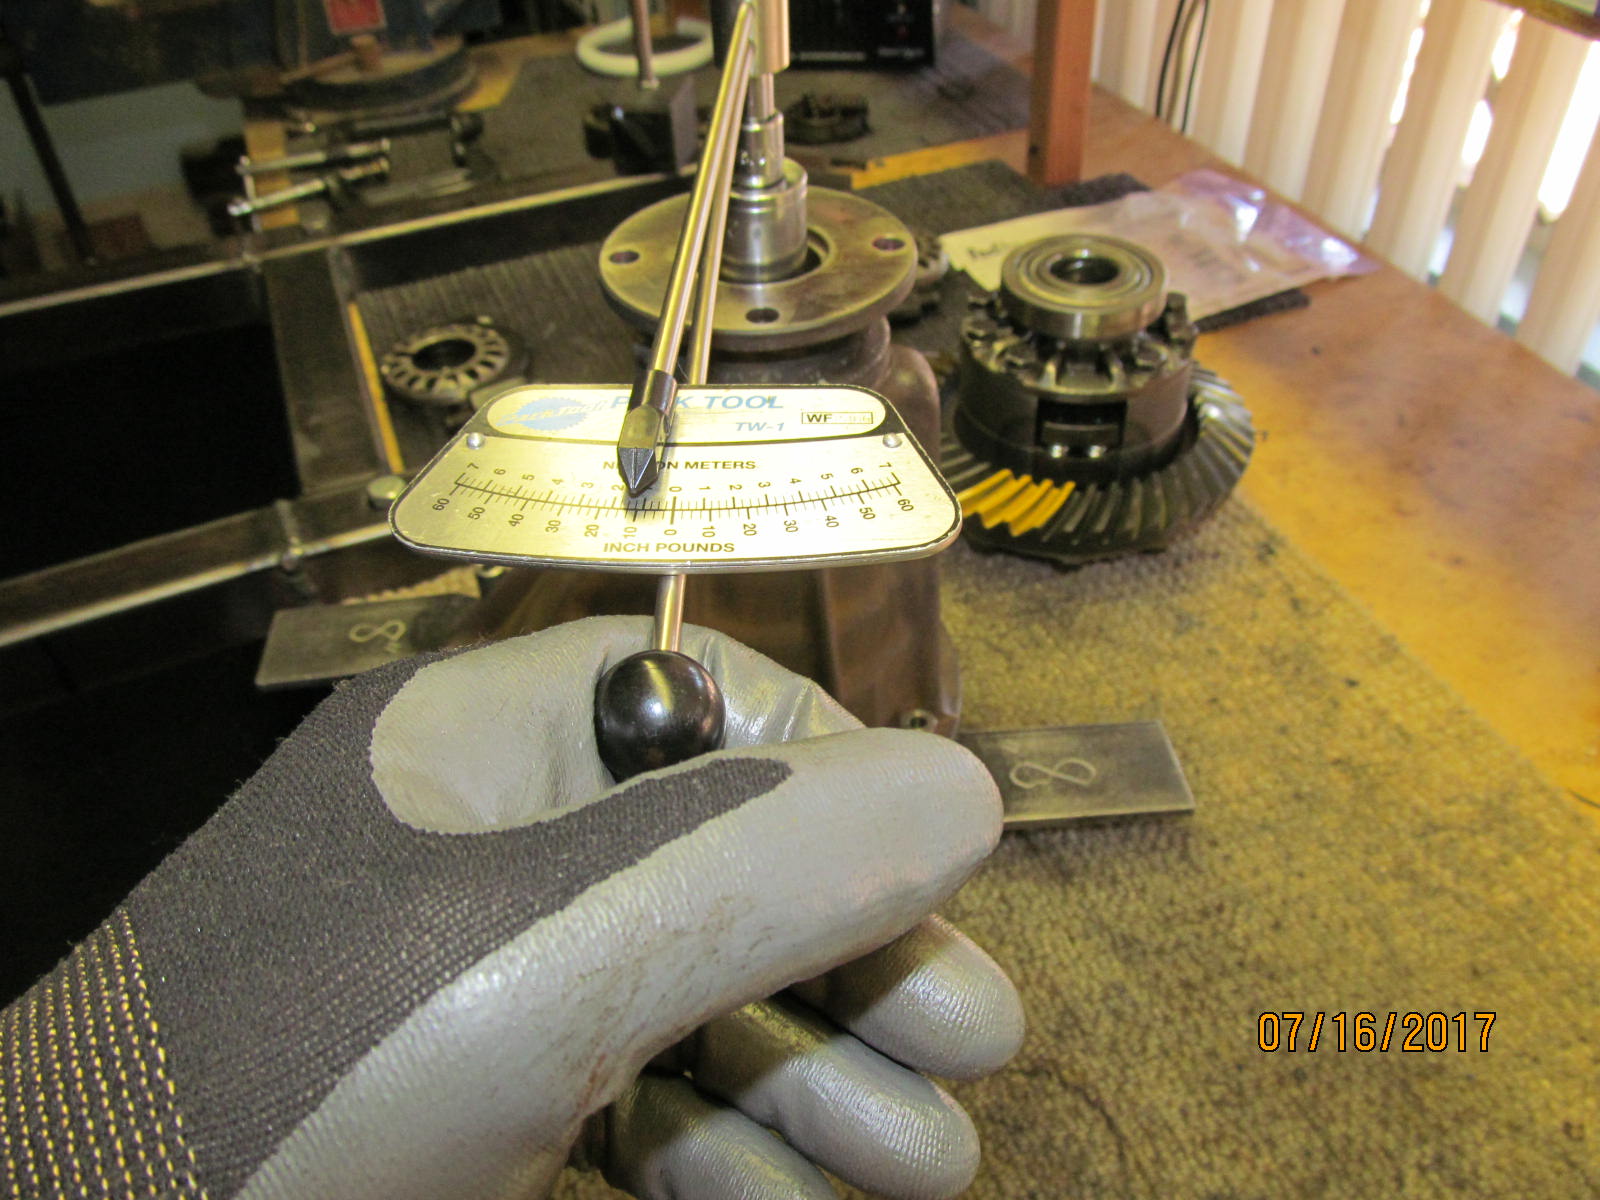
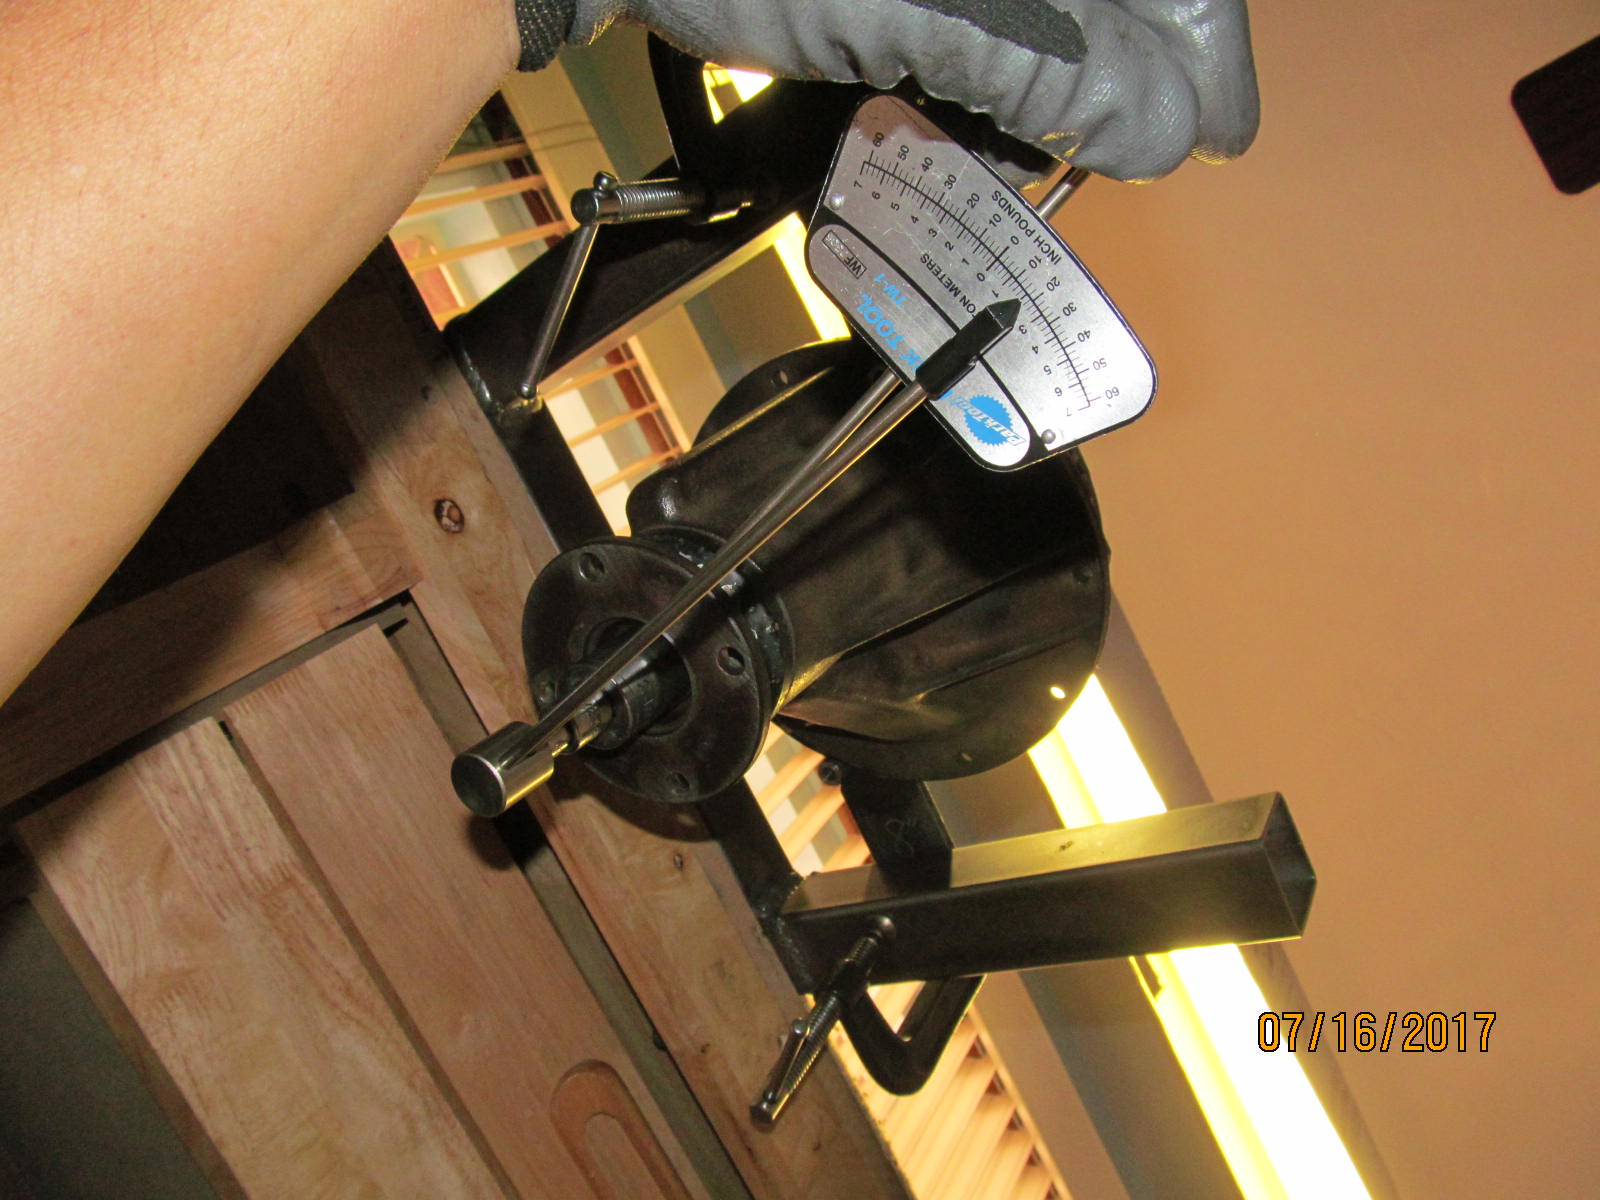
| PPL 10 in/lb |
|---|
|
|
| DING and the pinion is complete. |
|---|
|
|
| 70 ft/lb on the 4 bearing cap bolts. |
|---|
|
|
| Backlash was recorded on every other tooth. |
|---|
|
|
| Total preload checked in at 17....which means the carrier bearings are responsible for 7 in/lb of the total. |
|---|
|

|
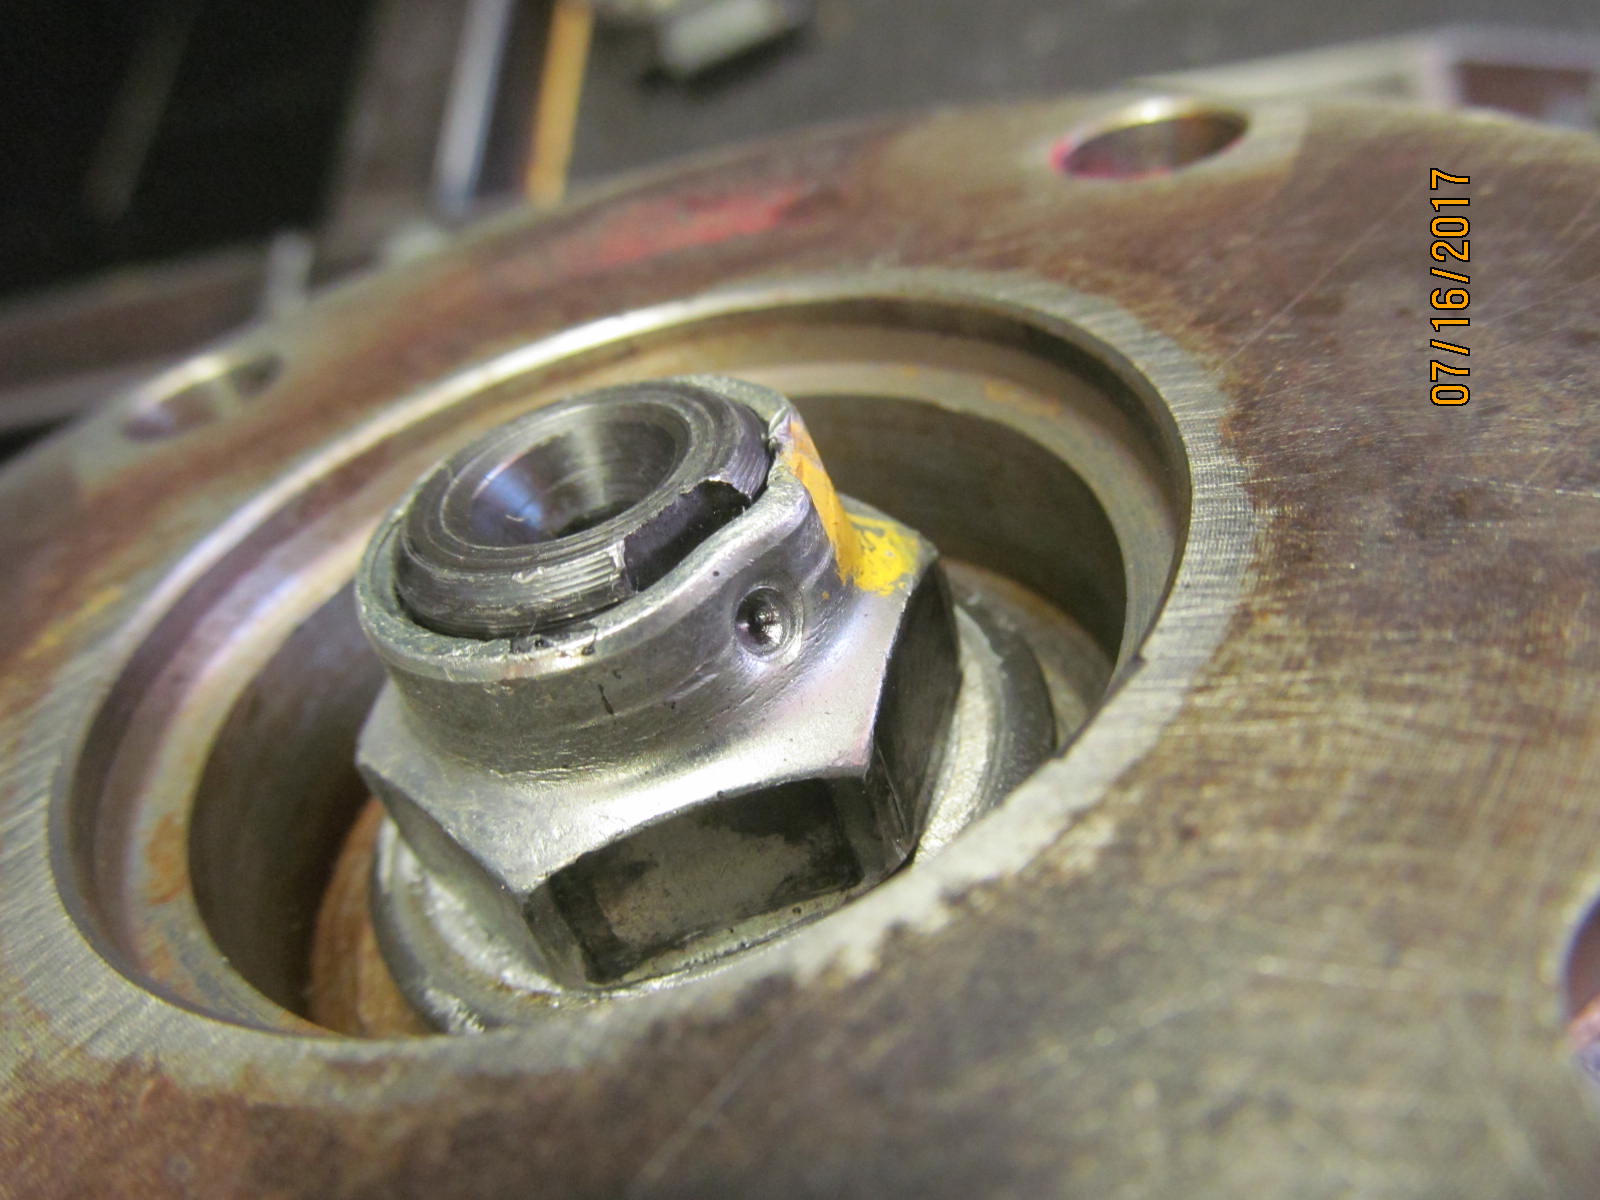
| Tabs can be secured now.....10 ft/lb with blue Locktight. |
|---|
|
|
| Final scribing. |
|---|
|
|
| A shot of the assembly notes. |
|---|
|
|
| Cleaned up with a light coat of satin black spray paint to make it look almost brand new. |
|---|
|
|
| :) |
|---|
|
|

|