|
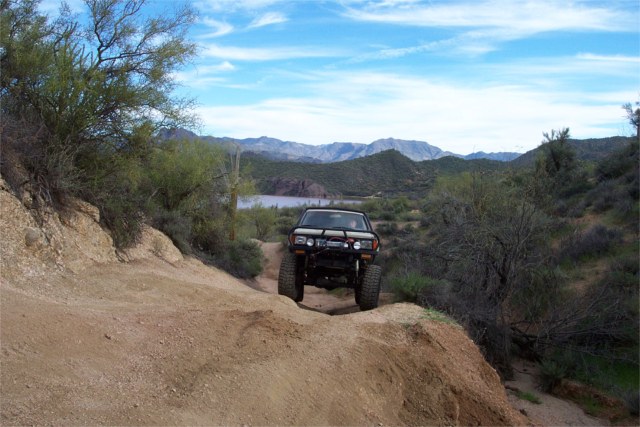
Here's a shot of Brian on trail #42 in the Phoenix, AZ area.
Specs -
'86 Toyota LWB
'89 22RE
W56 Transmission
Dual Marlin Crawler T-cases
37x13.5 Pitbull Rockers on Allied Beadocks
Front axle - '85 Toyota w/ ARB locker, Longfields...
Rear Axle -ARB locker
Warn winch, Flatbed, full exo cage, custom f/r bumpers..
|
|
|
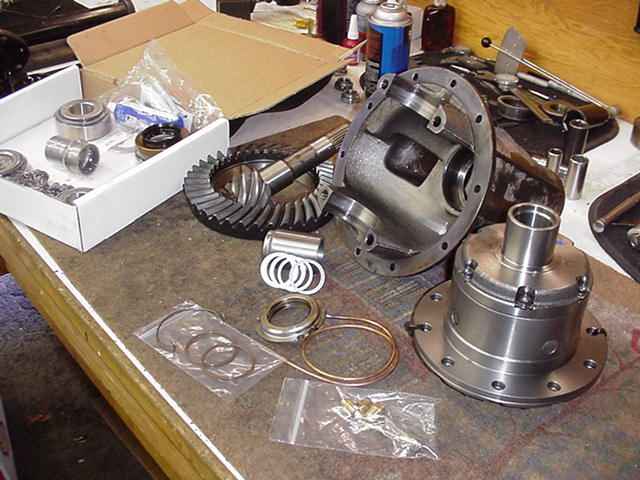
Brian is local to me and brings over the RD01 ARB Locker. A new master kit/solid collar and quality 529 8"
gears are going in the 4 cylinder carrier.
|
|
|
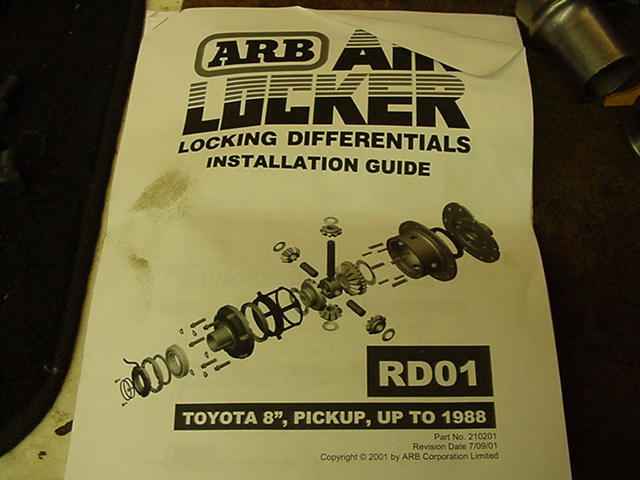
This model has been dis-continued and is being replaced by the RD23 model. The RD01 uses 4 cylinder bearings
and a "captured" o-ring seal housing(ours had the RD23 style seal housing). The newer RD23 is a semi-floating
design and also uses V6 dimensioned bearings.
|
|
|
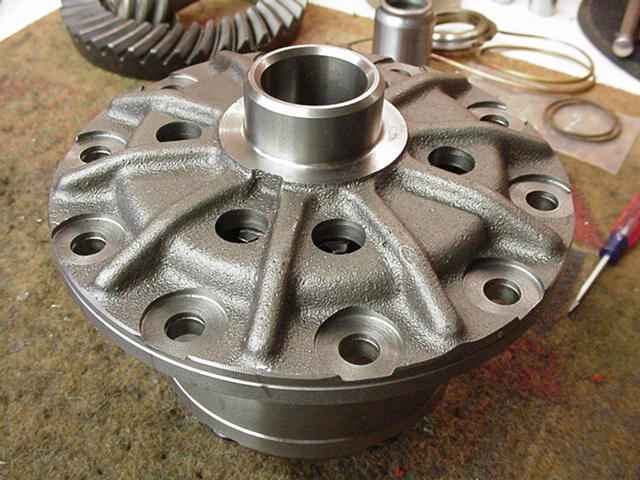
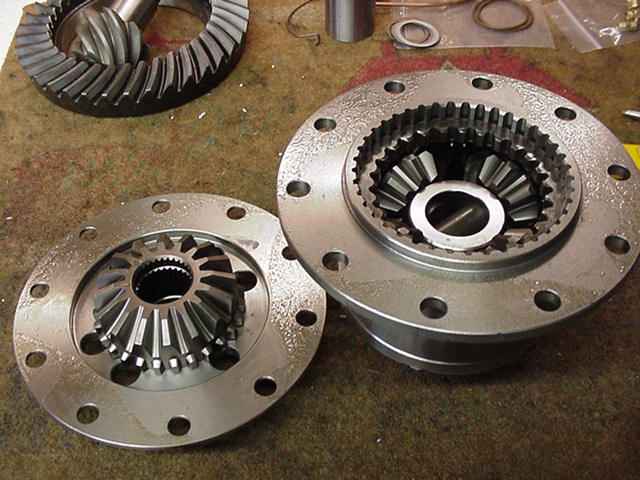
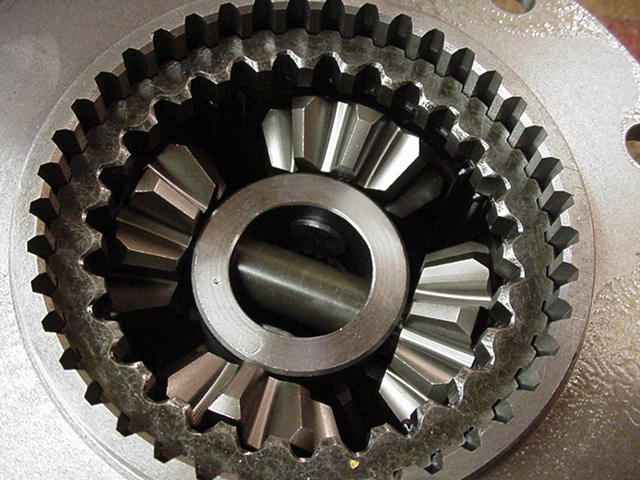
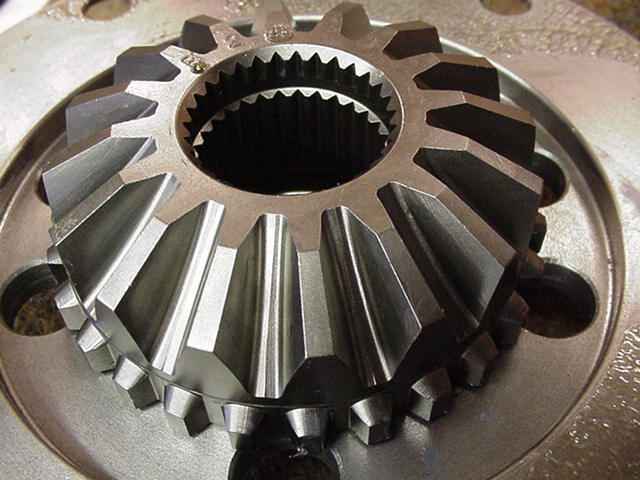
I had to take a peek inside....
|
|
|
well made...
|
|
|
...
|
|
|
excellent machine work.
|
|
|
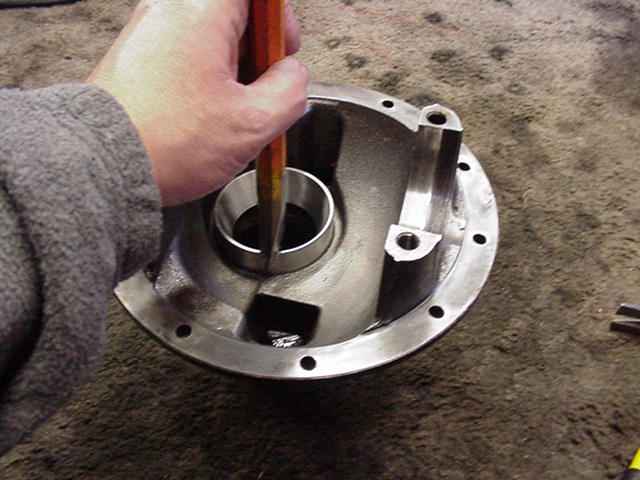
I started by tapping in the pinion races. These "harbor freight chisels" are just mild steel
so they're safe to use for this application.
|
|
|
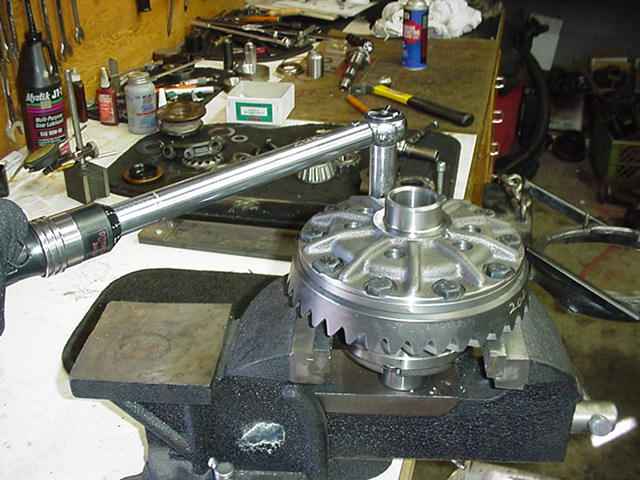
Red loctite and 75 ft/lbs all the way around.
|
|
|
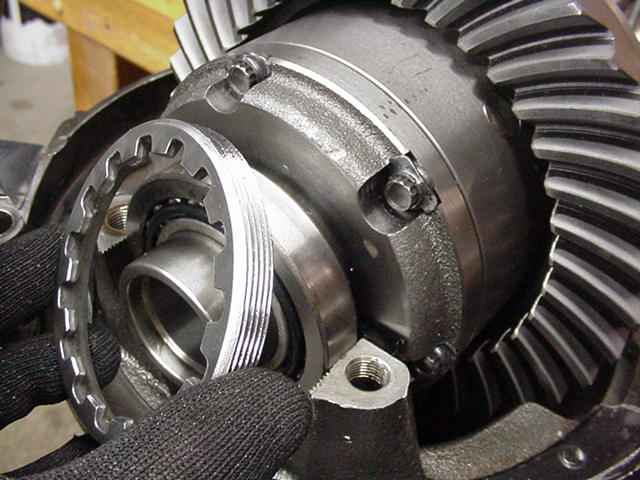
Press the carrier bearings on and line up the "adjuster nut"
|
|
|
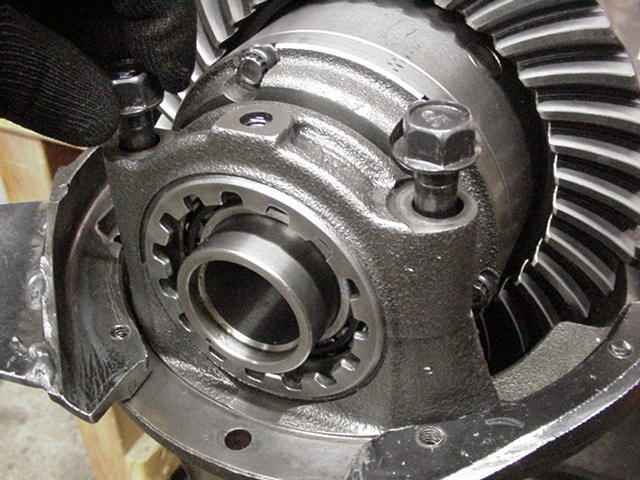
tighten up the cap bolts finger tight...
|
|
|
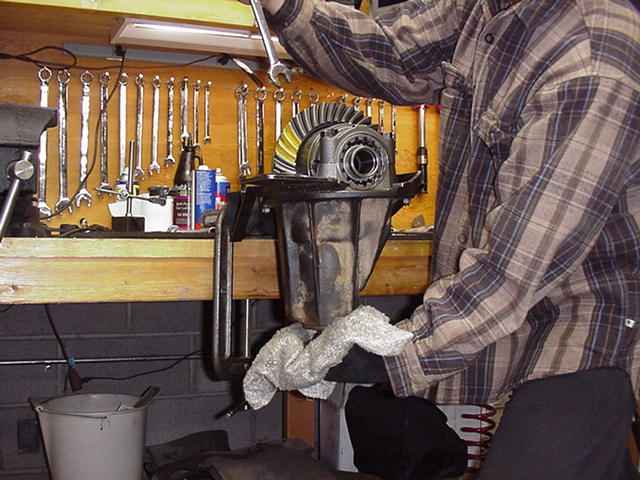
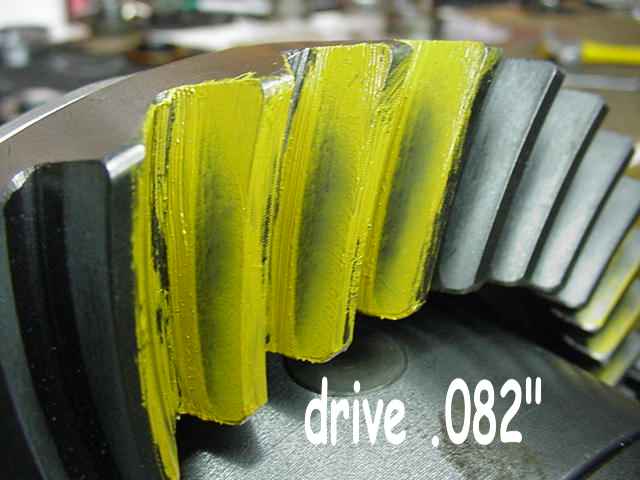
Apply some pressure with the rag and turn the ring gear back and forth 3 times...
|
|
|
082 is a little too deep.
|
|
|
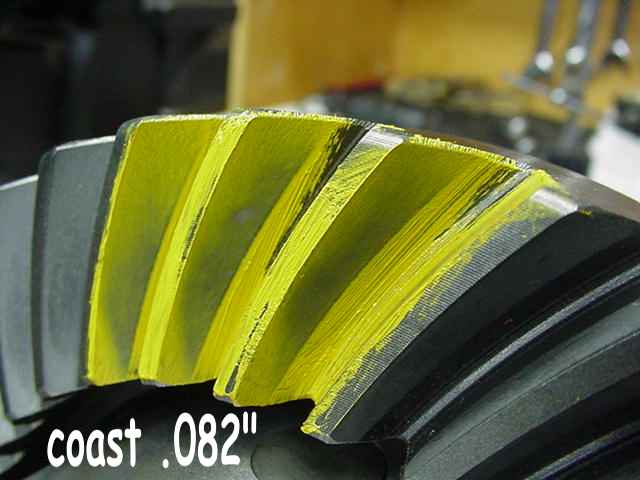
coast agrees
|
|
|
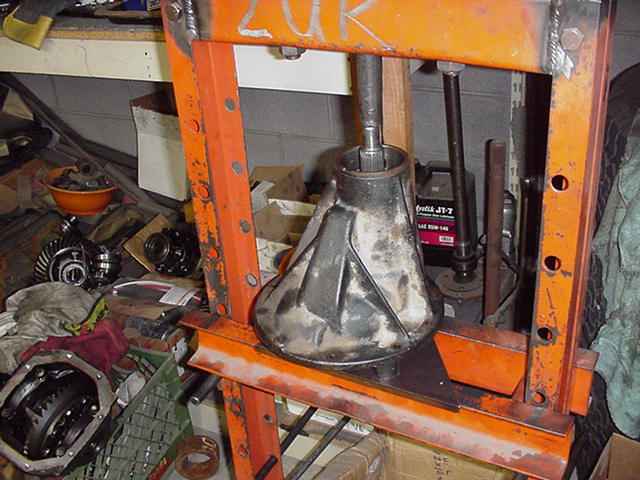
This means the carrier has to be broken down all the way. Press the pinion out to prevent
damage to the outer pinion race.
|
|
|
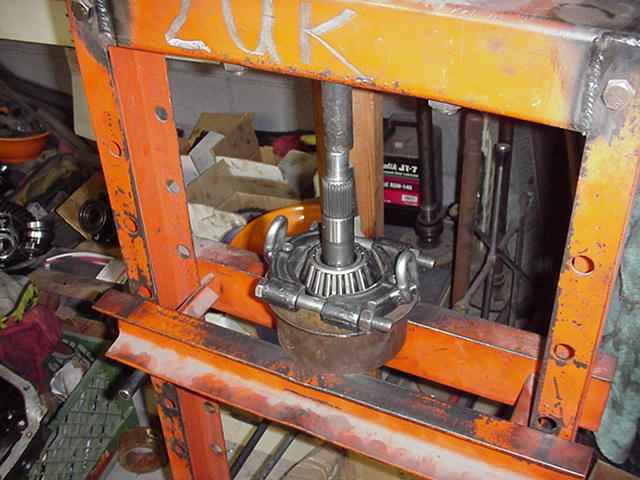
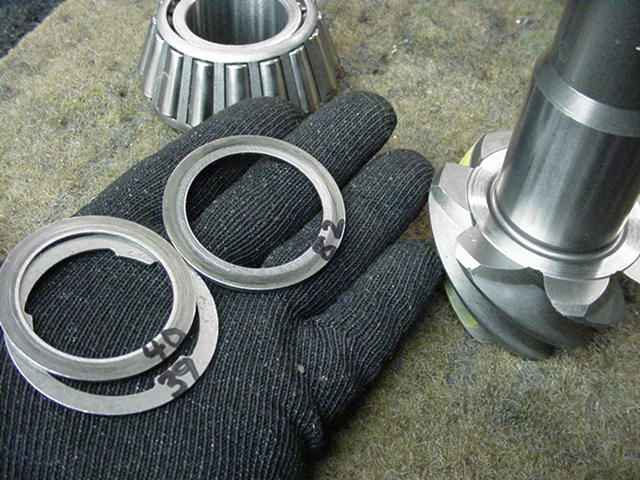
Press the inner pinion bearing off to access the shims...
|
|
|
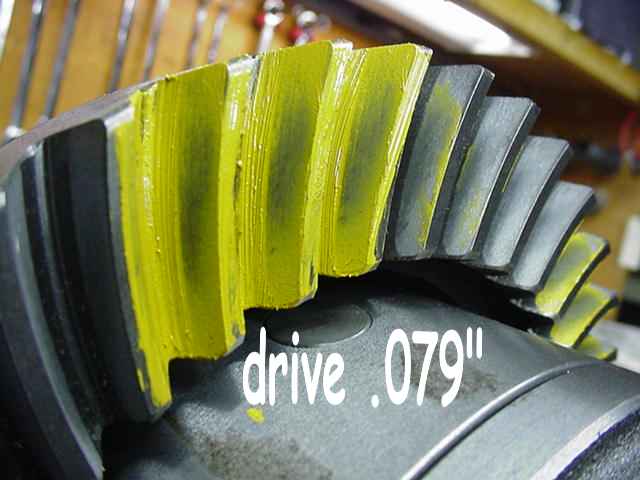
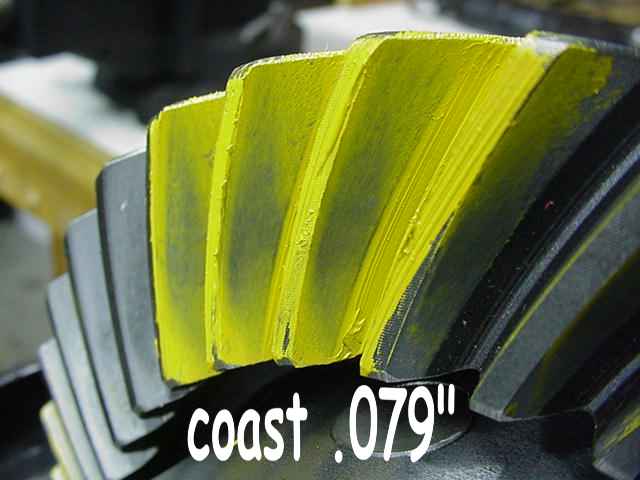
Remove 3 thou and assemble the .079" shim pack...
|
|
|
Very acceptable.
|
|
|
Good.
|
|
|
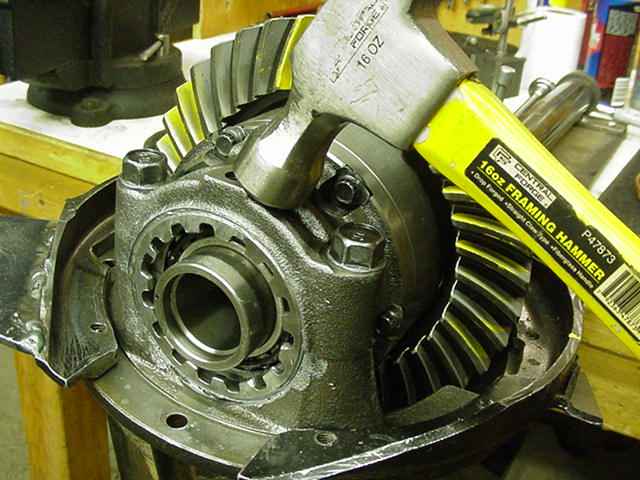
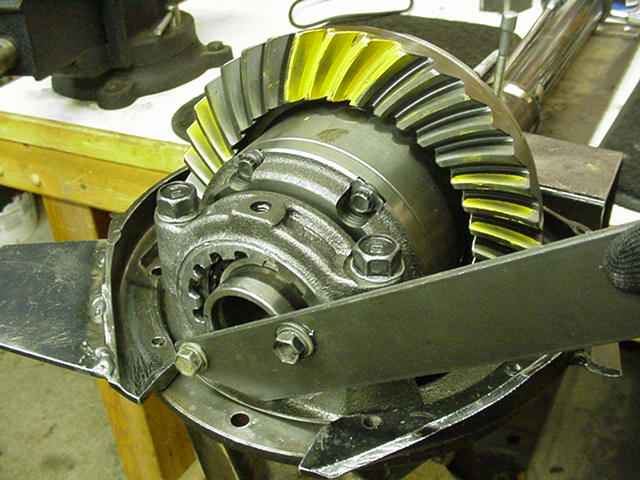
Using a hammer to equalize the bearing tension...
|
|
|
Key to long gear life and maximum strength is maximum carrier bearing pre-loading.
|
|
|
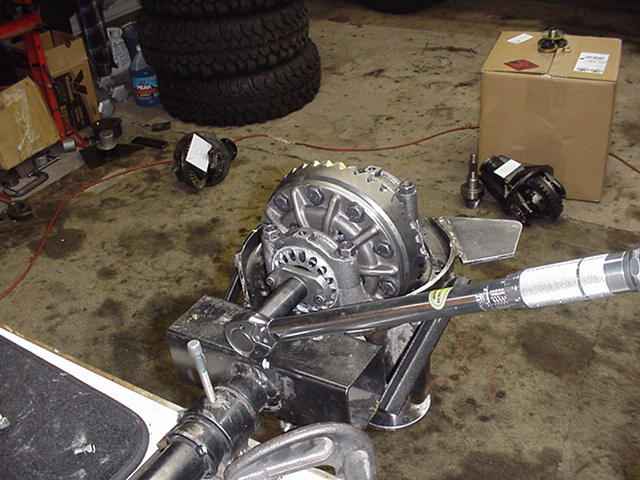
Click goes the 150 ft/lb torque wrench. Actual pre-load as measured in earlier tests was 15 in/lb on the bearings
themselves.
|
|
|
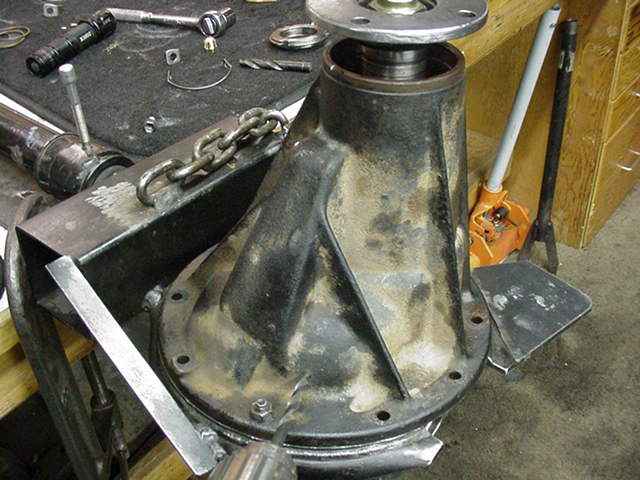
The meat of the gear install is done. Time to drill (7/16" drill bit) and tap with a 1/4 NPT tap.
|
|
|
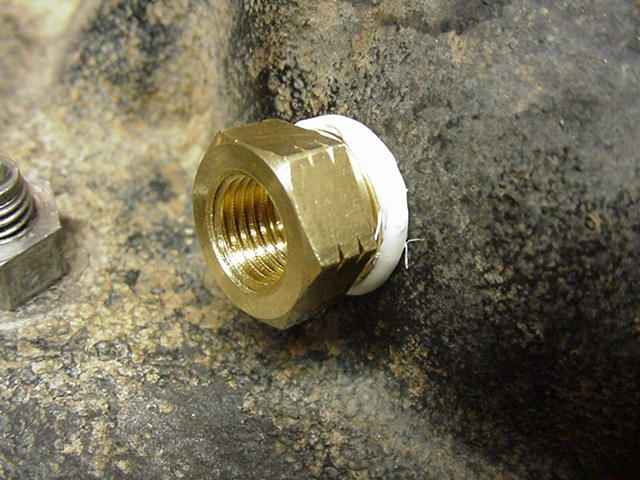
Liquid PTFE thread sealant was used on the pipe thread to keep the gear oil in.
|
|
|
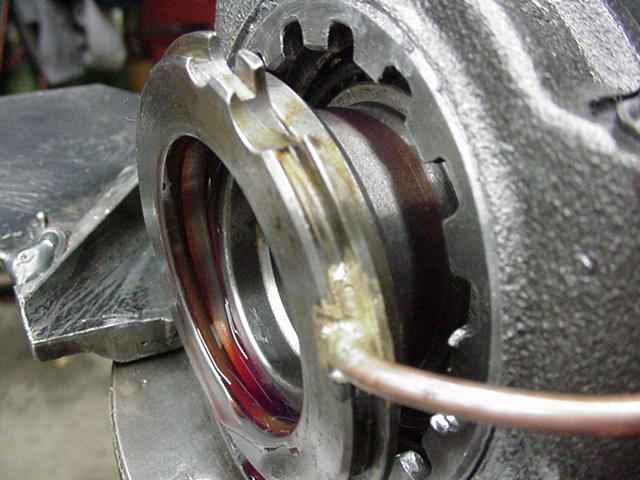
The seal housing with the 2 o-rings must be carefully wiggled on with lots of gear oil.
|
|
|
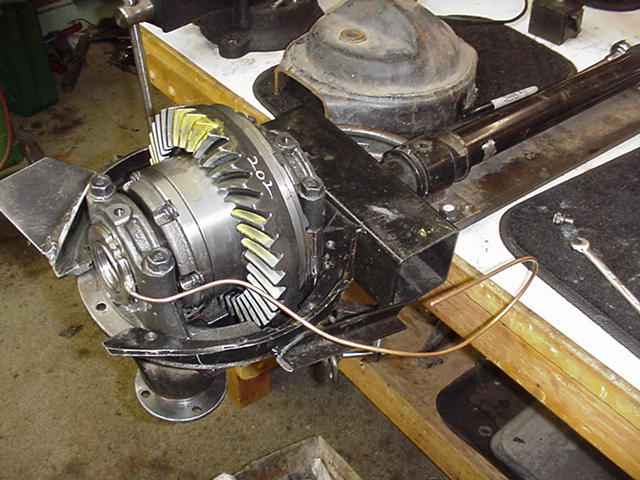
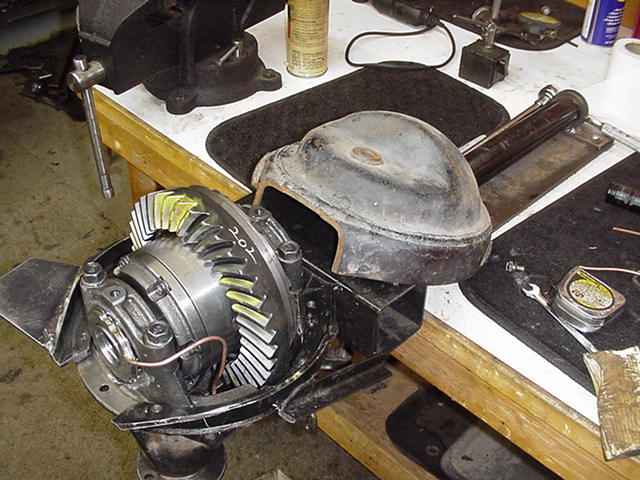
Having a service loop is probably a good thing. The copper tubing forms very easy.
|
|
|
...
|
|
|
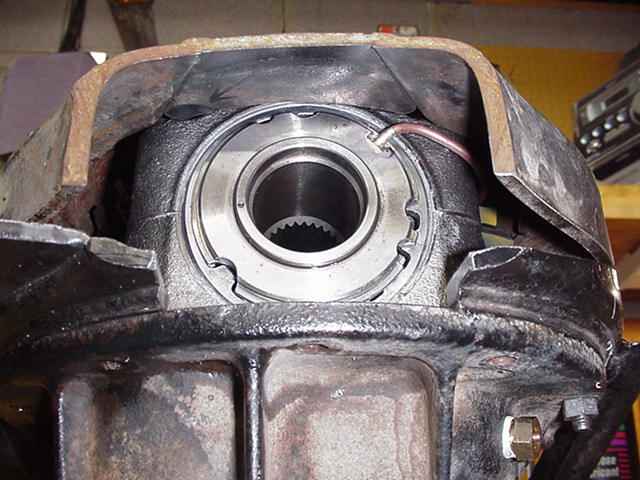
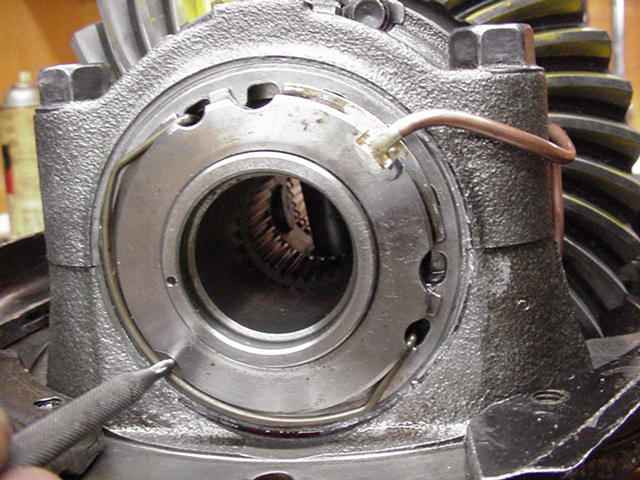
I was able to check clearances using the dummy cover I have. Lots of room for the copper line.
|
|
|
The retainer clip easily goes in place.
|
|
|
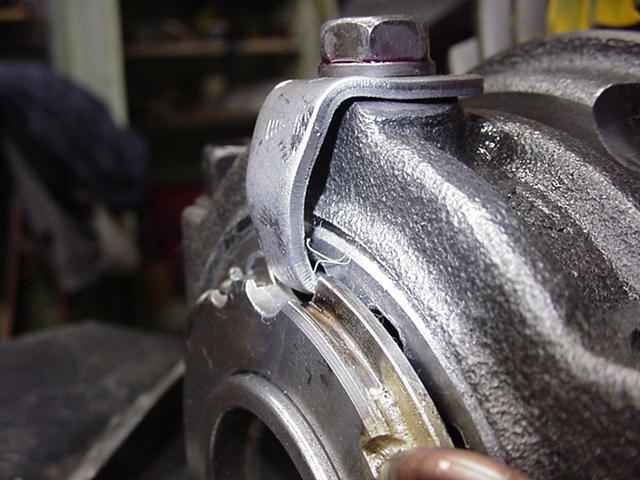
Loctite the Toyota tab in place.
|
|
|
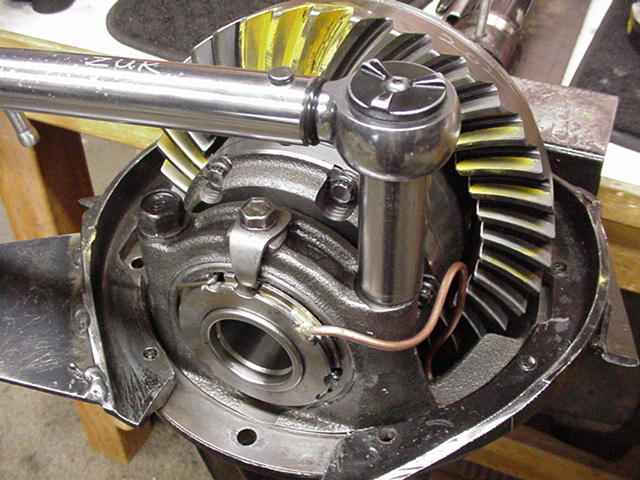
A quick double-check to verify 80 ft/lb on the cap bolts.
|
|
|
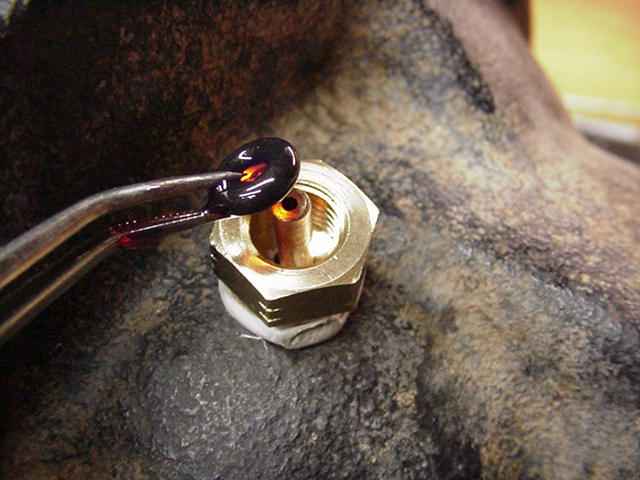
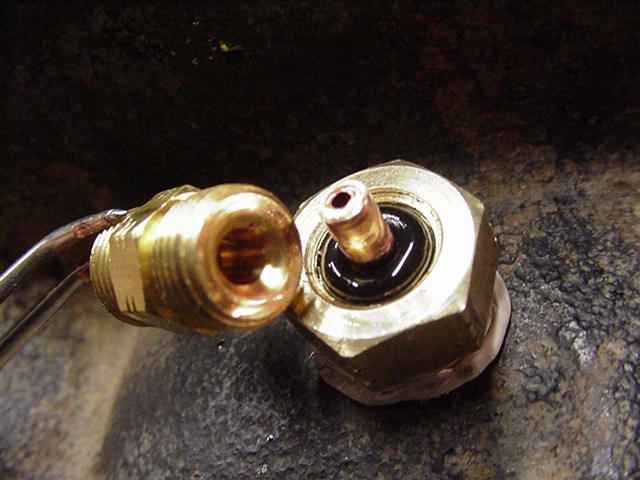
The fat o-rings get plenty of gear oil.
|
|
|
Make sure to screw on the correct side.
|
|
|
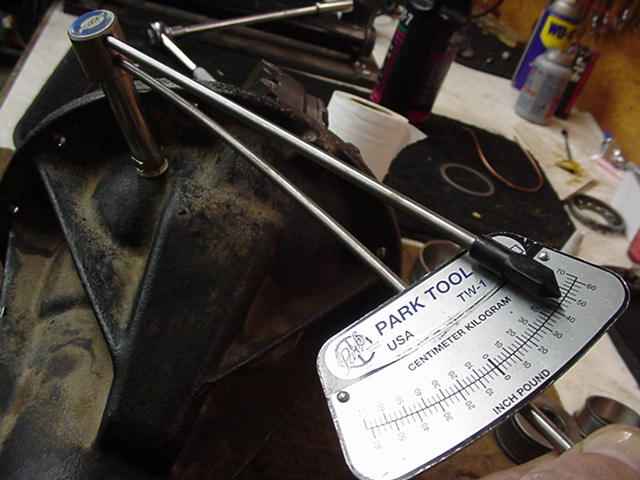
45~50 inch/pounds feels about right for a good seal.
|
|
|
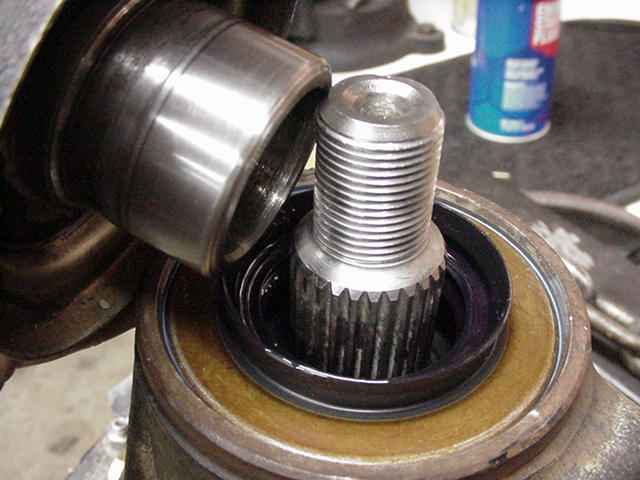
With a new seal installed and clean threads, the original Toyota flange is installed.
|
|
|
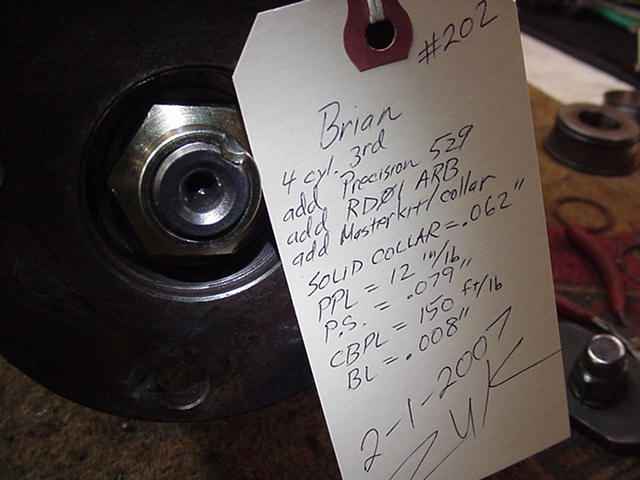
Ready to install. :)
|

|