|
Harrop Rear 9.5" Install For Ralph's 2009 Landcruiser 200 Series
|
|
(62 BIG pics loading)
|
|
MAR 29 2017
|
|
|
|
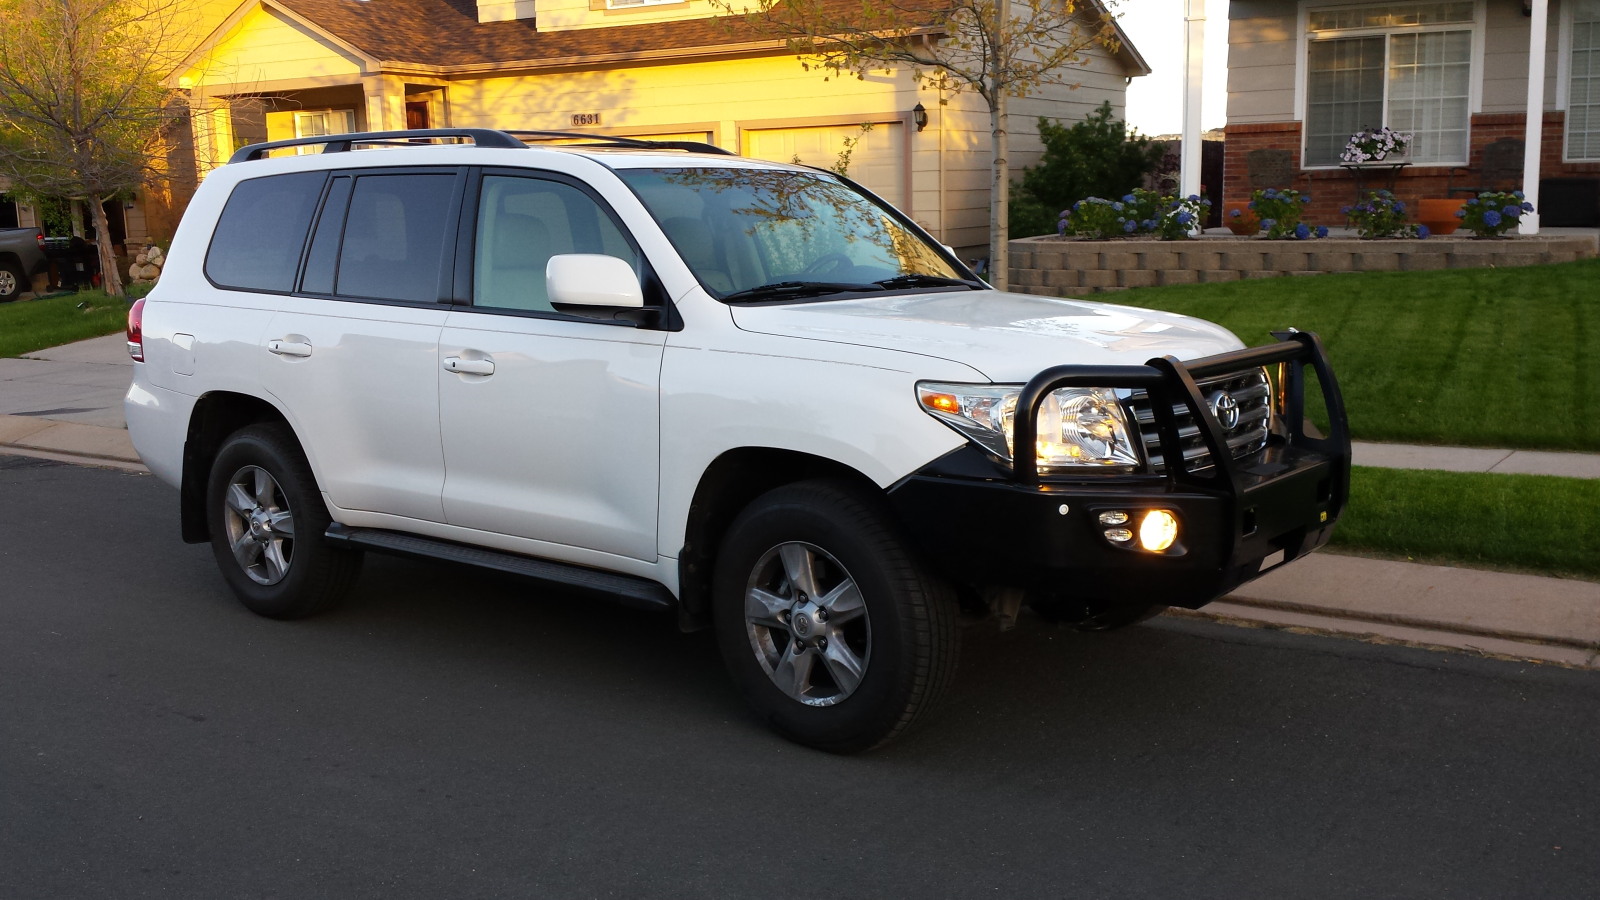
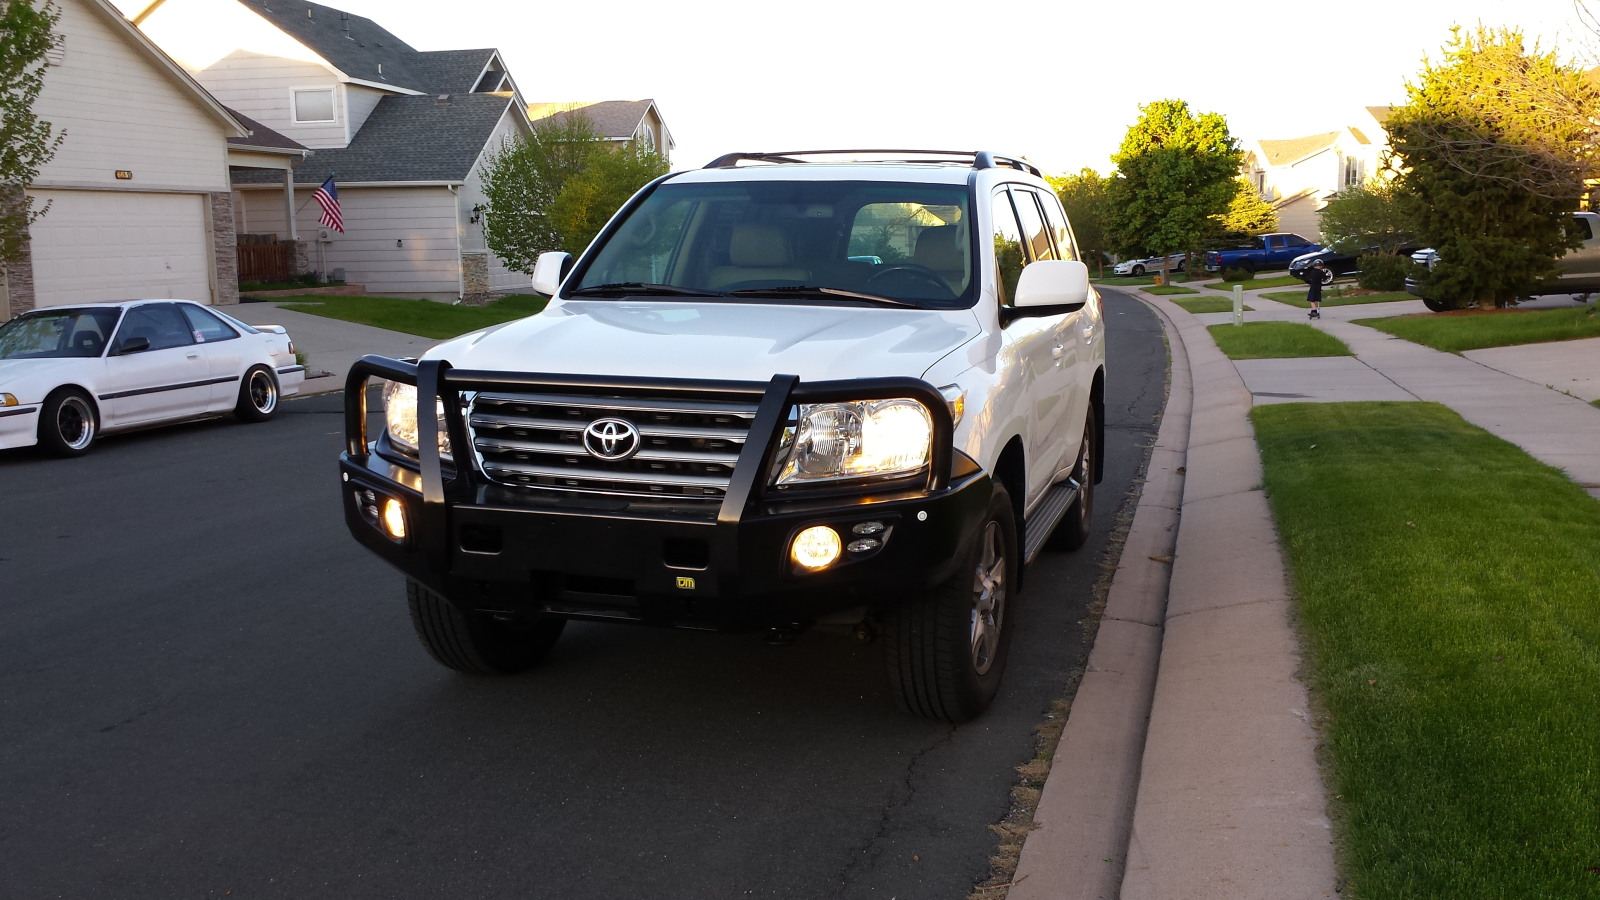
Ralph has a clean looking '09 TLC.
|
|
|
|
|
150,000 miles with factory 3.90 gears.
|
|
|
|
|
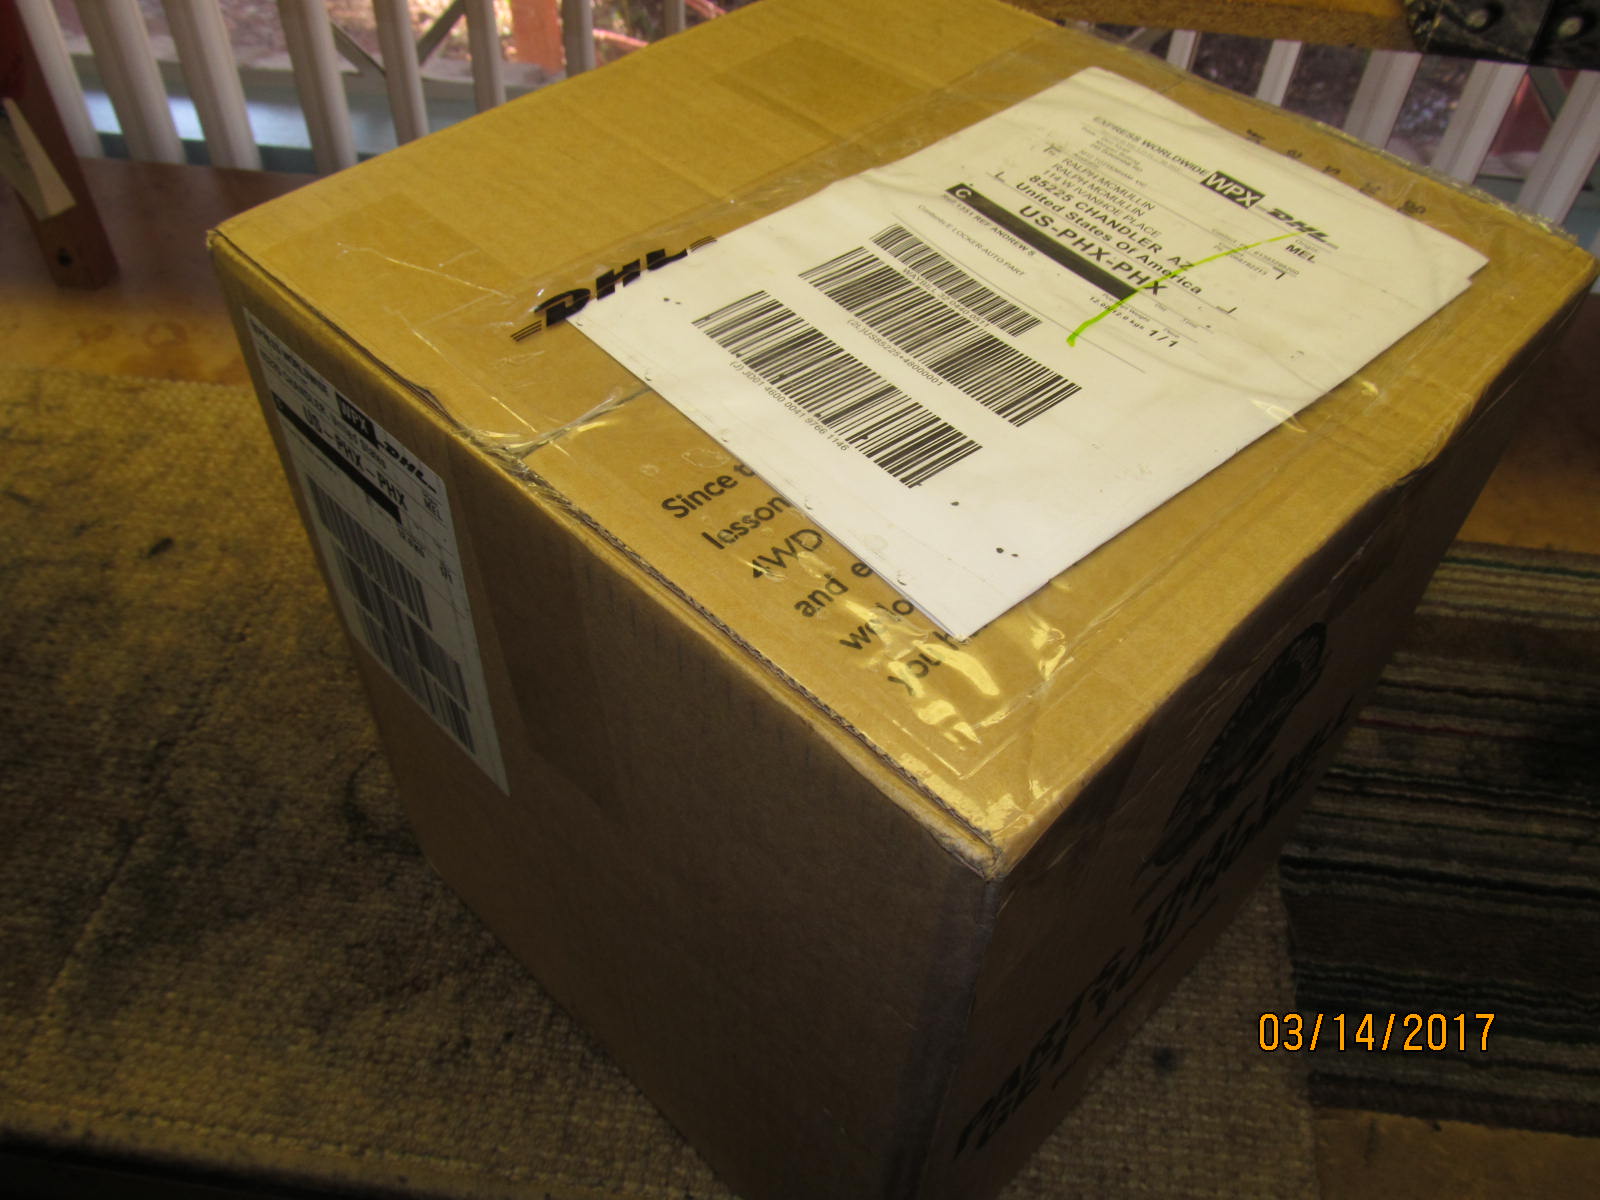
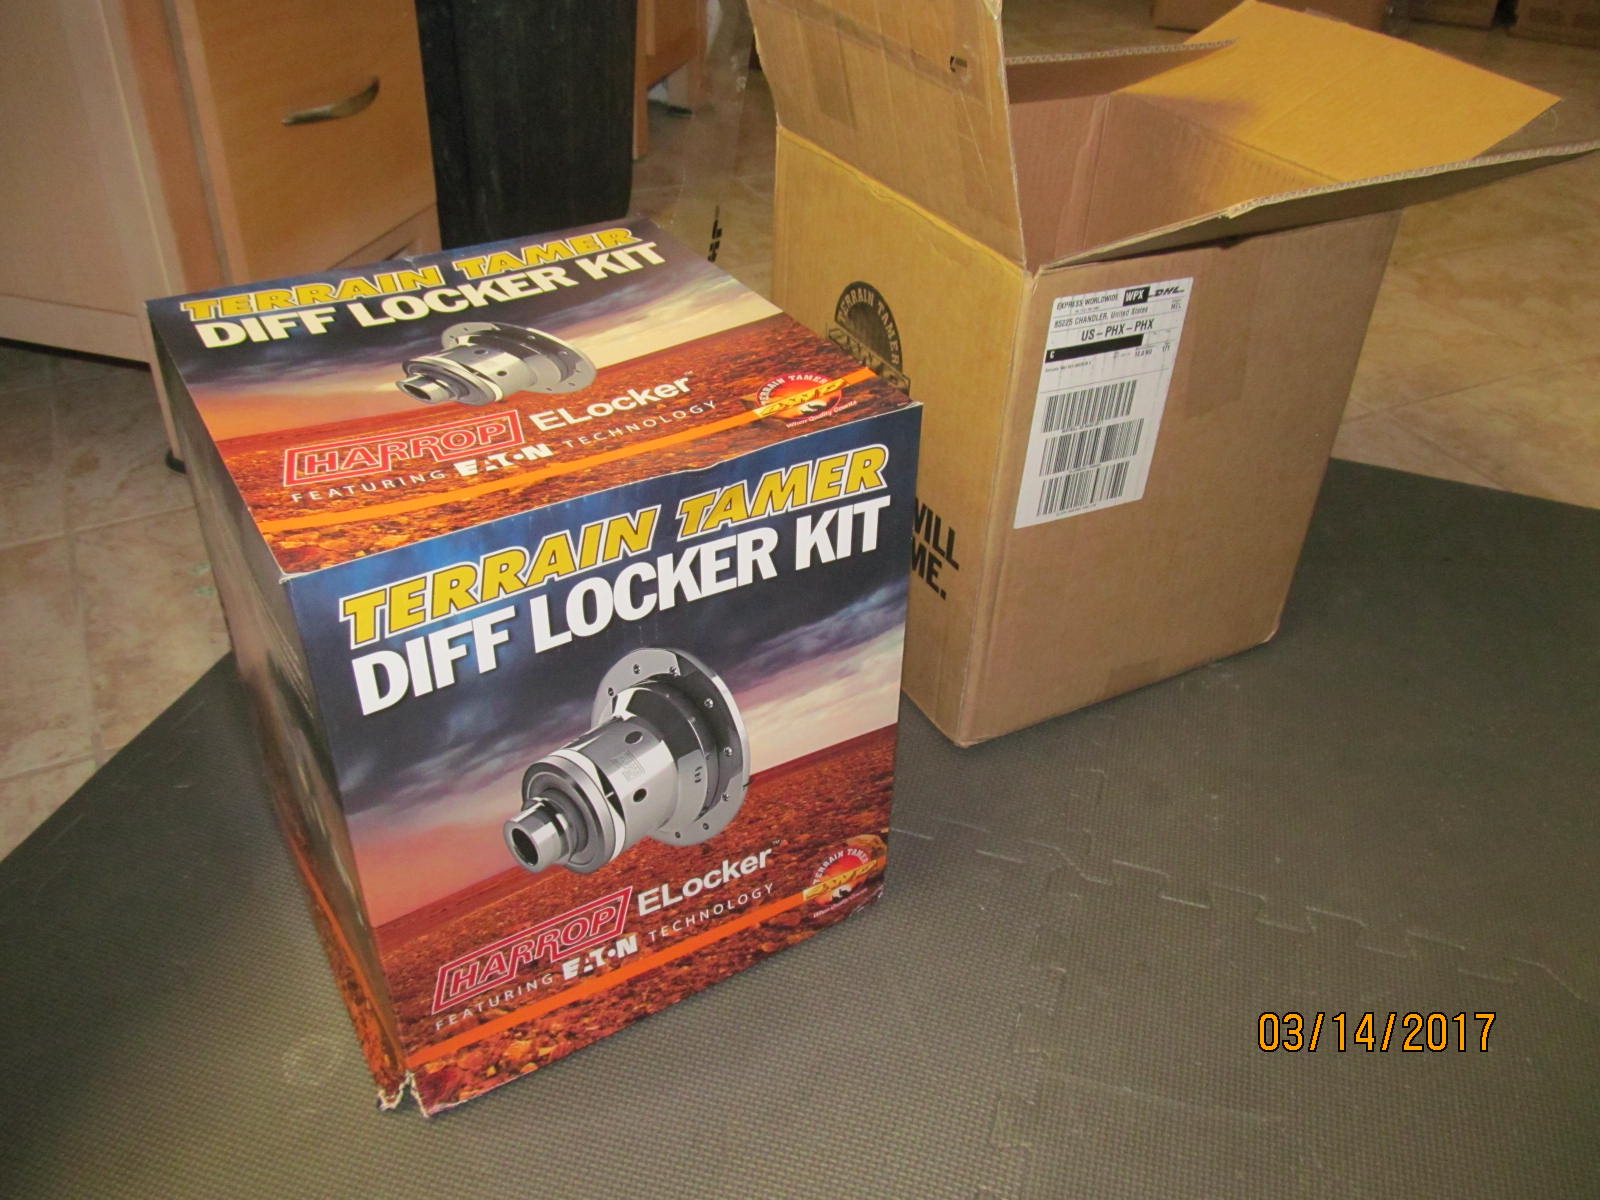
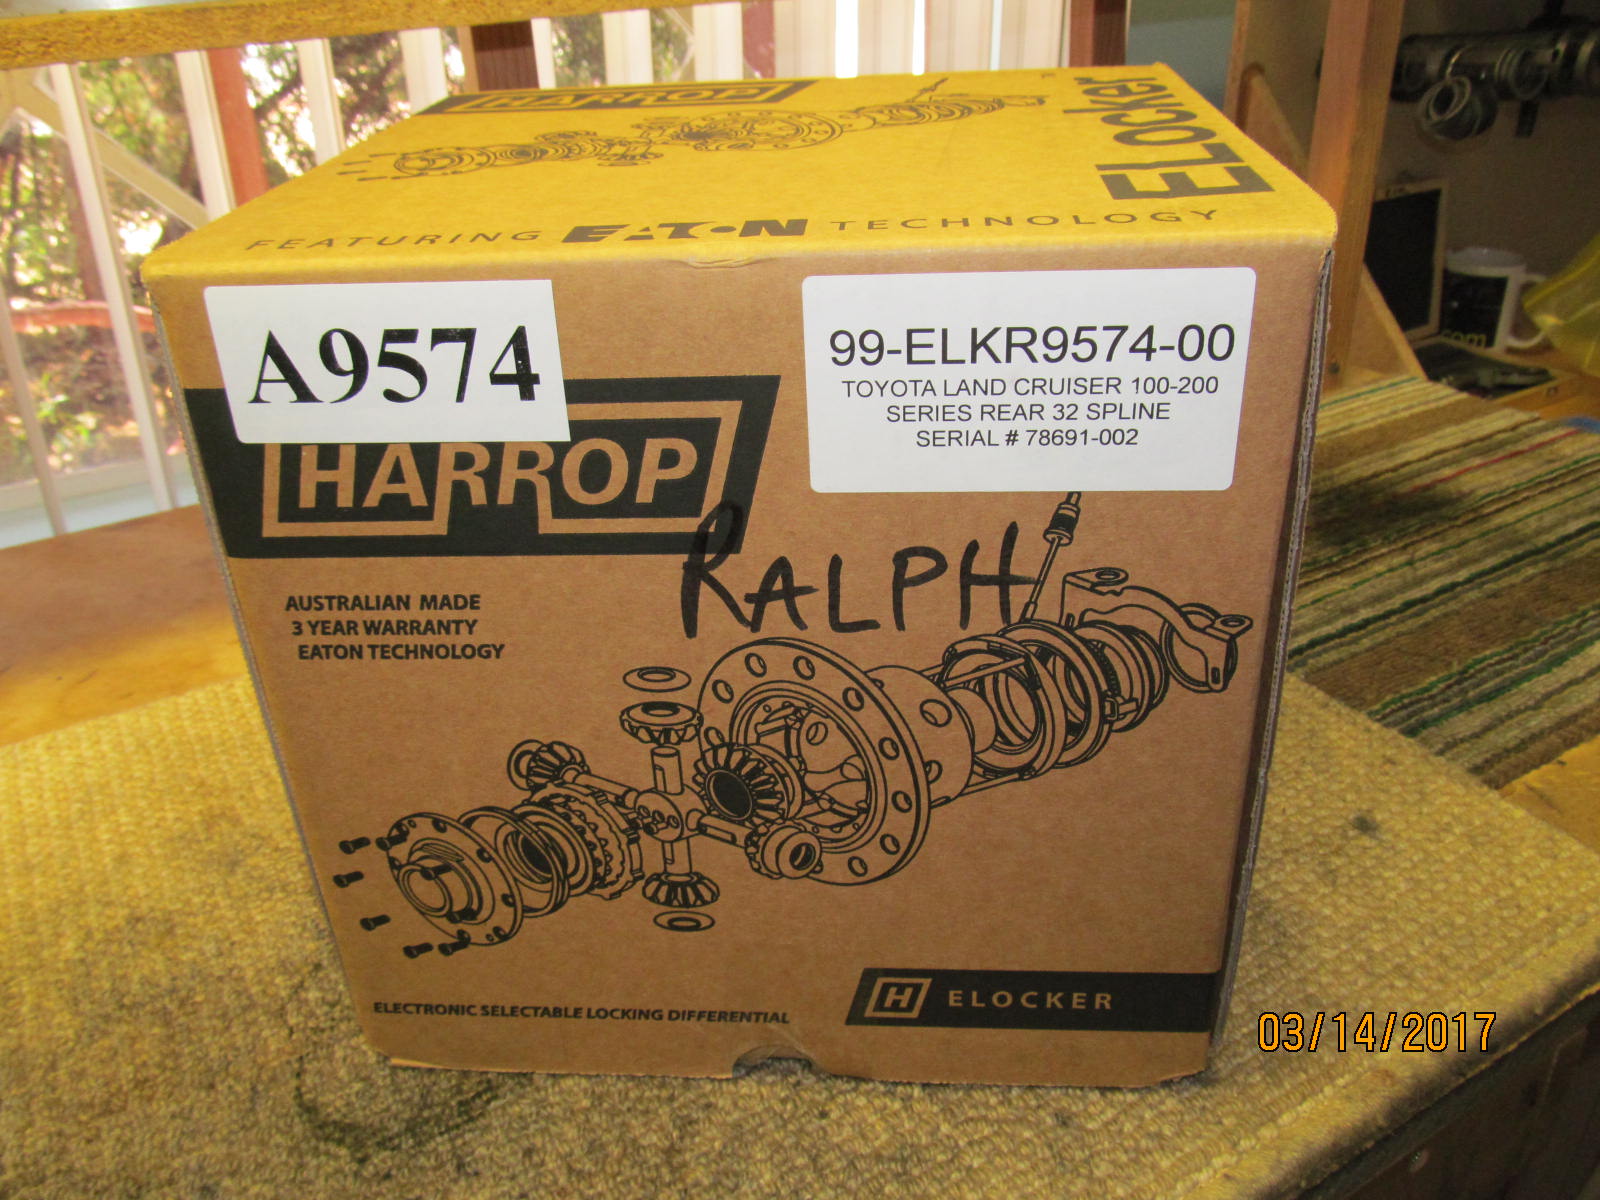
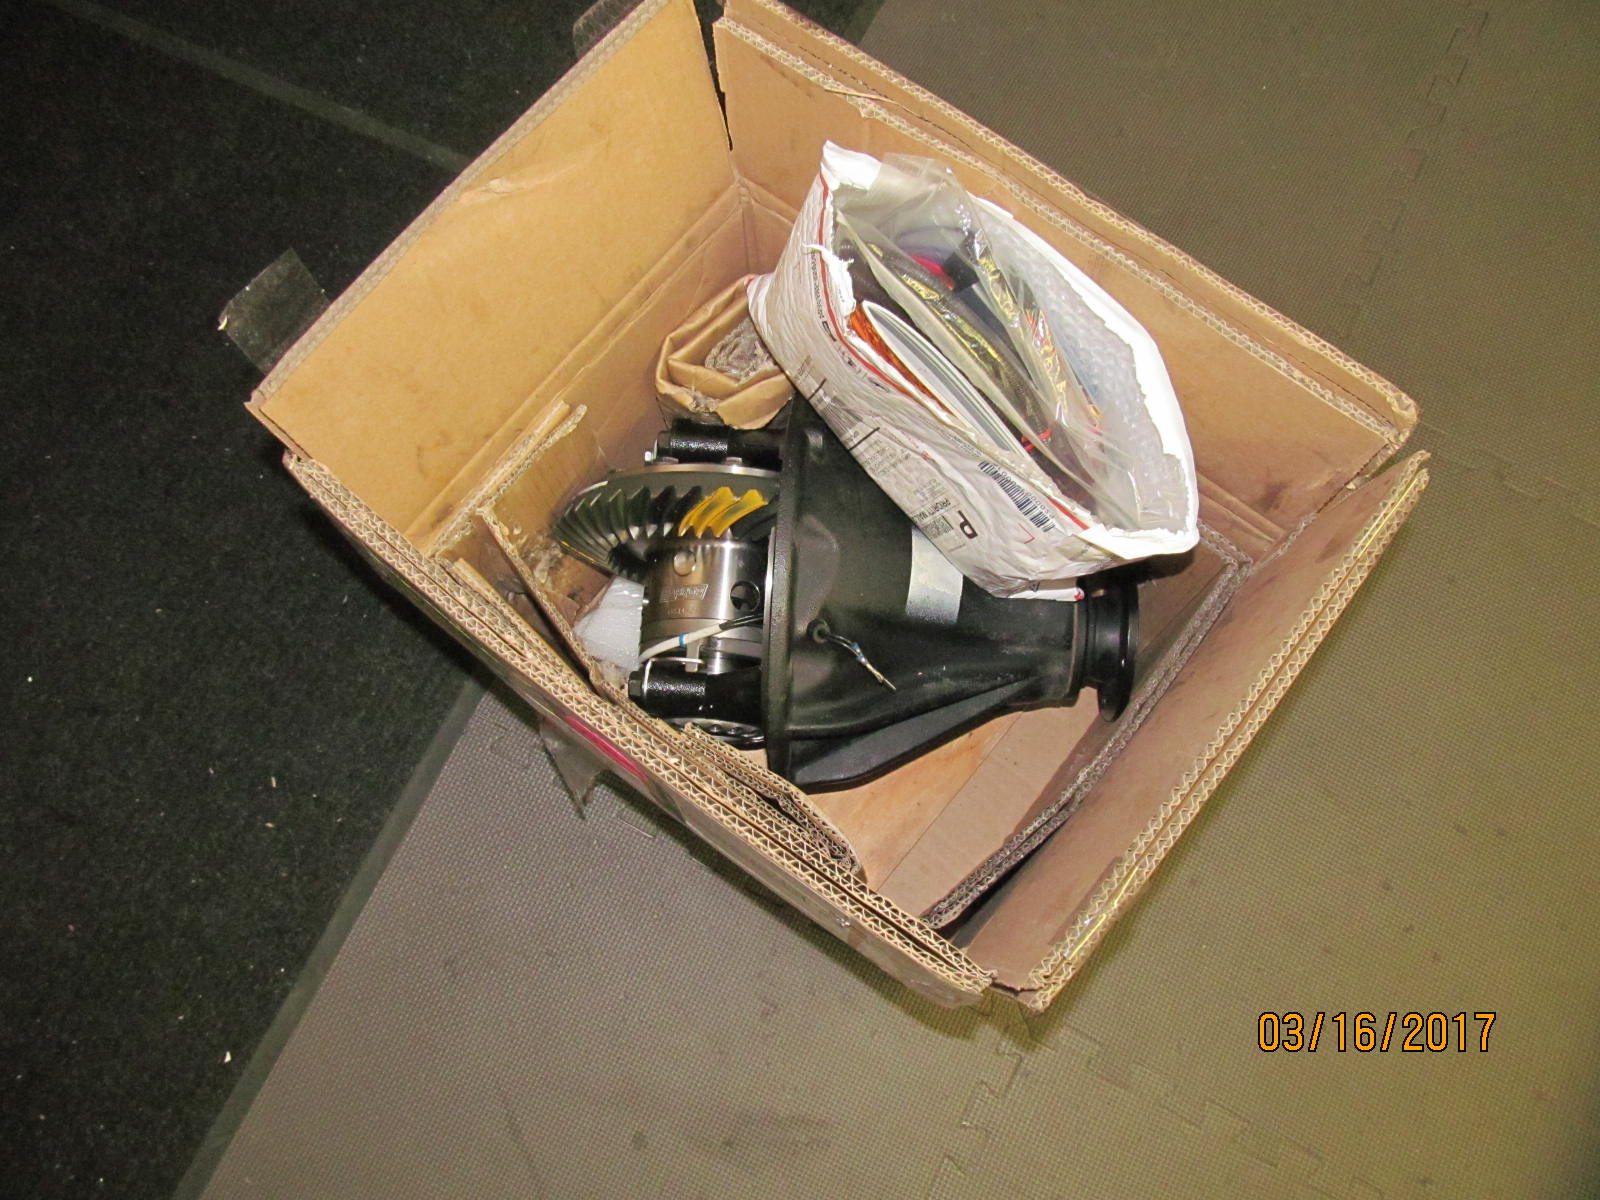
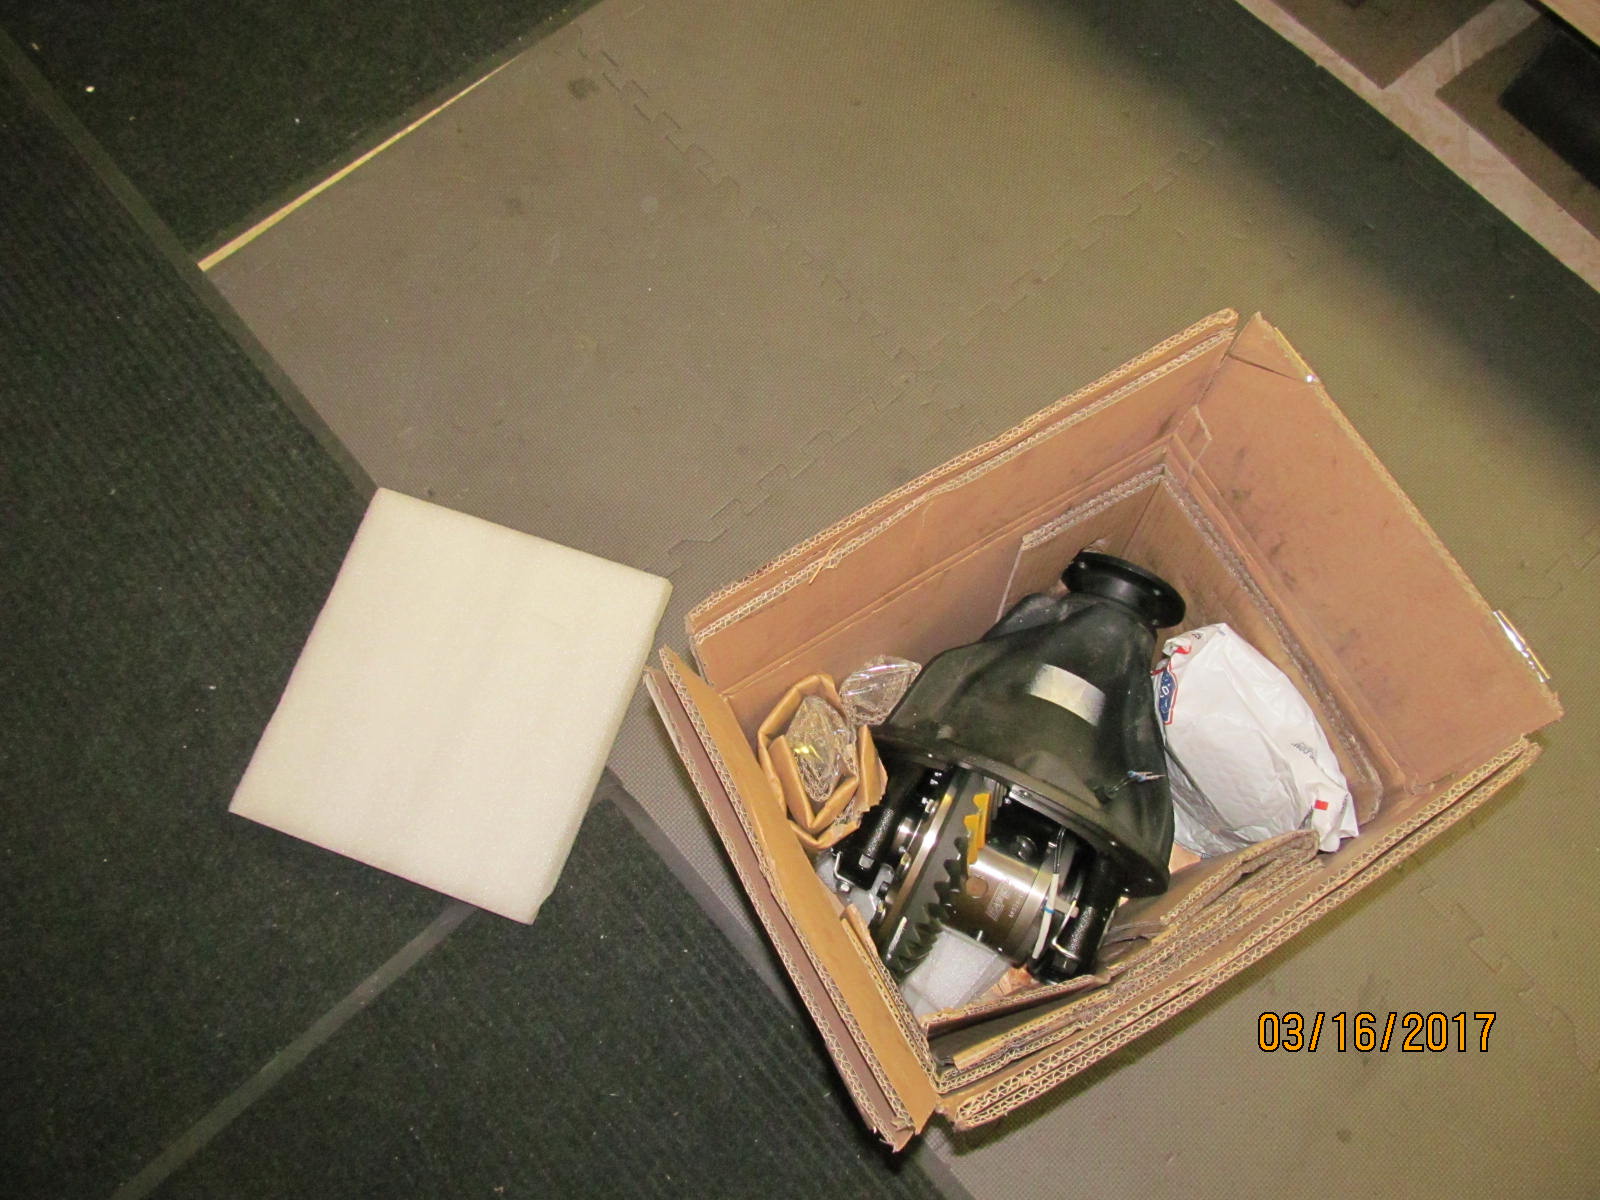
Received this particular Harrop model directly from Australia.
|
|
|
|
|
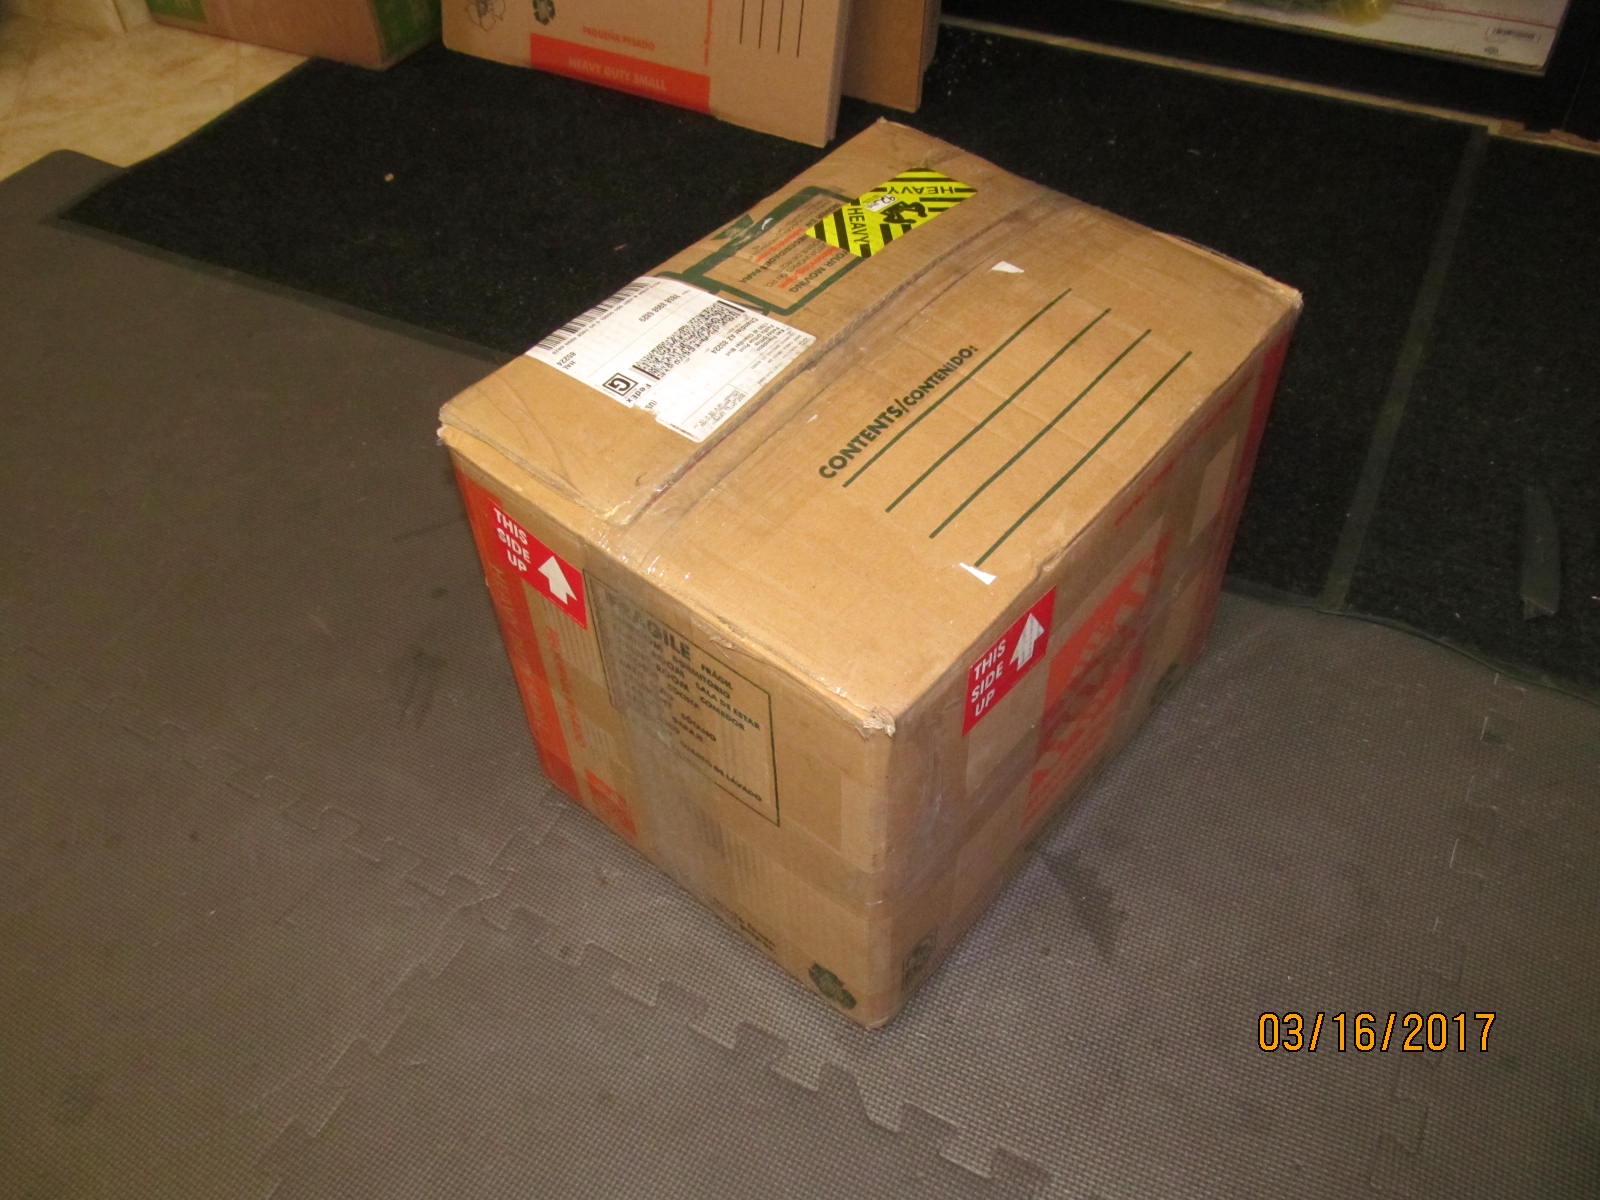
A box in a box.
|
|
|

|
|
Box in a box in a box.
|
|
|
|
|
Model 9574 elocker.
|
|
|
|
|
.................
|
|
|
|
|
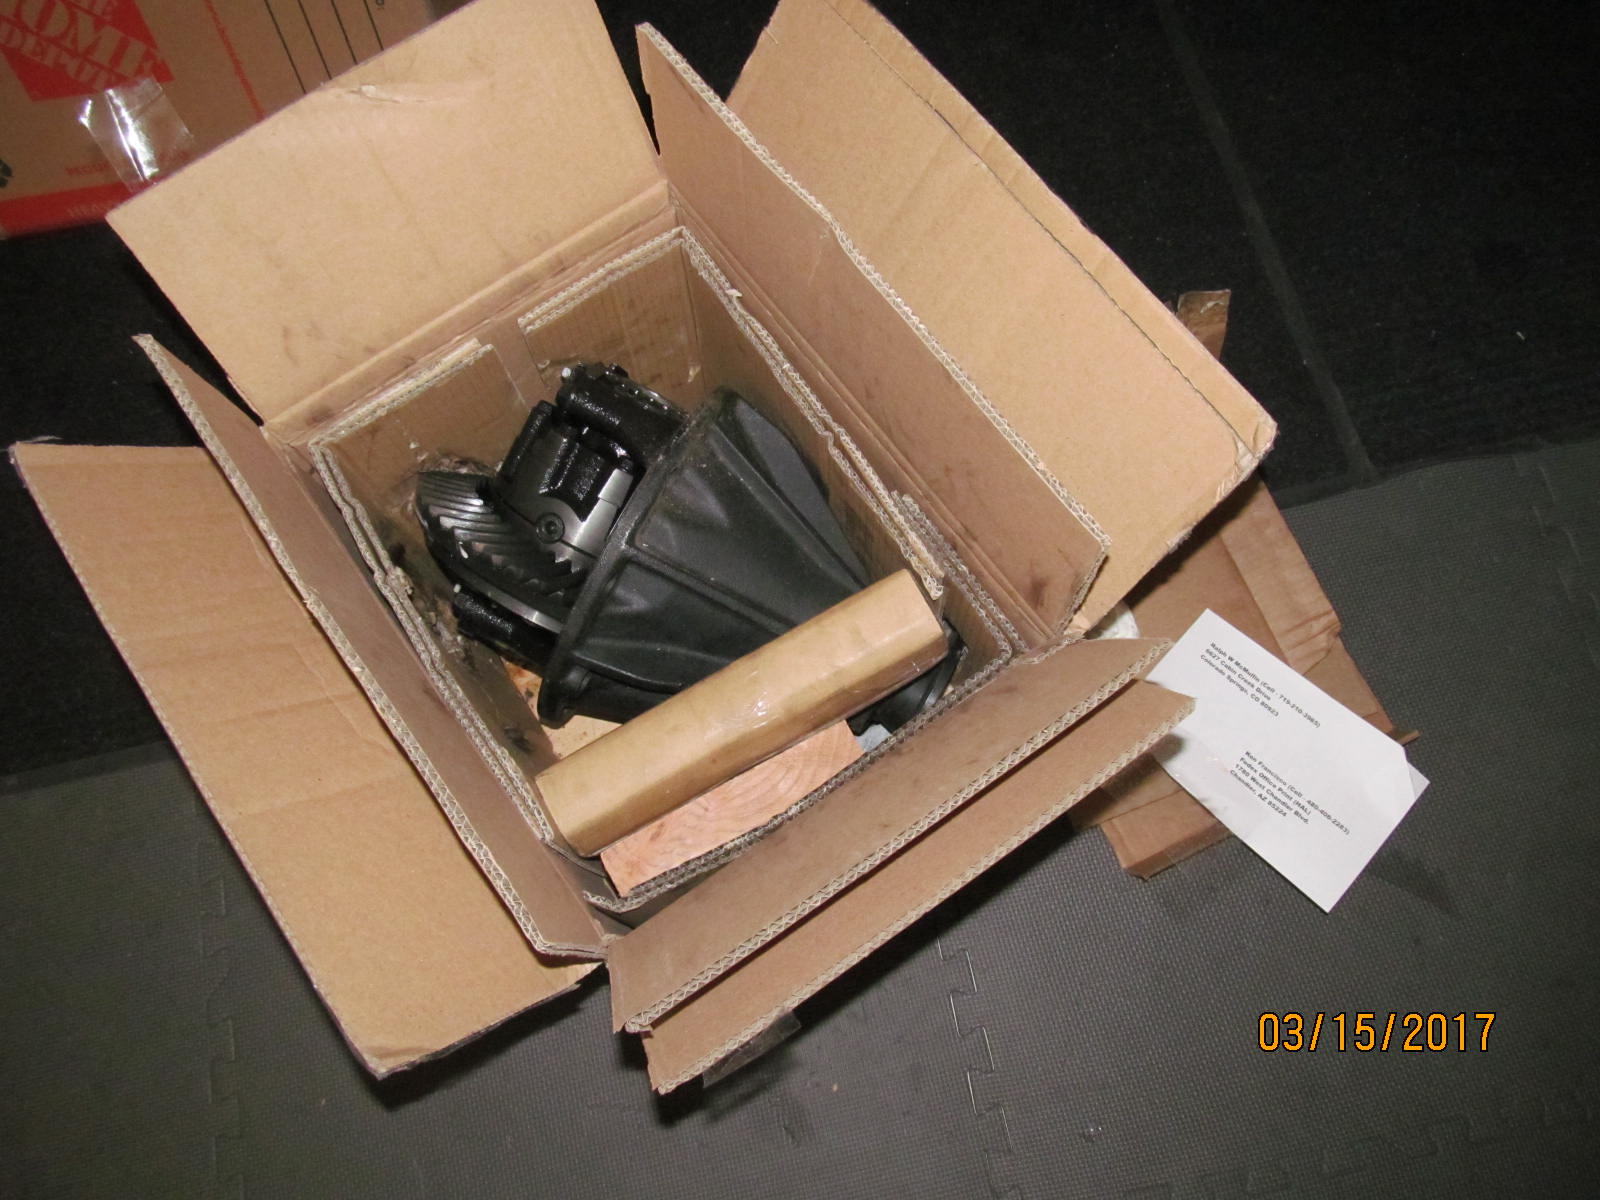
A short time later this arrived from Ralph. The diff itself is amazingly heavy for a stocker....83.6 pounds just for the diff.
|
|
|
|
|
..................
|
|
|
|
|
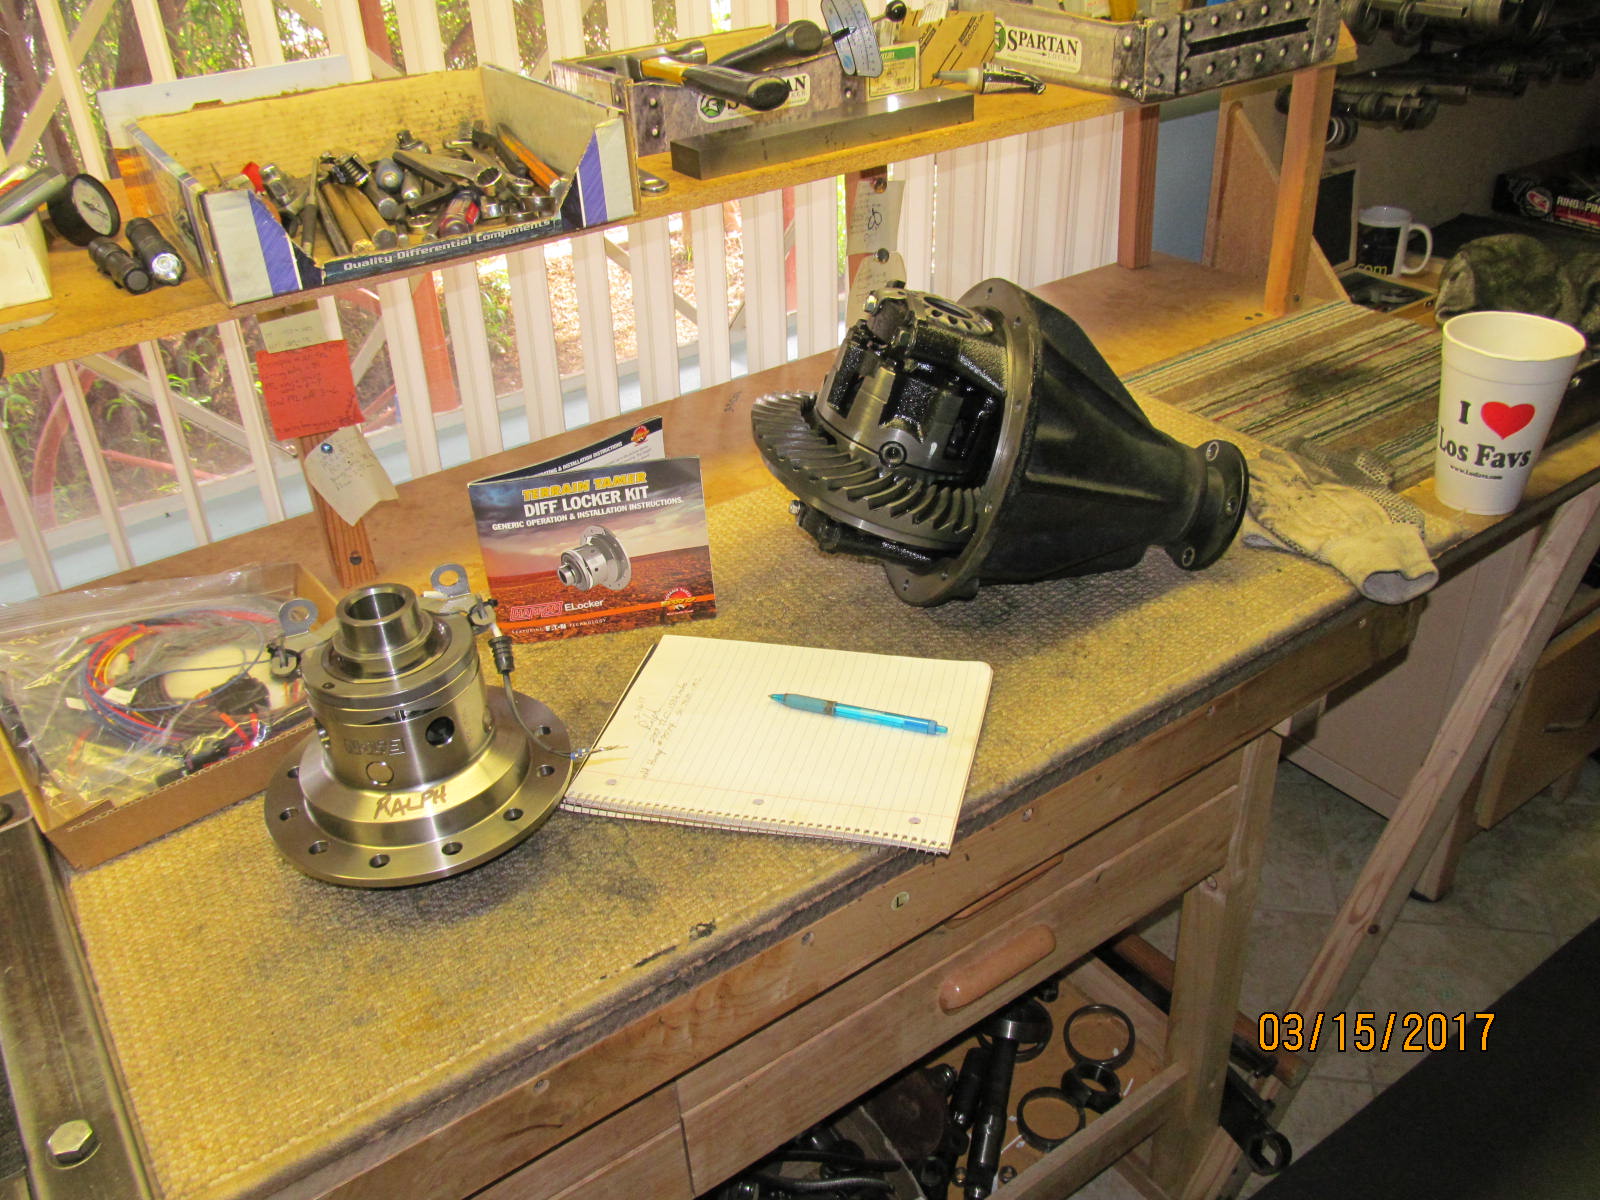
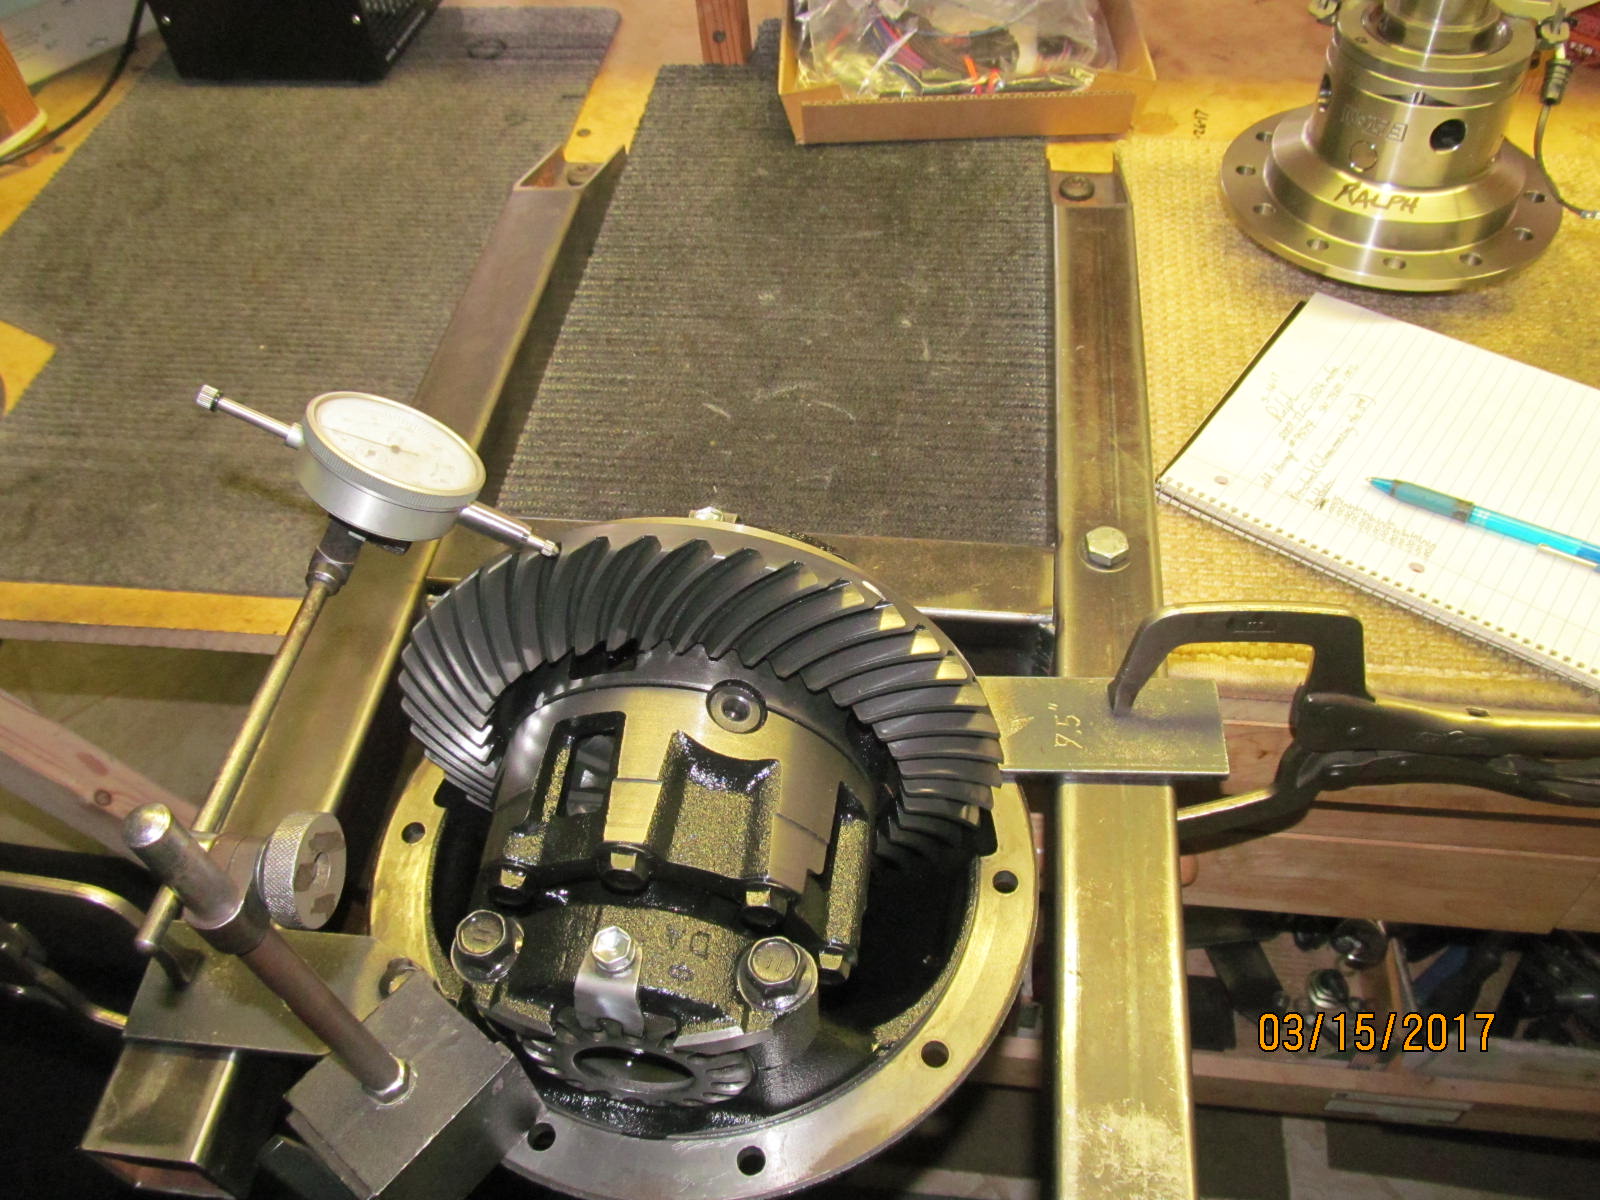
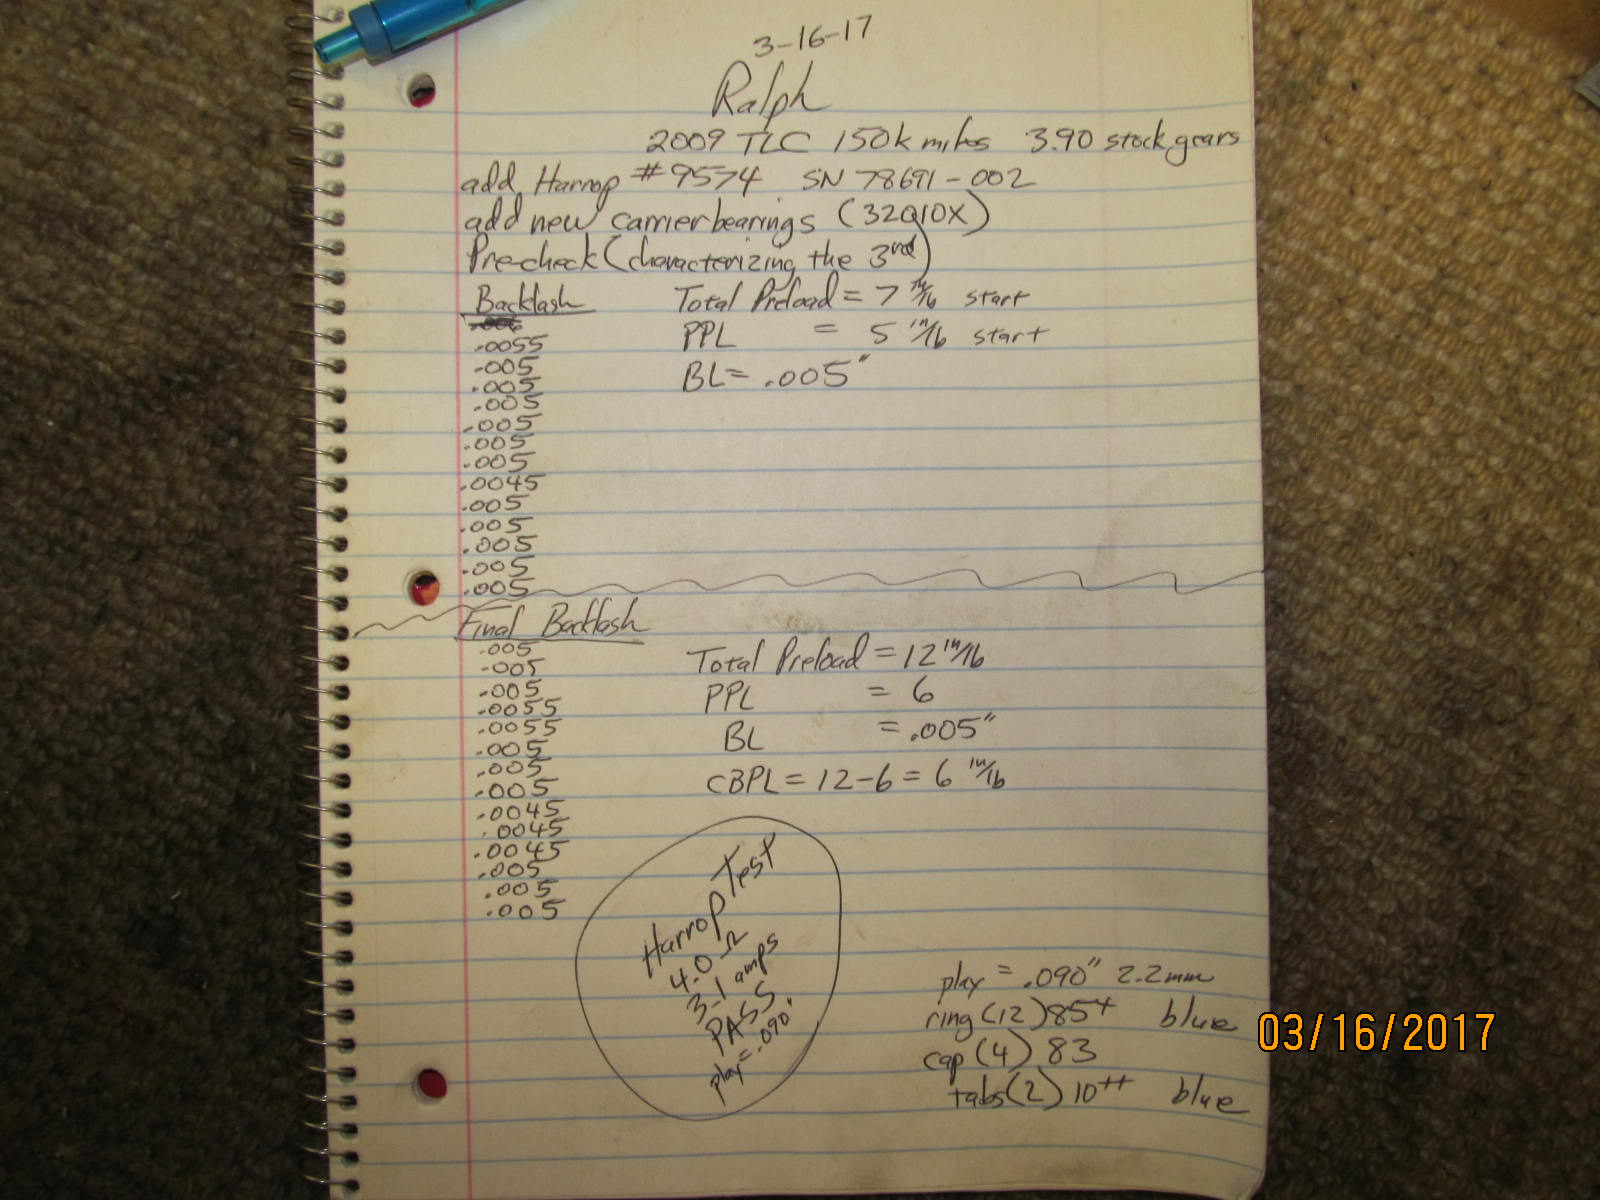
Before the partial teardown the backlash is recorded from every 3rd tooth.
|
|
|
|
|
Bearing preloads are noted.
|
|
|
|
|
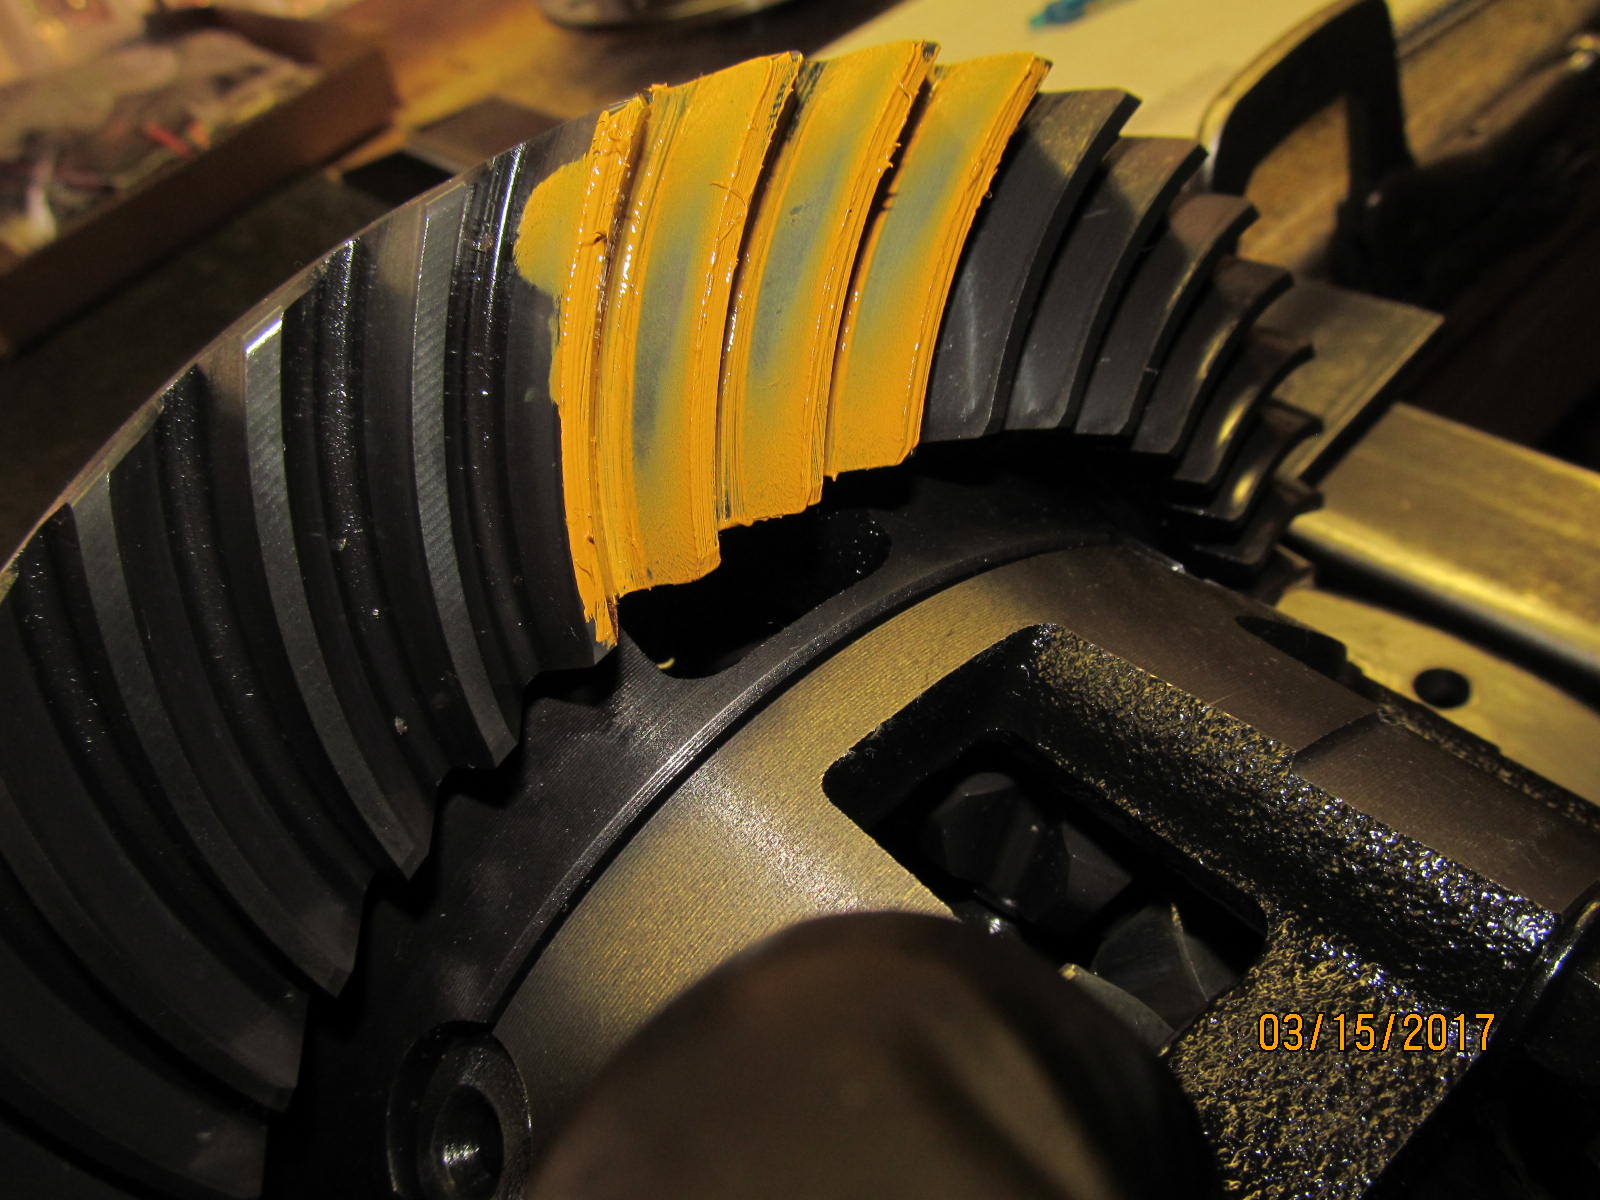
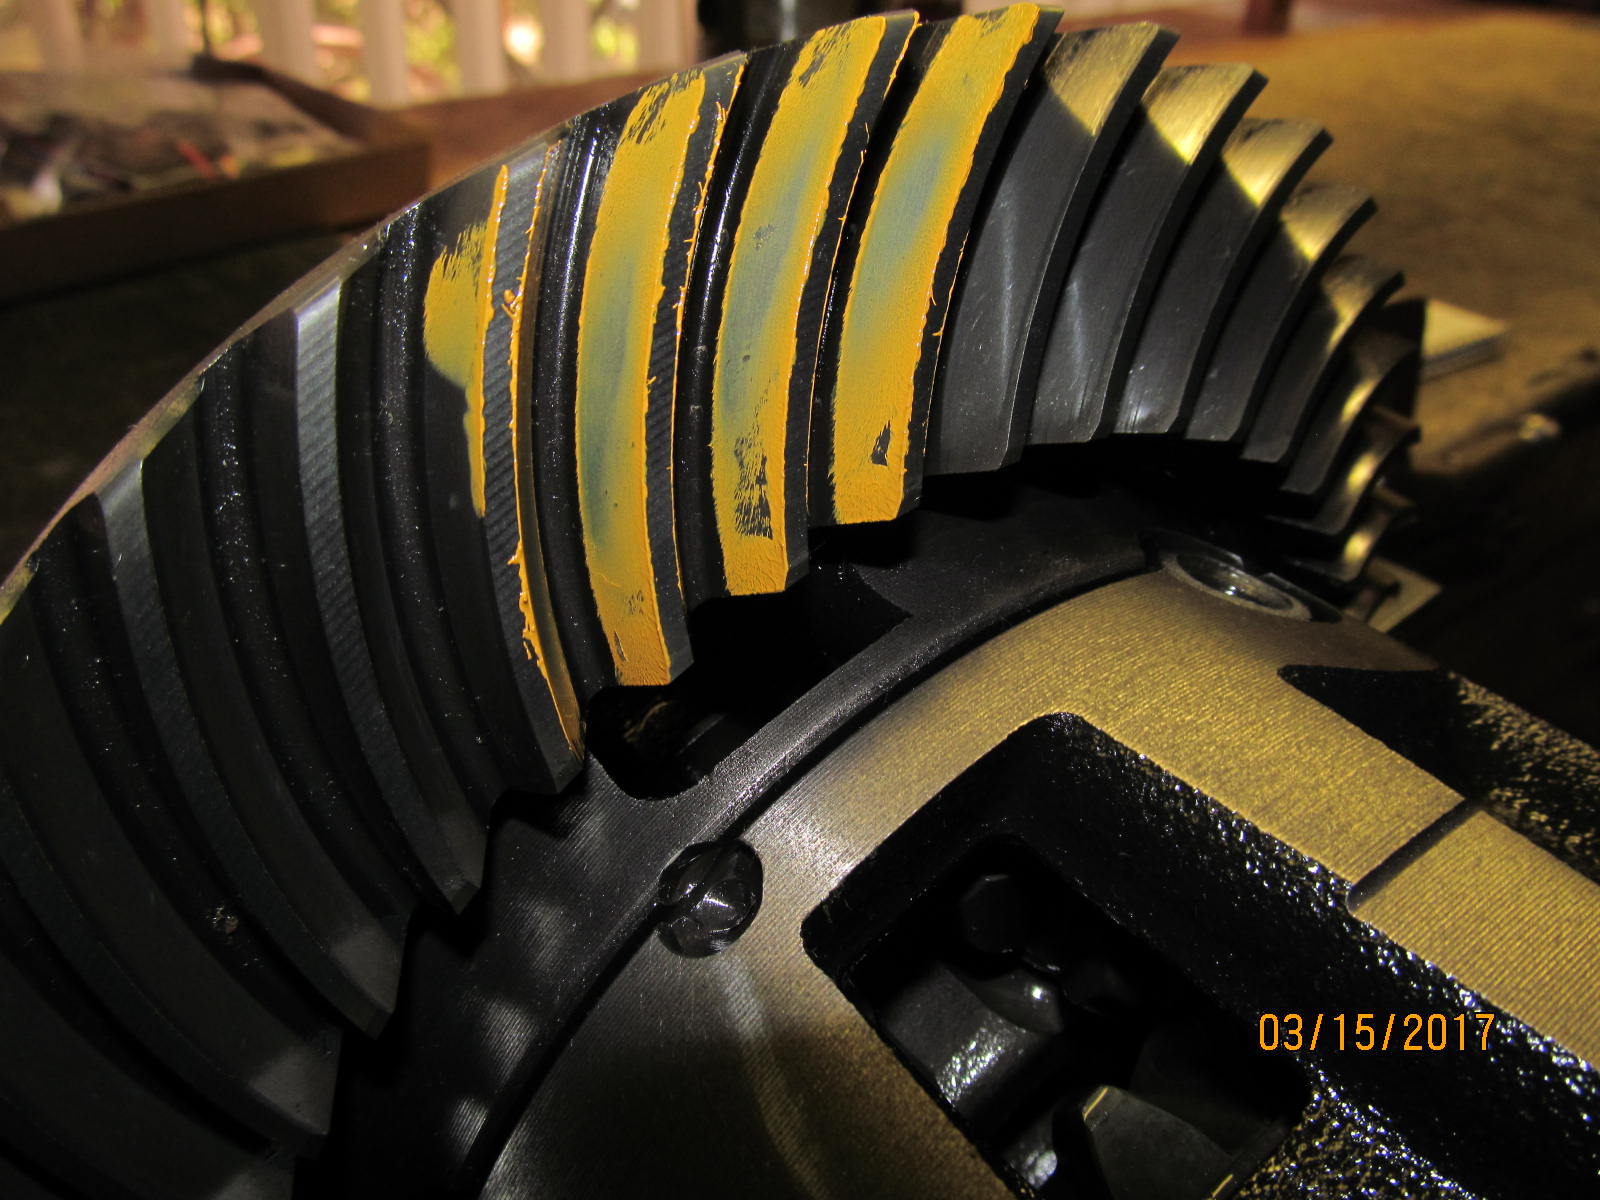
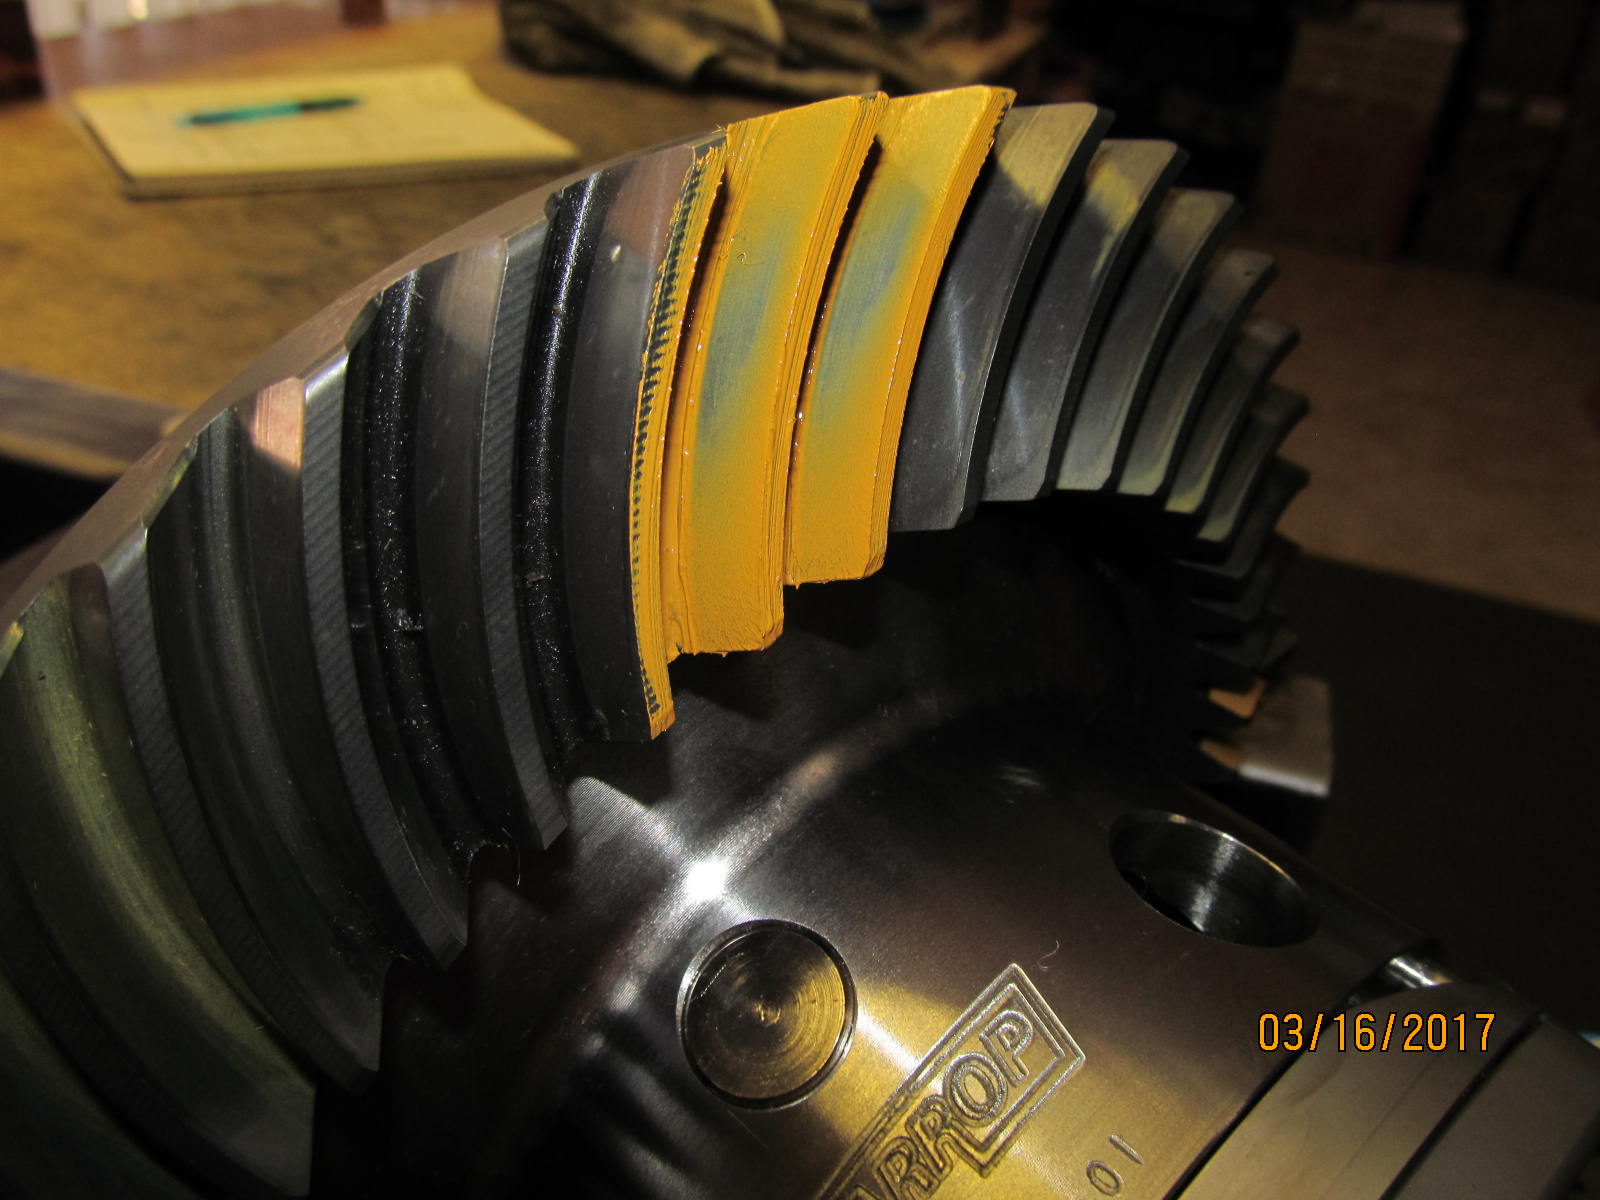
Not required but the teeth are painted. Drive side looks good.
|
|
|
|
|
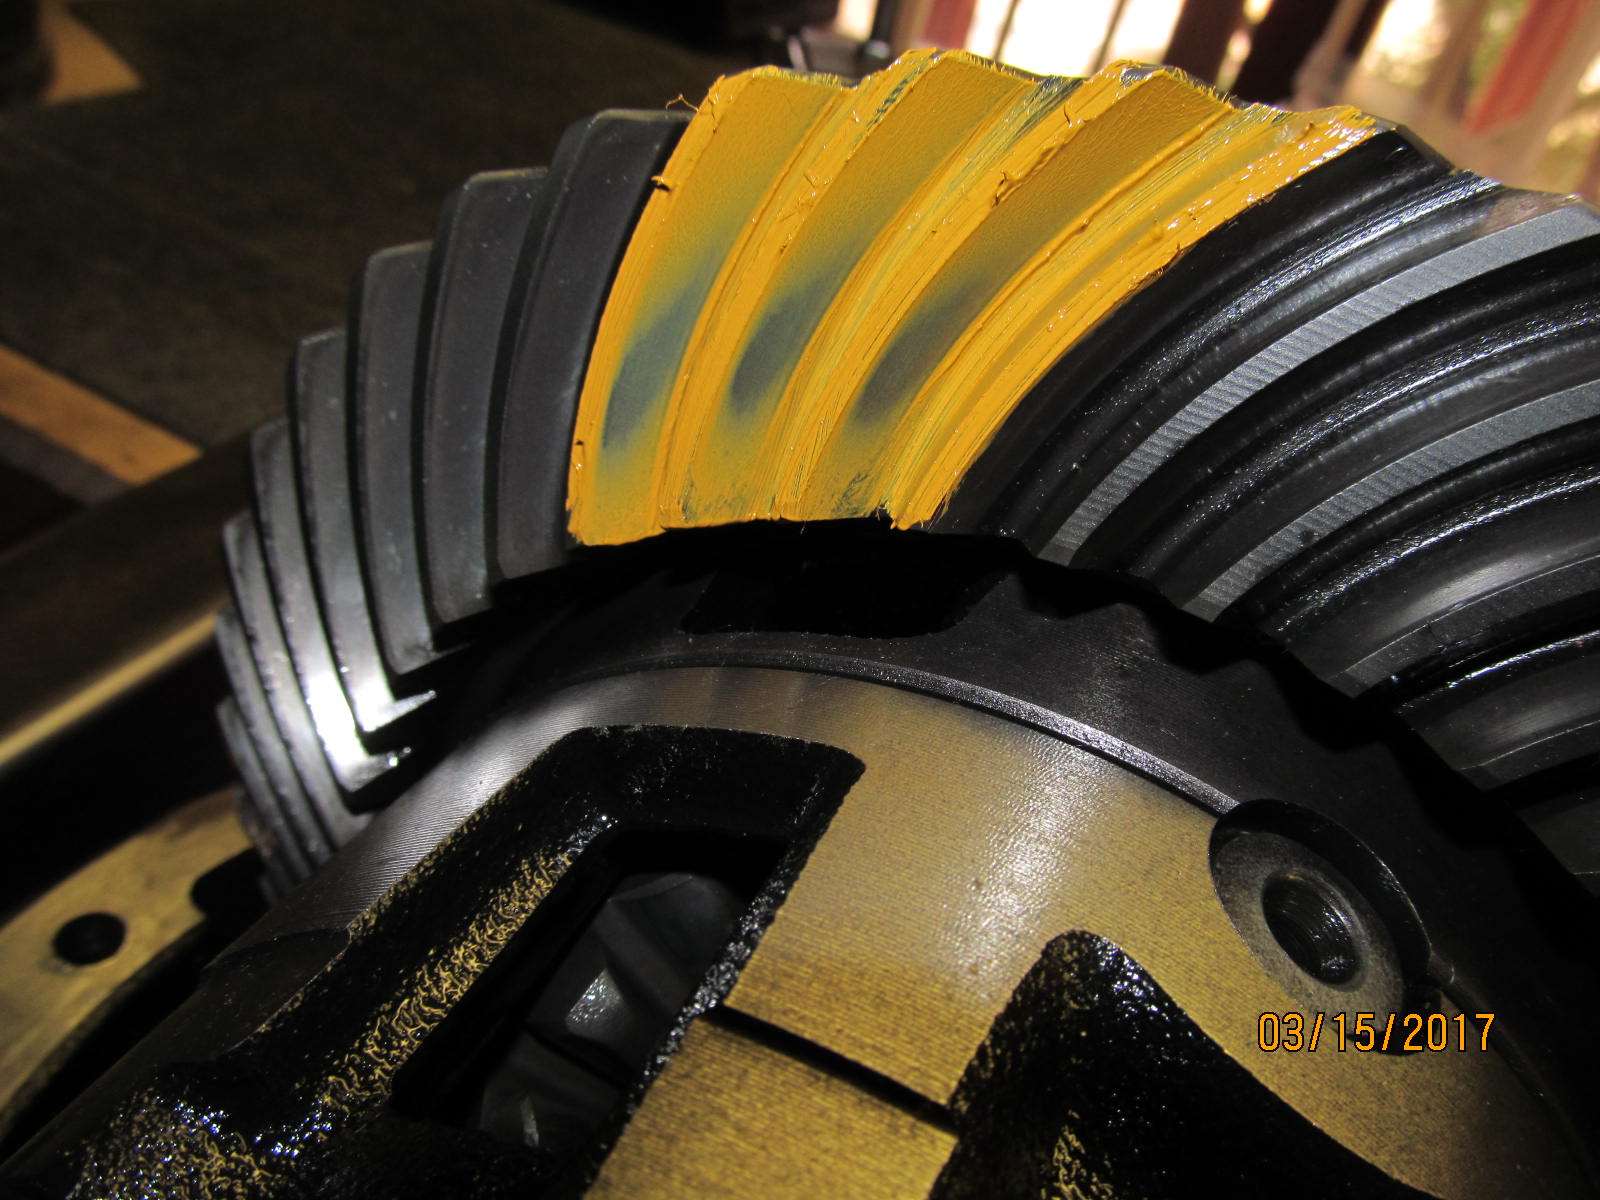
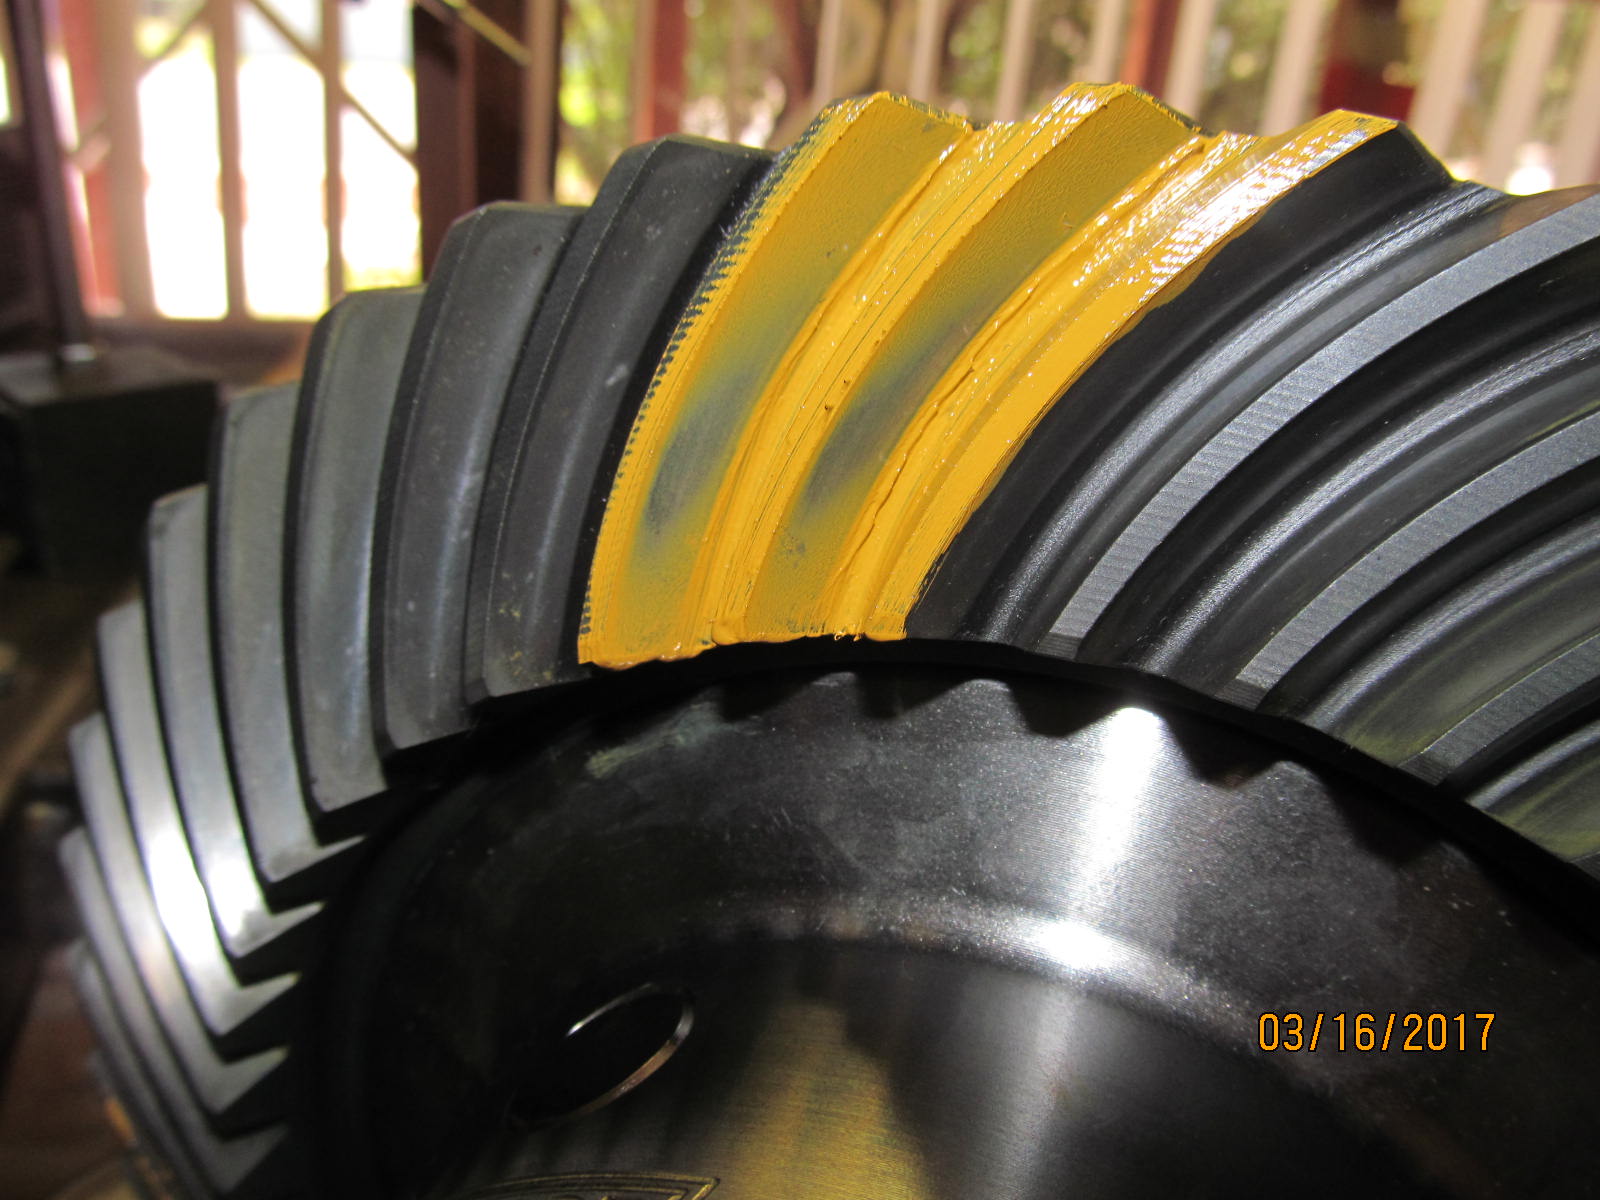
Coast side looks very nice.
|
|
|
|
|
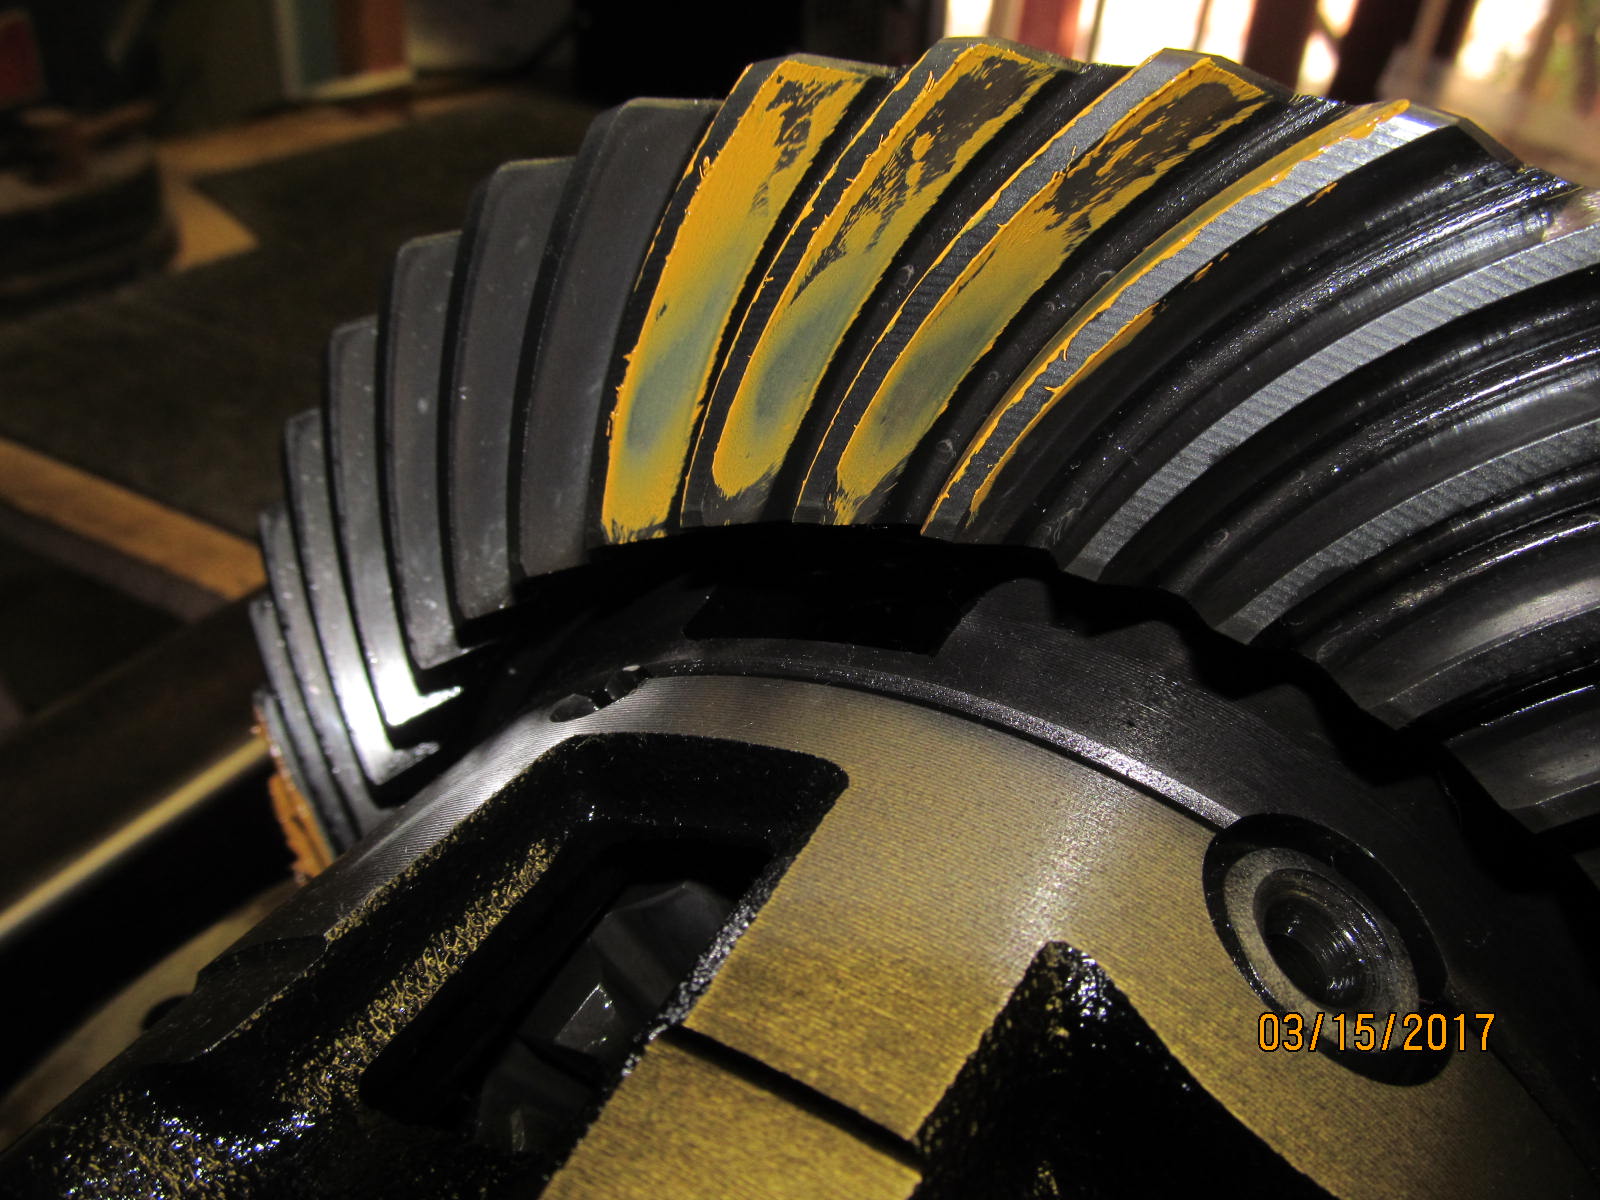
Drive side on the reverse painted teeth.
|
|
|
|
|
Coast on the reverse painted teeth.
|
|
|
|
|
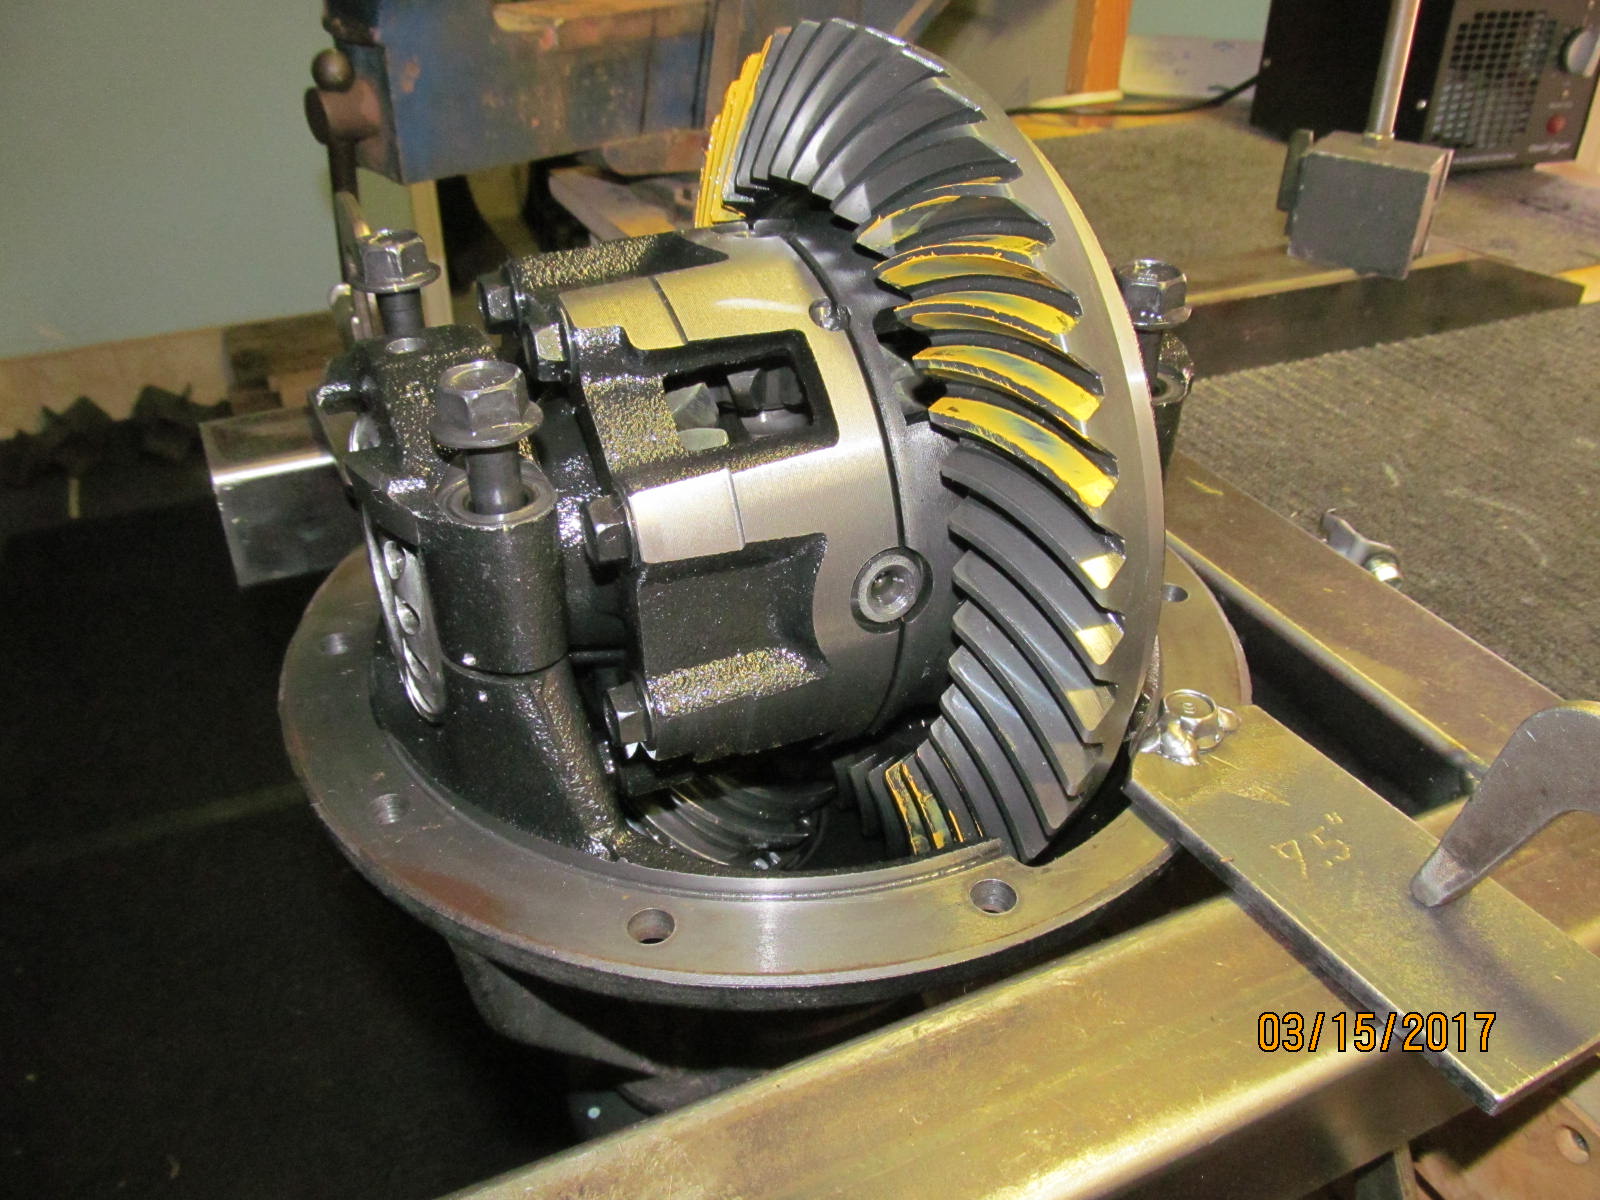
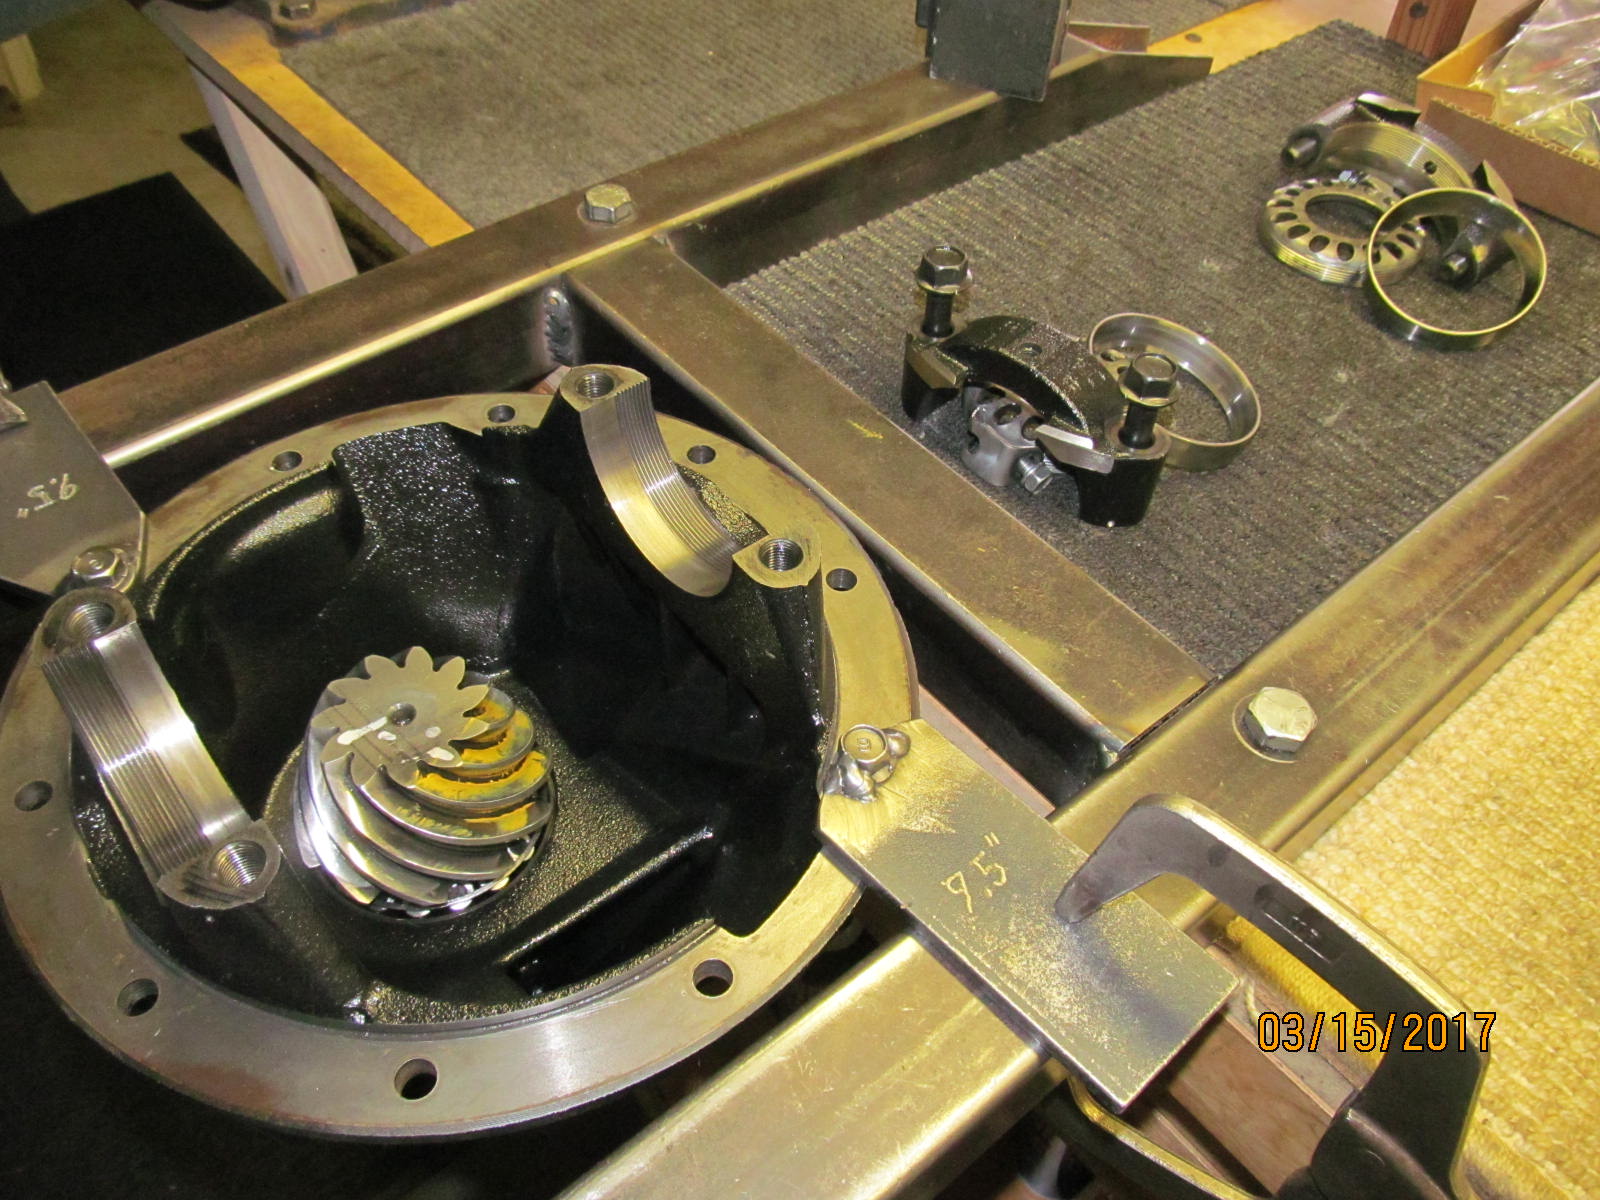
Now down to business...mark 1 bearing cap and then remove both caps.
|
|
|
|
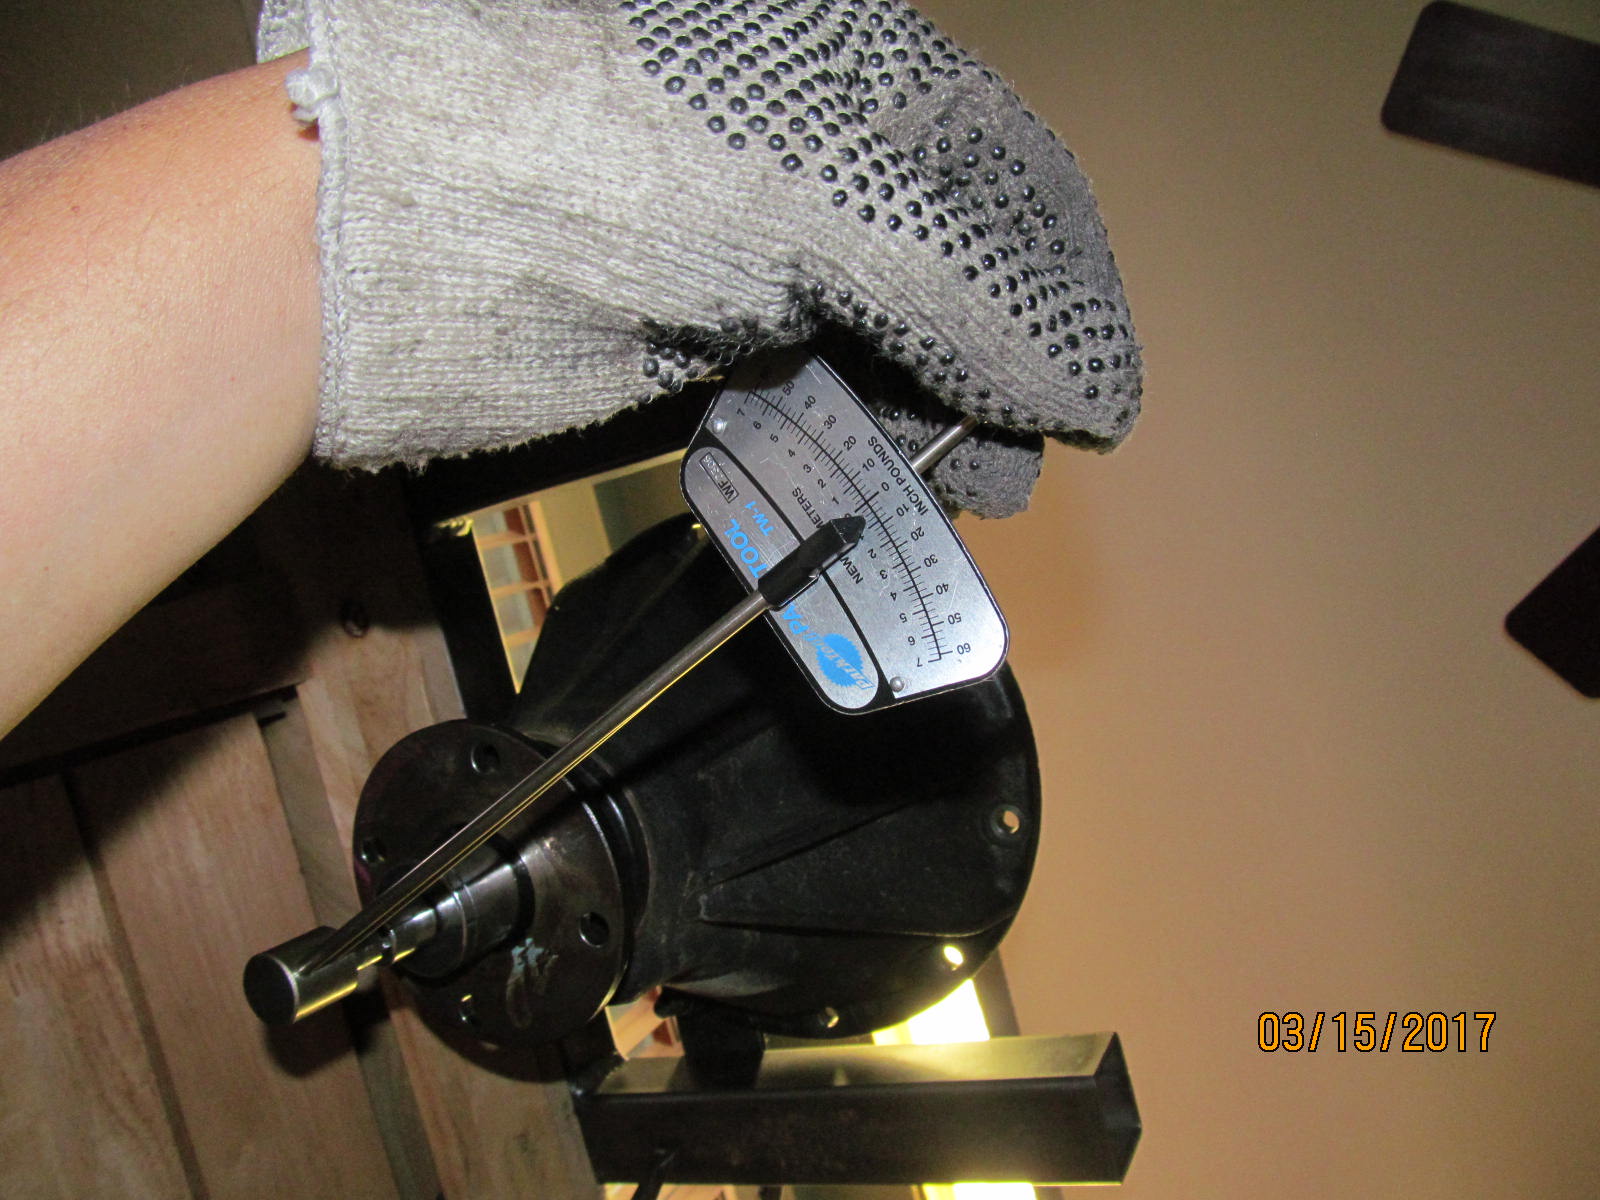
With the diff case out now I can get a clean measurement on just the pinion bearing preload....right at 5 in/lb which is
very good for 150,000 miles on it.
|
|
|
|
|
..................
|
|
|
|
|
The original plan was to swap the ring gear over to the Harrop and possibly re-use the "old" carrier bearings.
|
|
|
|
|
The original bearings are removed. The wear and tear from 150,000 miles can even be seen in the above pic.
|
|
|

|
|
.........................
|
|
|

|
|
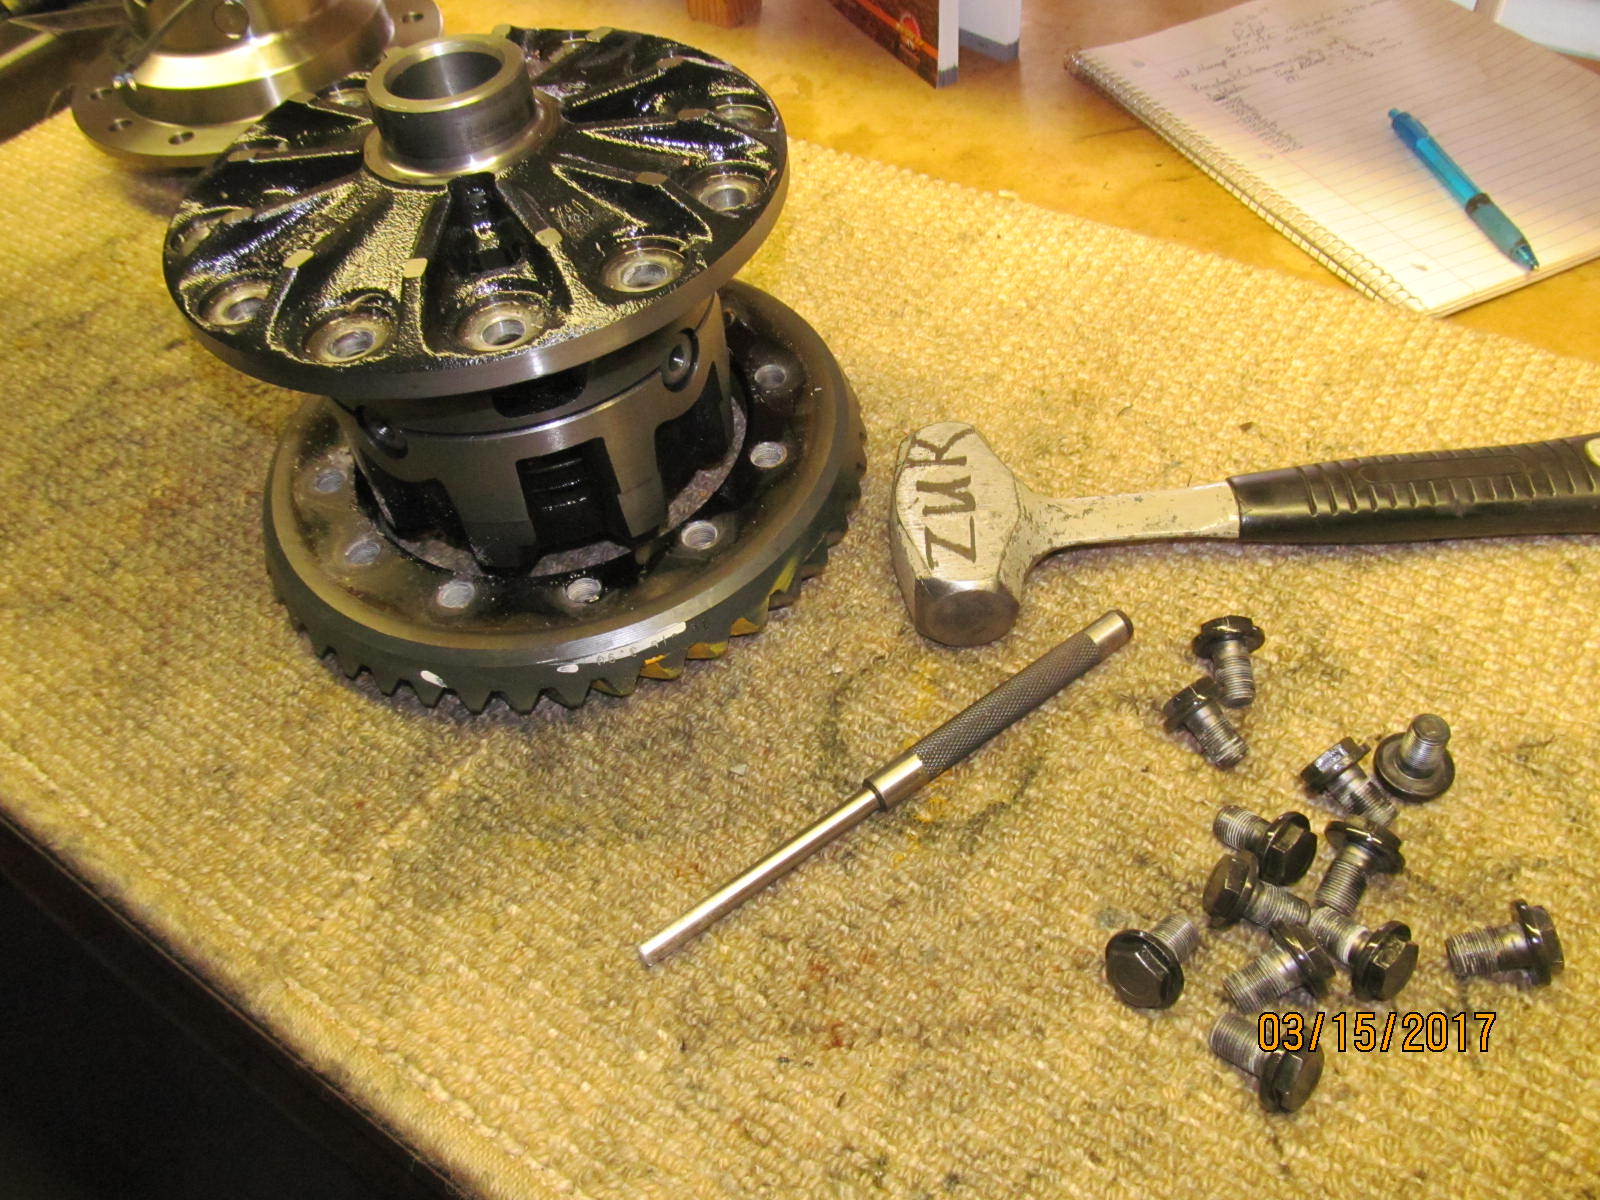
The Makita 6905H electric impact makes quick work of removing the 12 ring gear bolts.
|
|
|
|
|
Ring gear is tapped off.
|
|
|
|
|
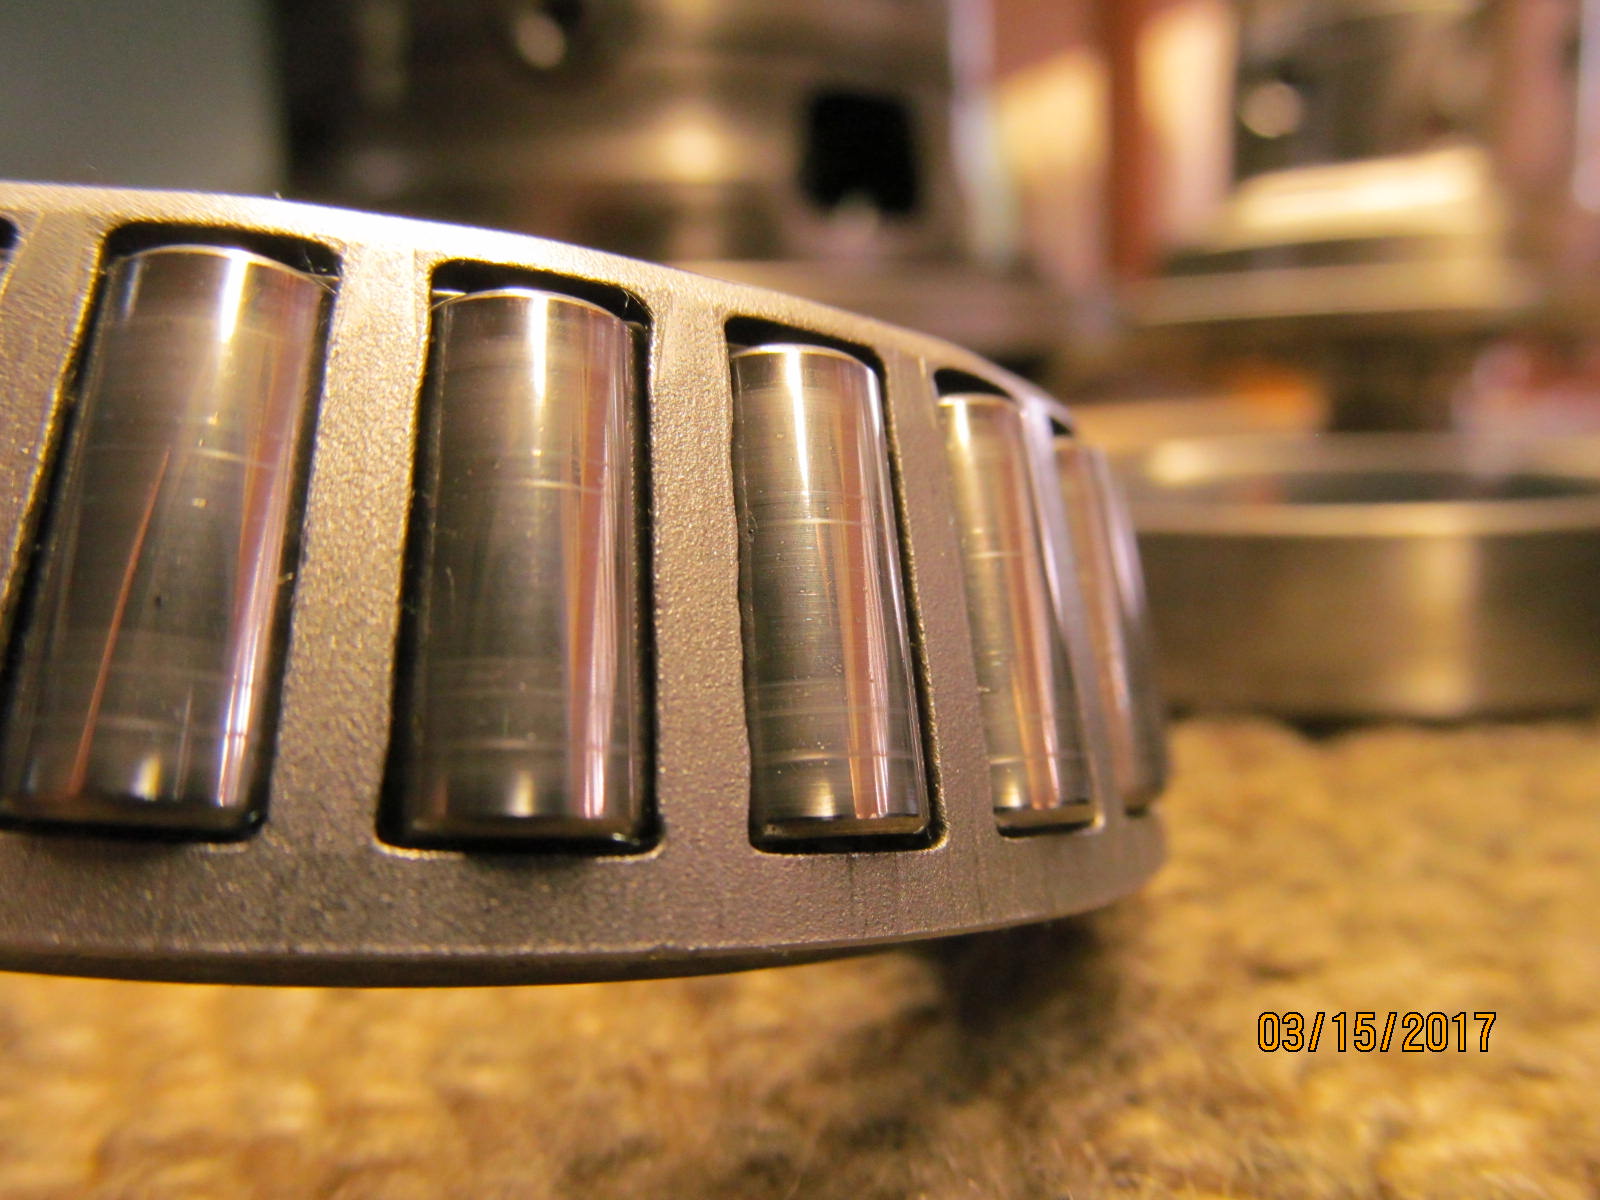
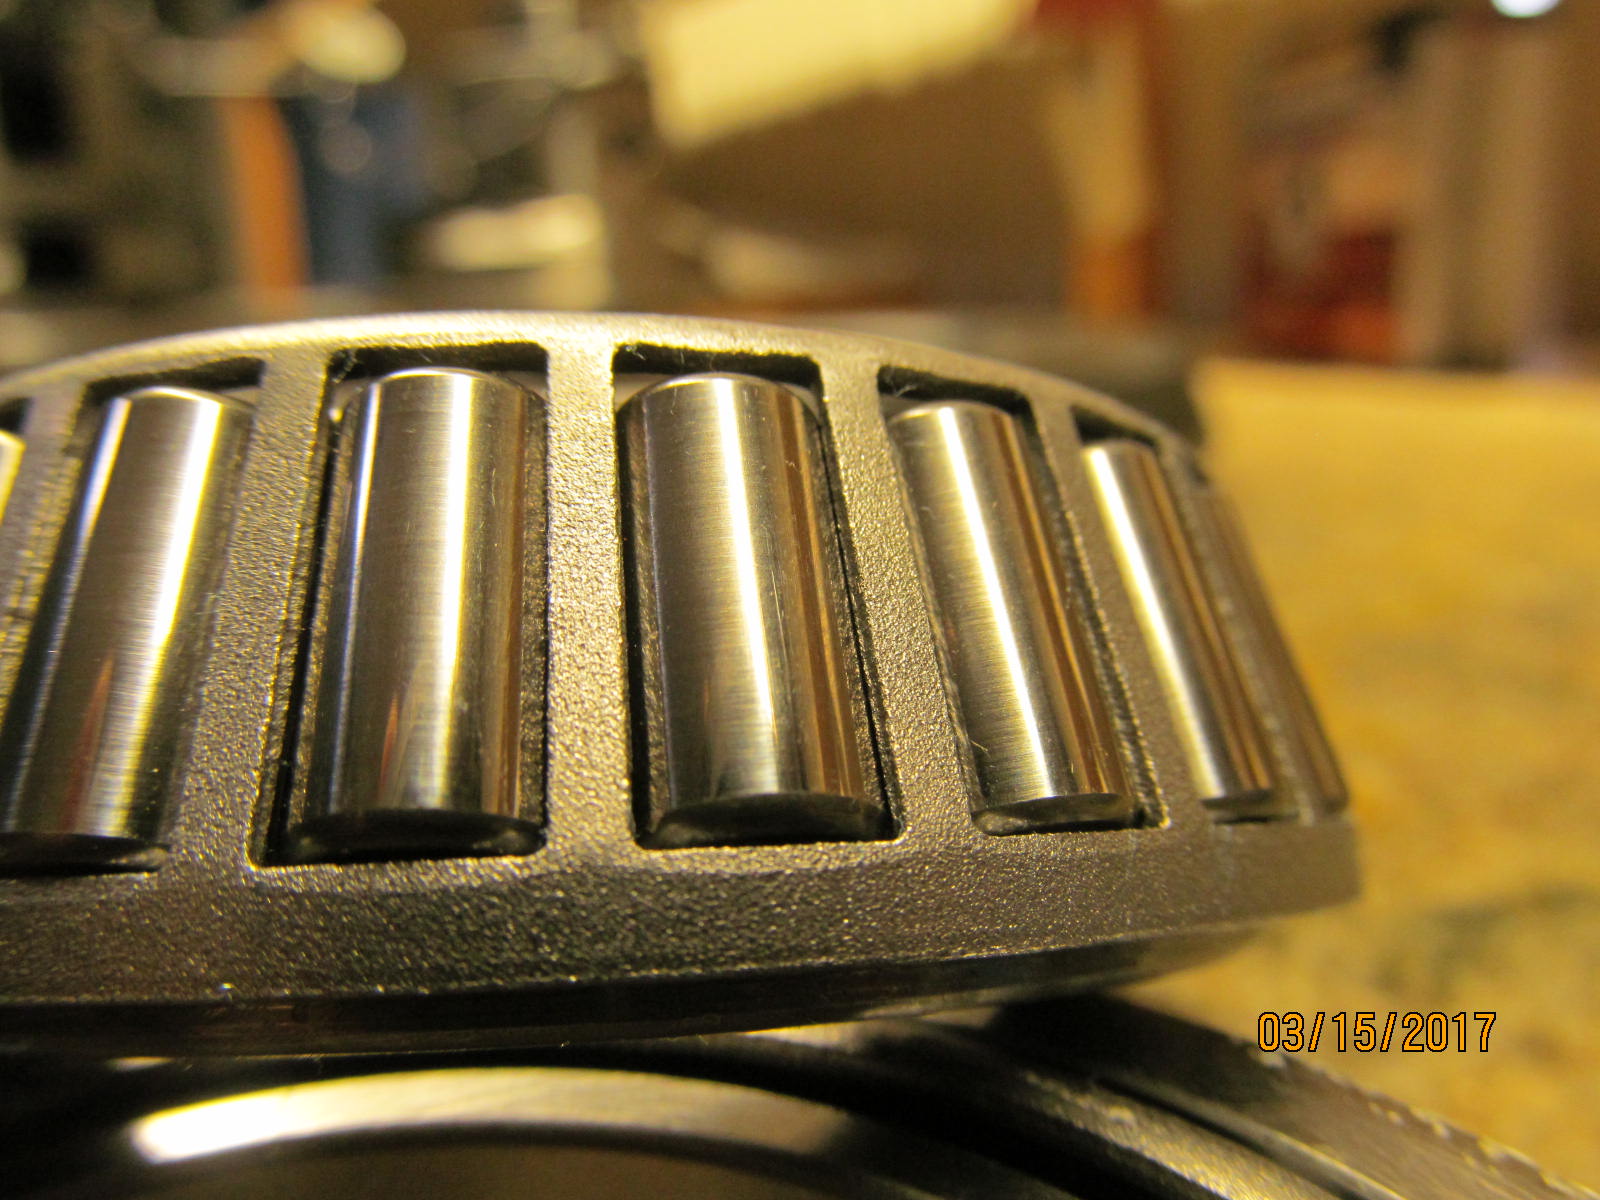
Some streaks in the rollers.
|
|
|
|
|
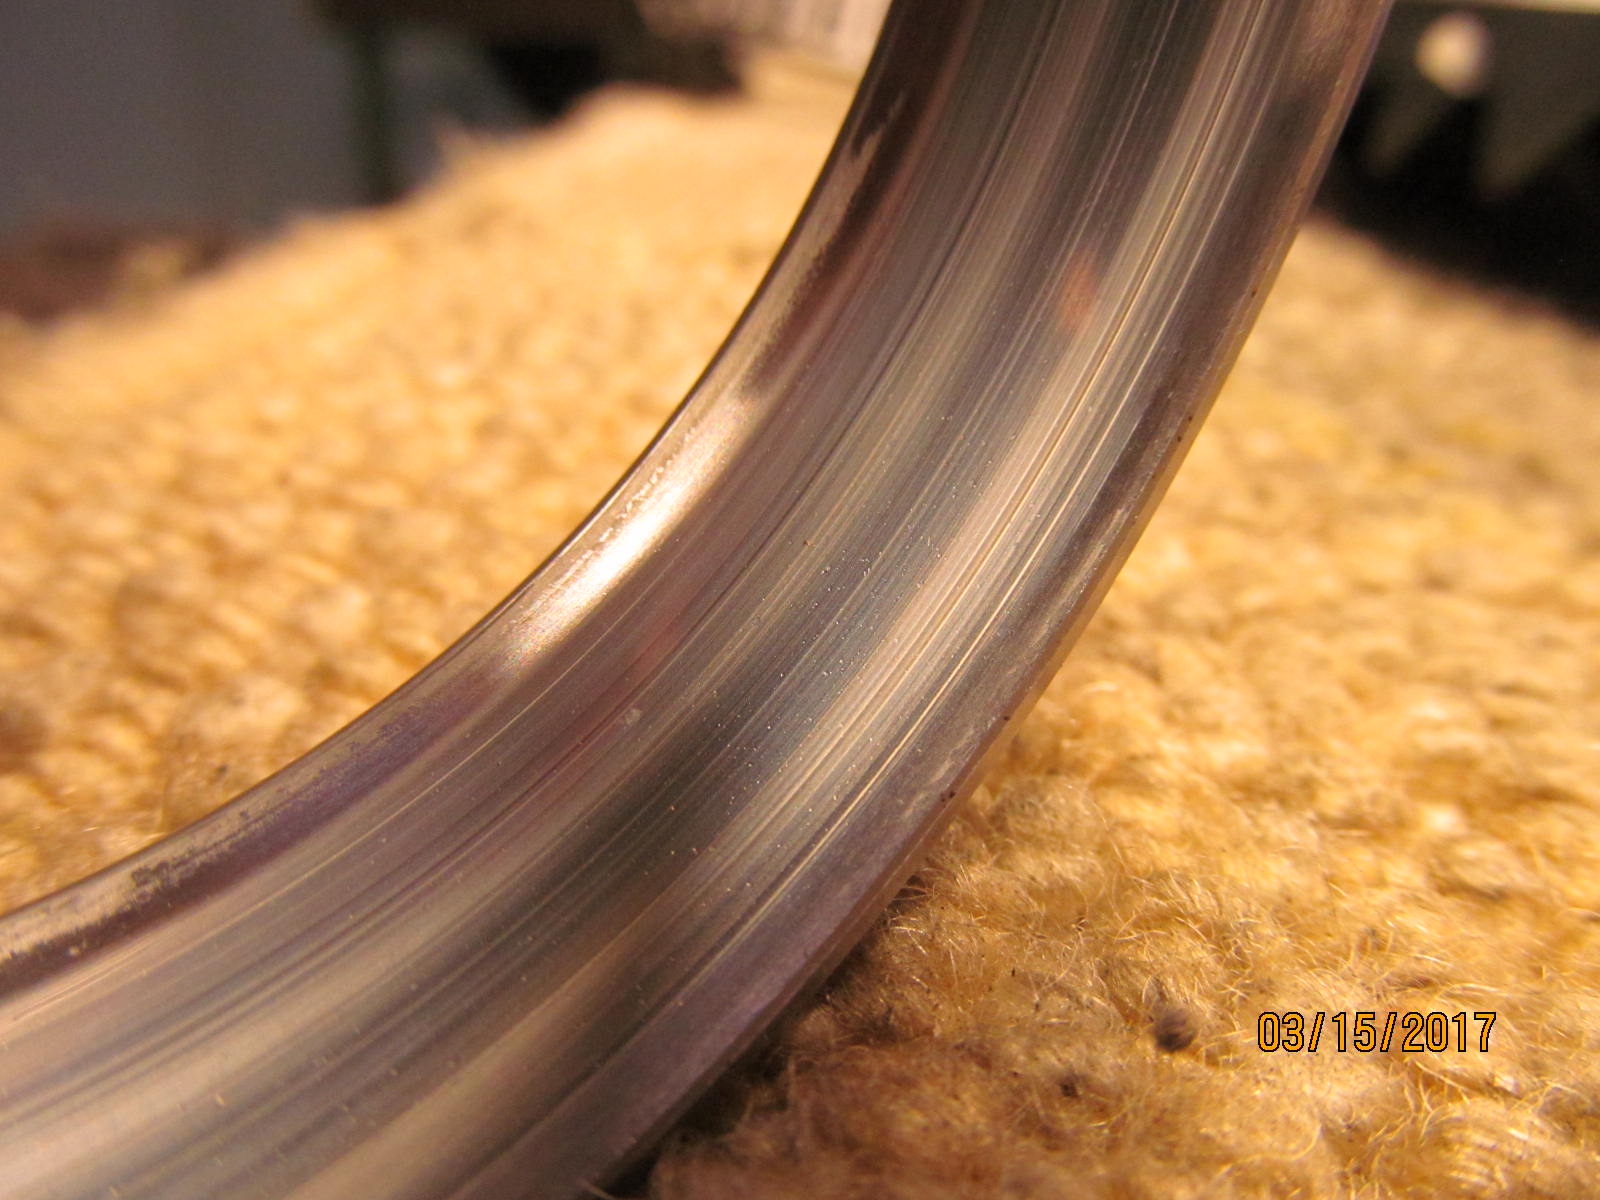
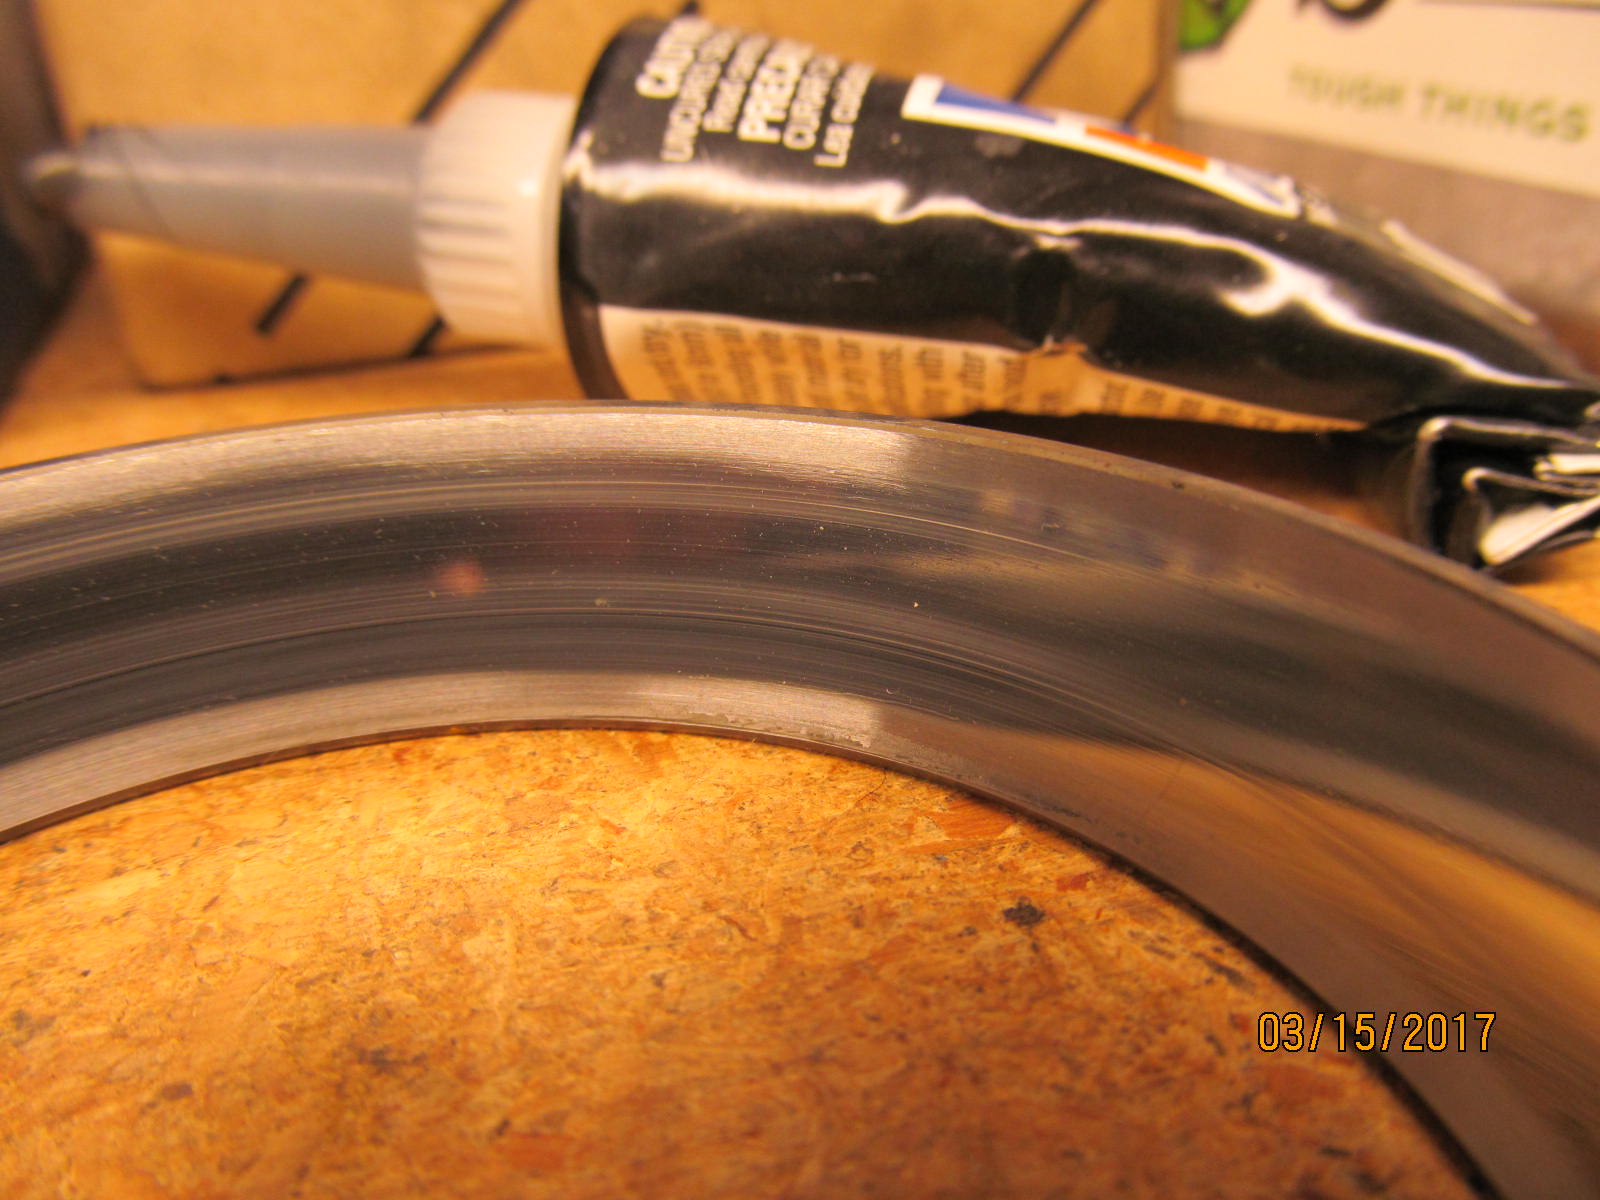
Race has seen better days.
|
|
|
|
|
......................
|
|
|
|
|
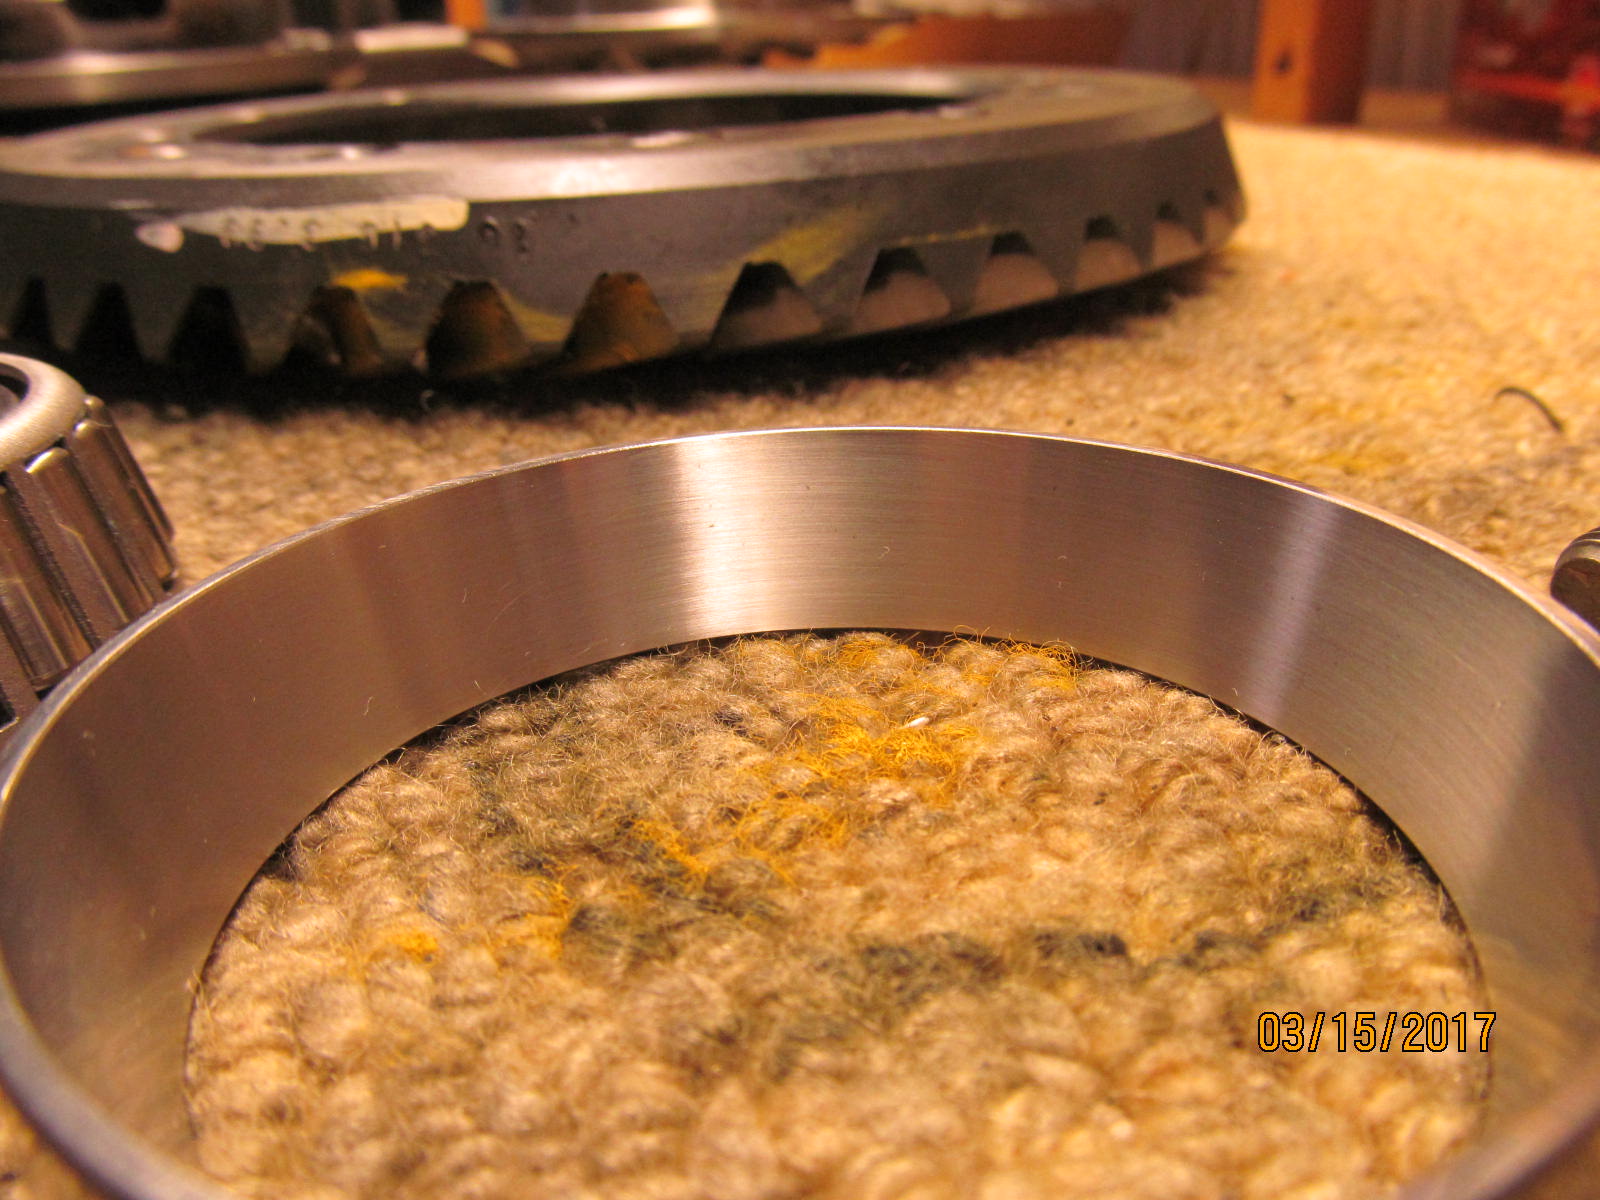
Ralph was in complete agreement about using new Koyo carrier beariings.
|
|
|
|
|
................
|
|
|
|
|
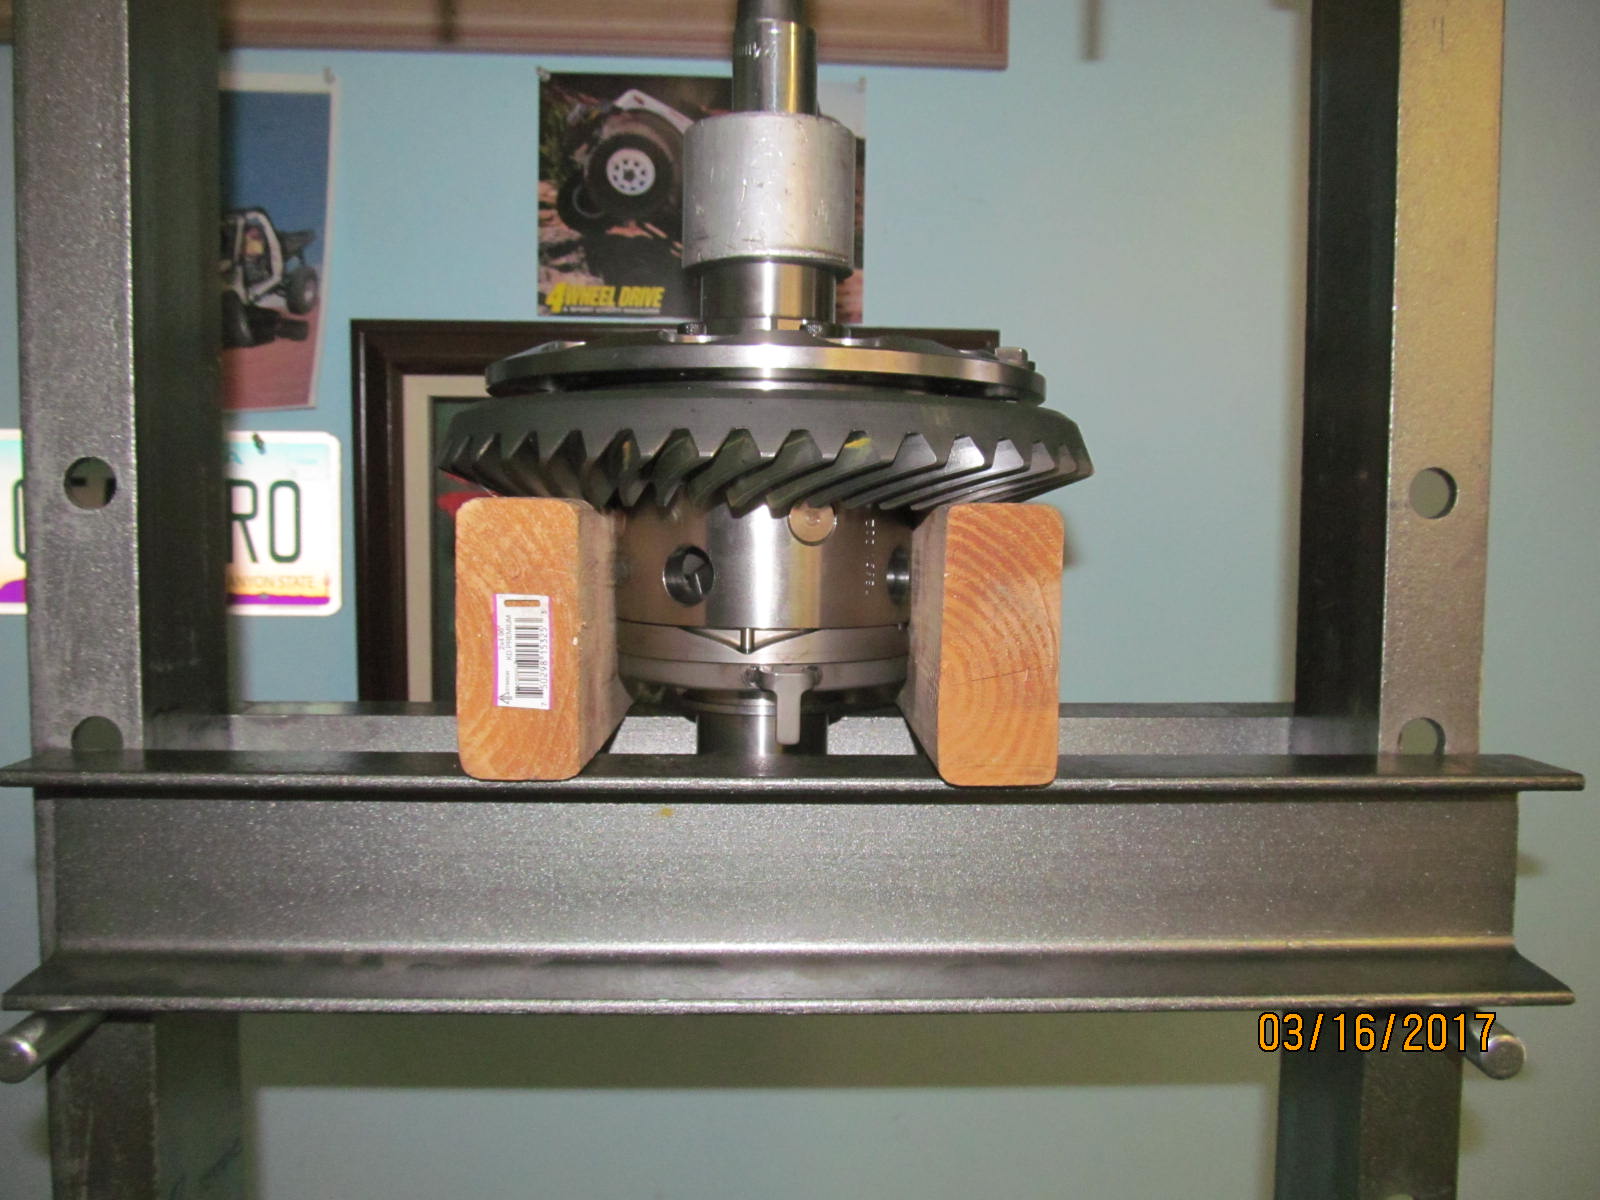
The ring was a tight fit....no problem for the 12 ton press....probably less than 1 ton of actual pressure.
|
|
|
|
|
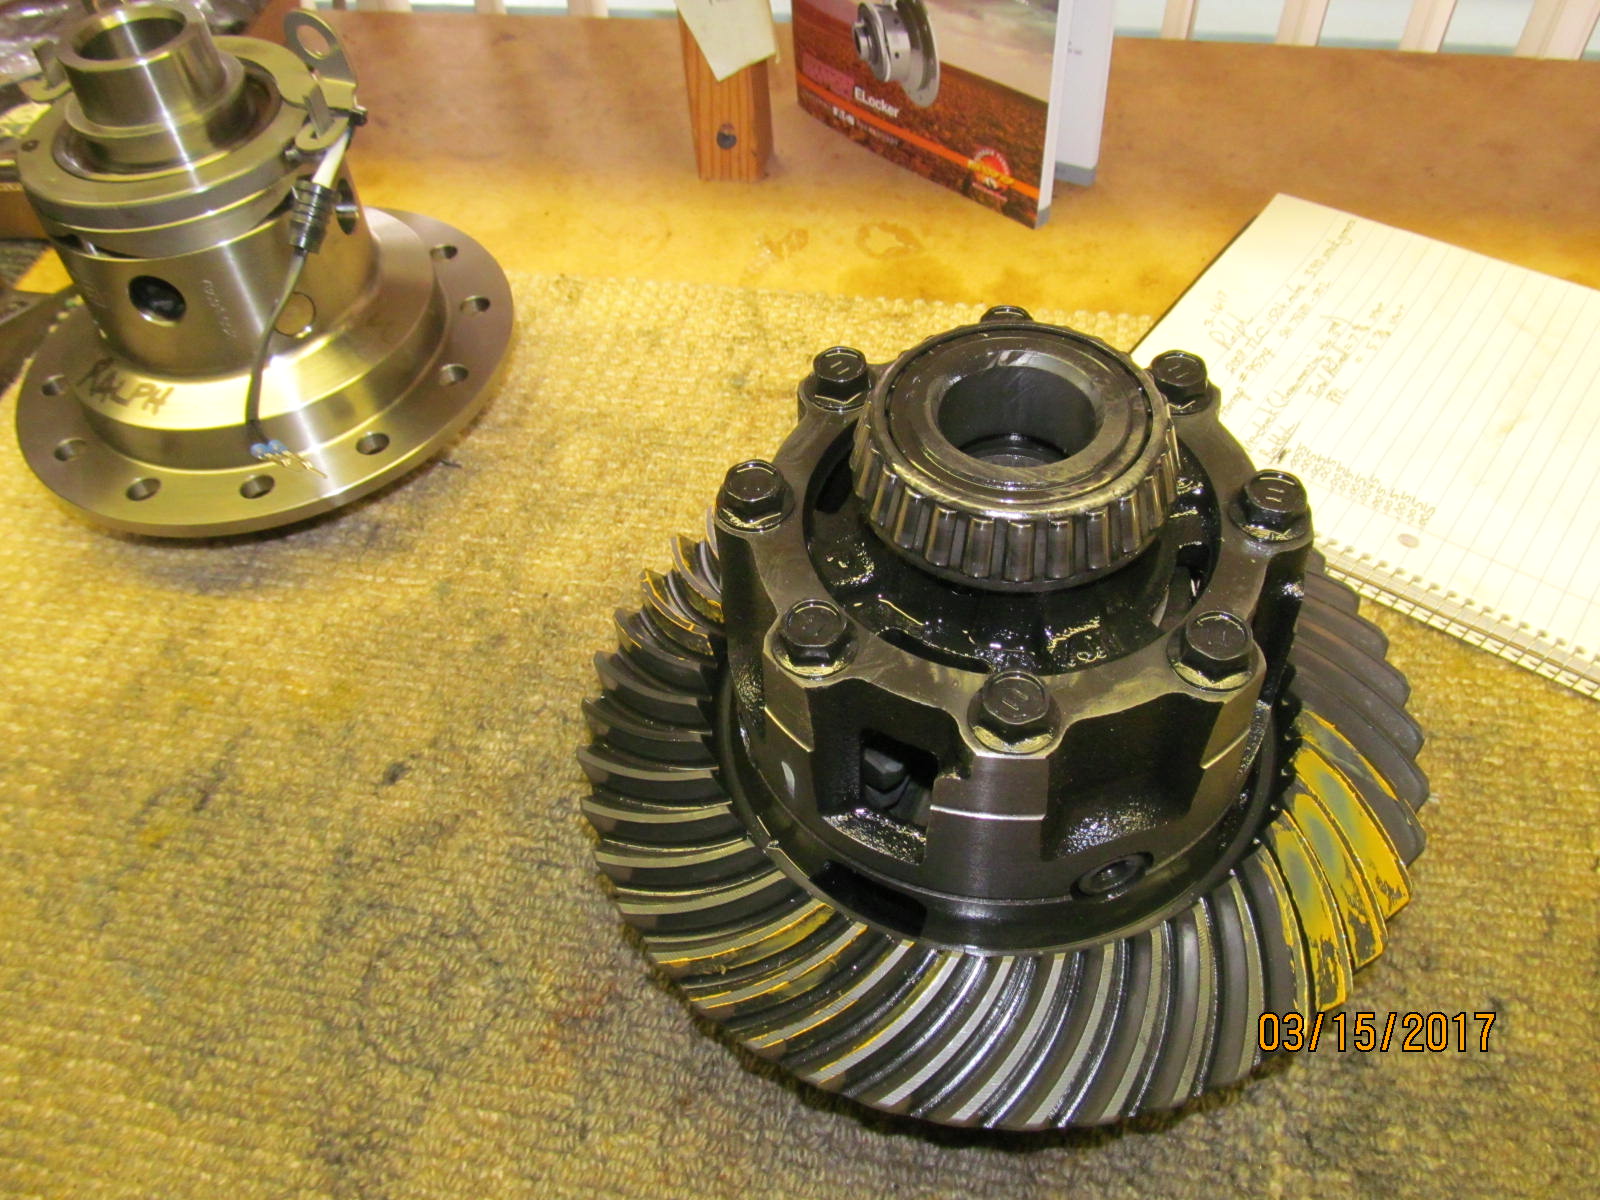
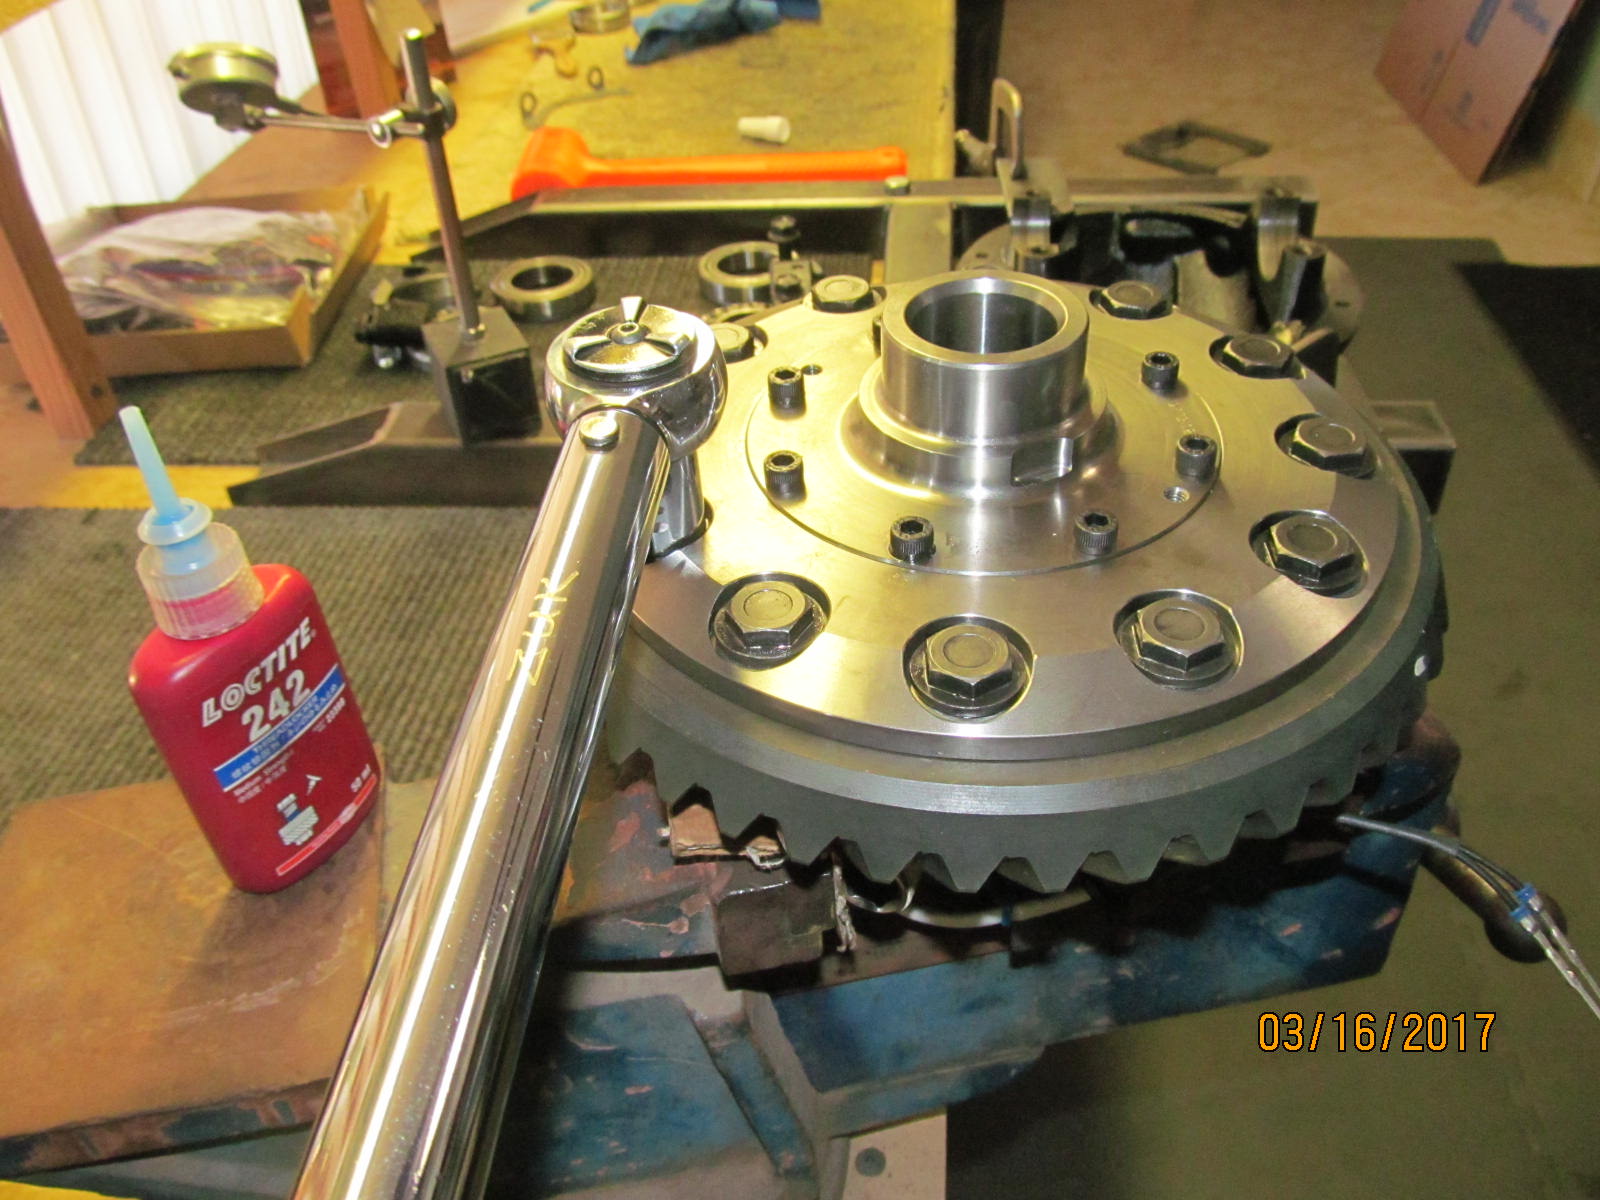
Blue Loctite and 85 ft/lb on all 12 bolts.
|
|
|
|
|
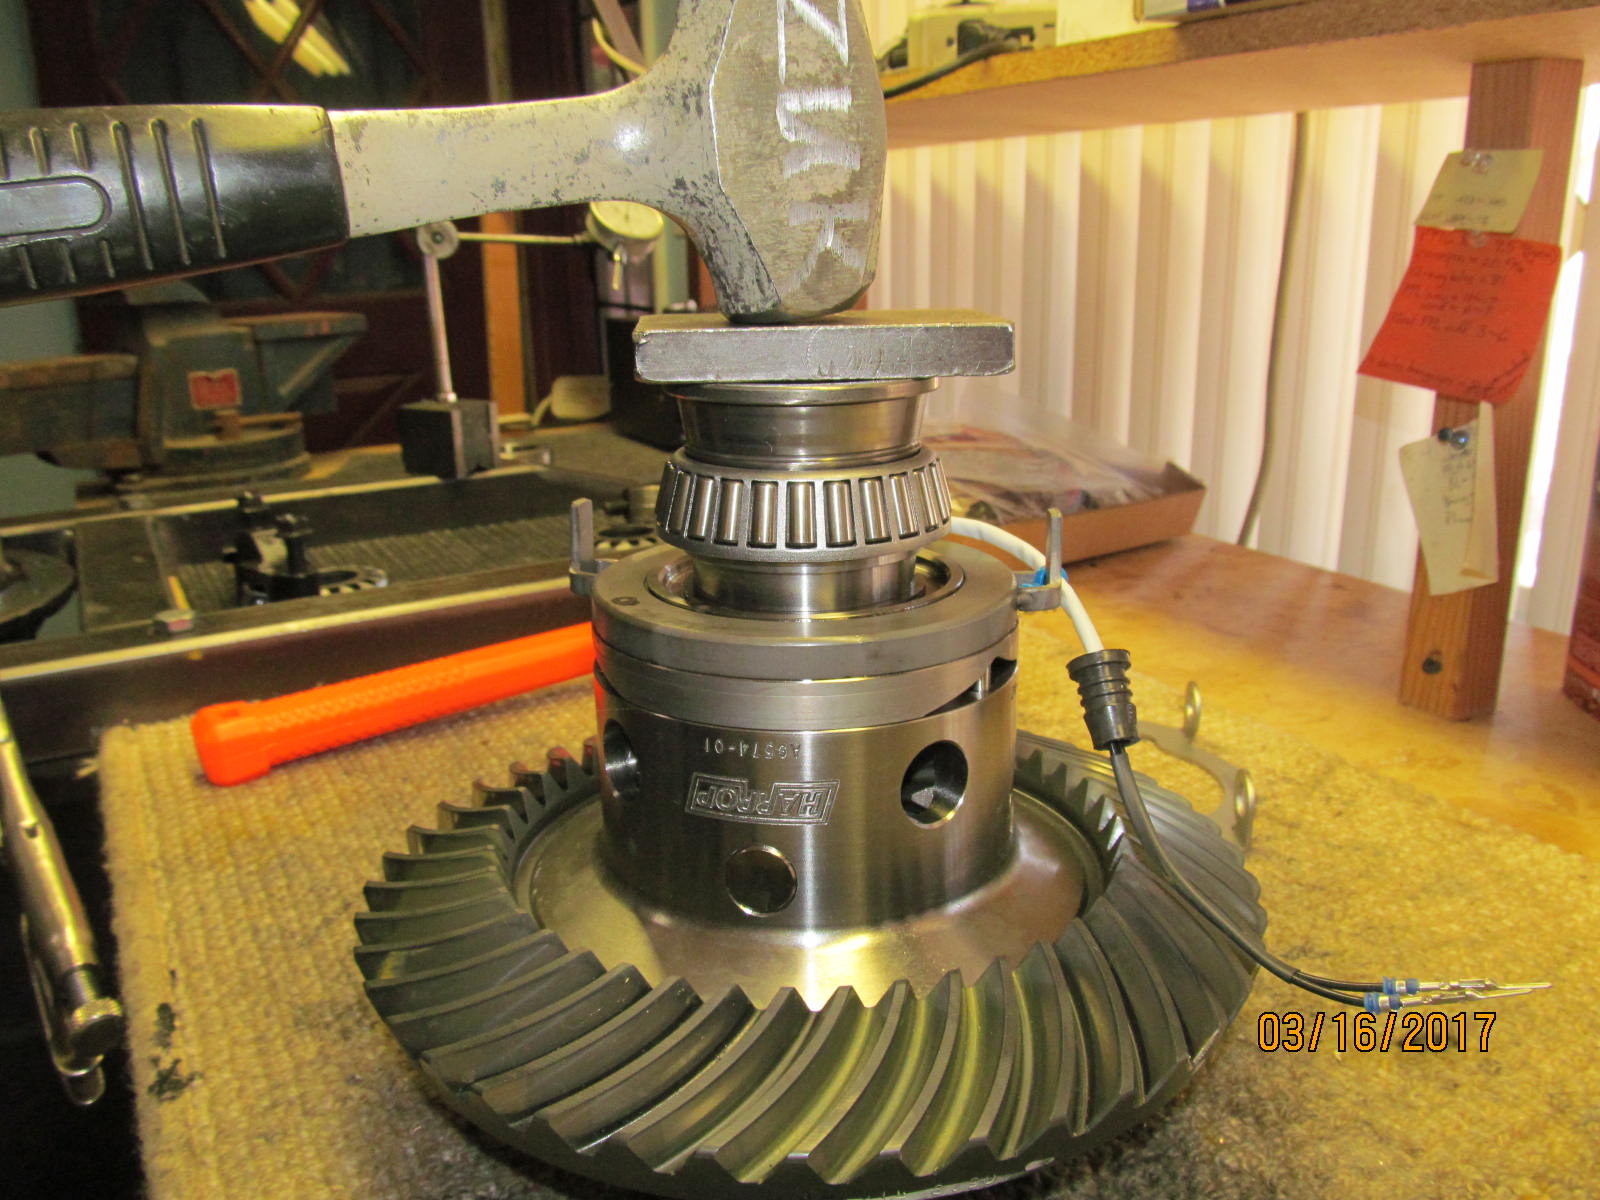
Carrier bearings are tapped on.
|
|
|
|
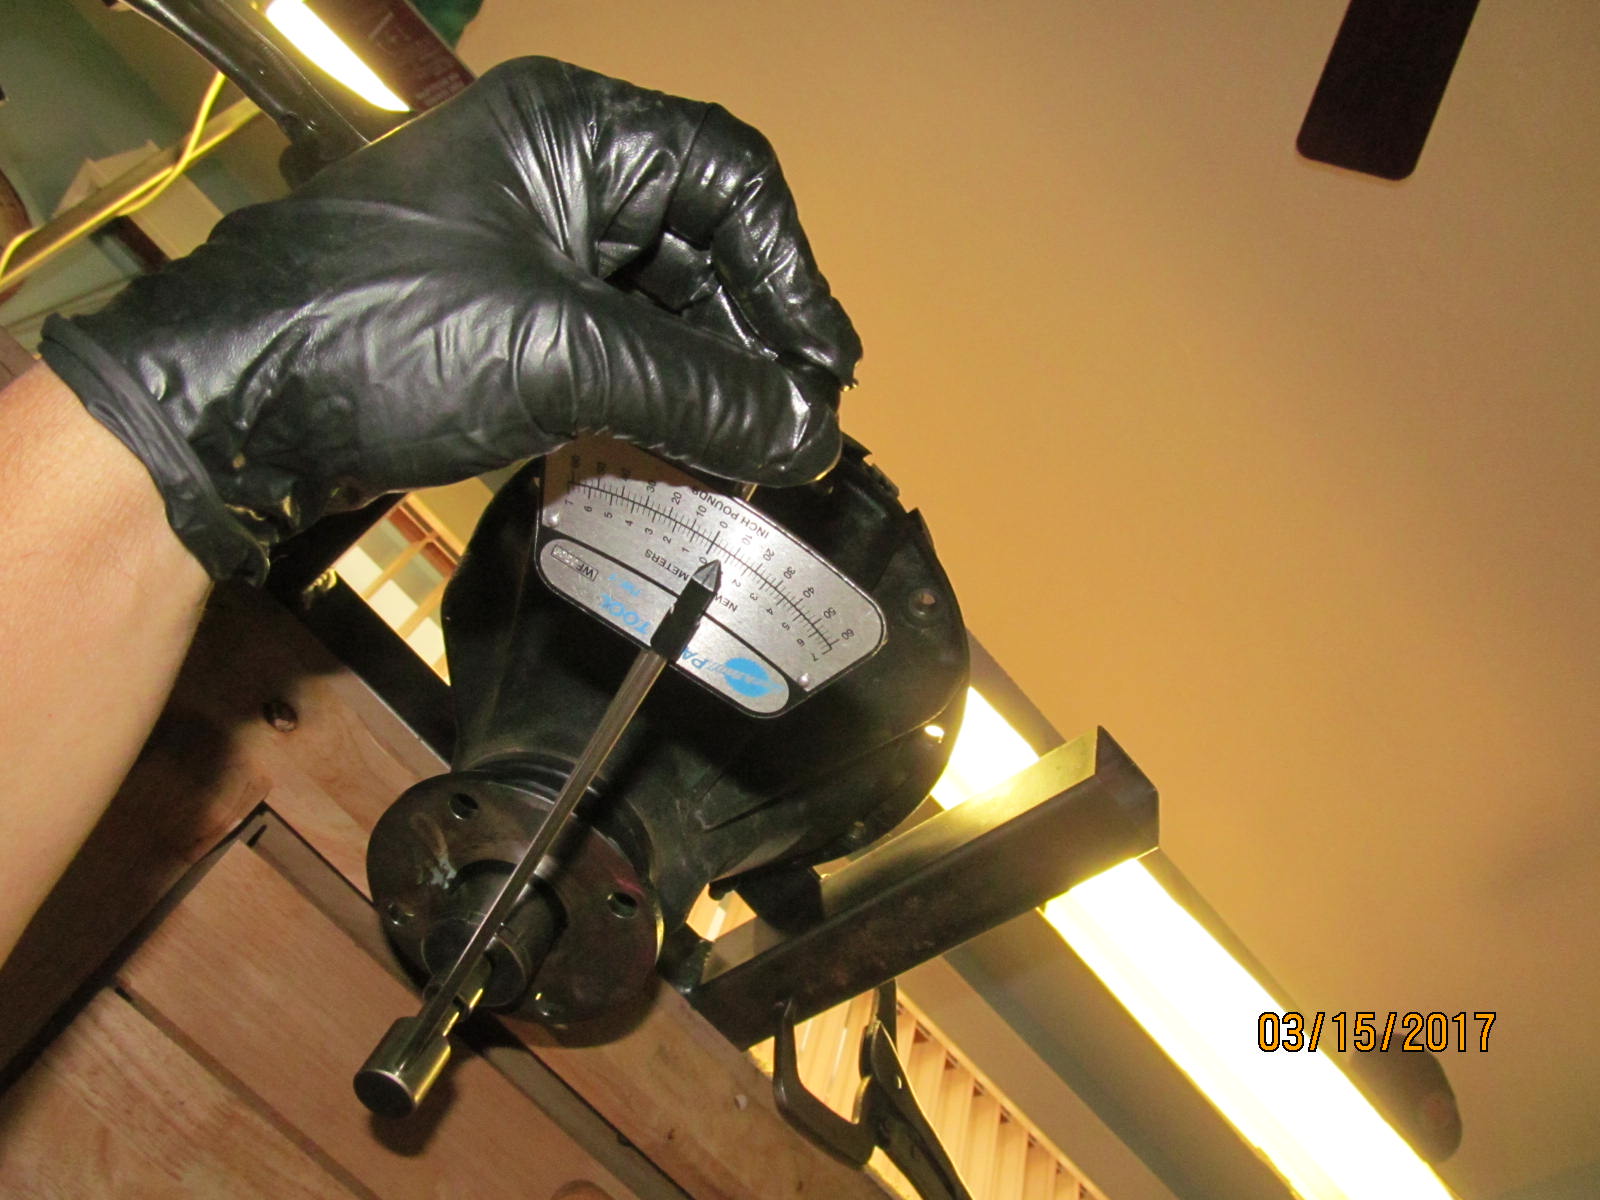
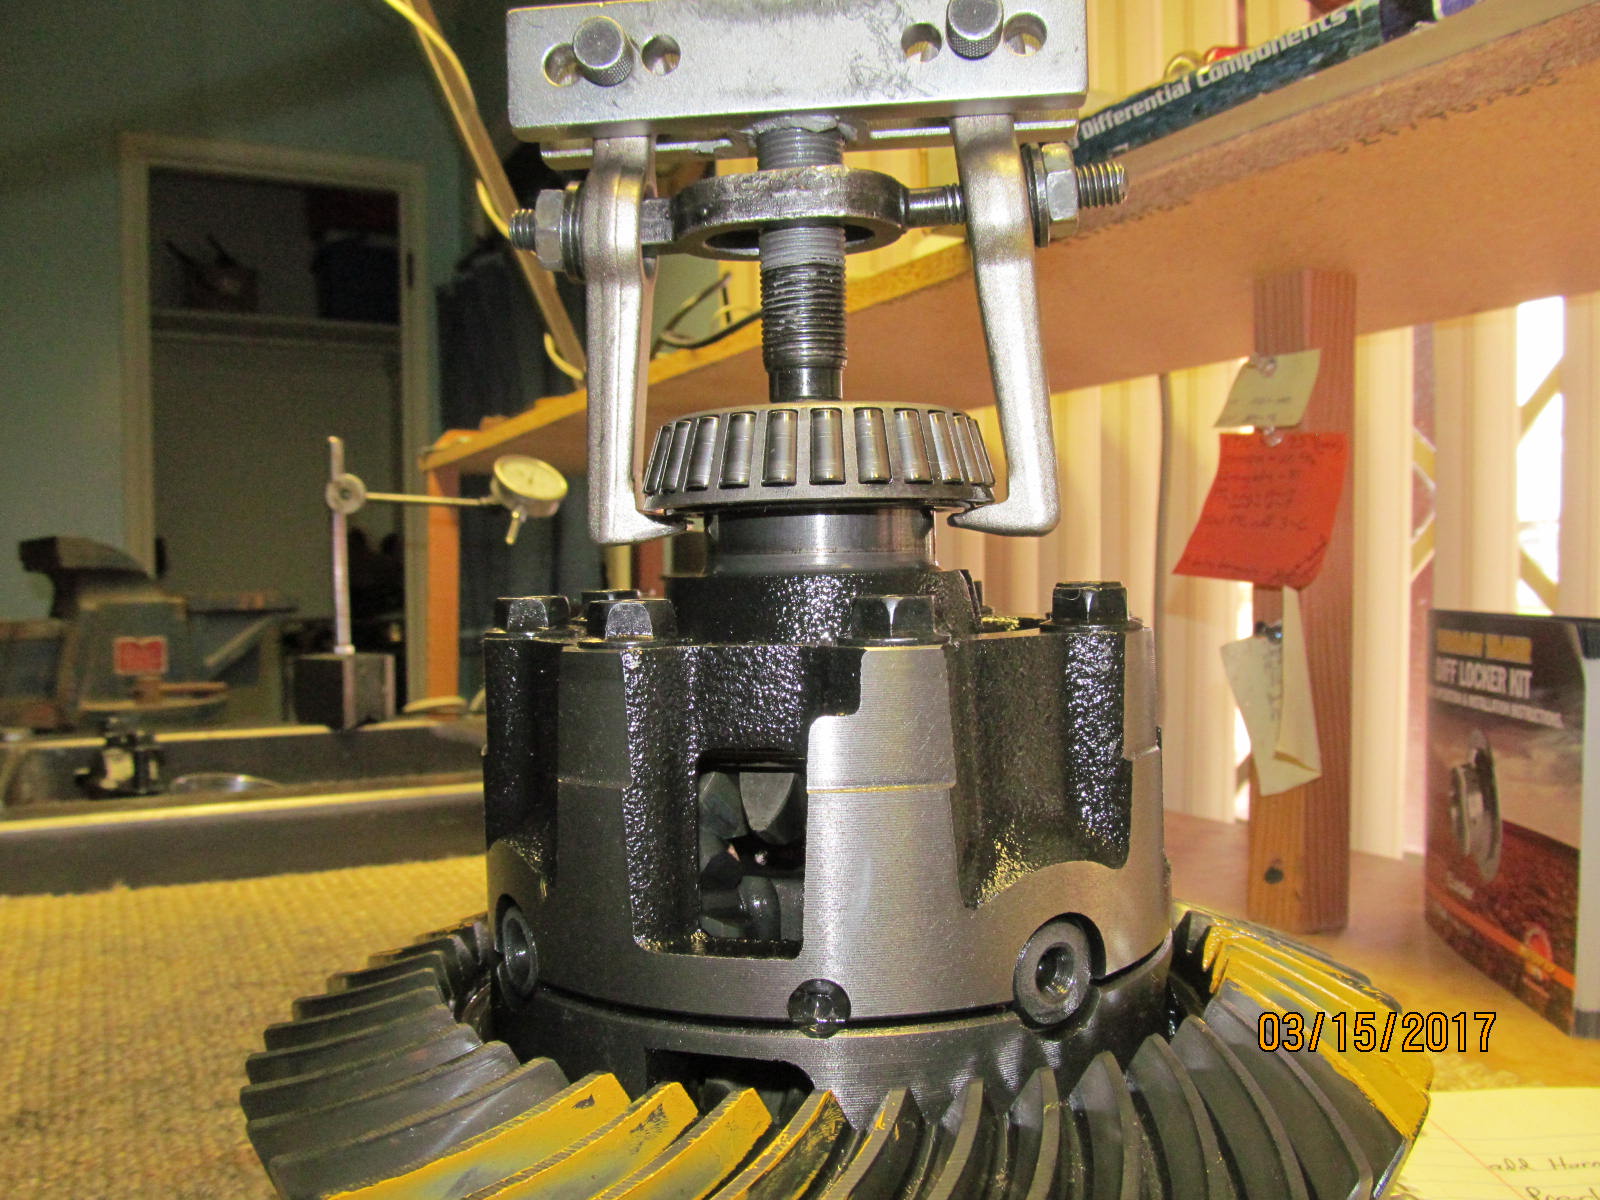
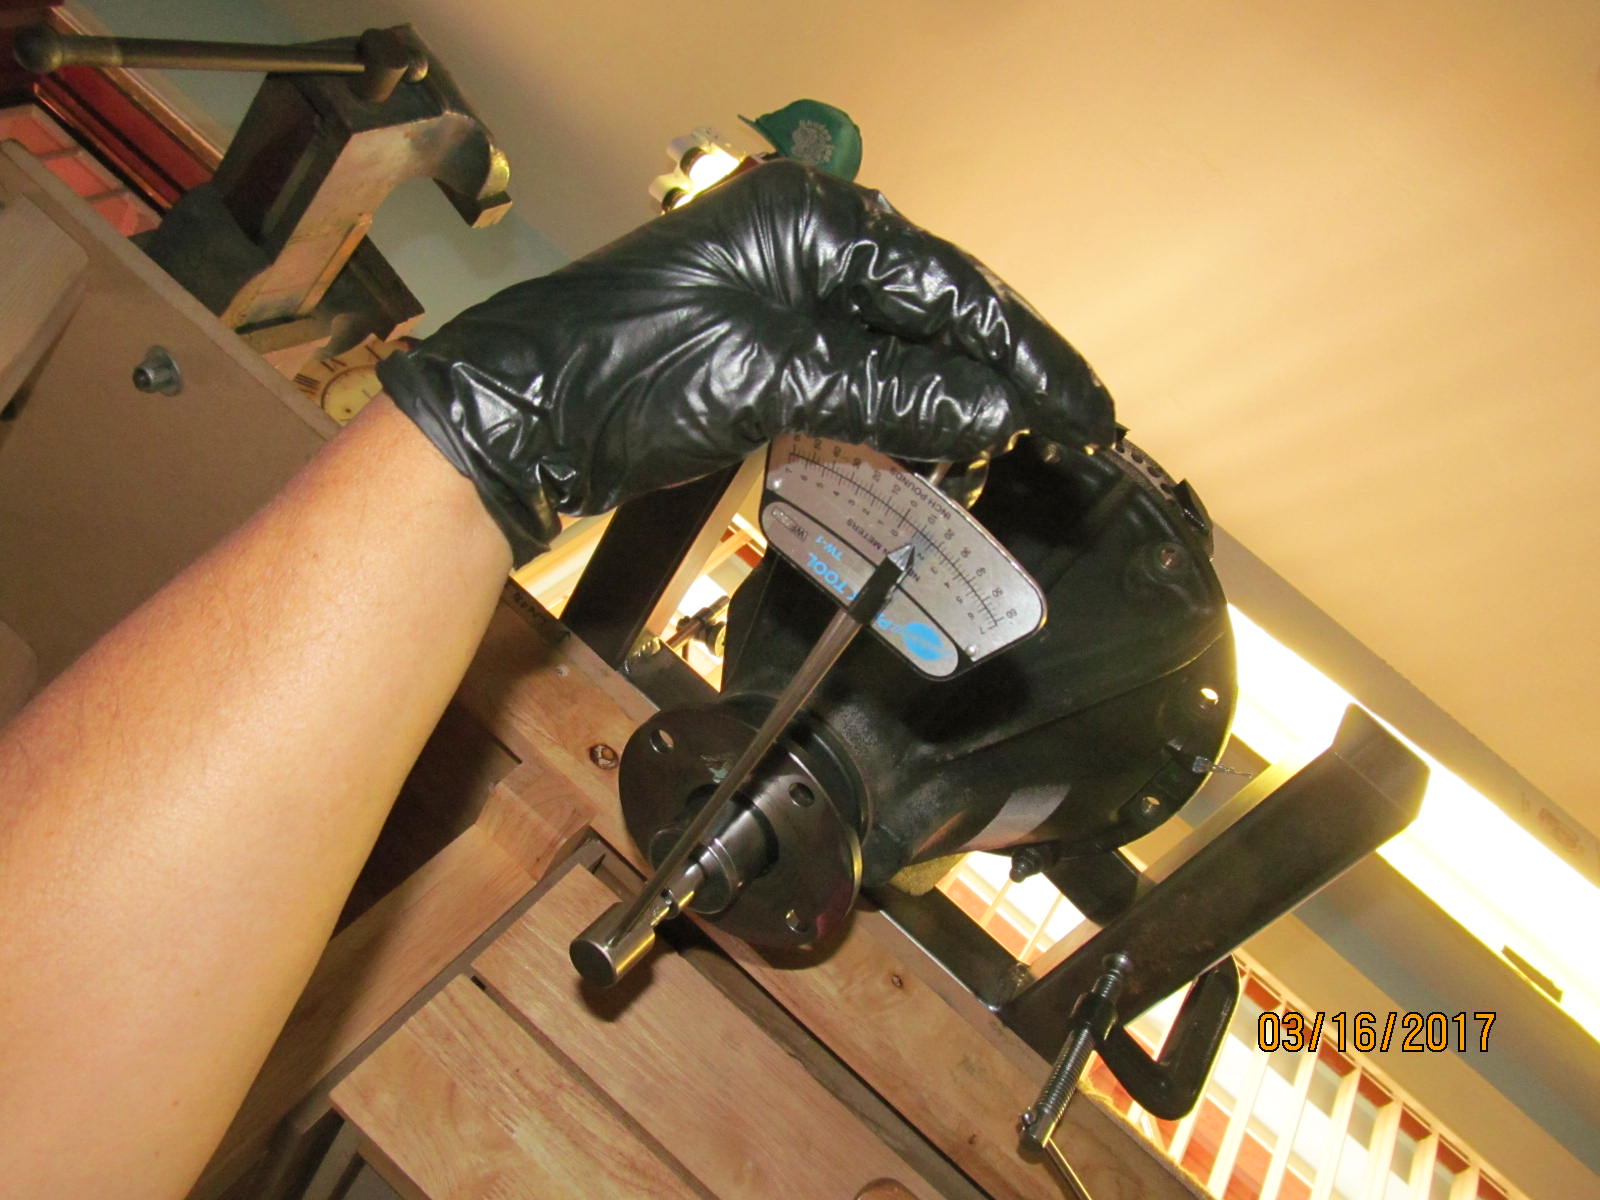
Nothing needs to be done to the pinion end of things. It still has 5 in/lb of preload and it still turns very smoothly
as I'm doing in the photo.
|
|
|
|
|
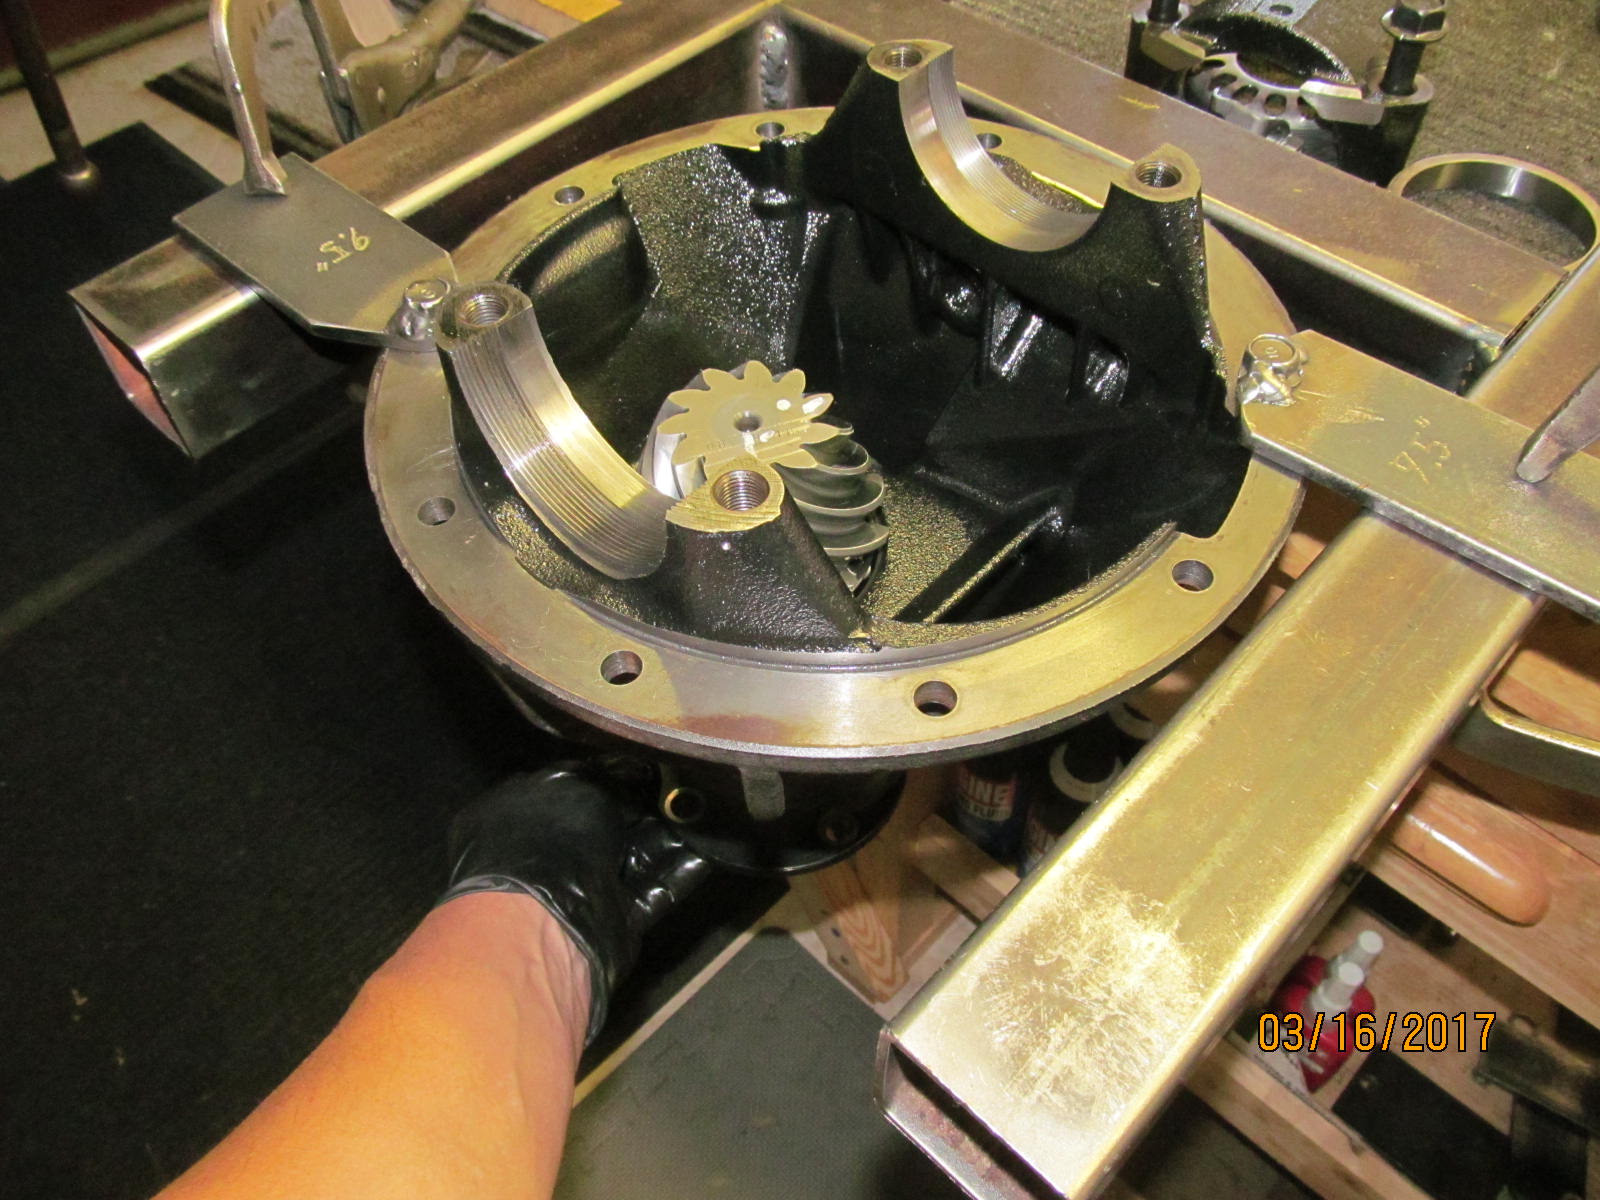
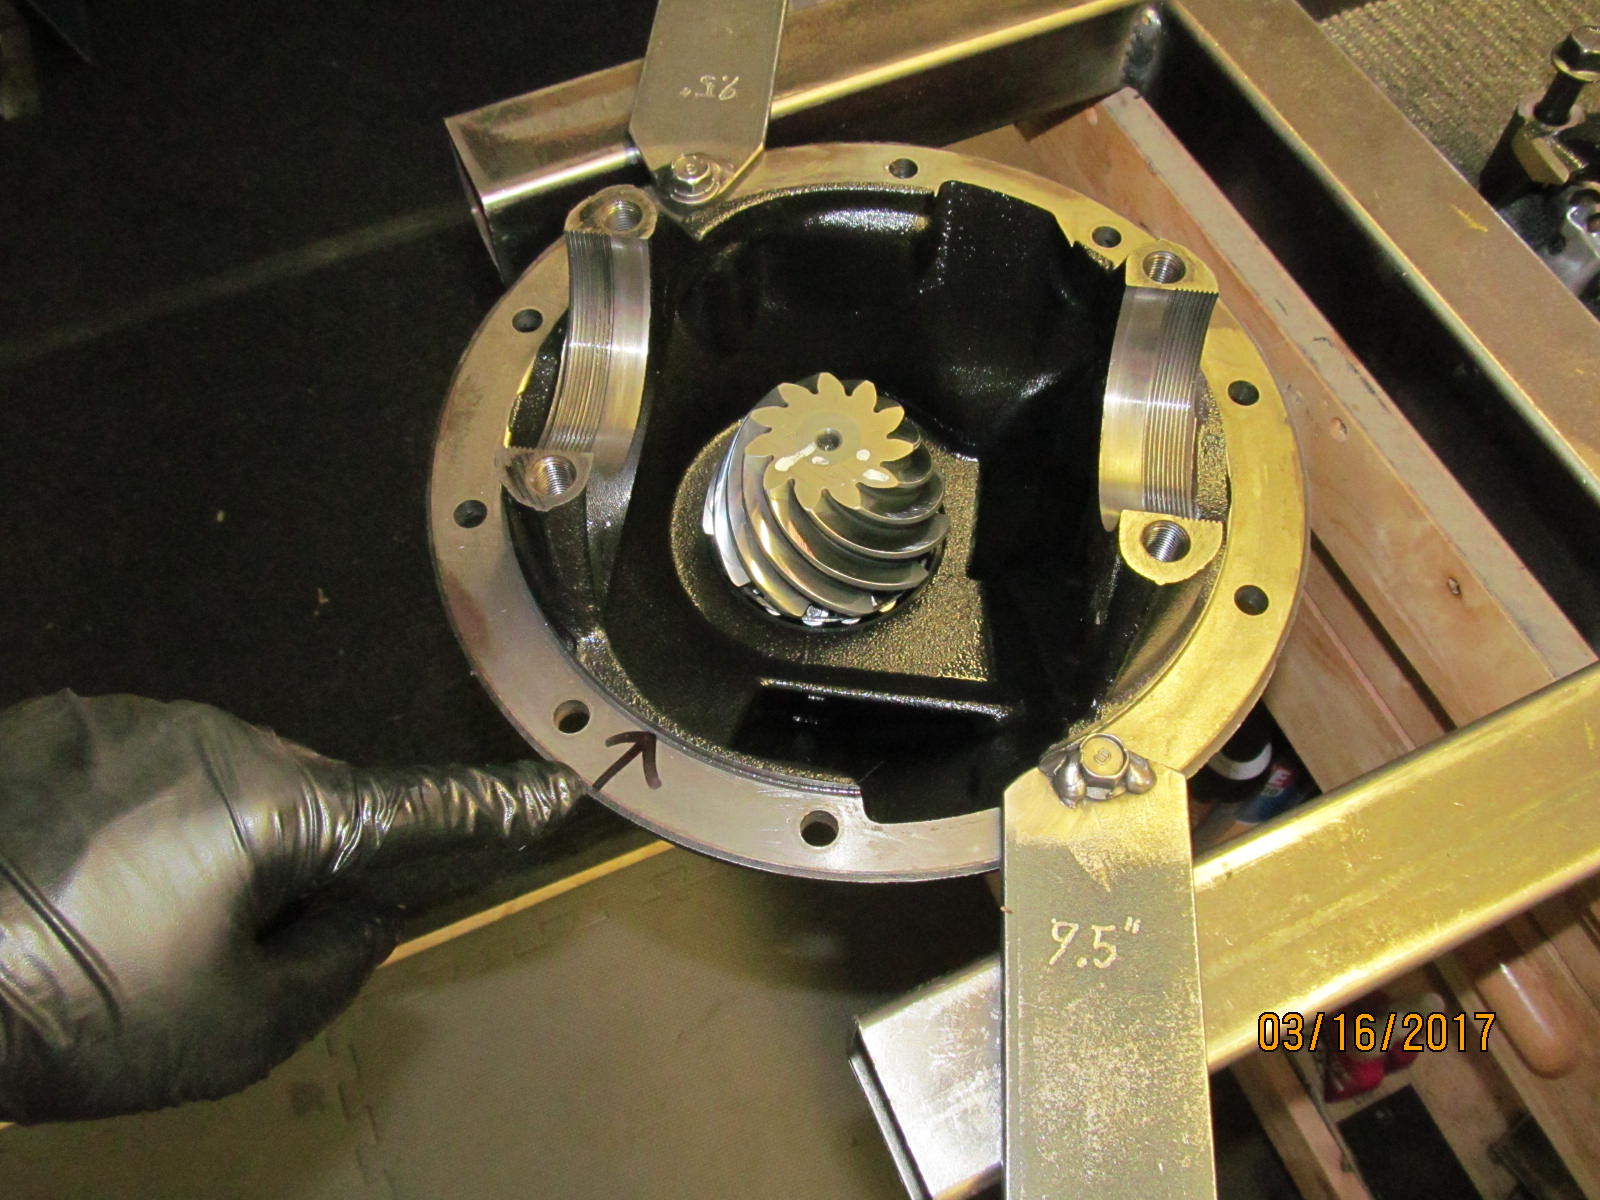
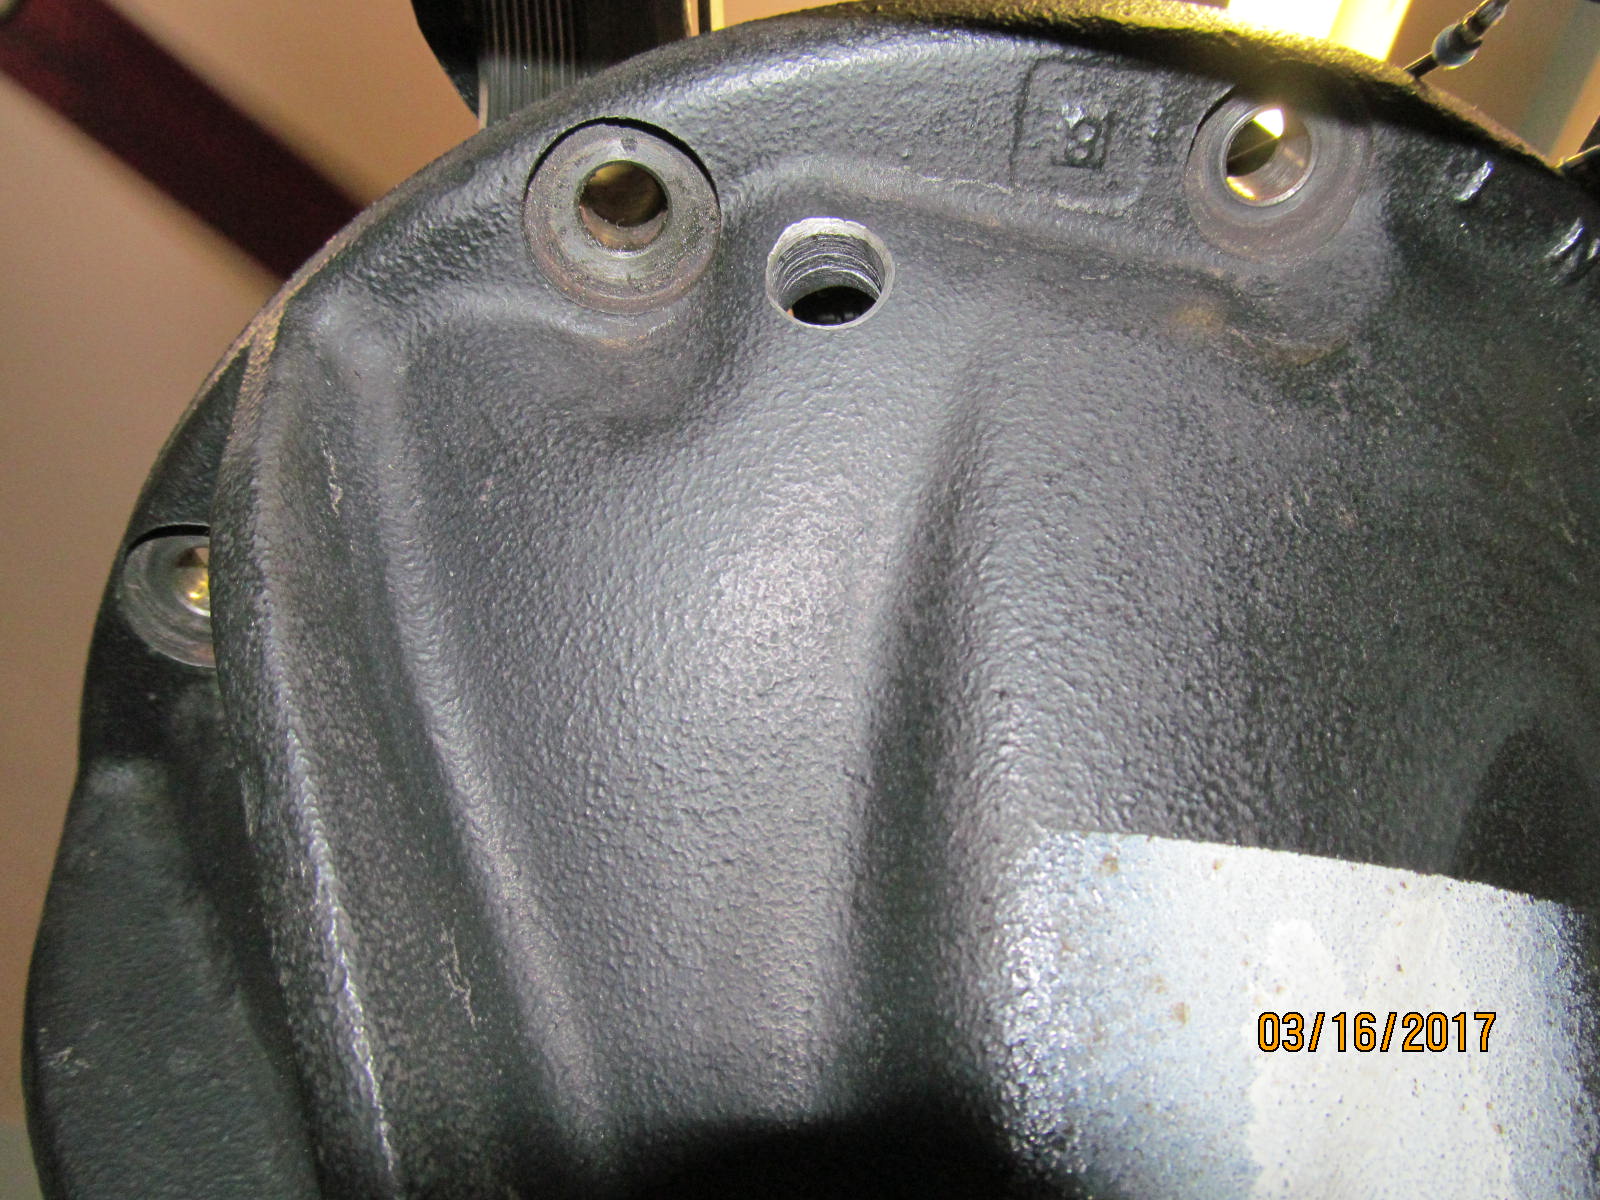
Before the Harrop is mounted the .453" hole has to be drilled in this area.
|
|
|
|
|
Done.
|
|
|
|
|
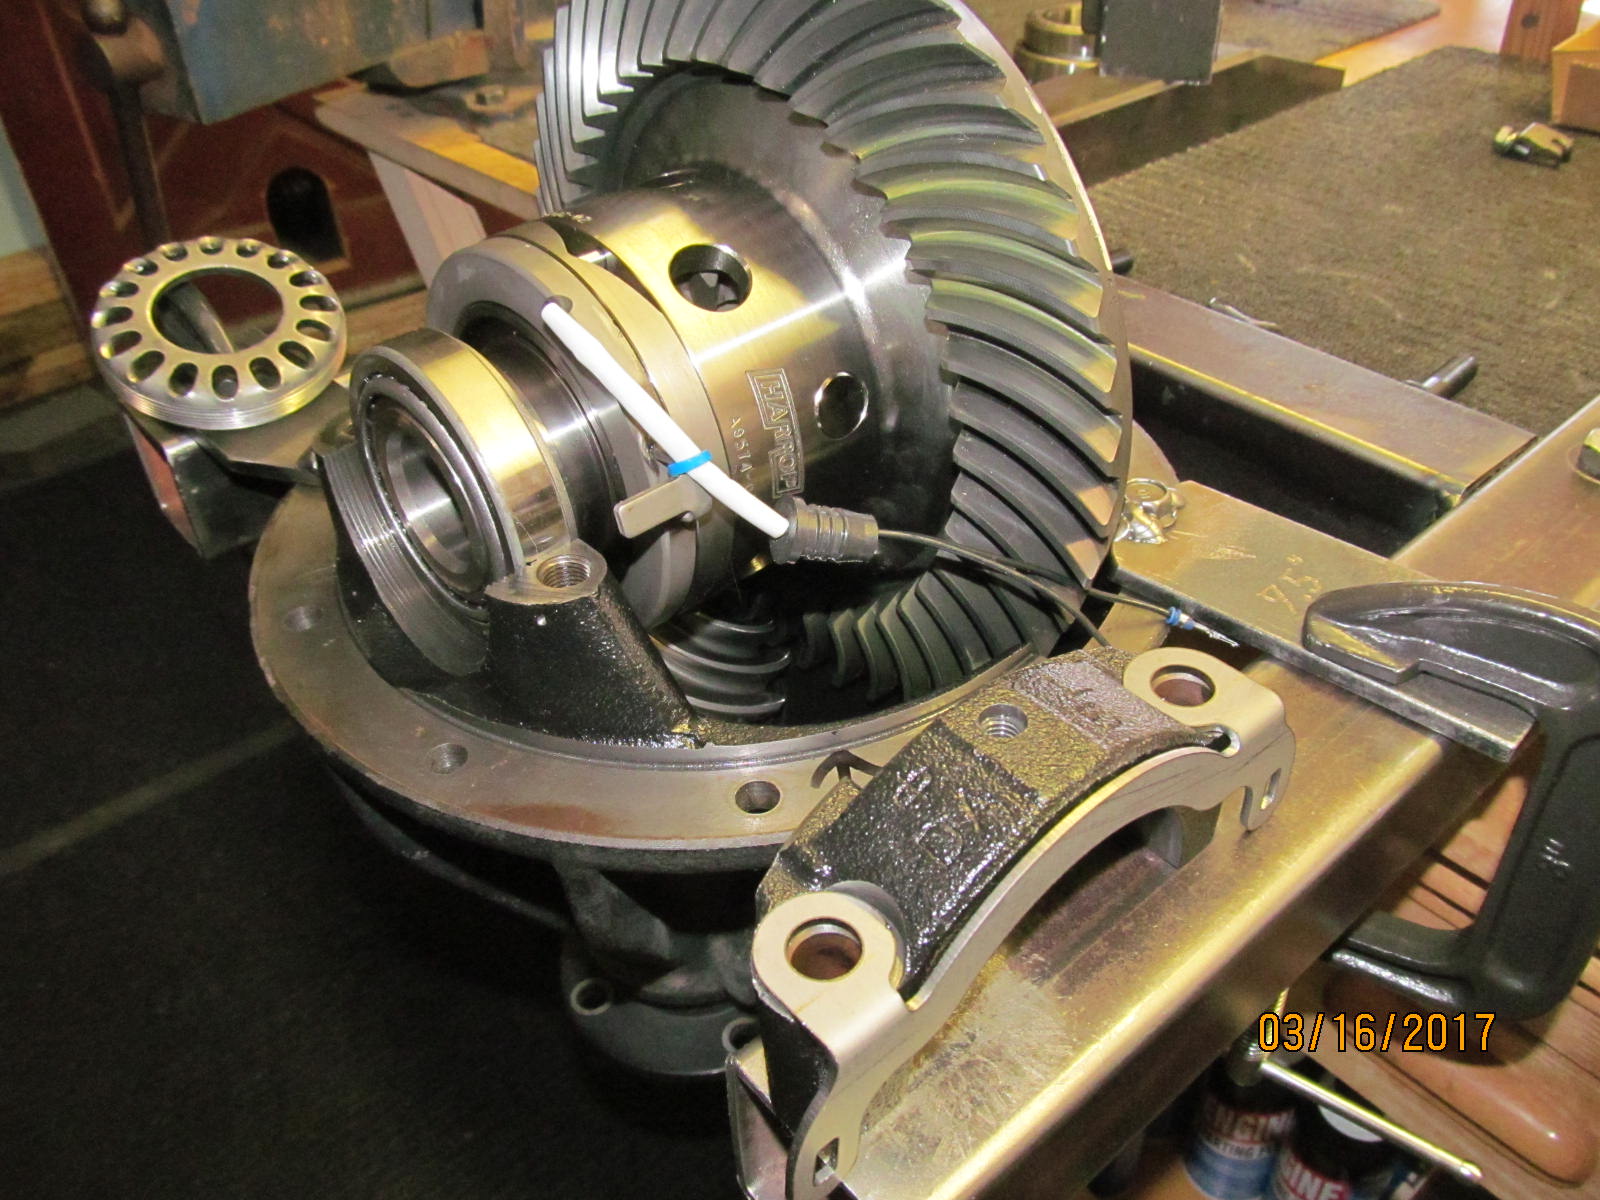
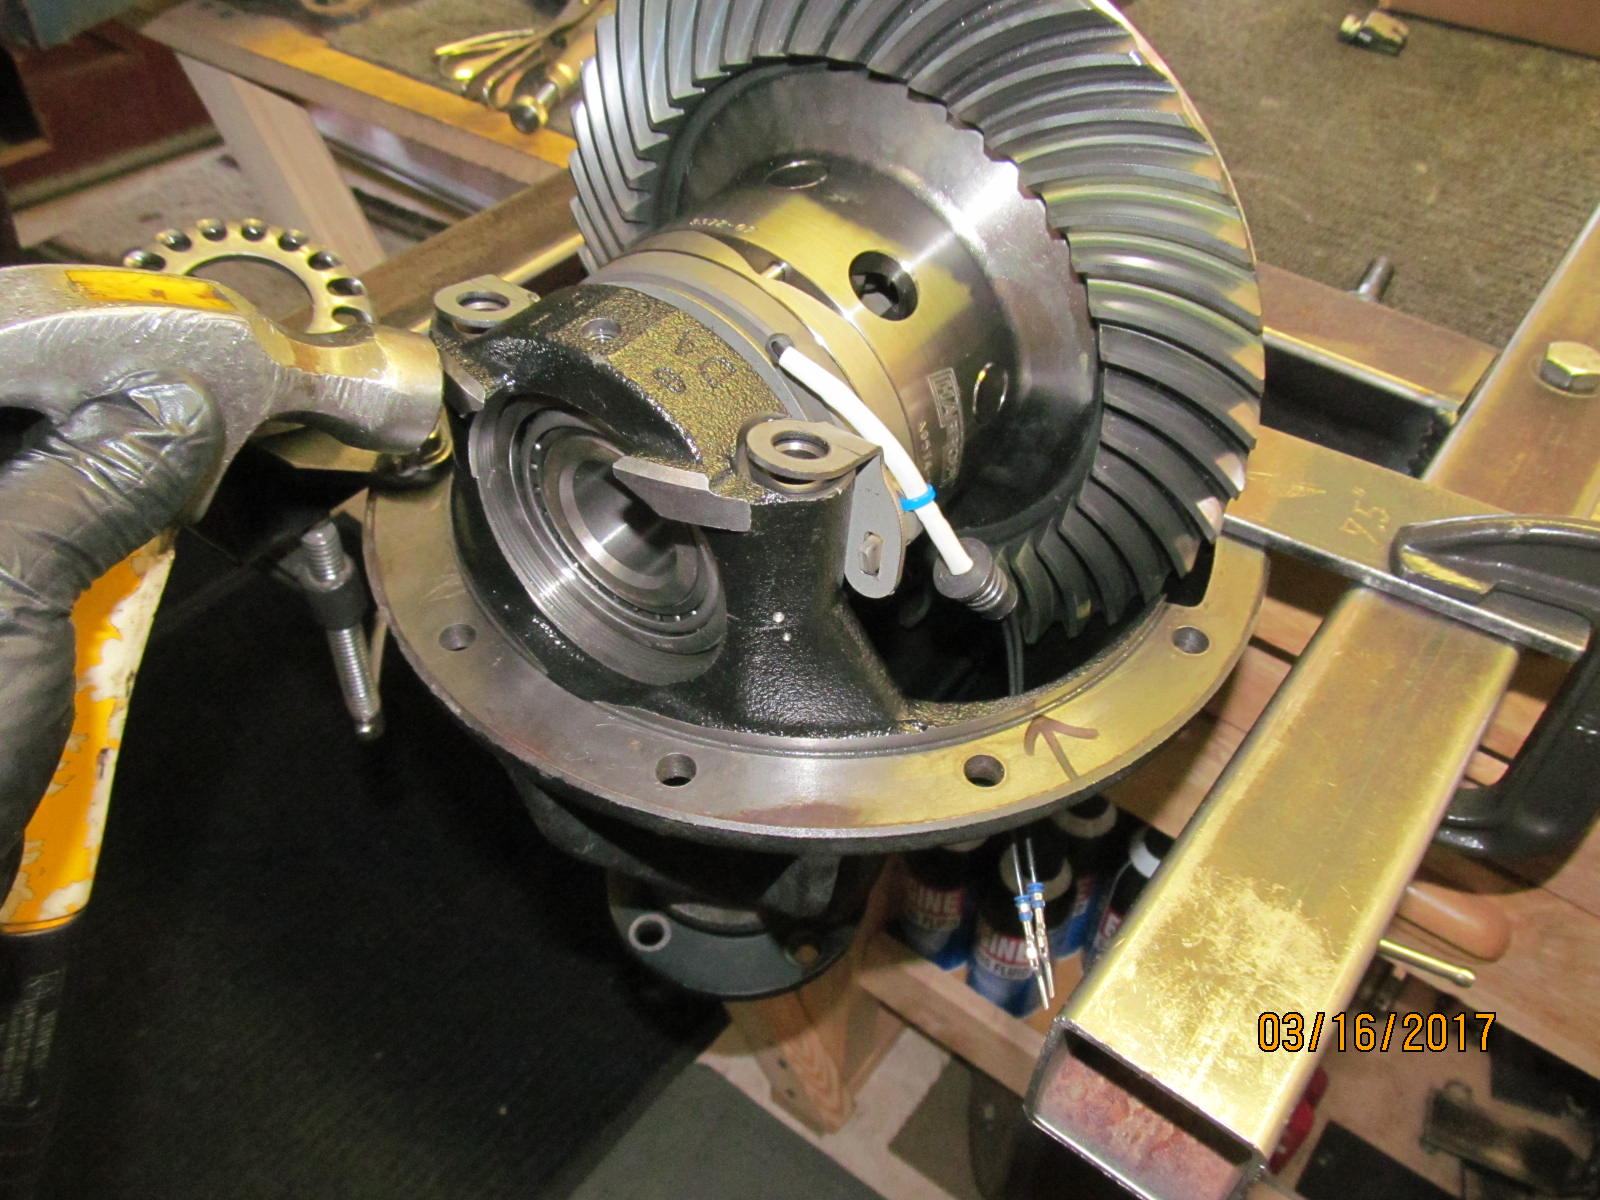
Harrop is placed in the diff carrier....
|
|
|
|
The anti-rotation bracket supplied with the Harrop has to be jiggled in place as shown. Ever so light taps to move
the bearing cap around.
|
|
|
|
|
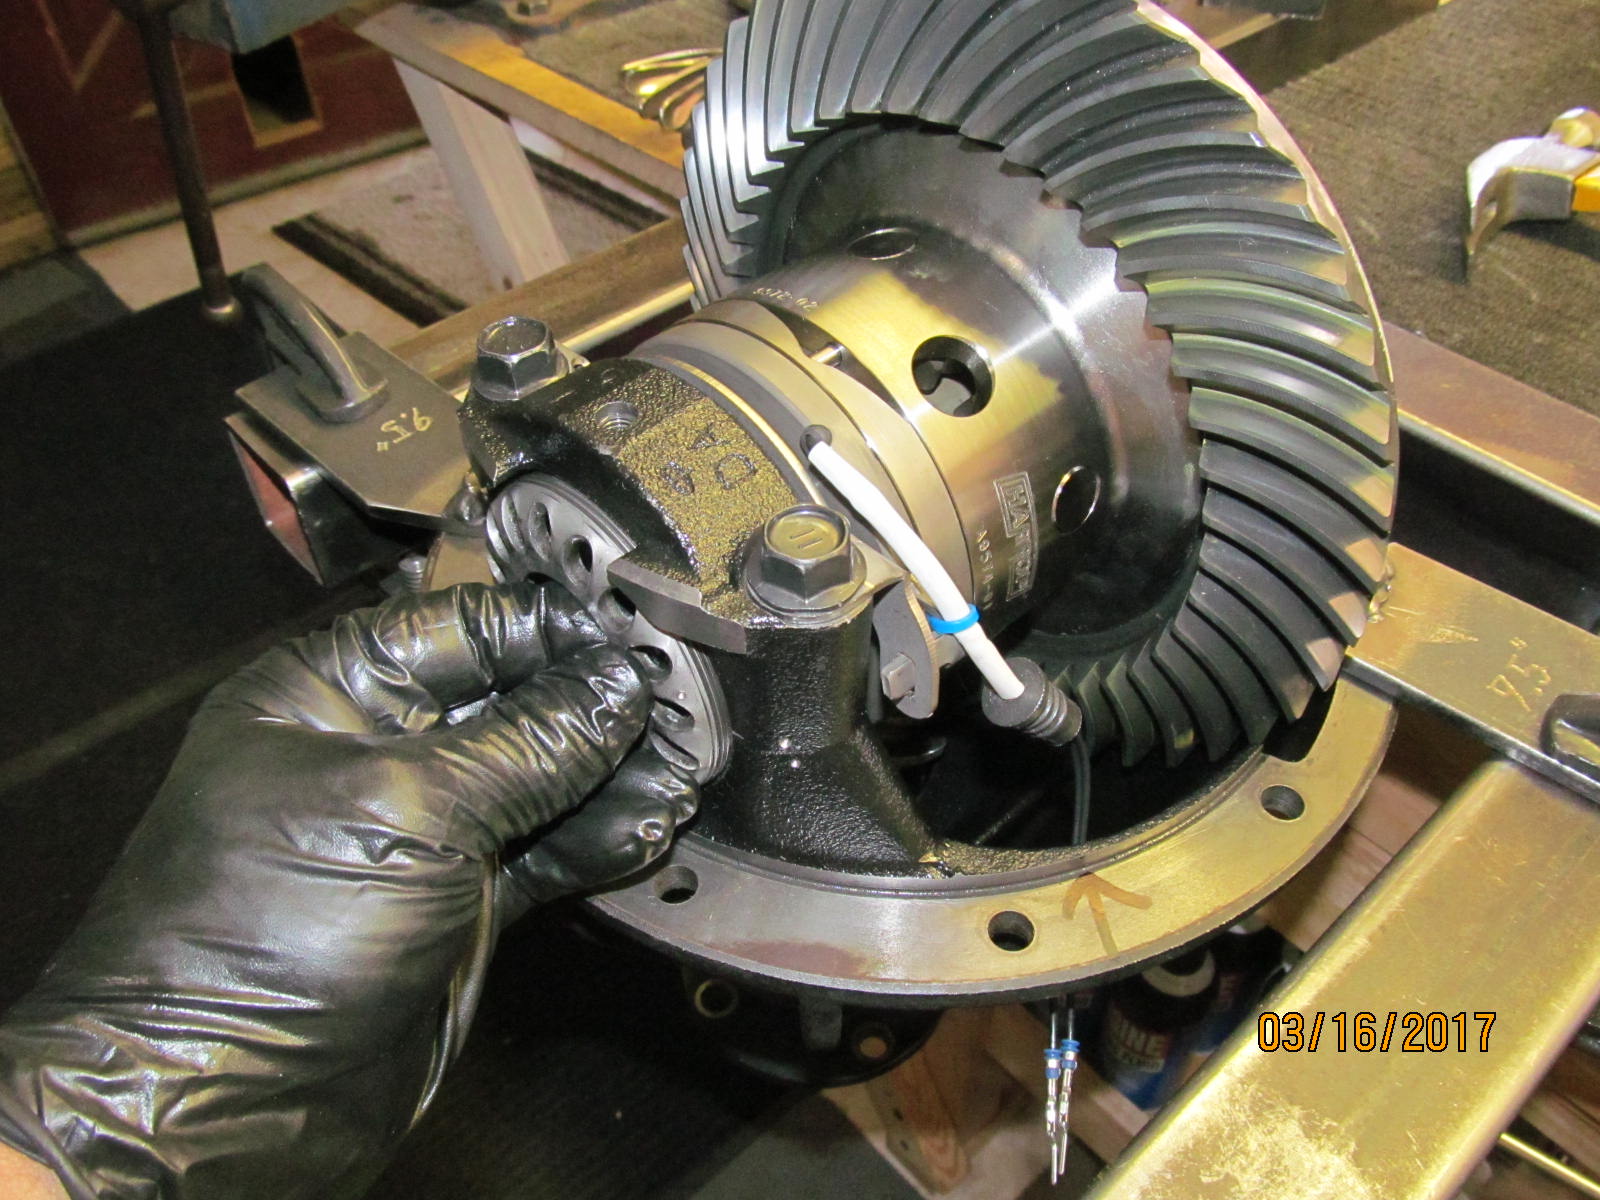
Thread the wheel adjuster in place.
|
|
|
|
|
Check the freeplay of the tabs. I had to make some adjustments and the final freeplay checked in at .090" which is just over 2mm.
|
|
|
|
|
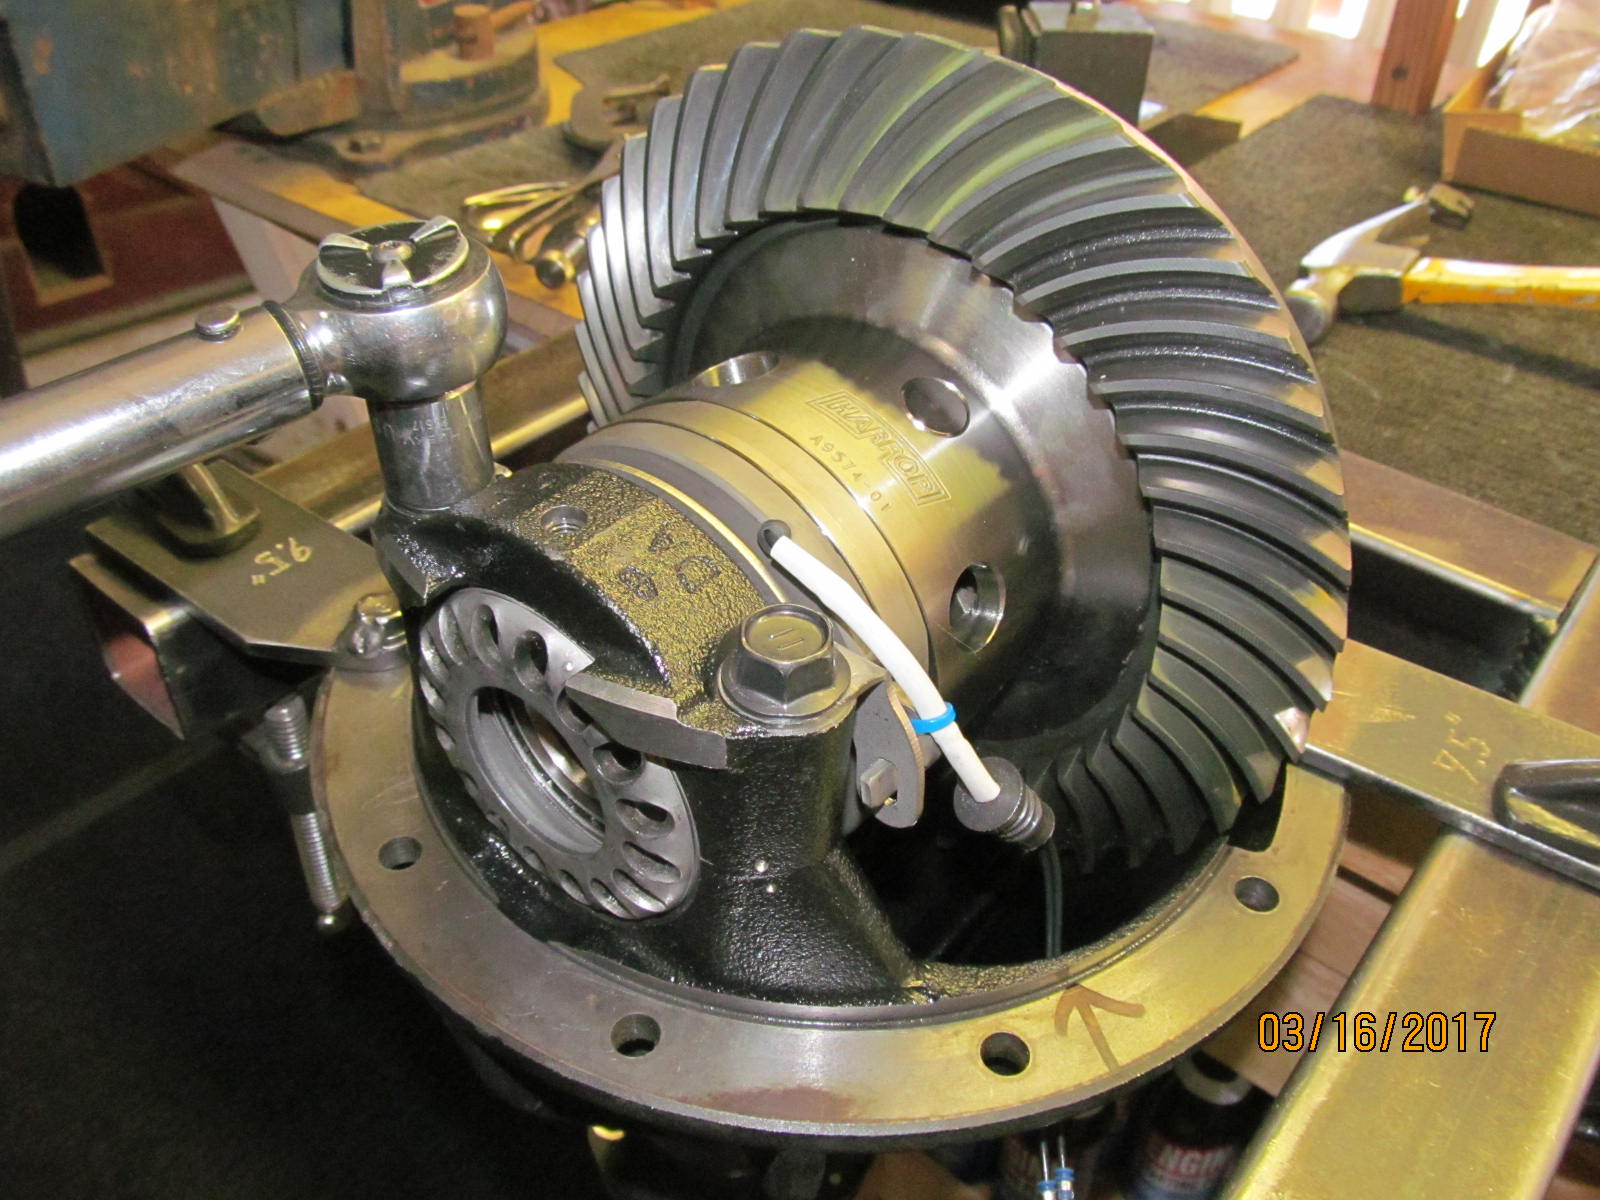
These bearing cap bolts were tightened to 83 ft/lb.
|
|
|

|
|
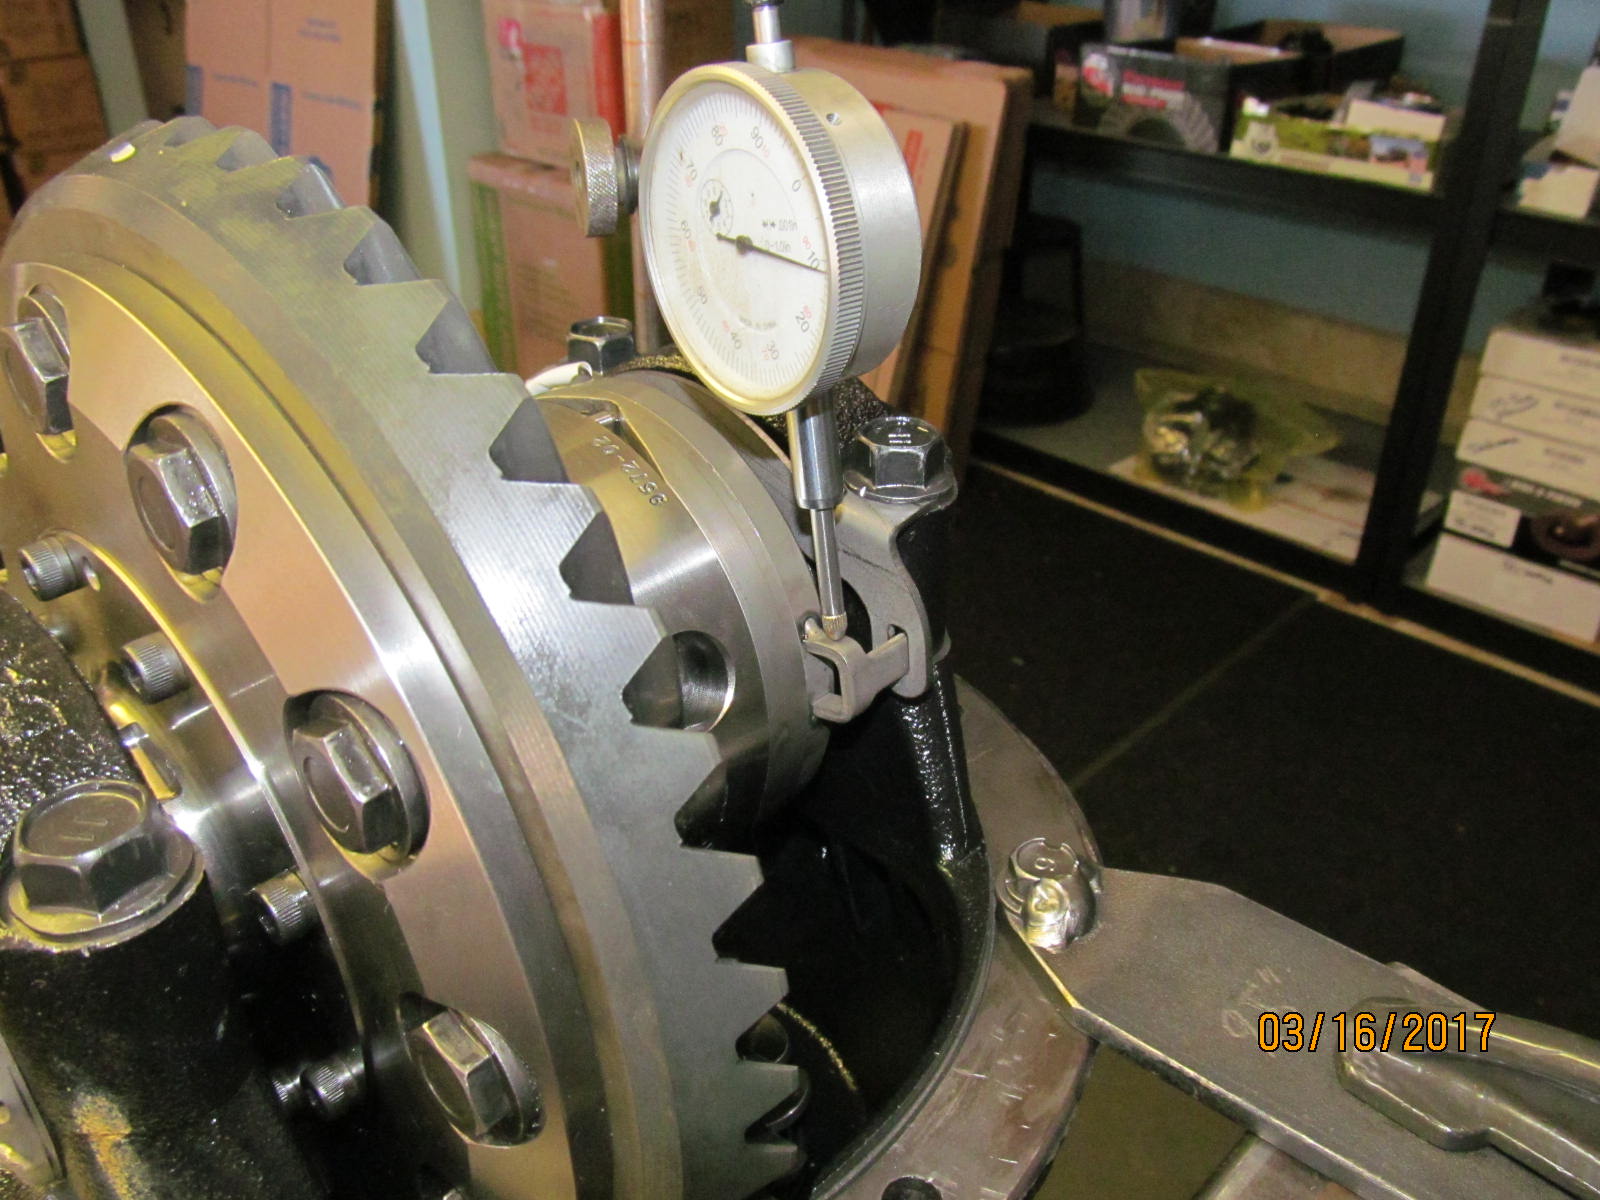
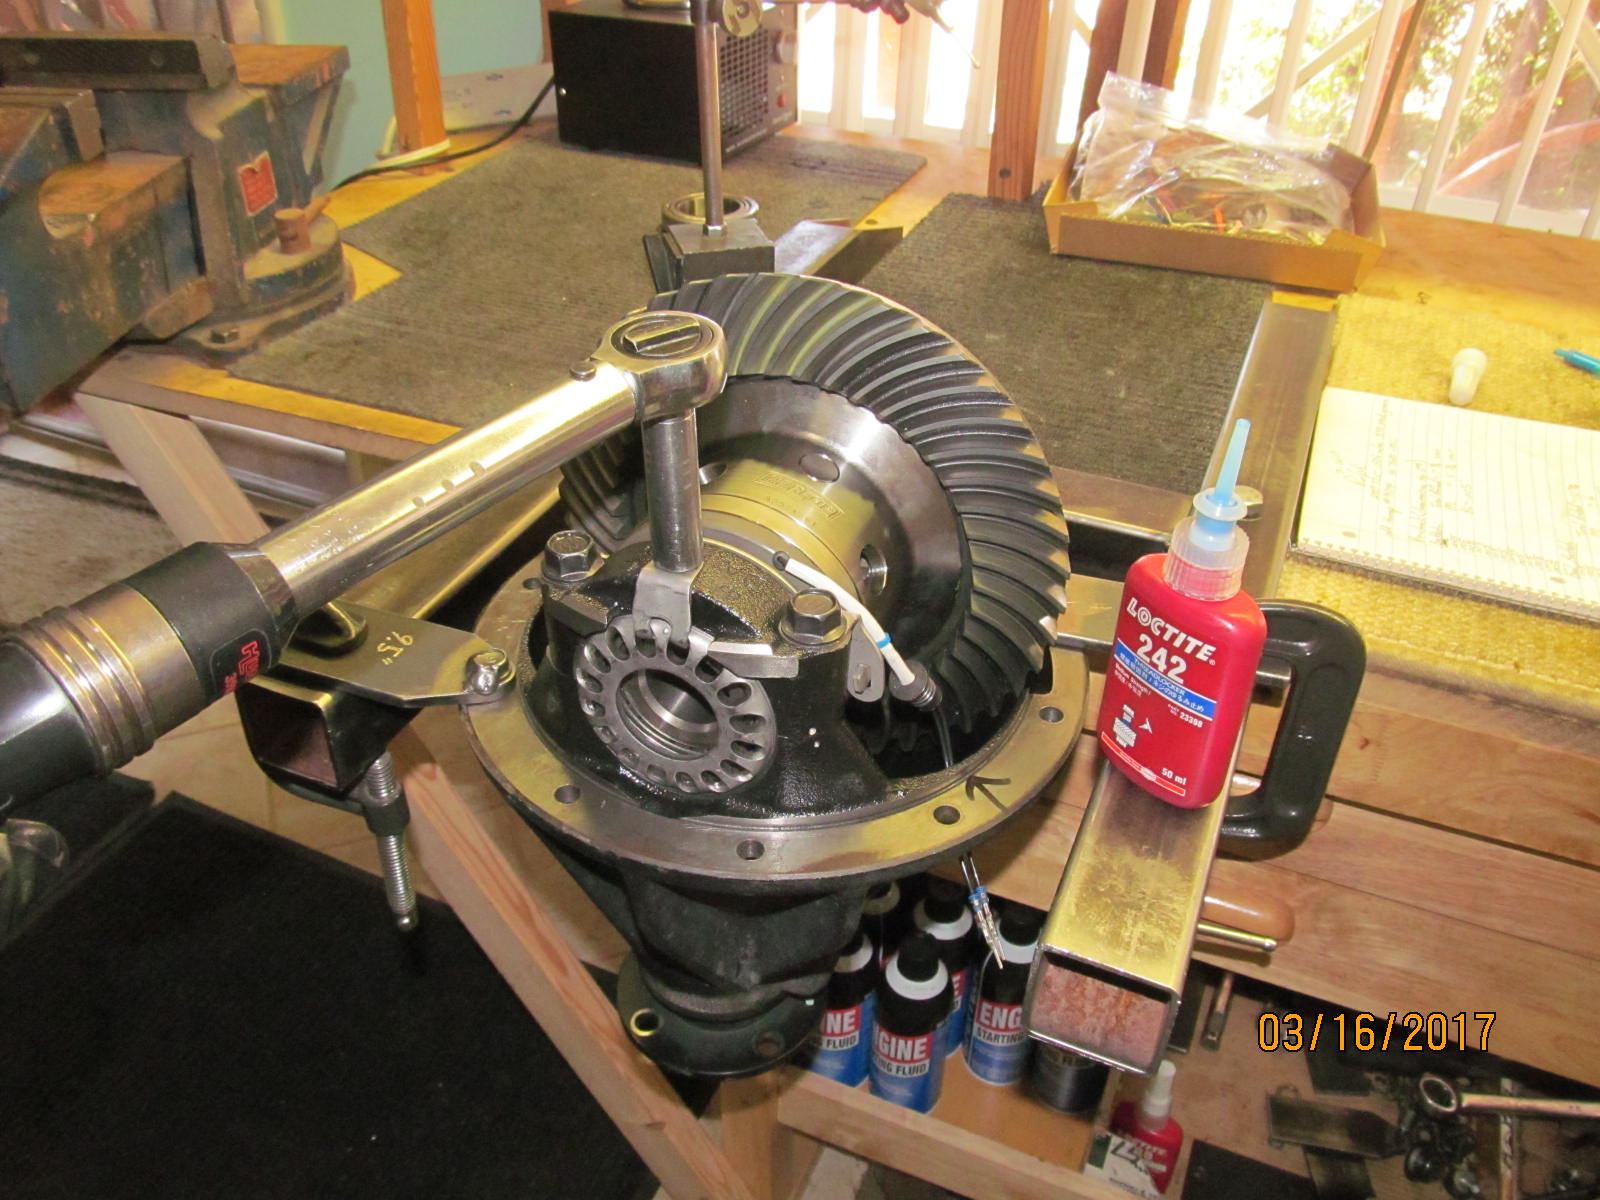
The adjustment wheels are carefully tightened to duplicate the tight backlash that was originally there.
|
|
|
|
|
Total preload(carrier plus pinion) measured 12 in/lb.
|
|
|
|
|
10 in/lb with blue loctite.
|
|
|
|
|
Re-checking the paint pattern.....drive side good.
|
|
|
|
|
Coast good.
|
|
|
|
|
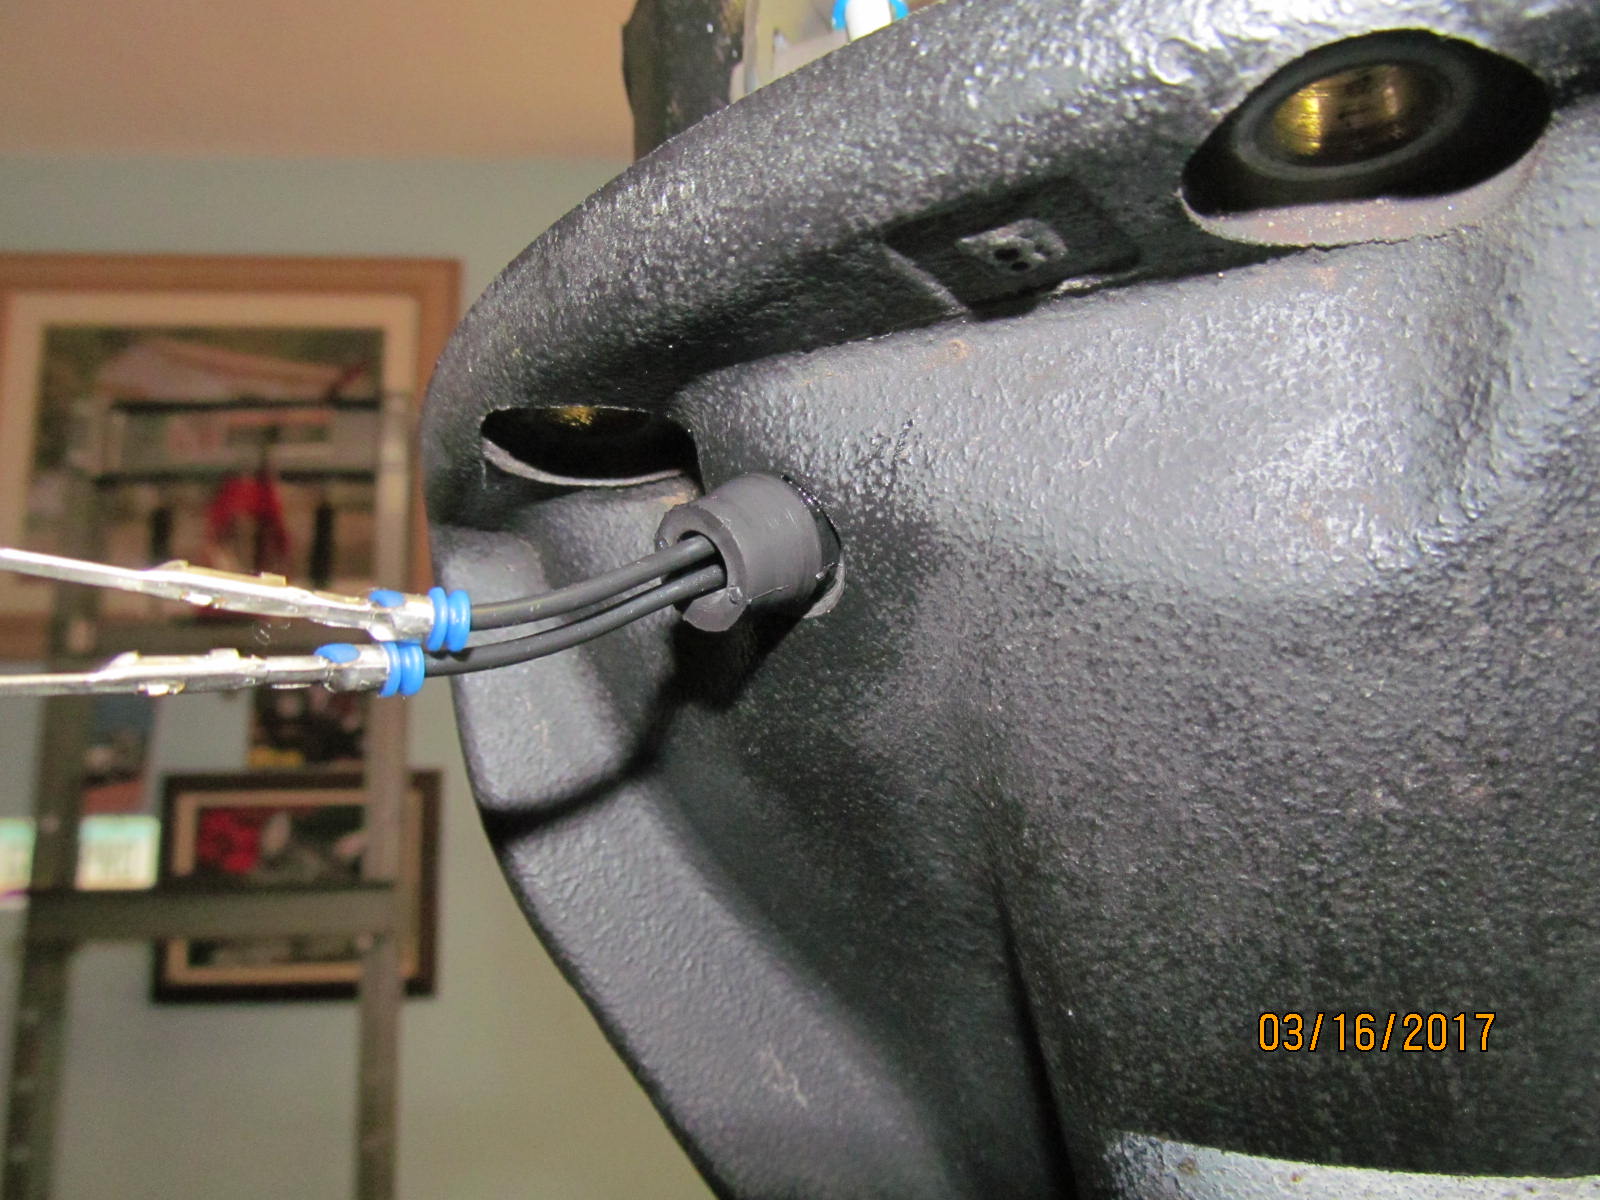
RTV was applied to the grommet....allows it to pass thru much easier and seal insurance.
|
|
|
|
|
.......................
|
|
|
|
|
................................
|
|
|
|
|
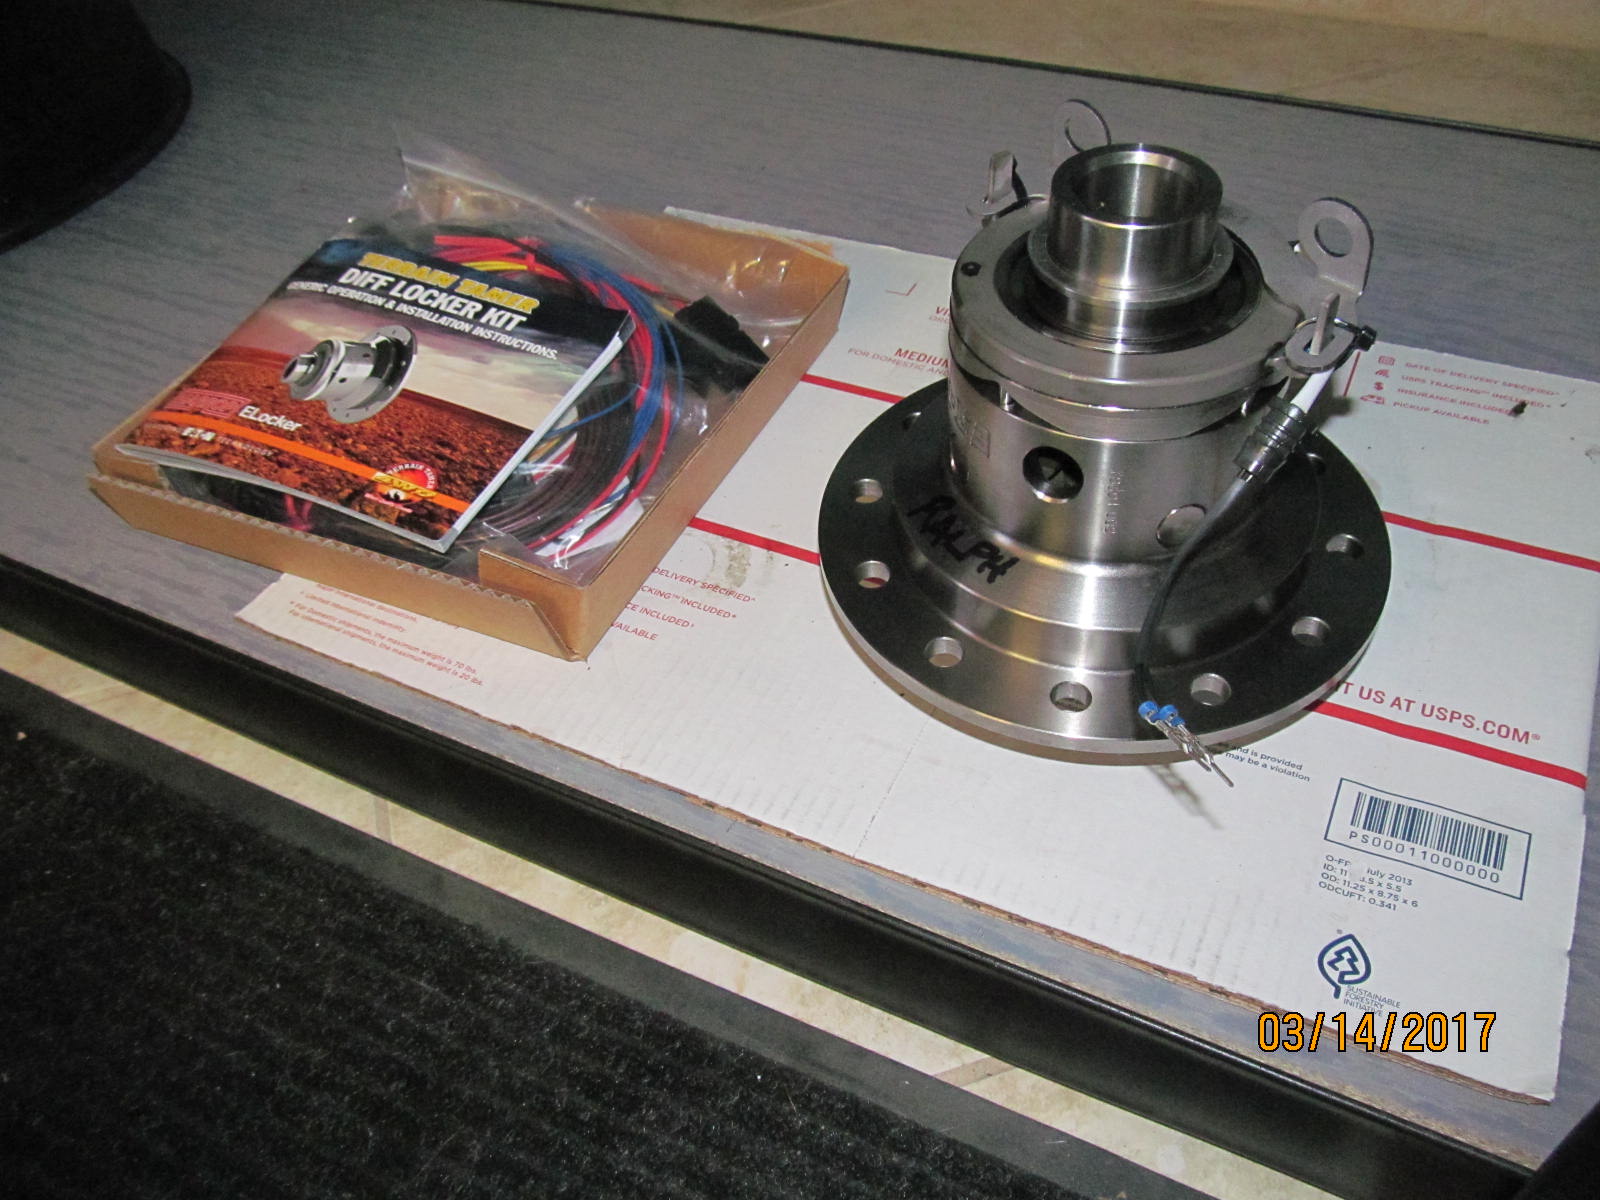
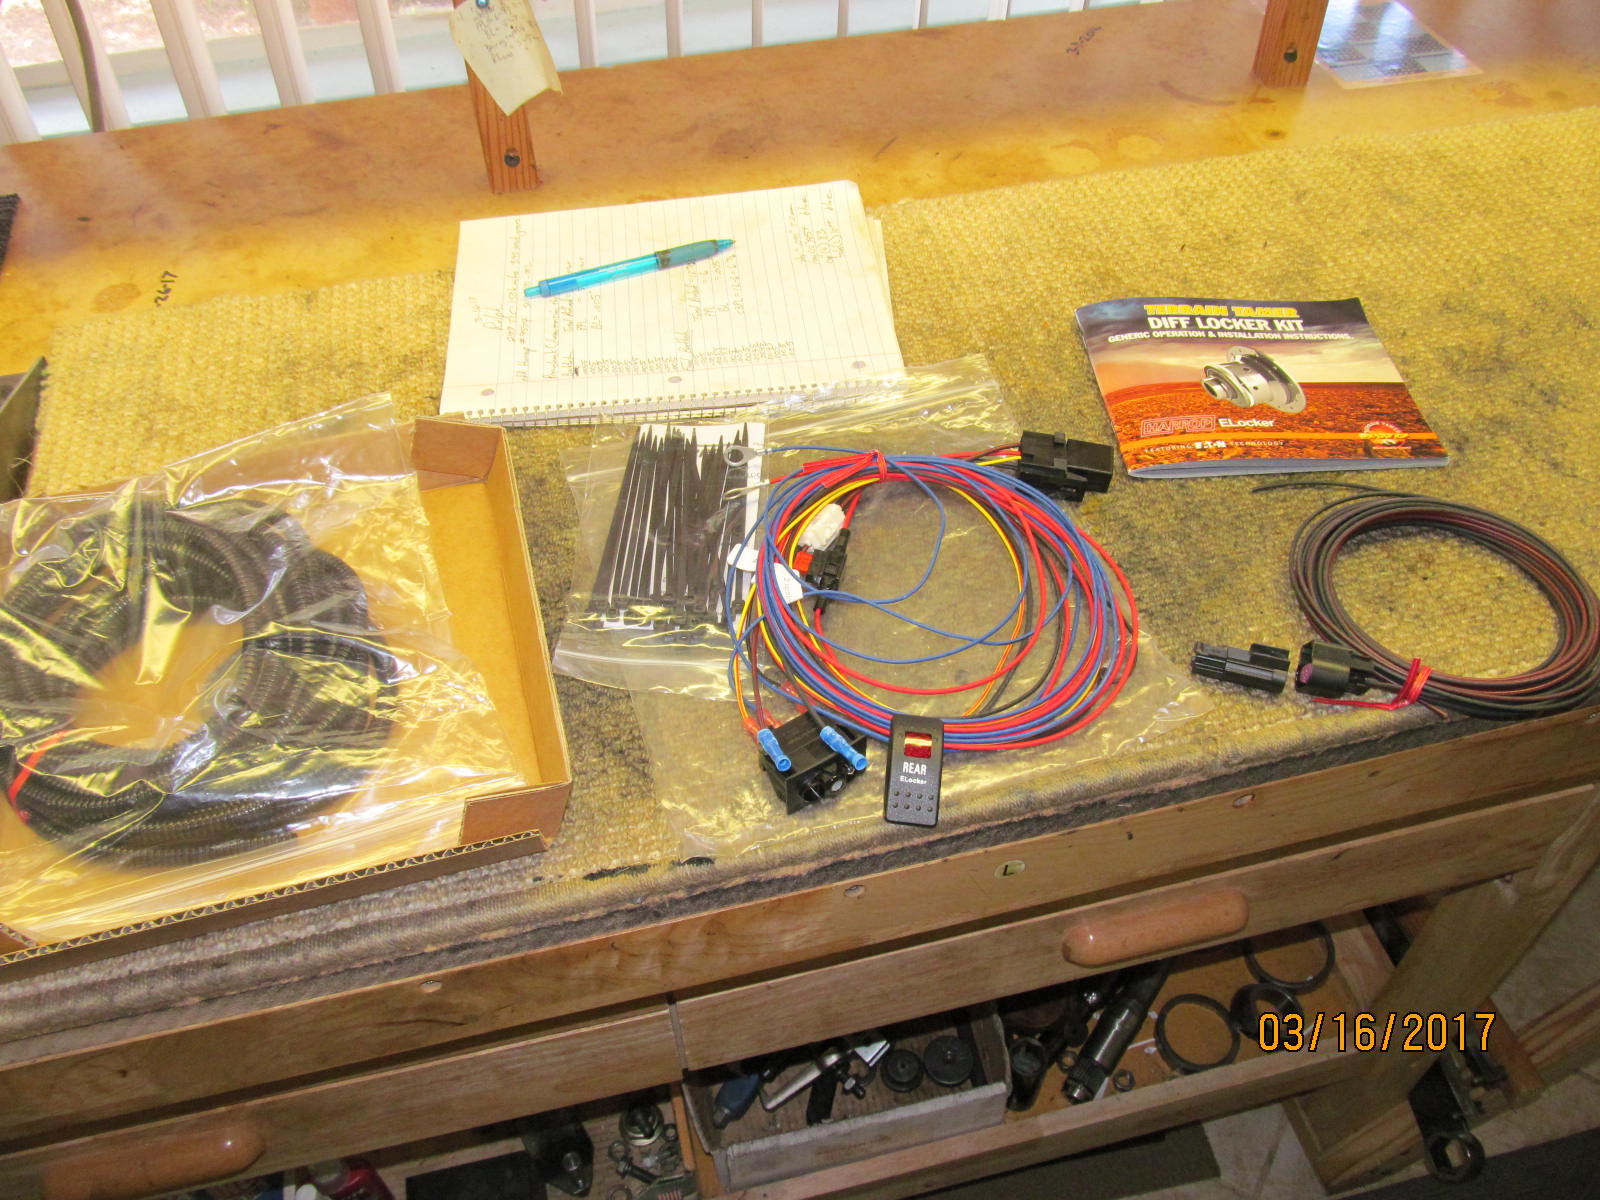
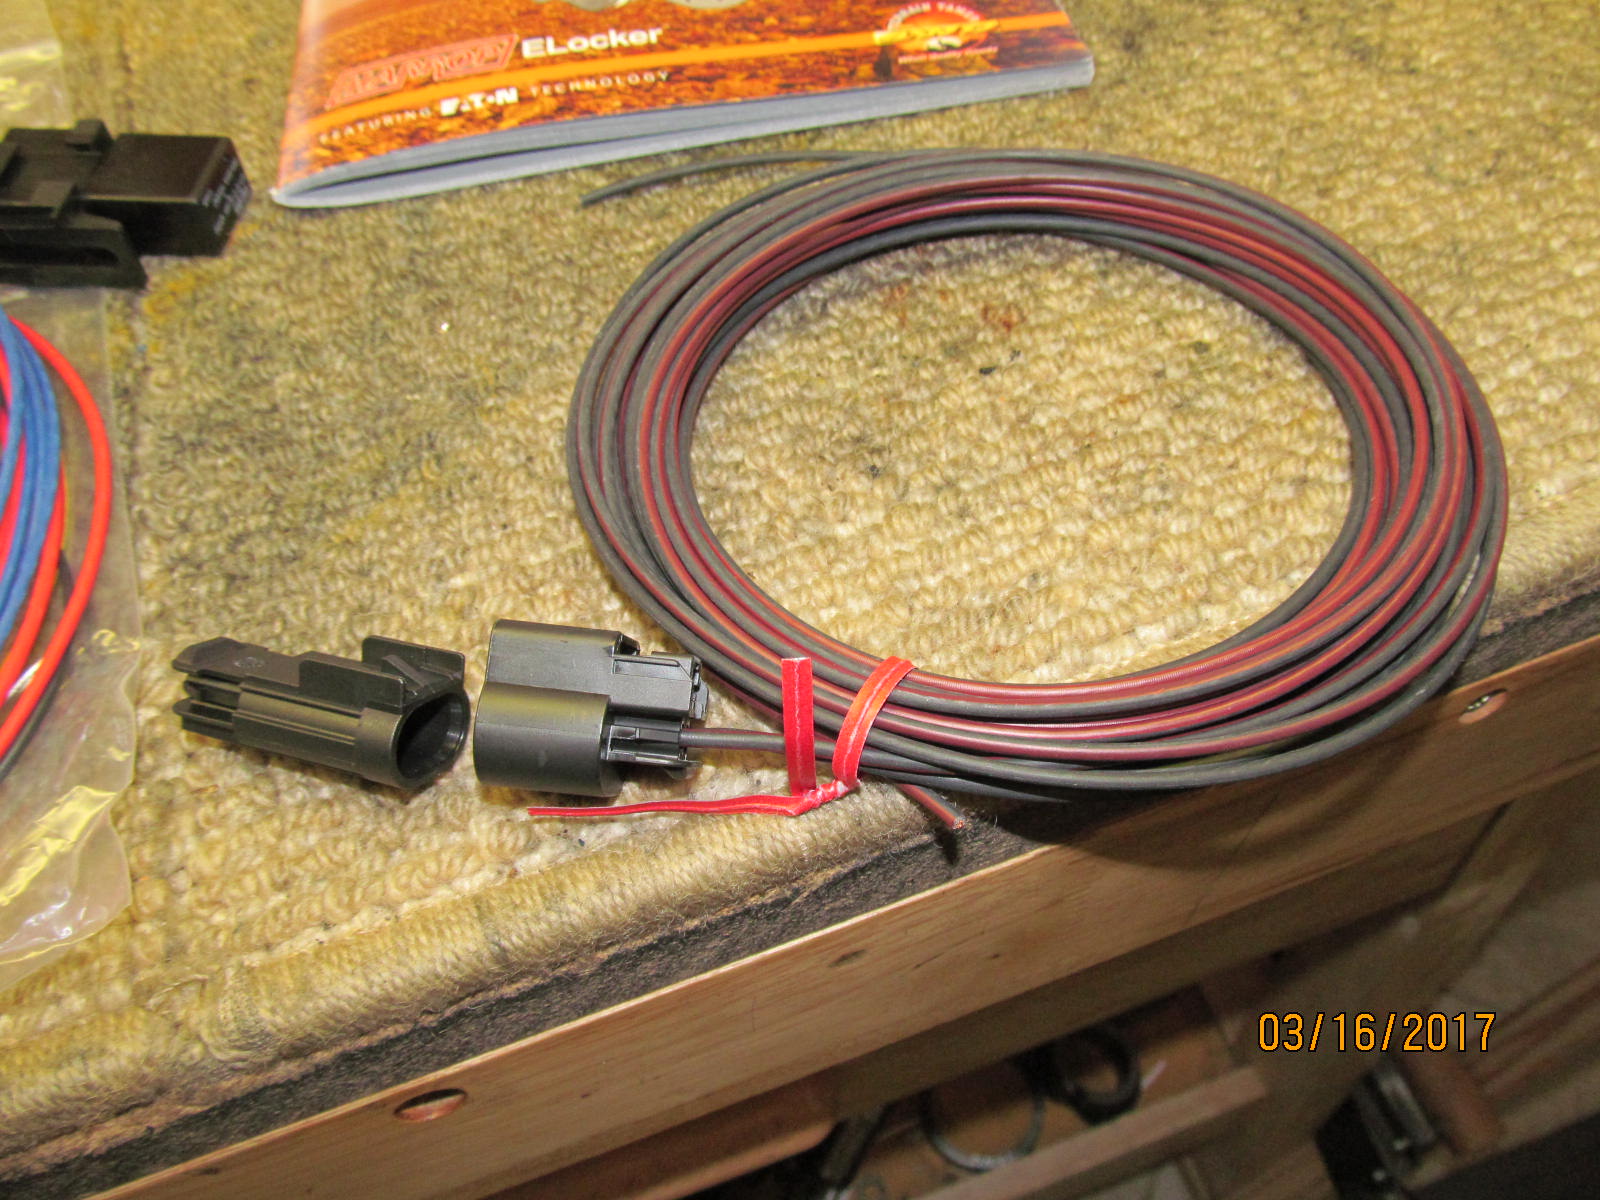
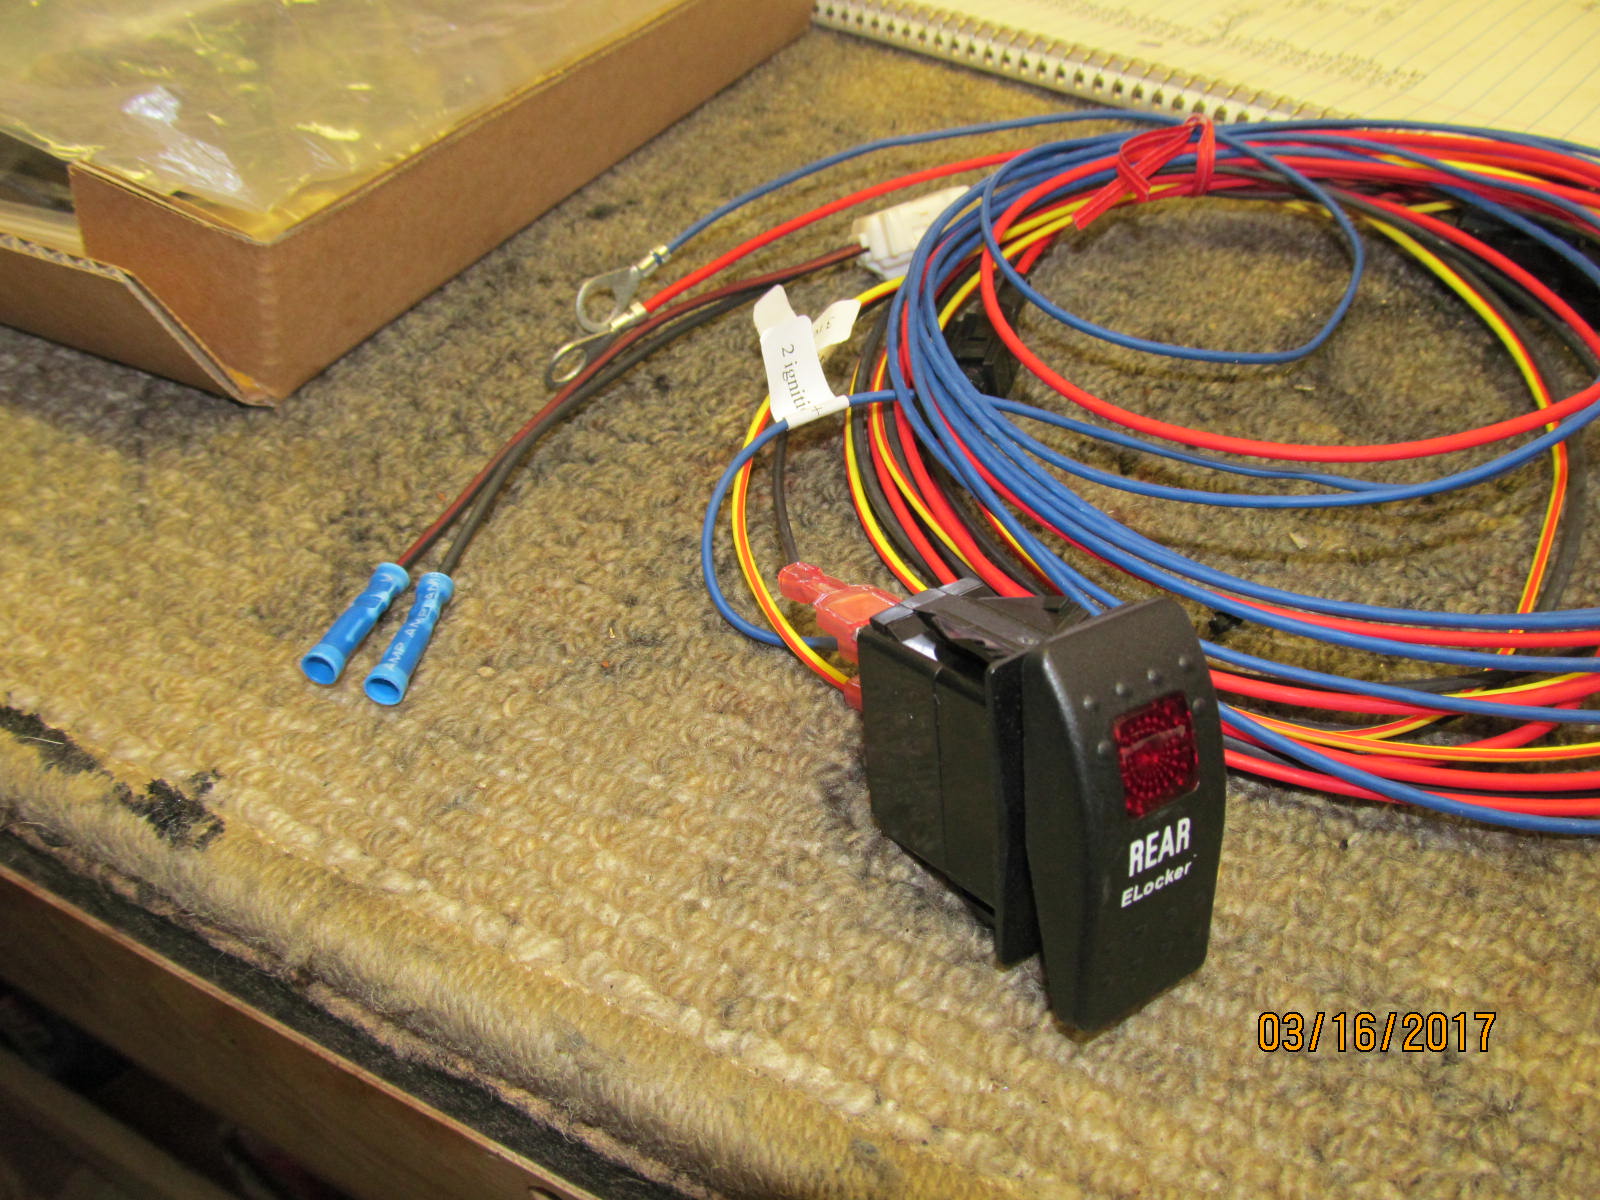
This is all the wiring harness materials.
|
|
|
|
|
The plug that goes to the rear Harrop to the 2 wires.
|
|
|
|
|
The dash mounted rocker switch that Harrop supplies....works ok but there is an upgraded switch option. See next small pic.
|
|
|
|
|
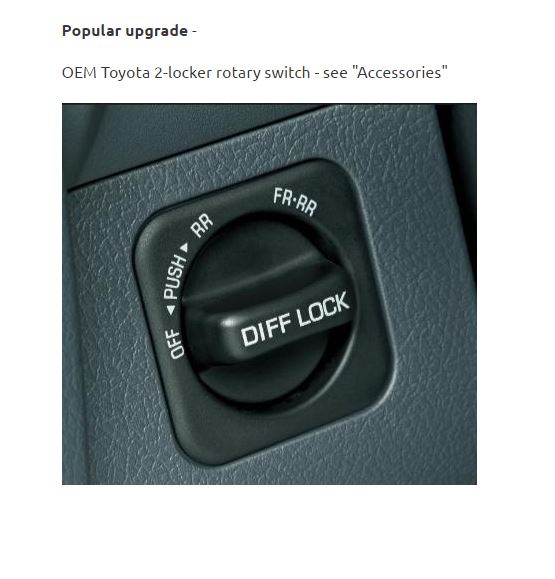
This is the optional upgraded switch offered by Yotalockers.com.
|
|
|
|
|
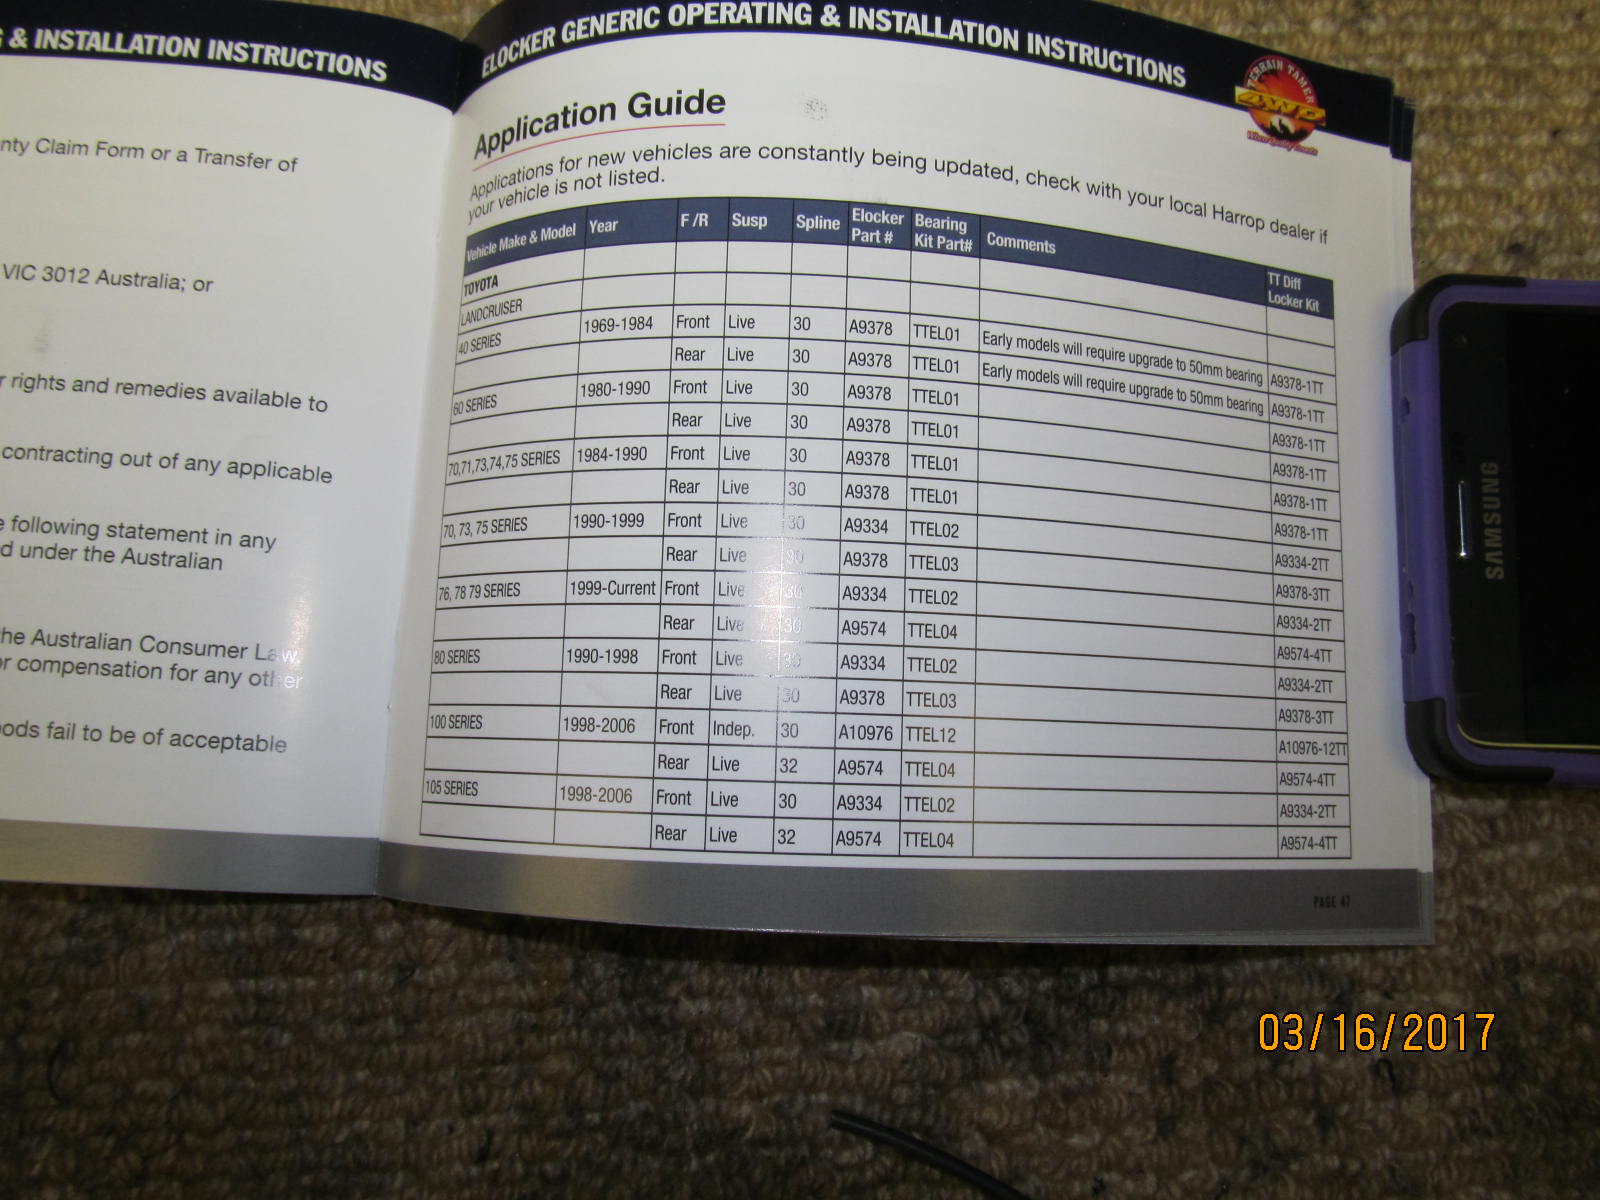
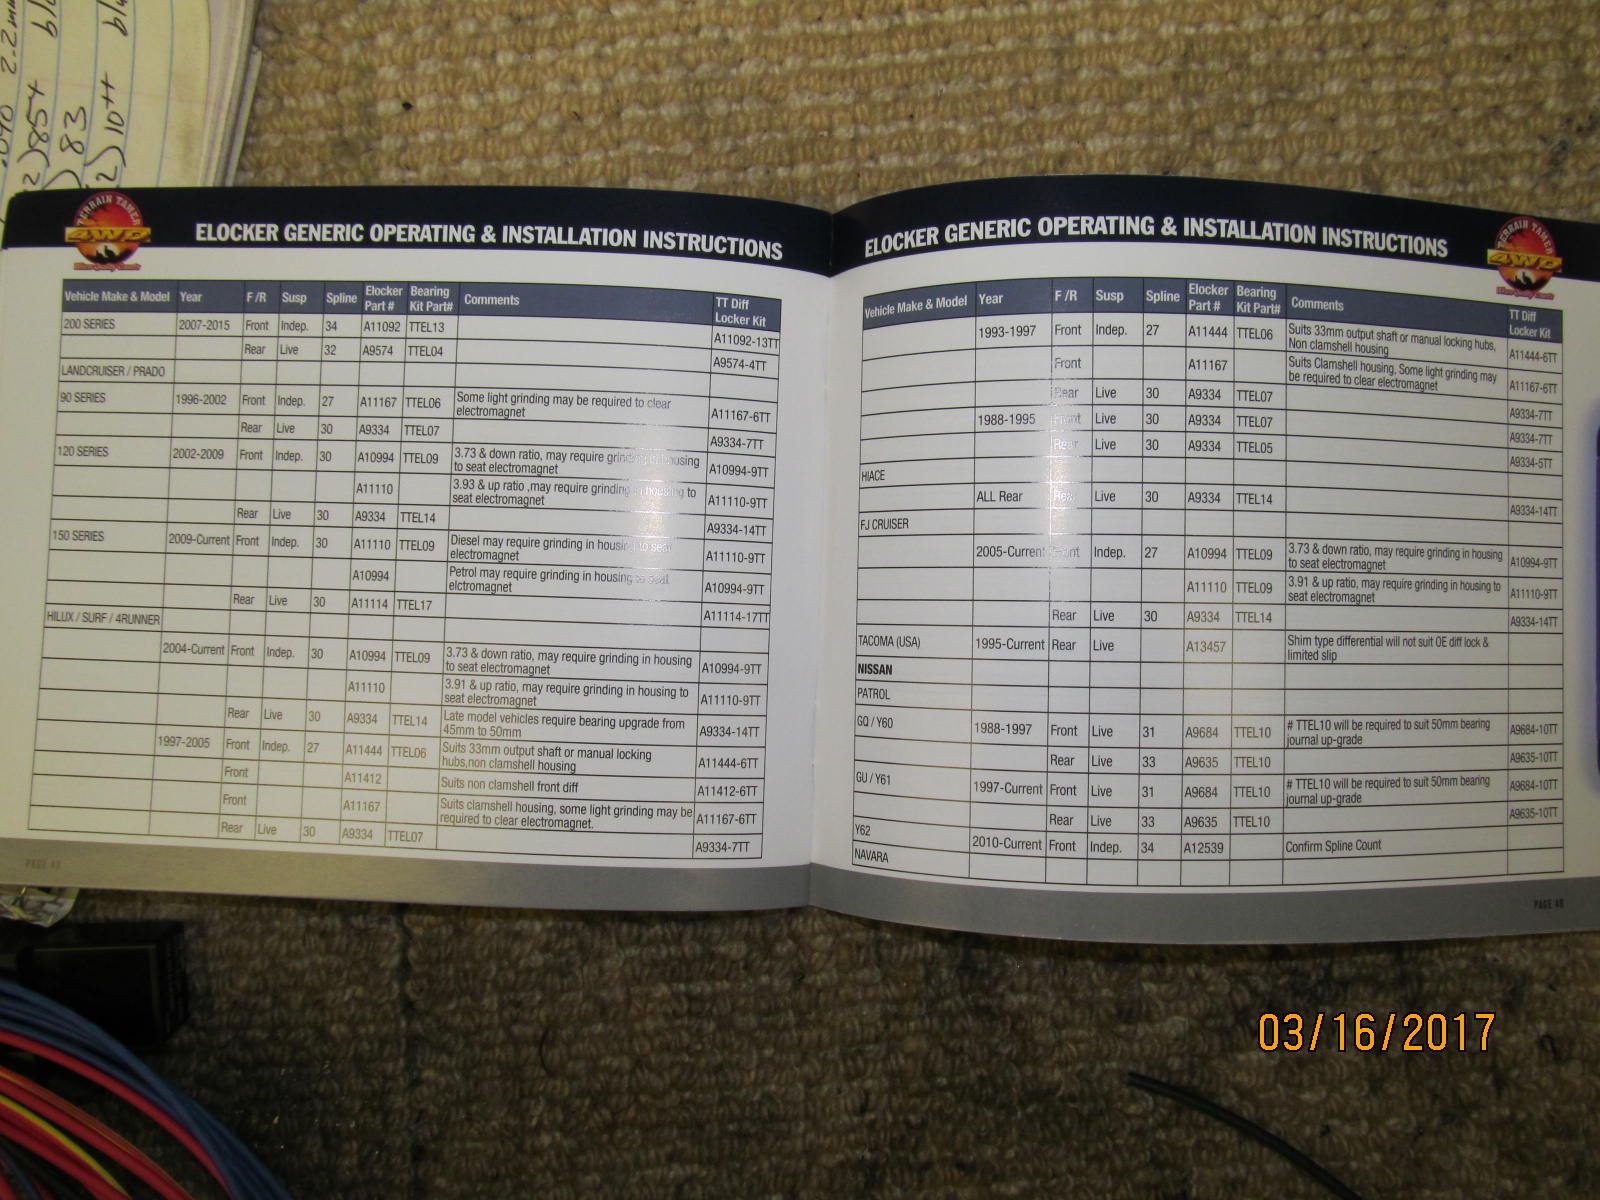
A snapshot of the Application Guide.... Page 1
|
|
|
|
|
Page 2 of the Toyota application page.
|
|
|
|
|
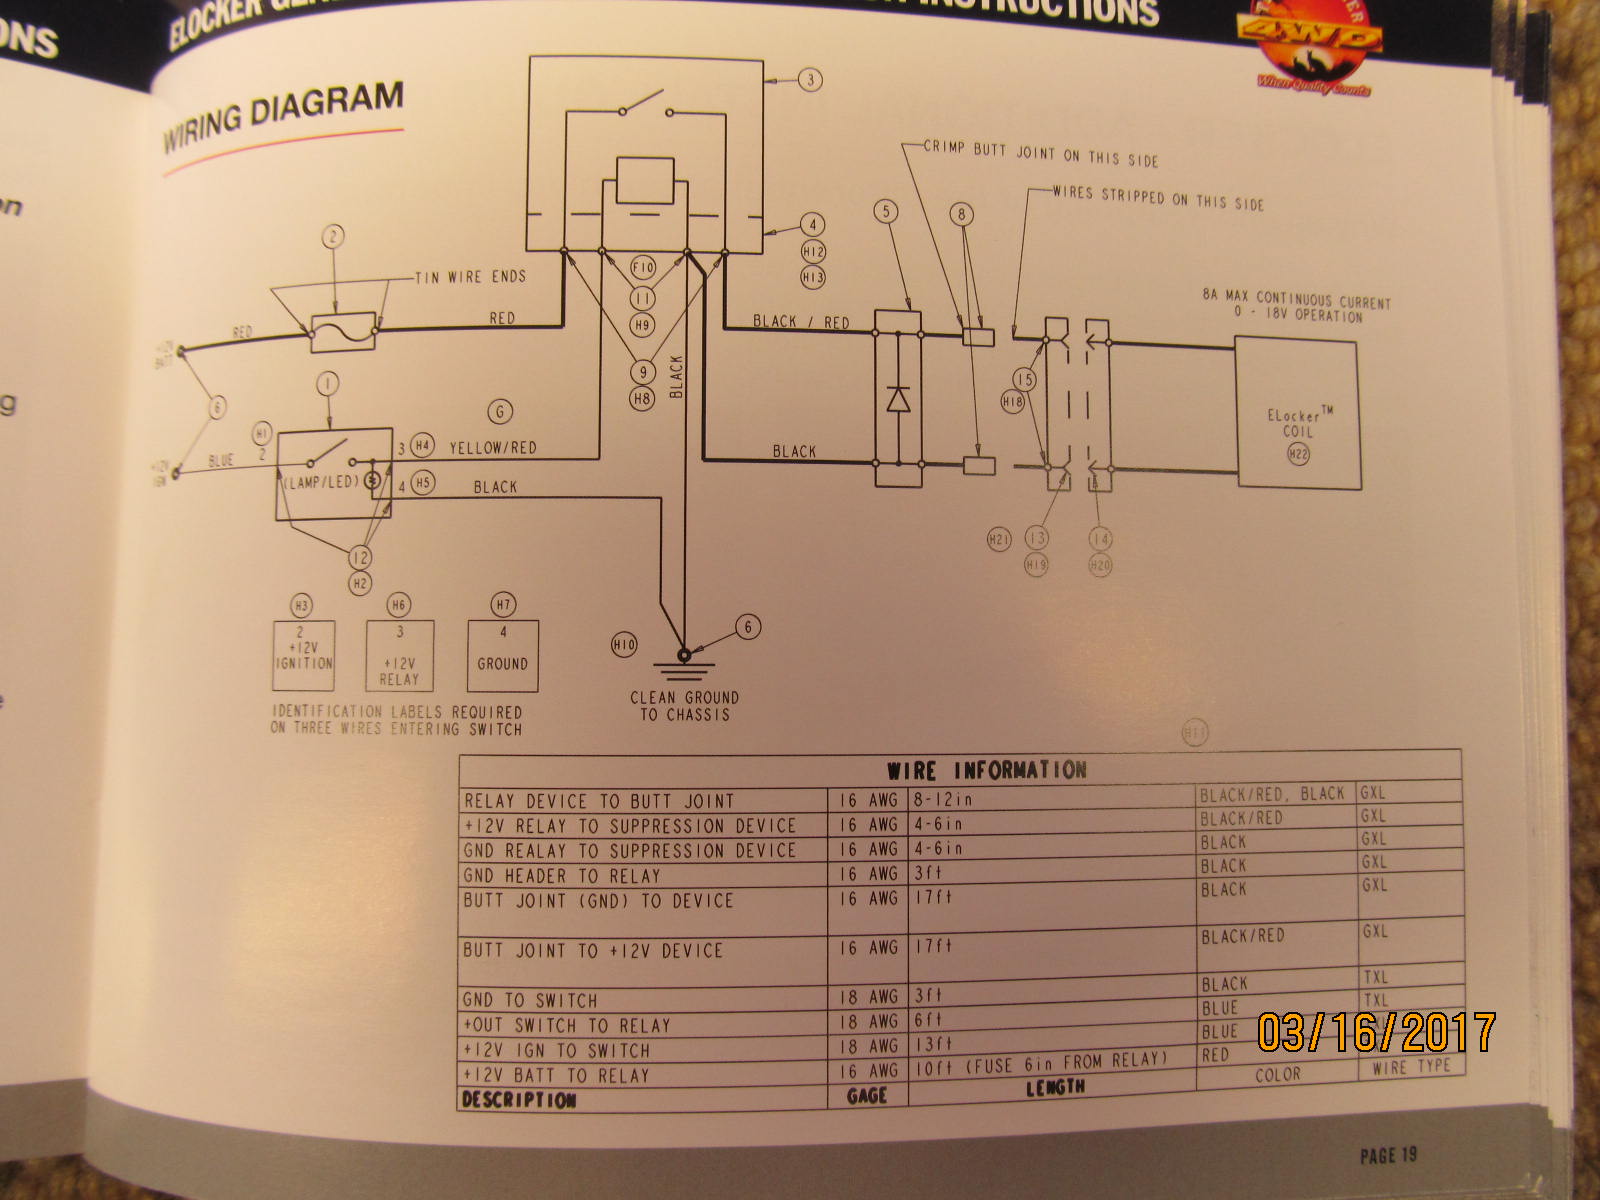
The wire harness lay-out.
|
|
|
|
|
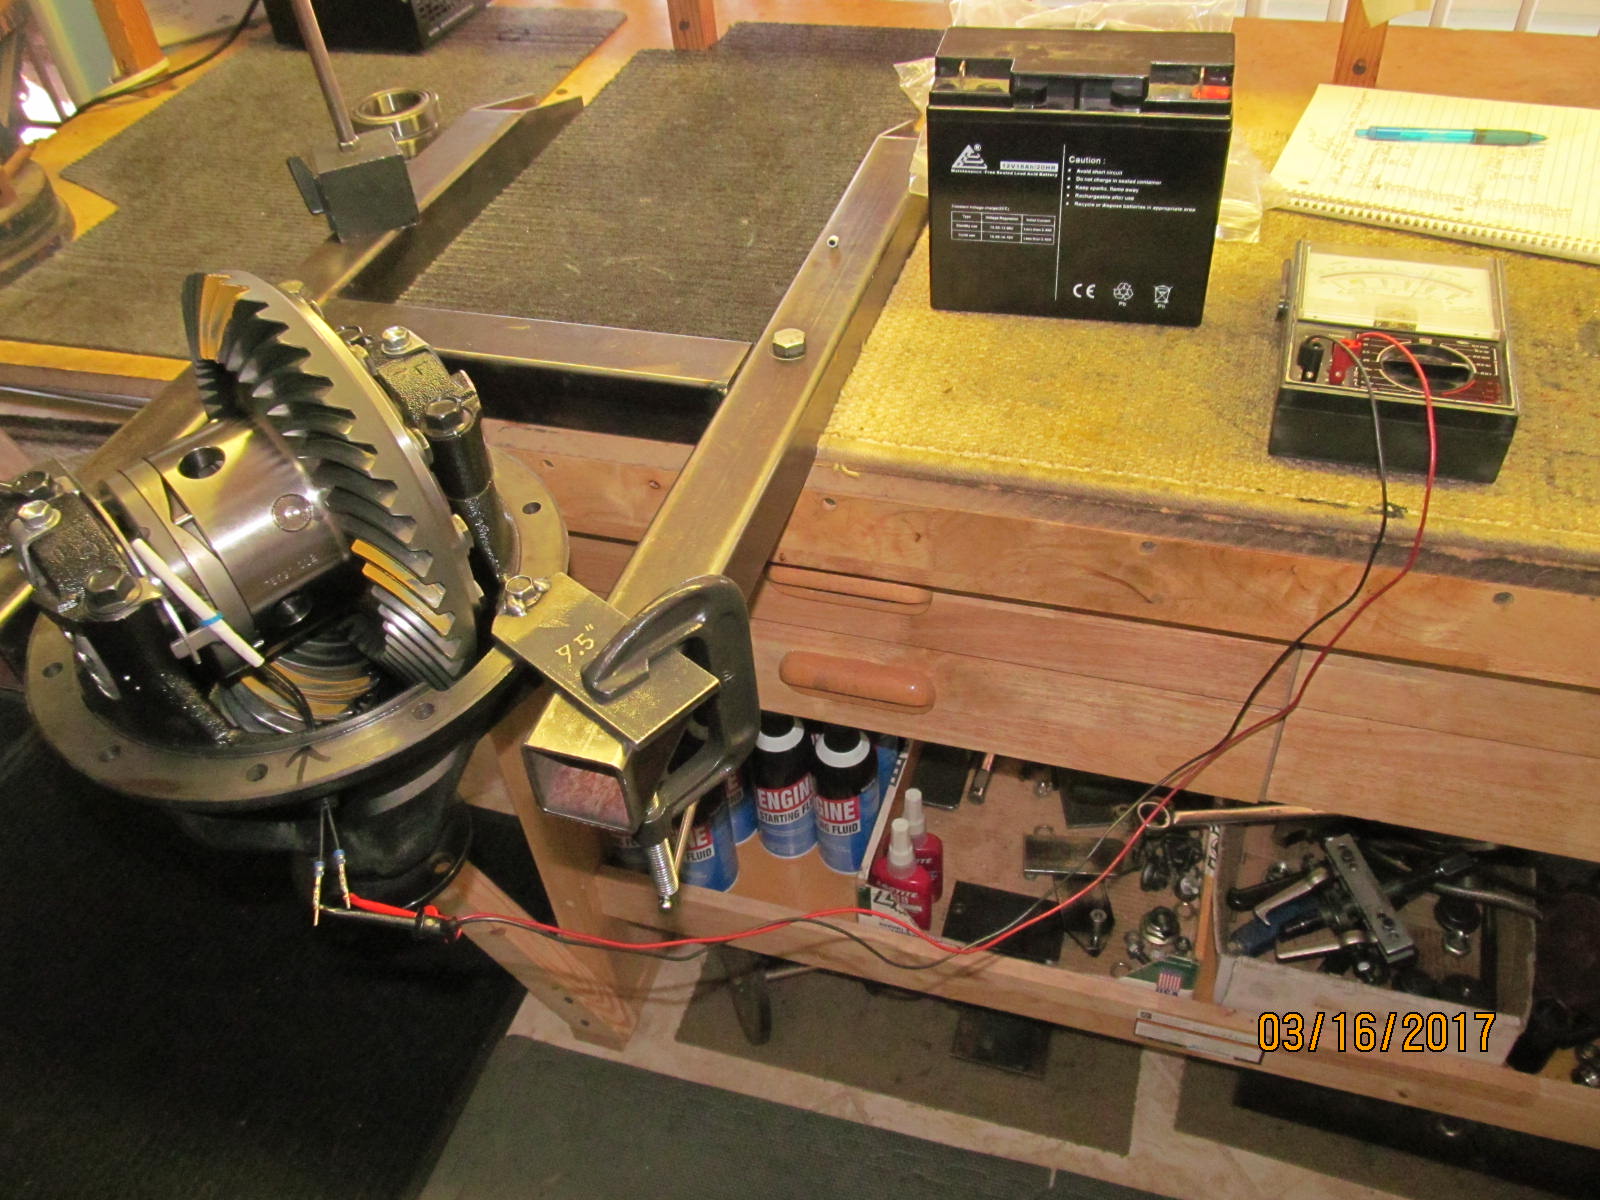
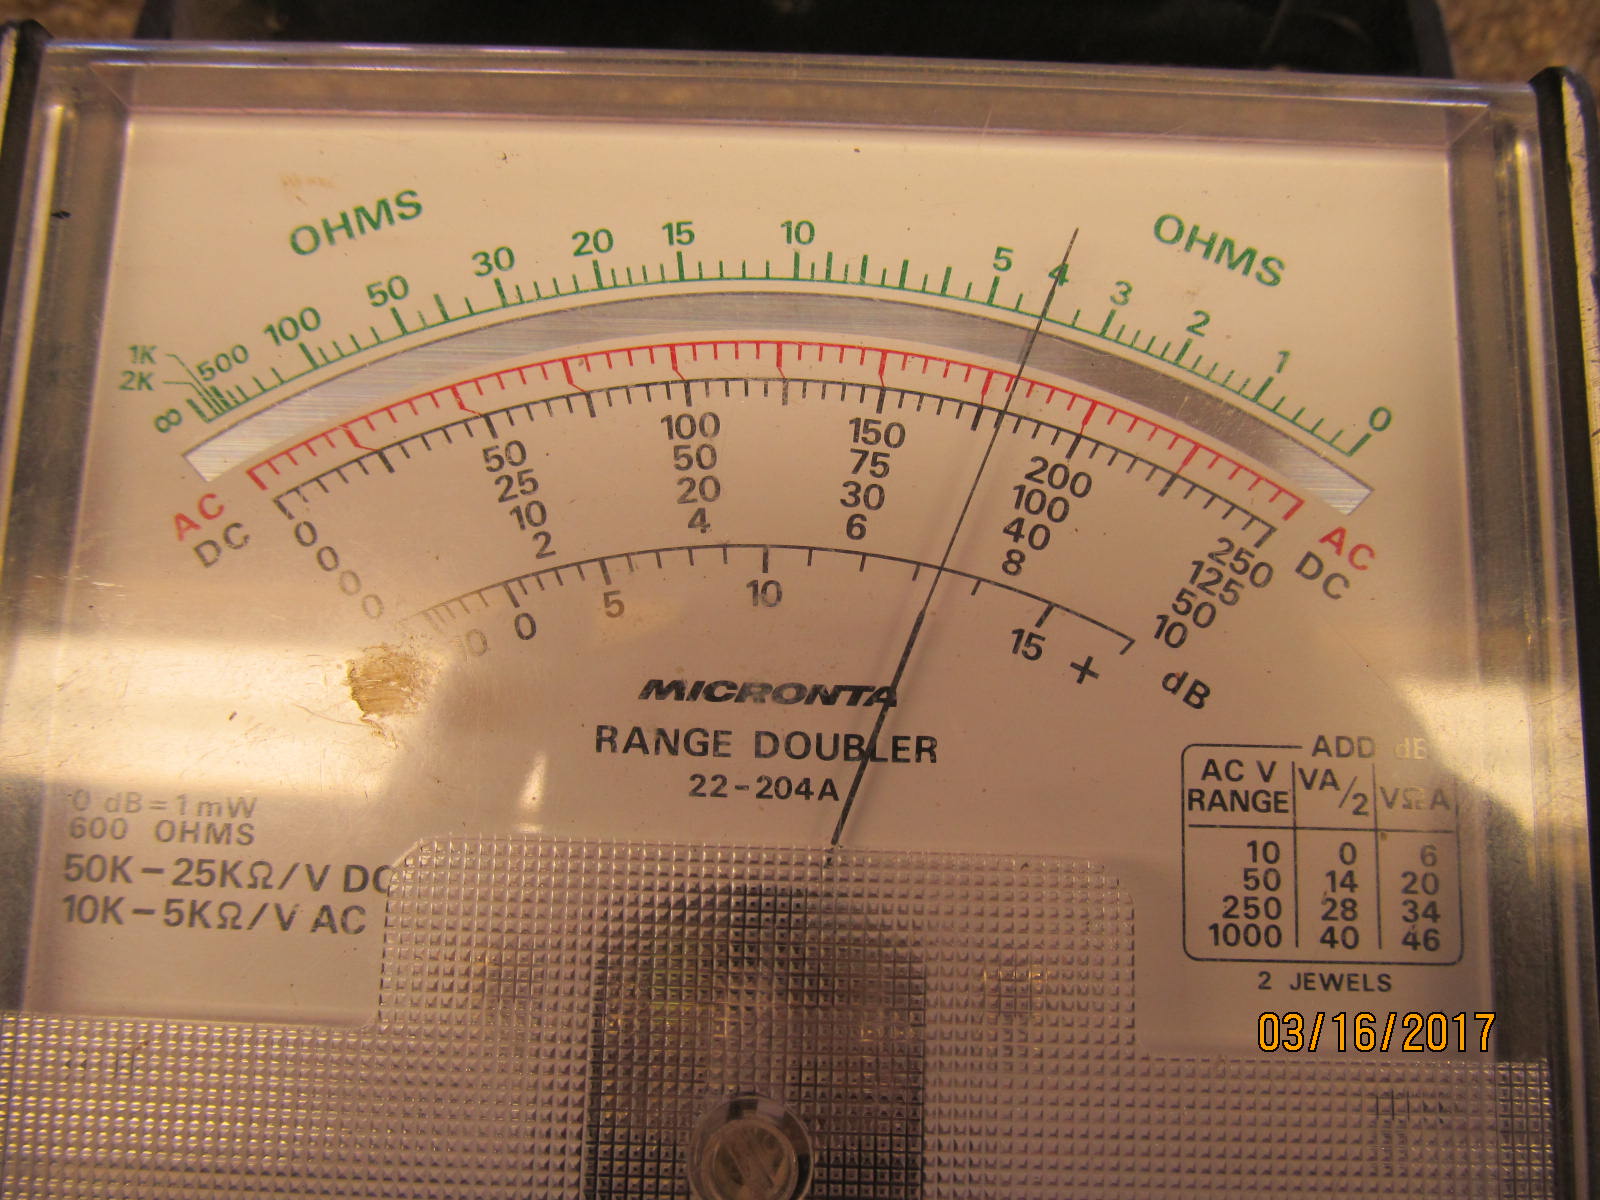
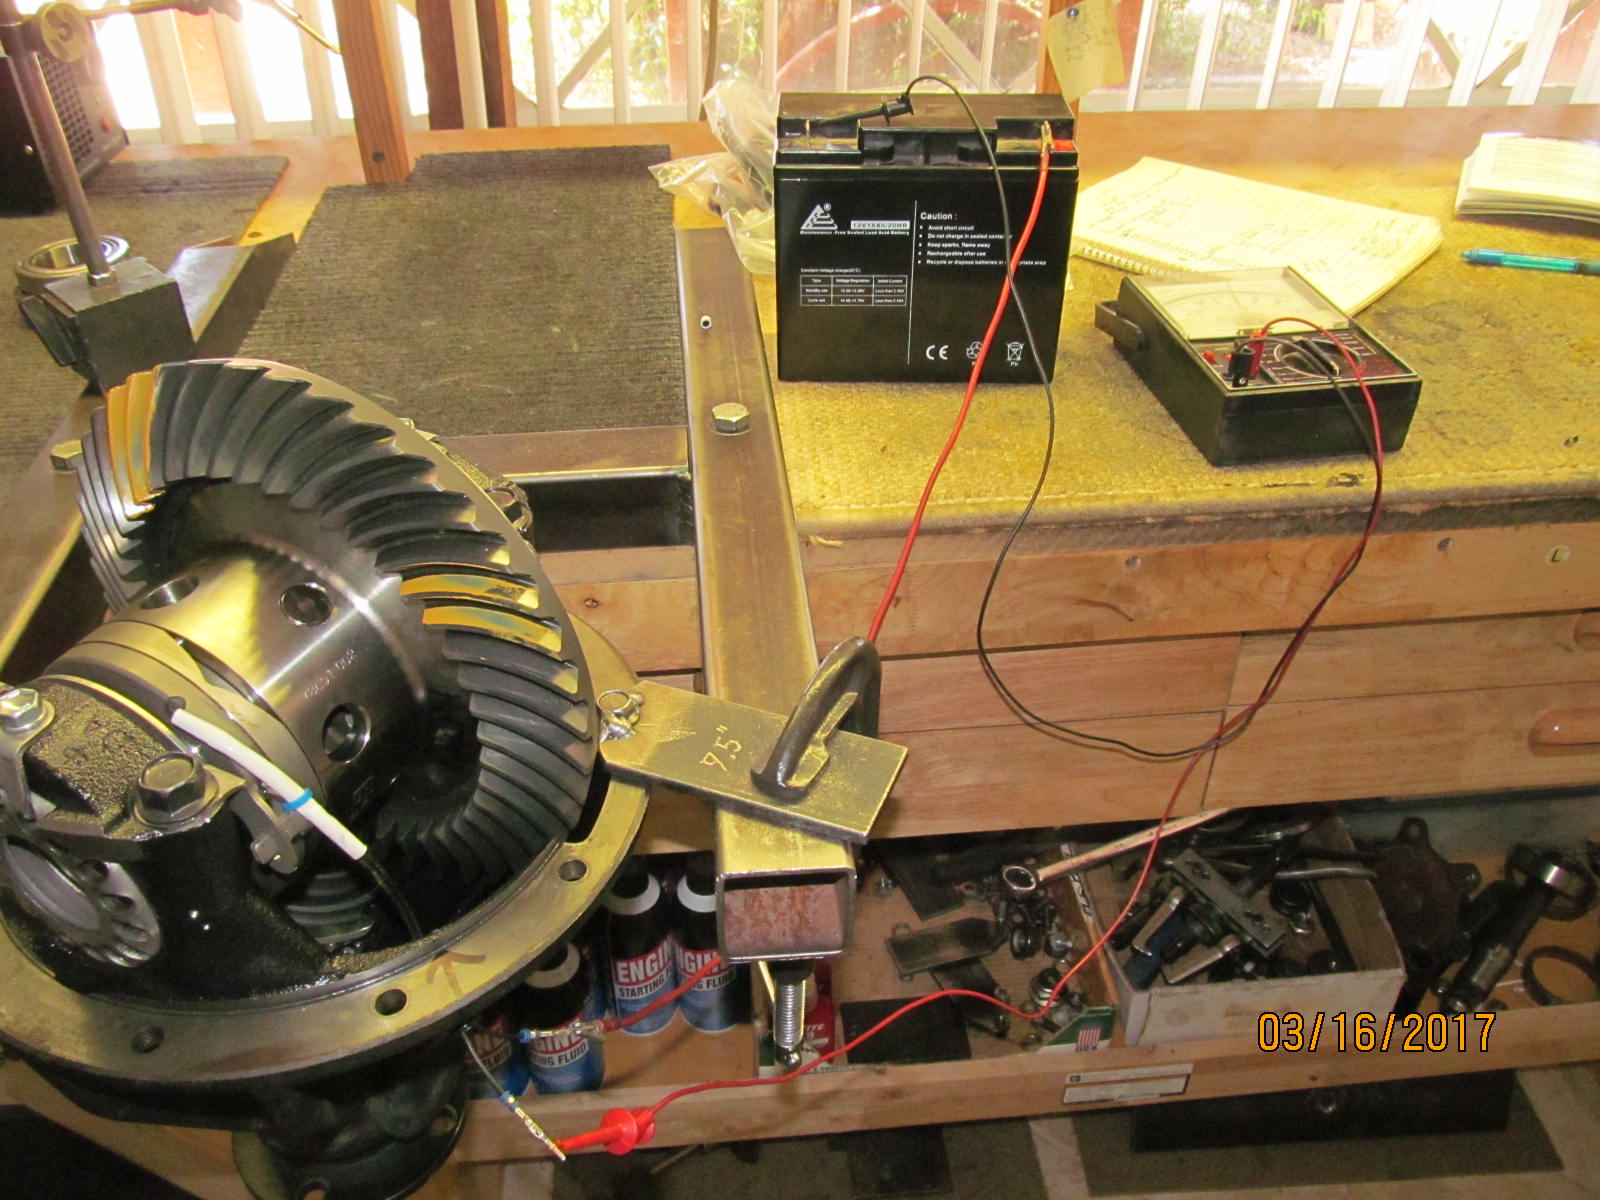
Final checks. Resistance check..... 4.0 ohms
|
|
|
|
|
It's called an analog meter....a collector's item.
|
|
|
|
|
And now checking the current draw (3.1 amps).
|
|
|
|
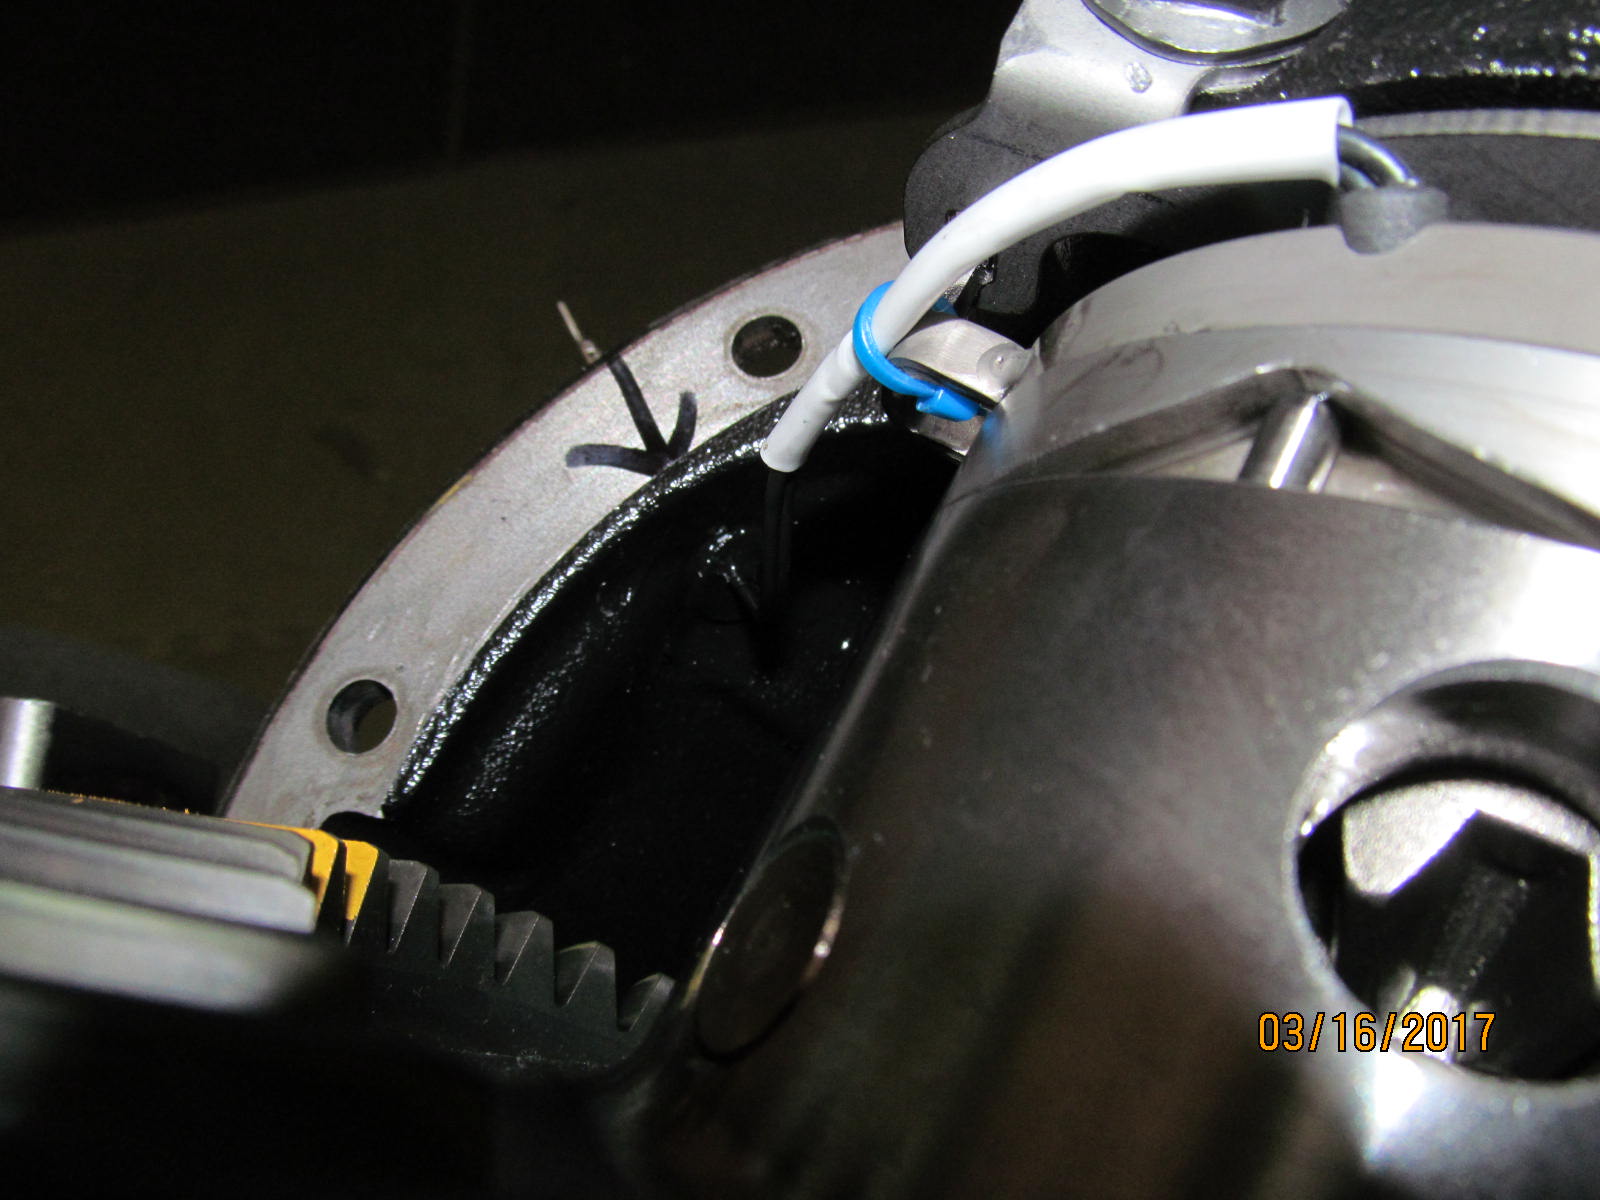
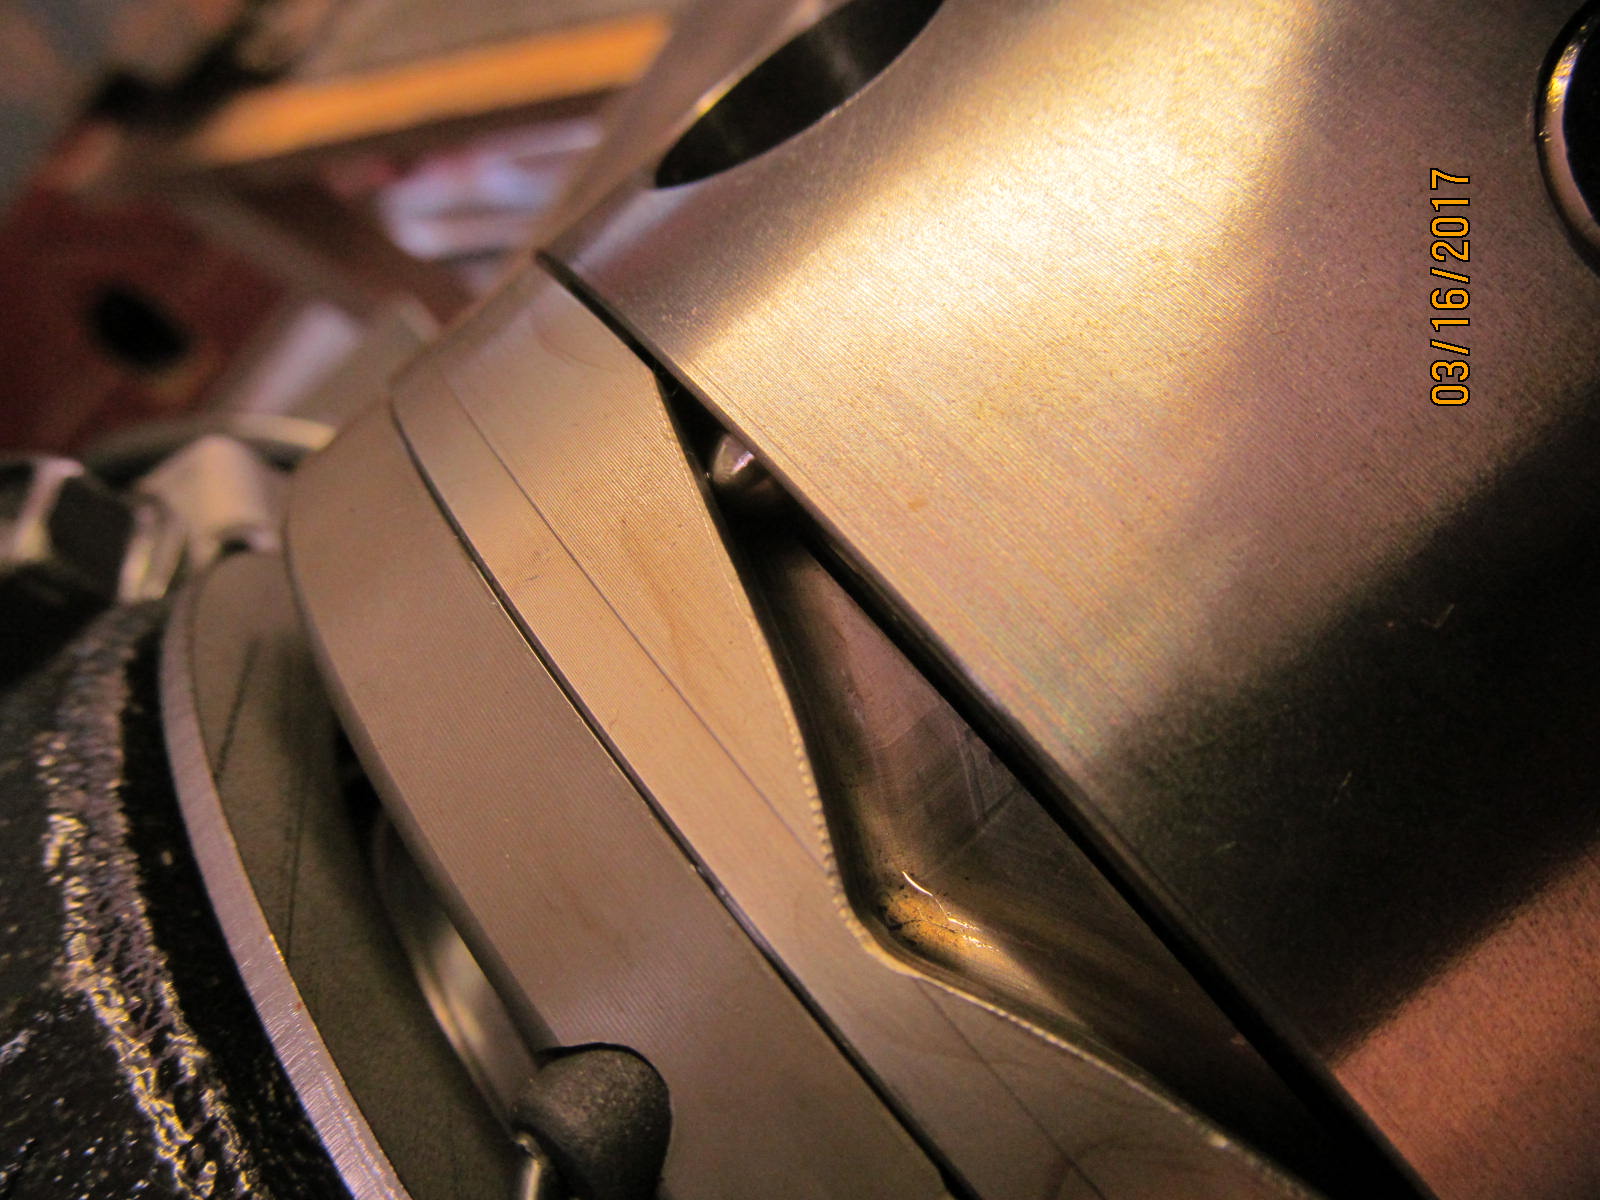
The 12volts is still applied....the electro-magnetic ring is locking down the ramp ring. I'm turning the pinion which means the
Harrop case is turning so the 3 pins(1 is seen) are now forced to retract into the holes. Unseen, inside the Harrop case the
3 pins are pushing a ring that locks the case to the sidegear.
|
|
|
|
|
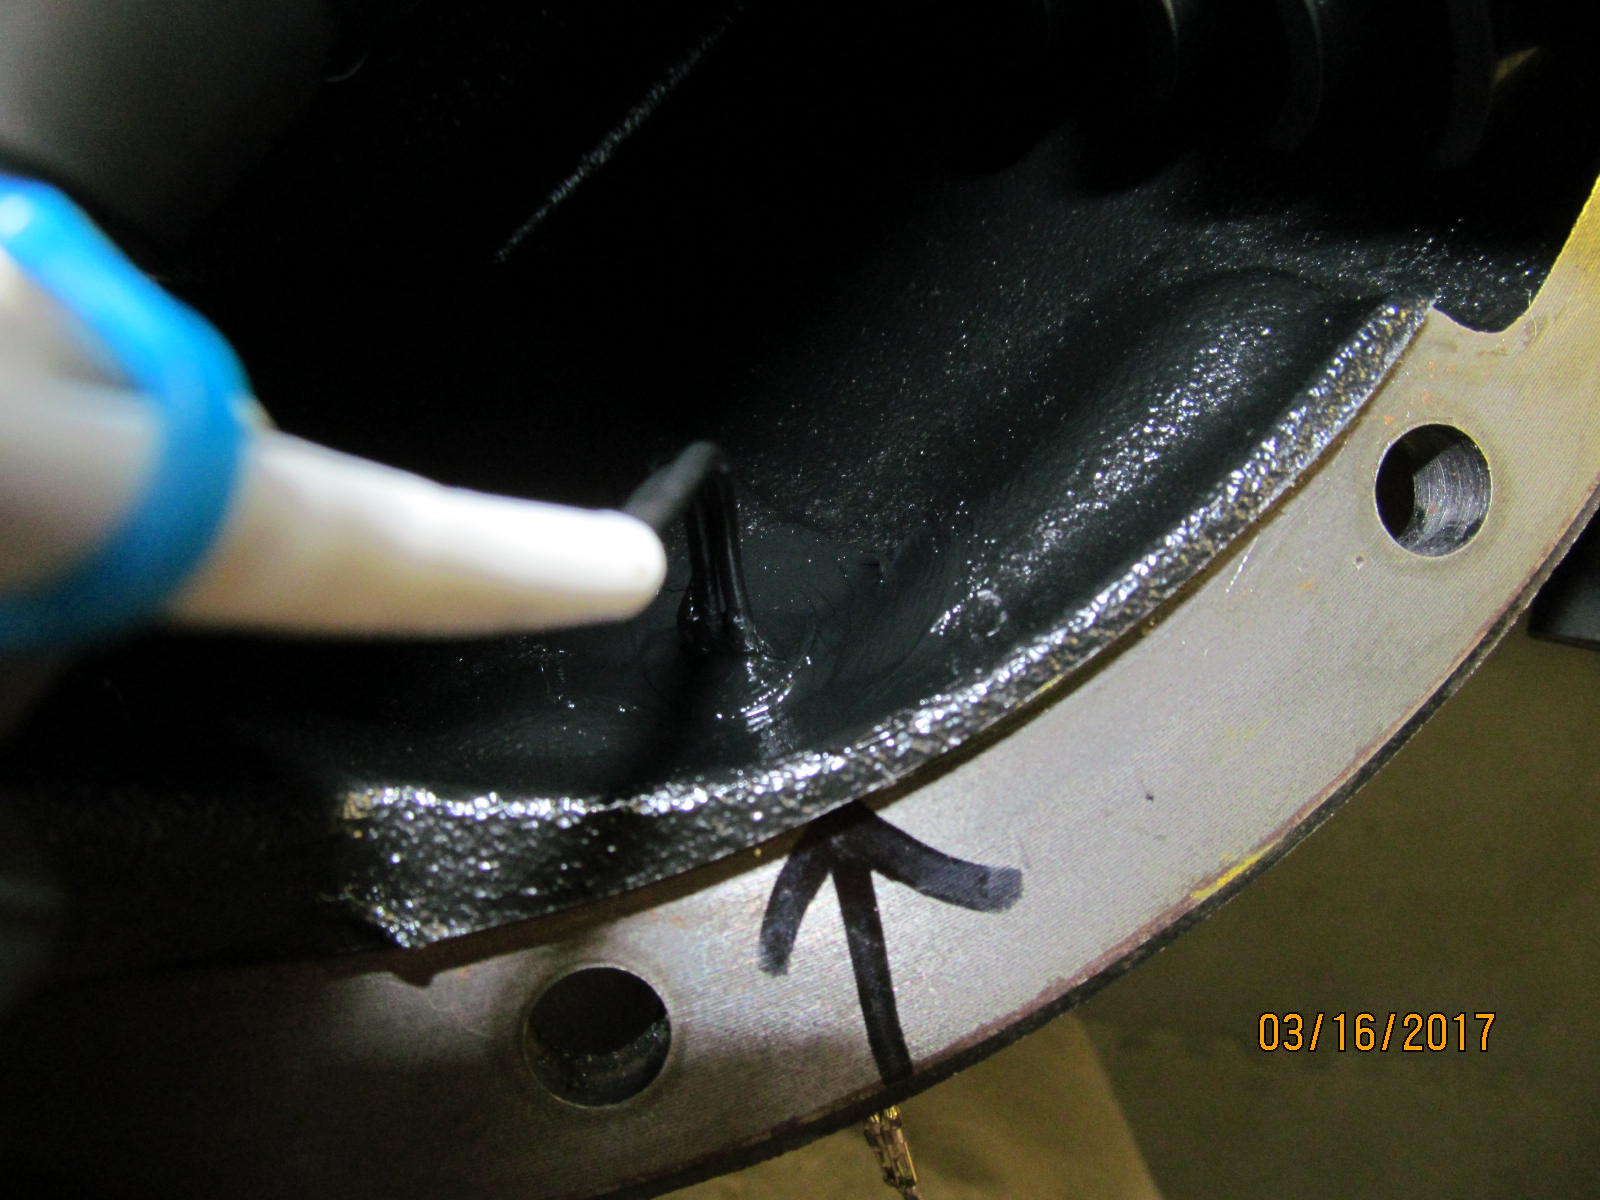
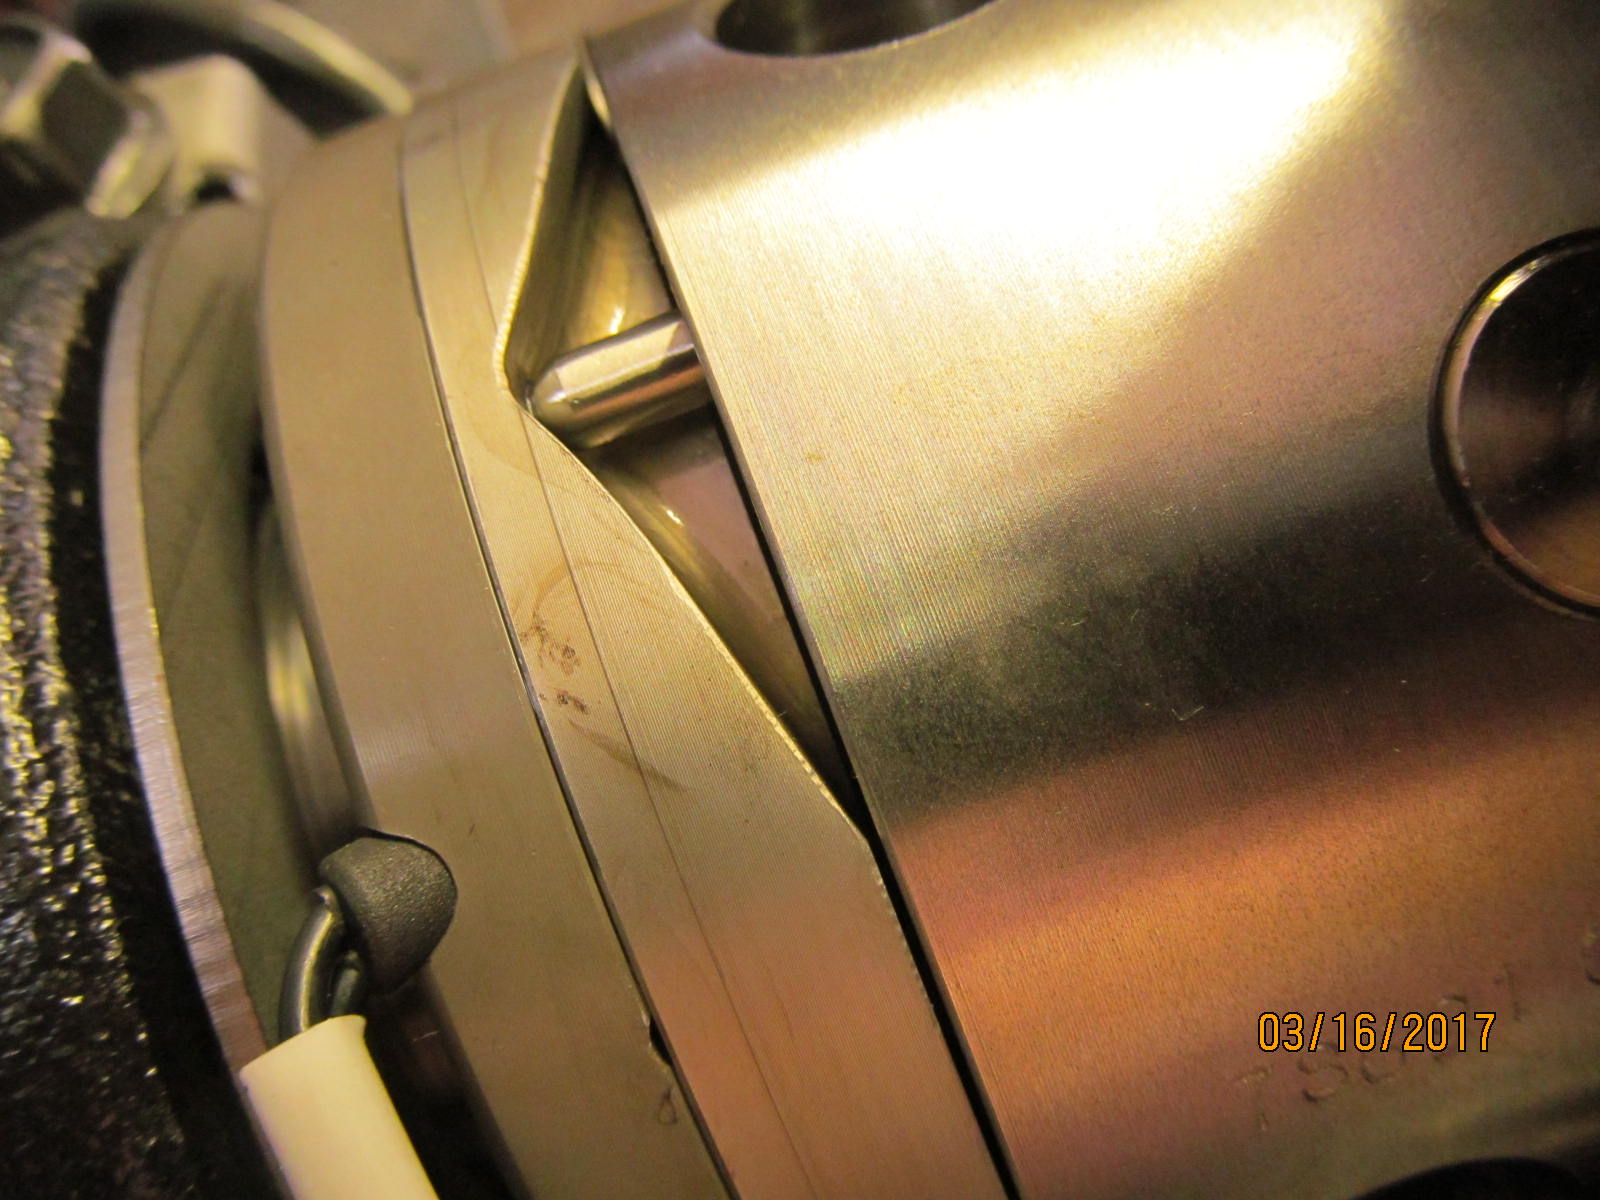
Remove the 12 volts and the pins instant snap back by themselves to where you see here.
|
|
|
|
|
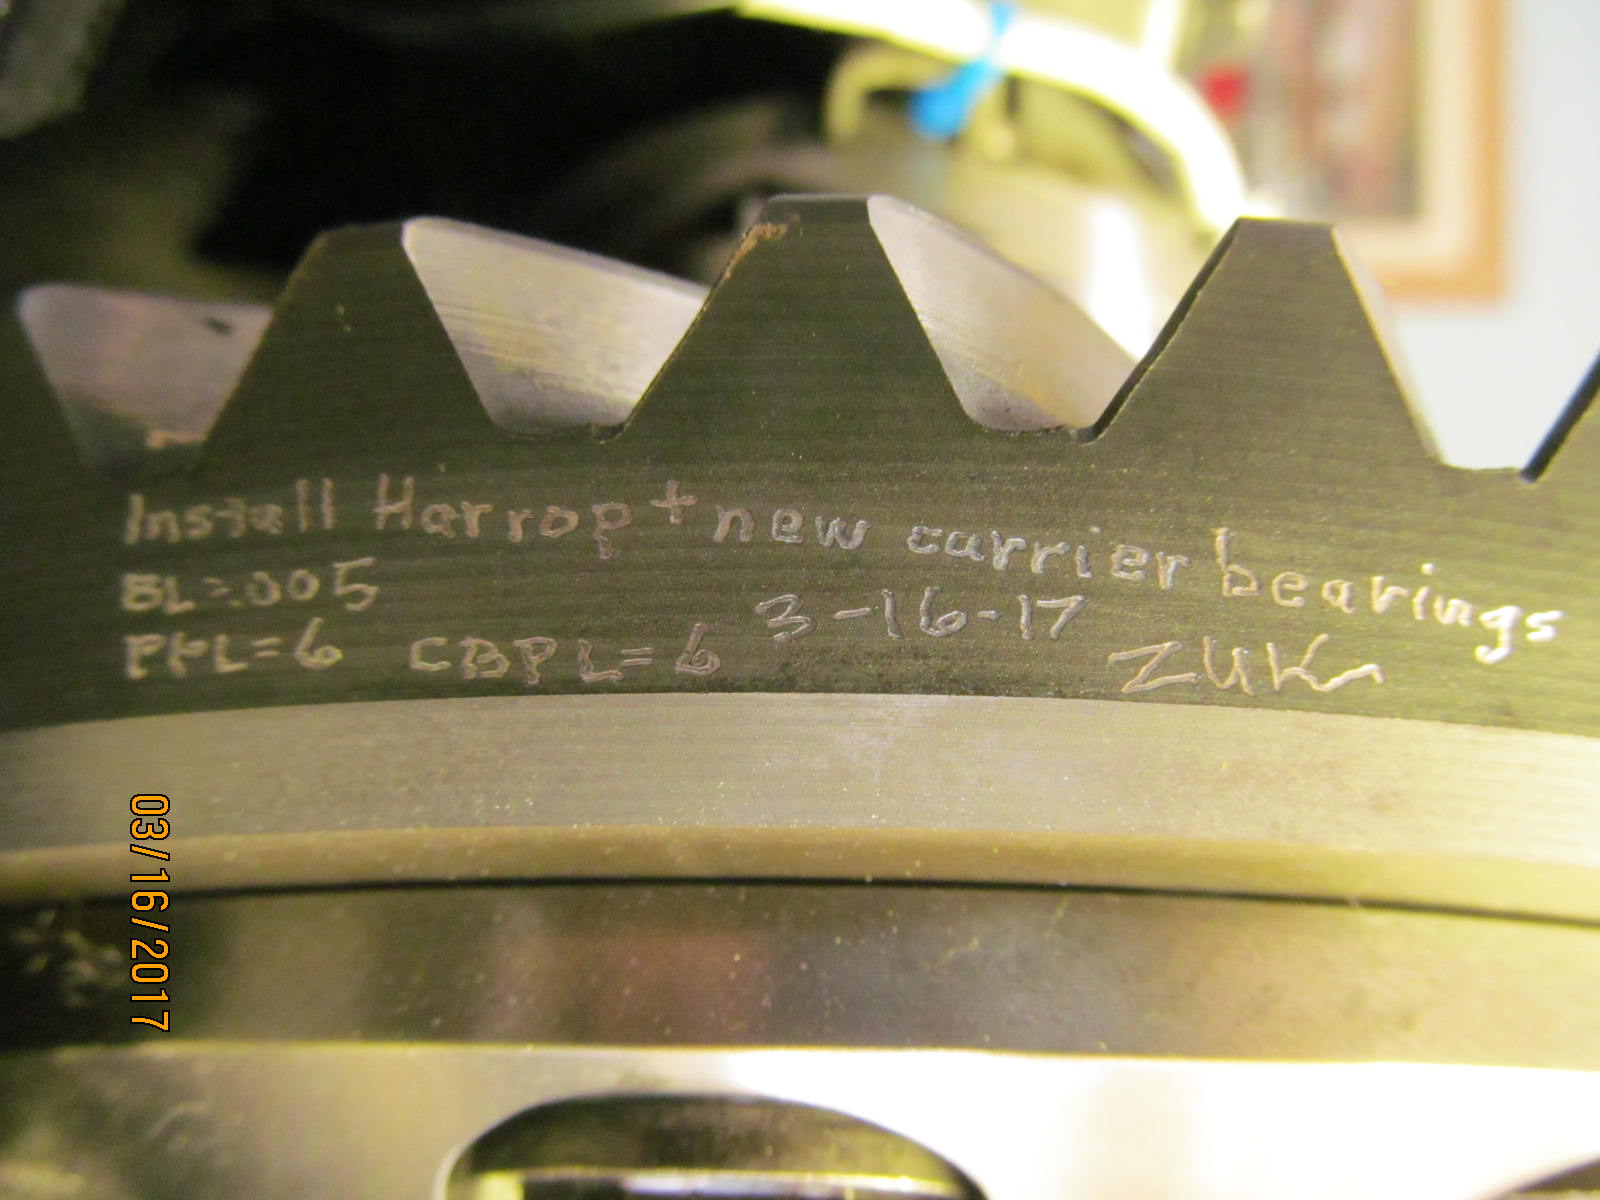
The dremel tool with diamond tip makes engraving info very easy and quick.
|
|
|
|
|
Sometimes, it's nice to know what your diff specs were and when.
|
|
|
|
|
The heavy diff still has adequate room in the small size 16x12x12 double corrugated
Home Depot boxes.
|
|
|
|
What you don't see is the steel lip in the center of the diff is not contacting the bottom of the box. A rolled up chunk of
cardboard is supporting it on the bottom. Prevents slice-thru of the lip.
|
|
|
|
|
Ready to go back to Colorado.
|
|
|

|