|
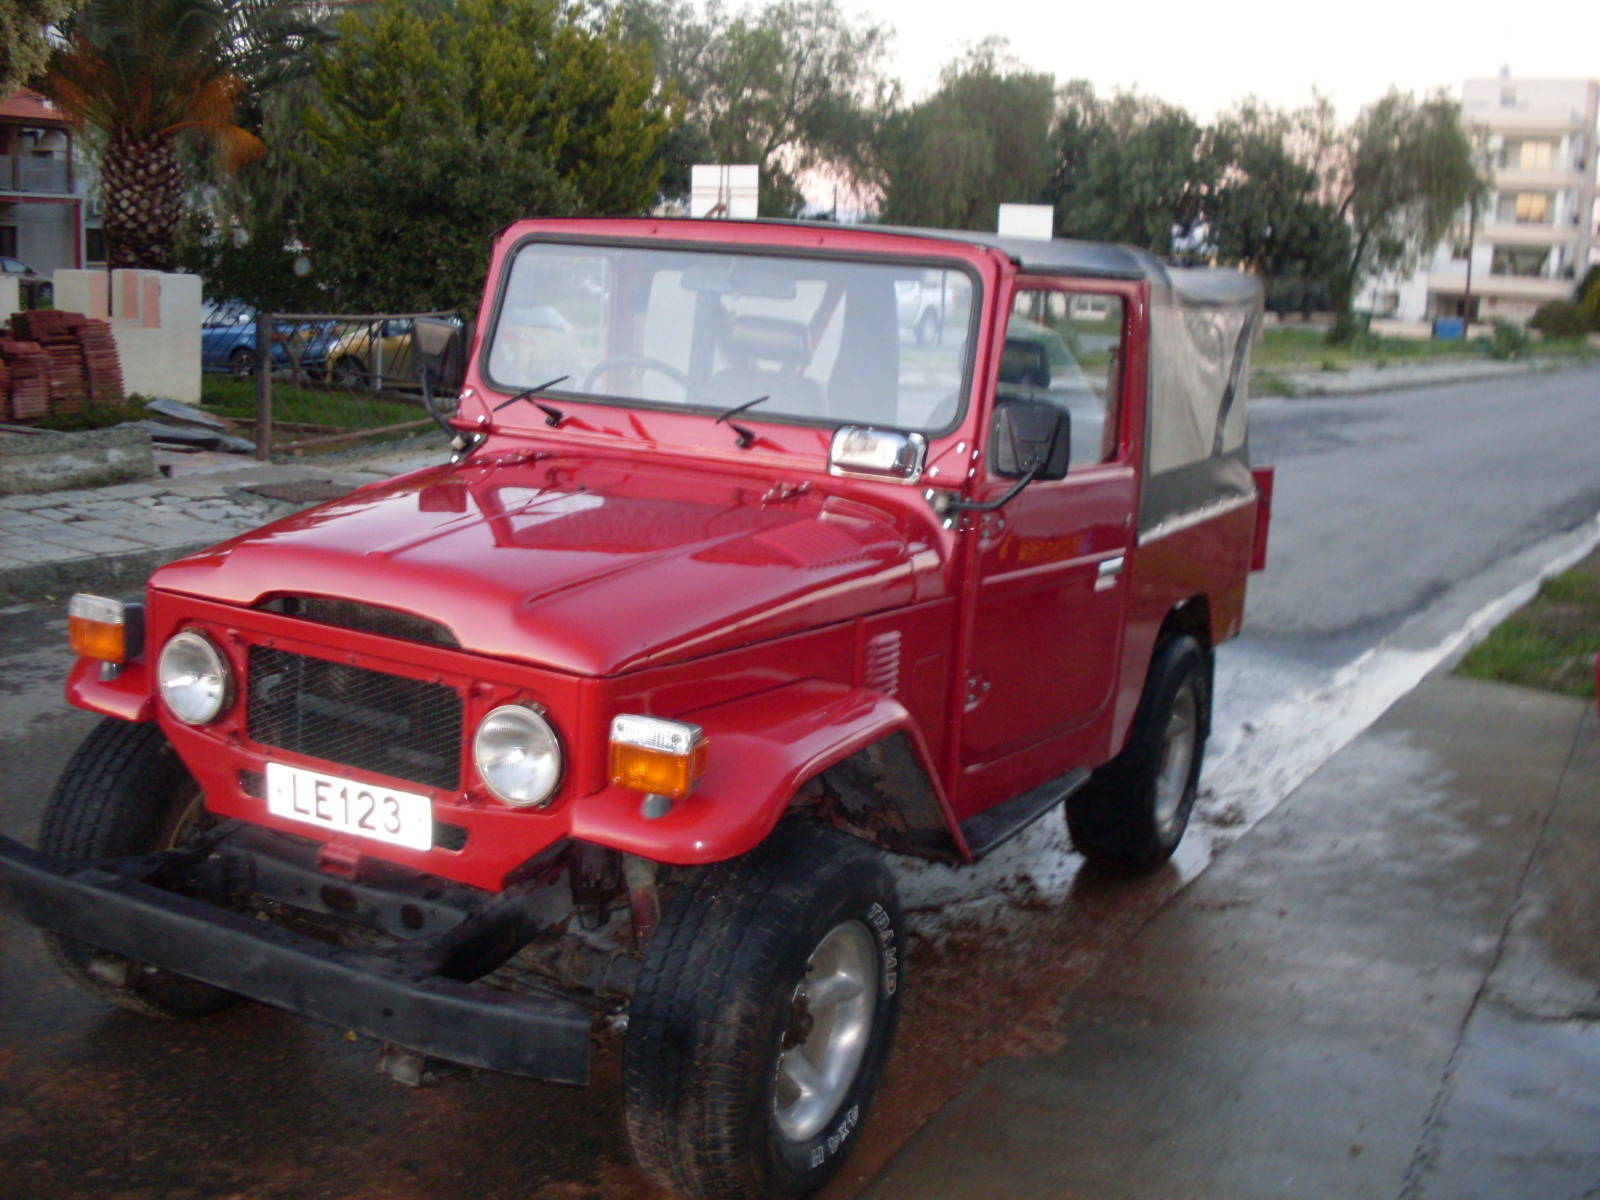
Savvas from Nicosia, Cyprus gets an ARB RD153 for his 1979 FJ43
|
|
(87 BIG pics loading)
|
|
MAR 30 2016
|
|
|
Savvas contacted me about building up a rear 9.5" 3rd for his FJ43 Landcruiser. With the cost of shipping to and from Cyprus
it's just a lot cheaper to just buy a 3rd here in AZ, build it up, and send it via TNT worldwide shipping to Savvas.
|
|
|
|
|
,,,,,,,,,,,,,,,,,,,,,,,
|
|
|

|
|
Savvas is right in the middle of rebuilding the 43.
|
|
|
|
|
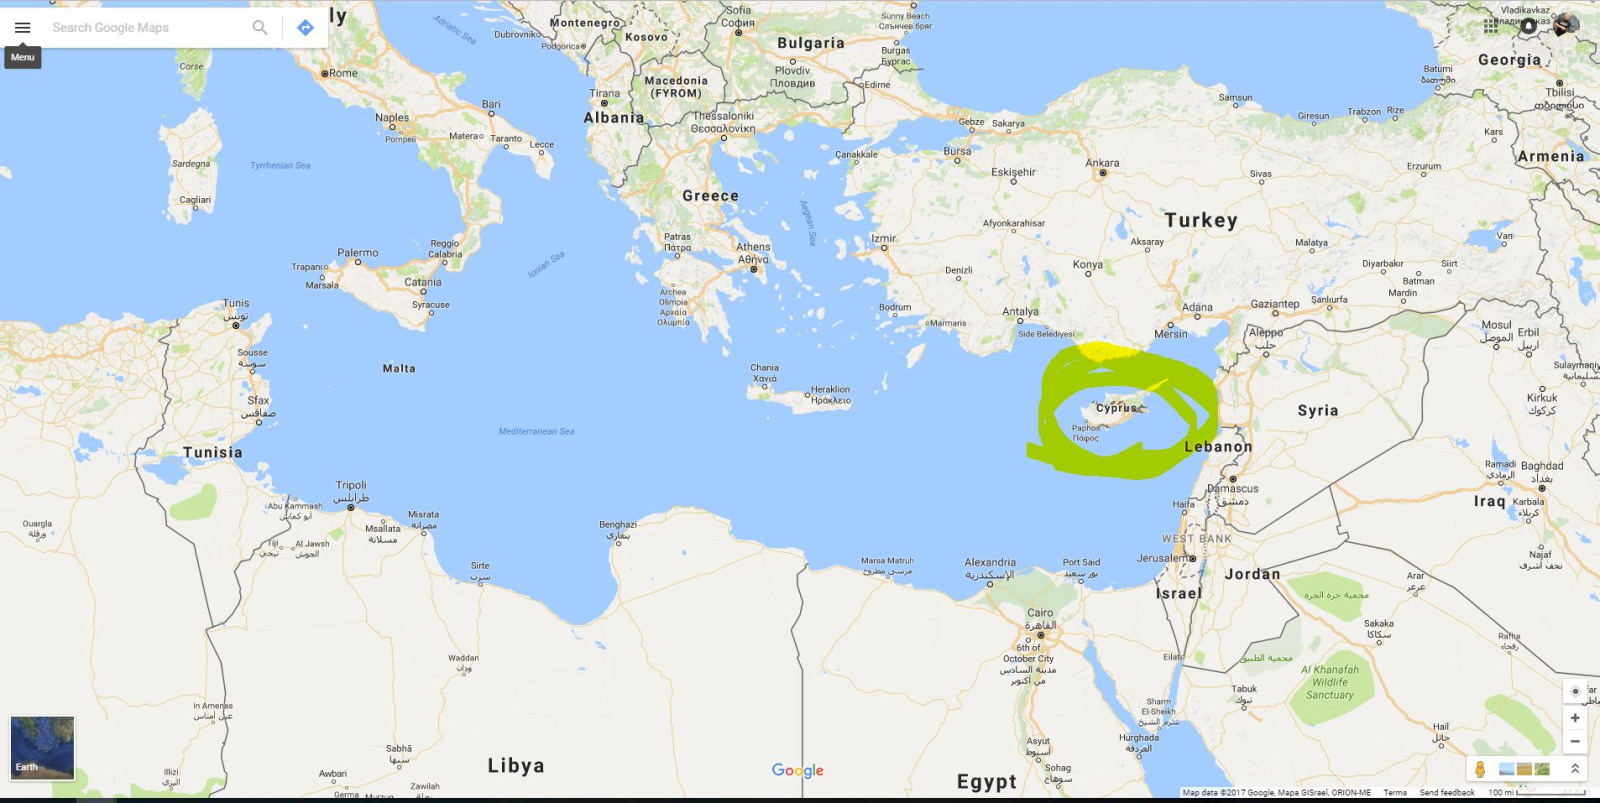
Map of where Cyprus is in the Eastern Mediterranean Sea.
|
|
|
|
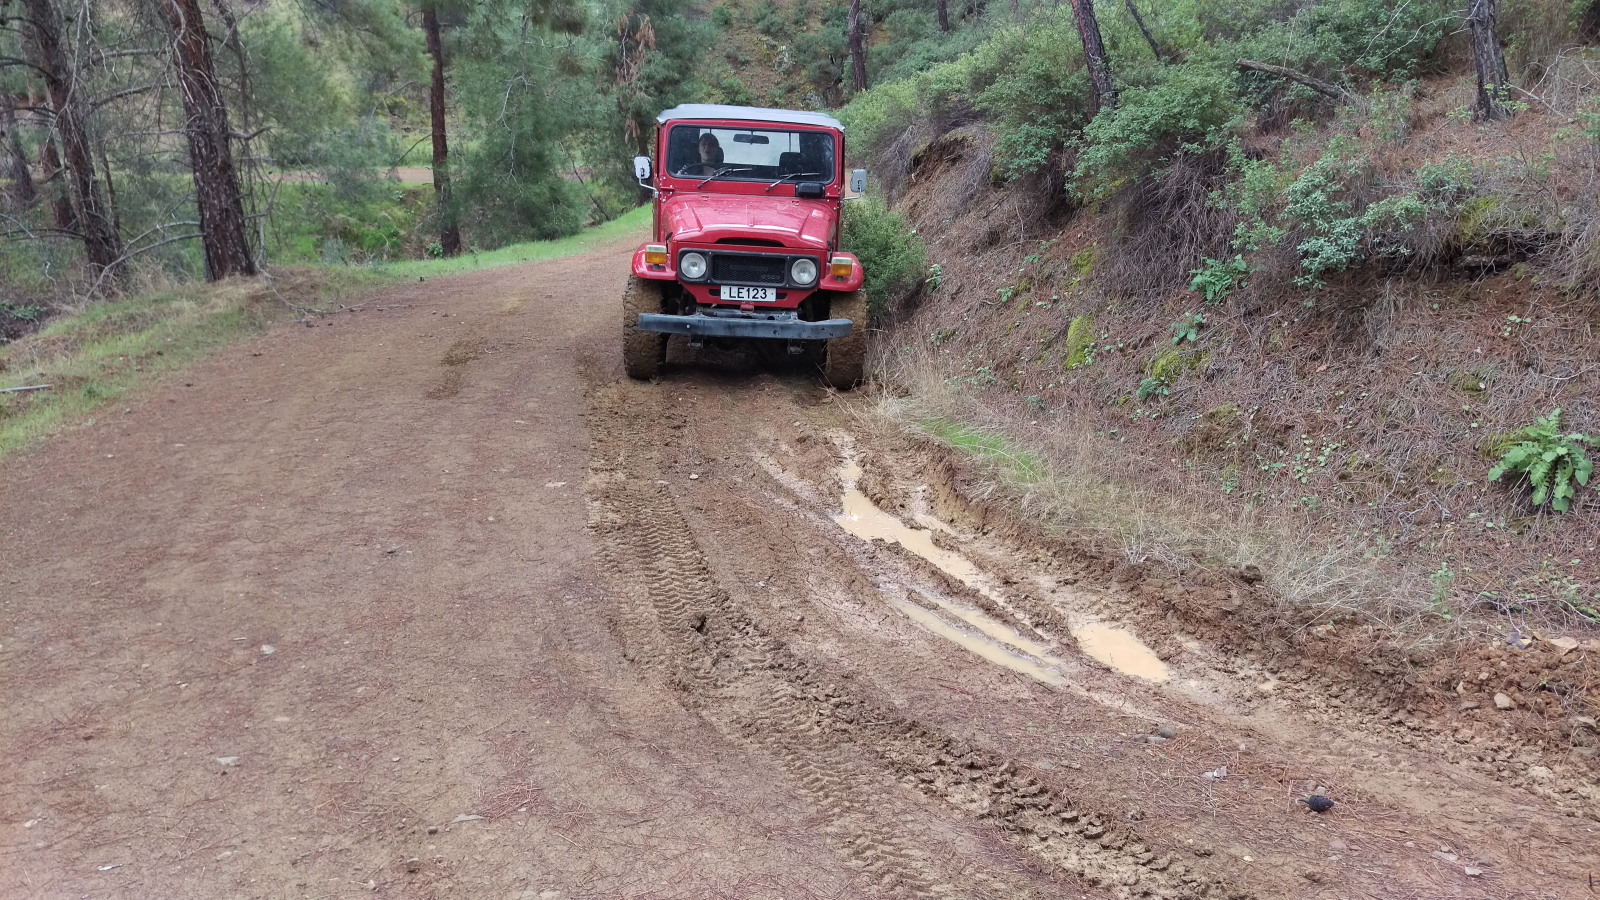
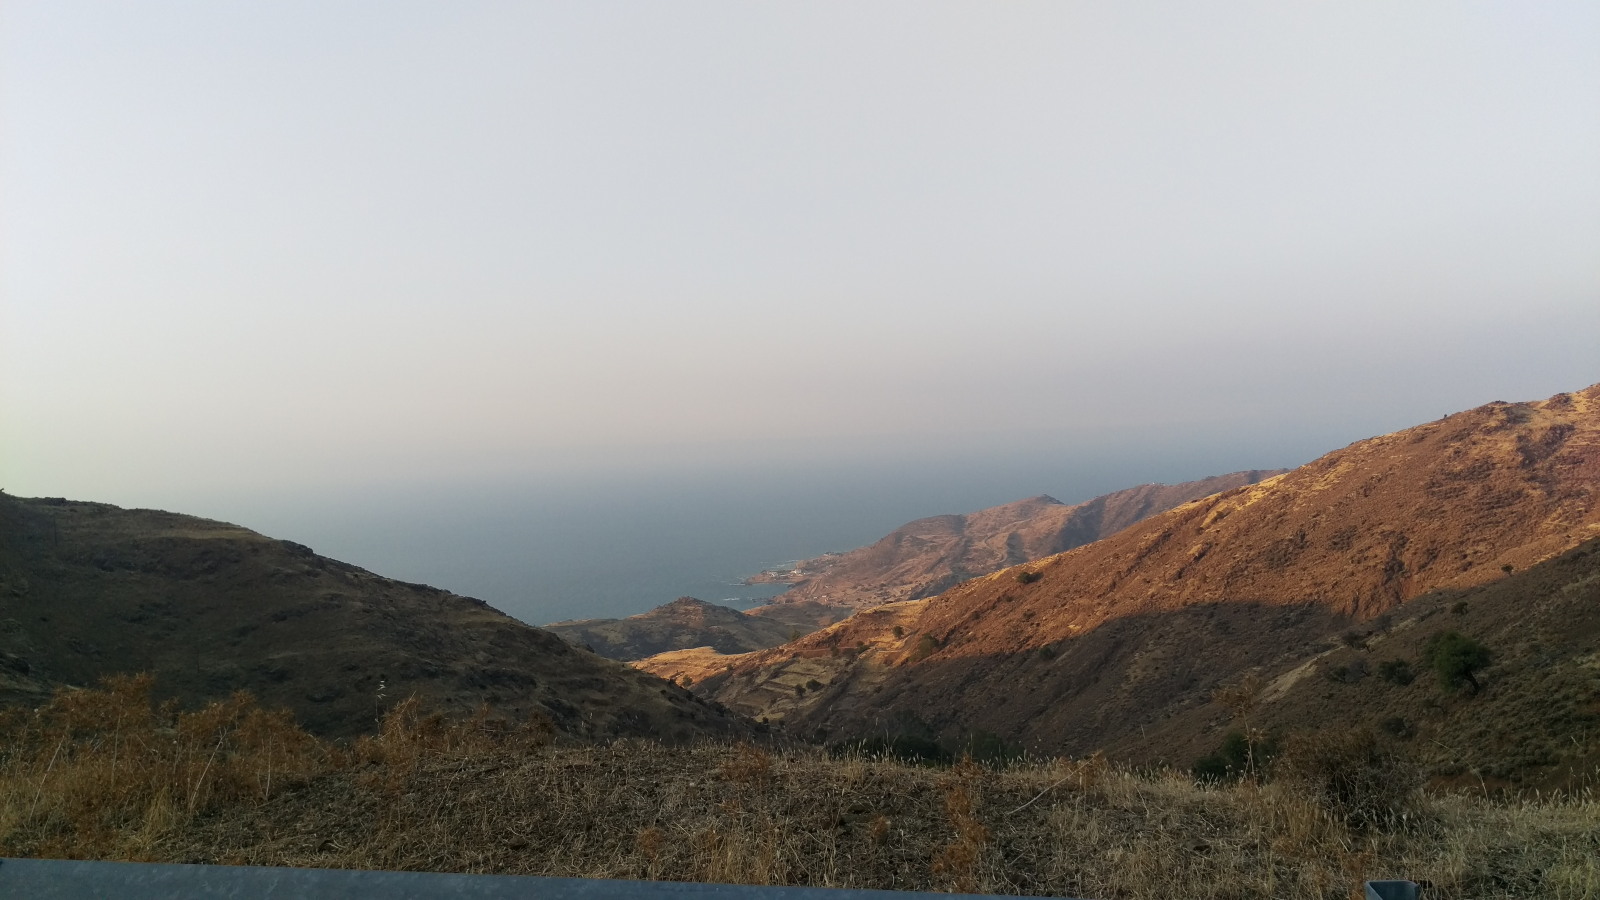
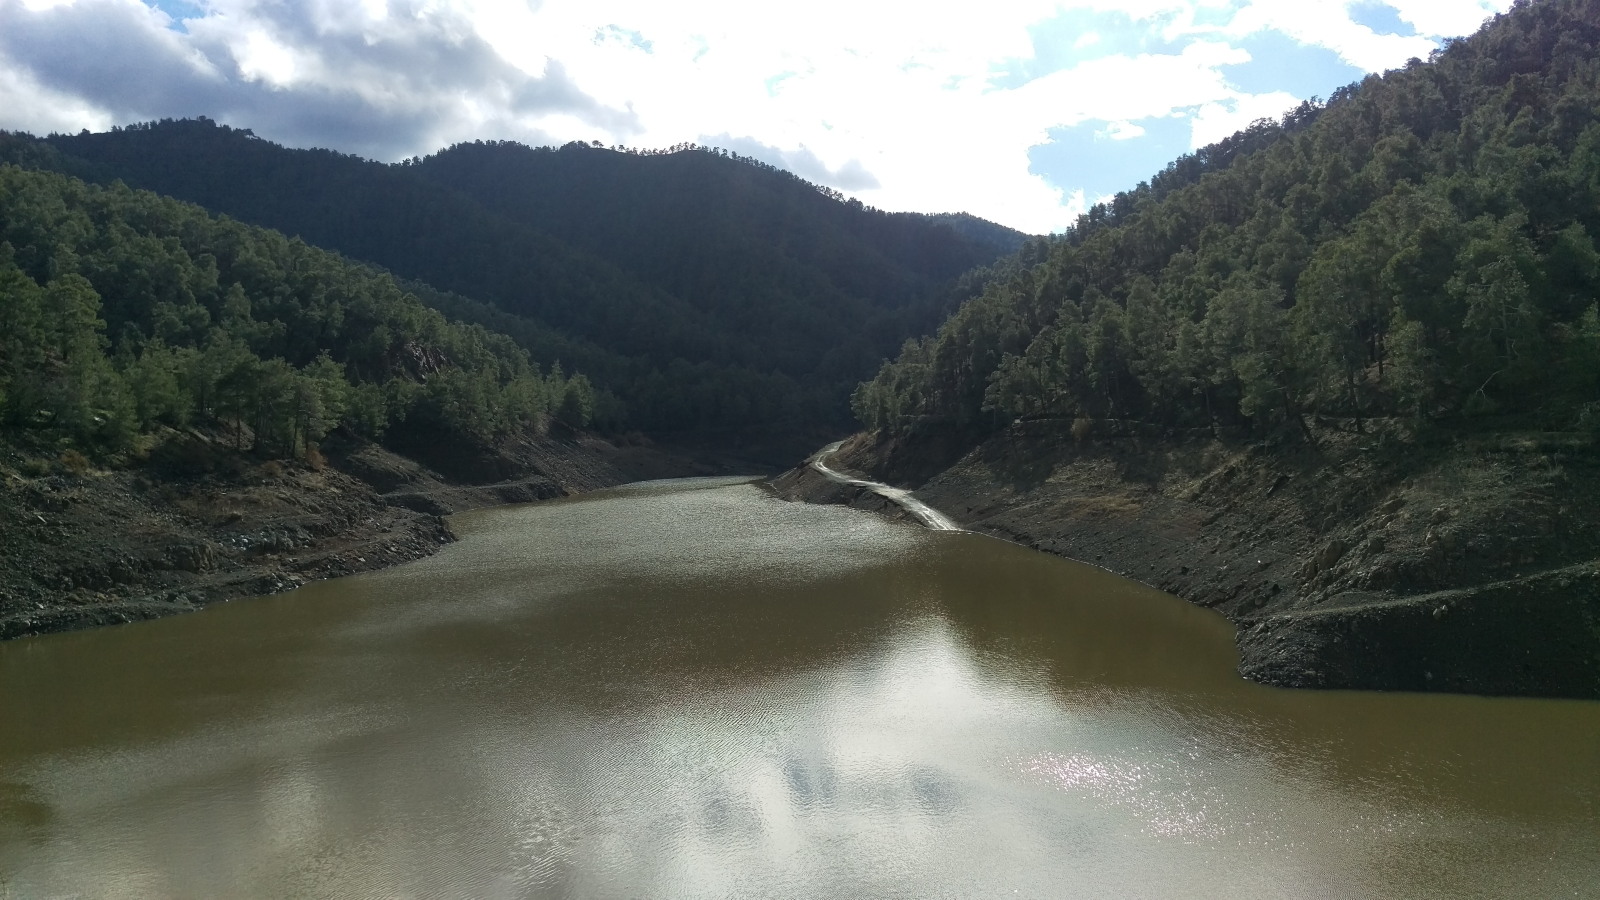
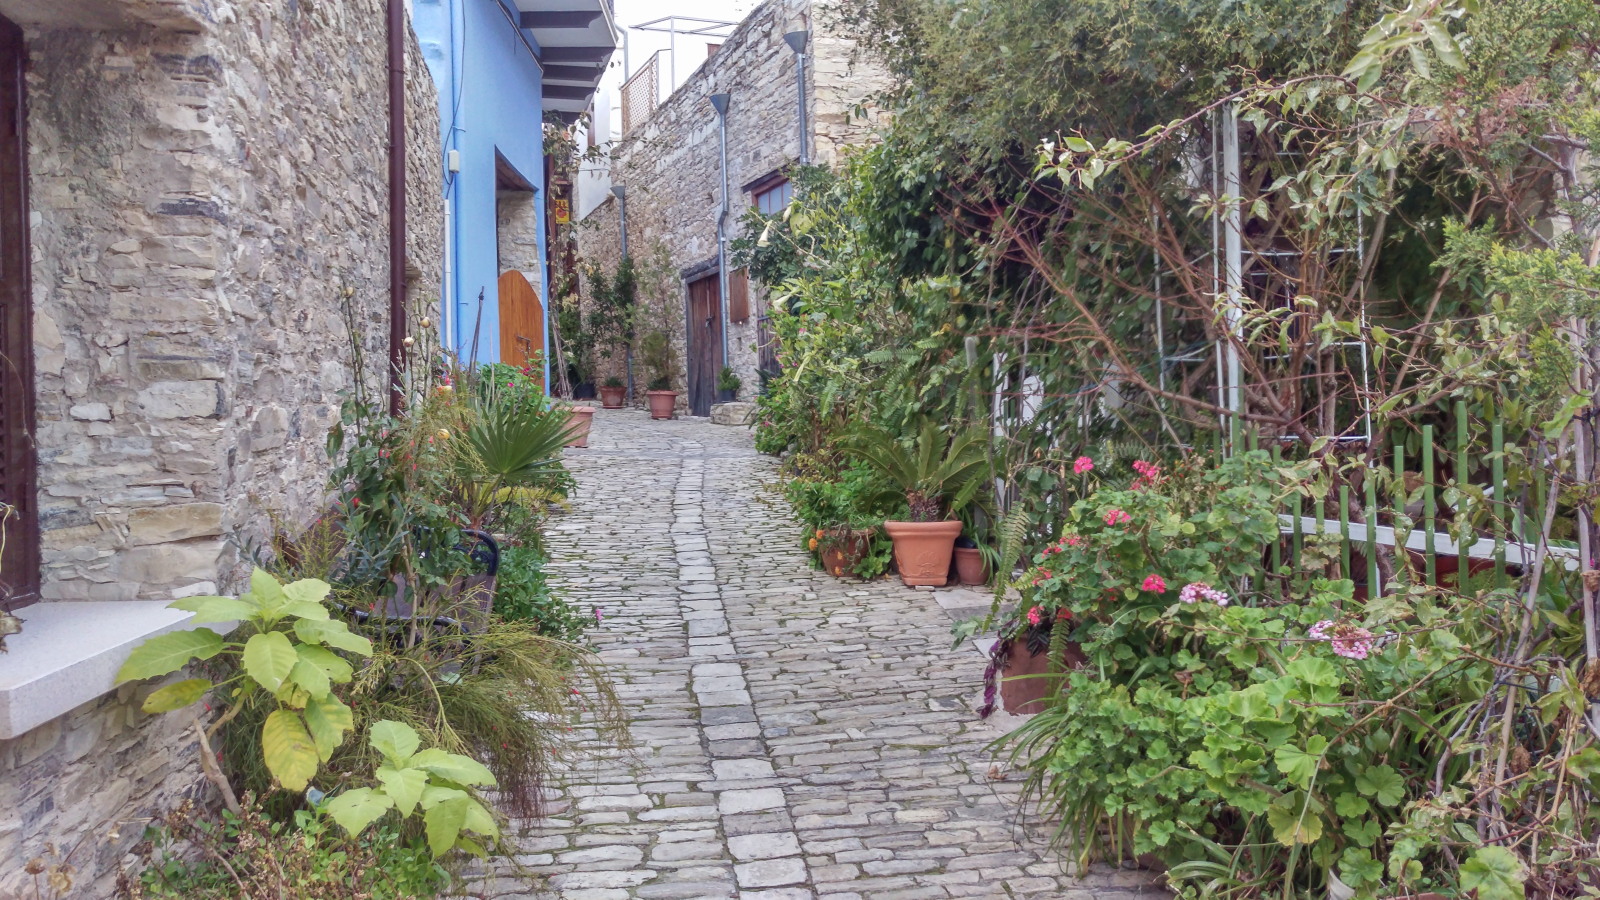
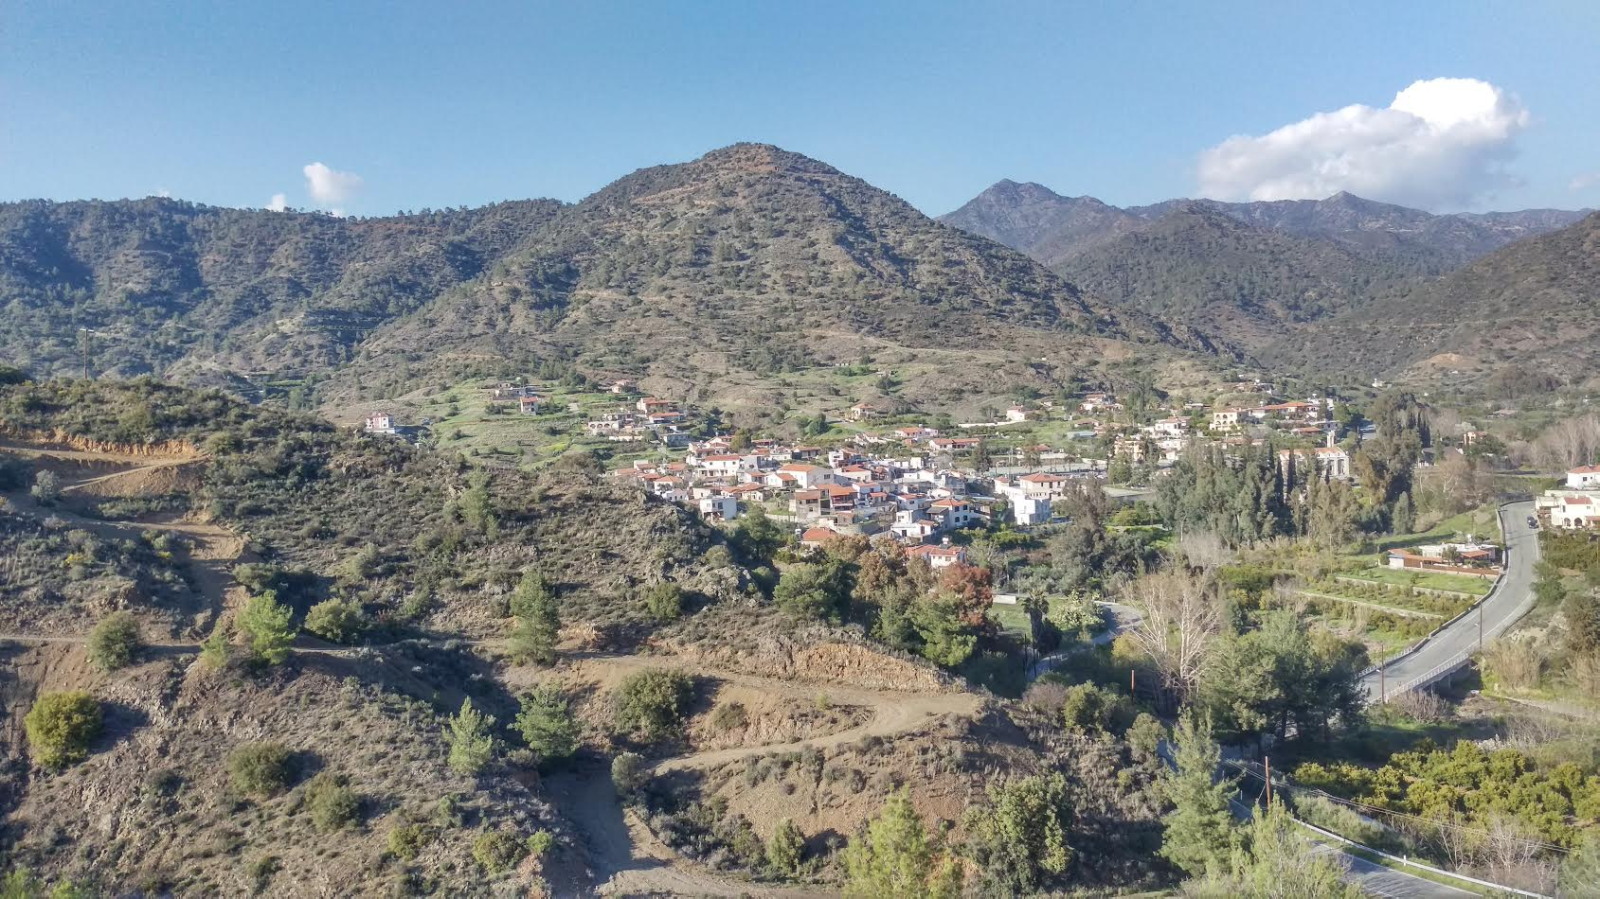
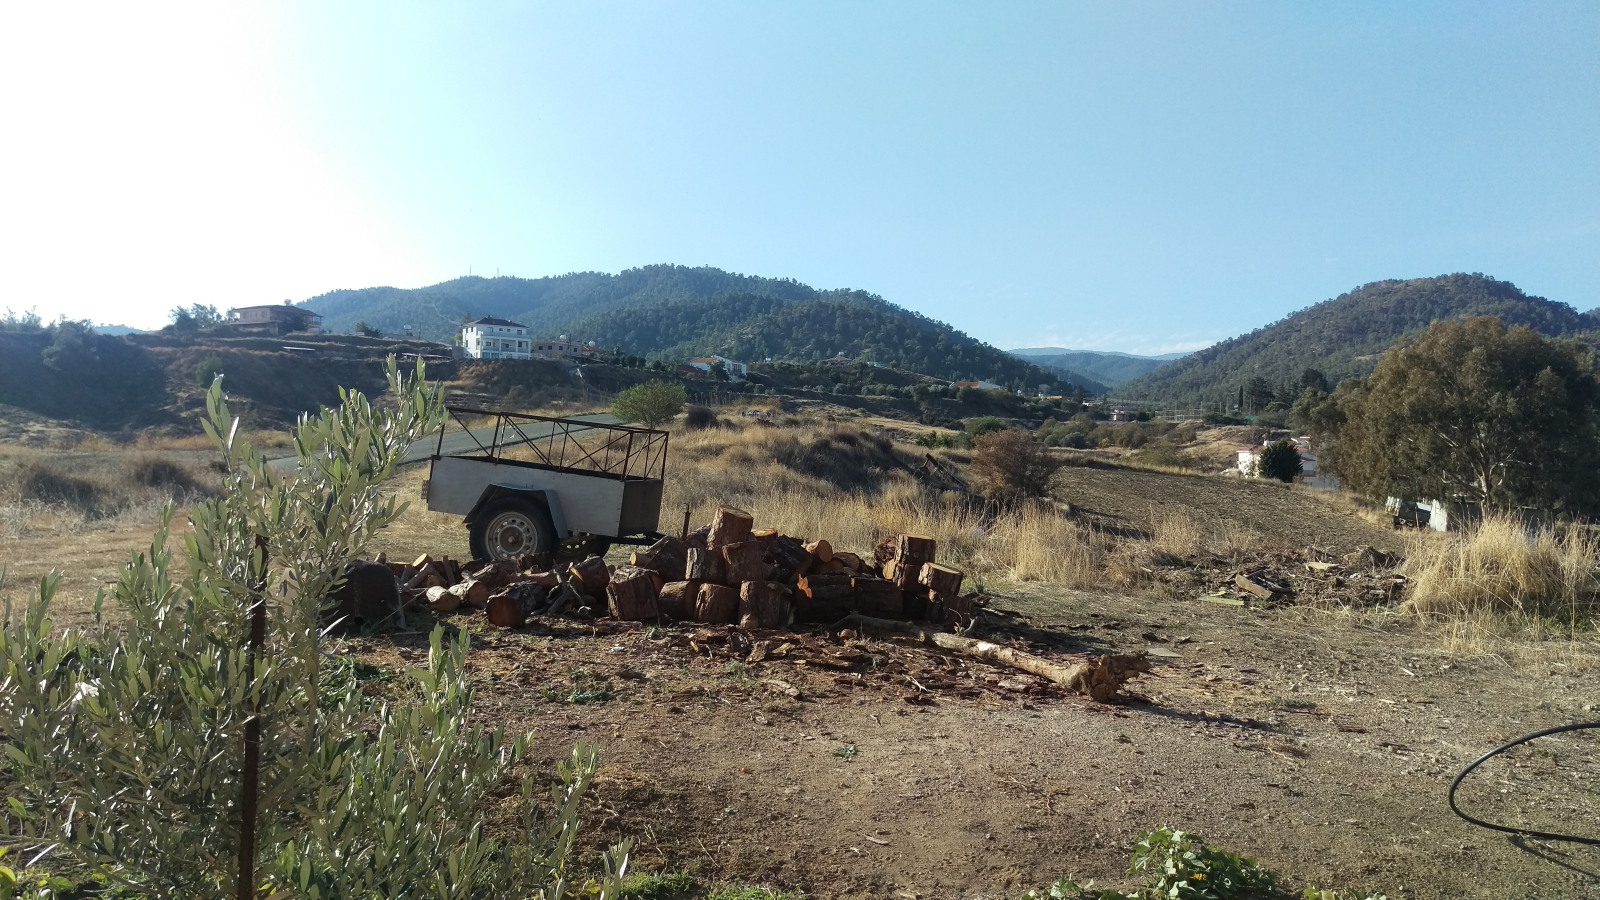
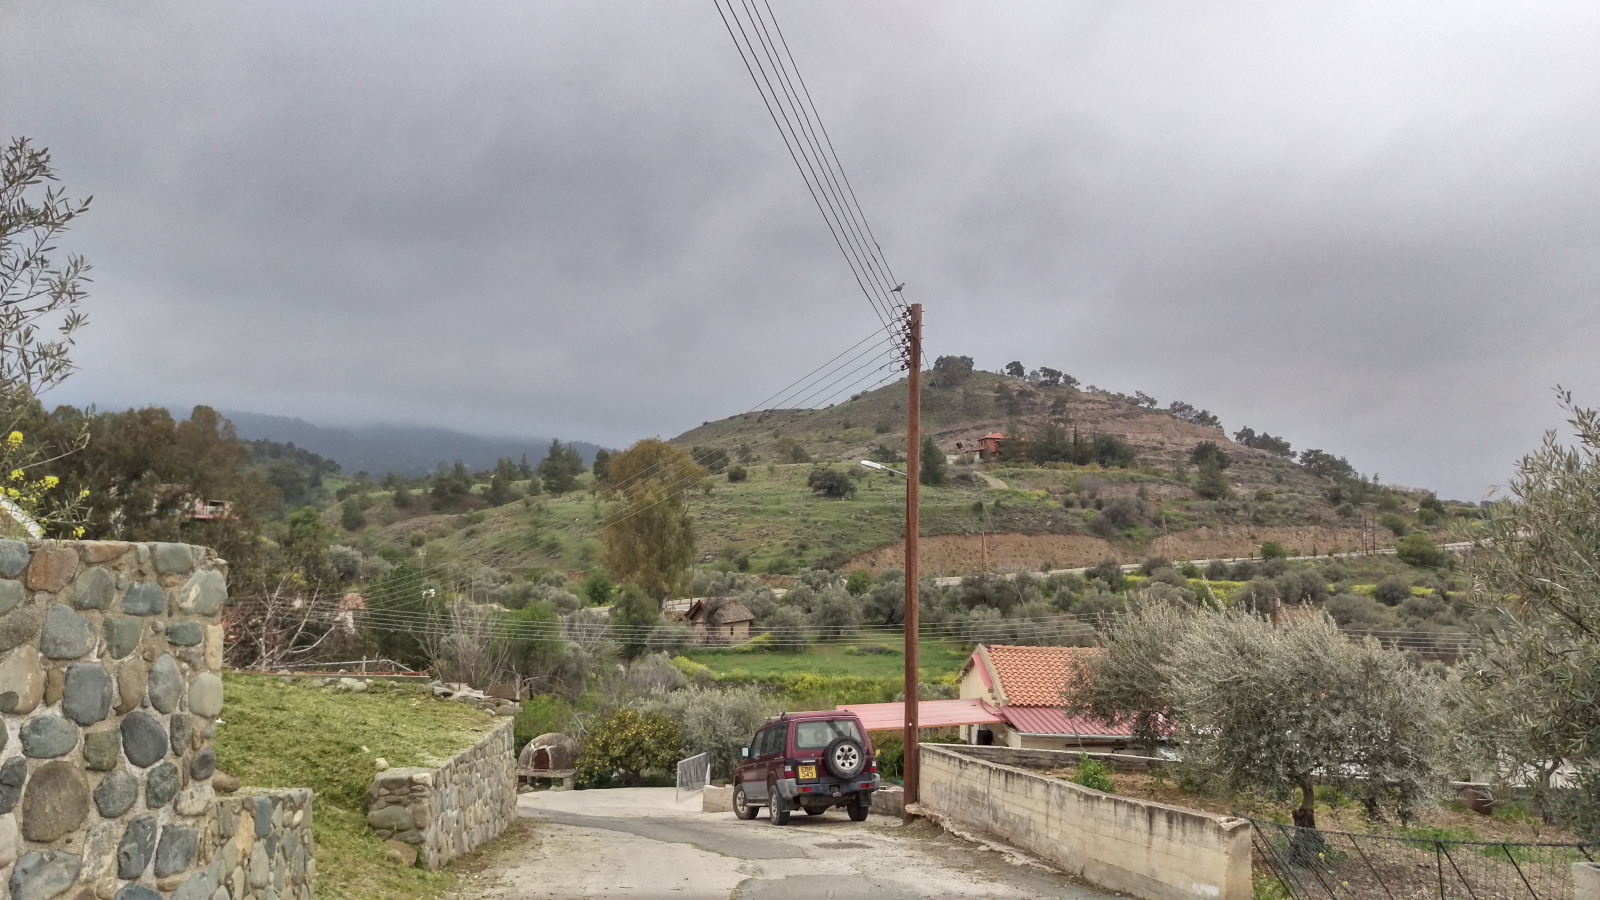
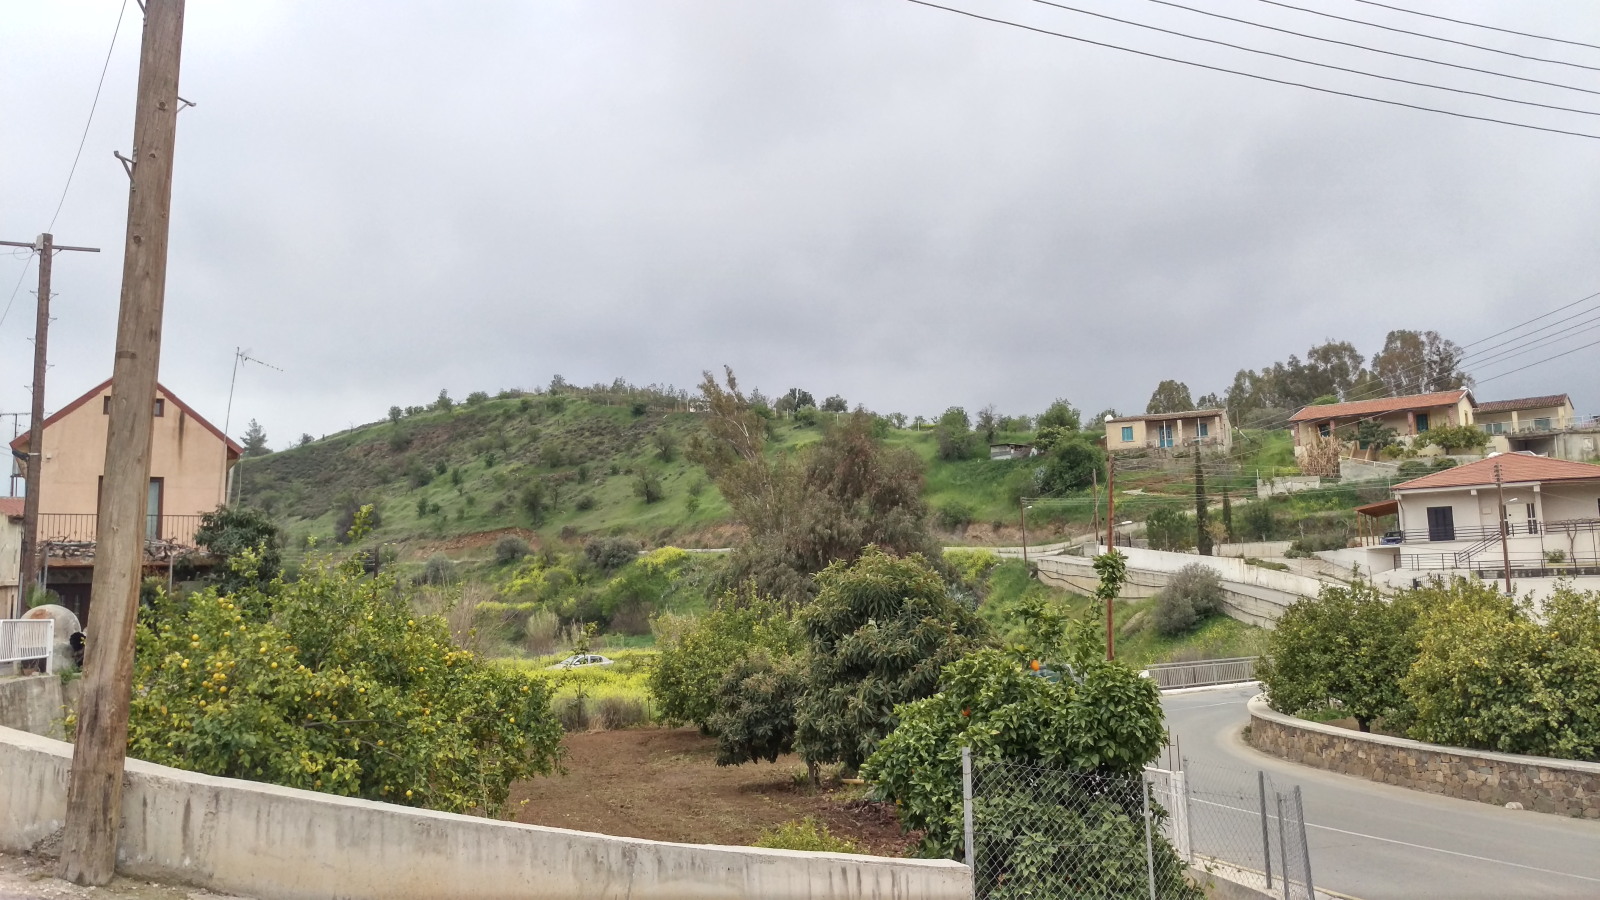
Please bare with the next 10 pics or so....I found the region interesting so I had to share some of the pics that Savvas sent me.
This is where I would camp out if I was in Cyprus....pretty cool location.
|
|
|
|
|
That road is closed for awhile.
|
|
|
|
|
.................................
|
|
|

|
|
...........................
|
|
|
|
|
,,,,,,,,,,,,,,,,,,,,,,,,
|
|
|
|
|
,,,,,,,,,,,,,,,,,,,,,,,,,,,,,,
|
|
|

|
|
Gets cold on that little island sometimes I see.
|
|
|
|
|
,,,,,,,,,,,,,,,,,,,,,,,,,,,,,
|
|
|
|
|
,,,,,,,,,,,,,,,,,,,,,,,
|
|
|

|
|
,,,,,,,,,,,,,,,,,,,,,,,,,,,,,
|
|
|
|
|
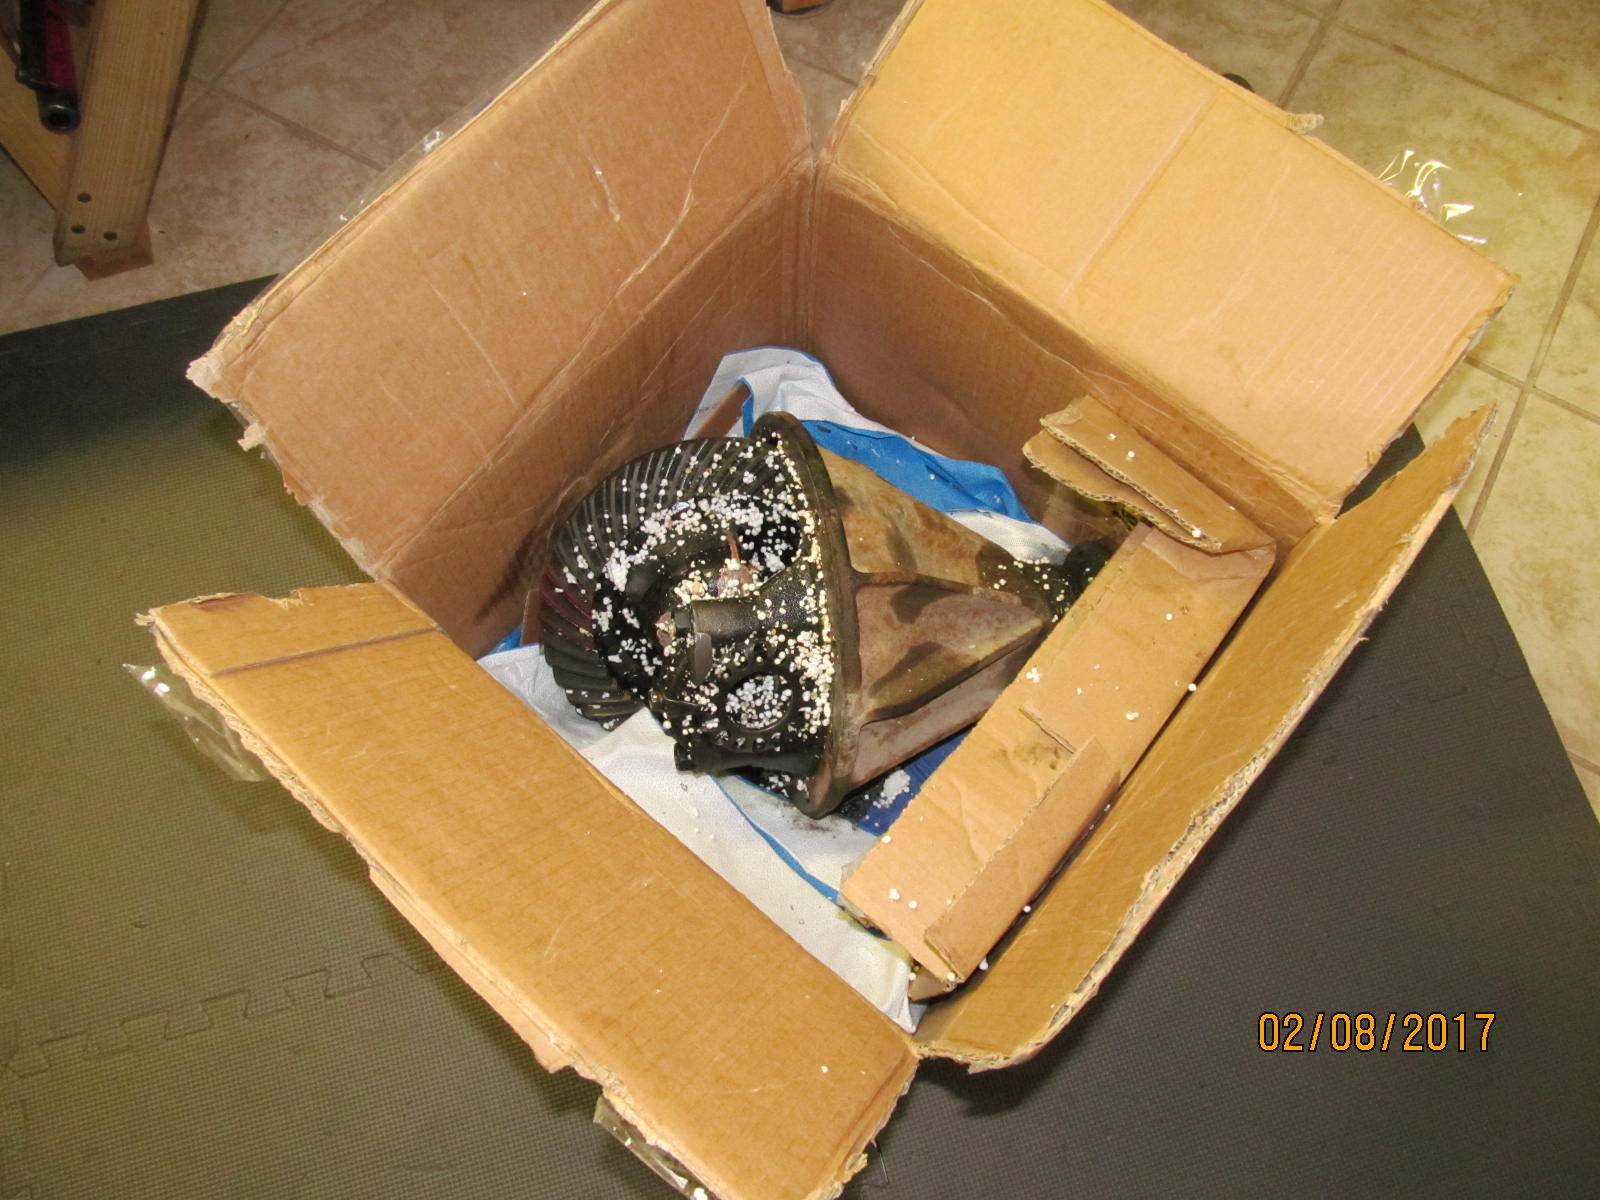
I found a 9.5" diff for 225. Never did care for styrofoam though.
|
|
|
|
|
,,,,,,,,,,,,,,,,
|
|
|

|
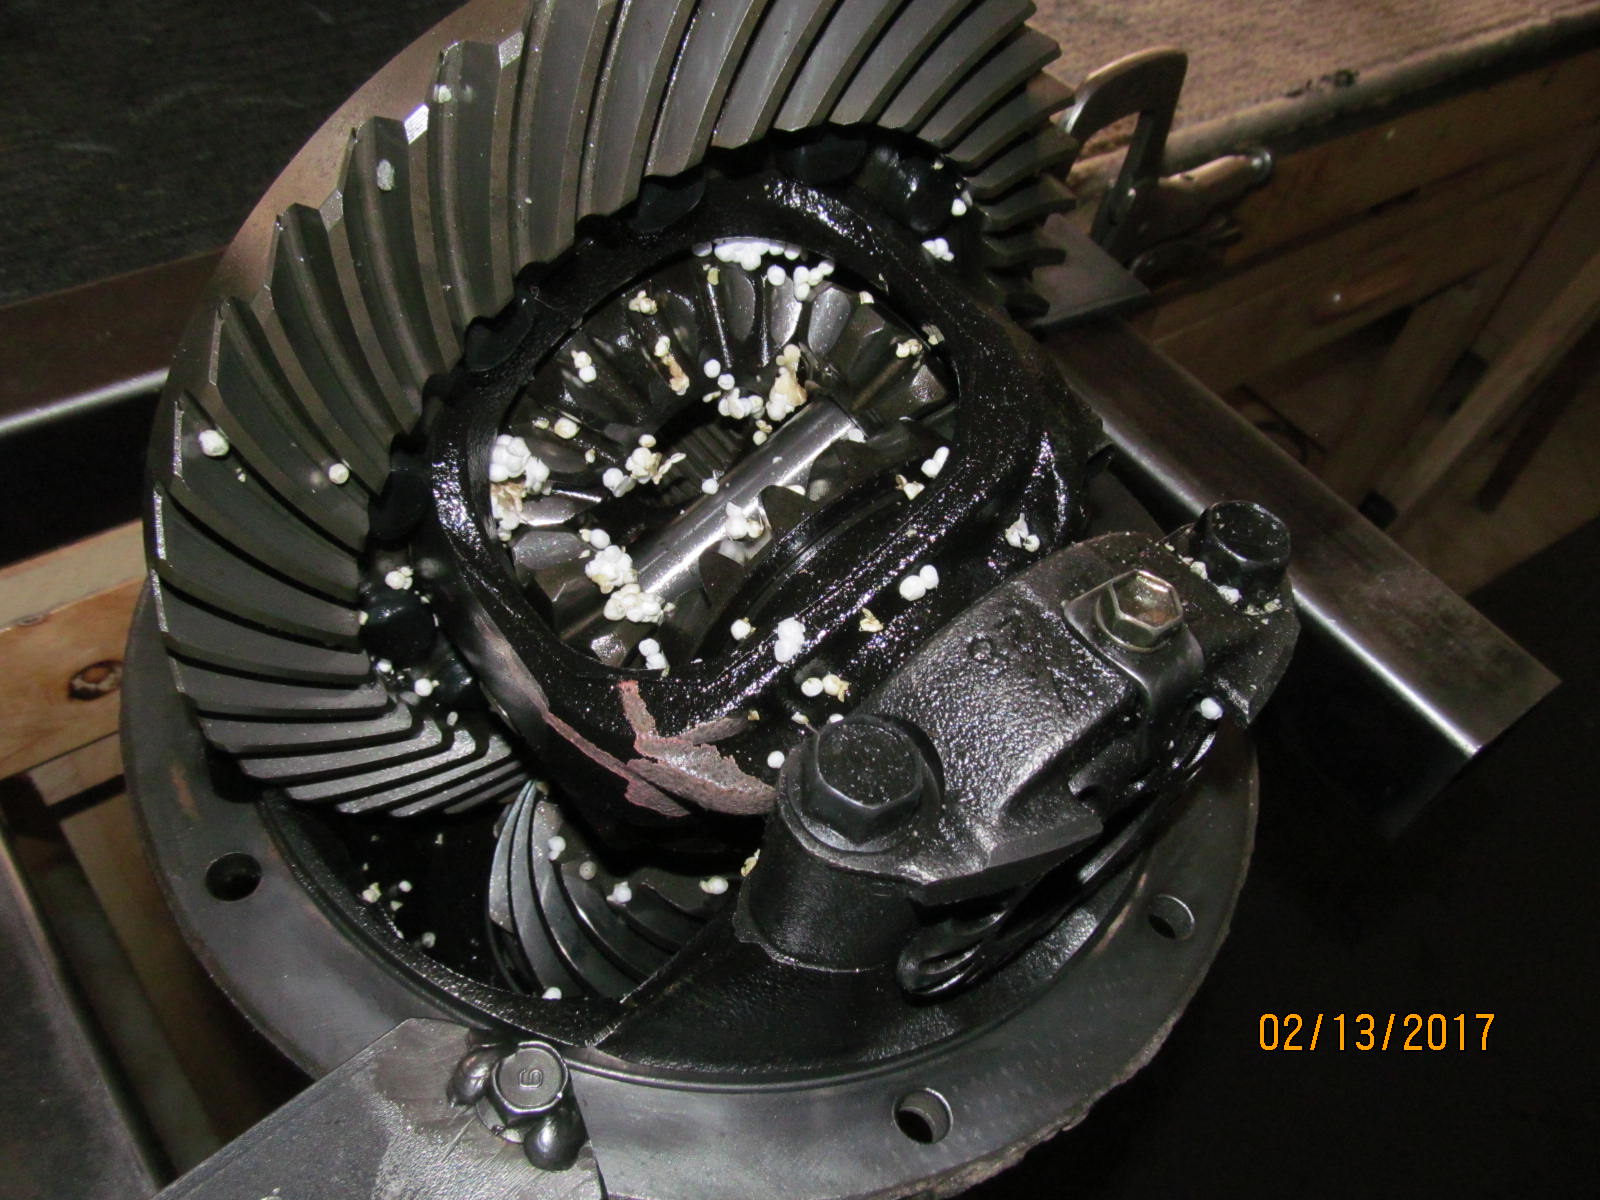
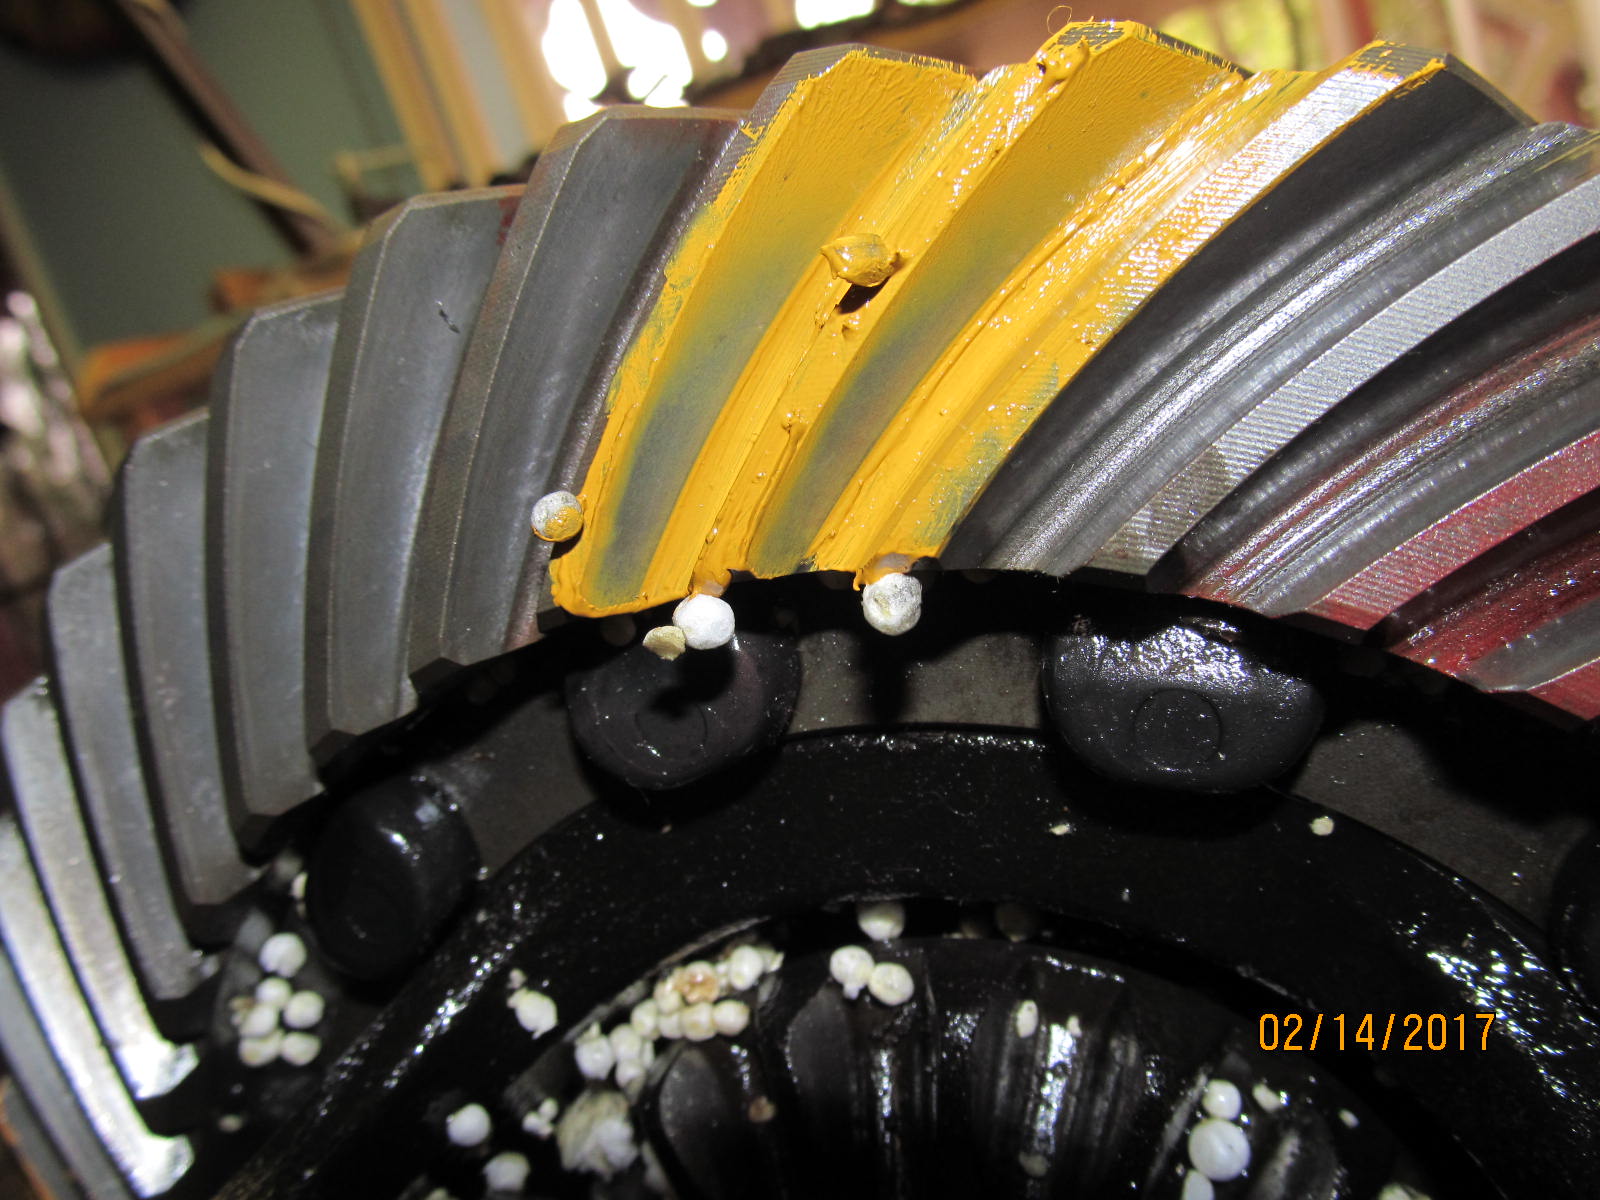
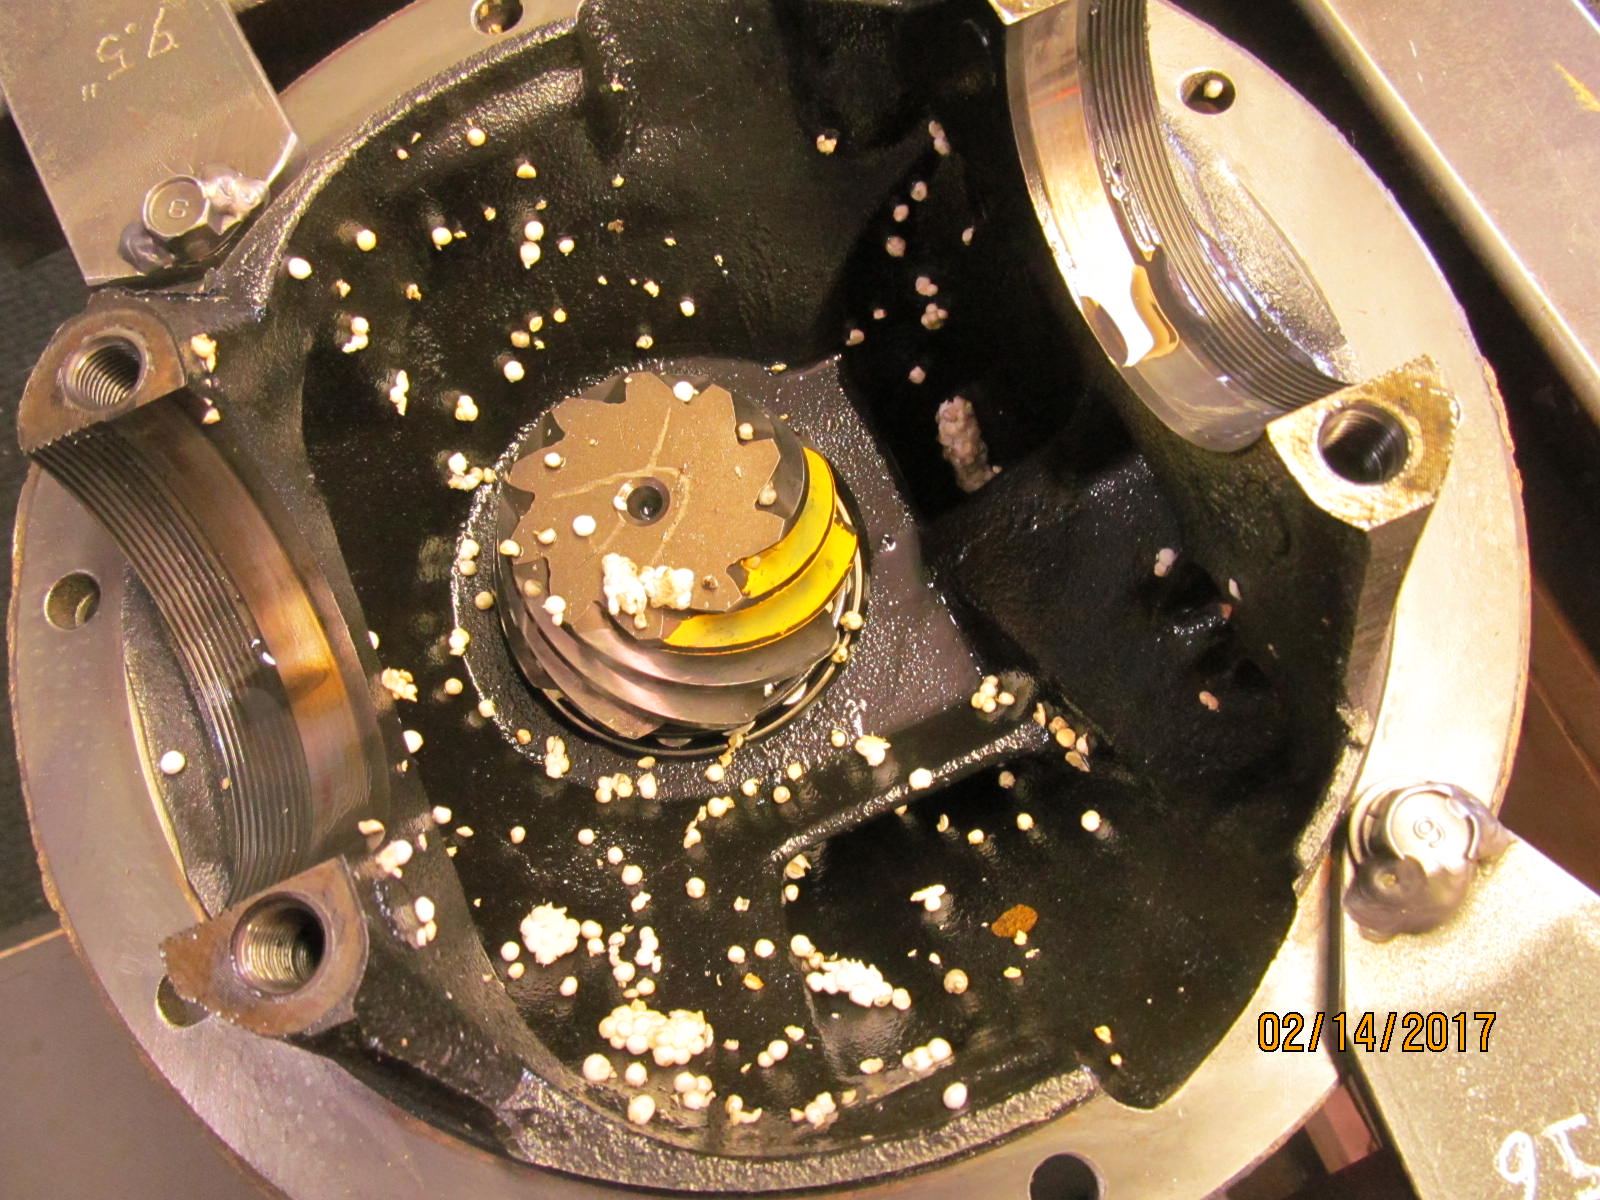
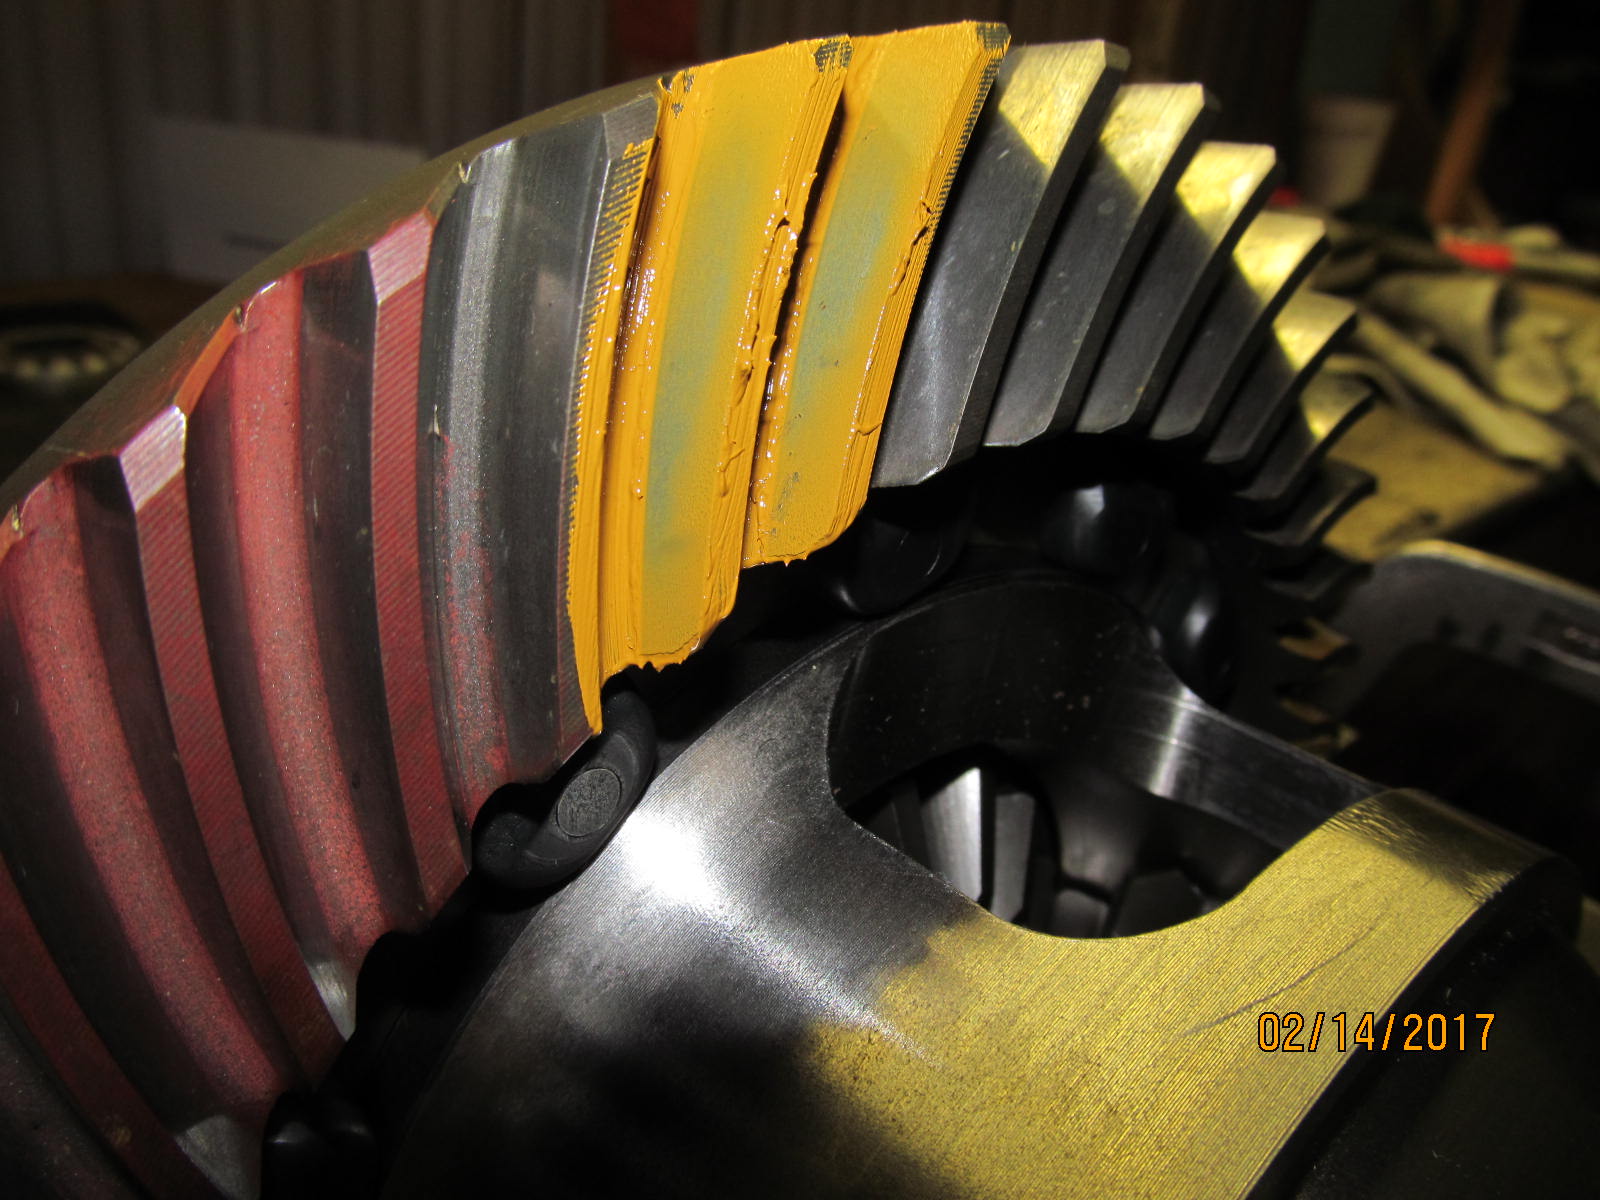
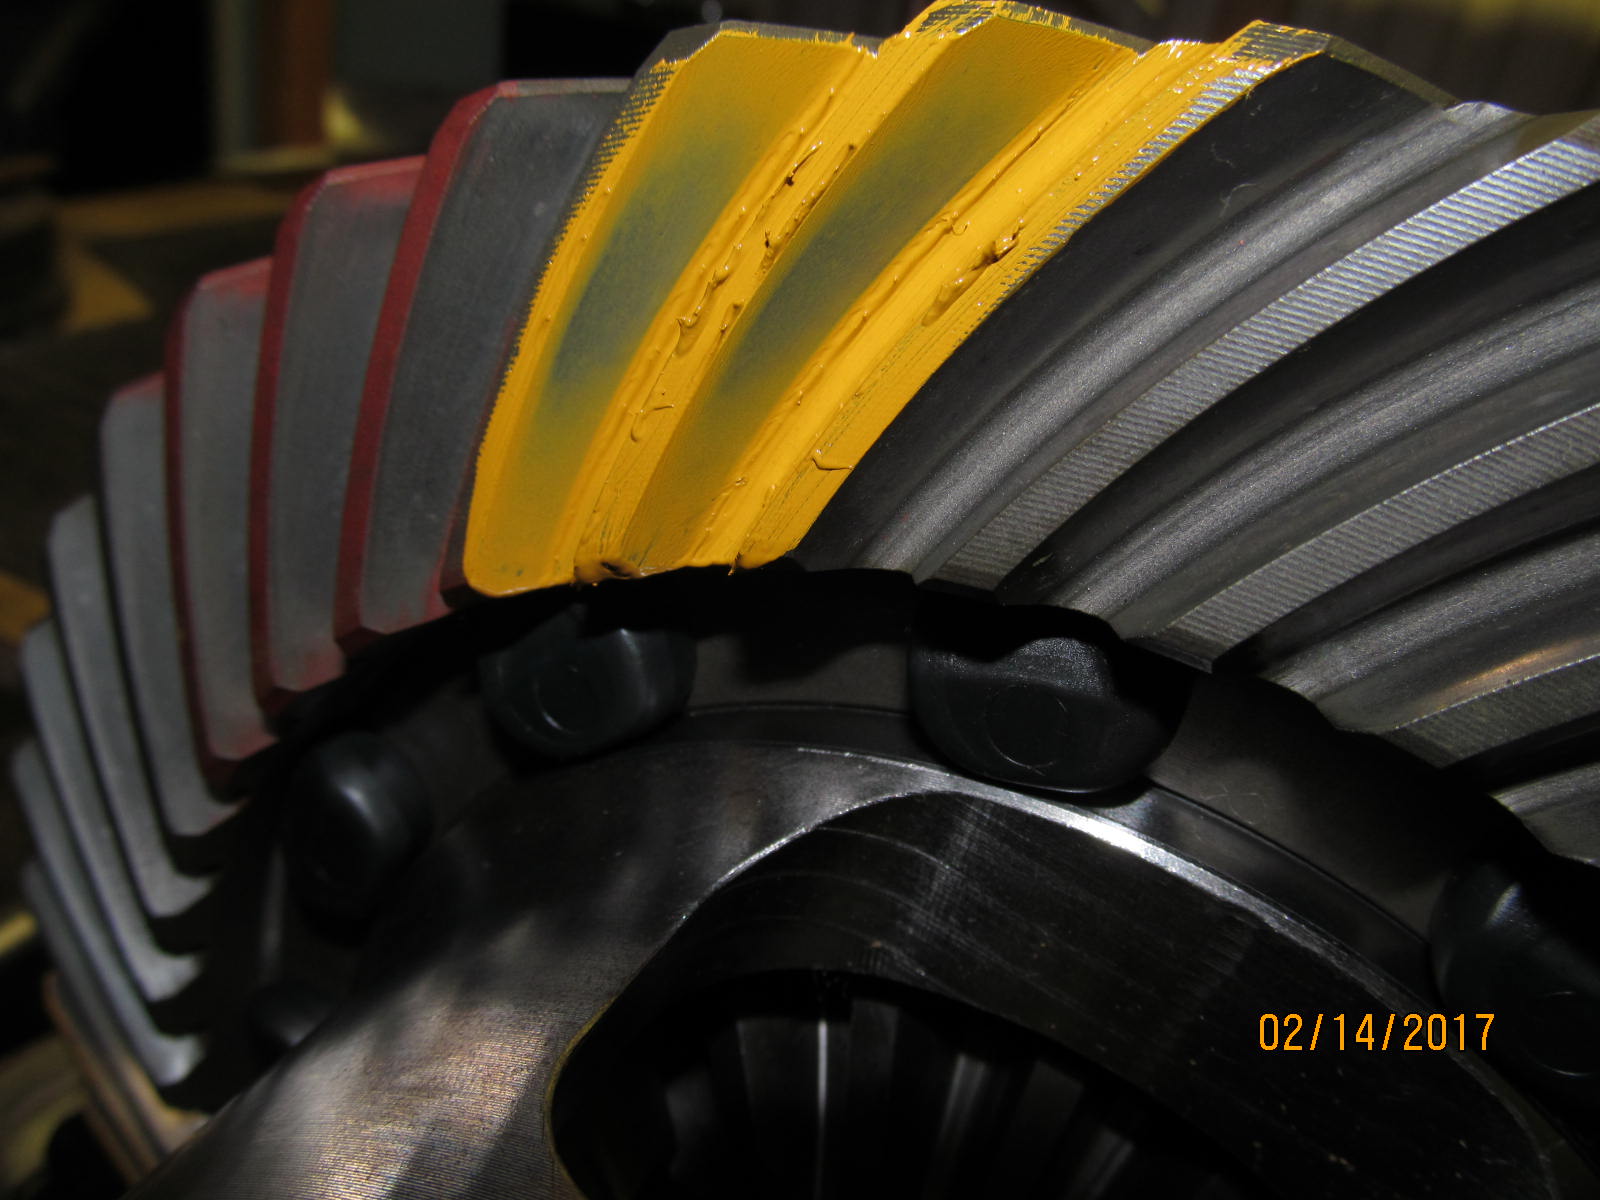
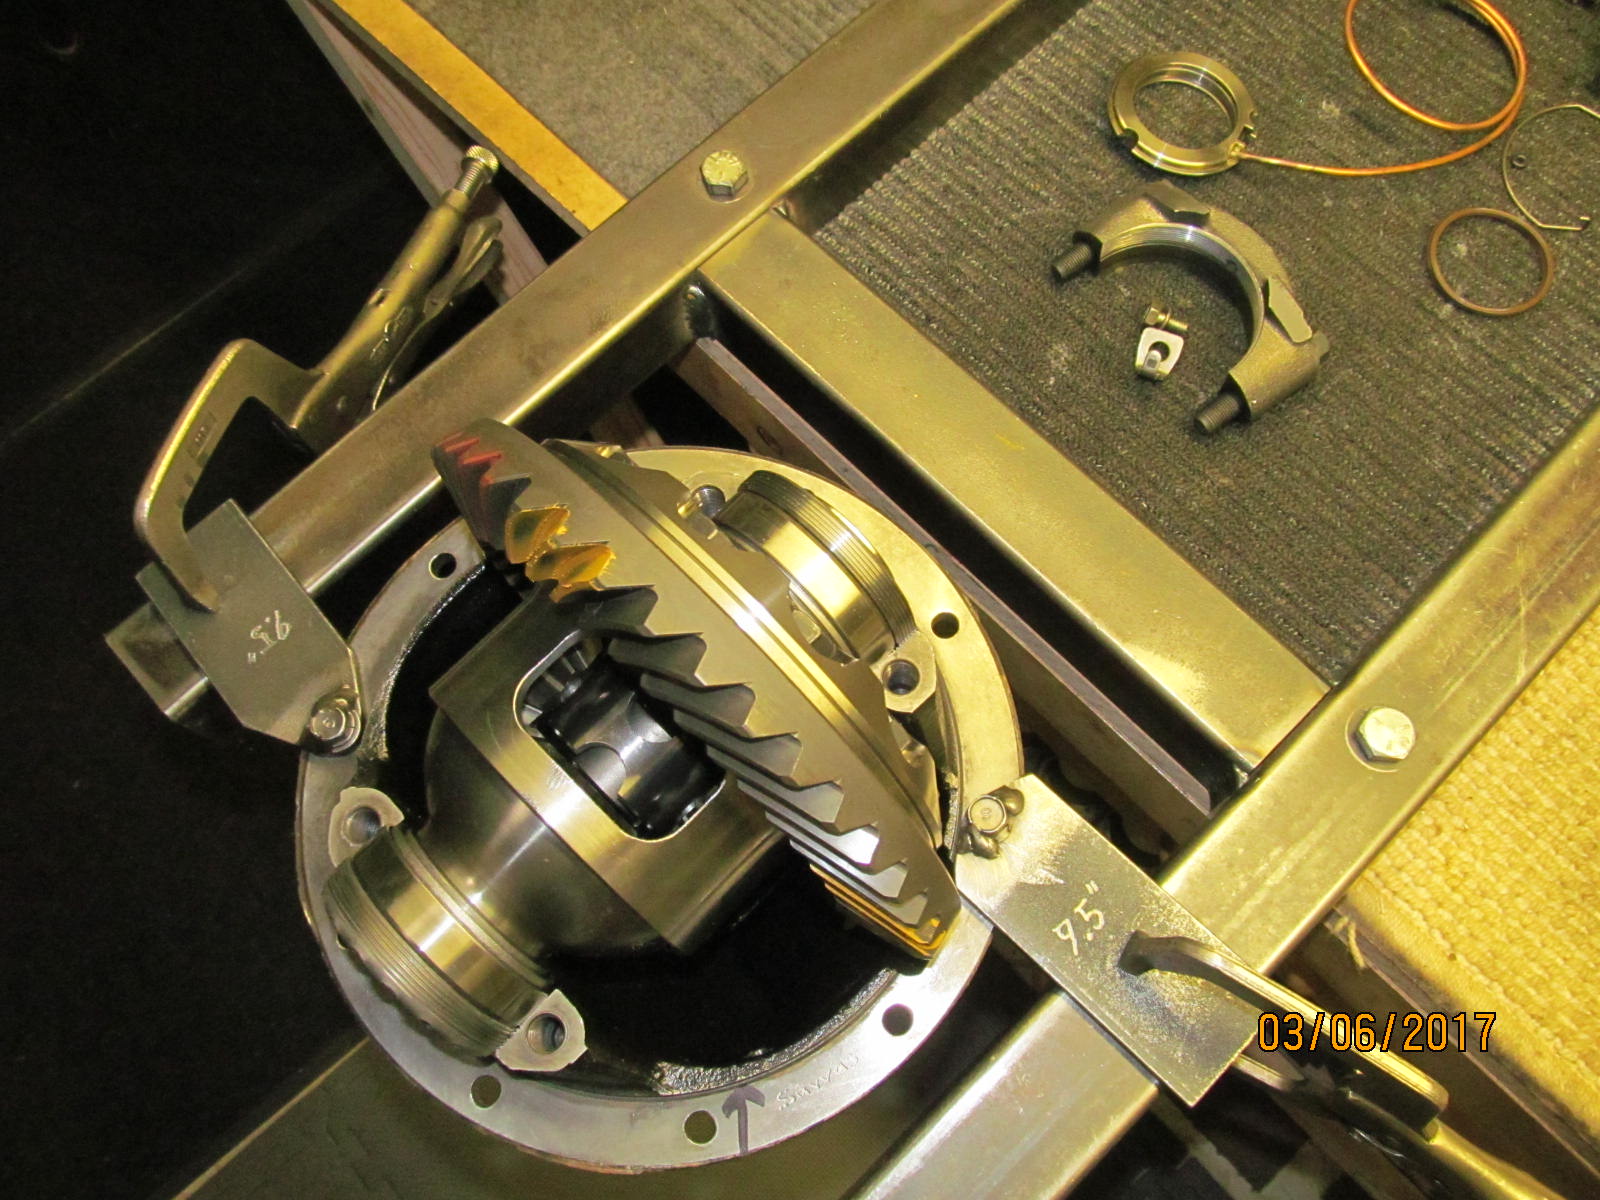
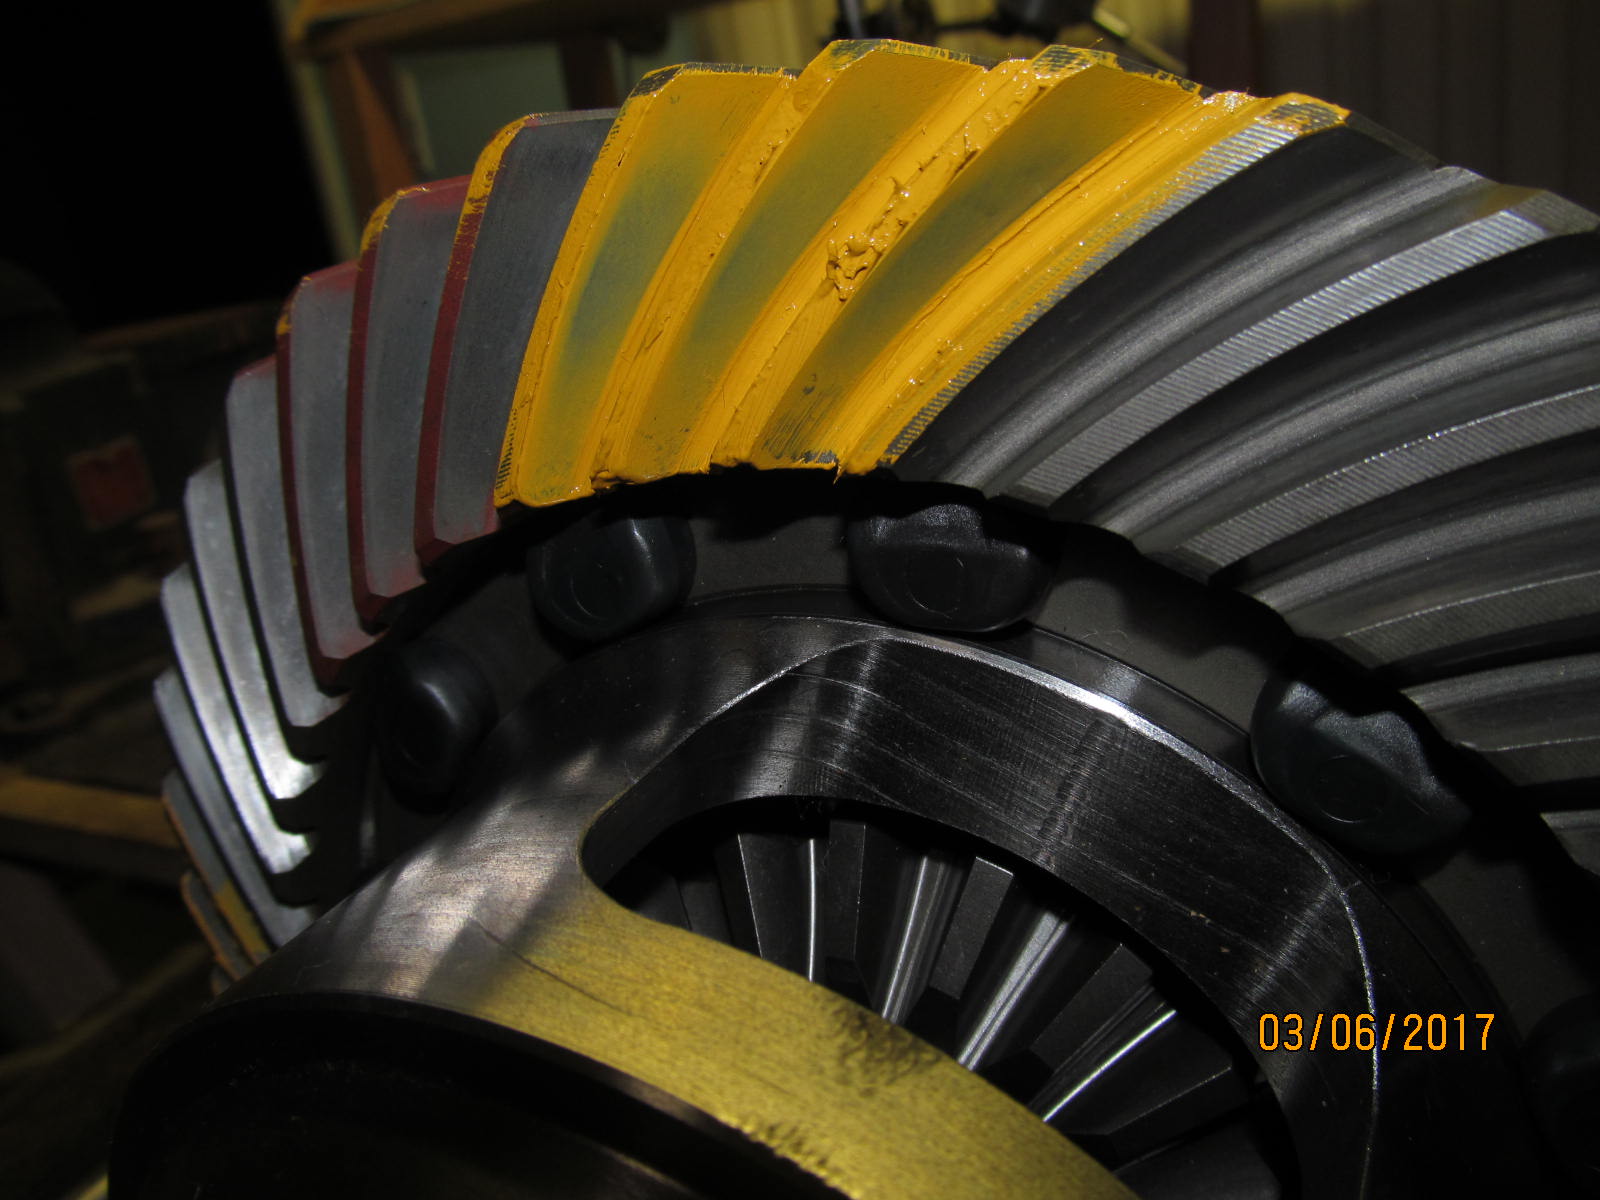
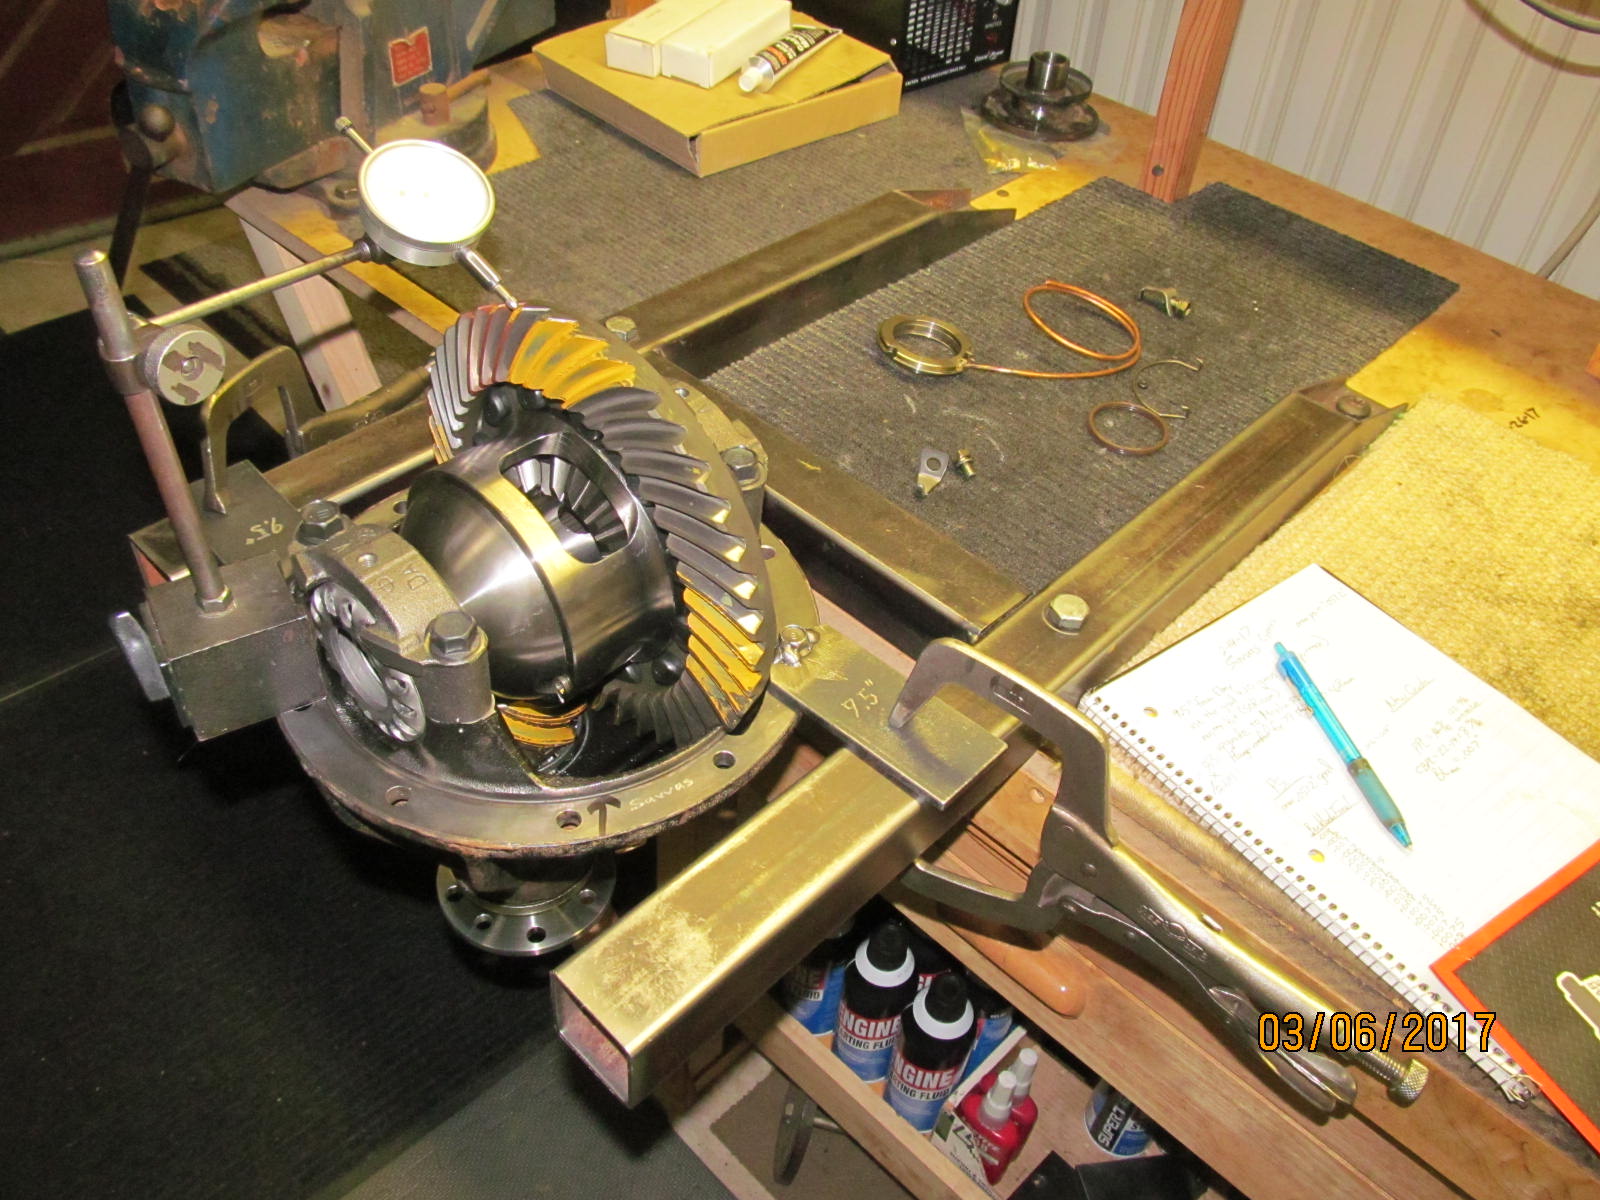
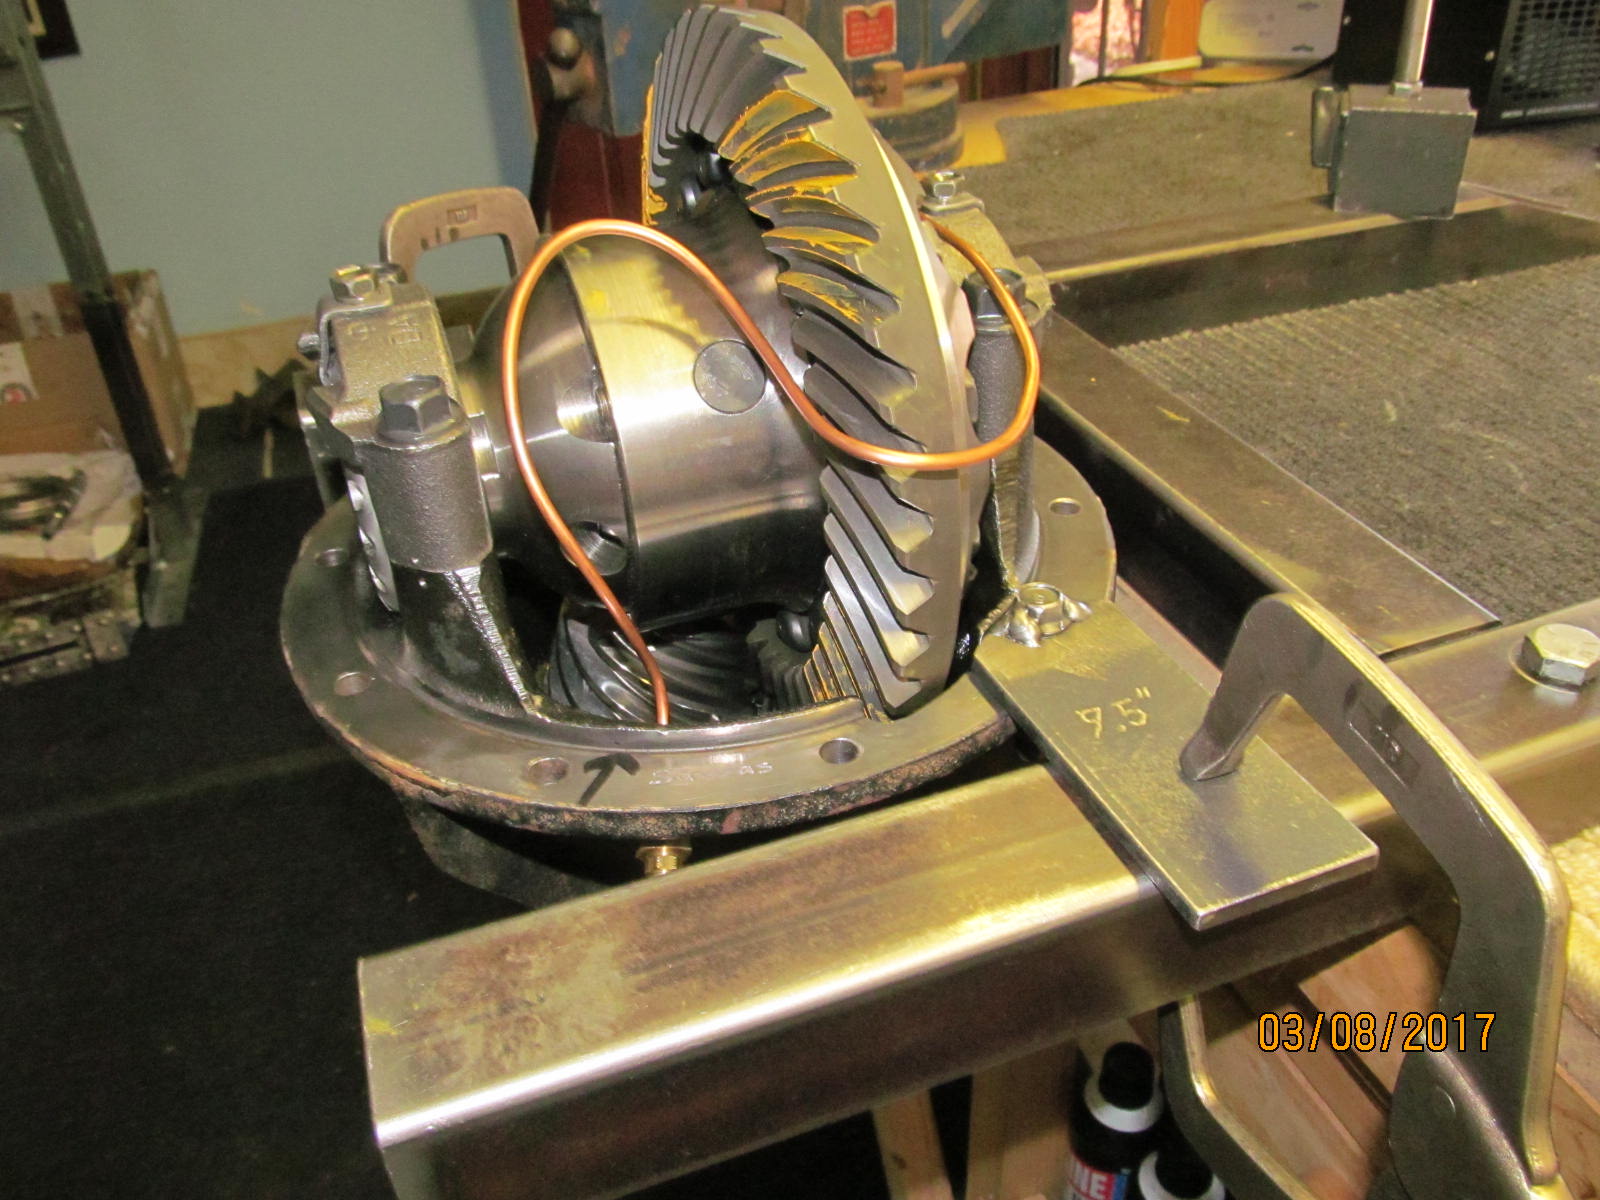
A quick pattern check shows very good results. The ring and pinion is totally reusable. The painted pattern is good and
the condition of the teeth are nice with no pitting of any sort.
|
|
|
|
|
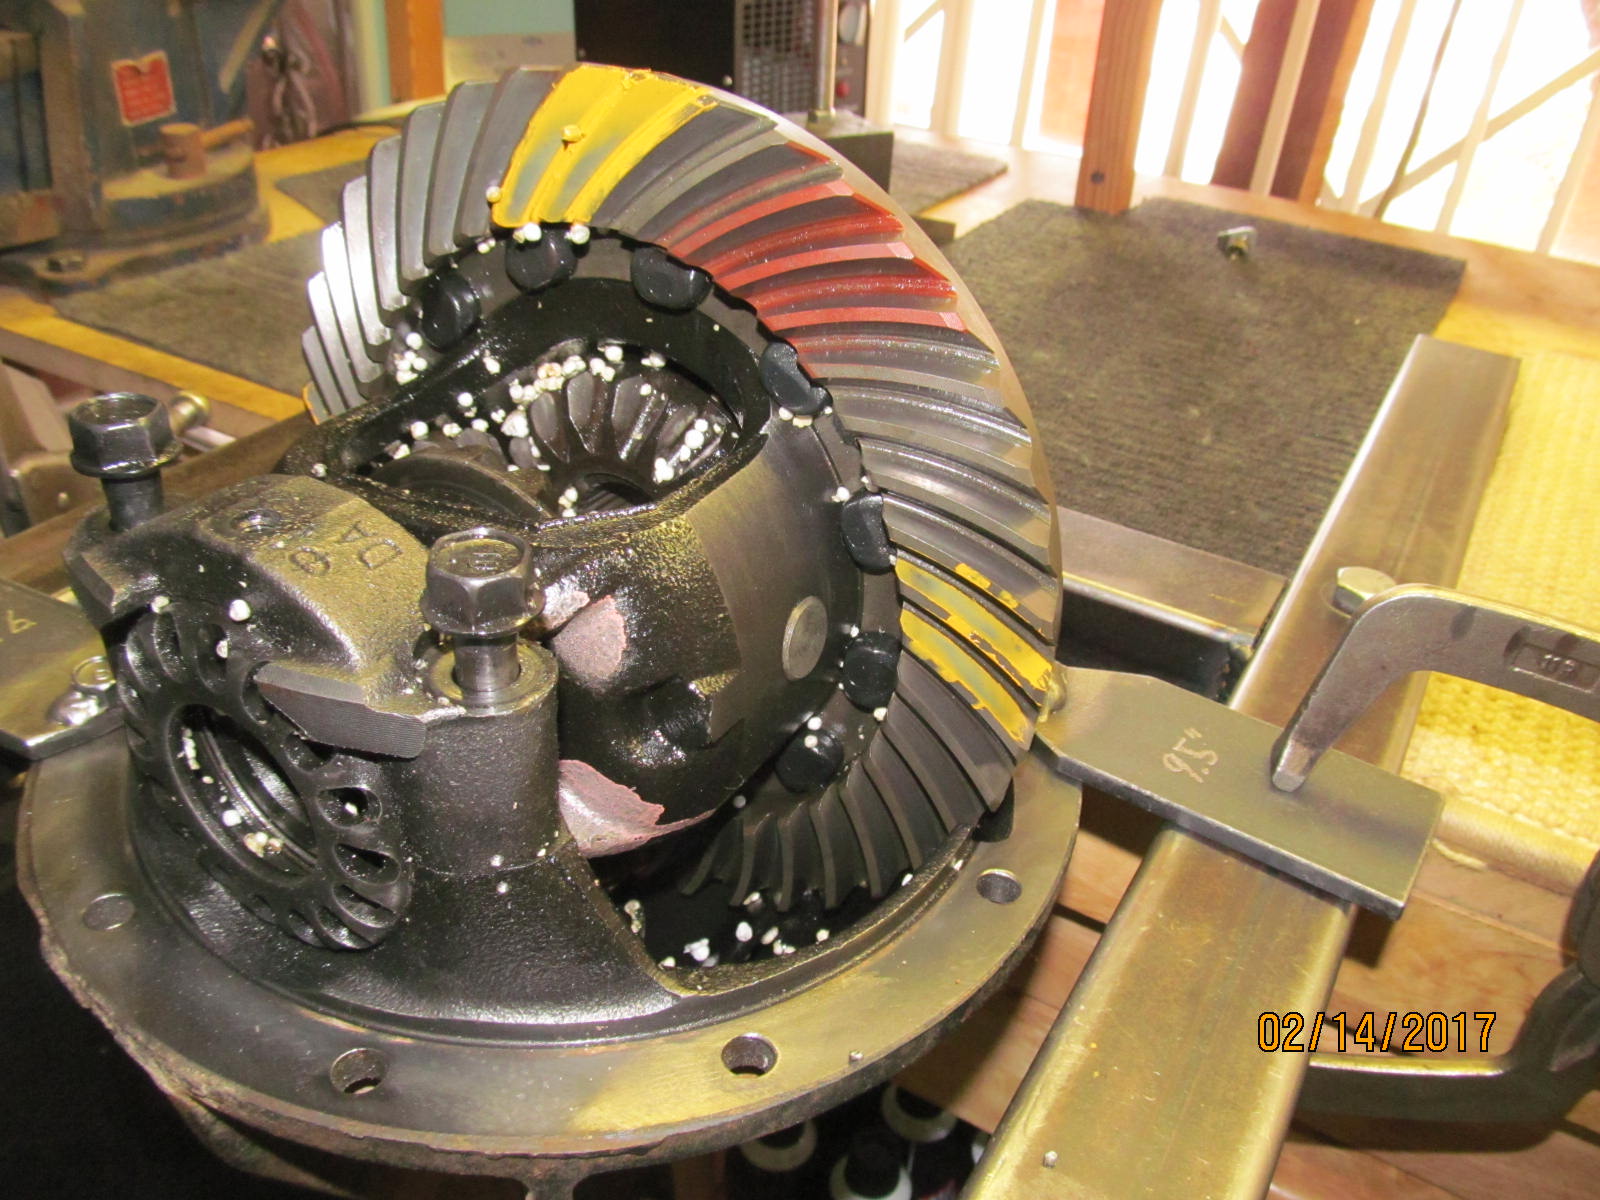
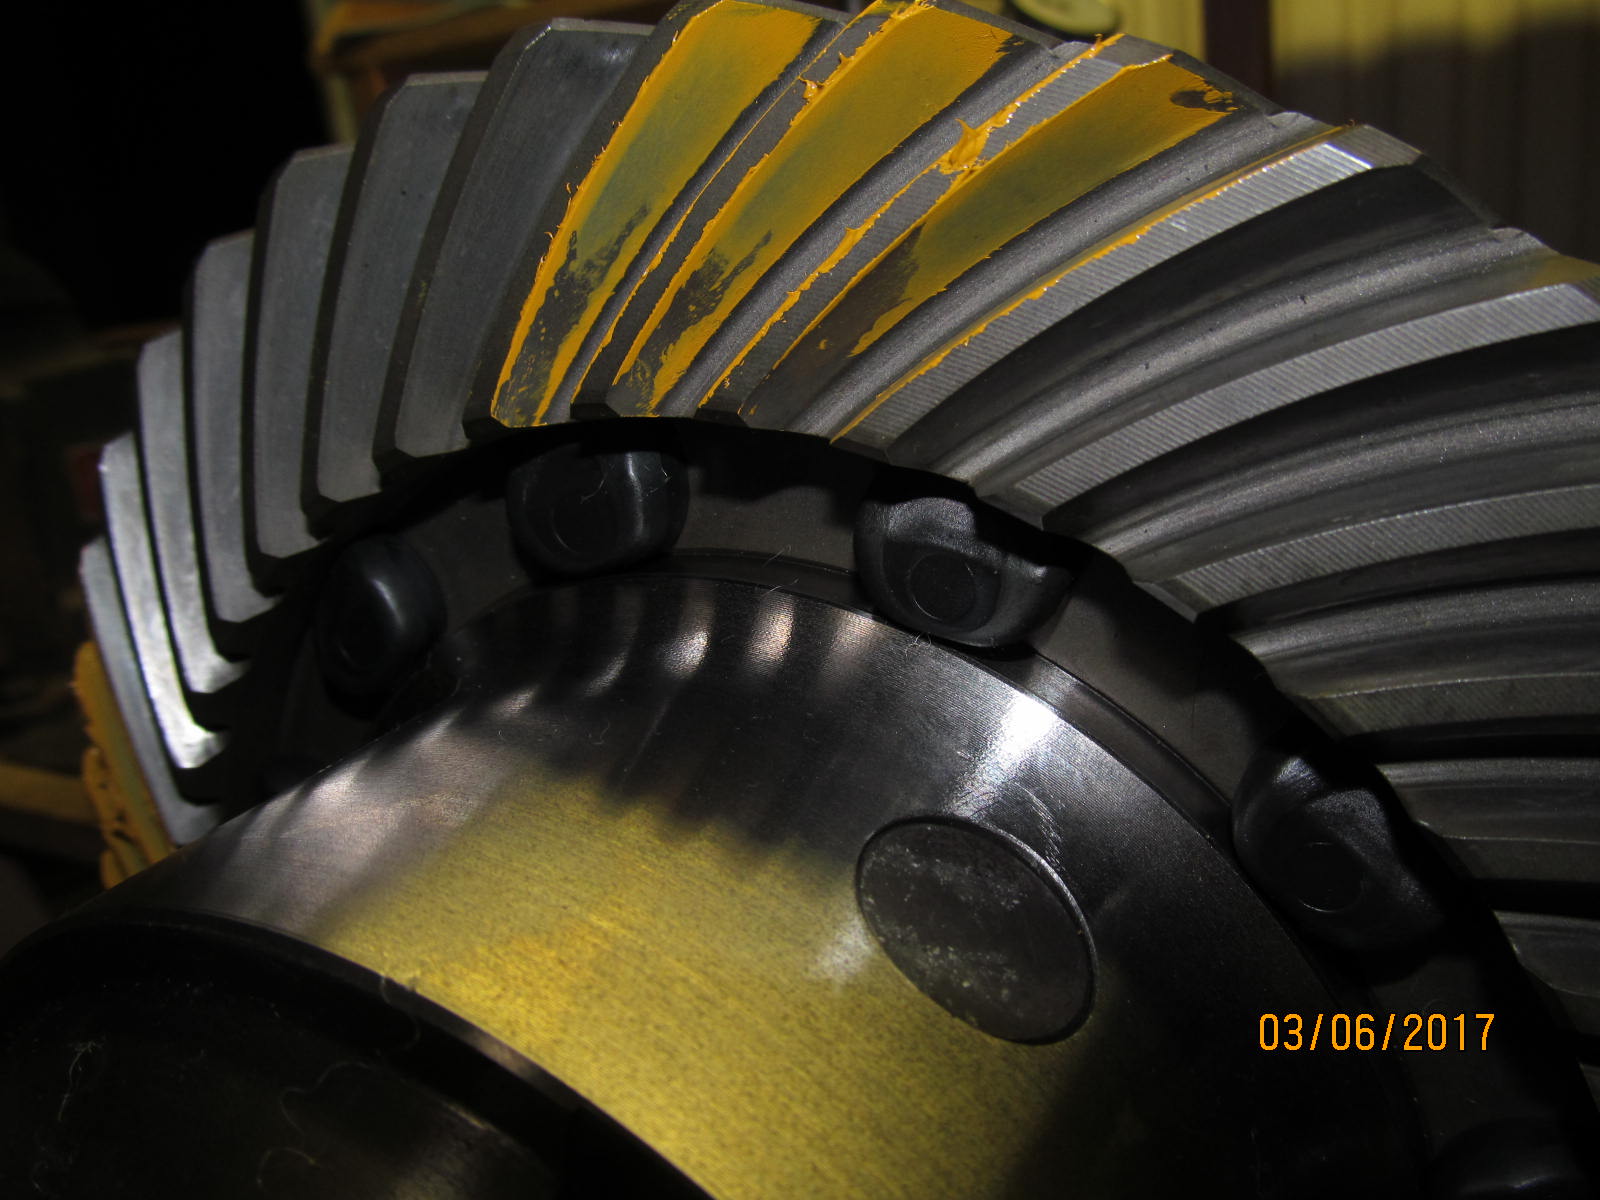
Coast side is nice. Love the styrofoam.
|
|
|
|
|
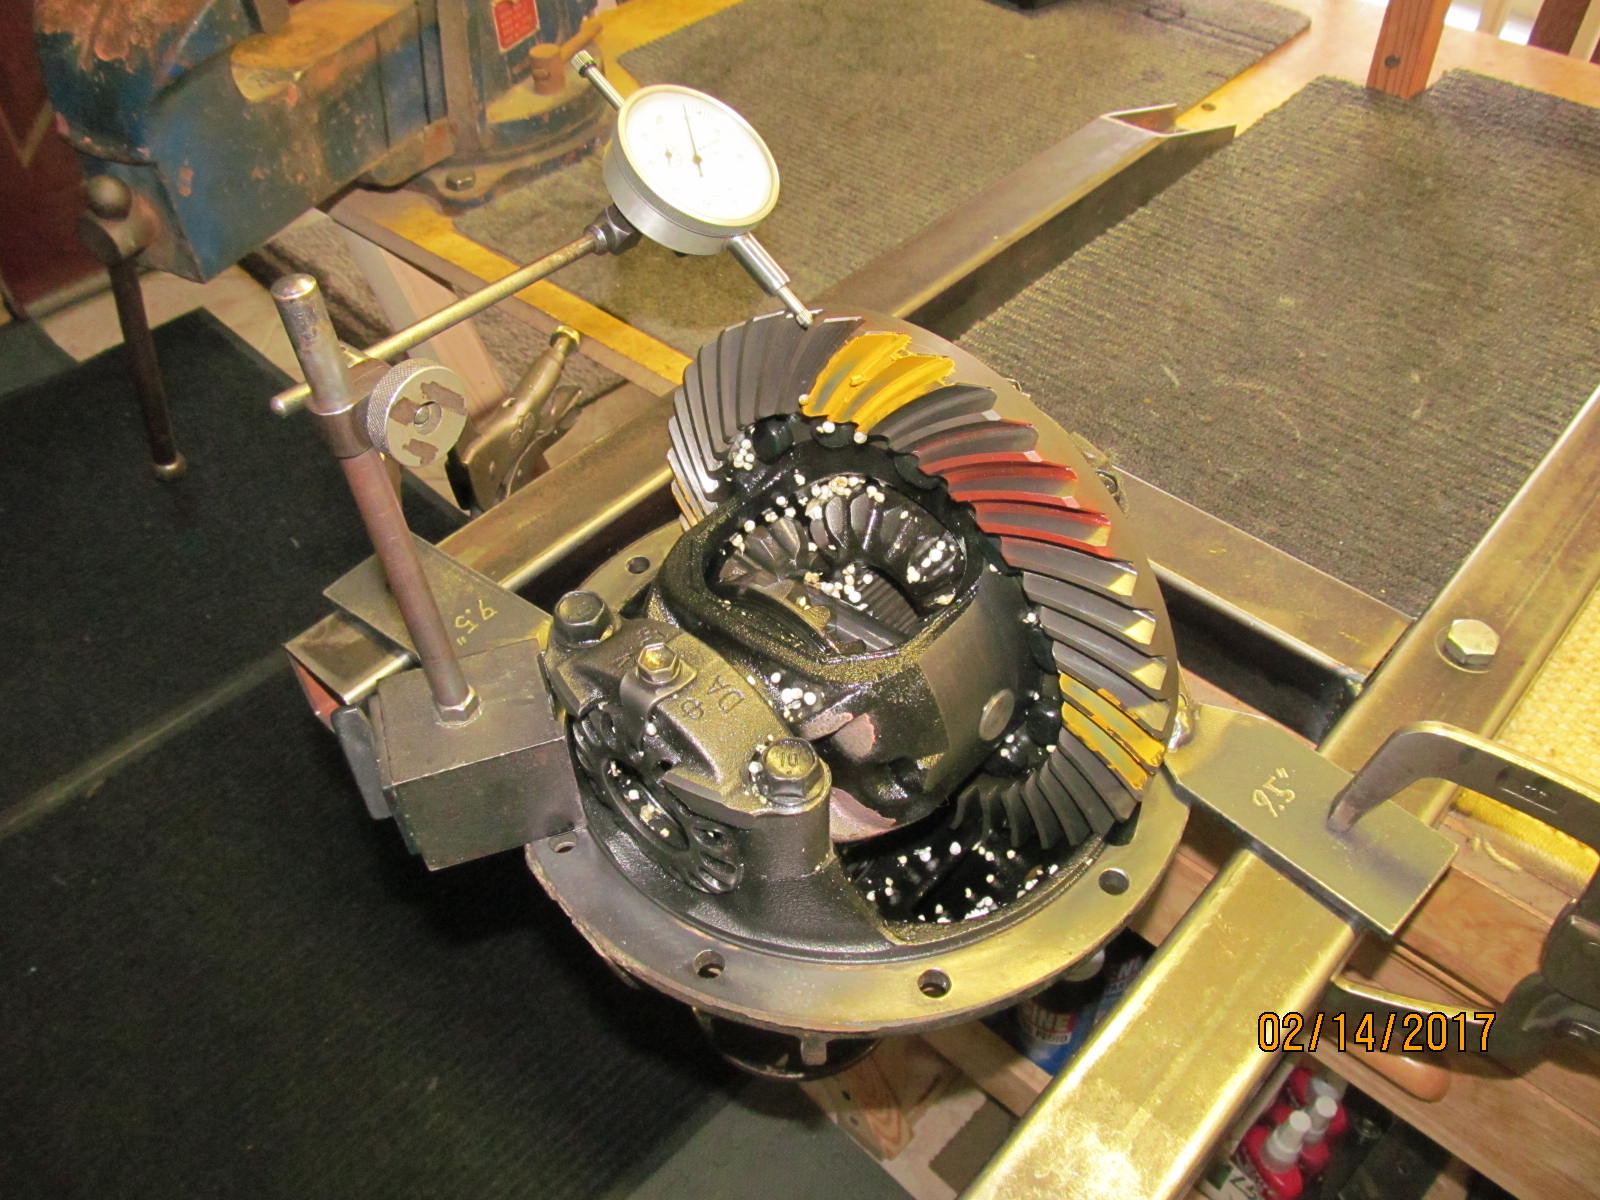
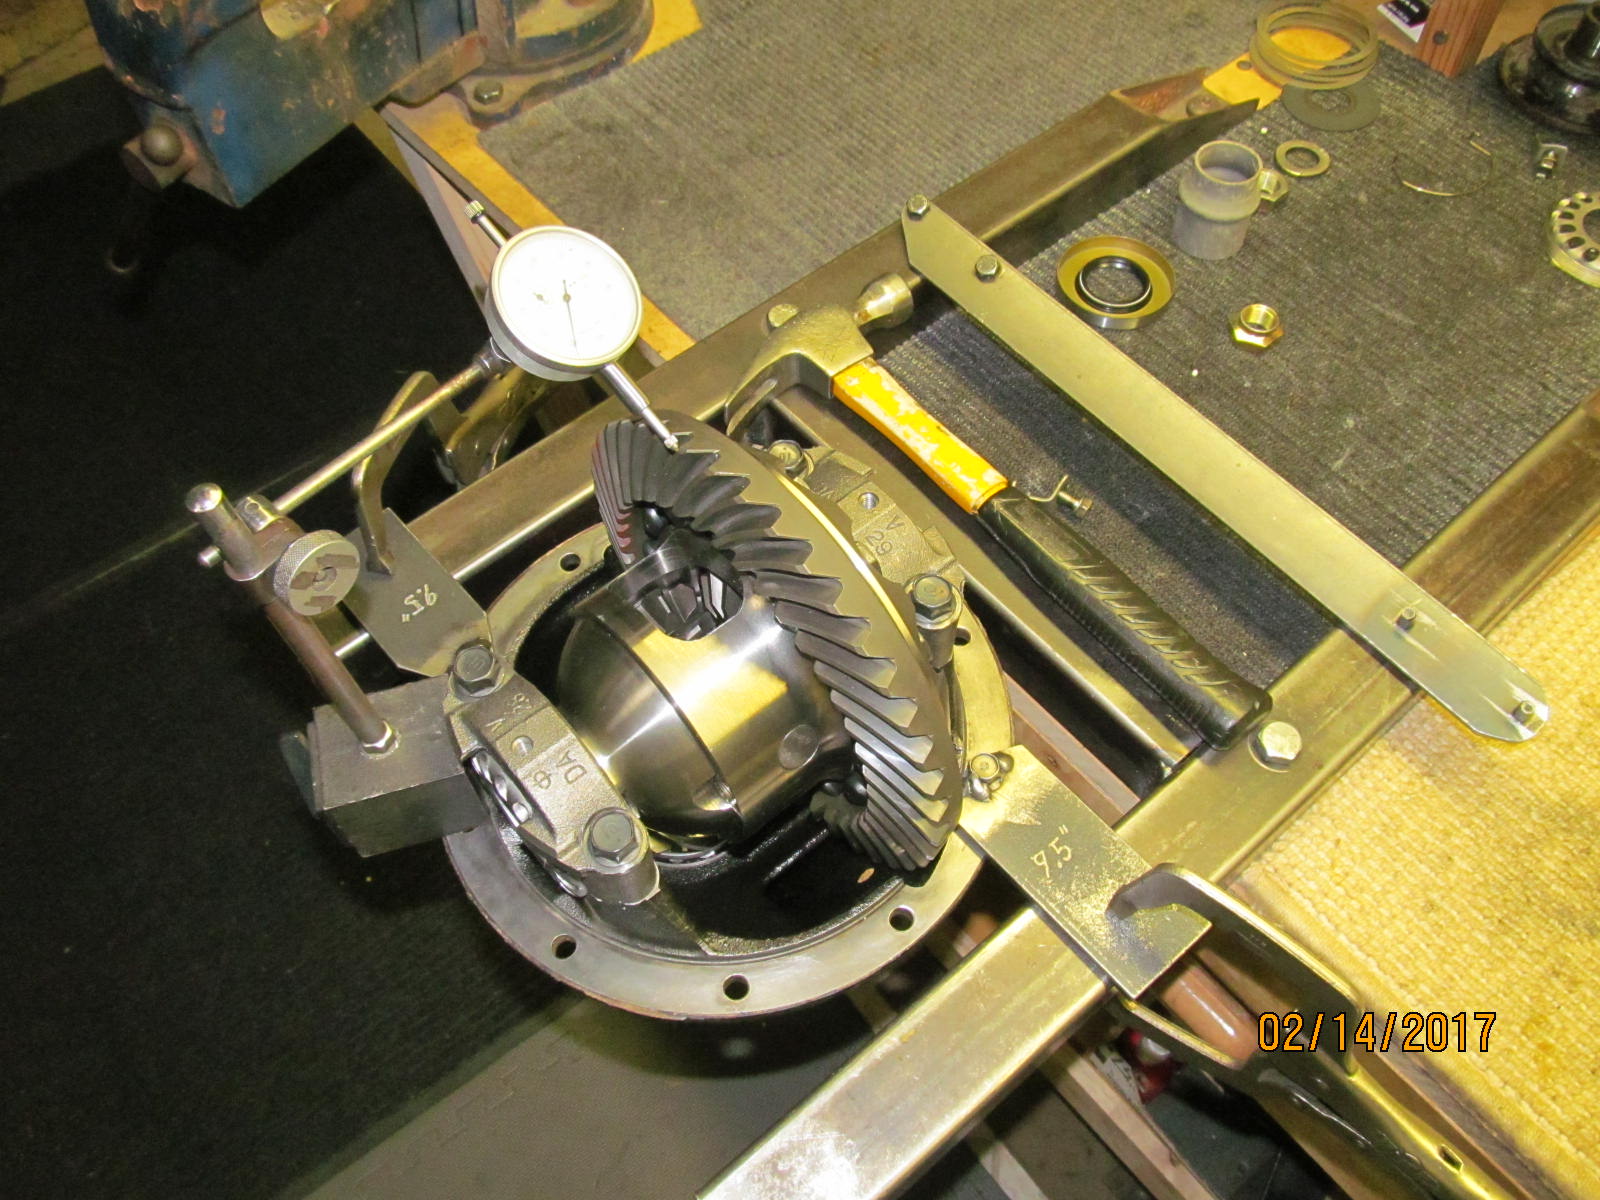
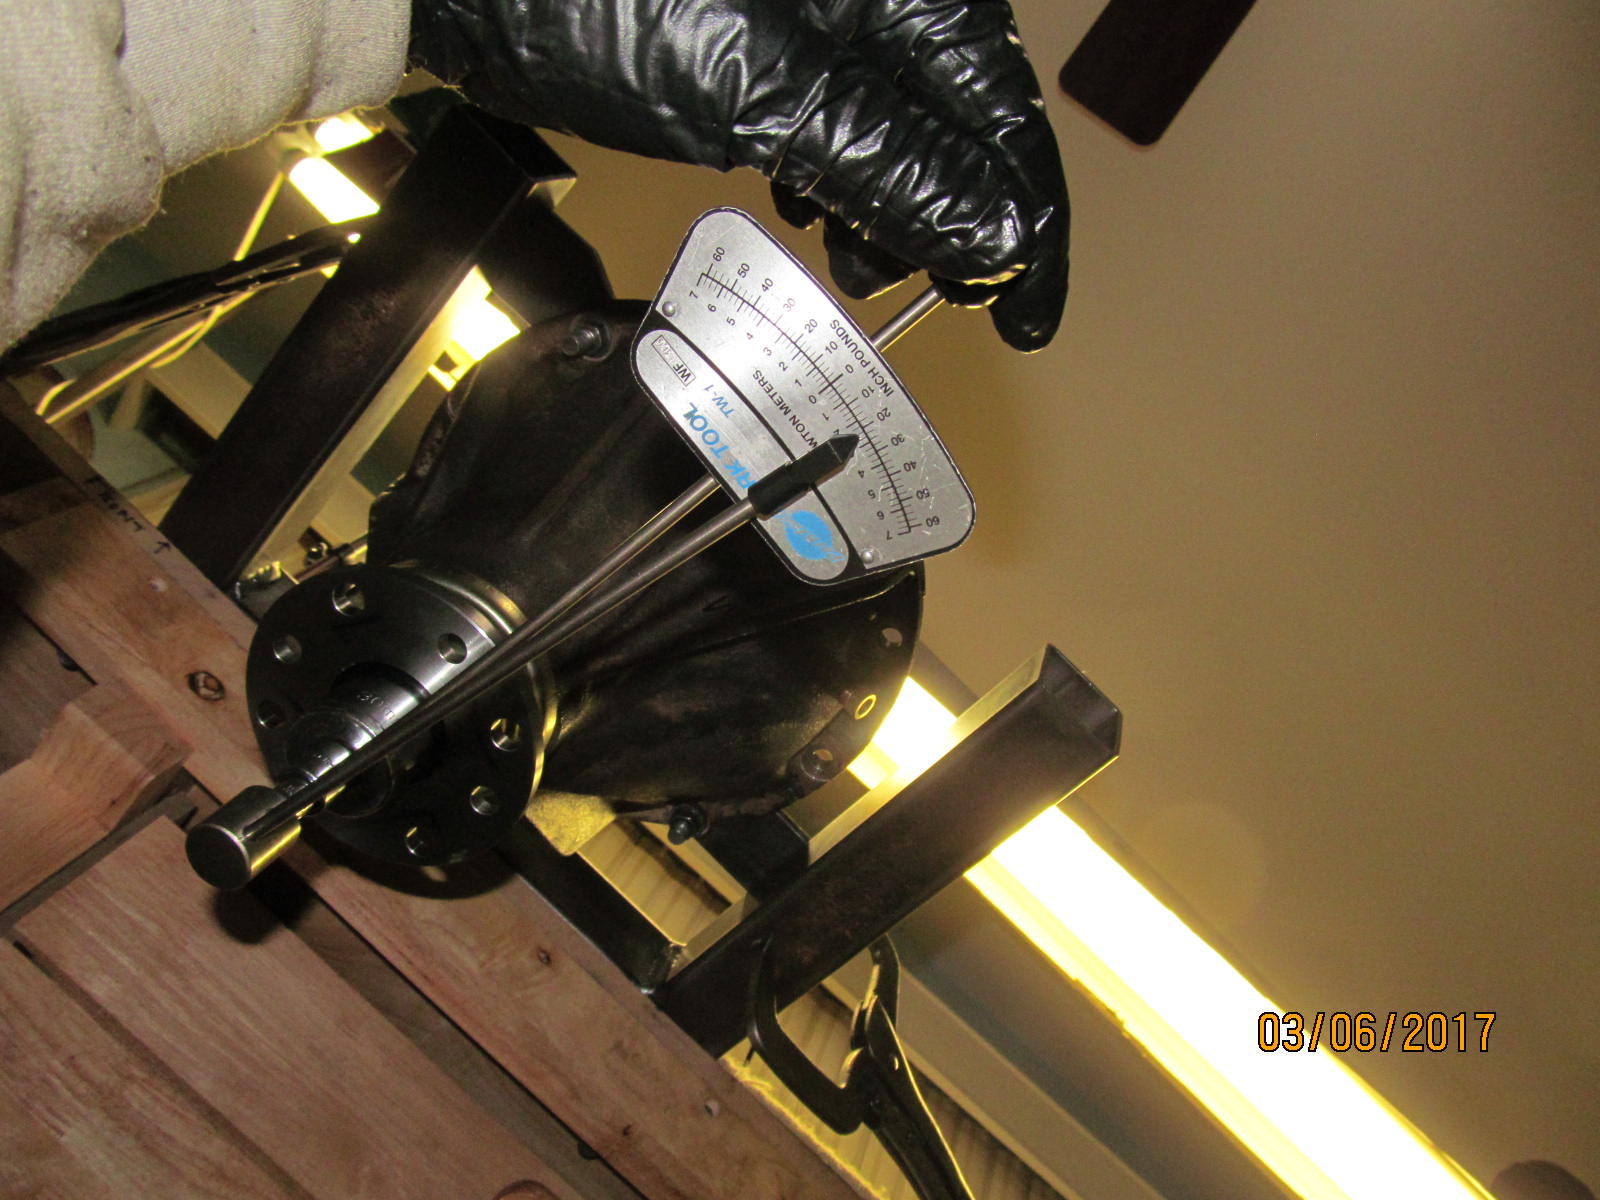
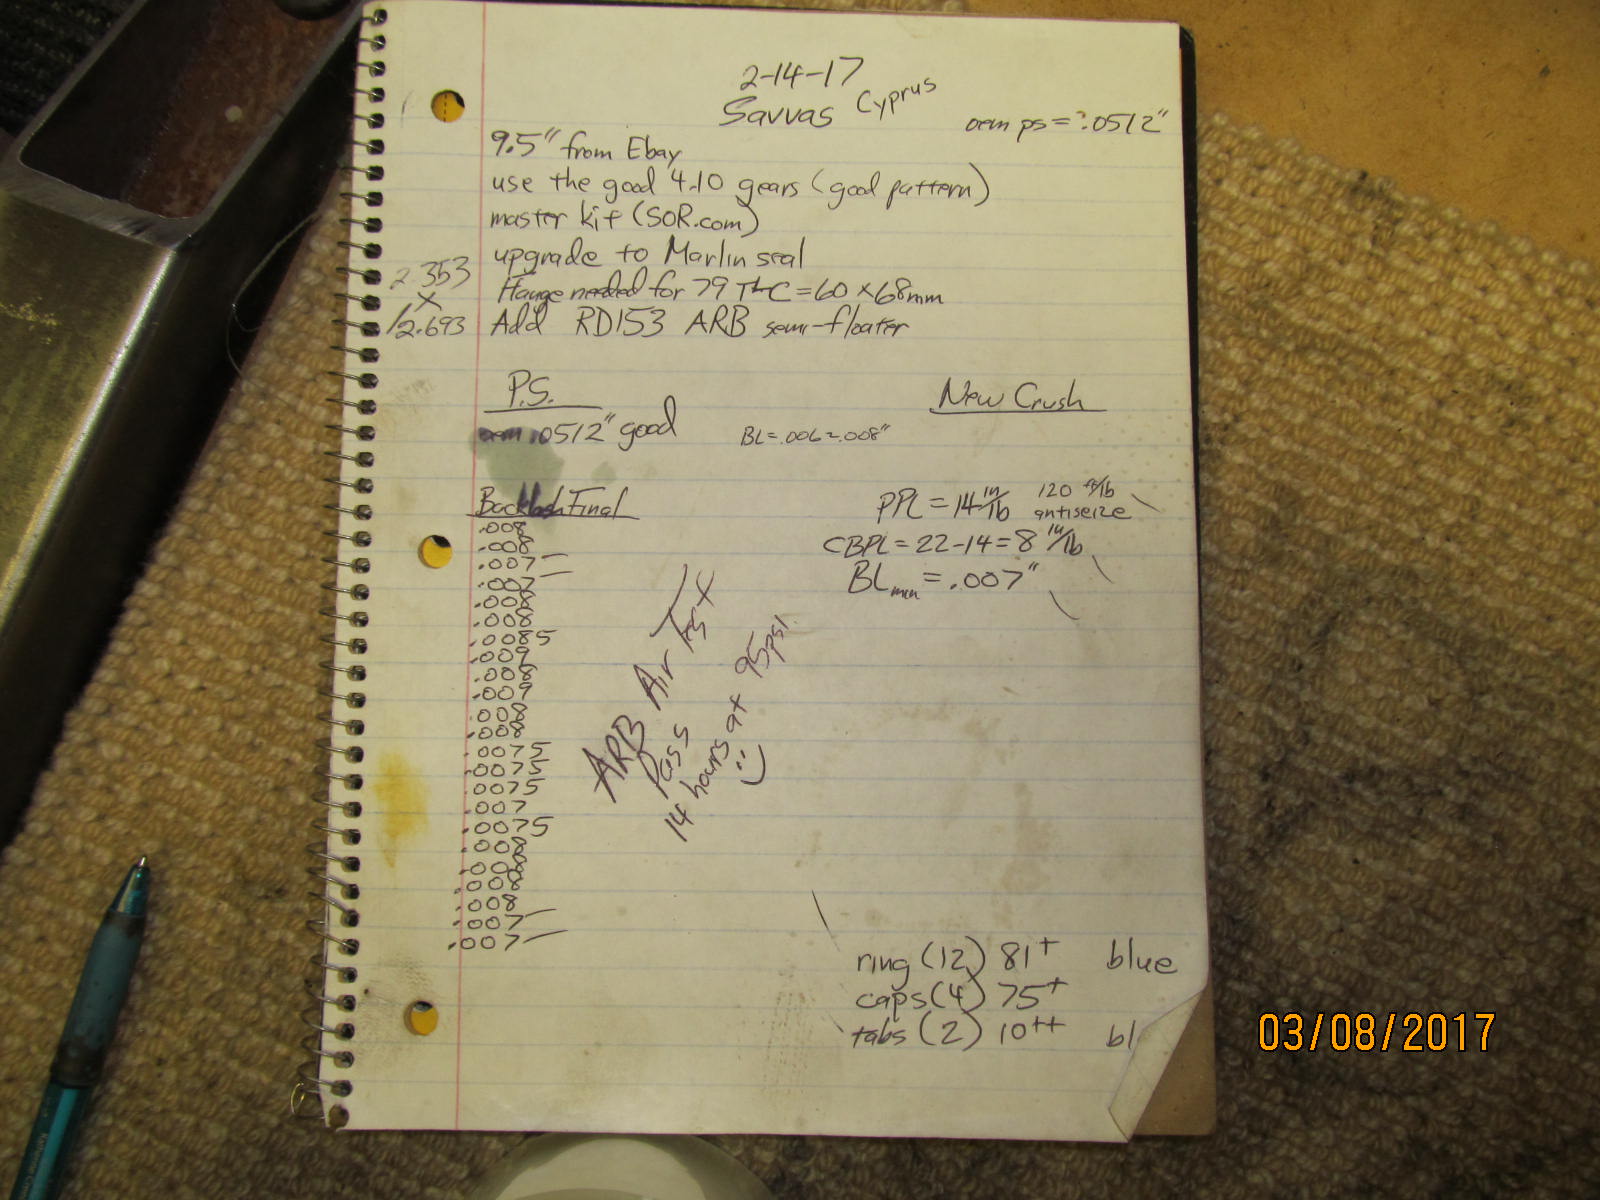
Backlash check shows it to be very much typical....around .007 or .008"
|
|
|
|
|
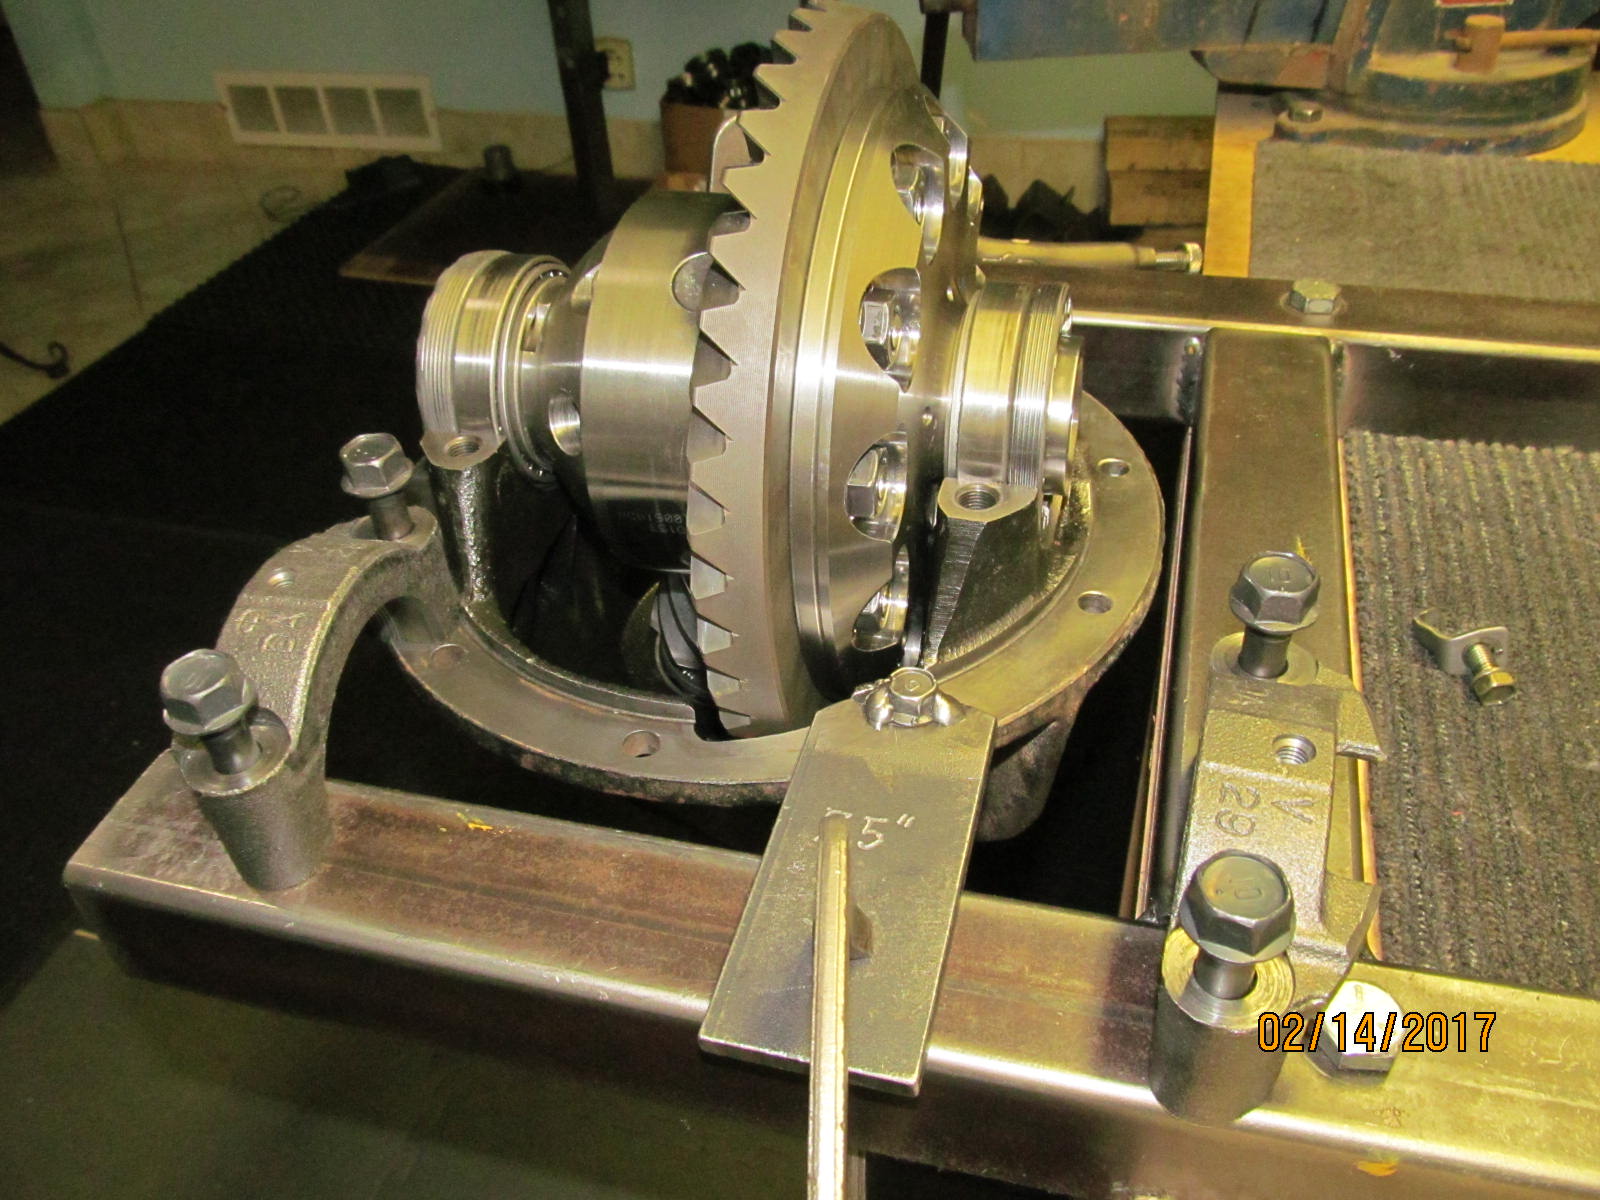
One bearing cap is prick-punched and disassembly begins.
|
|
|
|
|
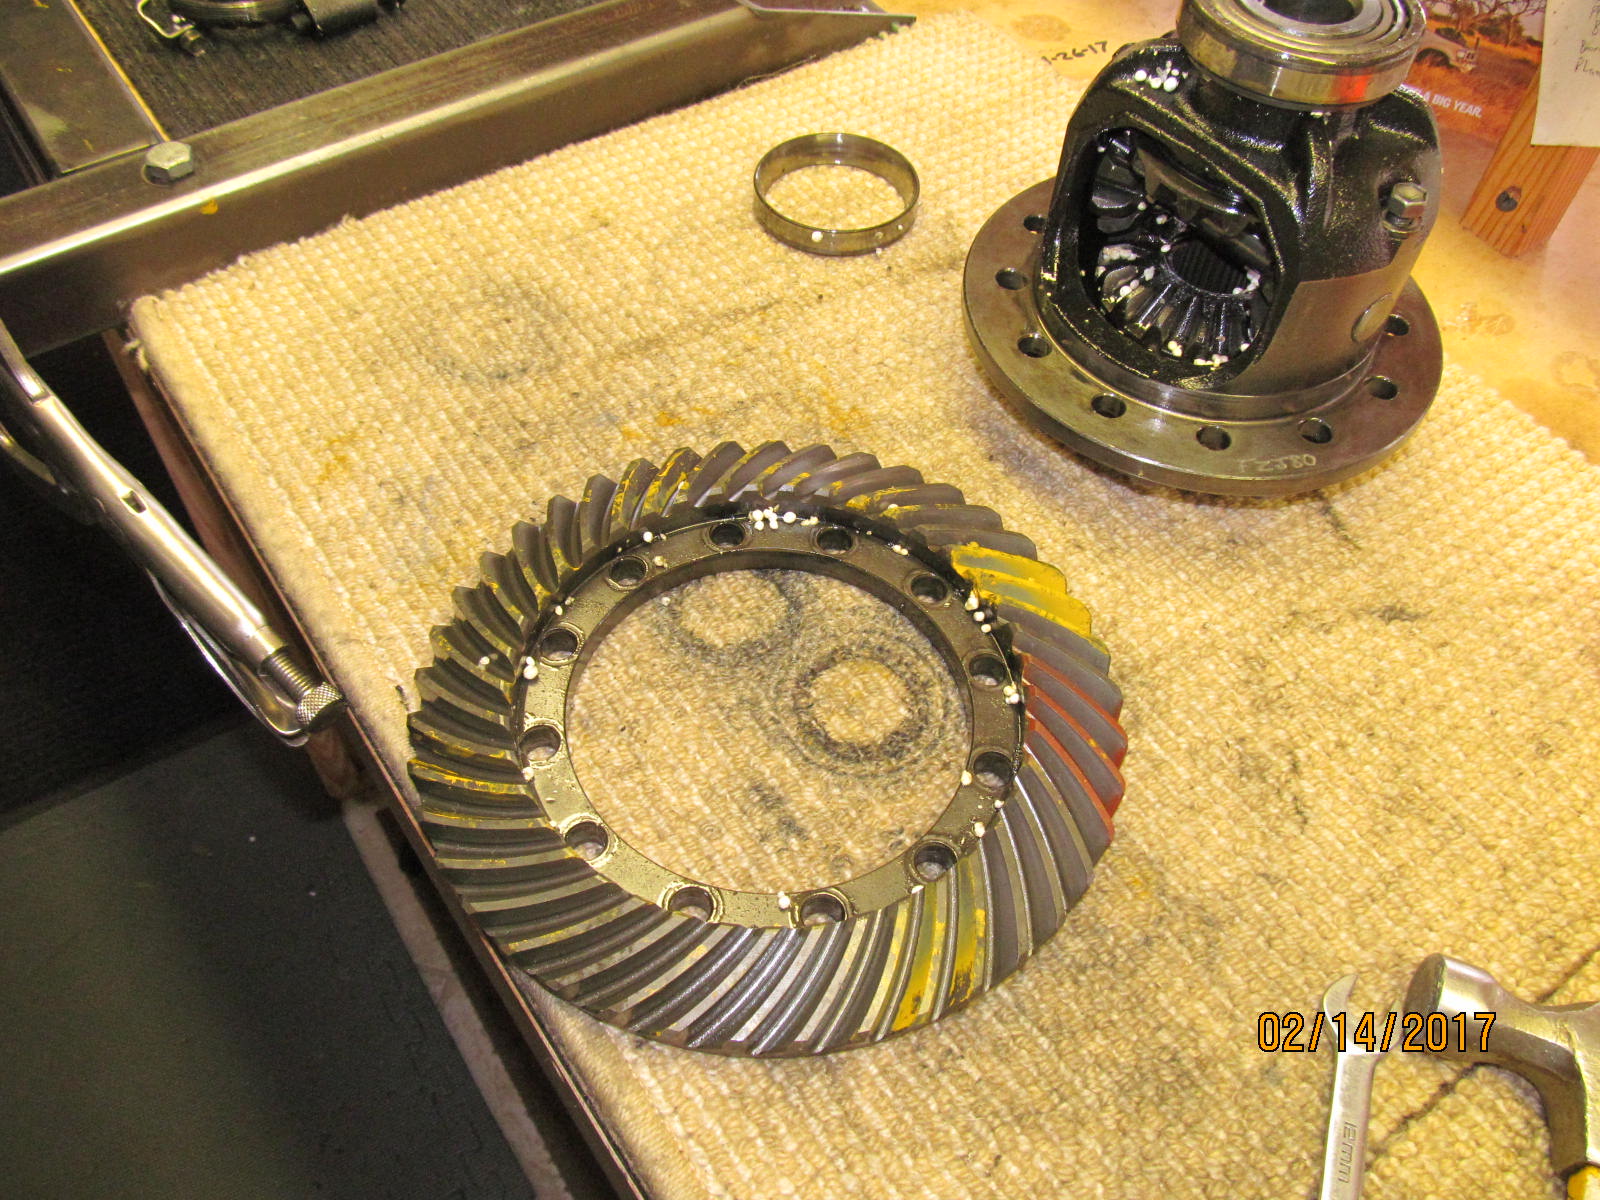
Ring gear is to be reused.
|
|
|
|
|
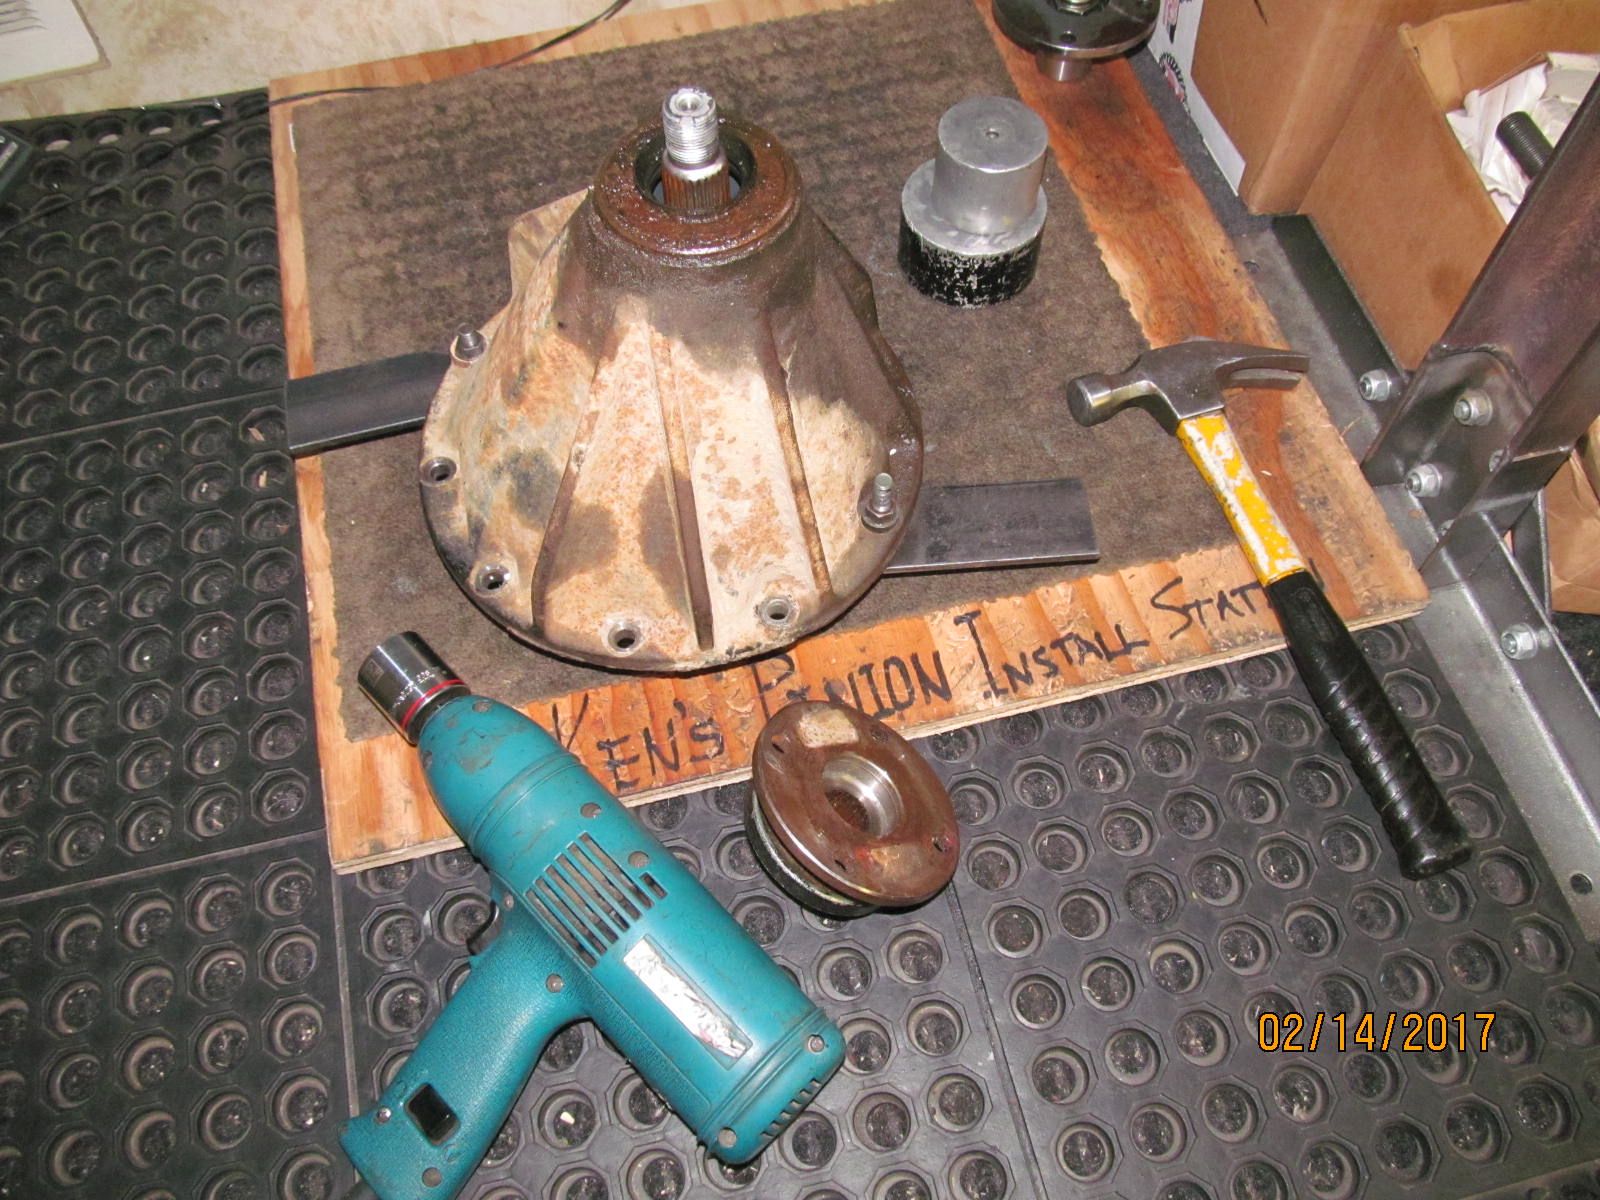
Now to remove the pinion end.....styrofoam will be washed away very soon.
|
|
|
|
|
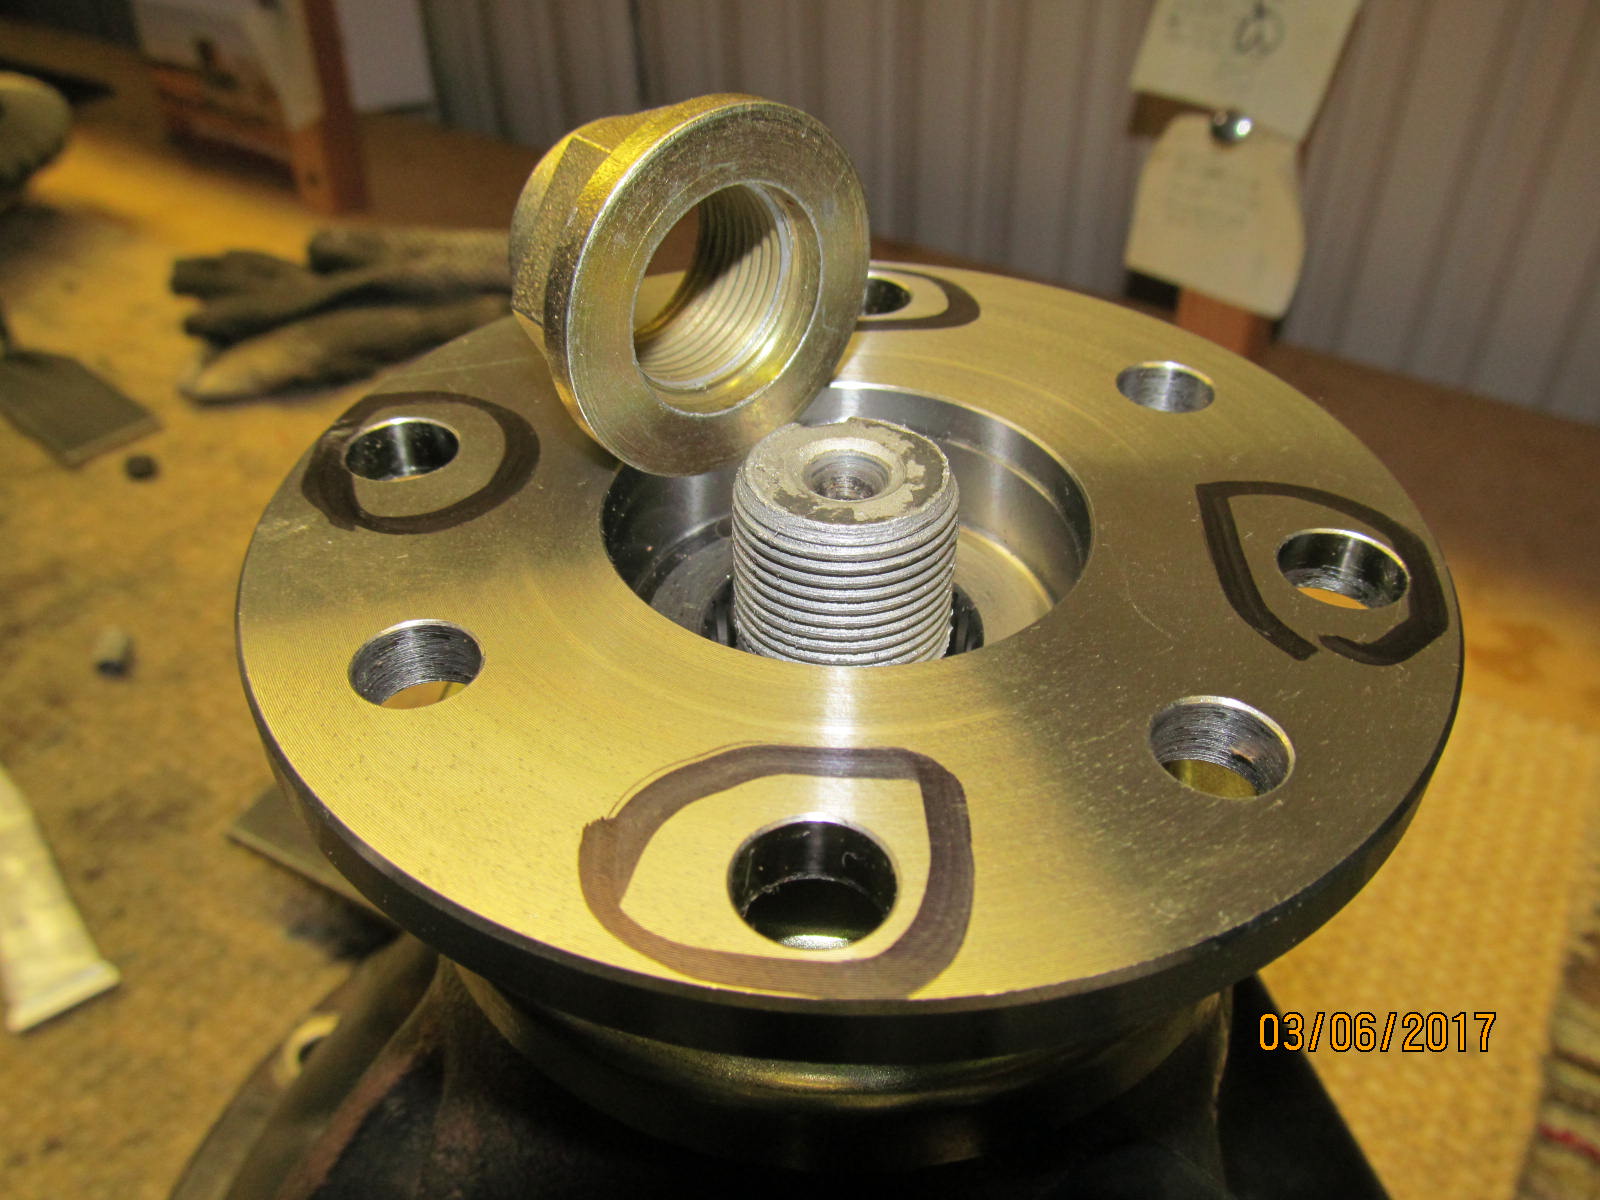
Remove the flange.
|
|
|
|
|
..................
|
|
|
|
|
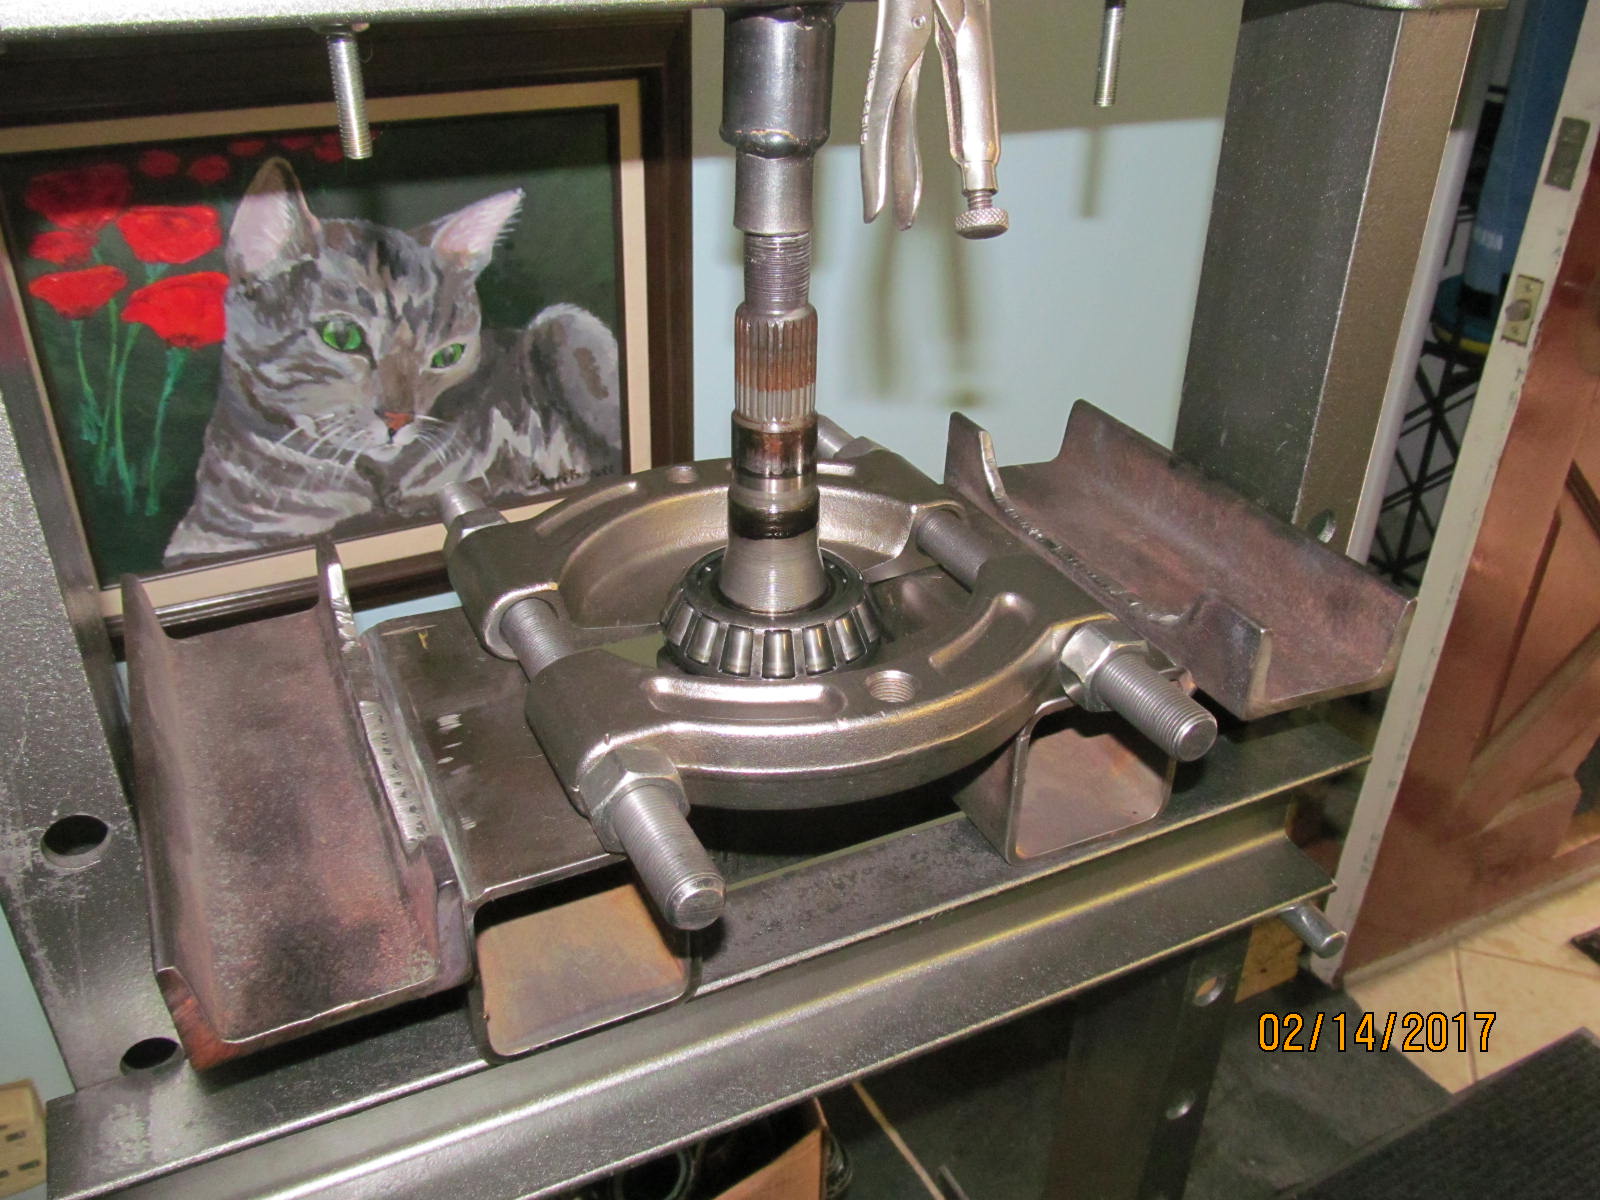
Pressing off the old pinion bearing.
|
|
|

|
|
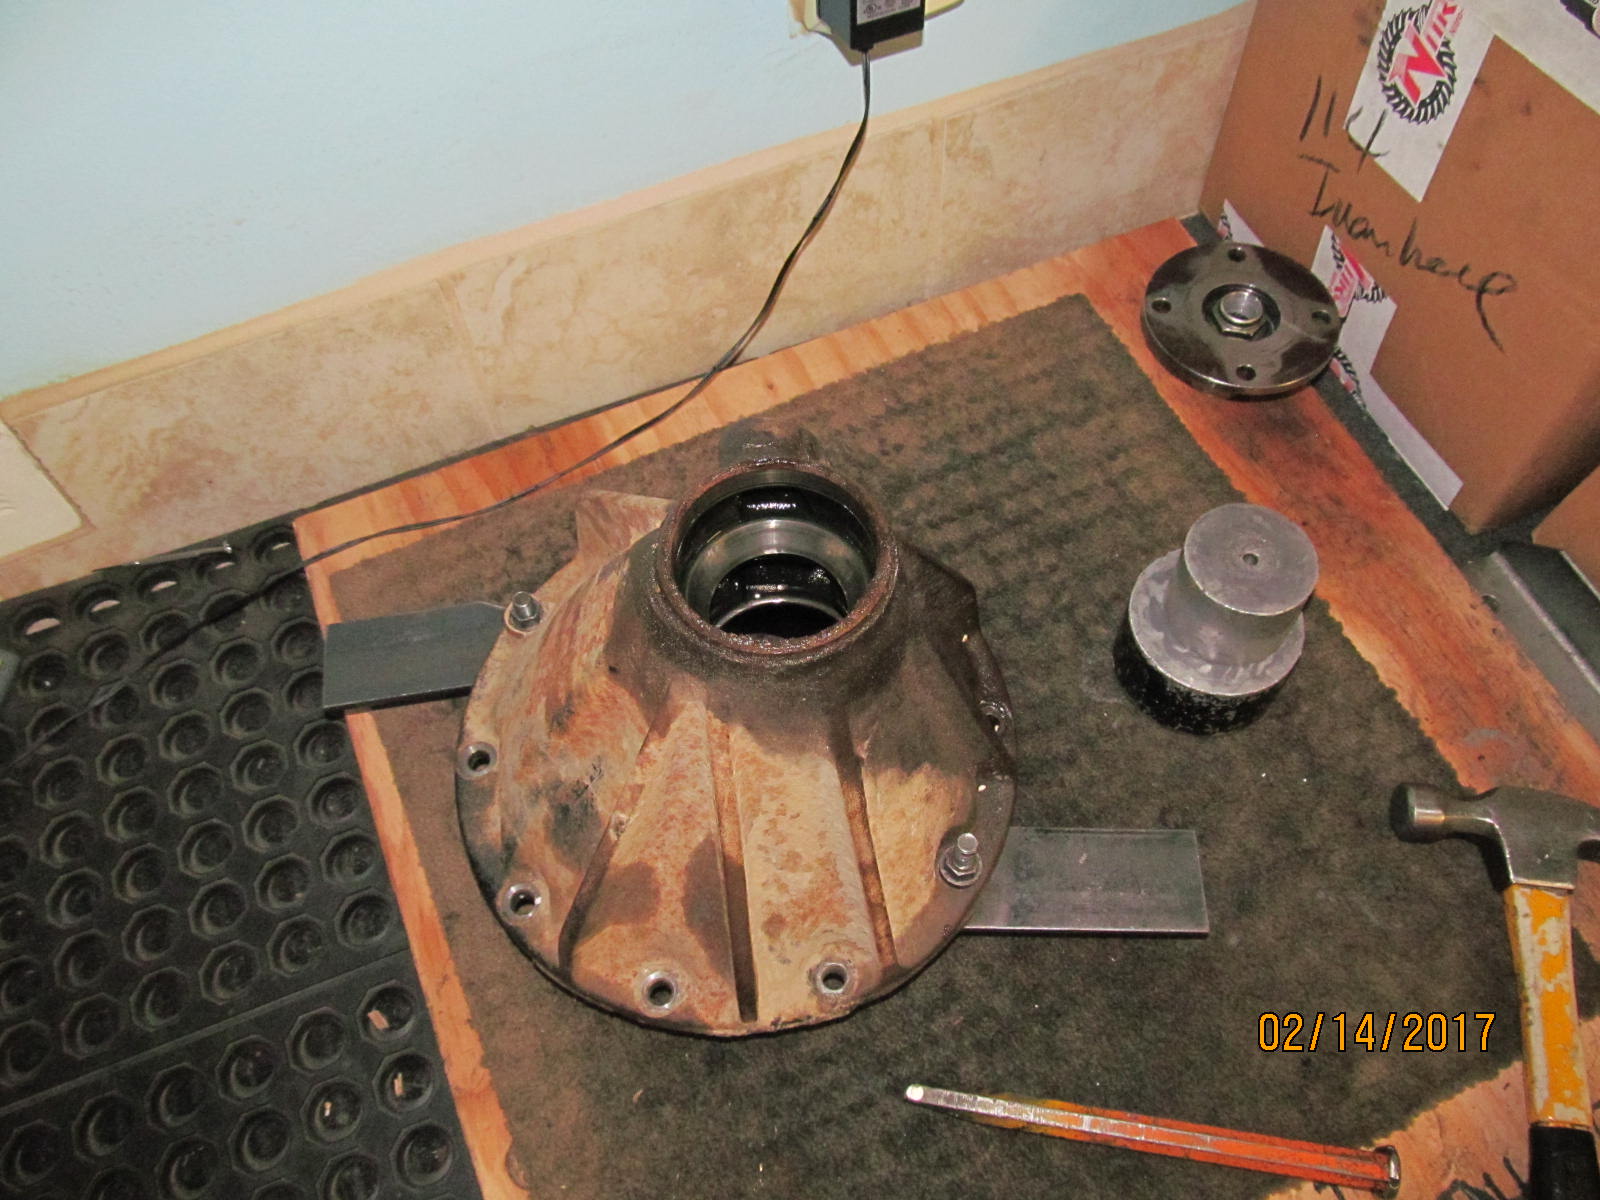
Parts are all cleaned off. All the styrofoam is gone.
|
|
|
|
|
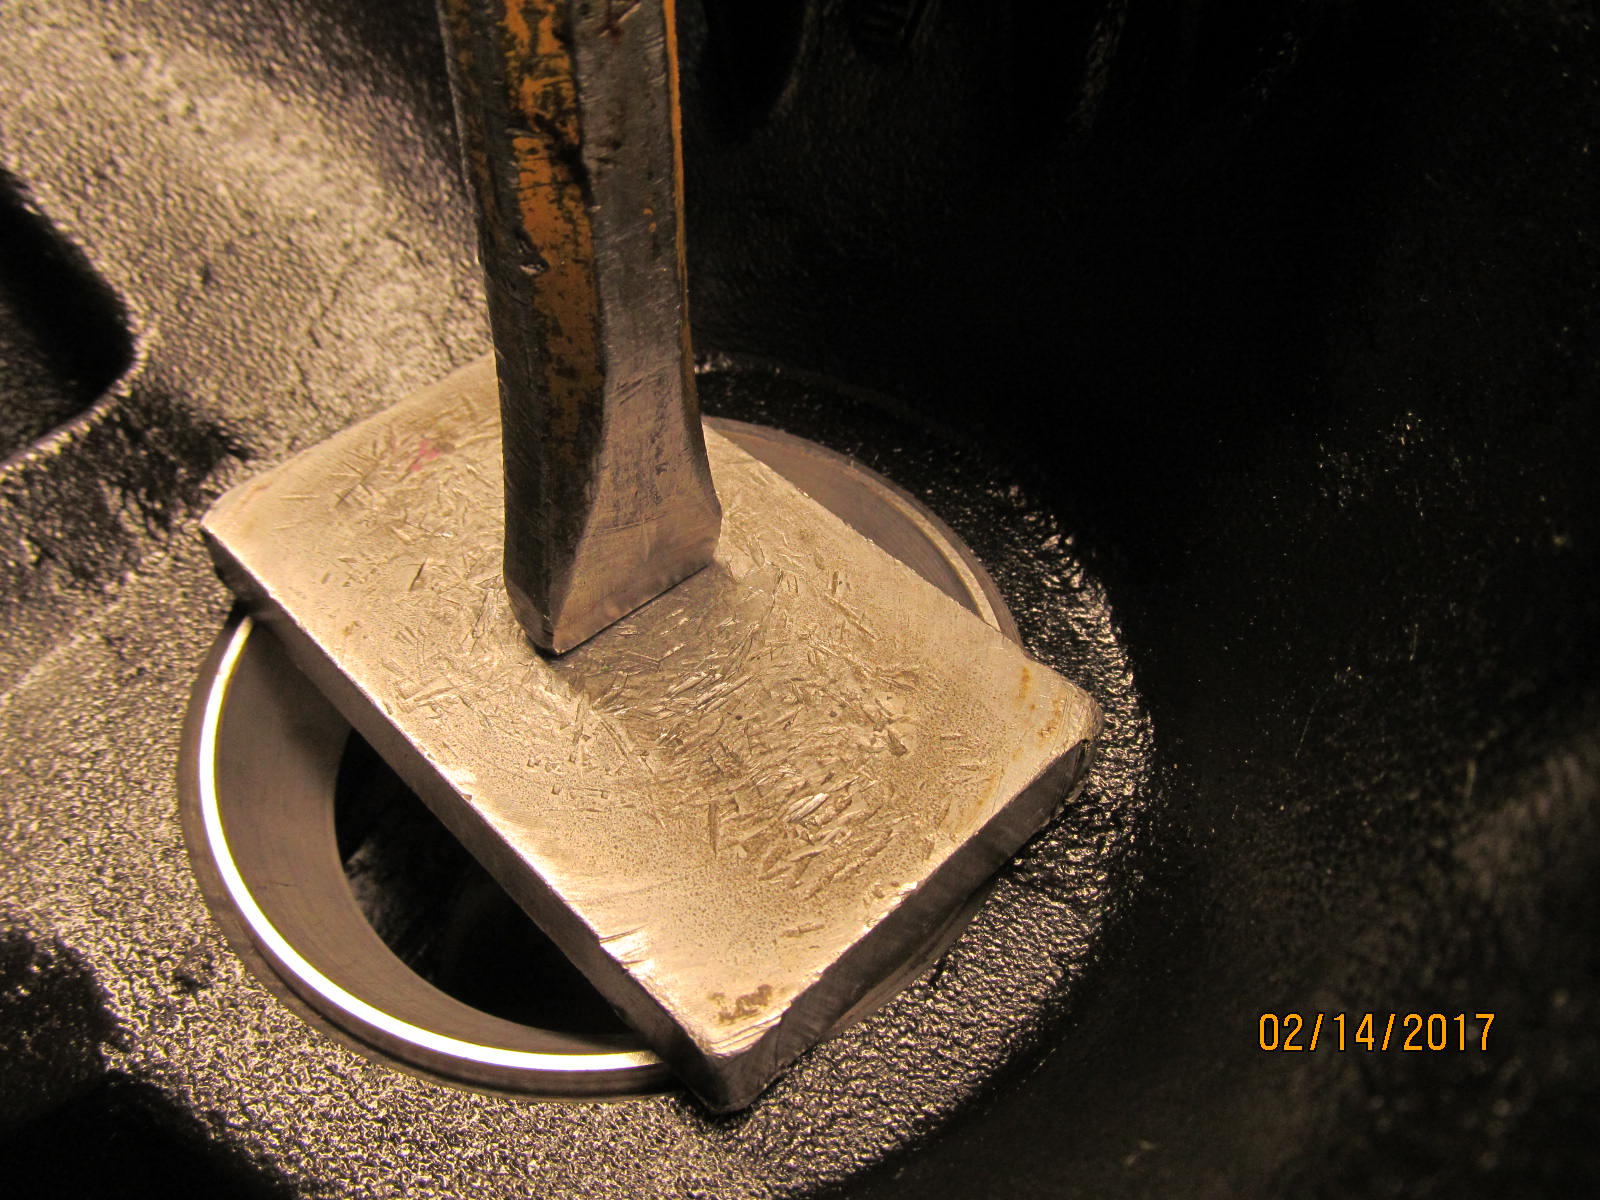
New pinion races are tapped in.
|
|
|
|
|
Using an old race to make sure the new race is fully tapped 100% down.
|
|
|
|
|
.....................
|
|
|
|
|
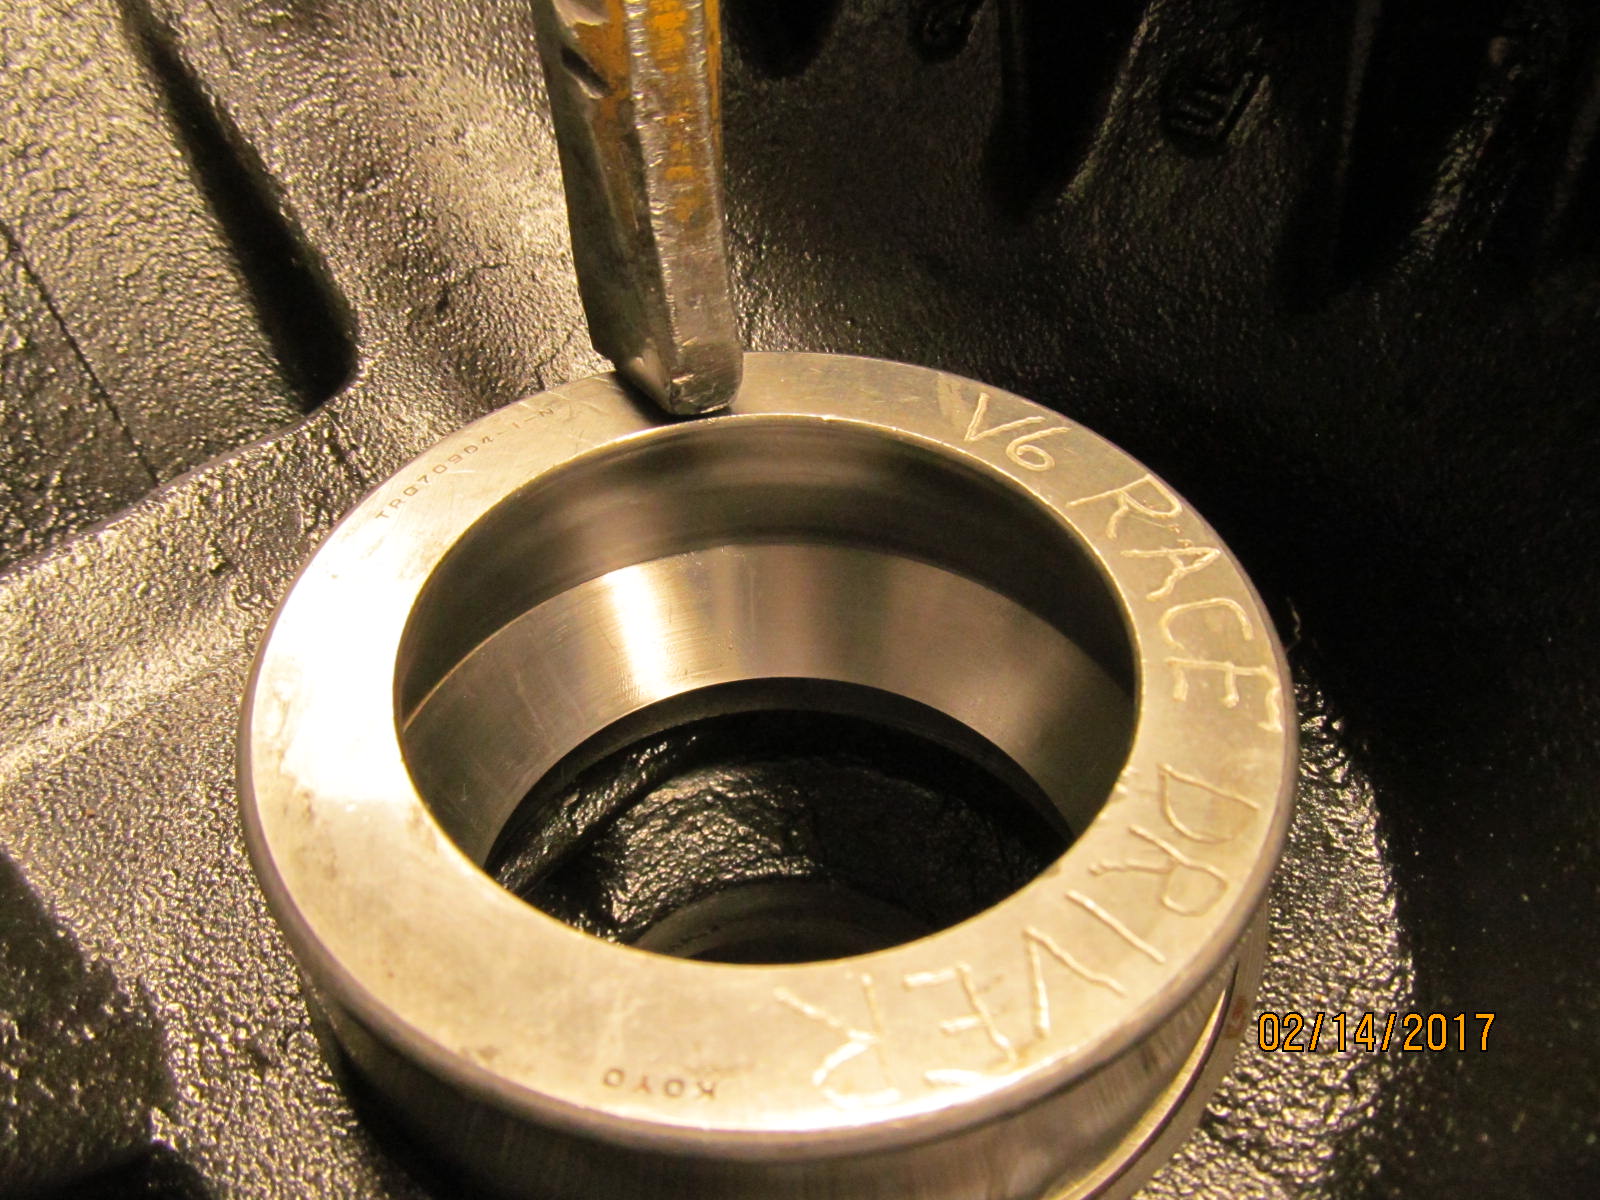
The outer race is much easier to tap in straight compared to the inner one.
|
|
|
|
|
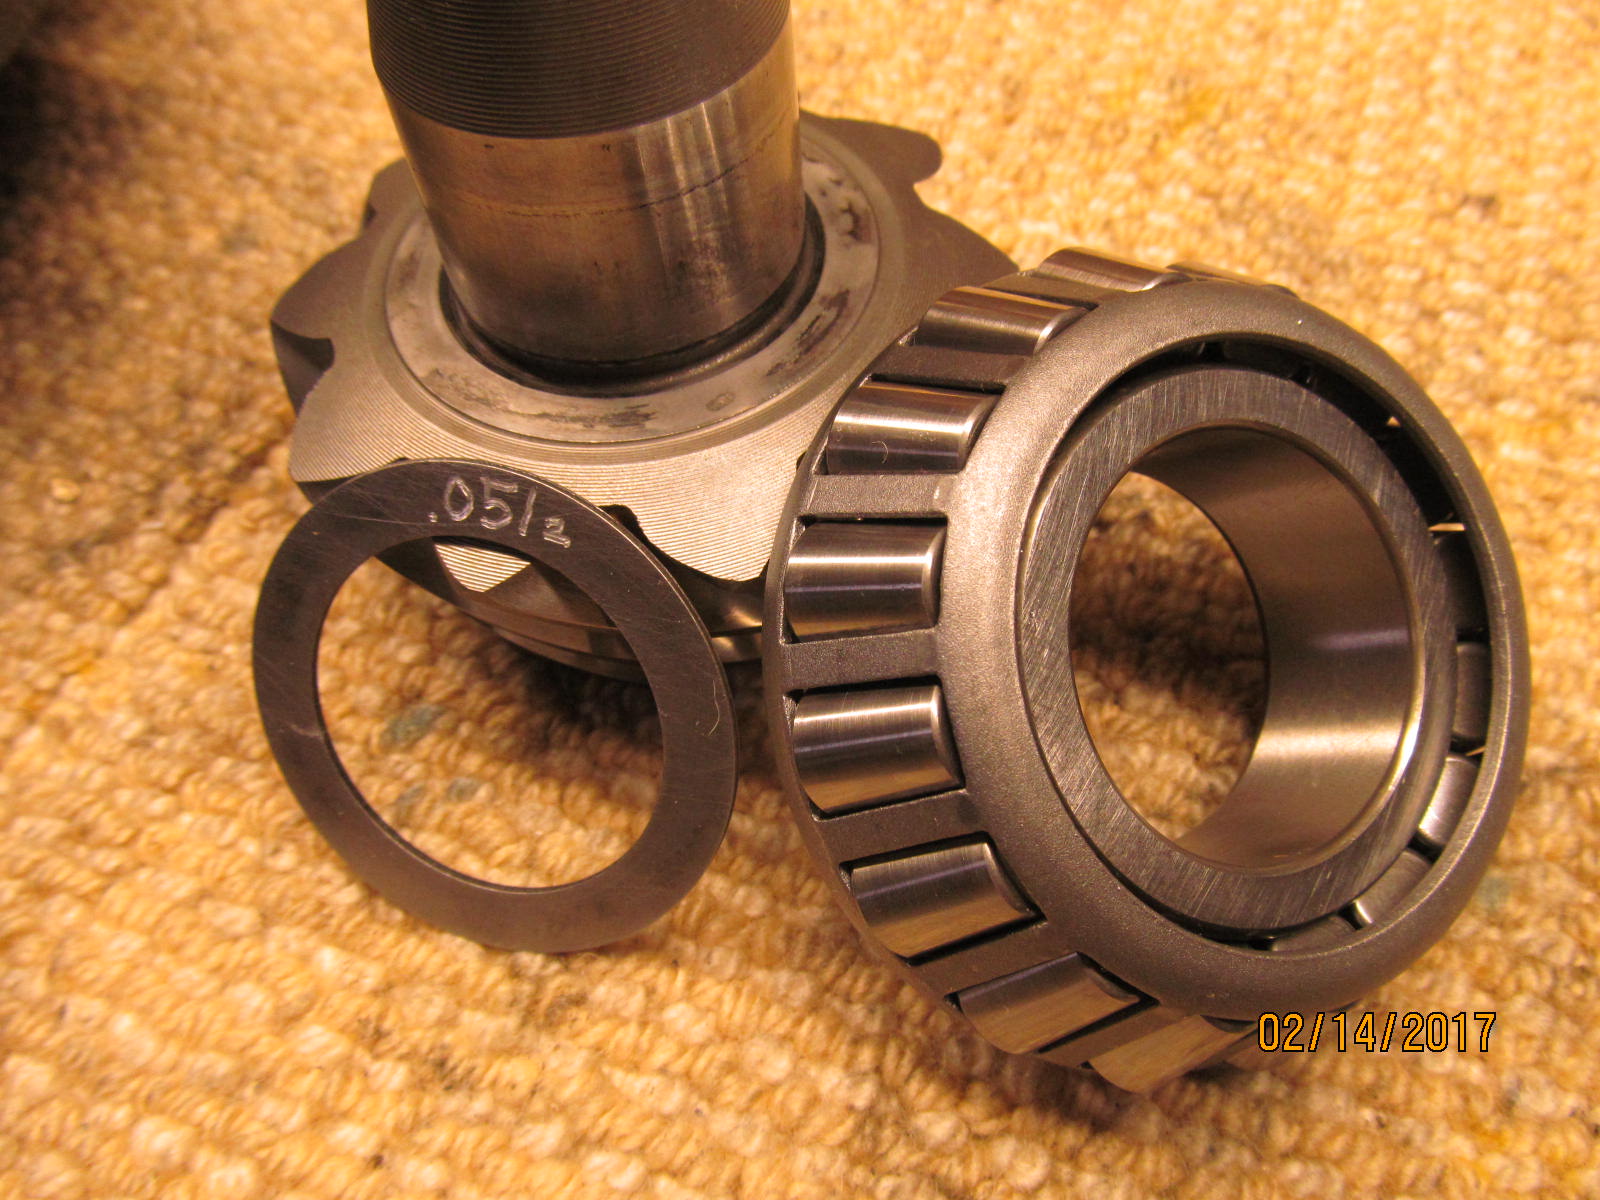
Re-using the original .0512" pinion depth shim with a new Koyo bearing.
|
|
|

|
|
Making good use of some of my old bearings :)
|
|
|

|
|
Now to mount the pinion assembly in the diff carrier.
|
|
|

|
|
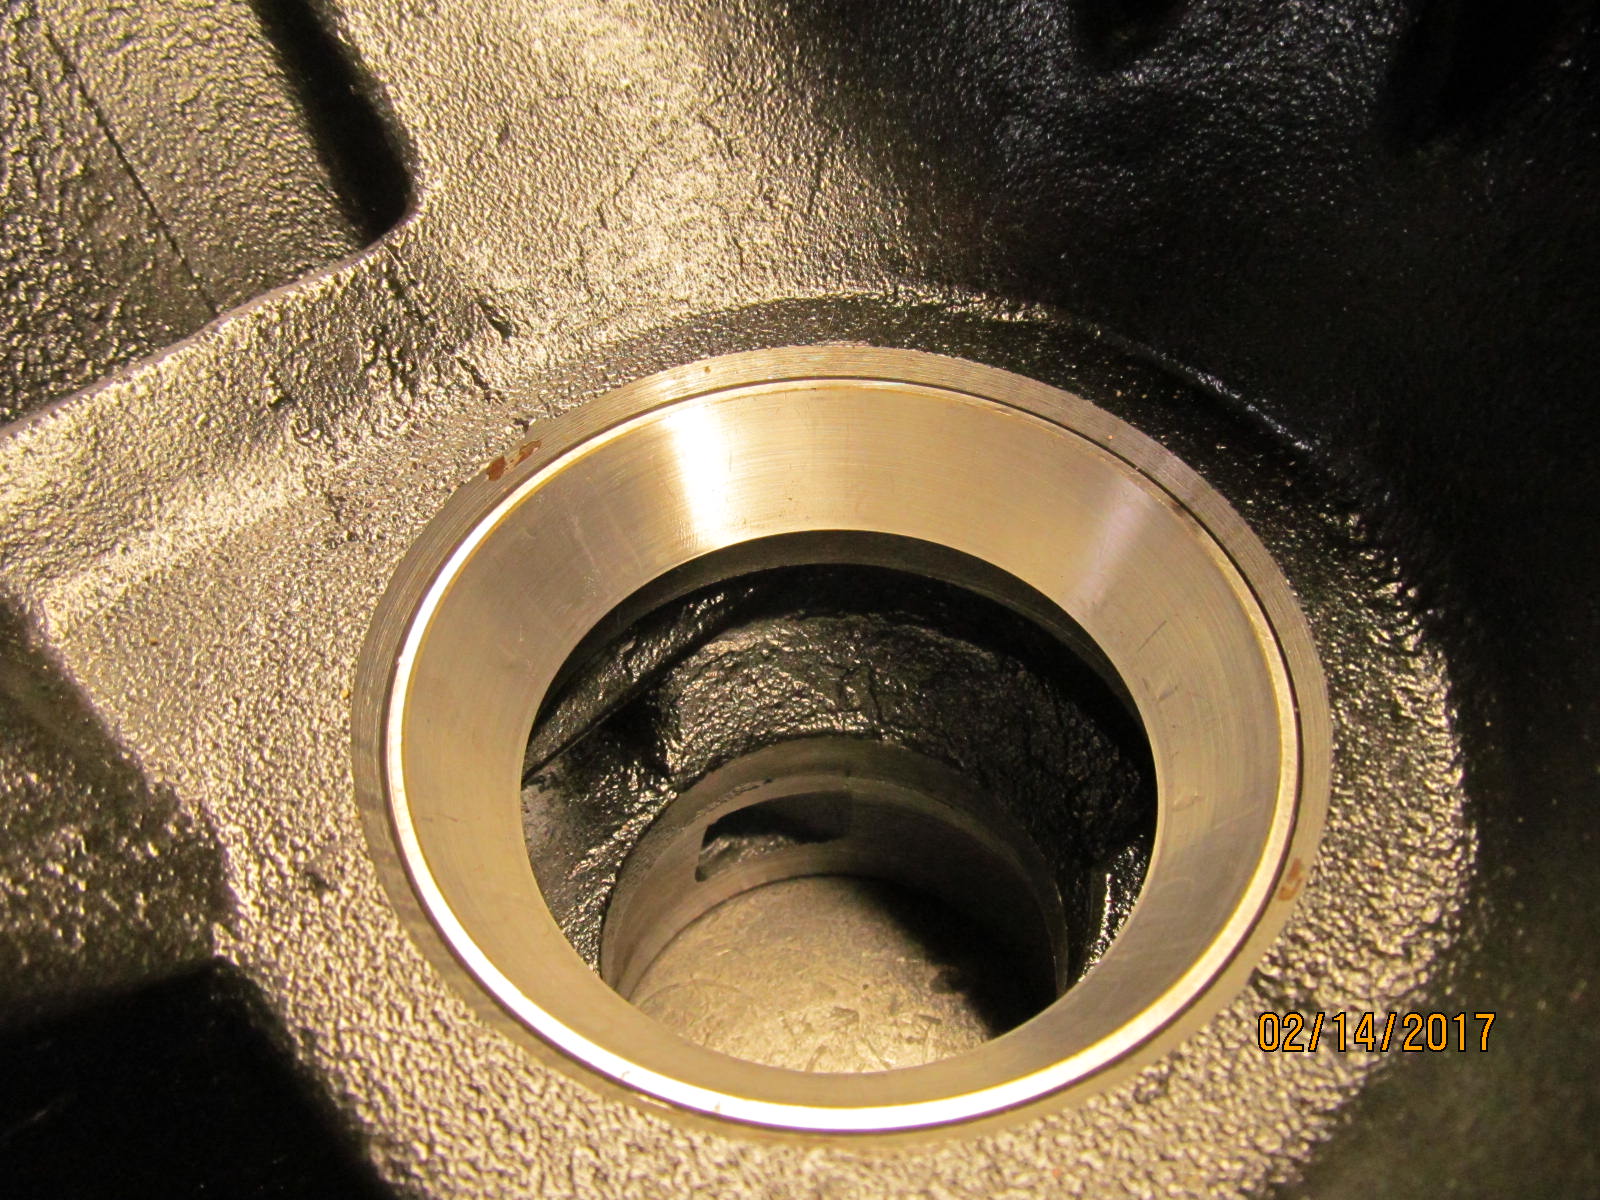
Pinion end is ready.....
|
|
|
|
|
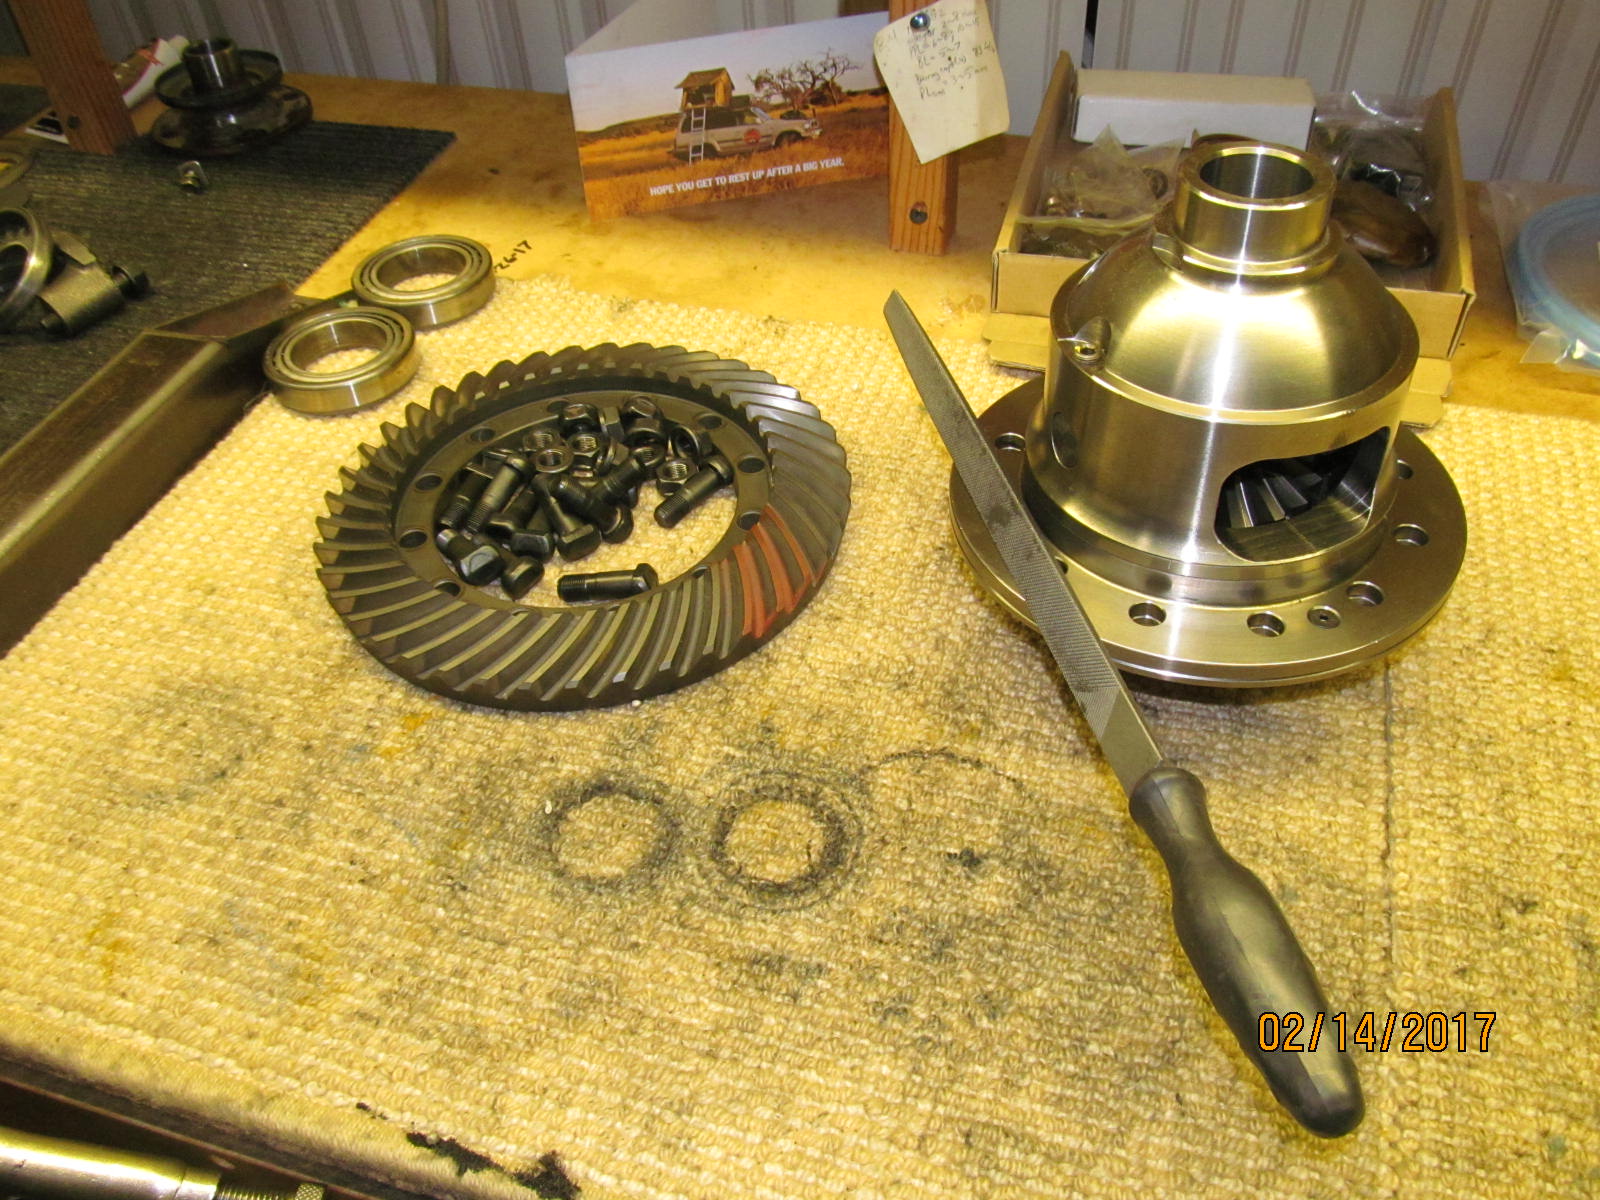
....now to prep the other end...the ARB case. Case and ring gear are checked with a file and nothing unusual found with the surfaces.
|
|
|
|
|
Careful eyeball alignment of the ring gear holes to the ARB holes is crucial if the 12 bolts are expected to drop in place.
|
|
|
|
|
They did drop in nice...but I have missed a few times and had to reposition the ring more than once in the past.
|
|
|
|
|
.........................
|
|
|
|
|
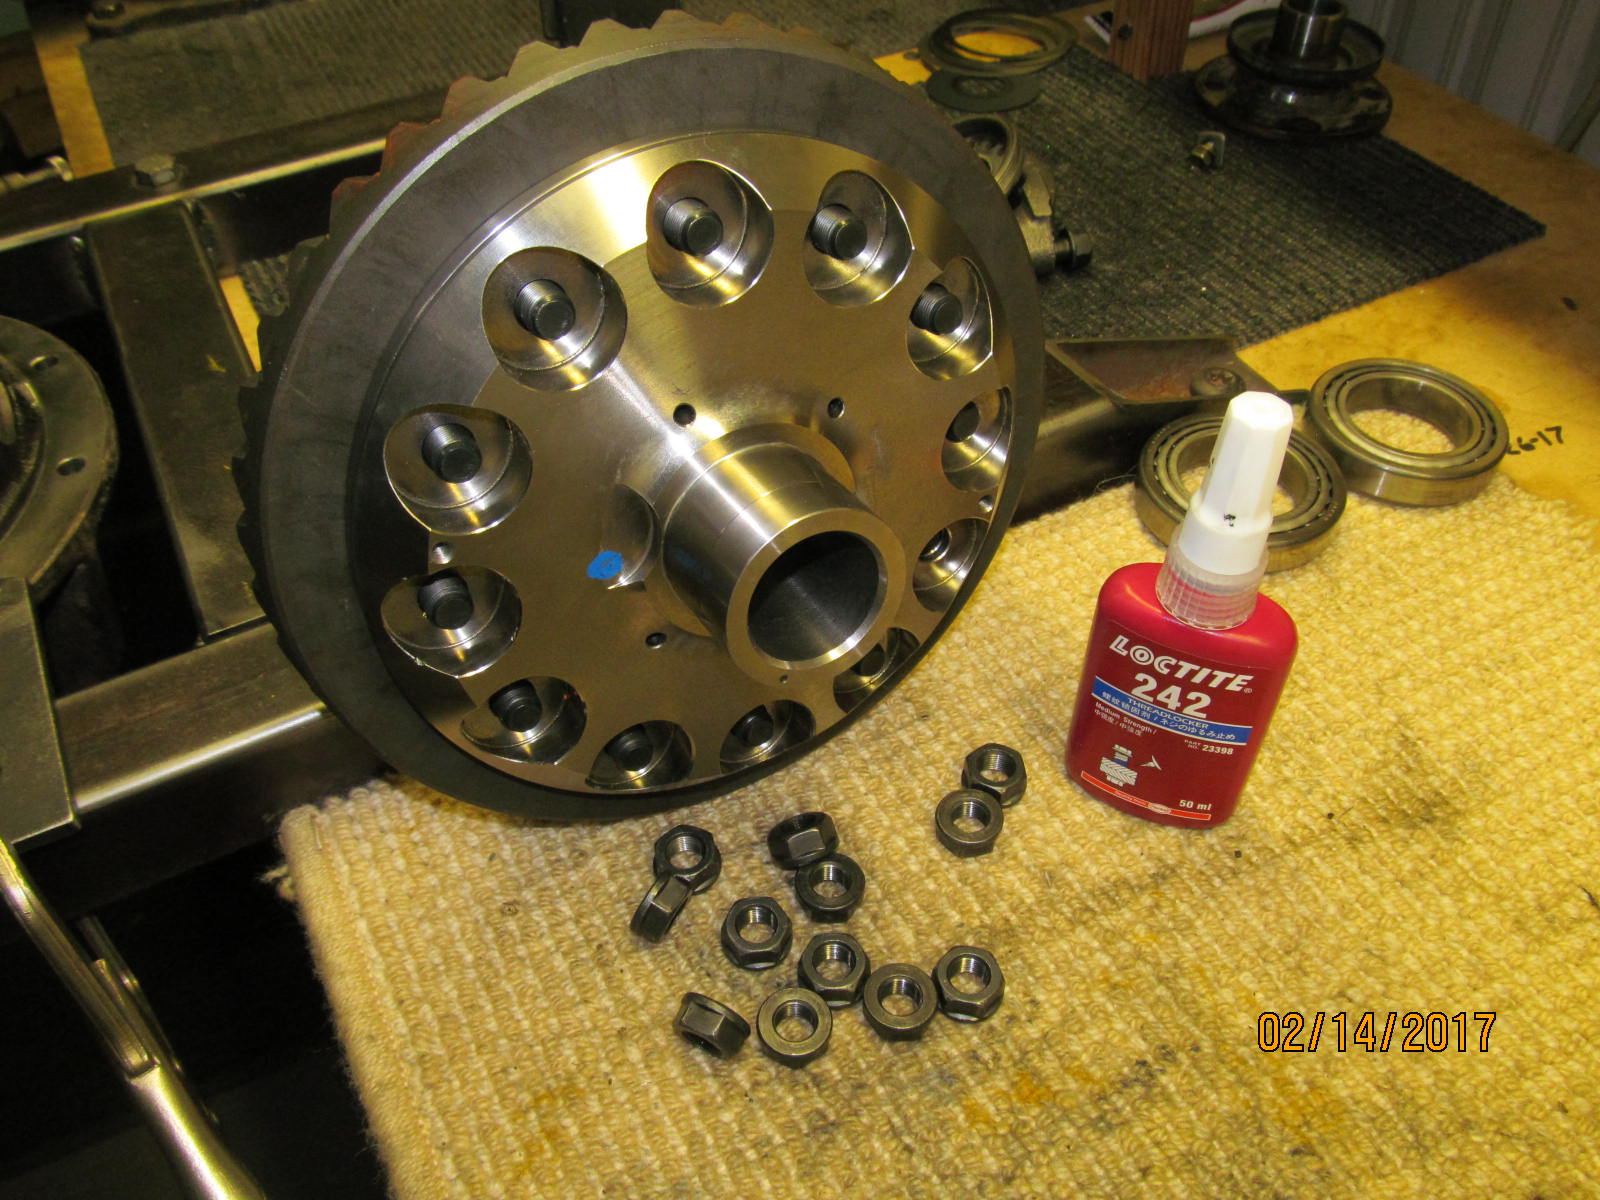
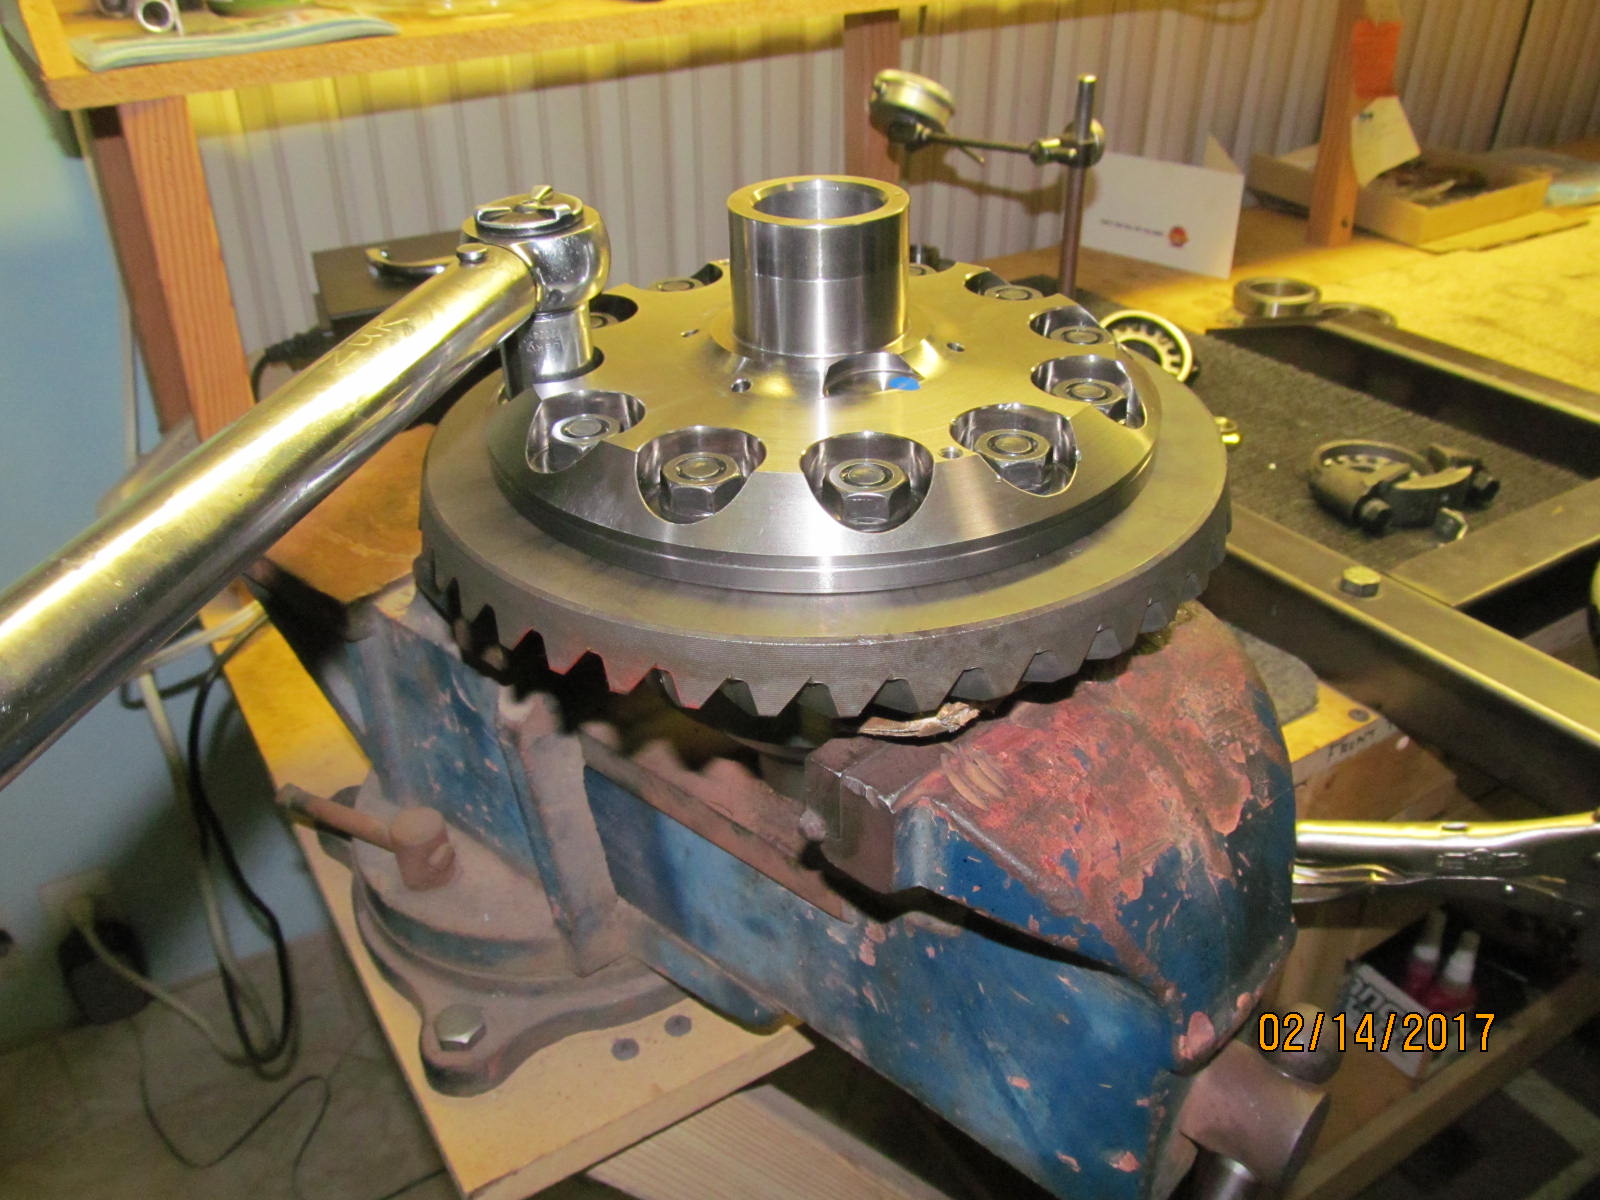
Blue loctite is applied to the threads of the 12 bolts. Clean nuts are then threaded in place.
|
|
|
|
|
81 ft/lb
|
|
|
|
|
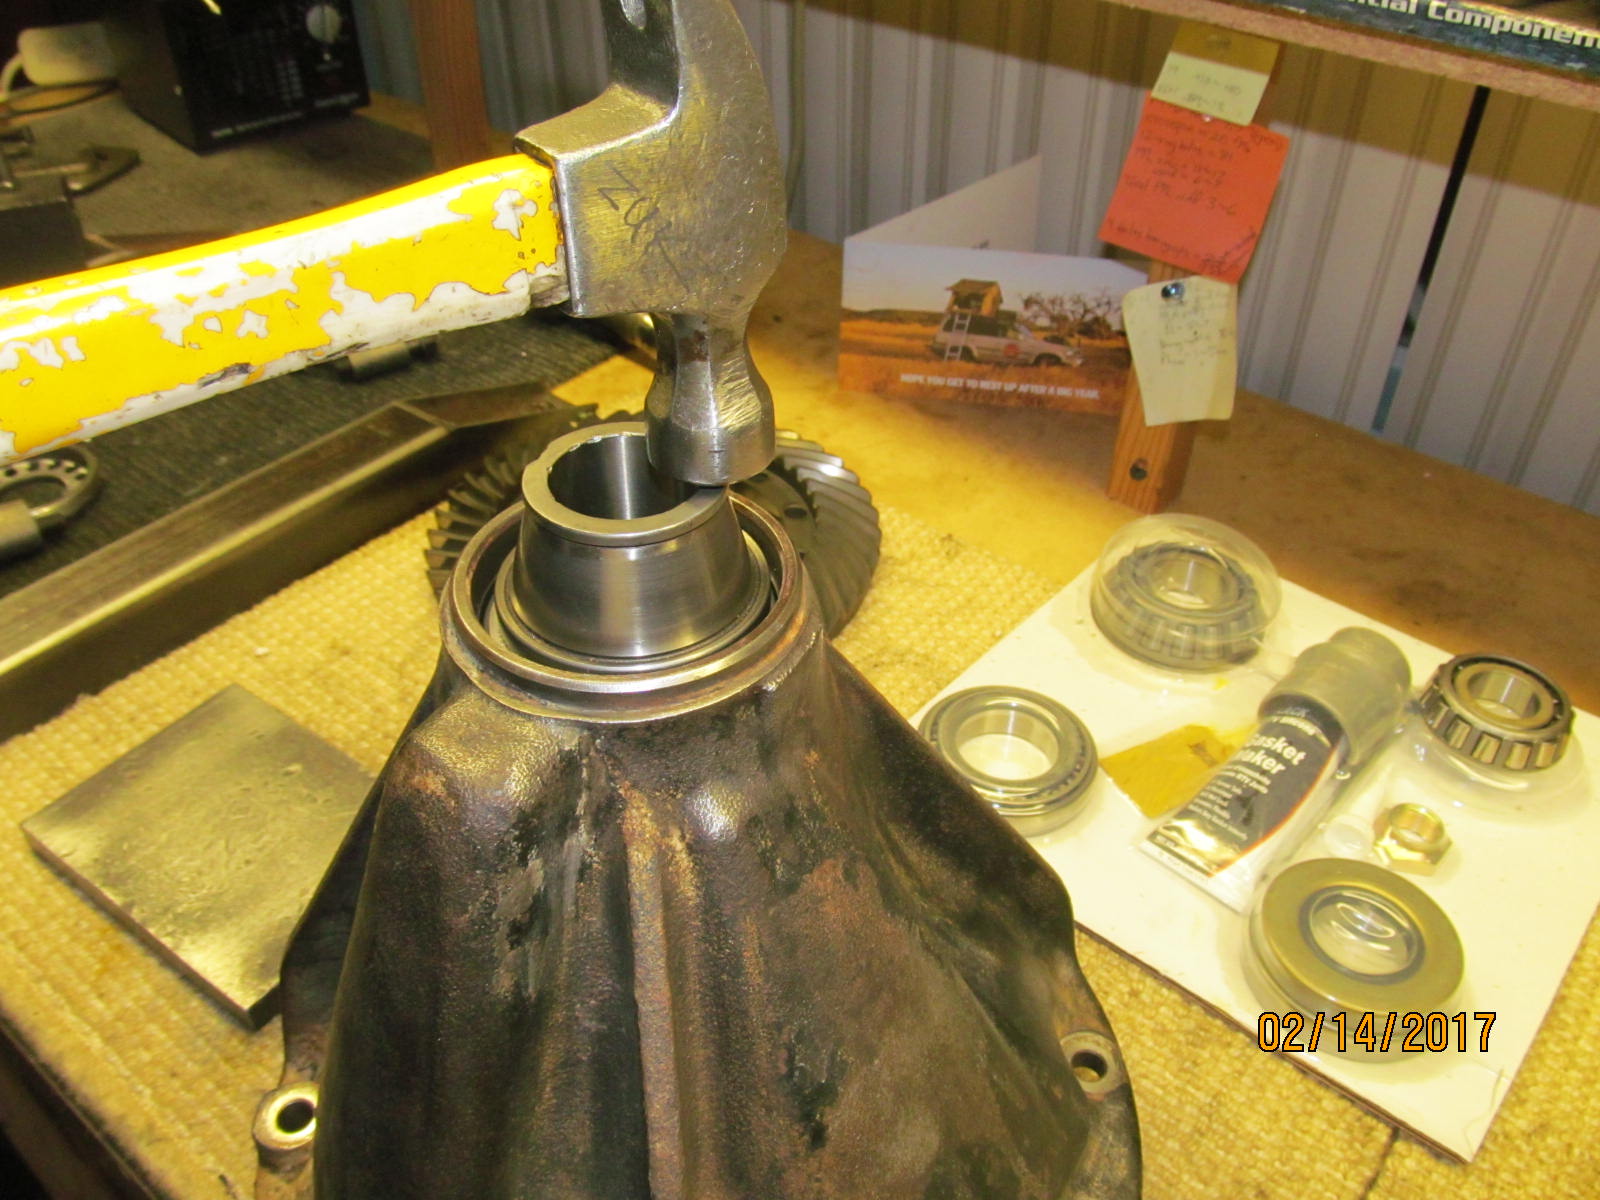
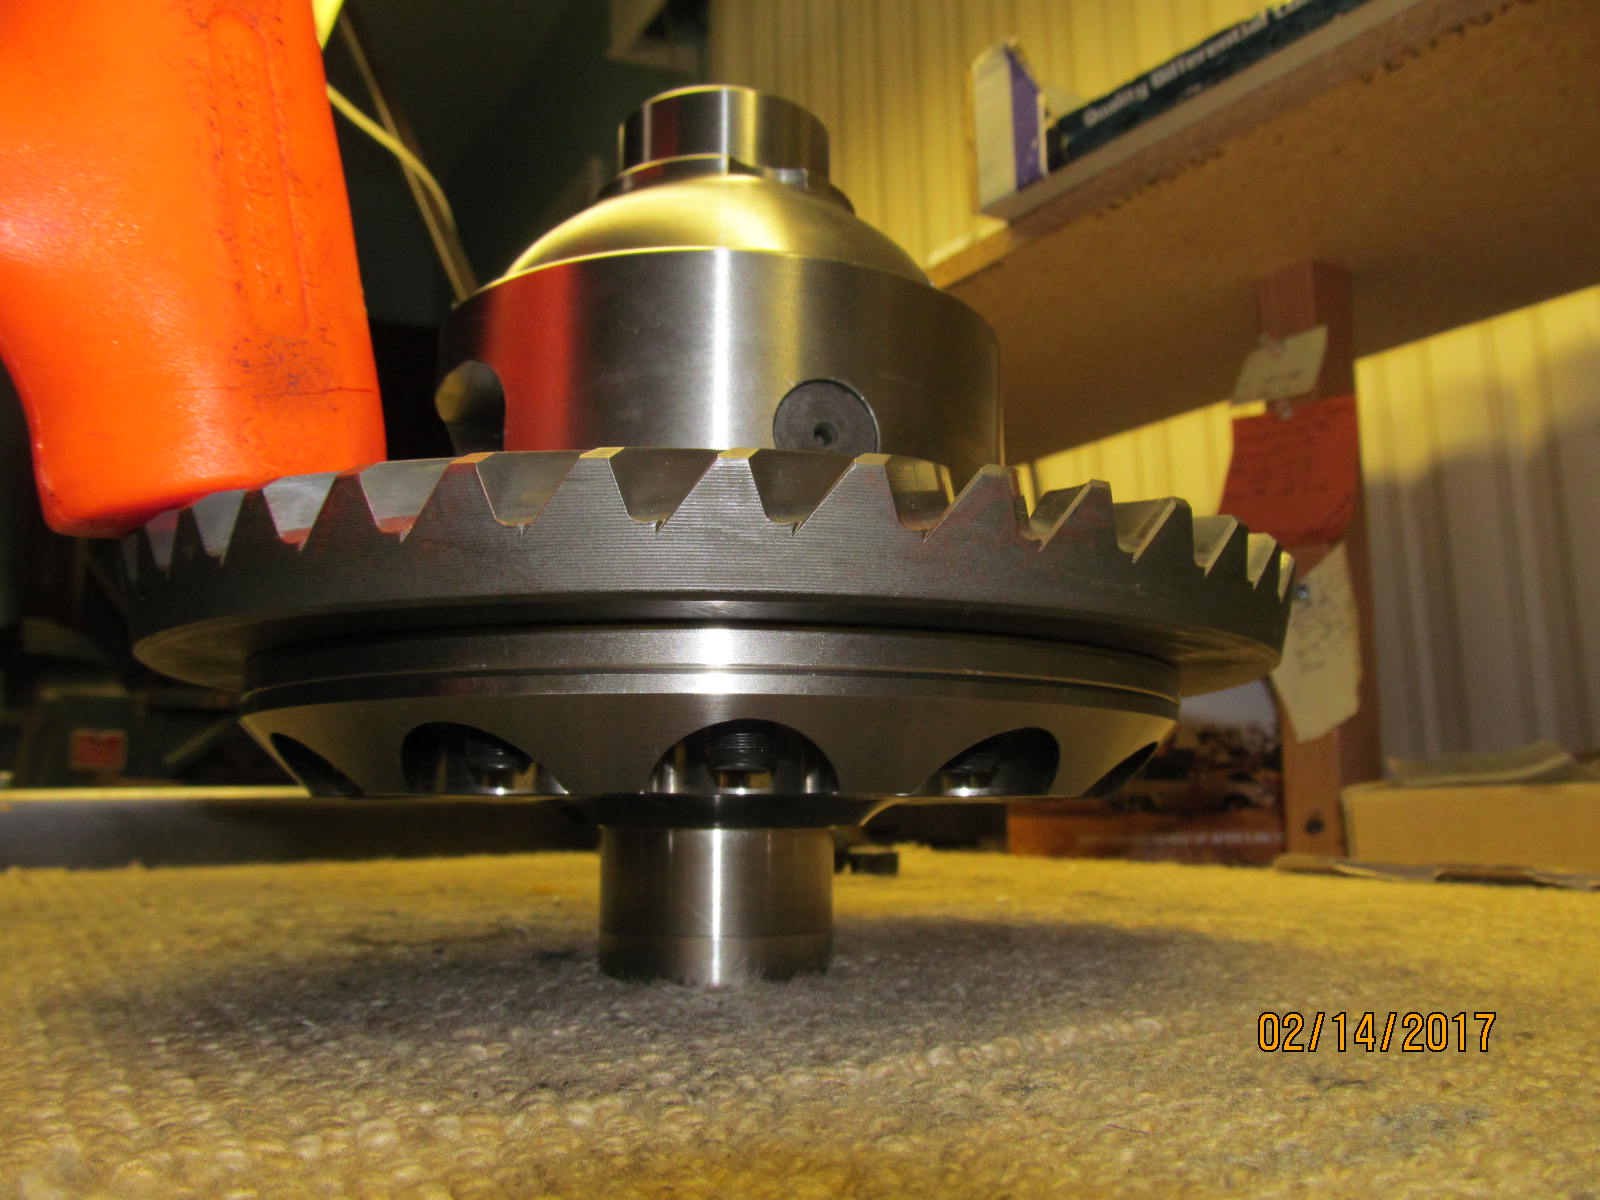
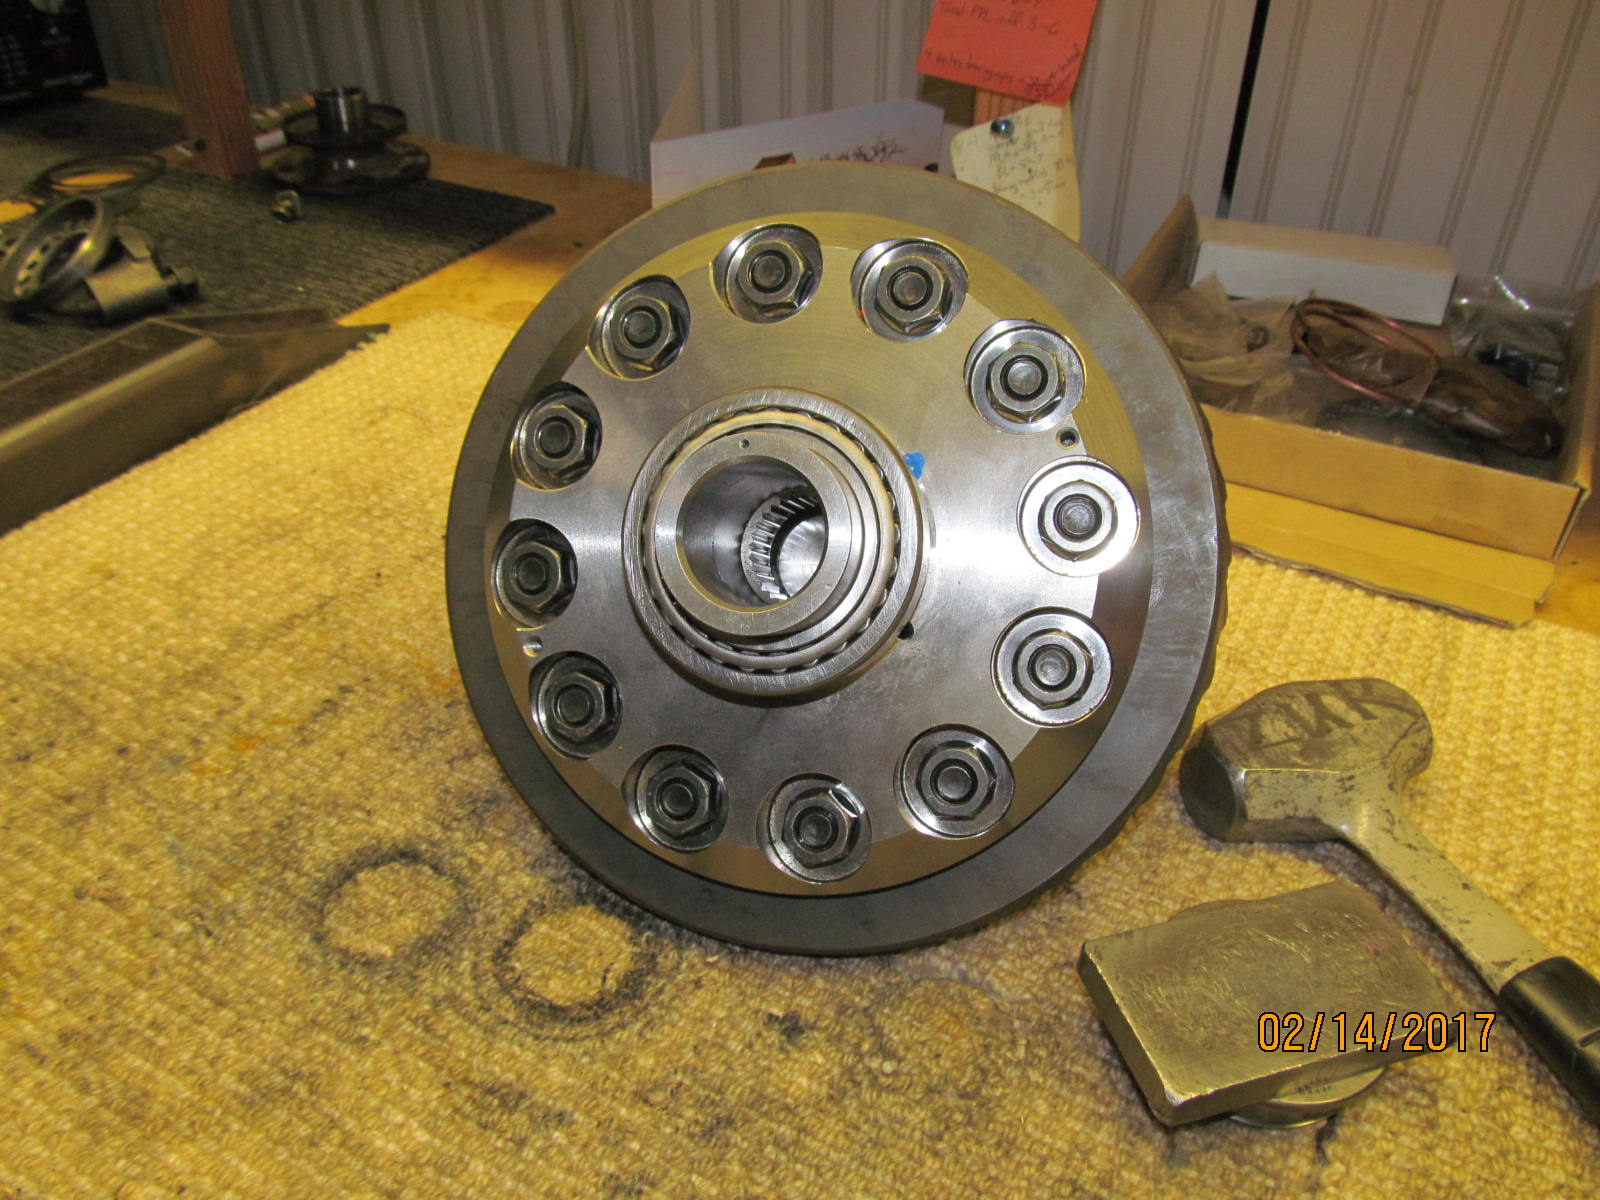
New Koyo bearings are tapped on and the diff carrier is now ready.
|
|
|
|
|
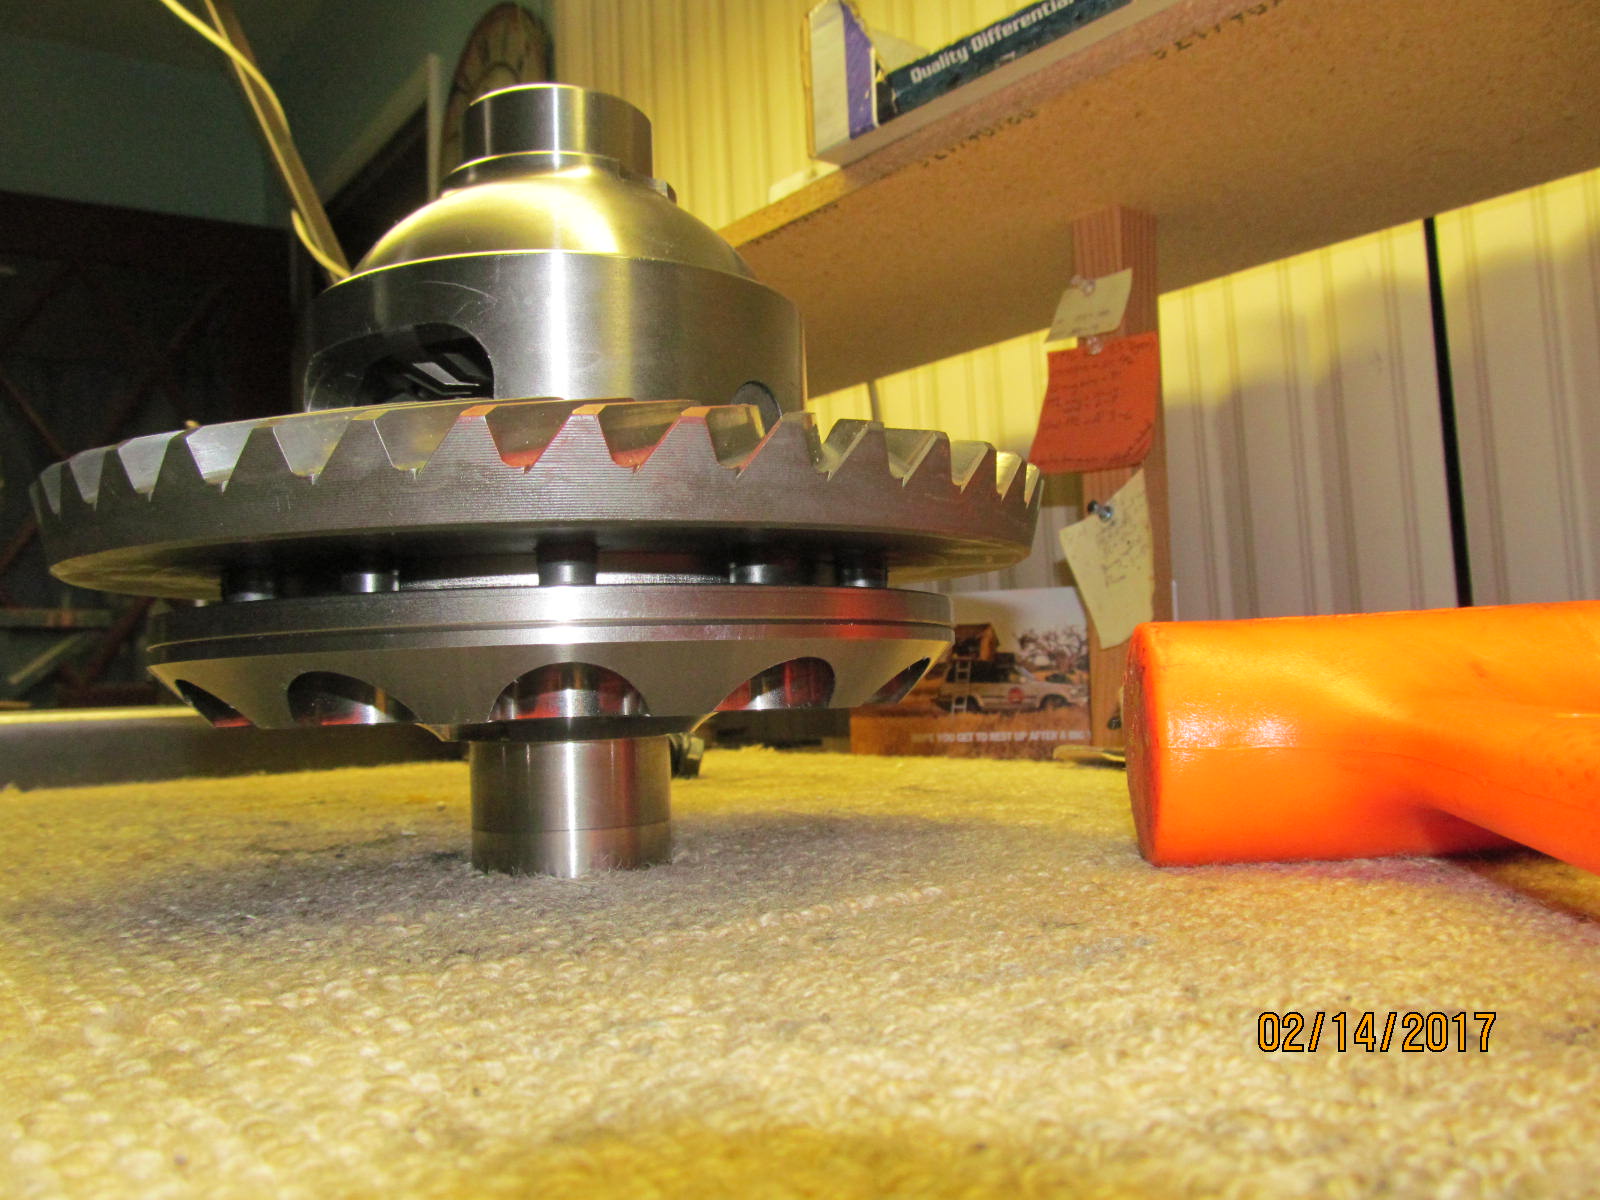
Loaded in place. Wheels are loosely threaded in place also.
|
|
|
|
|
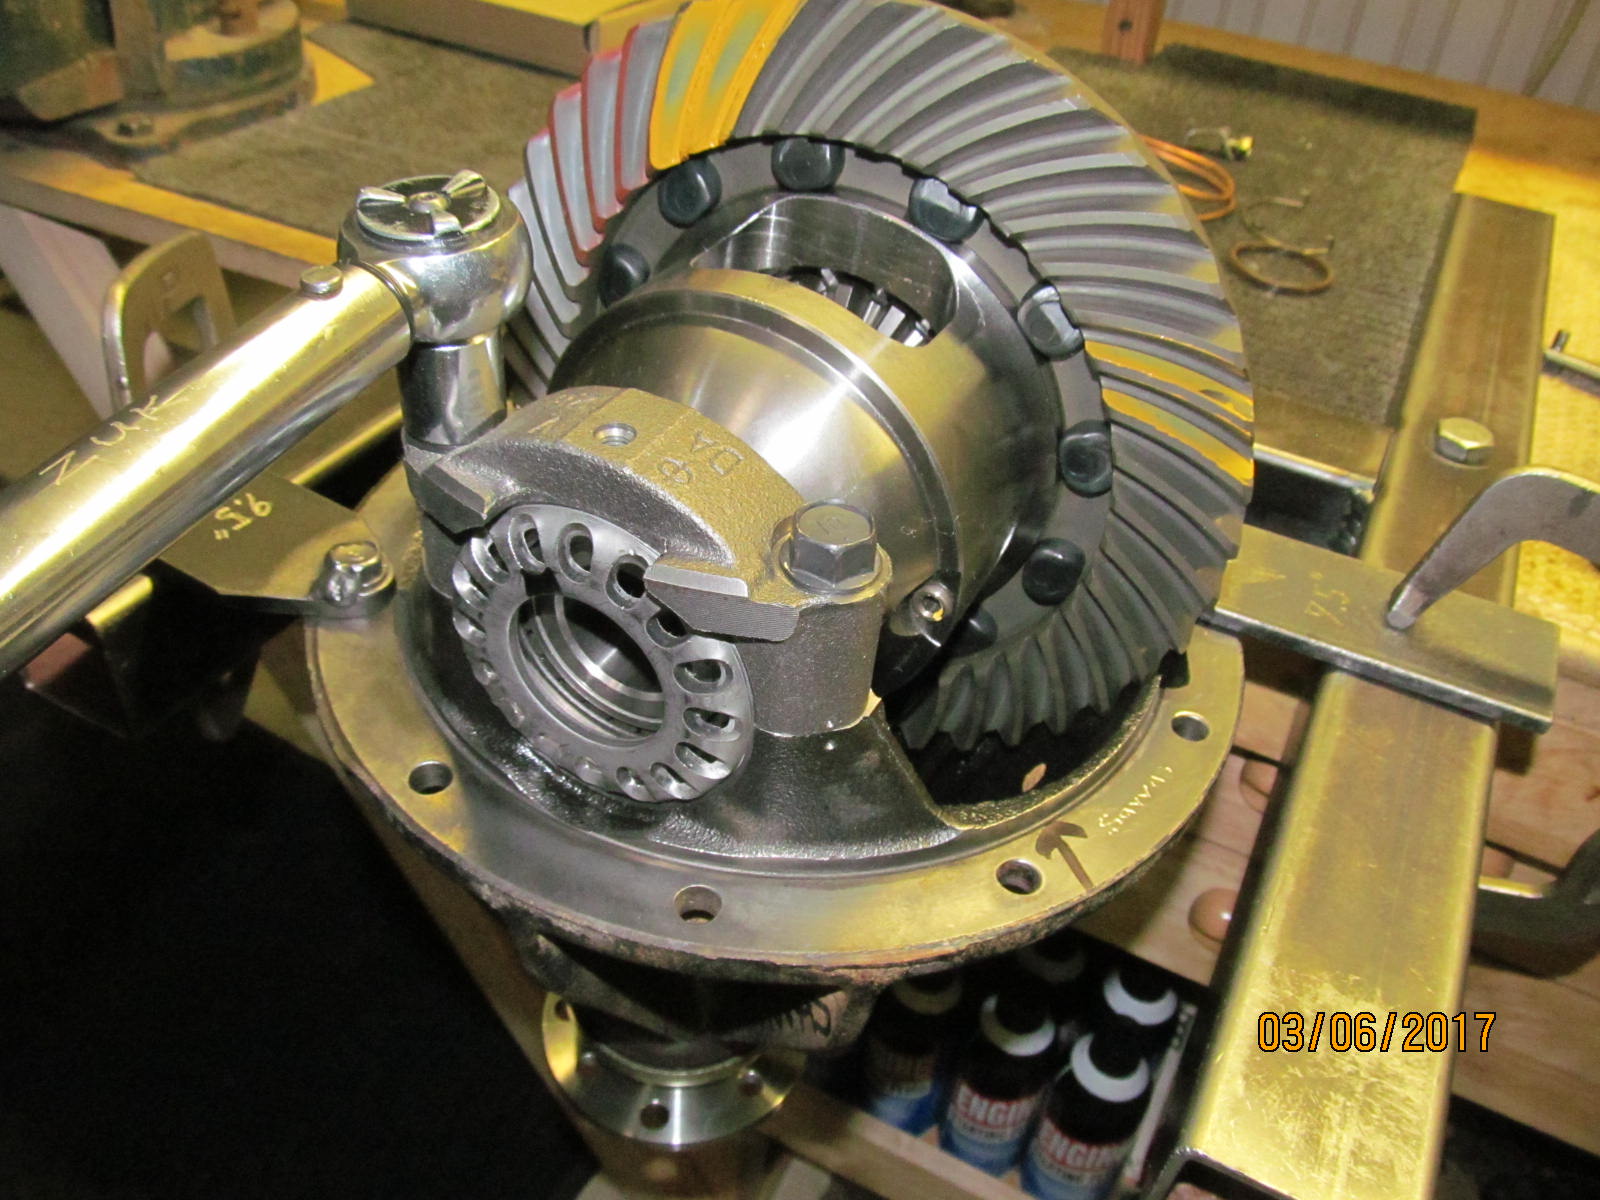
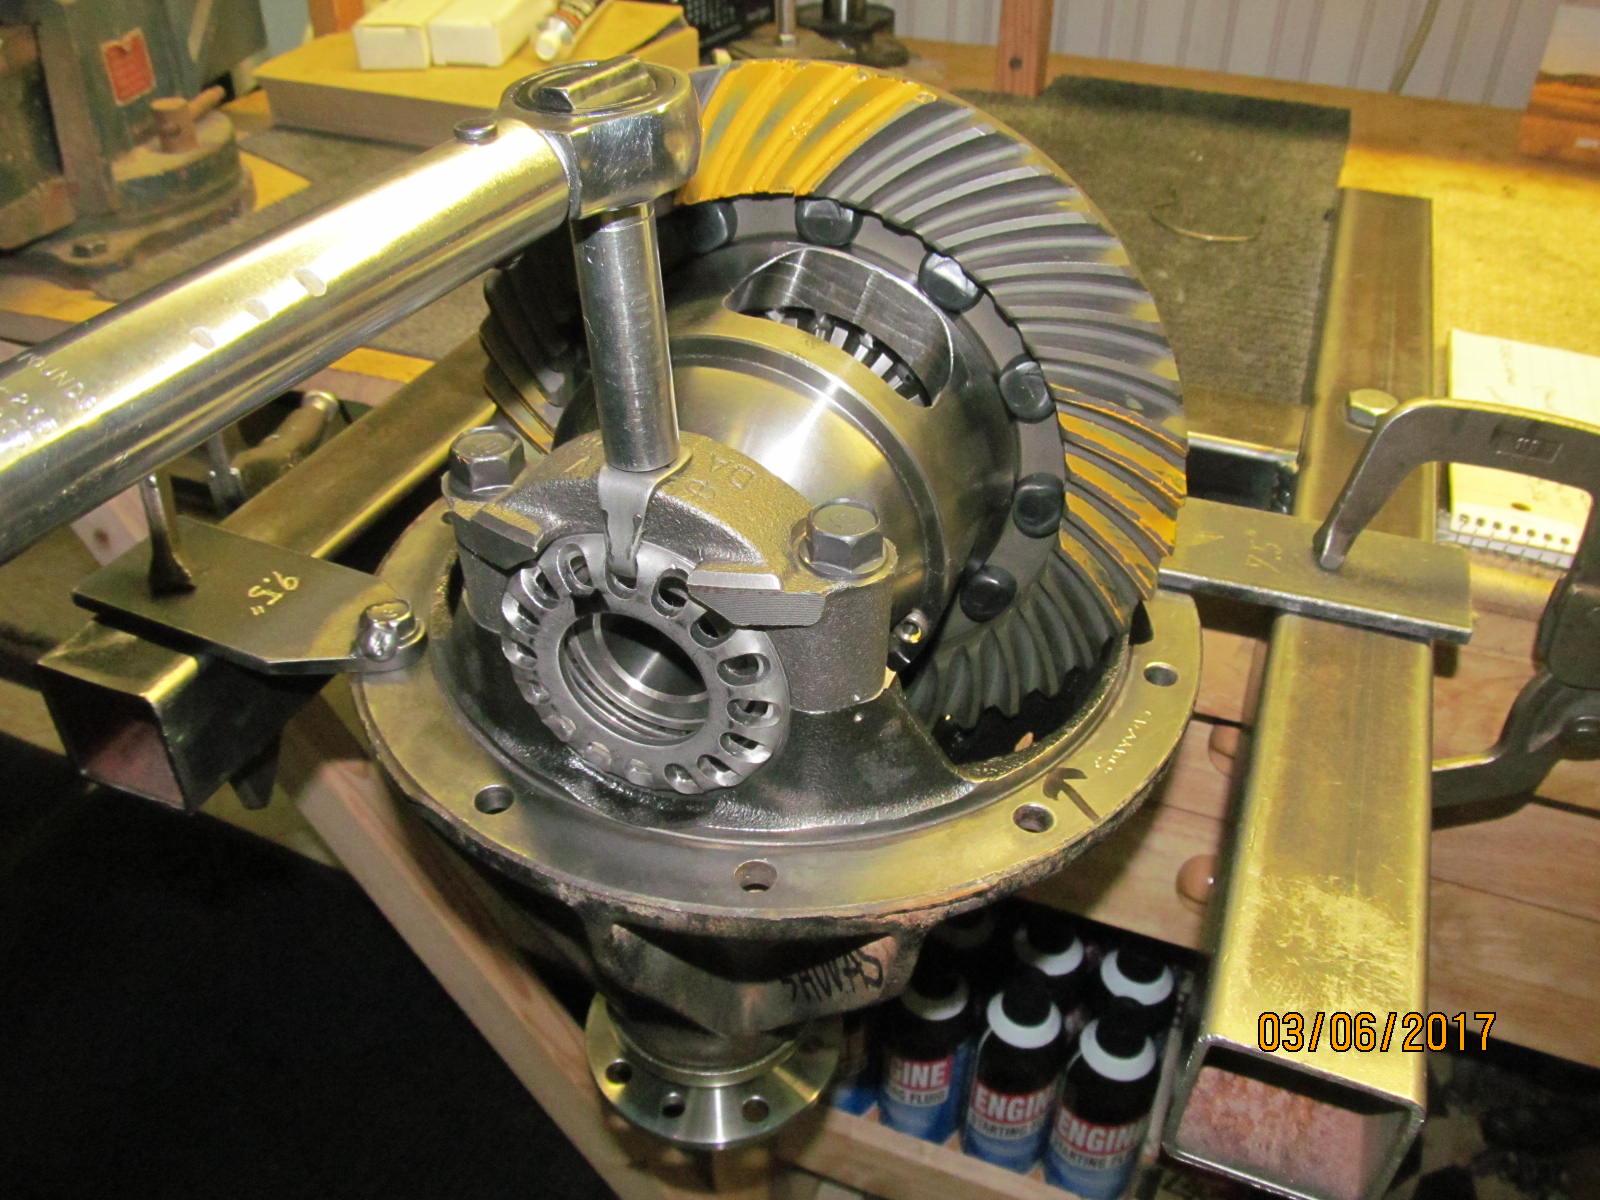
The 4 bearing cap bolts are tightened and backlash is adjusted.
|
|
|
|
Some bearing preload is also factored in. Tighten 1 notch on this side....then tighten 1 notch on the other....
and that will preserve the same backlash and give better preloading.
|
|
|

|
|
Tapping on the 4 corners while turning the pinion will equalize bearing tensions.
|
|
|
|
|
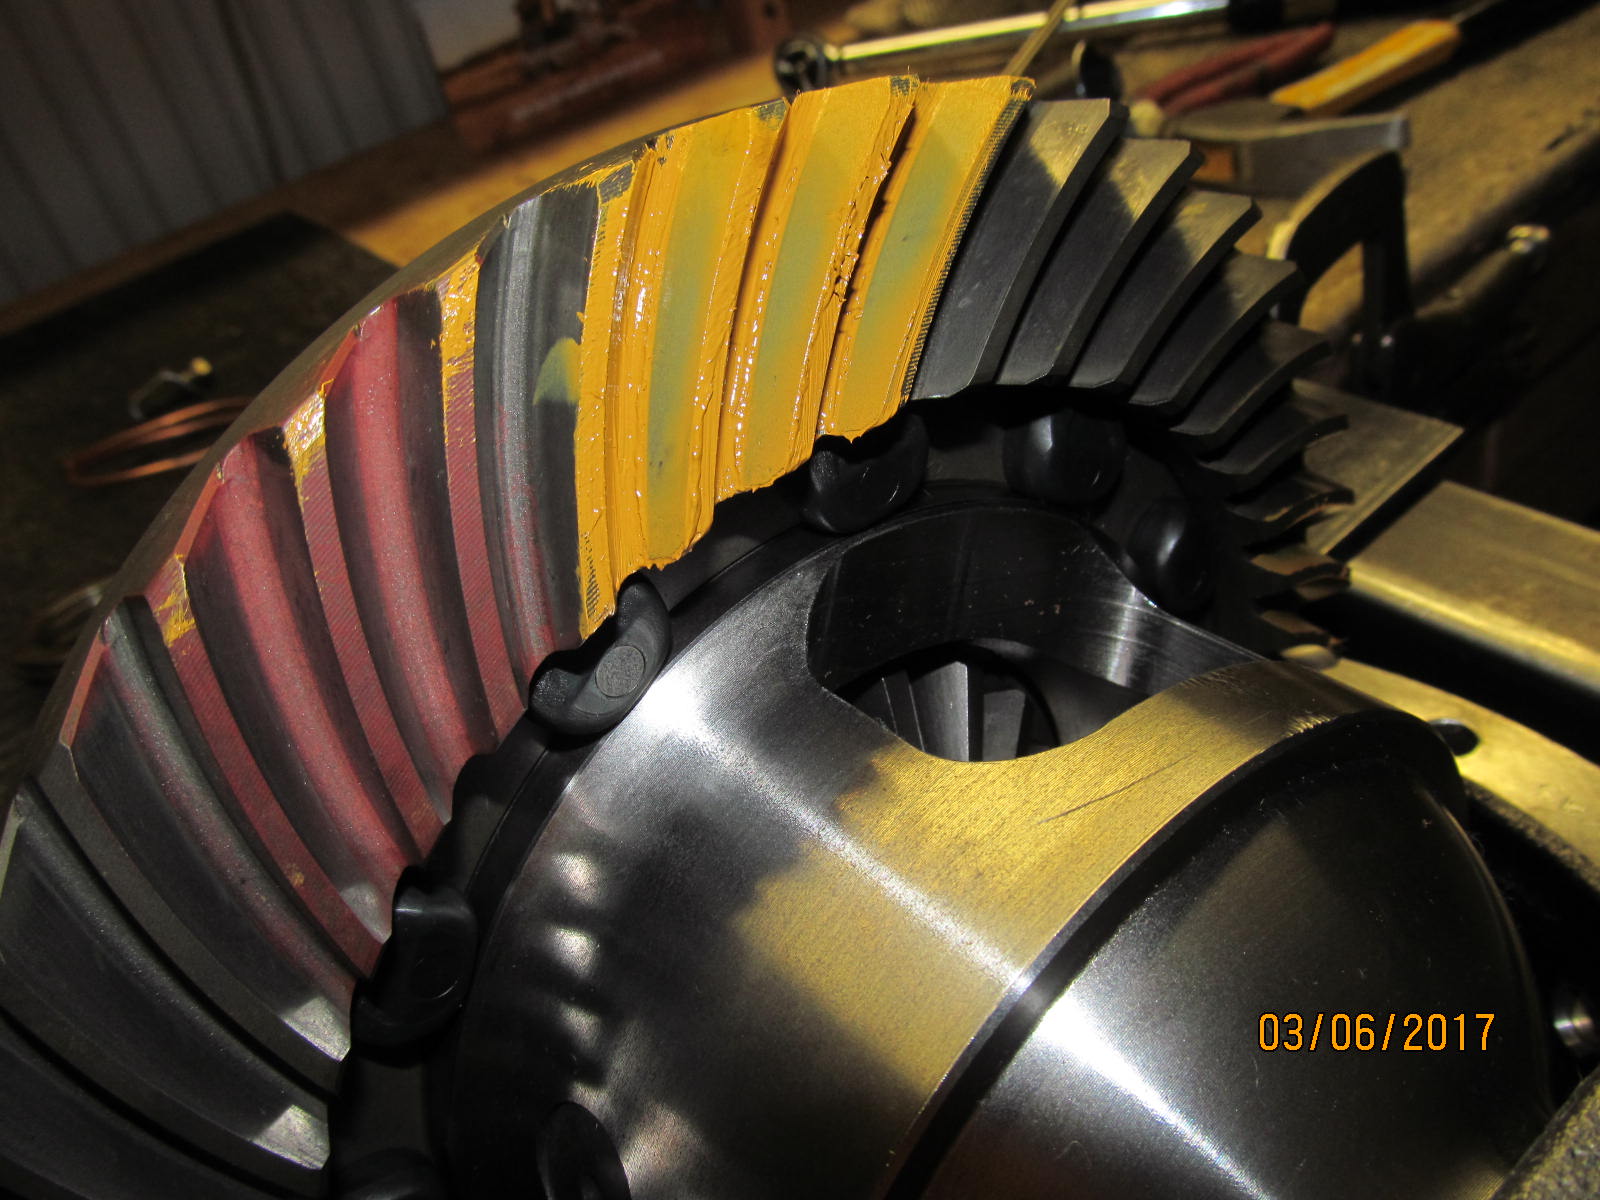
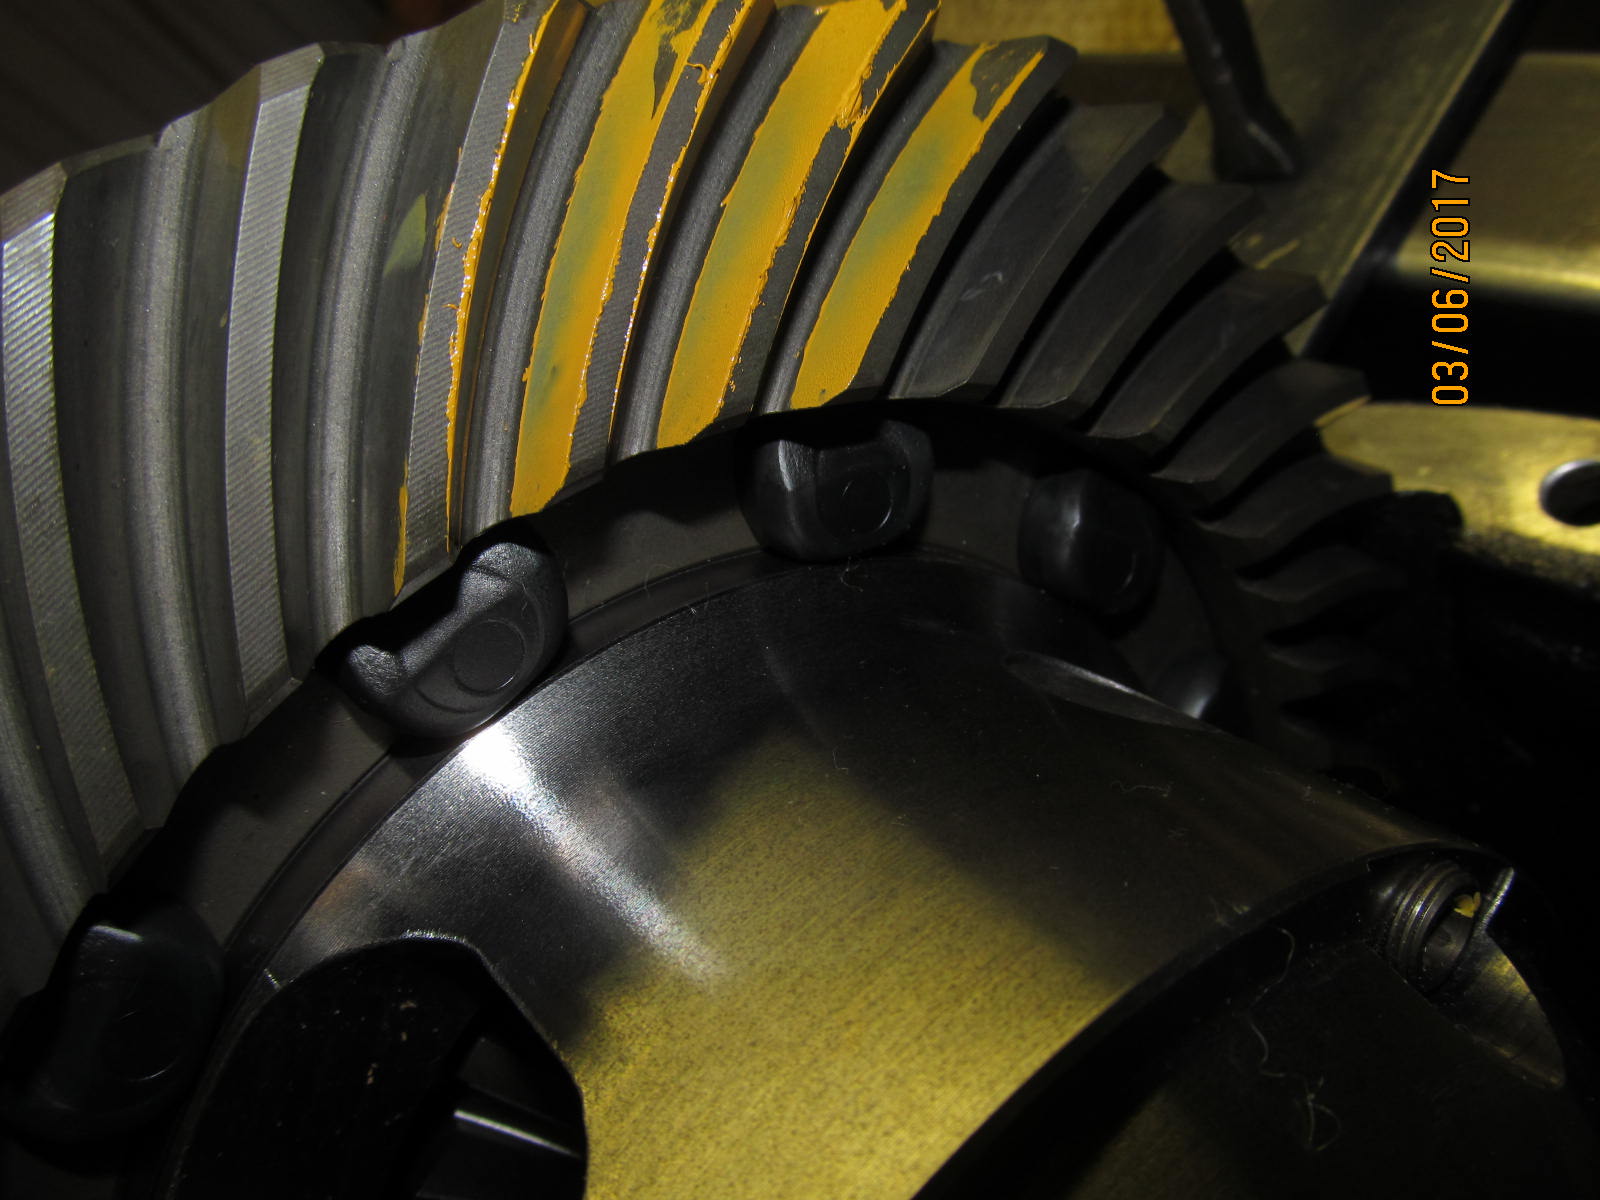
Drive side....Nice pattern for a worn in ring and pinion.
|
|
|
|
|
Coast .....nice.
|
|
|
|
|
Happy with the paint results, now to press the pinion out once more...
|
|
|
|
|
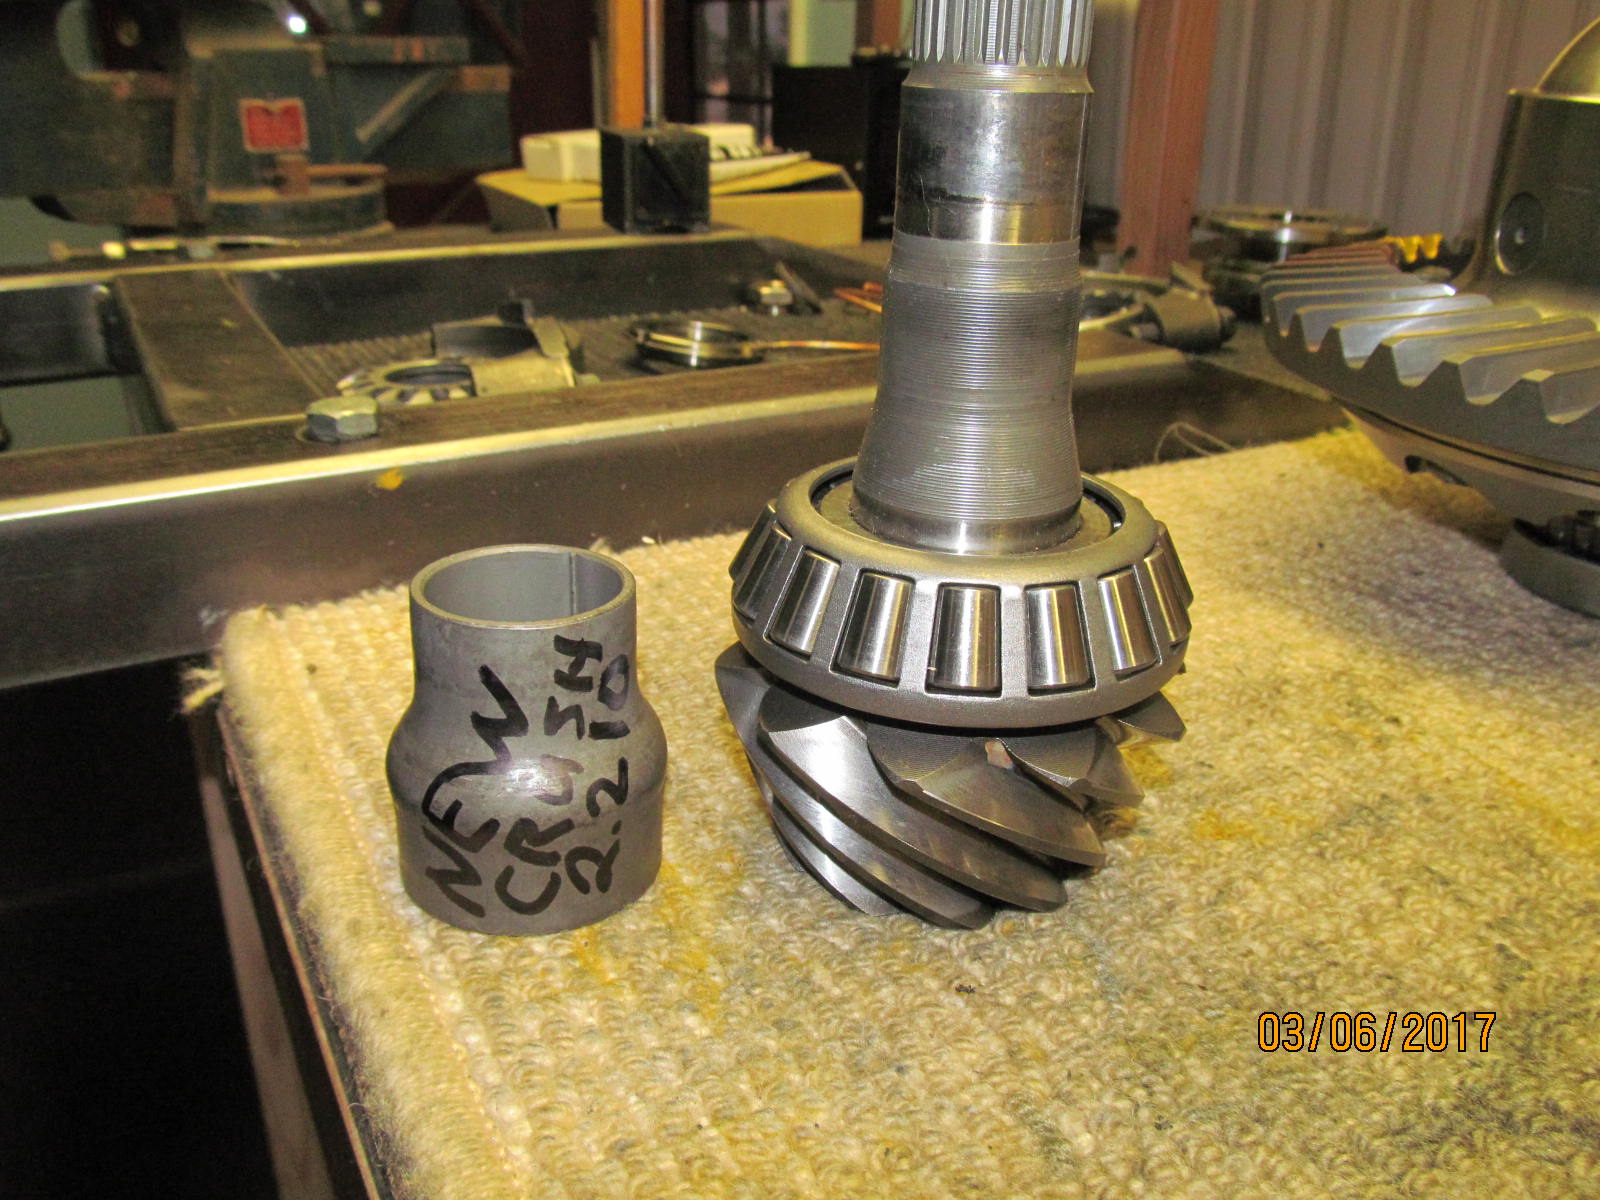
...to add the new crush sleeve on.
|
|
|
|
|
On this one, an old pinion nut and the shop flange was used to pre-crush the sleeve 95%.
|
|
|
|
|
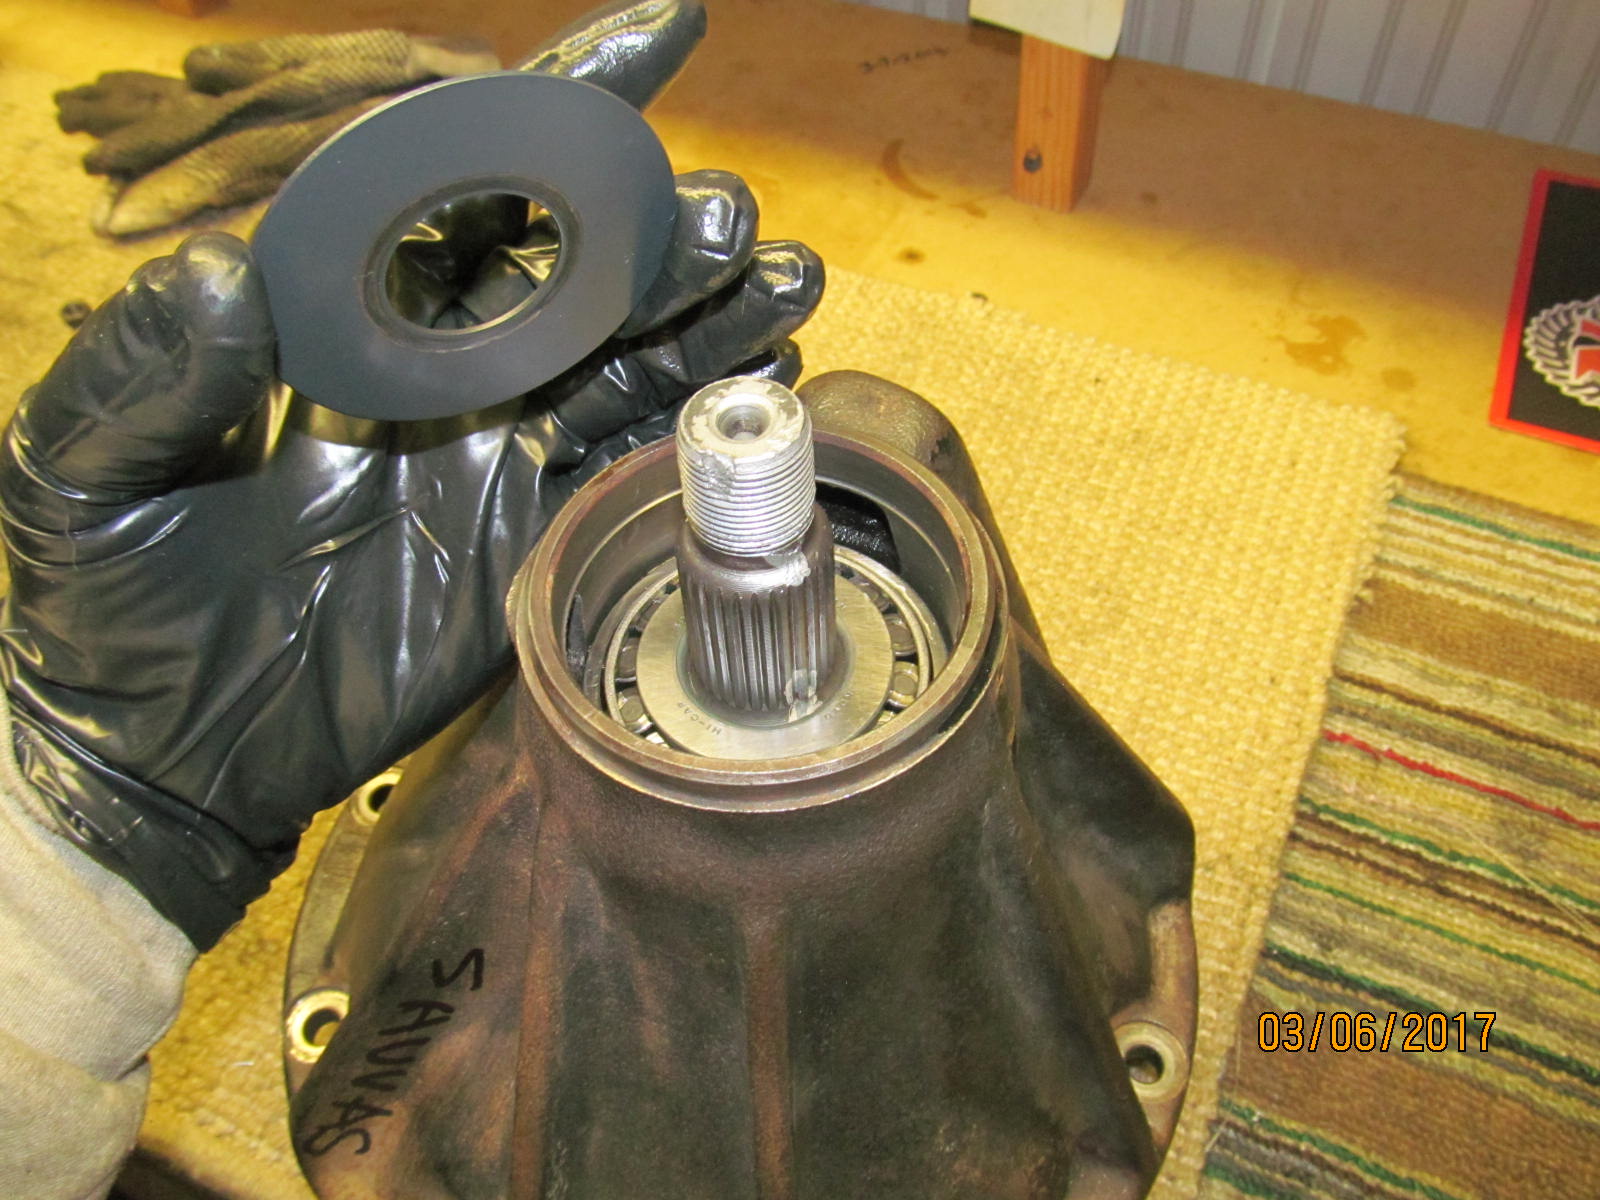
Now the splash guard is place on top of the bearing...
|
|
|
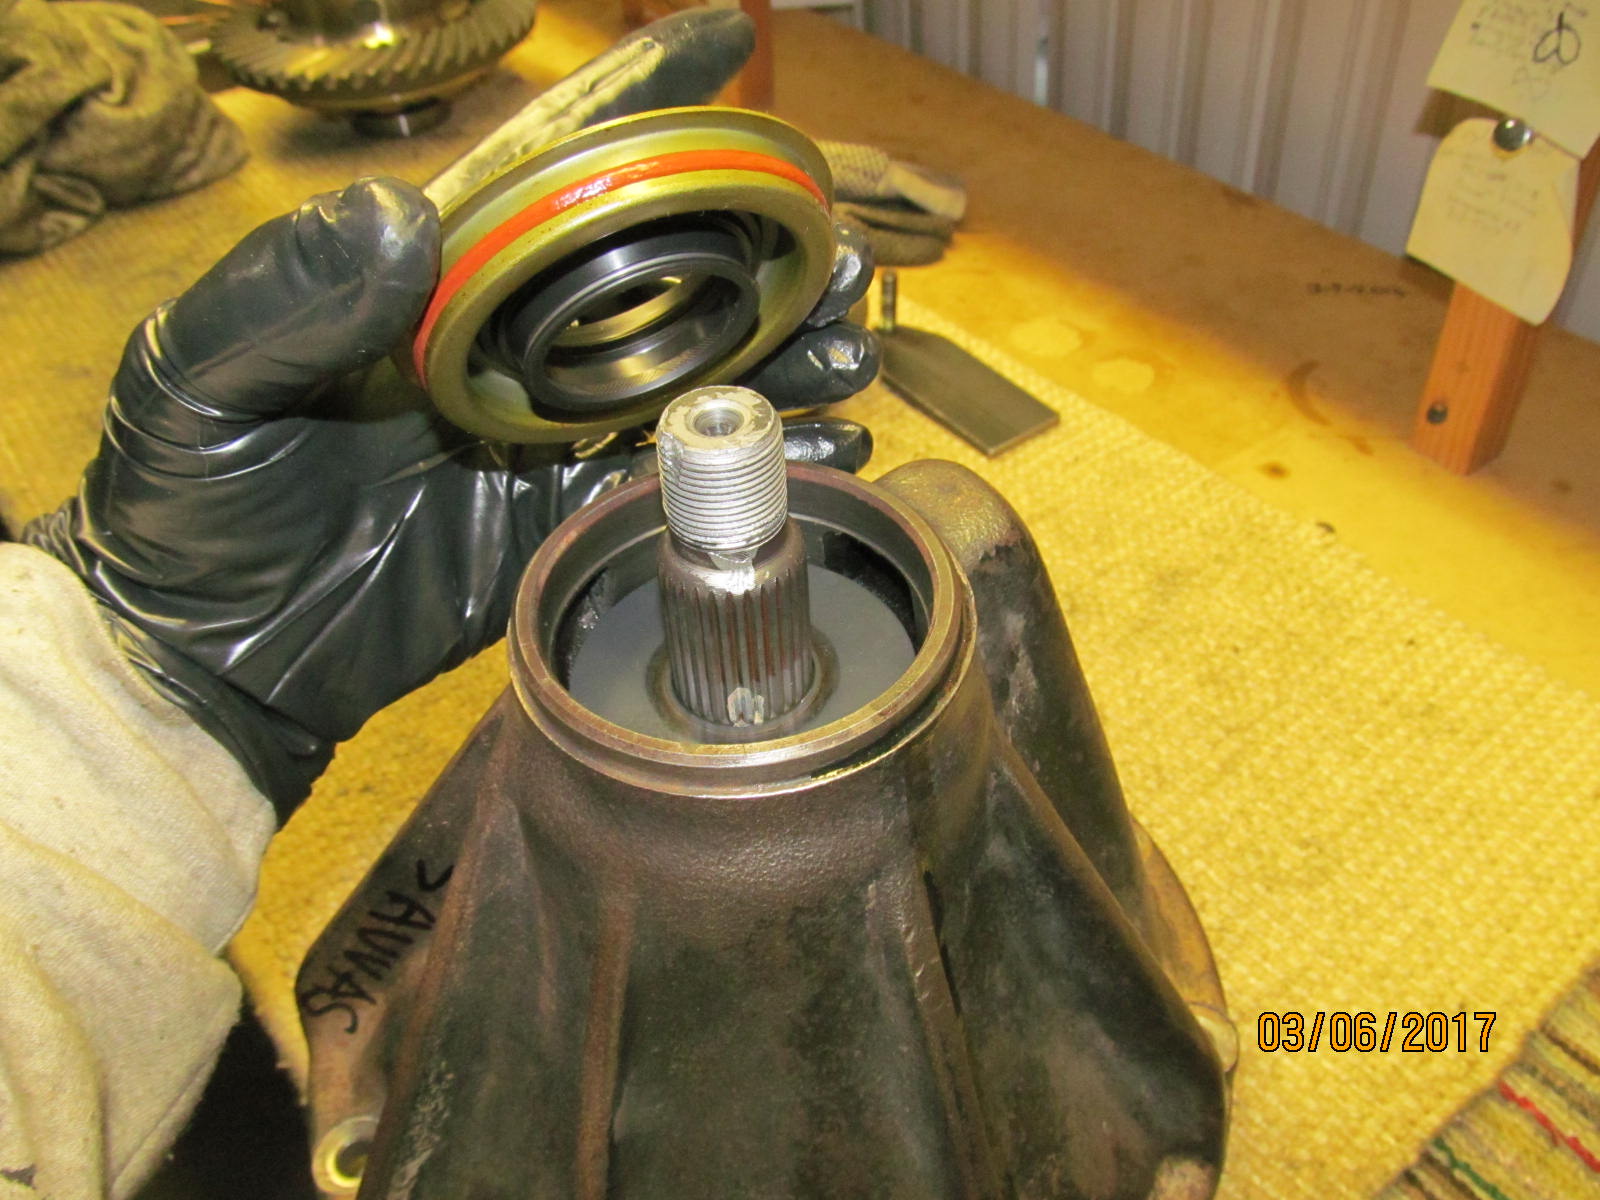
|
...Marlin "eco" seal is next. This seal is better than the oem Toyota seal....and much, much better than the generics
that are usually in ALL of the aftermarket kits.
|
|
|
|
|
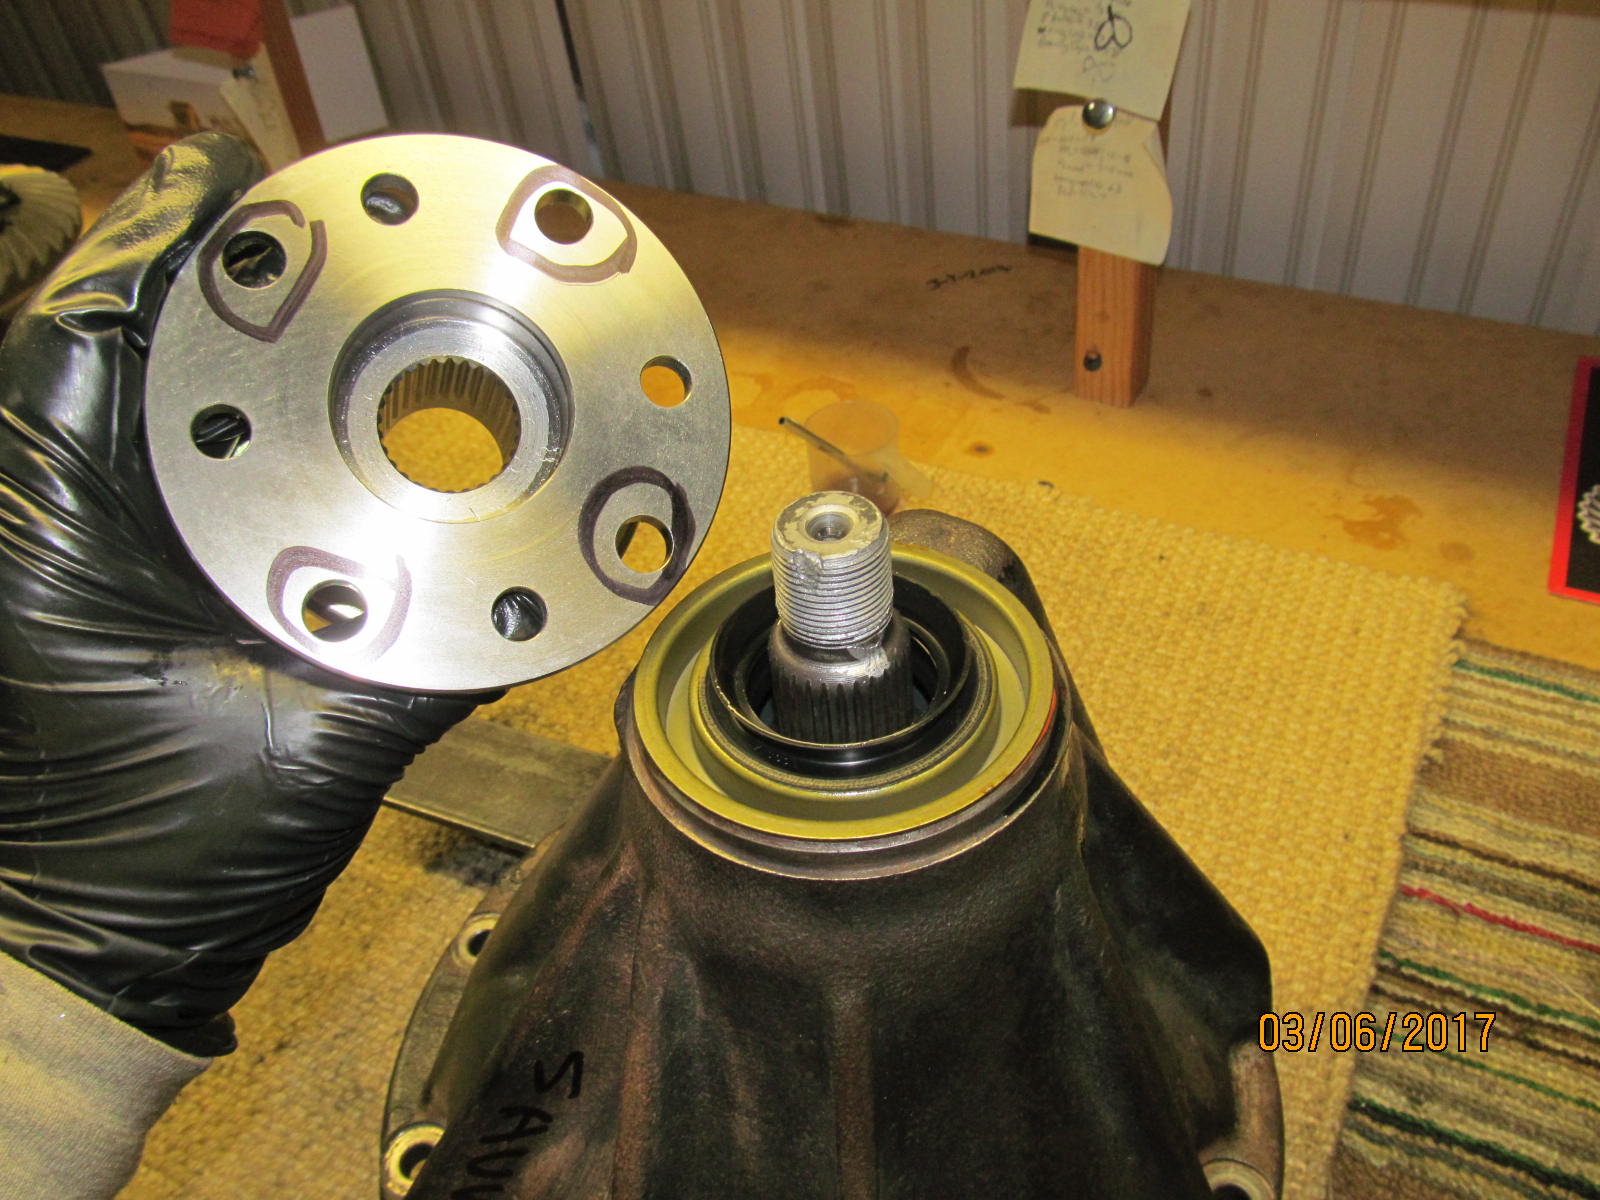
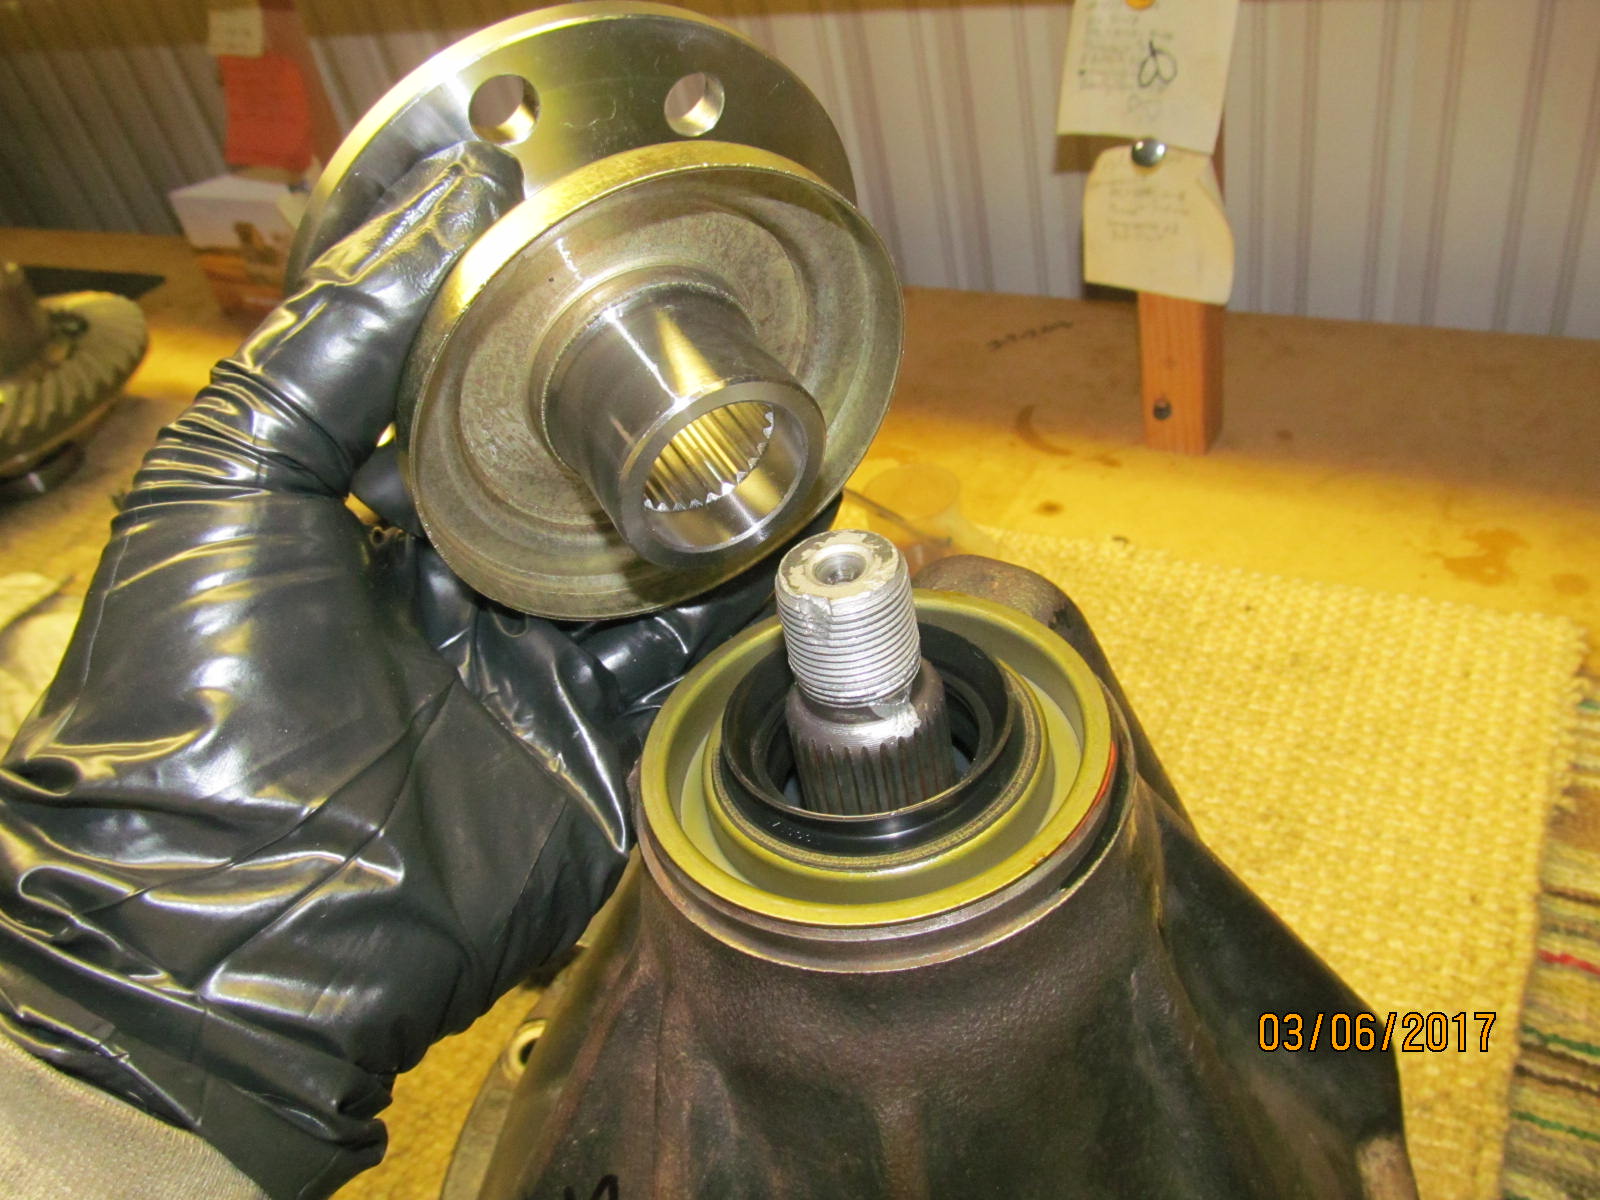
The driveshaft bolt pattern (60x68mm) for his 79 FJ43 was verified with Savvas.
|
|
|
|
|
Hard to see it but a light gear oil coating was applied to all rubber contact surfaces. No dry startup on my watch.
|
|
|
|
|
The pinion threads have a thick coating of aluminum based anti-seize.
|
|
|
|
|
The crush sleeve was crushed that final 5% and now the PPL is 14 in/lb measured. Ding the nut and the pinion end is done.
|
|
|
|
|
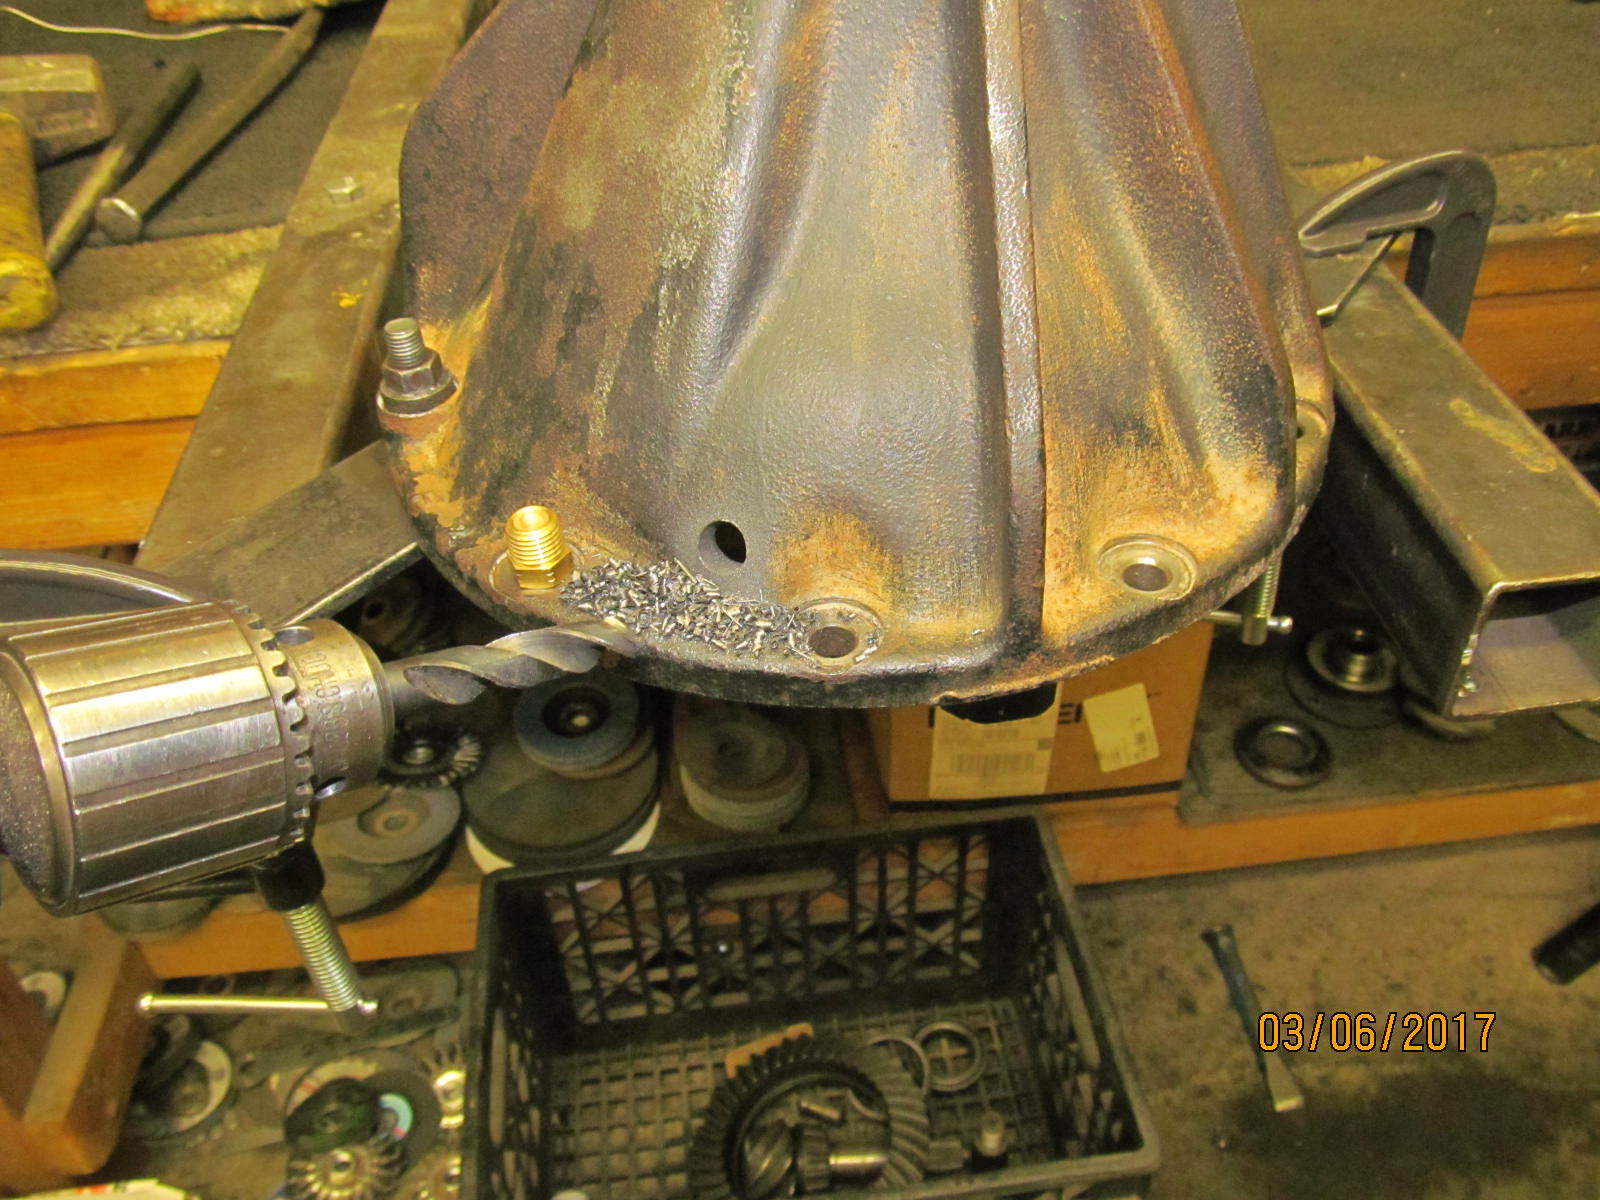
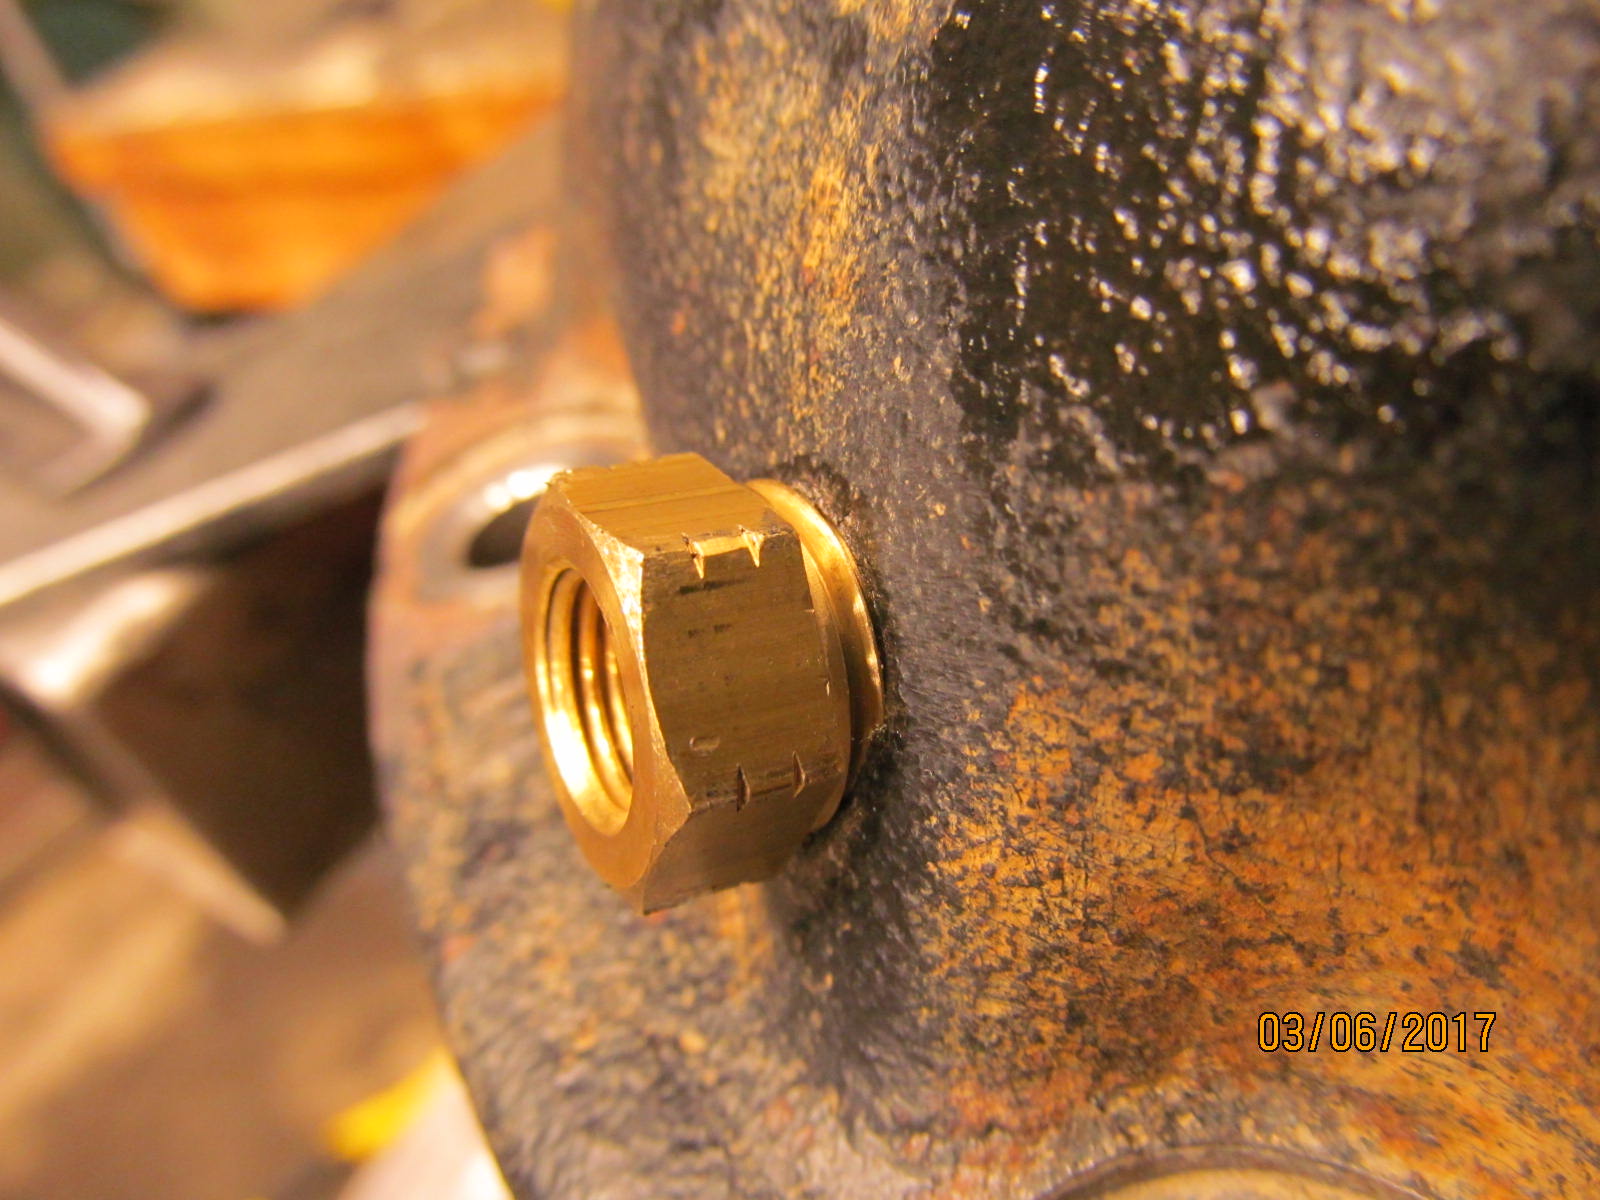
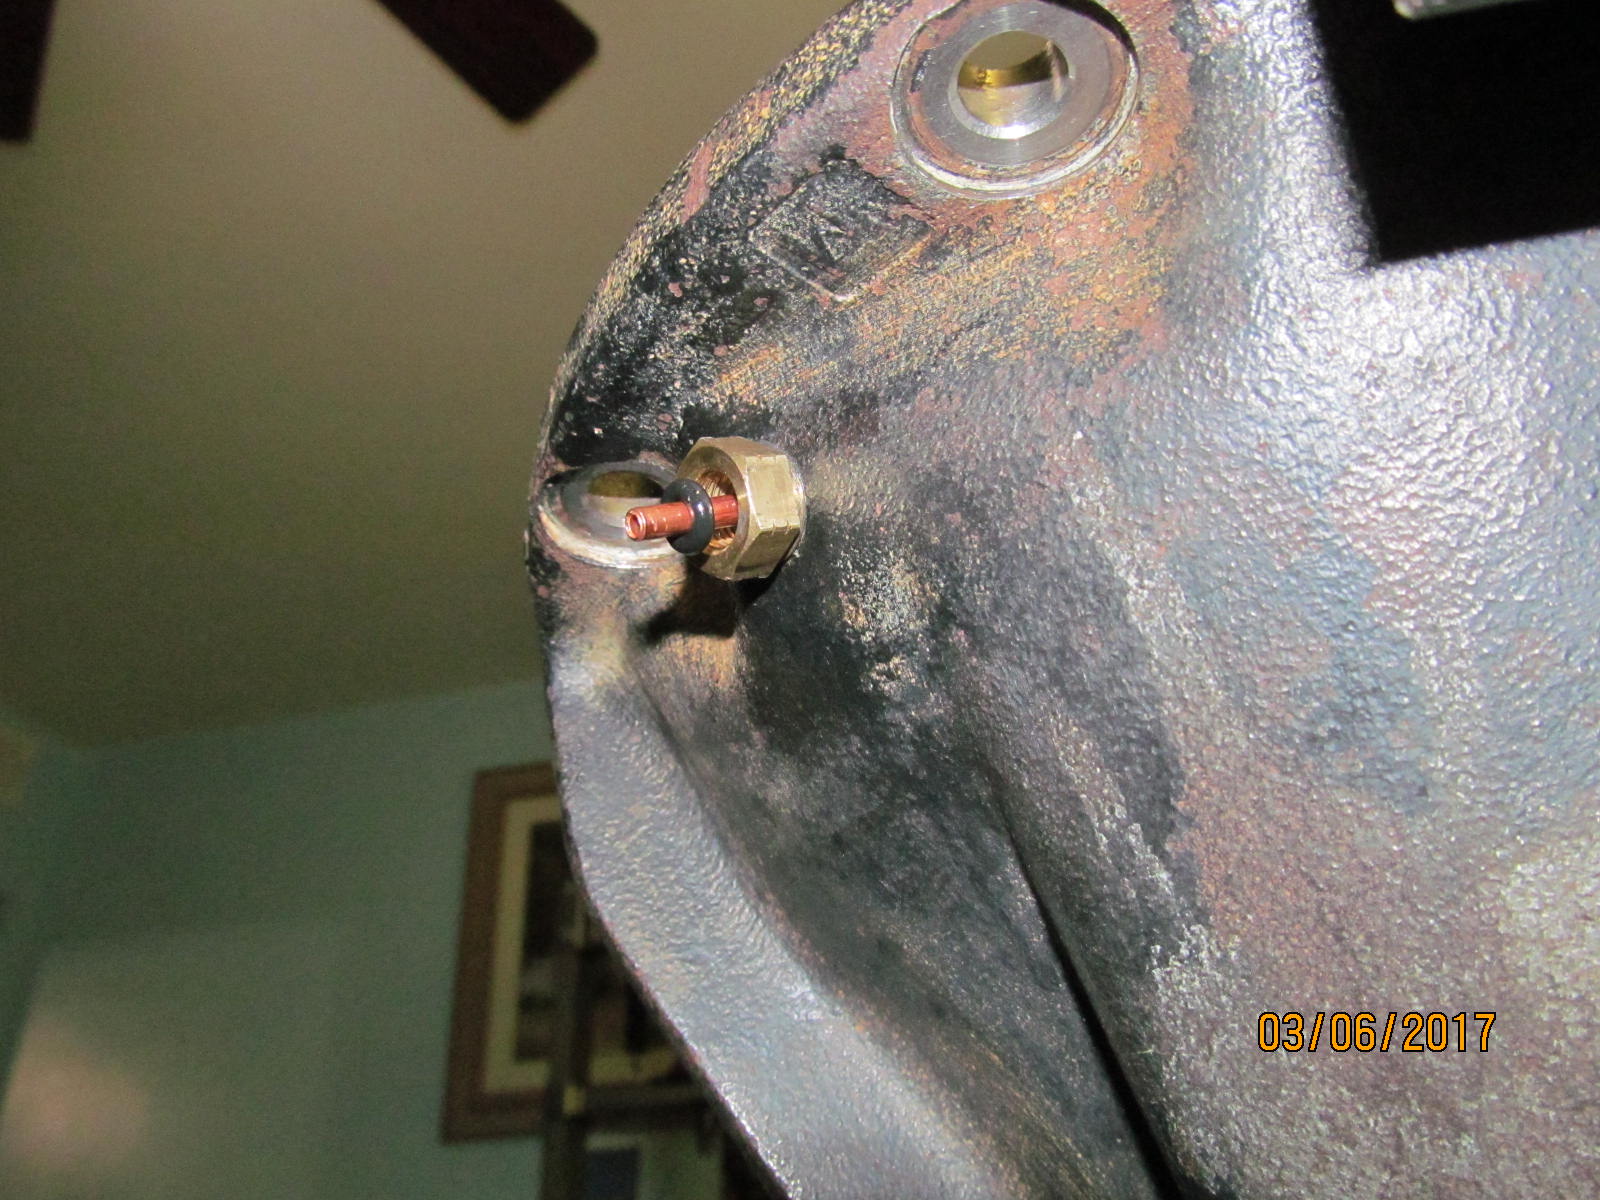
Good time to now drill the 7/16" hole for the brass bulkhead fitting.
|
|
|
|
|
Tapped with a 1/4 NPT tap.
|
|
|
|
|
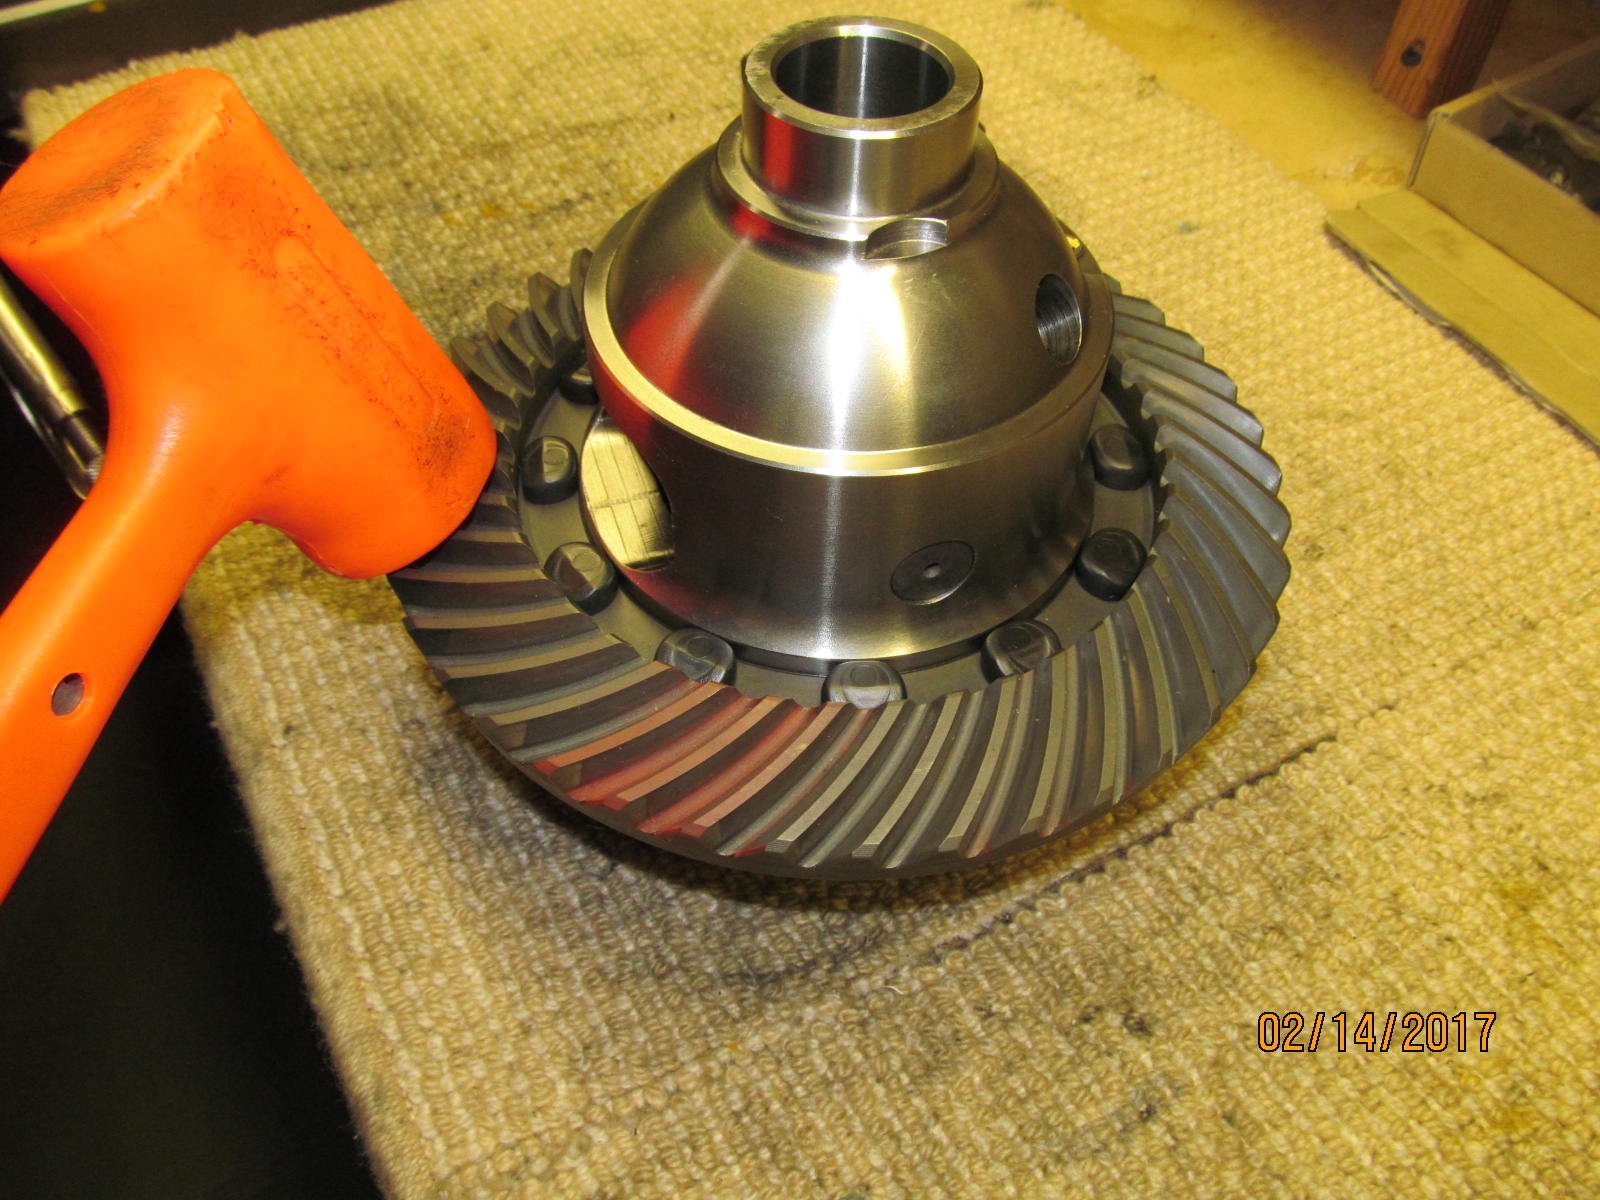
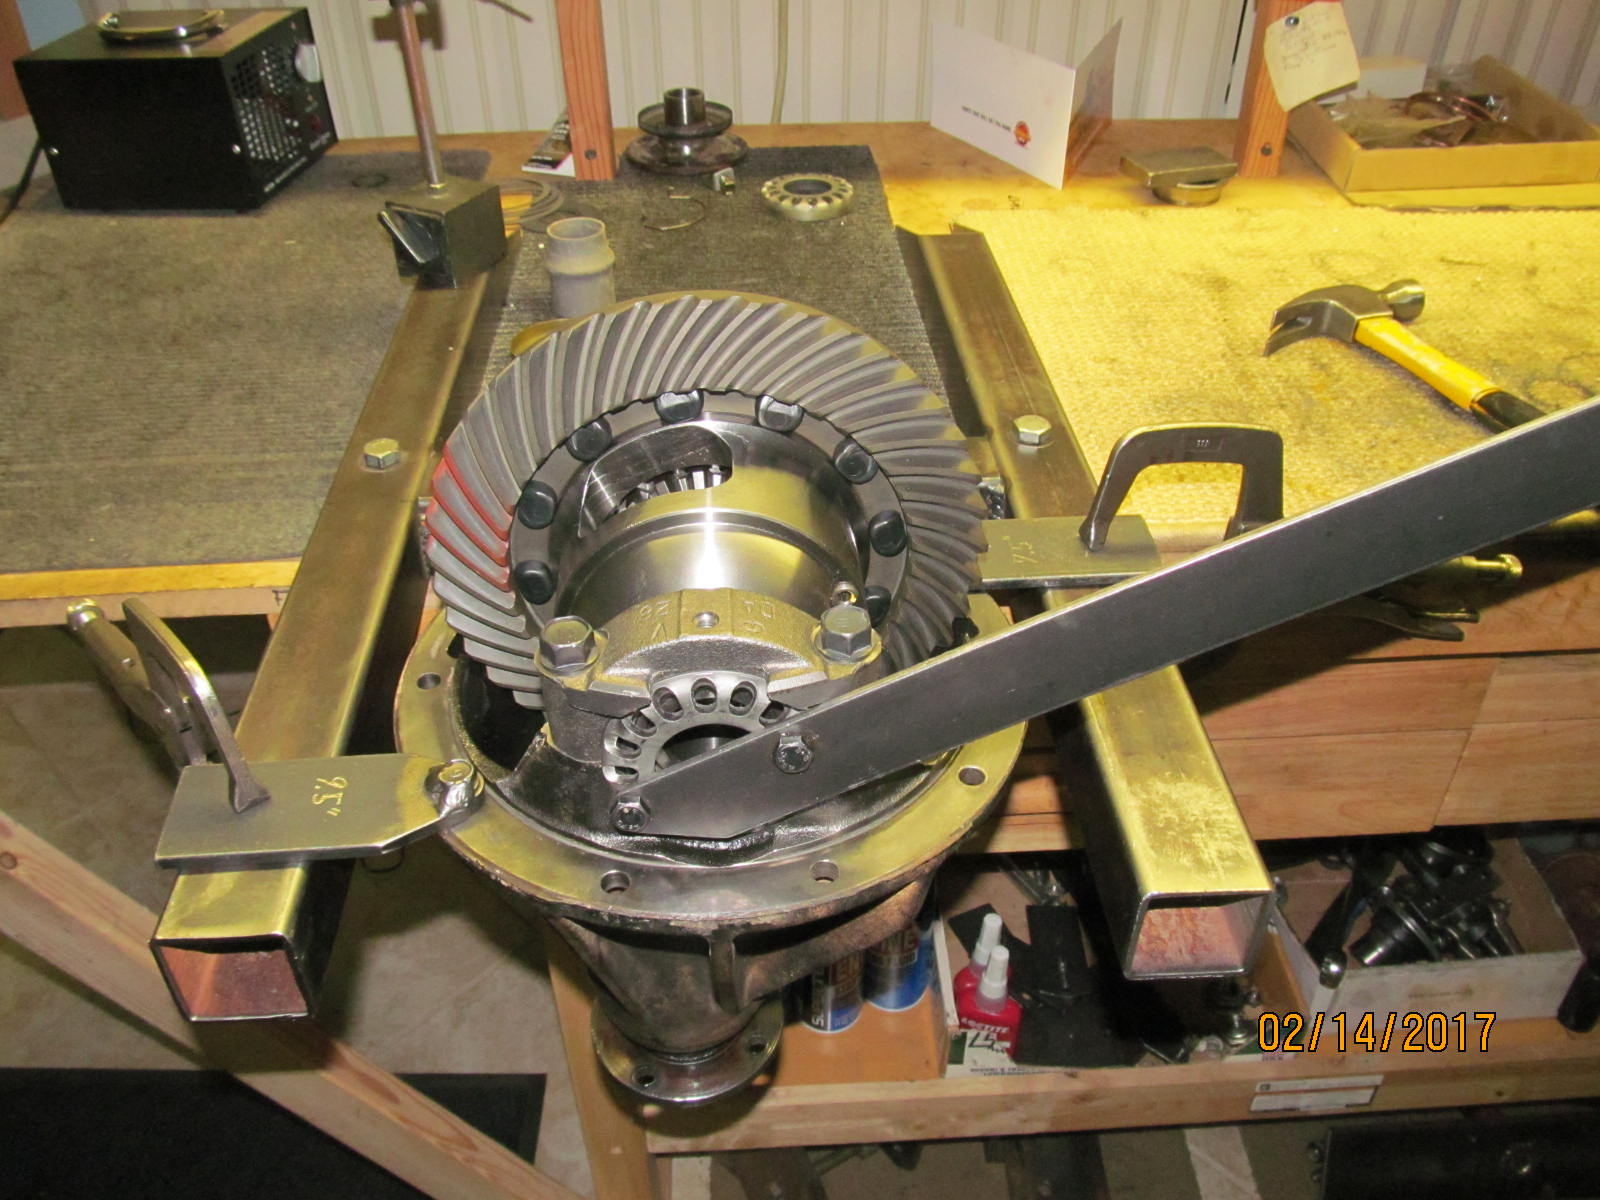
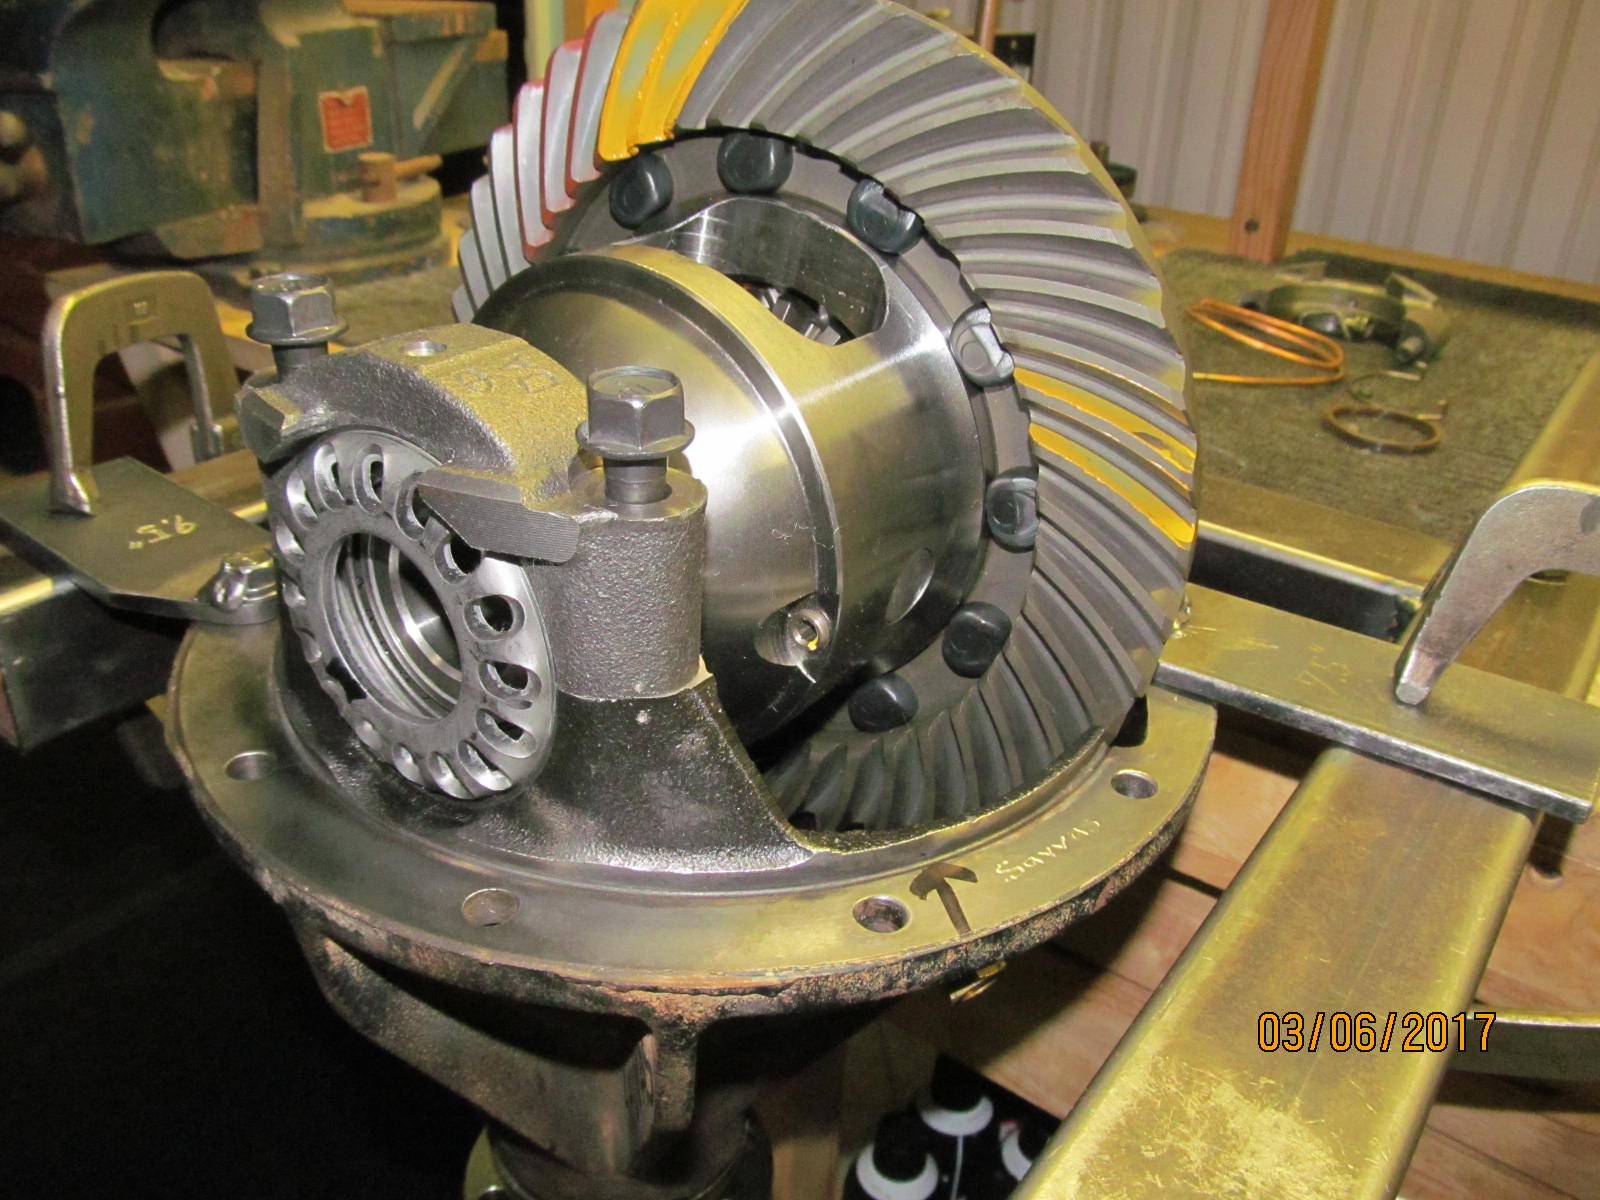
ARB is now in place. The 2 threaded wheels are dropped in place.
|
|
|
|
|
Bearings caps next.
|
|
|
|
|
Torqued to 75 ft/lb.
|
|
|
|
|
Bearing preload and backlash is dialed in. Final paint check shows good as expected.
|
|
|
|
|
..................
|
|
|
|
|
Drive side....reverse painted.
|
|
|
|
|
Coast....reverse painted.
|
|
|
|
|
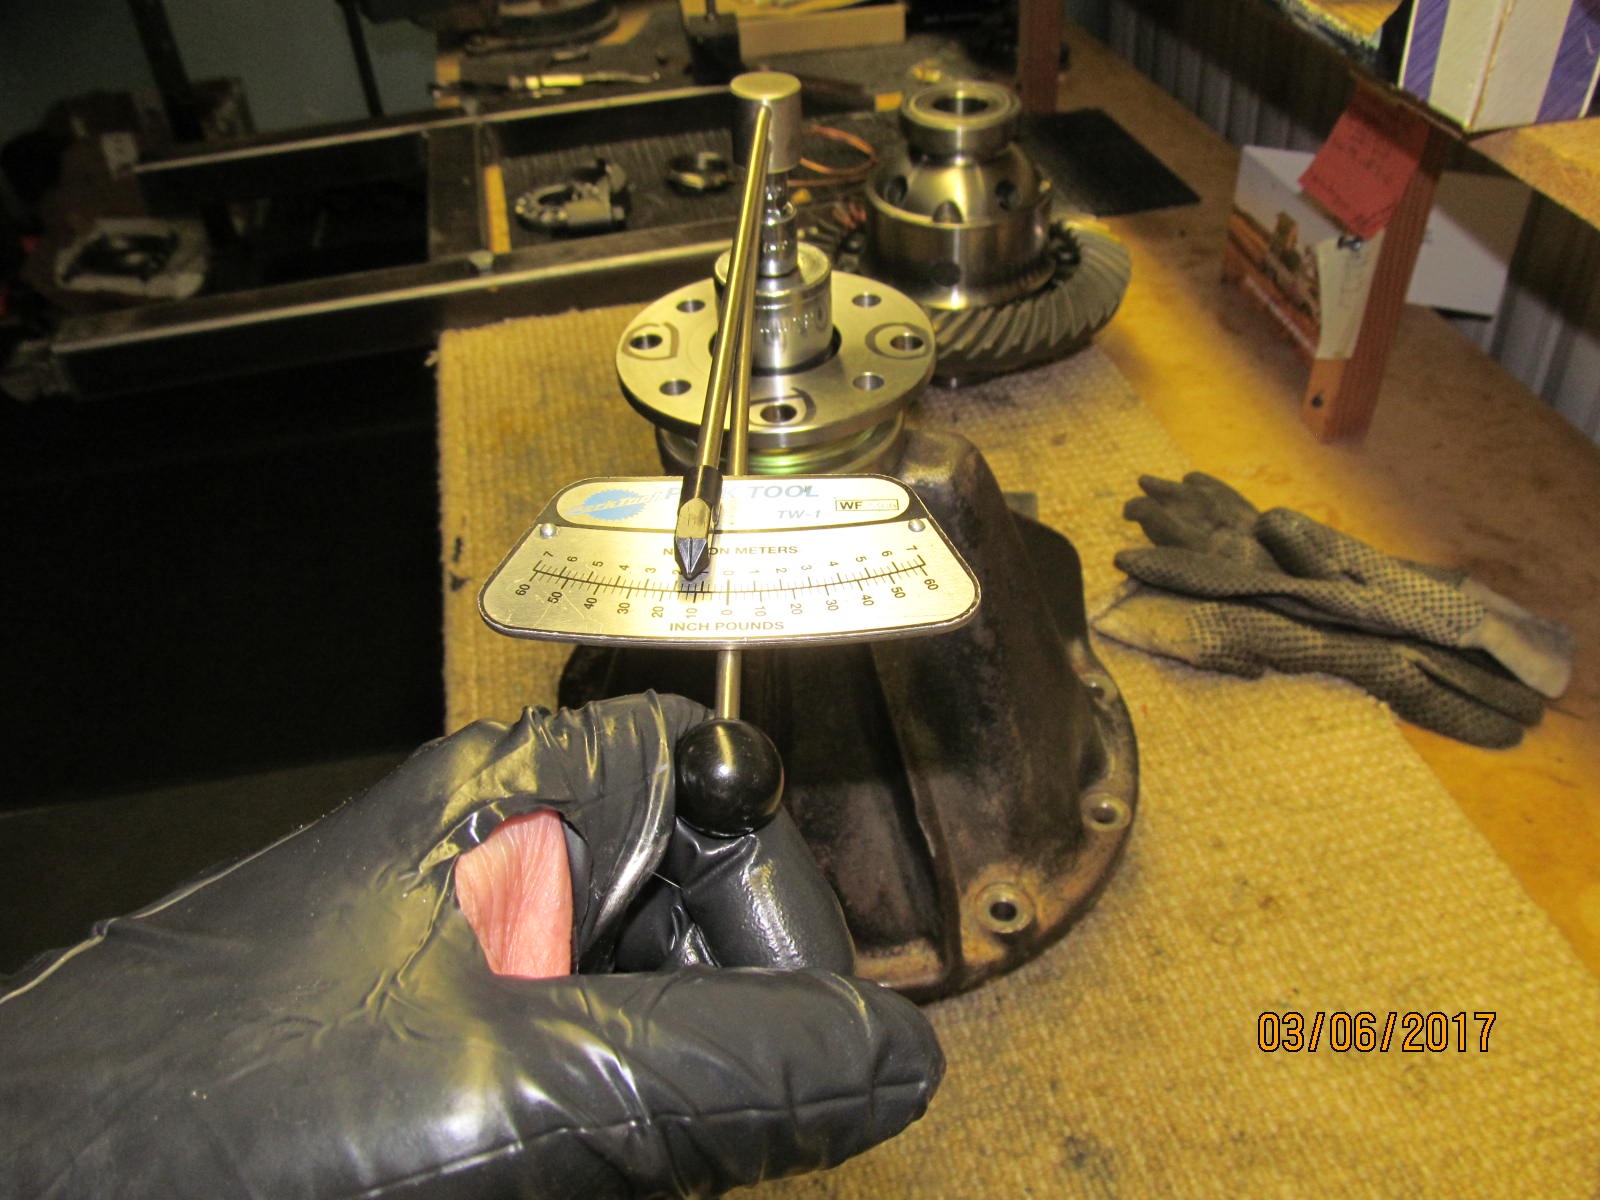
Total bearing preload checked in at a healthy 22 in/lb.
|
|
|
|
Backlash is checked on every other tooth for about 22 measurements. Last chance for any BL tweaks but it was already
very good with a minimum backlash value of .007"
|
|
|
|
|
Locktabs at 10 in/lb with blue locktite.
|
|
|
|
|
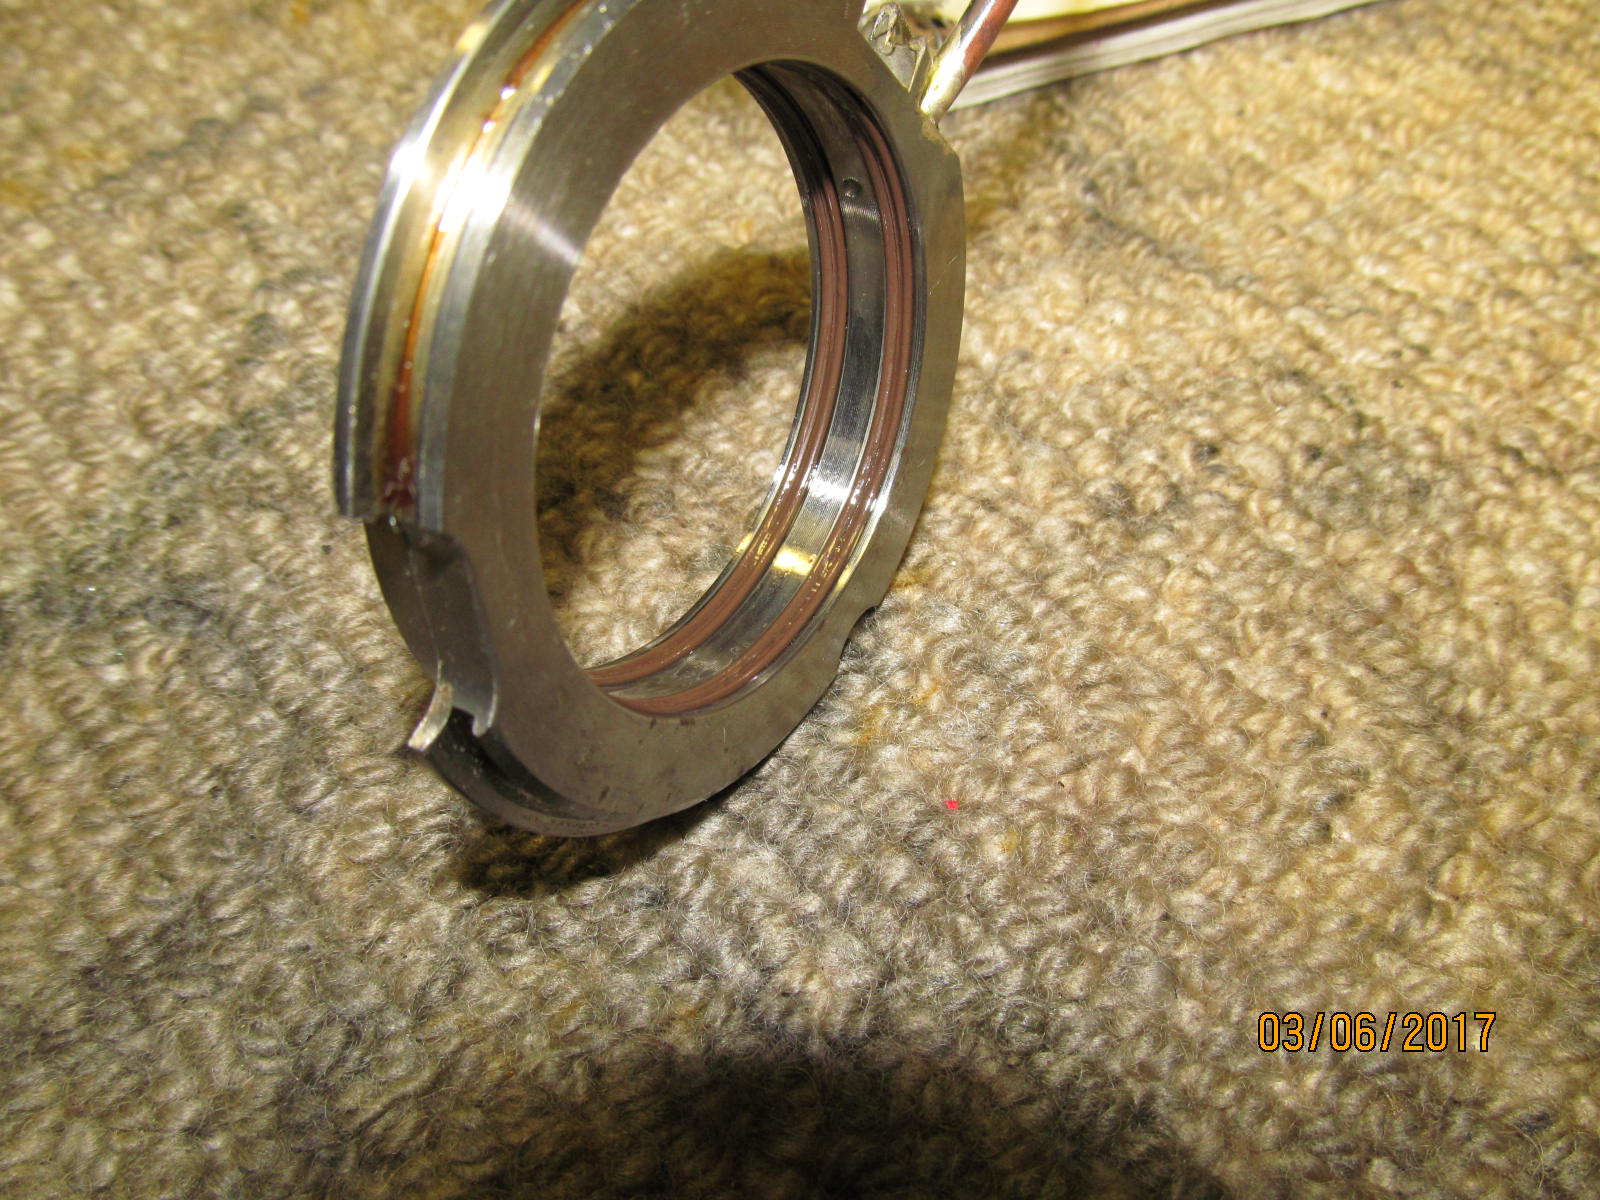
Lube up the x-rings.
|
|
|
|
|
Seal housing is carefully pushed on fully.
|
|
|
|
|
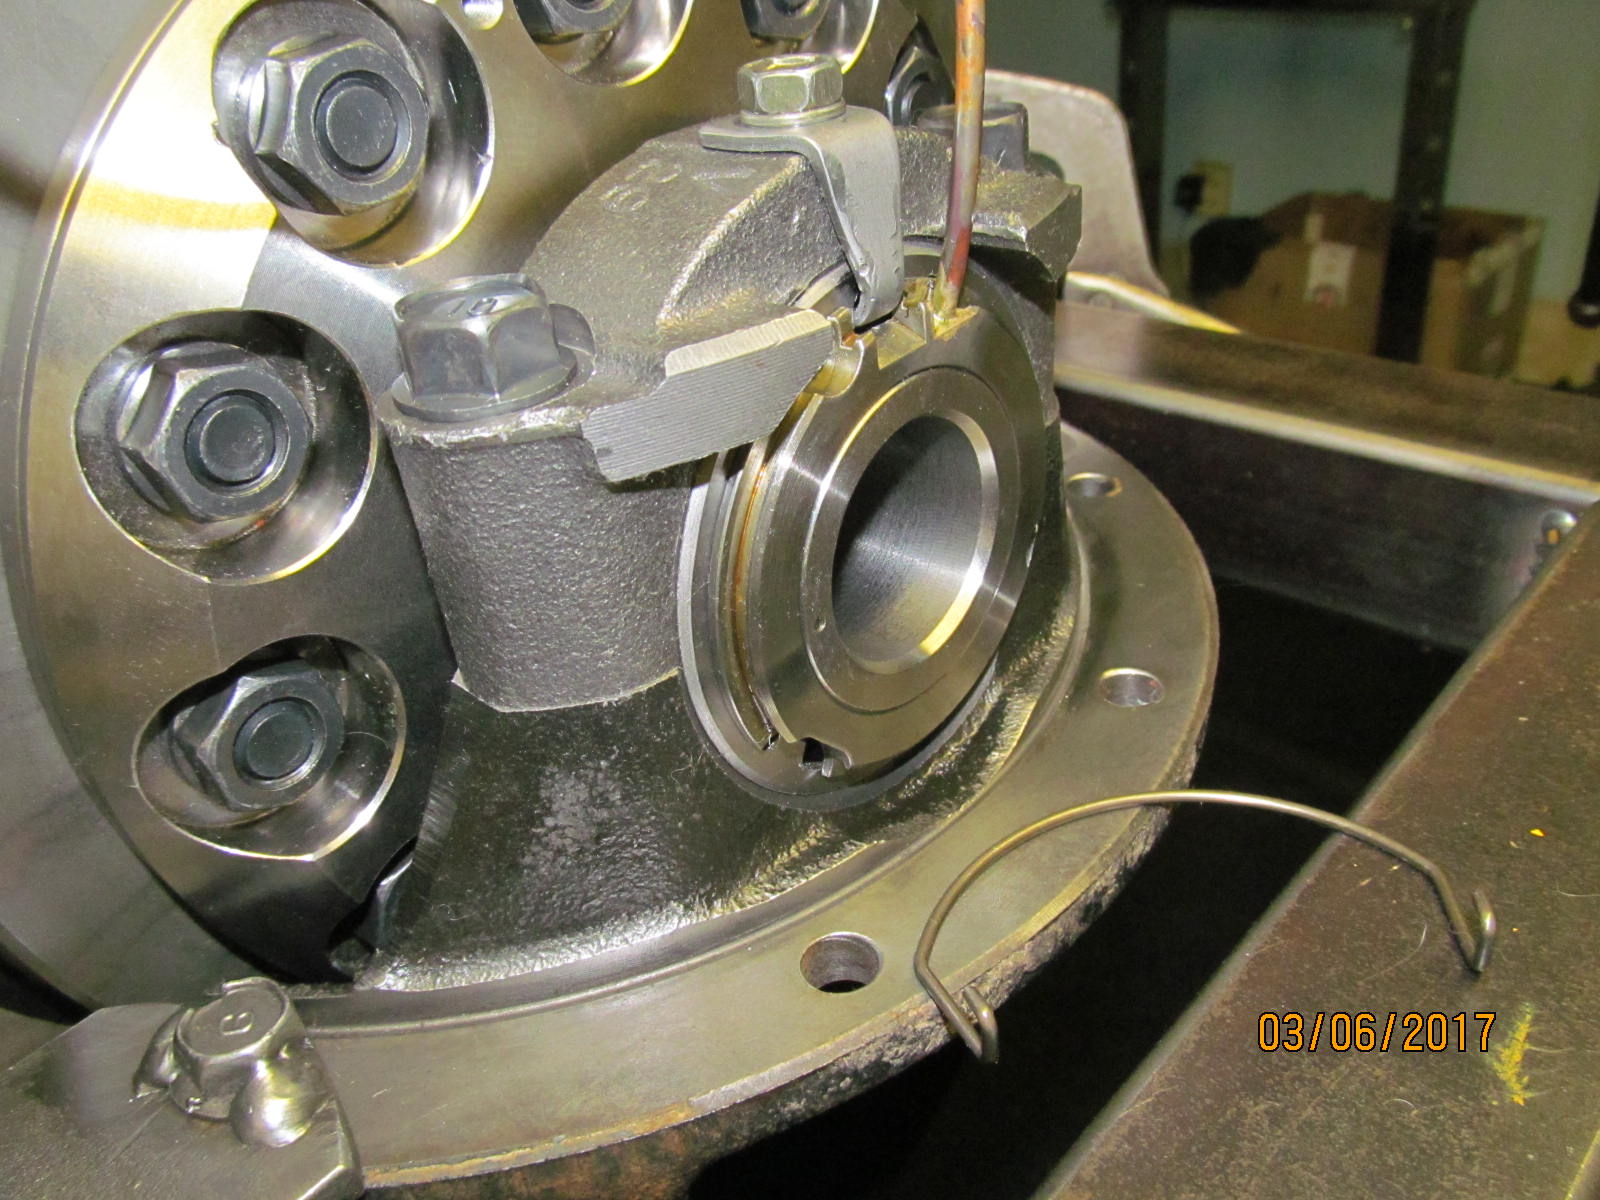
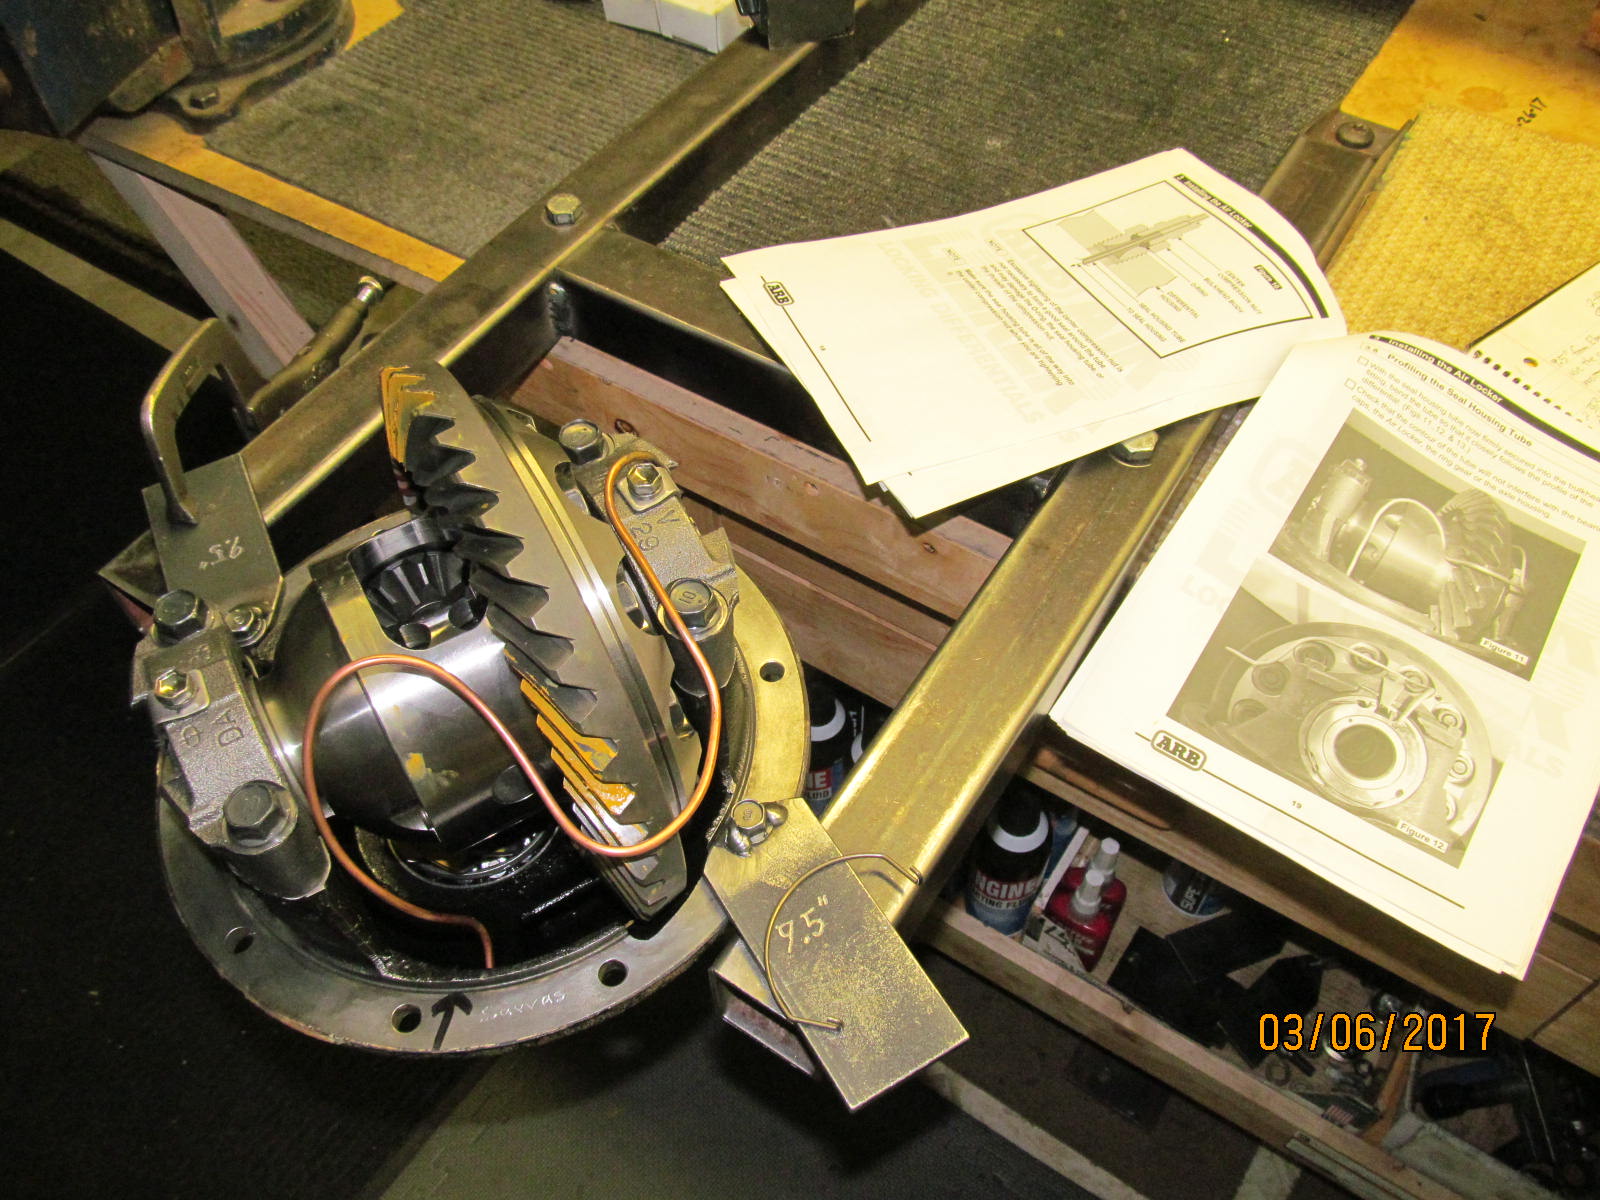
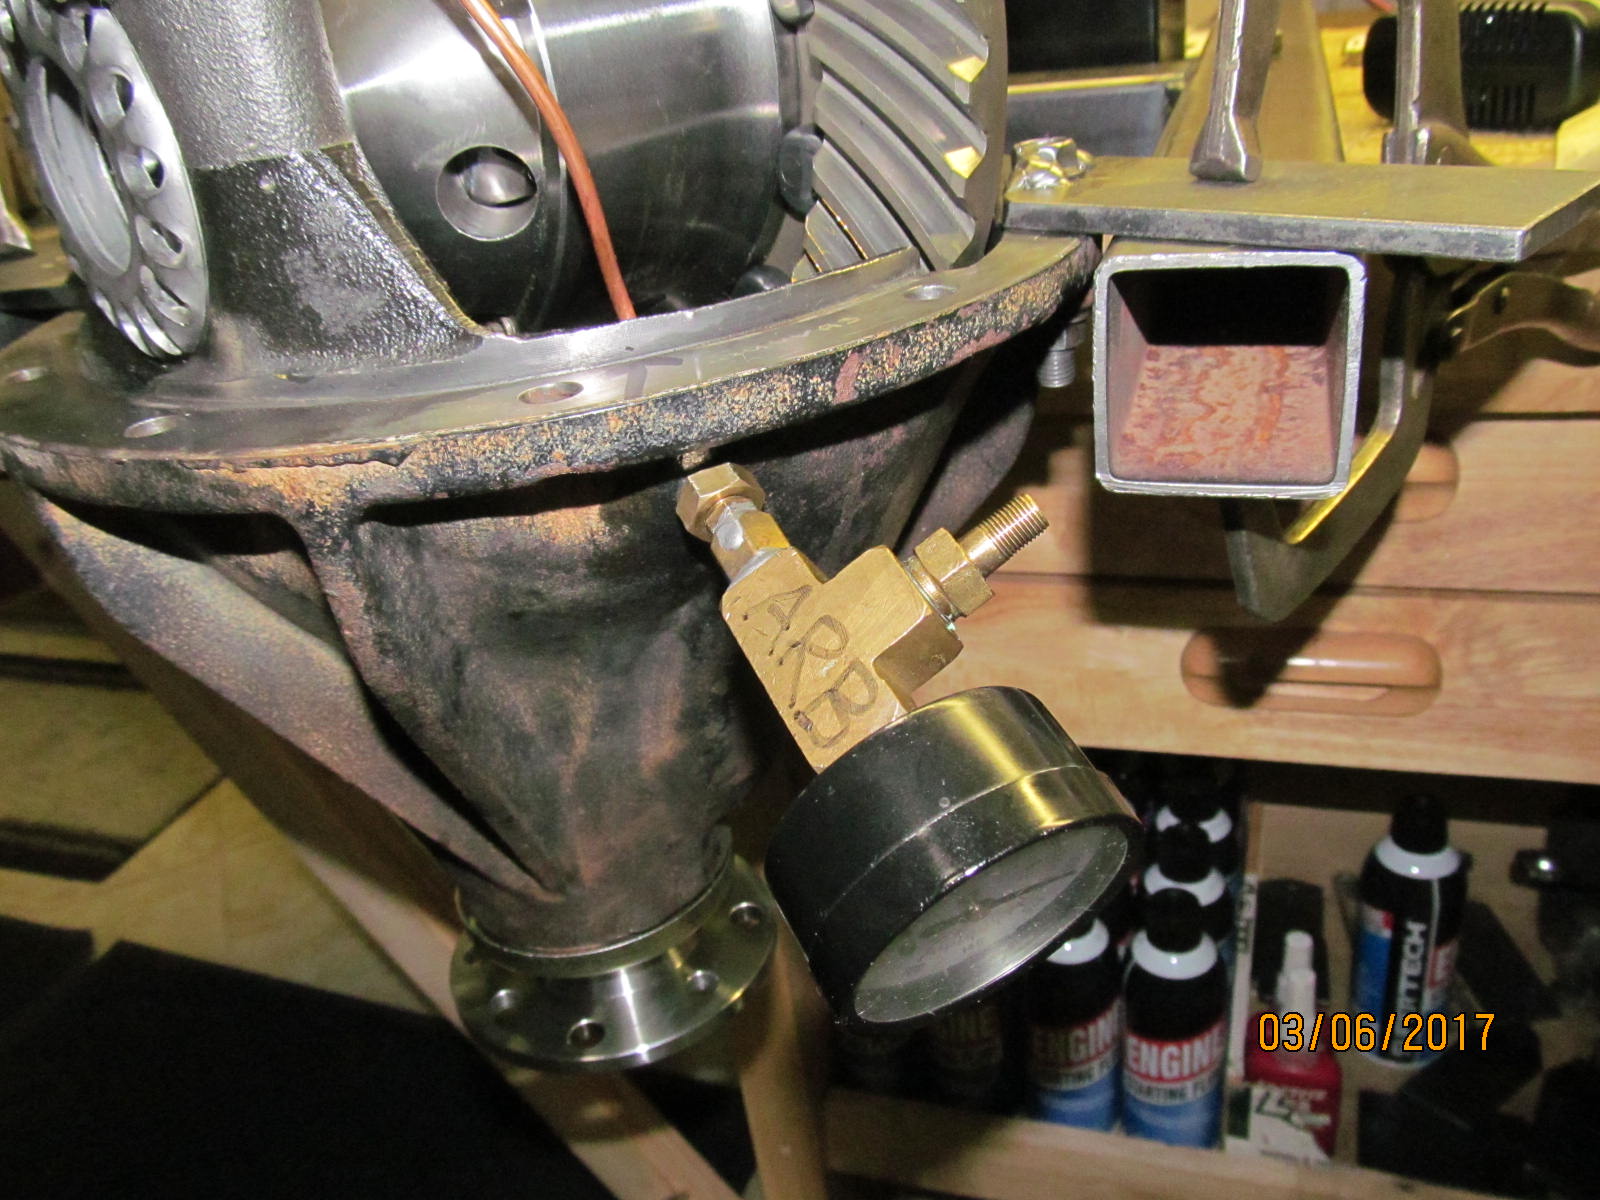
Routing of the soft copper tubing is carefully duplicated like ARB shows in the instructions.
|
|
|
|
|
Almost everybody pretty much destroys the fat o-ring by over-tightening the central compression nut. FYI
|
|
|
|
|
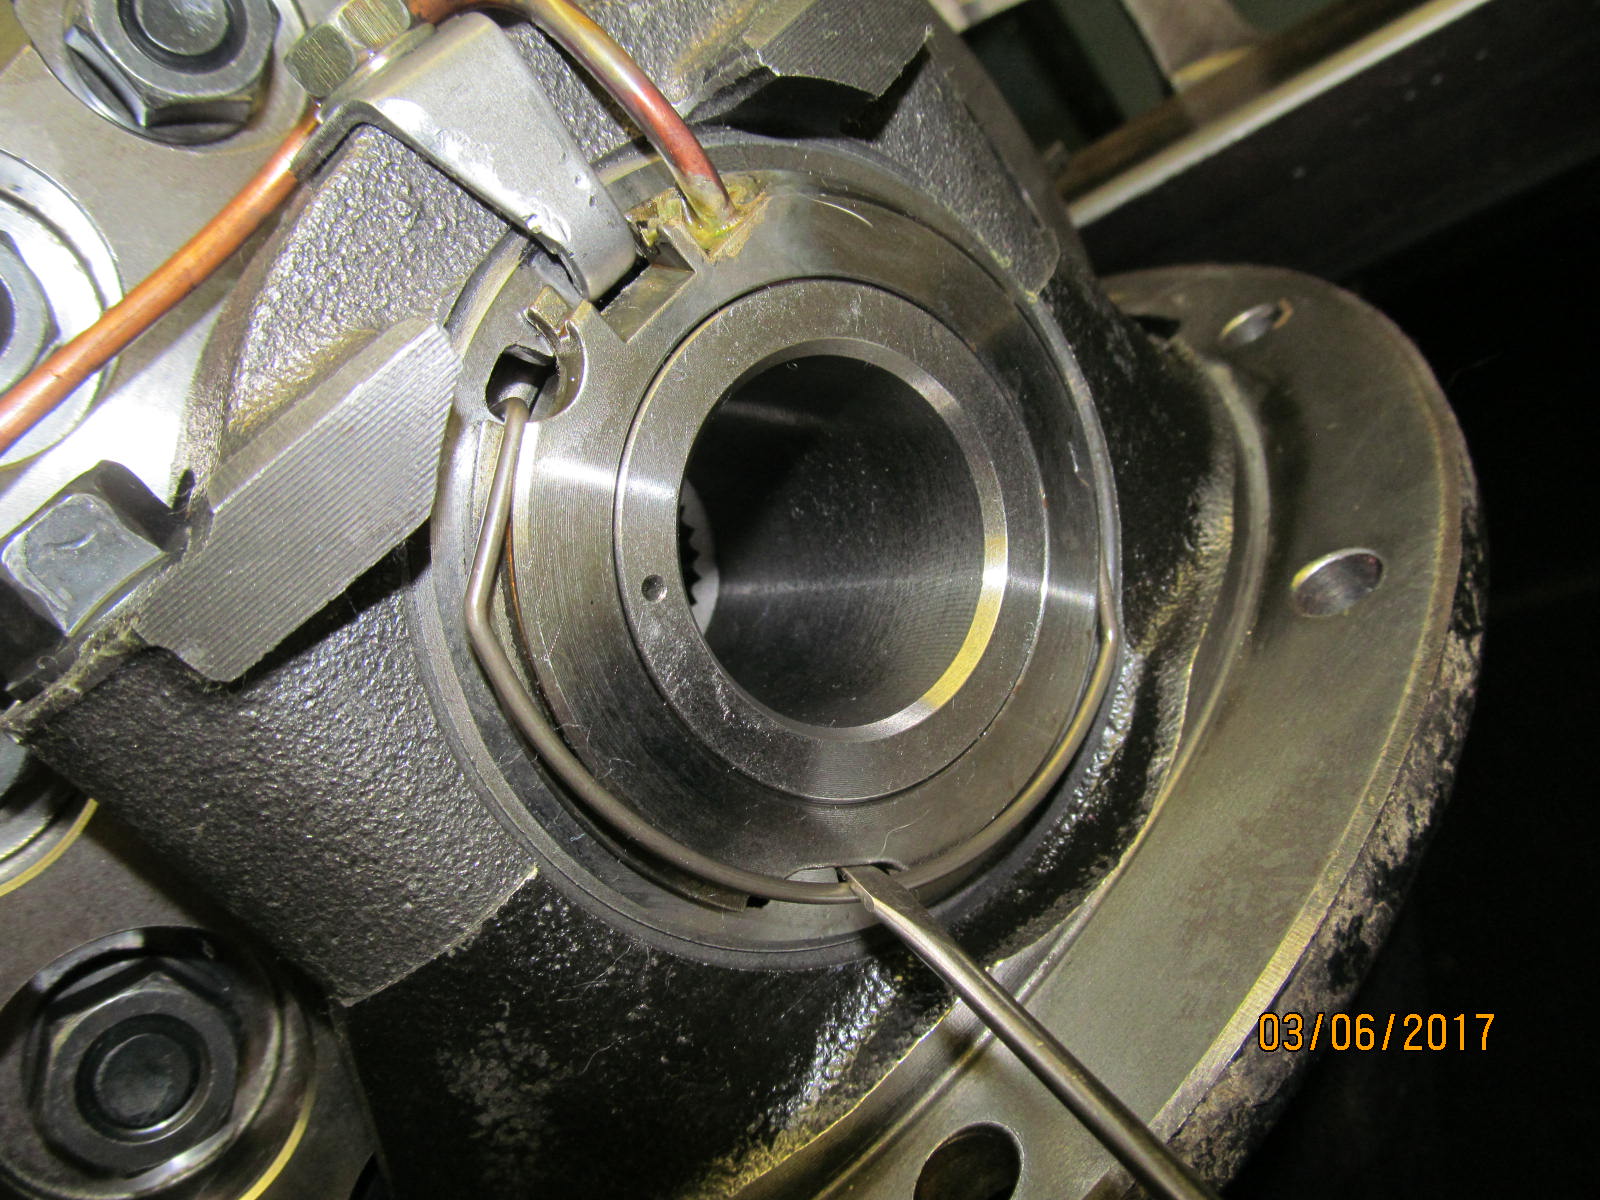
Retainer clip is installed.
|
|
|
|
|
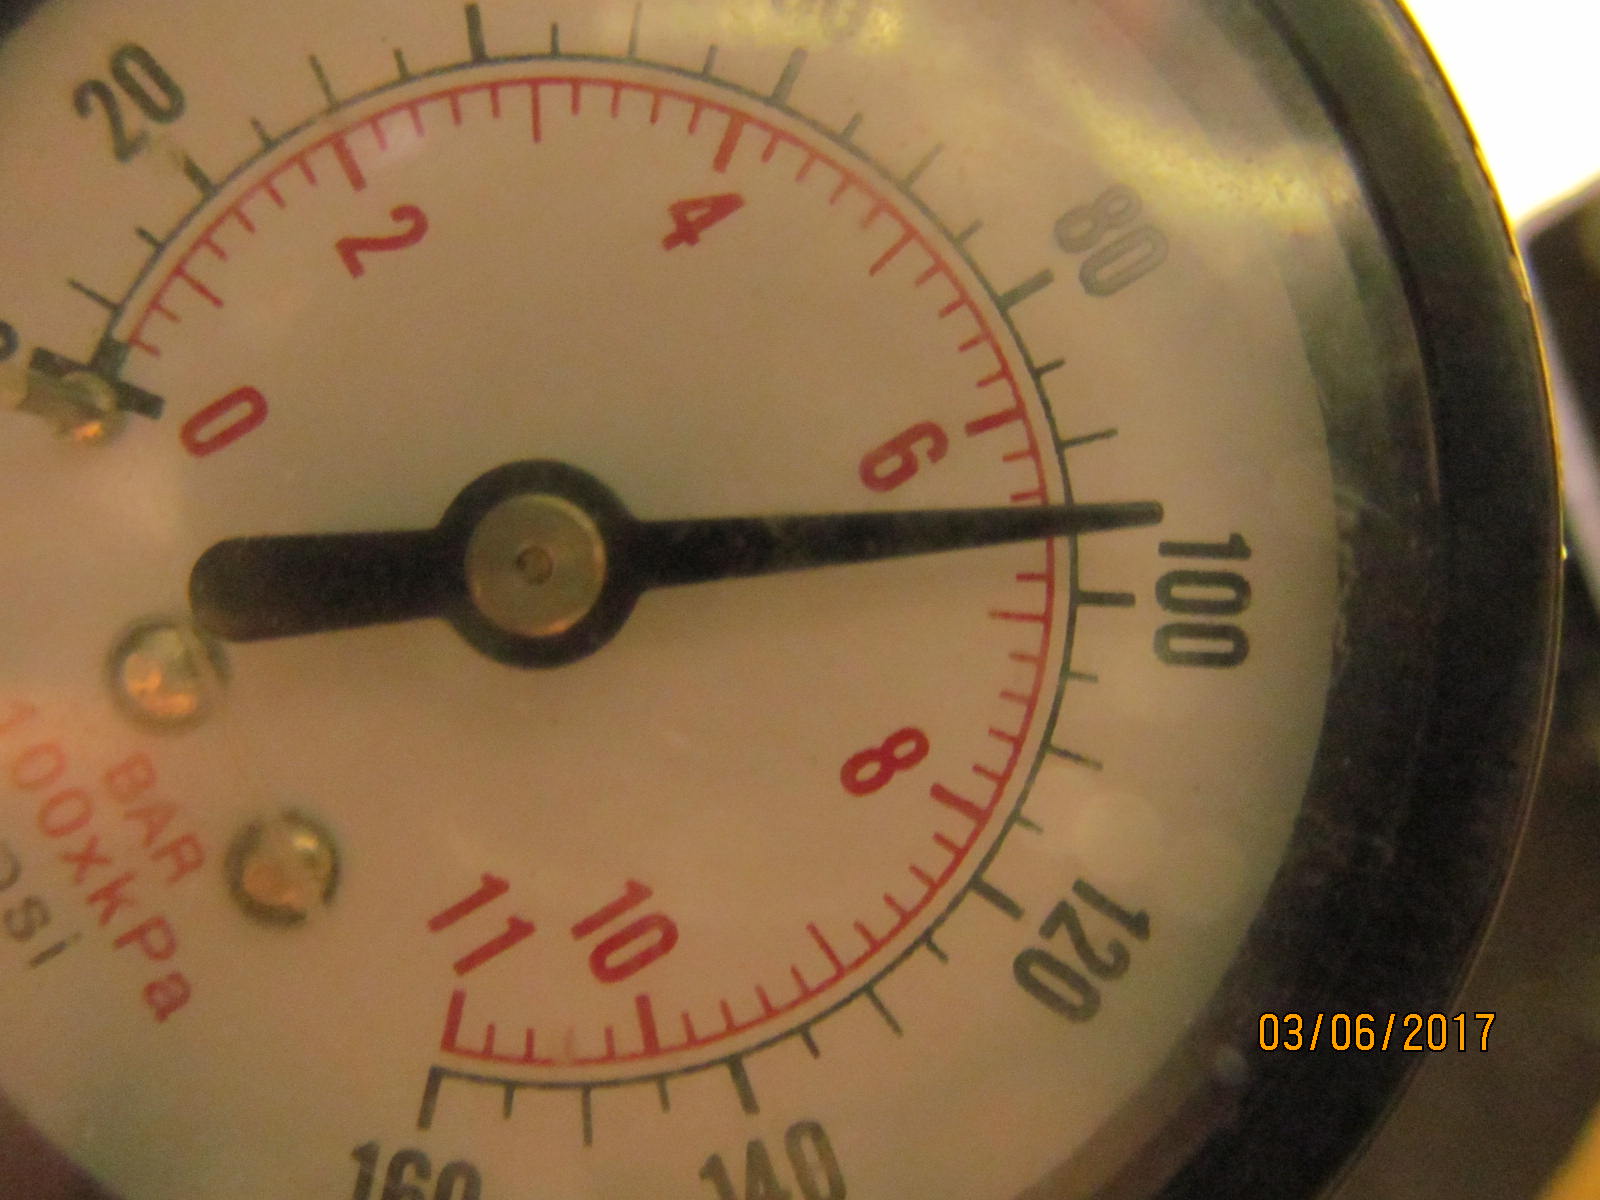
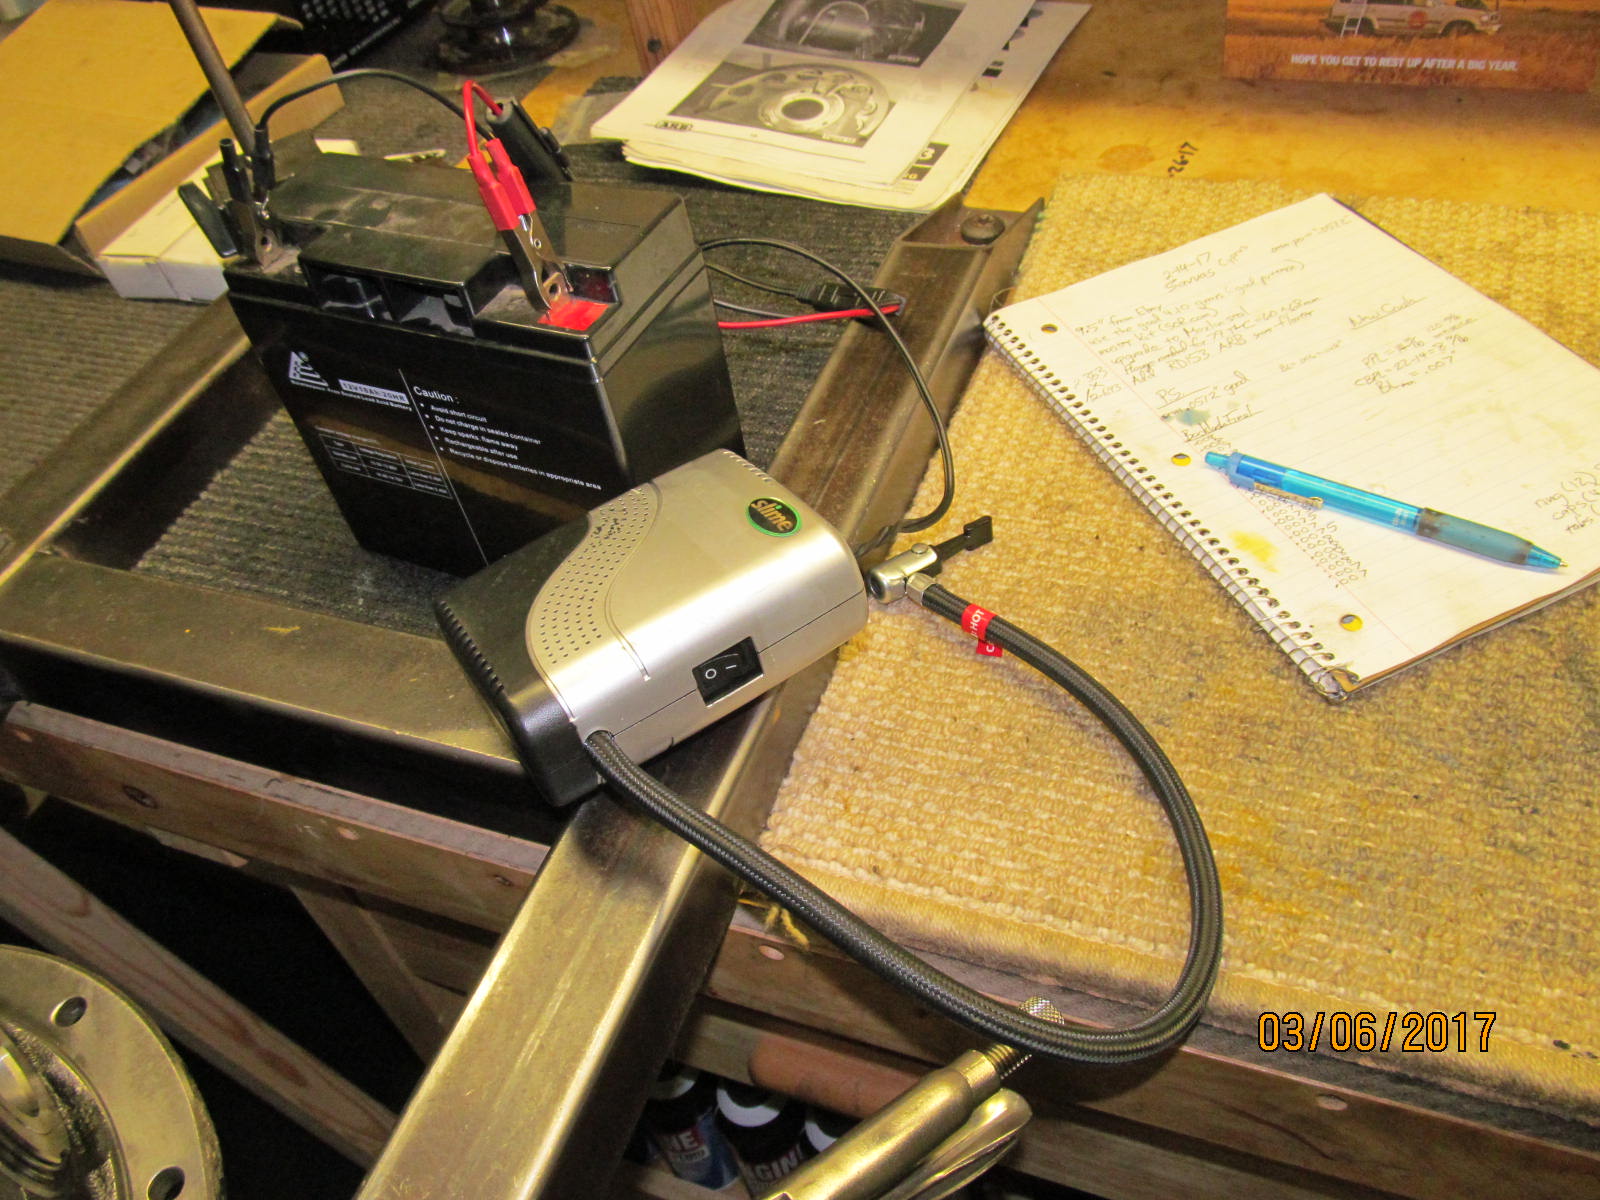
Pumped up to 95 psi.
|
|
|
|
|
This is my ARB test gauge.
|
|
|
|
|
This is the tiny Pepboys compressor that I purchased just for this sort of thing. Nice compressor for $30.
|
|
|
|
|
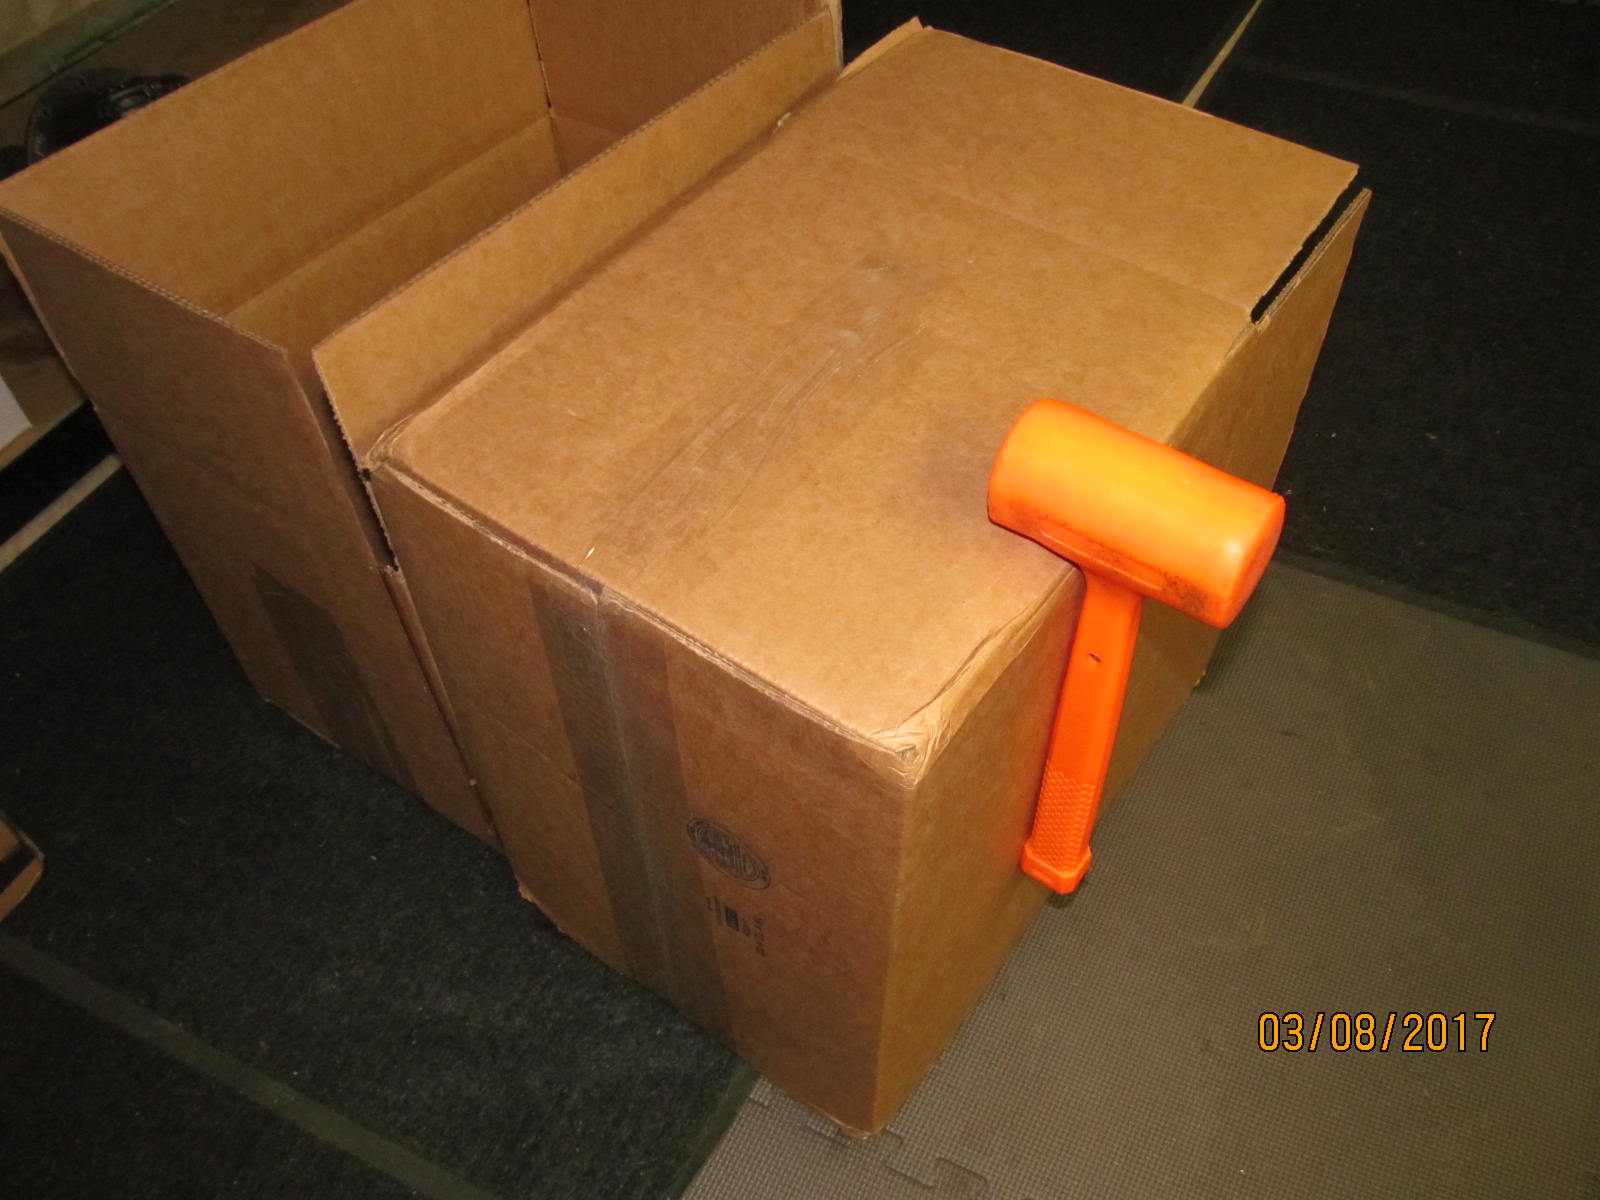
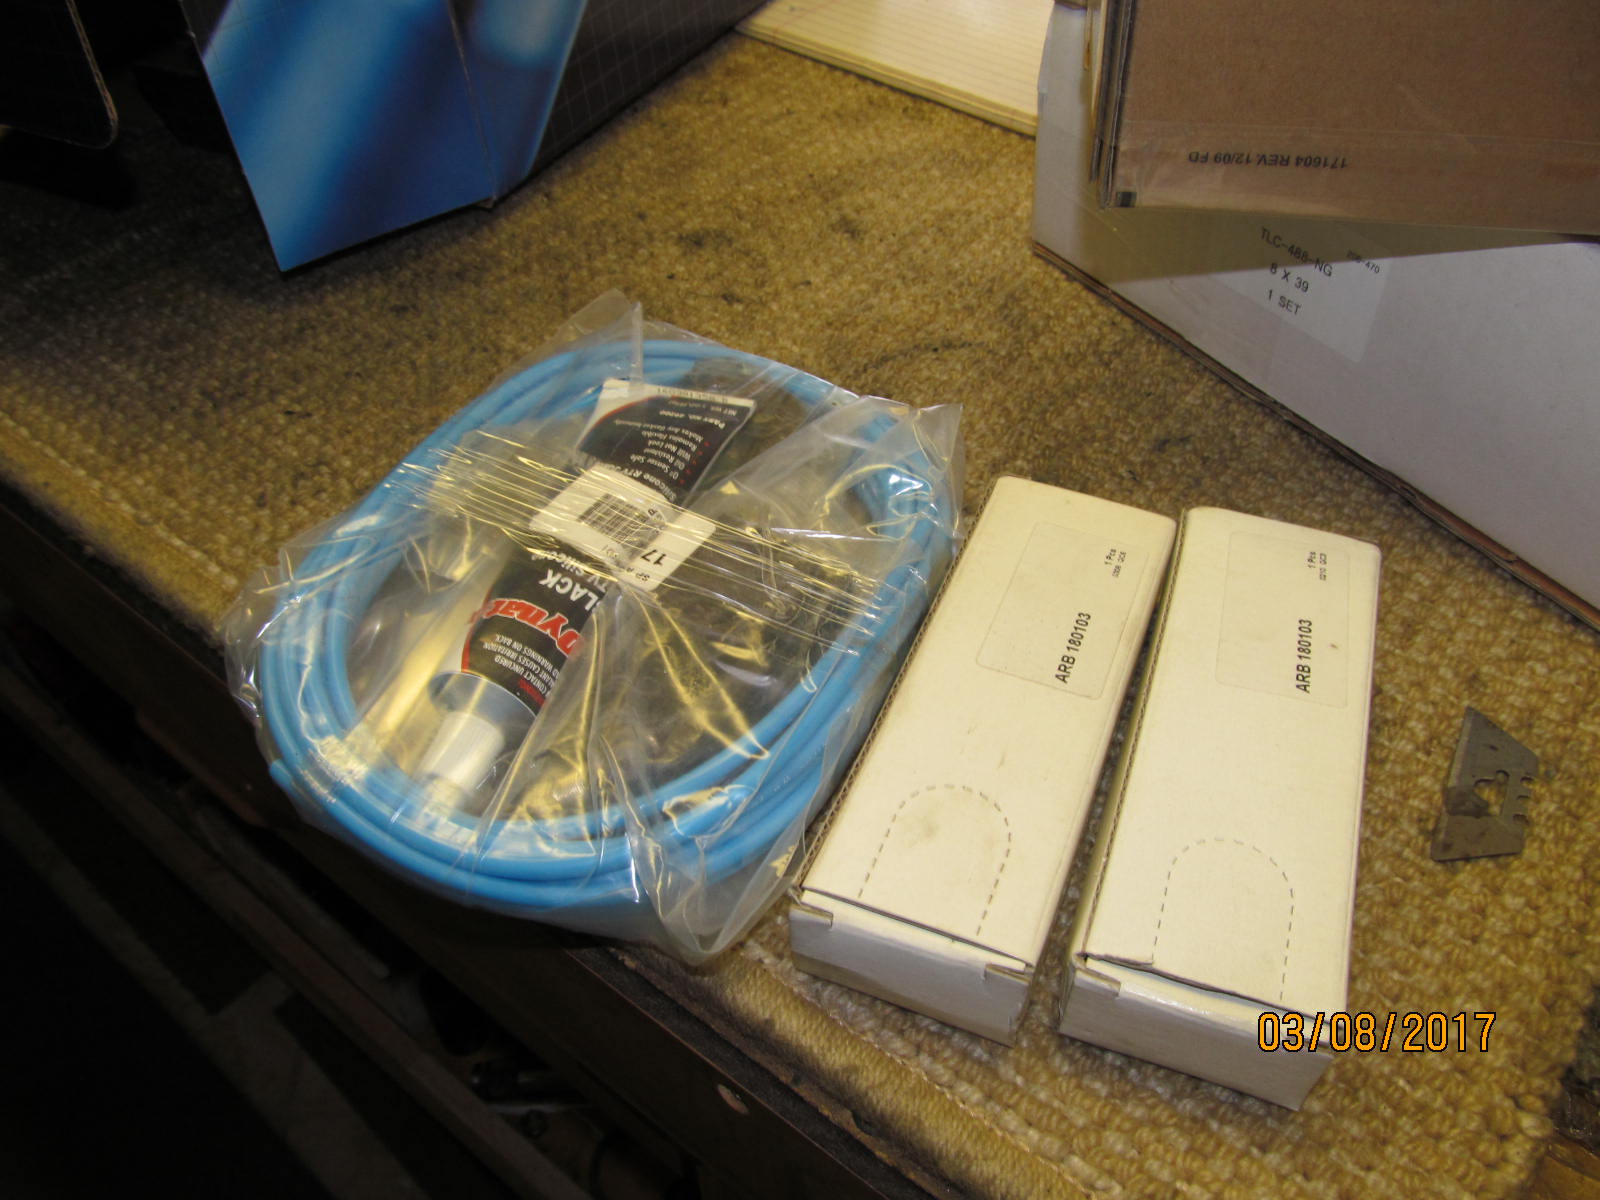
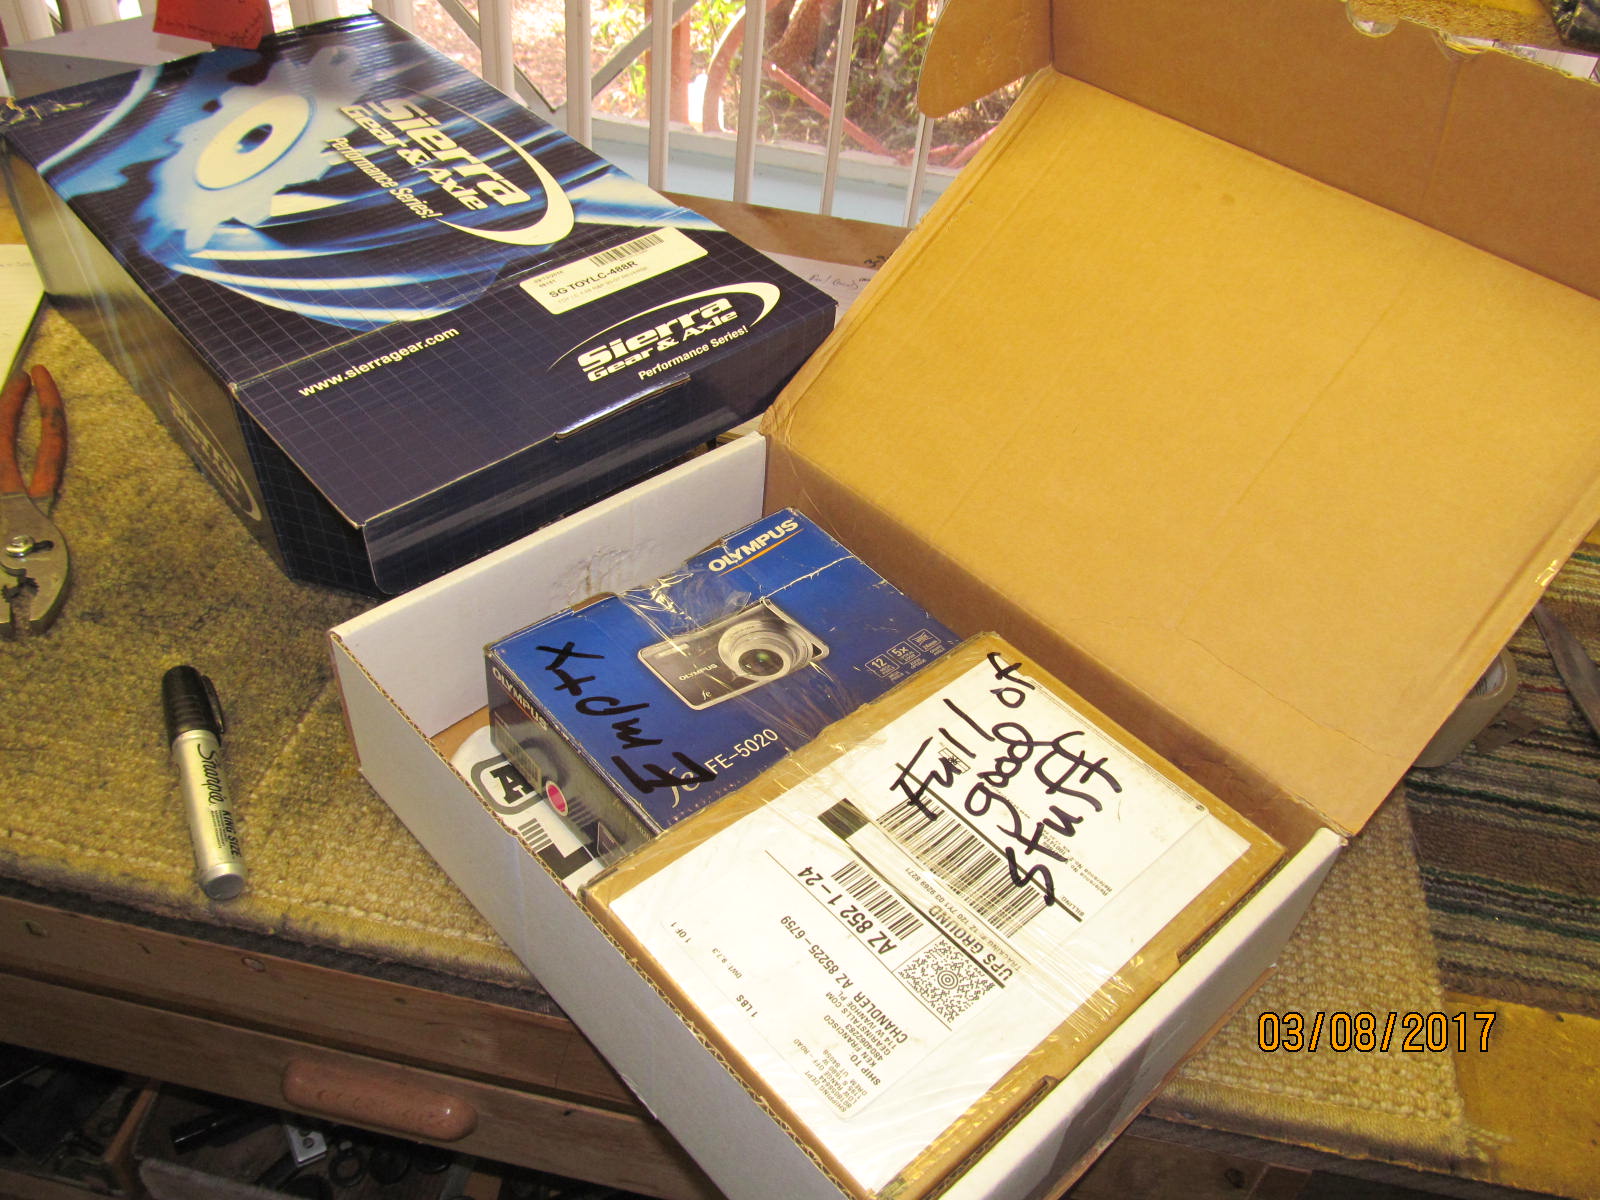
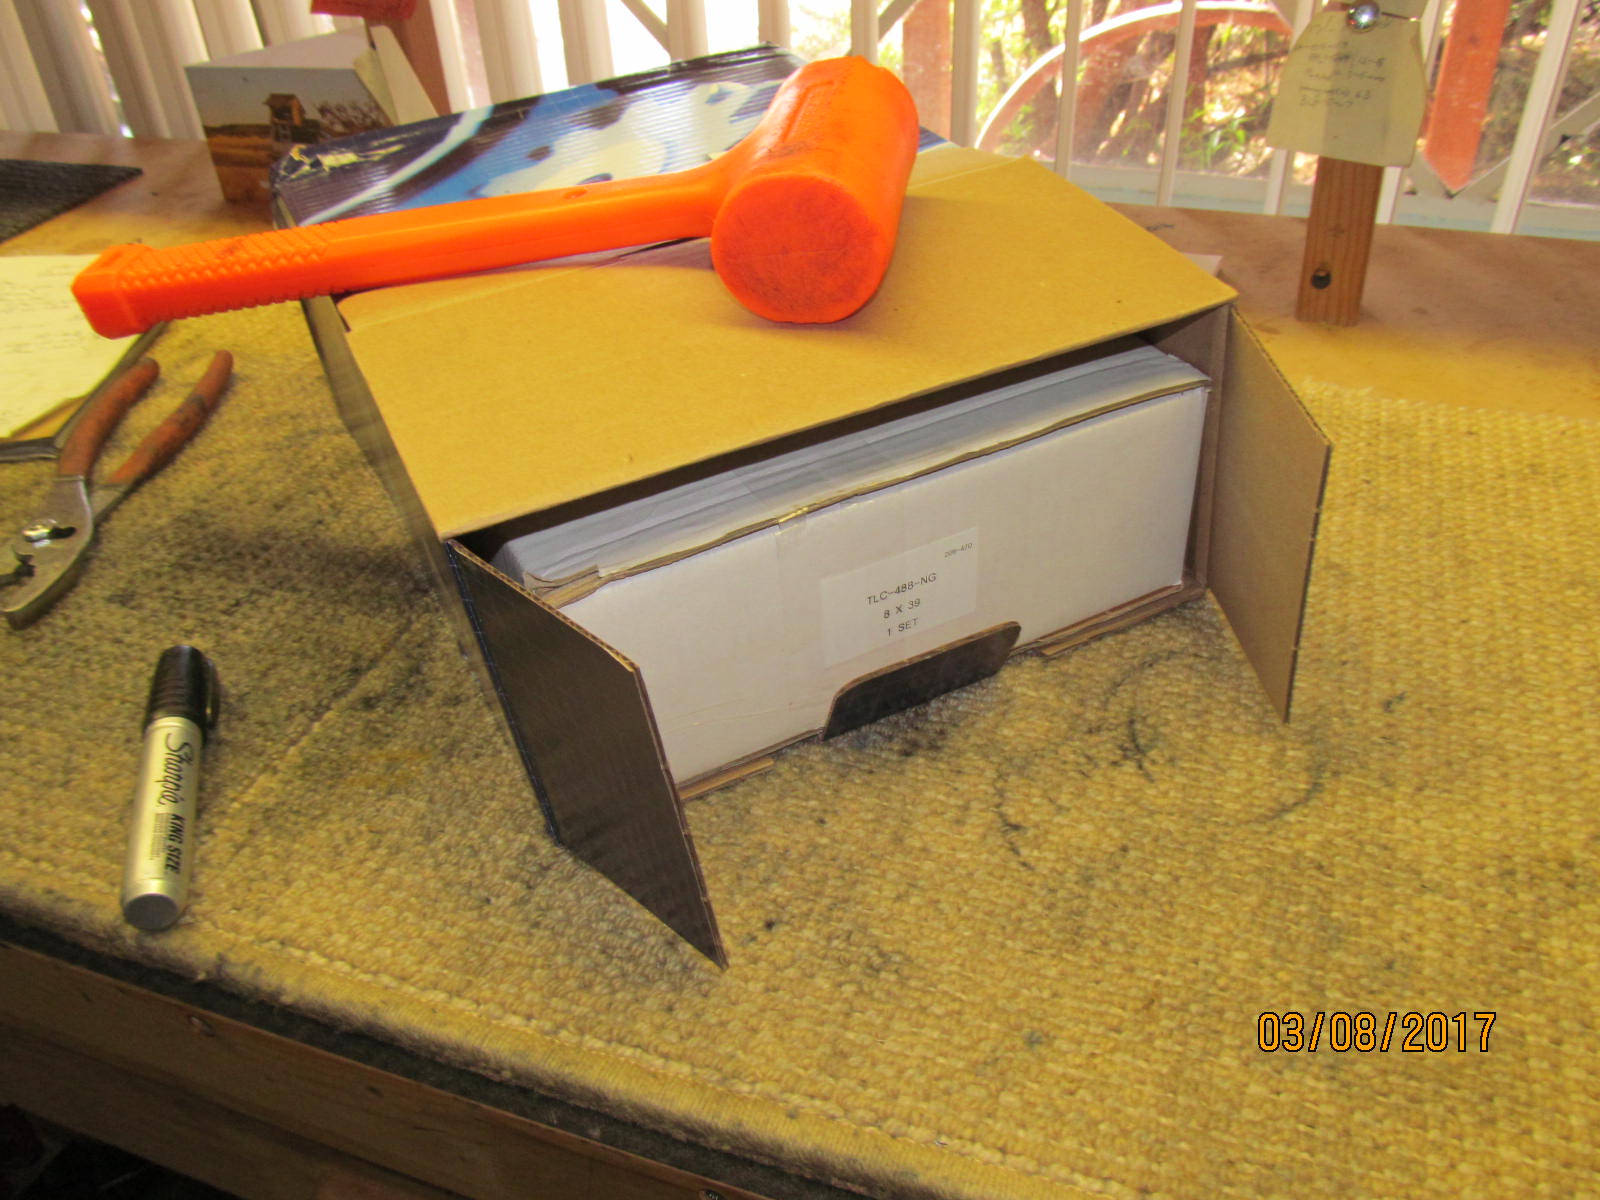
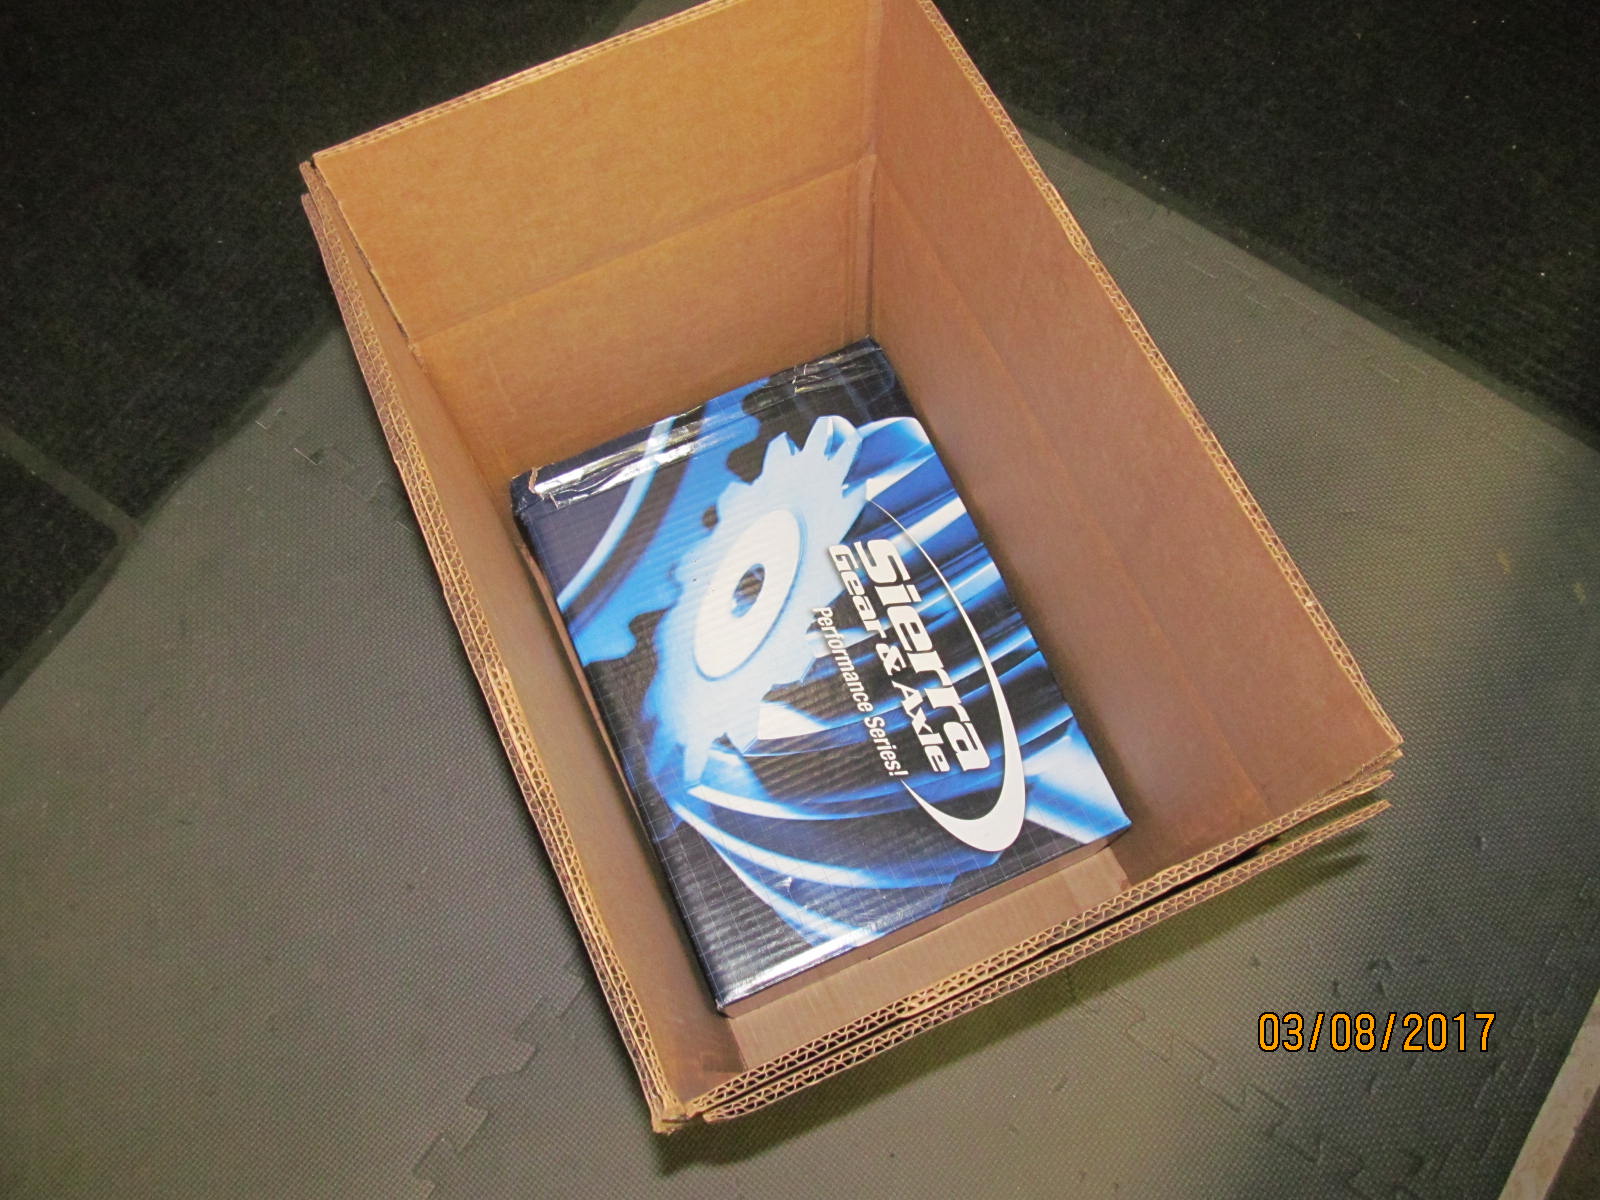
Final notes. Now to double box it with alot of cushion for the trip to Cyprus.
|
|
|

|
|
|
|
|
|
|
|
|
|
|
|
|
|
|
|
|
|
|
|
|
|
|
|
|
|
|
|
|
|
|
|
|
|
|
|
|
|
|
|
|
|
|
|
|

|