| Shaun's 2016 Tacoma with 8.75" elocker gets CRYO treated 529 Nitro Gears |
|---|
| (77 BIG pics loading) |
|---|
| JAN 4 2019 |
|---|
|
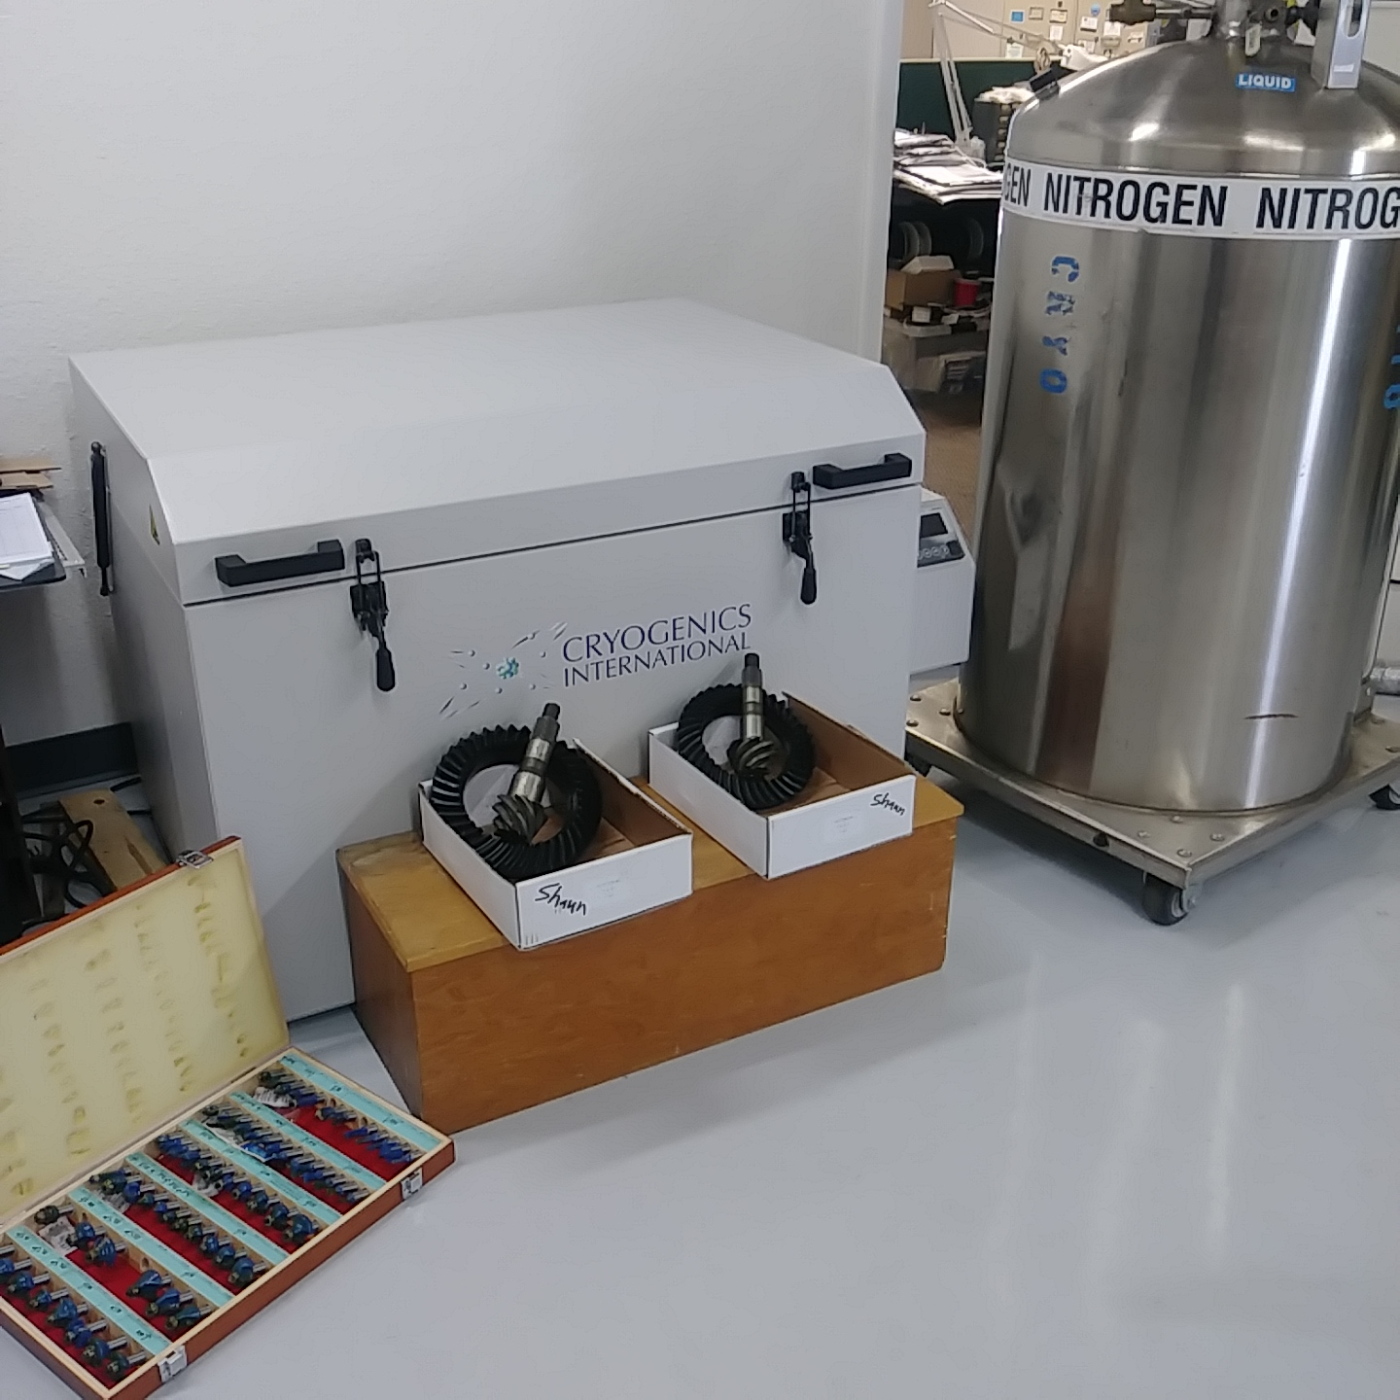
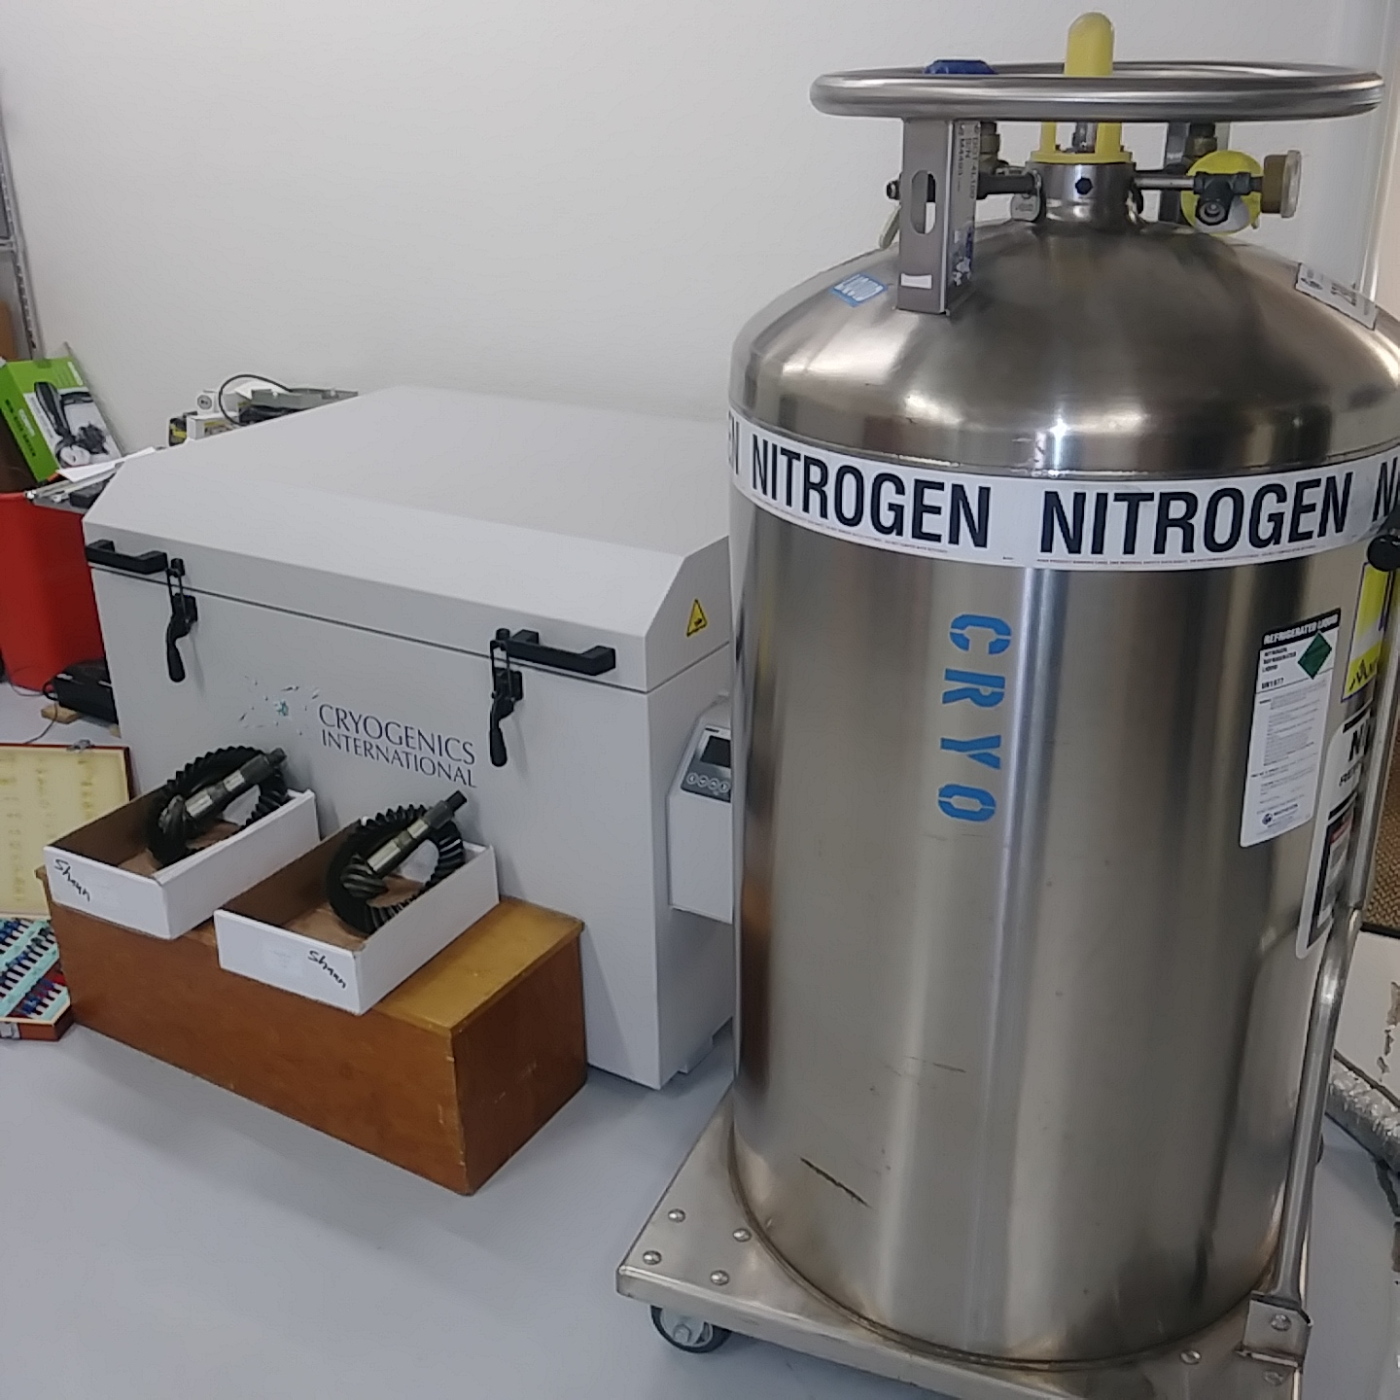
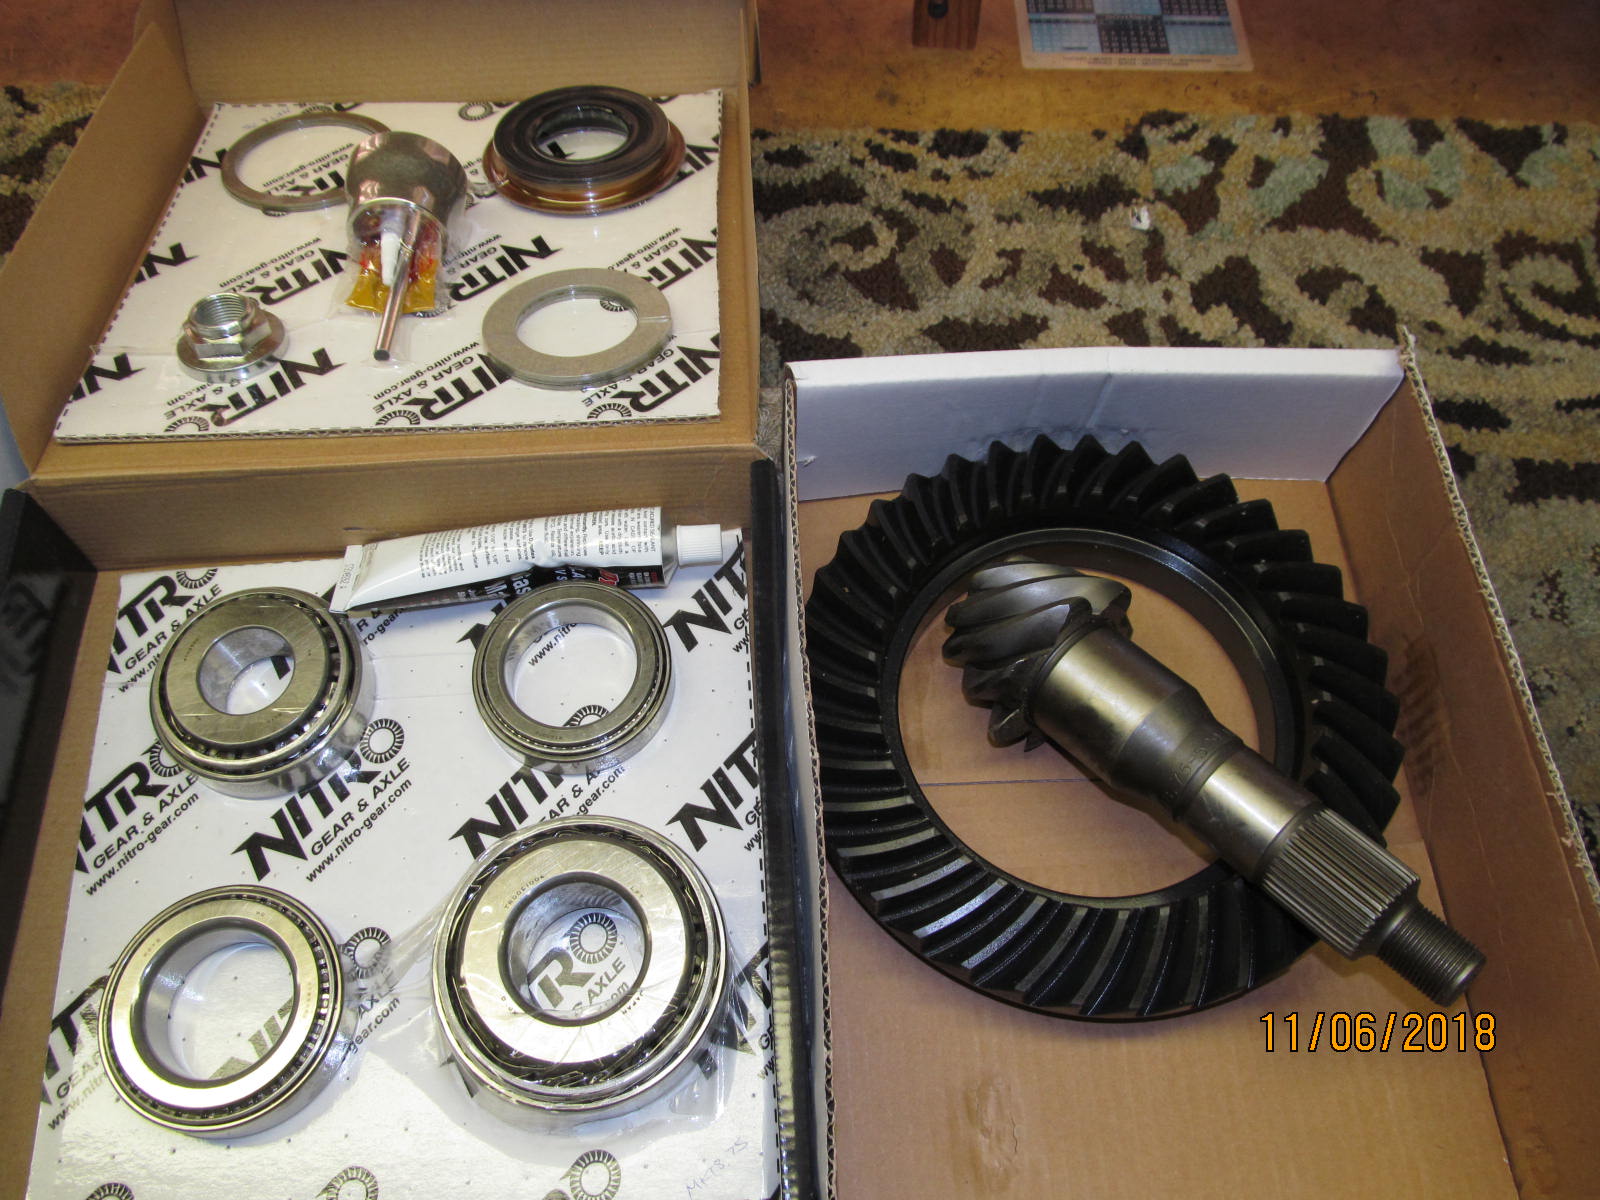
| Shaun's 529 Nitro gears are going to cryo CryogenicsInternational.
|
|---|
|

|
| Many other items can be cryo'd including these milling bits. |
|---|
|
|
| Liquid nitrogen can get the parts down to about -310 F. |
|---|
|
|
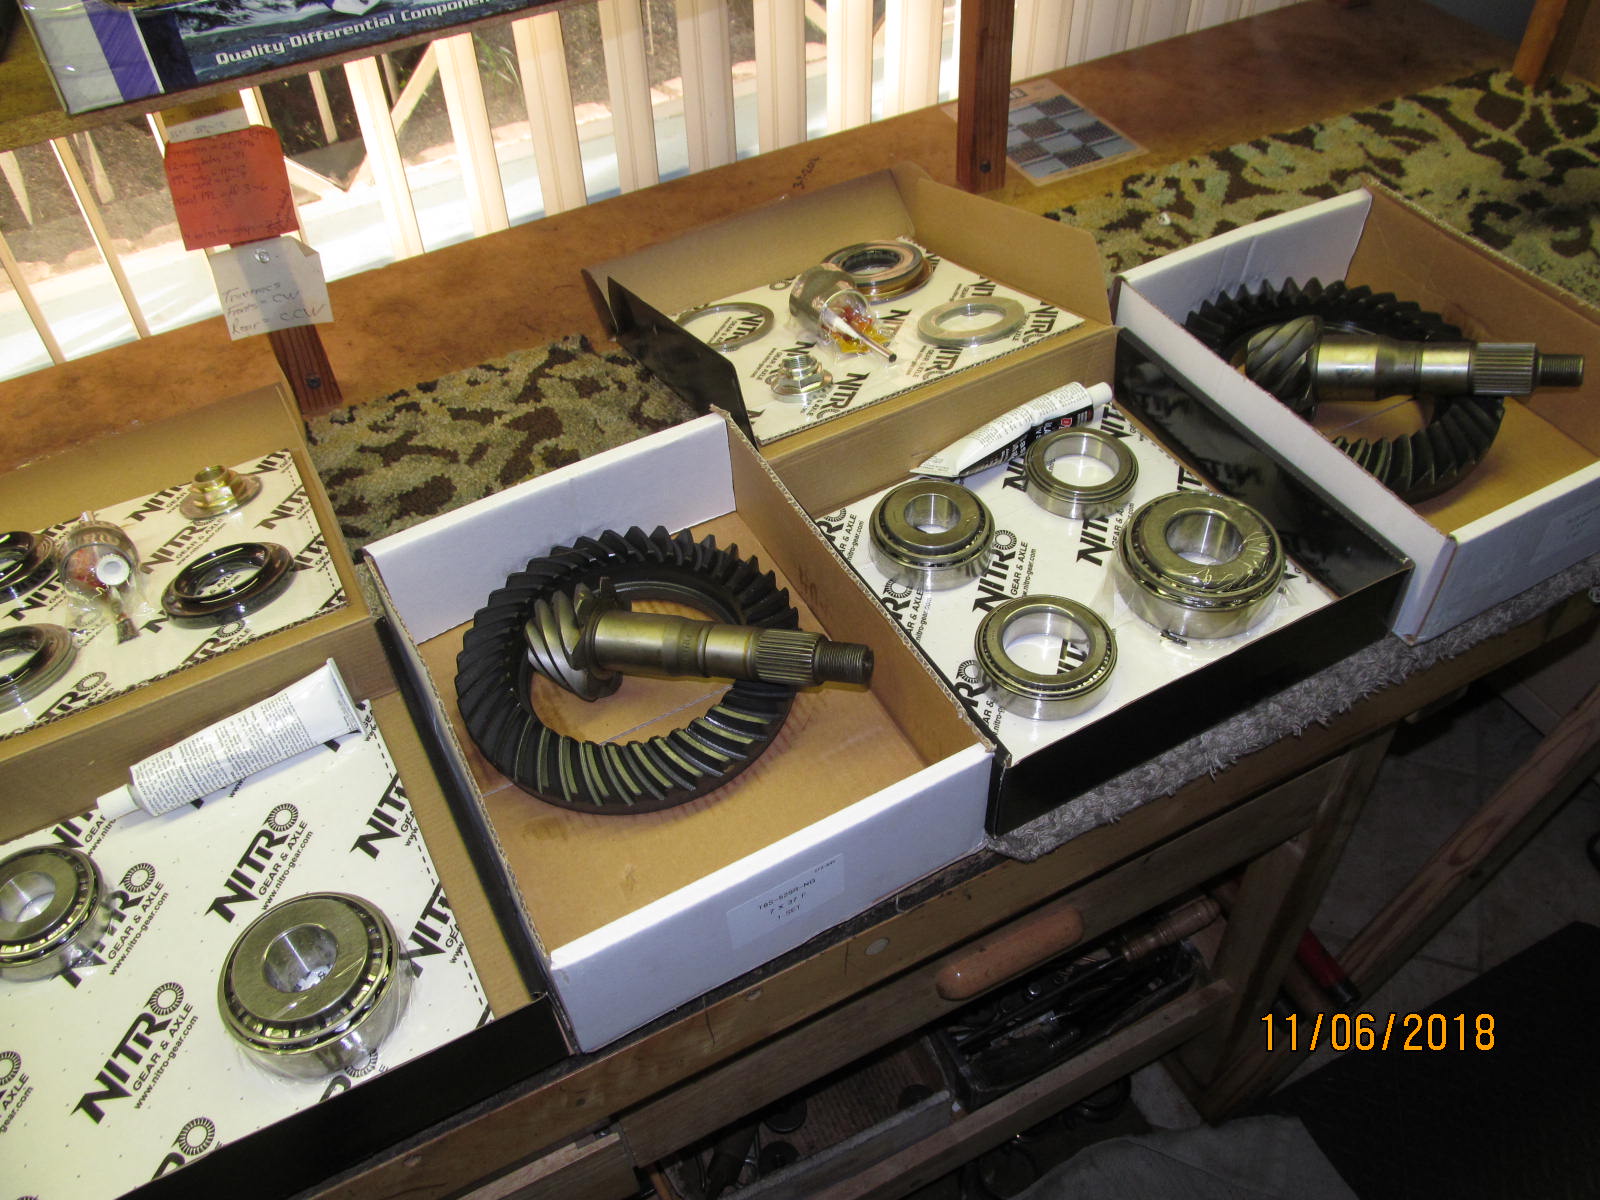
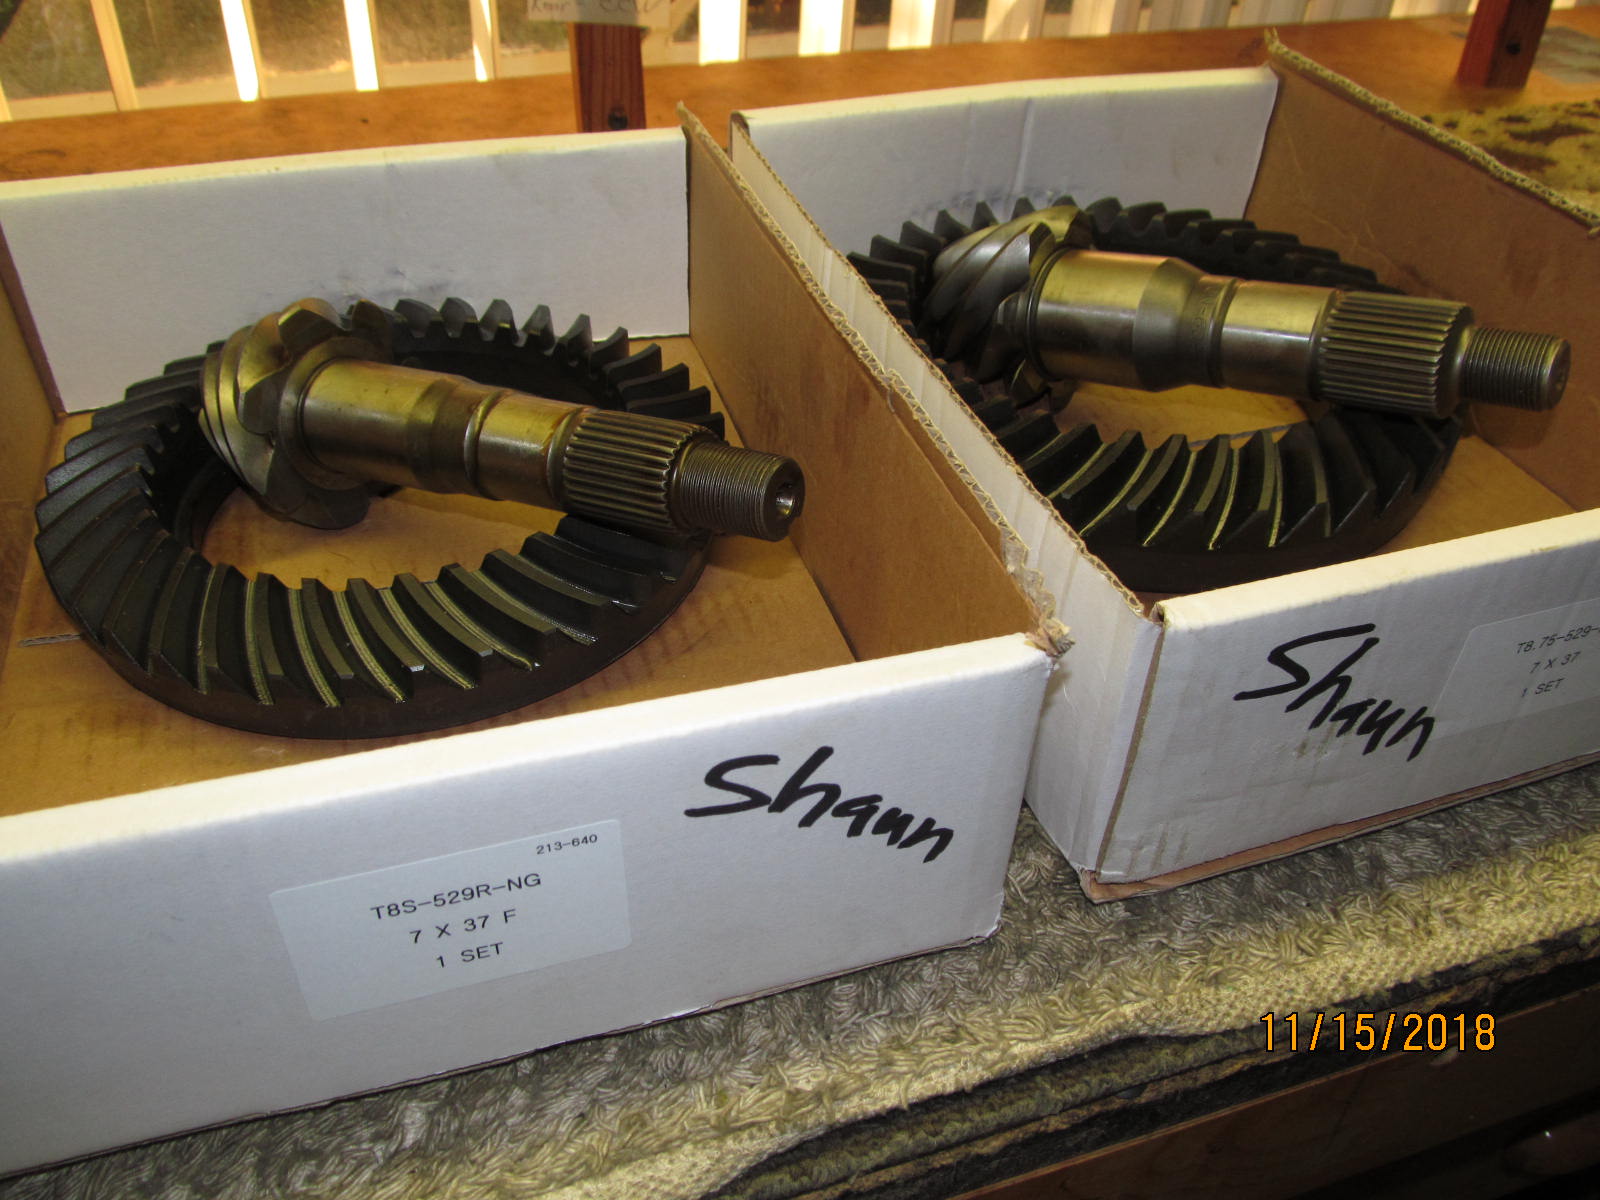
Ring/pinions back from cryo. Shaun decided that the 529 gears will go very nicely with 35" tires.
The cryo operation makes the gears tougher and they will take much greater abuse. |
|---|
|
|
Front 8" Nitro gears for the 8" clam. So, even though the 2016 Taco has a 6 speed manual with 2 overdrives. 5th gear is the
usual .85 OD and 6th gear is an amazing .71 OD which means that 529 gears are still a good deal on the highway. |
|---|
|
|
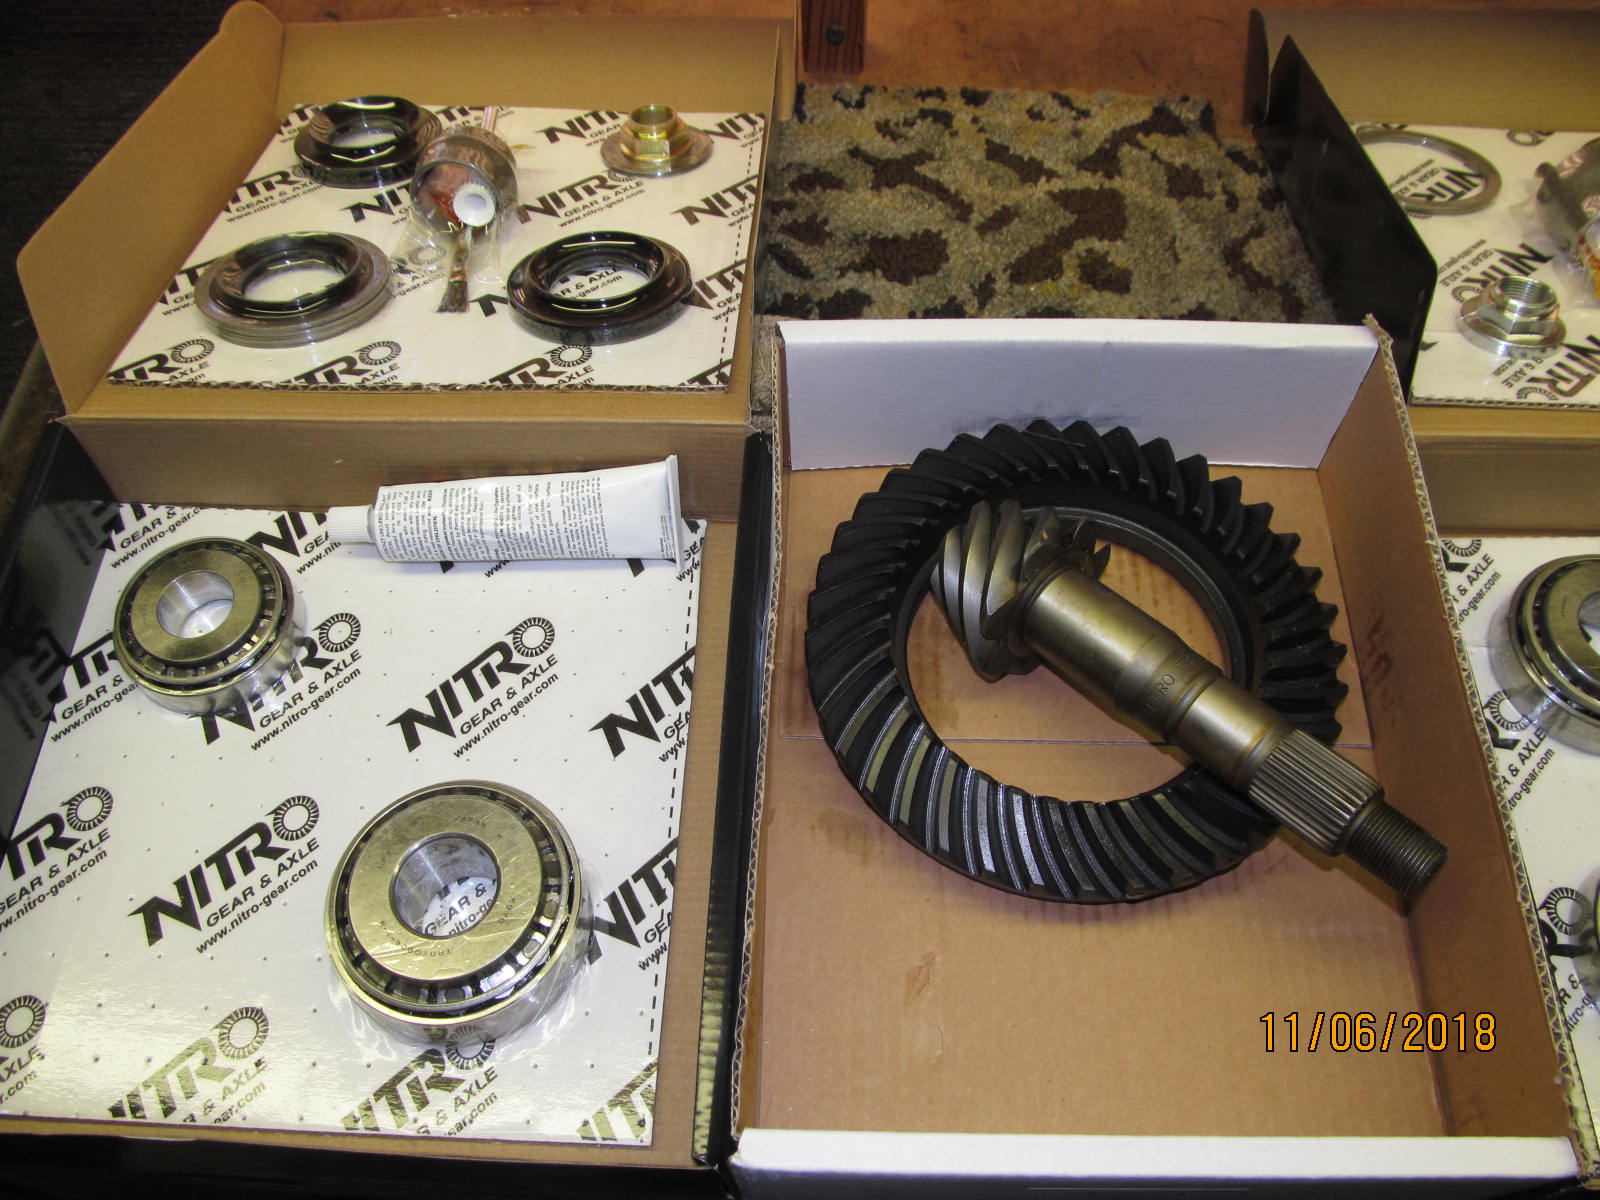
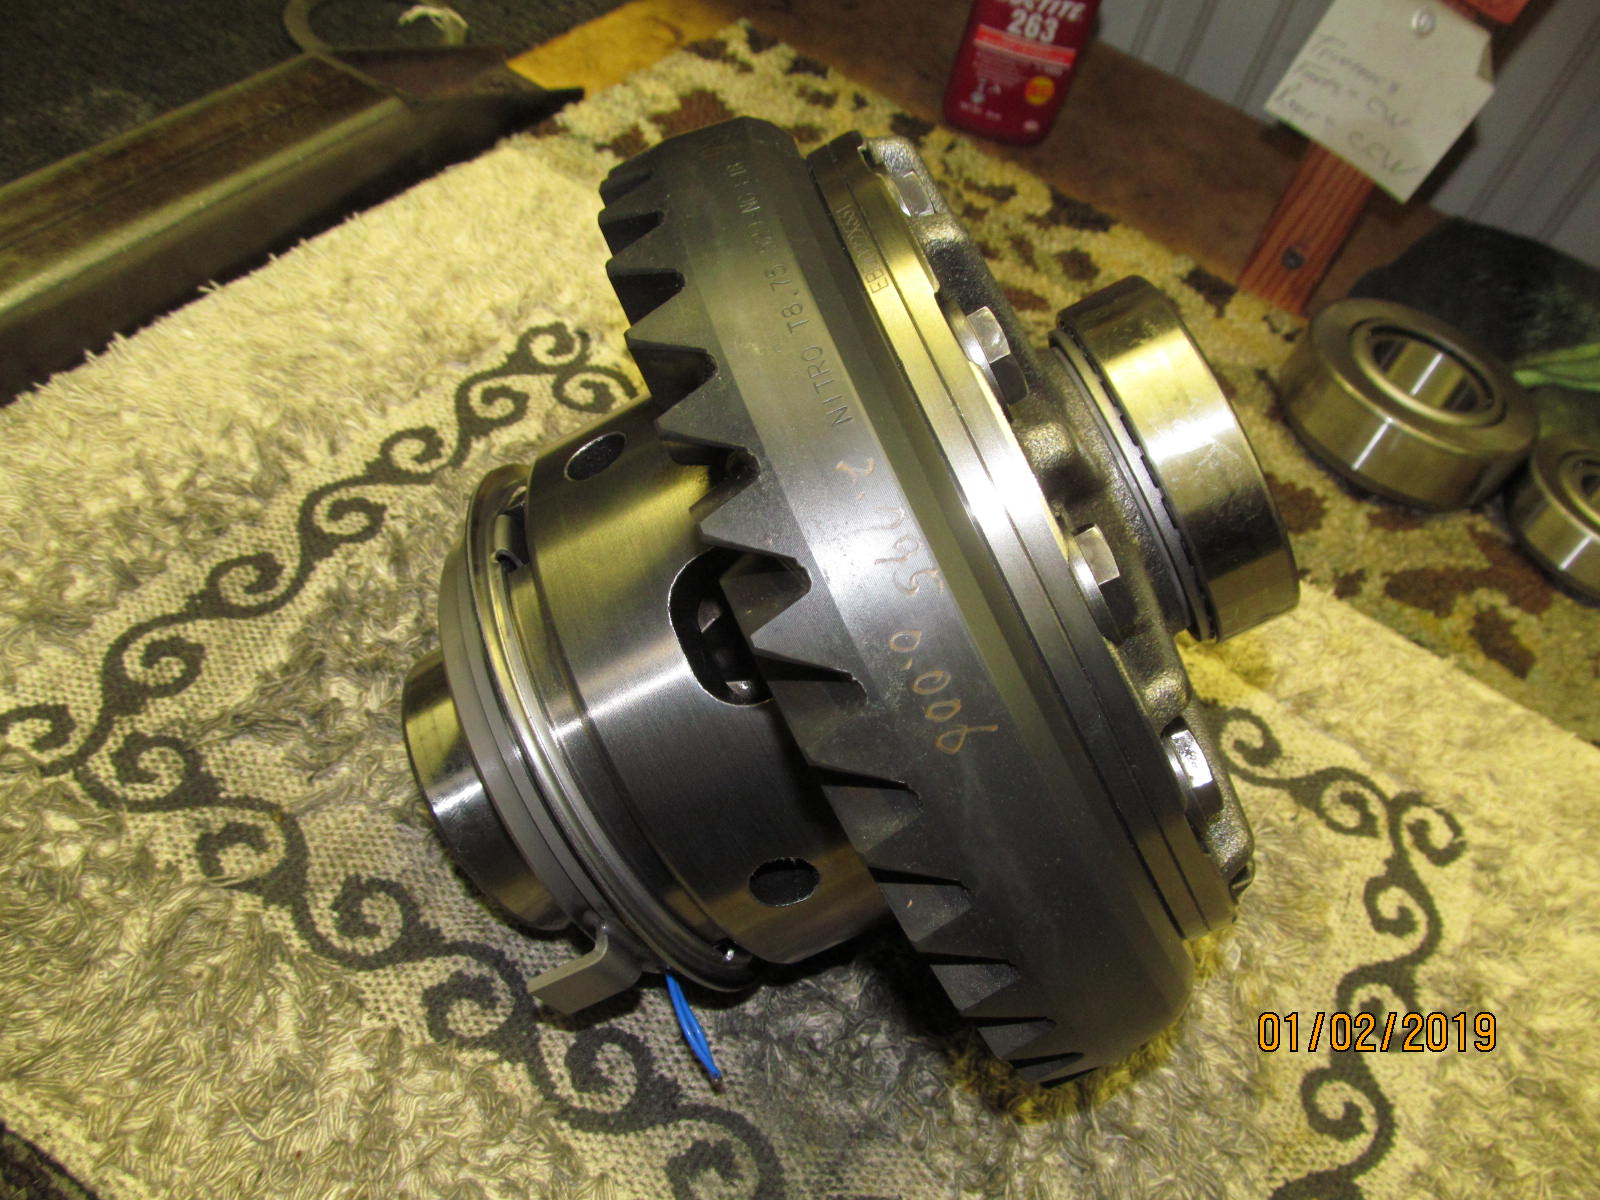
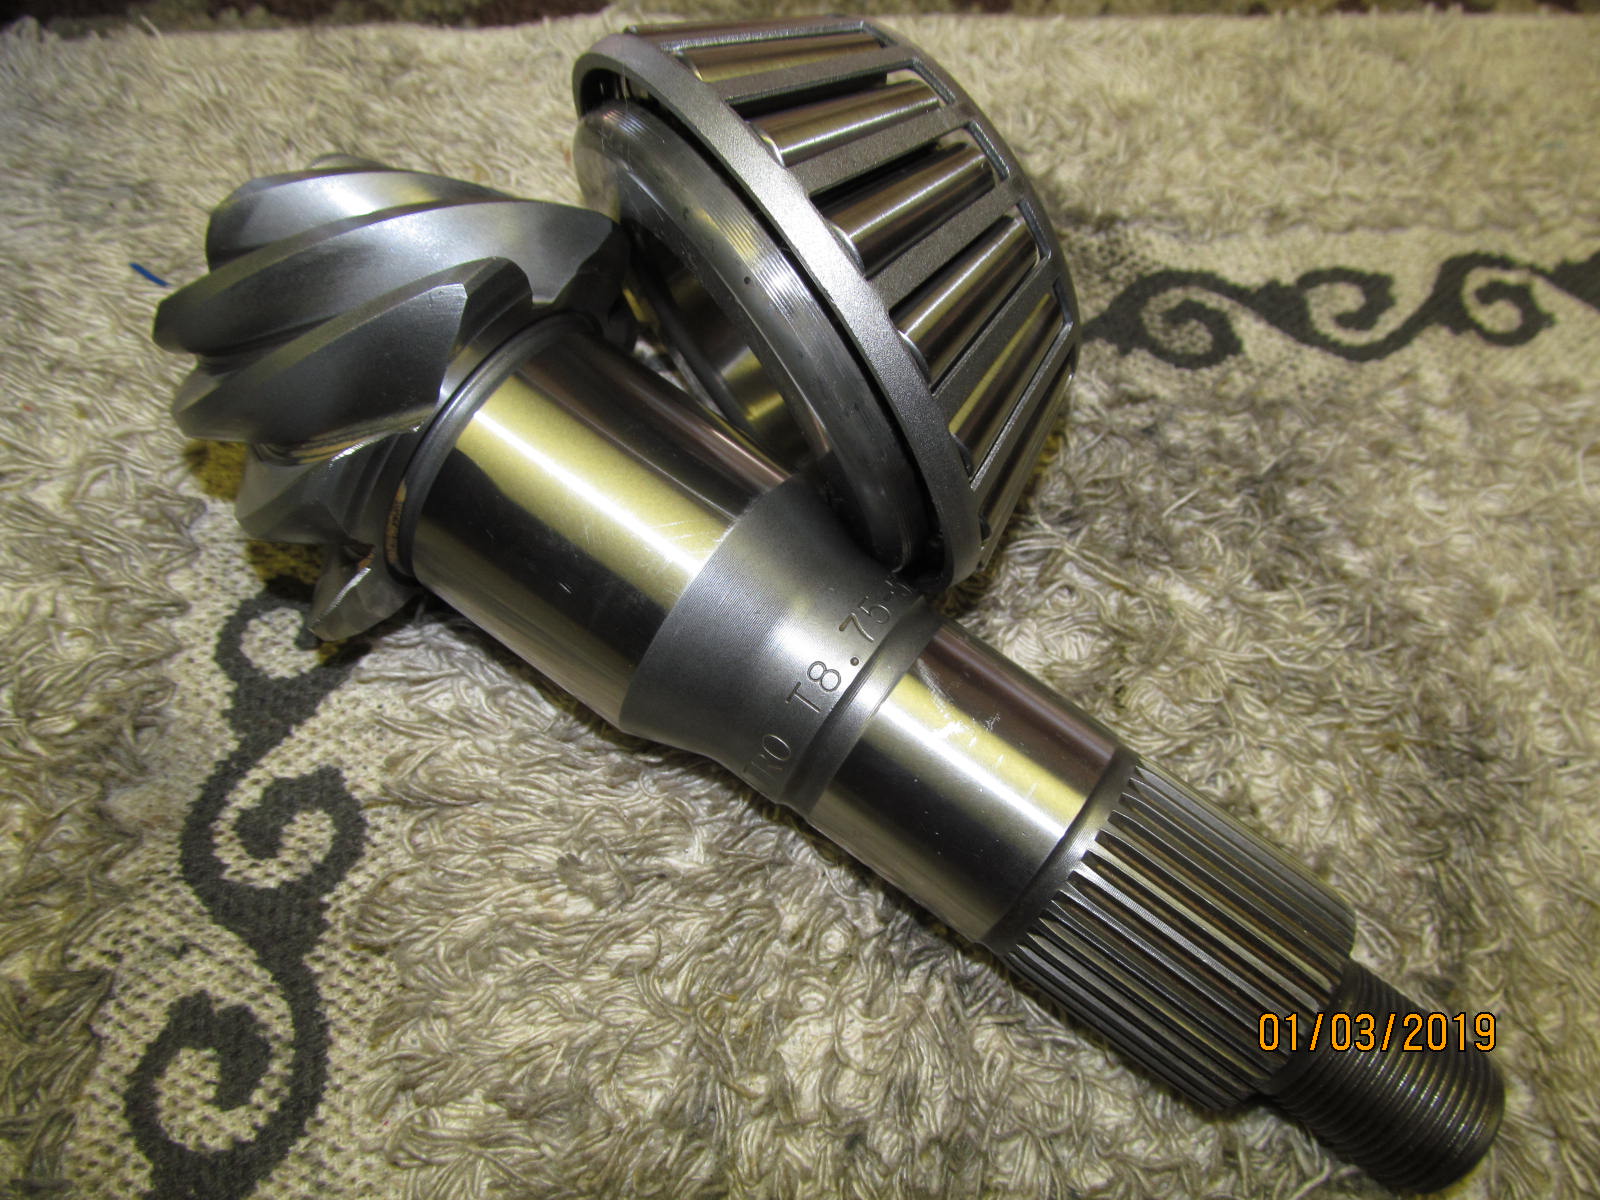
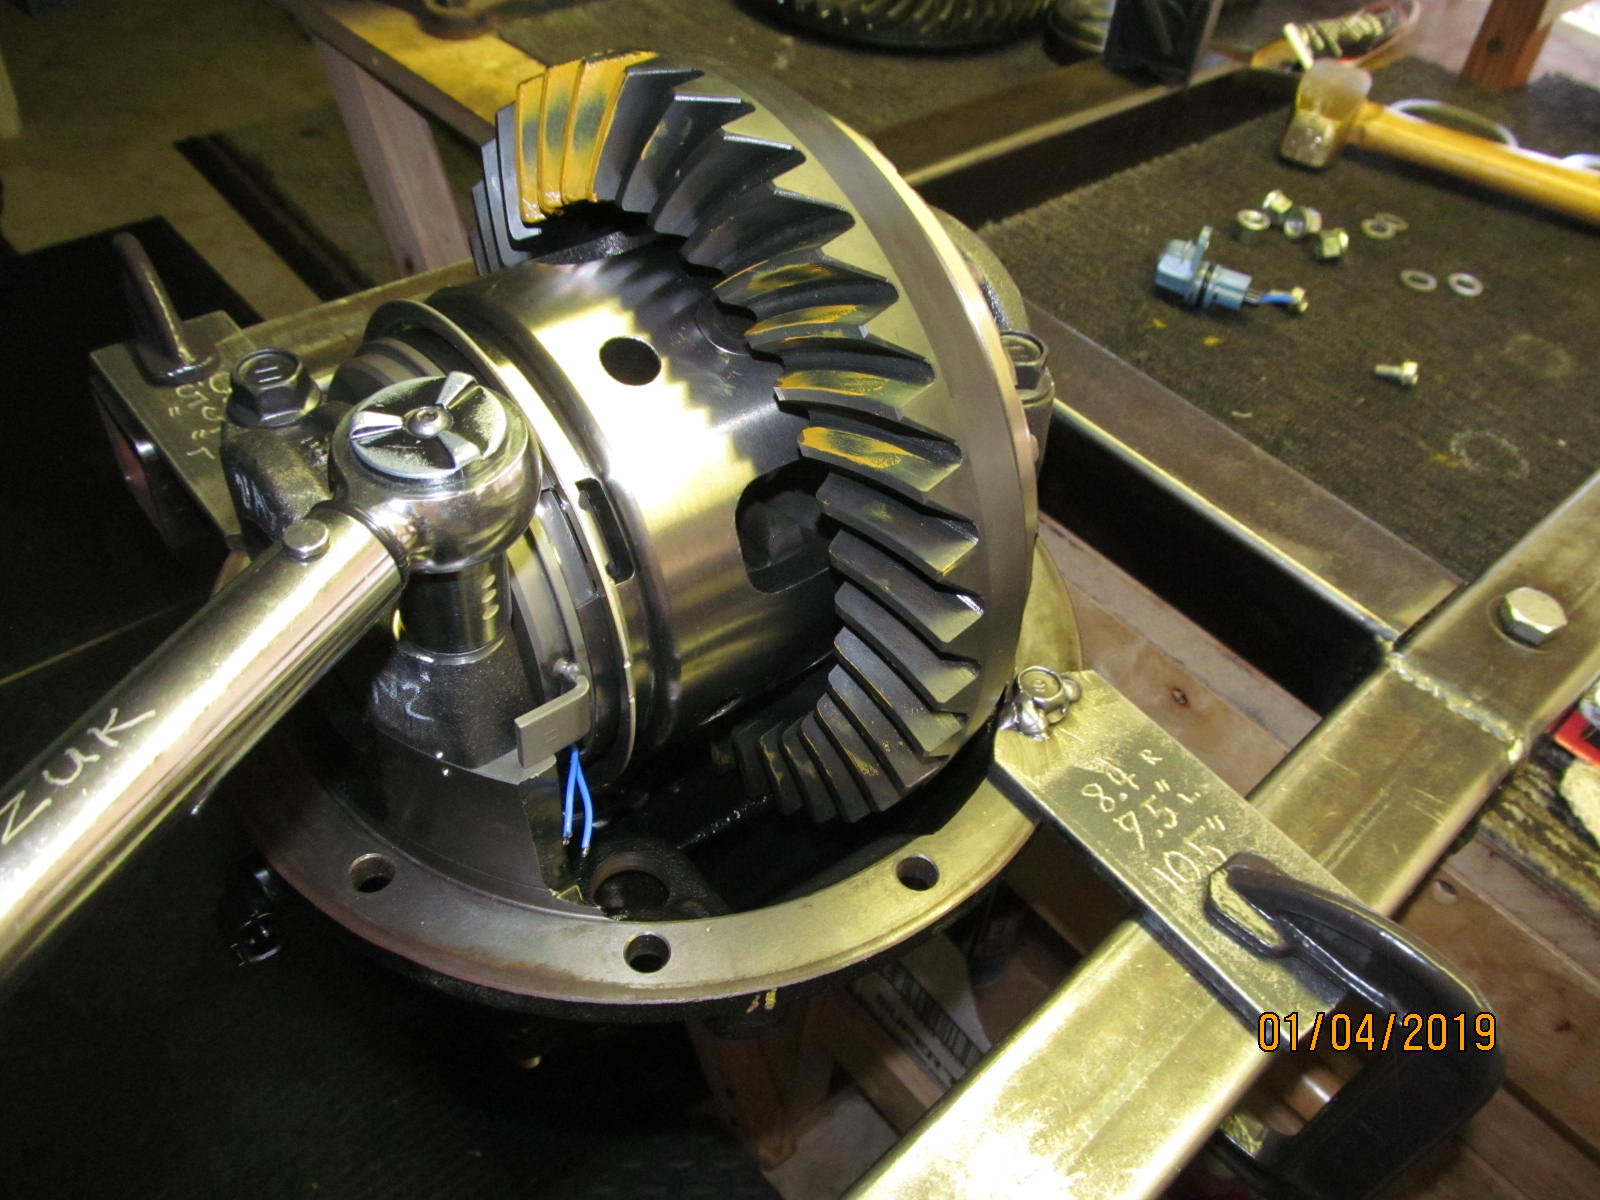
| Here's the rear Nitro 8.75" 529...that's a massive 32 spline pinion. |
|---|
|
|
| 8" front on the left and the 8.75 on right. A very massive pinion on the 8.75". |
|---|
|

|
| This write-up is about the rear 8.75" gear install. |
|---|
|
|
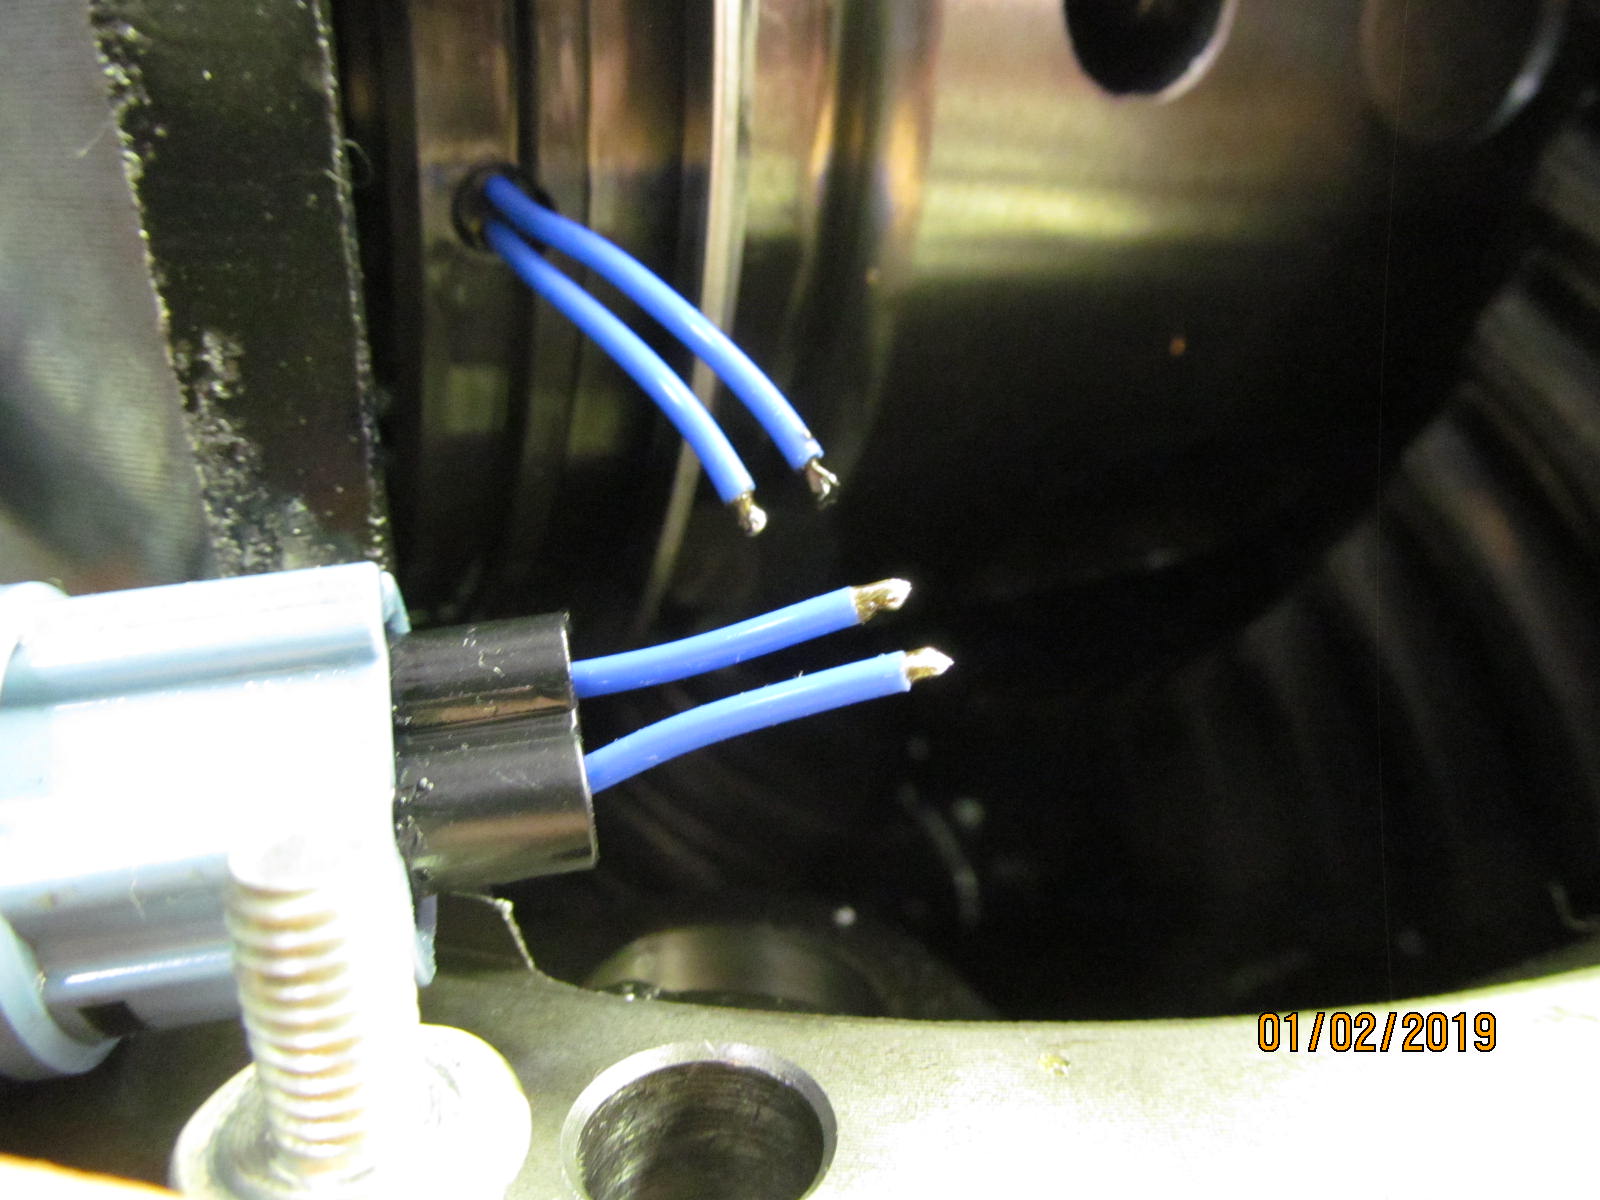
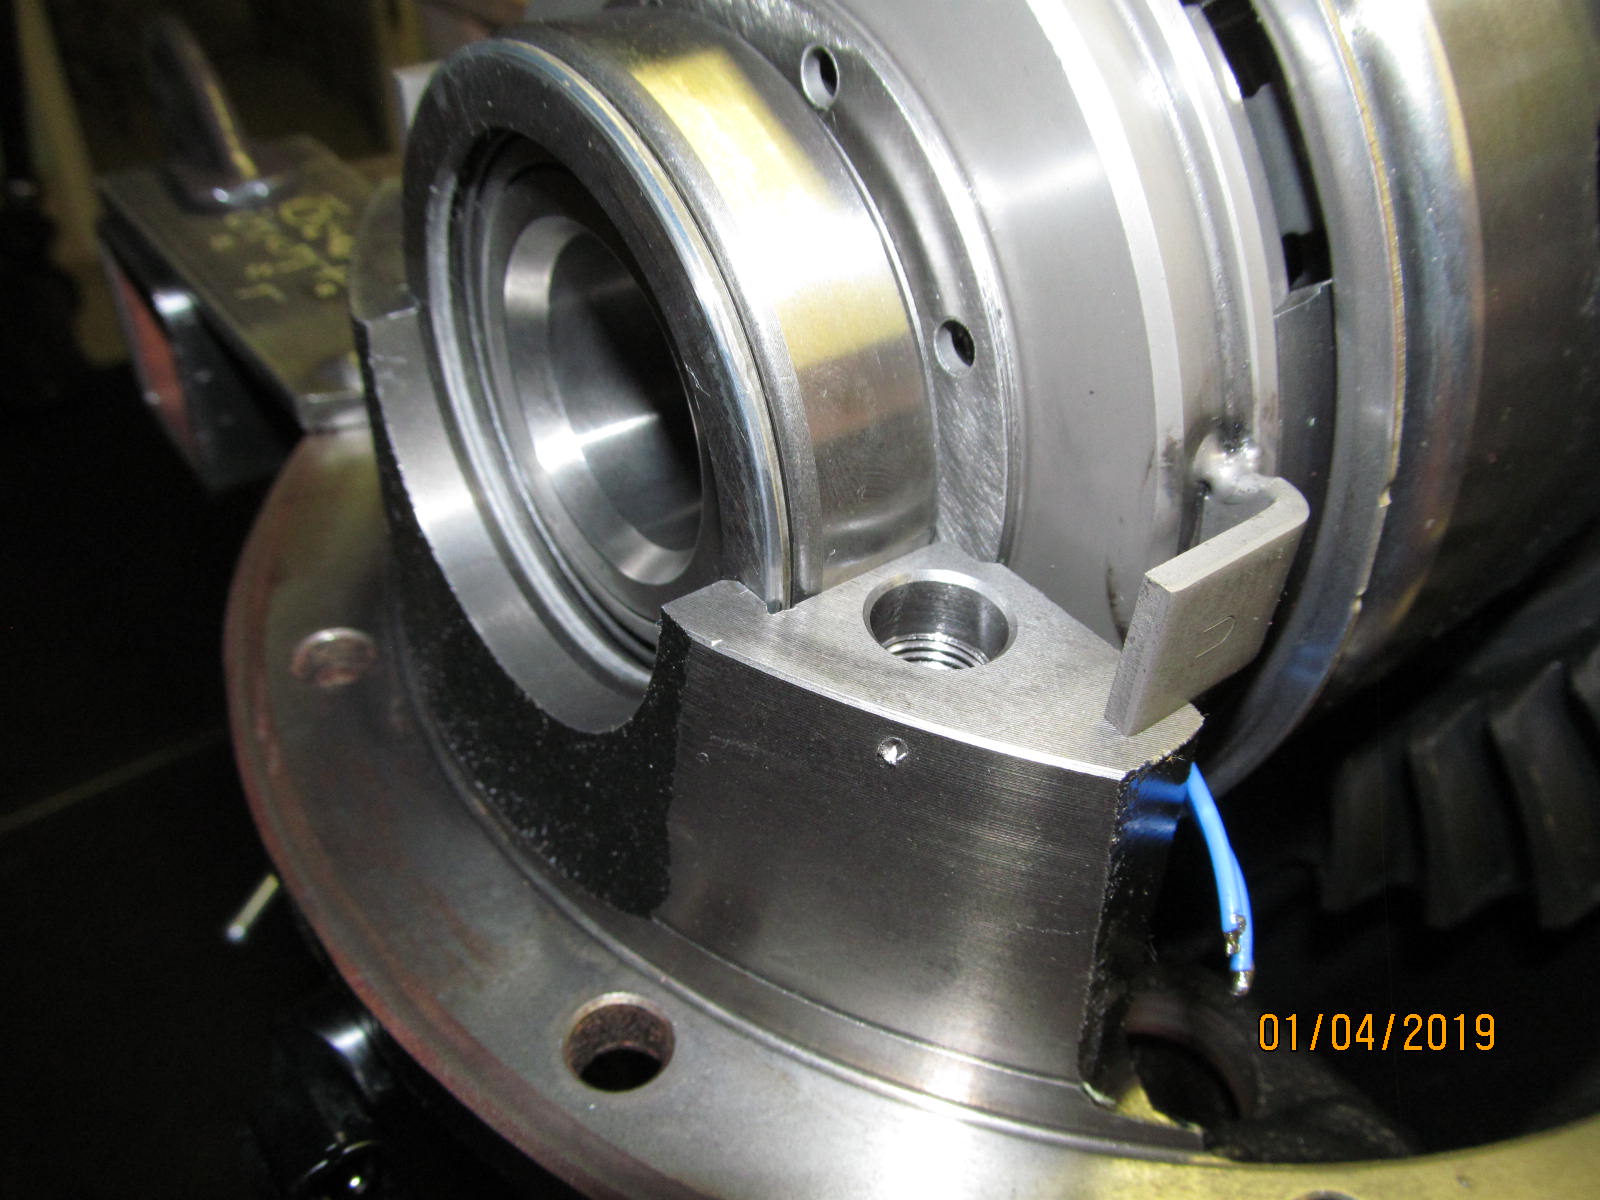
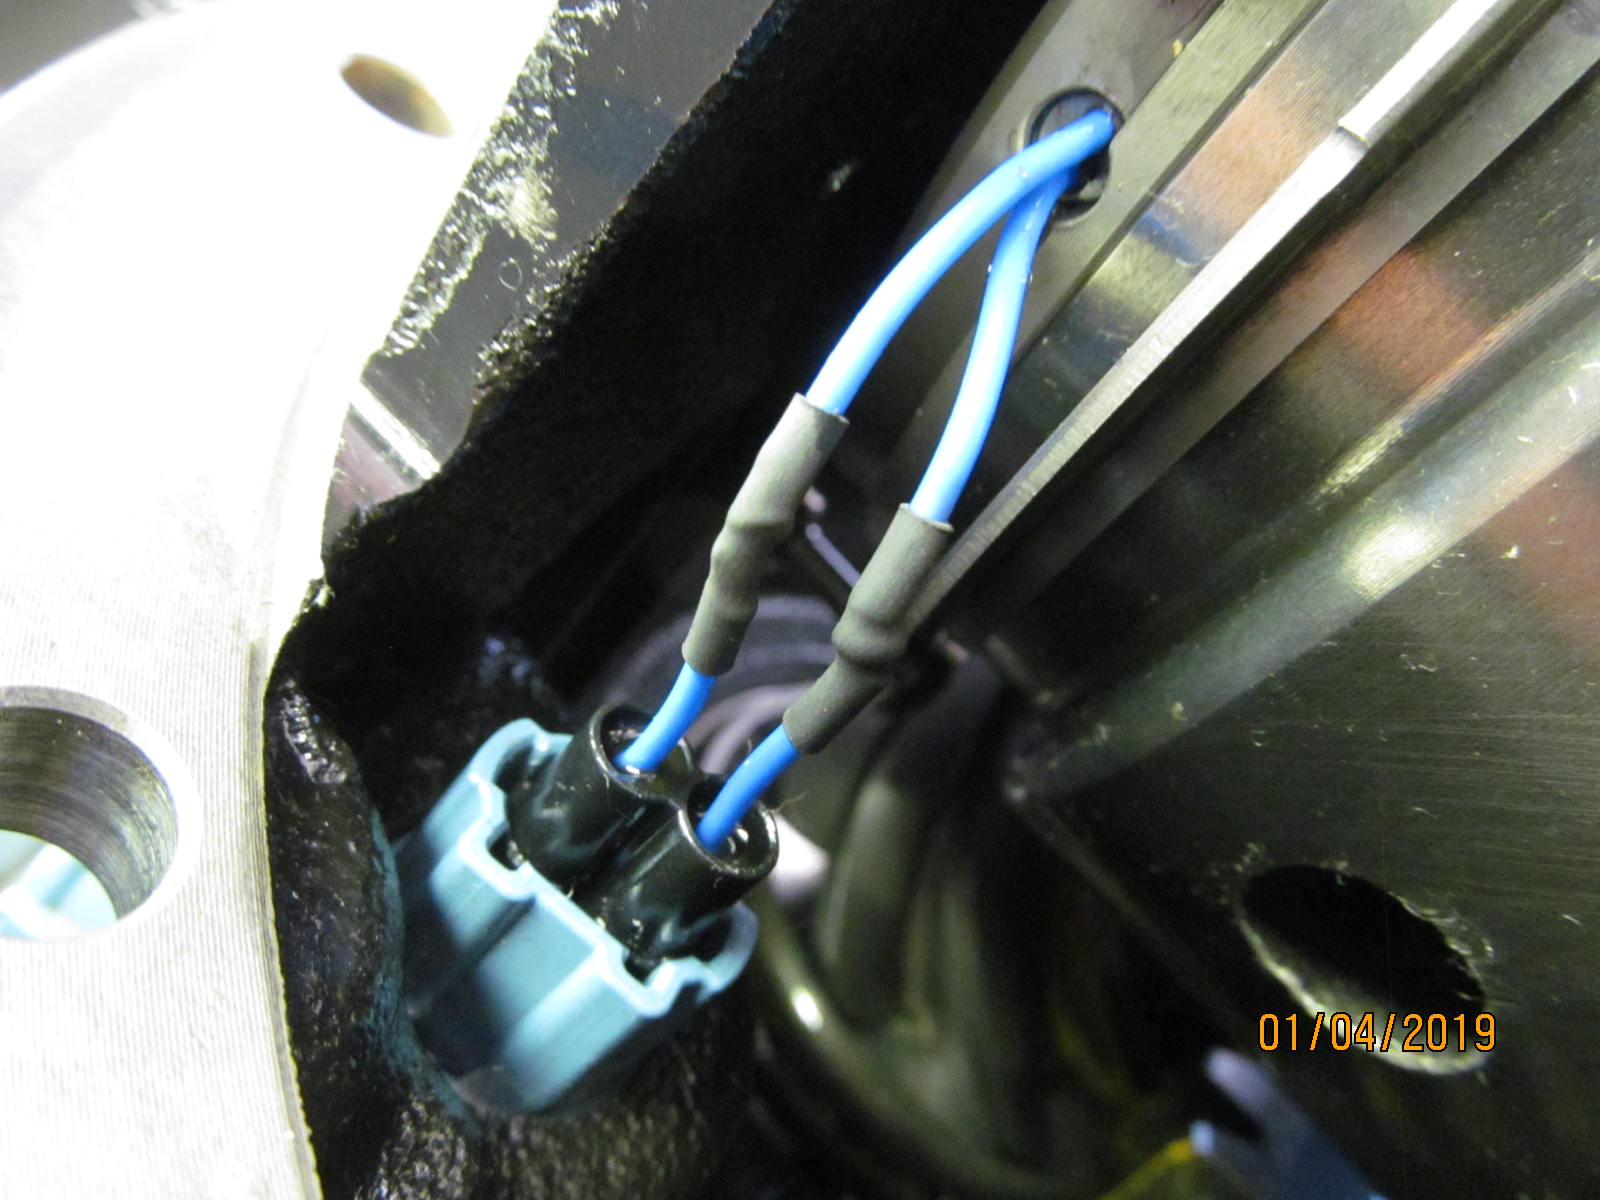
Even though this 3rd is so new, the plastic connector just did not want to separate easy. It didn't help that the release clasp
was on the backside where you can't get a good grip on it. It's really just a simple matter of cutting the blue wires. |
|---|
|
|
The wires will have to be tinned. These are not tinned properly. The solder did not flow fully around the wire. More on that
towards the end. |
|---|
|
|
Tacos with manual trannies get 4.30 factory gears(autos get 3.91). Let's do a quick paint check and see how well the factory
set them....drive side....looks pretty good. |
|---|
|
|
| Coast....not bad. |
|---|
|
|
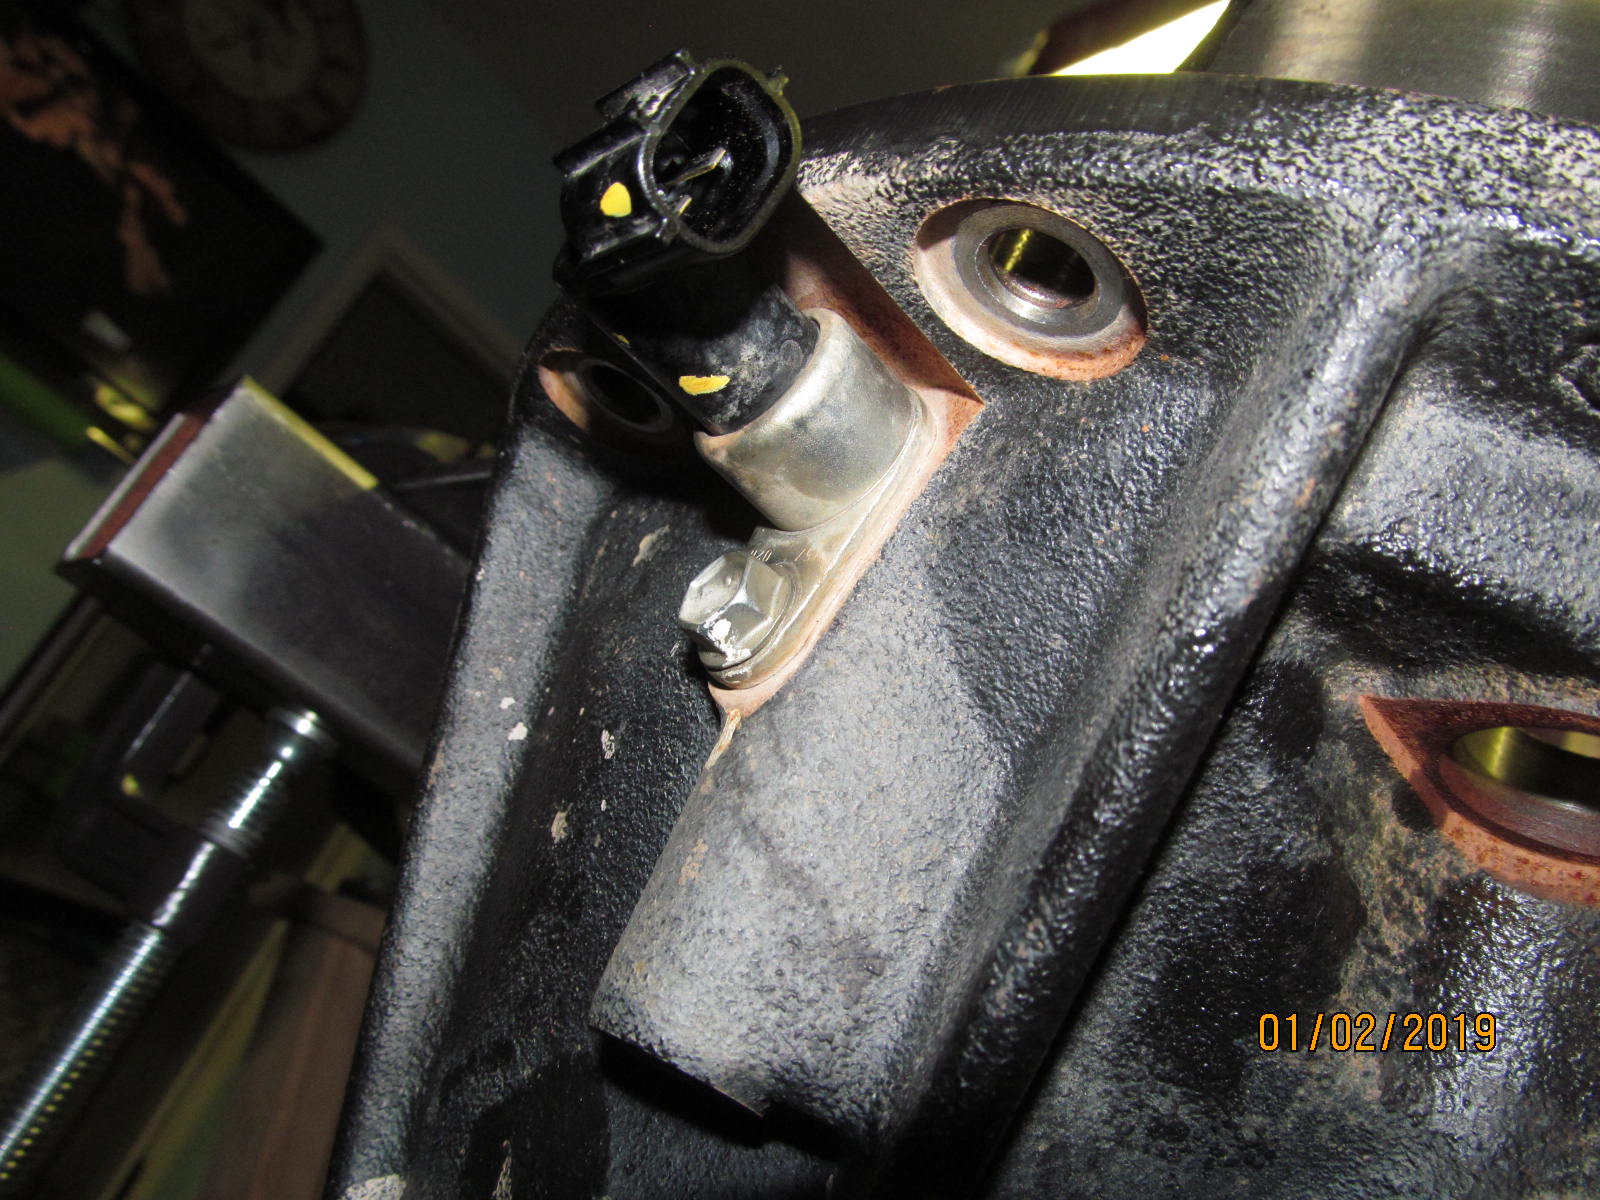
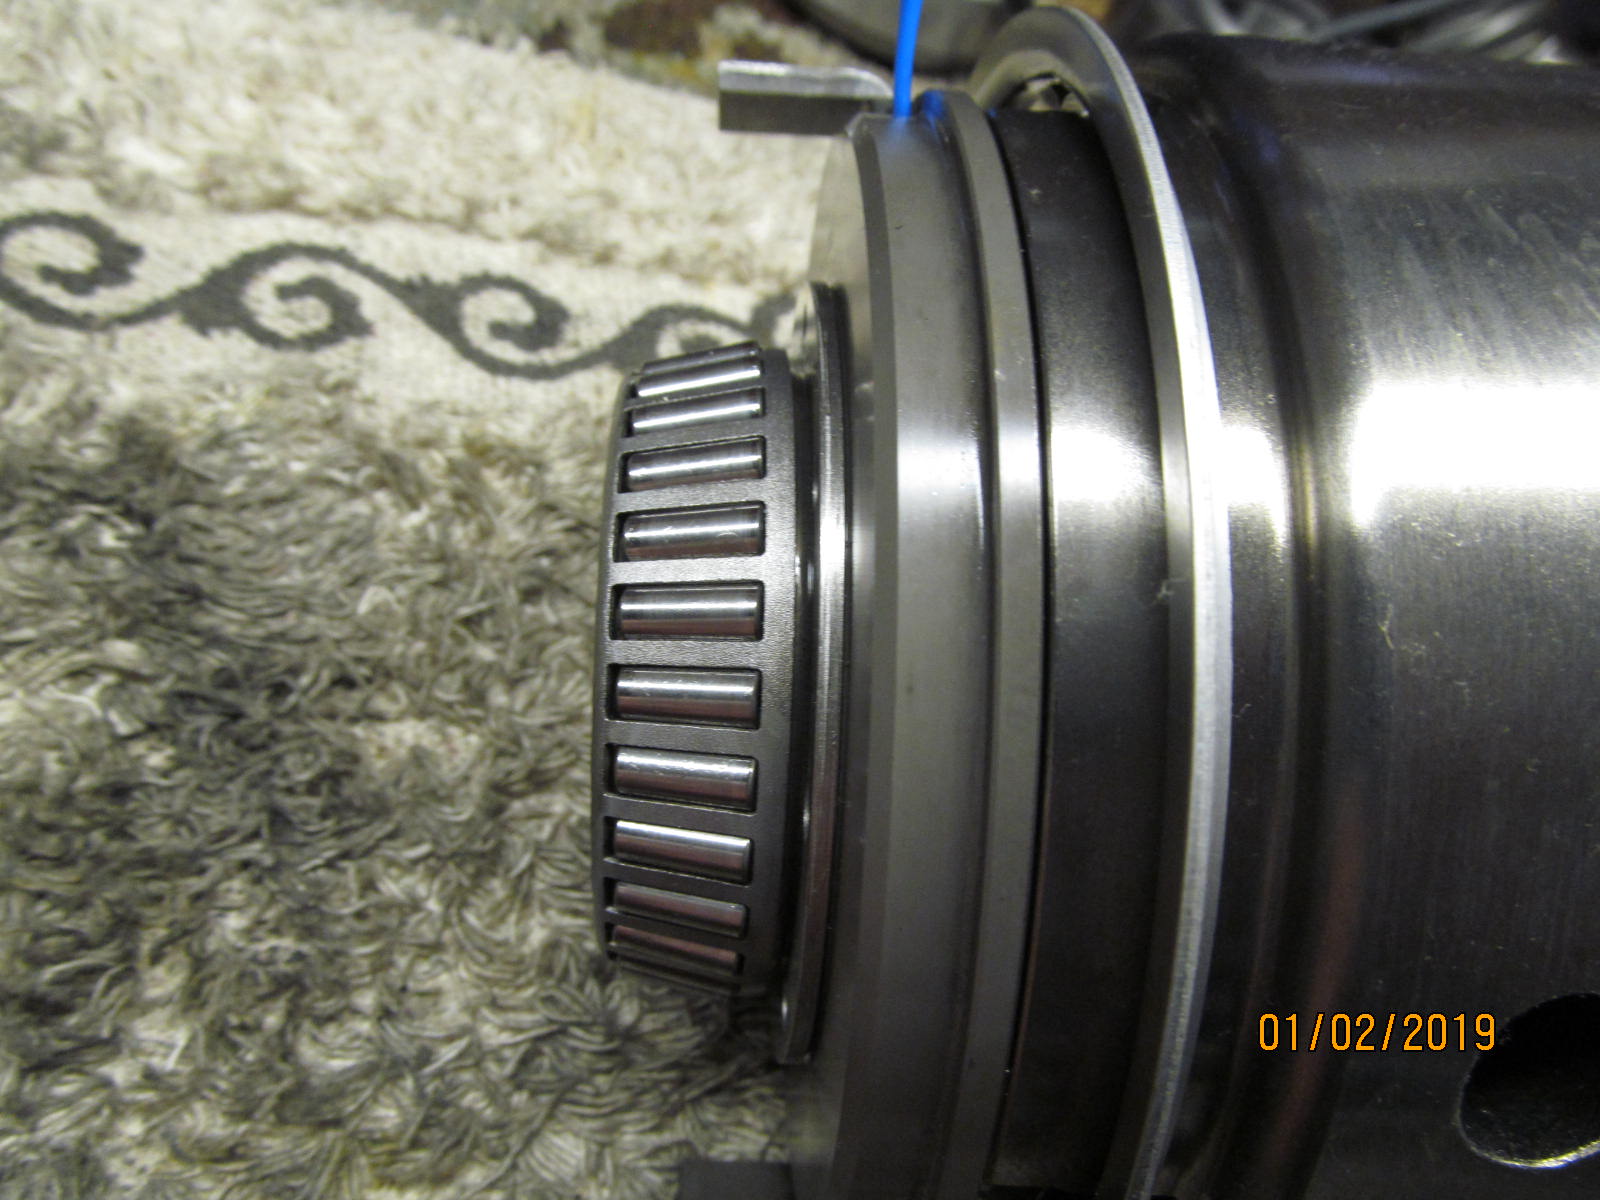
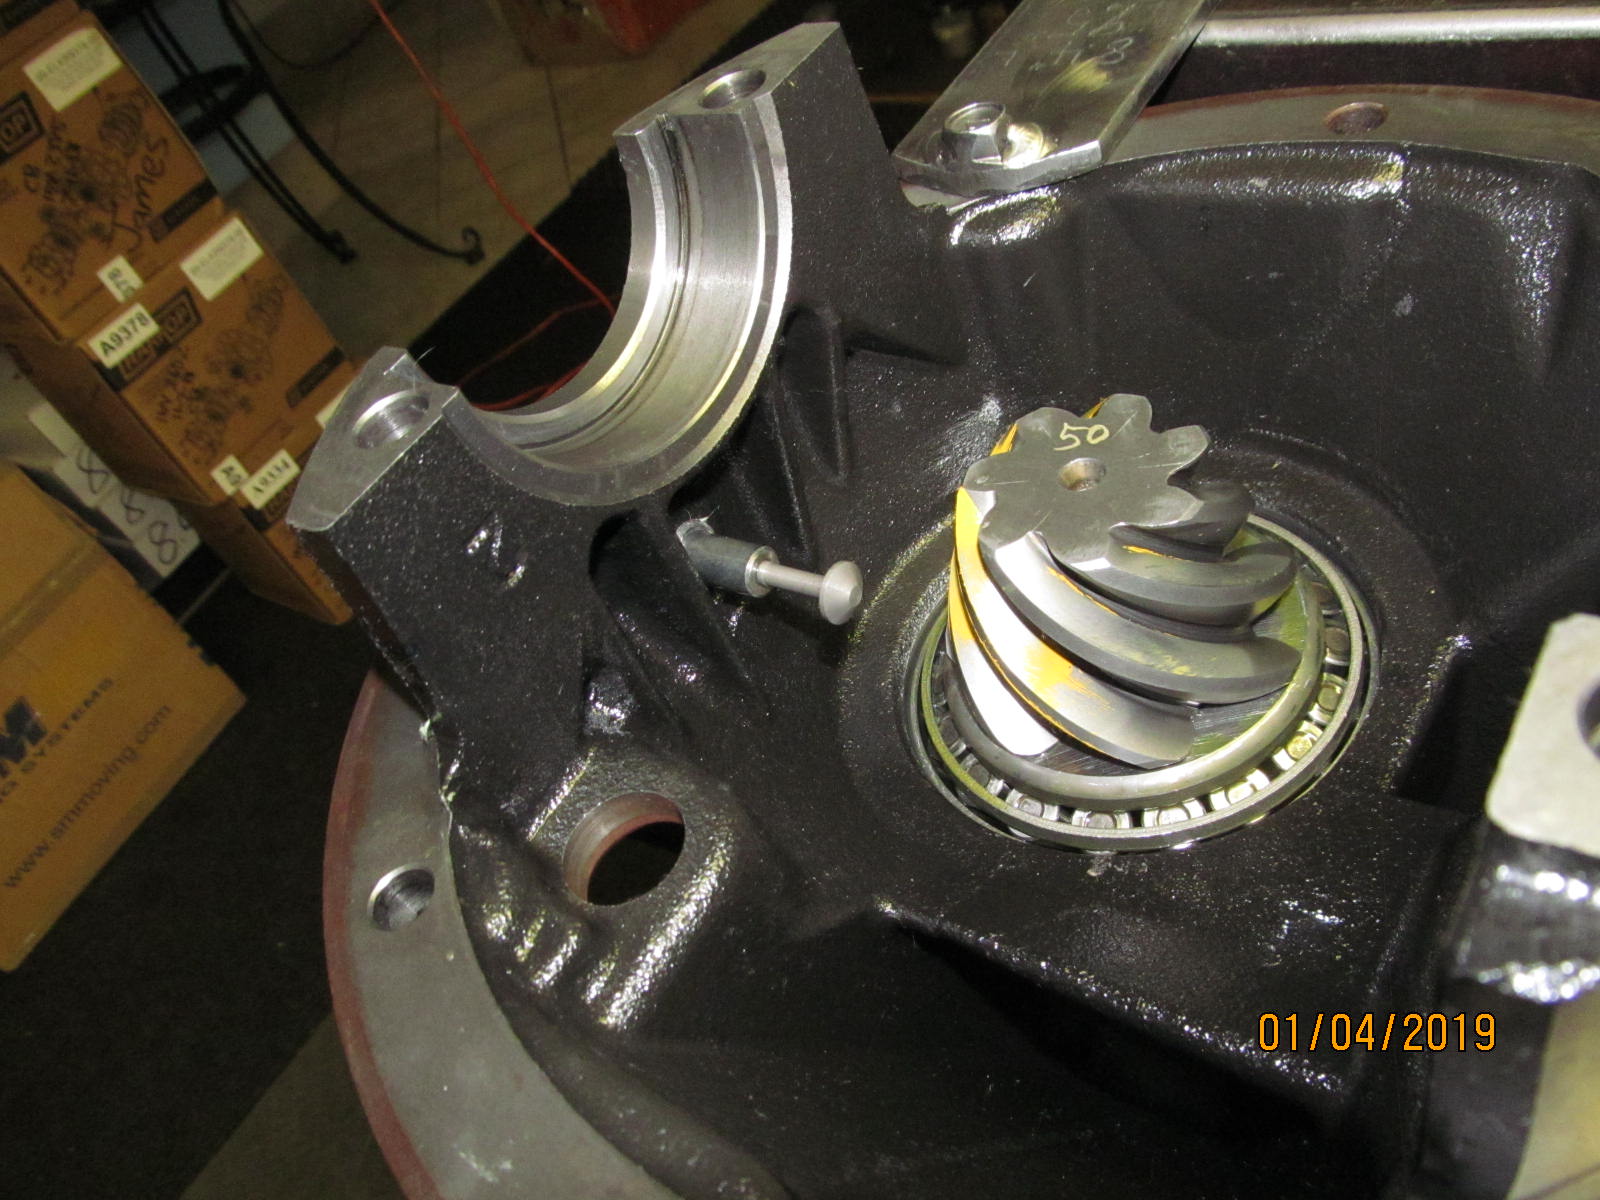
| This elocker has "stop tabs" on it.... |
|---|
|
|
| ....it does a a slight resemblance to the Eaton elocker mechanisms. Cap is removed. |
|---|
|
|
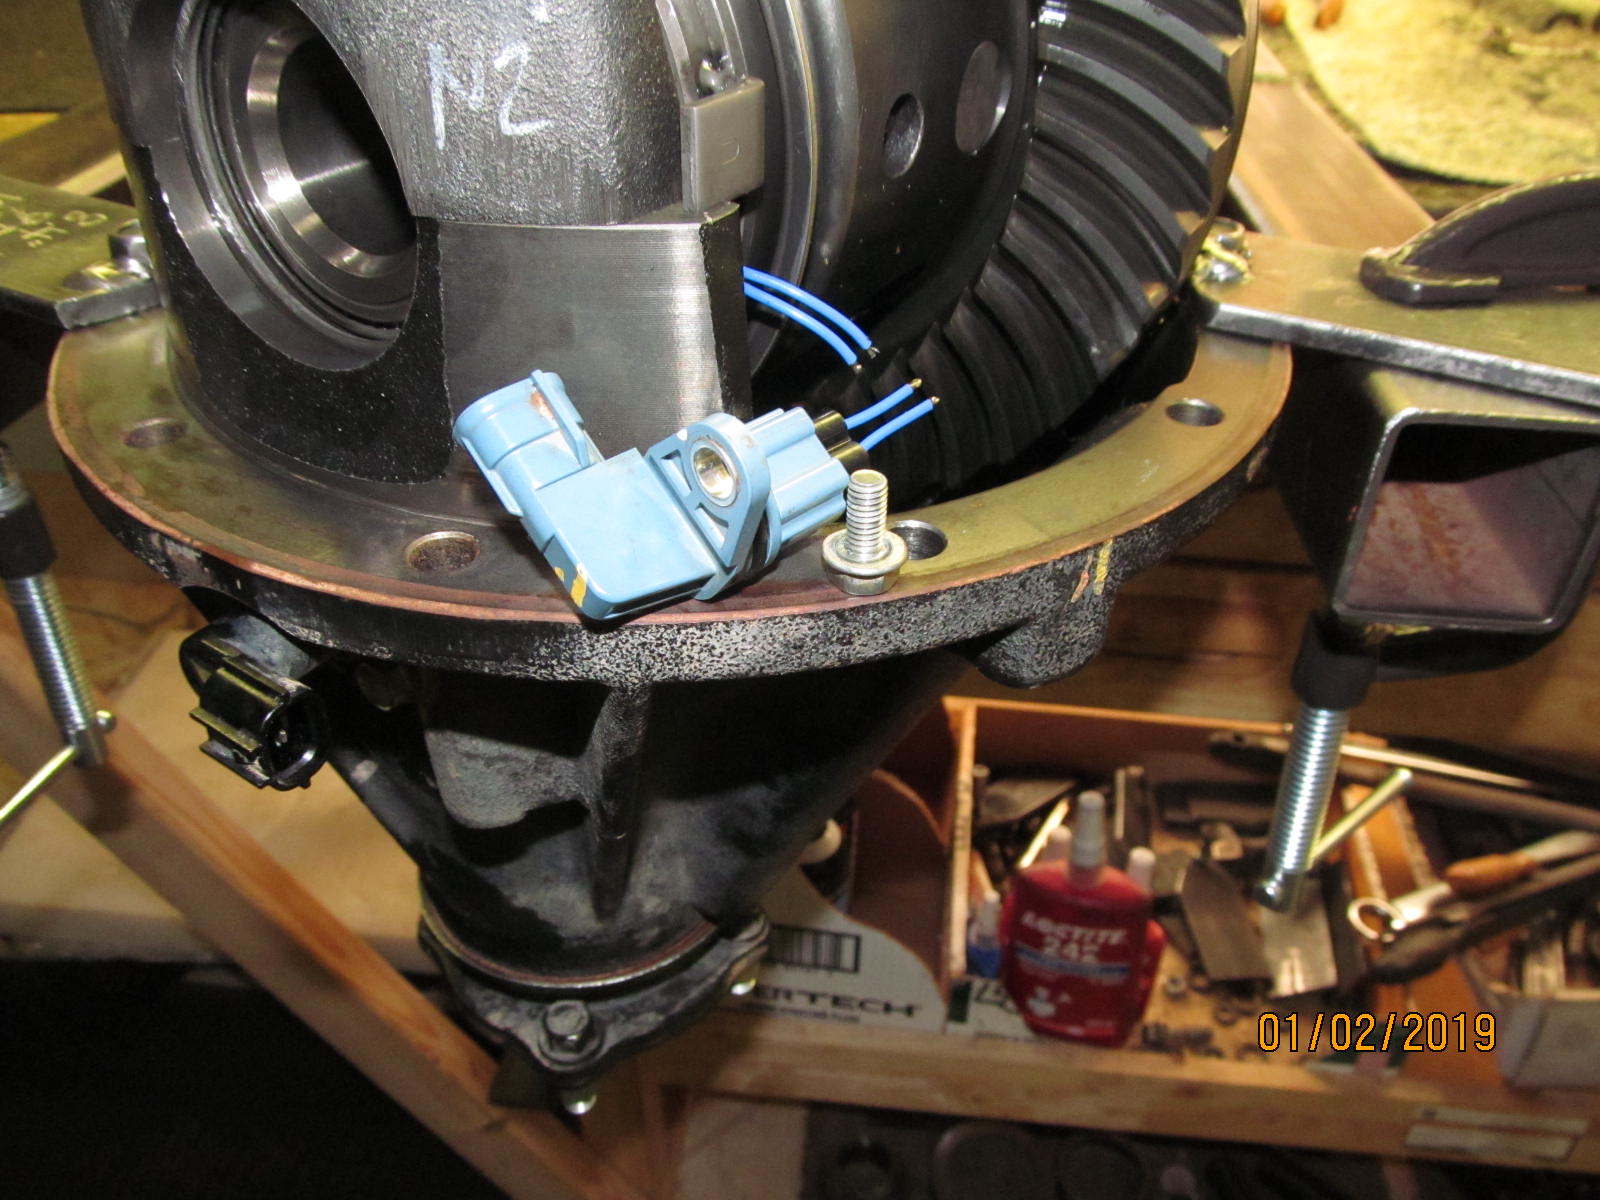
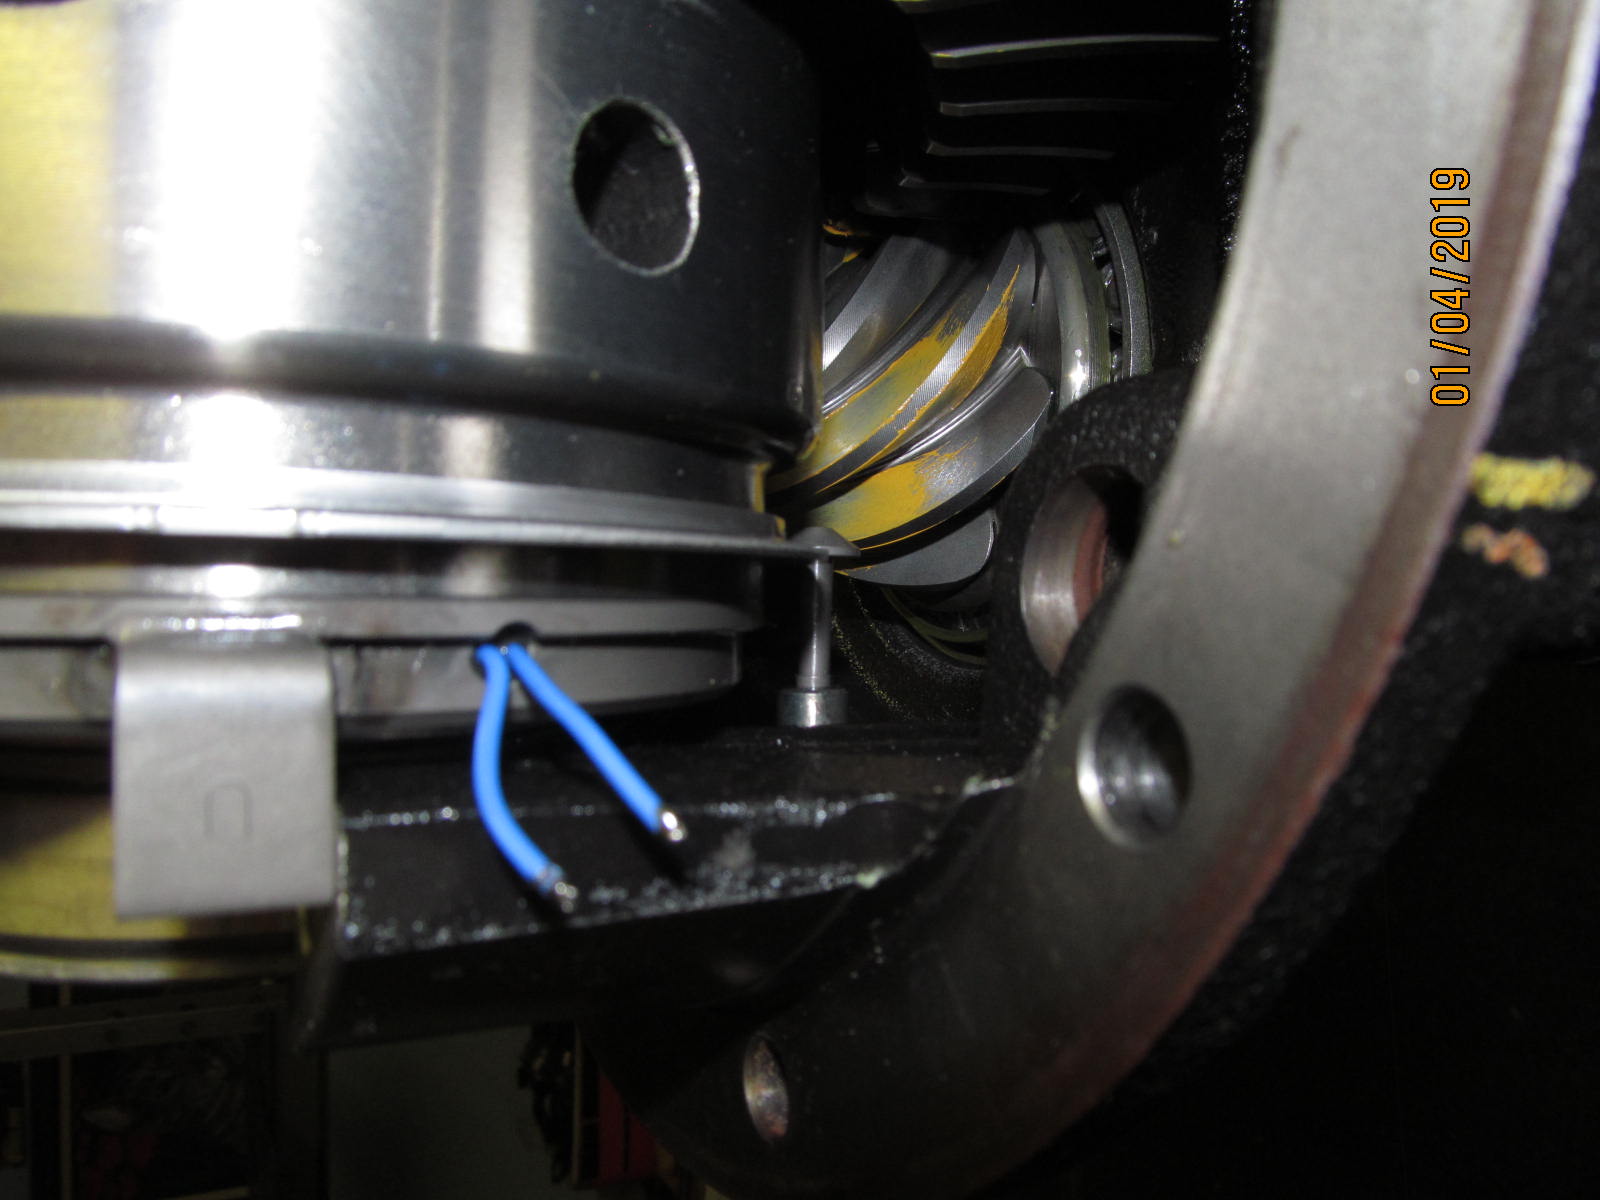
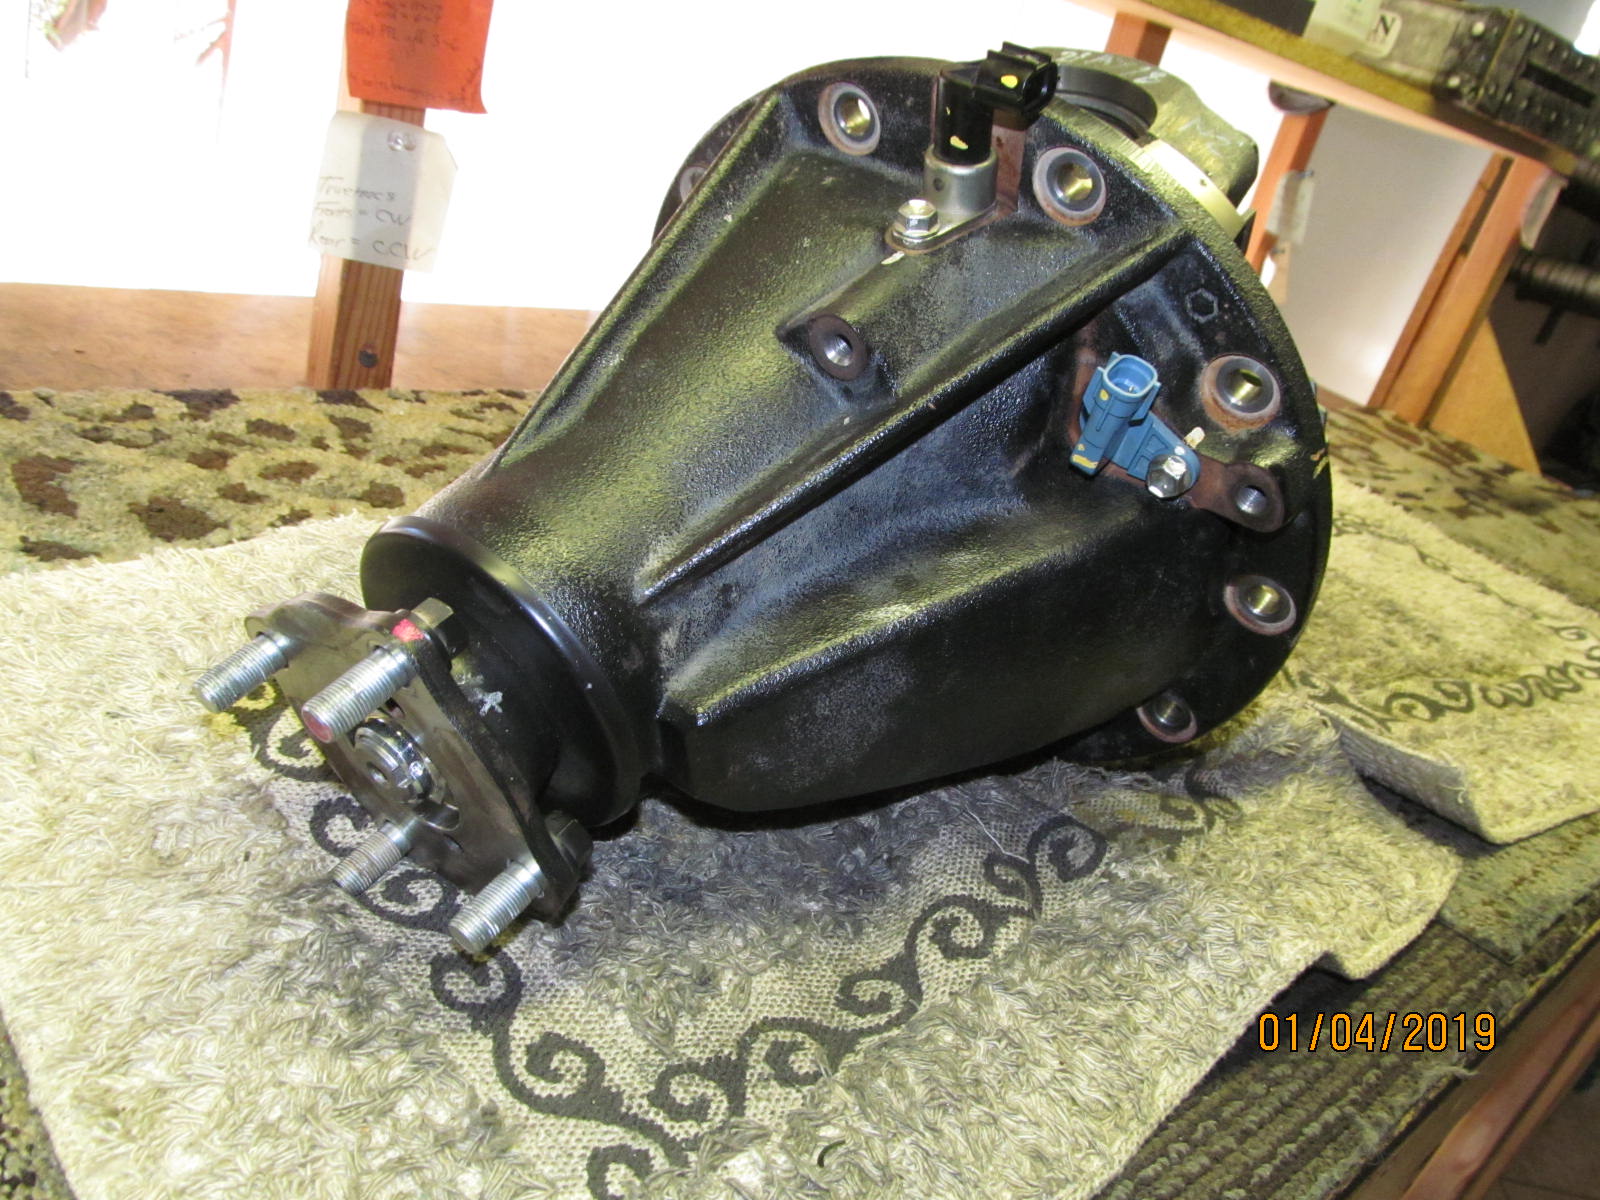
| Locker sensor connector. |
|---|
|
|
| ....................... |
|---|
|

|
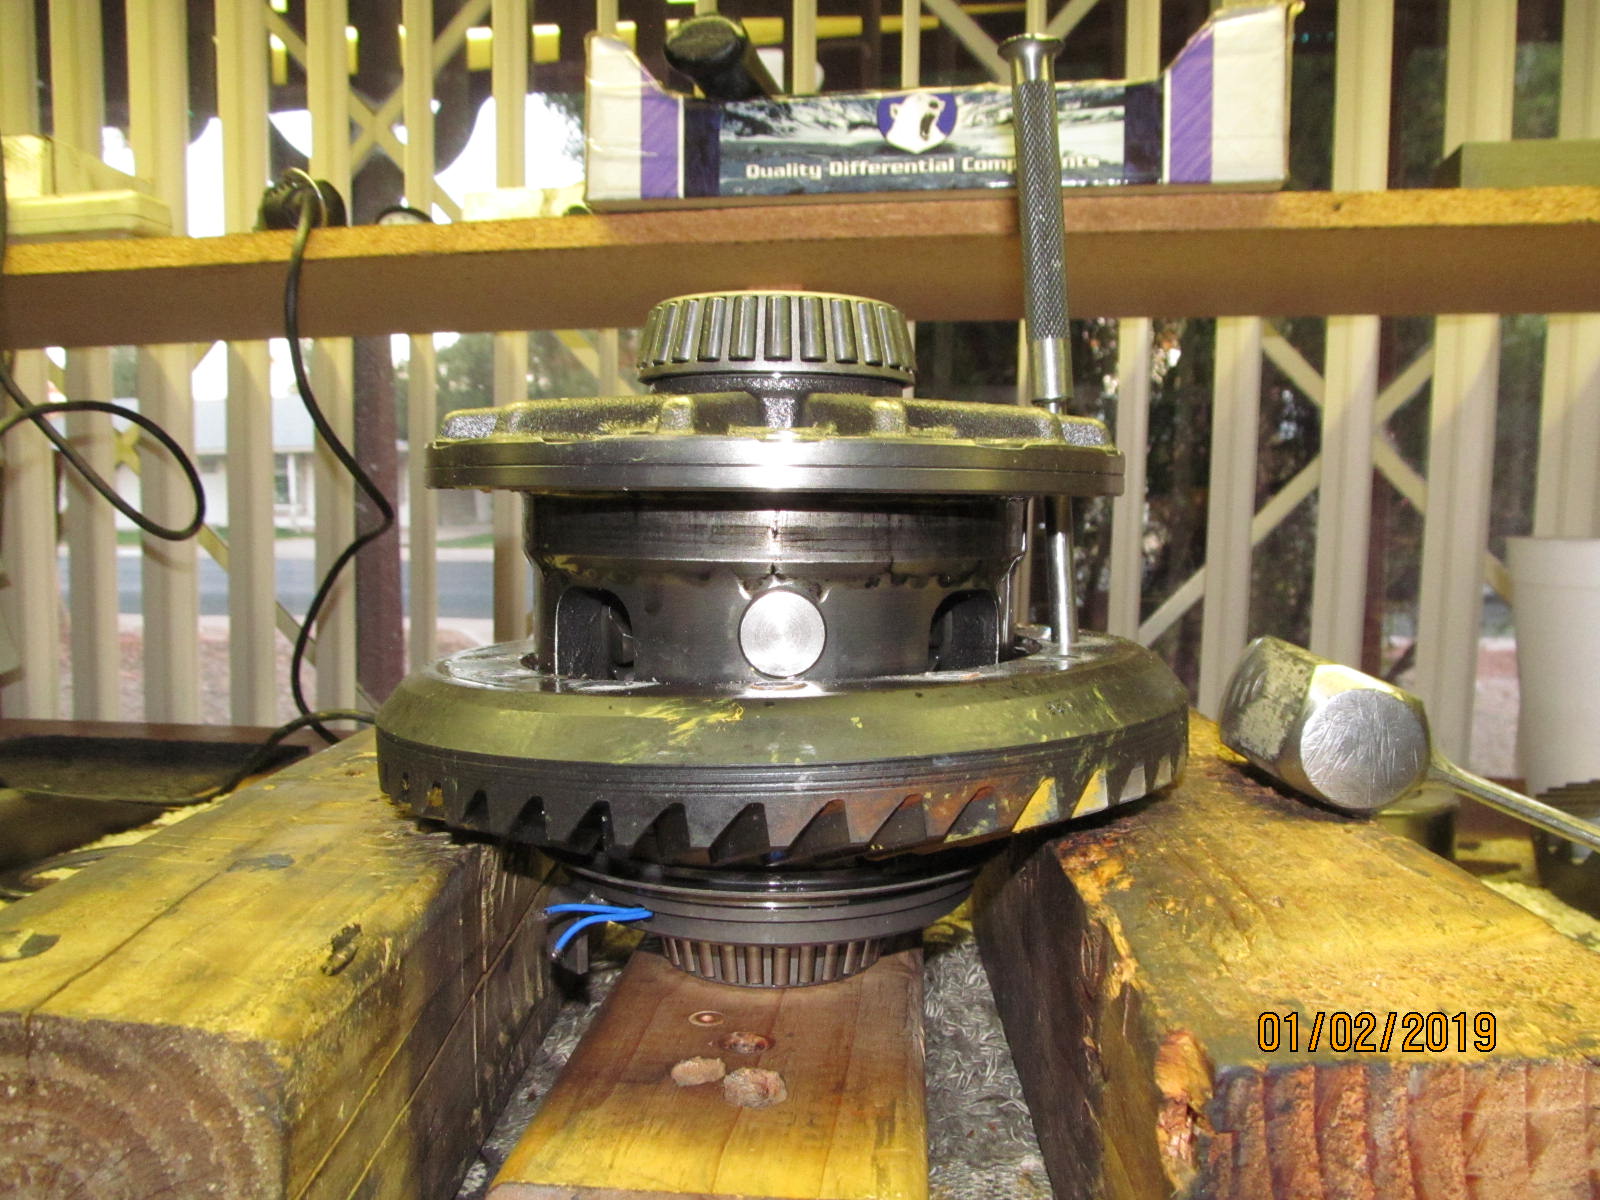
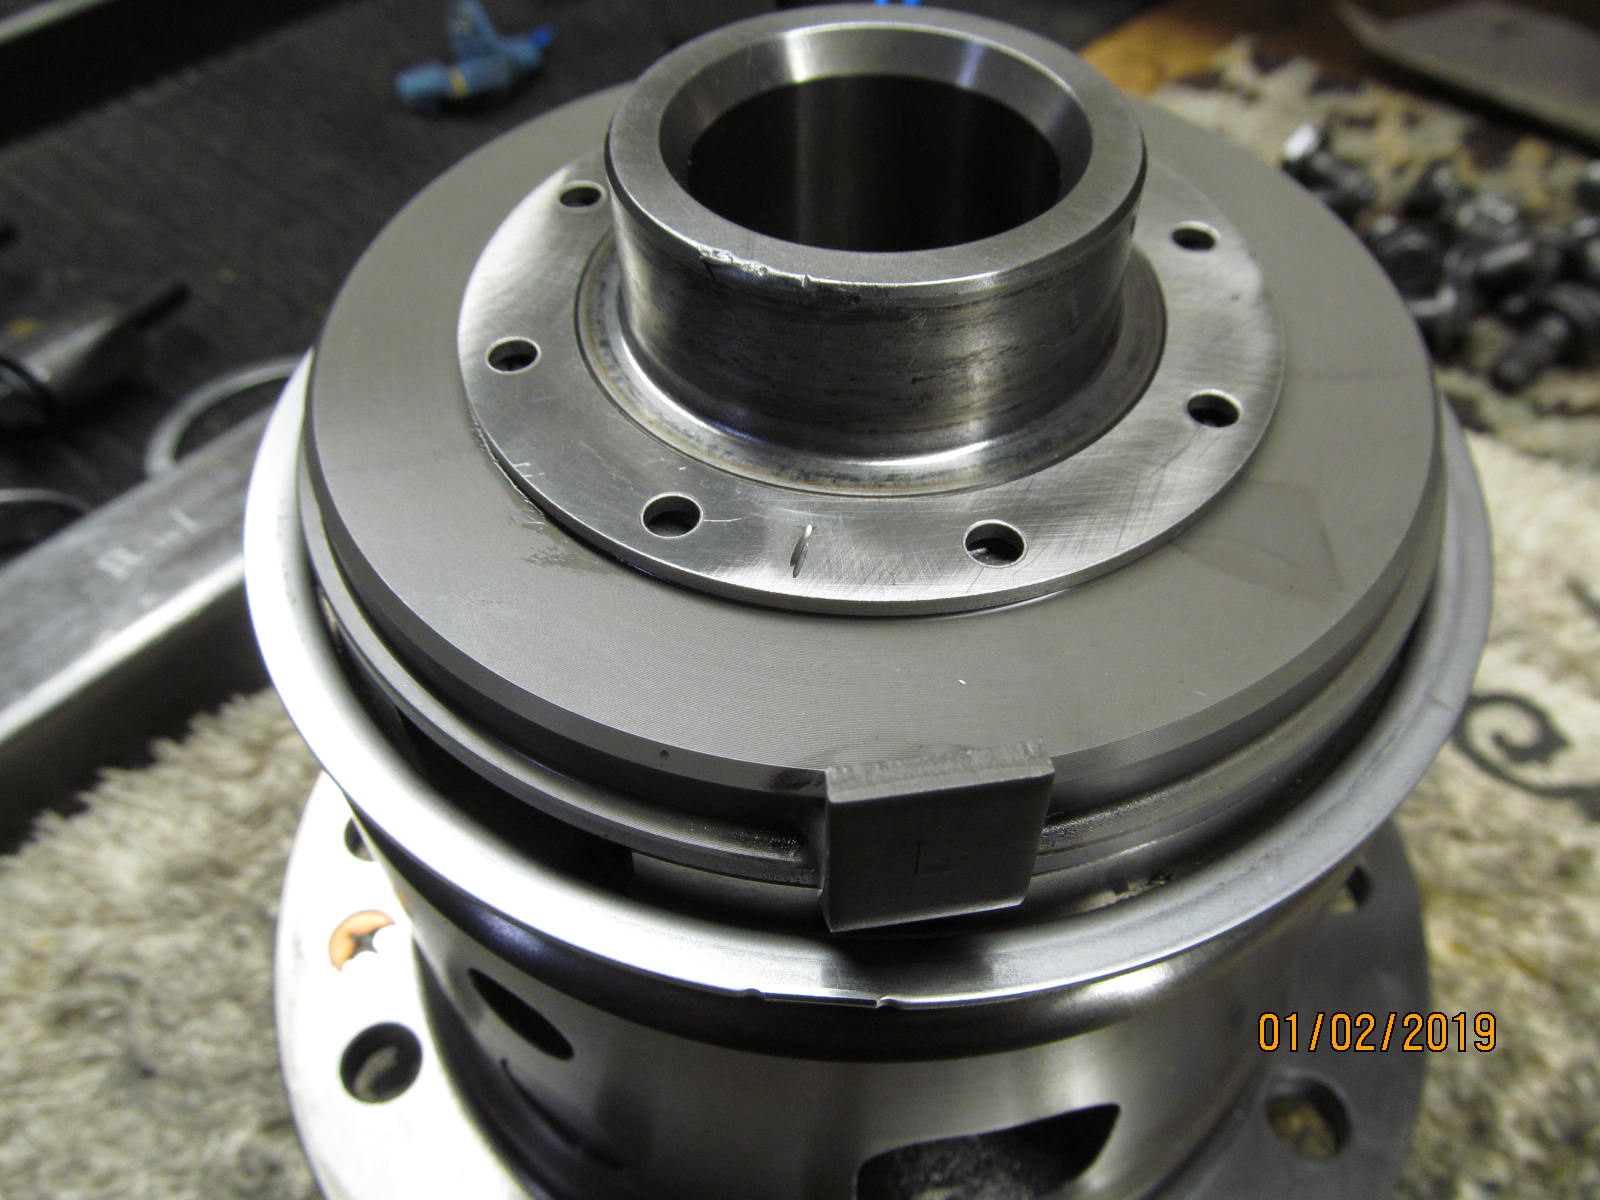
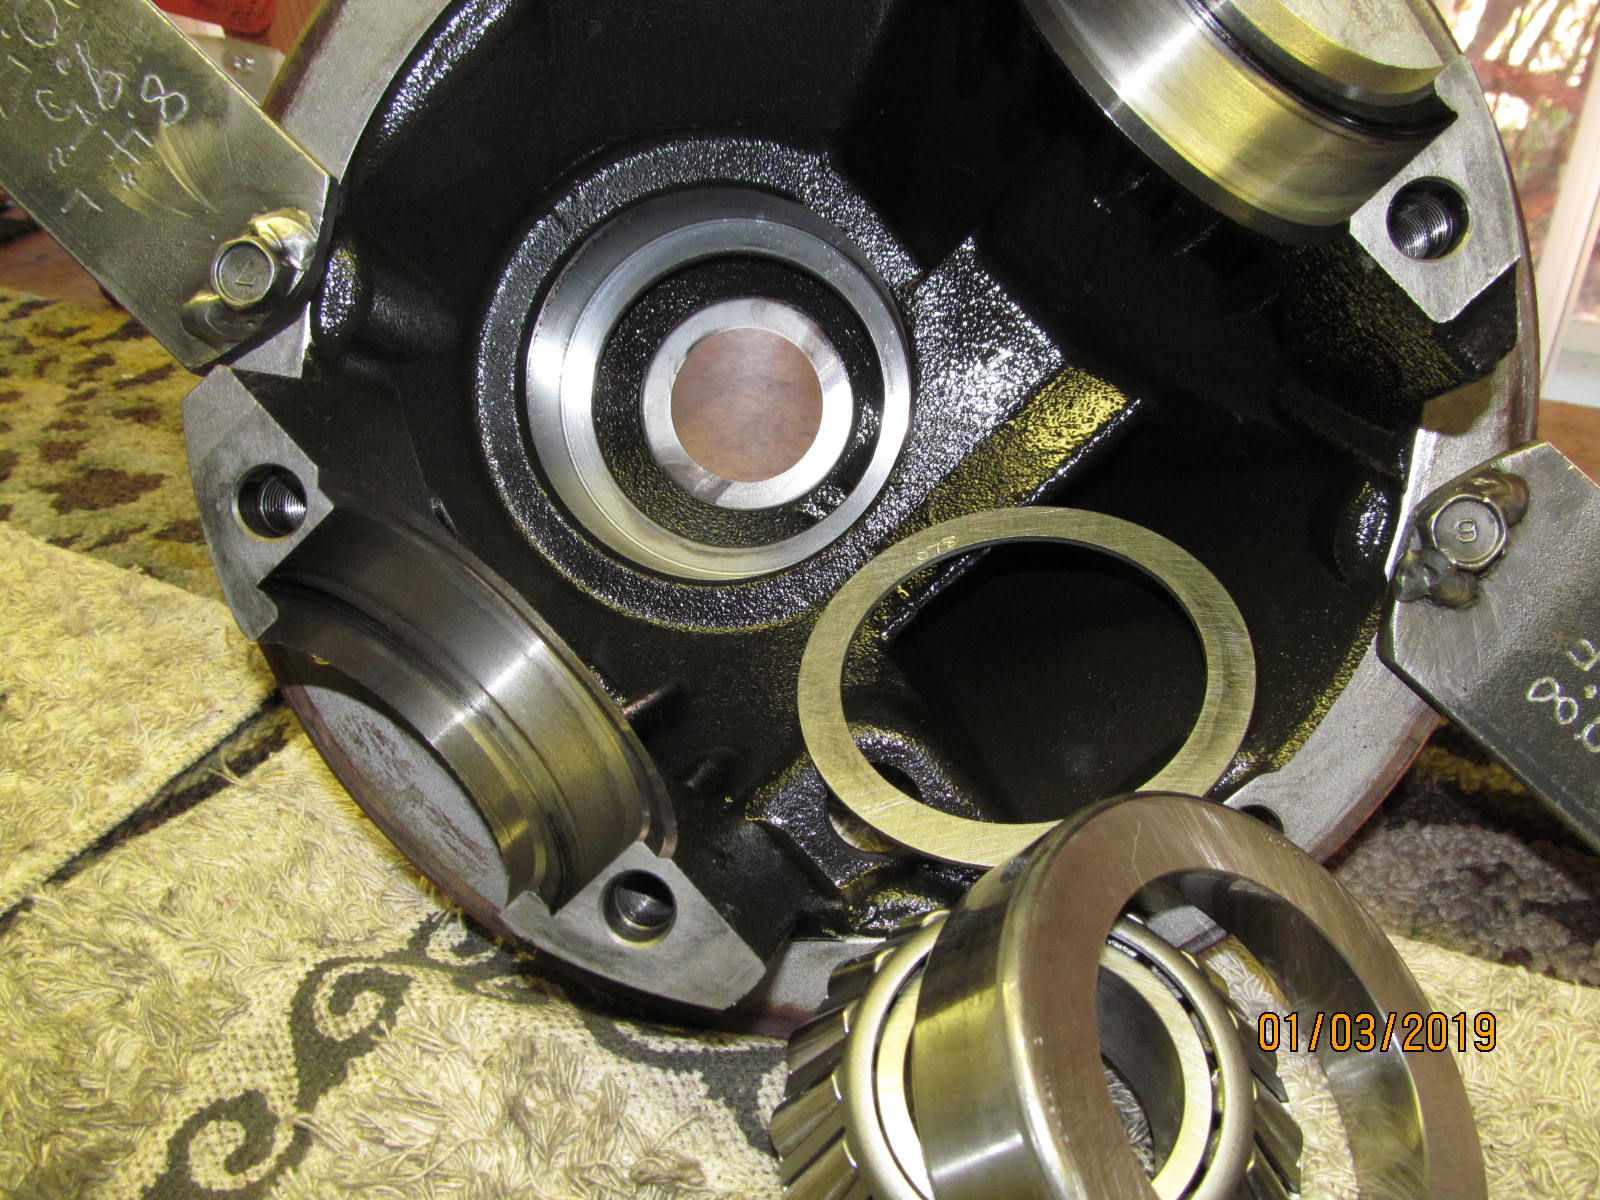
| Center carrier is out. |
|---|
|
|
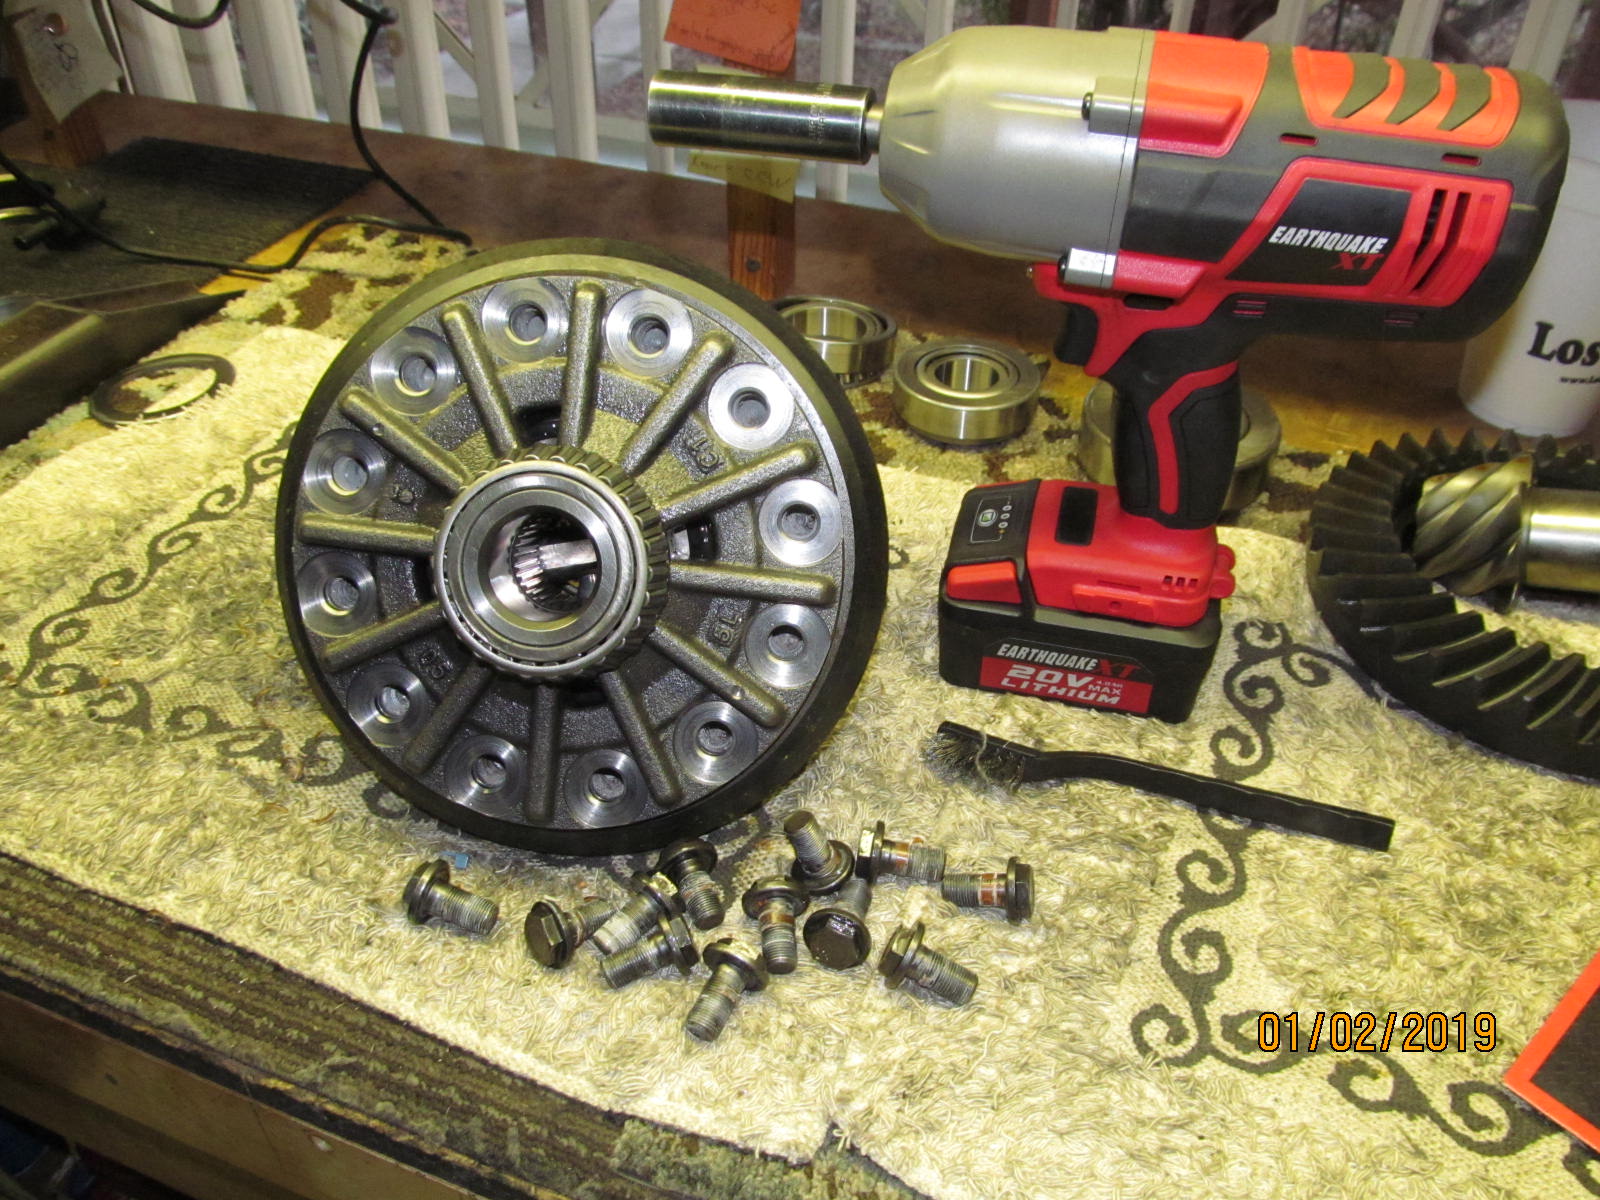
The 12 flange style ring gear bolts were in very tight with a high strength factory loctite but the Earthquake XT
made it look easy. |
|---|
|
|
| 430 ring gear is out. |
|---|
|
|
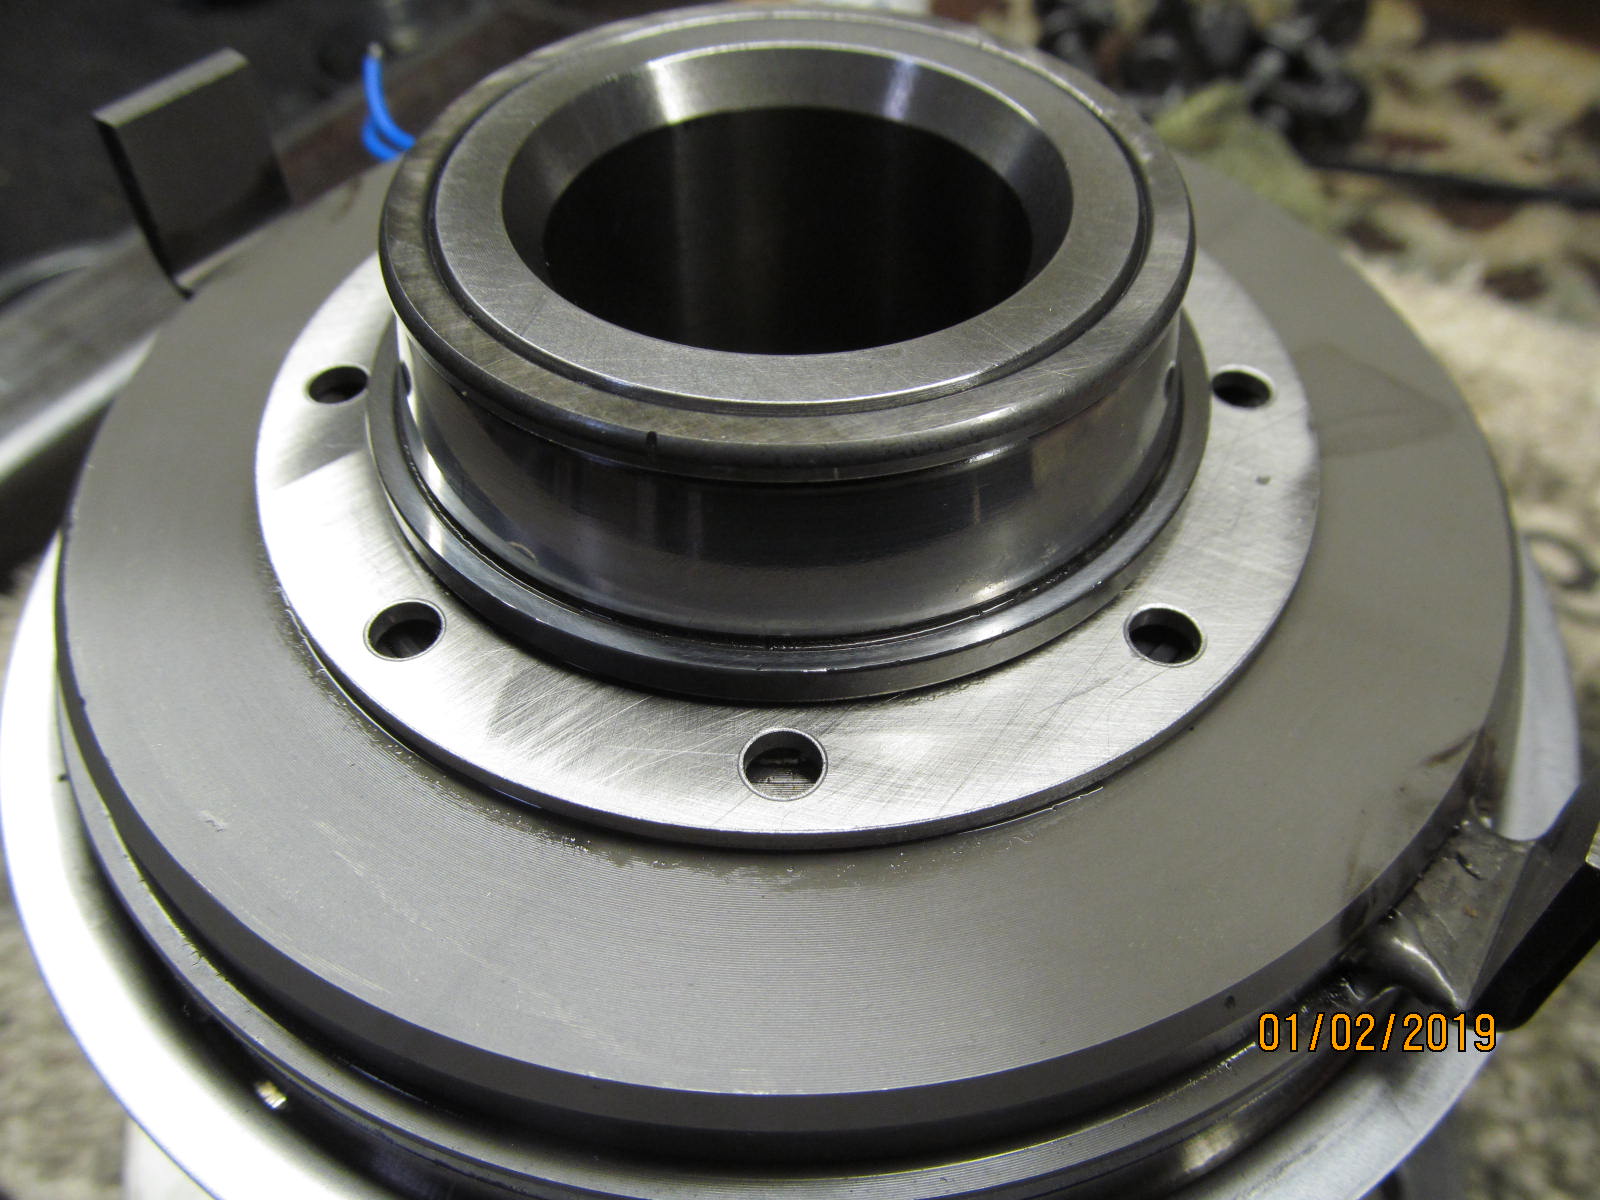
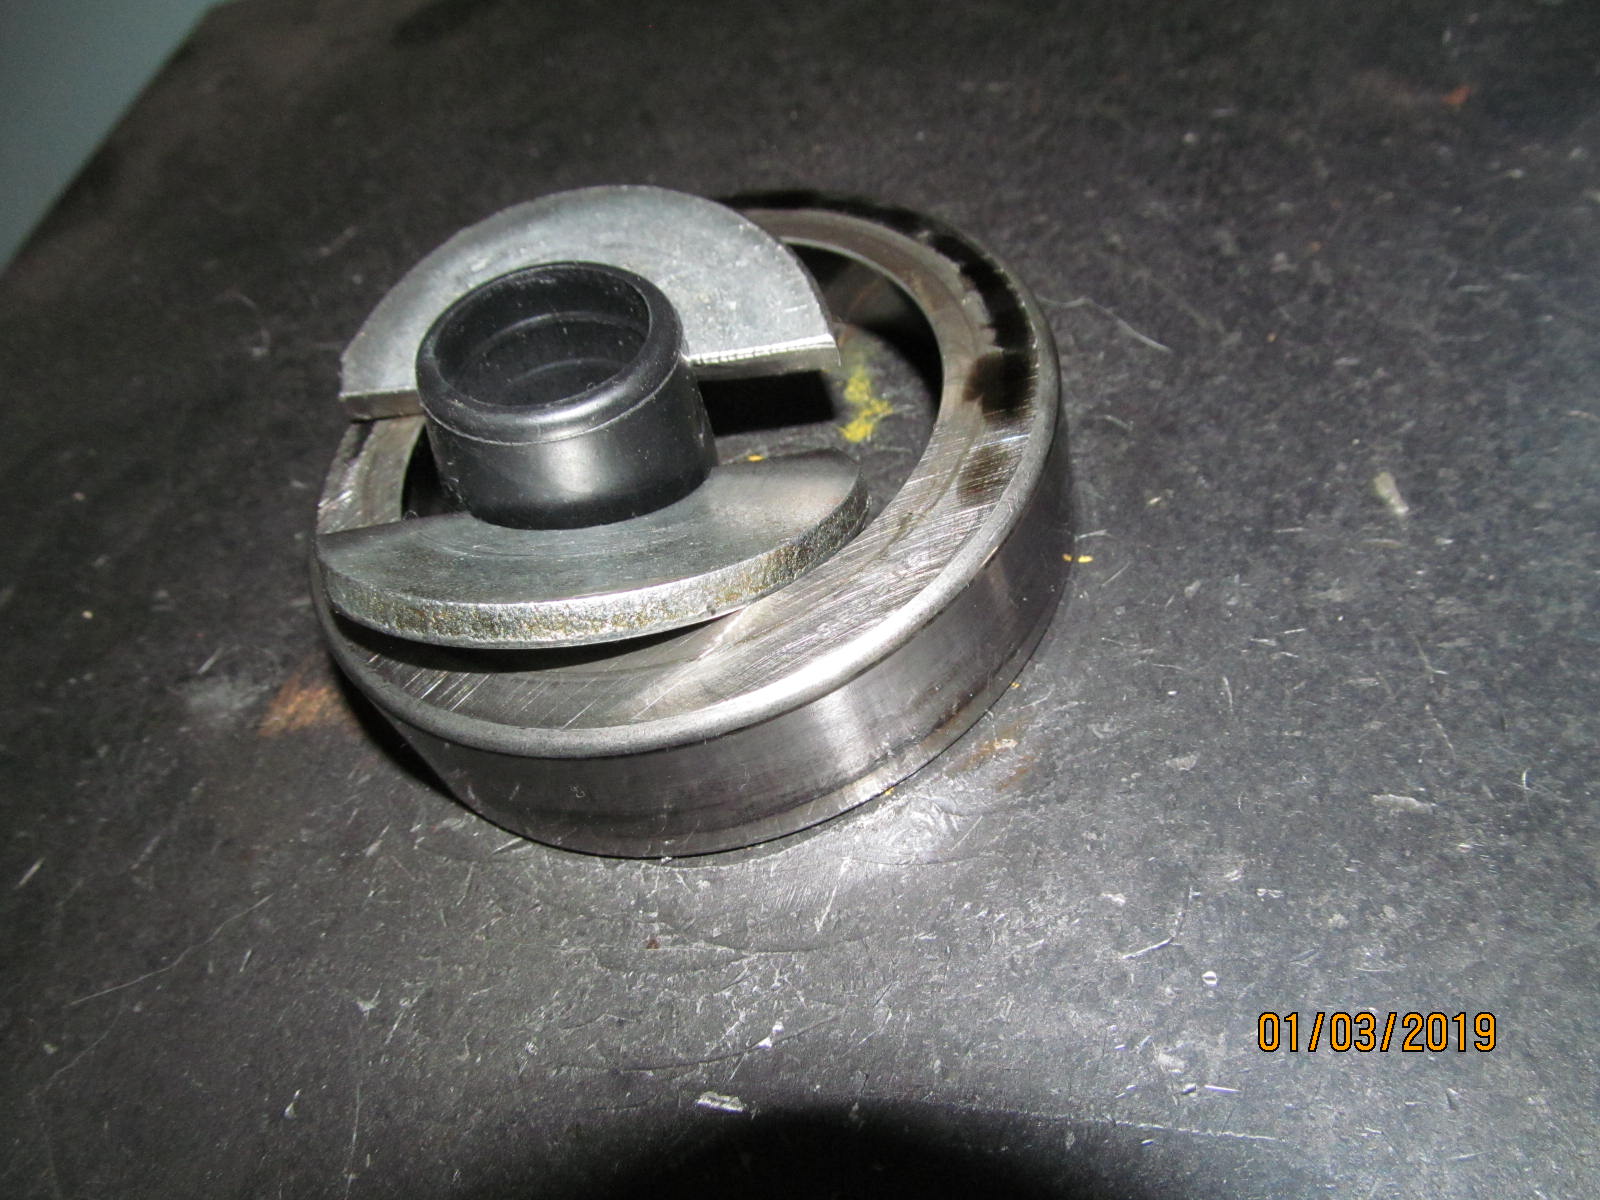
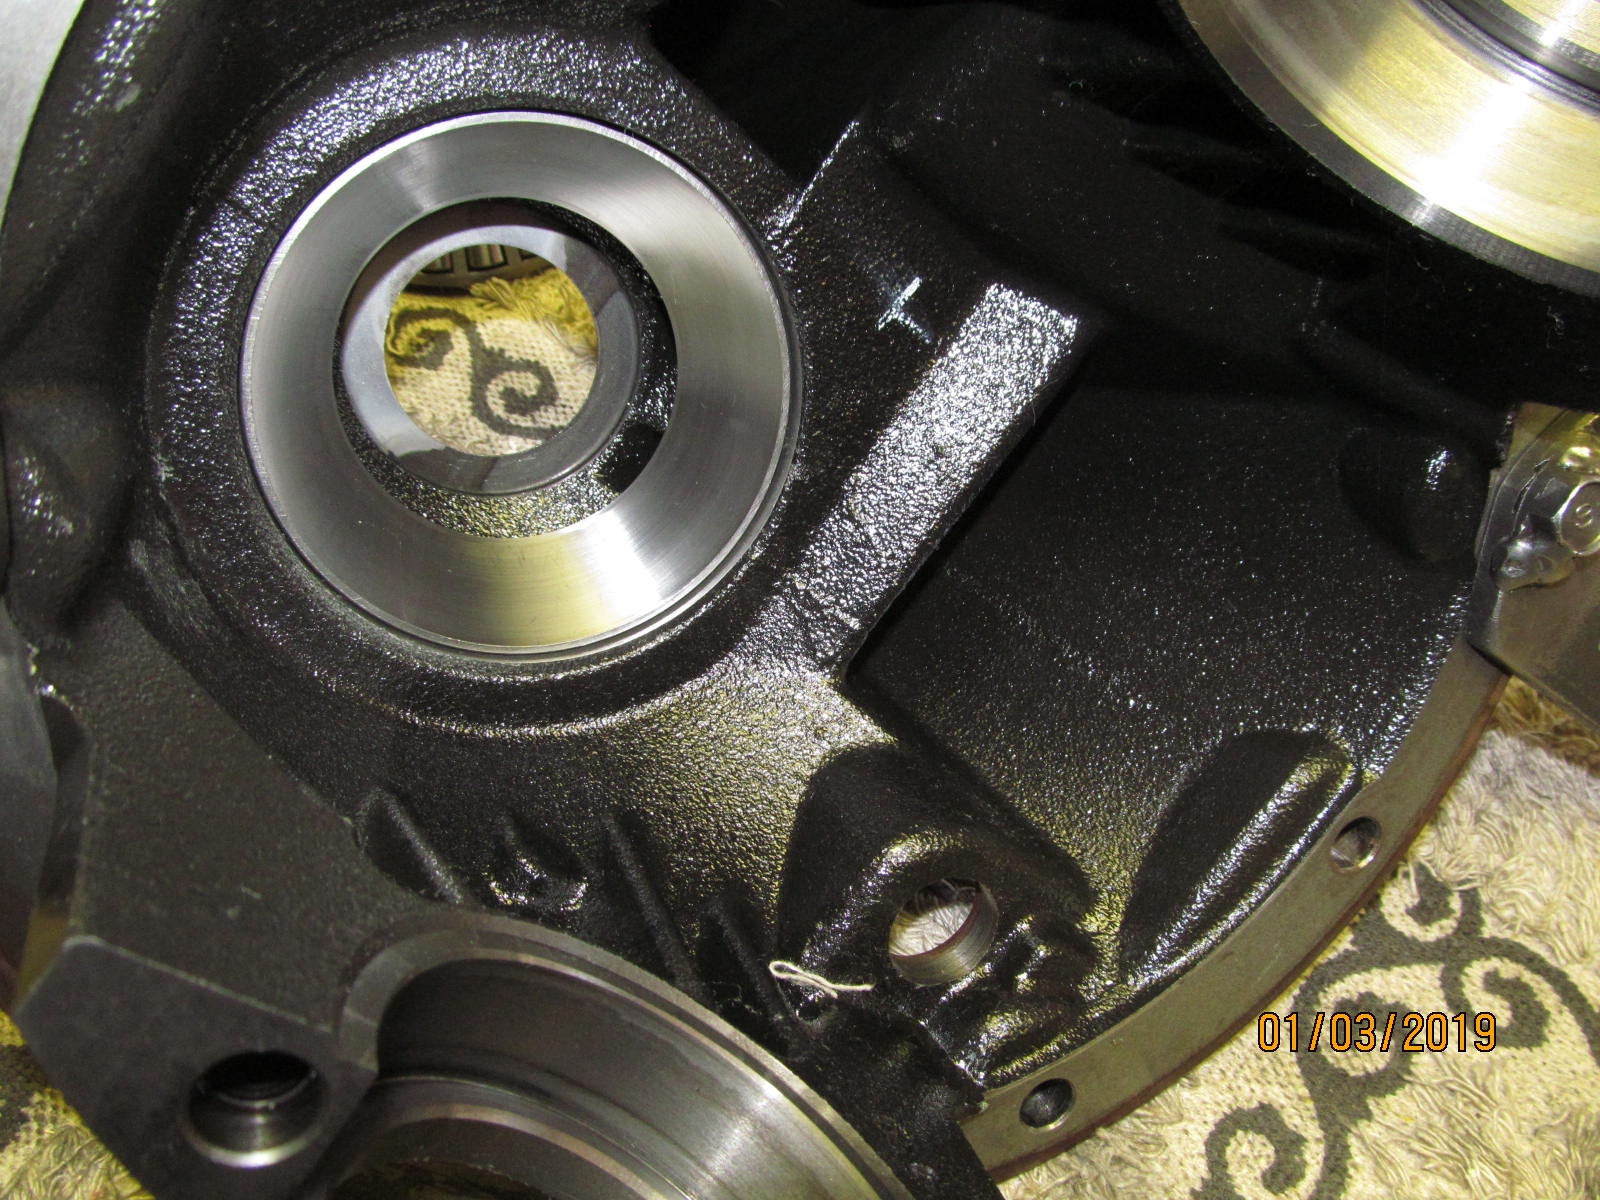
| The carrier bearings are almost right up against the washer plate. No room to get jaw pulling fingers under it. |
|---|
|
|
| The other side has no relief behind the bearing either. |
|---|
|
|
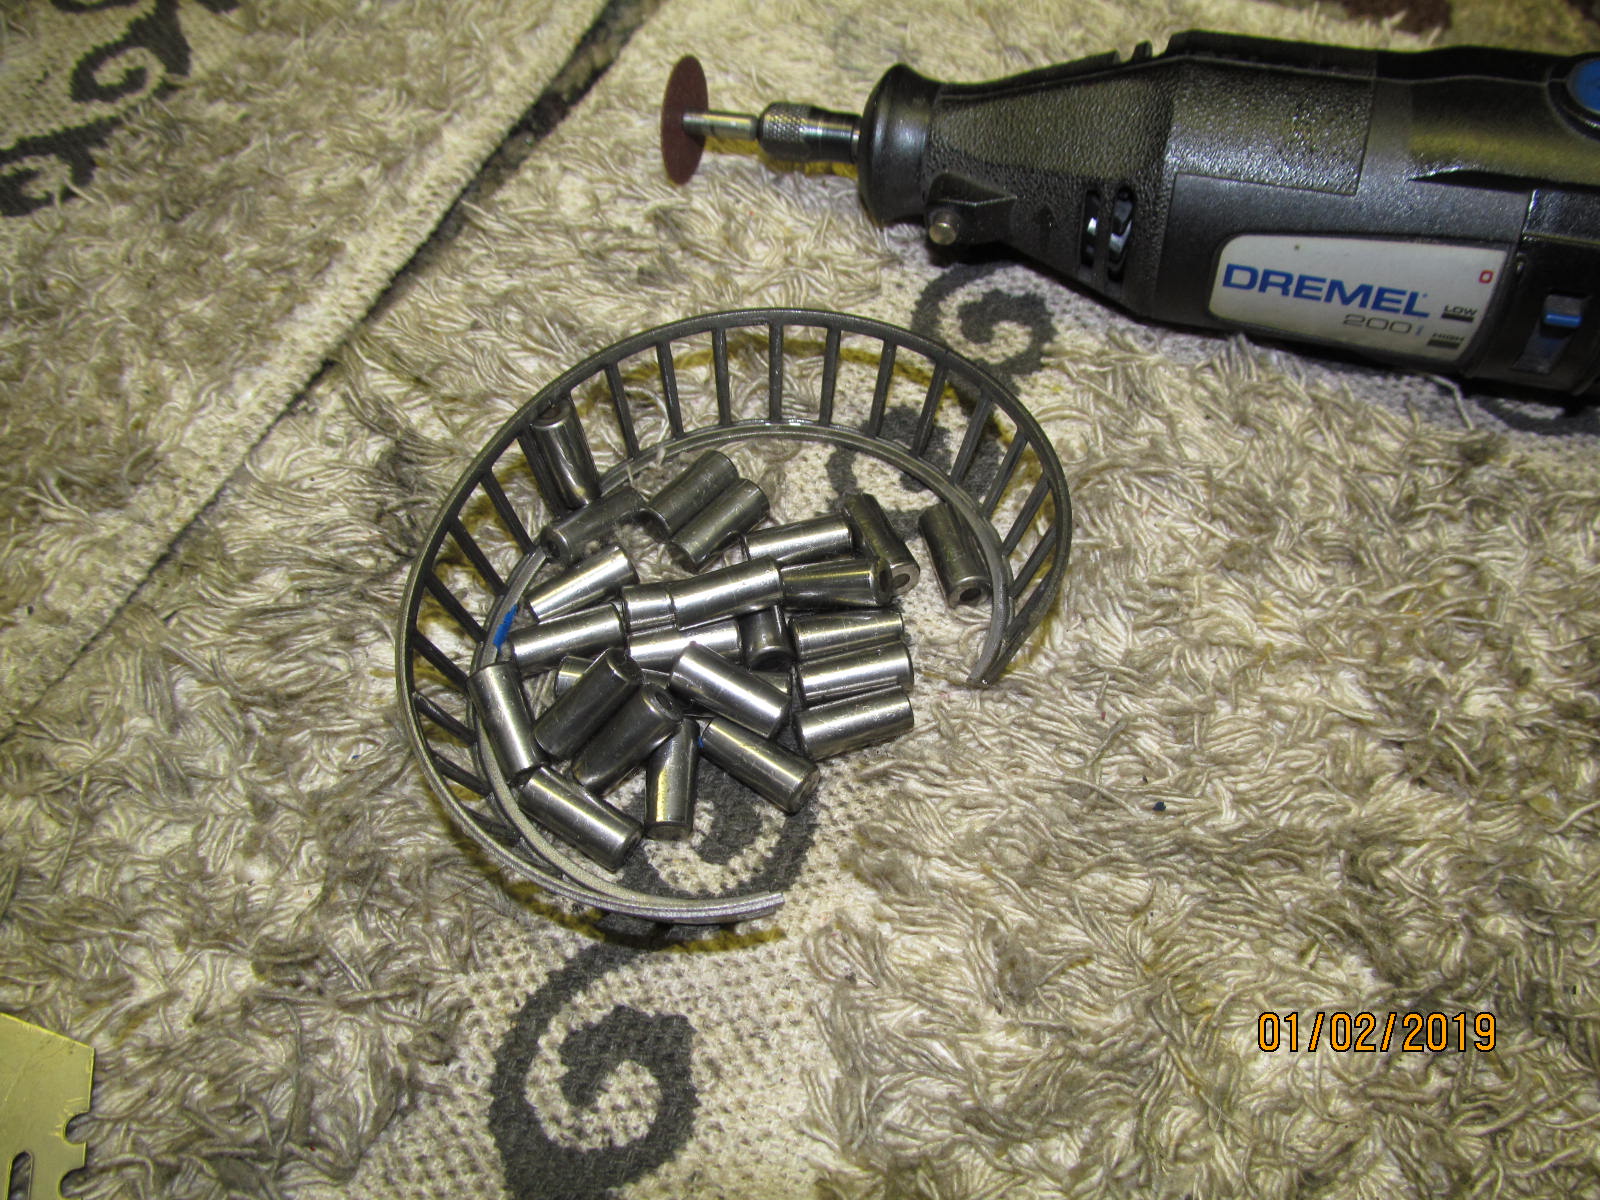
Even this carrier bearing puller could not get in there......and even if it could it did not have the right sized cups
for the job. Dremel drill to the rescue. |
|---|
|
|
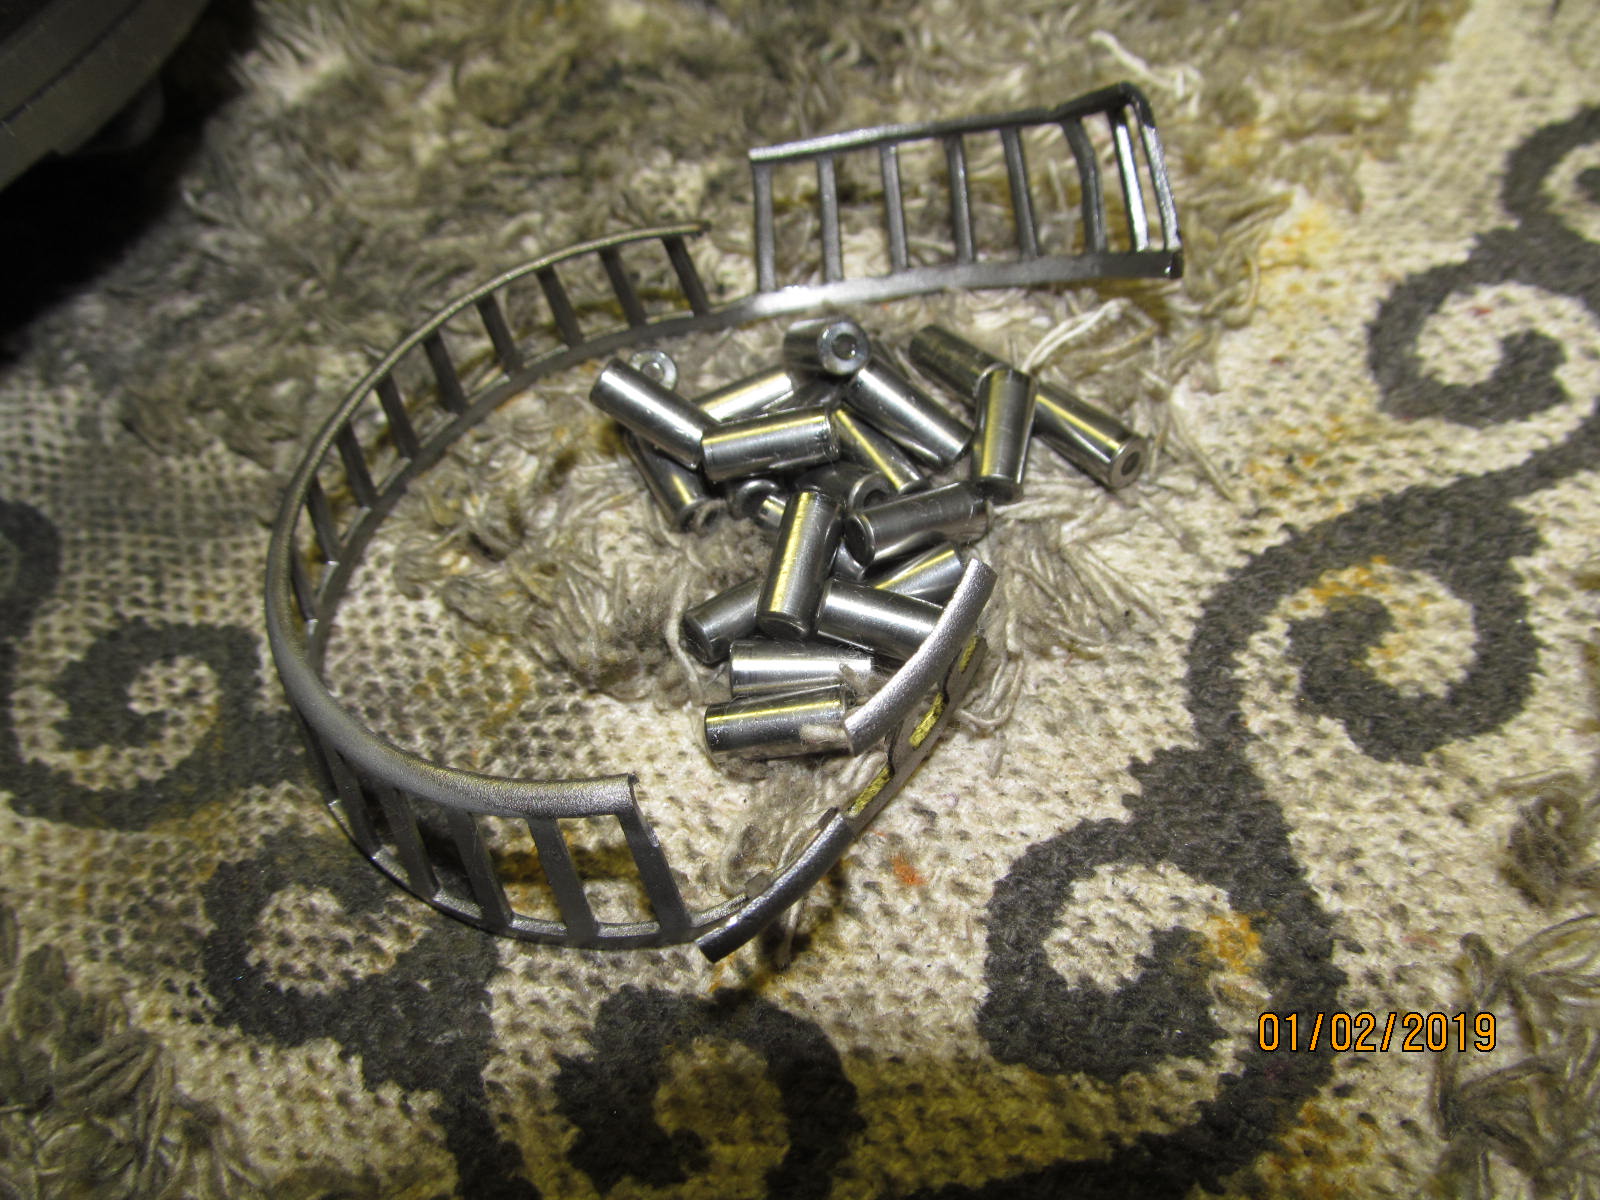
| Break the cage loose first... |
|---|
|
|
| .....and it's half out so far. |
|---|
|
|
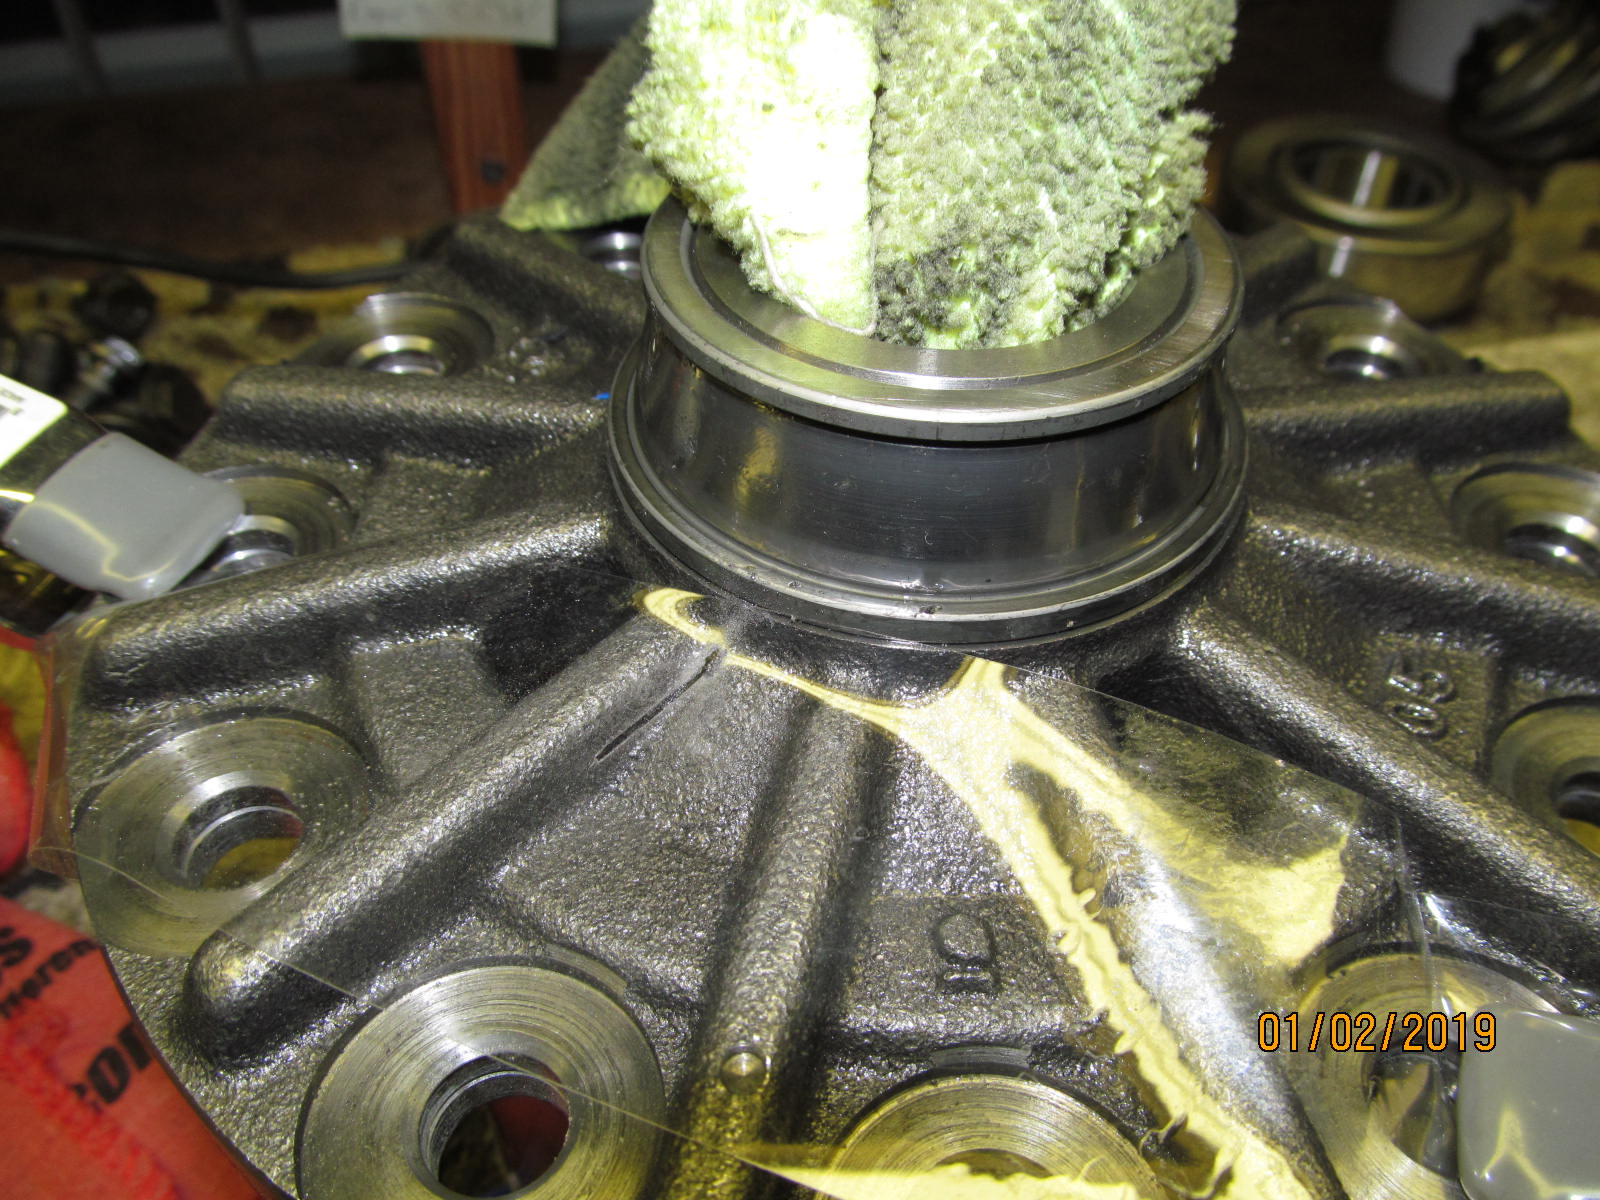
| Now to cut a thin channel down this inner bearing race.... |
|---|
|
|
| Tap it just right, it splits, and now it easily removes. |
|---|
|

|
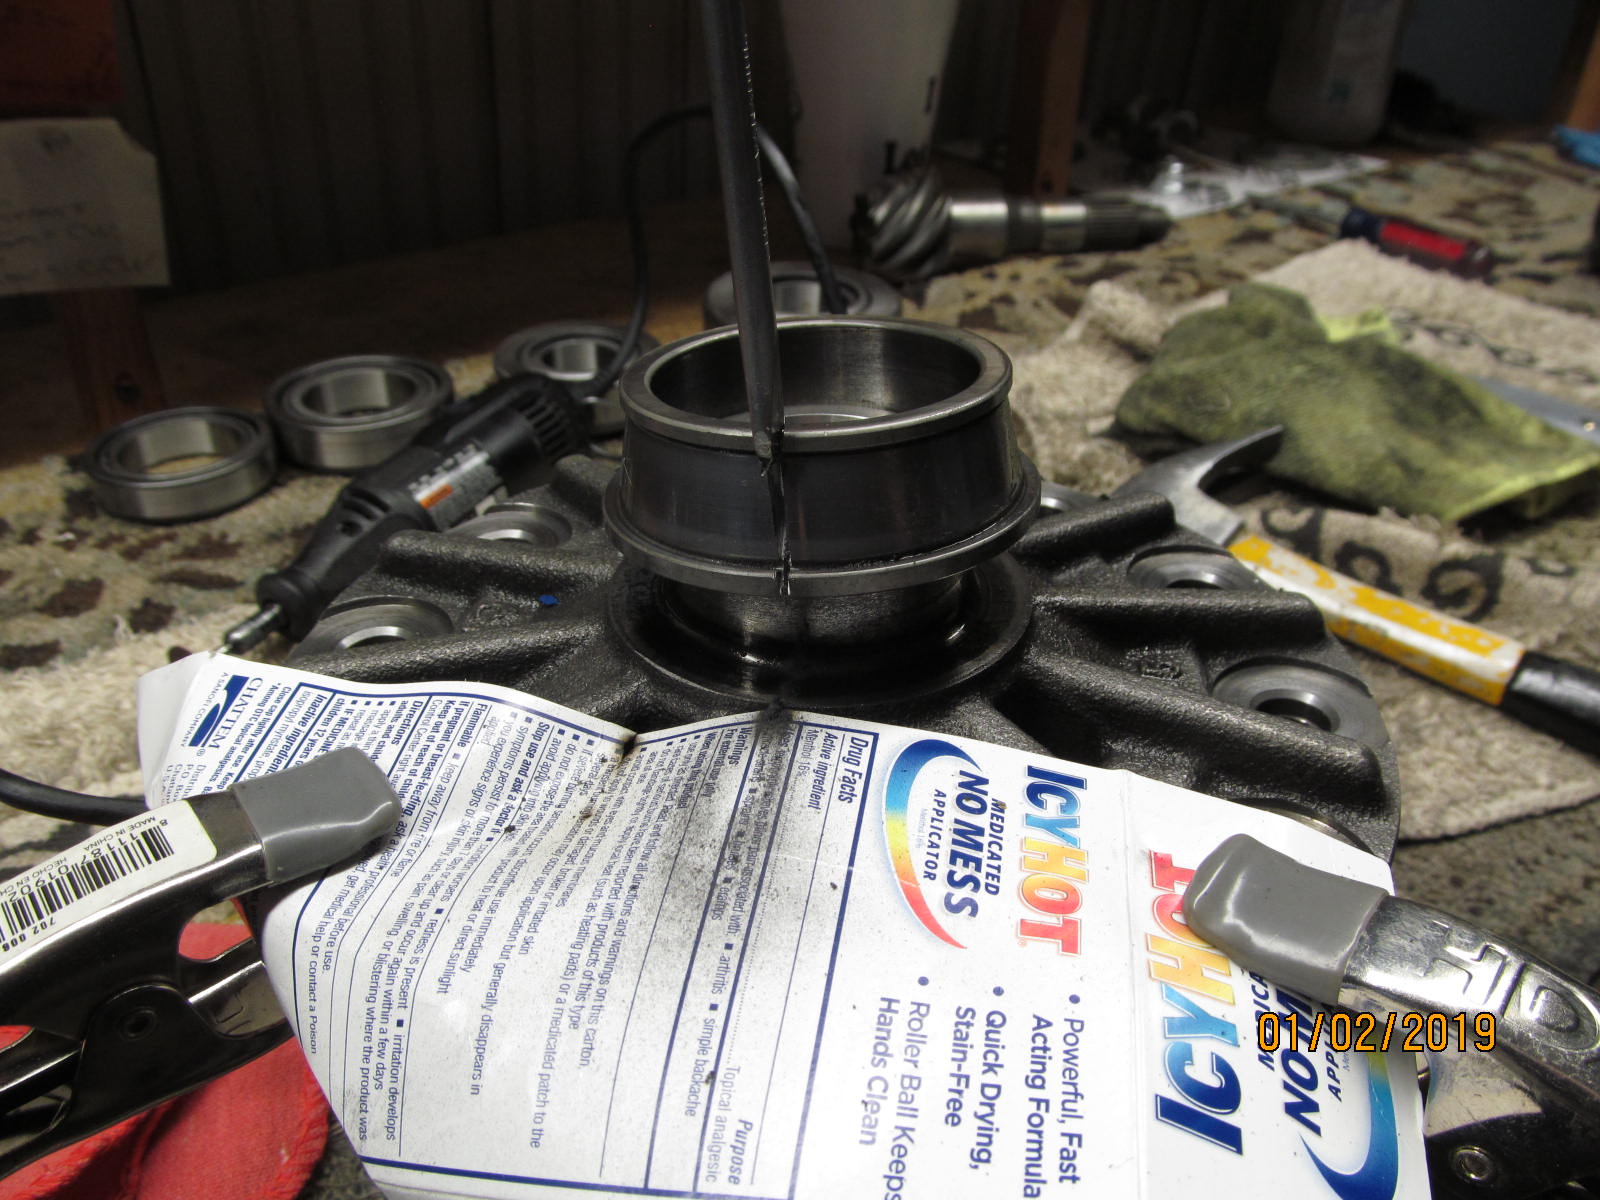
| This side is done. |
|---|
|
|
| Repeat for the other side. |
|---|
|
|
| ,,,,,,,,,,,,,,,,,,, |
|---|
|
|
| Done. Minor nicks are ok. |
|---|
|
|
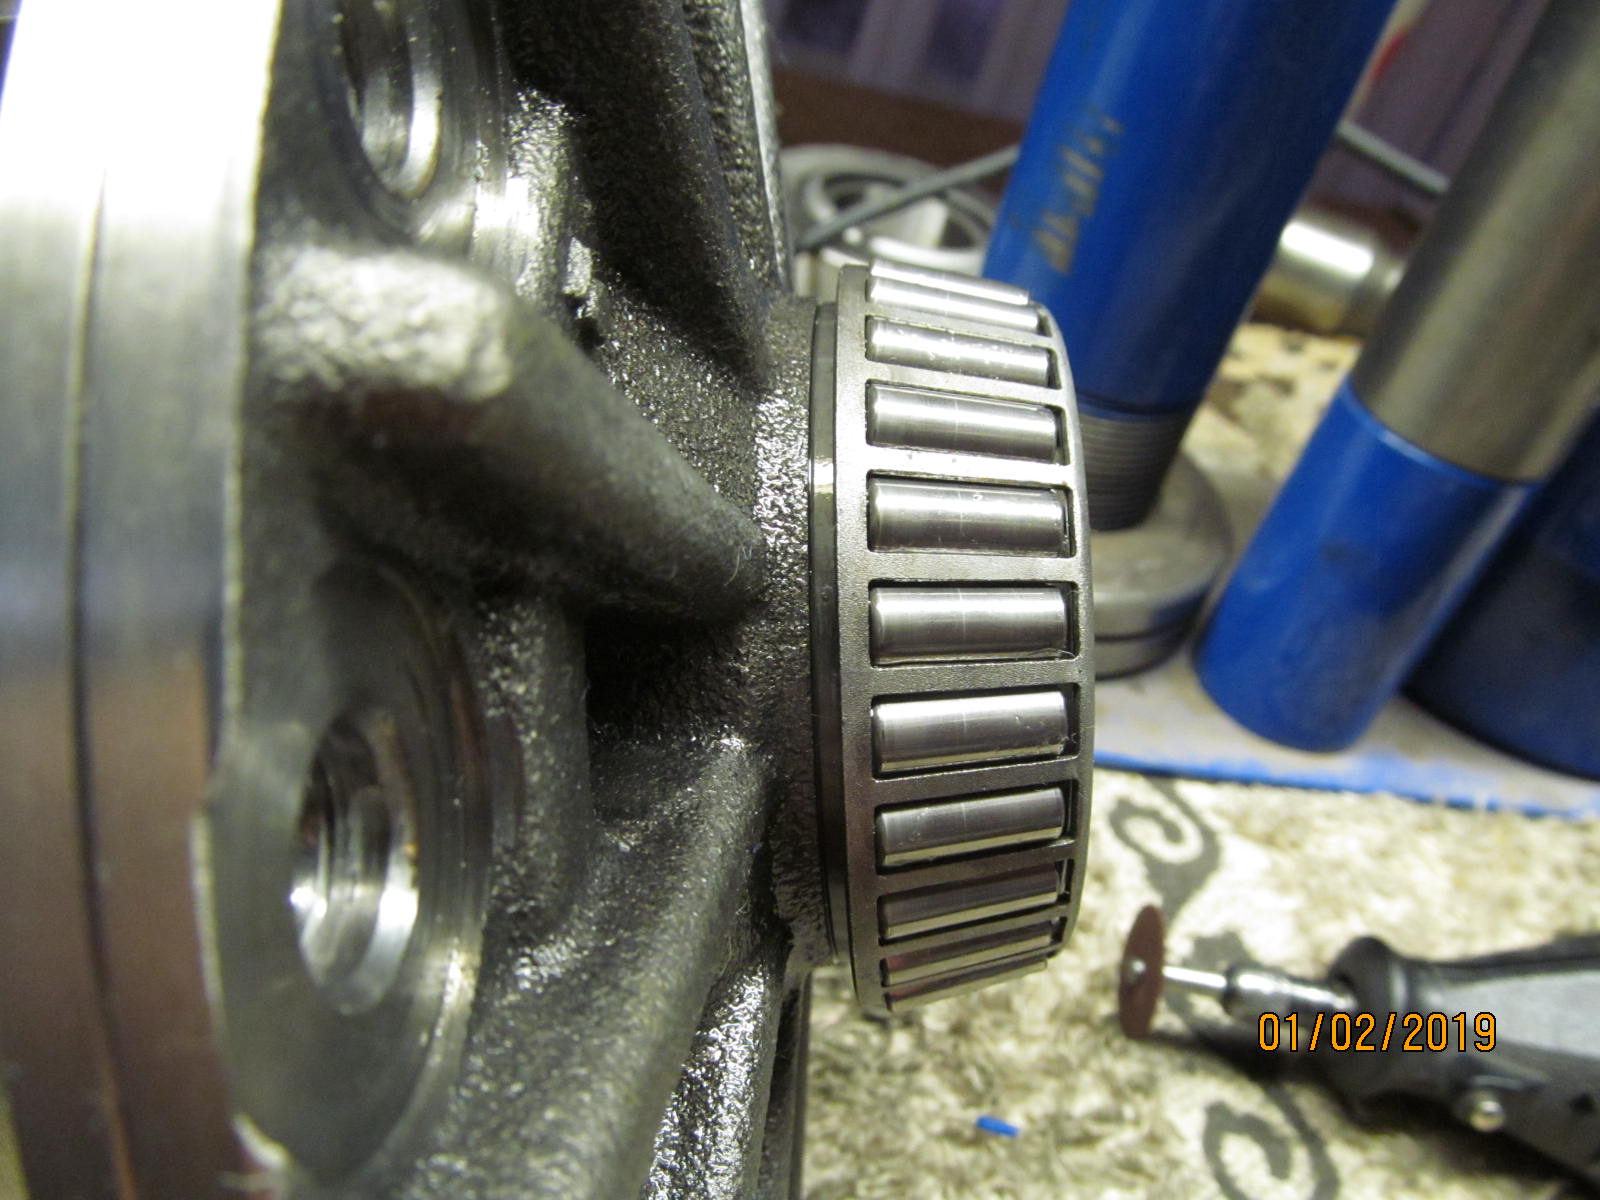
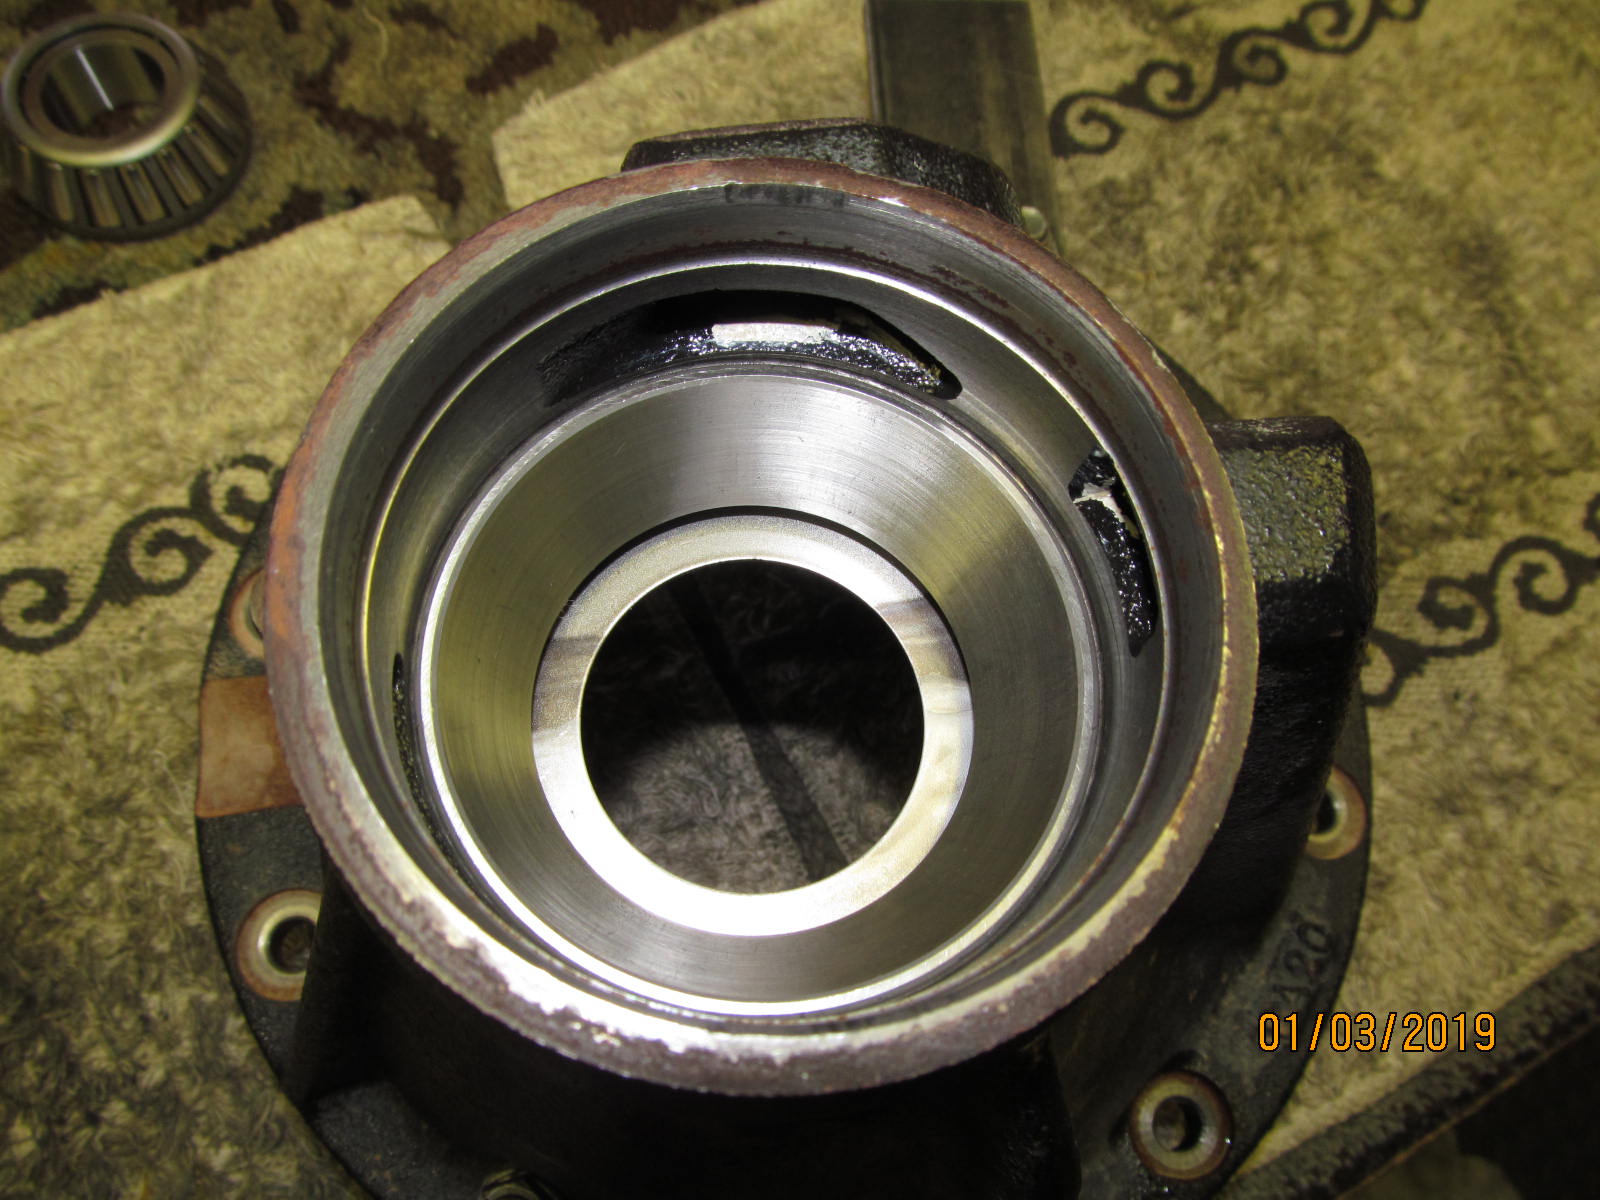
| New races will go on but first to check the mount surfaces for burrs and irregularities. None found, of course. |
|---|
|
|
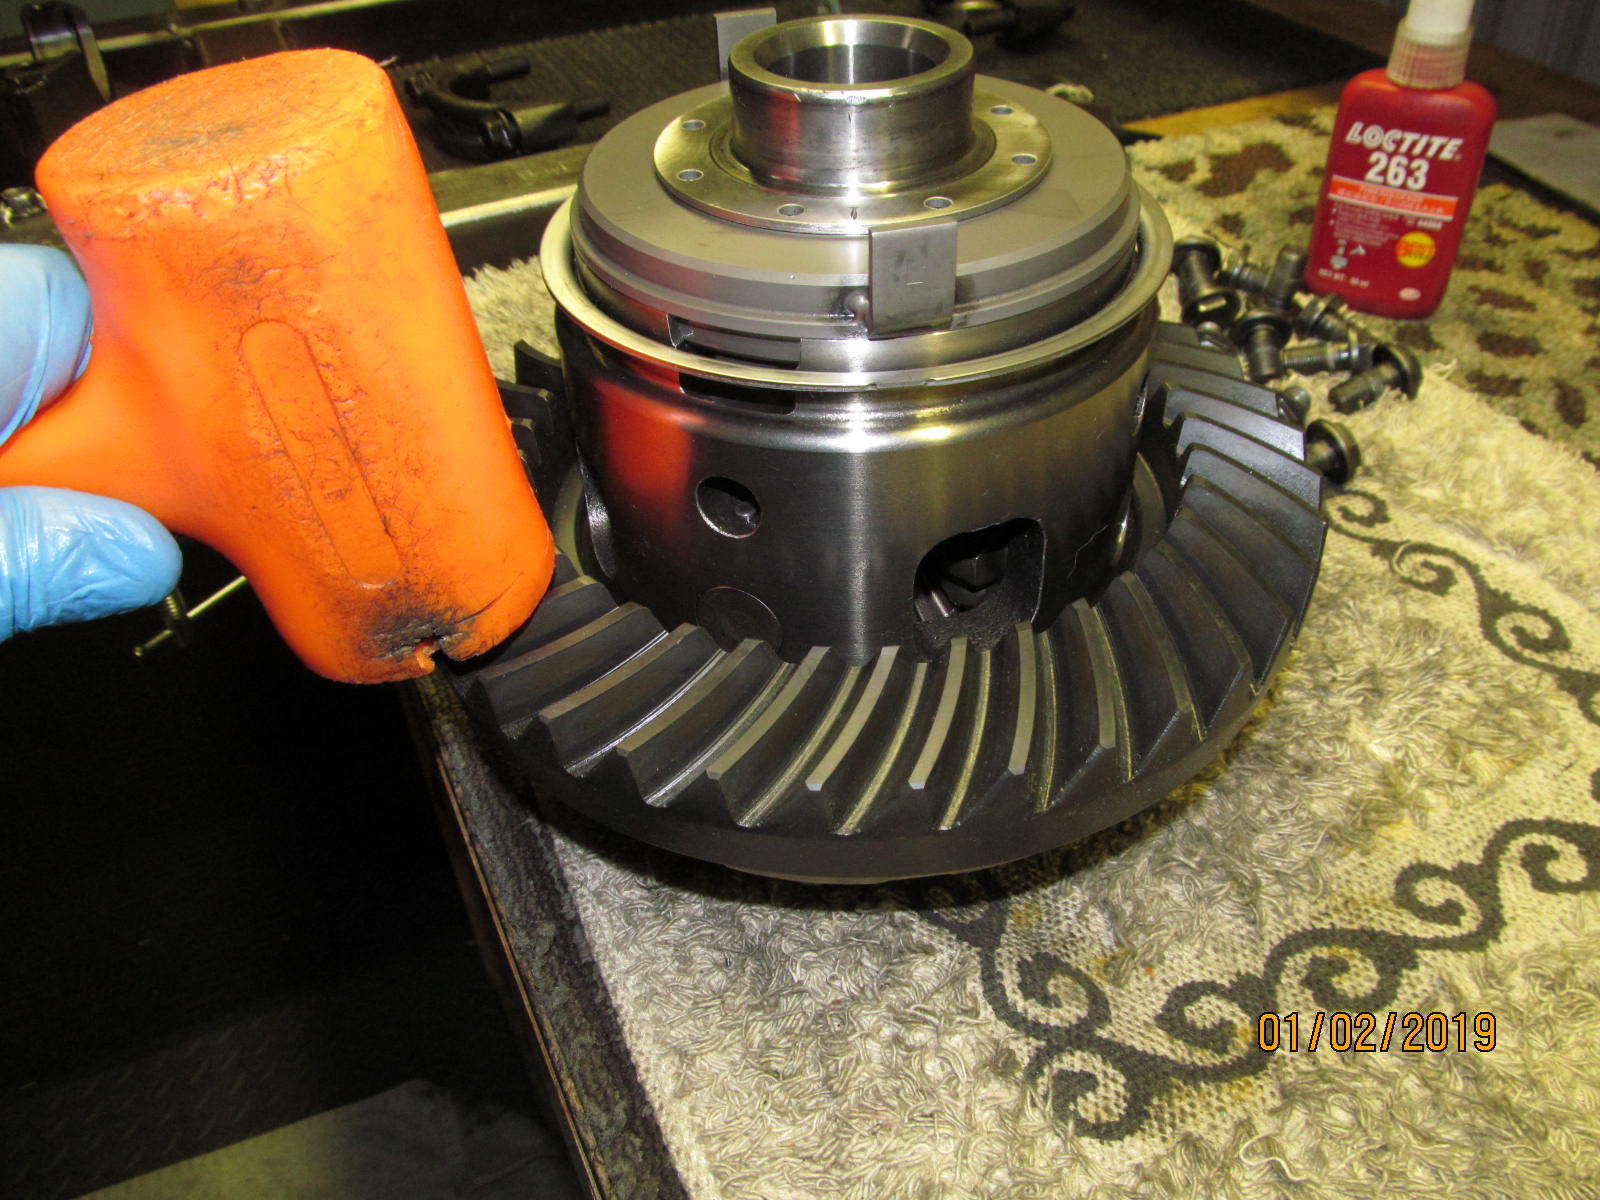
Based on the way I am holding the hammer says that the ring gear tapped on very softly....was almost snug
but not overly tight. |
|---|
|
|
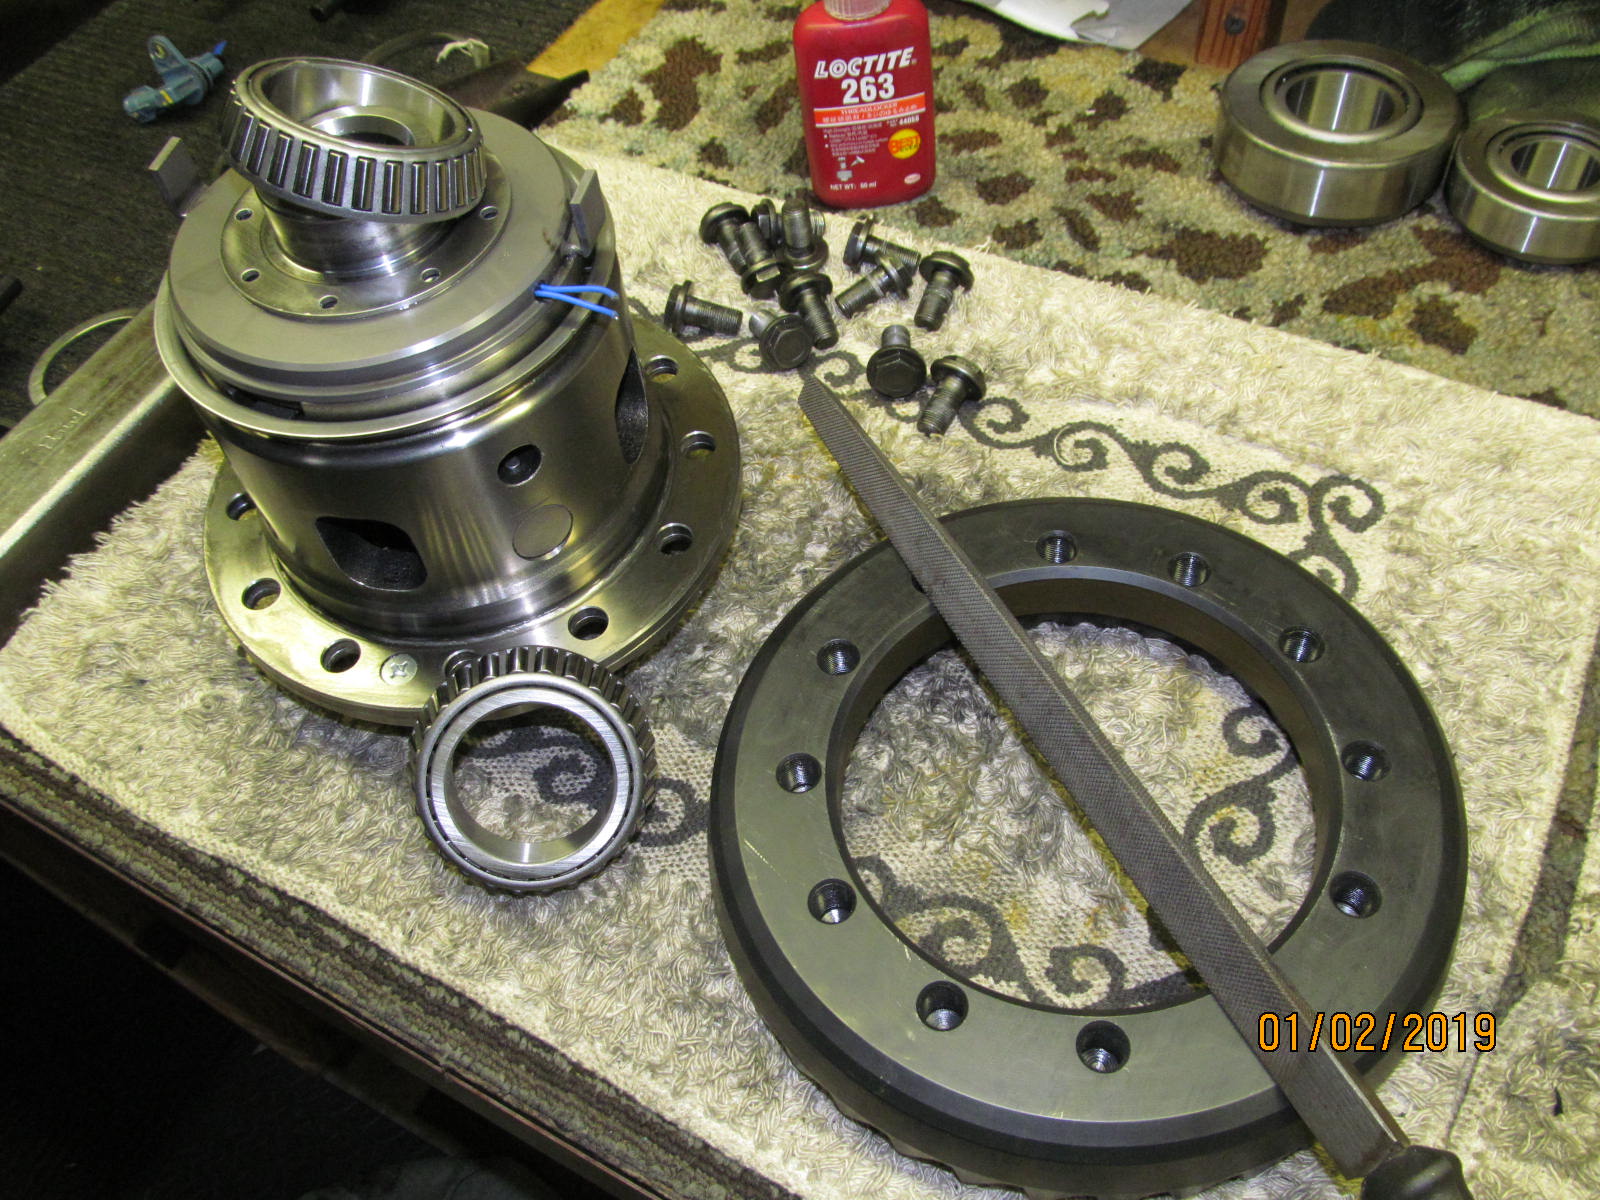
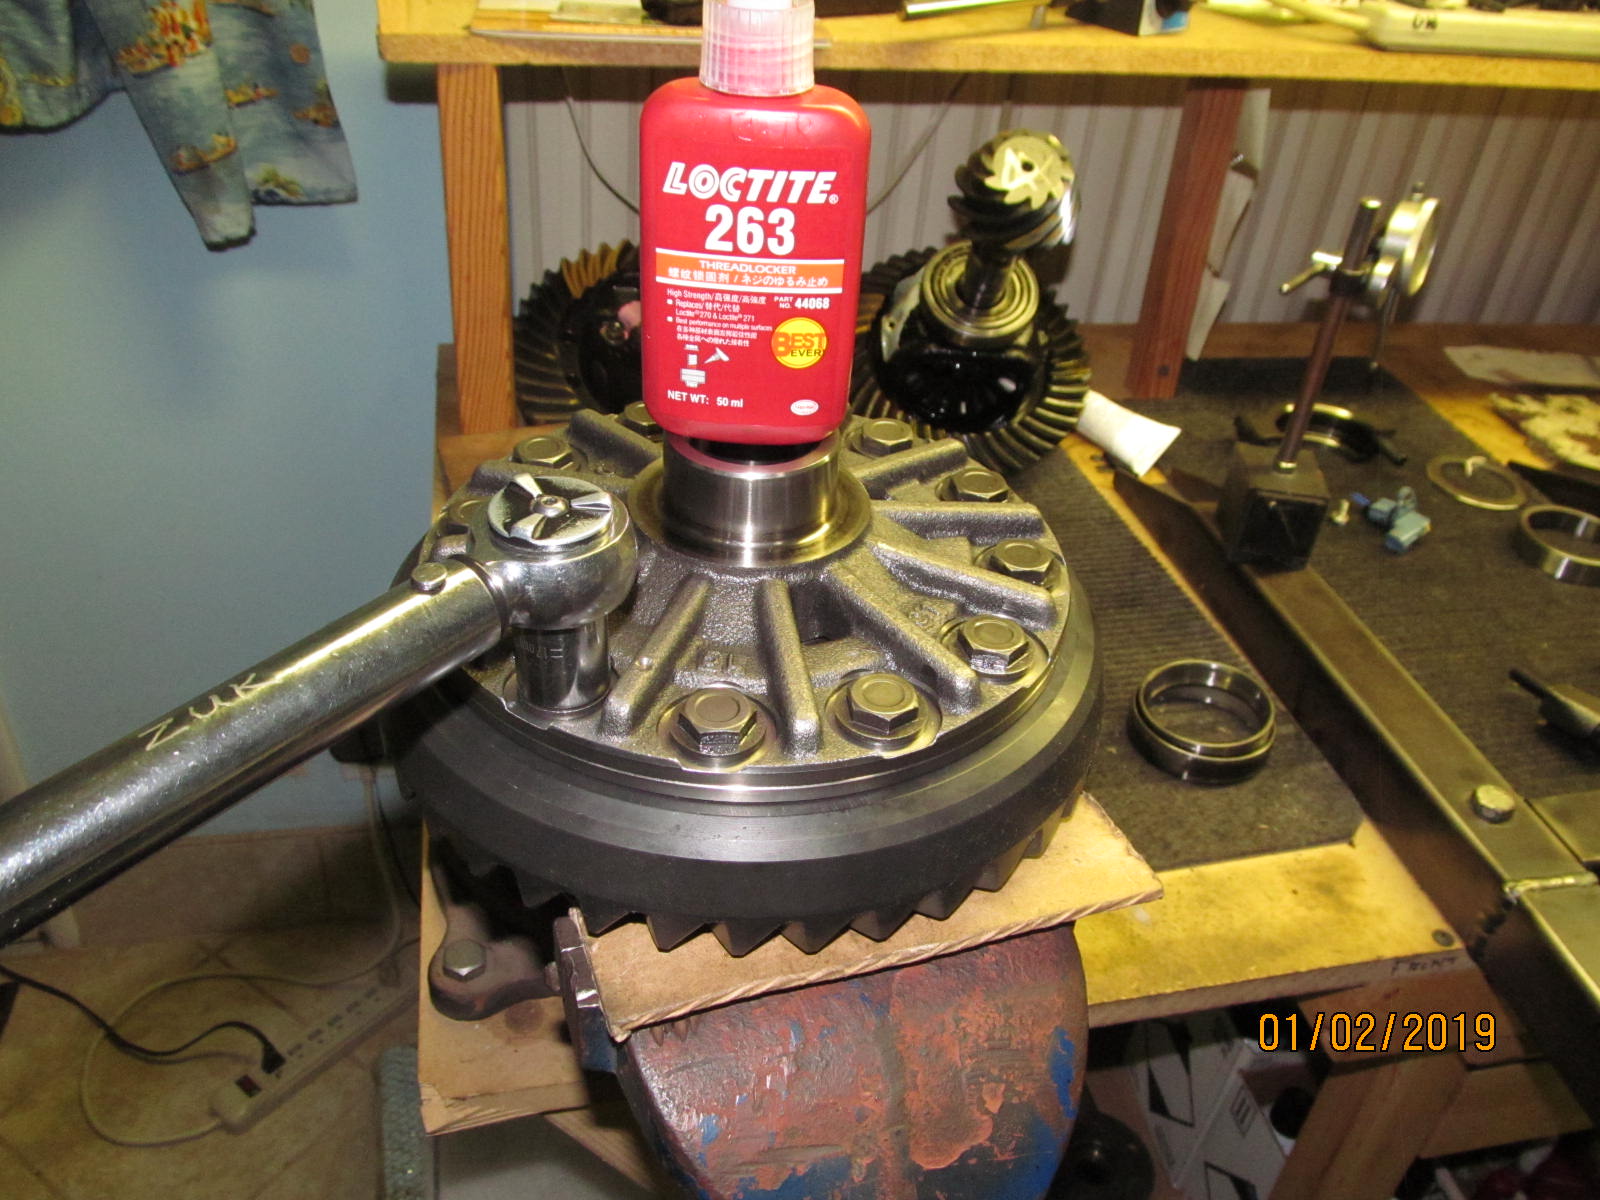
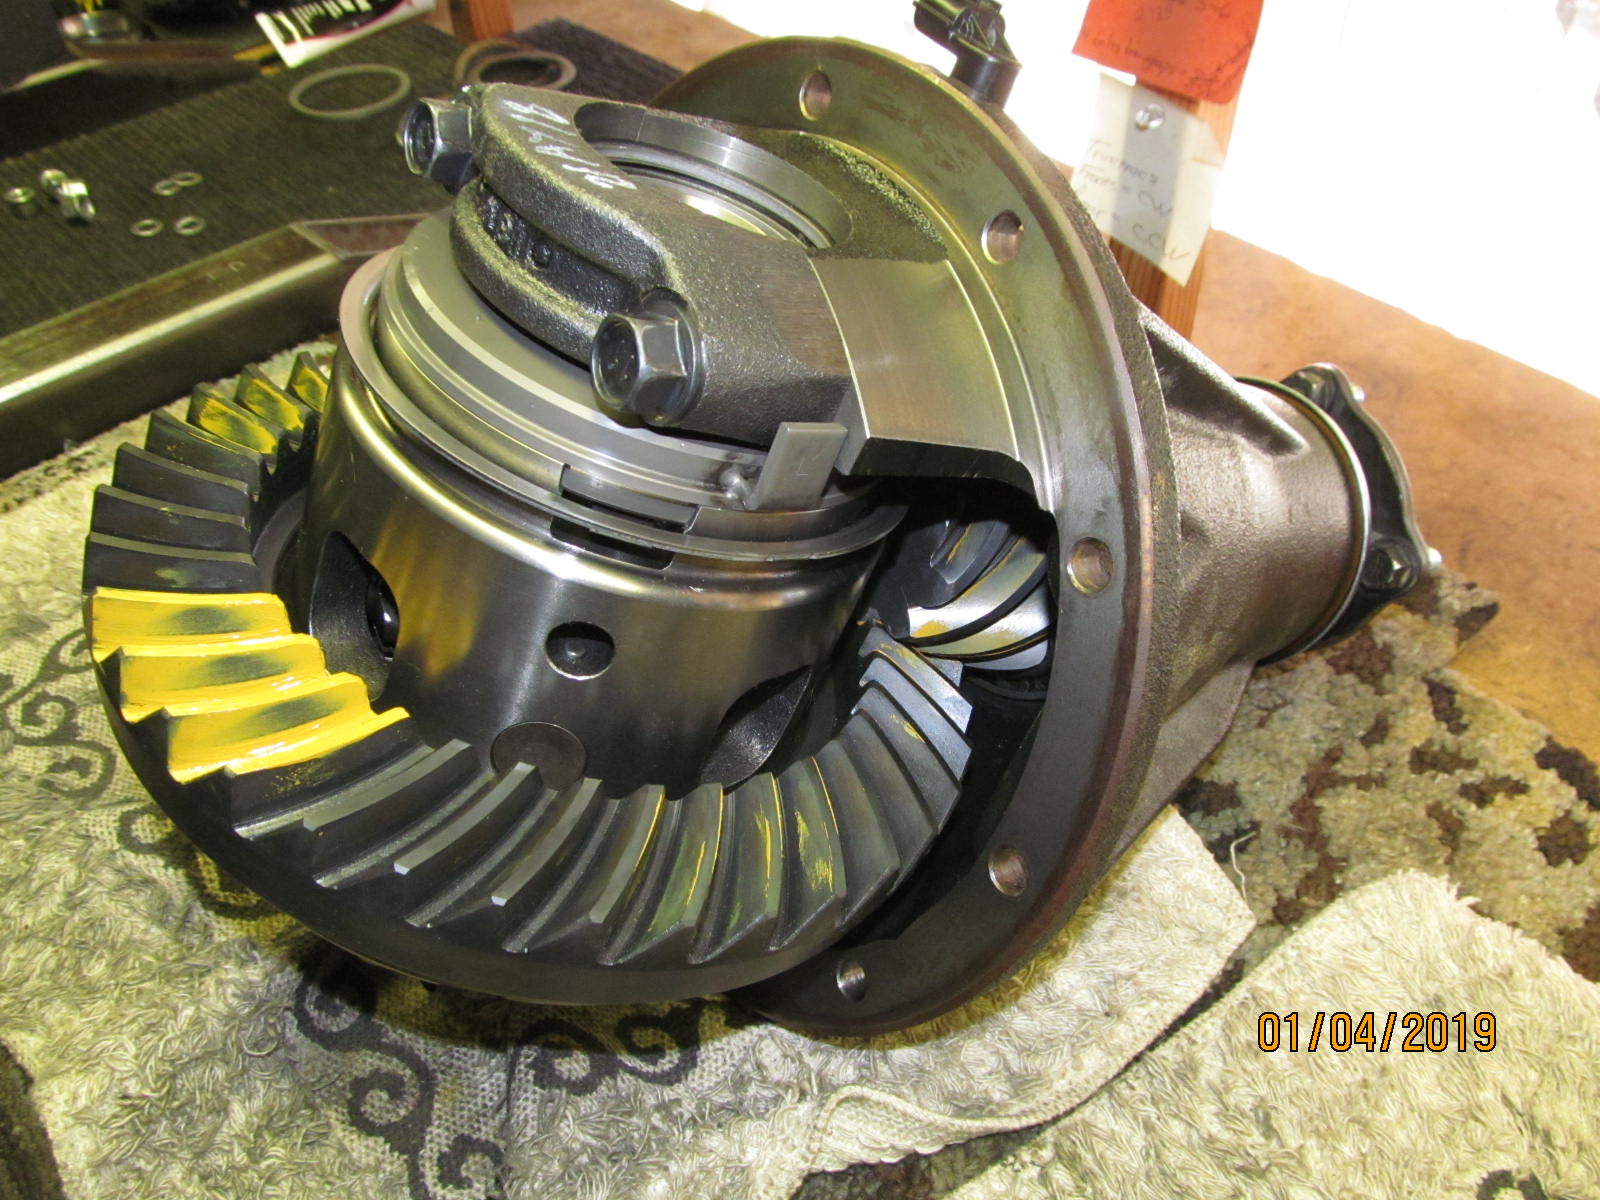
| Red loctite and 92 ft/lb on all 12 bolts. |
|---|
|
|
| Ring gear on....carrier bearings on. This end is done. |
|---|
|
|
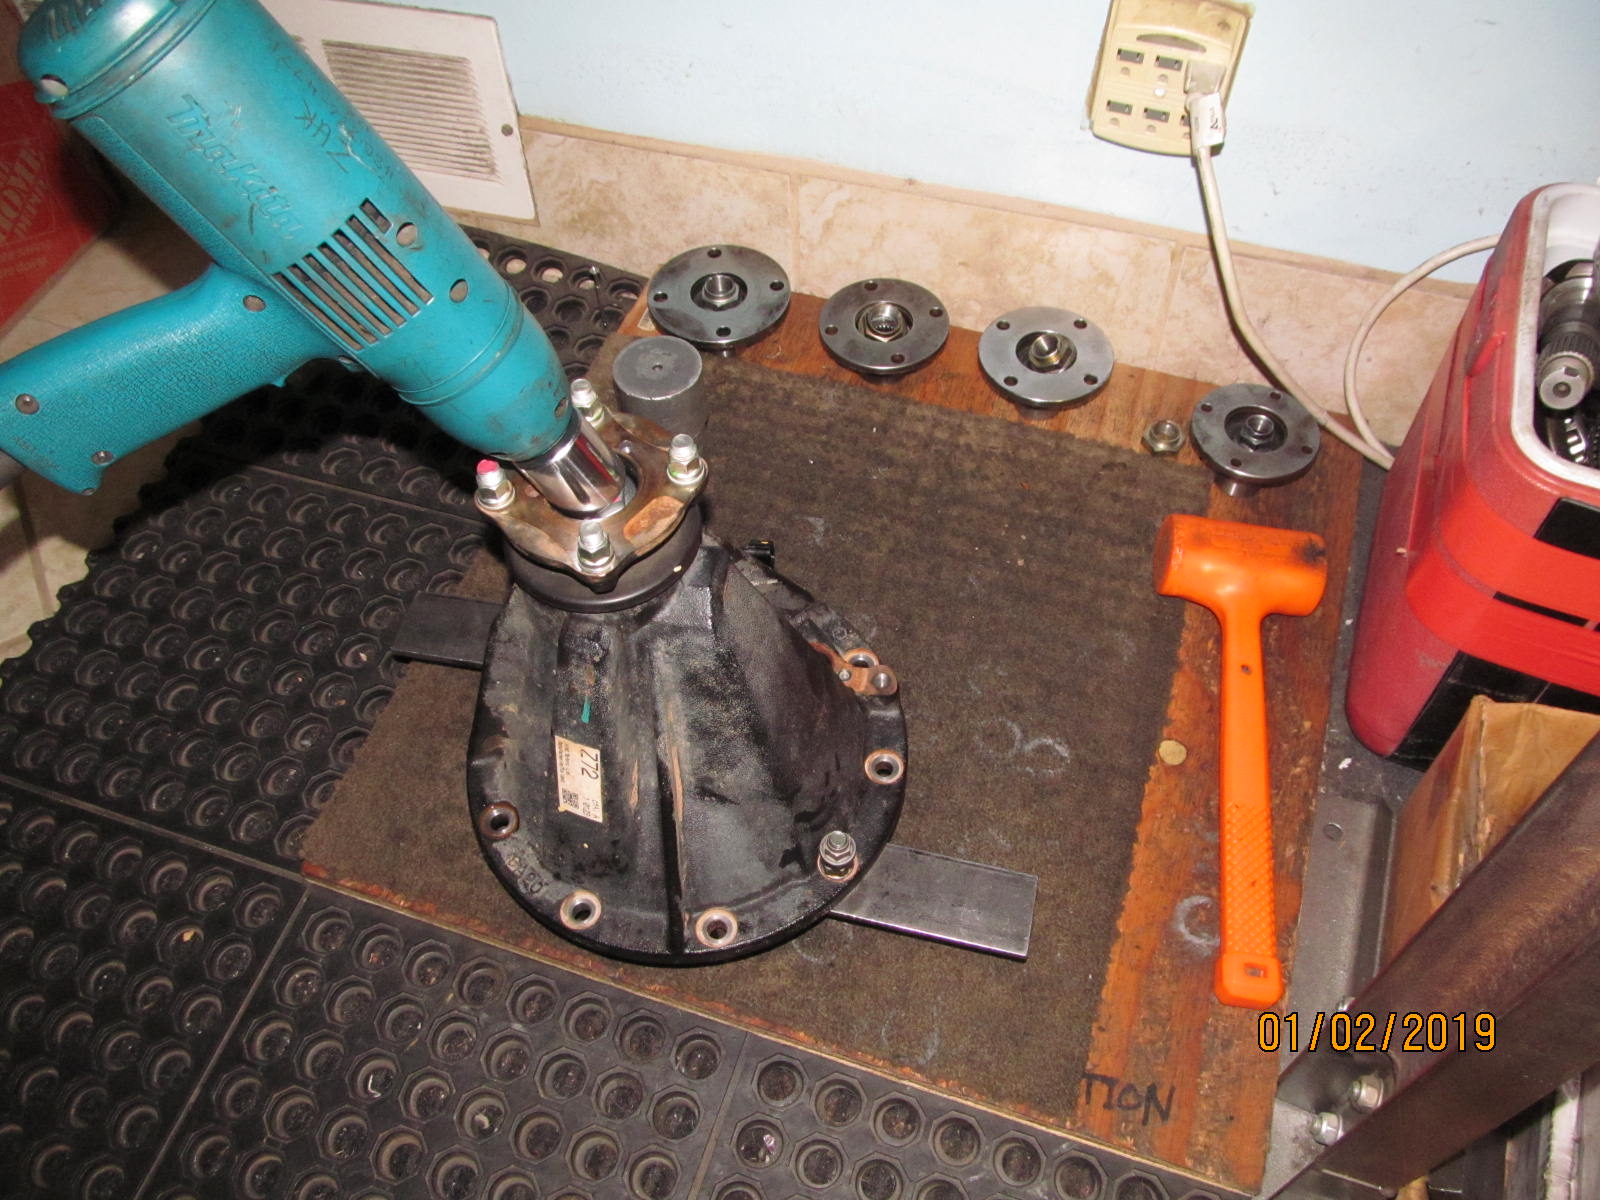
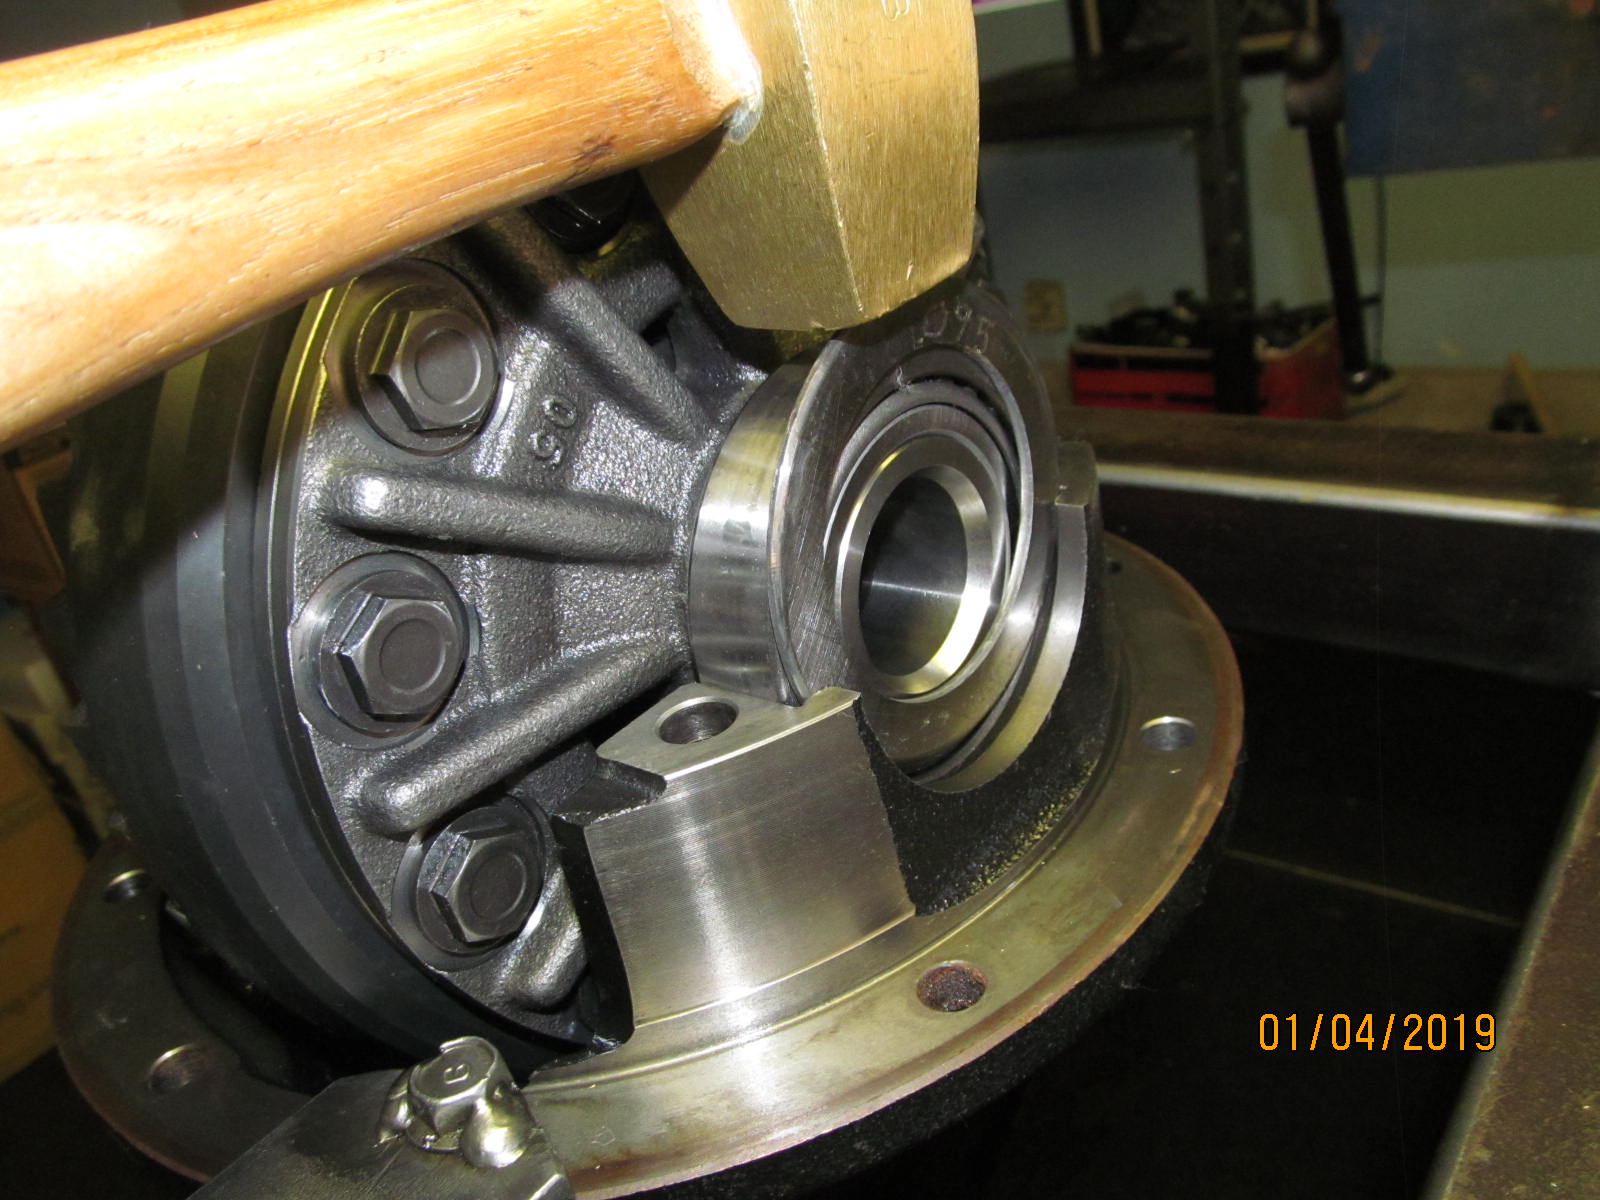
| The electric impact sure makes it fast and easy to get the 30mm pinion nut off. |
|---|
|
|
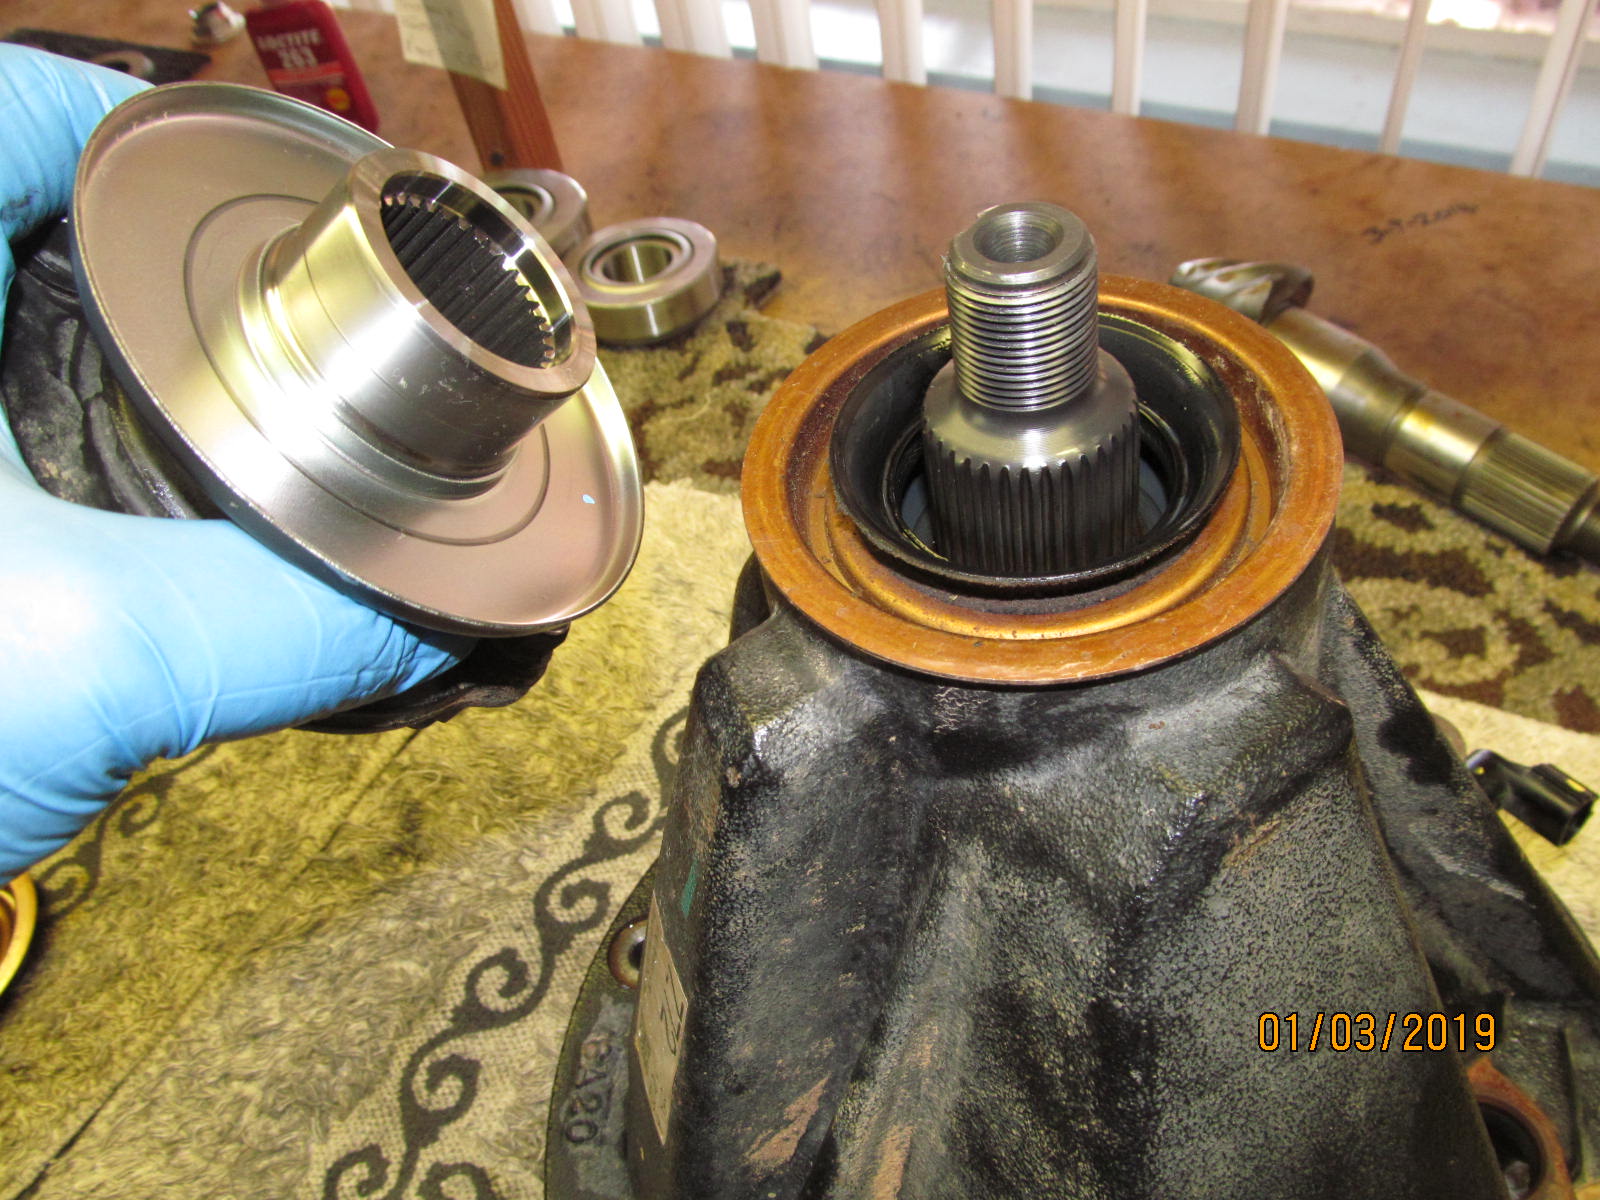
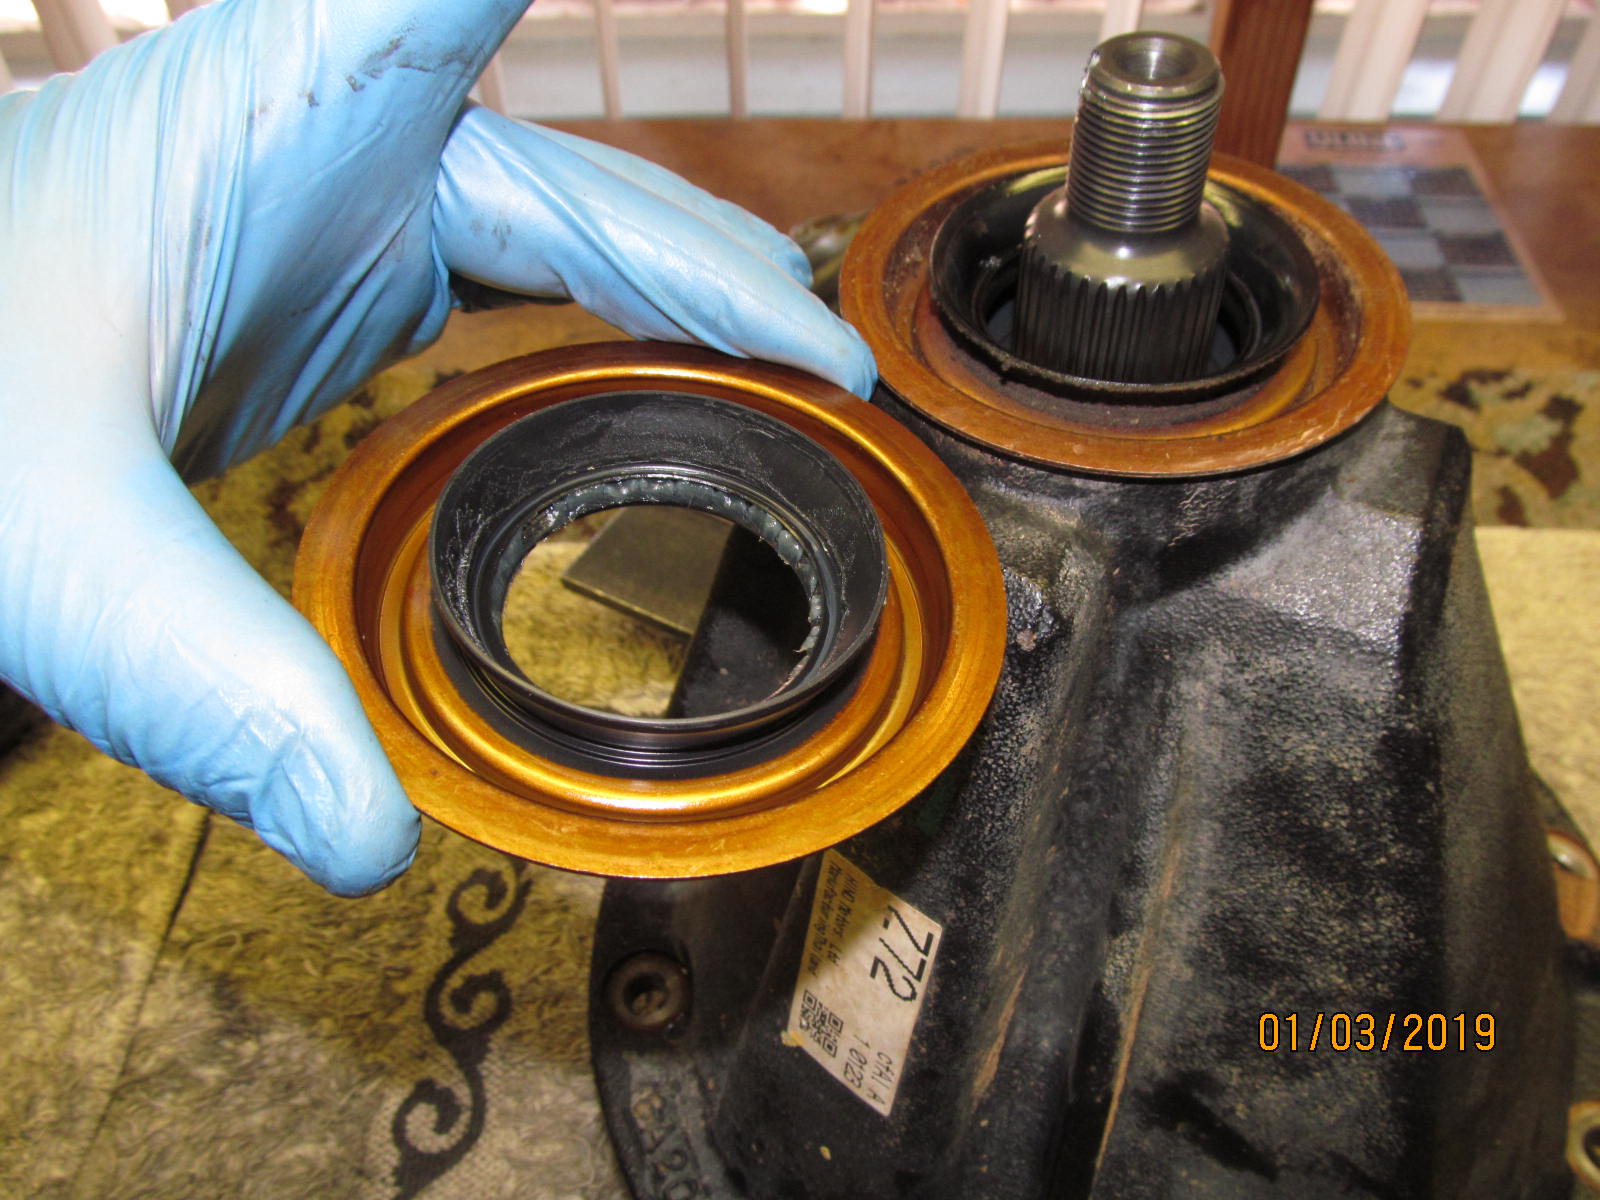
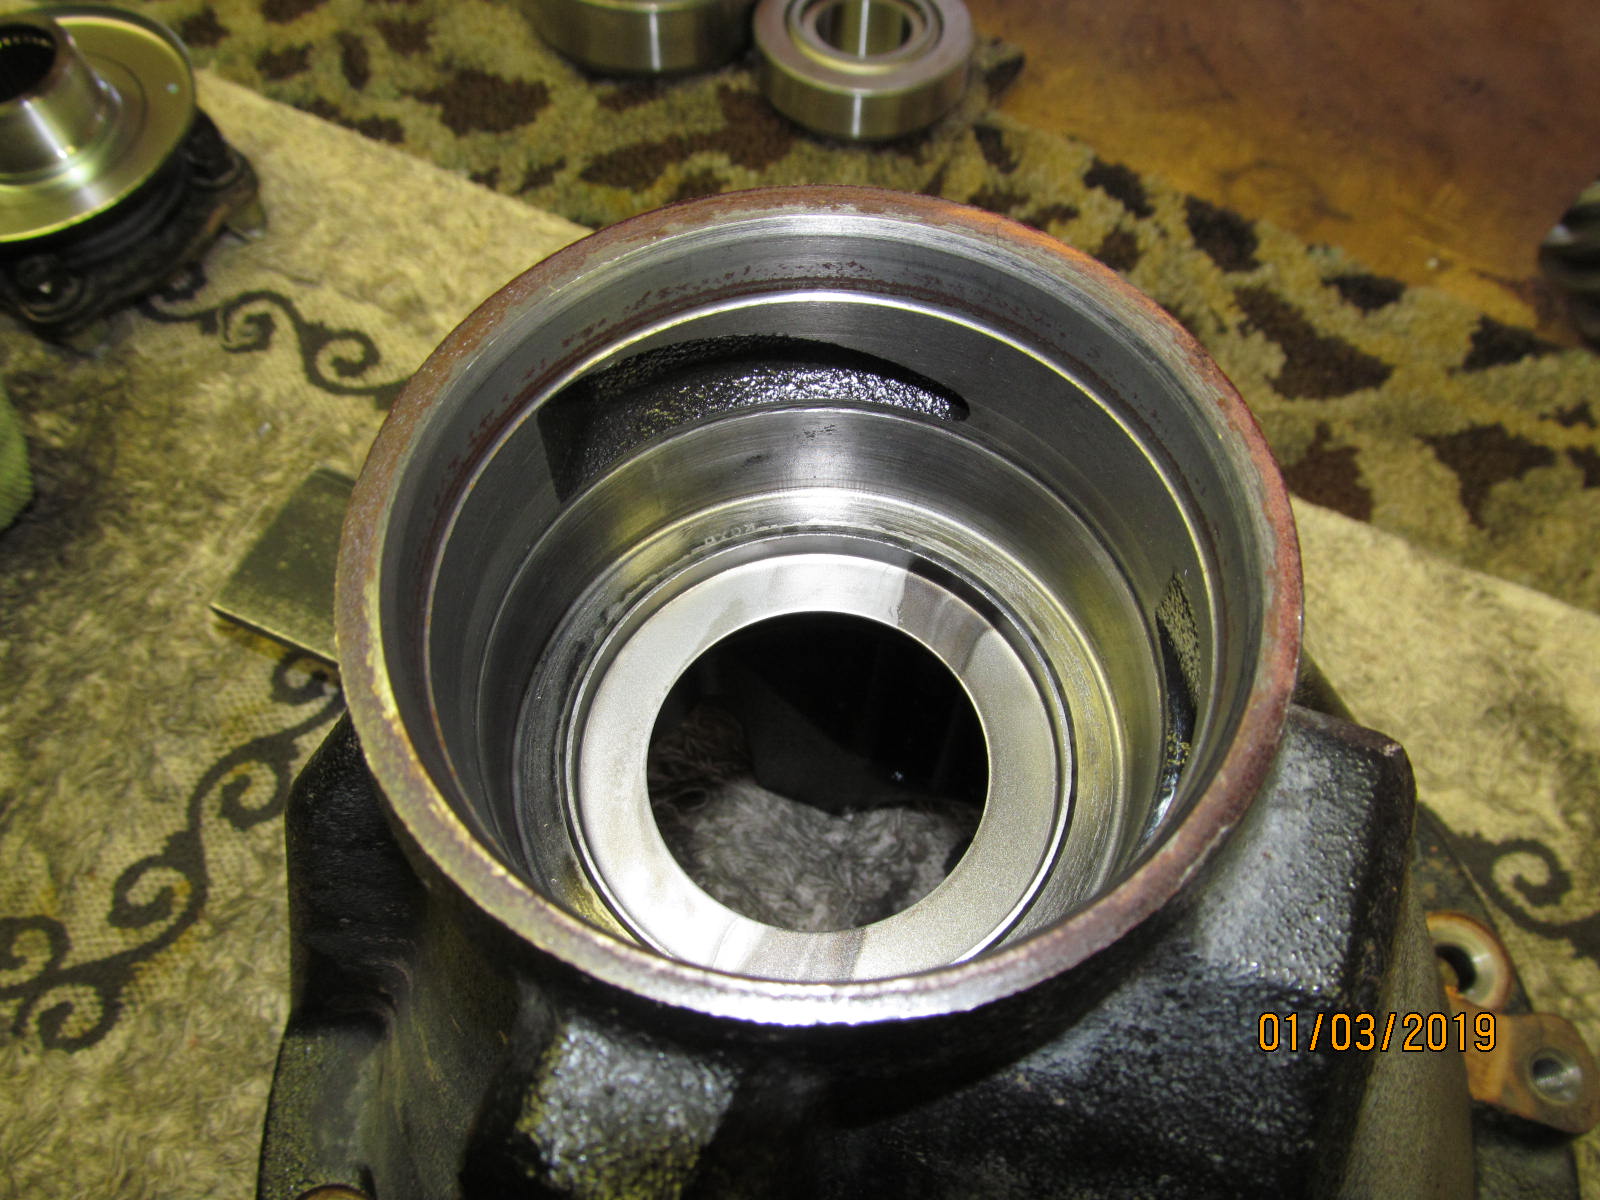
| Flange tapped off. Wow, flange seal surface looks almost brand new....only a little shiney spot where the seal was sealing. |
|---|
|
|
This is the seal supplied in the Nitro master kit. It appears to be a genuine factory seal.
So glad Nitro is supplying genuine seals. |
|---|
|
|
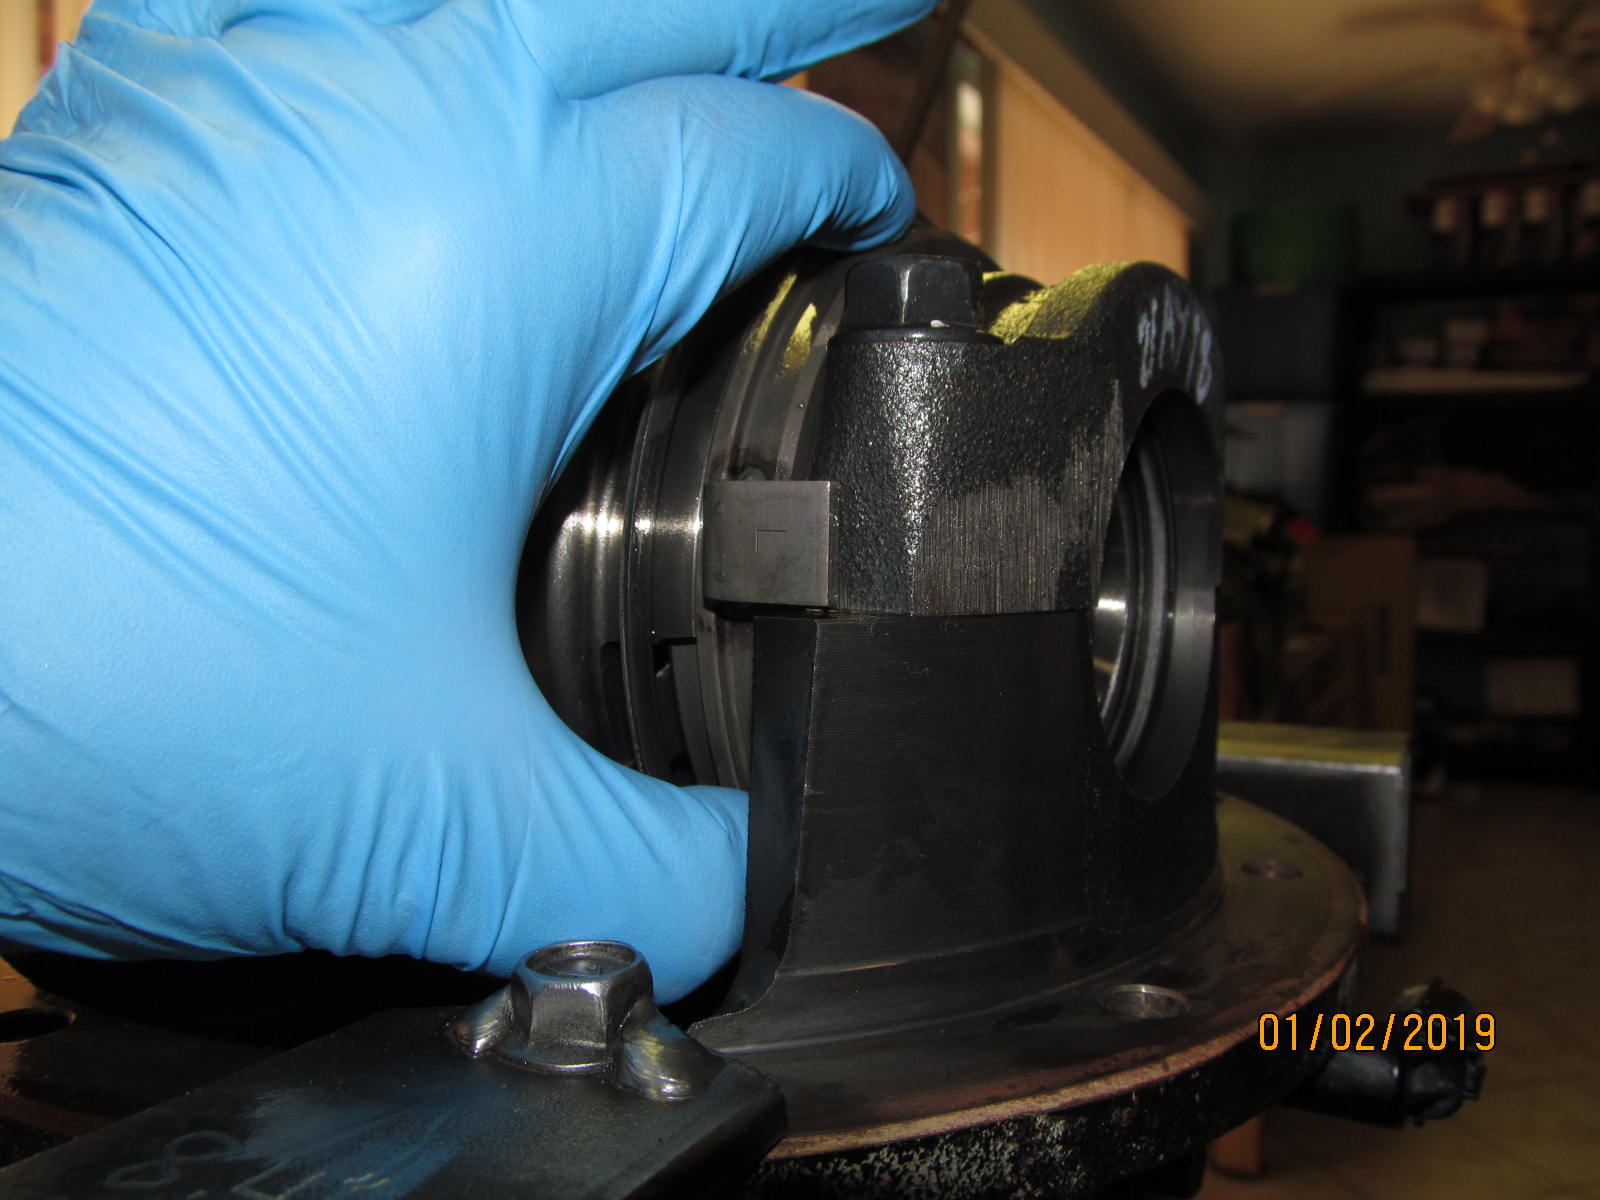
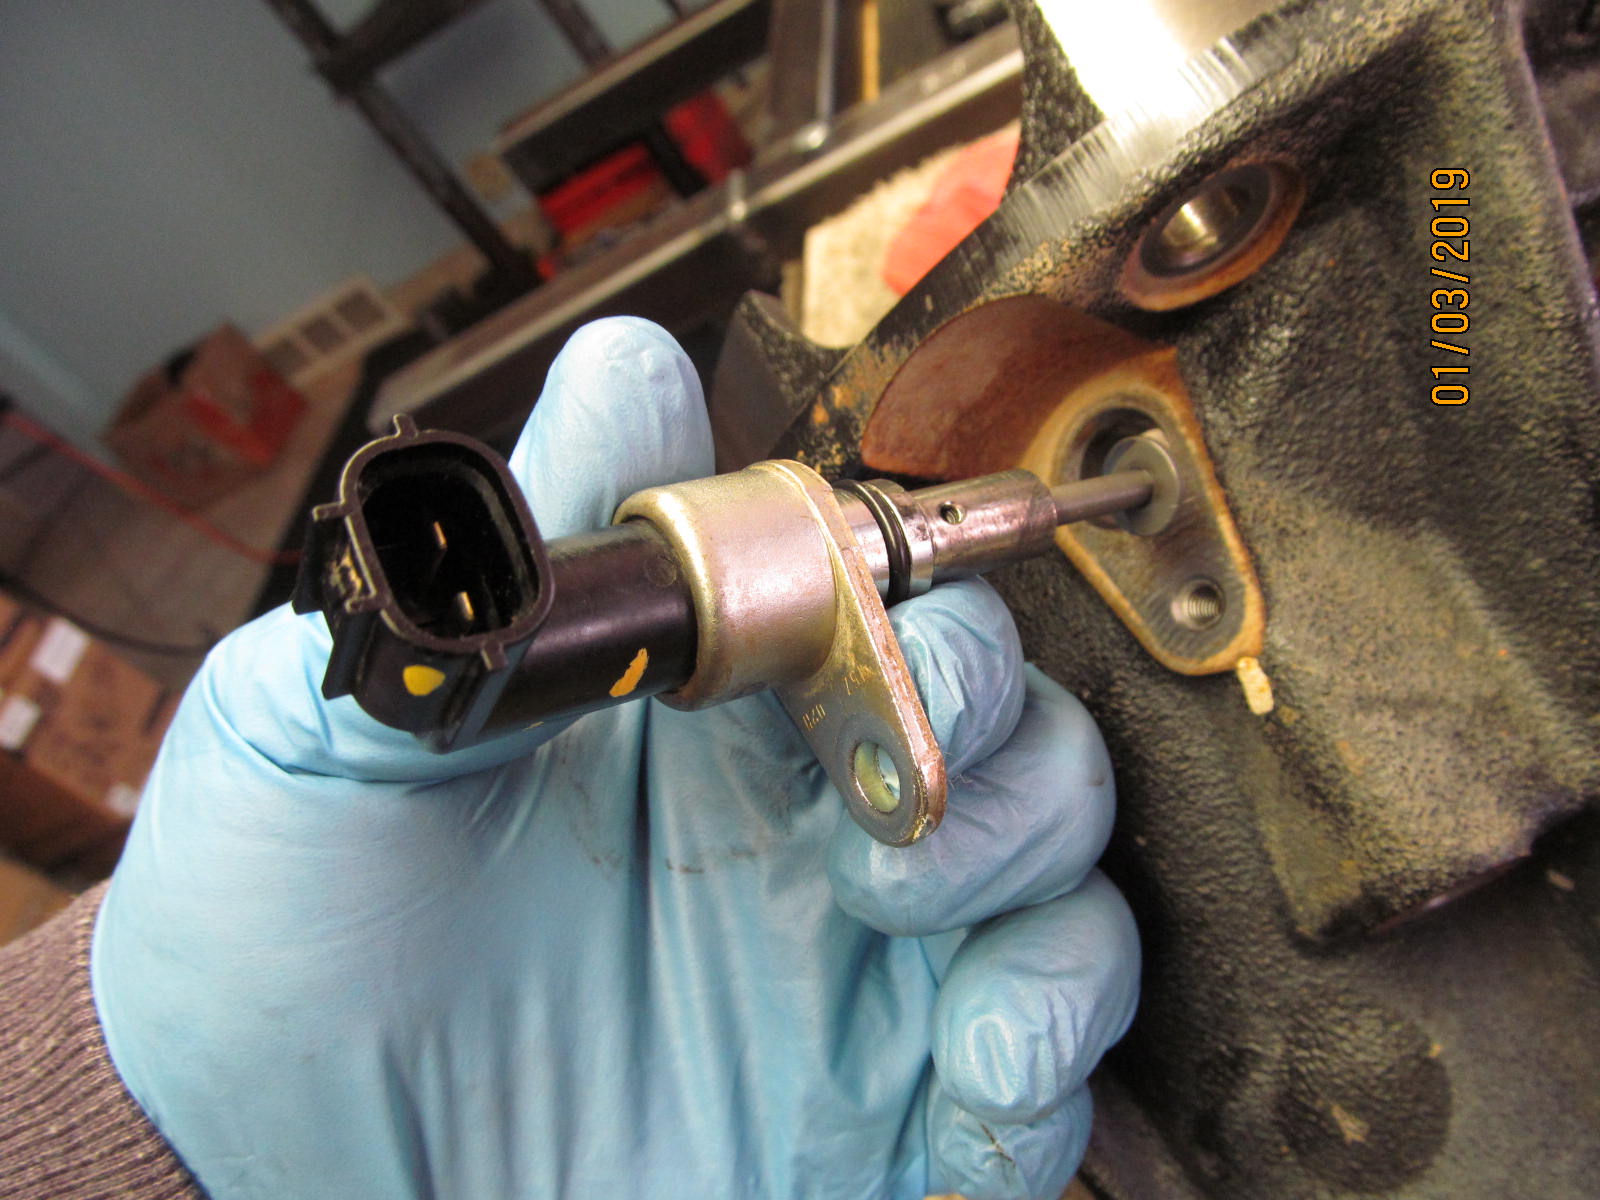
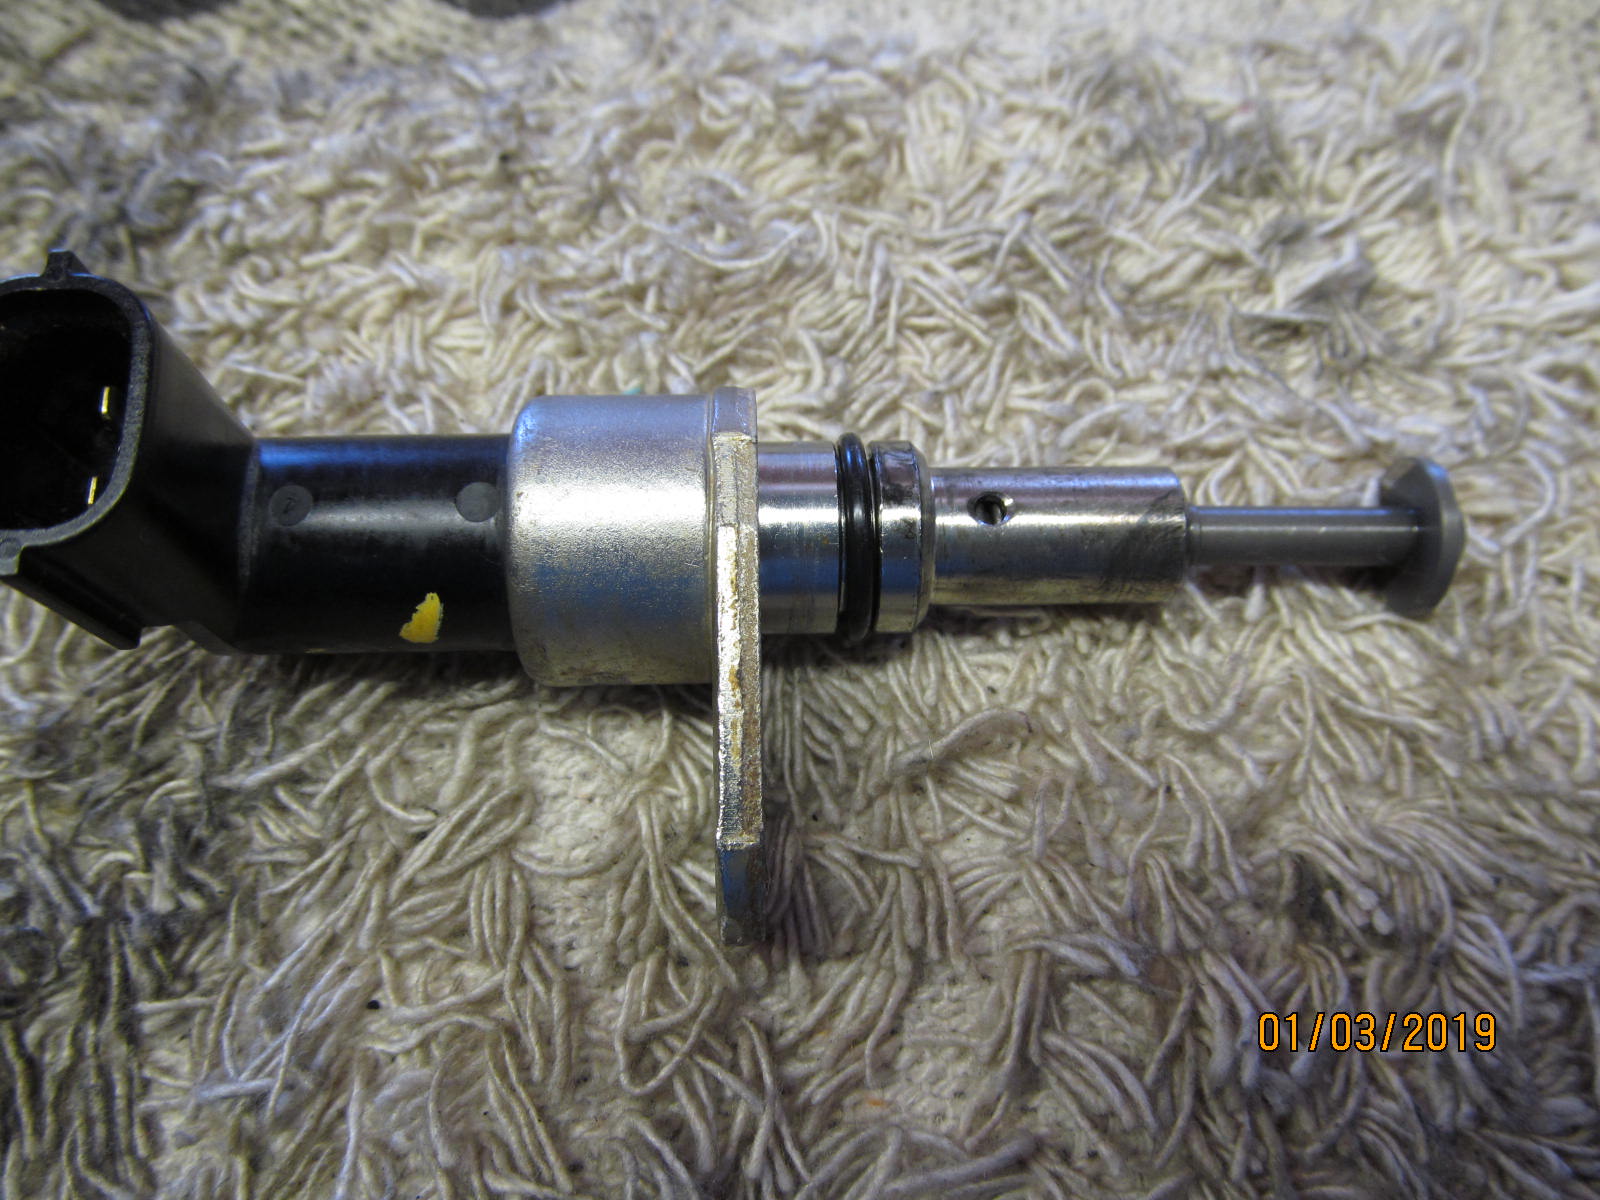
| The sensor assembly is removed. |
|---|
|
|
| Interesting looking critter. |
|---|
|
|
| Pinion shaft was pressed out and shown here pressing out the outer small pinion race. |
|---|
|
|
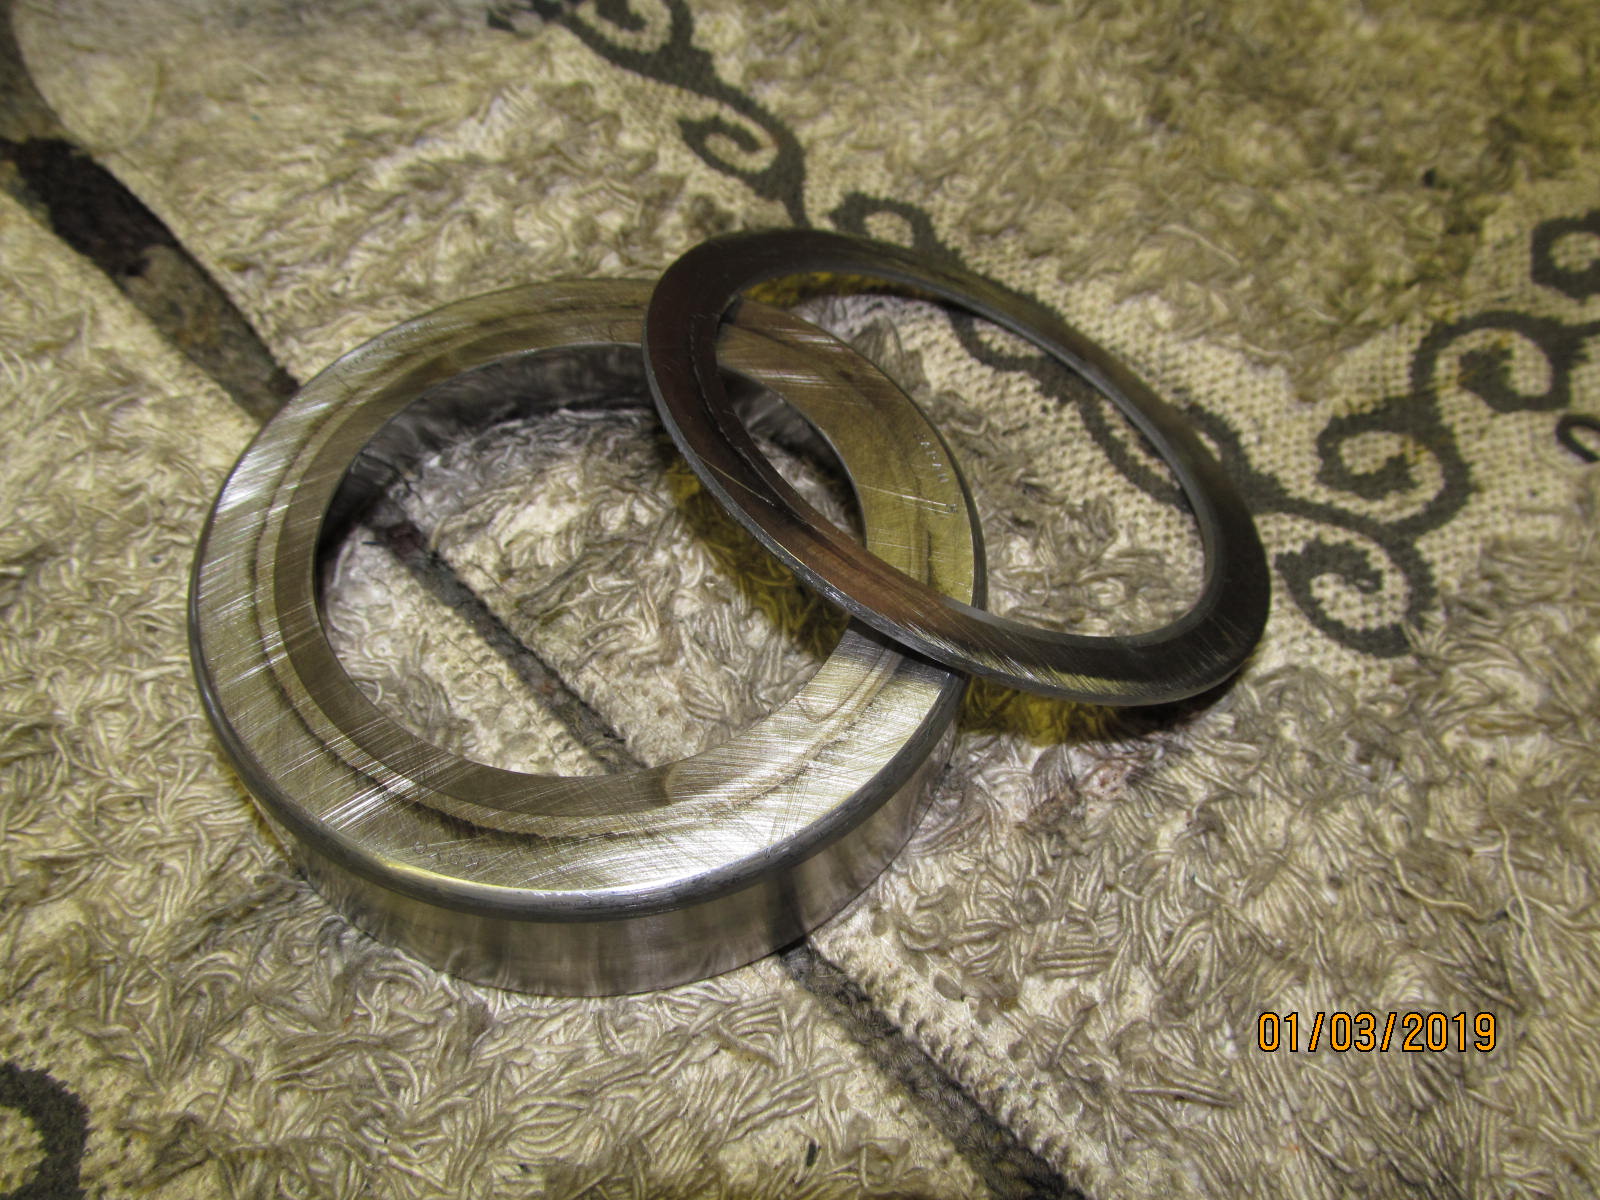
Here's the "old" race and my special hombrew race removal tool designed to get the race out and not
damage the oil retainer. |
|---|
|
|
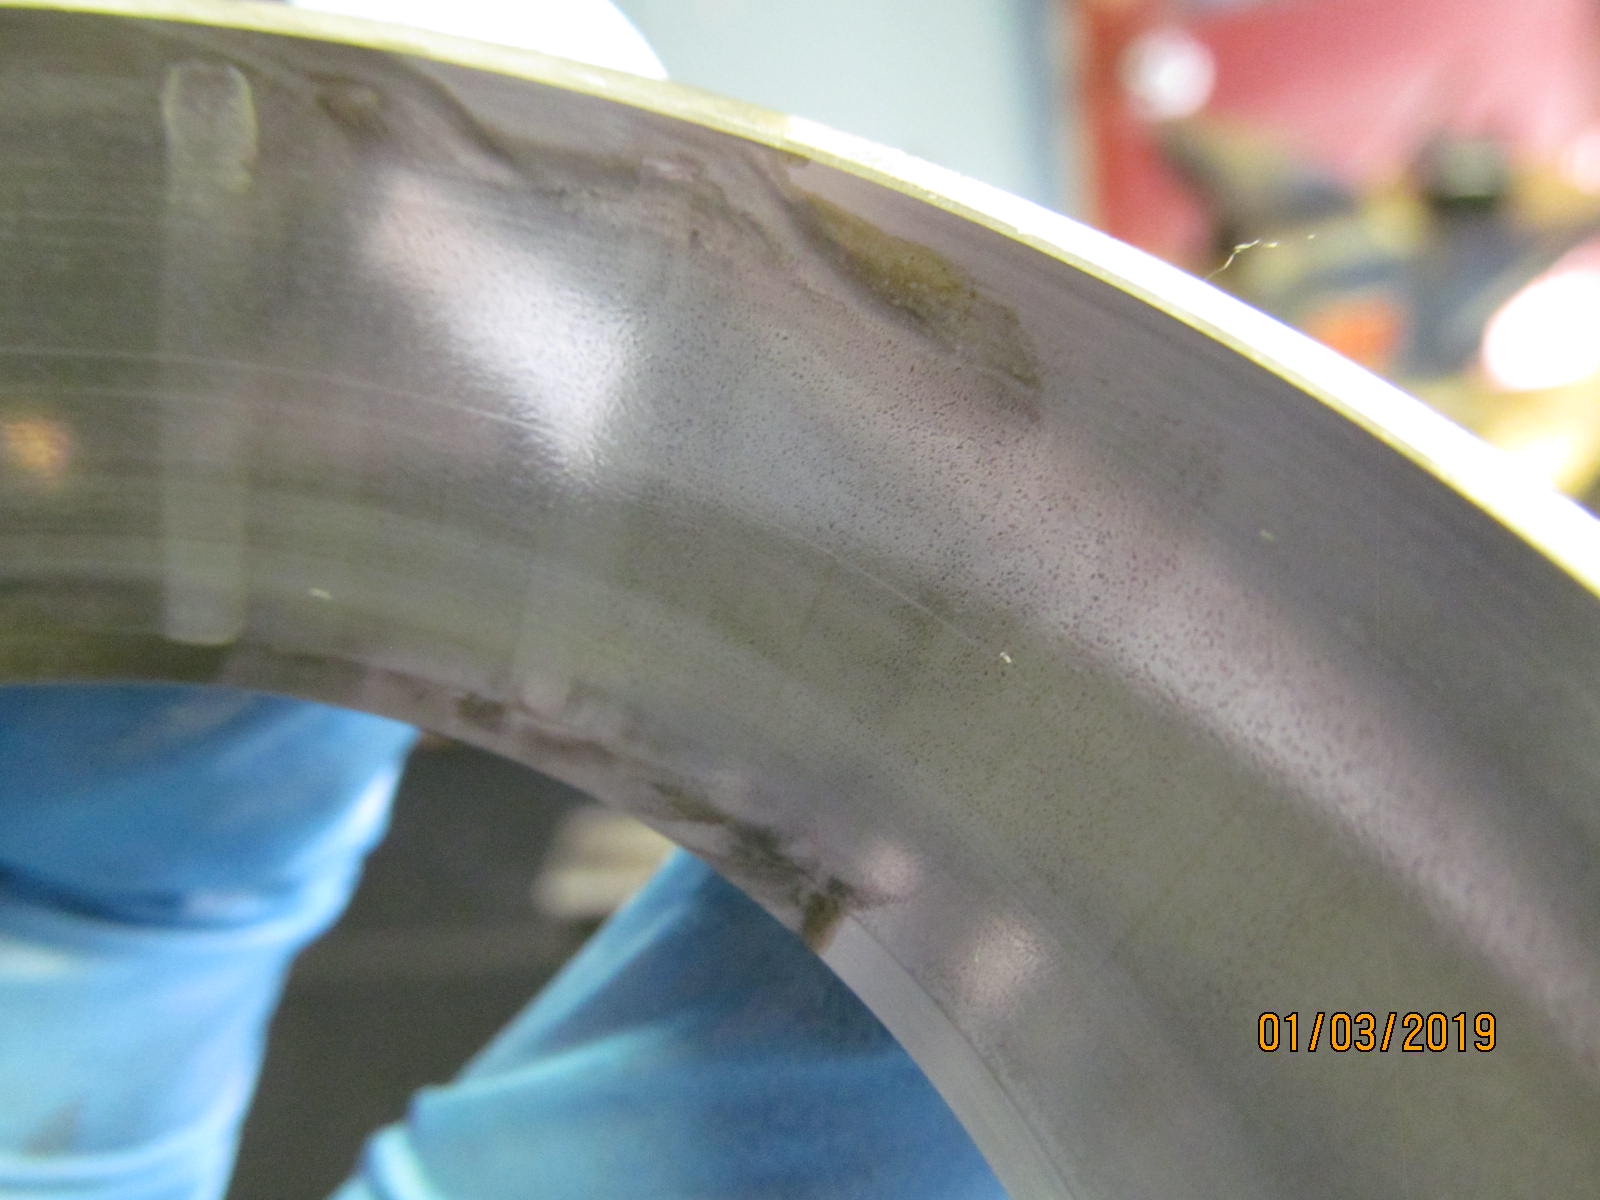
| Interesting....race is less than 3 years old and appears to have some pitting. Less than 10,000 miles on this race. |
|---|
|
|
| There's the oil retainer....no damage to it with the homebrew remover tool. |
|---|
|
|
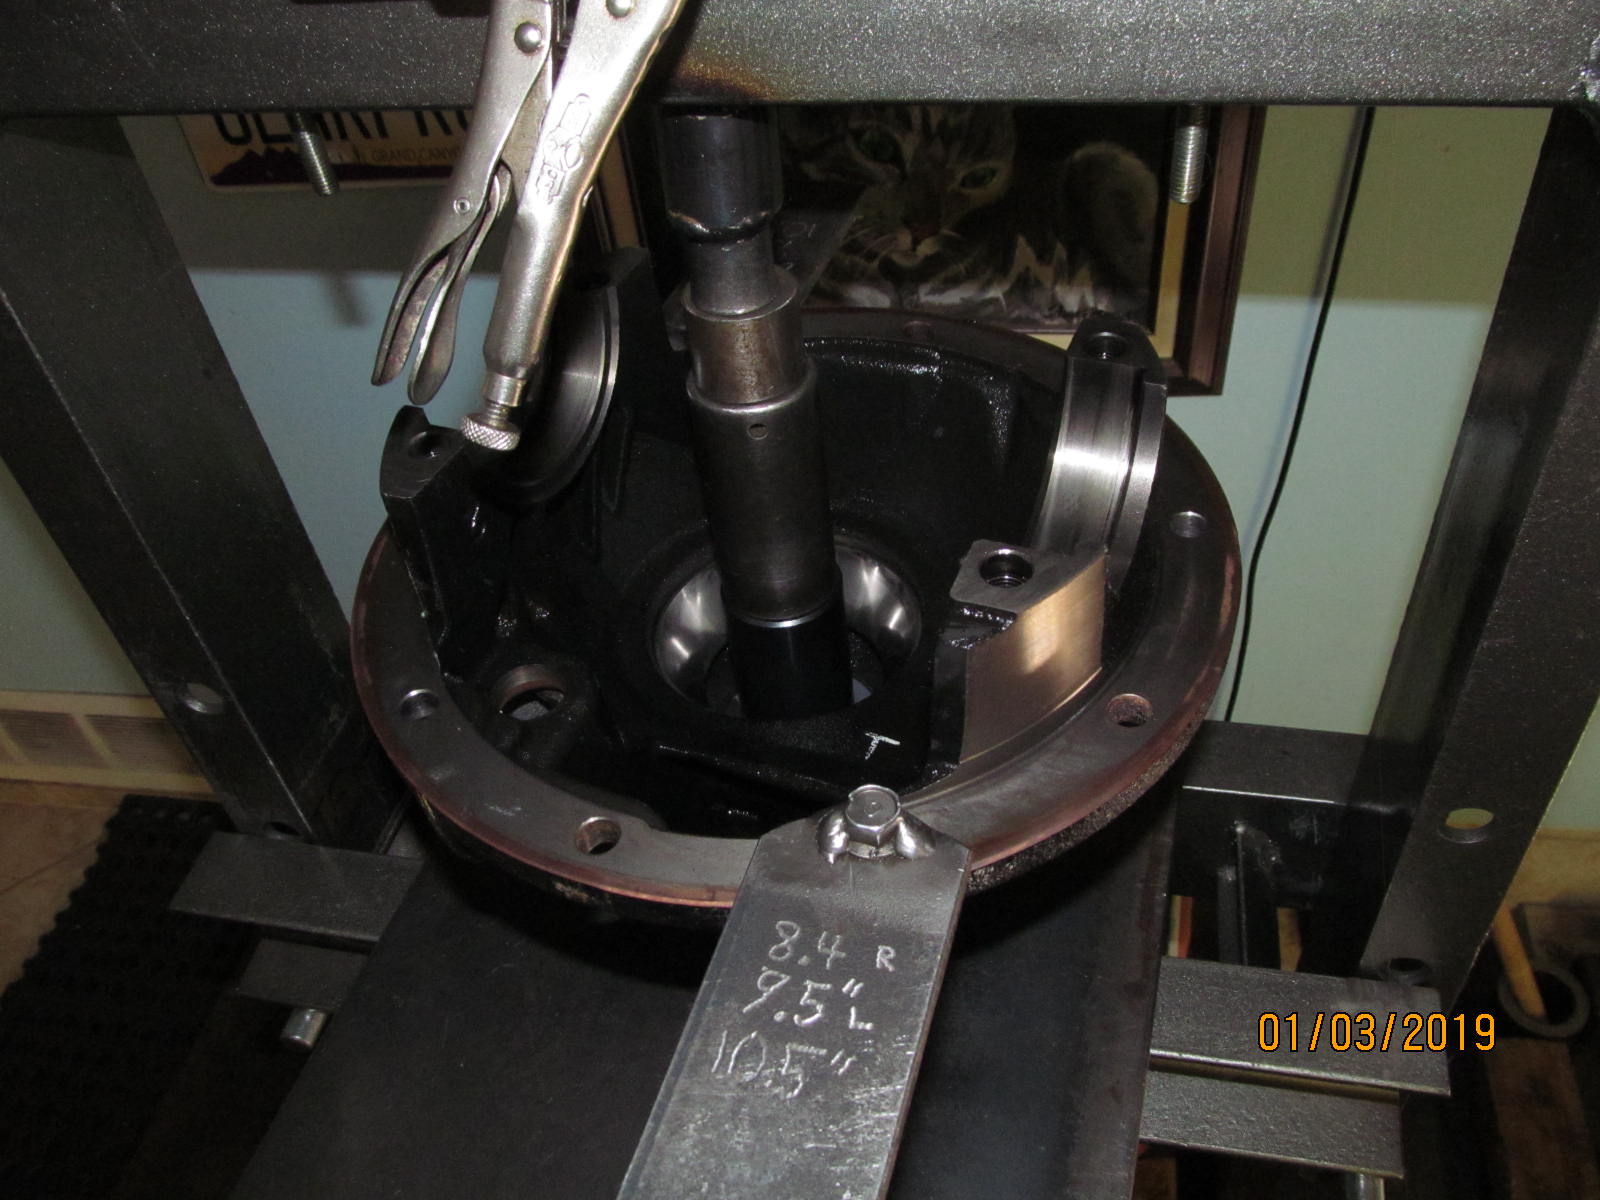
| Toyota placed the .078" washer plate pinion depth shim behind the large inner pinion race. |
|---|
|
|
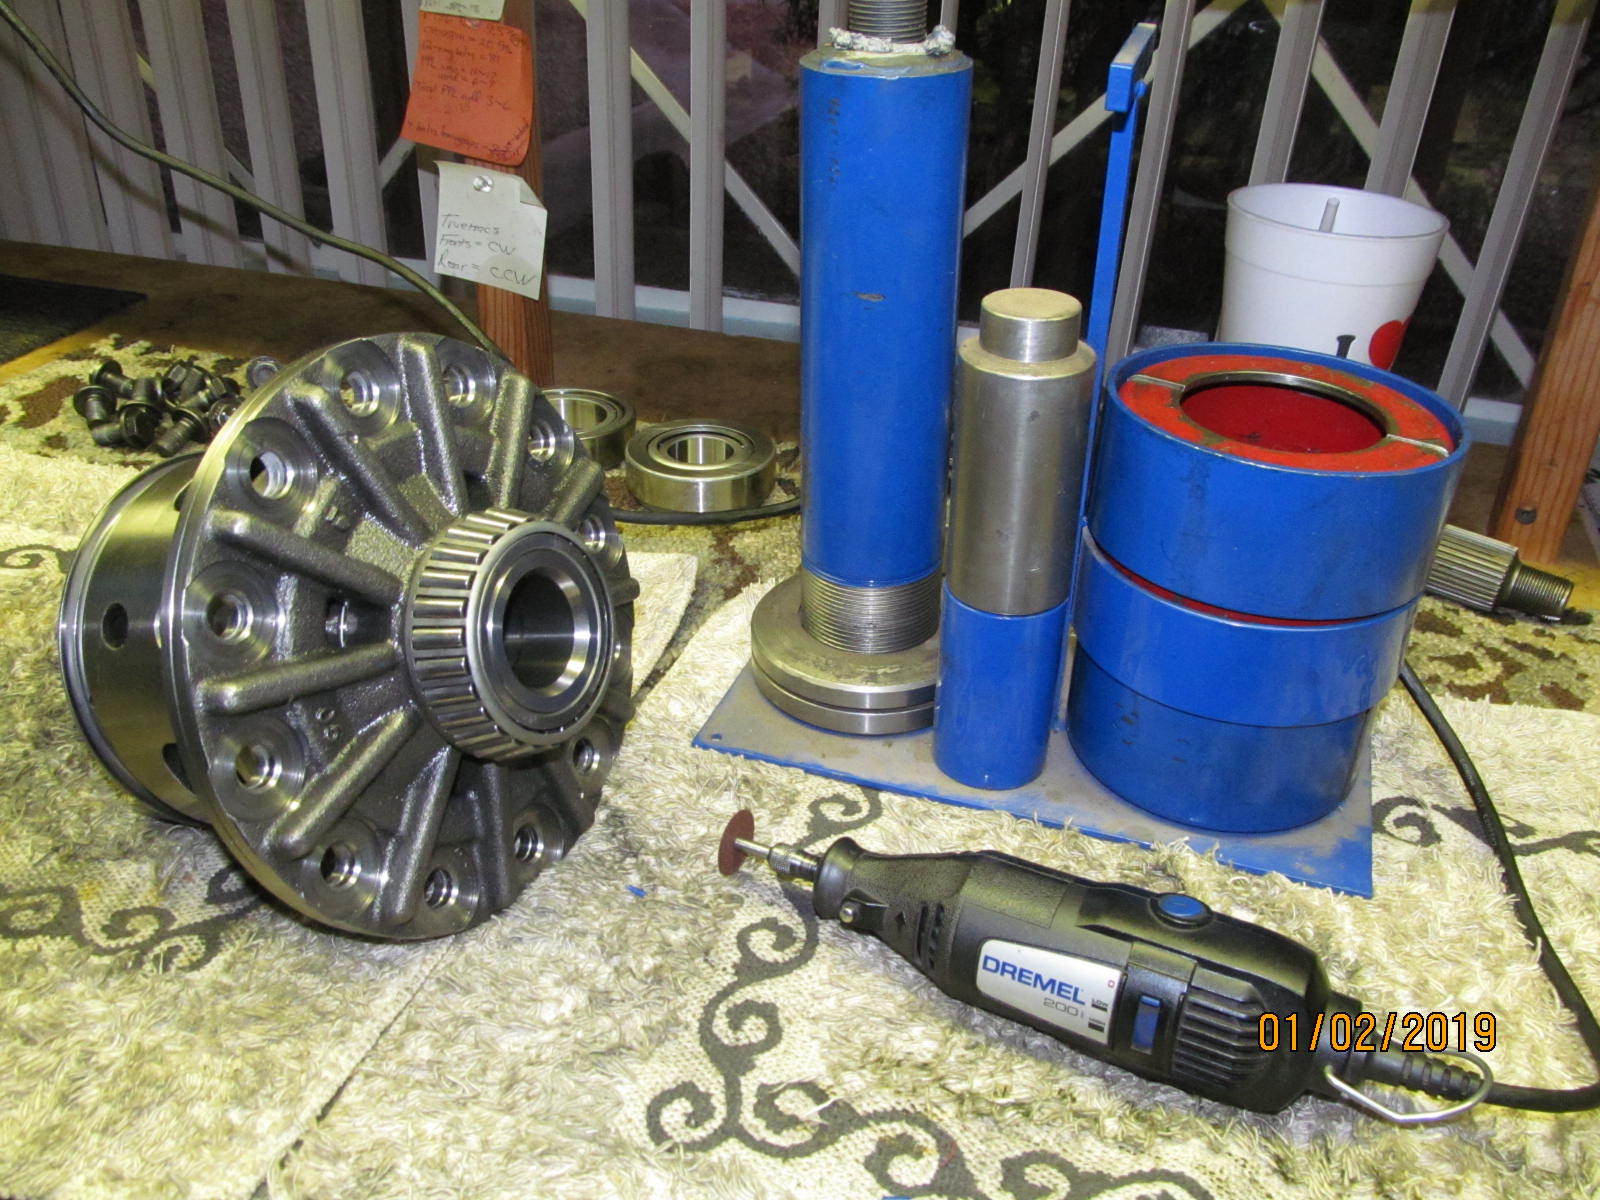
| Now to assemble with new races and the 078 washer plate for starters. |
|---|
|
|
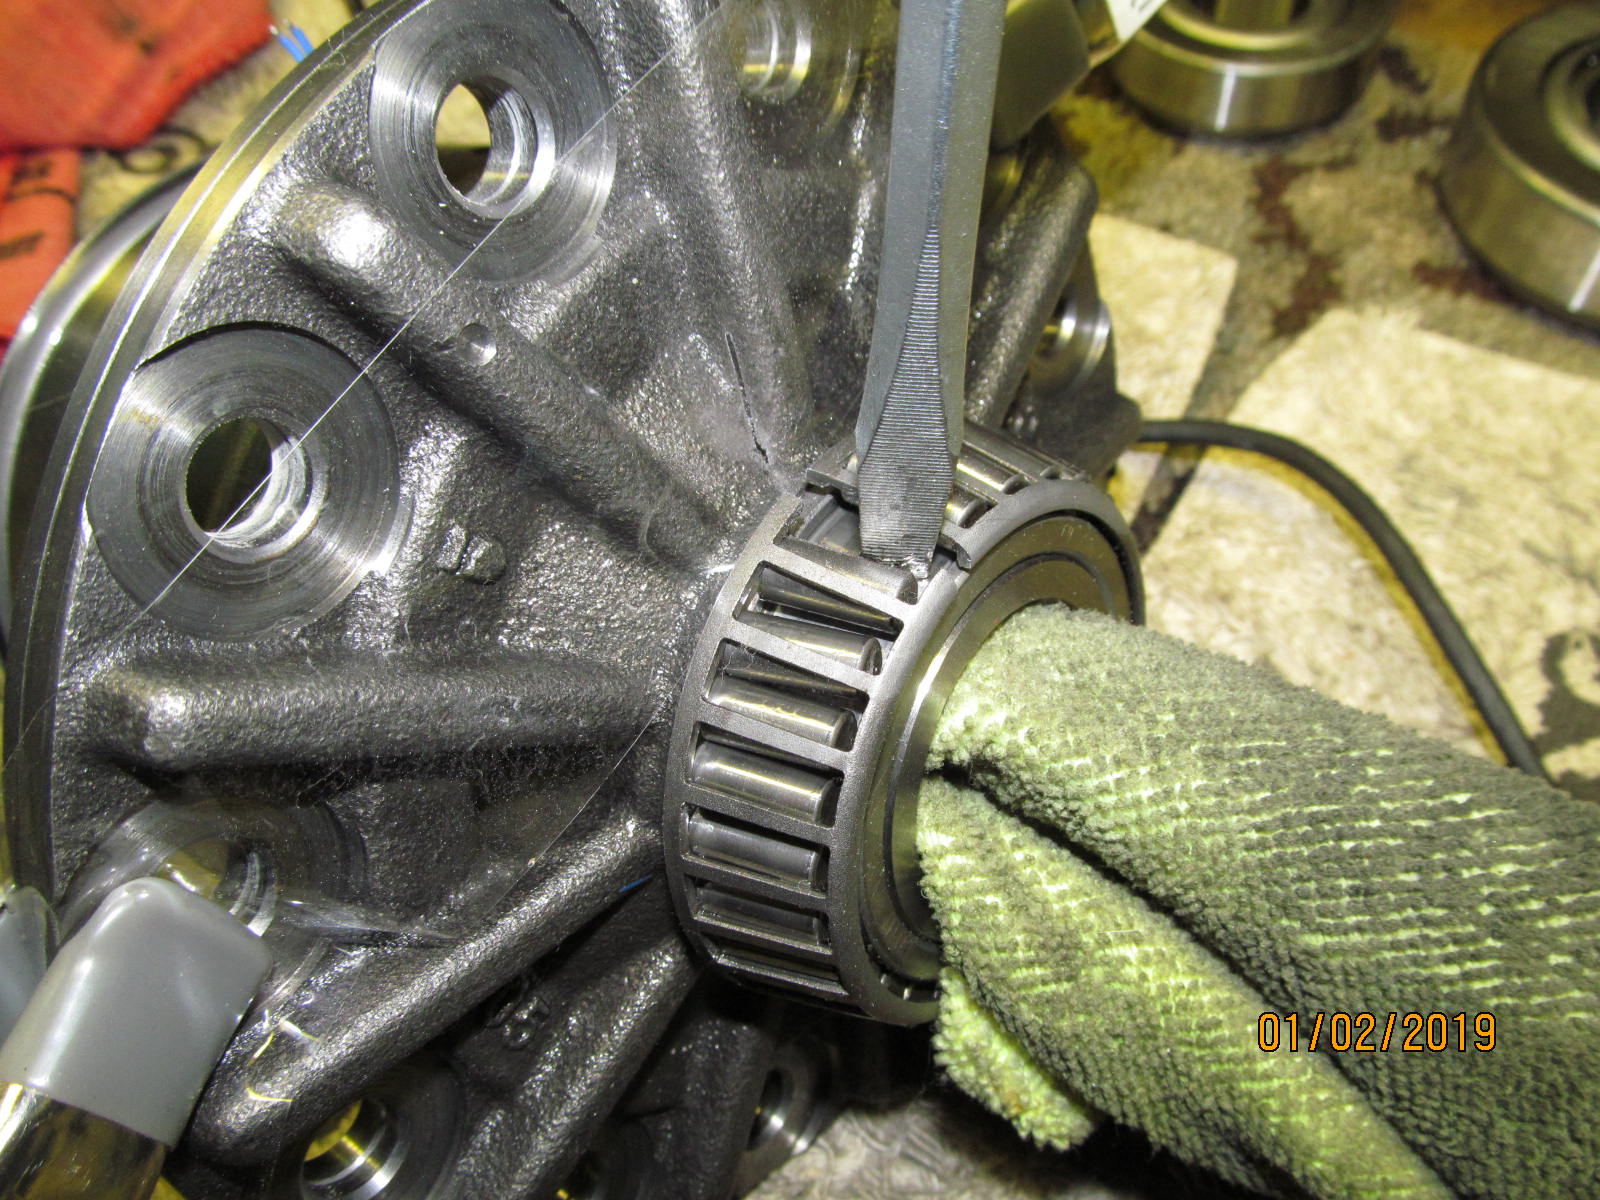
| This end done. |
|---|
|
|
| and this end also done. |
|---|
|
|
| No shim here....just the massive bearing pressed up against the pinion head. |
|---|
|

|
| ,,,,,,,,,,,,,,,,,,,,, |
|---|
|
|
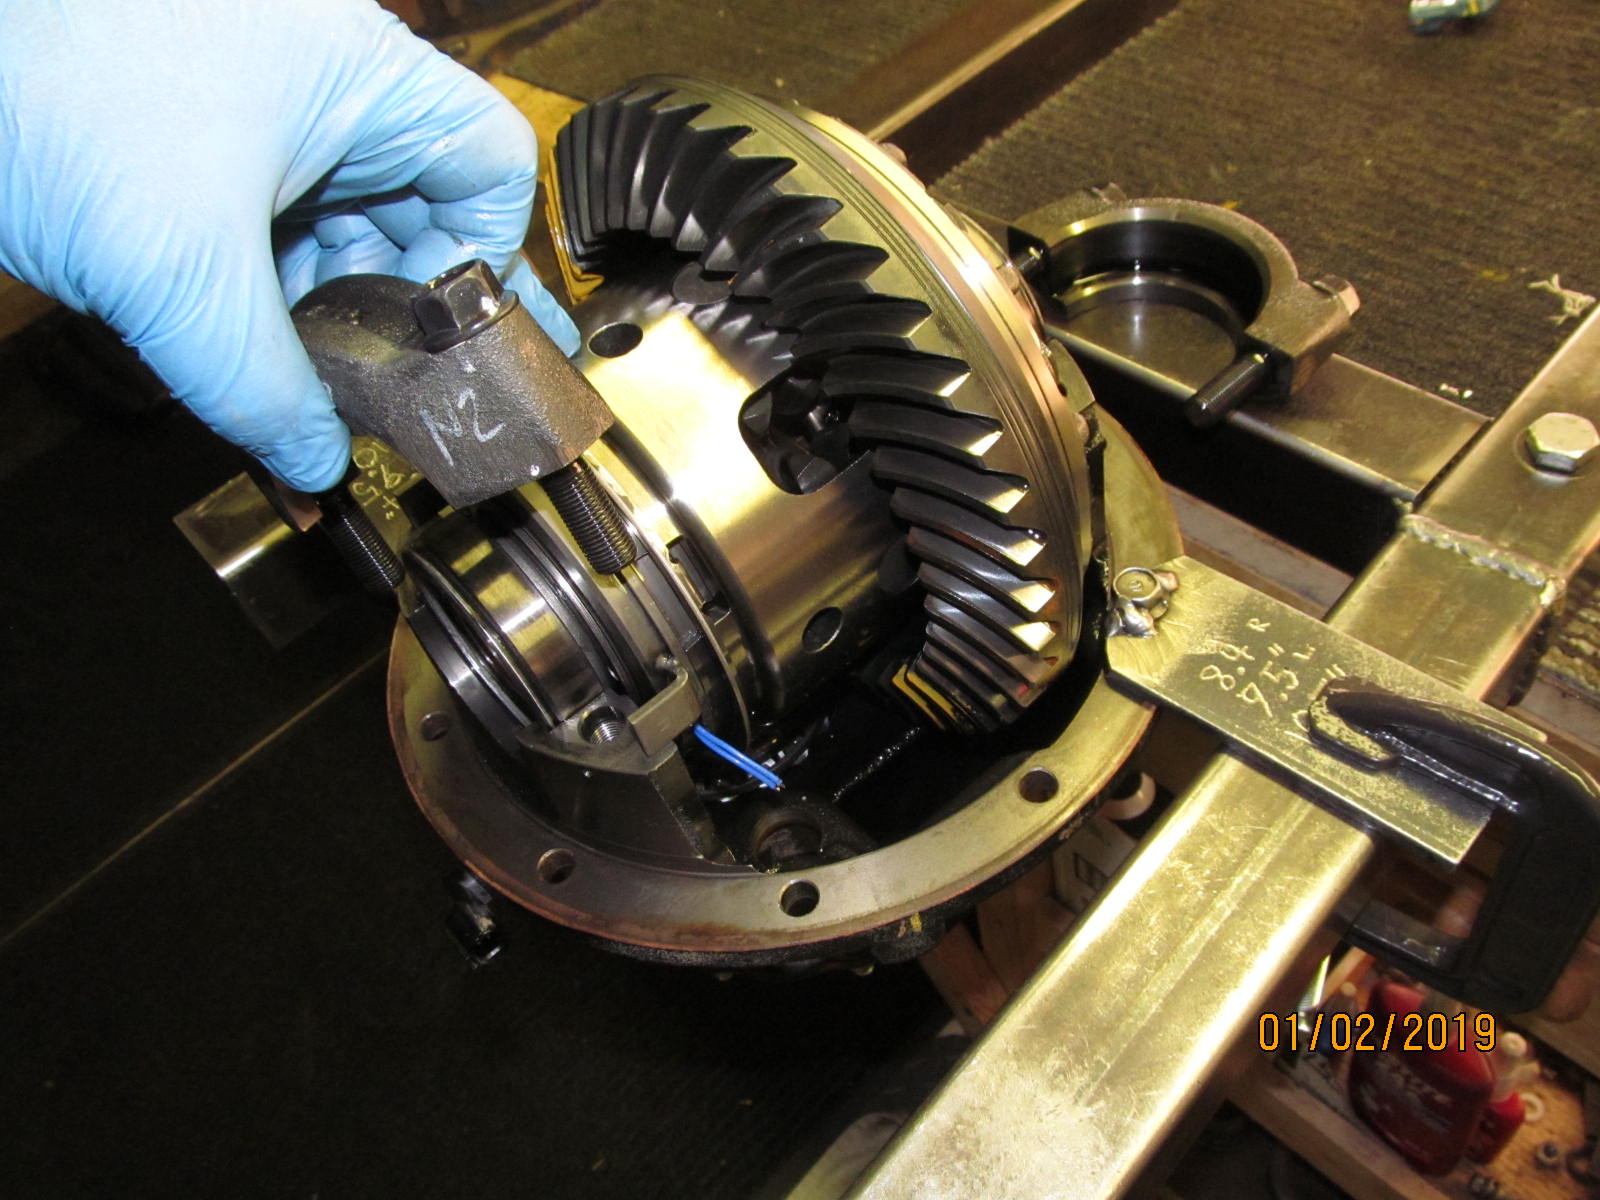
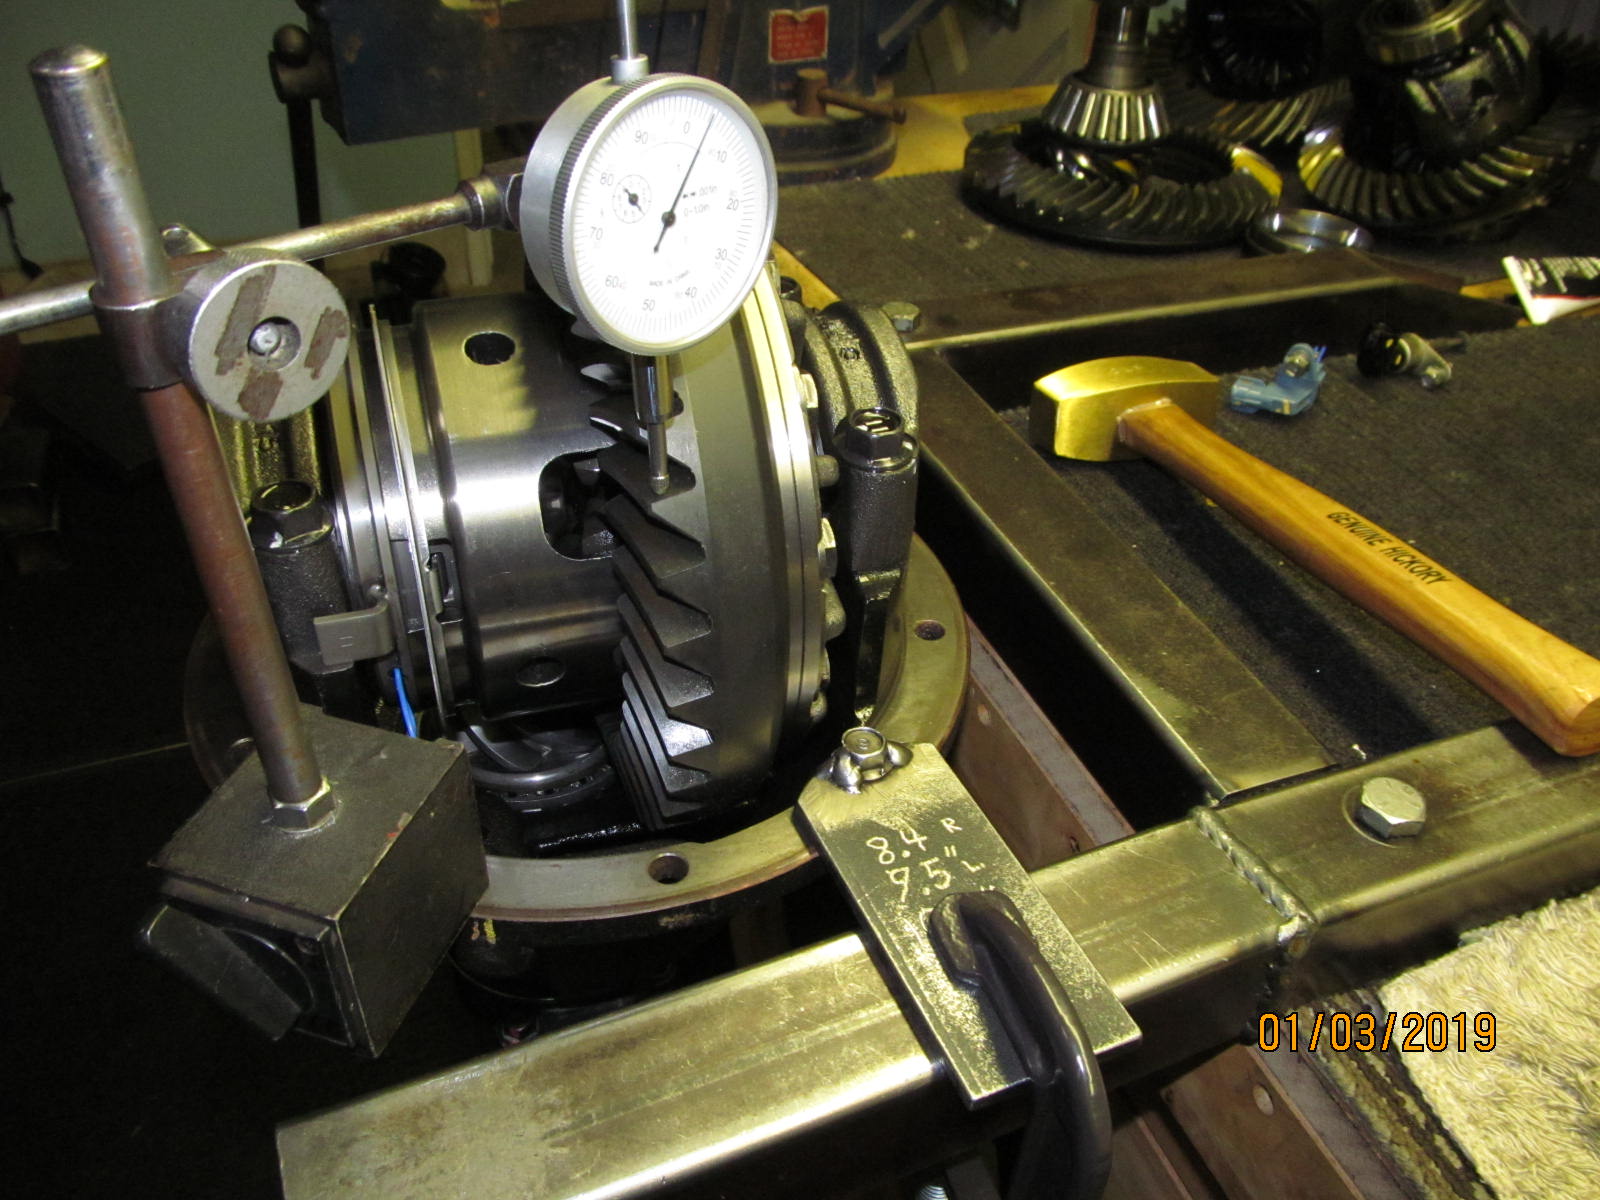
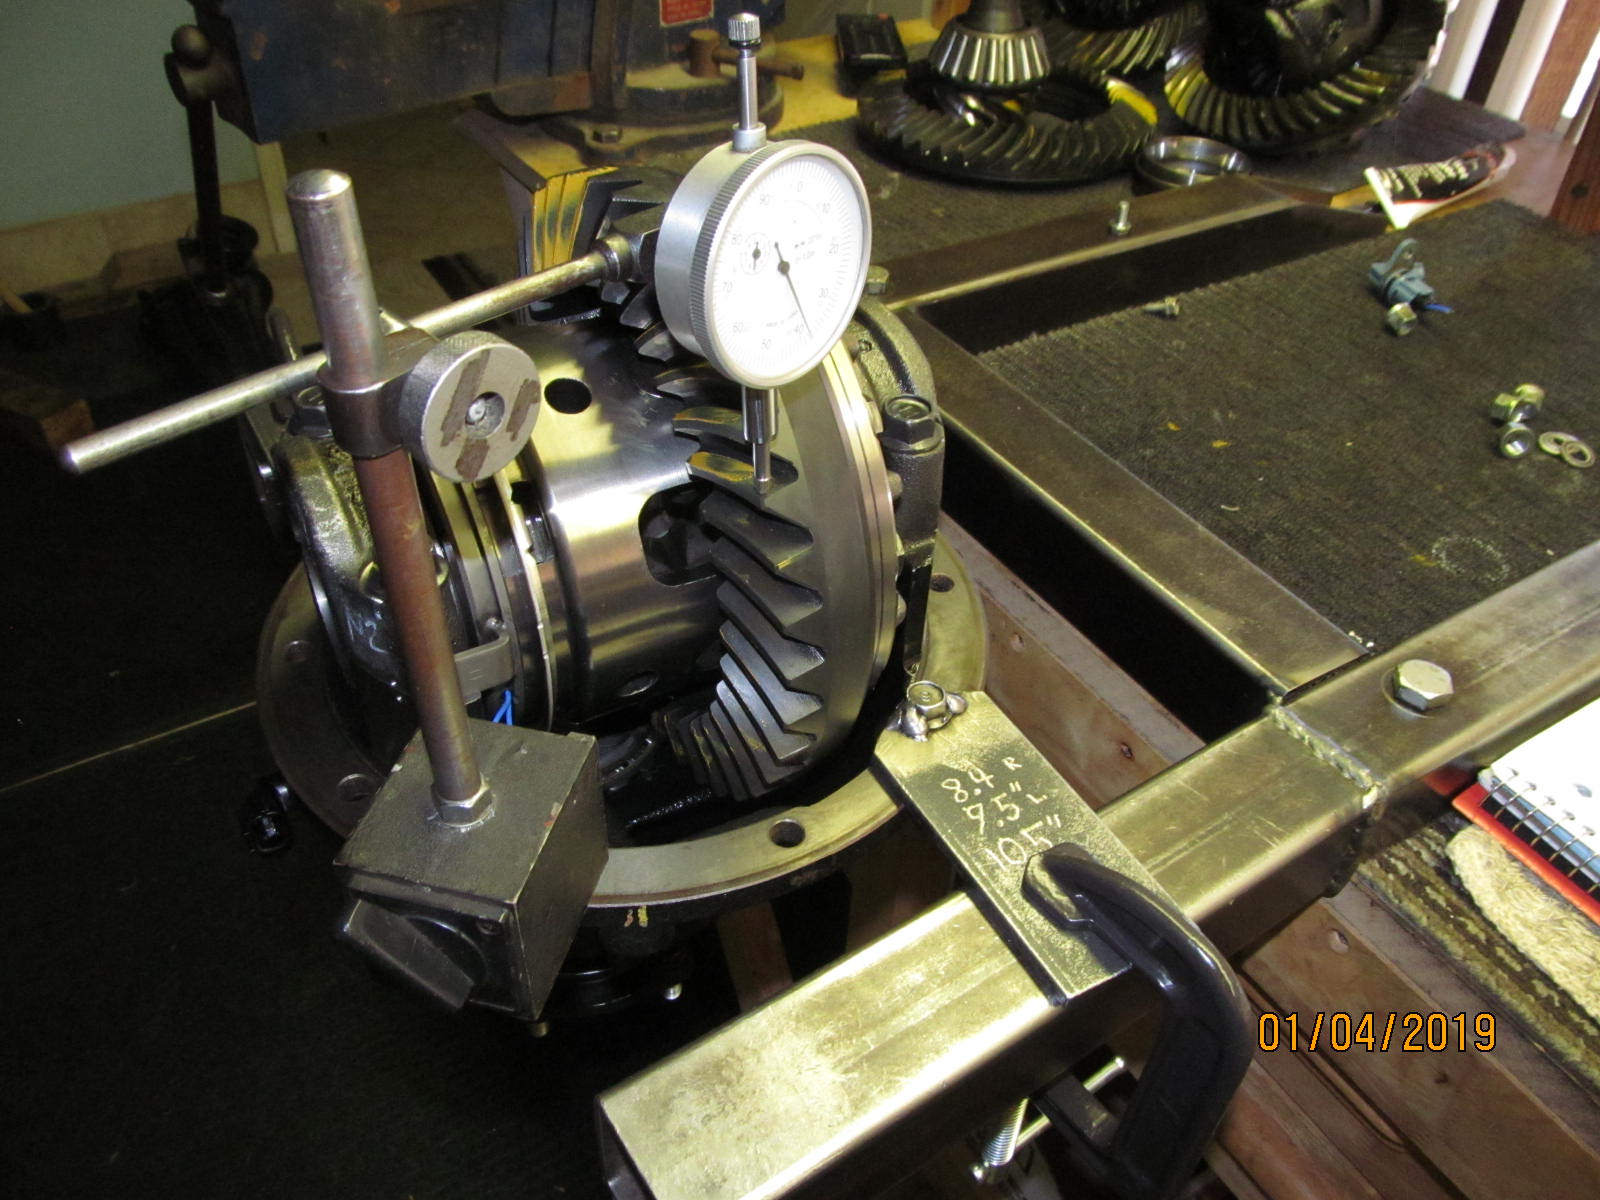
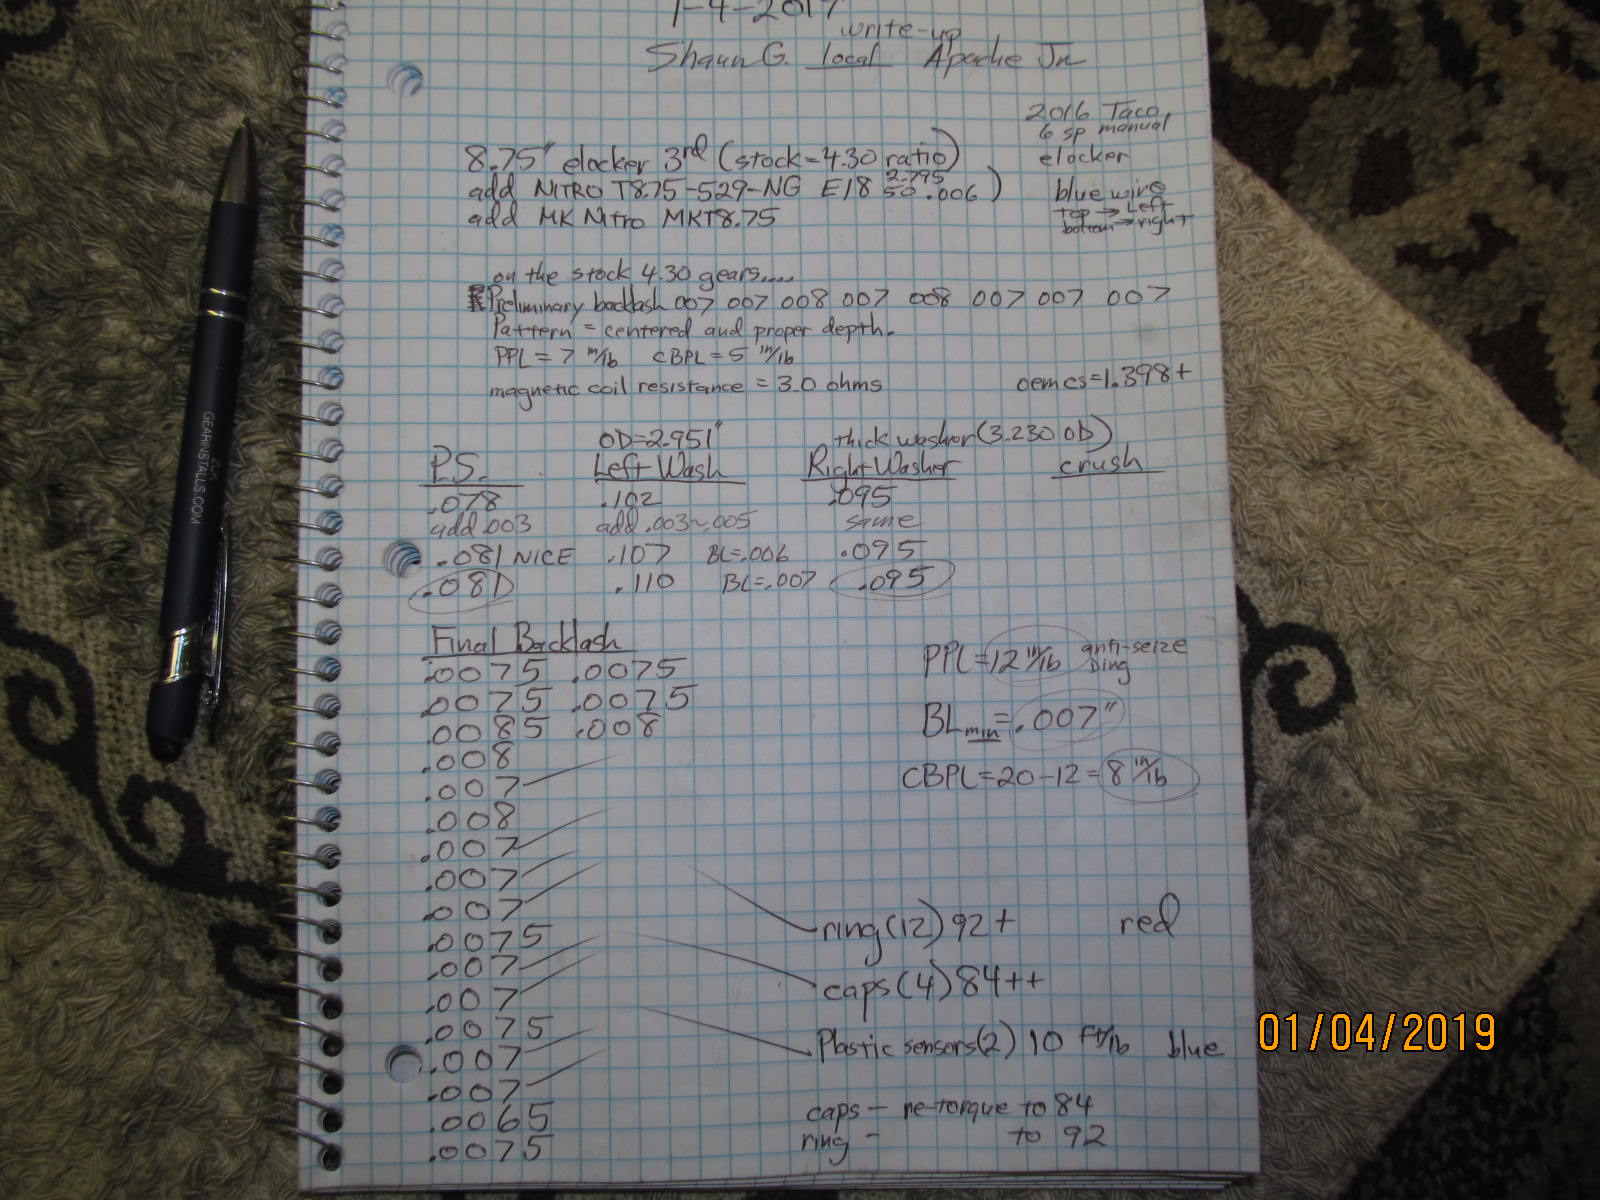
Re-assembled and backlash is set to be around .006 or .007". There is also some carrier bearing preload.
Can't have a loose bearing because the pattern check would not show good results. |
|---|
|
|
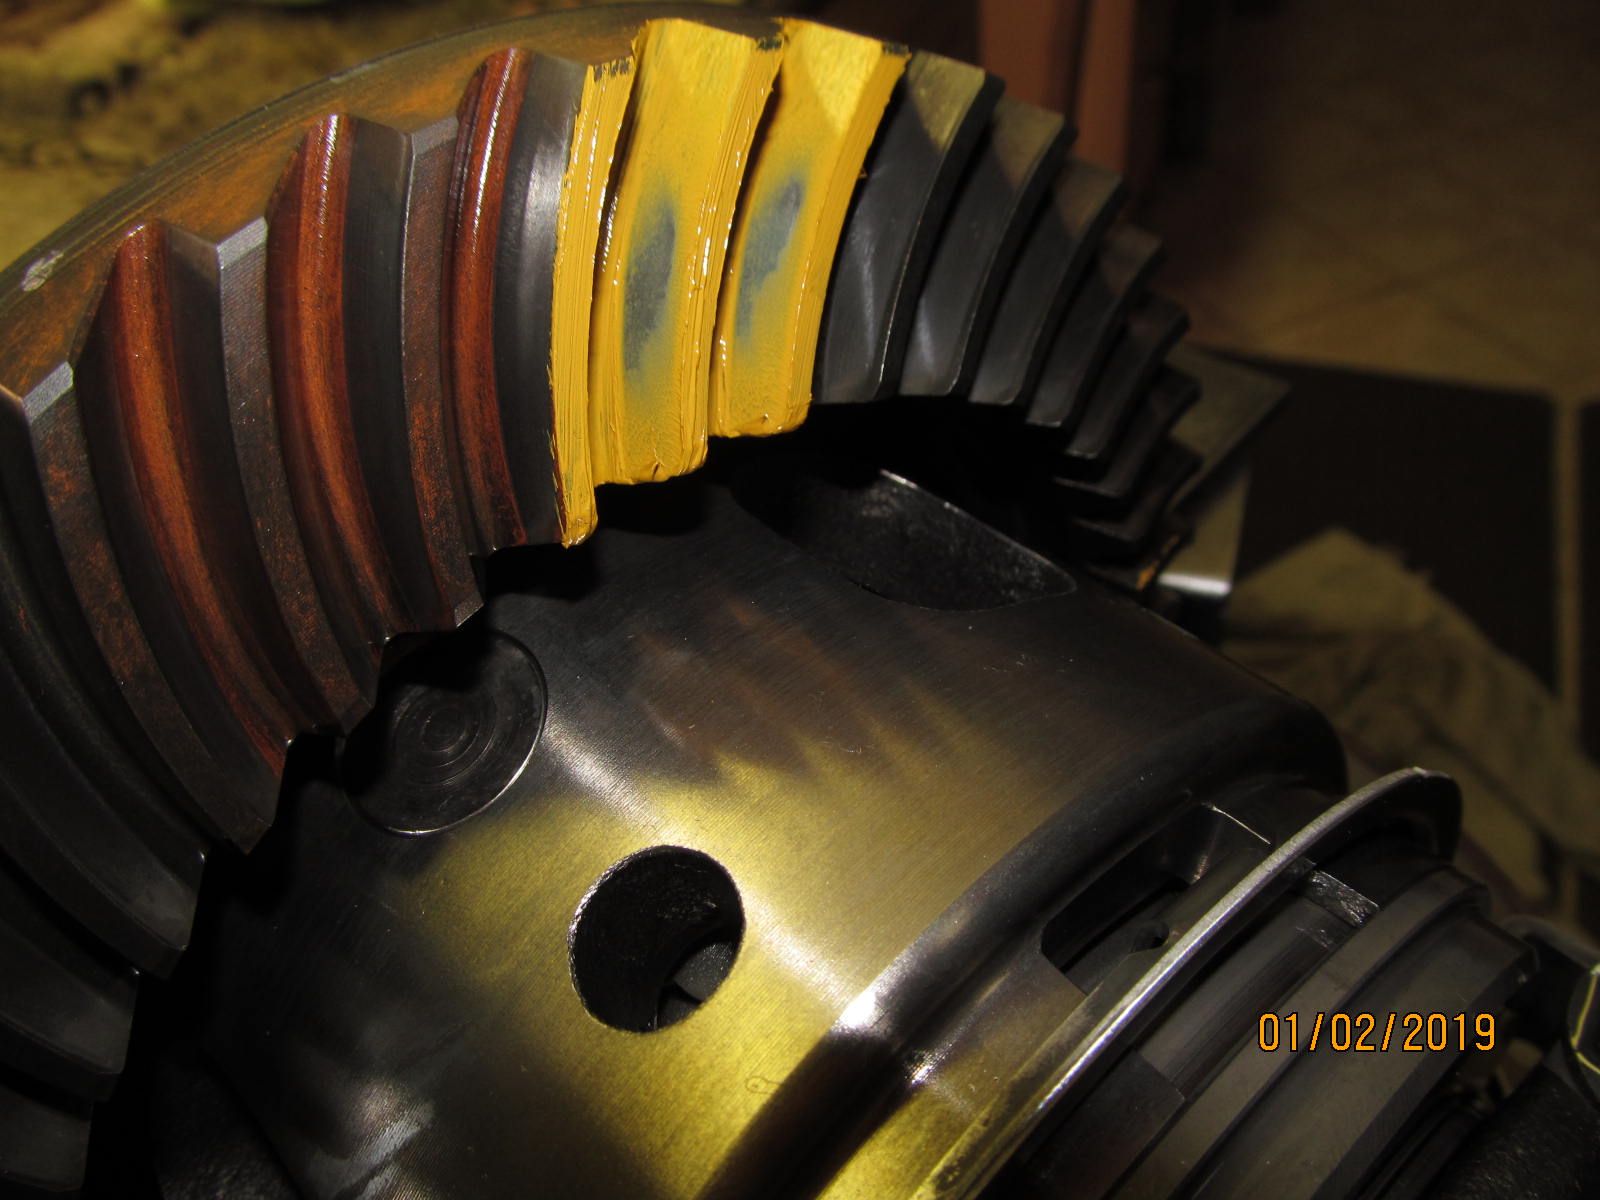
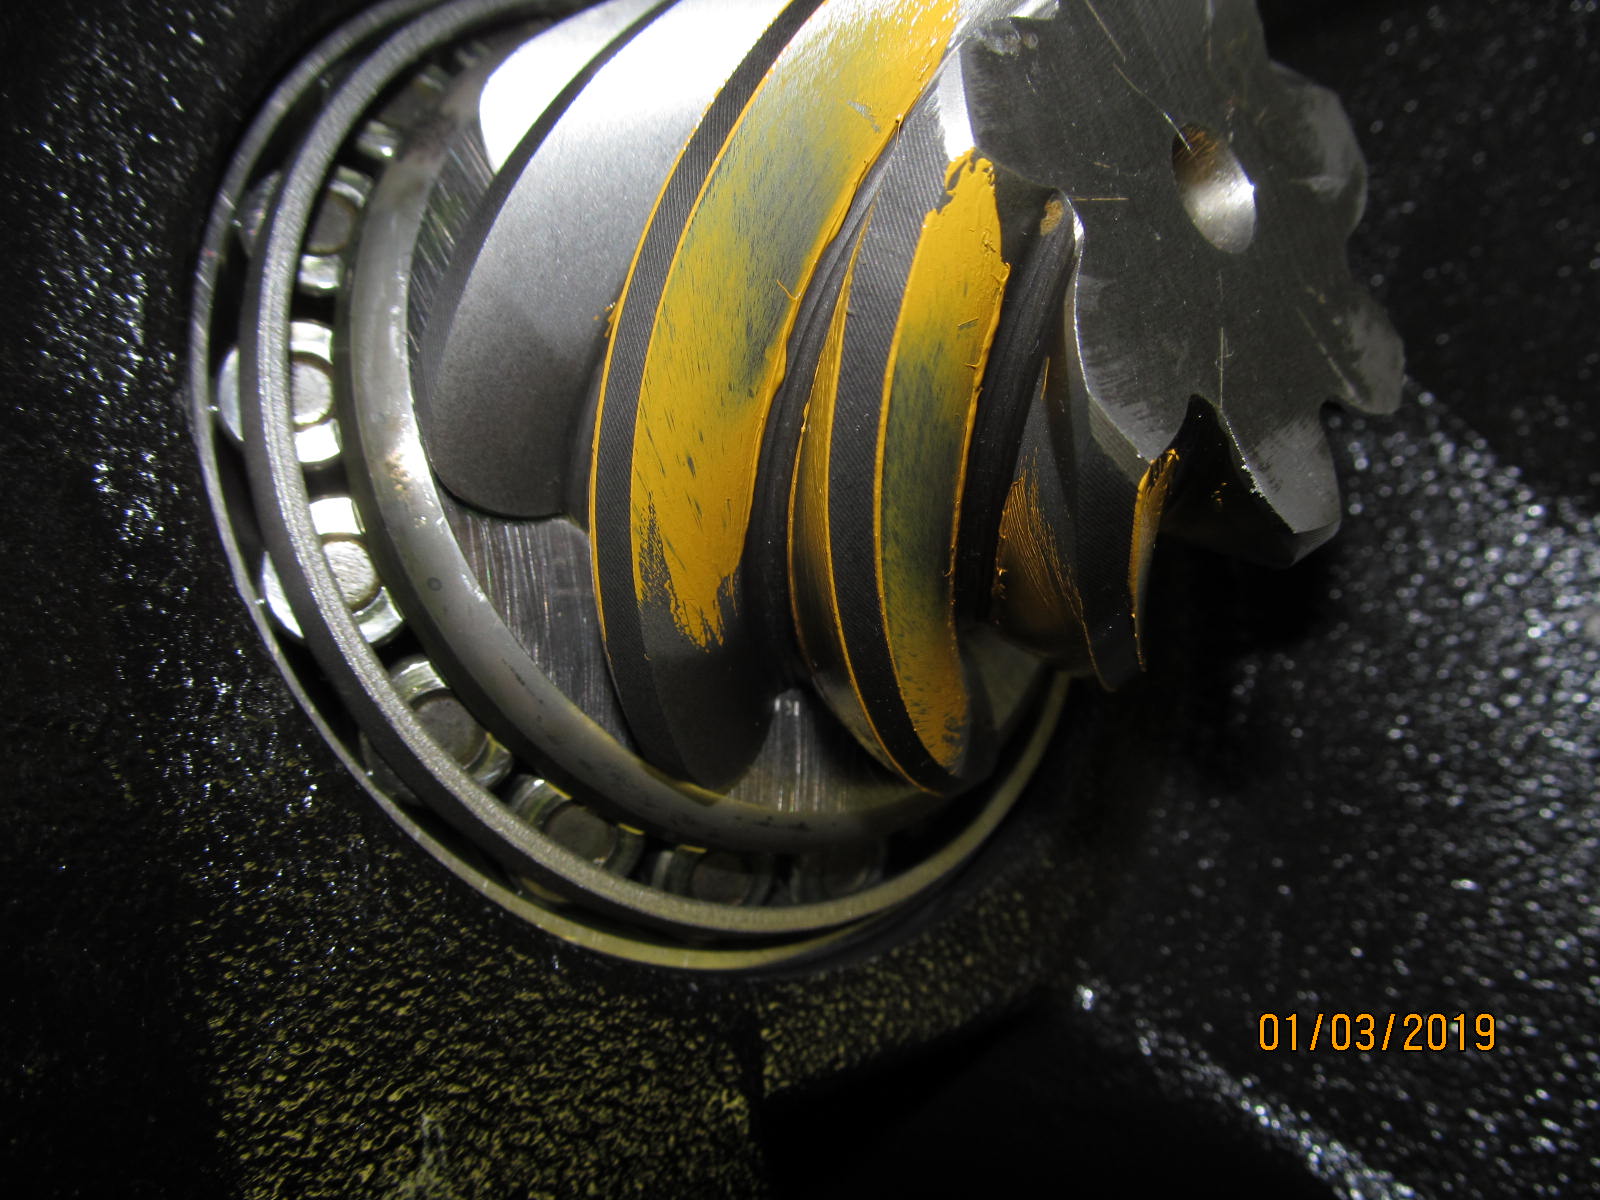
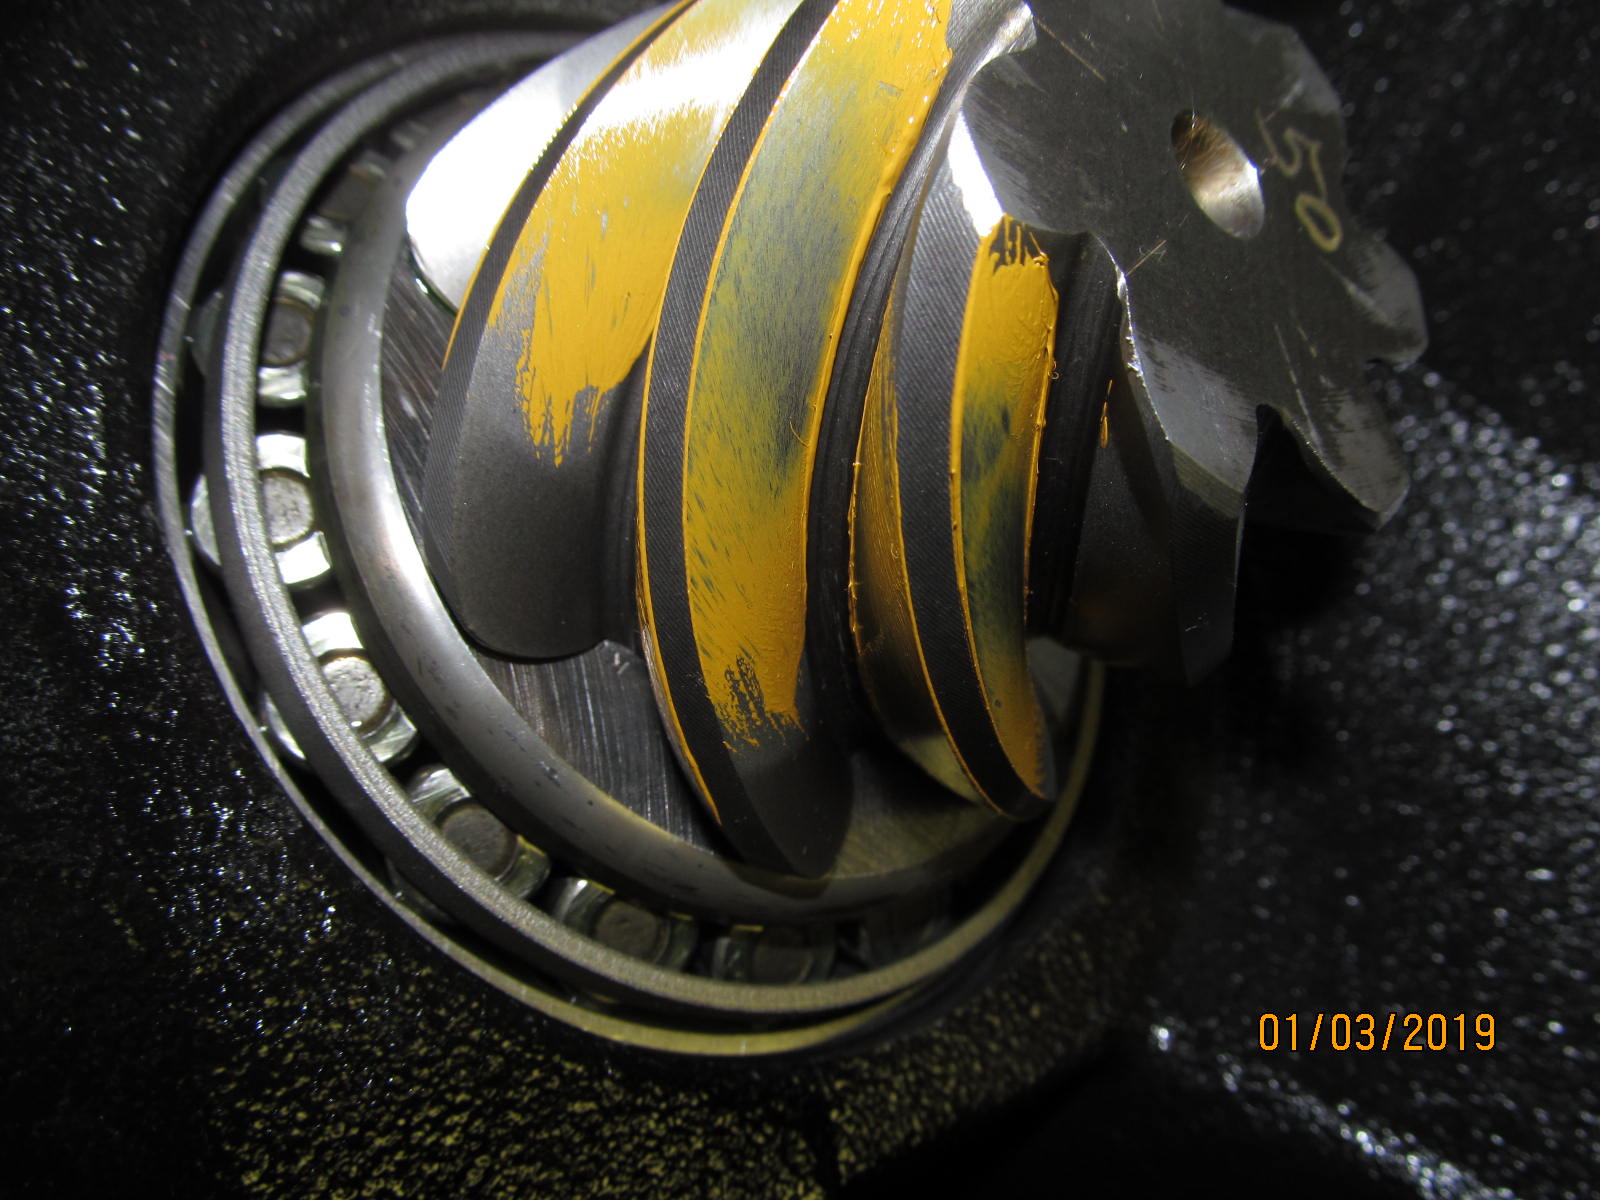
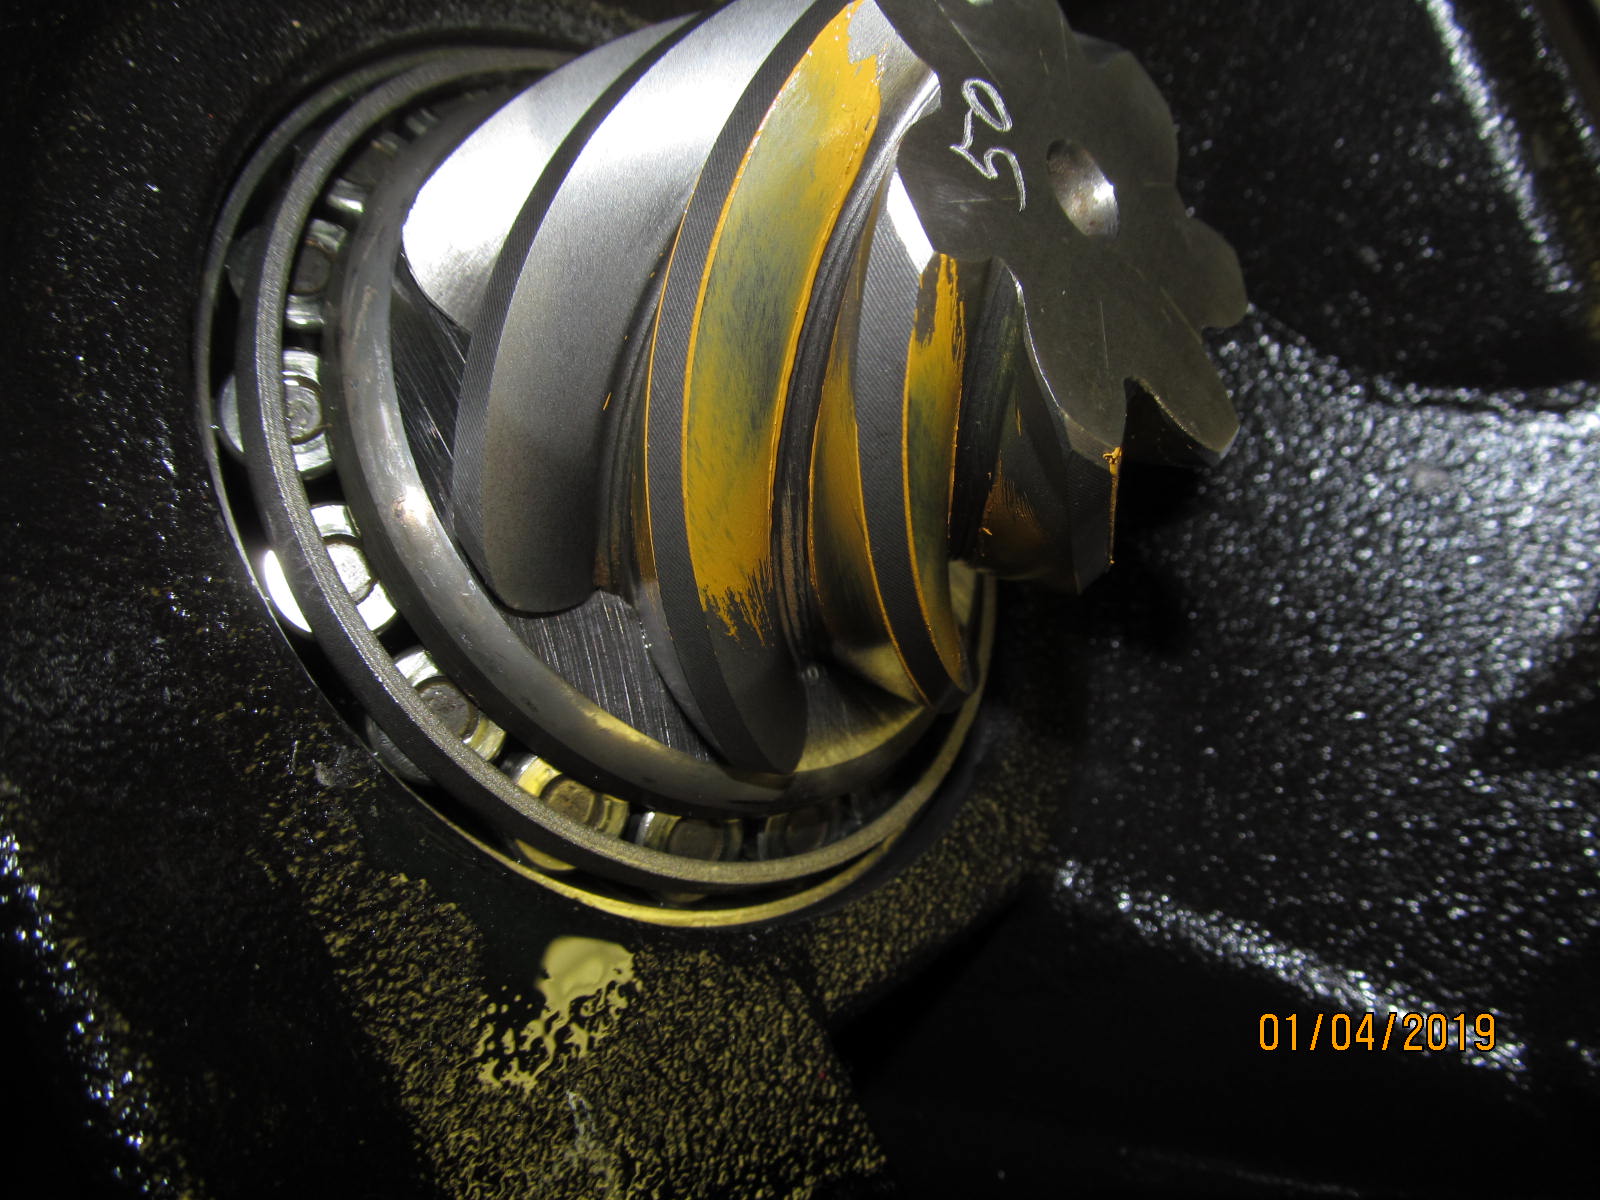
| Drive side....not bad but could it be a little deeper? |
|---|
|
|
| Coast....looks like a little deeper could be good for it. |
|---|
|
|
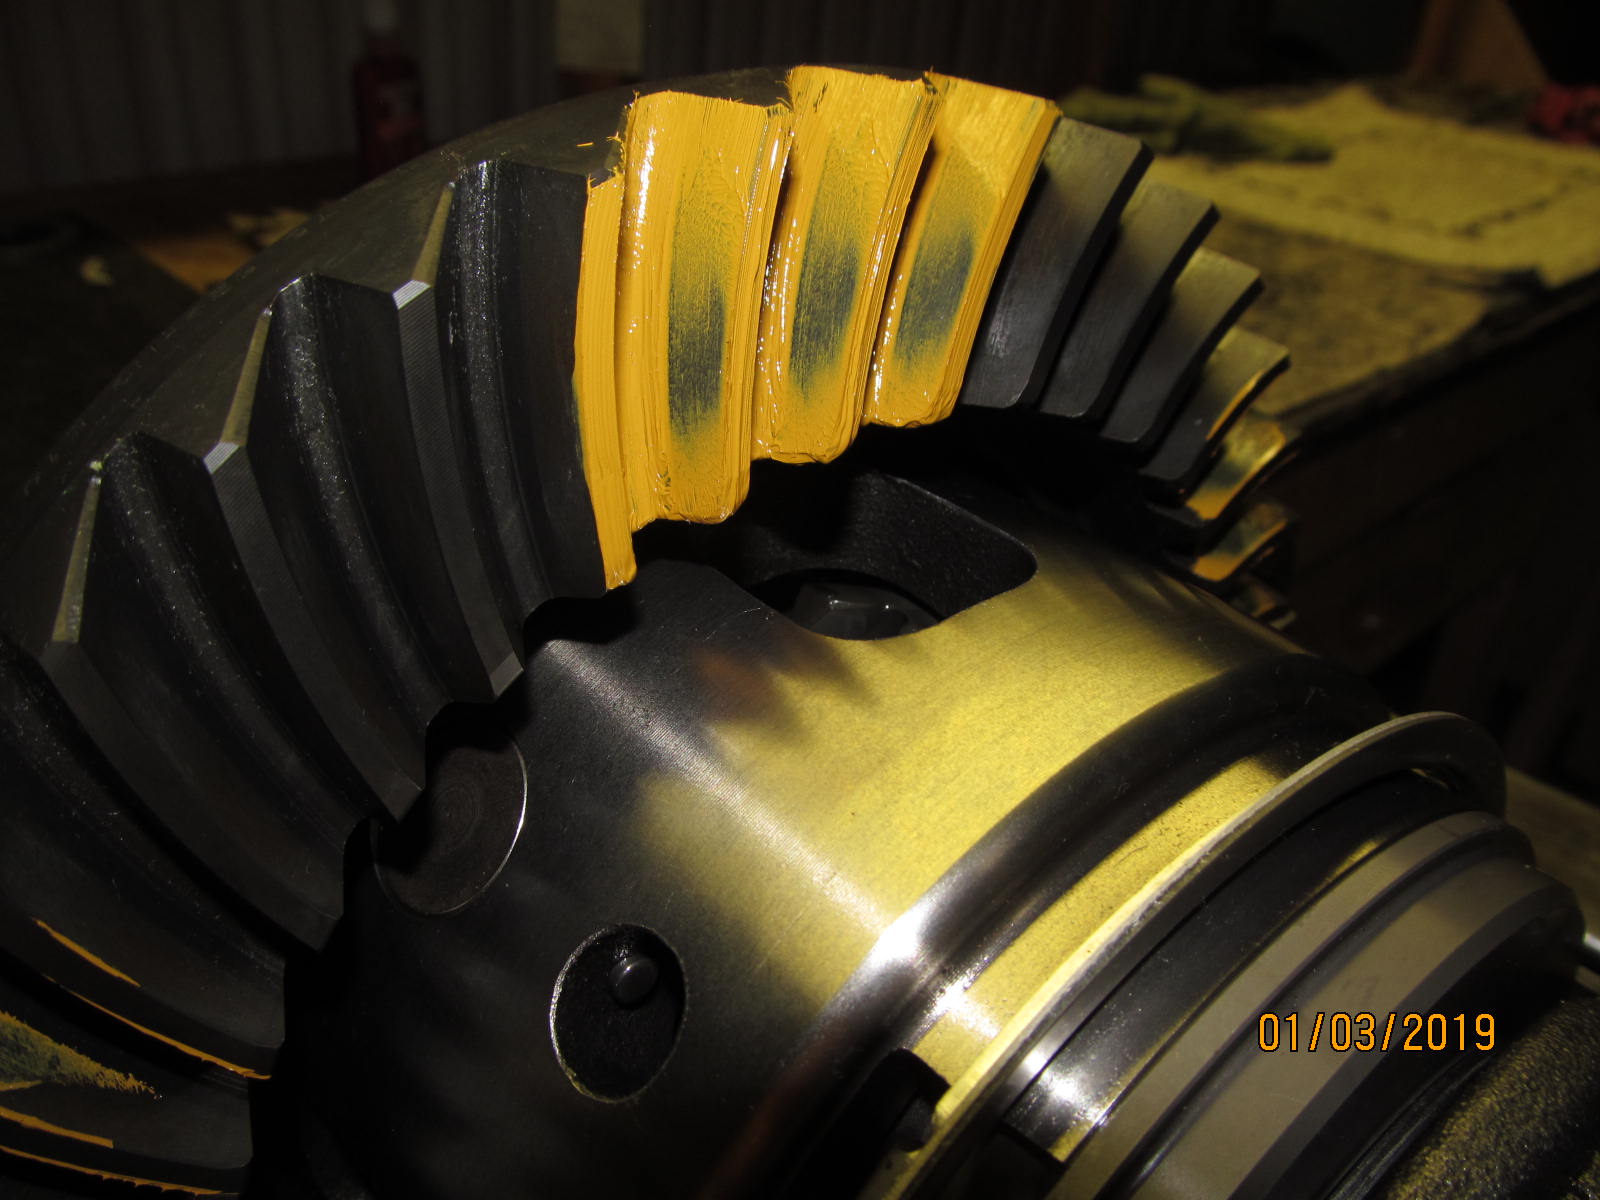
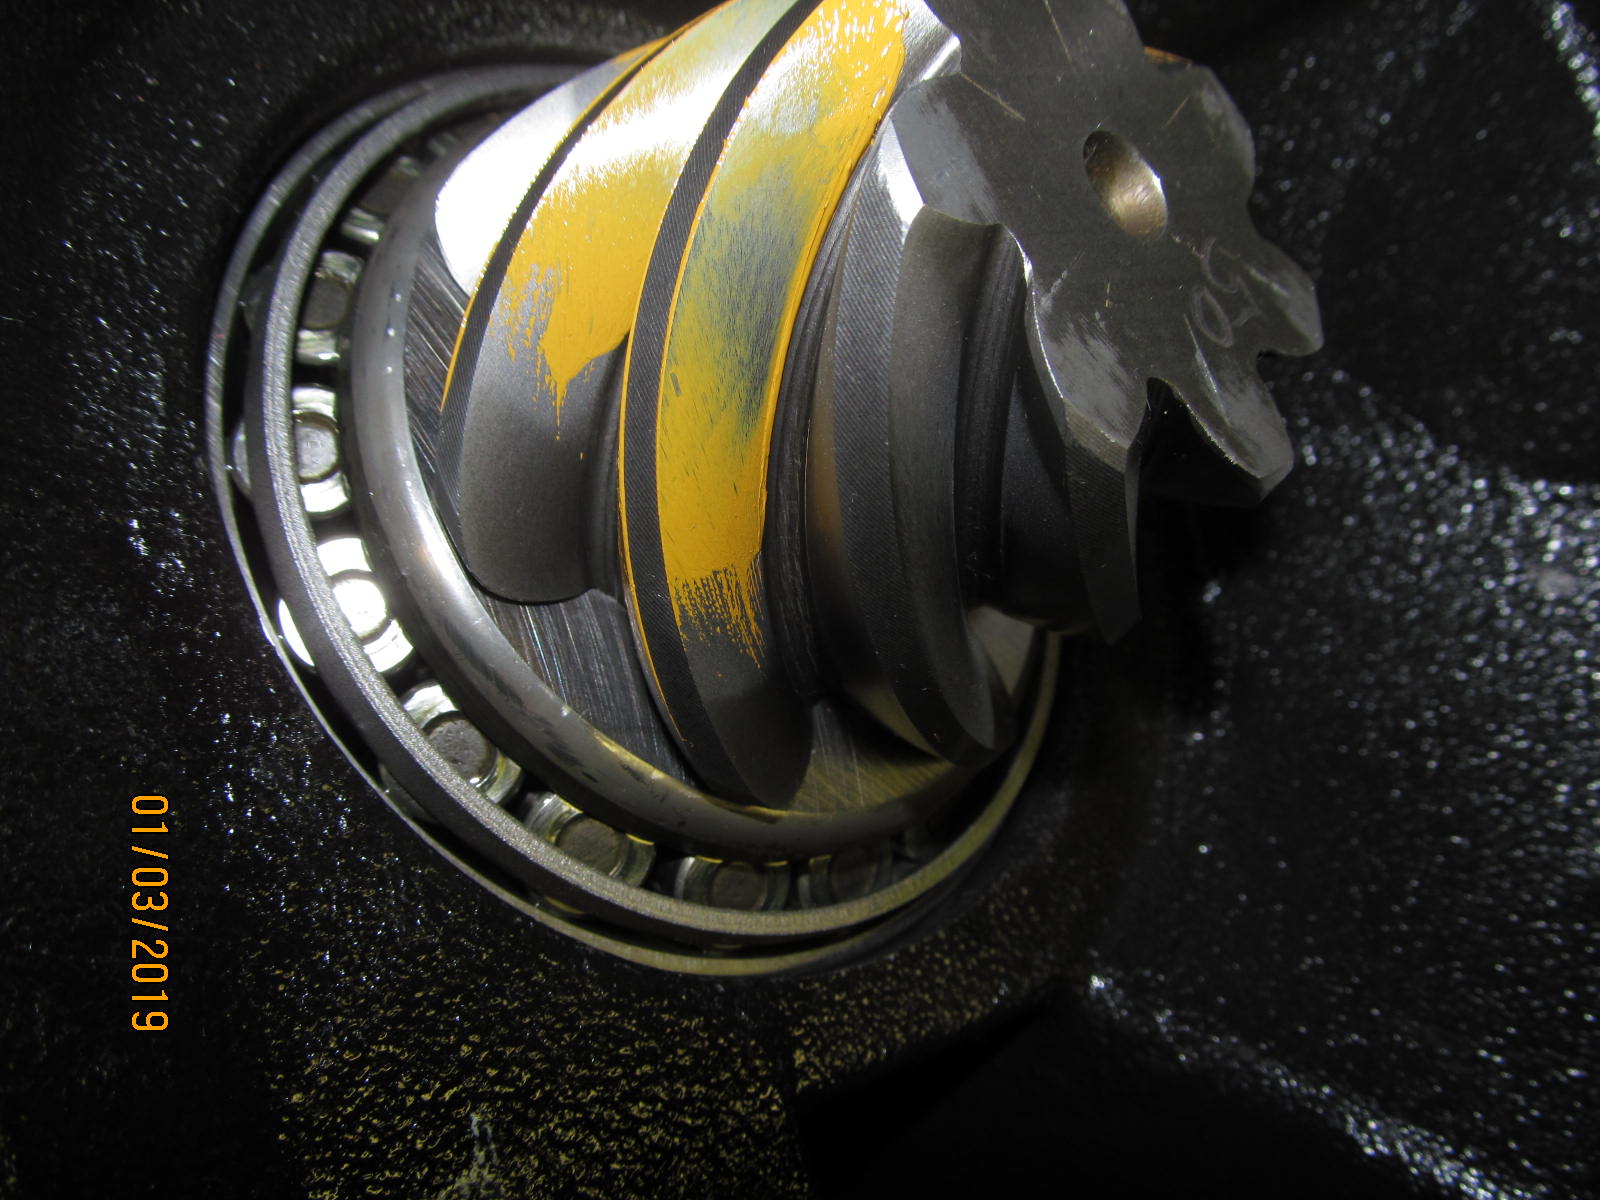
| The comet tail....looks too tight...too hard into the root of the tooth. |
|---|
|
|
| same here.... |
|---|
|
|
| just looks like it is to "rootish" |
|---|
|
|
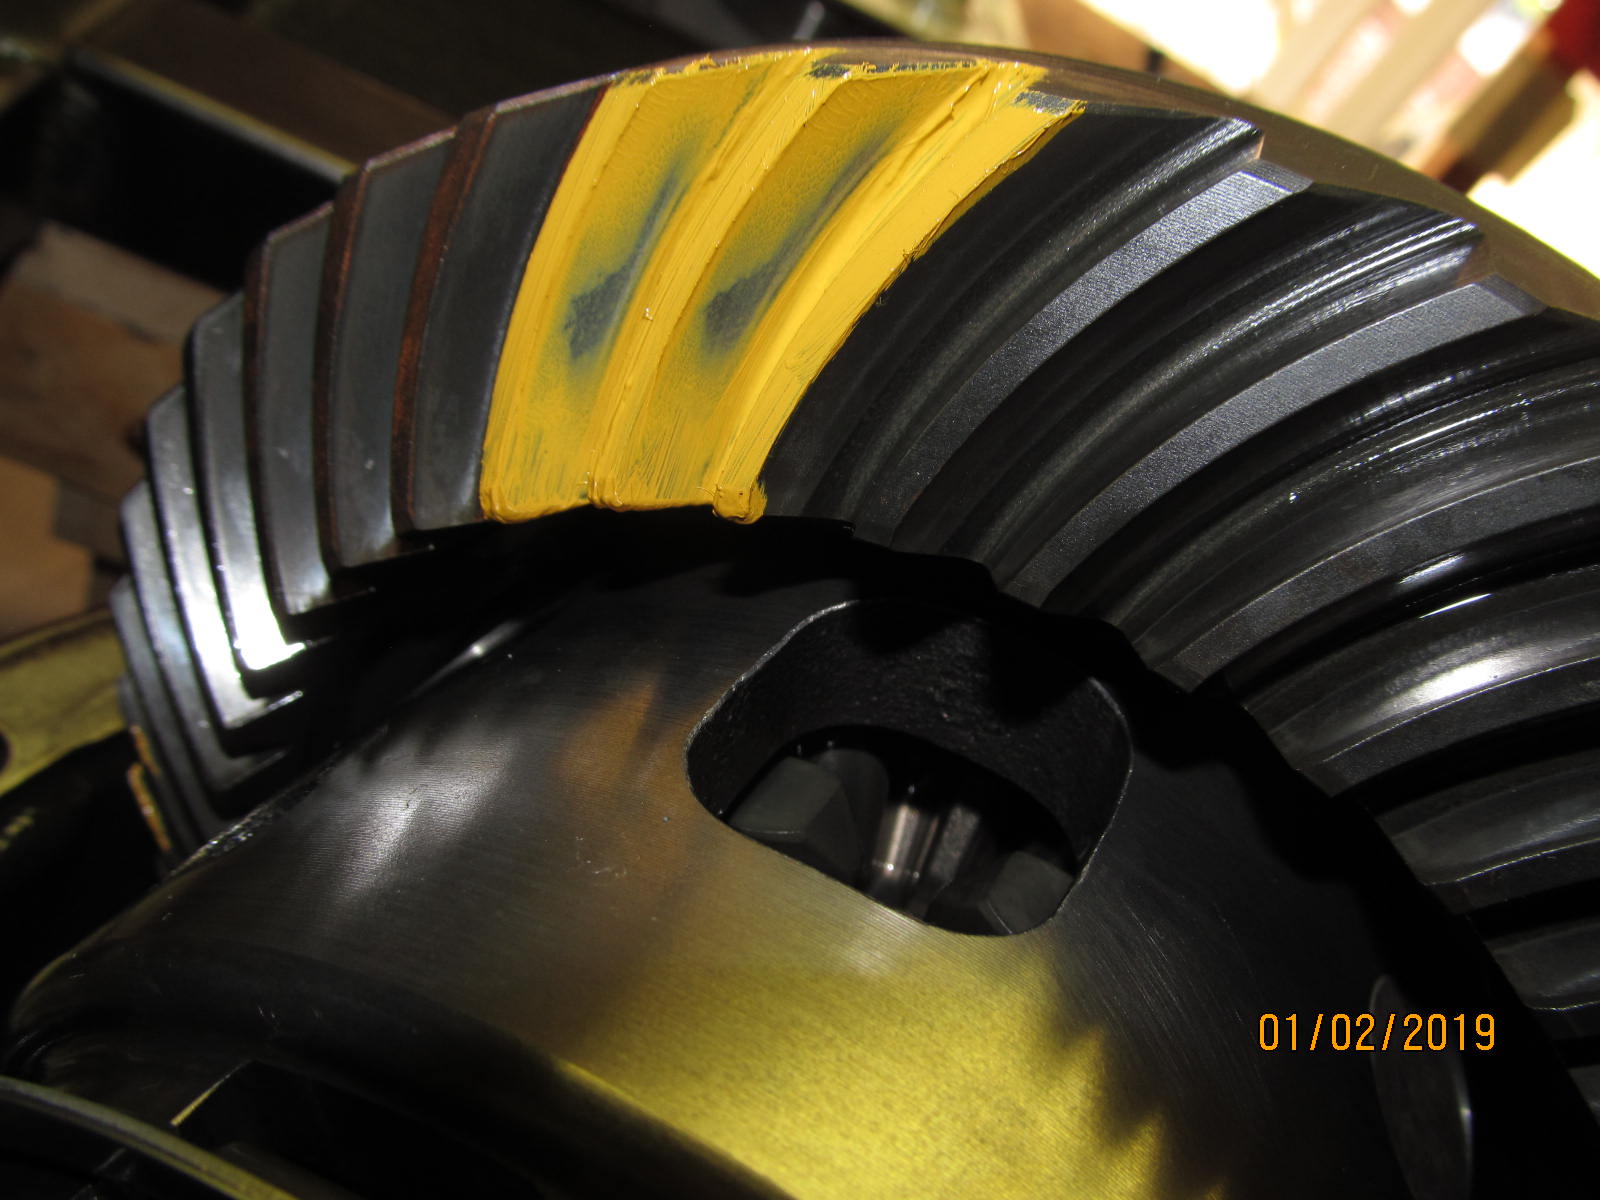
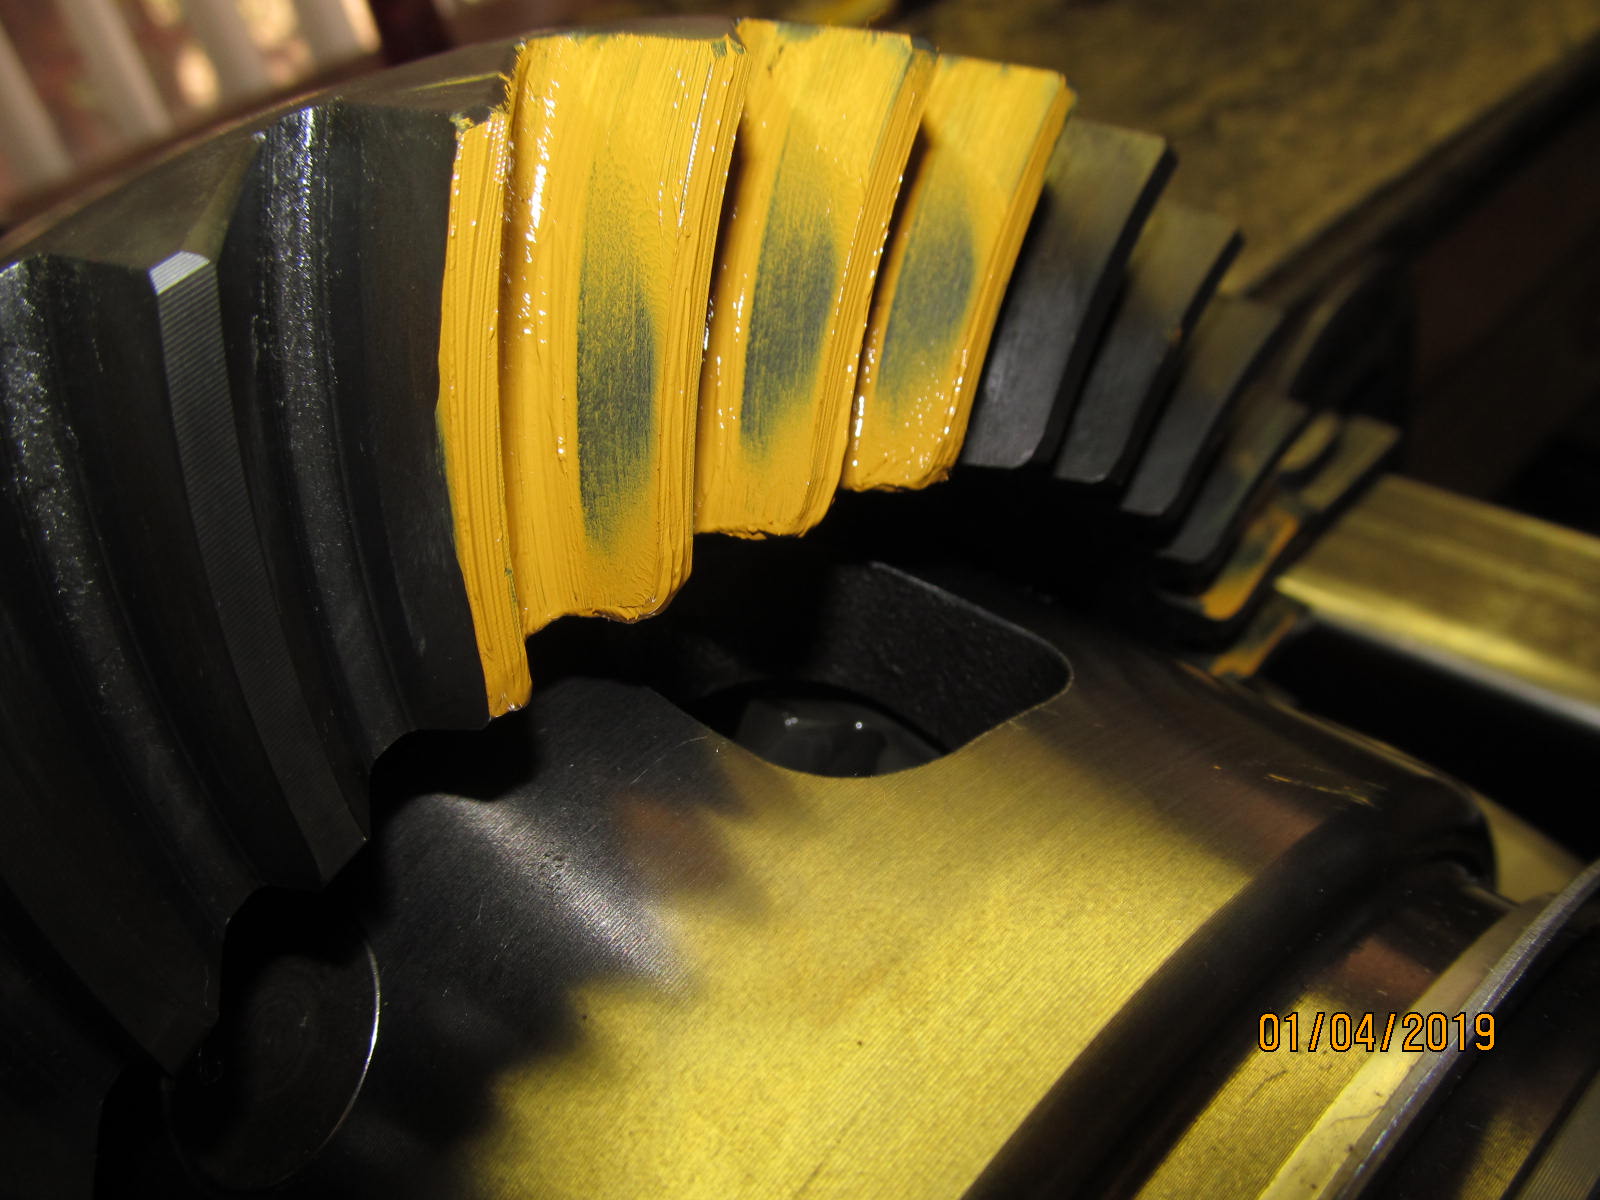
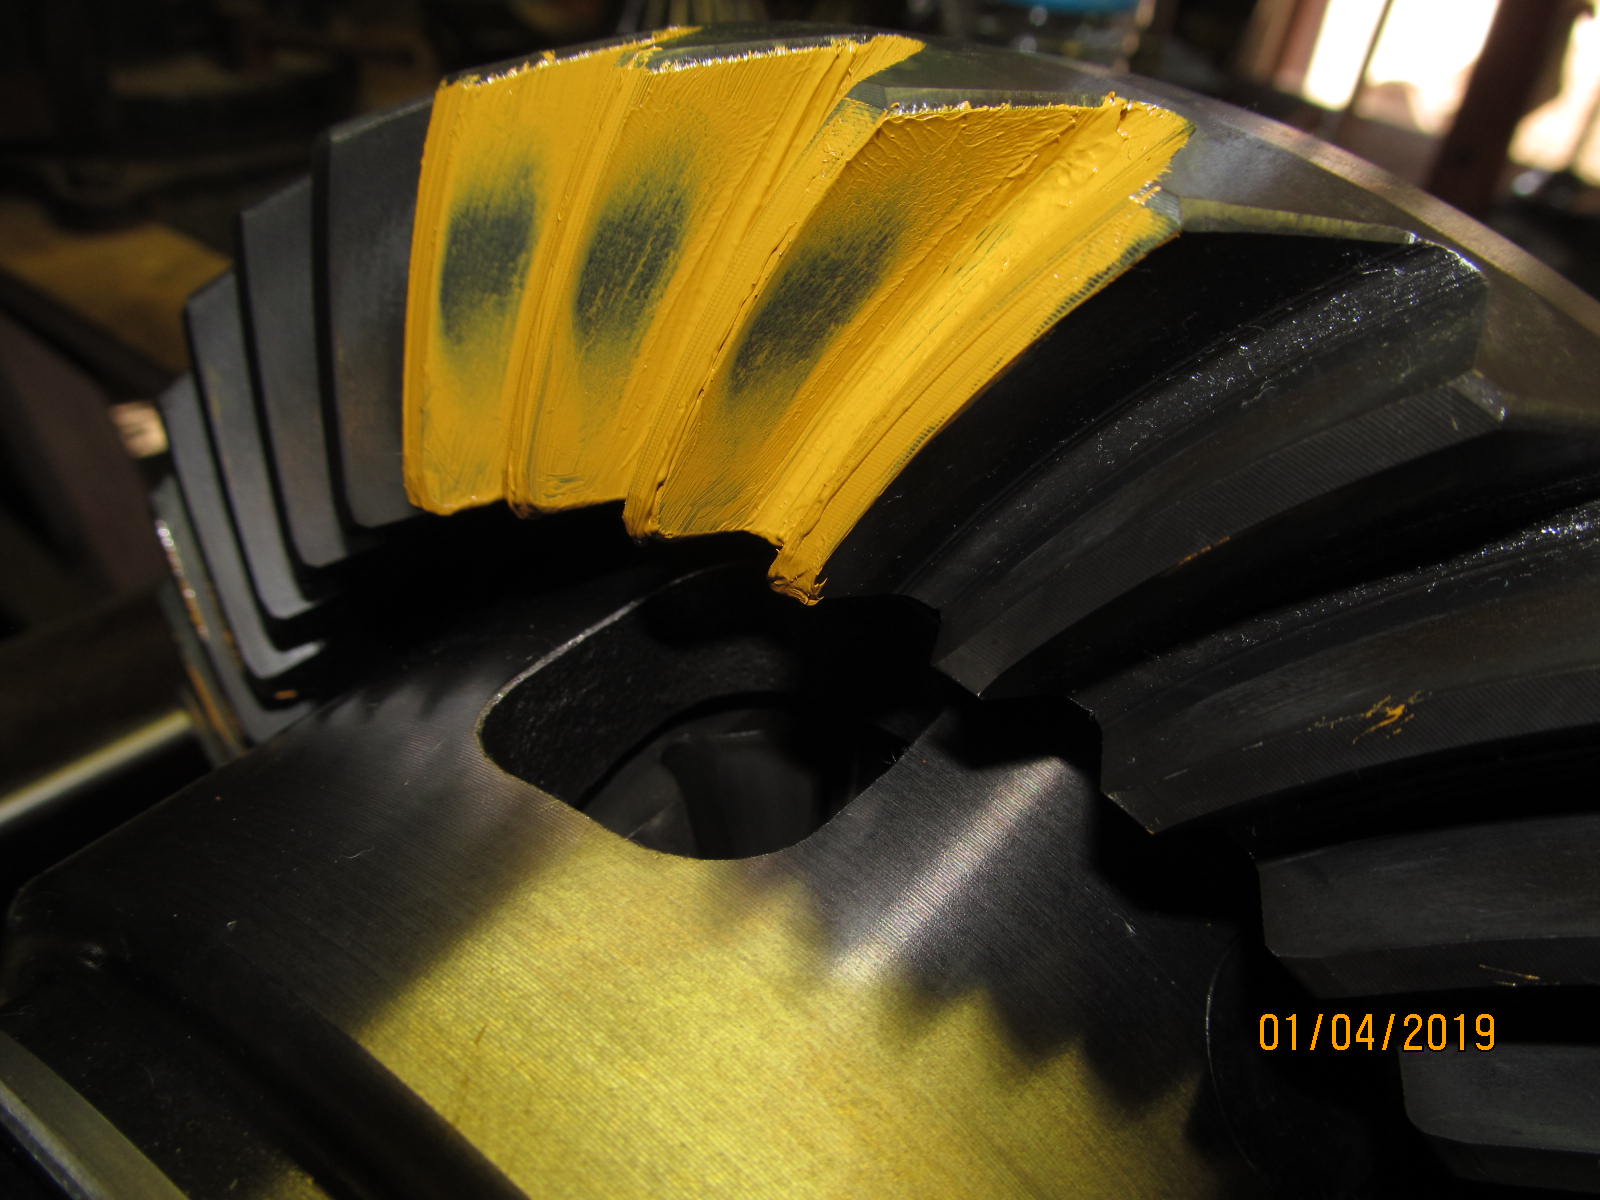
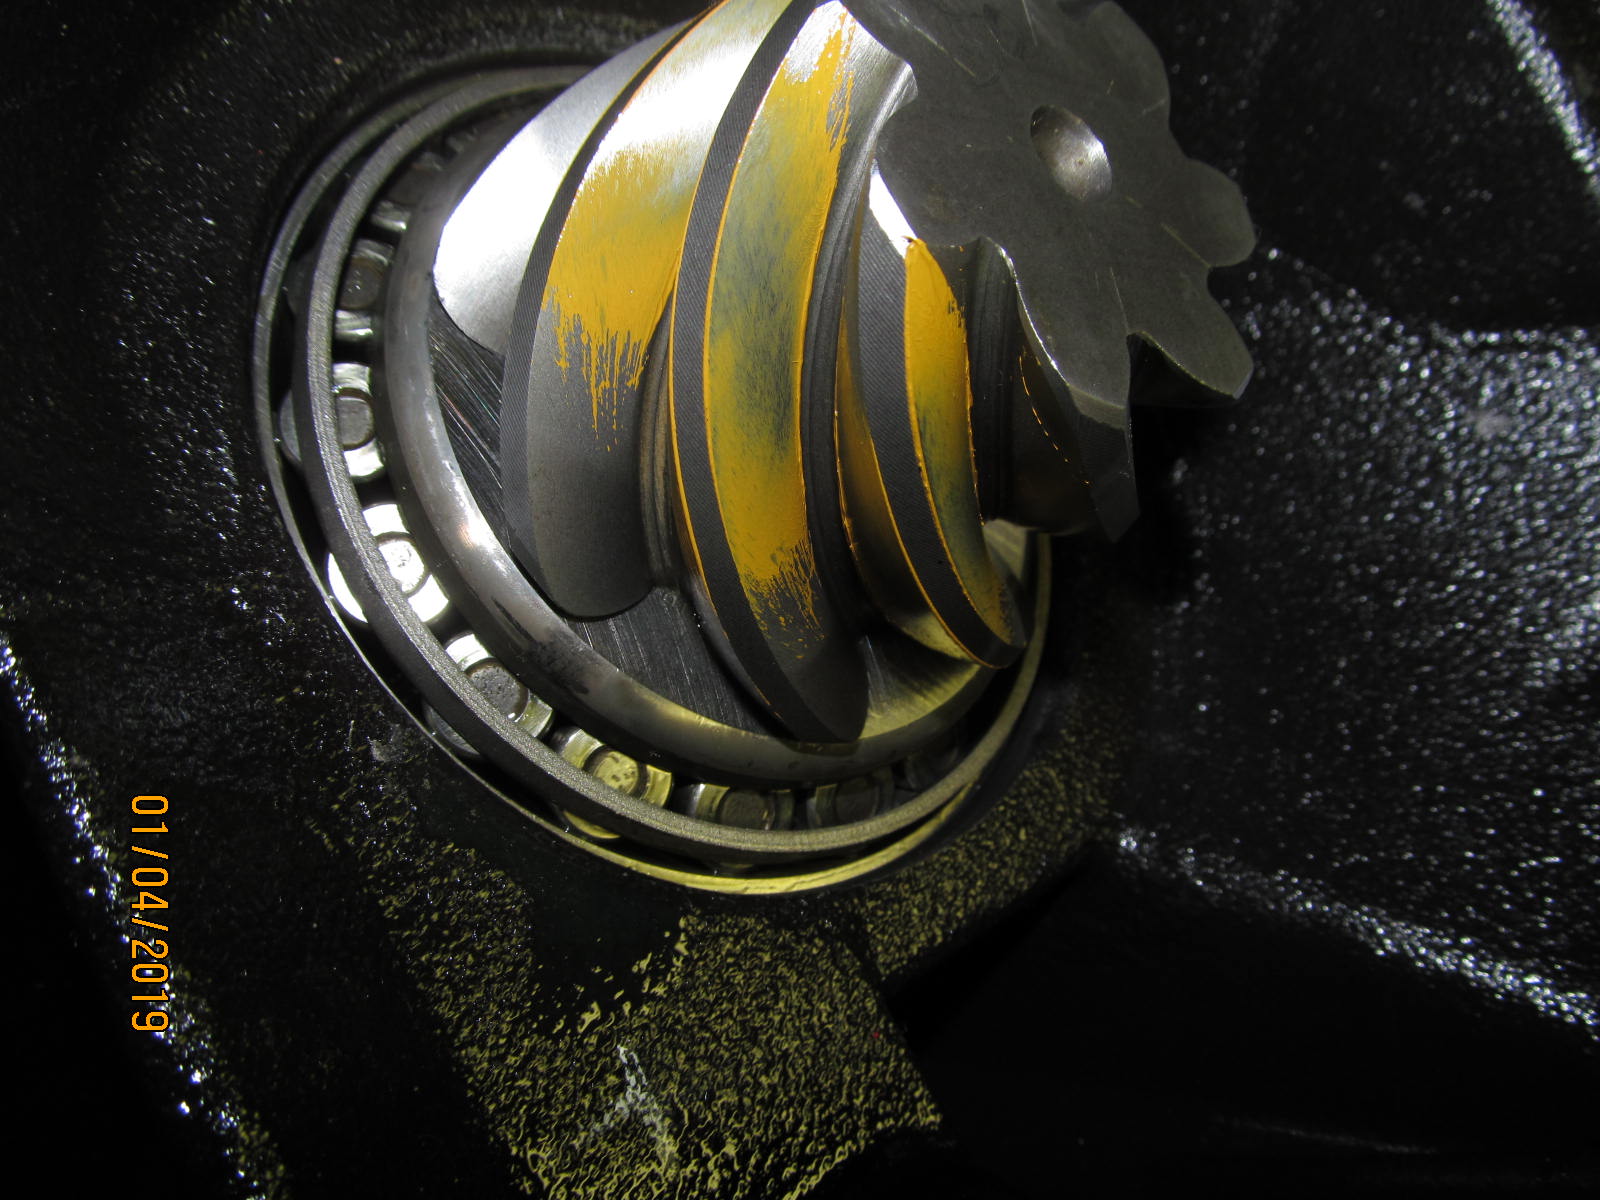
| The 078 washer plate was replaced with 081"....only .003" but the drive appears much better. |
|---|
|
|
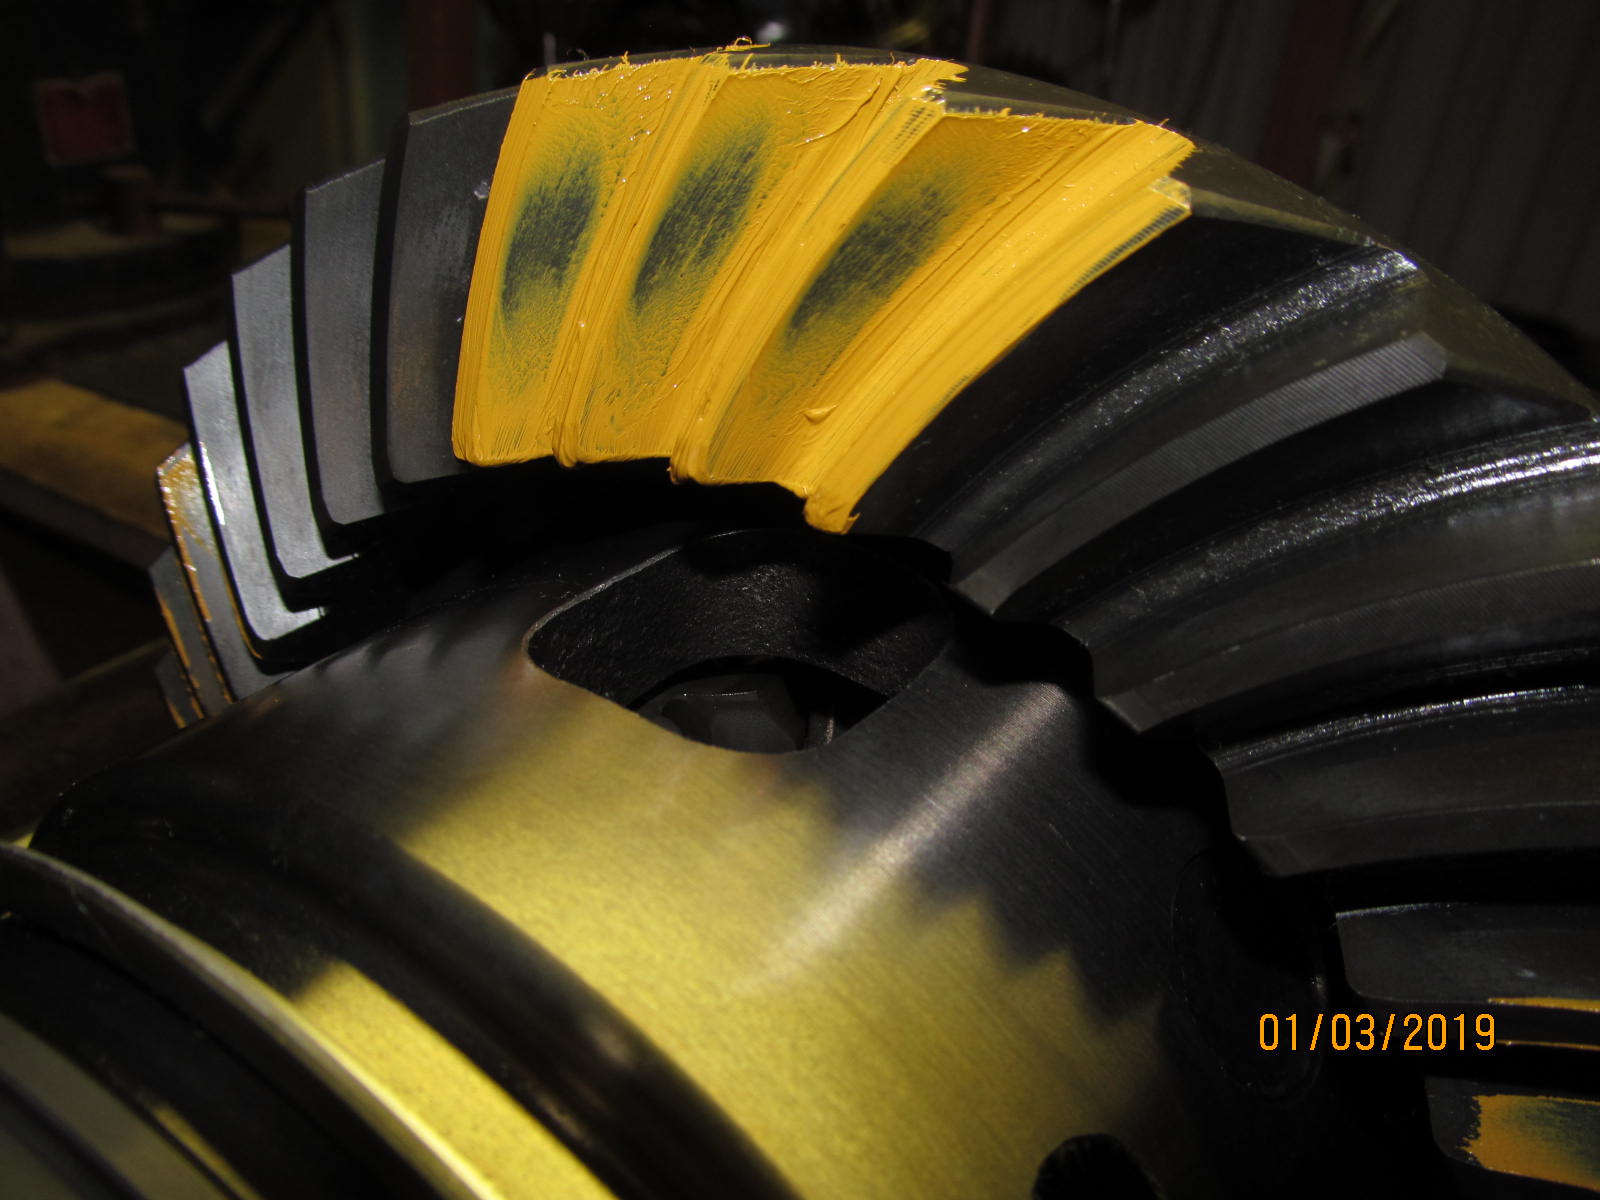
| Coast is good. |
|---|
|
|
| .................. |
|---|
|
|
| See how the comet tail is feathering out a little closer to centre. That looks good. |
|---|
|

|
| I think 081 is the magic number :) |
|---|
|
|
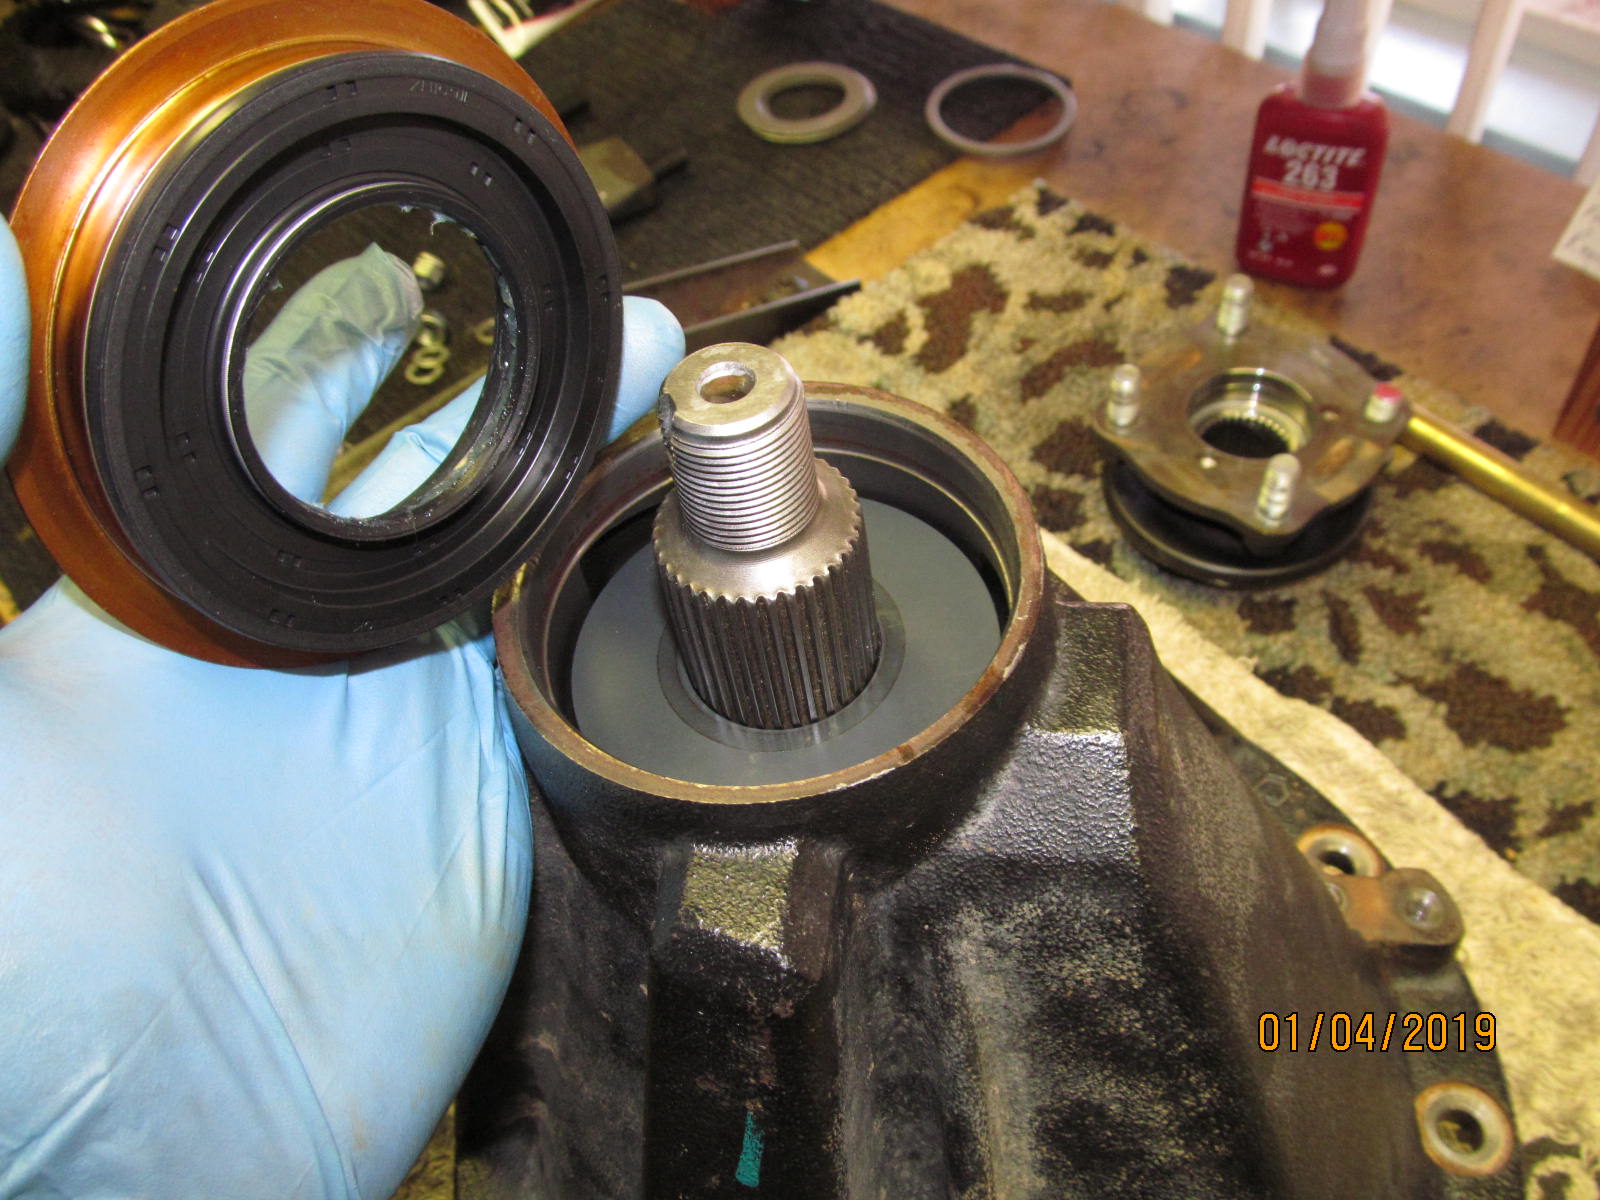
| Last time to take the pinion out and place the new crush sleeve in place. New seal going in now. |
|---|
|
|
Crush the sleeve until 12 in/lb is noted and ding the nut. My trick is anti-seize on the pinion threads....
Thread resistance goes down and pinion nut takes less effort to turn. |
|---|
|
|
| ,,,,,,,,,,,,,,,,,,,,,,,,,,, |
|---|
|
|
| Washer plates can now be adjusted for correct backlash and preload. |
|---|
|

|
| ................. |
|---|
|
|
| ,,,,,,,,,,,,,,,,,,,,,,,,,,,,,,,,,,,,,,,,,,,,, |
|---|
|
|
| Brass does not dent the washer plates. |
|---|
|
|
| Backlash checks. |
|---|
|
|
| Caps get torqued to 84 ft/lb |
|---|
|
|
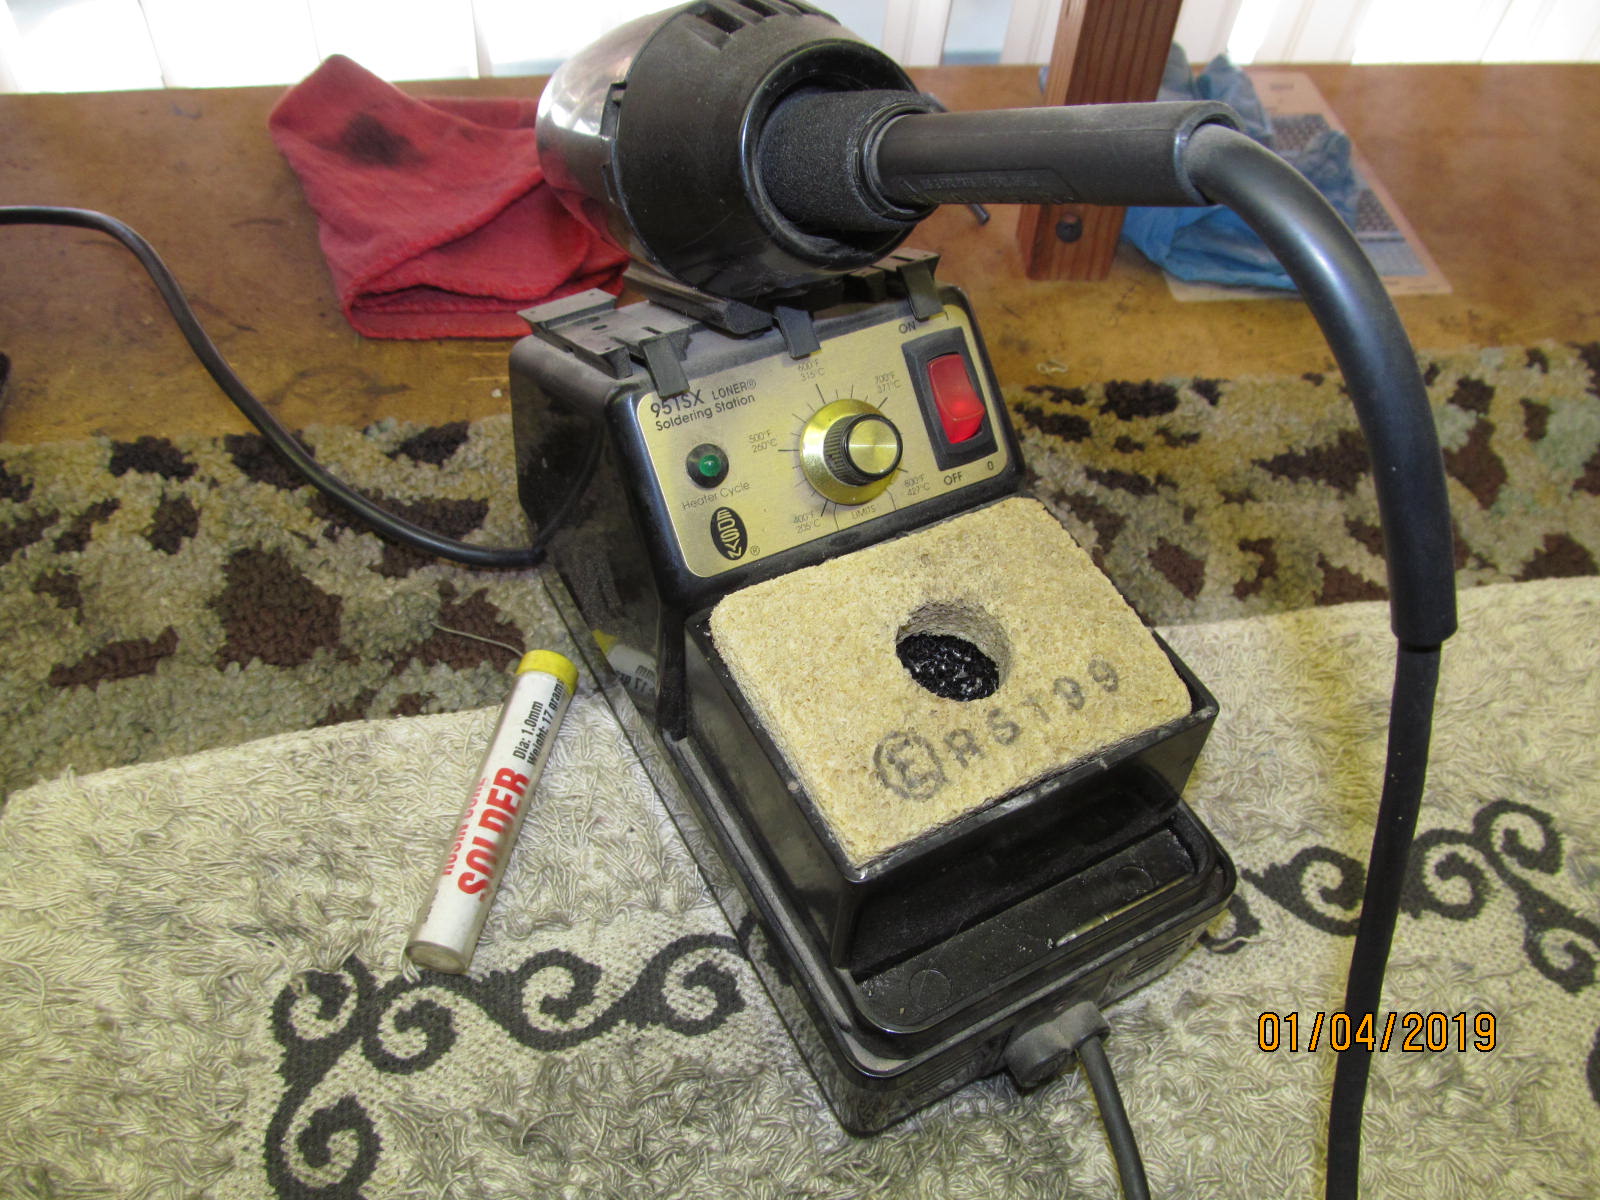
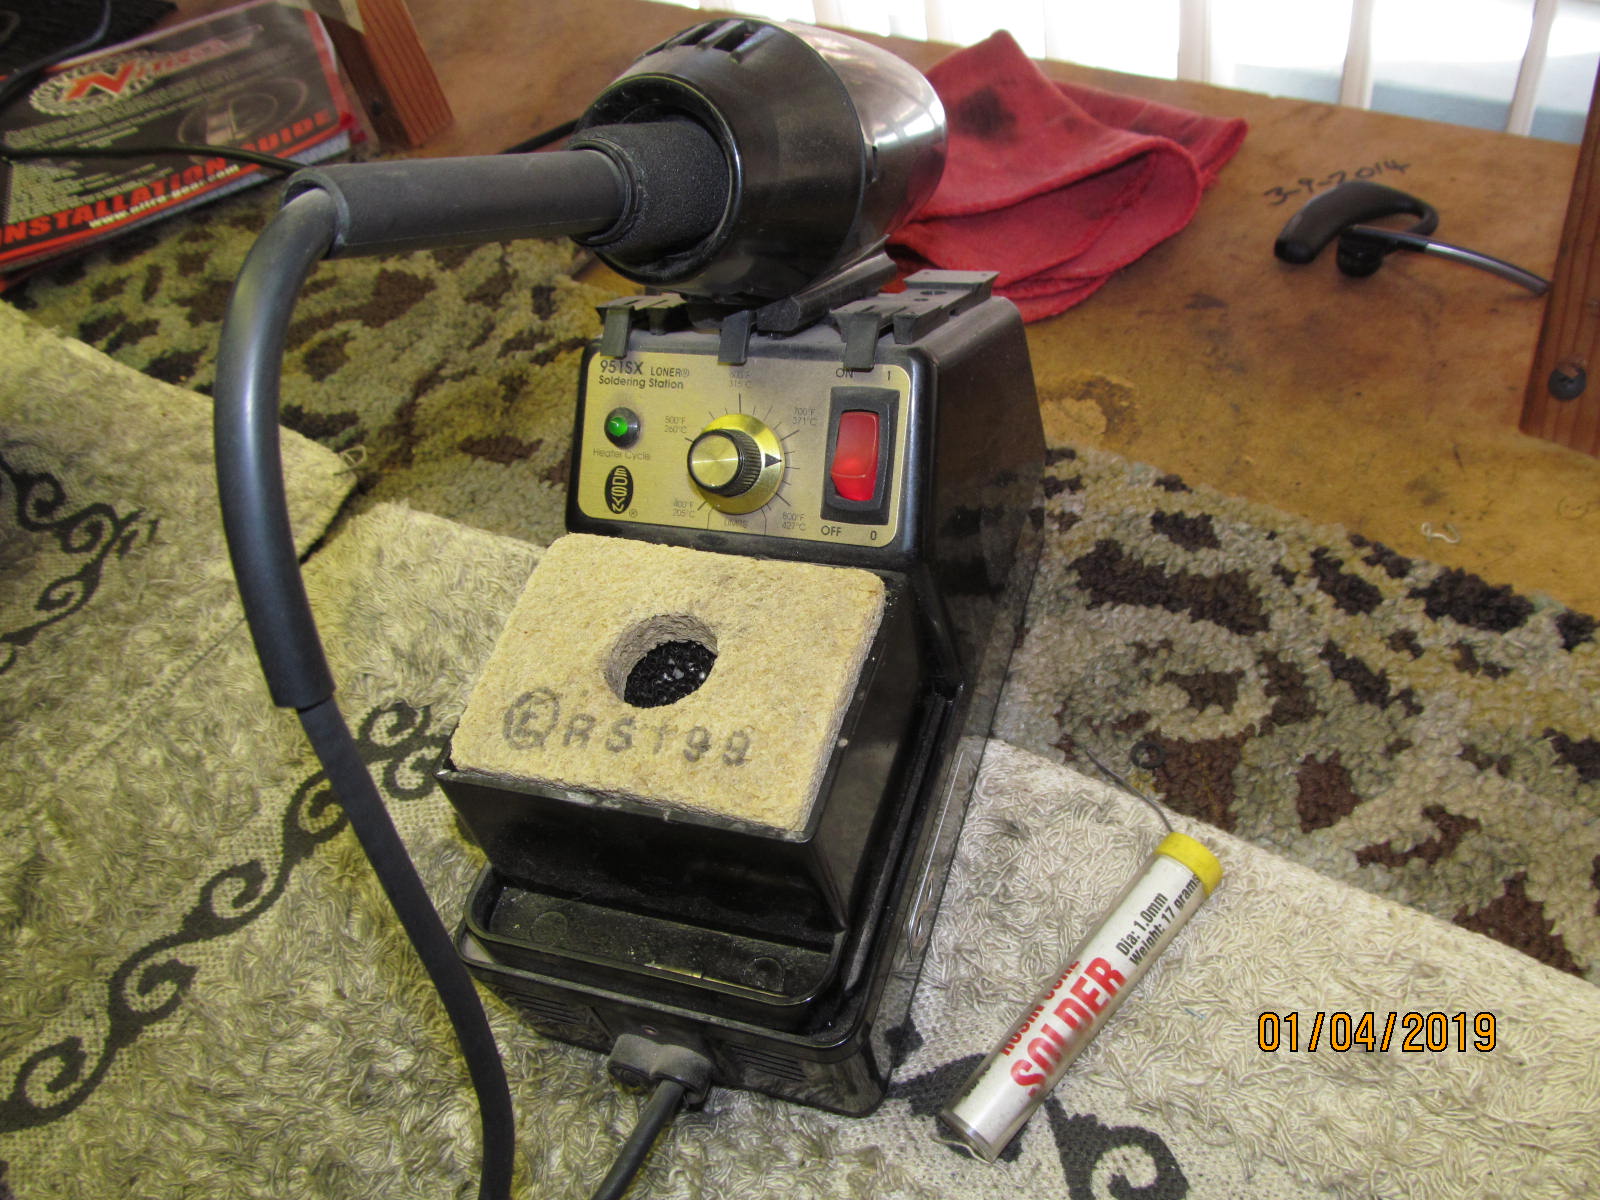
| The wires get properly tinned with my professional solder station. |
|---|
|
|
| I've had this station since about 1998......20 years. |
|---|
|
|
| I did not get a shot with the heat shrink tubing off. |
|---|
|

|
| 10mm bolts....less than 10 ft/lb |
|---|
|

|
| specs that I set it to..... |
|---|
|
|
| ;;;;;;;;;;;;;;;;;;;;;;;;;;; |
|---|
|
|
| Pinion bearong preload a nice 12 in/lb. |
|---|
|
|
| There's a solid 8 in/lb of carrier bearing preload....can't accuse me of loose bearings :) |
|---|
|
|

|