|
1993 SAS'd pick-up gets a front Spartan and a much needed check-up
|
|
(~107 BIG pics loading)
|
|
OCT 18 2014
|
|
|
|
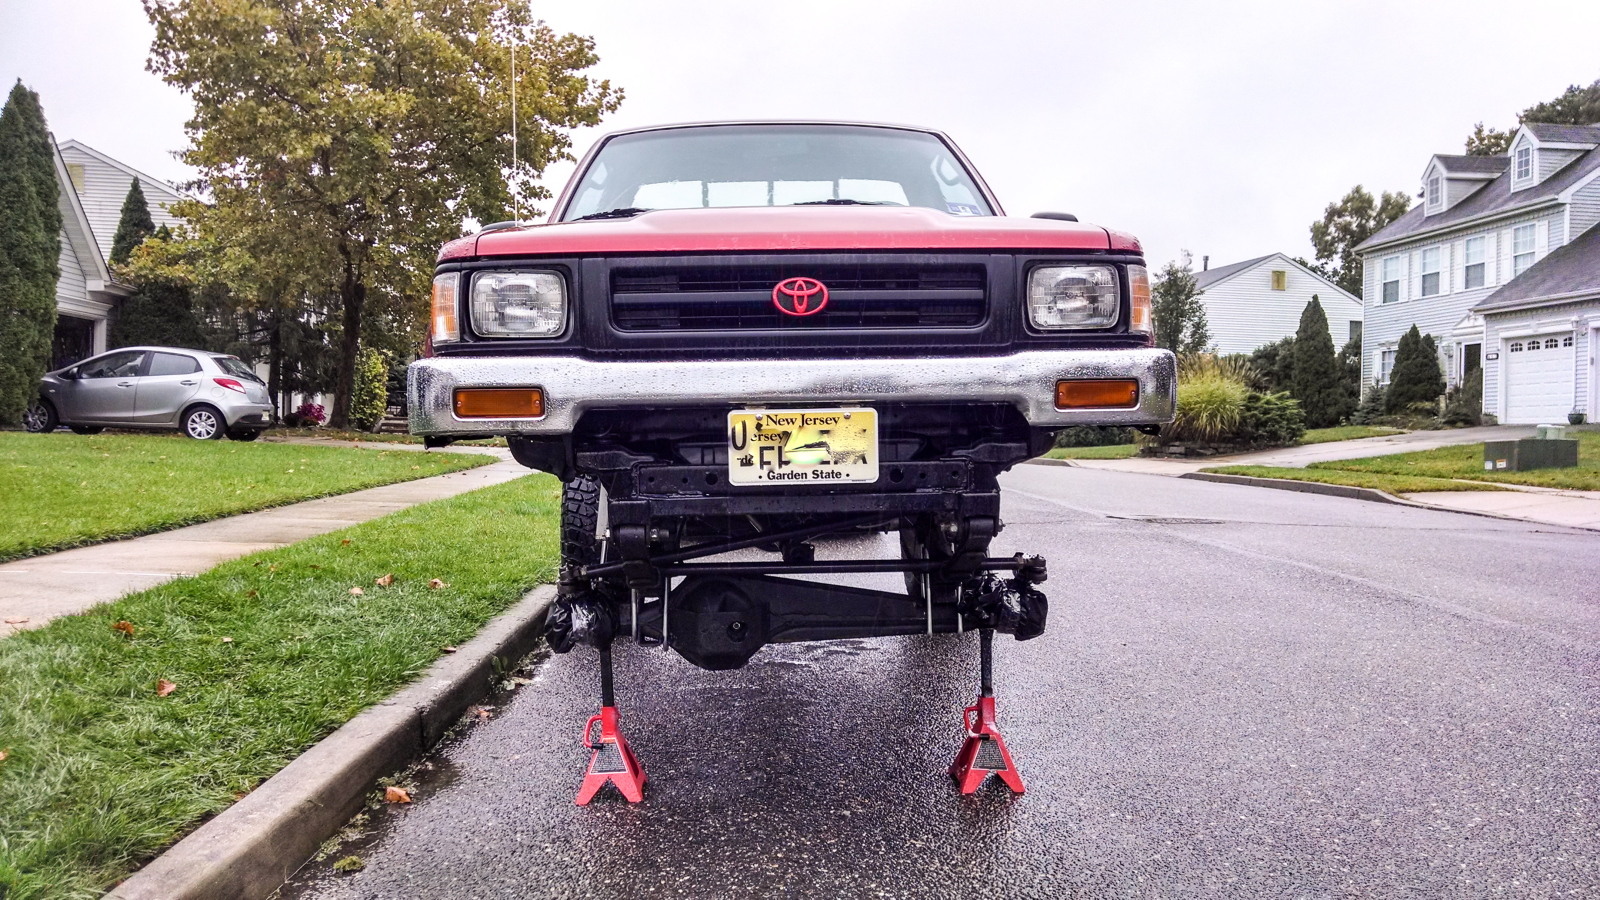
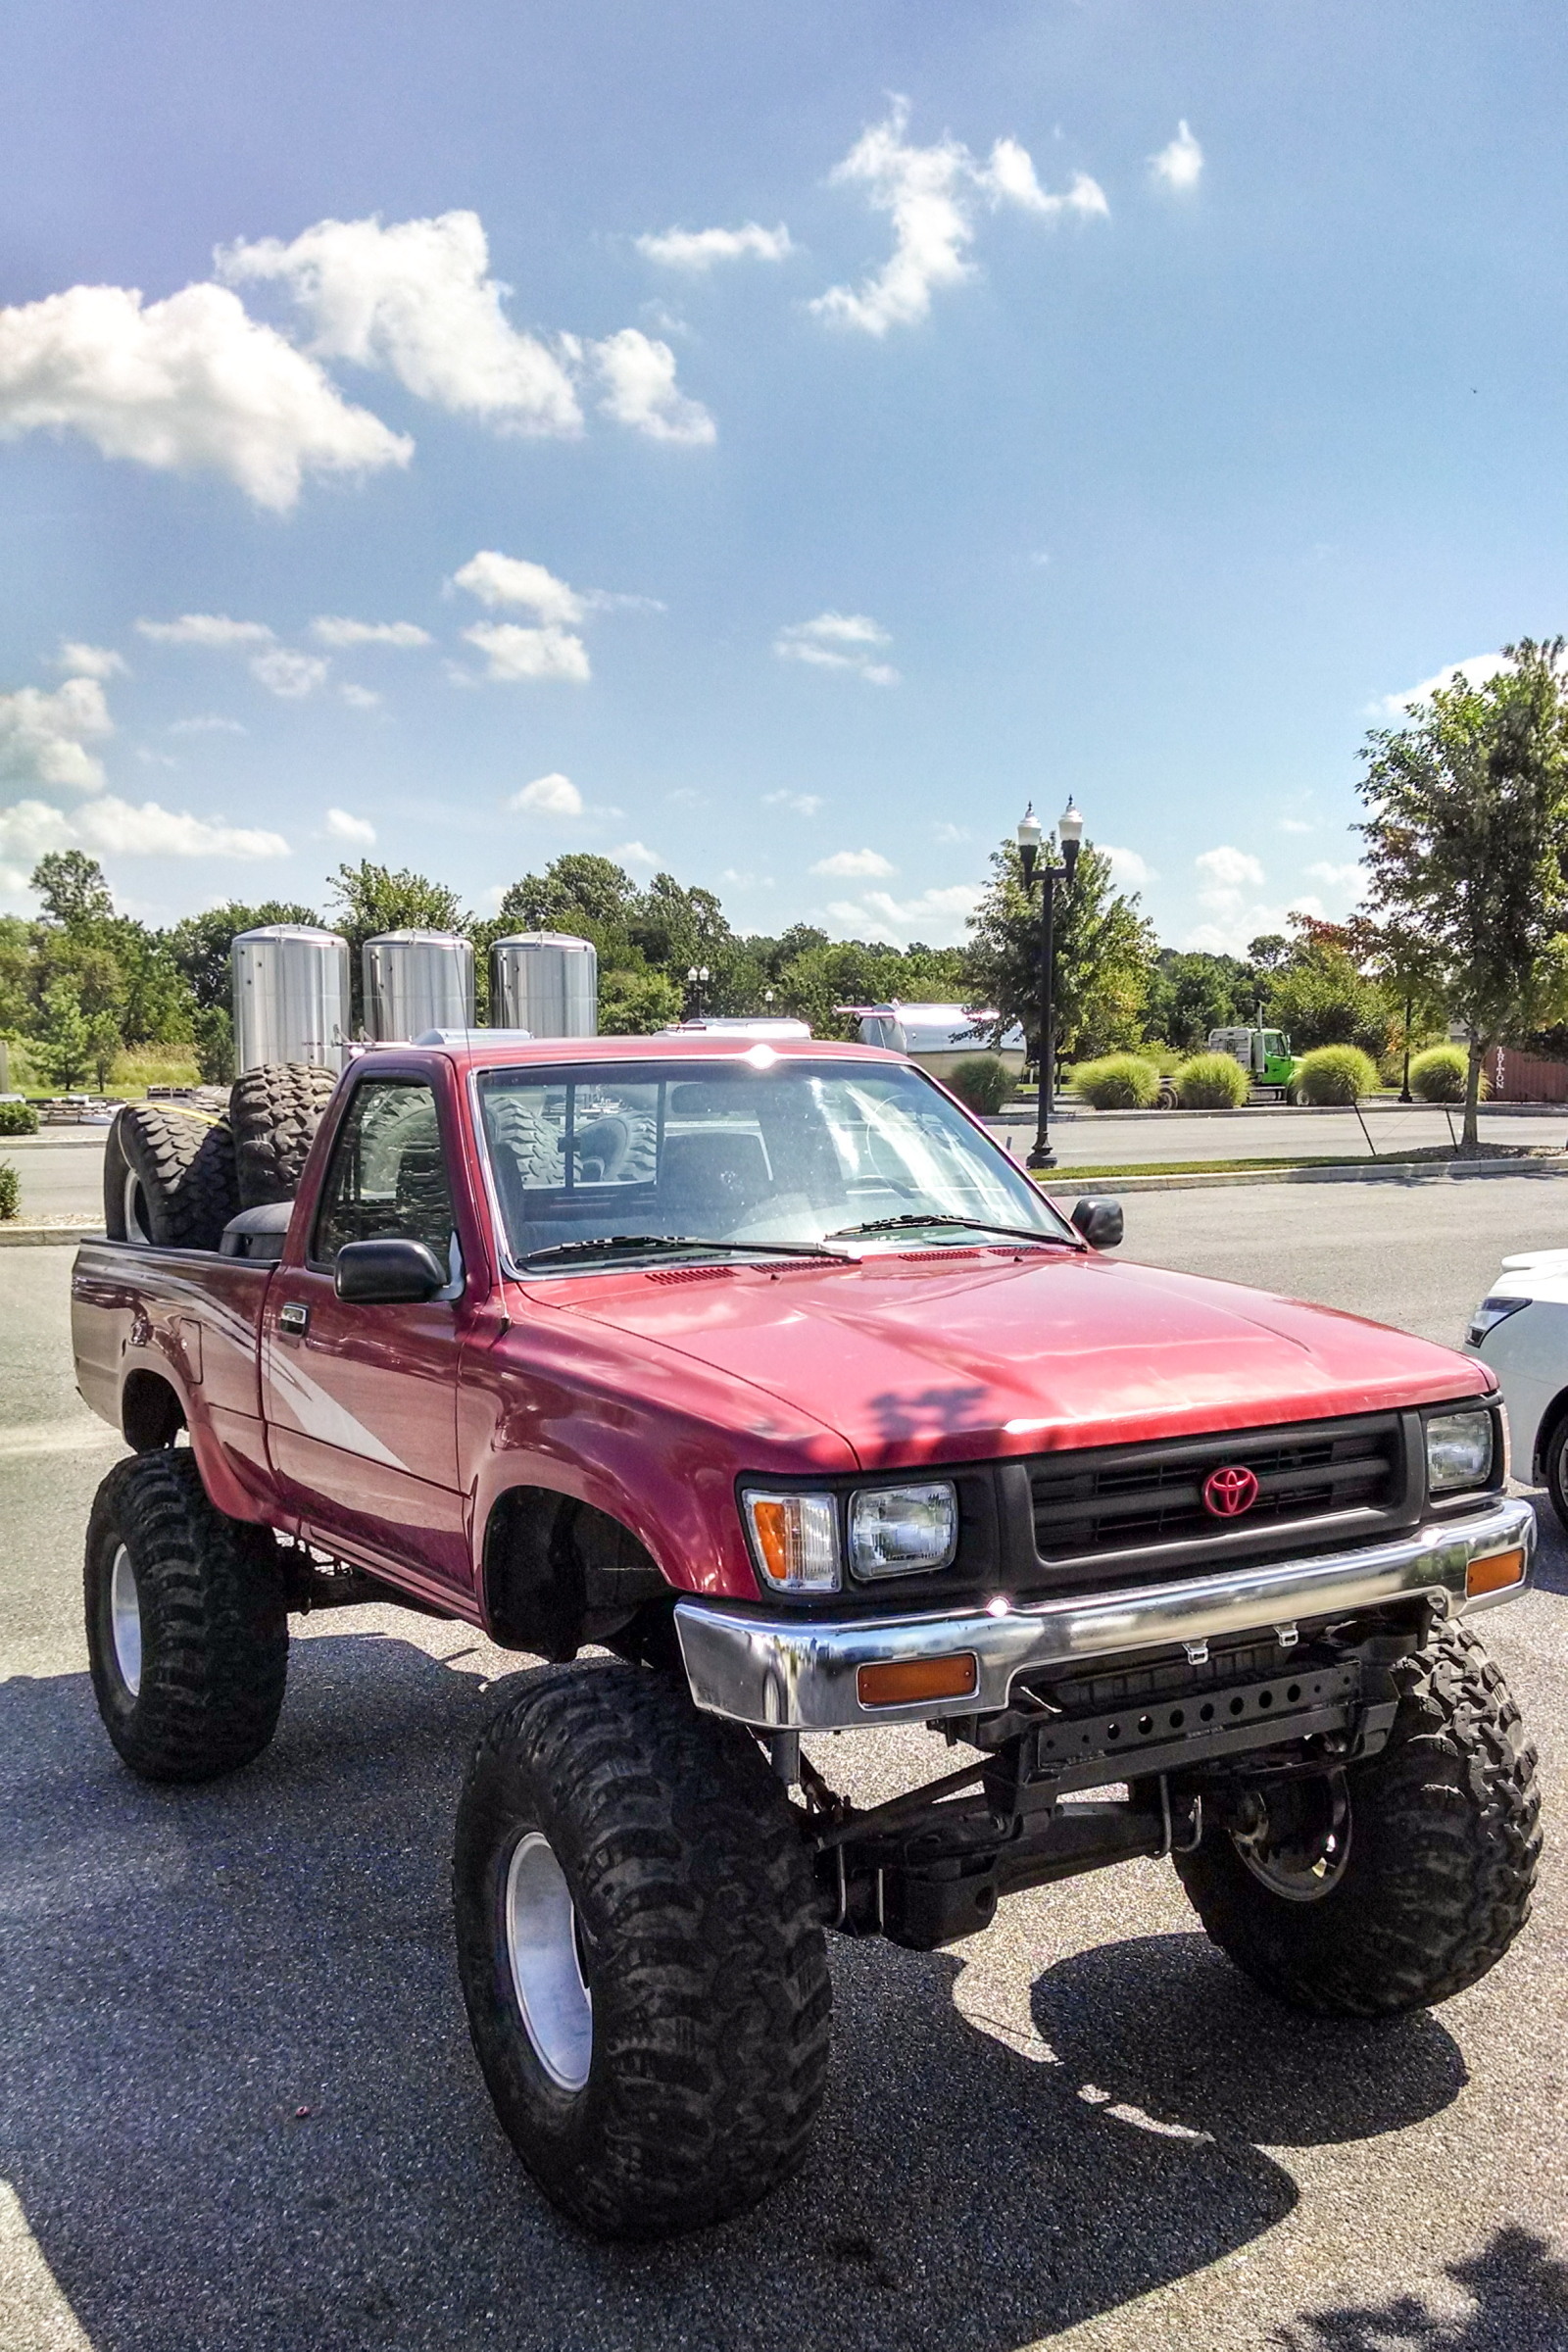
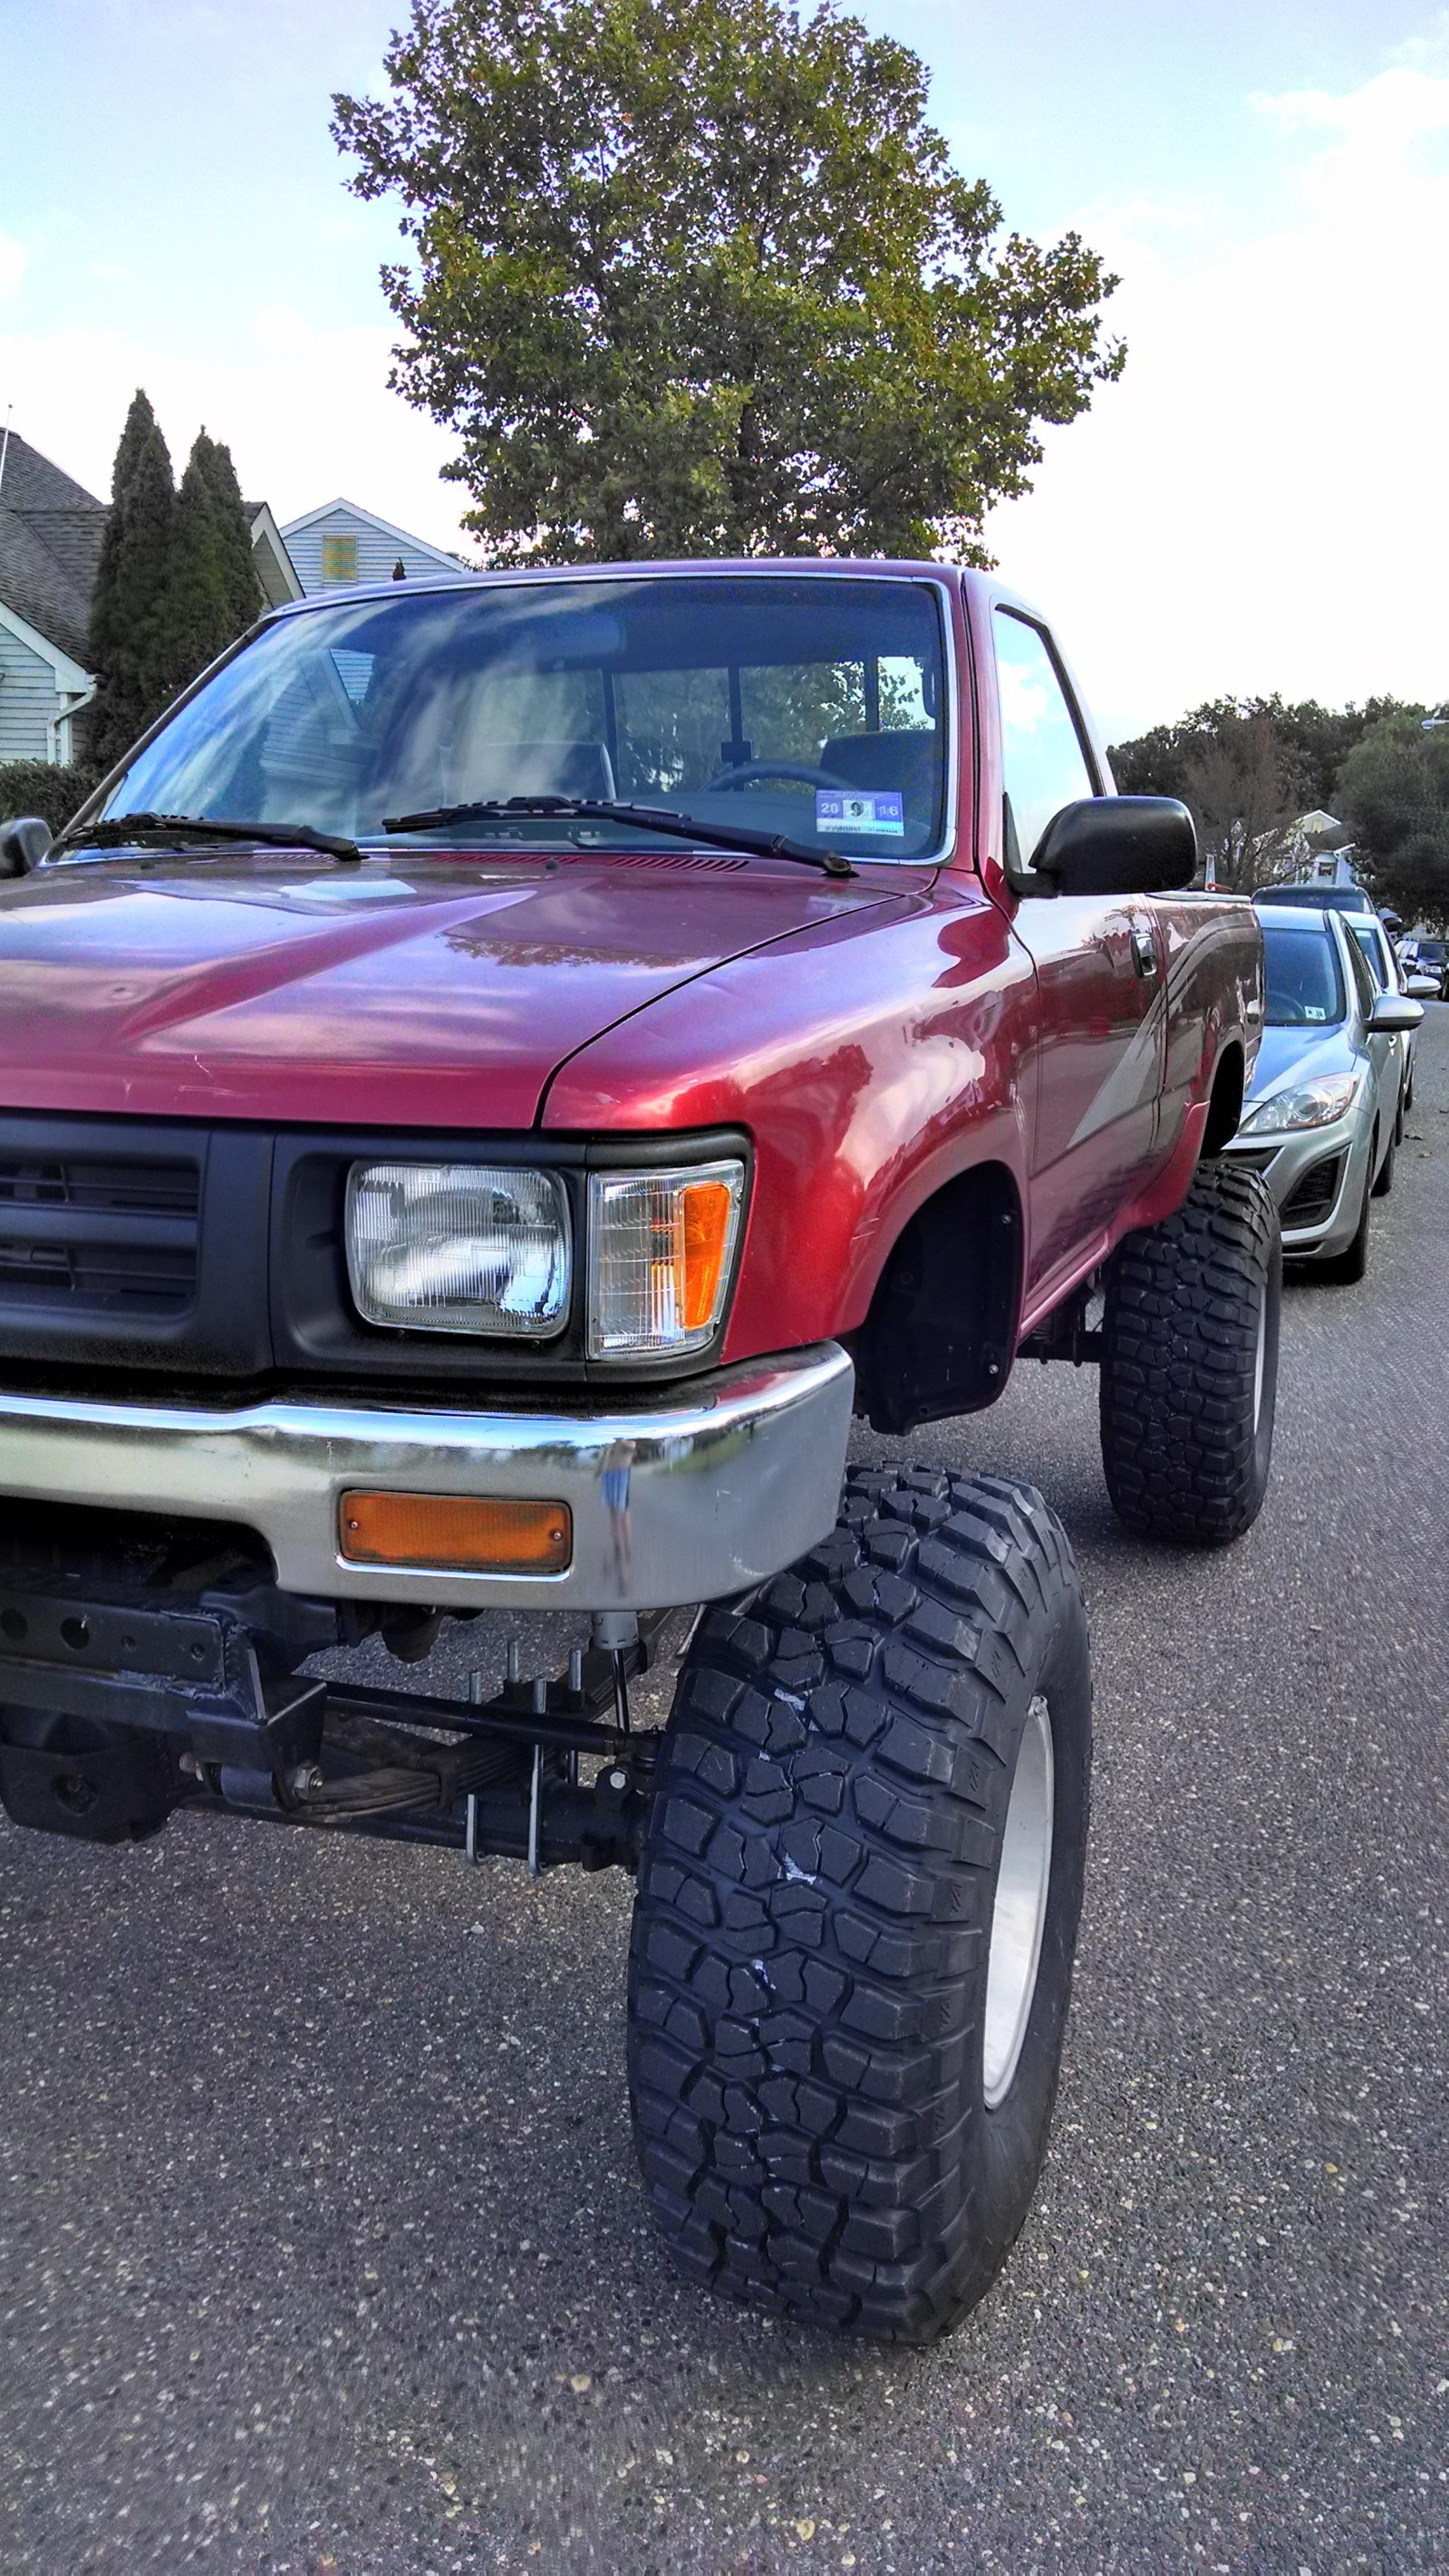
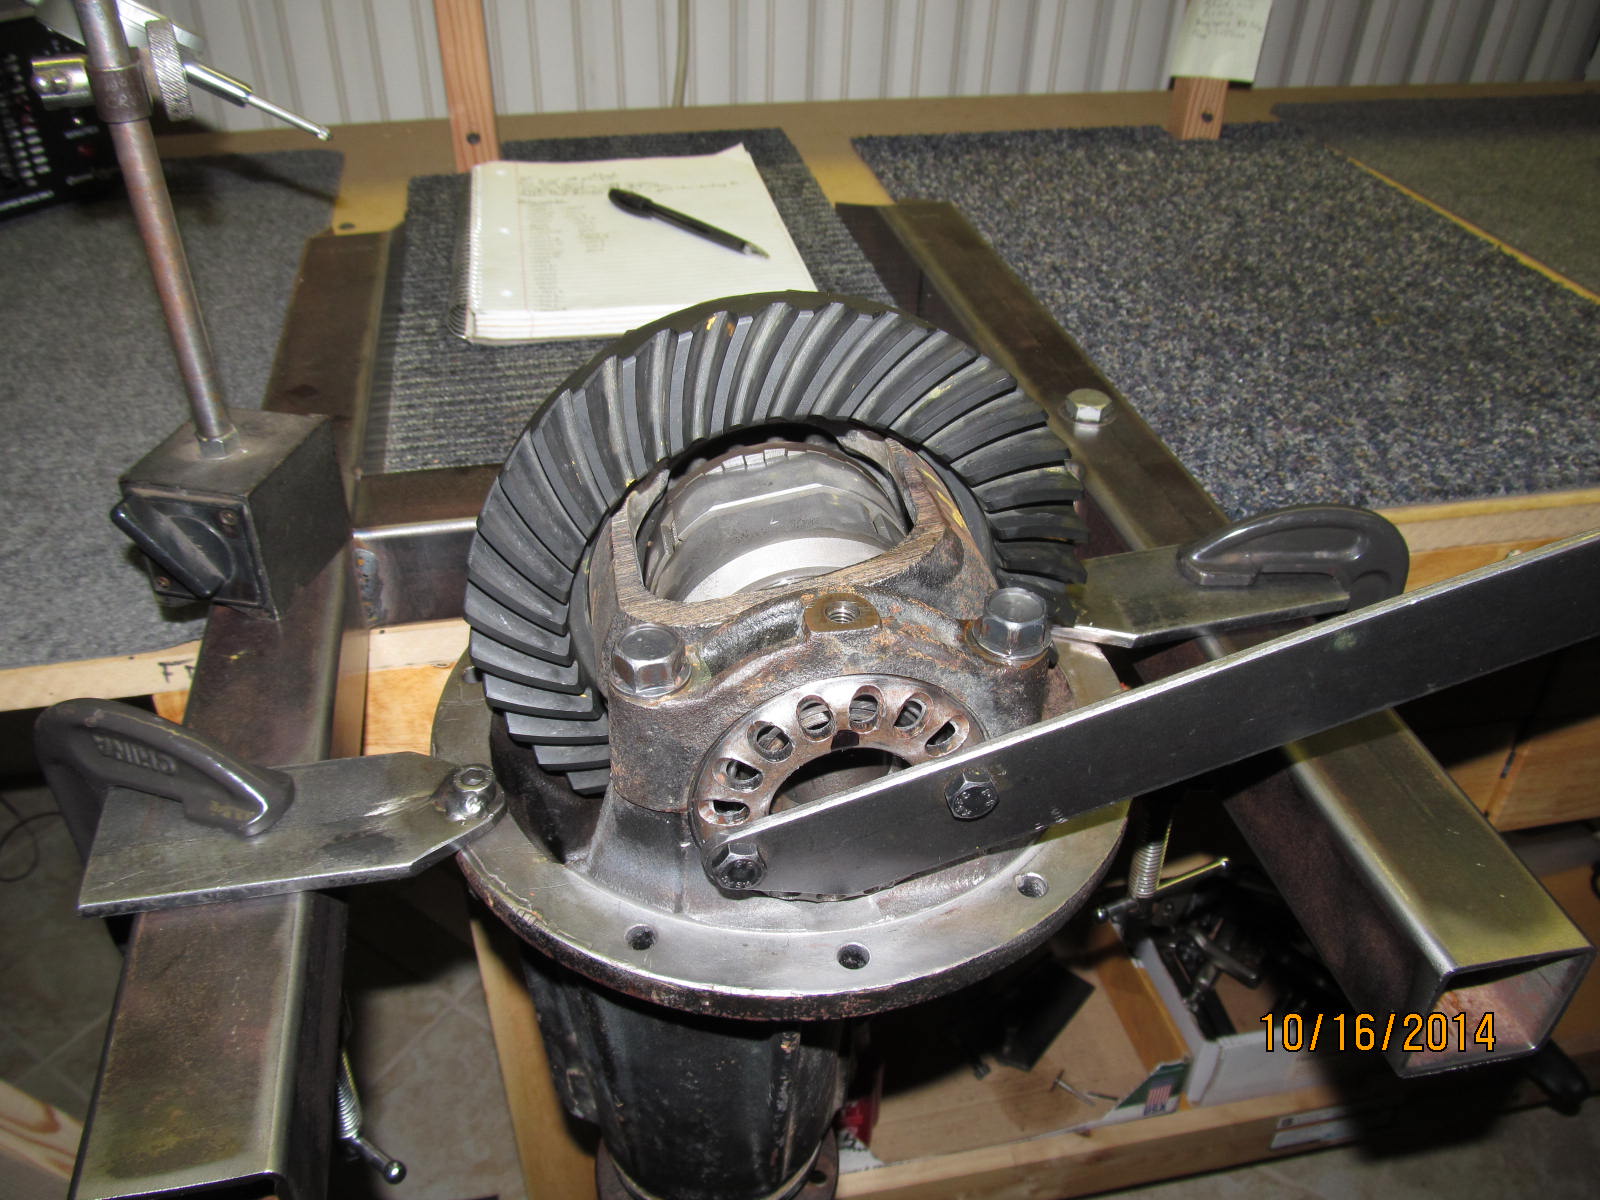
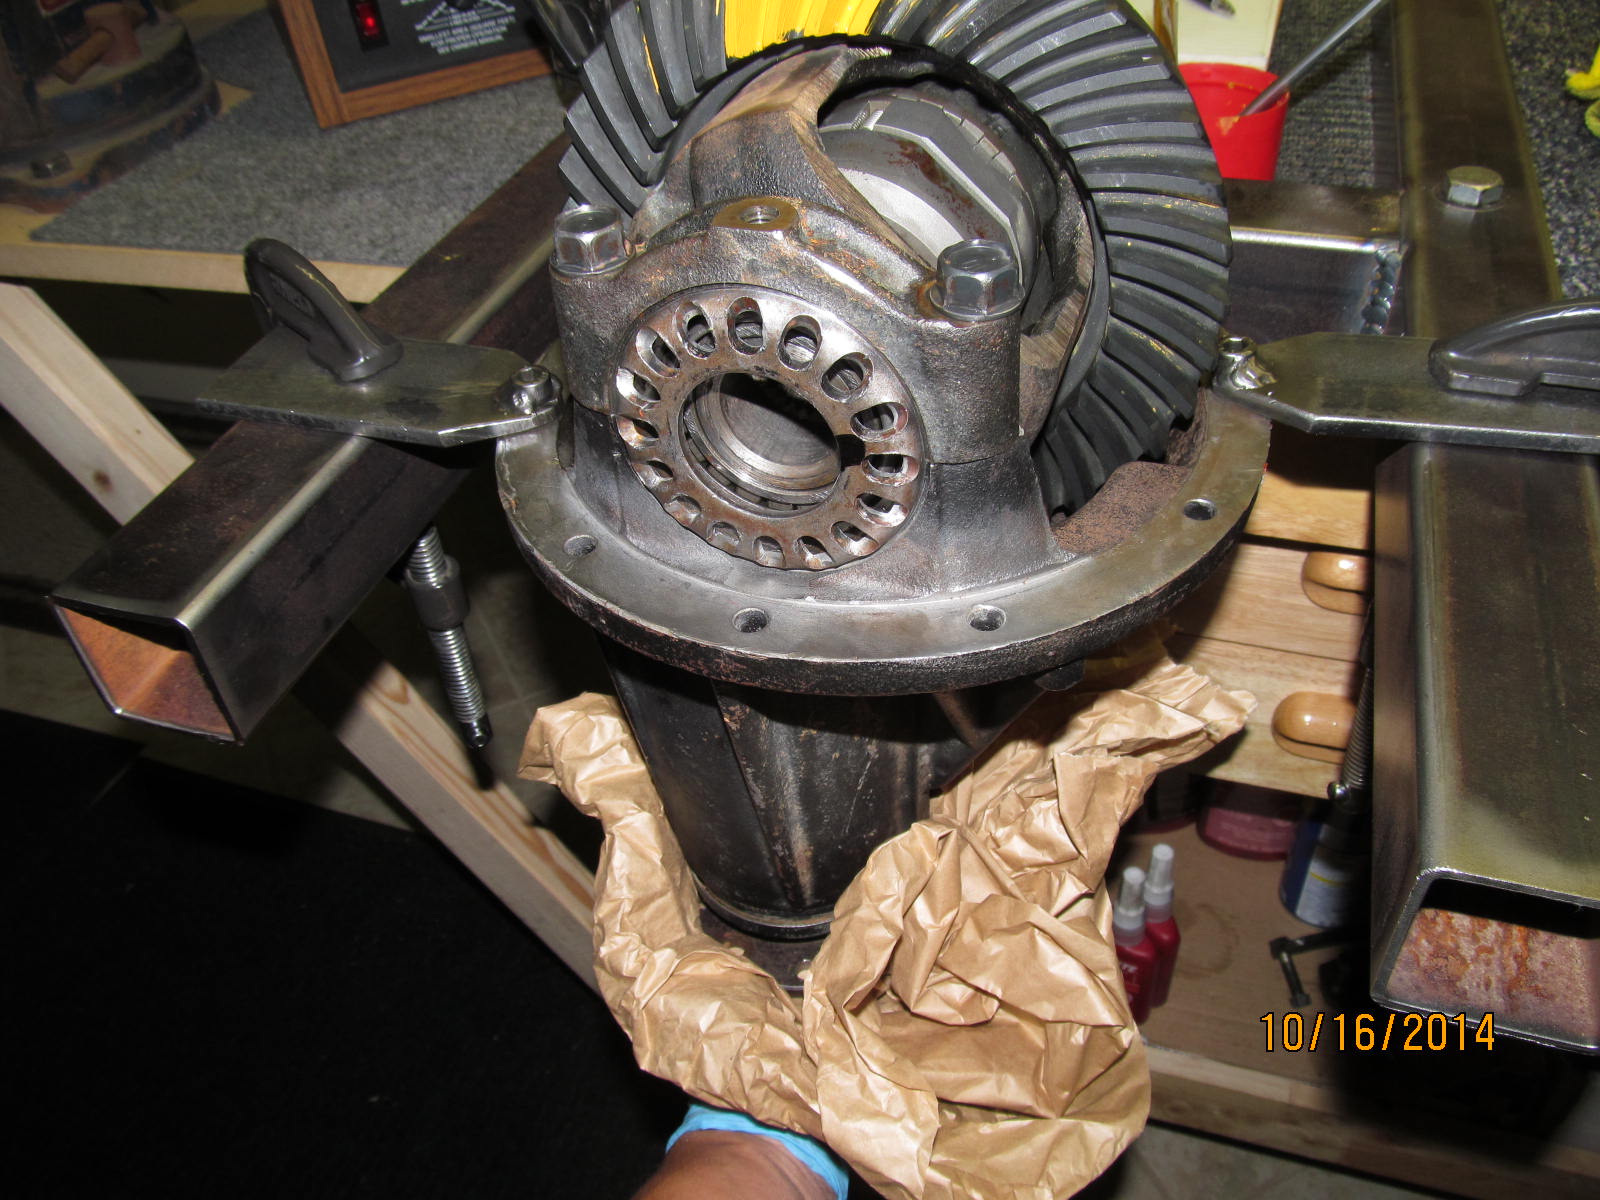
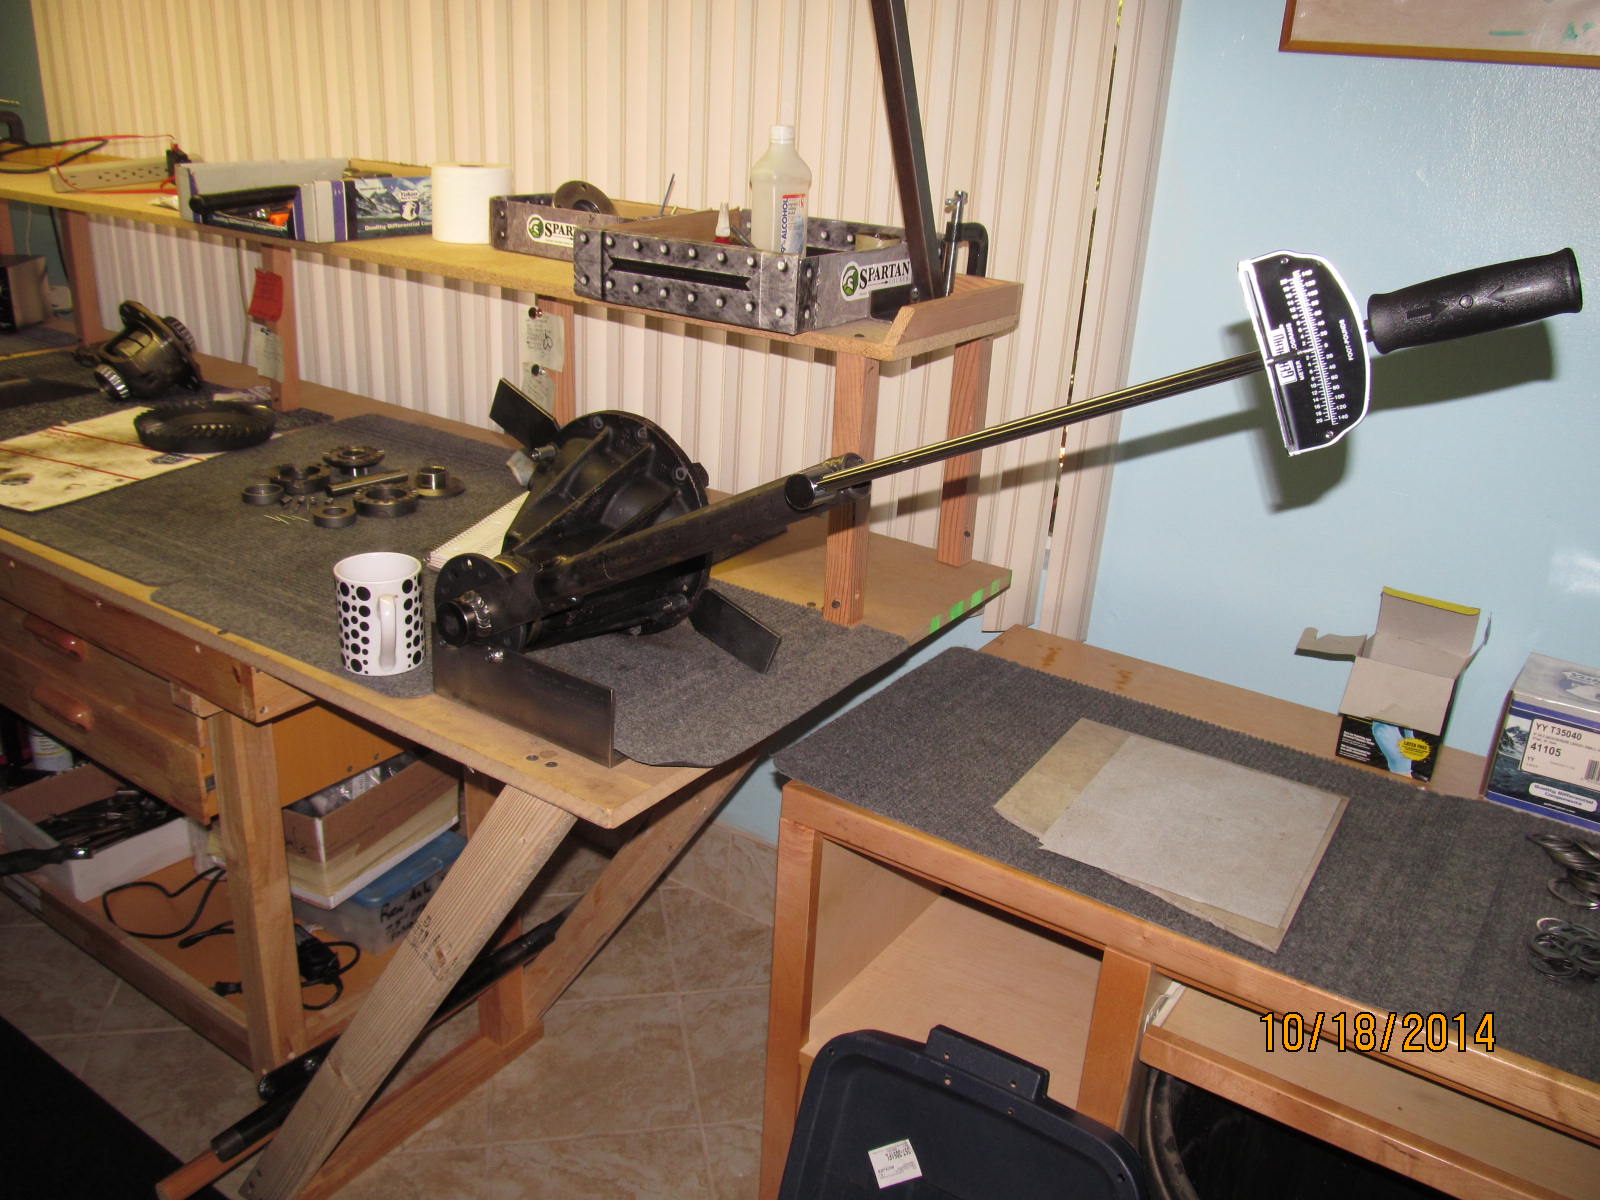
Here's what Mark's 1993 SAS pick-up looks like as I work on his front 3rd at this moment. Nice weather :)
|
|
|
|
|
...................
|
|
|
|
|
...................
|
|
|

|
|
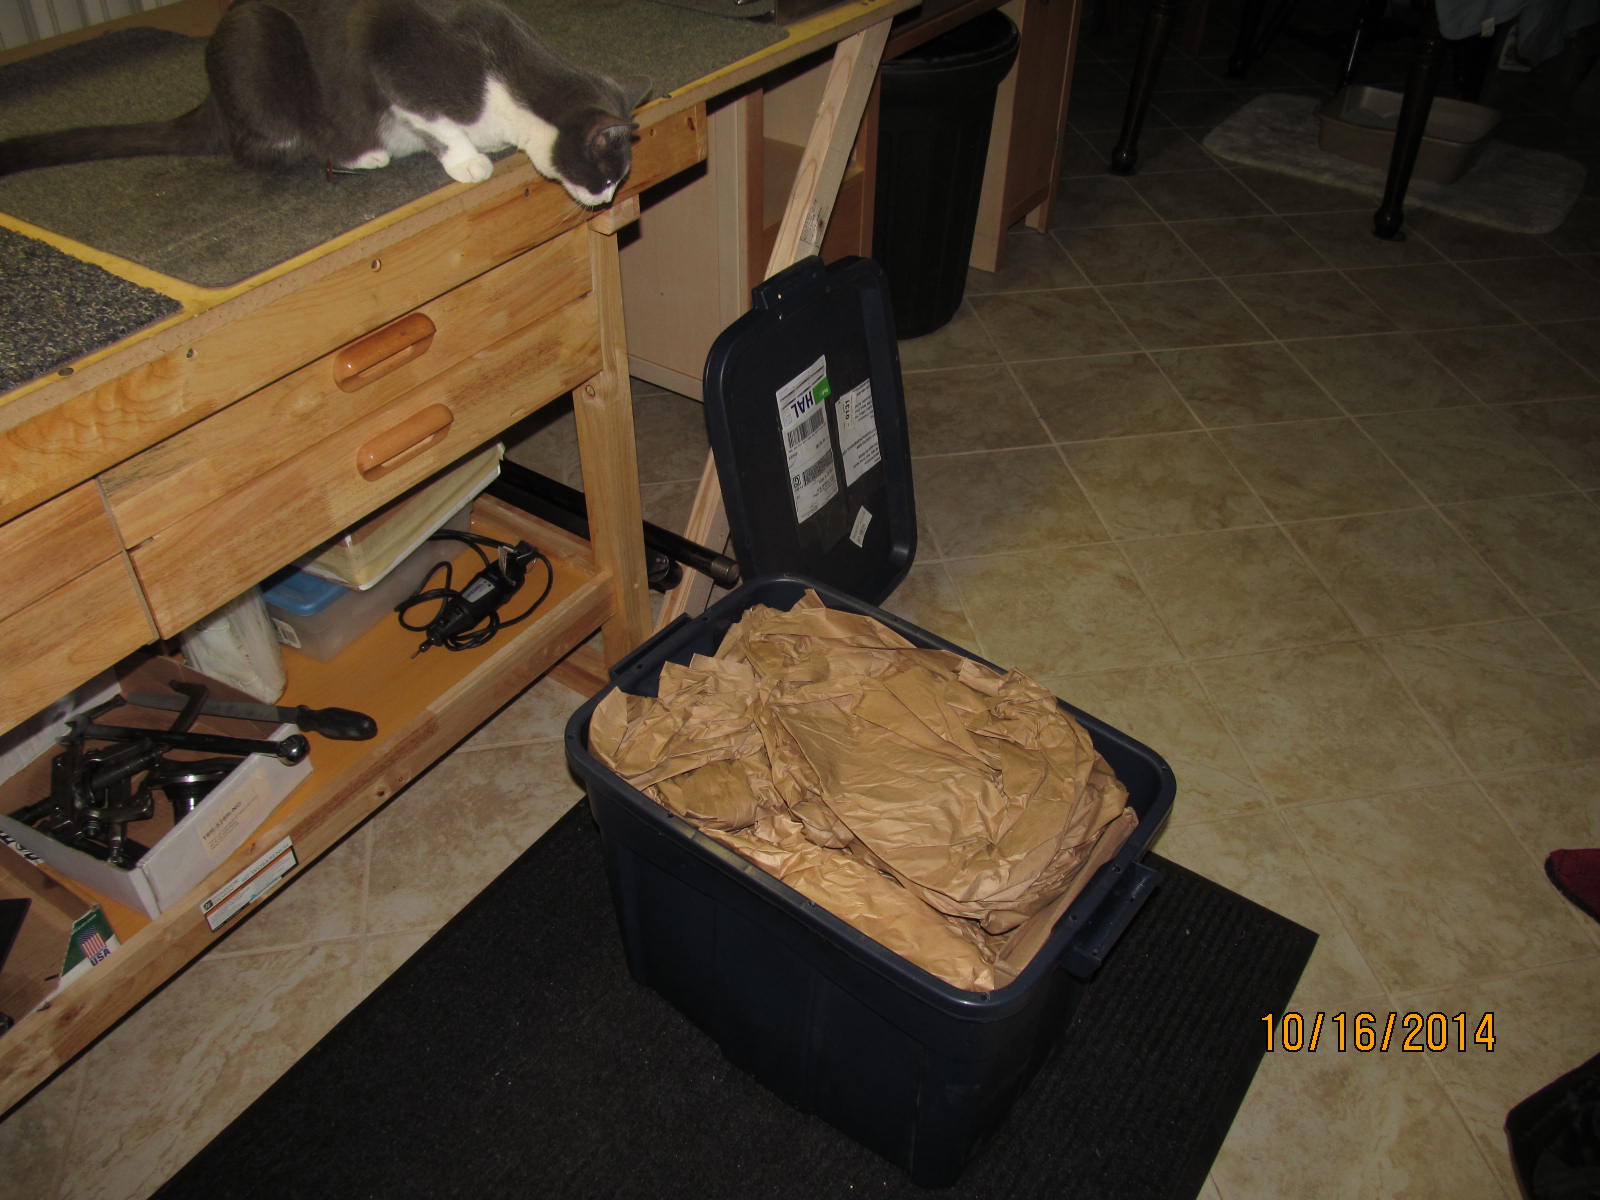
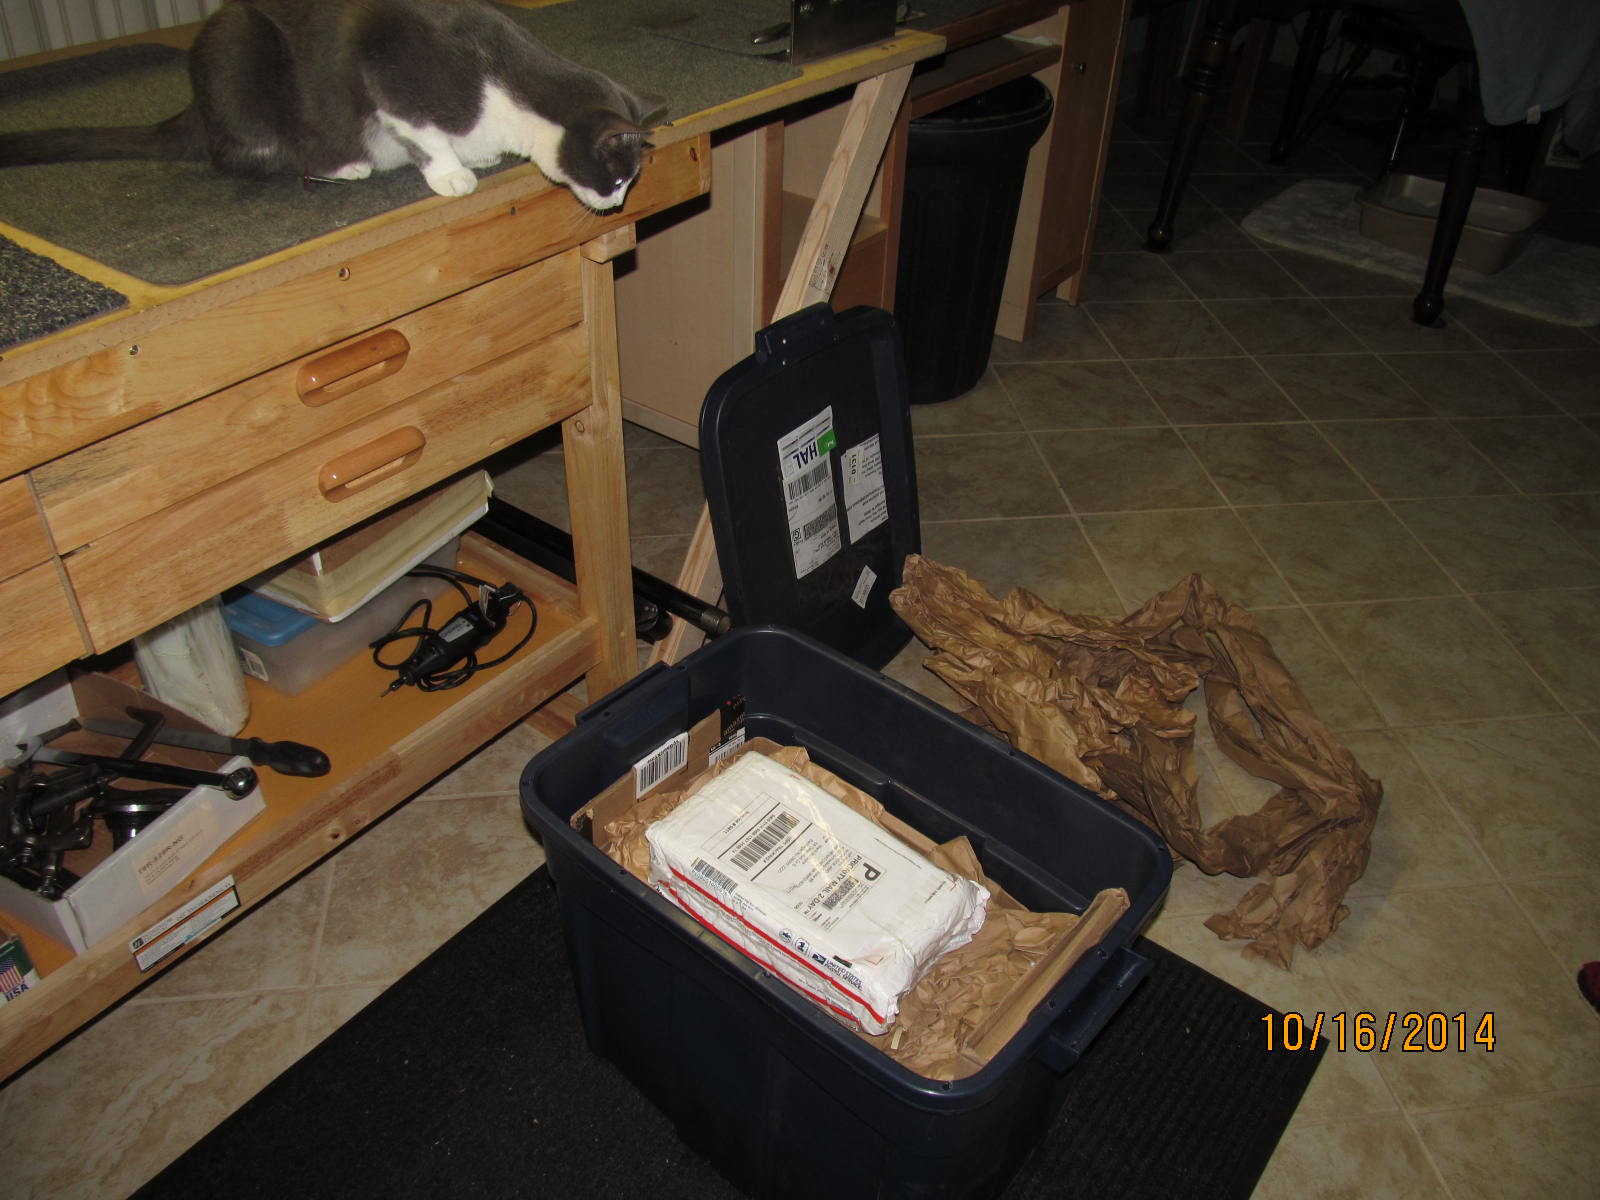
As received from Mark...good plastic tote with zip ties.
|
|
|
|
|
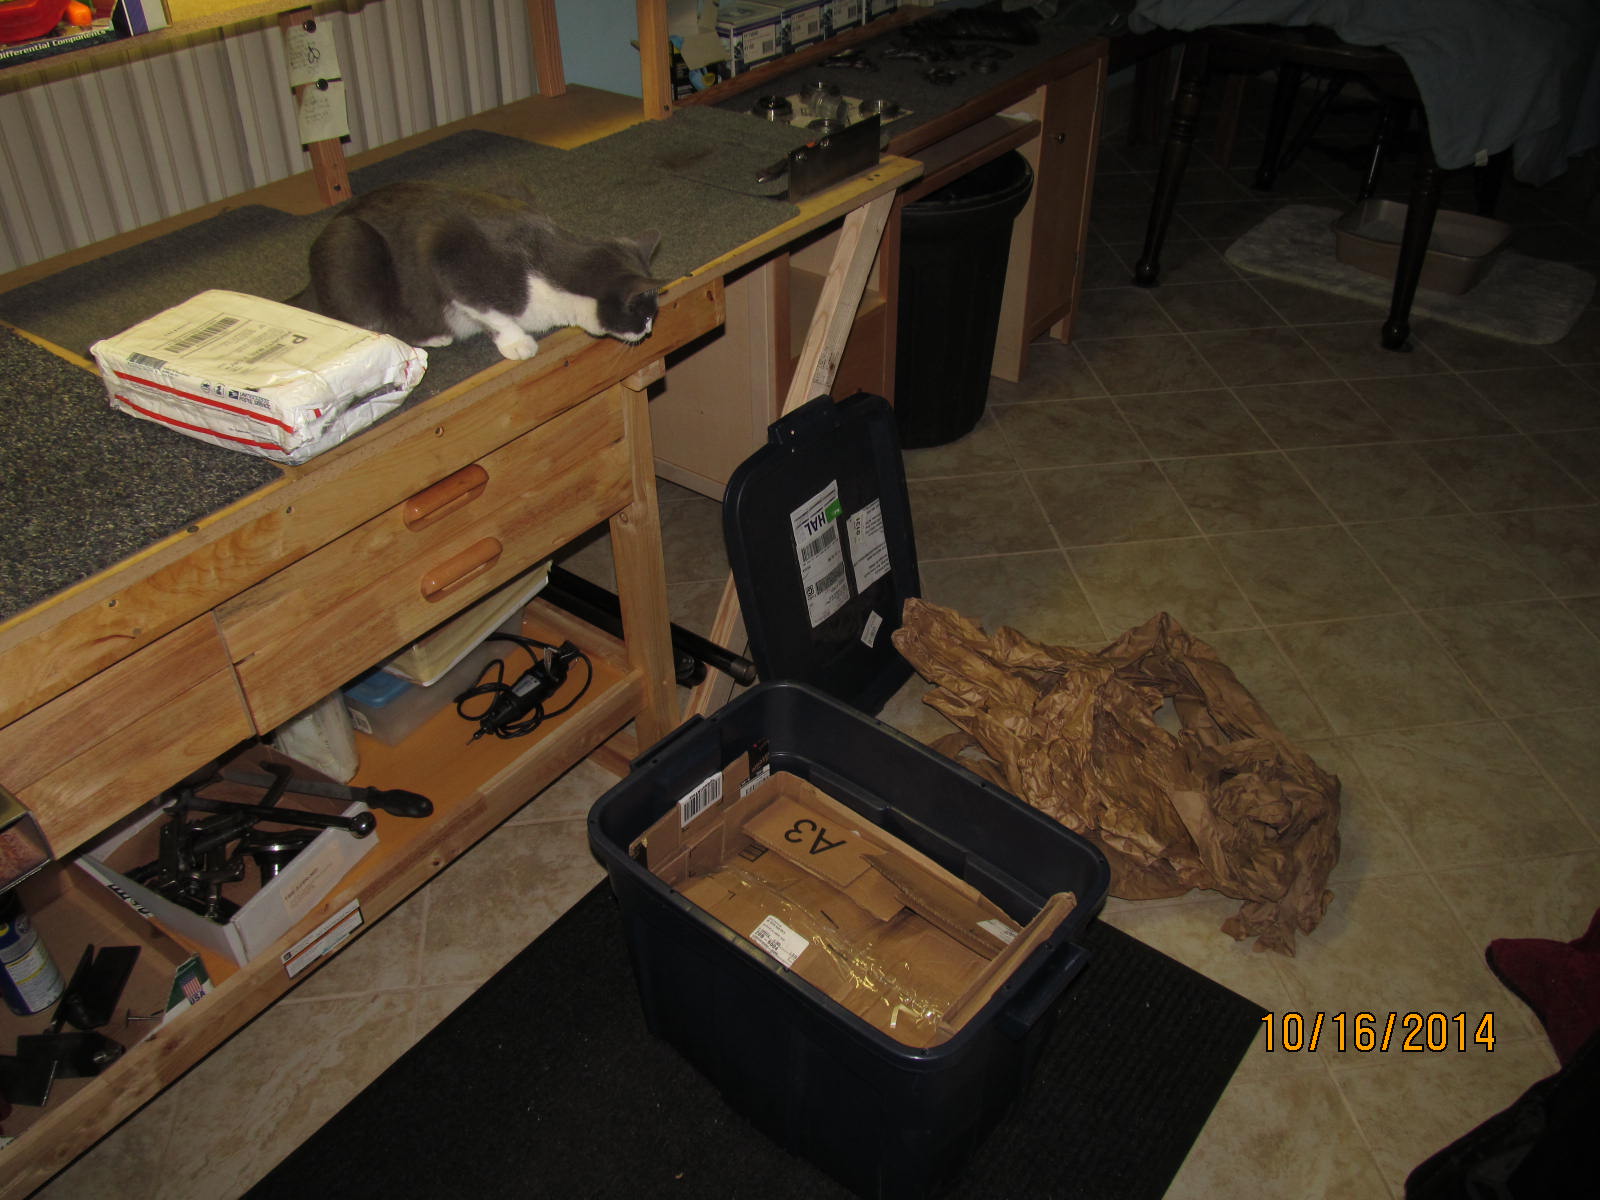
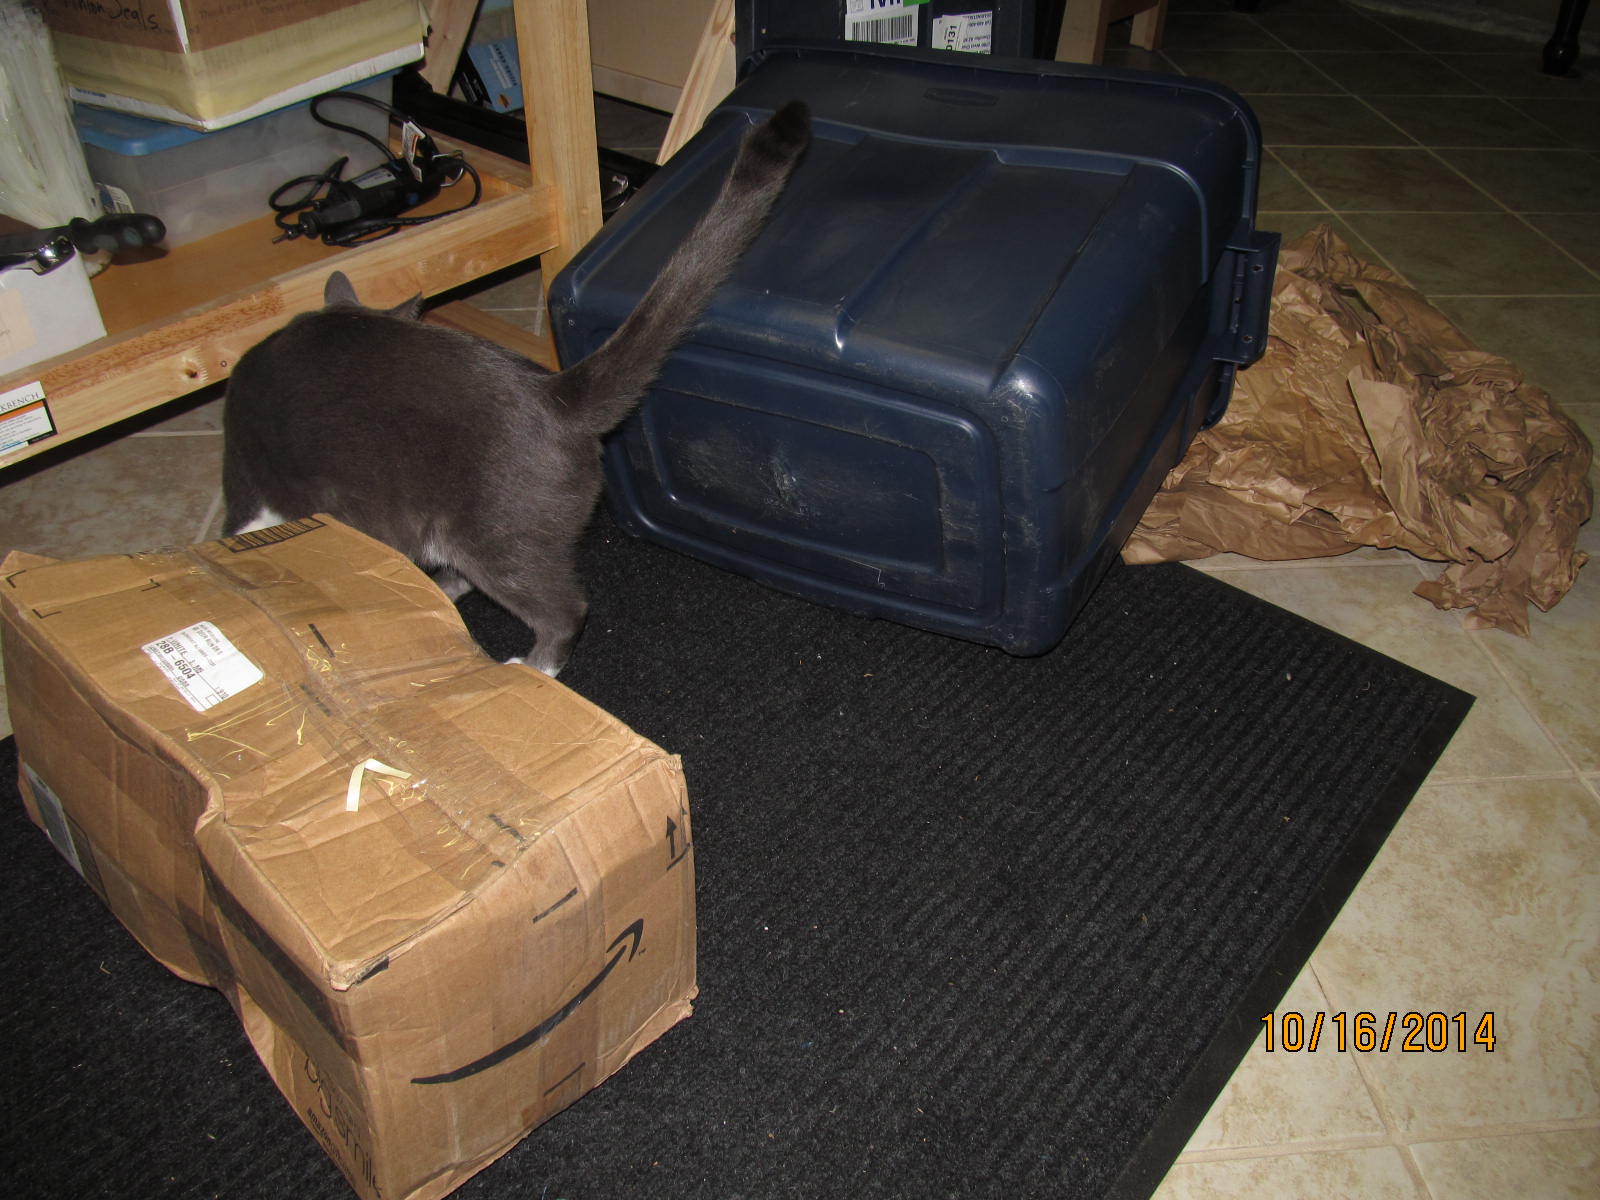
Lots of packing paper...Cola is very interested for some reason.
|
|
|
|
|
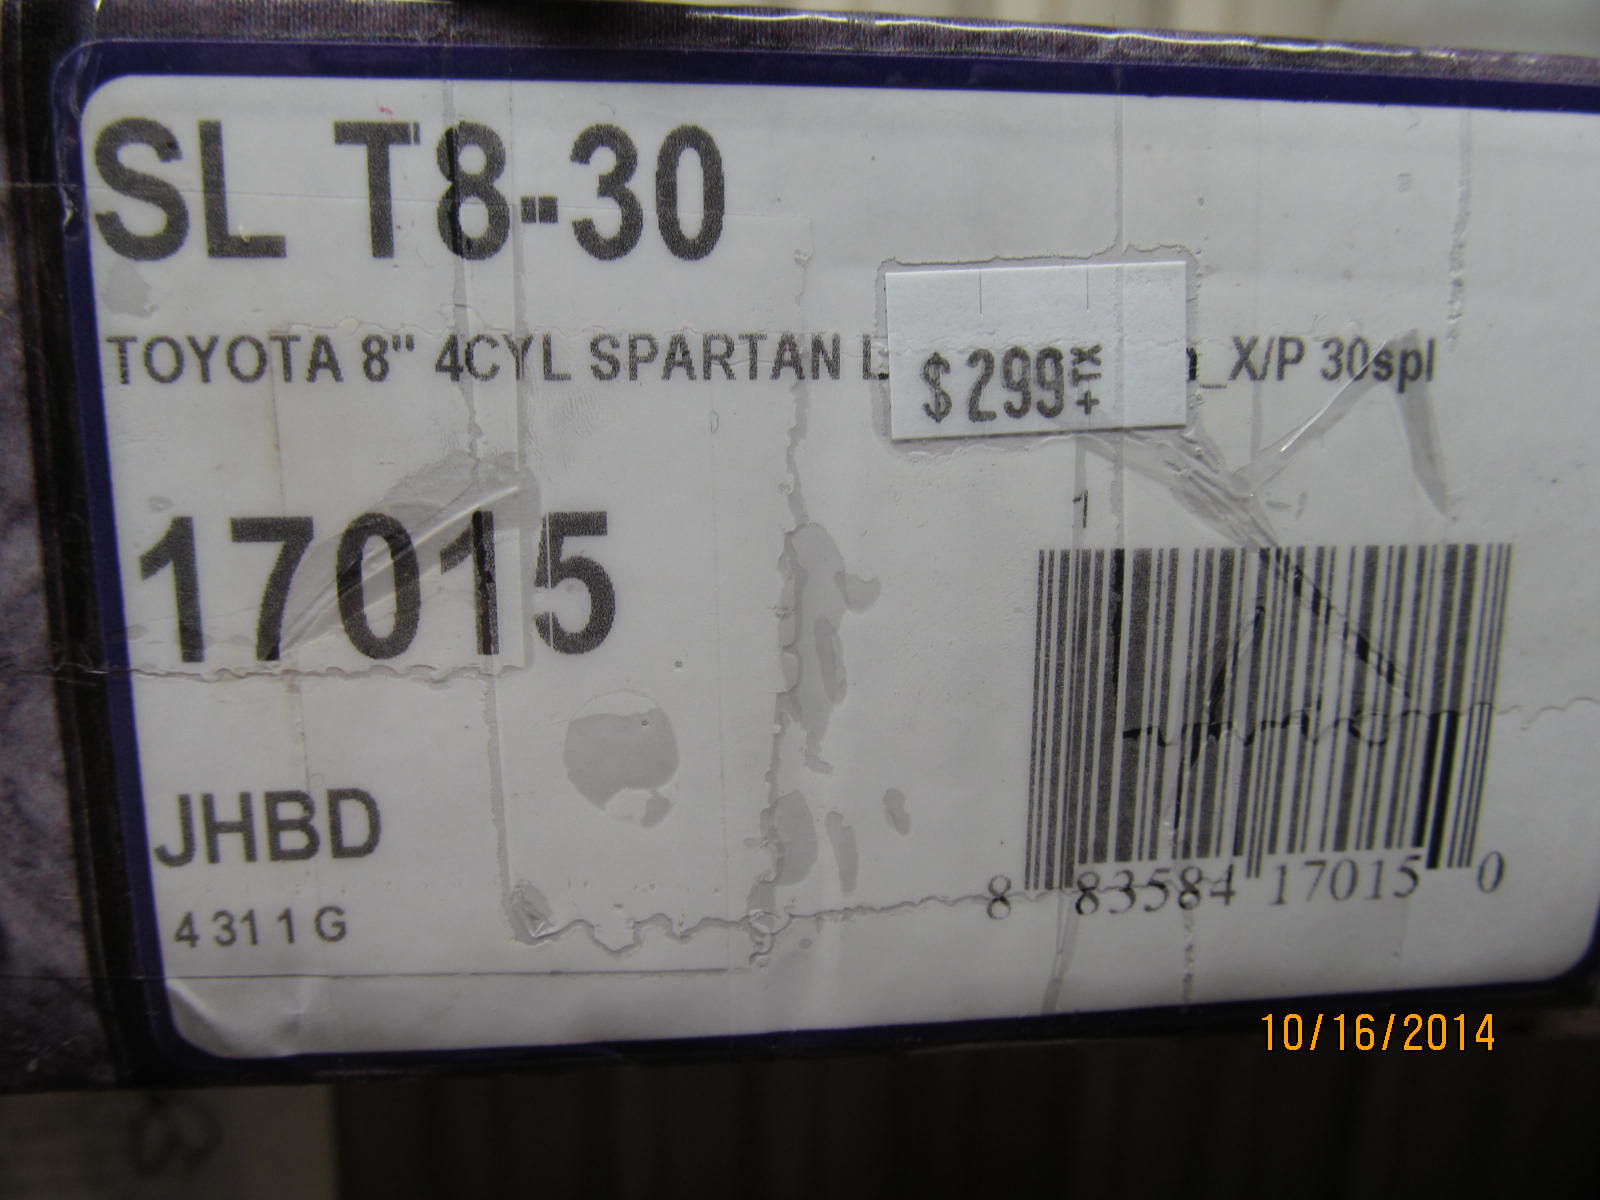
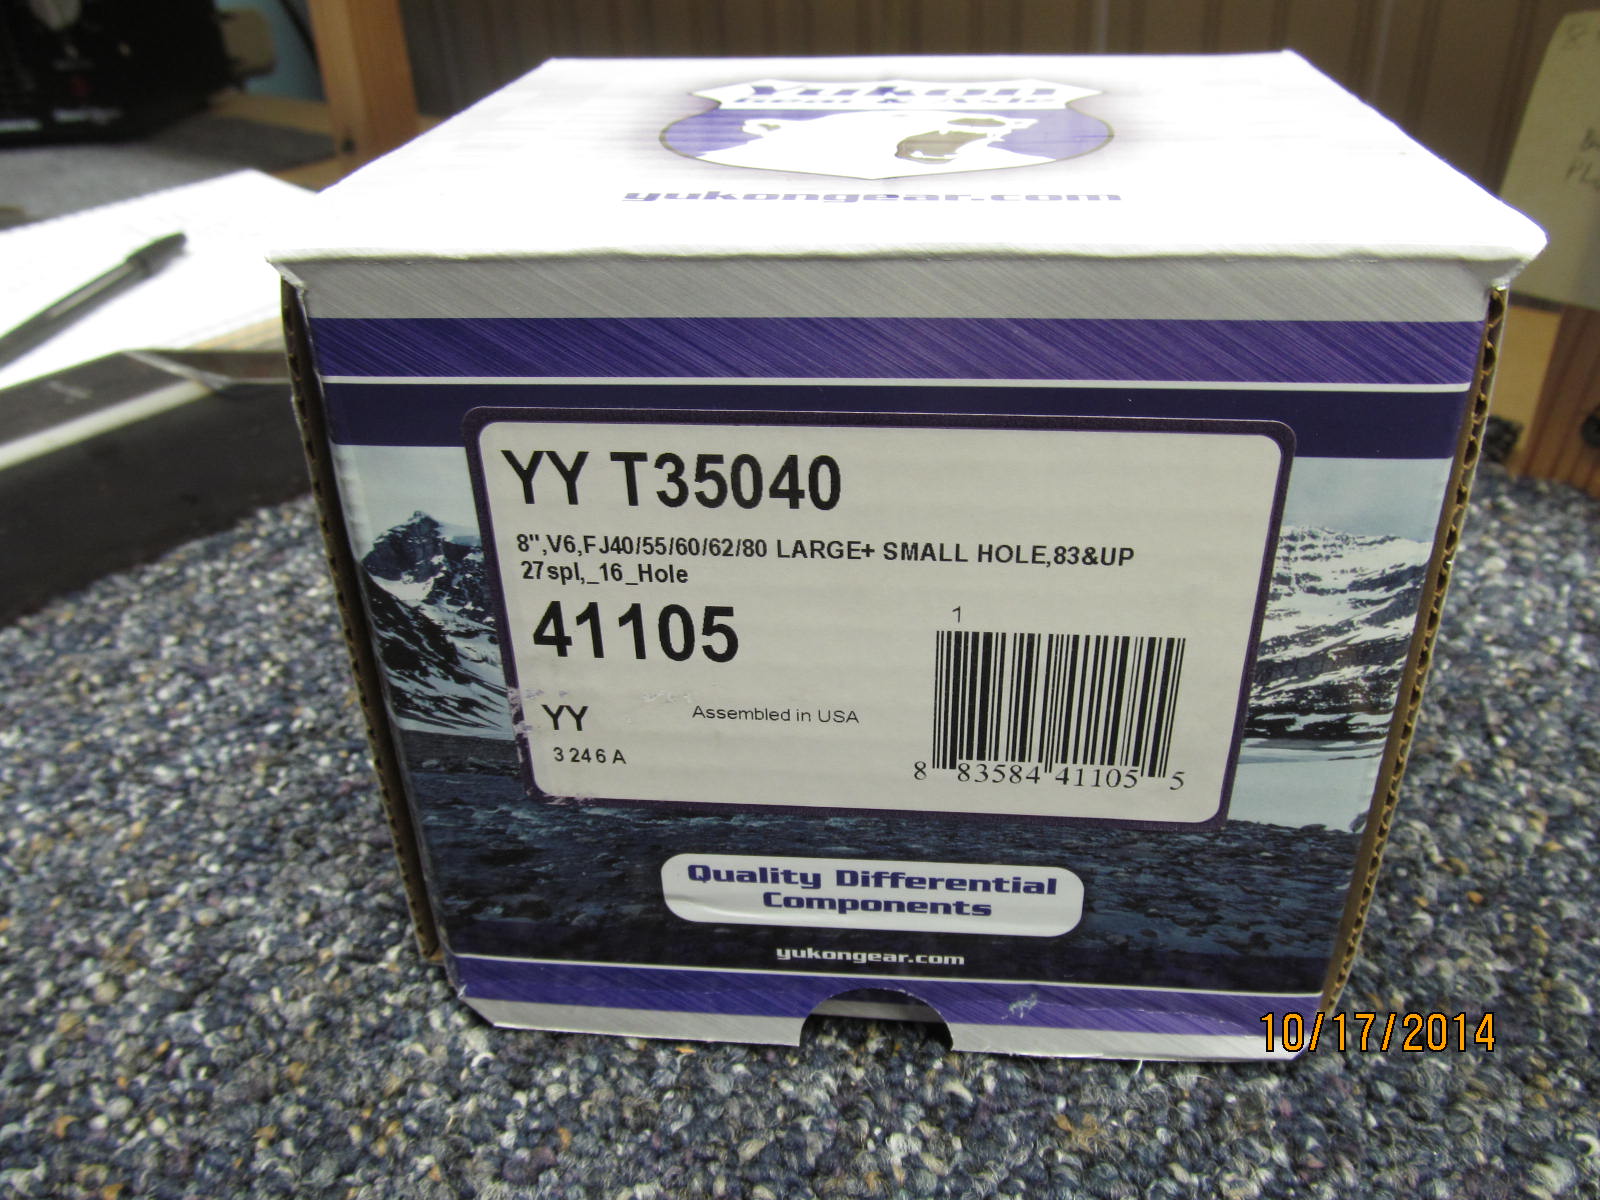
Looks like the Spartan Locker is in that package.
|
|
|
|
|
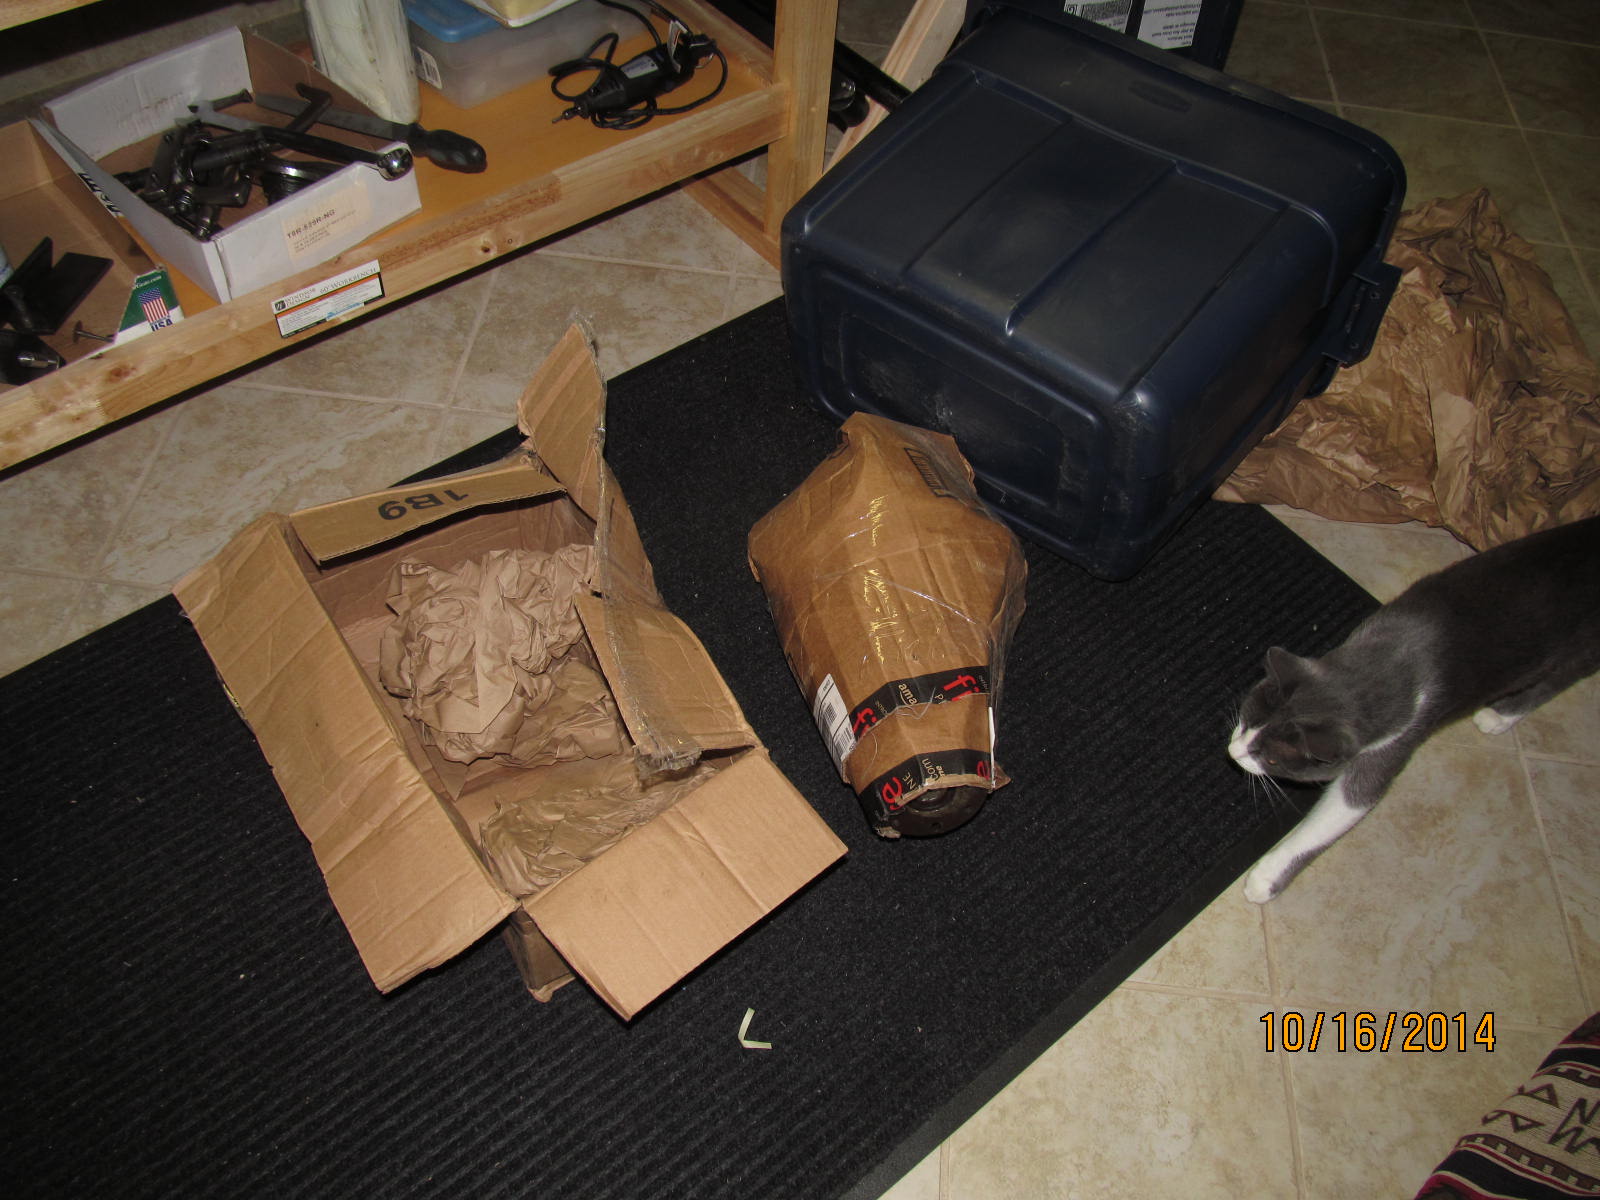
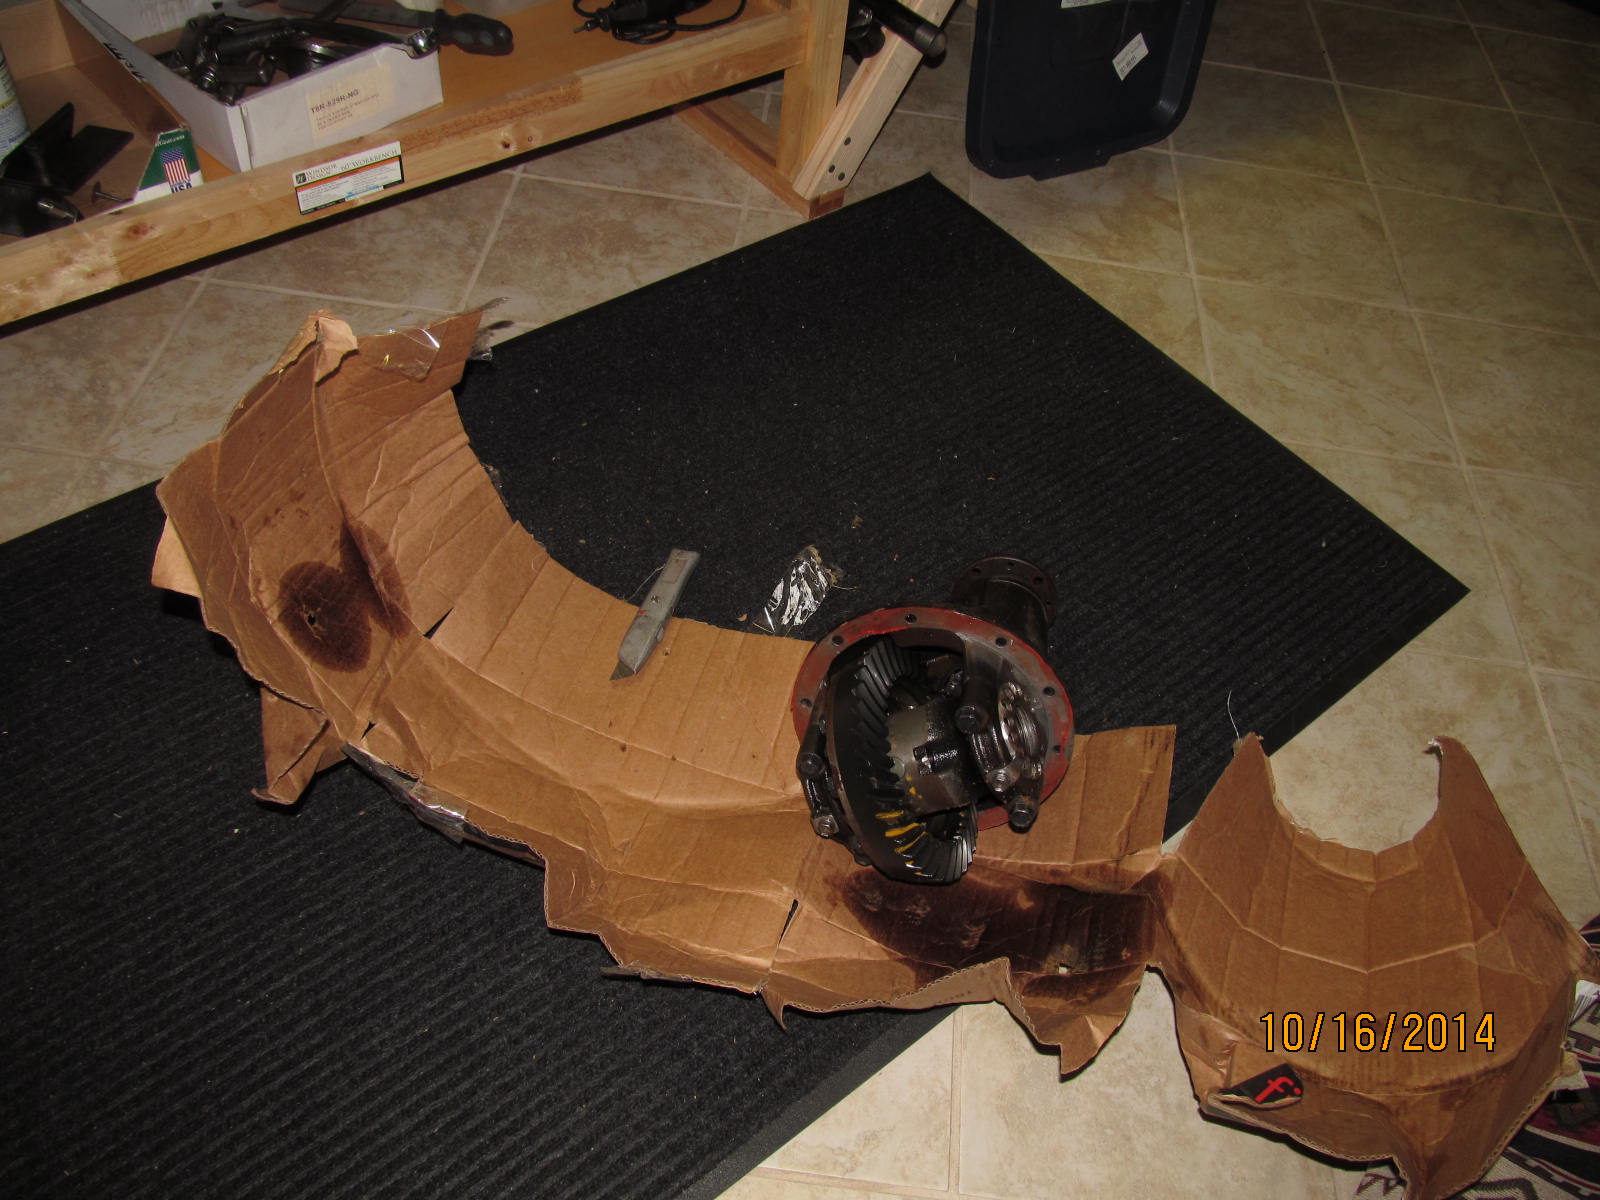
Front 3rd is there.
|
|
|
|
Bottom of tote has minor damage due to the 3rd's lip punching at the floor. It takes a lot more padding to
protect the tote floor ;)
|
|
|
|
|
...................
|
|
|
|
|
......................
|
|
|
|
|
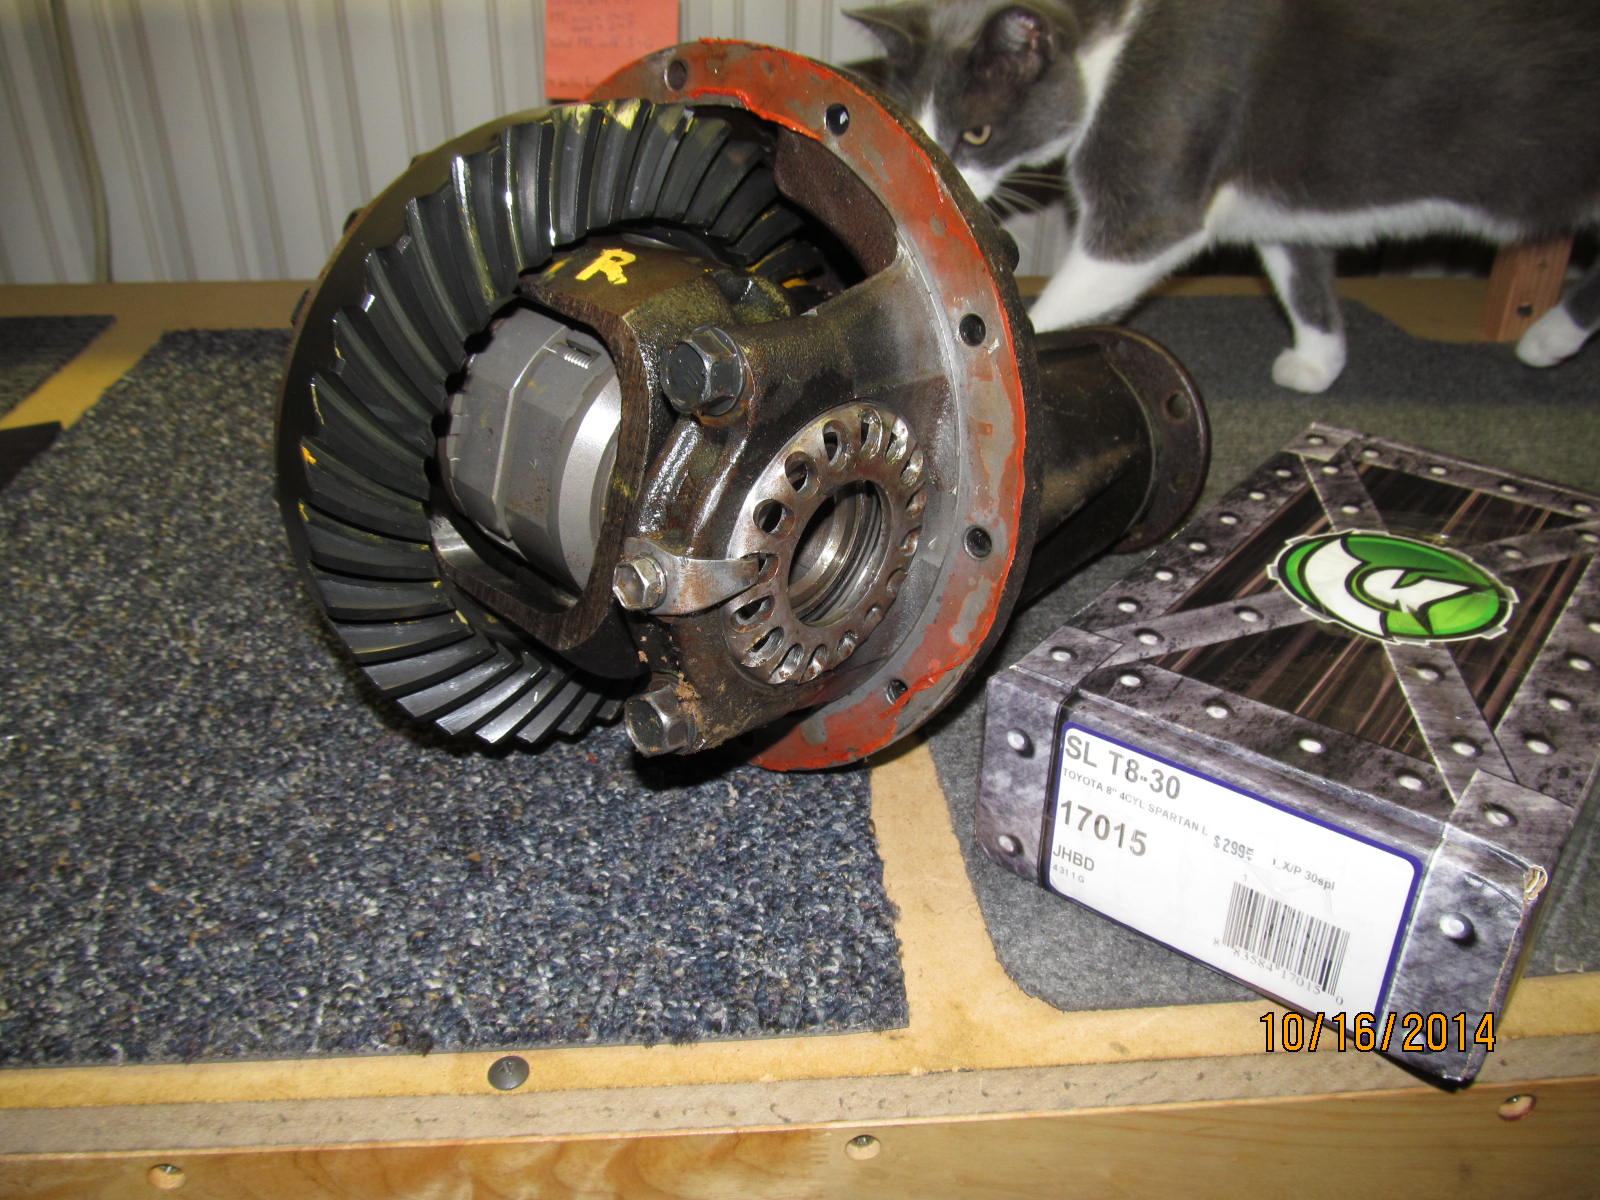
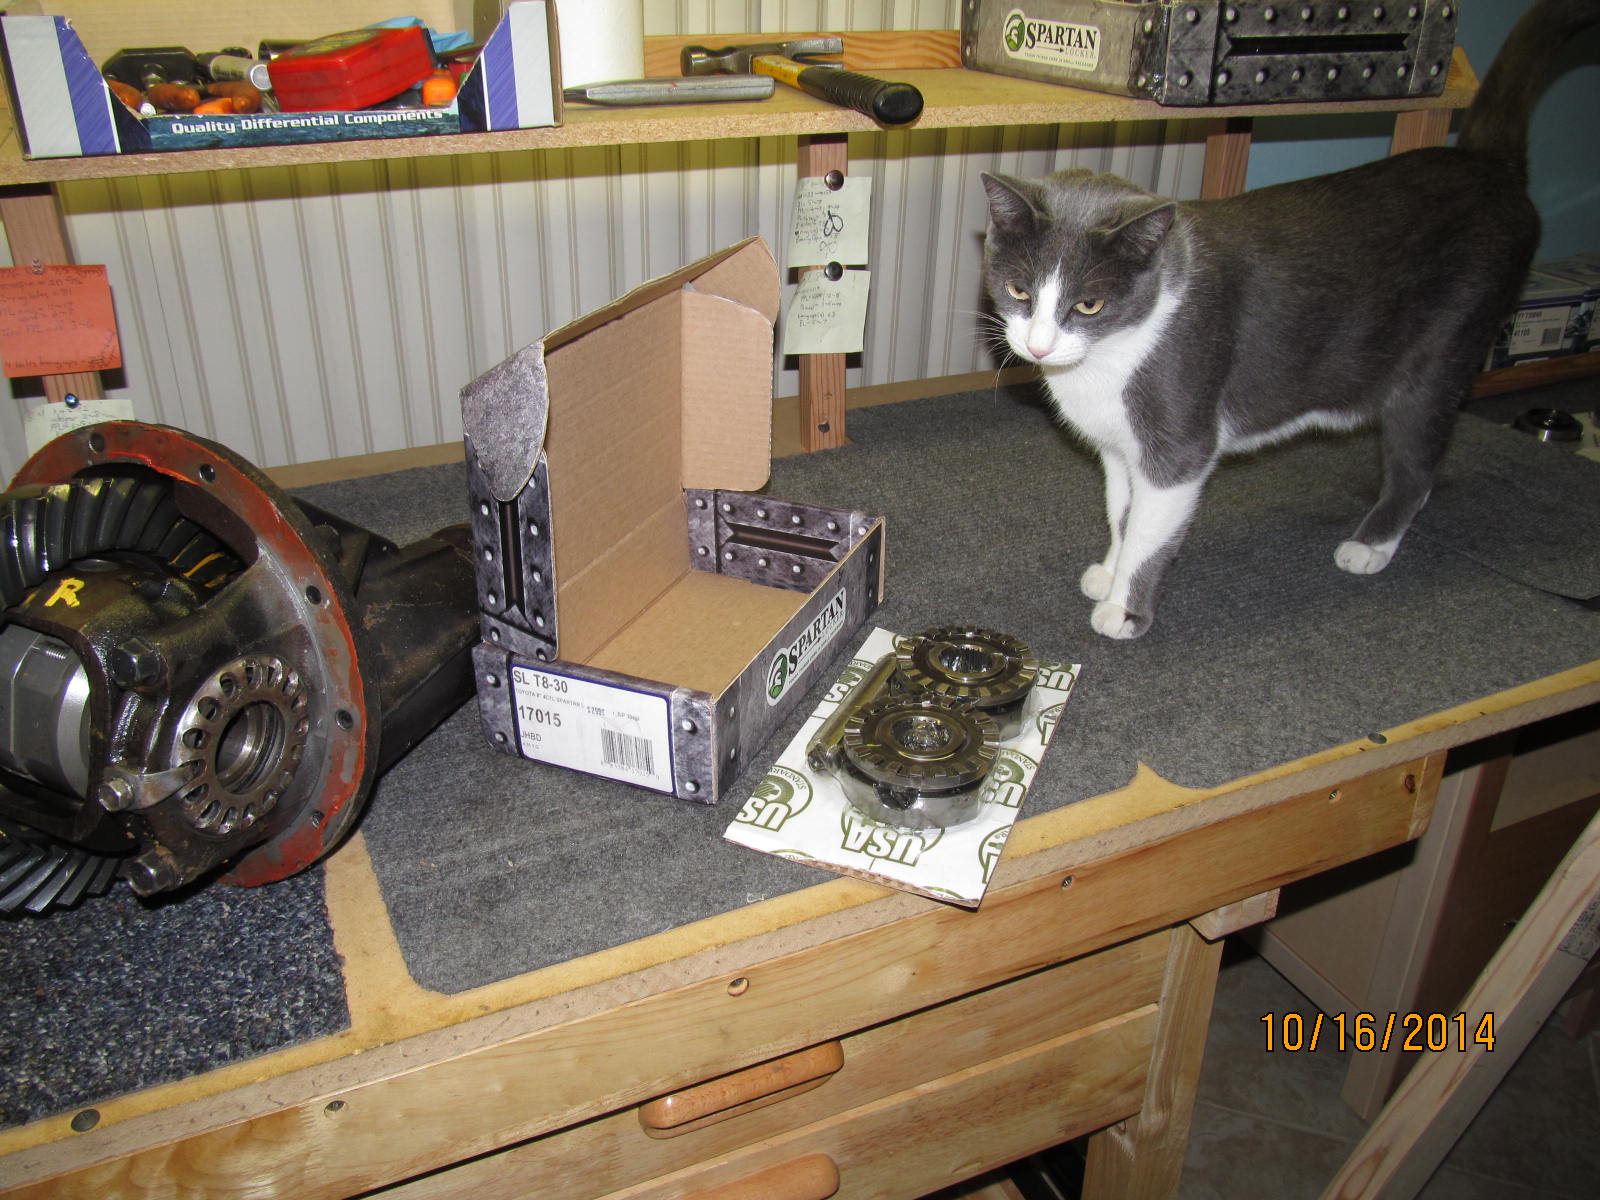
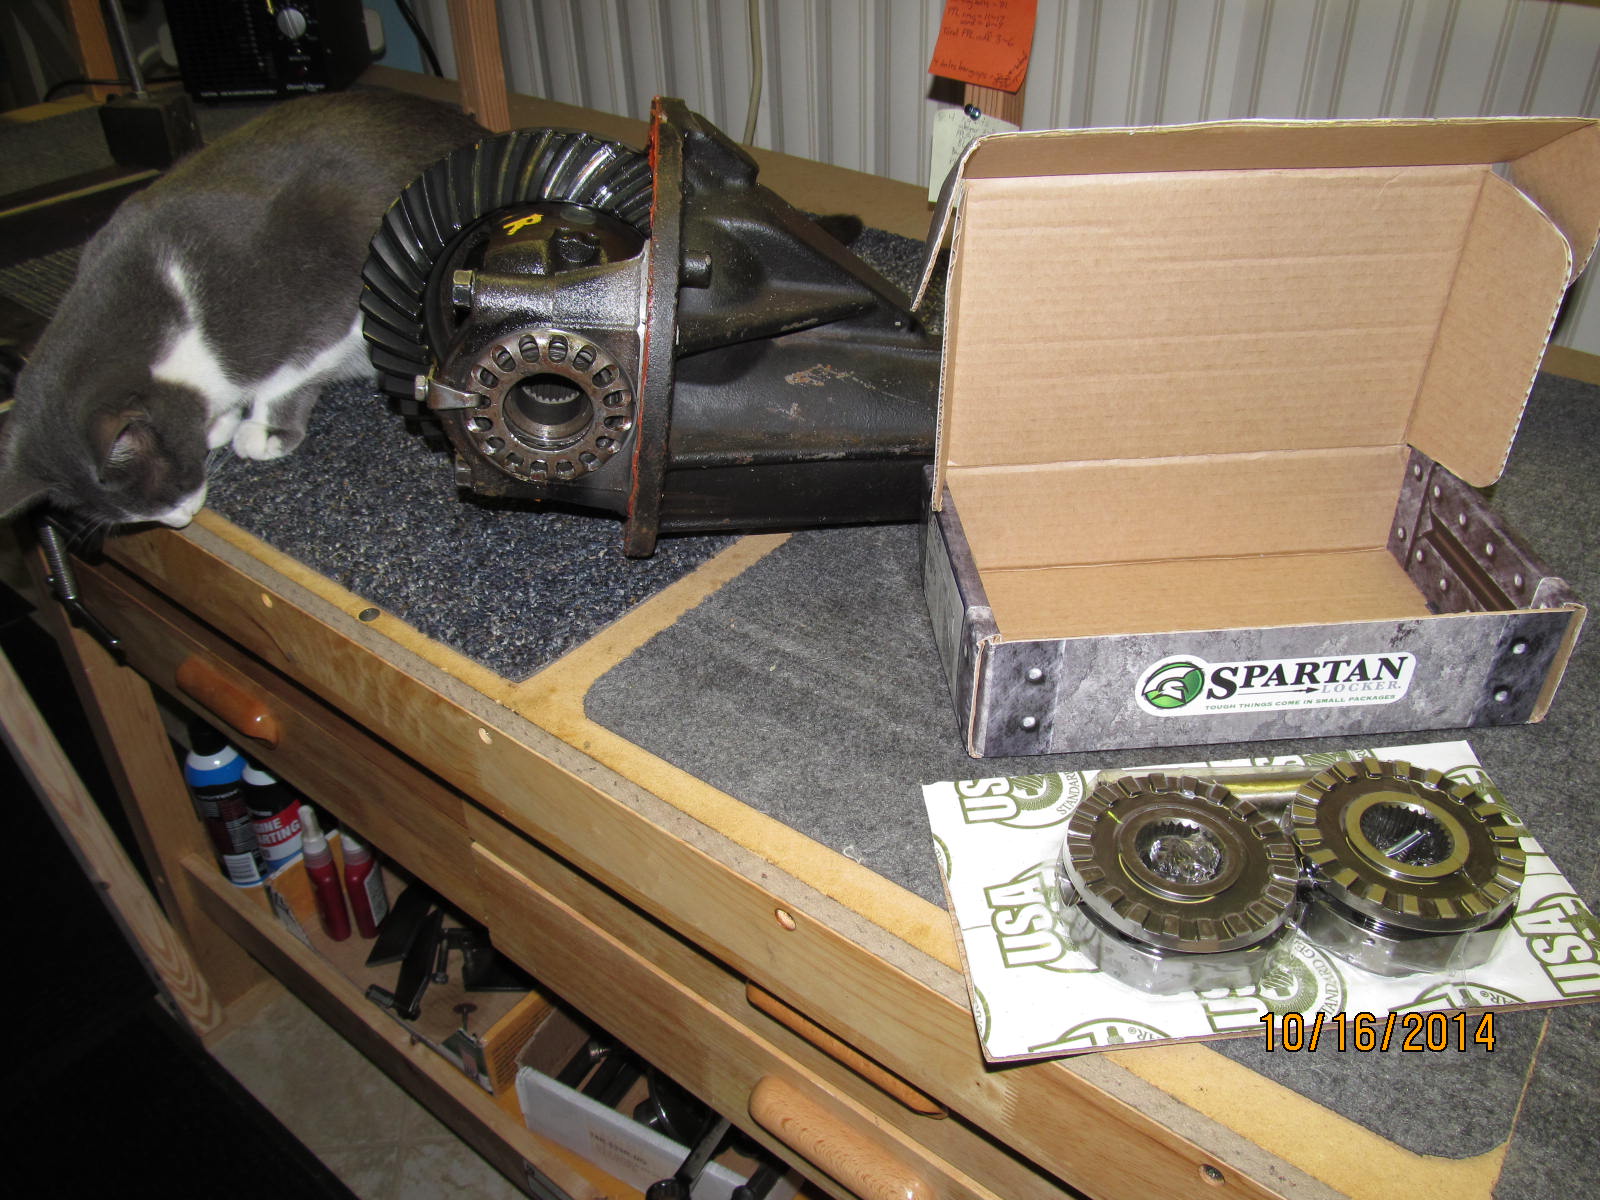
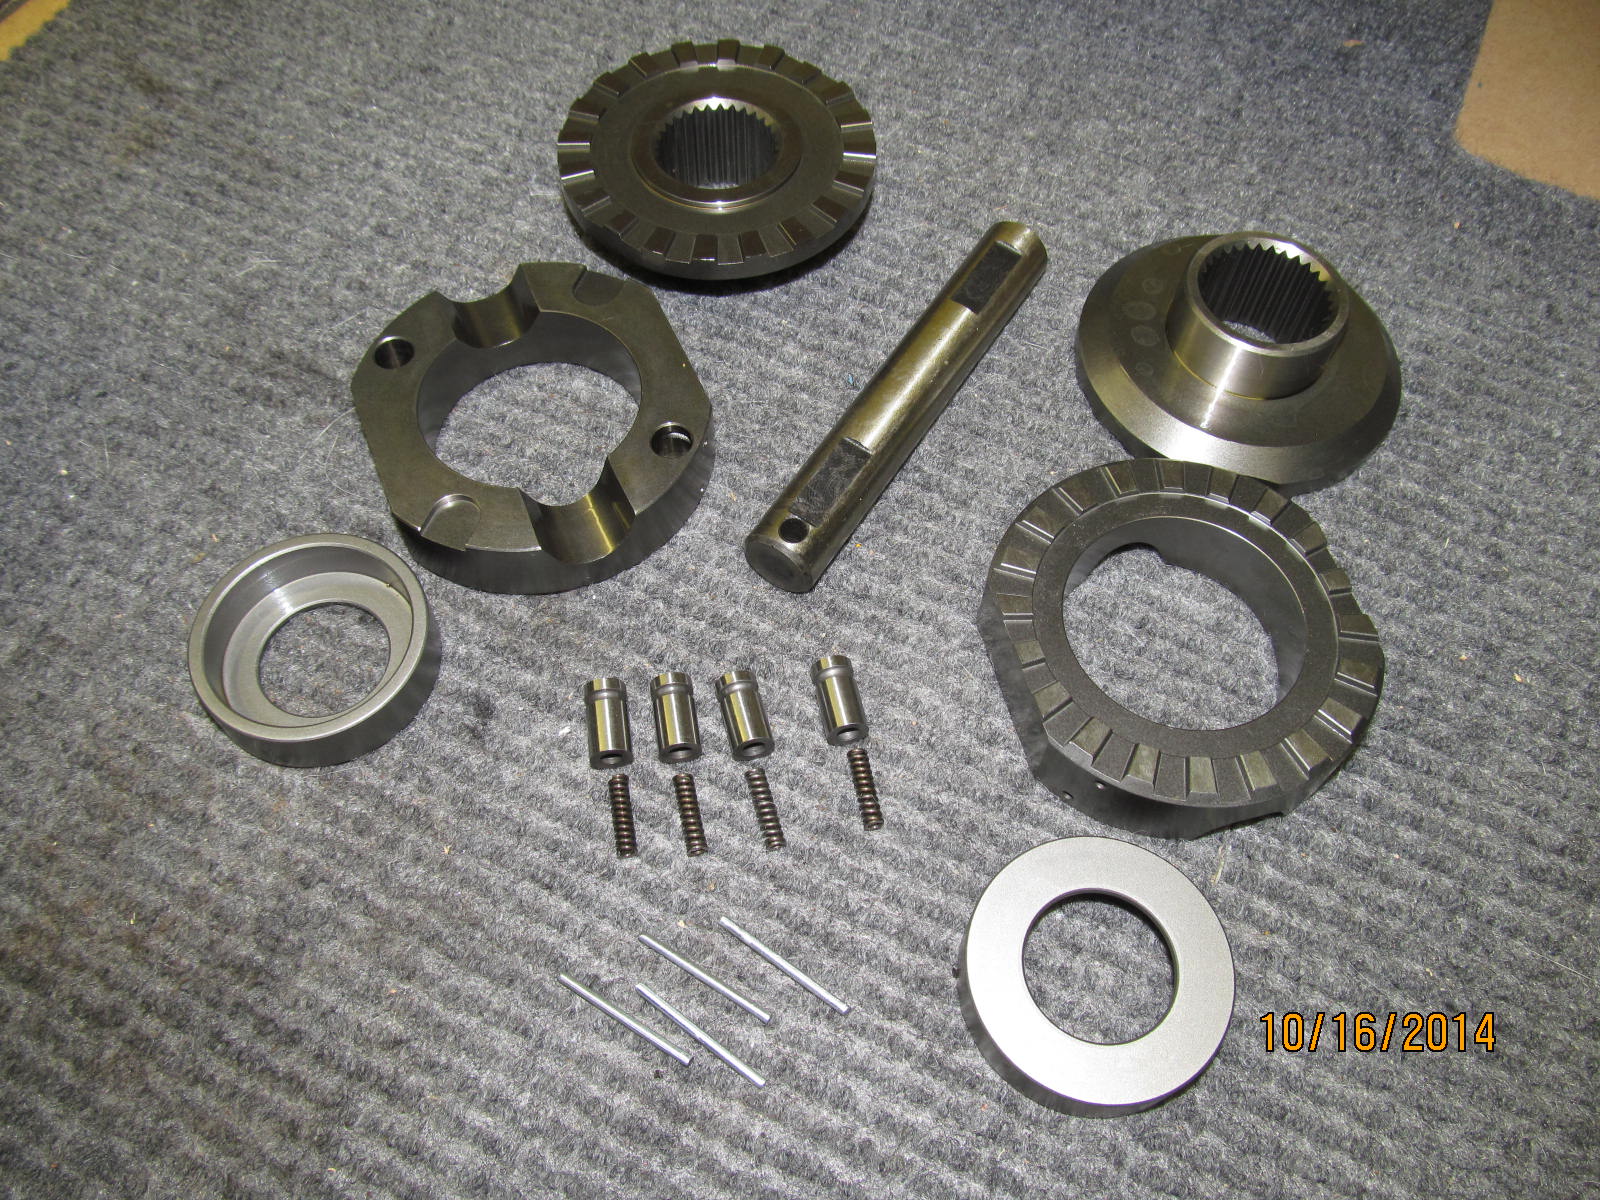
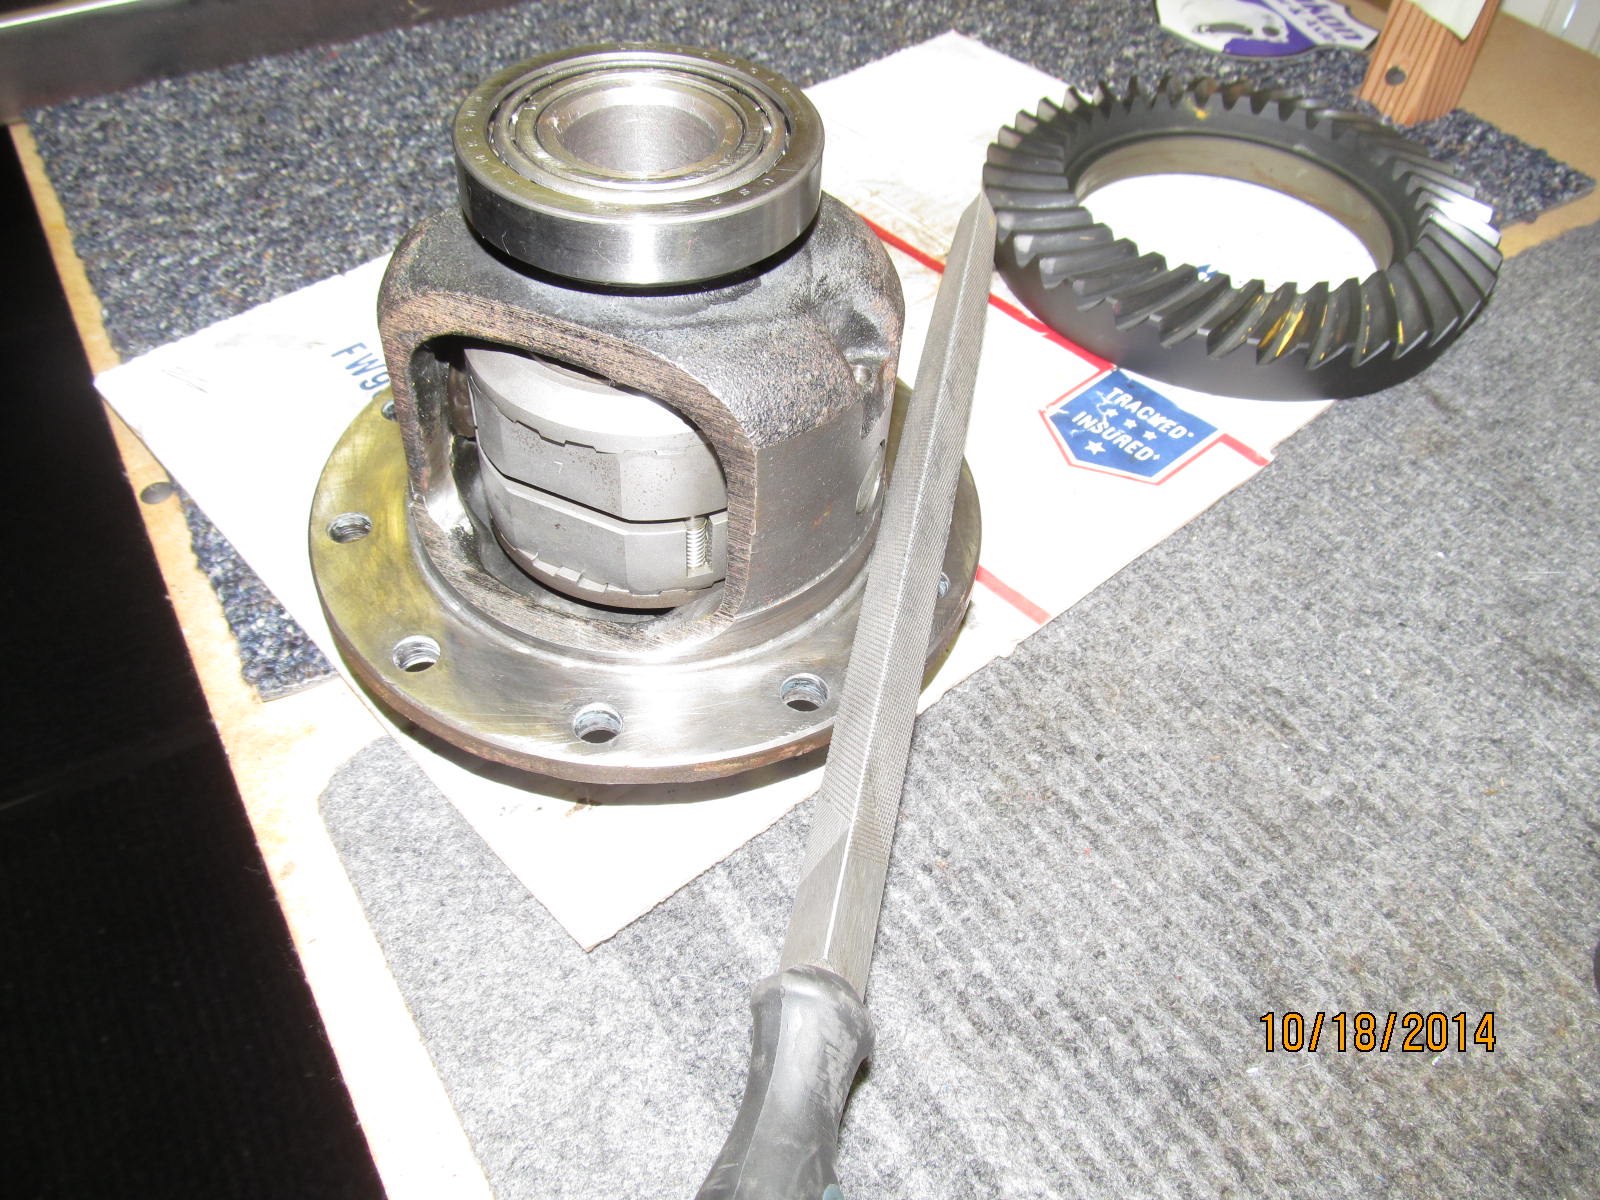
4 cylinder Spartan and diff on the bench.
|
|
|
|
|
.............
|
|
|
|
|
.................
|
|
|
|
|
.................
|
|
|
|
|
Those 4 pins are so much more stout than the other lunch lockers.
|
|
|
|
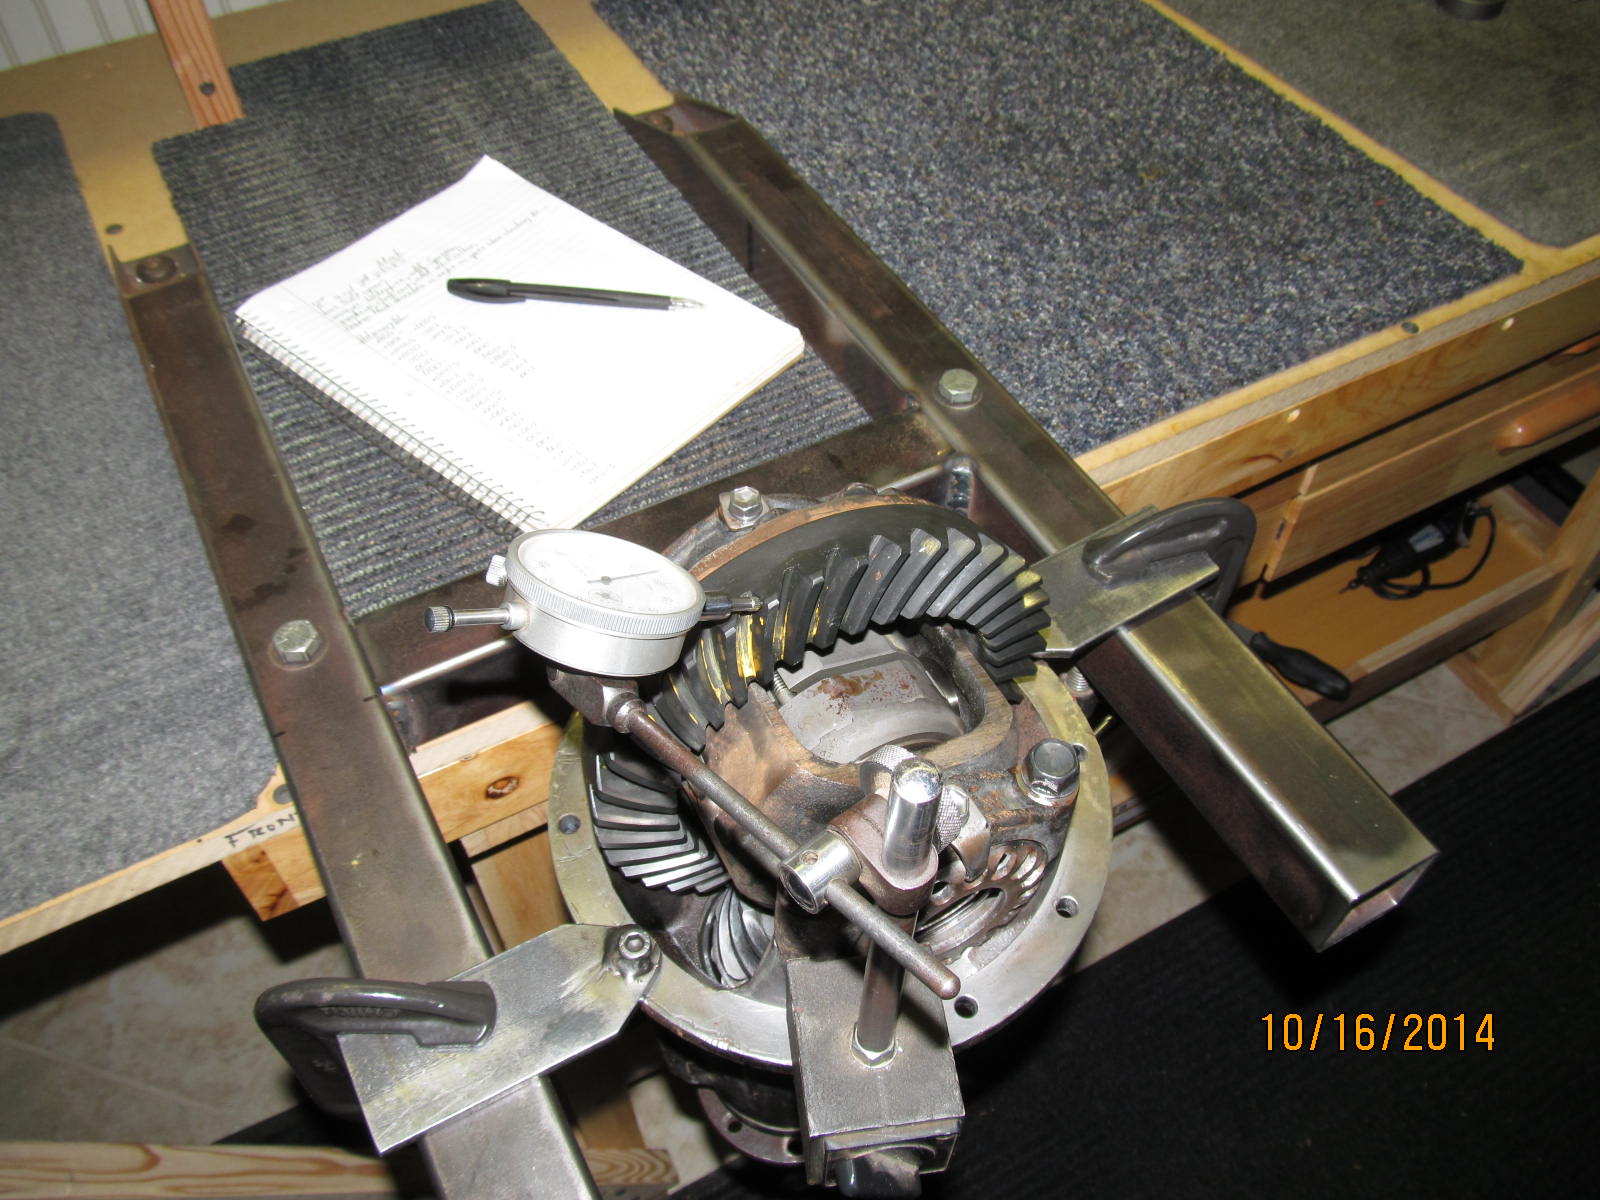
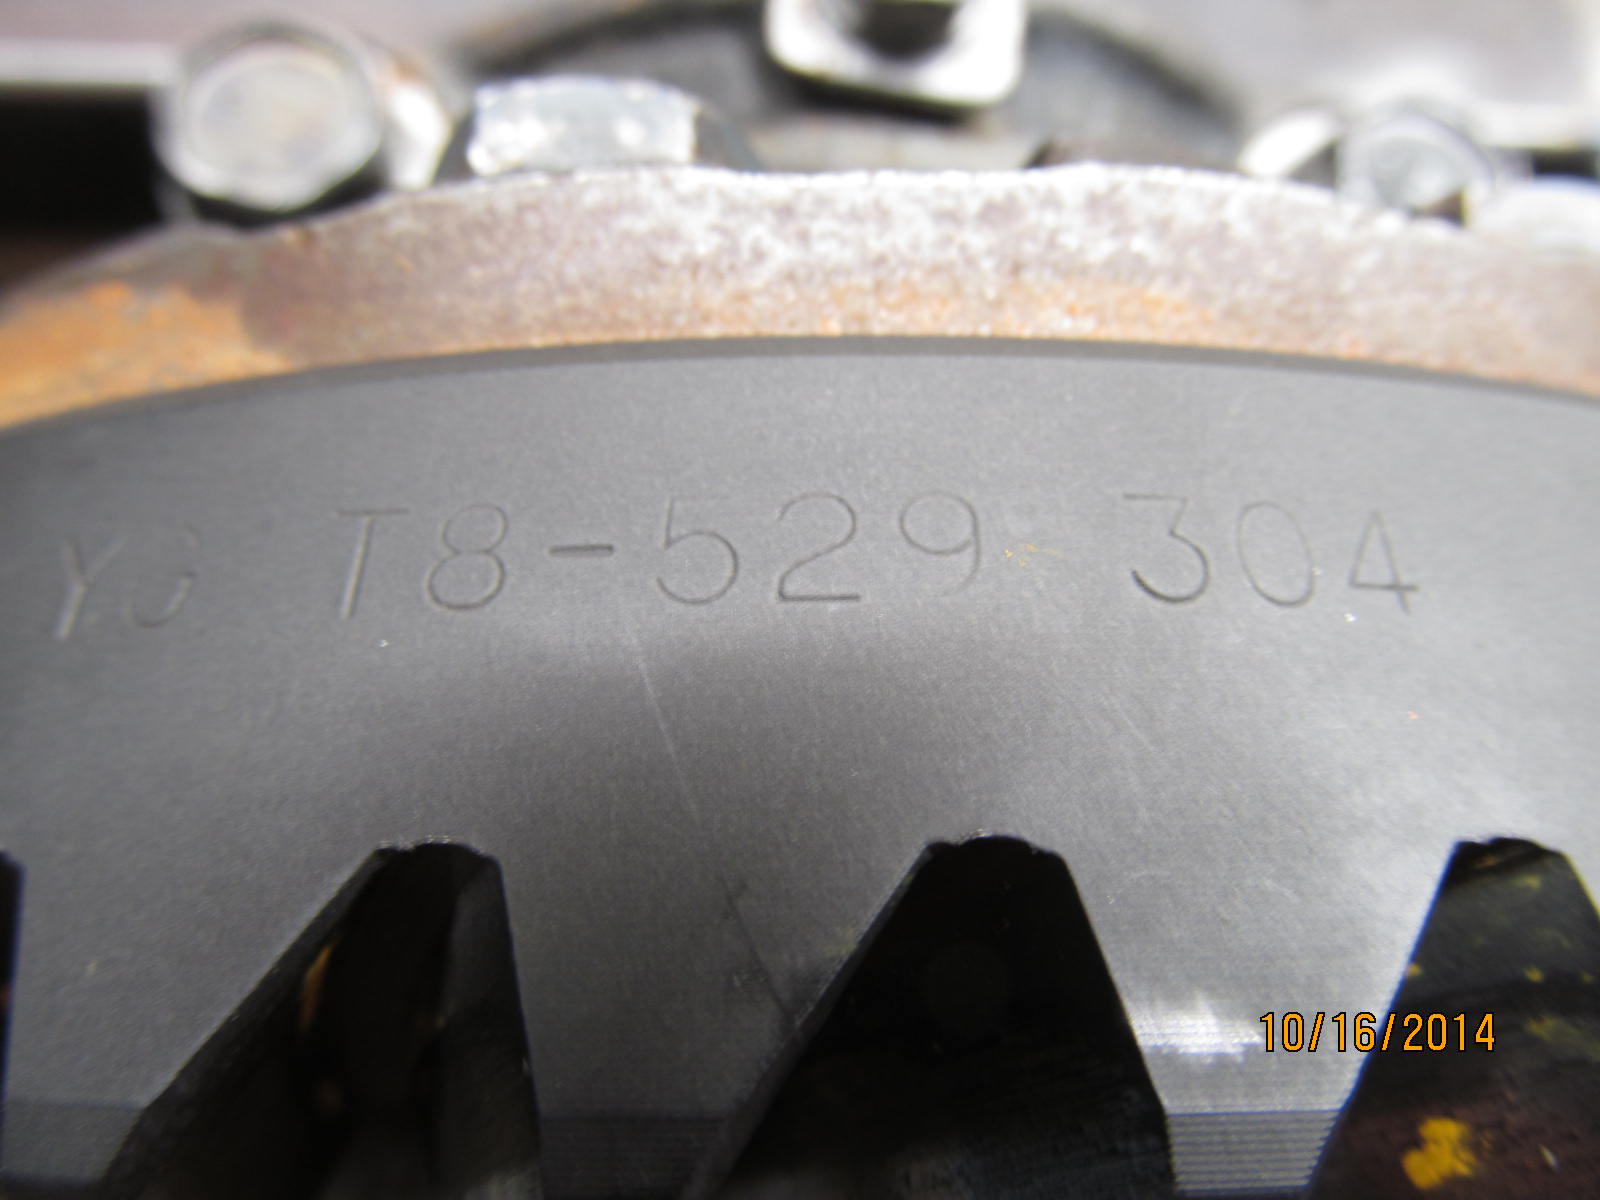
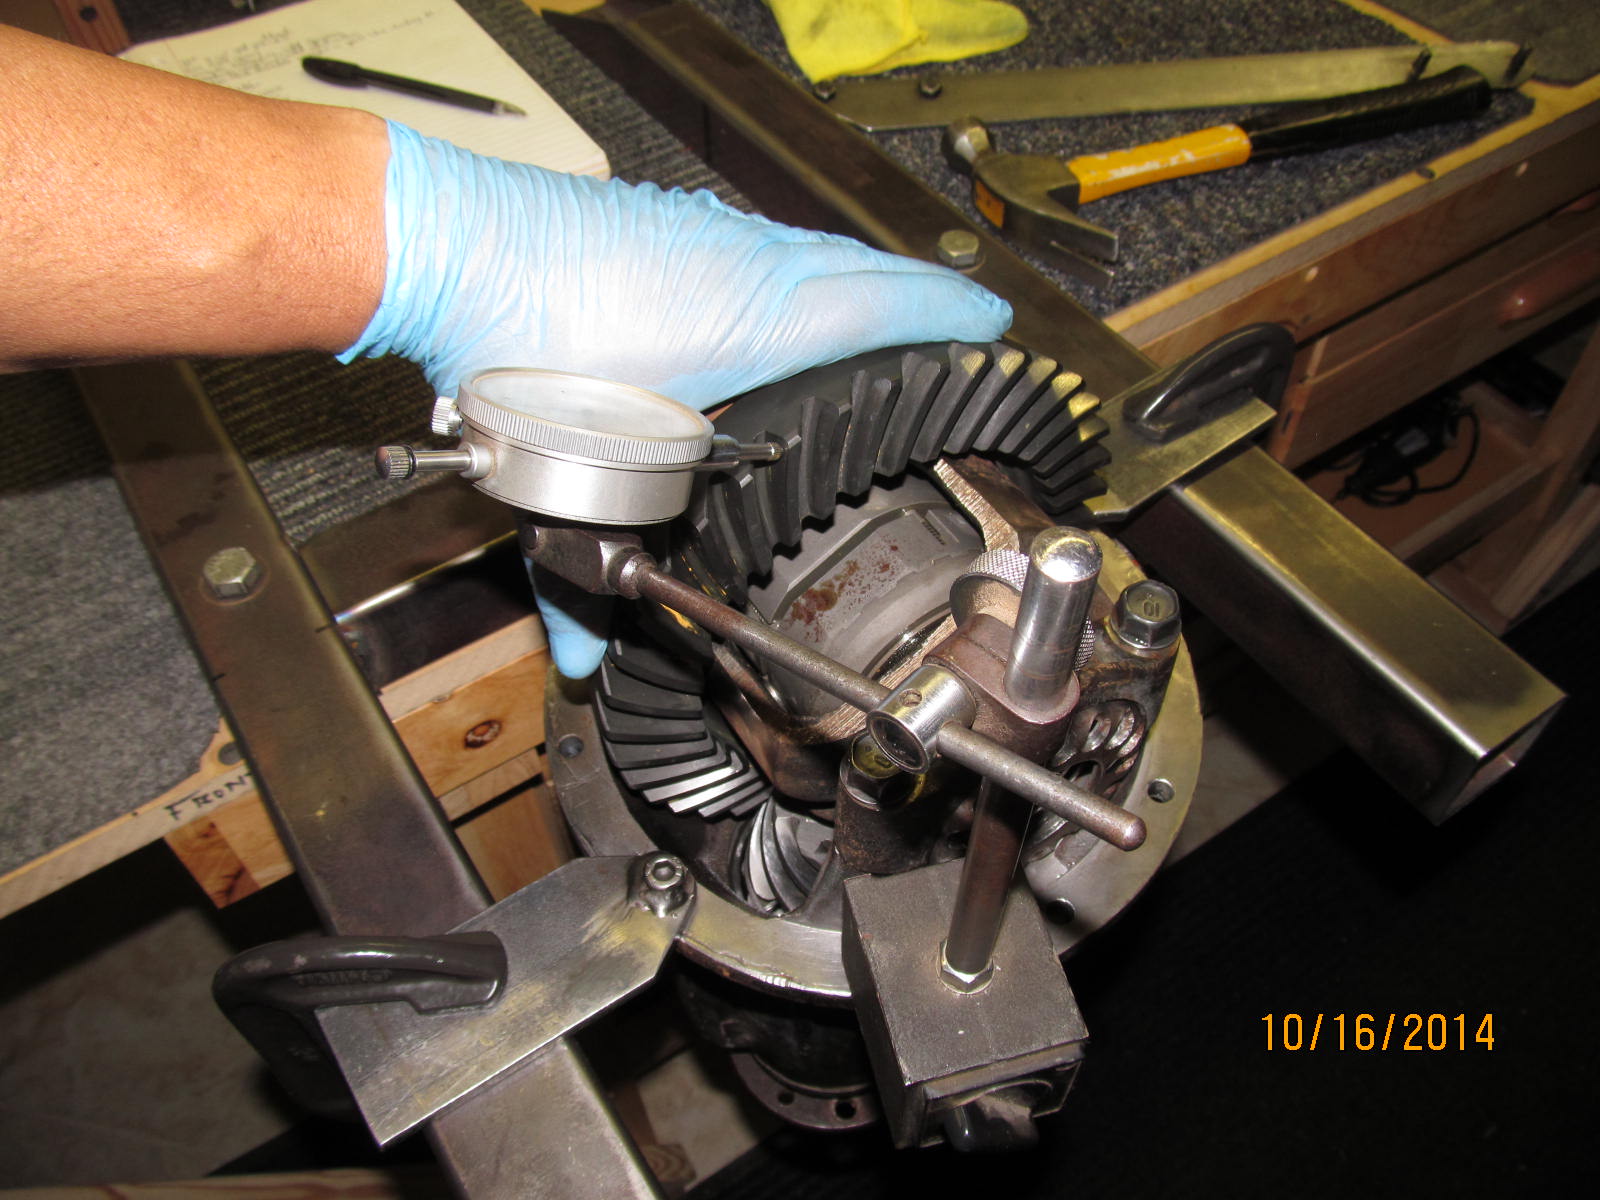
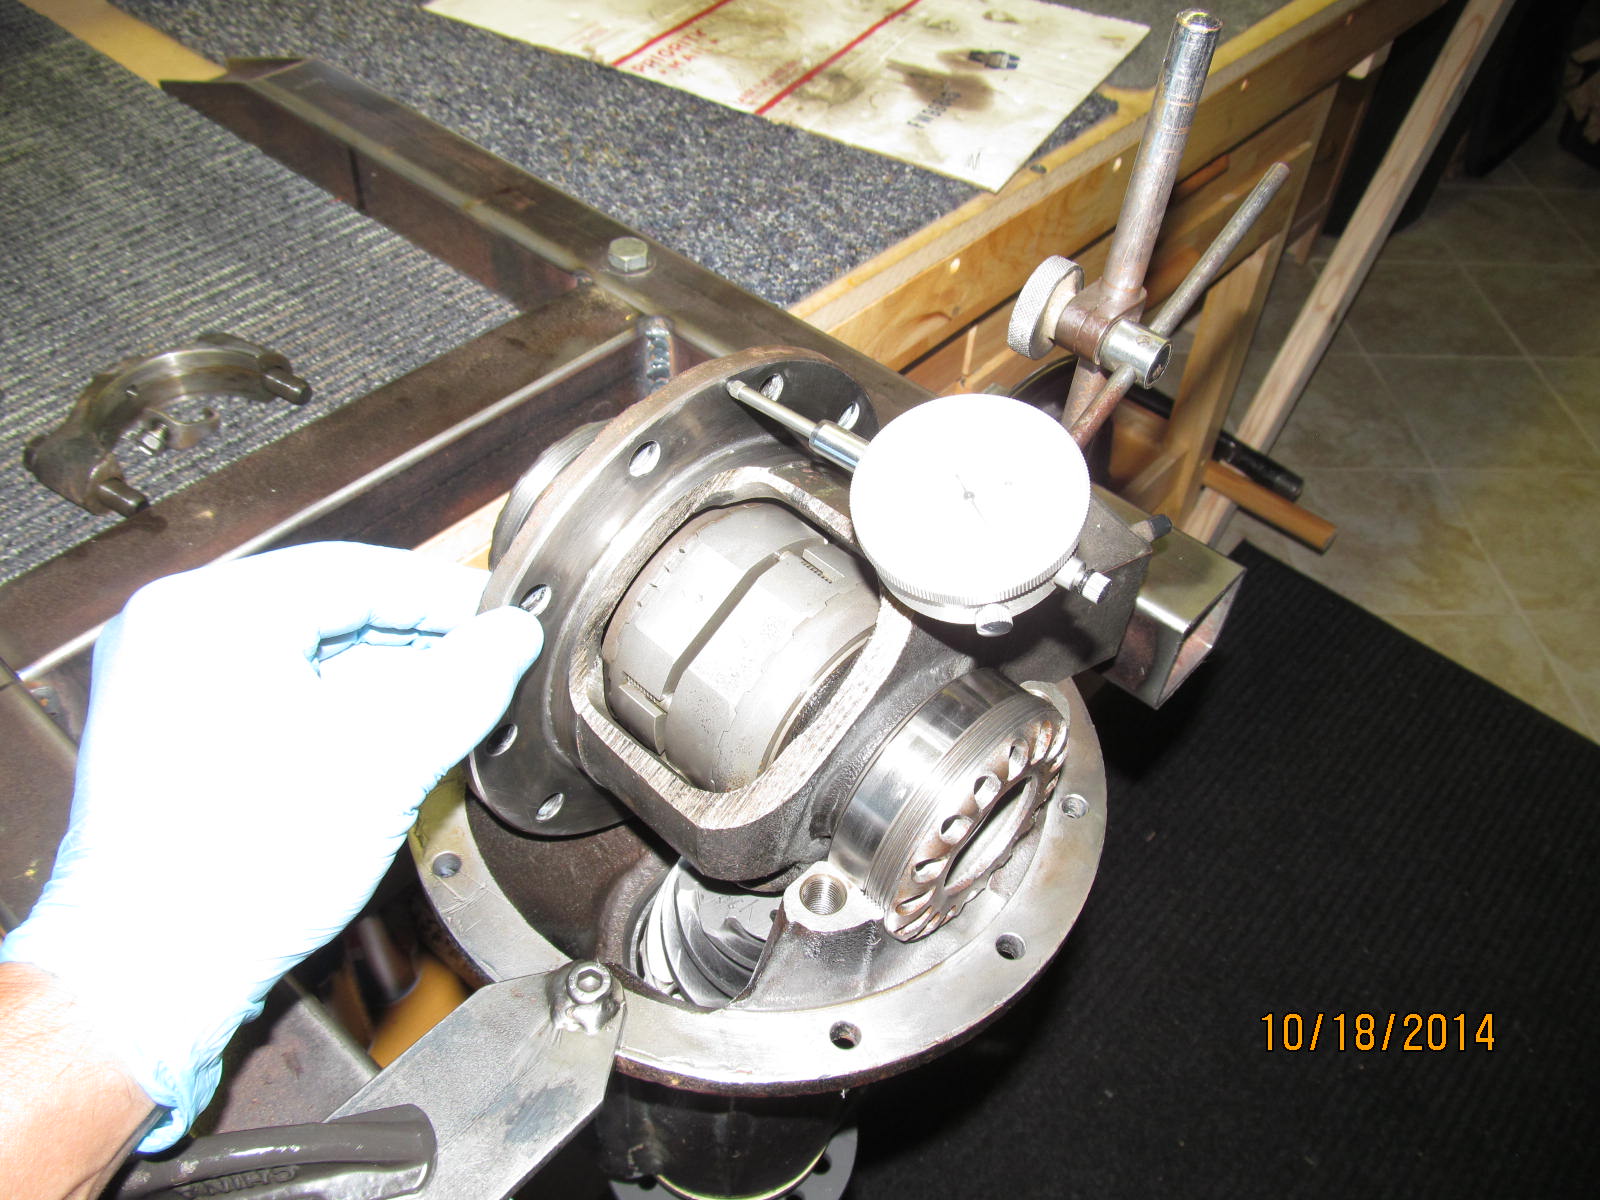
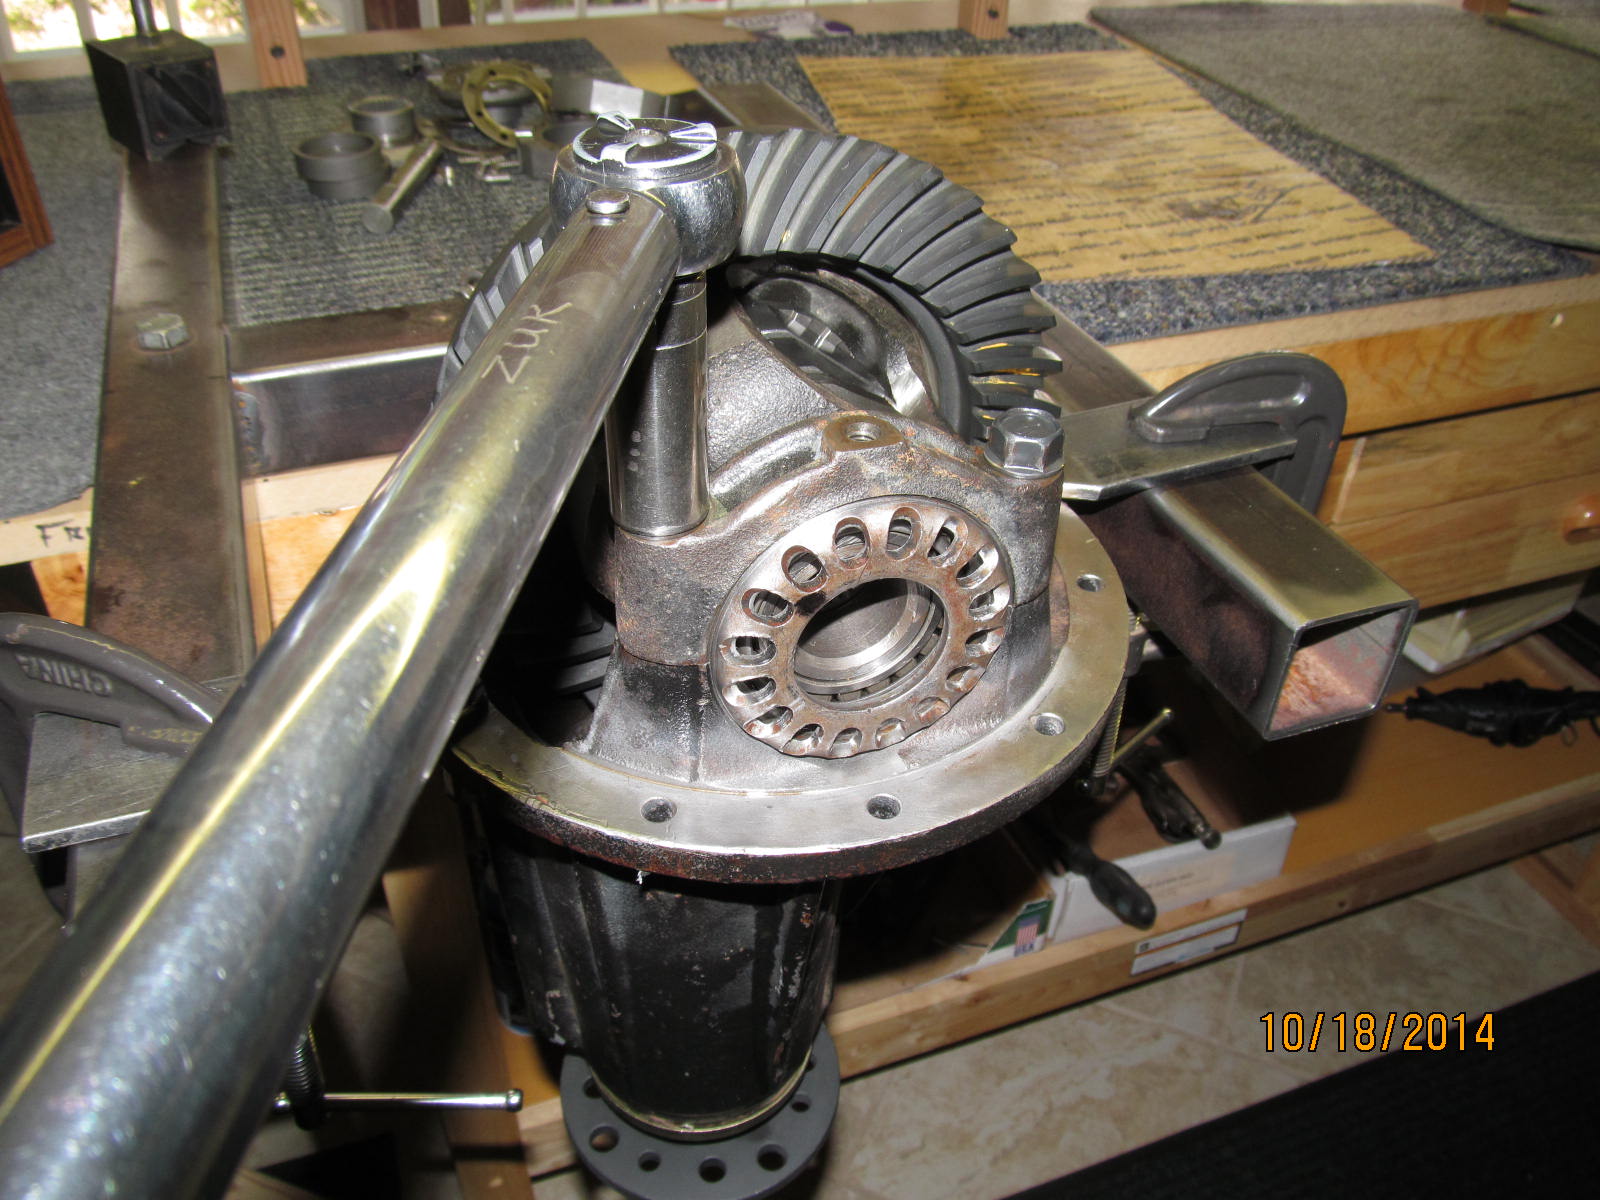
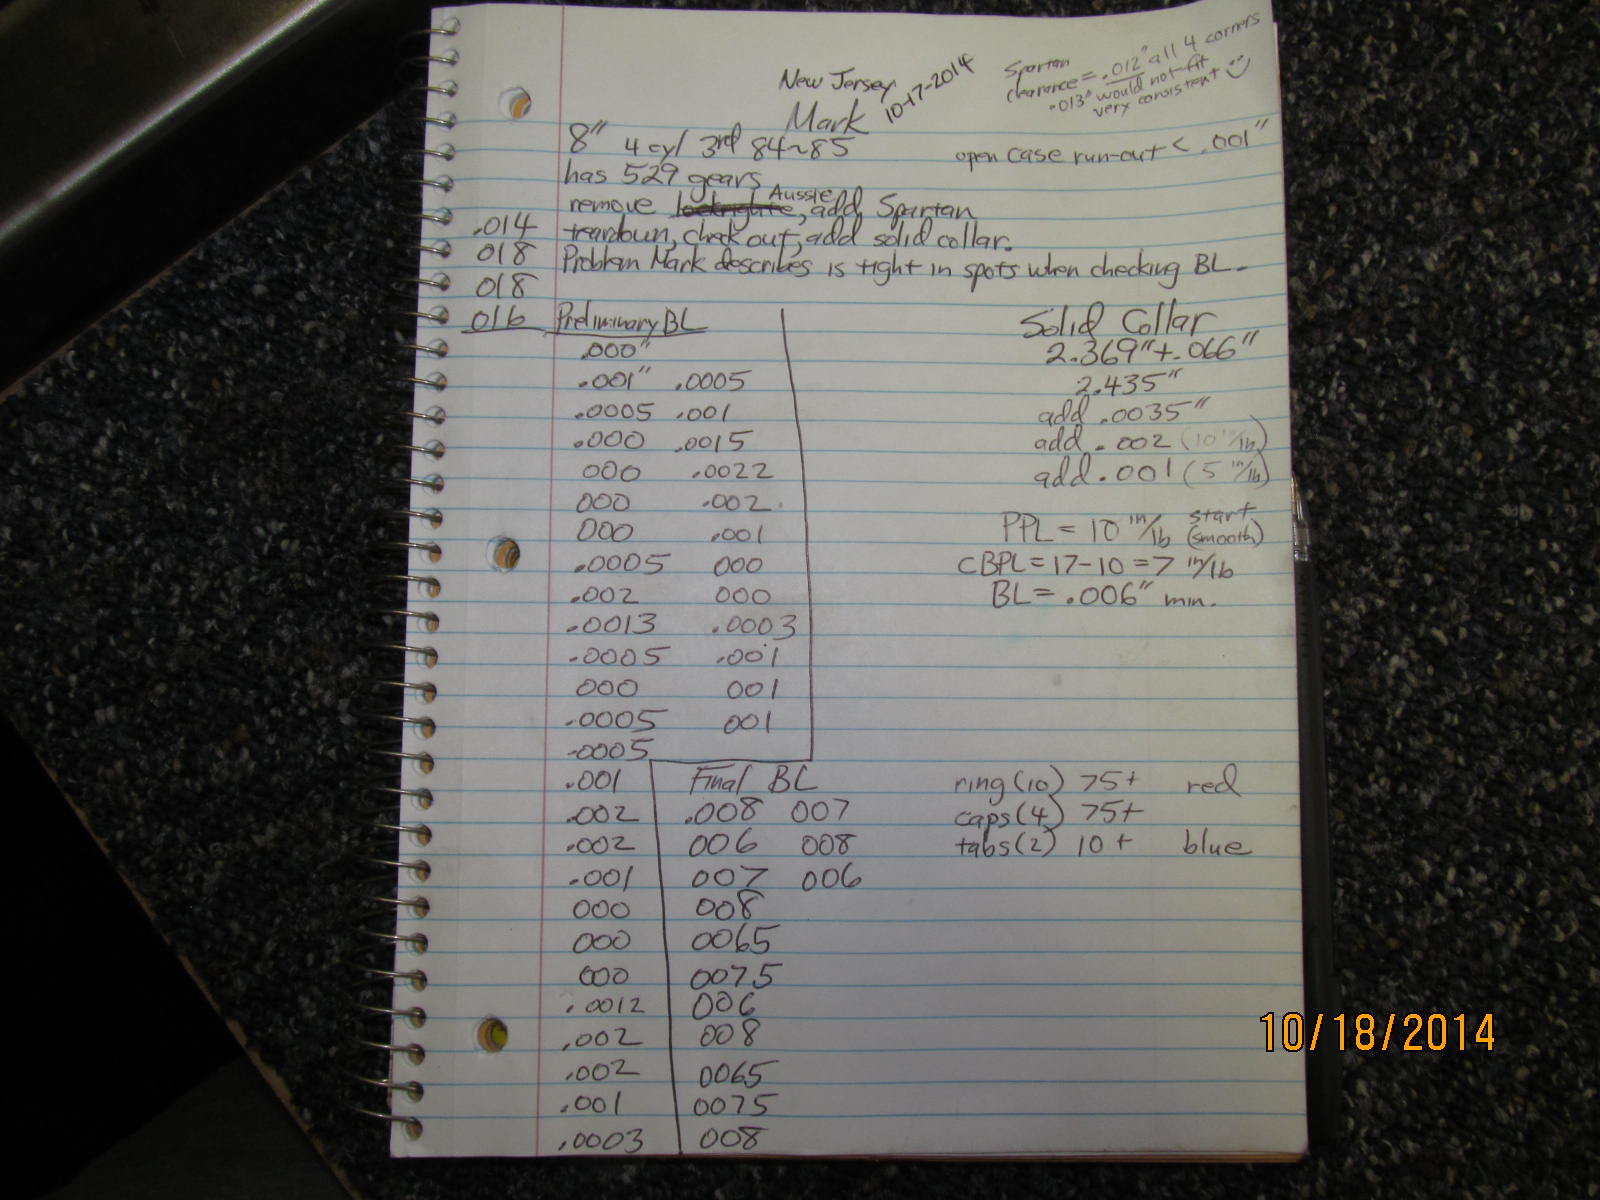
The first order of business is the pre-check. Backlash is checked on every tooth and was basically zero. See
the notes at the end of this link to see the recorded values.
|
|
|
|
|
.........
|
|
|
|
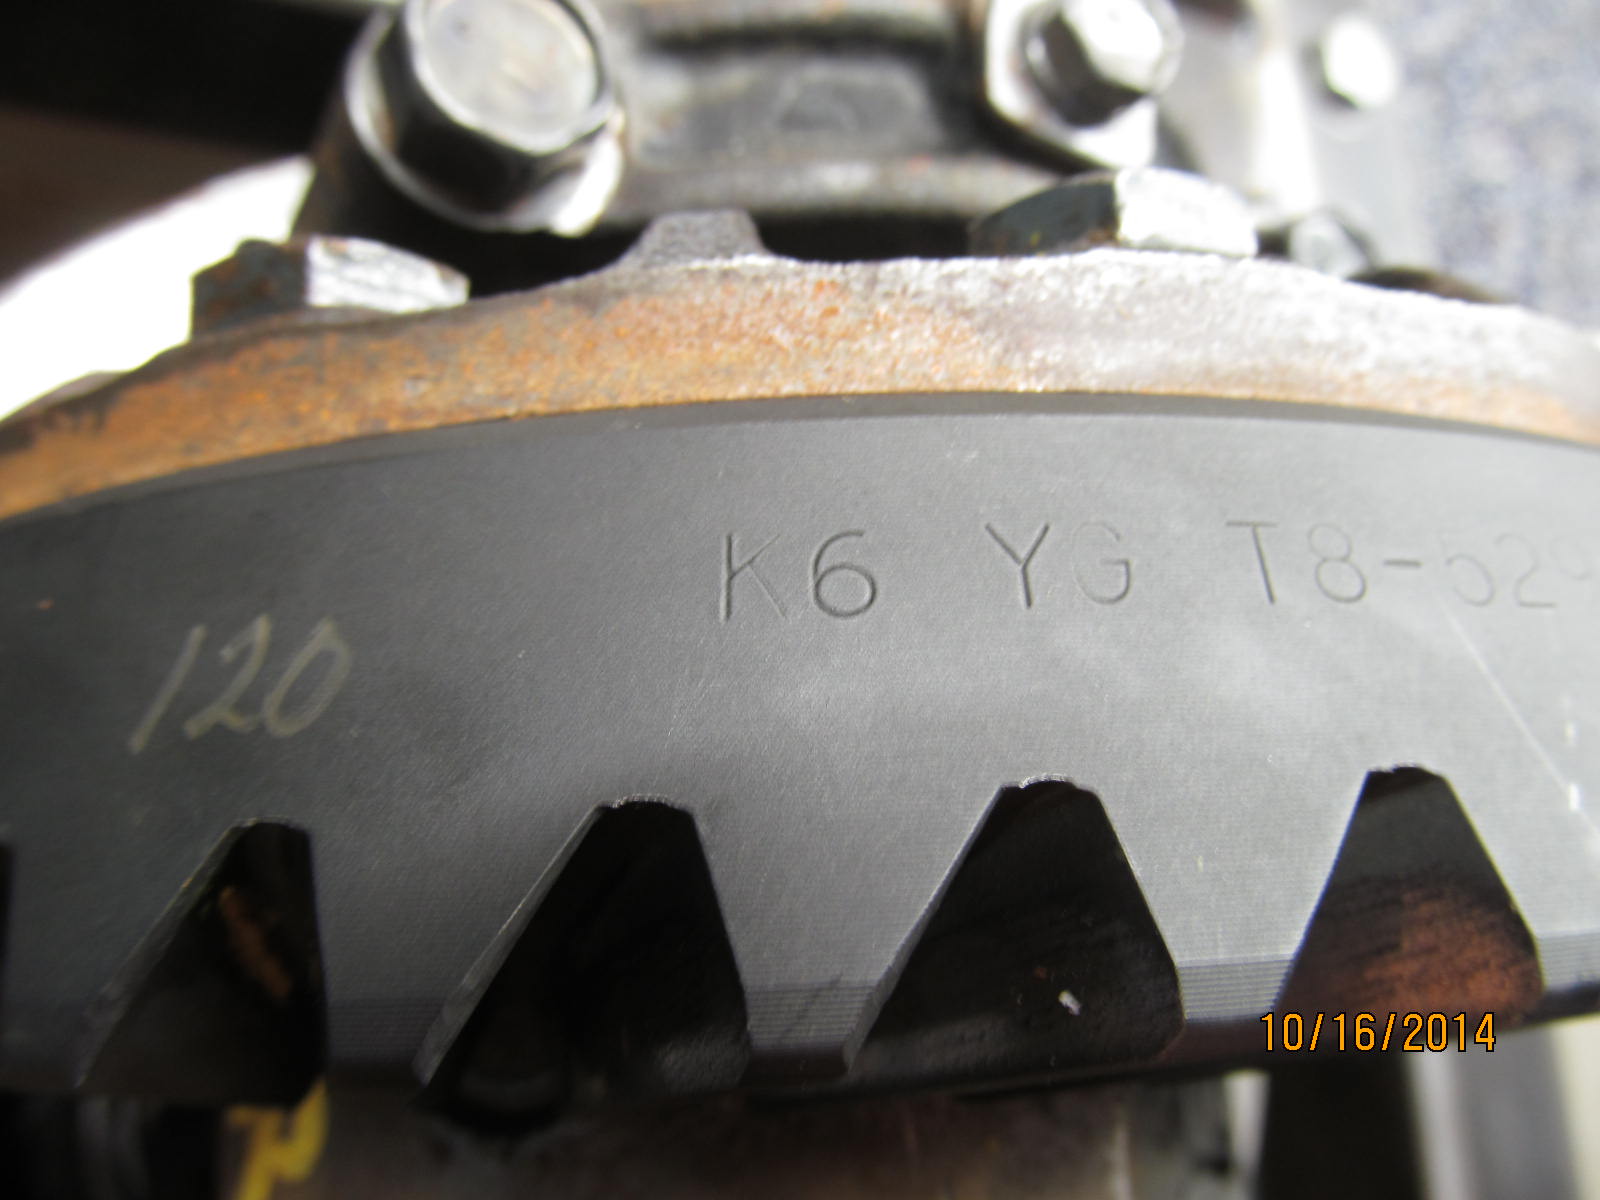
The 304 means this is from a Yukon box. This "brand" of gear is ok but I do have my favorites and those are
Nitro and G2.
|
|
|
|
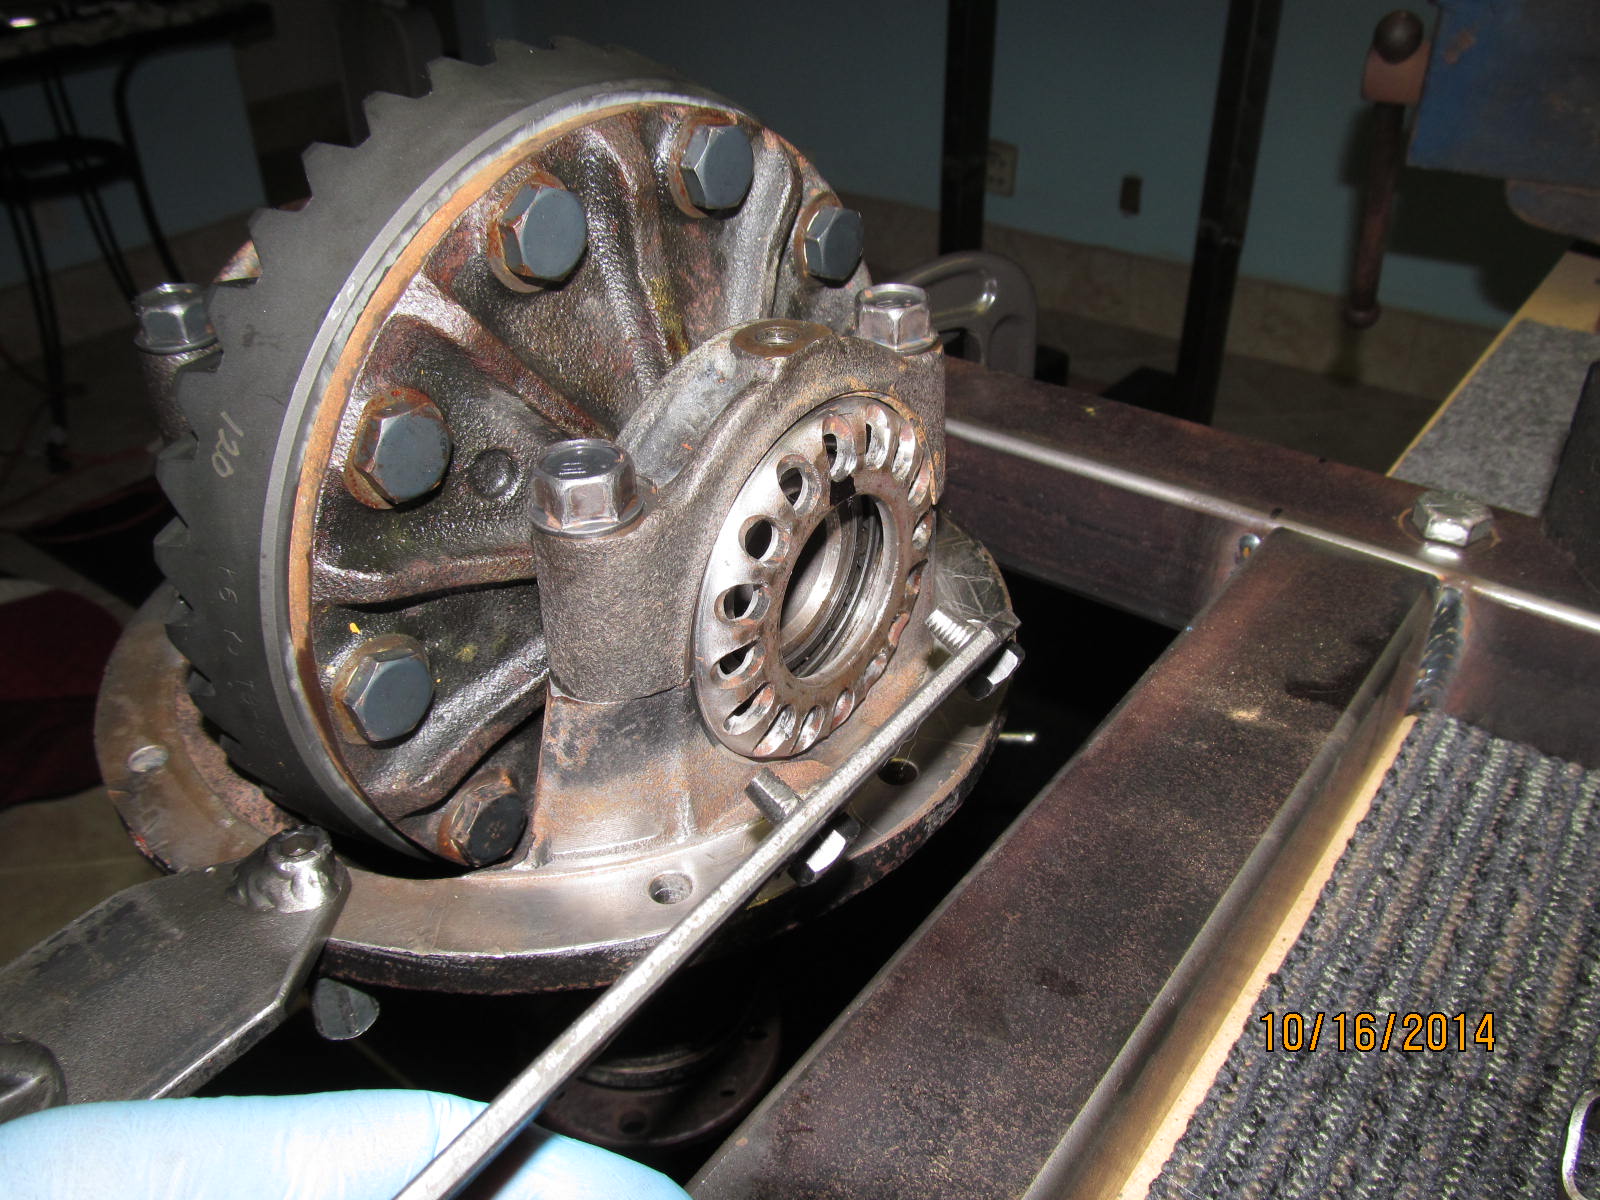
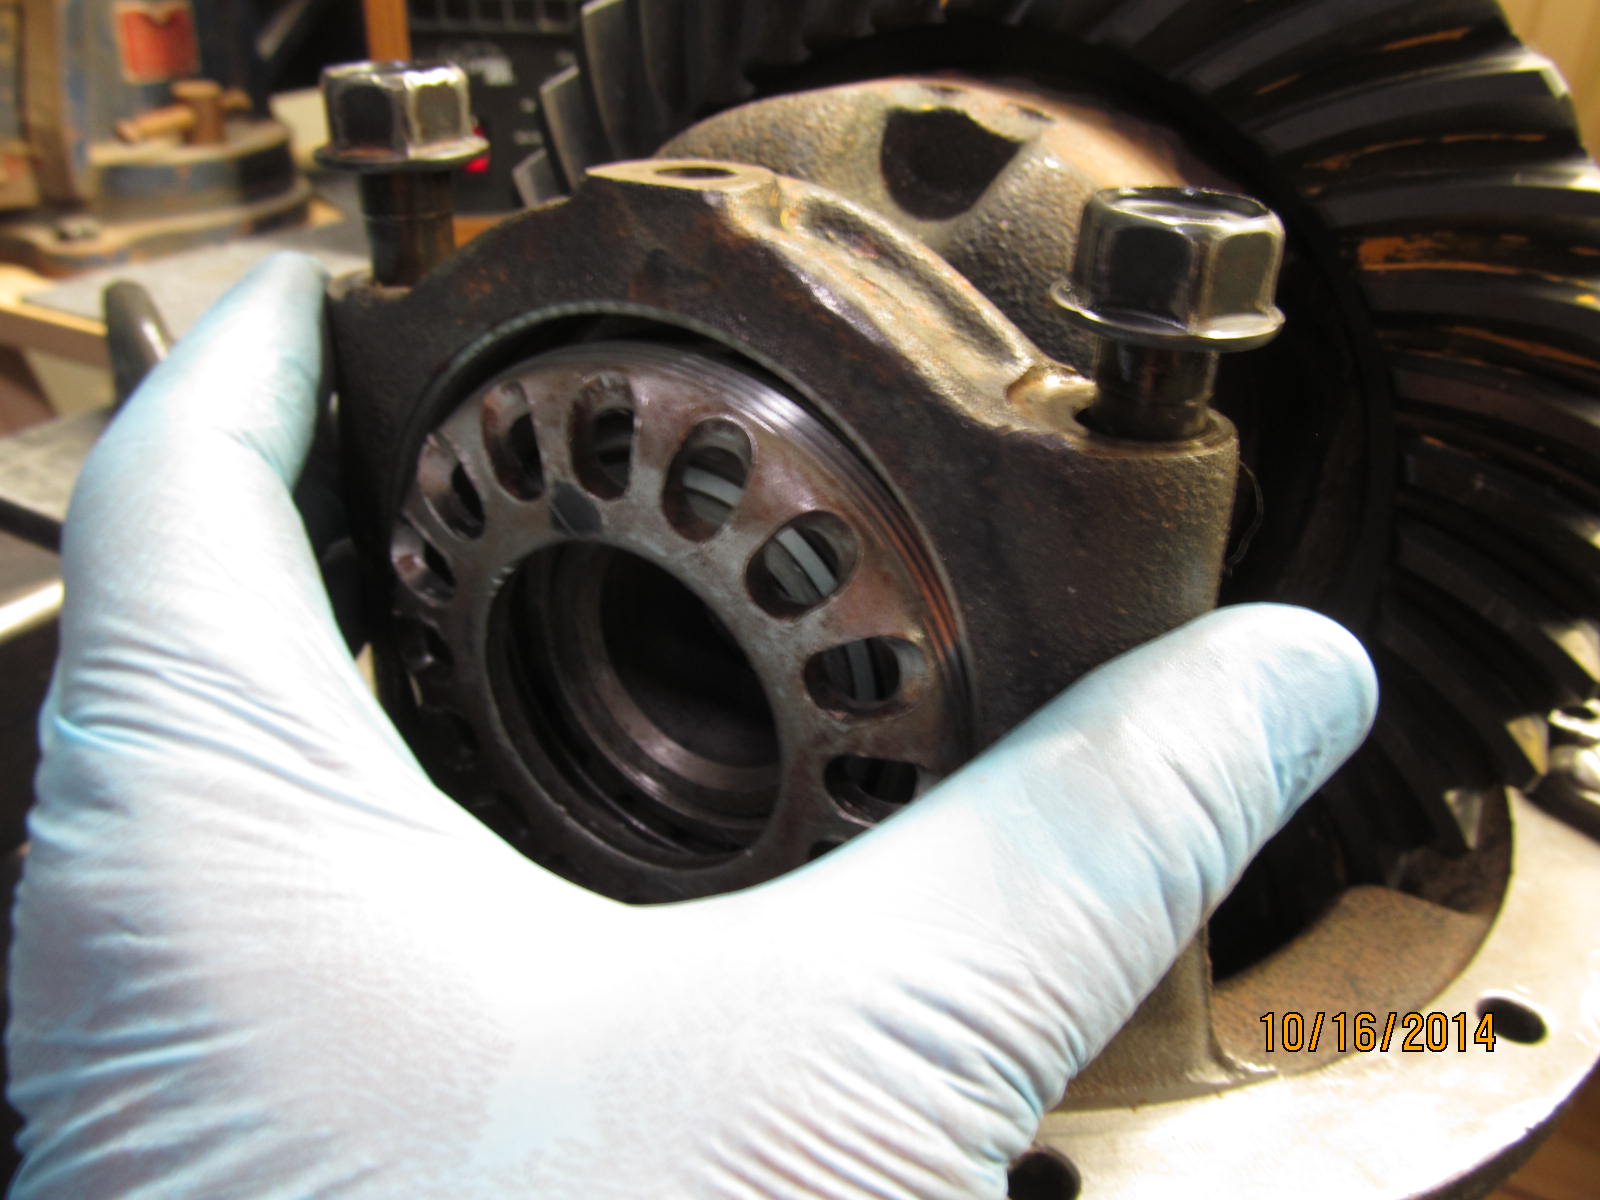
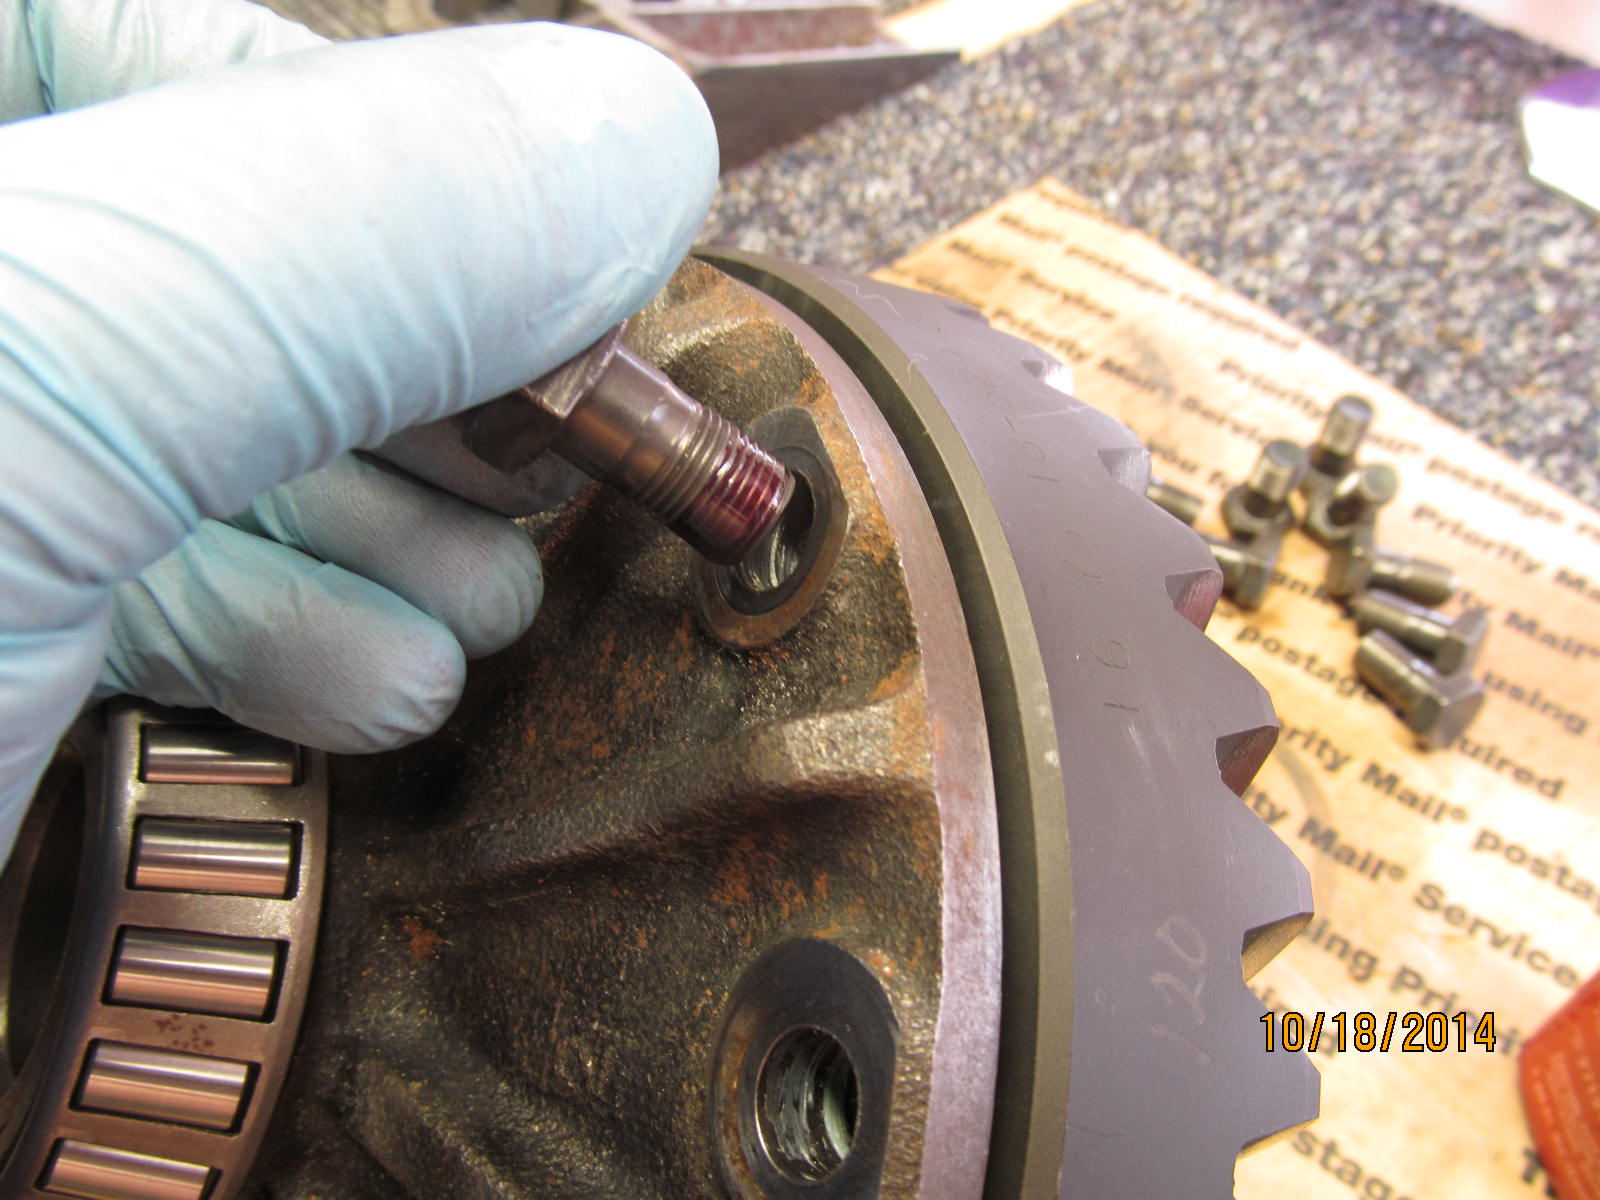
This wheel adjuster was not as tight as it needed to be.....If I tighten this side then I can increase the
backlash and the carrier bearing pre-load will also firm up much more.
|
|
|
|
|
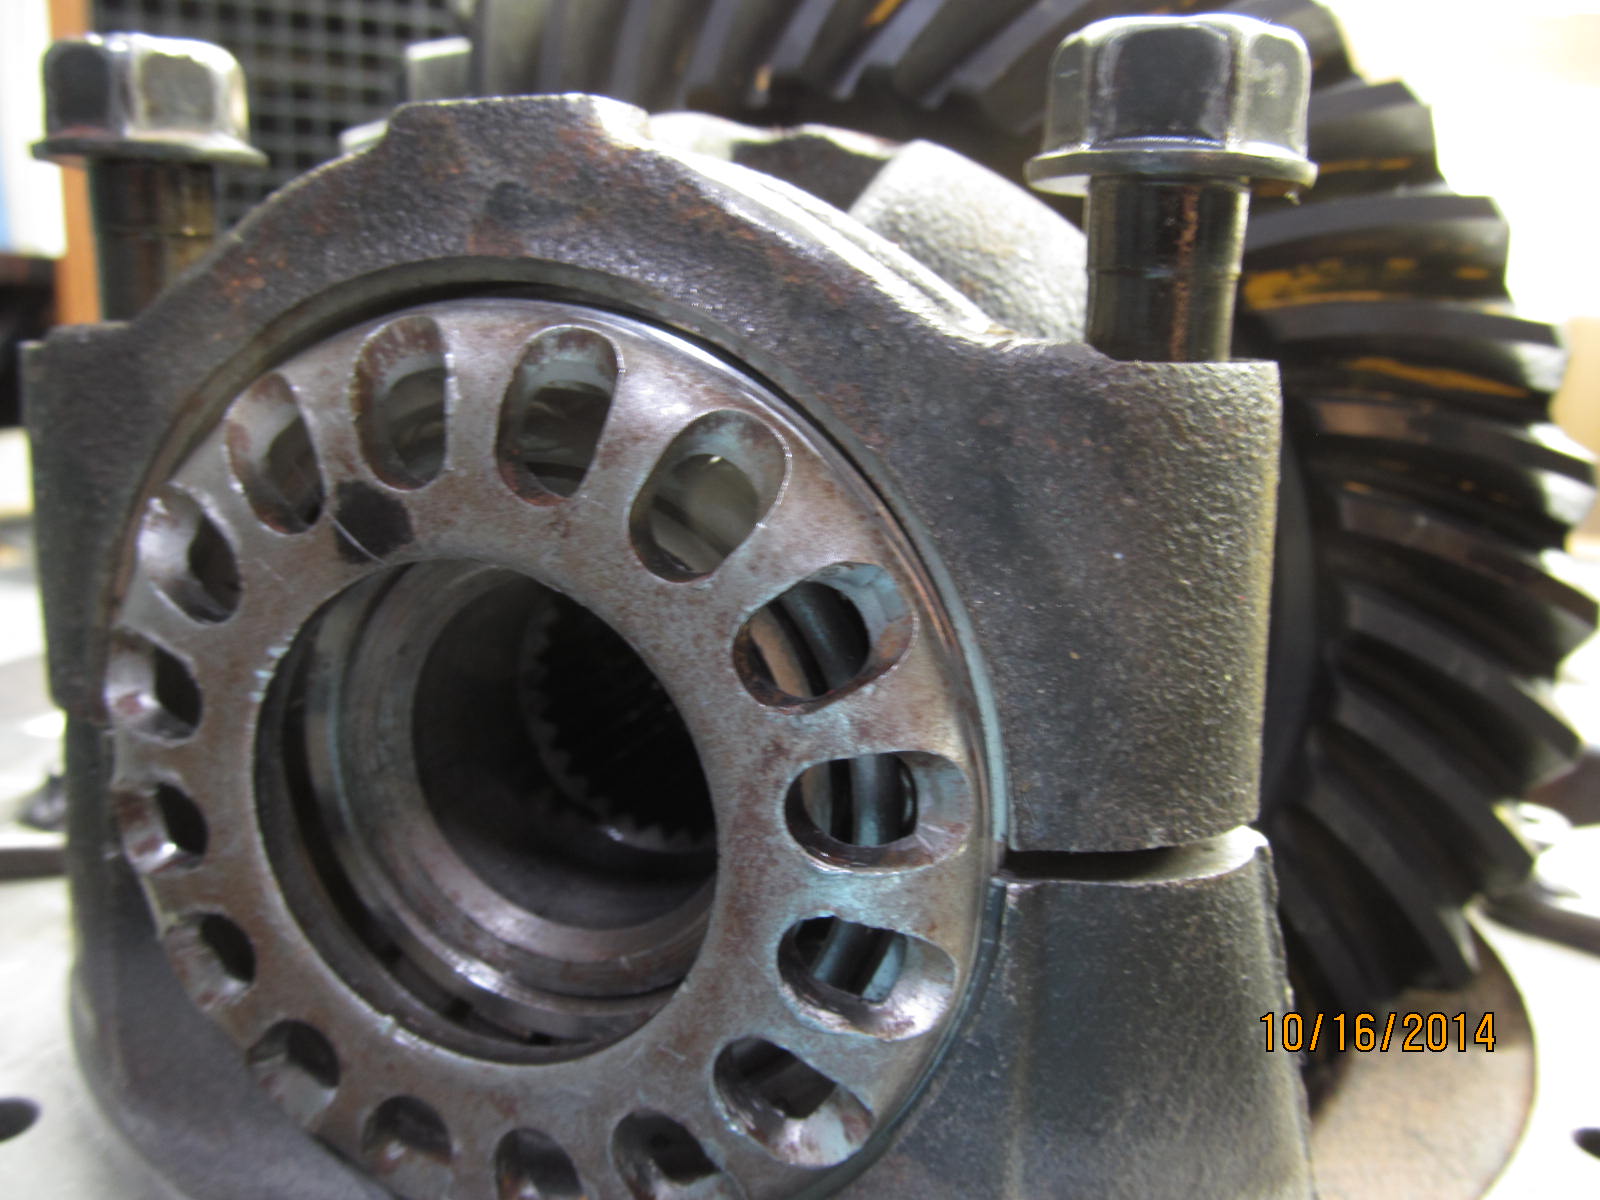
This side would not even turn indicating the threads were likely out of alignment.
|
|
|
|
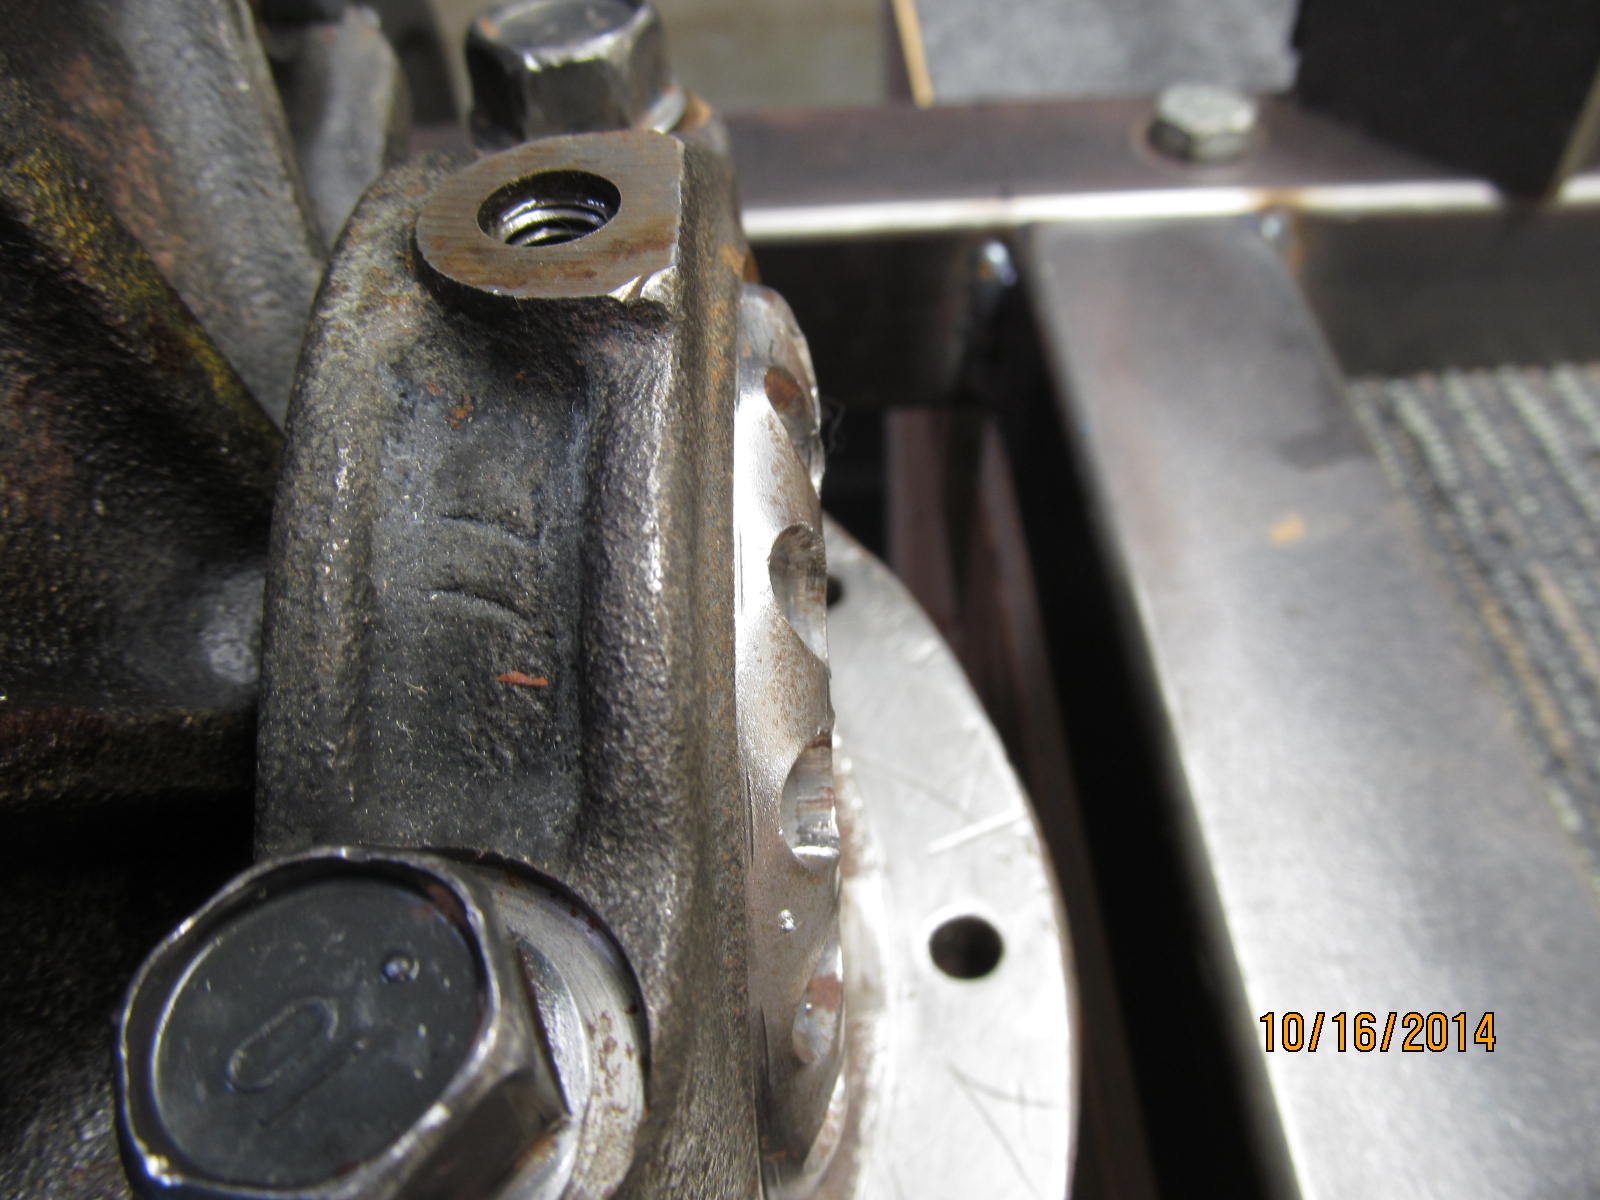
It's more obvious to me but the camera does not show it too well that the adjuster is "cock-eyed"....
pushed in more at the top than the bottom.
|
|
|

|
|
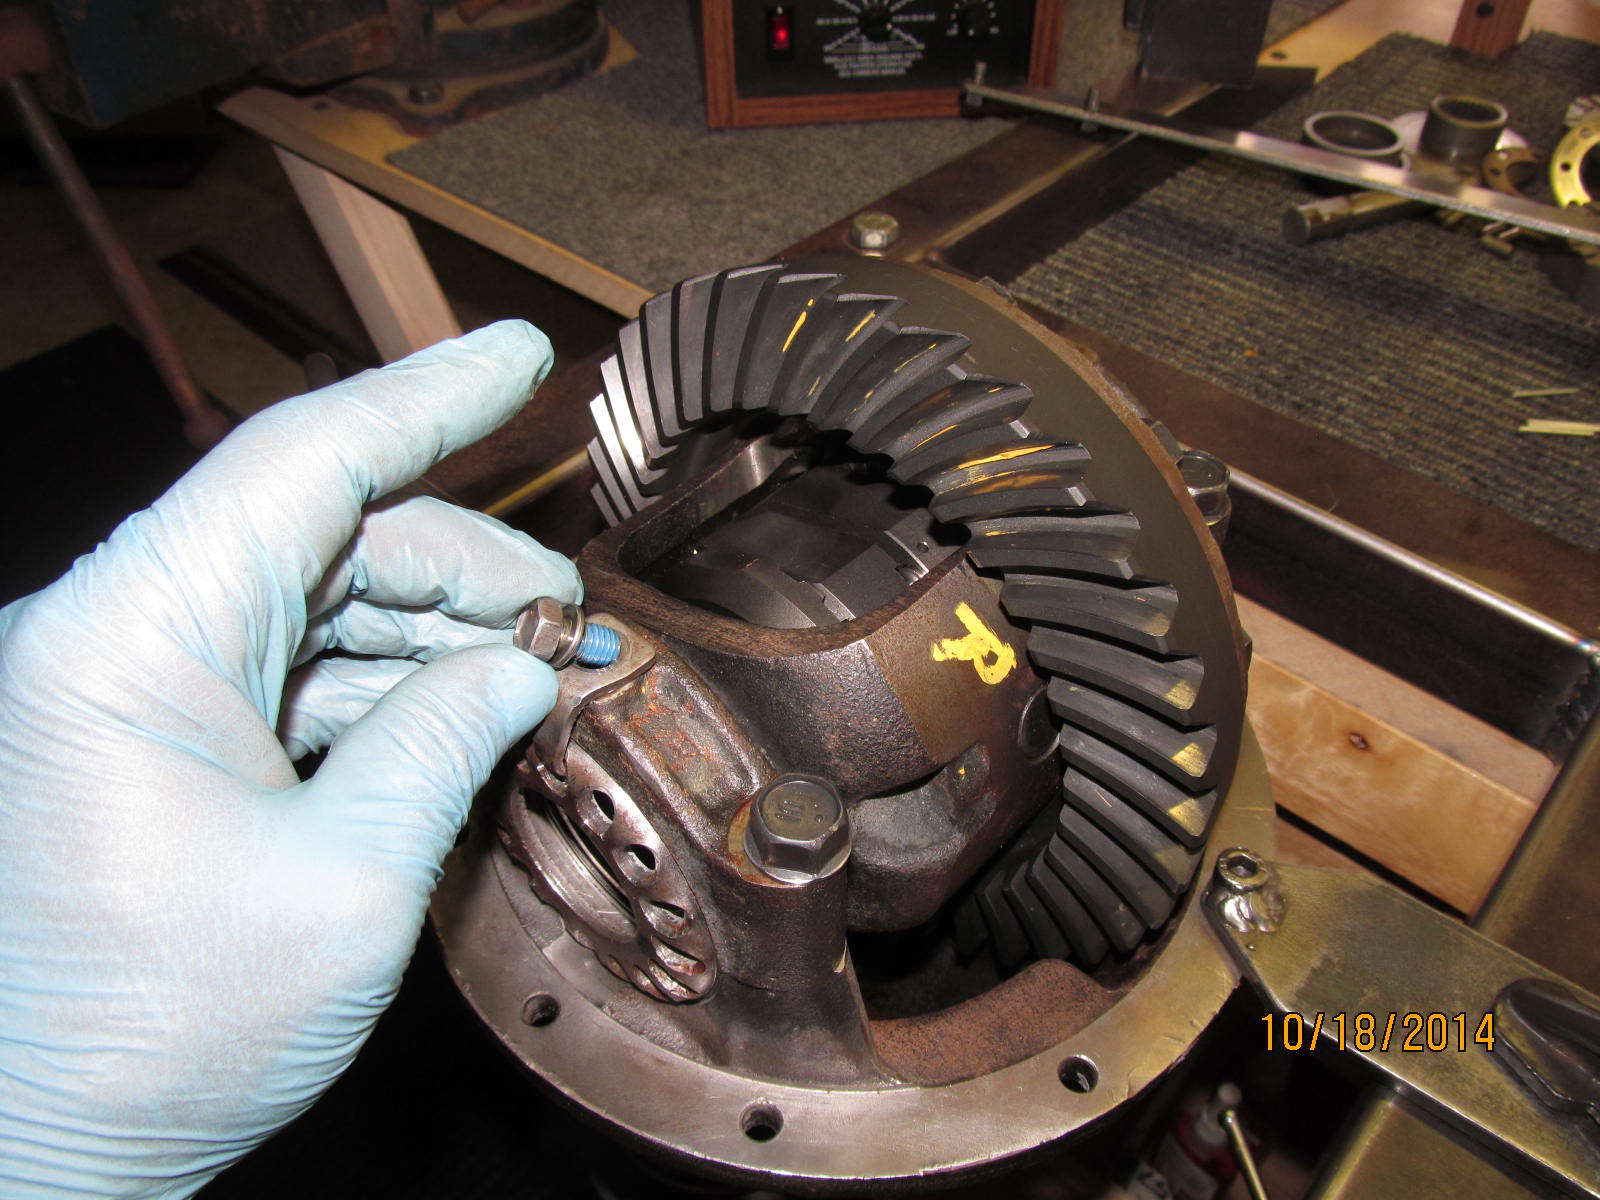
These 2 cap bolts were not as tight as they should have been...
|
|
|
|
...so I carefully removed the cap without disturbing the adjuster wheel. It was quite obvious that the
threads were off one.
|
|
|
|
|
Wheel threads were just fine....no damage.
|
|
|
|
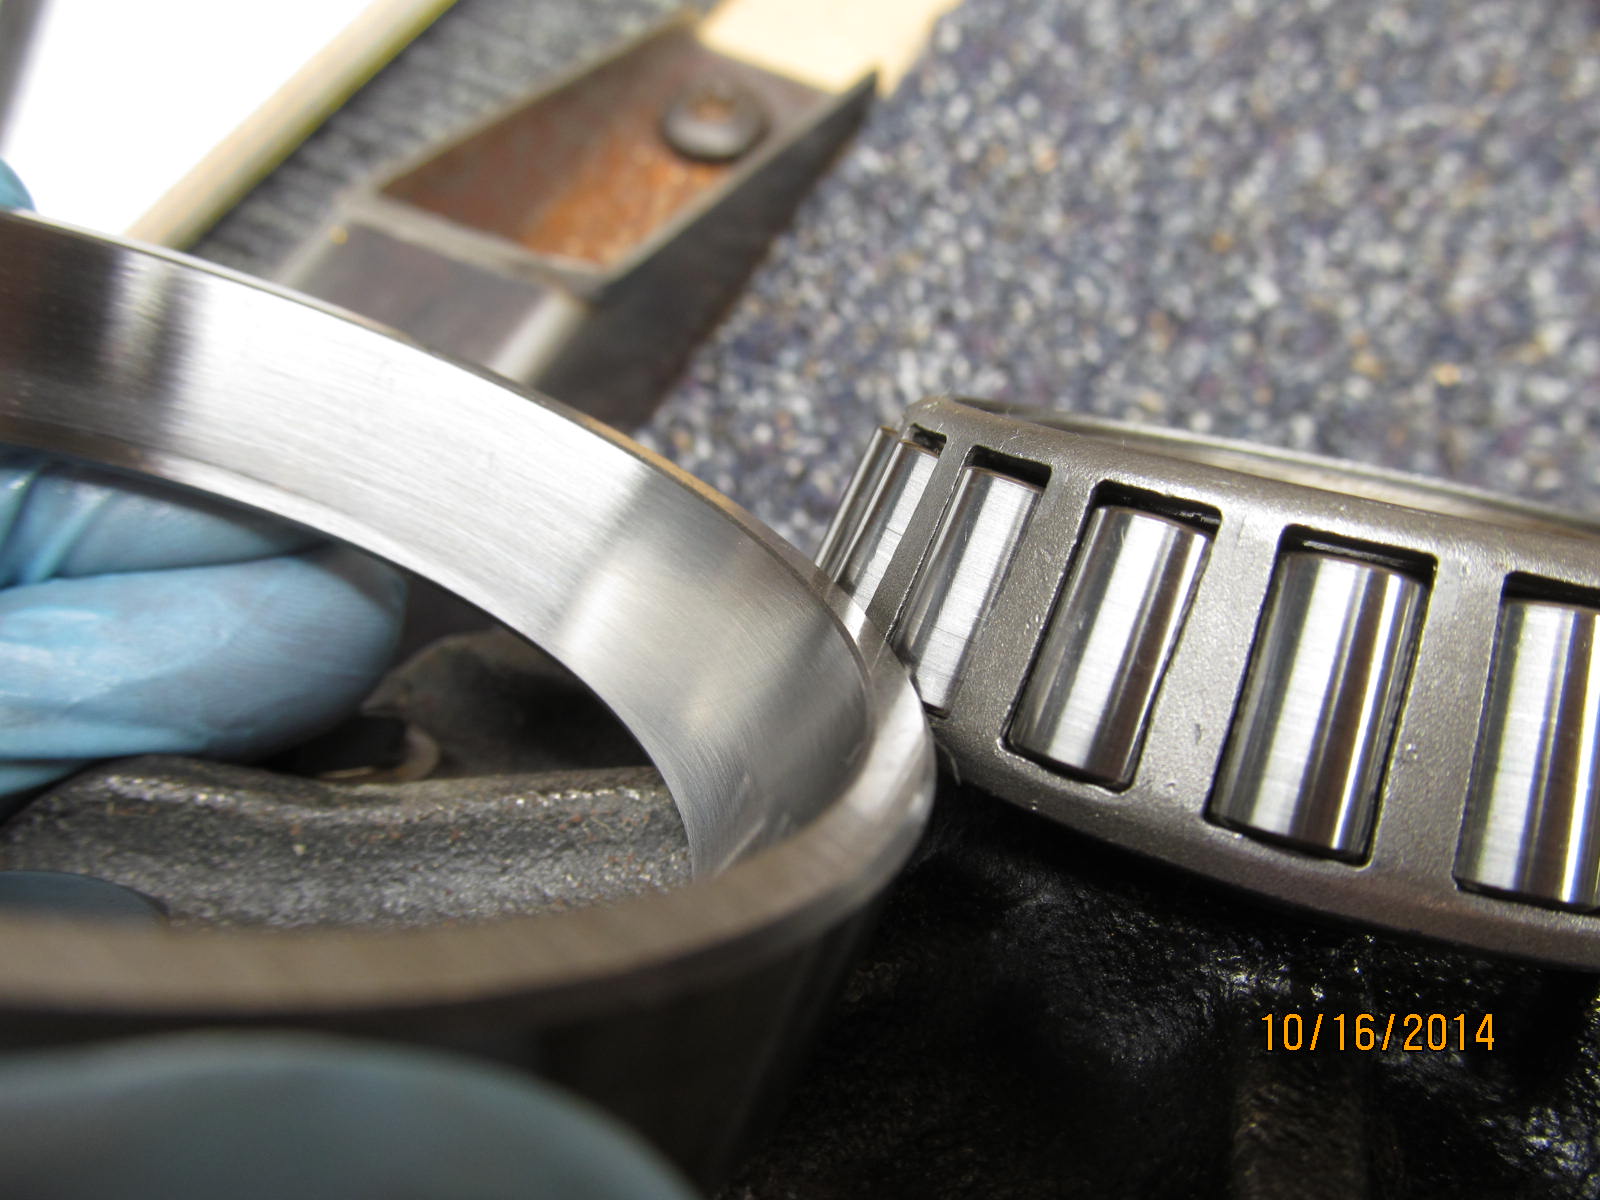
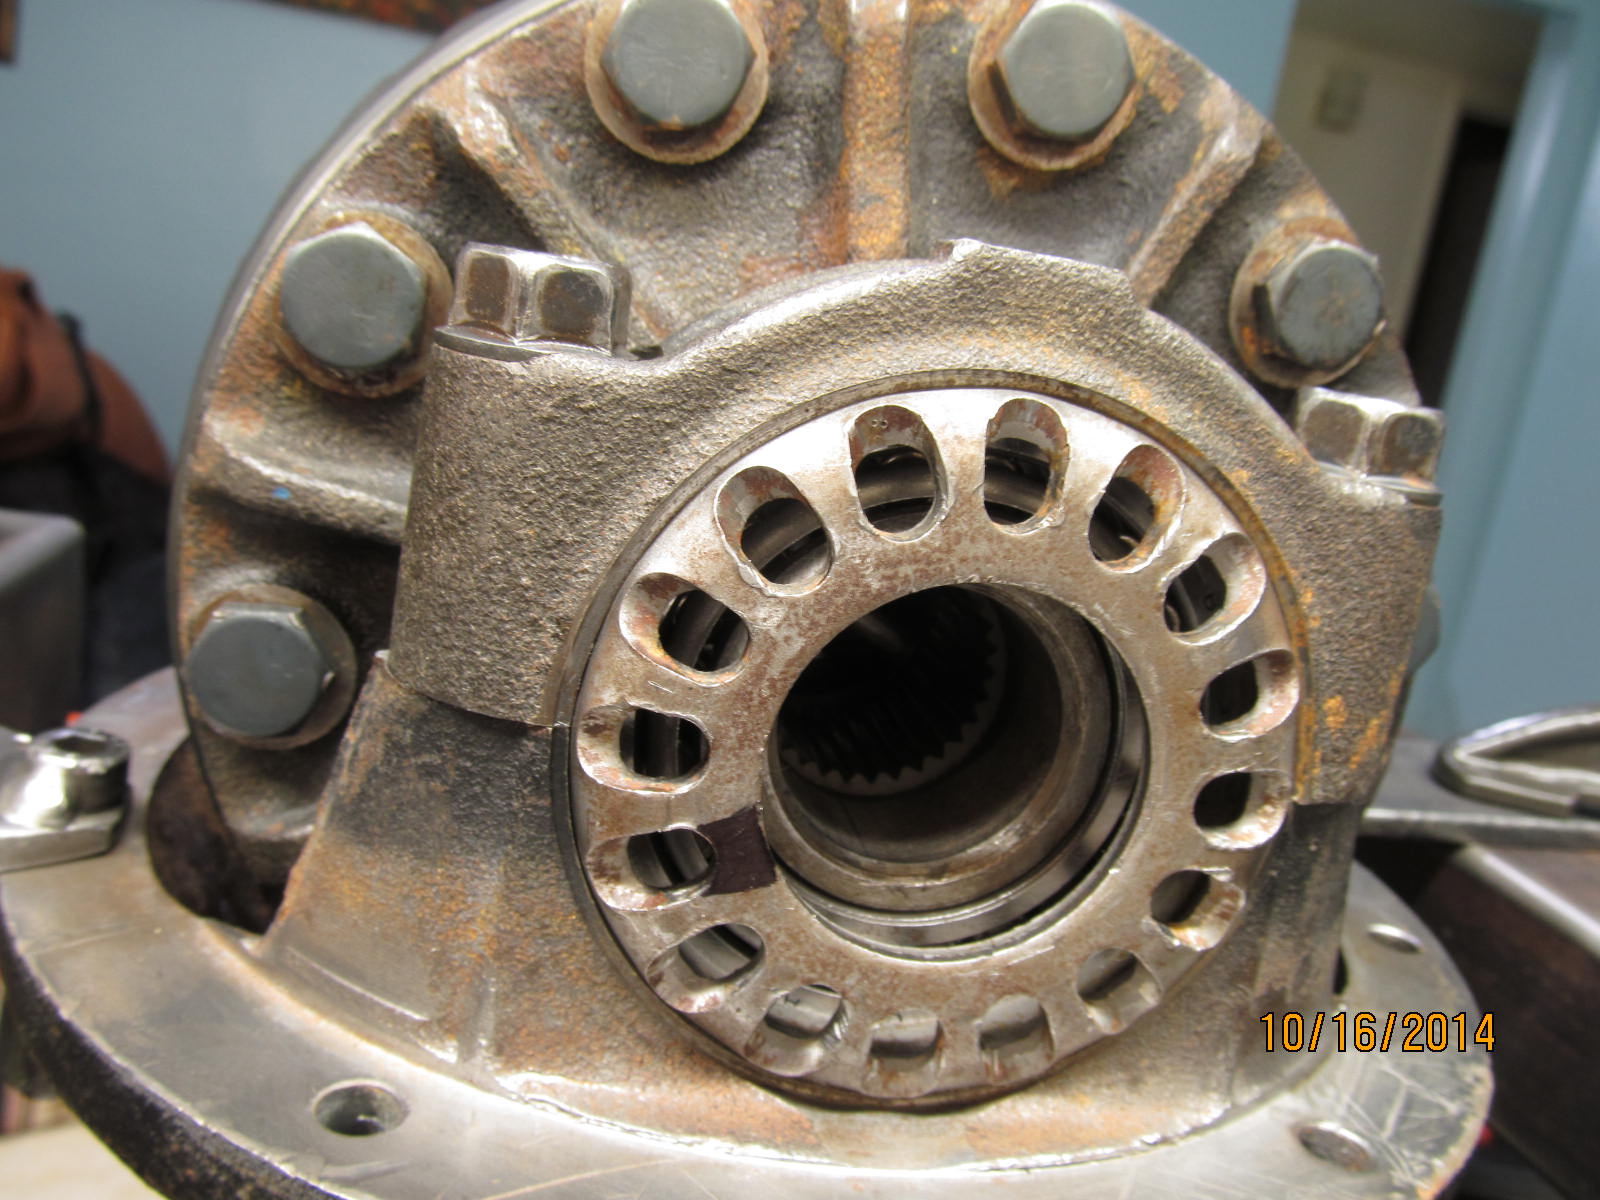
A quick look at the carrier bearings shows that they are in perfect shape...looks like maybe the hubs
were never locked in yet.
|
|
|
|
|
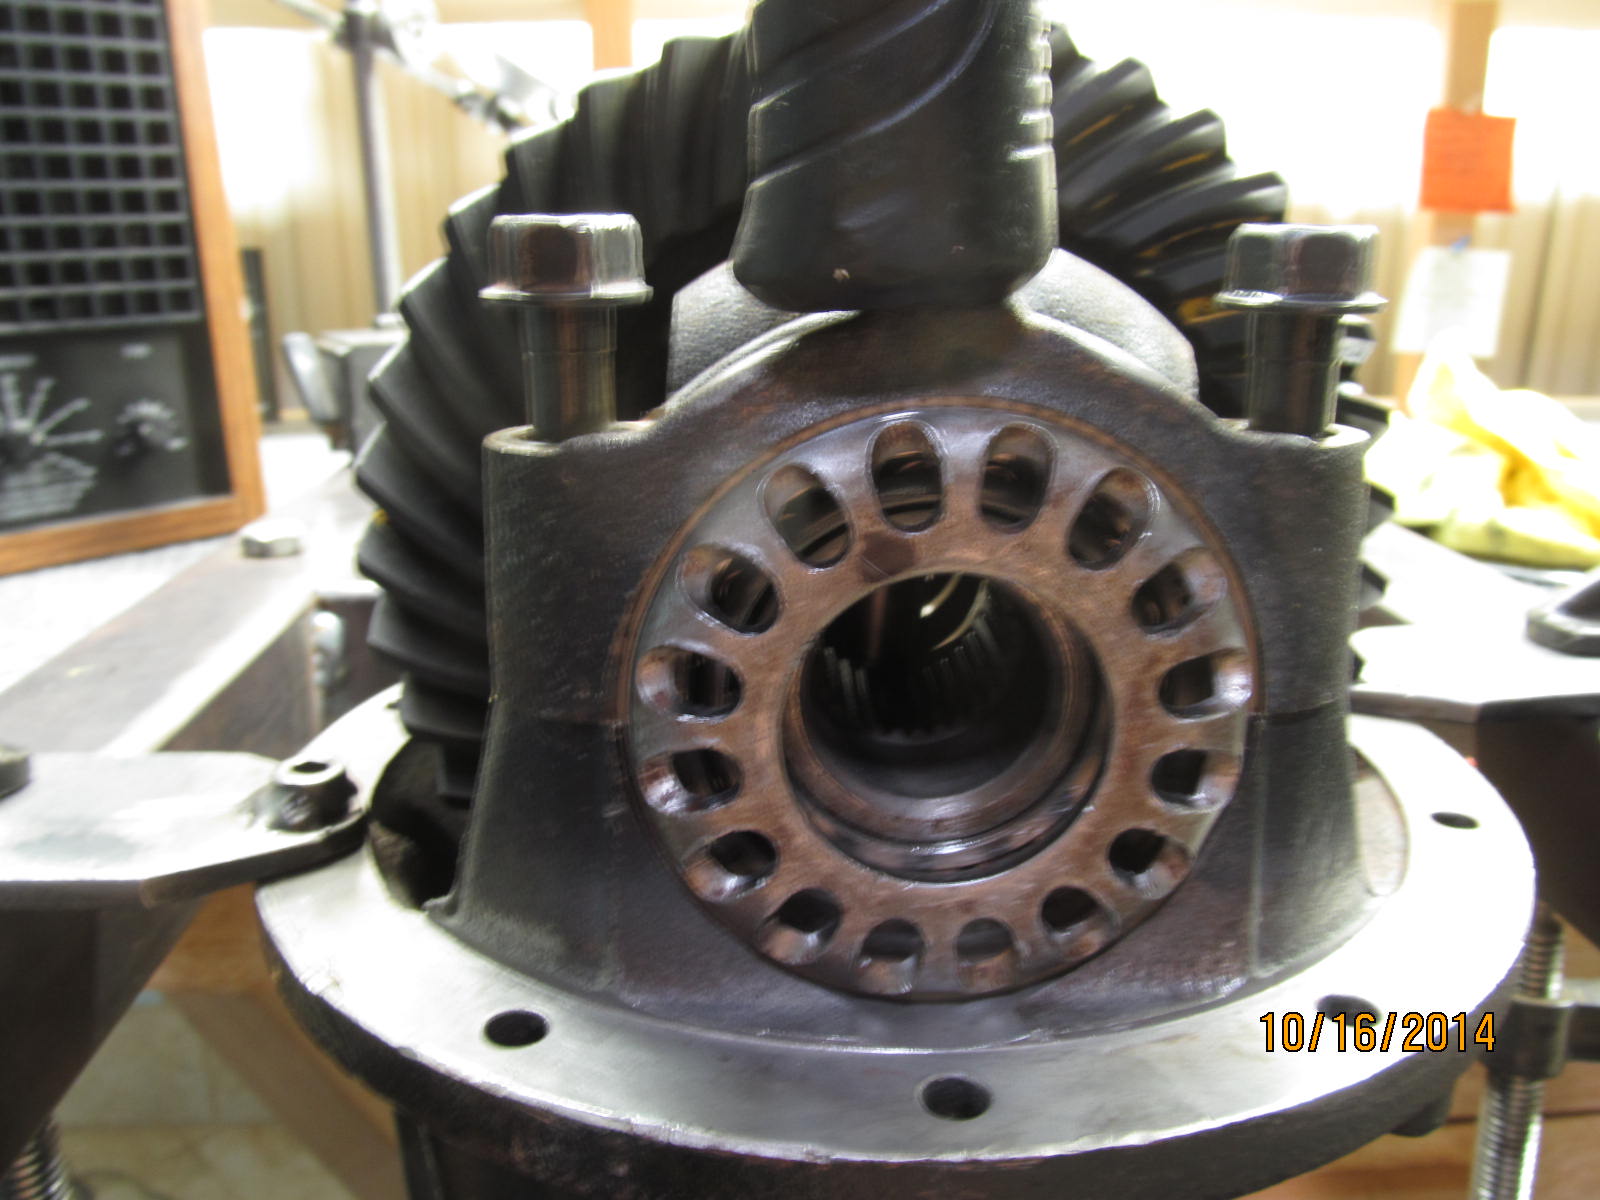
Placing the wheel into the threads correctly shows that it still turns easily in the groove and no real damage.
|
|
|
|
|
Start the threads on the 2 long bolts... line up the bearing cap into the threads...
|
|
|
|
|
...it drops down just like it should...
|
|
|
|
....and a smack with the rubber end of the hammer makes a nice, solid seating sound indicating the threads
are now in harmony with the universe.
|
|
|

|
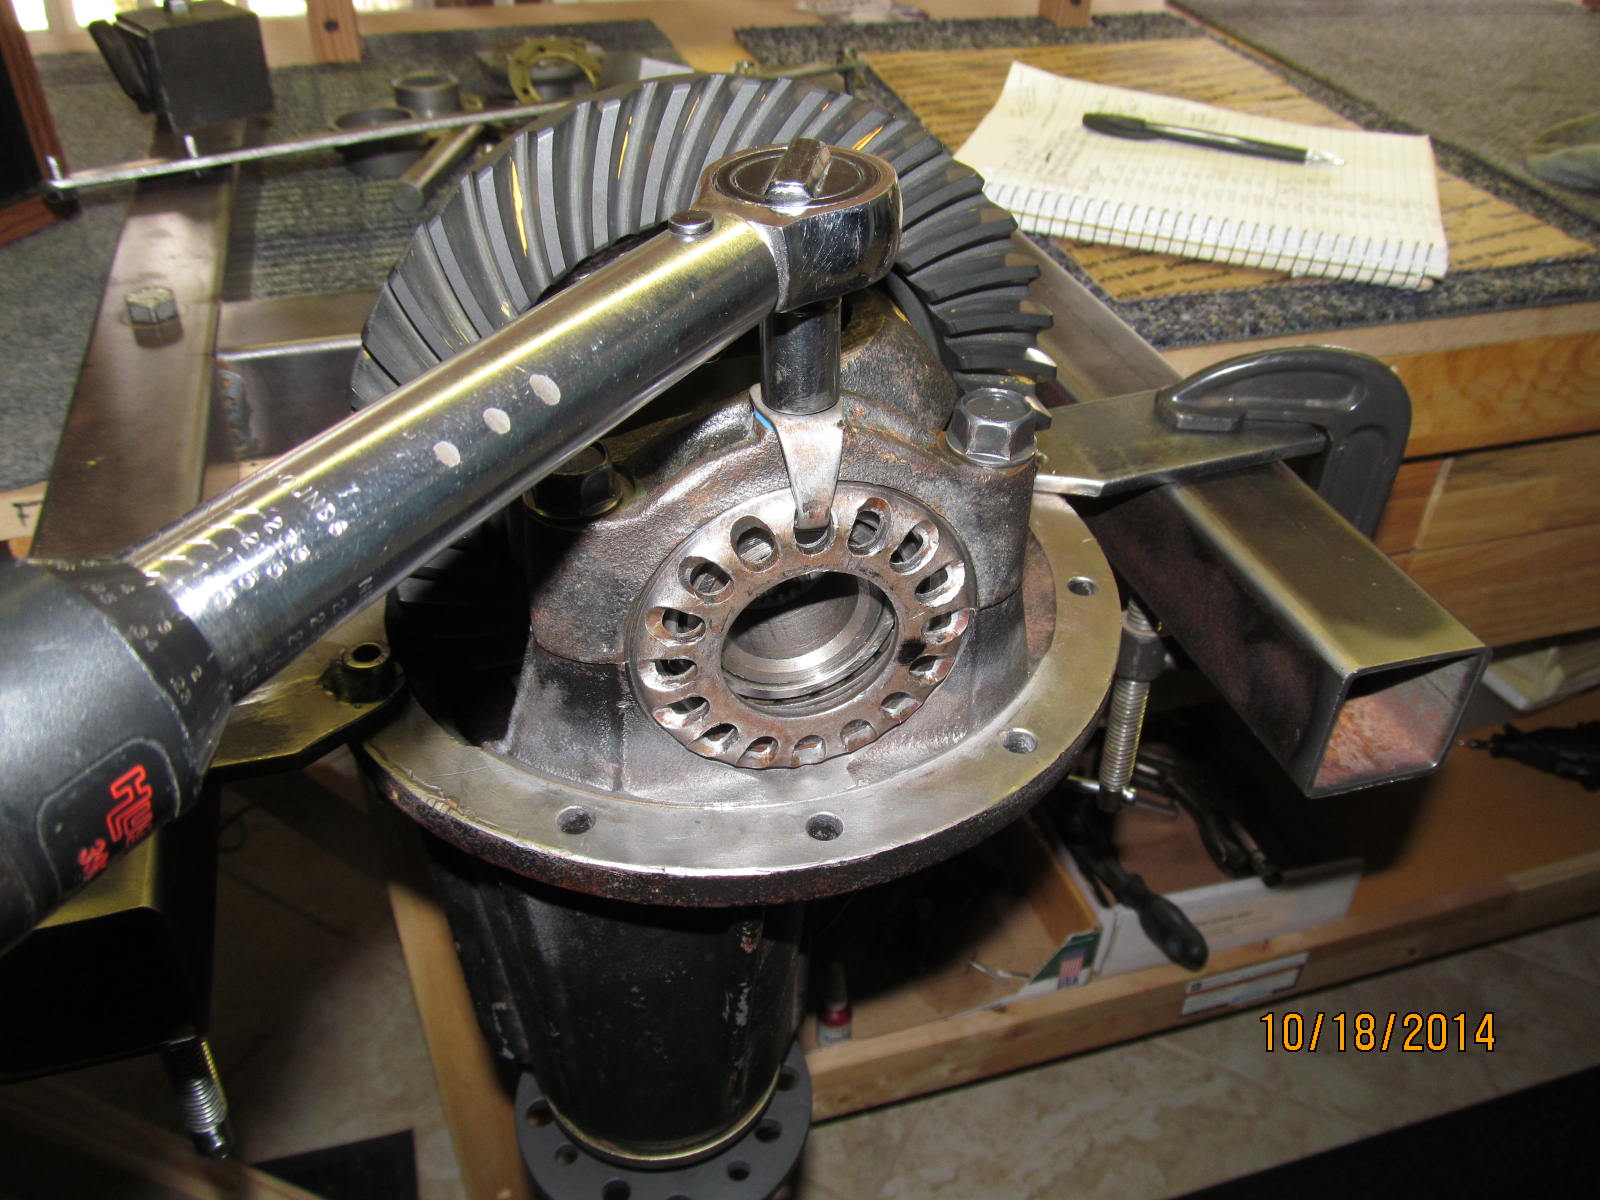
Now the bearing caps can be tightened and the wheels will now turn with relative ease. 
|
|
|
|
|
Backlash is set to about .007"
|
|
|
|
|
This adjuster is rotated about 4 notches tighter than before....
|
|
|
|
|
...and this adjuster is a "don't know" because everything changed when the threads were re-aligned.
|
|
|
|
|
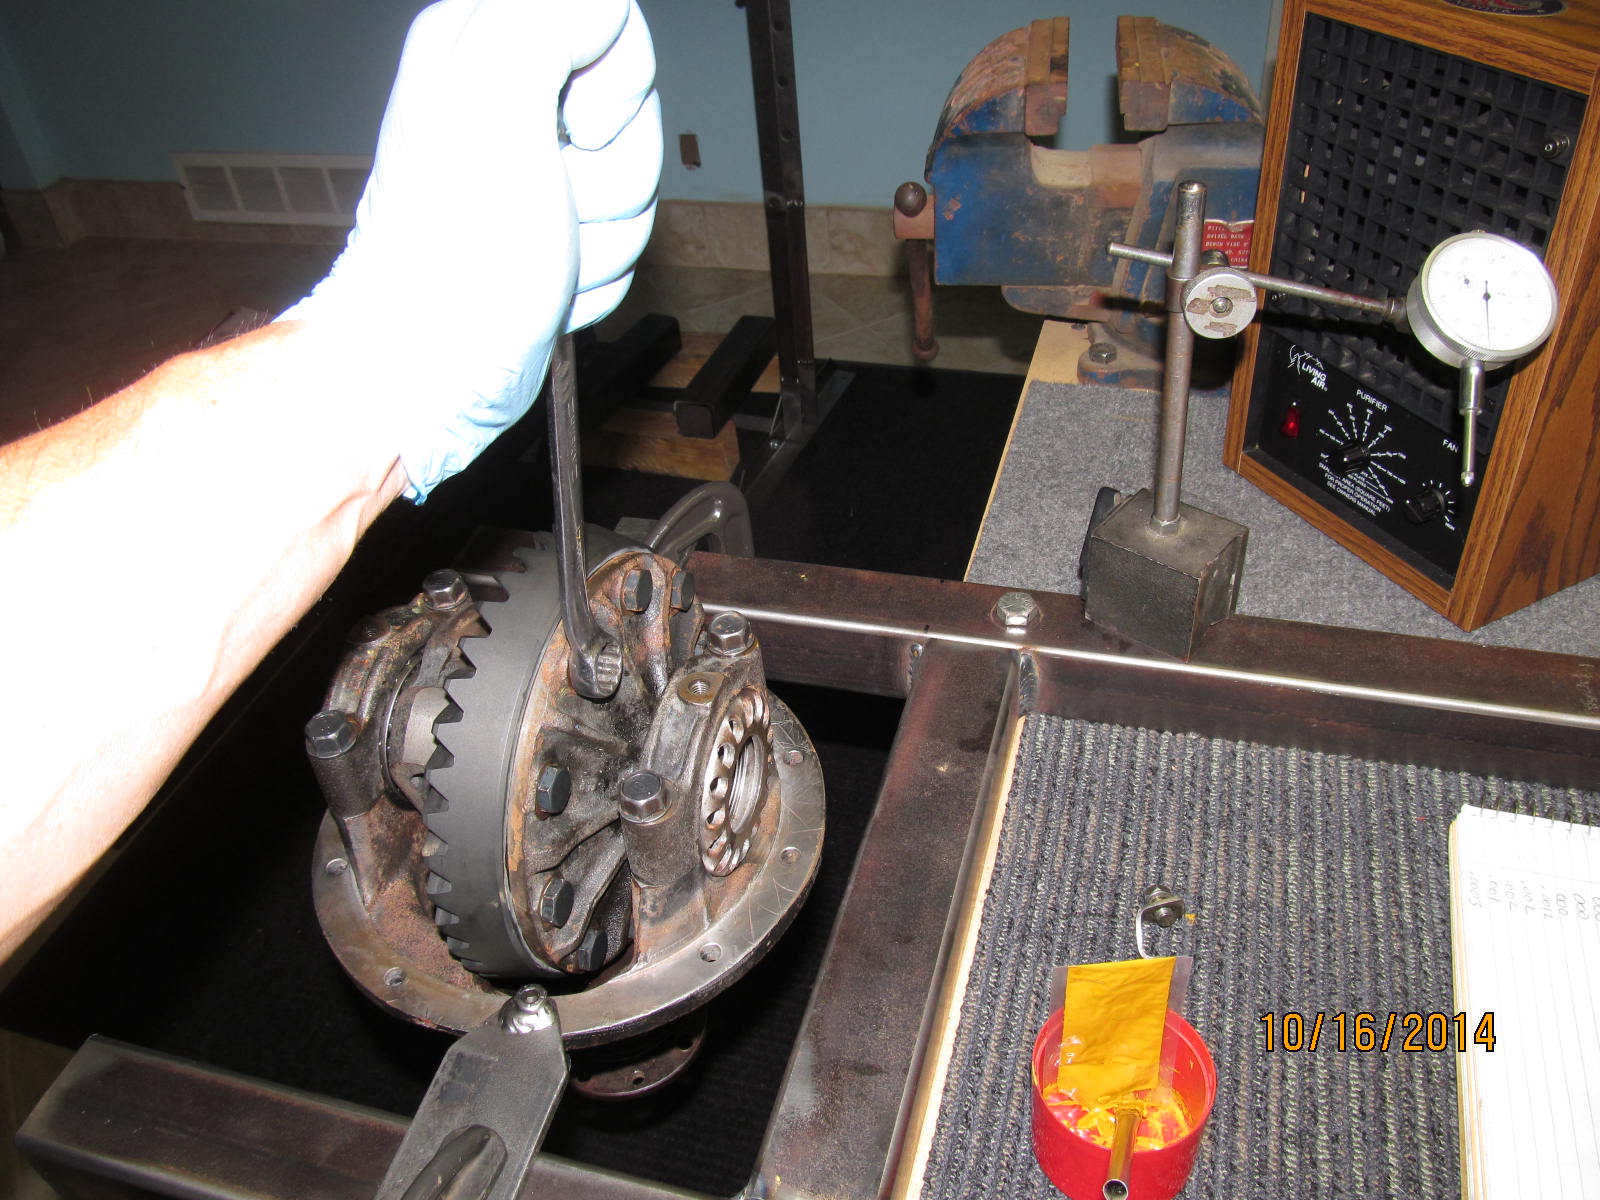
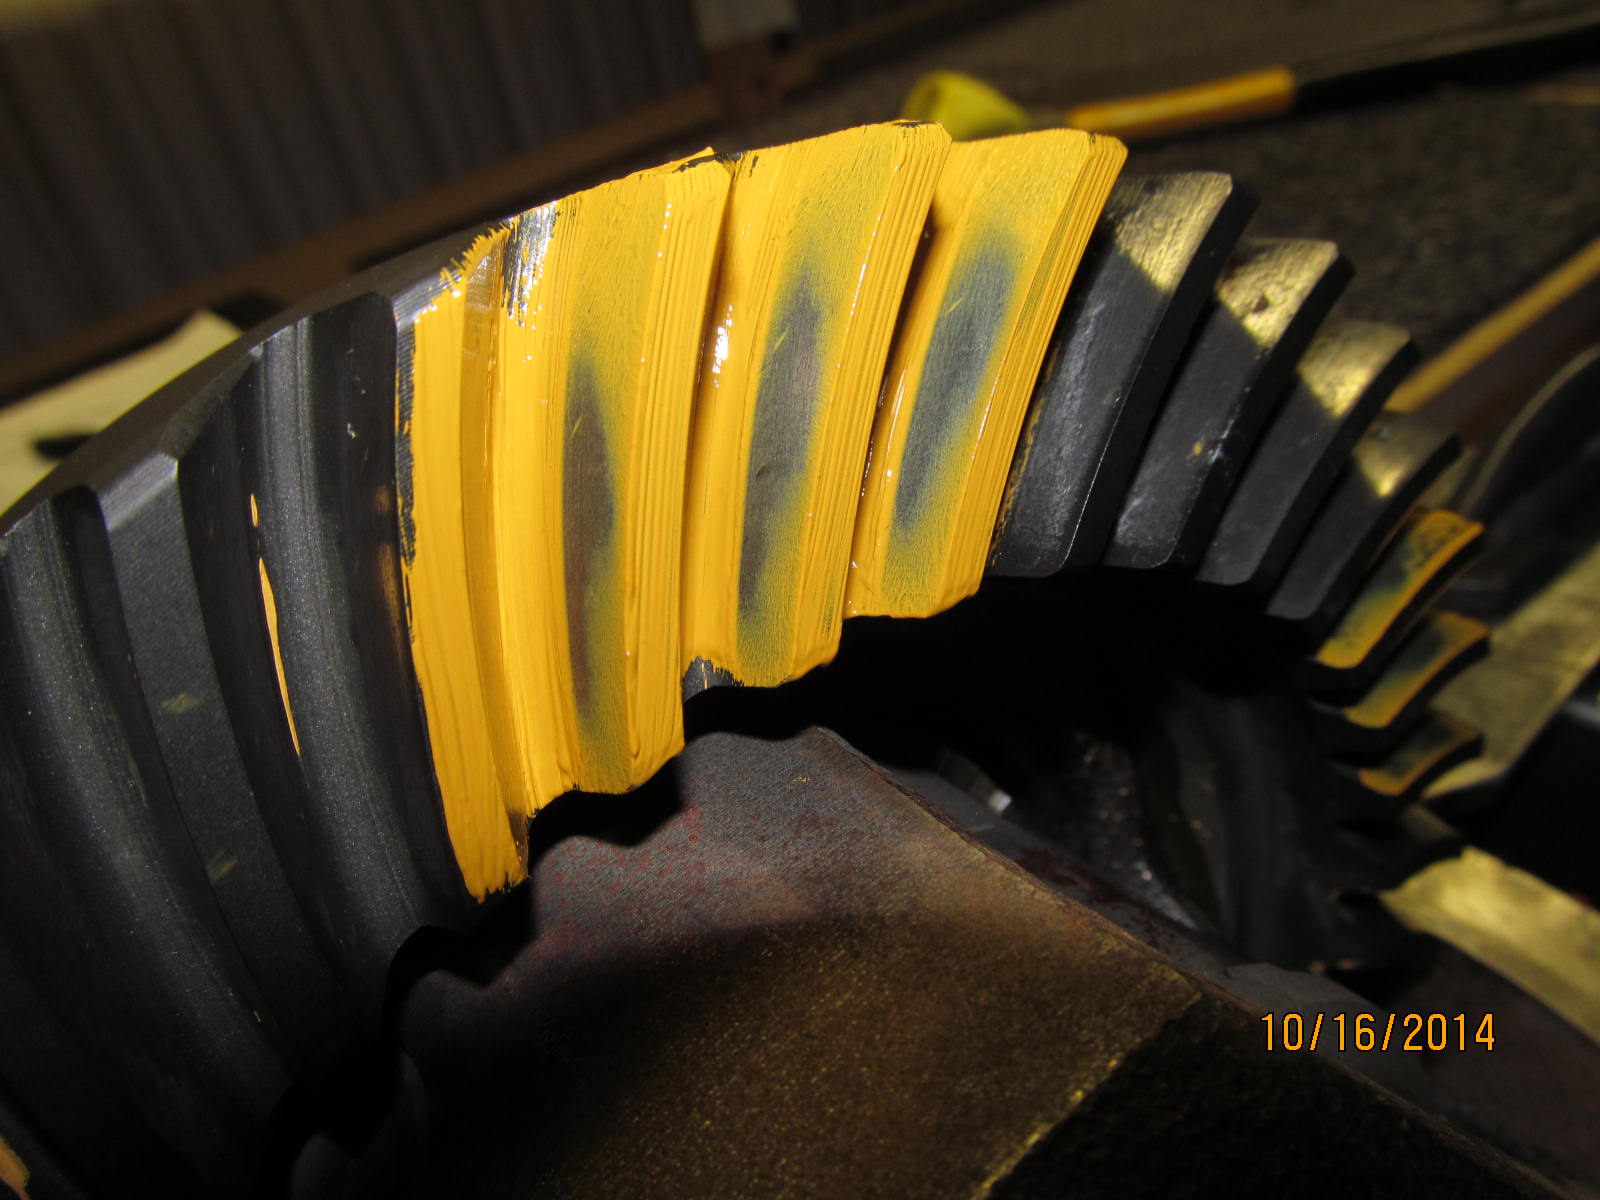
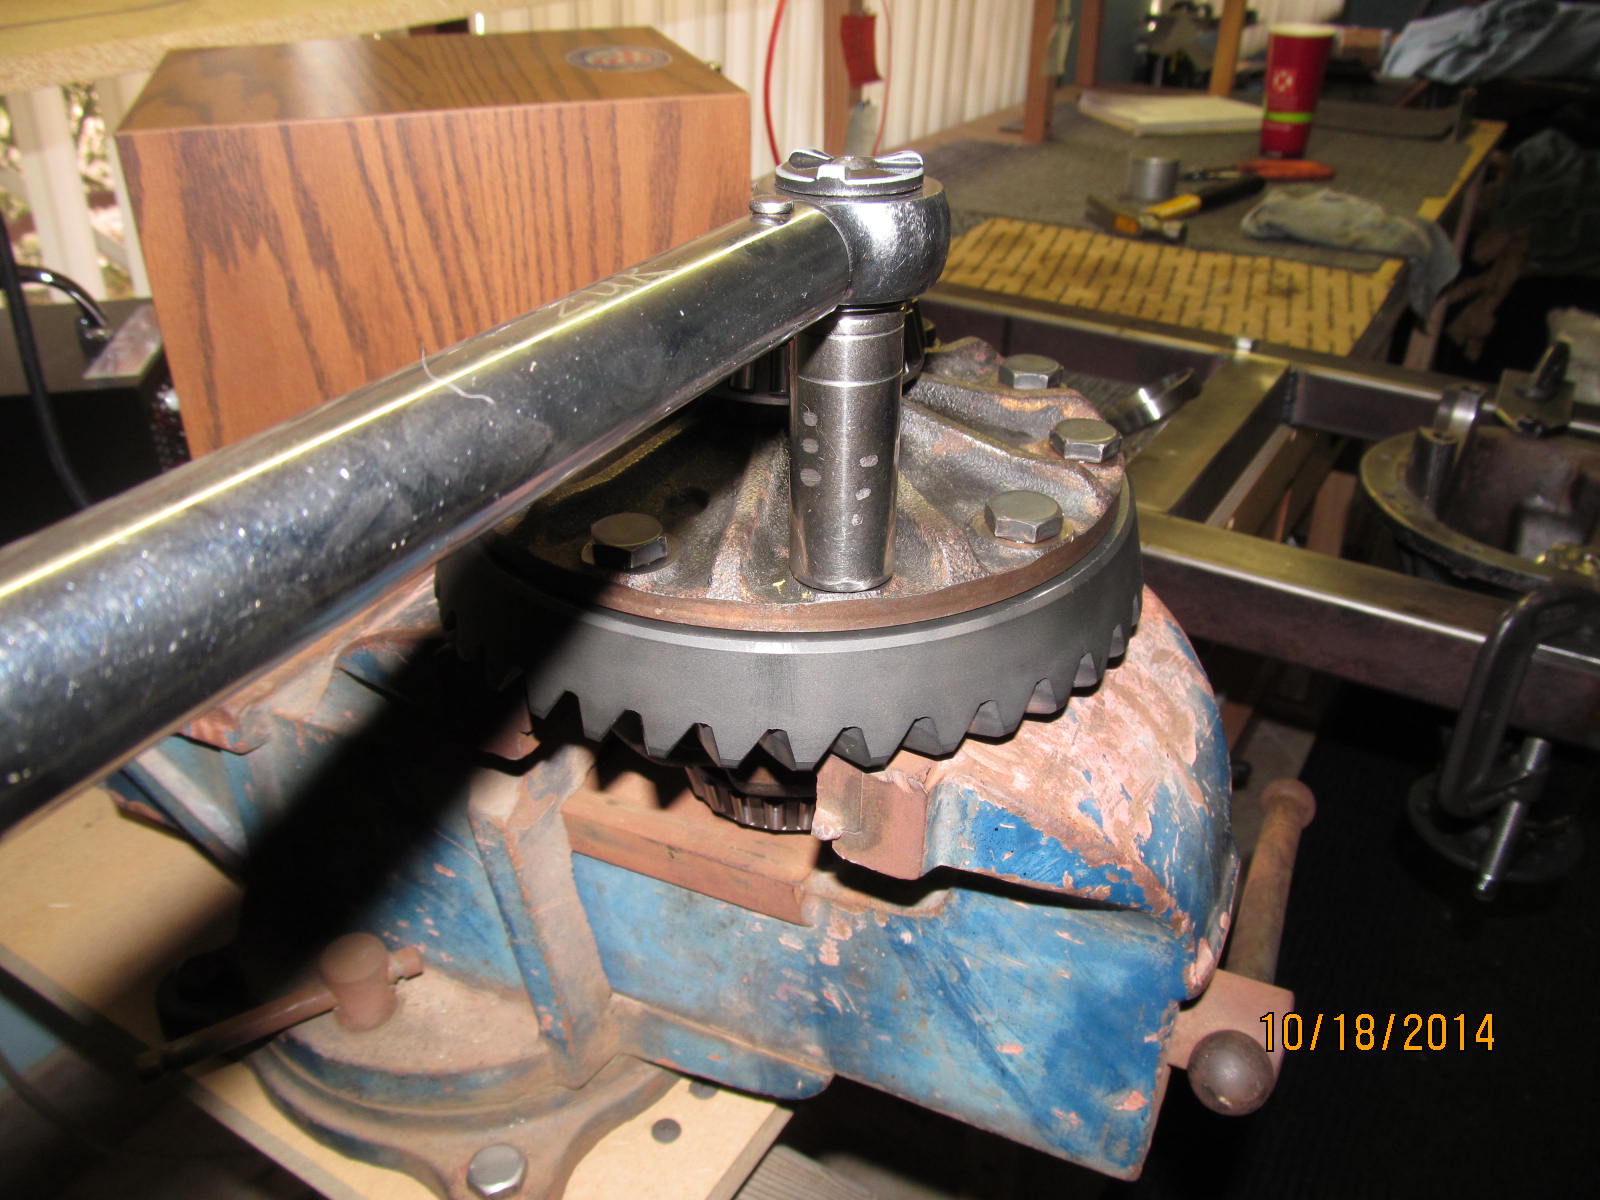
Paint is applied to 3 teeth and I'm using packing paper here to offer some resistance...
|
|
|
|
|
...while the ring gear is turned back and forth with a 17mm wrench.
|
|
|
|
|
Drive----nice...centered and slightly deep. My preferred condition.
|
|
|
|
|
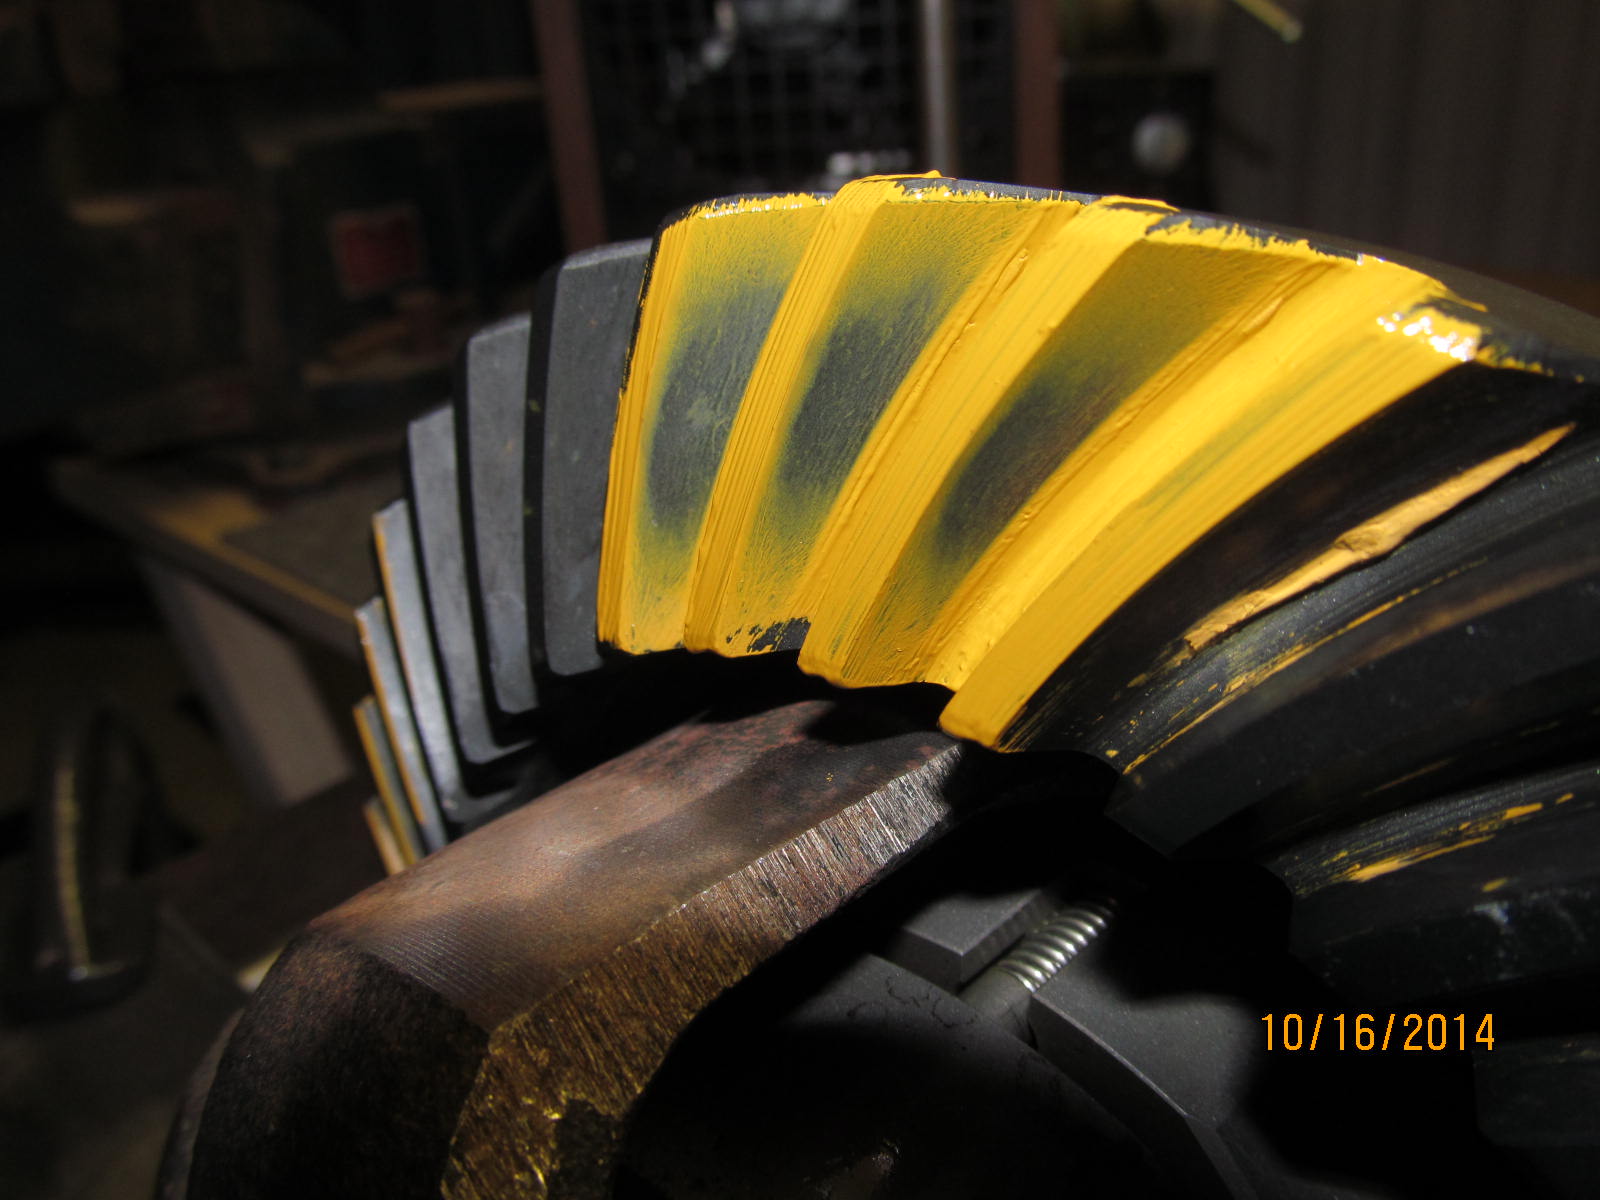
Coast---surprisingly good.
|
|
|

|
|
Look at the tail of the comet....centered. Very good. (The right side is the tail)
|
|
|
|
|
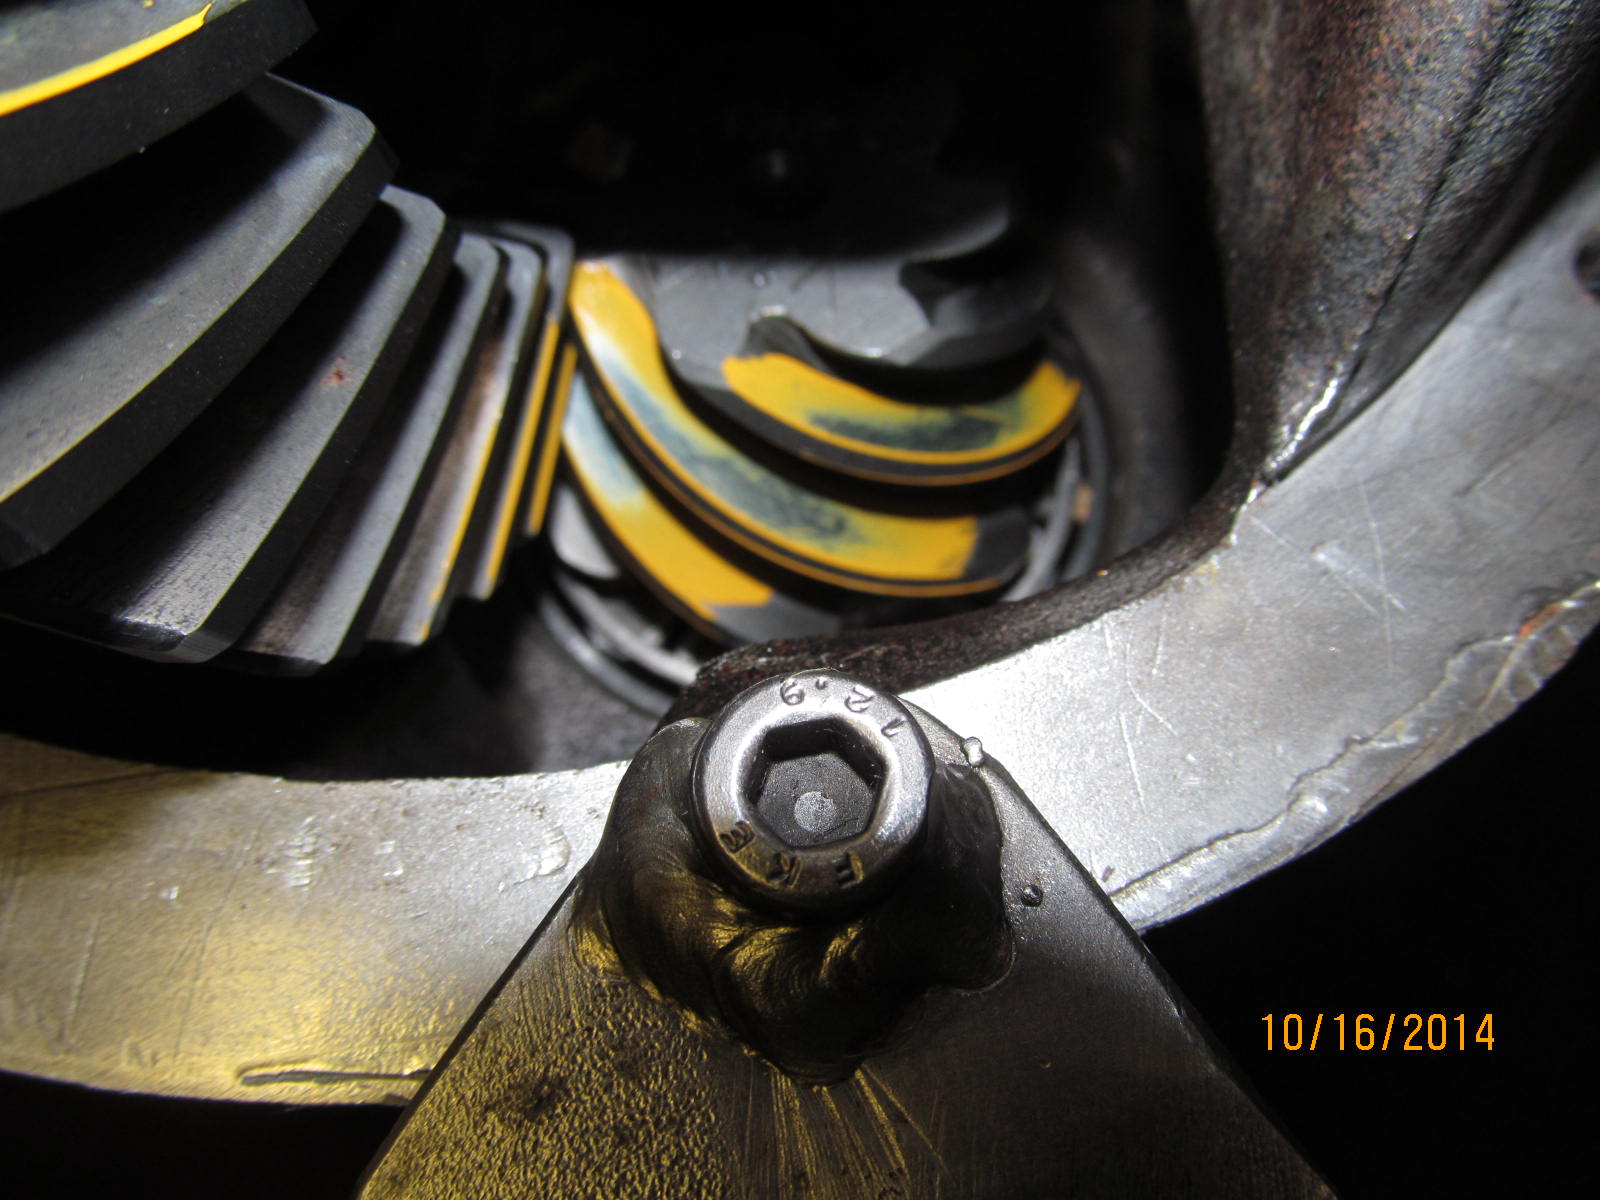
This fuzzy pic of the 2nd tooth says the same.
|
|
|
|
|
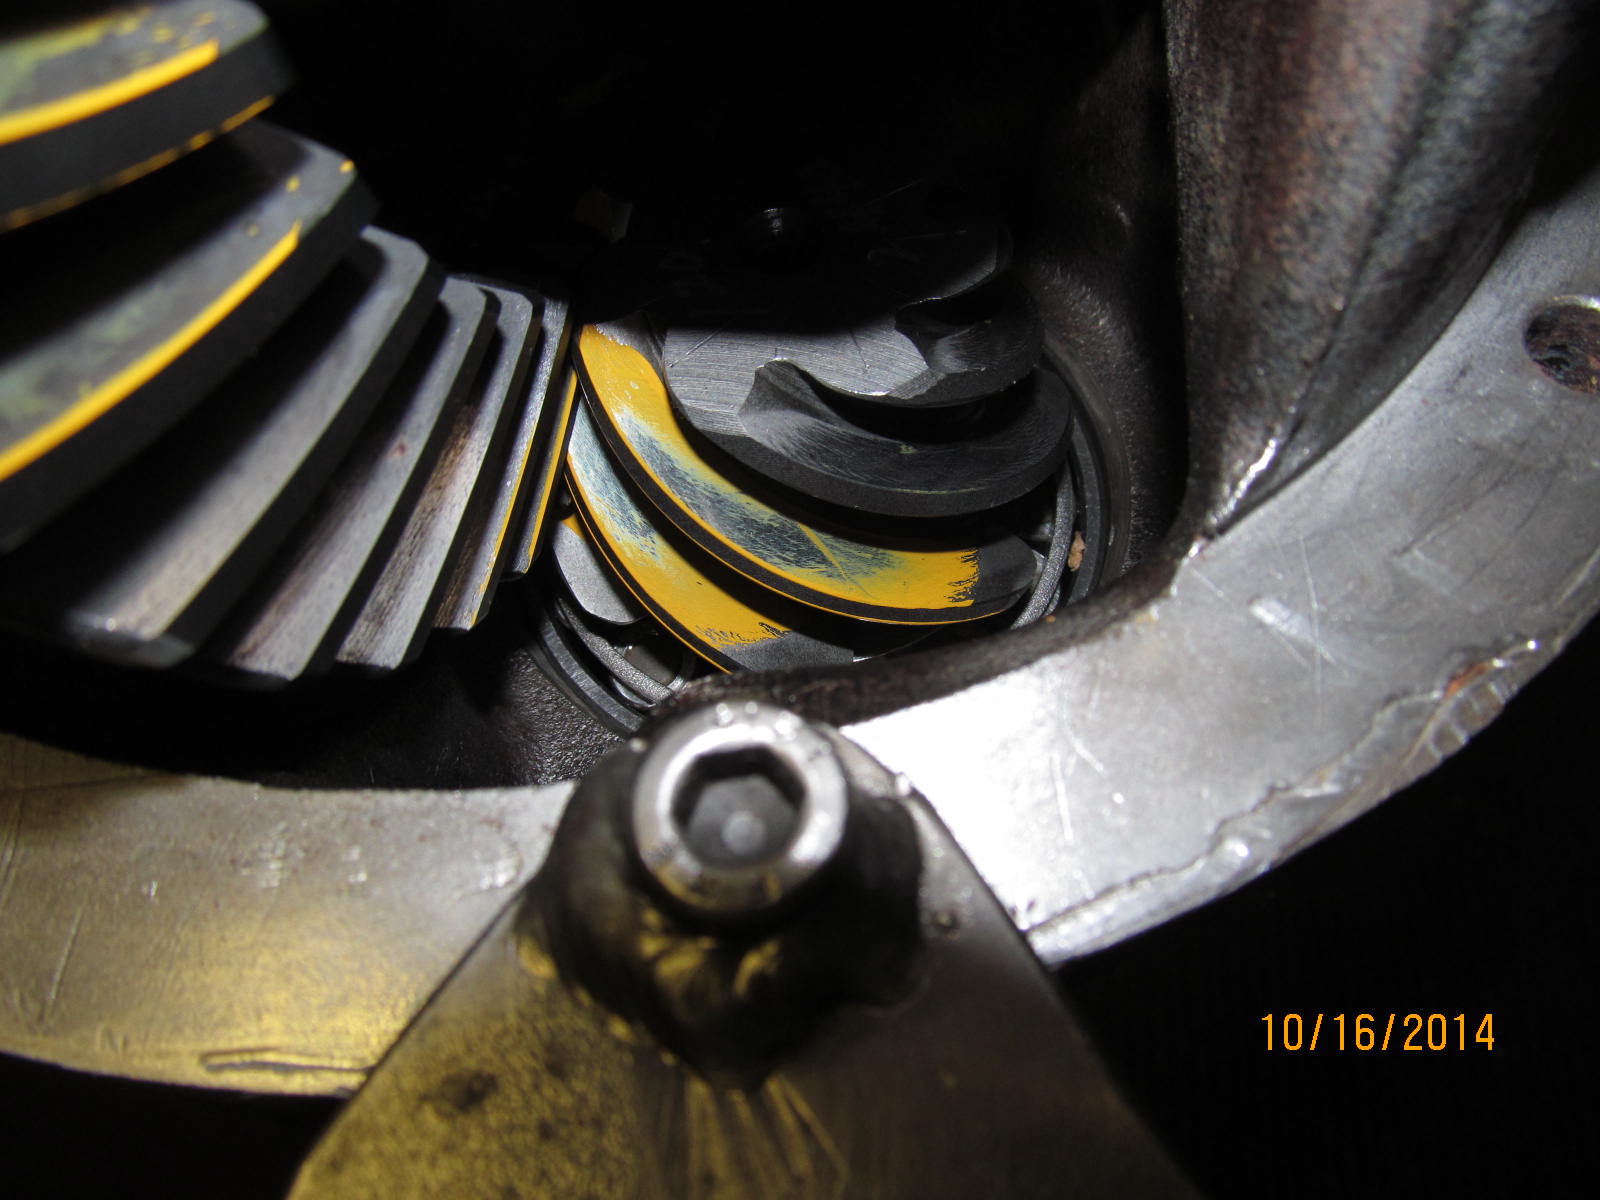
And the 3rd tooth shows the comet about in the center from the face to flank direction.
|
|
|
|
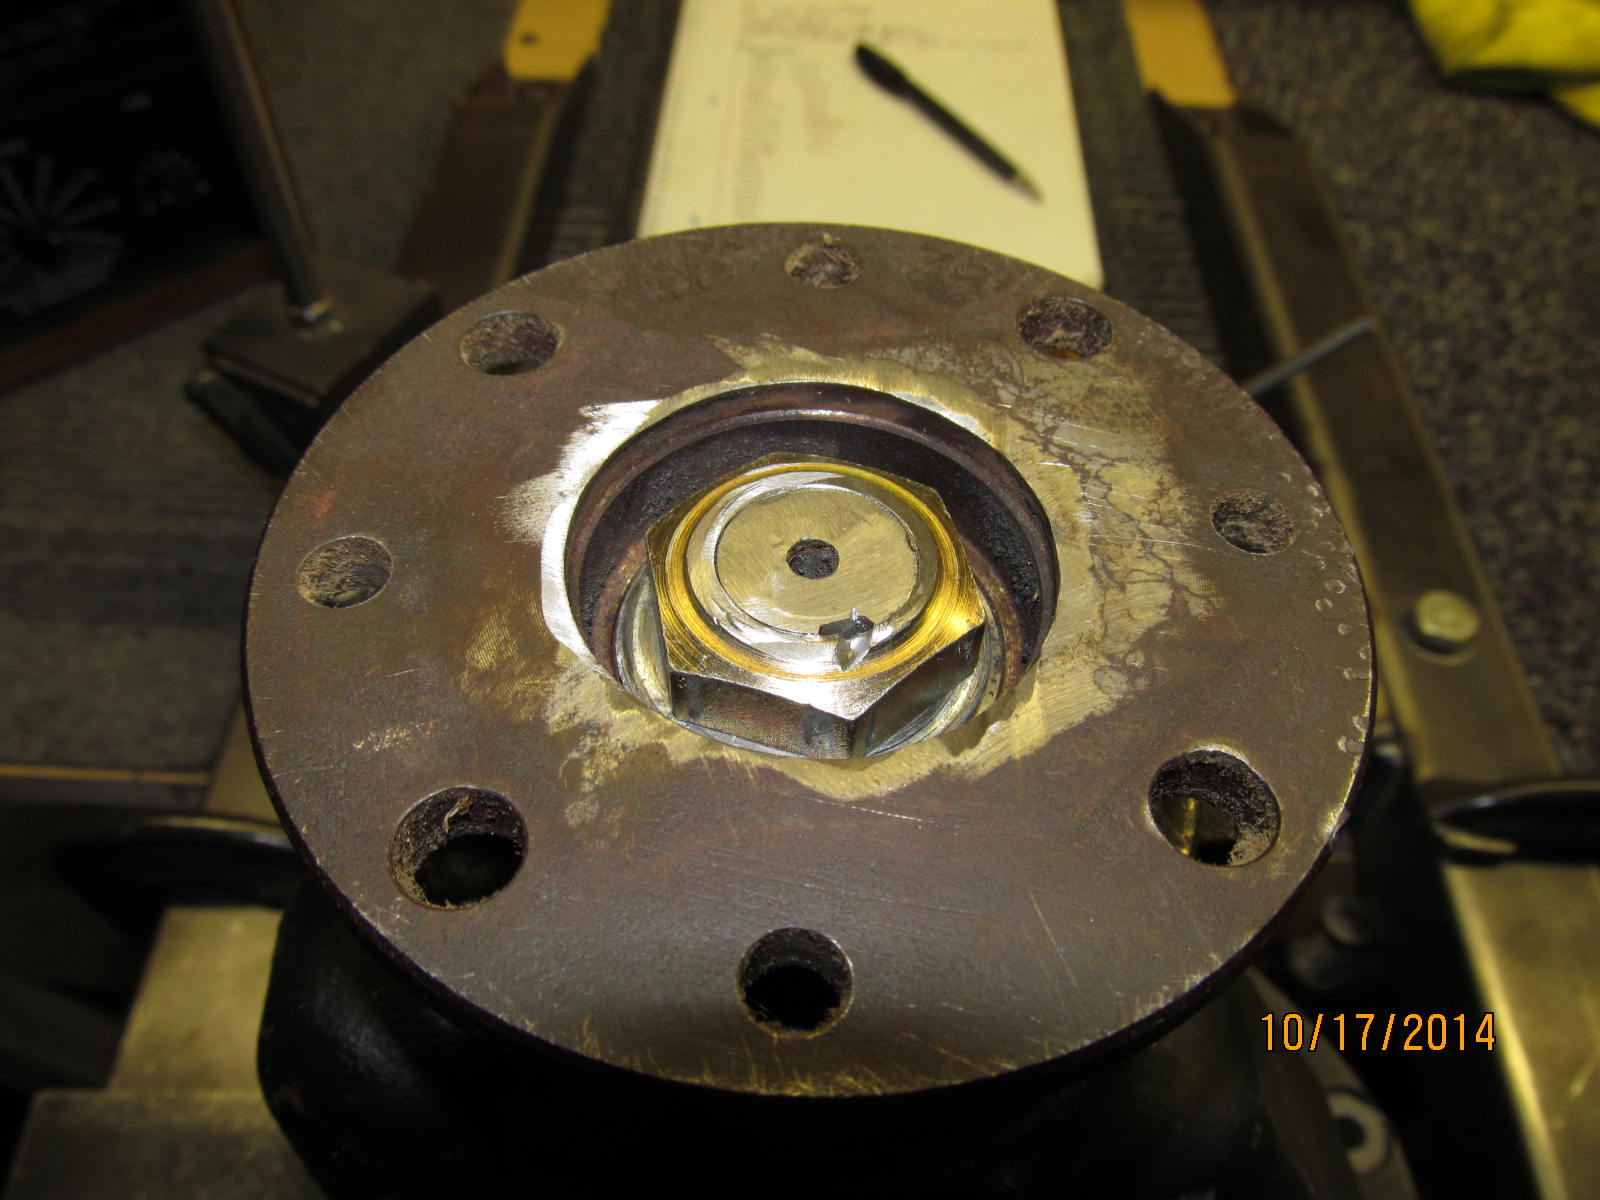
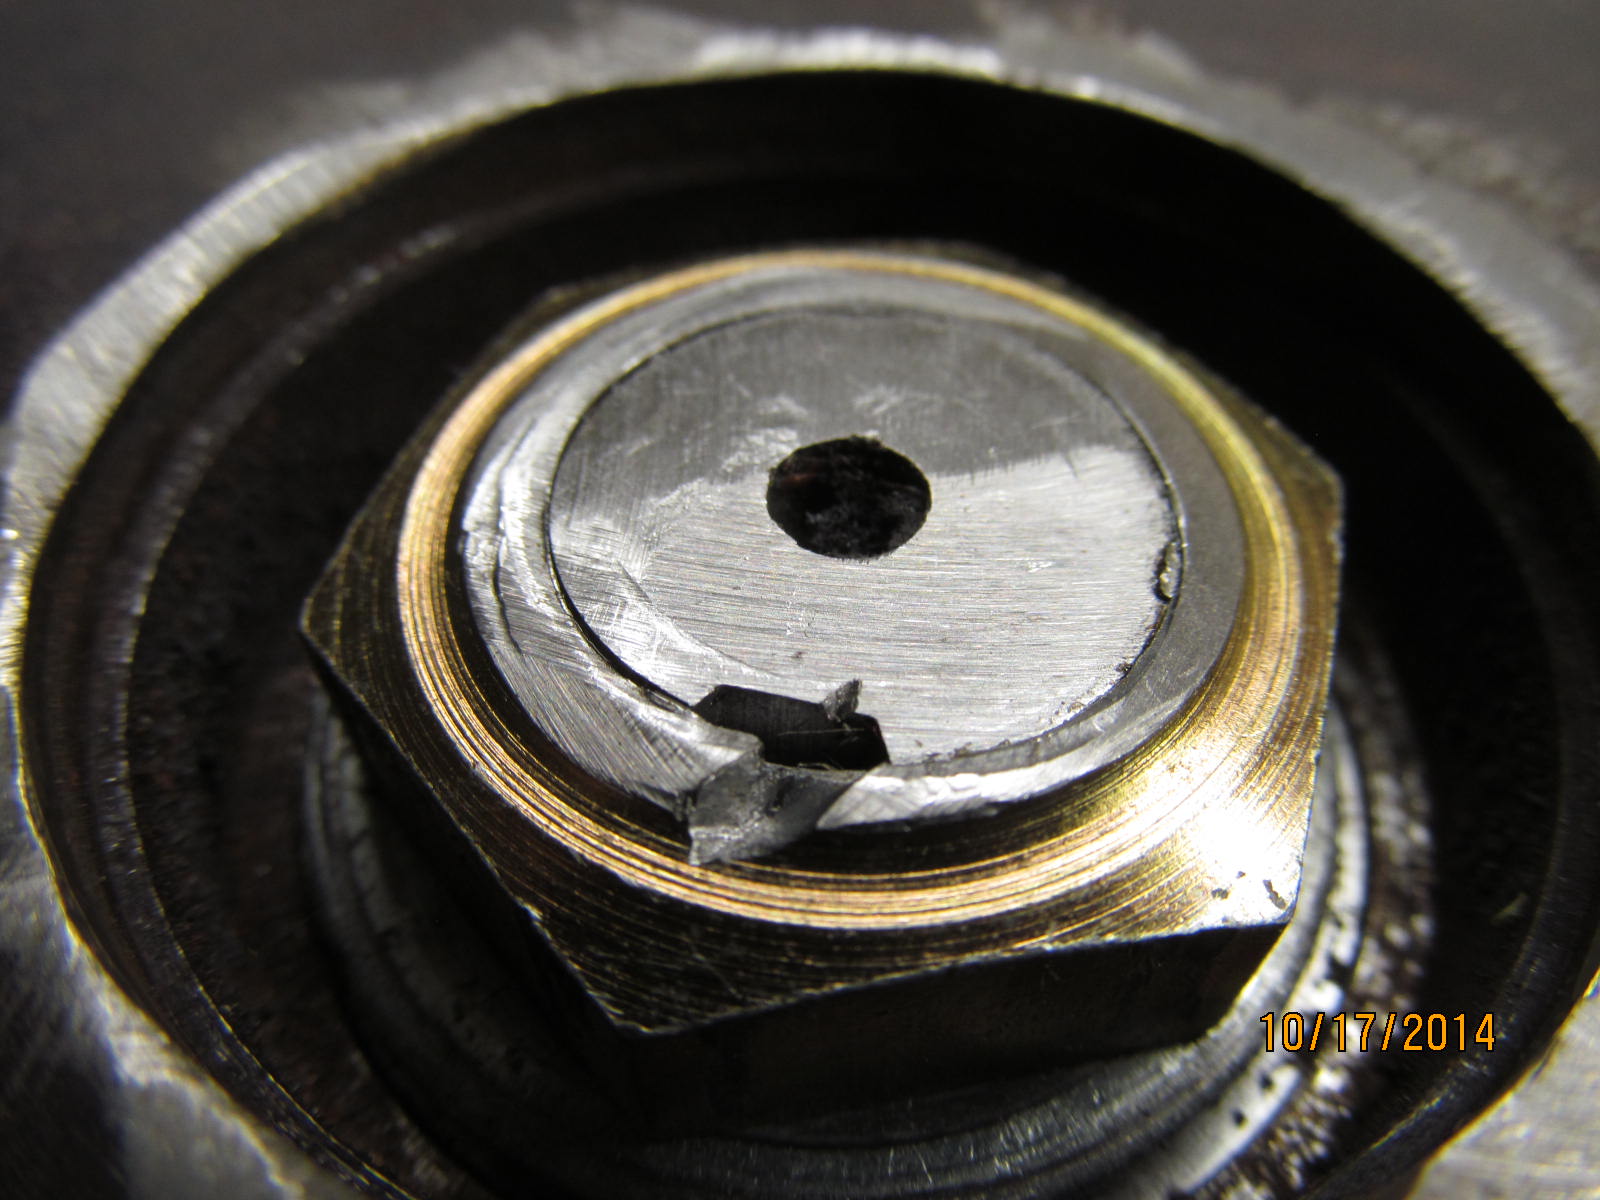
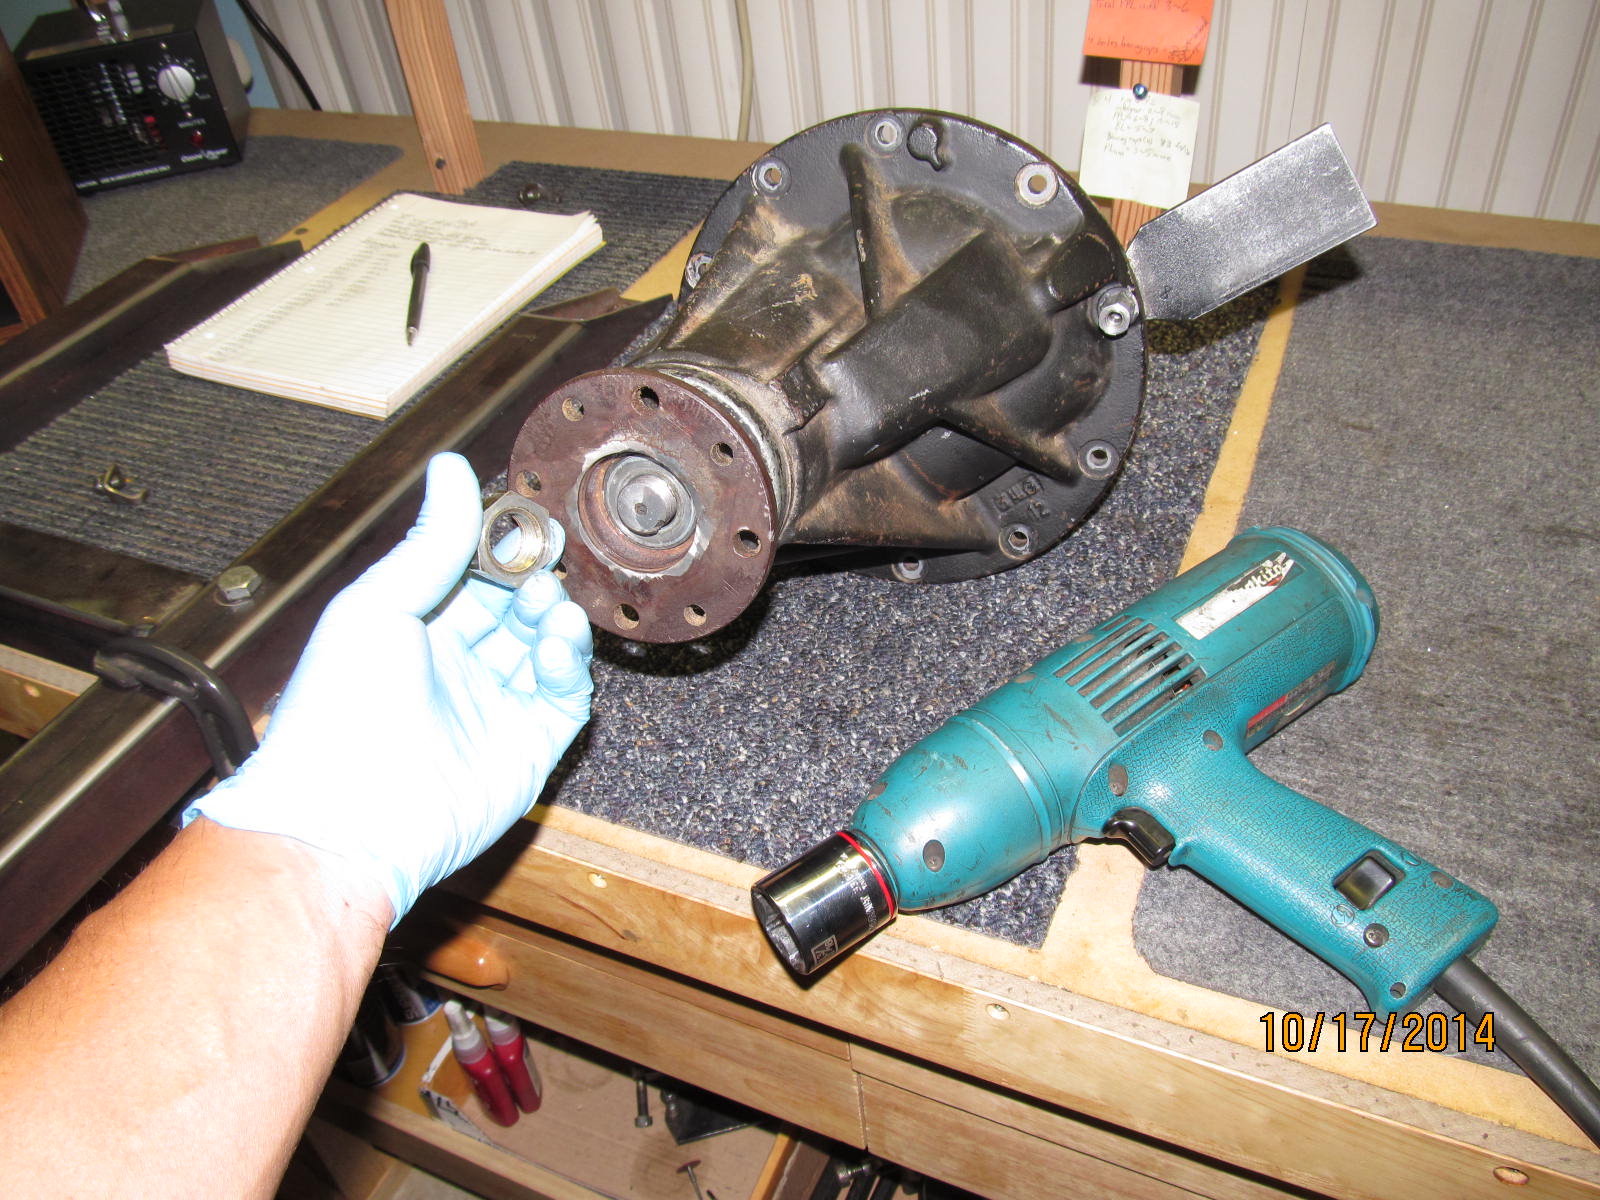
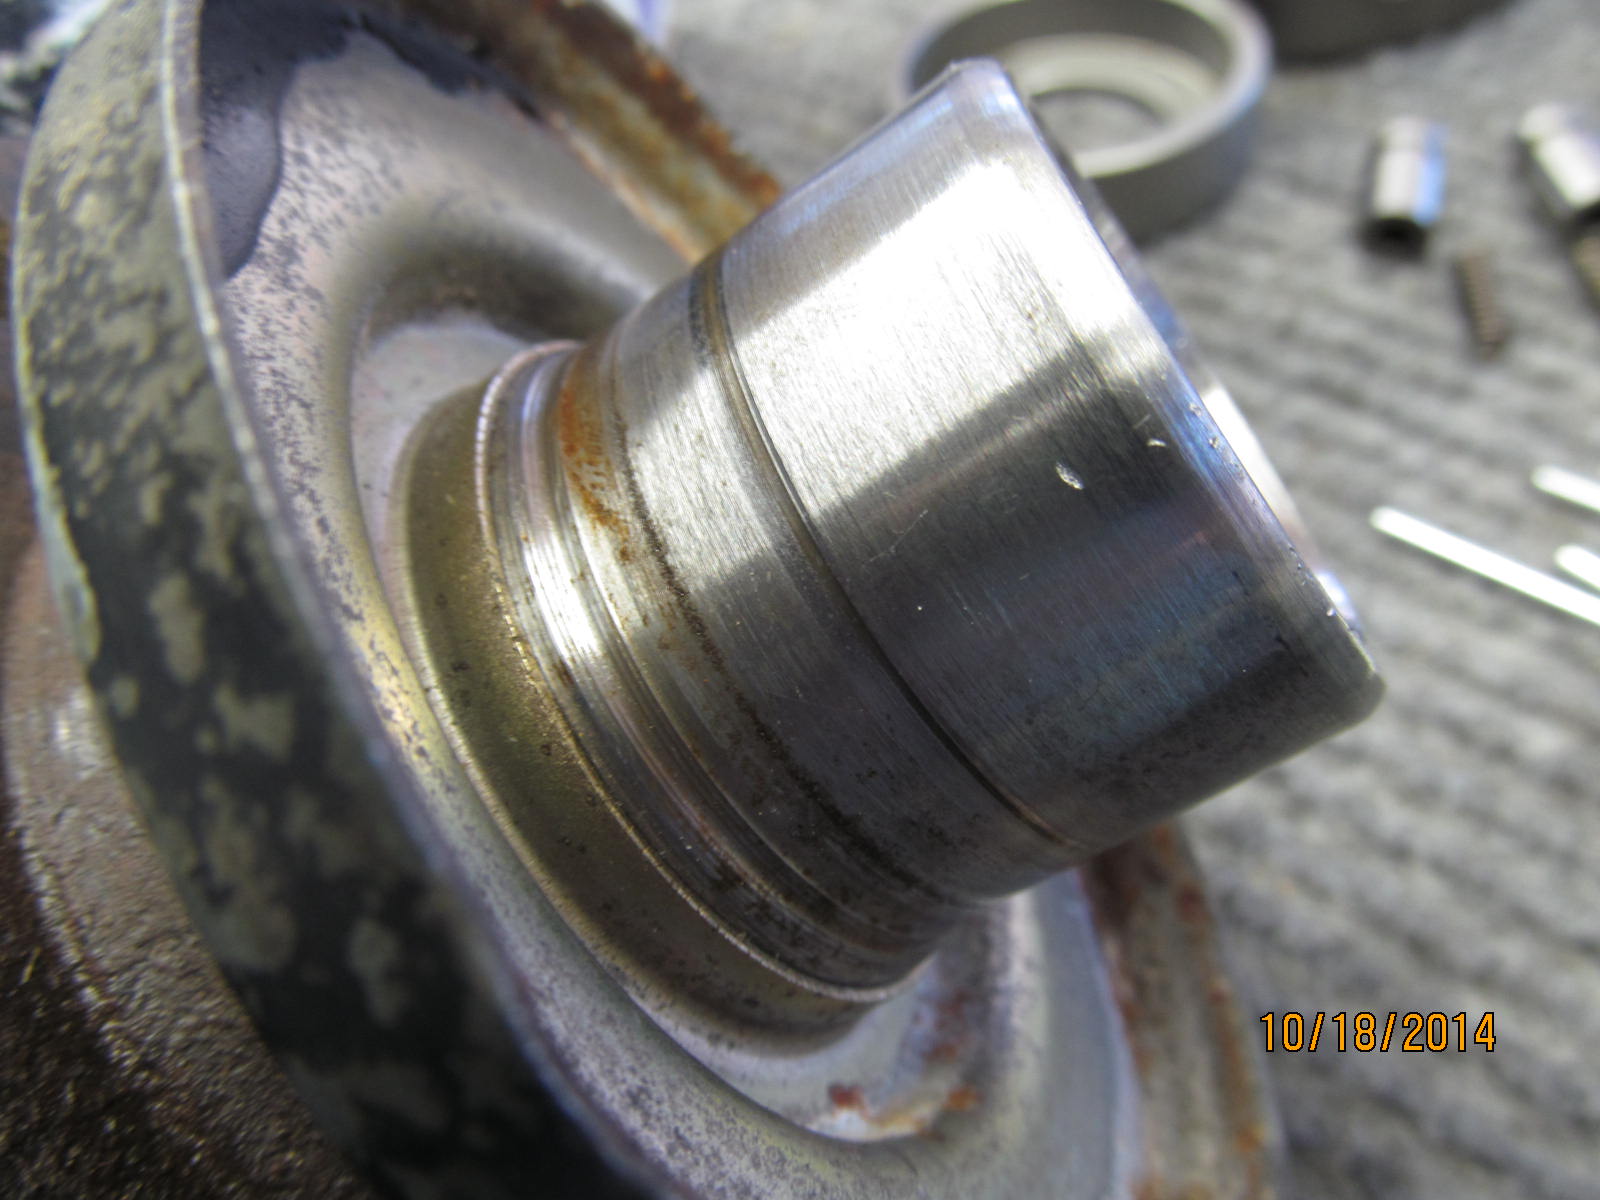
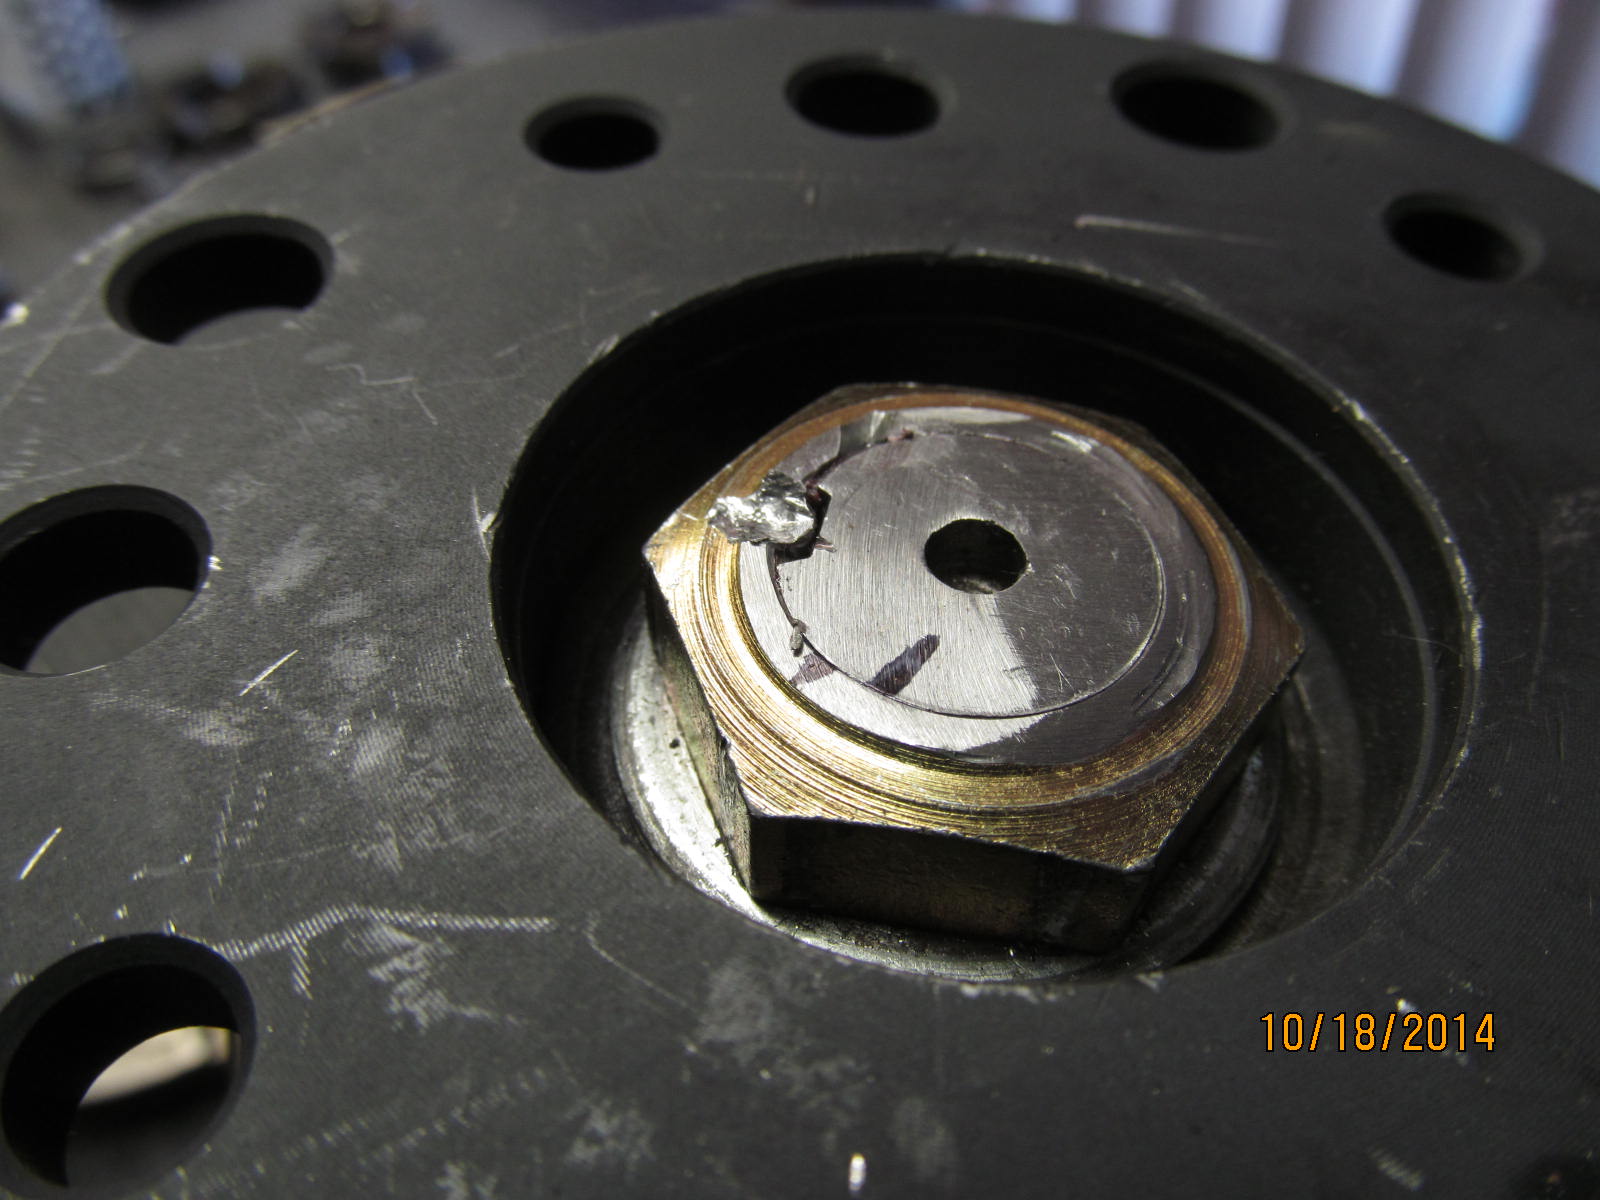
Now to look at the pinion end ... For some unknown reason, the last installer decided to grind/flapper off about
a full 1/8" of pinion and some nut also.
|
|
|
|
|
..................
|
|
|
|
|
.................
|
|
|
|
|
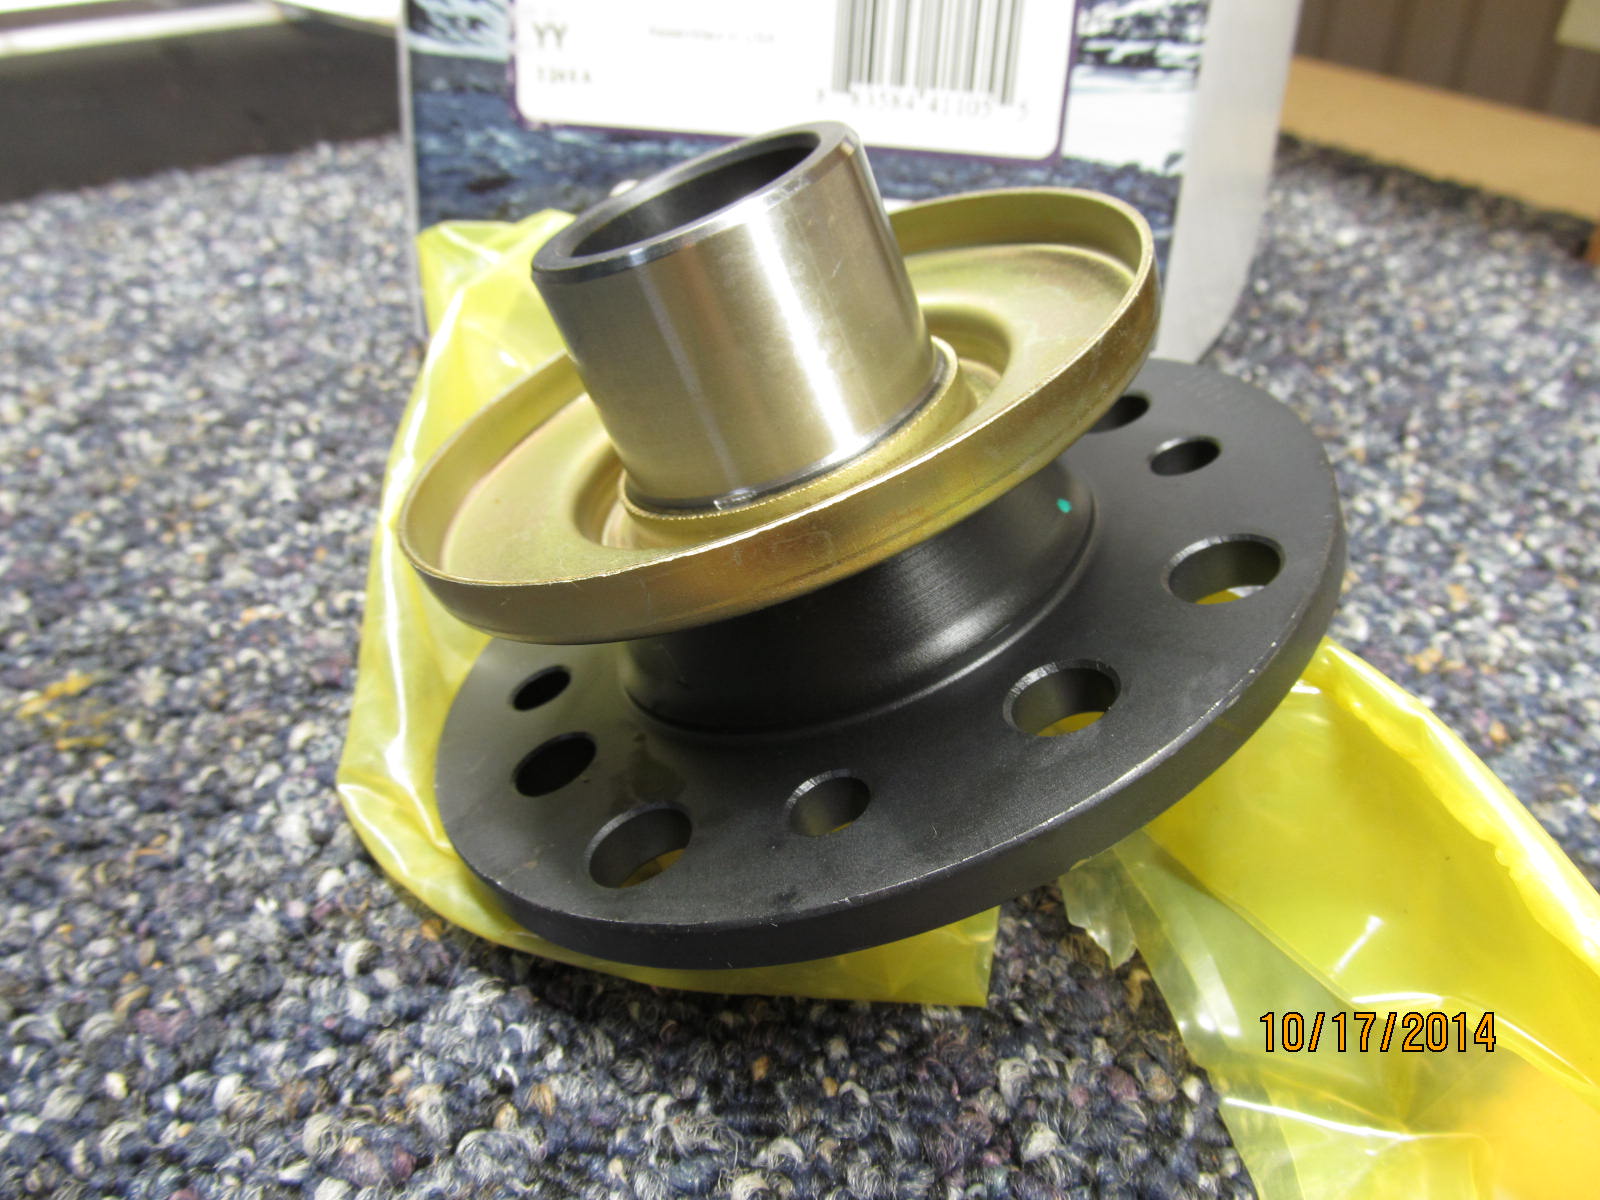
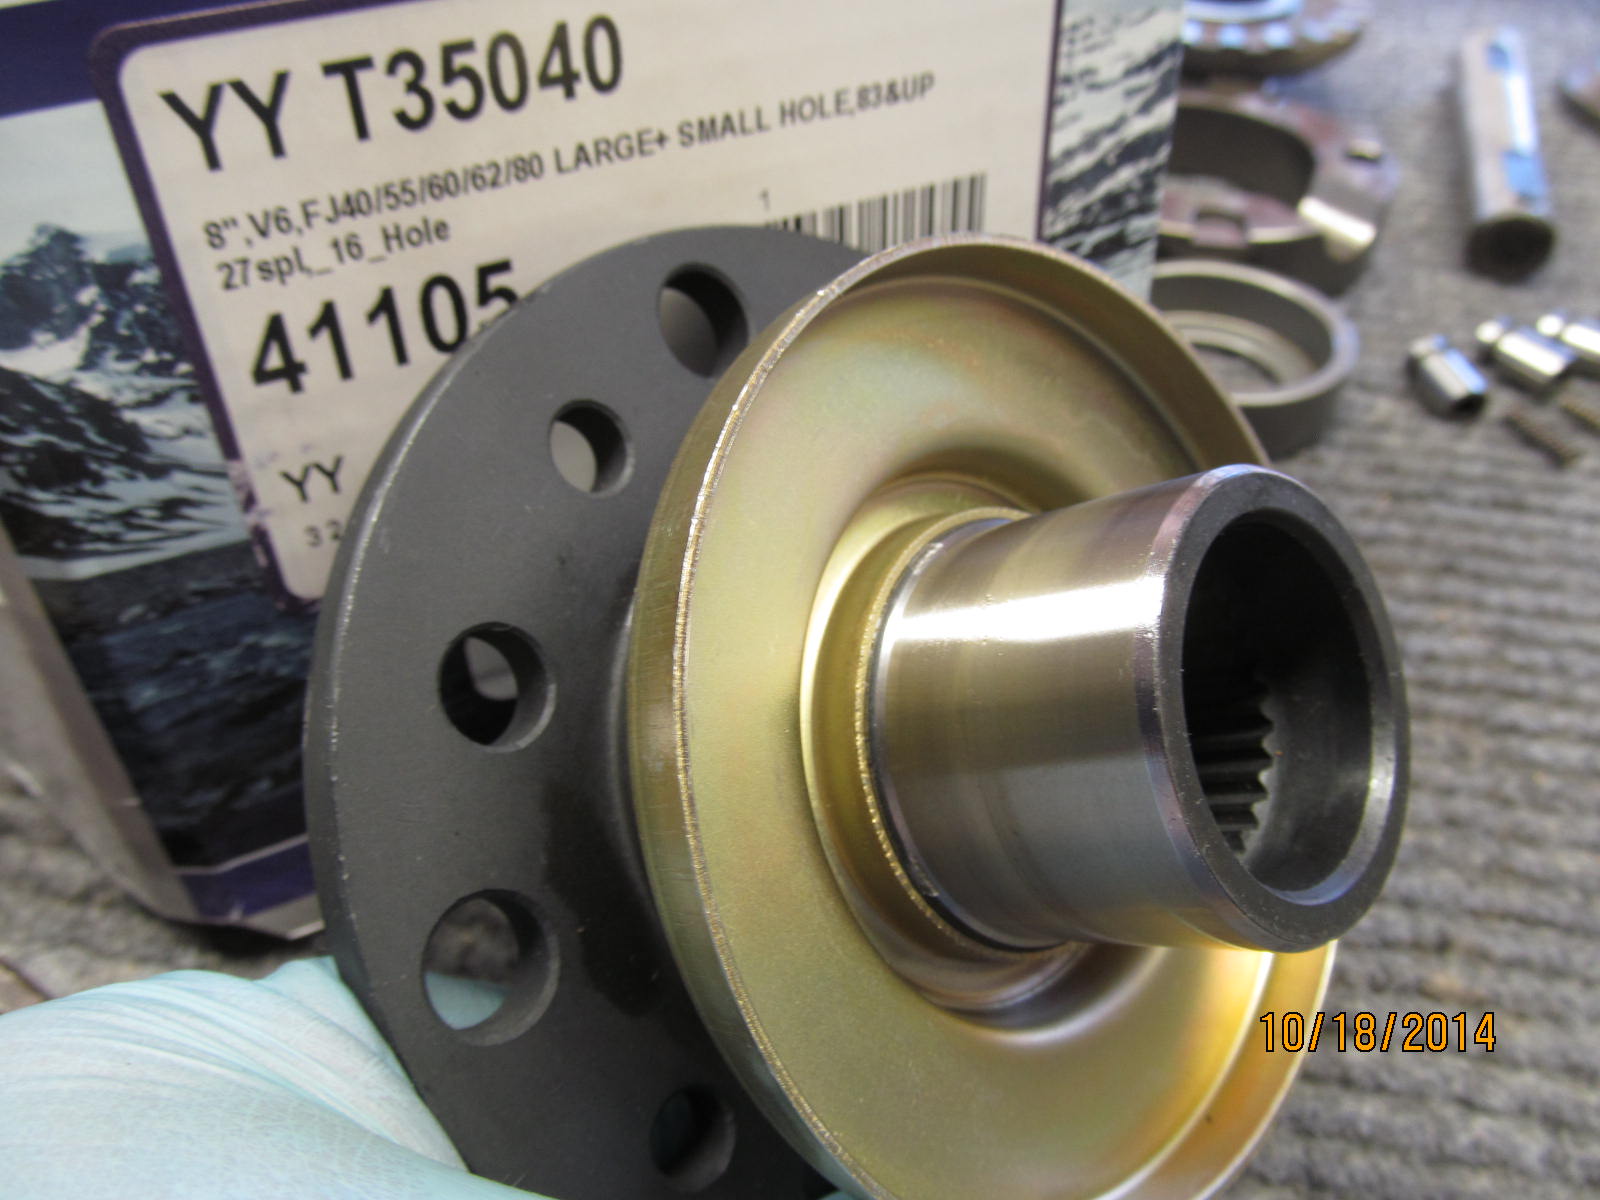
This triple drilled flange will replace the old one.
|
|
|
|
|
The nut was not exactly "tight". No Loctite either.
|
|
|
|
|
...............
|
|
|
|
|
....................
|
|
|
|
|
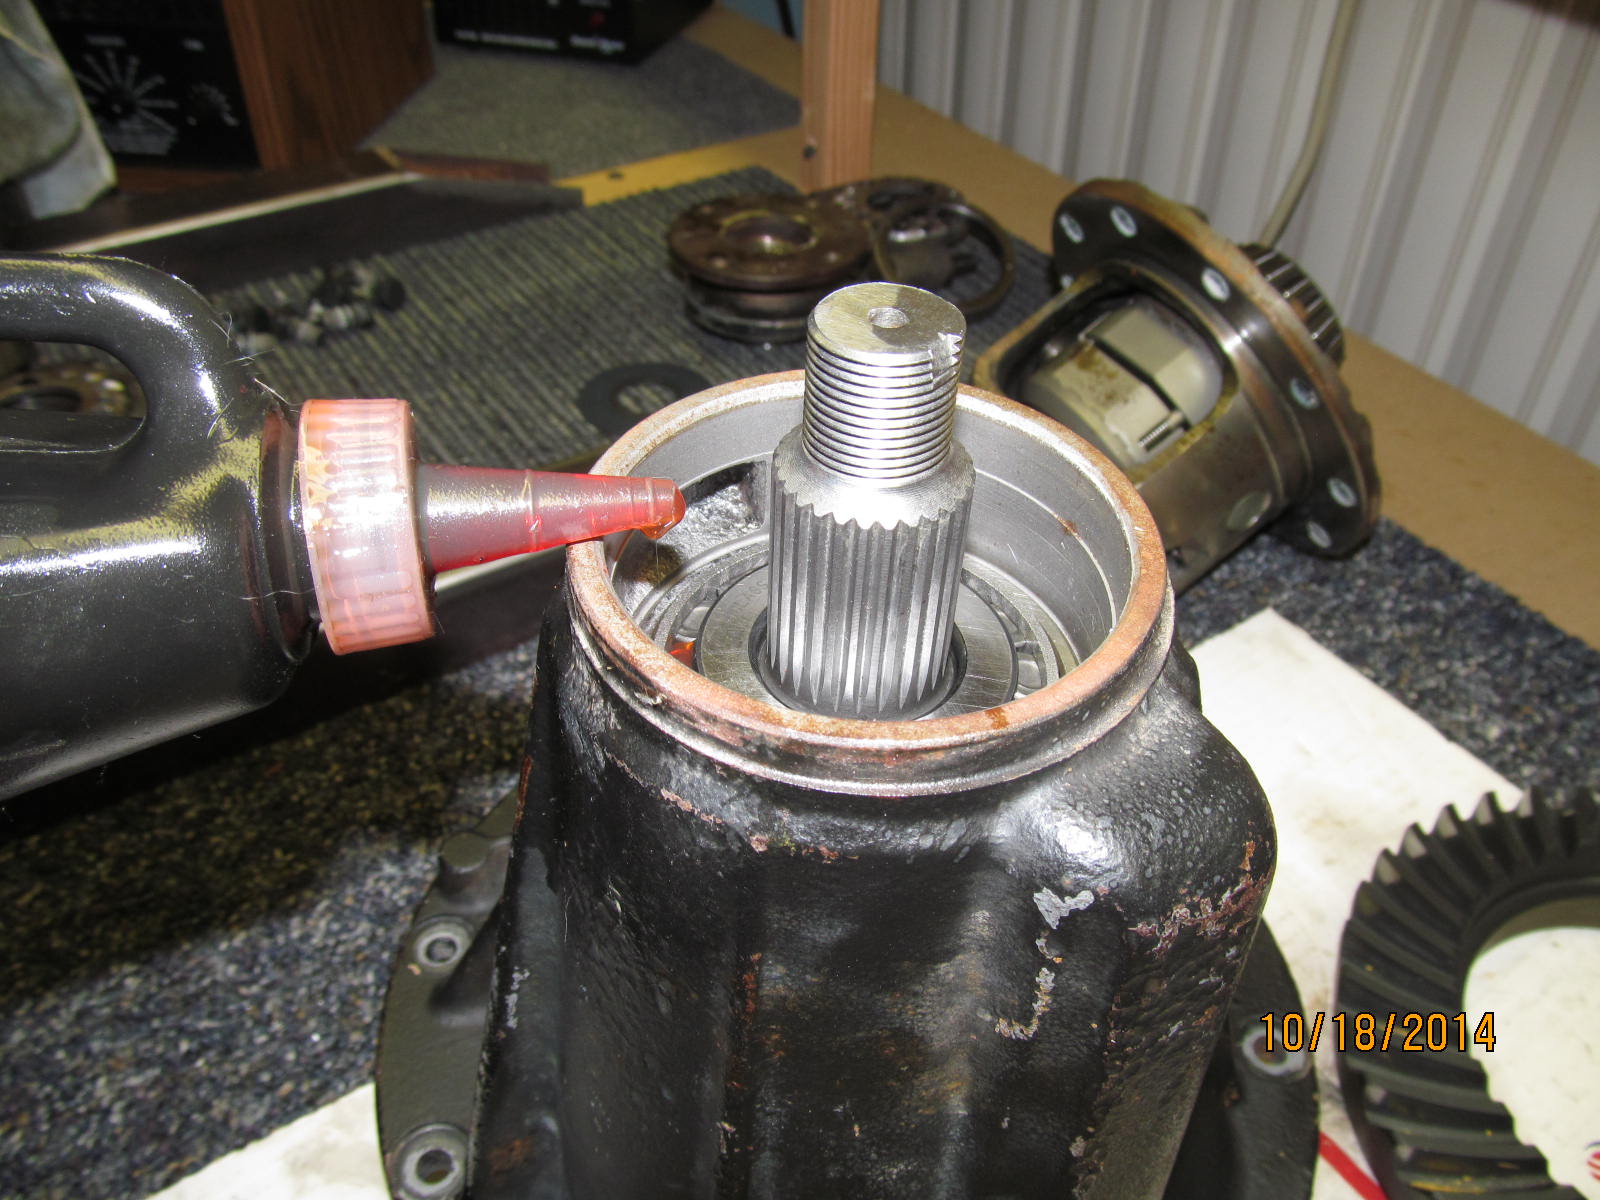
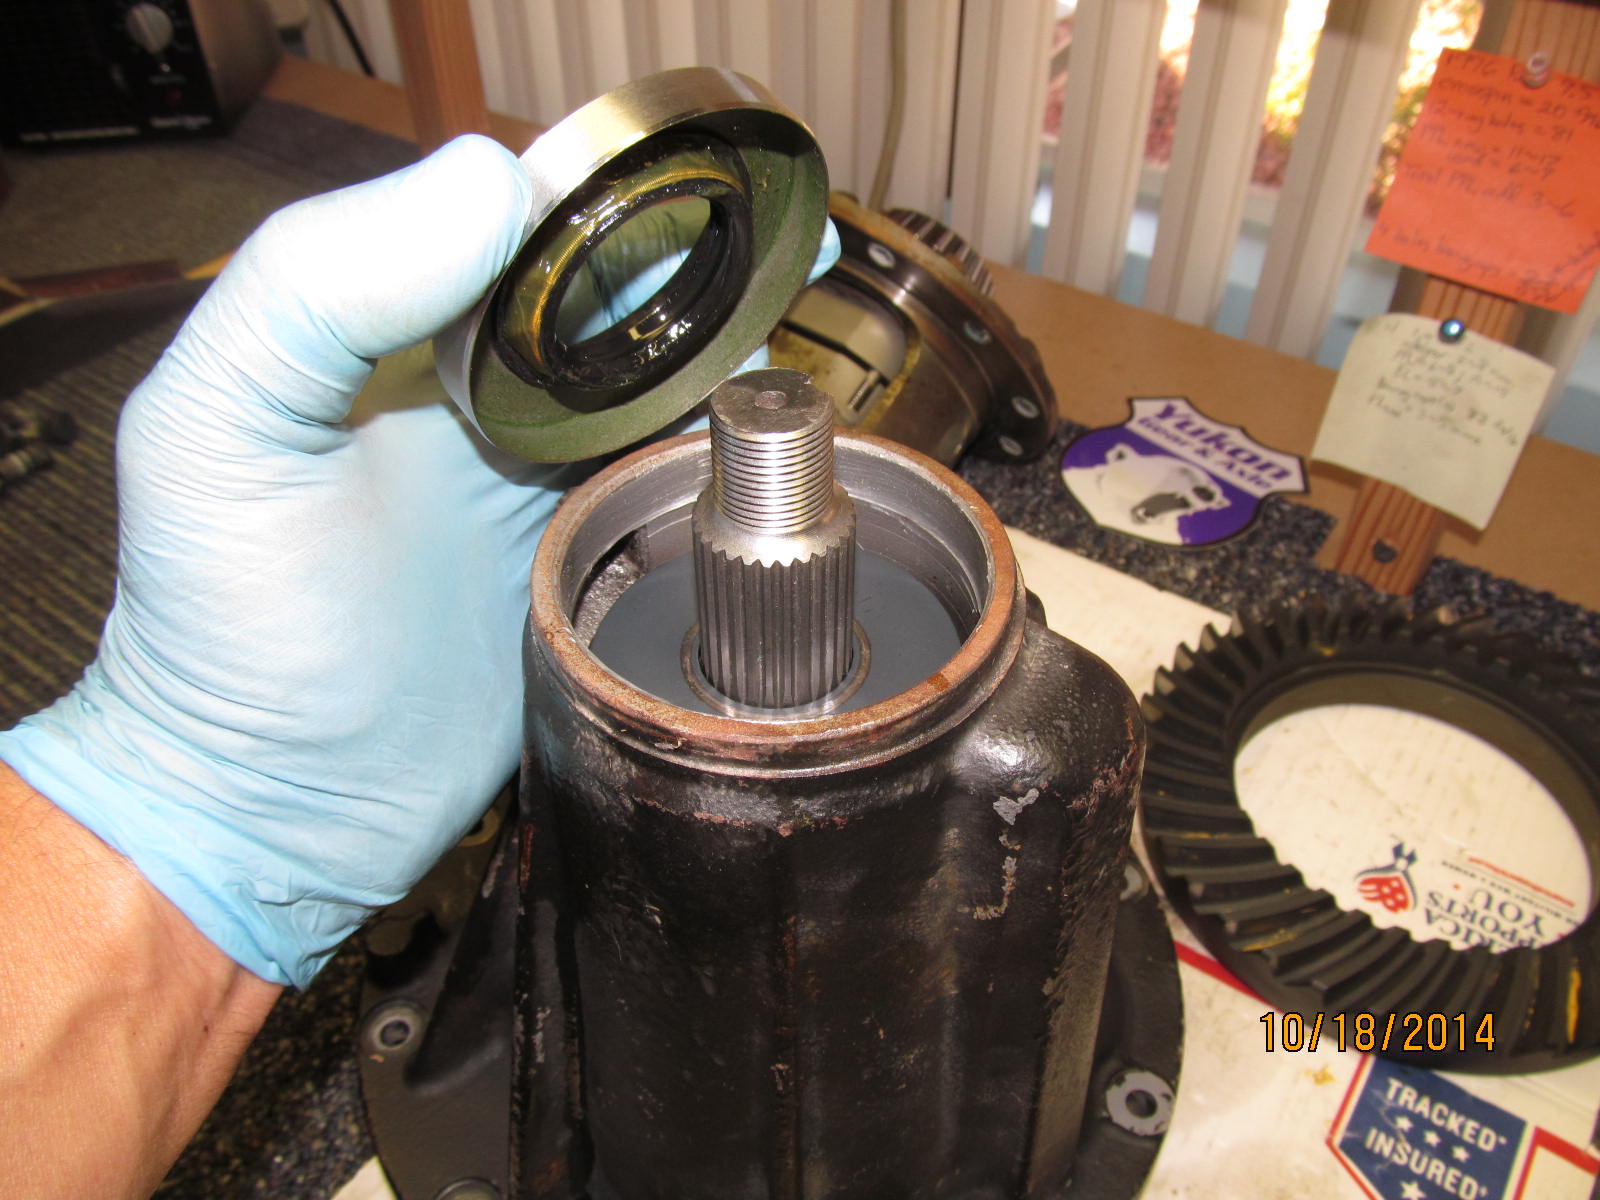
Grey RTV was used on the outside of the seal and it appears to be in good shape. No big dents in it.
|
|
|
|
|
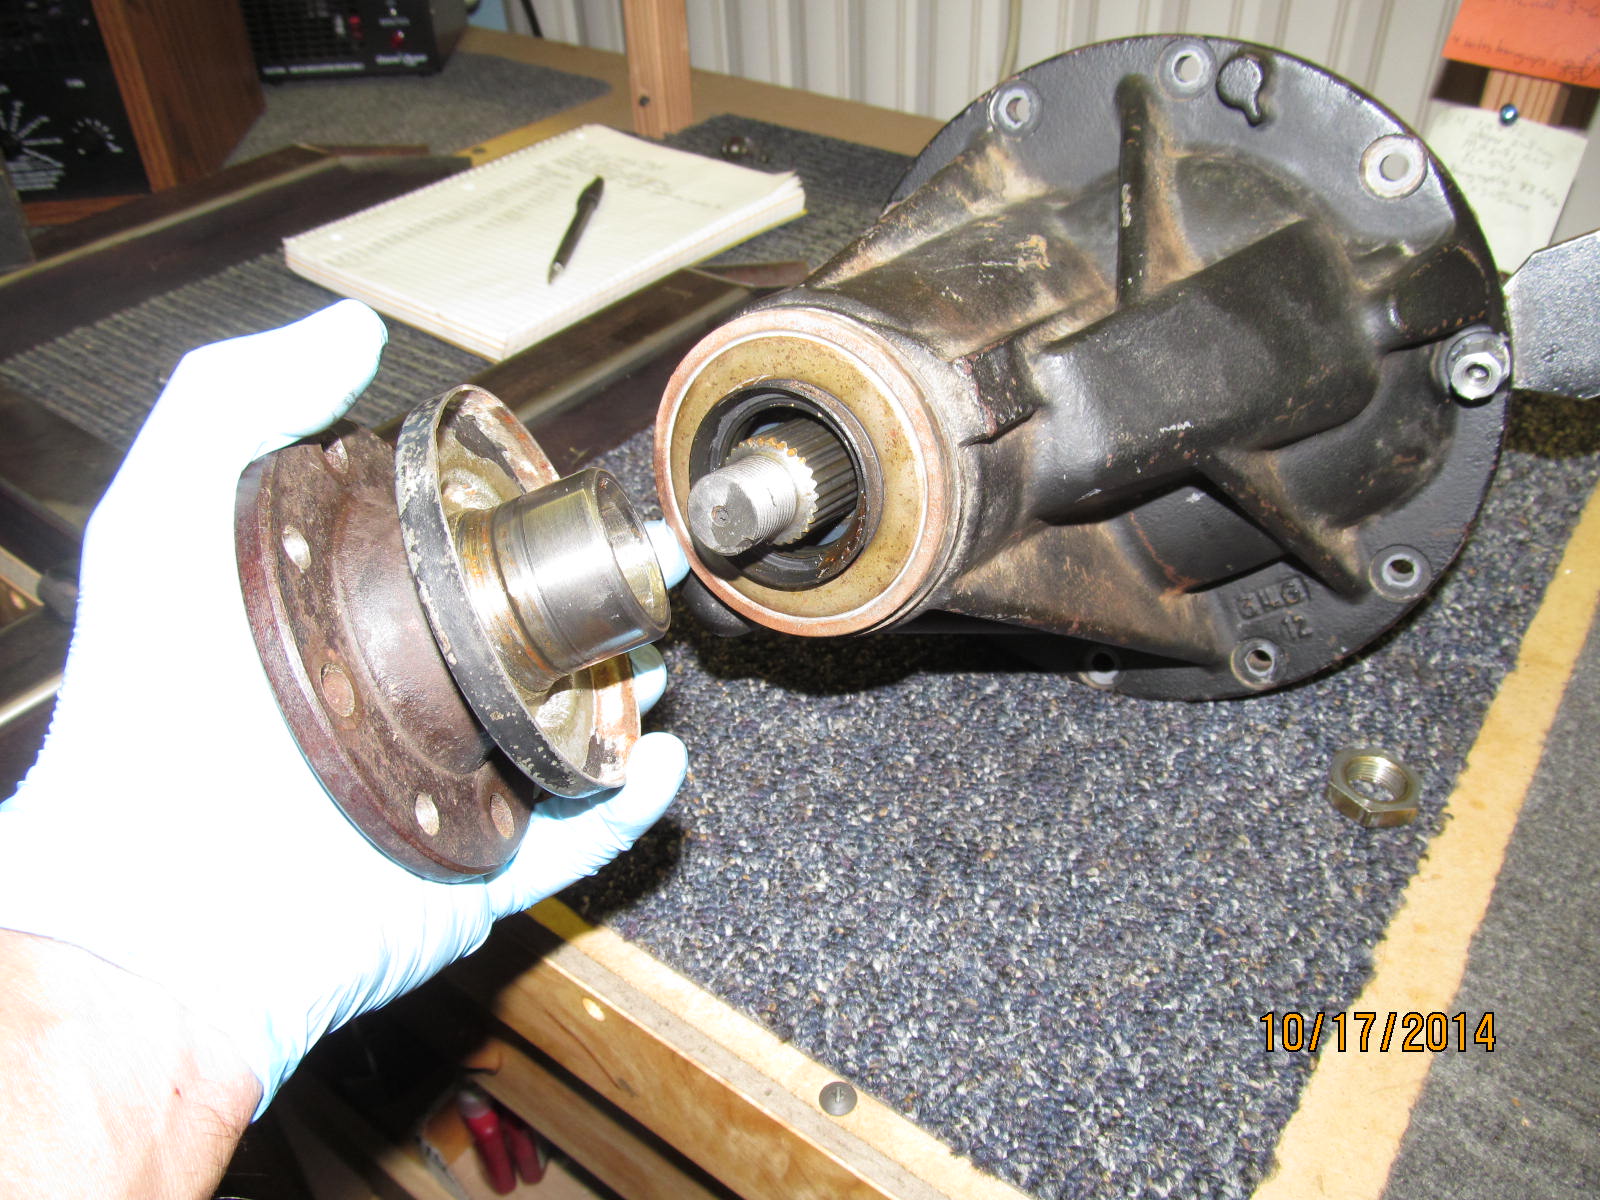
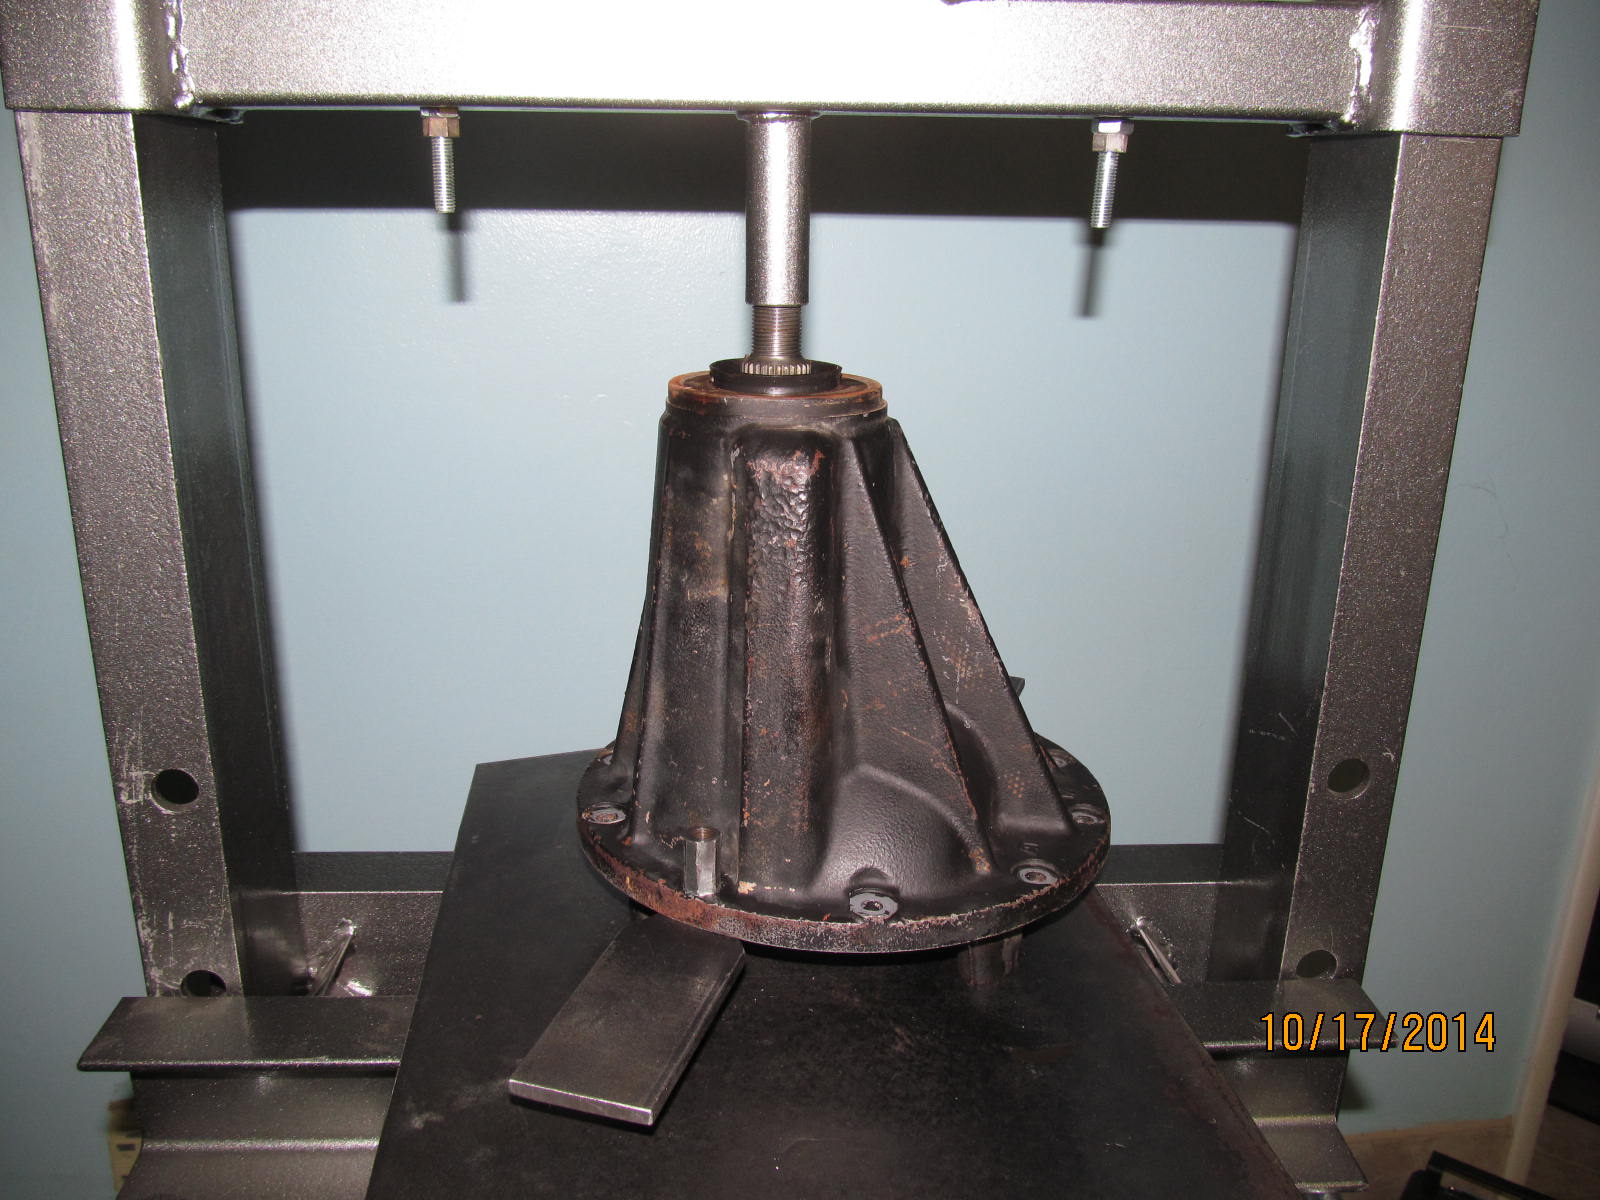
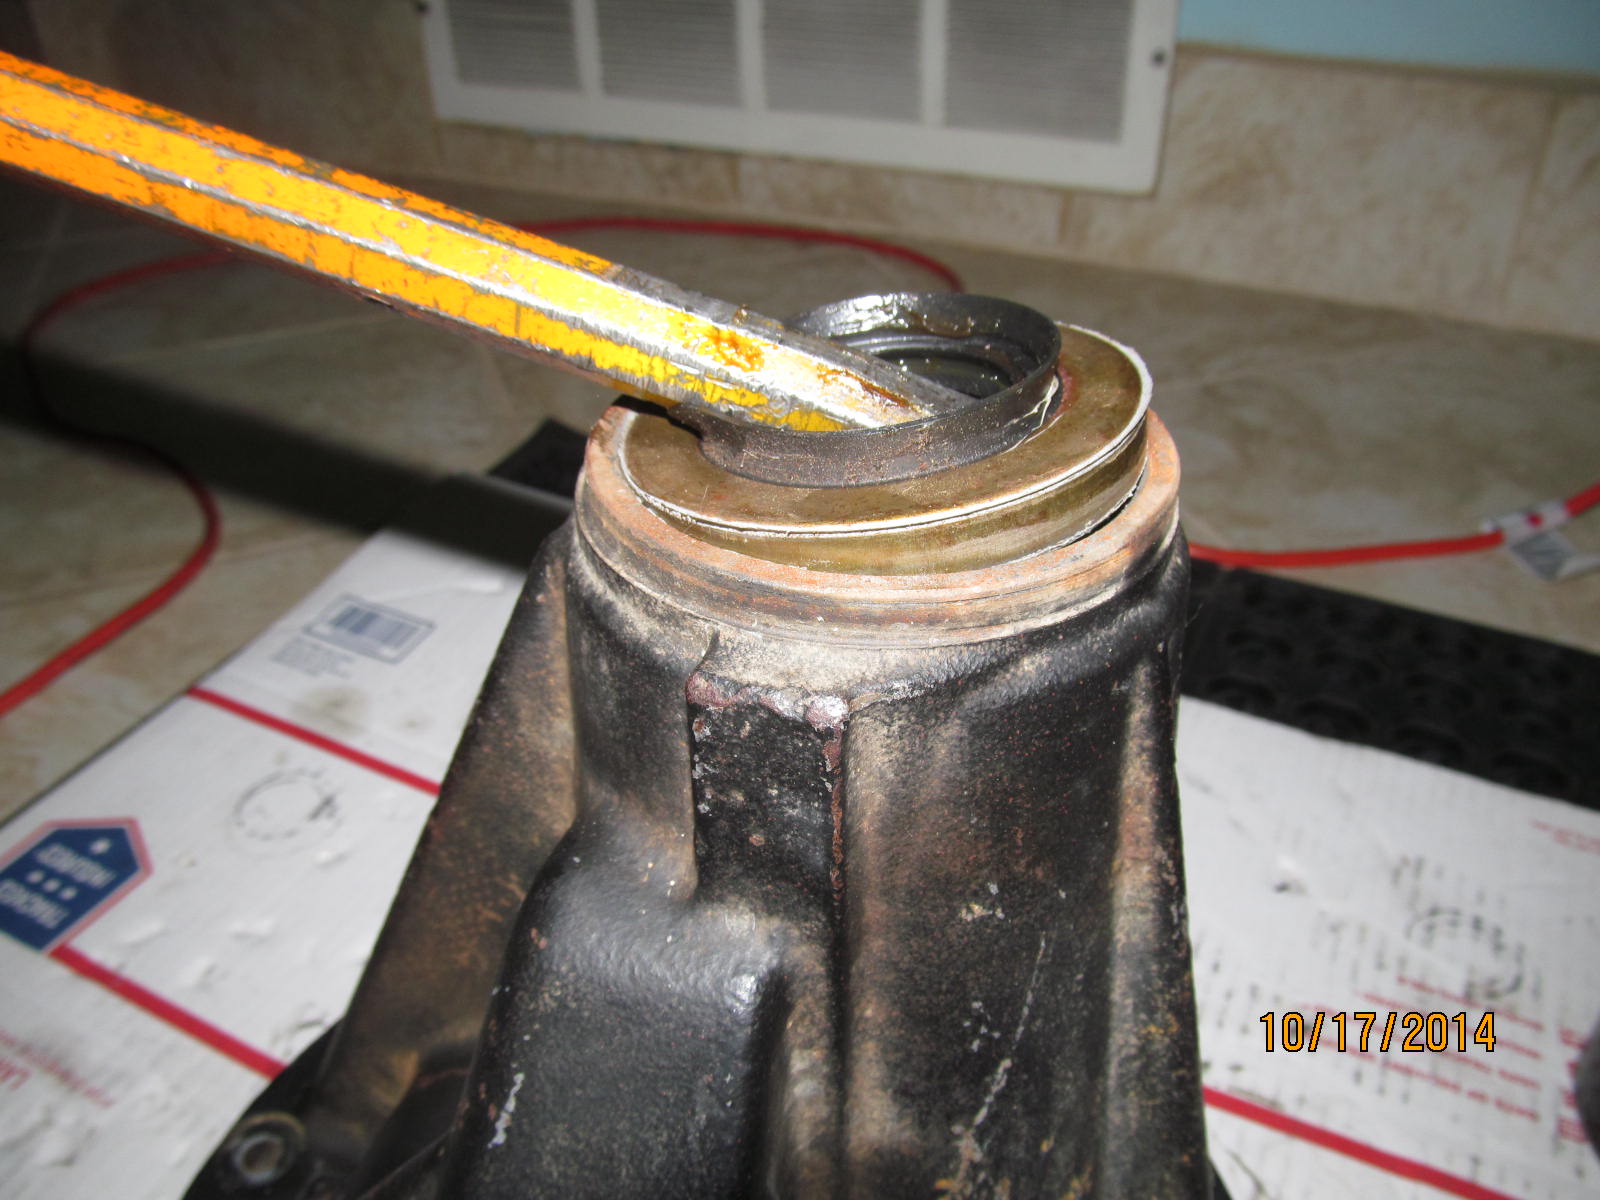
Push the pinion out...
|
|
|
|
|
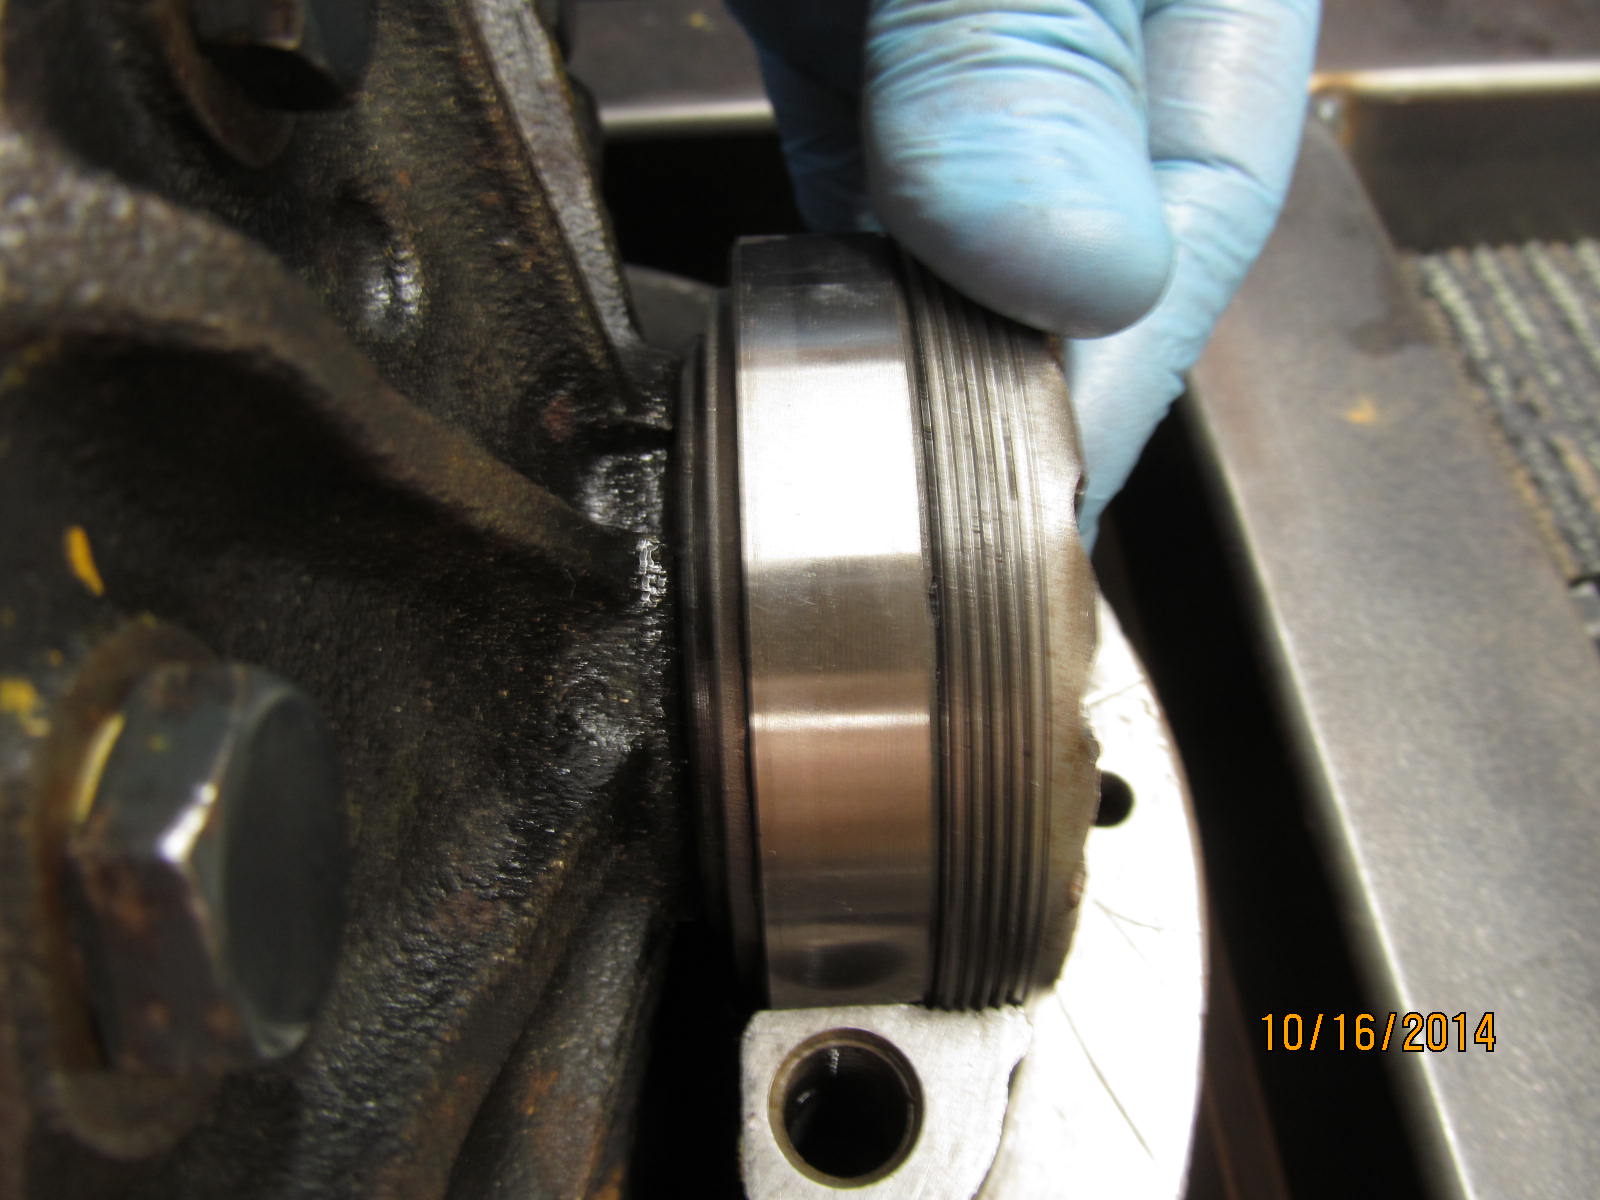
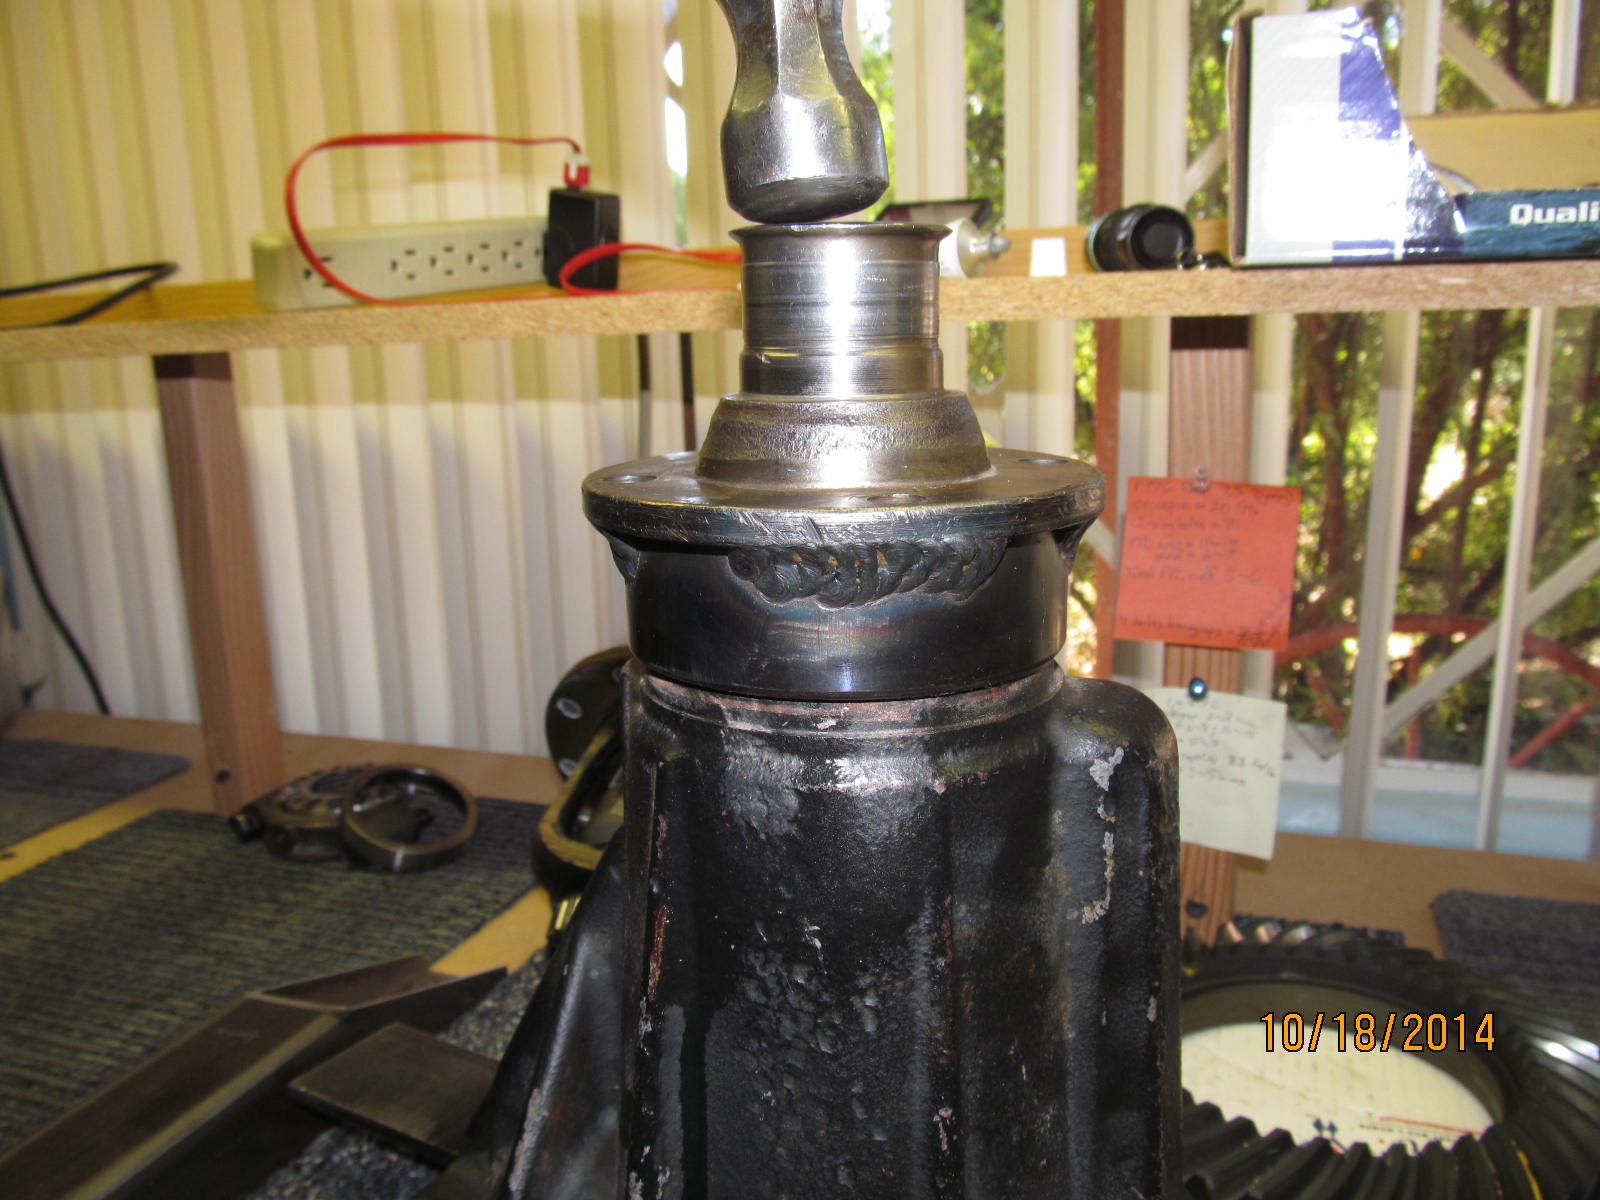
It already had a good solid collar on it....a Marlin collar as indicated by the tall neck at the top.
|
|
|
|
|
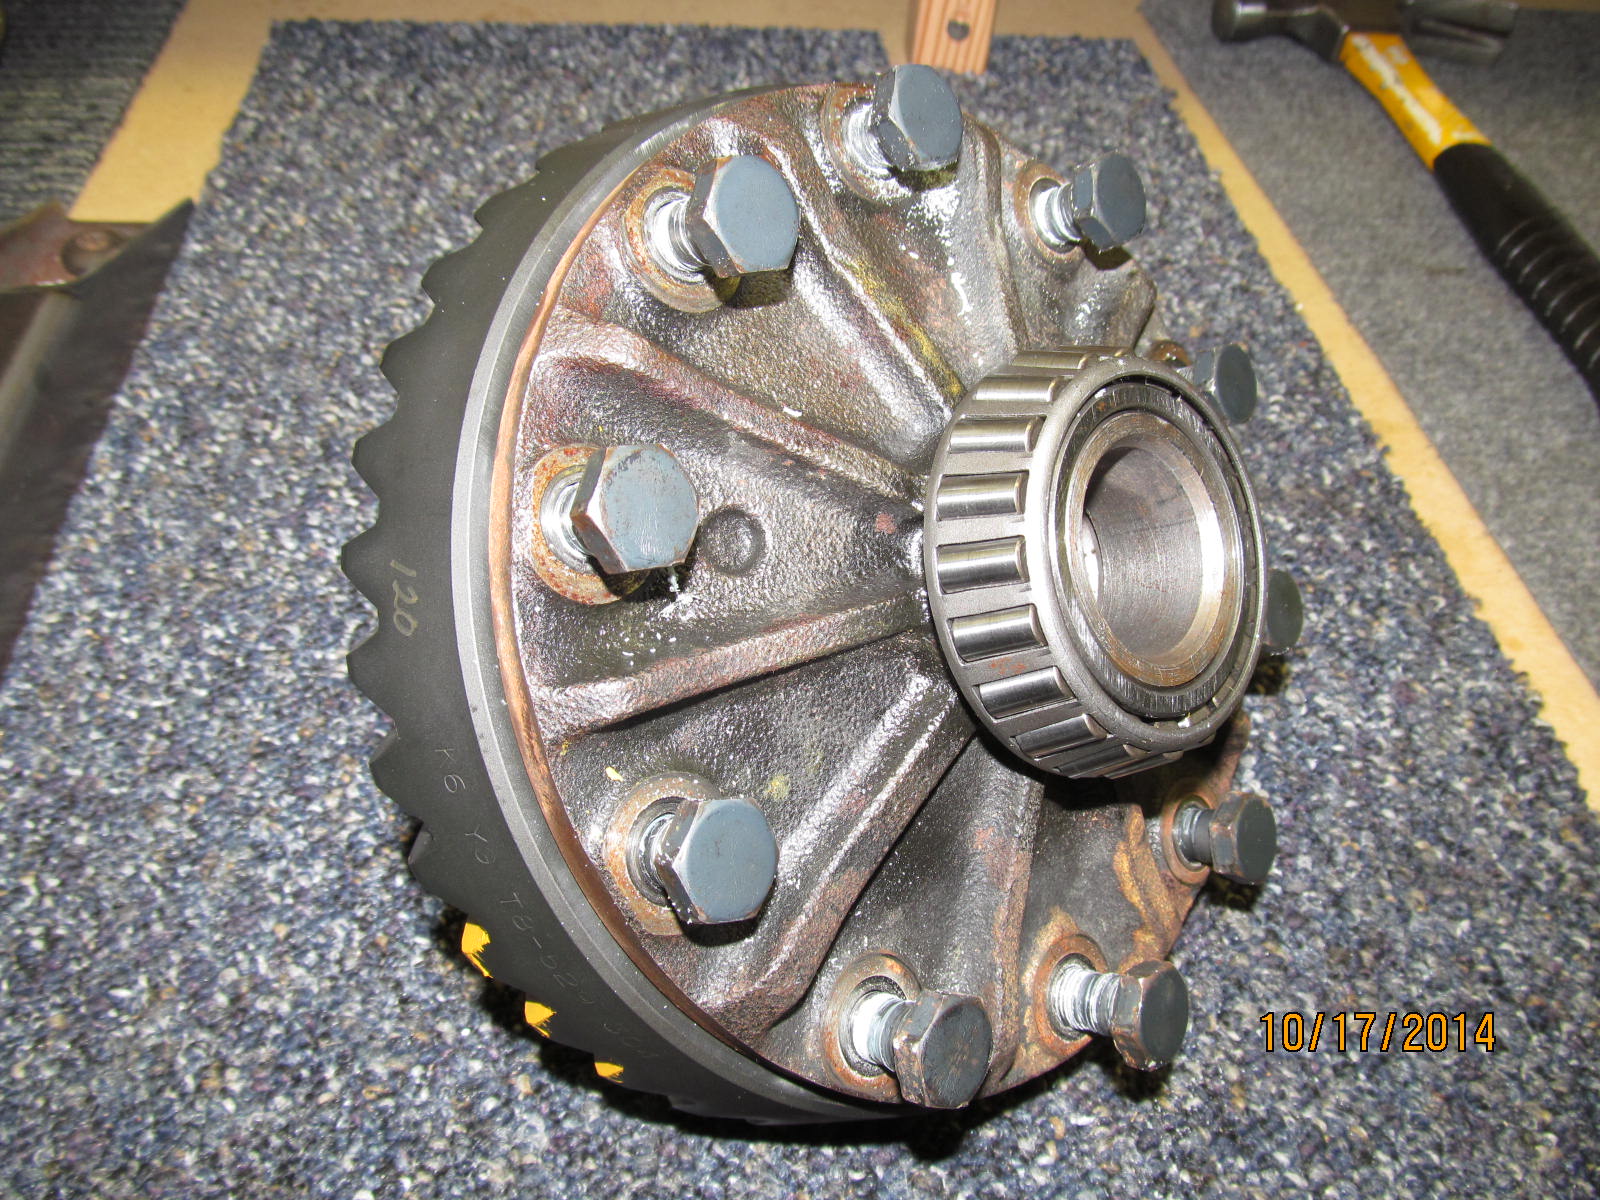
The 10 ring bolts were tight and appeared to have a high strength Loctite on them.
|
|
|
|
|
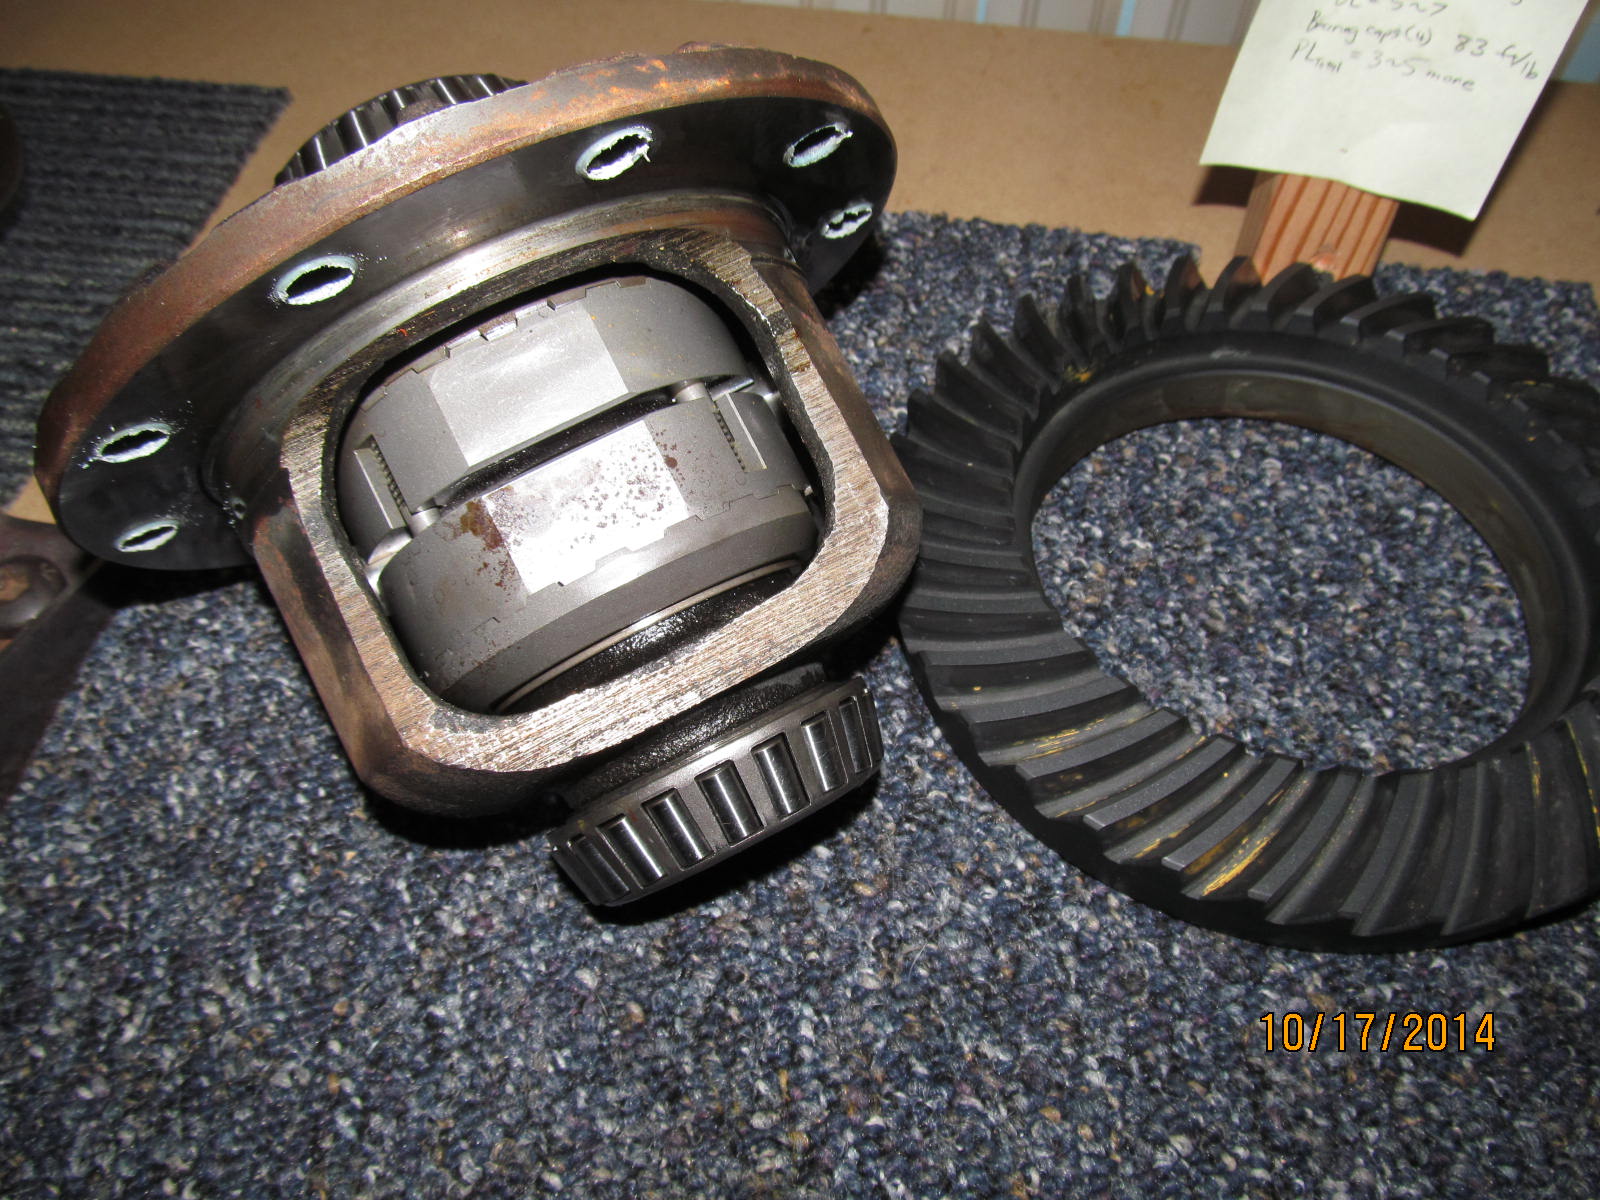
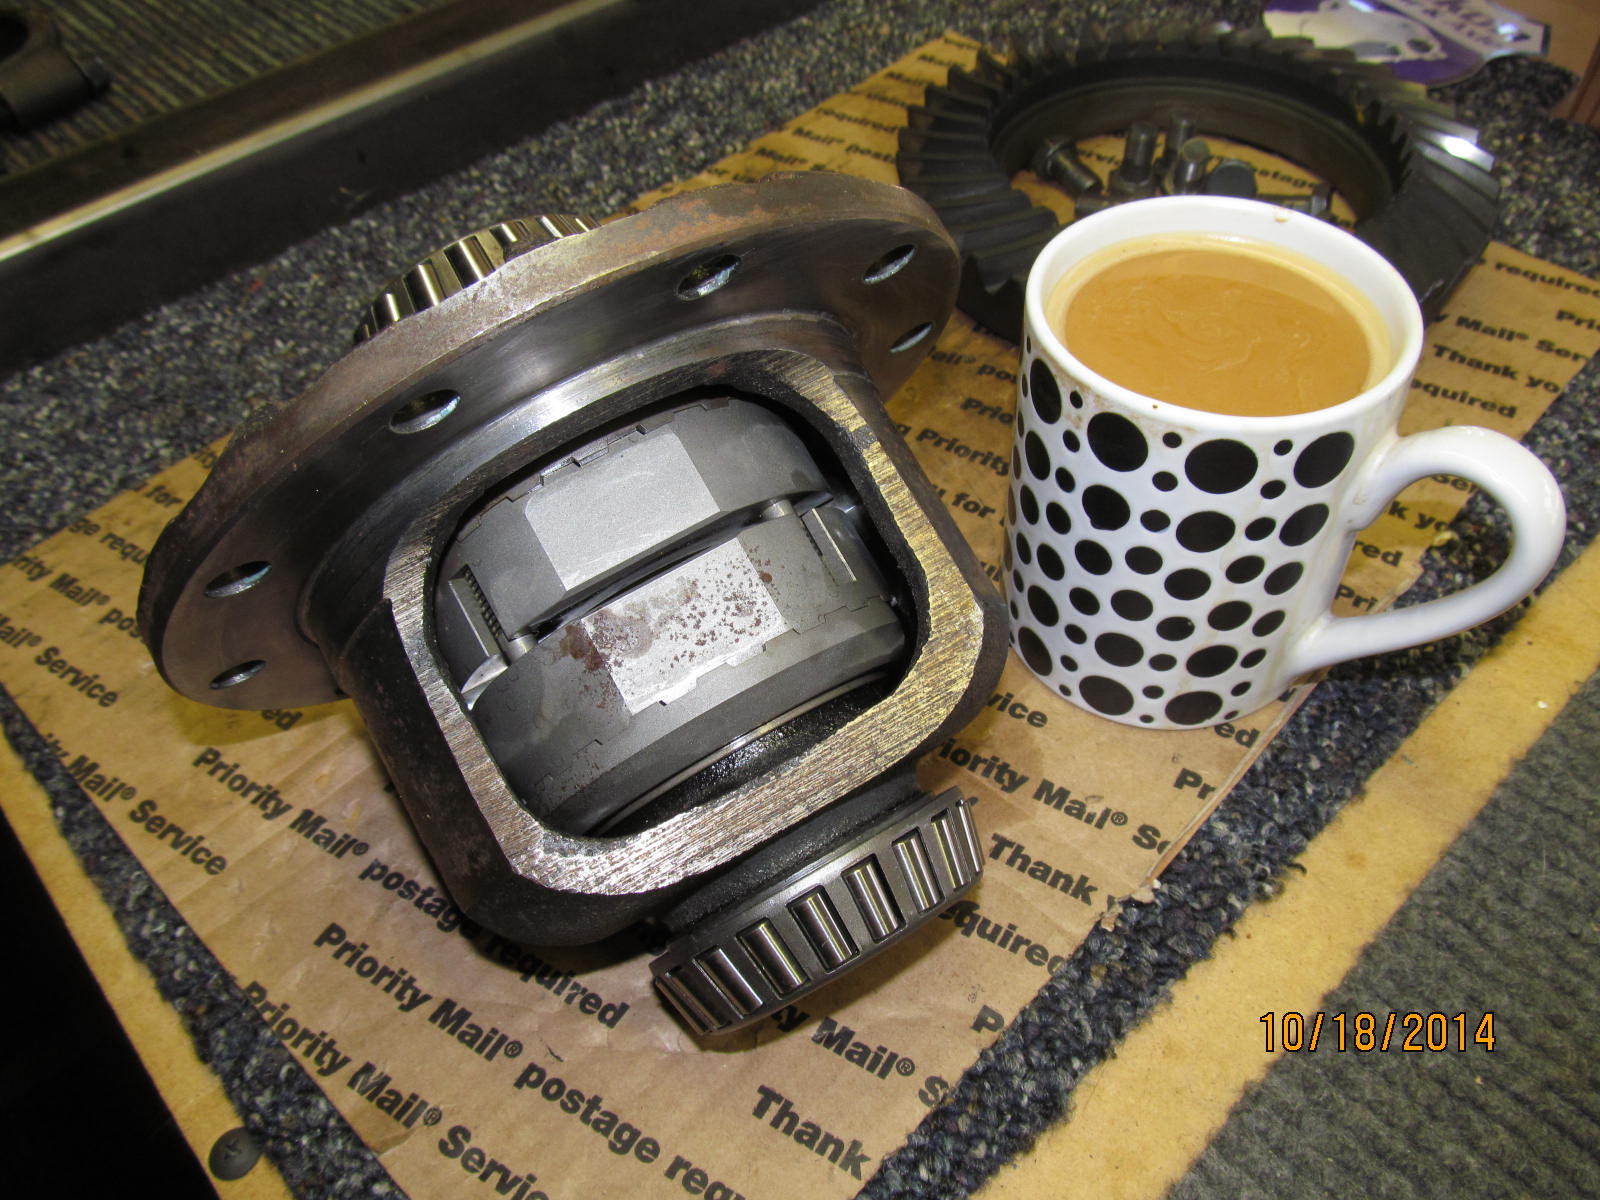
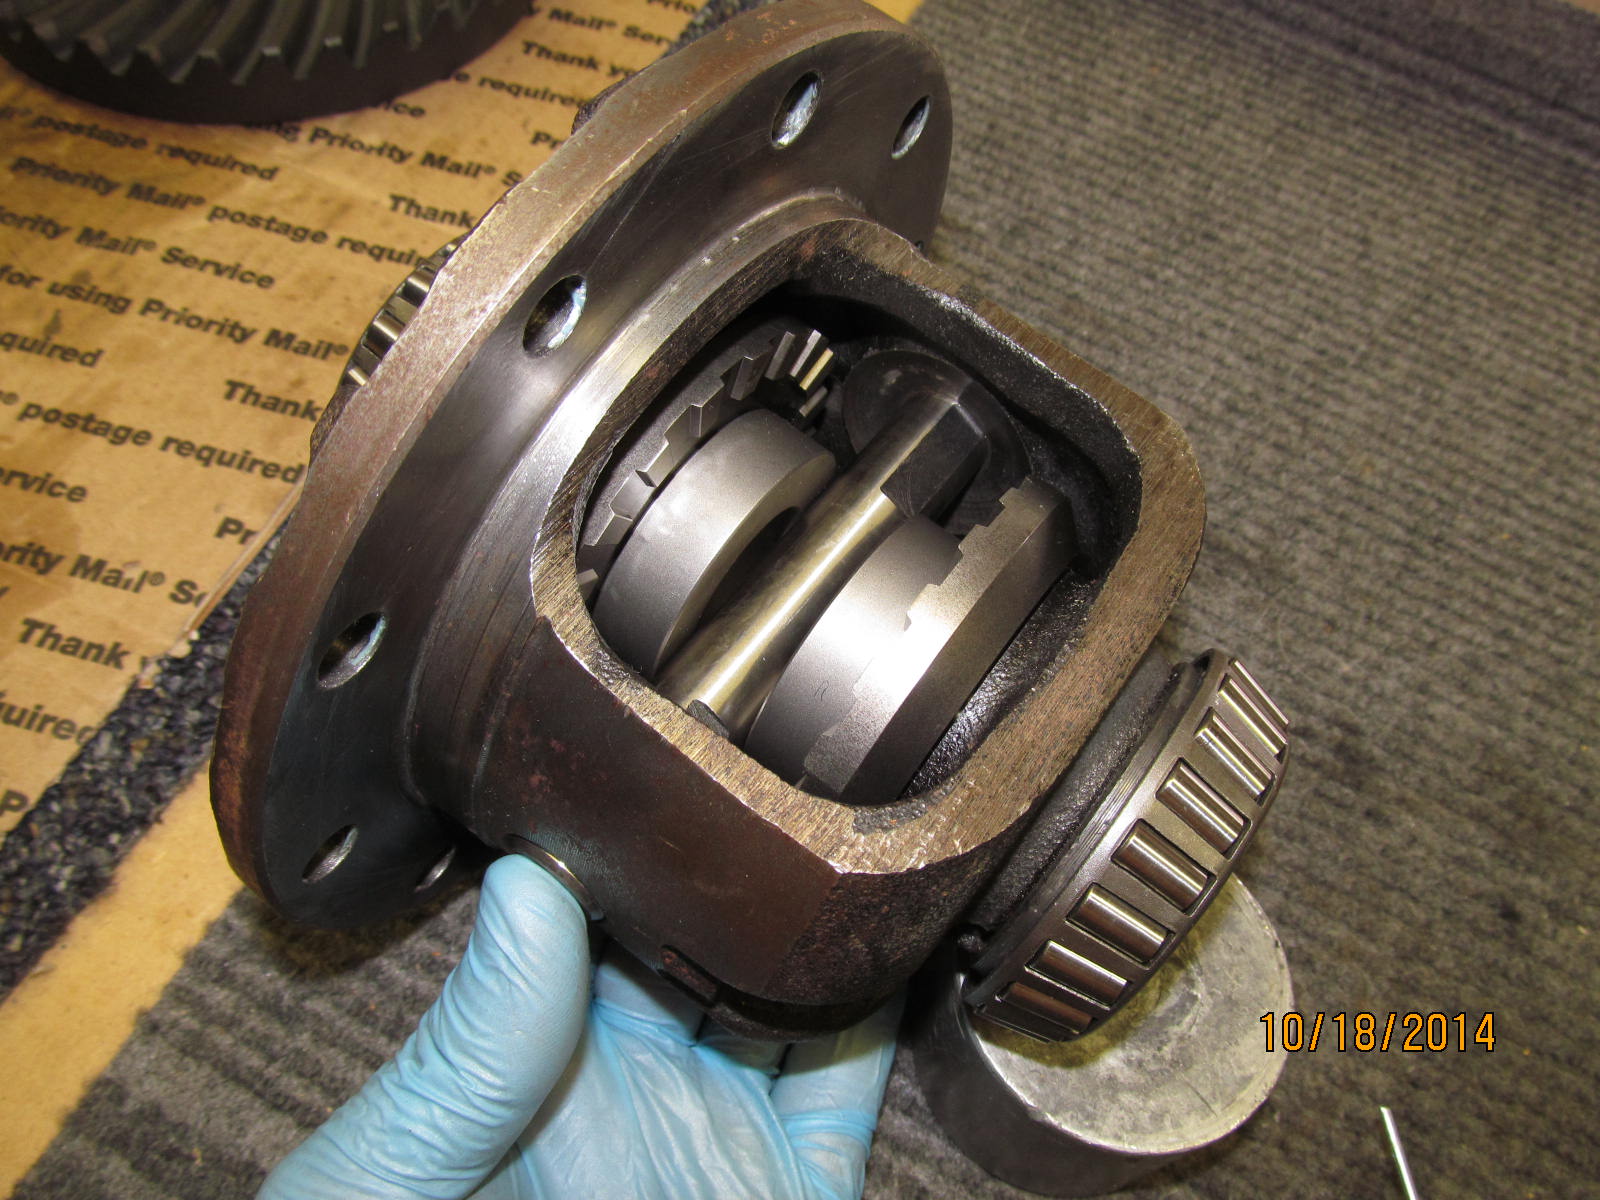
The Aussie Locker is to be removed ....and a Spartan will be put in its place.
|
|
|
|
|
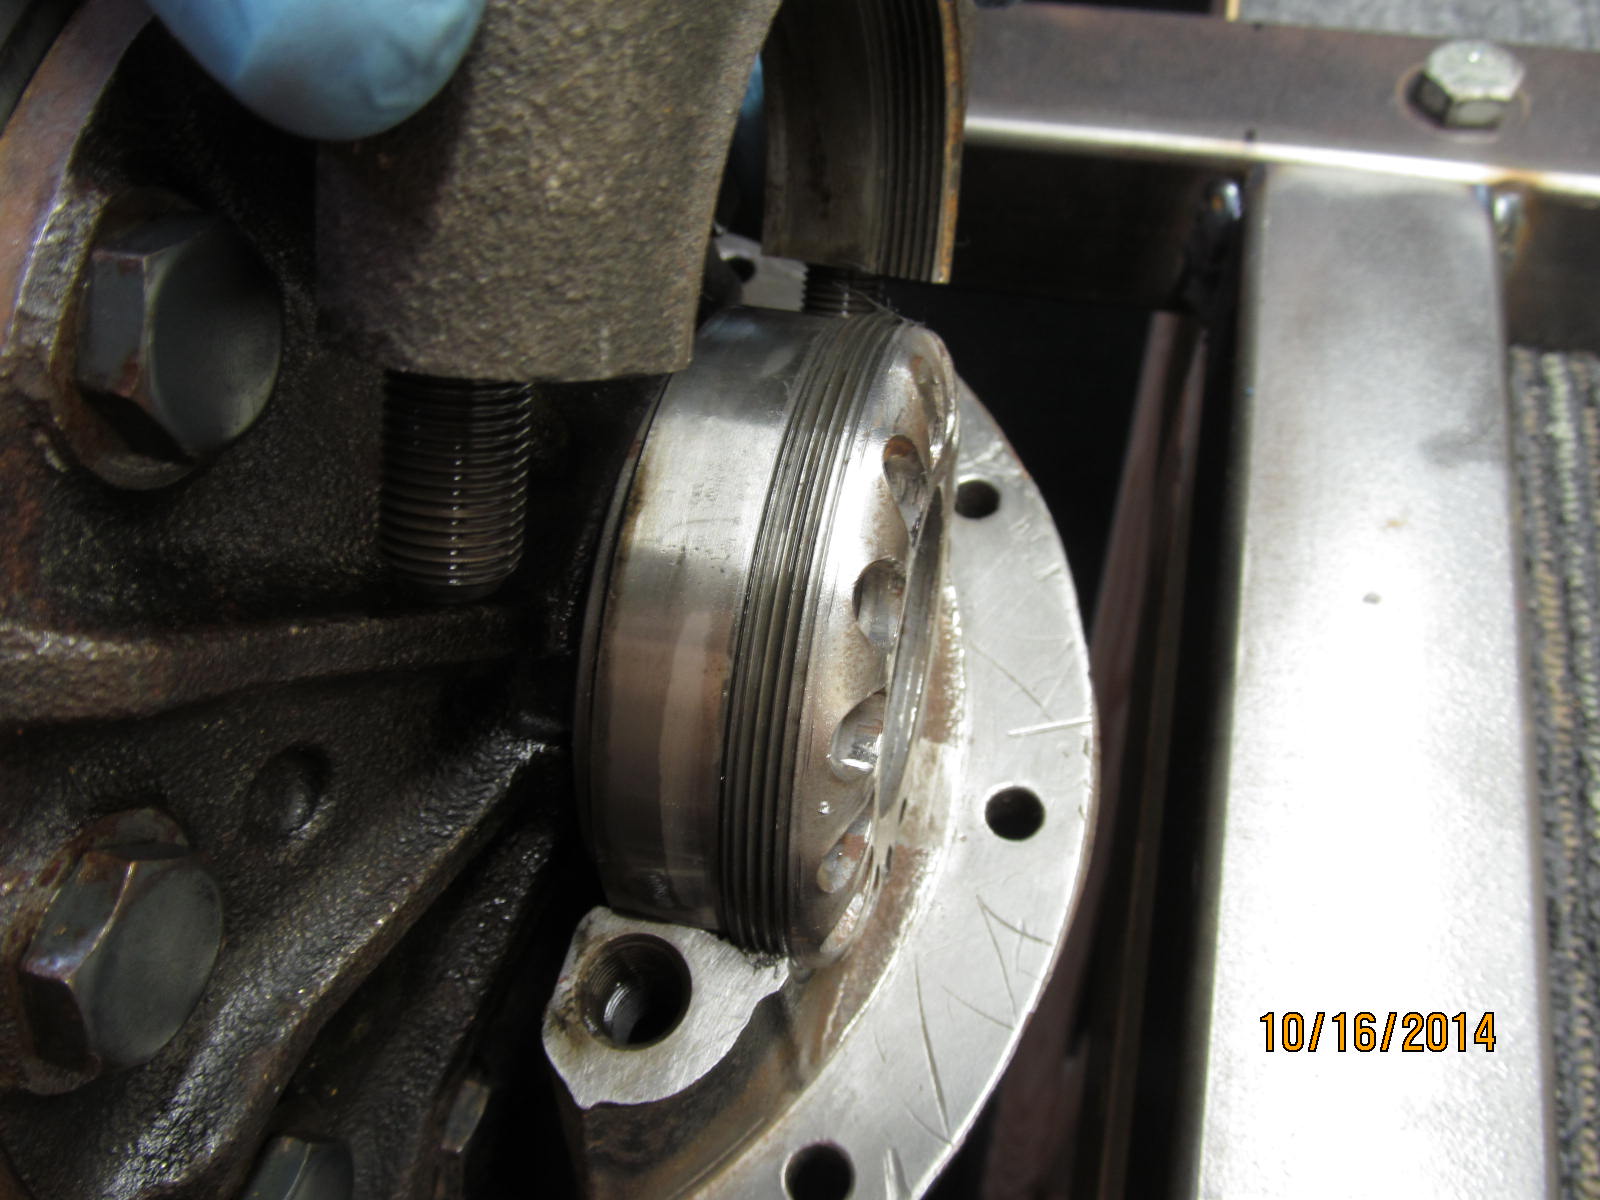
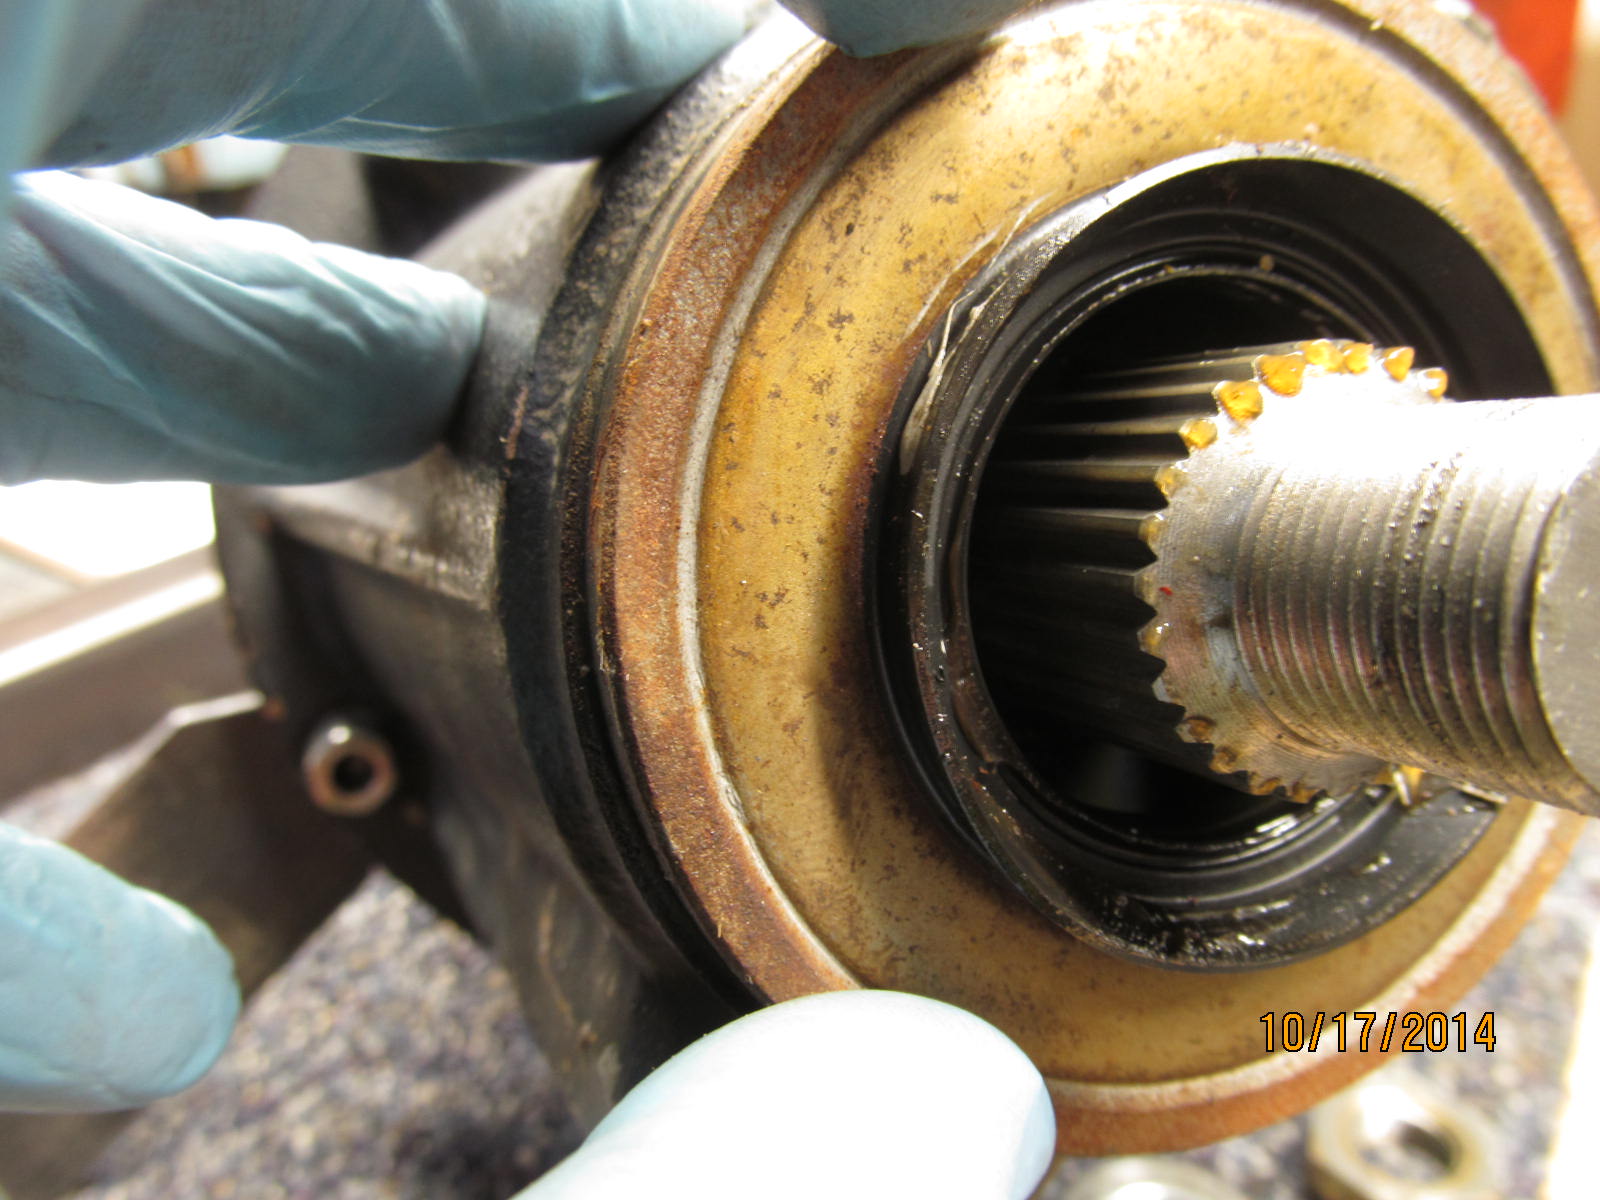
But first, to finish up on the pinion end. Remove the seal.
|
|
|
|
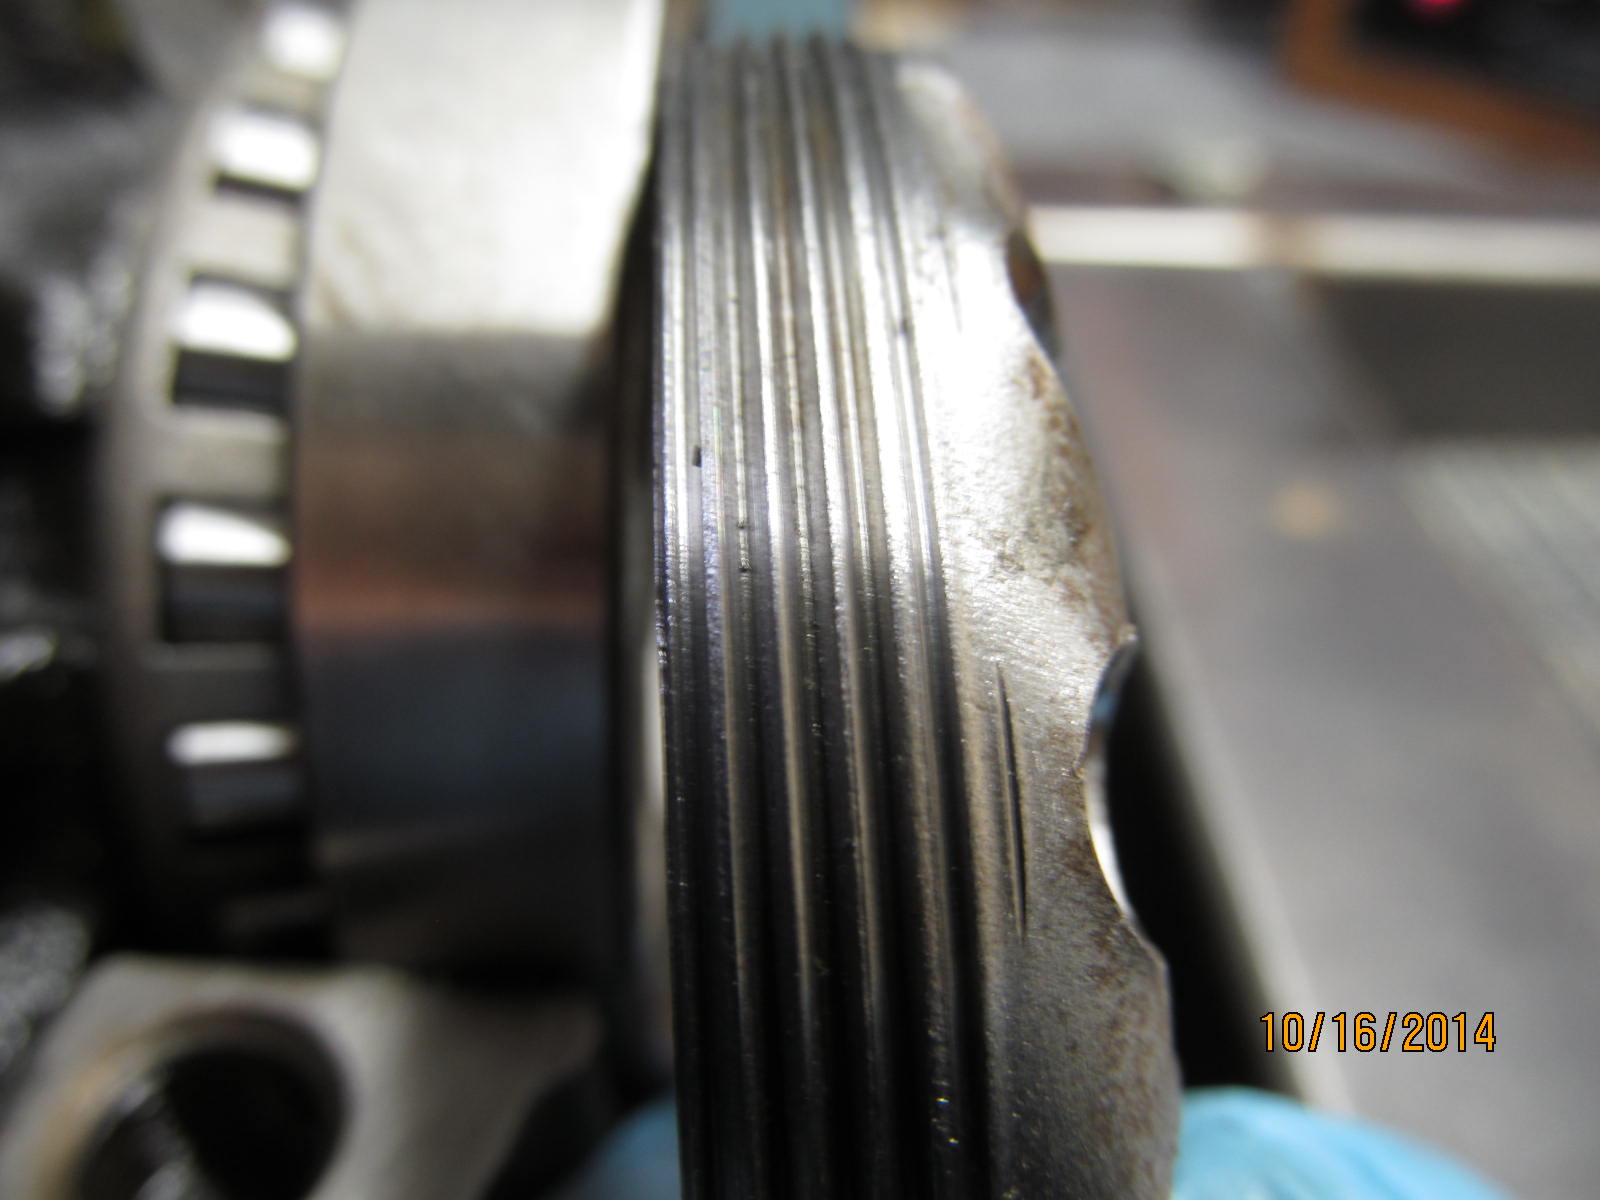
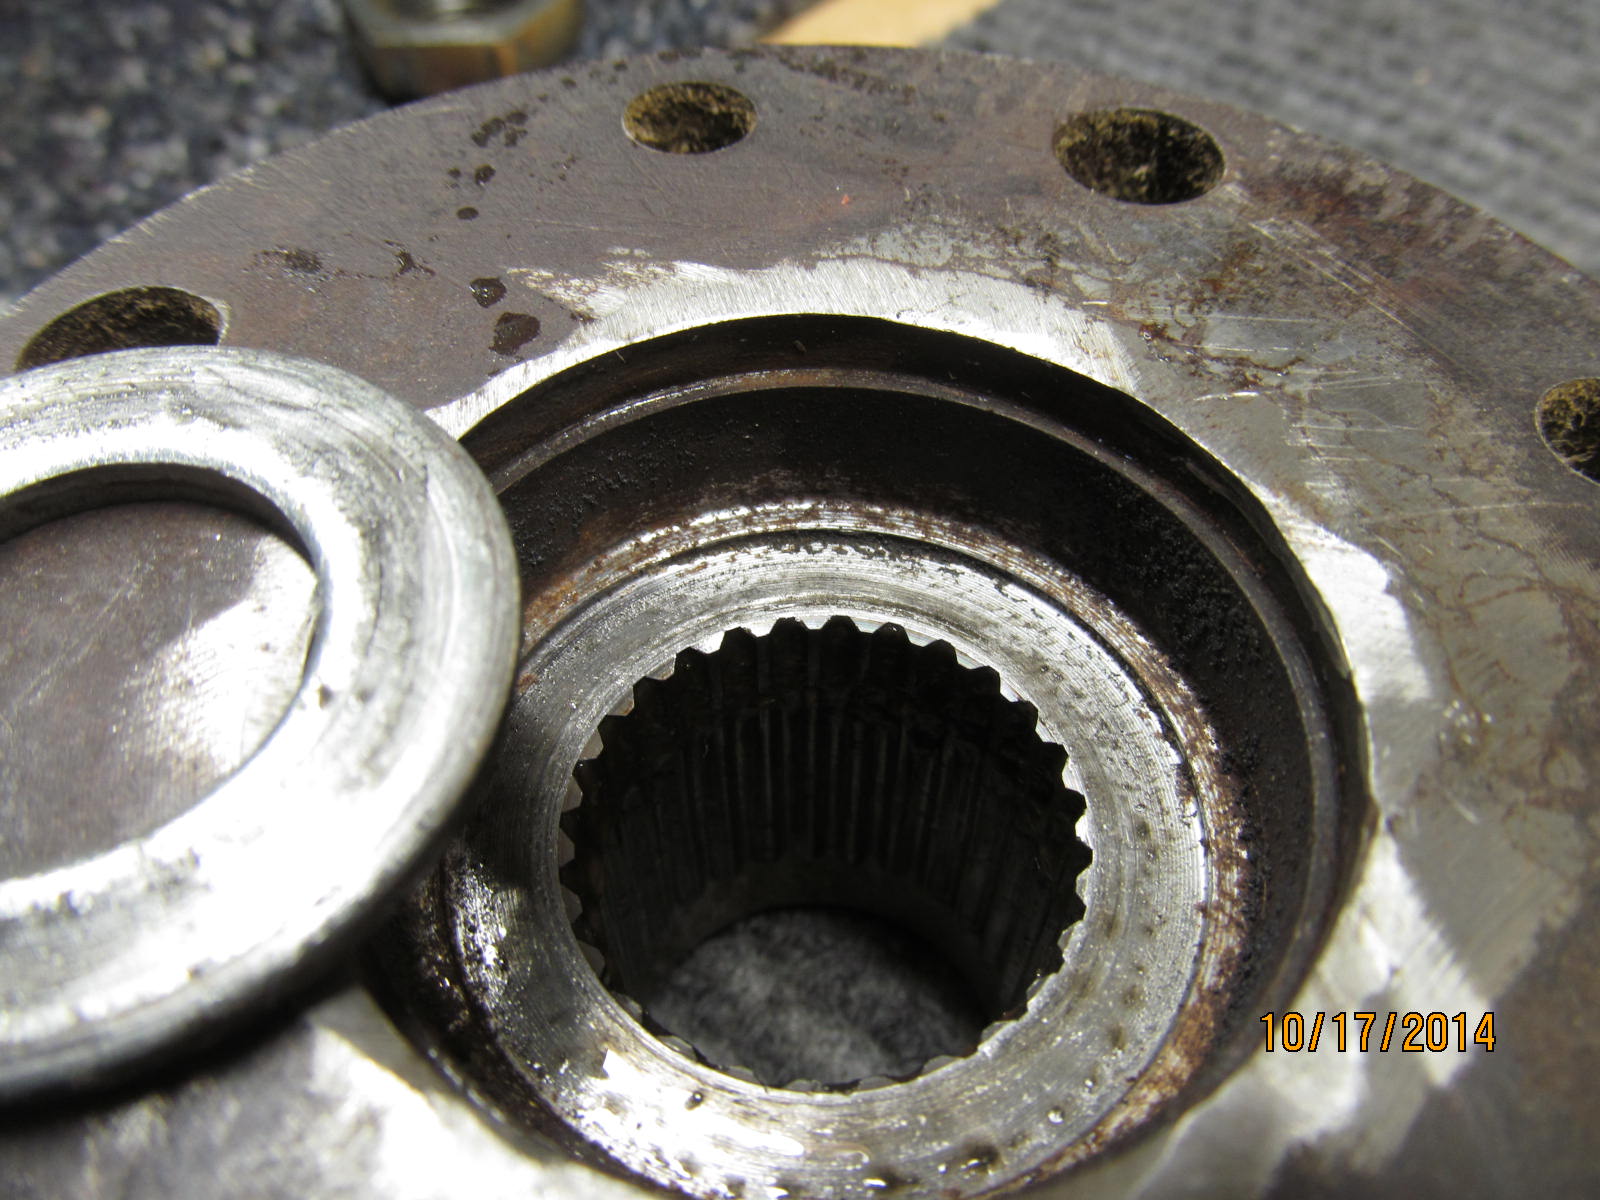
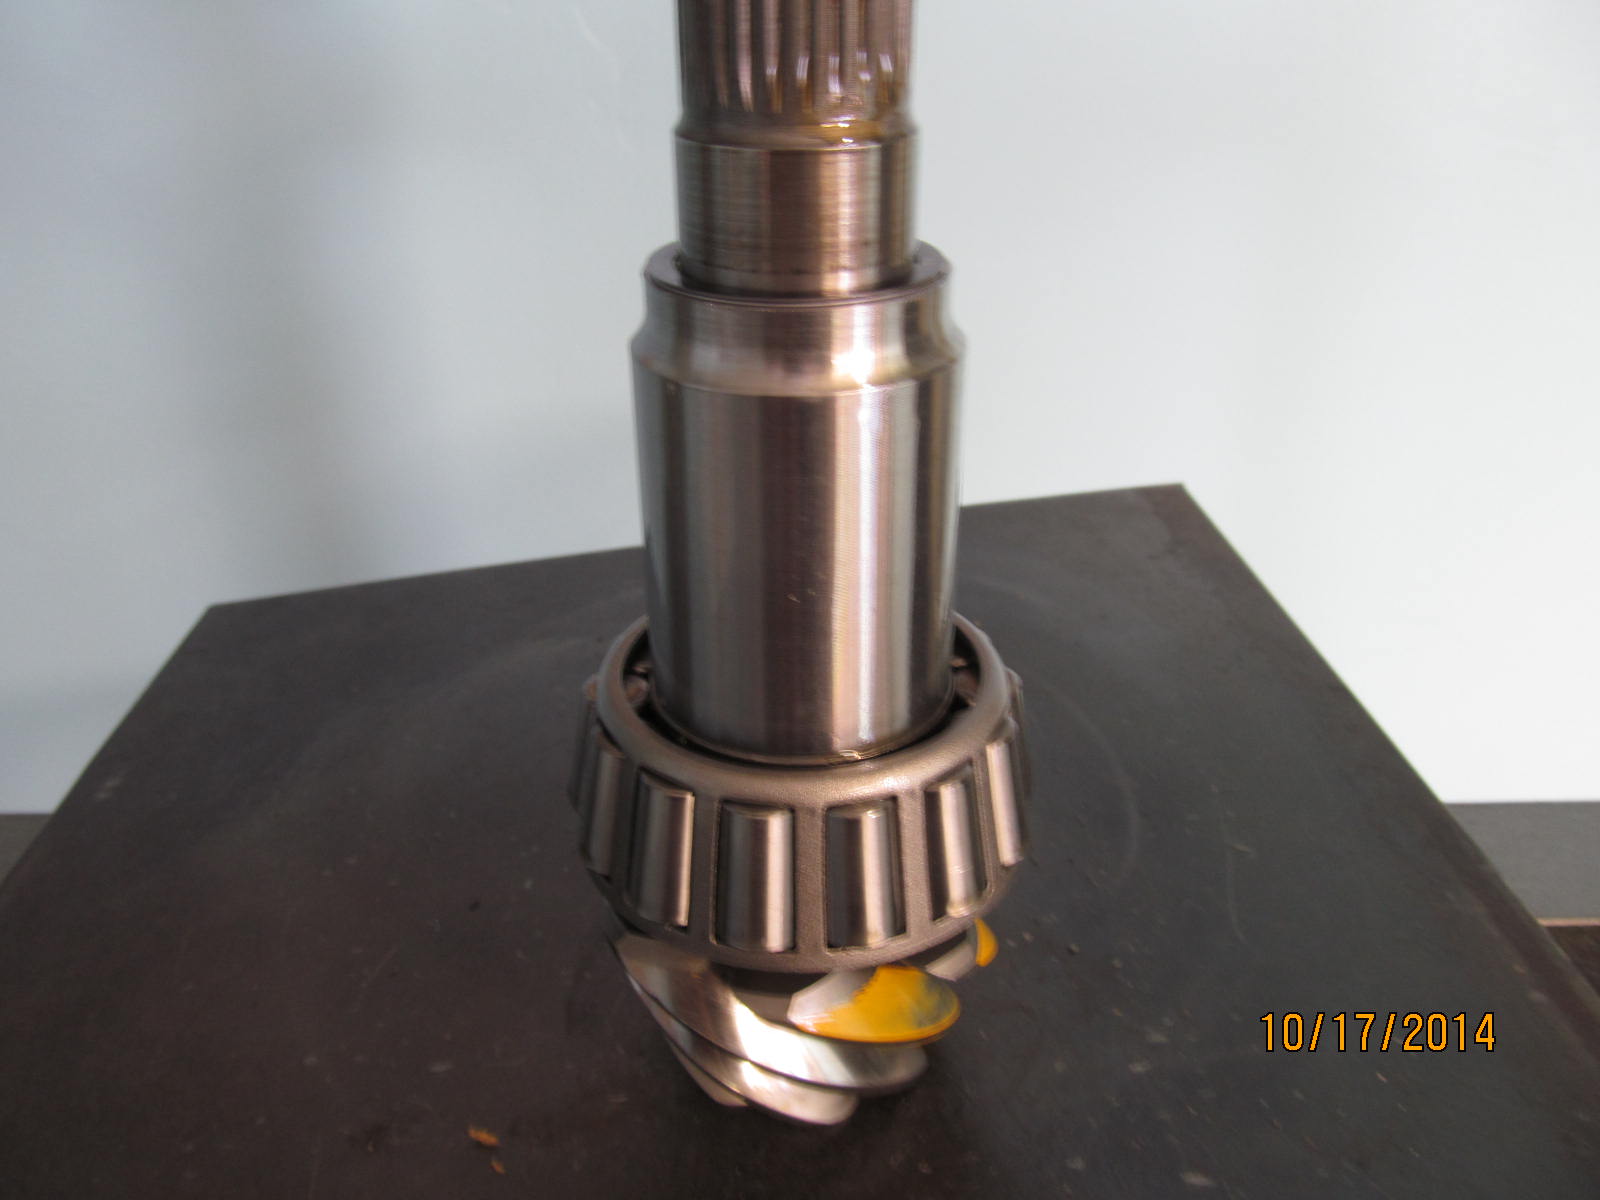
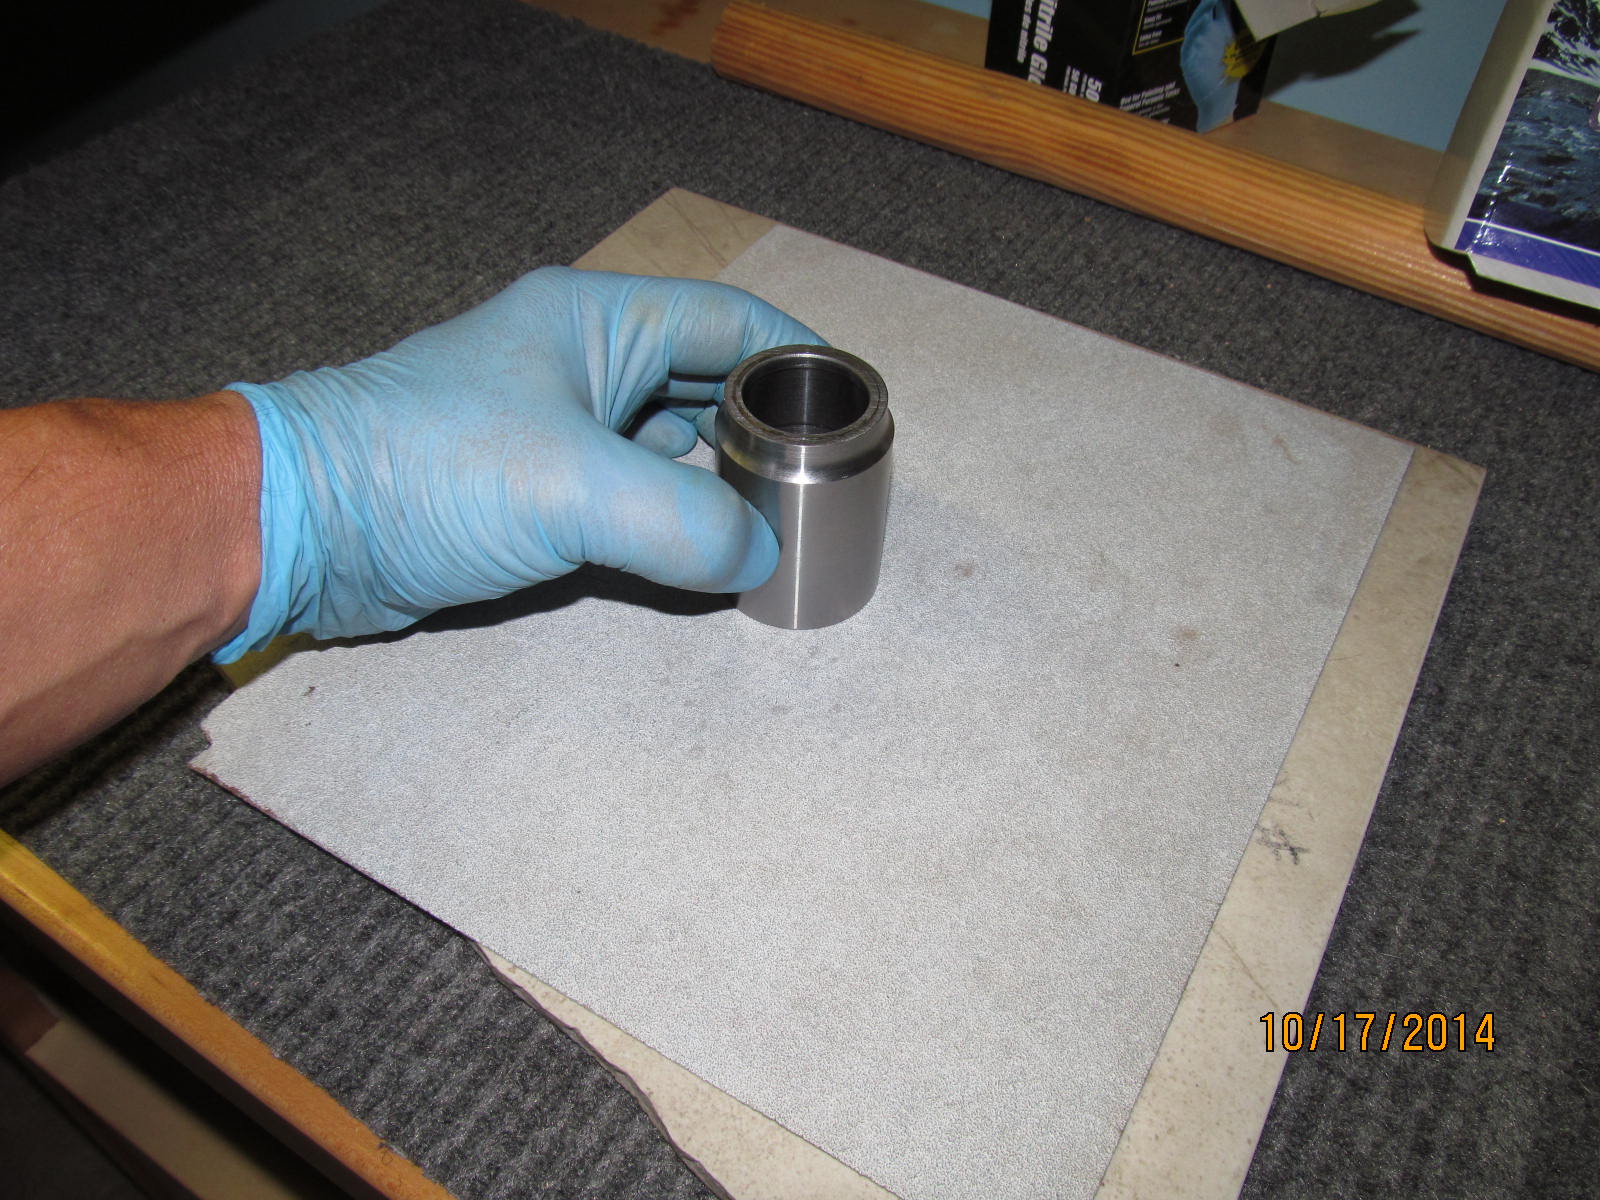
The solid collar had some chatter wear so I used a flat surface and 120 grit to sand it smooth.
I only remove .001" or less.
|
|
|
|
|
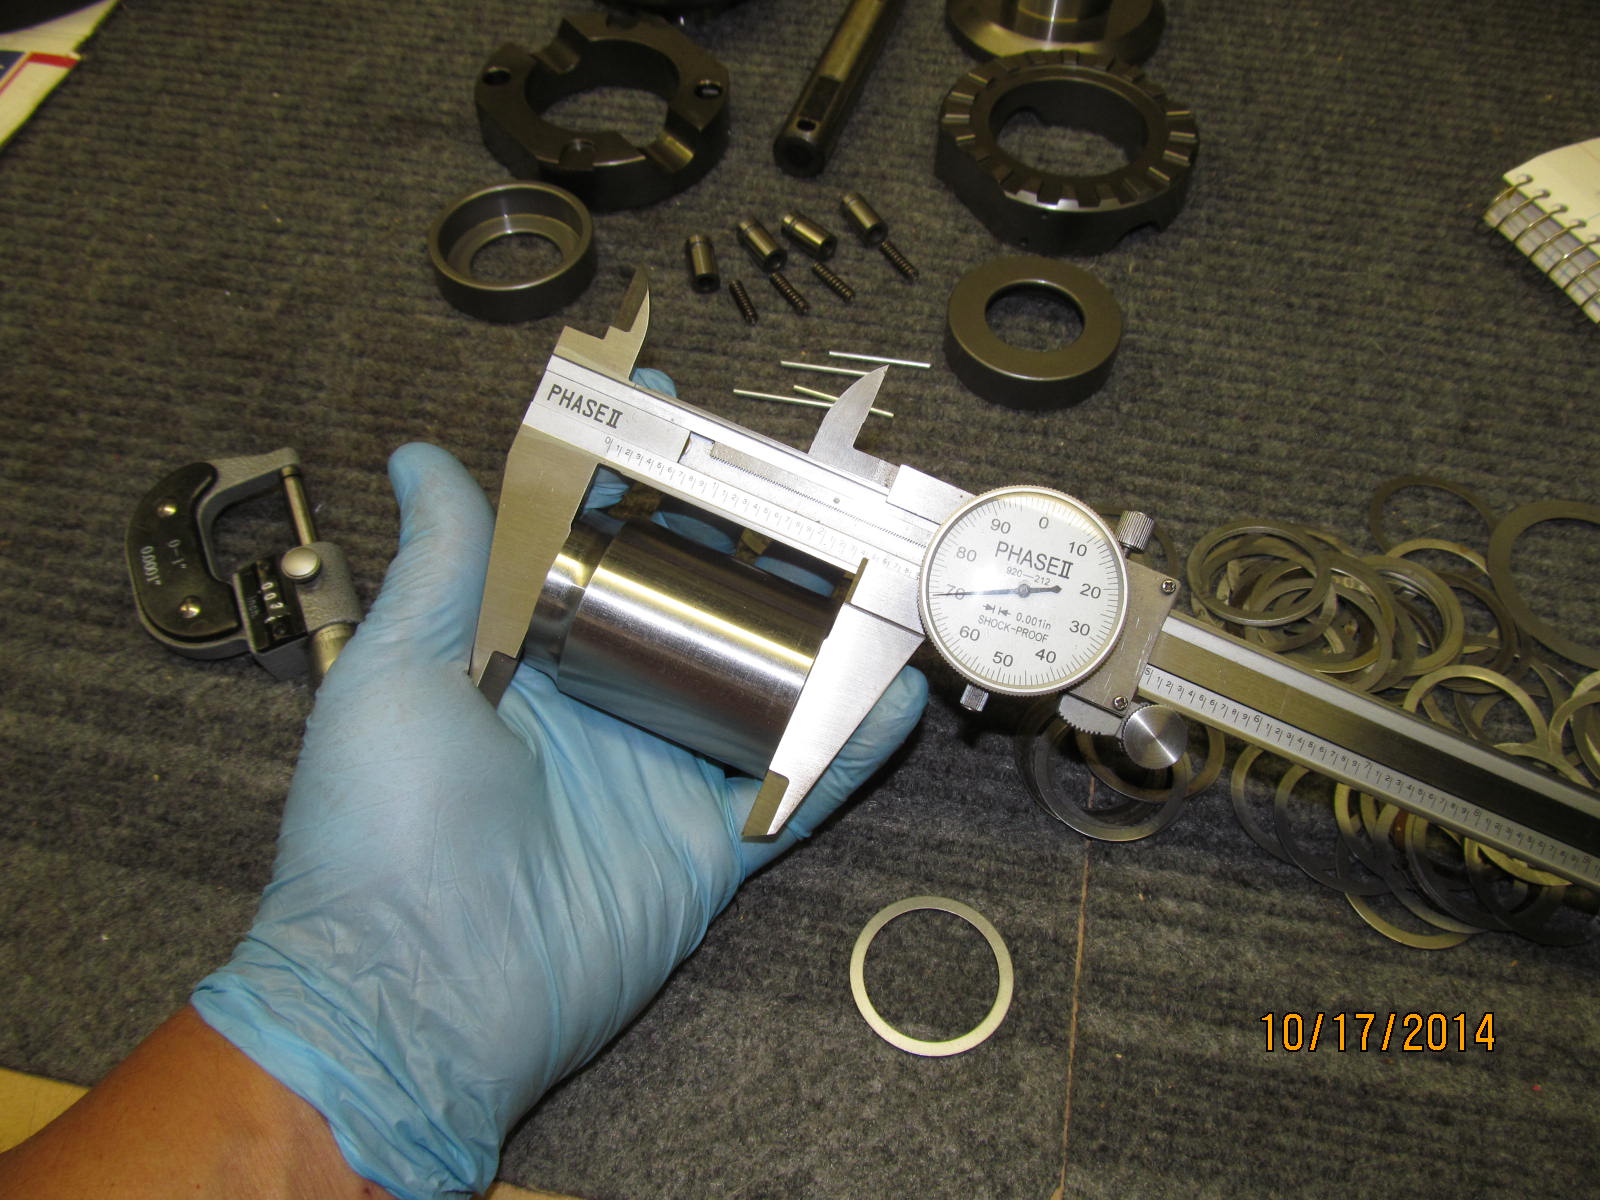
I checked all the way around the collar with this extra large set of 12" calipers and it was within .001" variance.
|
|
|
|
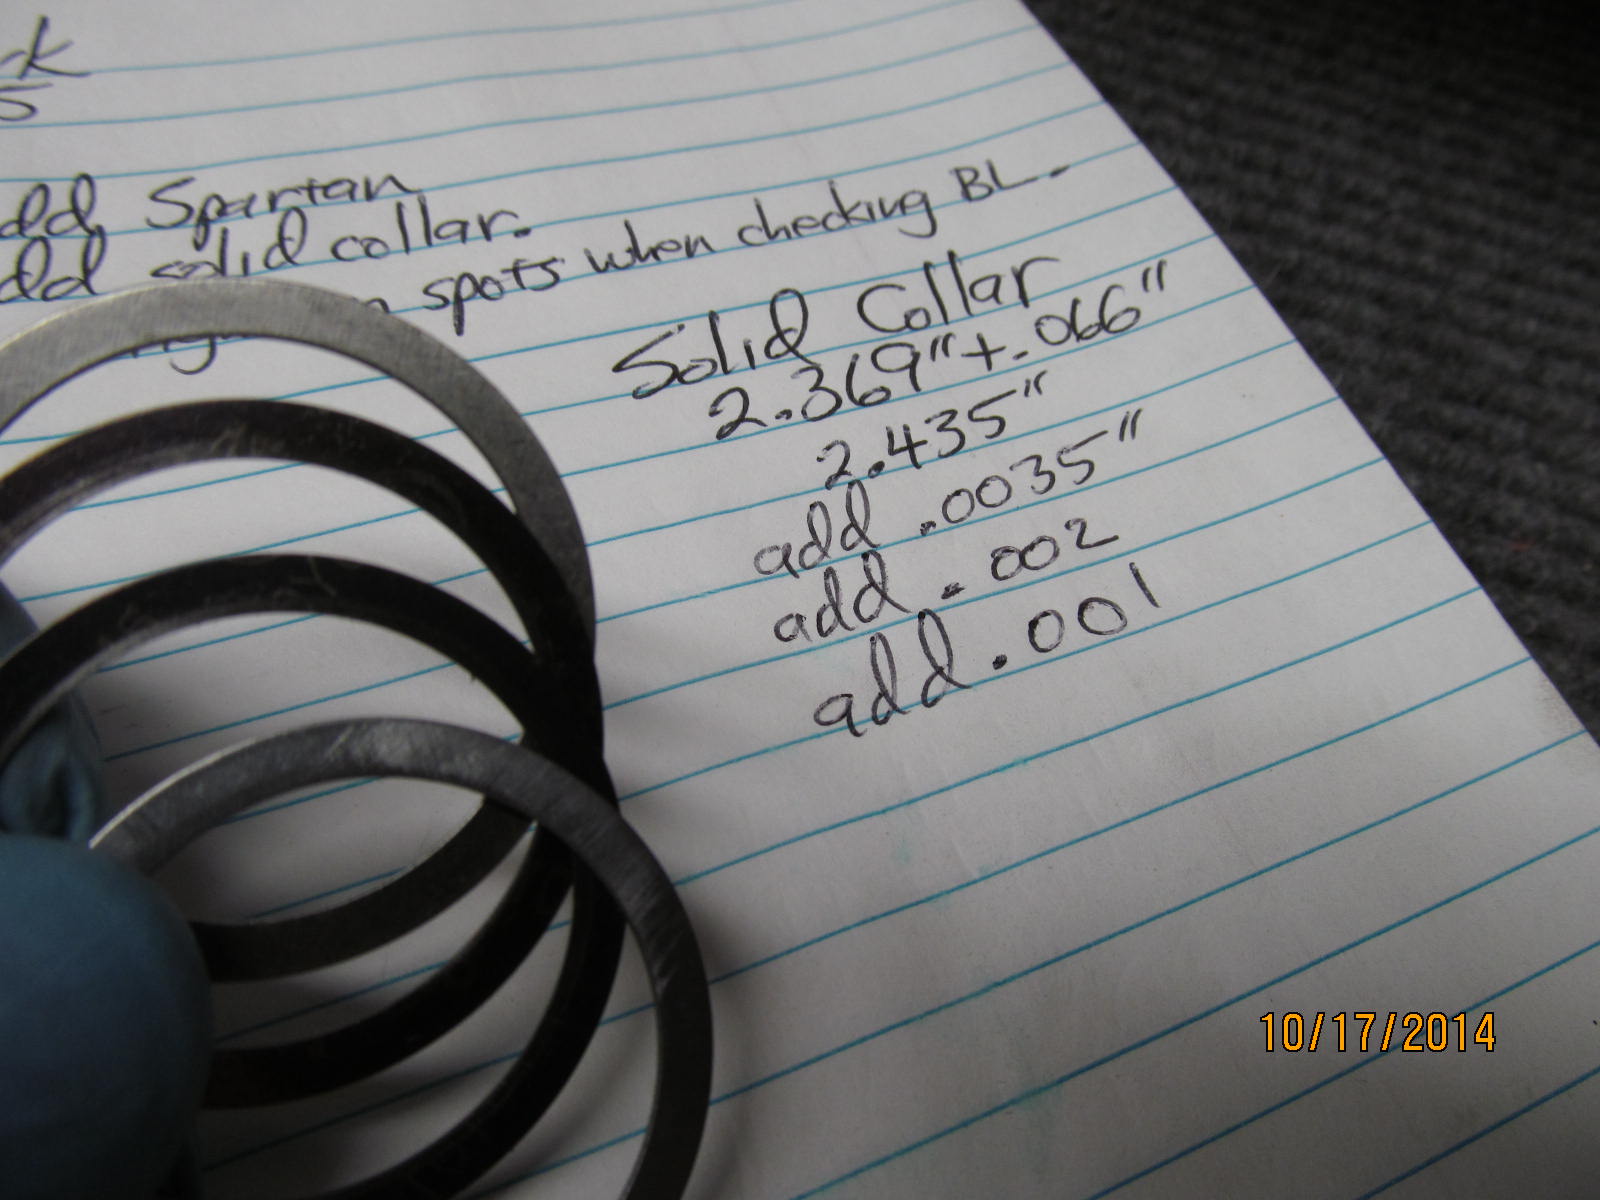
I tried the original 2.435" (collar plus shims) and the pinion pre-load was way too tight.....then added in
another .0035" and still too tight,...added another .002 and still kind tight....added .001" and perfect
at 5 in/lb pre-load. I can tweak the 5 into 10 just by tightening the nut a little tighter. That was
.0065" that was added to the collar.....that means the collar was not installed properly....means it
was effectively rattling around inside there.
|
|
|
|
|
Last chance to smother the bearings in gear oil.
|
|
|
|
|
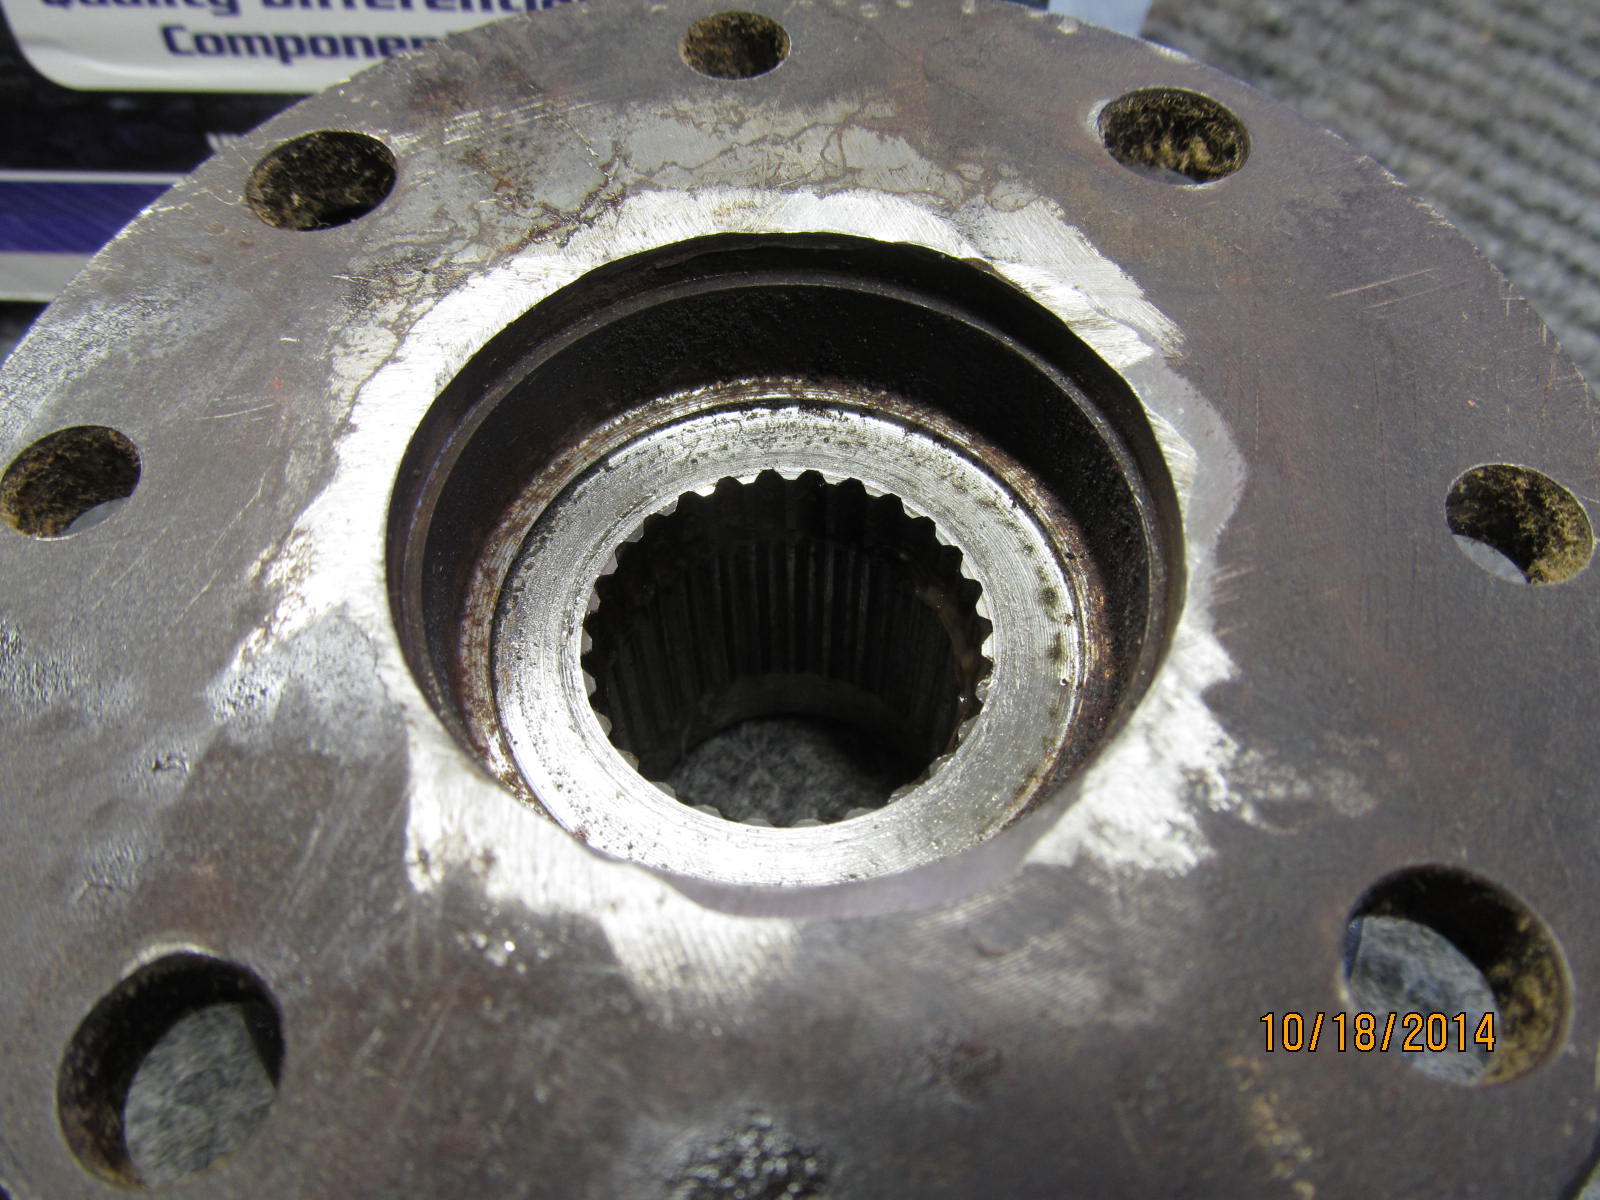
The old flange was pretty rough over-all.
|
|
|
|
|
The seal surface did have a groove.
|
|
|
|
|
Glad that Mark wanted this new triple drilled flange.
|
|
|
|
|
Grease on the garter spring and grey rtv inside the bore.
|
|
|
|
|
This homemade seal installer works great. Made from an old race and an old flange.
|
|
|
|
|
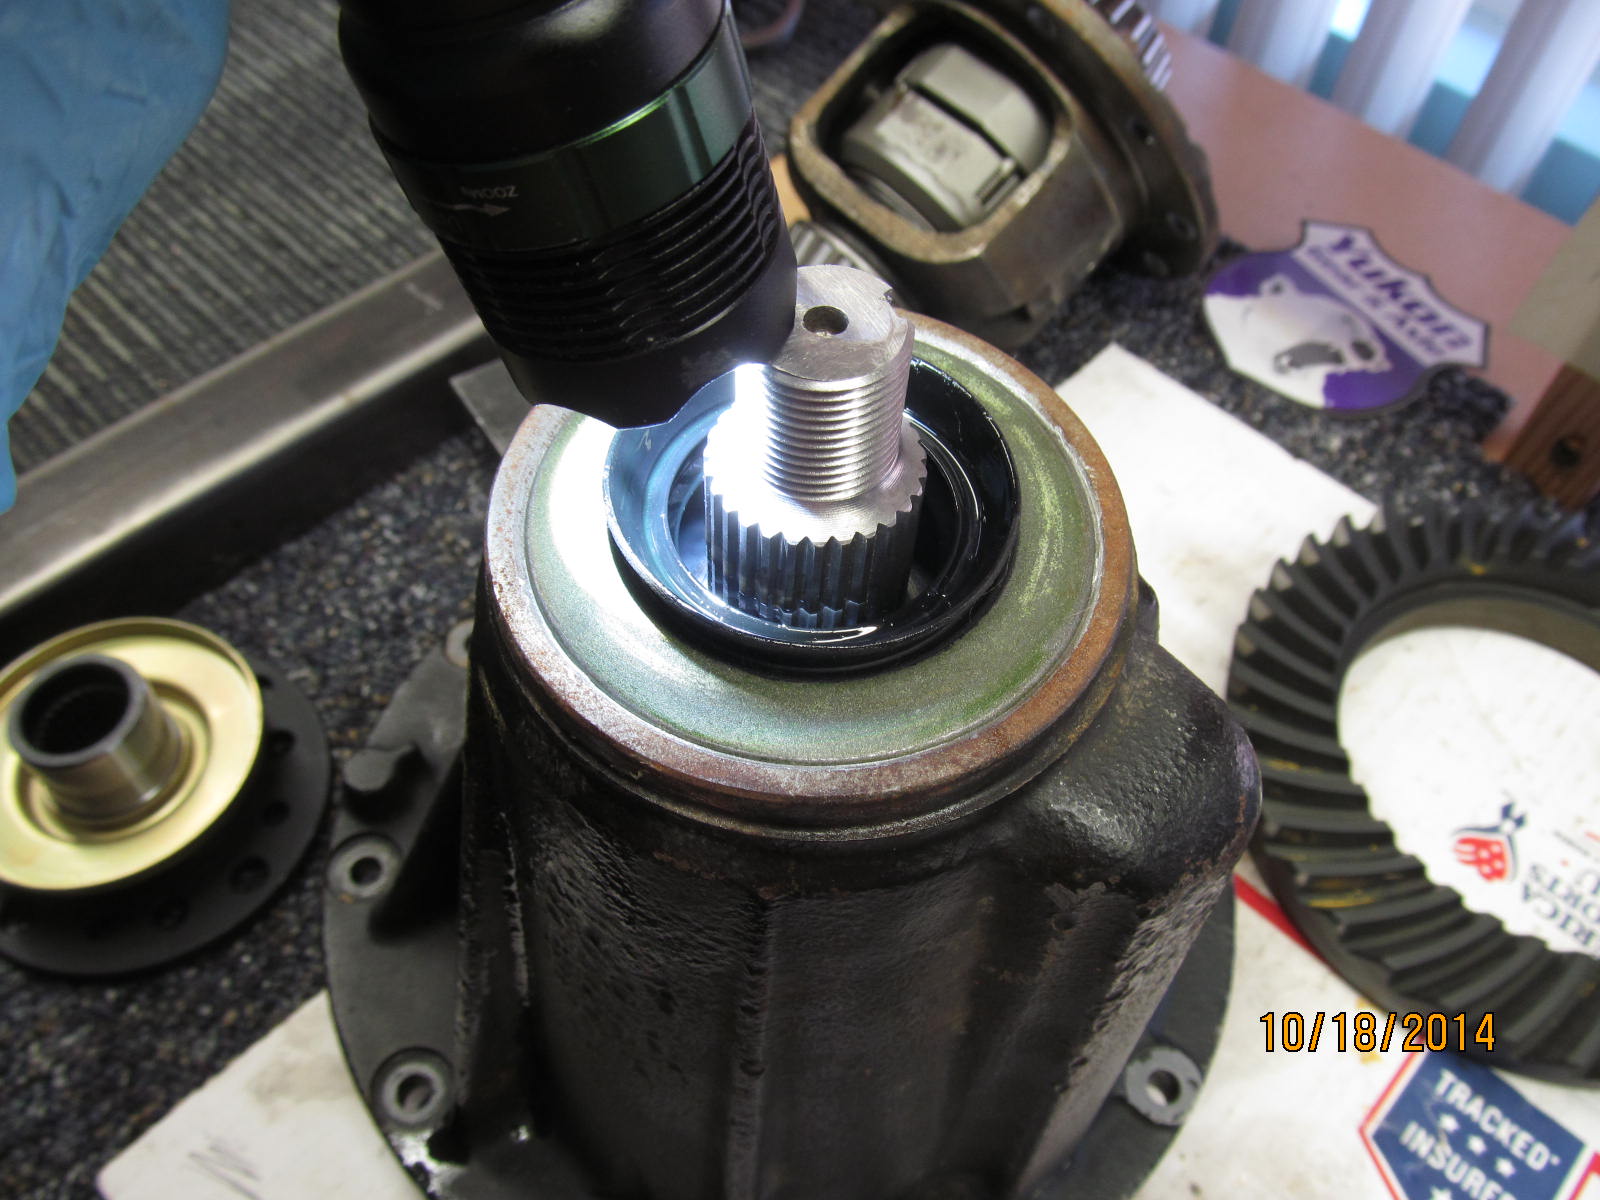
A quick inspection inside to make sure the garter spring did not pop loose. All is good.
|
|
|
|
|
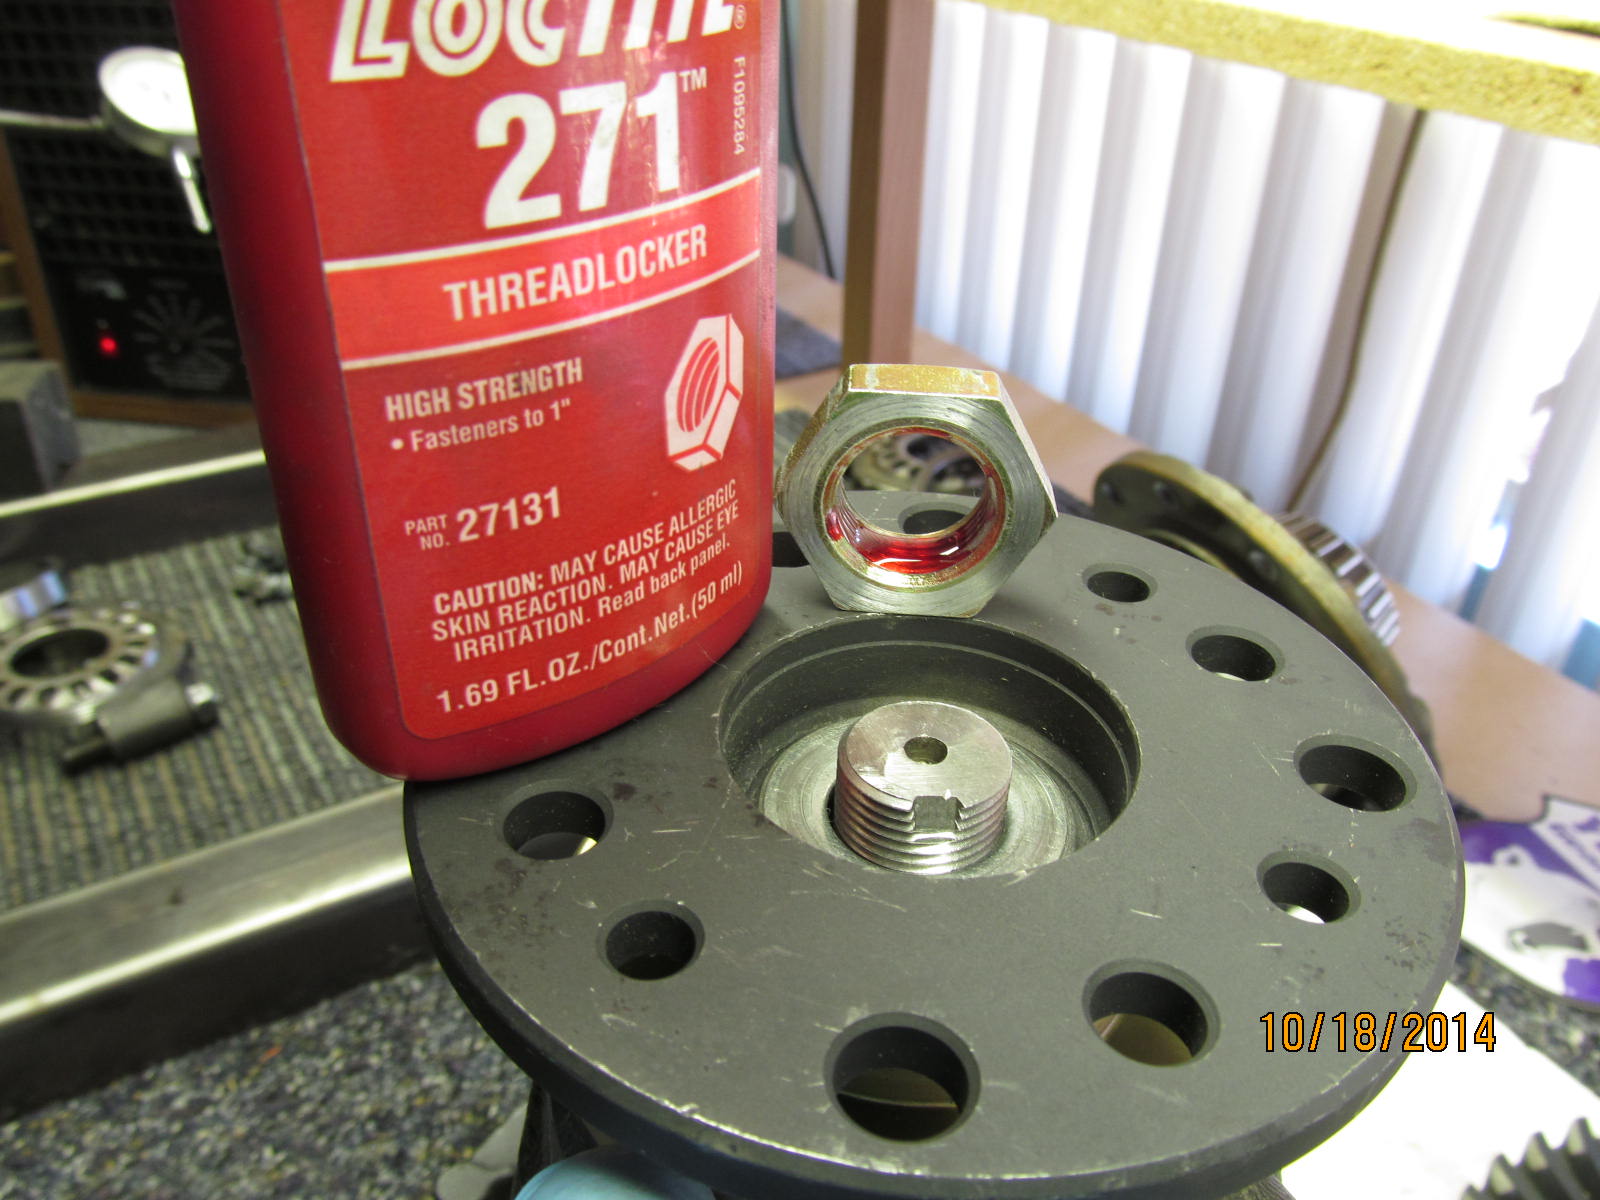
No anti-seize on this one...red loctite on those extra clean threads.
|
|
|
|
|
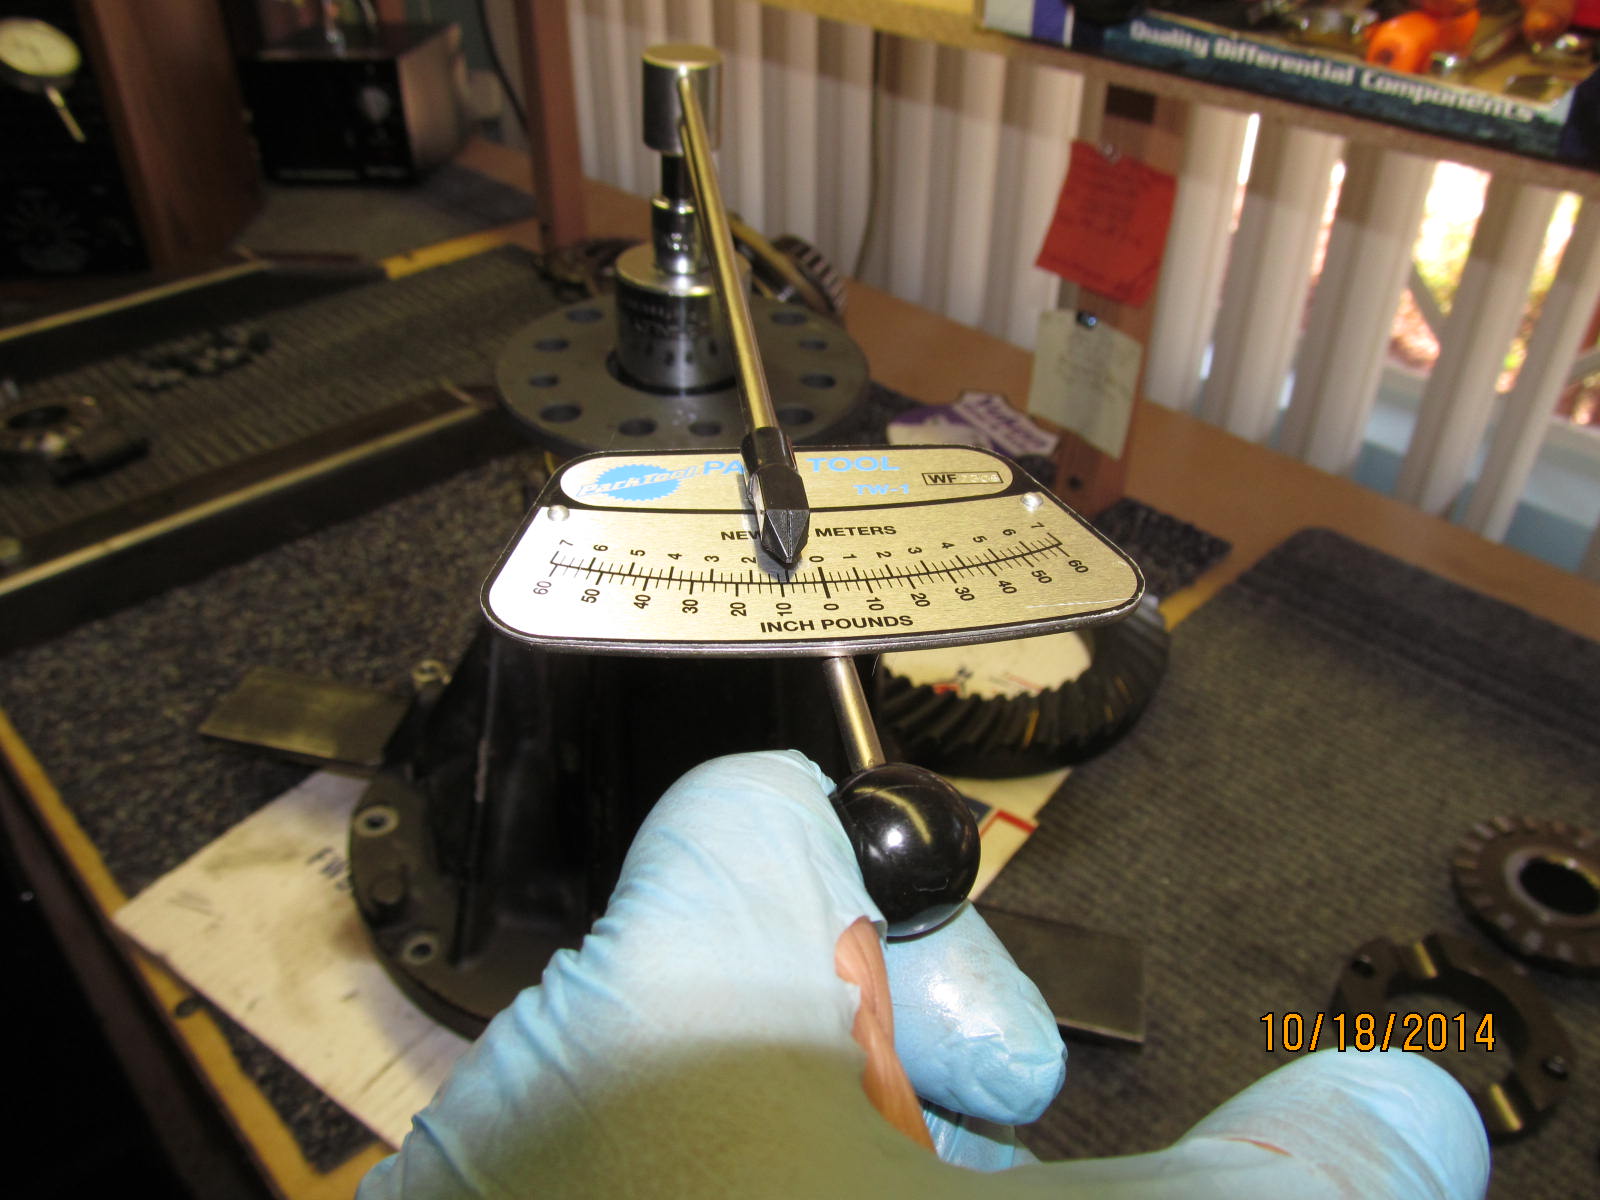
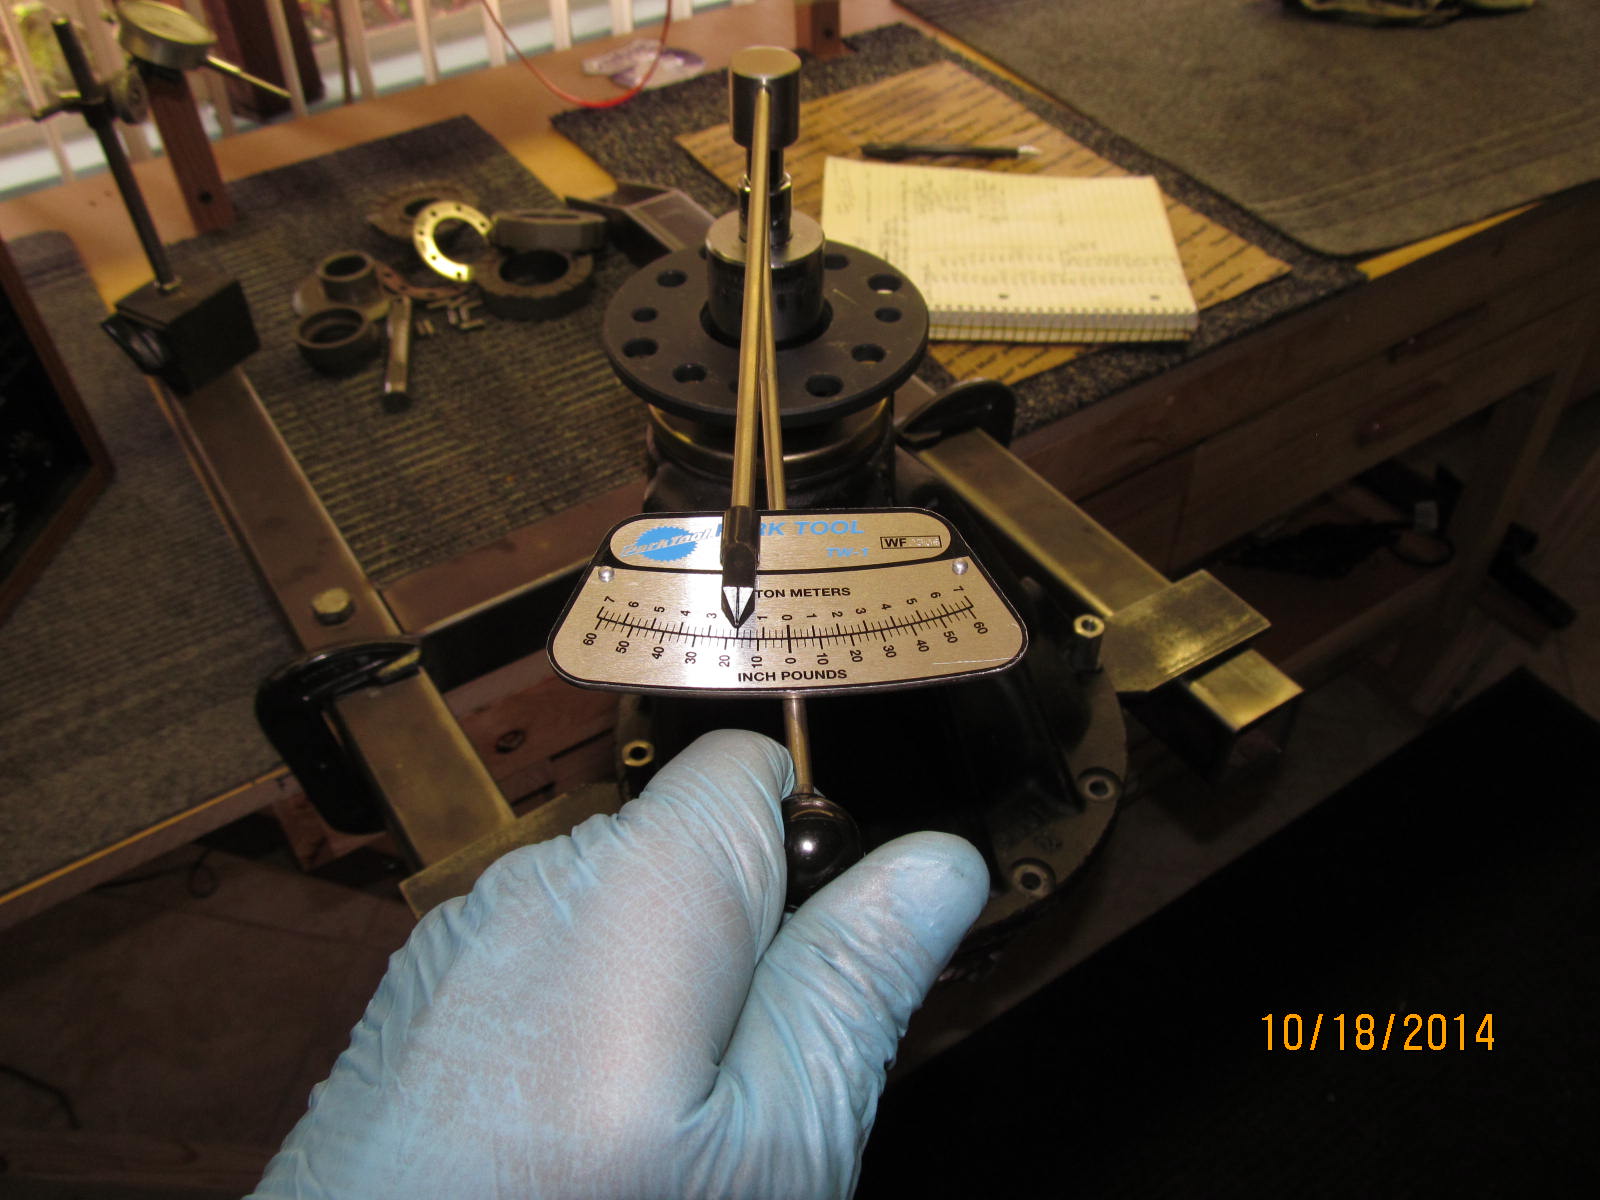
Ran it down hard with the electric impact and have about 7 or 8 in/lb preload.
|
|
|
|
|
I can get a little more rotation with the 150 ft/lb torq wrench and the double that it is attached to.
|
|
|
|
|
10 inch/pounds. Good.
|
|
|
|
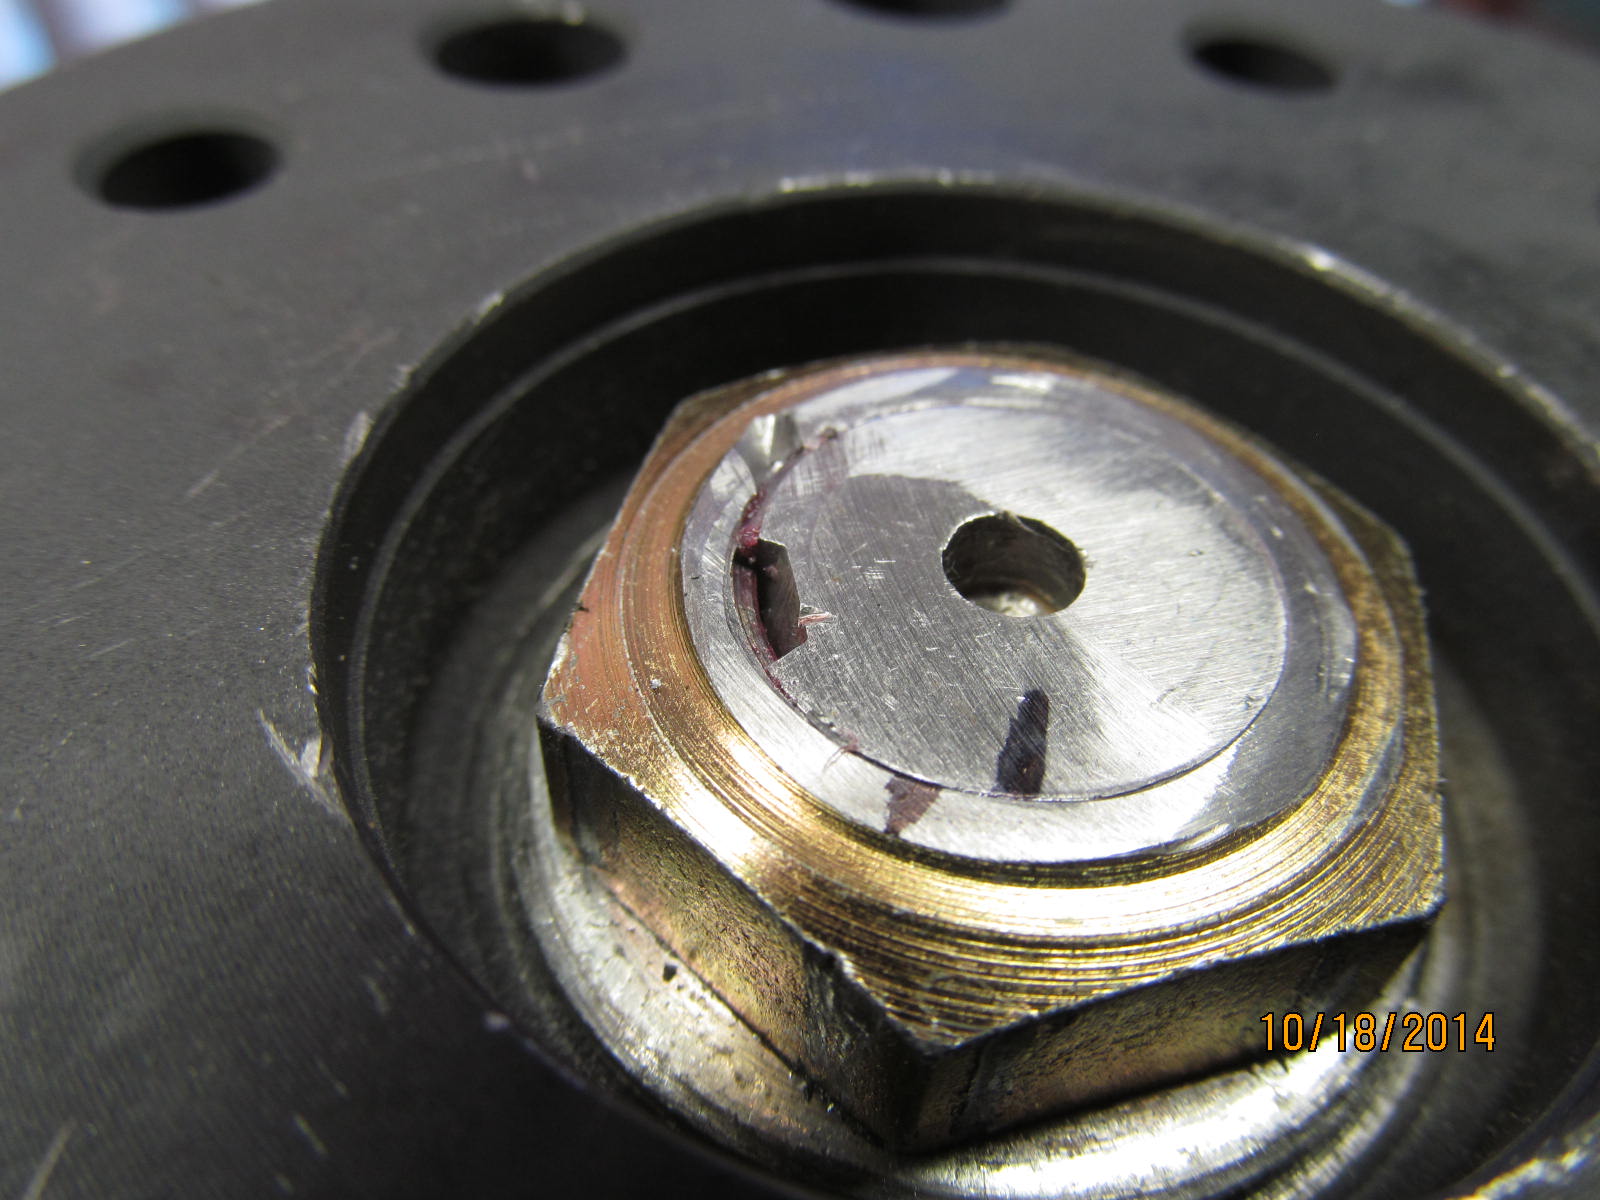
Gonna be tough to ding that nut because of the limited surface left. The red loctite is more than sufficient
but the ding will still happen.
|
|
|
|
|
Ding!! Jeez....I needed a more tempered punch it looks like.
|
|
|
|
|
Surfaces checked with a big file and checked aok. Hmmm, too much flash in this pic.
|
|
|
|
|
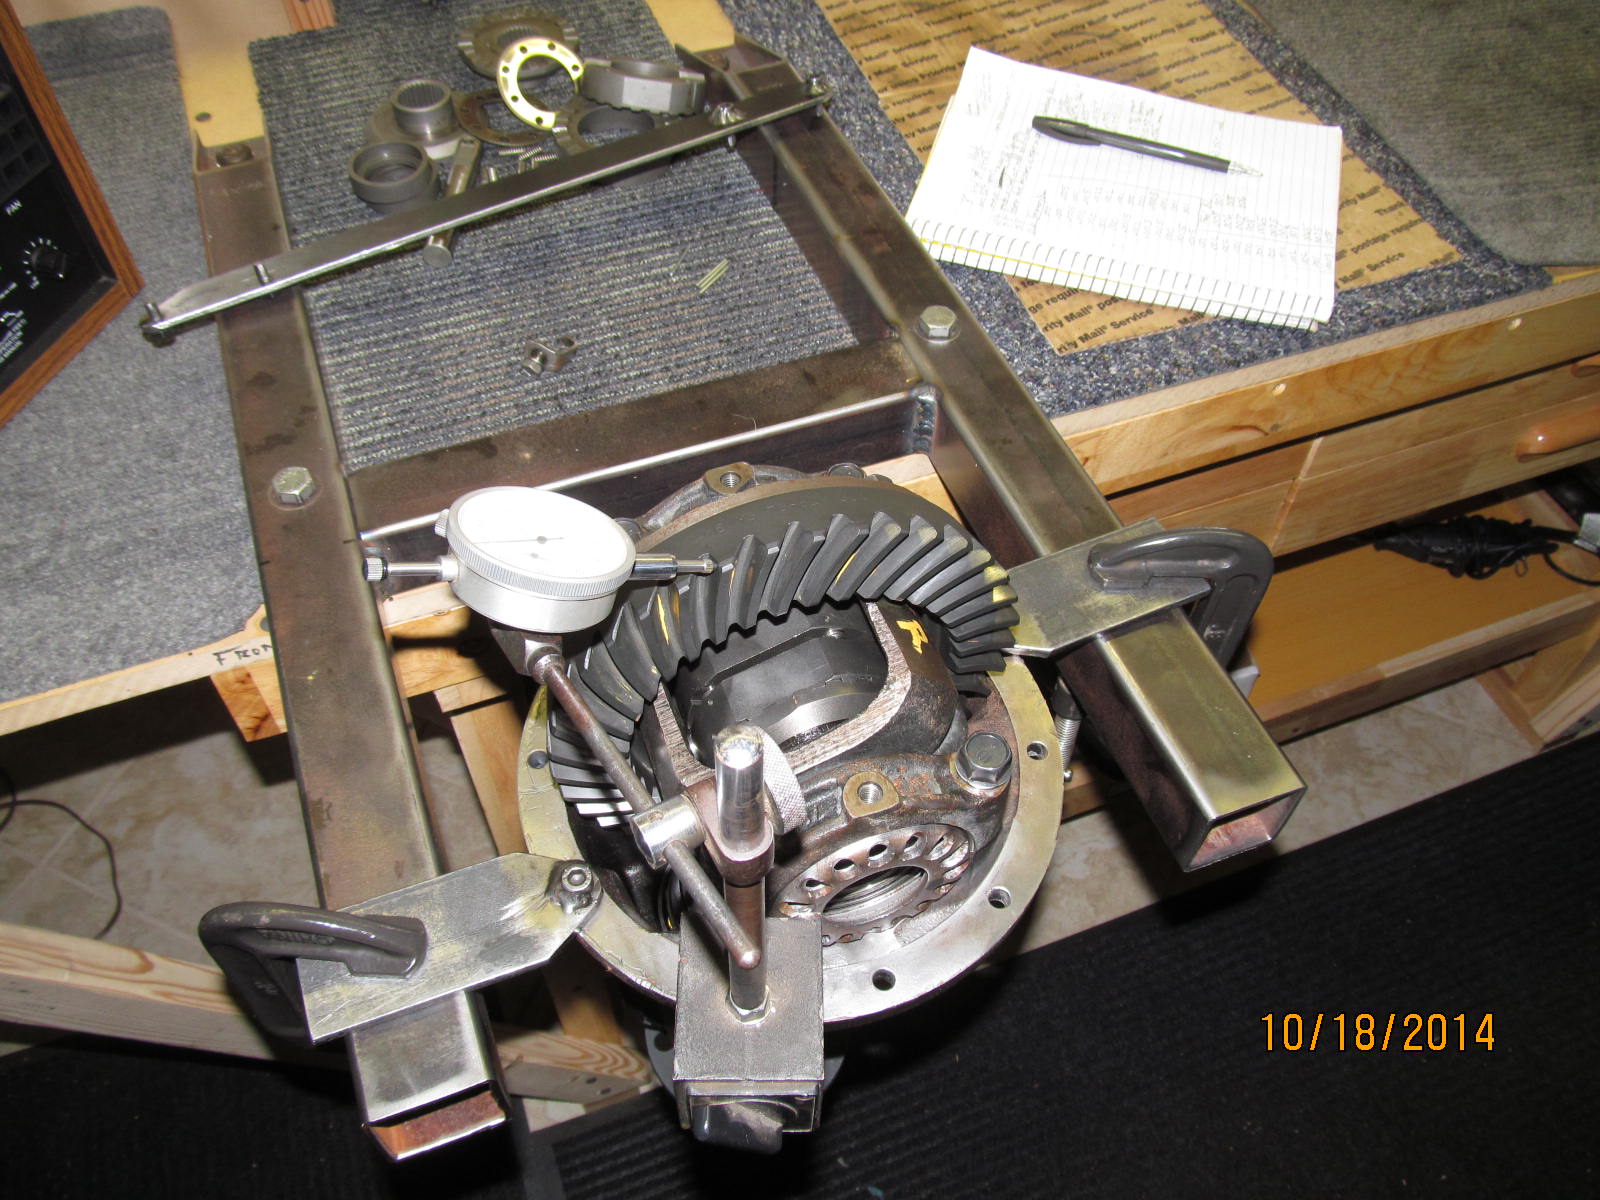
A quick check of ring gear run-out shows less than .001 deviation. Very good. Definitely too much flash.
|
|
|
|
|
Now onto the Spartan install.
|
|
|
|
|
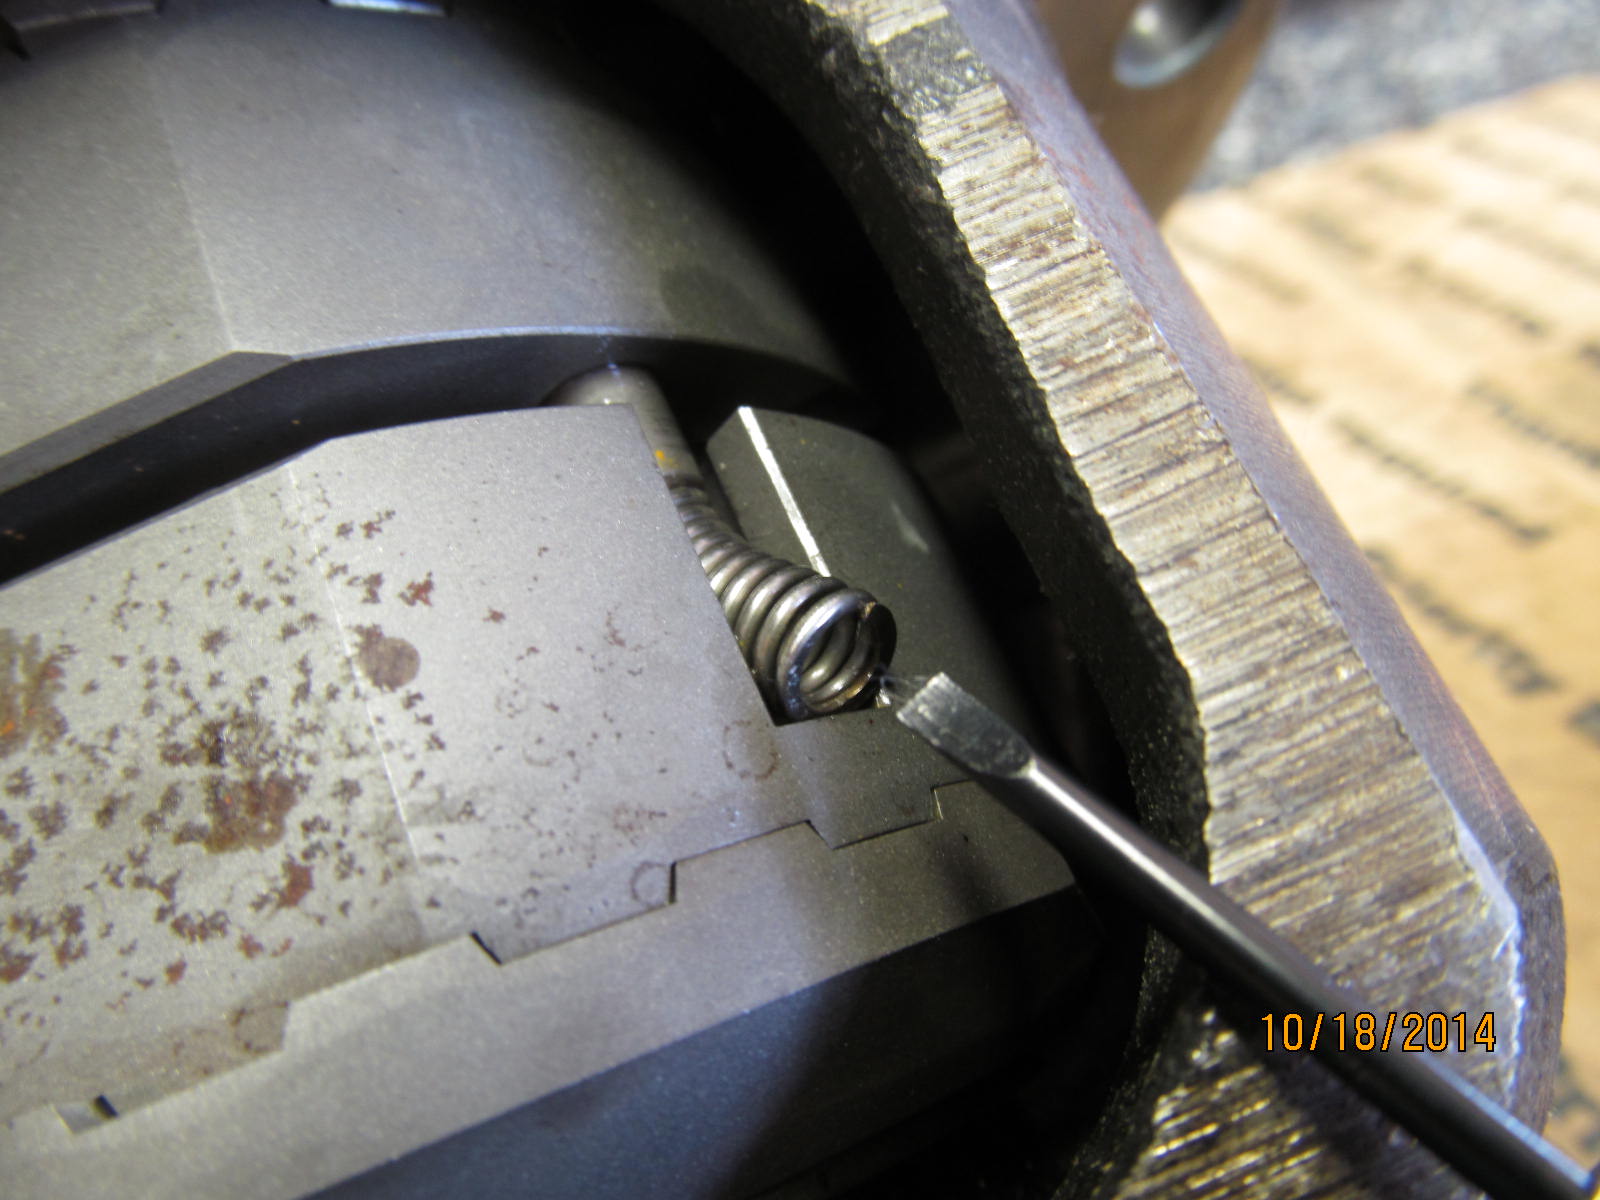
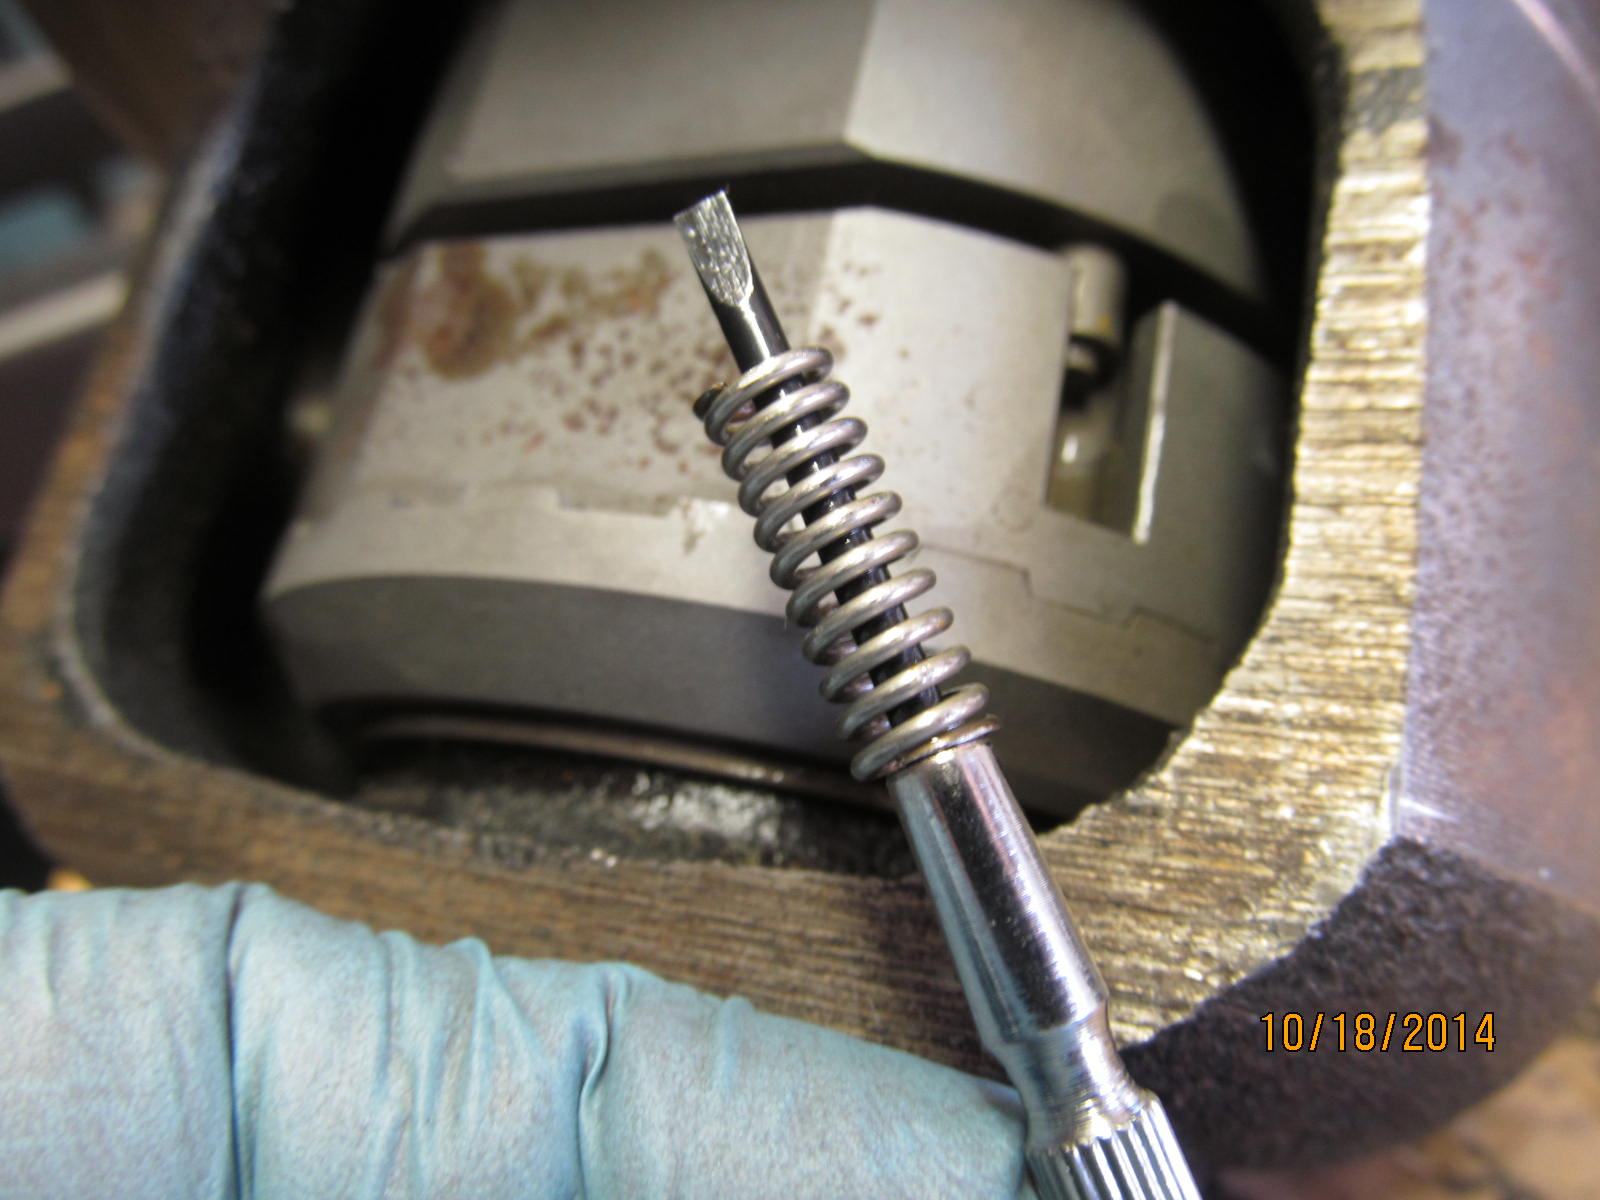
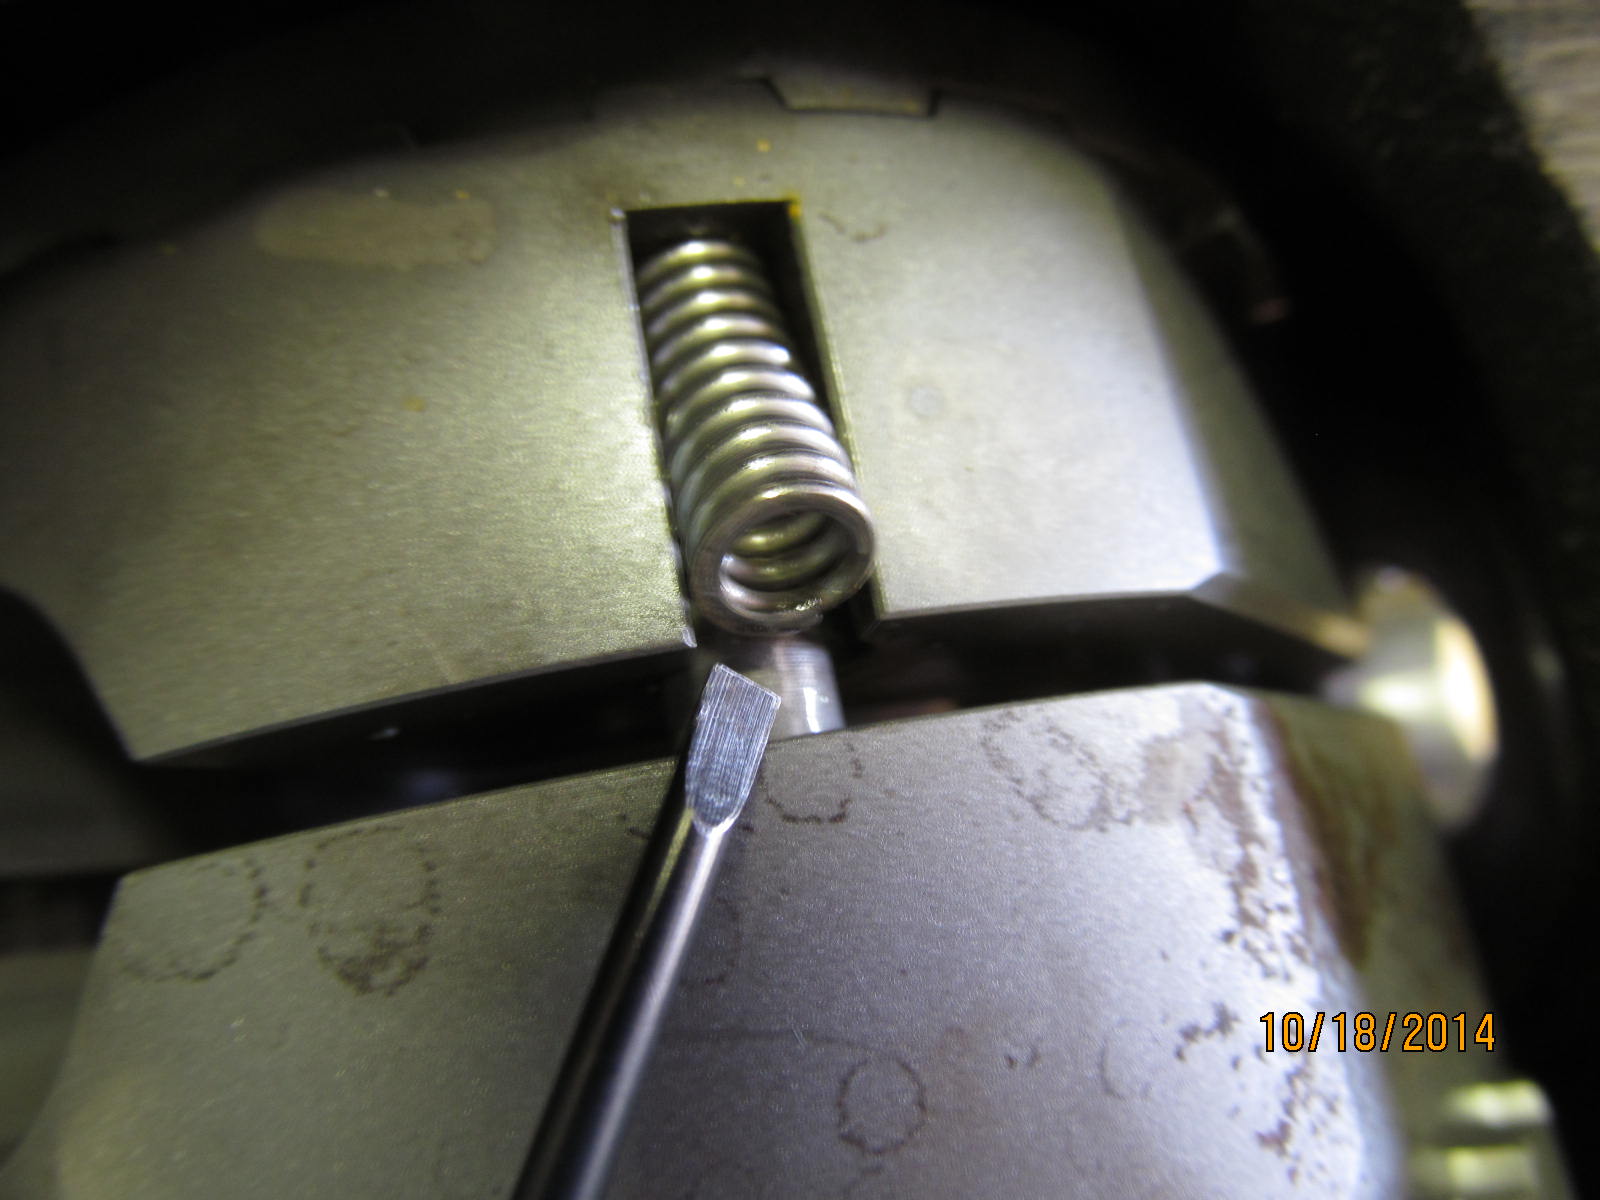
These Aussie springs come out fairly easy with the right slotted screwdriver.
|
|
|
|
|
.....................
|
|
|
|
|
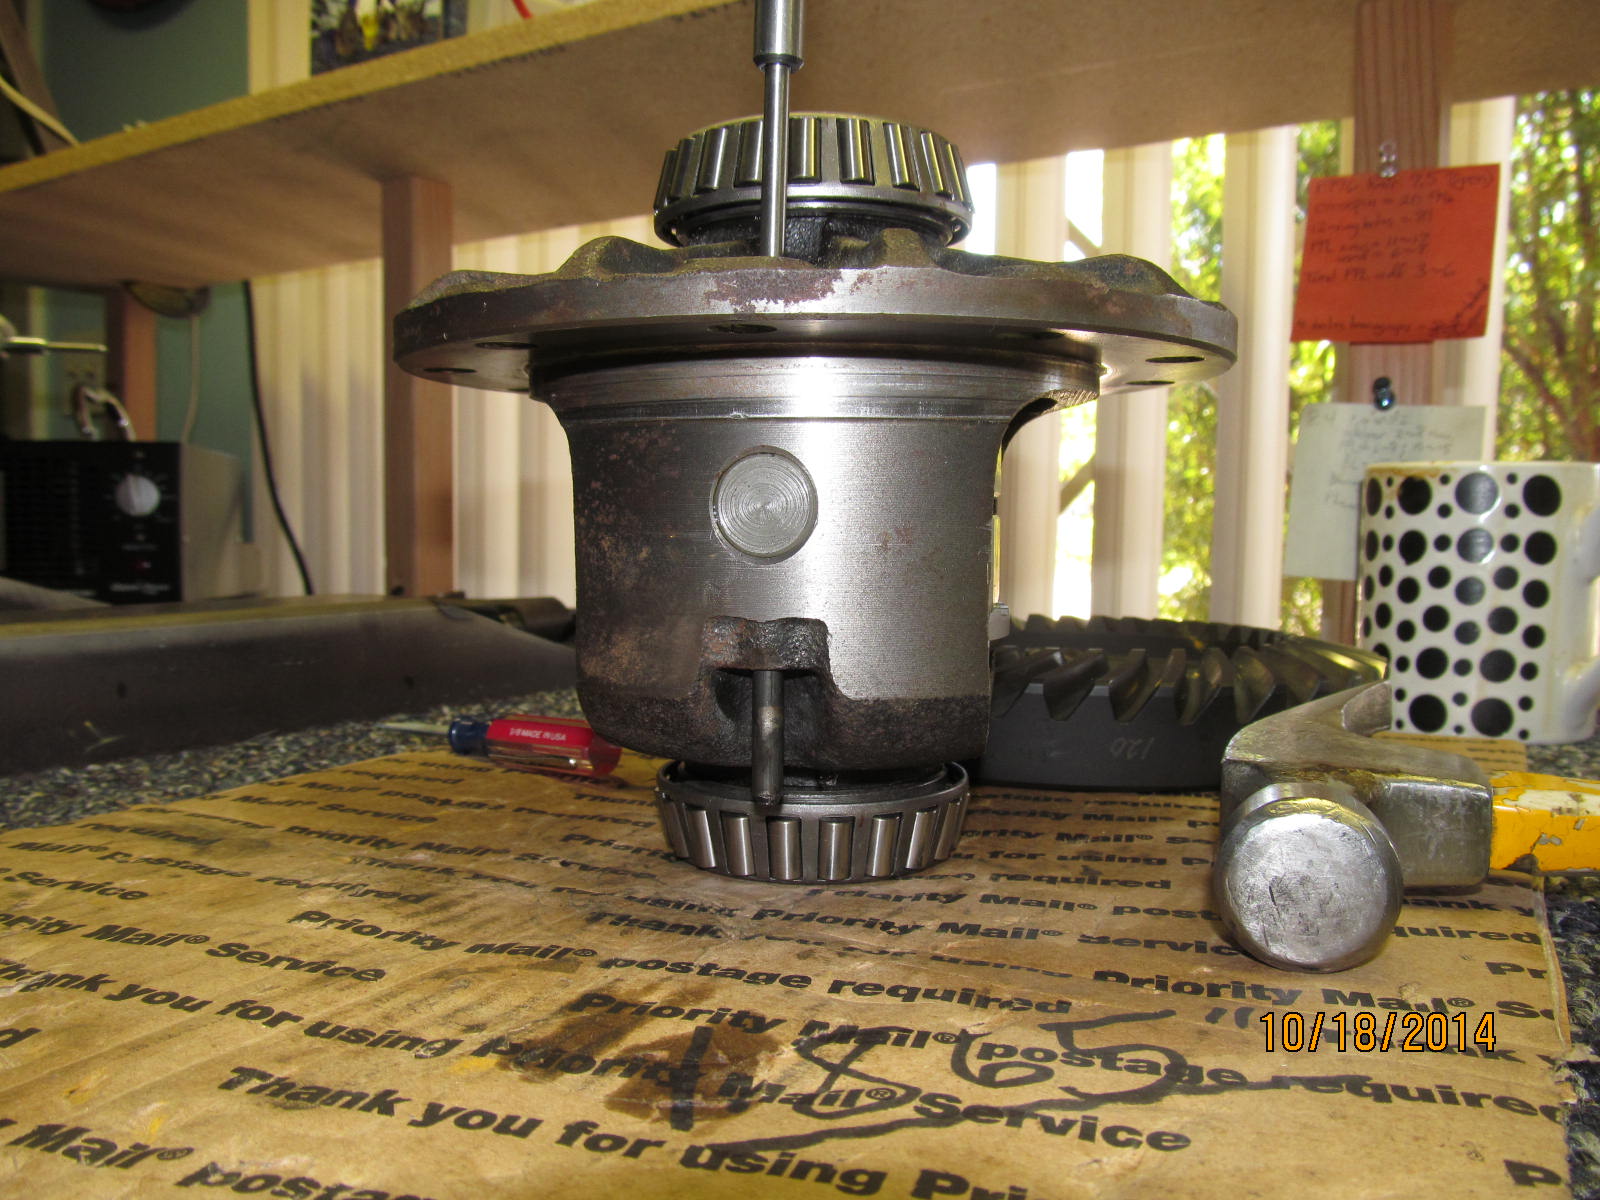
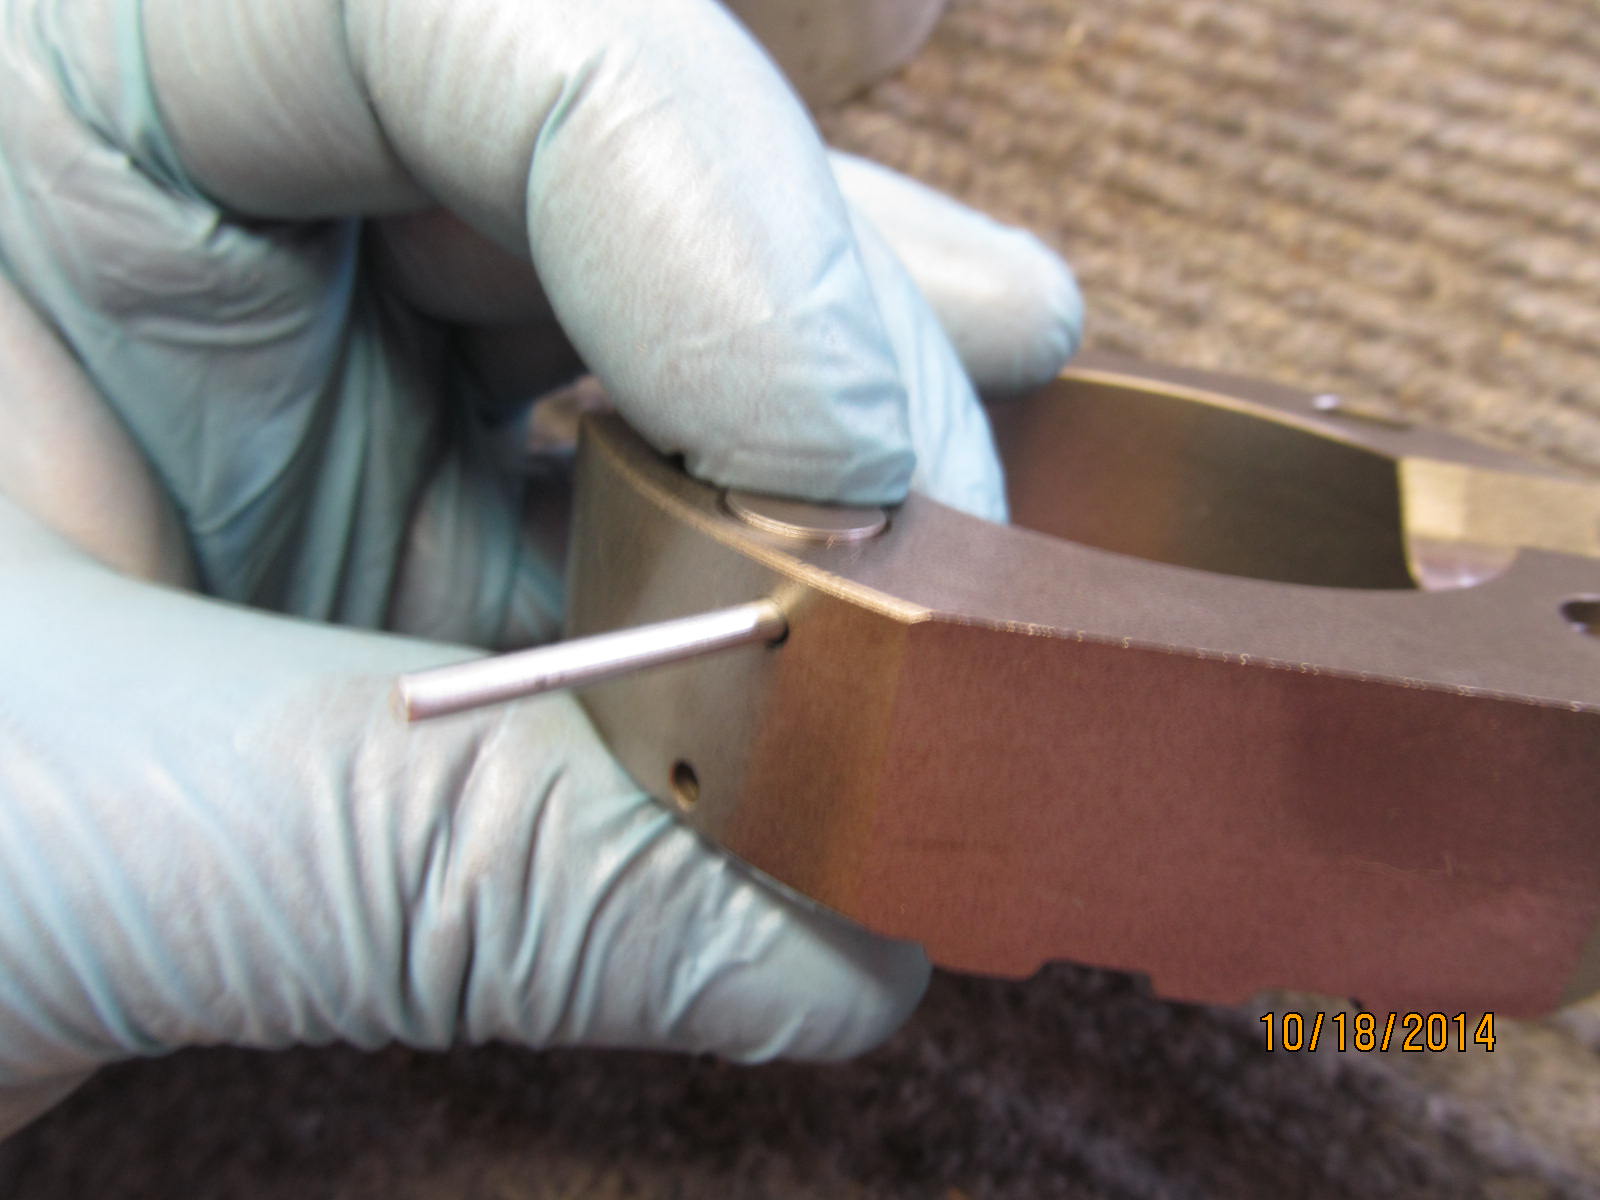
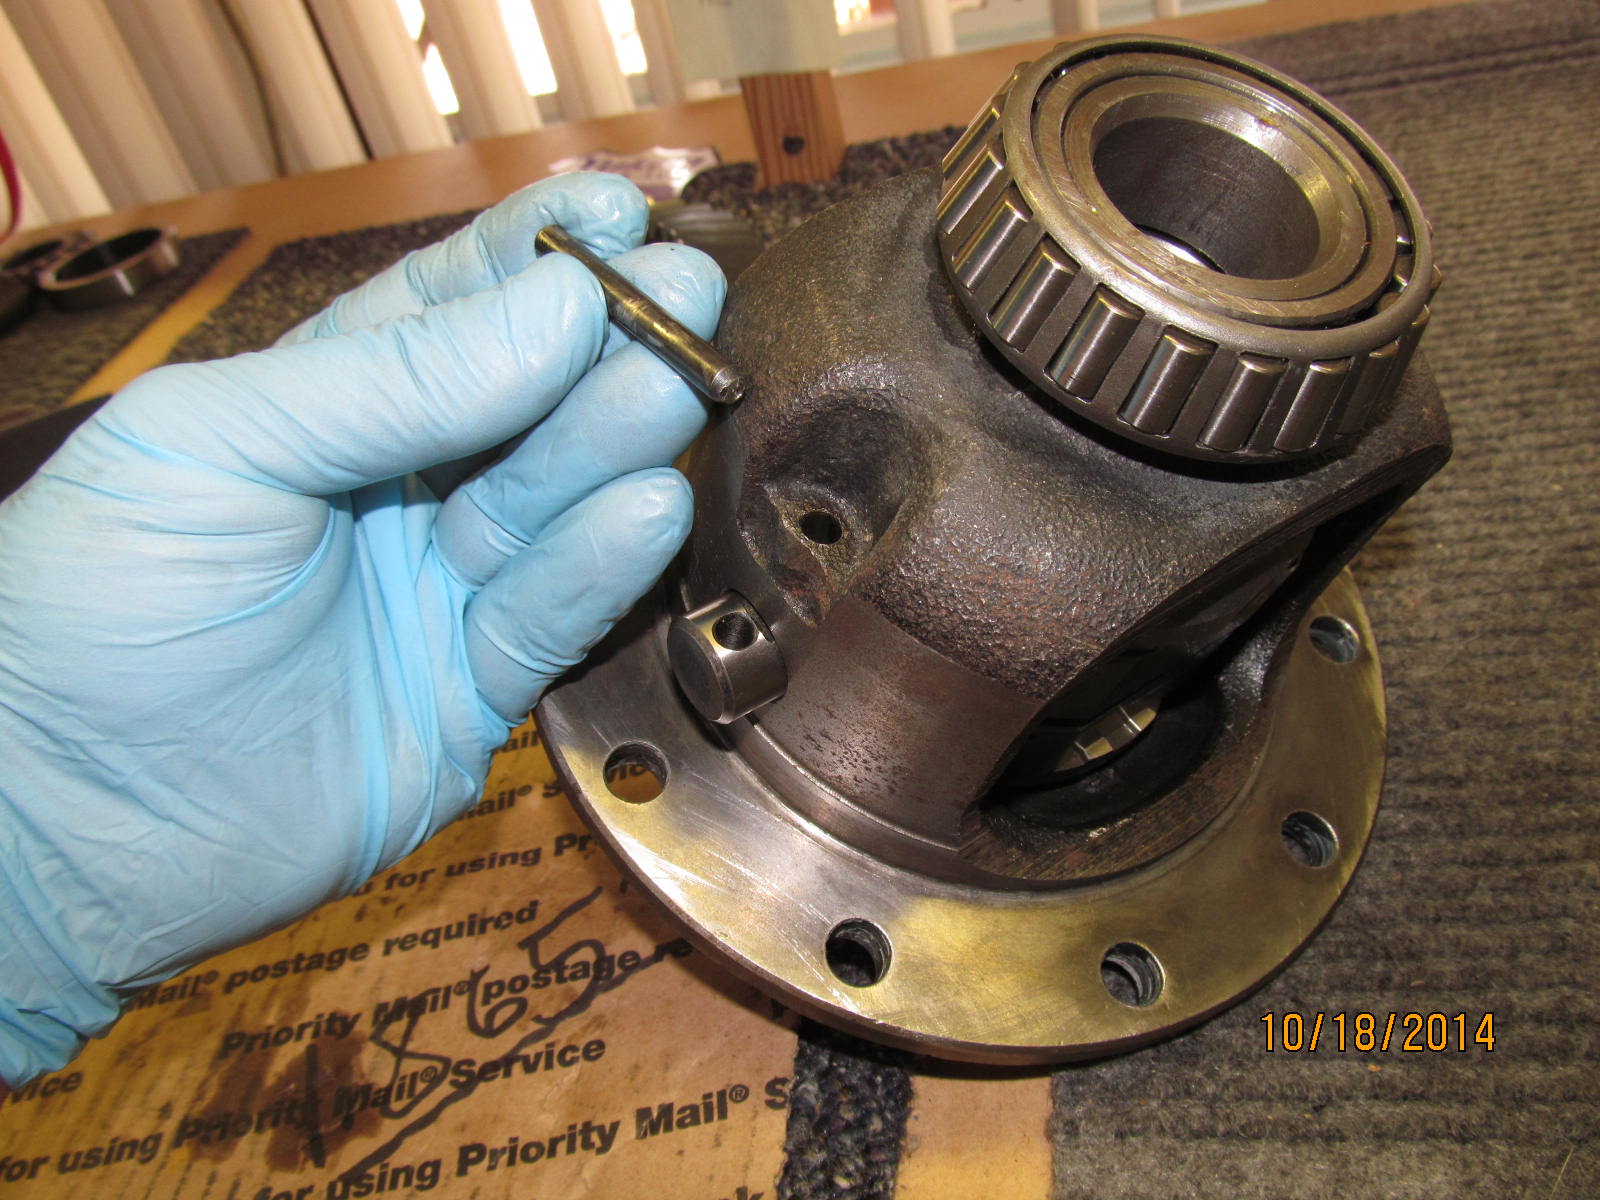
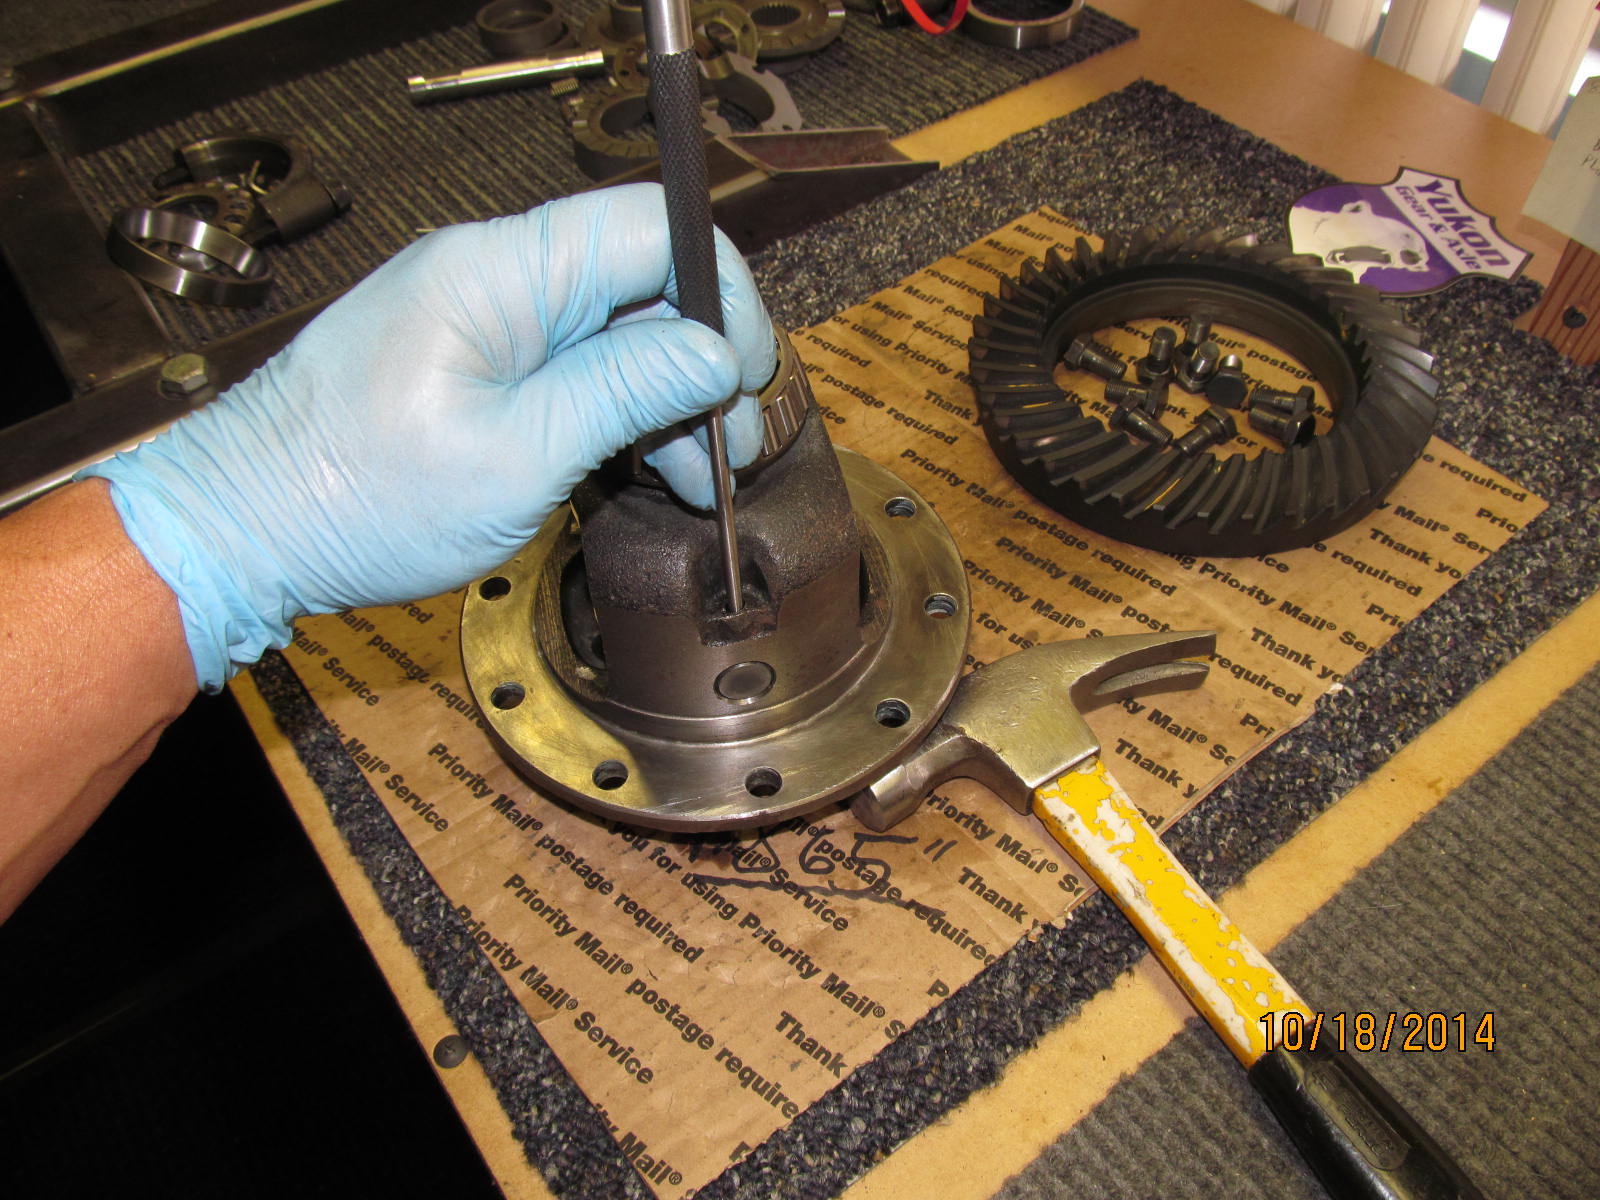
But first, it's a good idea to drive out the steel dowel that holds the cross-pin in place.
|
|
|
|
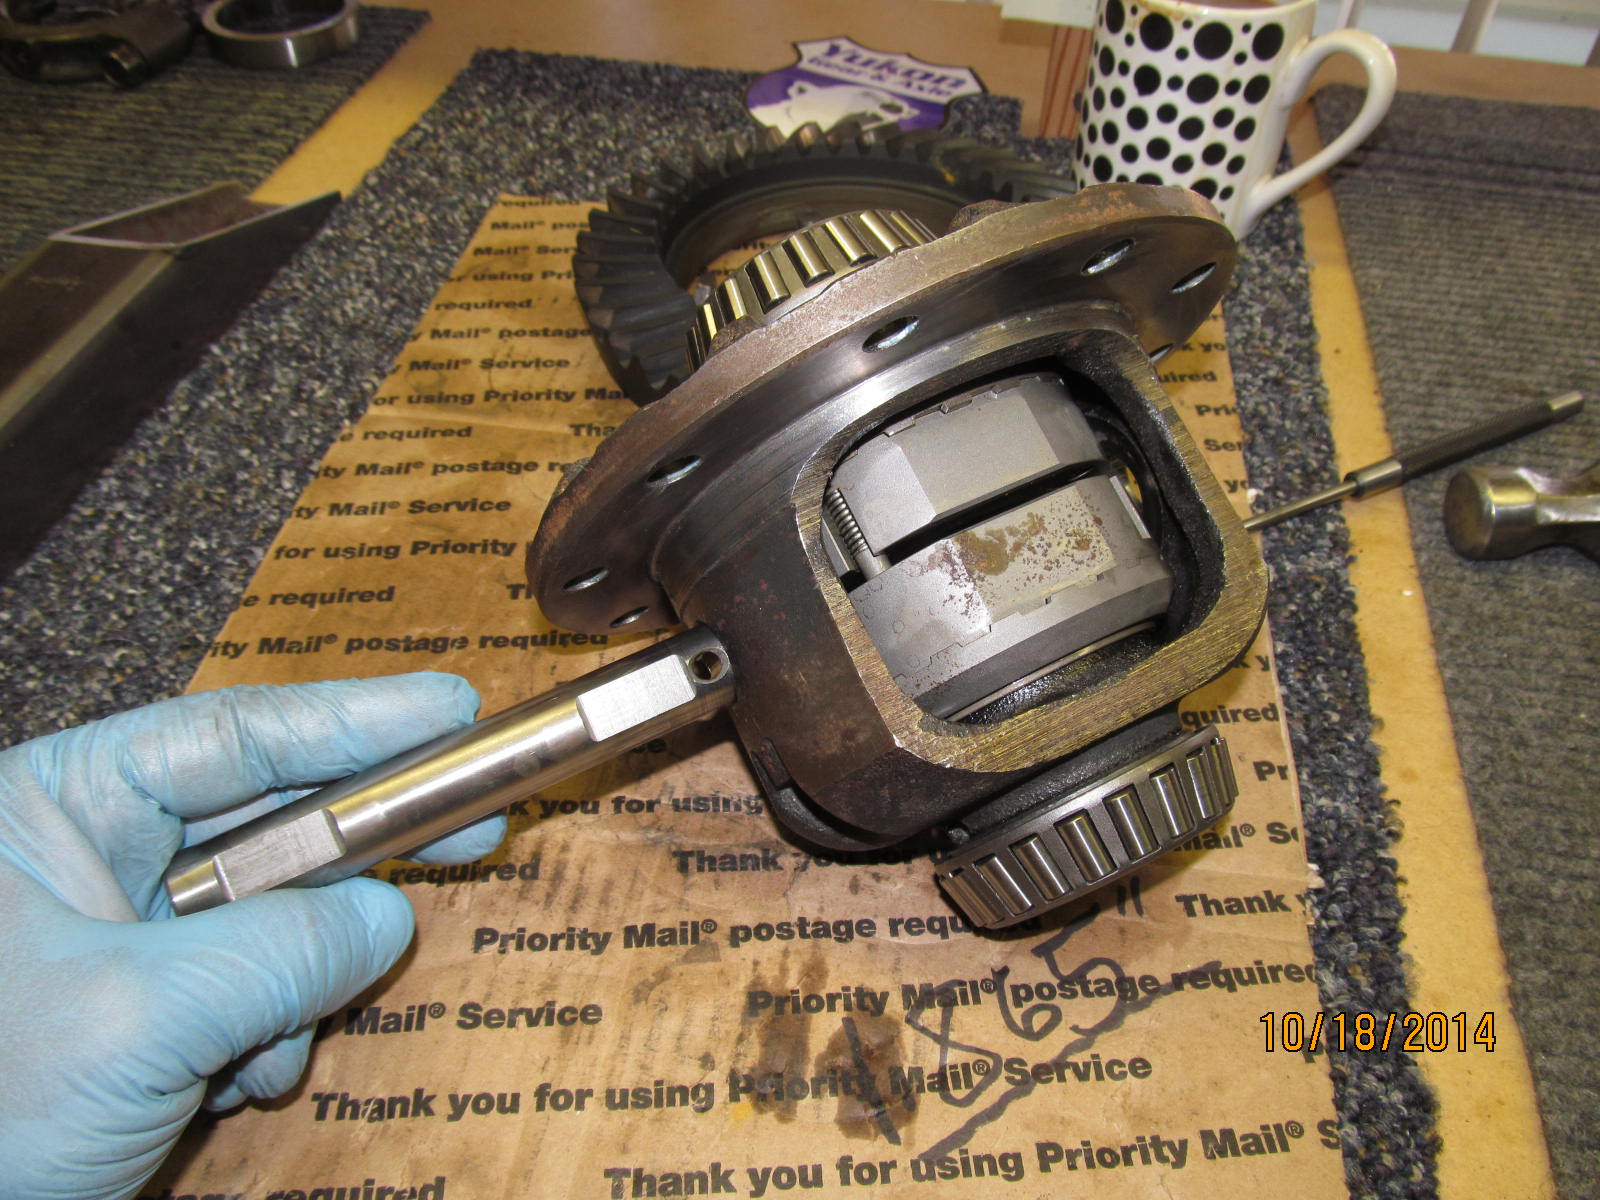
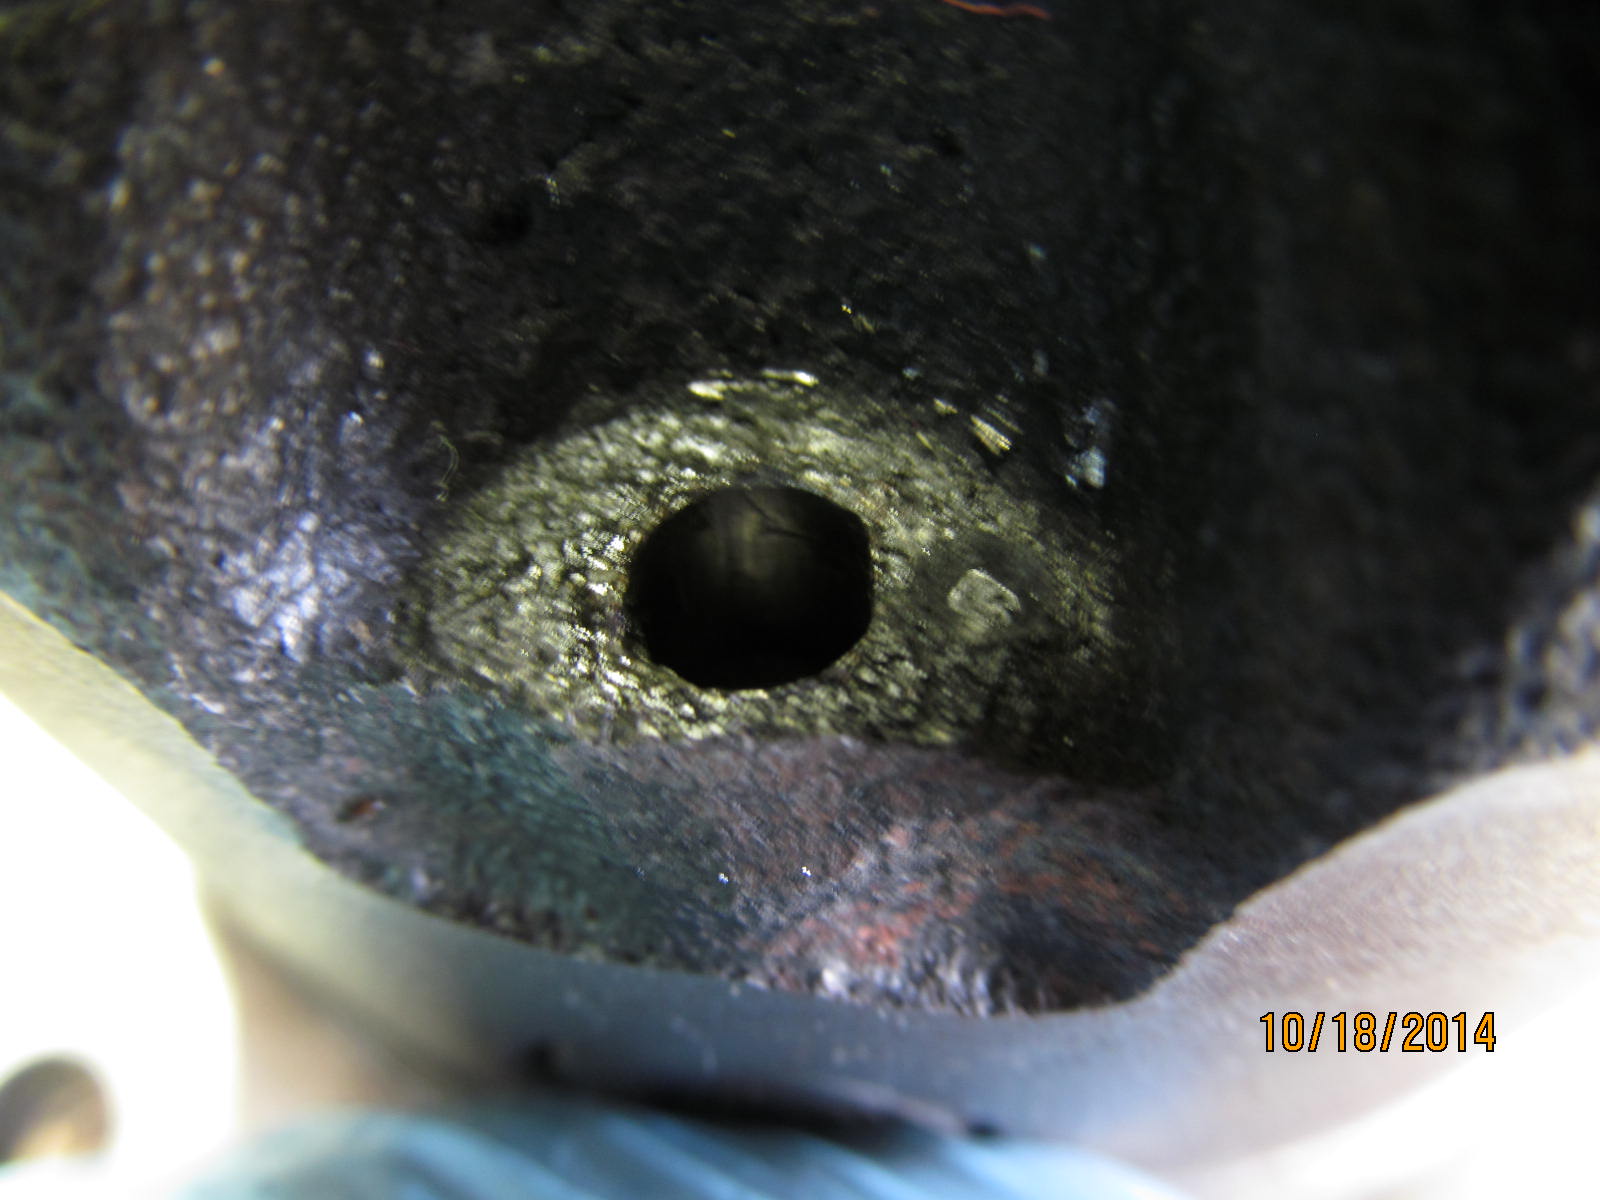
The cross-pin came out and was a snug fit. Sometimes, these holes get wallowed out and egg shaped but
this one was as good as new.
|
|
|
|
|
Remove the remaining 3 springs.
|
|
|
|
|
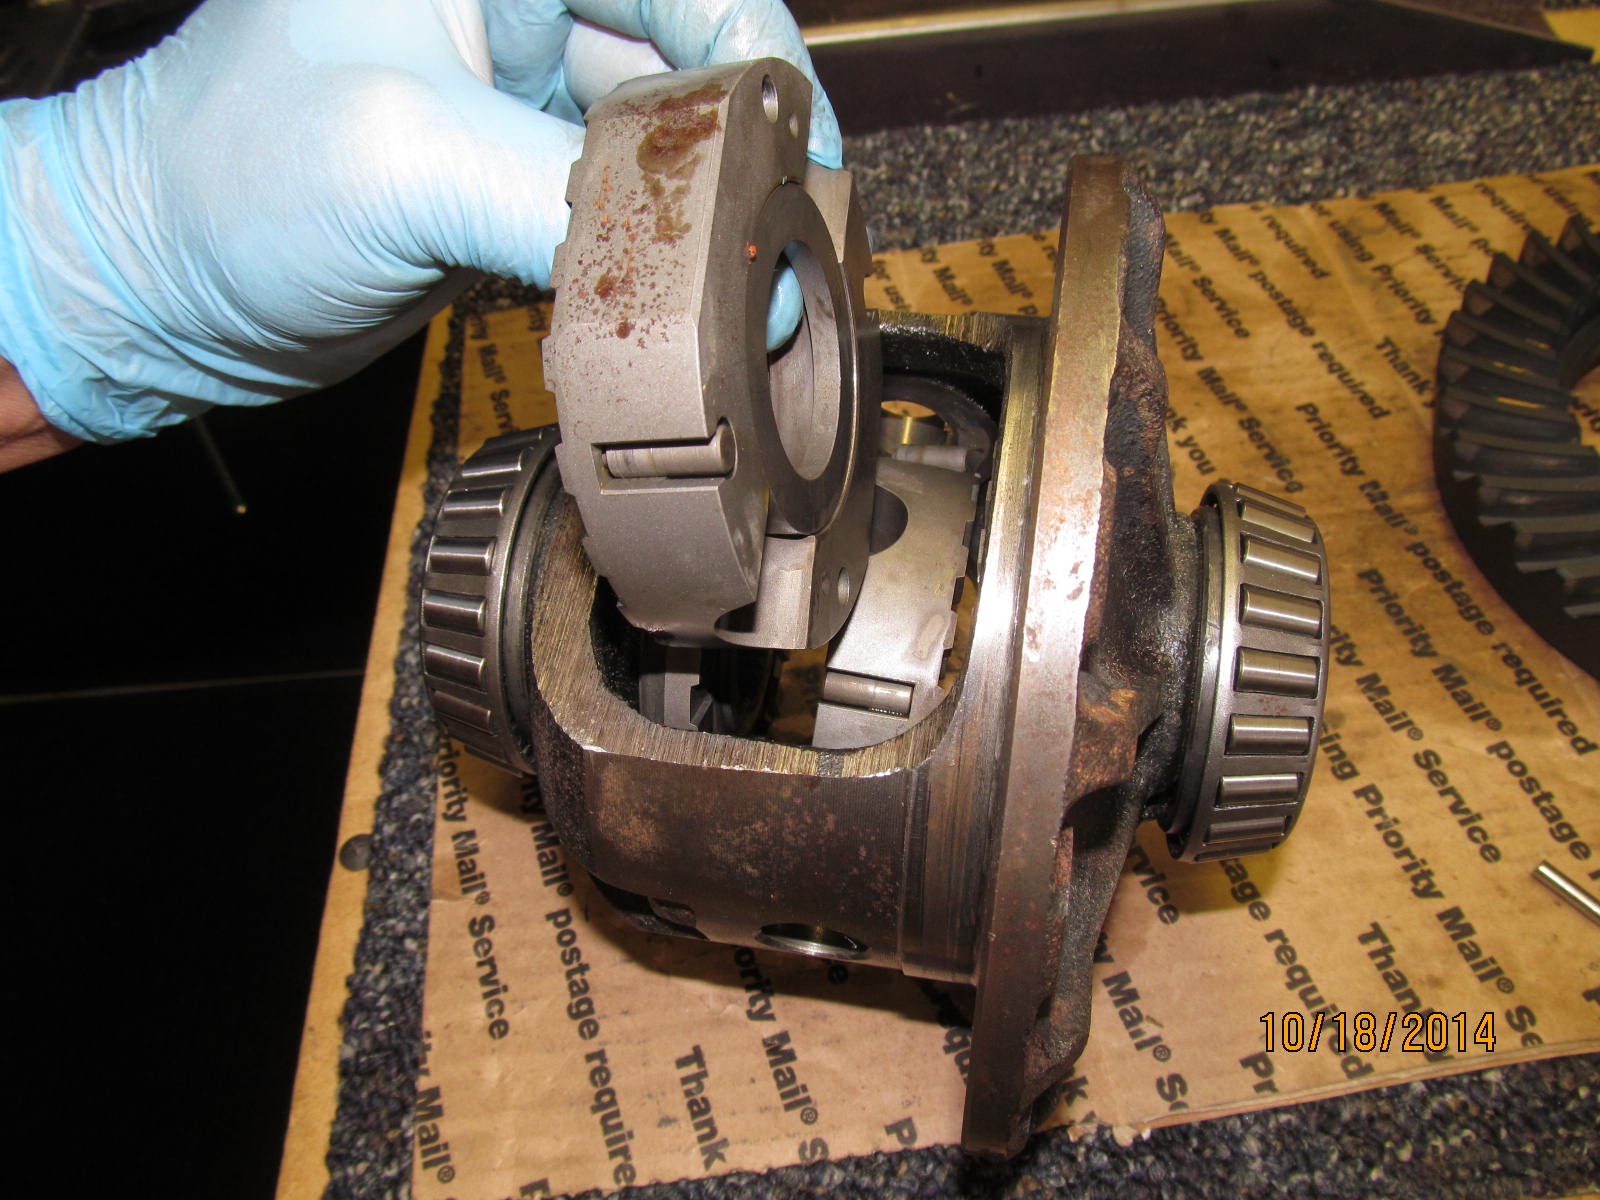
Remove the drive couplers.
|
|
|
|
|
The Aussie is going back to Mark...less the steel dowel that does not belong in this pile.
|
|
|

|
|
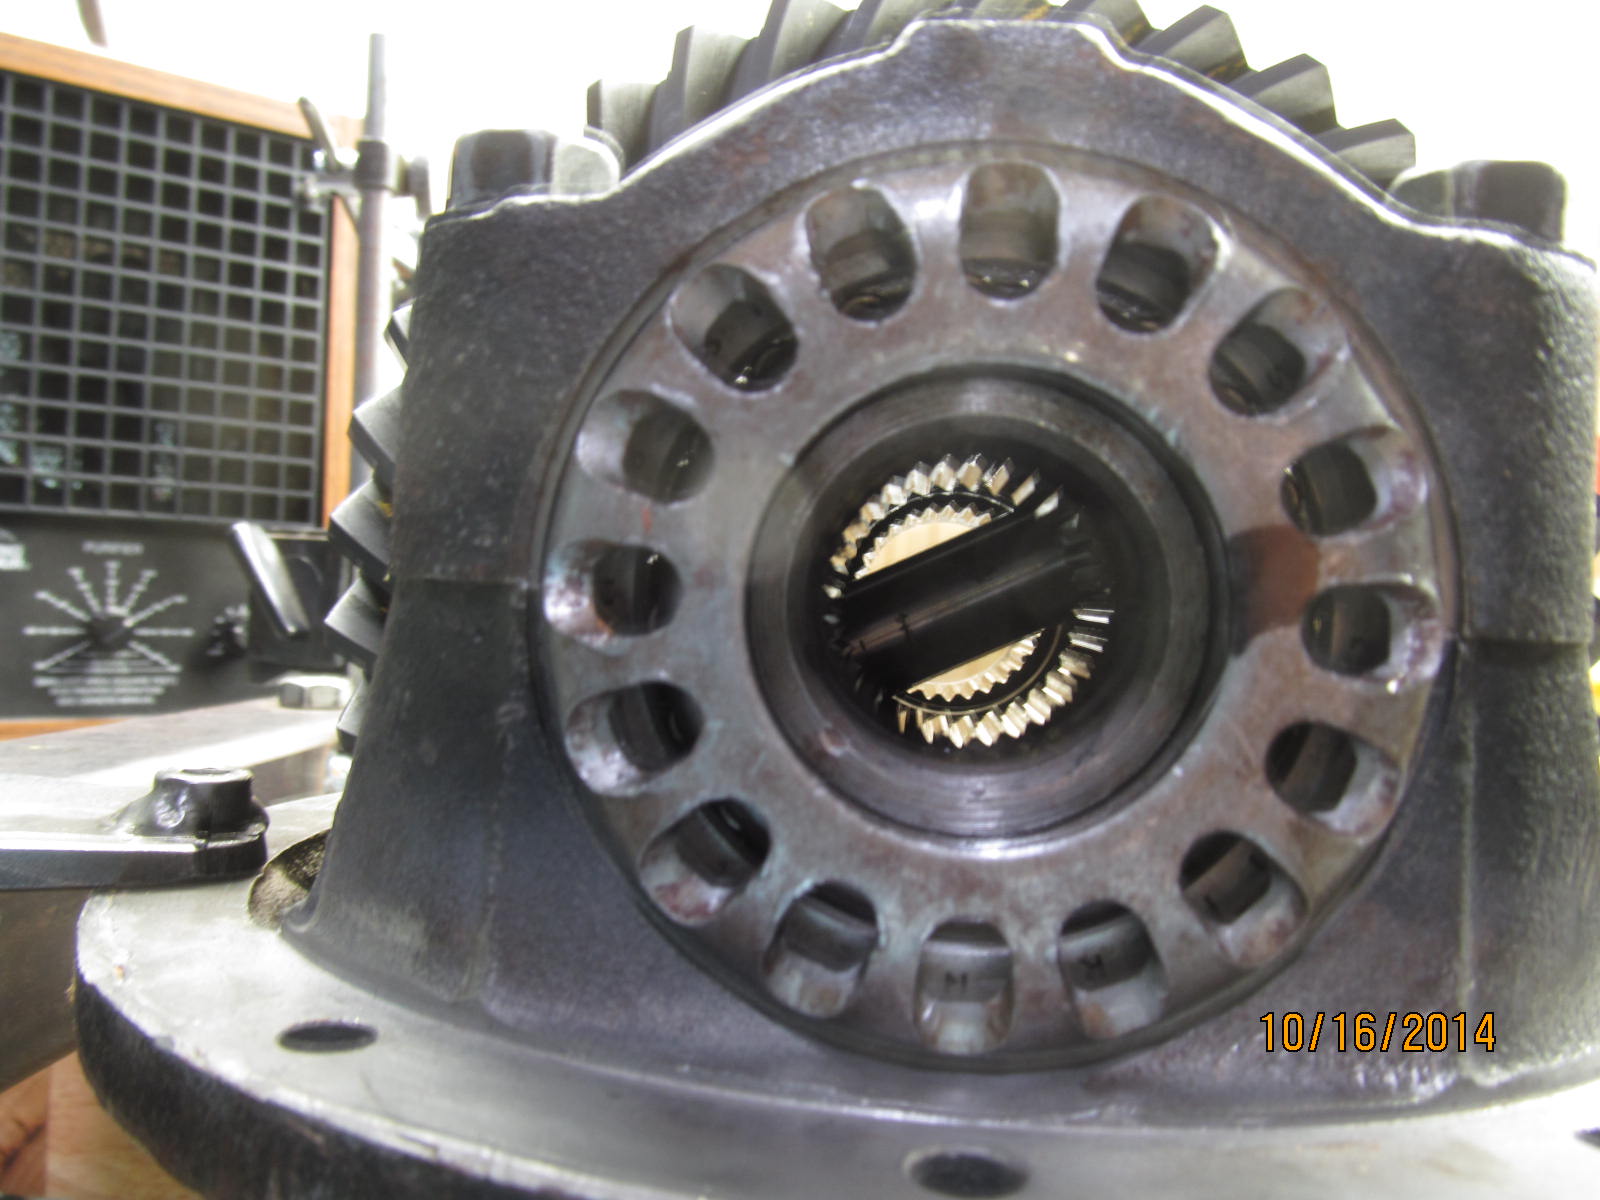
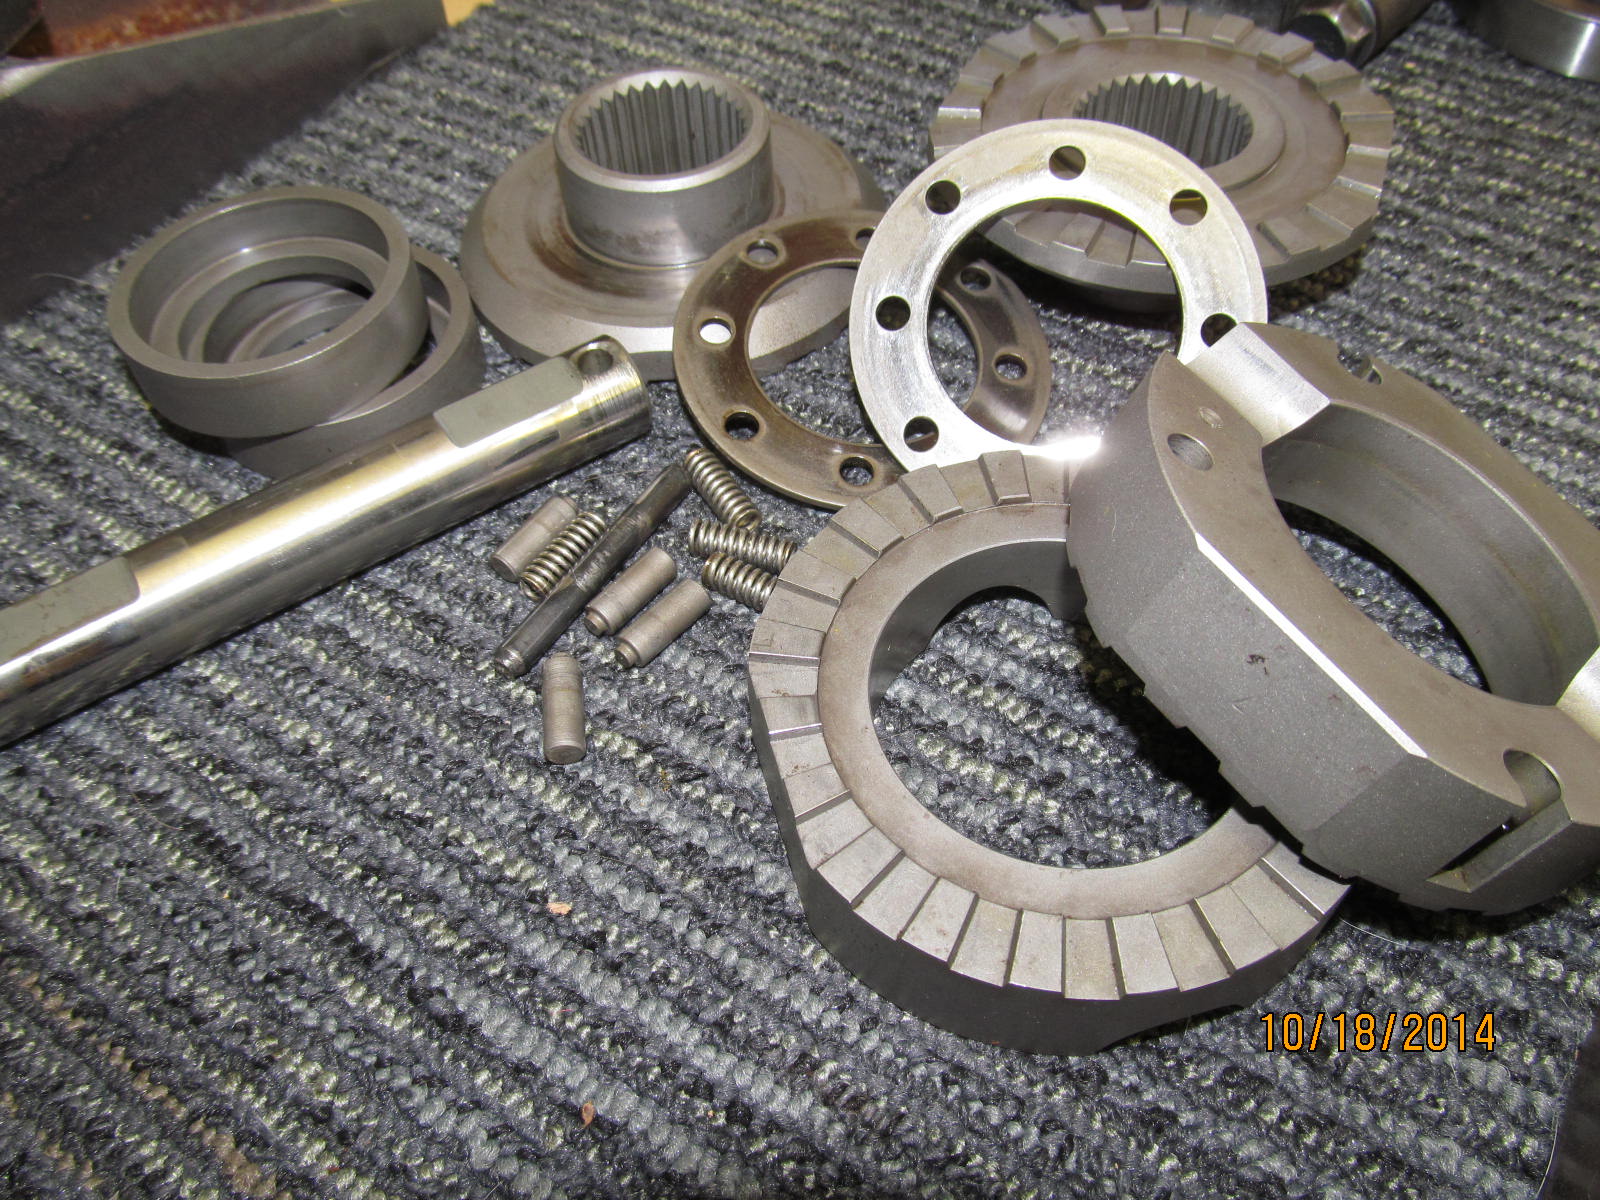
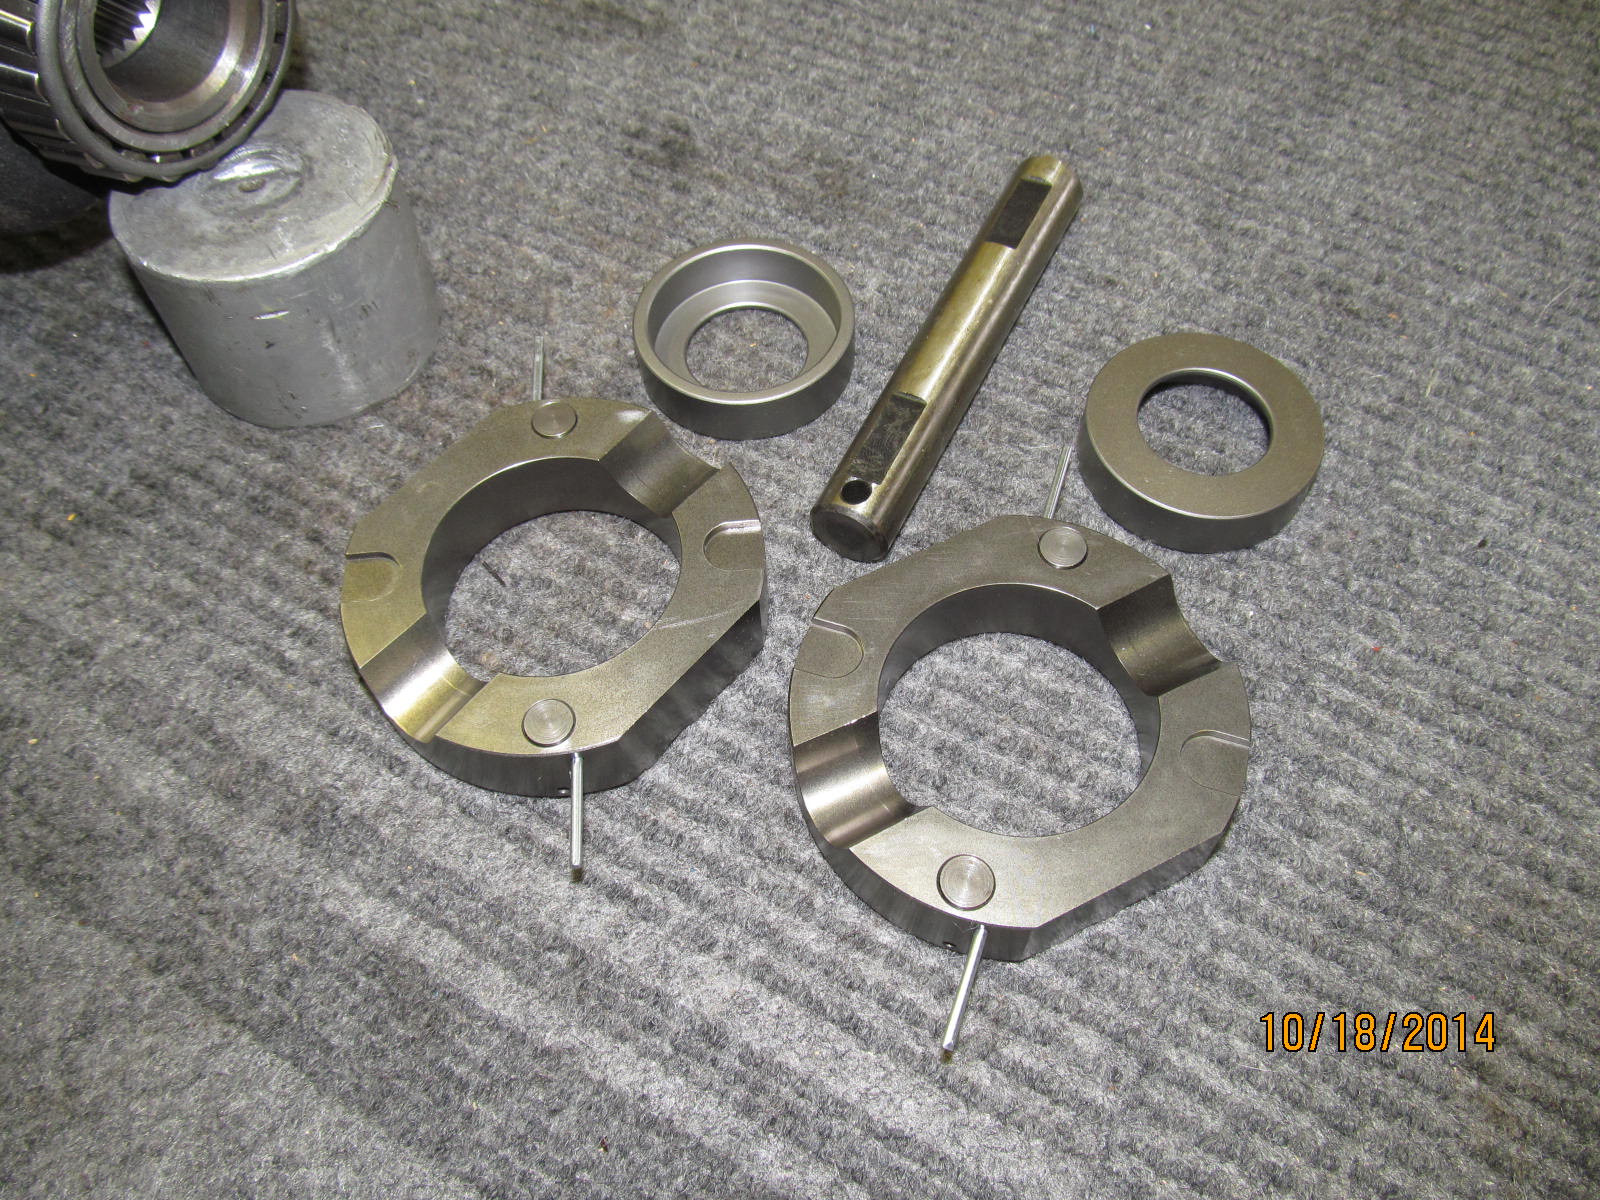
Here is the Spartan ready to go in.
|
|
|
|
|
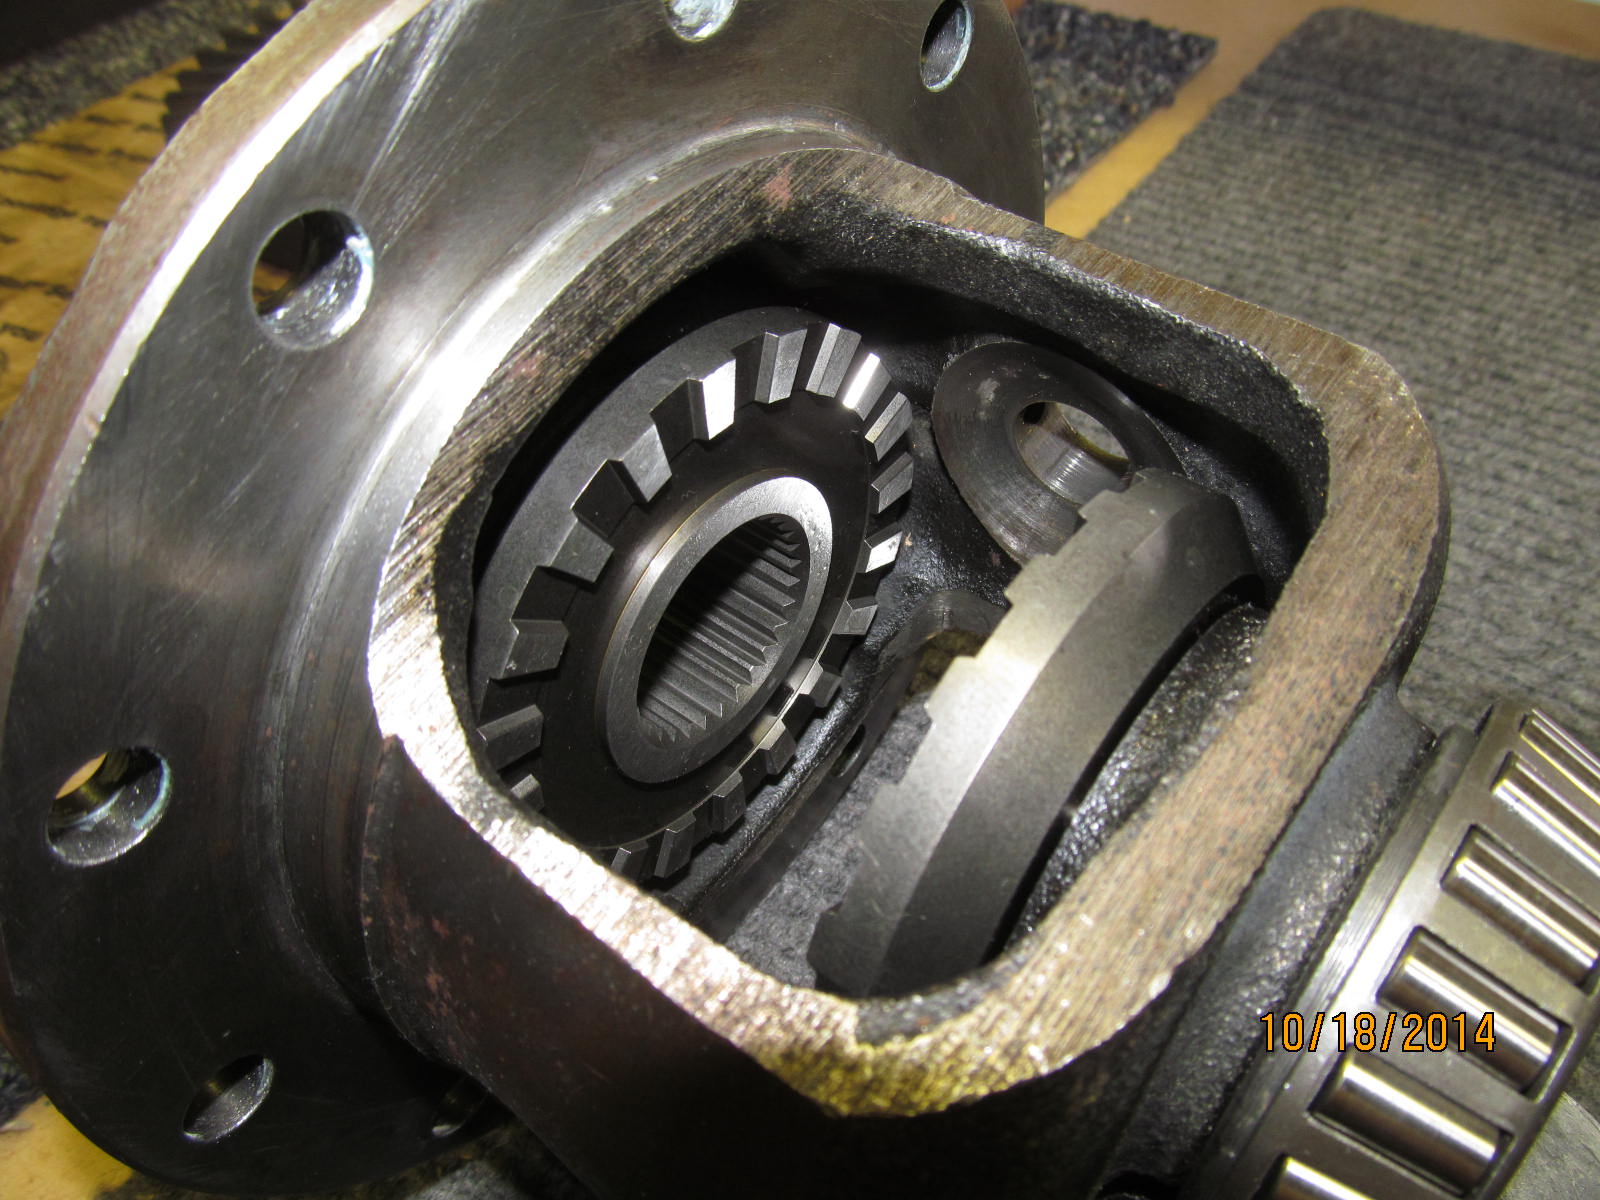
Sidegear couplers go in first....with NO thrust washer plates.
|
|
|
|
|
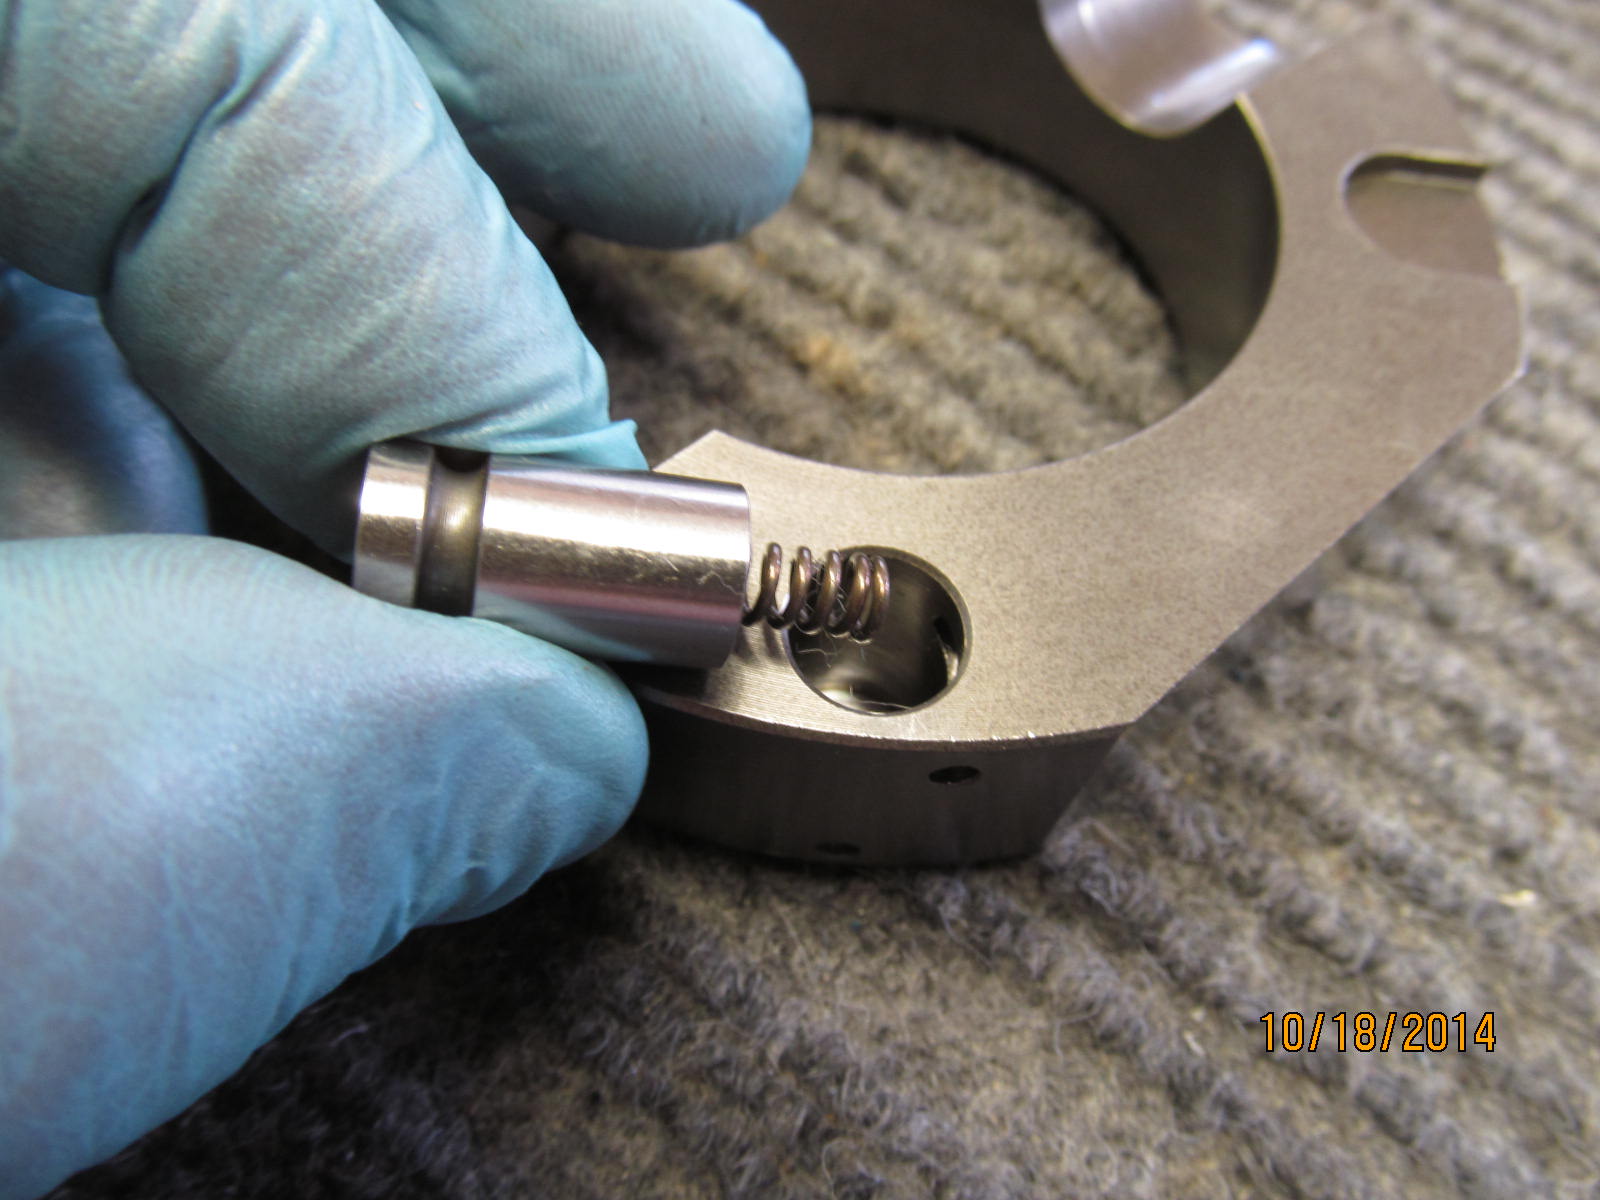
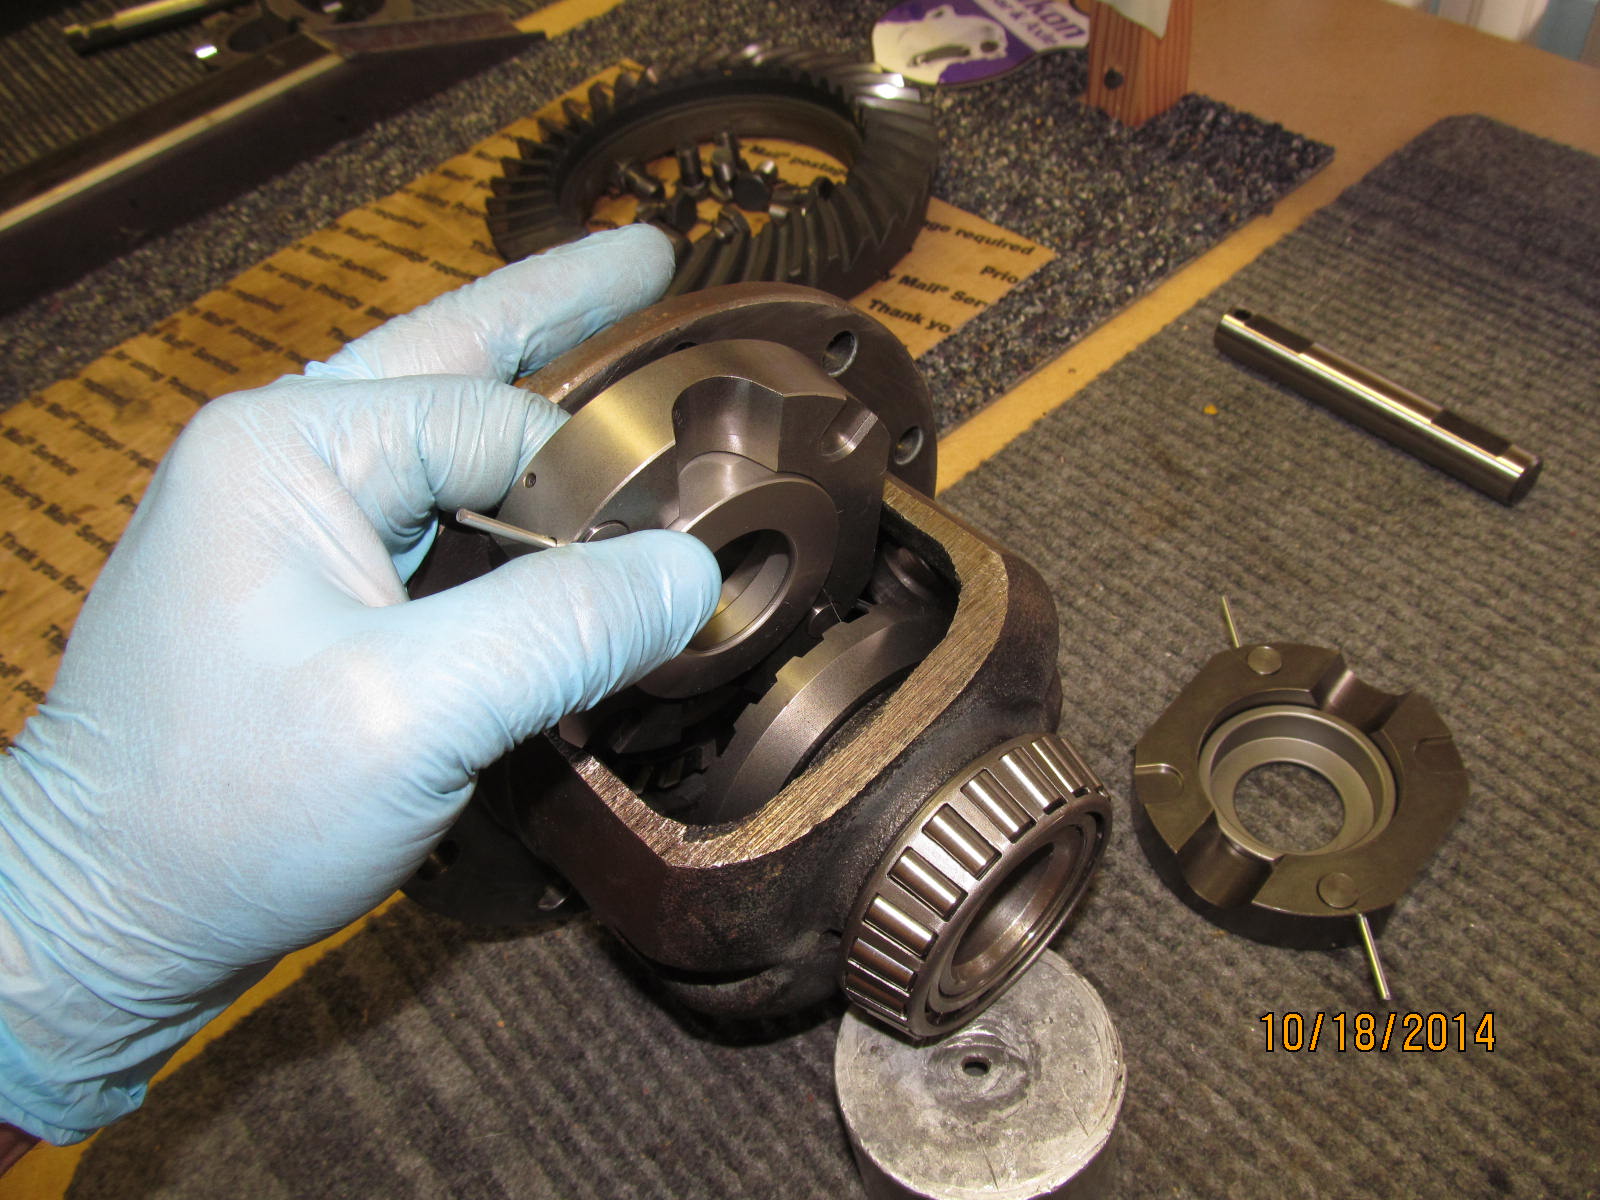
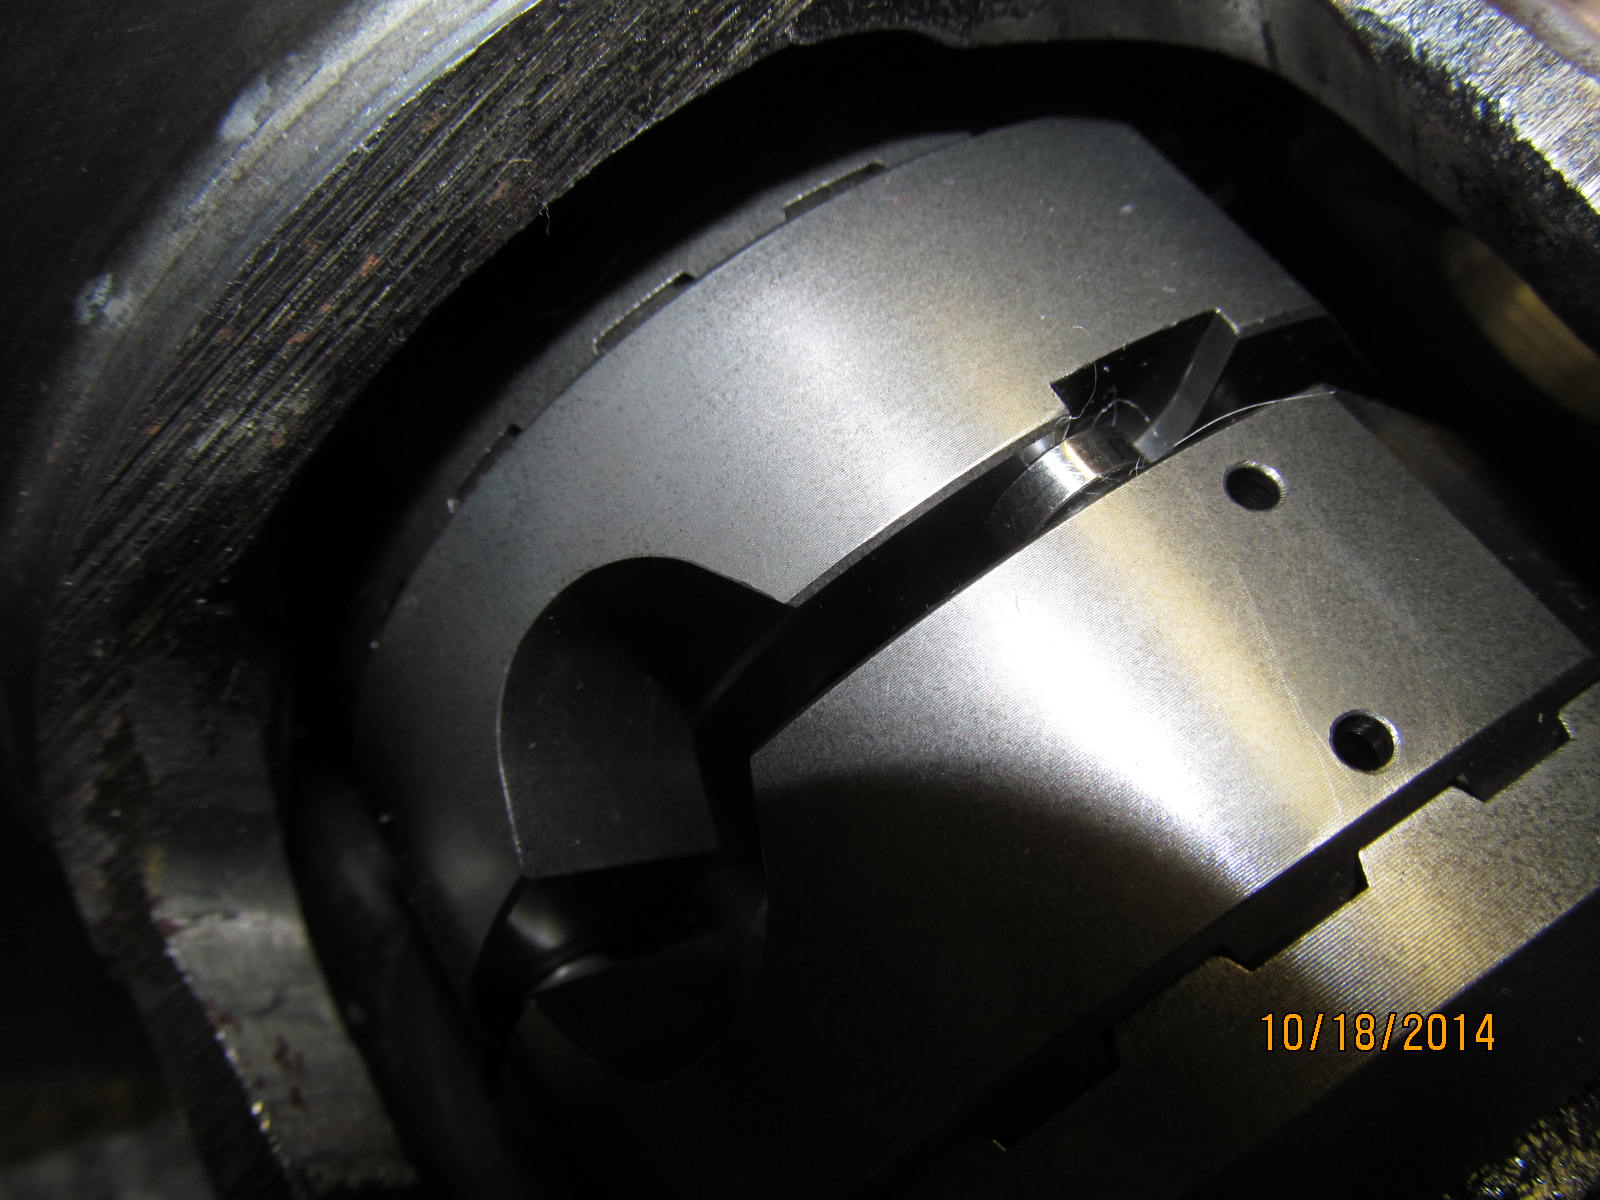
Loading the pins in place.
|
|
|
|
|
Push the pin down and insert the steel wire.
|
|
|
|
|
...............
|
|
|
|
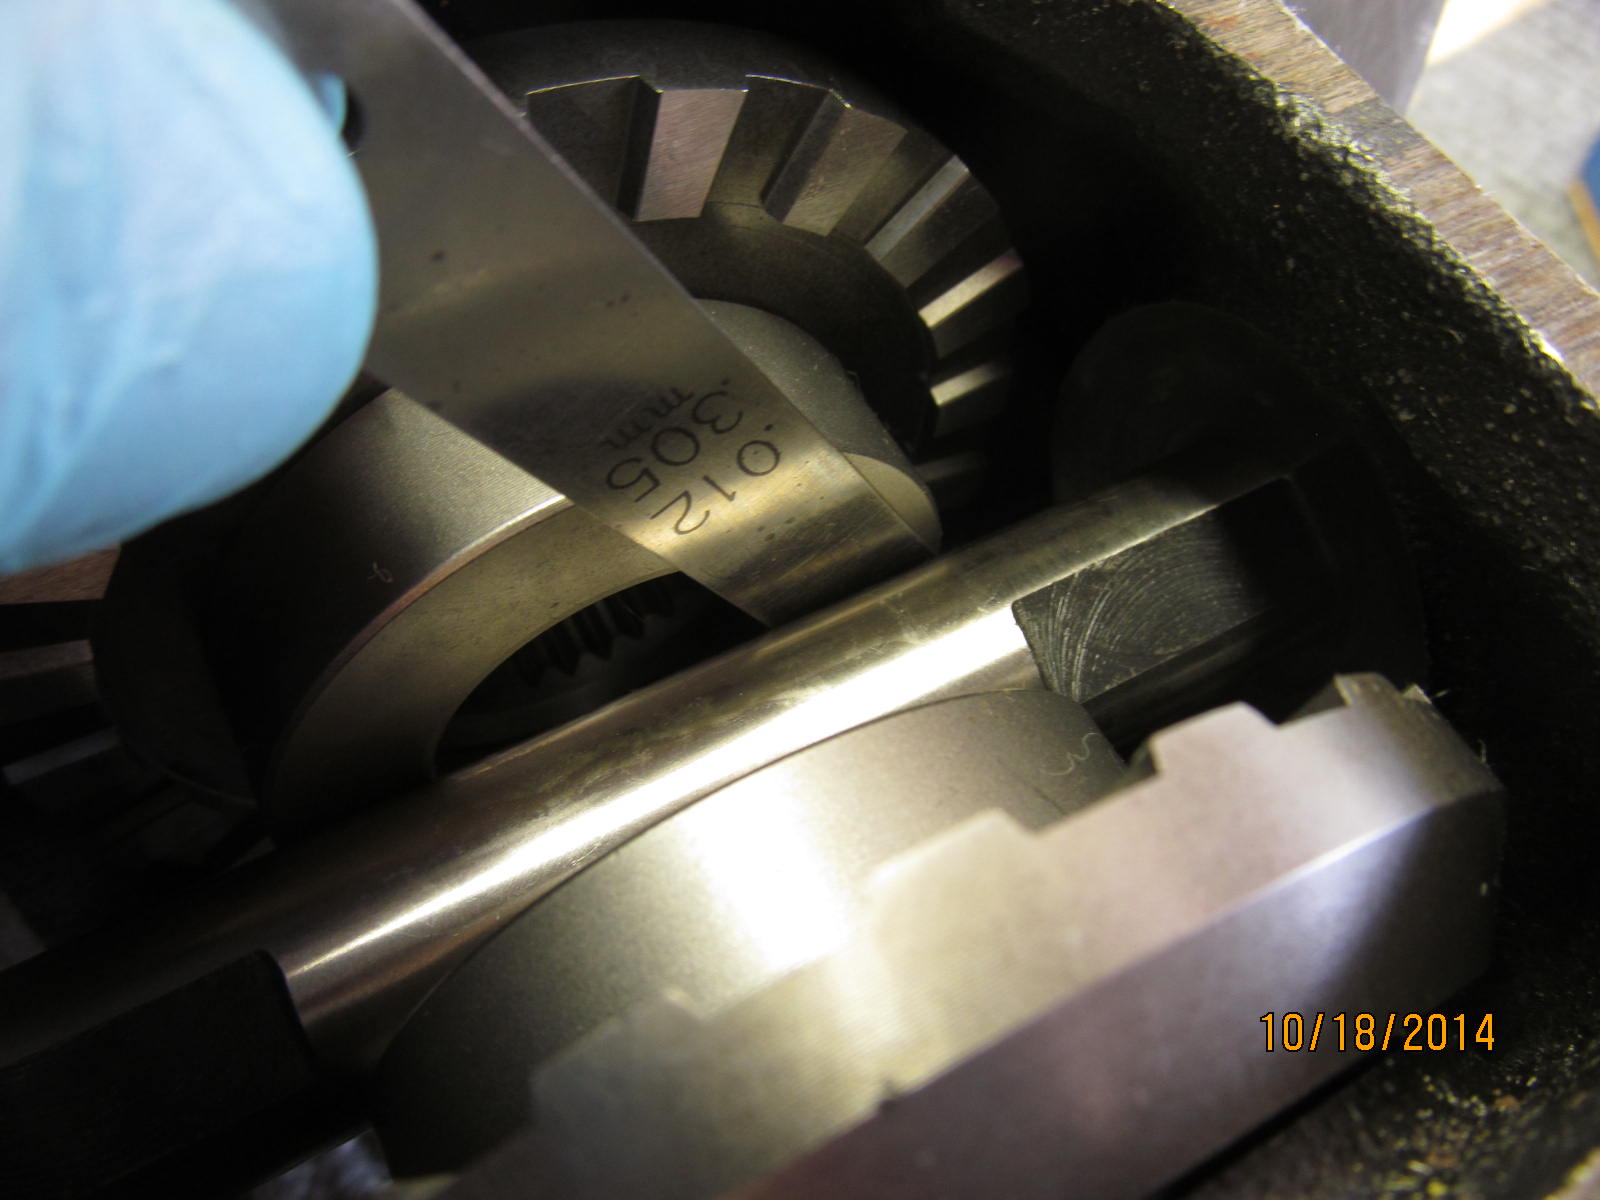
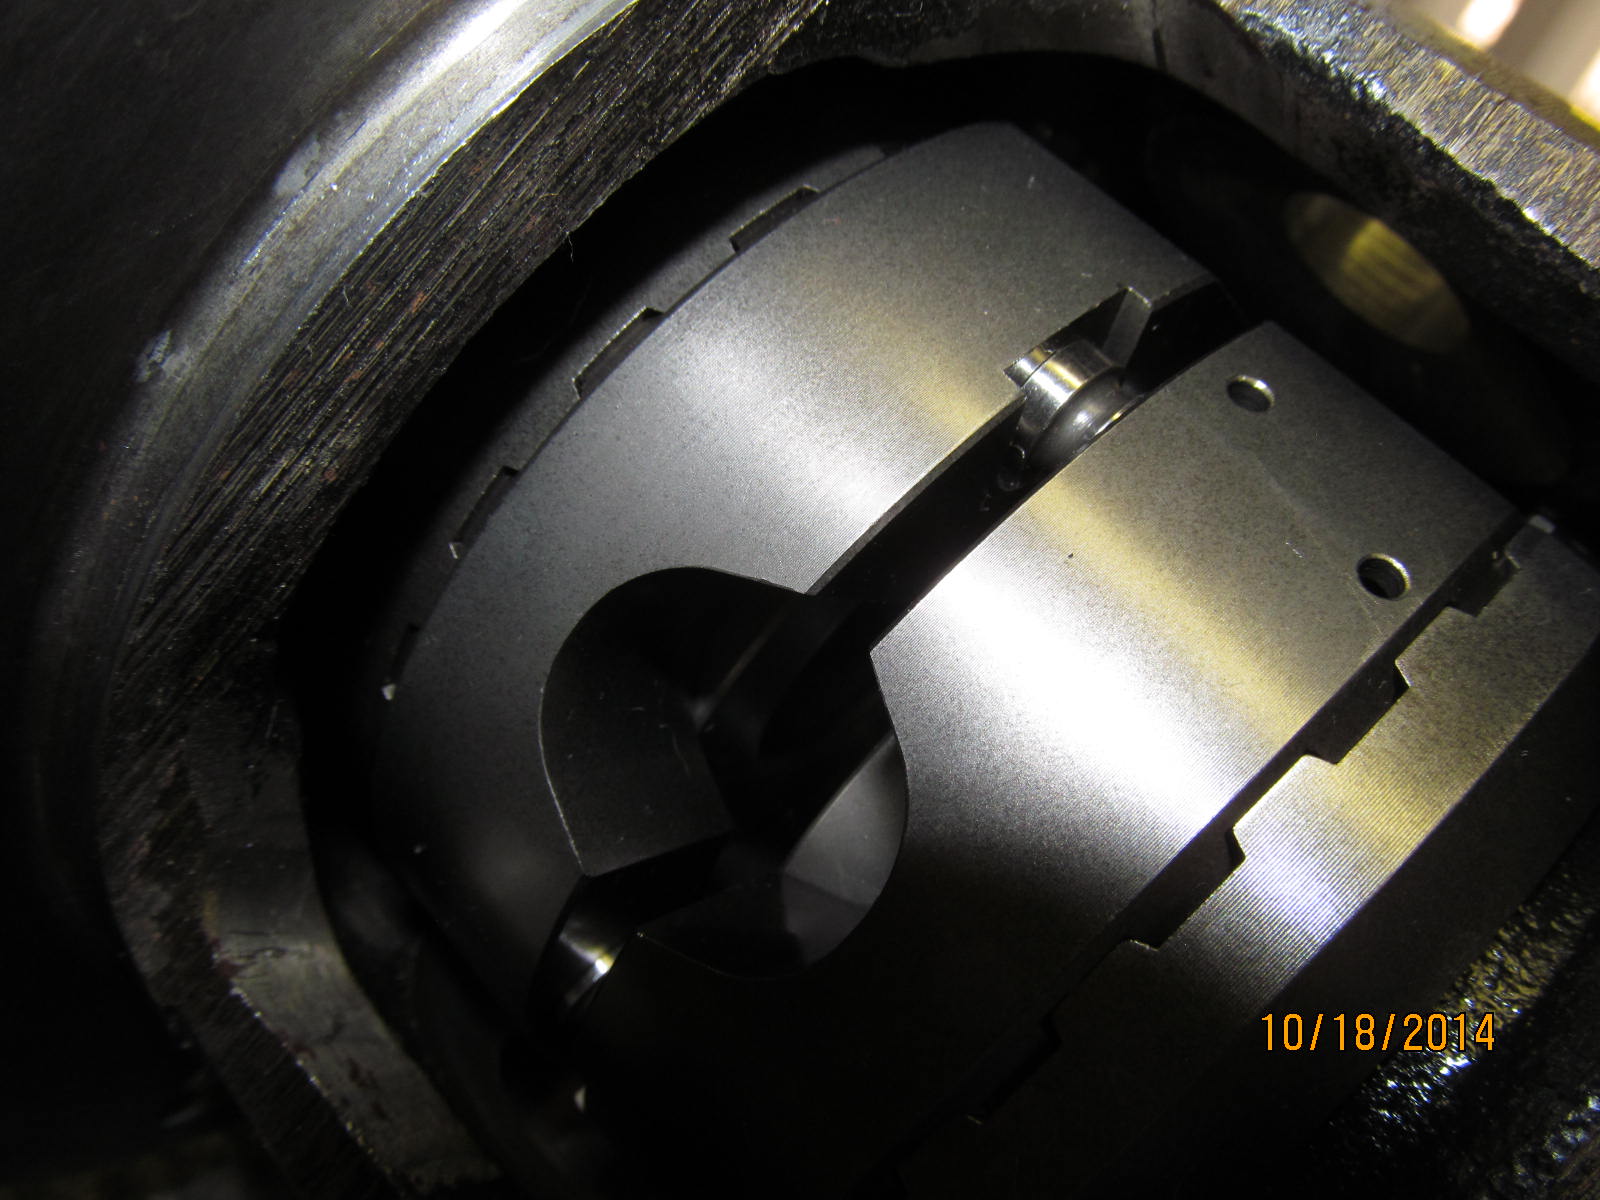
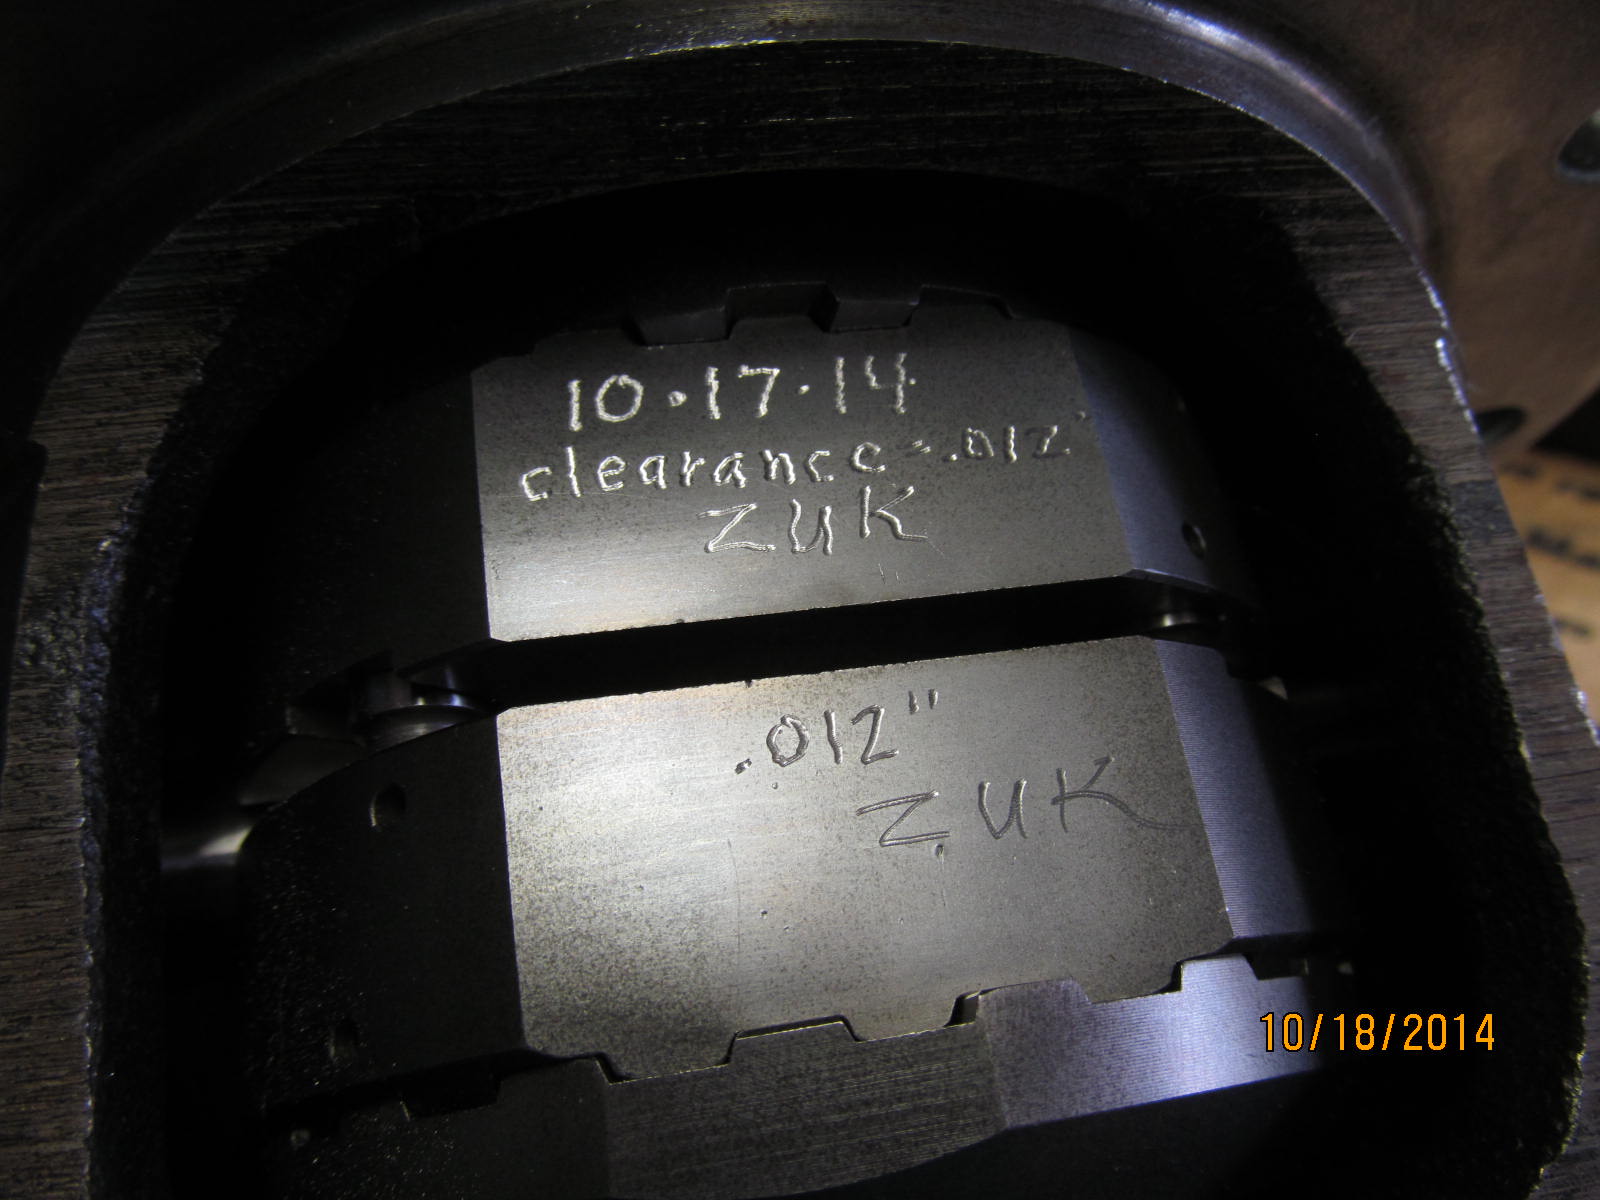
This is a pre-check that should be done and that is to measure the clearance between the crosspin and spacers.
Needs to fall in the range of .006" to .020".
|
|
|
|
|
.013" would not fit and .012 fit snug in all 4 places.....unusually consistent.
|
|
|
|
|
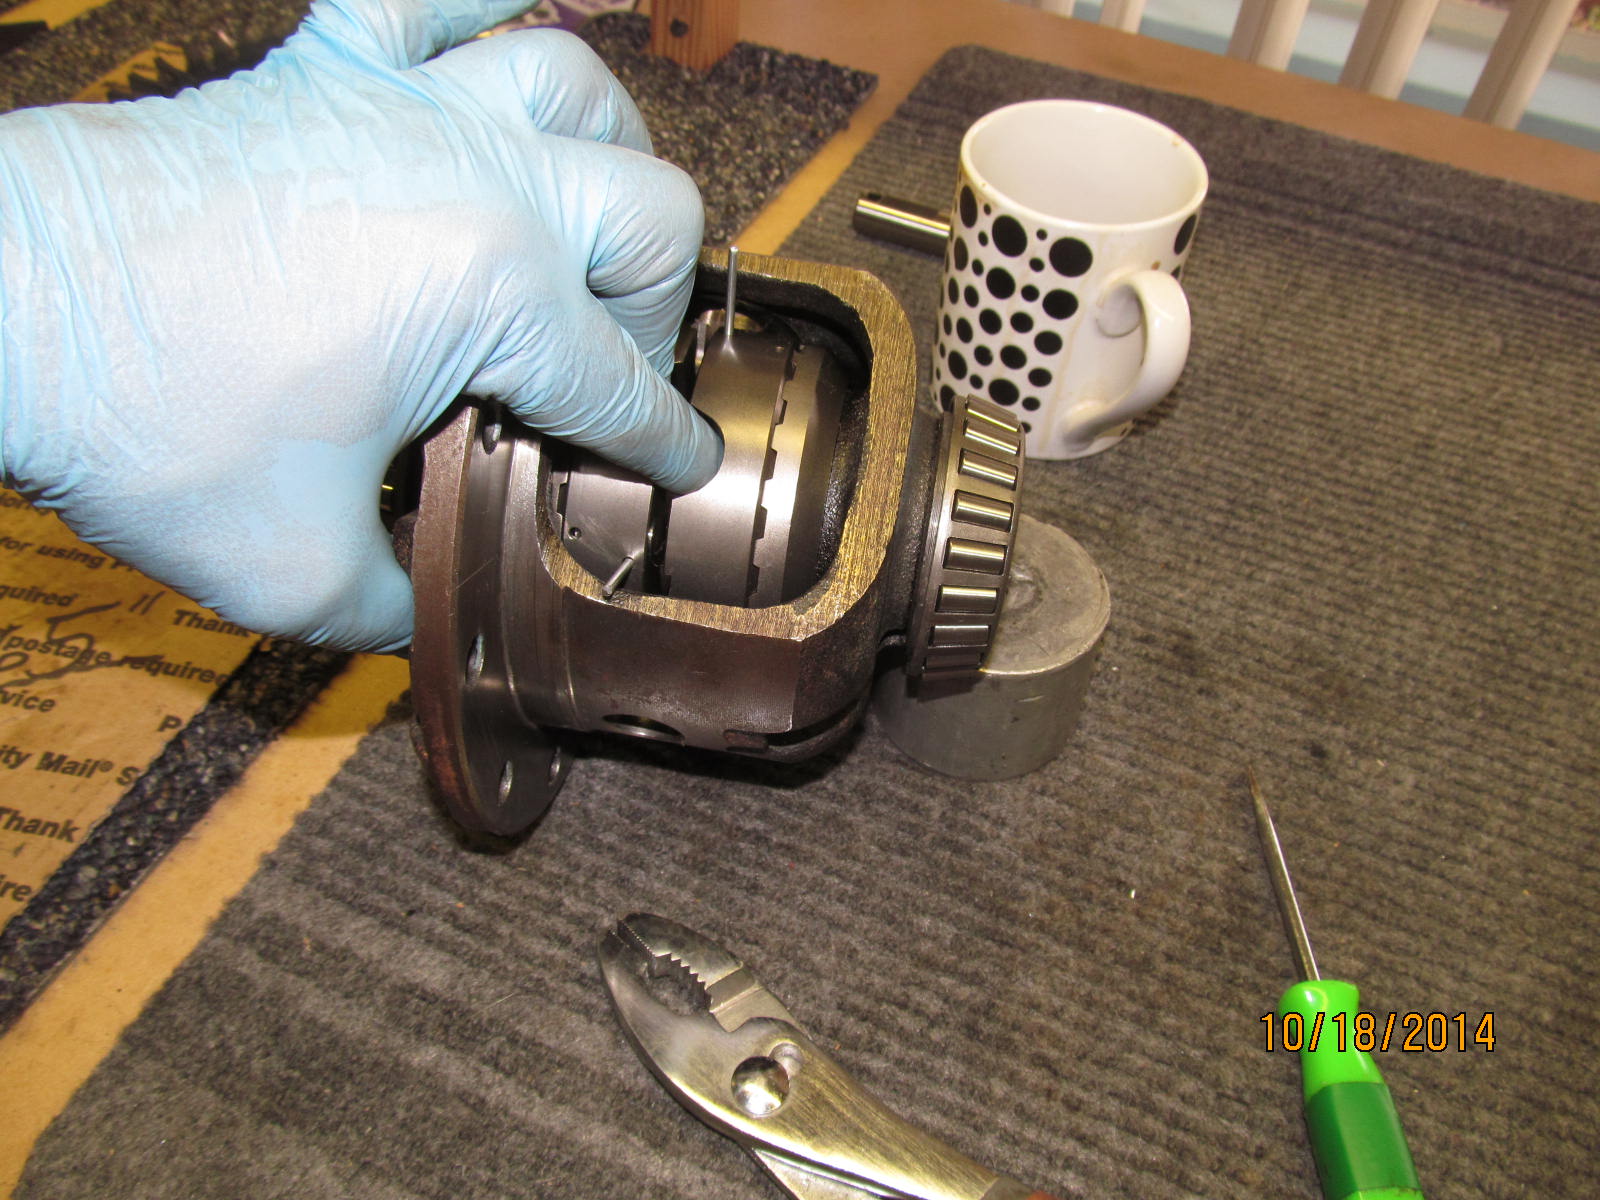
Drop the one coupler in place....
|
|
|

|
|
...and then the other. But, don't do as I just did and have the washer on the right side in backwards :)
|
|
|
|
|
It was easy to hold both couplers in place while pulling the wires out with the pliers.
|
|
|
|
|
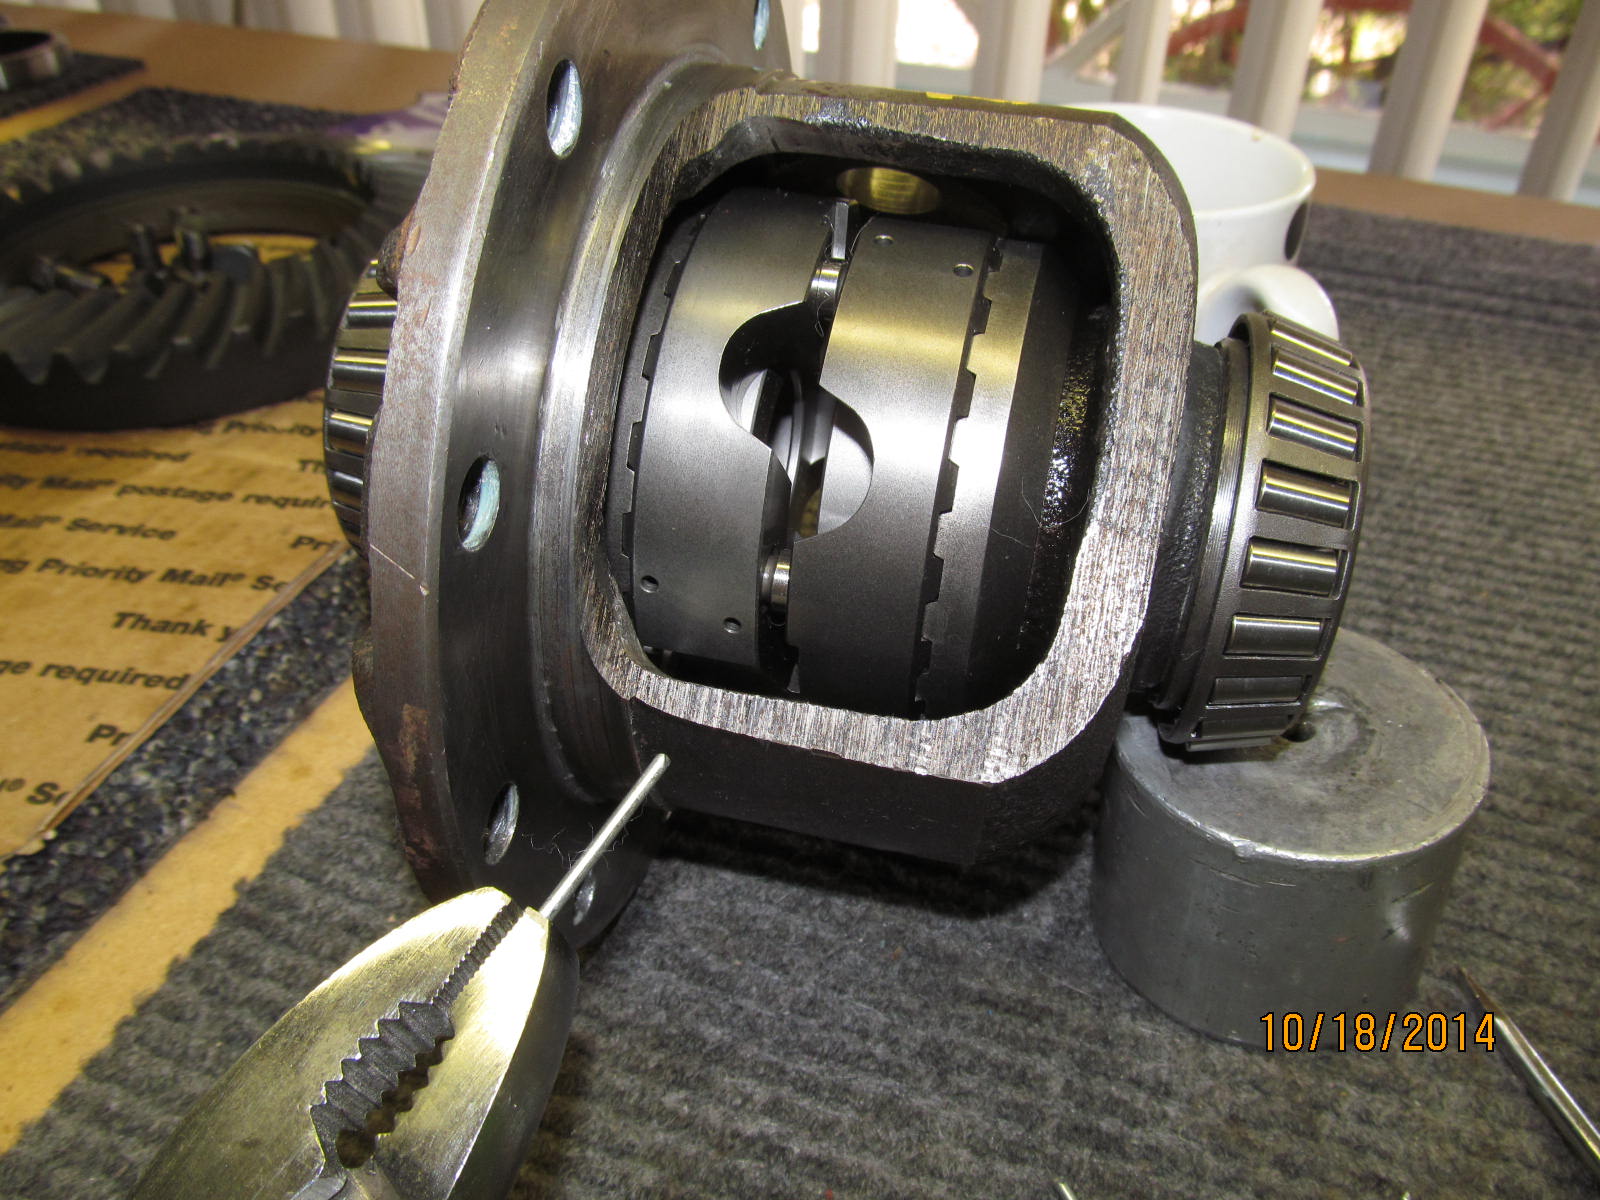
Then slide the couplers til the pins snap into place.
|
|
|
|
|
....almost in place....
|
|
|
|
|
Bam!!! In place now. :)
|
|
|
|
|
The new Spartan cross-pin goes in place.
|
|
|
|
|
Tap the dowel in place.
|
|
|
|
|
Use a center punch to distort the round hole so the dowel never gets a chance to wiggle out.
|
|
|
|
|
.........
|
|
|
|
|
Red loctite...
|
|
|
|
|
...and 75 ft/lb on all 10 ring gear bolts.
|
|
|
|
Put the carrier/case in place making SURE the adjuster wheels are in the threads correctly and tighten
the 4 long bolts also to 75 ft/lb
|
|
|
|
|
Set backlash while making sure there is good carrier bearing pre-load.
|
|
|
|
|
Medium strength blue loctite....
|
|
|
|
|
.....10 ft/lb on both lock tabs.
|
|
|
|
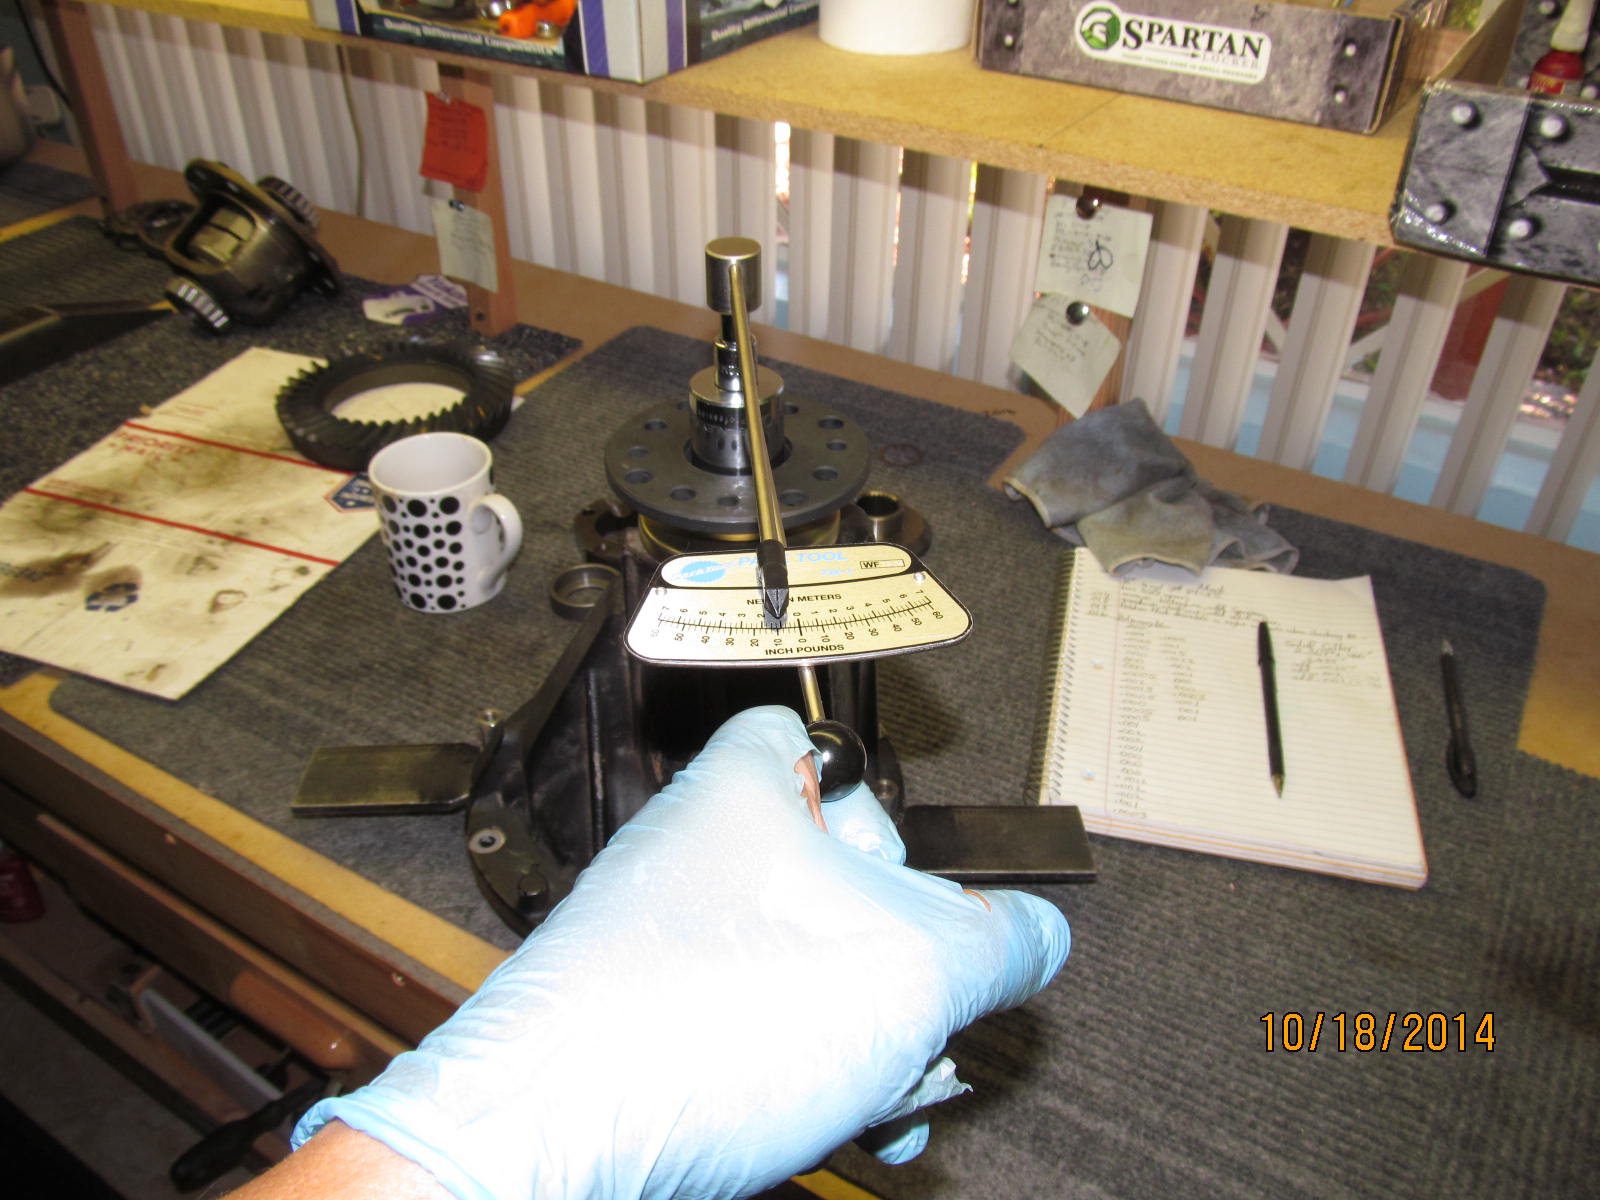
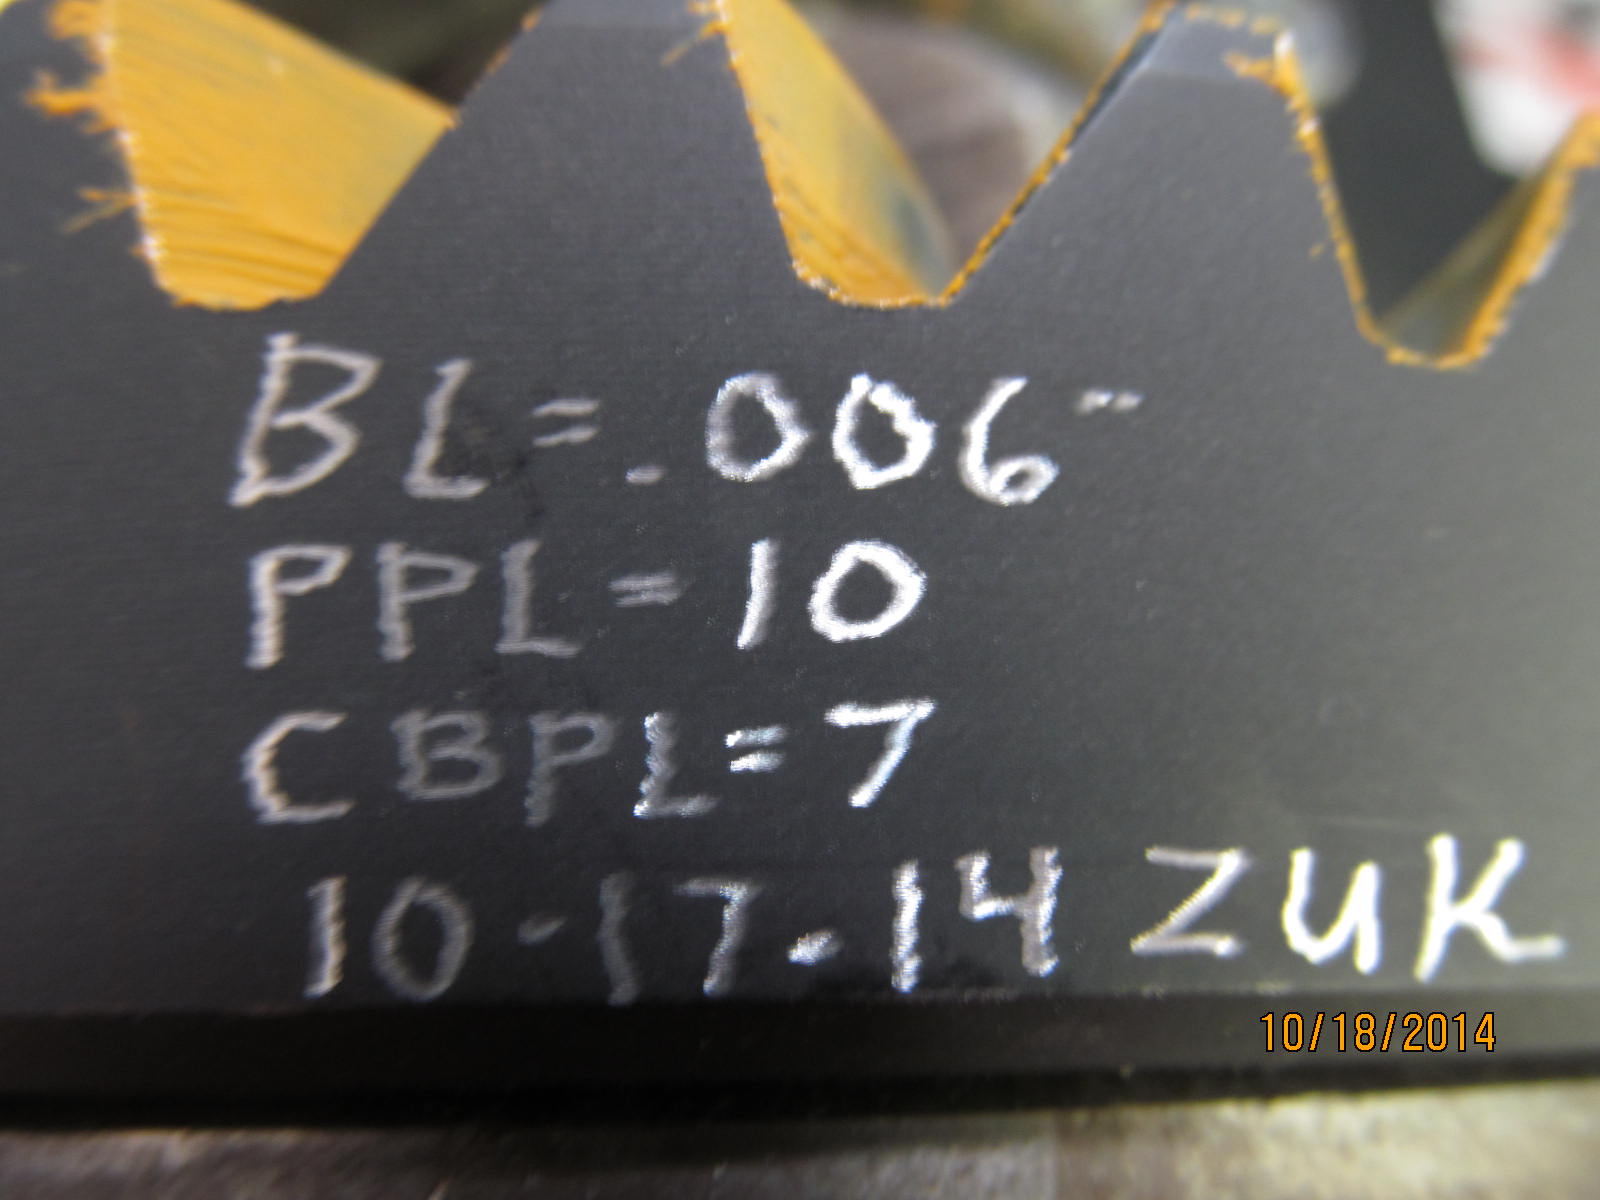
I measured 17 in/lb for the total preload. 17 is the start torq required to turn the pinion AND the ring gear.
Earlier, I measured the pinion bearing pre-load at 10 in/lb....so that means the carrier bearing pre-load
must be the difference between 17 and 10.....that be 7 in/lb for CBPL.
|
|
|
|
|
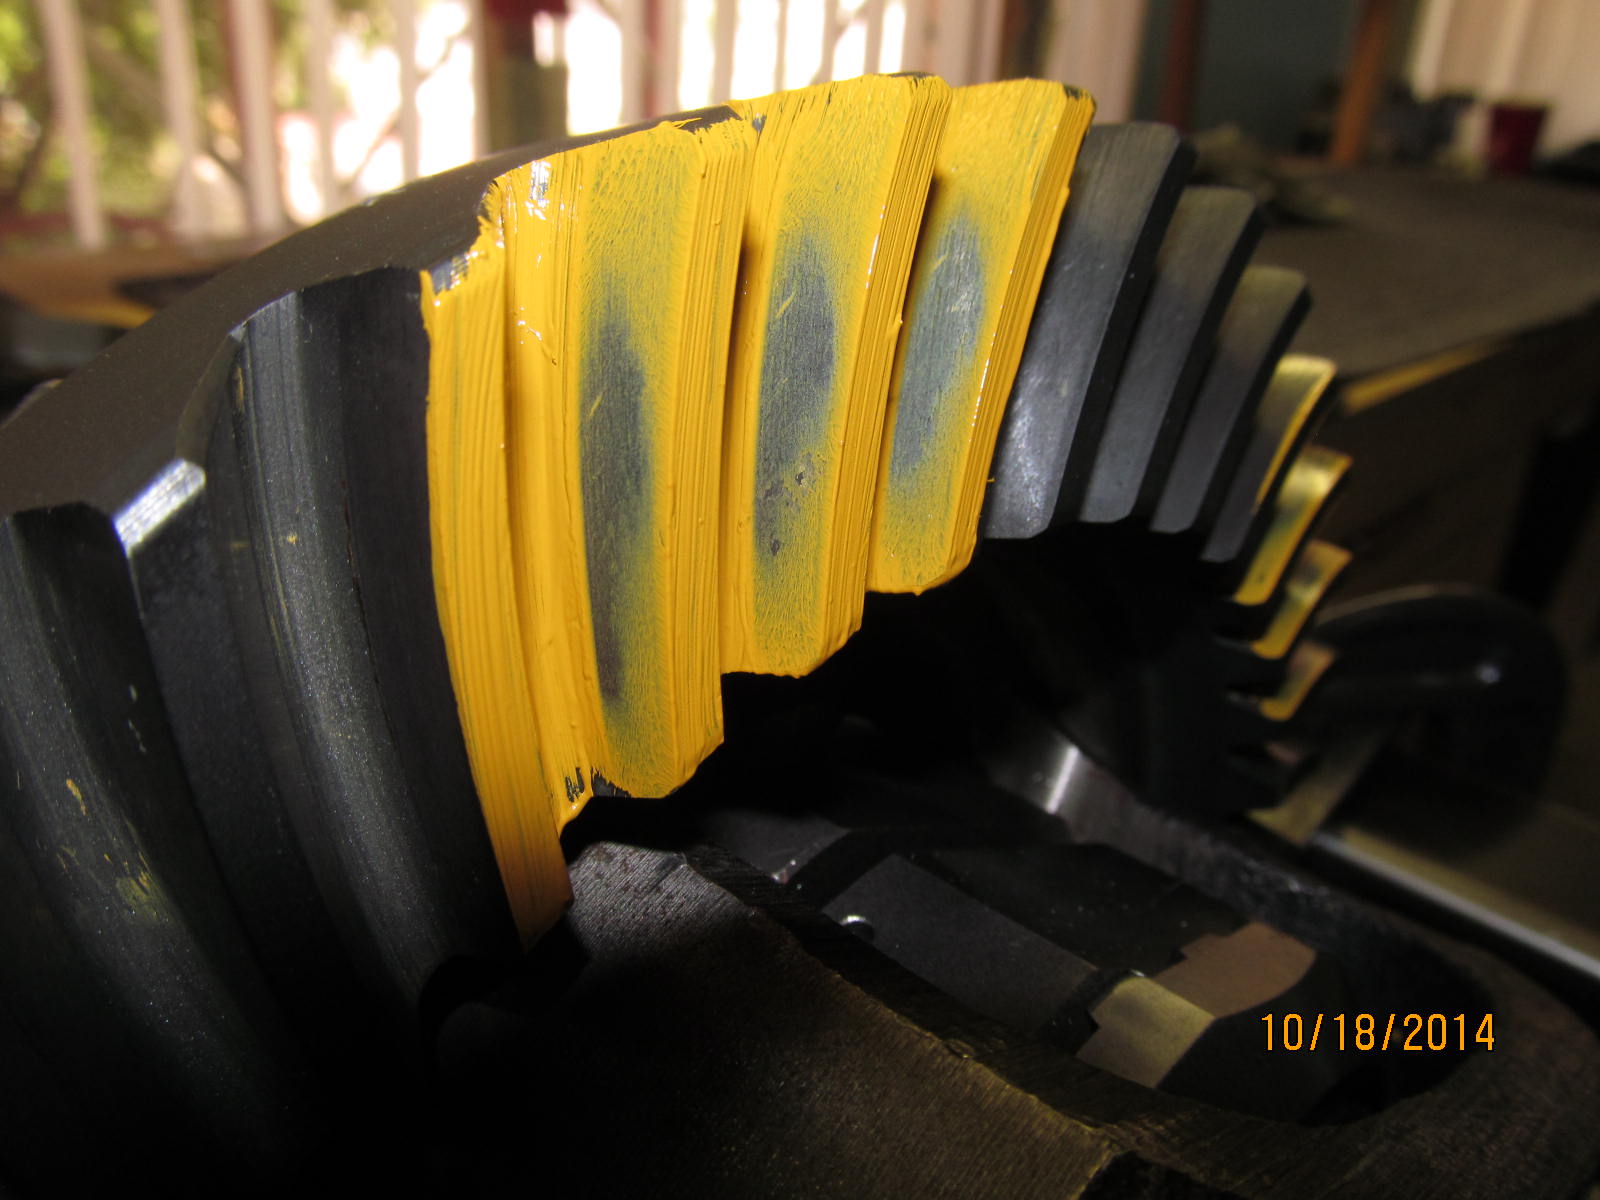
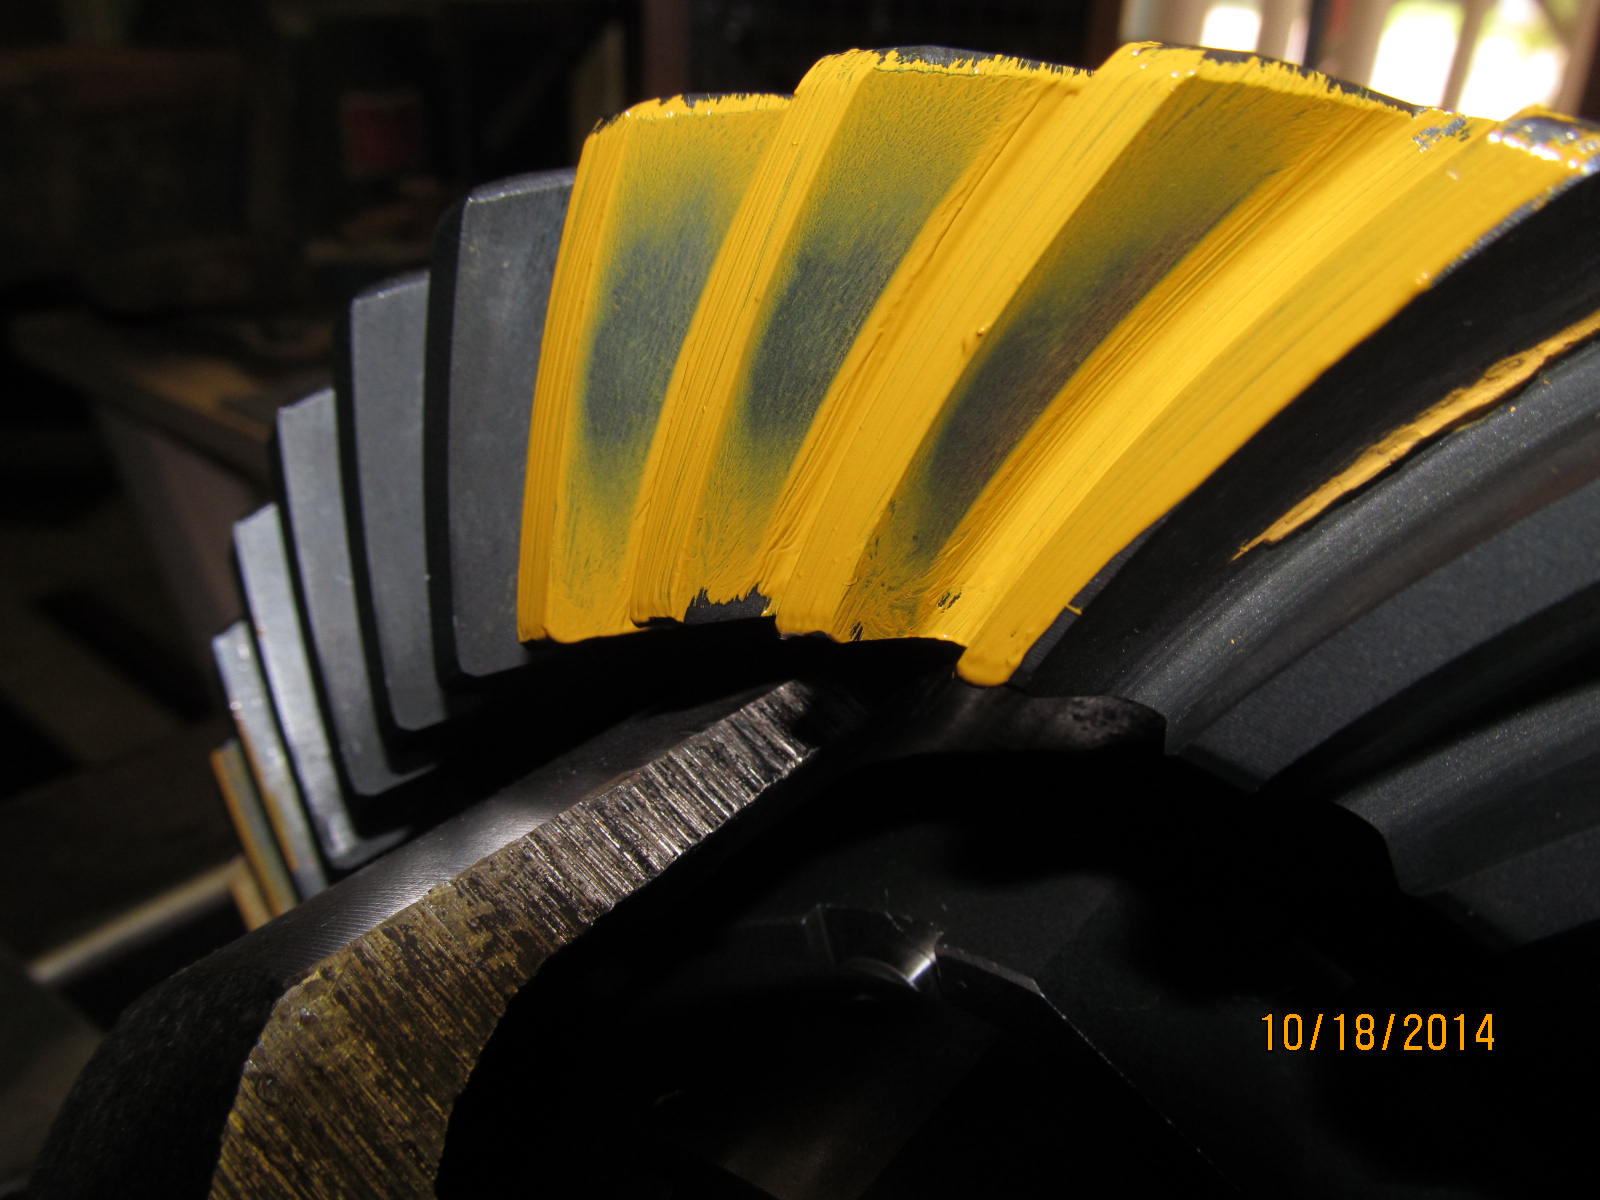
Drive pattern check--- Centered and slight deep.
|
|
|
|
|
Coast pattern--- Again, it's centered and slight deep.
|
|
|
|
|
......
|
|
|
|
|
Back to NJ
|
|
|

|