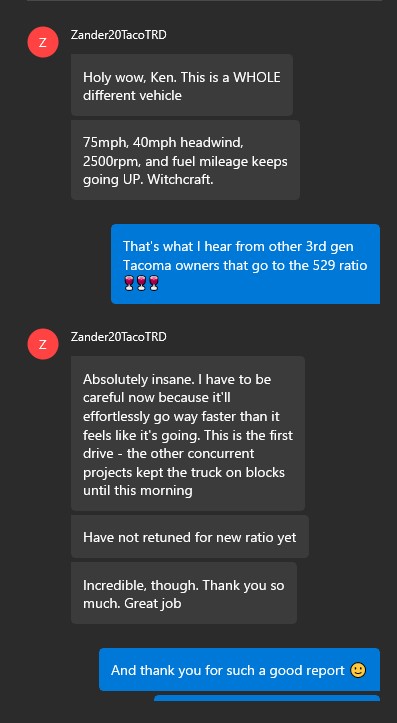
Some armor plating and extra camping gear might be adding another 1000 pounds.
The stock 3.5 liter with auto-tranny is working hard.
The solution?
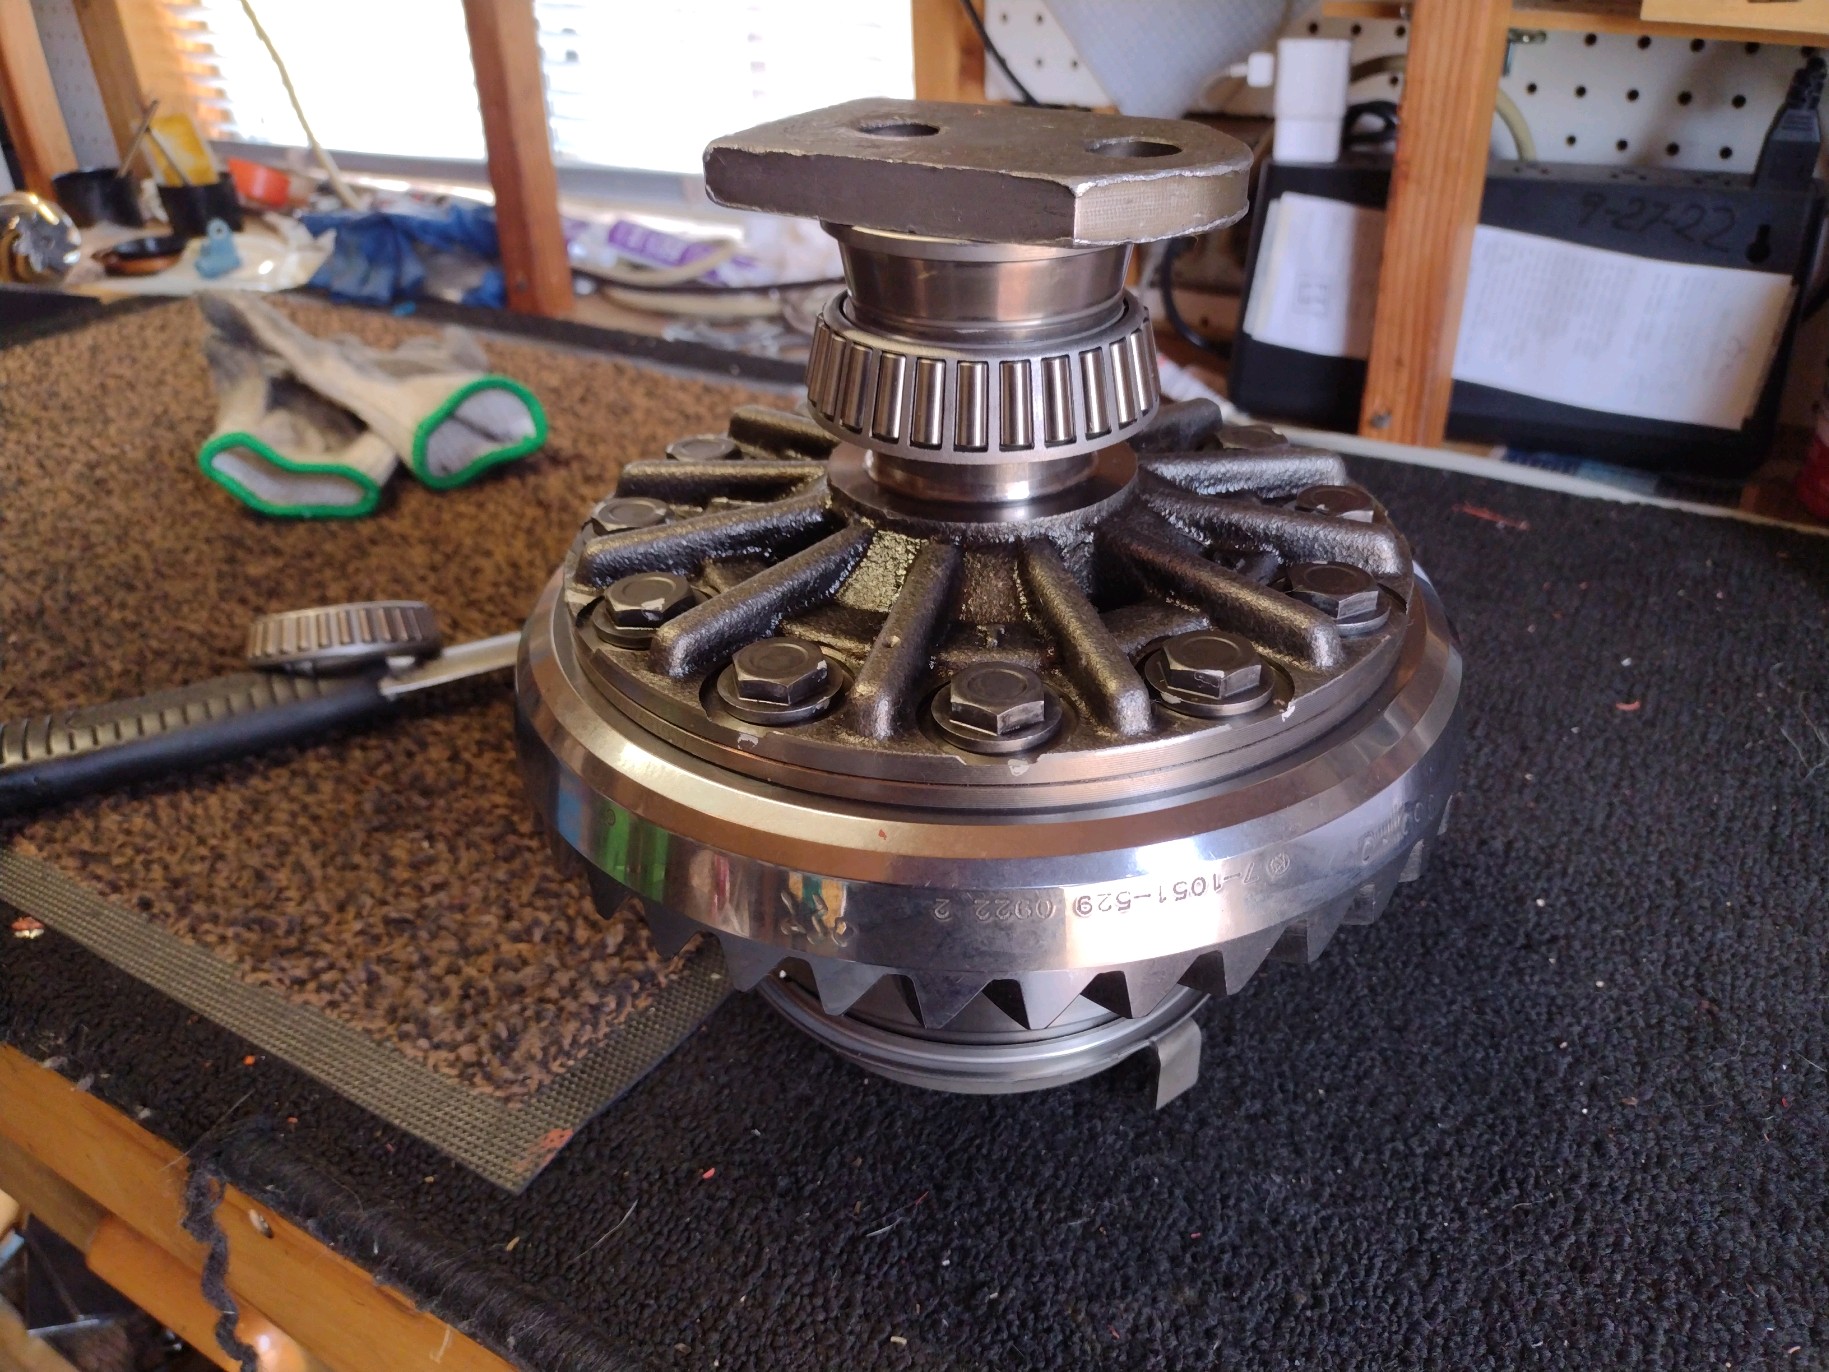
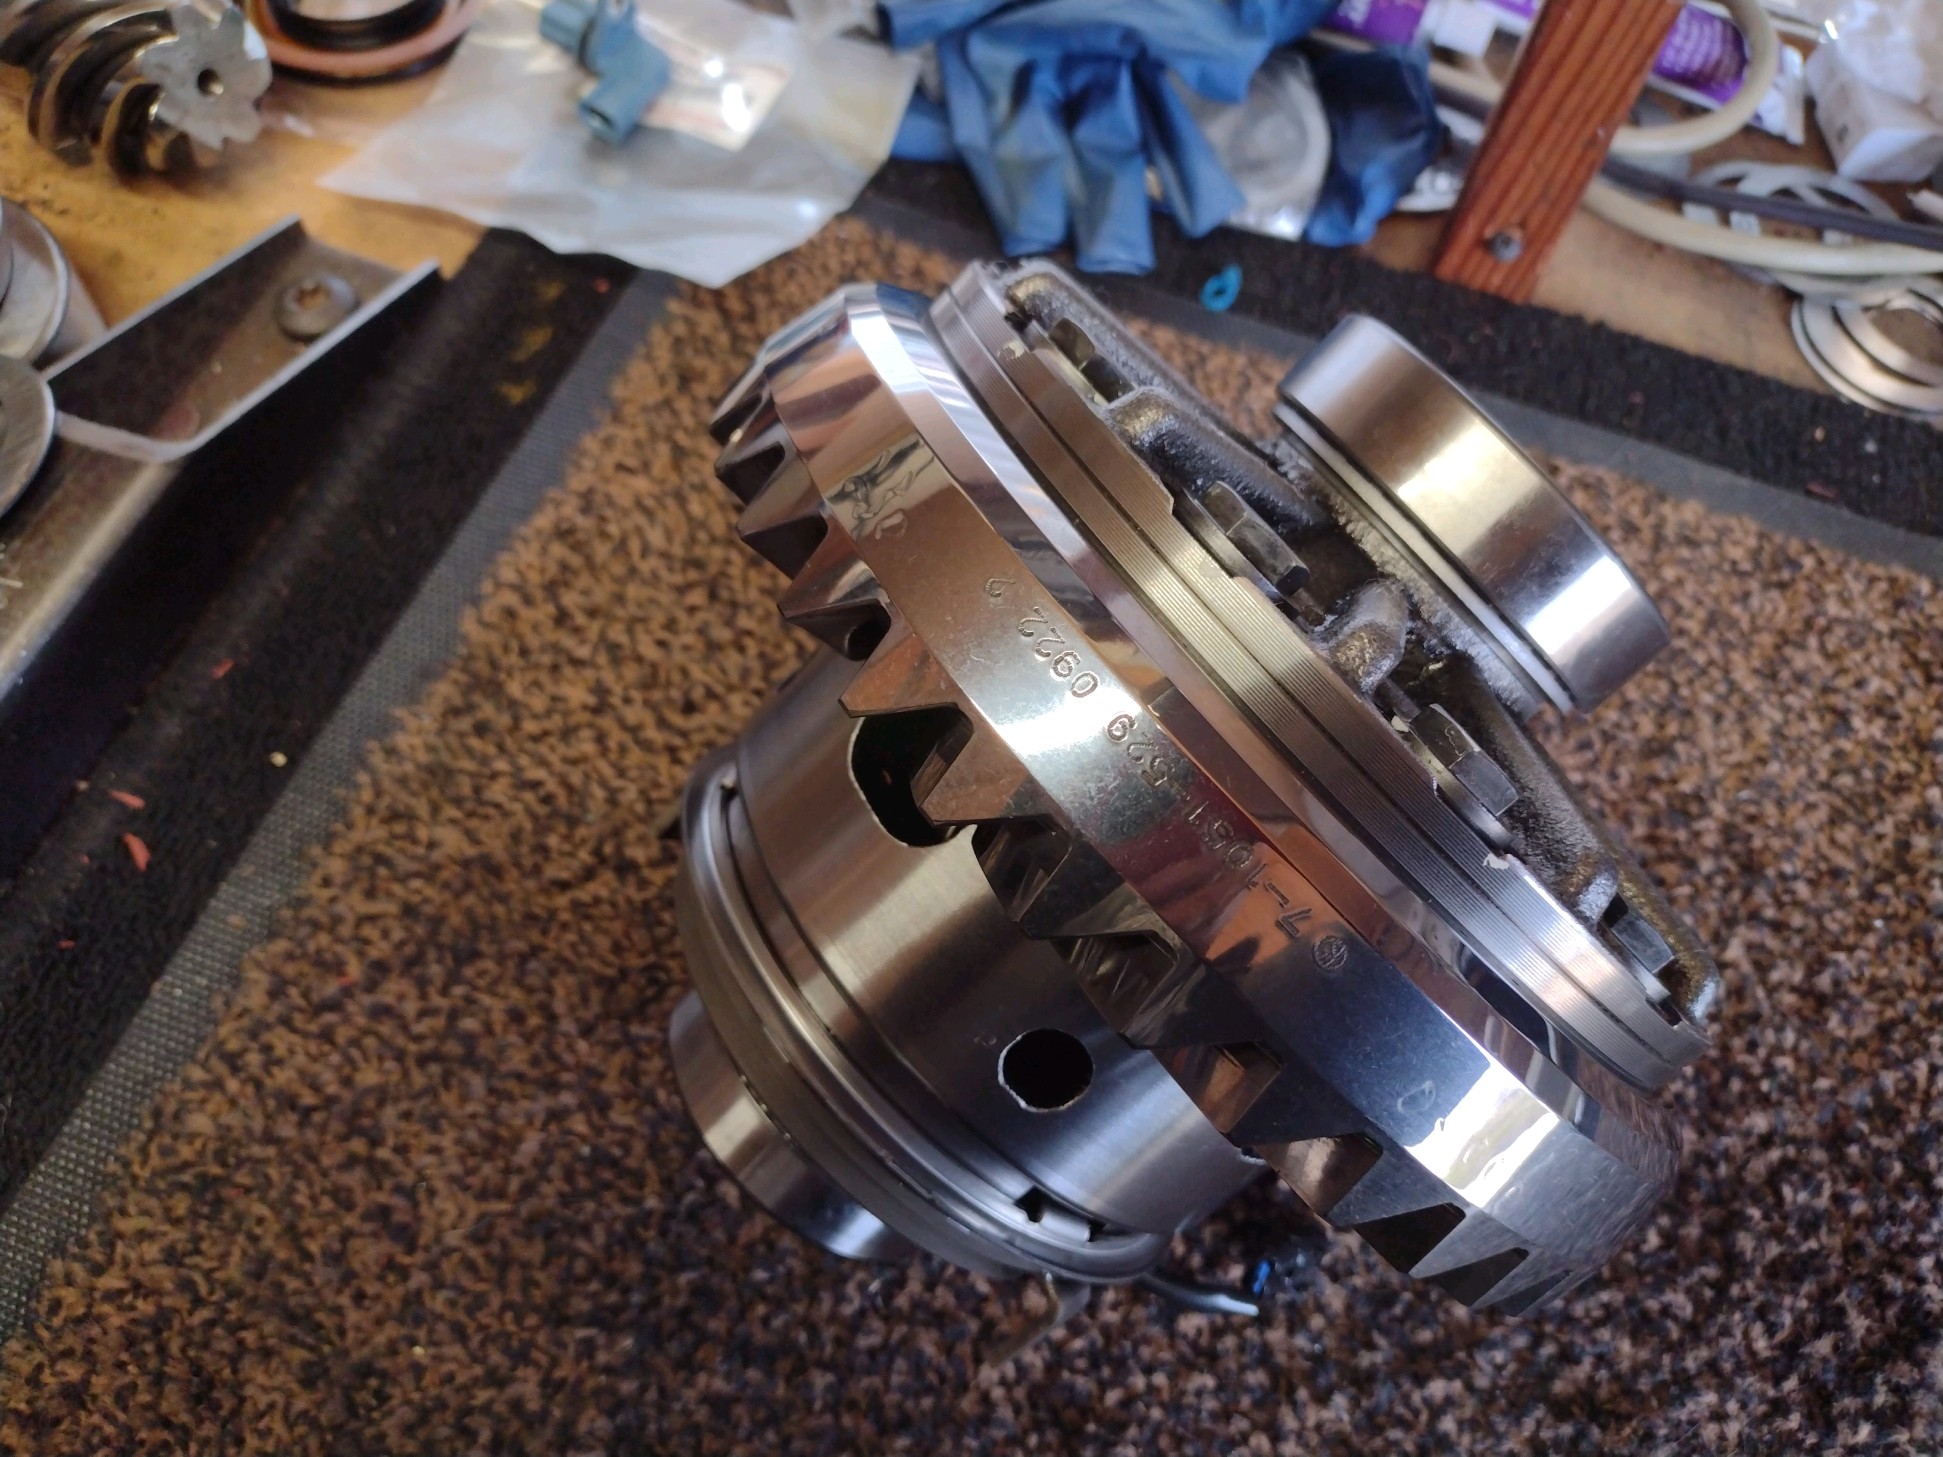
5.29 Revolution gears that have been REM super polished.
This REM super polishing of the ring and pinion is so important that I cannot stress it enough....
you are cheating yourself out of a great gear install by NOT doing it.
Get the gears "polished" and have your favorite installer do it to it.
You can have Ayers Gear and Machine in Phoenix, AZ do it 623-934-6913
Located in the Valley and maybe a few bucks more but so convenient if you are located in Phx.
You can send the gears to "New England Gear Polishing" and have them do a unique "black REM" 860-807-5513
"Black REM" is so cool and their rates are unusually reasonable.
Or you can just order the gears from revolutiongear.com 844-213-4327 and be sure to request the optional REM super polish.
Make the phone call and don't forget to order the super polishing service.....only 100 bucks extra per ring/pinion.
All aftermarket gears are 90% done when they leave the factory......make it 100% by polishing them! :)

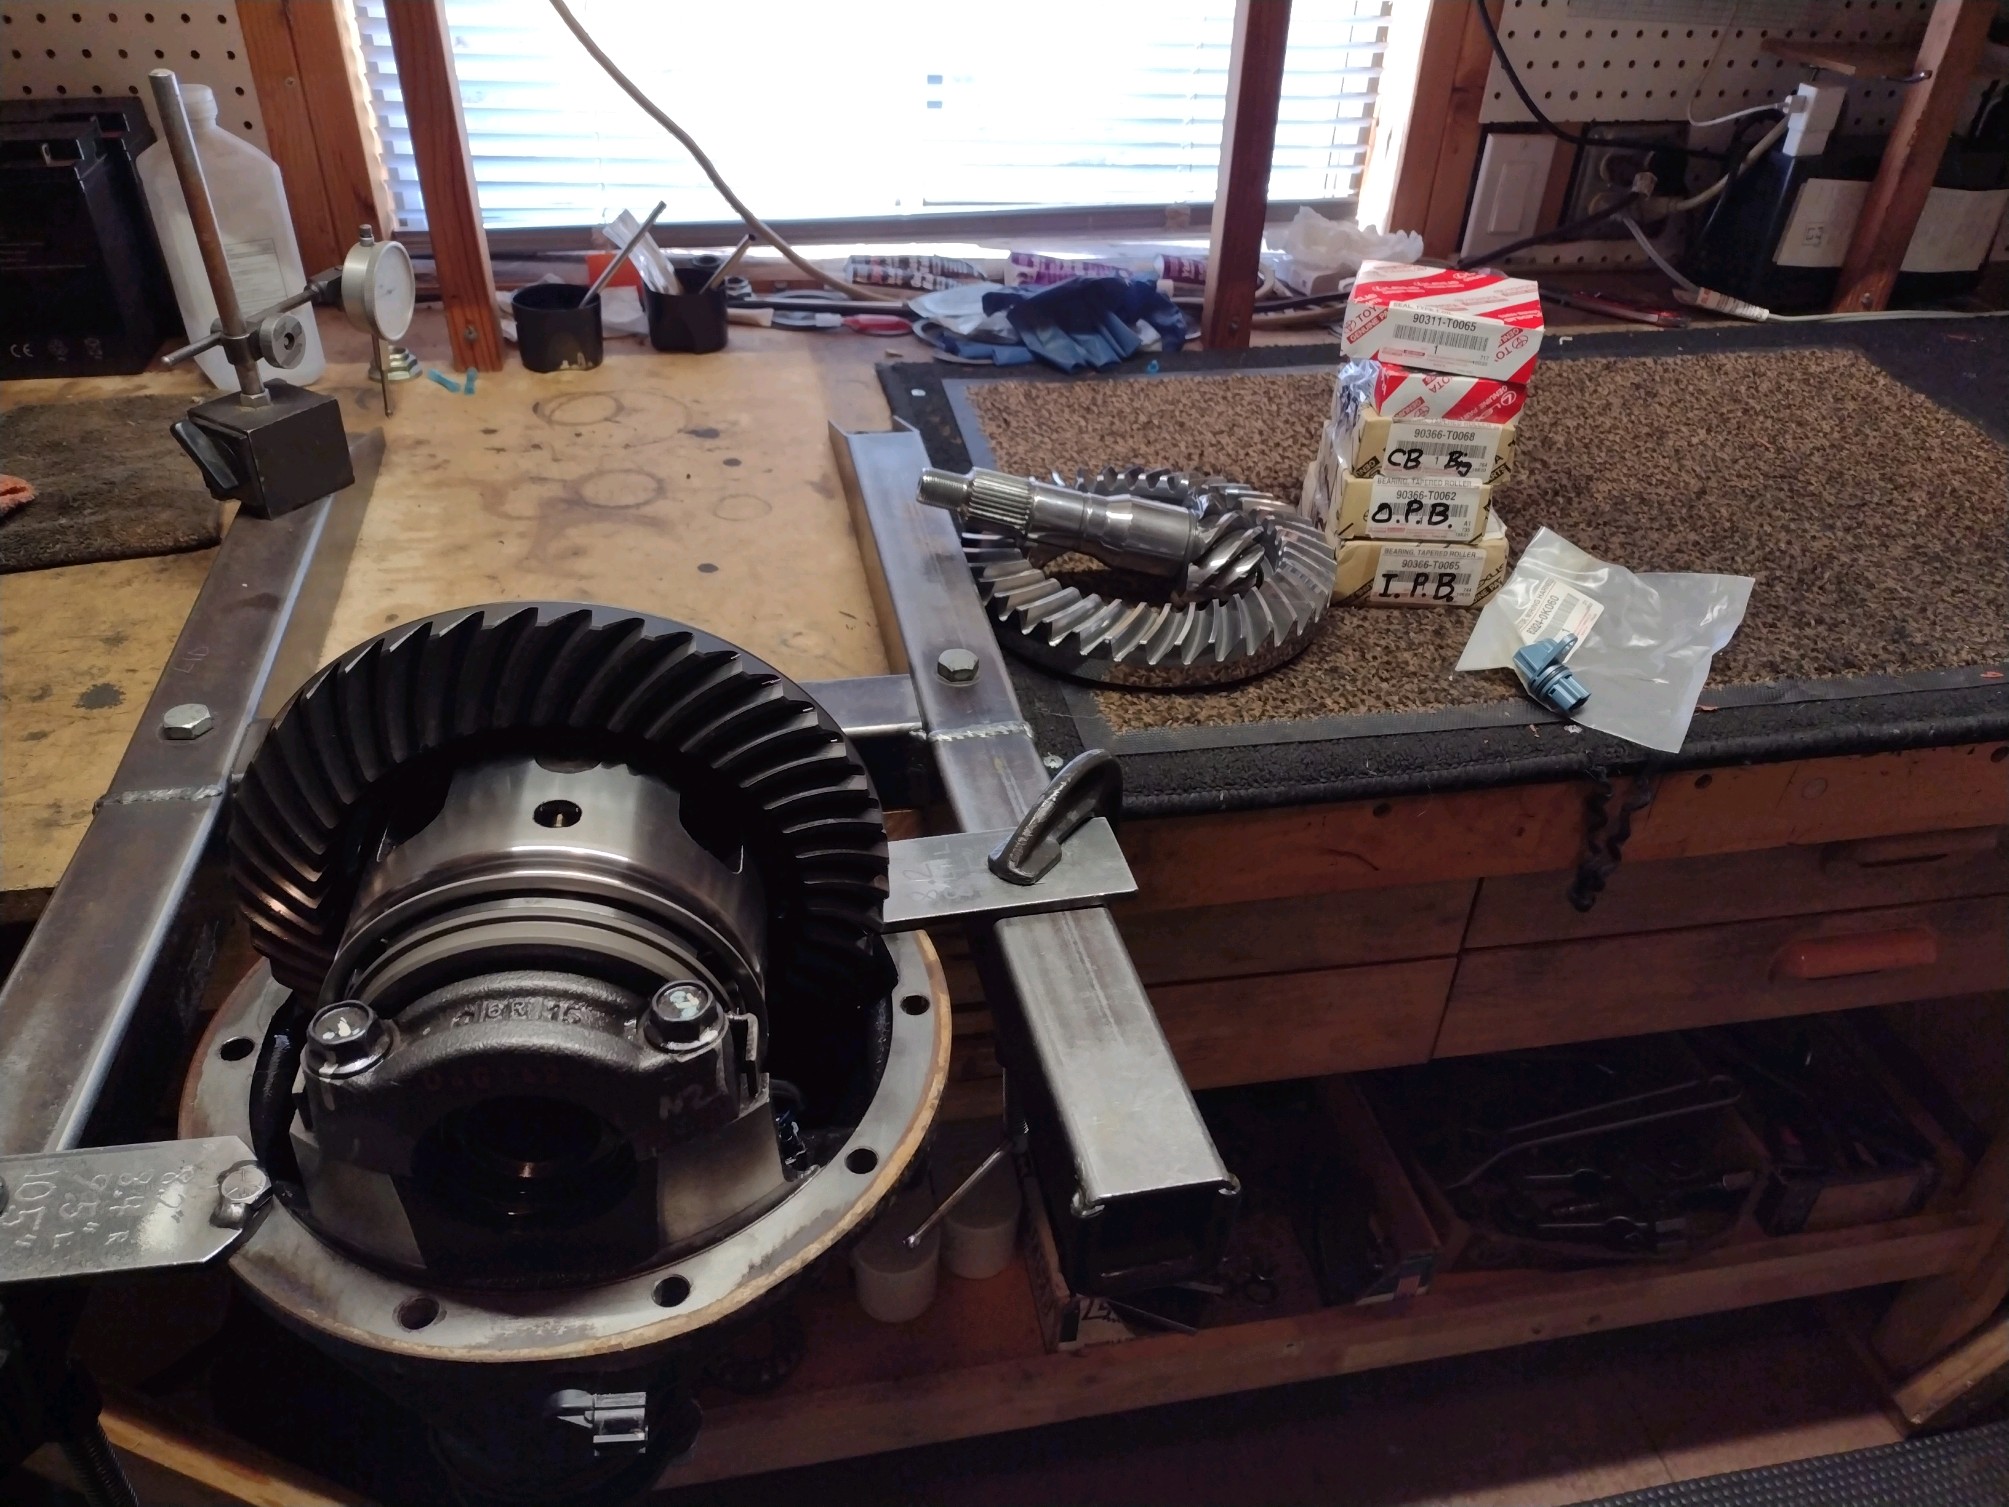
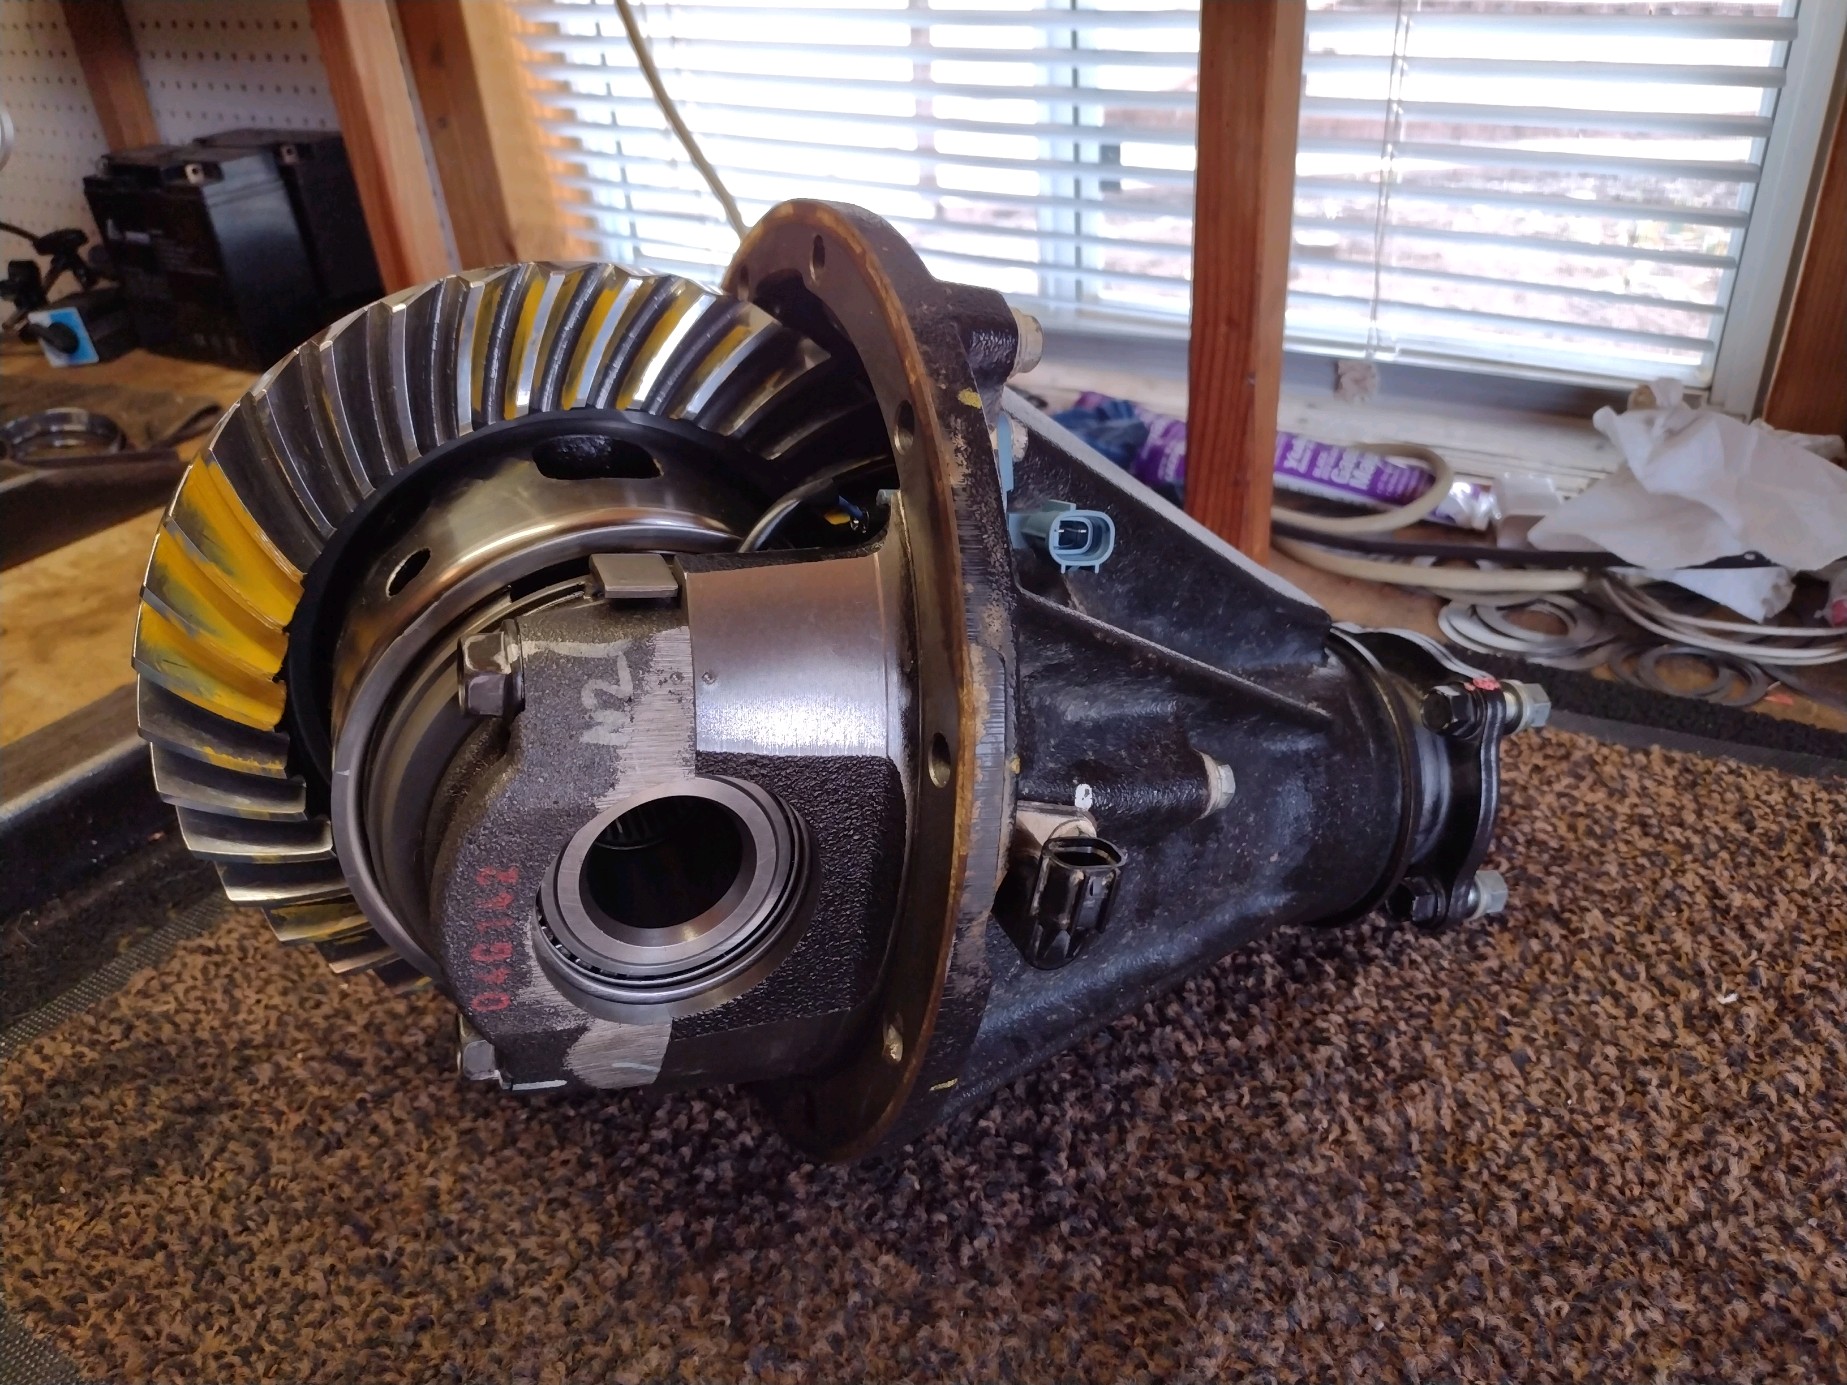
The TRD Offroad has the very stout 8.75" with factory elocker.....a highly desired combo.
The 8.75" hits the bench first.
The front clam was also regeared to 529 but no write-up on that.
Both sets of gears were REM super polished using the inhouse process at revolutiongear.com.
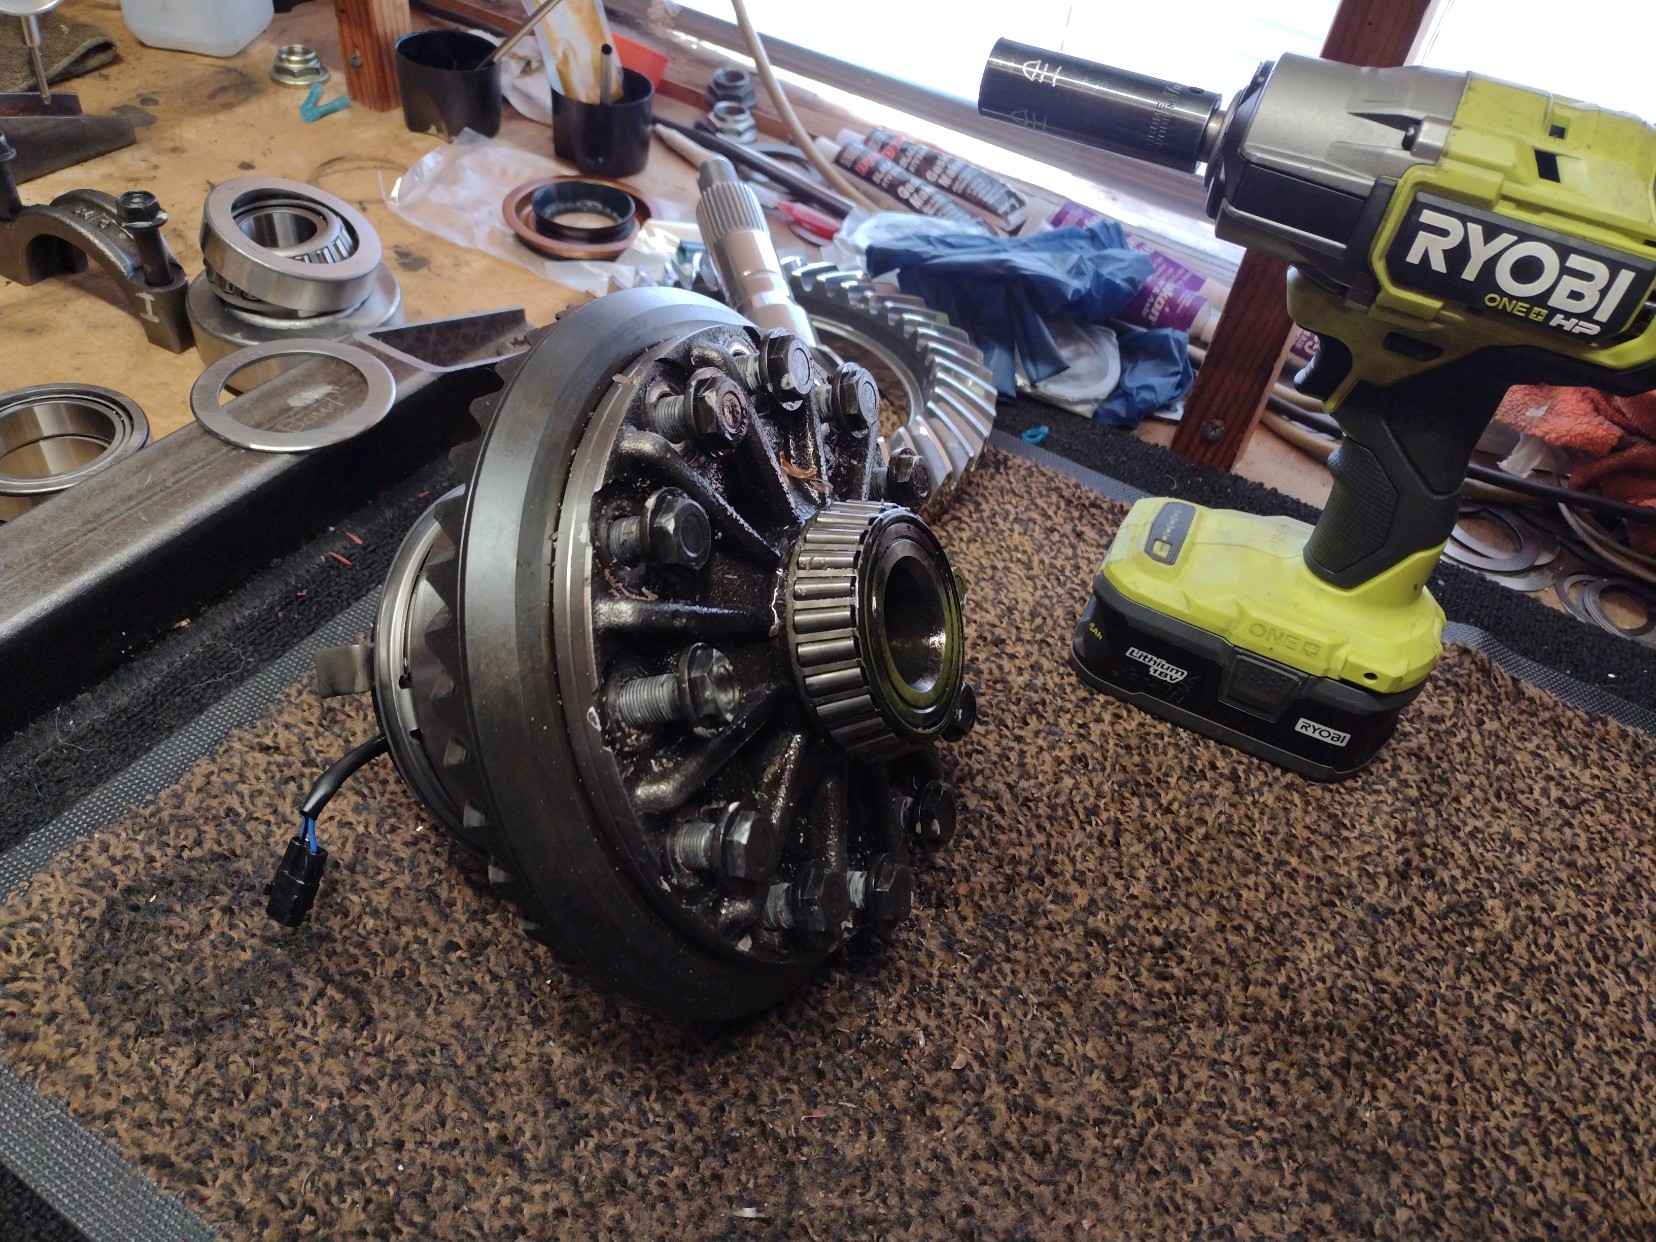
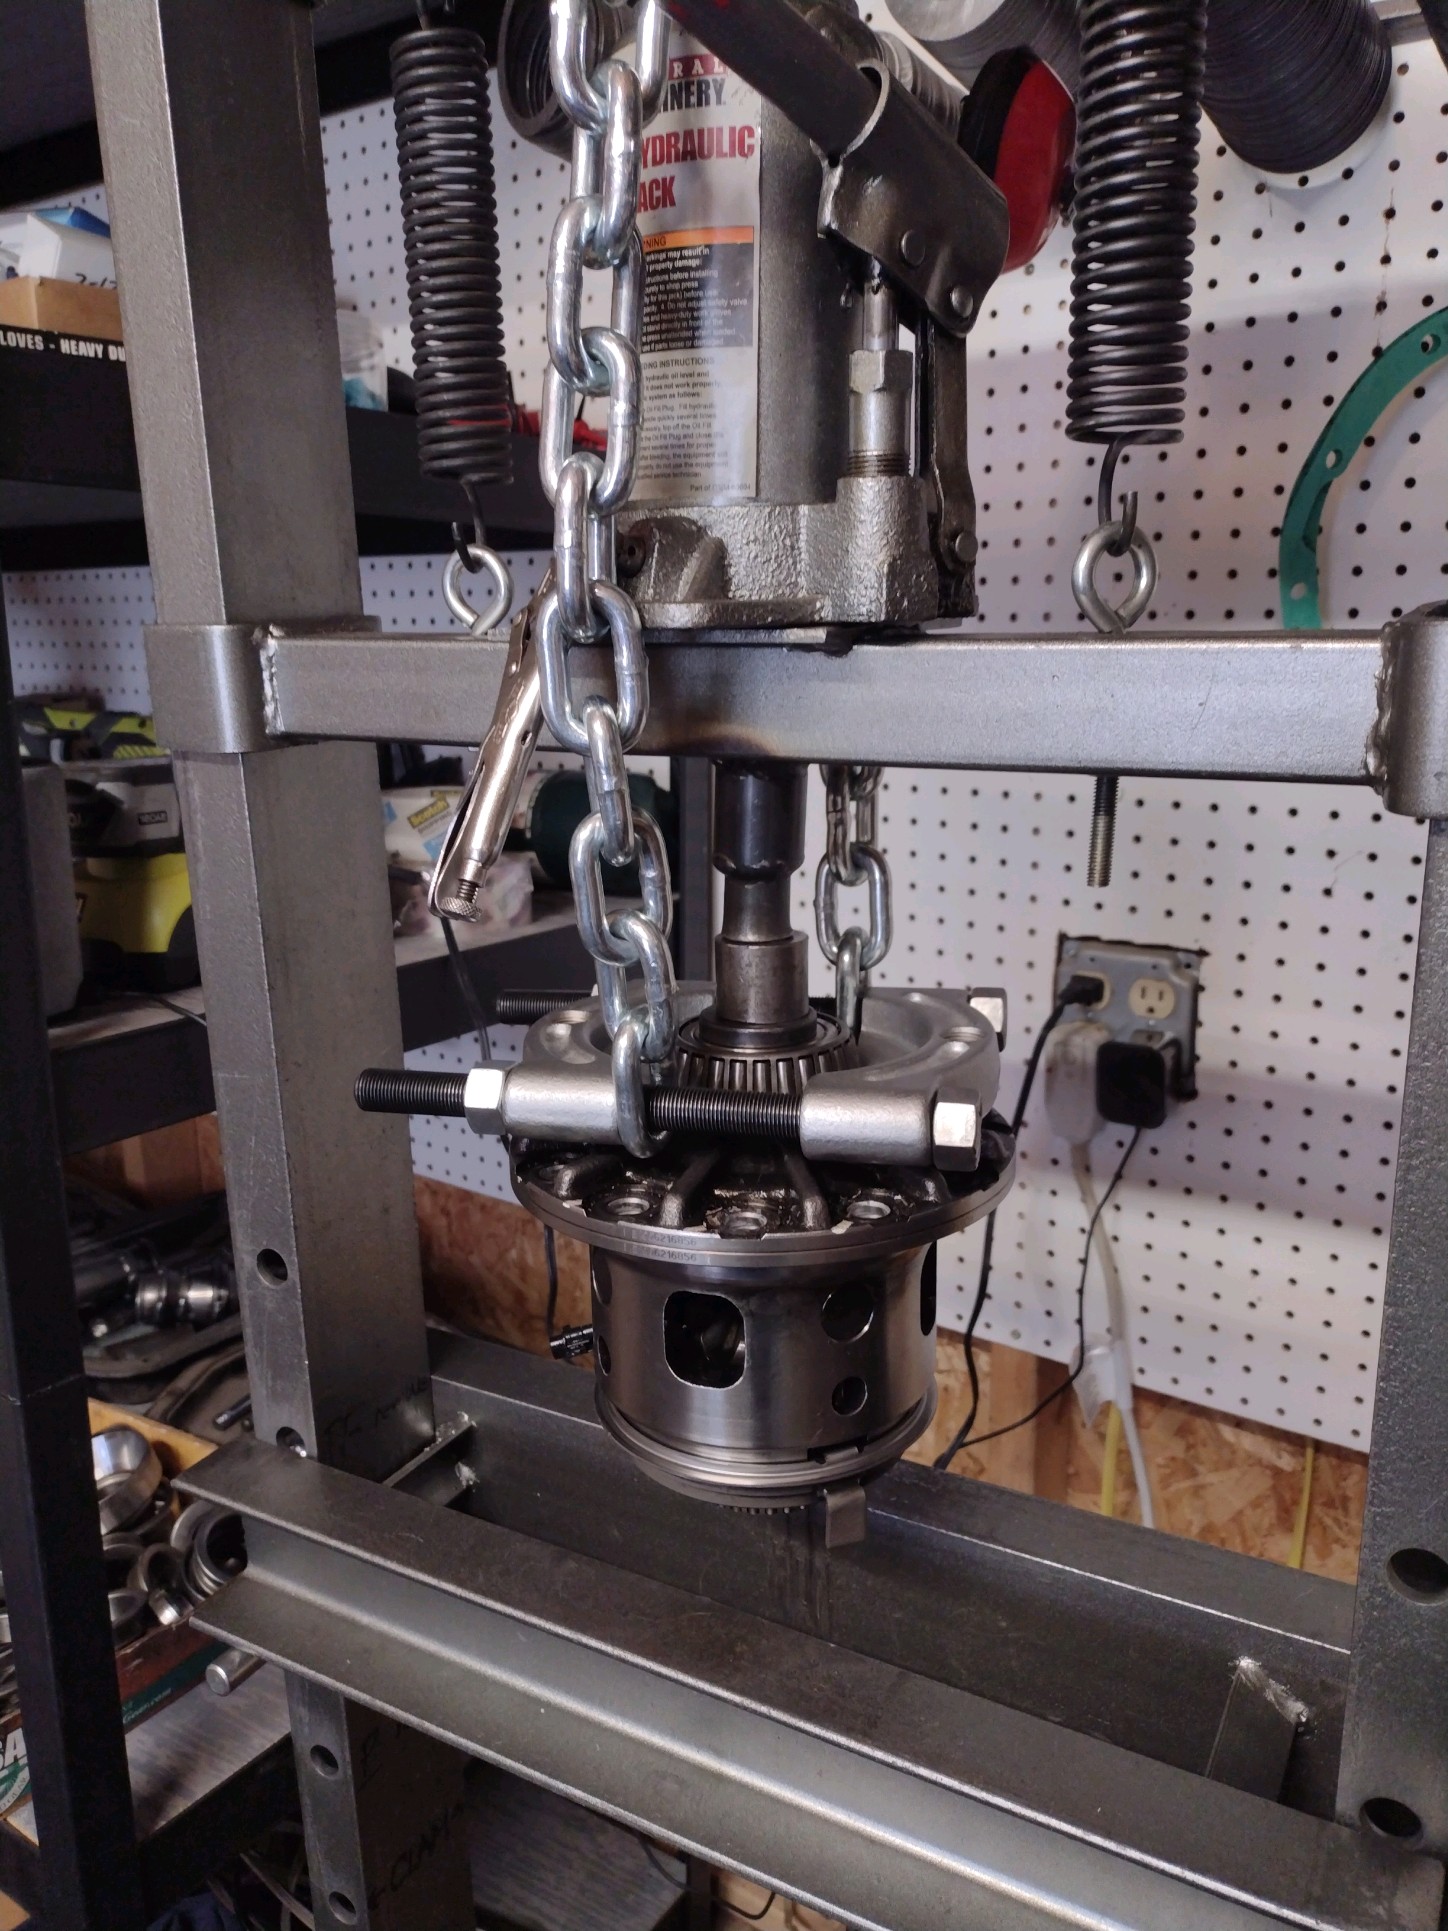
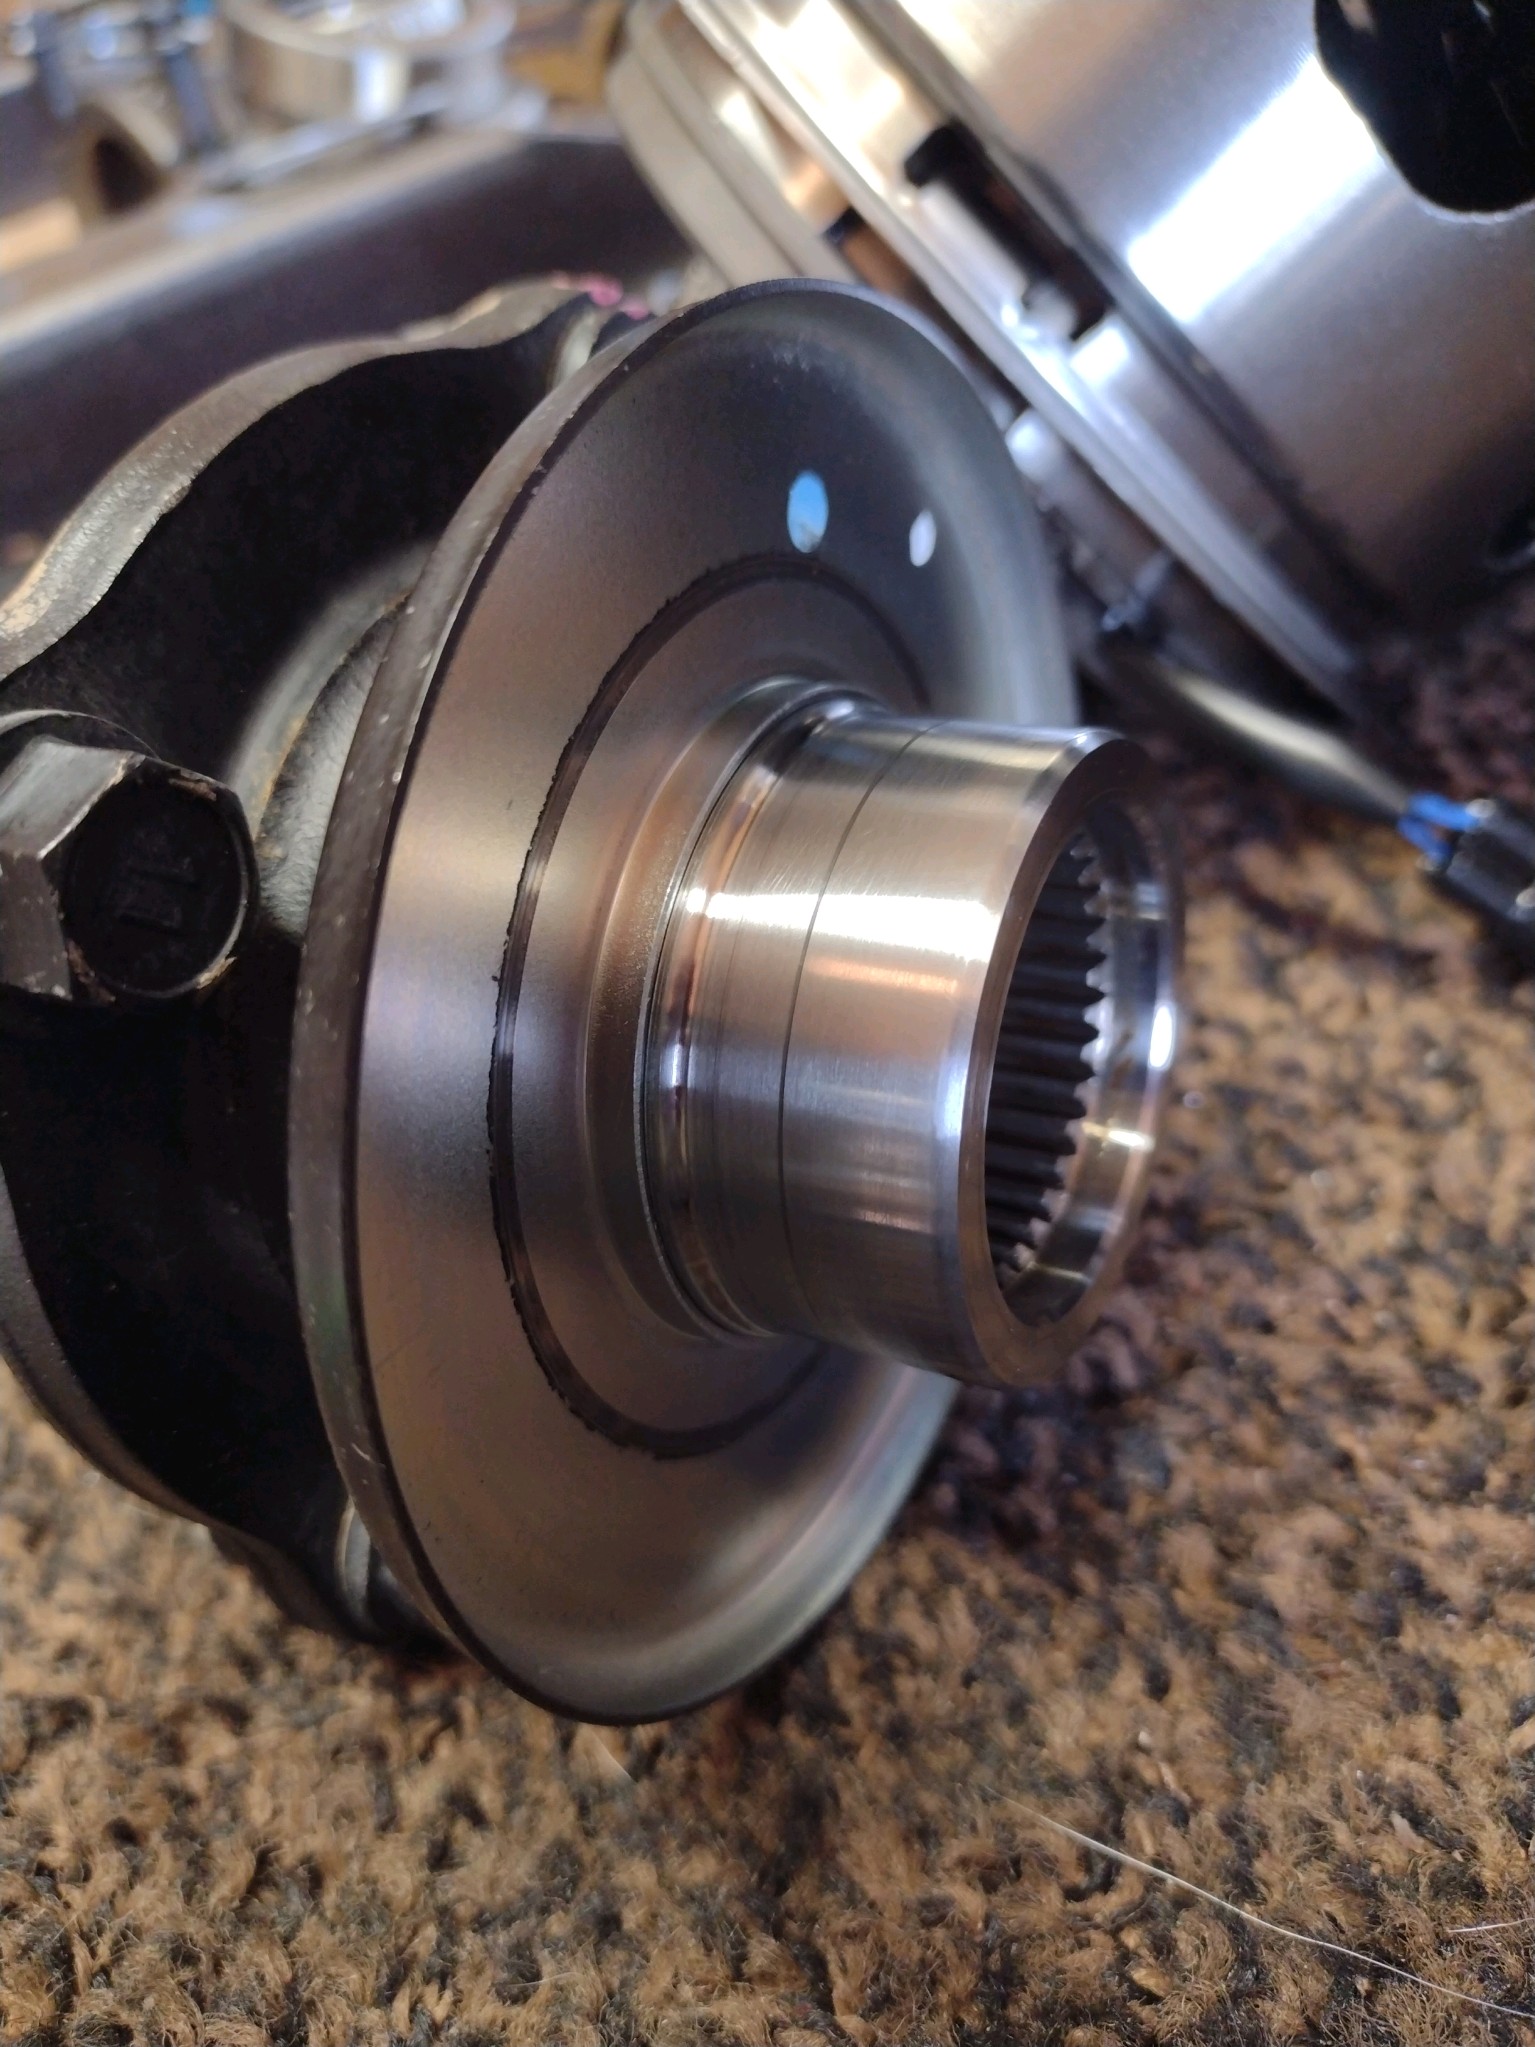
so a little creativity is required. The bearing separator is pulling on the bearing cage itself
but it offers enough pull in conjunction with a wisp of heat from a propane torch
to pop the tight bearing free. The old bearing is junk at this point
and should never be re-used.
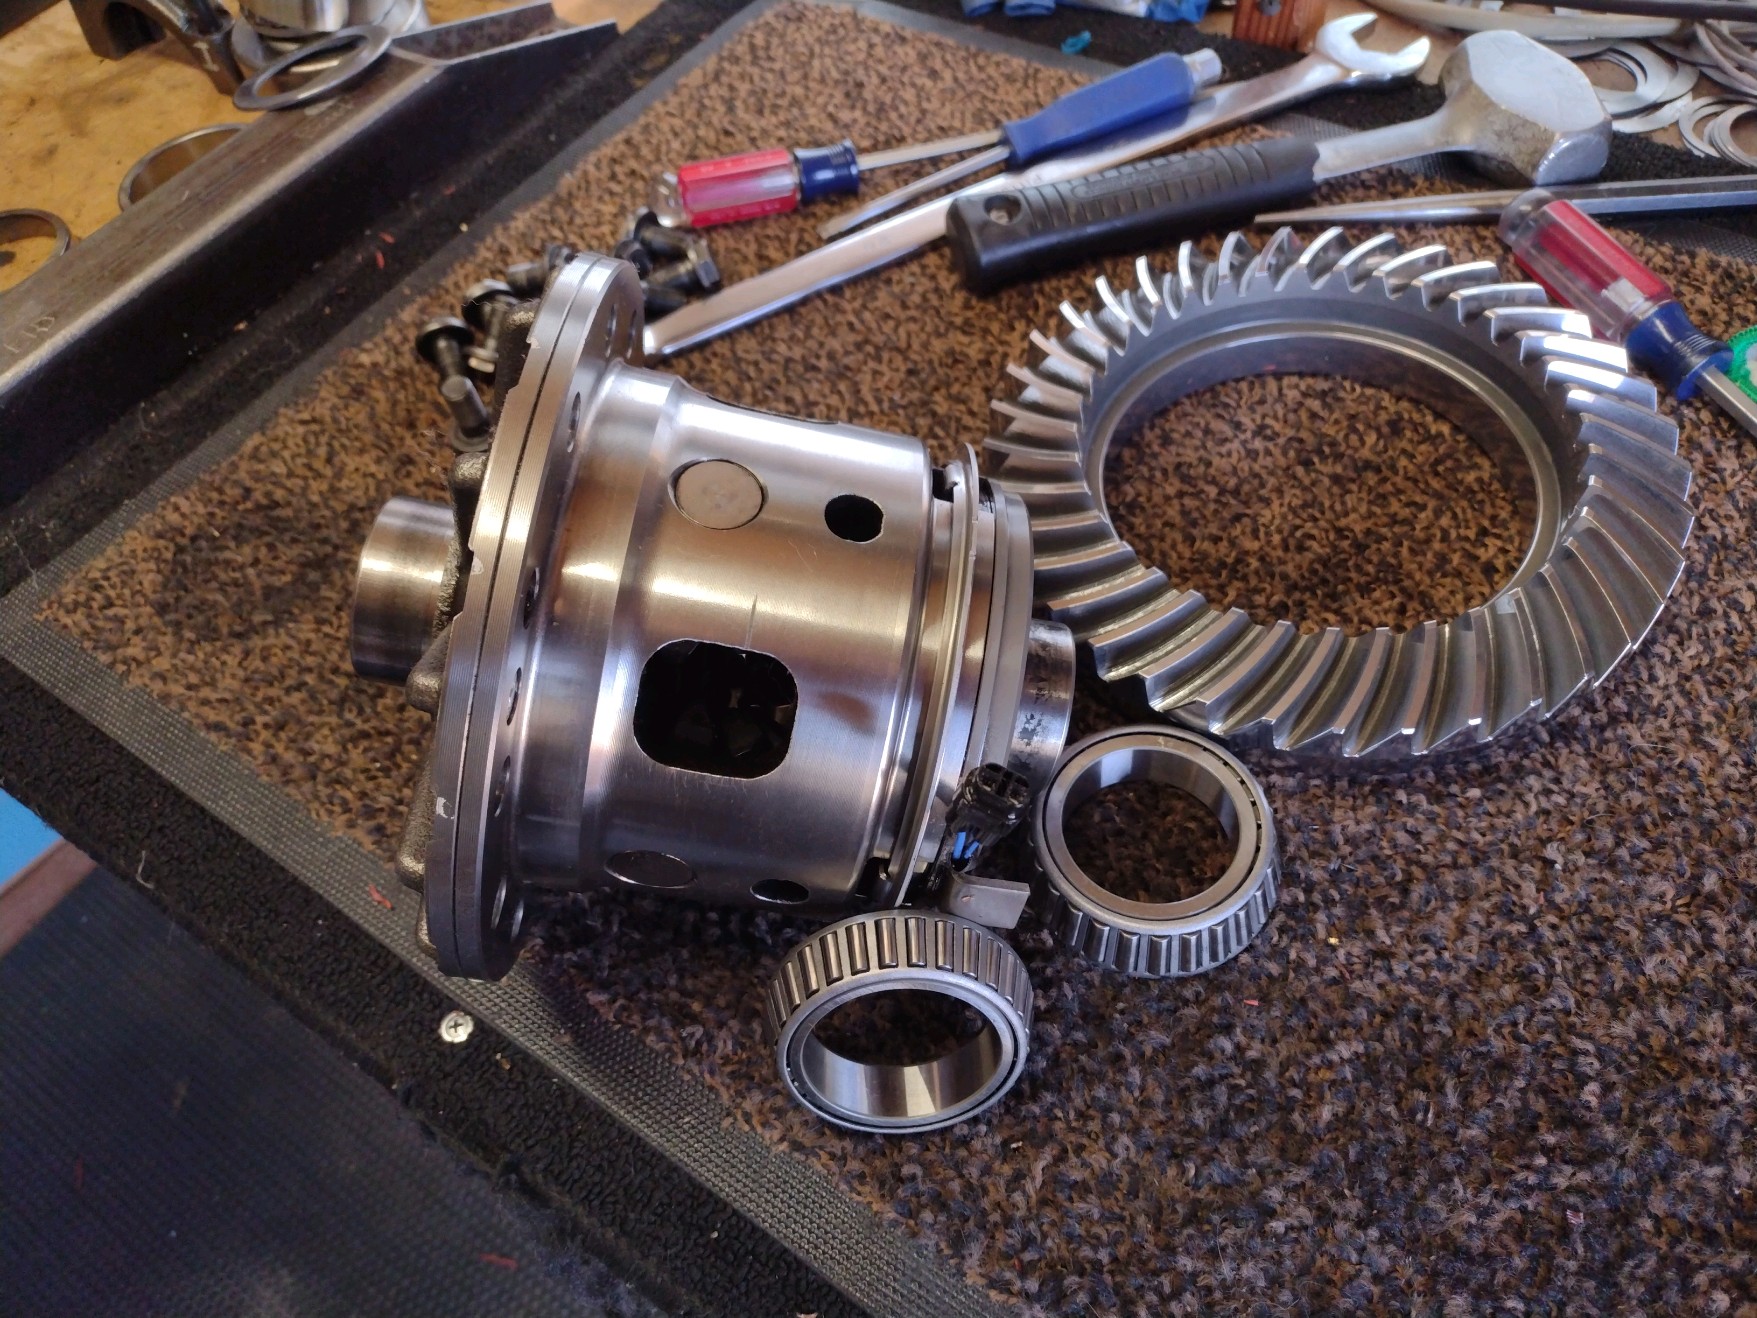
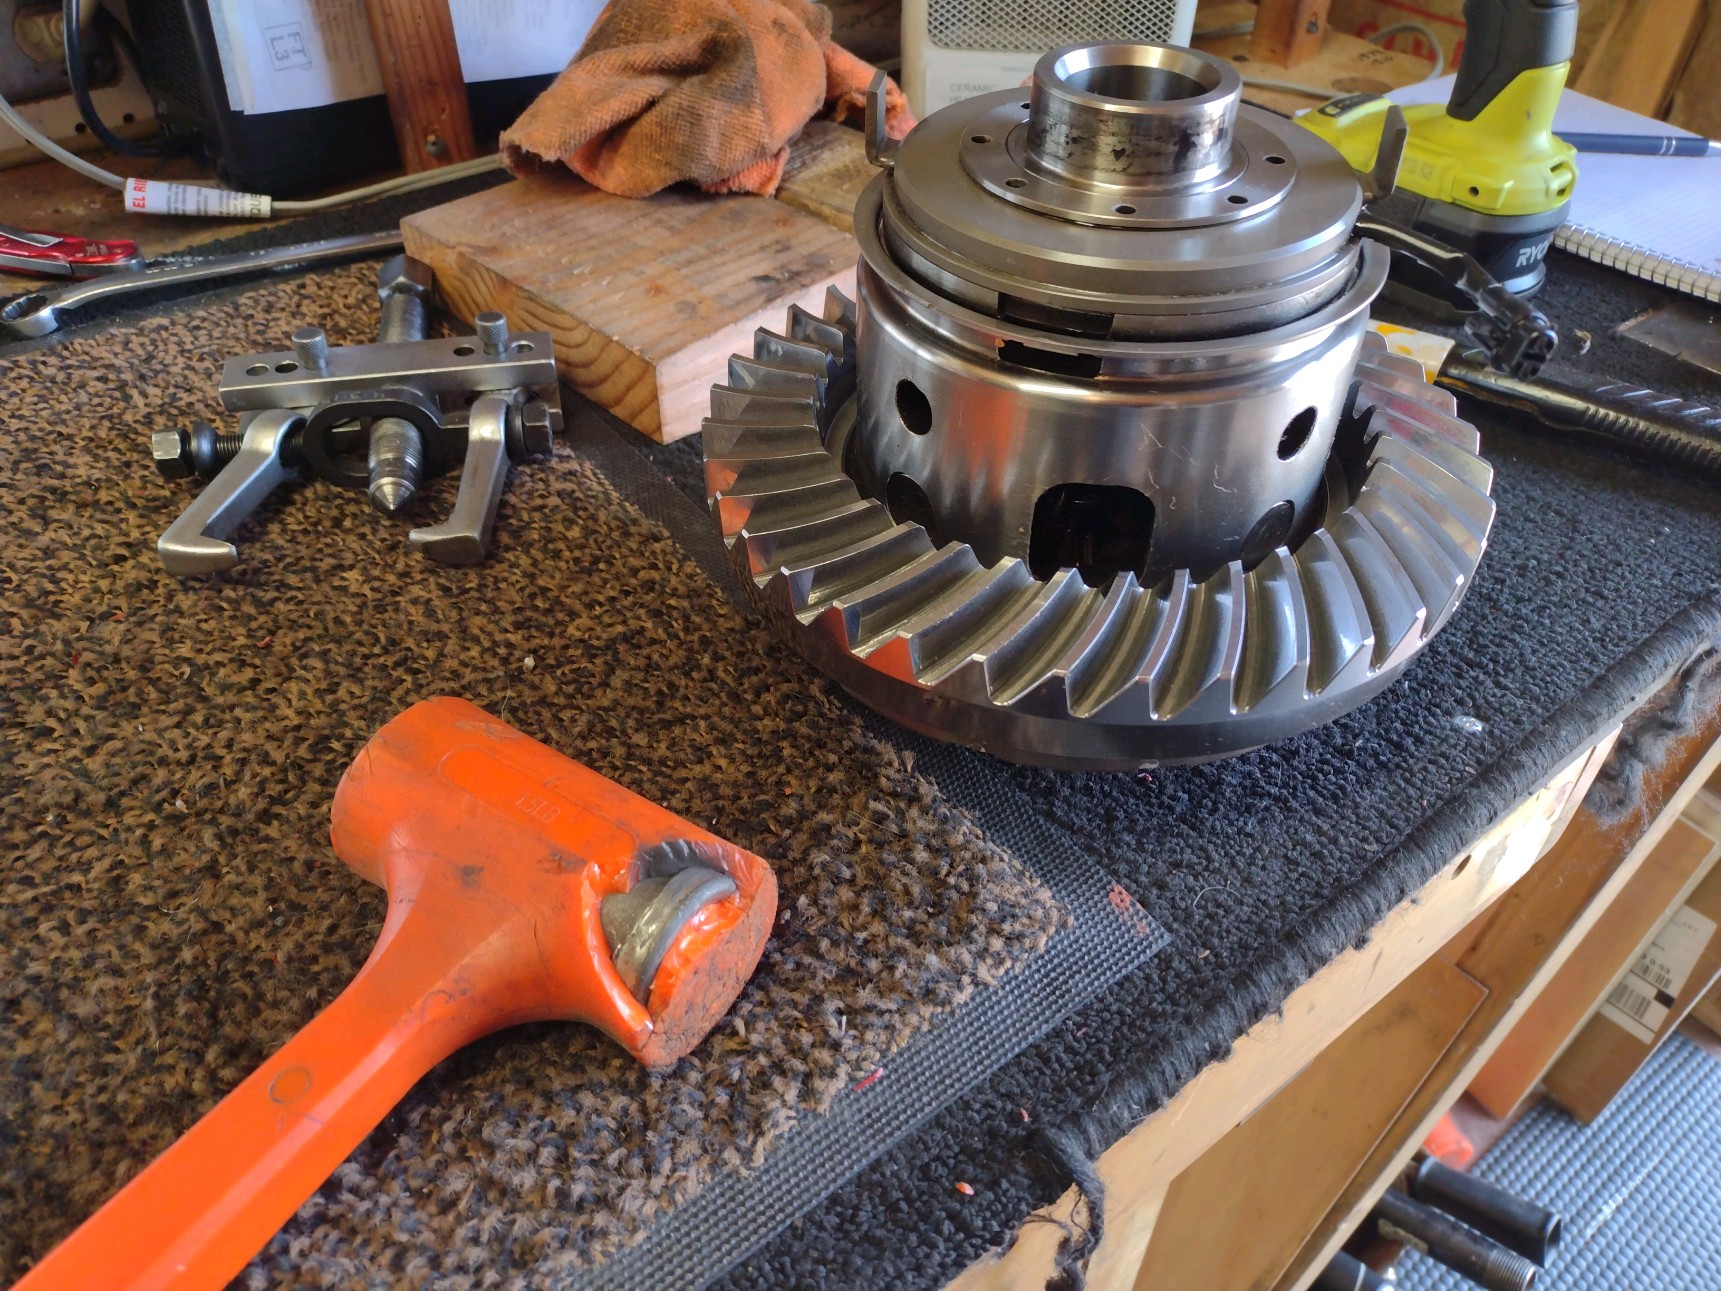
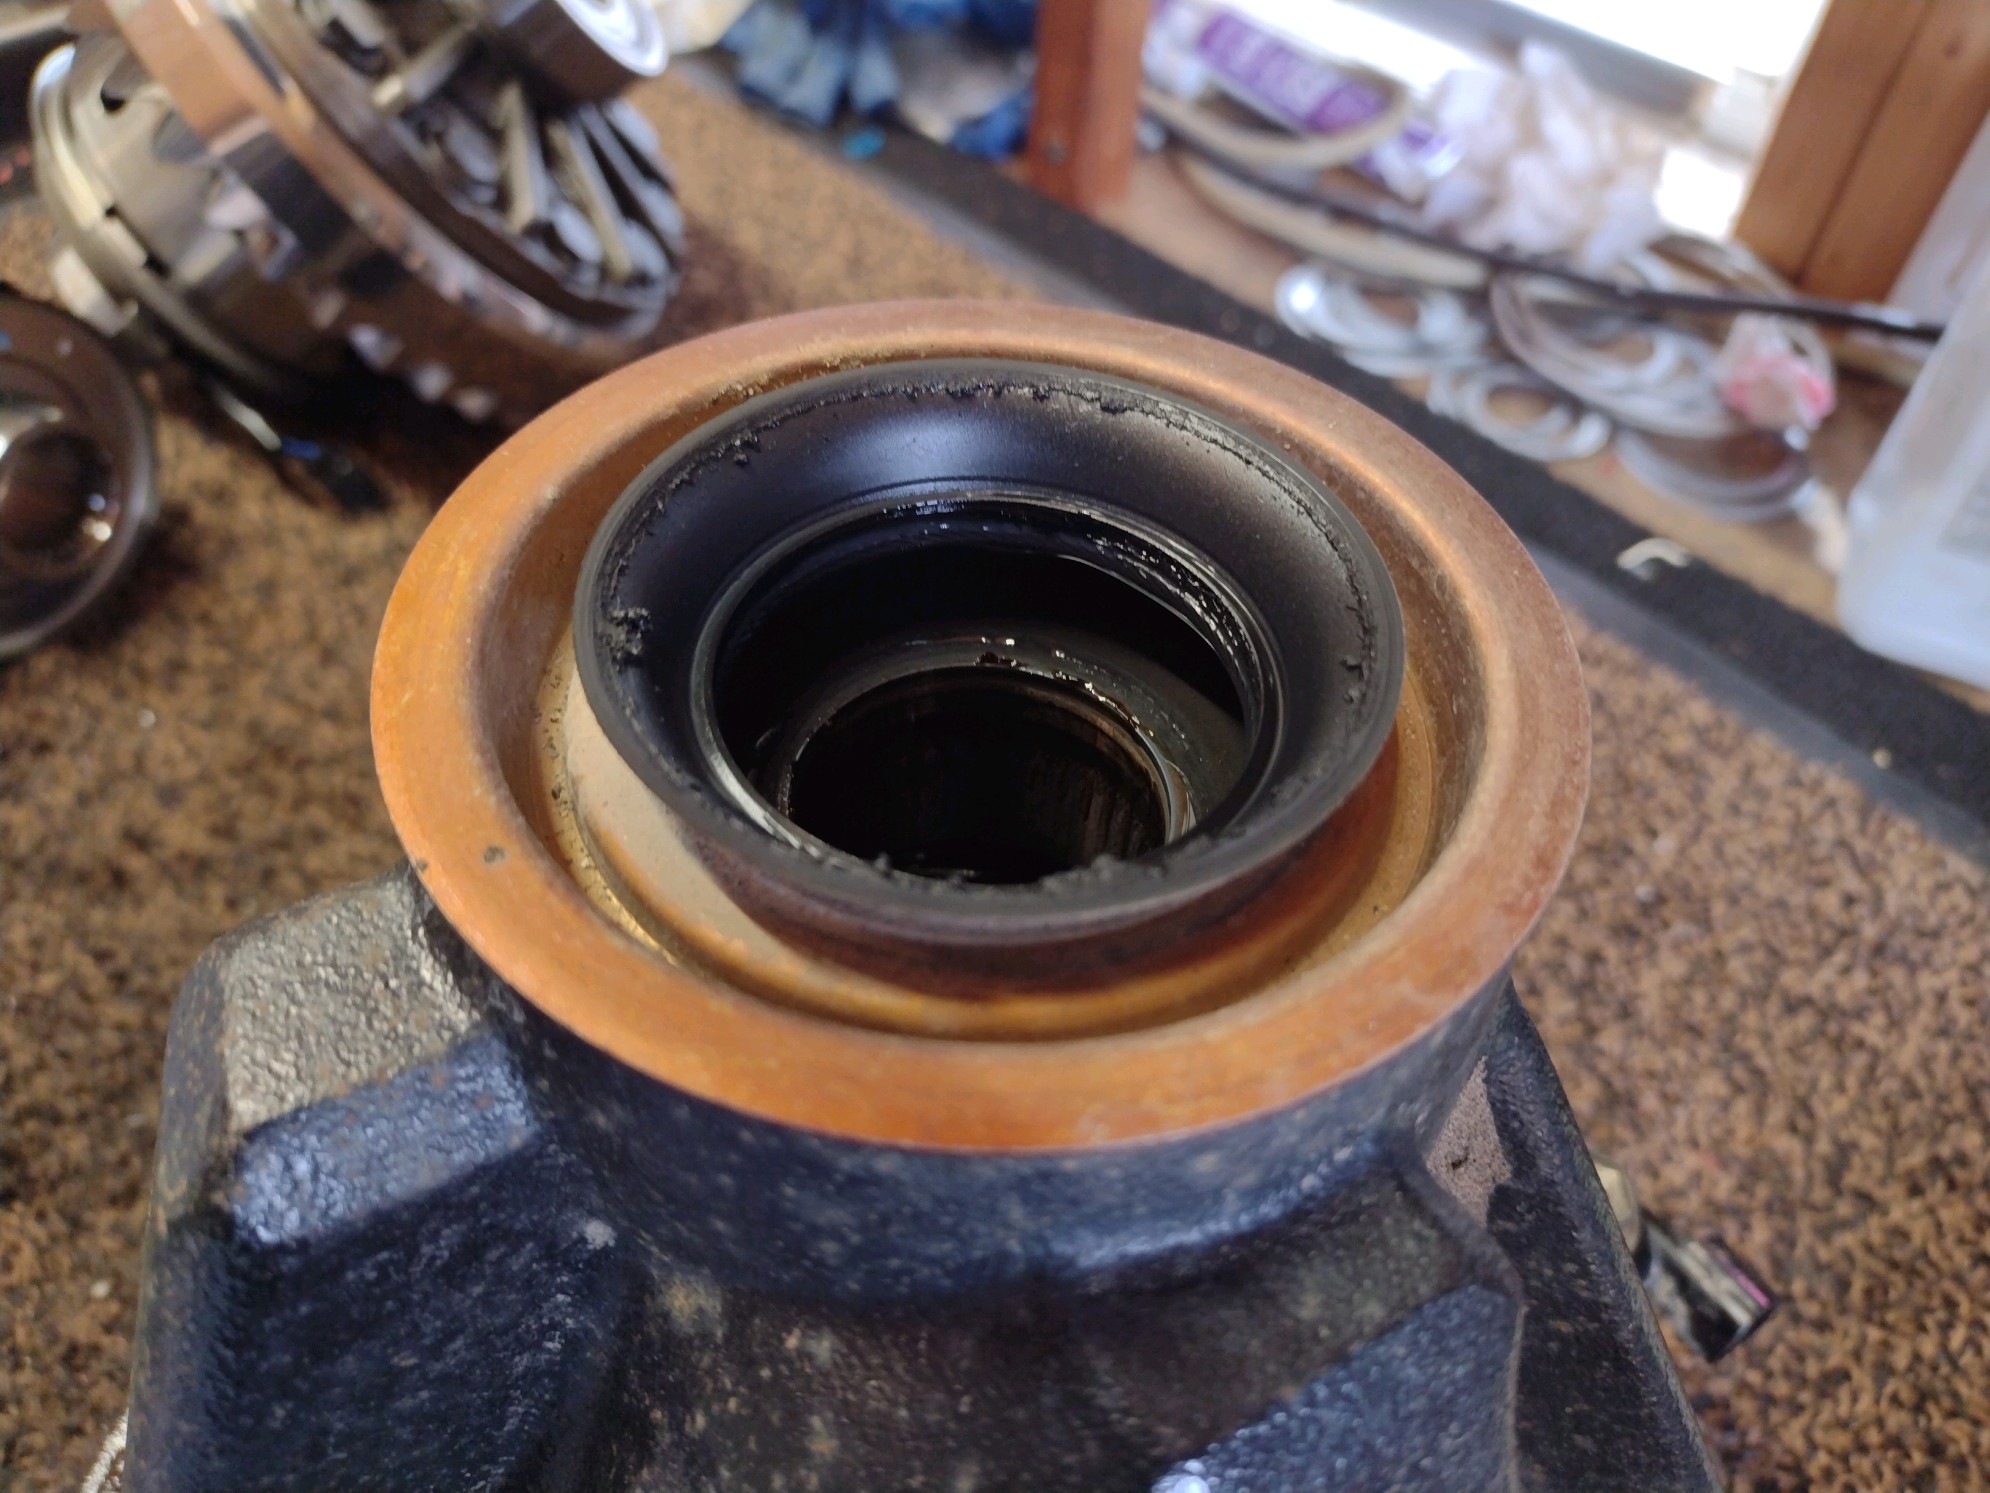
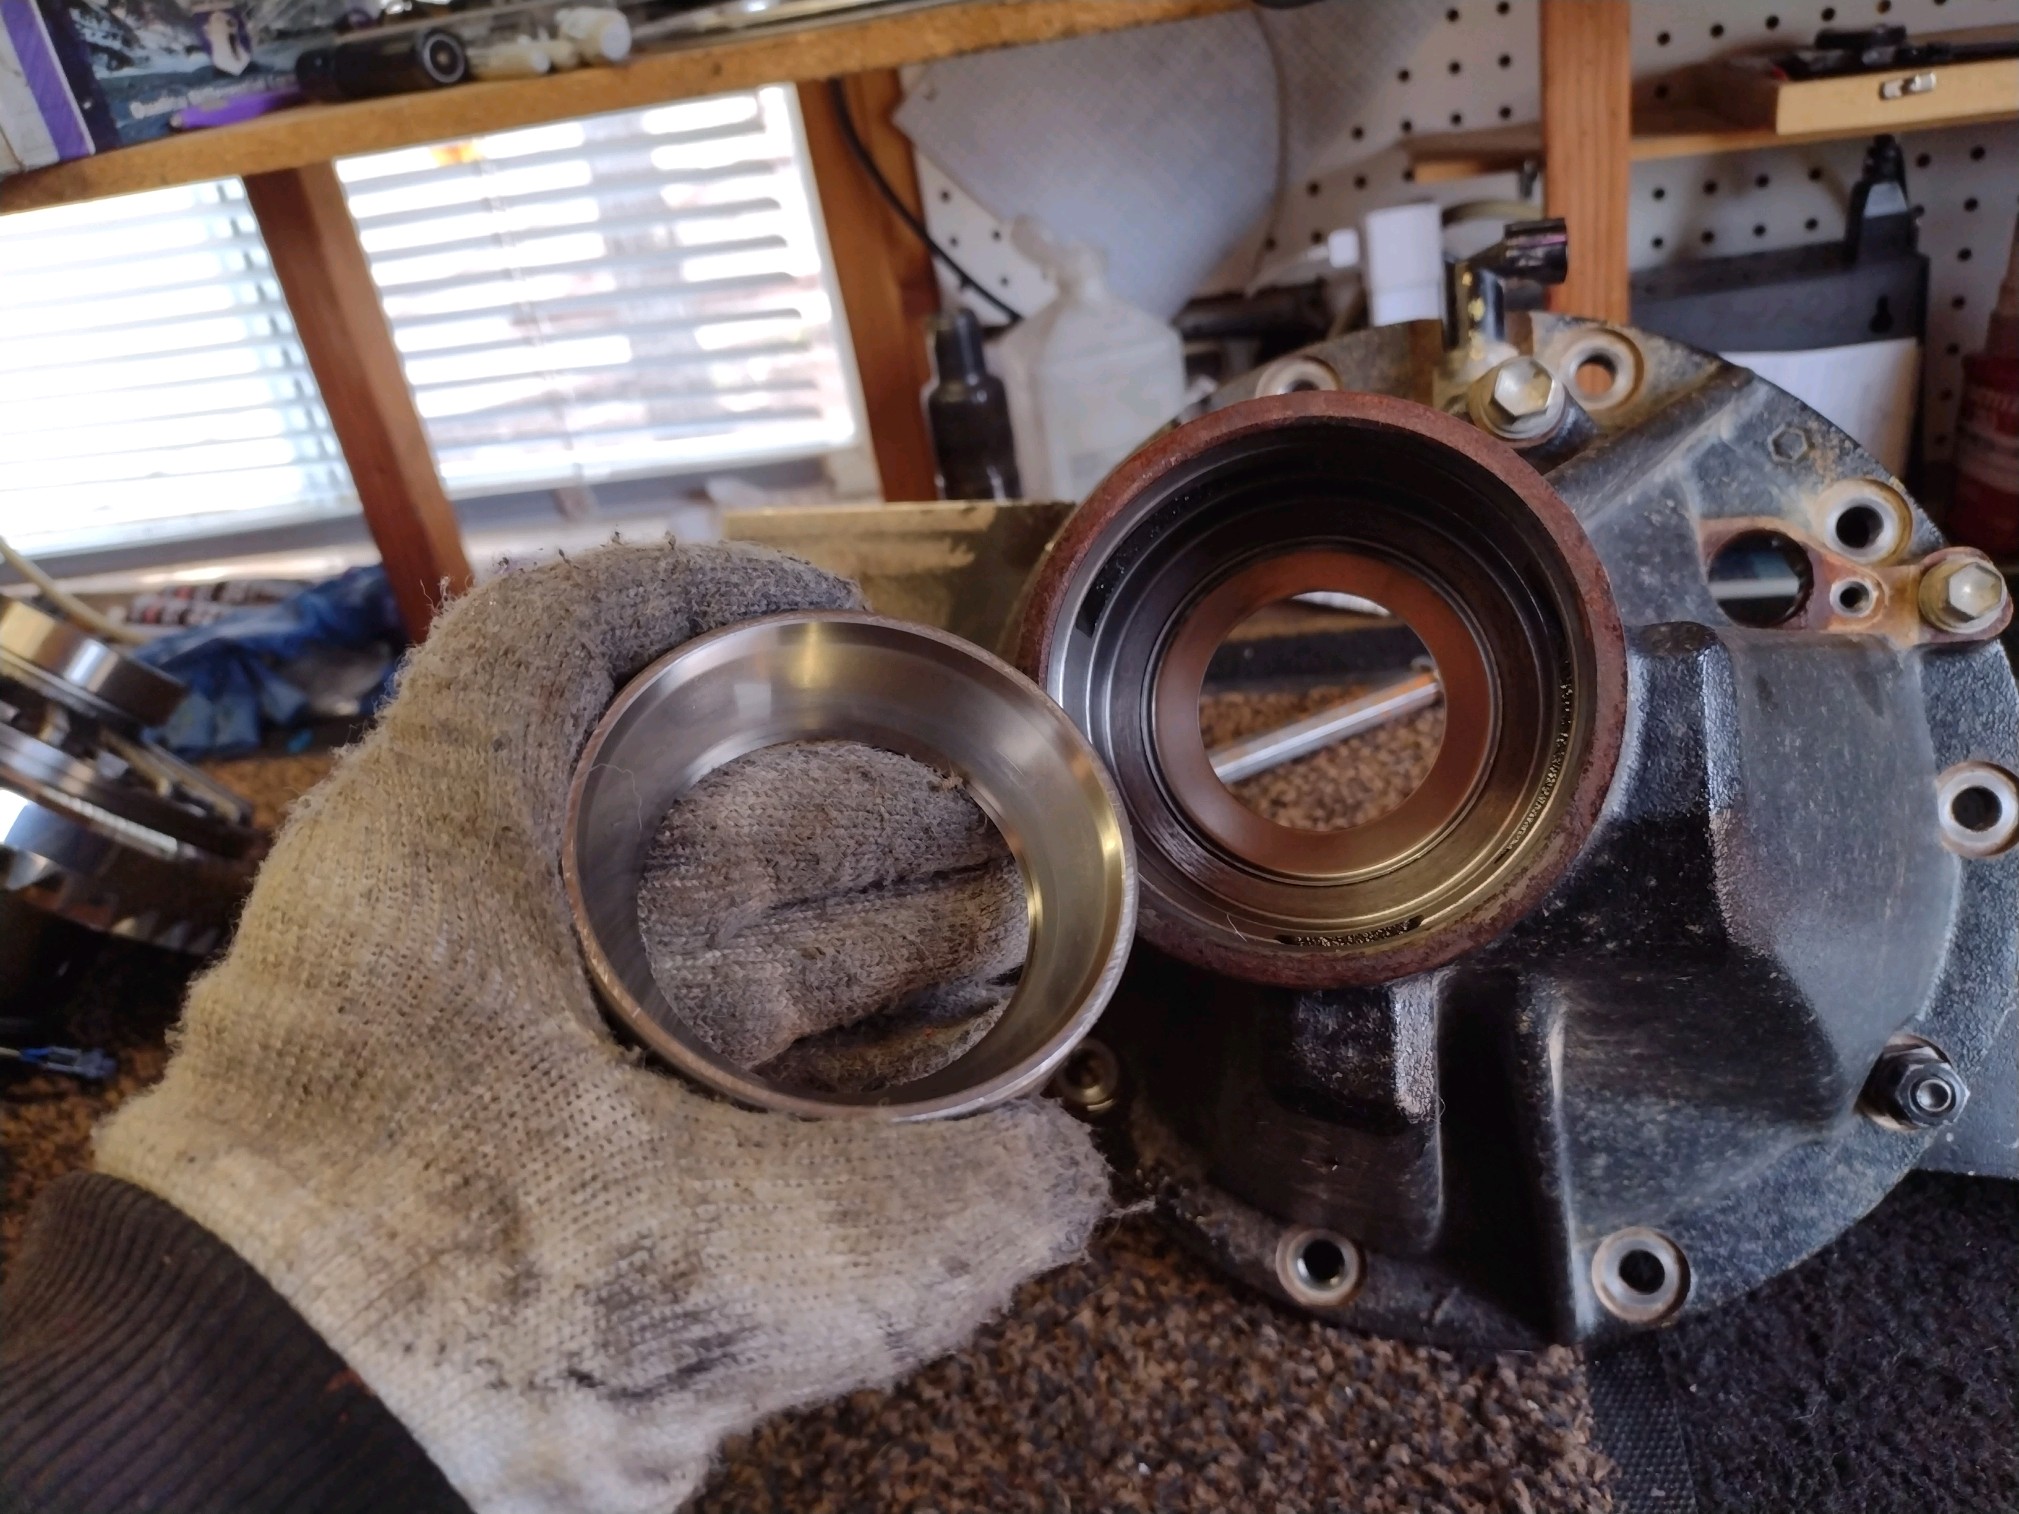
to be removed with no damage to the oil retainer.
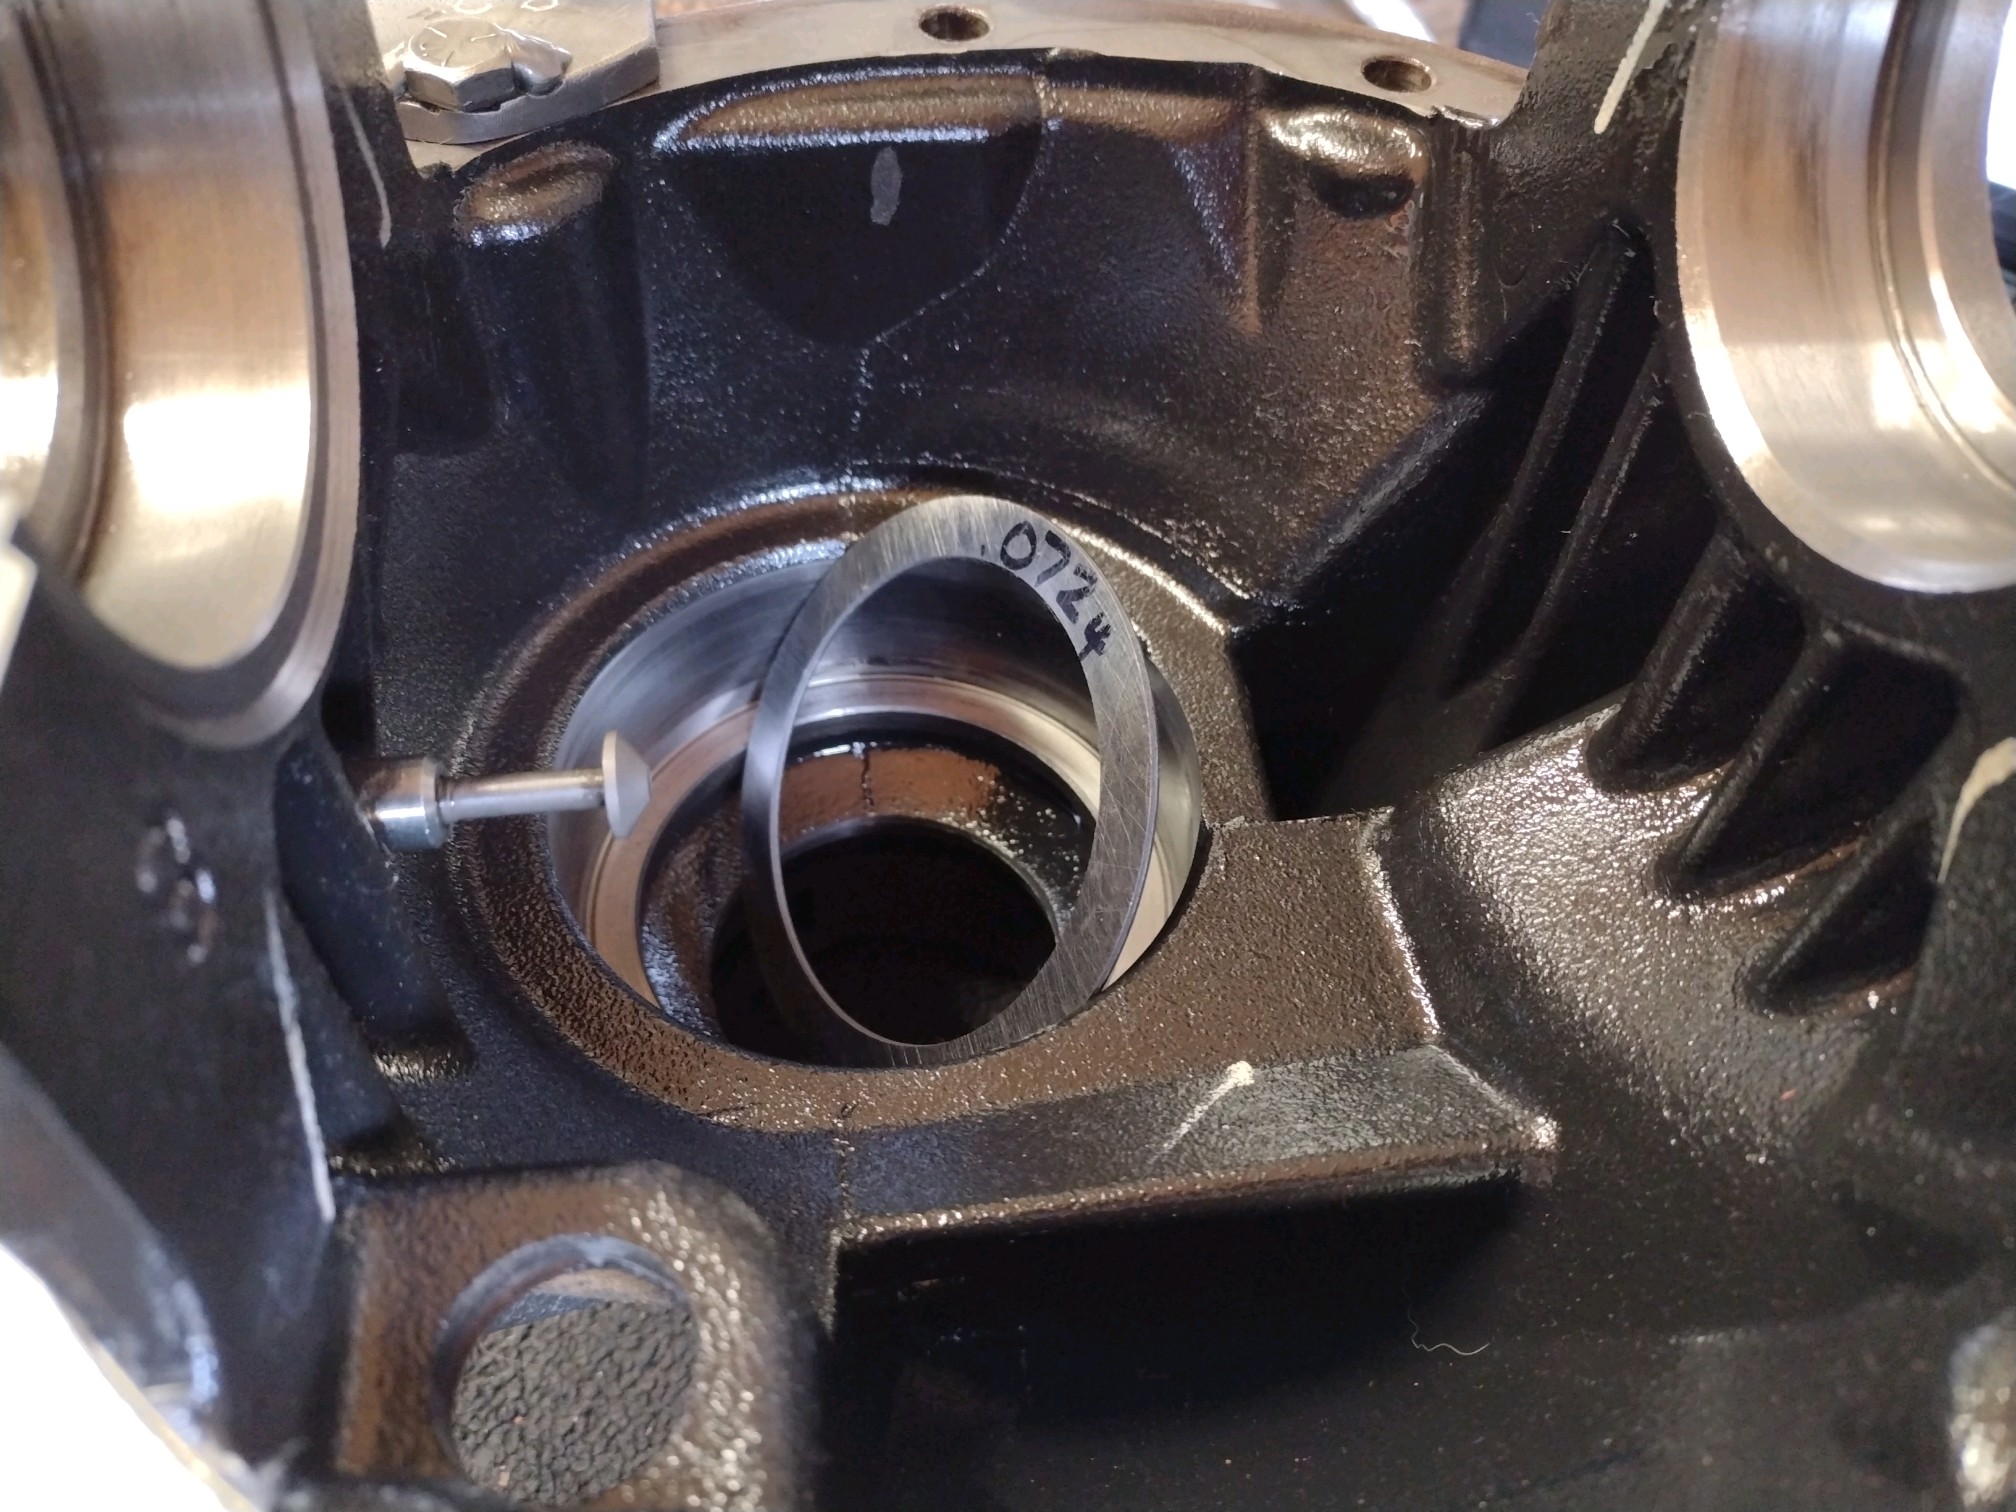
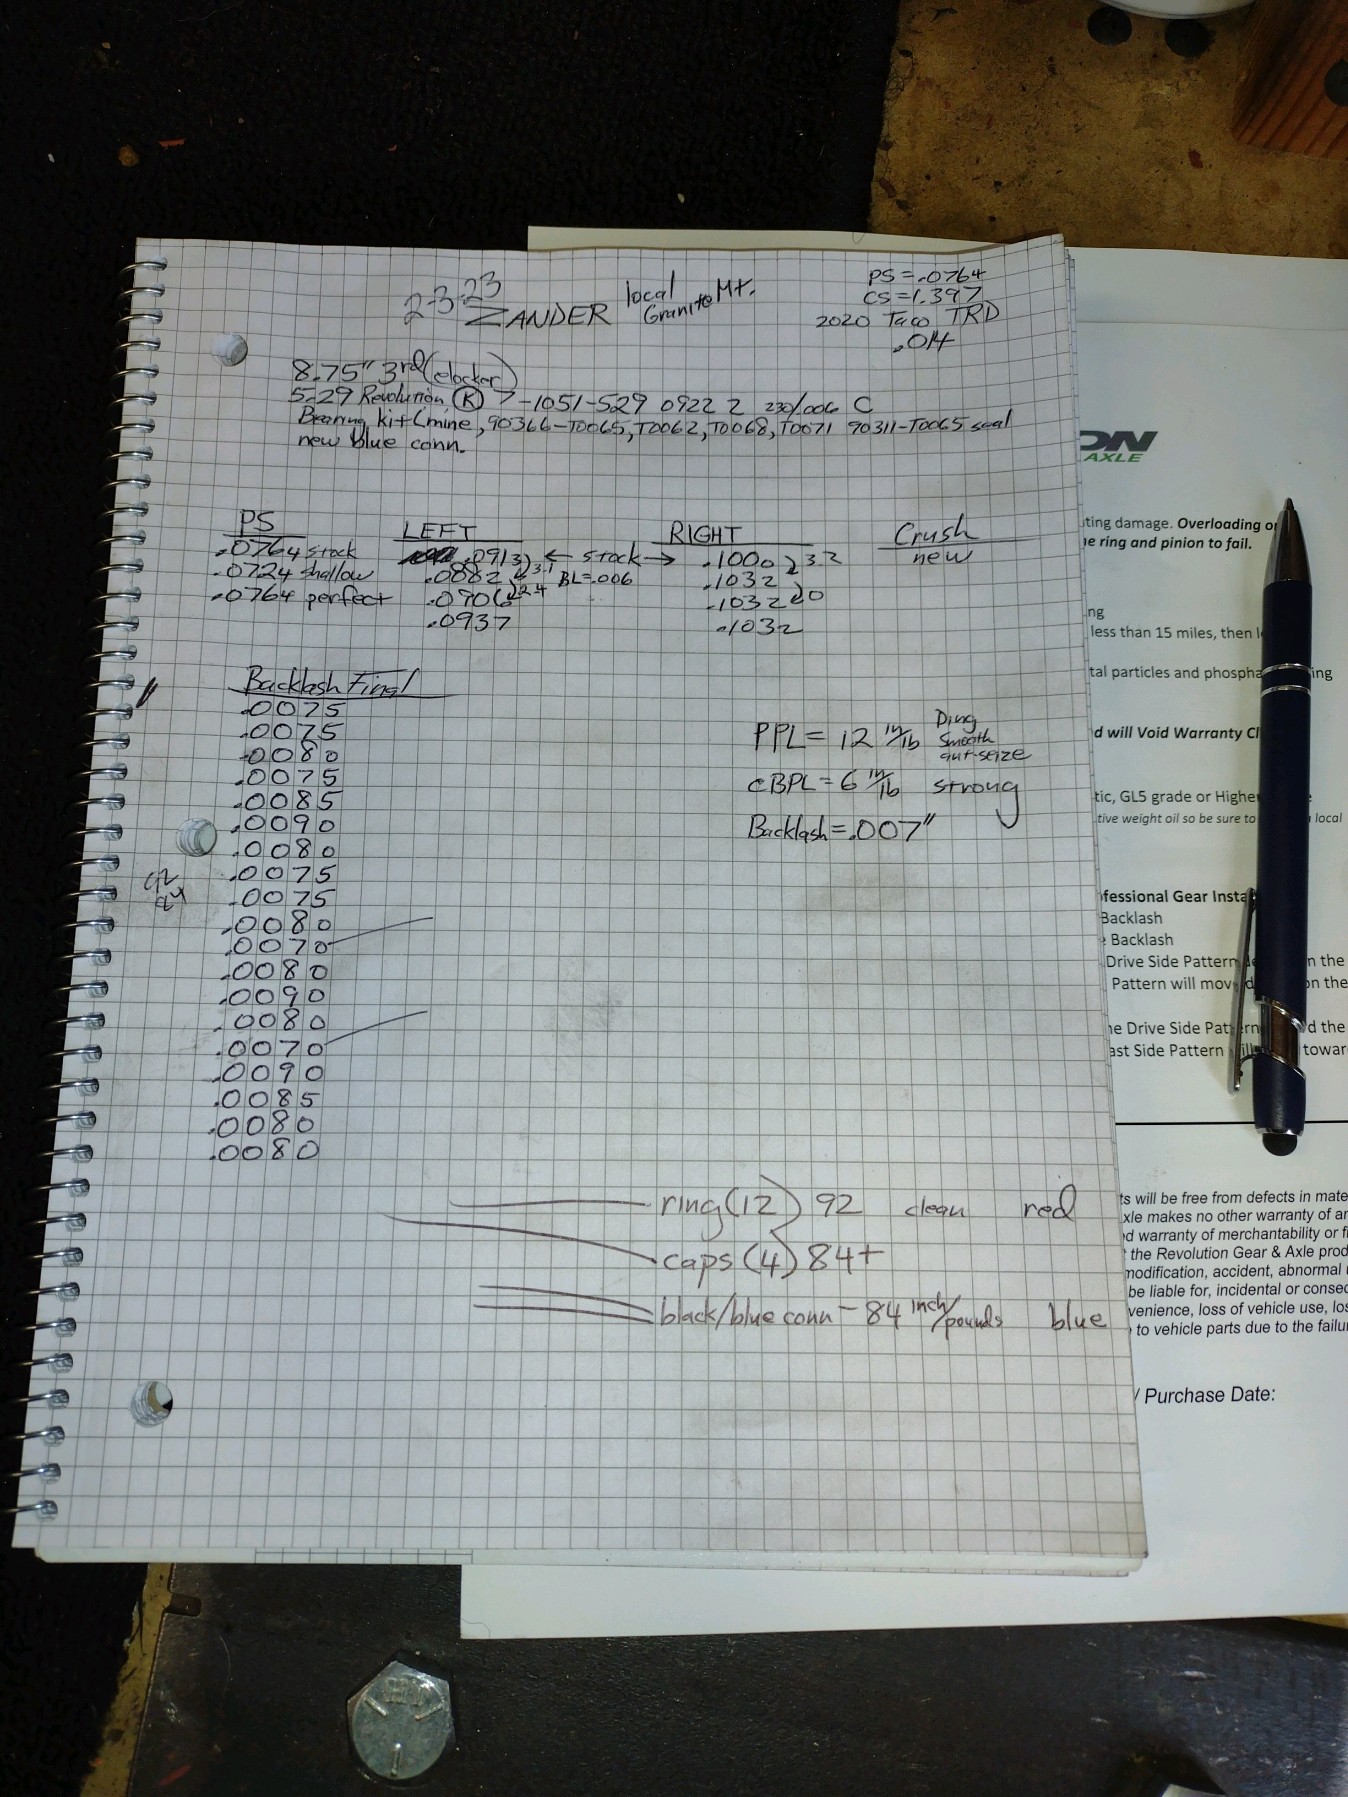
Past experience has shown that a .0724" shim will get me close so that's what we will start with.
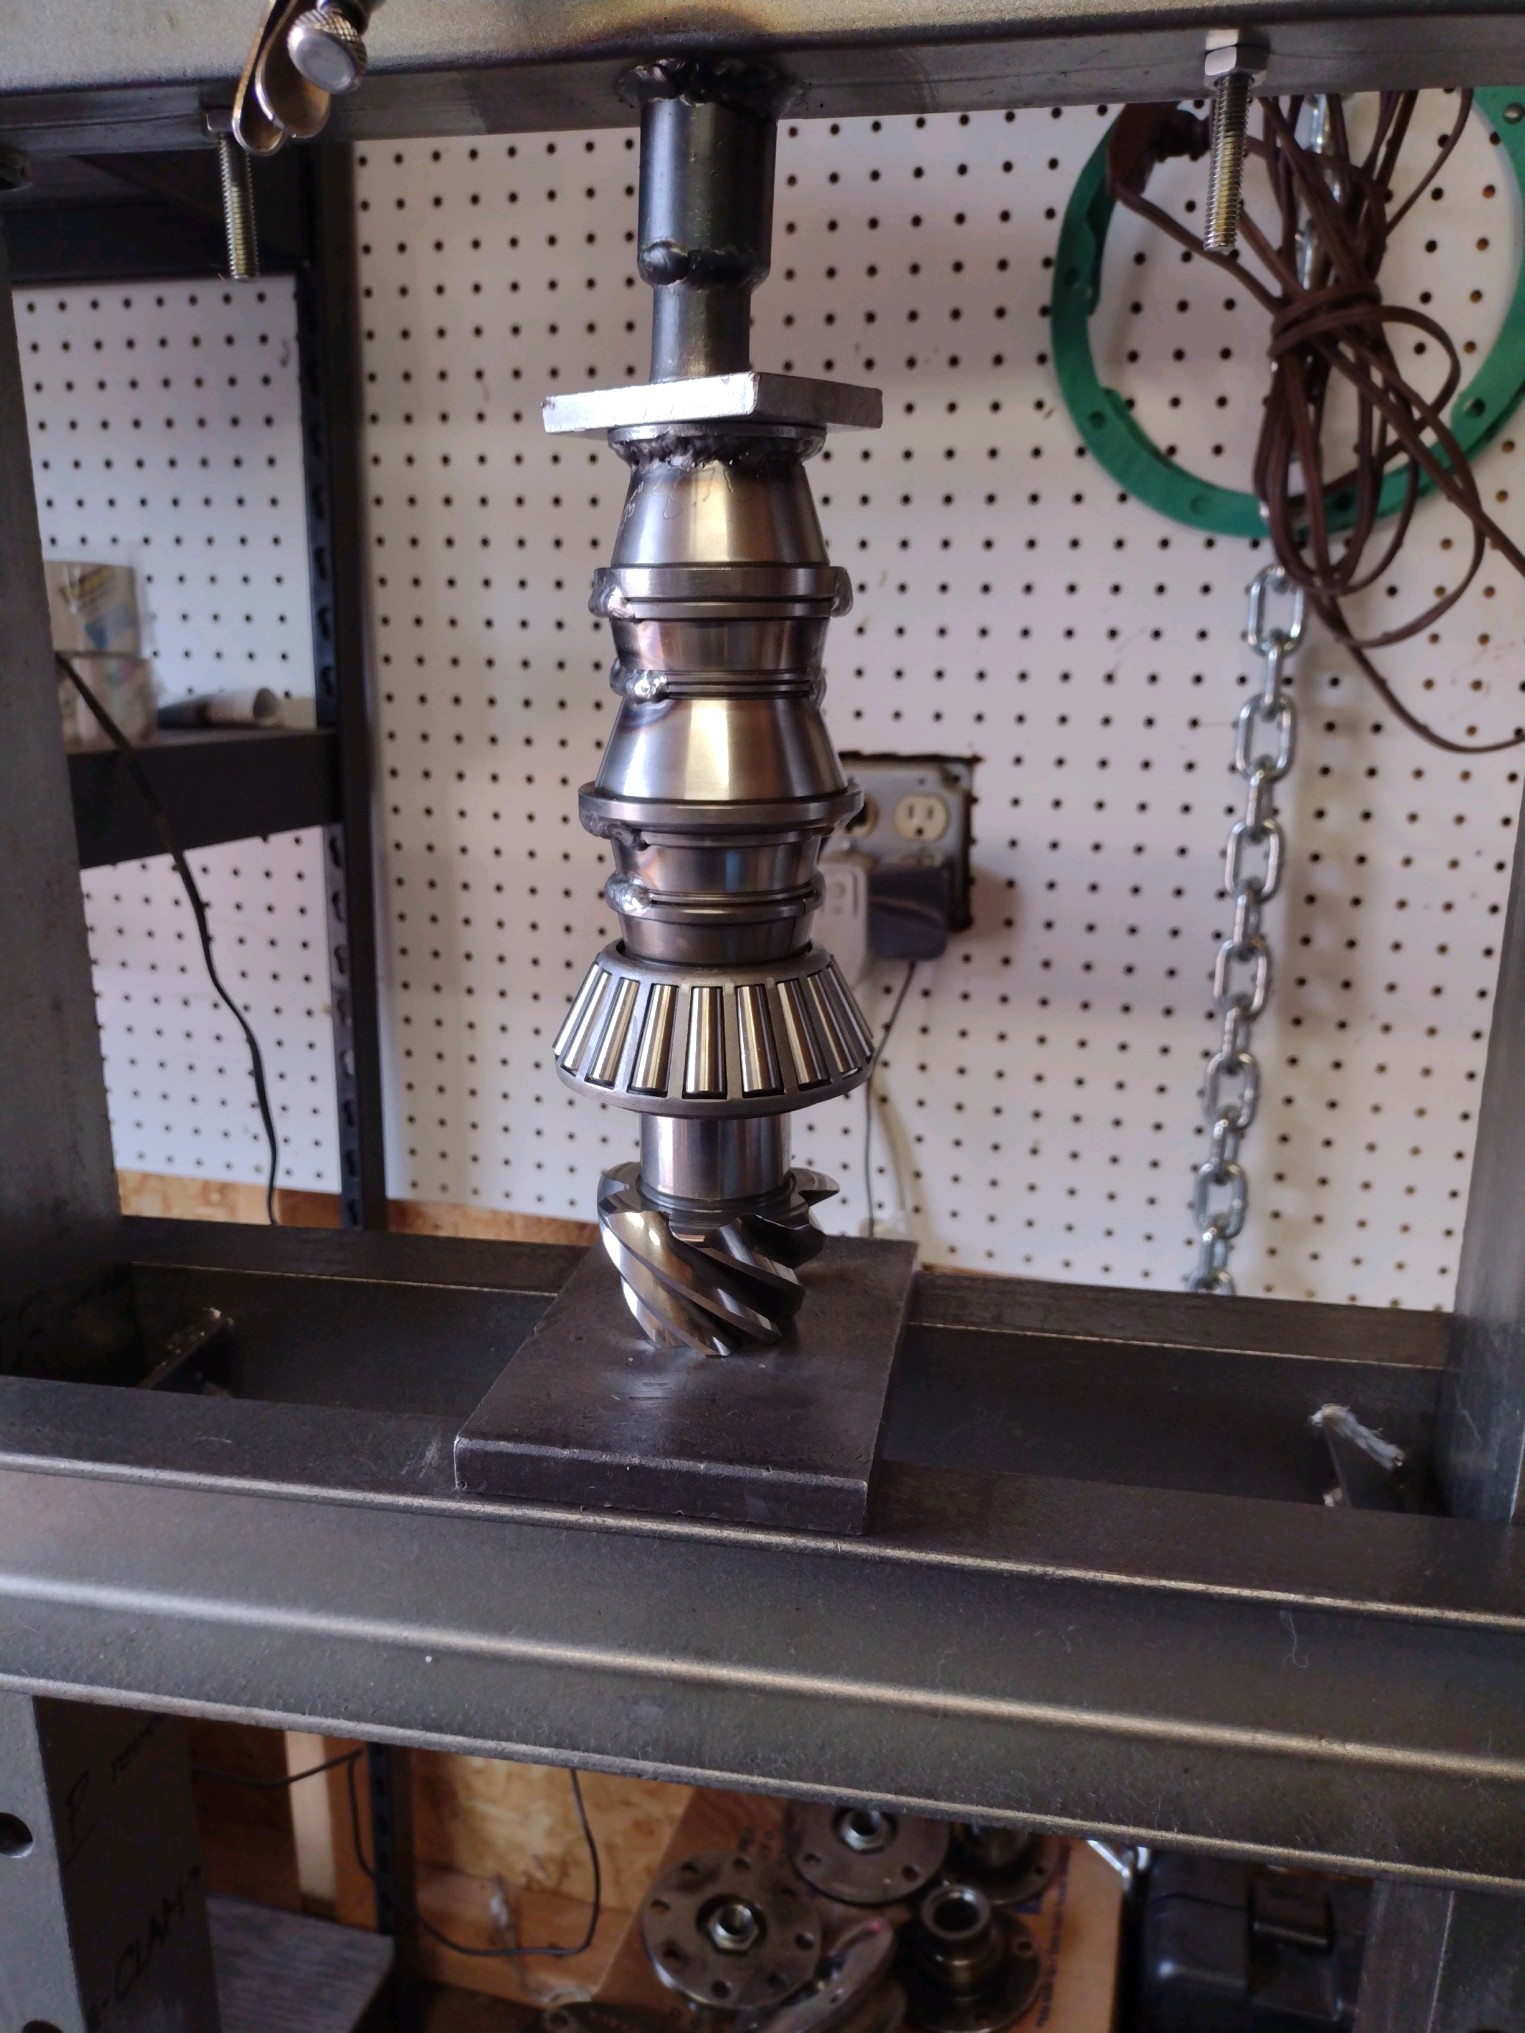
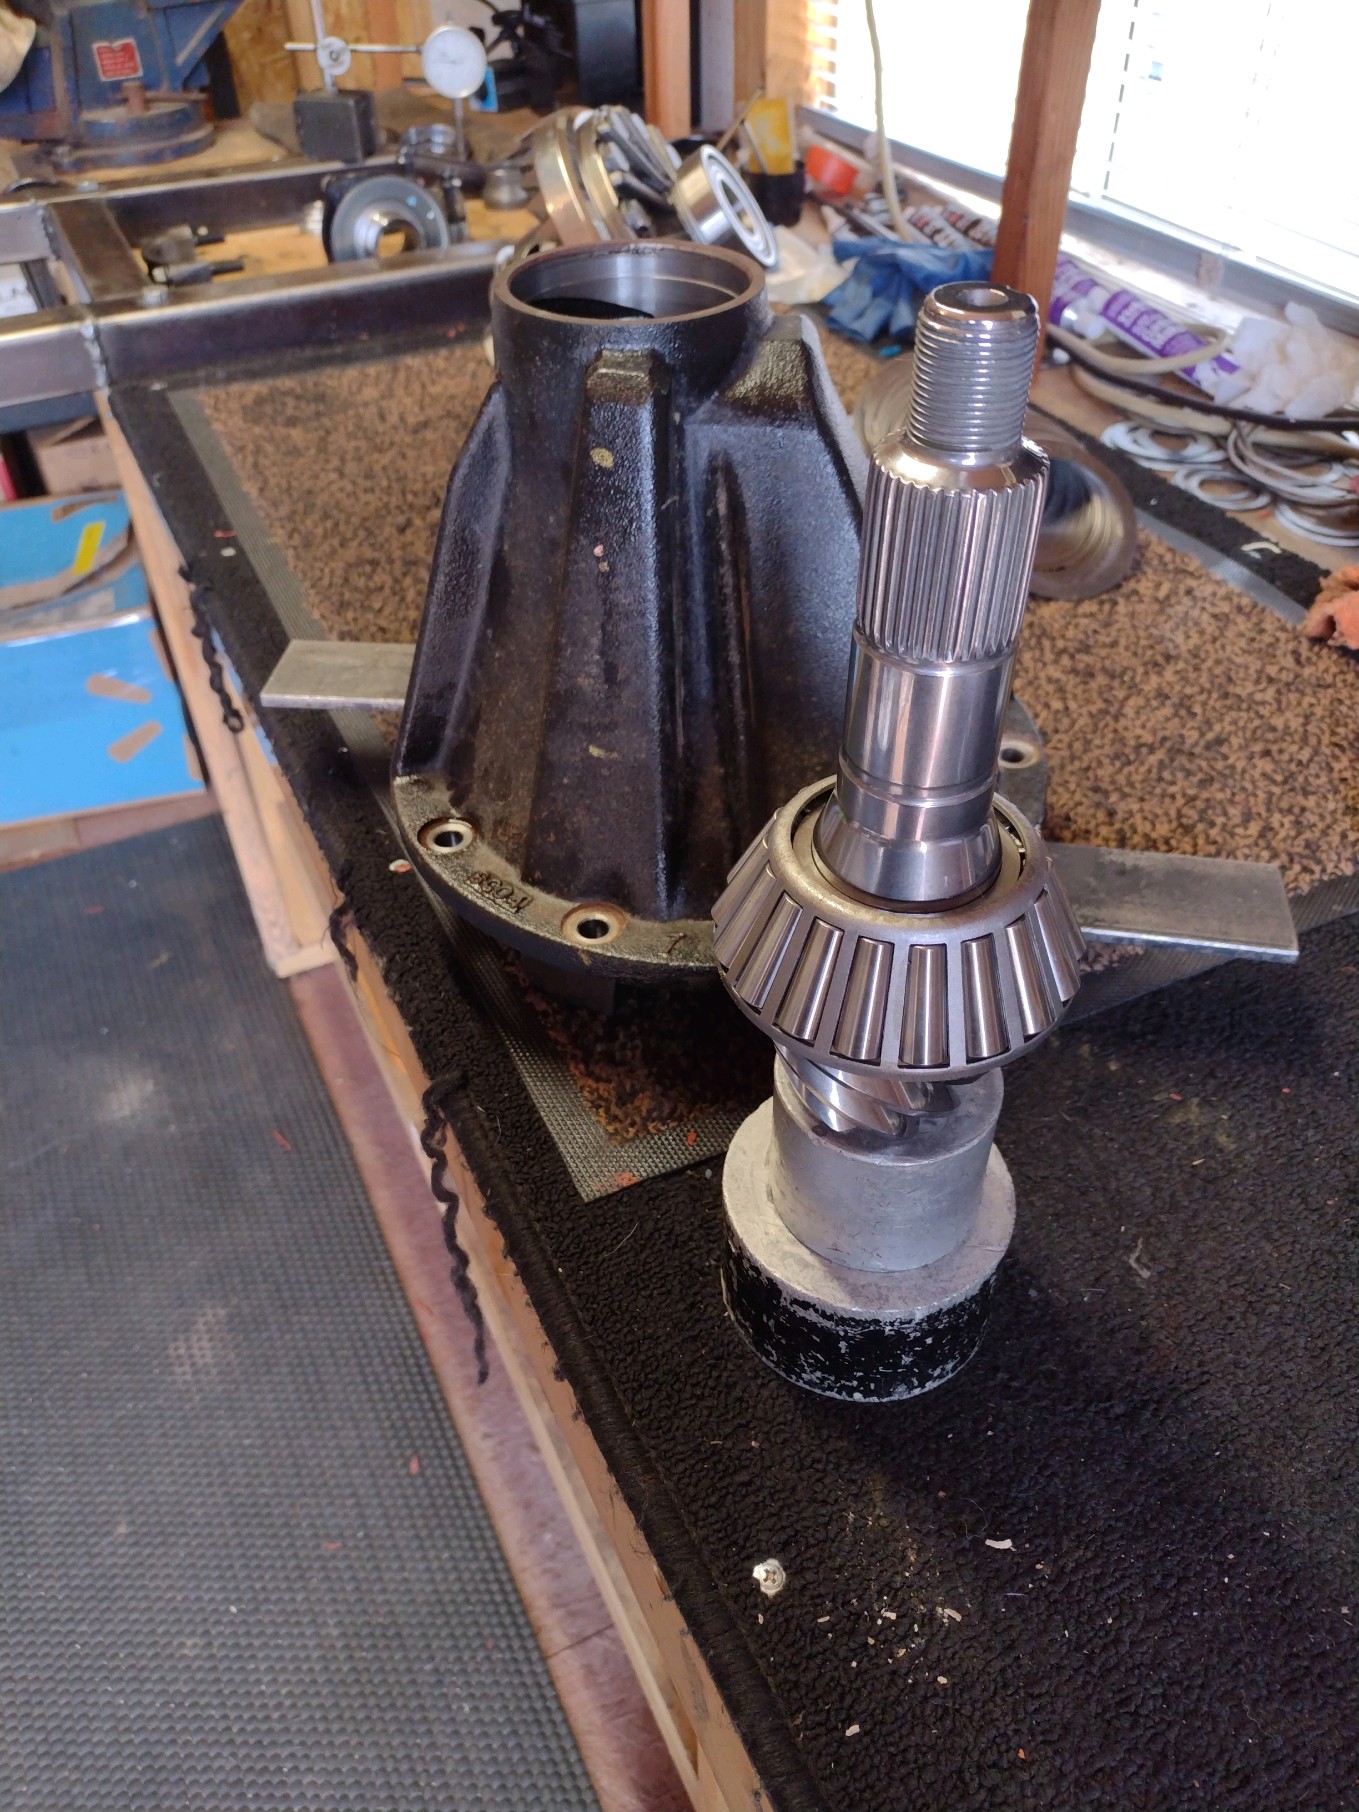
A crush sleeve is not needed for a paint check.
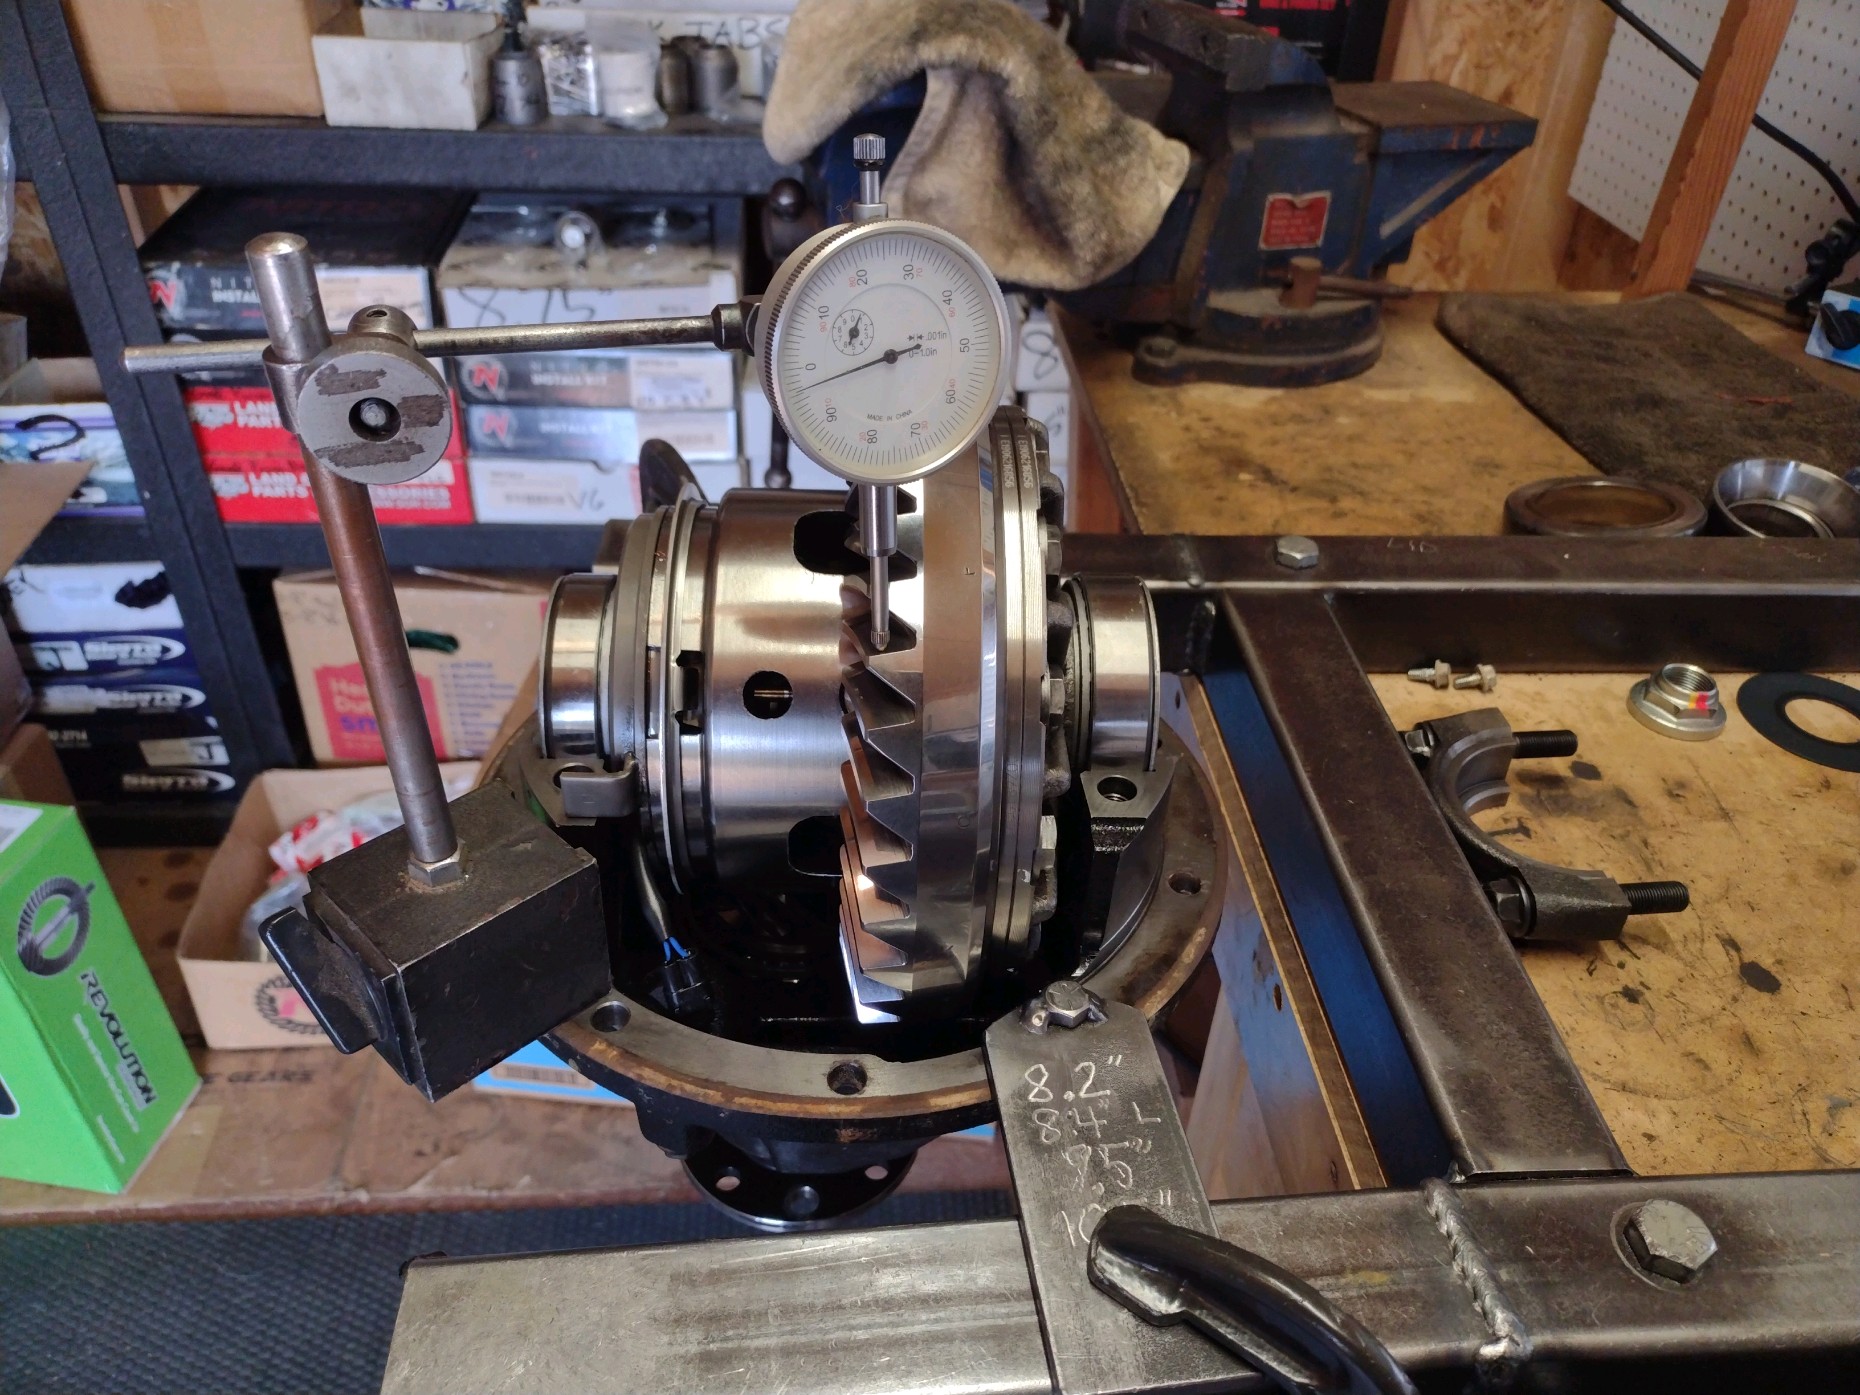
The washer plates are visible in the picture to the outside of the carrier bearings.
Those plates are responsible for setting the backlash(freeplay) and the bearing preload.
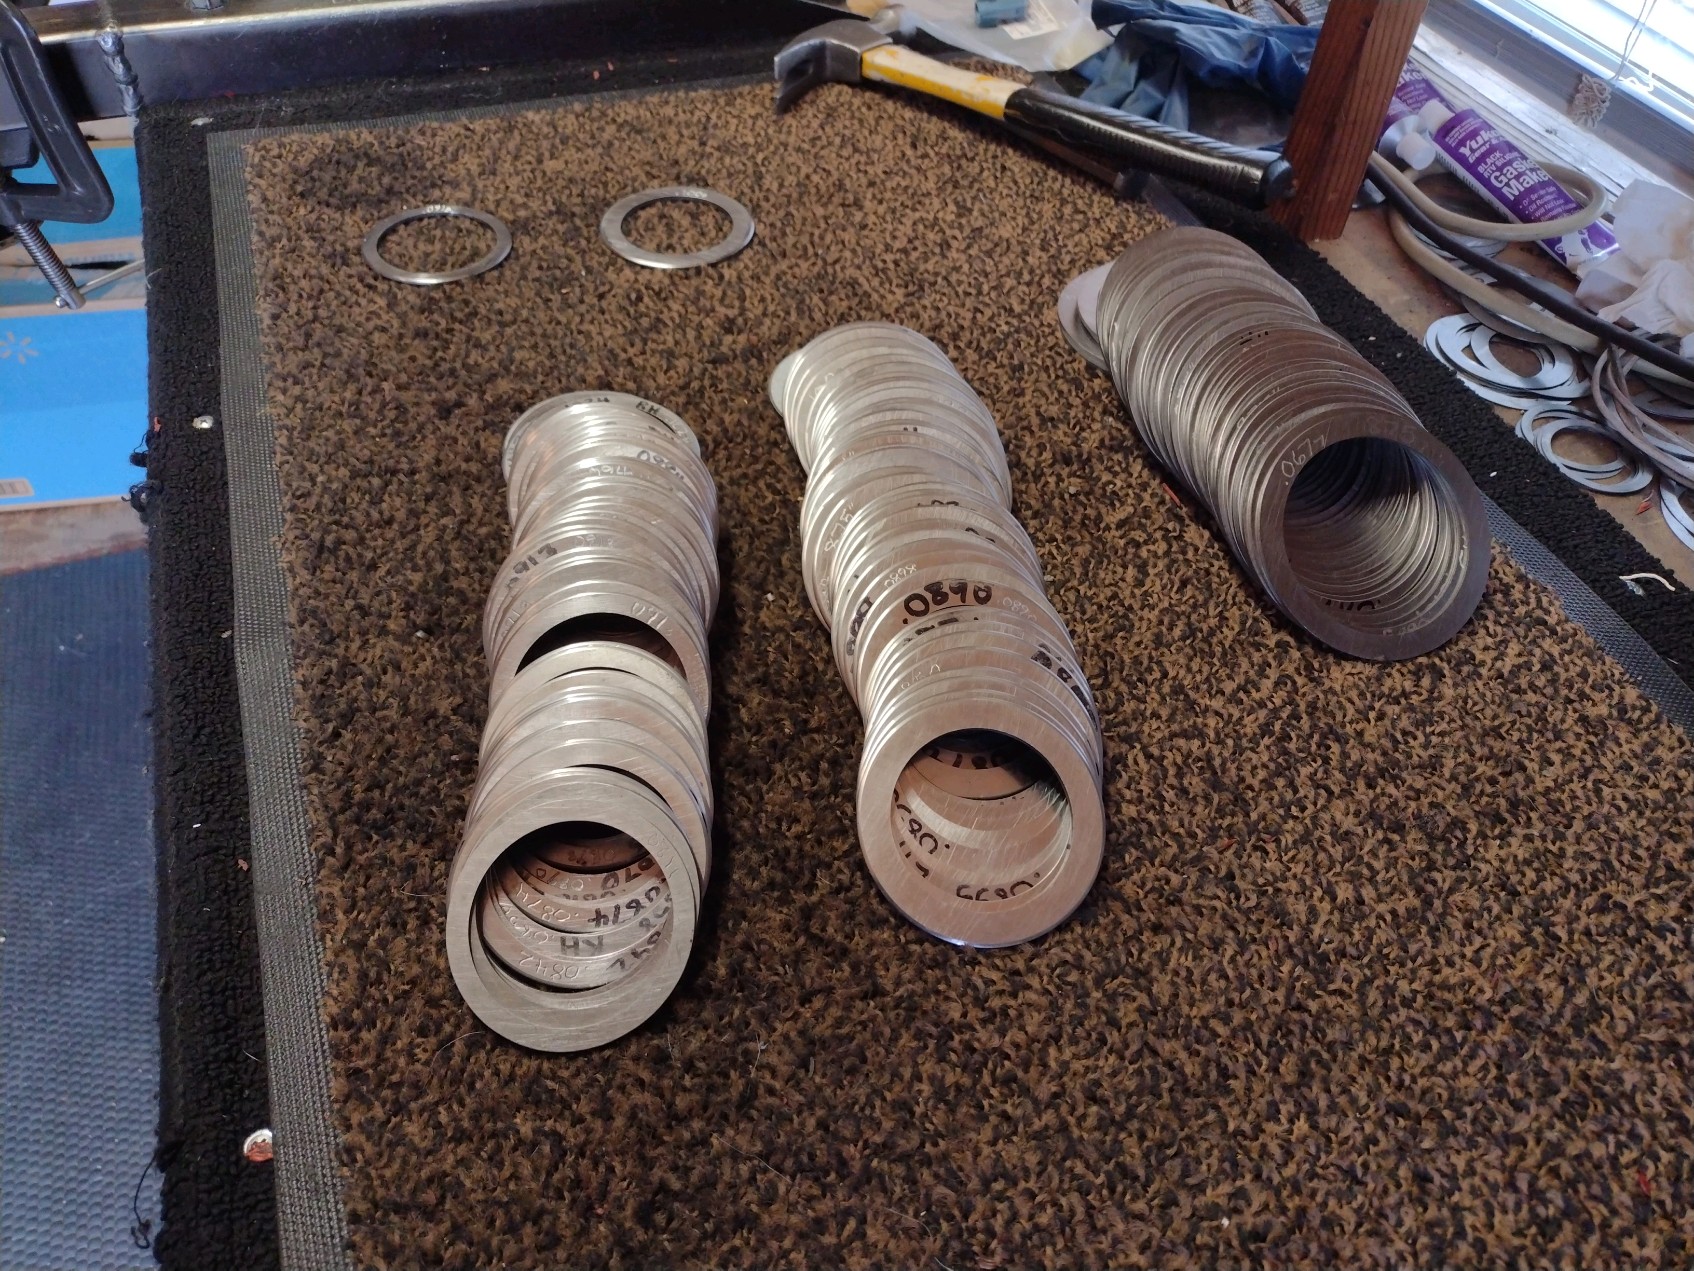
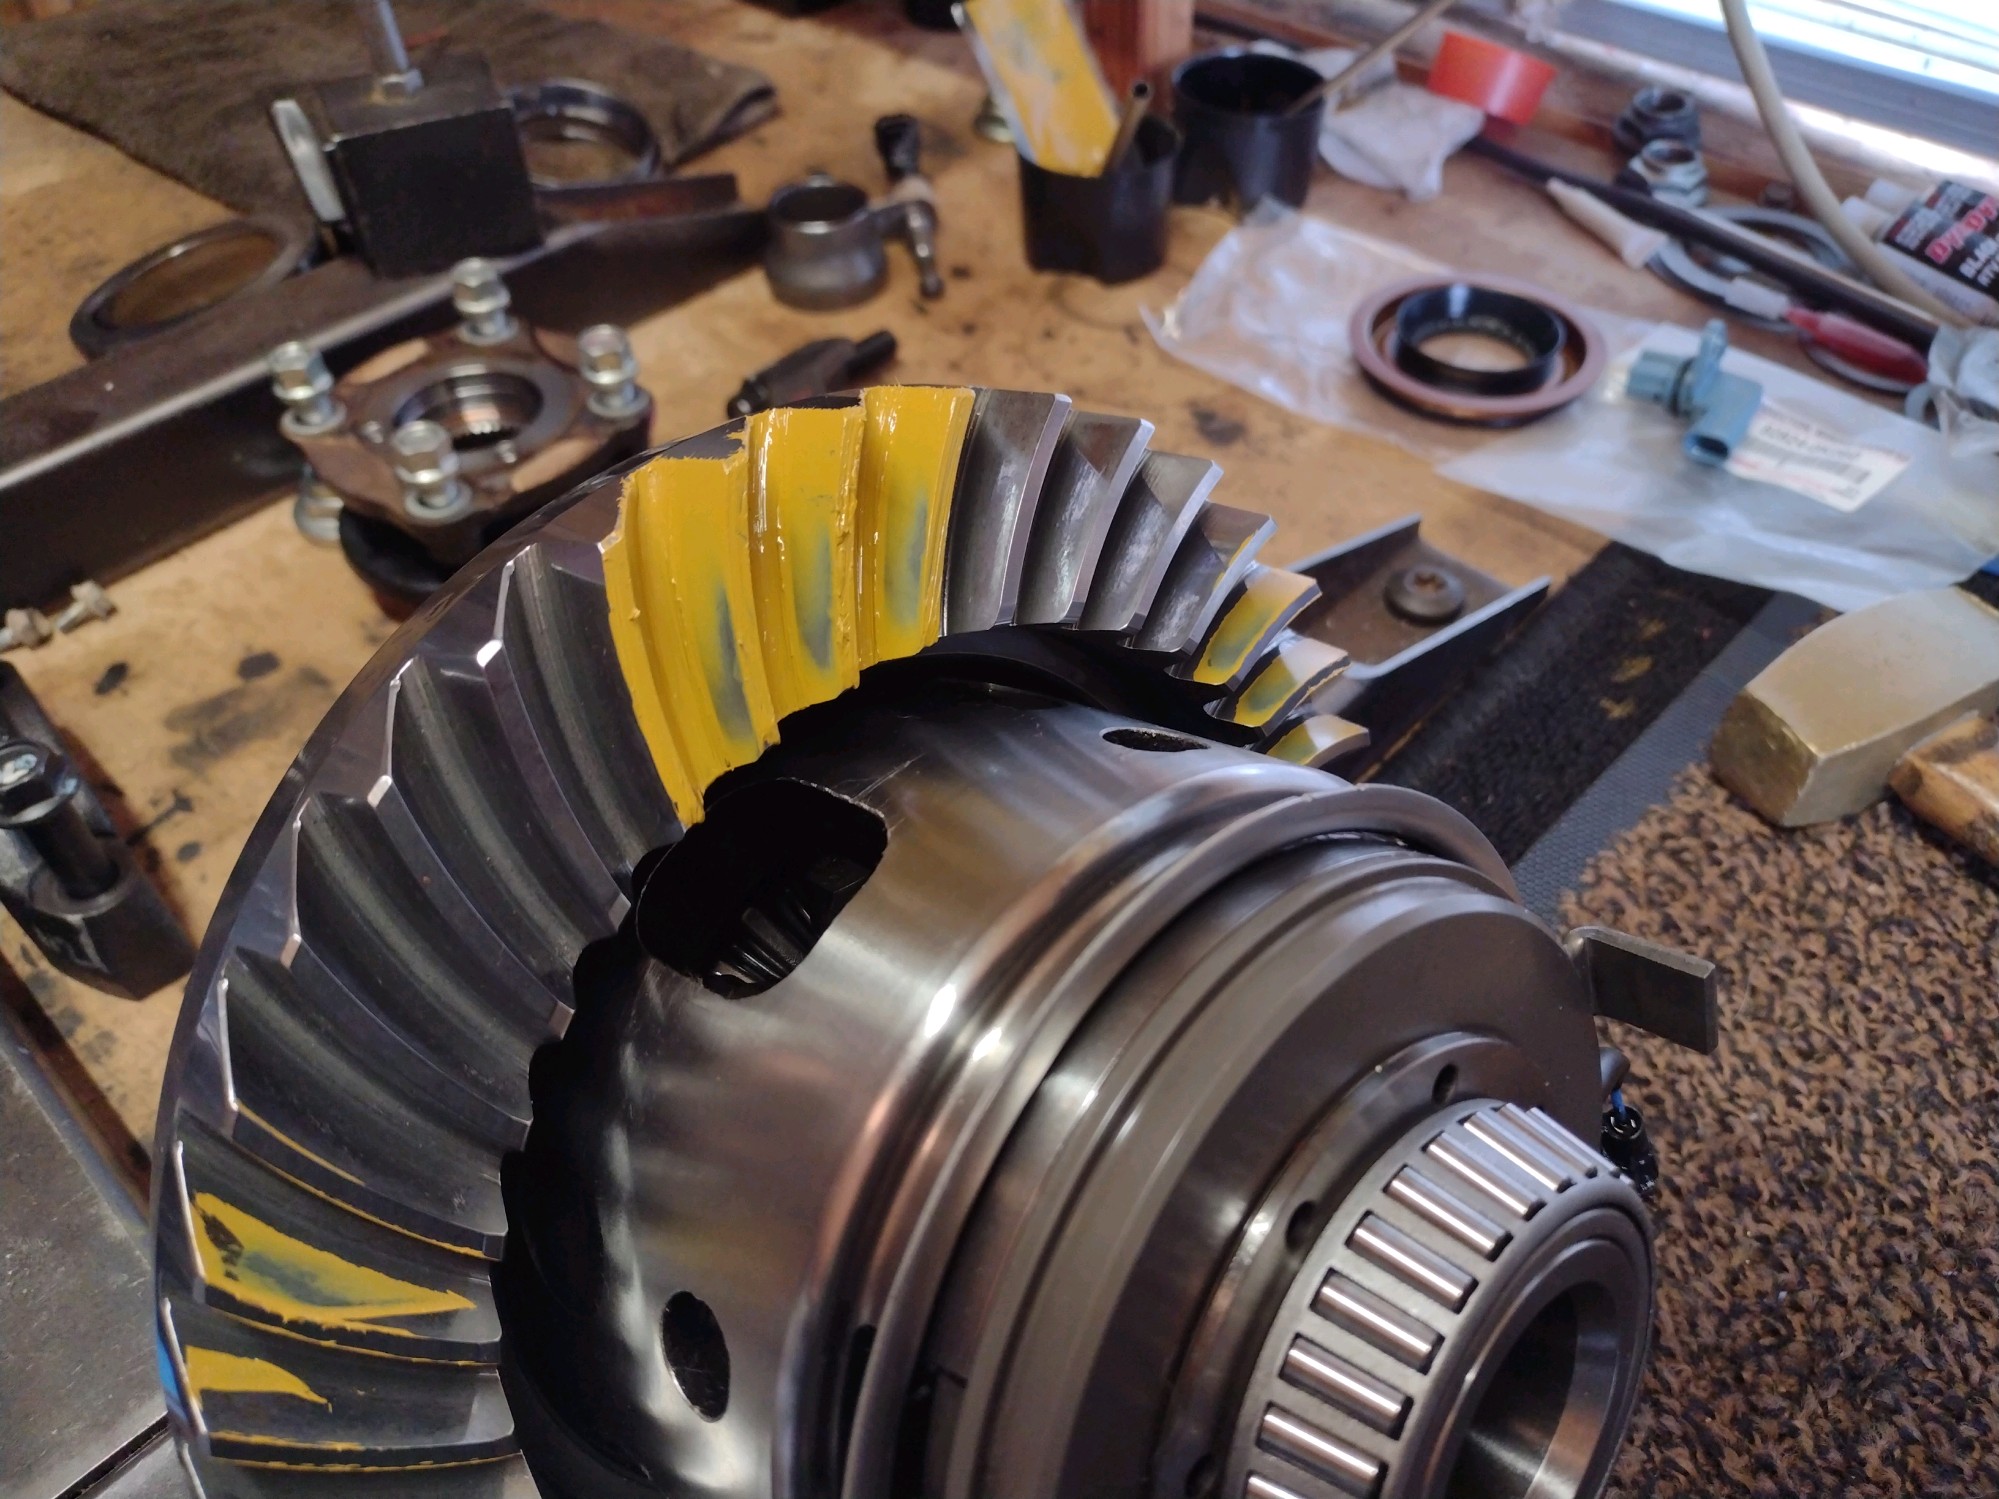
"Past experience" did not pay off this time :)
This is the drive side and you can see the heavy long line on the tops of the tooth
and almost no line closest to the root.
The name of the game here is "balance".....length of the line on top equalling the line in the root.
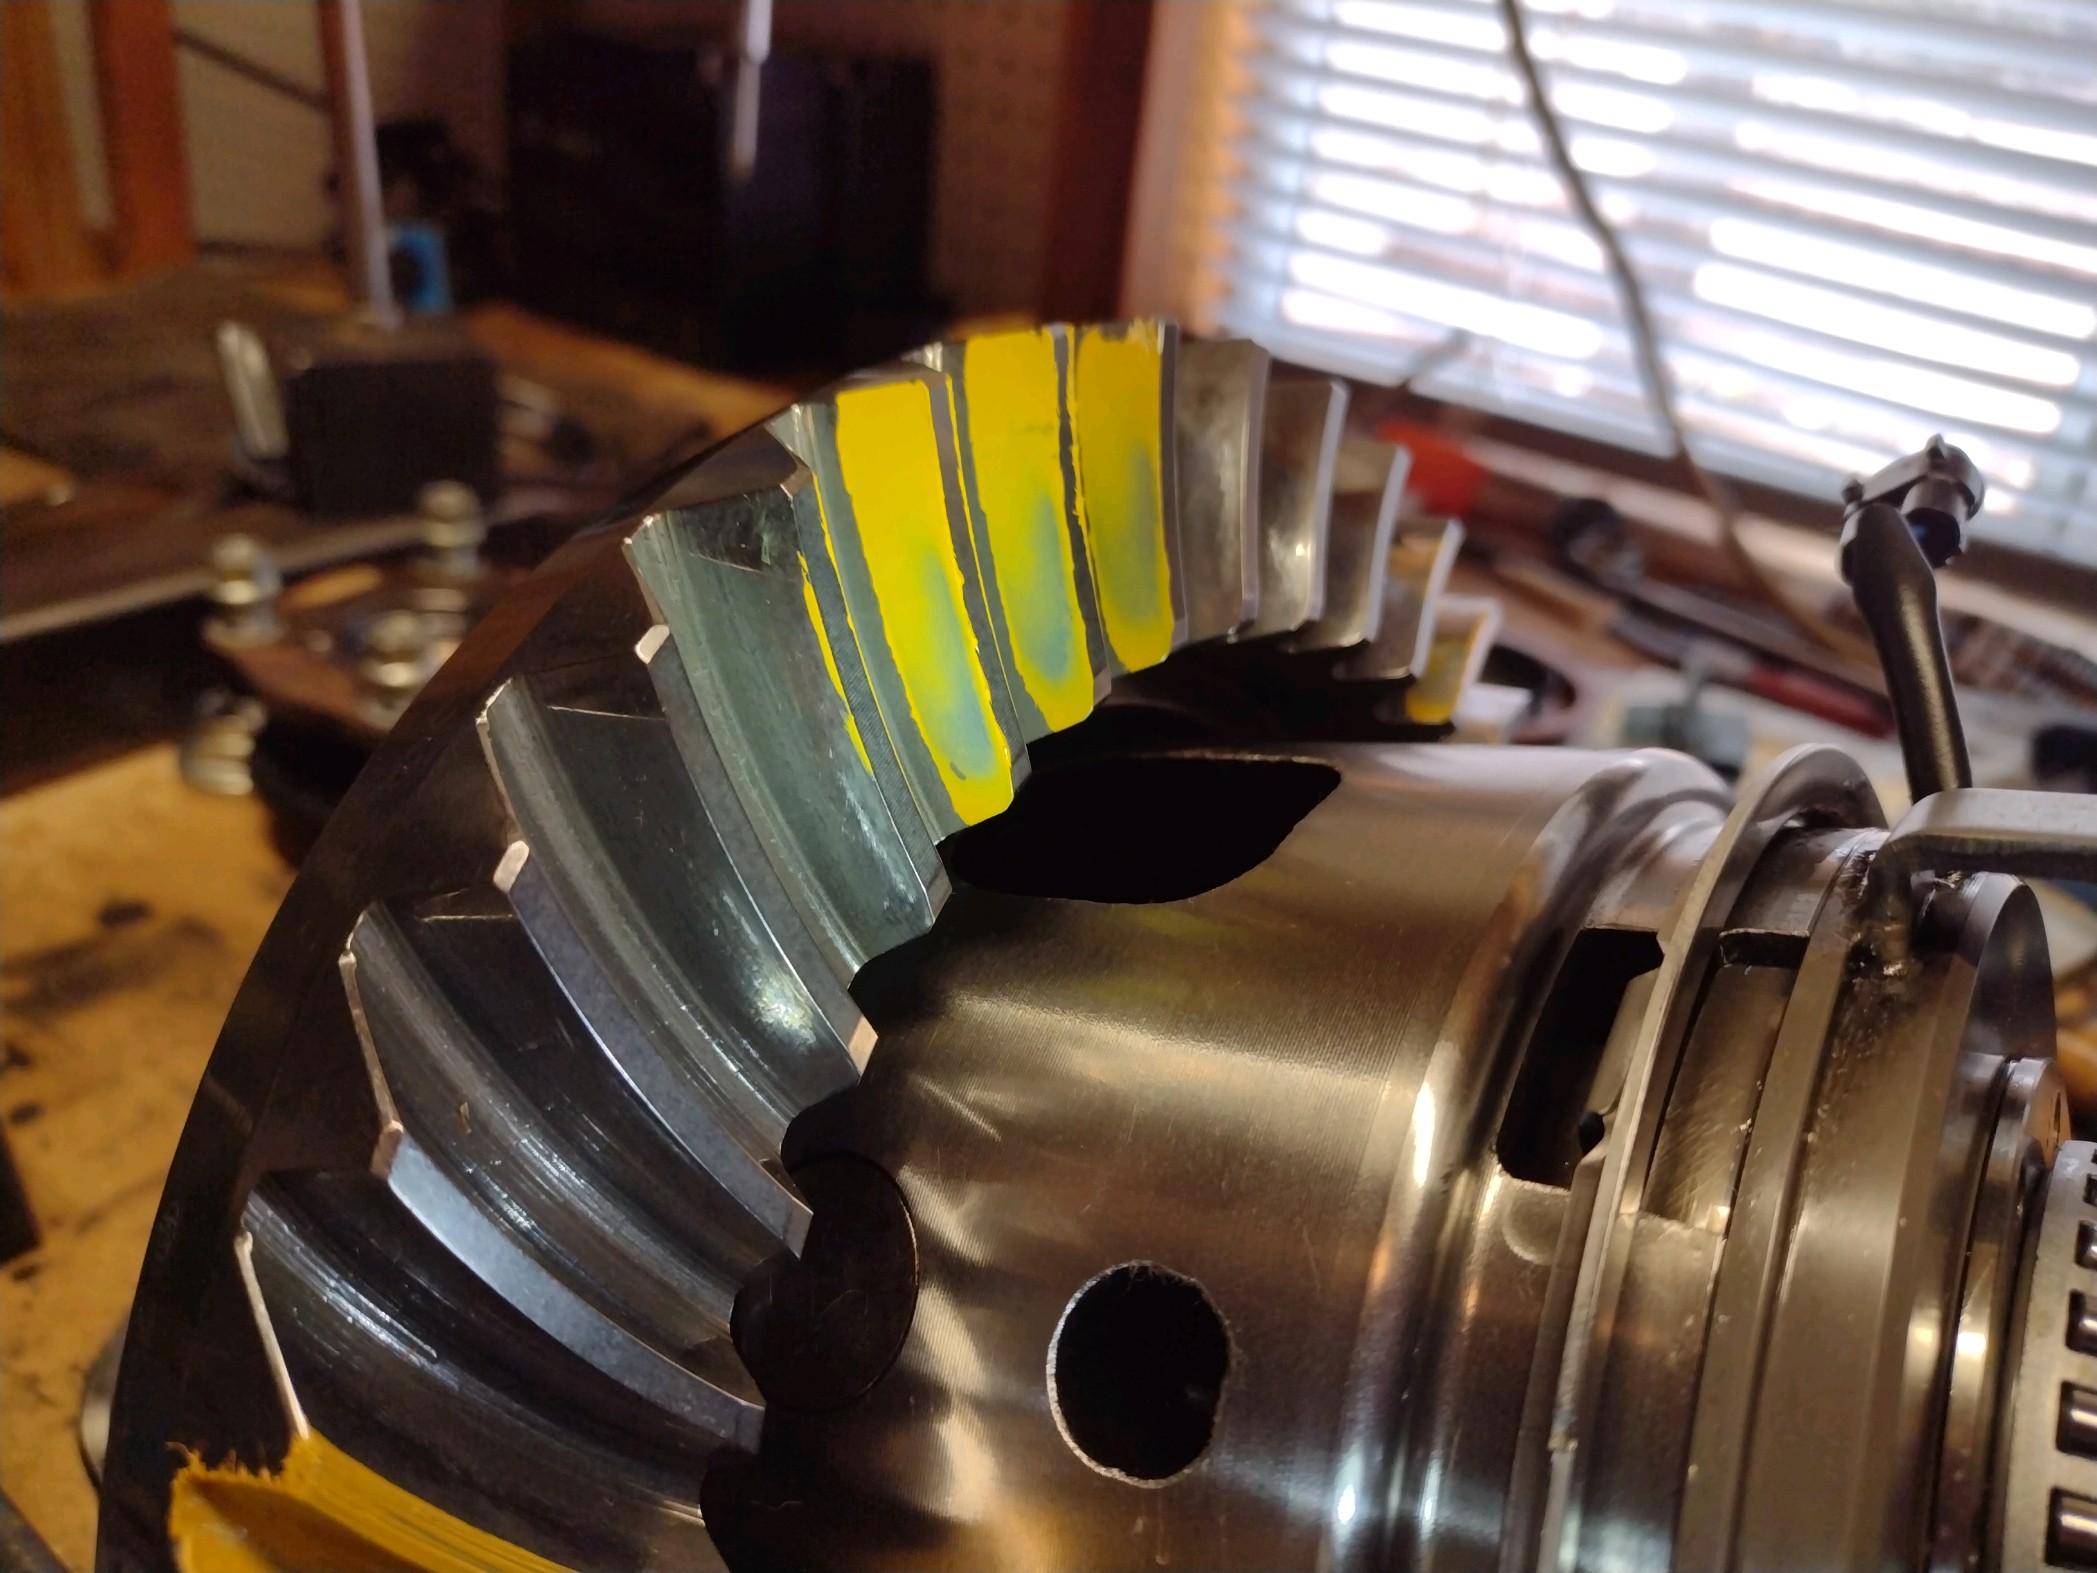
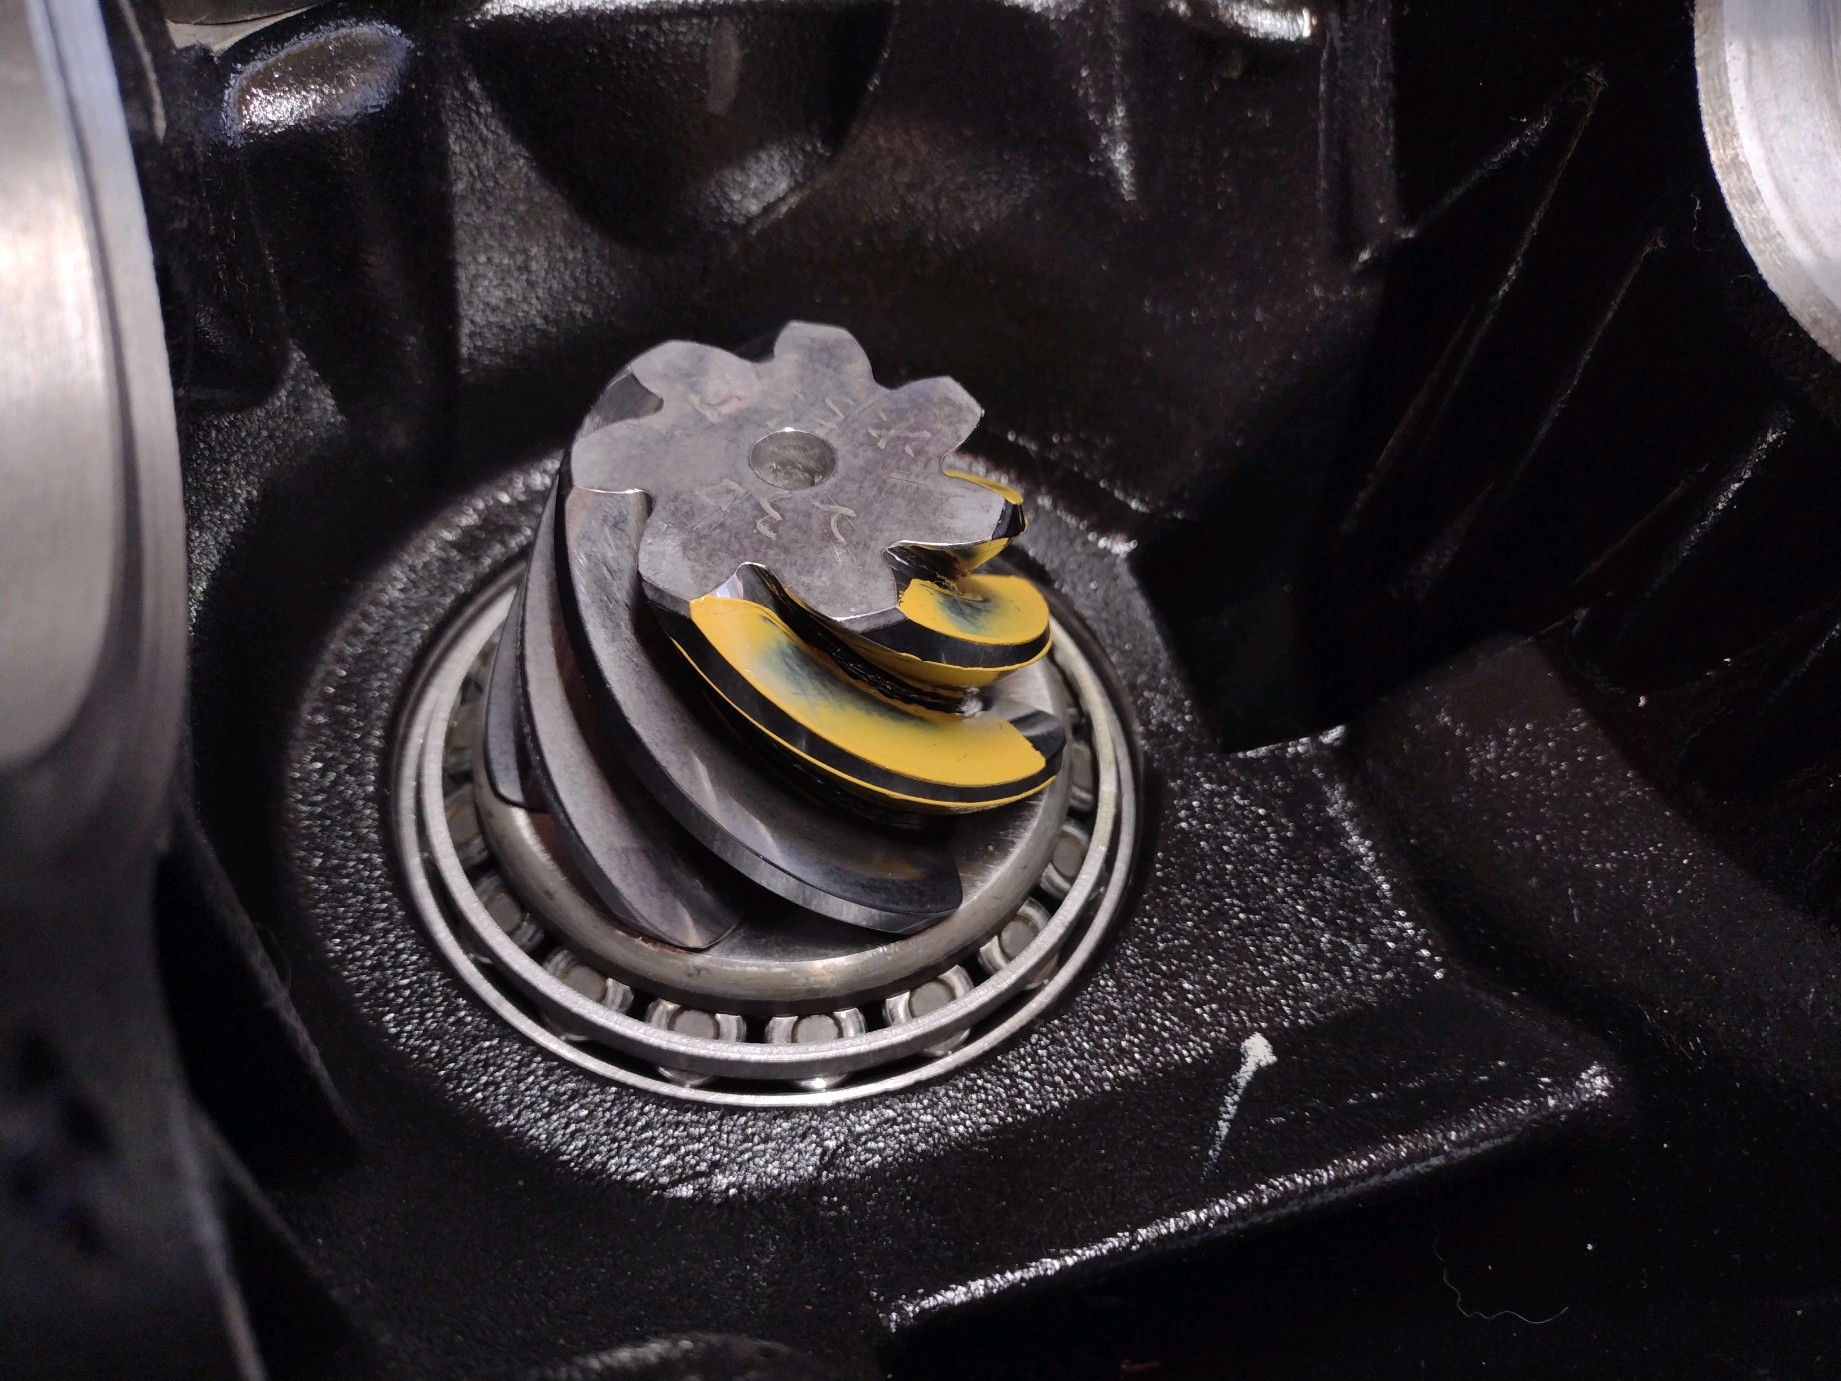
This time, the long line is in the root and almost none on the tops.
Let's try to get them closer to equal lines.
Let's re-shim with a thicker shim.
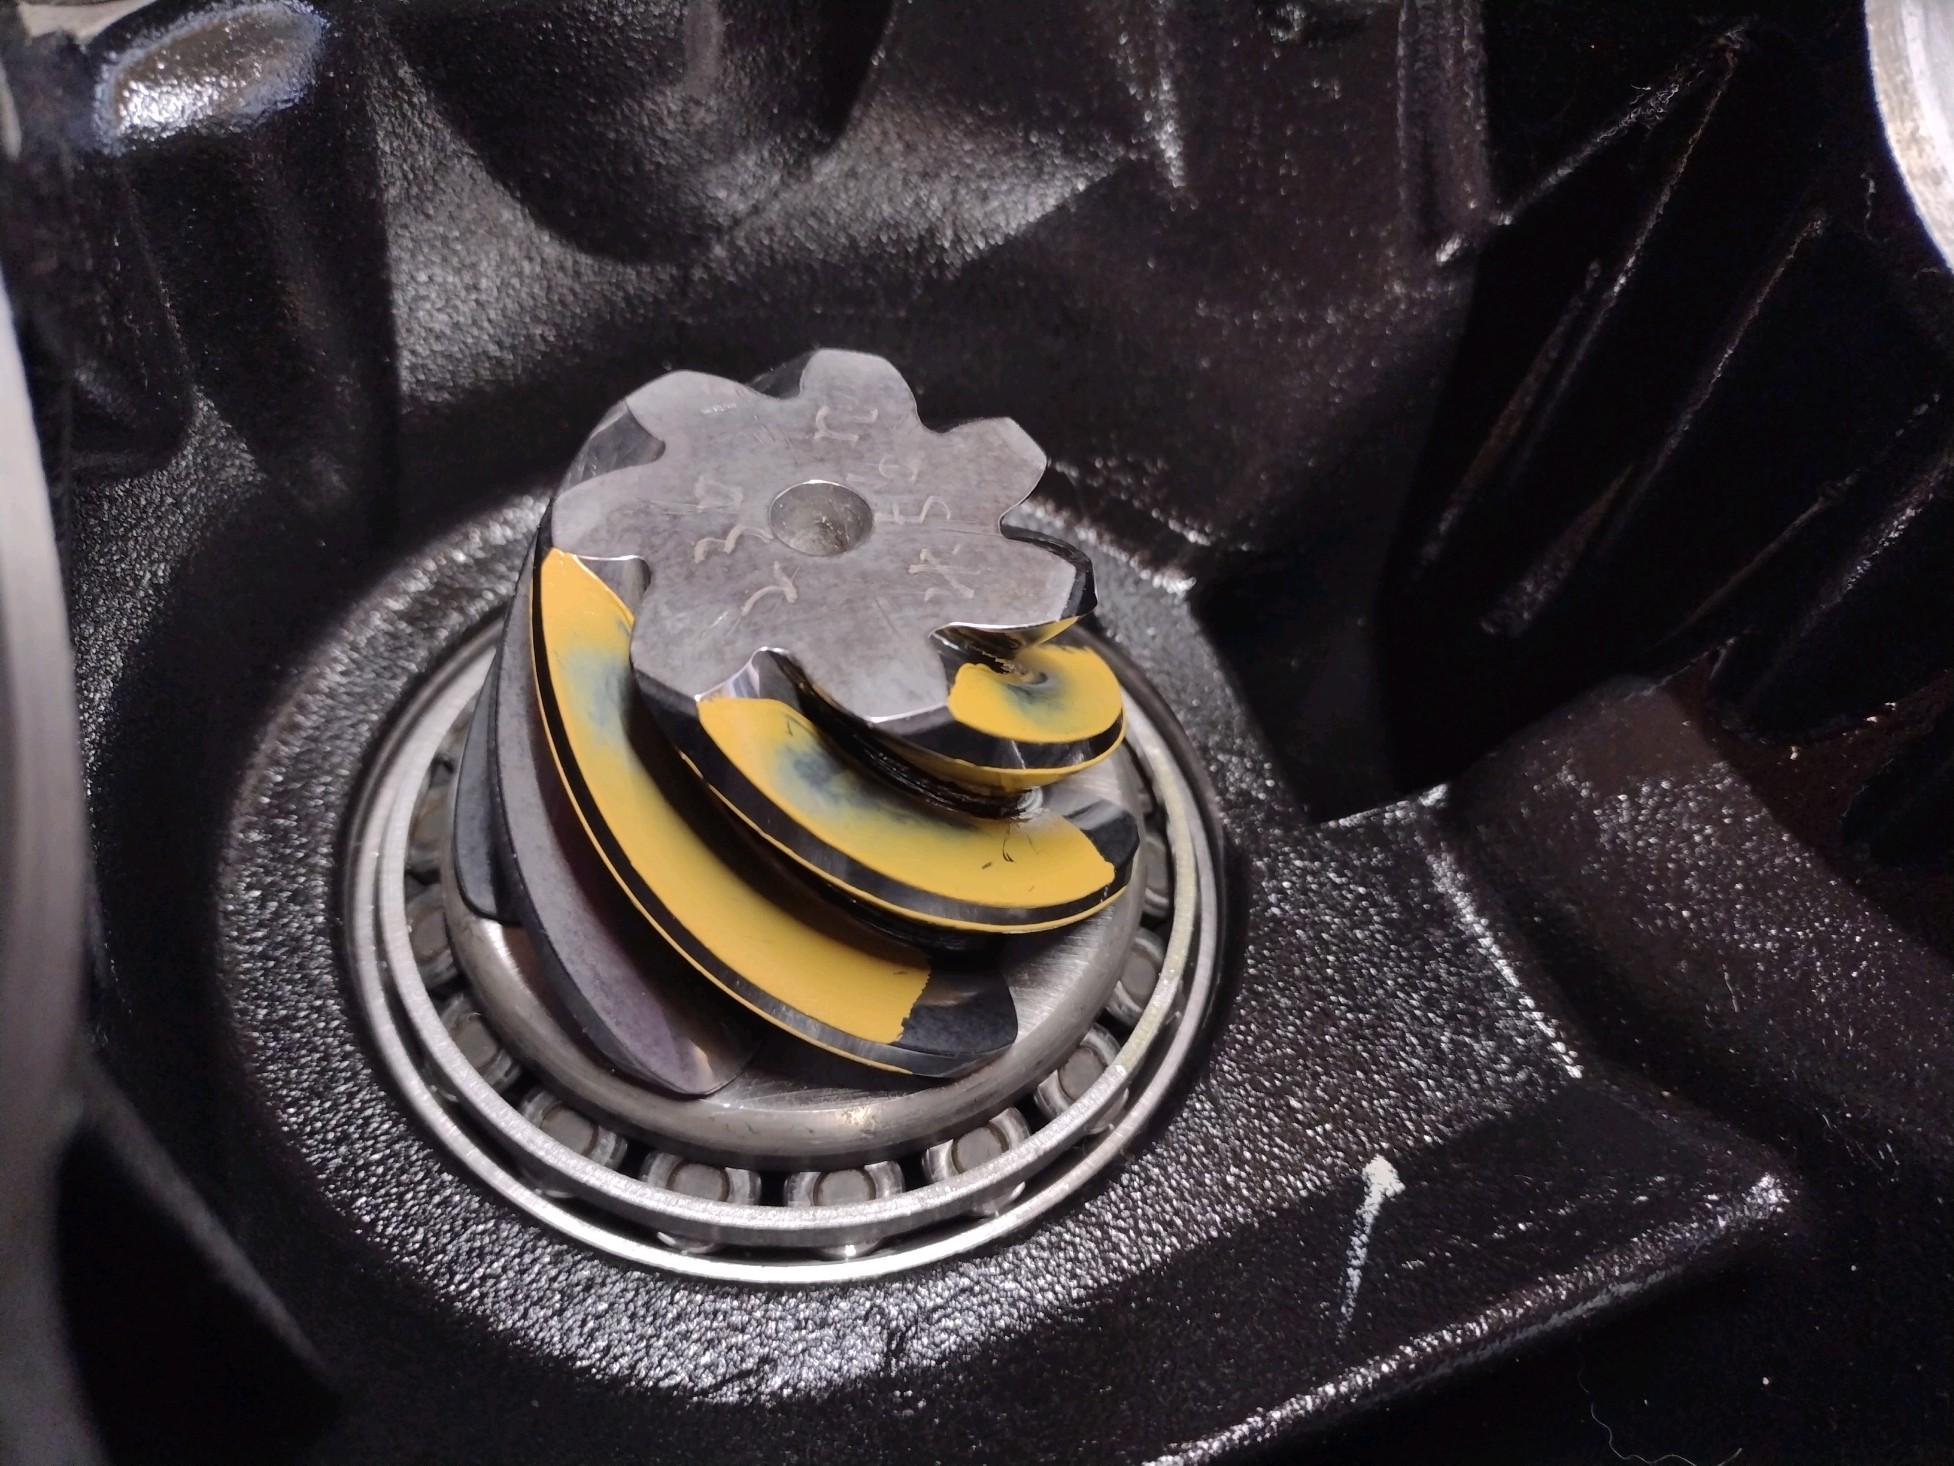
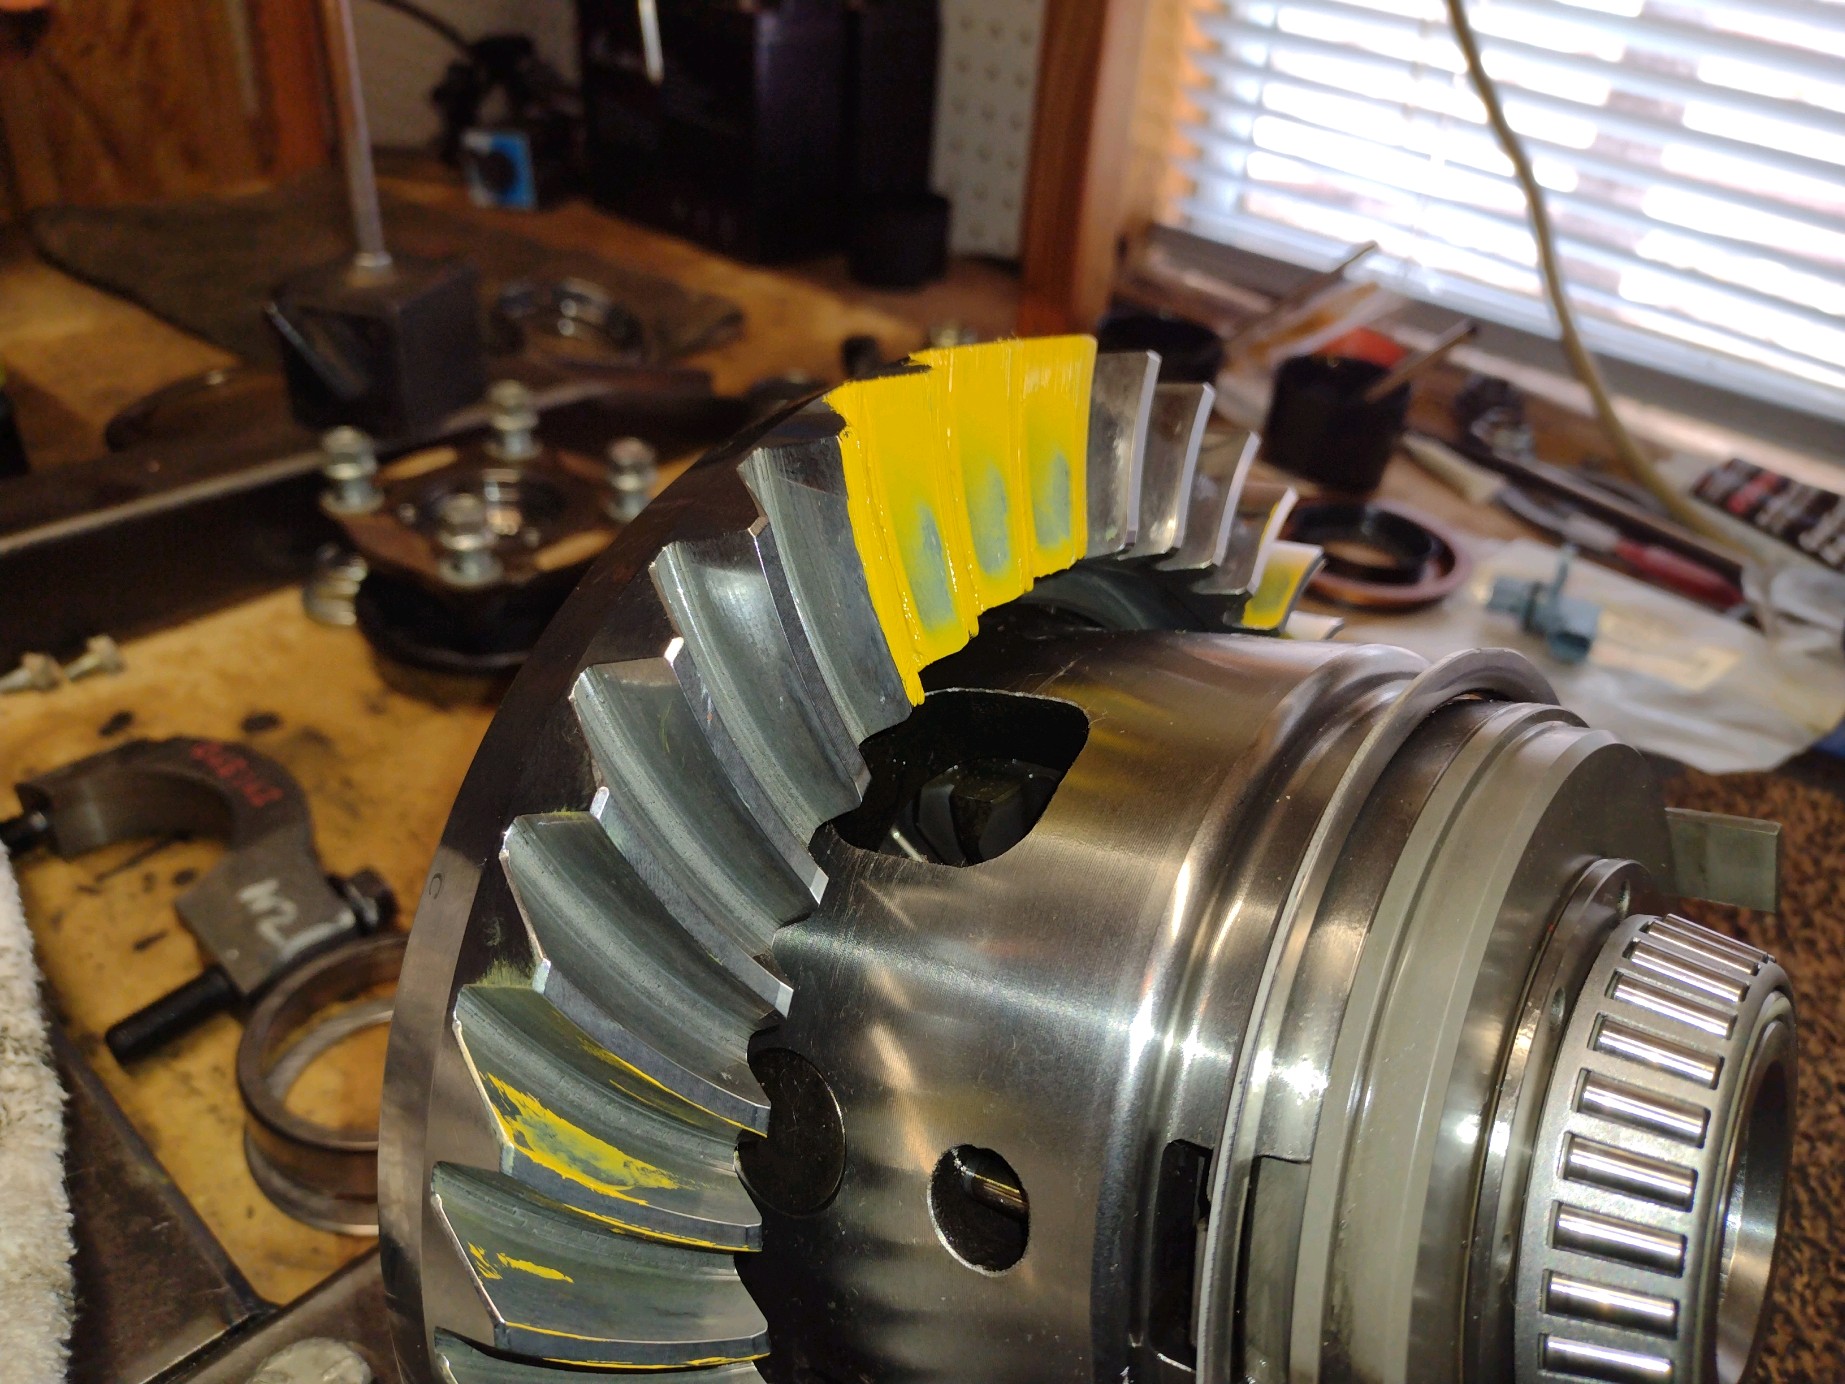
This is the drive side....notice the lines are pretty much equal top and bottom.
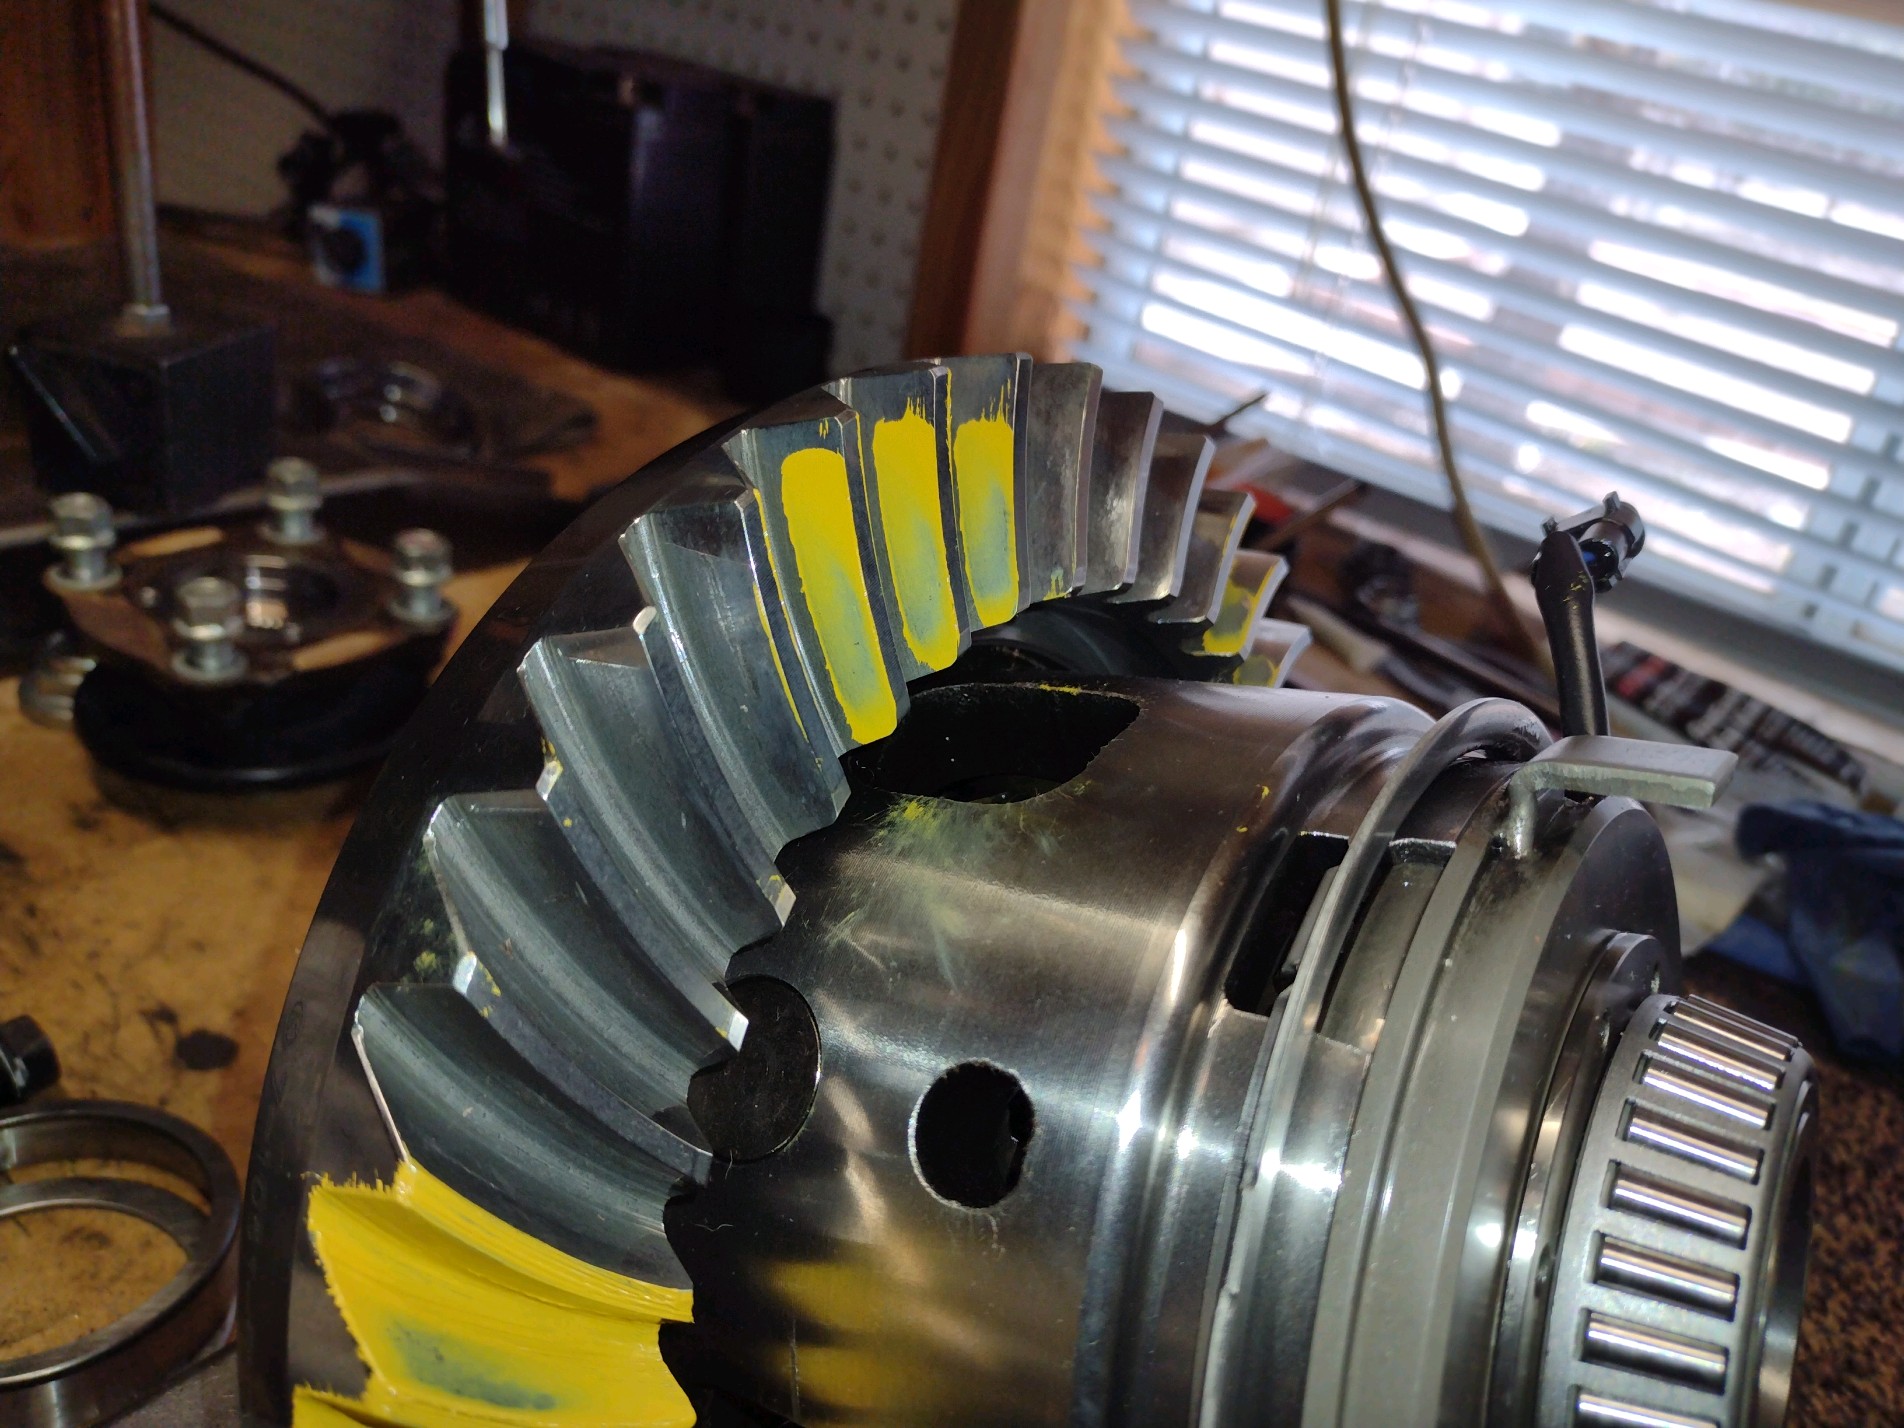
The Motorola camera I'm using appears to have limited clarity for these kinds of shots.
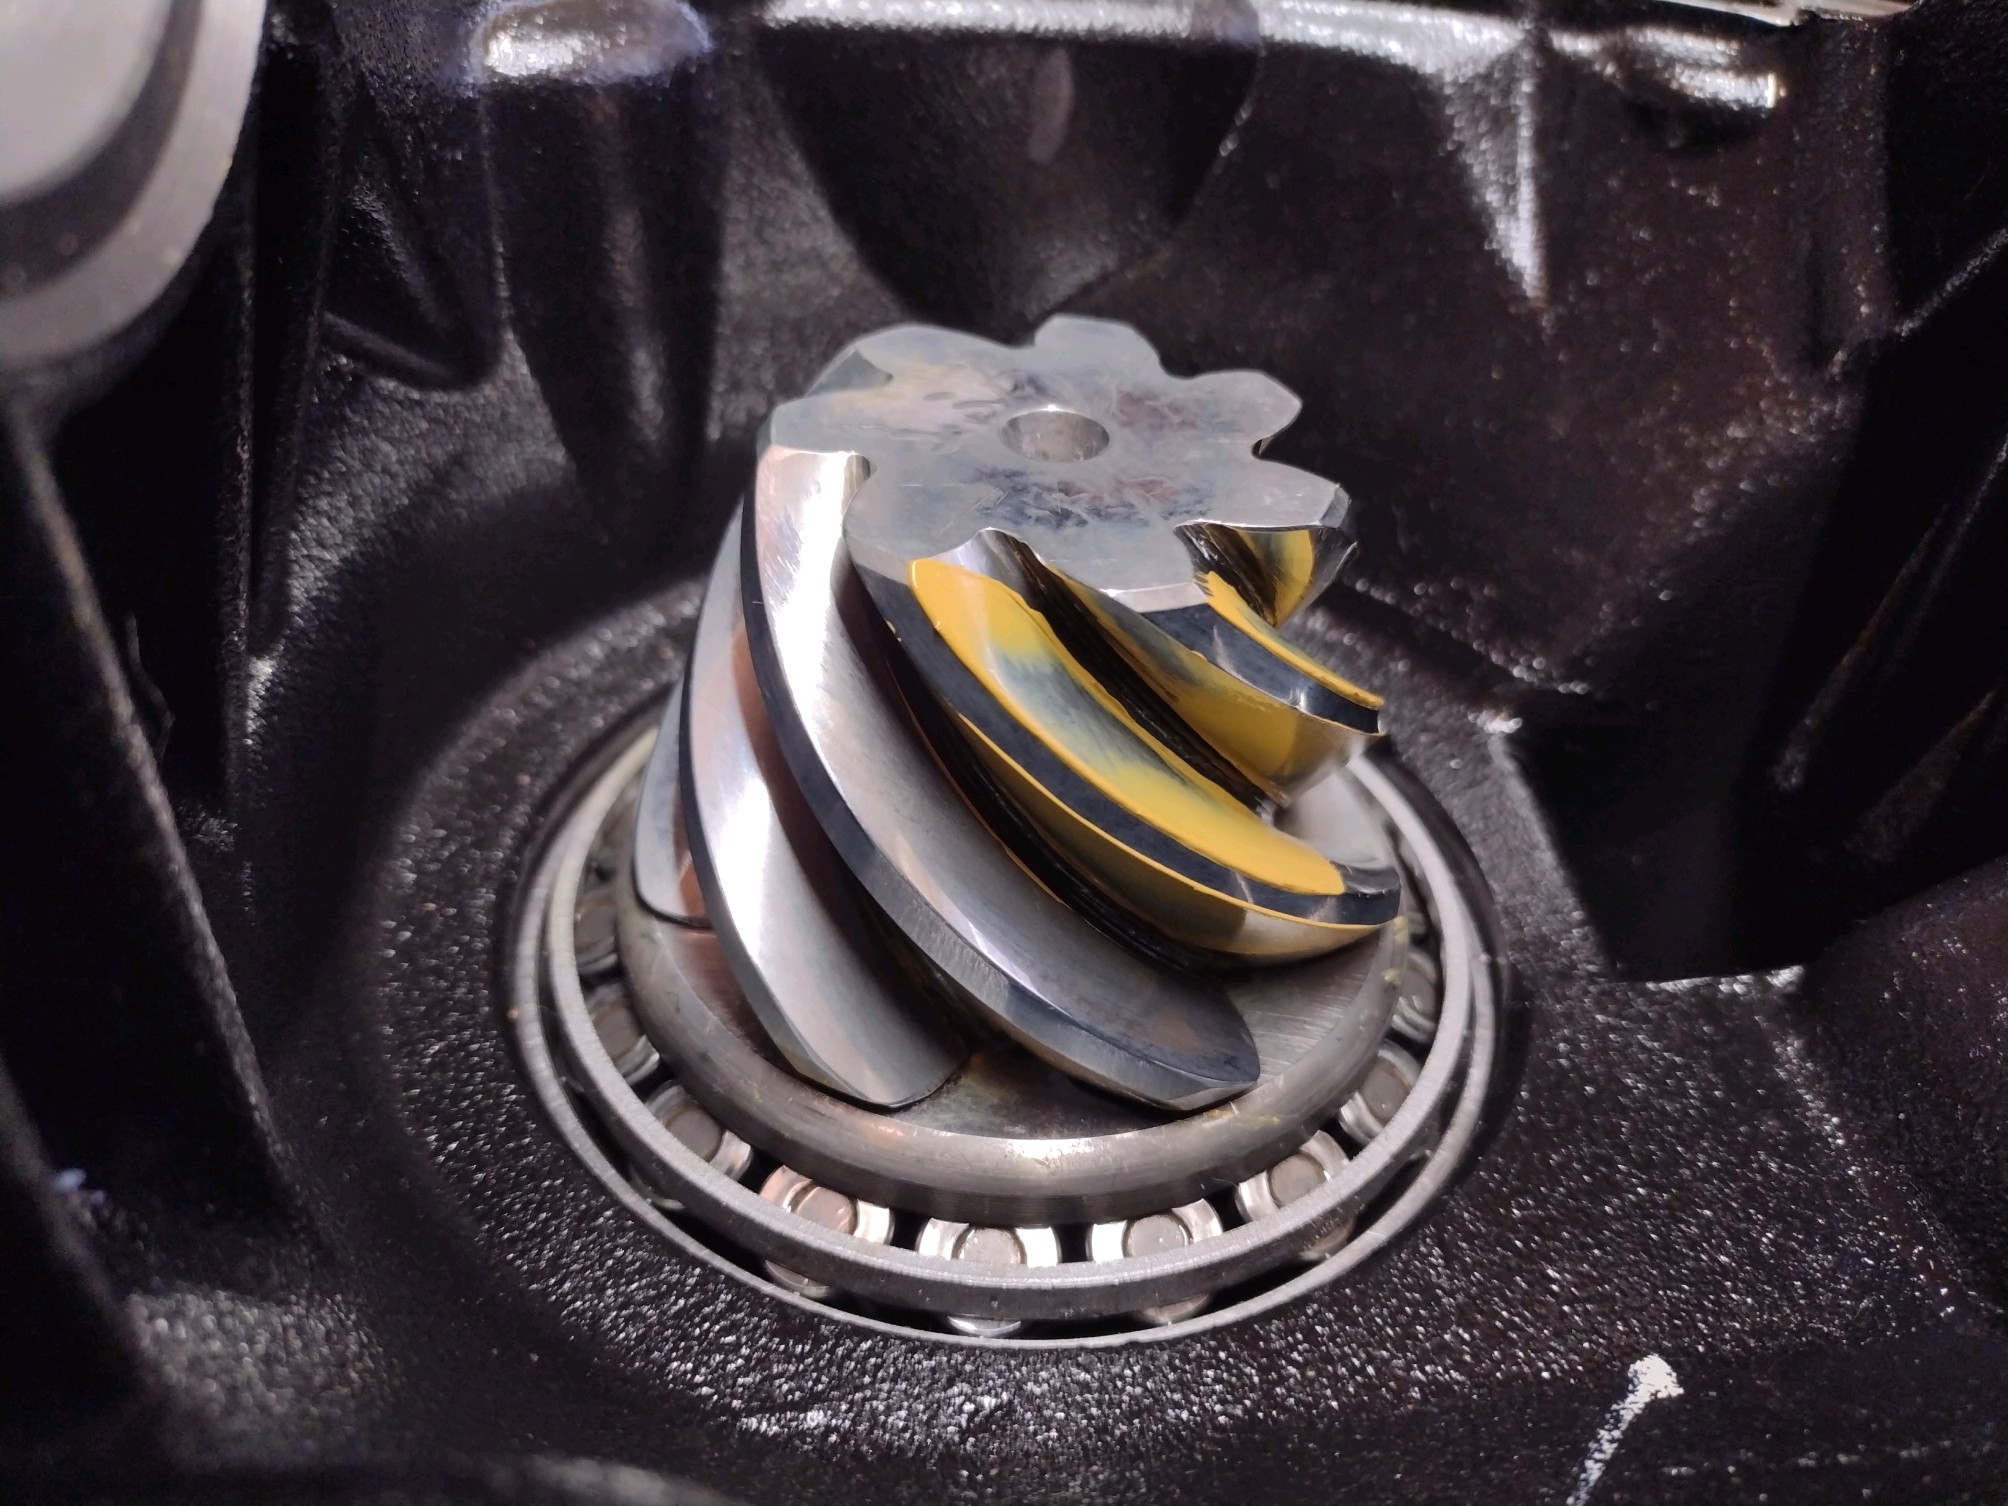
The depth looks to be pretty much exact or right on :)
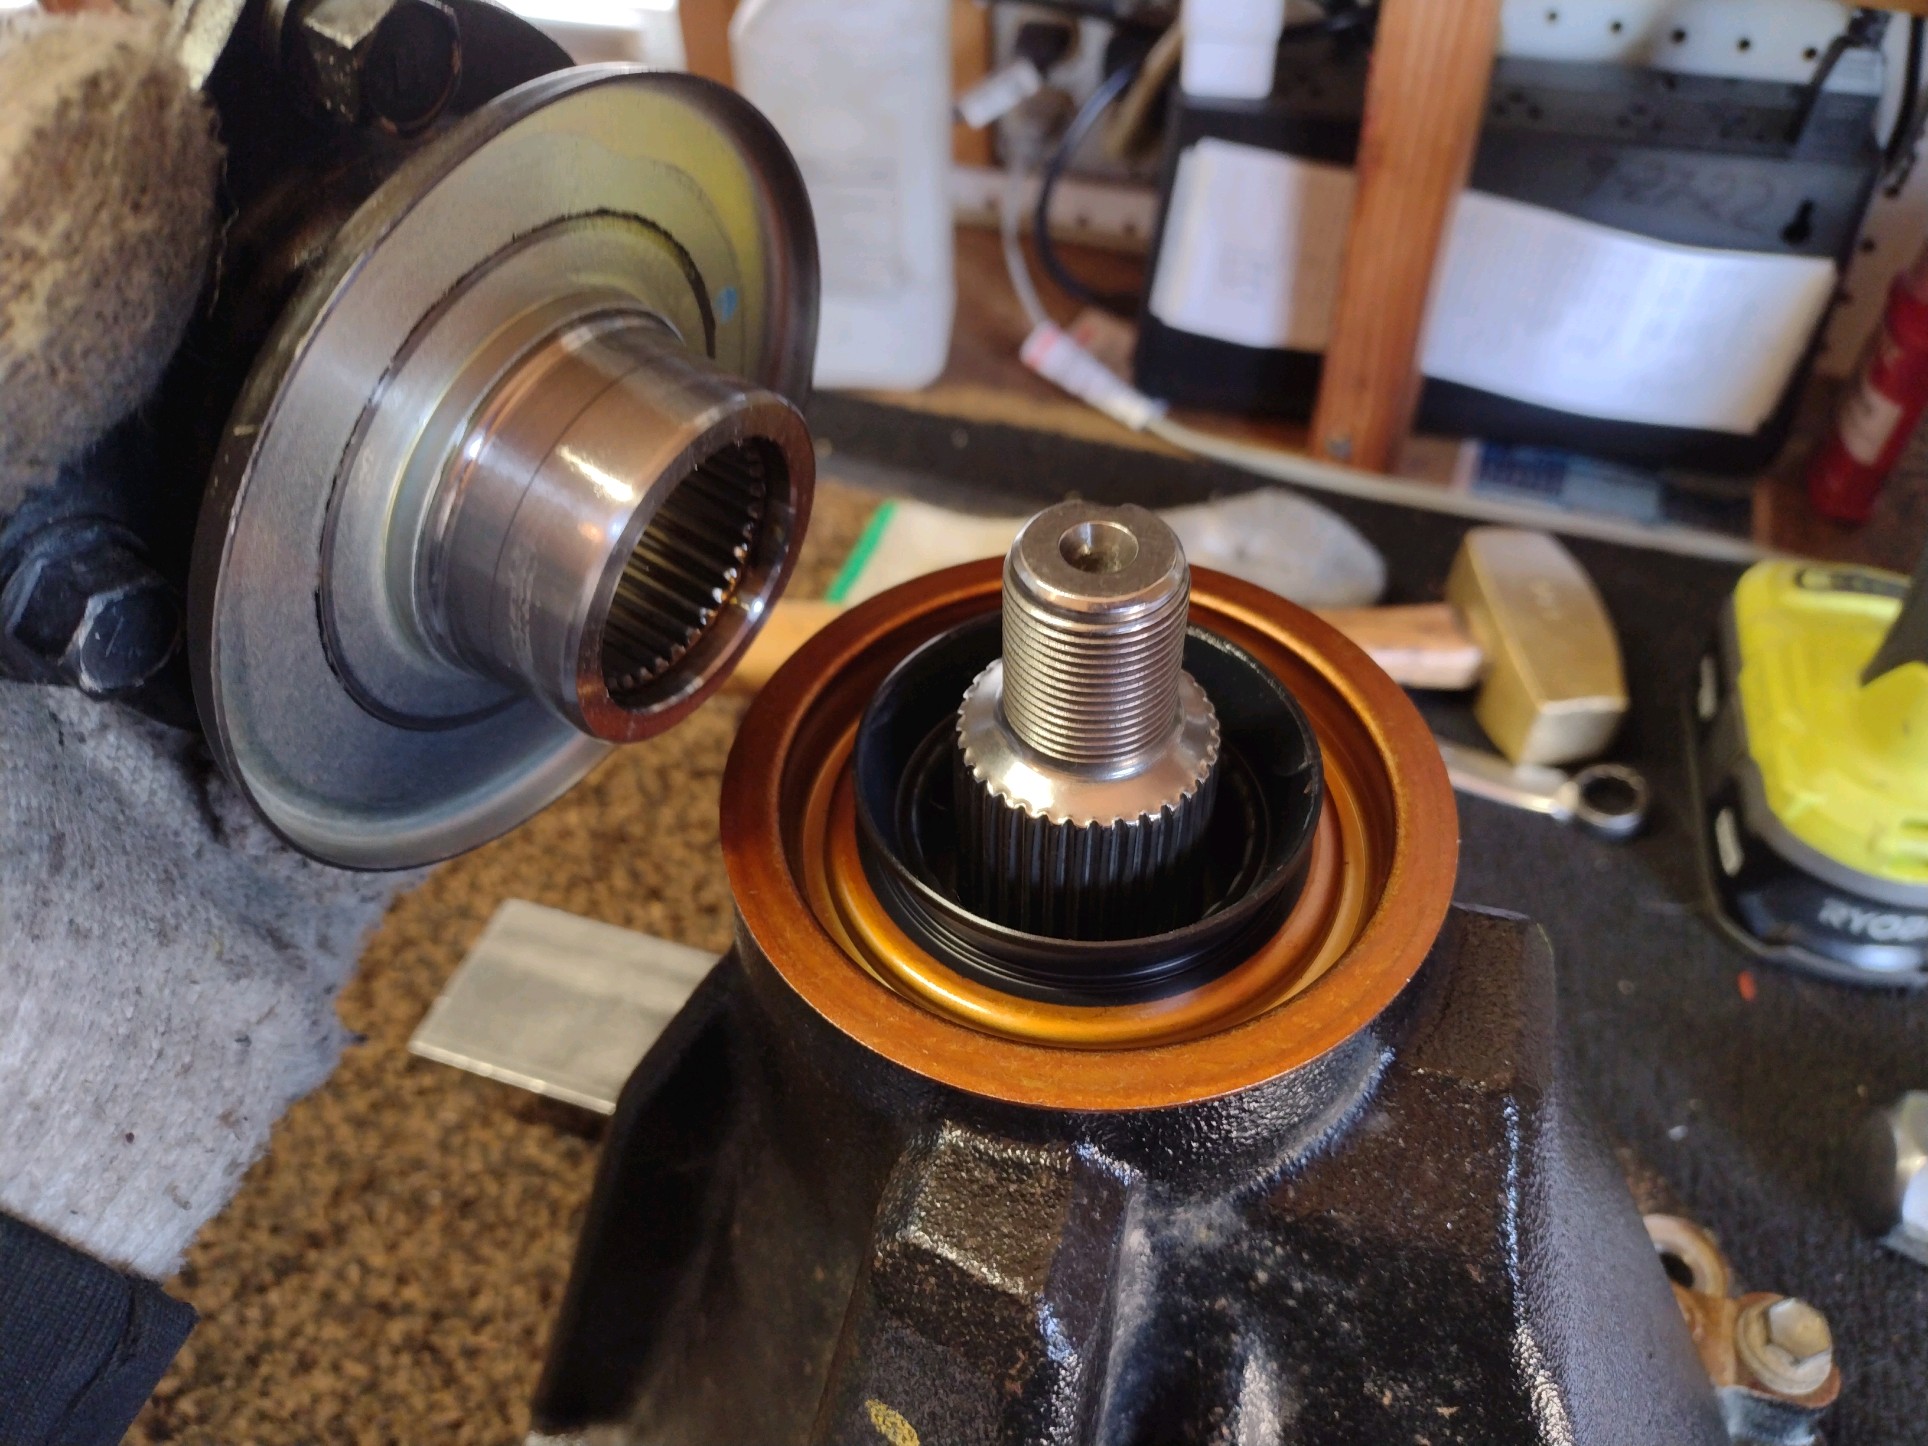
Tighten the pinion nut, crush the sleeve, and stop at 12 inch/pounds of pinion preload.
