|
|
|
|
|
|
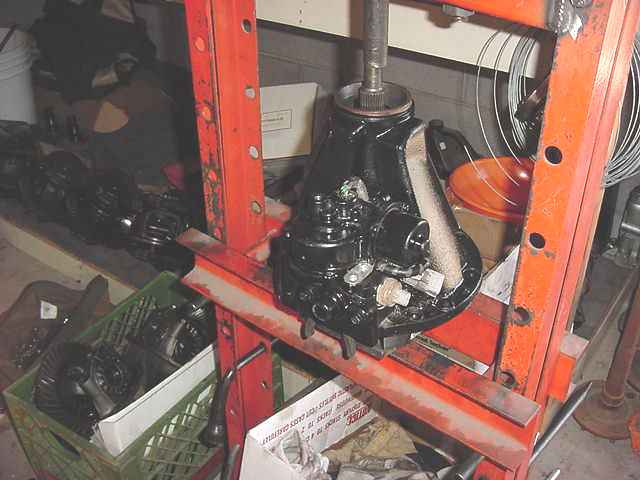
As received from Abe. Thumbs up on the excellent boxing. 77 pounds! |
|
Double boxing....Abe with the help of a friend had attempted to install the 488 gears but ran into issues from the beginning. Some of the ring gear bolts stripped out so he packed it up and threw it my way. |
|
I already knew that the V6 bearings take more grunt to get off than the 4 cylinder versions and normally my bearing separator squeaks them off but this one was just deforming my half-dishes. |
|
I tried 'form fitting' the dishes a little better via the grinder routine but it seemed hopeless. |
|
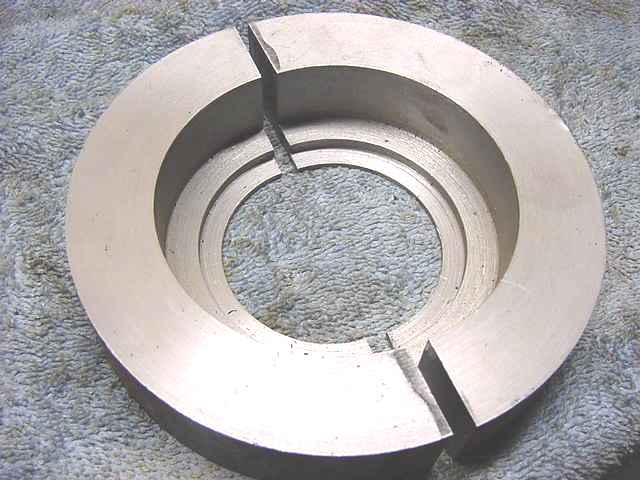
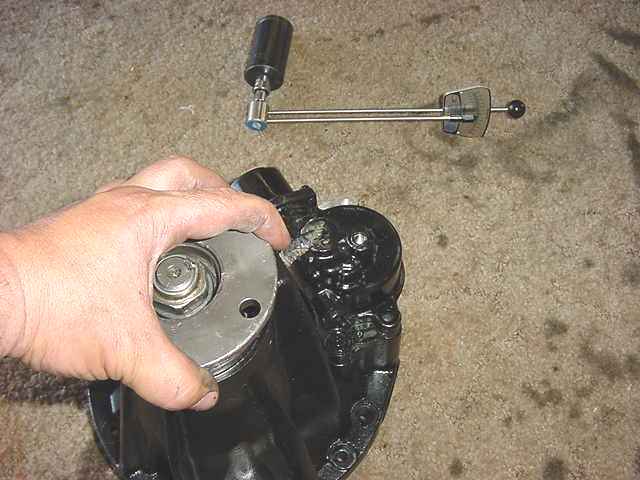
Then, with the help of my dad and the machine shop that he has night-time access to, we came up with a bearing specific tool to remove the stubborn ones. |

|
The 360 degree capture removes them with relative ease. |
|
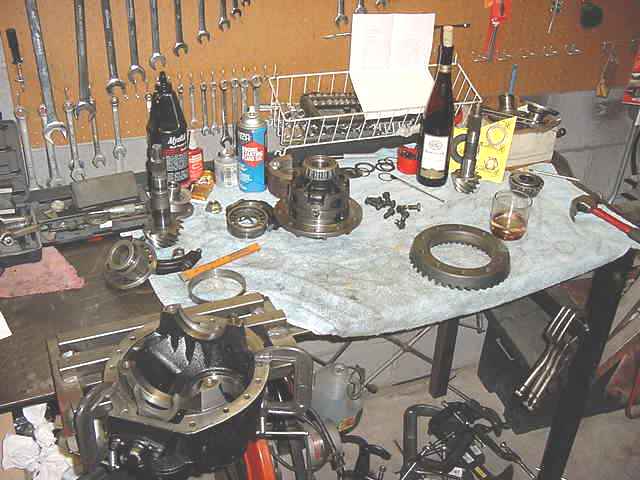
It was getting late and I needed something to calm my nerves..... |

|
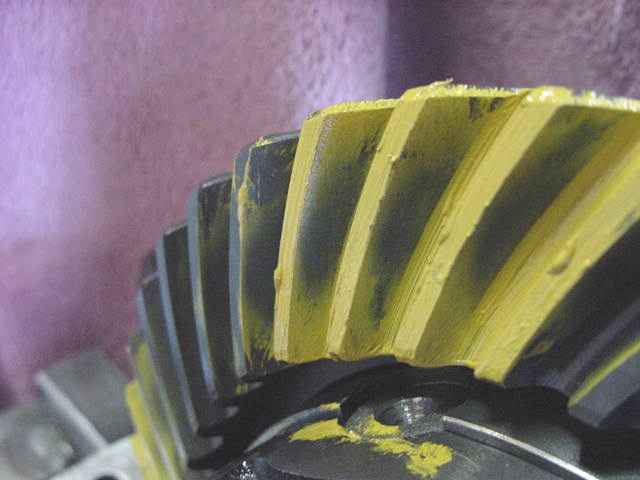
I filed both ring gear surfaces to remove high-spots. |
|
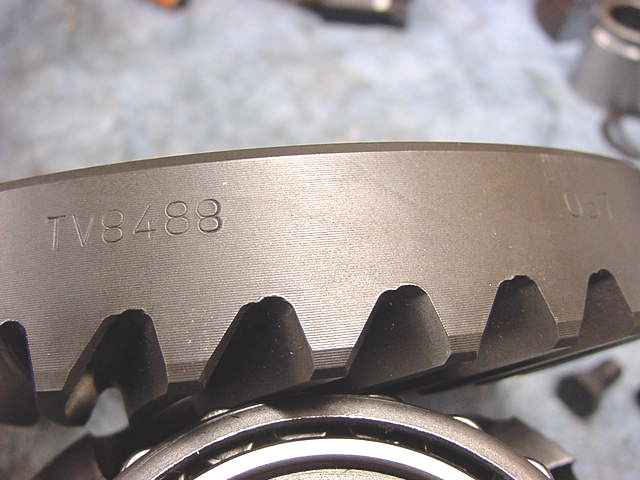
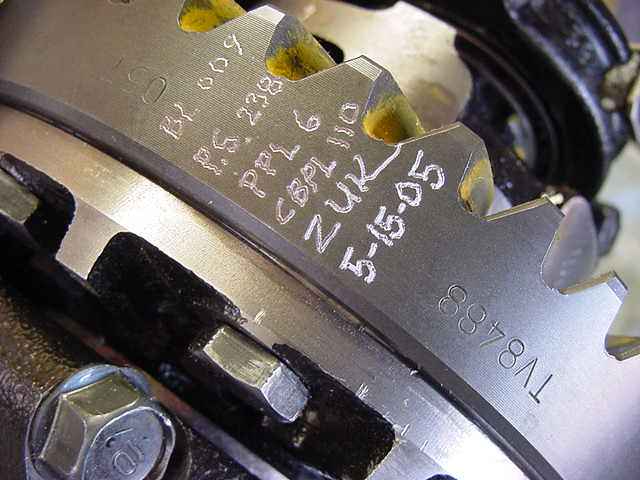
The only markings on the ring were these.....TV8488 and a bit further to the right "057". These are good quality Yukon gears and I have had good experiences with these particular ones. |
|
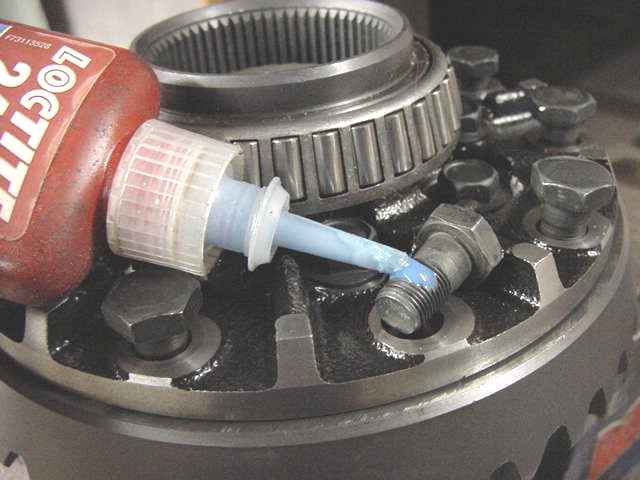
Blue loctite and 70 ft/lbs...Abe damaged only 2 of the bolts but I have a ton of extra ones. |
|
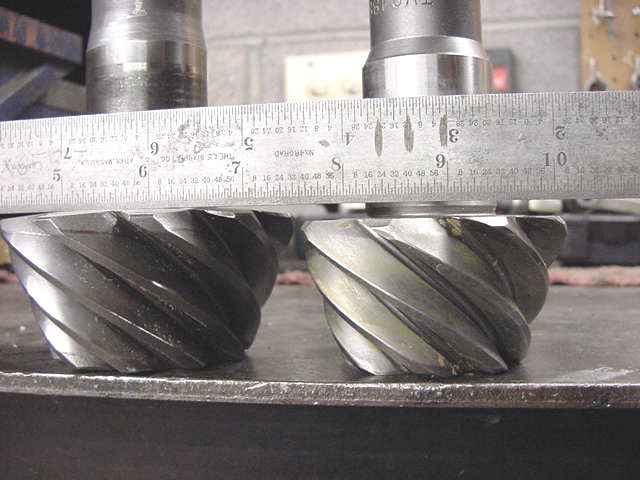
The V6 pinion(410) on the left has a 'taller' head than the 4 cylinder version(488). The strength gained with the taller pinion is negligable. I measured with the calipers a vertical difference of about 145 thou. |
|
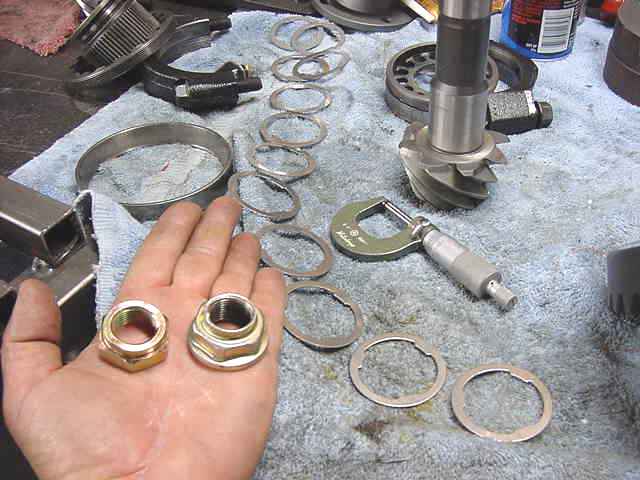
The pinion nut supplied in the Precision install kit was nice...but the factory one on the right is beefy and has the built-in washer so it will get re-used. |
|
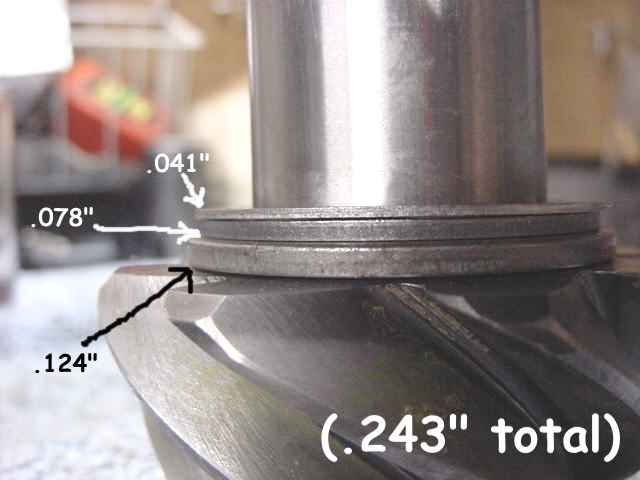
79~85 4 cylinder pinion in a V6 3rd likes to see about .243". |
|
There is a specific tool for removing seals. I find that almost anything will do the job...if it involves a hammer. |
|
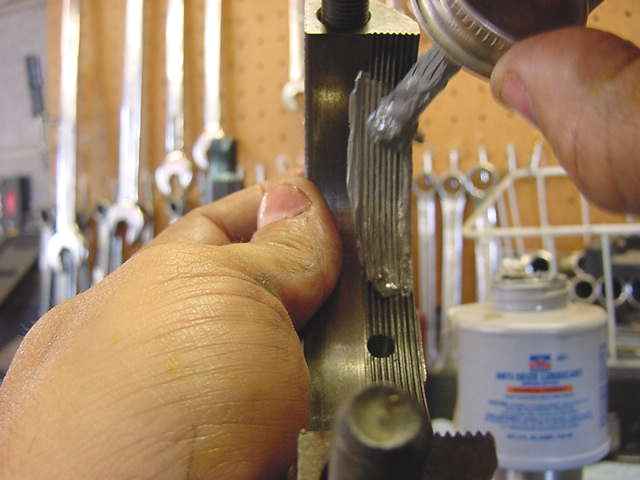
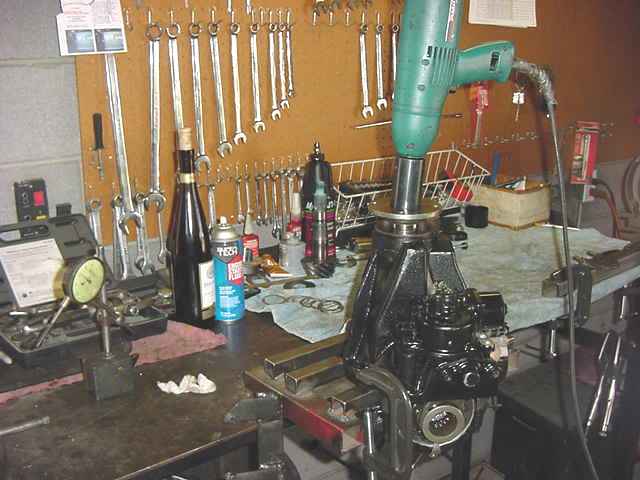
Here, I'm pressing out the pinion to try a different shim for the solid collar and the pinion pre-load. |
|
With a .024" pinion collar shim, the pre-load is right at 10 in/lb. With 10 in/lb of drag, the flange will not budge with just 1 finger....it will take all 5 to rotate it. 10 in/lb is a GOOD amount of drag. Bearings are coated in gear oil to make the readings meaningful. |
|
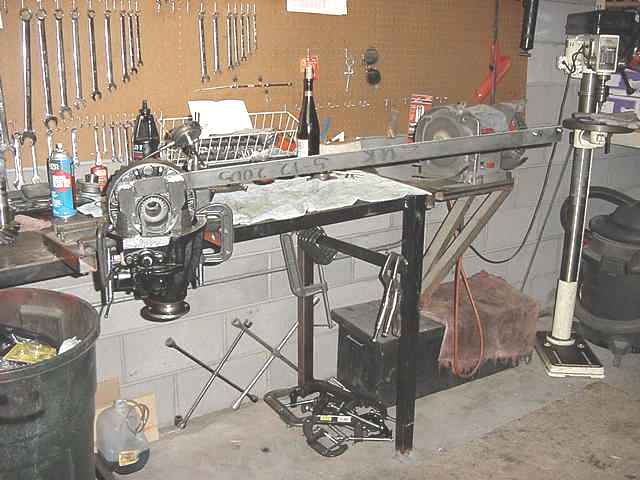
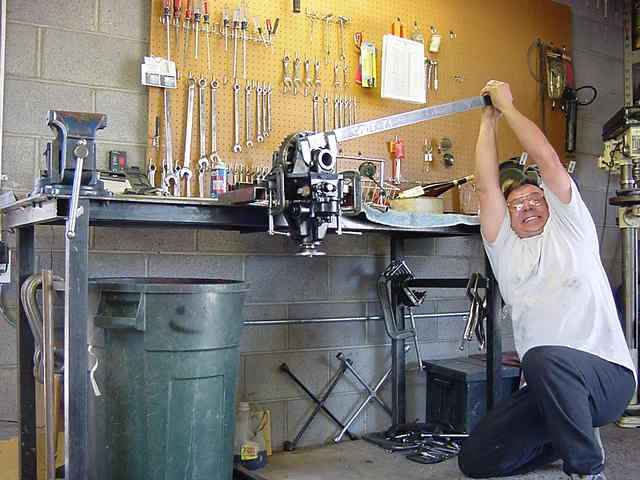
I prefer to use about a 3 foot bar to make sure the carrier bearings are 'snug' :) |
|
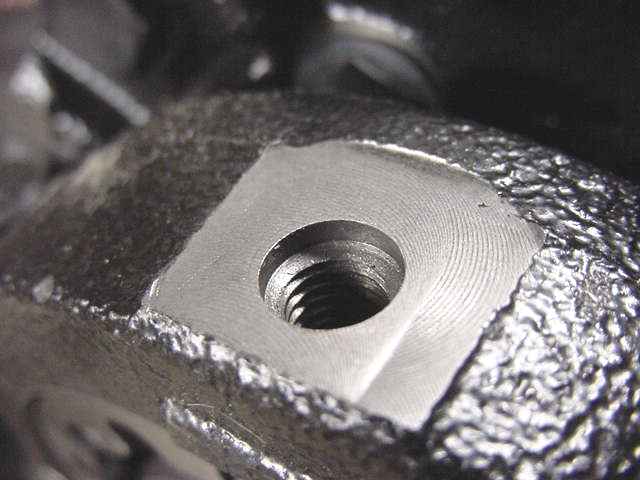
Tightening the carrier bearings evenly involves light smacking with a hammer on the bearing caps....the threads in this hole are recessed so its ok to smack it directly on top. |

|
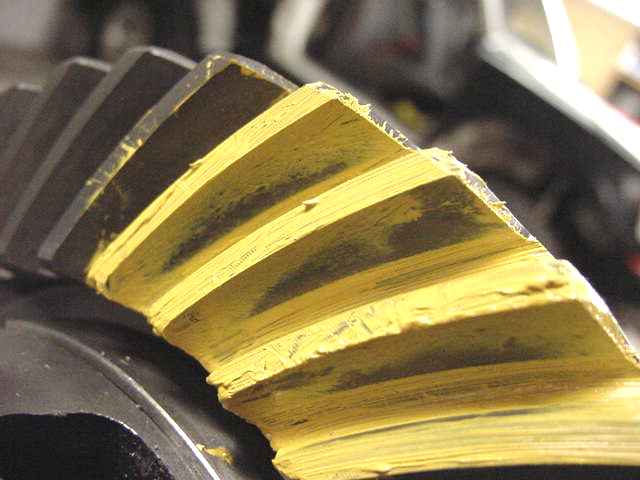
Driveside .243 shim. Too deep as indicated by the heavy toe and shape of the 'fishy'. |
|
coast side 243 |
|
Based on the pattern I just saw, I figure I can nail it by going 5 thou less on the pinion shim and 2 thou more on the solid collar to lighten its pre-load. Now is a good time to apply the anti-seize. |
|
I like to make sure the bearings won't wiggle around :) It's possible there's a little drama acting going on here, too. |
|
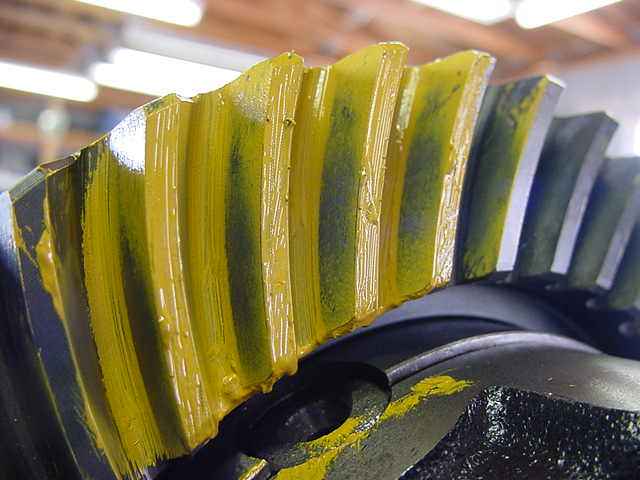
Drive .238". Slightly deep but not overly....using this pattern will favor strength on the ring. I will use it. |
|
coast .238 |
|
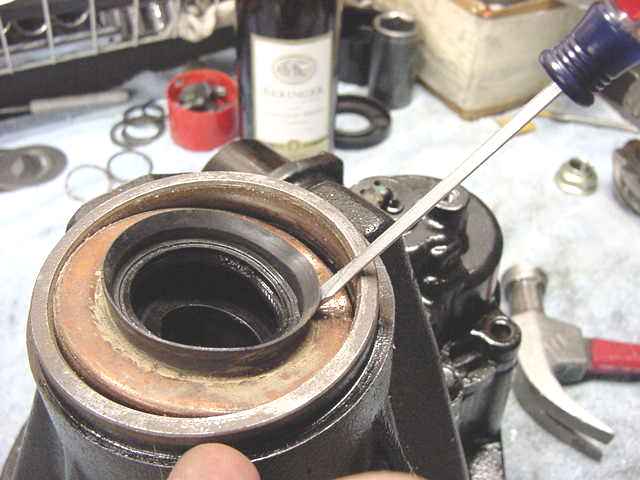
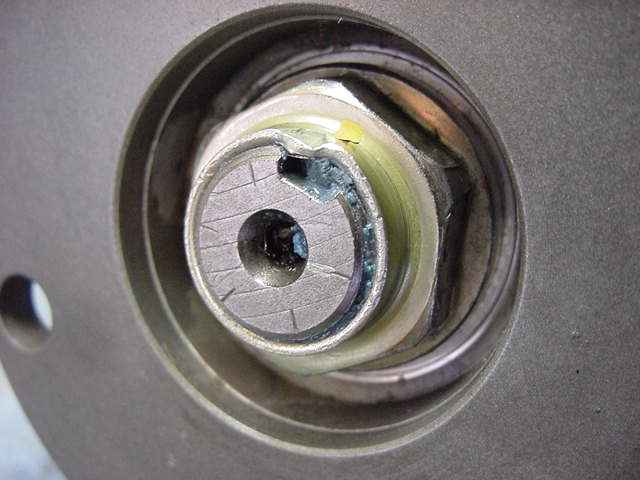
So after verifying plenty of carrier bearing pre-load/tighten cap bolts, it's just a matter of flipping it over and swapping in the new NAK seal(TC387411-1). |
|
I made sure to apply plenty of Blue Loctite to the clean threads. After tightening it with the electric impact as hard as I could, I then secured the flange and with a 4 foot cheater bar managed to get another 45 degrees of tightness. |
|
The used bearings were all in good/excellent condition so they were re-used here.... Done. Ready for trip back to Las Vegas. |
|
|