|
Cryogenics and 529 Nitro Gears for Andrew's 1985 4Runner(8 inch elocker)
|
|
(74 BIG pics loading)
|
|
NOVEMBER 15 2016
|
|
|
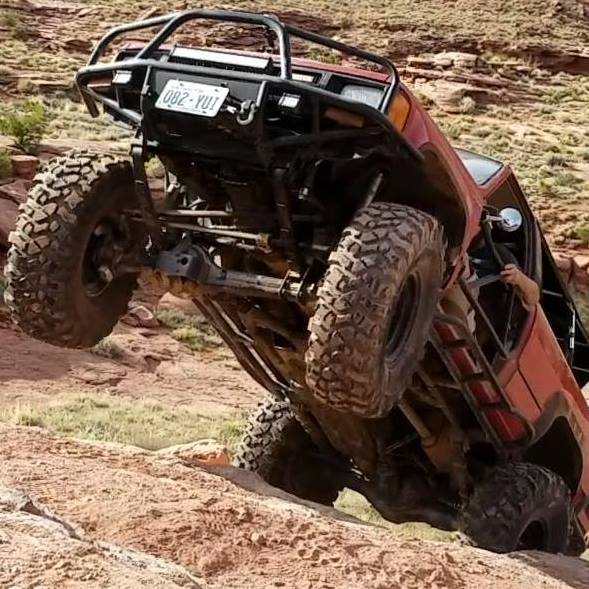
Andrew's 85 4Runner....
In his email, he said that it's pretty much a stocker....
|
|
|
|
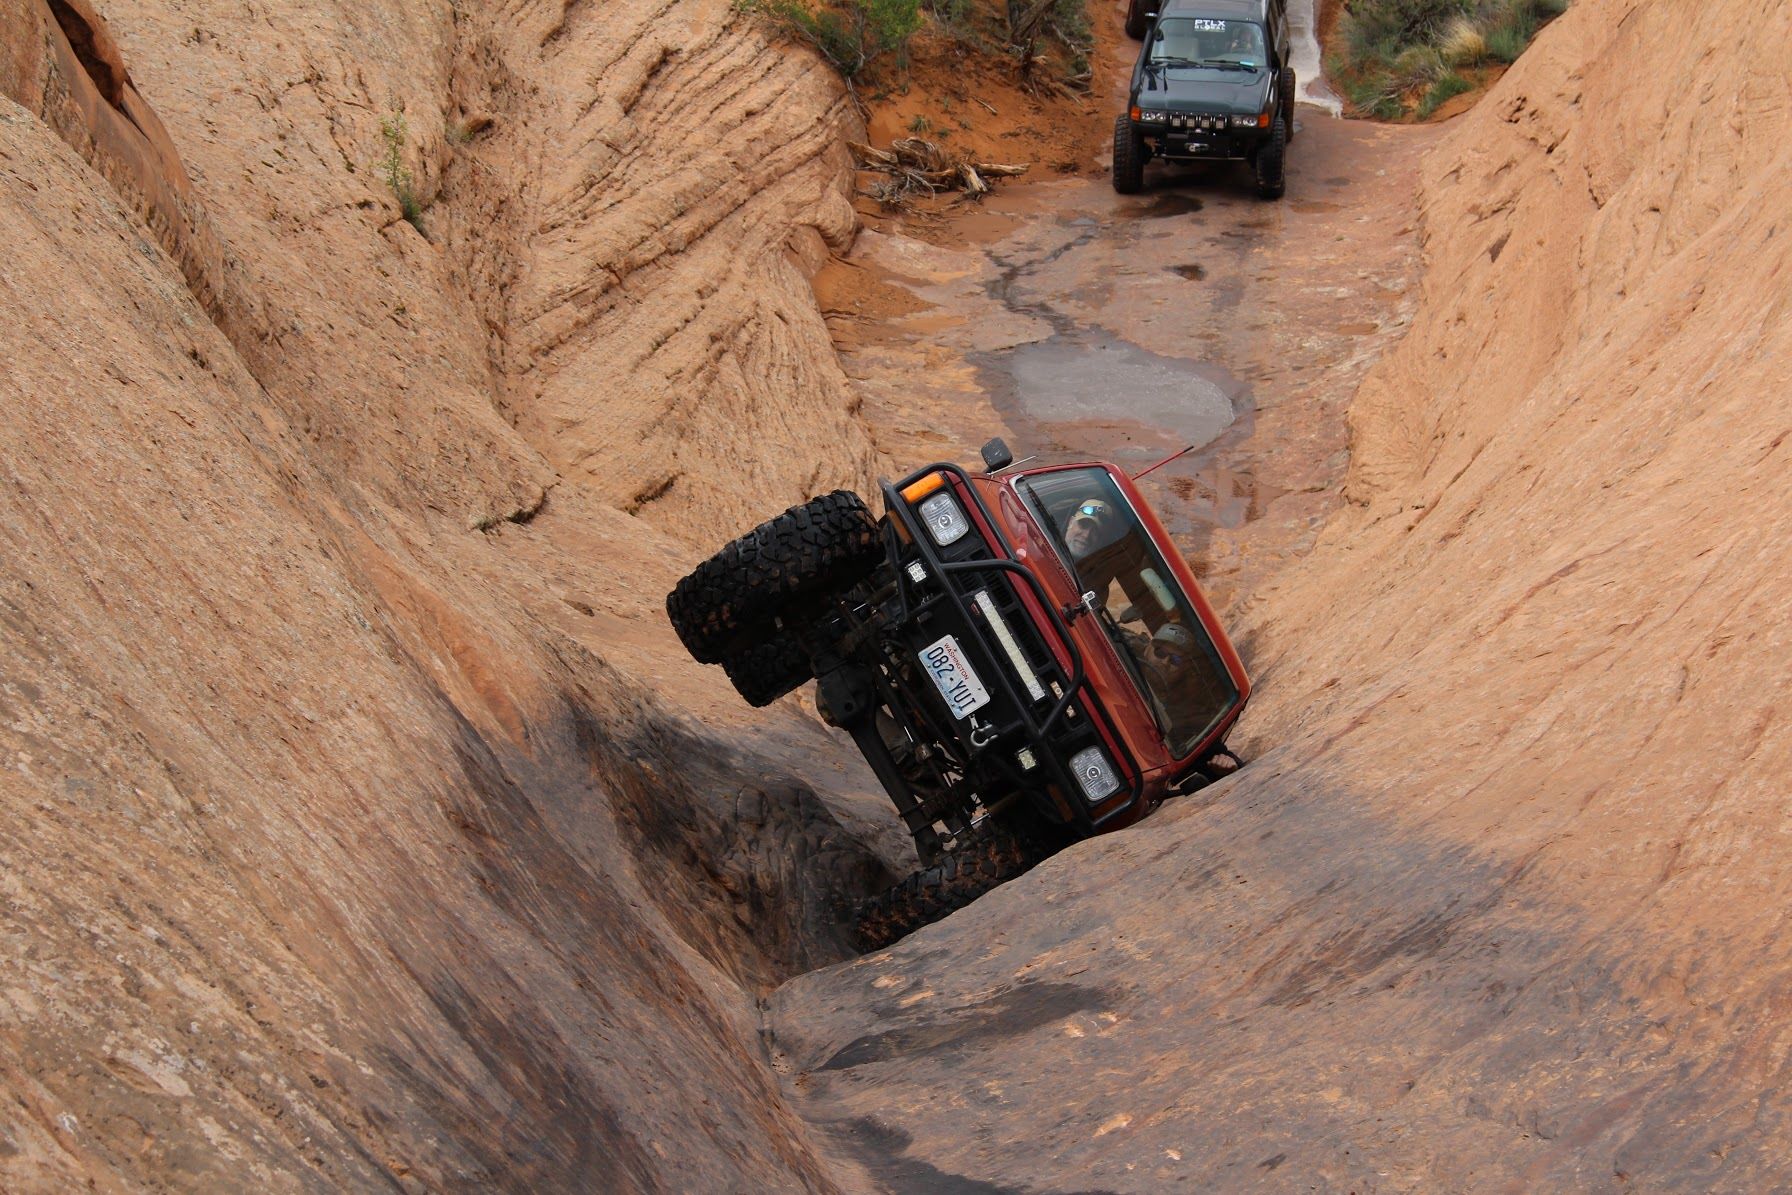
He said he rarely takes it offroad, and for those few times he does, it's pretty much on level ground.
He reports that on some trails he can use 2WD mode.
|
|
|
|
|
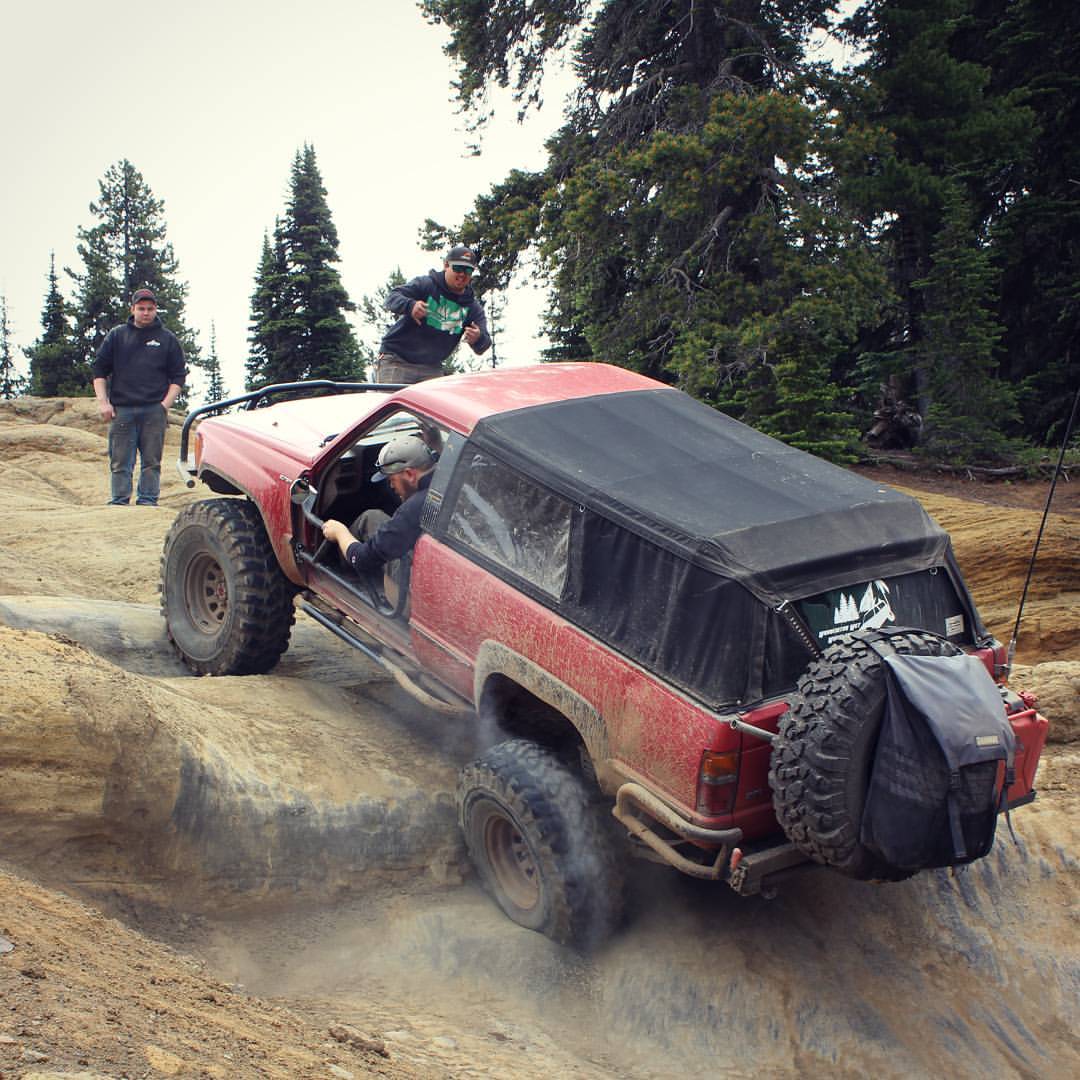
He says he prefers smooth trails...some dirt and sand is ok.
|
|
|
|
|
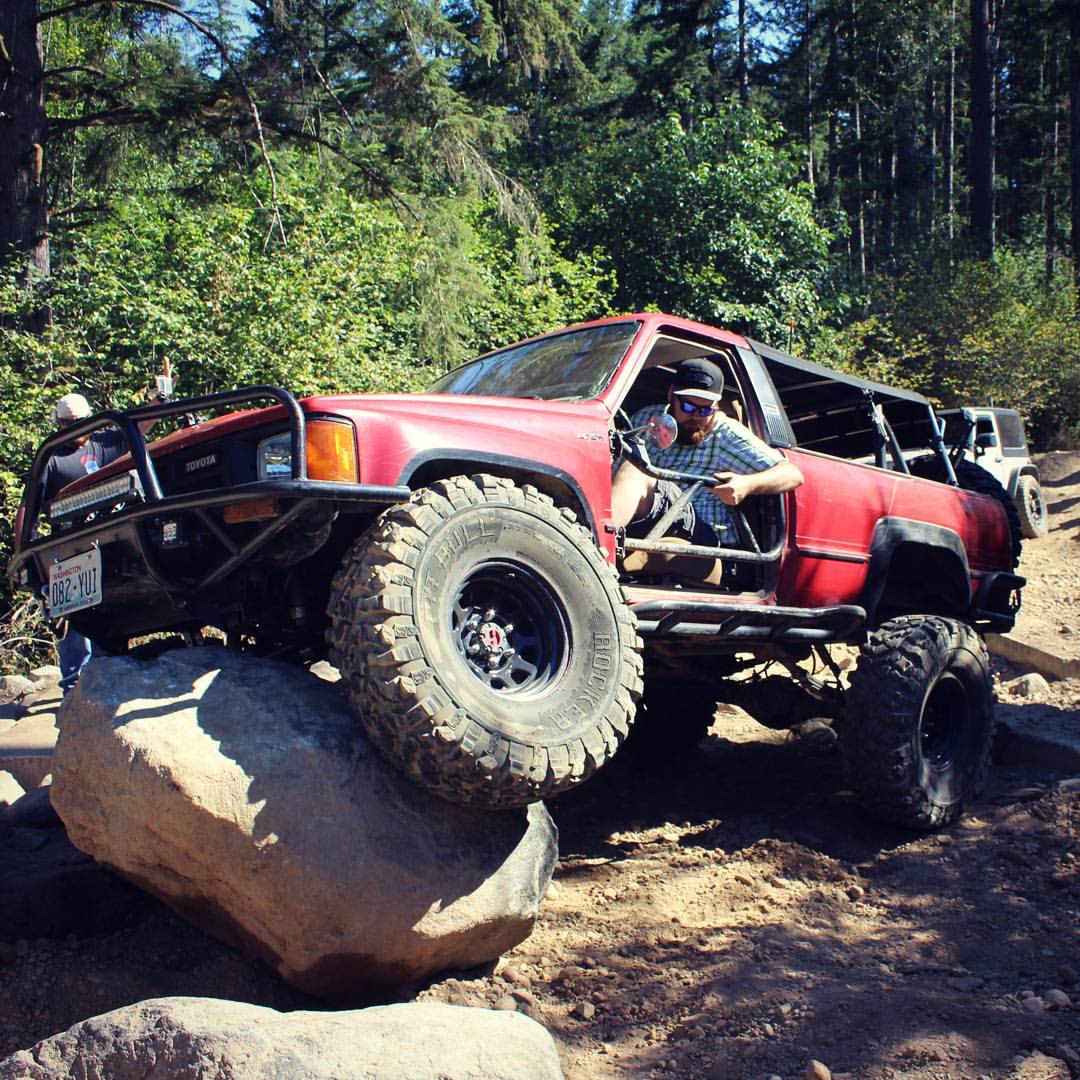
Small rocks maybe once in a while but he generally stays away from bigger ones.
|
|
|

|
|
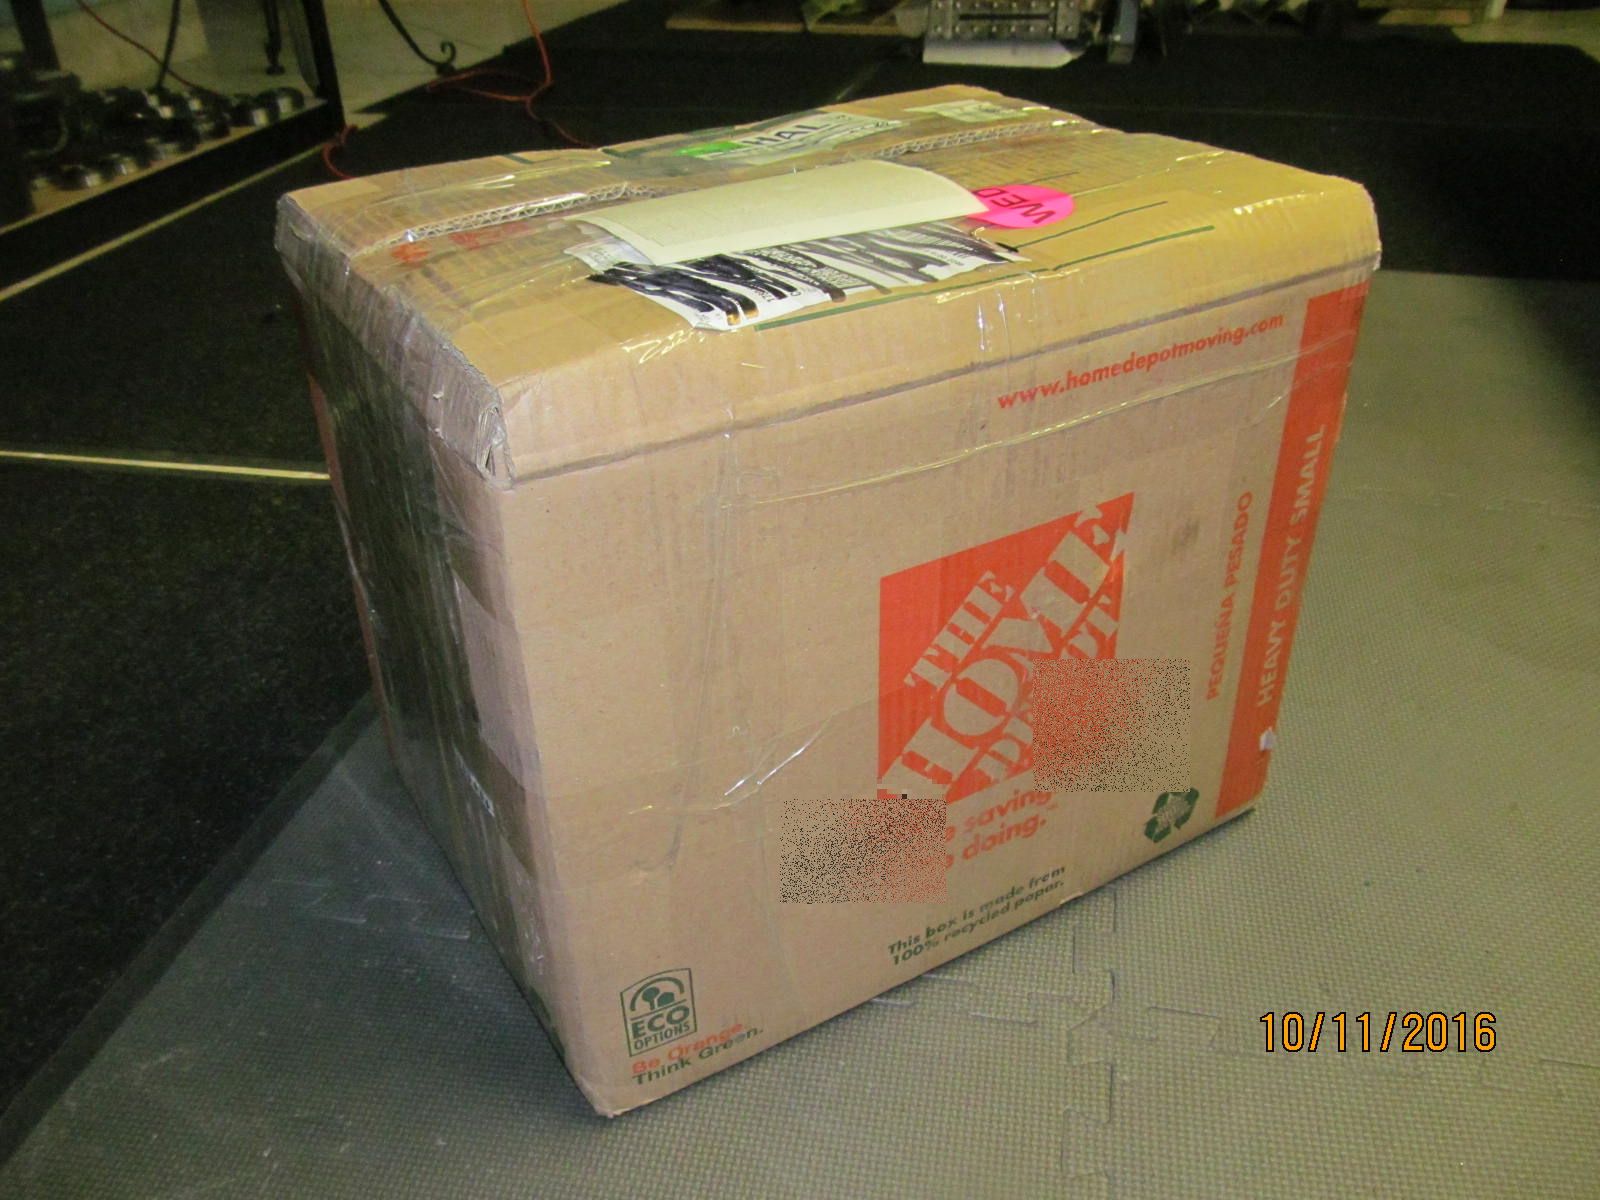
So, this comes FedEx ground to me.
|
|
|

|
|
It's an 8" elocker that will be used in the back of the stock Runner.
|
|
|

|
|
The 3rd is loaded onto the bench. The elocker guts is dis-assembled.
|
|
|

|
Andrew says he has heard reports of the elocker sidegears shearing at the splines. I said that you'll probably
never have any of those issues because you already have a wide 1986 axle housing with a set of even wider axles
that came from a 1990 Runner/pickup. The axles have longer splines that reach ALL THE WAY thru the splined
sidegears and almost touch the center cross-pin. In spite of that, we decided to cryo the sidegears
AND a few other lightweight items that might benefit.
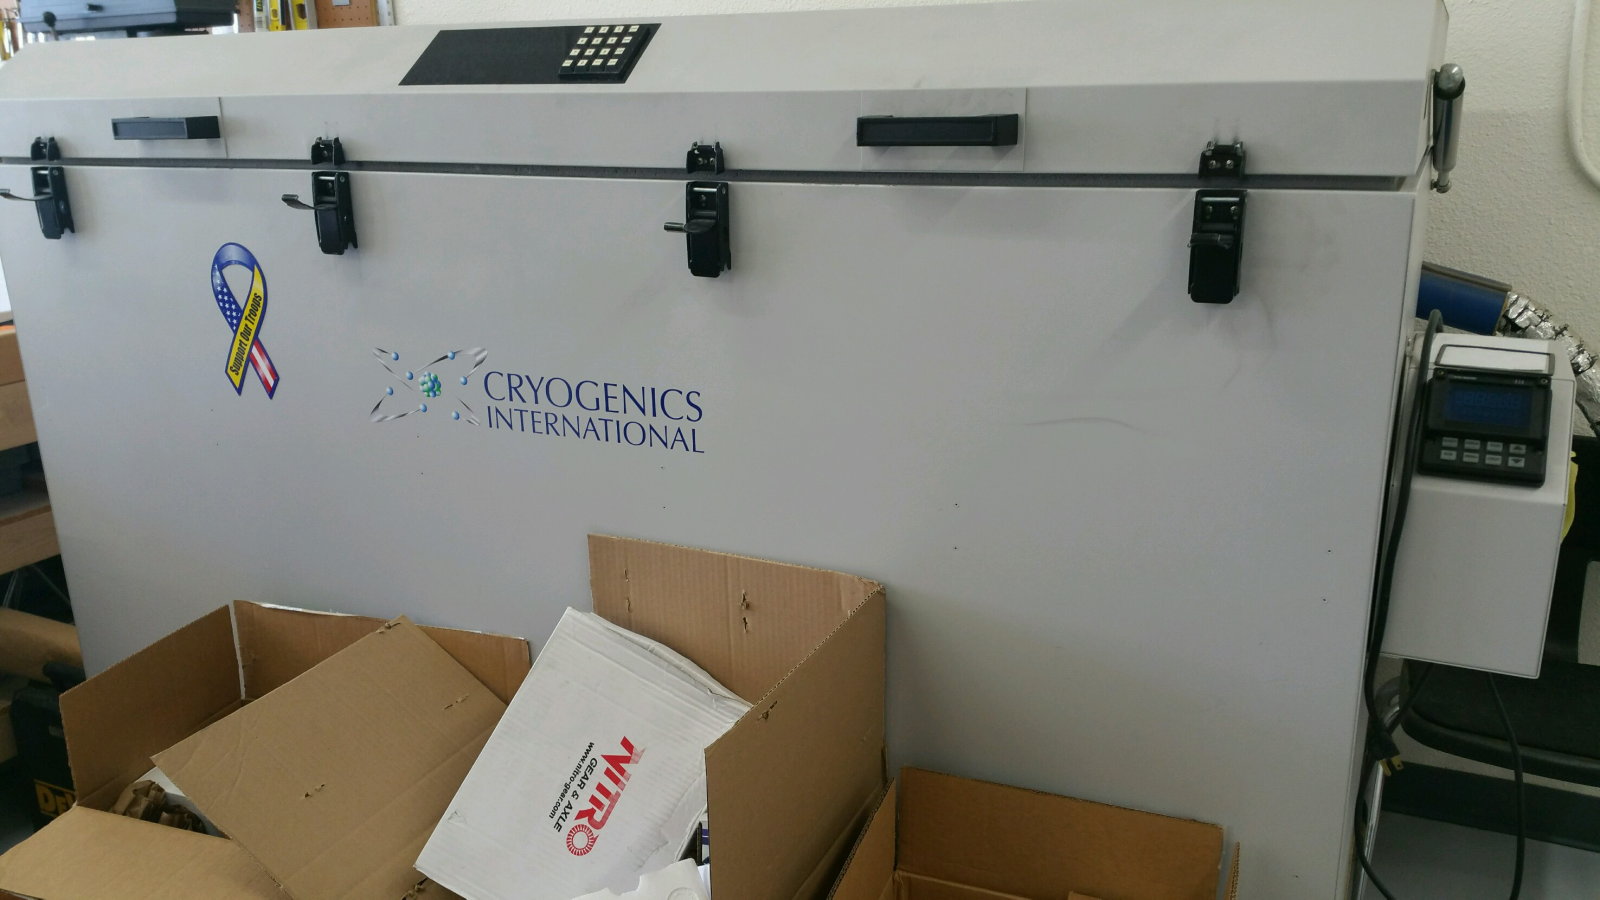
Cryogenics International is 30 miles away and I ran these parts down to Charles myself.
|
|
|
|
|
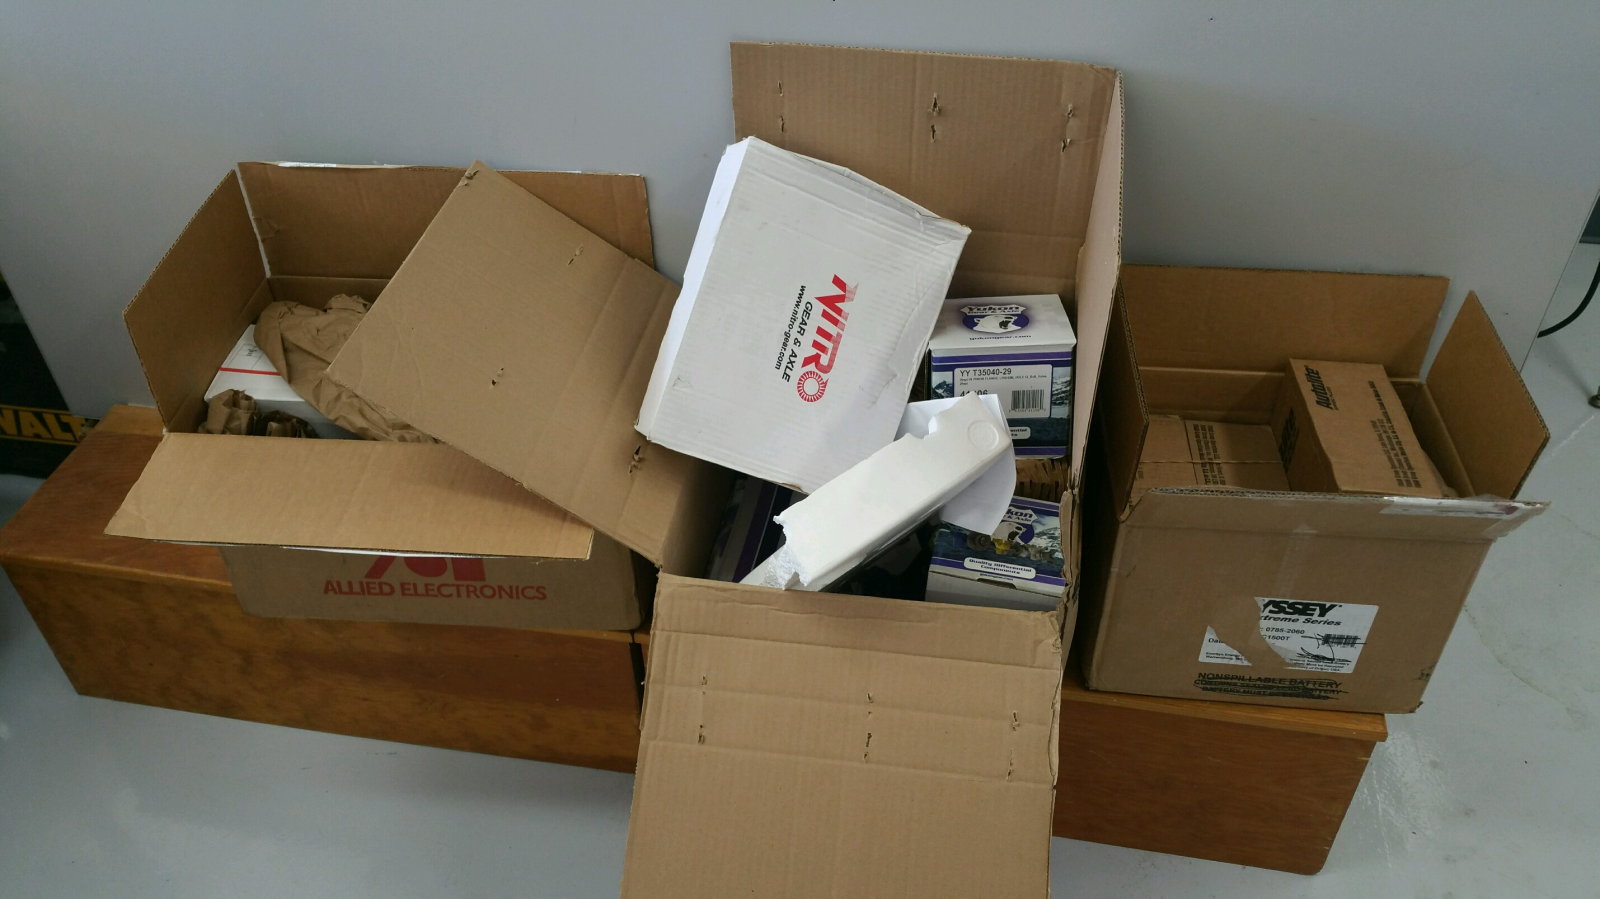
The middle box is the box that Andrew sent directly to Charles at Cryogenics International.
|
|
|
|
|
It has the Nitro 529 ring and pinion and the 4 bearings that will also see the chamber.
|
|
|

|
|
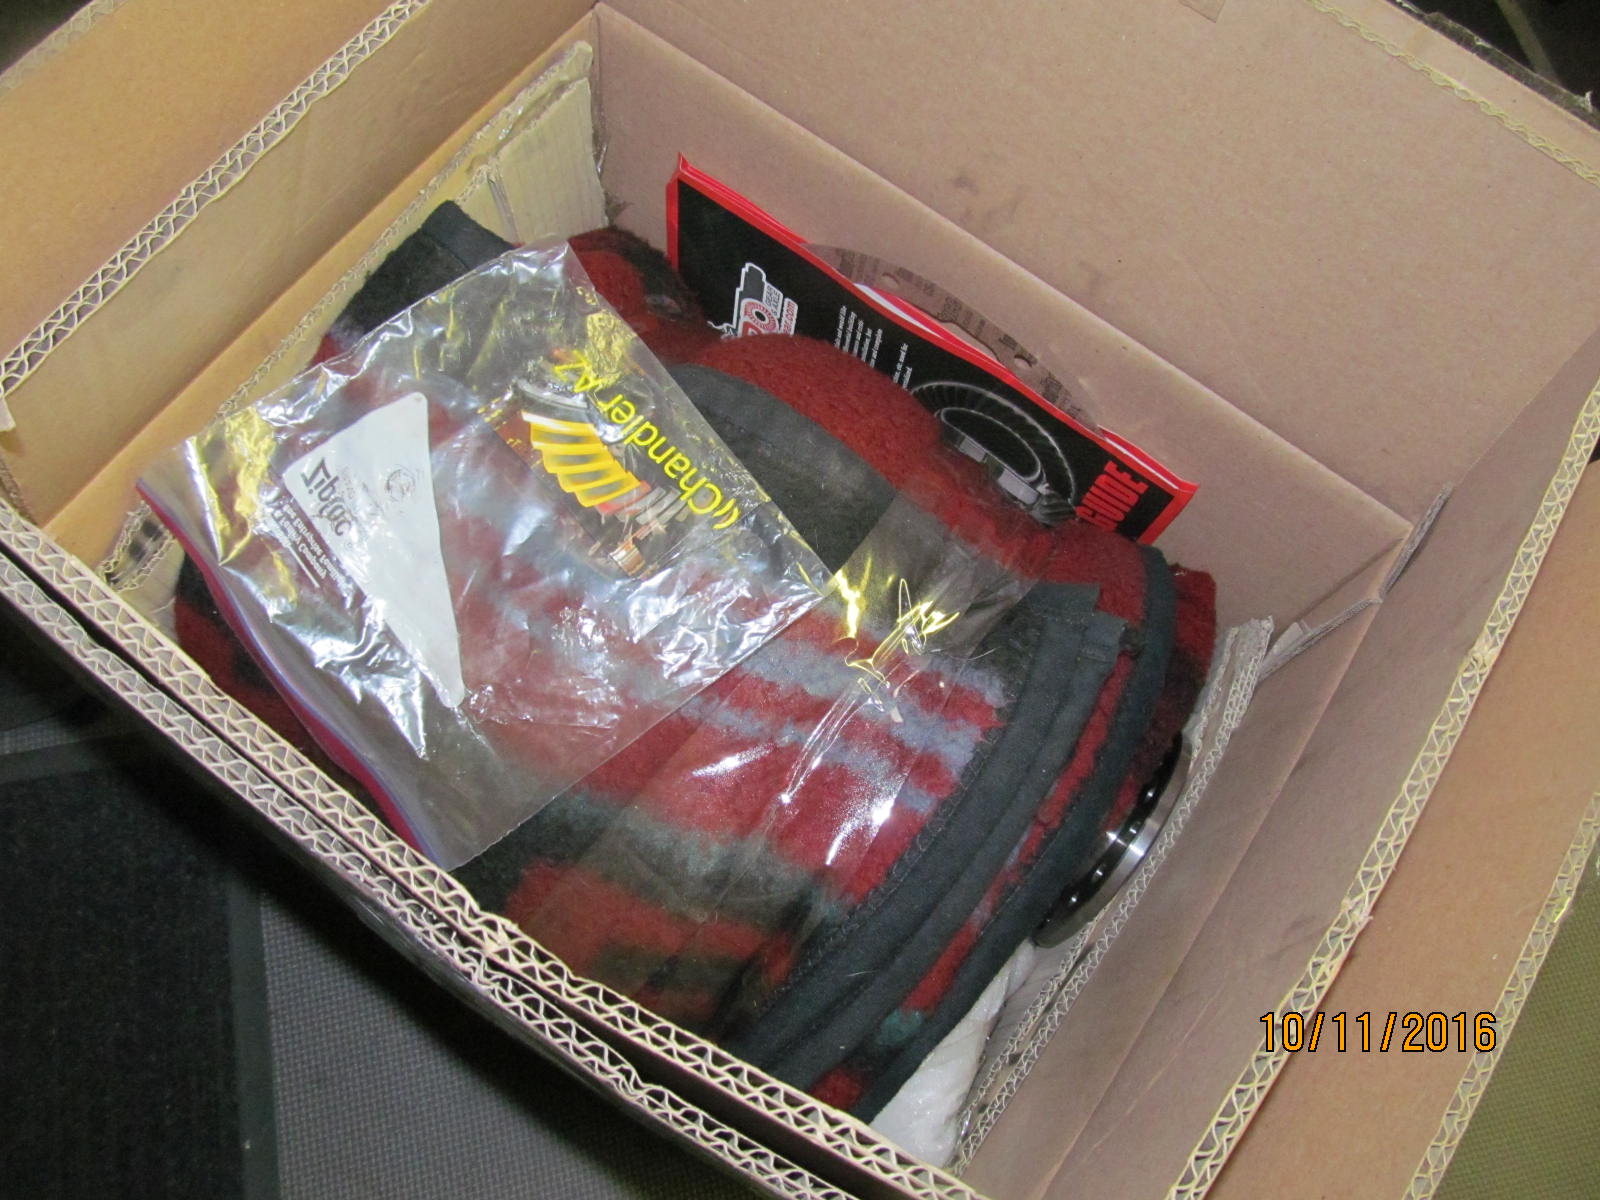
3 days later, I went to Charle's operation and picked up this box with the cryo stuff in it.
|
|
|

|
Everything was taken out of the box and organized....the r/p...4 bearings...2 sidegears...cross...4 spiders....
they all spent some time in the cooler. They all look the same as before with no obvious changes to the metal.
That's the thing about cryo. Surfaces look the same but the strength gained is so worthwhile.
In Andrew's case, he really doesn't need this cryo.....kind of overkill for a stockish 1985 Runner.
|
|
|

|
|
Treated sidegears are loaded up.
|
|
|

|
|
Same the the treated spiders.
|
|
|

|
|
Case goes together only one way....use the keyed drill marks and line them up.
|
|
|

|
|
8 case bolts.
|
|
|

|
|
Cross tighten them to 45 ft/lb max.
|
|
|

|
|
Now to remove the old 410 ring gear. Throw the locktab assemblies in the garbage and use loctite instead.
|
|
|

|
|
...................
|
|
|

|
|
Surfaces are checked for burrs and all is good.
|
|
|

|
|
70 ft/lb and blue loctite.
|
|
|

|
|
New Koyo carrier bearings can now be tapped in place.
|
|
|

|
|
Nitro 529 V6 ....made at the "E15" plant where ever that is. I bet it's someplace in S. Korea.
|
|
|

|
|
This end is done.
|
|
|

|
Having a sufficient number of shims to choose from is preferred.
I chose .083" for the first try.
|
|
|

|
|
A basic 12 ton press is all that's really needed and the pinion end is now ready.
|
|
|

|
|
Now to tear down the final piece...remove original flange.
|
|
|

|
|
The original flange is not too bad....only a small groove here.
|
|
|

|
|
The new Yukon flange is perfect.
|
|
|

|
|
Now pushing out the original pinion.
|
|
|

|
|
Wow. This small outer pinion bearing was all chunked out. I bet it was a little noisey.
|
|
|

|
|
The new KOYO bearing will be much quieter I'm sure.
|
|
|

|
|
Getting the old race out without destroying the oil retainer directly under it is easy with this "tool".
|
|
|

|
|
Slip the half washers under the race and use the bottle cap to lock them in place.....
|
|
|

|
|
....then push them out with the 12 ton.
|
|
|

|
|
And this drops out.
|
|
|

|
|
The old race had chunks missing also.
|
|
|

|
|
Really rough shape.
|
|
|

|
|
Oil retainer is undisturbed. Thanks Scott down near Marana, AZ. :)
|
|
|

|
|
Outer and inner races were tapped in without excess contact pressure points.
|
|
|

|
Loading the pinion assembly into the empty 3rd. The pinion nut is only tightened enough to offer
some decent bearing drag.
|
|
|

|
|
Paint 2 teeth.
|
|
|

|
|
Drive.....a bit deeper than I like to see.
|
|
|

|
|
Coast says that, too.
|
|
|

|
|
...................
|
|
|

|
|
Teardown and remove the 083 shim.
|
|
|

|
|
Change the shim to 081 and then re-assemble and re-paint. Slight deep. This is my preferred depth right here.
|
|
|

|
|
Coast. Good.
|
|
|

|
|
Drive....reverse painted....looks nice.
|
|
|

|
|
Drive. Comet tail is not tucked hard in the root....soft and a bit vague.
|
|
|

|
|
Now with the proper depth selected, dis-assemble......
|
|
|

|
....and install the solid collar. A solid collar is more time consumming but got lucky....
only 3 tries to get the shimming right on.
|
|
|

|
|
New rubberized seal is installed.
|
|
|

|
|
.........................
|
|
|

|
|
........................
|
|
|

|
|
Ready for the new Yukon flange now.
|
|
|

|
|
New quality flange style pinion nut now.
|
|
|

|
|
10 in/lb of start torque was noted.
|
|
|

|
|
DING!! and this side is done.
|
|
|

|
|
70 ft/lb on the 4 bearing cap bolts.
|
|
|

|
|
Backlash is set...in this case, it's .006".
|
|
|

|
|
Drive. Slight deep condition.
|
|
|

|
|
Coast.
|
|
|

|
|
Drive. Reverse painted.
|
|
|

|
|
........................
|
|
|
|
|
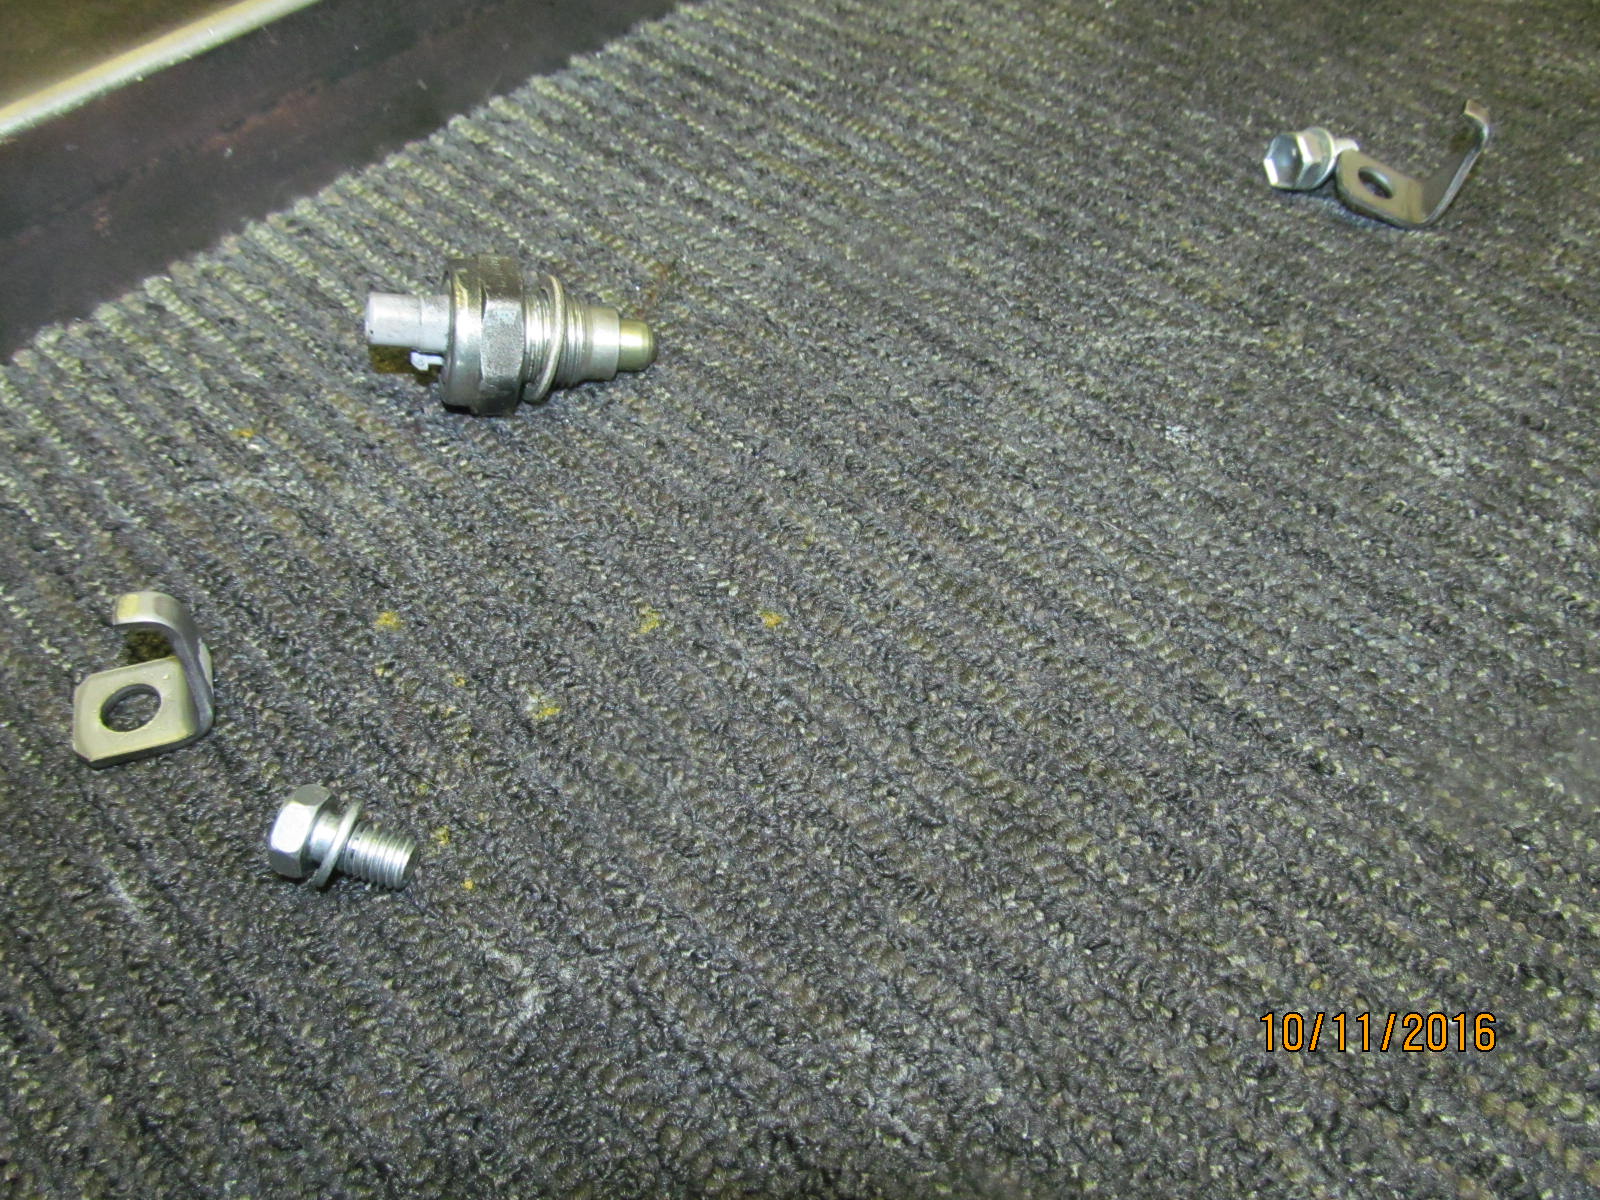
Just have to put the locktabs on now...
|
|
|

|
|
Blue loctite and 10 ft/lb
|
|
|
|
|
........................
|
|
|
|
|
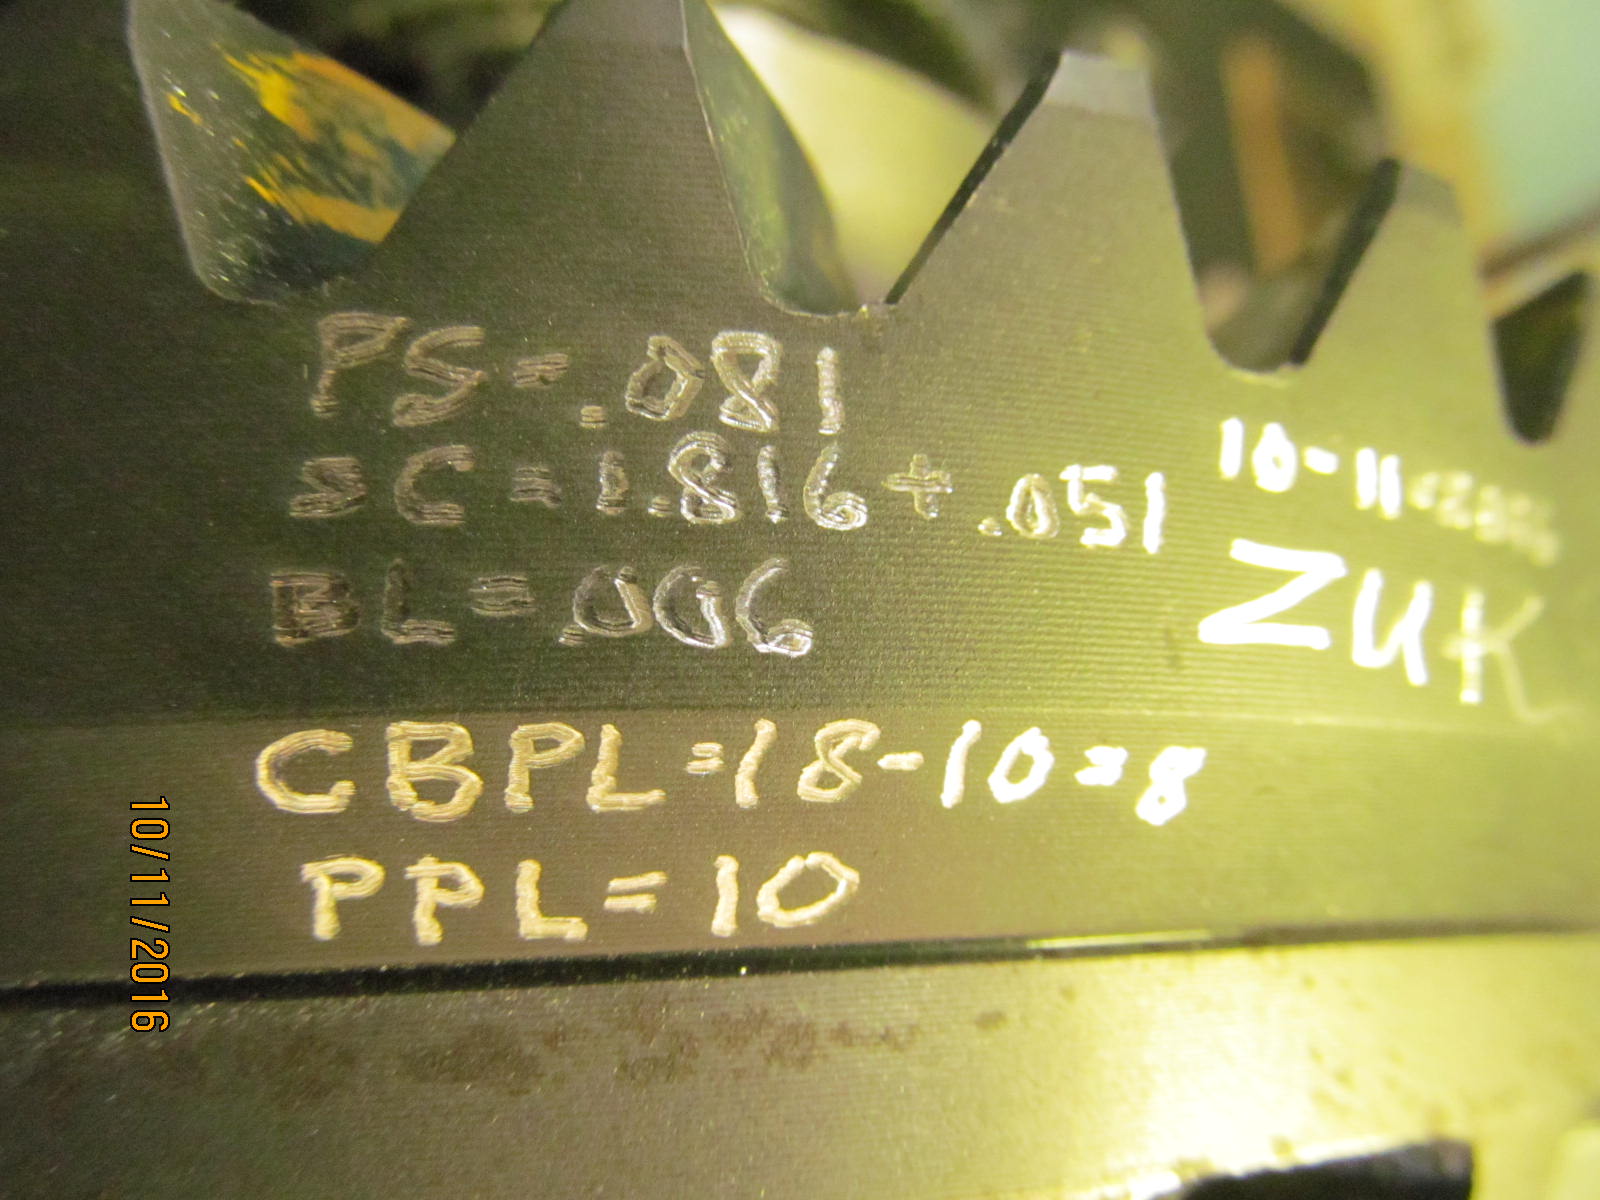
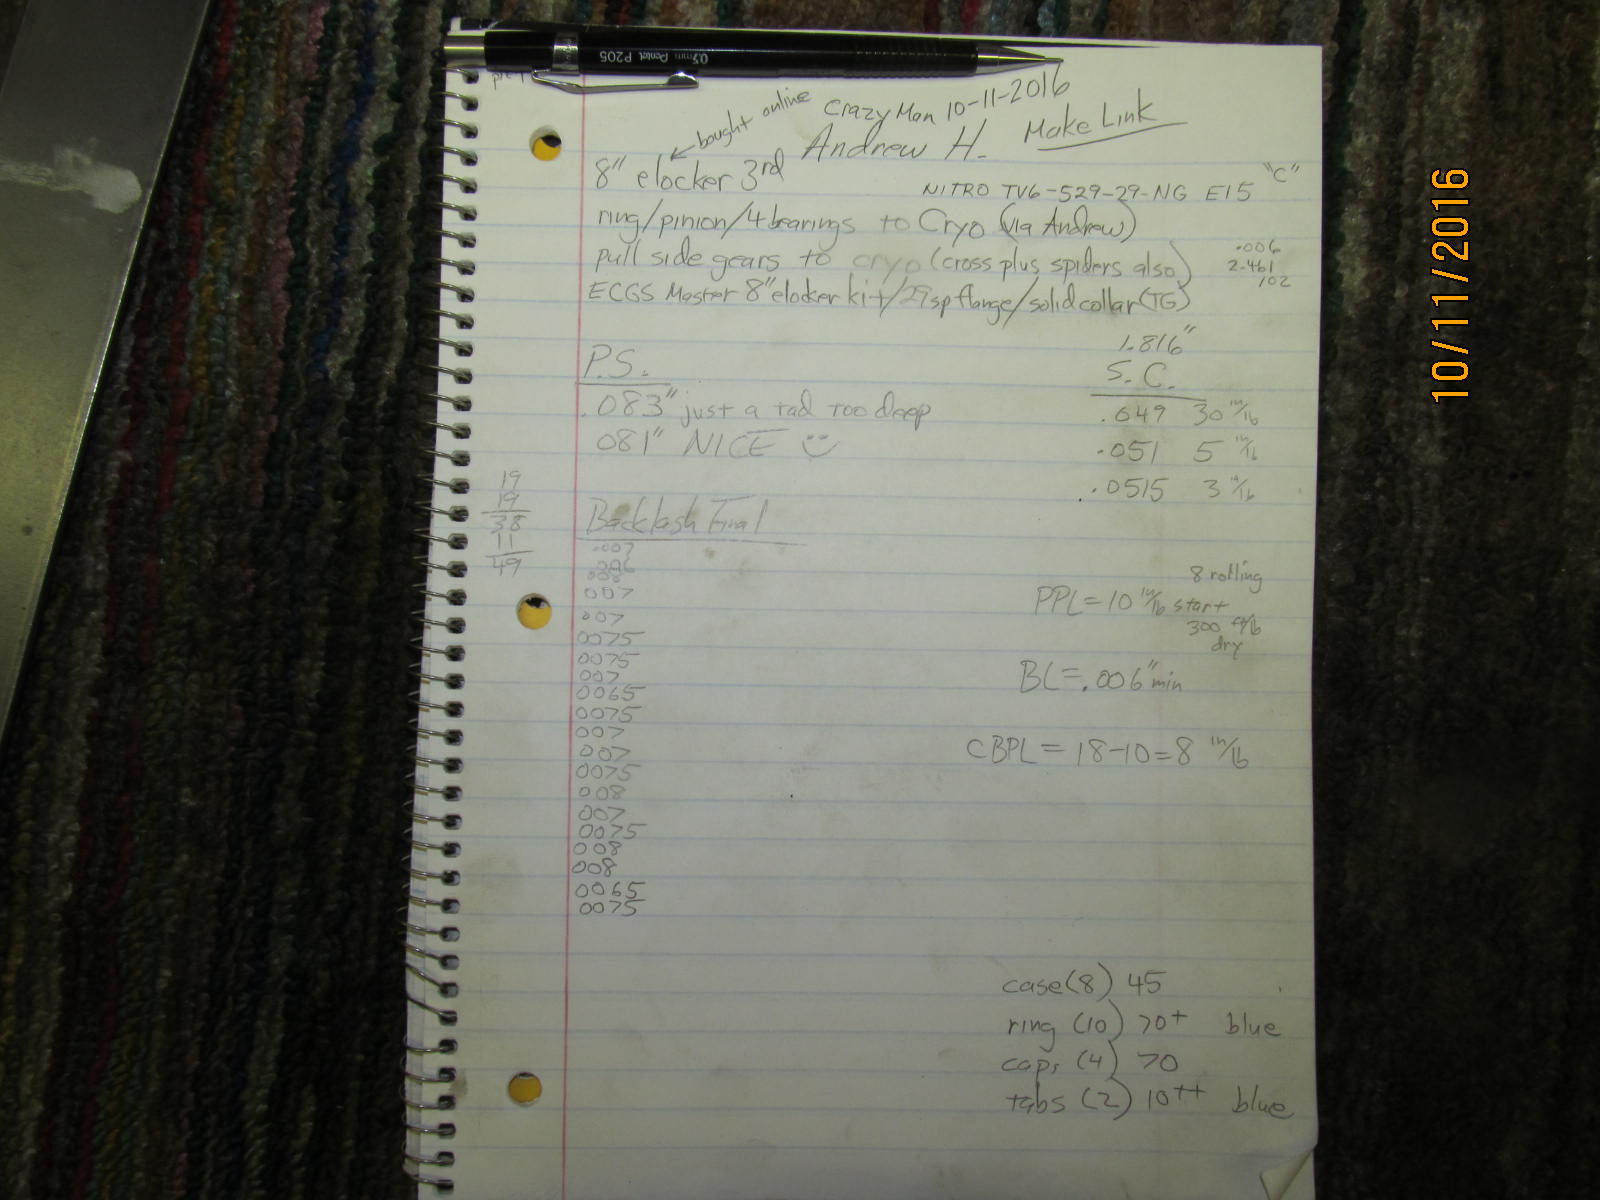
Notes taken with specs I used.
|
|
|
|
|
............................
|
|
|
|
|
...............................
|
|
|
|
|
..................................
|
|
|
|
|
.................................
|
|
|
|
|
................................
|
|
|

|
