|
Pre-assembled V6 3rd has pinion leak and set shallow.
|
|
(67 BIG pics loading)
|
|
March 22 2014
|
|
|
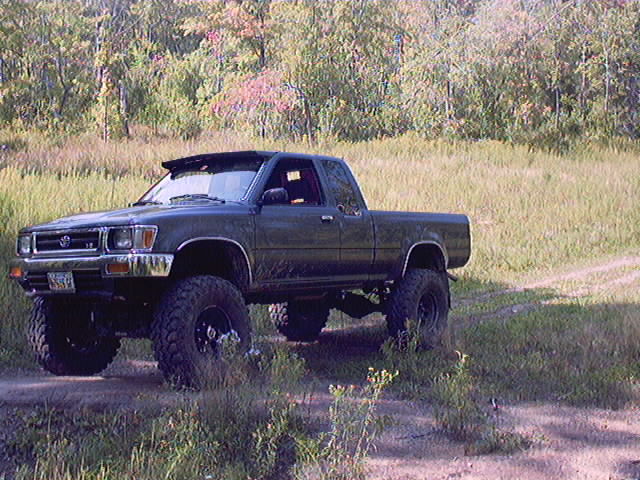
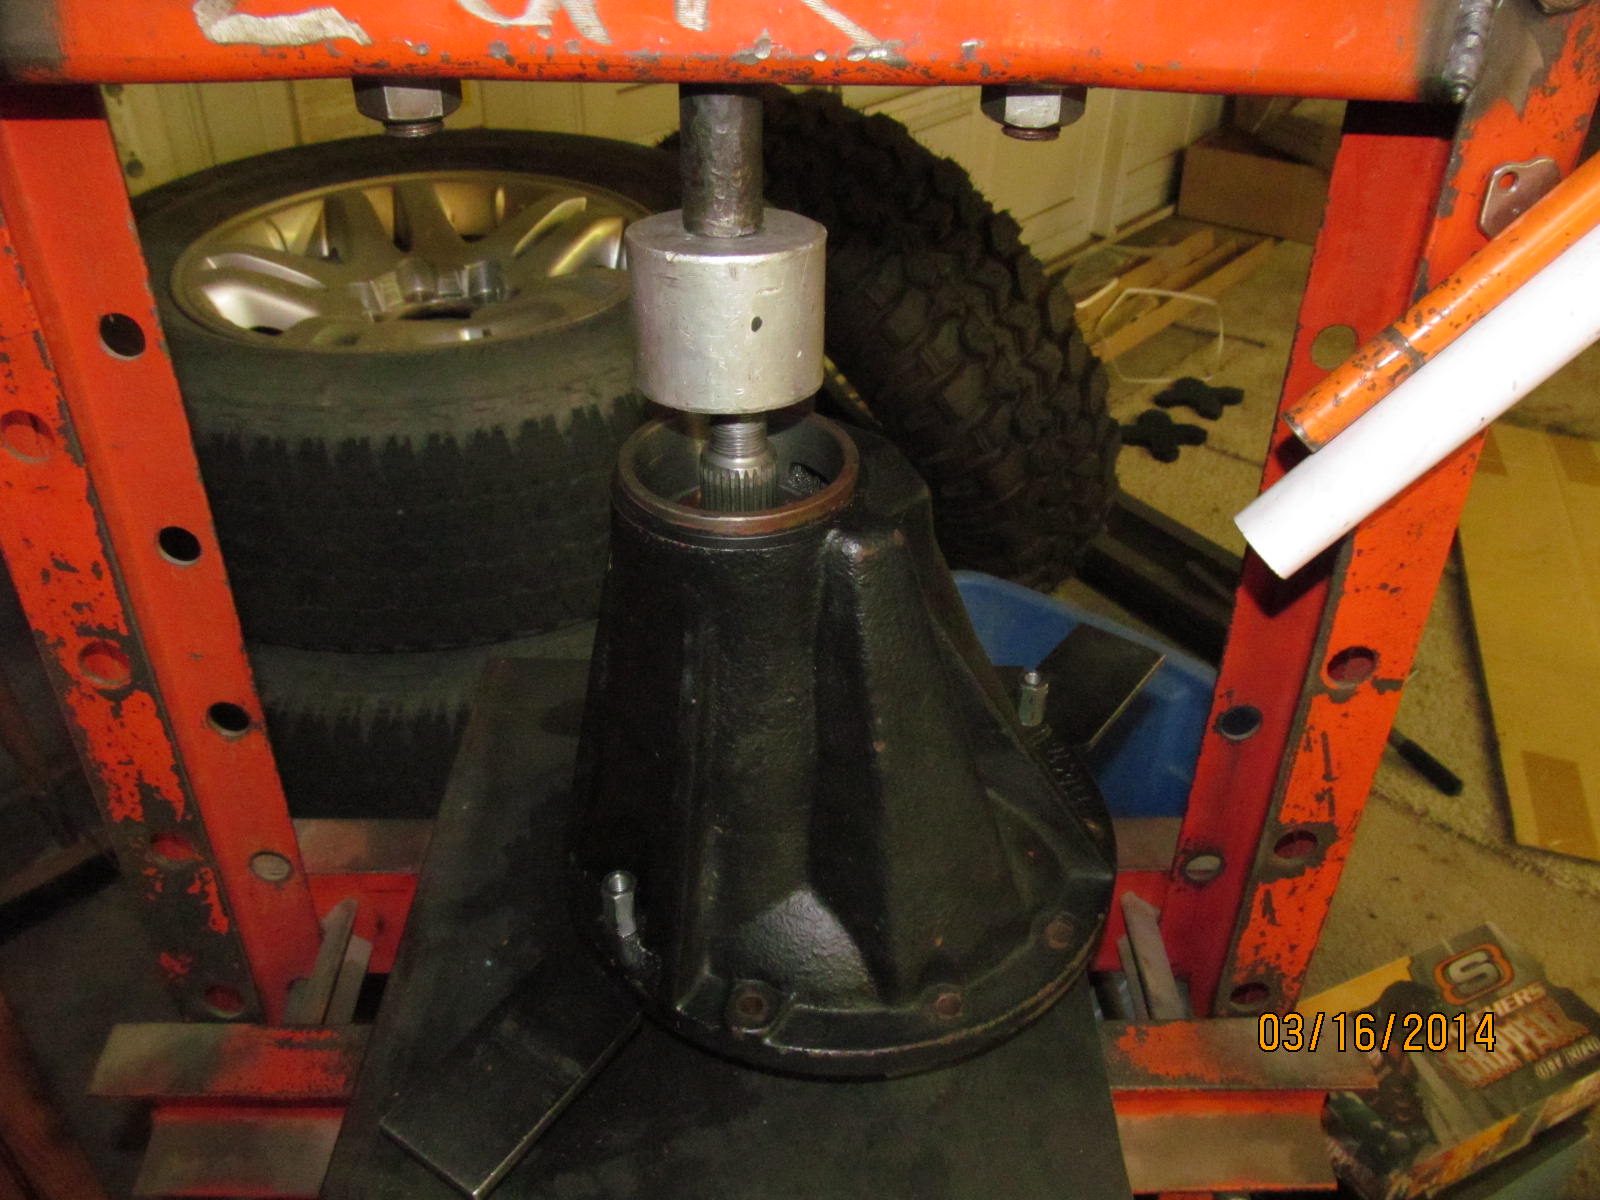
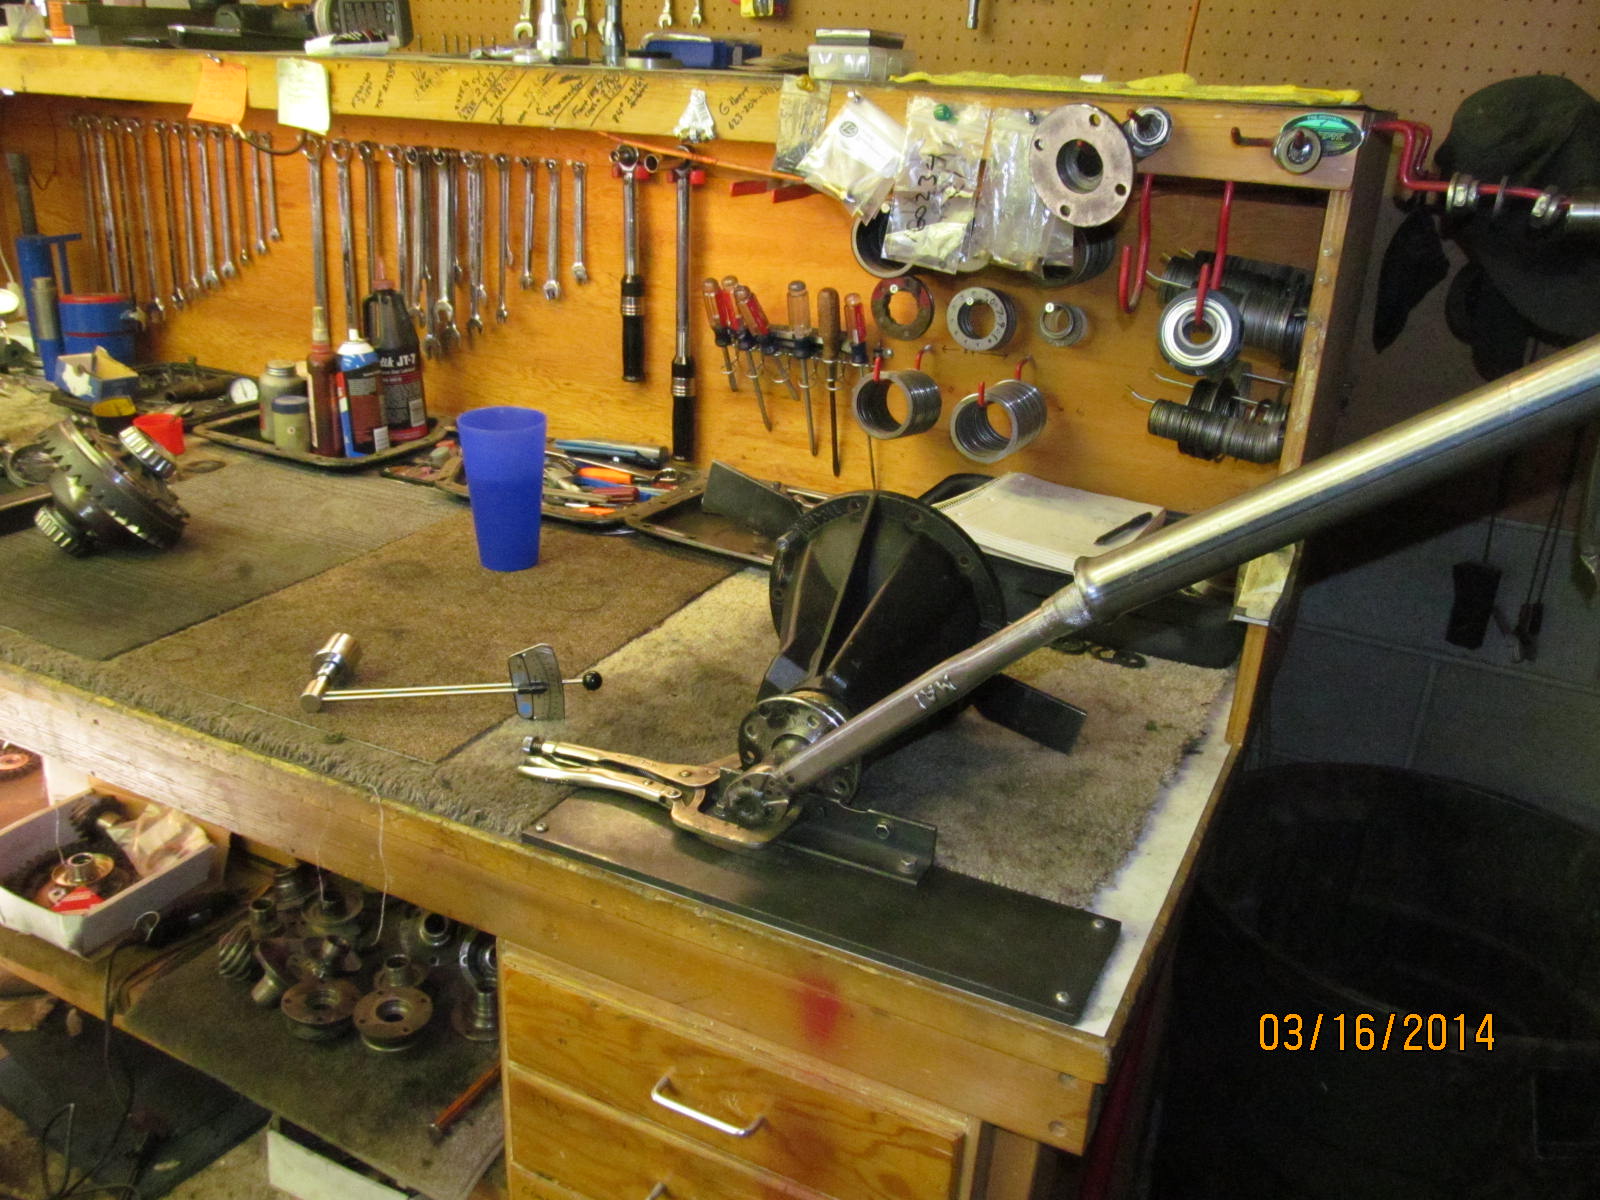
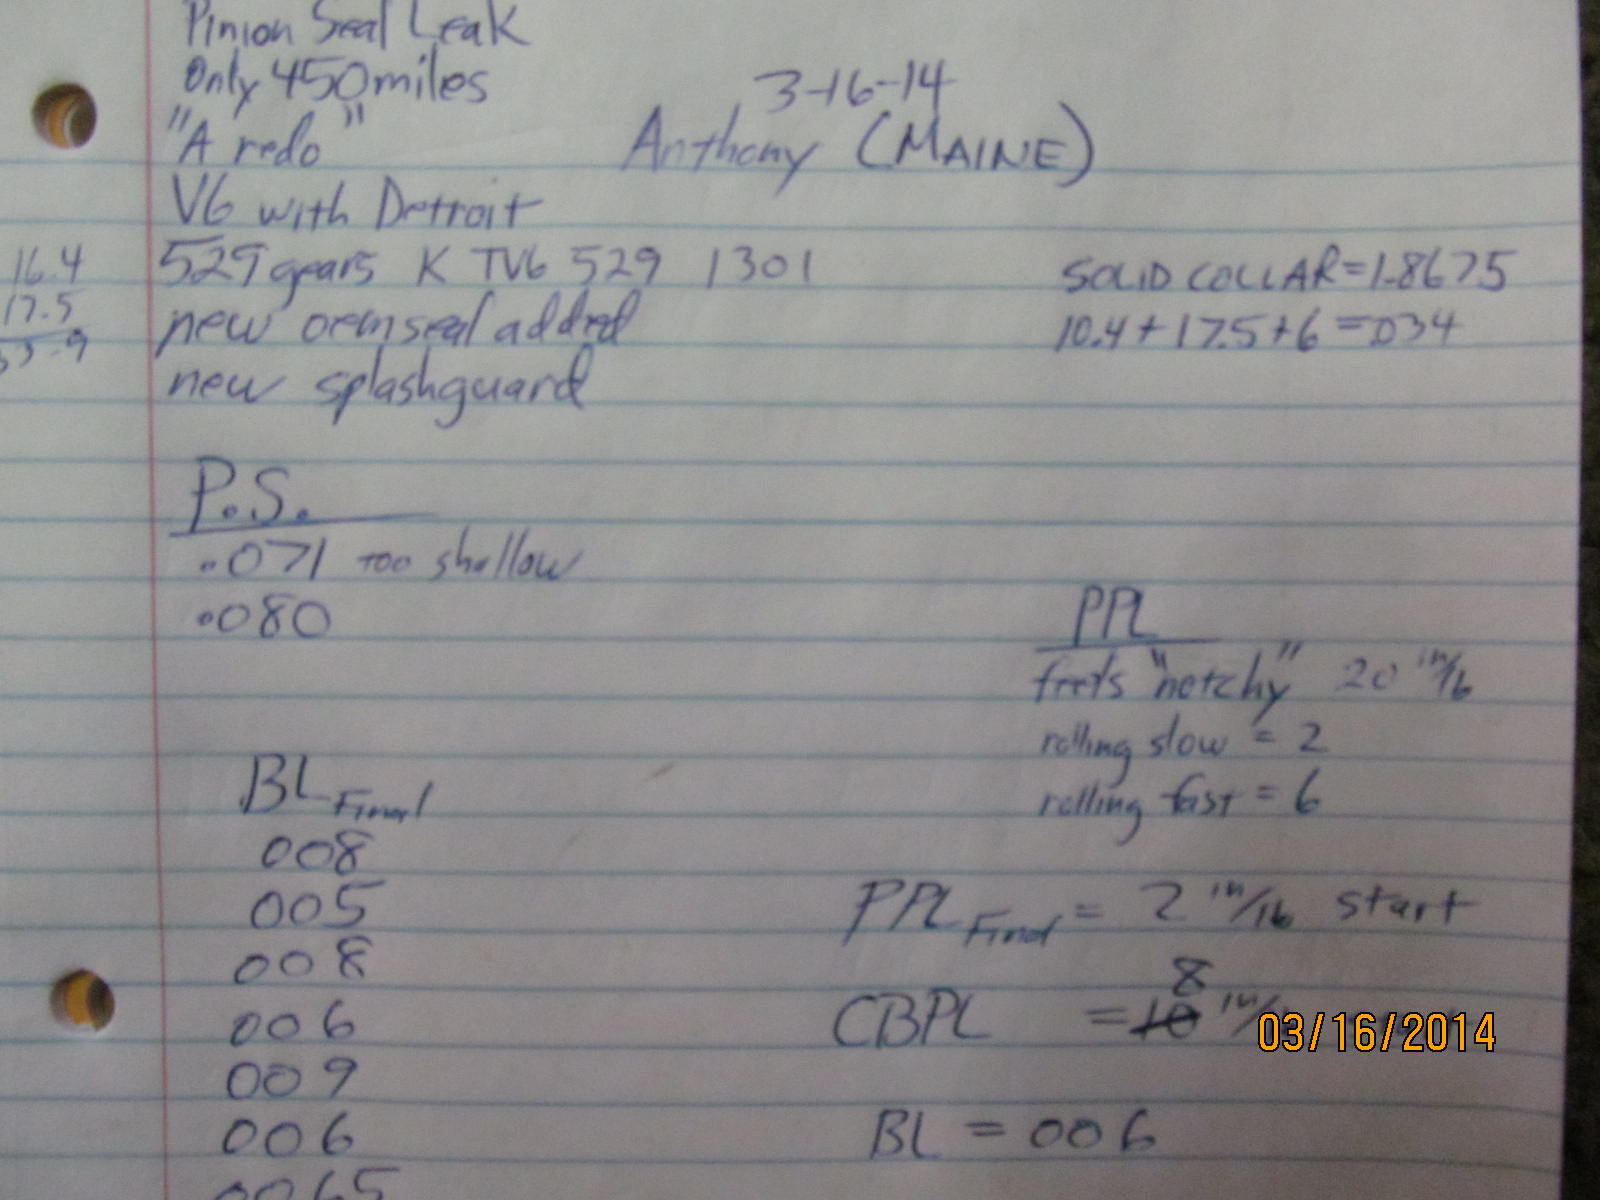
Anthony, located in Maine, has a 1992 3.0 with 5 speed....SAS...529 gears/lockright front/Detroit rear. 251,000 miles on the clock.
He recently experienced a pinion seal leak from a pre-built 3rd that came from a large internet company.
|
|
|

|
|
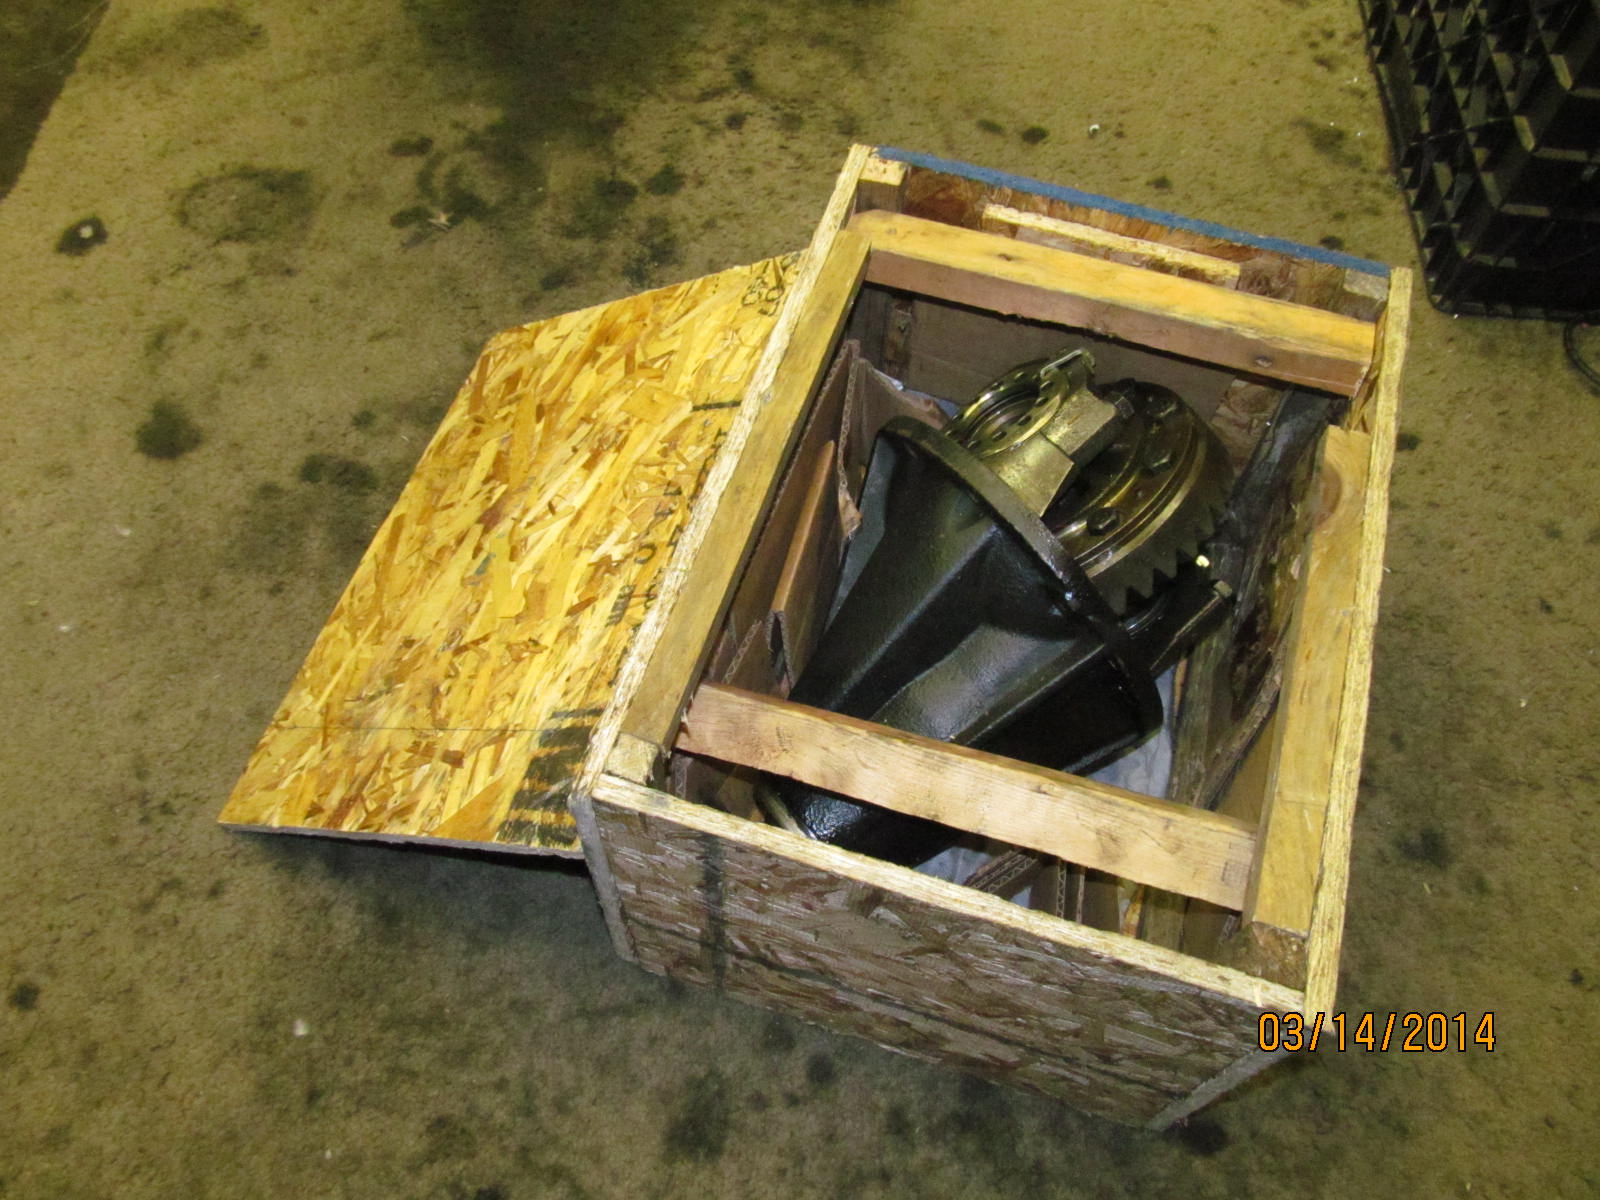
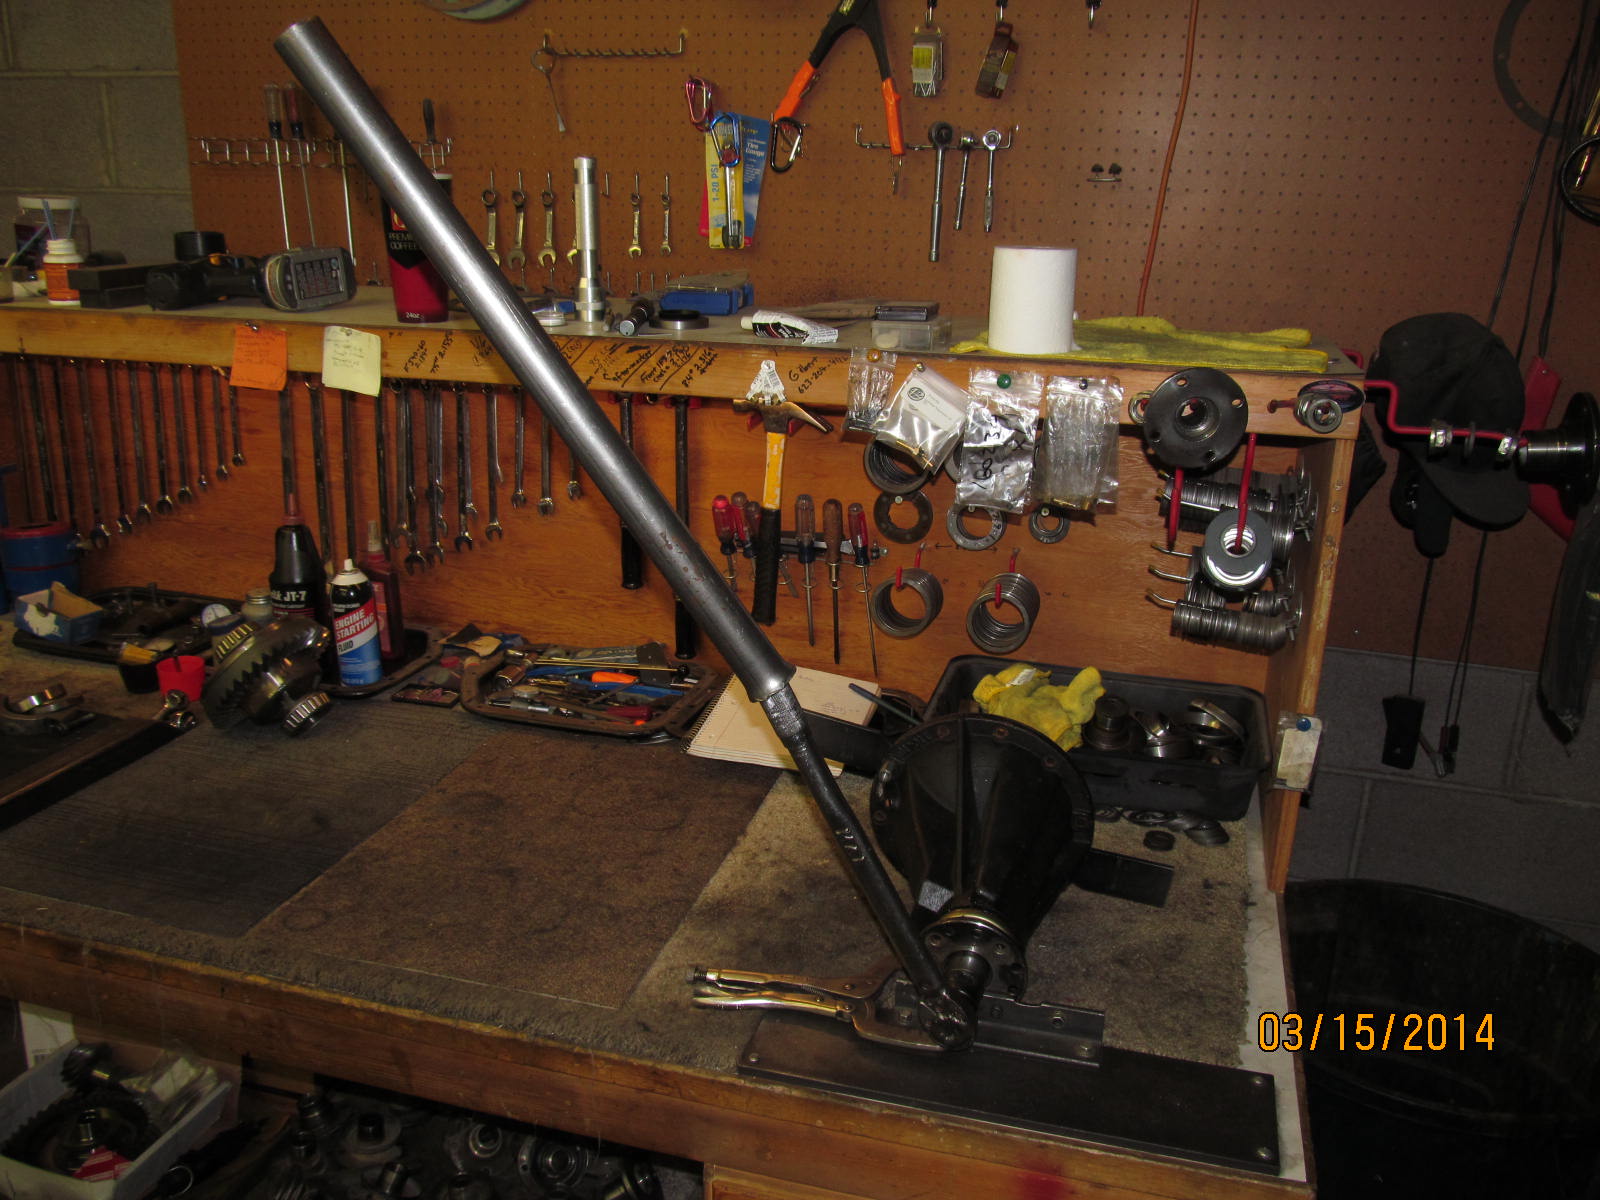
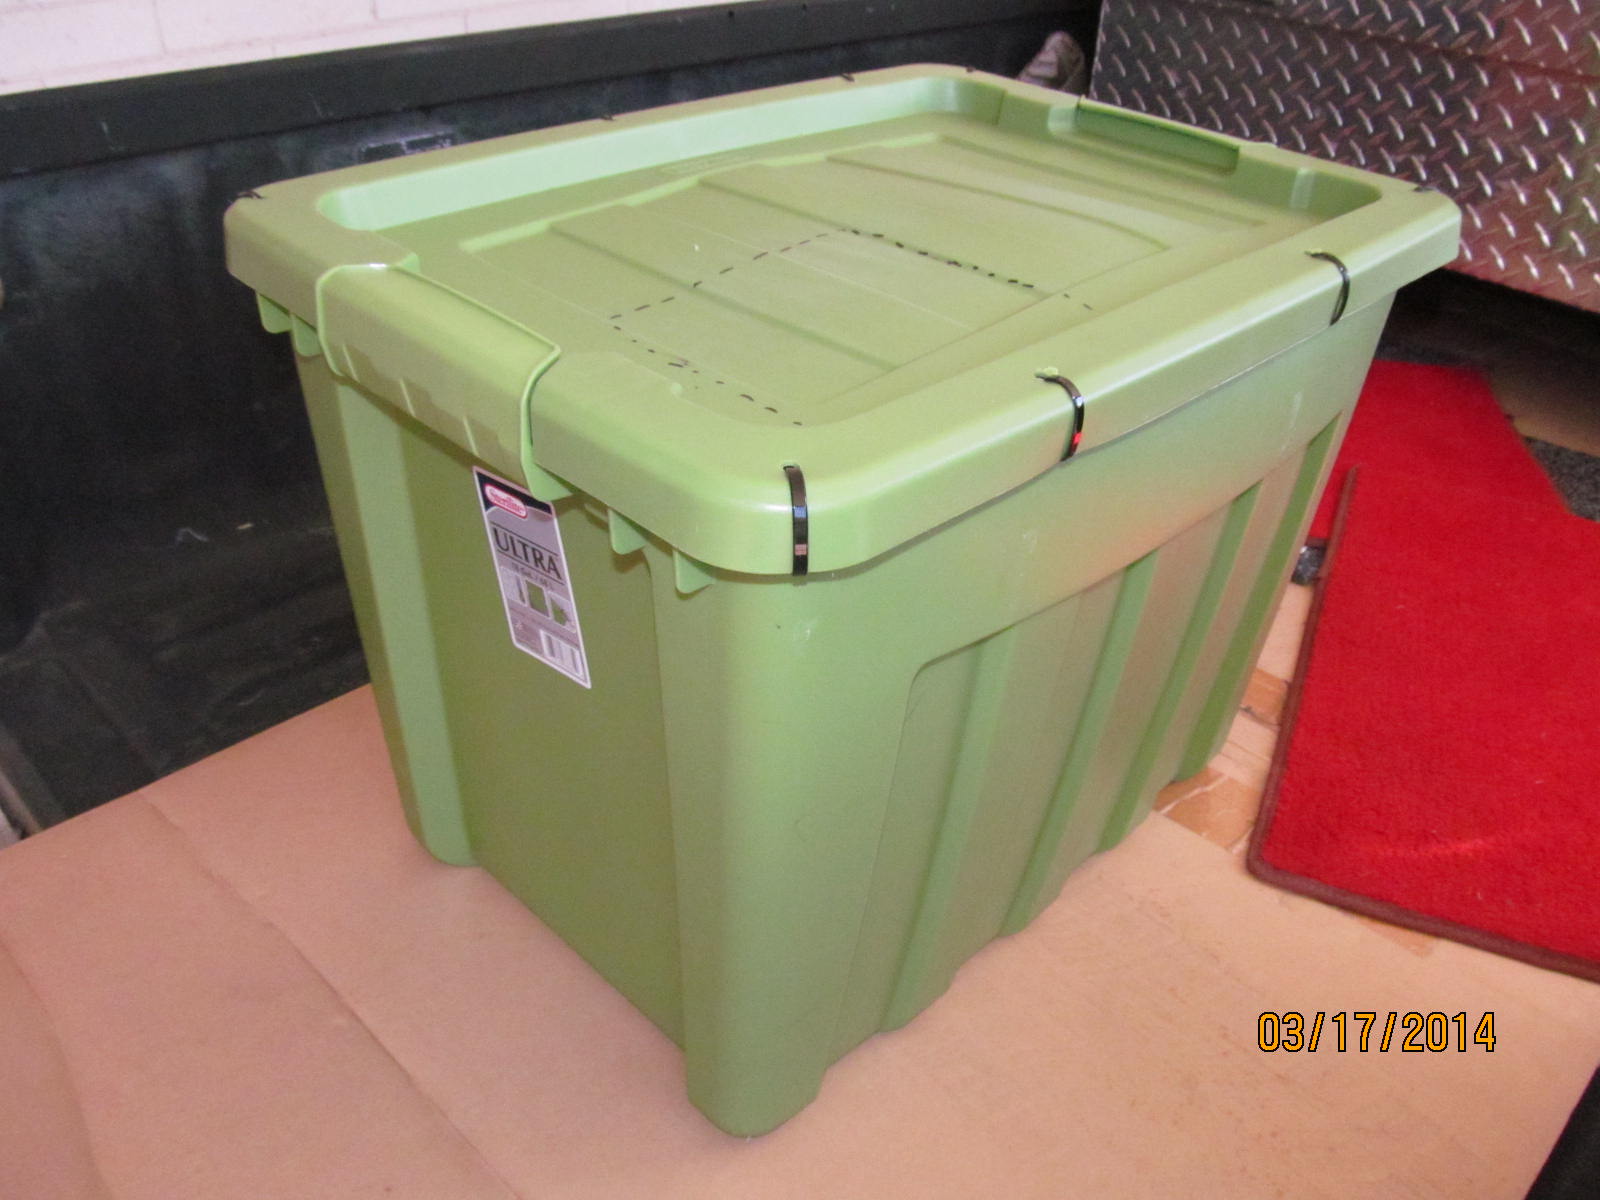
With less than 450 miles on the rear 3rd, Anthony boxed it up and sent it 2,709.2 miles to me.
|
|
|
|
|
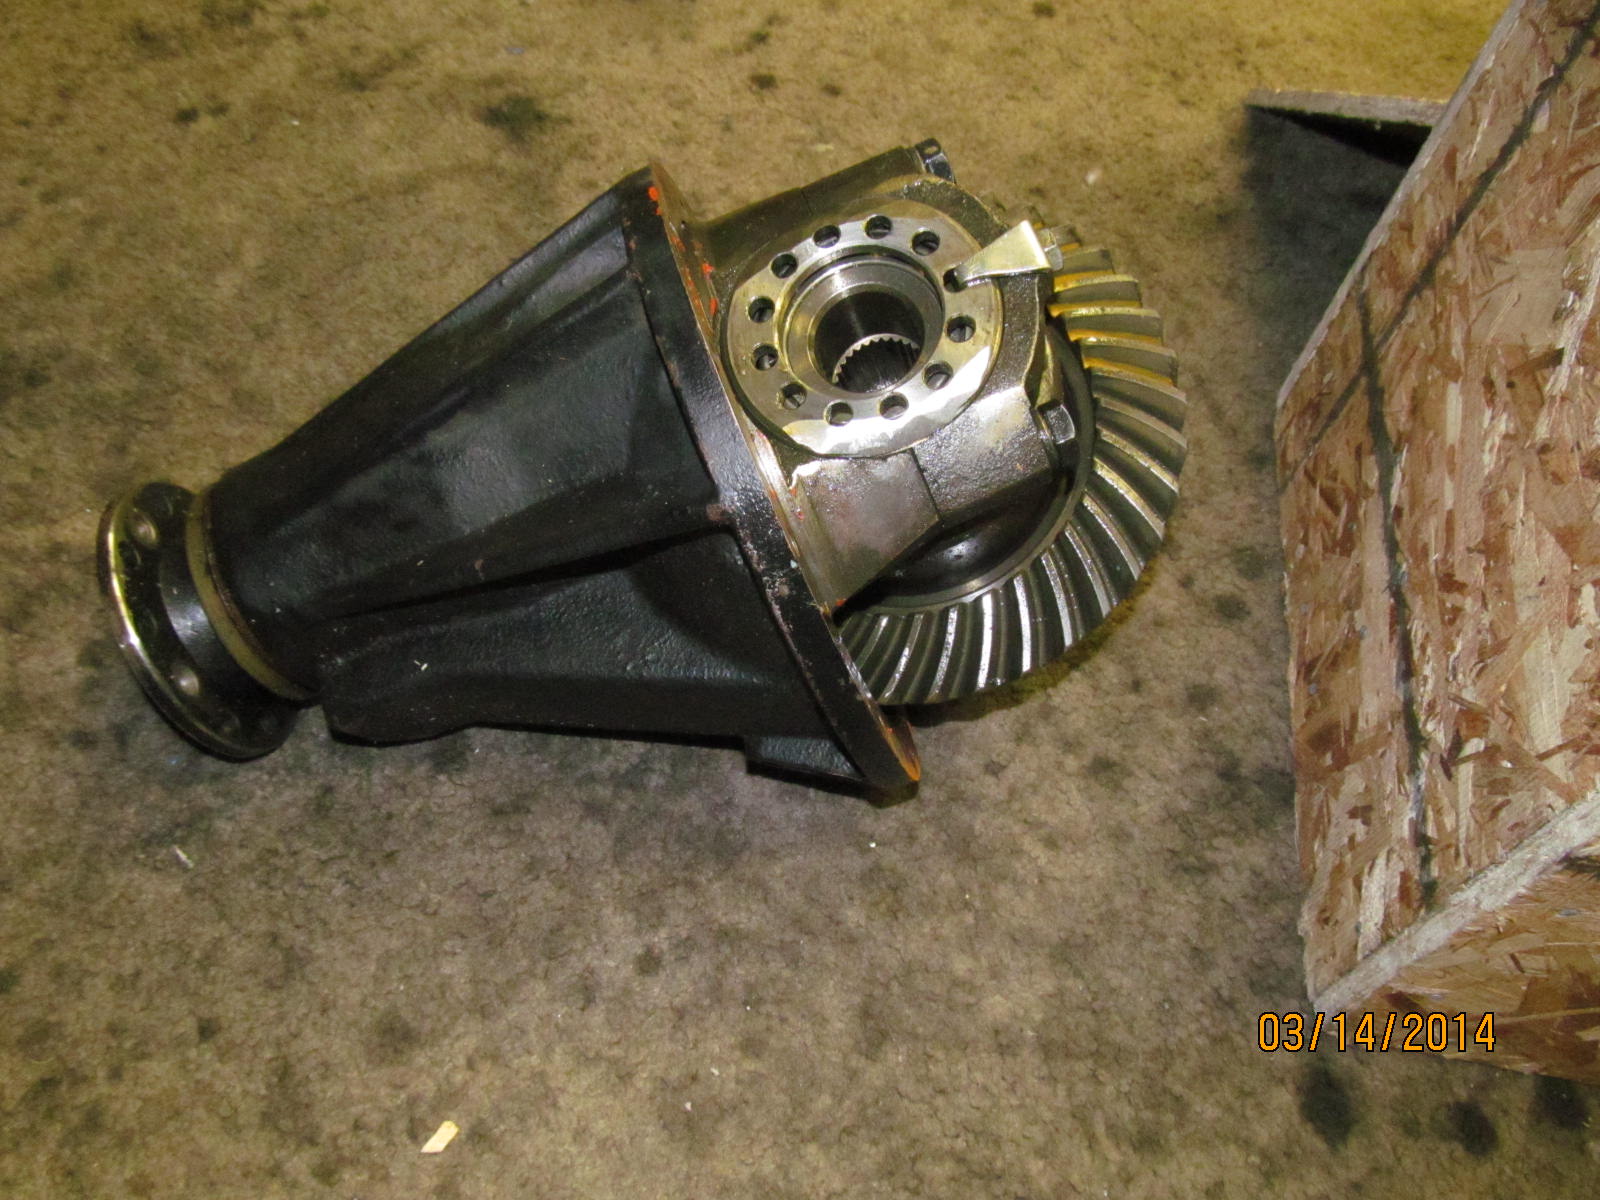
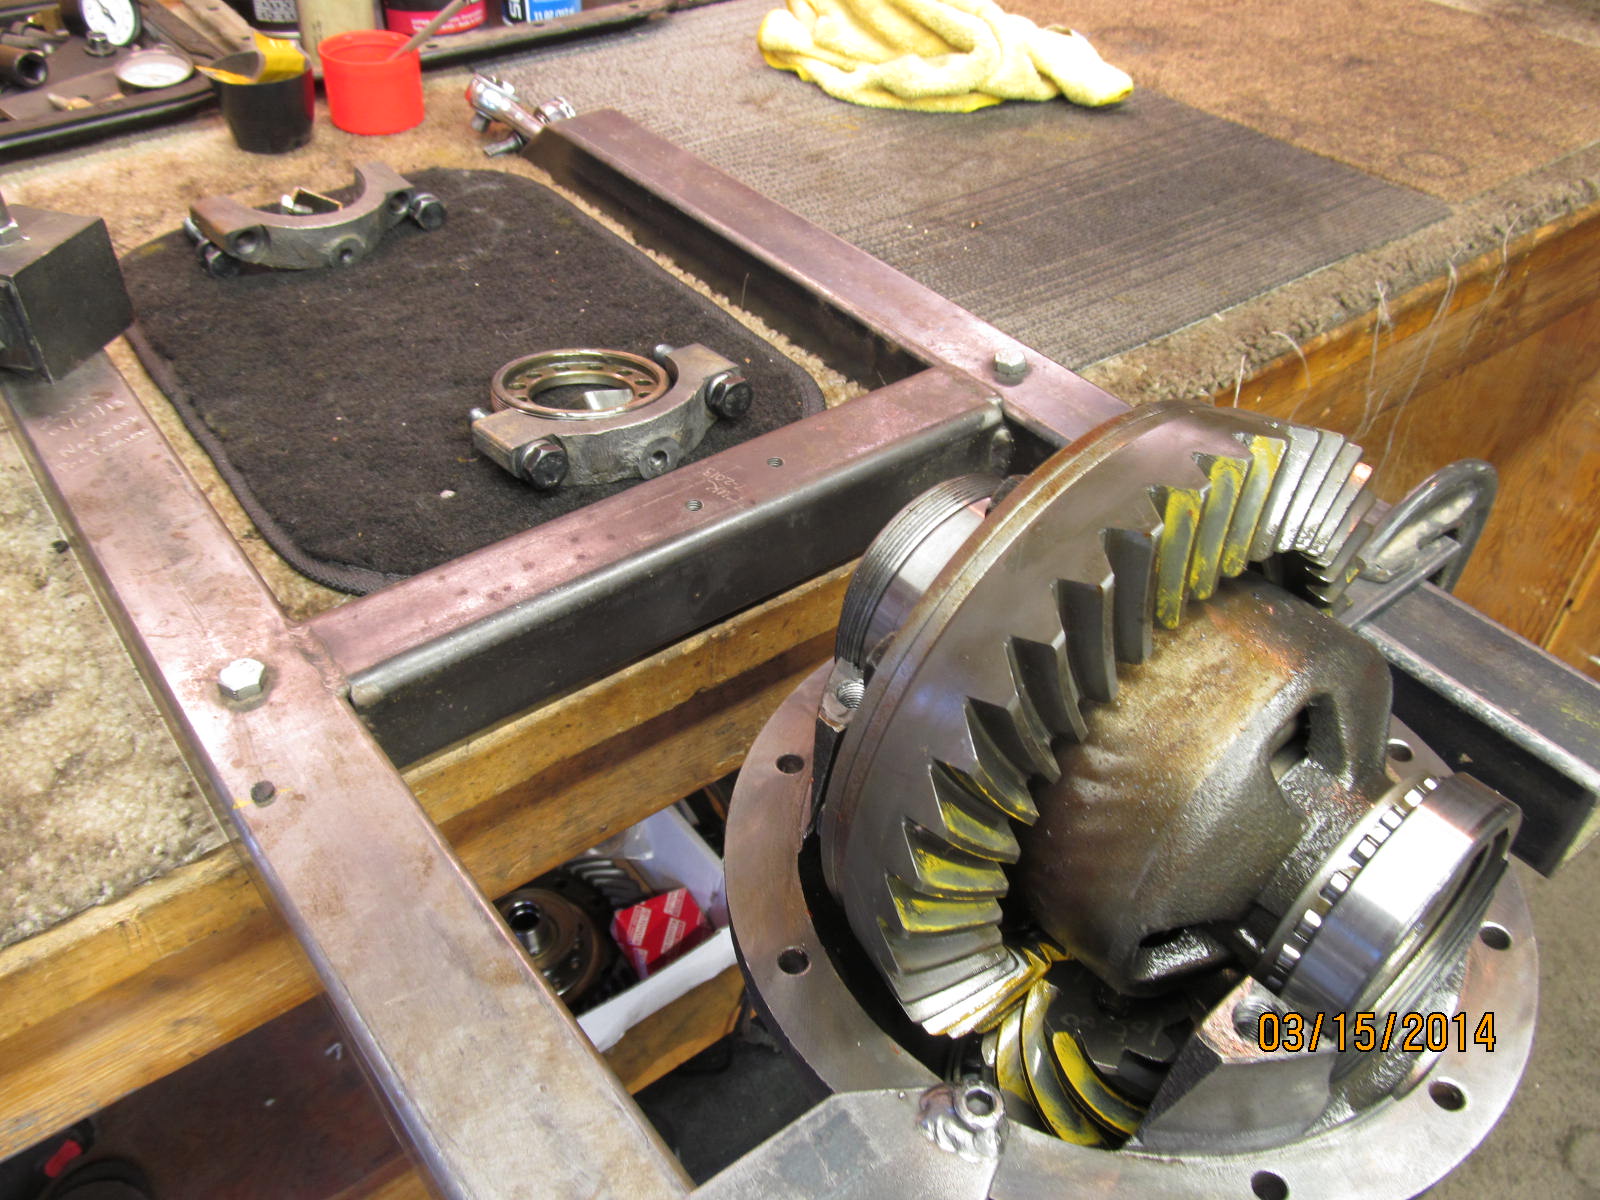
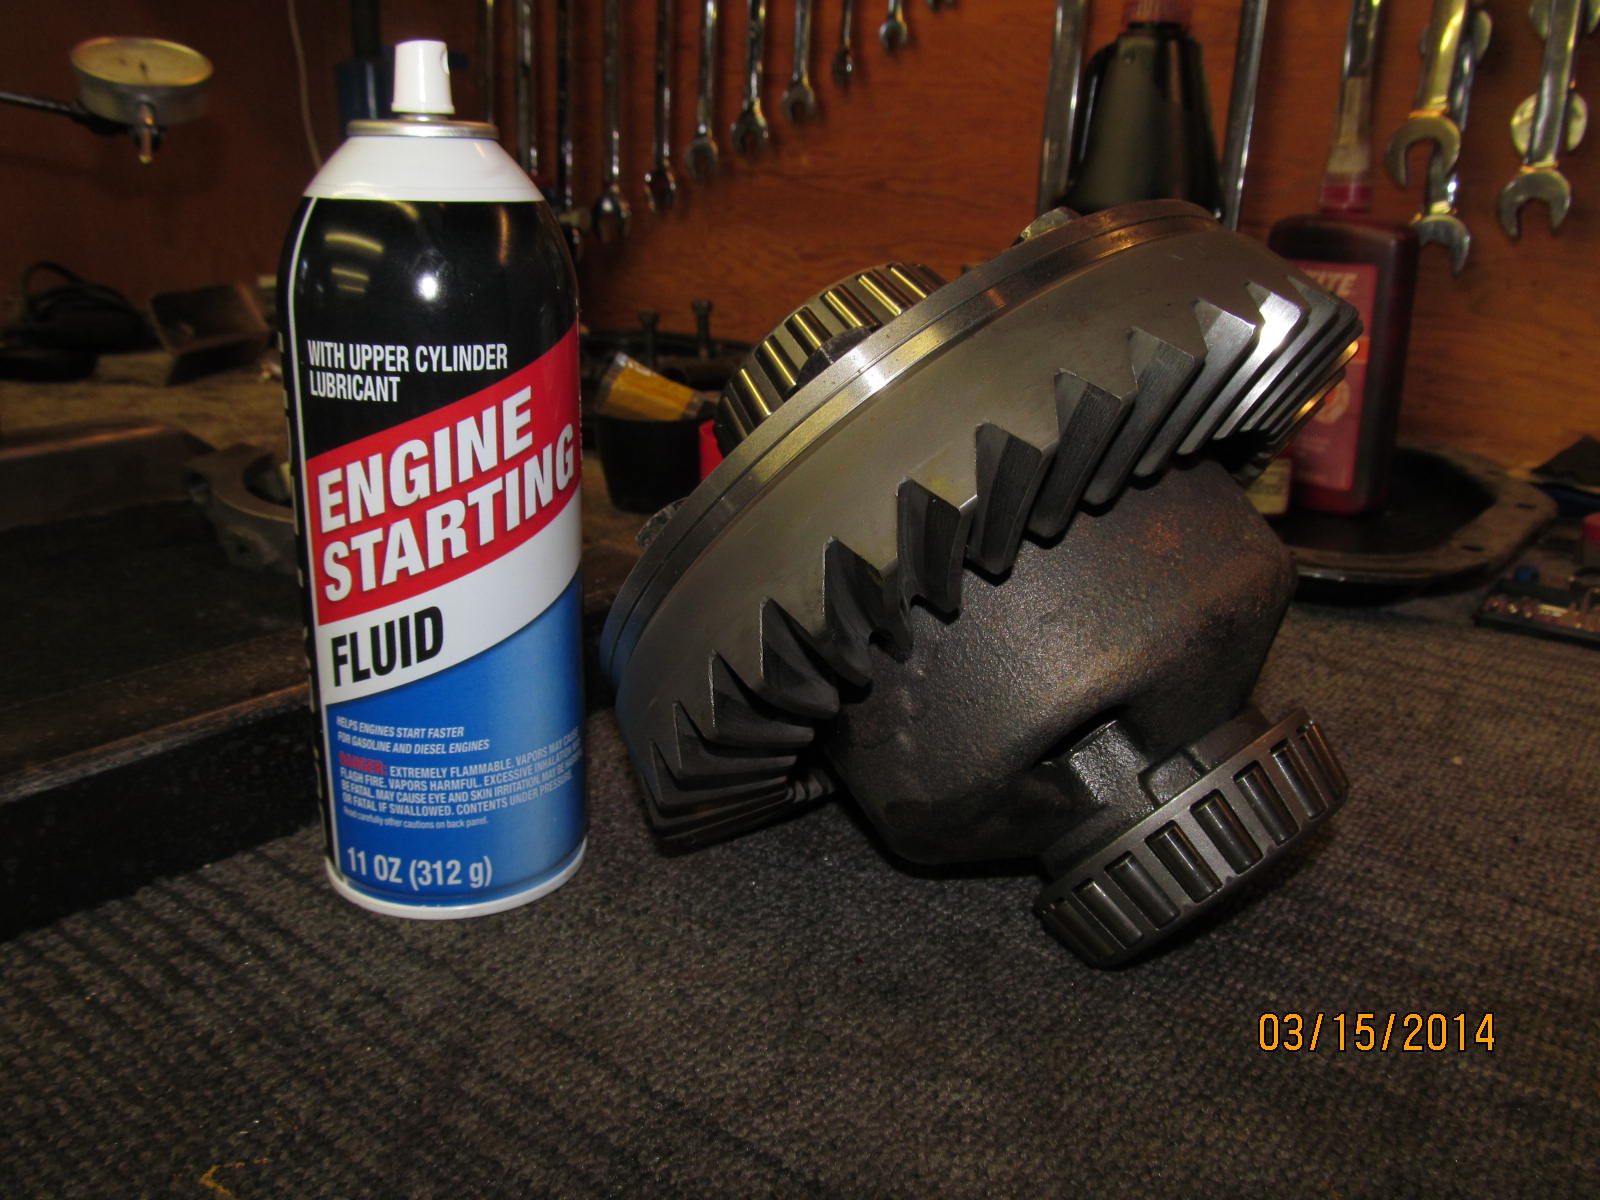
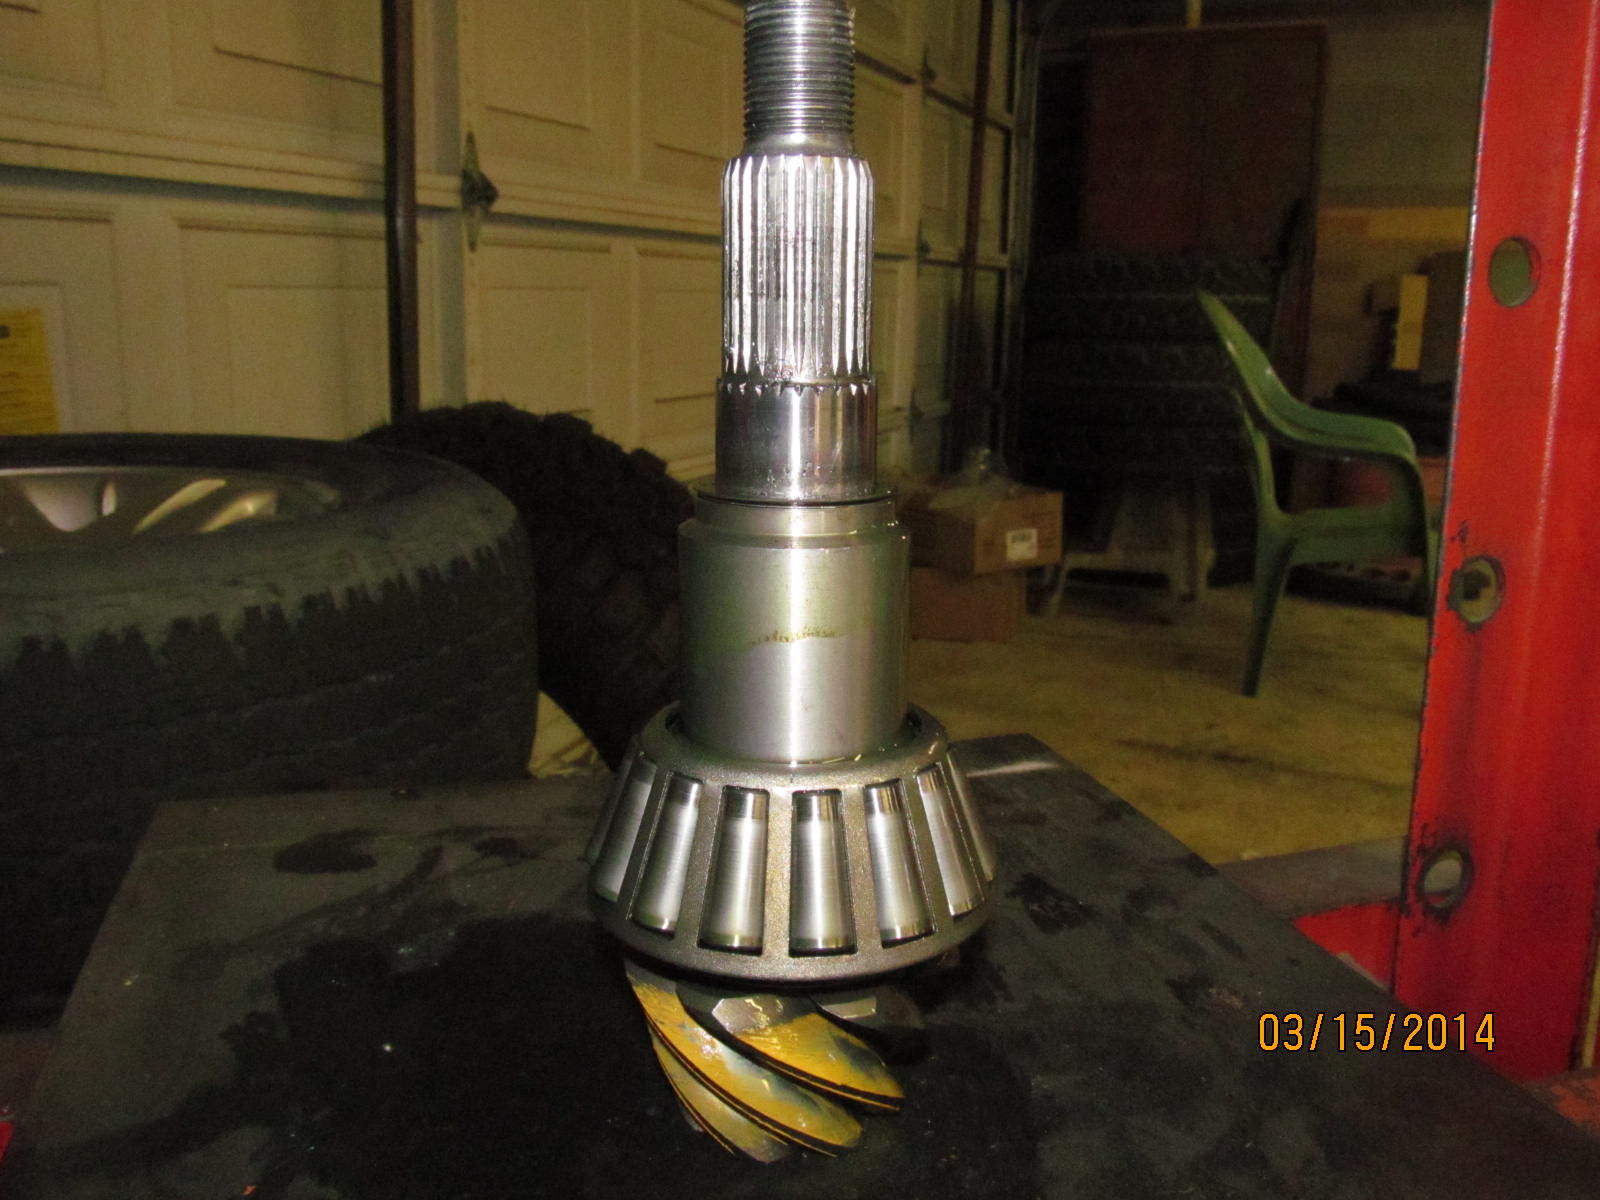
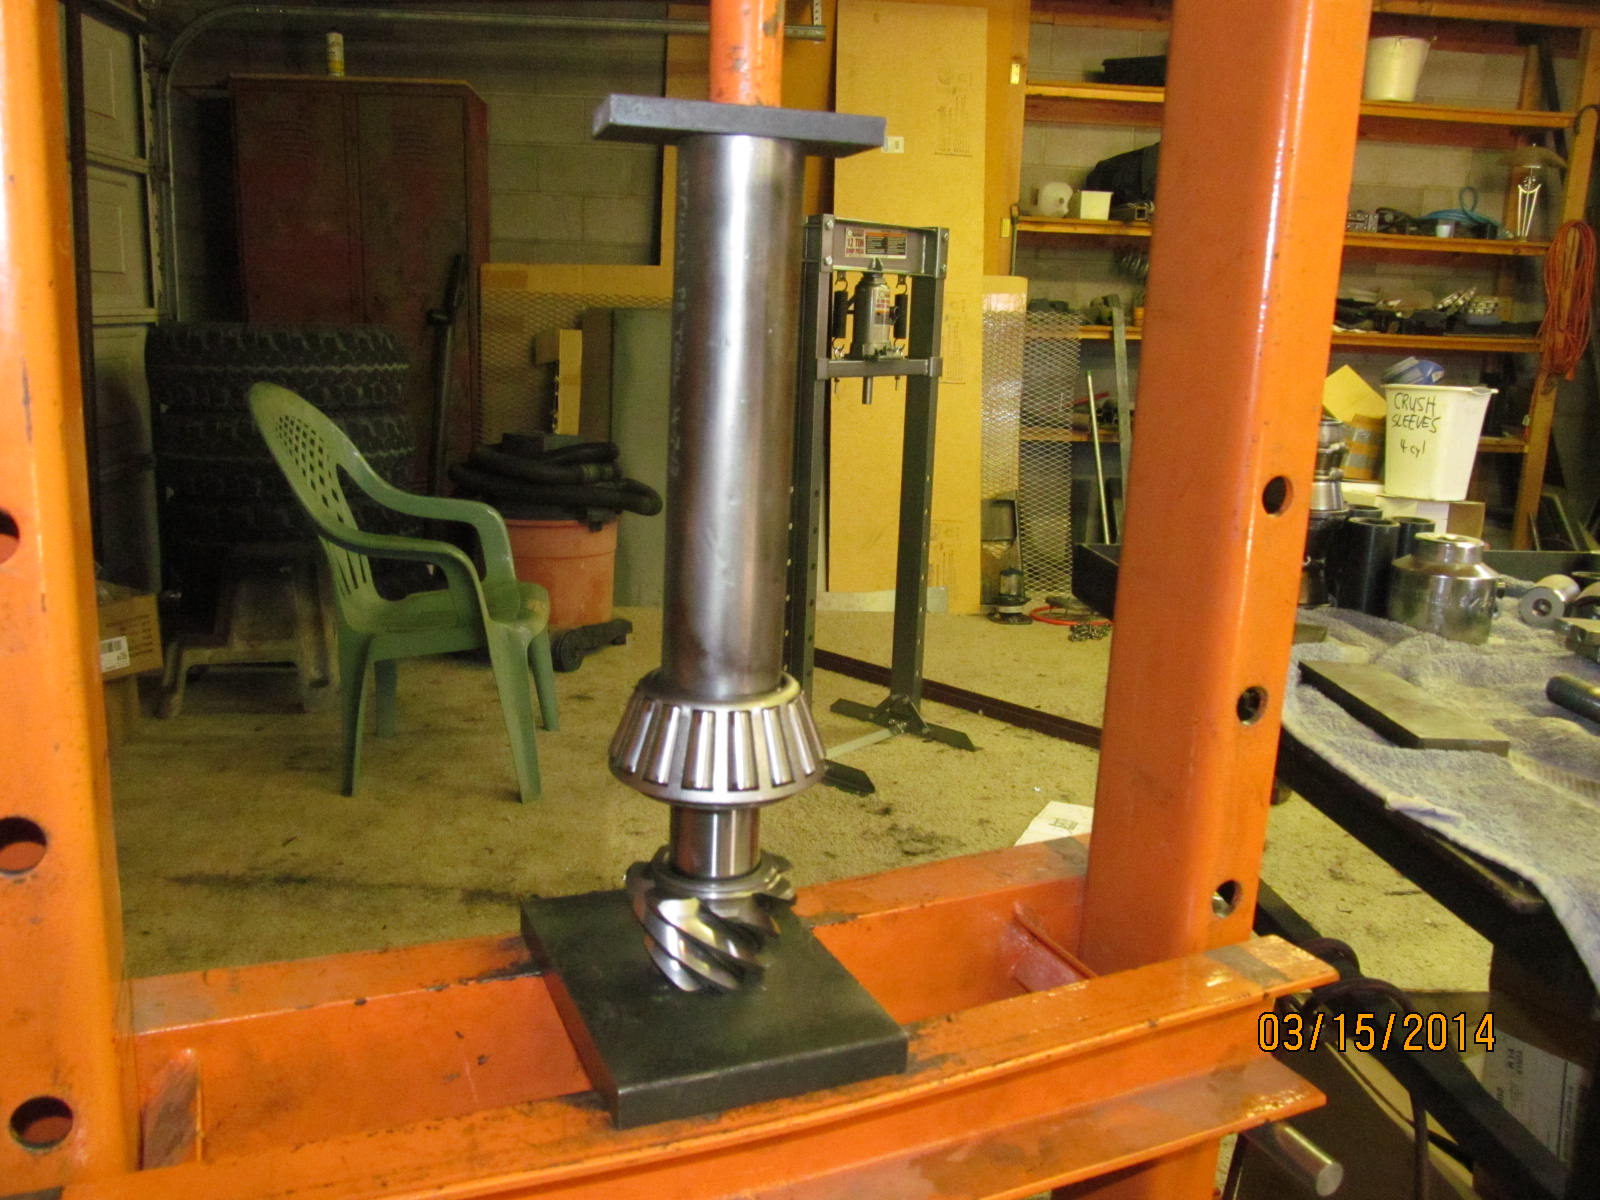
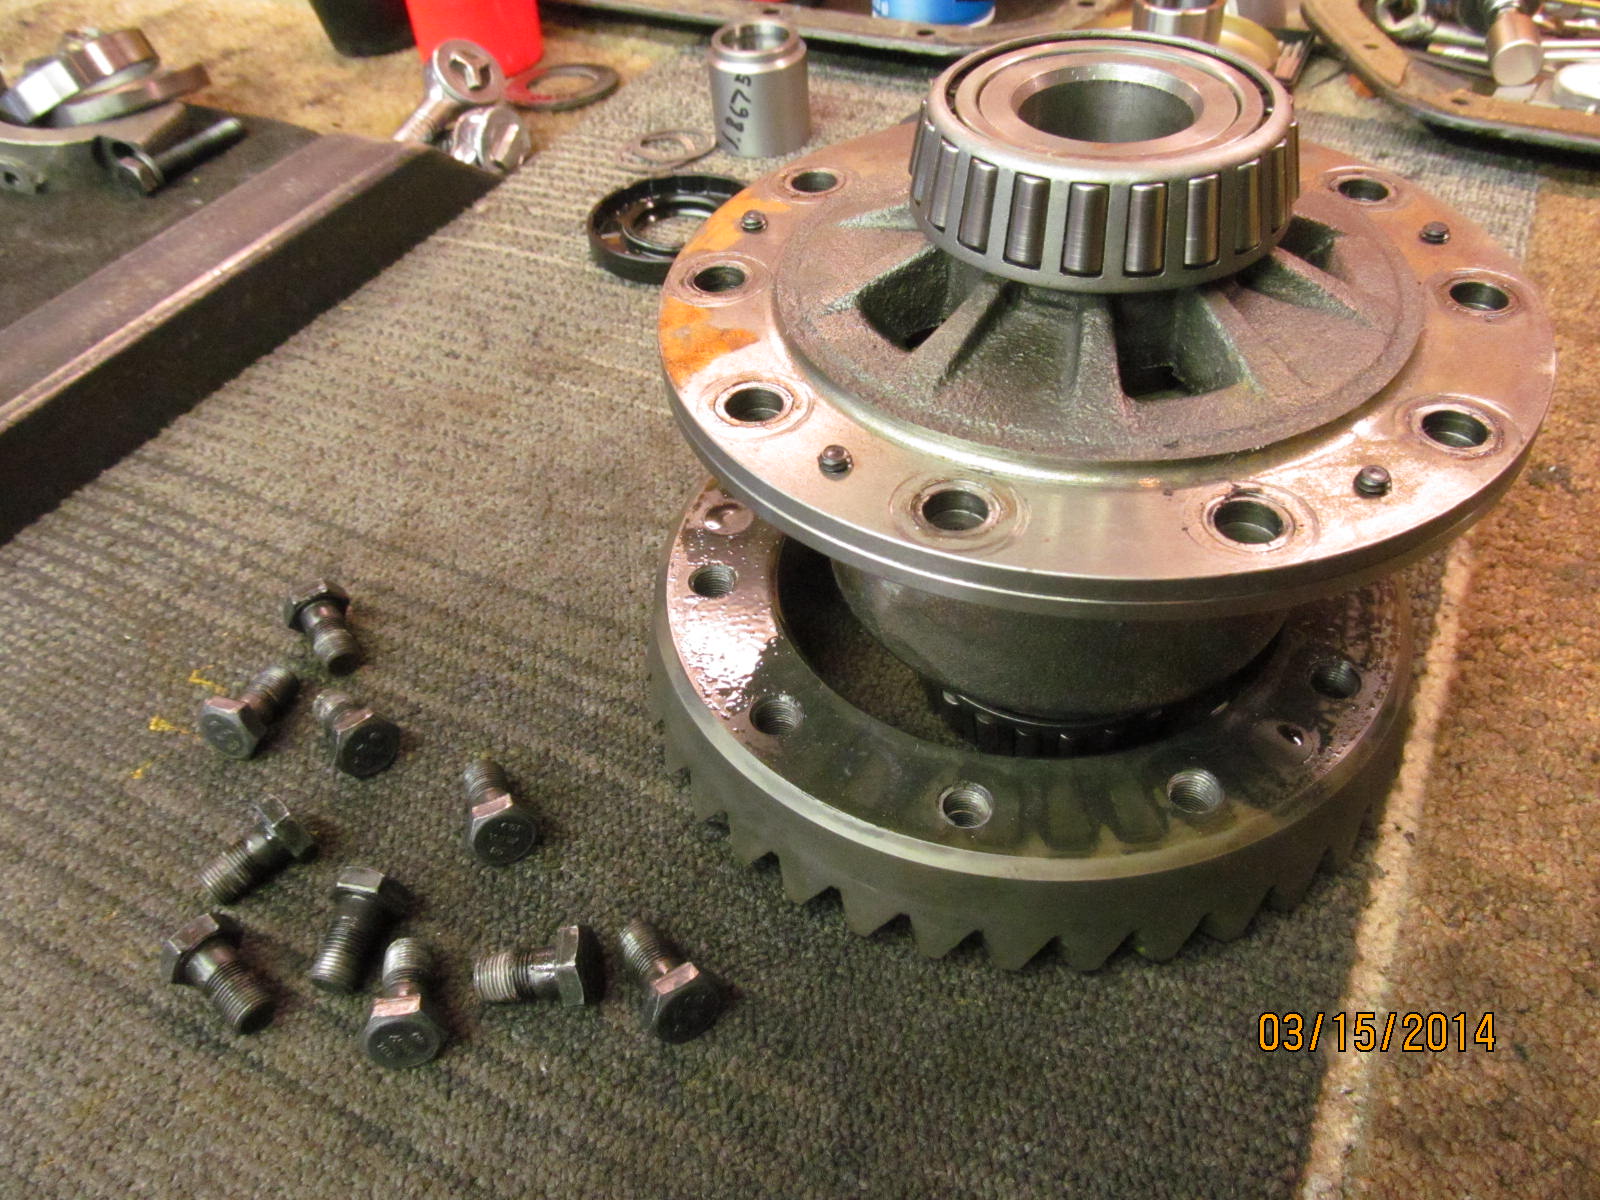
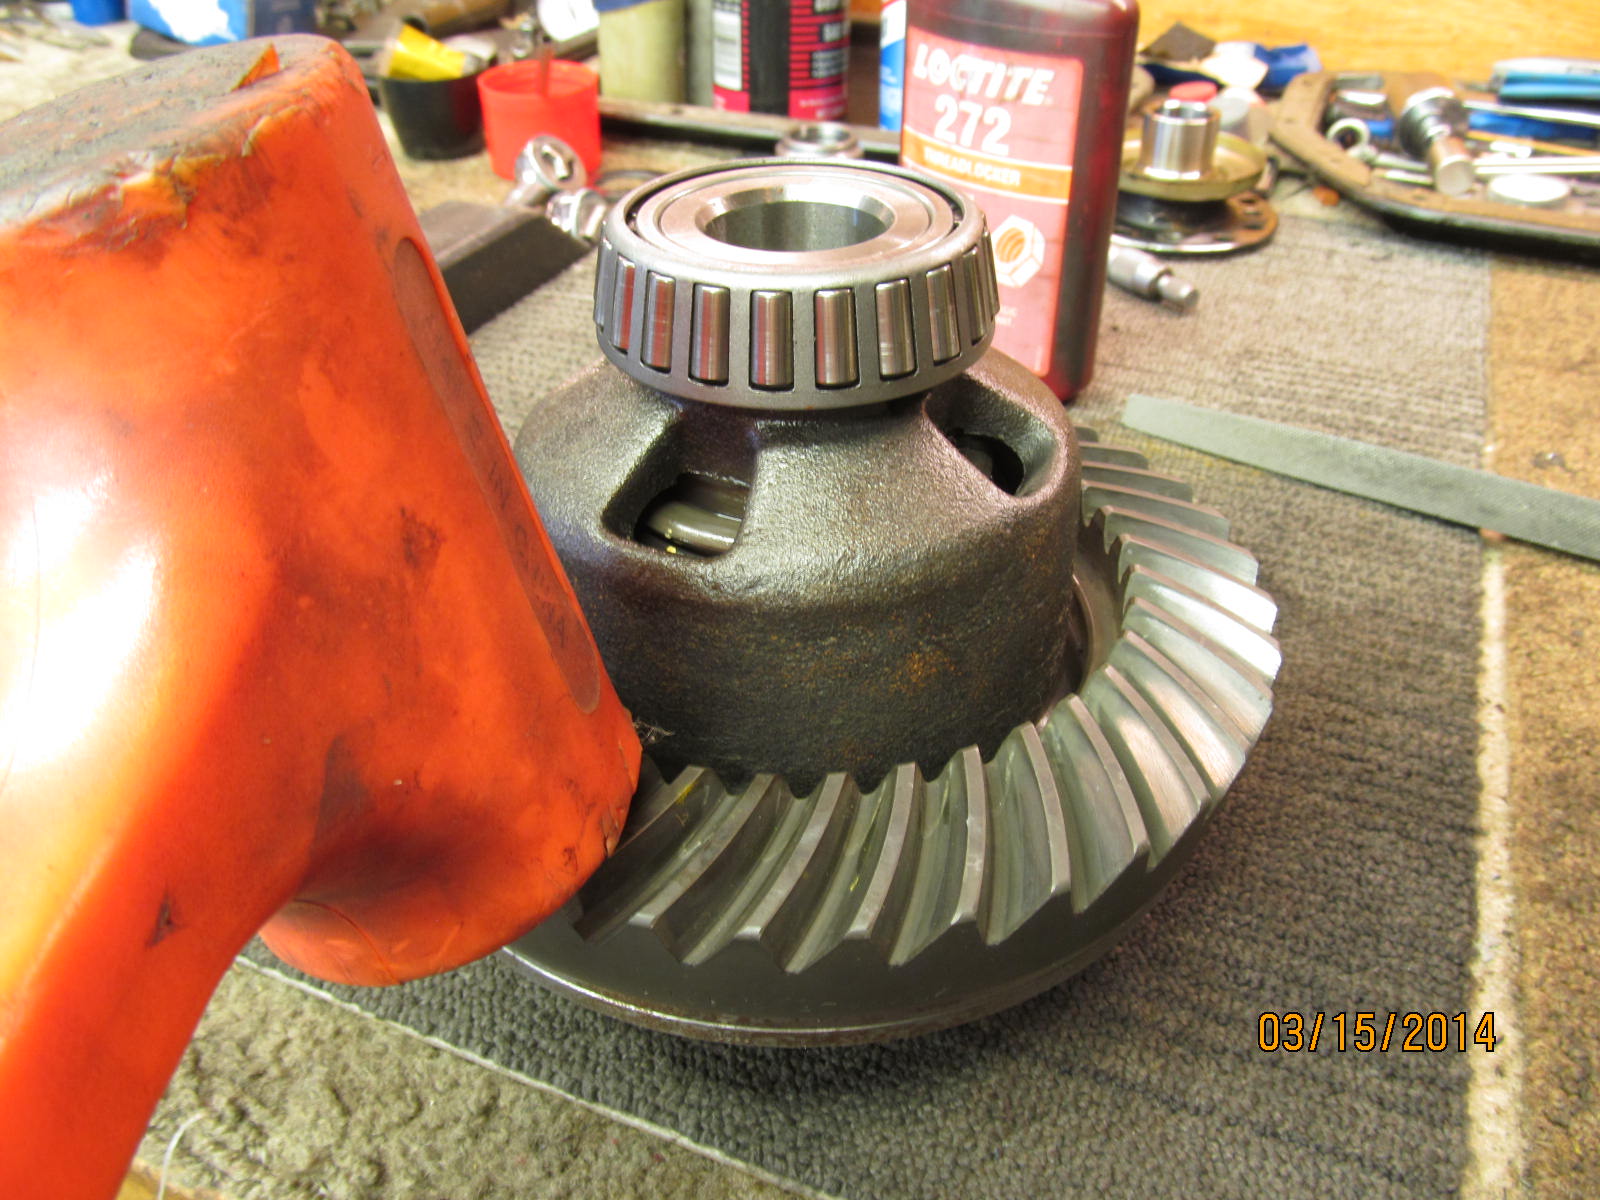
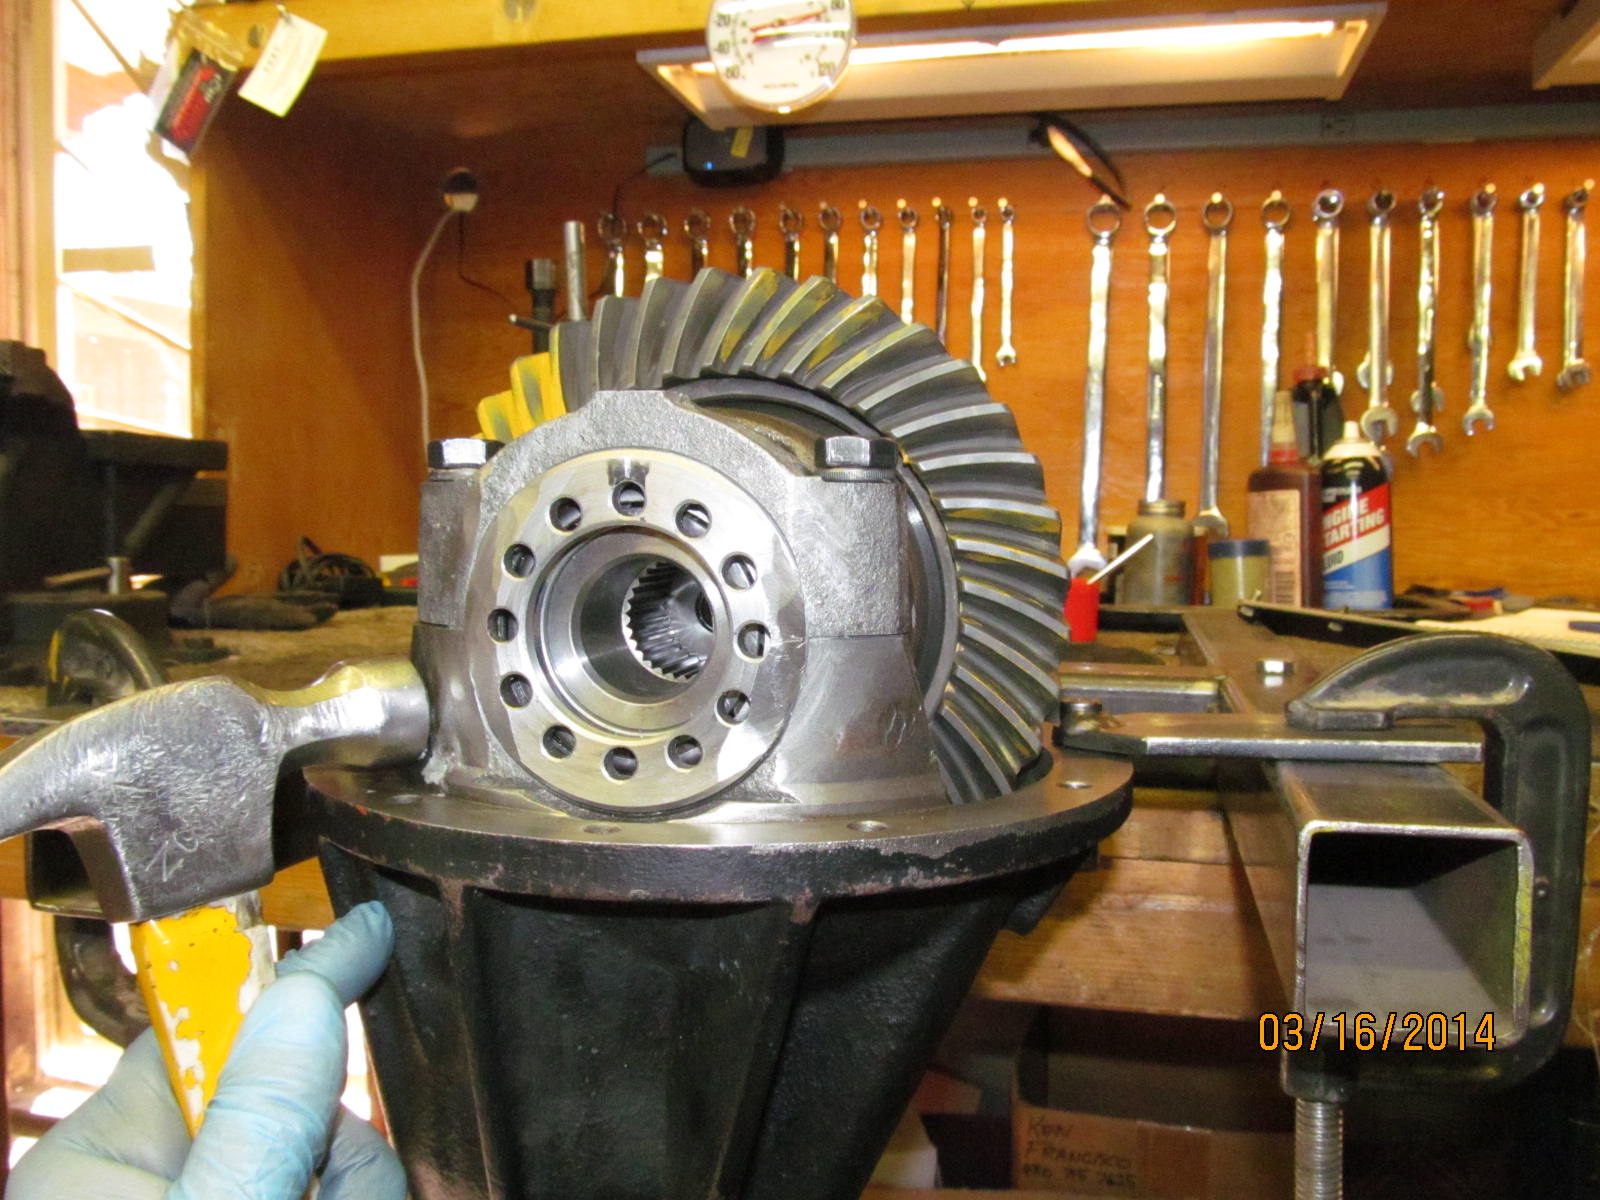
V6 3rd with 529 gears and a Detroit locker.
|
|
|
|
|
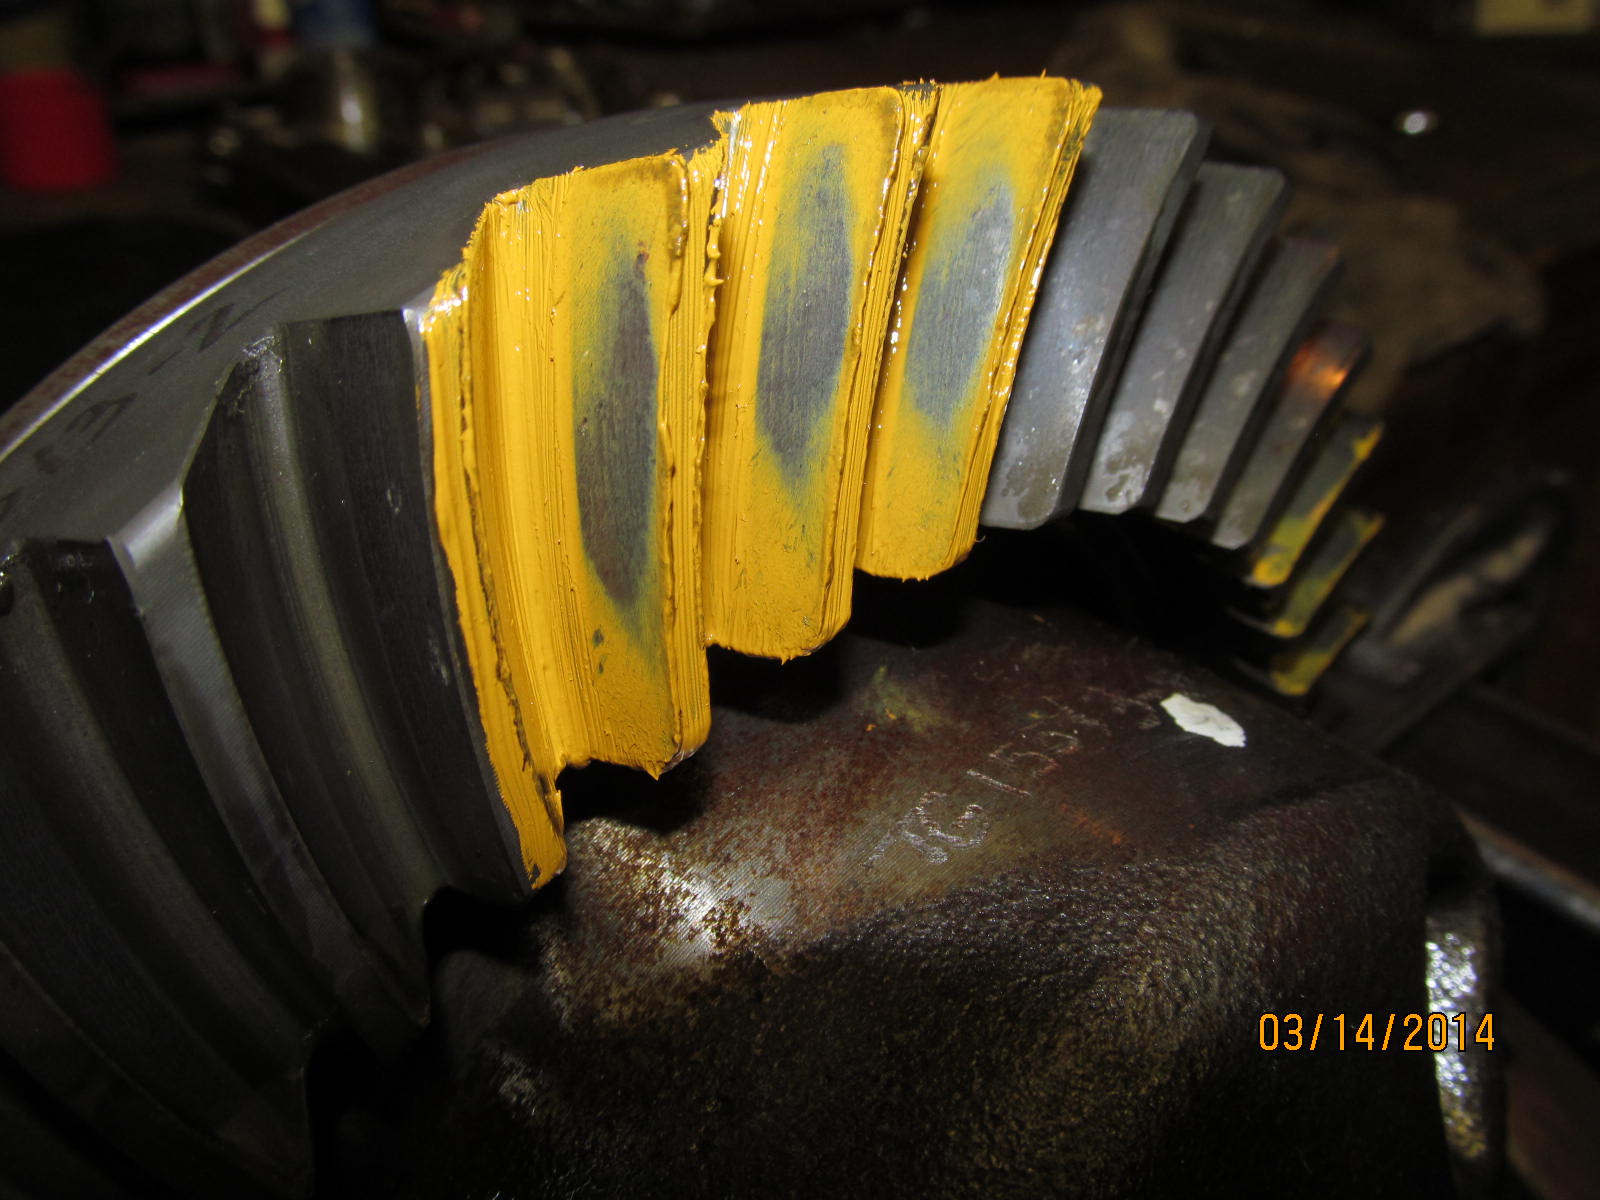
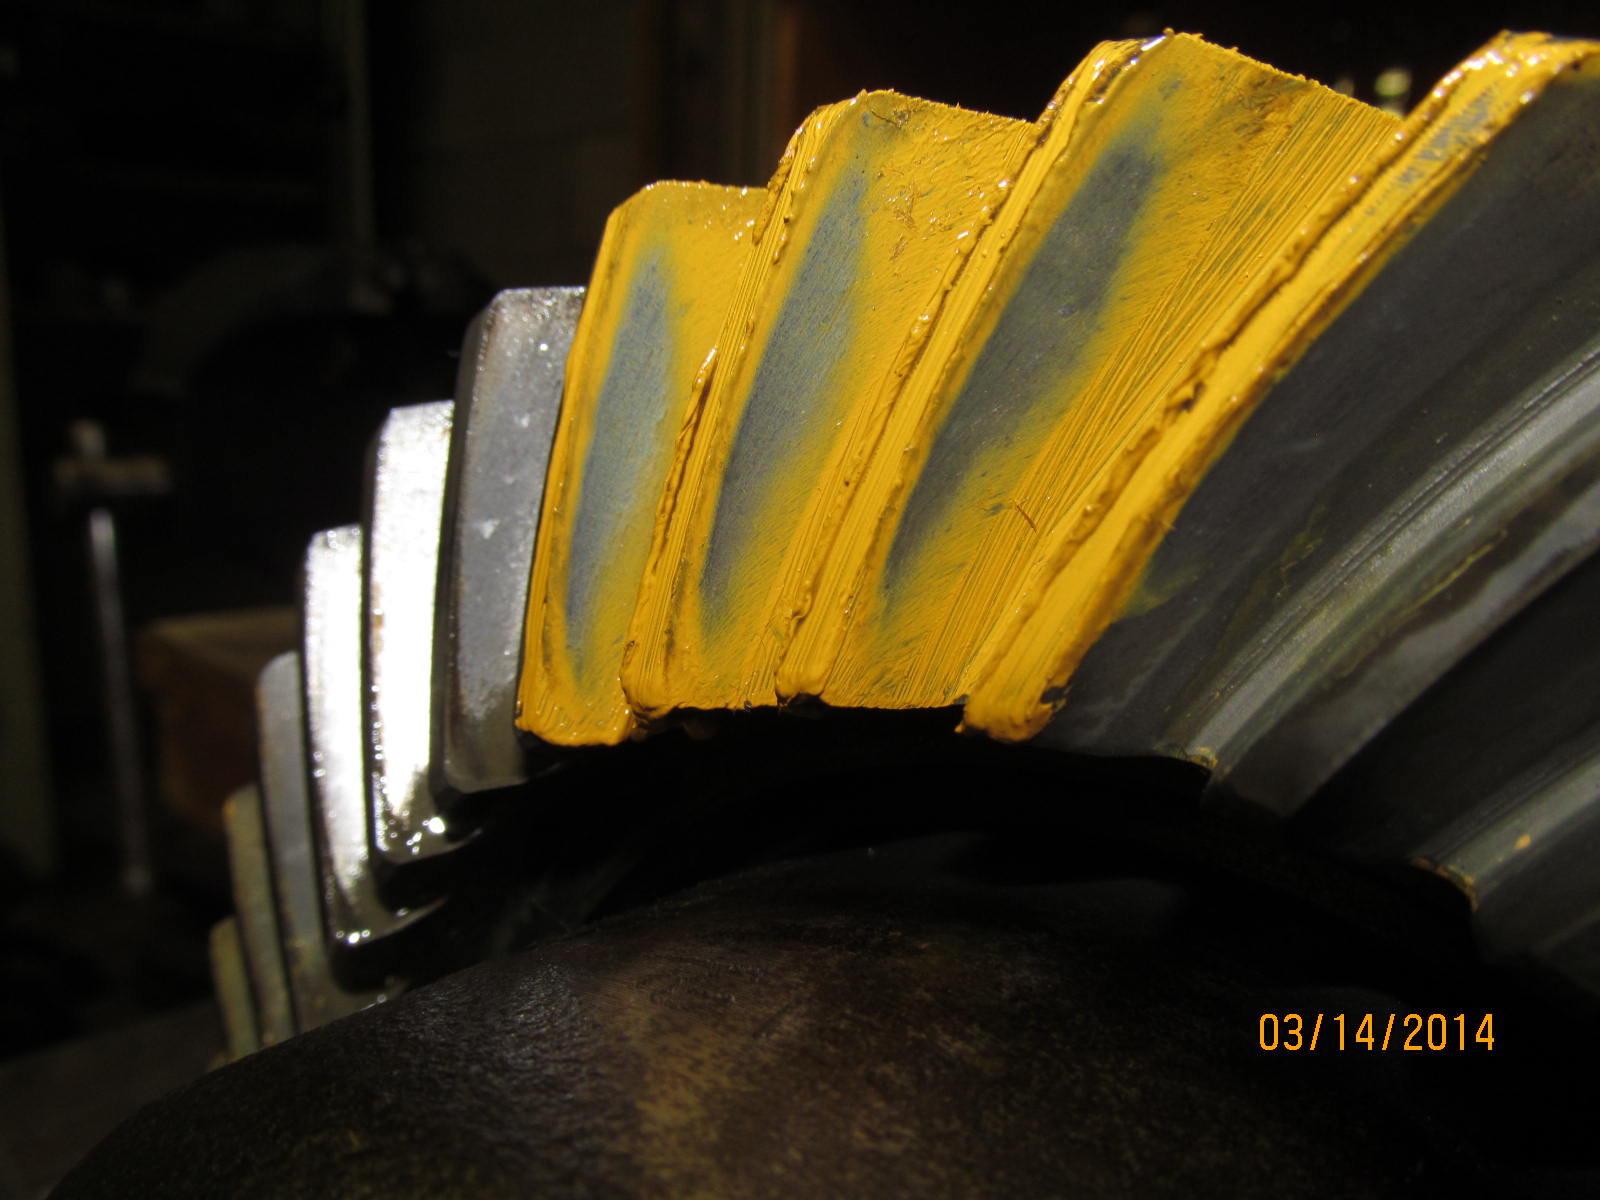
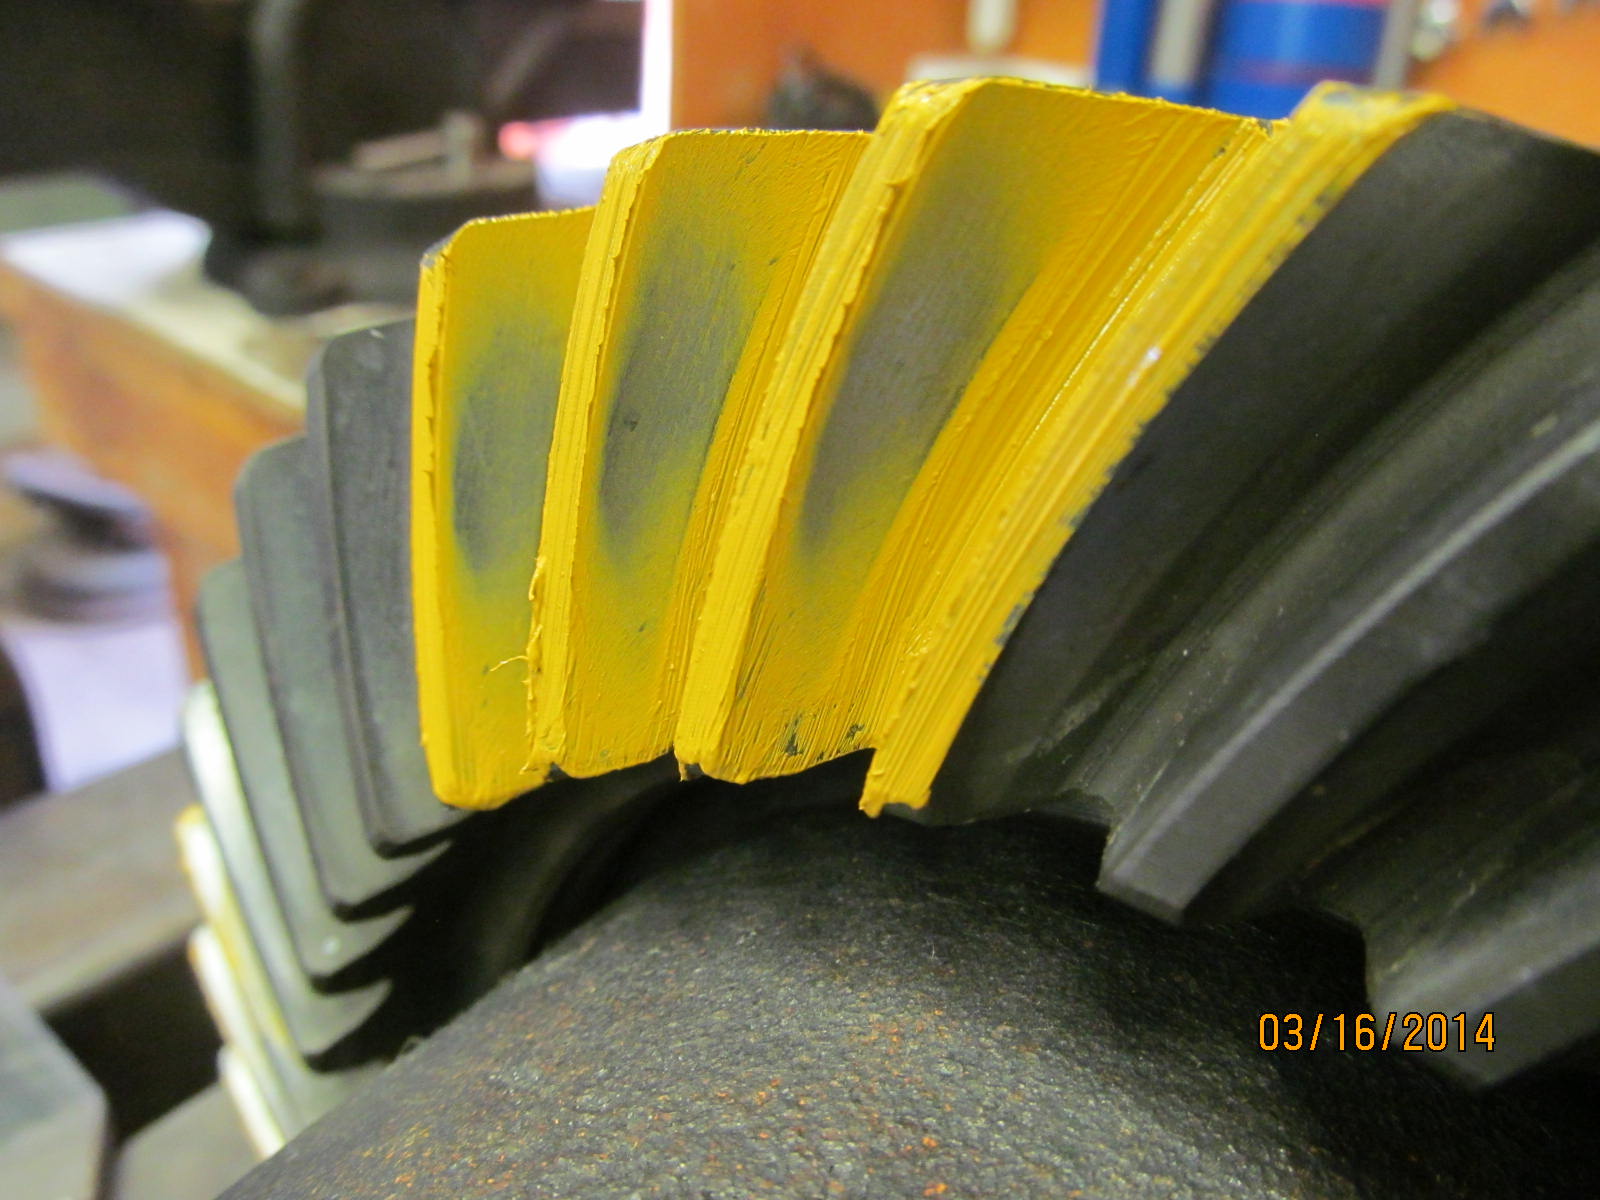
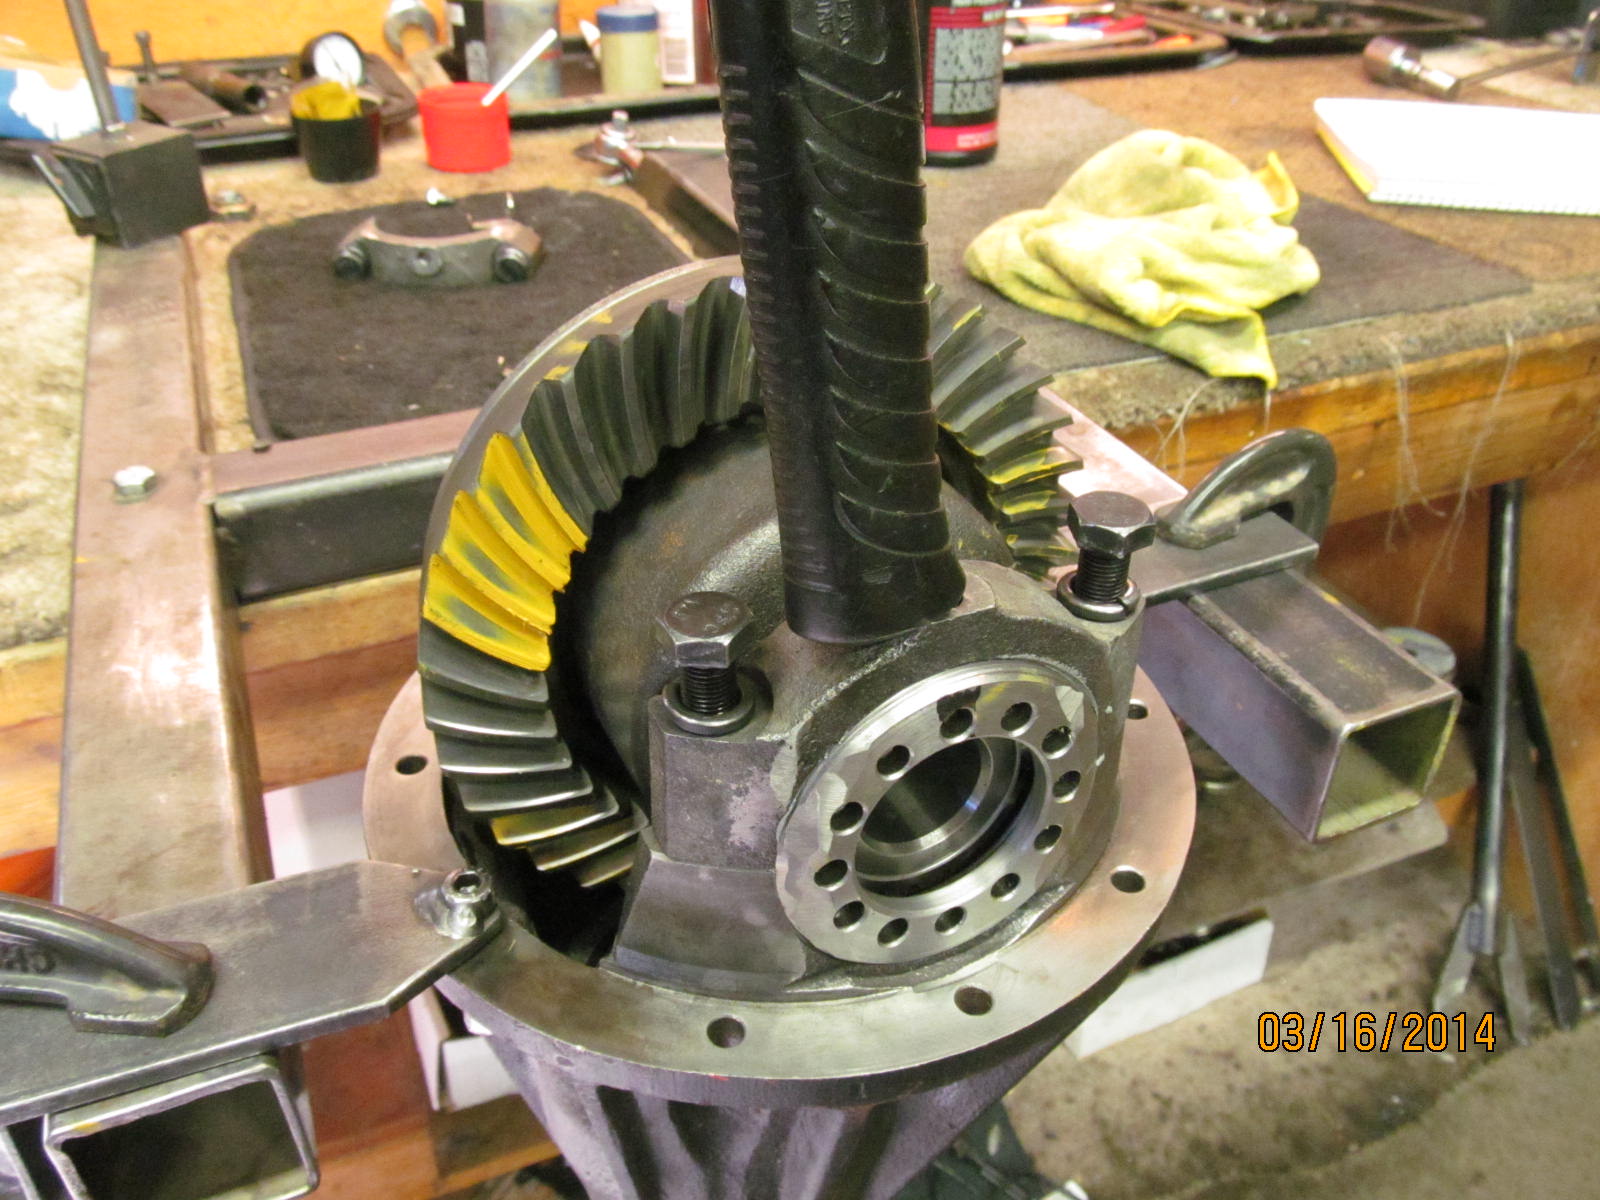
From the residual paint that was still there, he did not like the looks of the drive pattern.
|
|
|
|
|
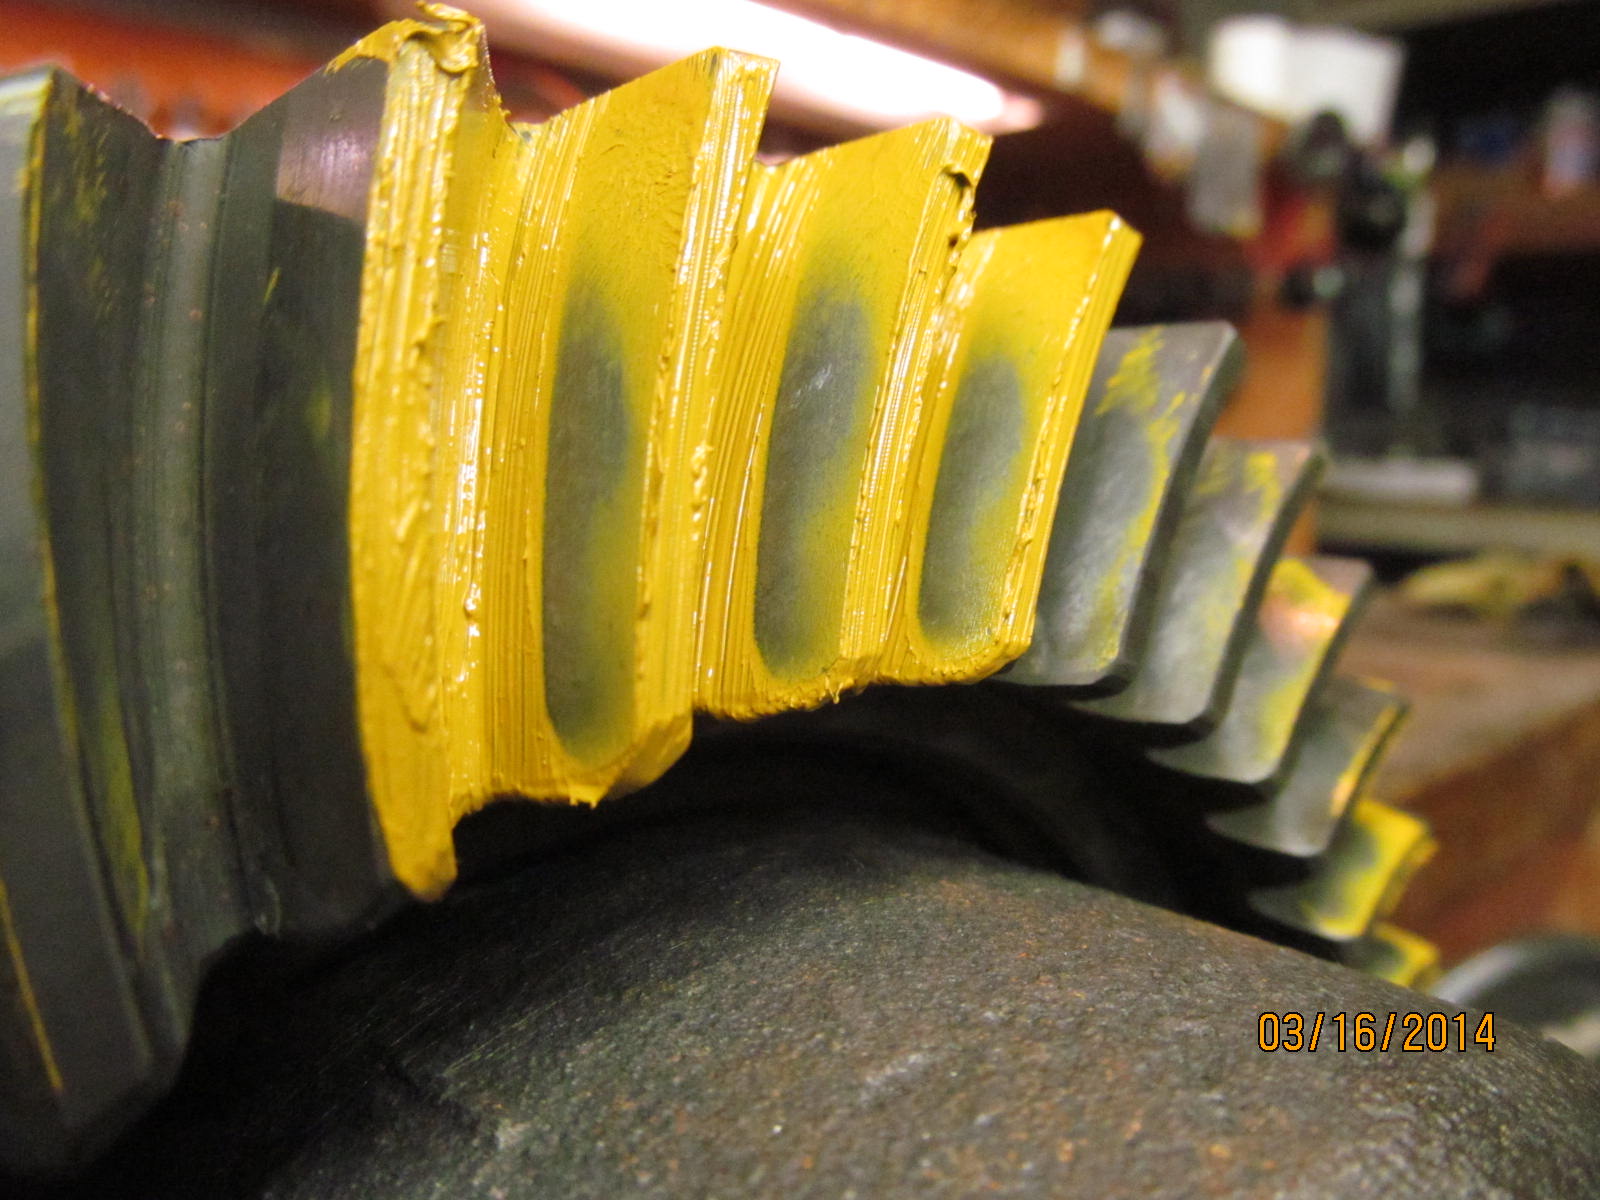
I did a quick paint and all became obvious...drive side really does appear shallow and too close to the heel end.
|
|
|
|
|
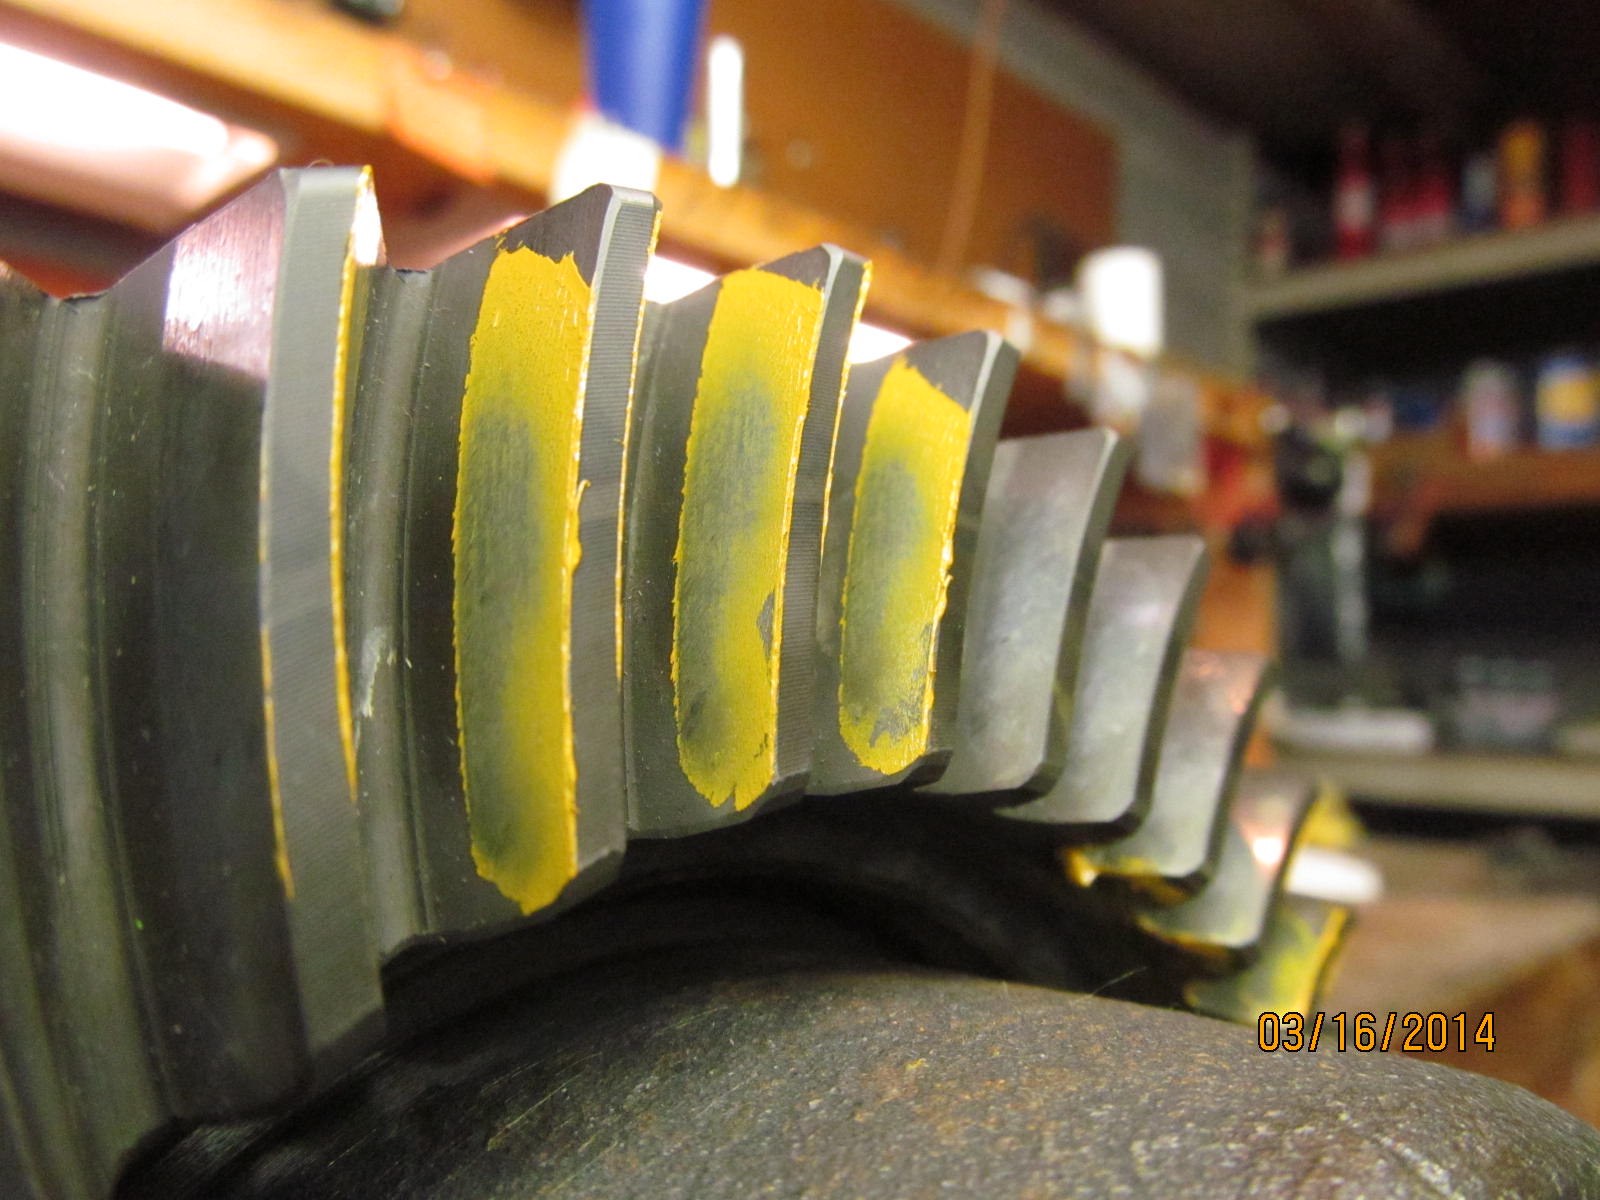
Coast side is favoring the top edges....shallow.
|
|
|
|
|
Comet tail is tucked into the deep root.
|
|
|
|
|
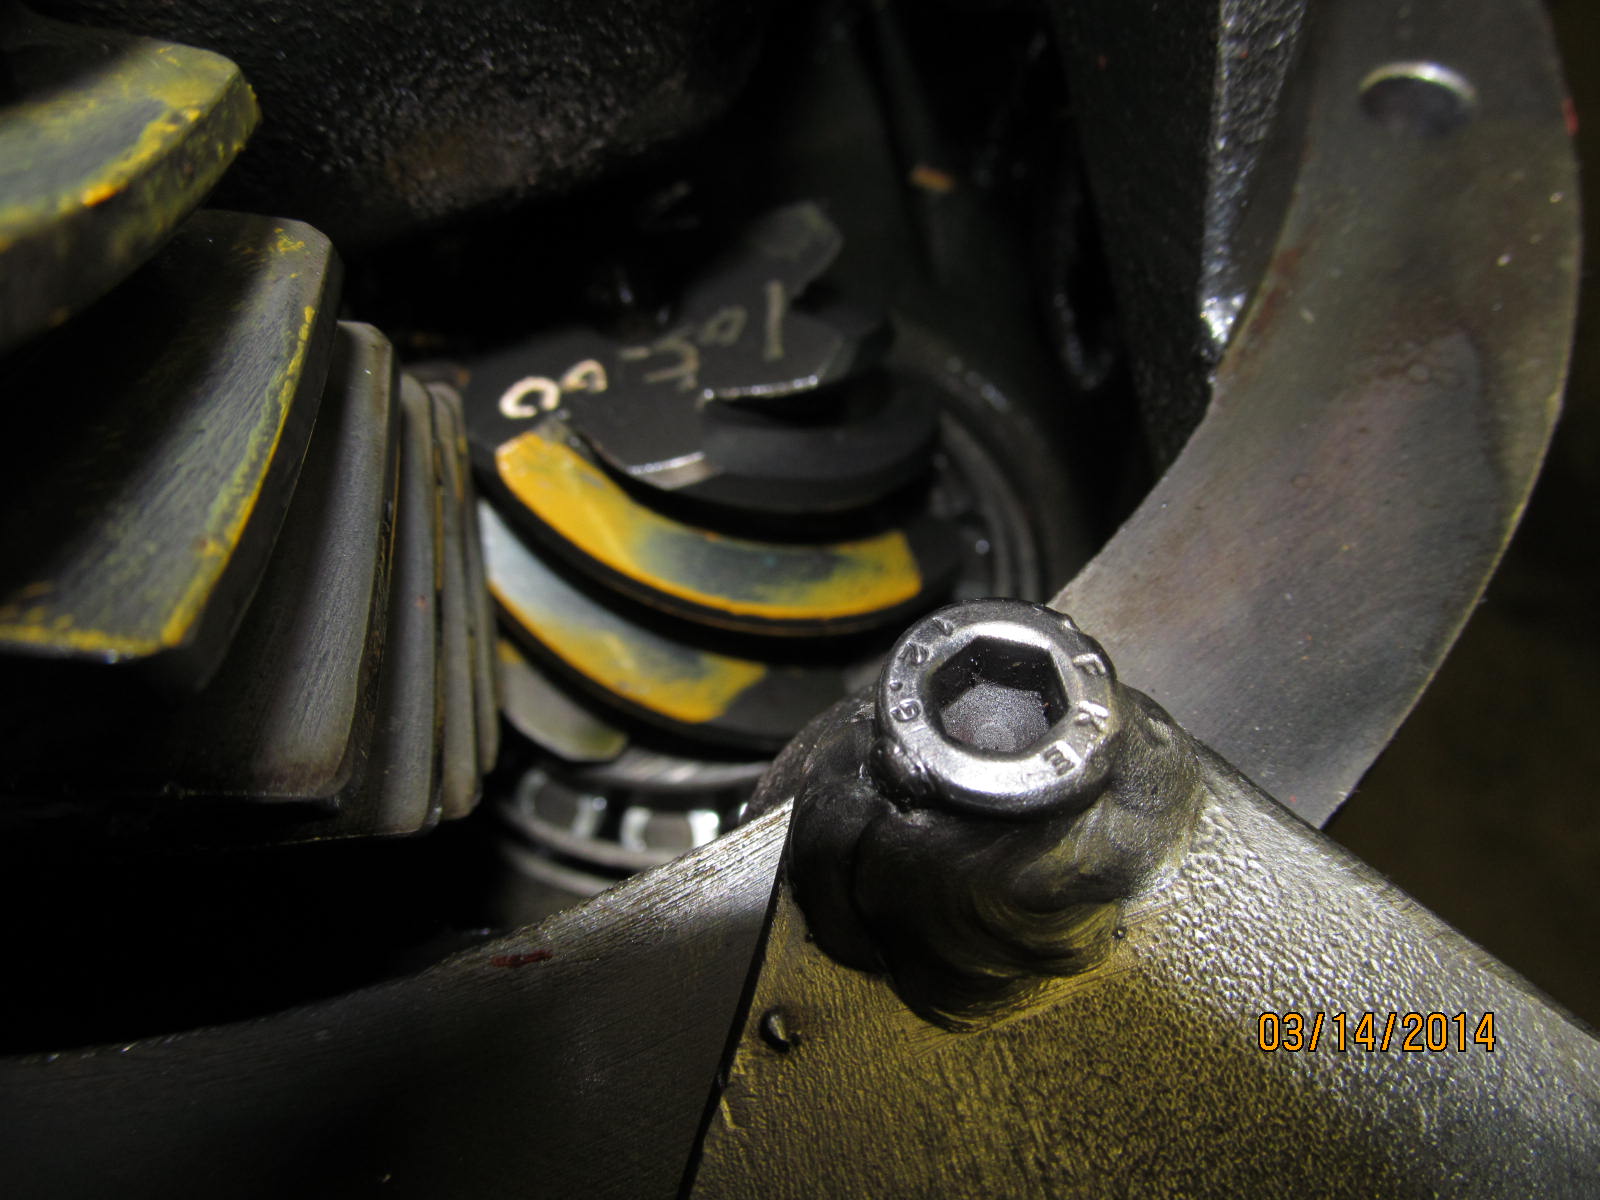
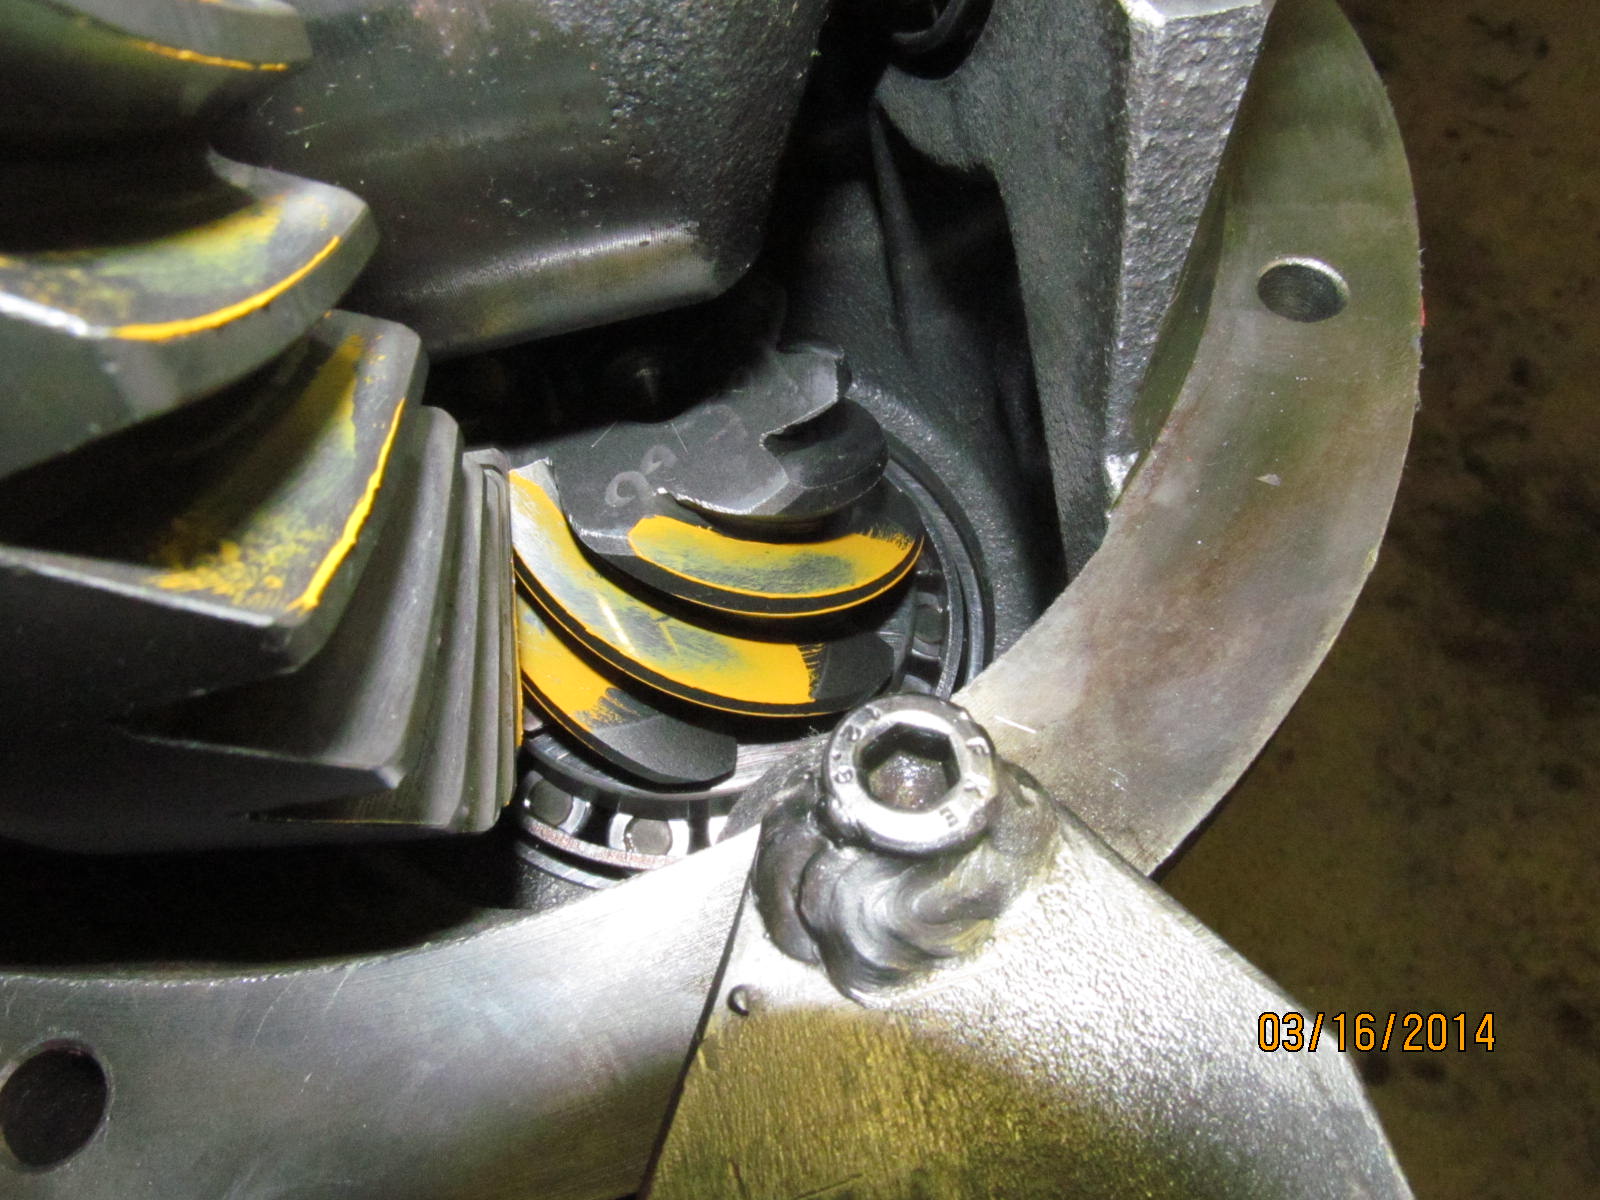
Dis-assembly begins. Of note is that the carrier bearing adjusters were set tight just like they should be...good grade there.
|
|
|
|
|
Carrier bearing races are ok. Nothing special going on here.
|
|
|
|
|
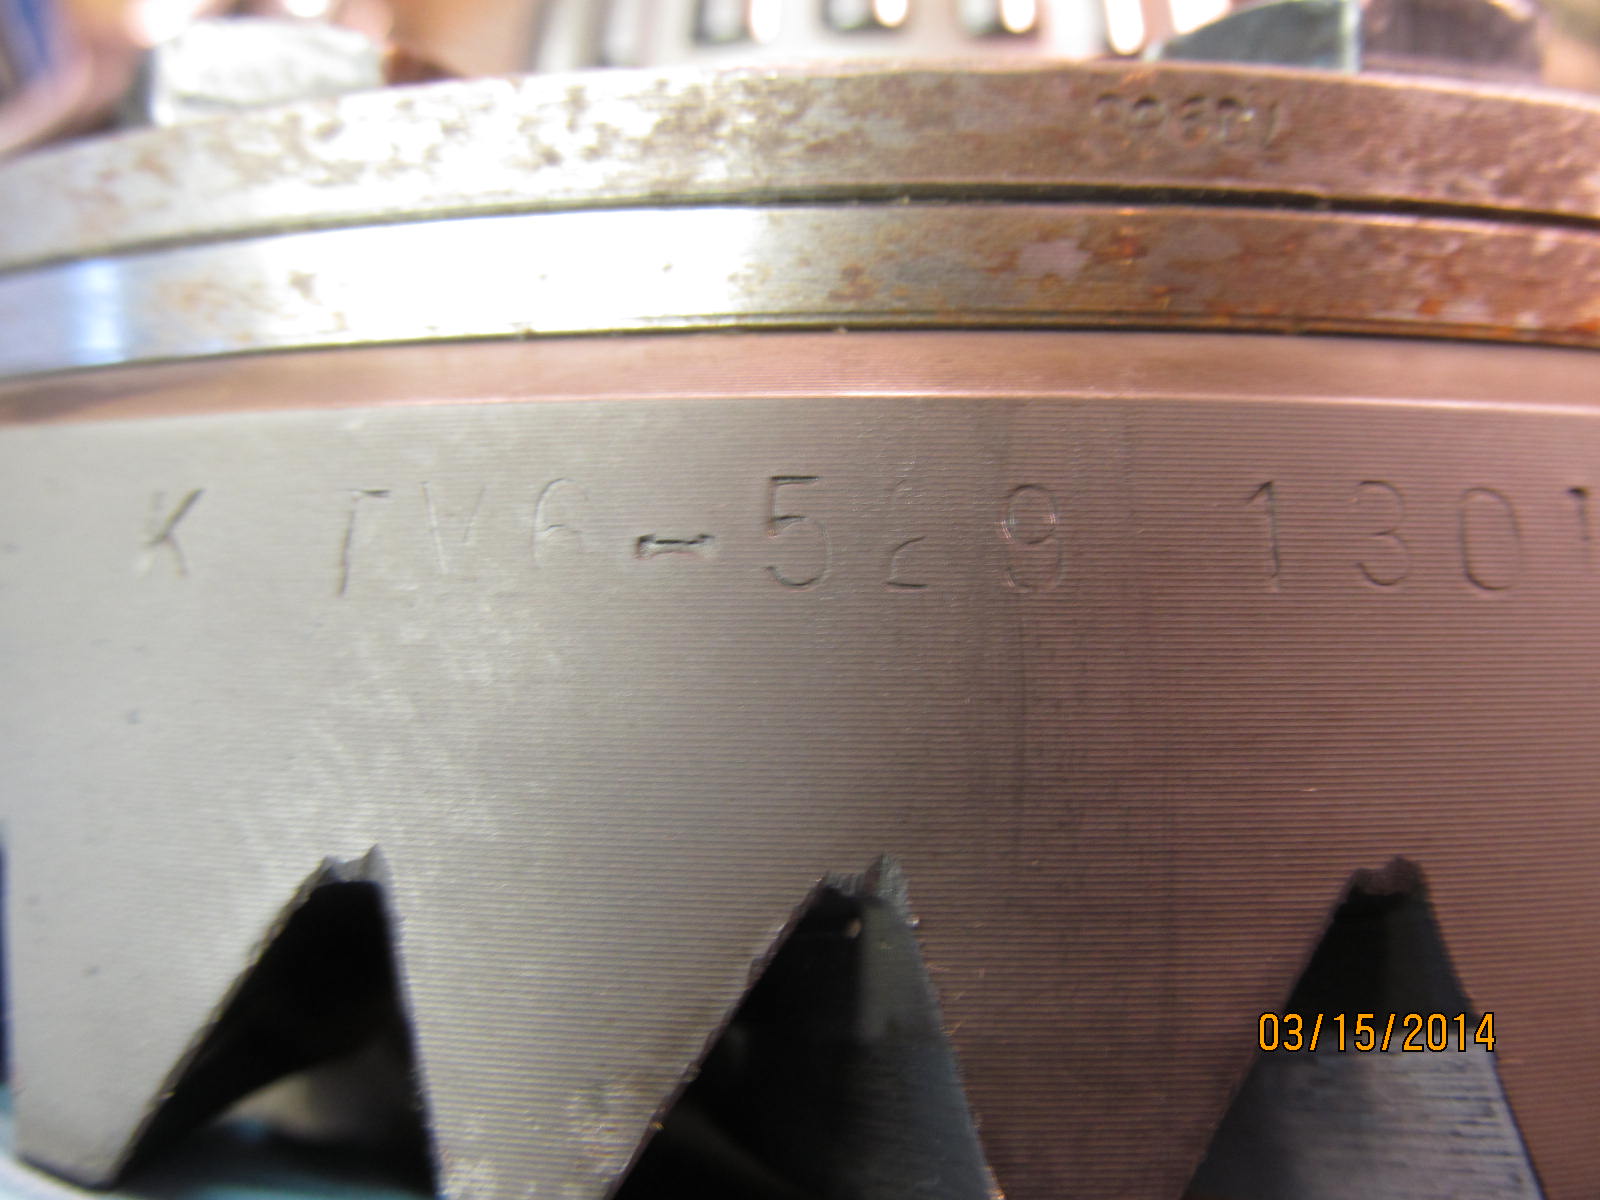
"K TV6-529 1301" is stamped on the ring gear. Not 100% sure what to think of these gears yet.
|
|
|
|
|
I use 1 or 2 cans of ether per gear install to efficiently remove the gear oils. No smoking please.
|
|
|
|
|
The pinion drag feels 'notchy'....stiff at first and then frees up as it is turned. Wobble is not a problem with this one.
|
|
|
|
|
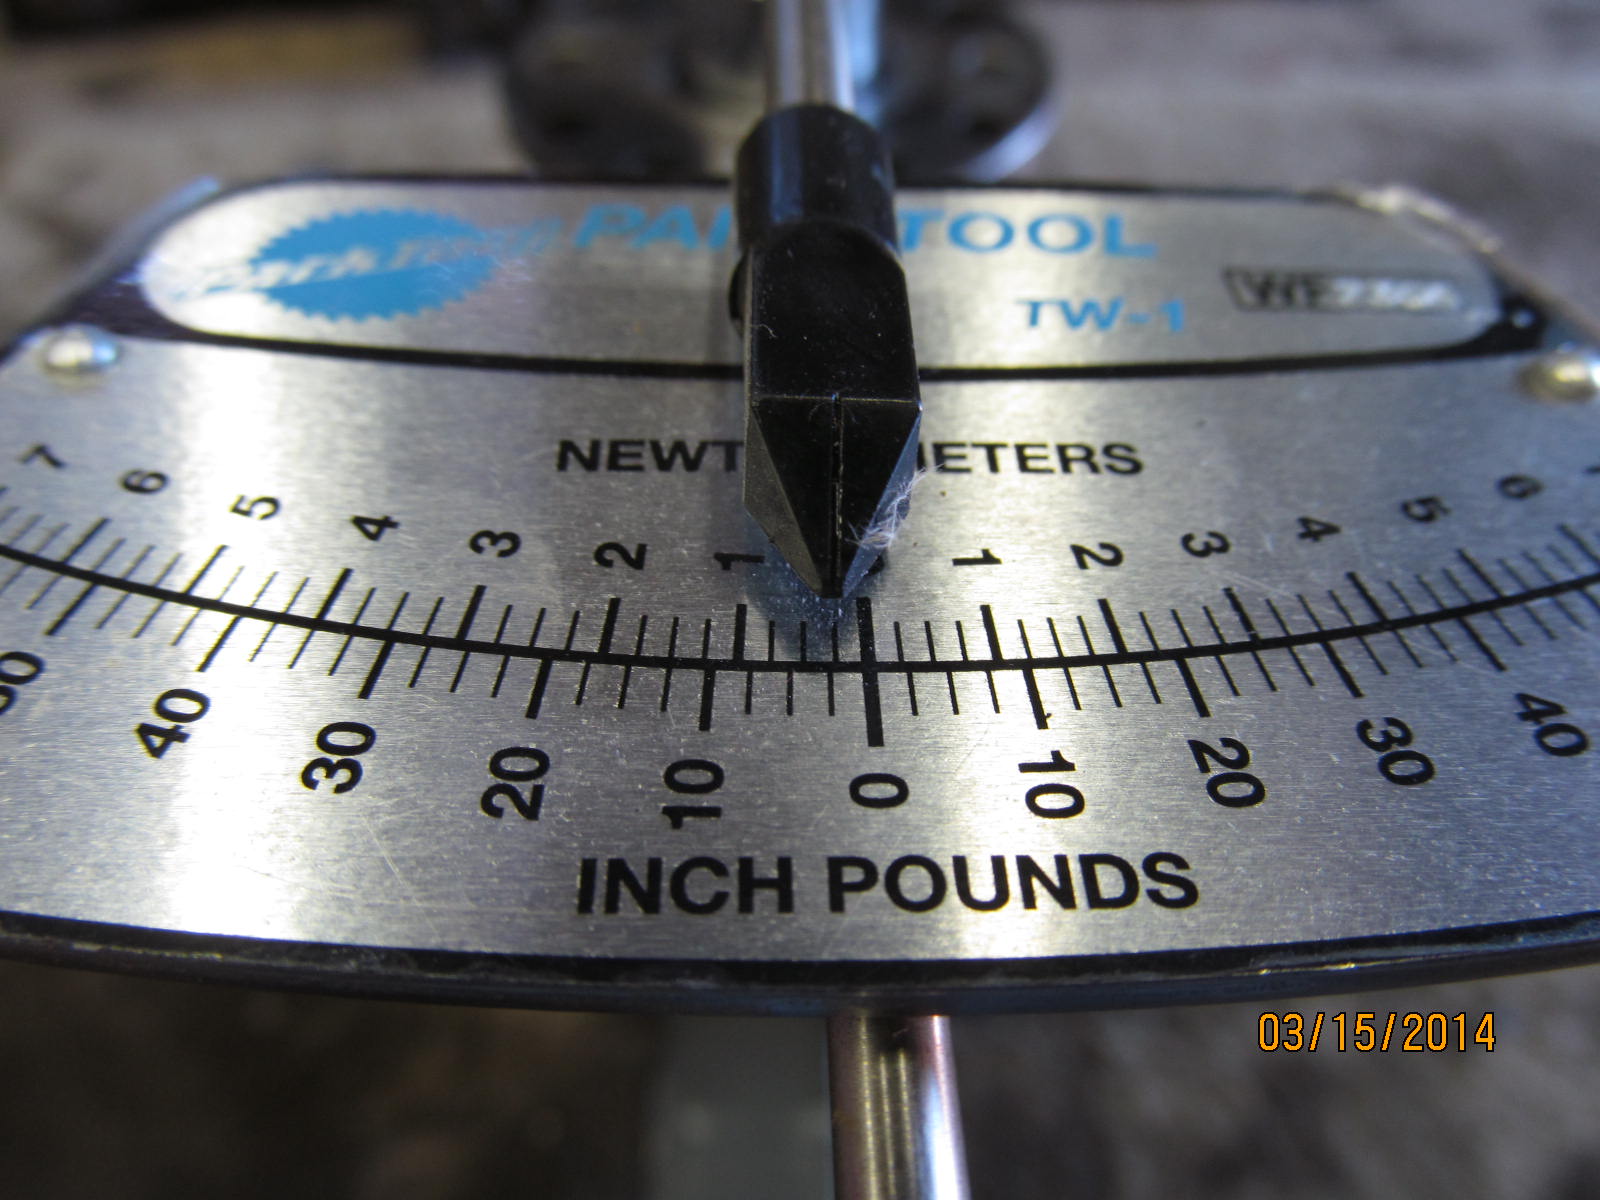
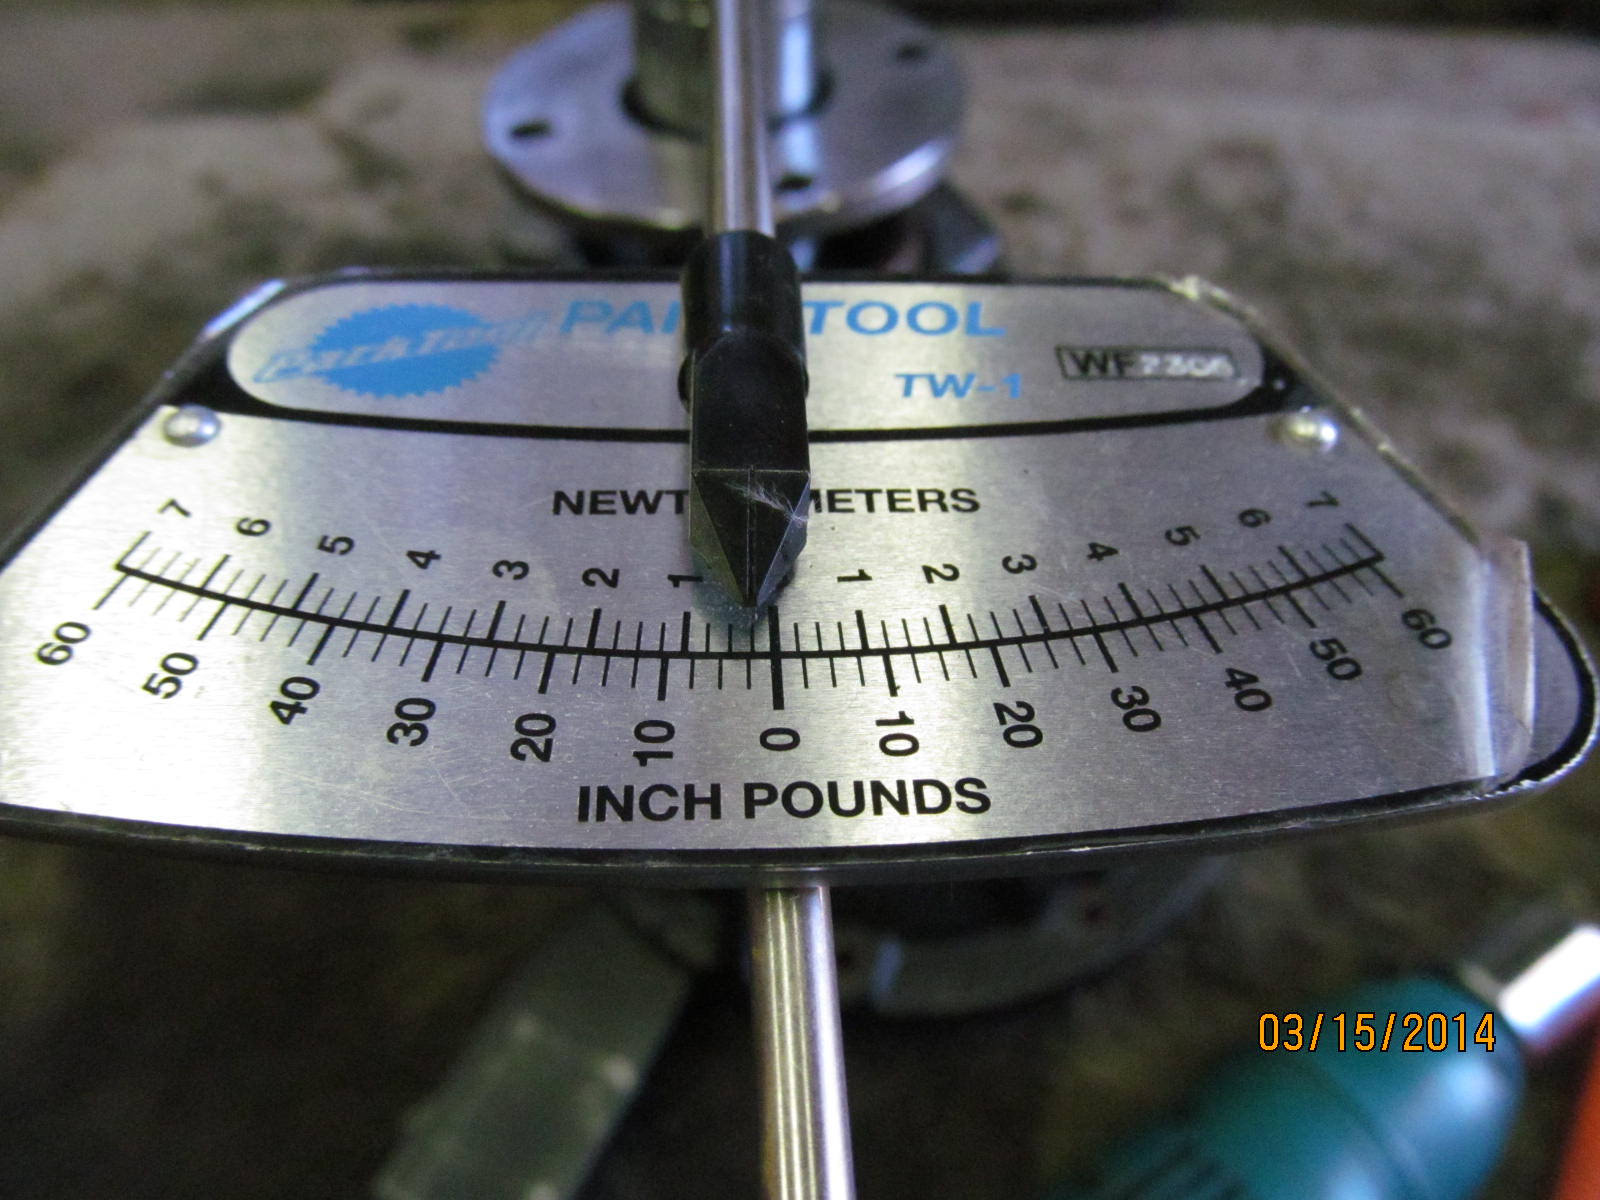
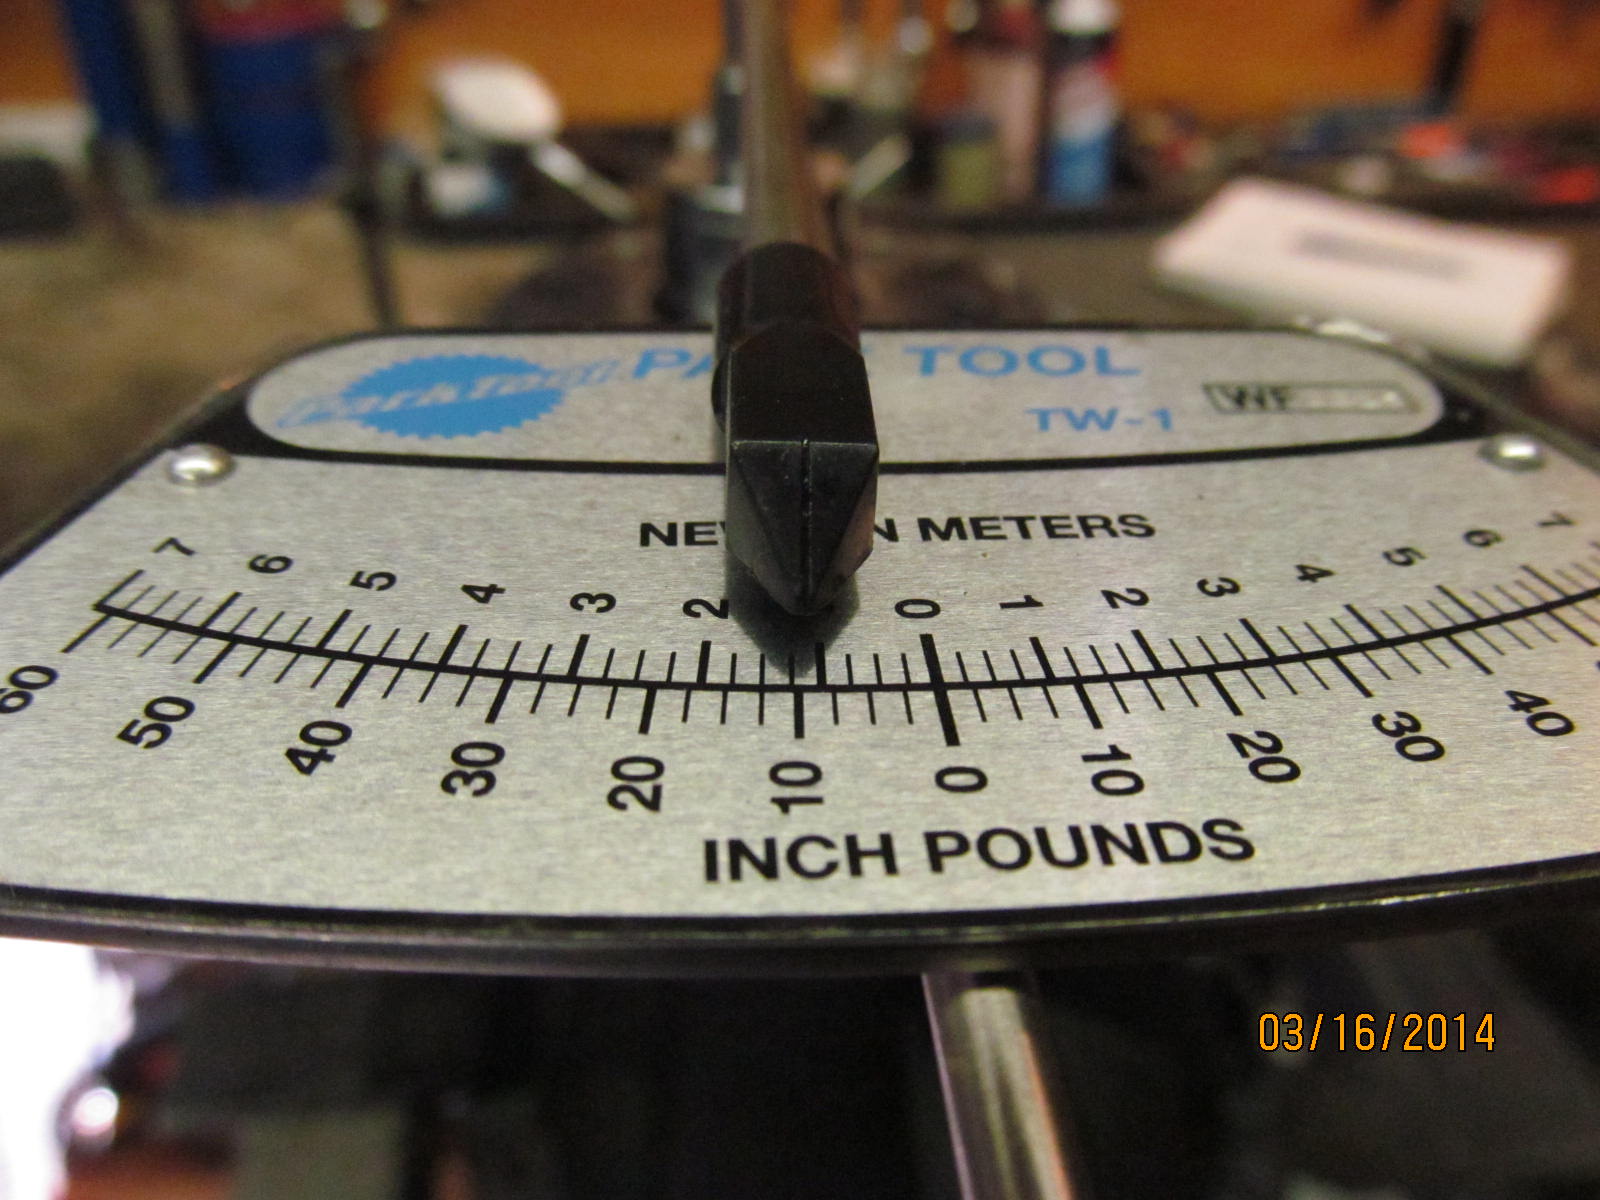
I measured about 18 in/lb of PPL start torq(break loose).
|
|
|
|
|
Has a 2 in/lb of rolling torque turning it slowly.
|
|
|
|
|
Turning it a bit faster the rolling torque increases to 5.
|
|
|
|
|
The pinion nut was on very tight(good score there).
|
|
|

|
|
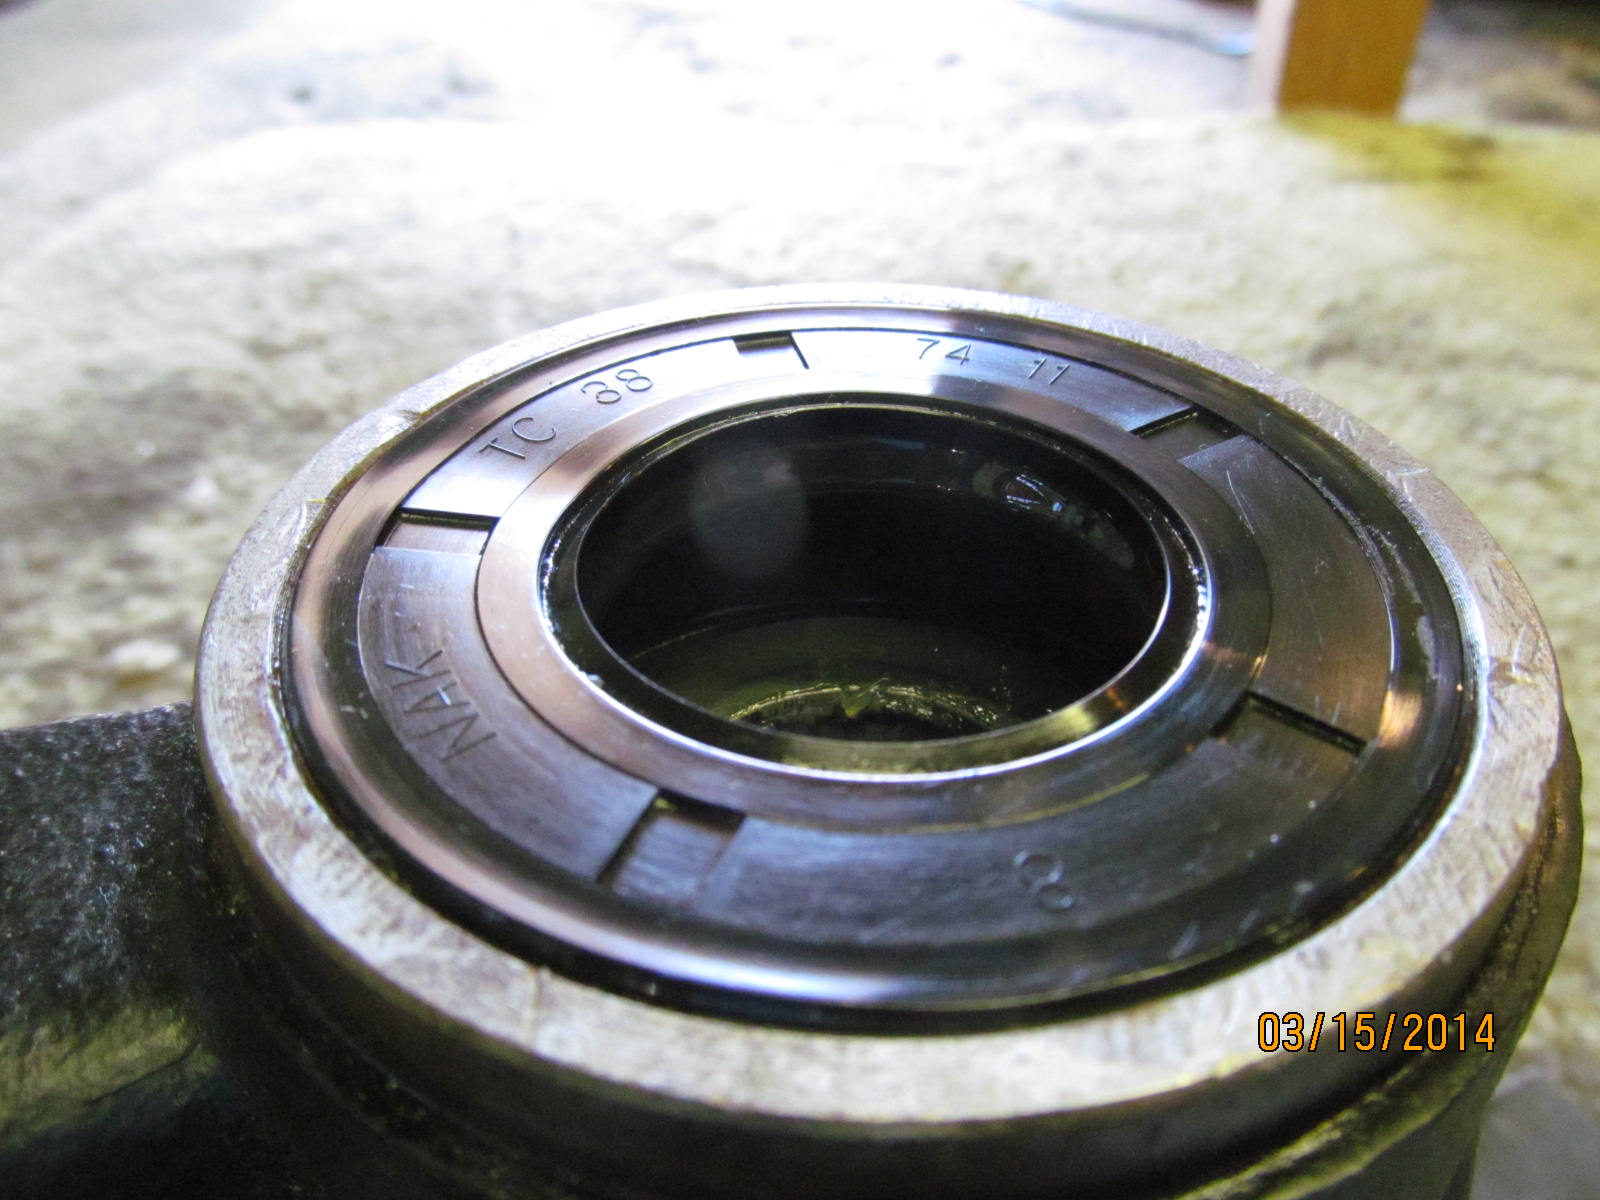
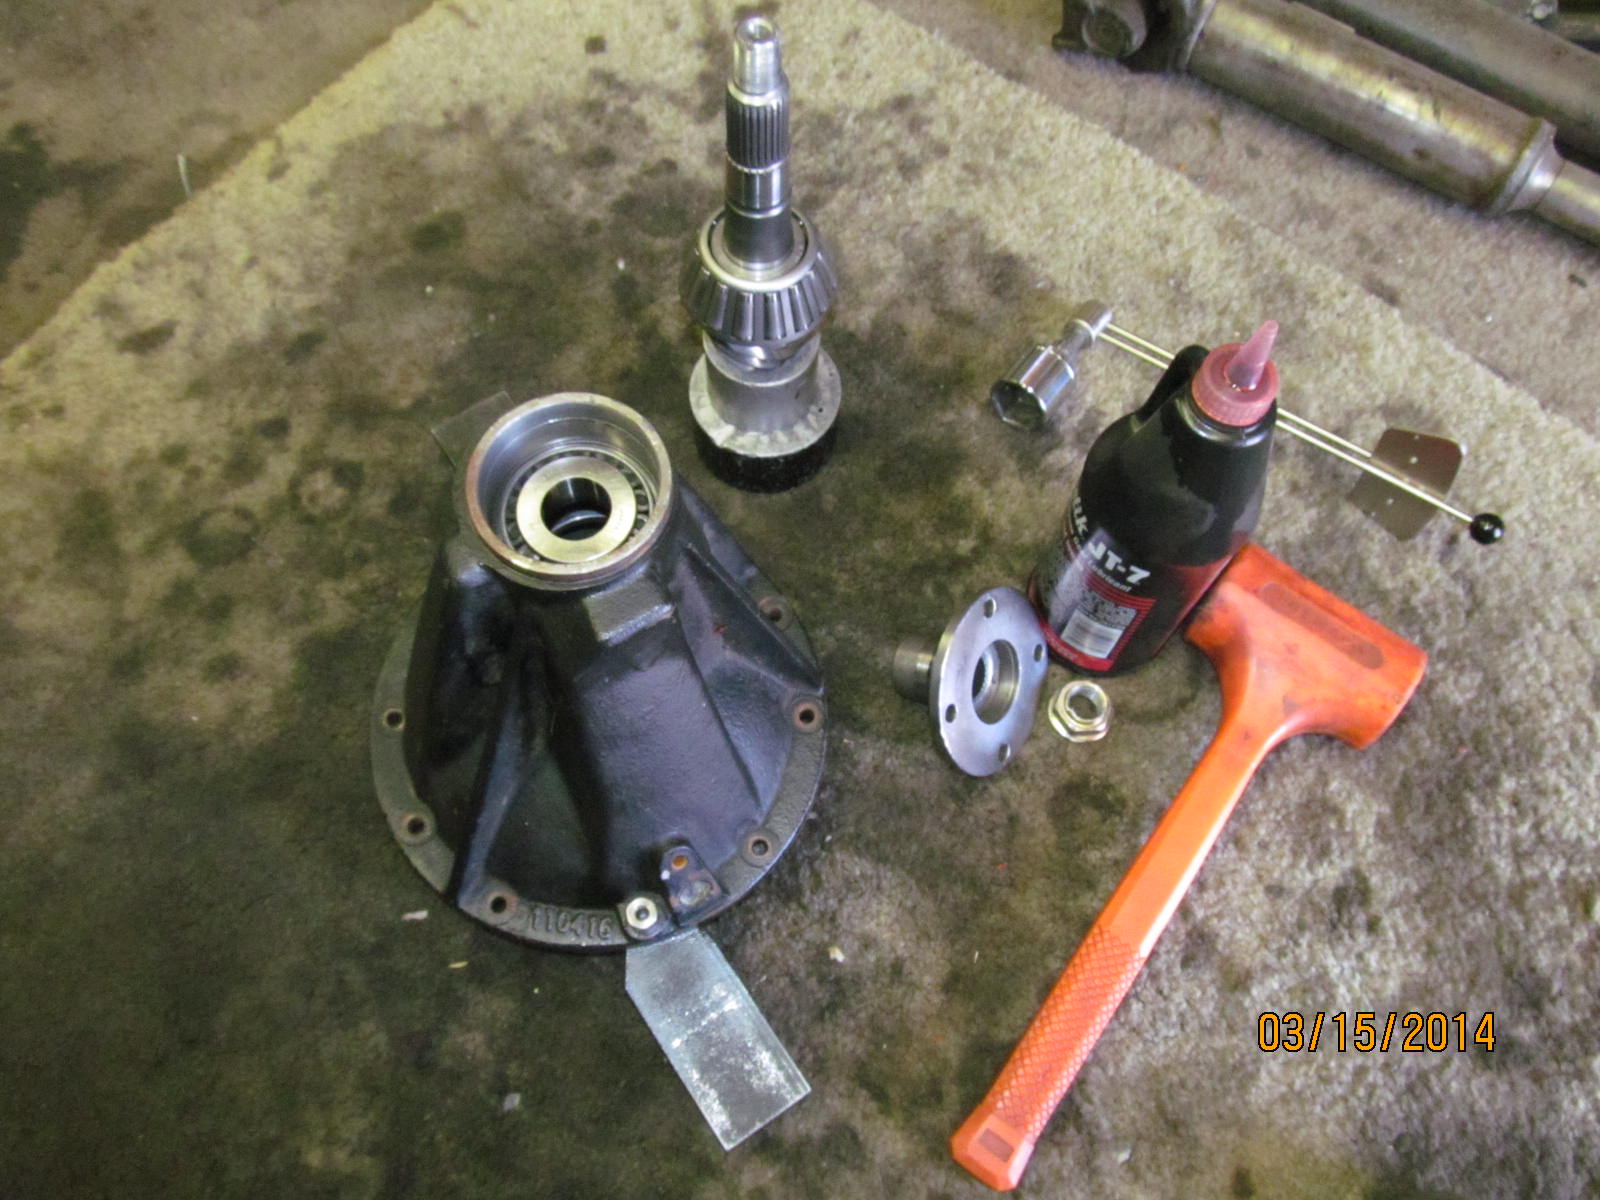
The aftermarket seal is revealed.
|
|
|

|
|
There is a 'crinkle' near the upper left side. That might have caused the seal to leak.
|
|
|
|
|
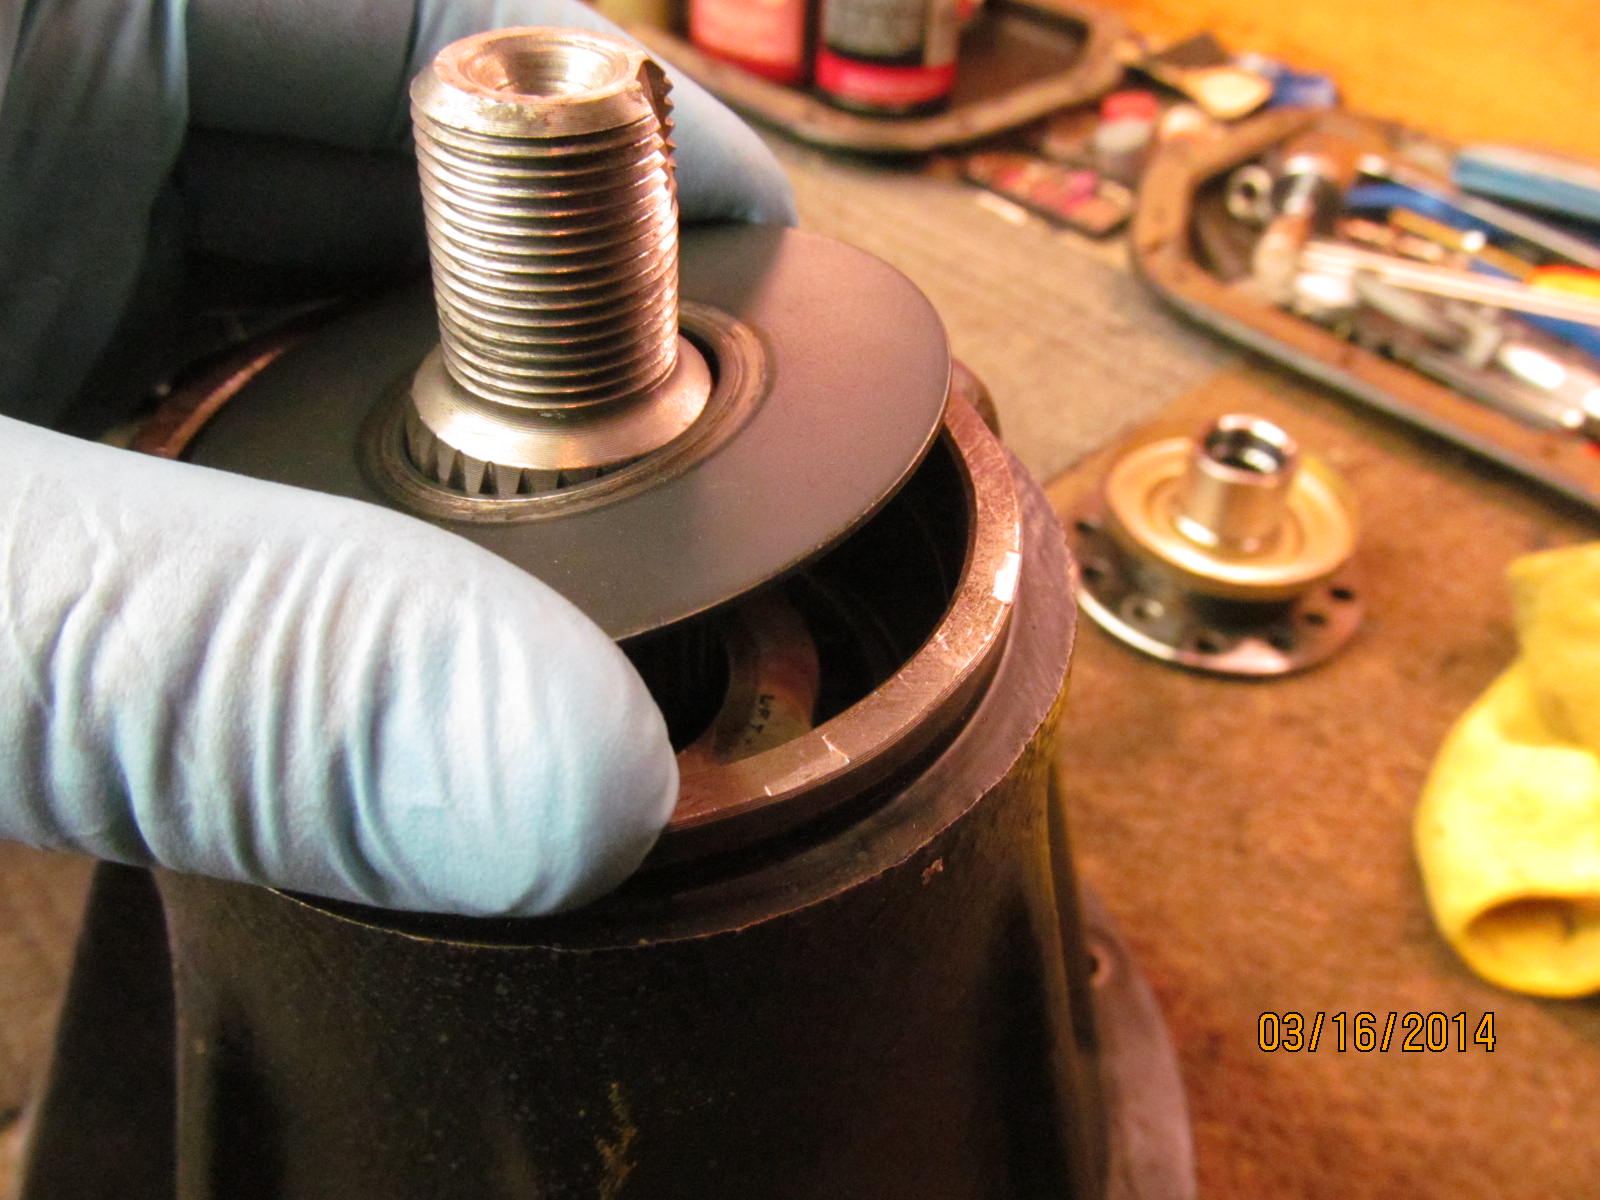
The pinion is pushed out.
|
|
|
|
|
A solid collar was used.
|
|
|
|
A closer look at the wrinkle at the 10 o'clock position. The pinion bearing can be seen in the hole....what
happened to the splashguard?
|
|
|
|
|
Just getting a feel how the old seal fits on the flange.....just a little looser than I am used to.
|
|
|
|
|
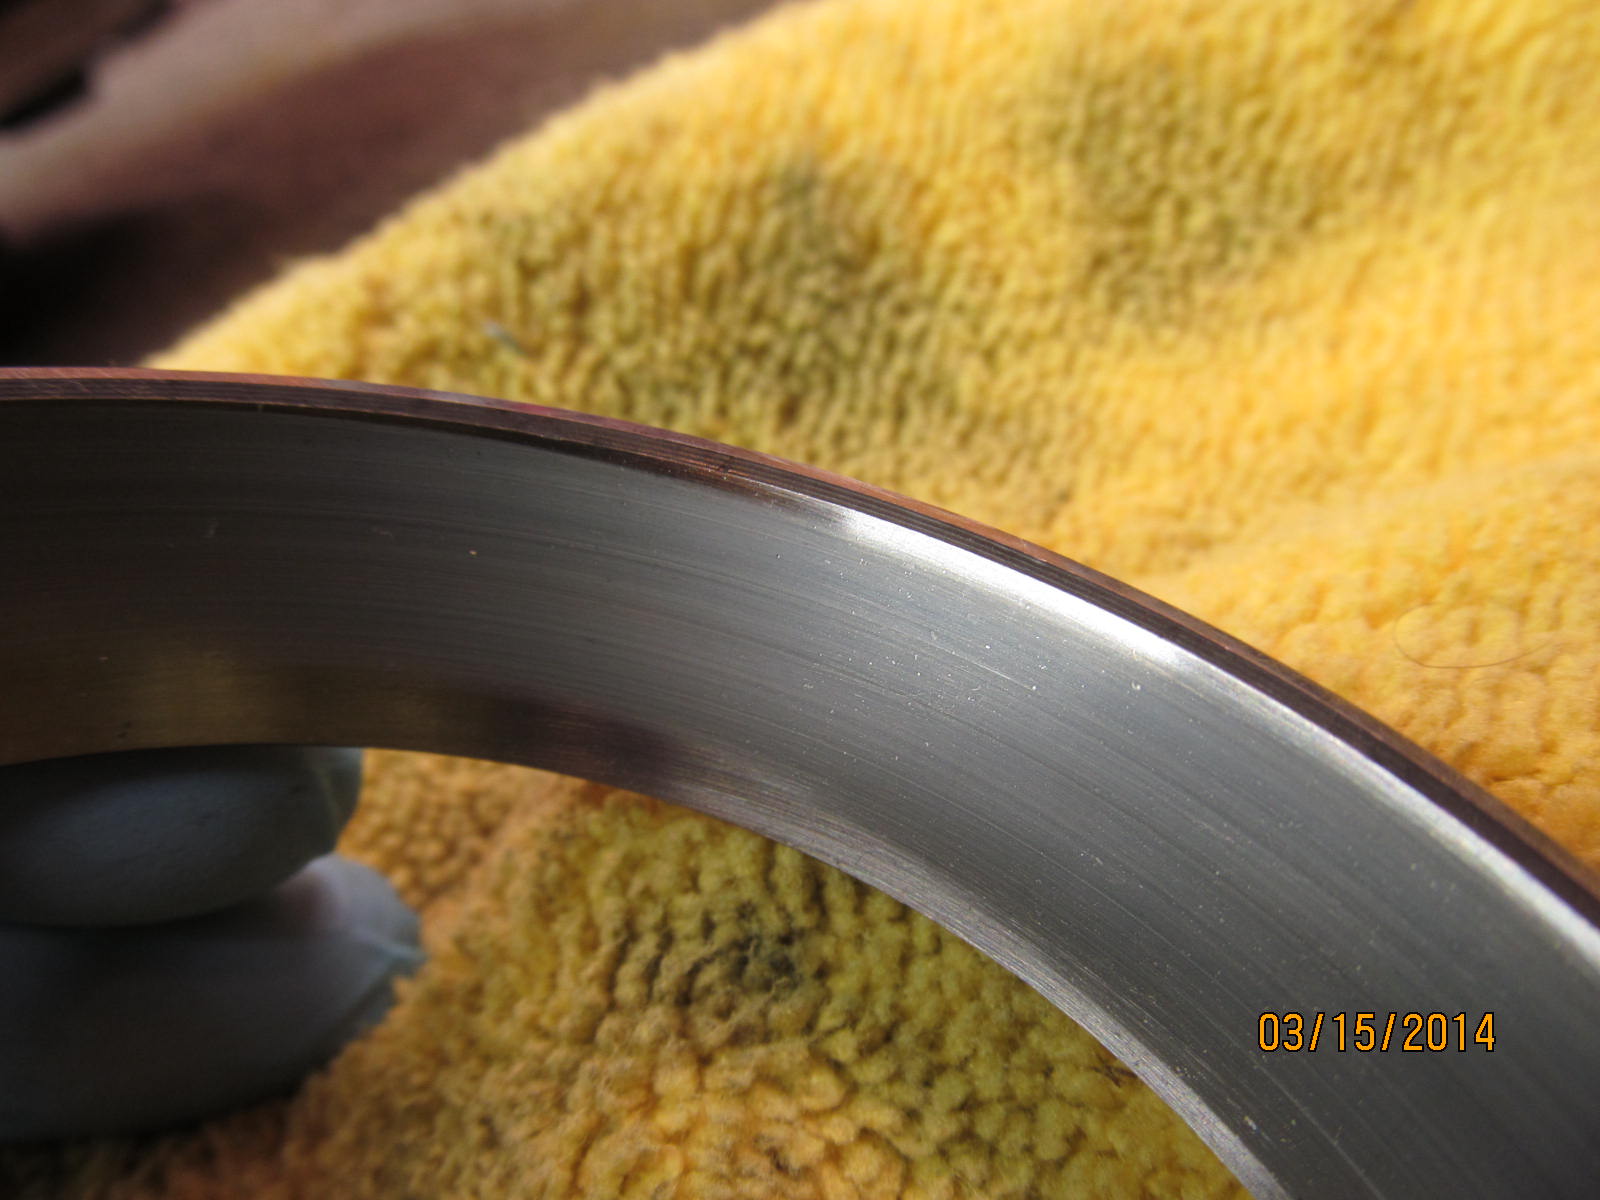
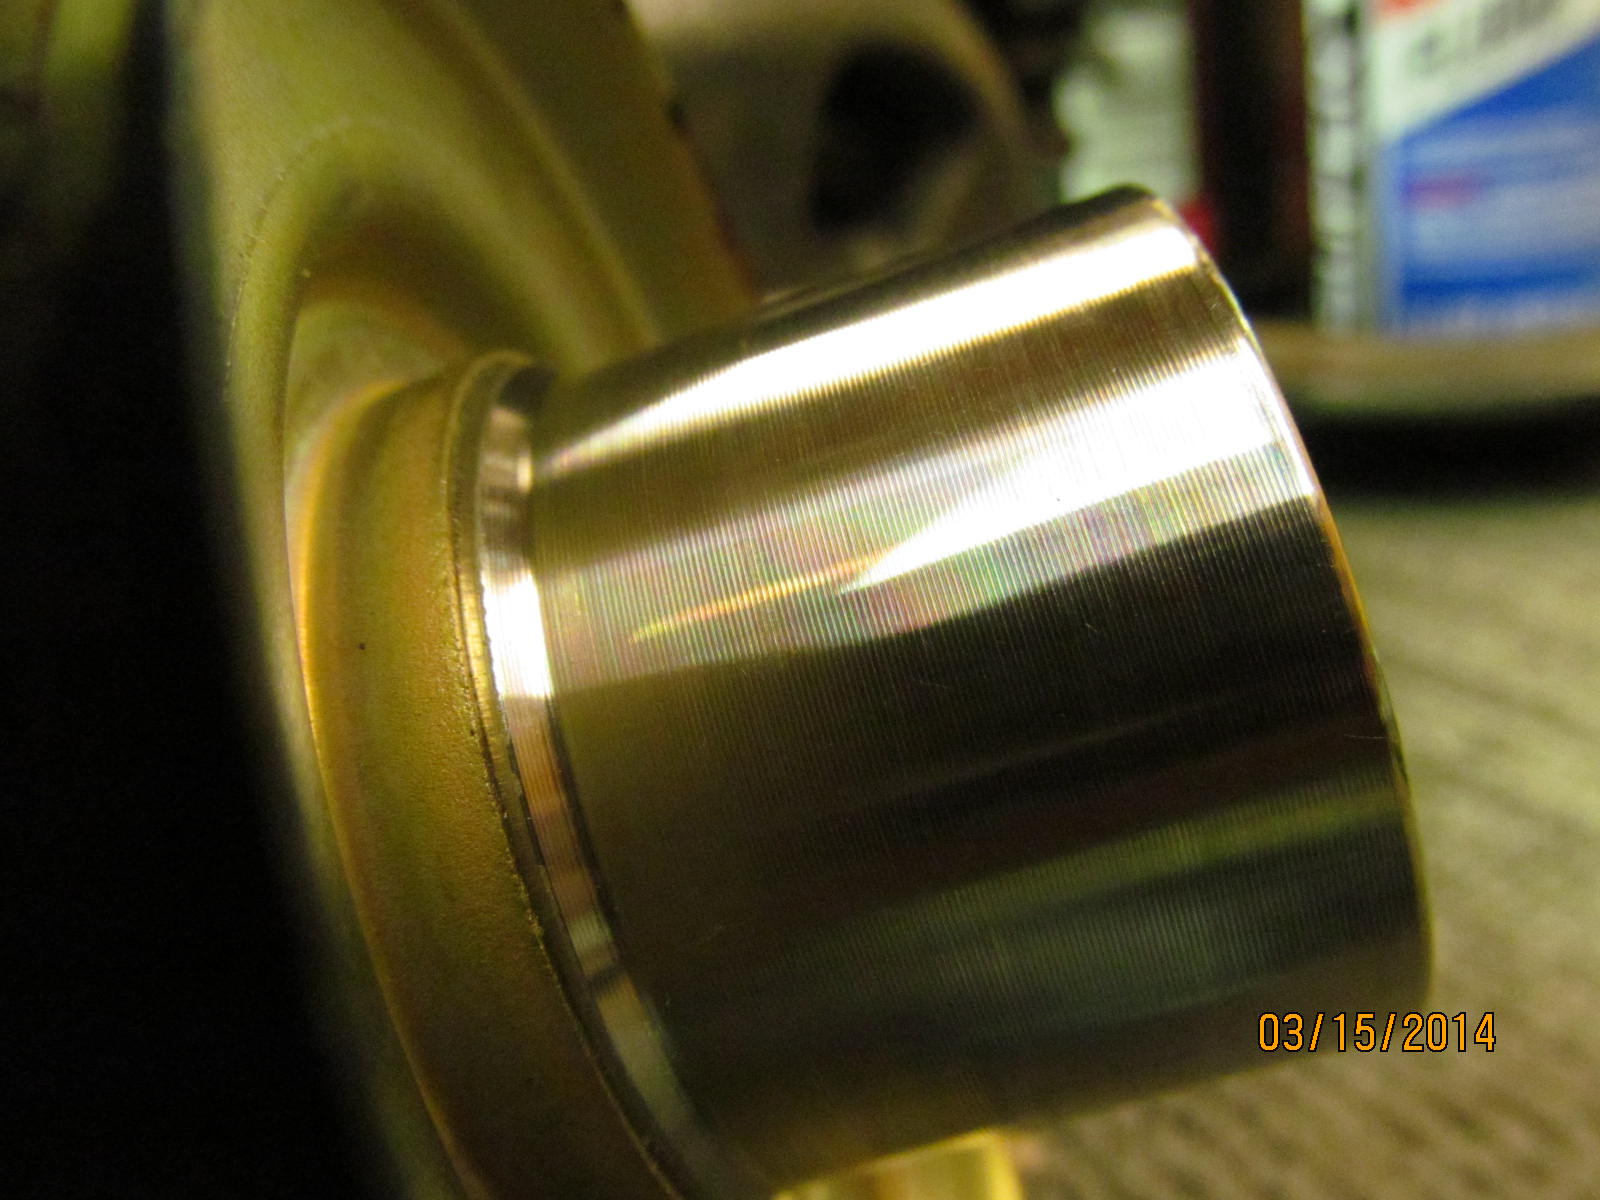
The flange is just like brand new.
|
|
|
|
|
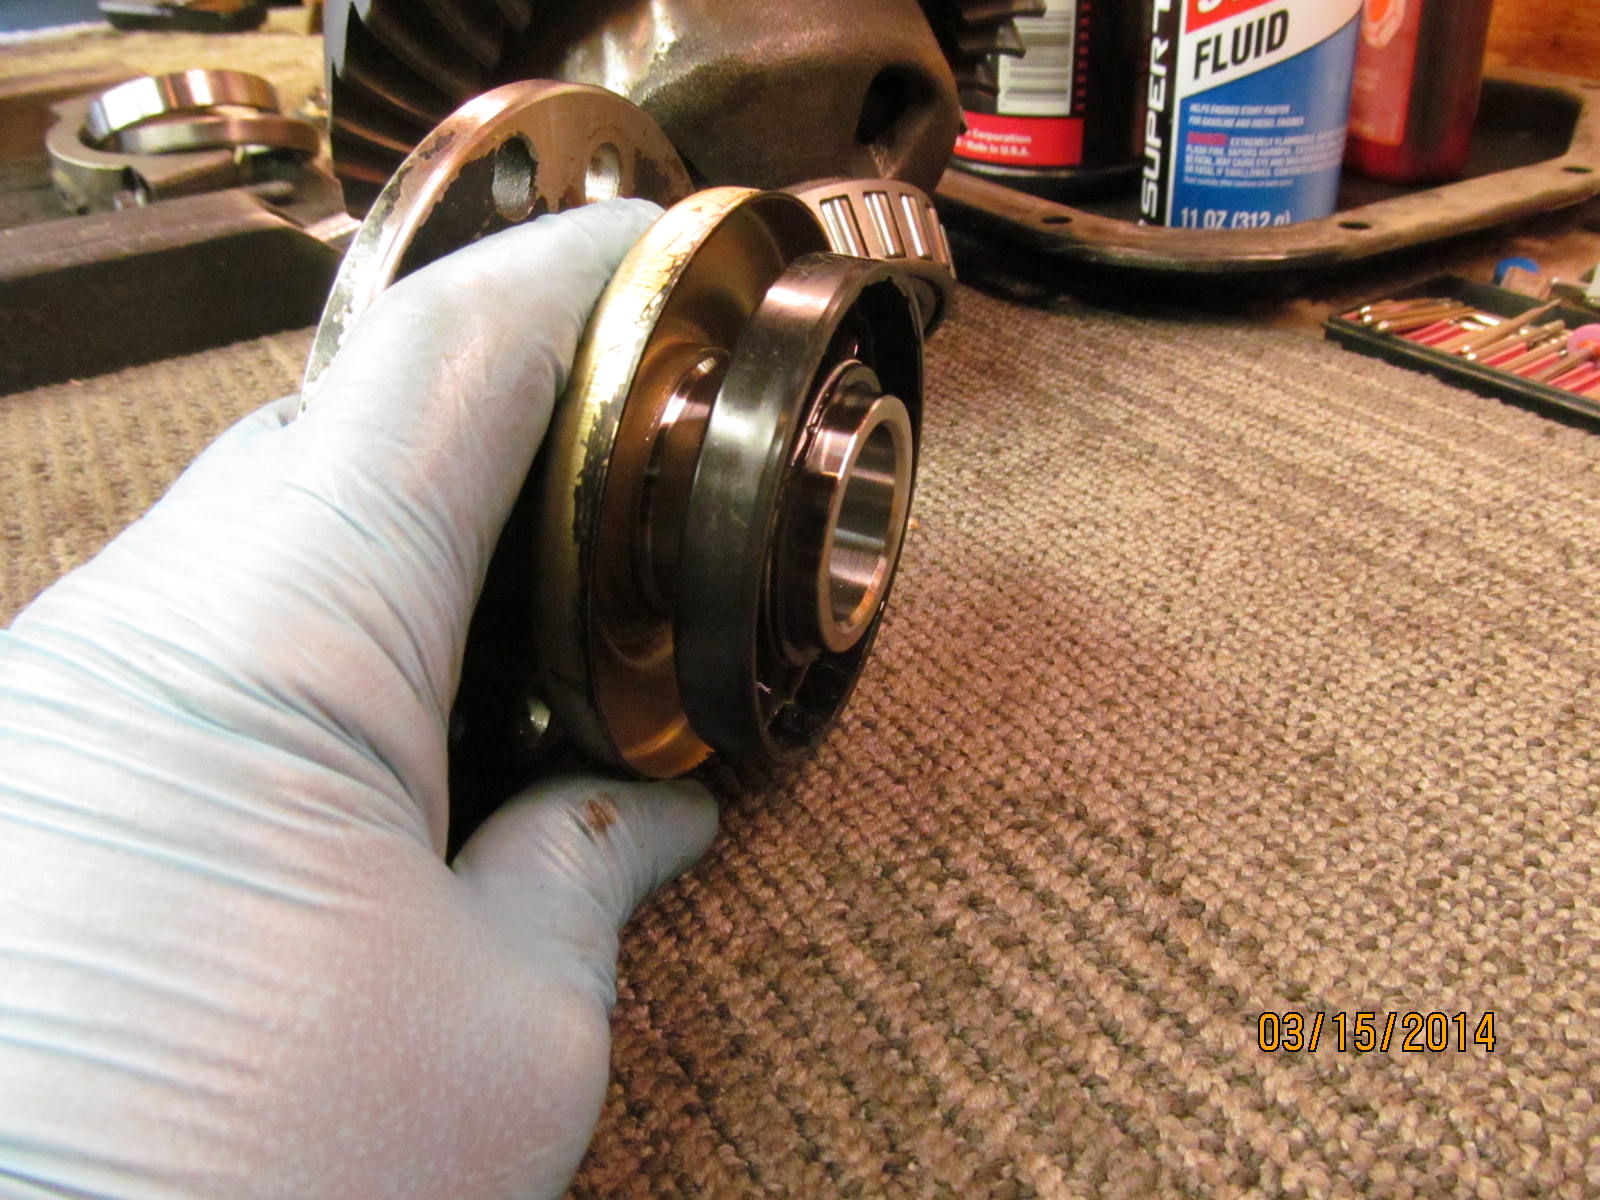
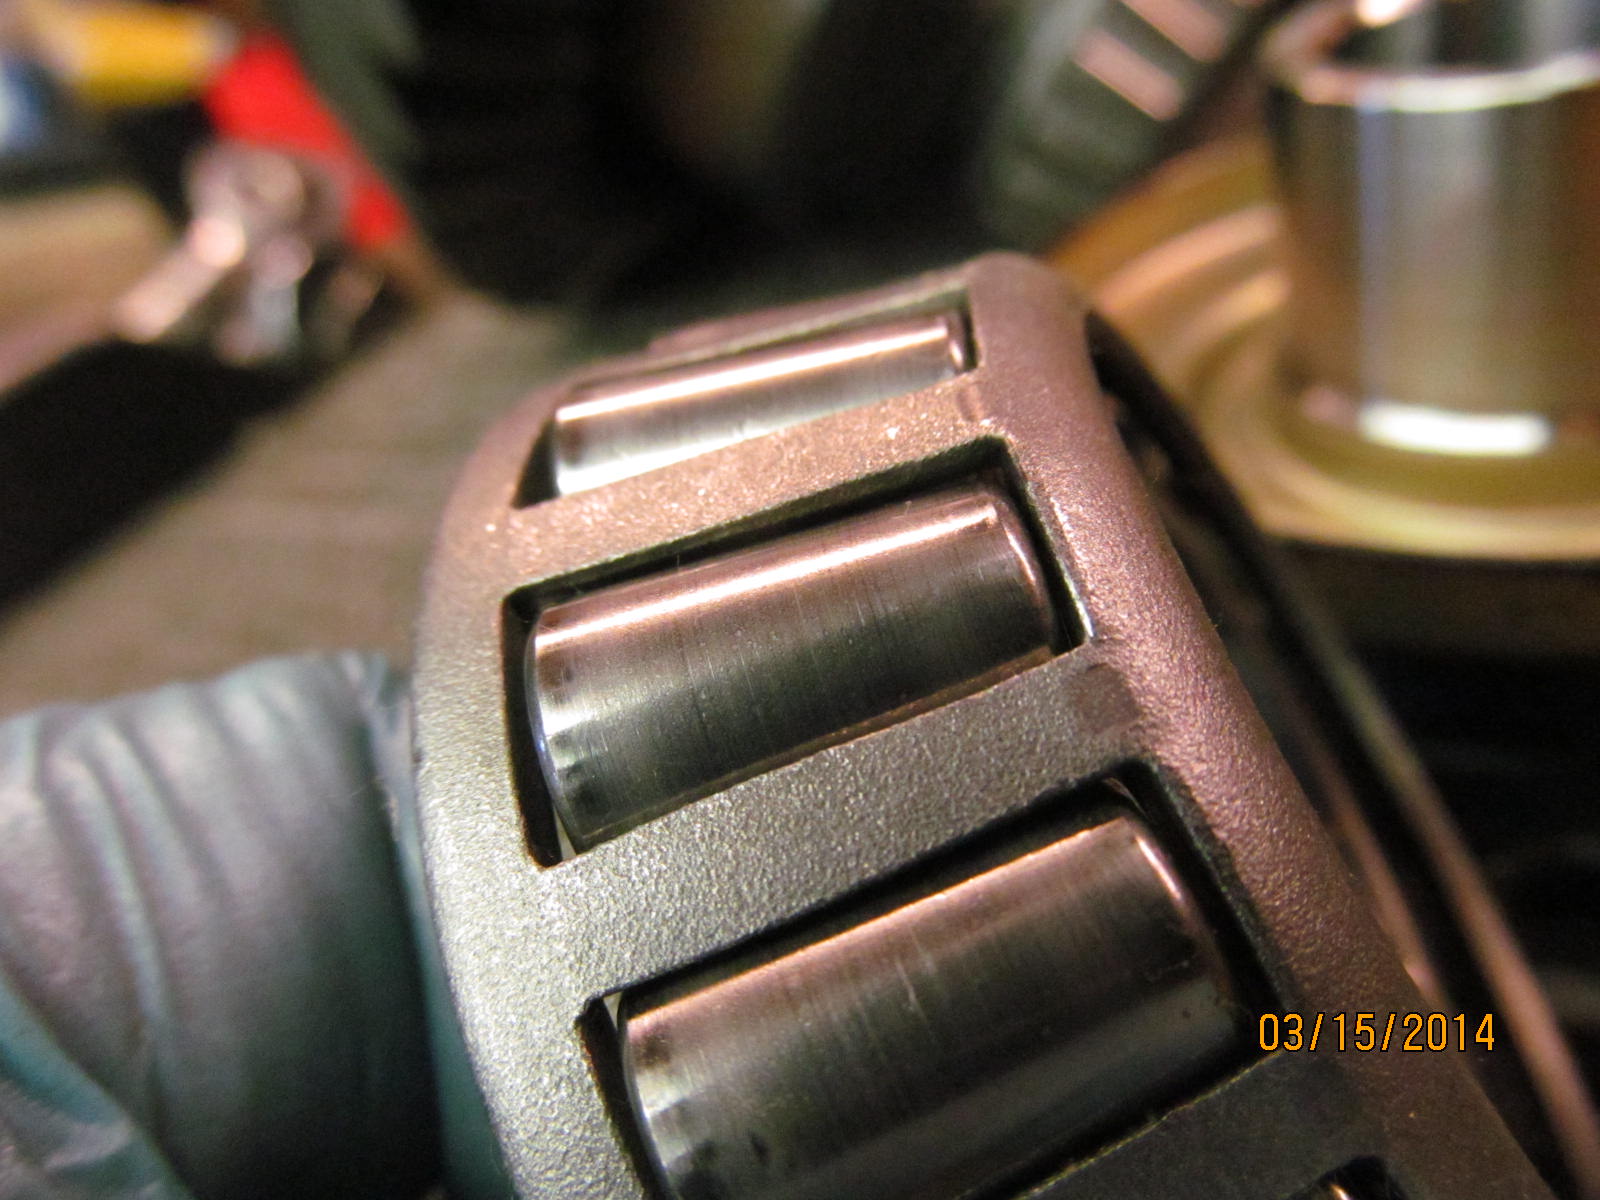
The small outer pinion bearing is ok....the notchiness did not hurt anything.
|
|
|
|
|
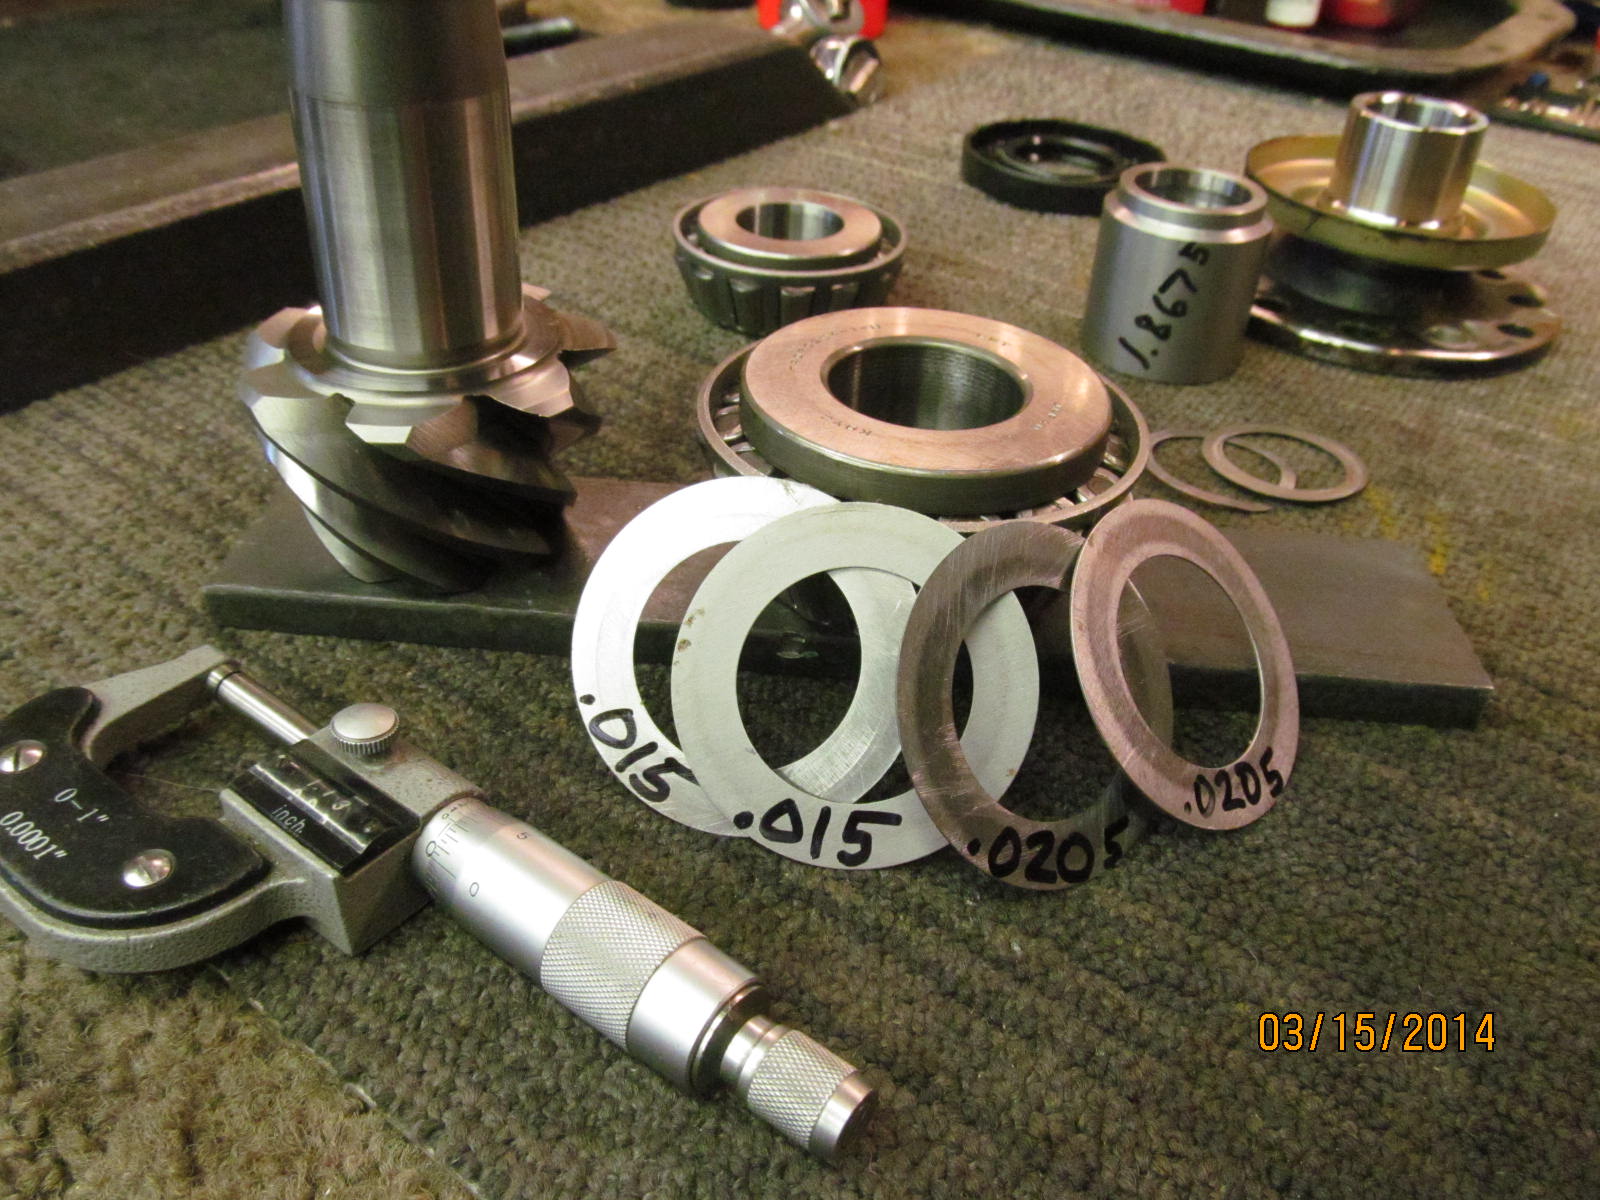
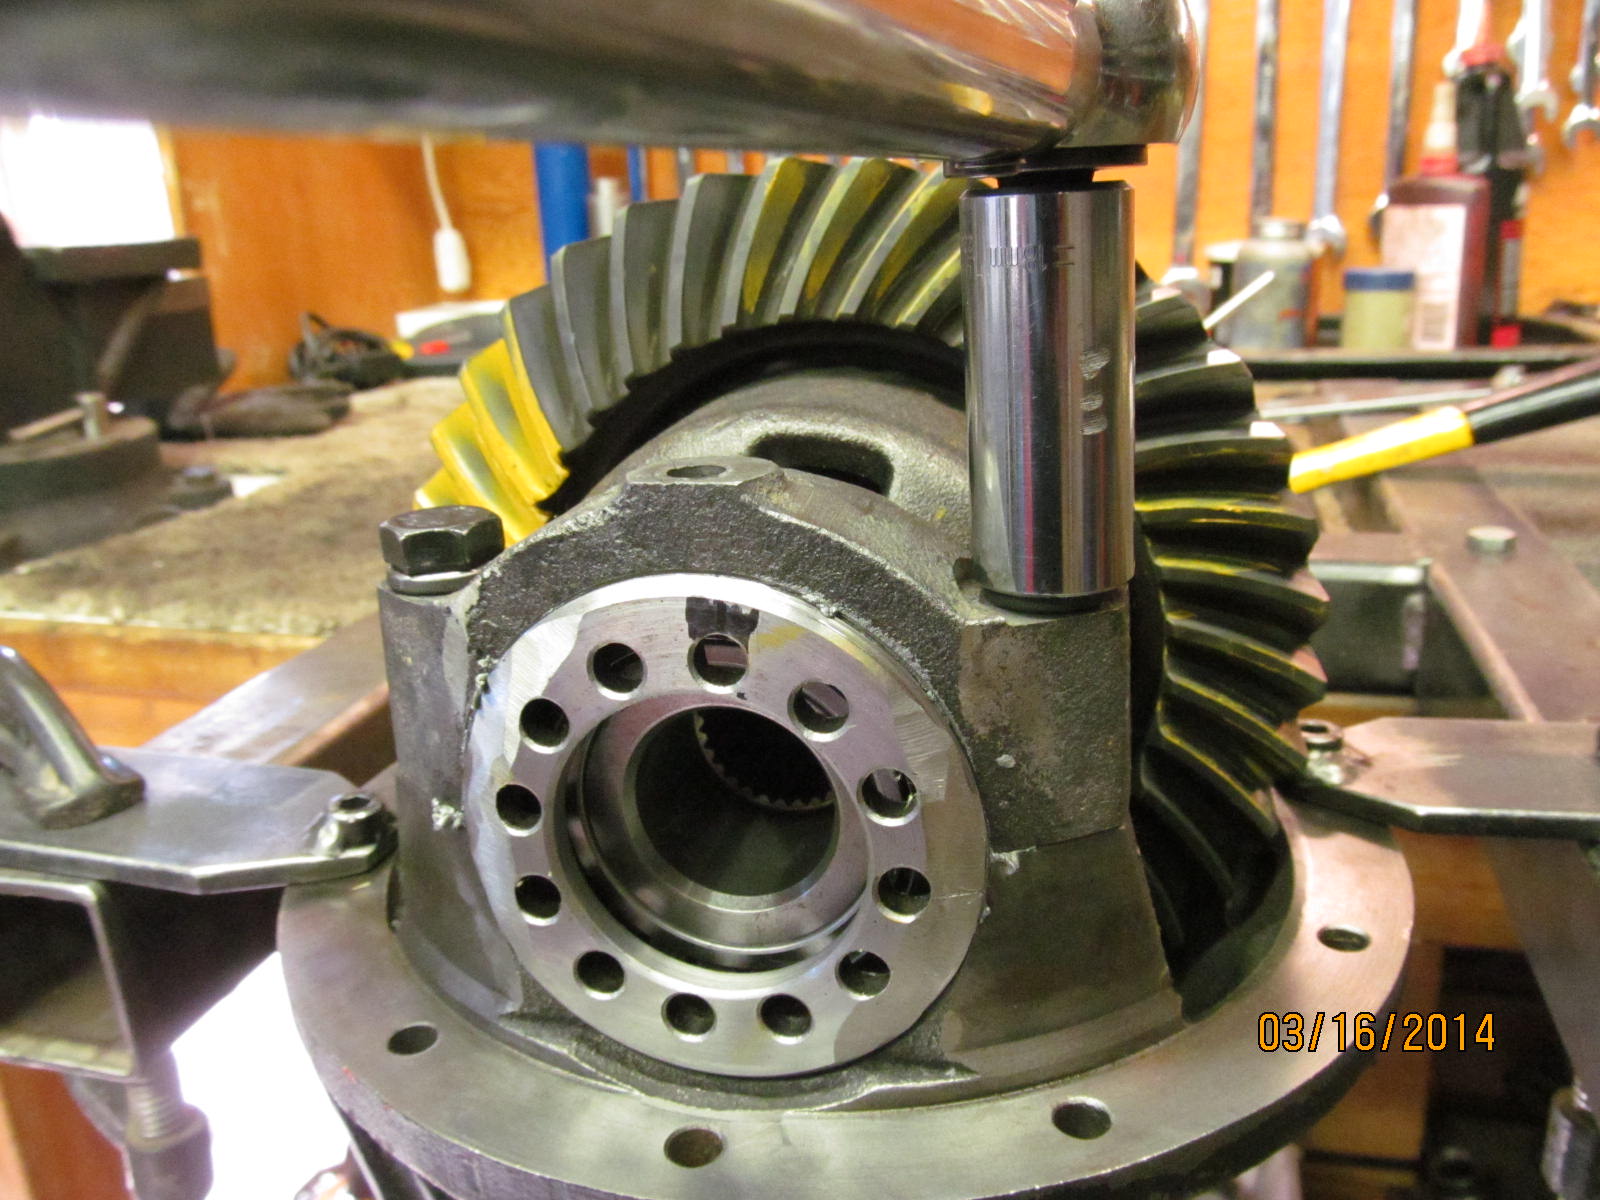
I'm real curious what pinion shim was used...press the big bearing off.
|
|
|
|
|
A total of .071" was used....this explains the shallow paint.
|
|
|
|
|
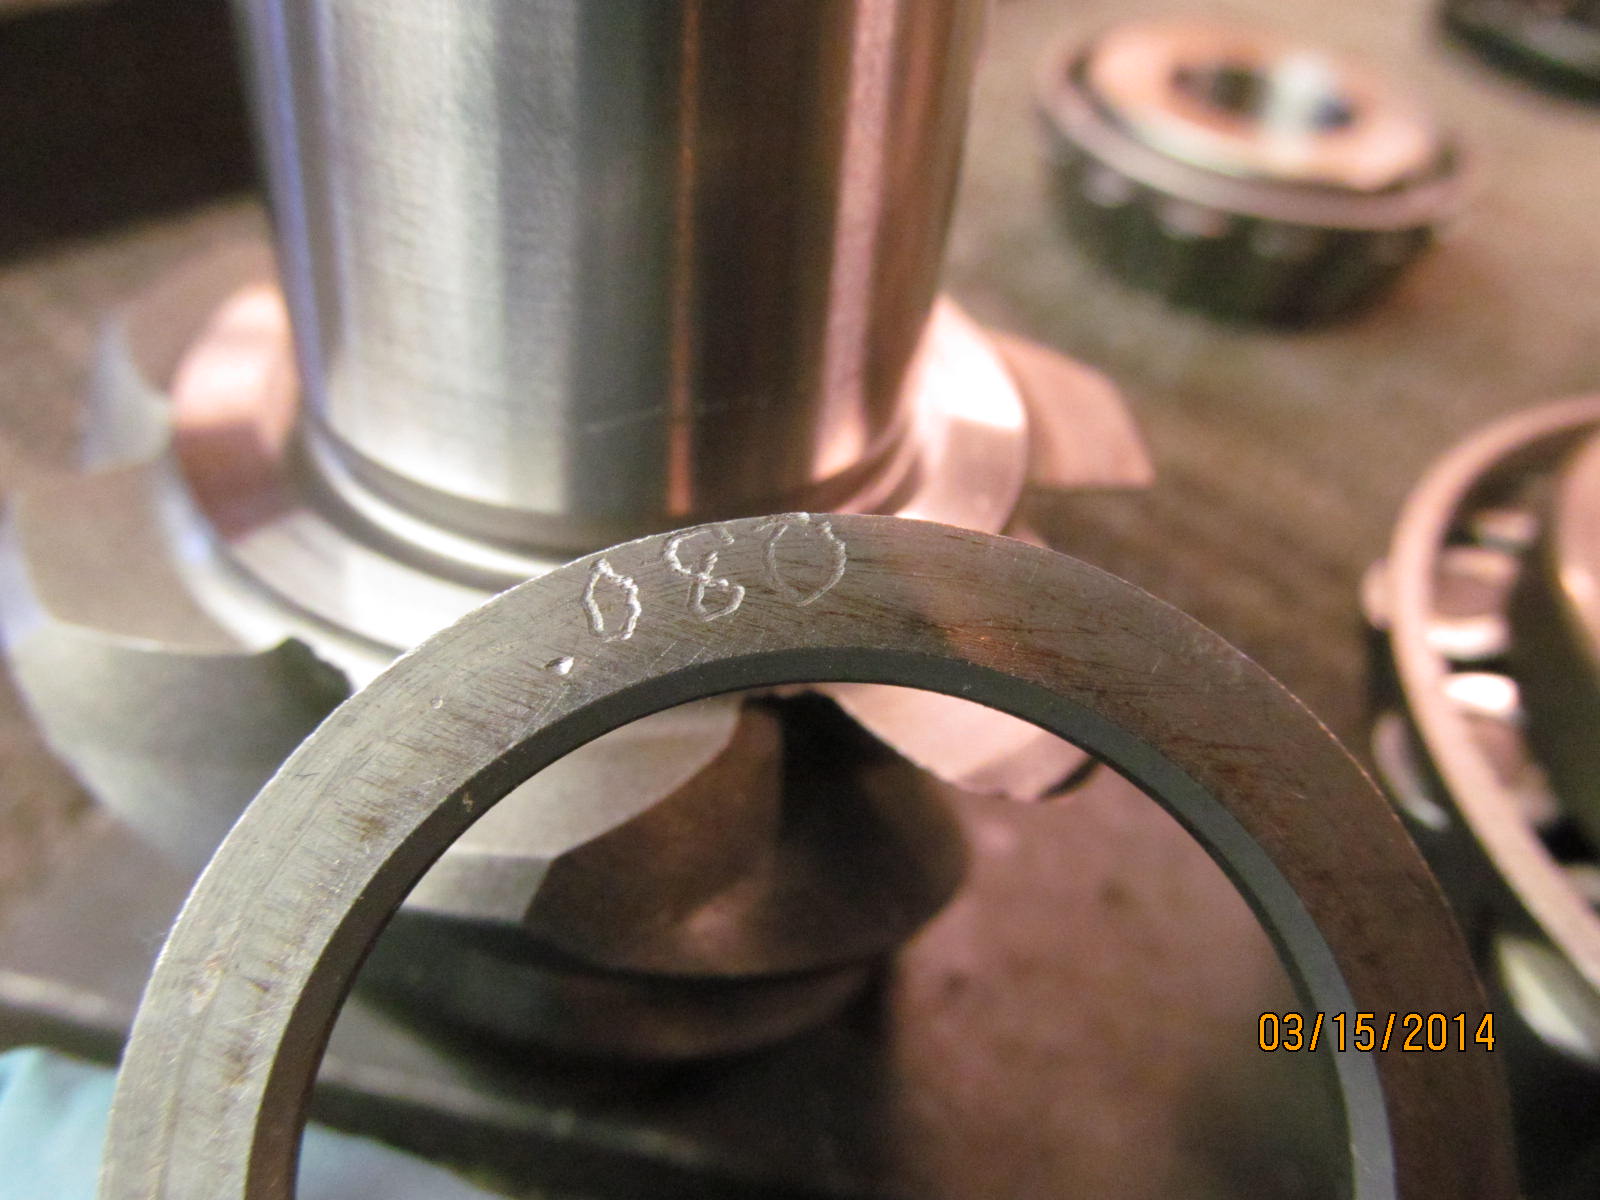
The 071 will be replaced with this 080 shim.
|
|
|
|
|
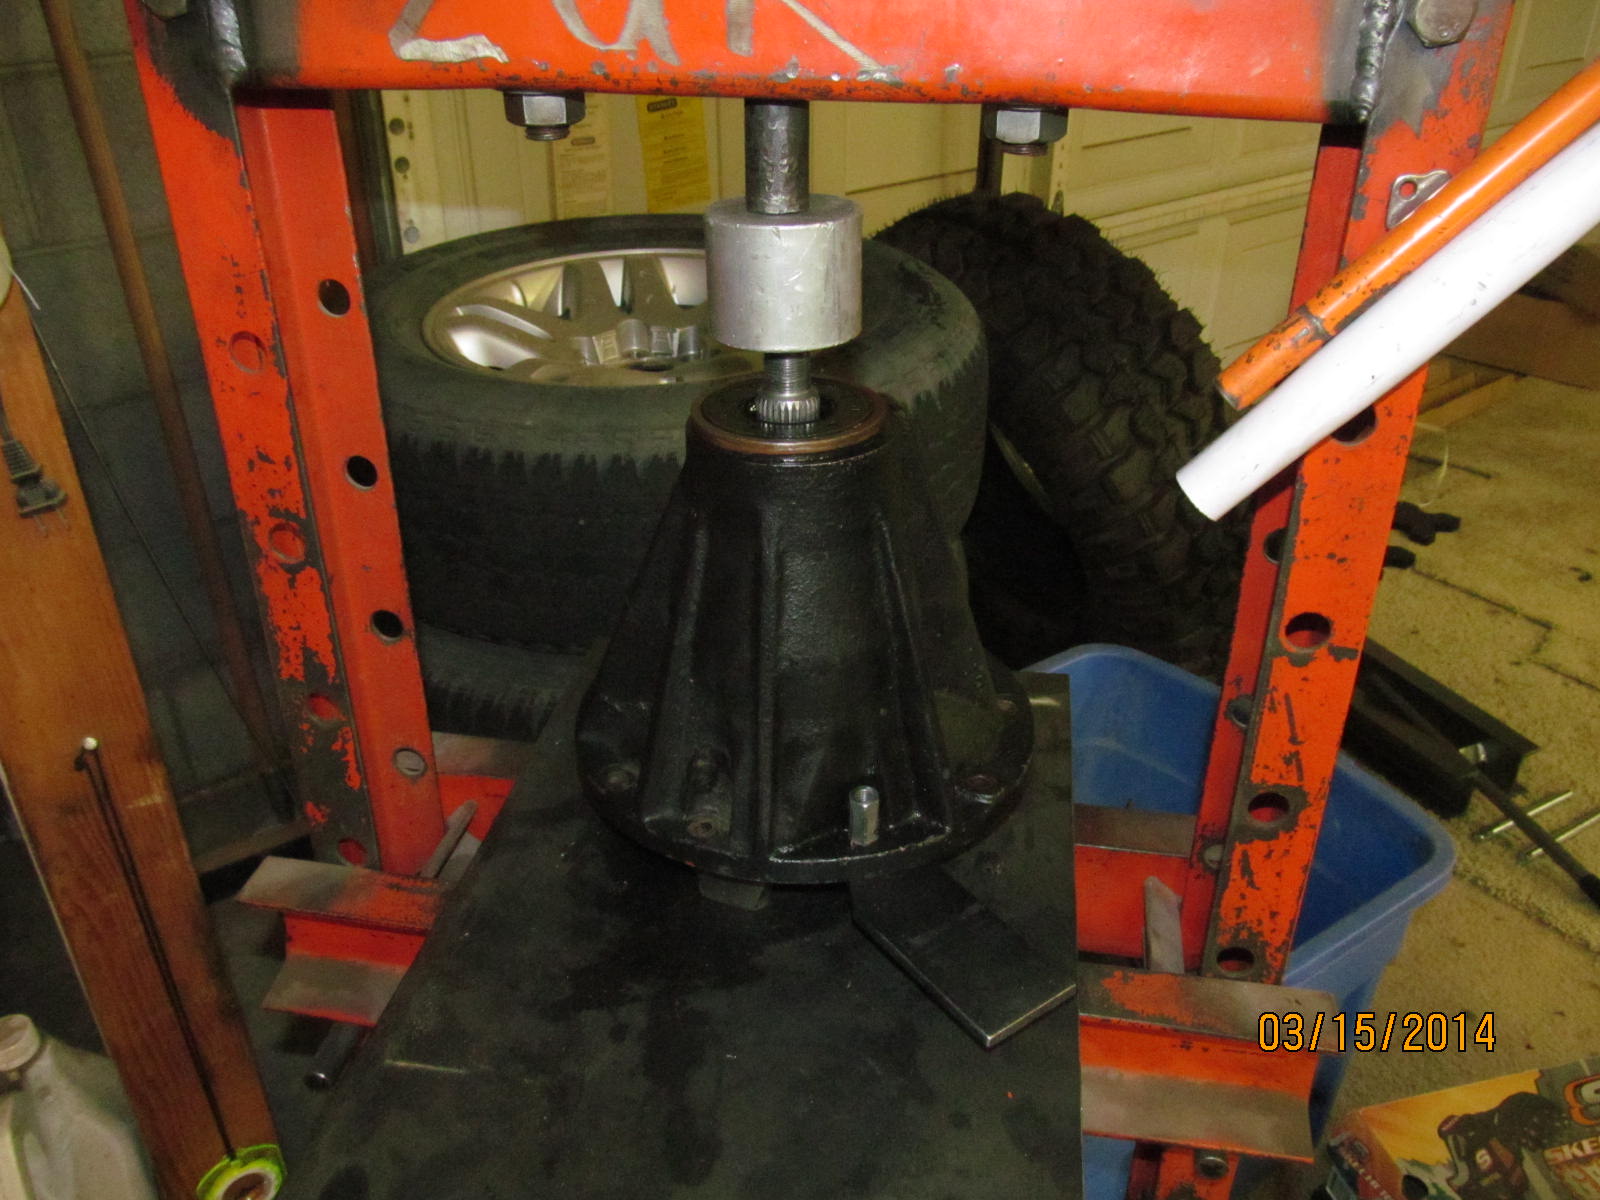
Pinion bearing is pressed on. That nice, new Harborfreight 12 ton in the background is soon to go in my living room.
|
|
|
|
|
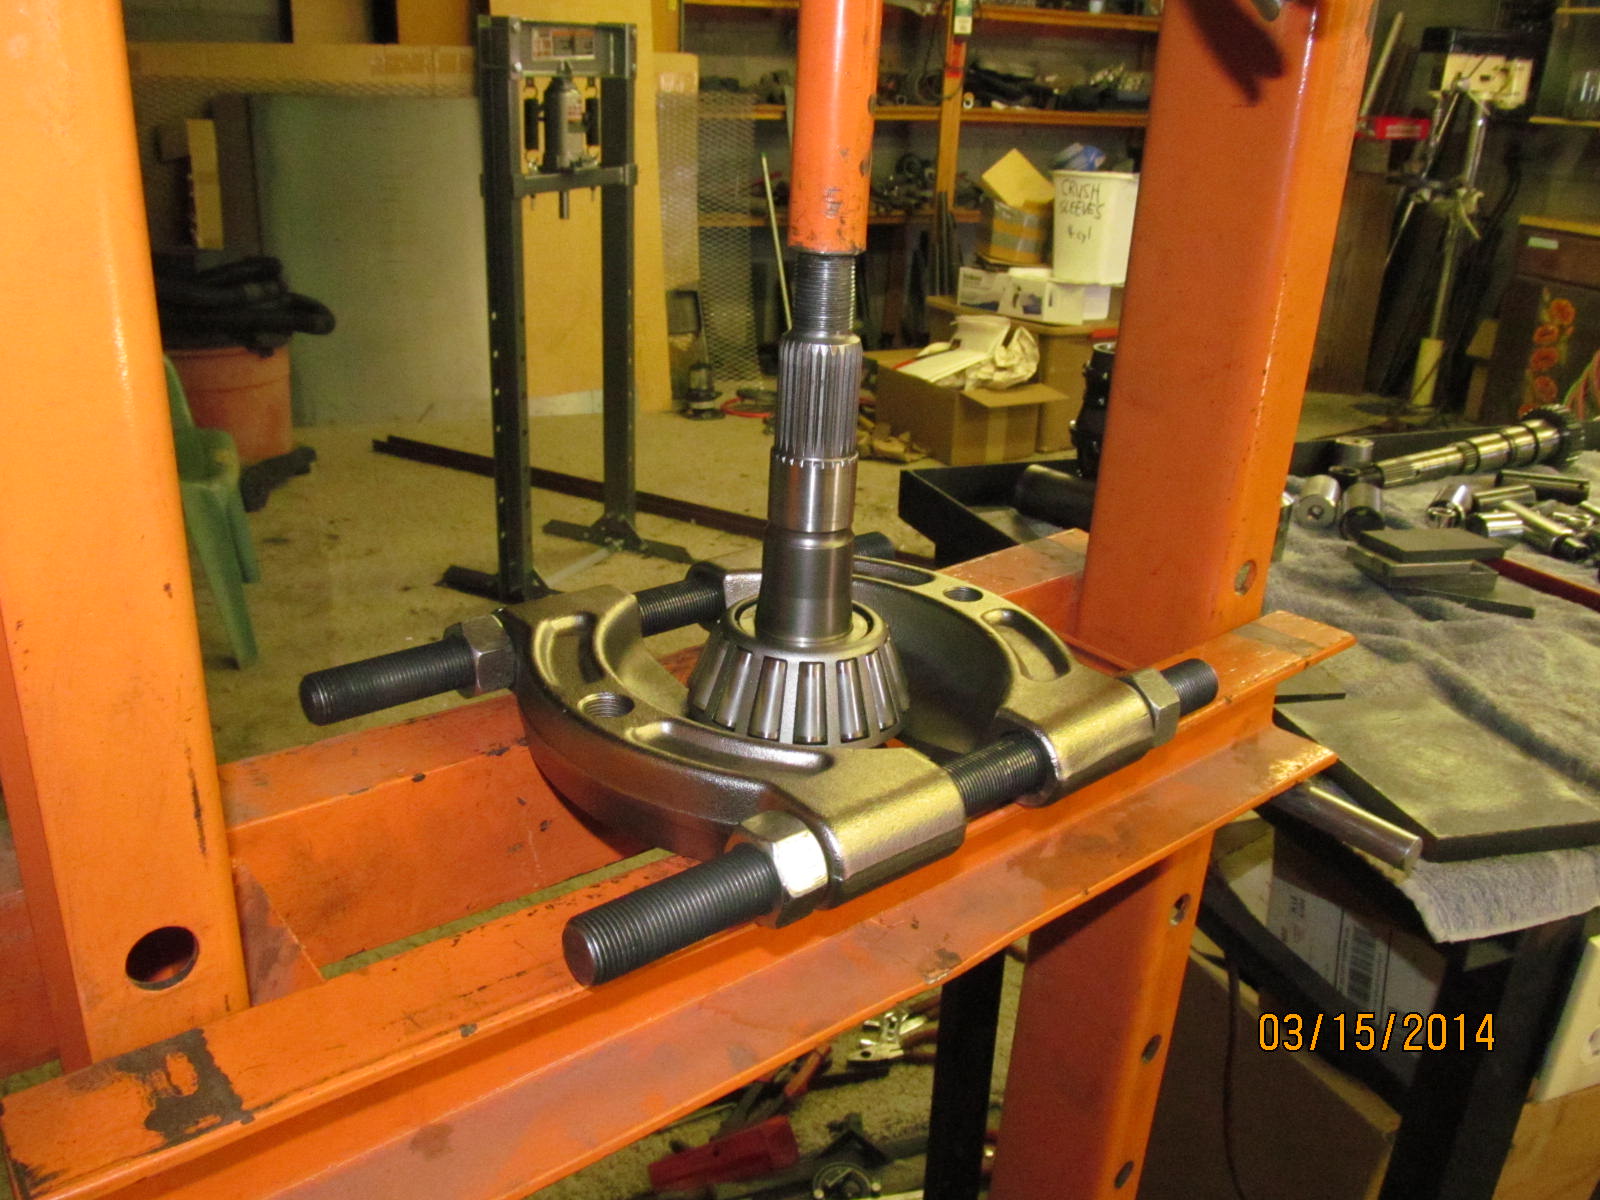
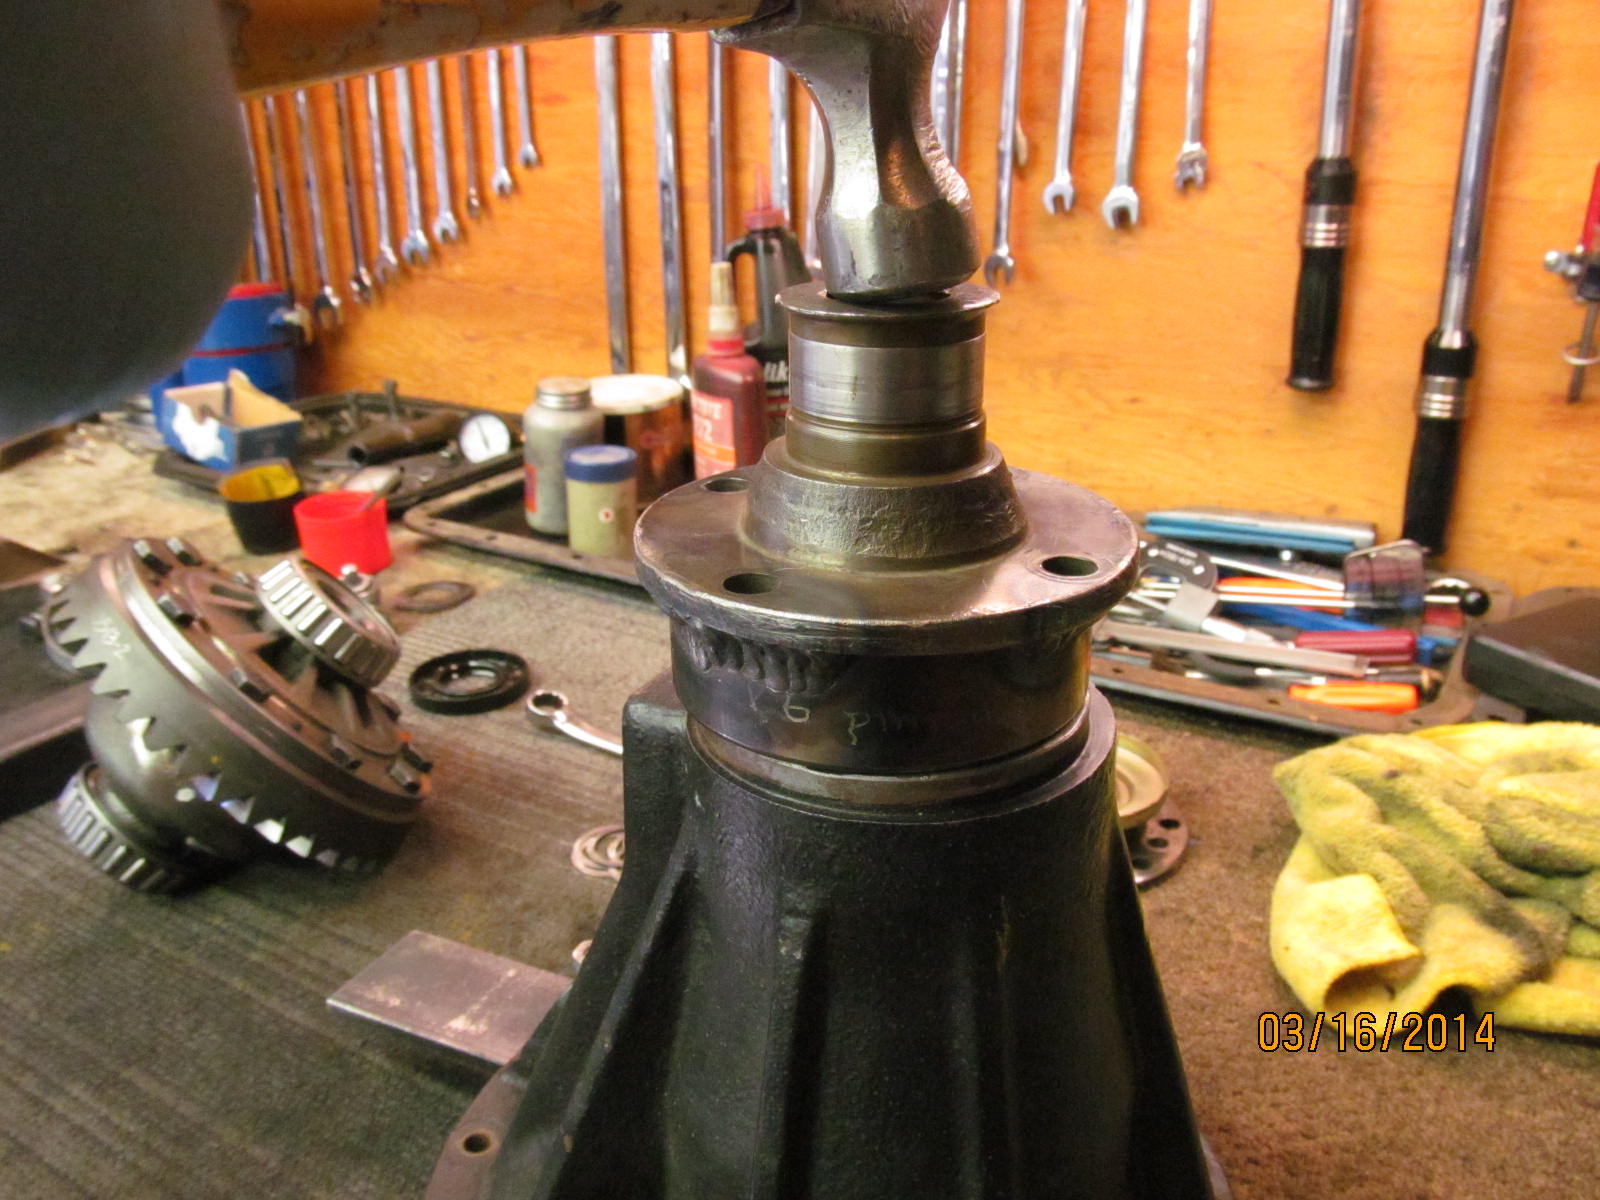
Now to put the pinion in the diff carrier.
|
|
|
|
|
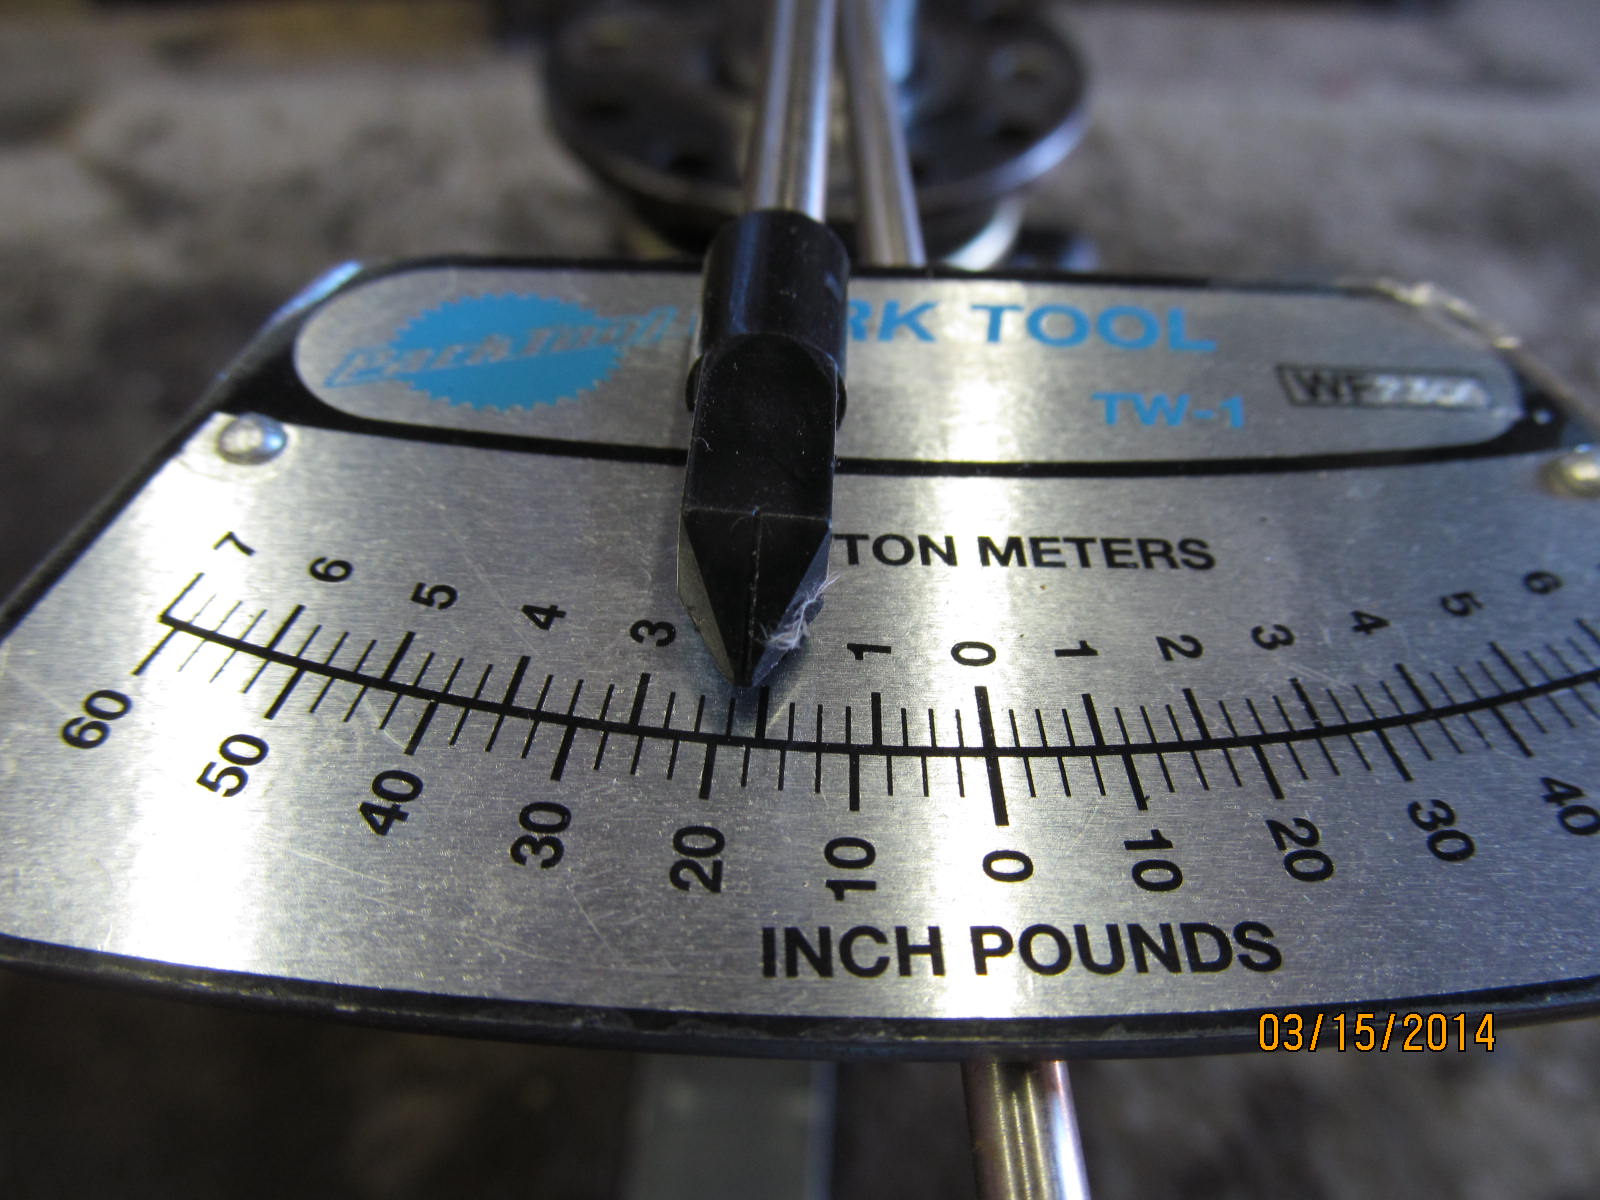
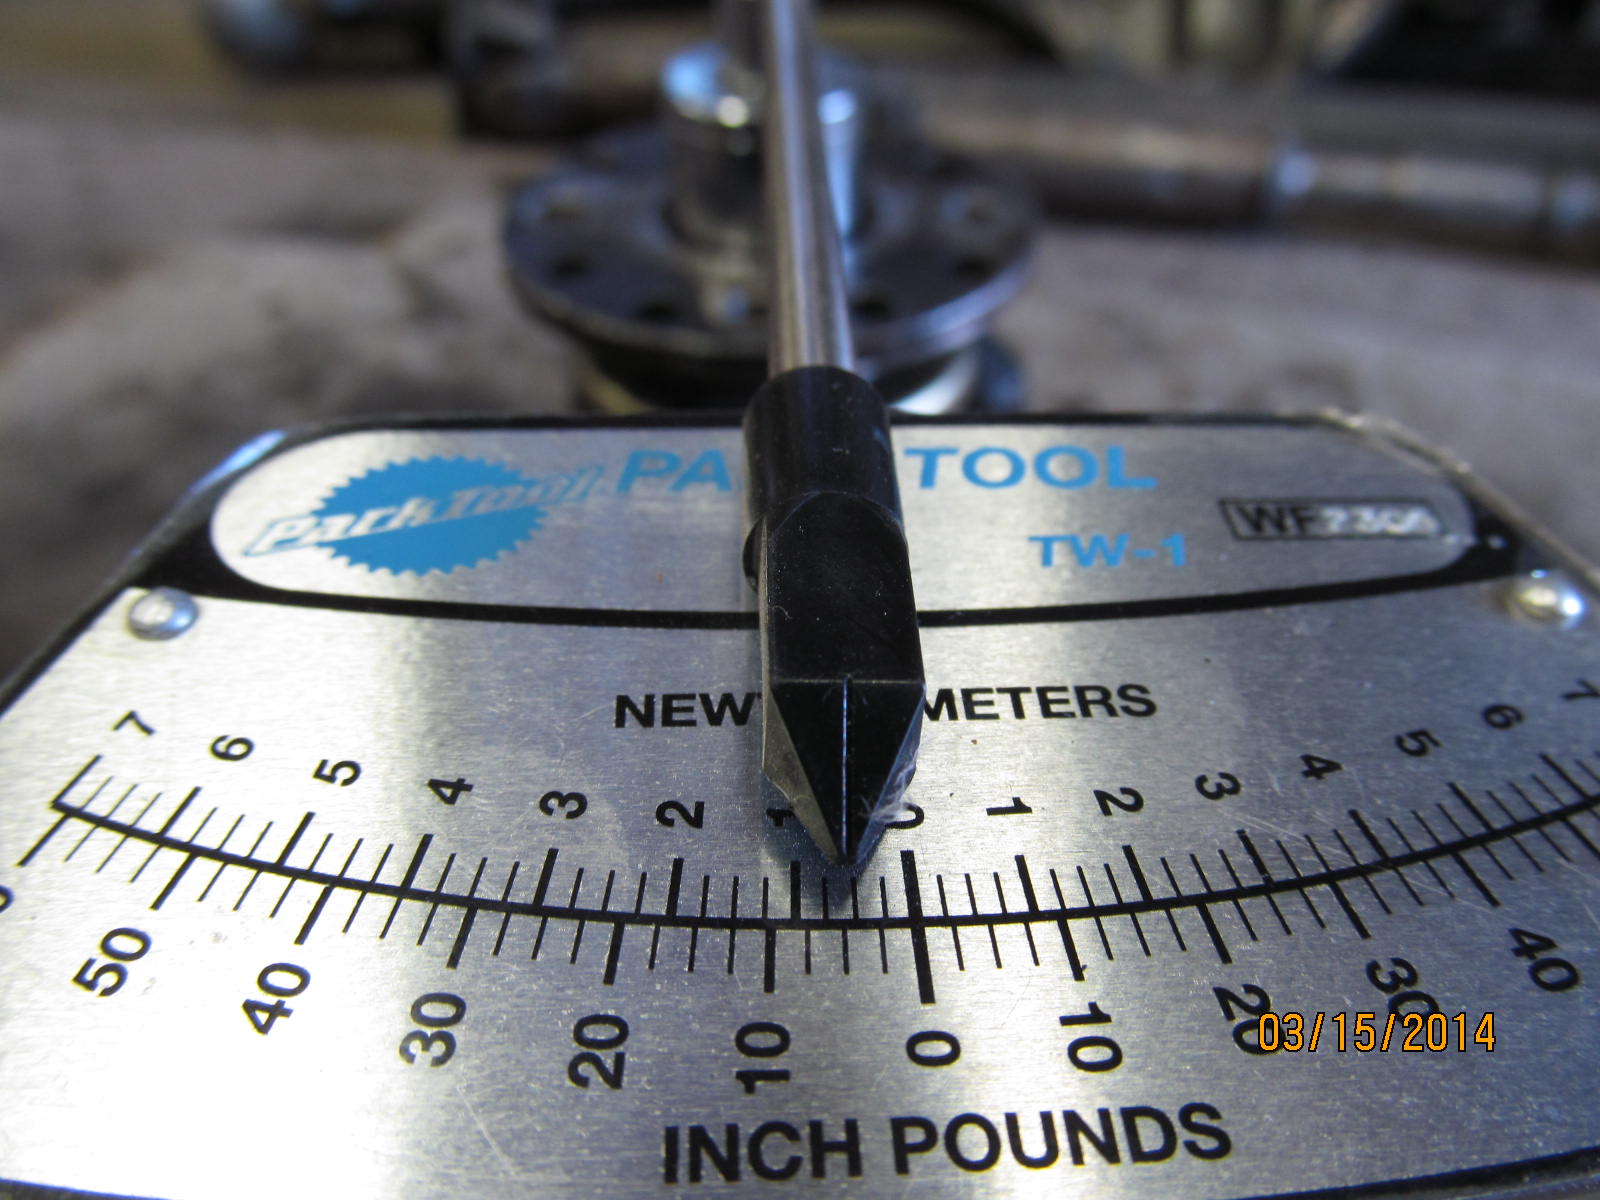
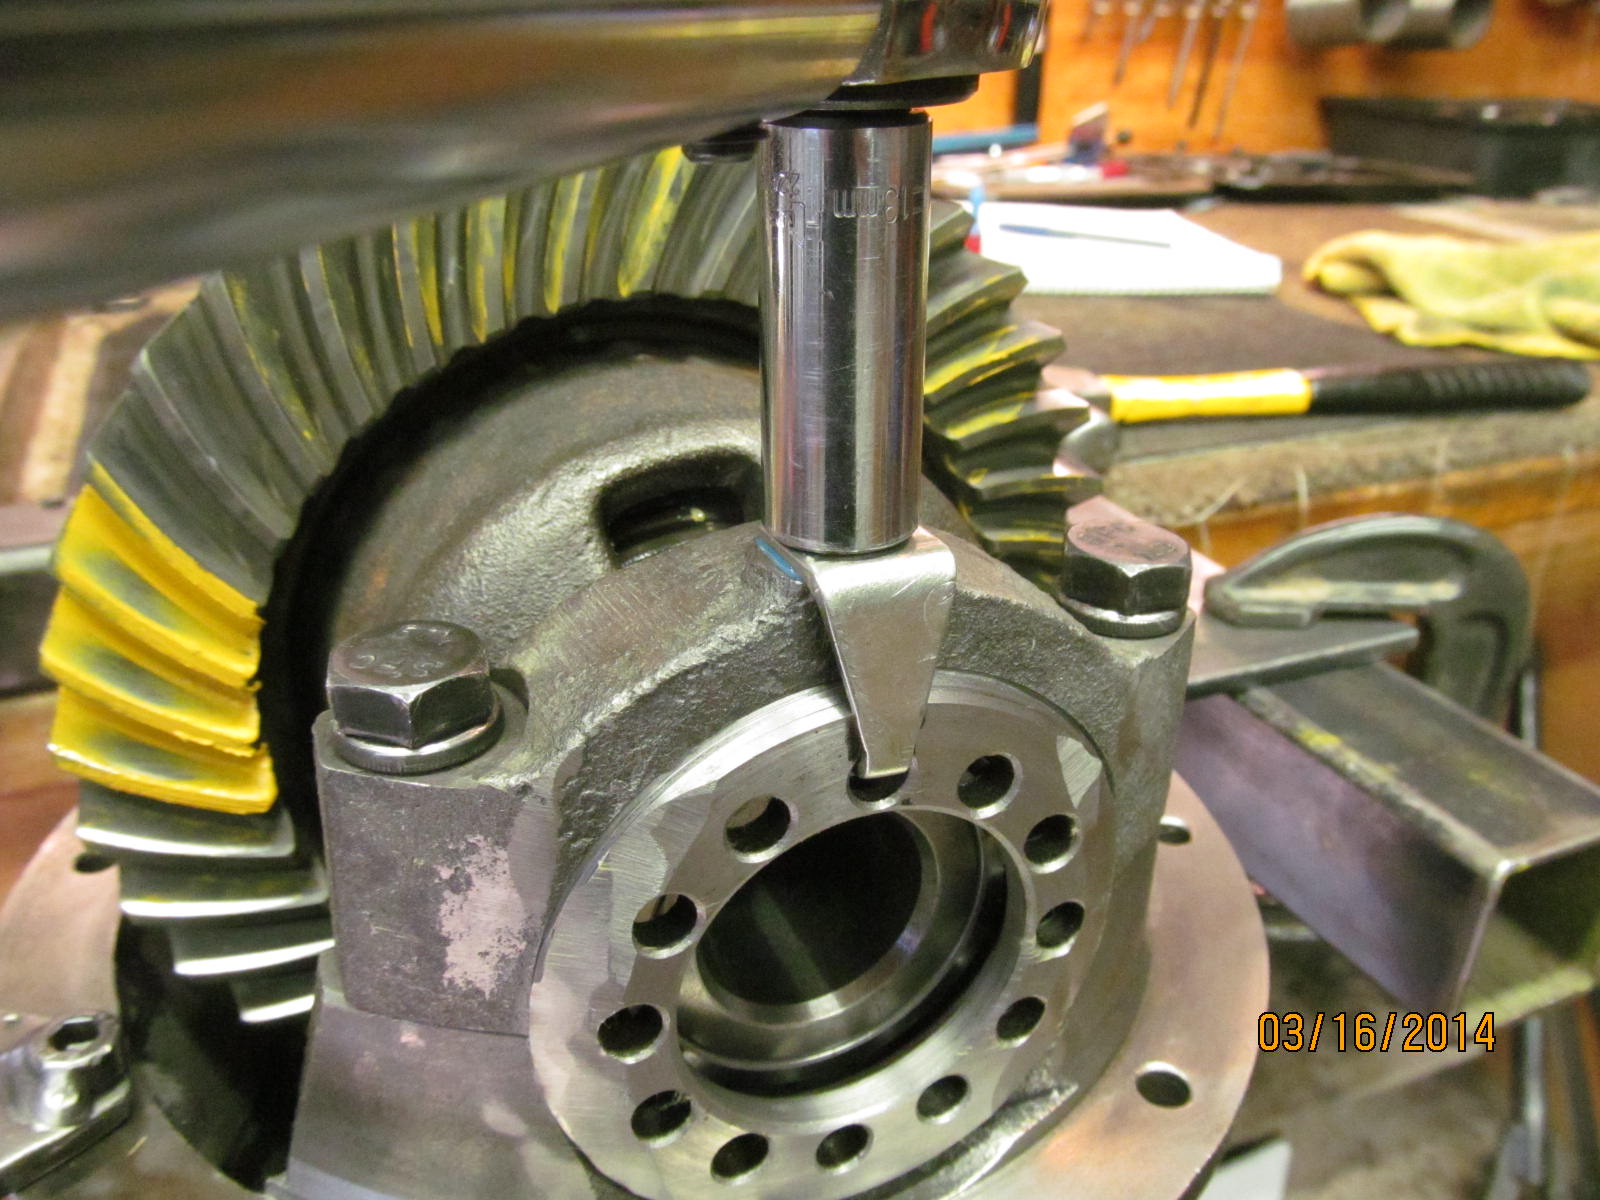
The pinion nut is tightened with the electric impact until a modest 3 inch/pounds is measured.
|
|
|
|
|
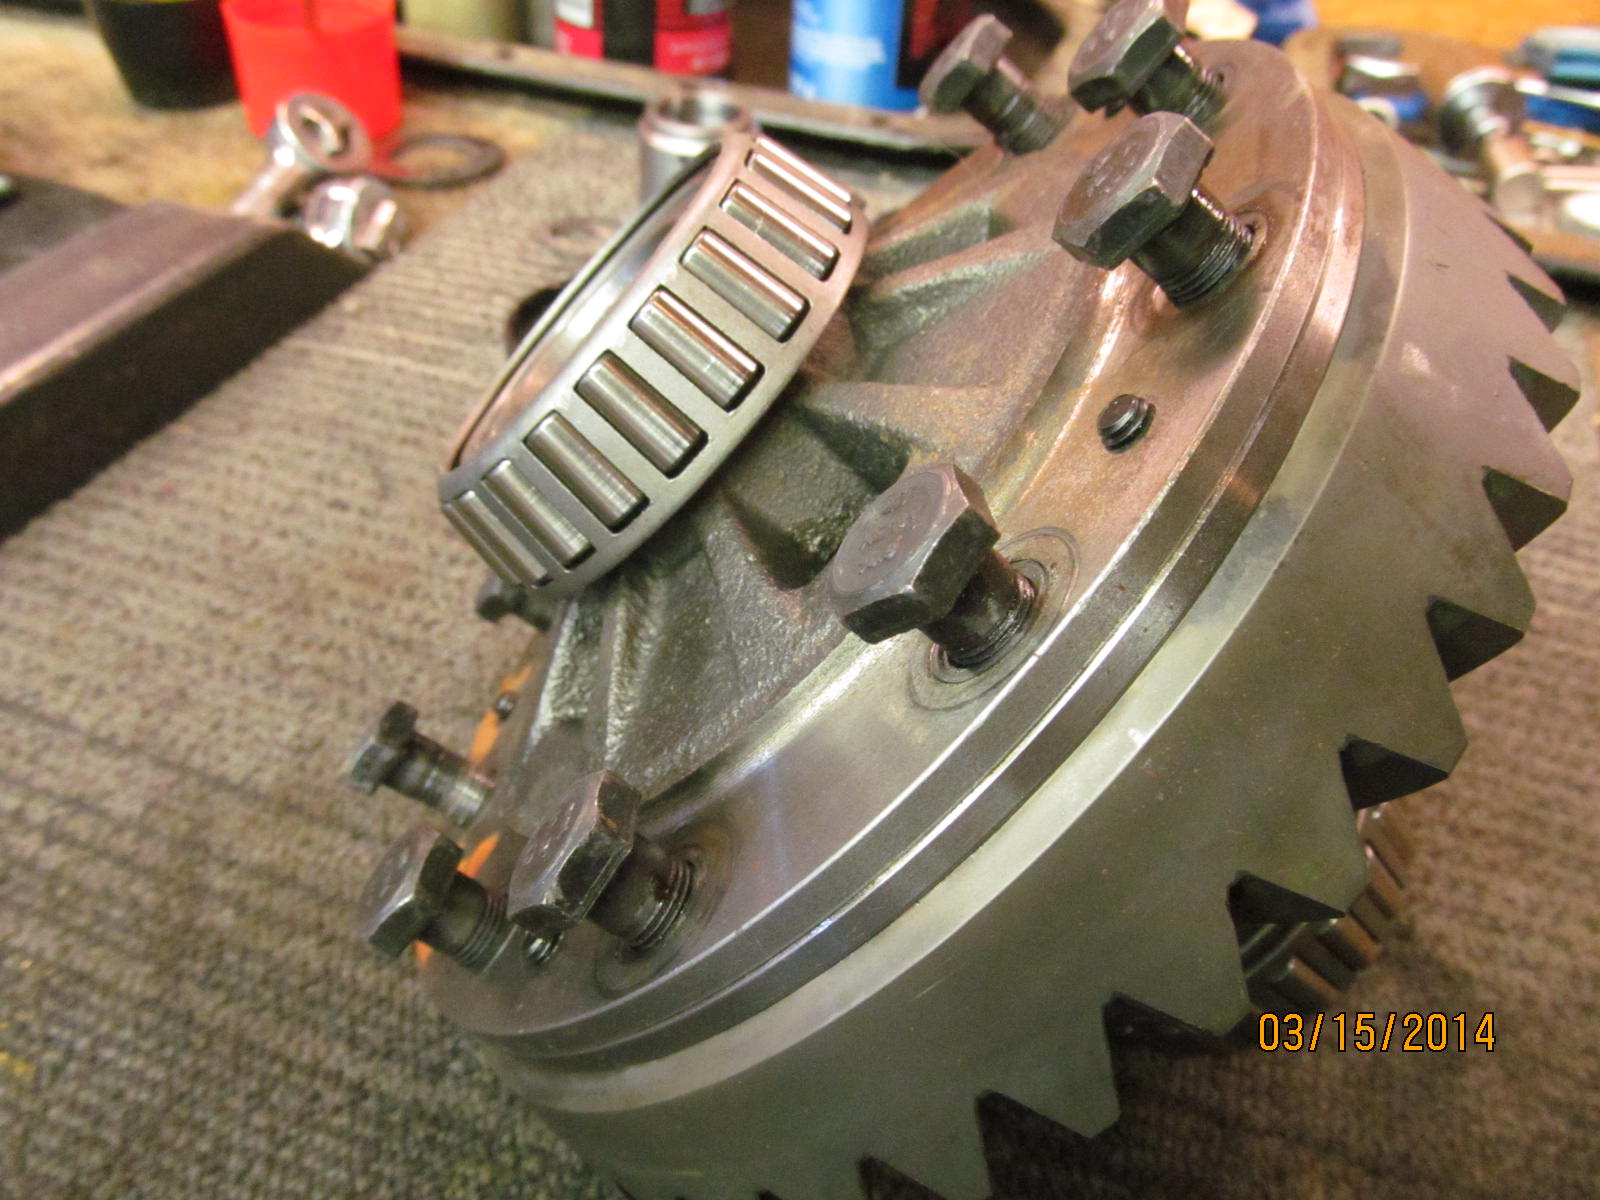
Before the ring gear assembly is placed in diff, some checks are made. All 10 of the bolts were tight and they used loctite.
|
|
|
|
|
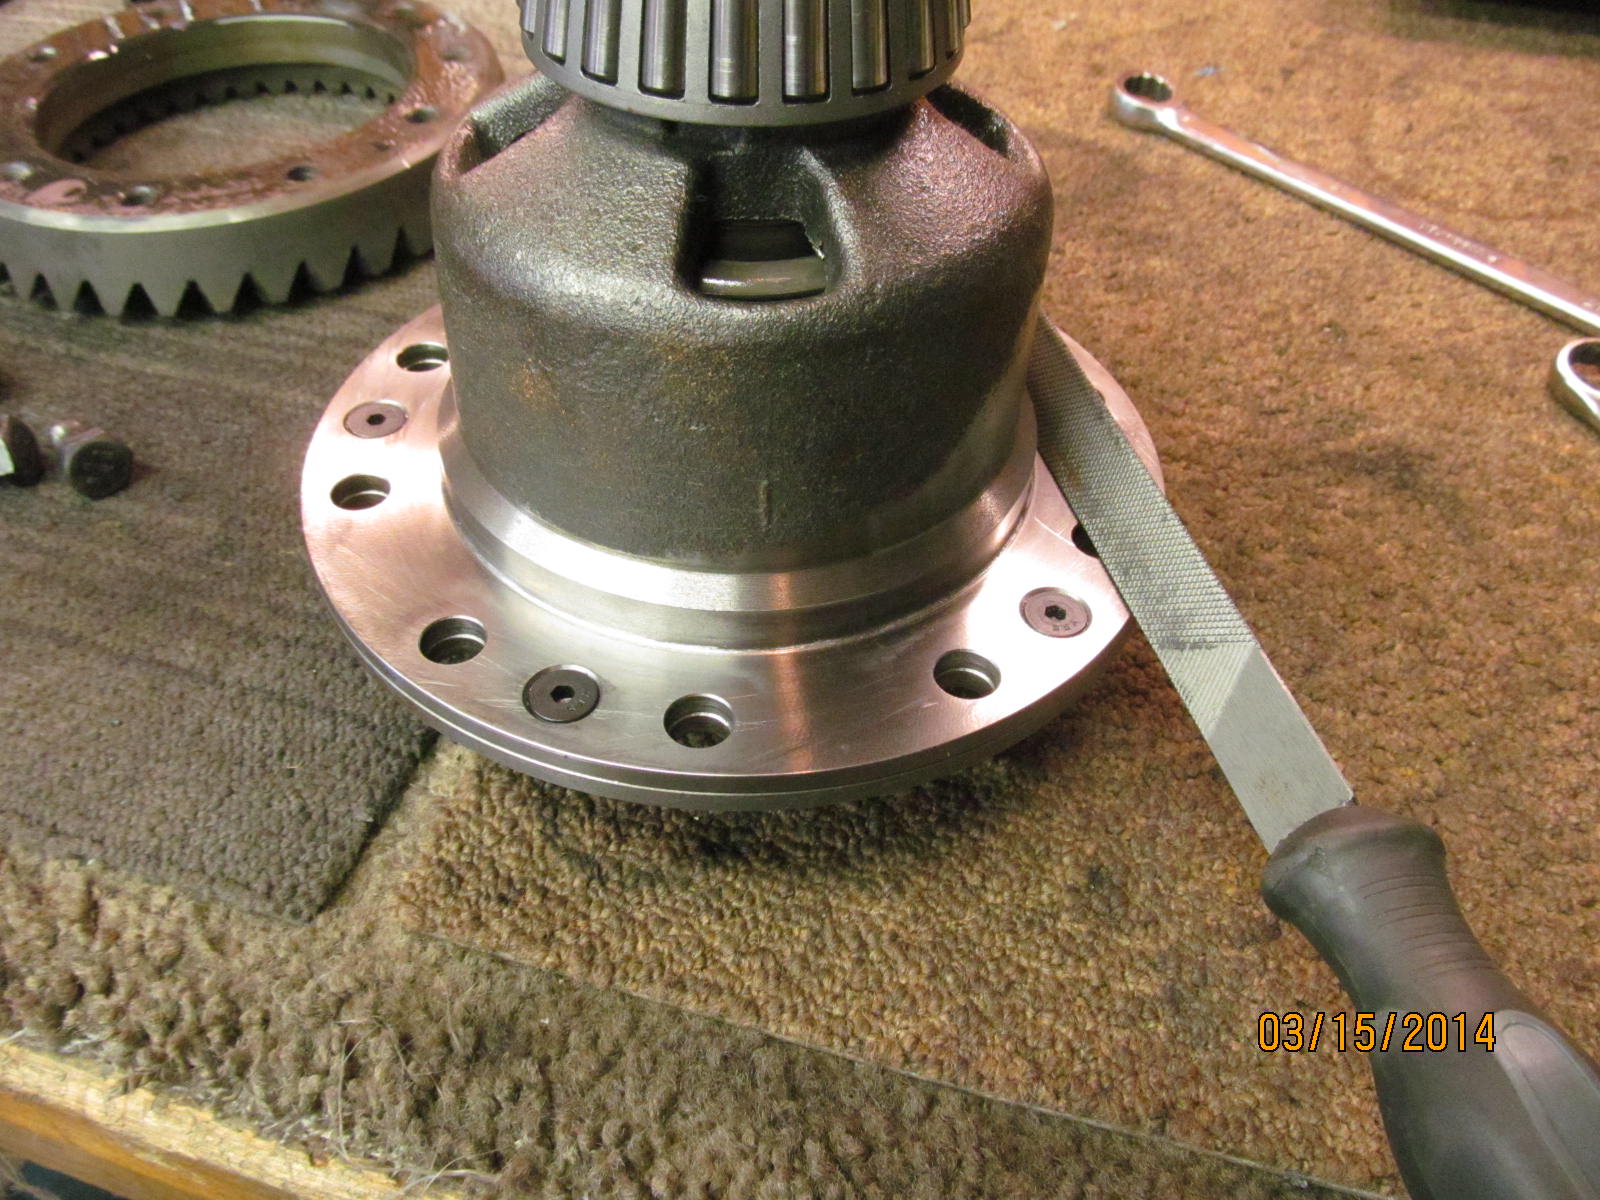
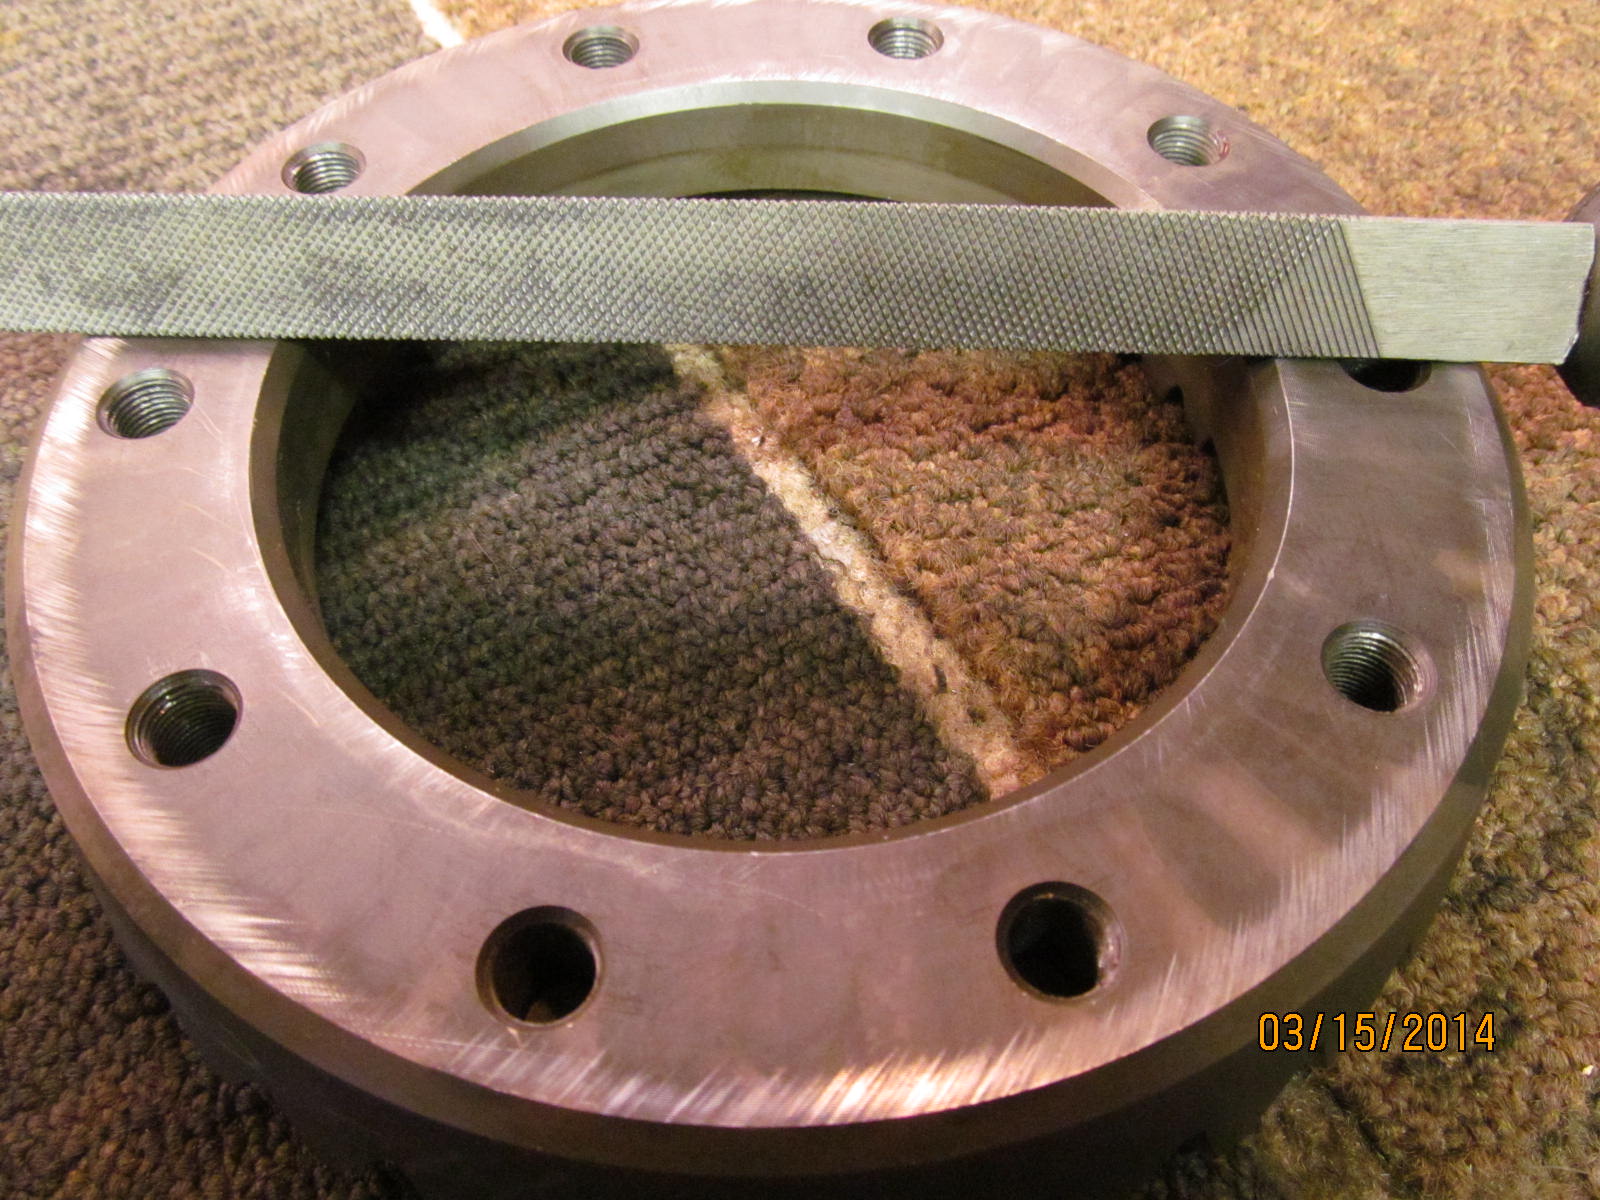
I didn't have to do this but I wanted to check the surfaces with a file and see how much run-out the Detroit has.
|
|
|
|
|
Surface filed and nothing unusual.
|
|
|
|
Pushing hard with the Chinese file I was able to actually make a few scratches in it.....usually I can't quite do that much
scratching...not sure if I can use that as a criteria of the hardness of the material...is it SAE 8620 alloy steel or 4027?
Who knows. But other than that, the surface was burr free and no unusual high spots.
|
|
|
|
|
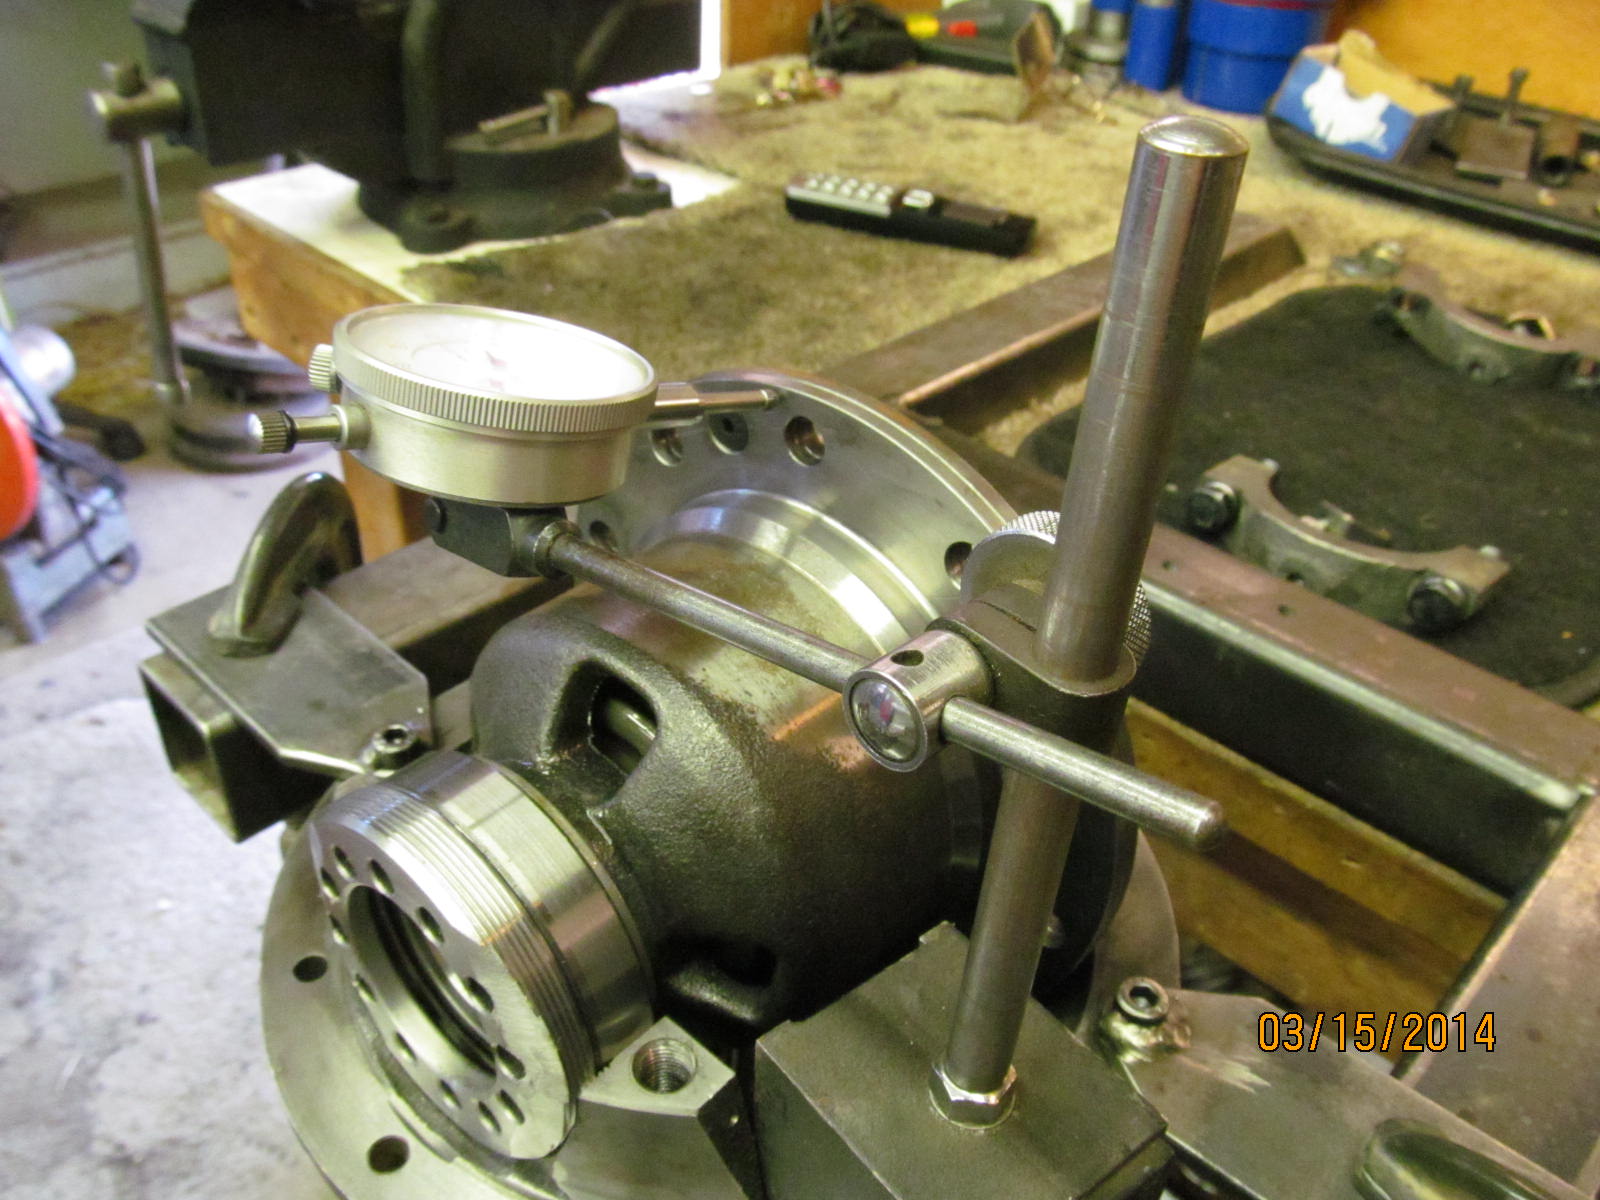
Runout was just under .002"
|
|
|
|
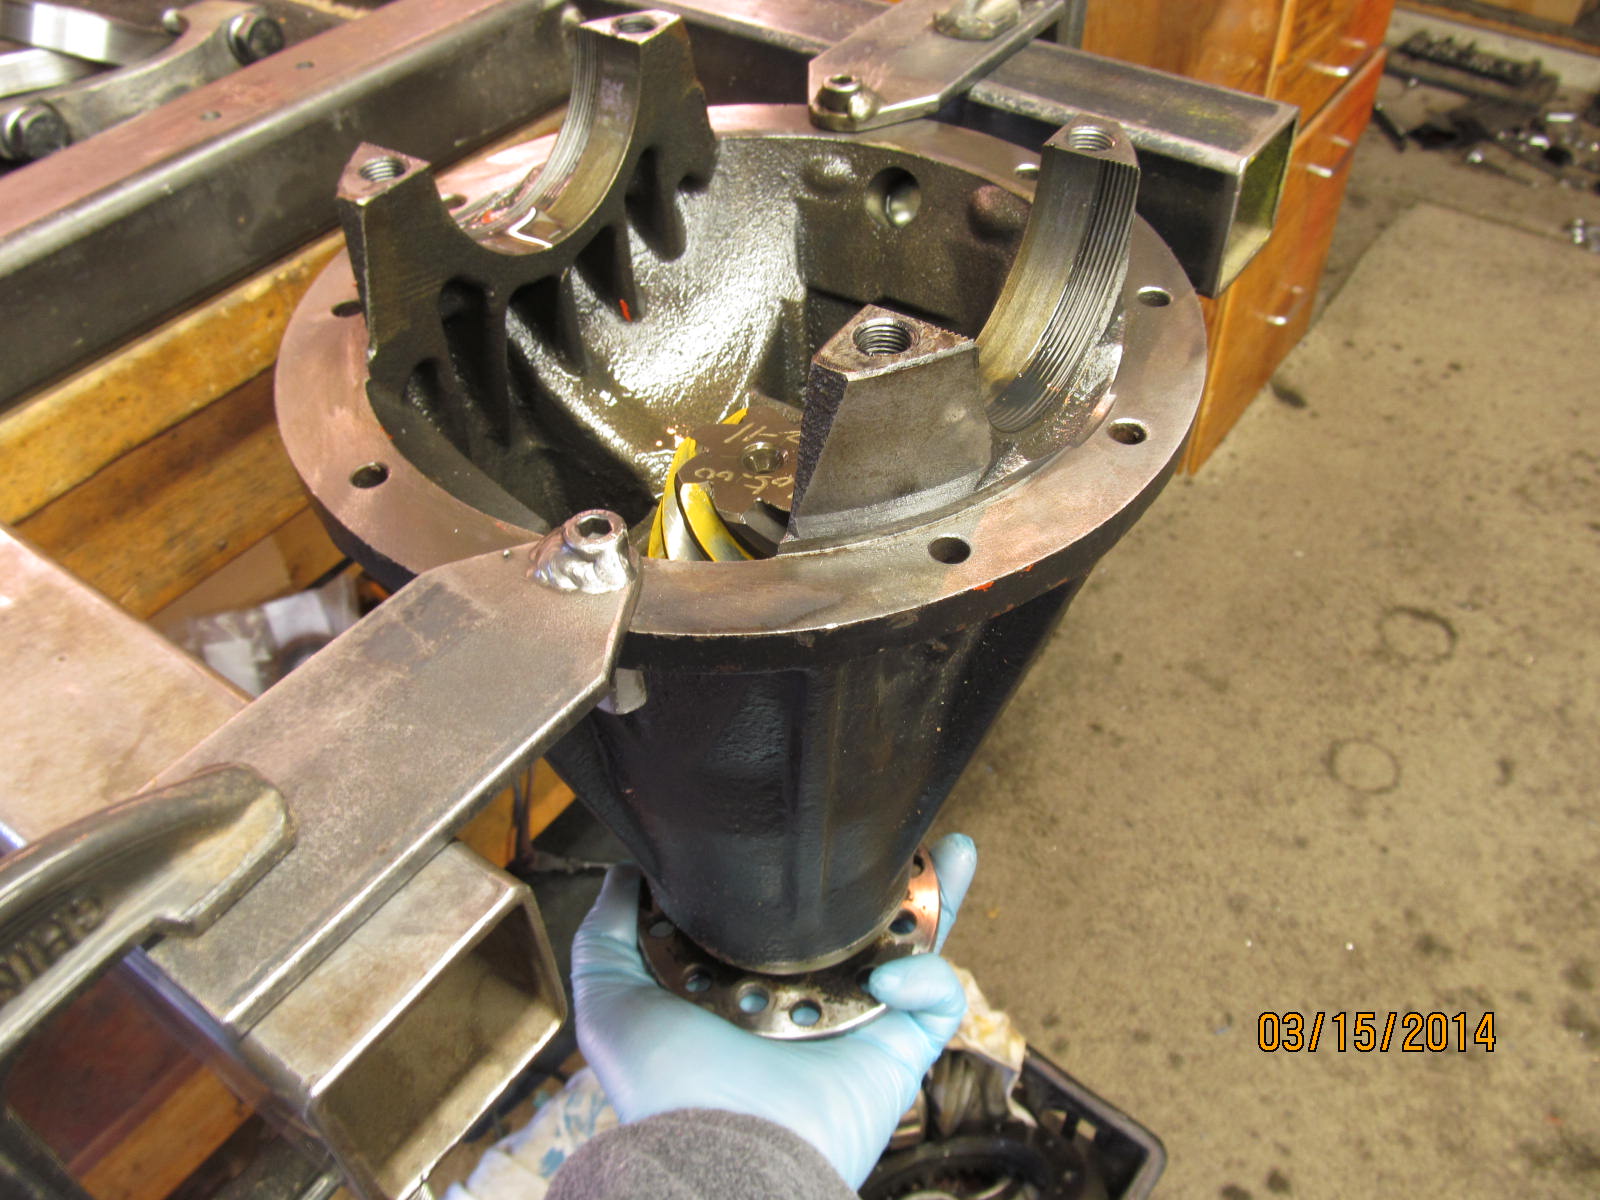
The ring gear was a good, snug fit onto the Detroit. No press was needed or boiling water...just some love from the lead filled
plastic hammer.
|
|
|
|
|
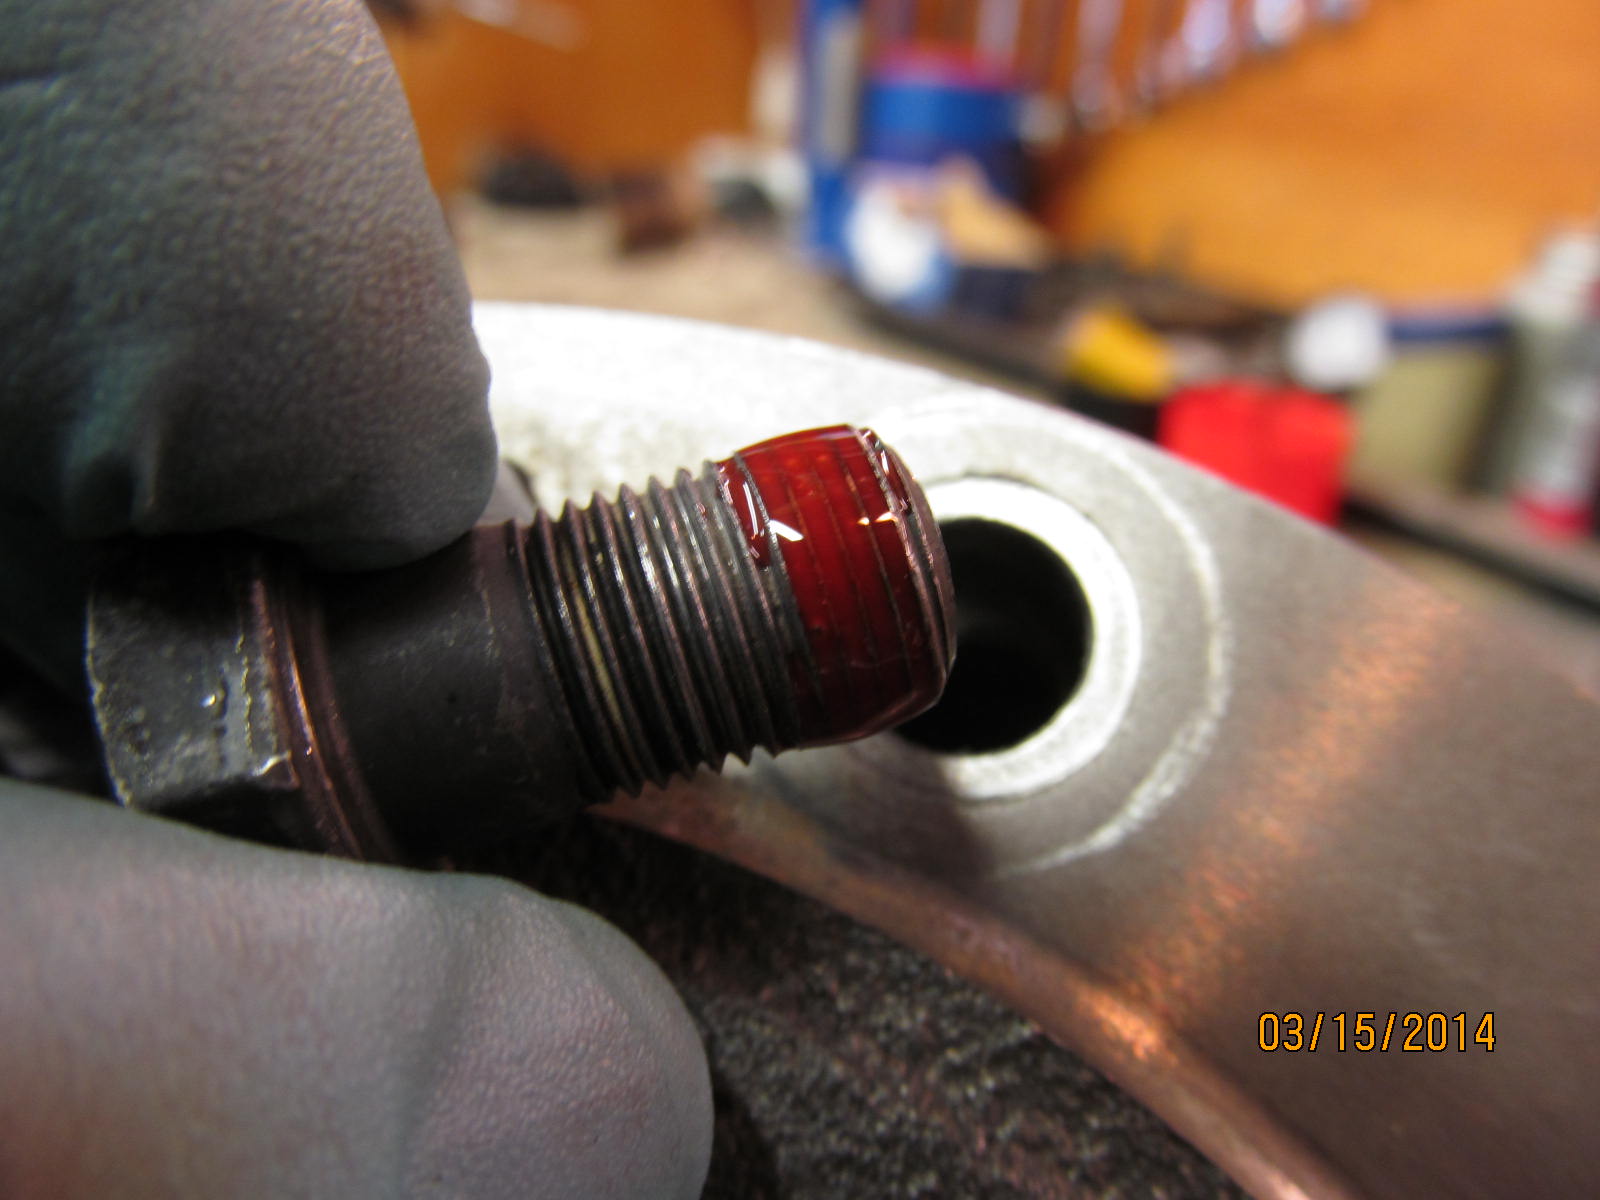
Threads are cleaned with ether and red loctite applied.
|
|
|
|
|
75 ft/lbs to all 10 fine threaded bolts.
|
|
|

|
|
Bearing cap bolts are snugged up fairly tight for this paint test.
|
|
|

|
|
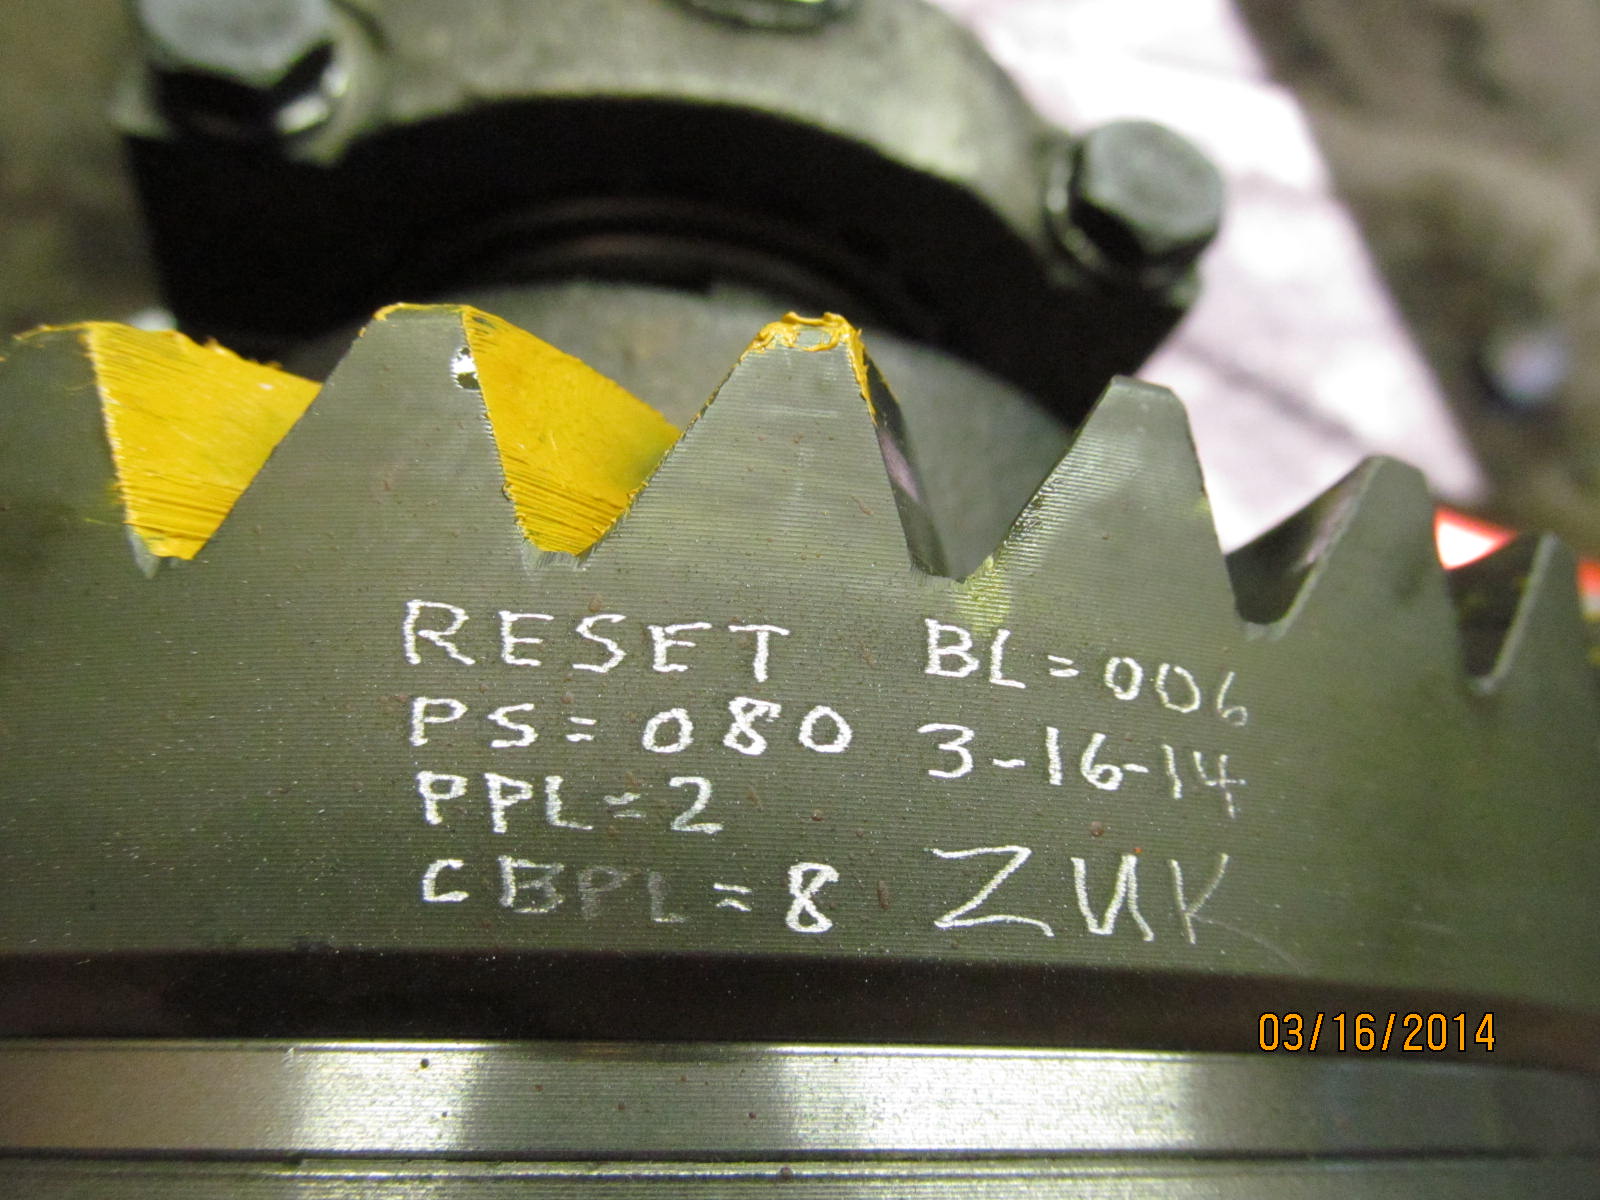
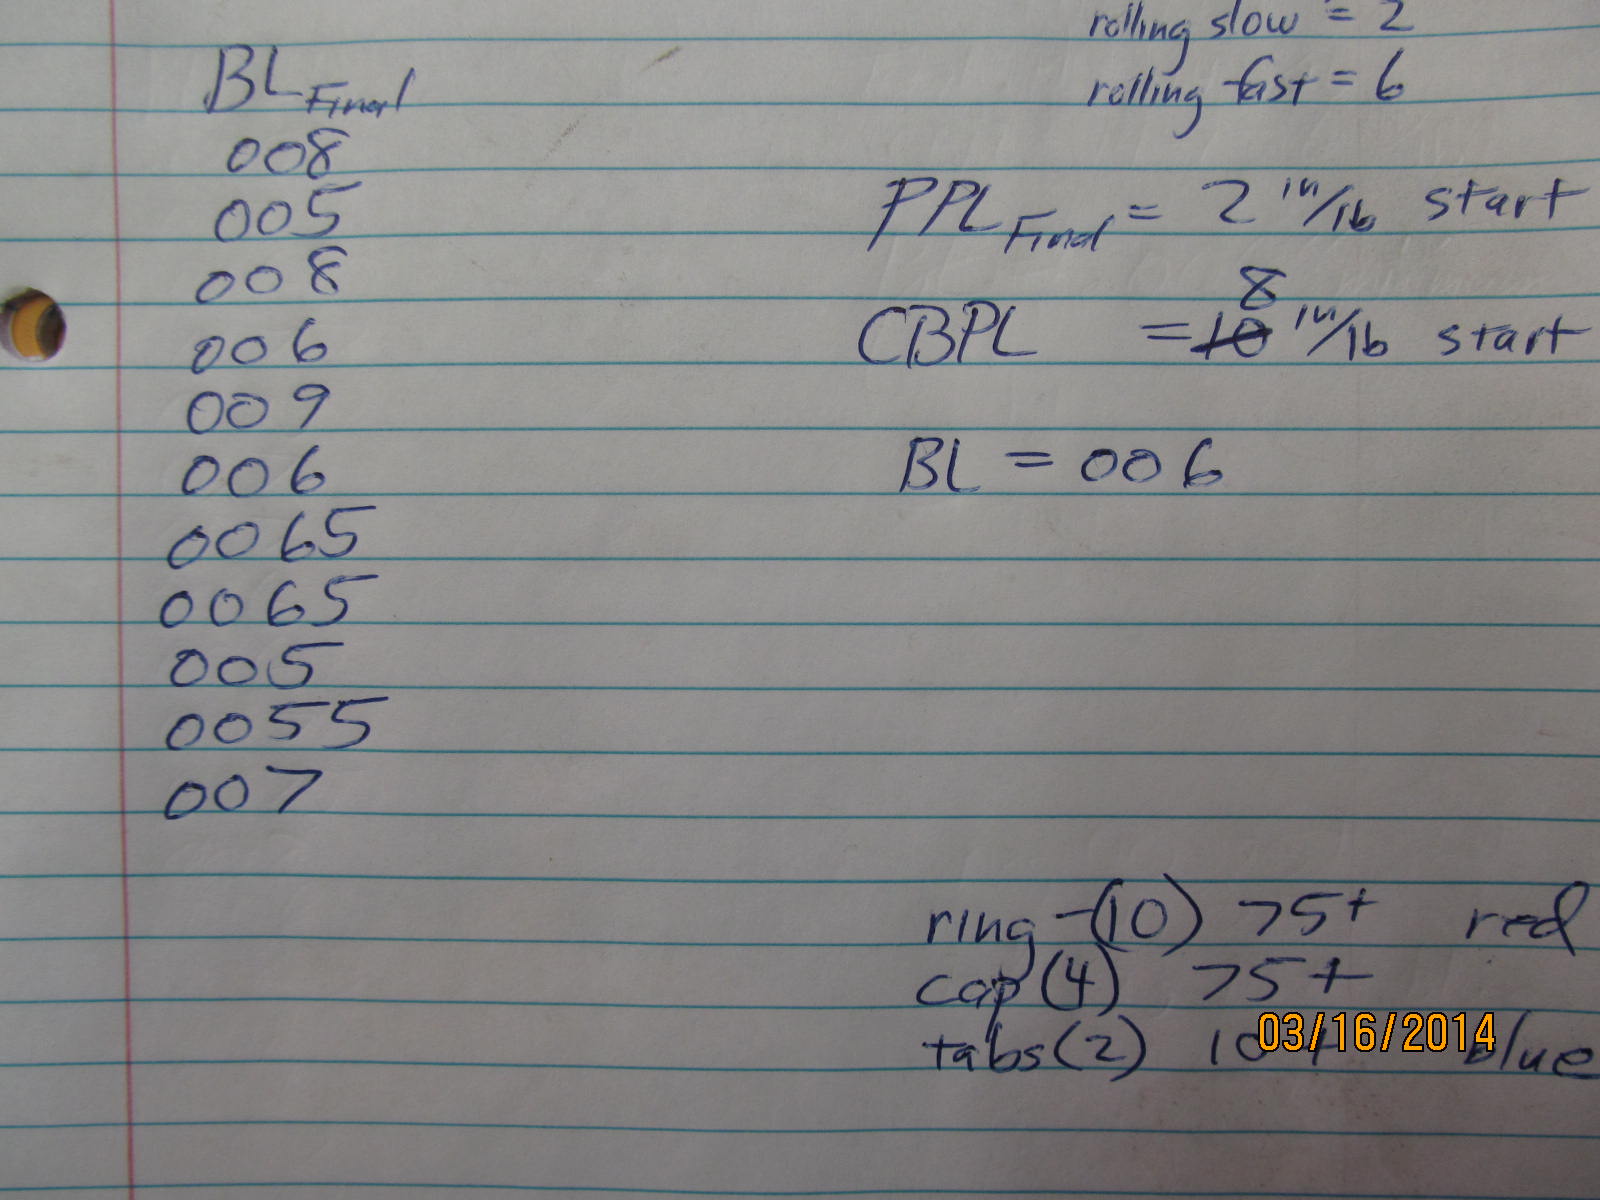
The adjuster wheels are tightened to give some carrier bearing preload with a backlash of about .007".
|
|
|
|
|
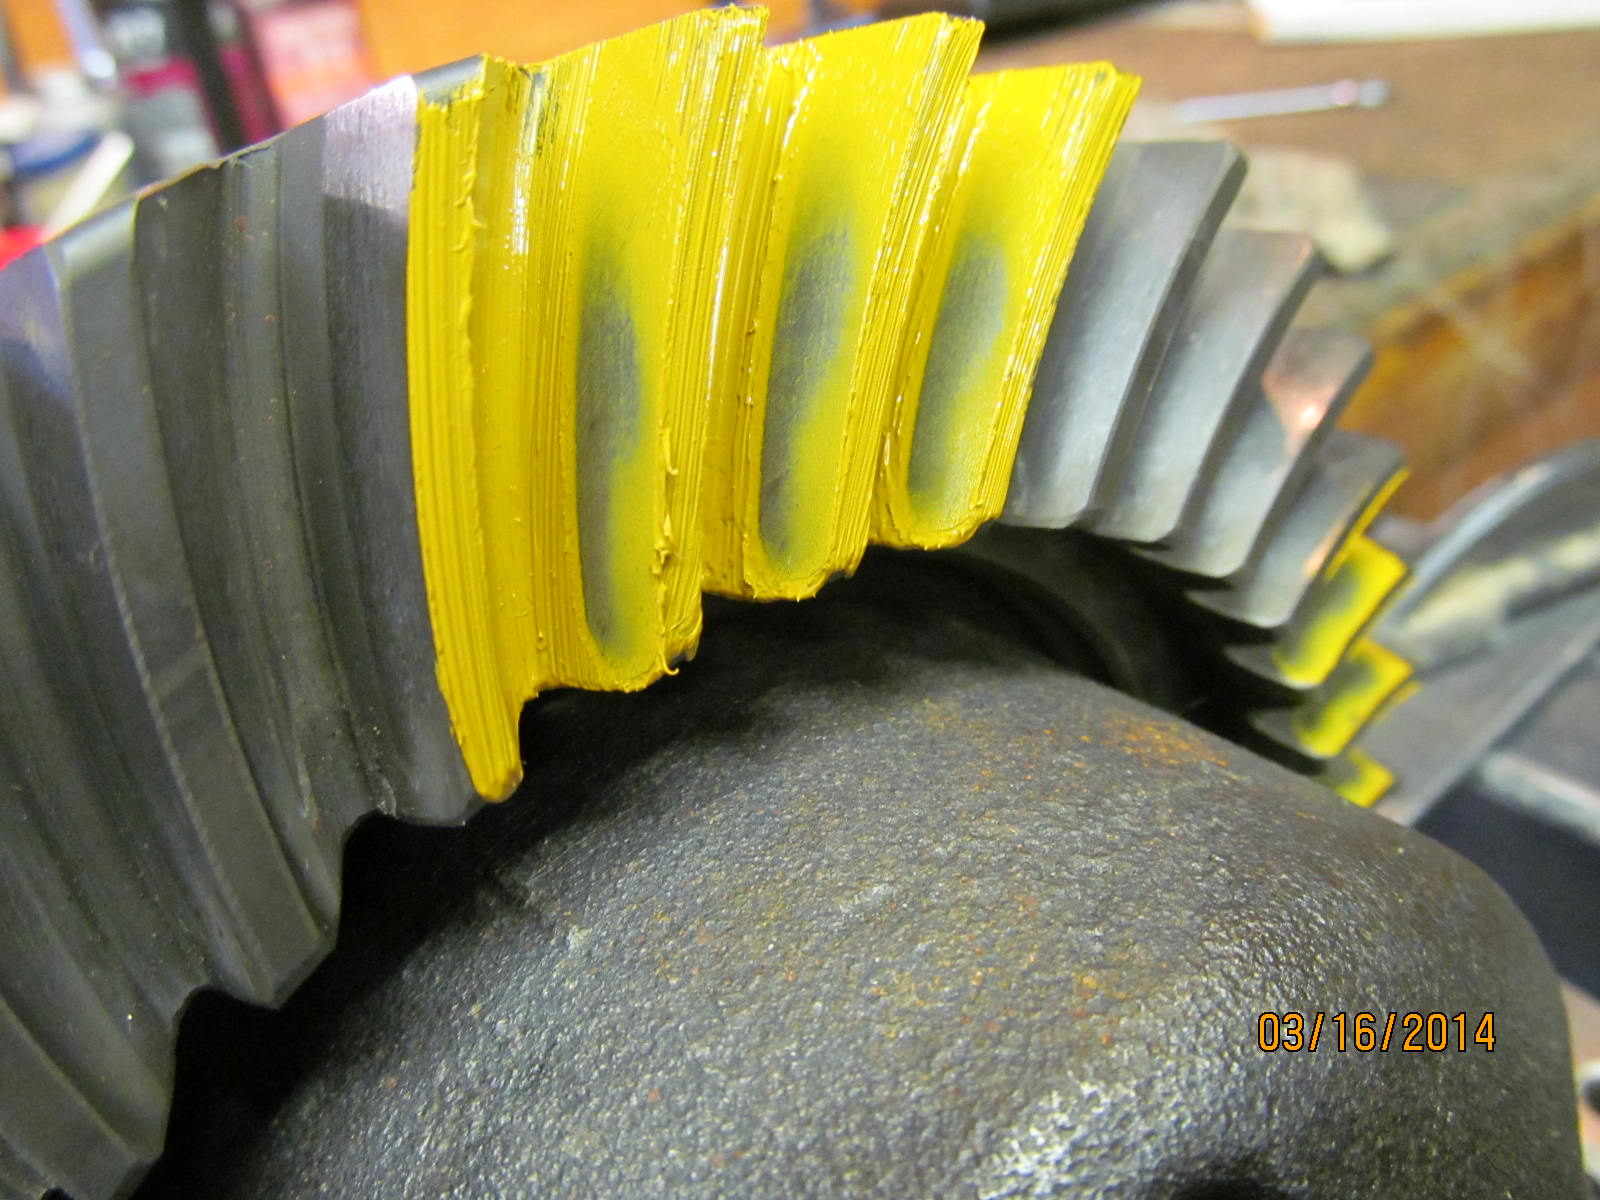
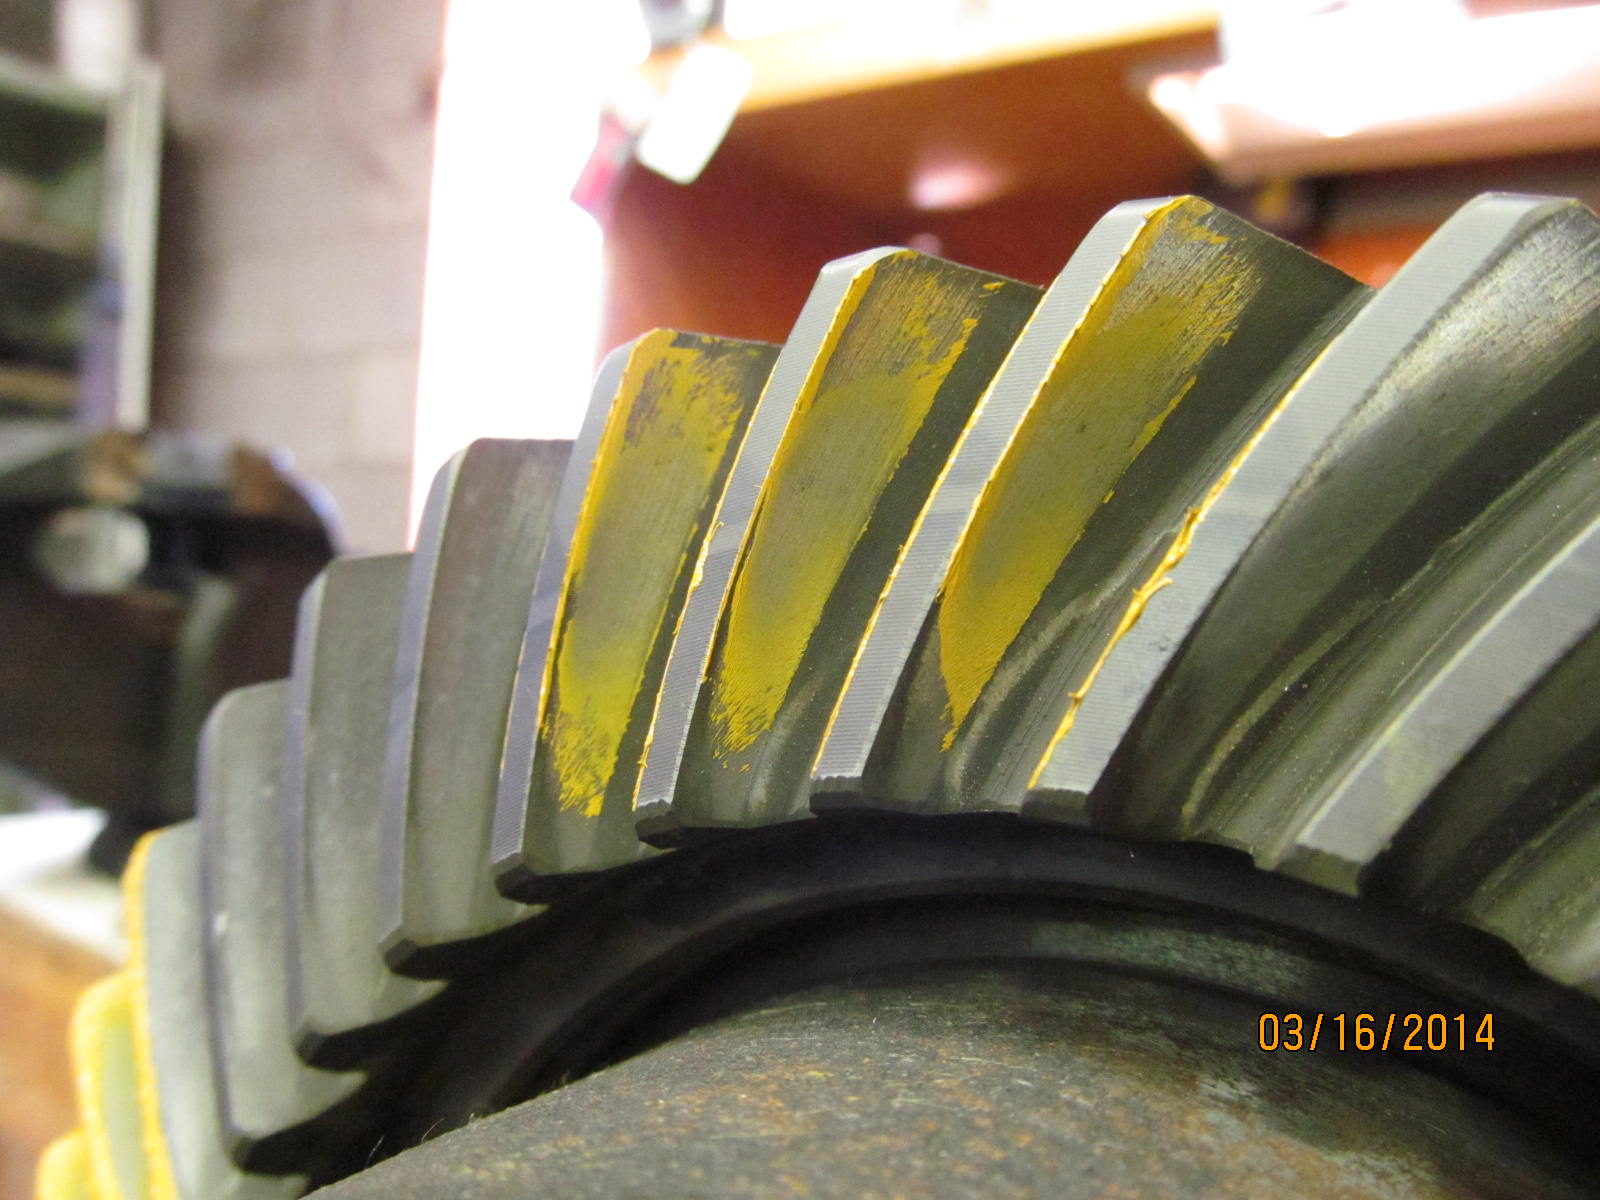
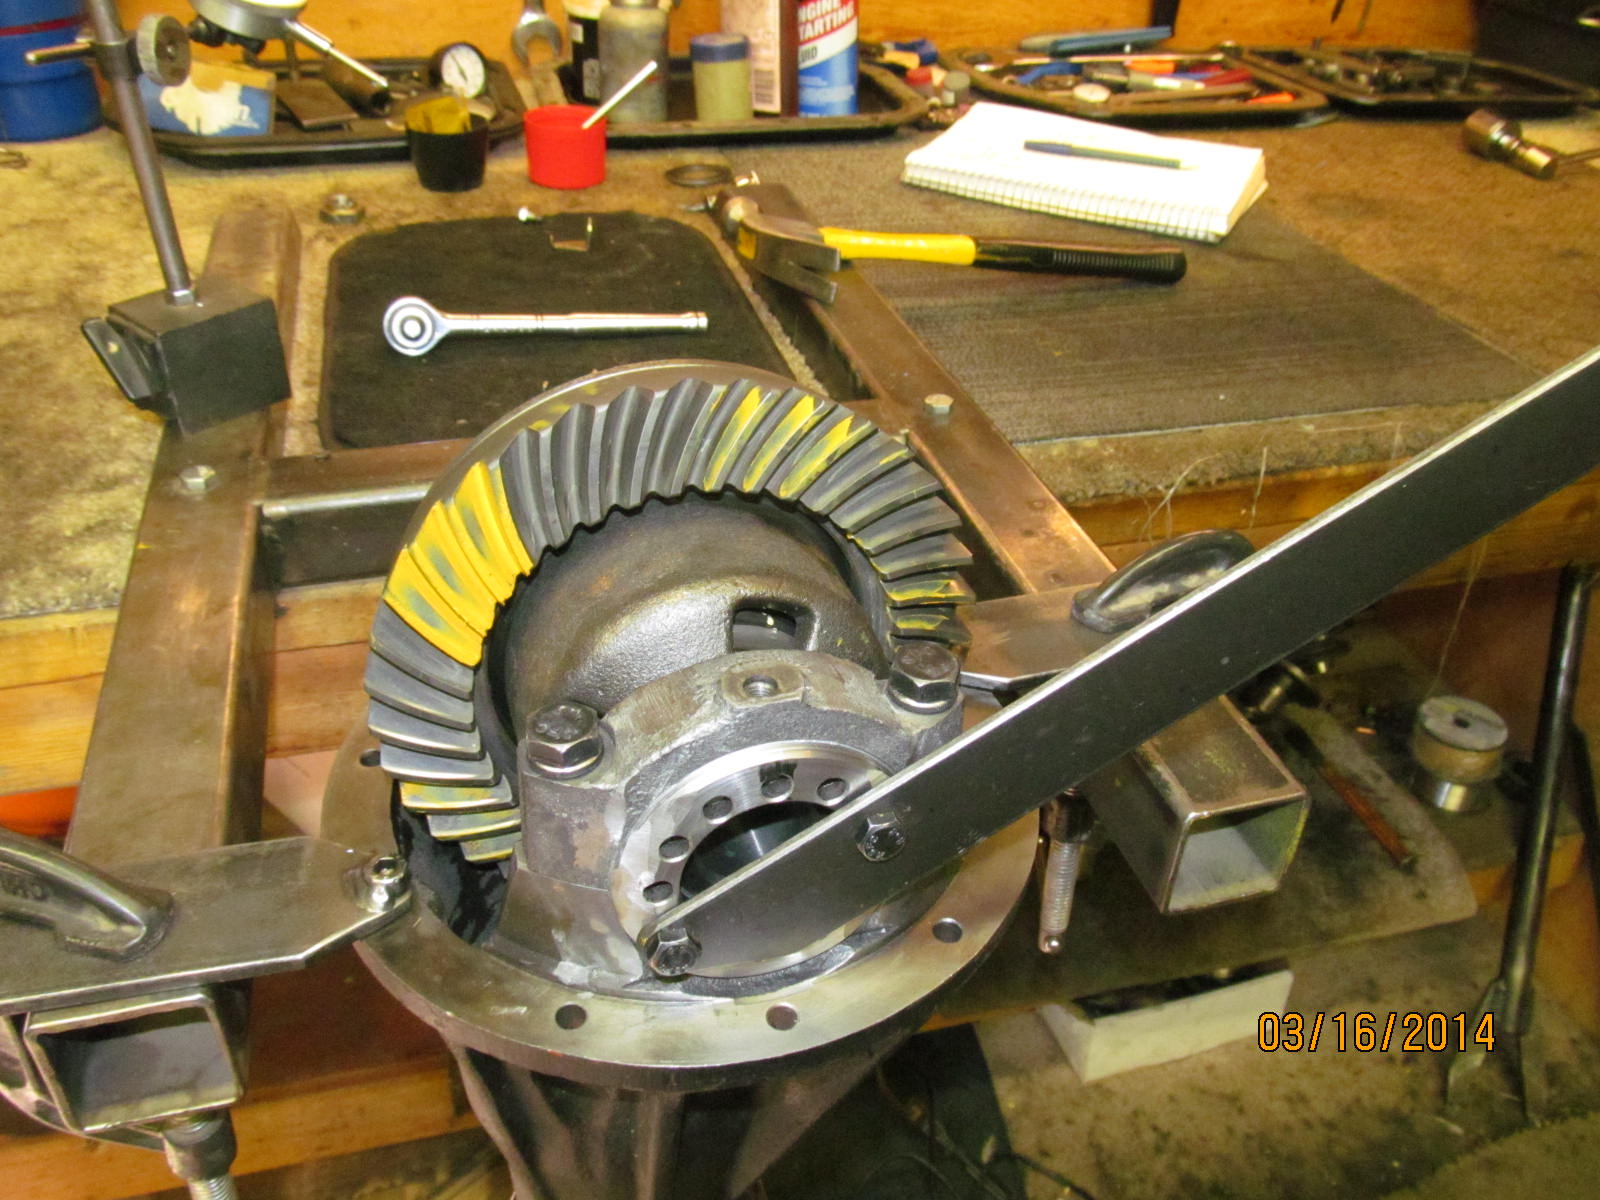
Nice drive side. To me, the pattern is in the shape of a sports car. Now it favors the toe and is deep like it should be.
|
|
|
|
|
Coast is much better than before. I'd like to see it closer to center but it is what it is.
|
|
|
|
|
The comet tail is now somewhere in the middle.
|
|
|
|
|
drive---this is the reverse painted teeth.
|
|
|
|
|
coast
|
|
|
|
|
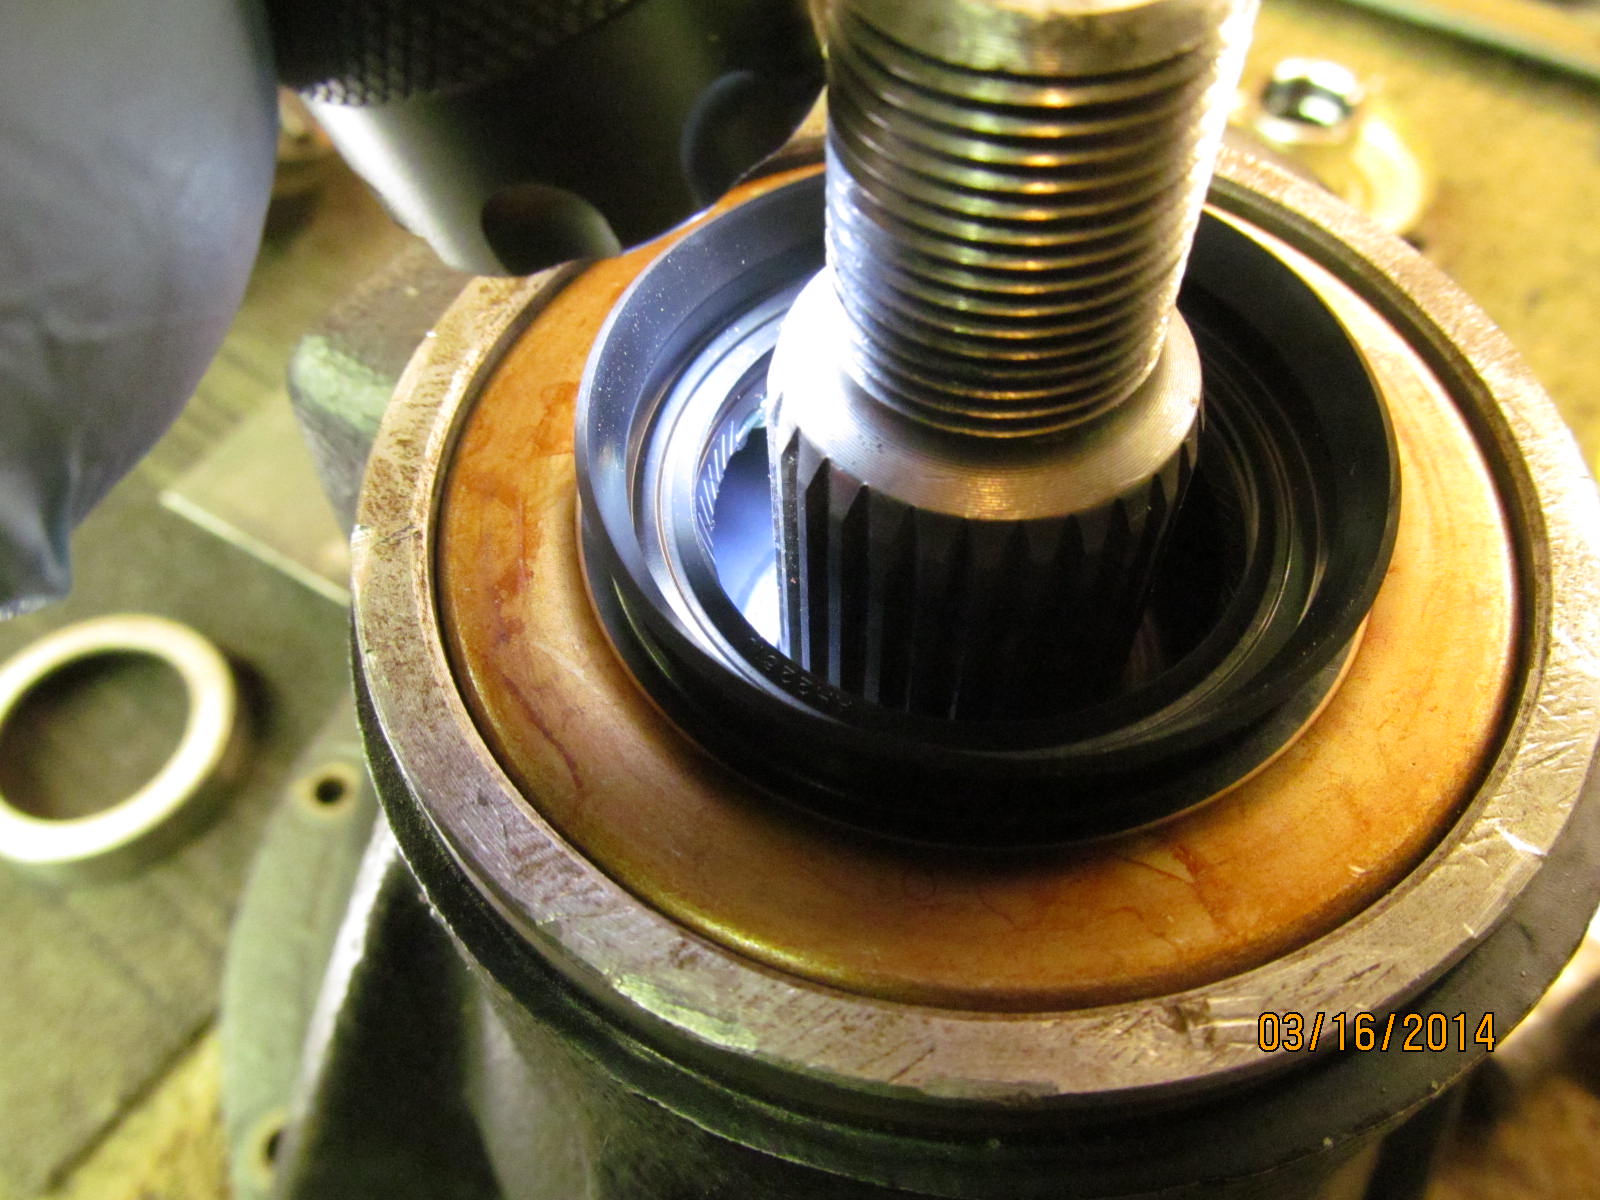
Now that the pinion depth is good, the solid collar and new OEM seal can be installed.
|
|
|
|
Skipped a few pictures but I had to re-shim the solid collar and had to tear it down several times to get it right. And now that
it is, a good, used splashguard can be installed.
|
|
|
|
|
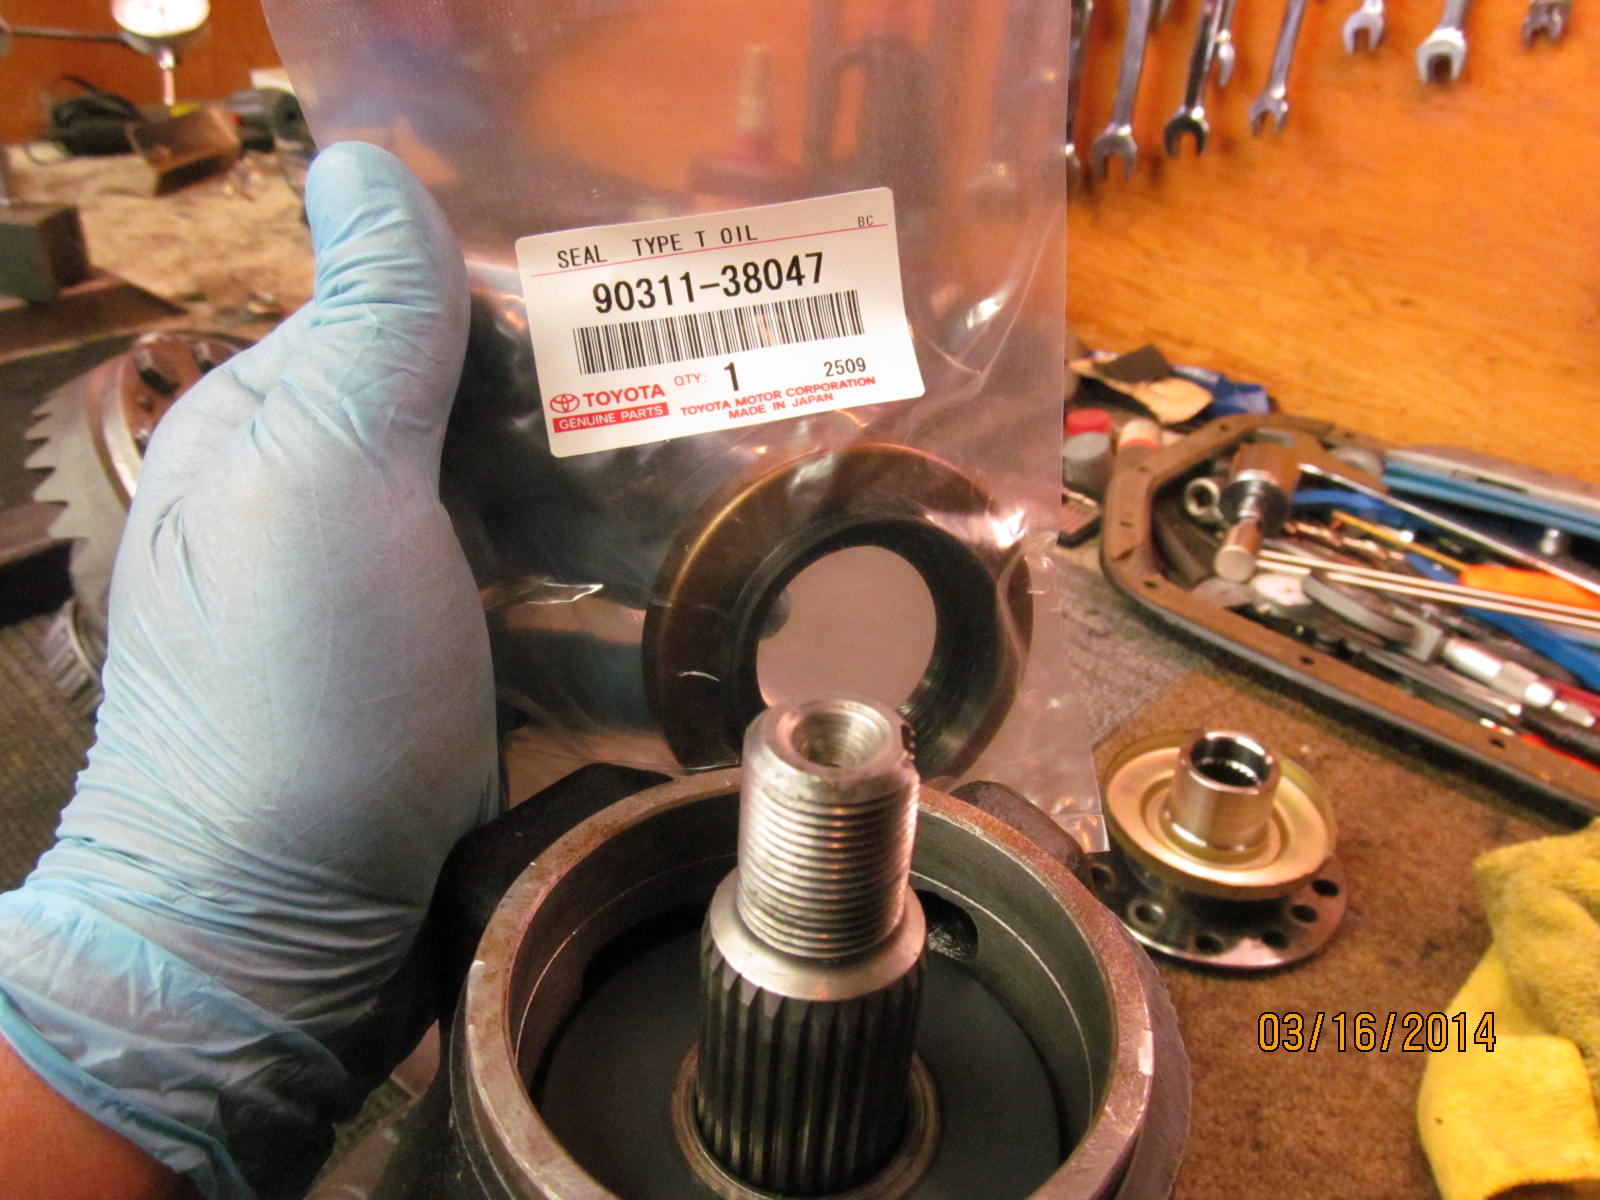
OEM 90311-38047 pinion seal.
|
|
|
|
|
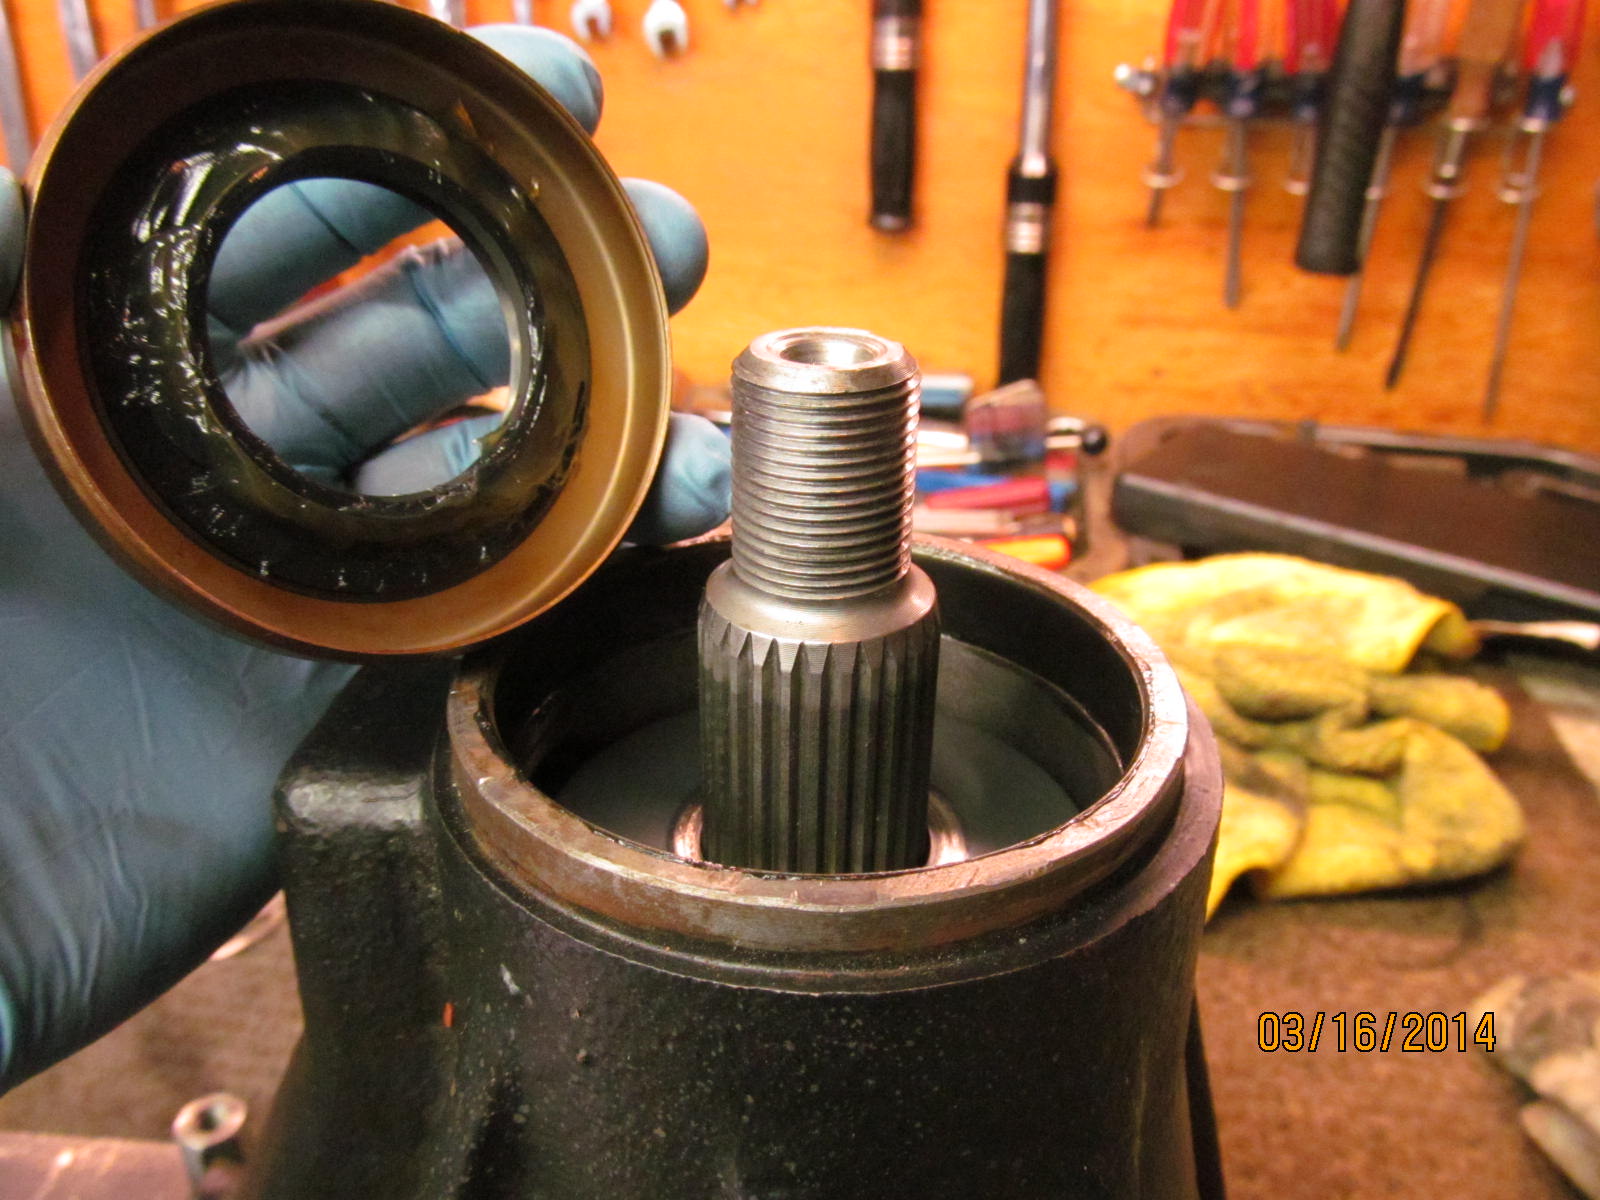
A thick grease is applied to the inside to prevent the garter spring from popping loose.
|
|
|
|
|
The seal is evenly tapped in place.
|
|
|
|
|
I still shine a light inside to verify the spring did not pop loose.
|
|
|
|
|
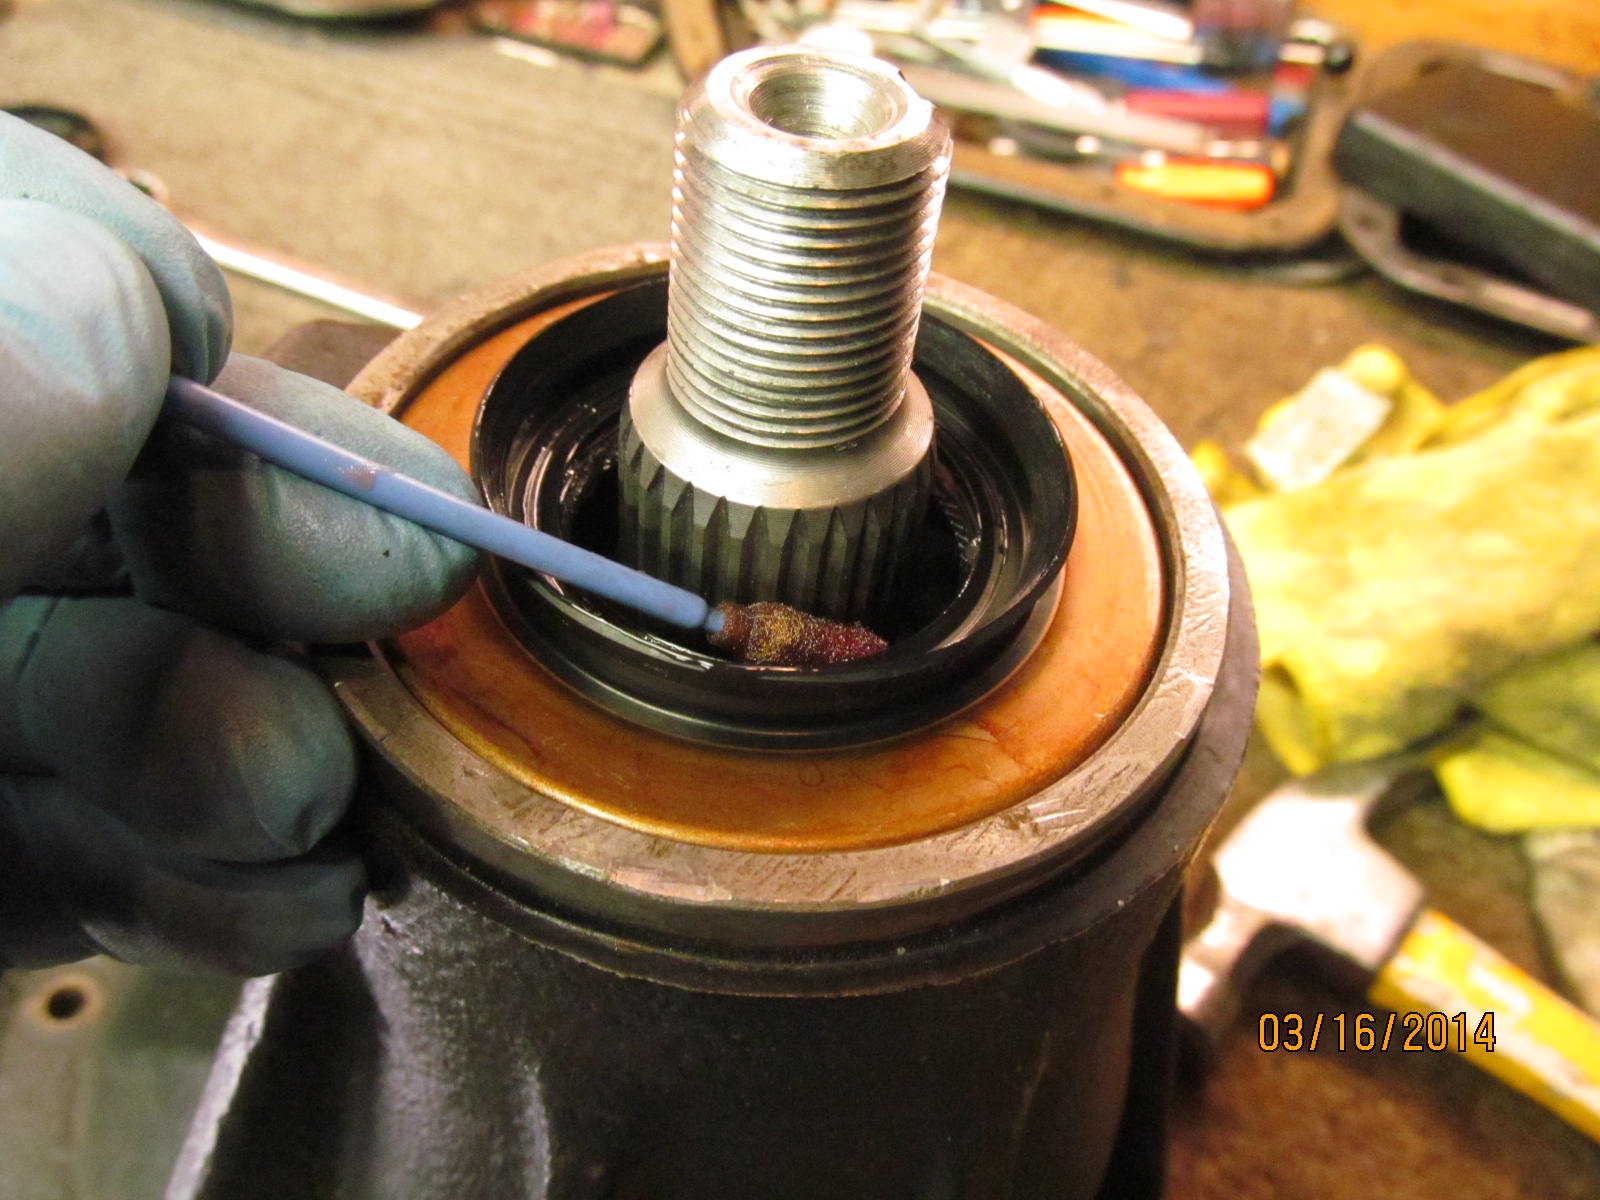
Gear oil is applied to the effected seal surfaces to prevent a dry start up.
|
|
|
|
|
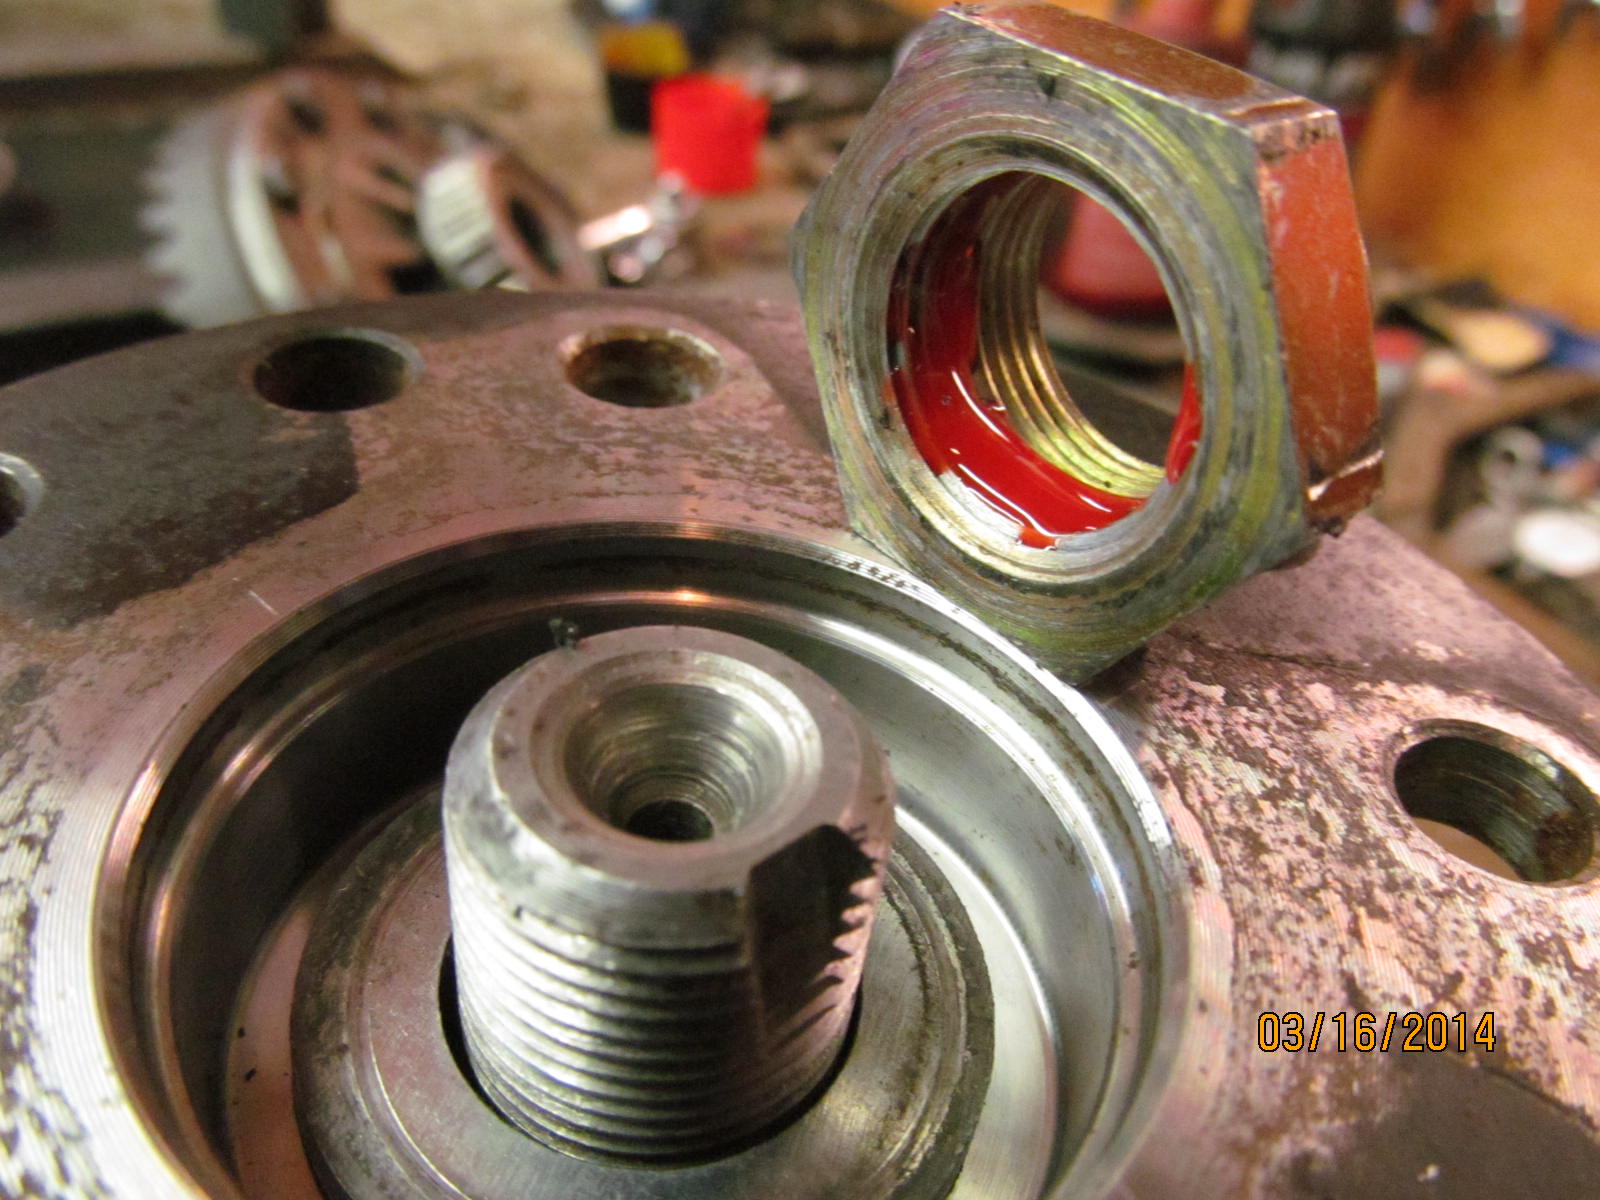
Threads are verified clean and red loctite on the pinion nut.
|
|
|
|
This nut is on very very tight. I only have a 2 in/lb start torque for pinion drag. We surely don't have to worry about these
bearings getting hot for sure.
|
|
|
|
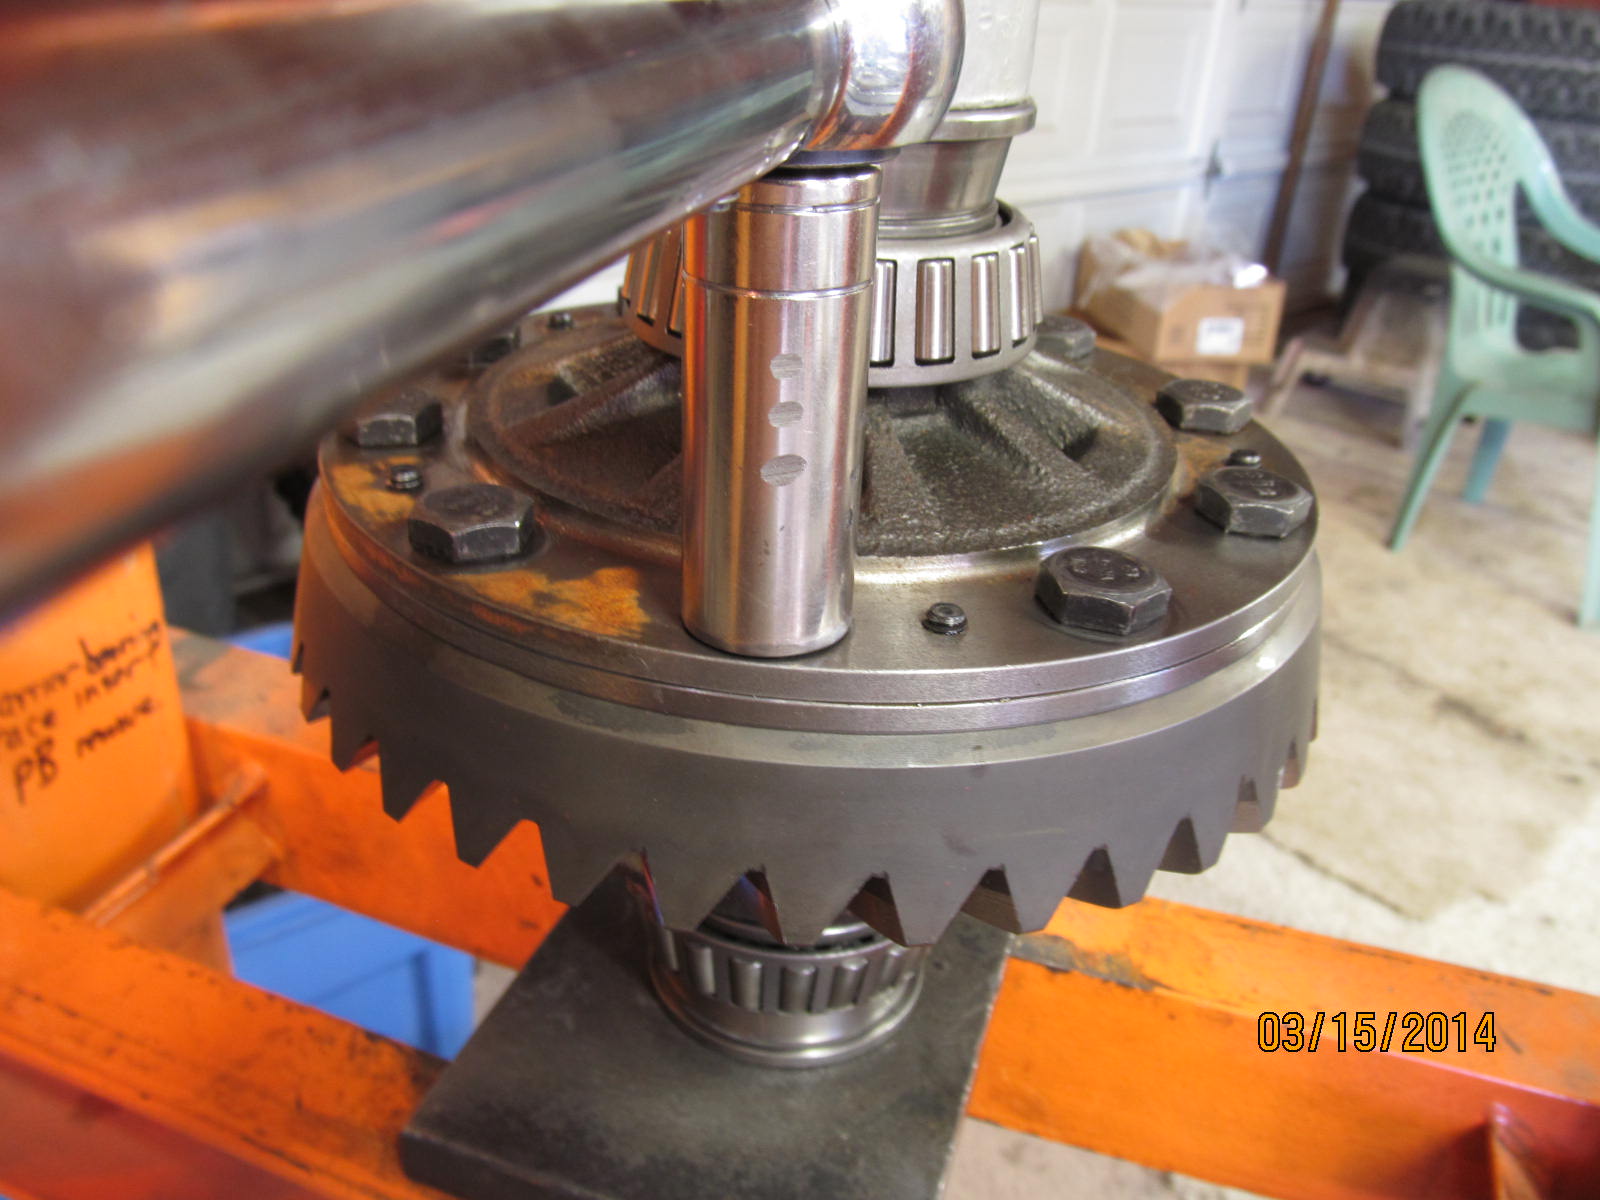
The Detroit locker case is now installed. Bearing caps are in place. A solid smack from the rubber end of hammer should result
in a solid SMACK! sound of the upper tower cap seating down properly.
|
|
|
|
|
75 ft/lbs...
|
|
|
|
|
...and these wheel adjusters should turn easy if all is set down right and they did.
|
|
|
|
For my final adjustment, I smack all 4 corners while turning the pinion flange. This equalizes the carrier bearing
tensions with each other.
|
|
|
|
|
I measure a combined pinion bearing plus carrier bearing preload of 10....2 for the pinion and 8 for the carrier bearings.
|
|
|

|
|
Backlash was measured every 3rd tooth and was about .006"
|
|
|
|
|
Blue medium strength loctite and 10 ft/lb
|
|
|
|
|
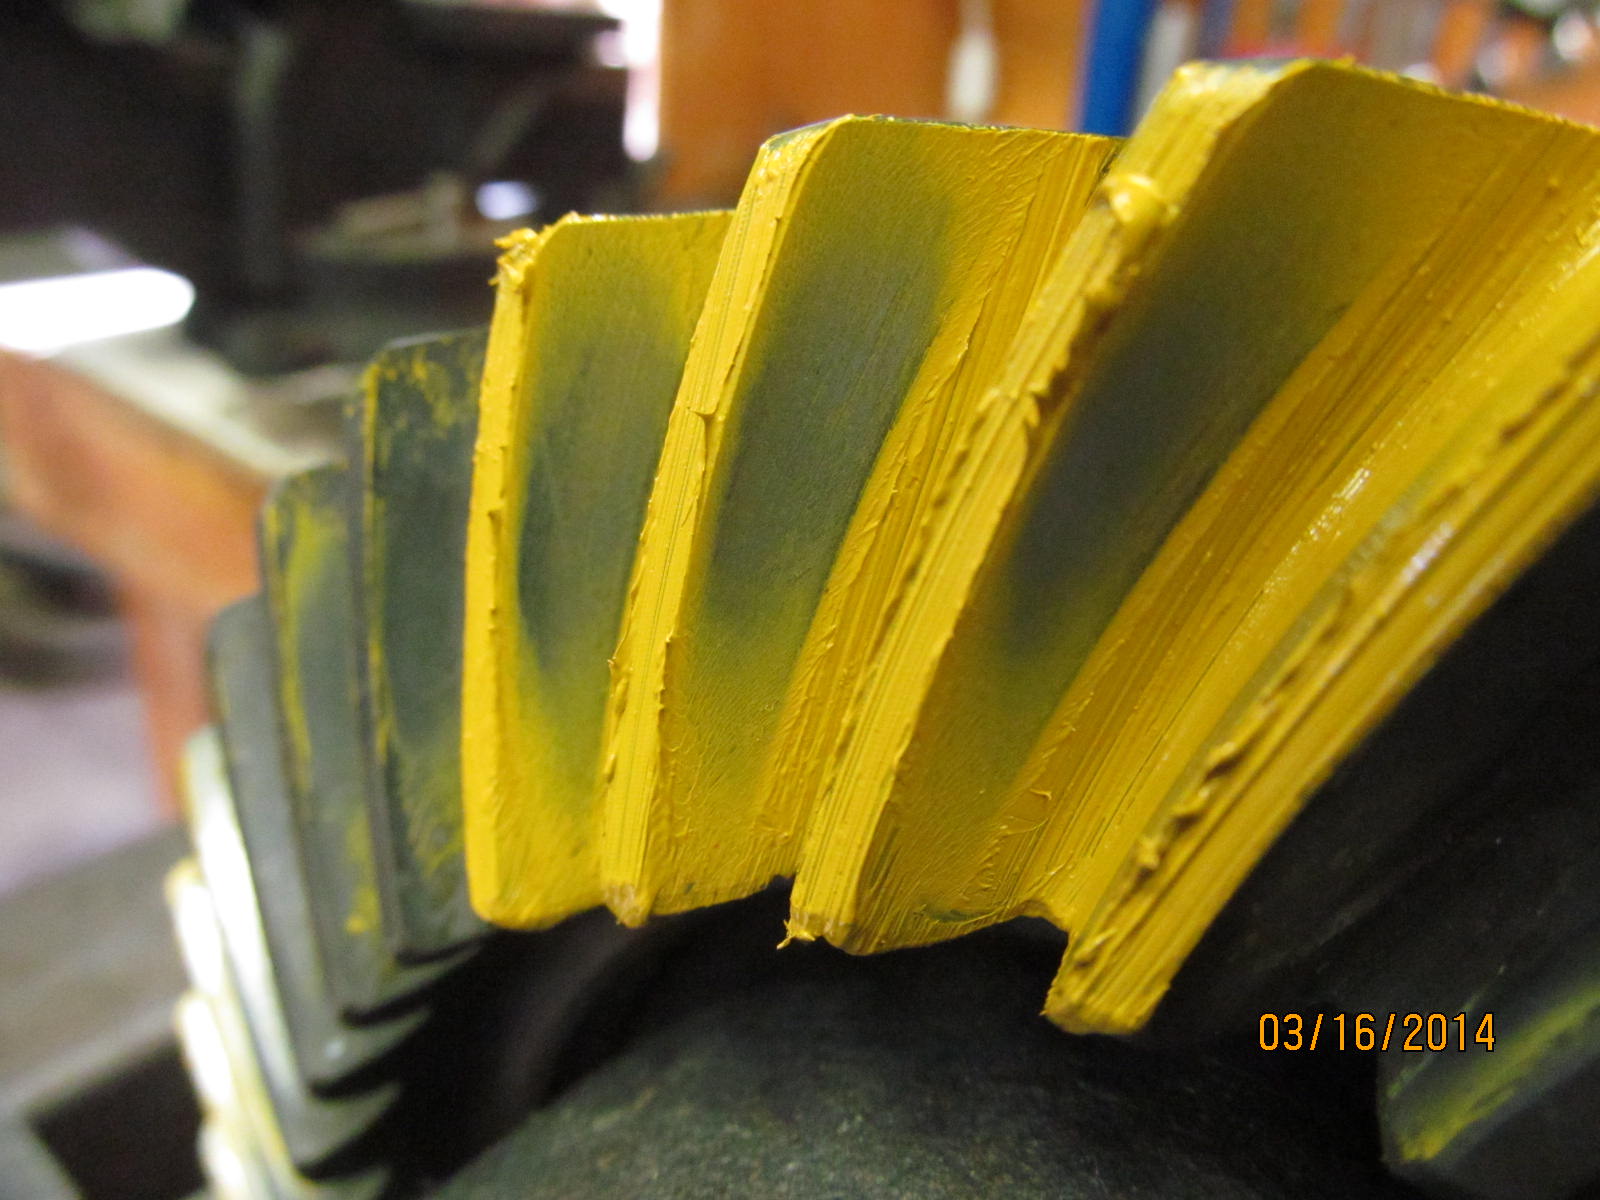
Final repaint....sweet drive pattern. In no way shallow....slight deep. Favors toe end.
|
|
|
|
|
Coast....good. Slight favoring of the heel.
|
|
|
|
|
...
|
|
|
|
|
....
|
|
|
|
|
...
|
|
|
|
Going to Fedex to take a trip to Maine :)
|
|
|

|