|
|
|
|
|
|
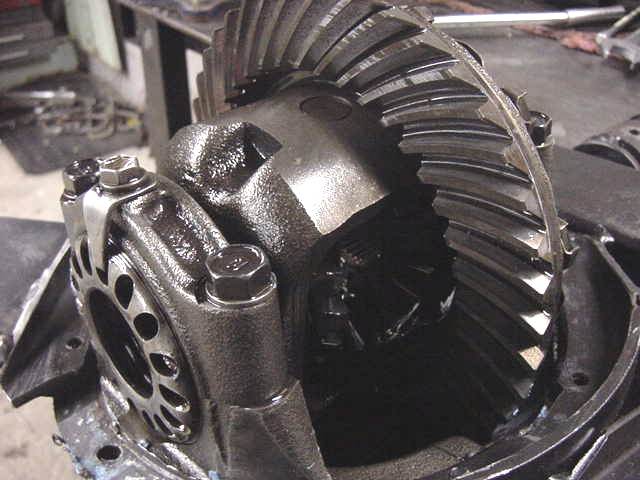
Kevin is local to me ....well, maybe not all that local as he does live up in the far north end of Phoenix but close enough where he could pull the front 4 cylinder 3rd and drop it off at my place in Chandler. The stock 410 gears are to be left in for now. 529 gears are in the near future. |
|
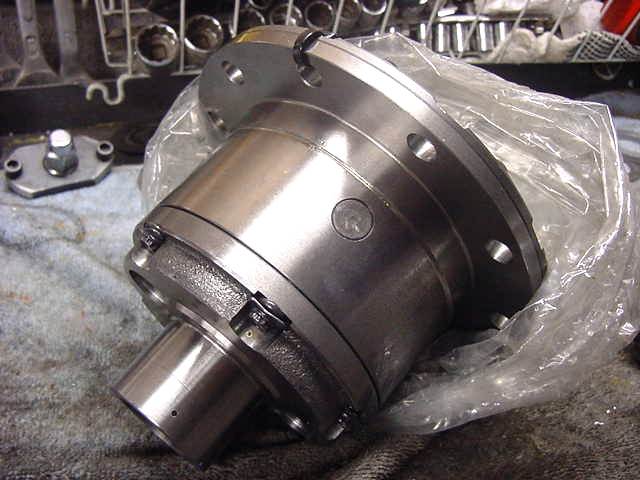
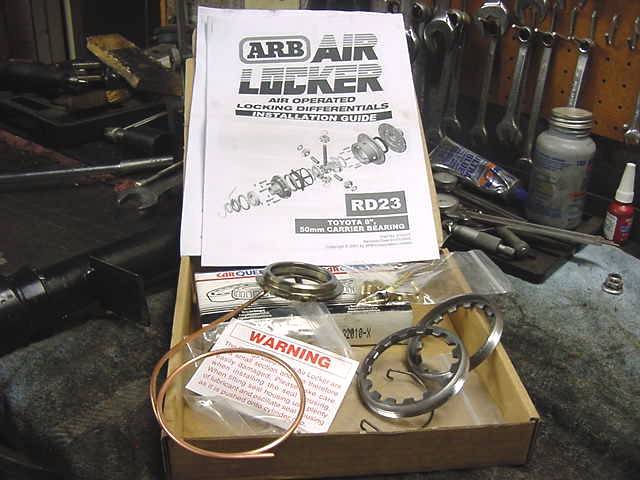
Kevin supplied me with the ARB locker. These are very beefy and heavy. |
|
|
|
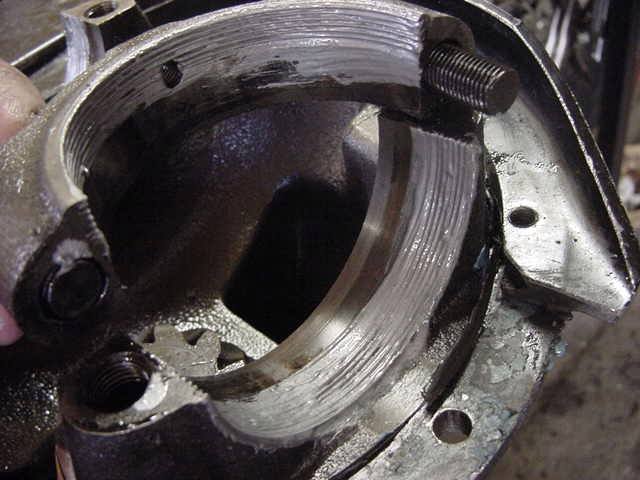
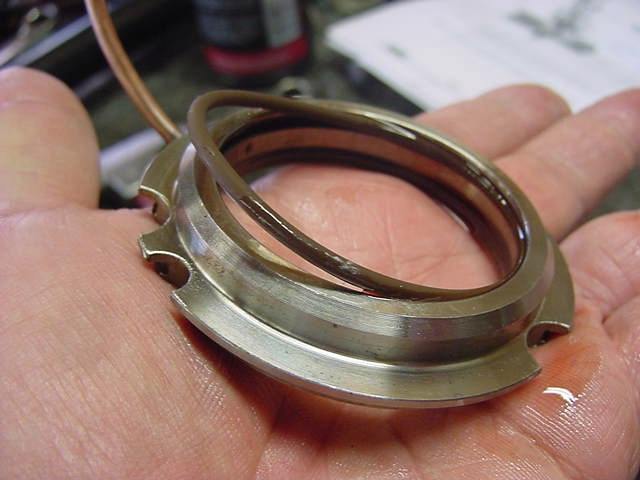
The top 1/2" or so was rather rough. The lathe marks were quite visible. I chose to lightly wet sand with #800 sandpaper to remove the big "ruts". I would like to see the ARB folks actually polish this area to help prevent any chance of an air-leak from this area. The 2 o-rings would last longer also. |
|
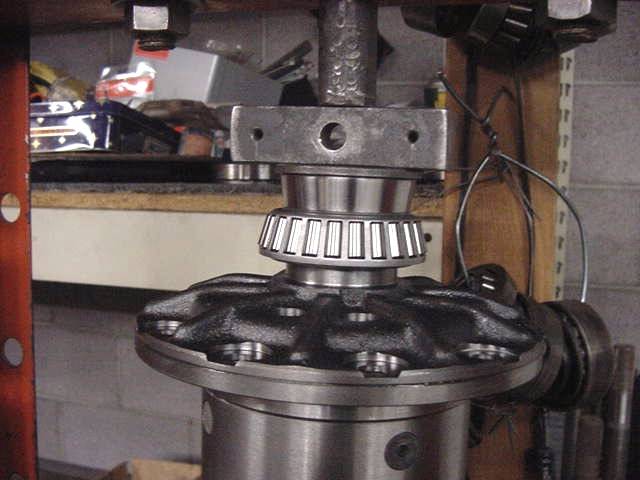
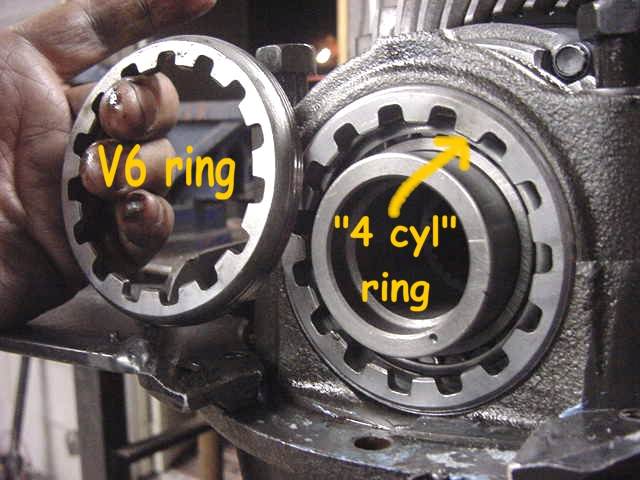
The special carrier bearings were a very snug press fit. Glad I had the 10 ton press.... ;) |
|
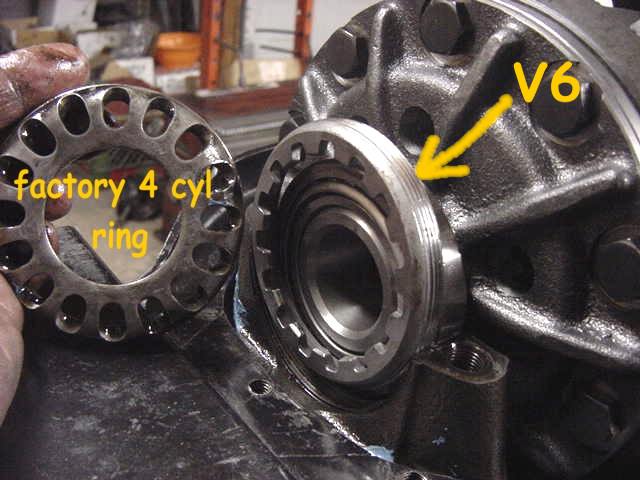
Basically, these bearings have the 'V6 inner dia.' and the '4 cyl outer dia.' |
|
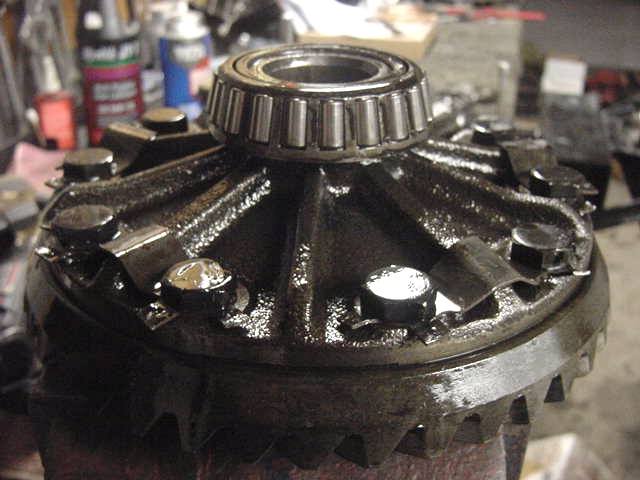
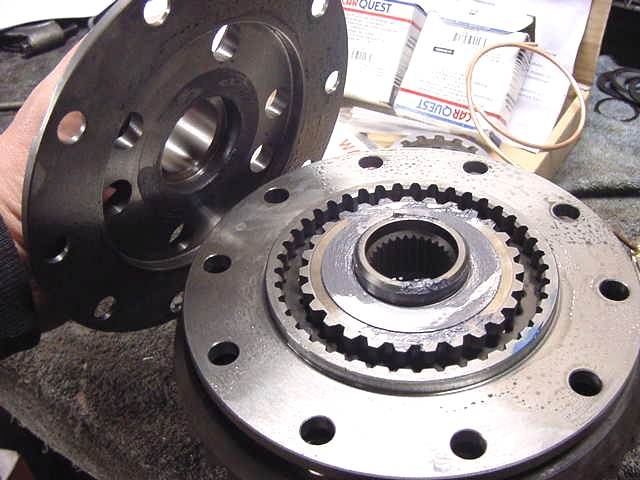
The old ring gear is removed from the original open case... |
|
...and pressed on the ARB. I was not able to tap this ring gear on the ARB. This one did really require the press. Guess we don't have to worry about a wobbly fit on this guy. :) |
|
Don't forget to snip the 2 tie-raps off of the case before pressing the ring gear on all the way. |
|
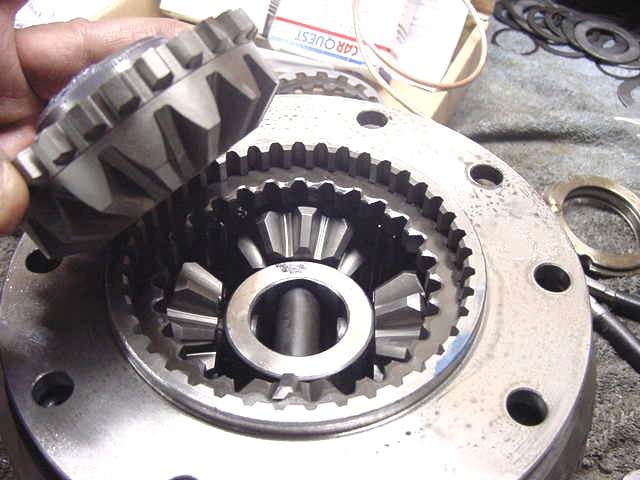
I had to take a peek under the lid...at first, I was worried about springs and such flying across the room but this is not the case with ARB's. Very 'meaty'. |
|
...and a little deeper yet. Nice workmanship. |
|
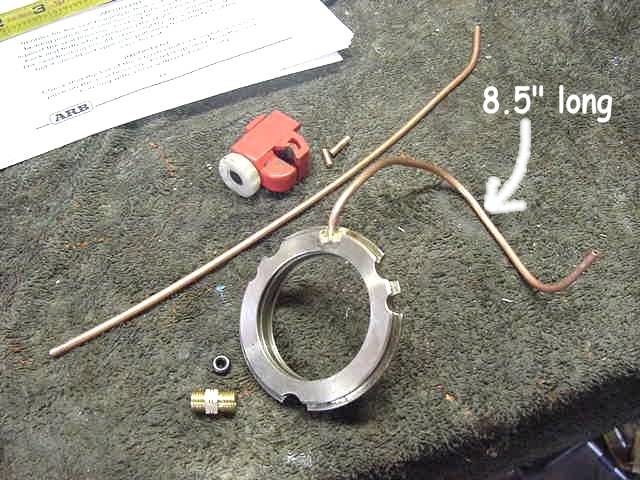
In our case, the smaller of the 2 supplied spanner rings is to be used. The other goes into the ZUK pile. |
|
The left-over ring will not fit on the other side. The factory spanner ring shown on the left gets re-used. |

|
With the case in place and referencing the ARB instruction manual, I chose a place to drill the 7/16" hole. |
|
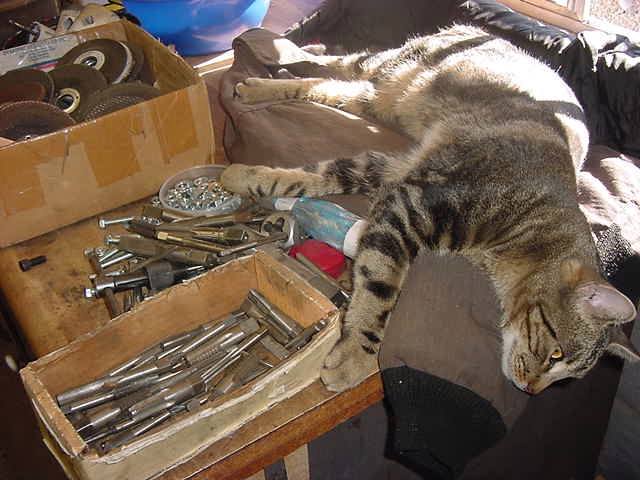
I dug thru my organized collection of taps and located the required 1/4 NPT tap. |
|
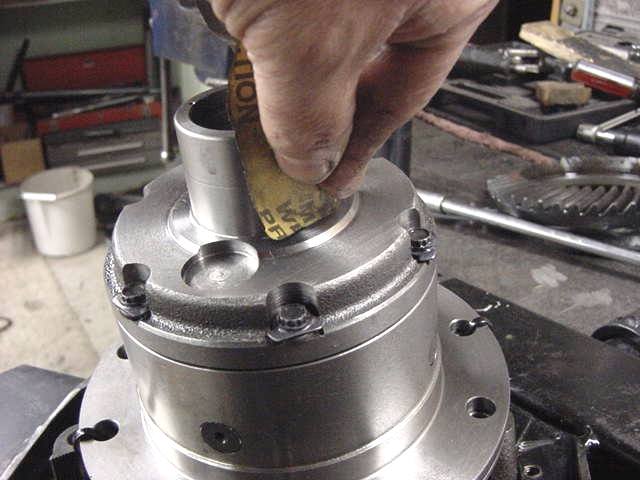
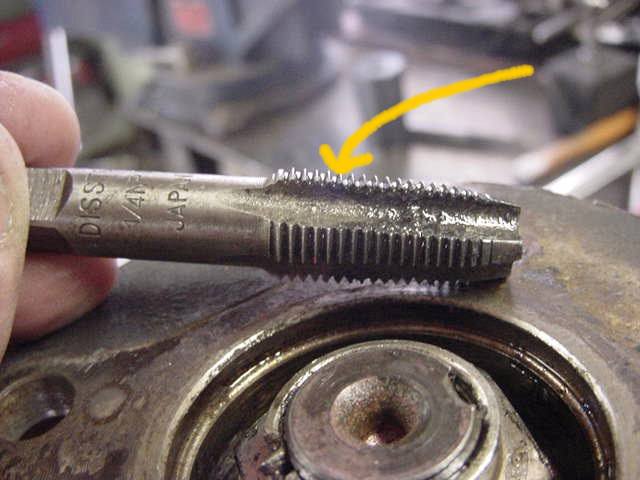
Tapping with NPT taps is a little different than with SAE normal taps....tap too little and the insert will not screw in far enough and will screw in with great difficulty...tap all the way to the end and the insert will screw in too easy . I tapped it about as far as the yellow arrow shows. |
|
I figured it wouldn't hurt to use a little Ultra-Blue RTV just to be sure. |
|
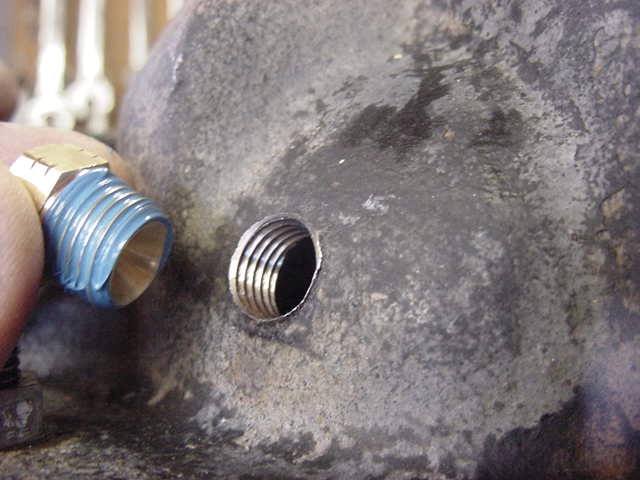
I used up almost all the visible threads.....it's in very tight here... it is possible to snap the brass off if common sense is lacking. ;) |
|
I like to use lotsa anti-sieze on the threads...prevents possible galling. |
|
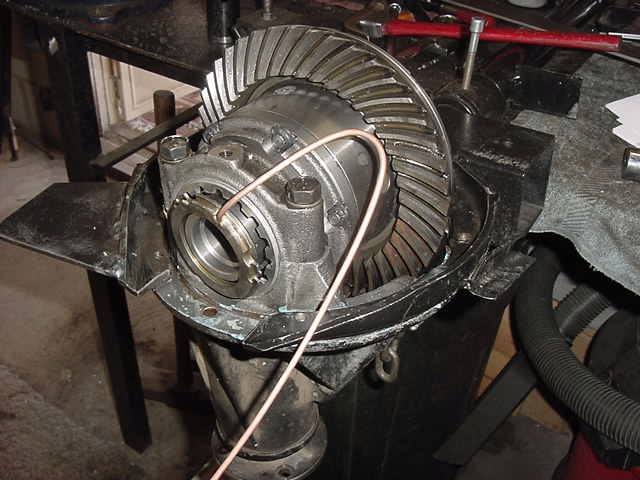
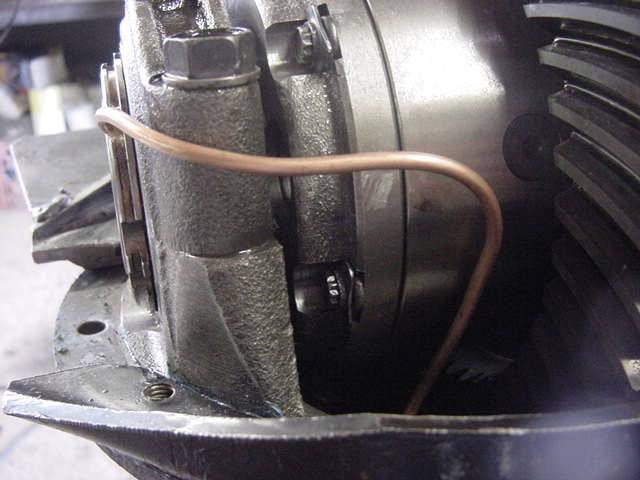
Forming the soft copper tubing is a bit awkward but at least the copper does form rather easy. |
|
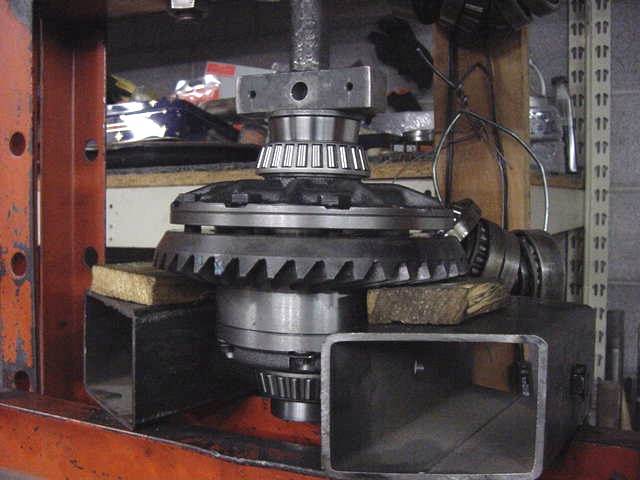
I am very fortunate to have a removable cover to simulate the 3rd being installed in the axle housing. Here, I can tell where I do and where I don't want the tubing to route to. |
|
This is what I ended up with. |
|
|
|
8.5" is all that I am going to use. |
|
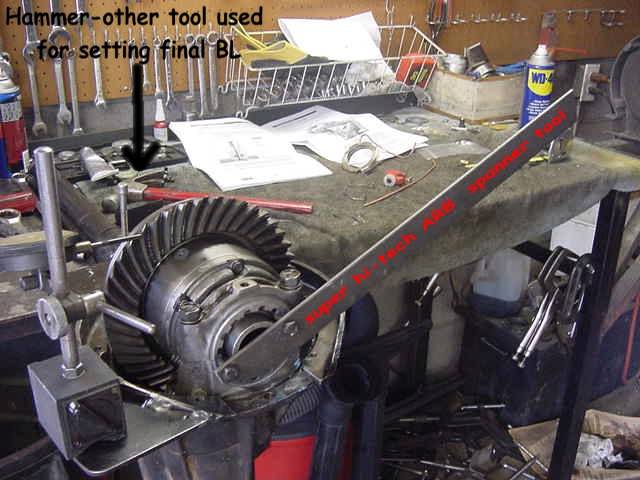
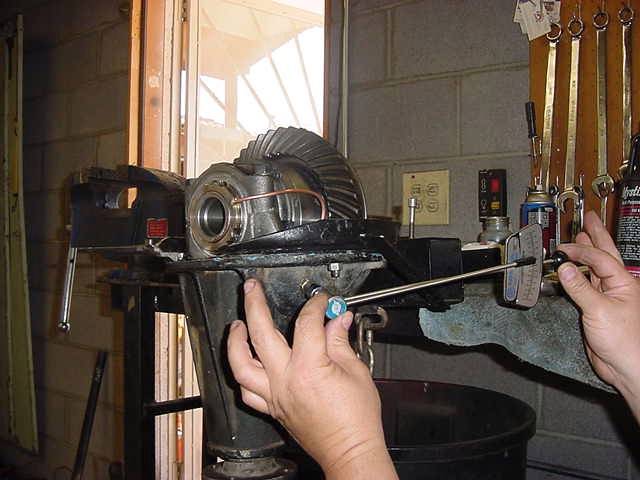
I set the CBPL high using the special spanner tool. The steel came from Home Depot and the tool can be made in an hour or two. |
|
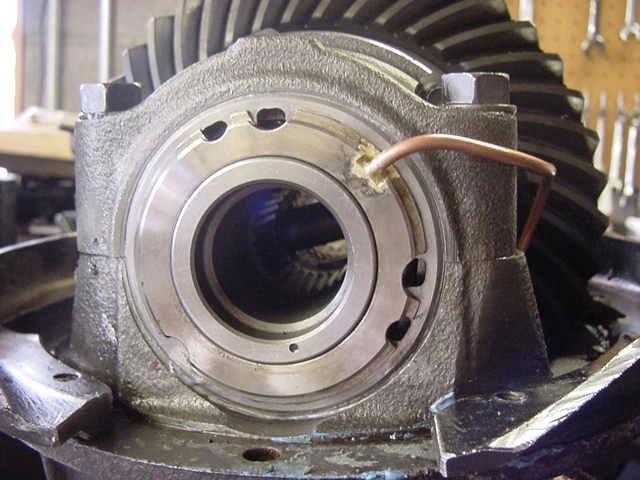
This is the step I save for last...with all surfaces clean and a heavy coating of gear oil on the installed o-rings.... |
|
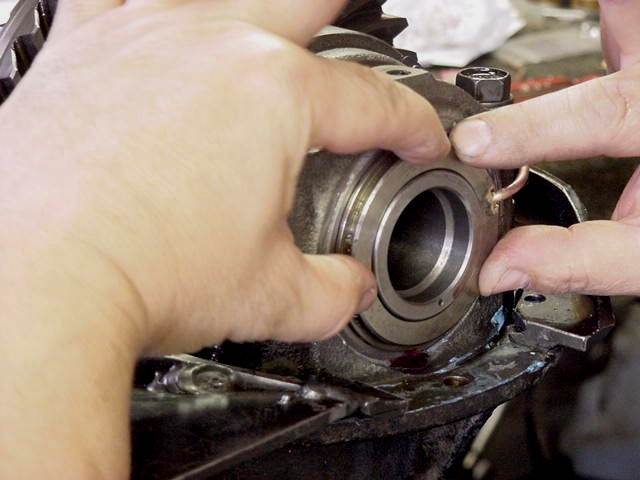
...I carefully jiggle the air bushing in place. Nothing gets forced. I verify the copper tubing is not 'tensioning' the bushing. |
|
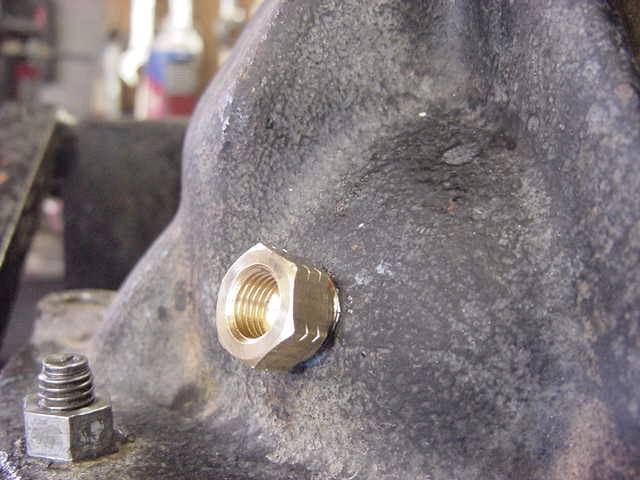
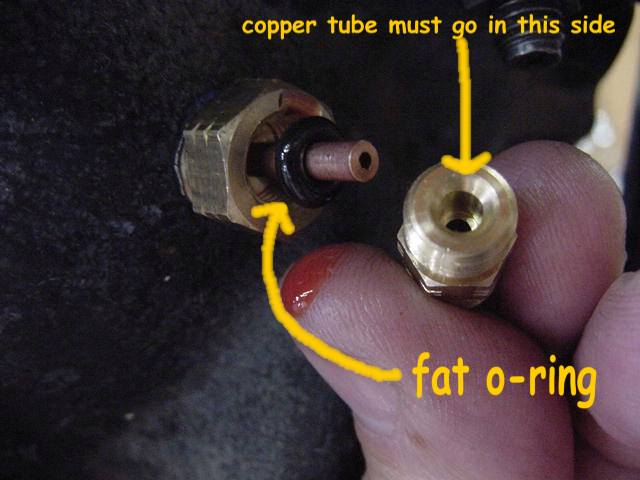
I wonder how many ARB's get installed with the small nut facing the wrong way. A generous application of gear oil on the o-ring and it slides easily up the copper tube. |
|
Now the manual was vague about how tight the small nut should be... so I torqued mine to about 30 in/lb. I guess I could have cranked the nut for another full turn before it bottomed out...but that may have shredded the rubber o-ring inside. |

|
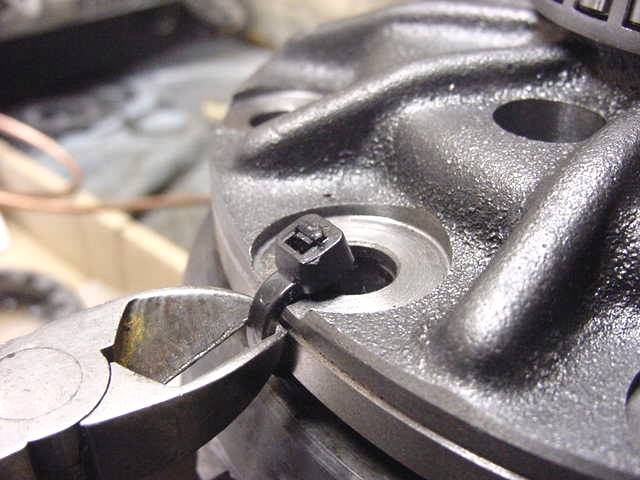
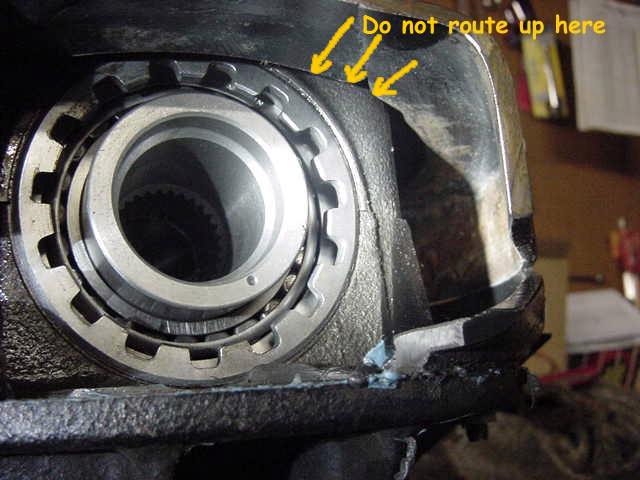
Shown is the installed factory retainer tang at the 12 o'clock position... and the ARB retainer clip at the 7 o'clock position. |

|
With the lid in place, I had plenty of clearance on the copper tubes. Done! |

|