|
|
|
|
|
|
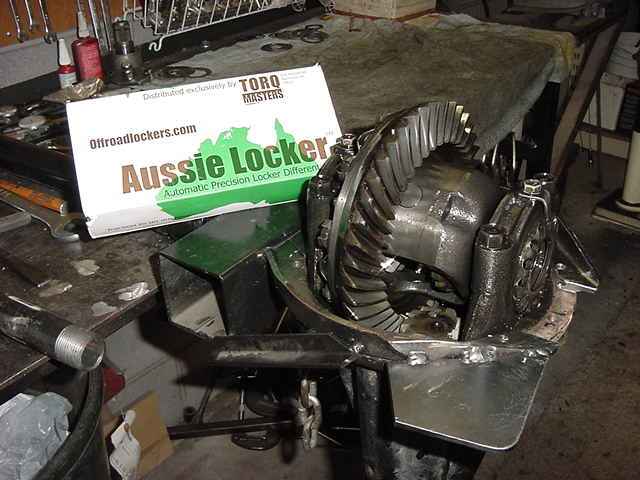
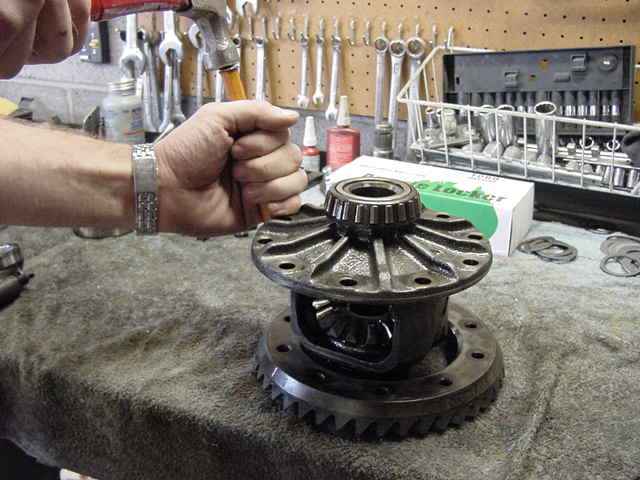
The main purpose of this link is to show how easy it can be to install your own Aussie with minimal tools. Don't even need the dial indicator for the backlash. A hammer...a chisel...a screwdriver.....a wrench or 2... and maybe a torque wrench. That's about it. |
|
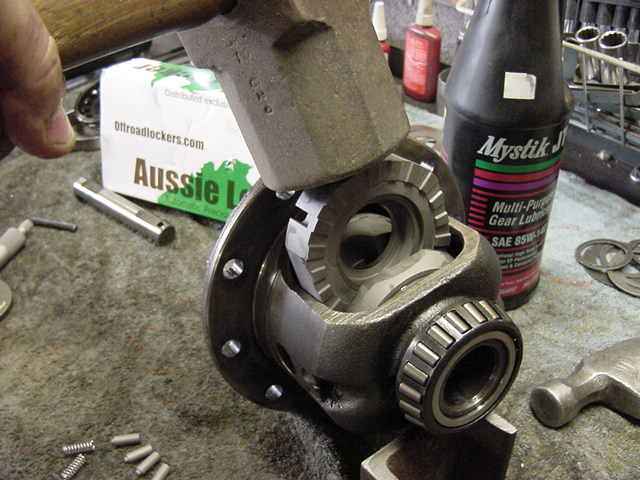
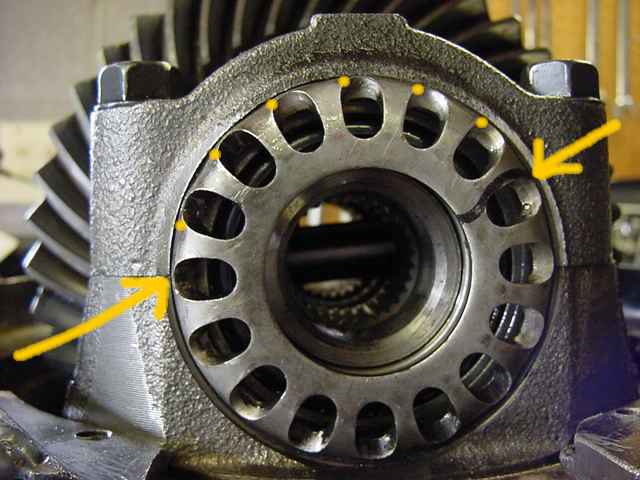
No worries about backlash as long as the adjusters are pre-marked on both sides. This way, upon re-assembly, the same backlash and carrier bearing pre-load can exactly be maintained. But this particular 3rd had fairly low CBPL so we can tighten both adjusters exactly the same amount past the marked settings and do a very nice "re-fresh" of the CBPL. The benefits of doing this are greatly reduced ring movements and renewed strength. |
|
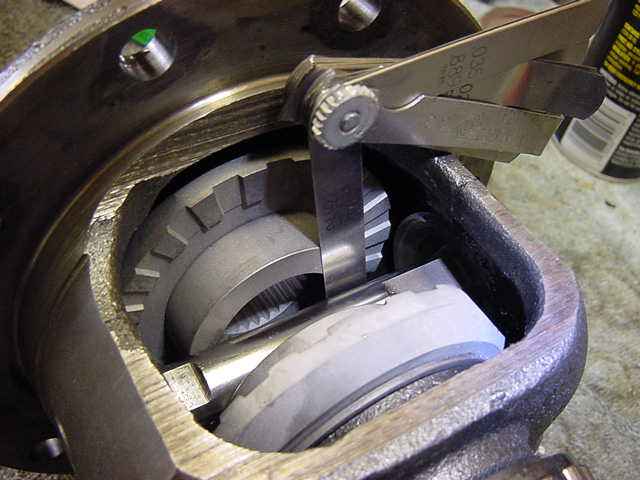
Just remove the cap bolts and keep track of what goes on each side. No reason to even touch the pinion....unless it wobbles around for some reason. On this one, the pinion was ok....not alot of pinion pre-load but enough for now. |
|
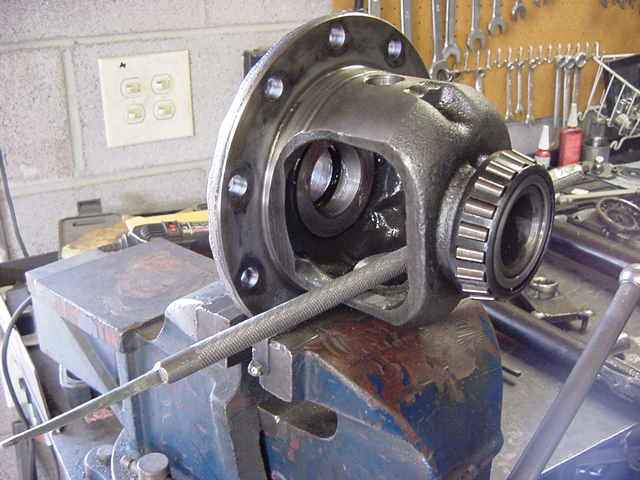
No way the cross-pin will slip out without removing the ring gear....even on this thin 410 ring. |
|
After the 10 bolts are removed, the ring gear drops relatively easy with gentle coaxing with a chisel and hammer. |
|
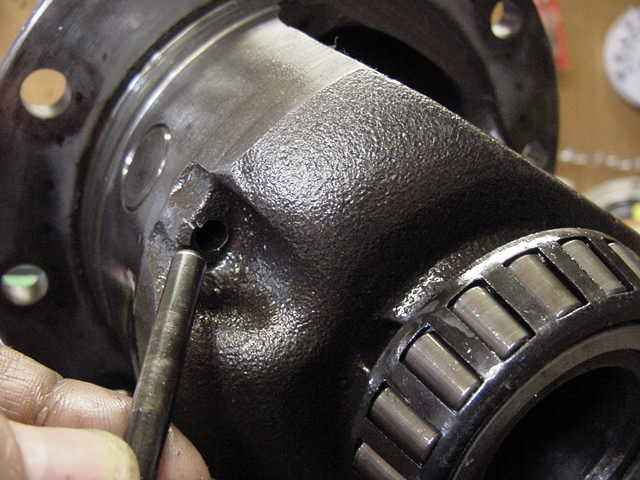
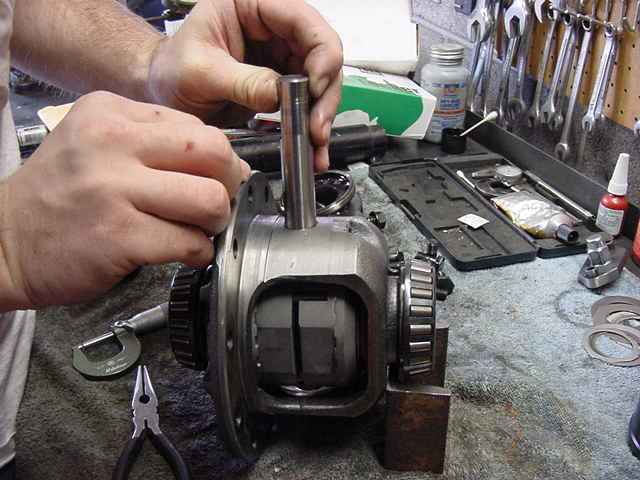
The steel dowel comes out easy enough with a 3/16" round chisel...this is the dowel itself in Petes' fingers. |
|
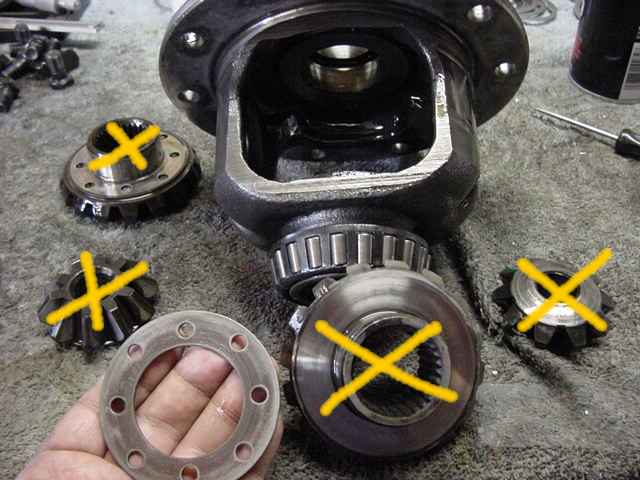
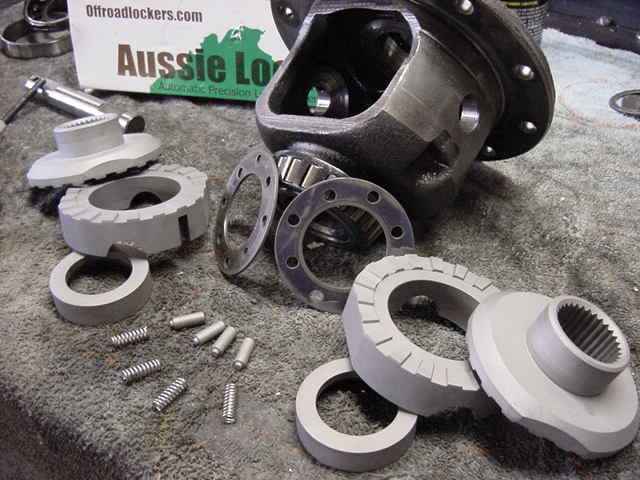
The crosspin now slides out and the spiders/side gears fall out. They get thrown away and only the 2 thrust shims are re-used on the Aussie. The thrust shims might not be the same exact thickness so keep track of which side the live on. |
|
|
|
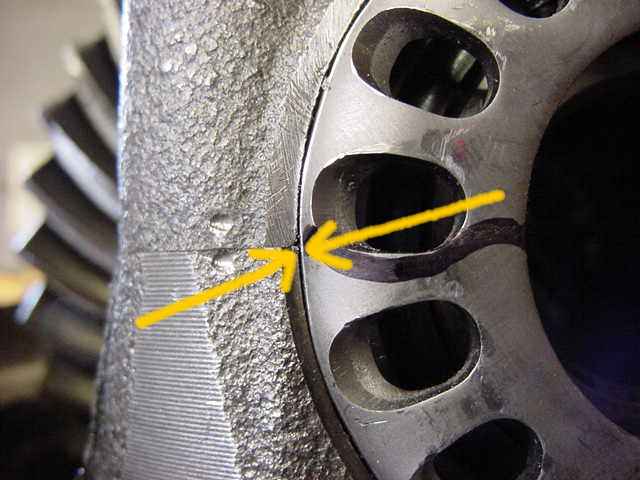
With the locker partially assembled, it is now time to check the cross-pin clearances. Here, I can just squeeze a 12 thou gauge by the cross-pin. The window allowed is 6 to 20 thousandths. |
|
I tried using various levels of charm....but the coupler would not quite slip in. :) just joking. |
|
A few passes with a course rat-tail file took the rough edges off and allowed the coupler to pass through. |
|
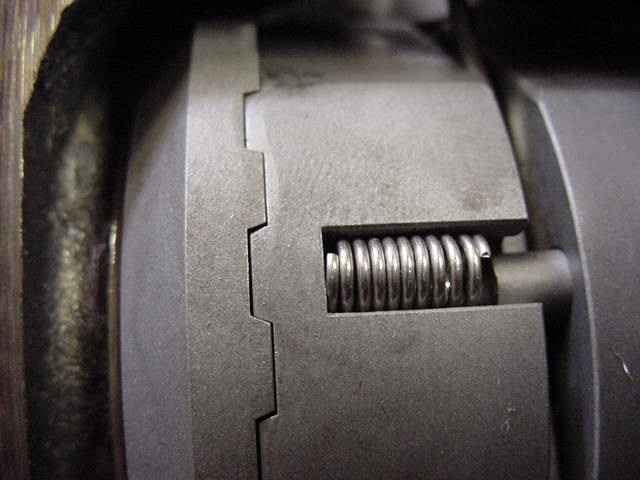
Putting the main guts of the locker in was easy....it's the pins and springs that take a little more patience. Once you get the spring to this stage..... |
|
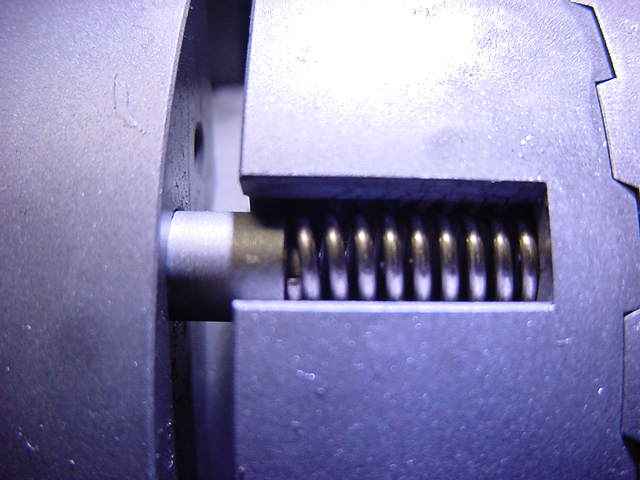
....a nudge with a screwdriver will snap it down in place with little effort. |
|
Align and push the crosspin in.....then tap the steel dowel in place. |
|
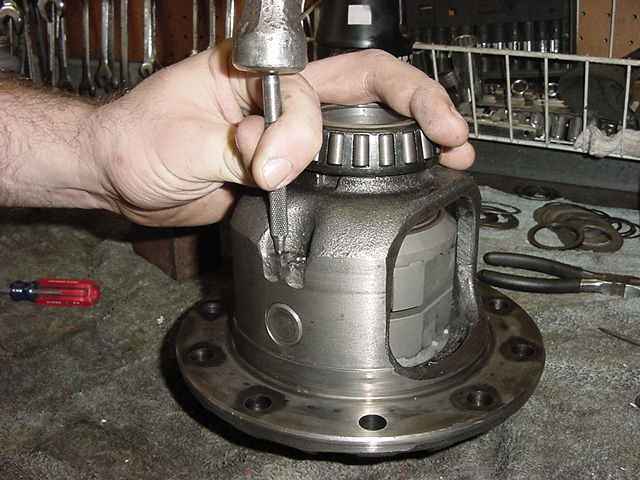
Use a sharpened punch (prick punch) to dimple or distort the hole. |
|
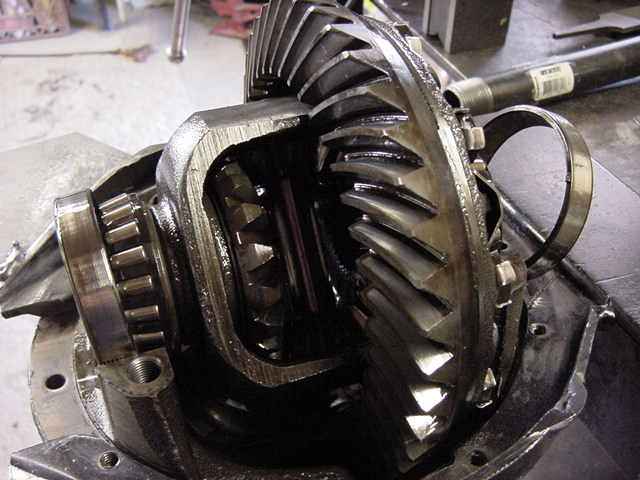
Align and tap the case down onto the ring gear with care. Let the ring bolts pull the ring on the rest of the way. I prefer to use blue Loctite and 70 ft/lbs. |
|
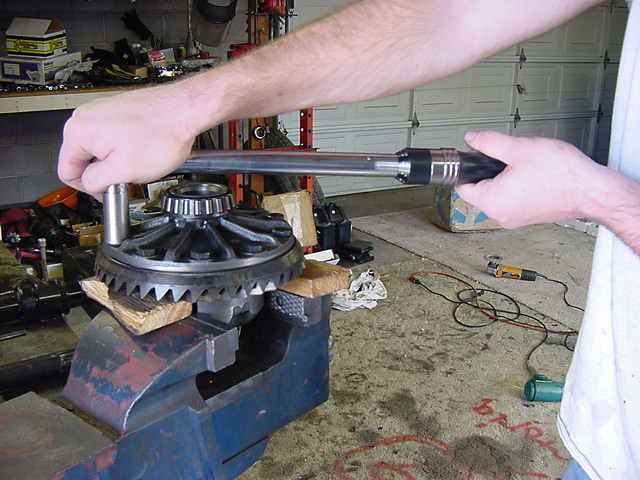
I could have just aligned the marks and let it go like that.....but this 3rd has seen over 130,000 miles so the bearings were getting a little loose. I was able to tighten both sides an equal 6 1/2 notches or so resulting in excellent ring 'rigidity' and re-newed strength. Backlash is un-effected and the carrier bearings will not suffer in the least. |
|
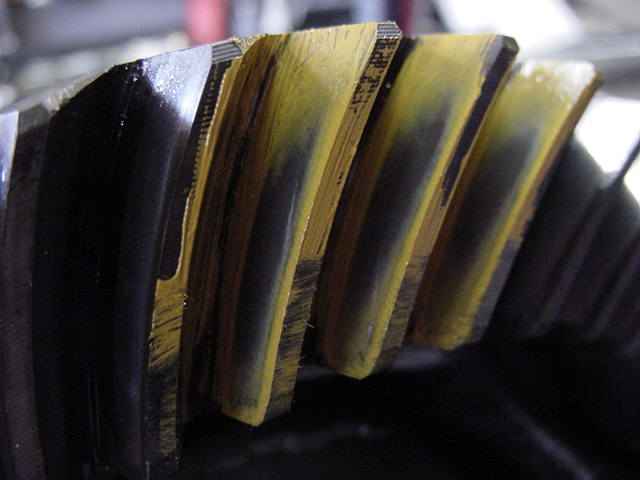
I didn't have to but I took a pattern check and all is good for a used gearset. Except for a few minor things this 3rd is done. It has an Aussie in it now and freshened up bearings! ZUK |

|