|
|
|
|
|
|
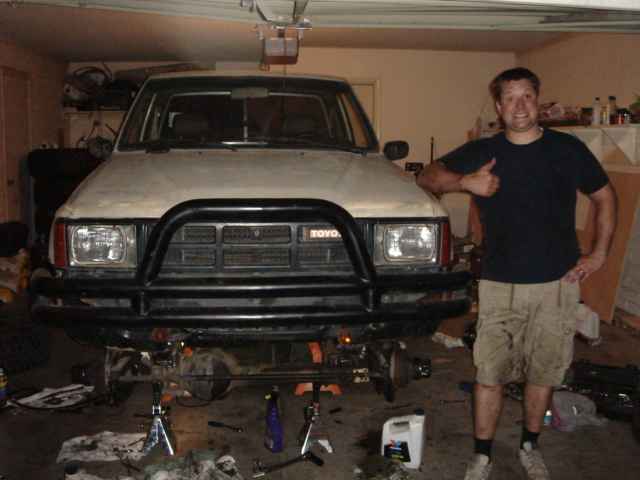
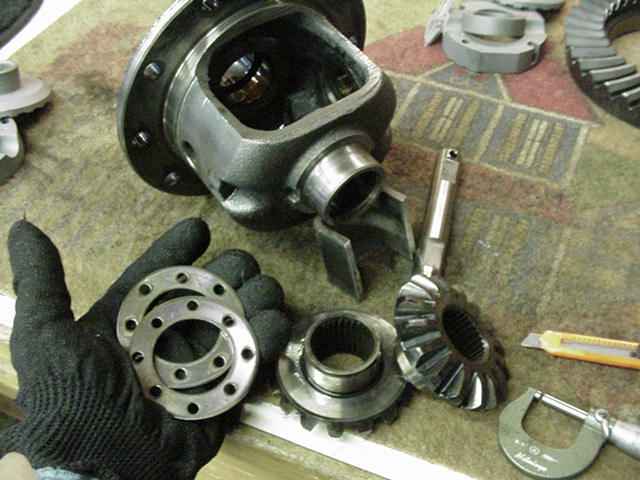
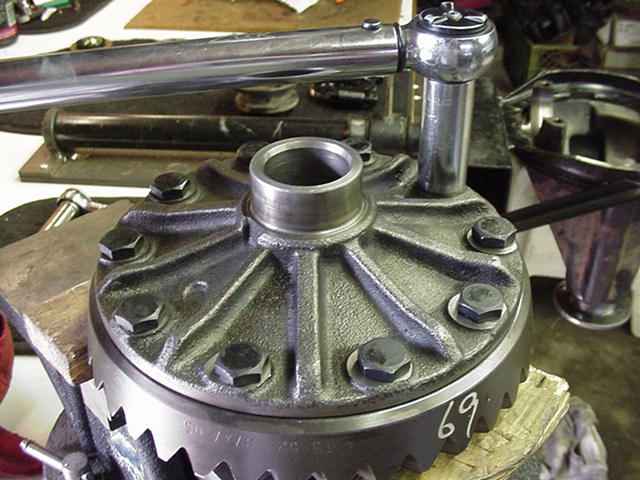
Mike is local to me so he tore into his truck, removed the rear diff, and showed up at my shop.... |
|
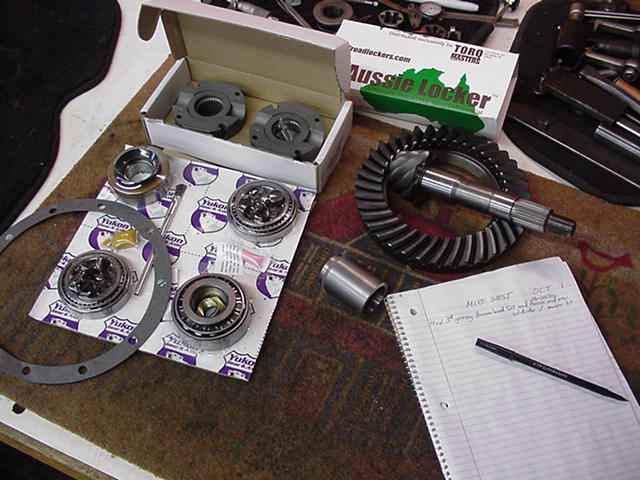
....the plan is to use a 529 Yukon and an Aussie Locker, all new bearings, and a solid collar. |
|
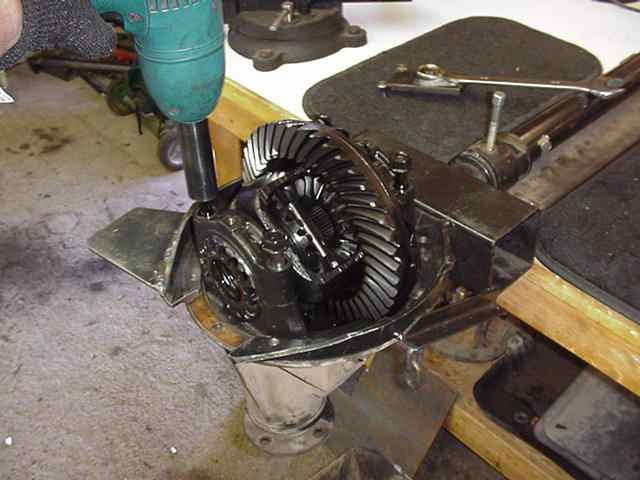
Step one is to remove the bearing caps... |
|
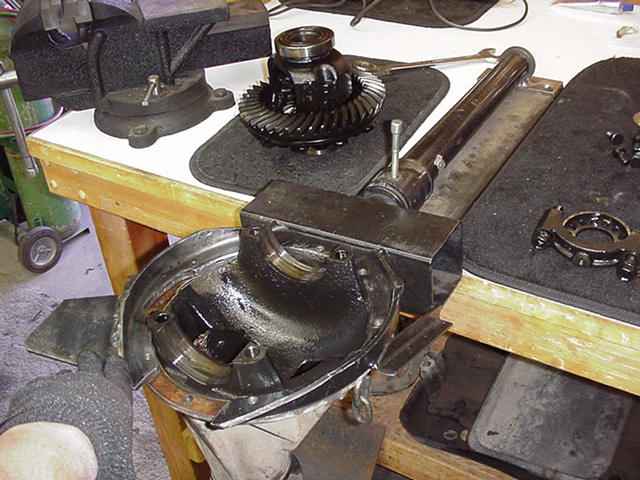
I'll work on the case last and get the pinion end ready to go. |
|
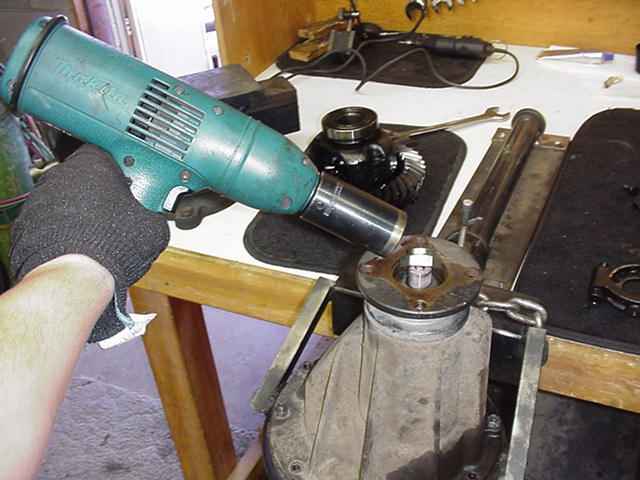
Even though the nut was well-staked, the electric impact took it off in about 1 second. This tool has paid for itself many times over. |
|
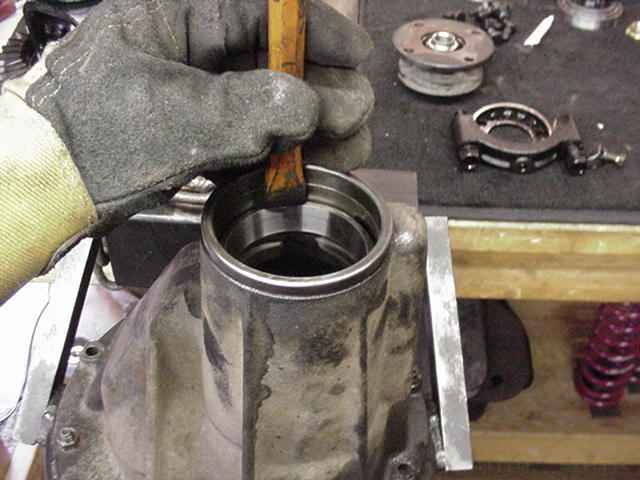
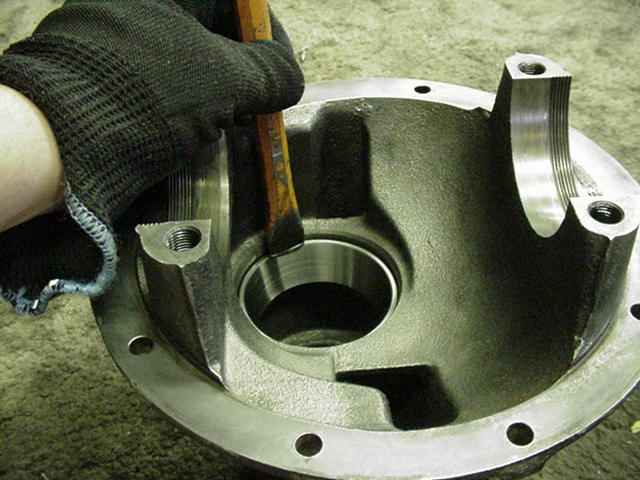
I have a soft chisel and this does not damage the race while it's being tapped in.
|
|
The larger inner race is is a little trickier to get it tapped in straight but doable.
|
|
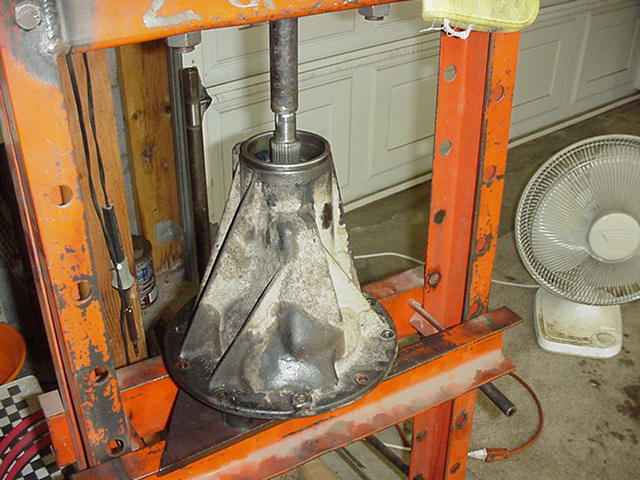
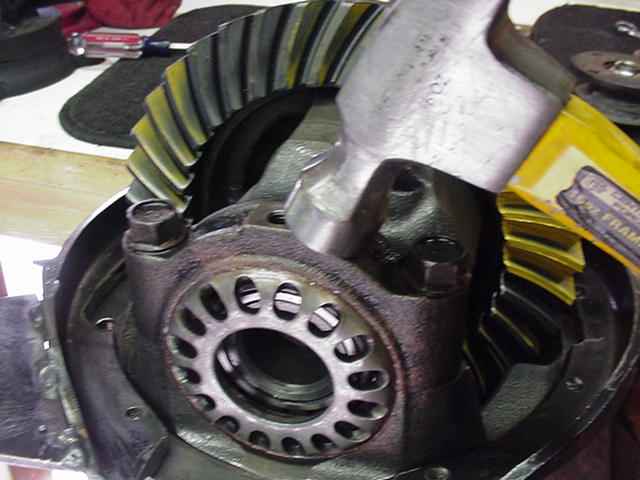
I'm skipping a few steps here but I loaded up the pinion with a .082" pinion depth shim. I pressed the inner pinion bearing on then slipped the solid collar on with .066" worth of shims. I then mounted the pinion in the case only to find out that it was loose on pinion pre-load so, in the pic above, I am now pressing the pinion out to reduce the shims on the collar and try again. |
|
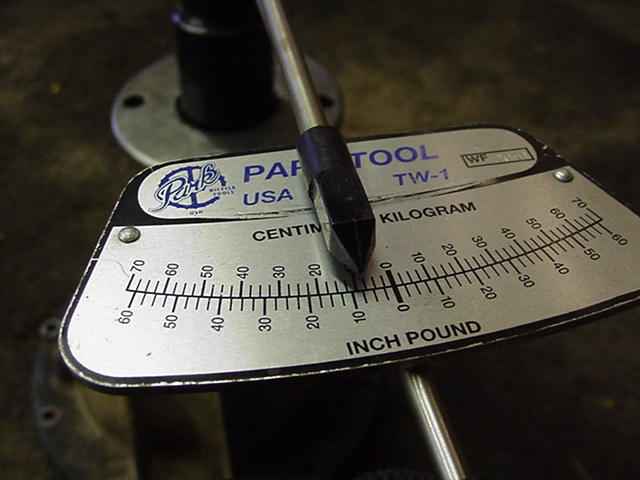
On the 3rd try, using .058" for the collar shim, I was right at the desired 10 in/lb of pinion drag. |
|
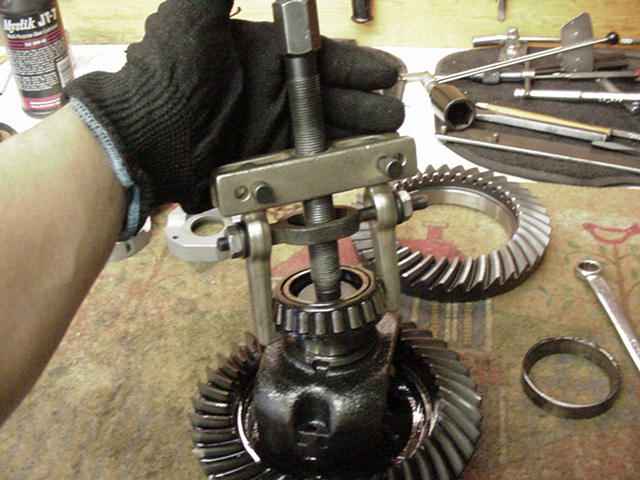
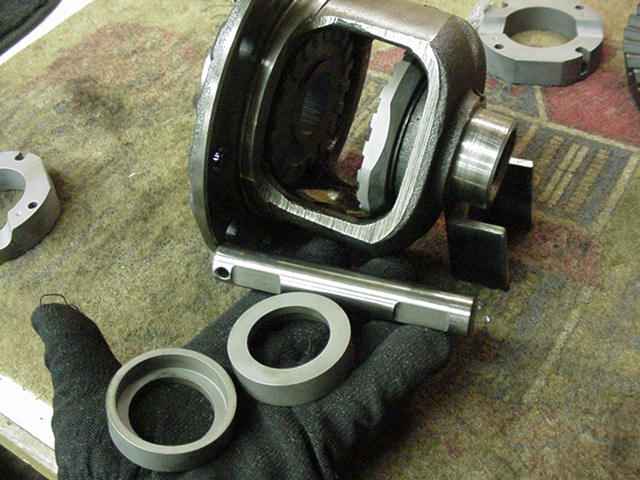
Back to the case...with the bearing puller in place, I quickly realized that the bearings required very little coaxing to get them off. They just about fell off. I will use the Loctite Sleeve Retainer compound with the new bearings. |
|
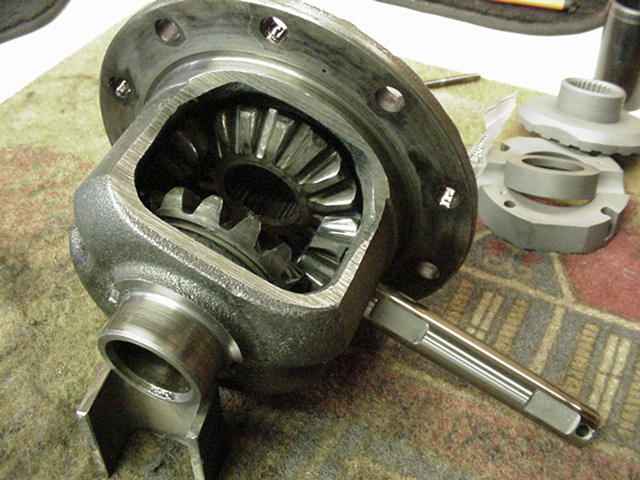
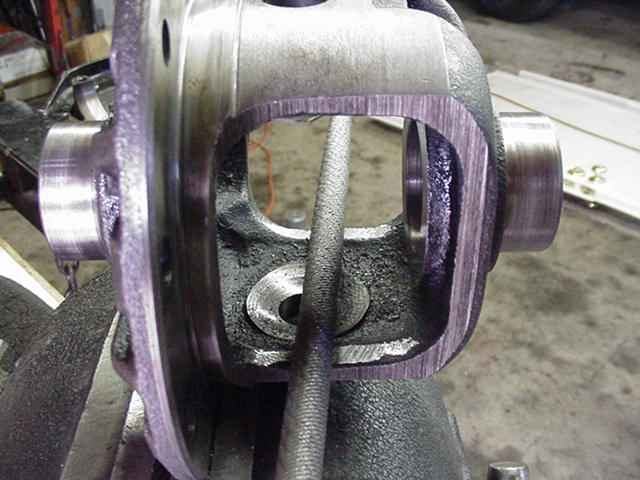
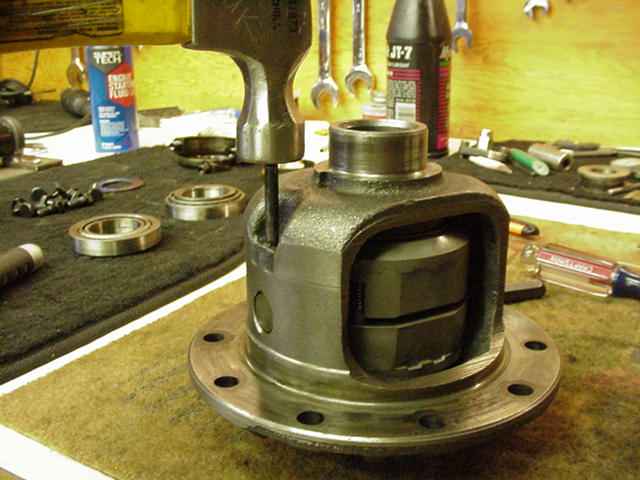
Bearings are off...ring gear is off...Time to install the Aussie so I have removed the center pin here. |
|
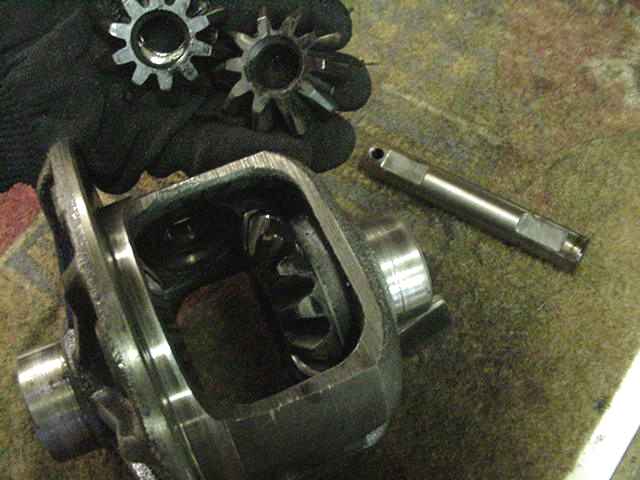
The spider gears in my hand are no longer needed... |
|
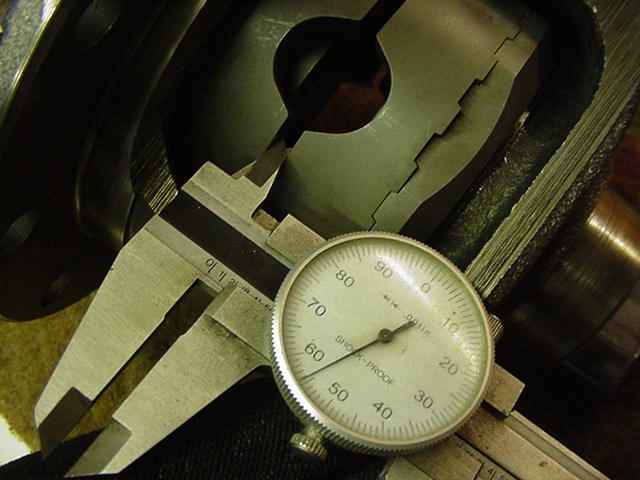
The factory sidegears also are not used. The thrust washers both measured .067" thick and they do get re-used. Some people unknowingly leave them out and then the locker does not operate properly. |
|
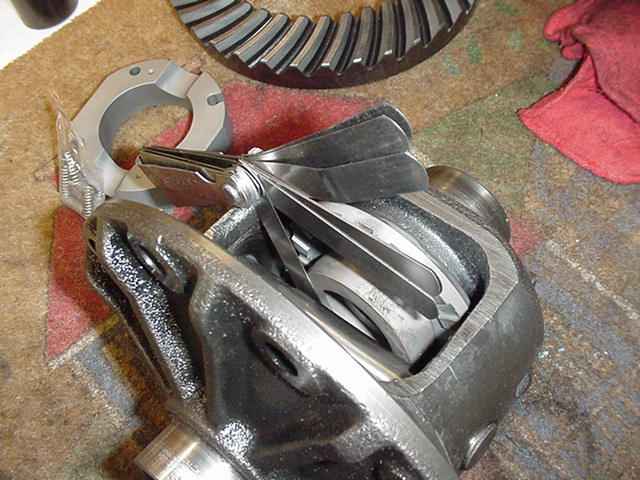
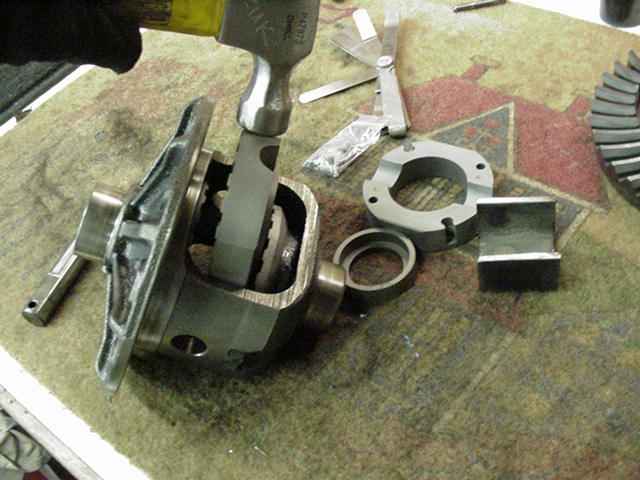
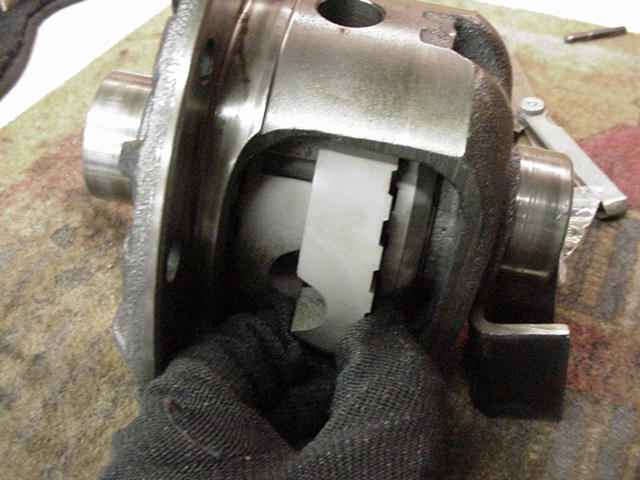
The first step is to check a tolerance listed in the Aussie assembly manual. |
|
Using feeler gauges, all 4 spots are checked and found in spec. I was able to slip a .014" feeler in there and the spec wants to see between .006" and .016". |
|
The couplers would not go in... |
|
I used a large rat-tail file to remove some material... |
|
...and then it slipped right in. |
|
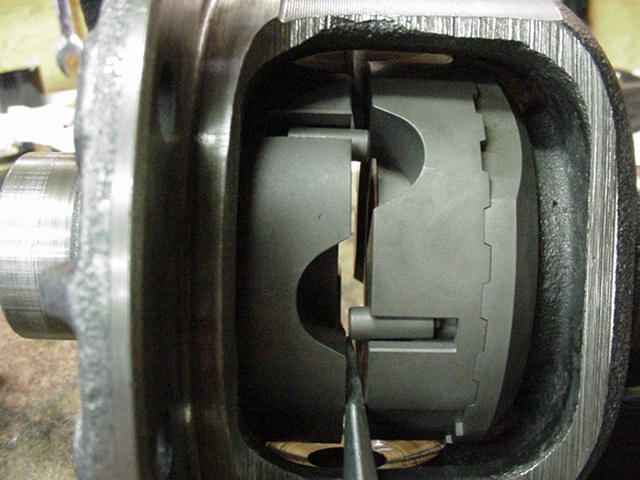
Line the drive couplers up and insert the 4 pins. |
|
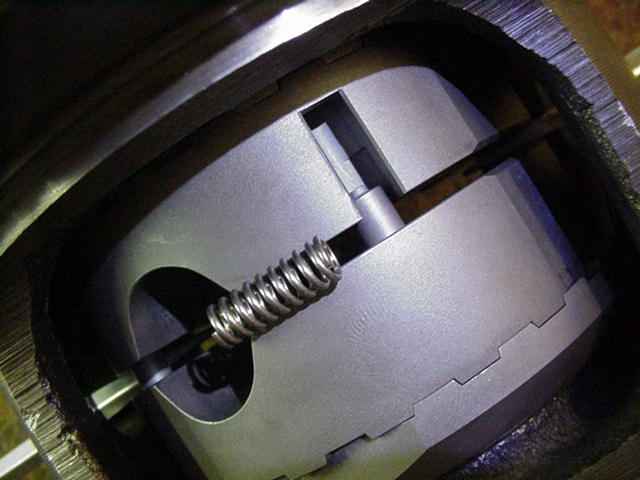
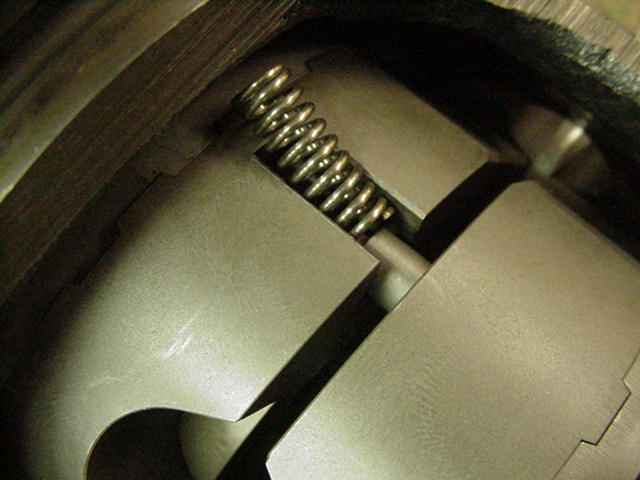
With the pins in place, now it's just a matter of installing the springs. |
|
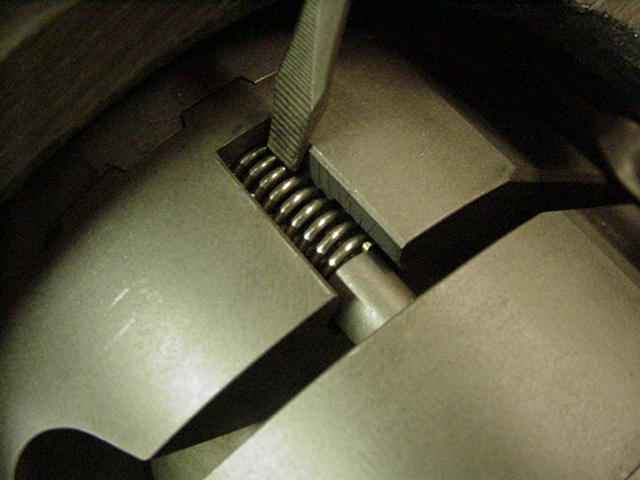
I find it easiest to line this end up first... |
|
...then tap the other end in with a small screw-driver. |
|
I checked the second tolerance and all was good. |
|
Slip the power pin in place and tap the roll pin and the Aussie is done. |
|
I applied Red Loctite on the new ring gear bolts and 75 ft/lbs of torque. |
|
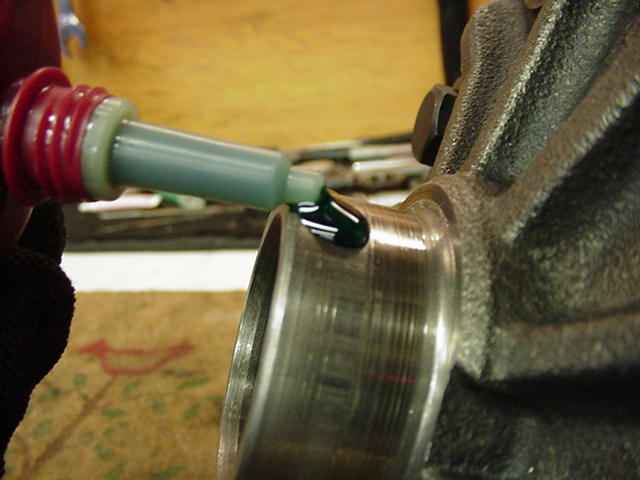
I used starting fluid to clean the surfaces and applied the sleeve retainer compound. For loose fit bearings, this will "lock" them in place and prevent spun bearings. |
|
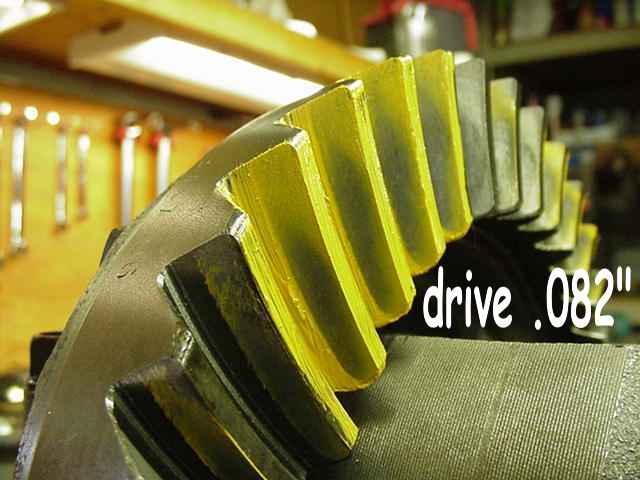
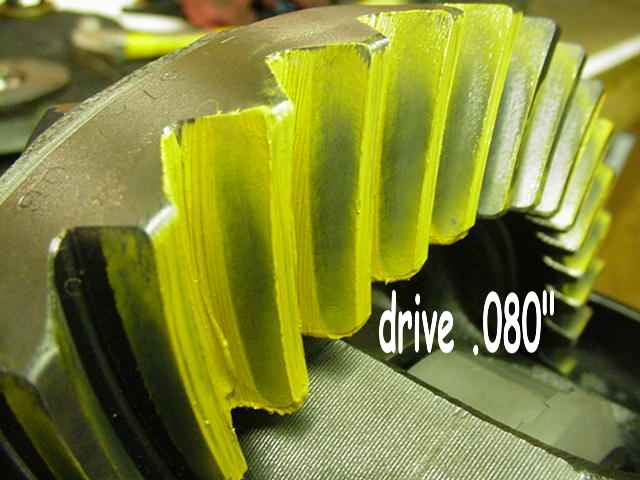
With the case in place, I ran a pattern...drive side...looks a little on the deep side. |
|
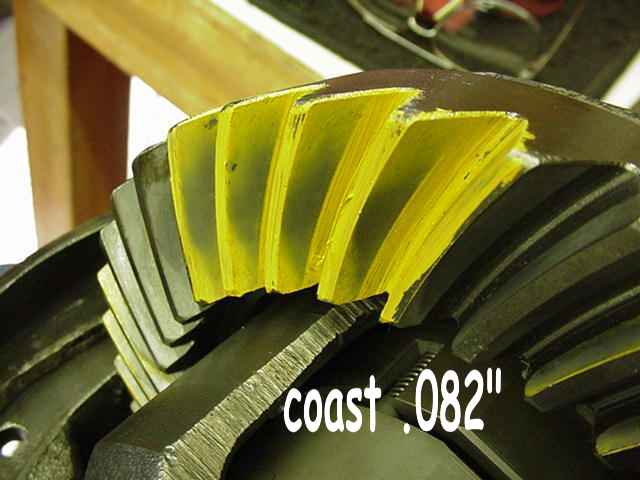
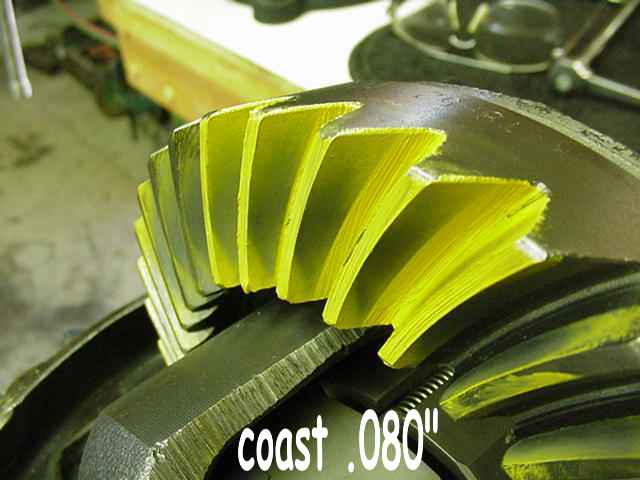
coast |
|
I tore the diff down and removed .002" off the pinion depth shim...this is much better. |
|
coast. |
|
While I turn the pinion, I rap on both bearing caps numerous times to shake the carrier bearings into an equal tension state. This helps with accurate backlash measurements. |
|
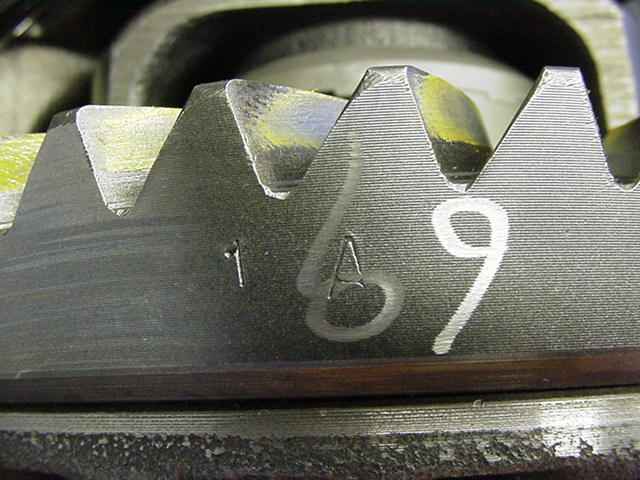
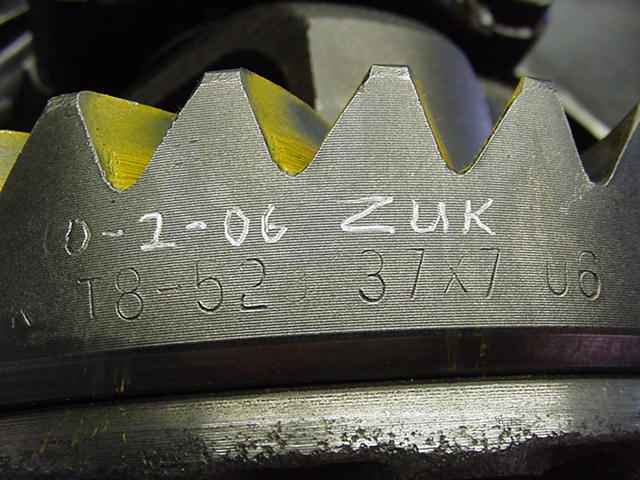
Markings on the ring gear to help identify these particular ring and pinions... |
|
|
|
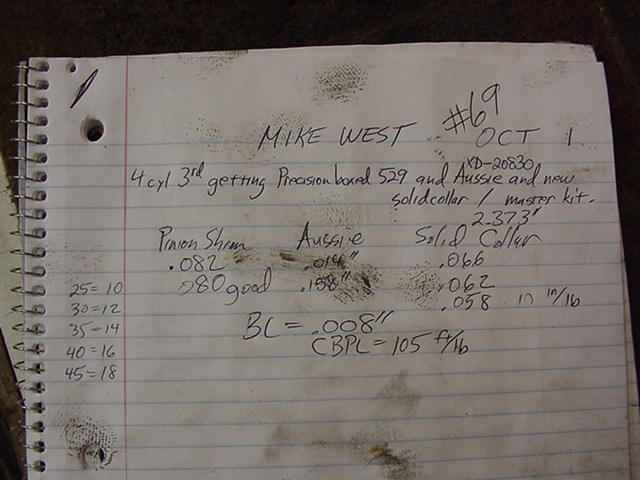
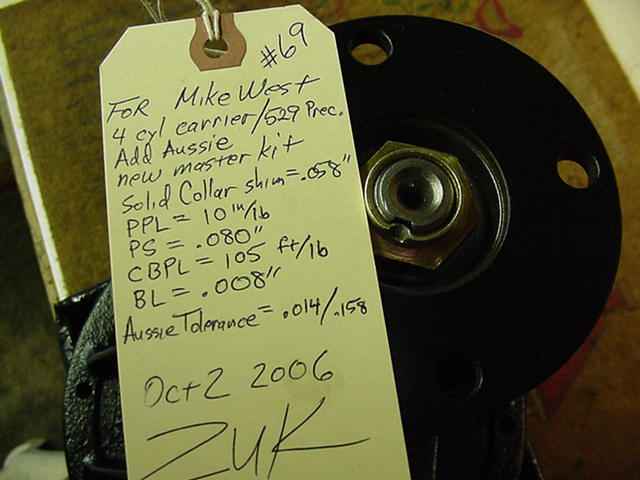
My notes during the install... |
|
Done :) |

|