|
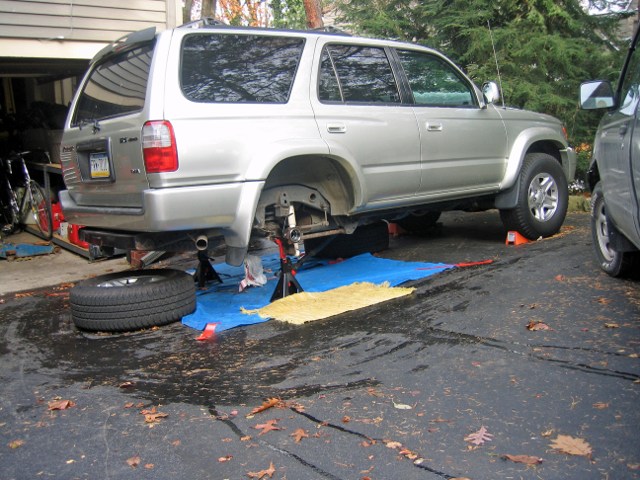
Mark is from Beaver Falls, PA. and is the proud owner of this 2000 V6 4Runner. It's a daily driver with 140,000 miles and, for quite some time now, has been making a rumble during acceleration and a small
whine when de-accelerating. With time, the noise got louder and louder until it now qualifies as a scream. Mark plans on keeping this sweet Runner
for a long time so a stamp was licked and off to me the 3rd was shipped.
|
|
|
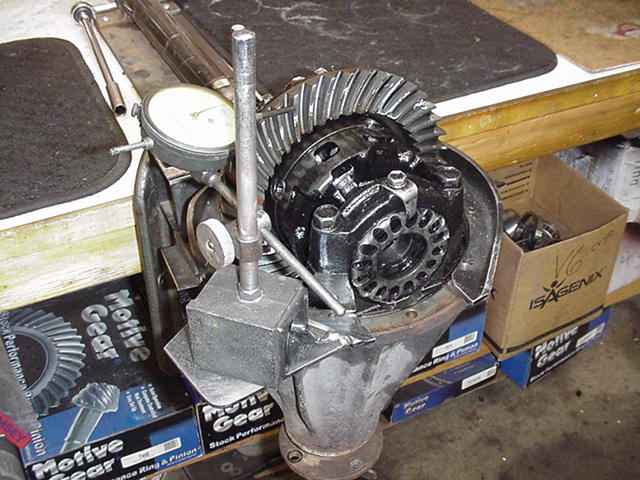
First, establish the target backlash.....I found the range from 8~10 thou. Also, the carrier bearing pre-load (CBPL) was non-existent.
|
|
|
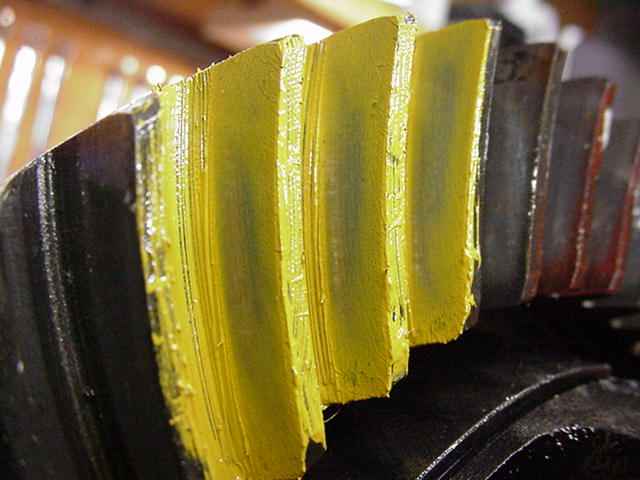
Second, do a characteristic pattern check. Drive is centered here and appears
very deep in the tooth...
|
|
|
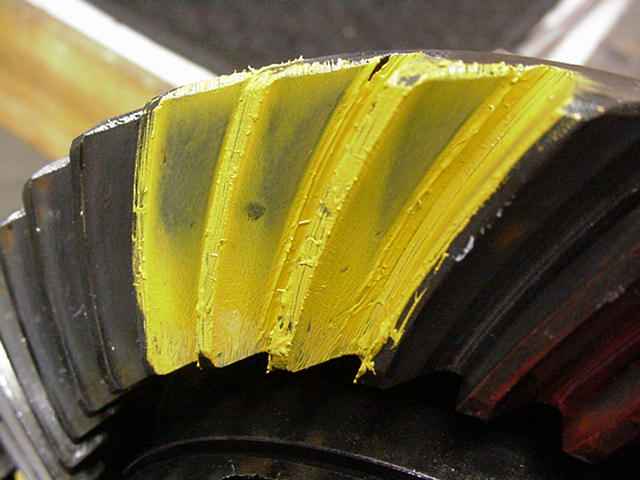
...coast favors the heel (outside) and seems shallow (the loose pinion flange is making it seem that way).
|
|
|
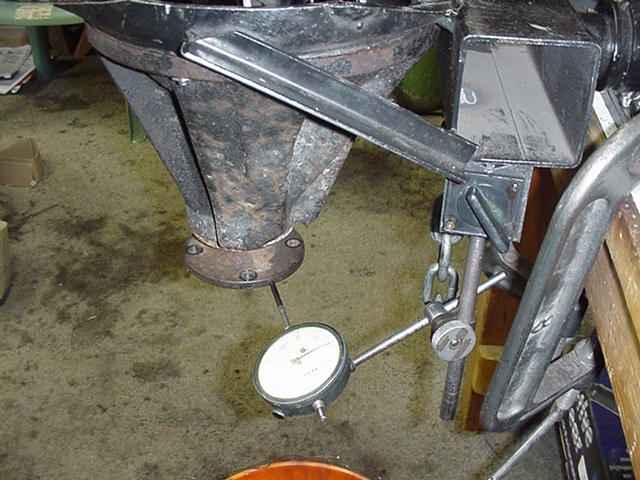
With the pinion pointing downwards, it is easier to detect slop in the pinion flange. I could feel it and I measured it with the dial indicator at .010".
I suspected the outer pinion bearing was self destructing and this slop backs that up.
|
|
|
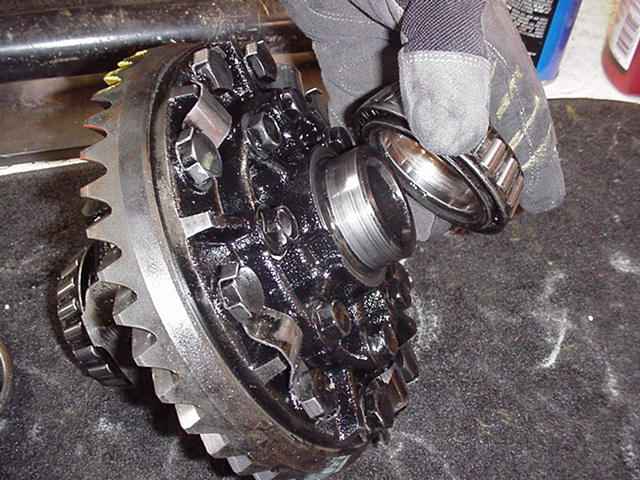
The ring gear side carrier bearing basically fell off....I was able to pull it off with just my fingers. The new bearing will likely go on too easy but, with
the use of a sleeve locking compound, the new bearing can be 'glued' in place and all will be good for many years.
|
|
|
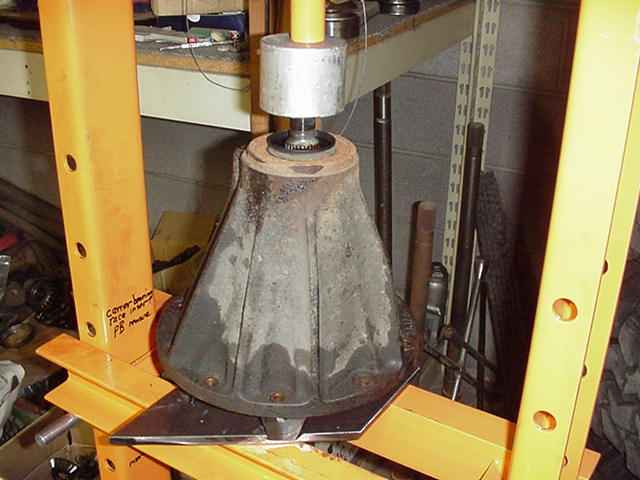
Using my new 12 ton press, I easily pushed the pinion out.
|
|
|
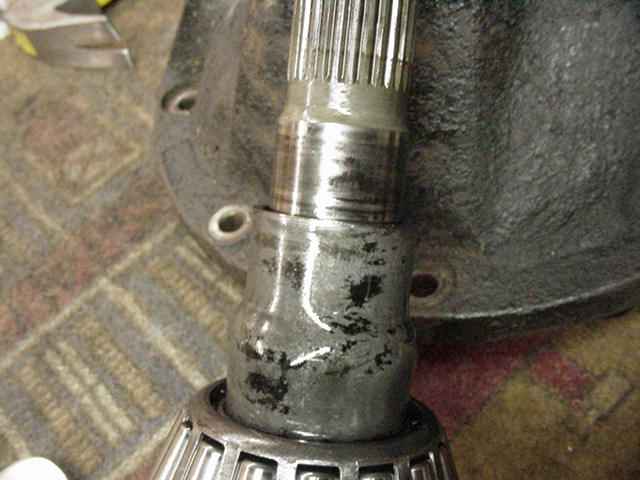
Where the outer pinion bearing was riding, there is some 'spun damage' from the bearing.
|
|
|
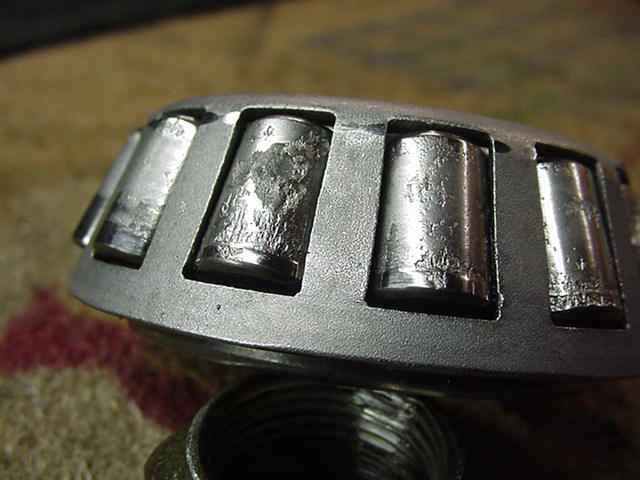
The outer pinion bearing was very close to total destruction...this was responsible for the constant rumble noise...the de-acceleration scream was caused
by the loose pinion cocking sideways and contacting the heel of the ring tooth.
|
|
|
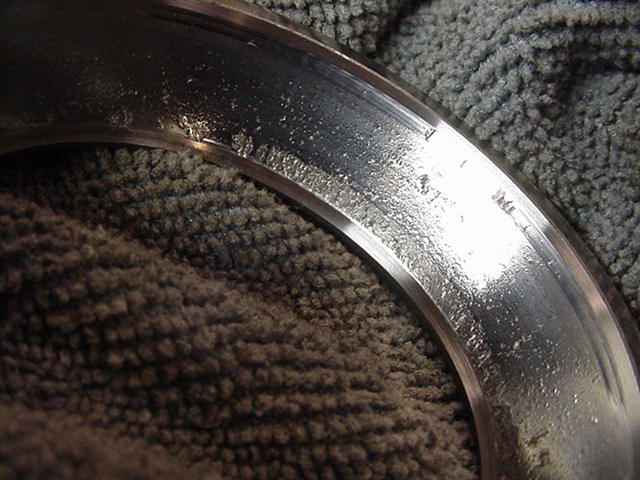
The race has seen better days.
|
|
|
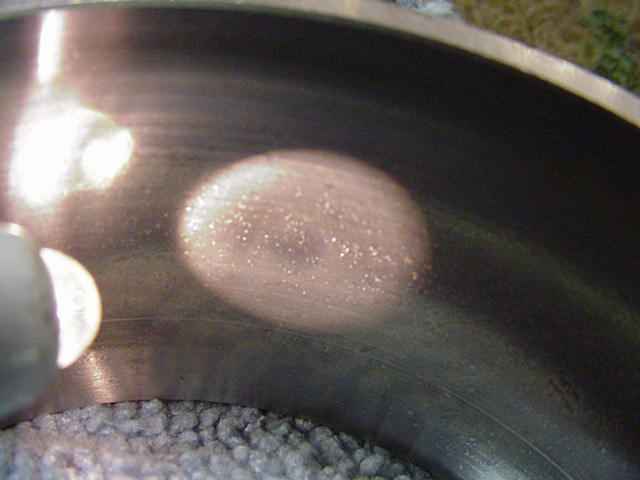
Looking at the other bearings....the monster sized inner pinion race showed some pitting....
|
|
|
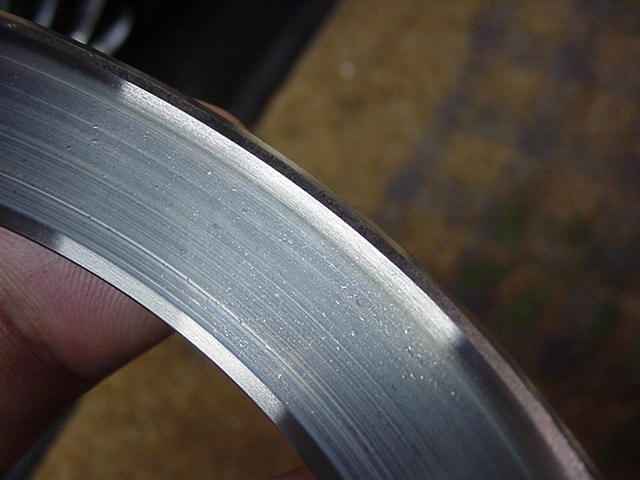
Both carrier bearing races had pitting.
|
|
|
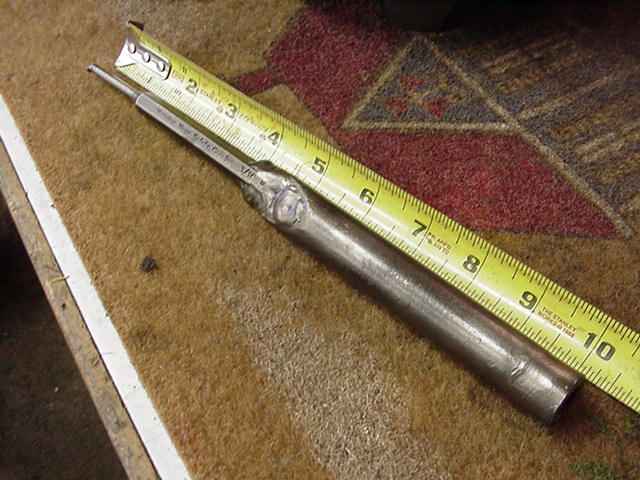
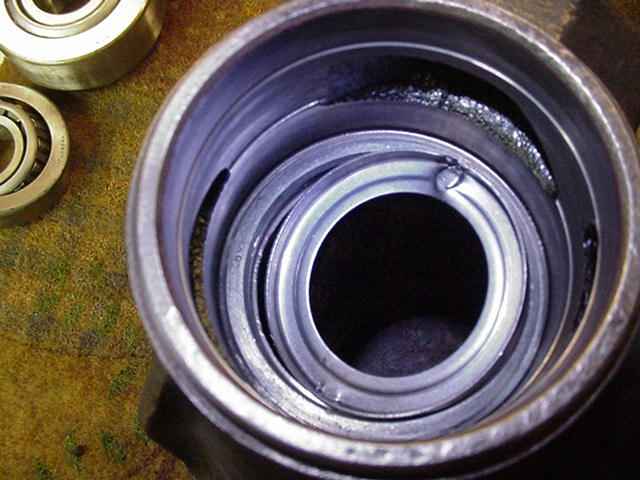
On some of the V6 3rds there is an oil retainer located behind the outer race...this one had it and this is my tool for salvaging that retainer
and still being able to re-use it.
|
|
|
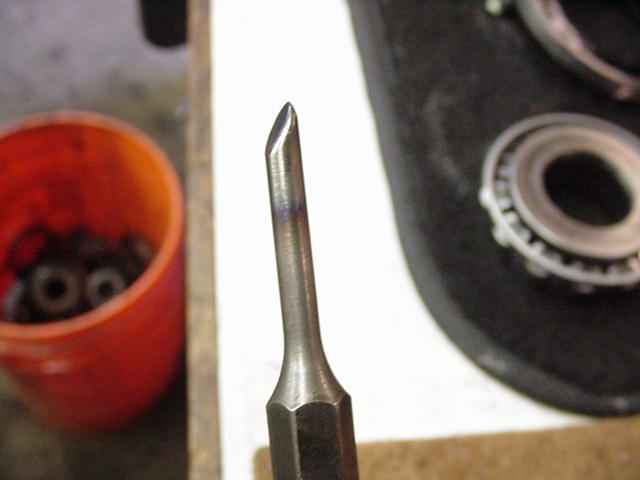
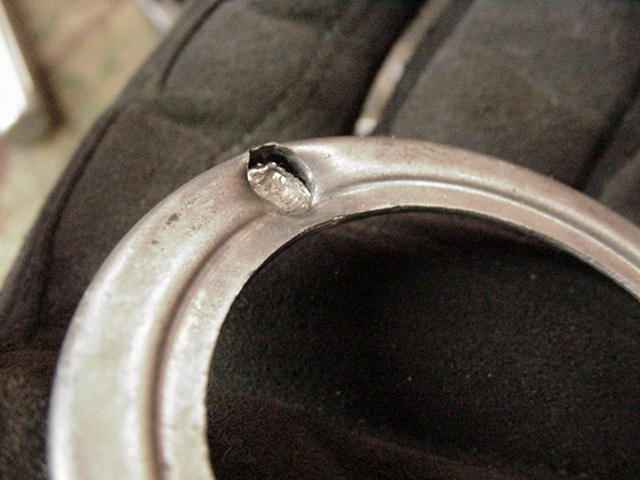
I grind a tapered point on it and carefully position the punch....one or two well placed sharp hits will punch thru the retainer cleanly like a bullet
and loosen up the race behind it. Then the retainer can be shifted off-center enough to where another punch can knock the race out without any
additional damage to the retainer.
|
|
|
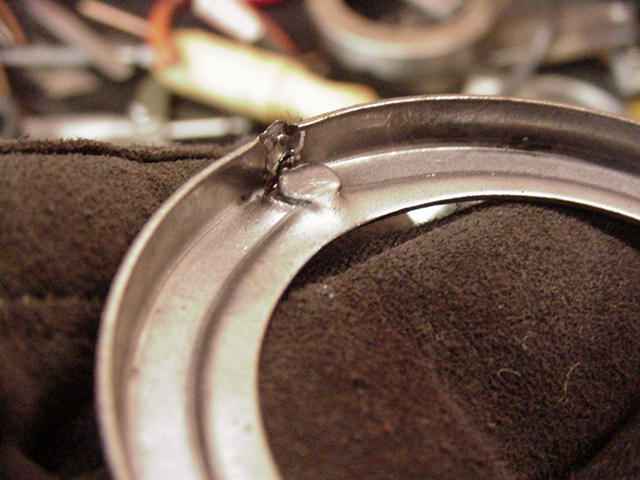
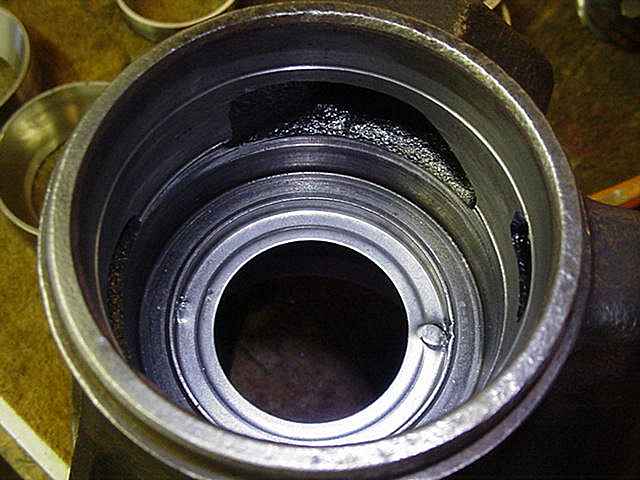
Using a flat punch, I can undo the damage the first punch did when it punched thru.
|
|
|
...
|
|
|
...
|
|
|
The oil retainer still does the exact same job as it was designed to.
|
|
|
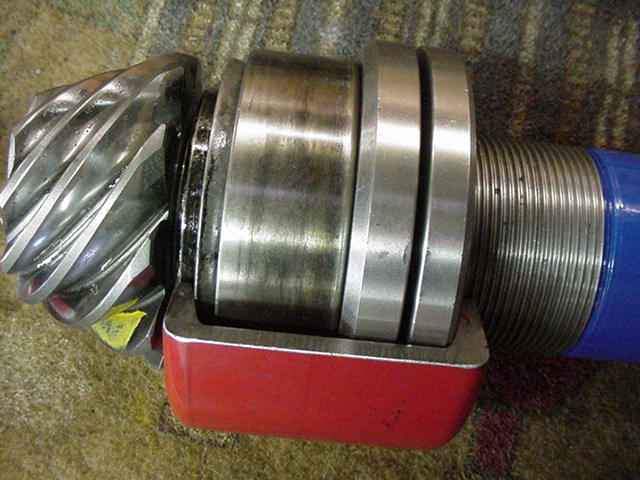
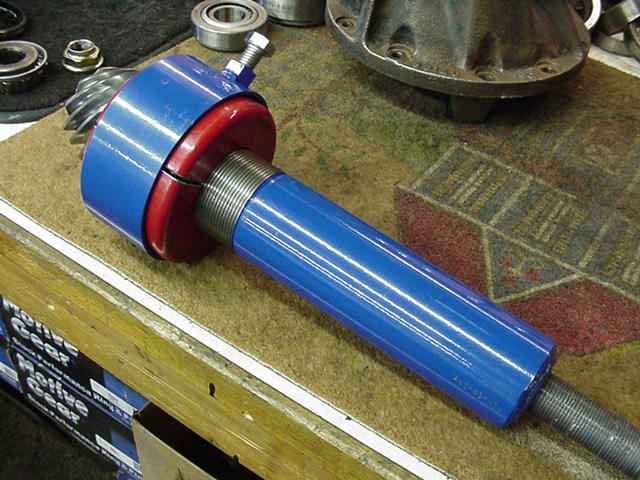
Now to remove the big V6 pinion bearing....most of the time, these are stubborn coming off so I like to use my pricey bearing remover($400) from
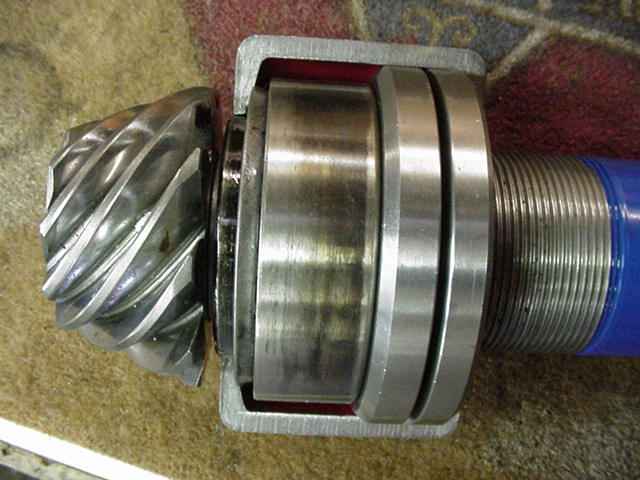
Randys Ring and pinion. My machinist Dad did some minor machining on a lathe to allow the red cup to properly capture the V6 cage.
|
|
|
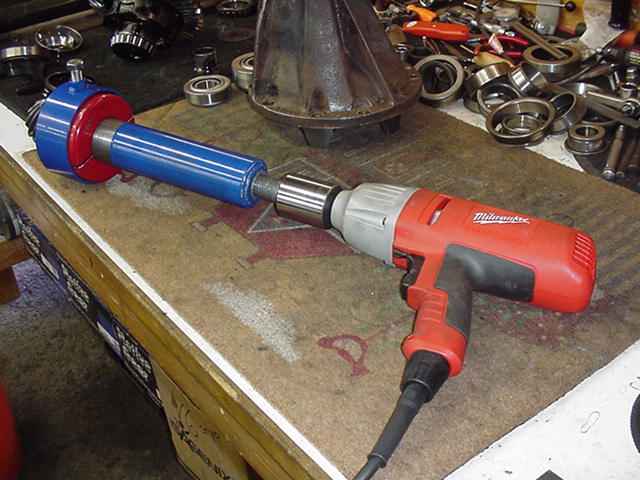
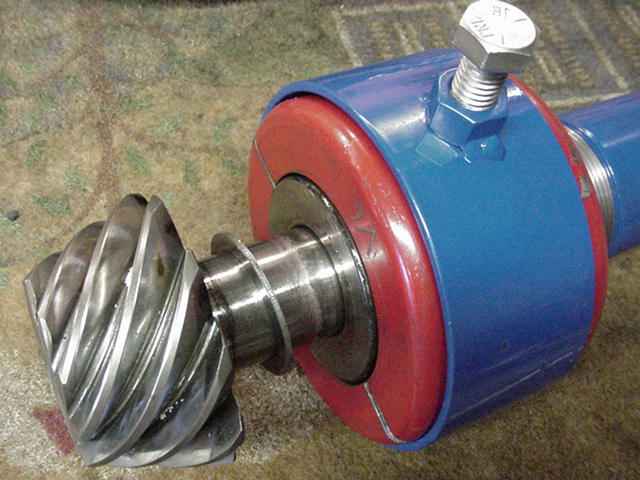
The puller actually grips the cage while the pinion is pushed thru. The bearing race must be used with this puller.
|
|
|
...
|
|
|
The Milwaukie electric impact does a good job of pushing the pinion out.
|
|
|
...
|
|
|
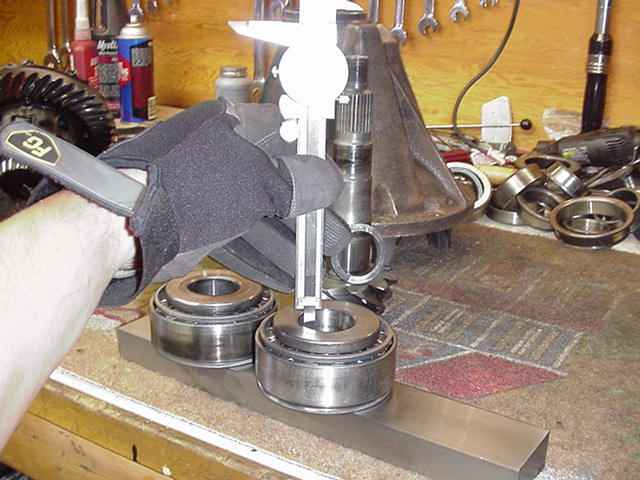
I compared the old bearing with the new cryo treated one to determine if a different pinion depth shim would be needed. The old one showed no
wear that would effect the overall pinion depth so I could re-use the original .077" shim.
|
|
|
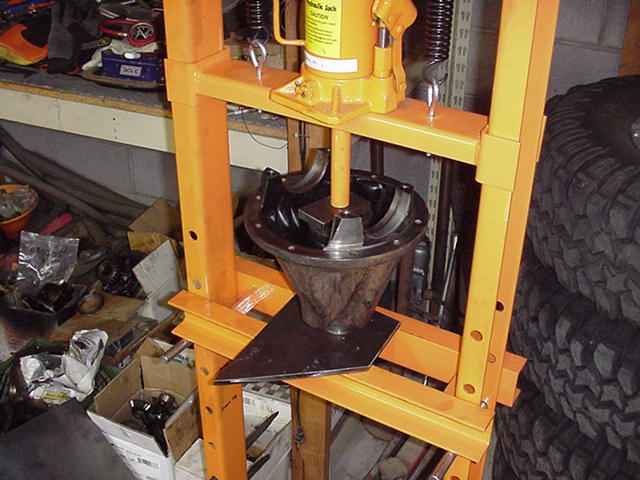
Both pinion races are pressed in at the same time...
|
|
|
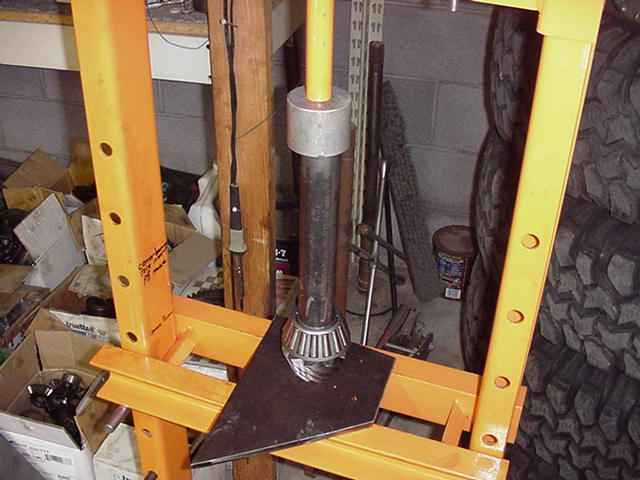
The new bearing is pressed on with the oem .077 shim.
|
|
|
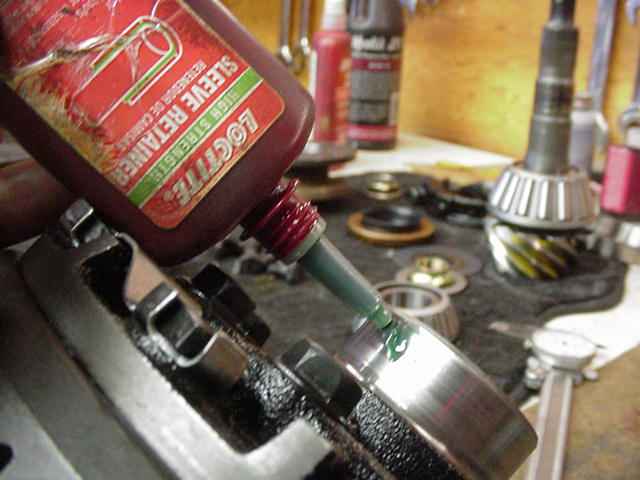
Sleeve Locking compound will fix the loose fit issue.
|
|
|
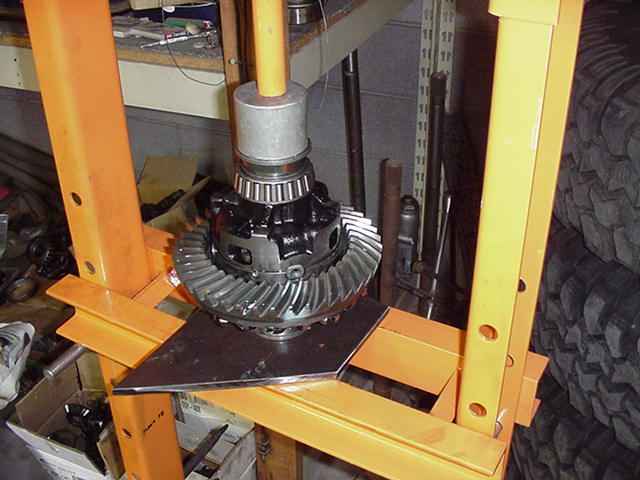
I will keep some force on the bearings for a couple of hours while the compound is setting up. All 4 bearings have been professionally
cryo treated...these will last 3~5 times longer and produce less heat due to the microscopically smoother surface...
with proper lubrication, these bearings should be good for about 1 million miles....seriously.
|
|
|
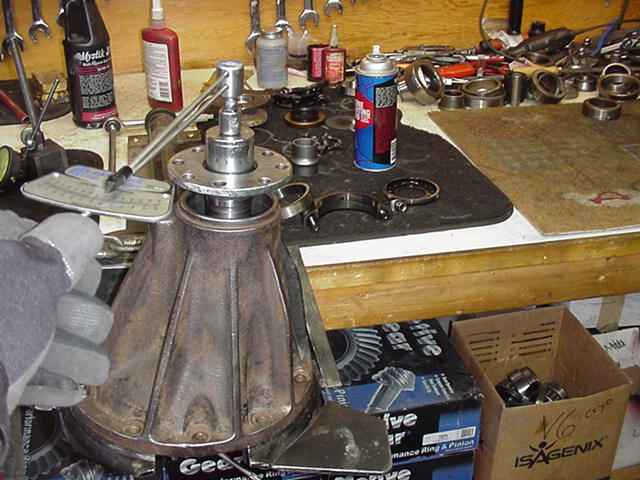
The crush sleeve is left out during this operation and the pinion drag is set to about 12 in/lb. Plenty of gear oil must be on the bearings for
an accurate read. After the carrier bearings have set up, then the case can be installed and backlash is now set to the original spec of 8~10 thou.
|
|
|
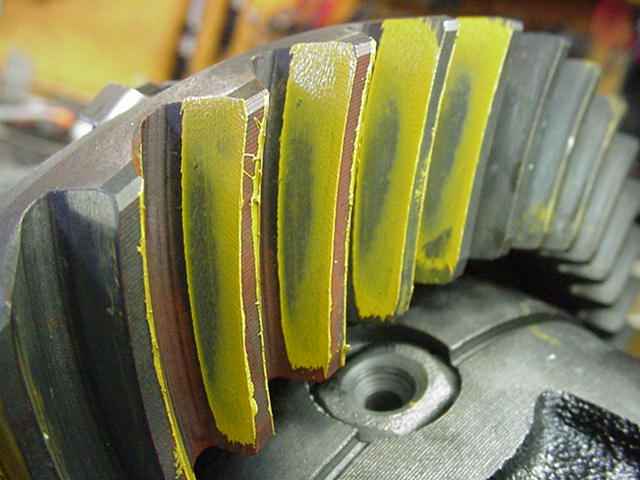
Drive side has alot of wear on it so this pattern may not be accurate...
|
|
|
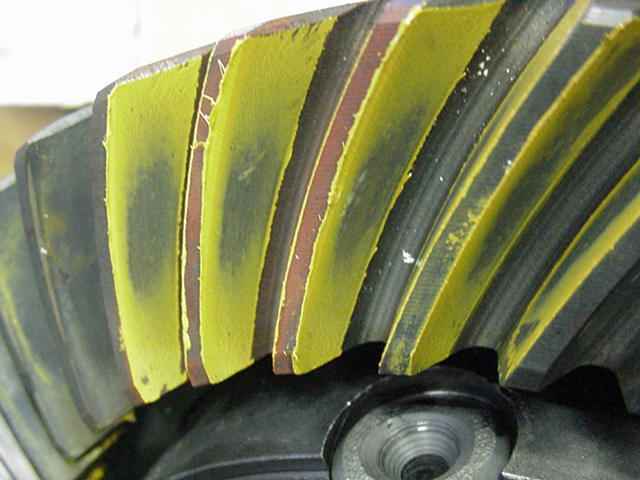
...coast looks picture perfect.
|
|
|
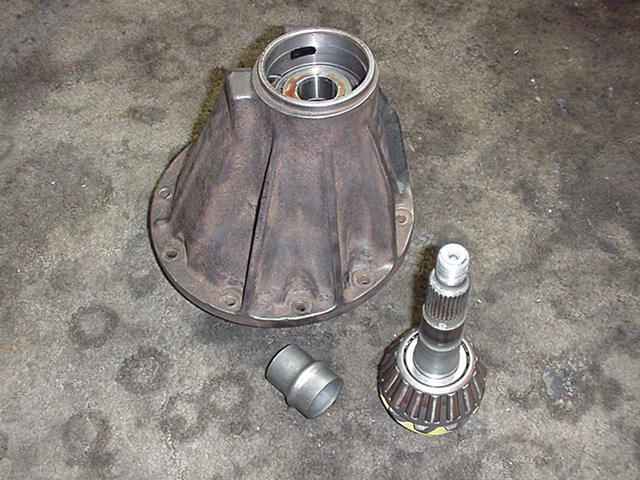
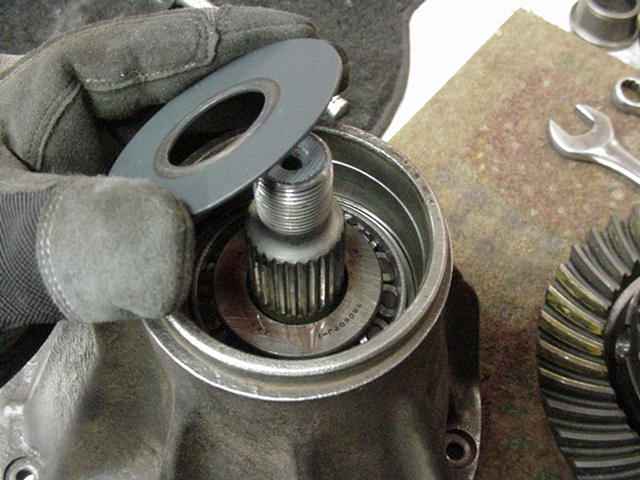
Now the 3rd can be torn down and the crush sleeve is now inserted.
|
|
|
Oil slinger is inserted...
|
|
|
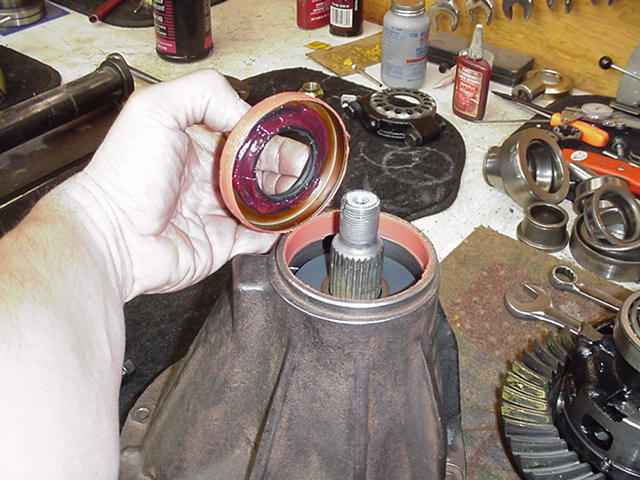
Seal is prepped and installed.
|
|
|
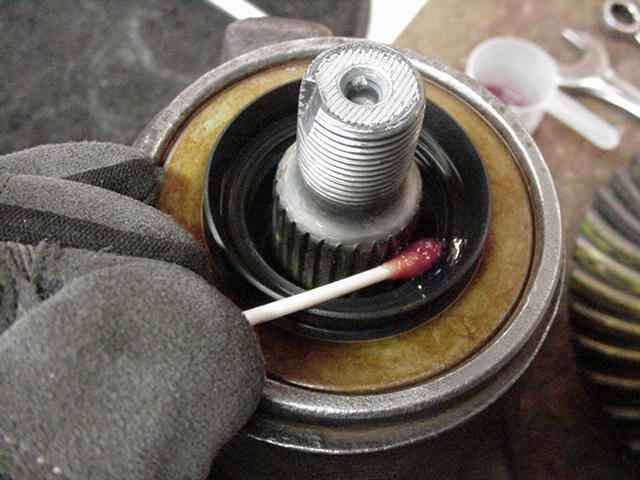
Gear oil is wiped on the rubber lip.
|
|
|
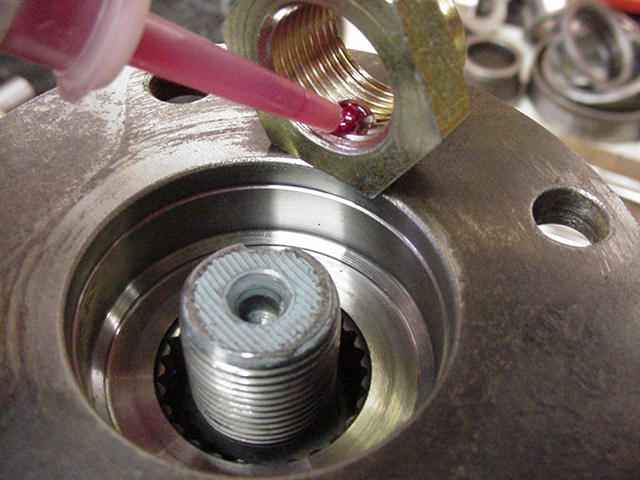
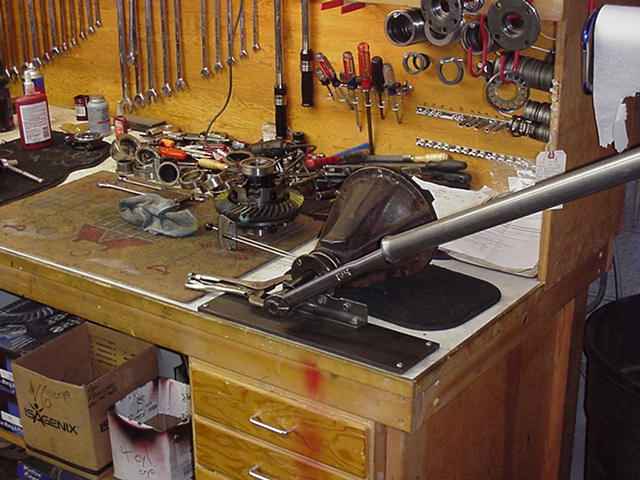
I prefer to use Loctite on the threads....anti-seize can also be used and would make crushing the sleeve about twice as easy. Not shown in the pic is the
hardened thick OEM washer that will be used. Not doing so can result in a deeply gouged soft flange.
|
|
|
Crush some then check...crush some more then check again...I did this over a dozen times before the pinion pre-load started to show up.
|
|
|
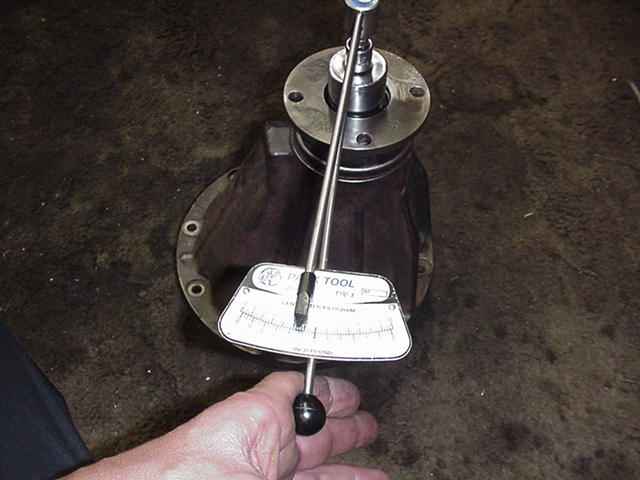
Using the right tool, I was able to get a sweet 12 in/lb of drag. I rotate the pinion rather fast with the torque wrench(roughly 1 rev per second) and can
catch a glance on the scale as it comes around. This is not starting torque....this is fast rolling torque. Just like in real life.
|
|
|
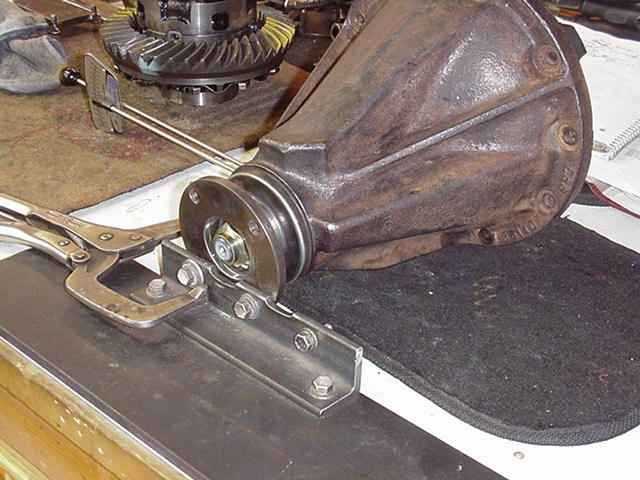
Here's a close-up of my method of securing the flange while the crush sleeve is being crushed.
|
|
|
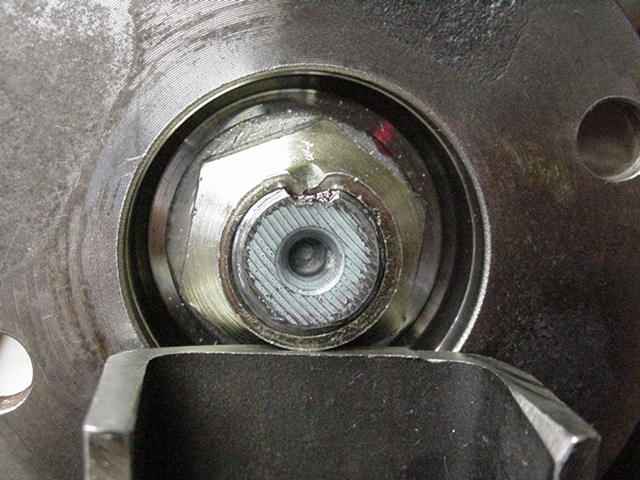
Between the red Loctite and the dimple in the nut, the chances of it loosening on its own is....none. Mark is running small tires and keeps
it on the road 99% of the time...he has only 1 transfercase...torque strains are very limited....this means the crush sleeve will not loose
it's tension for many years.
|
|
|
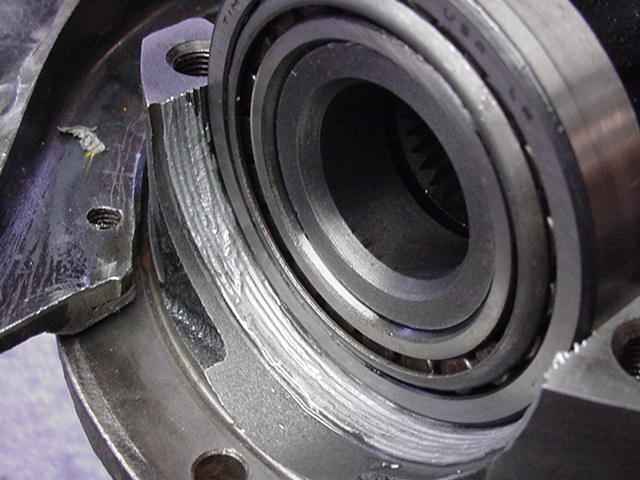
Anti-seize on the threads will help when tightening the wheel adjusters.
|
|
|
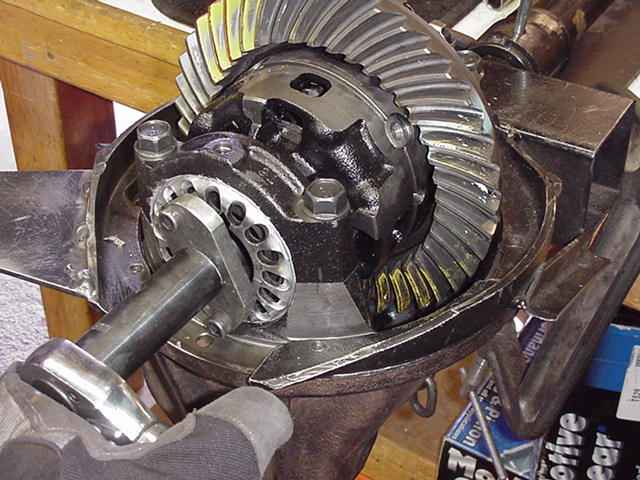
Final torque will be about 150 ft/lbs on both adjusters(range can be from 75~150, in my opinion)....it's a juggling act....move
the backlash towards the .009" goal while tightening the adjusters.....the wheels effect CBPL and BL.
|
|
|
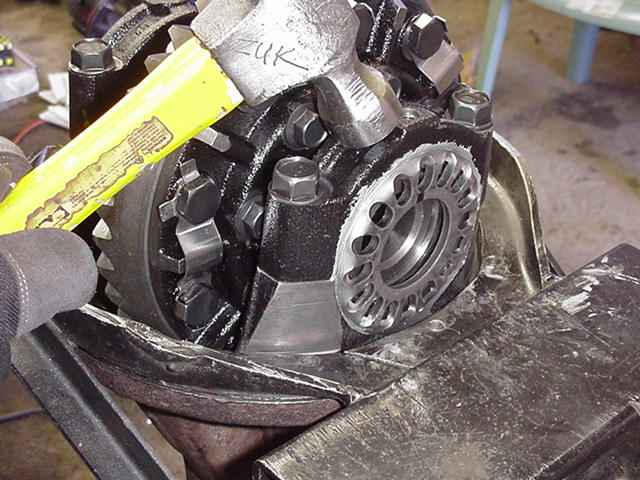
Rapping the caps here with a hammer will help equalize the carrier bearing tensions....and might cause BL to 'adjust'.
|
|
|
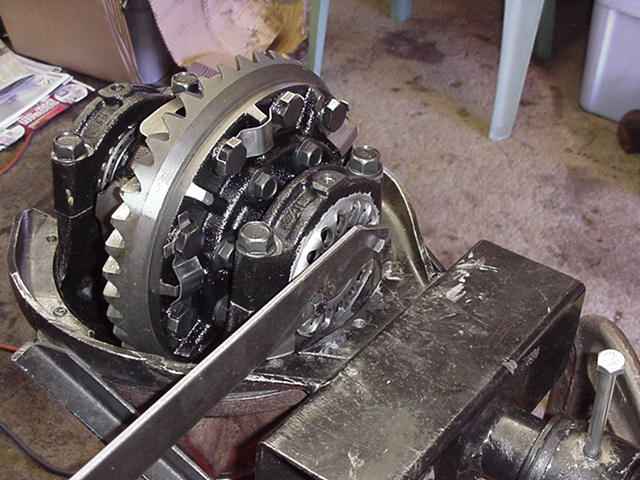
I try to make the last small turn(1 notch or less) on the "ring gear side".
|
|
|
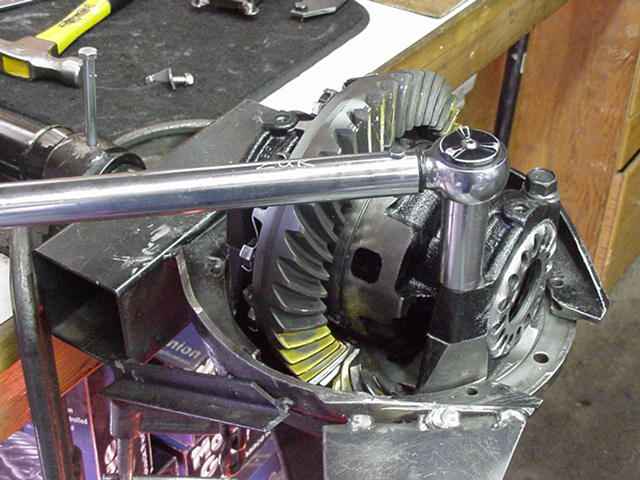
Cap bolts are checked for 75 ft/lb and the tabs/with bolts are set to 10 ft/lb.
|
|
|
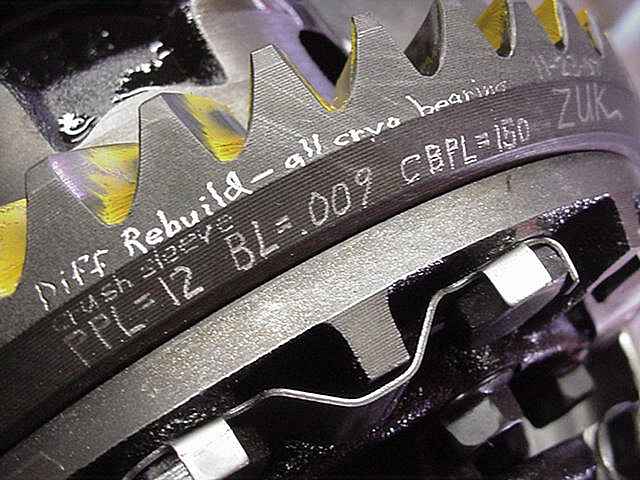
Data is placed on the ring...
|
|
|
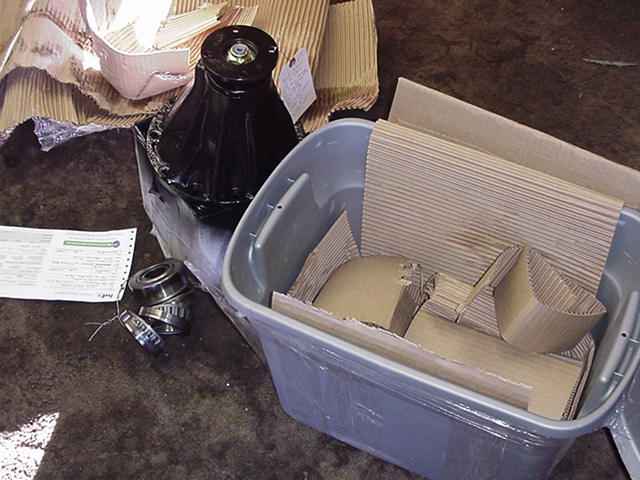
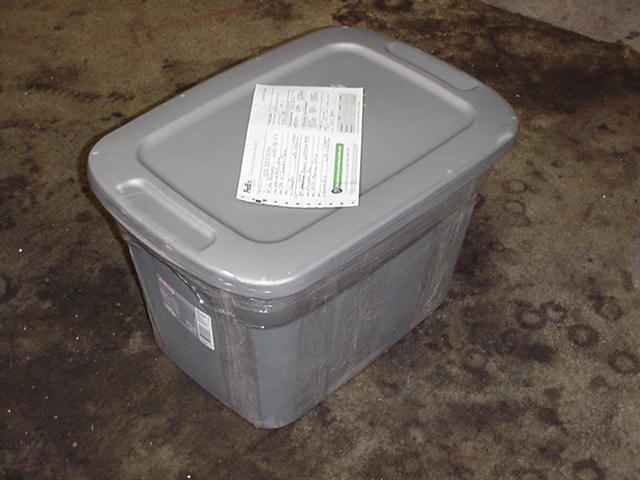
Mark sent the 3rd to me in this $4 plastic tote(10 gallon model) and it's in excellent shape for the return journey.
|
|
|
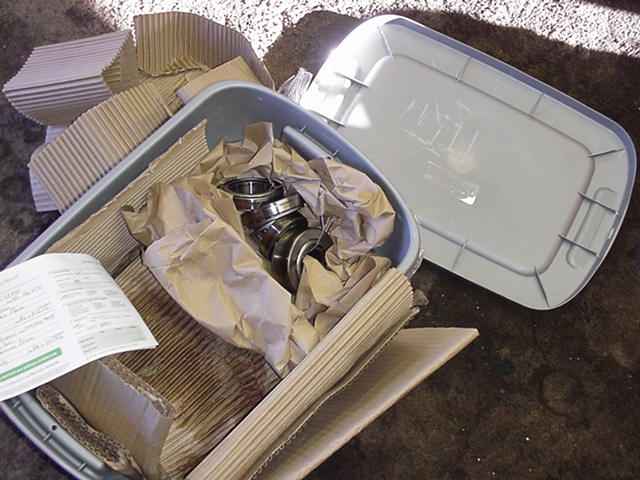
The old bearings will be returned so Mark can see how close to total destruction he was.
|
|
|
.
|

|