|
|
|
|
|
|
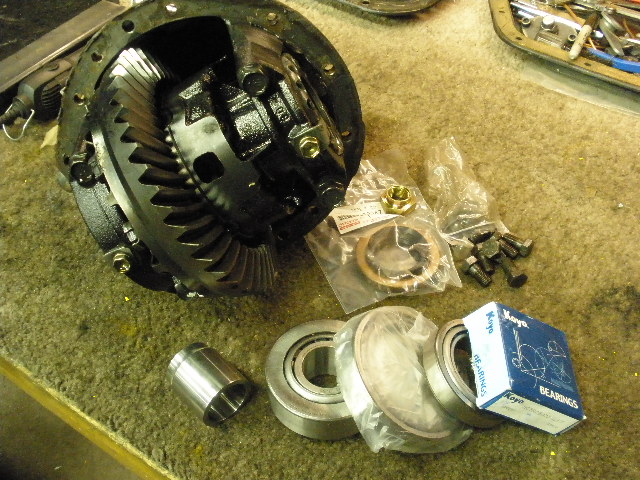
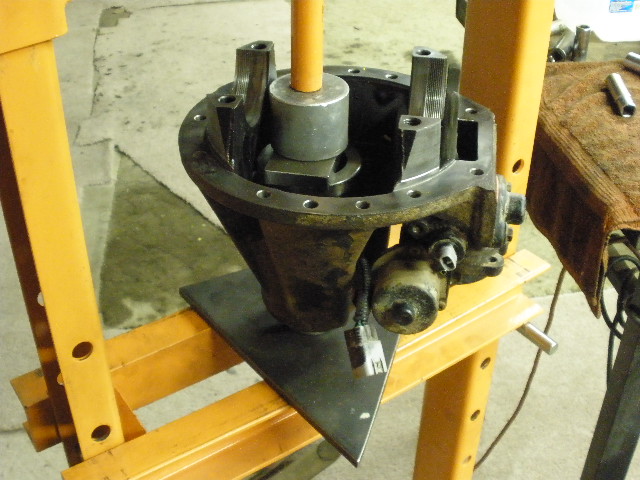
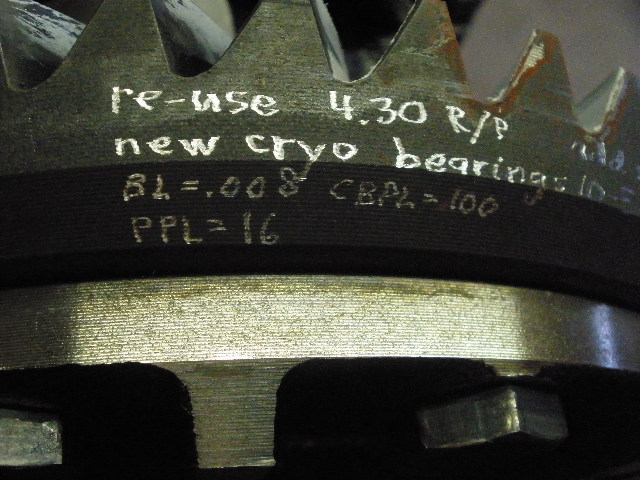
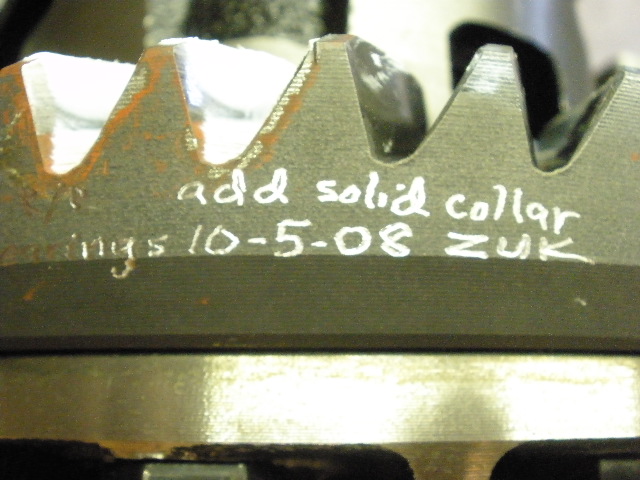
Brian is from Los Alamos, NM and has had this Runner for about 2 years so he doesn't know the first 8 years of the differential's history. The whine started relatively recently. The plan is to re-use the hard to find 4.30 gears and add new cryo-treated bearings and a solid collar. Cryo treating the bearings has the effect of doubling or tripling (or more) the expected life. When Austenite goes away, good things happens. See page 4 of this pdf document. |
|
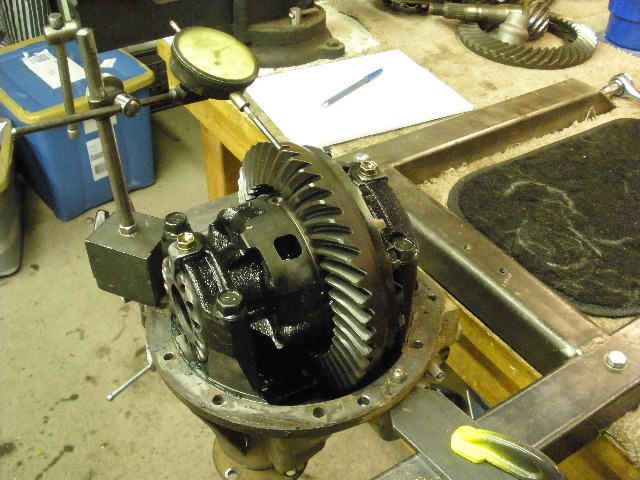
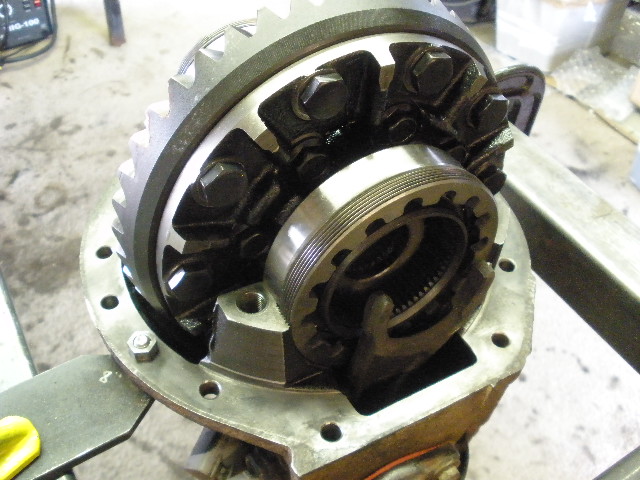
Backlash was an excessive .014" and the ring gear had no pre-load (CBPL) and had that loosey goosey feeling. The pinion was very free turning also but I didn't detect any up/down left/right slop. |
|
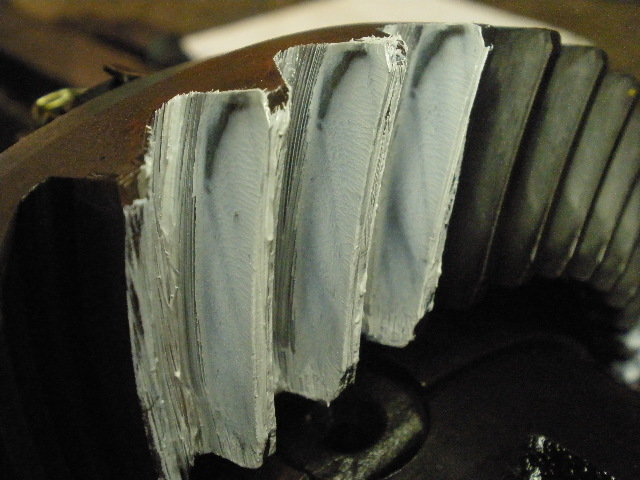
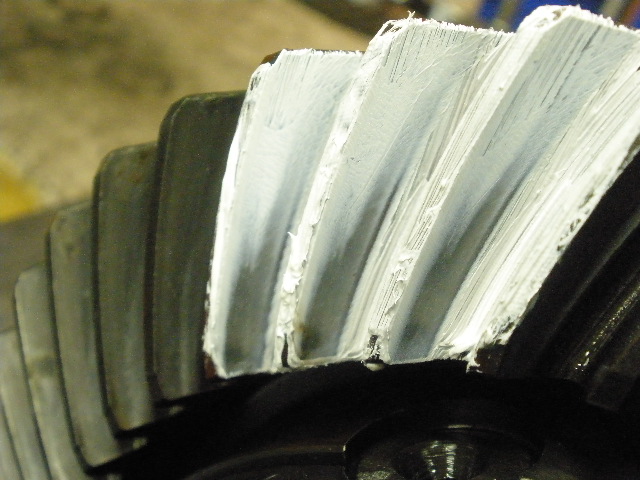
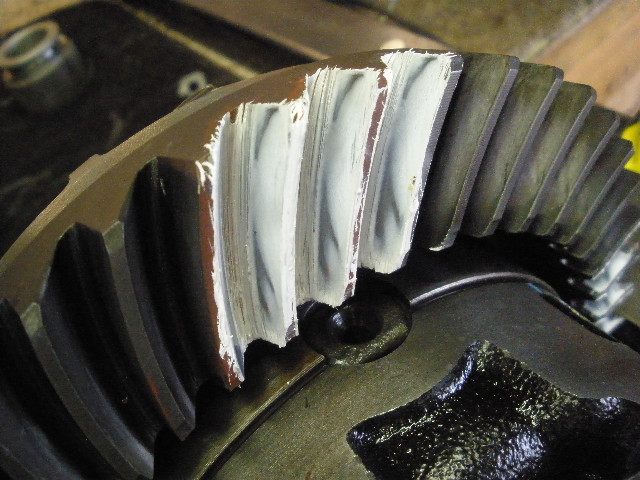
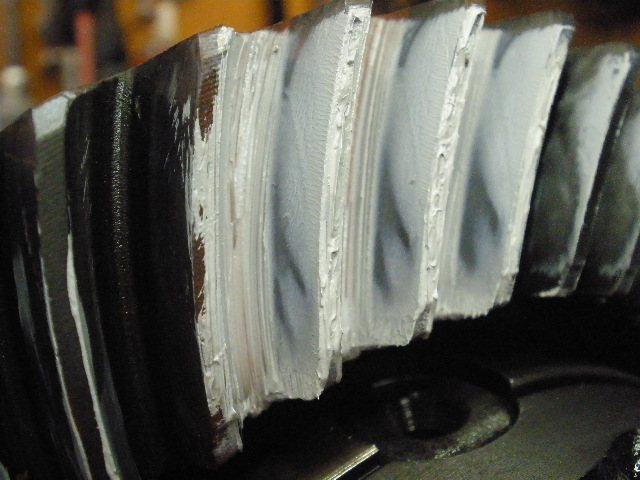
I did a preliminary paint check and this is the battered DRIVE pattern with .014" backlash. |
|
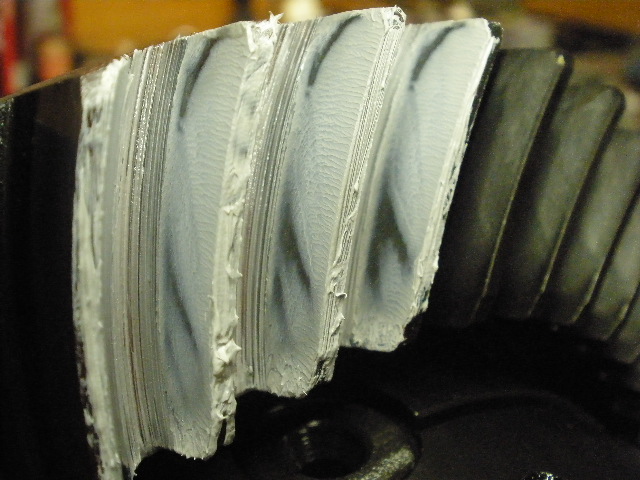
I tightened the wheel adjusters and this is the drive with a more reasonable .008" backlash. It's trying to paint a pattern on the toe end but the wear pattern is so far off even if I set everything back to factory spec it could still make some birdie chirps.... at least for a while until the "high spots" are no longer high. |
|
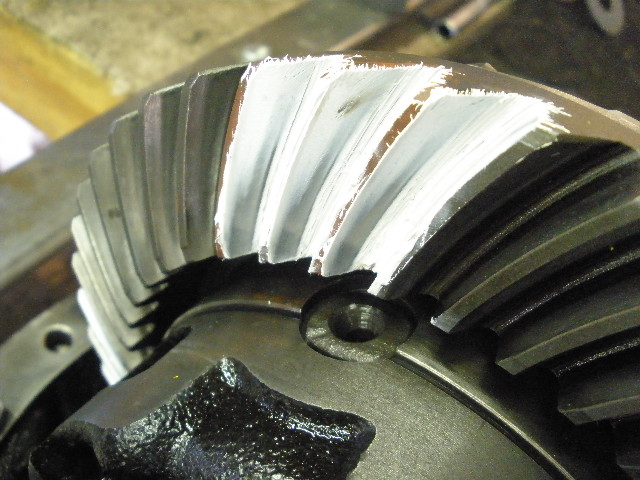
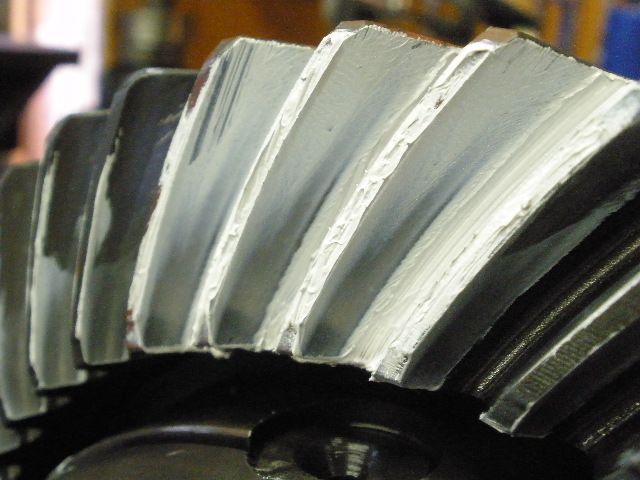
Of course, the coast side looks much better. That has more to do with the fact that, in a low pinion rear end application, the coast side is used less than 1/10th of 1% compared to the drive side. |
|
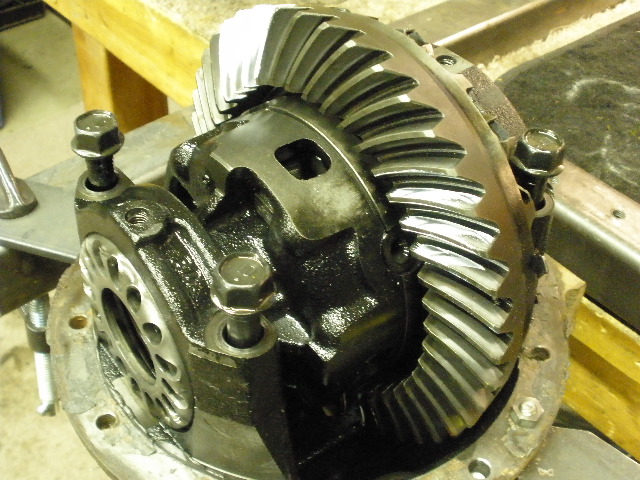
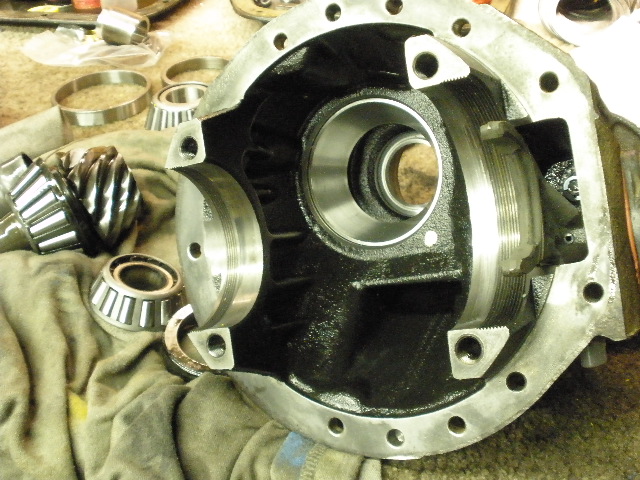
The bearing caps are removed and the case will now come out. |
|
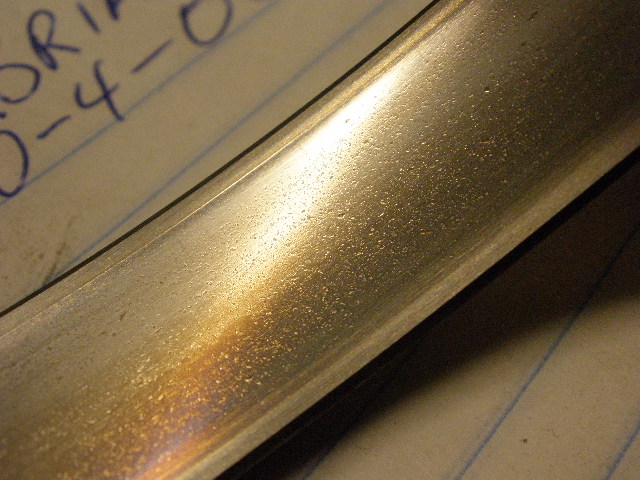
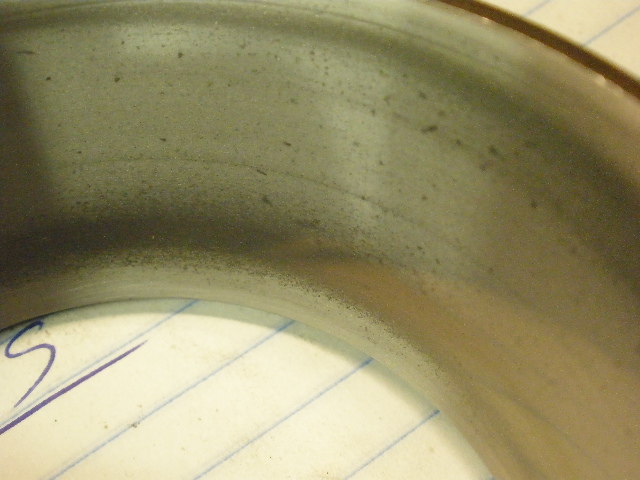
This is the best pic I could shoot of one of the carrier bearing races with my new Olympus FE340 digital. You can see a number of things going on here. Pitting can be seen....there's also a wear groove visible on the far end. And there are visible heat marks in the lower left of the pic. Bear in mind, the carrier bearings turn at about 1/4 the speed of the pinion bearings so for these to have heat marks probably means a serious lack of oil happened sometime in the distant past. |
|
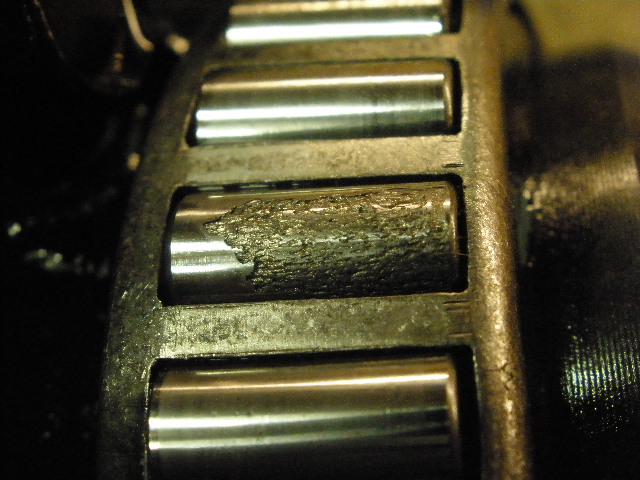
This was interesting...All the other rollers on the carrier bearings looks normal except for this one...why only one? A mystery that will never be solved. |
|
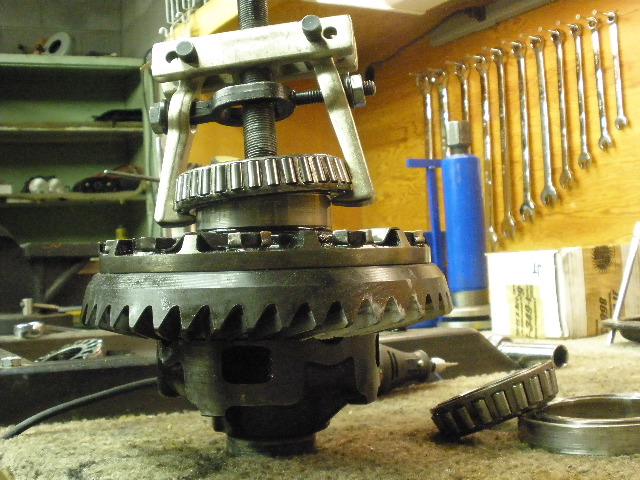
The right puller takes all the bad language out of the task. |

|
The ring gear is not being removed....just the tabs are being discarded. They get in the way when I try to do painted pattern checks and they interfere with the 17mm wrench that is used to rock the ring gear back and forth. |
|
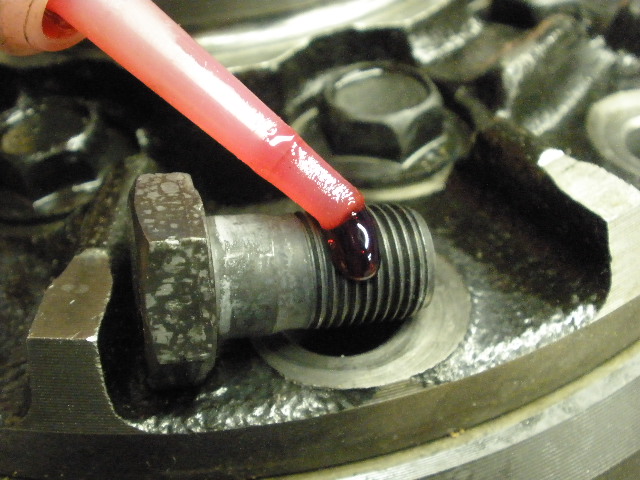
Loctite and 75 ft/lbs for all 10 bolts. |
|
The new cryo treated carrier bearings are pressed on at the same time. Cryo treating bearings doubles or triples (at the least) the useful life of the bearing. |
|
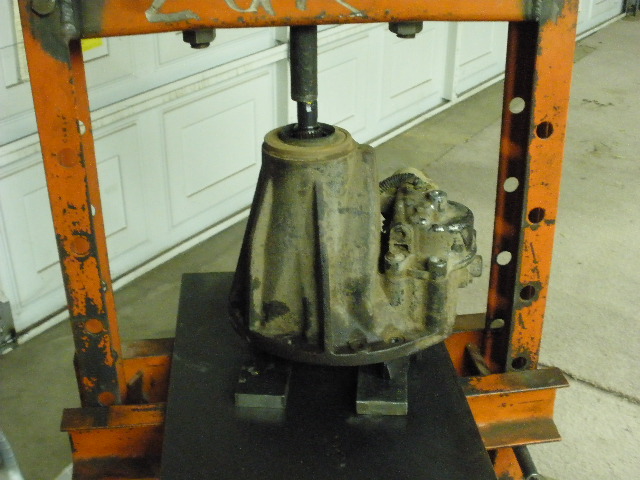
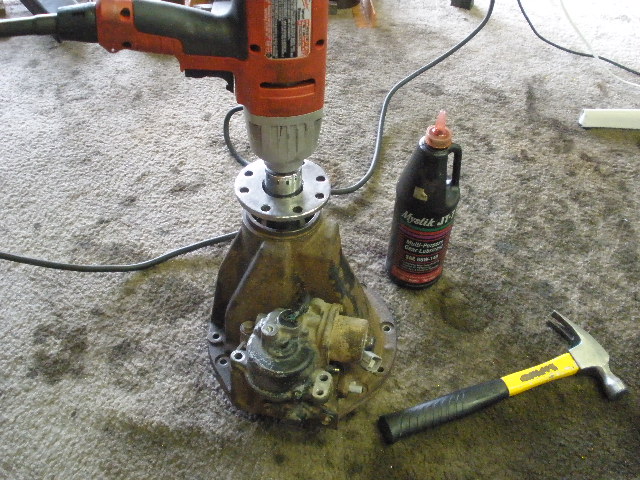
Now onto the pinion end. Looks like this has never been disturbed for the entire 10 years. |
|
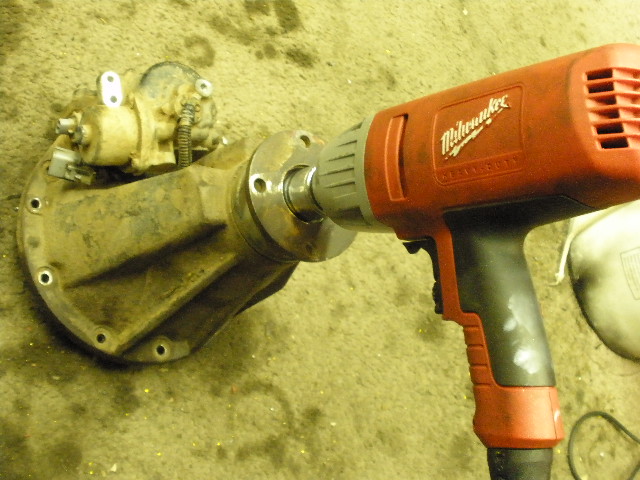
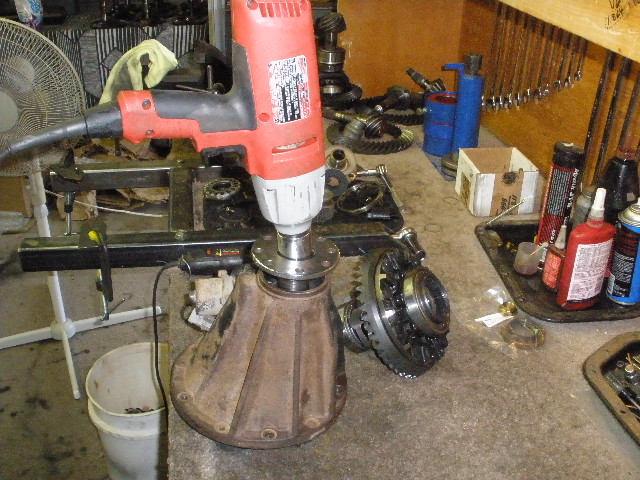
The electric impact easily removed the 30mm nut. |
|
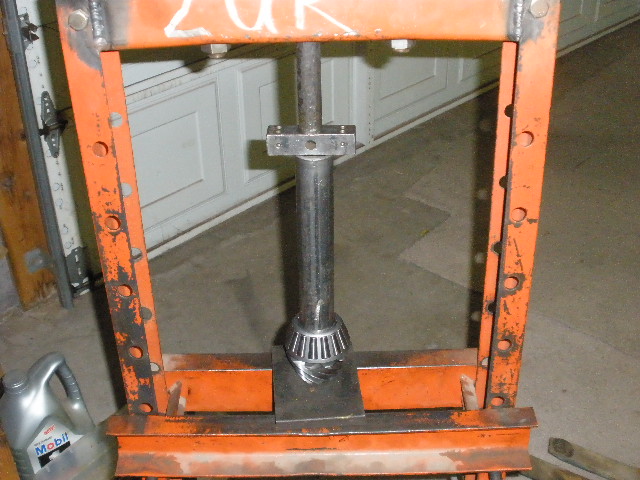
The pinion was pressed out...it did seem very stubborn before it started to move with a BANG!....almost like the small pinion bearing started to weld itself to the pinion skin. |
|
The outer race has unusual pitting and wear marks. |
|
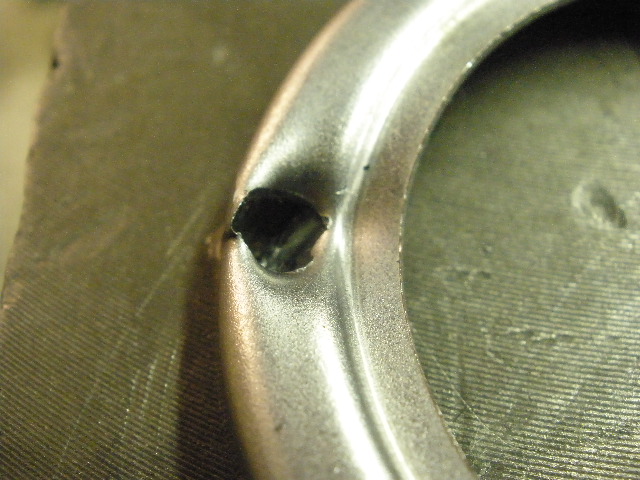
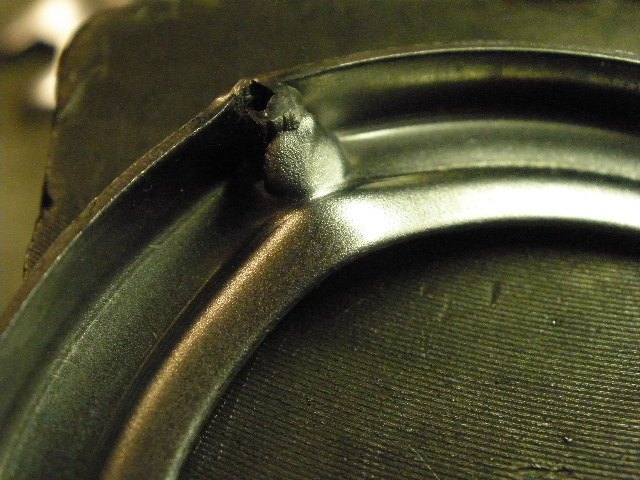
I've gone thru this before in some of my other links but it's so easy to save the damaged oil retainer. In the process of using a sharp punch to bang the outer race out of the carrier, a hole is punched in the retainer. |
|
By using a flat punch, this damage can disappear. |
|
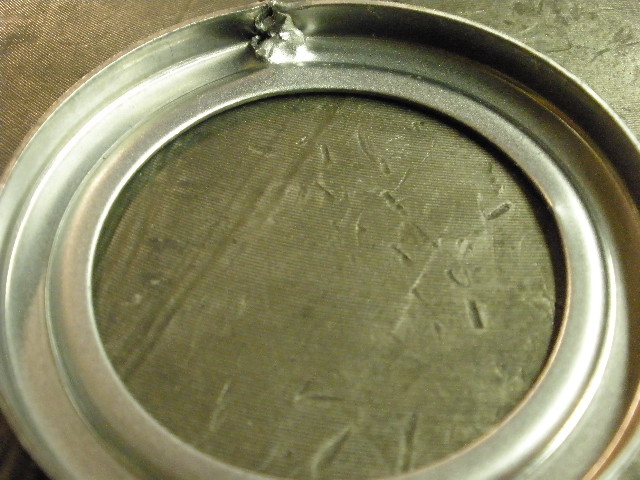
Some tapping was done here...it's not even important to get rid of all of it. |
|
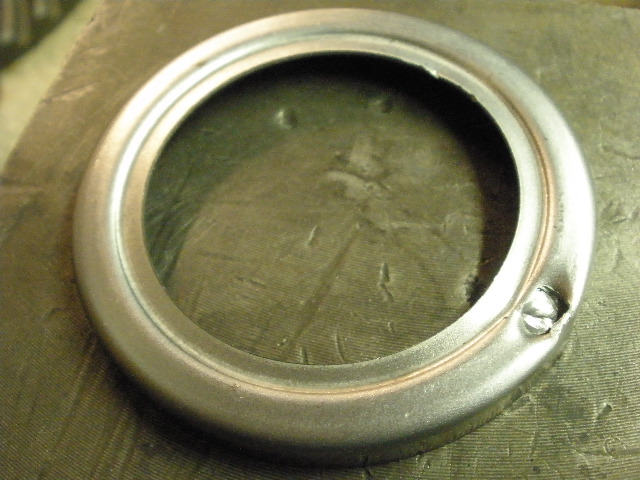
Looks good now. |
|
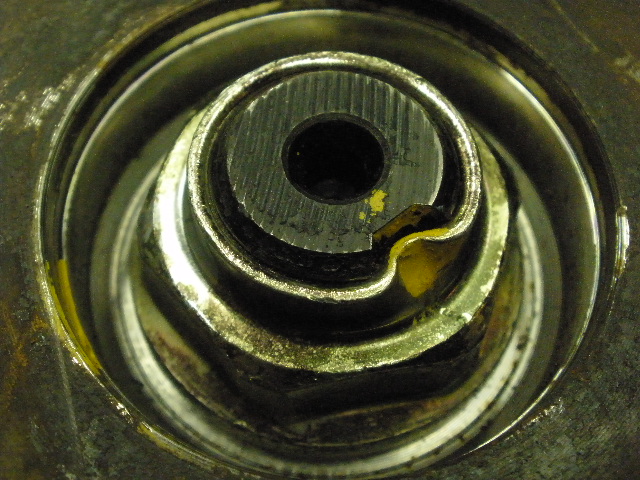
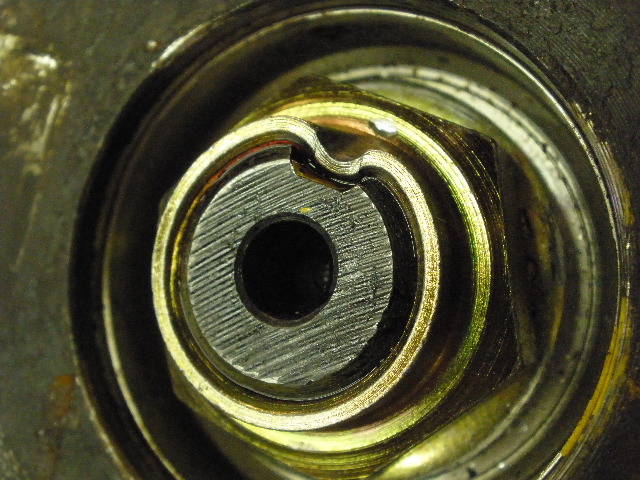
Align the retainer so that it's at the 12 o'clock position and all is good. Oil is only retained on the bottom half in actual use. |
|
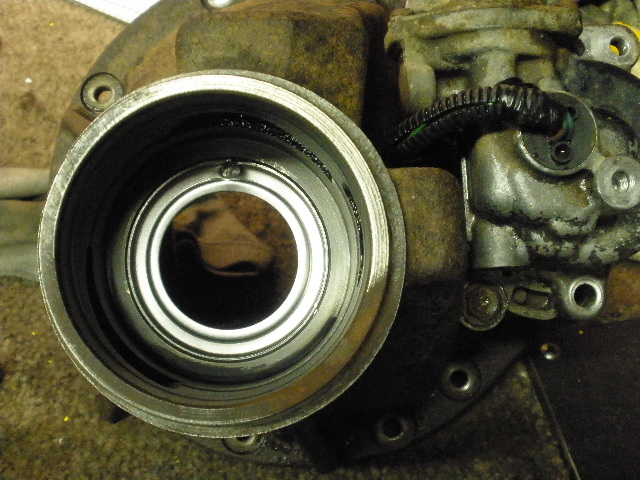
Races are pressed in at the same time... |
|
... |
|
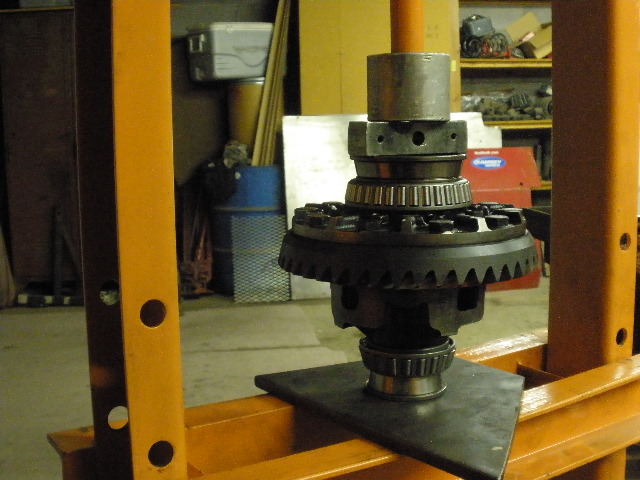
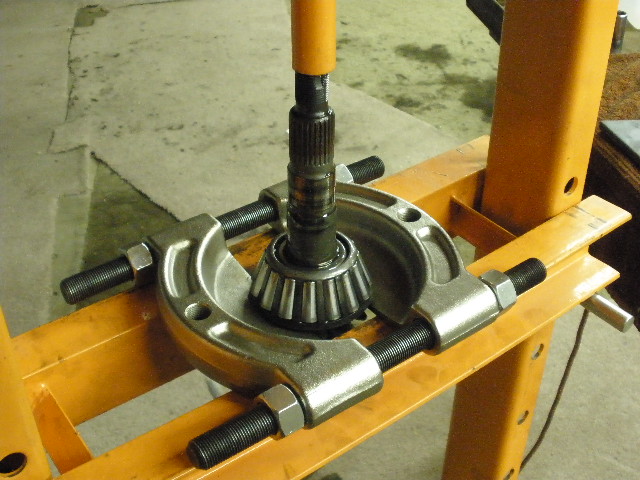
The old bearing is pressed off with help from the bearing separator. |
|
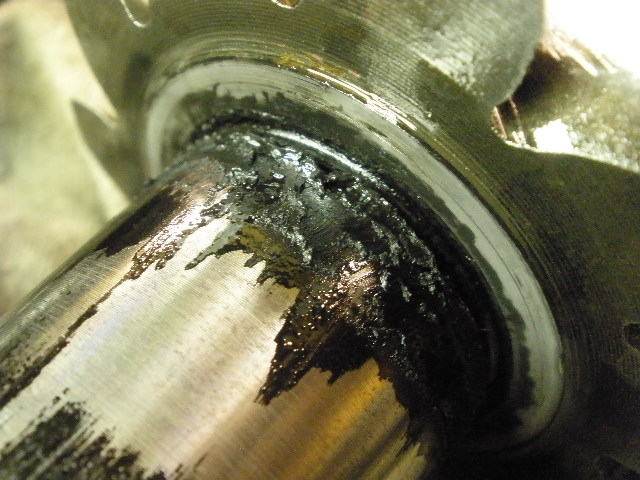
I noticed this gooky stuff and that tells a story...says that a long time ago oil overheated and burned. |
|
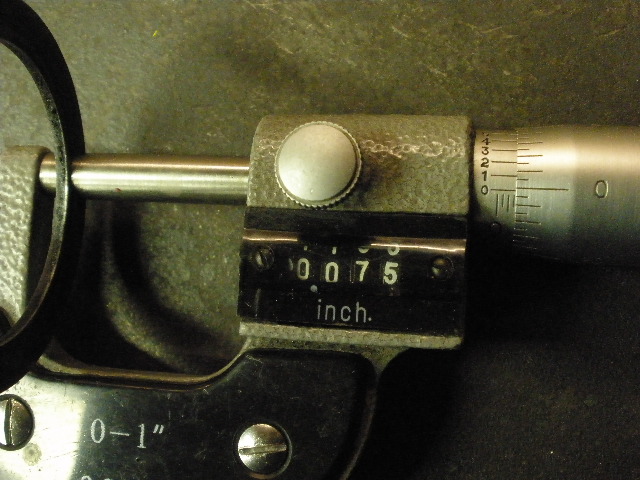
The OEM pinion shim measured at .075" using micrometers. |
|
The 075 shim is pressed on with the new cryo bearing. |

|
I will assemble it this time without the solid collar. |
|
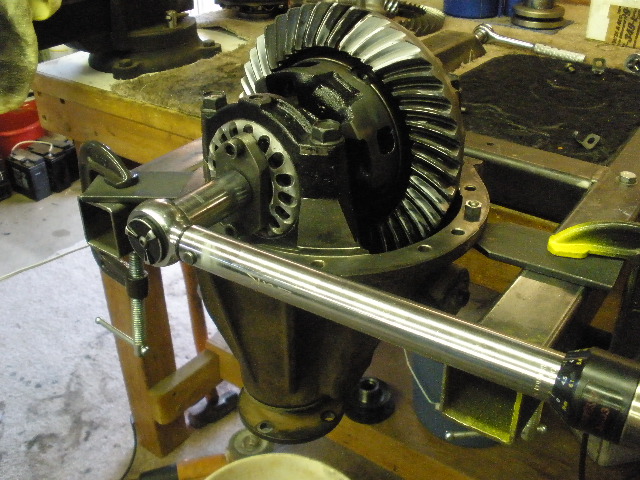
Tighten the pinion nut until about 10 inch/pounds of PPL is reached. Make sure there's plenty of gear oil on the pinion bearings to allow the flange to turn smoothly. |
|
Load the case, align the adjuster wheel correctly, install the bearing caps, and set the BL to about .008" |
|
This is as good as the pattern will get for now. |
|
Coast looks nice. |
|
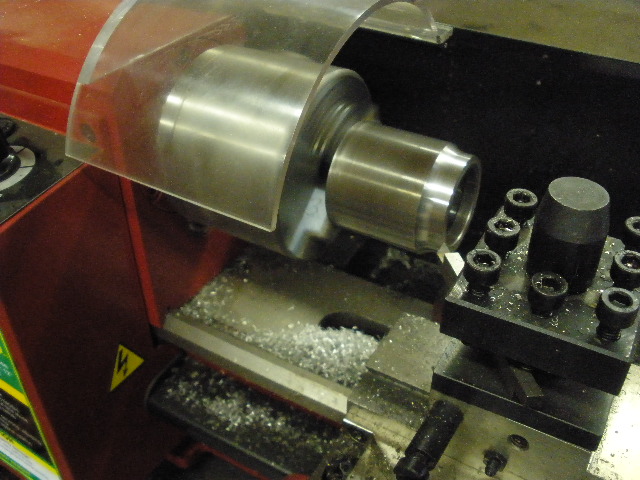
Sometimes I true-up the surfaces of the collar for more uniform compression of the shims....it's also a good way of shaving off that extra .0005 or .001" to get that "just right" PPL reading. |
|
After 2 tries and one lathe trim, I had 8 inch/lb of pre-load. |
|
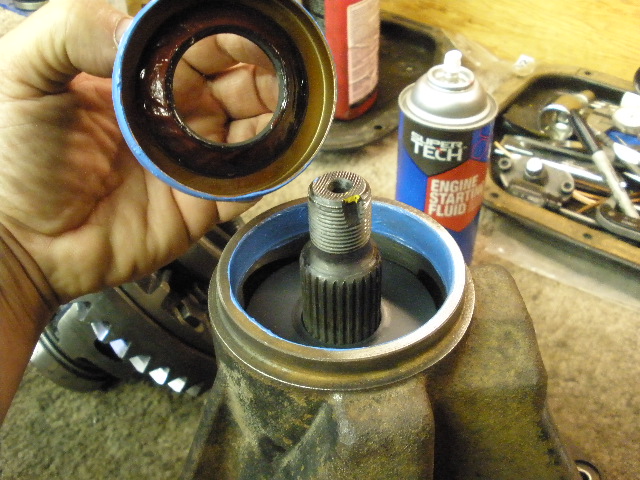
Now to remove my shop flange... |
|
...to install the seal and the oem flange. |
|
Using the 4 foot cheater bar, I tightened the pinion nut until I measured 16 inch/pounds of PPL. Loctite on the nut and ding it. |
|
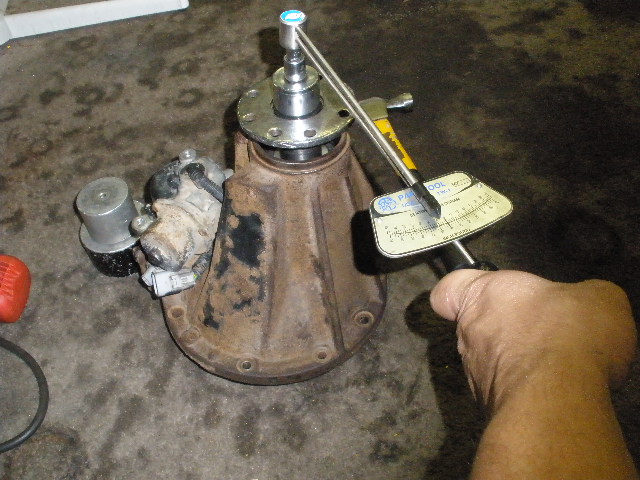
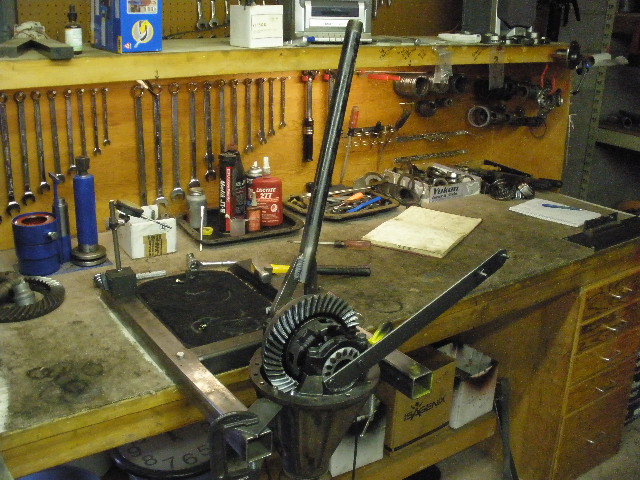
I have a spanner wrench designed to fit each side. Once BL is set to .008" then the CBPL can be set. |
|
I set the CBPL to 100 ft/pounds on this one. BL was held to .008". |
|
Drive side |
|
coast |
|
... |
|
UPDATE....I received an email from Brian after he freshly installed the re-conditioned 3rd....here's a cut/paste...
|

|