|
|
|
|
|
|
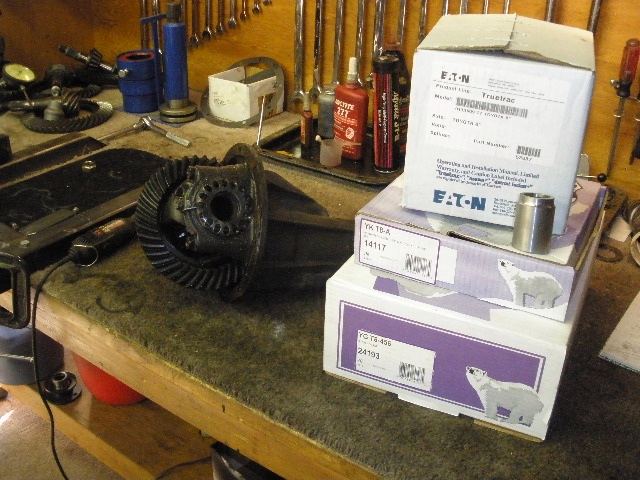
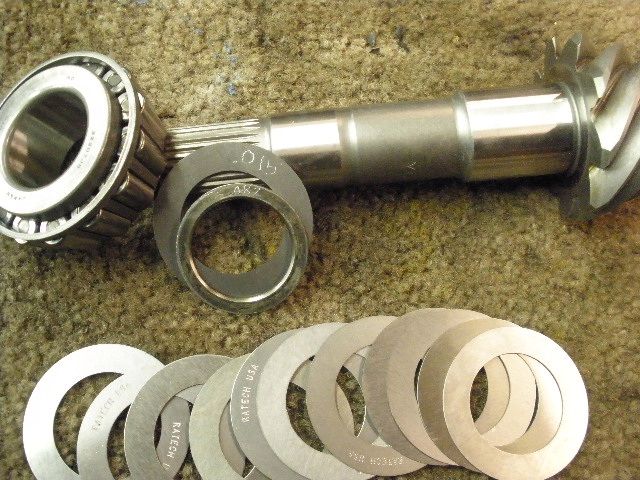
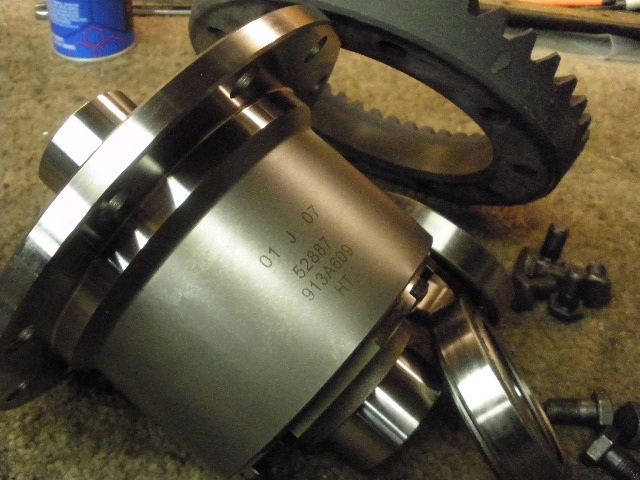
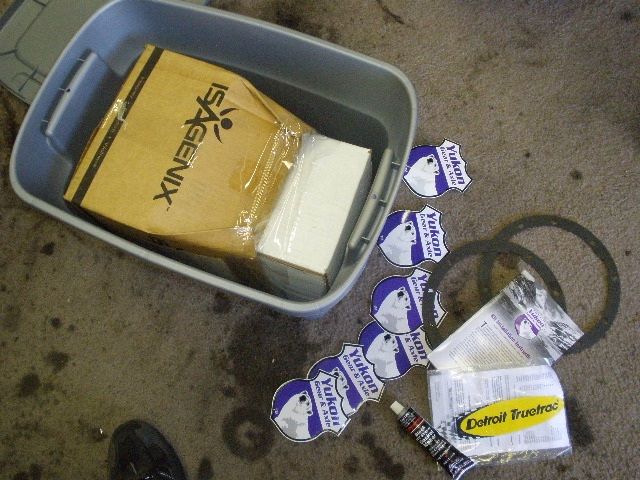
All the right stuff to do a good install...the Truetrac, solid collar, master kit, and a 456 ratio Yukon r/p. |
|
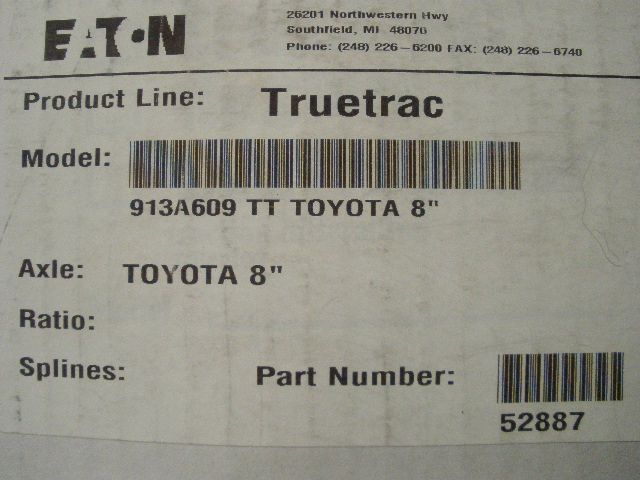
The front case spins in the opposite direction and since the TT responds differently per the direction of rotation means the internals are mirror imaged(swapped from left to right) and the part number has to change. |
|
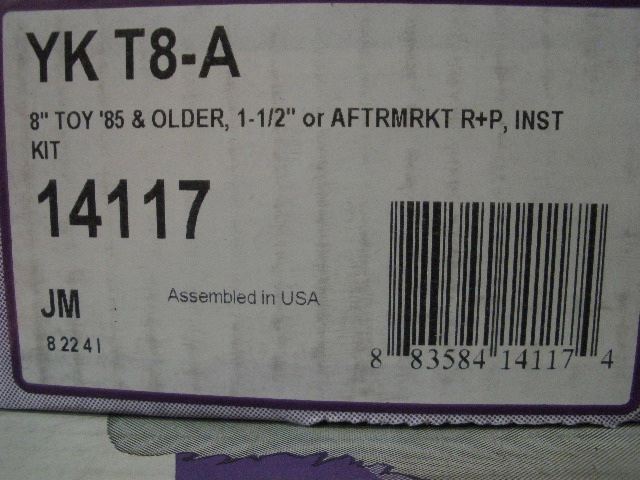
The Yukon master kit... |
|
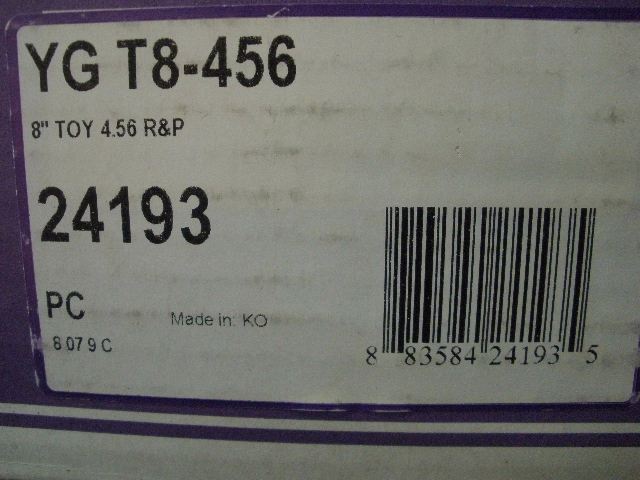
The Yukon box with a 4.56 ring and pinion in it. |
|
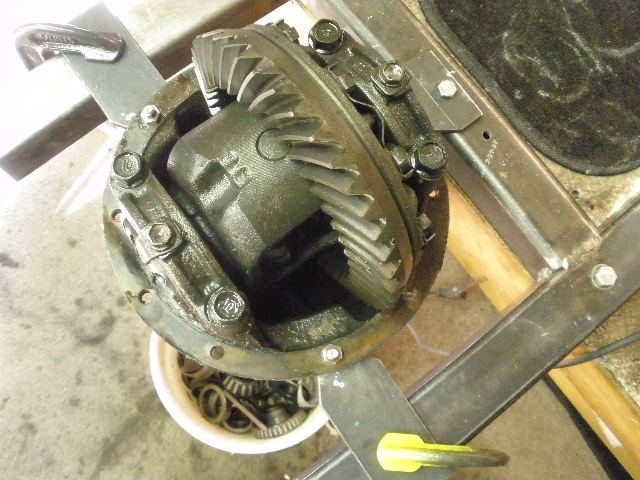
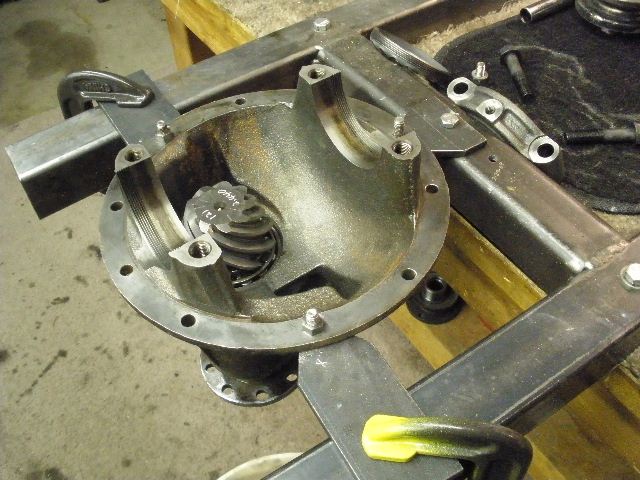
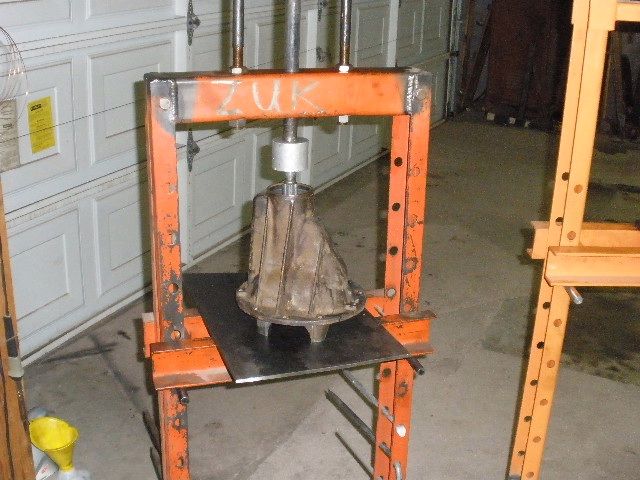
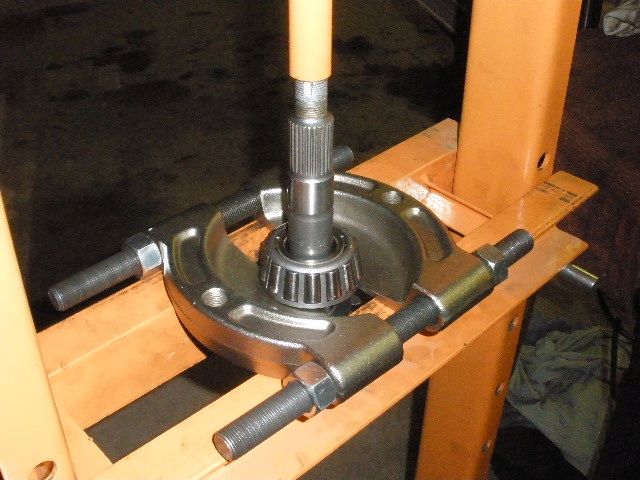
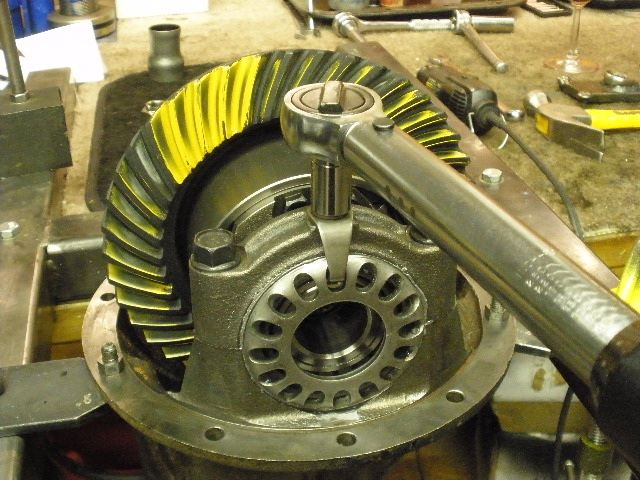
The 3rd is mounted to the jig... |
|
...and the disassembly begins. Bearing caps are marked and the case is removed. |
|
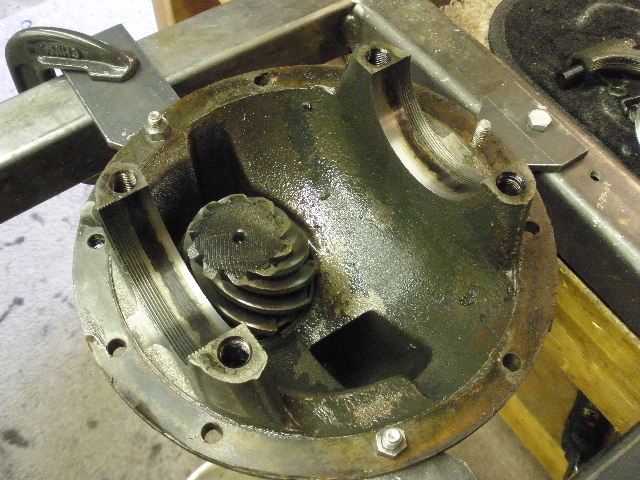
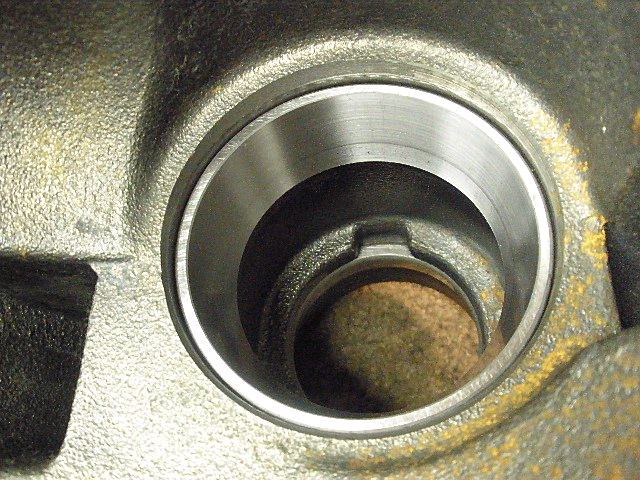
The pinion is pushed out and the races are punched out of the carrier. |
|
I can't work on it with the grease. Needless to say, I go through a ton of starting fluid....1 or 2 cans per 3rd I would say. |
|
New races are pressed in the carrier. |
|
.082" + .015" is the starter shim... |
|
Bearing is pressed on... |
|
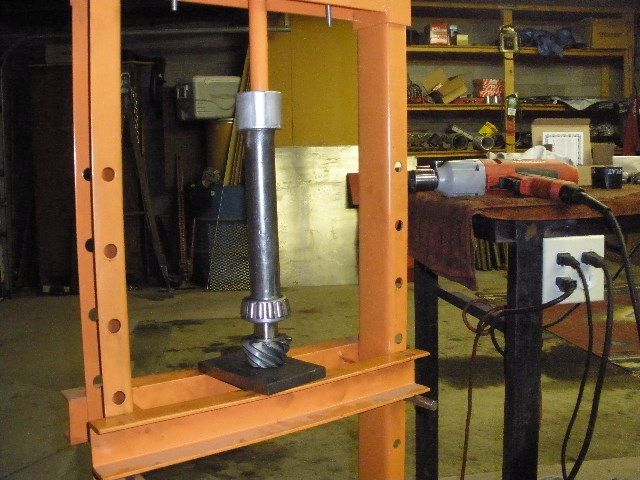
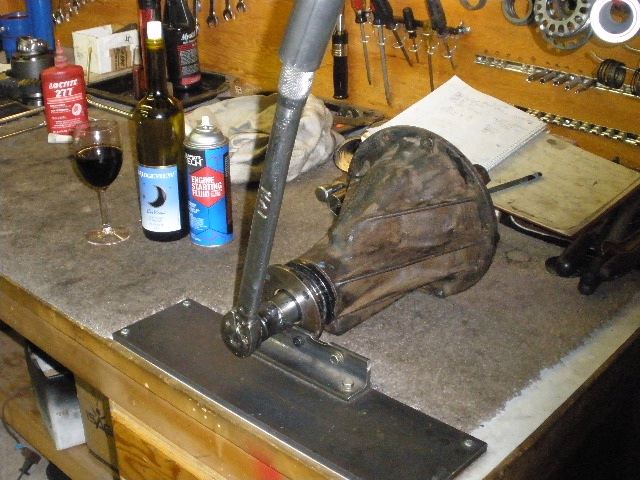
This is what I use to mount the pinion end of things up. The electric impact is able to tighten the nut in small increments and reach the correct pinion pre-load safely without the use of a solid collar. |

|
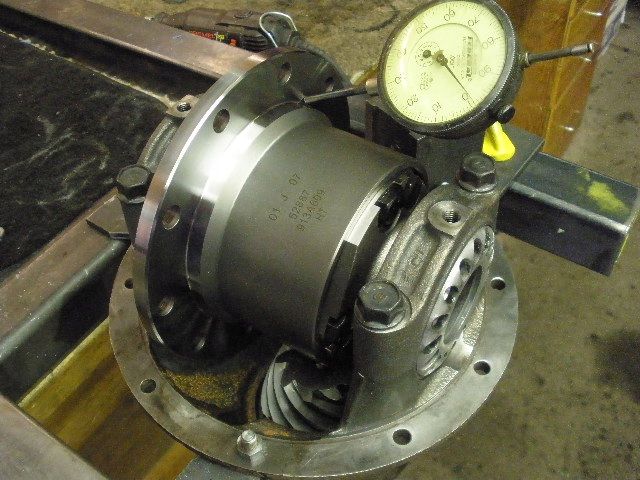
These PPL readings are not valid without a generous amount of gear oil lubing up the both bearings. I shoot for about 10~15 in/lb for these preliminary pattern checks. |
|
... |
|
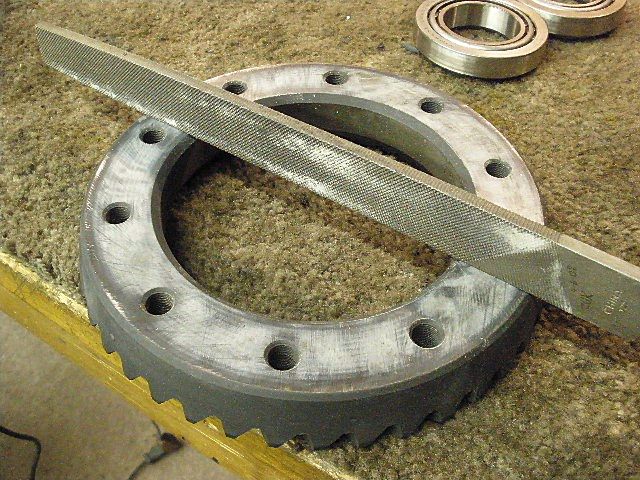
The ring is checked for high spots and none are found. |
|
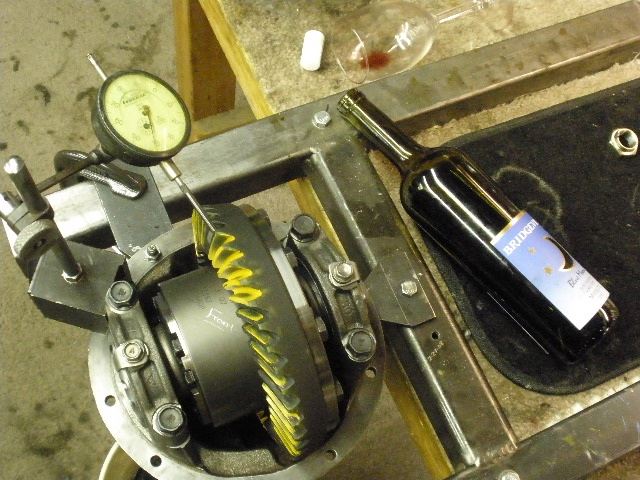
Normally, I would mount up the ring to the LSD now but I think I will do a quick run-out check. |
|
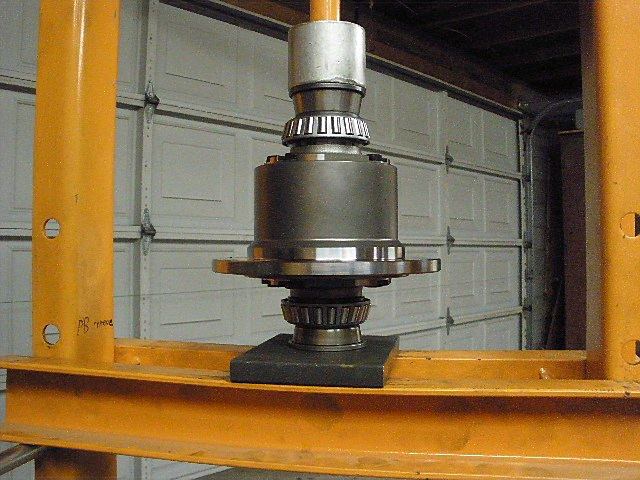
New carrier bearings are pressed on... |
|
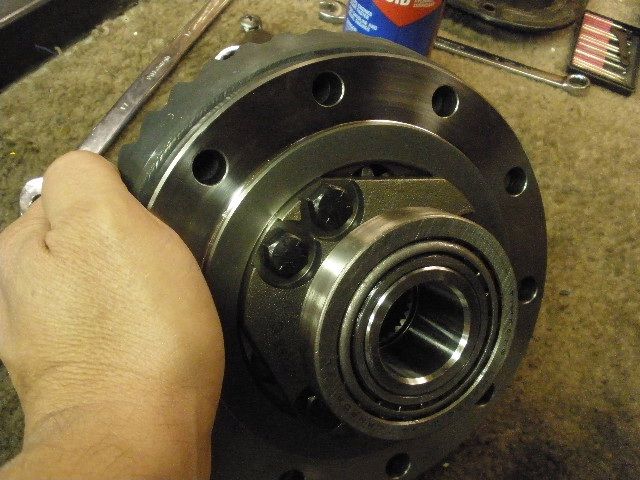
...and it's temporarily mounted without the ring gear to check run-out. I saw a maximum of .002" which is ok. |
|
The ring went on with minimal effort...almost a slip fit. I was able to jiggle it on with my fingers and light taps with a rubber hammer. I wish they all went on like this one :) |
|
The new bolts are coated with red Loctite and torqued to 75 ft/lb. |
|
This is the first crude spanner wrench I ever made and I still use it today for the preliminary adjustments. The backlash is set in the .008" range and only a minimal amount of CBPL is needed for a pattern check. |
|
A little deep. |
|
... |
|
The adjusters are marked to make it easy to get back to the same BL and CBPL as before. |
|
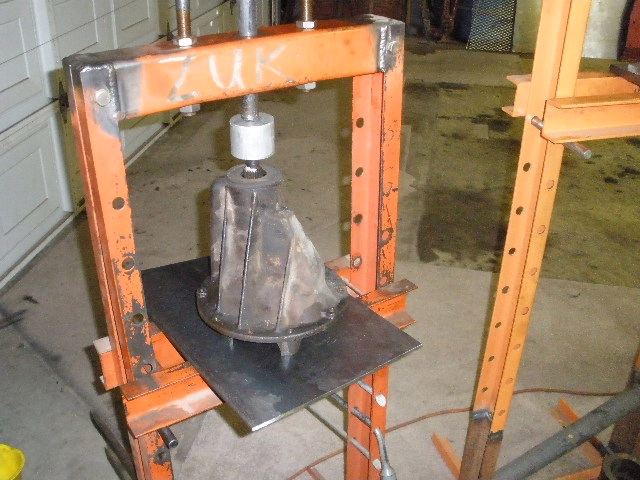
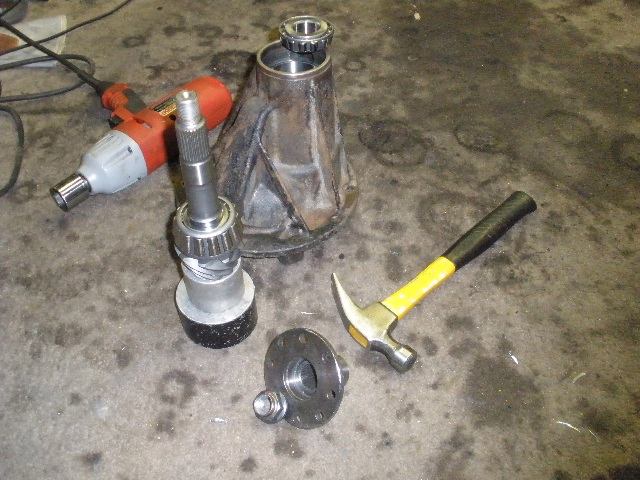
The pinion is pressed out... |
|
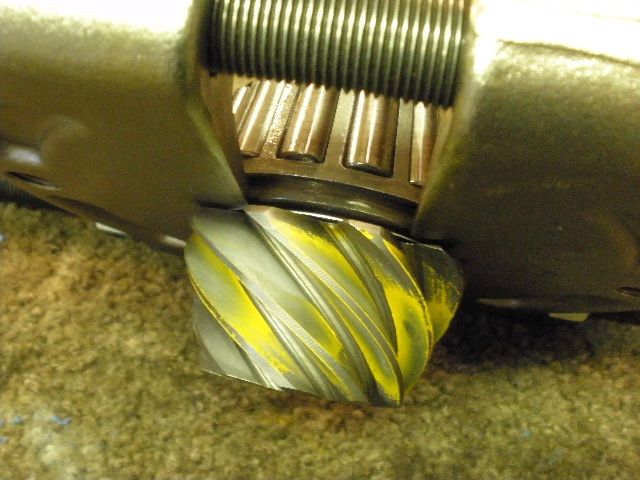
Sometimes I consult with the pinion teeth to see if they agree that it's deep...what I see here is a shallowness on the pinion tooth which means a deepness on the ring tooth so it's unanimous. |
|
... |
|
The super large bearing splitter easily grabs the bearing. |
|
... |
|
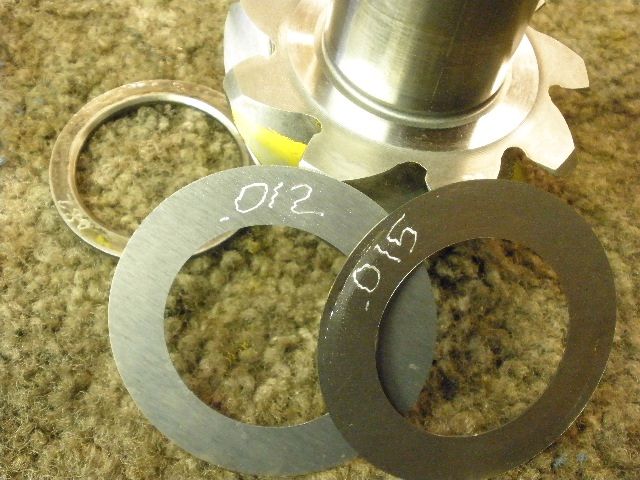
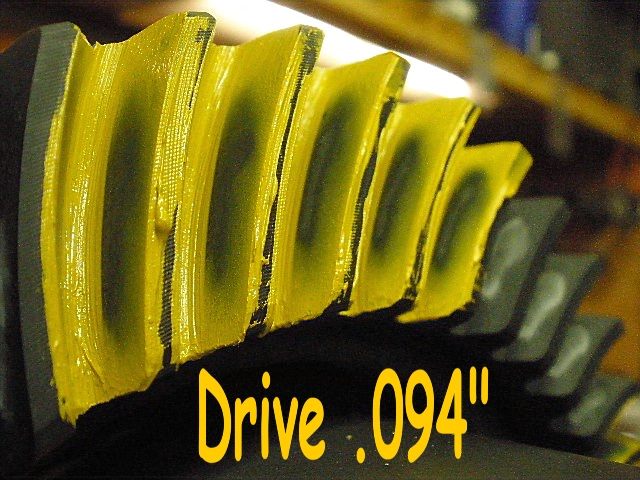
A .012" shim will replace the .015" one to reduce the total shim to .094". |
|
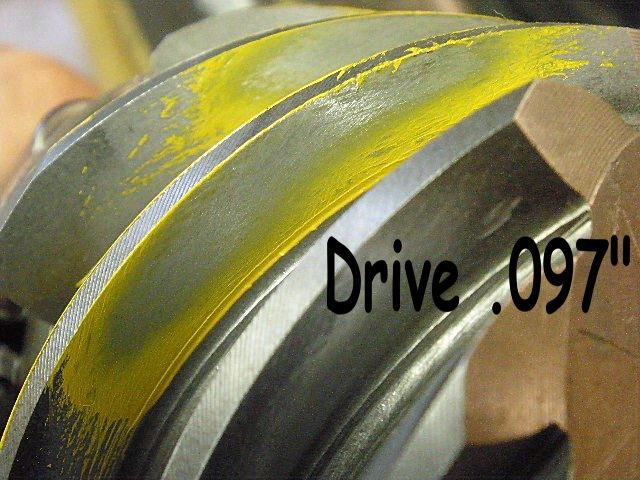
Much better. This is the correct depth. |

|
... |
|
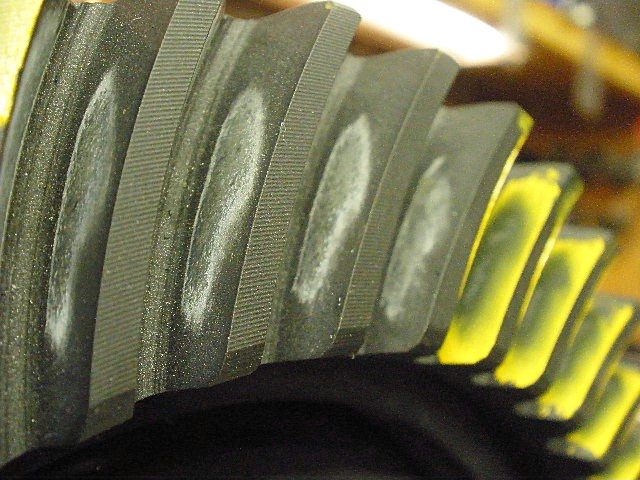
Even the teeth with no paint have the pattern scraped into them...it's that phosphor coating I think they coat the gears with. |
|
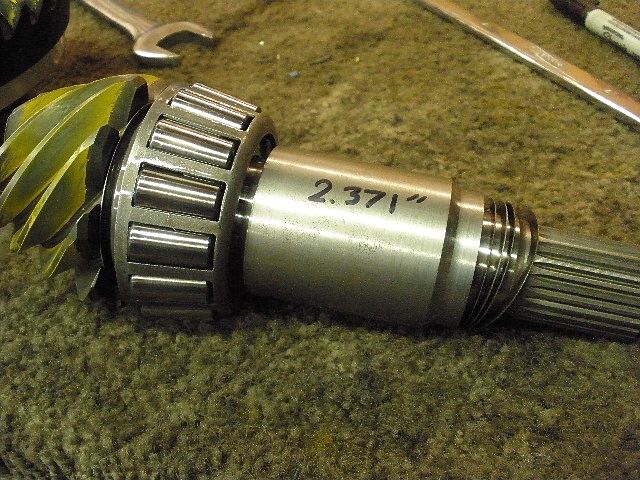
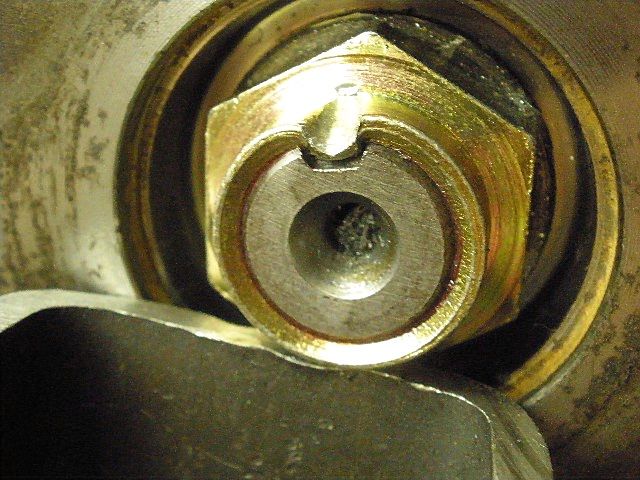
With proper depth established, now's the time to put the solid collar in. I started with a shim of .060" and ended up with .063" with 8 in/lb pre-load. I can tighten the pinion nut extra tight with the 4 foot bar to bring the 8 up some more in a few minutes. |
|
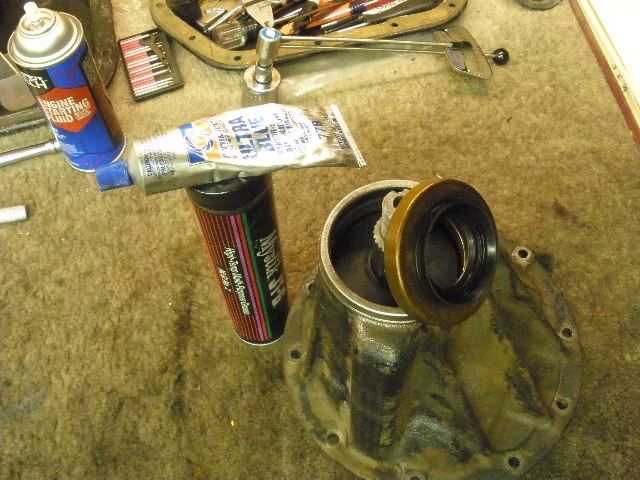
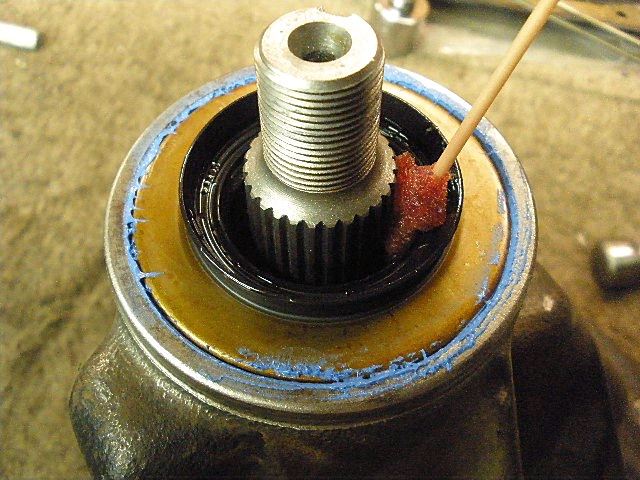
The pinion is loaded up and the seal receives grease on the small spring and blue rtv on the outer lips. |
|
Some gear oil is applied to the working seal surface to prevent dry turning with the flange. |
|
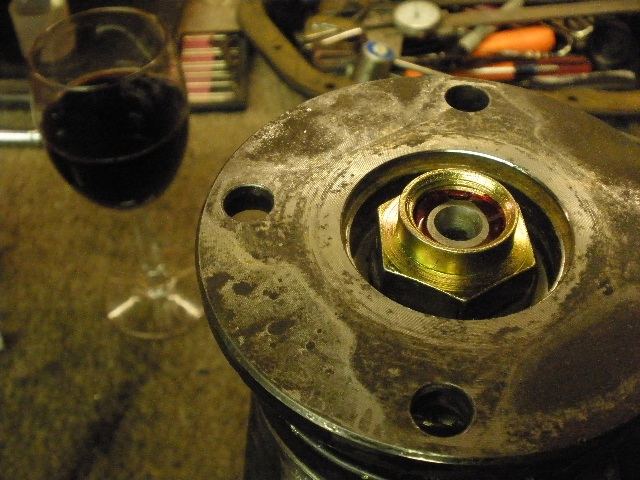
The flange can now be slipped on and red Loctite is liberally applied to the threads. |
|
I've already rammed it as tight as it will go with the electric impact and was measuring about 8 inch/pounds but I know the nut can turn up to an 1/8th of a turn with my tool of persuasion. The spec for new bearings is around 11~15. After the bar, I could measure 12 in/lb. The soft shims only have to compress a half a thousandth for those extra 4 in/lbs. |
|
Ding the nut and now onto the case end... |
|
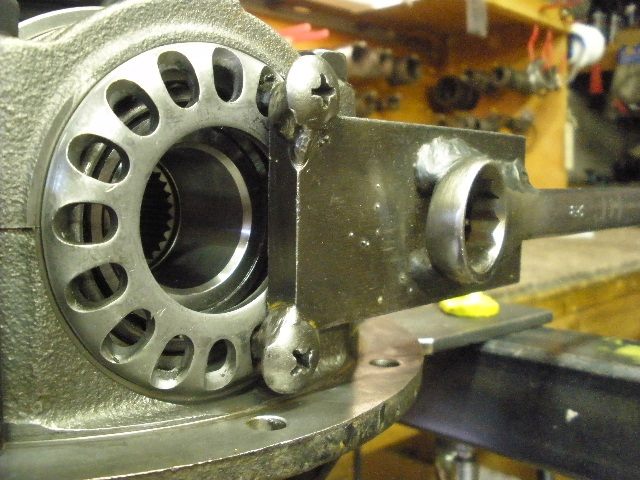
Anti-seize is applied to the threads and thinly to where the race contacts. |

|
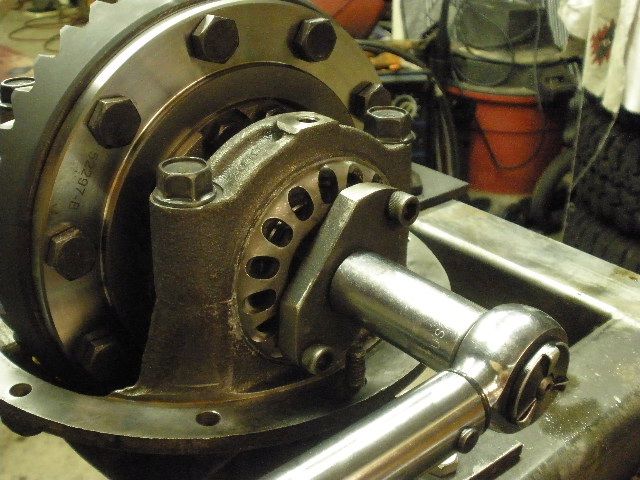
The bearings caps are tapped lightly while a snug the bolts. I think this helps line up the upper and lower threads 'better' and allows the adjuster wheels to turn more freely. |
|
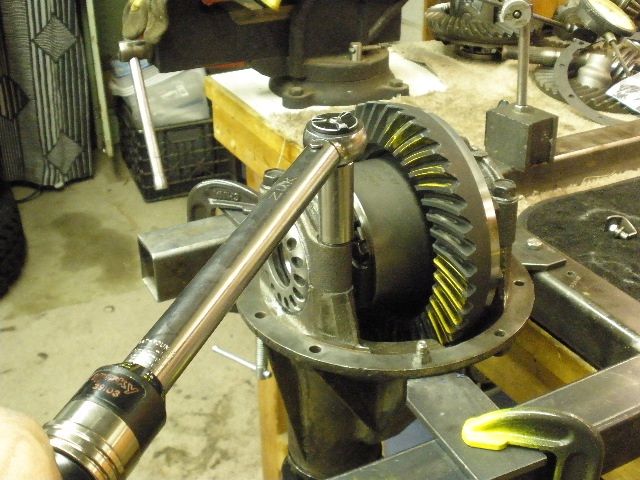
I can tighten the bolts to 75 ft/lbs now and still turn the wheels. |
|
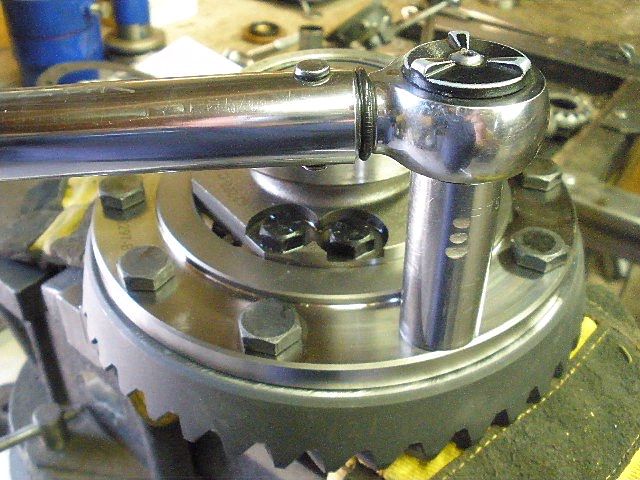
The wheels were tightened a little at a time, back and forth, on both sides while maintaining .007" backlash. 100 ft/lbs was verified on the wheels. Note that 100 ft/lbs with 100% saturation on the threads with a good thick anti-seize is a lot more than 100 ft/lbs on DRY threads. |
|
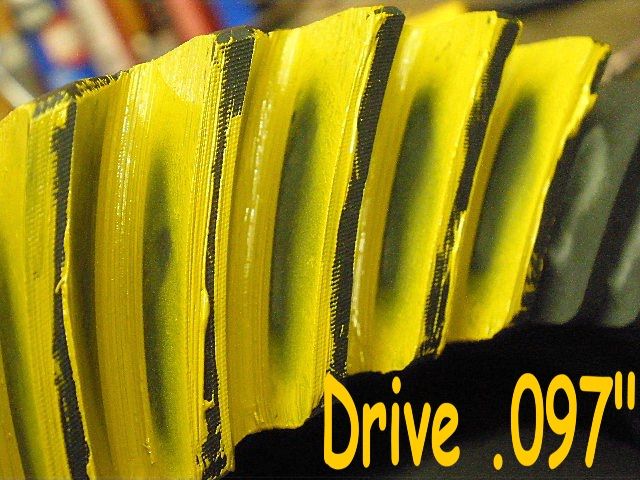
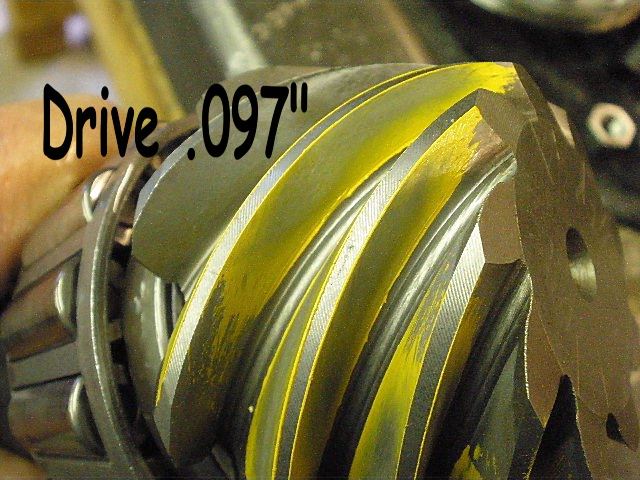
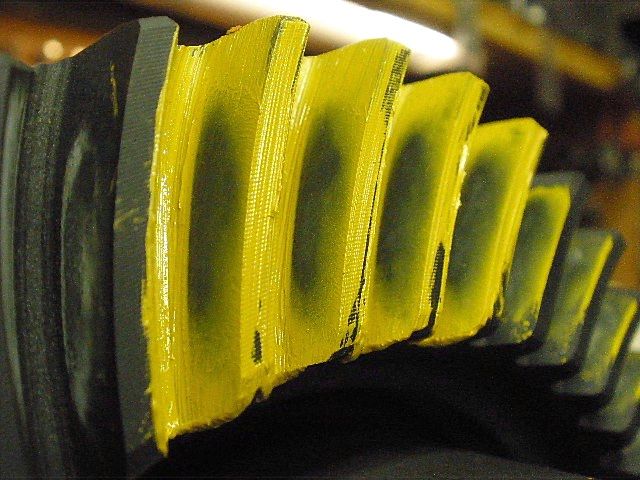
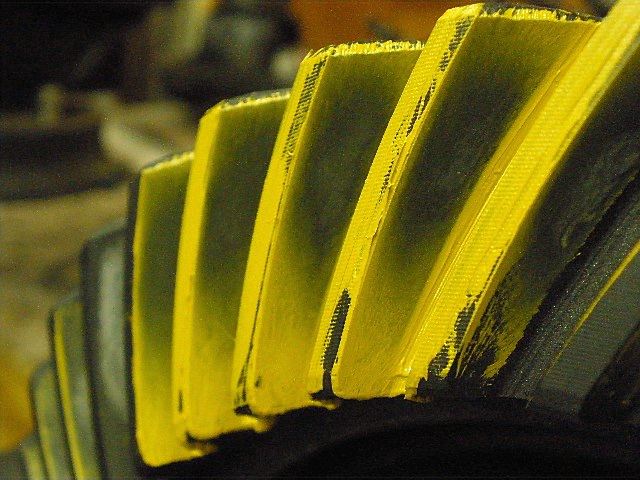
One more pattern check and it's beautiful. |
|
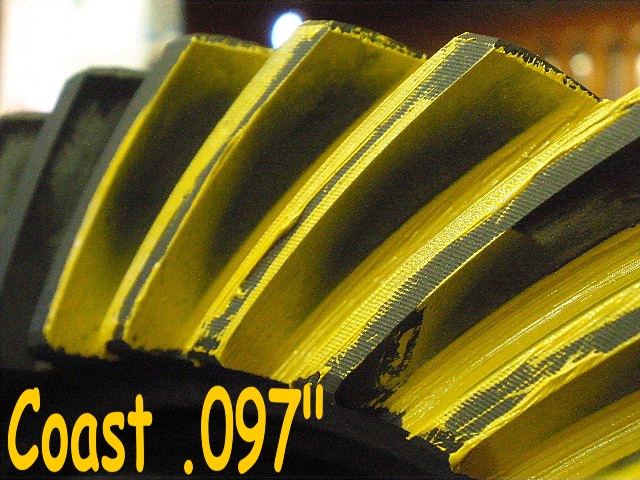
coast side |
|
Lock tabs are loctited and secured with 10 ft/lbs. |
|
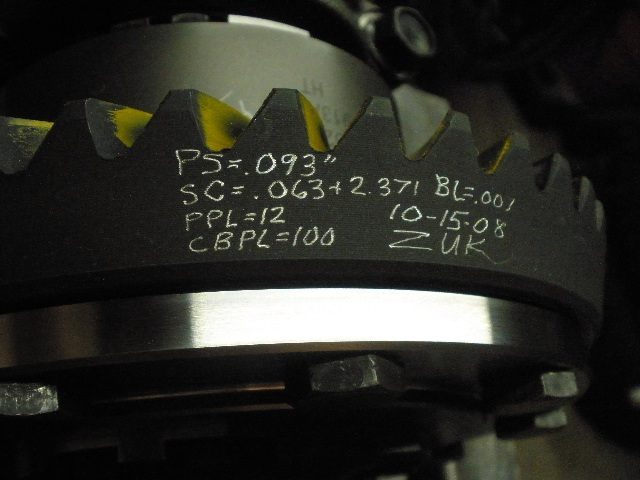
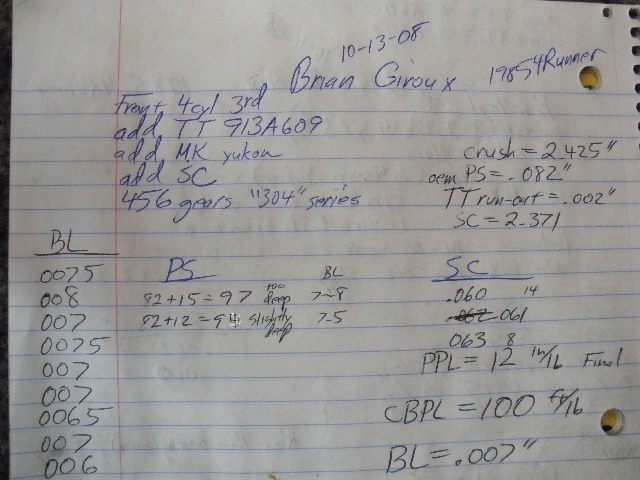
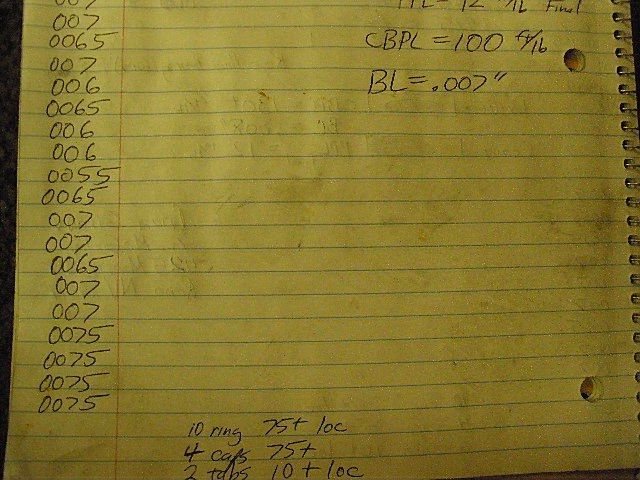
Backlash is recorded on every other tooth and noted on my notepad as shown a couple pics below. I only had 1 glass of cheap wine :)... the rest was polished off while downloaded all these pics...after the completed install. |
|
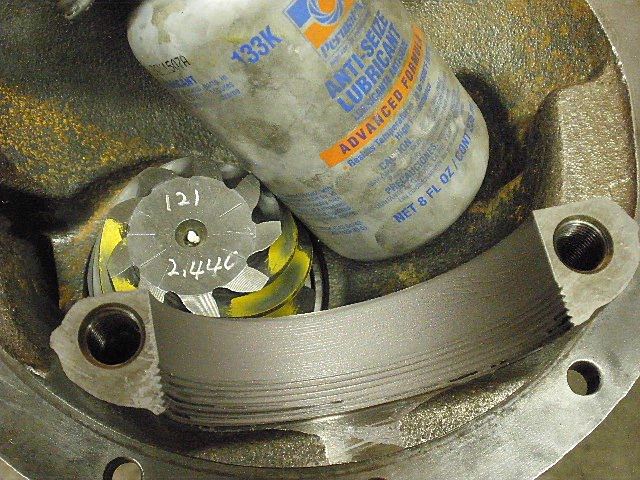
Specs/data are scribed onto the ring. |
|
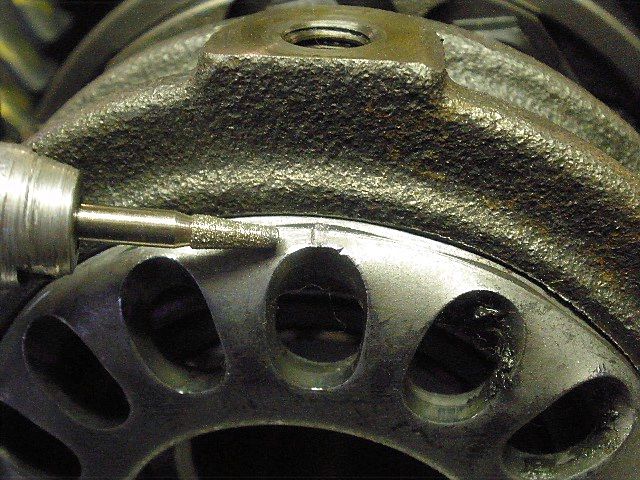
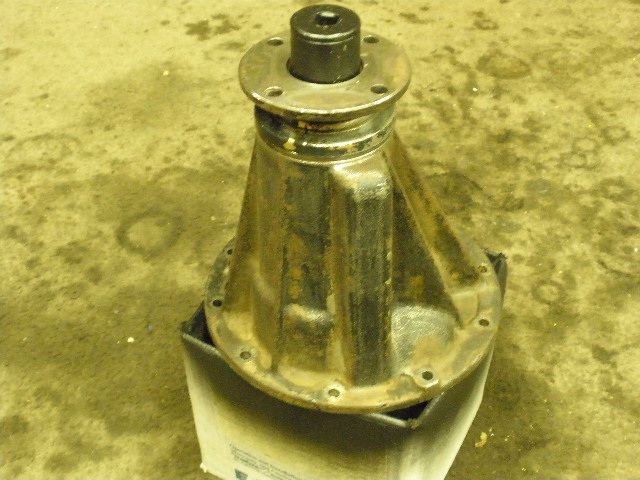
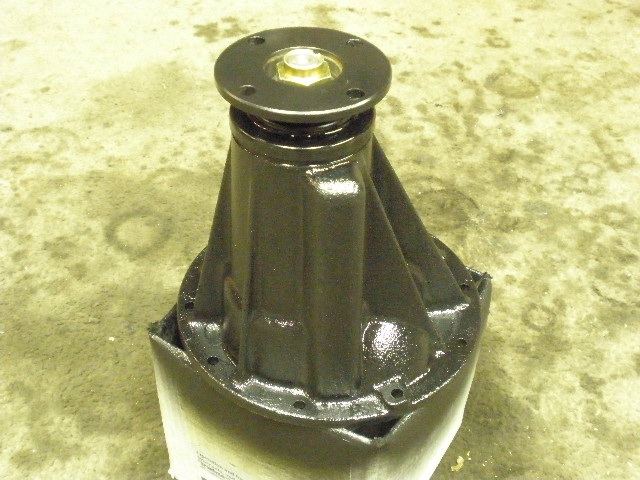
The 3rd was cleaned up some... |
|
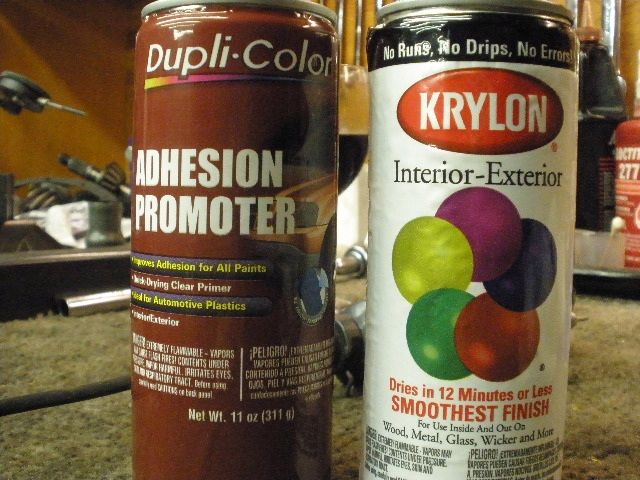
I use a thin coating of adhesion promoter from Pep Boys auto store followed up immediately with a coat of Krylon. |
|
... |
|
Notes during the install. |
|
bottom half of the page |
|
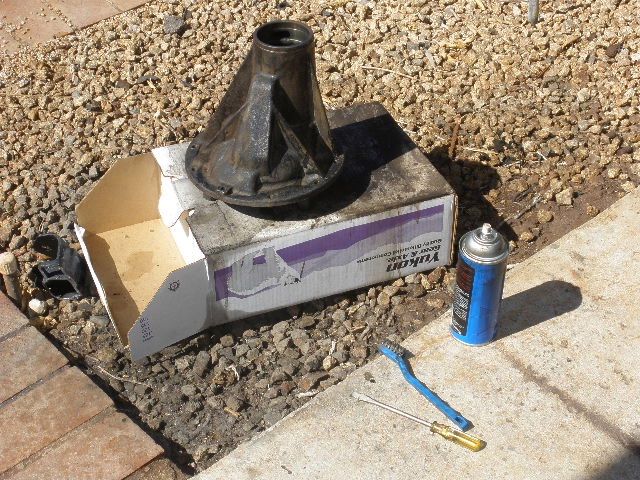
Instead of burrito wrapping the 3rd, I shoved a box into a box...worked out nicely. |

|
 ZUK
ZUK