|
|
|
|
|
|
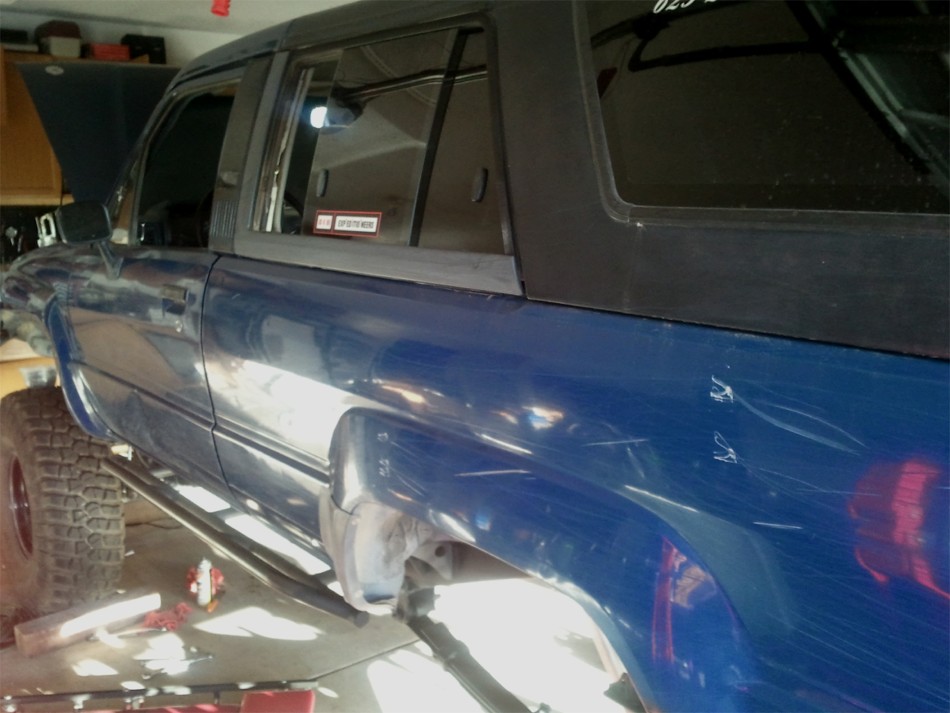
Brian is local and is in the process of adding an e-locker to his 1986 Runner. Here, he snapped a quick pic of the rig awaiting an e-locker 3rd. |
|
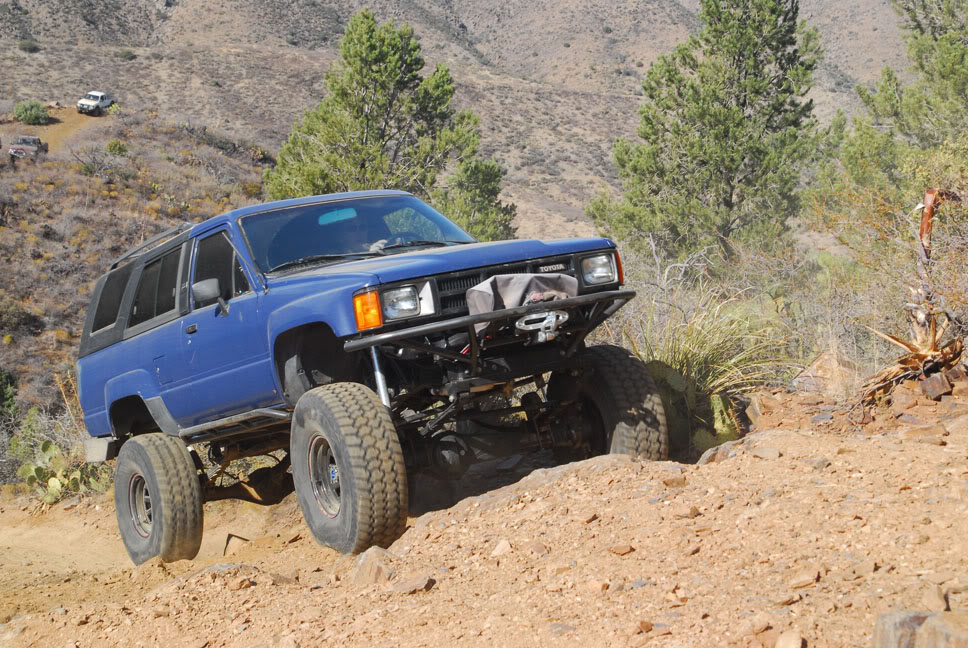
Here's an older 2009 pic of the rig in action. |
|
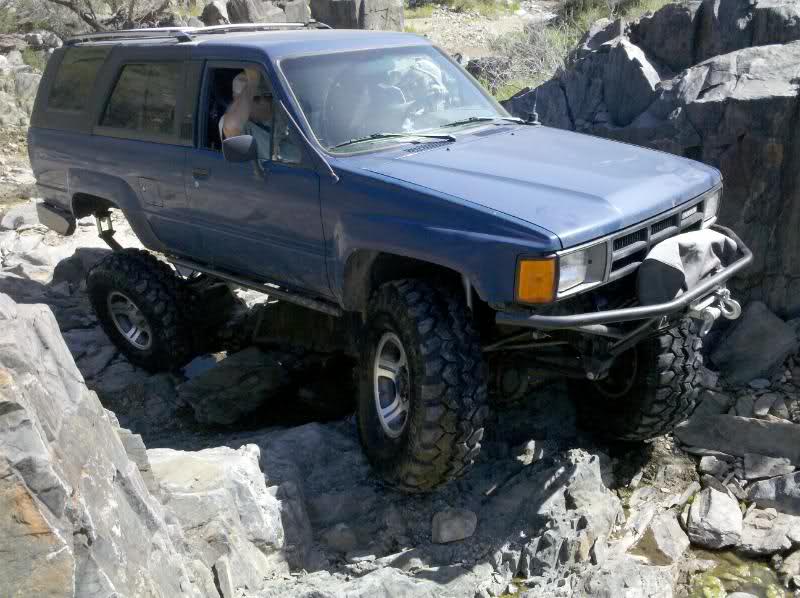
Another 2009 shot of the Terminator Trail north of Phoenix off of Table Mesa Road. |
|
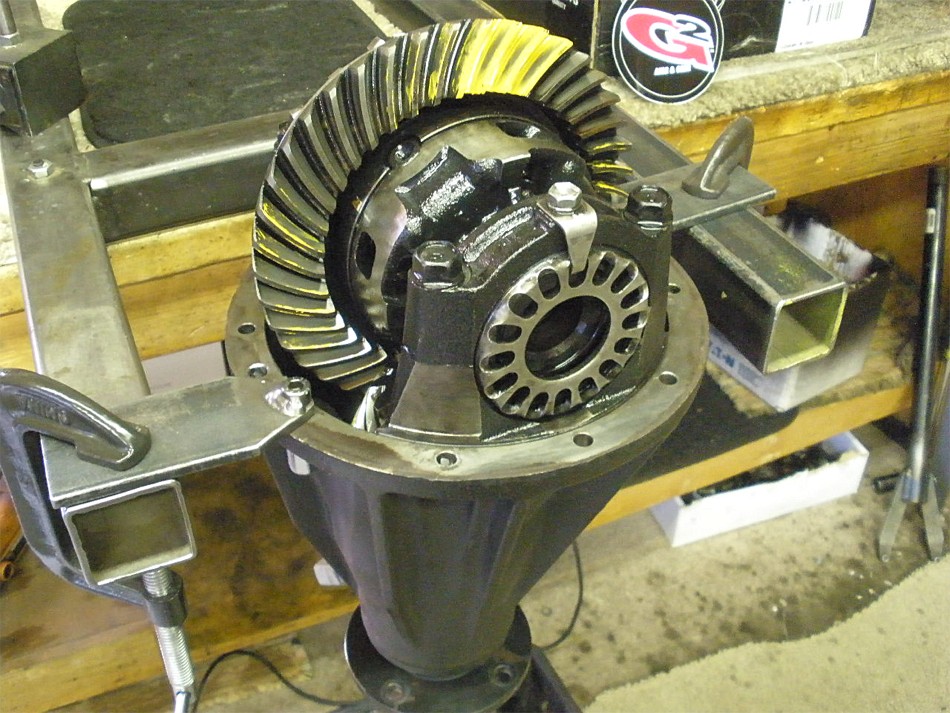
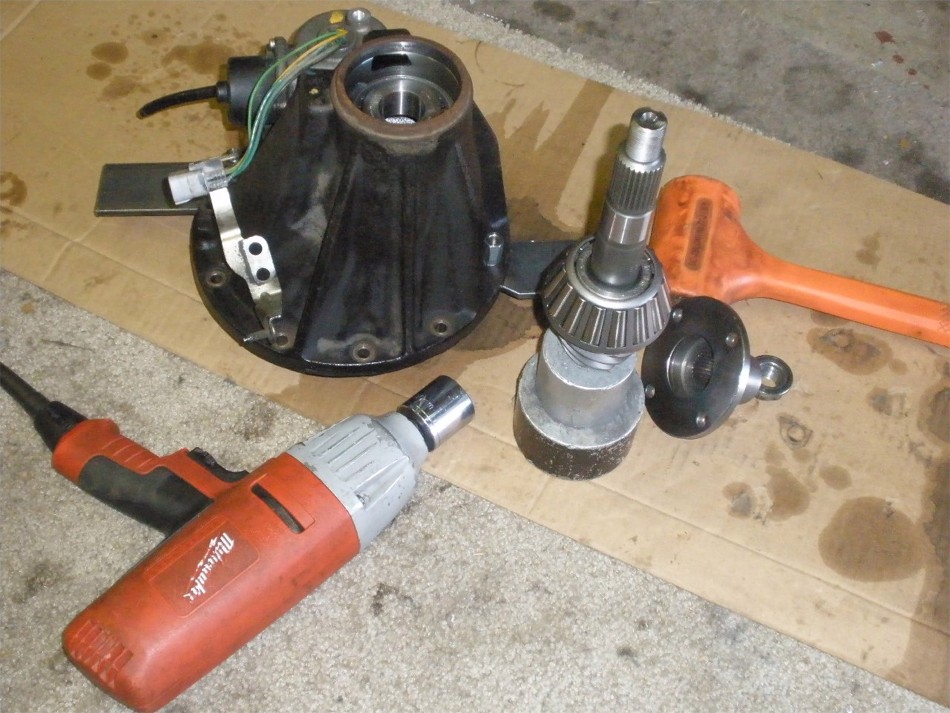
Bryan dropped off the 8" e-locker. |
|
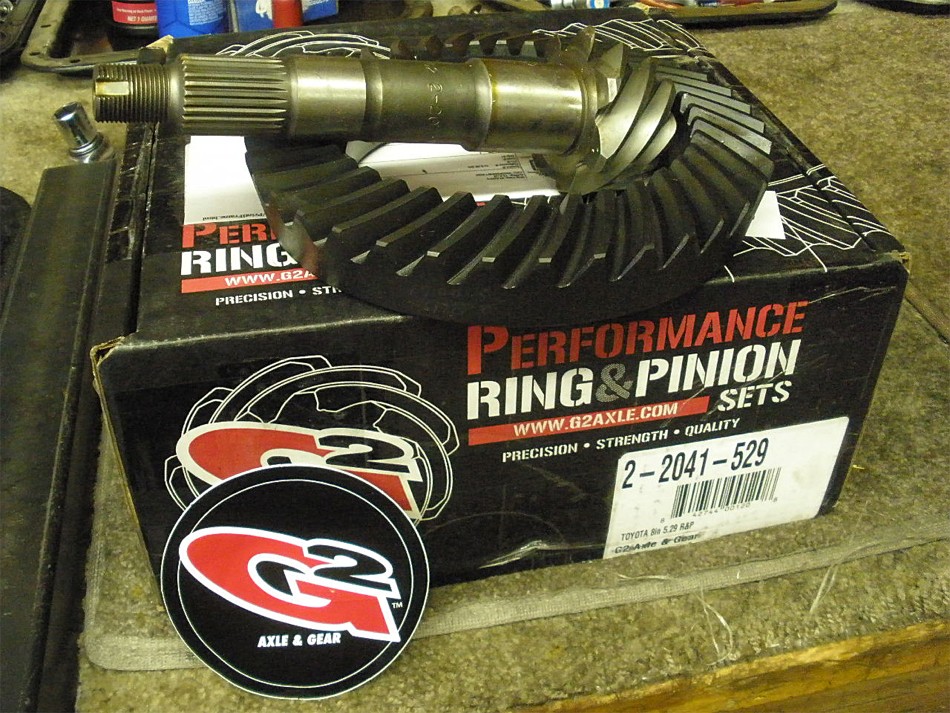
G2 Gears are going in. G2 Gears are the upgraded performance line from Genuine Gears. These G2 Gears get the thumbs up from me. |
|
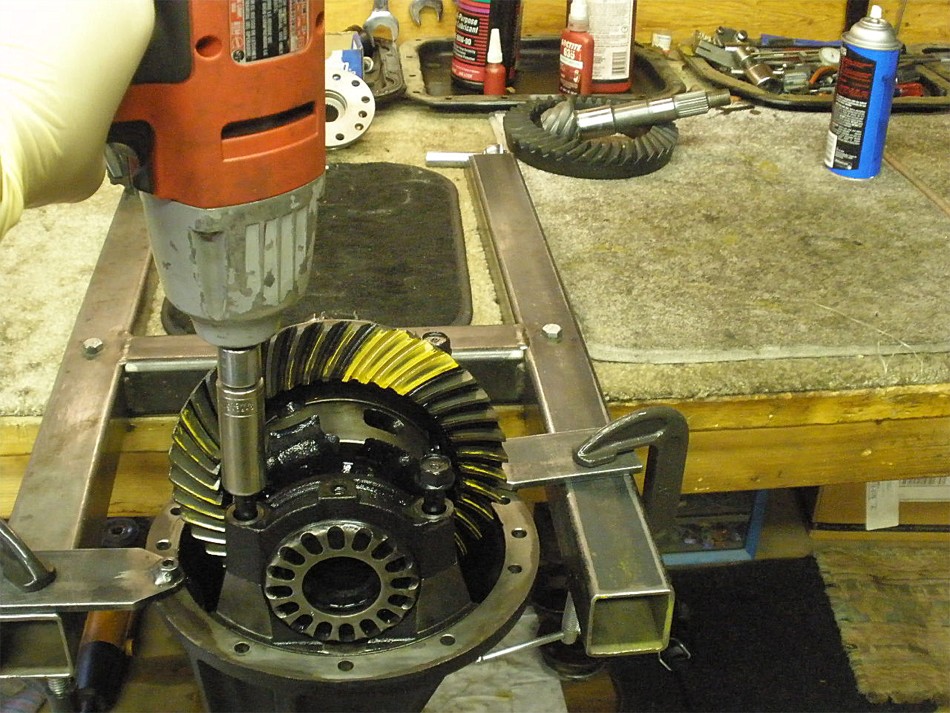
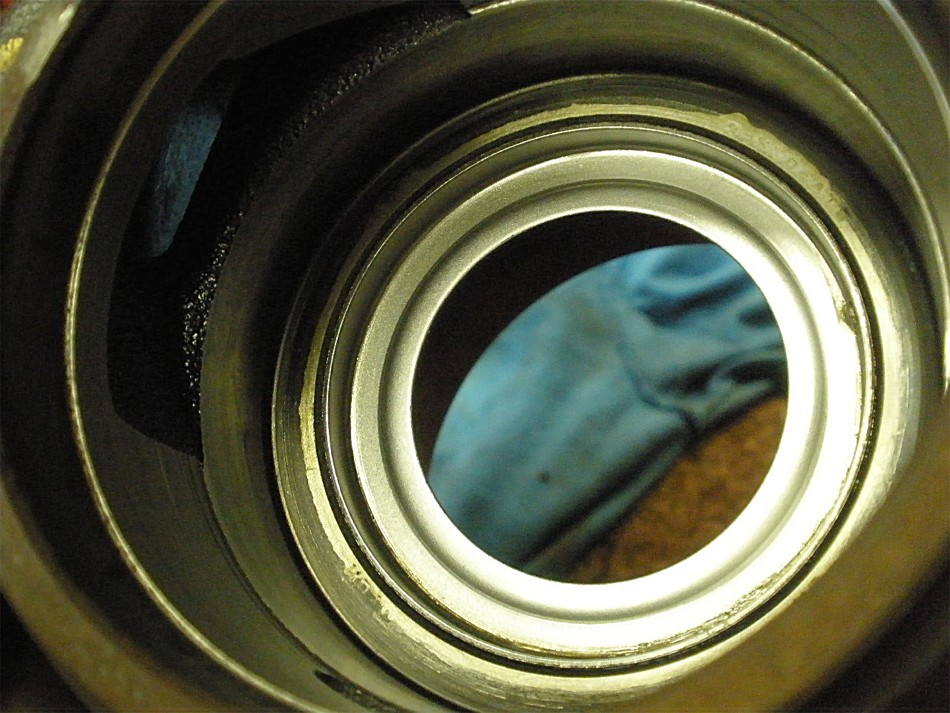
The teardown begins. |
|
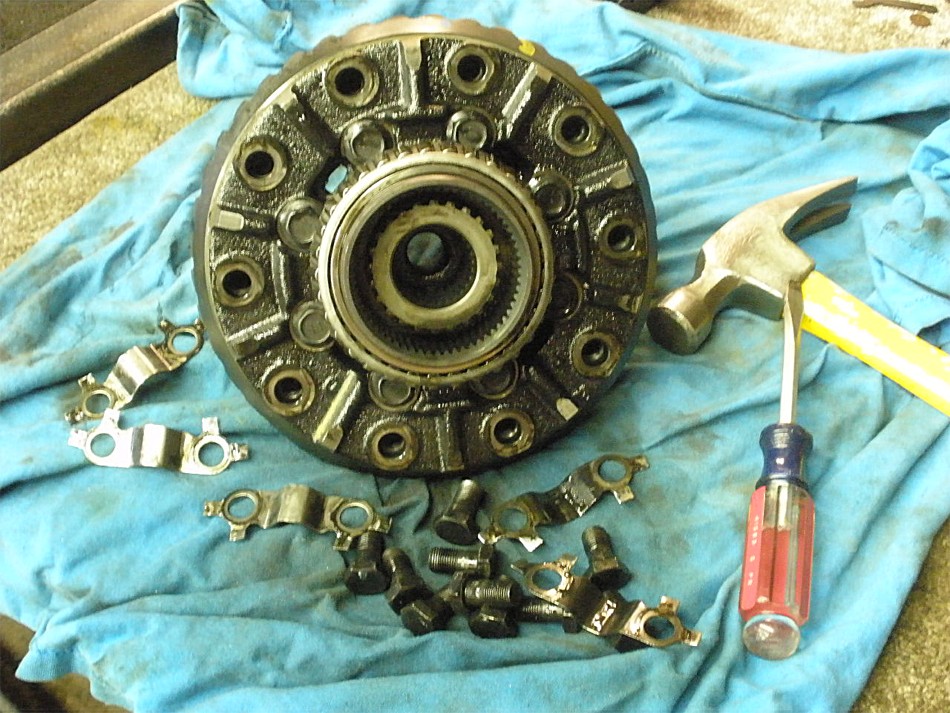
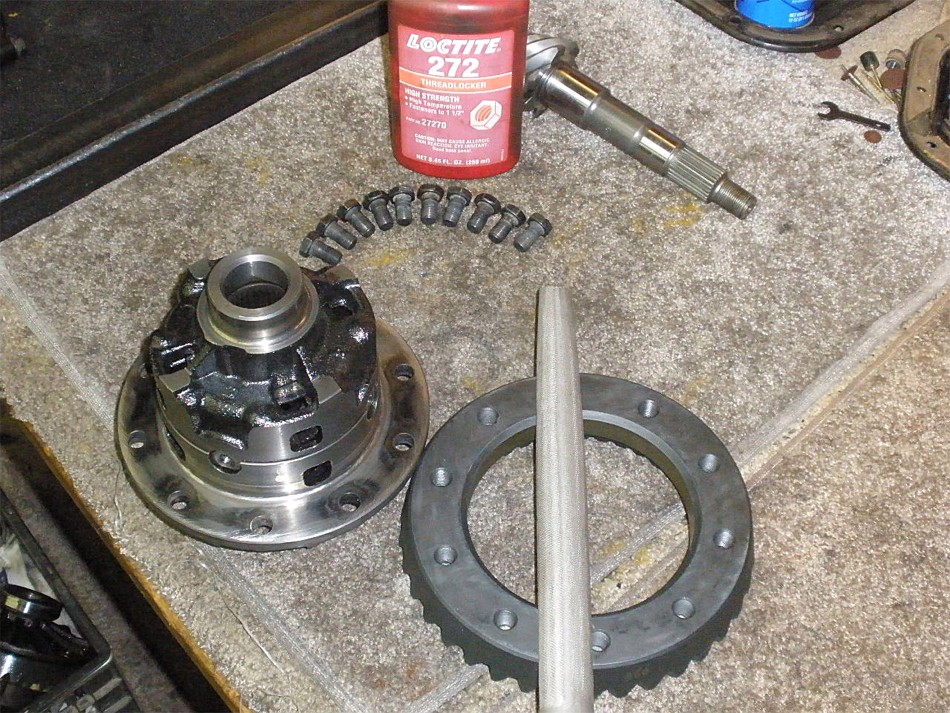
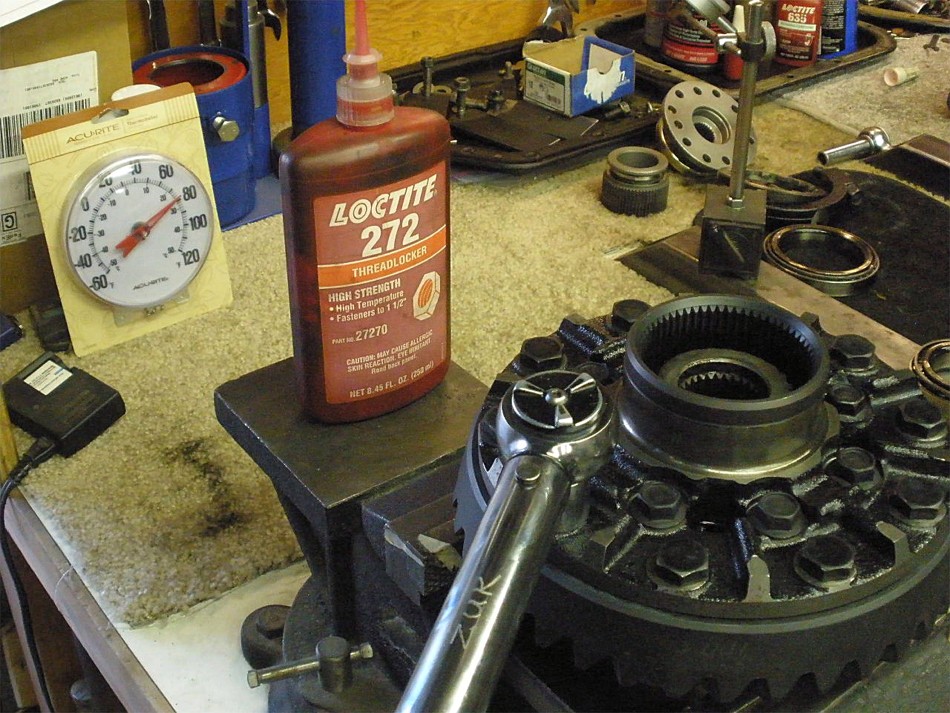
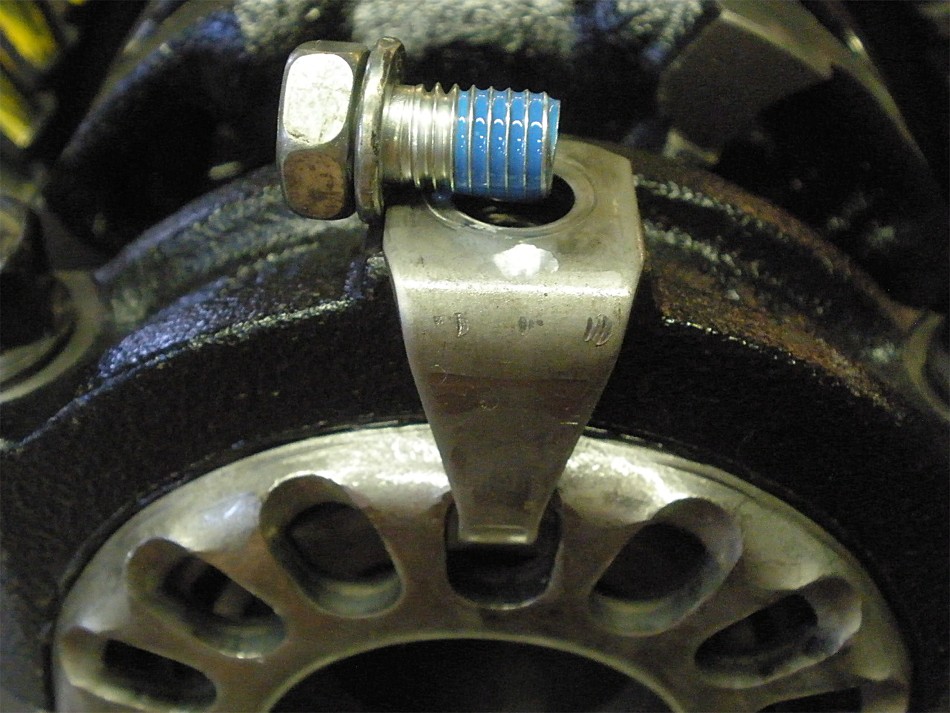
The factory safety tabs will be thrown out and red loctite will replace them. |
|
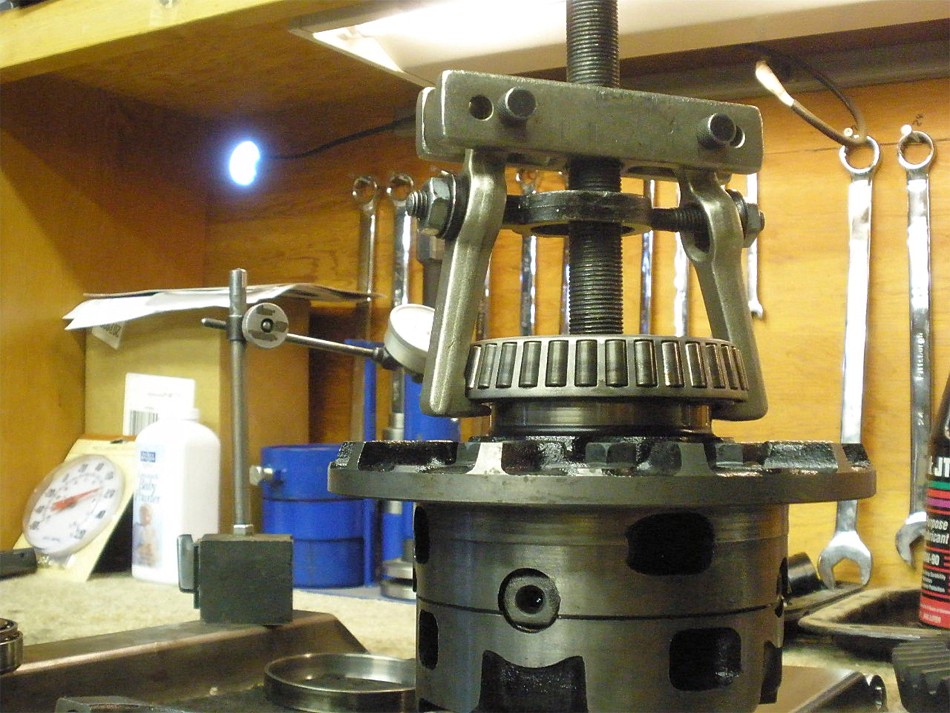
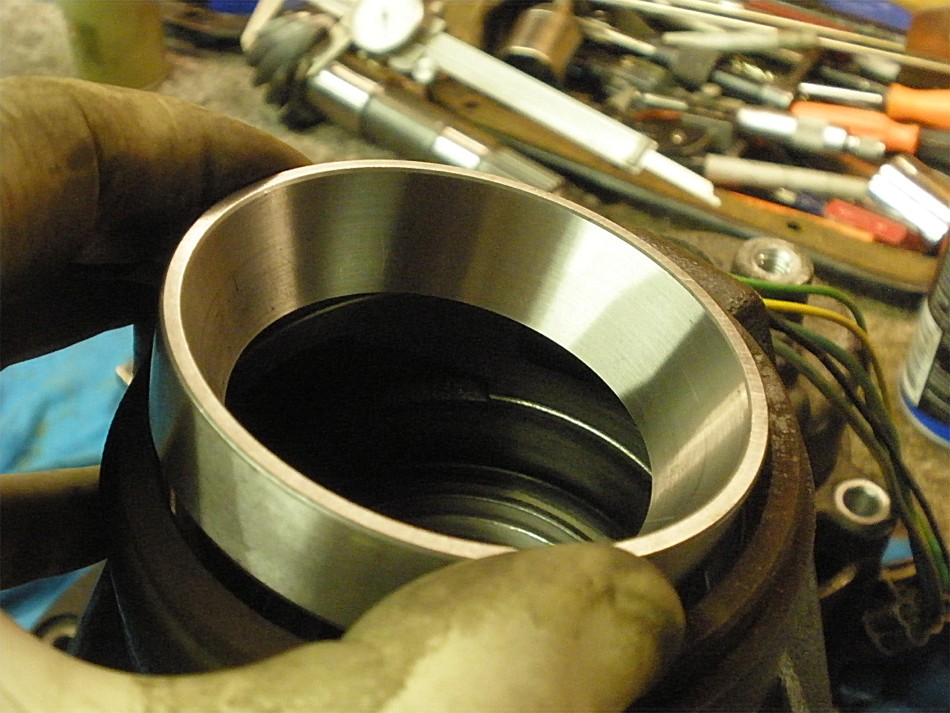
Both carrier bearings are now removed. |
|
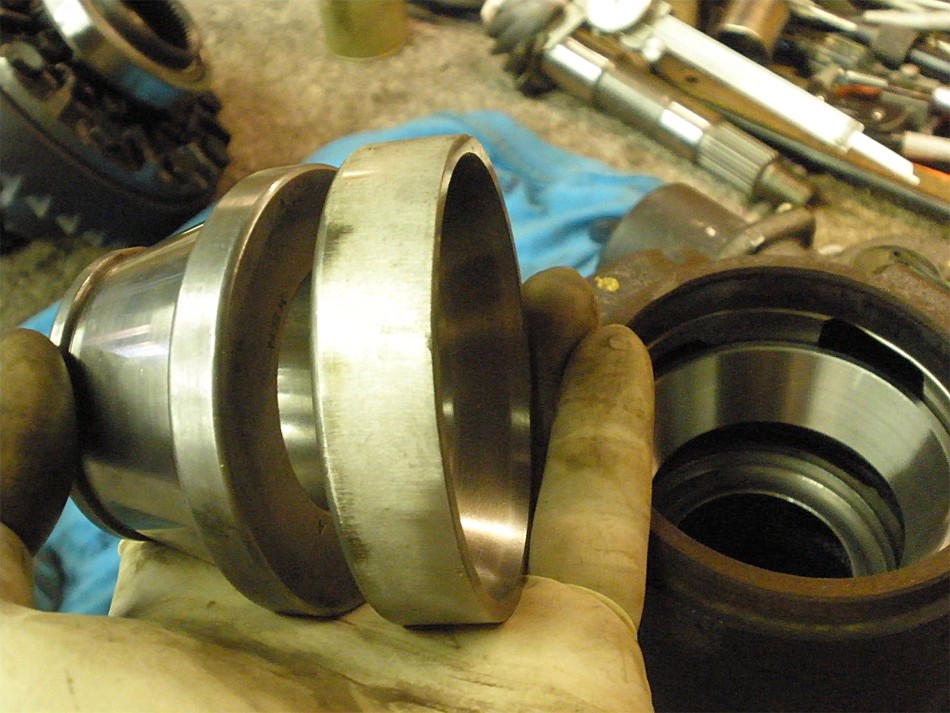
Both bearings also came off with very little force. I'll probably use SLEEVE LOCK on the new carrier bearings. |
|
Surfaces are checked with a file and all was good. The 10 ring bolts were cleaned with starting fluid. |
|
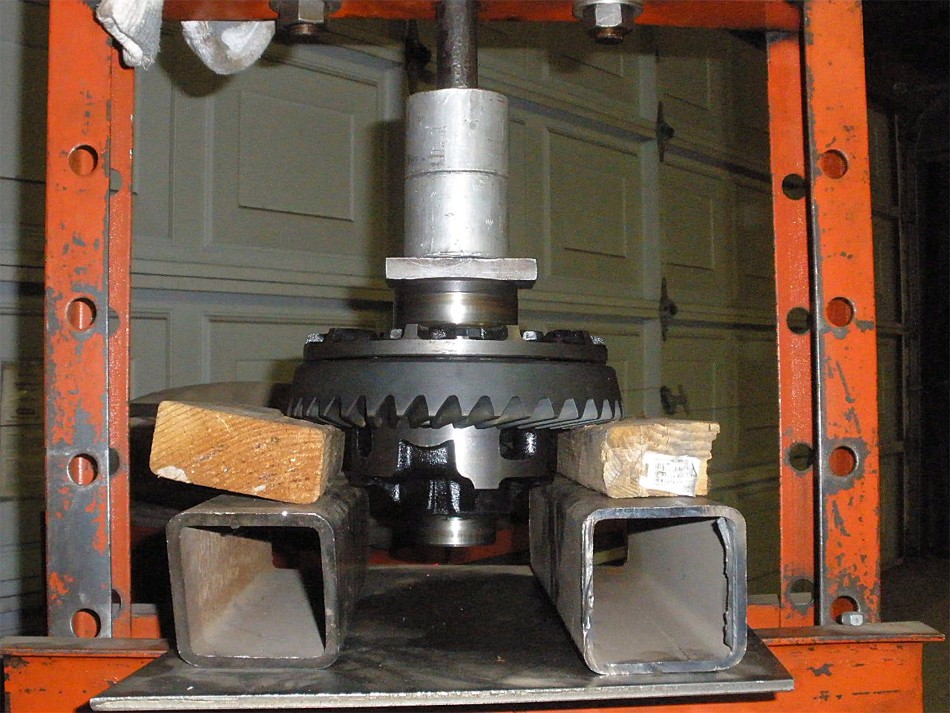
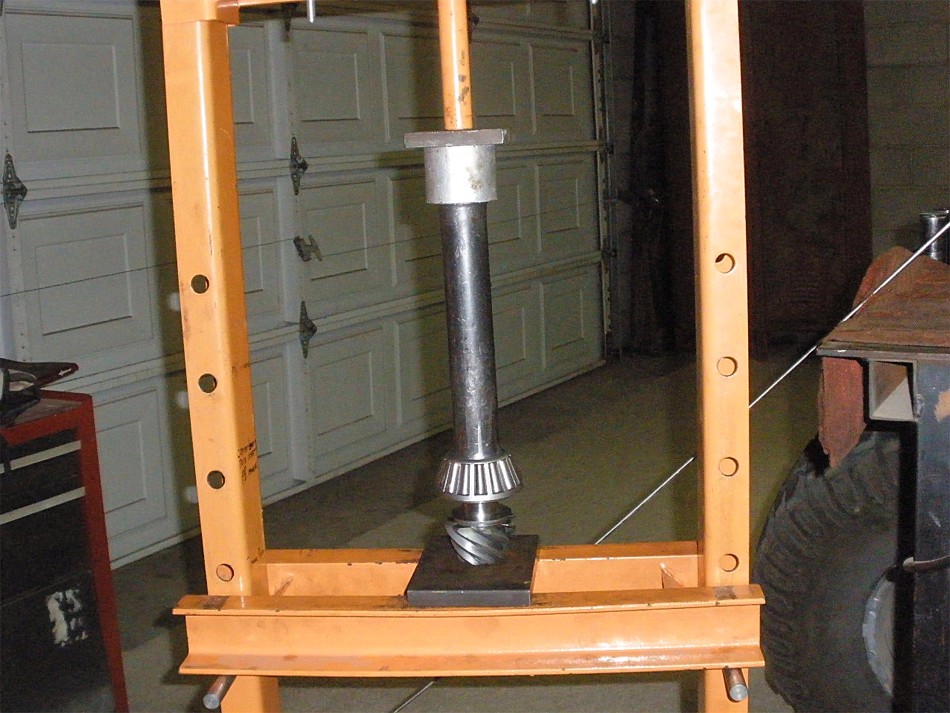
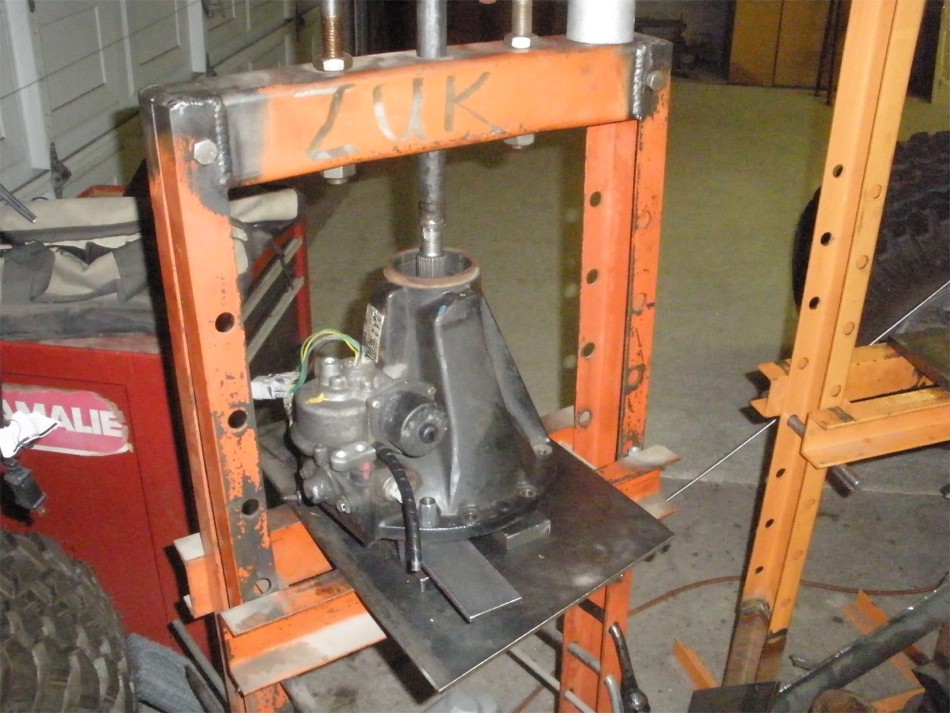
The ring gear was a tight fit going on so the press helped alot. |
|
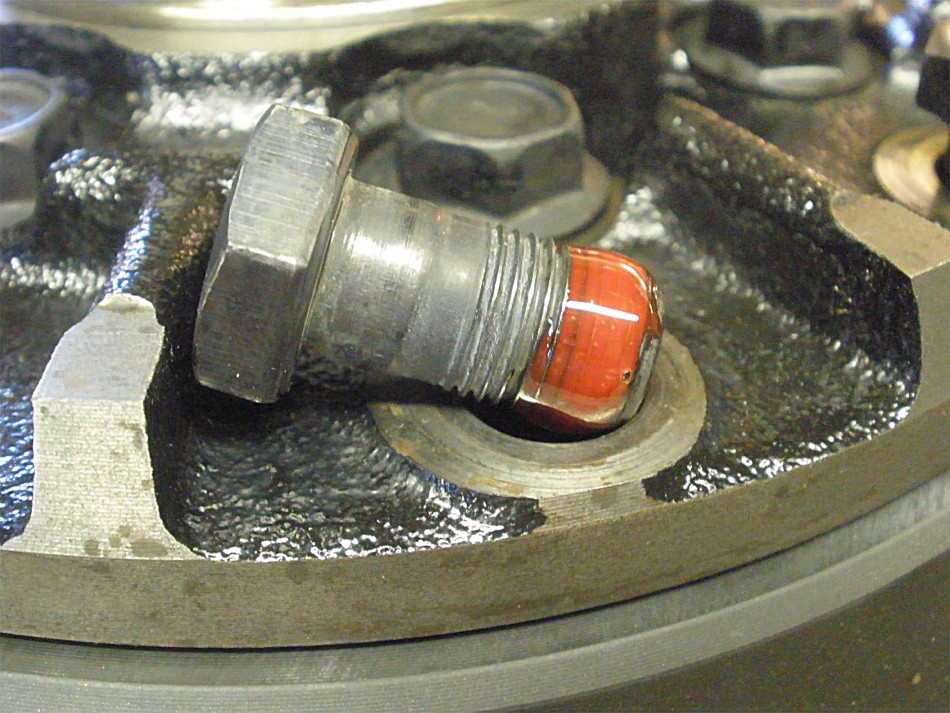
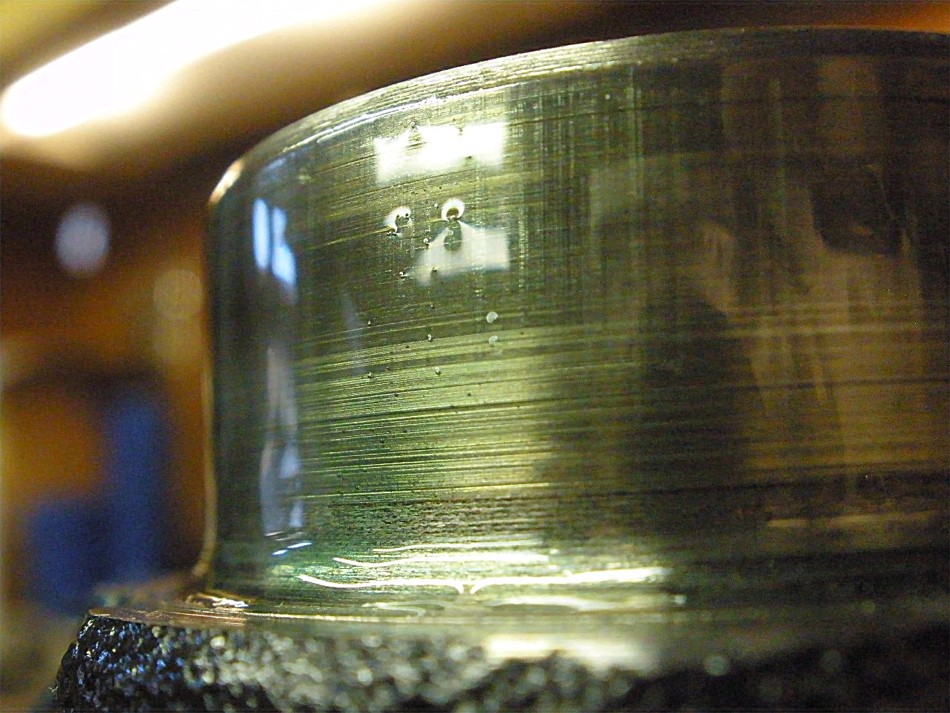
Red loctite.....pretty good macro-zoom capability from my Olympus FE-340 digital camera. |
|
....75 ft/lbs seals the deal. |

|
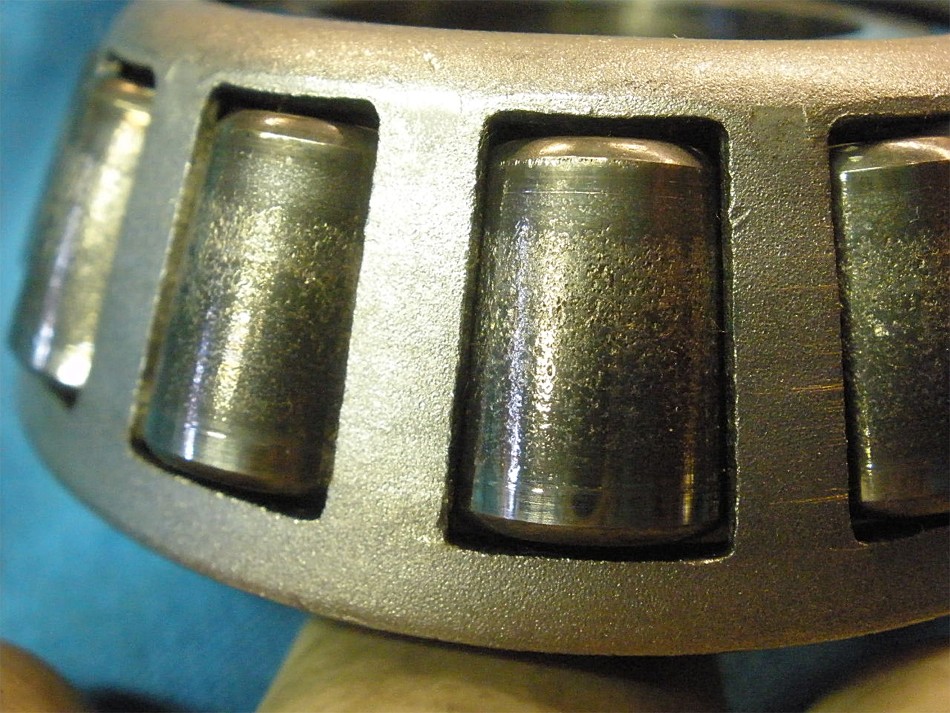
The old carrier bearings were very rough looking. It was decided to put all new bearings in. KOYO is my favorite. |
|
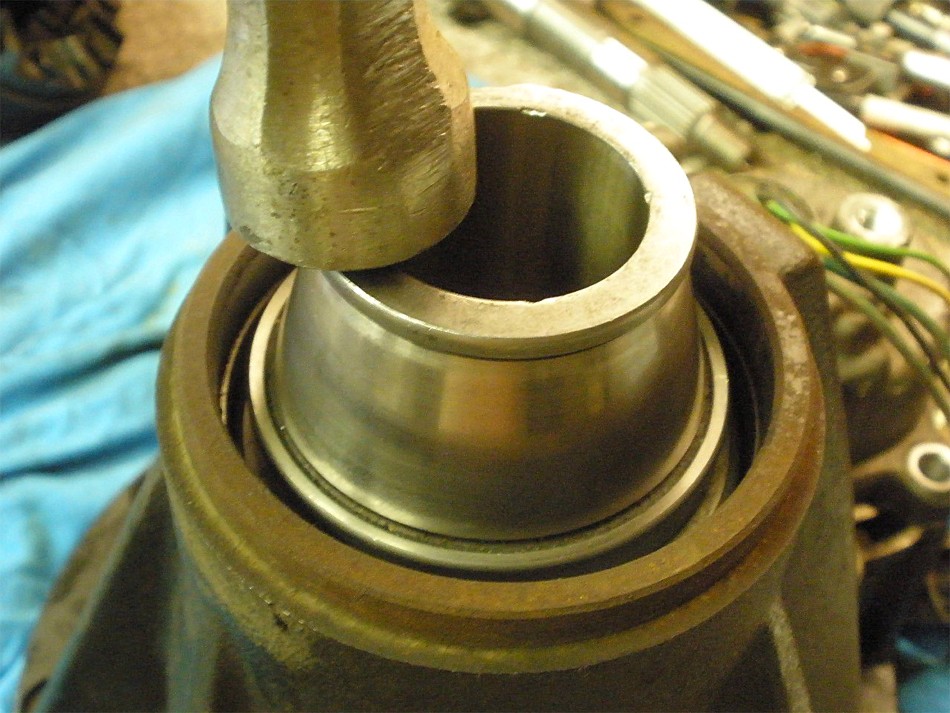
I was making sure the new carrier bearings would stay tight on the journals so I cleaned the surfaces and applied green loctite(sleeve lock compound). |
|
Still took a good amount of force to hammer the bearings on. |

|
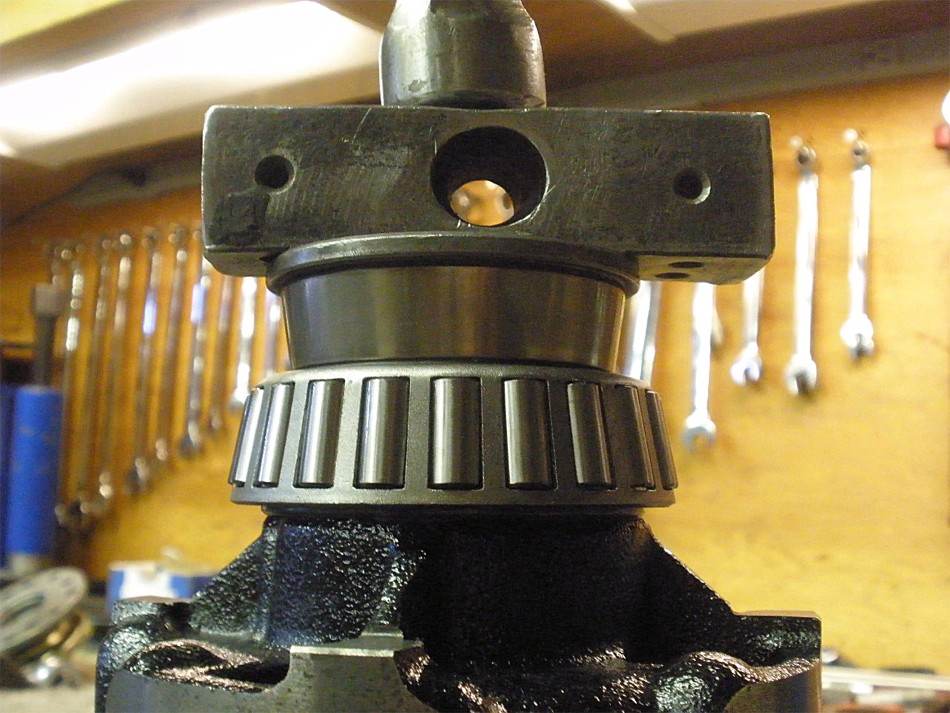
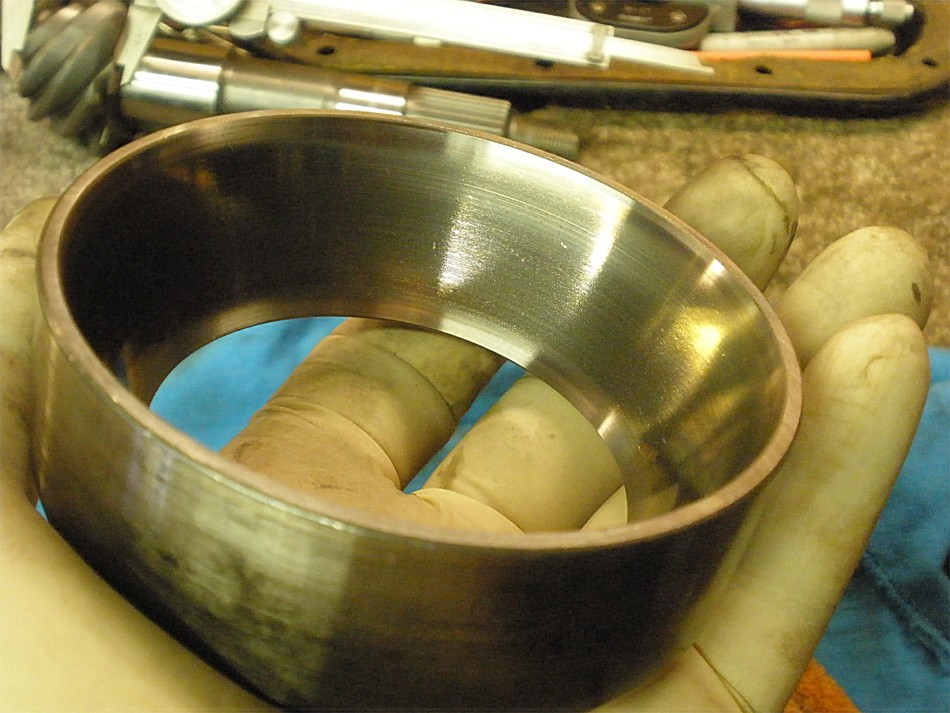
The larger ring gear side bearing went on fairly tight also. |
|
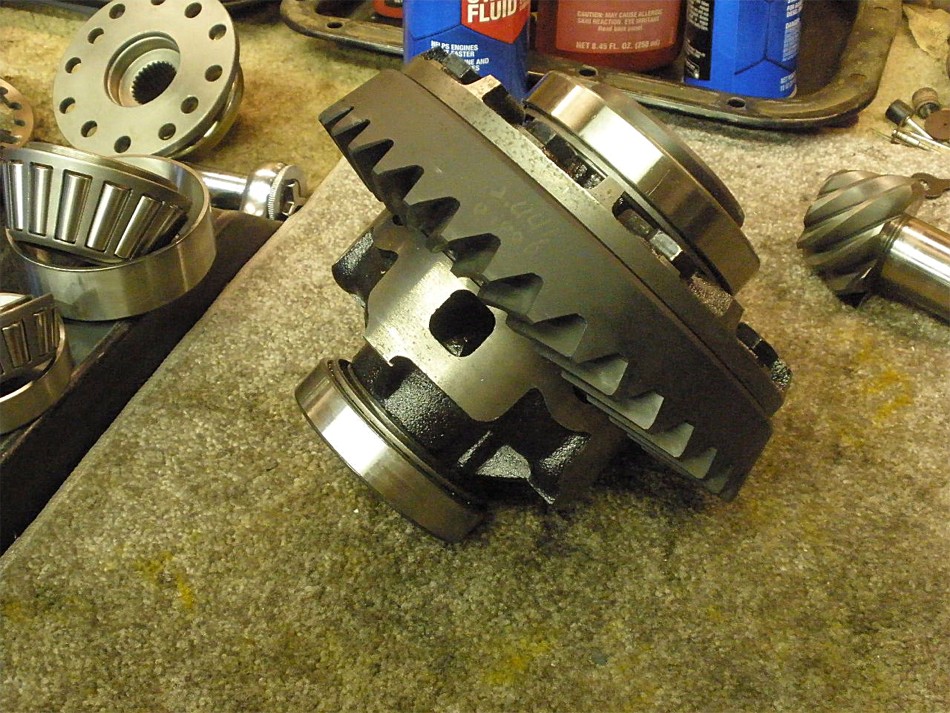
This is complete so now onto the pinion end of things. |
|
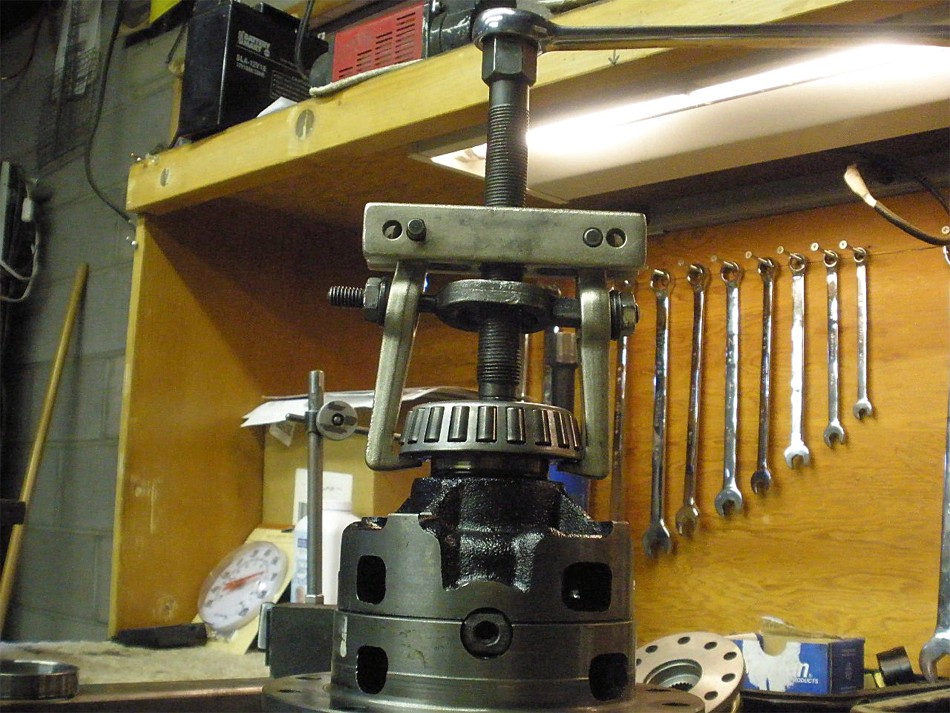
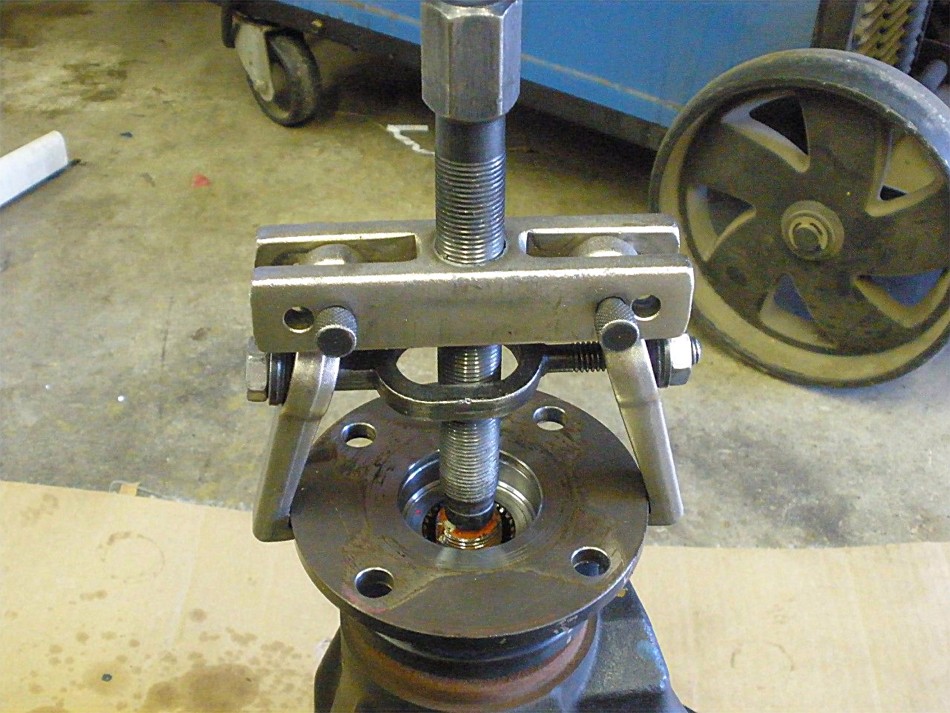
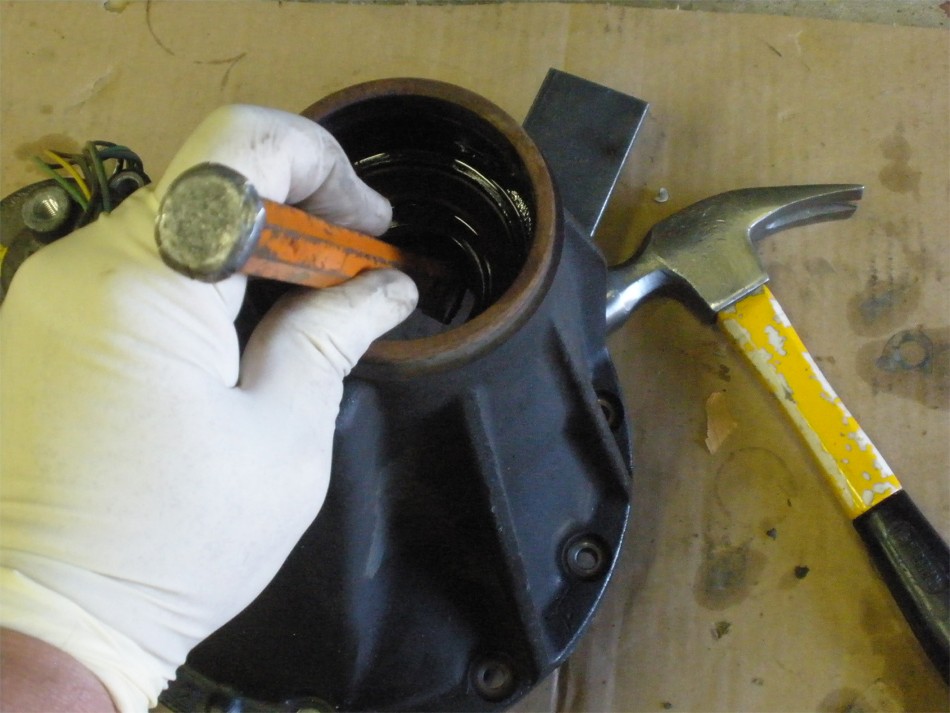
The old 29 spline flange was a tight fit so the 2 finger puller came in quite handy. |
|
Push the old pinion out... |
|
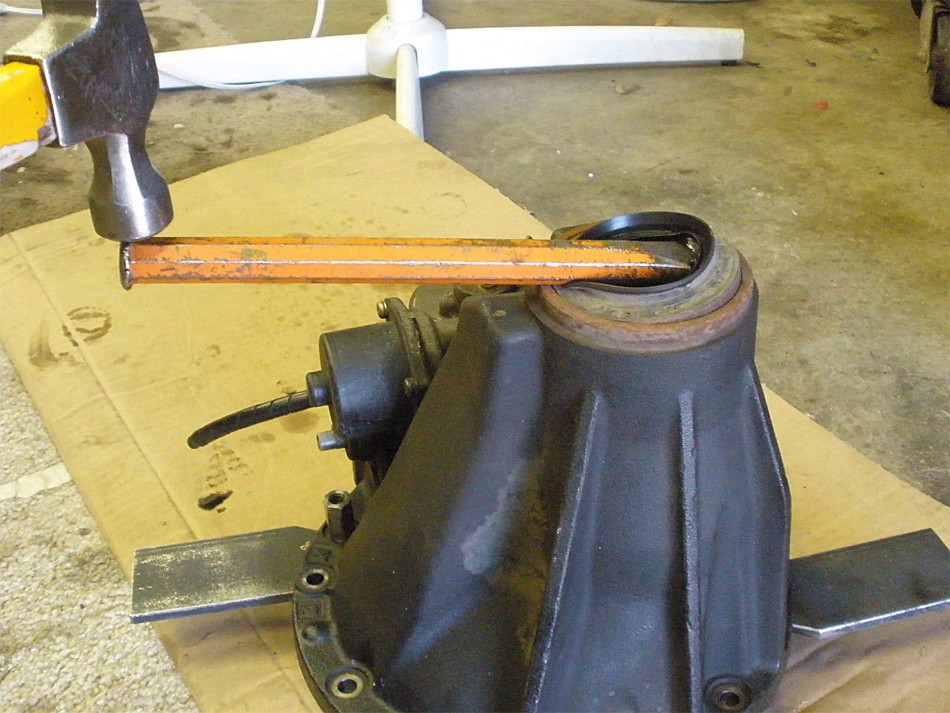
The seal remover tool easily removes the seal. |
|
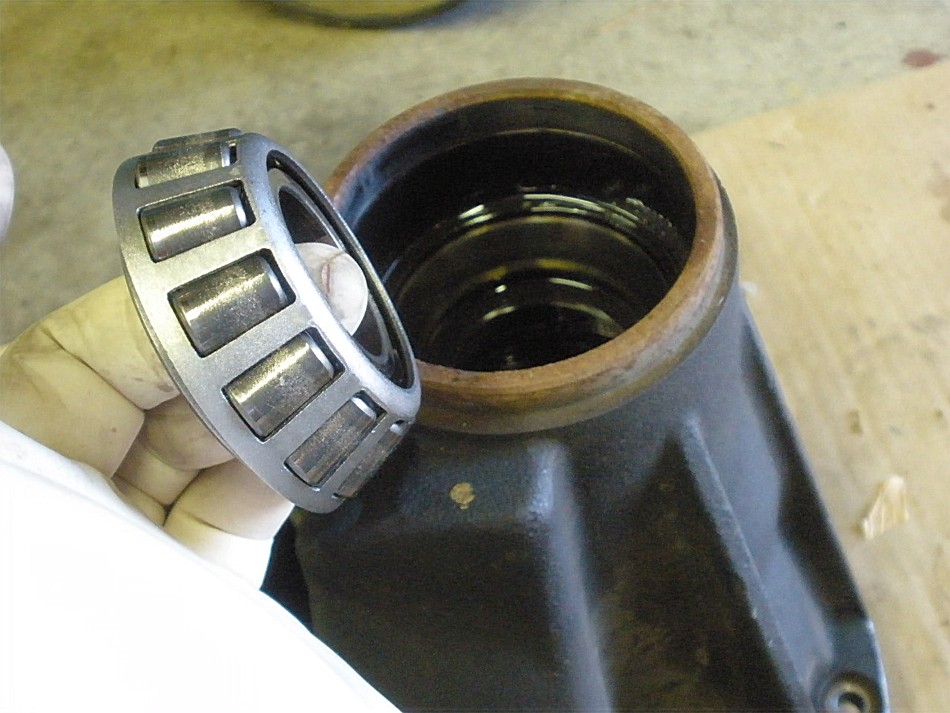
I cleaned the outer pinion bearing before taking this shot. The oil was jet black probably from extreme heat and had lost its lubricating properties. |
|
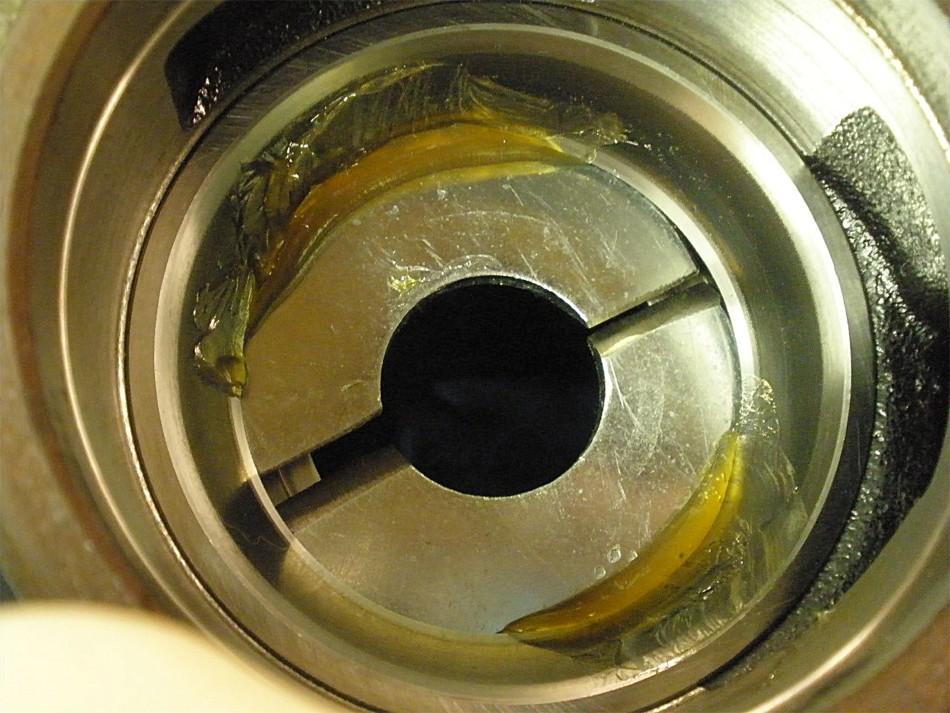
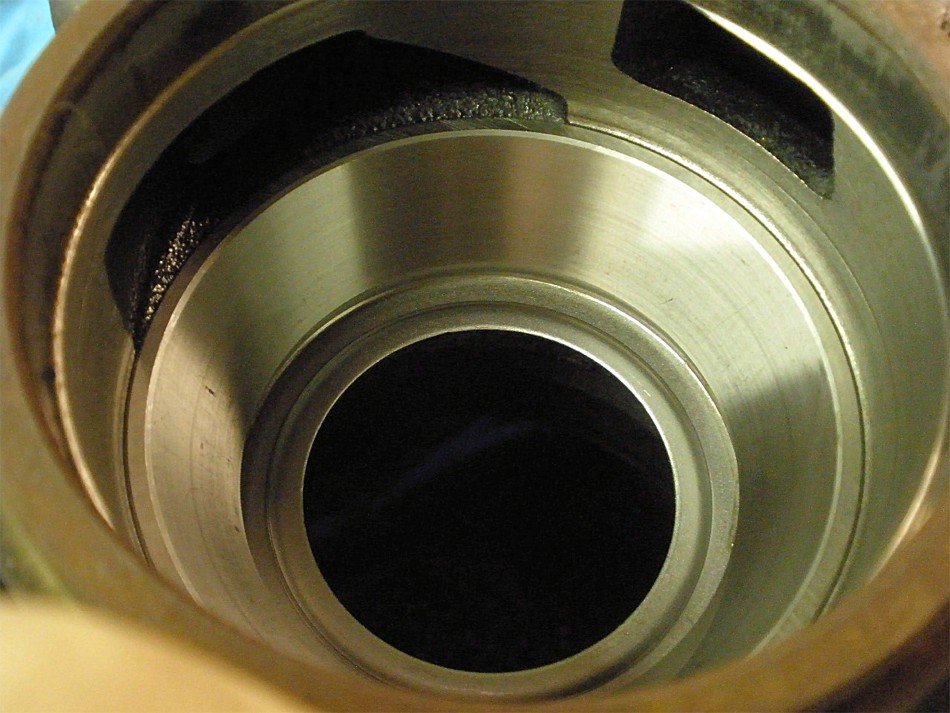
The rollers on the small outer bearing were close to total destruction....black oil can do that. Hard to believe this e-locker 3rd came from a 2008 FJ Cruiser from a salvage yard. |
|
The large V6 inner race is smacked out with the chisel. |
|
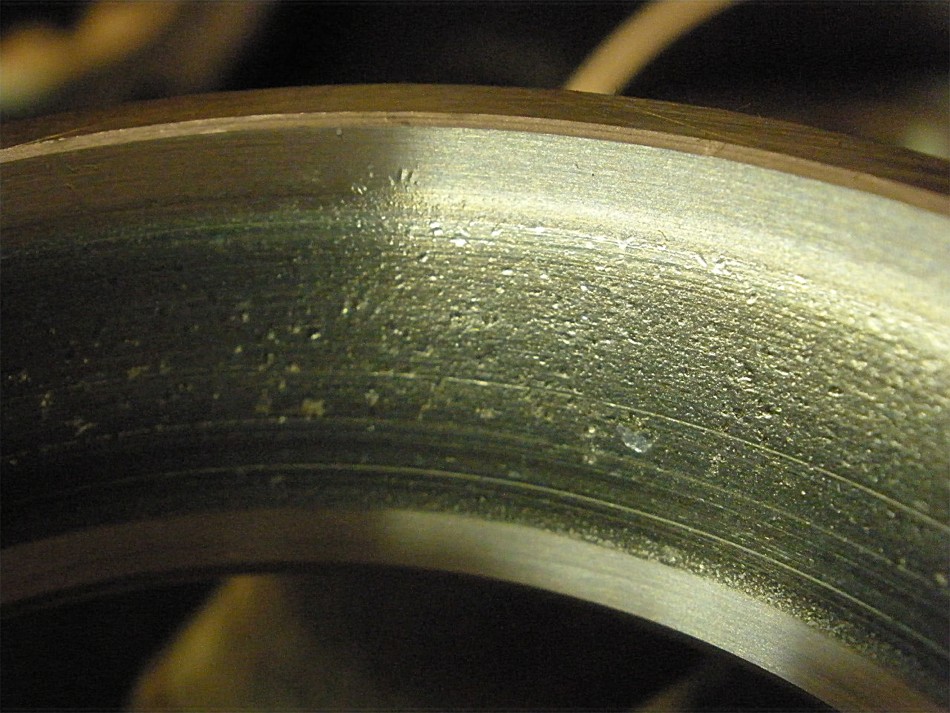
Starting fluid is my choice cleaner. You can see the pitted damage. |
|
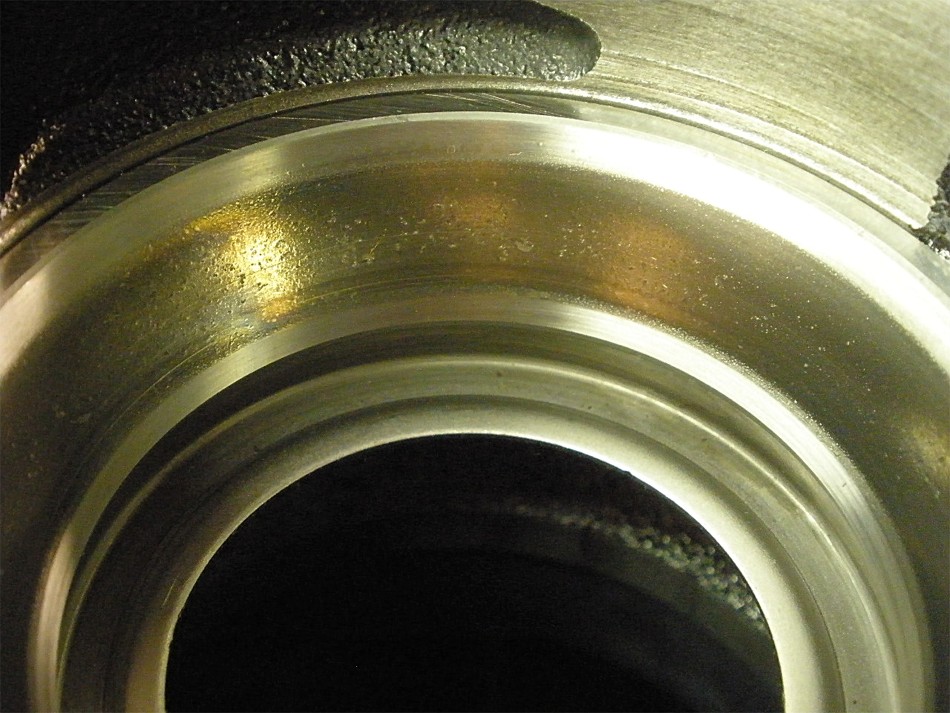
Here's the small outer race and the oil retainer. You can see the bad pitting and the rainbow color changes from excess heat. |

|
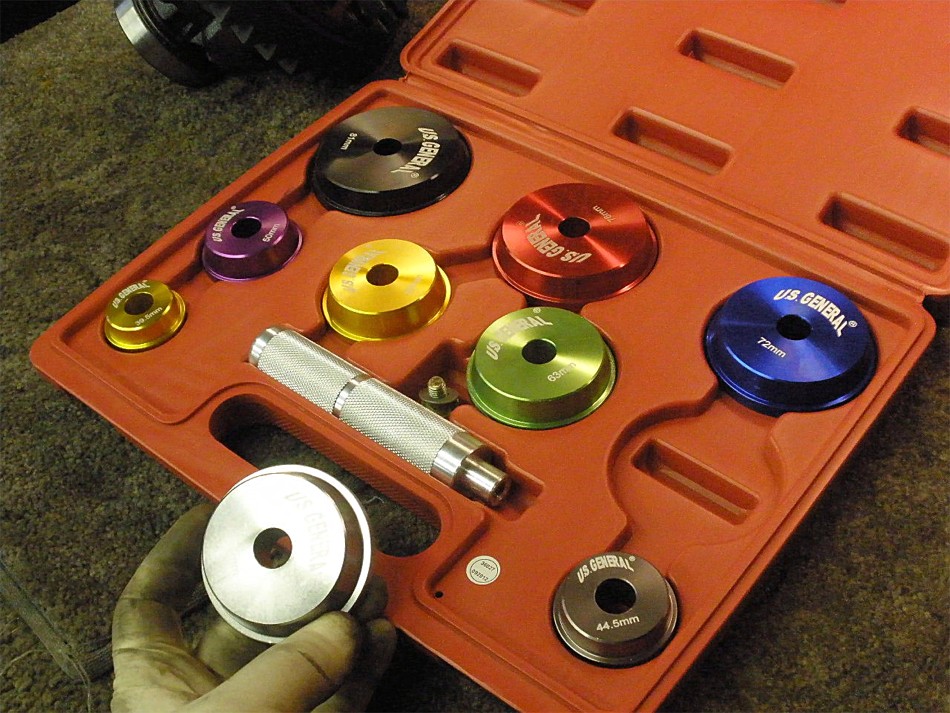
Scott Szymanski, down near Tucson, gave me this simple yet clever idea for removing the old outer pinion race with zero damage to the oil retainer. Find that just right sized washer plate and cut it down the middle.... |

|
...apply a heavy grease... |
|
...to keep the washers in place... |
|
...flip it over and use a couple of large sockets as spacers... |
|
...to push the race out so cleanly. |
|
Bad pitting and lots of rainbow colors from the heat. |
|
Zero damage to the retainer :) |
|
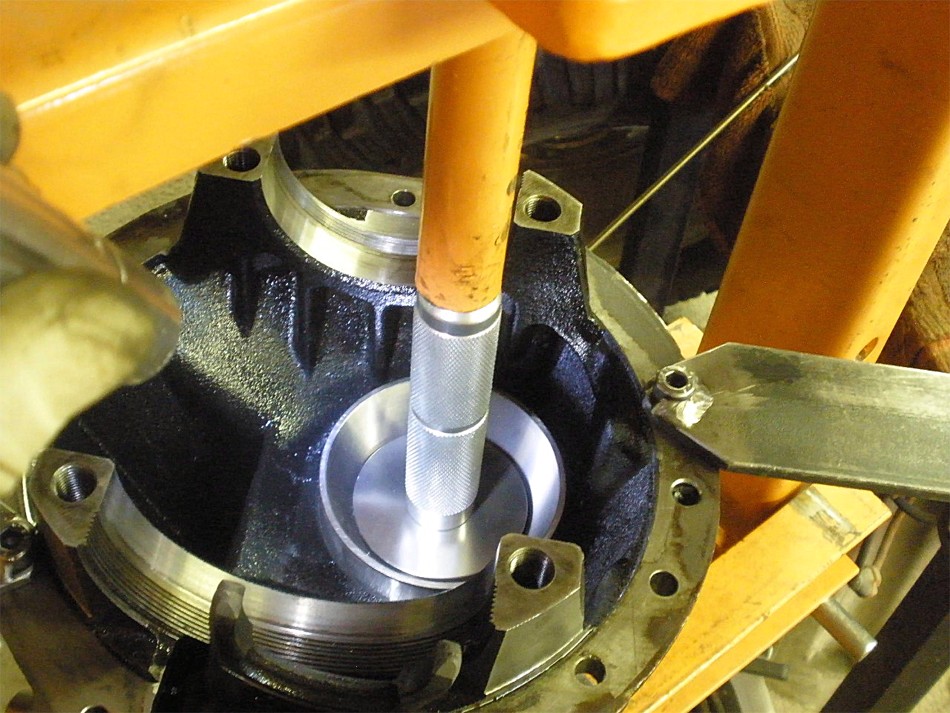
The new race will be tapped in place. |
|
An old race and a spacer block is the preferred tool for this job. |
|
tap tap tap tap tap tap tap tap tap tap tap tap tap tap tap tap tap tap tap tap |
|
... |
|
For pushing the large inner race in, I will try these seal drivers and see how they perform. |
|
I tried a couple of times but I could not get the race started straight and it would bind up. So much for that idea.... |
|
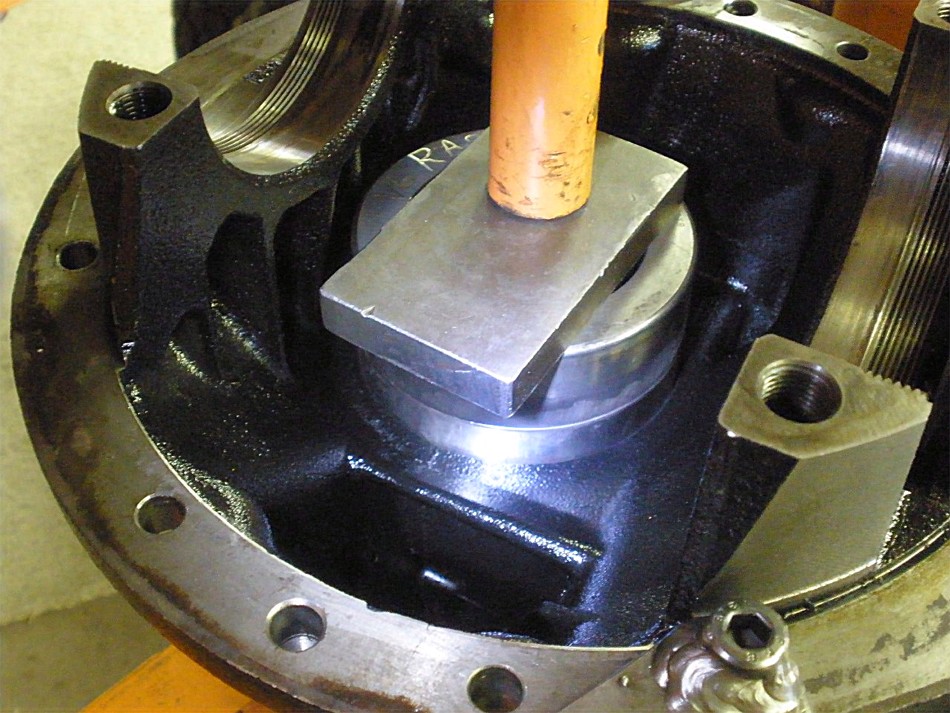
...back to the tried and proven method. First push and it went right in the first time. |
|
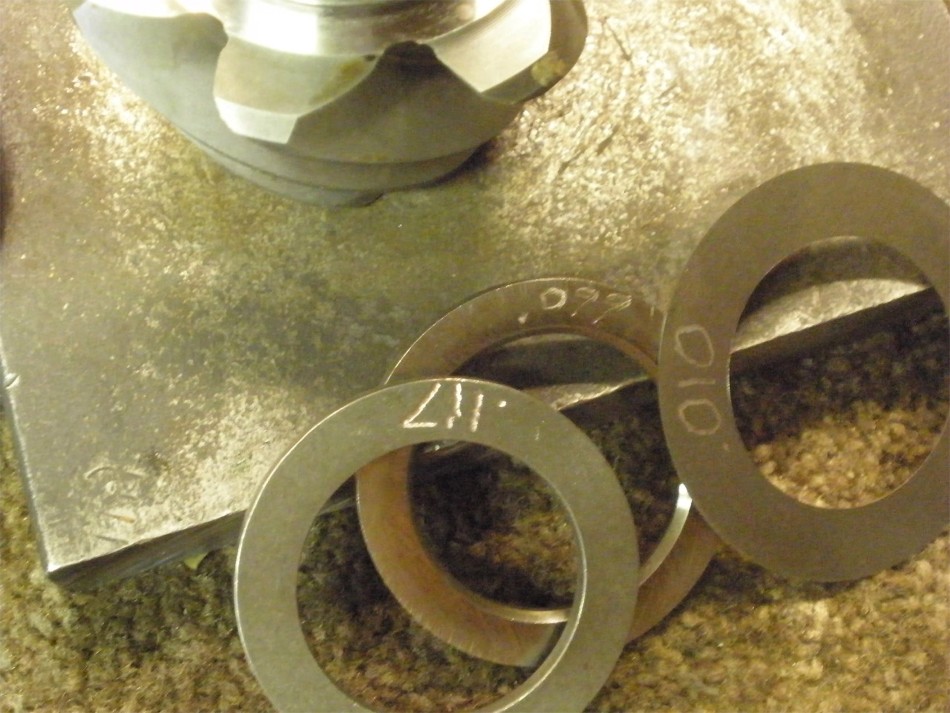
This pinion is the short pinion head version so that means the pinion depth shim will be in the .215"~.245" range. These short pinions(4 cyl) are the same strength as the long pinions(V6 pinion)to set the records straight. |
|
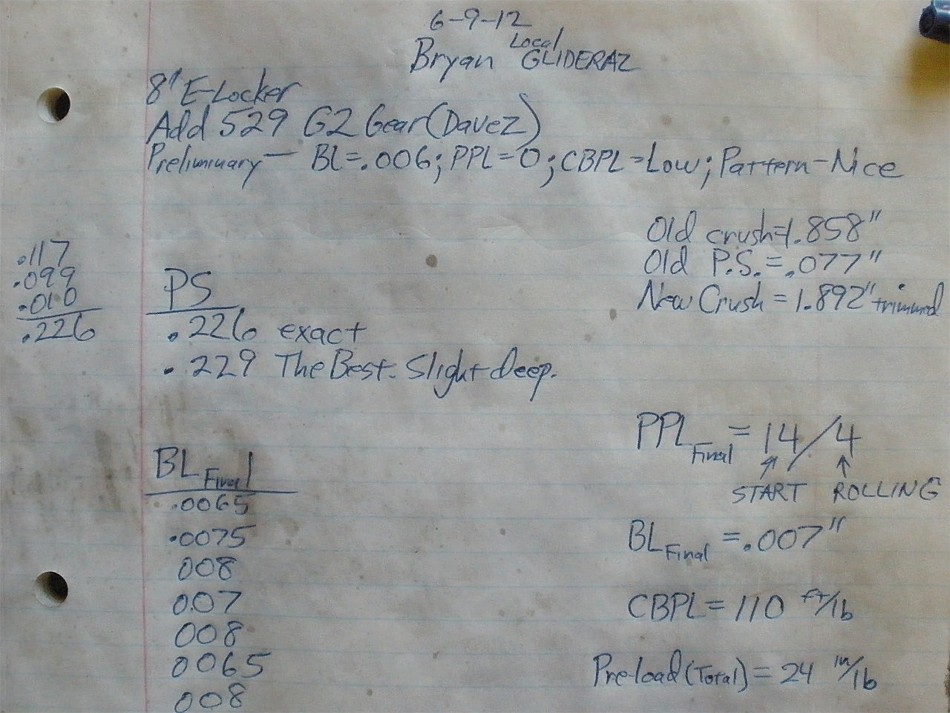
I'll start with .226" and see where that takes me. |
|
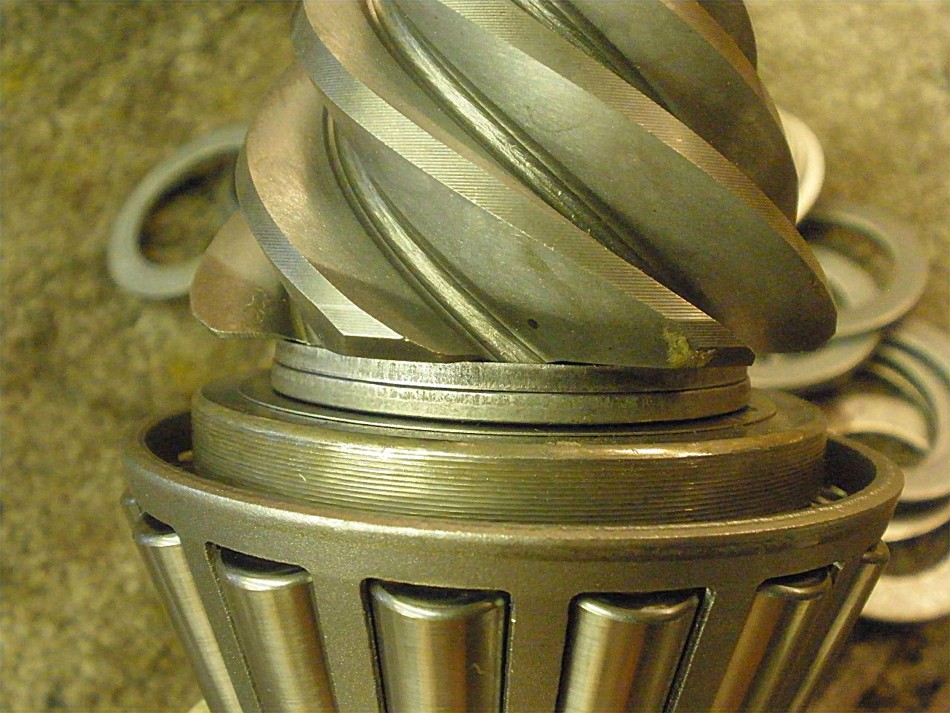
New inner bearing is pressed on with the thick shim. |
|
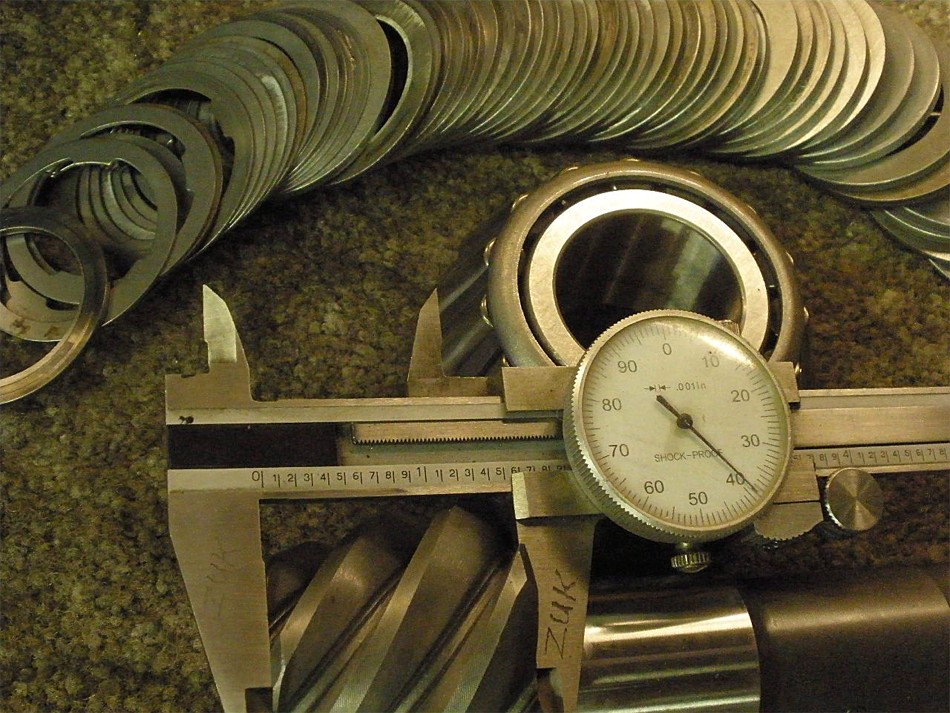
With only 3 shims it looks fairly clean.....no ugly stack of 10~15 thin shims. |
|
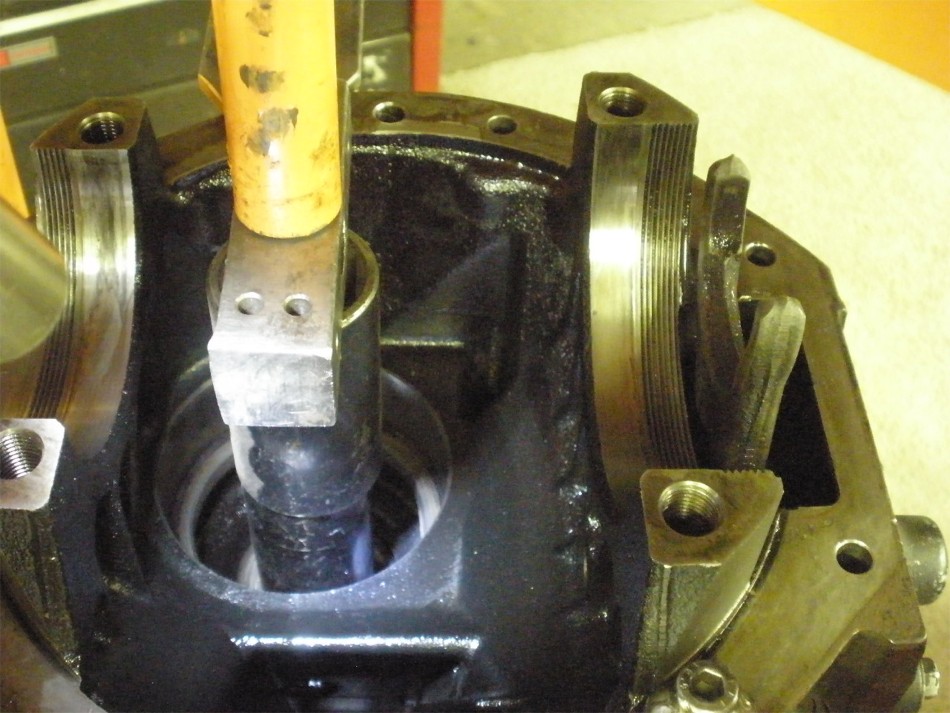
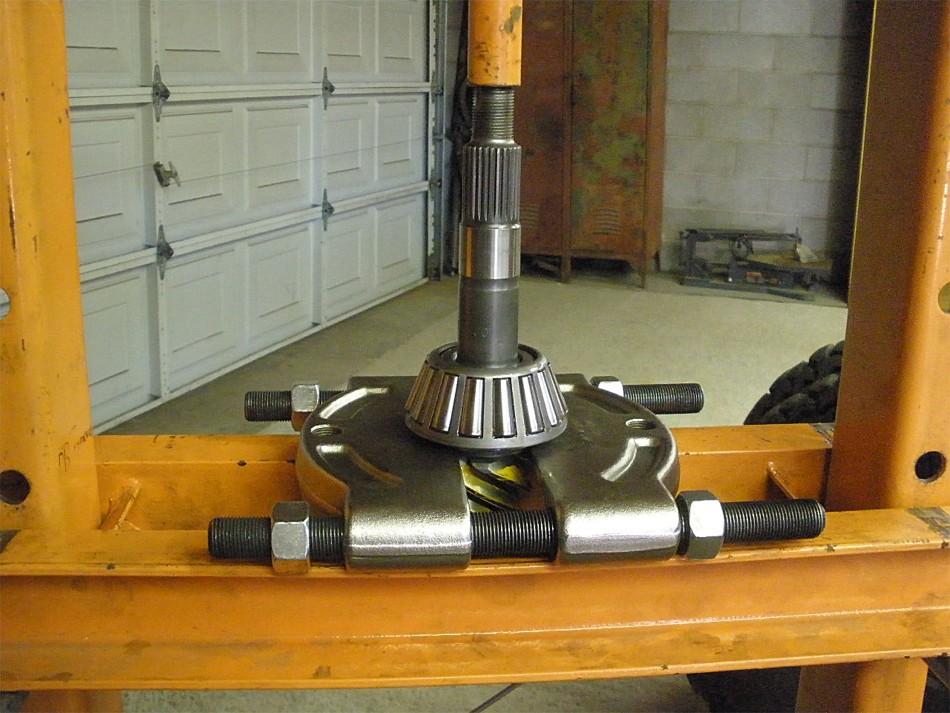
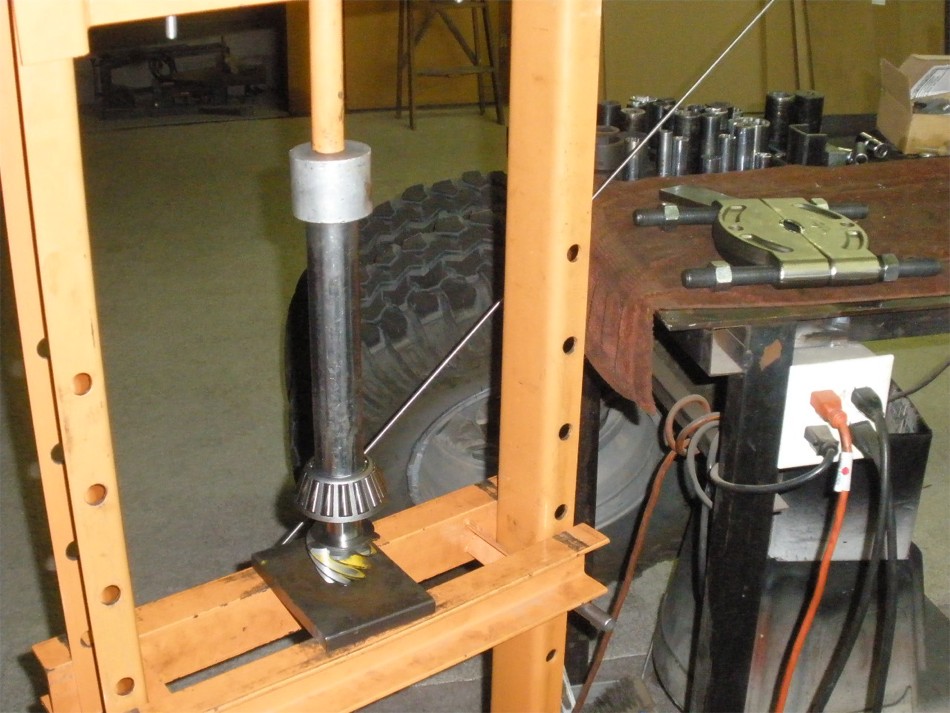
The pinion is installed with no crush sleeve or solid collar at this point. Proper pinion depth should be established first. |

|
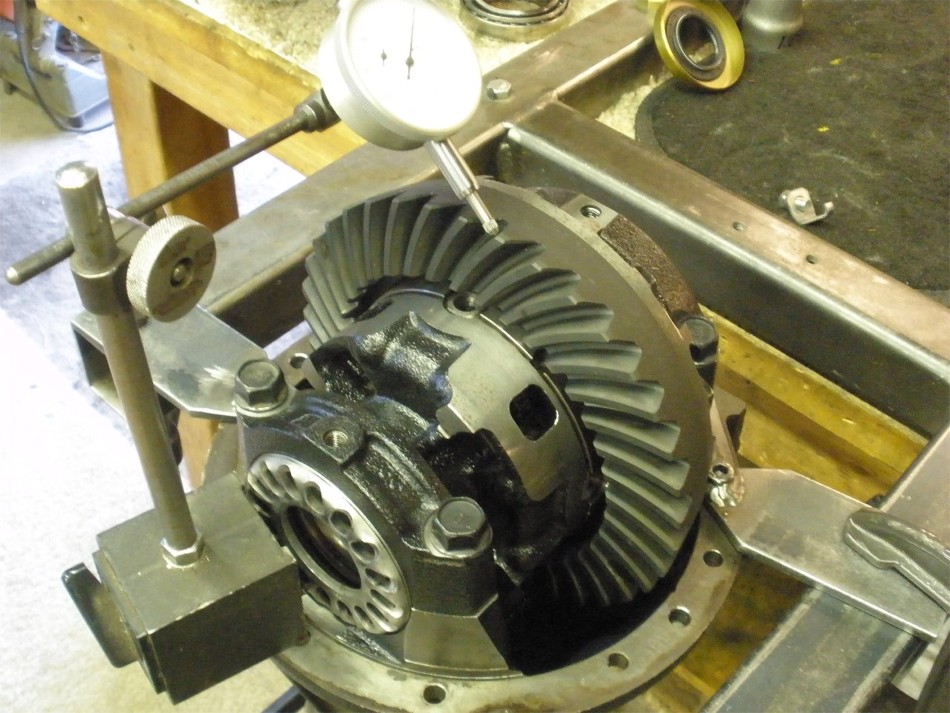
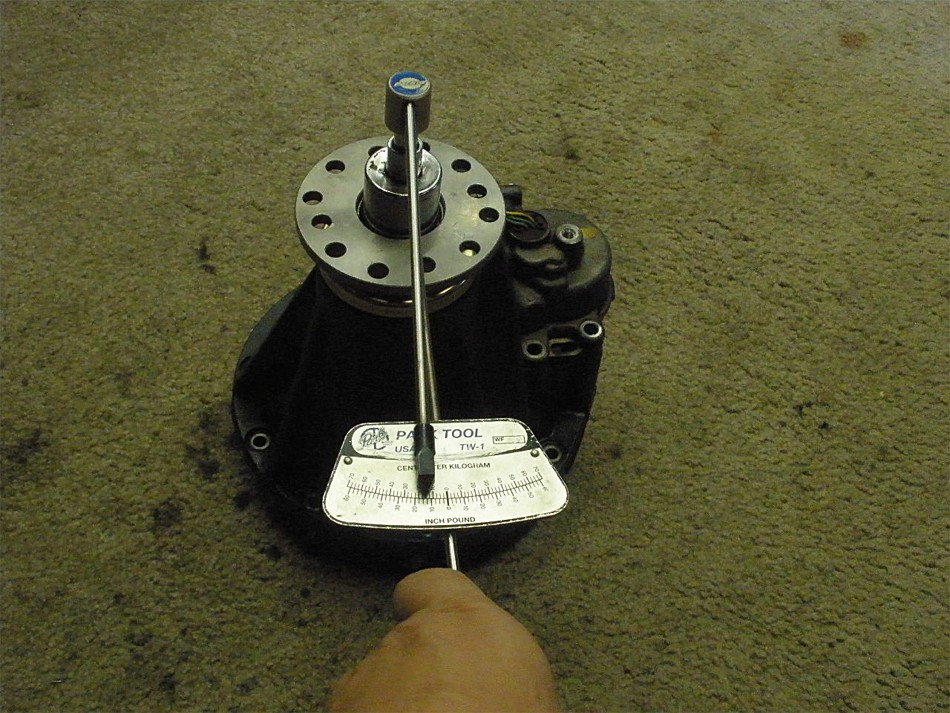
PPL measured a little heavy at 20 in/lb(start torque) but this is perfectly ok for a paint check. |
|
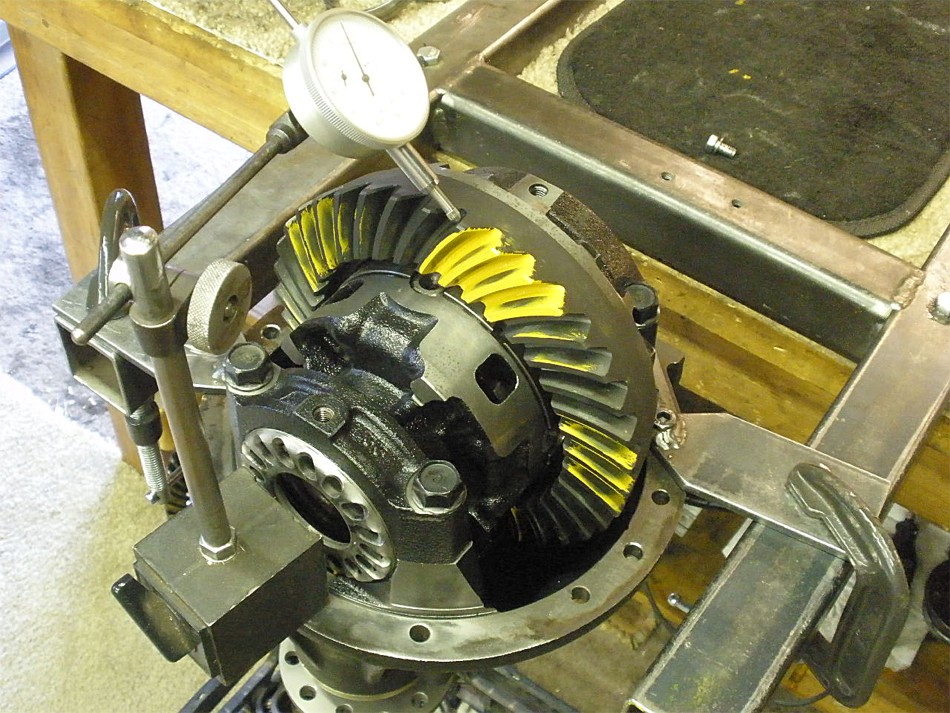
The case is loaded up and BL is set to .008". |
|
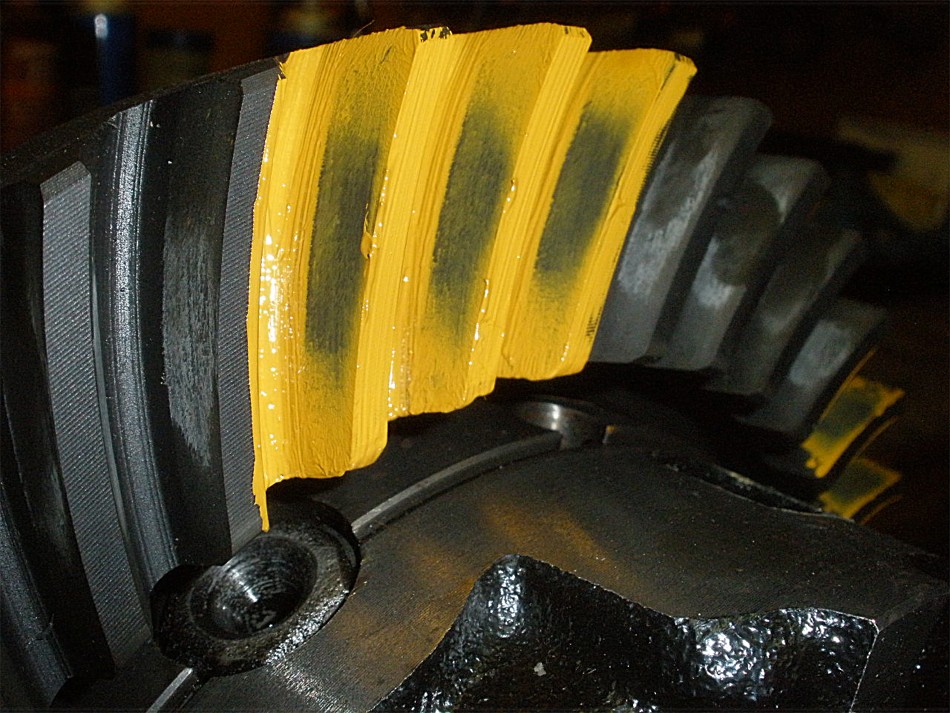
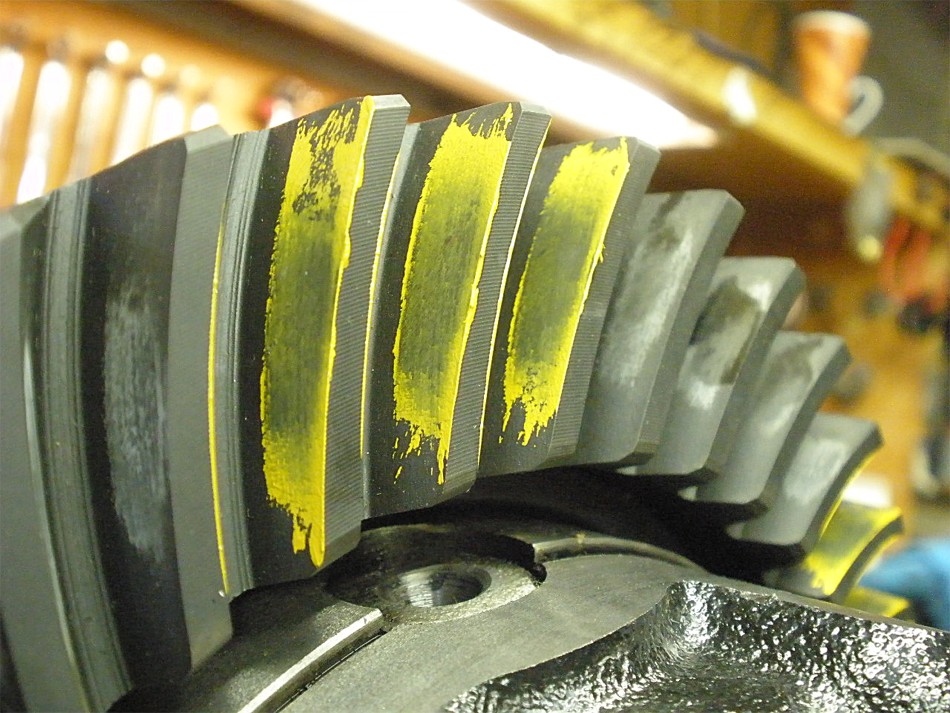
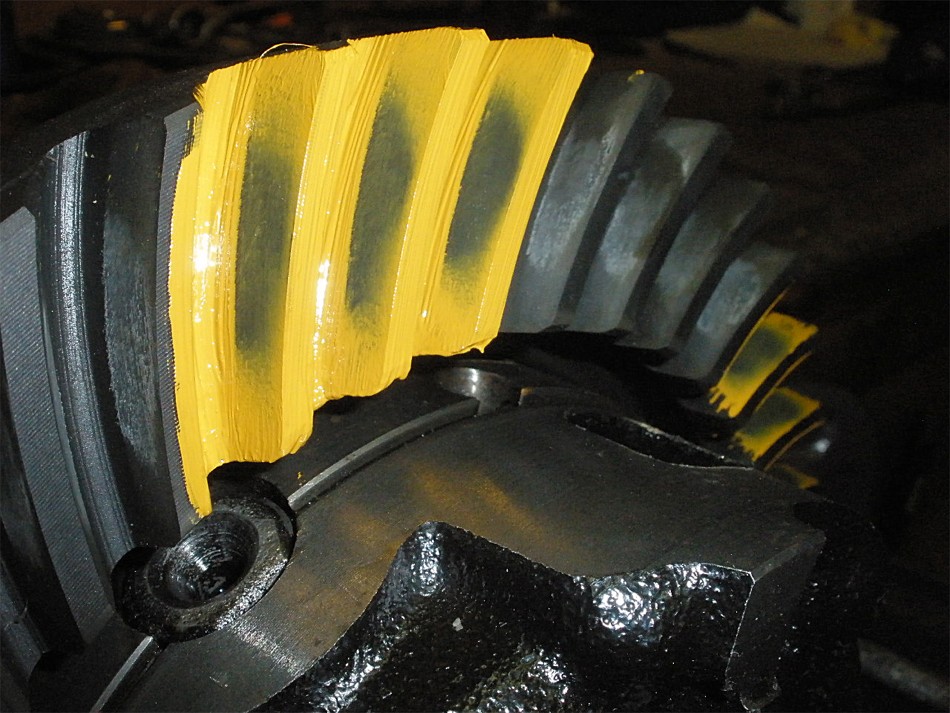
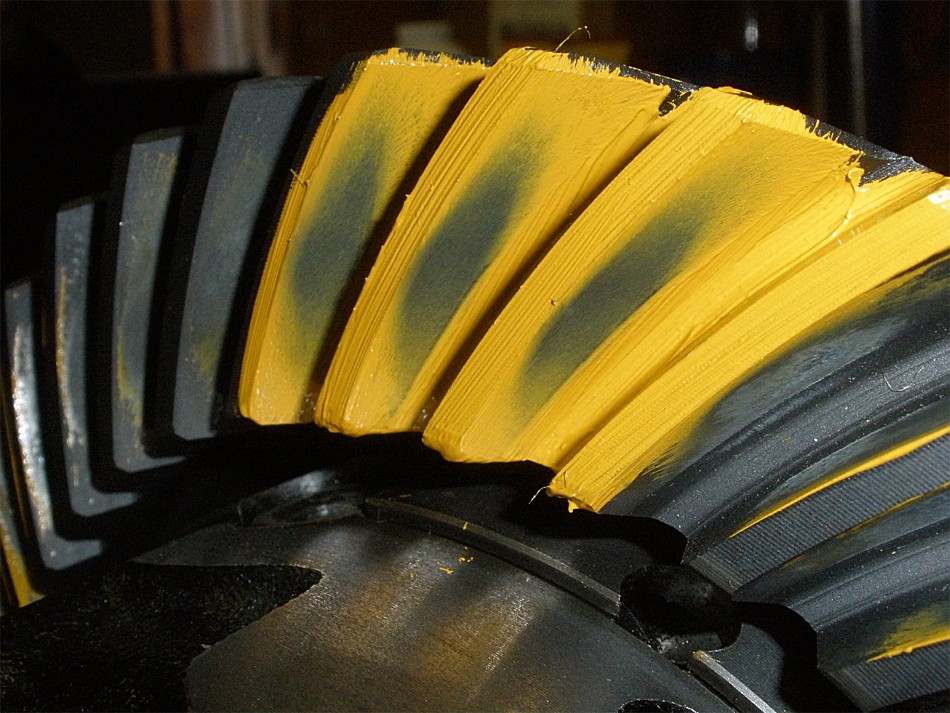
.226" looks to be dead on on the drive side here. |
|
Coast .226" |
|
Drive on the pinion tooth. |
|
Reverse painted drive tooth. |
|
Coast side reverse painted. |
|
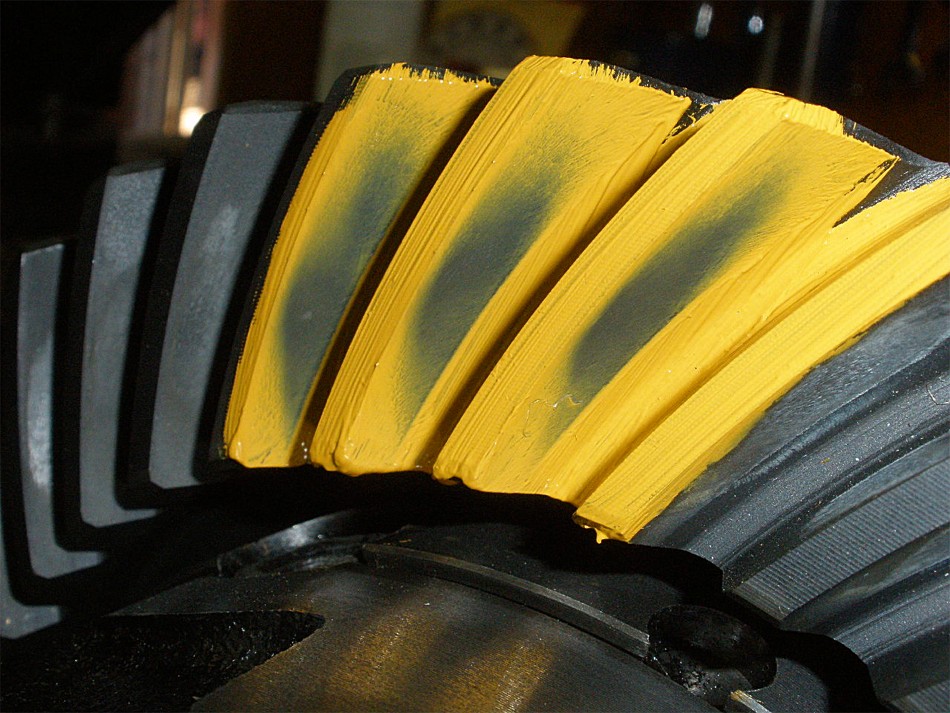
I would prefer to see a slight deep pattern so out comes the pinion... |
|
Remove the inner bearing... |
|
.003" is added to the shim thickness and the bearing is pressed on. |
|
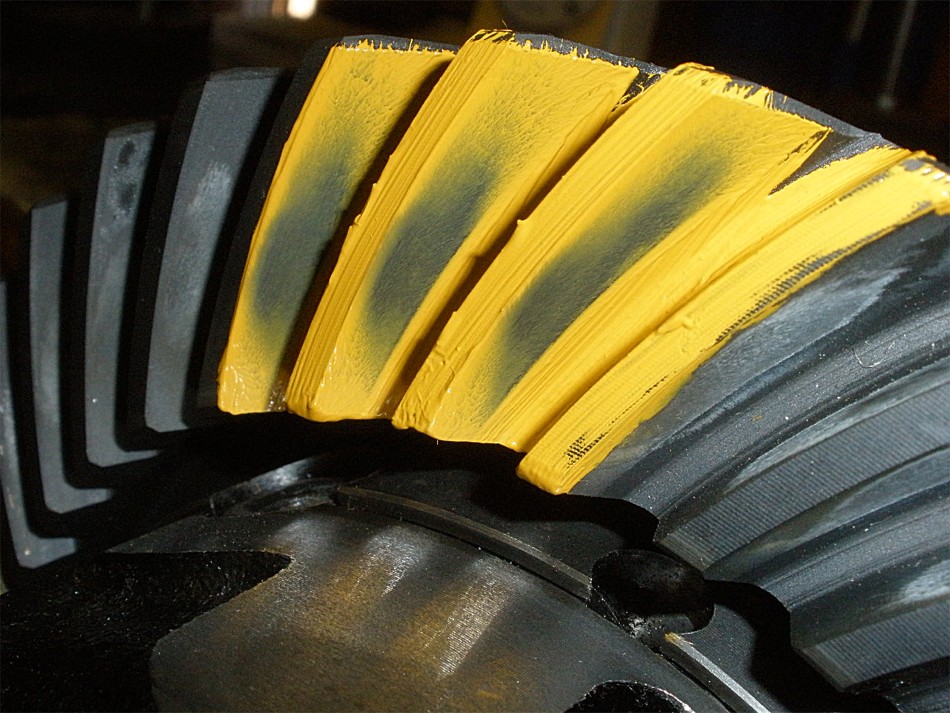
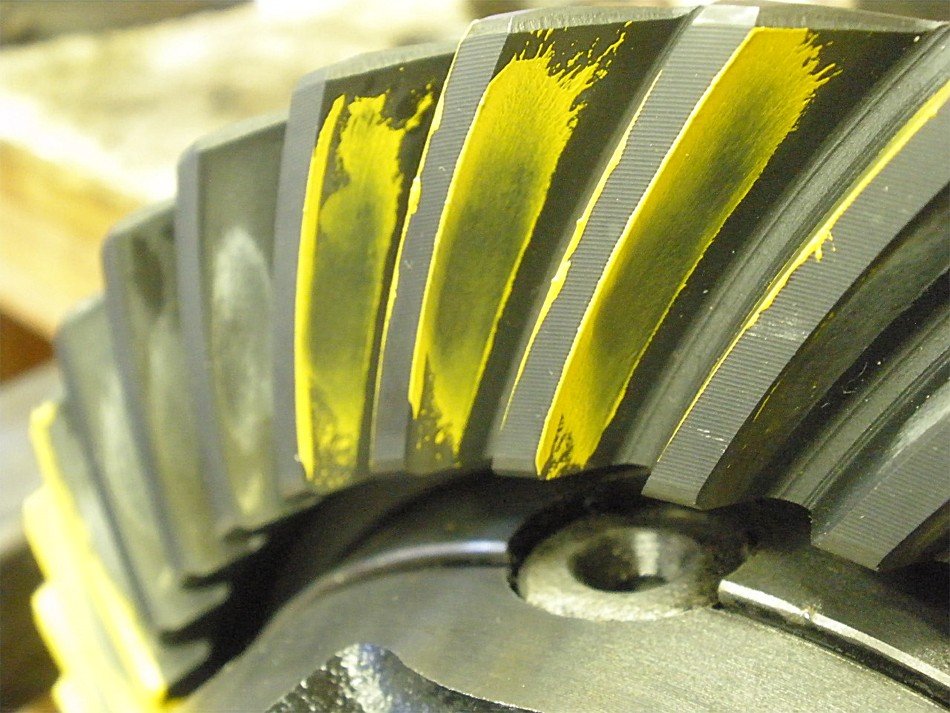
DRIVE Beautiful |
|
Coast NICE |
|
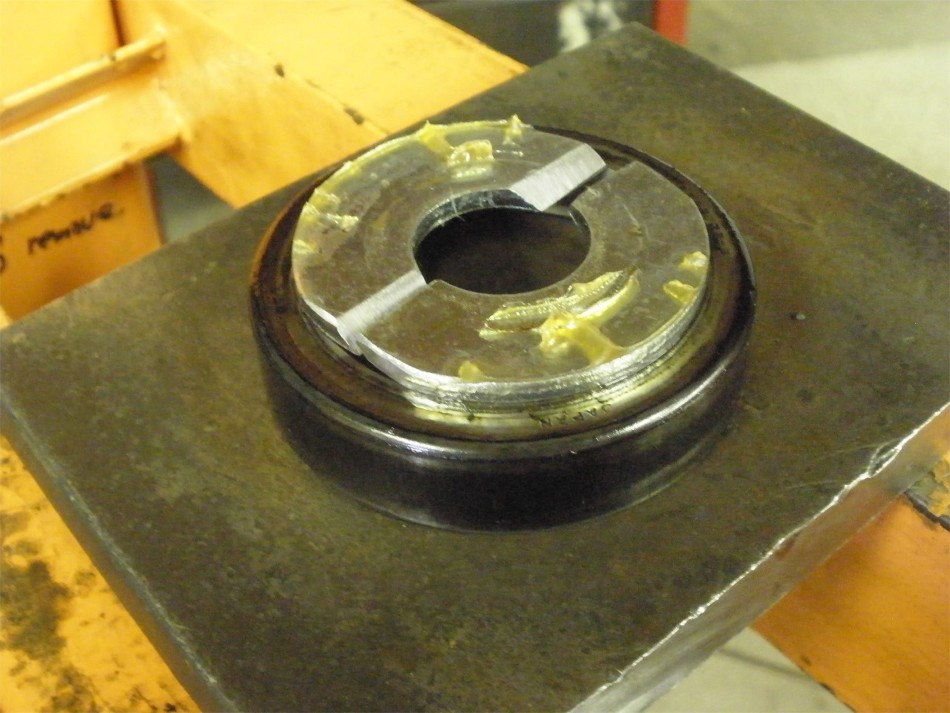
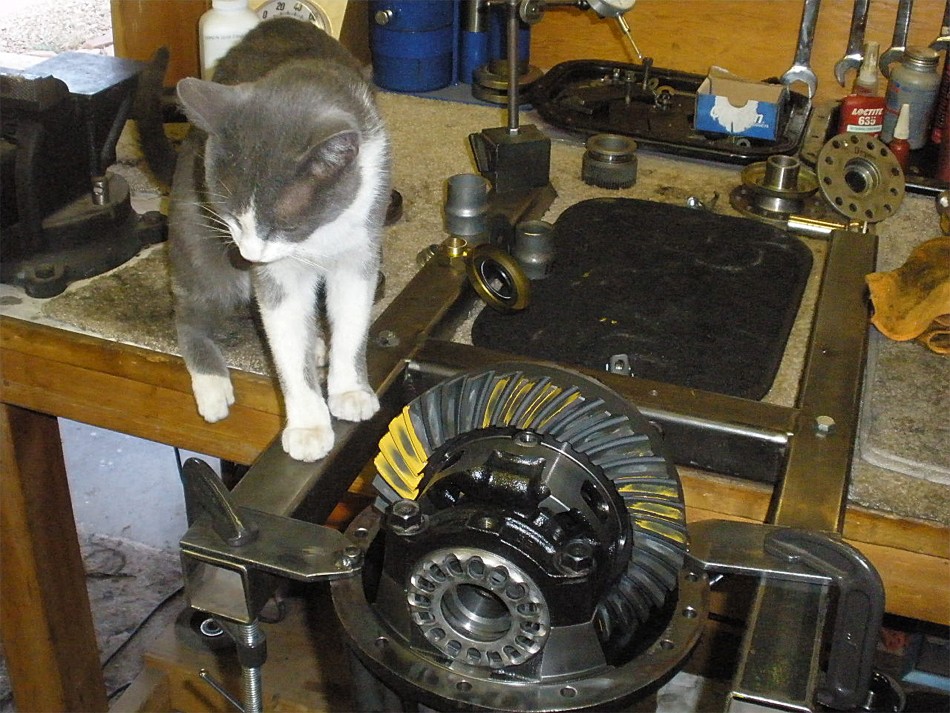
Cola is curious. Now to tear it down and install the crush sleeve. |

|
I skipped a few steps here but I basically installed the crush with the new triple drilled flange. I usually opt to trim the crush sleeve (on my mini-lathe) to within .020"~.030" of the estimated final length. I do that to take the monotony of crushing a little and checking over and over so many times. It saves on the thread damage to the brand new pinion nut also. |
|
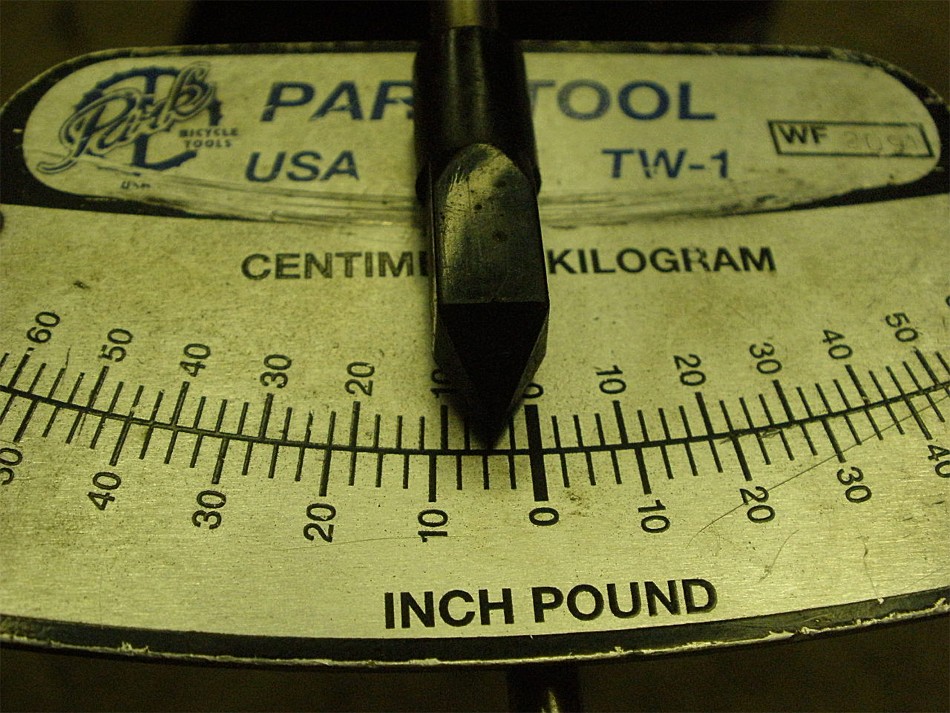
Final PPL starting torque measured in at 14in/lb.... |
|
...the resultant rolling torque was around 4 in/lb. I had plenty of gear oil on both bearings also. The factory goes by the START TORQUE value. |
|
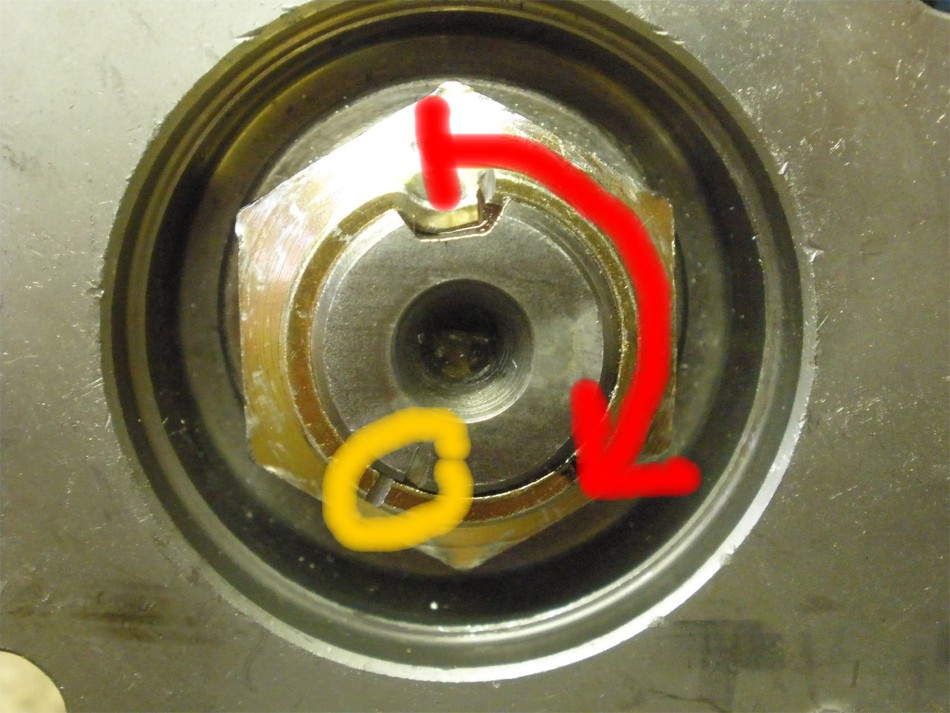
As indicated by the red line, I tightened it less than half a turn to get full PPL. Most full length crush sleeves have to rotate 1.5~3 full turns. The yellow circle shows how little the nut had to move to go from 2 in/lb up to 14 in/lb.....about 1/16th of an inch rotational-wise. |
|
Grease is smeared in the threads... |
|
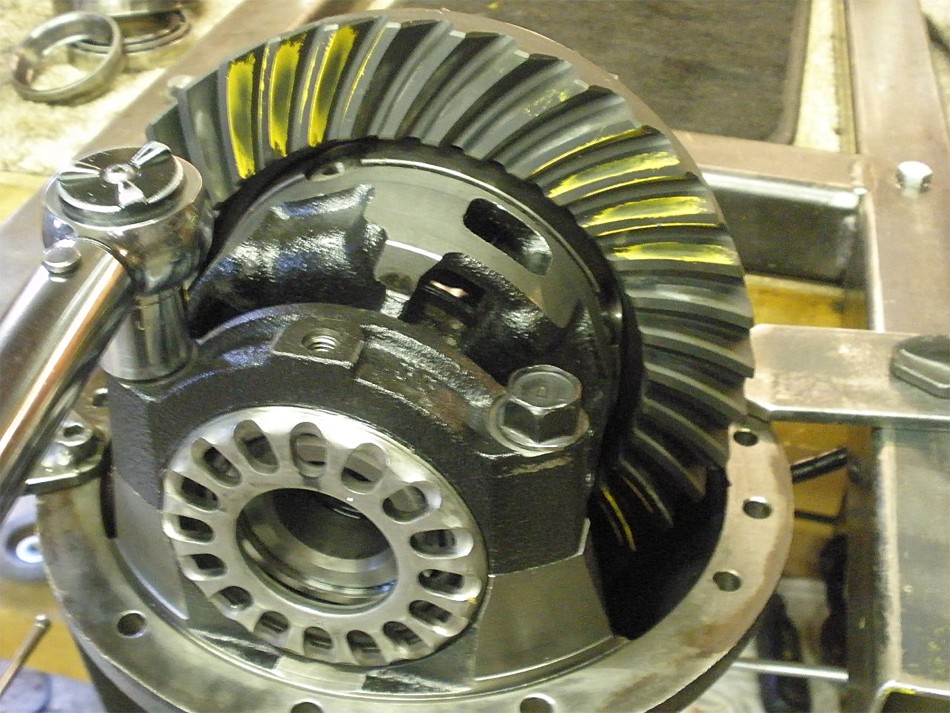
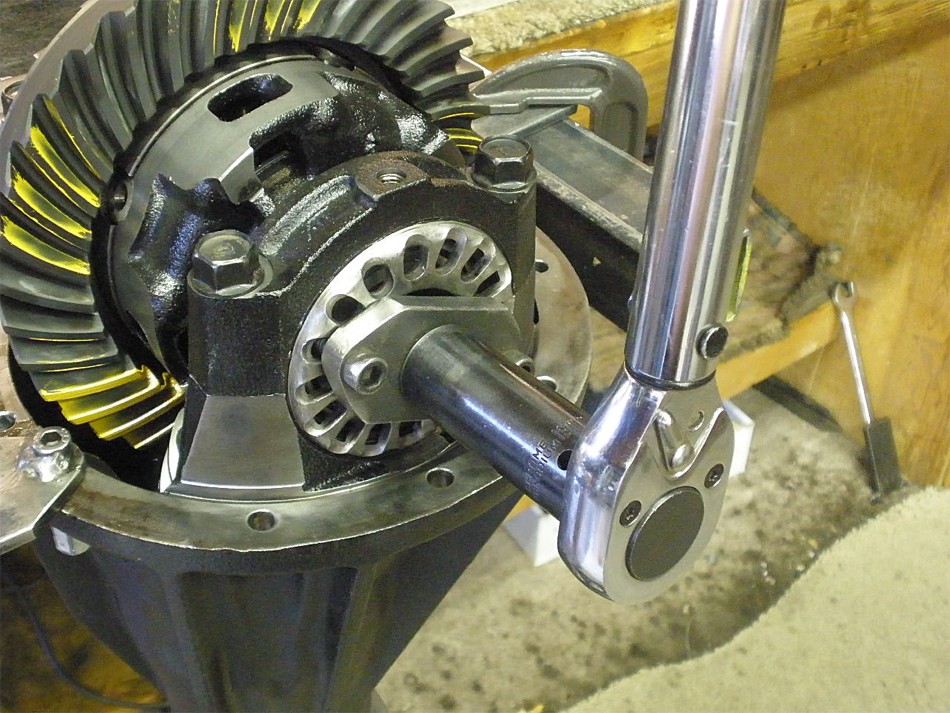
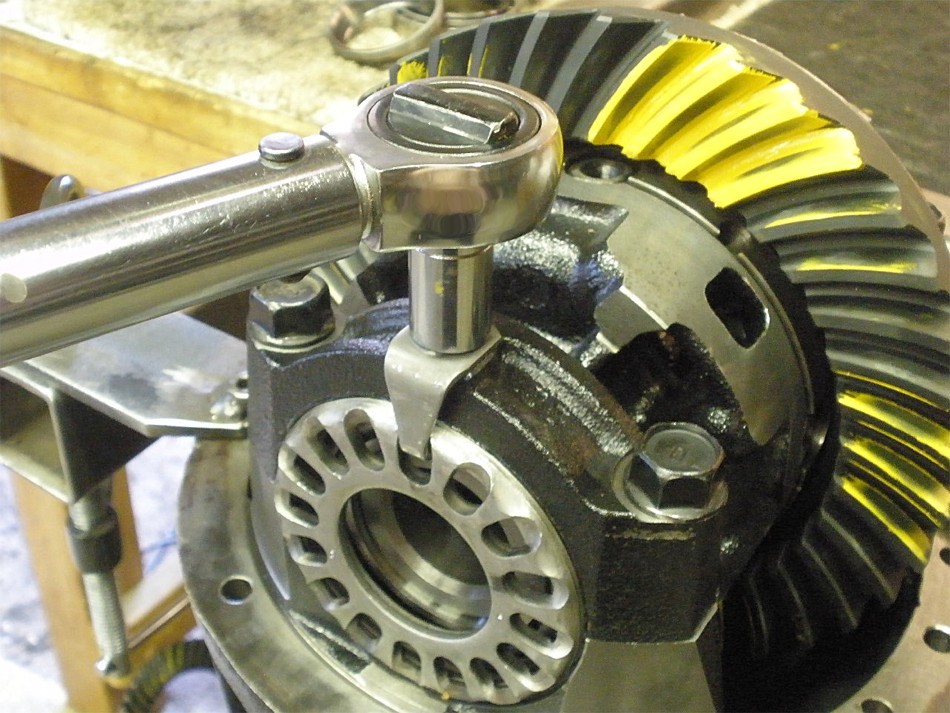
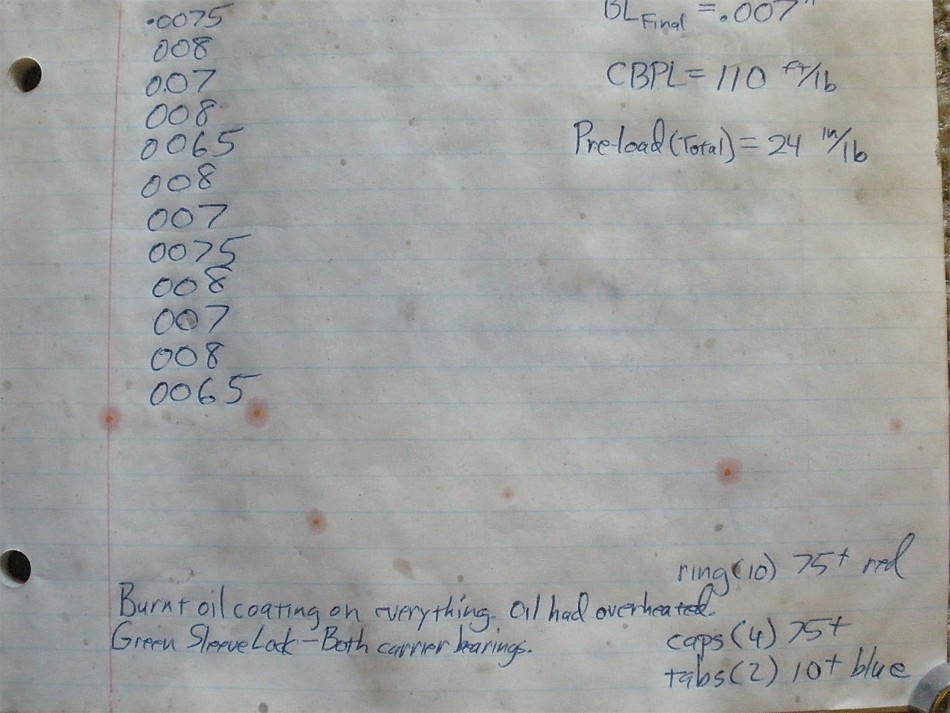
....case is loaded in place, bearing caps installed, and the 4 long bolts are torqued to 75 ft/lb. |
|
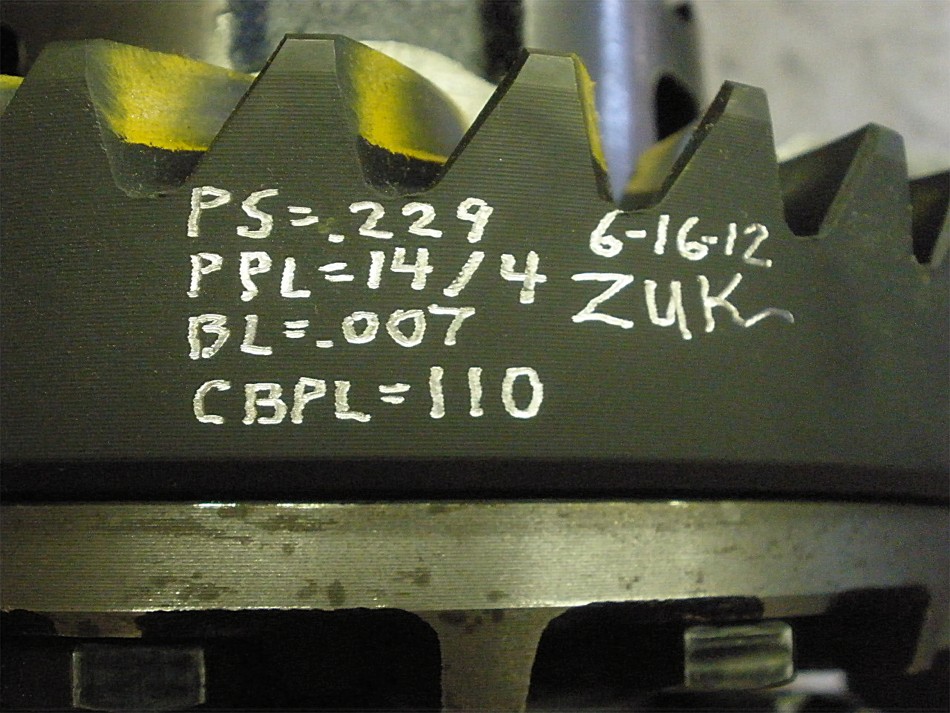
Adjuster wheels are set for a final BACKLASH of .007" while dialing in the CBPL carrier bearing pre-load closer and closer to the 100 ft/lb number. In the end, with the clicker set to 100 the wheel did not move.....set it to 110 and saw some movement. CBPL is now set to ZUK spec. |
|
Backlash is verified on every 3rd tooth...and recorded. The tightest was .0065" and the loosest was .008". |
|
Blue medium strength loctite... |
|
..and 10 ft/lb. |
|
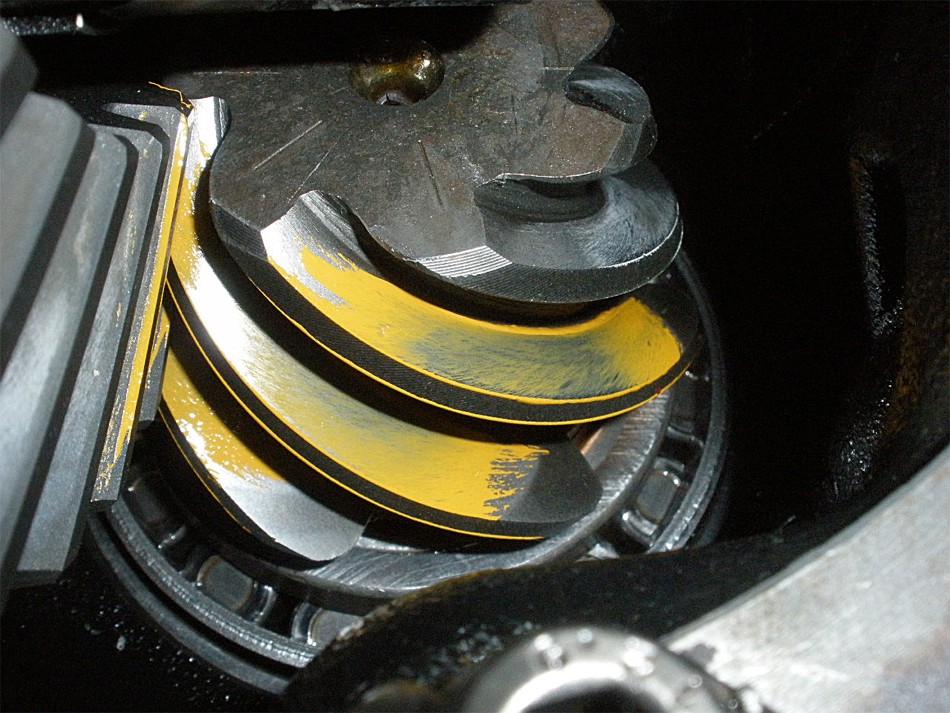
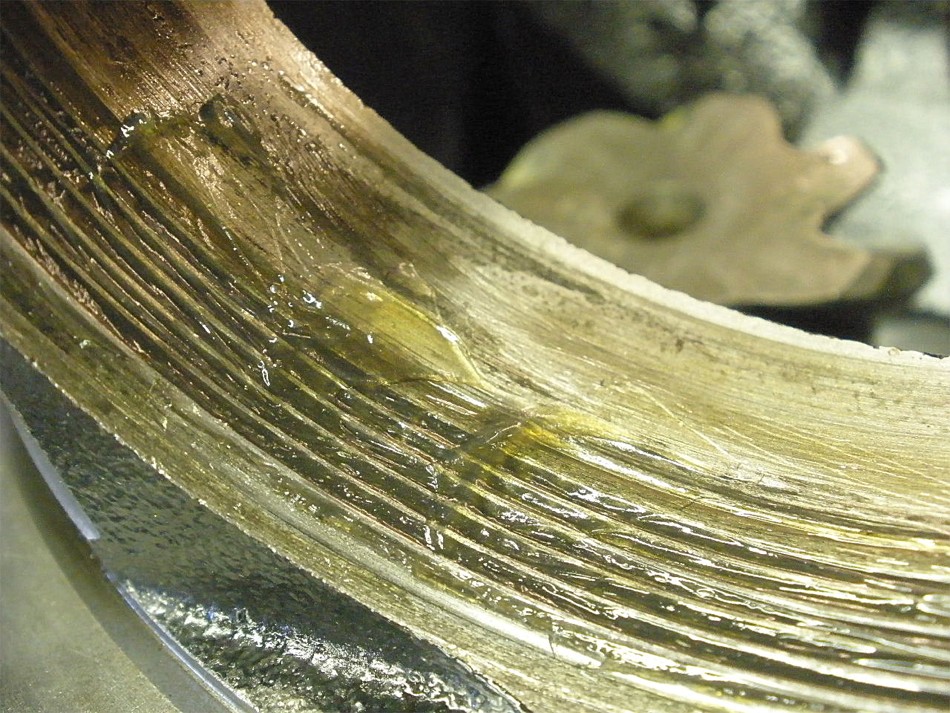
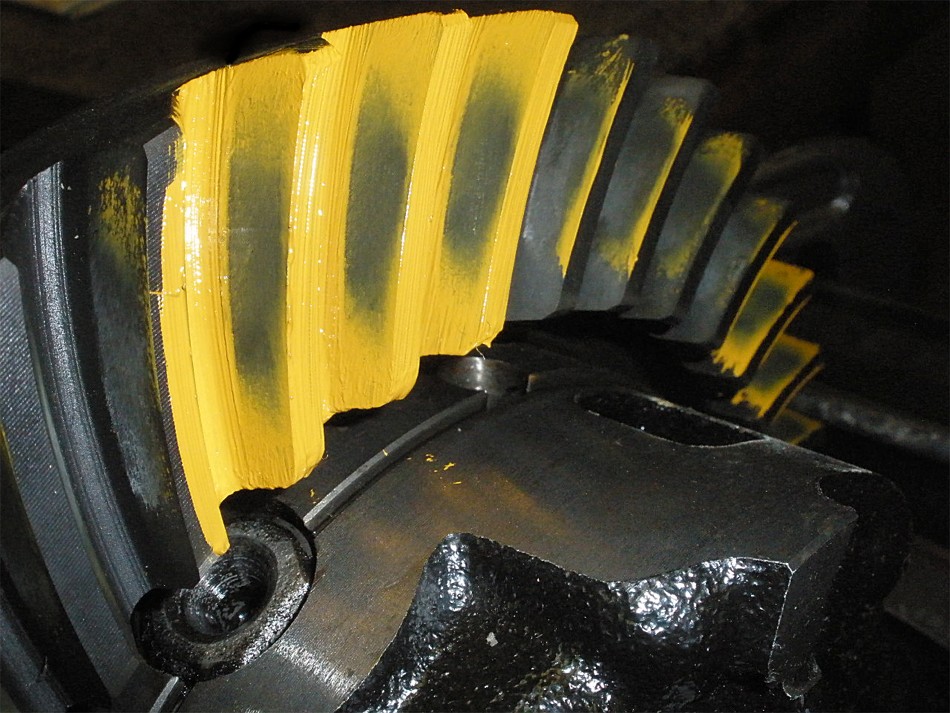
Drive side pattern is re-painted and looks nice. |
|
Coast is centered. |

|
Drive on the pinion tooth. |
|
Measured values inscribed on the ring and date coded. |
|
... |
|
|

|
 These gears are available from