|
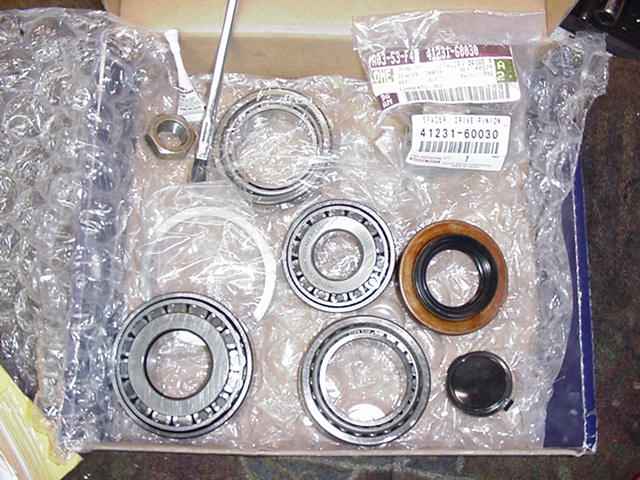
Chris has a 1995 FZJ80 with 176,000 miles. It has had a screaming whine from the rear 3rd since he bought it....it
was very loud on both acceleration and de-acceleration. Upon dis-assembly, I noticed the pinion bearings were
badly pitted. The 488 ring and pinion looks to be re-usable. The master kit, shown above, will bring peace and
quiet to Chris's future road trips.
|
|
|
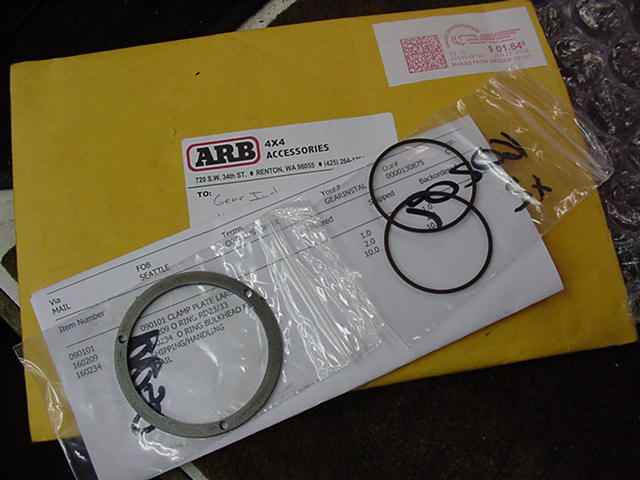
This 3rd also has an old style RD33 ARB. It seemed like a good idea to replace the o-rings and the clamping plate. A call to the
ARB techline and 4 days later had this manilla envelope at my doorstep.
|
|
|
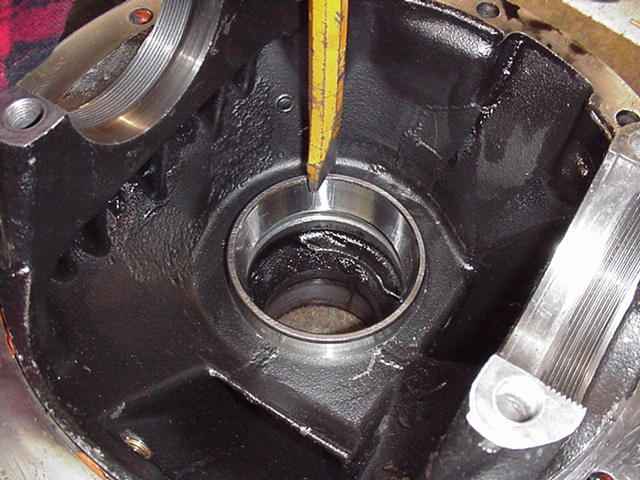
New pinion races are tapped in.
edit---Best to stay away from all punches/chisels...
use an old race to evenly "pat down" the new race.
Using a punch could result in "oscillating" pinion
preload measurements with the torque wrench.
1-8-2011 ZUK
|
|
|
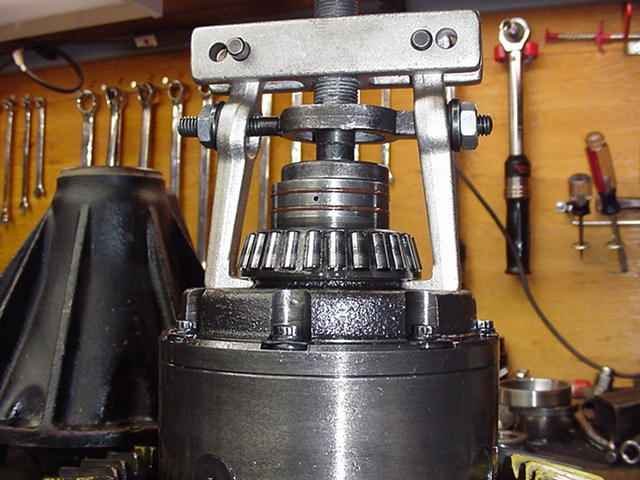
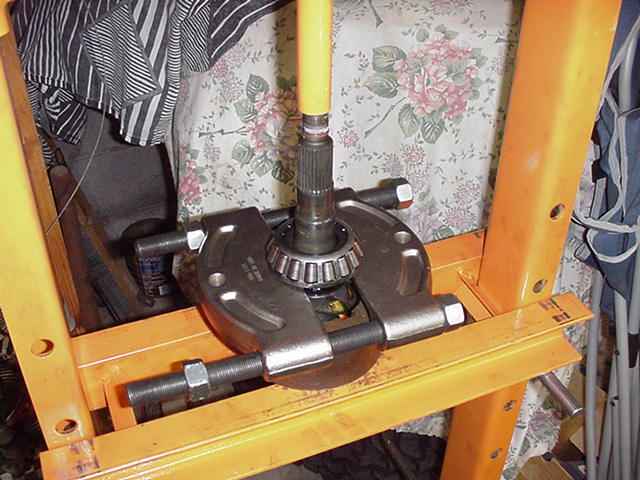
Old carrier bearings come off with ease with the right puller.
|
|
|
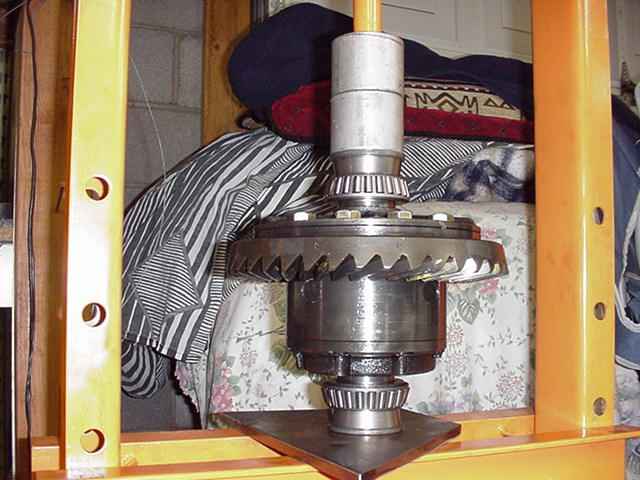
These are the "adapter bearings" being pressed on. This ARB case has the larger 50mm journals...
which is no issue with Timken 32010X bearings. That's a 9.5" ring gear :)
|
|
|
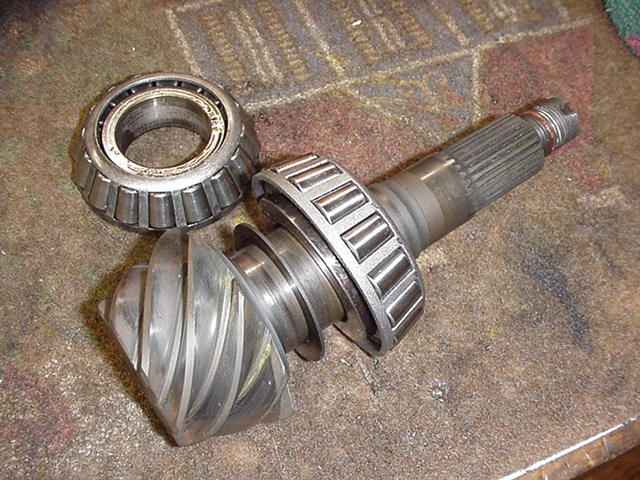
The worn inner pinion bearing is pressed off.
|
|
|
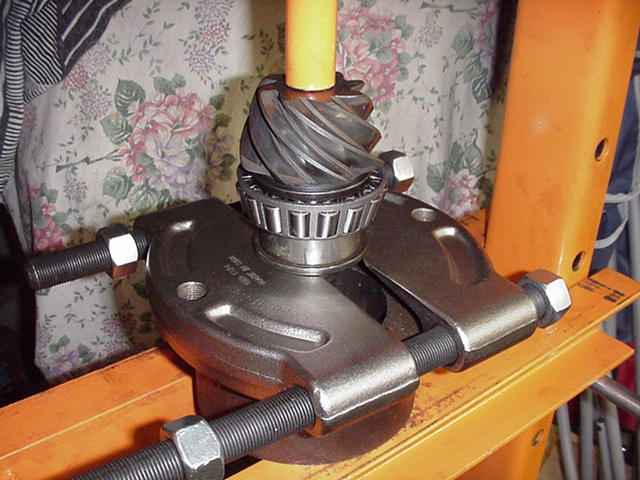
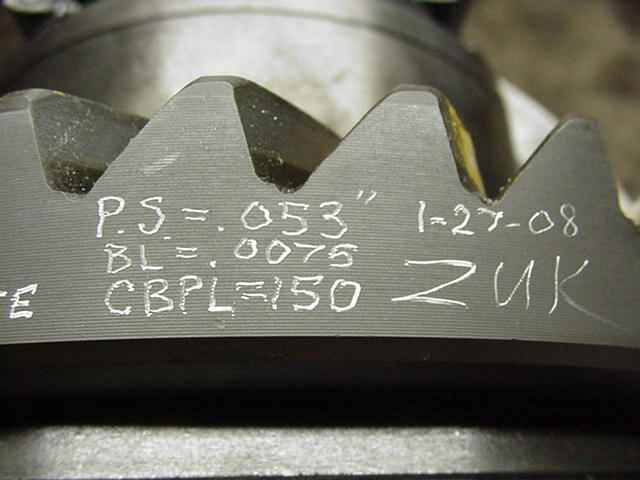
The factory .053" shim will set the correct pinion depth.
|
|
|
...
|
|
|
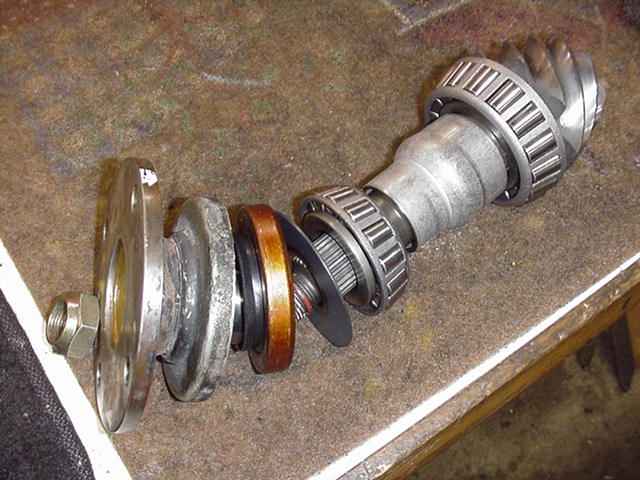
The crush sleeve will be installed immediately since pinion depth is not a question.
|
|
|
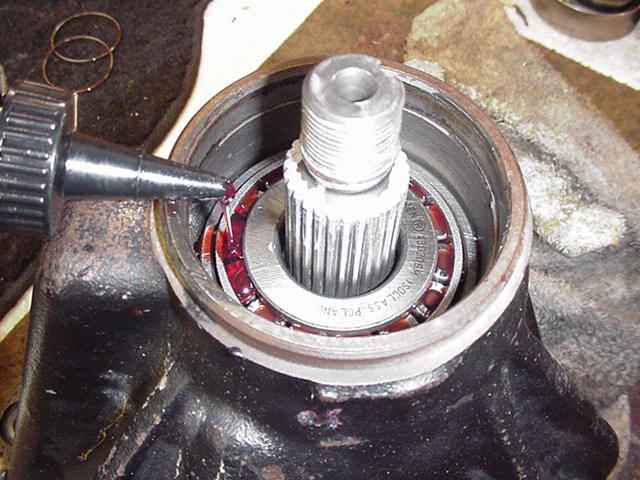
Lots of gear oil on both pinion bearings.
|
|
|
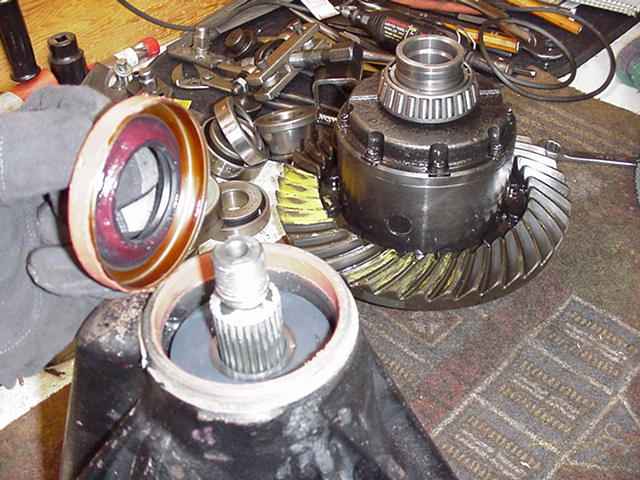
A thick grease is packed on the inside of the seal to prevent the spring from popping off during install.
|
|
|
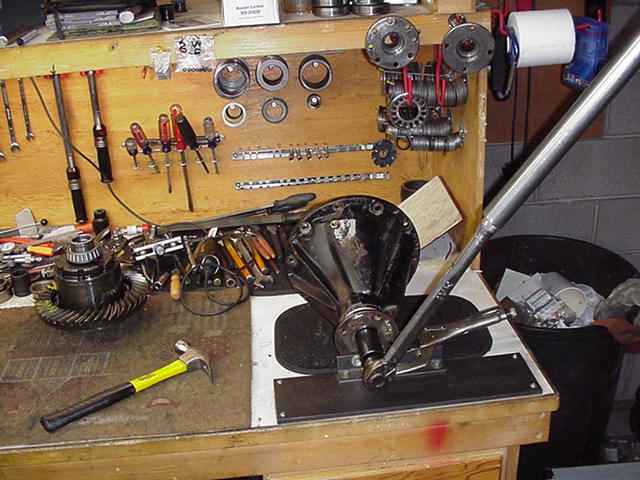
A jam nut was supplied with this master install kit. The nut had 3 dents on the top threads to cause thread interference
which will prevent the nut from working its way loose. I used lots of silver anti-seize on the threads which
helped greatly in crushing the sleeve.
|
|
|
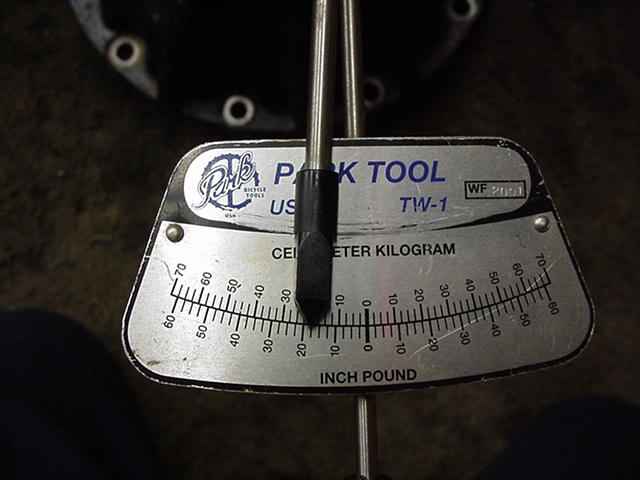
I choose to run the PPL (pinion pre-load) up to the upper spec of 17 in/lb.
|
|
|
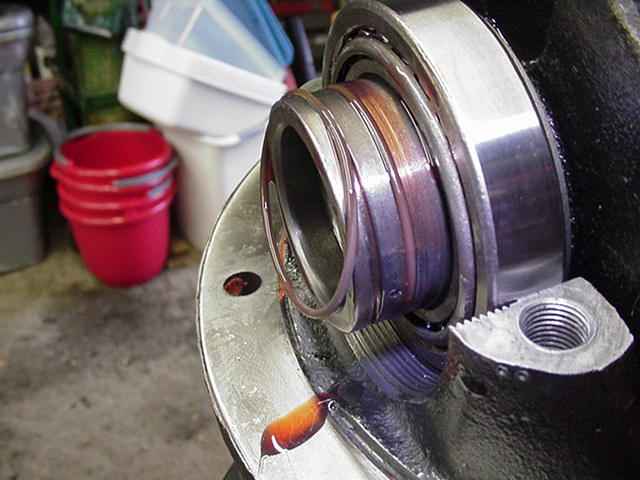
Lots of gear oil and the new o-rings are installed.
|
|
|
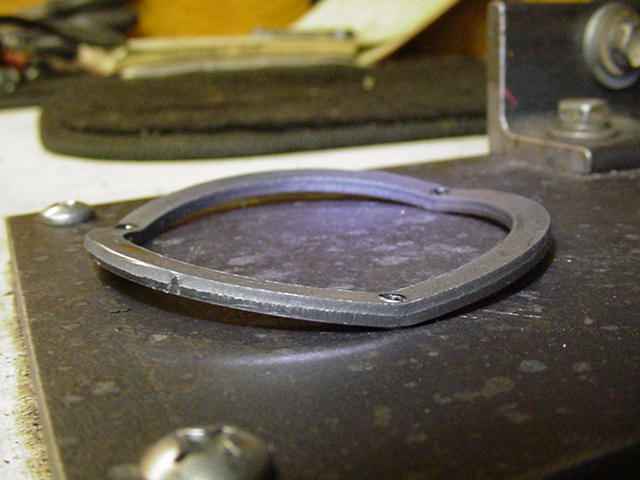
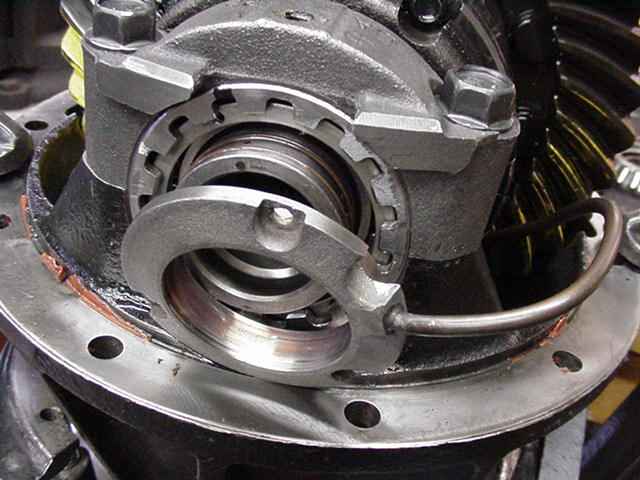
This is the old clamping plate which is why I ordered a new straight one. This happens when the 3 tiny allen
screws are tightened up with too much zest.
|
|
|
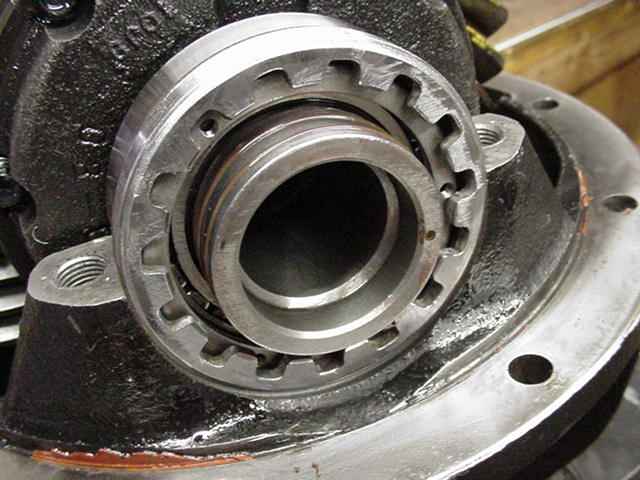
The new clamping plate with 3 tapped holes is loosely captured behind the carrier bearing adjuster wheel.
|
|
|
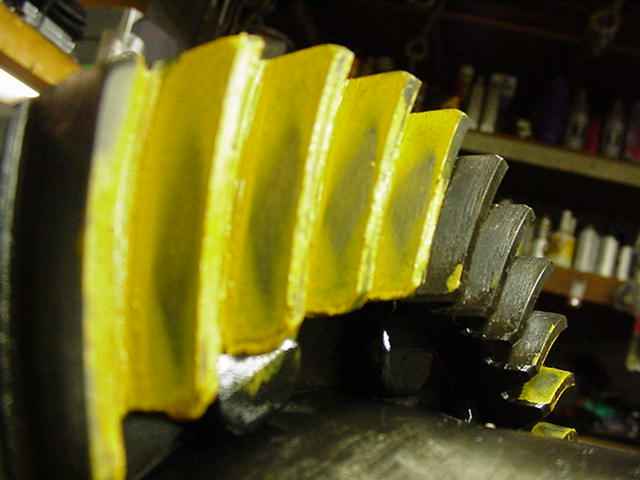
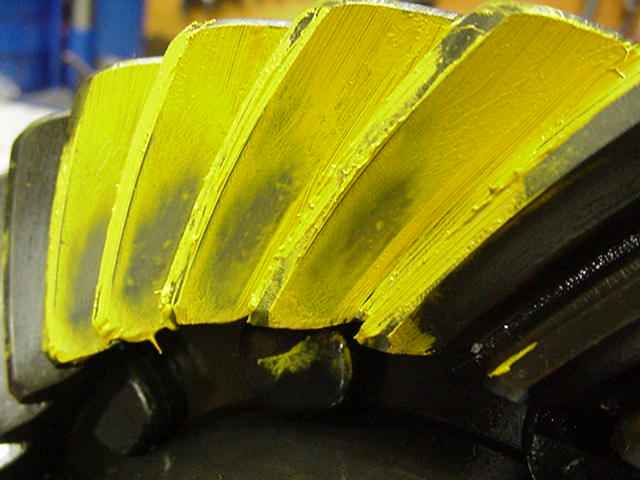
This painted pattern looks very similar to the preliminary pattern before it was dis-assembled.
|
|
|
Good.
|
|
|
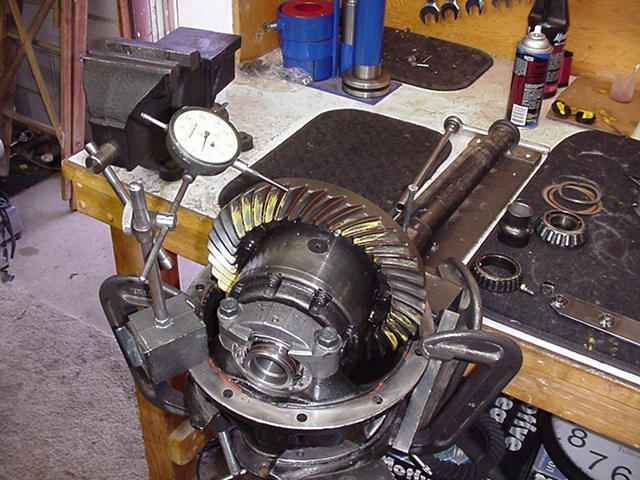
Backlash was set to .0075".
|
|
|
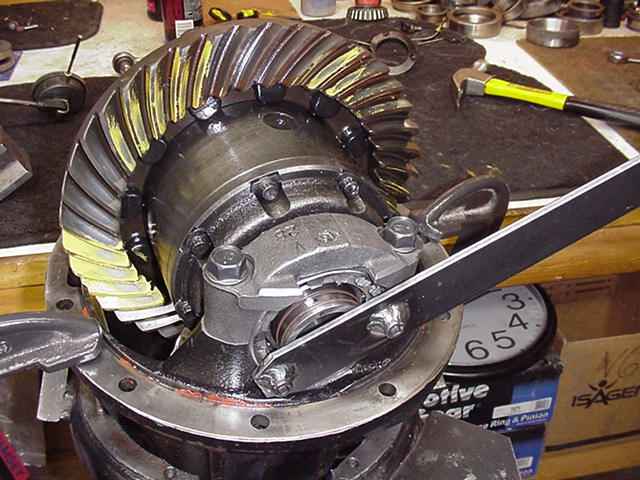
Carrier bearing adjusters are evenly tightened while monitoring the backlash. Many hammer hits later, everything is
looking good.
|
|
|
The seal housing is carefully aligned and pushed on.
|
|
|
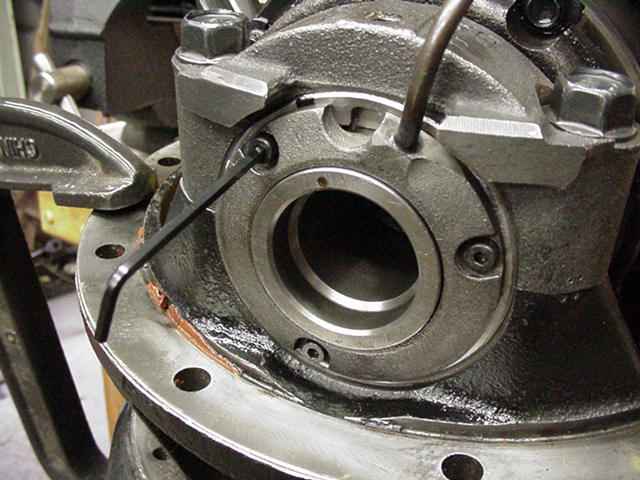
With no tension coming from the hard copper line, the 3 allen screws are carefully cross-tightened to a mere 3.5 ft/lb
per ARB's tech notes. There will be no potential leaks if the o-rings are actually self-centering the seal housing...
and the Loctited screws are snugged evenly to lock the housing in place.
|
|
|
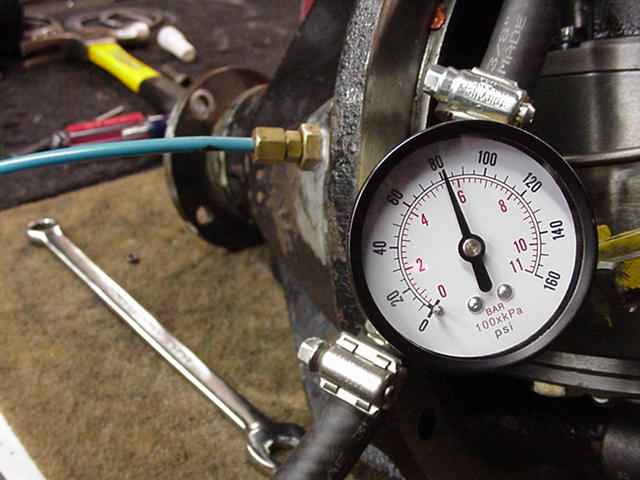
With my air hose assembly pumped up to 80 psi, no loss of pressure was observed even after a 30 minute period.
|
|
|
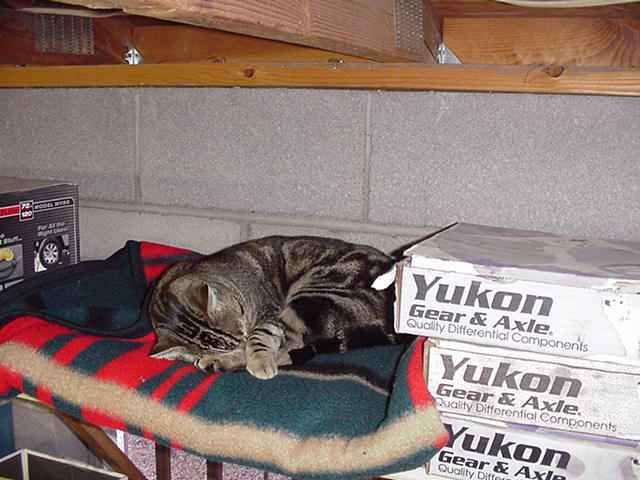
Bullseye has a nice cushy blanket on the top shelf he uses to watch me from. :)
|
|
|
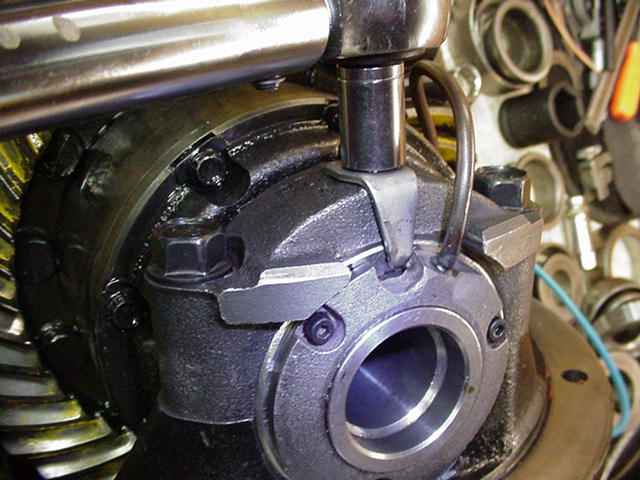
10 ft/lbs and loctite on the tab bolts. The 4 bearings cap bolts see 81 ft/lb per the FSM.
|
|
|
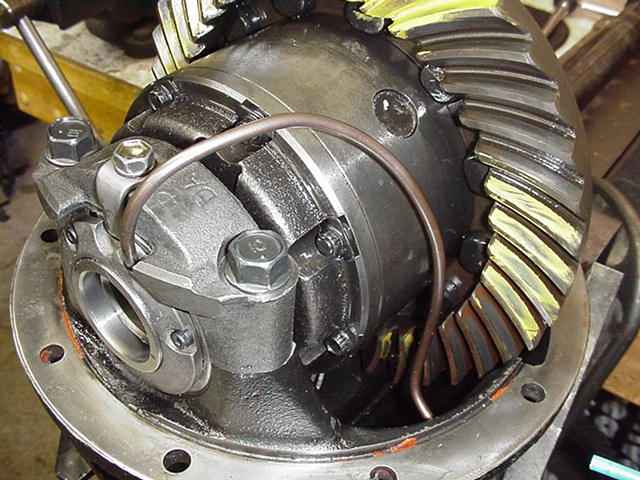
One last look at the routing of the copper line.
|
|
|
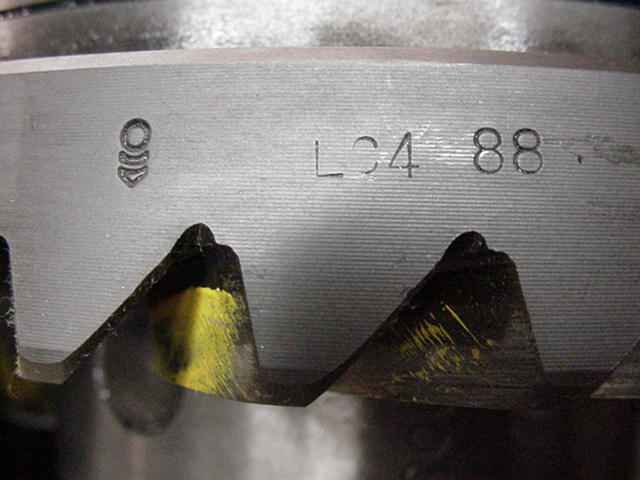
The symbol on the left means its Motive...and it's a 488 ratio for a Landcruiser.
|
|
|
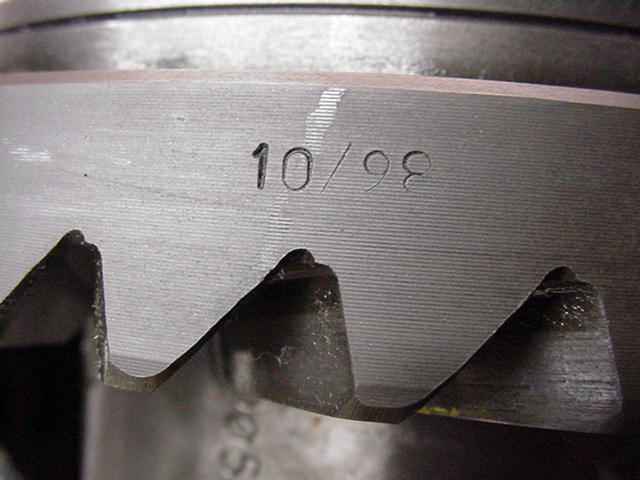
Manufacturered in 10/98....this 488 Motive was likely installed in about mid 1999 along with the ARB RD33.
|
|
|
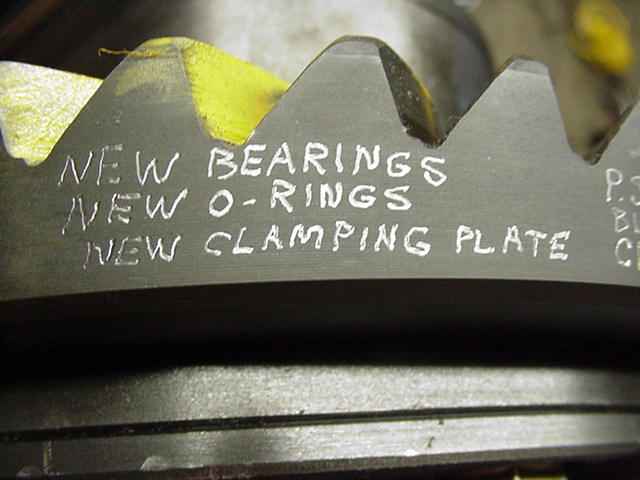
Some notes that I like to inscribe on the ring...
|
|
|
...and specs used. Done.
|

|