|
Hawaiian 2008 Tundra Front 9" Clam gets 488 Nitro Gears
|
|
(84 BIG pics loading)
|
|
JAN 30 2016
|
|
|
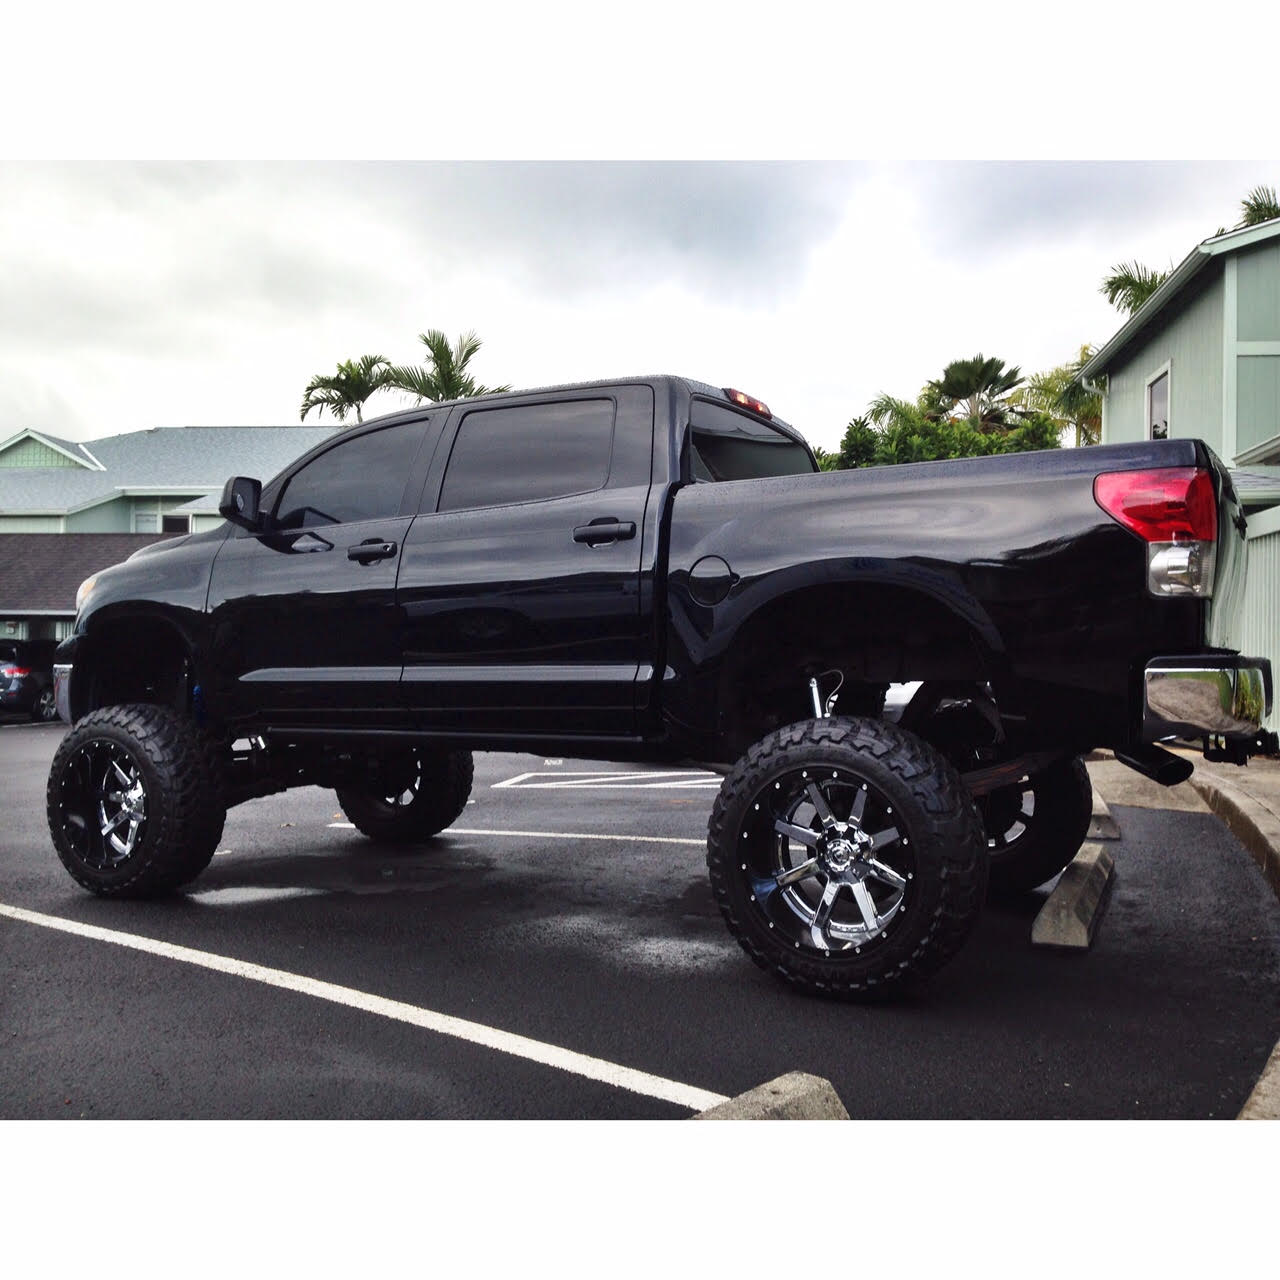
Rory from the Hawaiian island of O'ahu is sporting 37" tires on his '08 Tundra.
488 gears was the logical choice. The clam was taken to a machine shop to get
the large inner race pressed in. They ended up cracking the aluminum case and
had to buy a new case half for Rory. They did not want to have anything to
do with these 9" clams at this point. Rory's dad, Jon, searched the island
for alternatives.....there were none. Then he searched with Google and
came across my website.
|
|
|
|
|
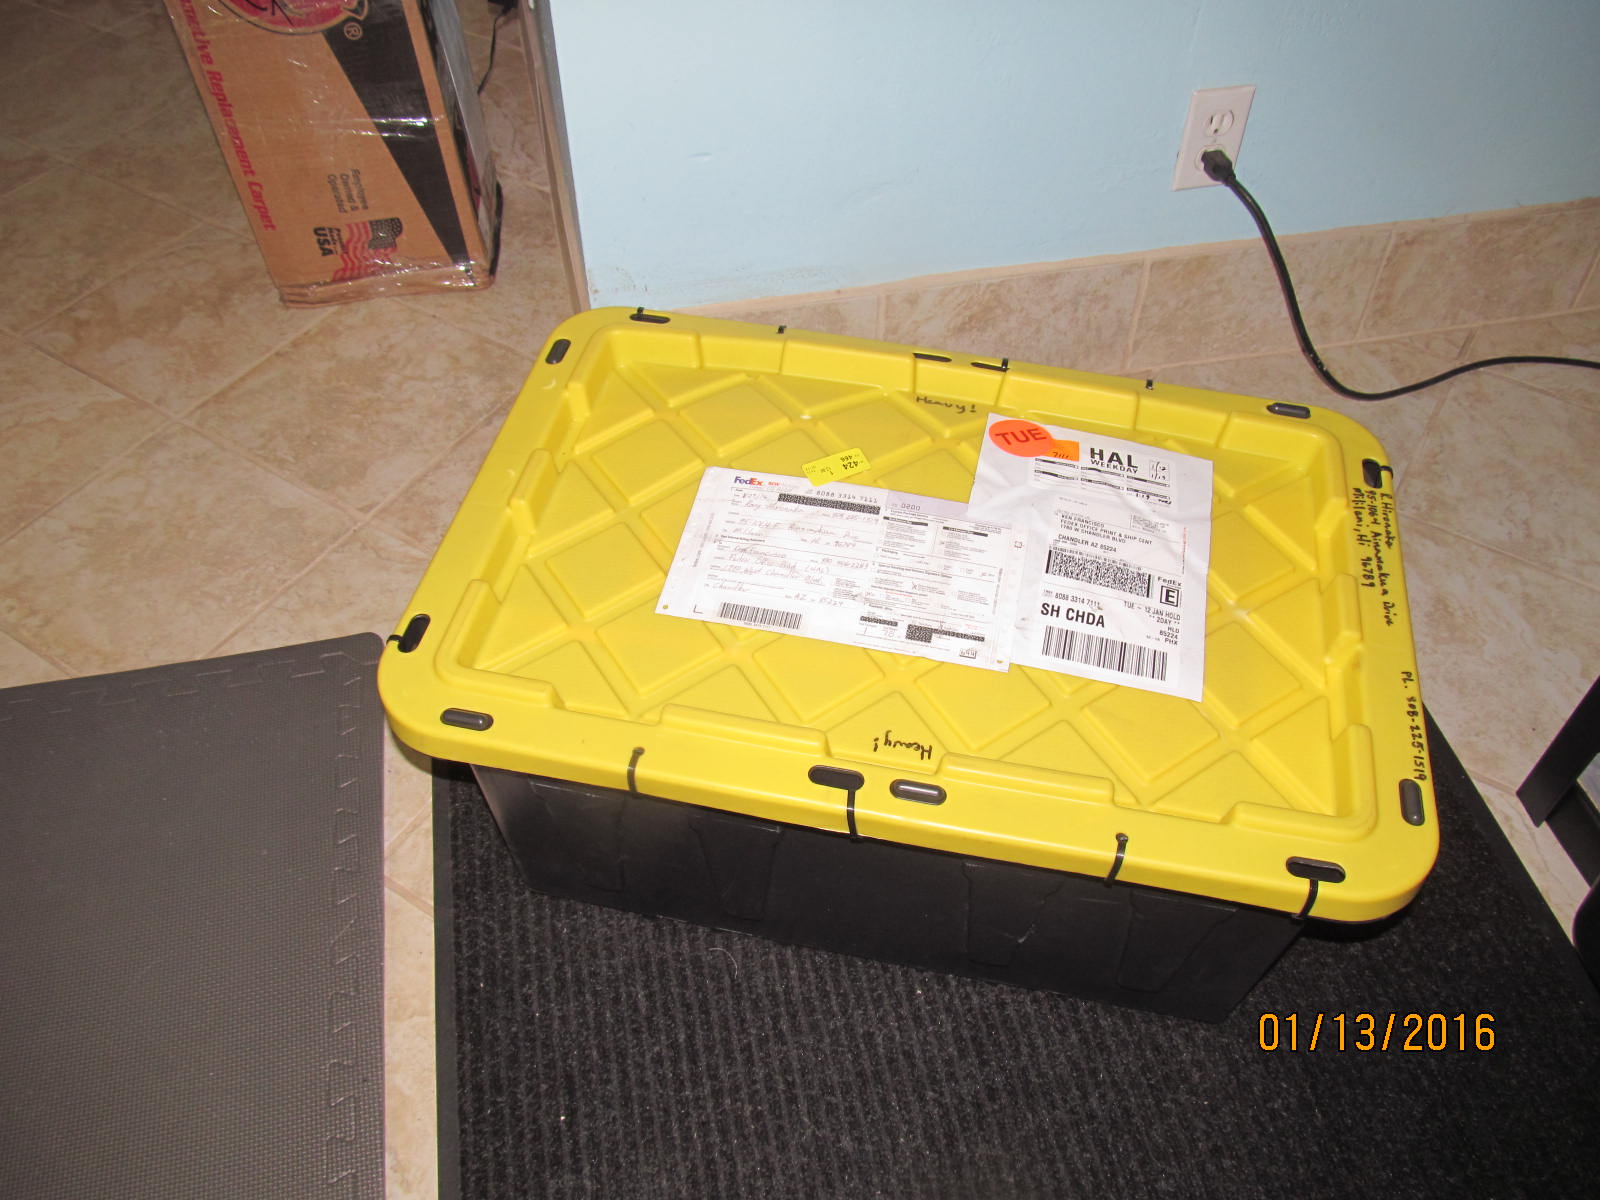
A 79 pound tote from O'ahu shows up soon afterward.
|
|
|
|
|
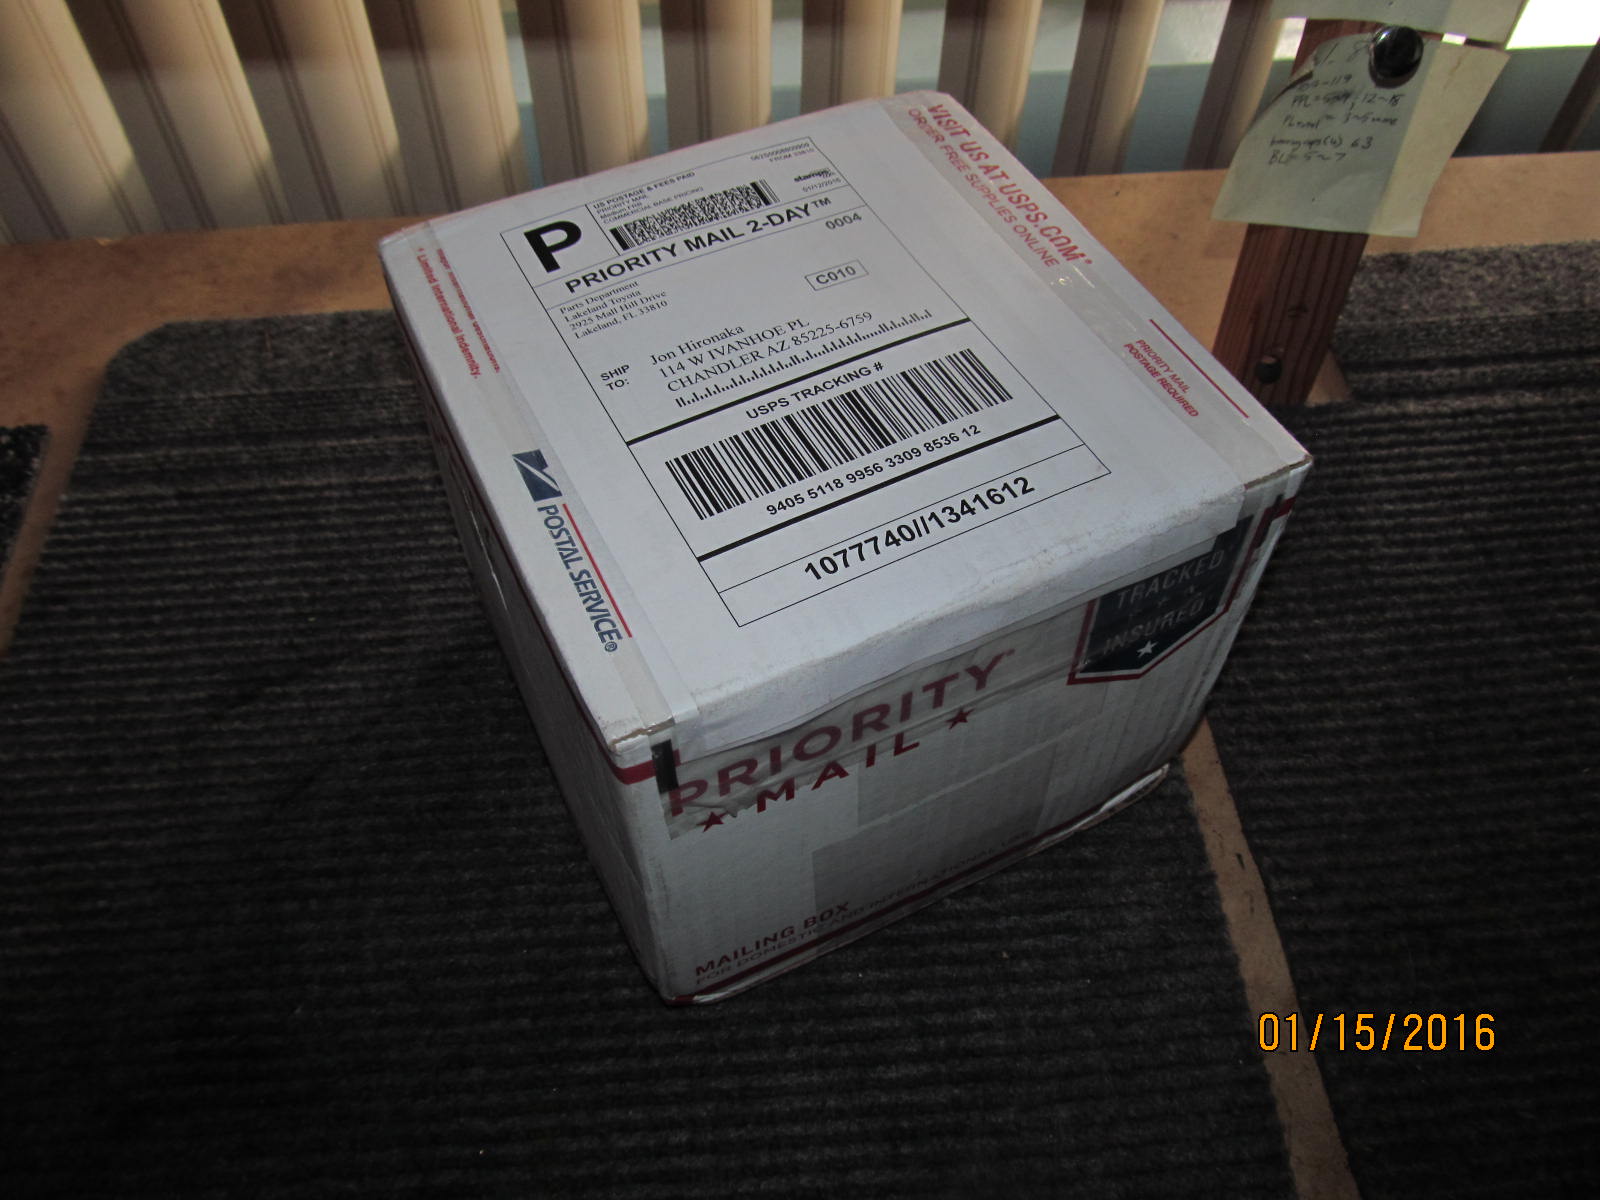
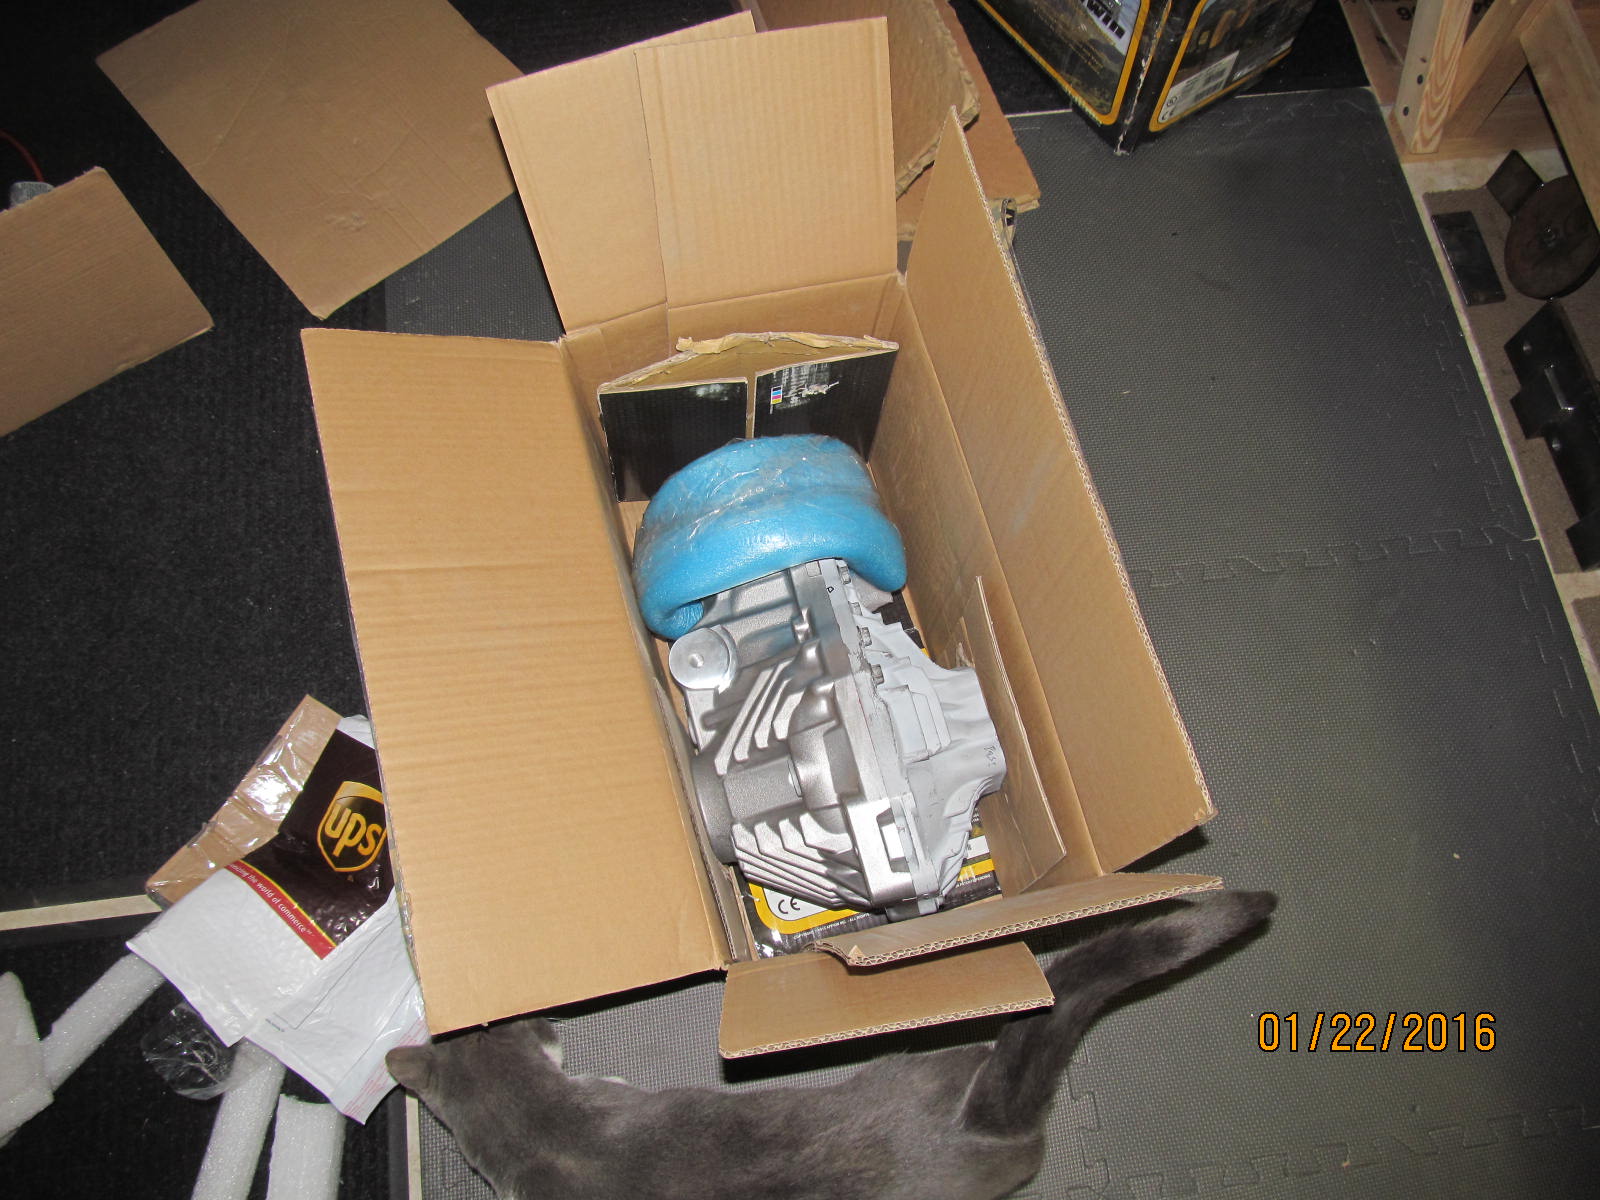
Another small box USPS priority mail arrives.
|
|
|
|
|
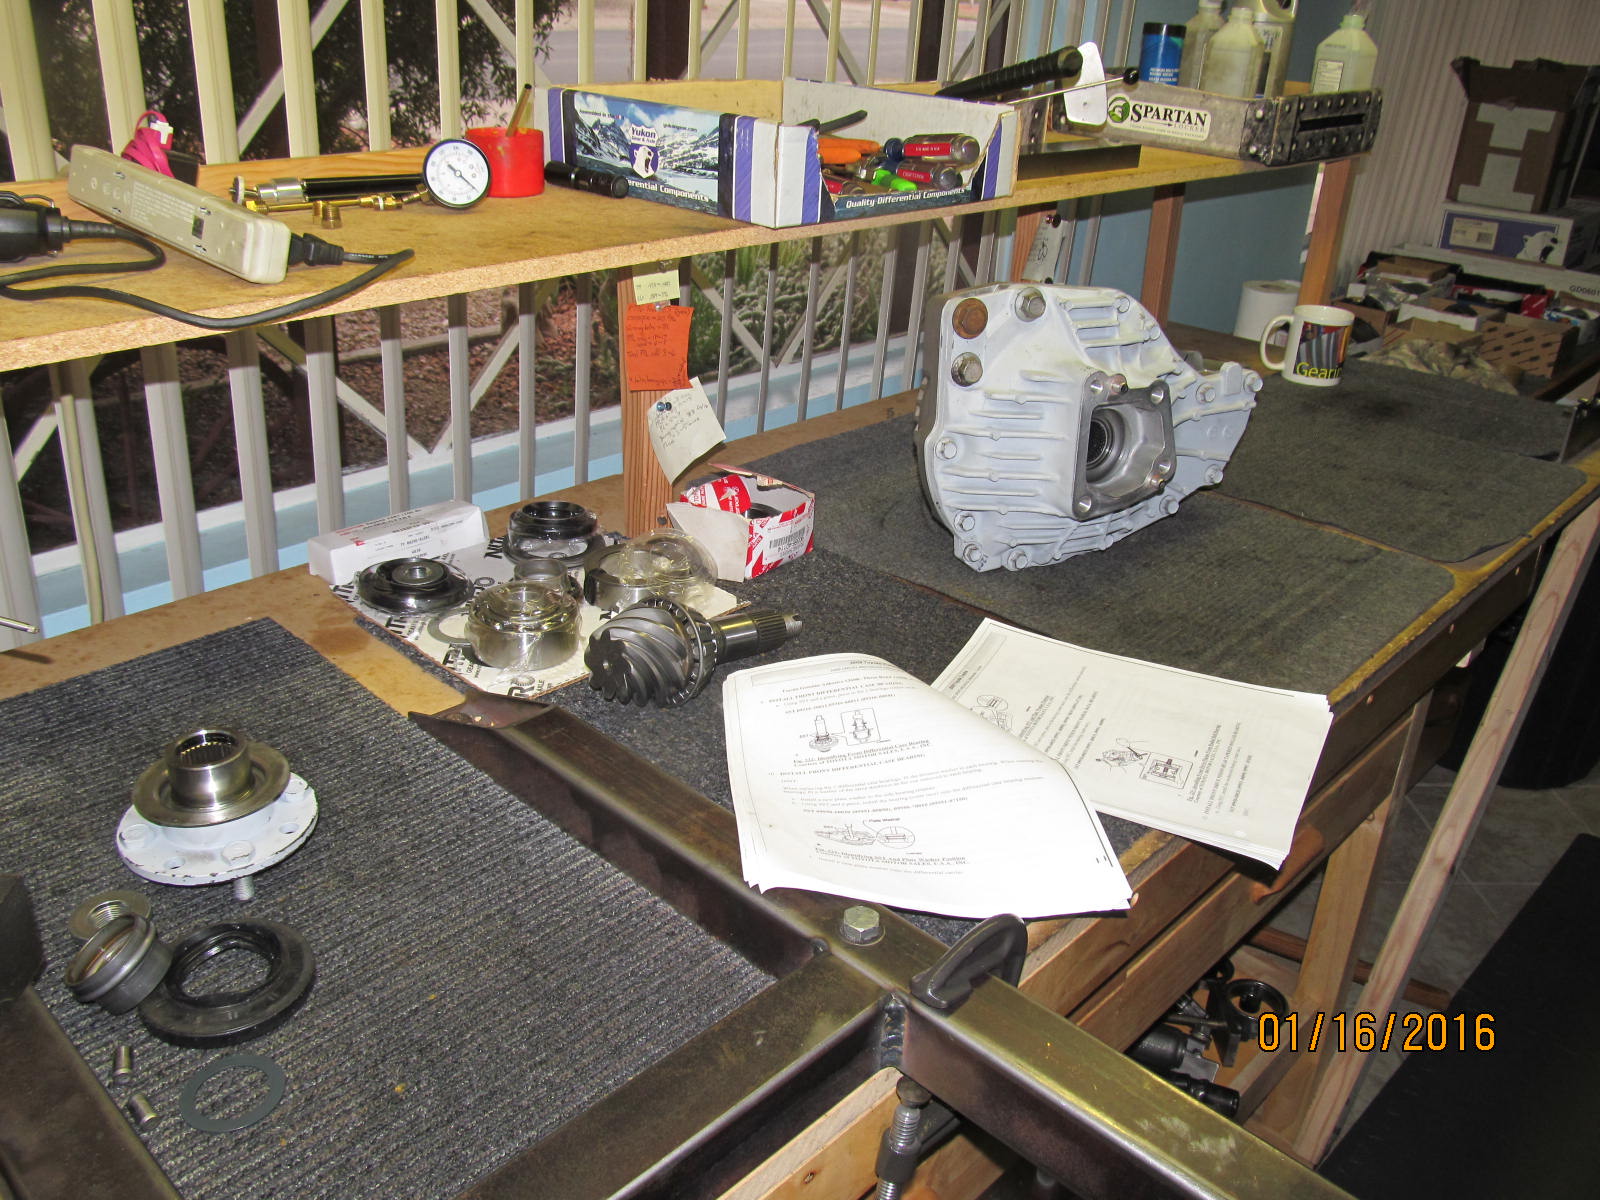
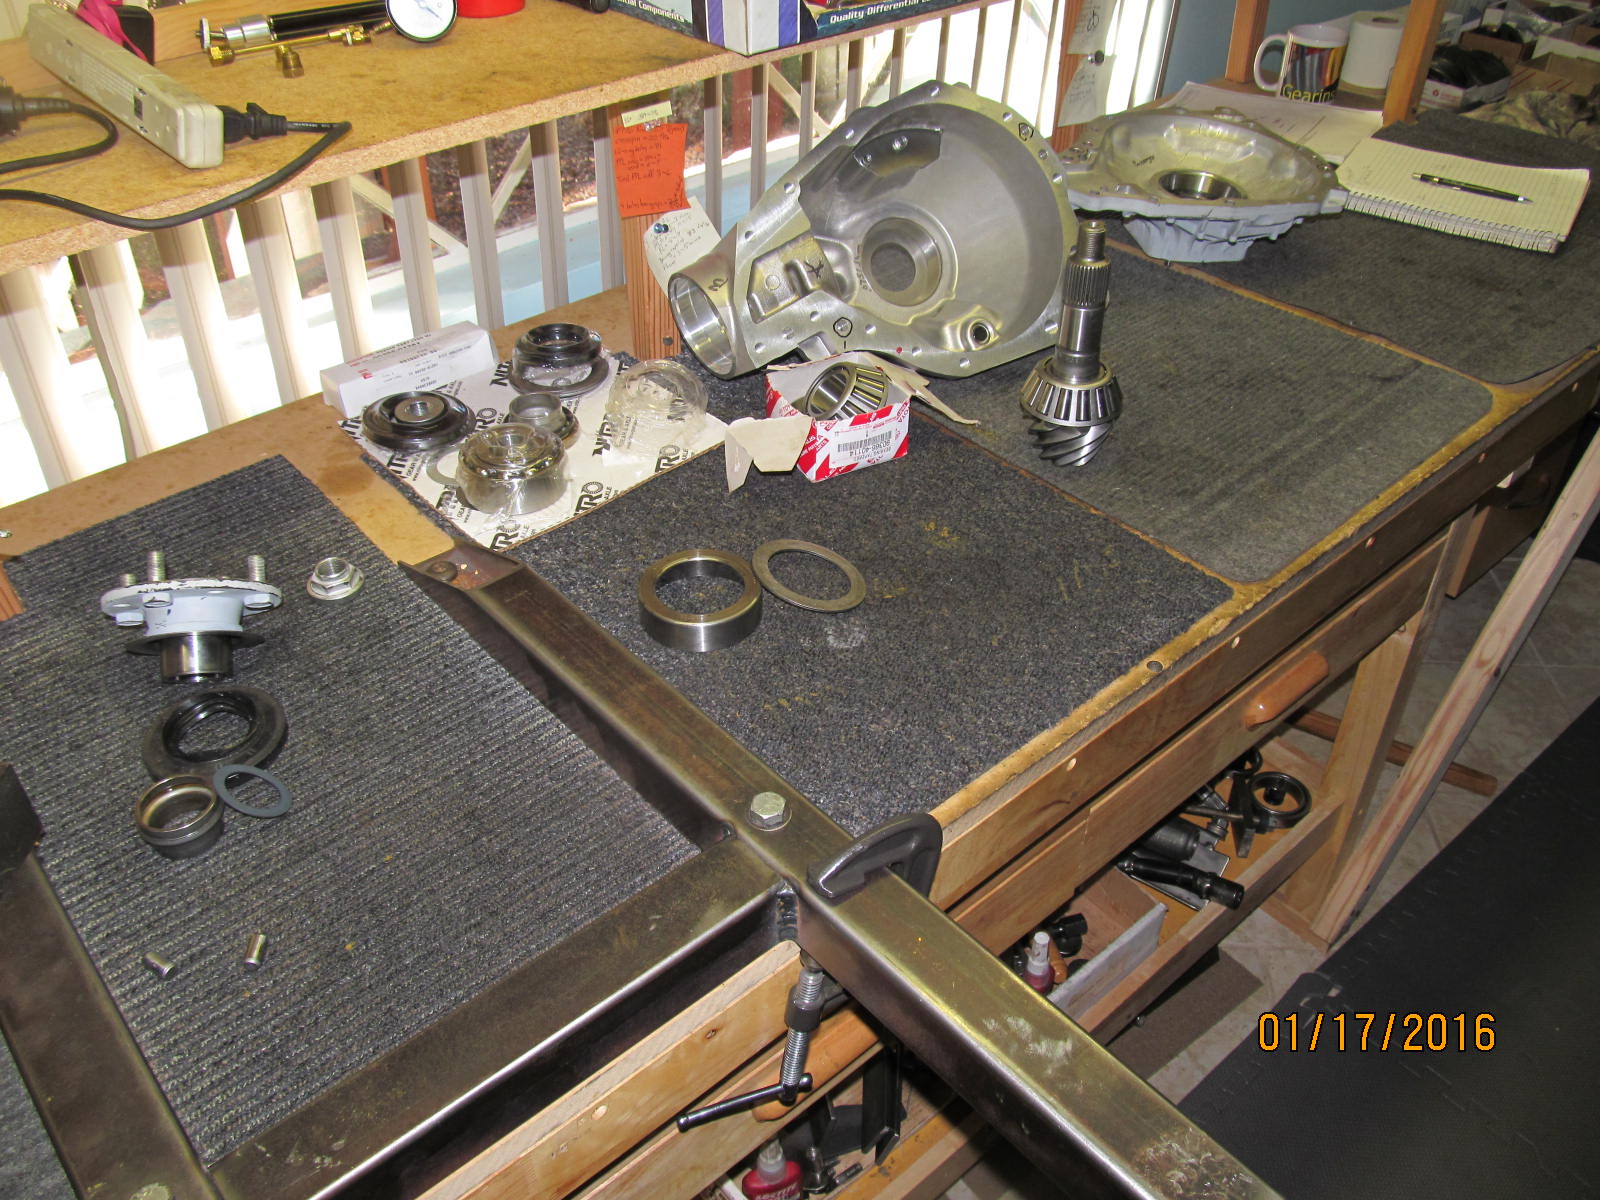
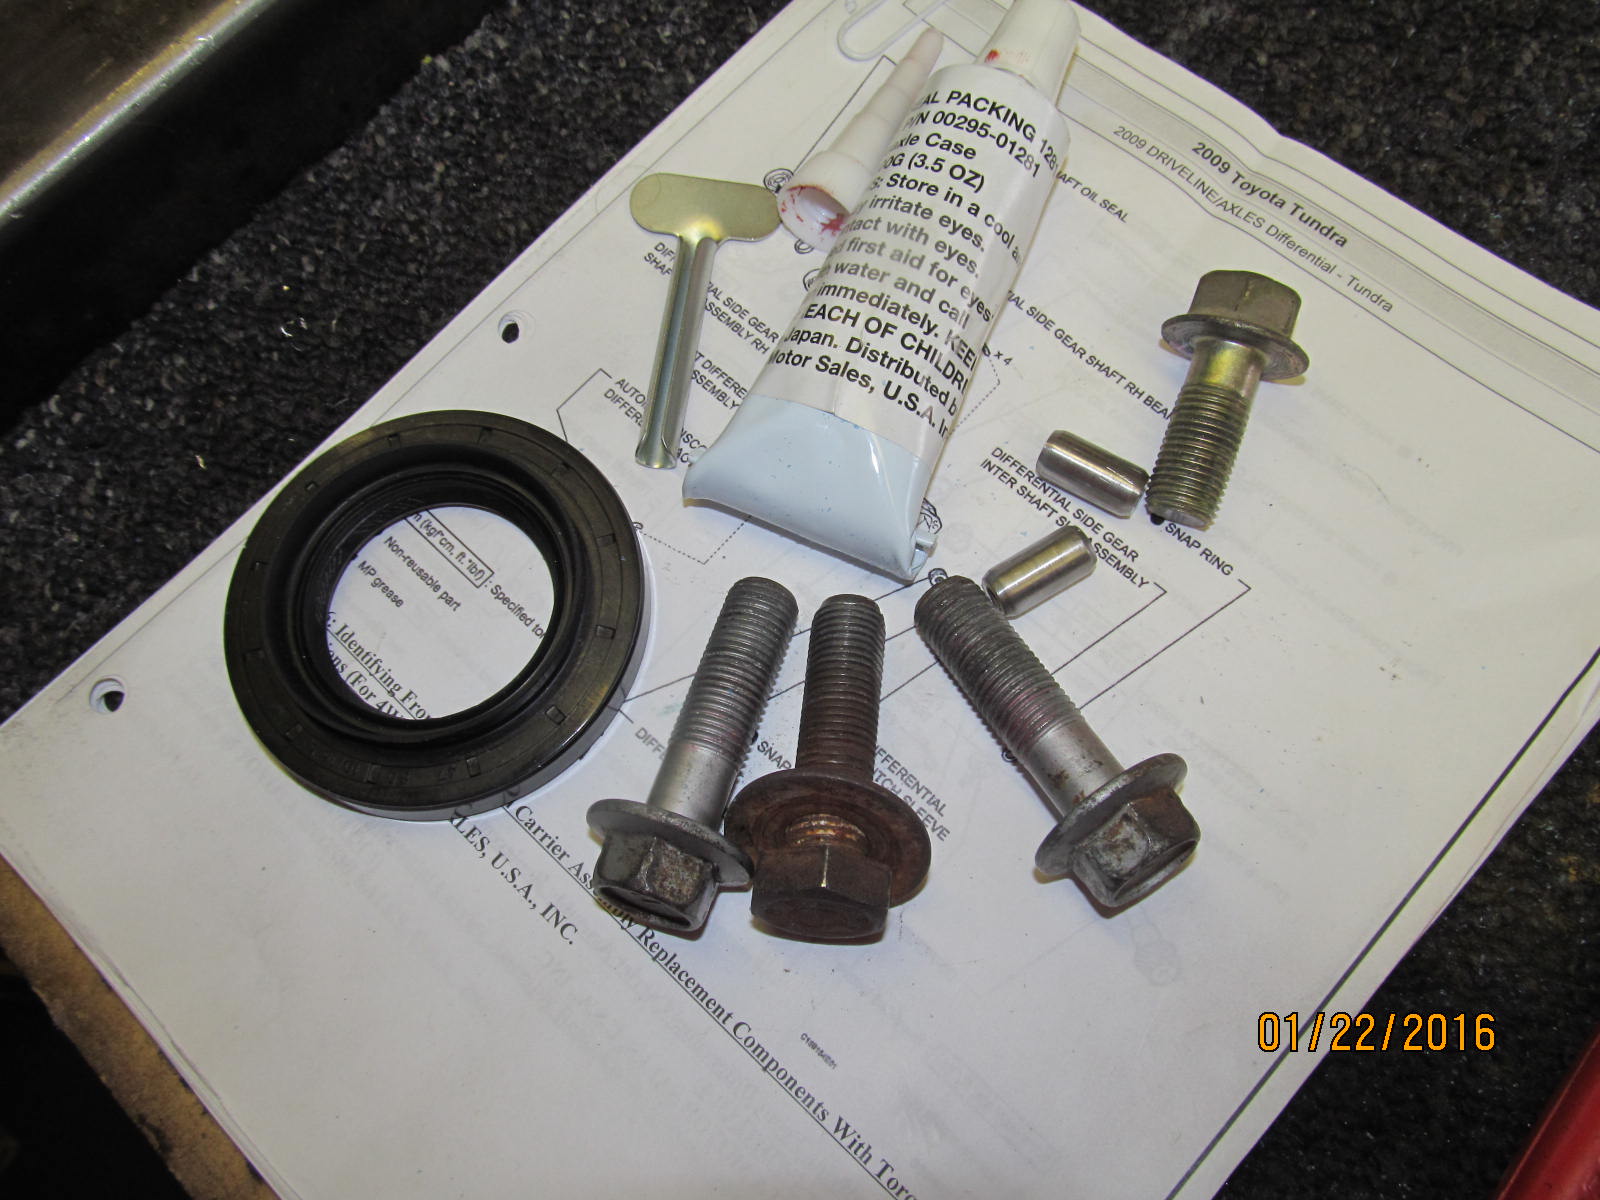
Parts are organized.
|
|
|
|
|
............
|
|
|

|
|
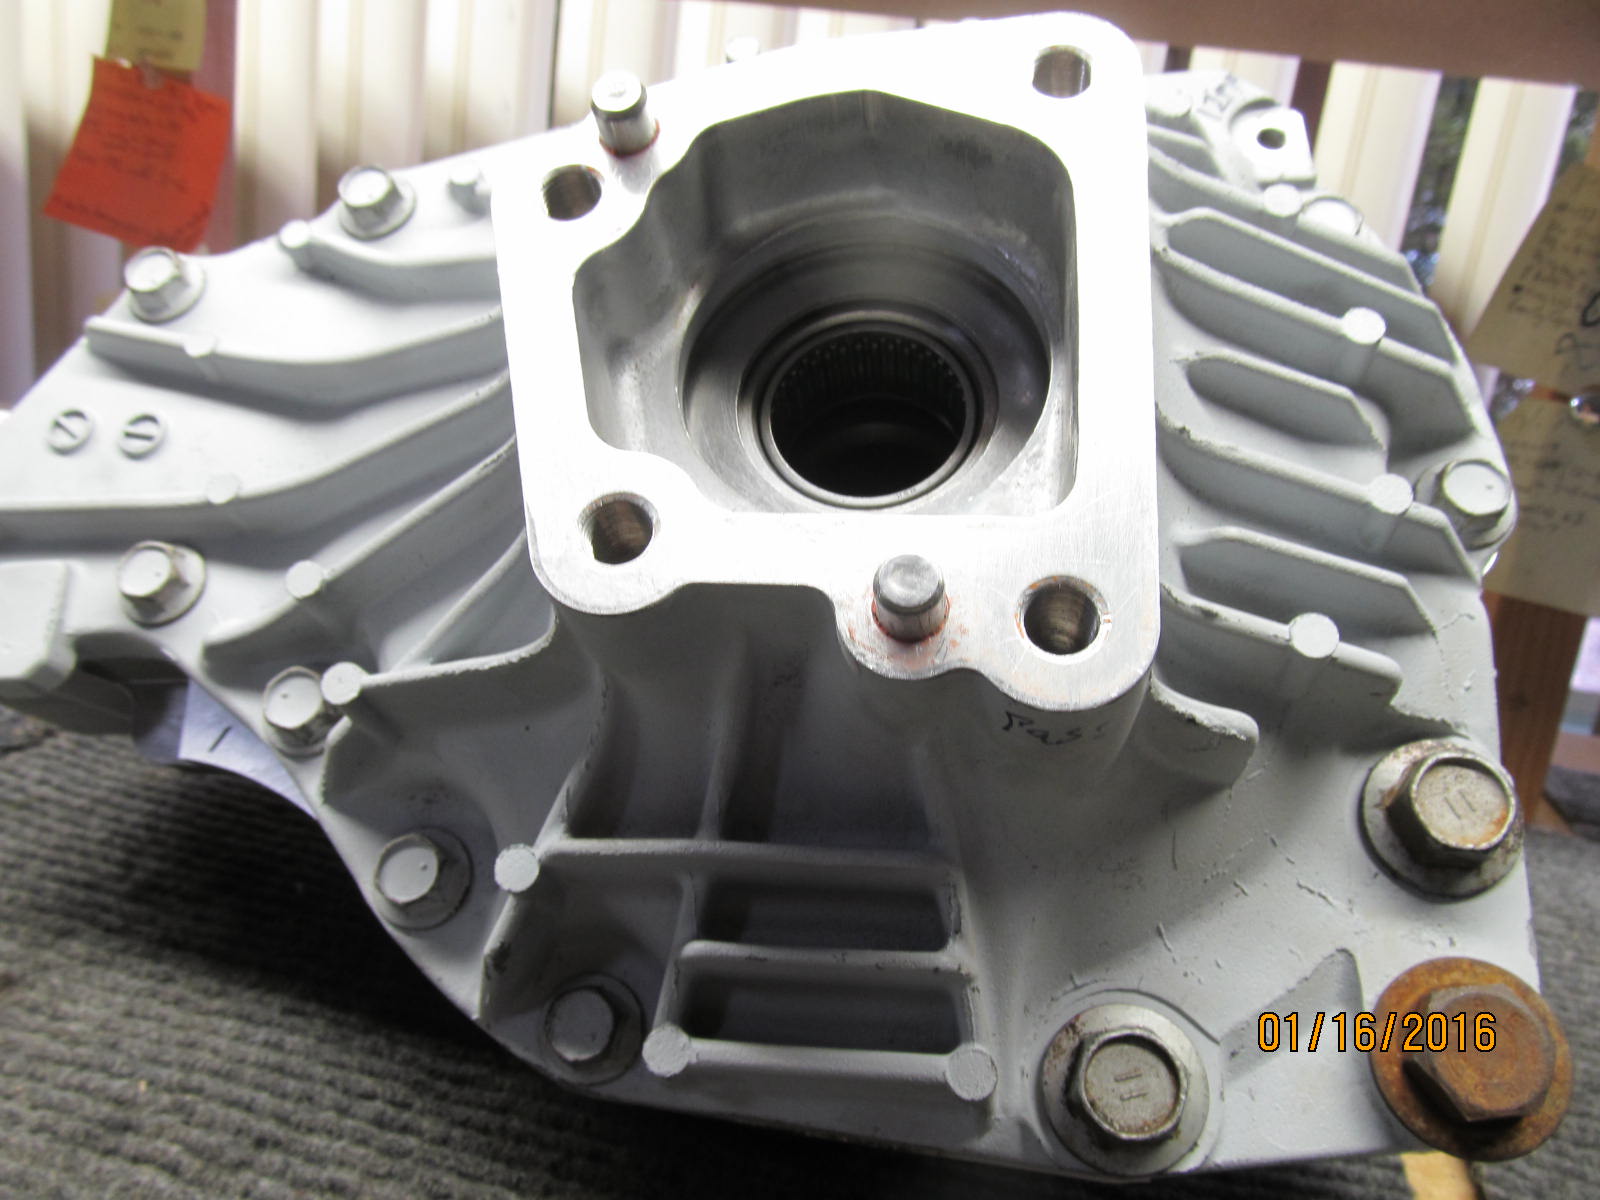
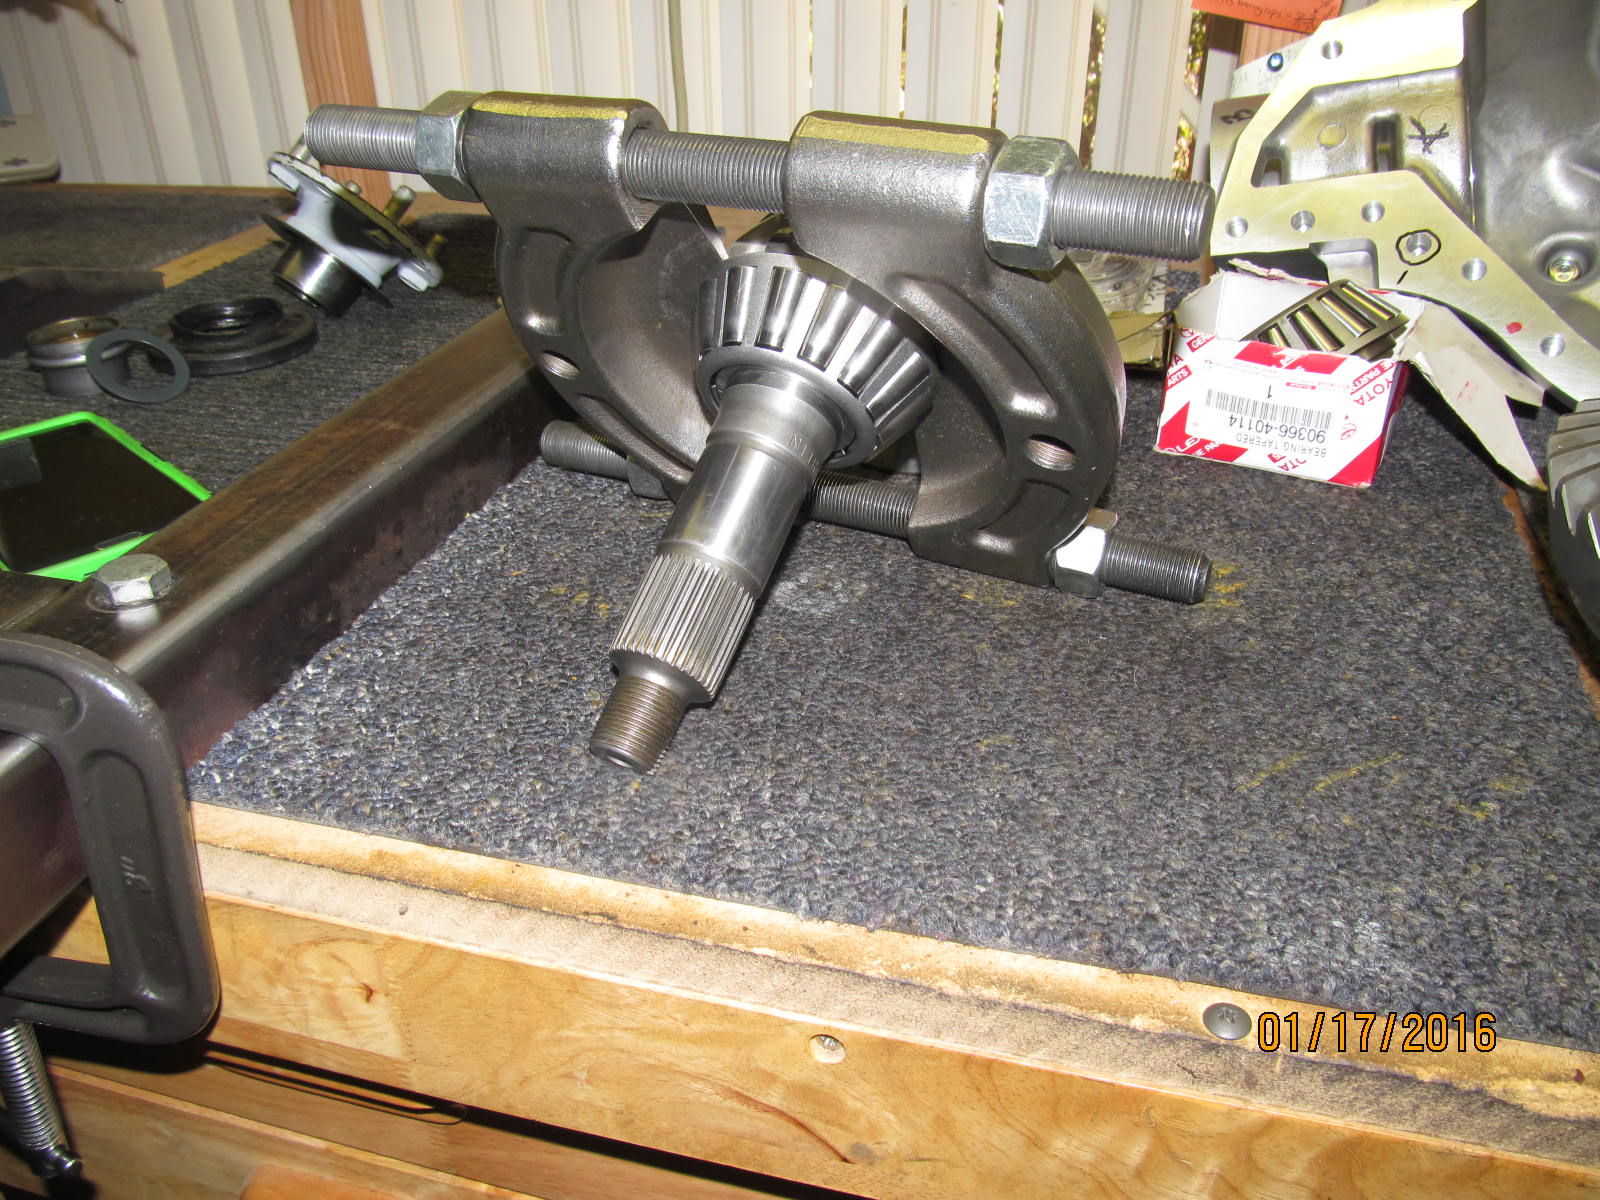
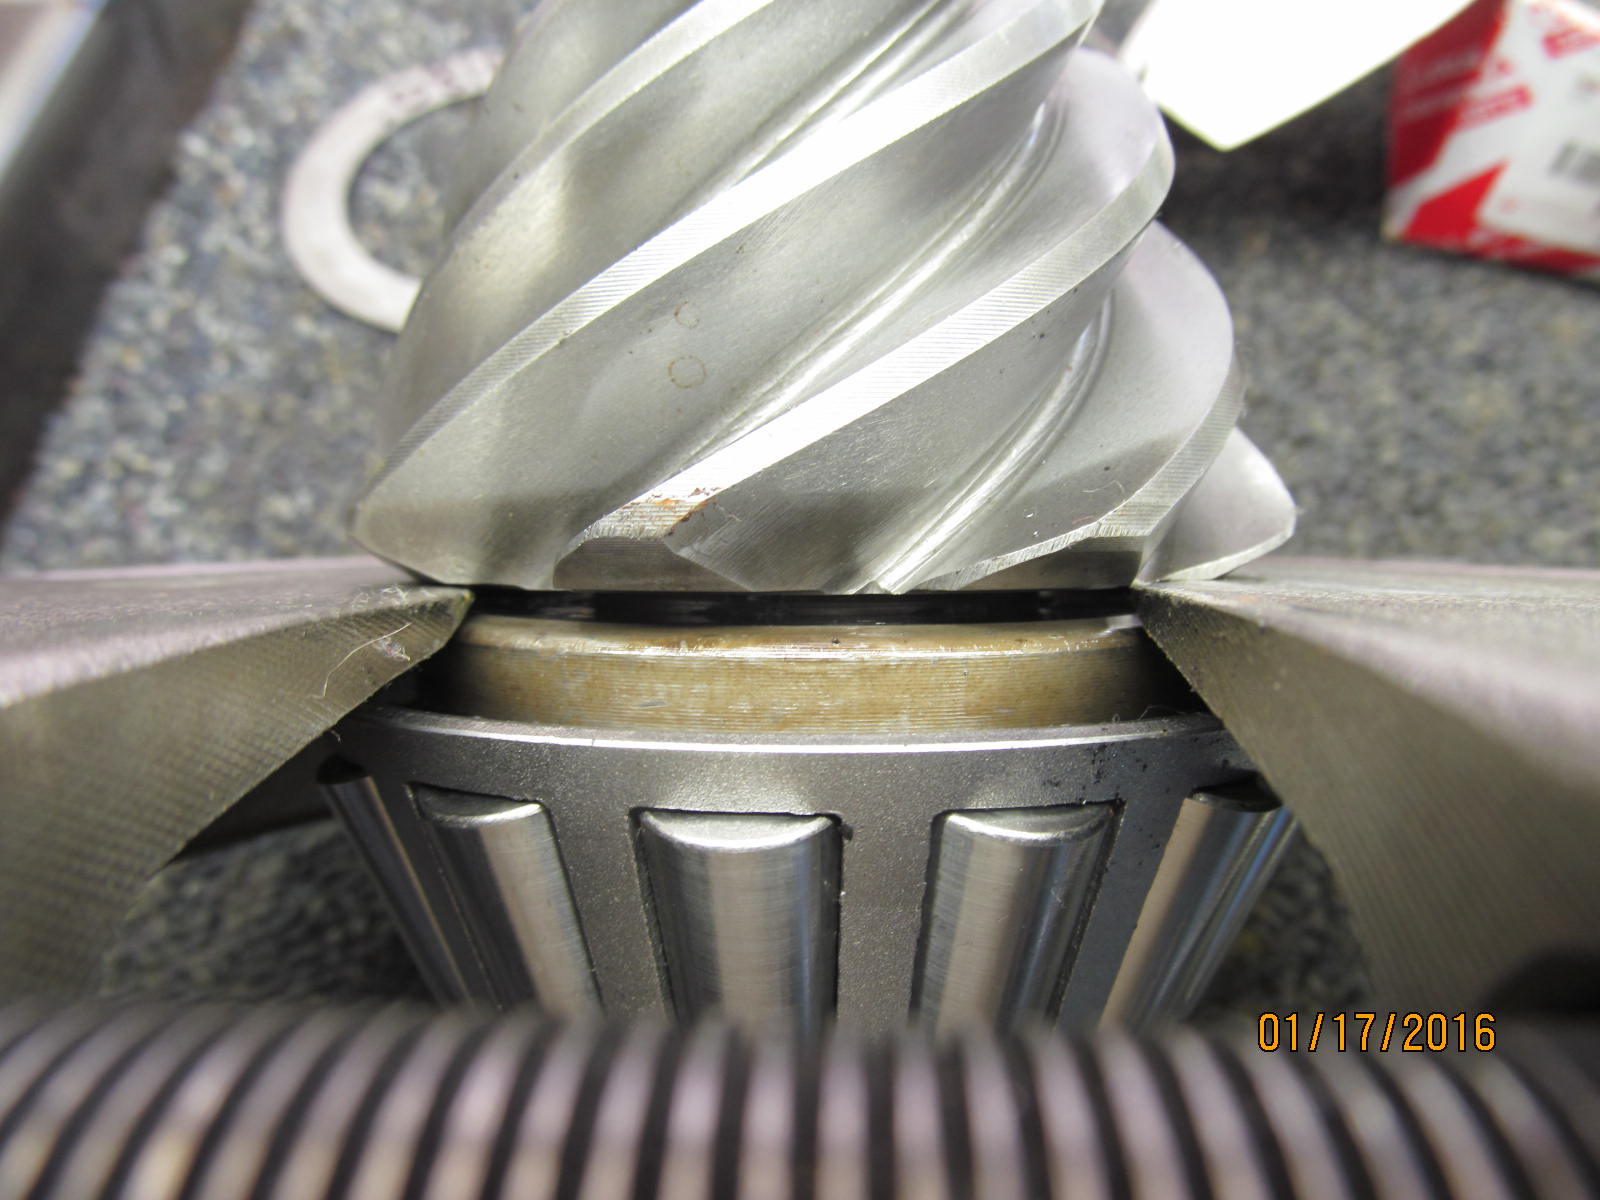
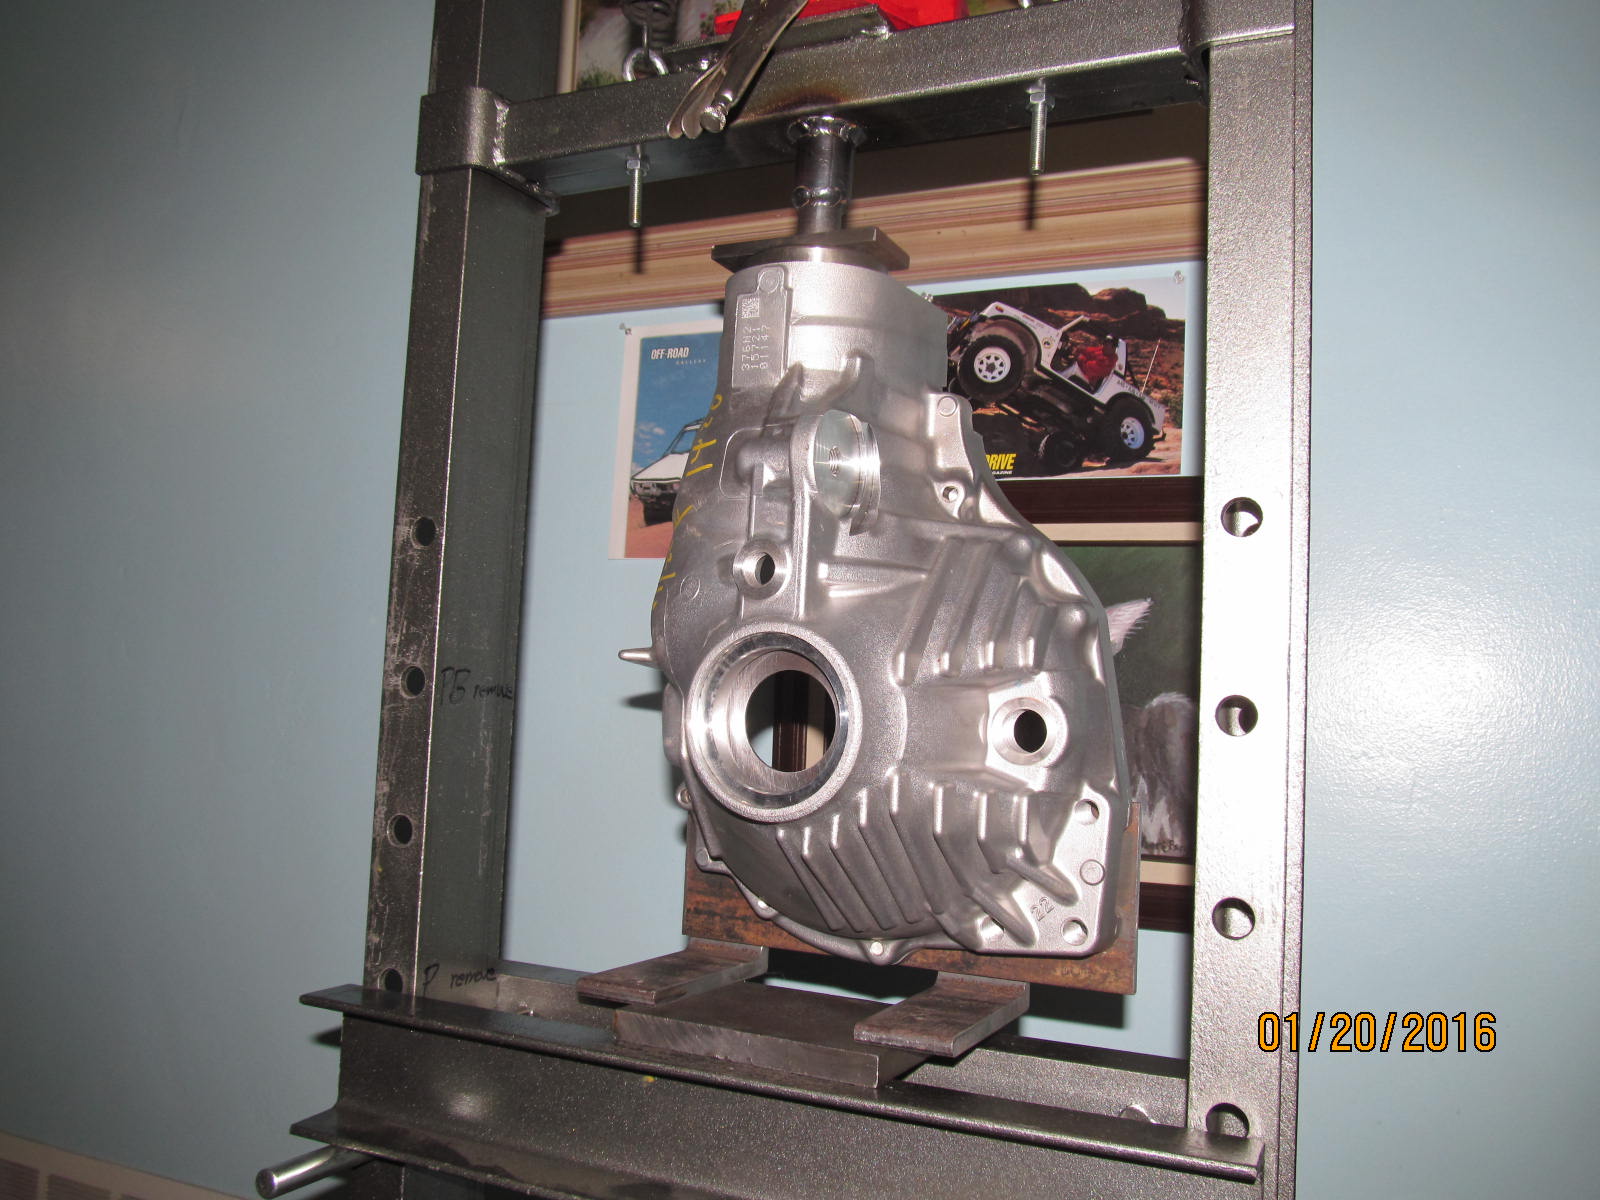
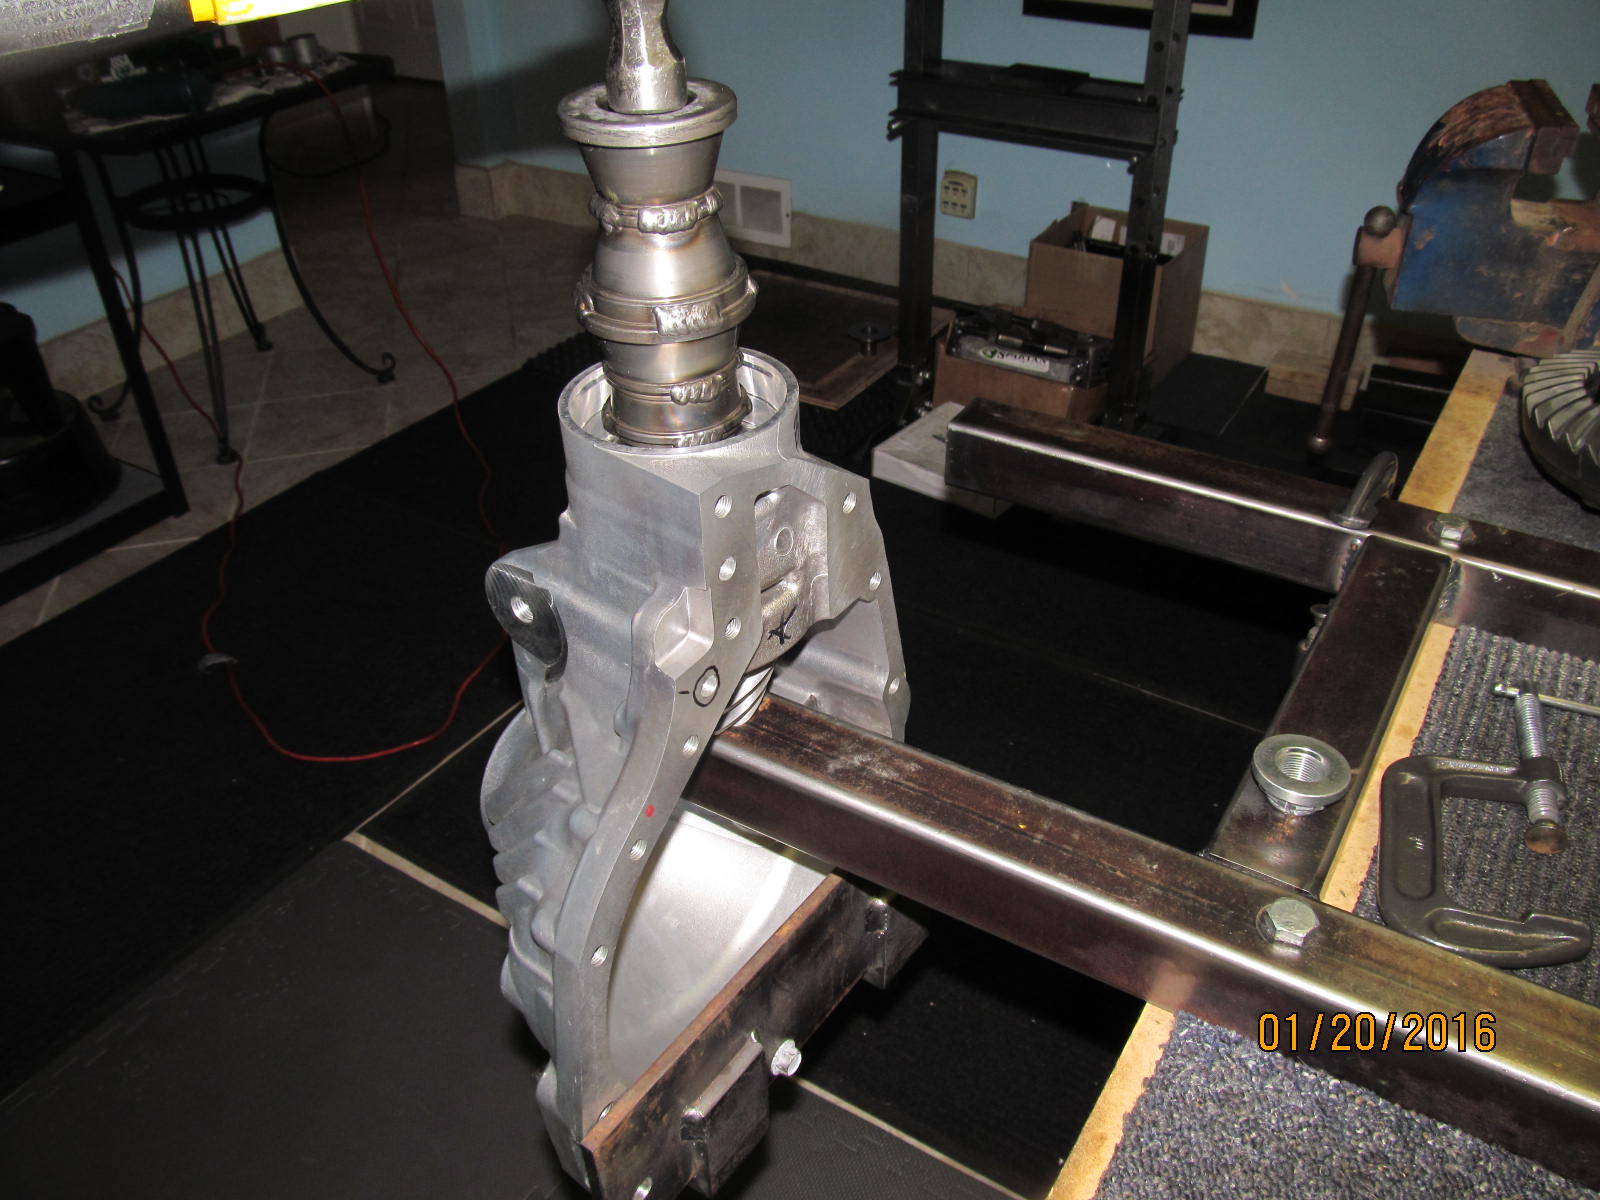
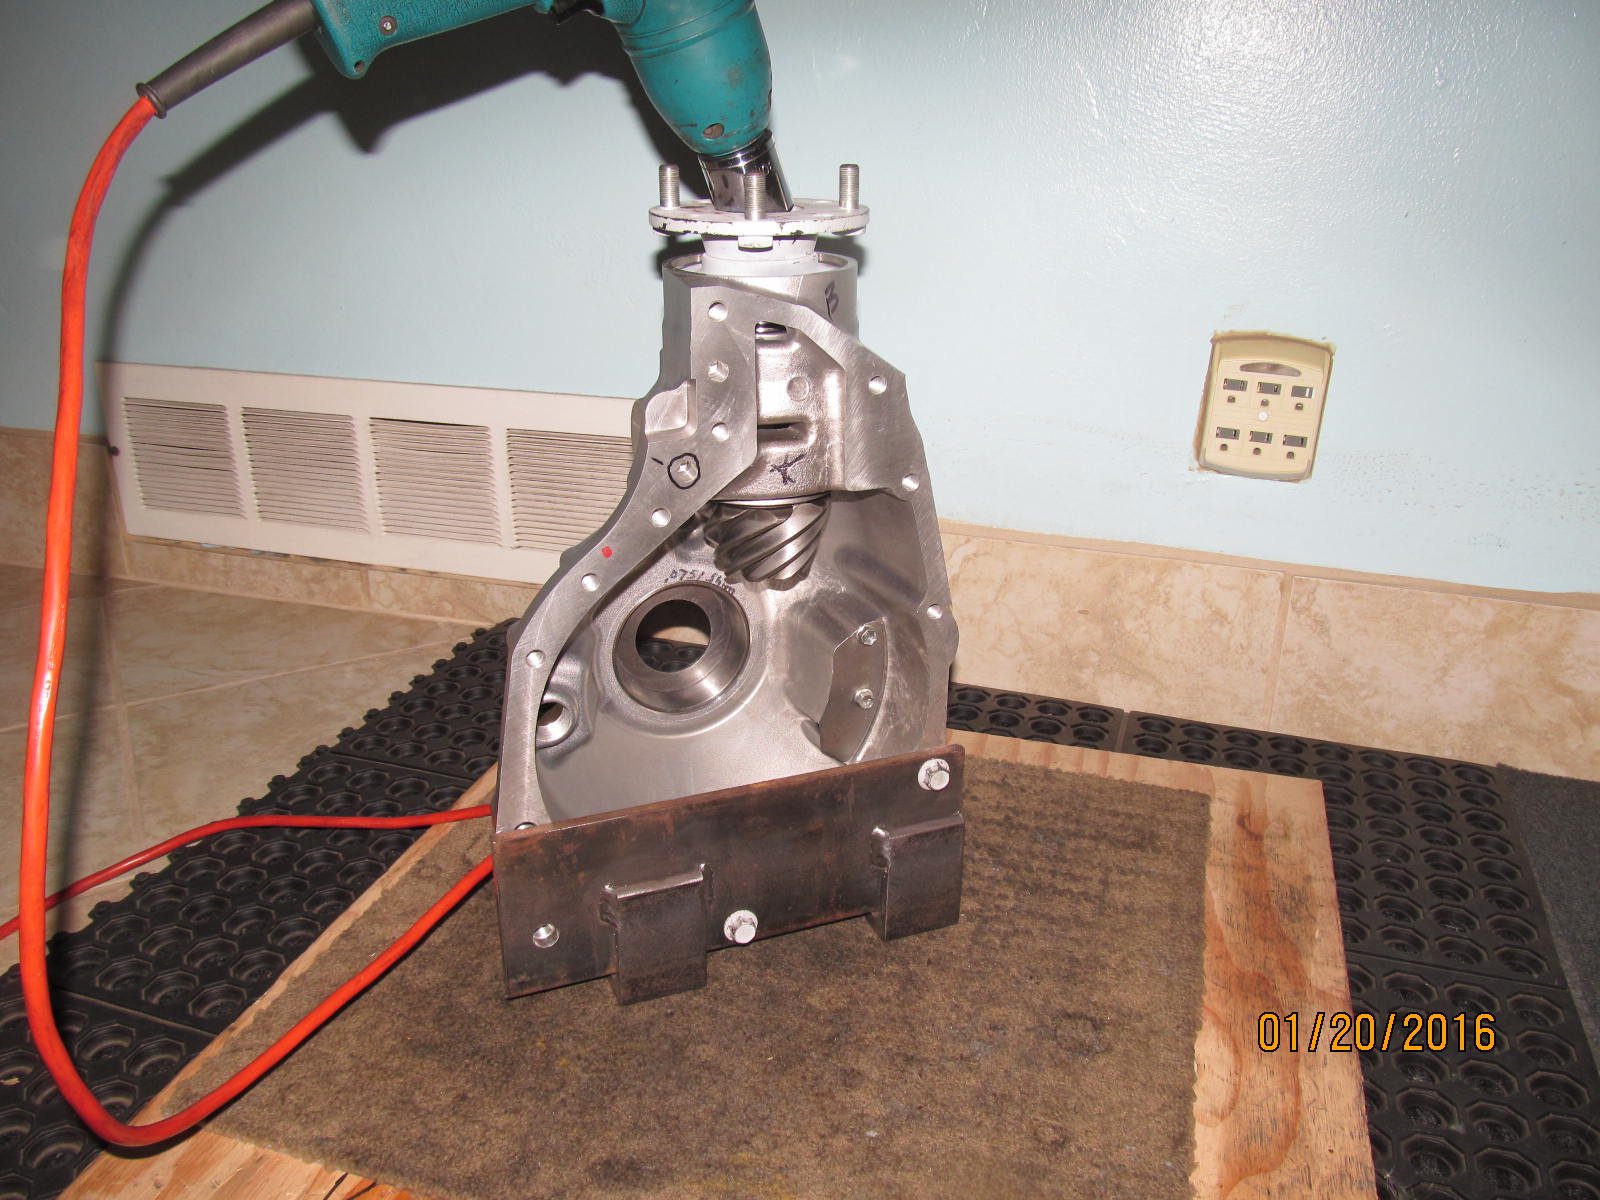
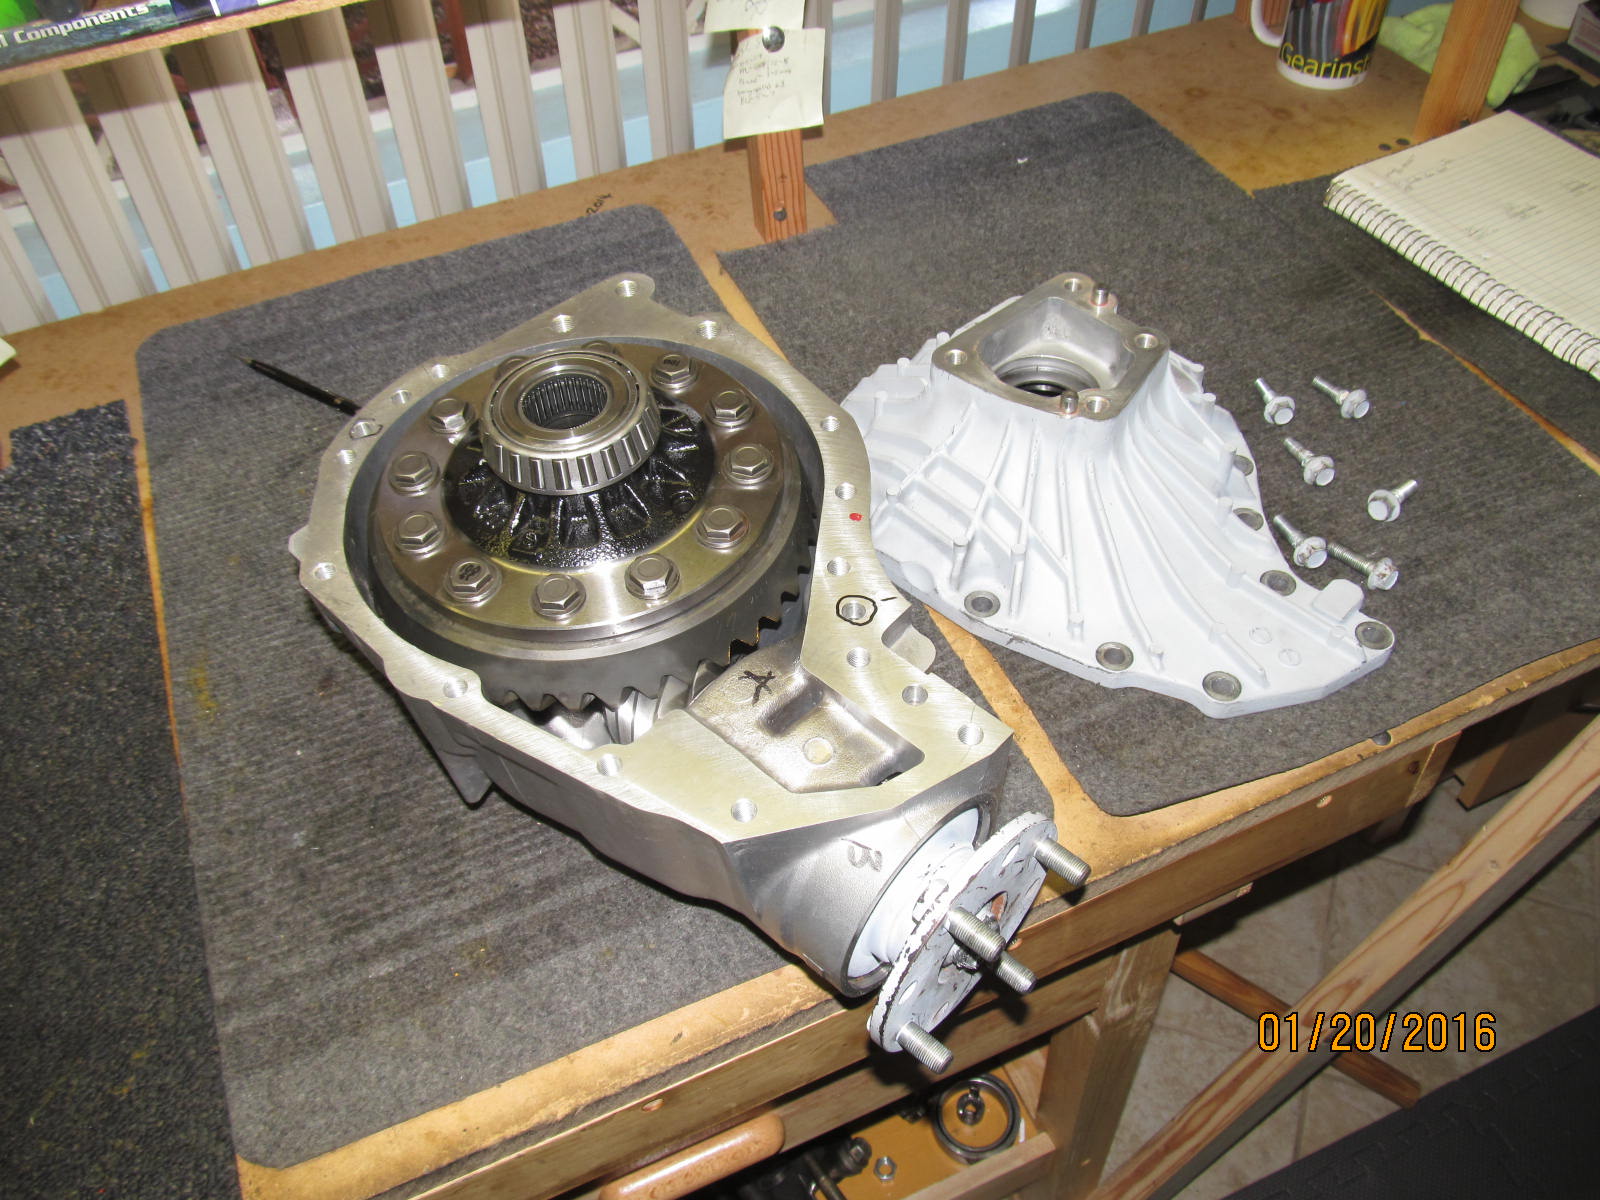
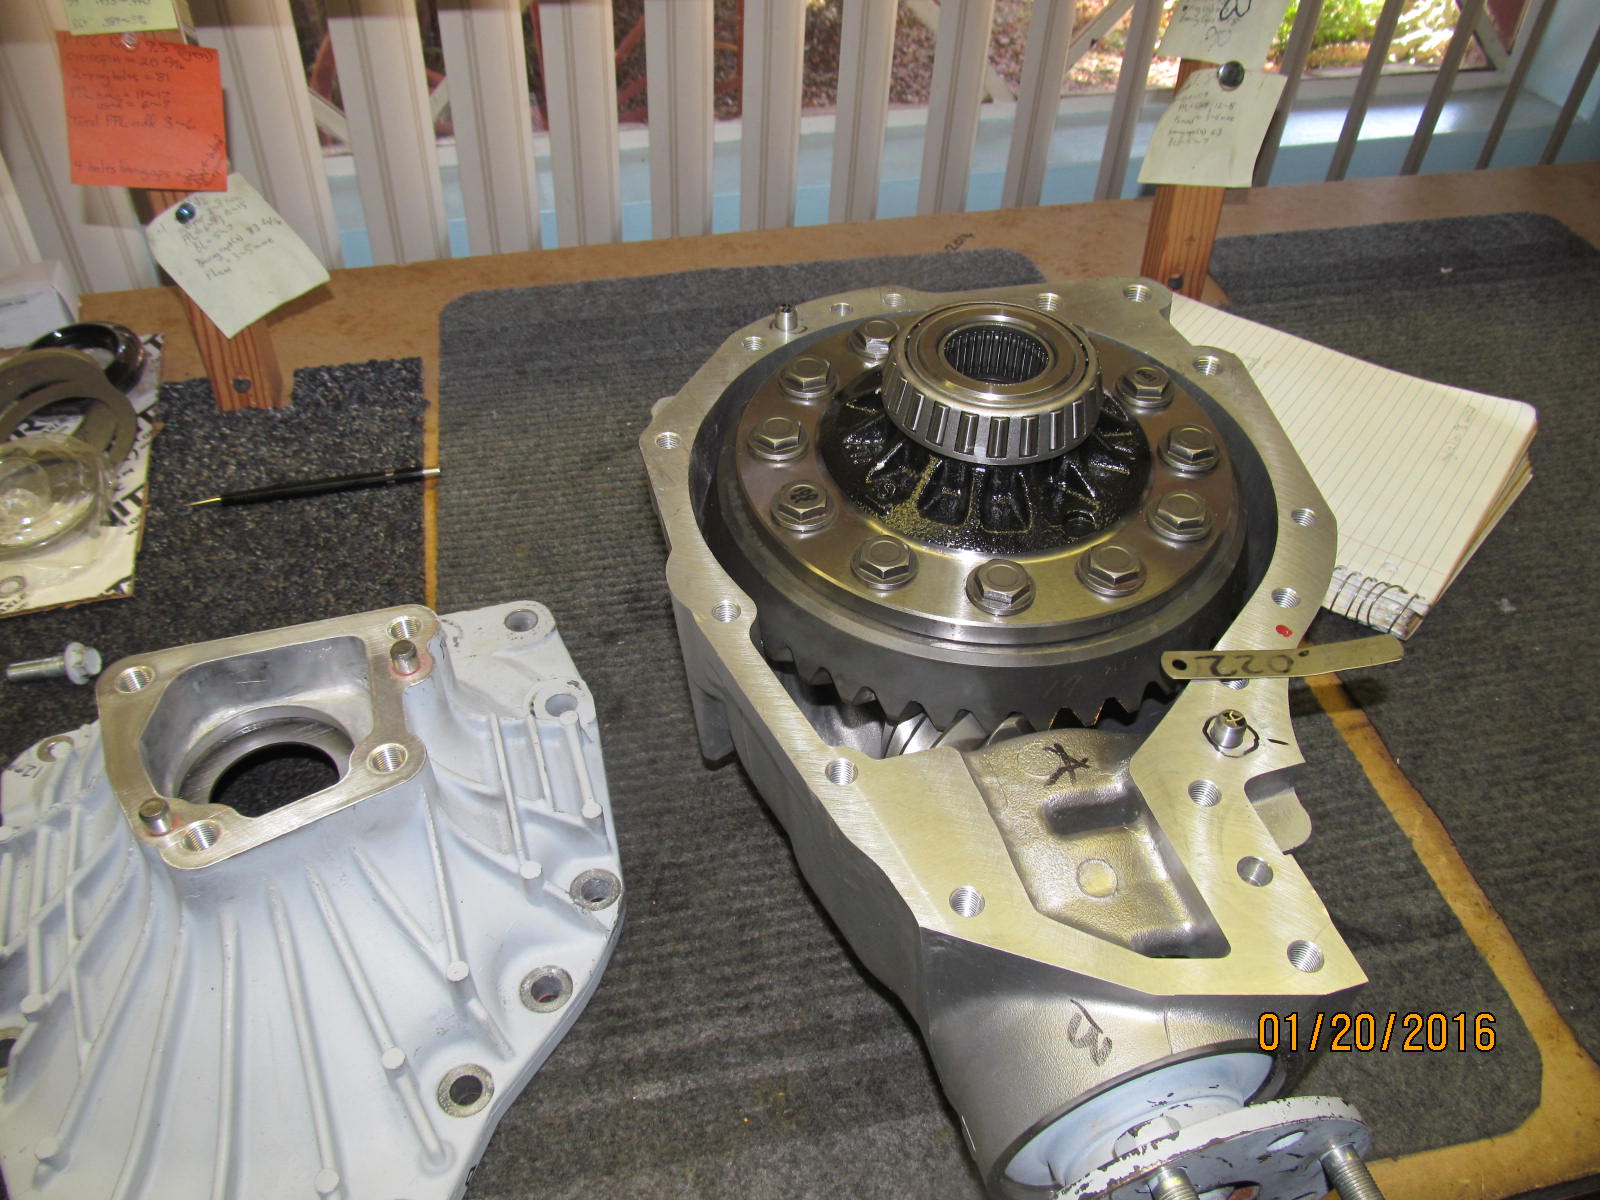
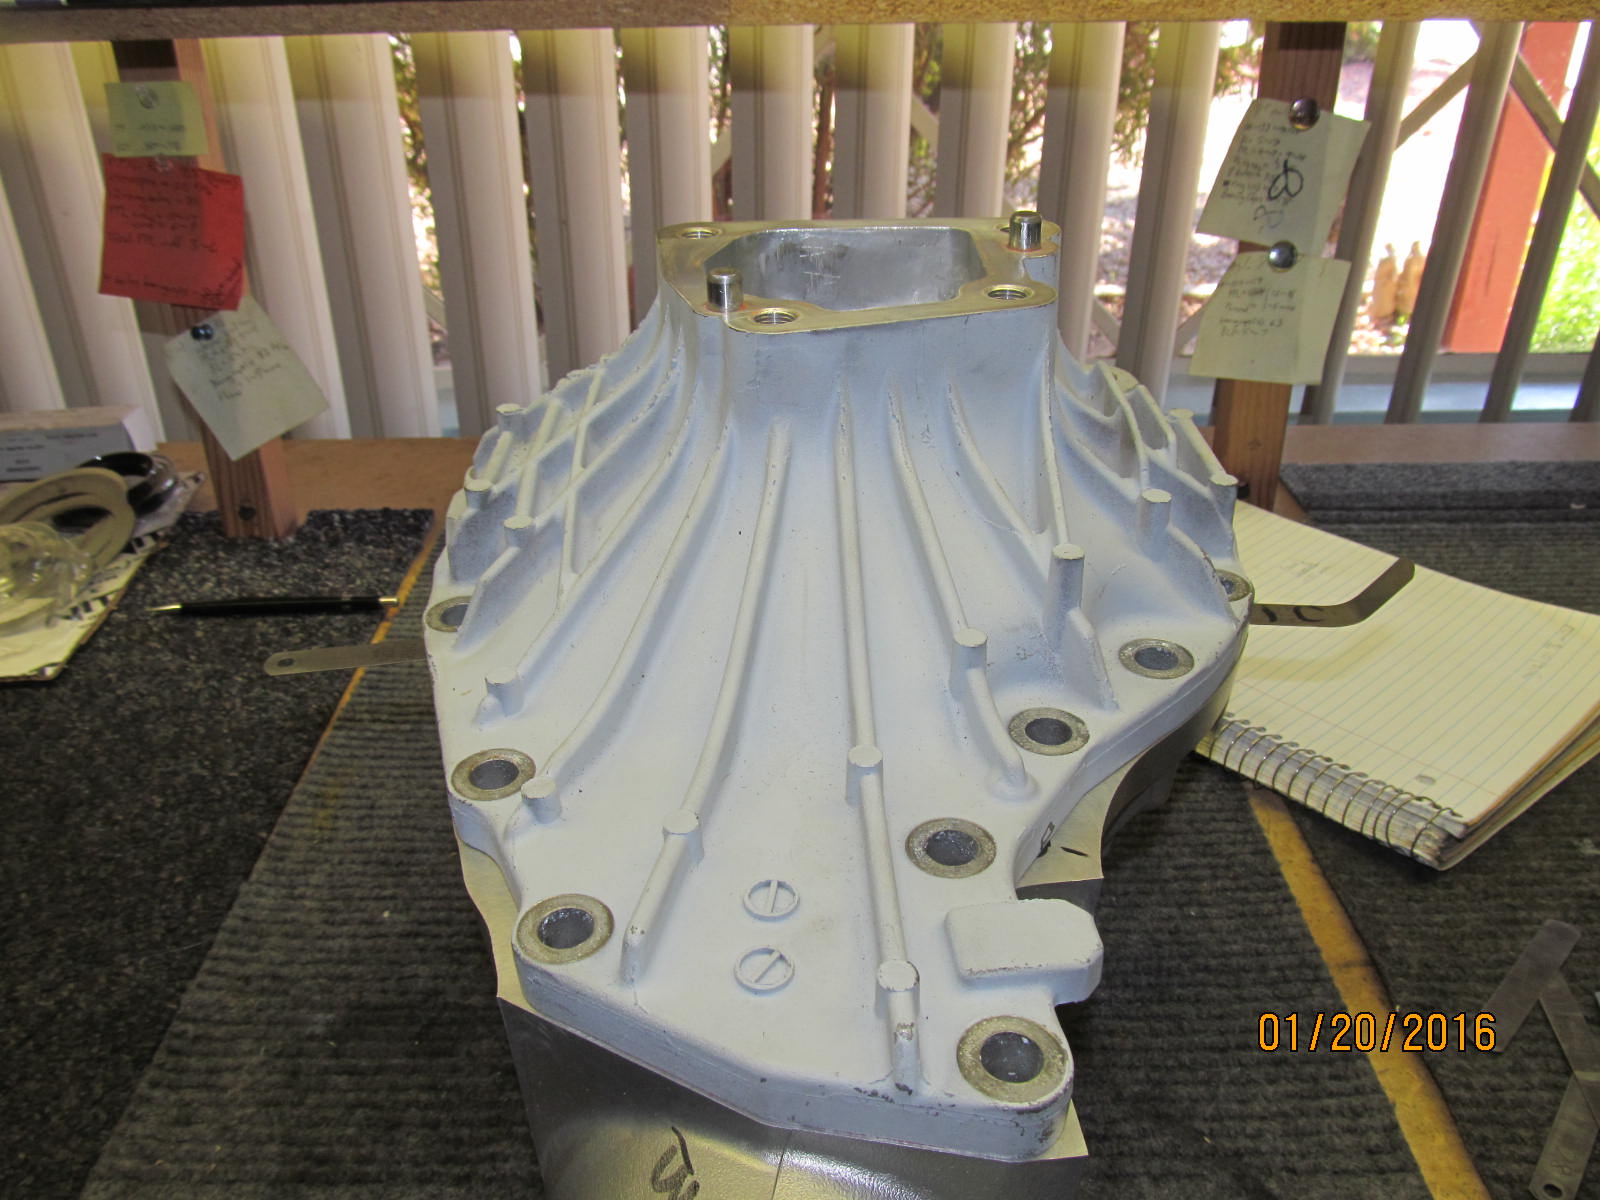
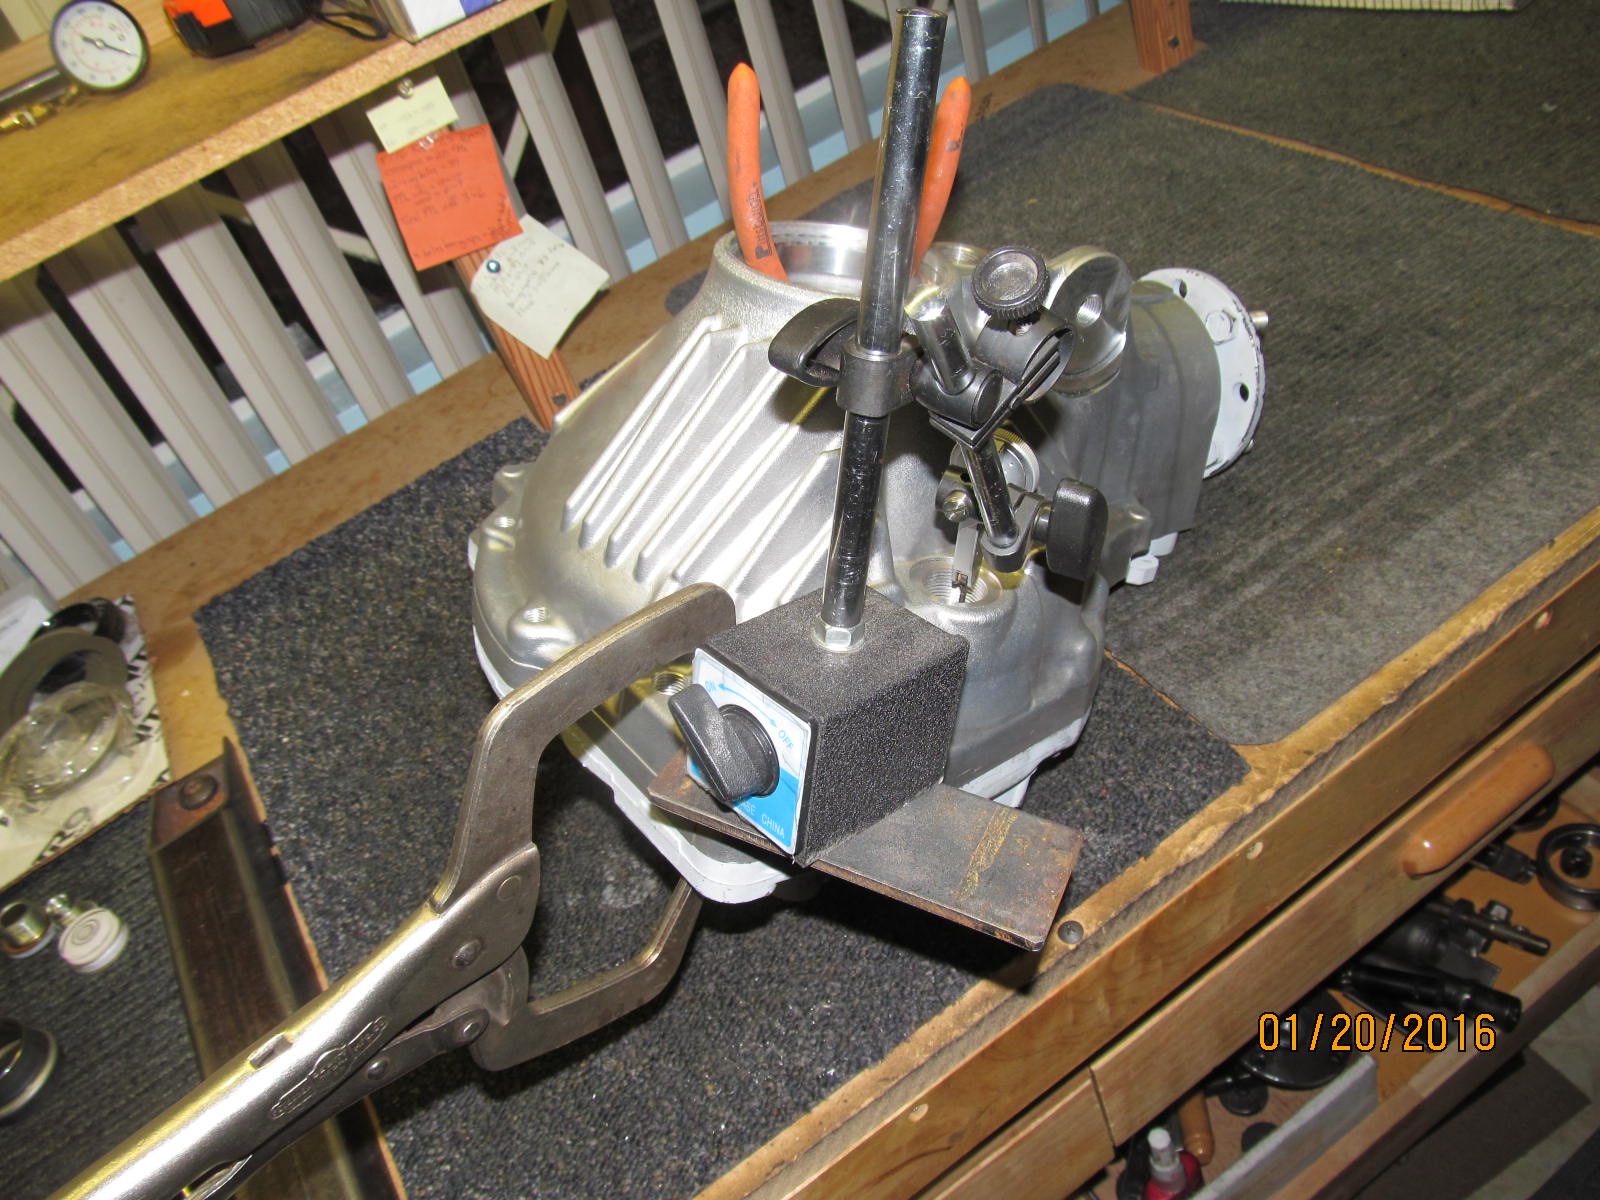
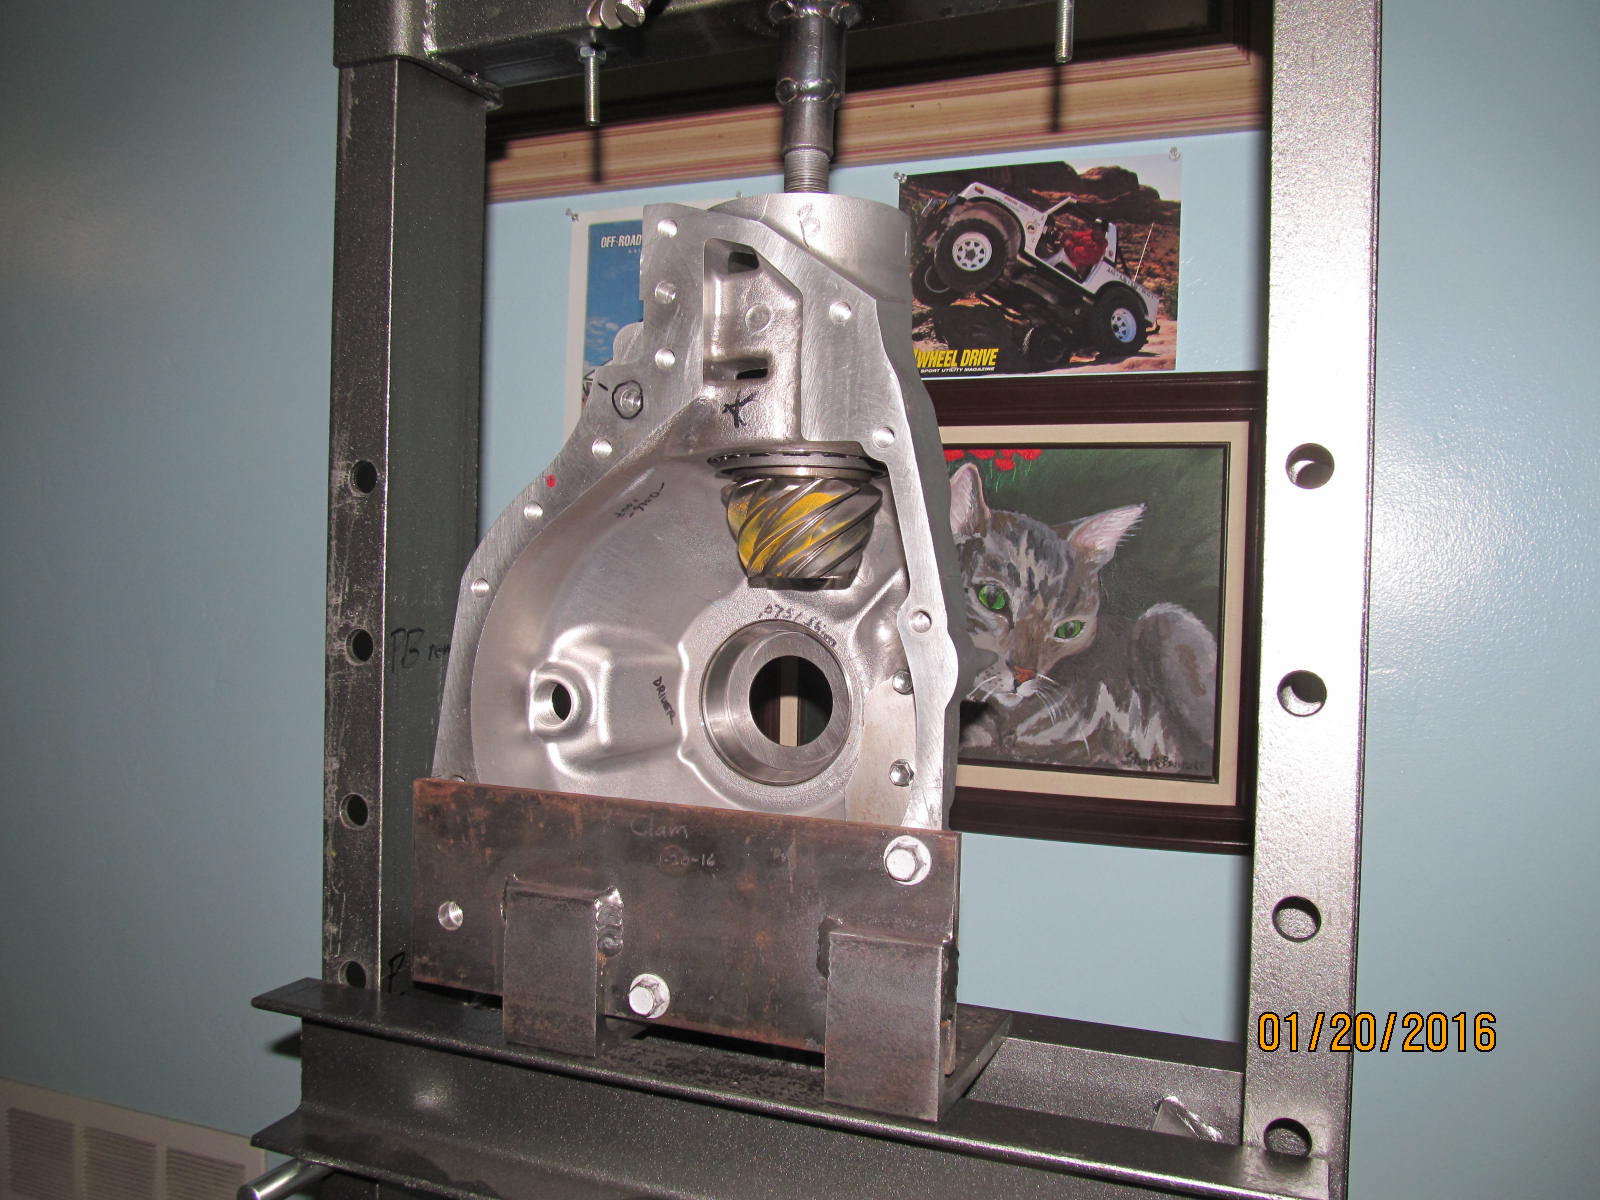
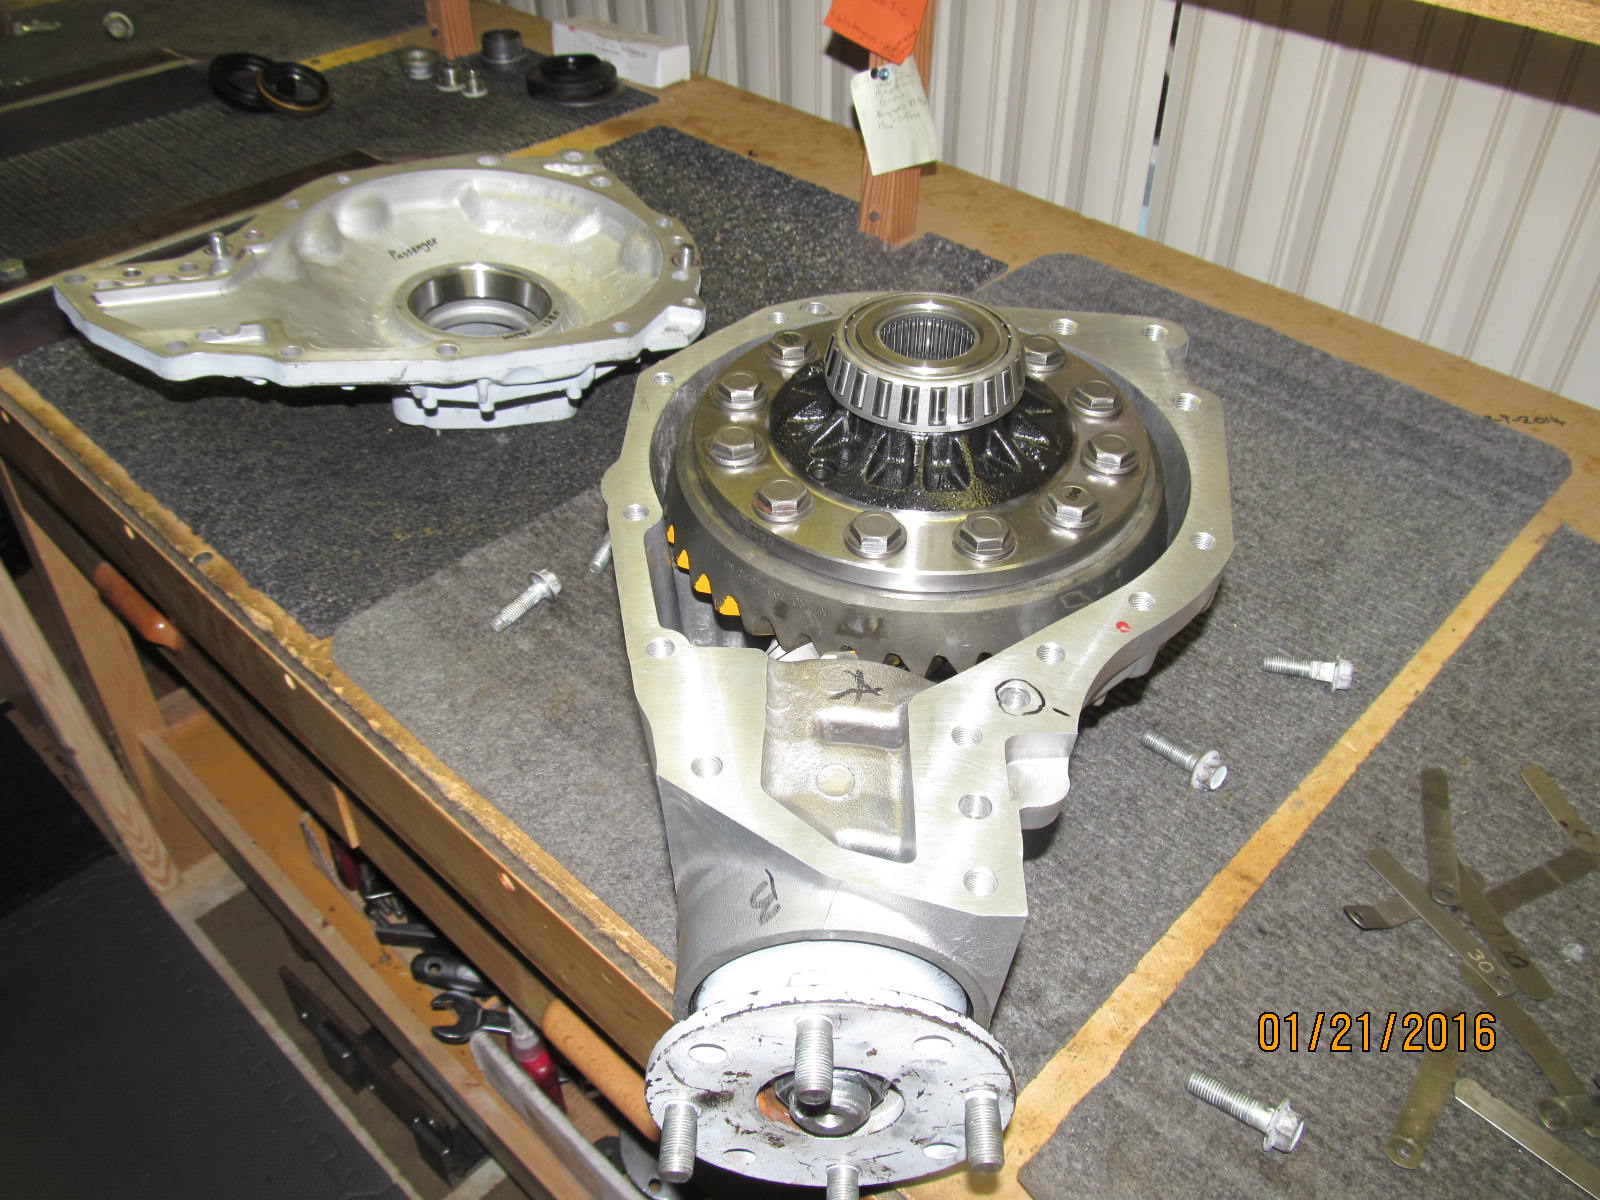
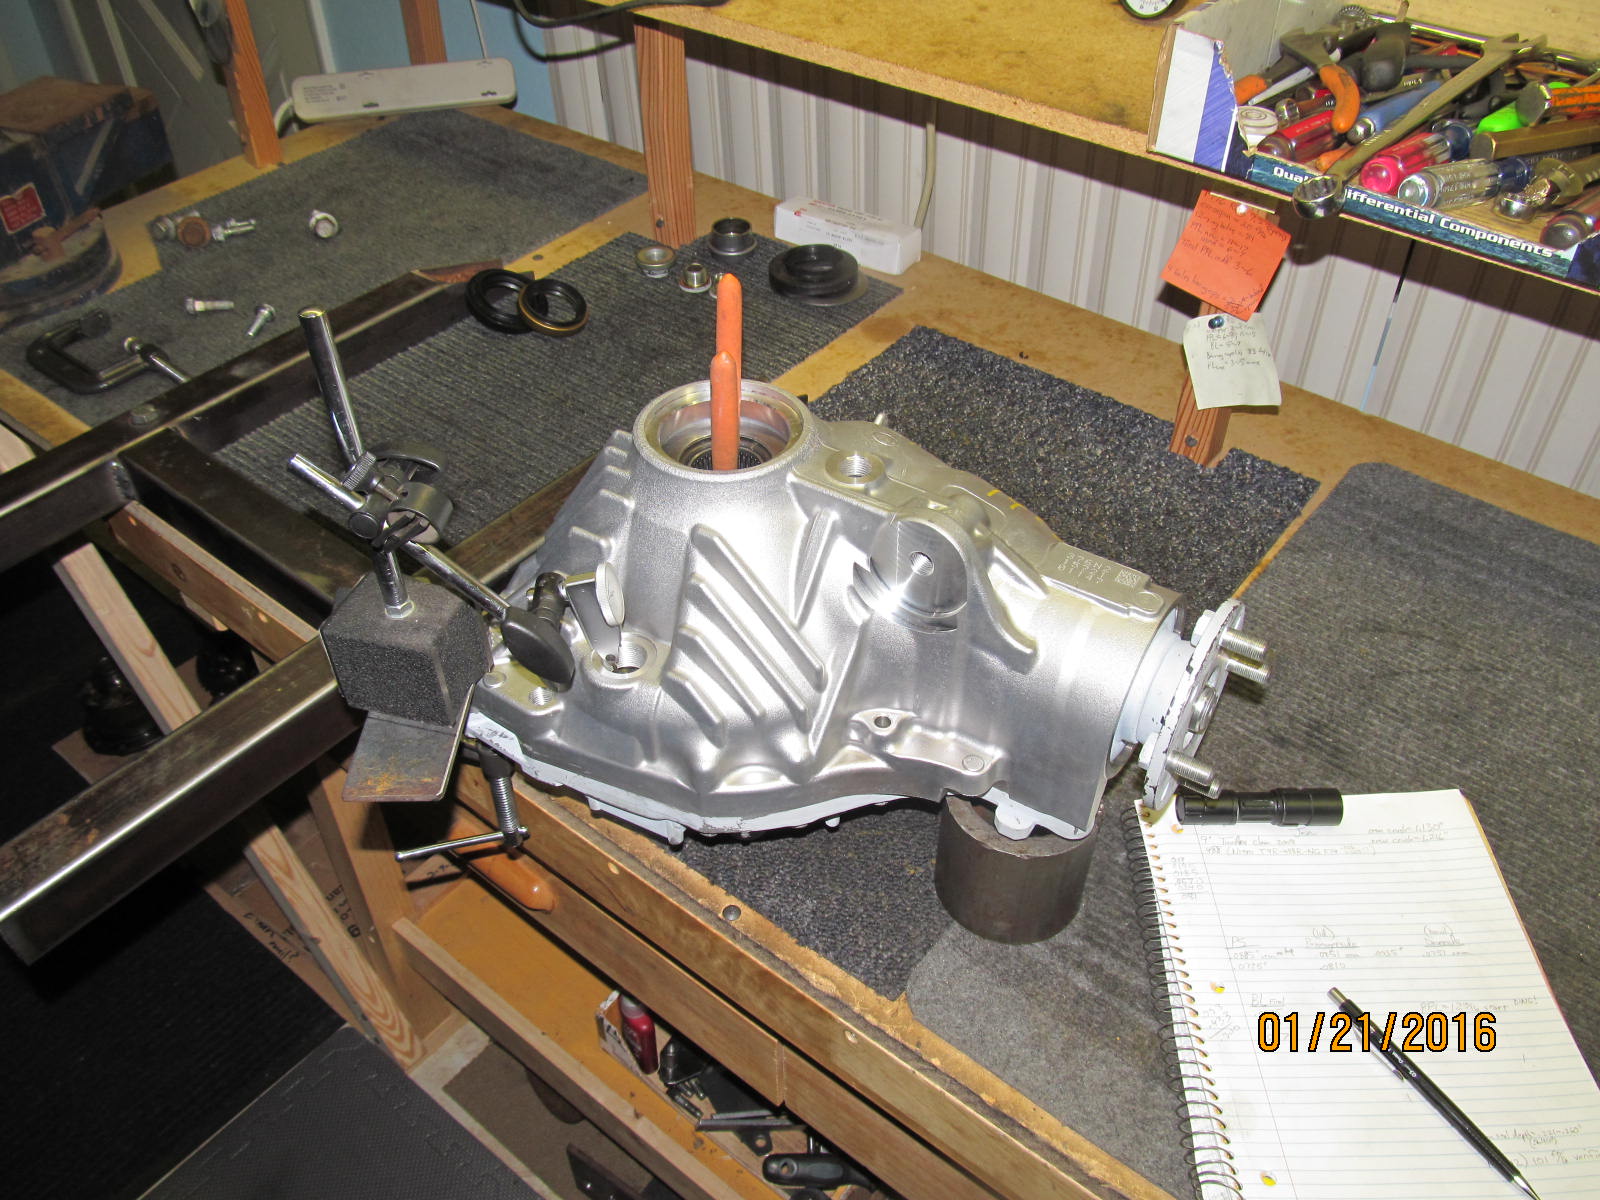
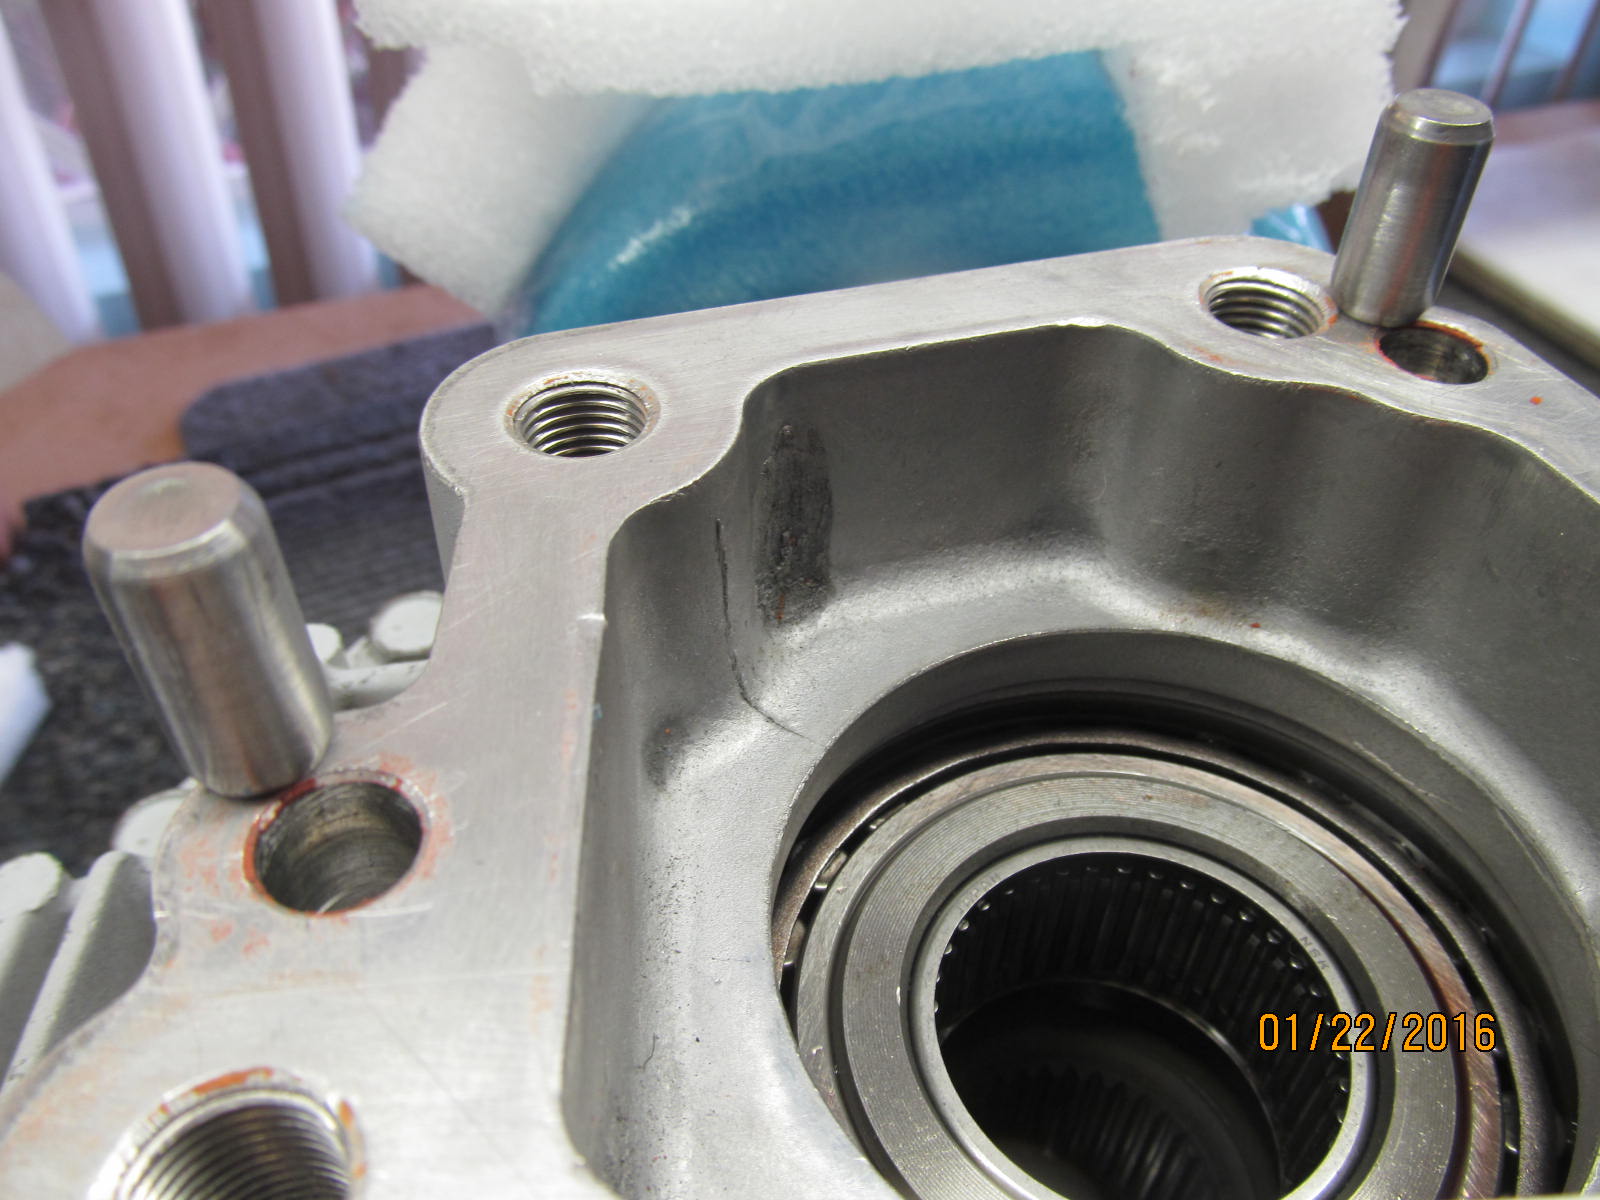
Cover is removed revealing the massive 9" ring gear assembly. Nice machine work on the aluminum case.
|
|
|
|
|
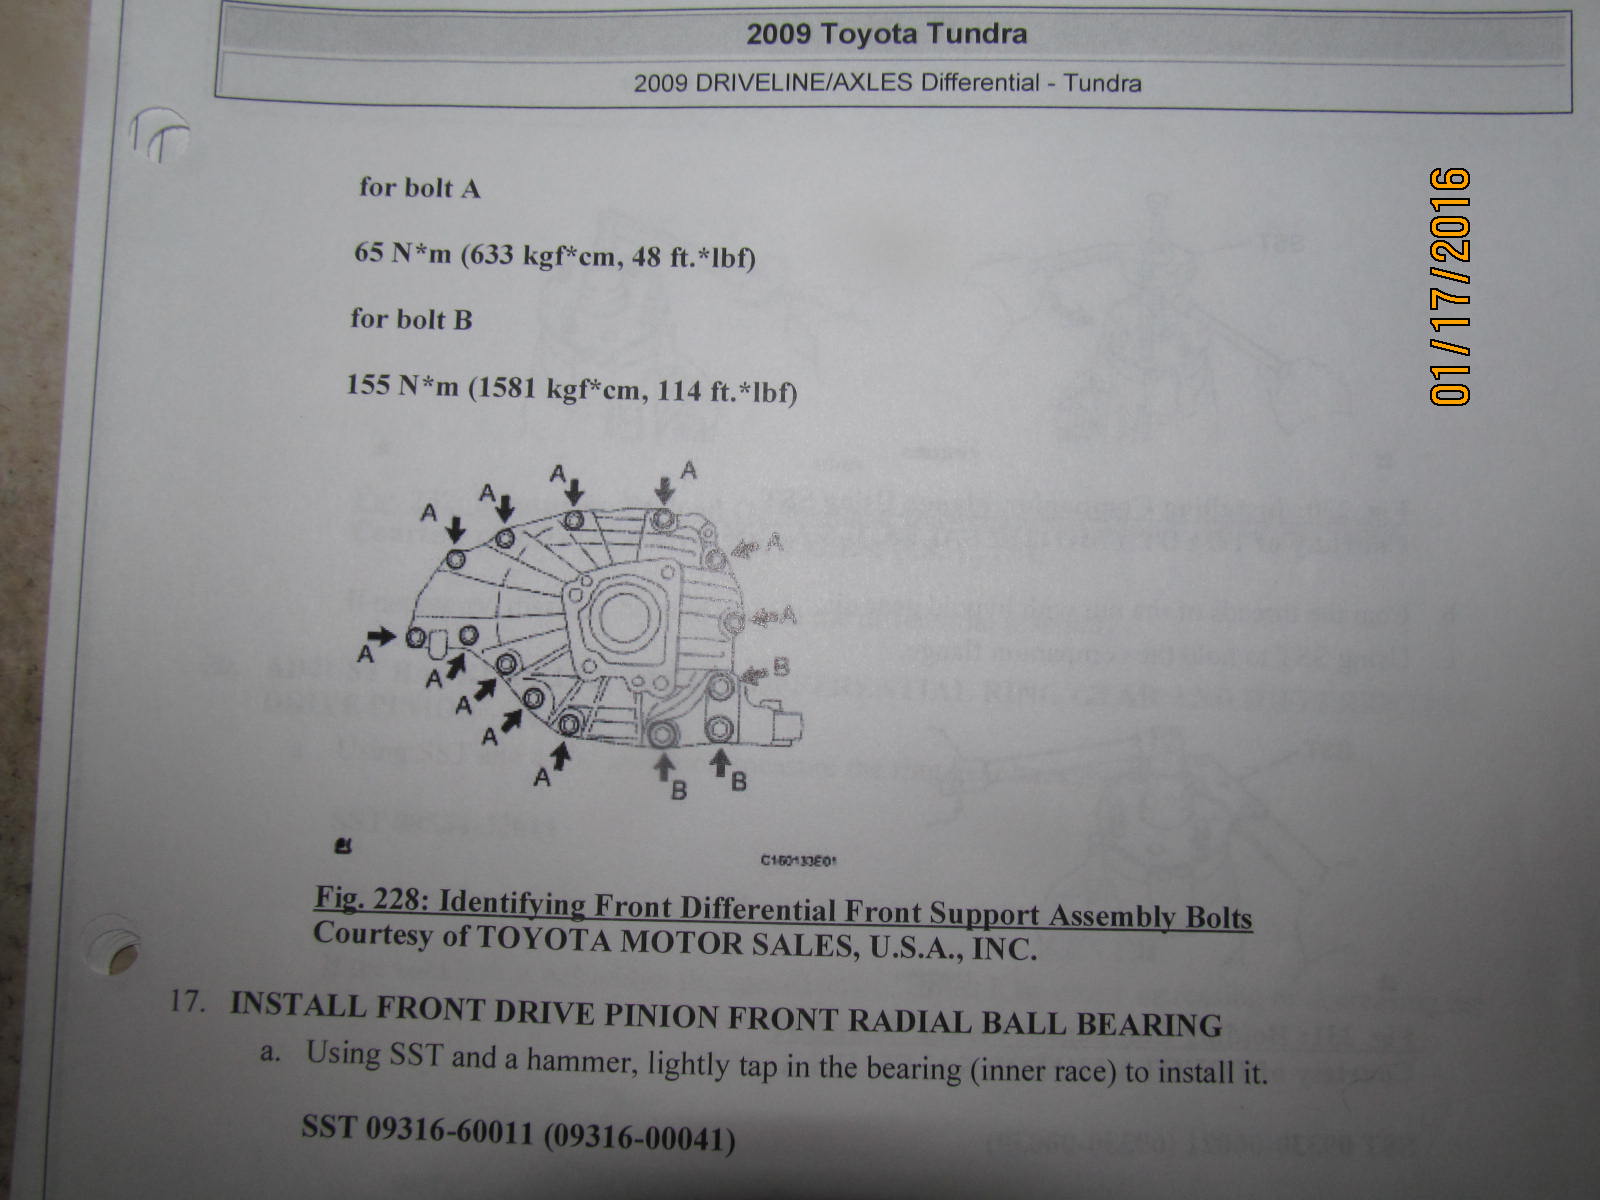
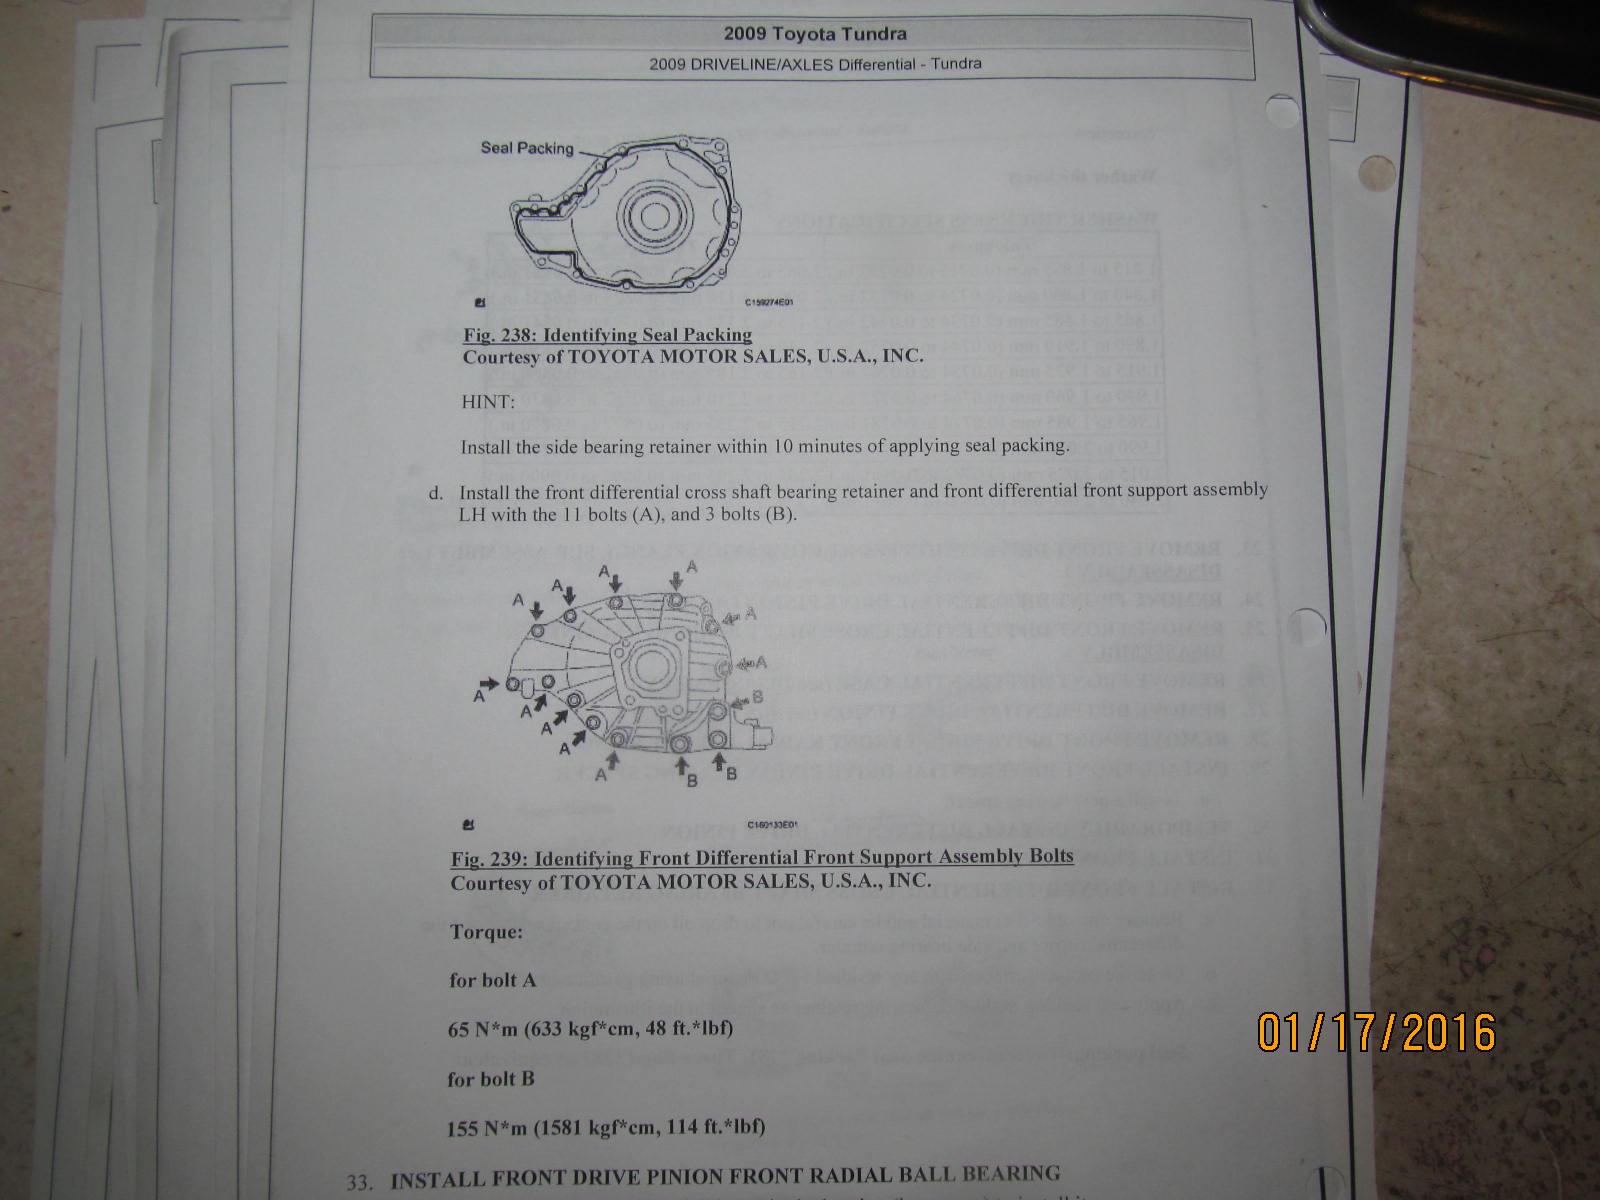
This page of the FSM shows the 14 bolts to remove to get the cover off.
|
|
|
|
|
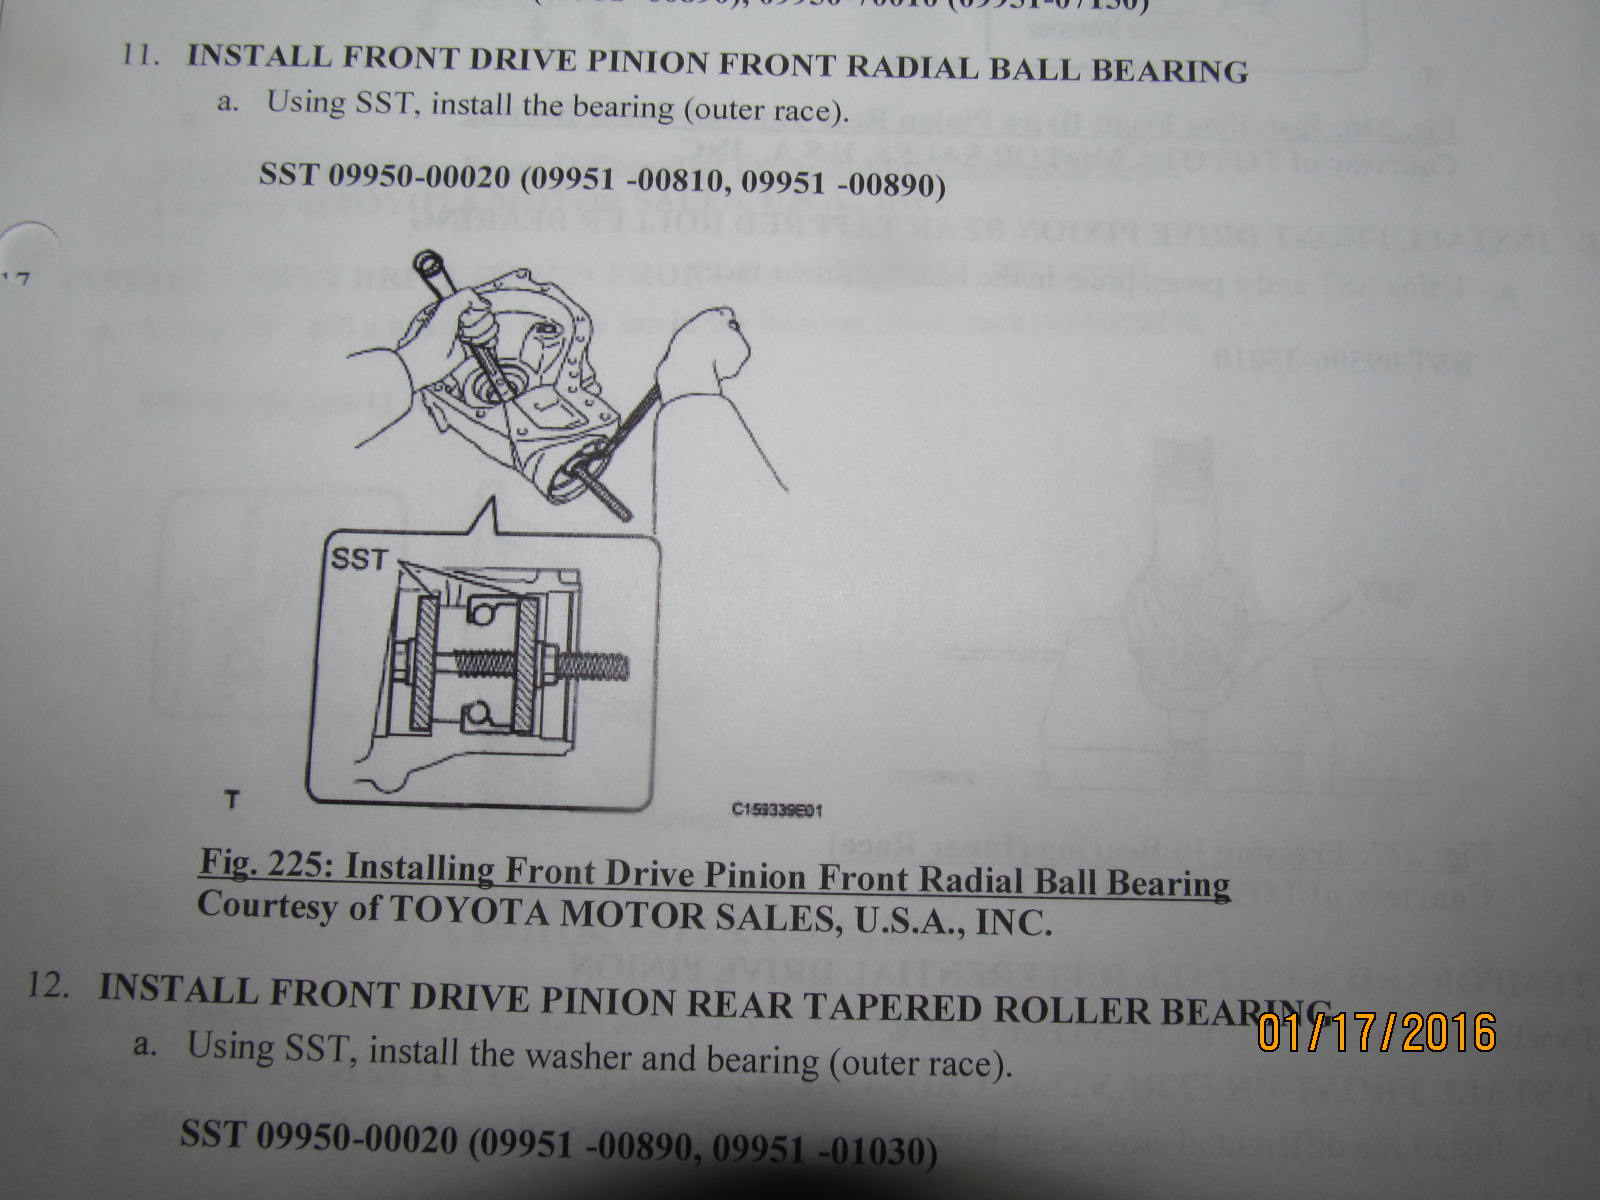
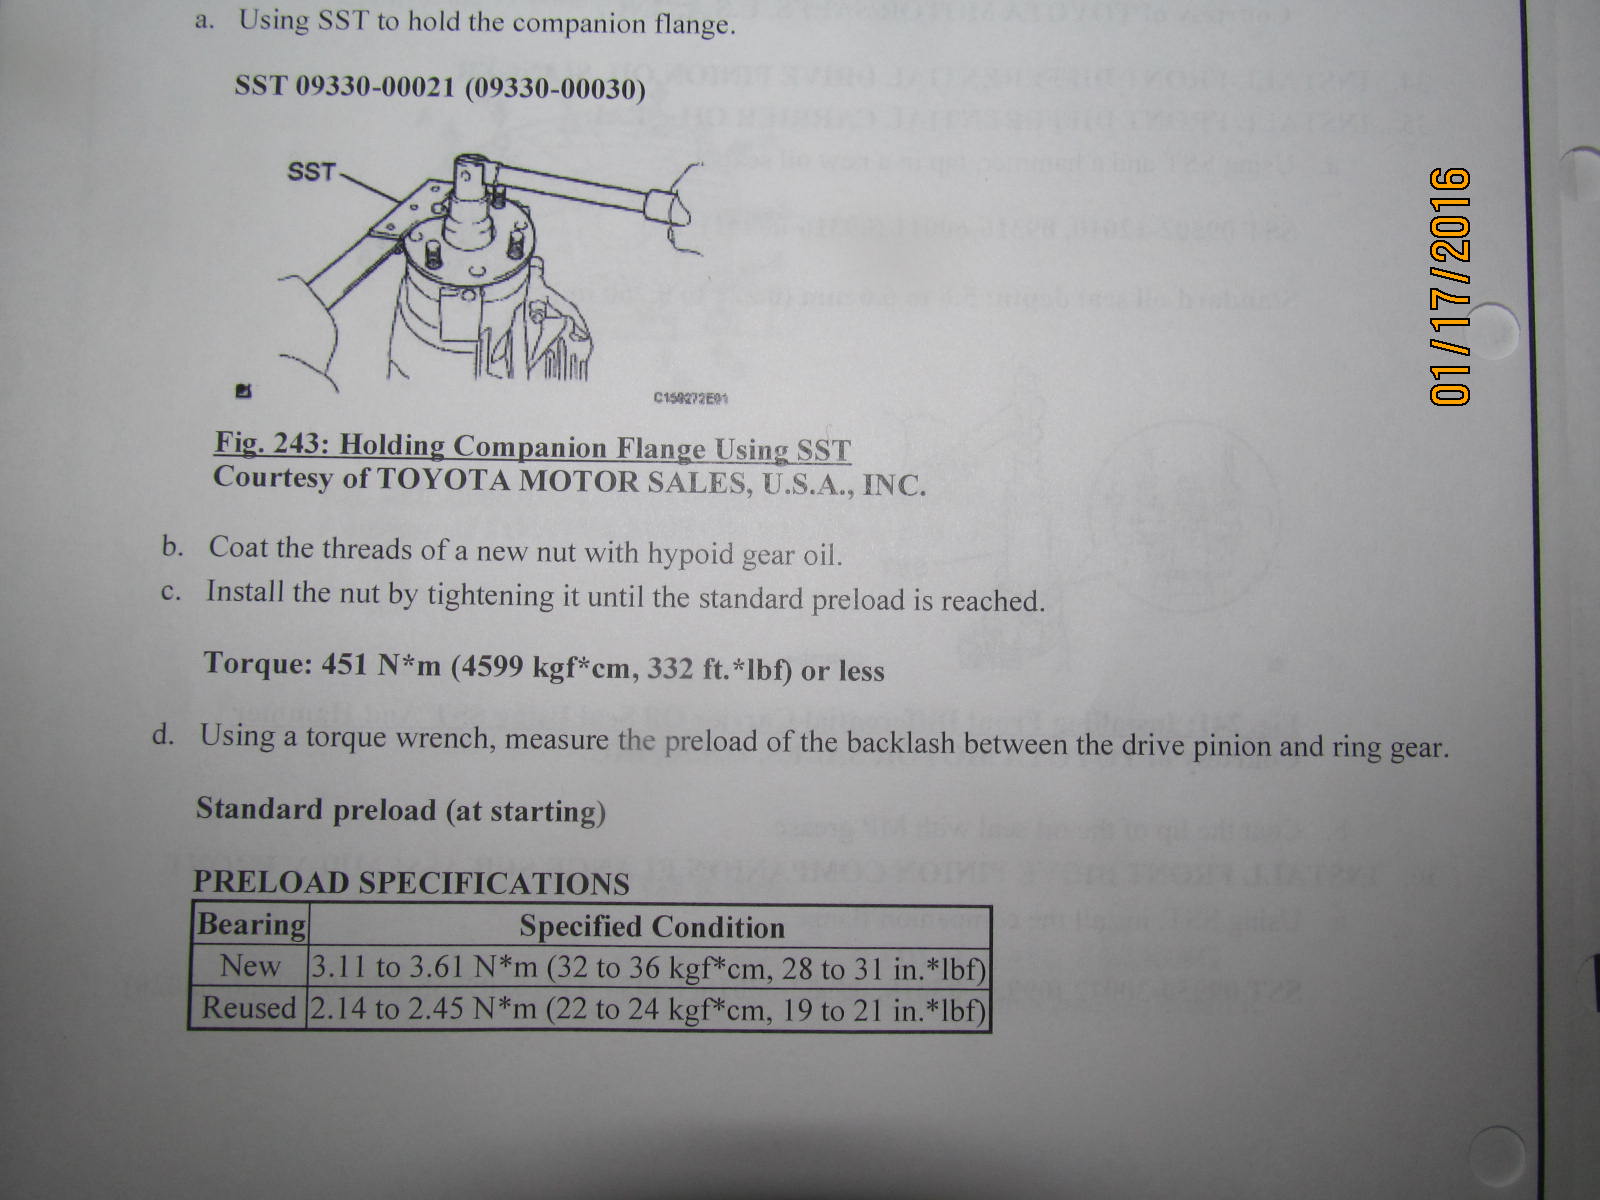
The much needed "SST" tool to pull the new races in. This tool can be made at home.
|
|
|
|
|
.....................
|
|
|
|
|
.....................
|
|
|
|
|
........................
|
|
|
|
|
......................
|
|
|
|
|
.......................
|
|
|
|
|
.......................
|
|
|
|
|
....................
|
|
|
|
|
........................
|
|
|

|
|
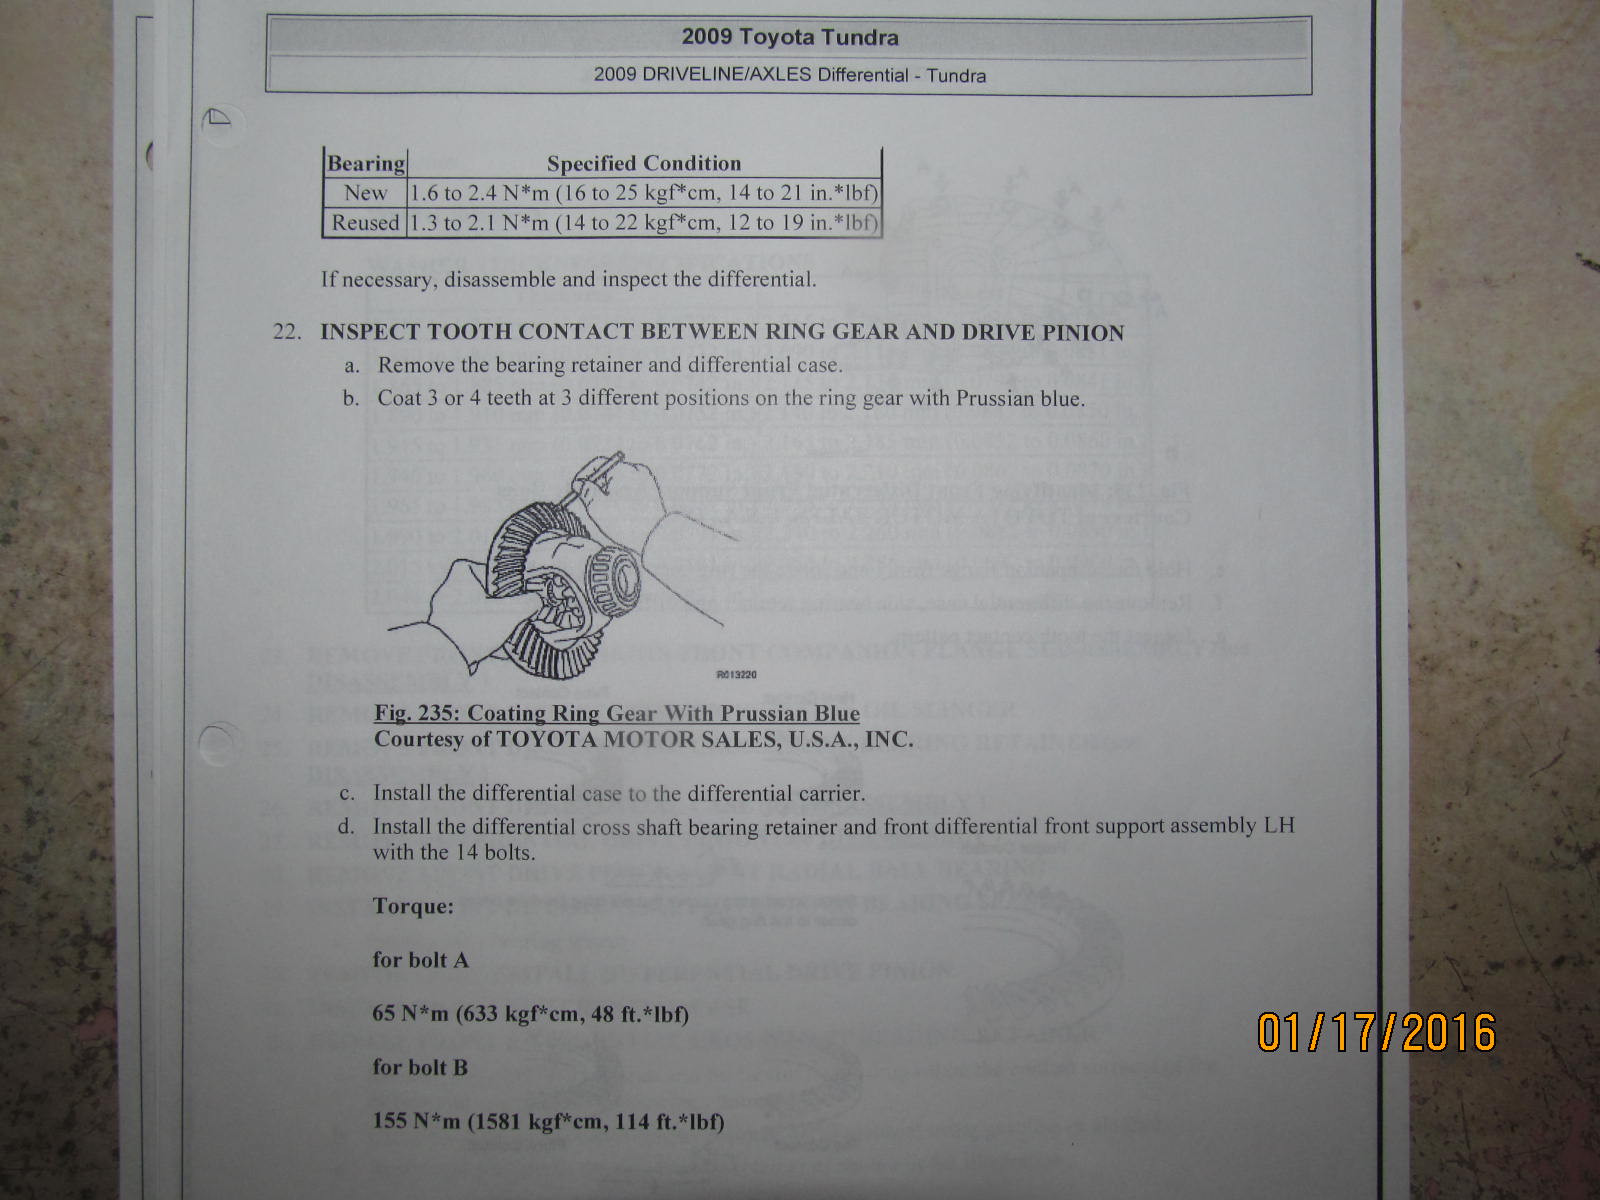
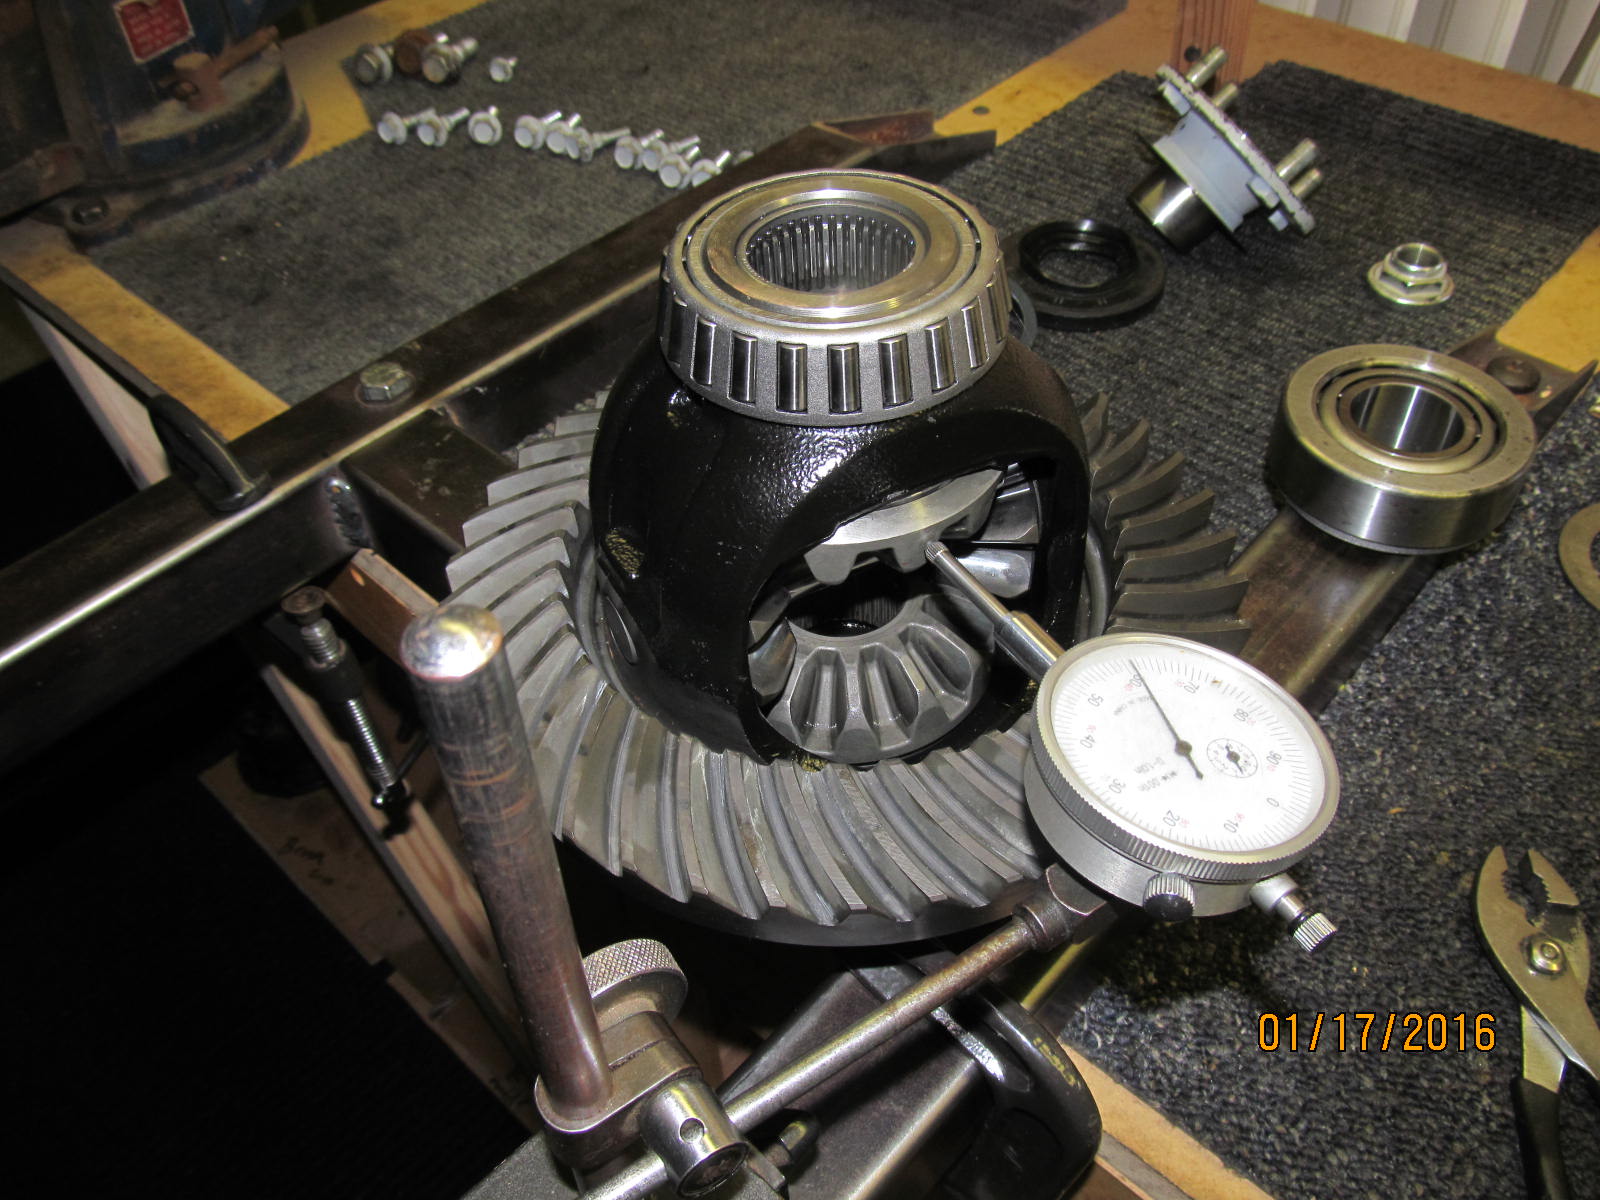
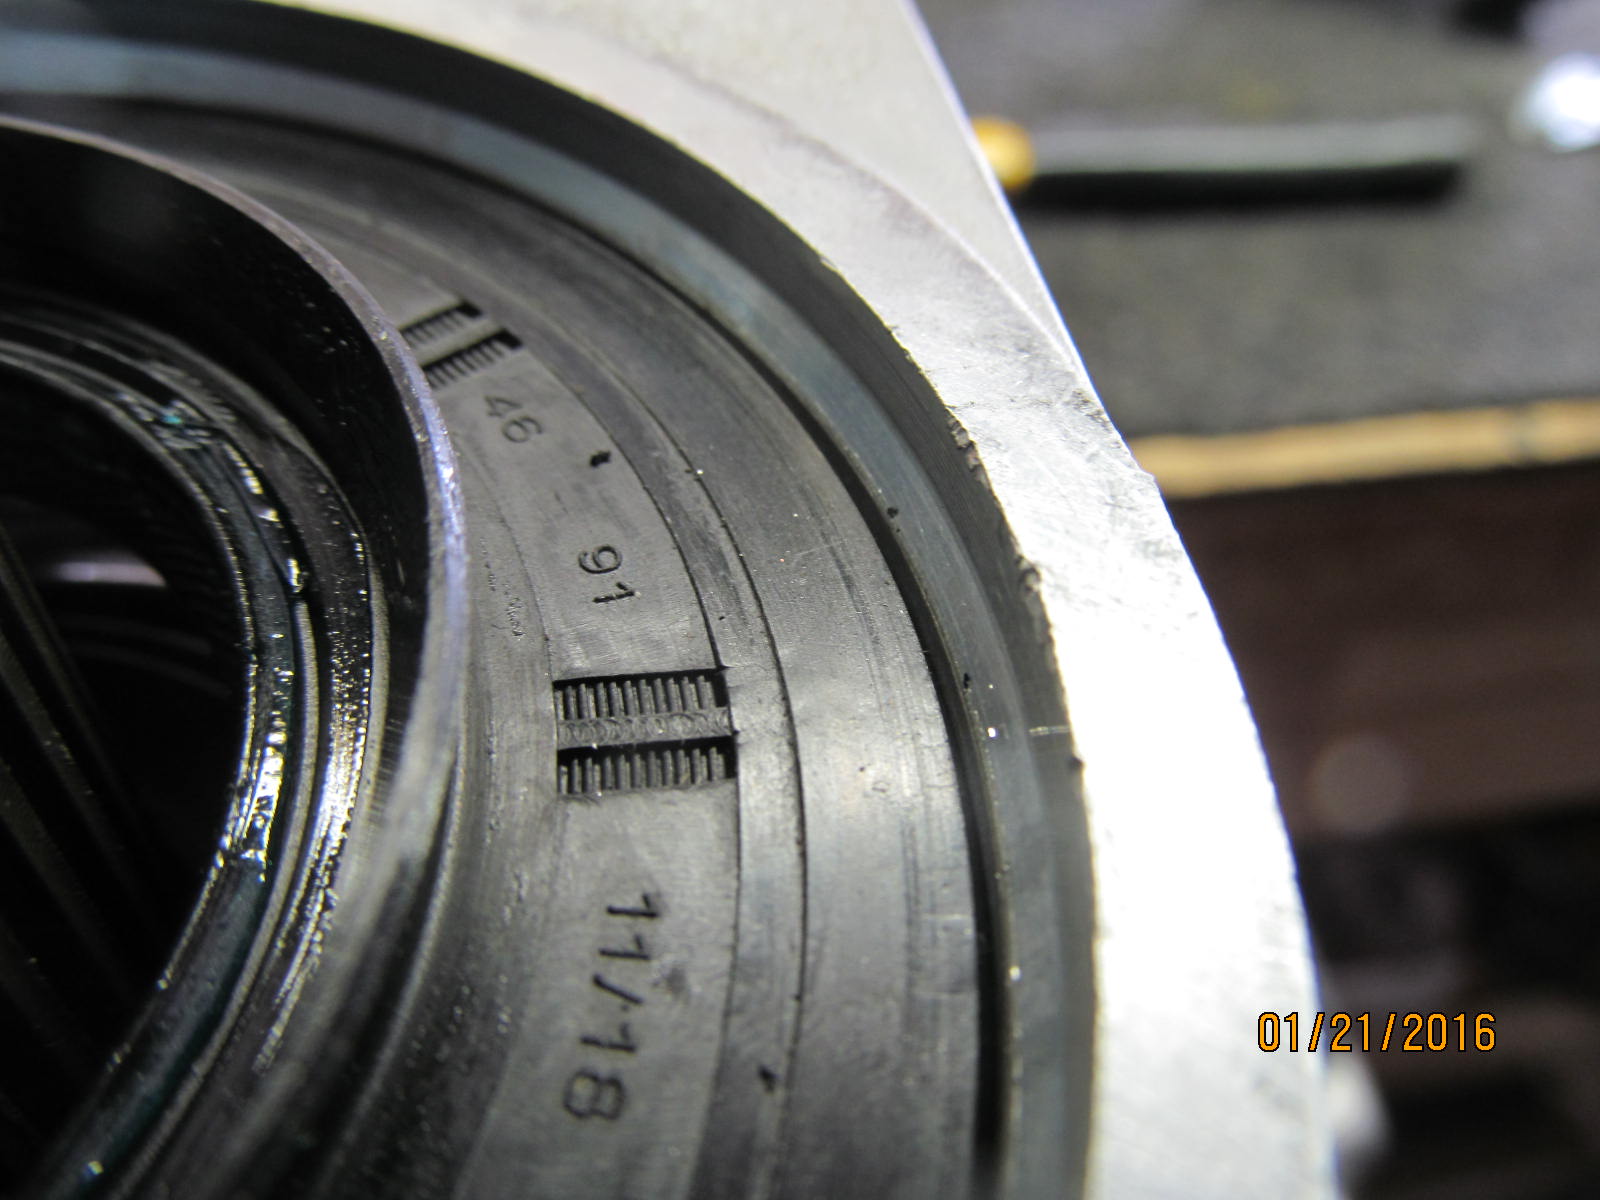
The 12 flanged ring gear bolts are verified to be at 101 ft/lb per the fsm and they were.
|
|
|
|
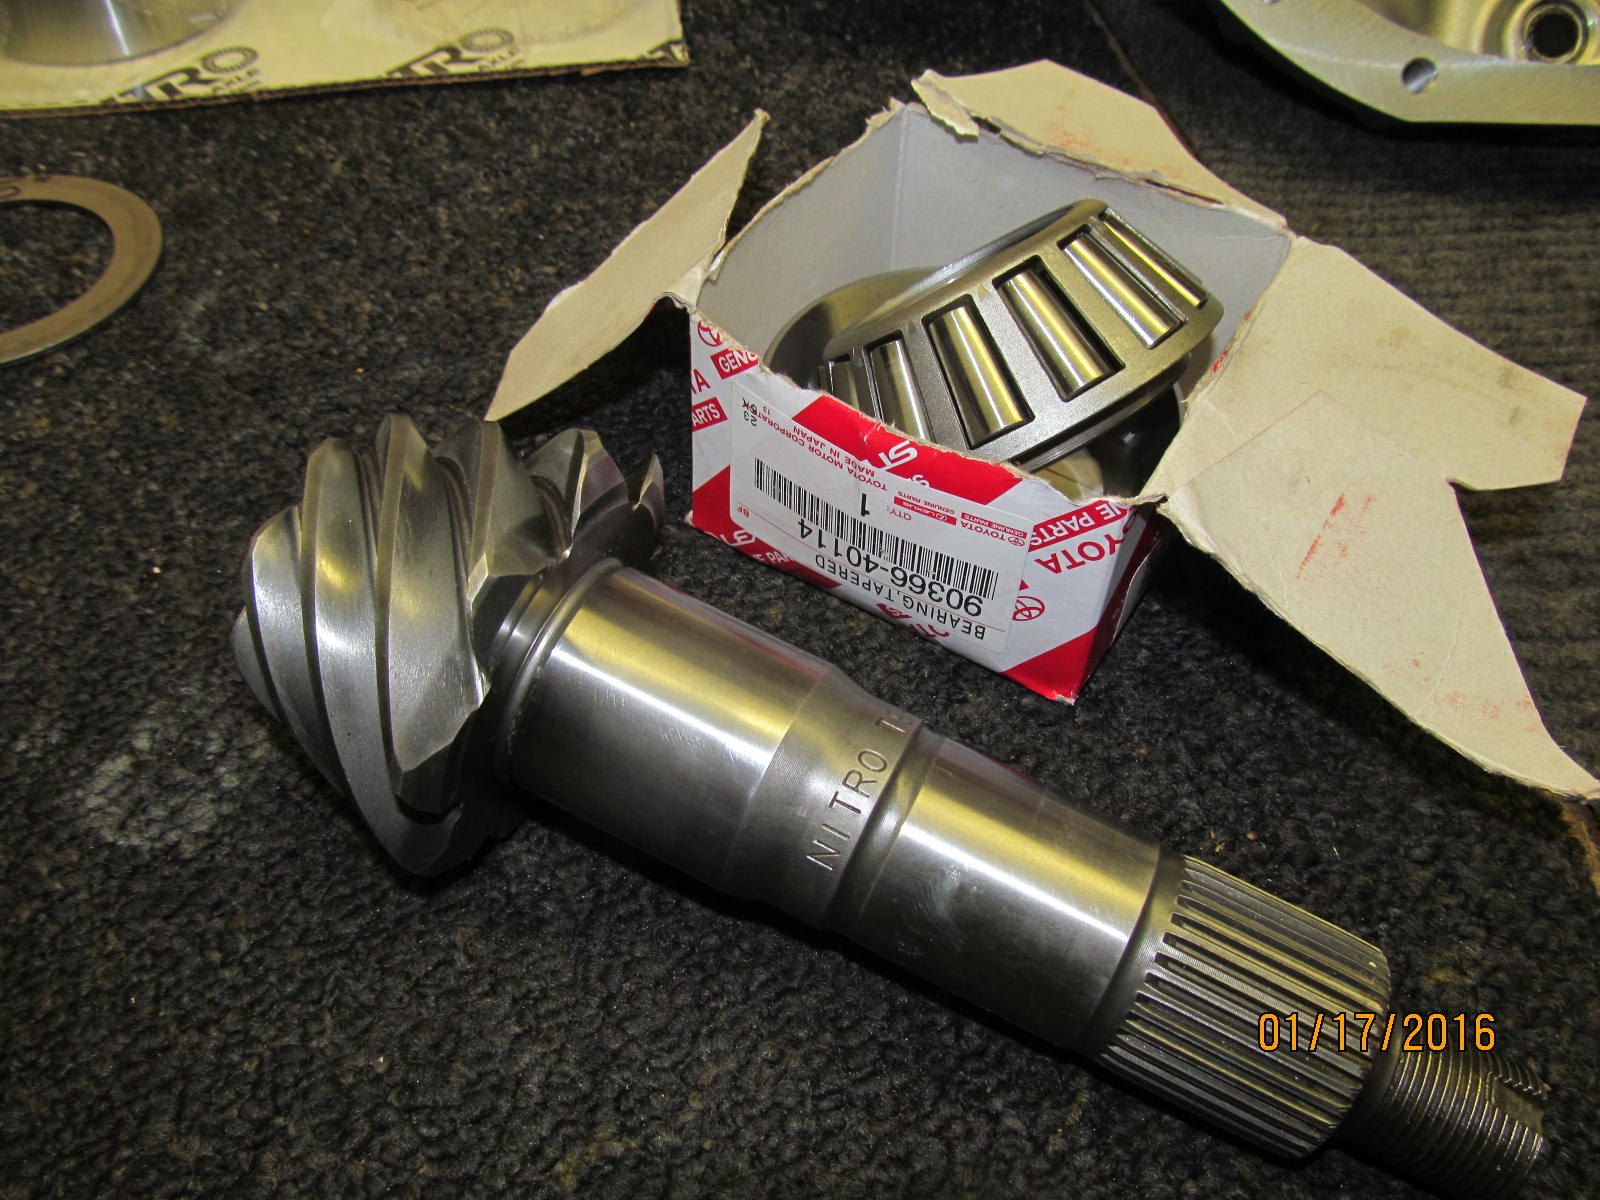
Jon had a new bearing/race sent to me from a Florida dealership. Didn't want to take a chance that
the other race shown was somehow damaged when it split the aluminum case.
|
|
|
|
|
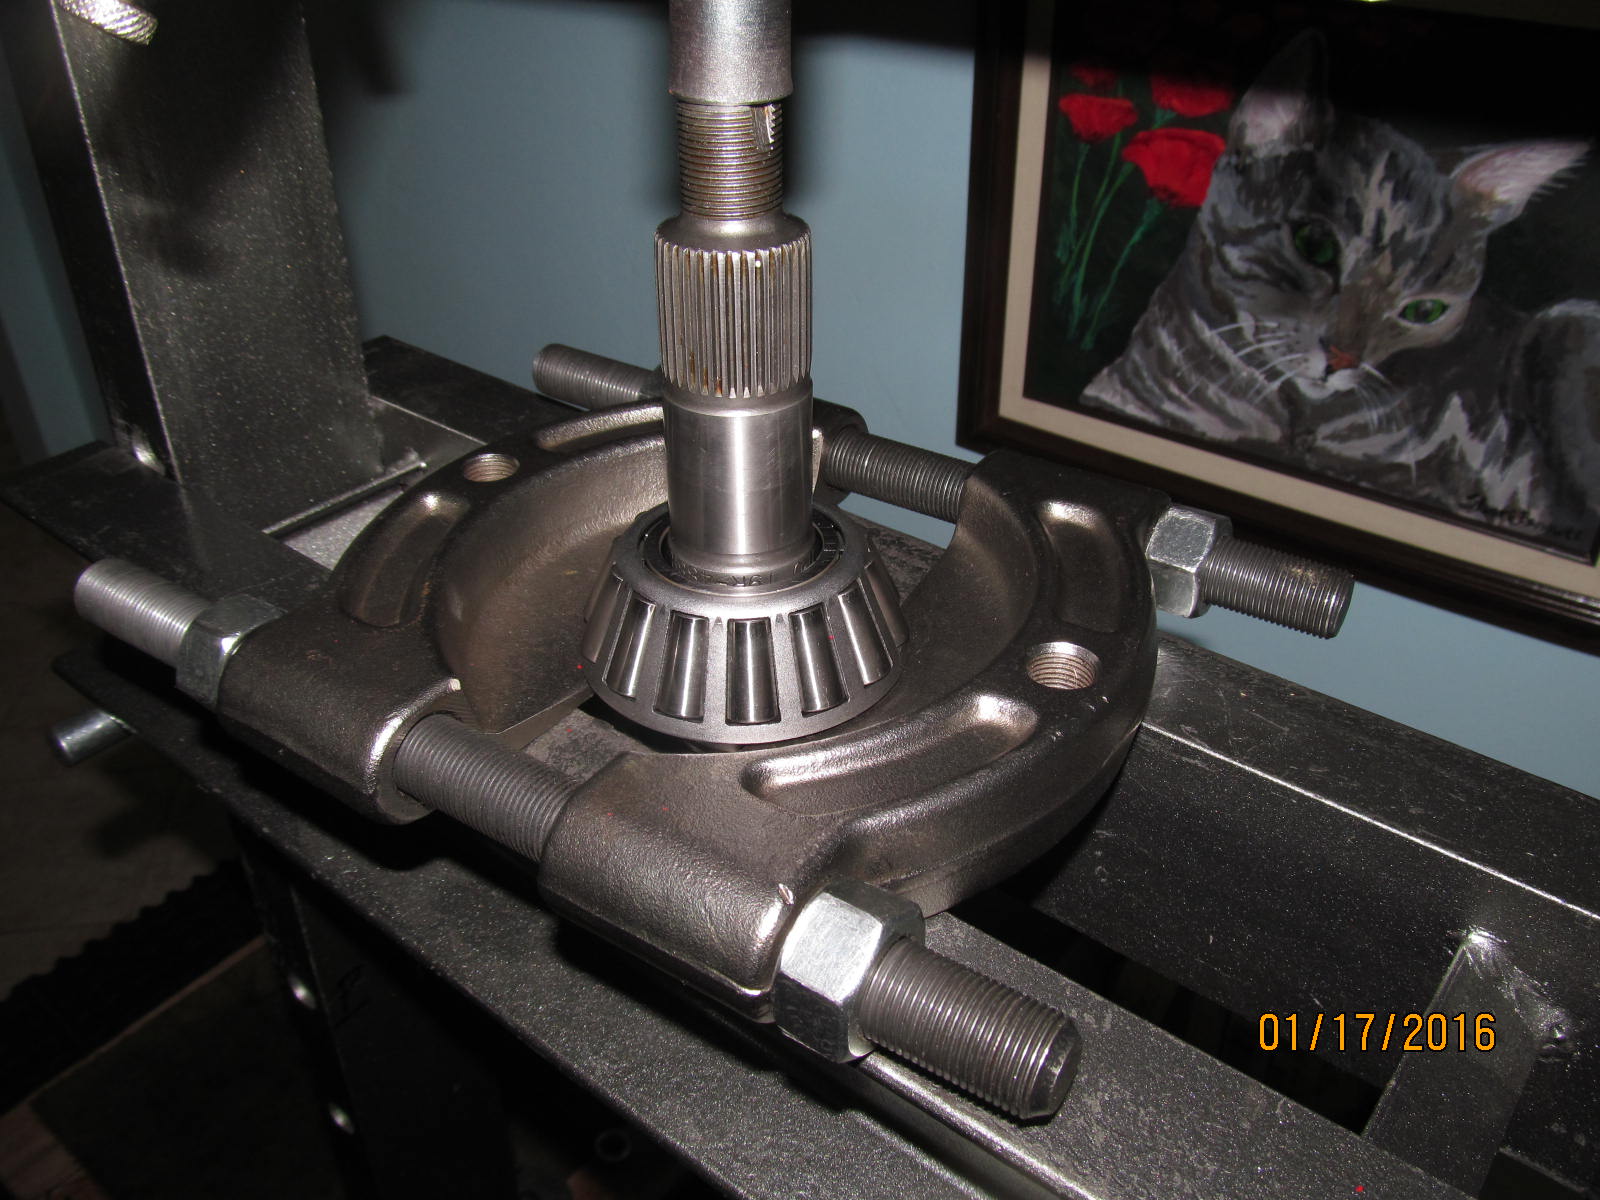
A quality bearing splitter can be used to remove the bearing that came from the master install kit originally.
|
|
|
|
|
Not much grip but it was enough to get the job done.
|
|
|
|
|
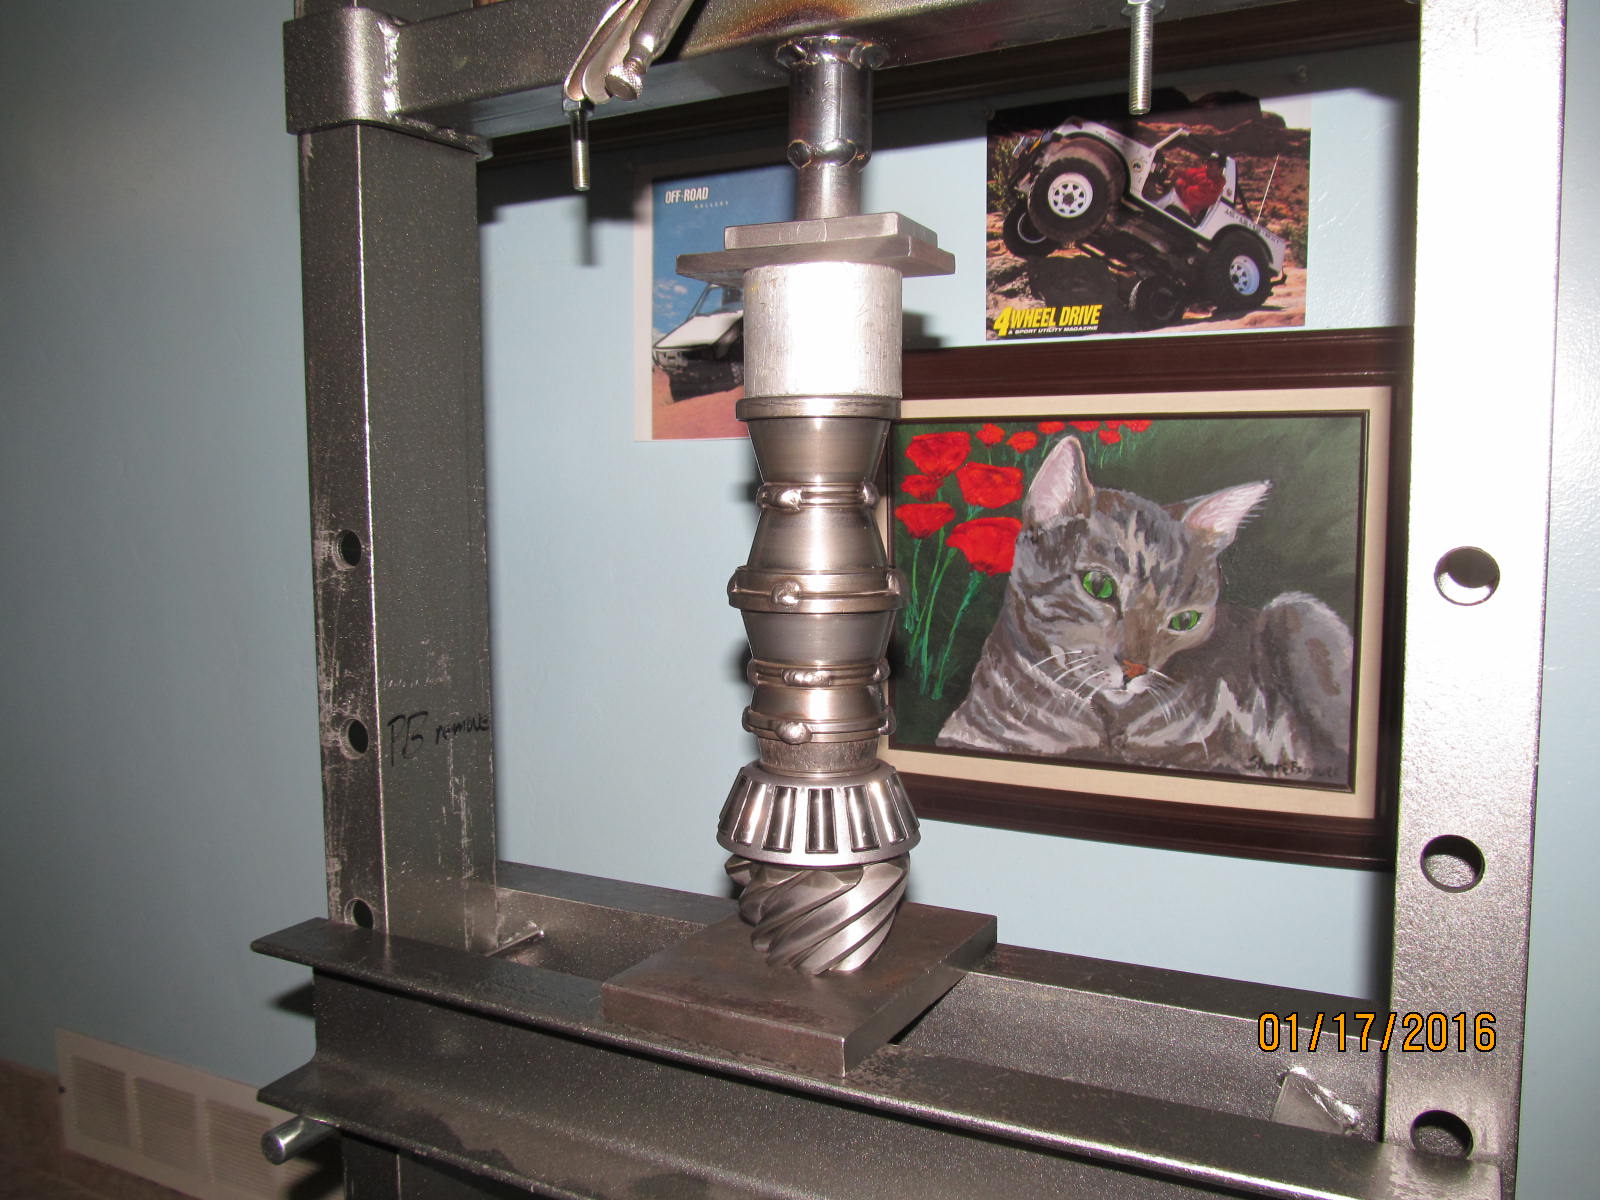
The 12 ton press was up to the task.
|
|
|
|
|
As soon as it started to separate somewhat......
|
|
|
|
|
....I took the opportunity to reset the plates for better bite.
|
|
|
|
|
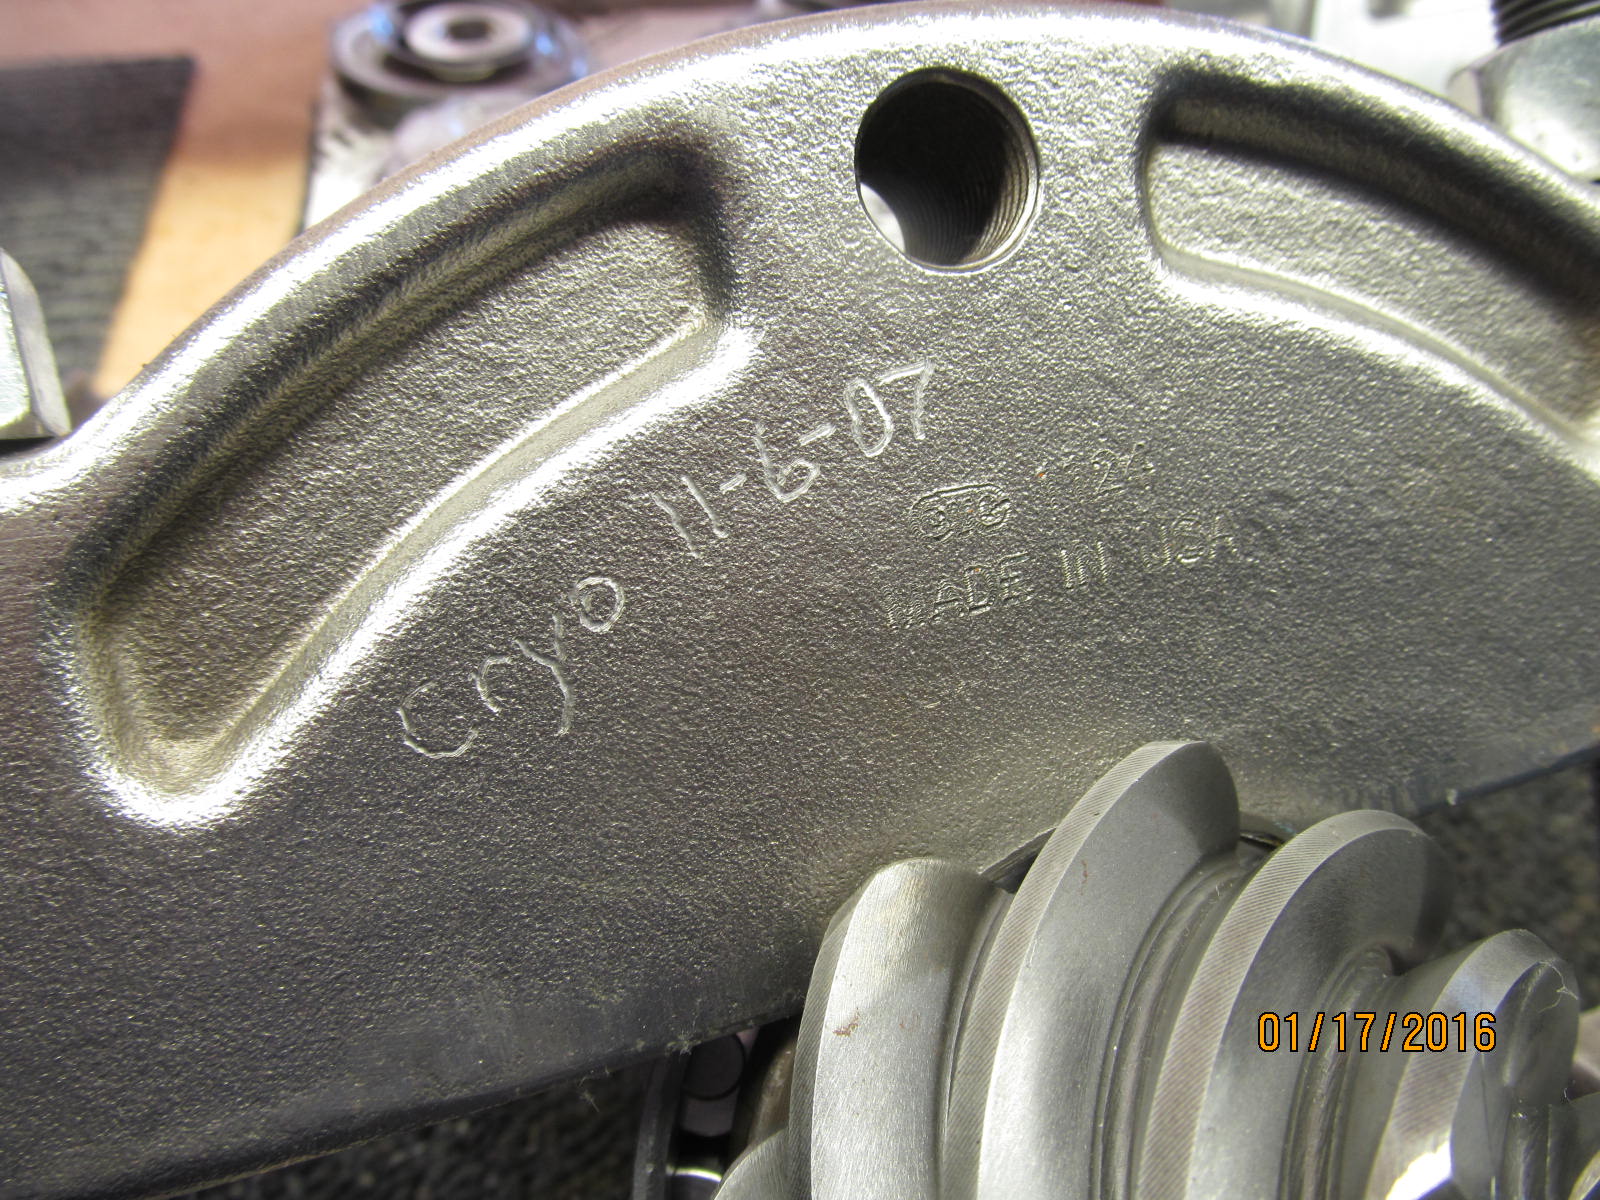
I had this bearing separator cryo treated back in 07 by Charles from
cryogenicsinternational.com
|
|
|
|
|
..............
|
|
|

|
I hear that this is true of all the new clams and that is the sidegears are cast and not machined
for the hole and that is why I can measure over .050" of wallowing slop/sideplay.
|
|
|
|
|
....................
|
|
|
|
|
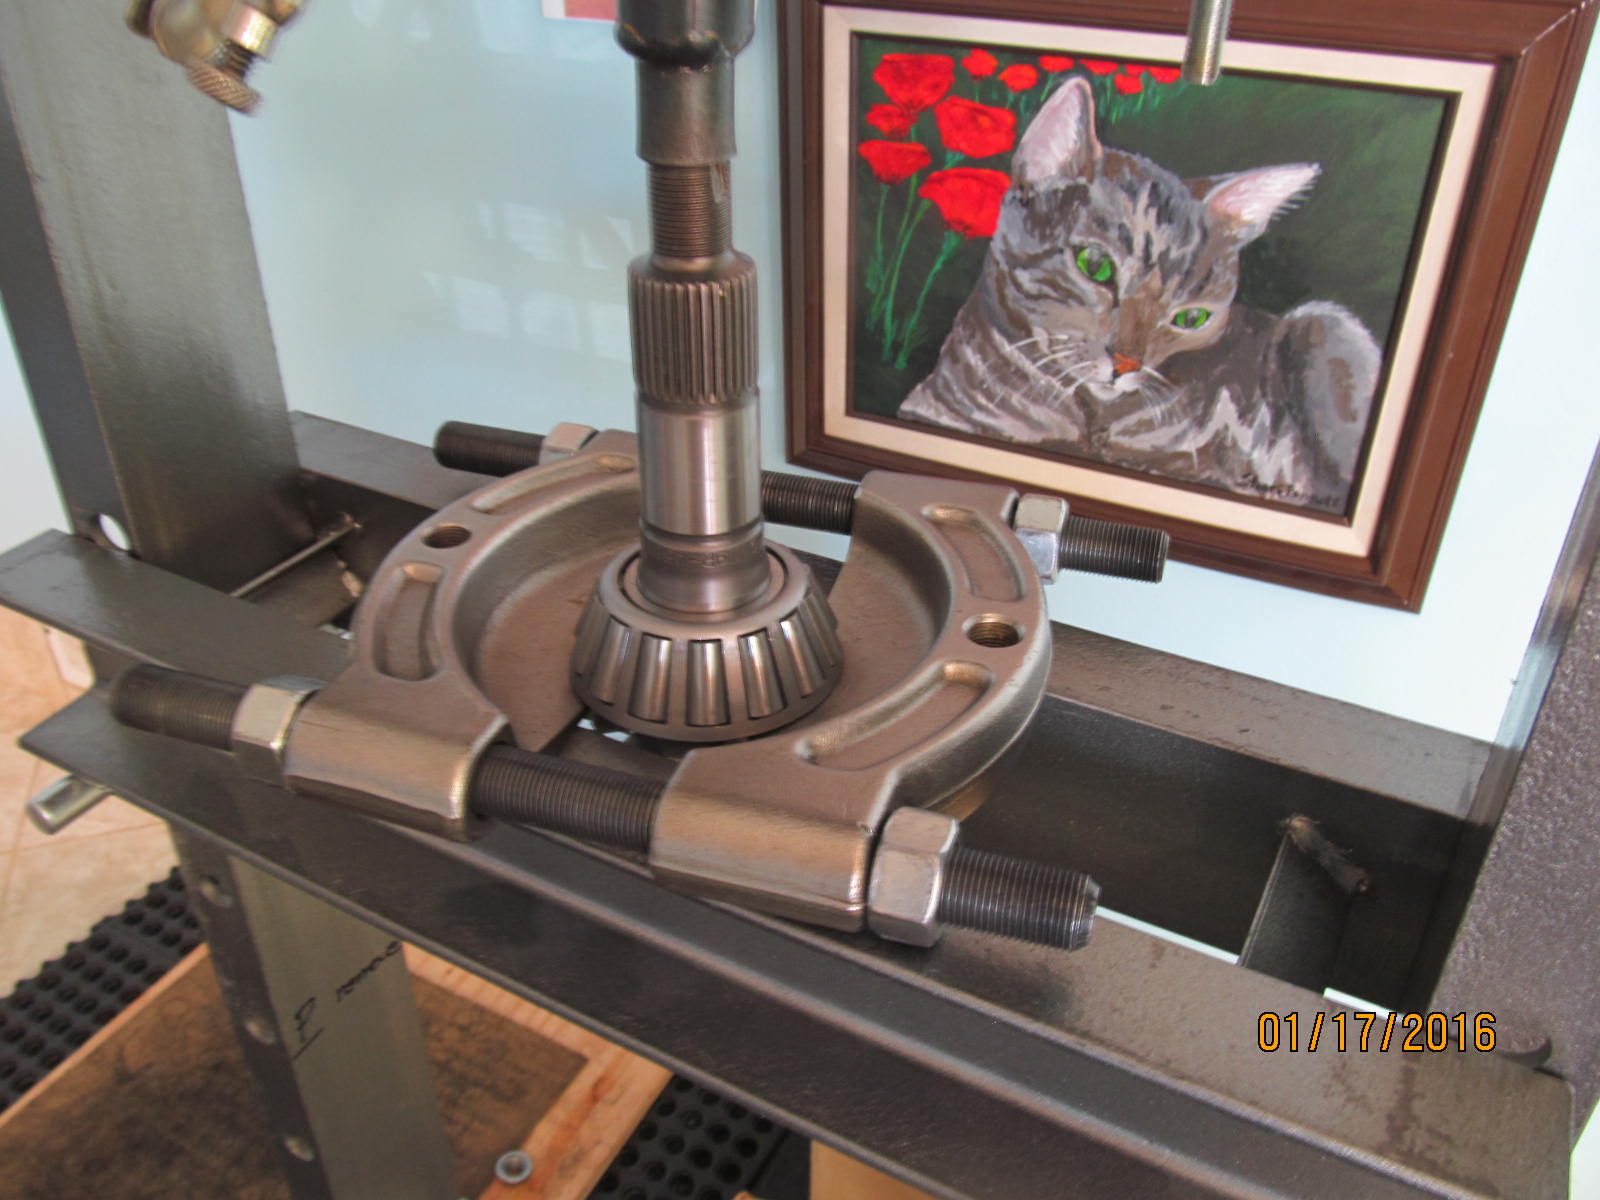
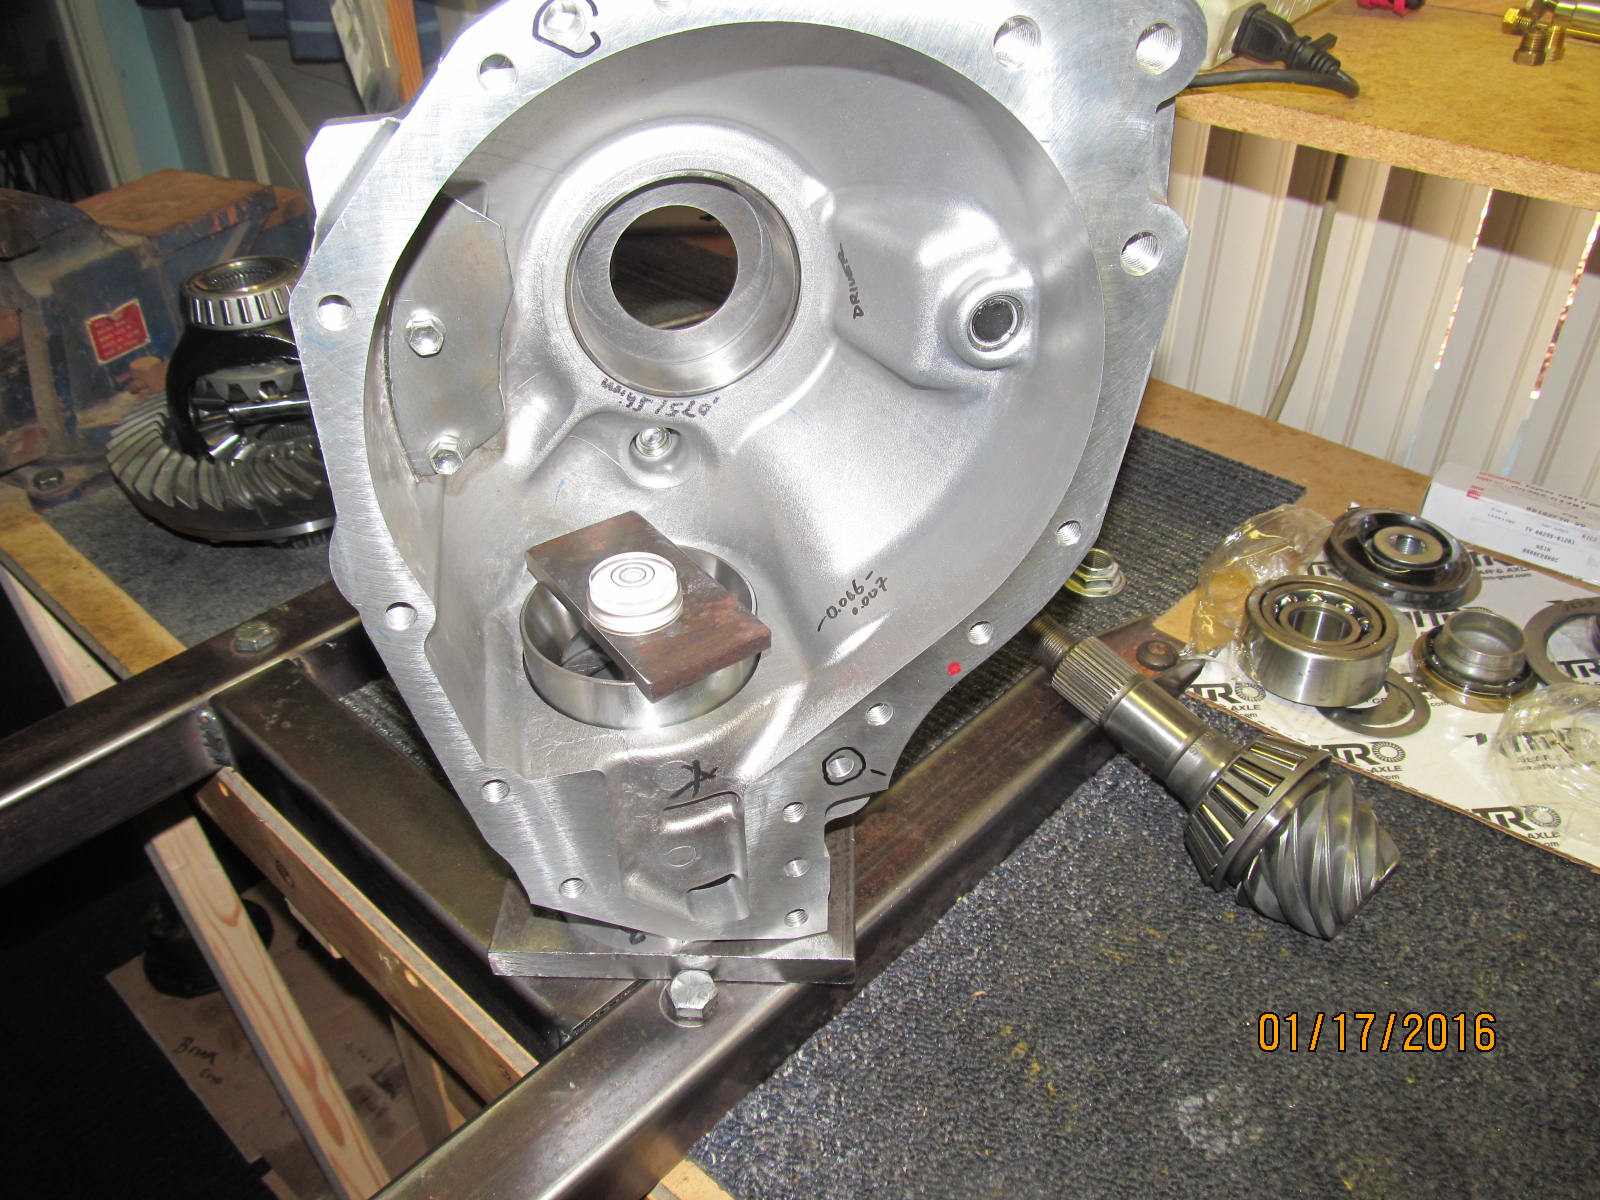
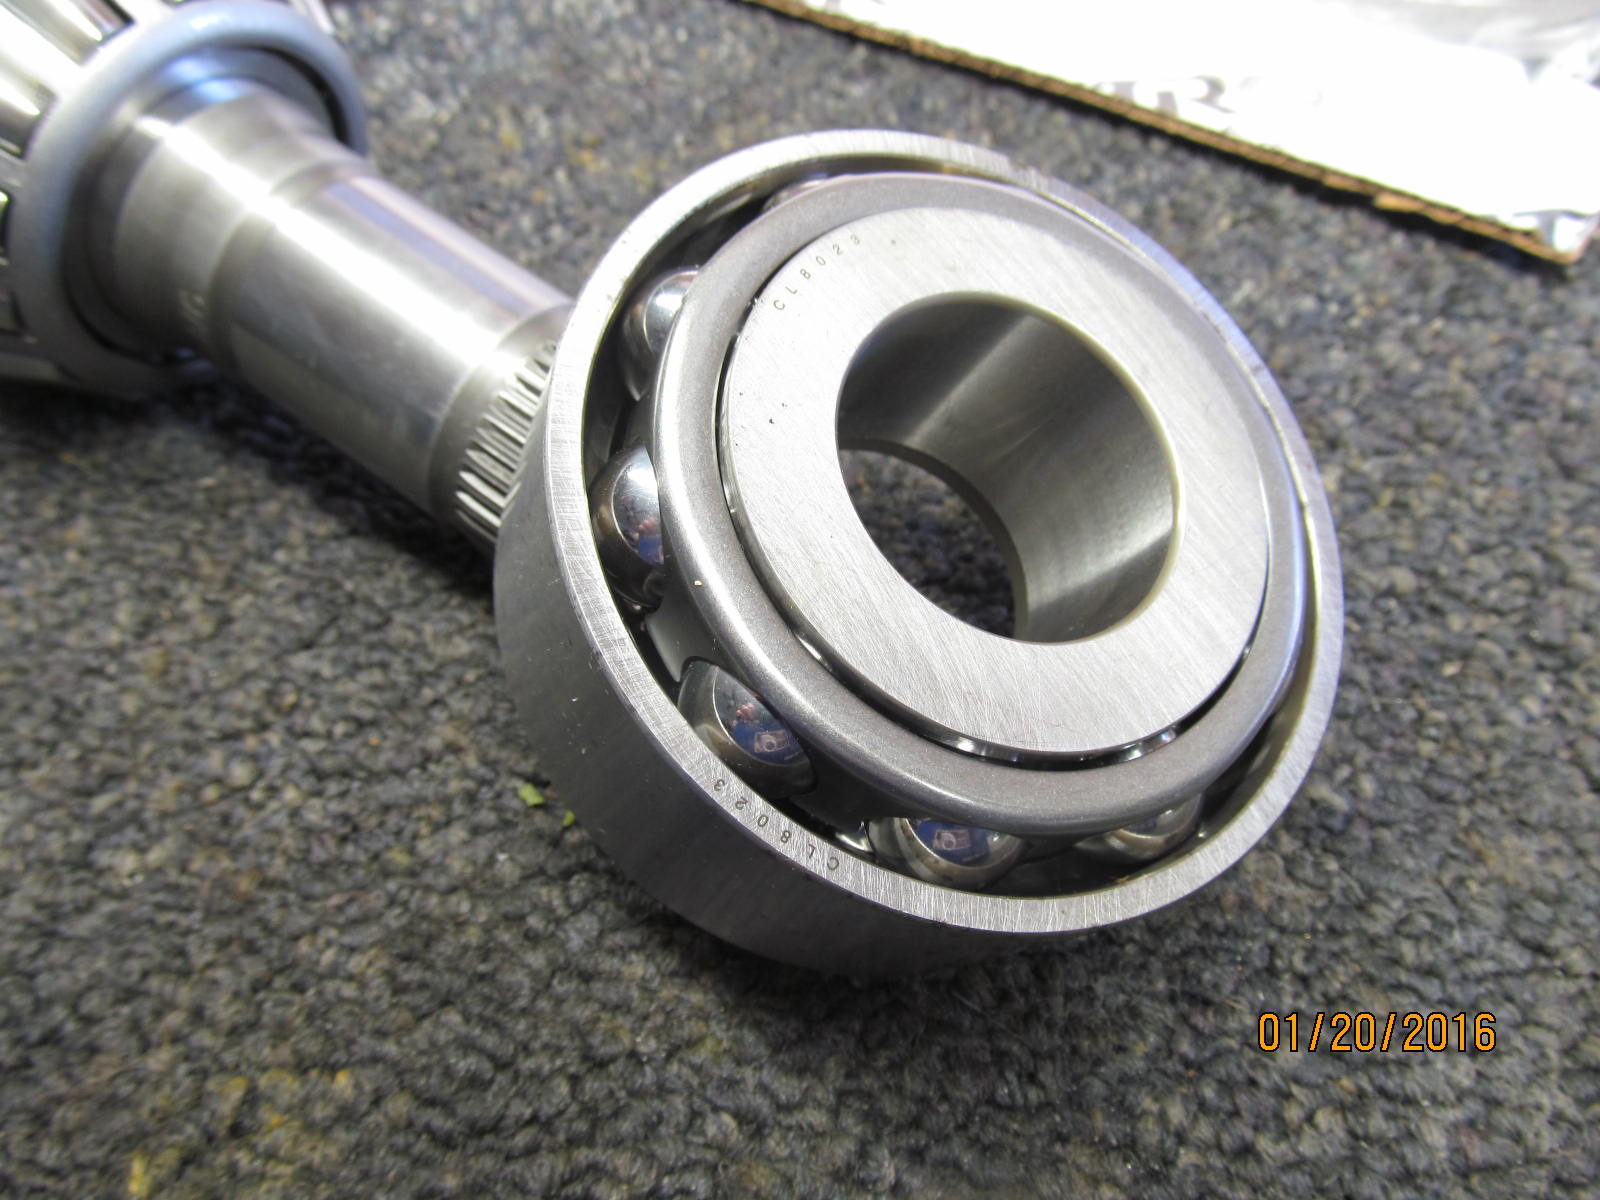
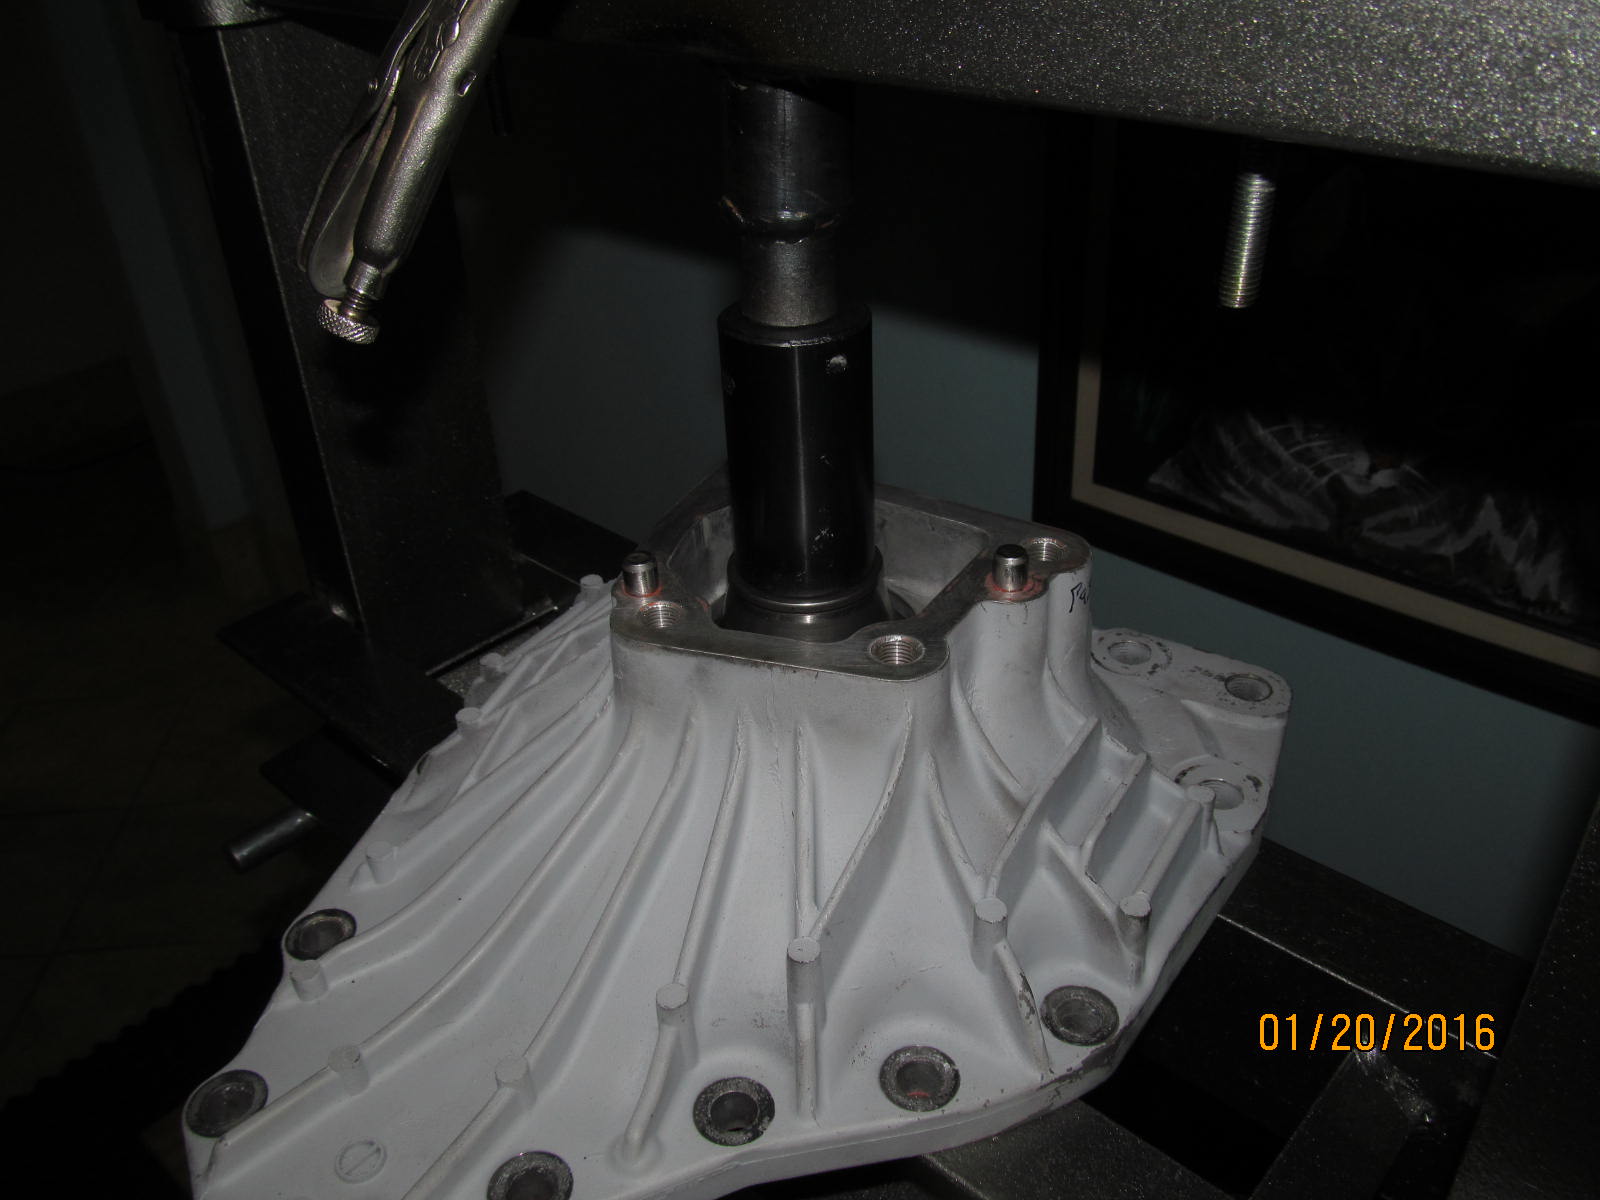
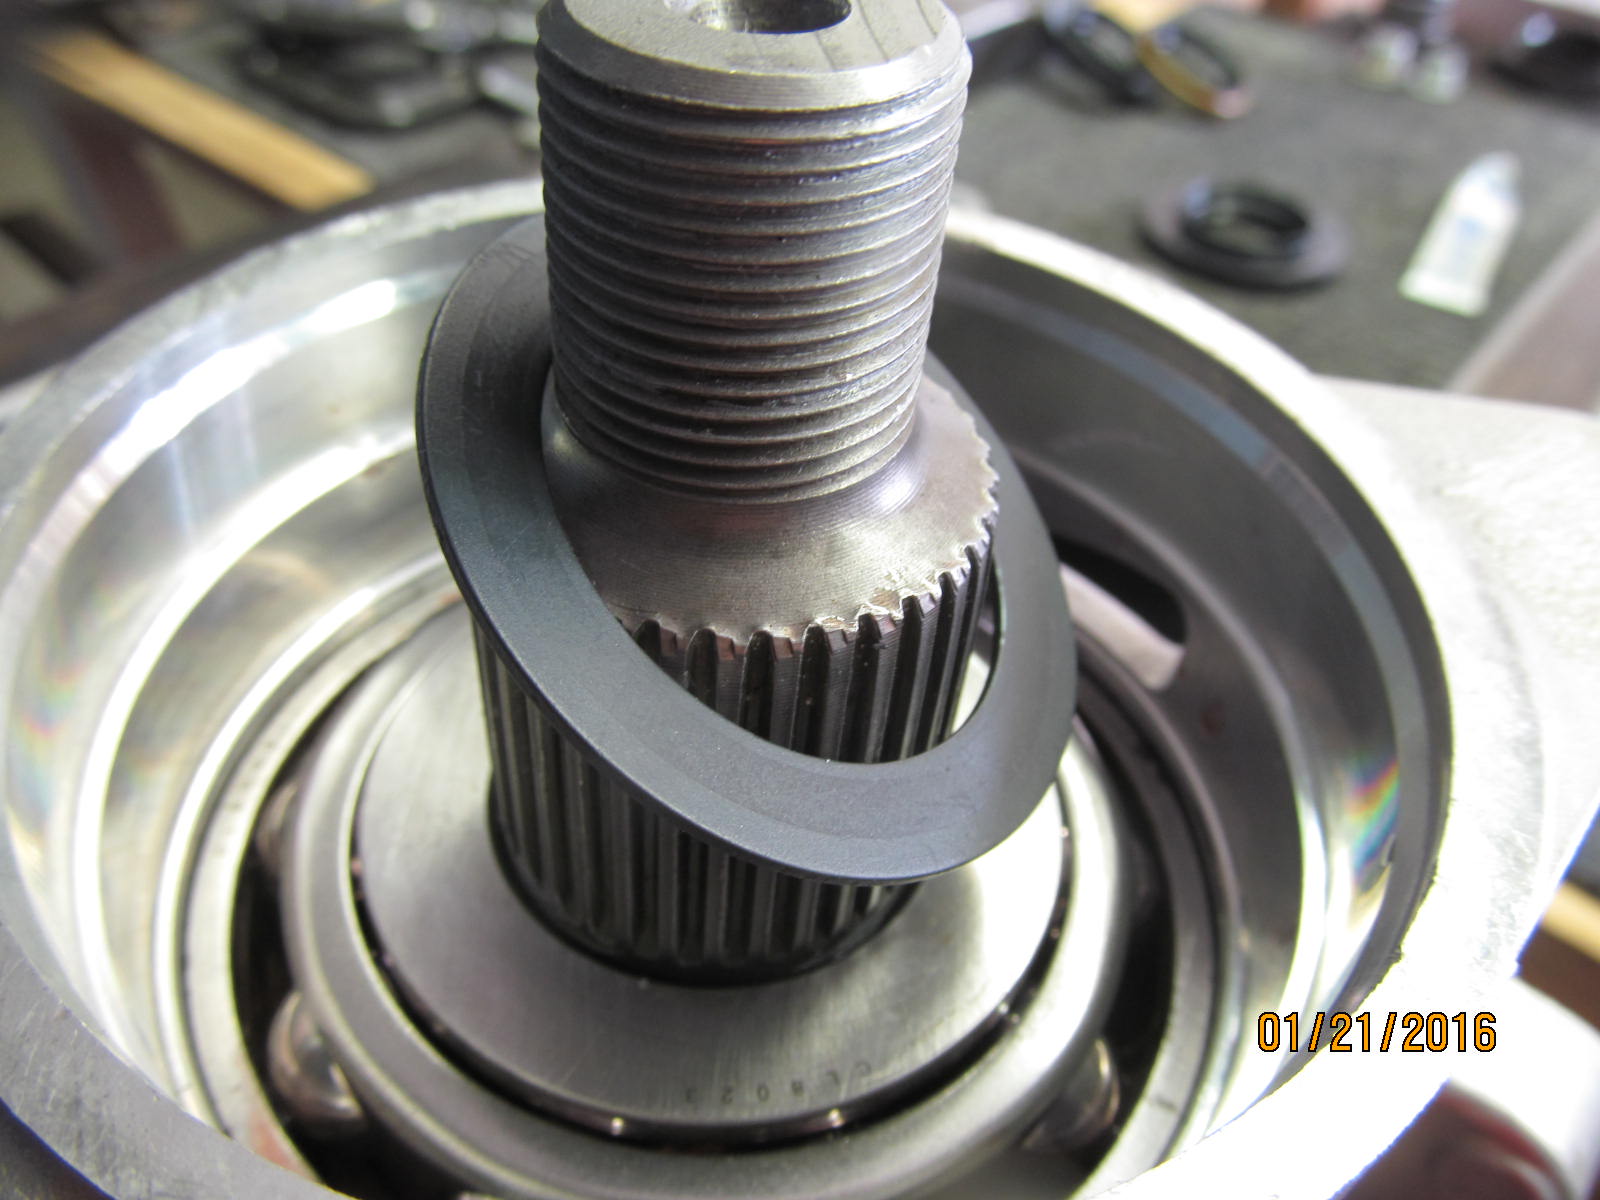
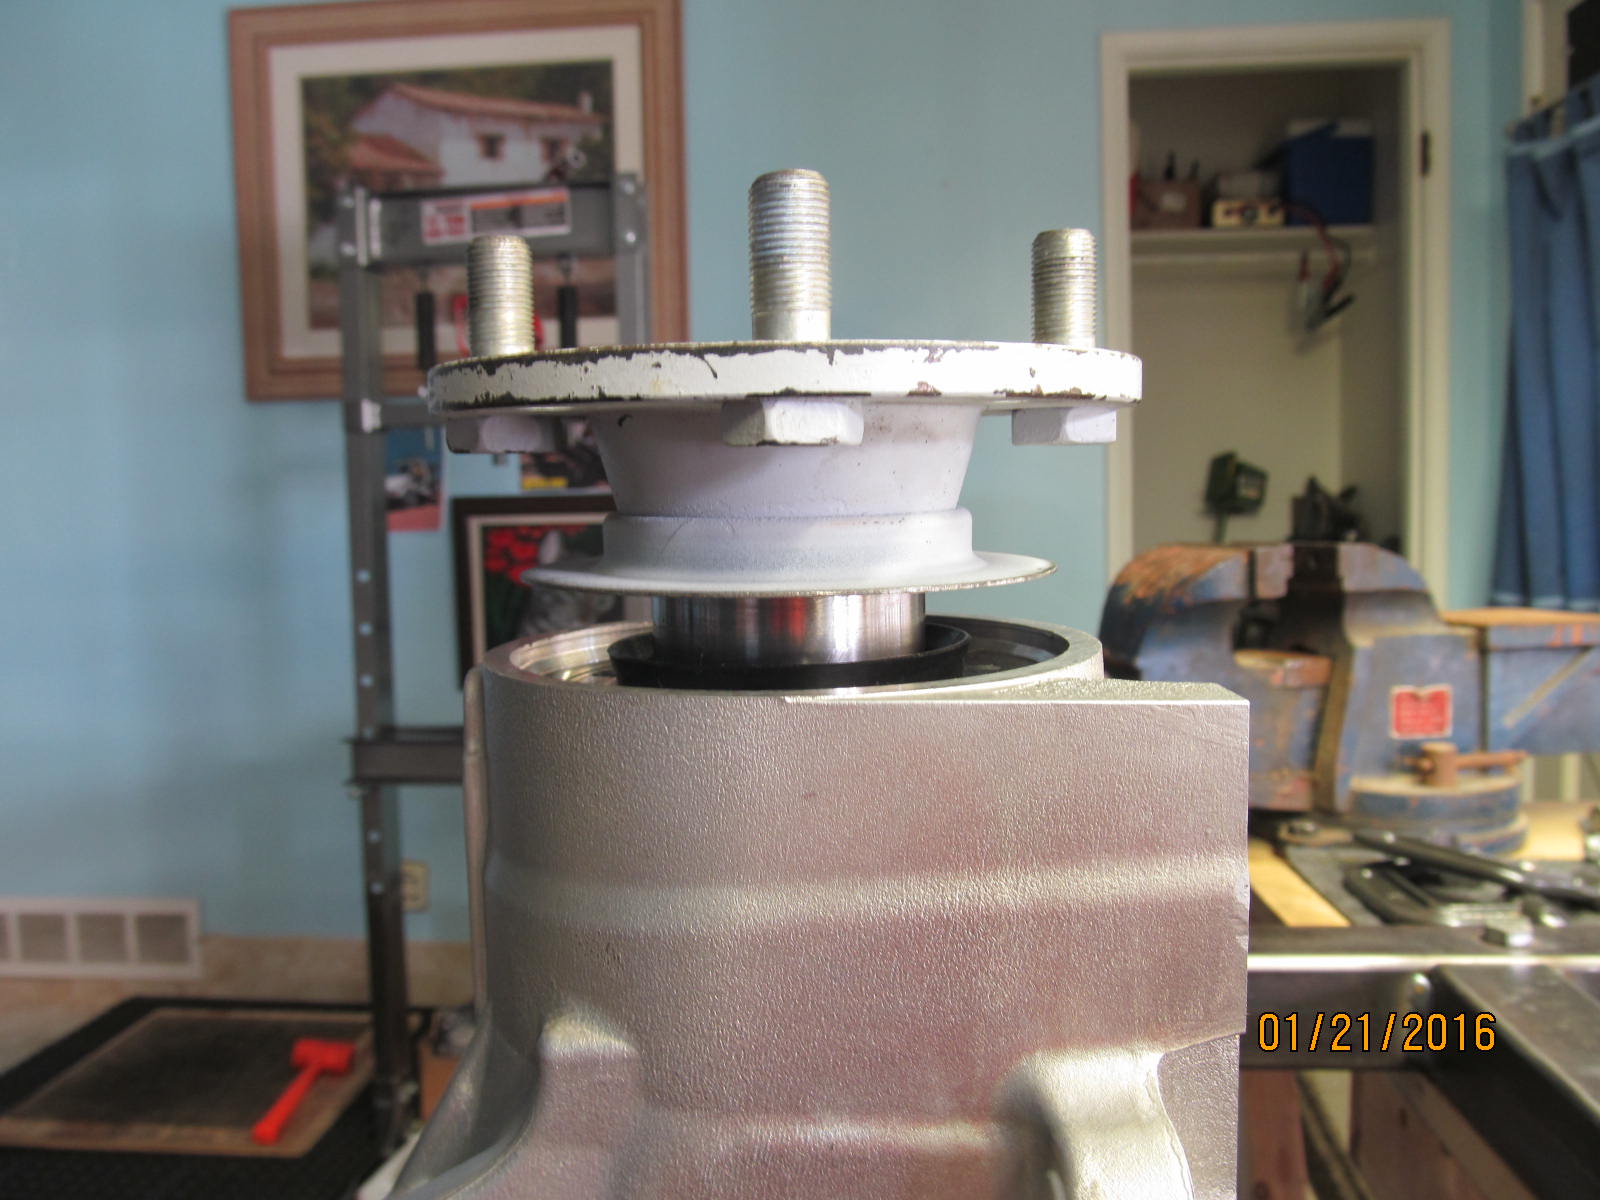
The new bearing will be pressed on the 488 shaft.
|
|
|
|
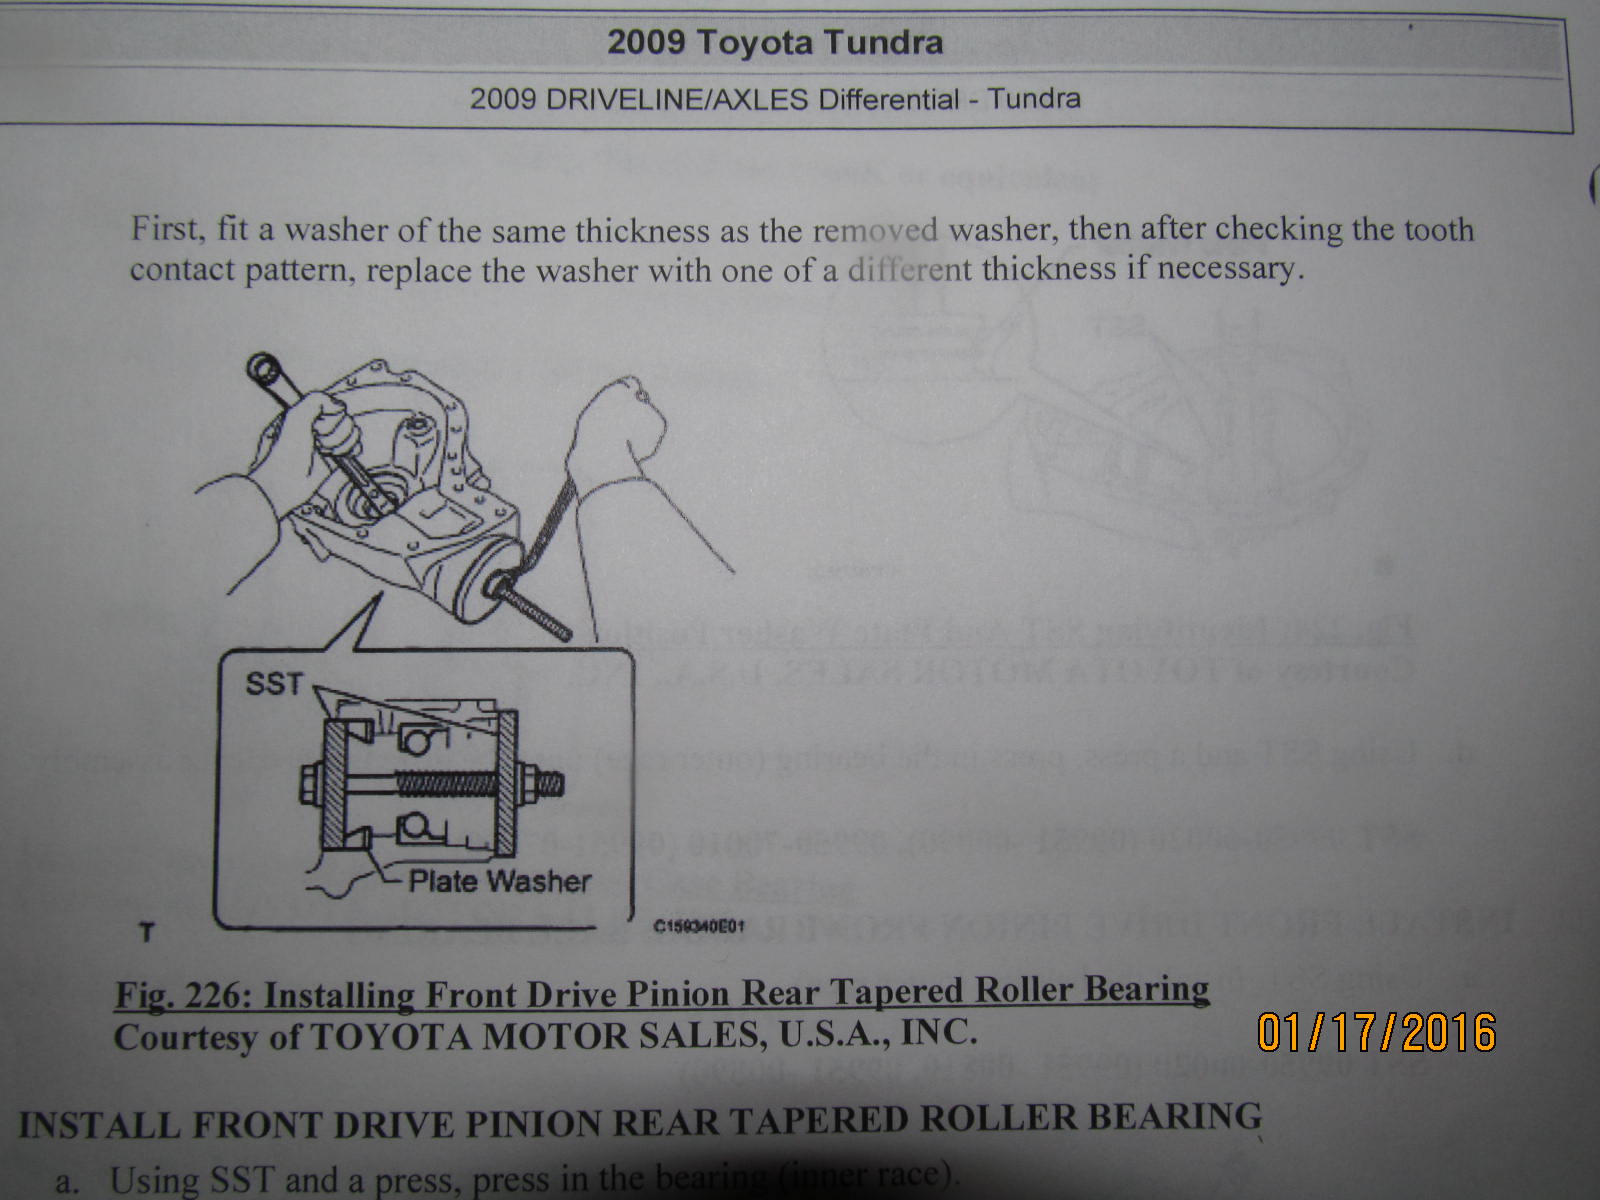
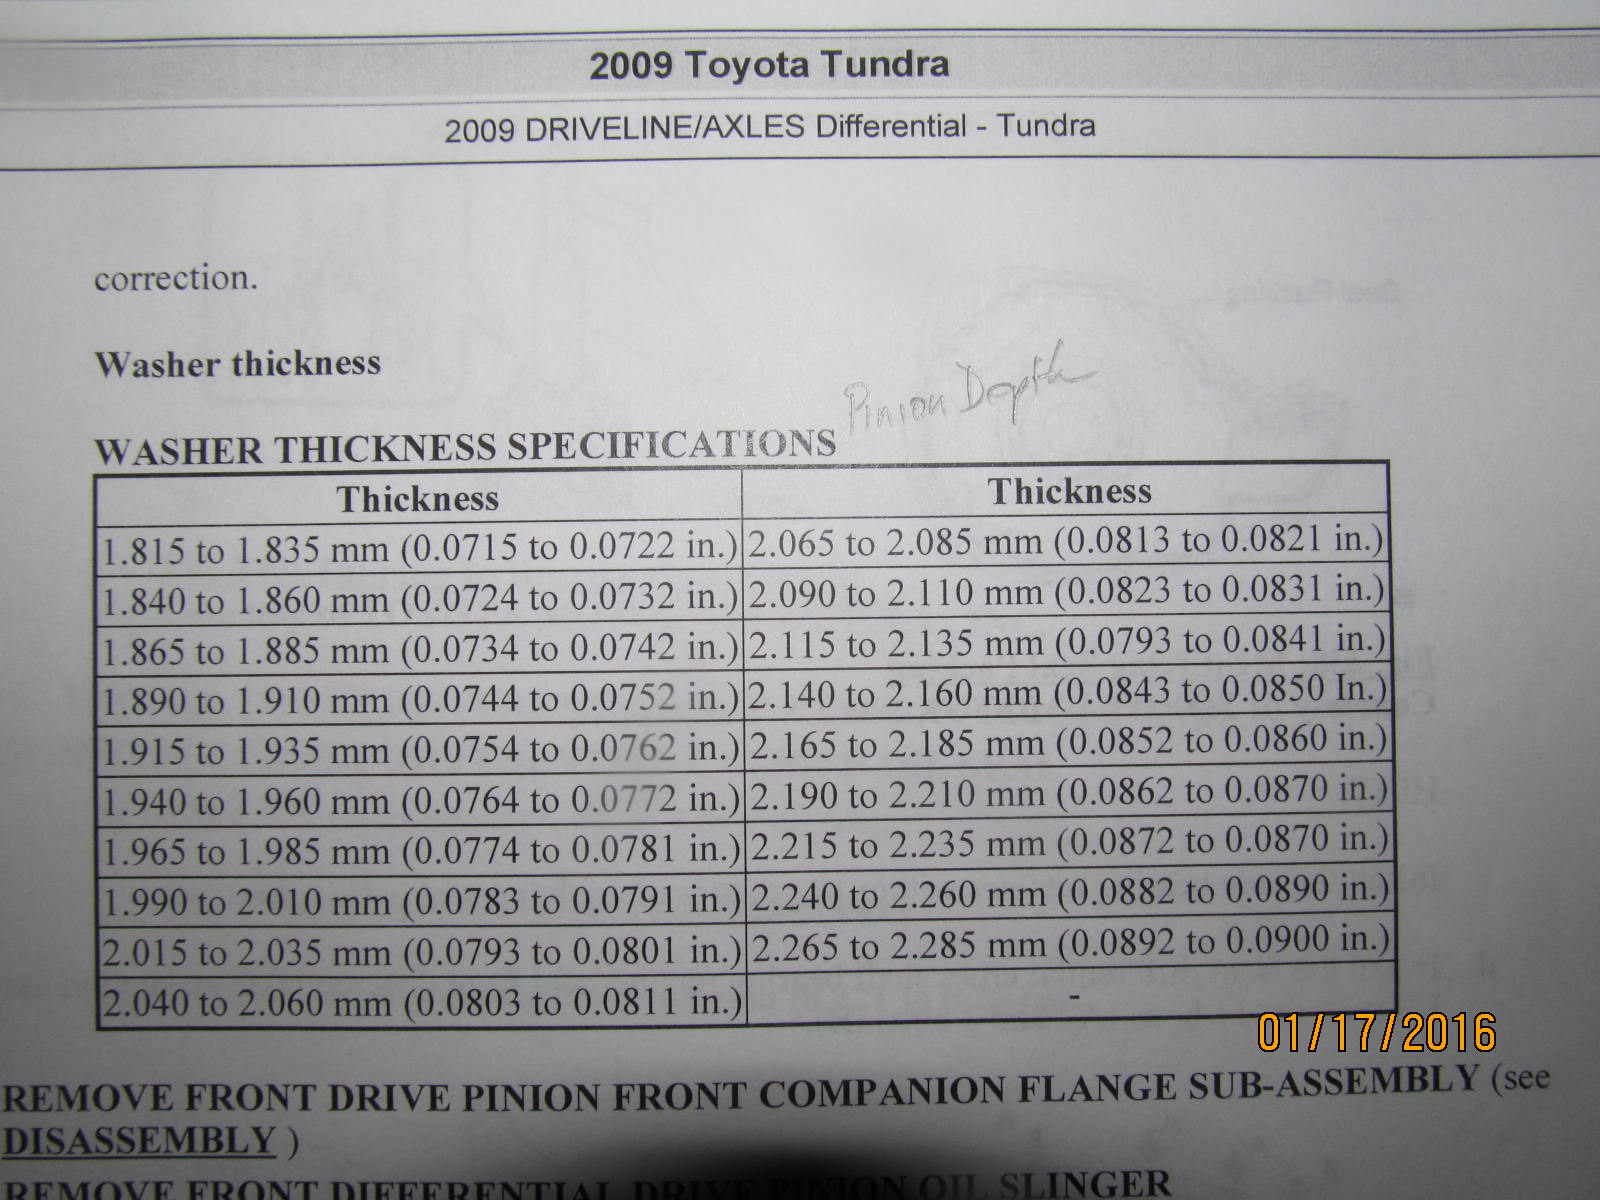
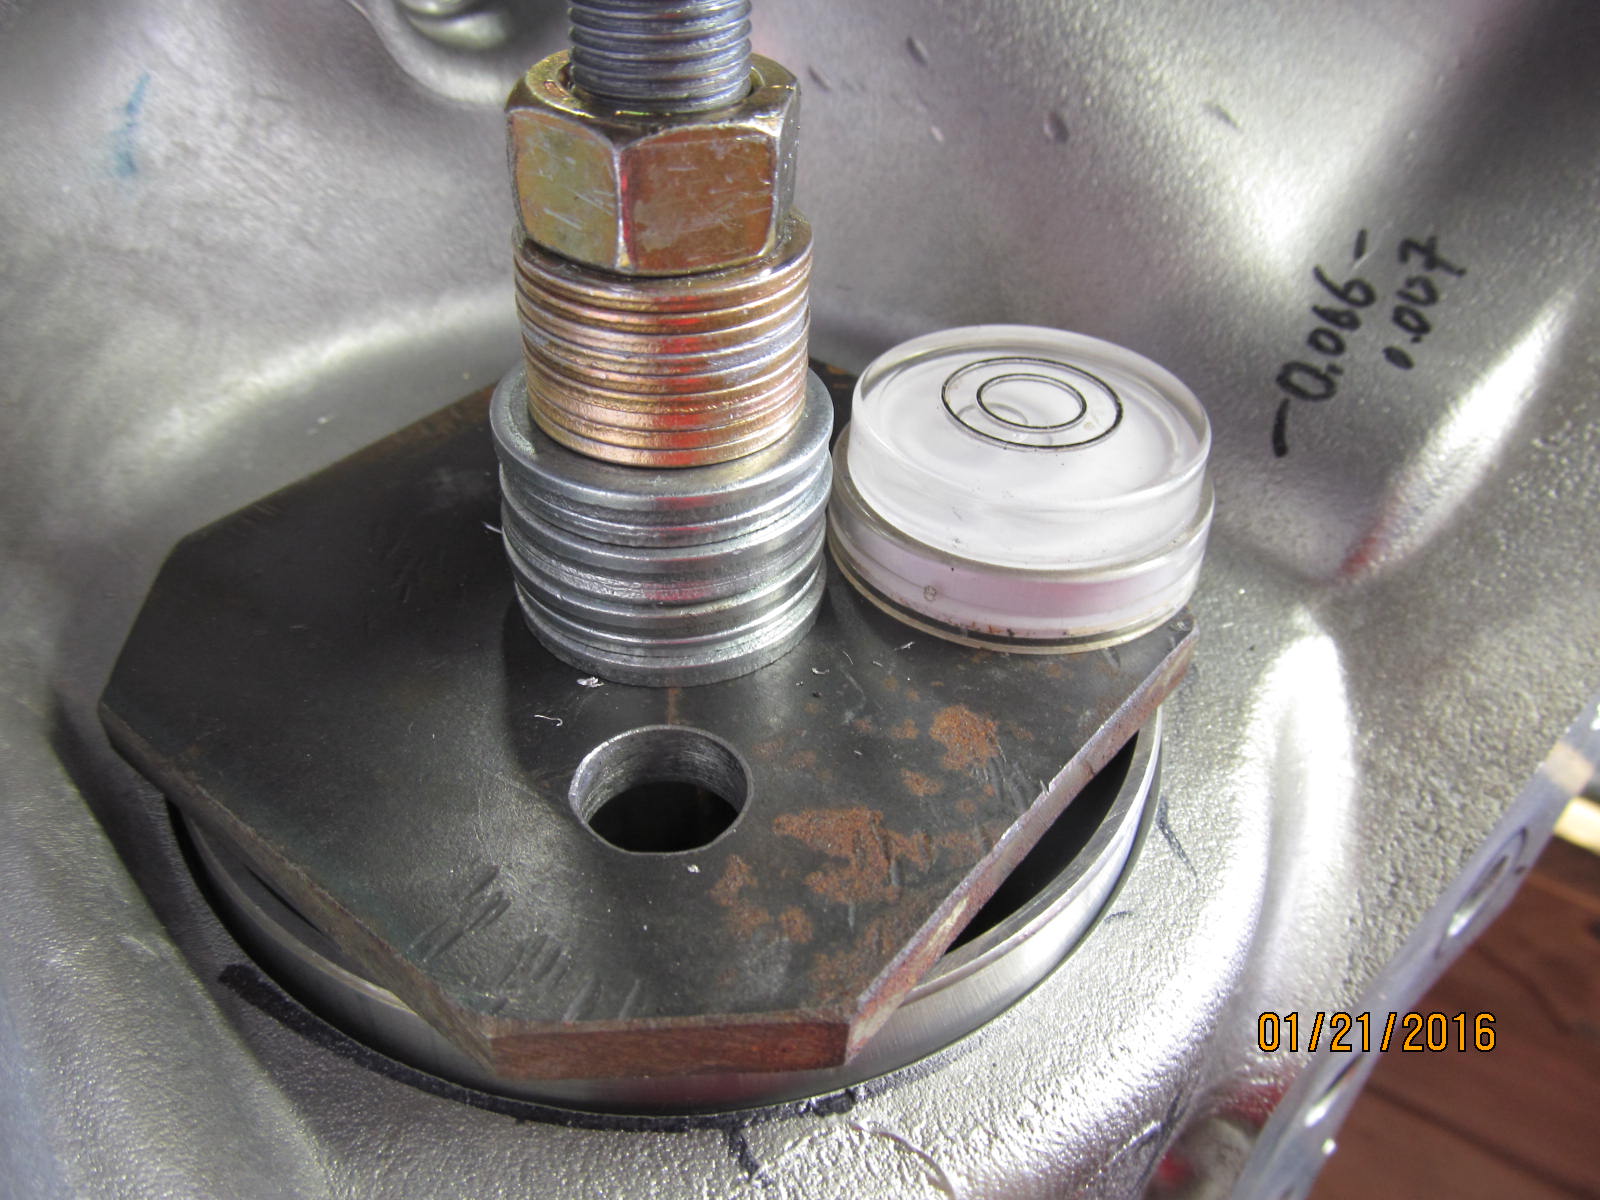
I was contemplating putting the pinion shim between the pinion head and bearing shown here. The
reason being it's a lot easier to change out the pinion shim when it's here behind the bearing....
|
|
|
|
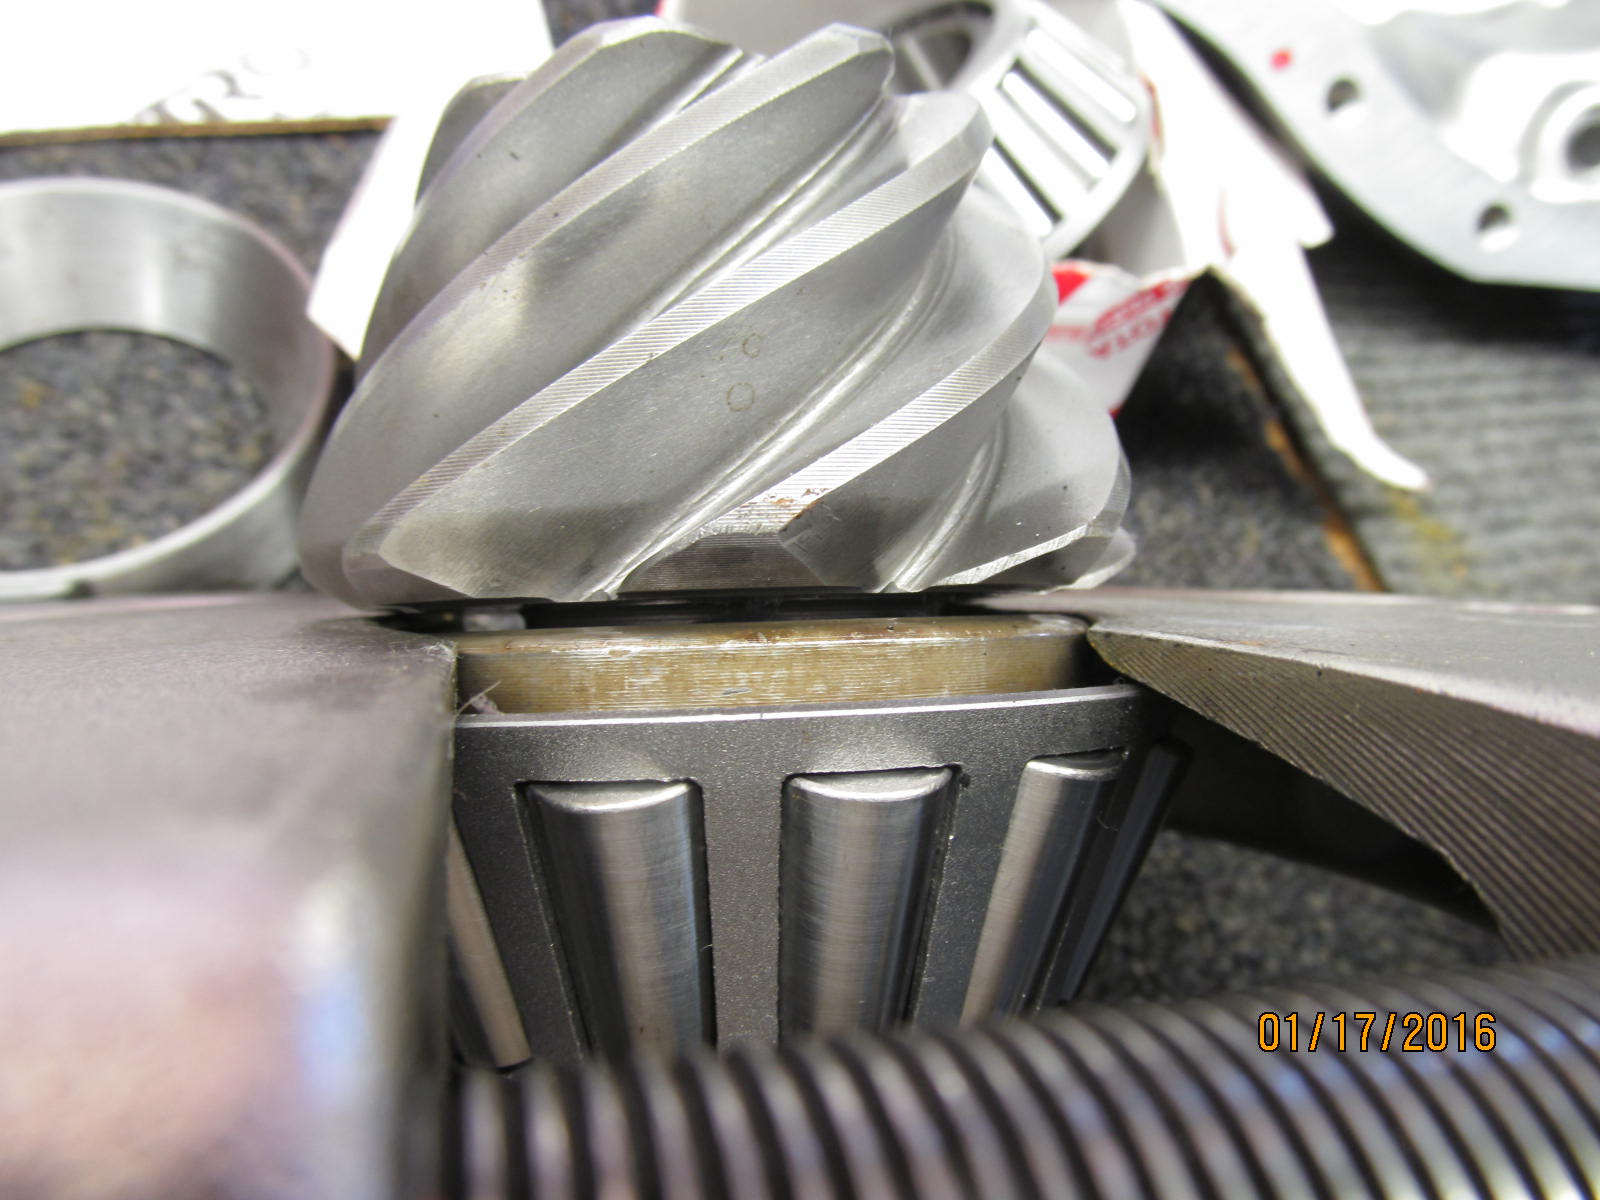
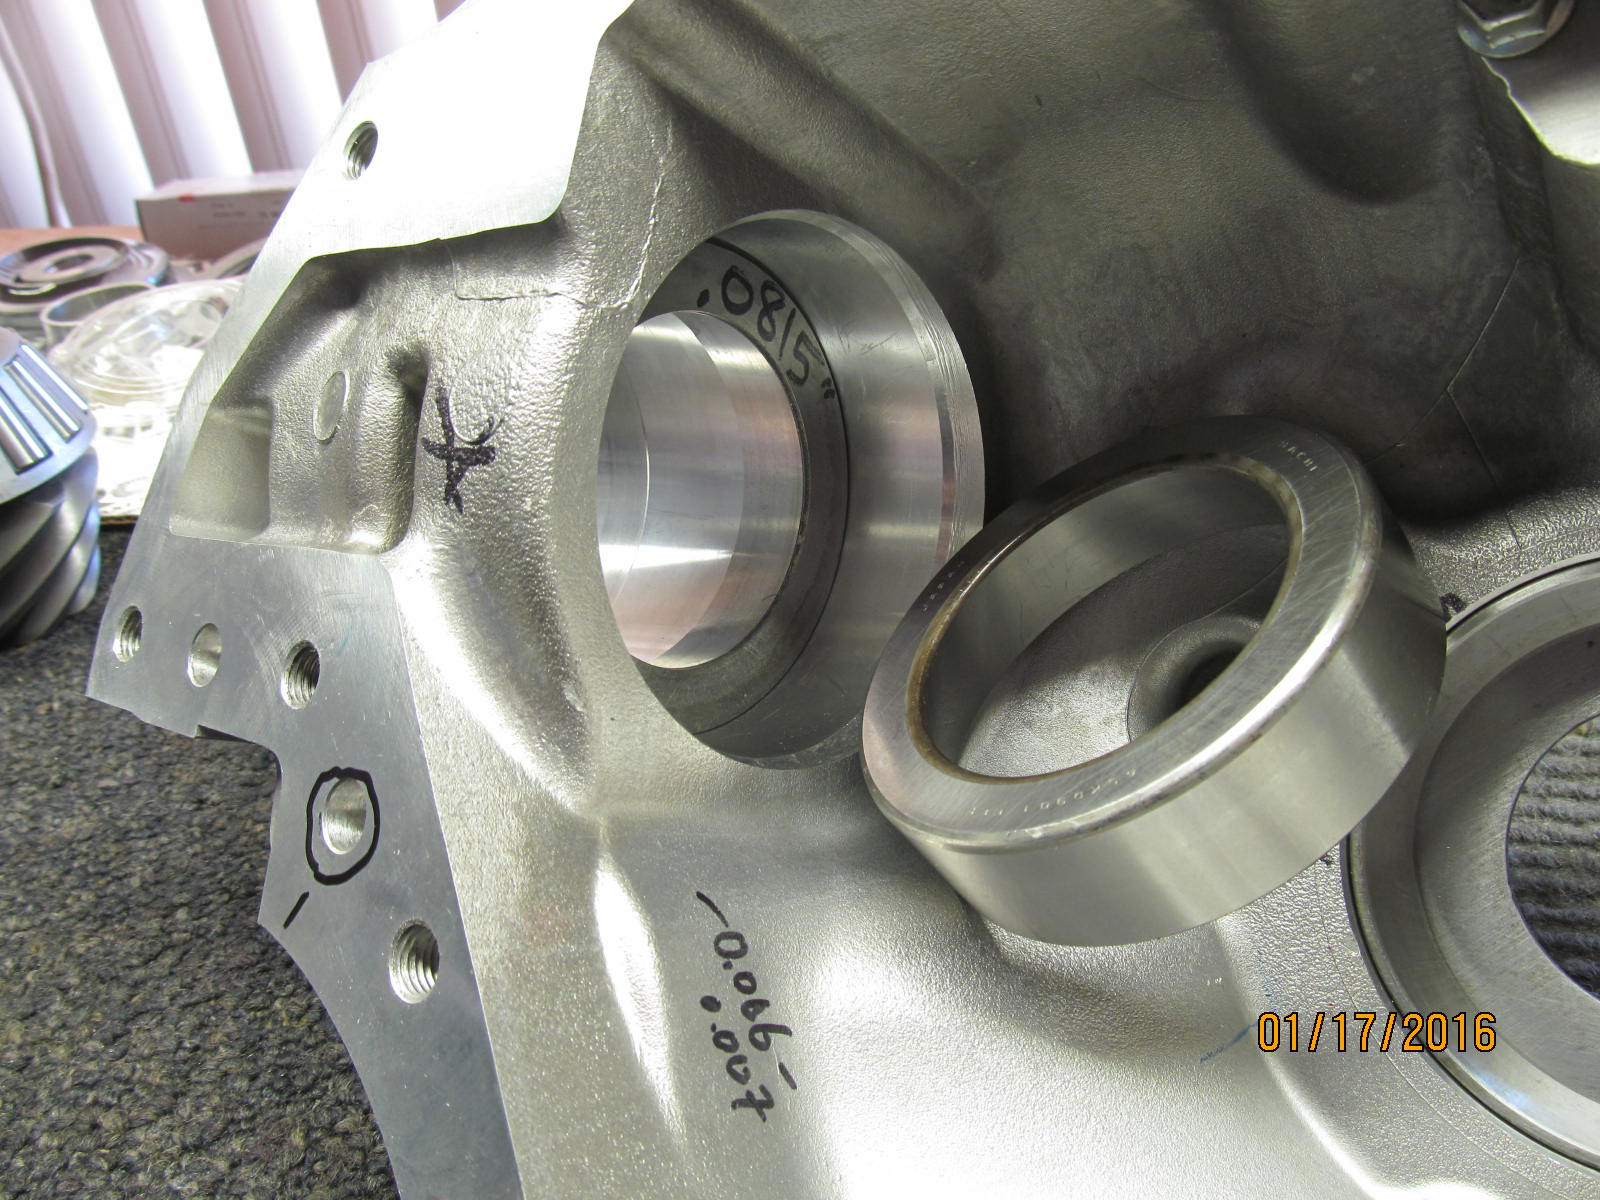
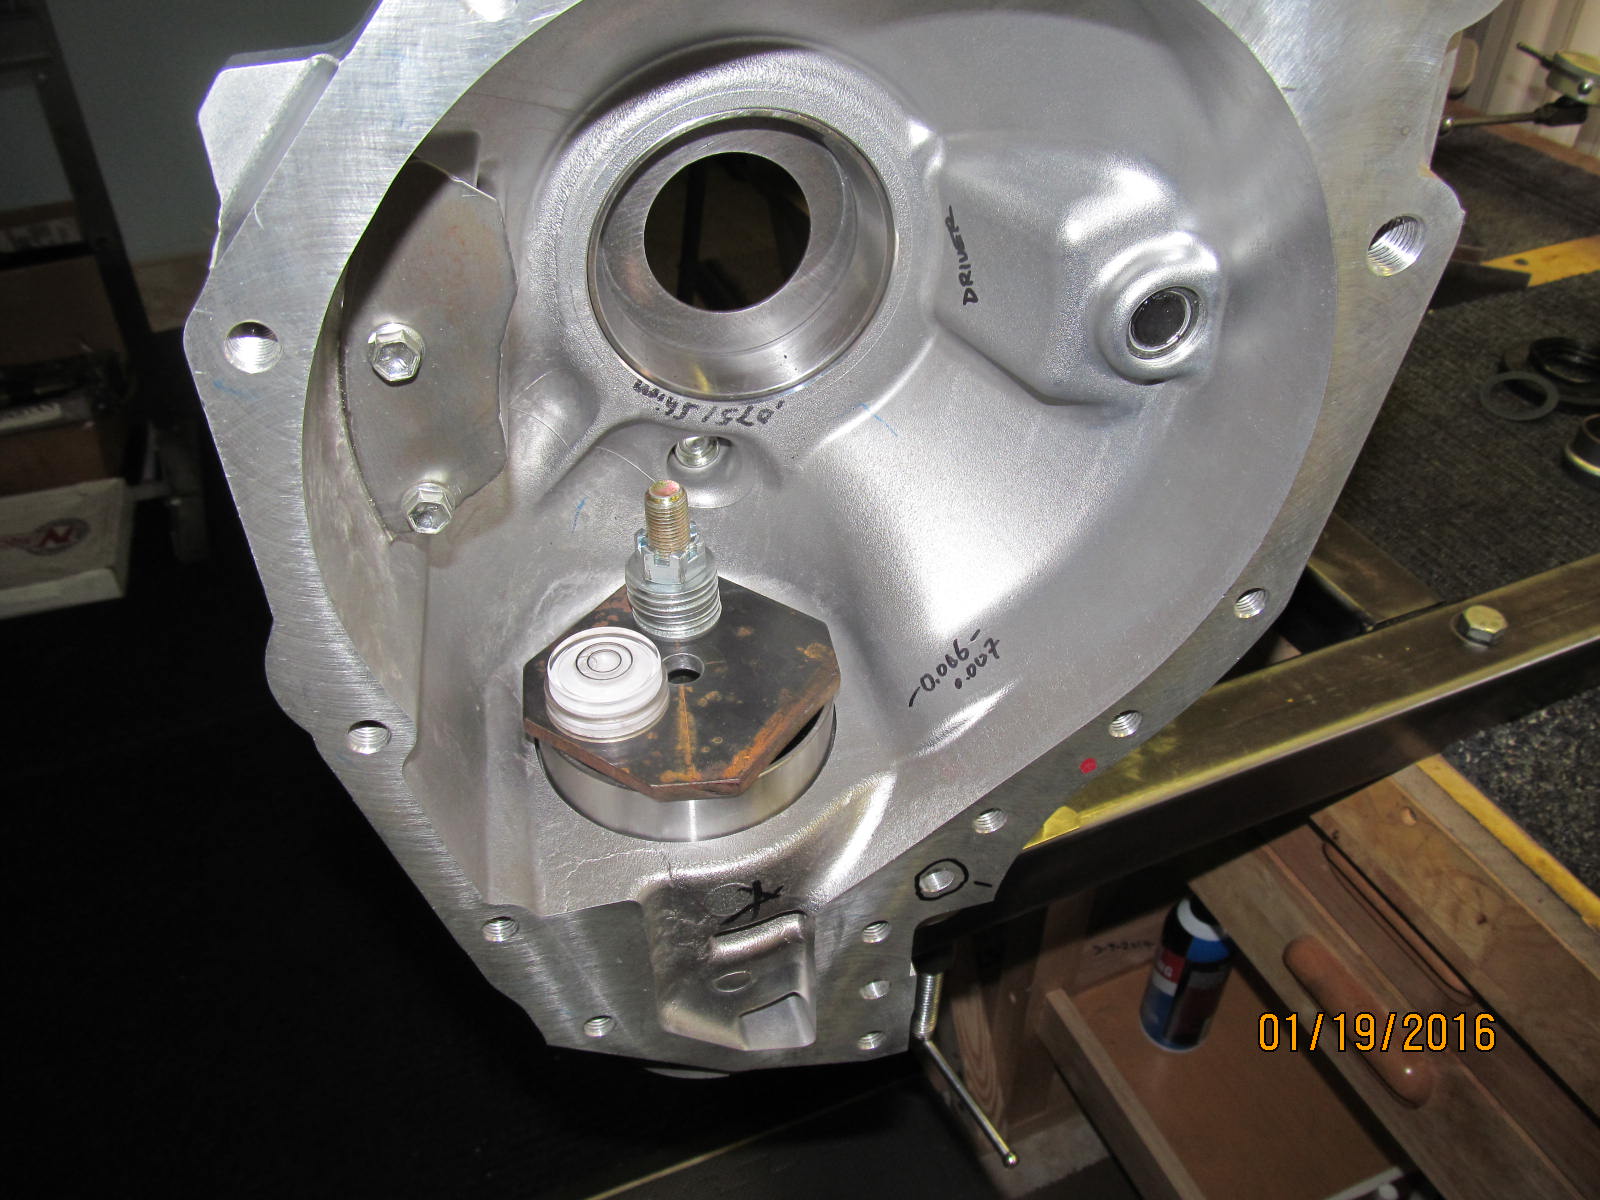
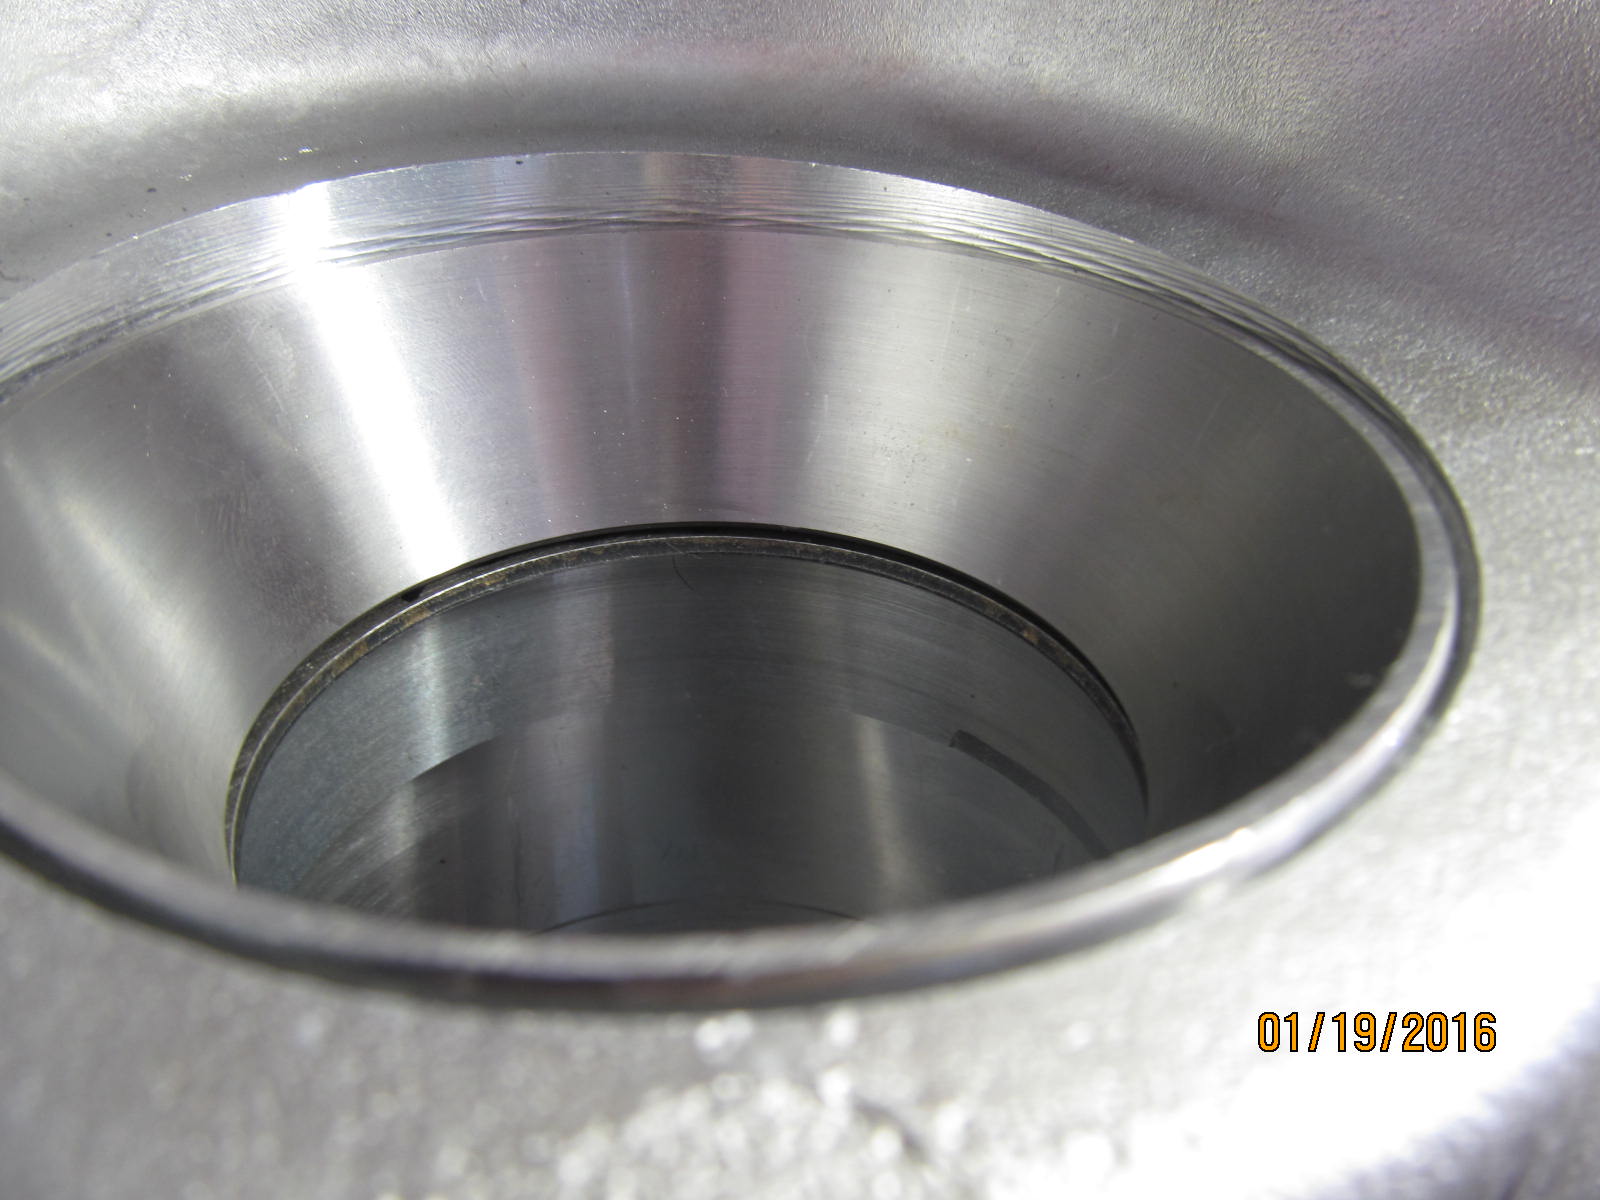
....compared to when it is here behind the race. This inner race can be a PITA to get it to seat down
fully without cocking sideways in the ALUMINUM bore.
|
|
|
|
|
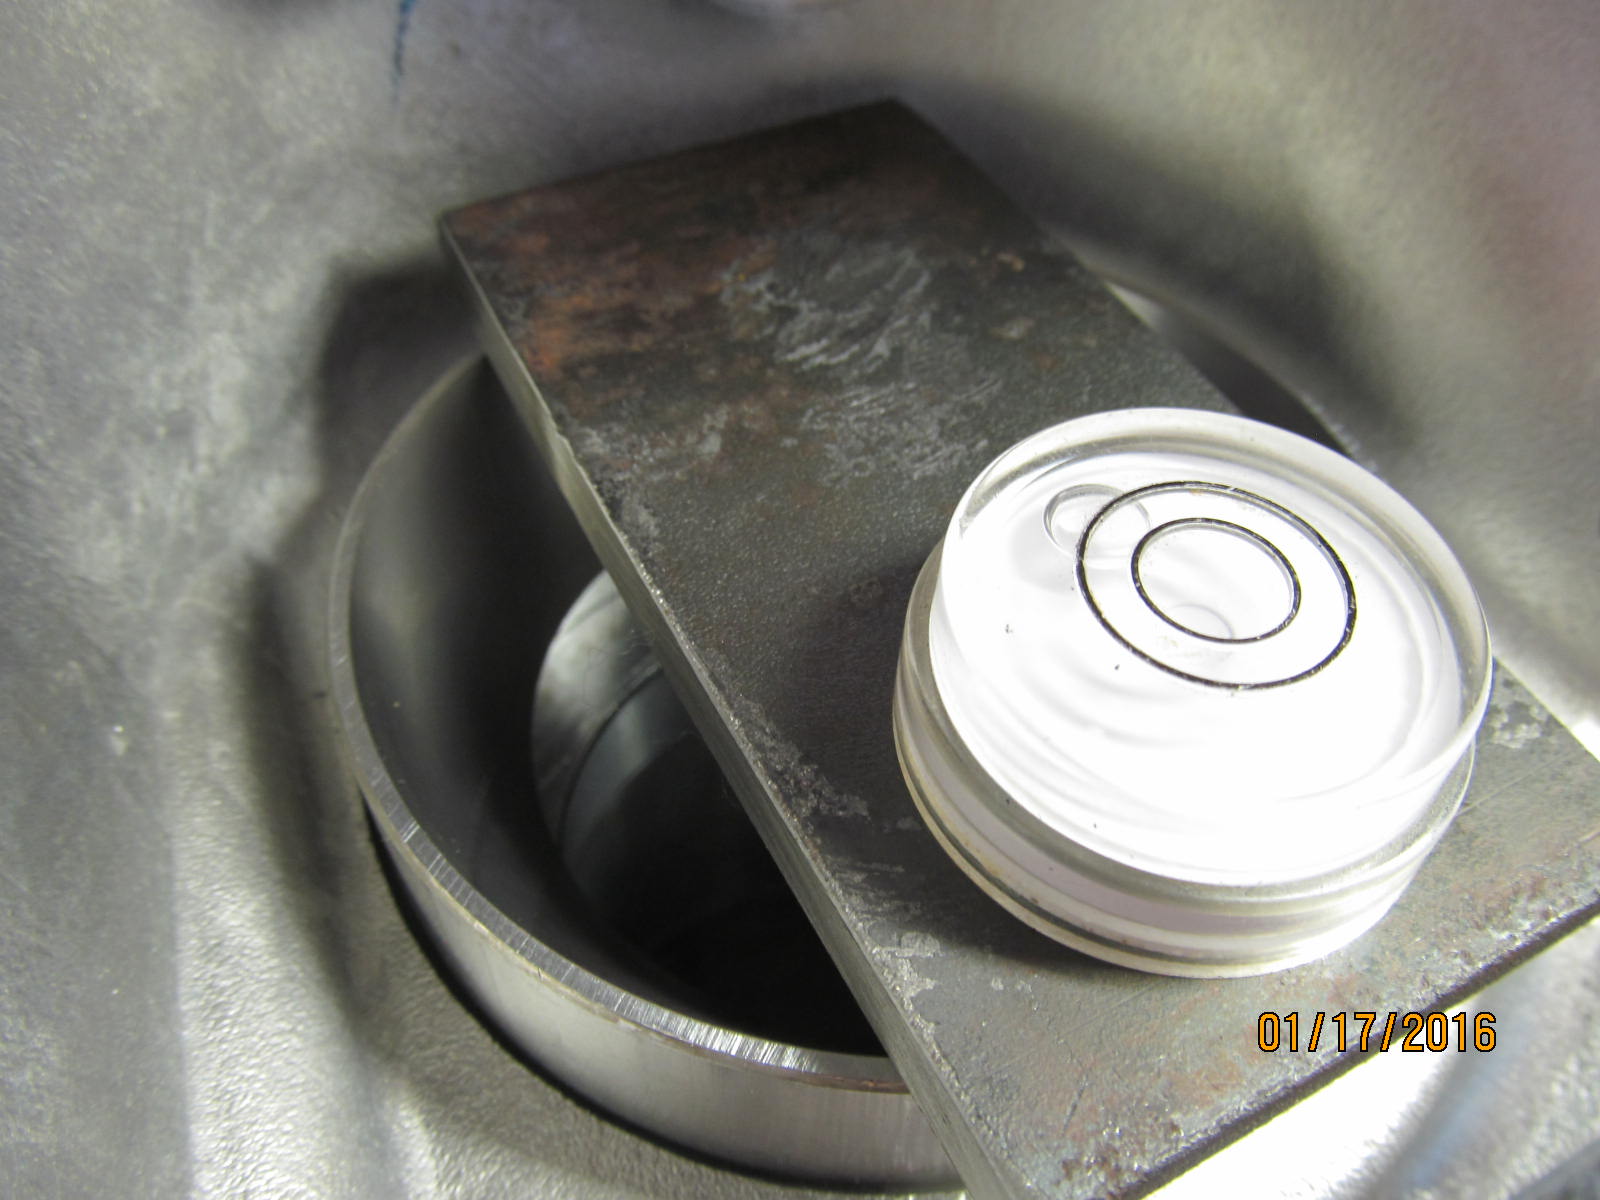
This little plastic bubble-level cost only a buck but it was the best buck ever spent :)
|
|
|
|
|
Starting to go in cock-eyed here.
|
|
|
|
|
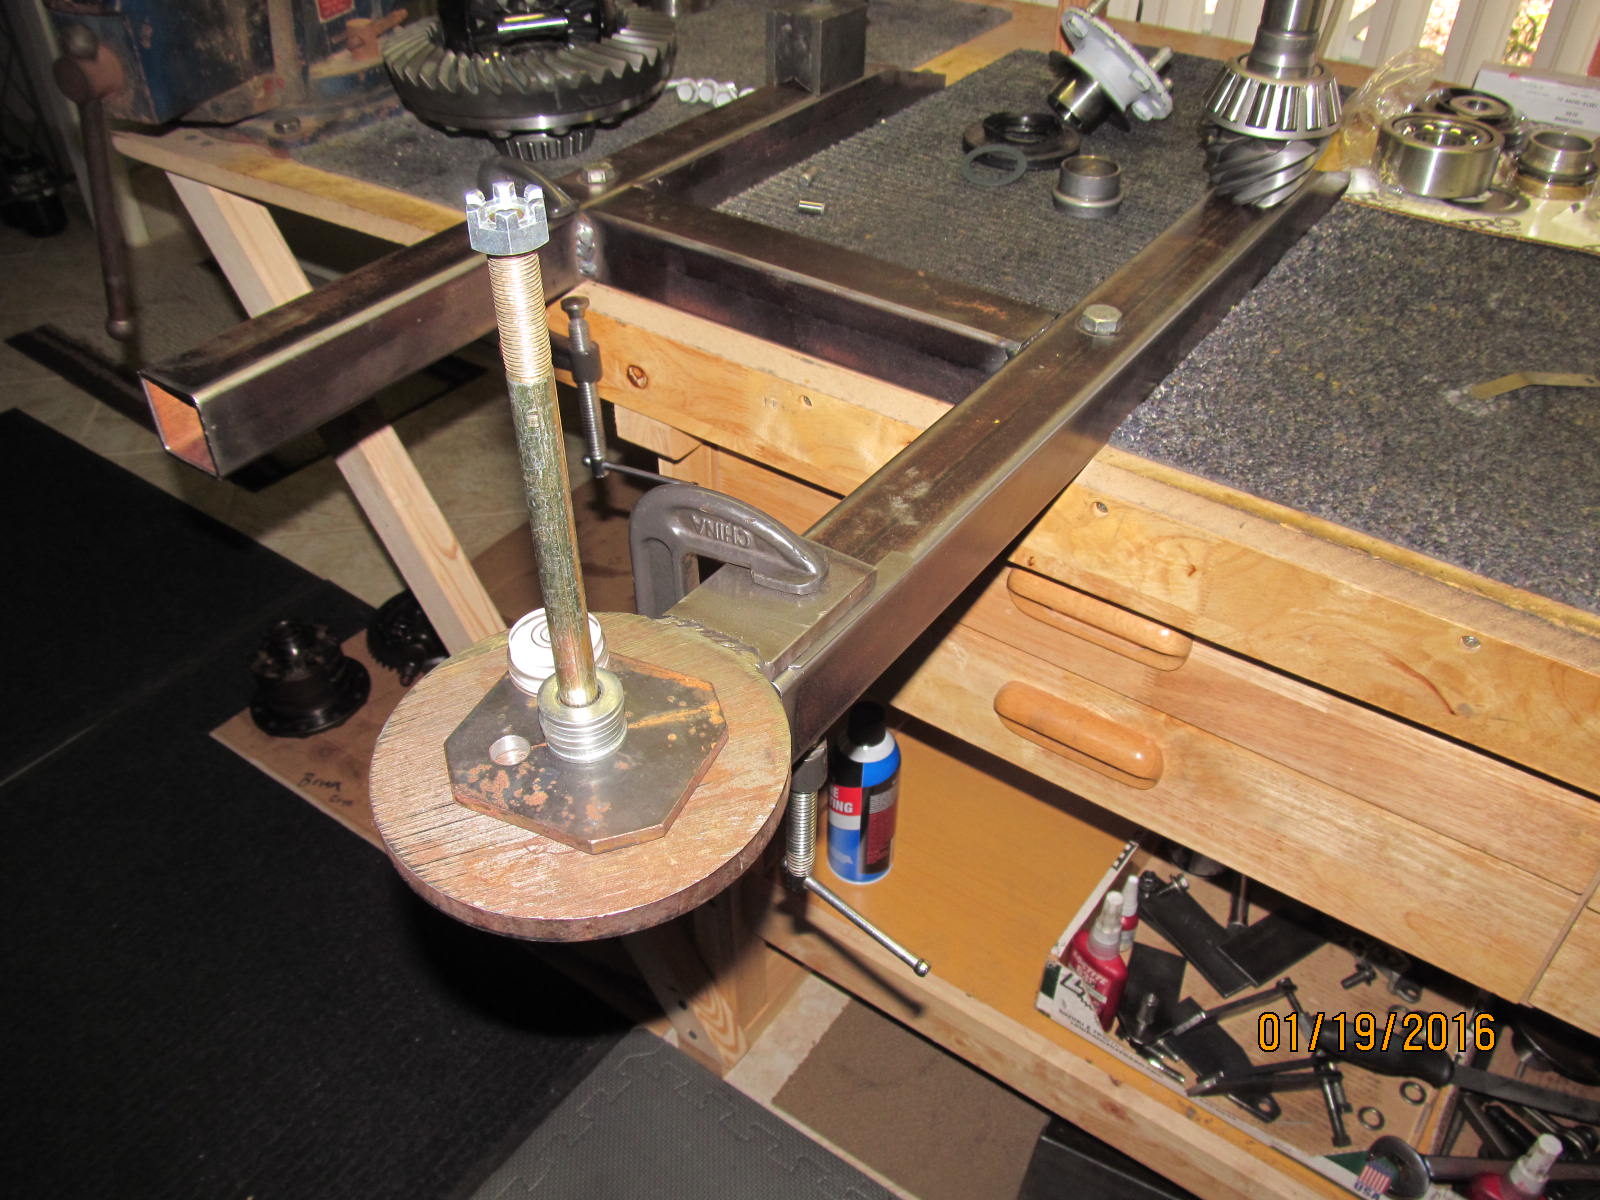
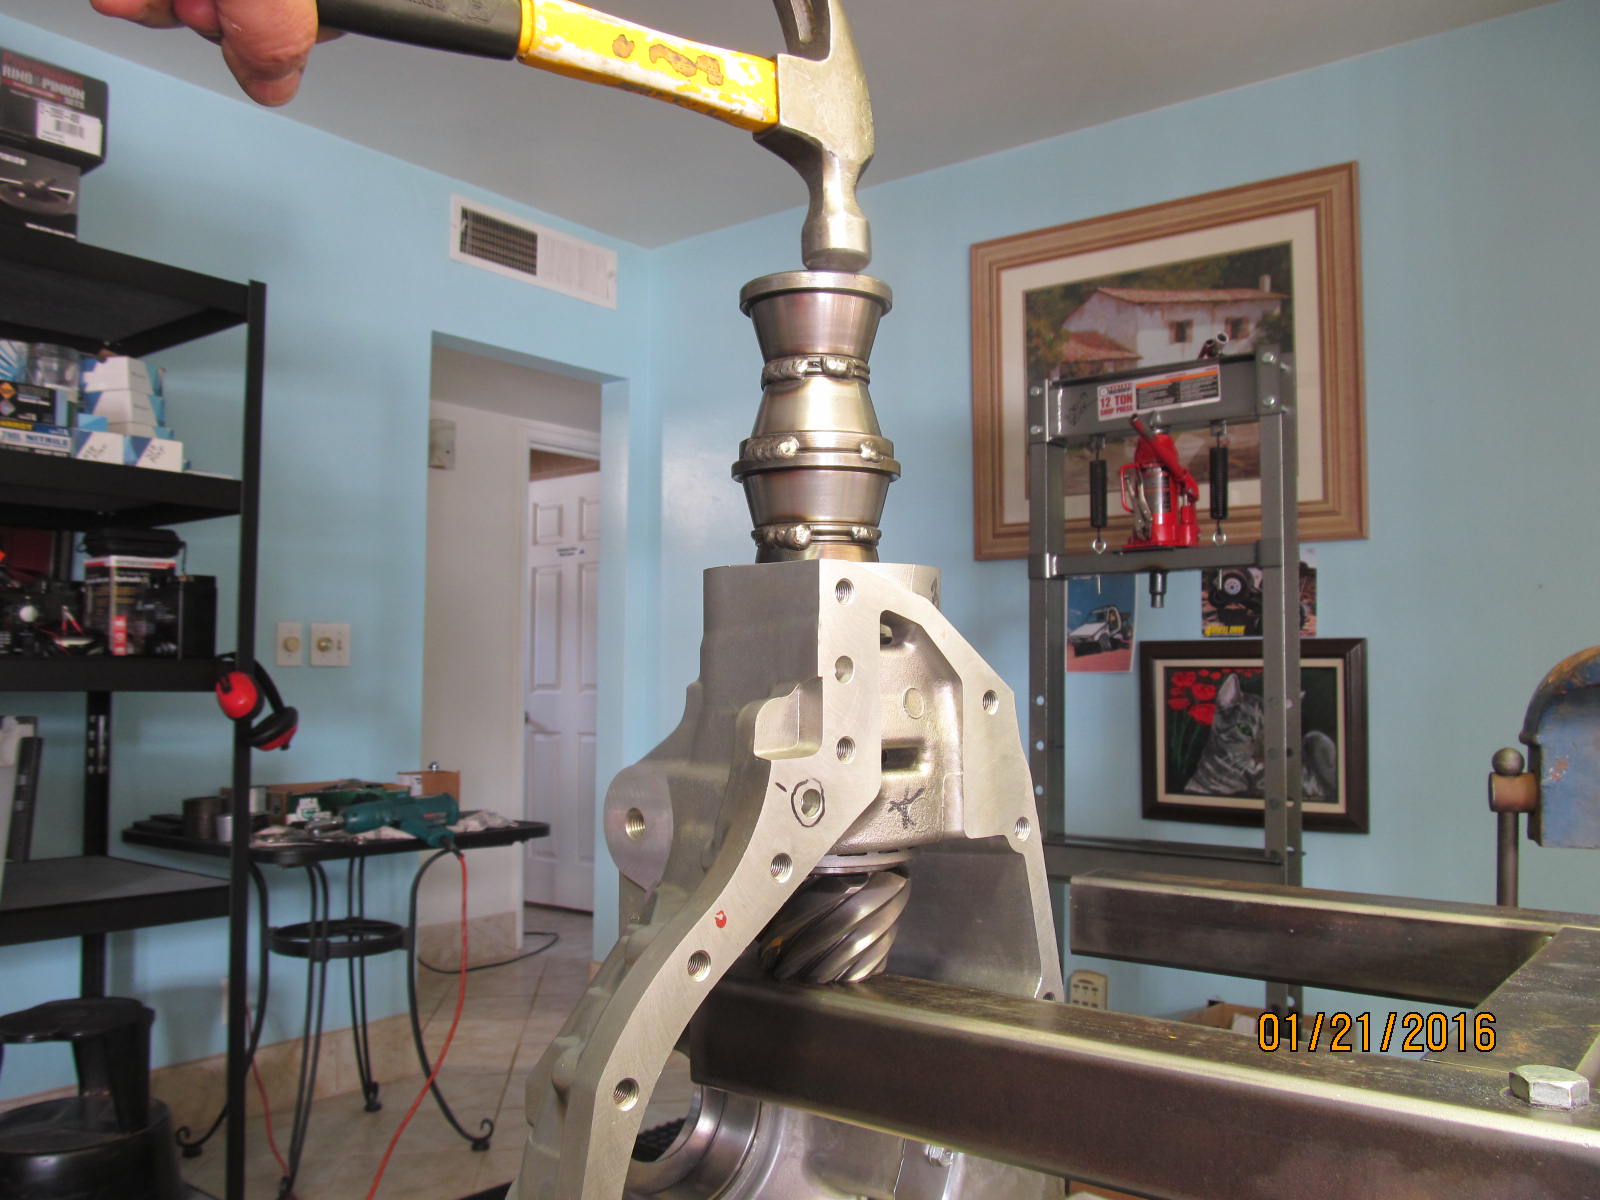
My sst tool to help pull the race in.
|
|
|
|
|
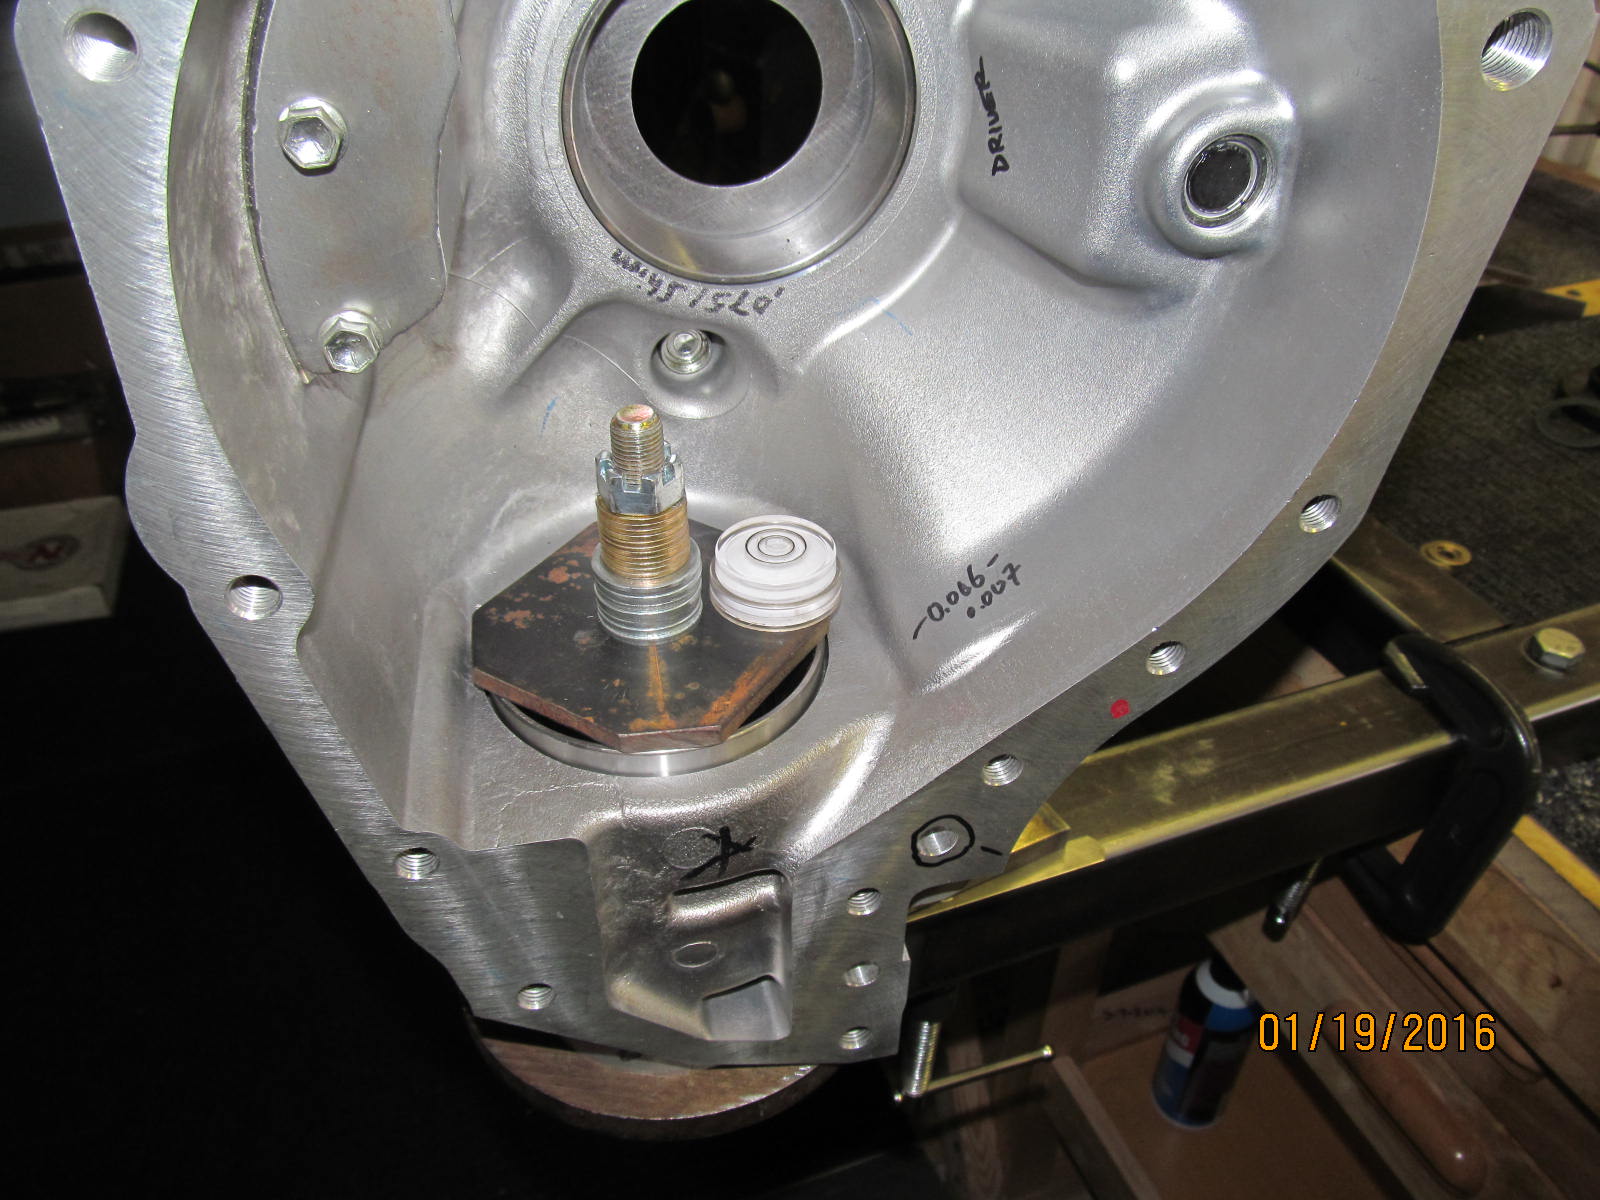
going down nice......
|
|
|
|
|
Looks like it is going to seat down evenly :)
|
|
|
|
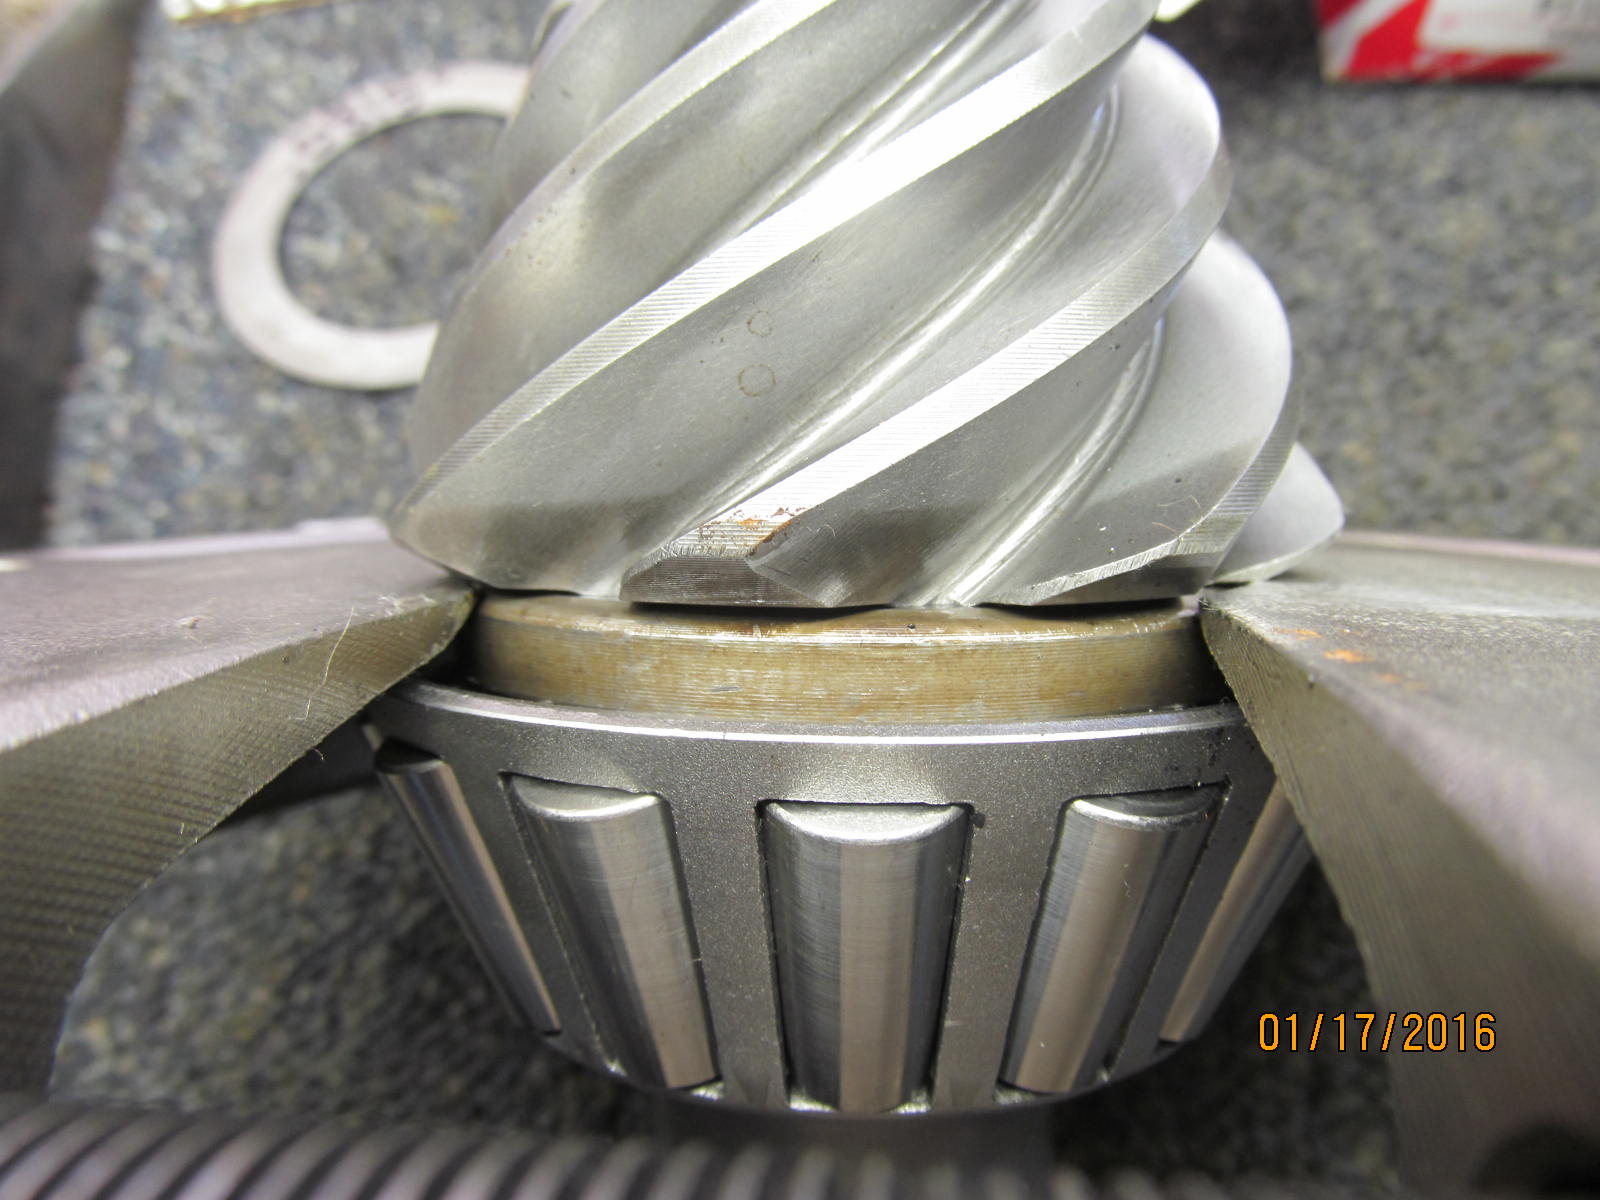
This is a fully seated clam race. If the pinion depth needs to be changed then that means
I have to go thru this routine again and hope it cooperates with me.
|
|
|
|
|
This is not a cheap bearing....
|
|
|
|
|
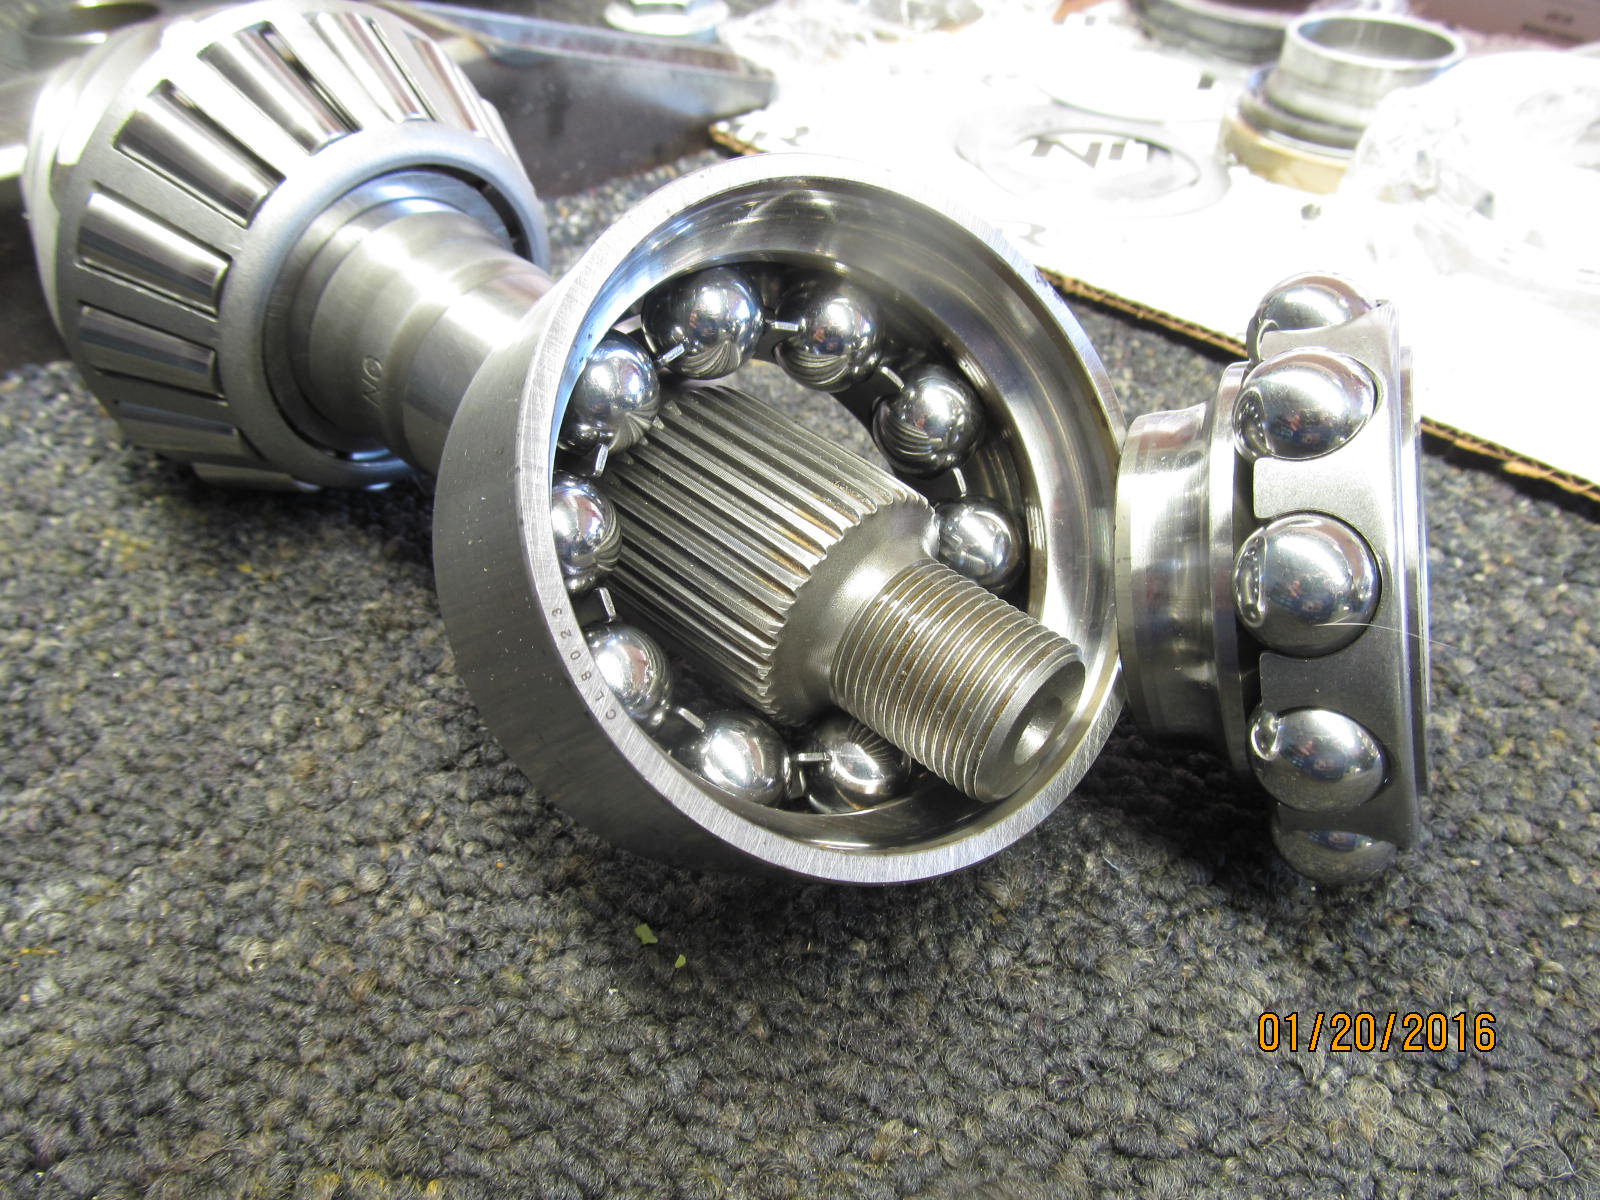
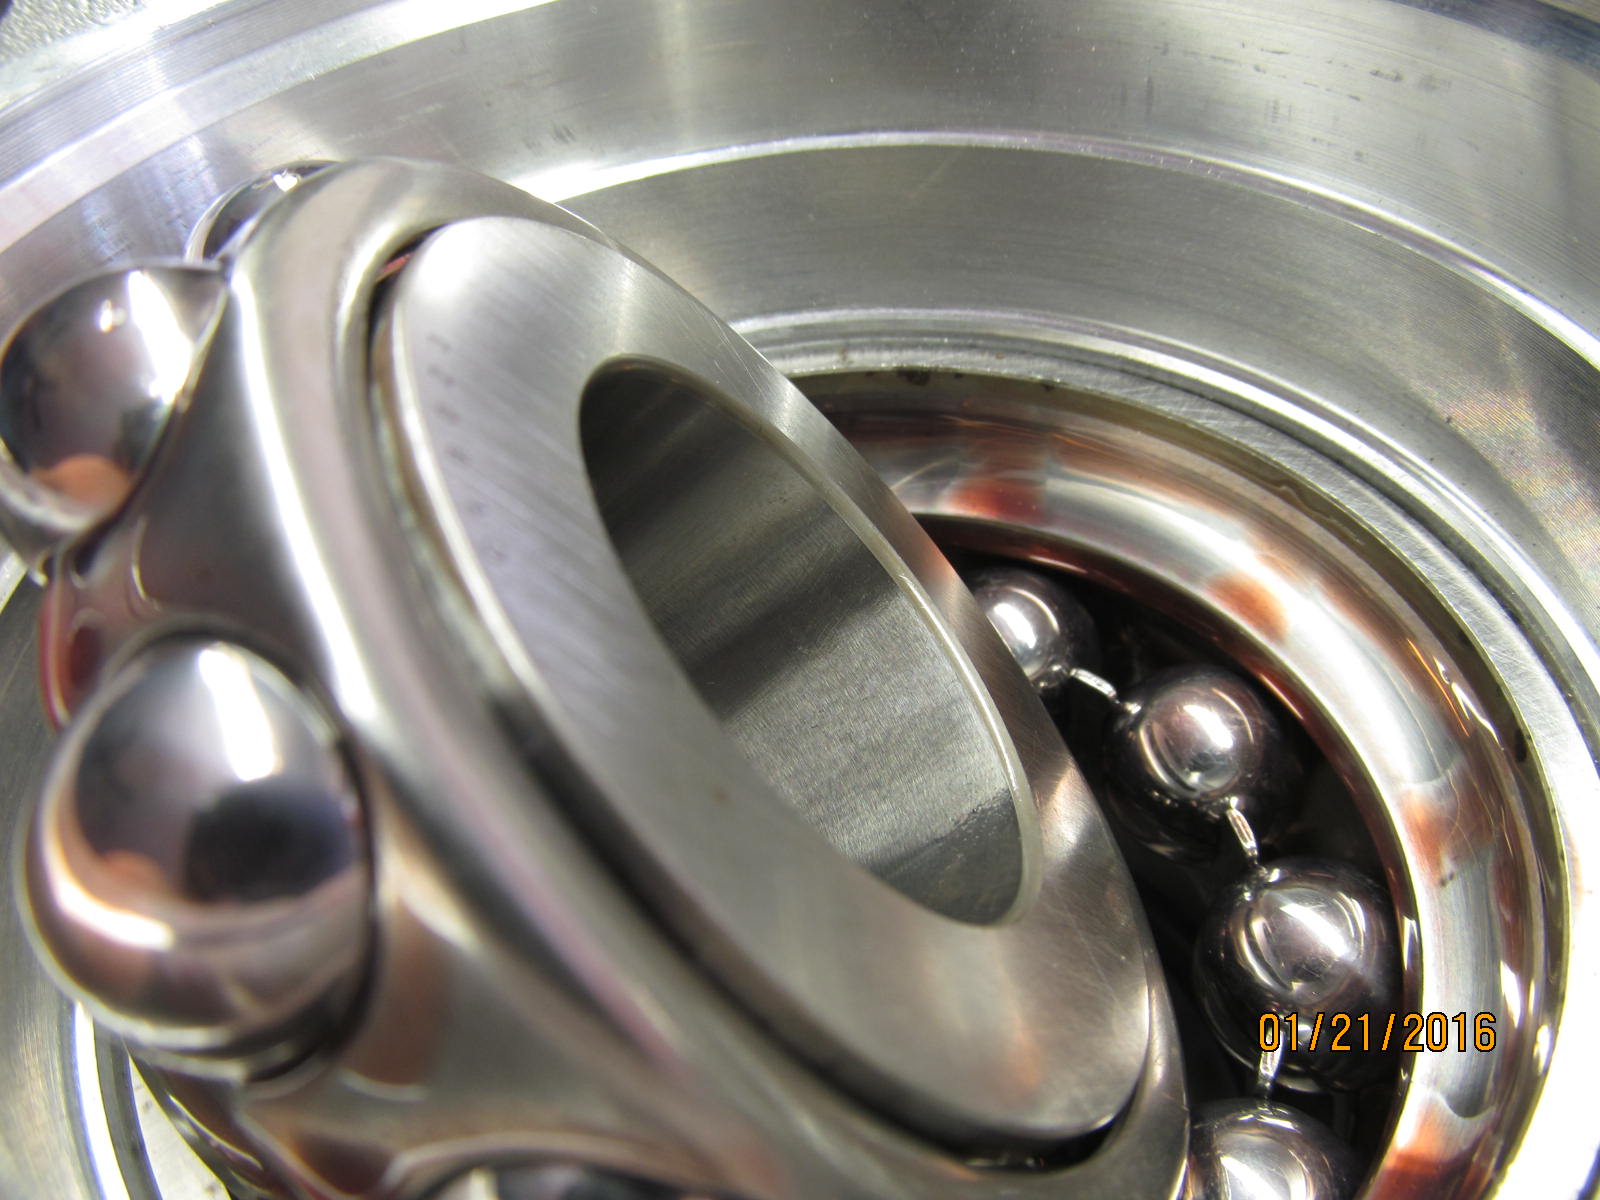
A split double row pinion bearing with angular offset.
|
|
|
|
The inner half of the outer ball bearing assembly is pressed in place. Only enough
pressure was applied to seat the assembly done.
|
|
|

|
|
....................
|
|
|
|
|
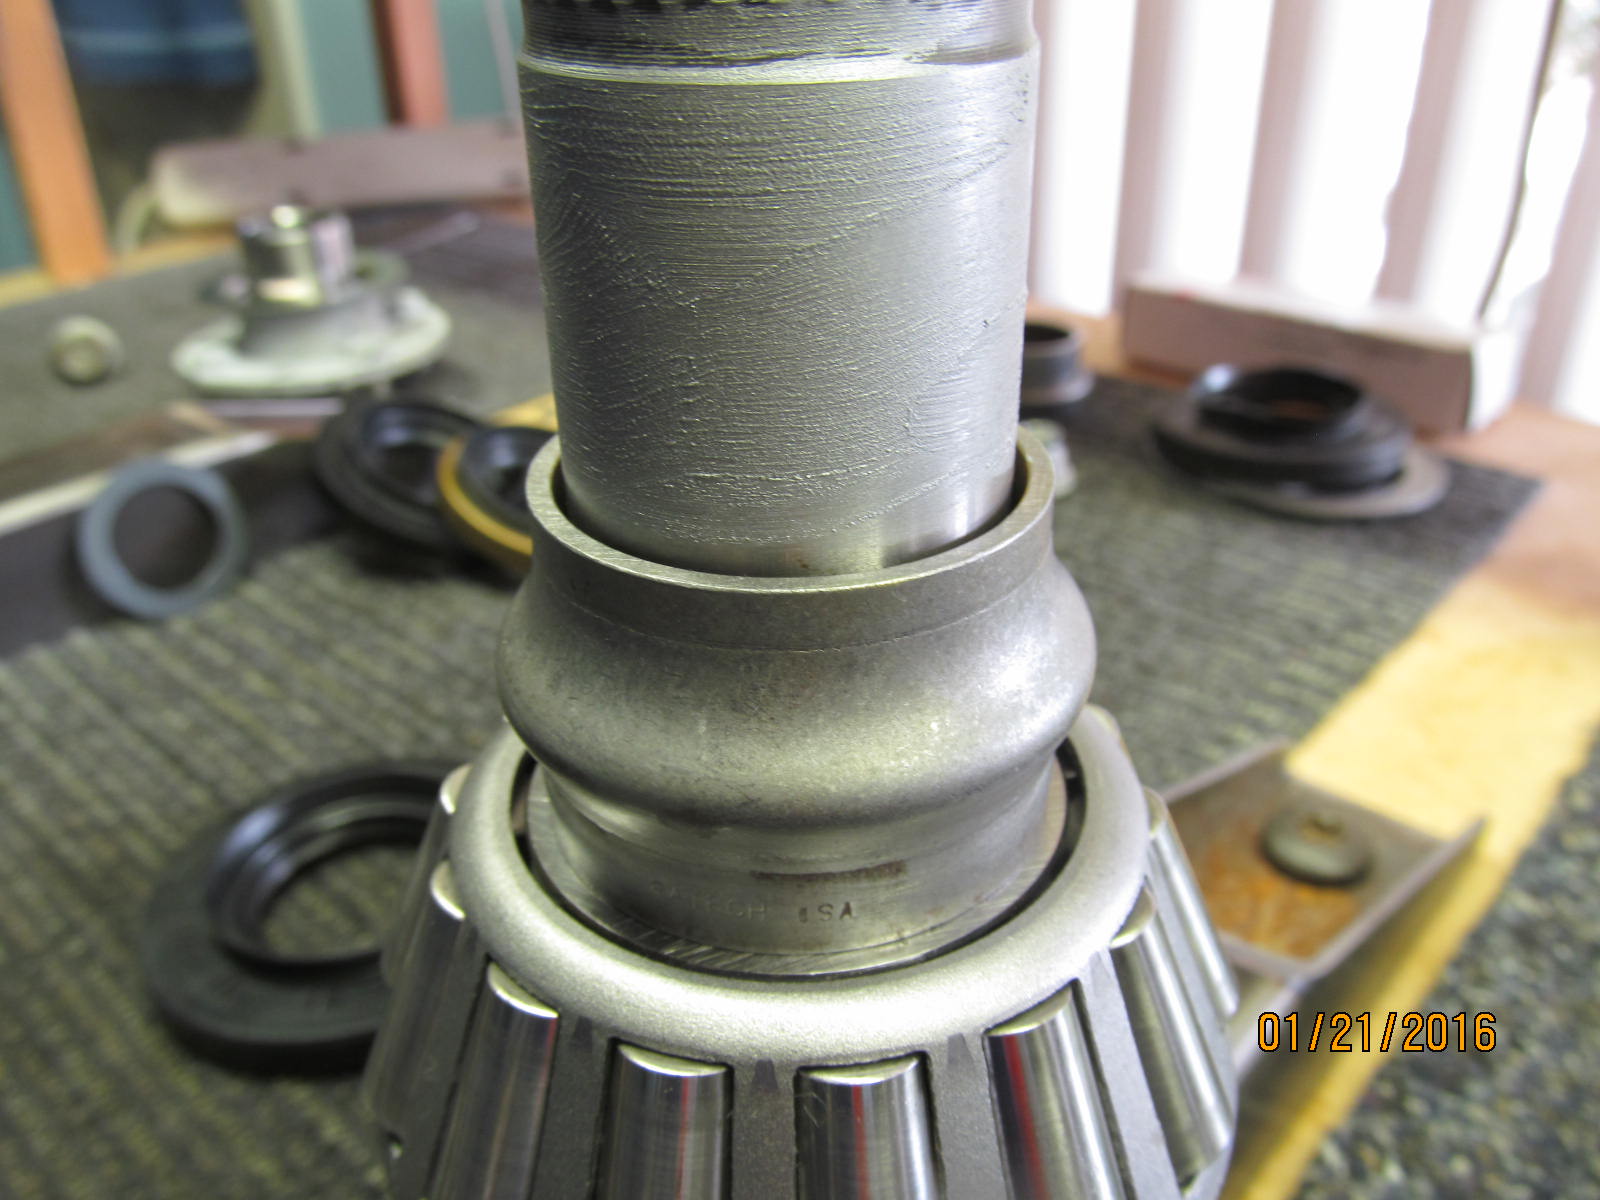
The other half of the ball bearing assembly is tapped onto the pinion shaft.
|
|
|
|
The electric impact can now pull the pinion up the rest of the way. No seal or crush sleeve at this time.
We are only doing a pattern check at this point.
|
|
|
|
|
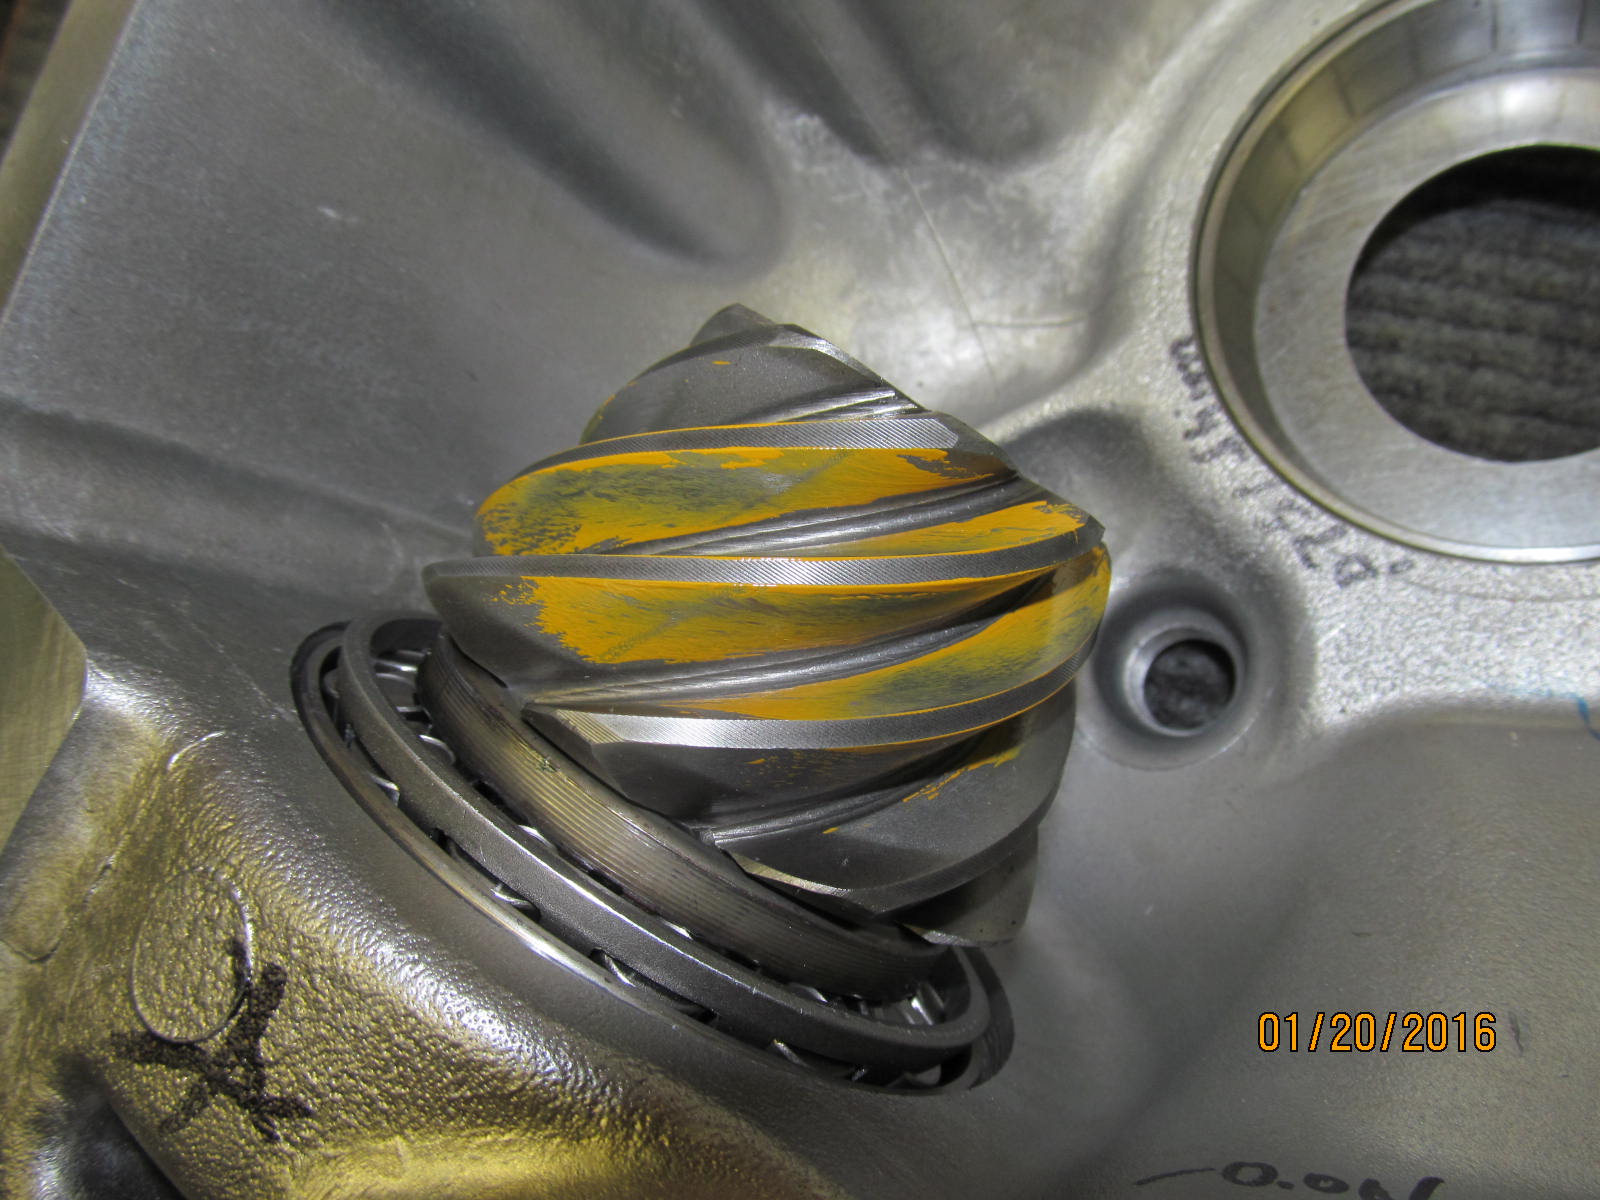
Ring gear assembly is dropped in place.
|
|
|
|
See the 2 steel dowels on the right? Those were chucked up in a hand drill and spun against #150 sandpaper.
Now they slide into their bores with no resistance such that the lid is now easy to assemble and very
easy to remove. The same will be done to the 2 dowels on the left later on.
|
|
|
|
Now the lid drops on with no effort. There was about .016" of an air gap from fully seating.....
that is effectively the preload and is a bit too much for the end product but good enough
for this pattern check.
|
|
|
|
|
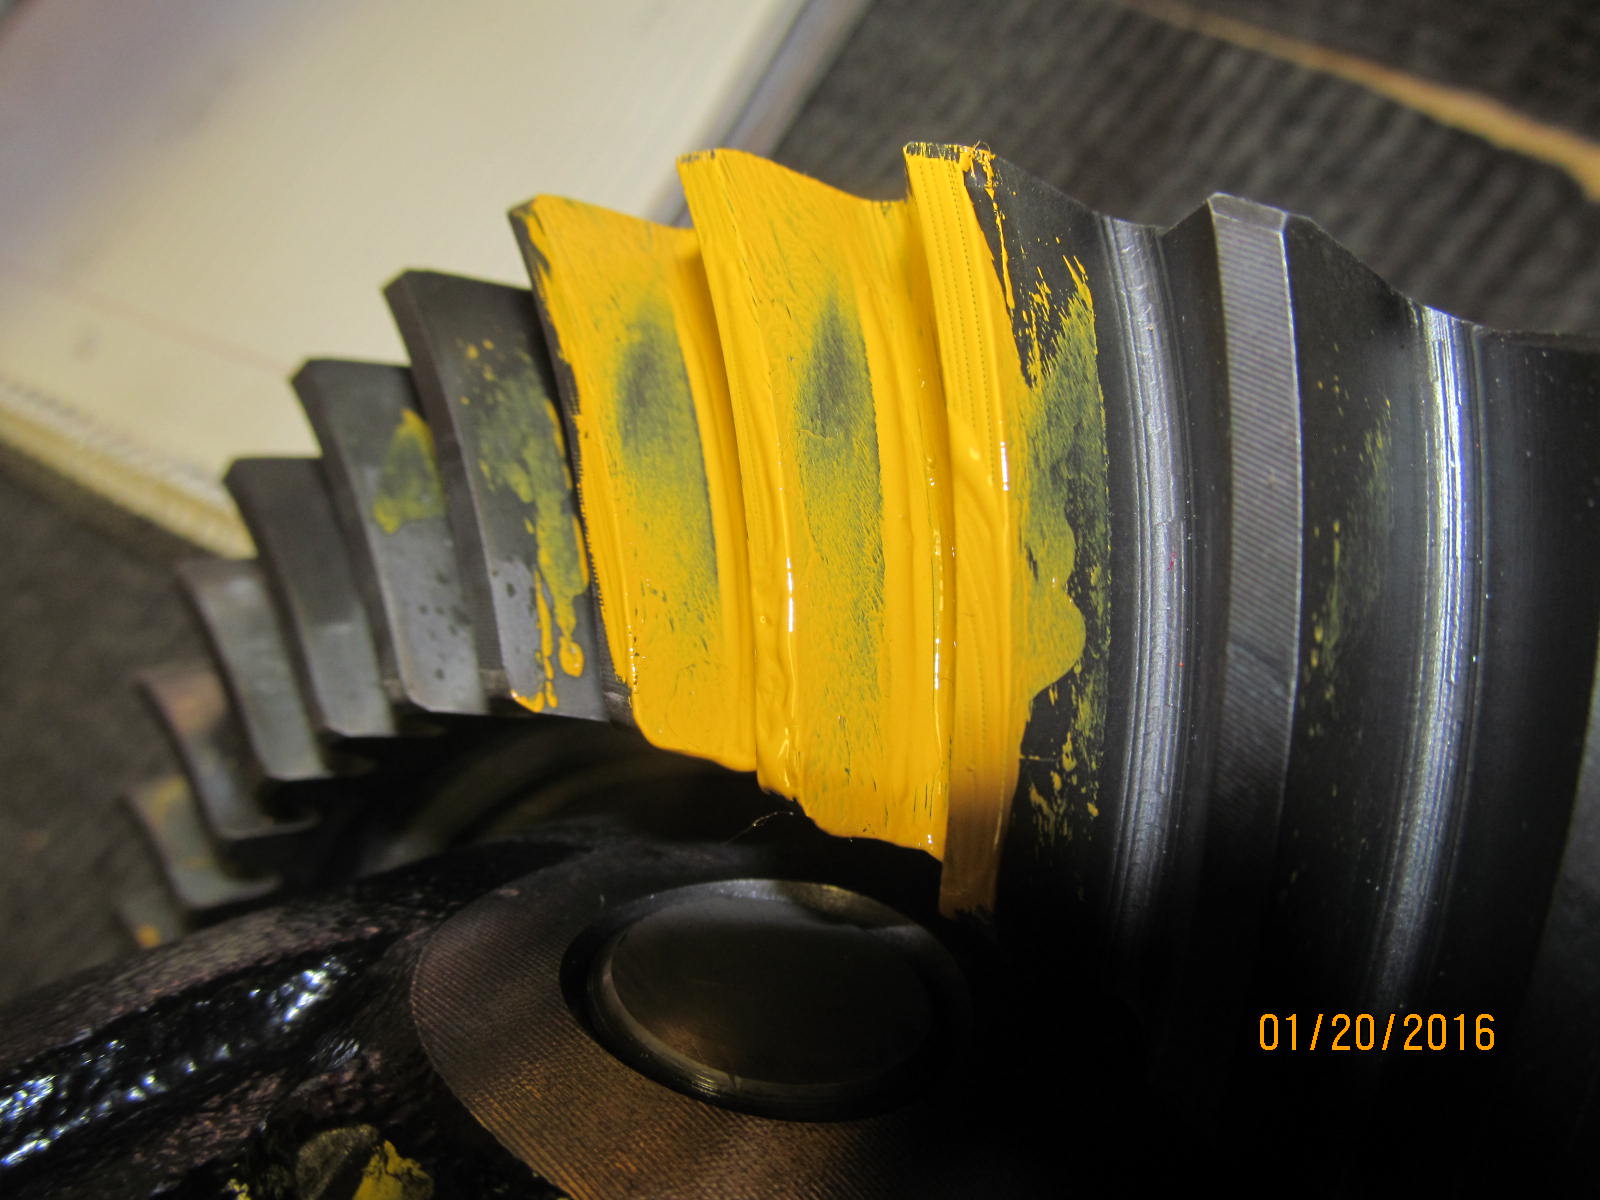
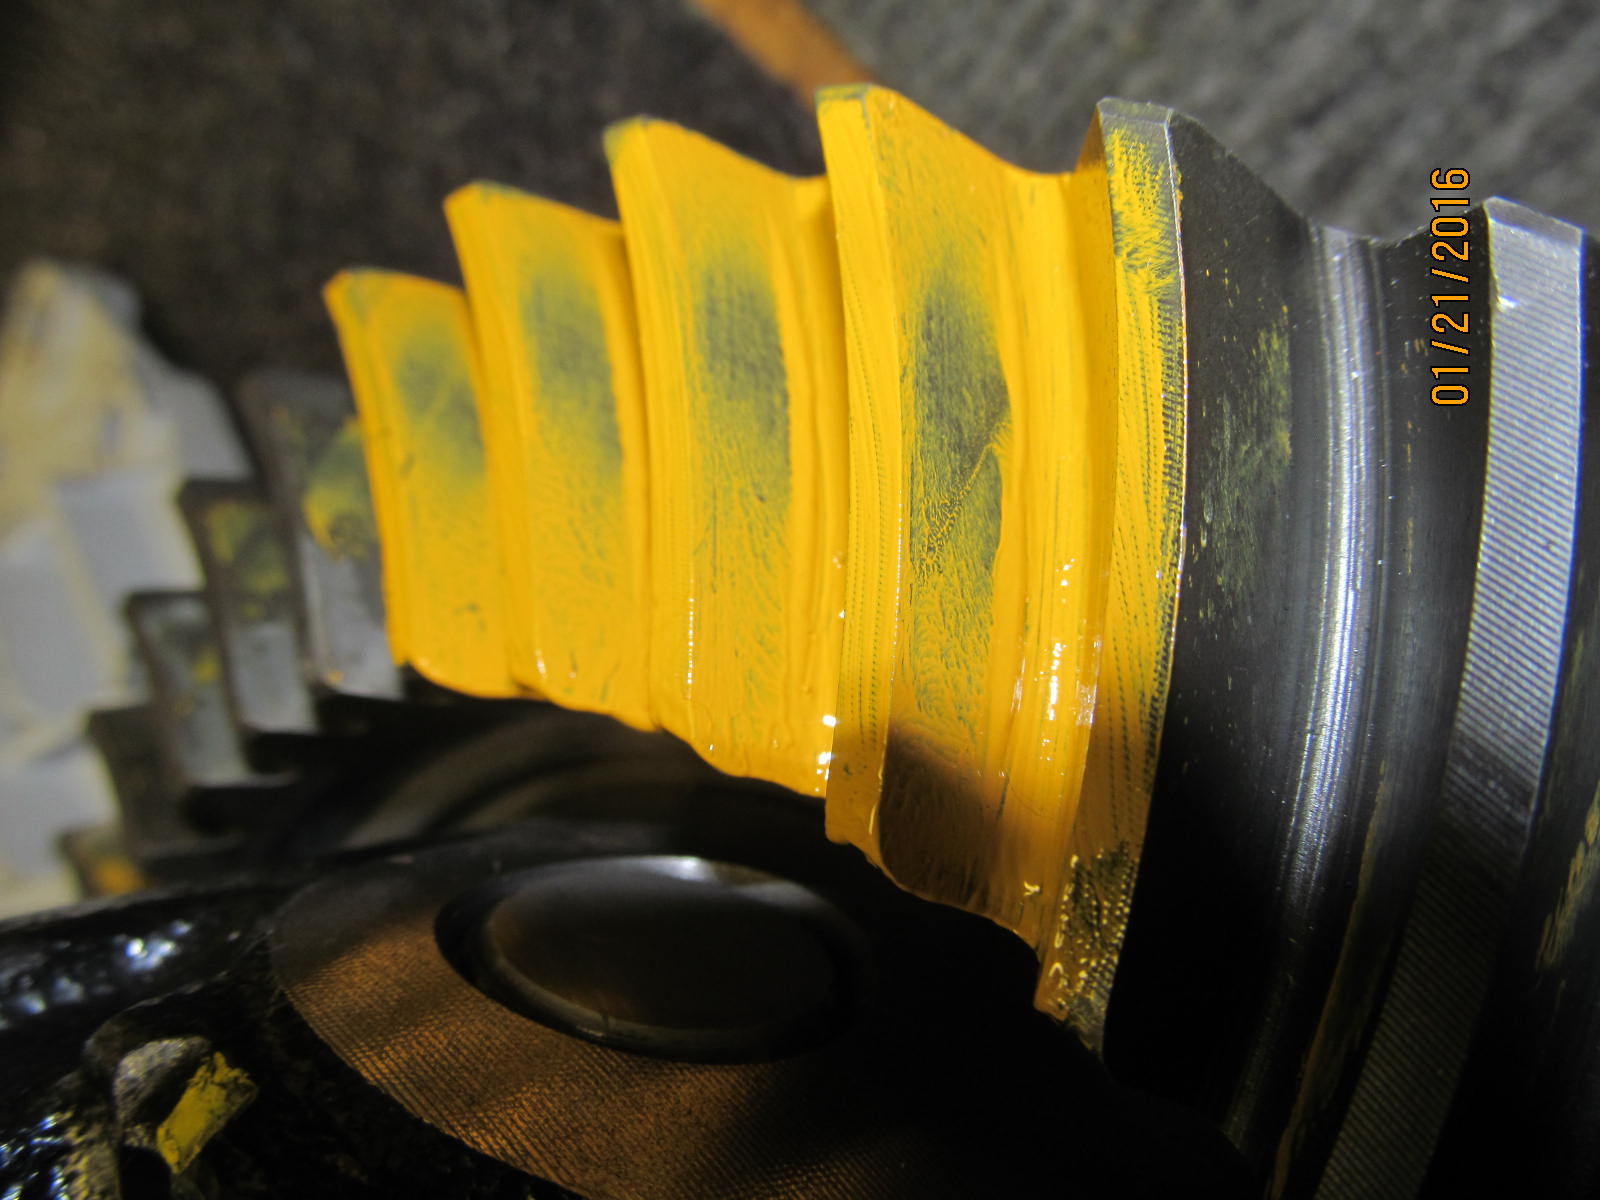
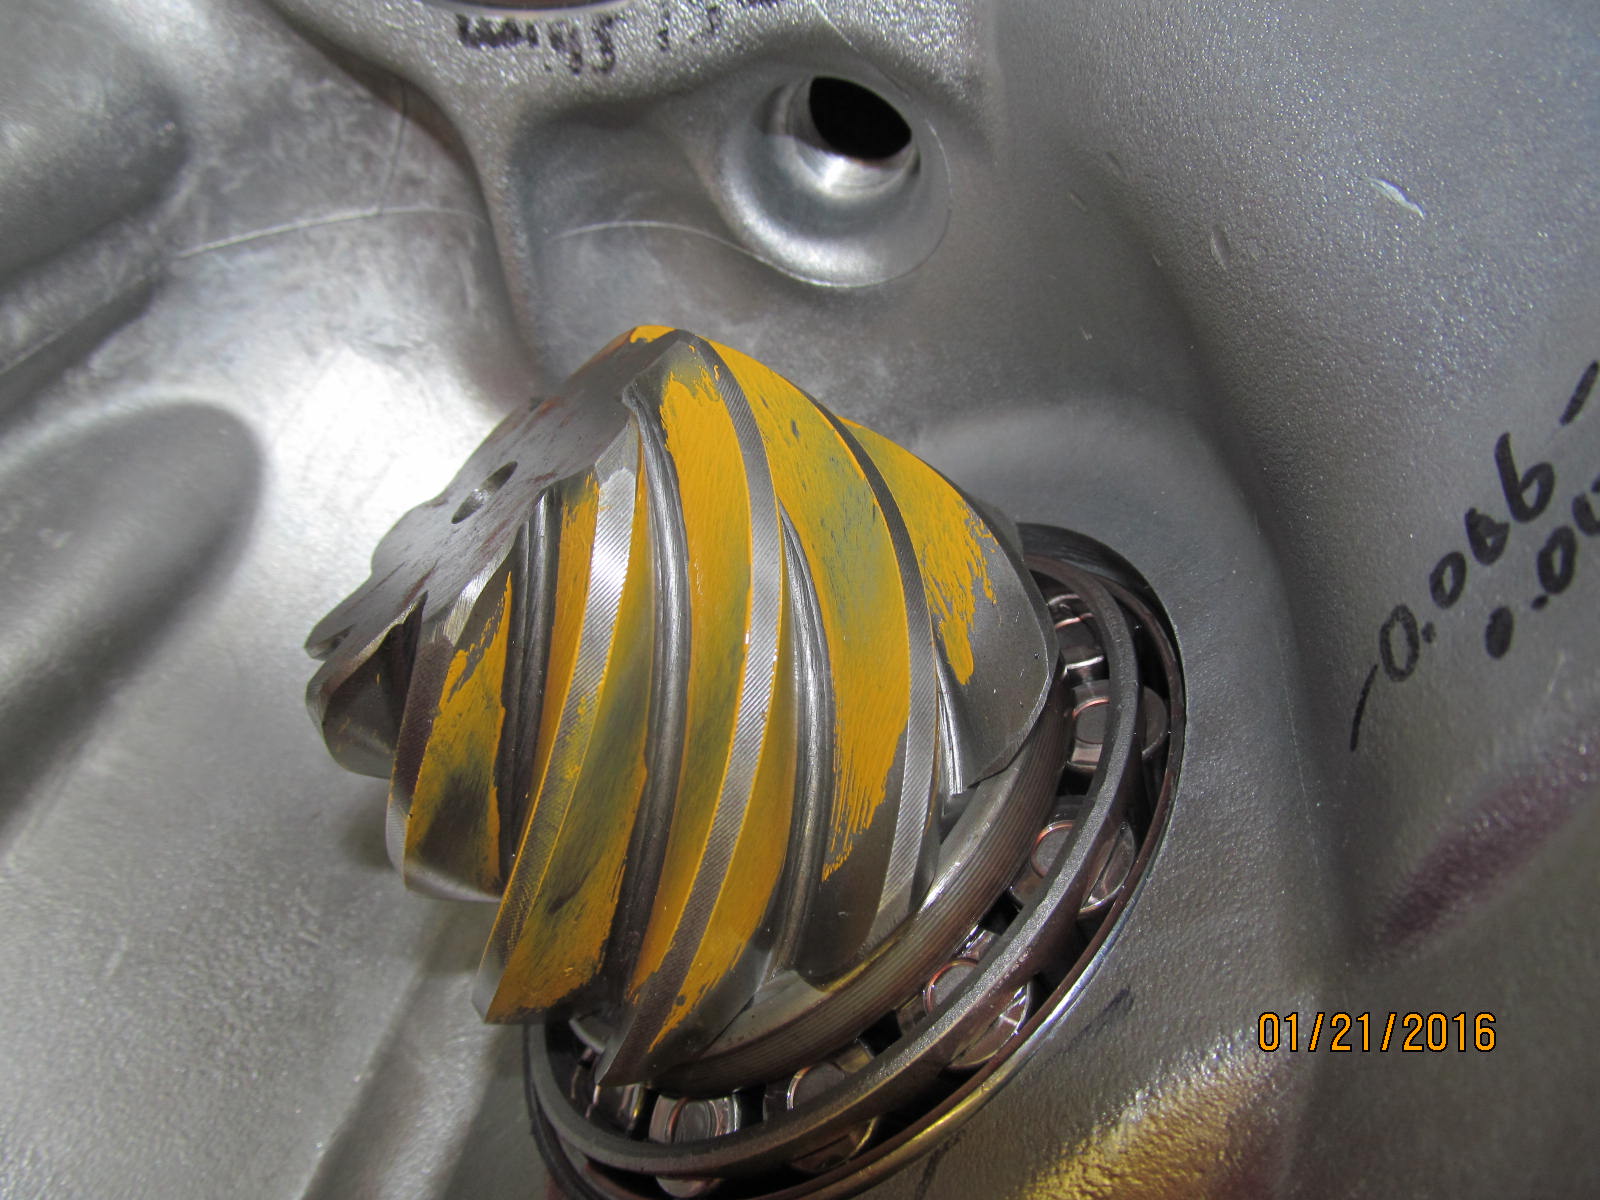
Drive side pattern....too deep.
|
|
|
|
|
Coast...indicates a little too deep also.
|
|
|
|
|
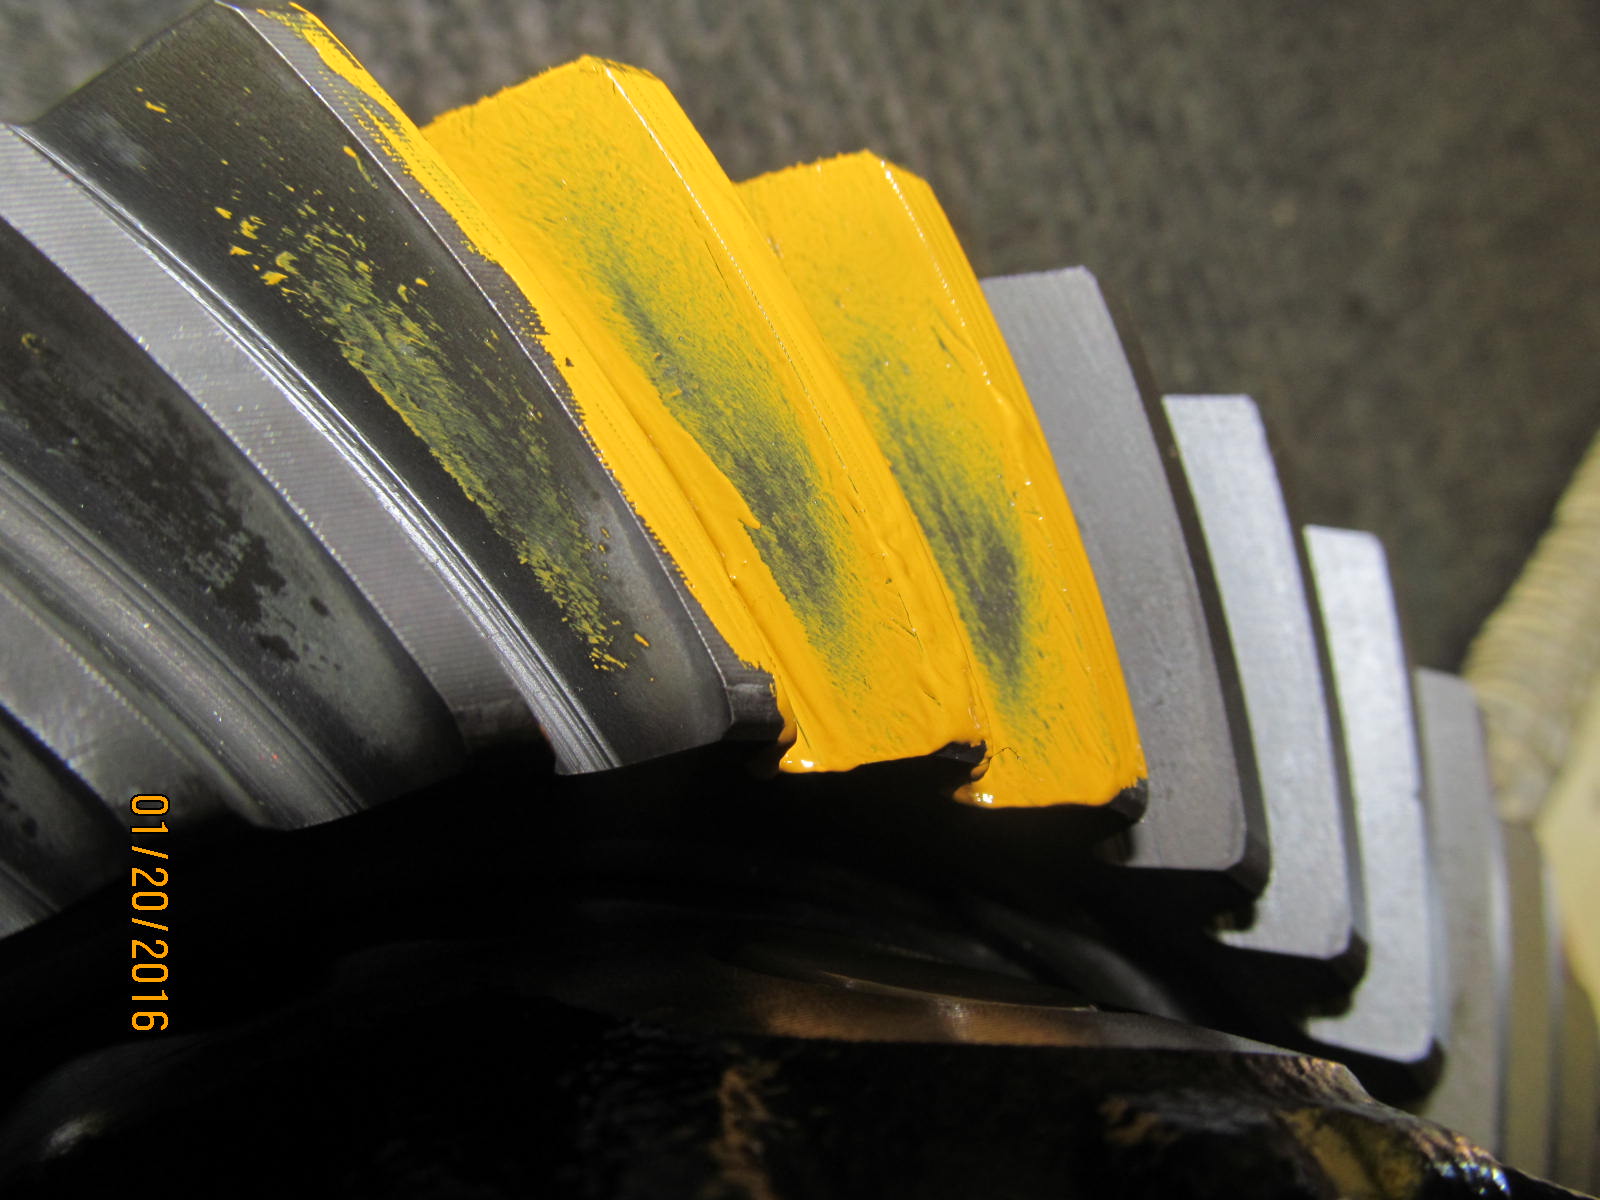
The pattern on the pinion shows shallow at the tips of the tooth.... pinion shallow=ring deep.
|
|
|
|
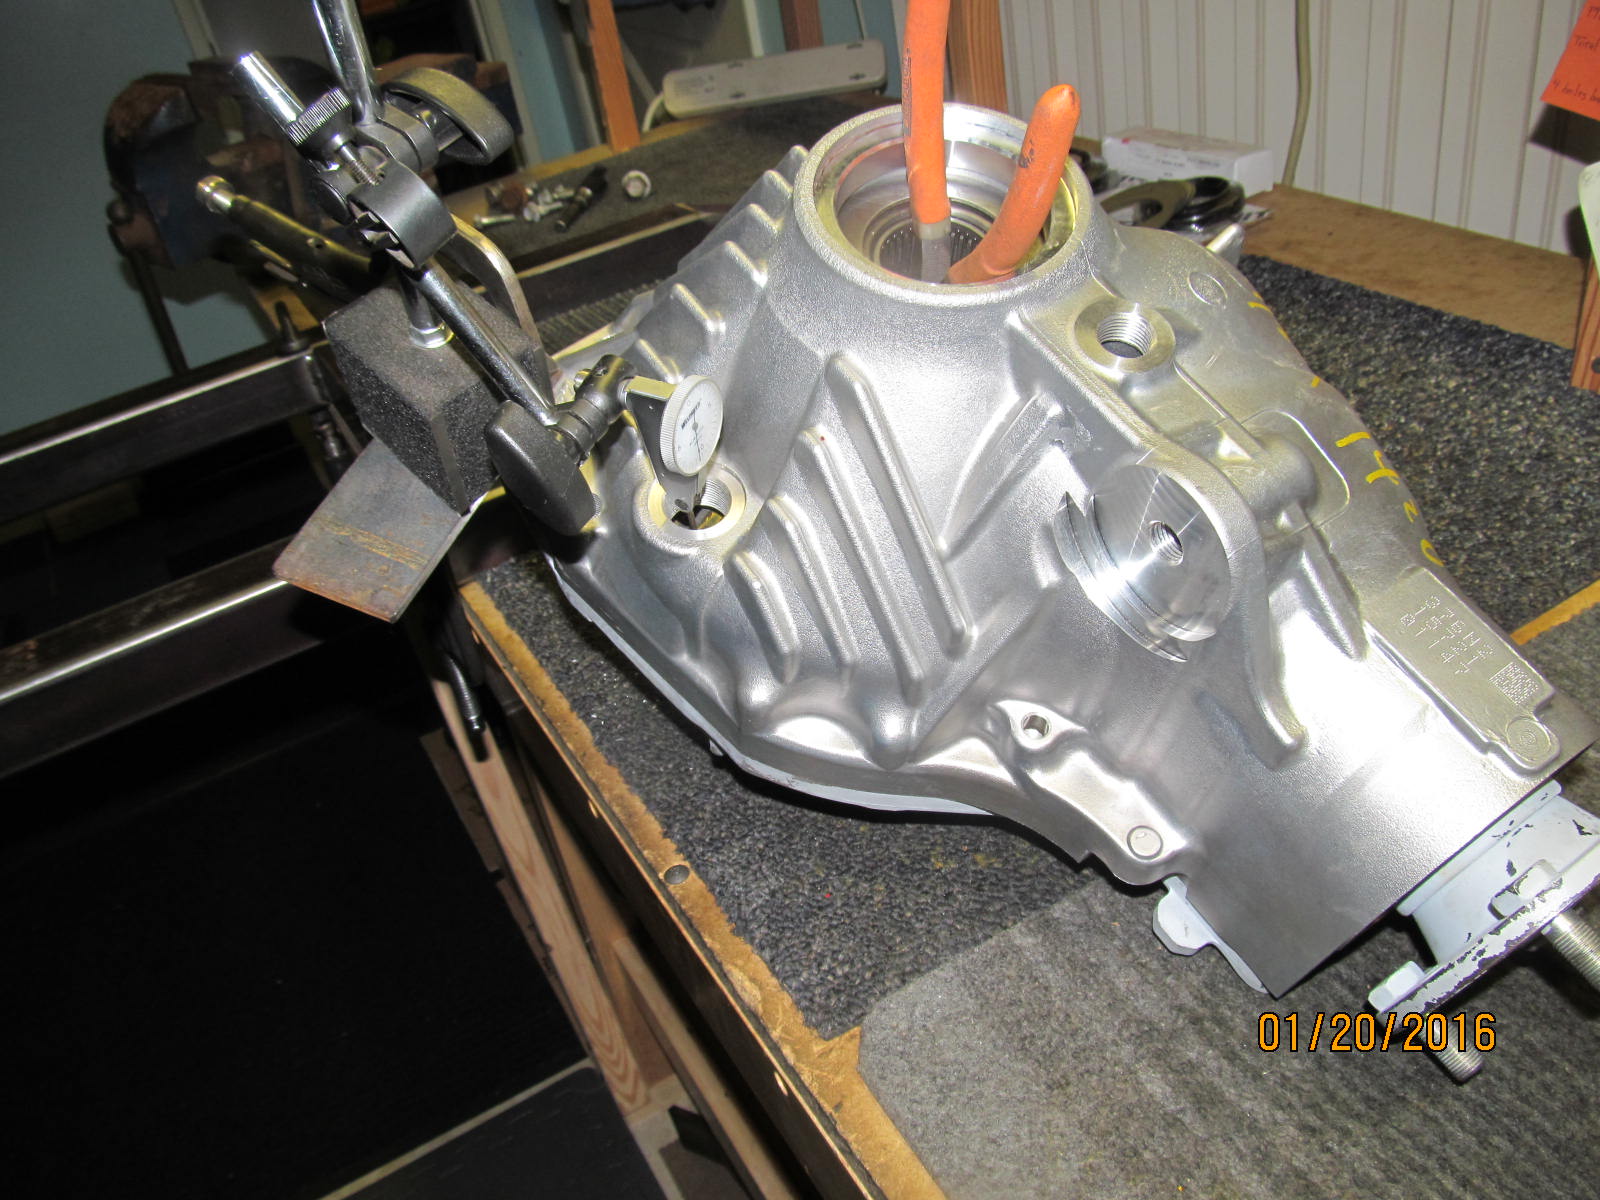
Backlash is more challenging to measure in a clamshell because the only access to the ring gear tooth
is thru the oil fill hole. A finger indicator is used for this task.
|
|
|
|
Using a set of long needle nose pliers makes for an excellent method to rock the ring gear
for good repeatable backlash measurements.
|
|
|
|
Now I have all the variables I need.....pattern is too deep, backlash is too tight at .0035", and
the preload is too tight also. By replacing the washer plate on the lid side with a thinner plate
I can lighten up the Carrier Bearing Preload and give it more backlash at the same time.
|
|
|
|
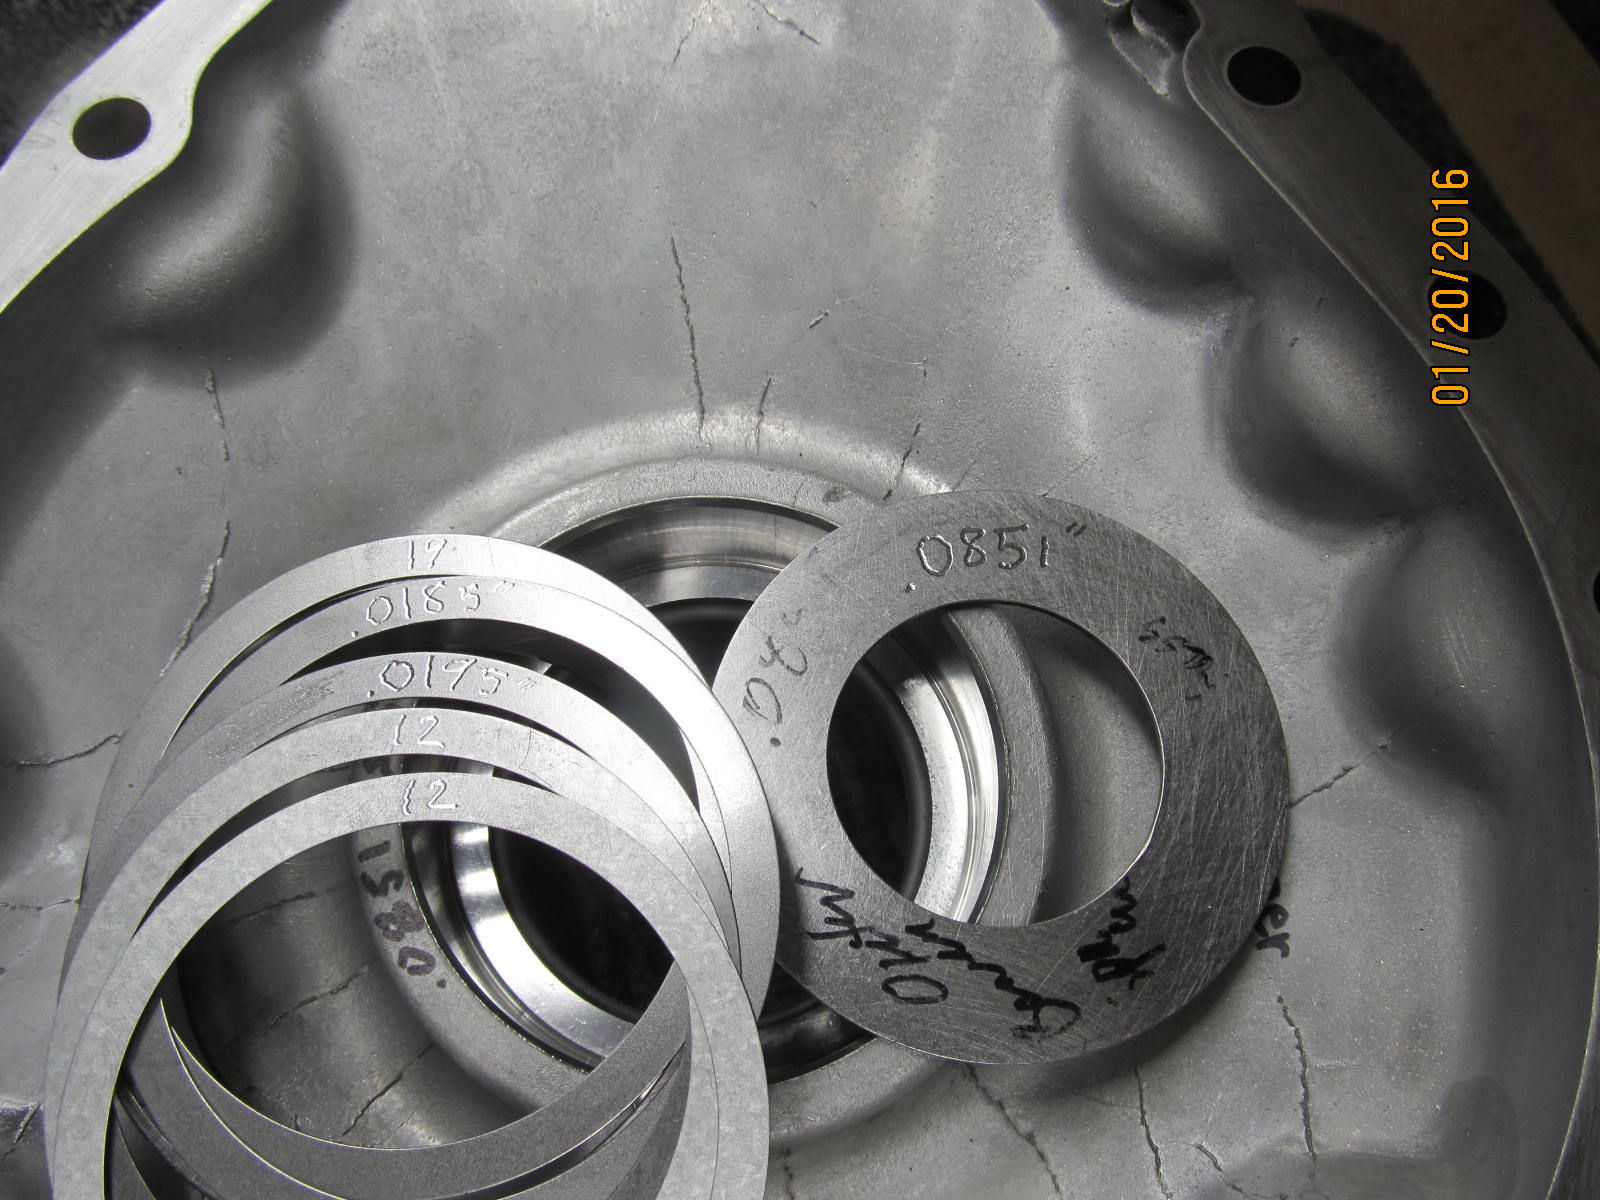
The .0851" oem washer plate on the right
will be replaced with the thinner stack on the left that totals up to .081"
|
|
|
|
|
Also, the pinion is pressed out to replace the washer plate behind the race with one that is .003" thinner.
|
|
|
|
And, yes, it was "time consumming to say the least, to reseat the race a 2nd time. I will
consider moving the pinion depth shim to the pinion head area in future installs.
|
|
|
|
|
This is the final assembly so gear oil is thoroughly applied to the pinion bearings.
|
|
|
|
Crush is installed and aluminum based anti-seize is applied to the shaft to try to help the outer
pinion bearing assembly go on a little easier.
|
|
|
|
|
tap tap tap
|
|
|
|
|
....................
|
|
|
|
|
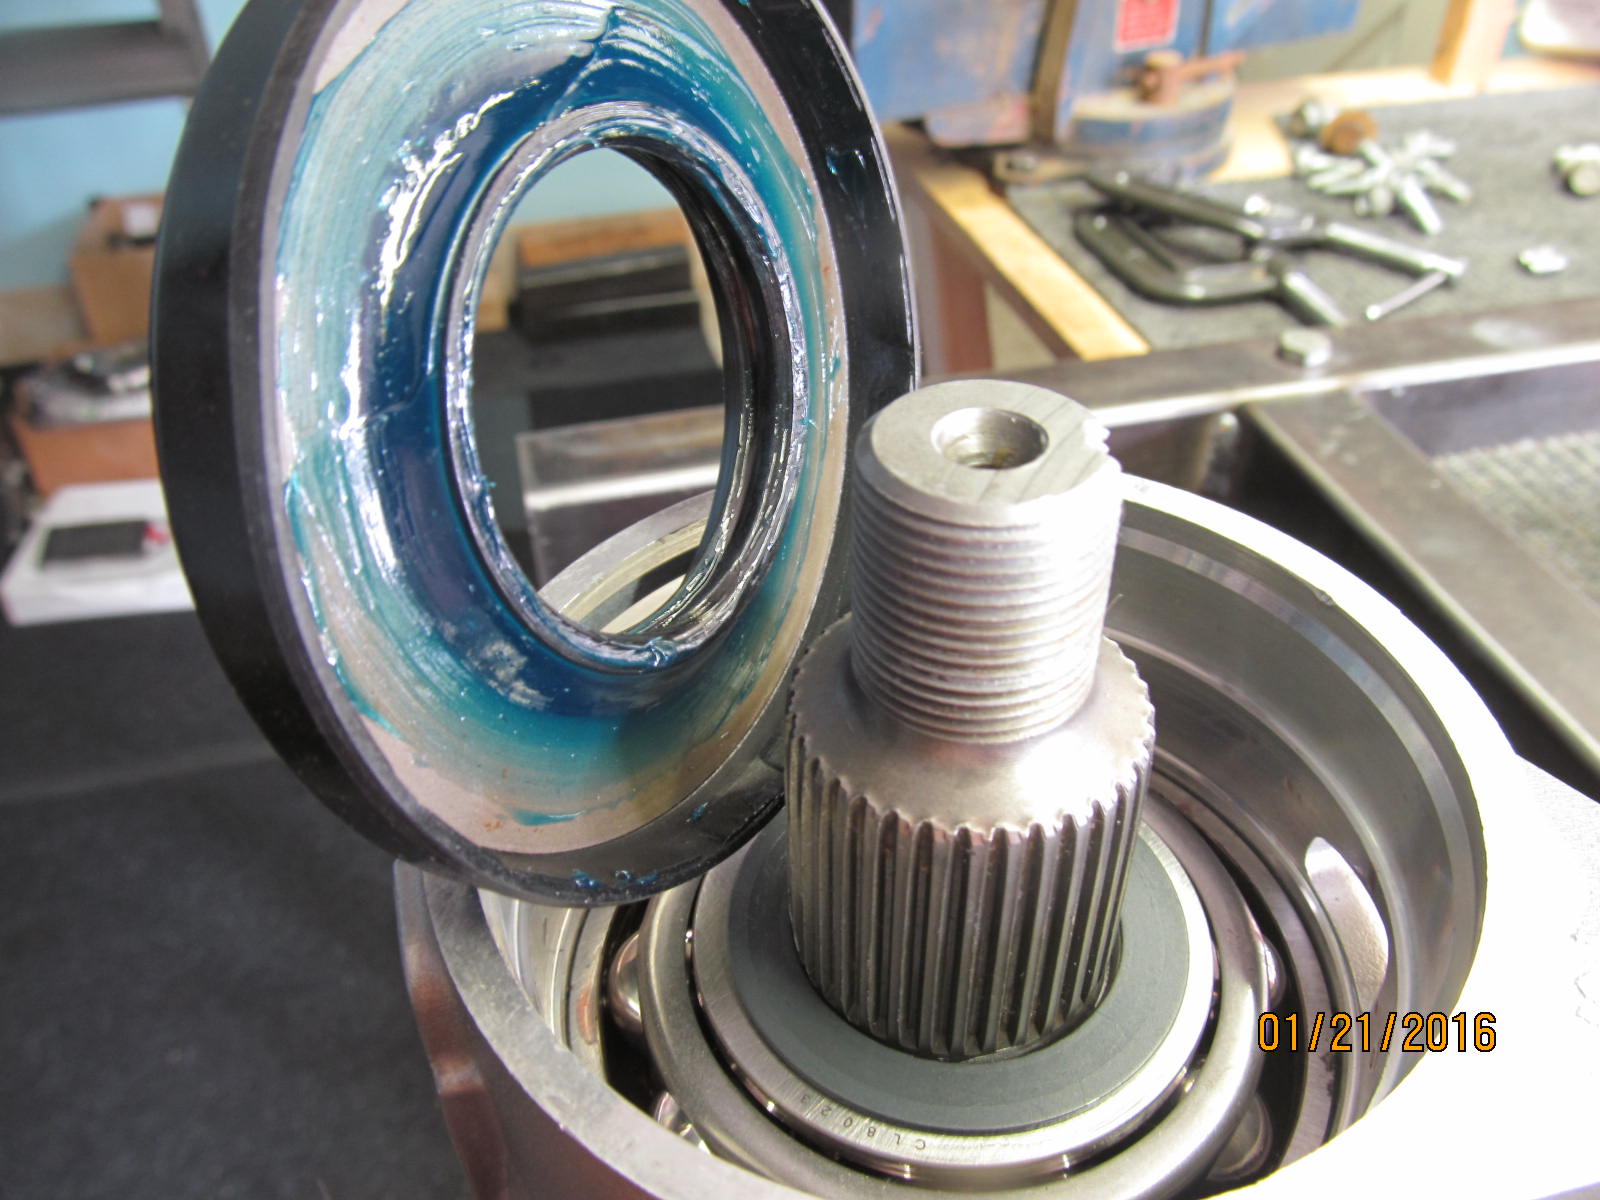
New seal is going on this time.
|
|
|
|
|
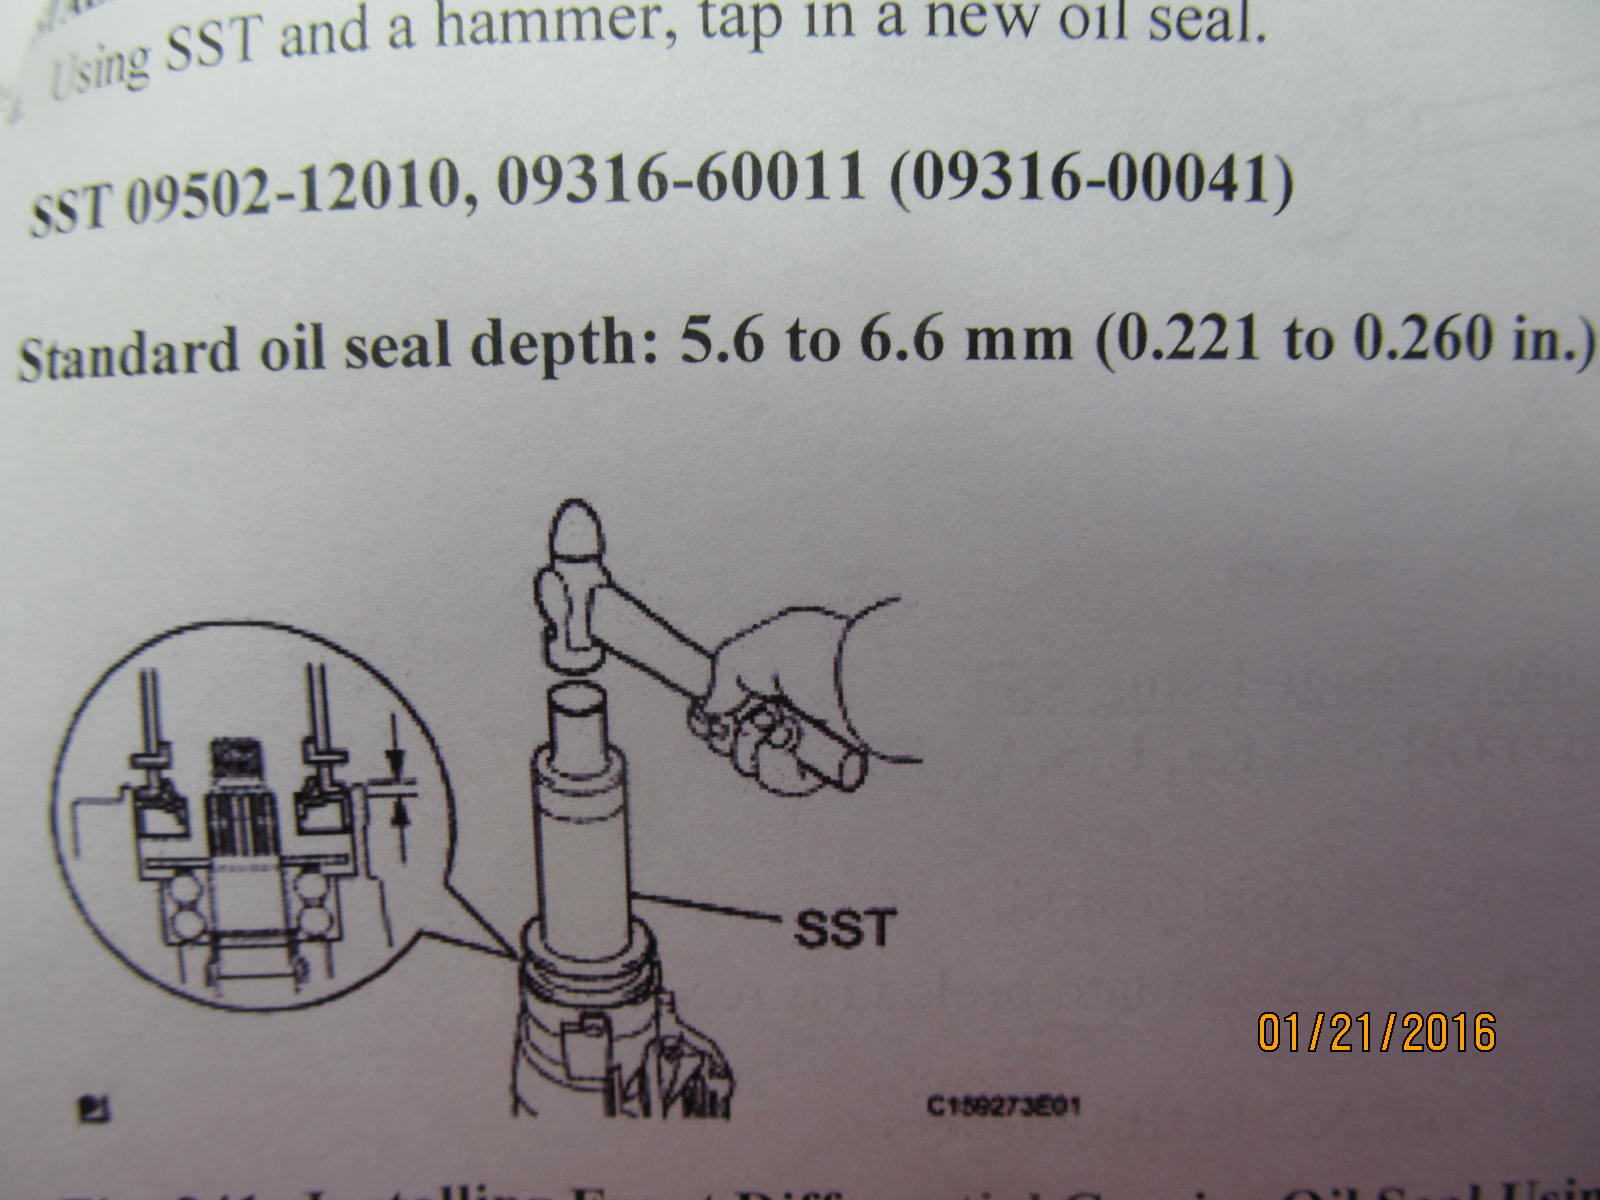
The new seal gets recessed .221~.260" down.
|
|
|

|
|
.240".....good to go.
|
|
|
|
|
....................
|
|
|
|
|
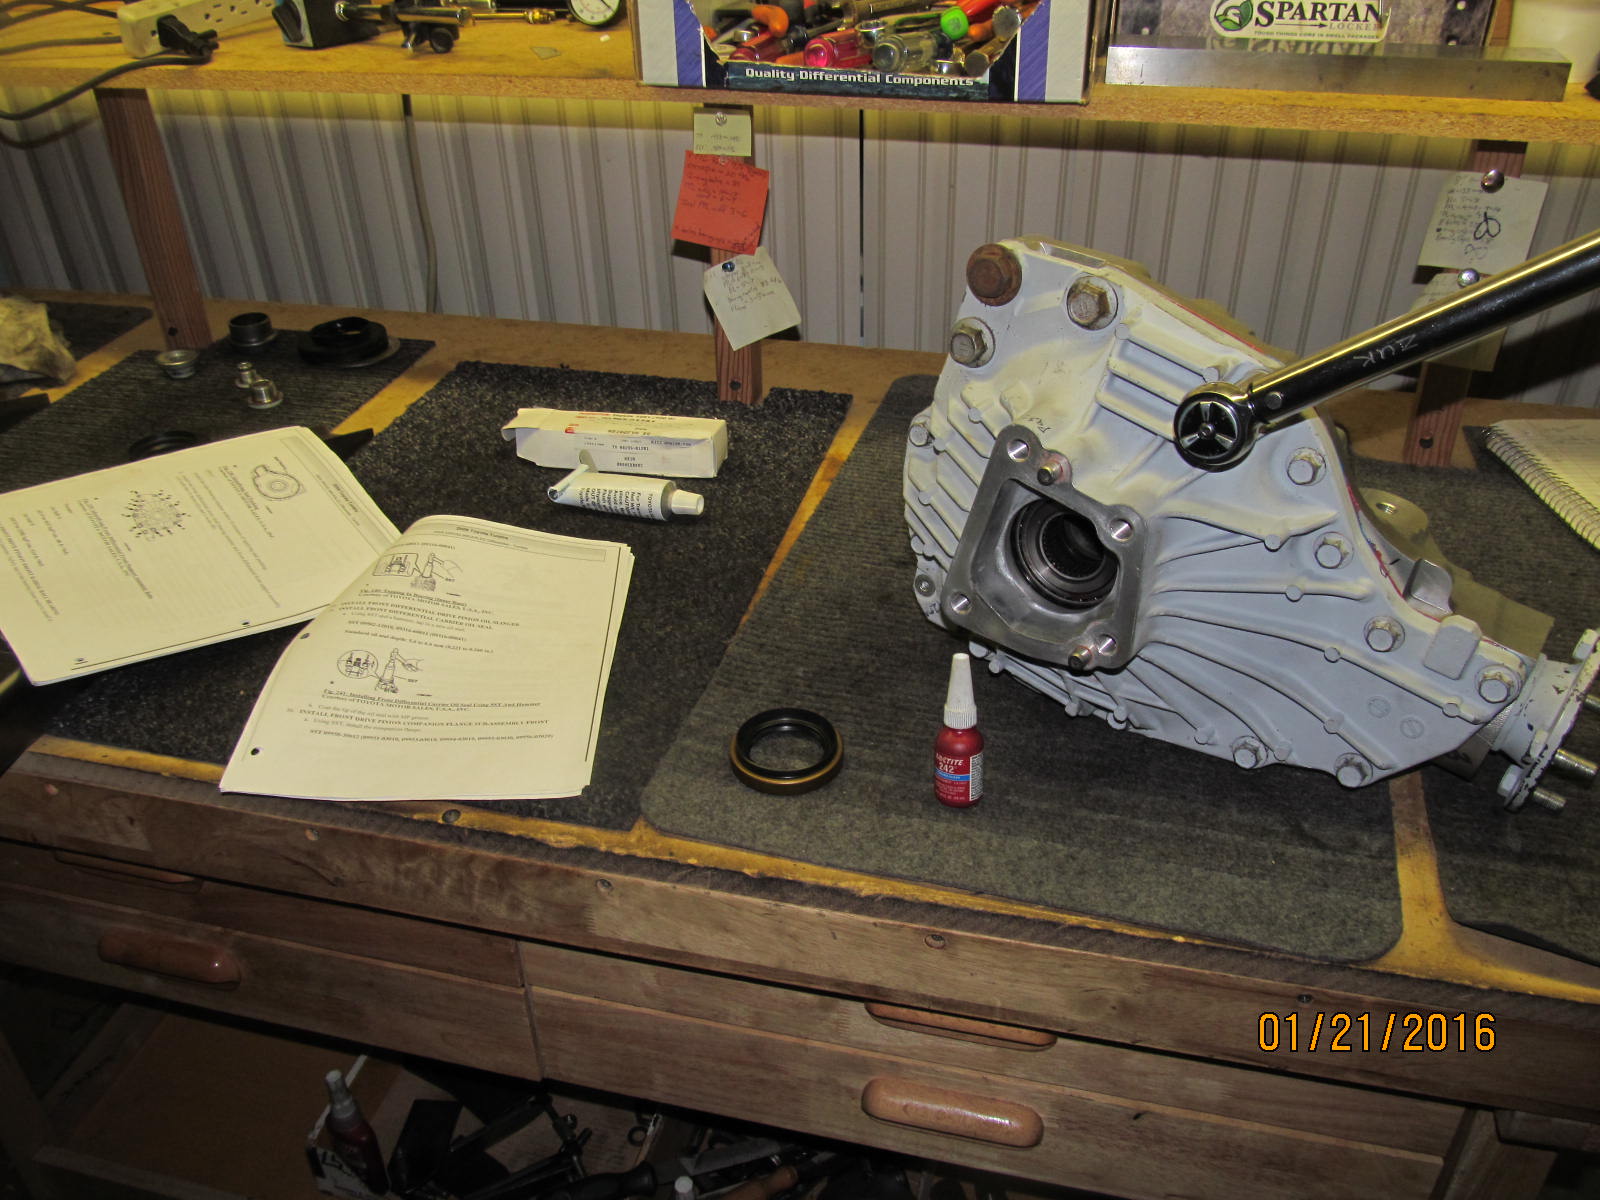
The oem flange now goes on.
|
|
|
|
Even though the pinion nut has anti-seize on it, it still took a full 300 ft/lb of leverage to
crush that sleeve. In the photo, I have a cheater on the cheater bar.
|
|
|
|
|
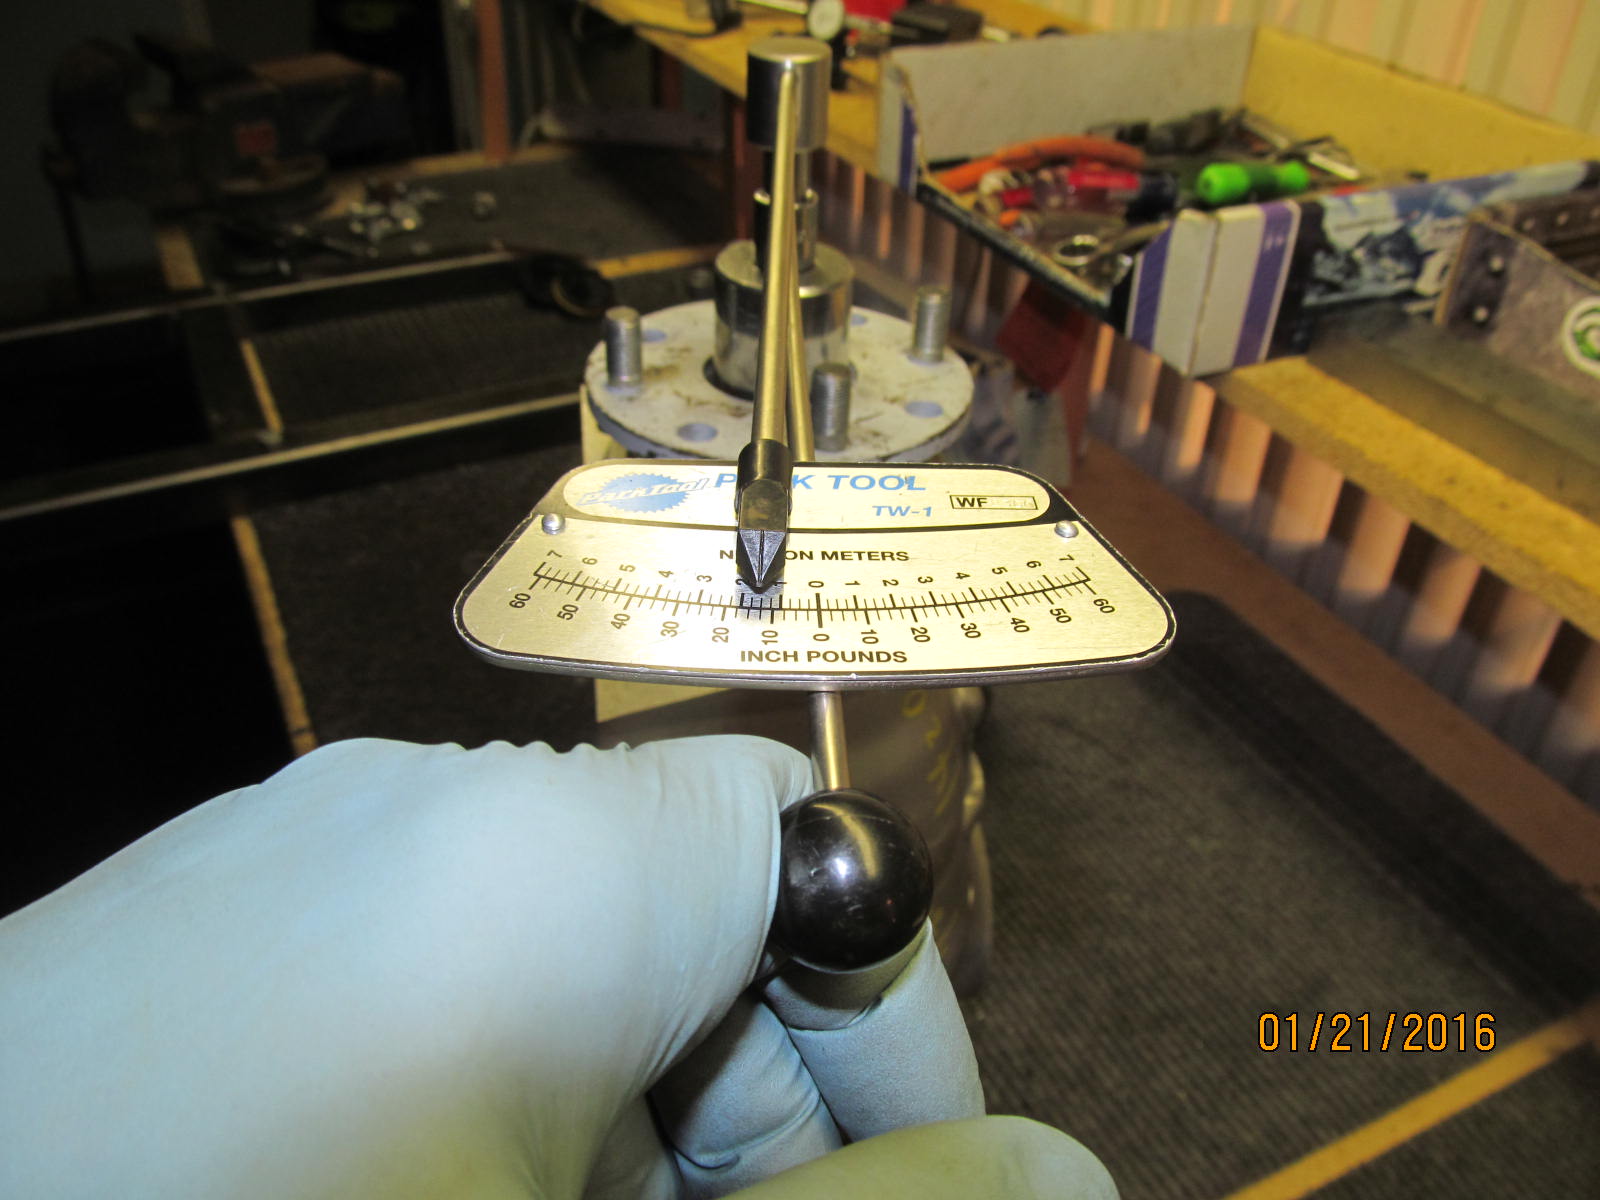
Pinion preload measured a nice 12 in/lb start torque.
|
|
|
|
|
Lid is secured with 4 or 5 bolts for final checks.
|
|
|
|
|
Backlash was checked on 5 places around the ring gear and was amazingly consistent at .007"
|
|
|
|
|
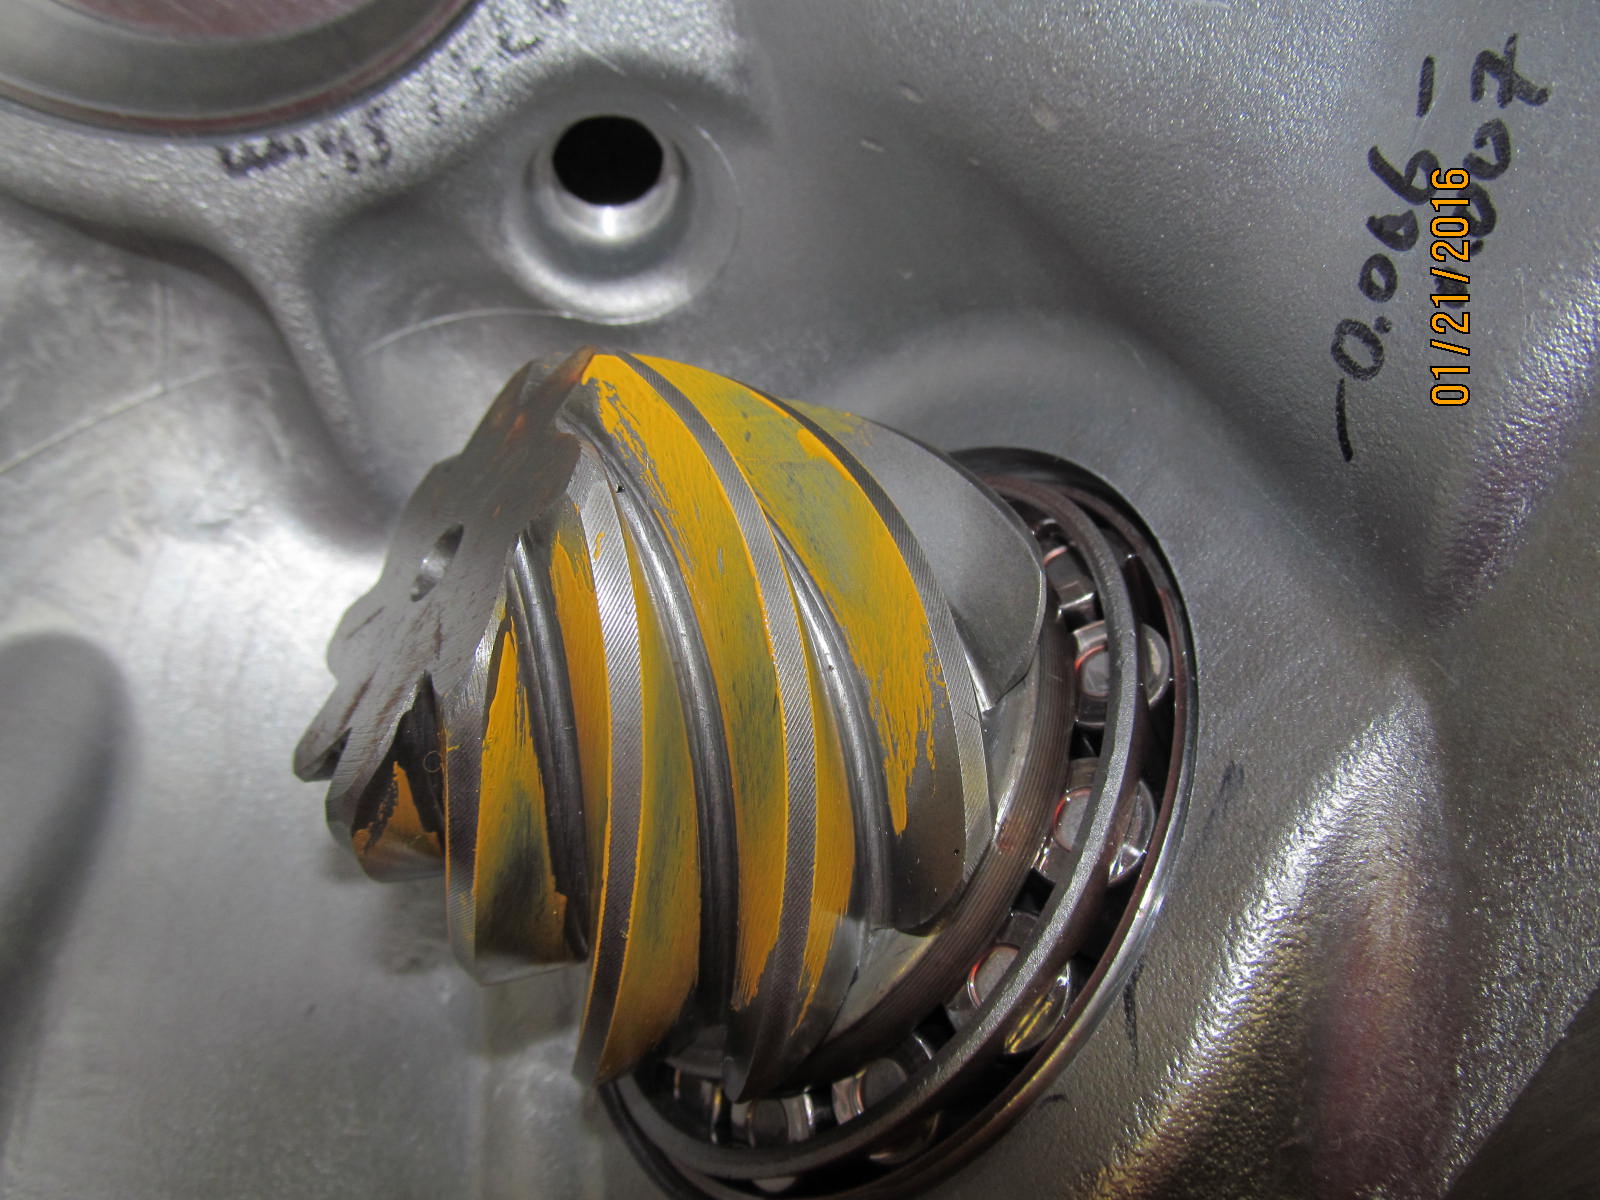
Drive pattern is at exact depth......neither deep nor shallow.
|
|
|

|
|
Coast.....nice.
|
|
|
|
|
Pinion comet tail says right on.
|
|
|
|
|
.....................
|
|
|
|
|
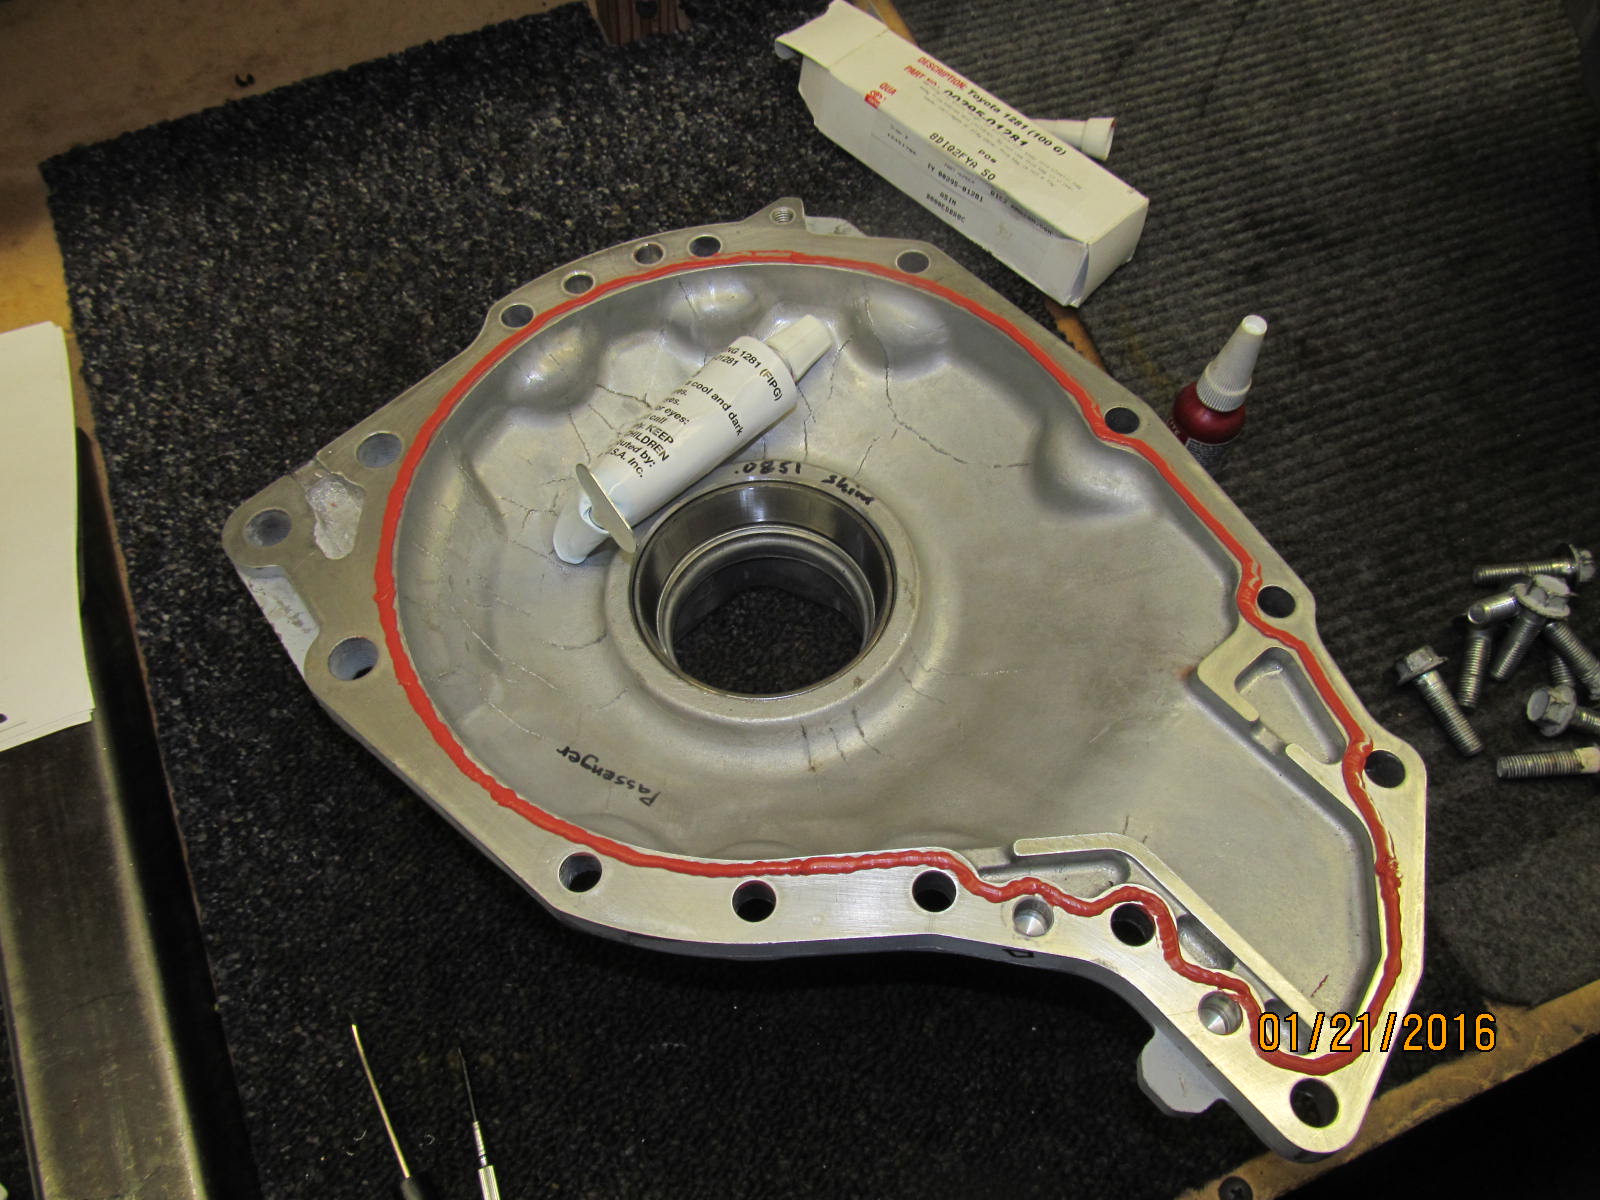
Now is the time to apply the genuine Toyota FIPG per the fsm pictorial(Toyota #1281).
|
|
|
|
The 11 bolts are torqued to 48 ft/lb with medium strength blue loctite. The 3 monster sized bolts
are left hand-tight for now.
|
|
|
|
|
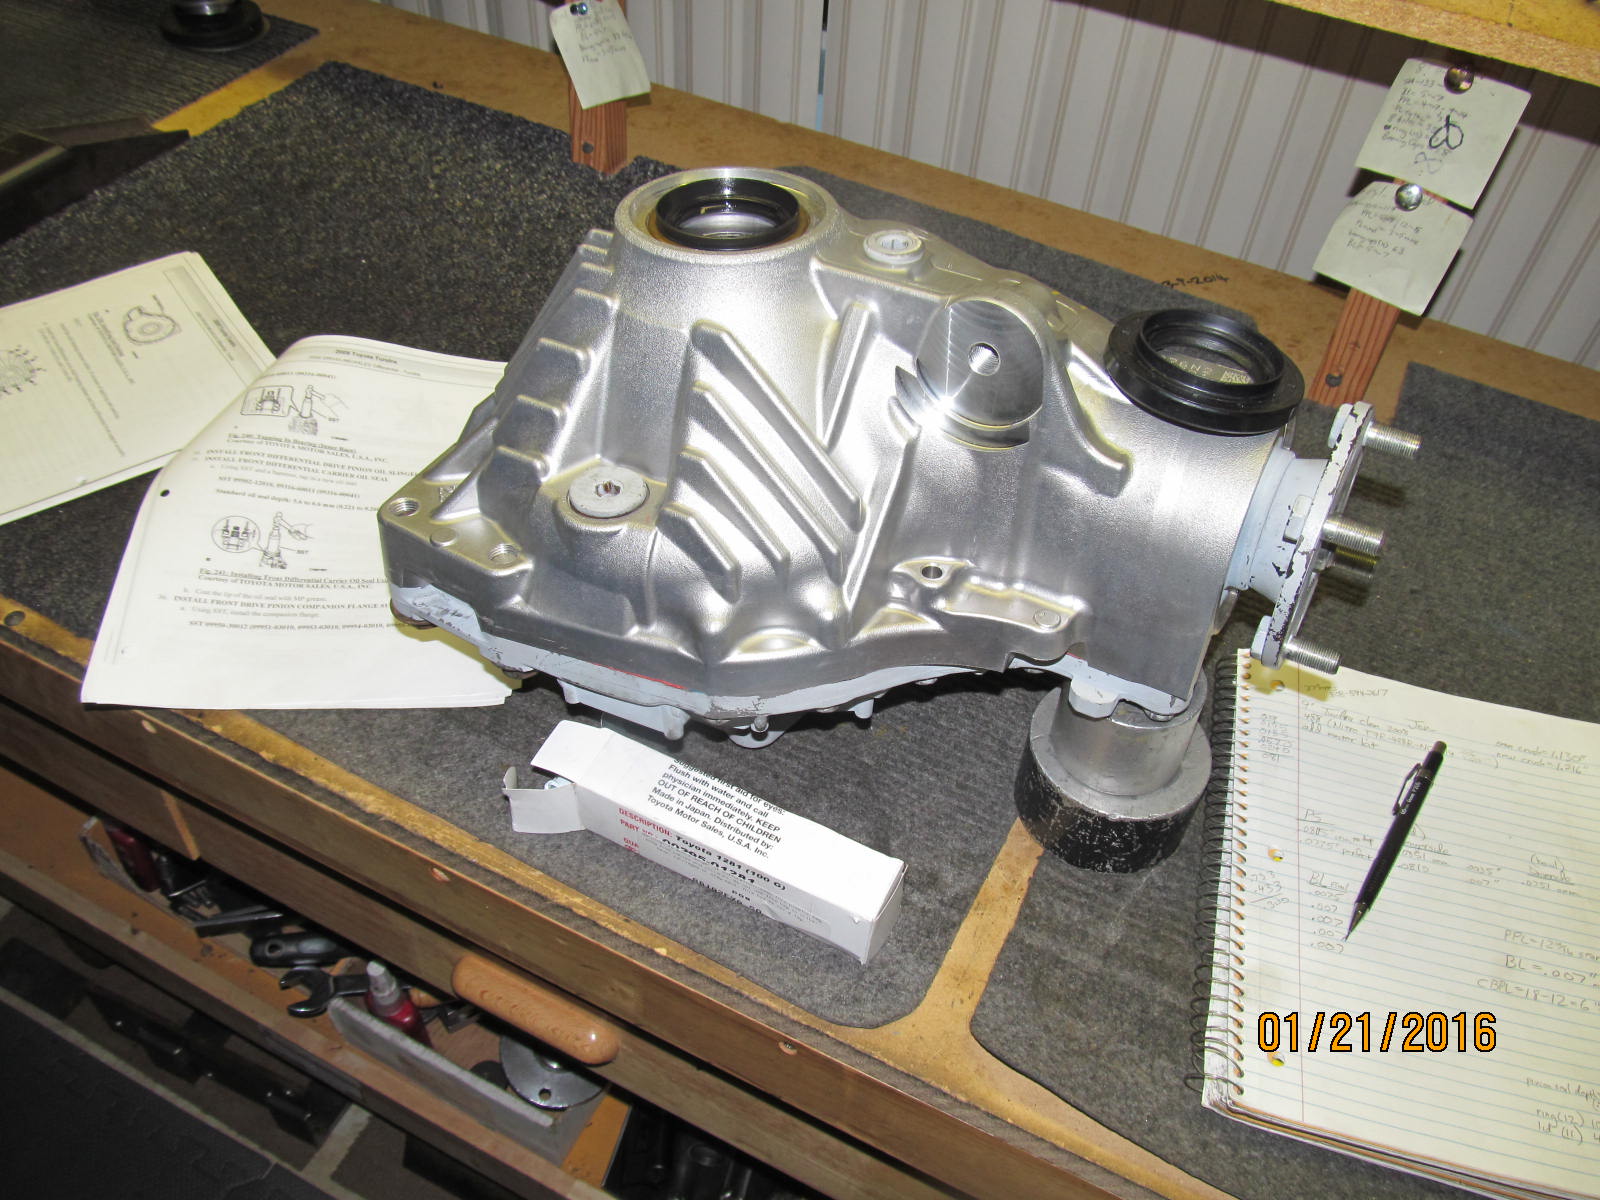
The new axle stub seal on this side is tapped in flush.
|
|
|
|
|
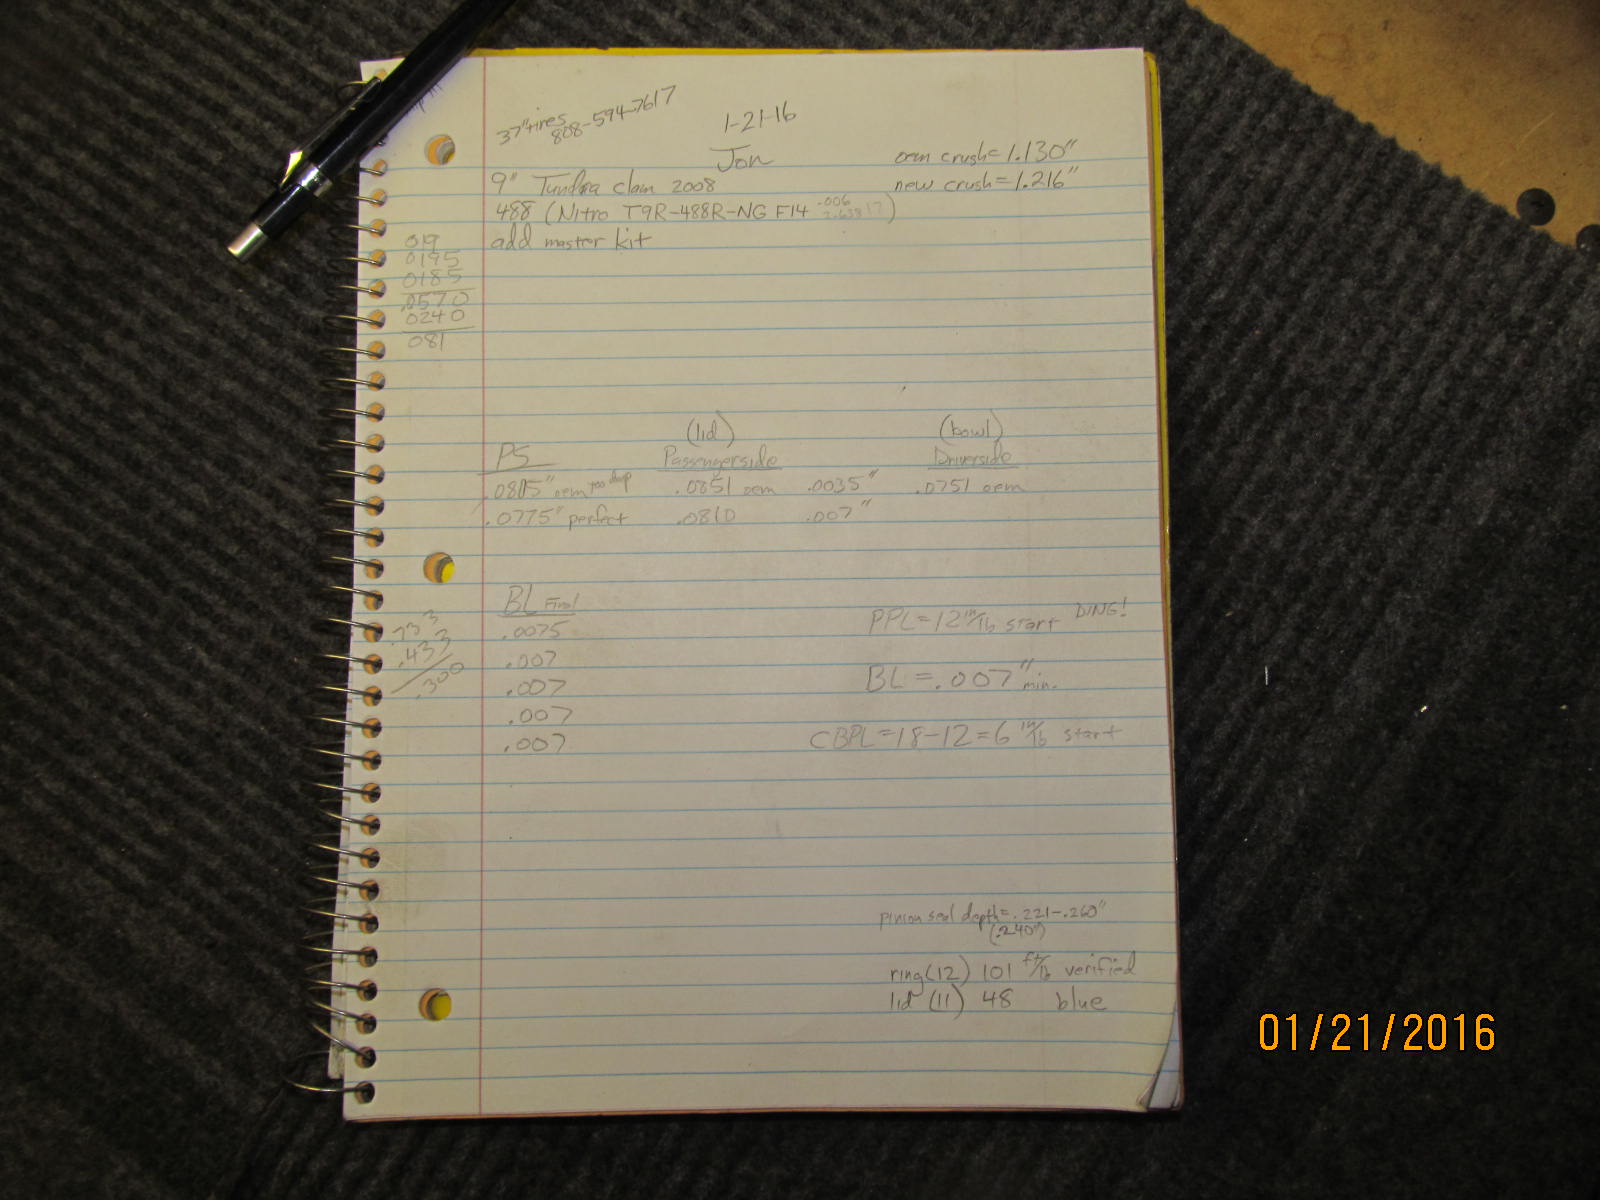
Notes taken for Rory's install.....
|
|
|
|
|
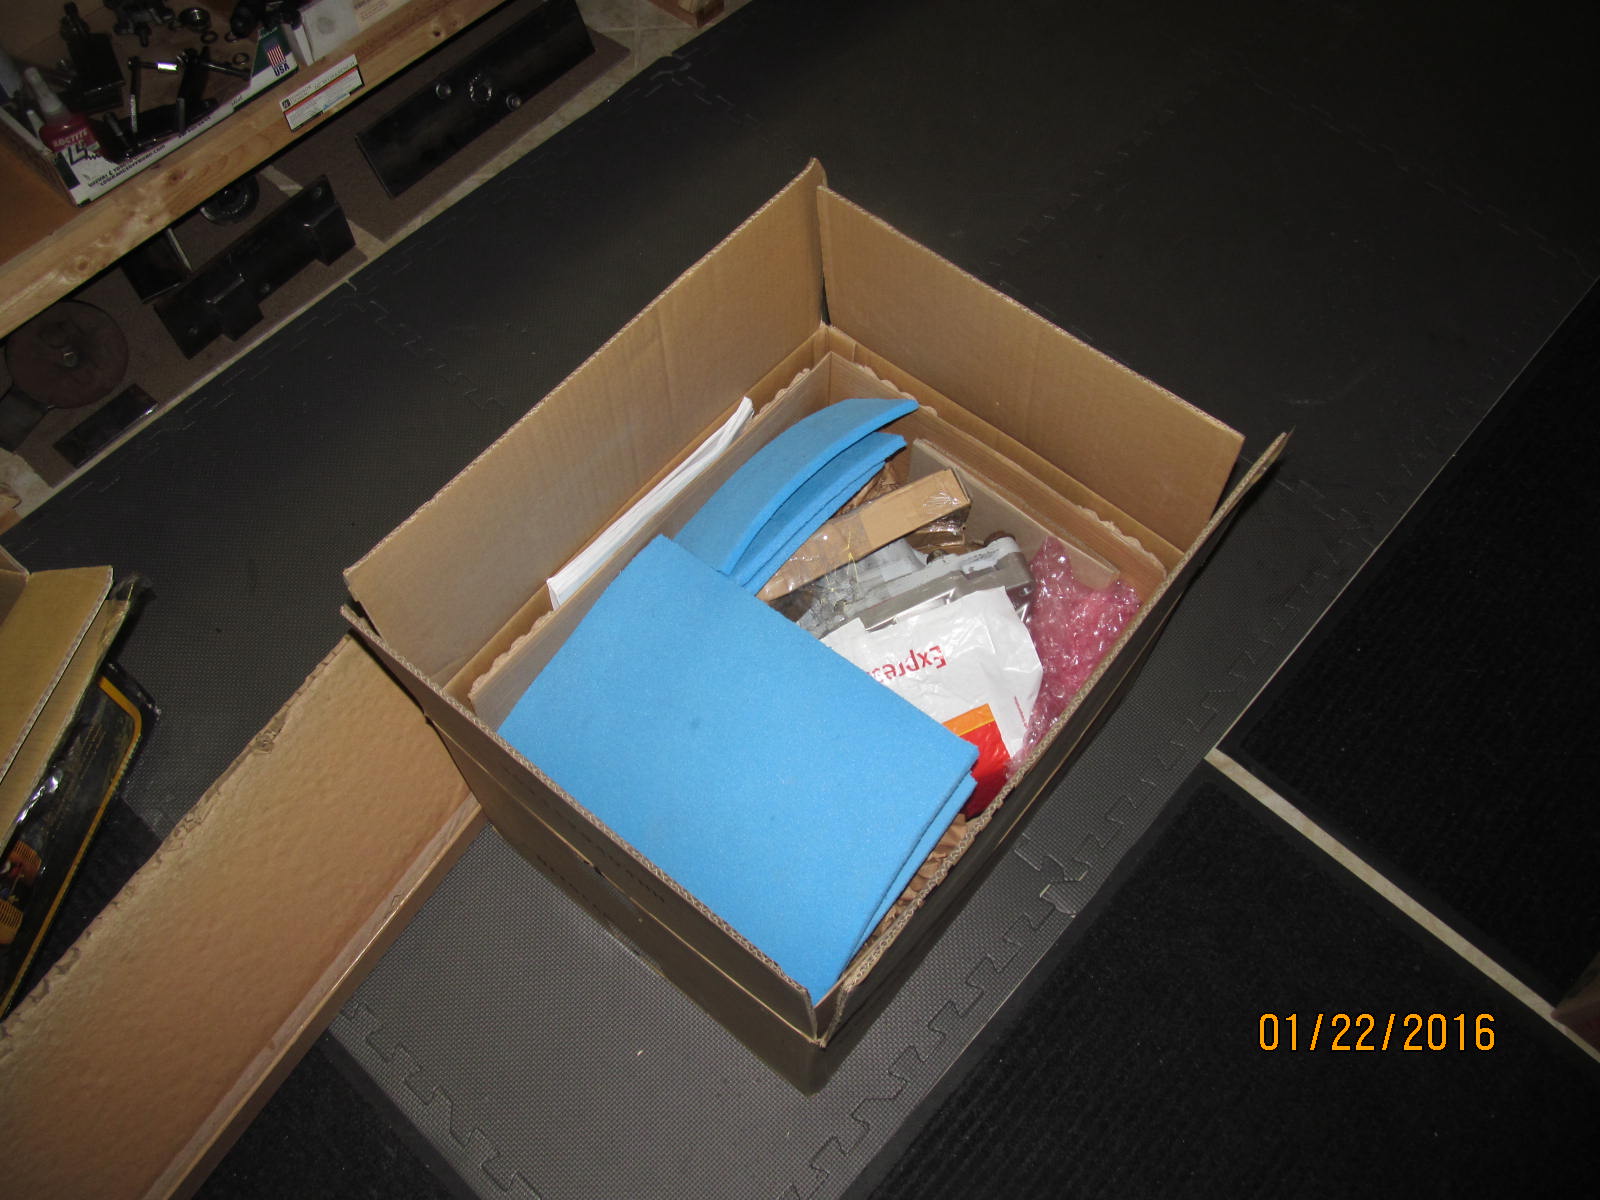
Now to box it up and try to stay under the 70 pound weight limit for USPS.
|
|
|

|
|
Ready to go to USPS and see if it gets the go ahead.
|
|
|
|
|
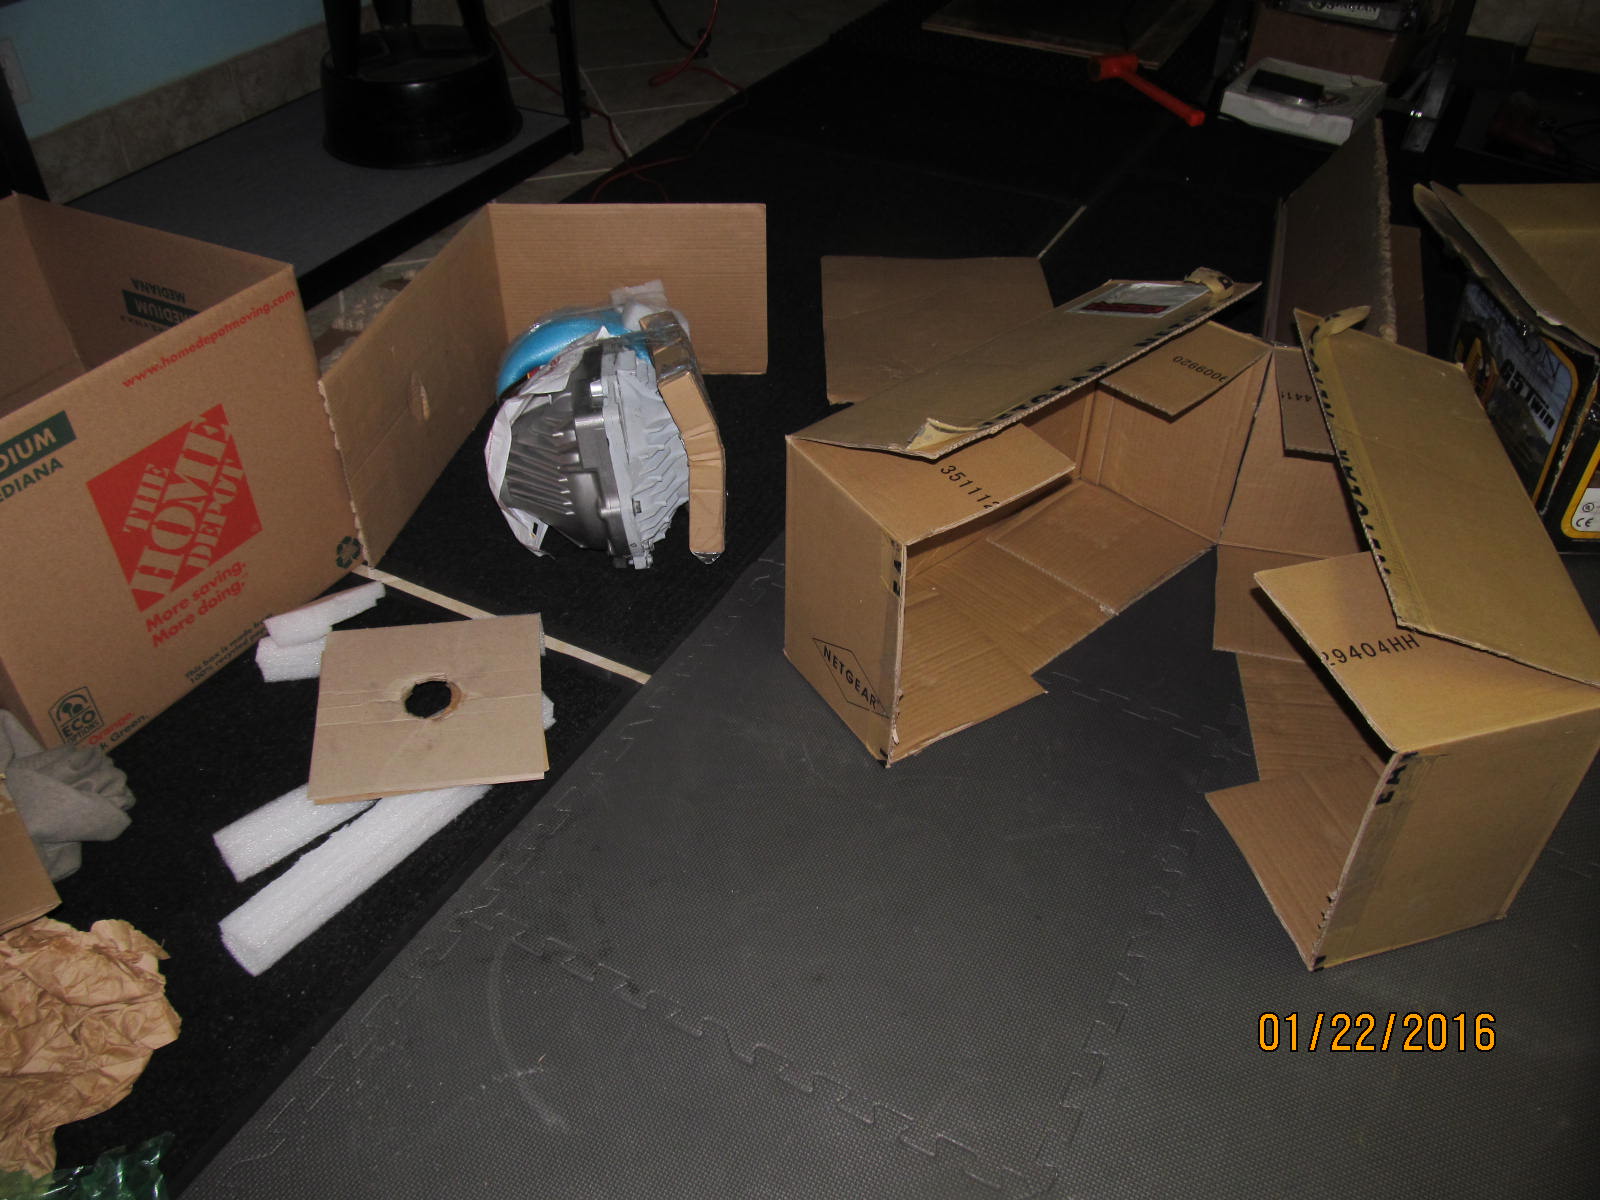
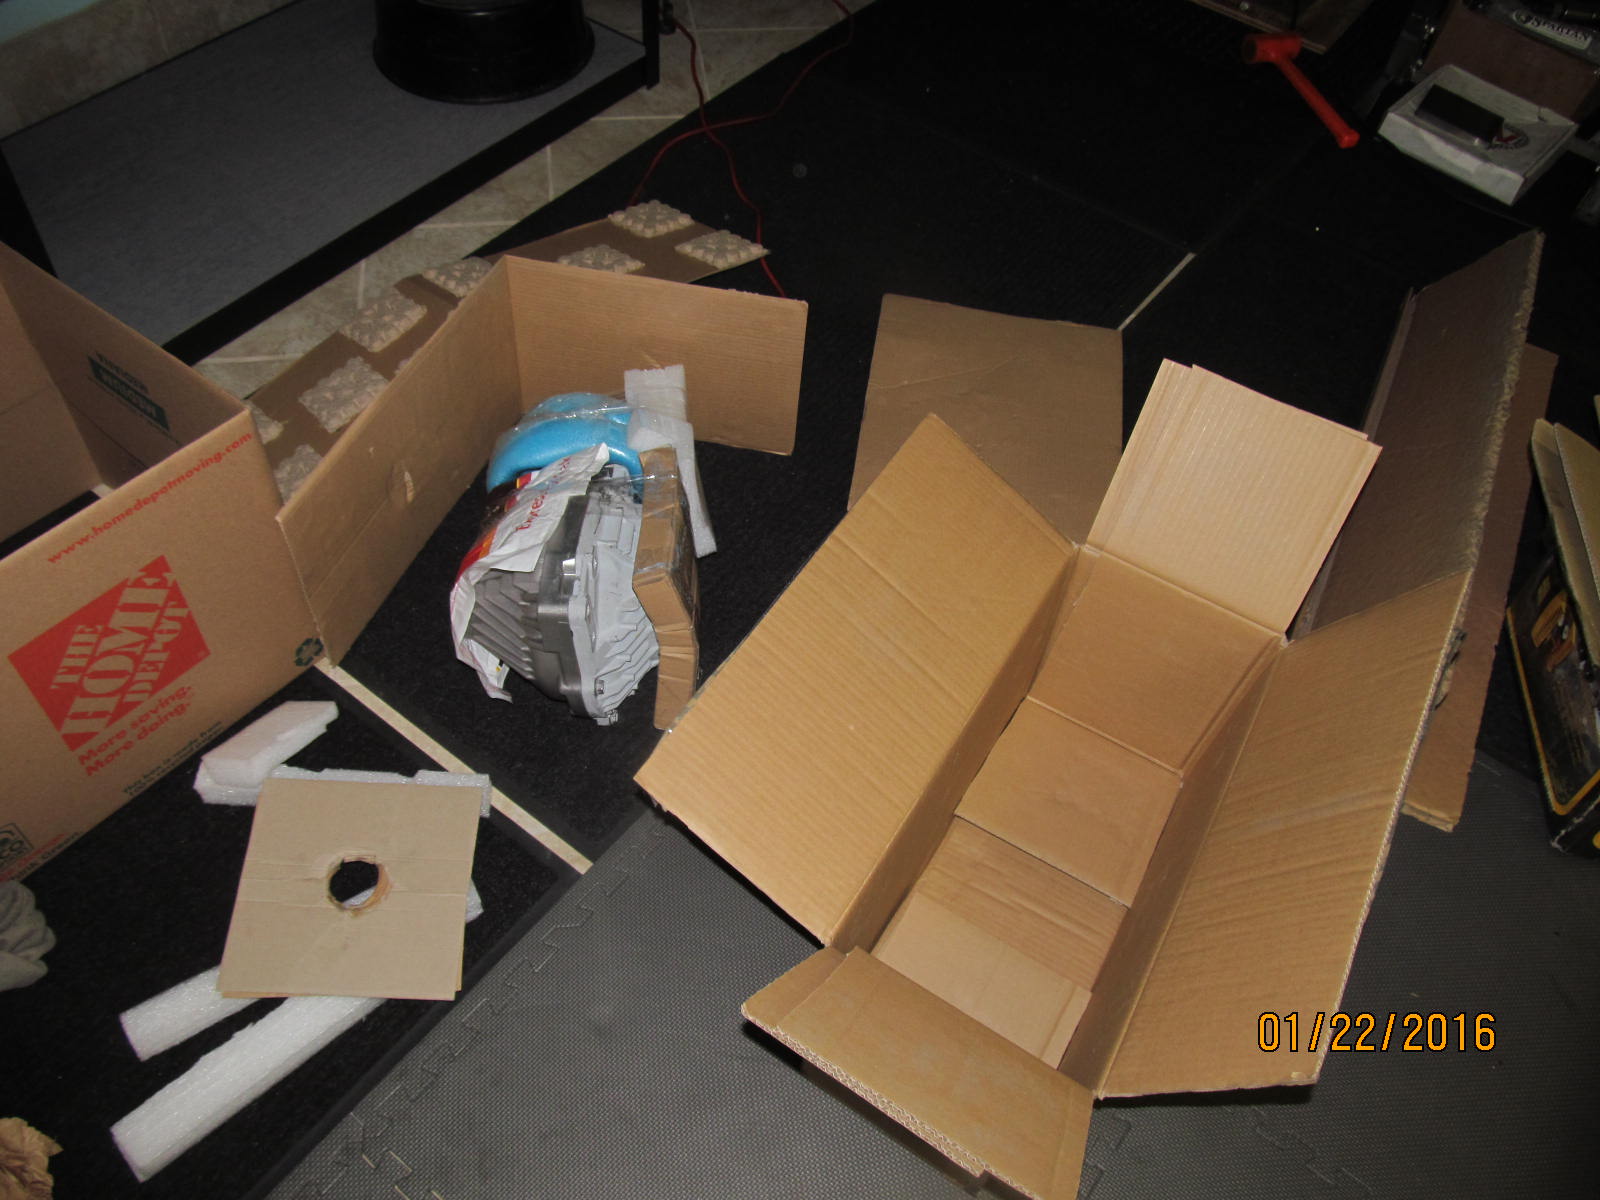
Nope....they said, "Sorry but you're 11 ounces over". Back home and rebox/re-organize.
|
|
|
|
The main outer box is cut in two equal pieces and slid together making for a stronger box and
means that I can reduce some of the reinforcement used on the inside.
|
|
|
|
|
These 2 dowels are removed for safety.
|
|
|
|
I pulled all of these items from the main box and they will go in a separate official
USPS flat rate box.
|
|
|
|
The box will now be taped up thoroughly and stuffed with lightweight bubblewrap.
This time it did make it by the USPS scale with over 2 pounds to spare. Cost
to ship....$135 for the main box plus 13 for the smaller flat rate box.
|
|
|
|

|