|
488 Nitro Gears in Clark's 1996 FZJ80
|
|
(50 BIG pics loading)
|
|
May 6 2015
|
|

|
|
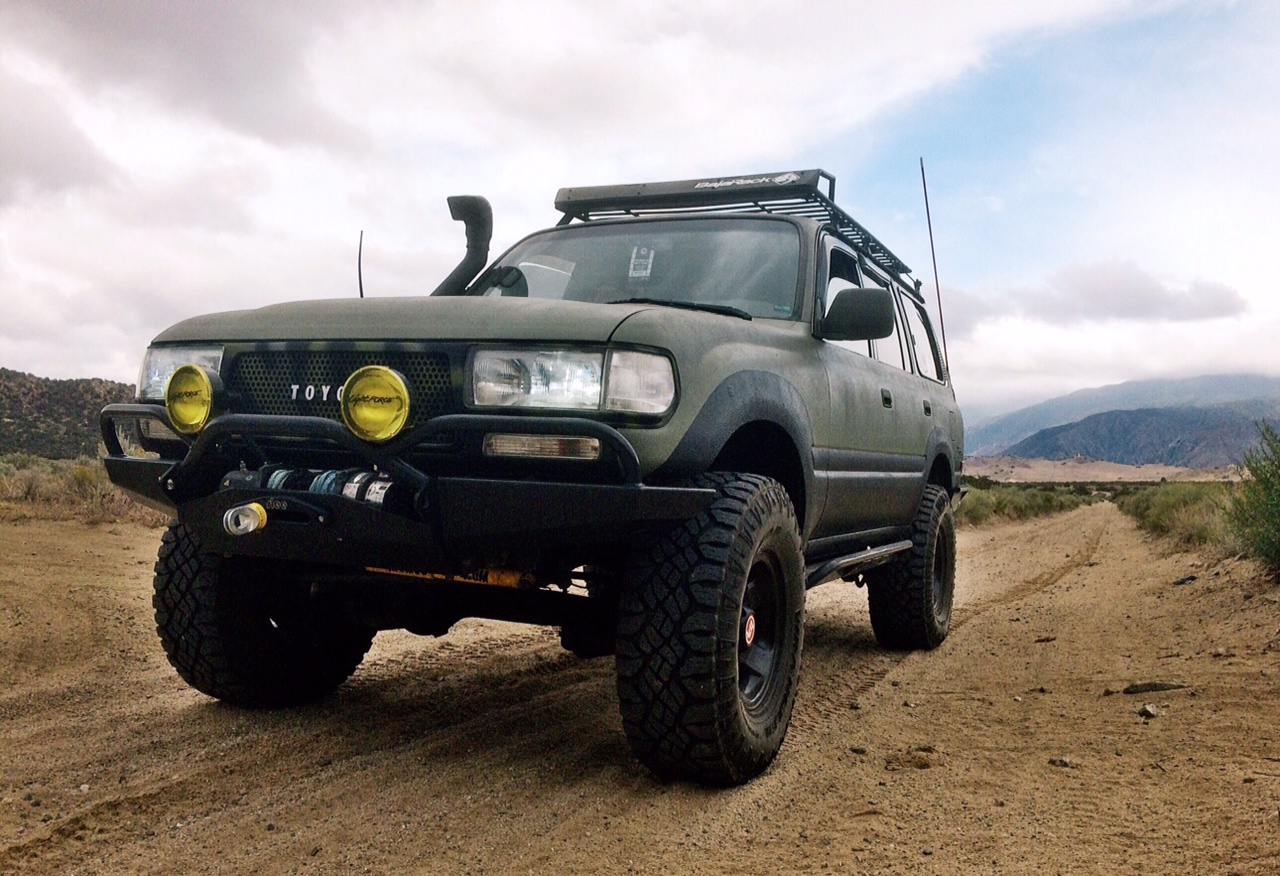
Clark's 1996 FZJ80 camping out.
|
|
|

|
|
Shot at 2am with a 5 second exposure.
|
|
|
|
Above pic is a very recent one taken on
Pipeline Road through Hungry Valley SVRA, Gorman, CA.
|
|
|

|
|
Clark resides in southern Cal. and this is trip #2 for this black tote.
|
|
|

|
Bottom has no tear-thru from the sharp lips of the diff. Just some scruff marks and a ding on the side
probably, in this case, from Fedex itself.
|
|
|

|
I removed all the top fluff. Good job securing the 3rd. Not seen is the HD boxing supporting the
underside of the 3rd.
|
|
|

|
The 3rd is mounted to the fixture and the preload/backlash is checked. These are 4.56 Nitro Gears
installed by a well known organization. Pinion pre-load is zero....carrier bearing
pre-load is zero...but I was surprised to measure over .020" for backlash.
|
|
|

|
|
Over-tightening the o-ring will shred it. A new one will replace it.
|
|
|

|
|
A quick check of the pattern on the 456 gears shows the drive pattern is fairly centered and ok.
|
|
|

|
Coast is ok. These gears are not damaged or severely worn out of place so they will probably
be sent back to Clark.
|
|
|

|
|
Dis-assembly begins. The ARB case is out.
|
|
|

|
|
Teardown of the pinion end is made easy with the help of the electric impact.
|
|
|

|
The old flange is cleaned up for inspection. The wear groove is small. Since the plan
is to also install a new Marlin HD seal which has a big seal lip that rides in a much
different spot, the issue of a groove goes away. In the above picture, I believe
I remember the Marlin seal riding in a clean,virgin spot about .2" above the
wear groove.
|
|
|

|
This bearing used to be more difficult to get a grip on but now it's no problem thanks to the
2 extra holes I drilled in the bearing puller.
|
|
|

|
|
Easy access to this other carrier bearing.
|
|
|

|
The Nitro 488 ring and new bearings are ready to go on. These bearings are part number 32010X bearings.
These are also known as "conversion bearings" used on the larger 50mm journals to adapt them to
fit in the smaller 4 cylinder type 3rds.
|
|
|

|
The lead filled plastic hammer would not work to get the ring gear to seat down so
the 12T press and a couple pieces of wood did the trick.
|
|
|

|
|
Red Loctite and 81 ft/lb per spec on all 12 nuts.
|
|
|

|
The carrier bearings can also be pressed on but the bearings can also be coaxed on with
the love of a hammer. With the ring and both carrier bearings on now we can move
on to the carrier....
|
|
|

|
|
....on the the carrier, the new outer race can be tapped in place.
|
|
|

|
The larger inner race is a little "trickier" to get started but once it gets tapped down straight
for a short distance then it will drive home all the way with no binding up. With both races
in now we can move on to the pinion...
|
|
|

|
|
With Nitro, it's best to start with .057".
|
|
|

|
The pinion end is temporarily assembled with NO crush sleeve or solid collar. Oiling the bearings
for this upcoming depth check is also not required. But, what is required, is to impact it just
enough to yield 10~20 in/lb of pinion preload.
|
|
|

|
Brush on yellow paint to 3 teeth, apply light resistance to flange with a rag, and turn ring
gear back and forth 3 times with a 19mm wrench. Drive side---slight favoring of toe which
is good and appears to be "exact depth". I may do a final tweak and add about .002"
on the next break-down.
|
|
|

|
|
Coast looks good. Centered.
|
|
|

|
Drive side on the pinion suggests exact depth....possibly slight deep condition based on the
comet tail not hugging the root.
|
|
|

|
|
Last time I plan to remove the big pinion bearing so adding .002" for a final .059".
|
|
|

|
|
Pressing the pinion bearing with 059 shim on...
|
|
|

|
No pictures of the solid collar installation but there is one in there between the 2 bearings.
As the assembly notes at the end of this link show, it took 4 times before getting it right.
A Heavy duty Marlin Pinion seal will be used. These work with 27 count pinion
splines only.
|
|
|

|
I have a pinion seal install tool(not shown) that offers full support all the way around the
steel ring to seat it evenly and with no damage.
|
|
|

|
|
Lightly oil the related contact surfaces of the seal and insert the flange.
|
|
|

|
Optionally, apply rtv to the pinion splines as shown above. The factory hardened washer will
be used with this new nut. I see that I am running low on Toyota pinion washers so a good
alternative is the correct inside diameter grade 8 washer from Ace Hardware. I'll take
a 27 spline old pinion into Ace and get some spares.
|
|
|

|
I noted that with 280 ft/lbs of torque on the new pinion nut that the final PPL went to a
nice 9 in/lb of pinion drag. That would be 9 in/lb of "start torque". The pinion
end is now complete.
|
|
|

|
The ARB case is now installed. Wheel adjusters and bearing caps are mounted up...65 ft/lb on
the 4 bearing cap bolts.
|
|
|

|
|
Drive pattern final. Nice.
|
|
|

|
|
Coast side. Nice
|
|
|

|
Backlash is recorded on every other tooth after the carrier bearing preload is set tight. I
noted that the ring gear had .007" inscribed on it so that now becomes our
minimum backlash allowed.
|
|
|

|
Combined pinion plus carrier bearing preload checked in at 16 in/lb start torque. Since the pinion
start torq is known to be 9 that leaves 7 for our CBPL. I tend to hover between
5 and 10 for the cbpl.
|
|
|

|
|
Old x-rings will be removed and new ones with ARB part number 160207 will replace them.
|
|
|

|
|
Done
|
|
|

|
|
Splash some clean gear oil on them and wiggle them in place.
|
|
|

|
Not shown but install the retainer clip that holds the x-rings in place.
10 ft/lbs on the 2 tab bolts.
|
|
|

|
|
As seen here, the retainer clip is in place and visible.
|
|
|

|
|
The re-used soft copper line has some old dings in it but is still ok to put into service.
|
|
|

|
|
============================
|
|
|

|
|
============================
|
|
|

|
ARB is pressurize tested for a minimum of 5 minutes. In Clark's case, it ended up being
left overnight with no air loss.
|
|
|

|
|
The 3 important specs are scribed onto the ring and date-coded.
|
|
|

|
|
notes of the install
|
|
|

|
The big center lip of the 3rd is crushing into a HD box under it that has a thick
pliable foam to help spread the weight on the bottom.
|
|
|

|
|
=======================
|
|
|

|
|
Ready for the trip back to Clark.....105 pounds due to the 13 pound ring and pinion inside.
|
|
|

|