|
|
|
|
|
|
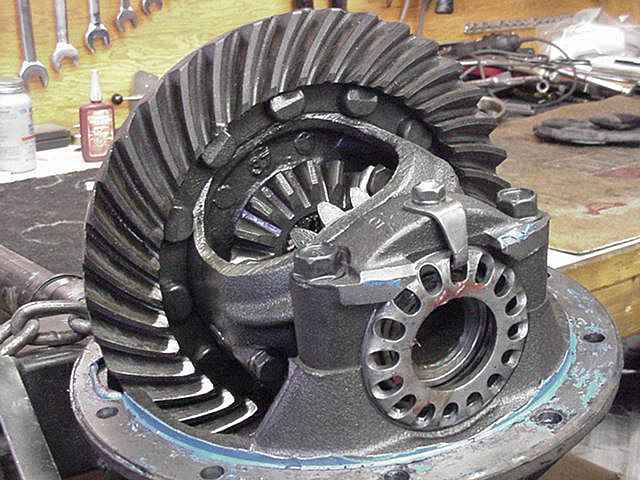
Daryl is local to me and has a 1988 FJ62 with the 3FE fuel injected inline 6 engine with auto tranny. One day, while wheelin' in Mexico, the front 3rd just locked up with very little notice. He went to drain the gear oil but almost nothing came out! Daryl figured now was a good time to upgrade to an Aussie. In no time at all, I had all the parts....new 4.11 gear set...bearing kit....and the Aussie. |
|
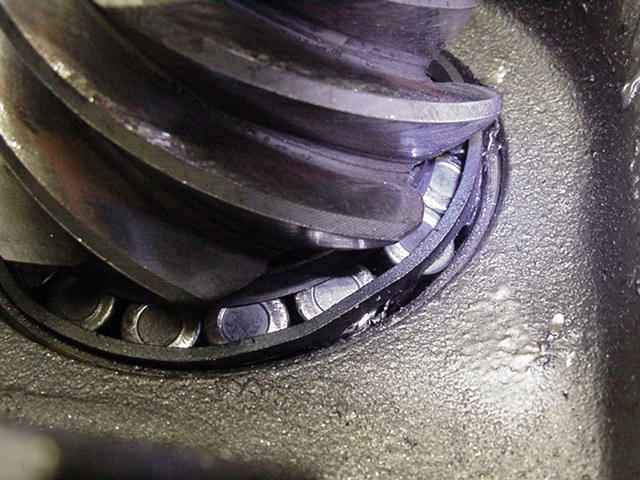
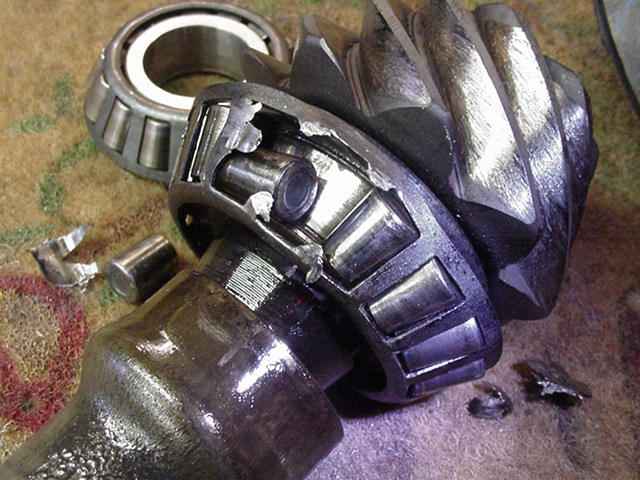
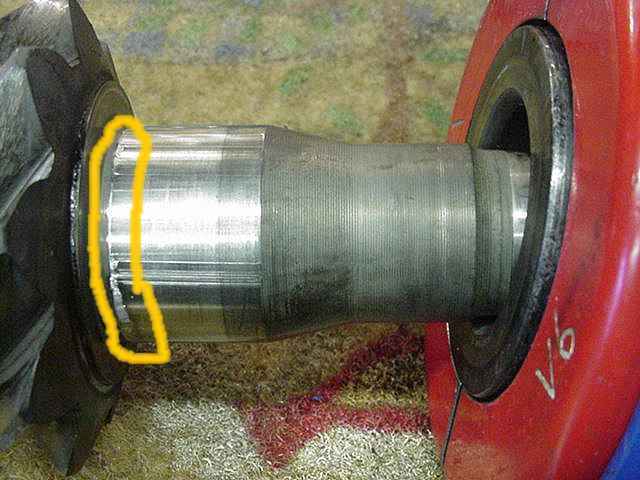
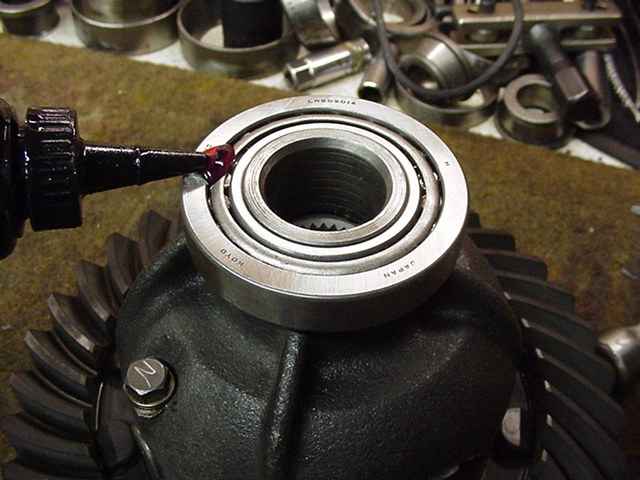
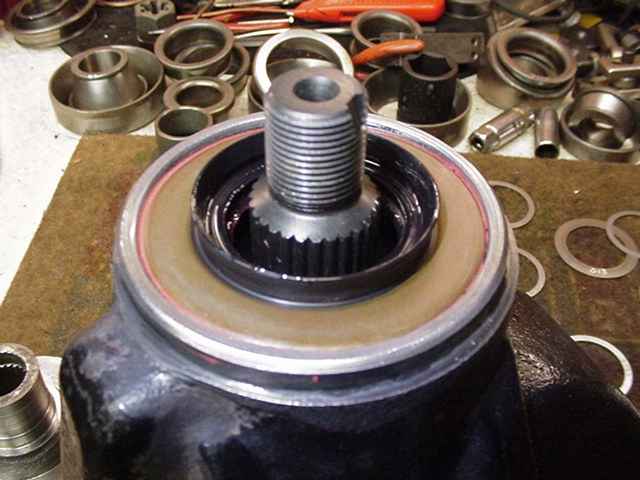
I started to tear it apart and something did not look right about the inner pinion bearing. |
|
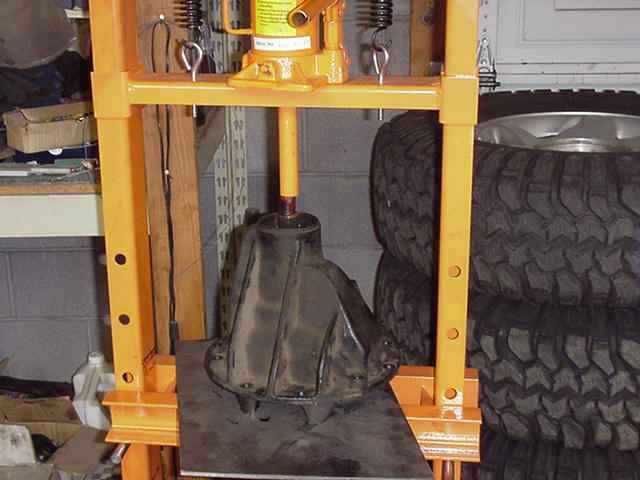
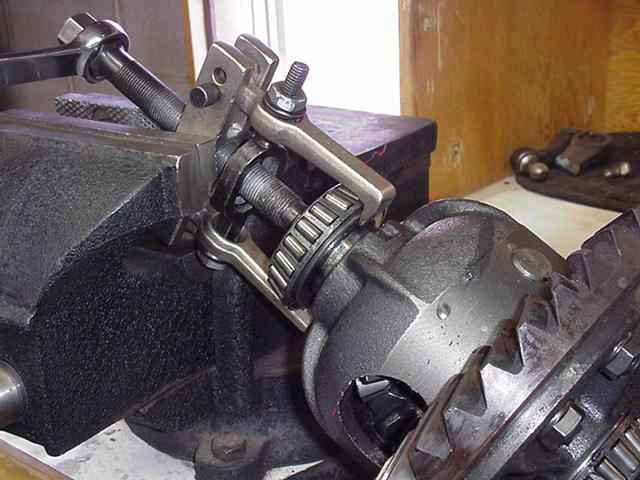
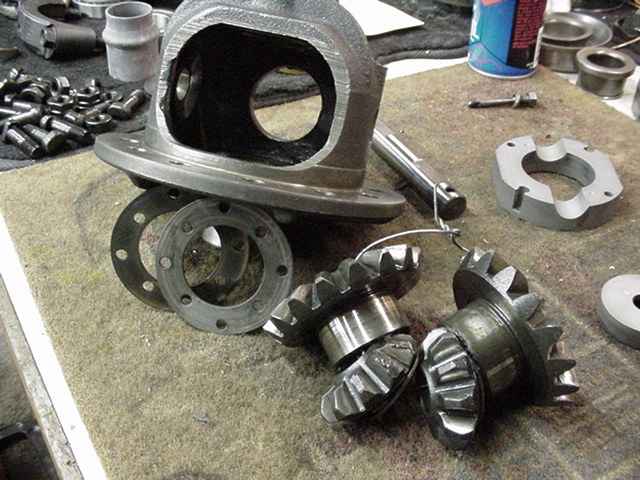
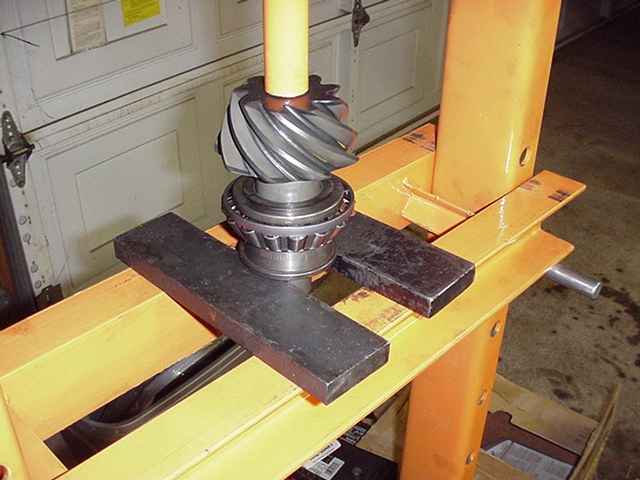
I pressed the pinion out... |
|
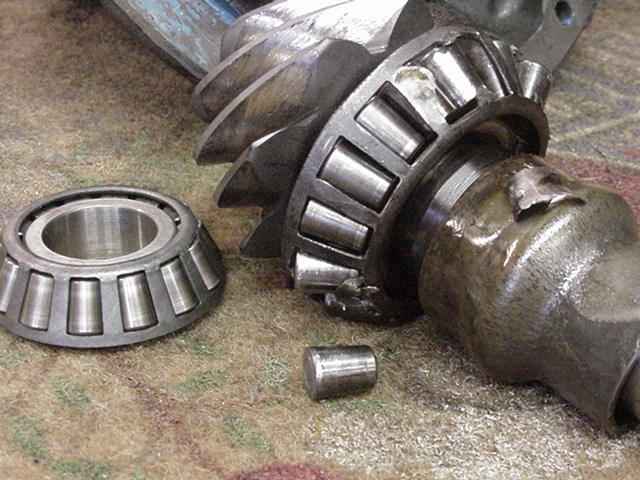
...and the pinion bearing just fell apart. |
|
Daryl was driving around with a bearing in this condition. |
|
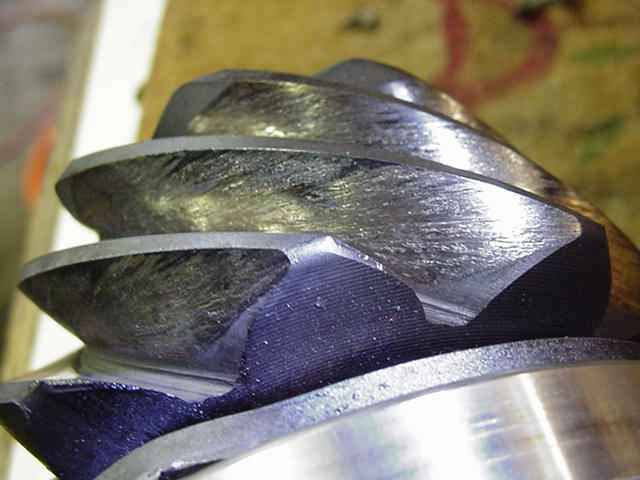
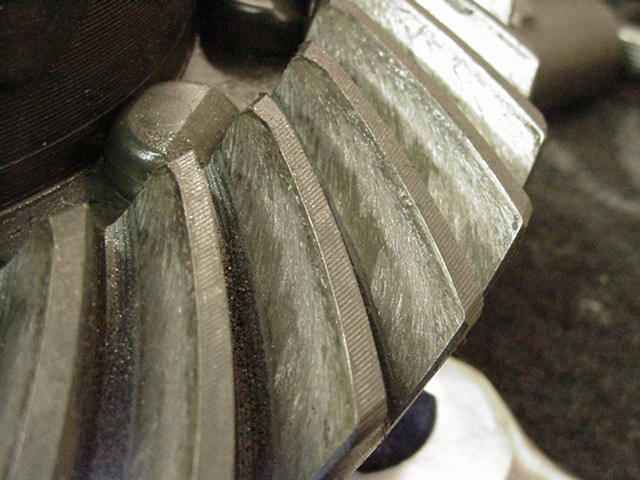
With no oil in the diff, the teeth could not avoid being scuffed to death. |
|
... |

|
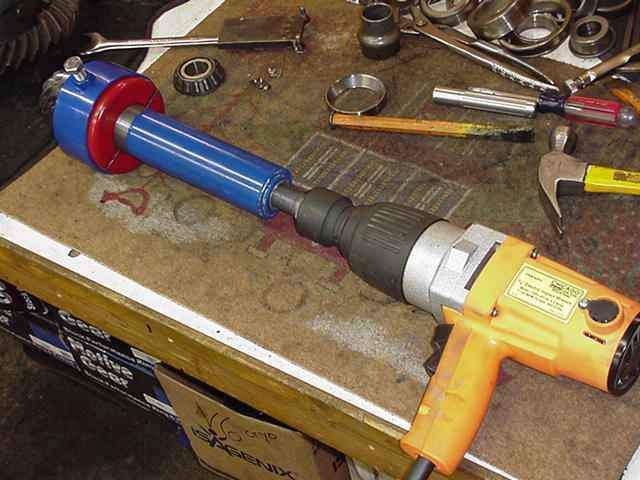
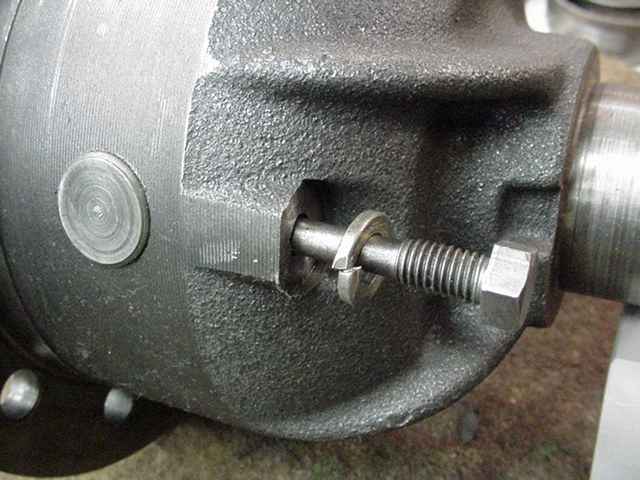
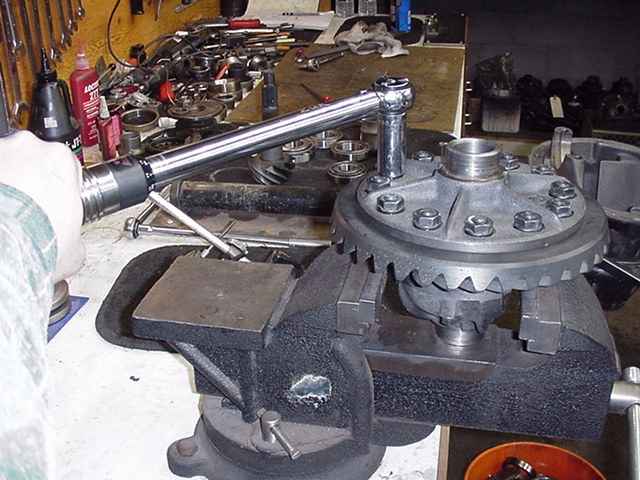
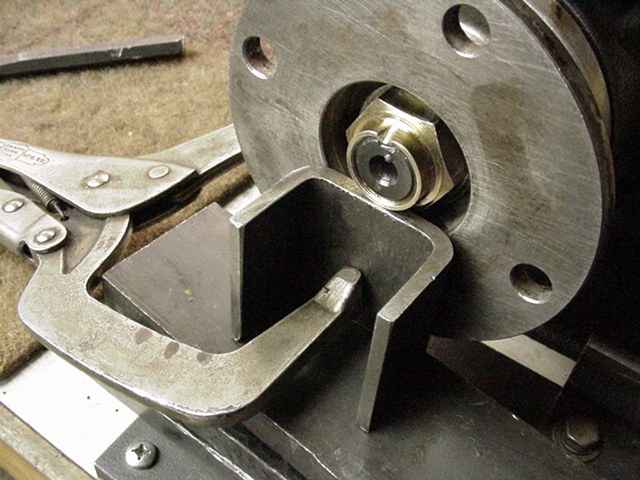
I wanted to re-use the pinion shim so I removed the bearing with this heavy duty puller. I can usually remove this style bearing with my extra large clamshell bearing separator but when I tried it seemed to be "stuck on" really hard to the point of damaging my separator so out came the heavy duty puller. |
|
... |
|
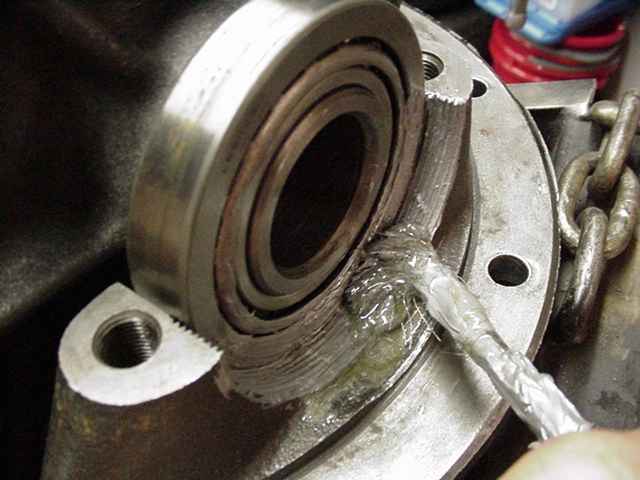
It came off but notice the torn metal....the bearing got so hot it started to weld itself to the pinion shaft. |
|
Carrier bearings came off ok... |

|
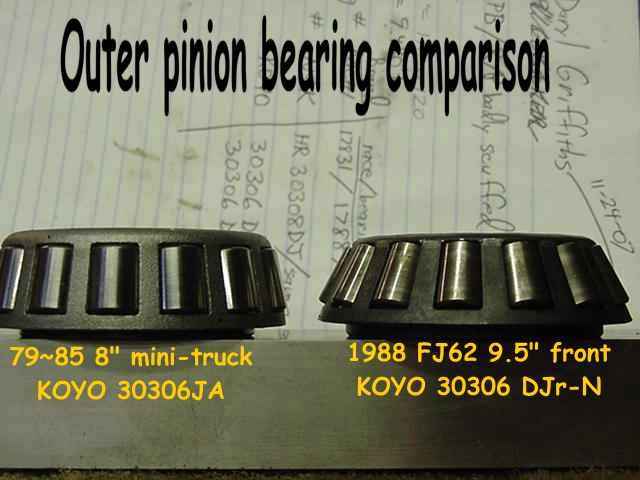
Interesting note...these 1988 Landcruiser carrier bearings are the same exact part number as those that are used in the early model 79~85 Toyota mini-truck "4 cylinder" 3rds. Interesting choice the factory made for such a large sized 3rd with a big 9.5" ring gear. I think it was in 1991 that the larger 50mm journal versions are employed...debatable if they are much stronger. All this changes with the E-Locked version. Those have monster bearings that are not in any master kits at this time...and are expensive to get from the dealer. |
|
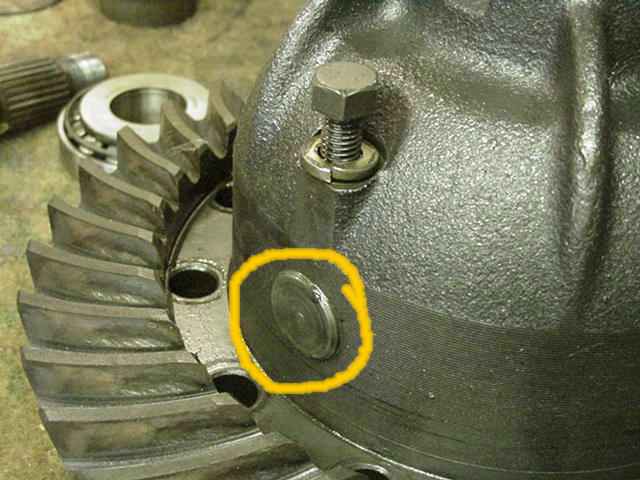
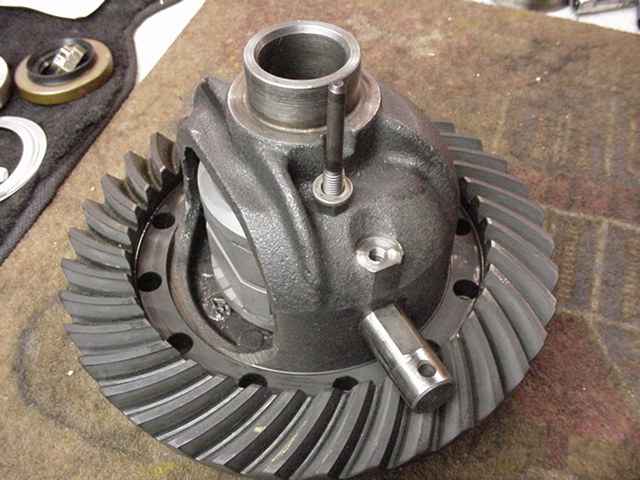
The ring gear will not slide off until the protruding center pin is removed first. |
|
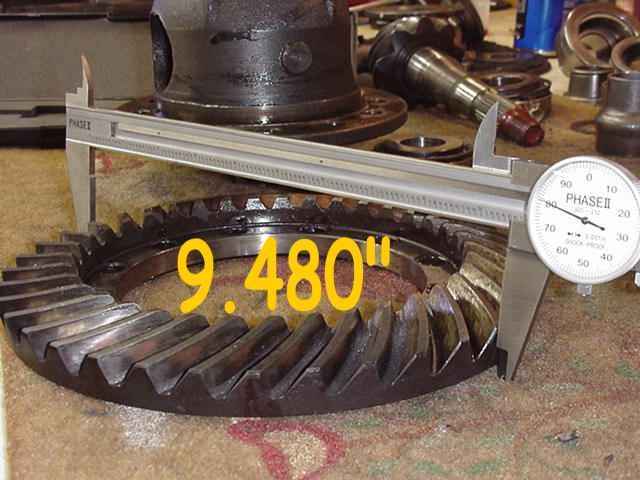
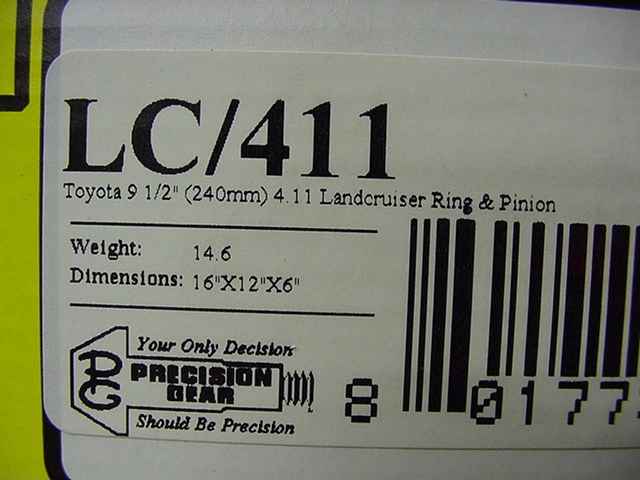
I measured the absolute maximum diameter of the LC ring gear. It was very close to 9.500. From a metric stand-point, these are specified as 240 mm rings....240mm=9.449". |
|
The outer pinion bearings are basically a common 30306 bearing with rollers that are angled "differently" as shown above. |

|
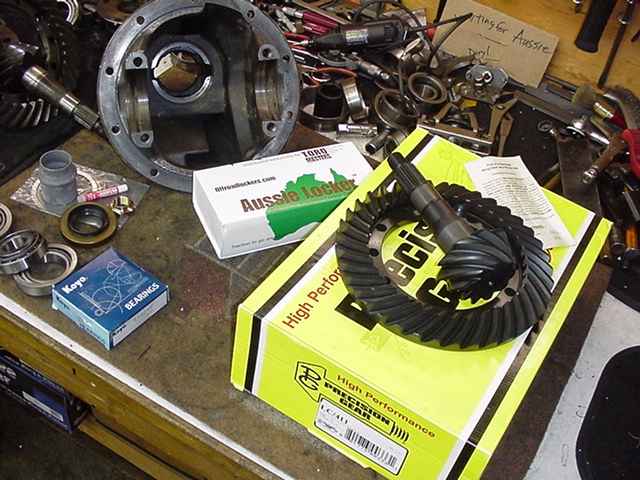
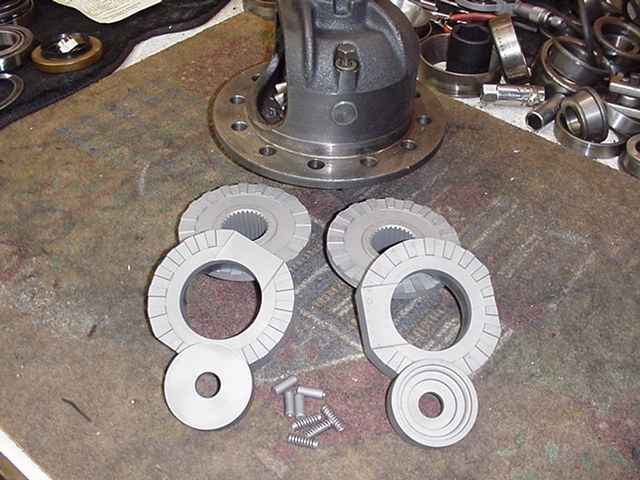
Everything is torn apart and cleaned up....shown is most of the old used stuff and the new product. |
|
The ring/pinion and master kit came from ringpinion.biz. I prefer to work with Motive or Precision Gear and ringpinion.biz has both. |
|
A good quality 4.11 PRECISION GEAR will be installed... |
|
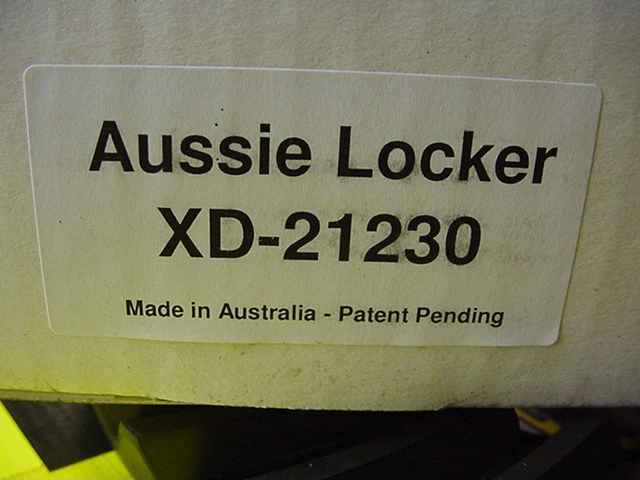
...along with an Aussie. The Aussie was ordered from aussielocker.com....made in Australia and distributed in my old hometown of Rochester,NY. |
|
It's very easy to put together...actually, putting the Aussie in this 9.5" 3rd is, by far, the easiest of ANY of the other 3rds I've worked on. |
|
Remove the bolt and slide the center pin out... |
|
The spiders and side gears can be thrown away...only the .076" thick thrust washers get re-used. |
|
First, do a preliminary check... |
|
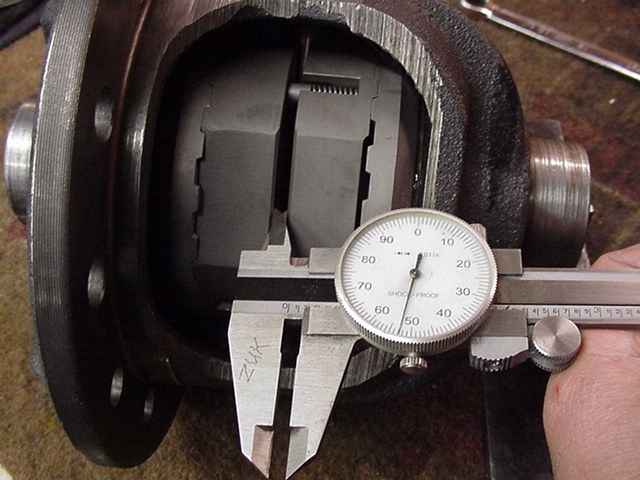
The locker is partially assembled and the thickest feeler that will slip in is .006". The recommended range is 006~020. |
|
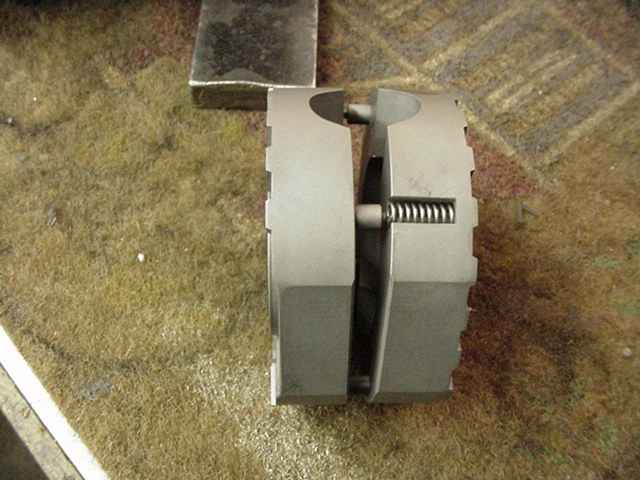
All the pins and springs are loaded in place. |
|
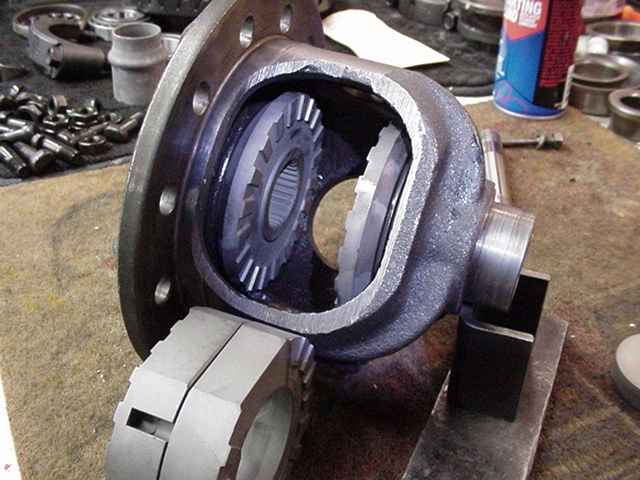
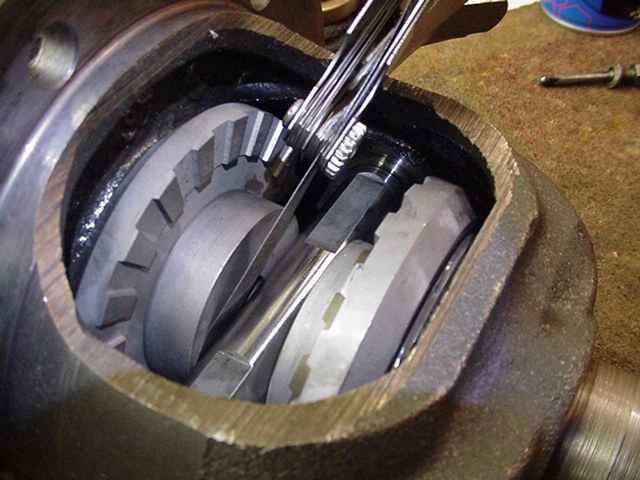
Squeeze the 2 couplers together and insert directly into the case. |
|
I never had one that went in this easy. |
|
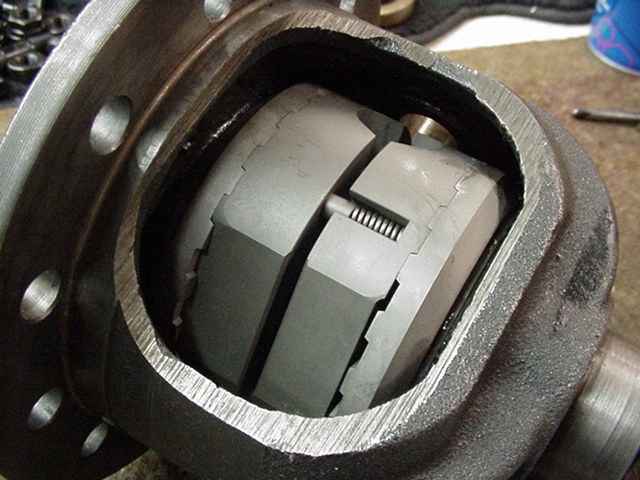
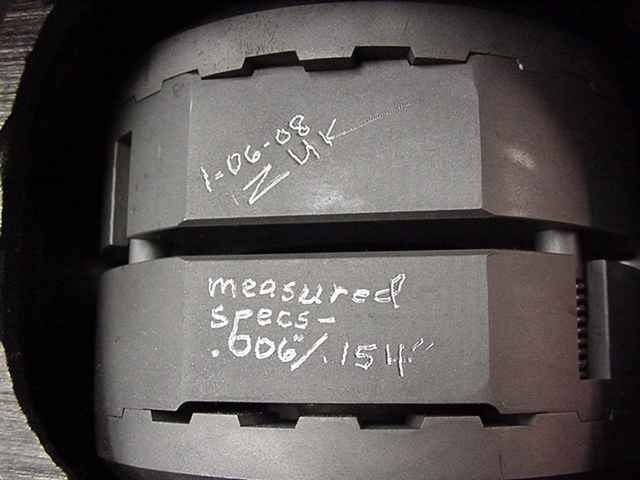
The second measurement is between the couplers. The range is from .145 to .170" and this one is well within the spec. with .153. |
|
... |
|
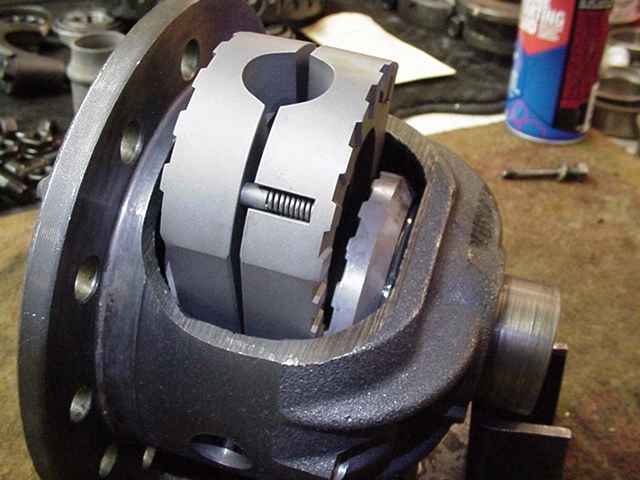
Place the new ring gear over the case THEN insert the center pin and locktite the bolt in. |
|
The 12 ring gear bolts/nuts are locktited and torqued to the factory spec of 81 ft/lbs. |
|
The new carrier bearings are pressed on and oiled up. |
|
Both new pinion races are pressed in. |
|
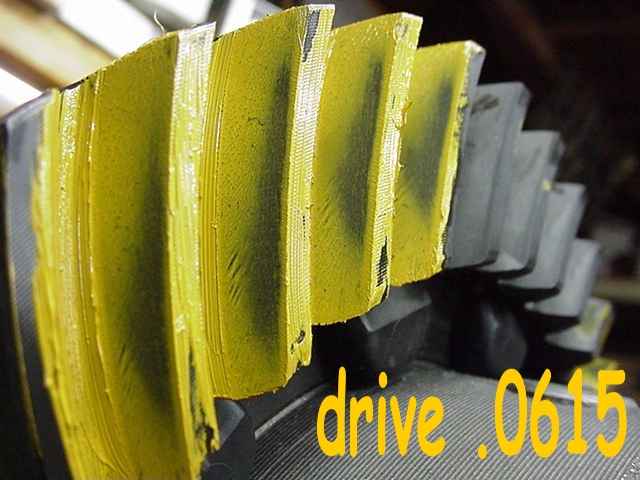
The factory .051" pinion shim is pressed on with the bearing. |
|
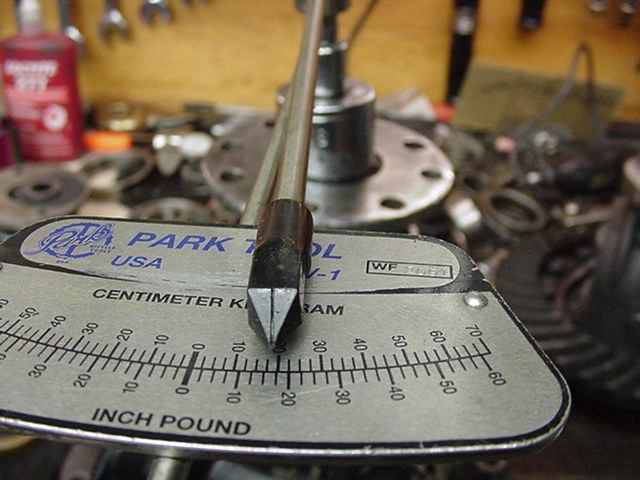
The pinion was then loaded into the carrier without the crush sleeve. The pinion nut was tightened until about 10 in/lbs of PPL was measured. |
|
Looks like the factory 051 shim is way off...too too shallow. |
|
... |

|
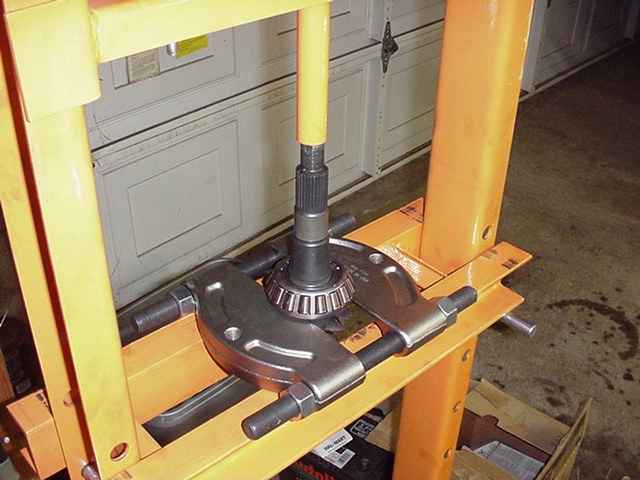
Case is removed and pinion pressed out... |
|
Bearing is removed with the press and bearing separator. |
|
It was re-shimmed to .0615" and still too shallow. |
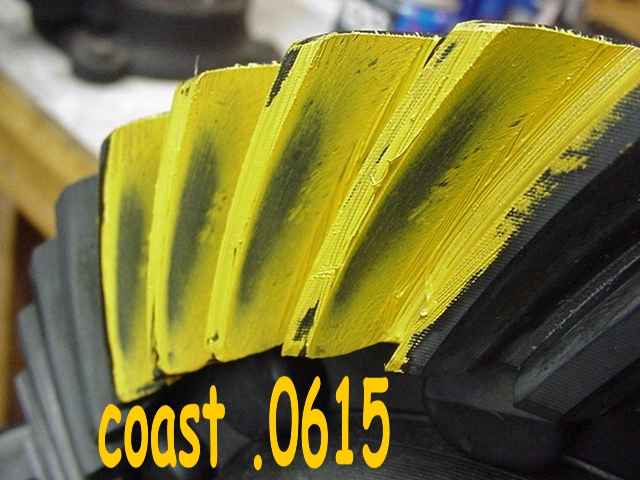
|
... |
|
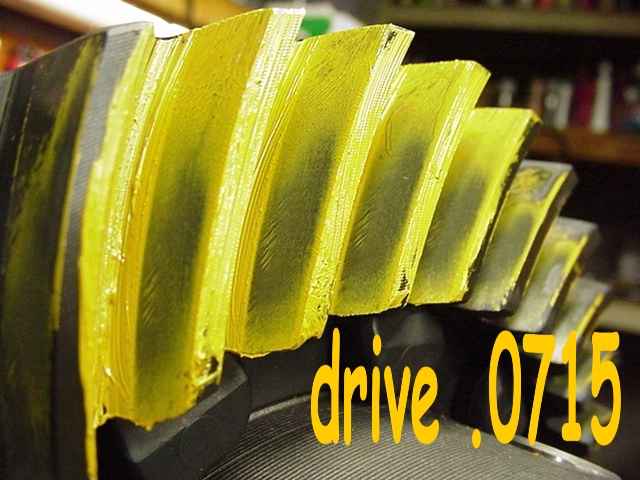
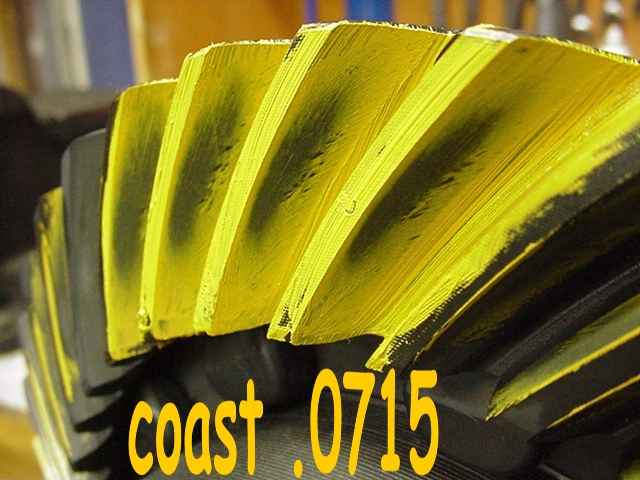
Re-shimmed to .0715 and this is getting close...still could go a little deeper. |
|
... |
|
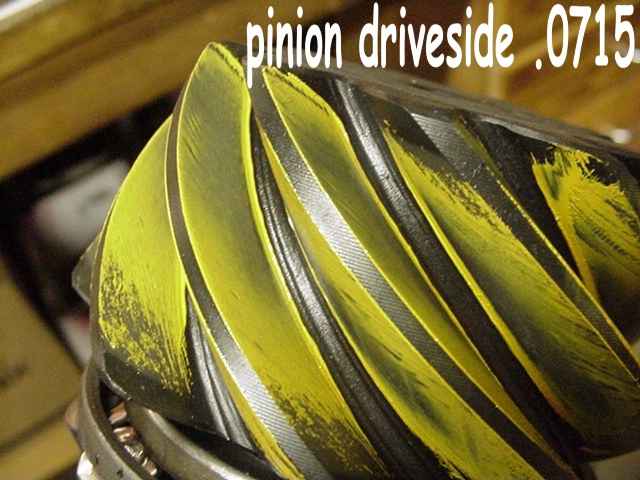
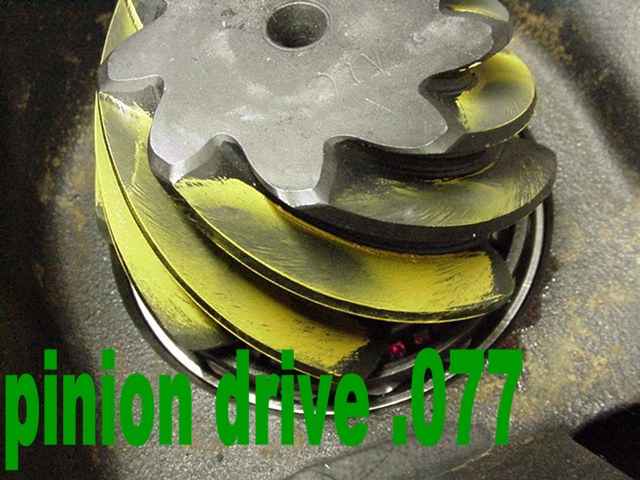
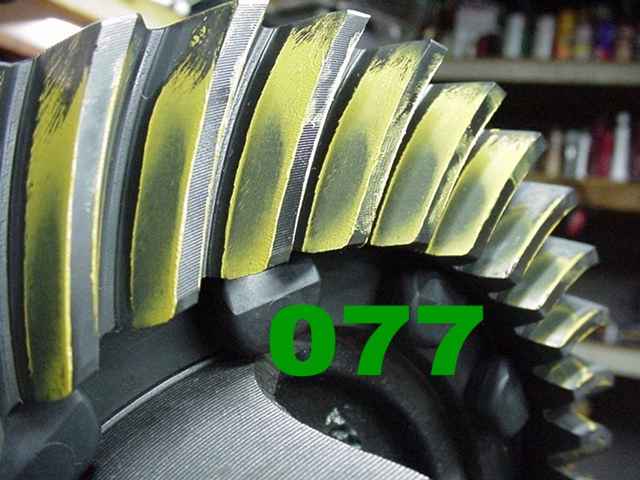
A look at the pinion teeth confirms that ring gear is a touch shallow. Deep on the pinion means shallow on the ring. |
|
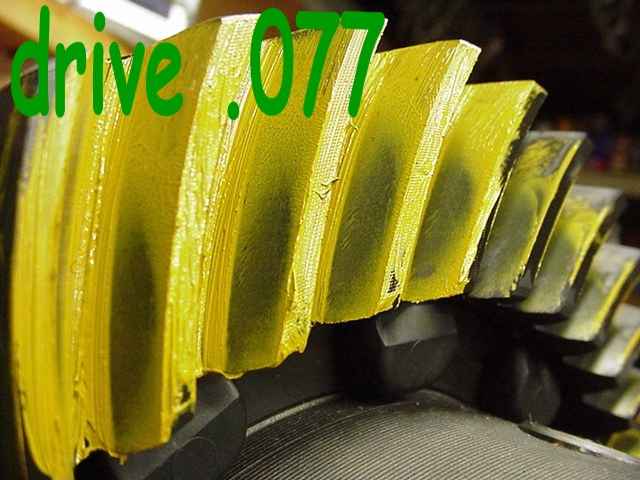
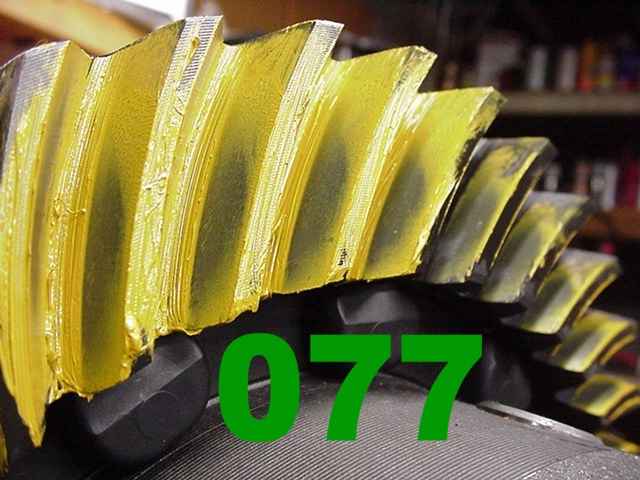
Re-shimmed again to 077 and this is good. |
|
... |
|
... |
|
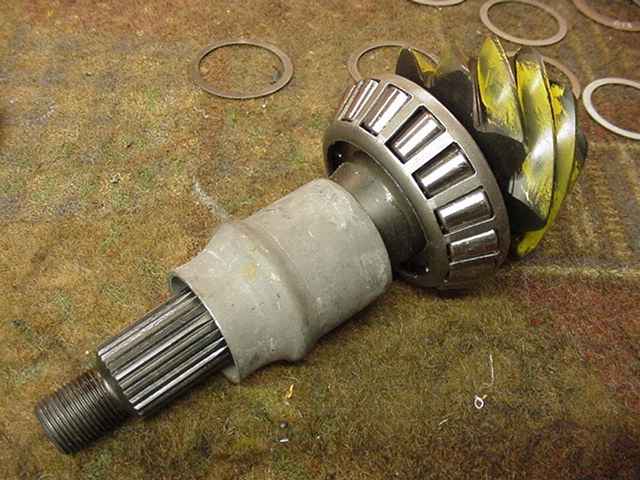
Now the pinion is taken out for the last time to insert the crush sleeve. |
|
The pinion seal is installed... |
|
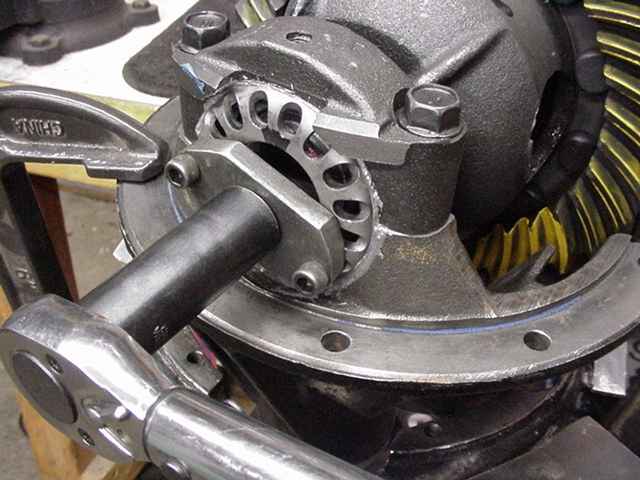
The pinion nut is tightened with the 3 foot cheater bar until the pinion pre-load (PPL) reached 14 in/lbs. Then the nut is dinged to keep it locked in place as shown in the pic. |
|
I use heavy amounts of the aluminum based anti-seize to prevent the threads from getting damaged during the tightening process. |
|
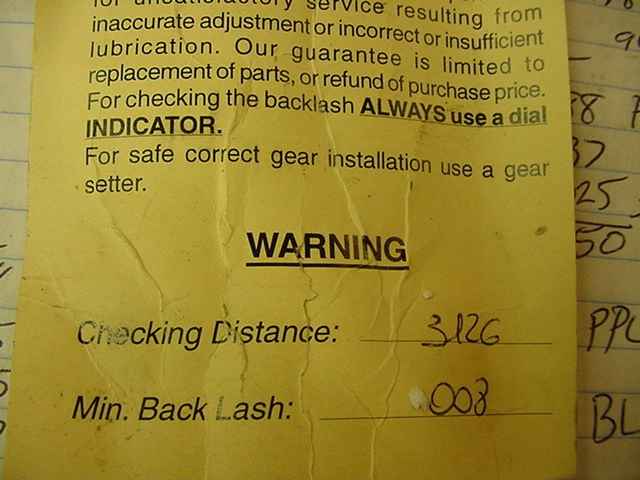
The minimum spec calls for .008 backlash or greater so I chose to use .010" and tightened the wheel adjusters accordingly. Final torque on the wheels was 150 ft/lbs (CBPL). |
|
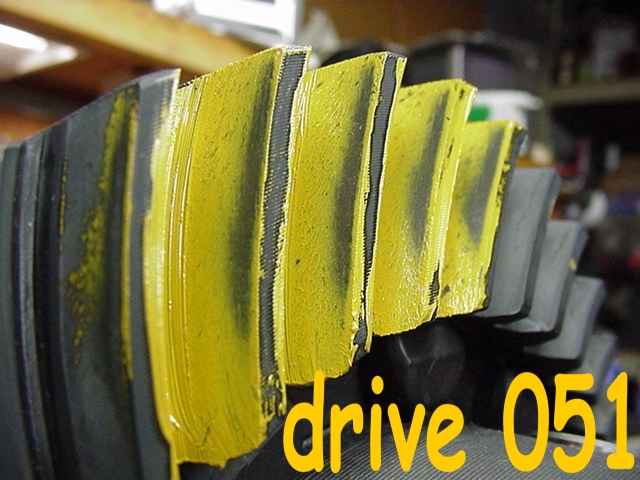
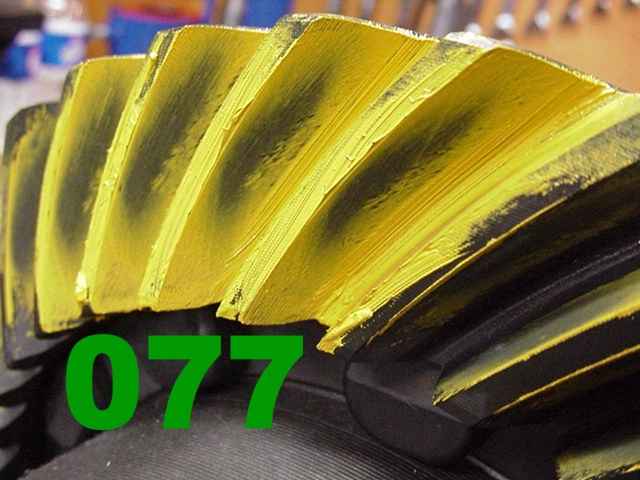
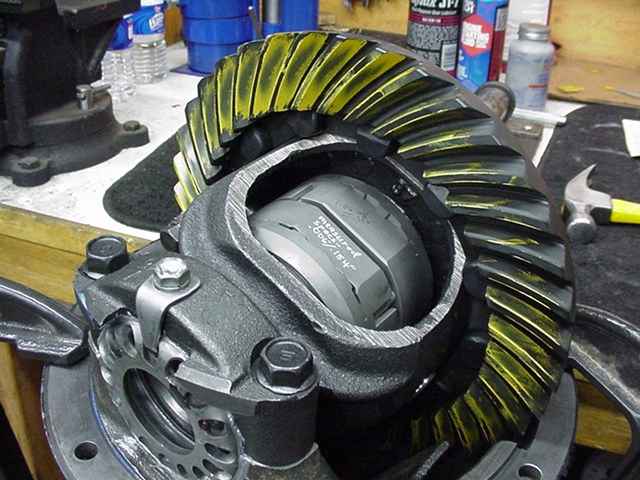
Driveside. Nice. |
|
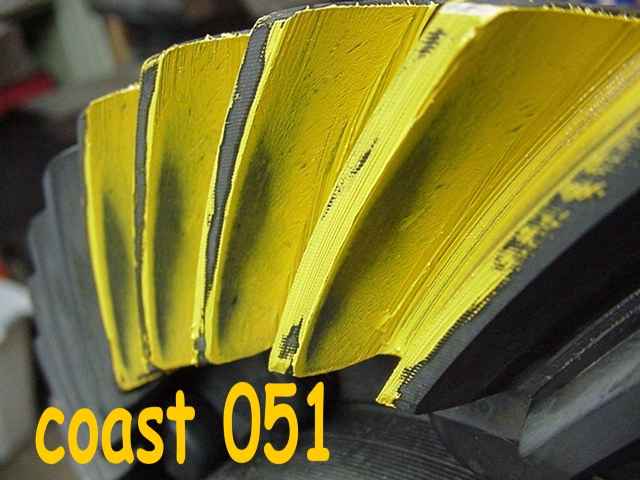
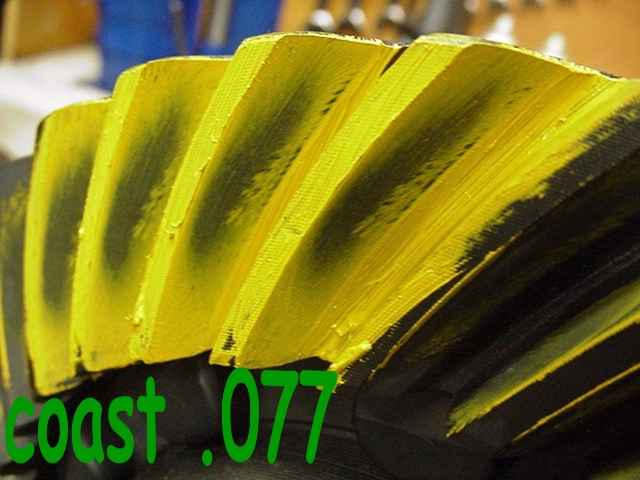
Coast |
|
More paints from other parts of the ring....very nice. |
|
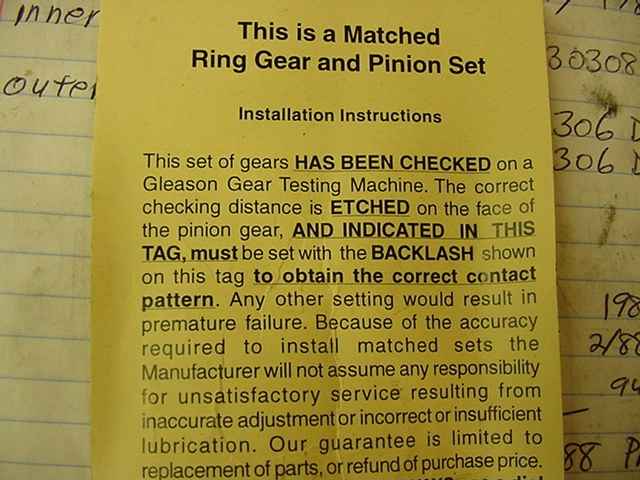
This came with the PRECISION GEAR ring and pinion. |
|
... |
|
A very good install for Daryl |

|
