|
|
|
|
|
|
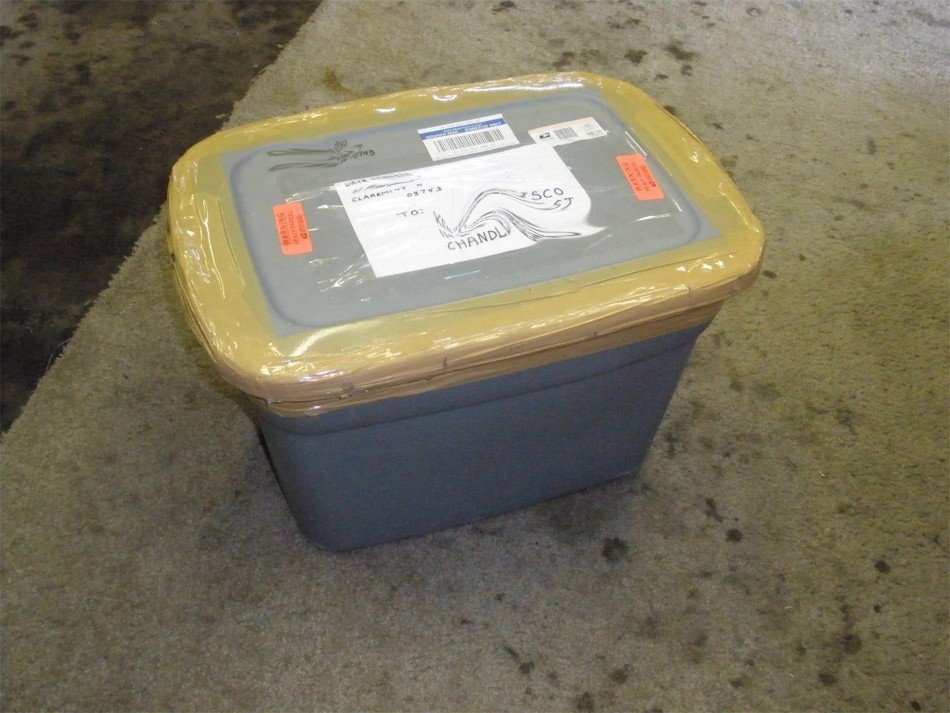
Dave is all the way on the other side of the country in New Hampshire and the tote has taken the trip rather well. |
|
16 zip ties (very heavy duty ones) secure the lid. |
|
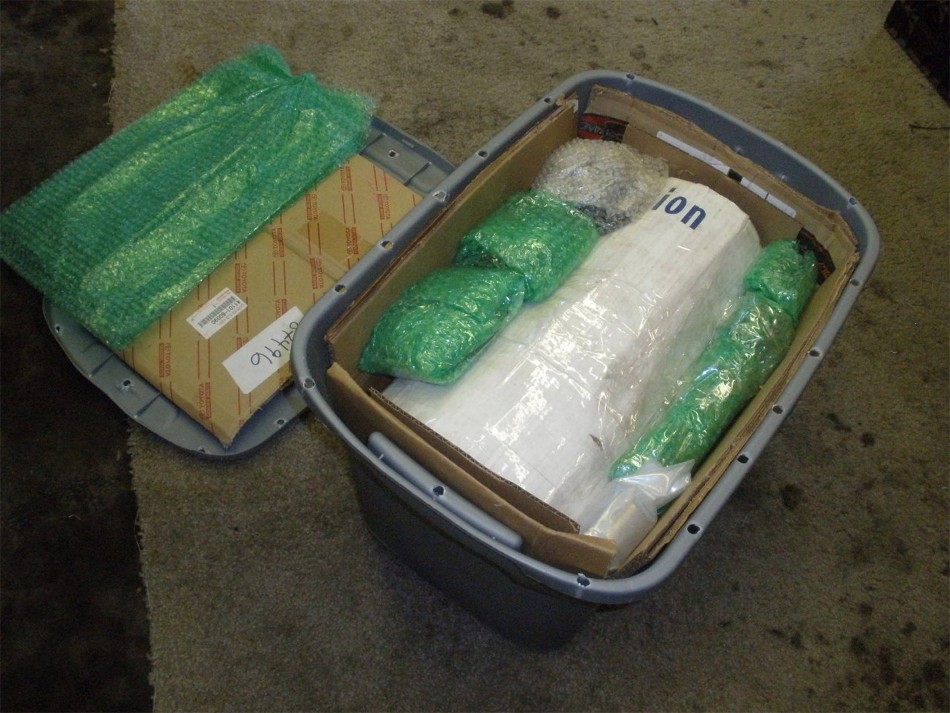
Dave had included the product inside the tote. Normally, someplace like JustDifferentials or LowRangeOffRoad sends the ring/pinions and master kits directly to me. |

|
Between the excellent burrito wrap and the 10 layers of cardboard on the bottom, there were no signs of punch-thru on the tote's bottom side. |
|
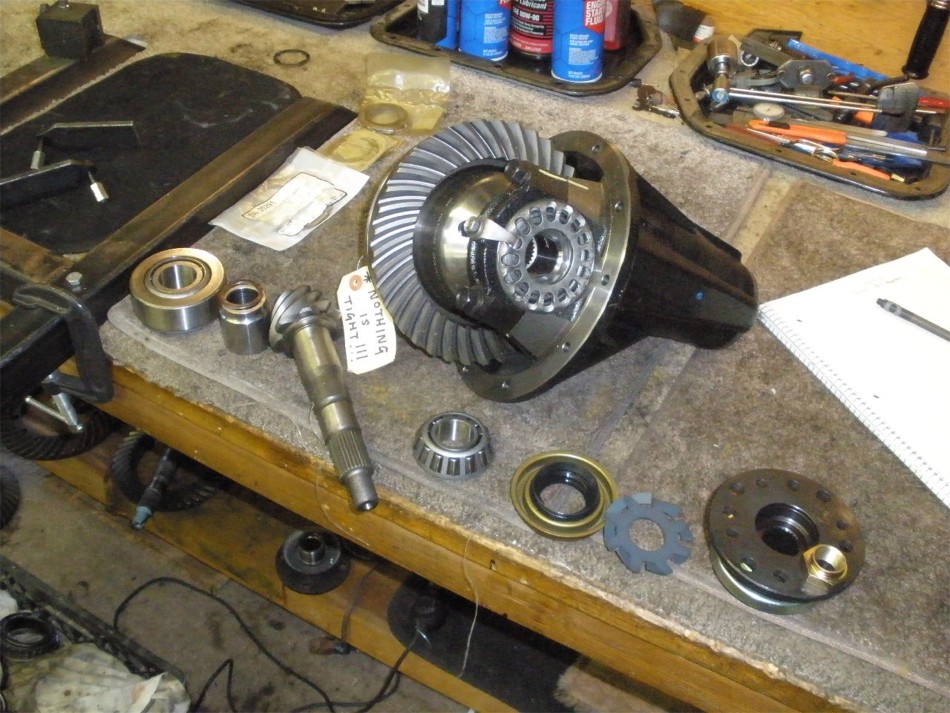
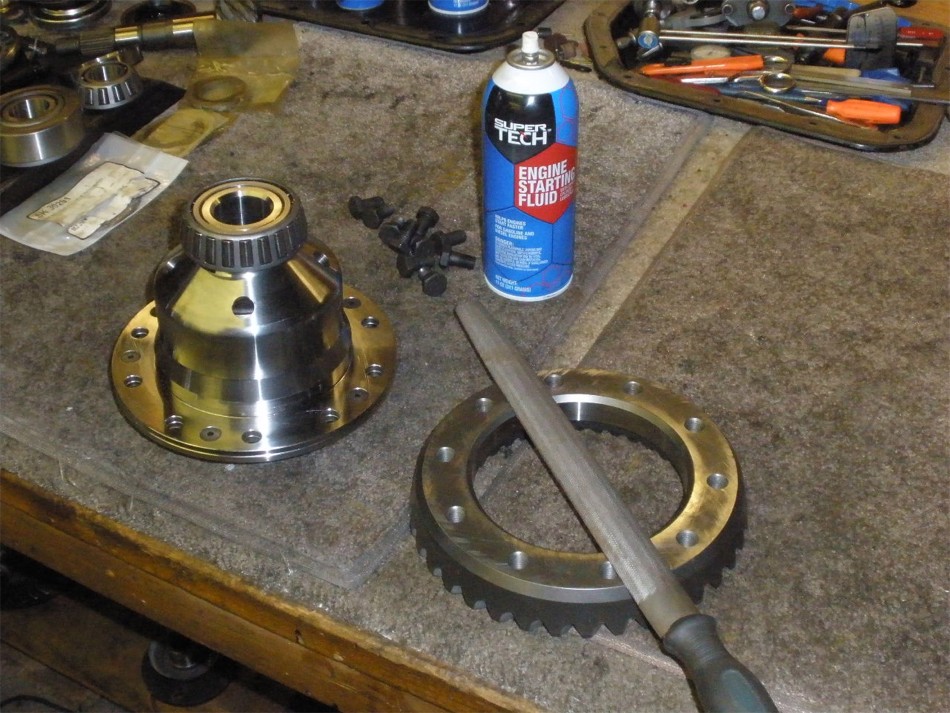
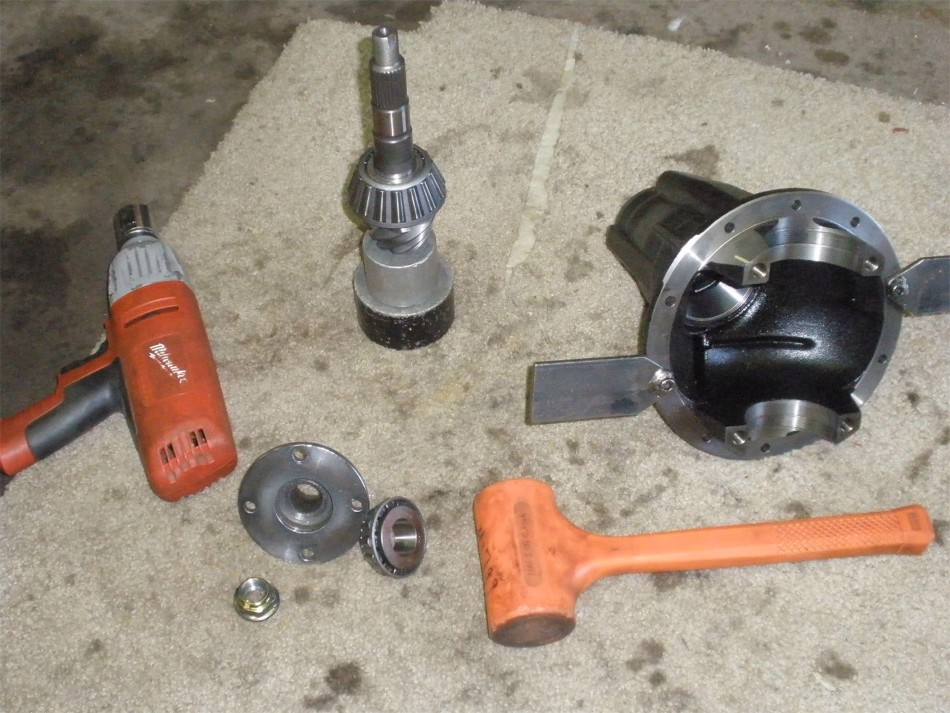
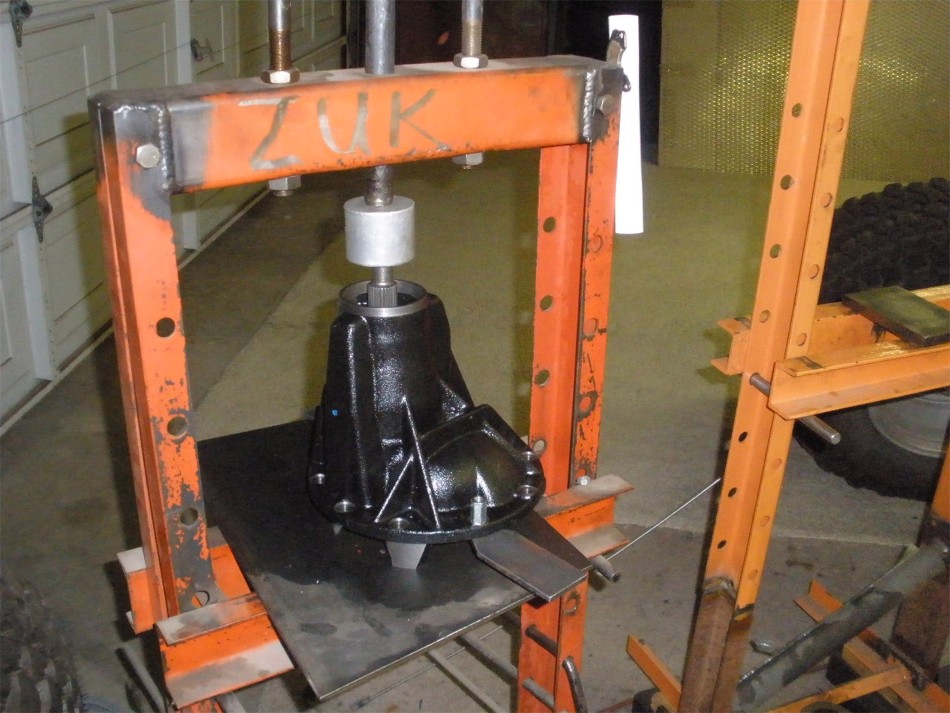
Parts are organized on the work bench. All these items are from MarlinCrawler.com |
|
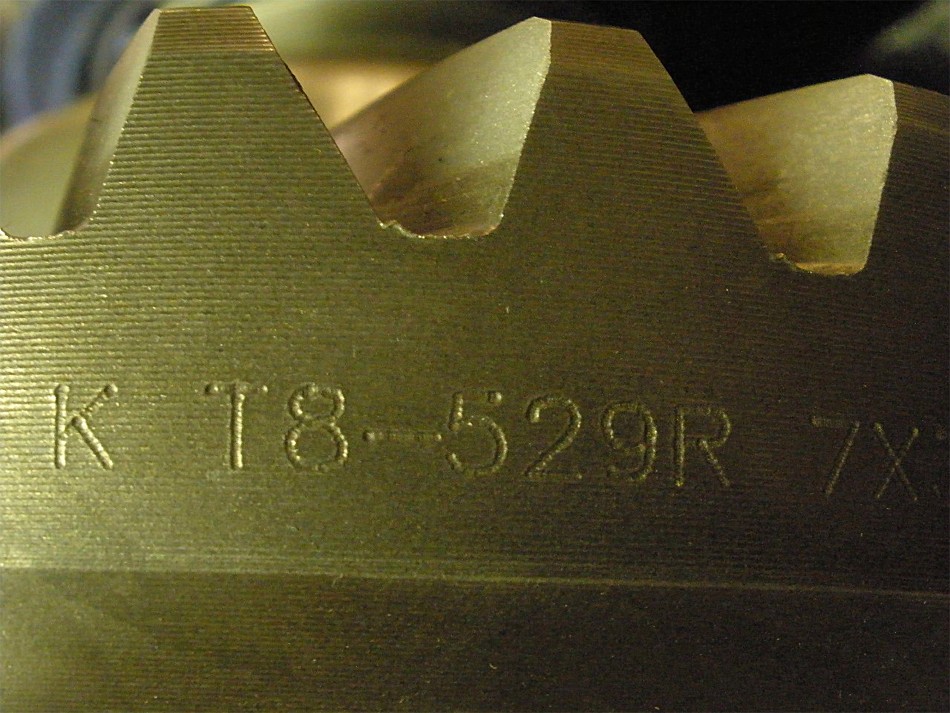
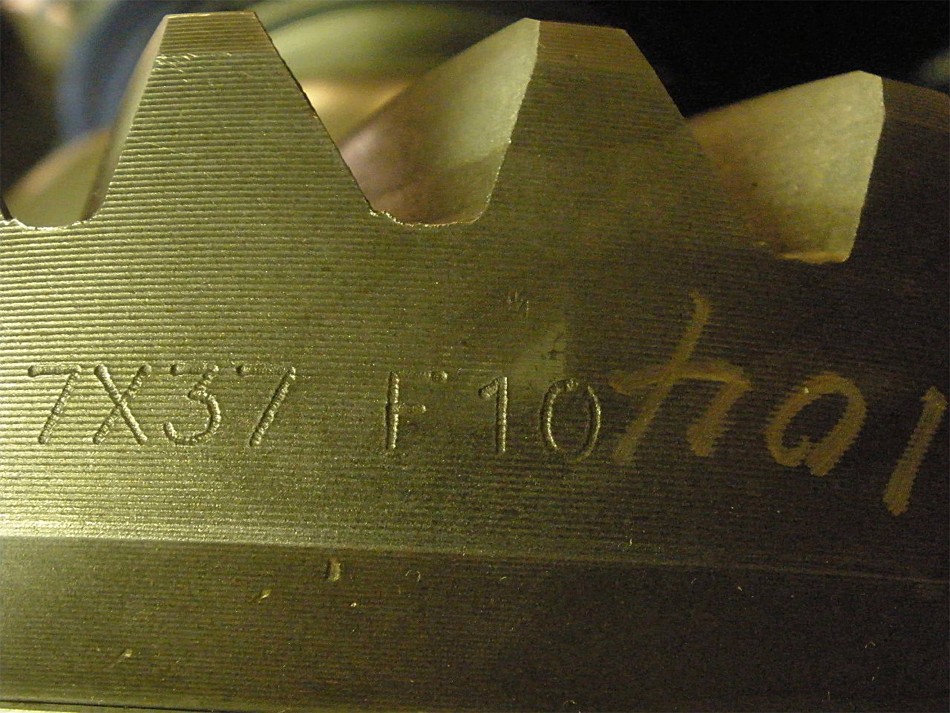
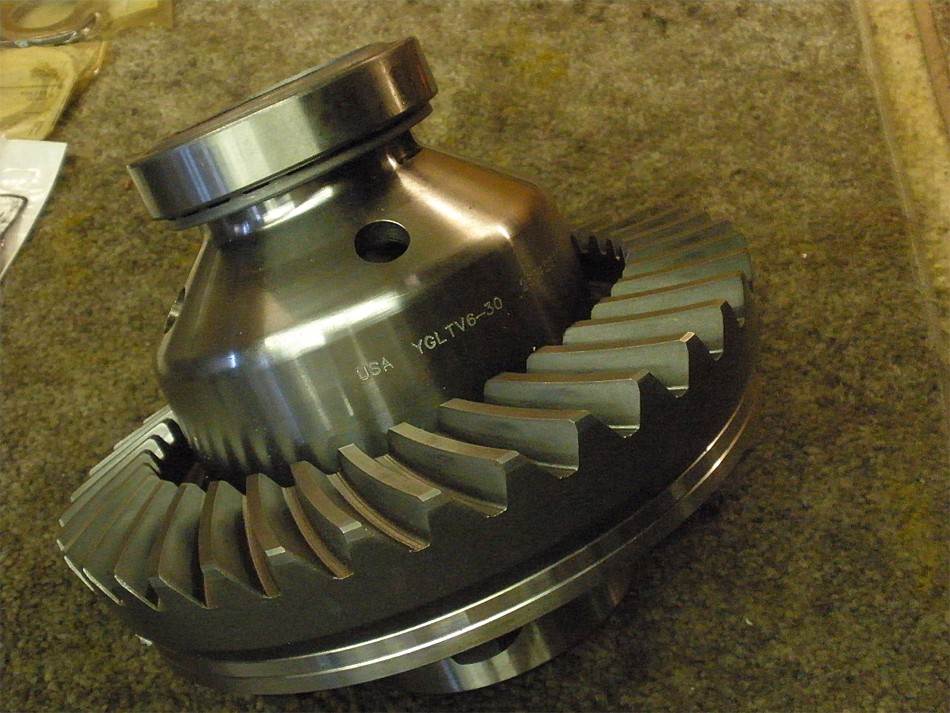
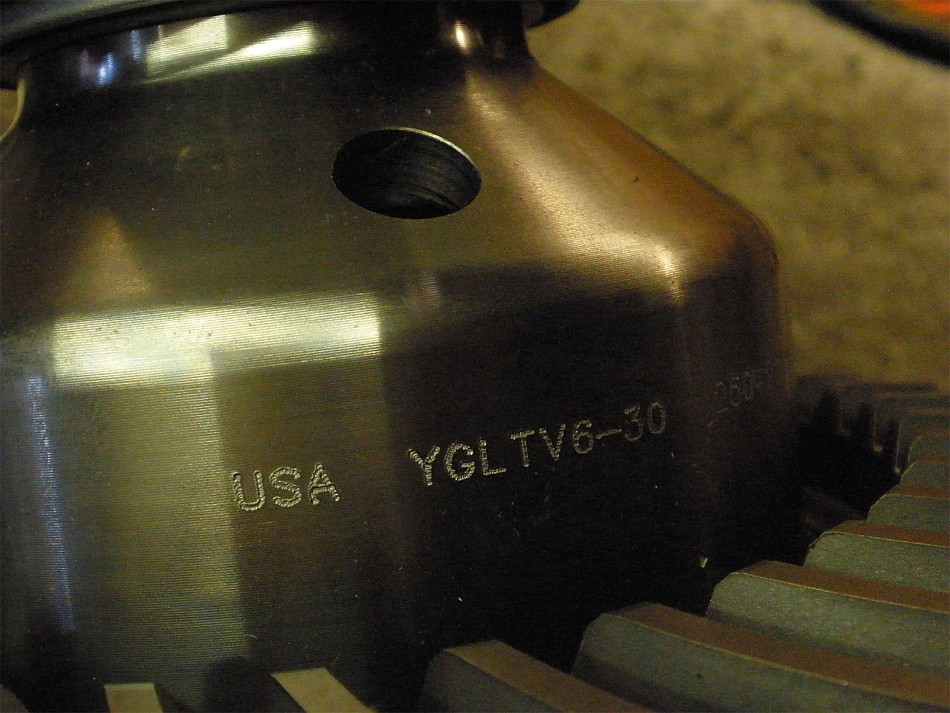
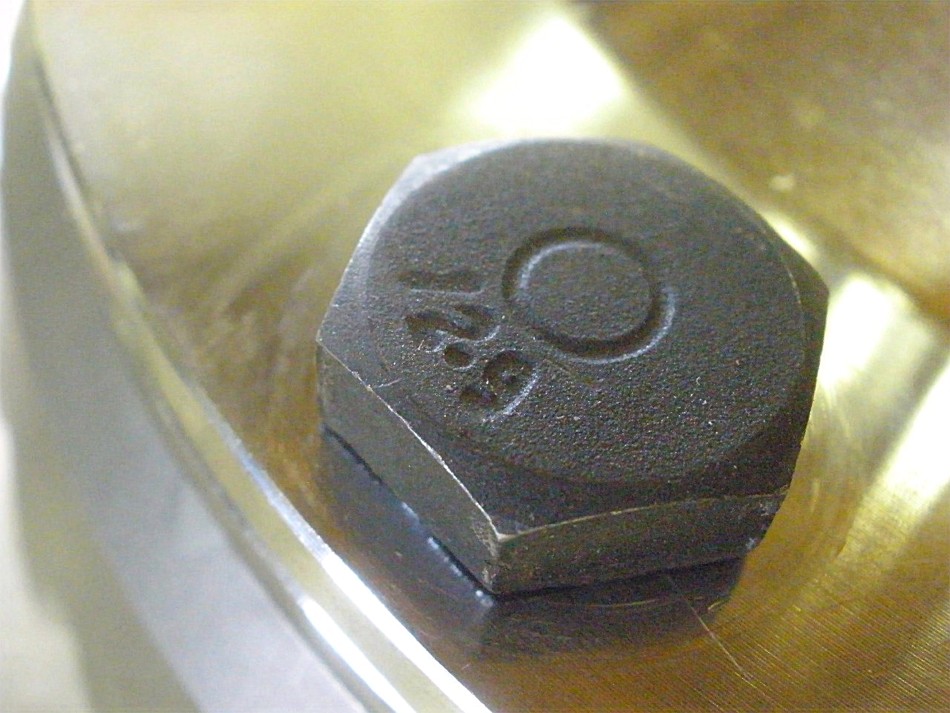
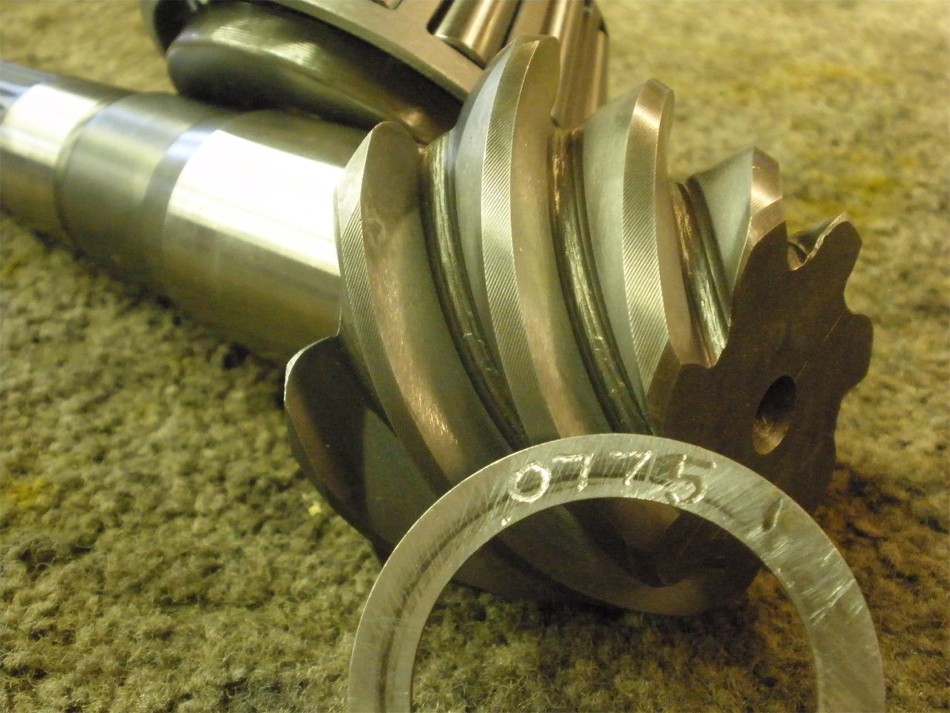
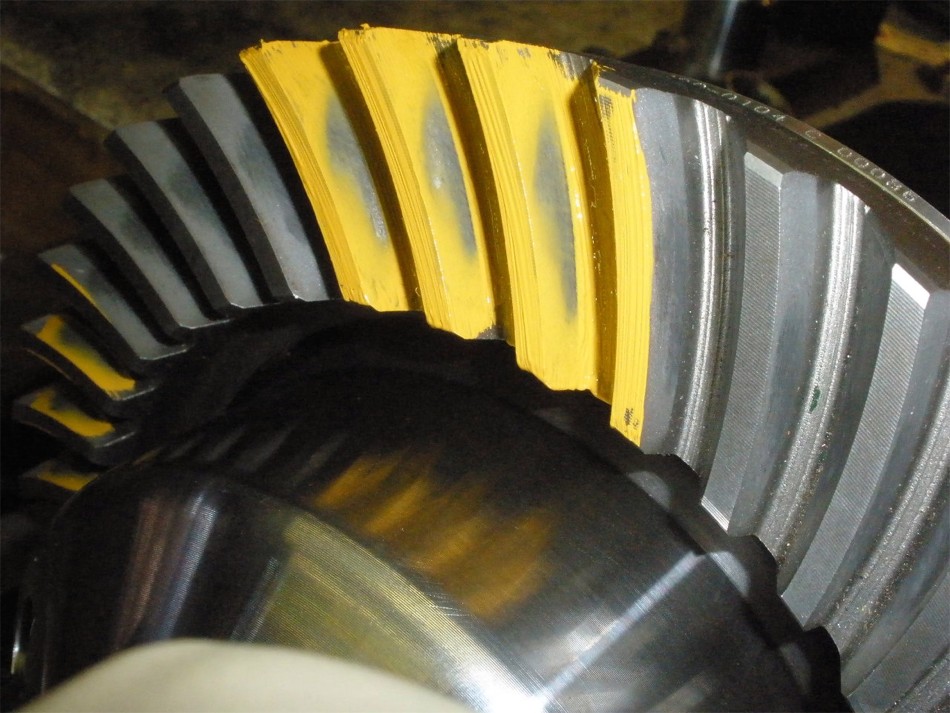
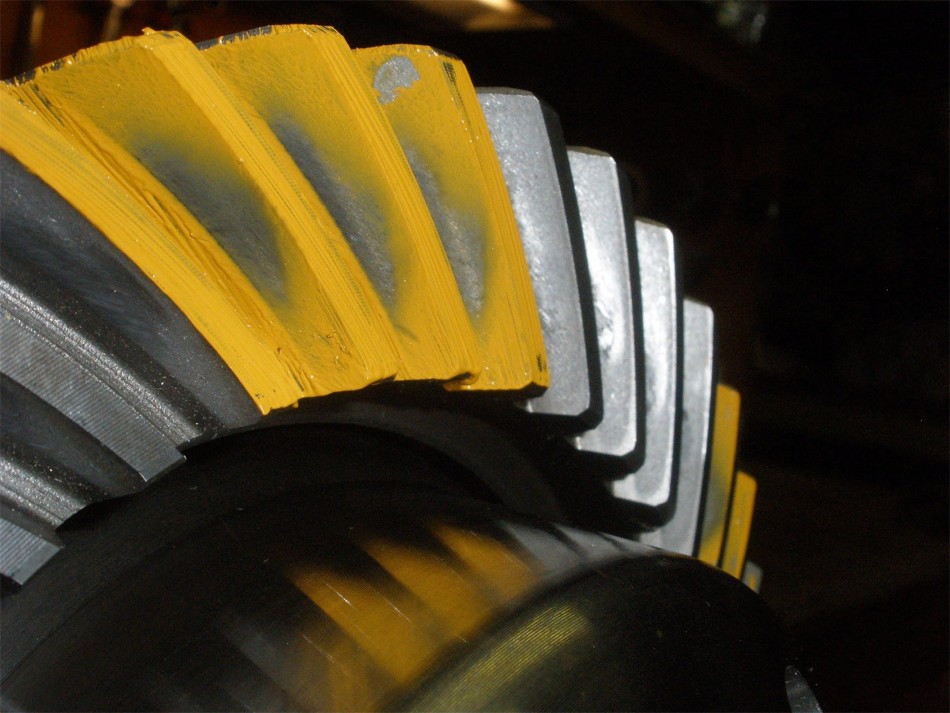
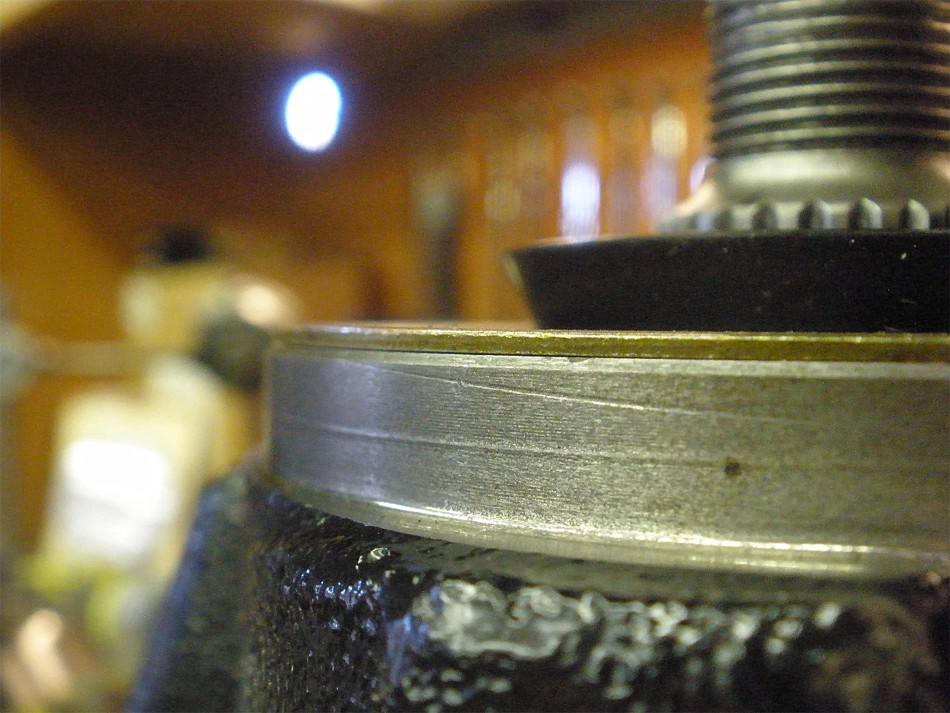
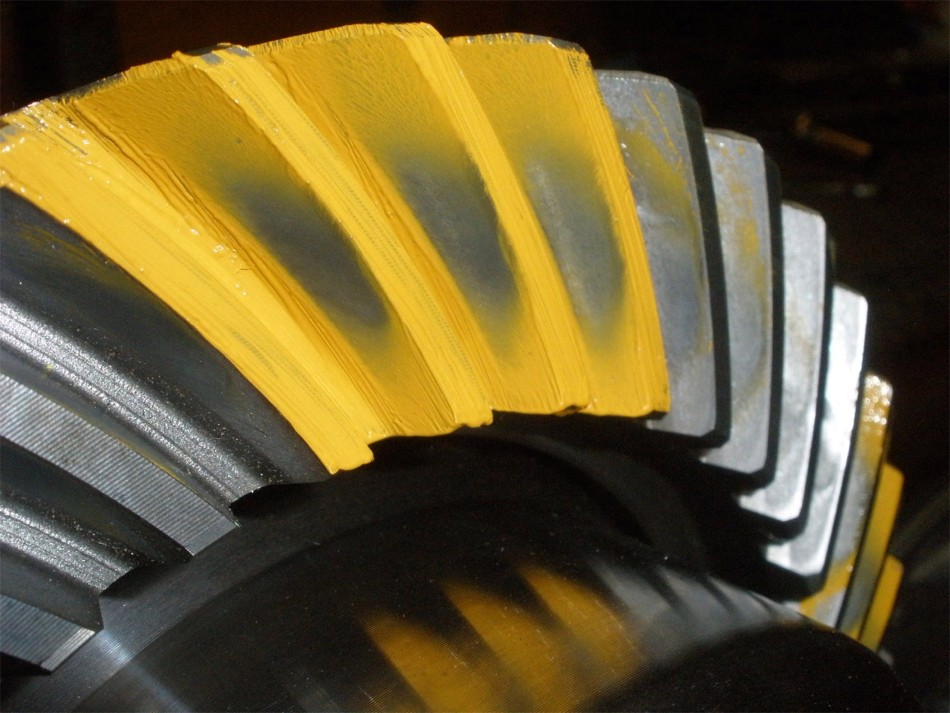
The ring gear has markings that I have seen before. These are good gears. |
|
|
|
|
|
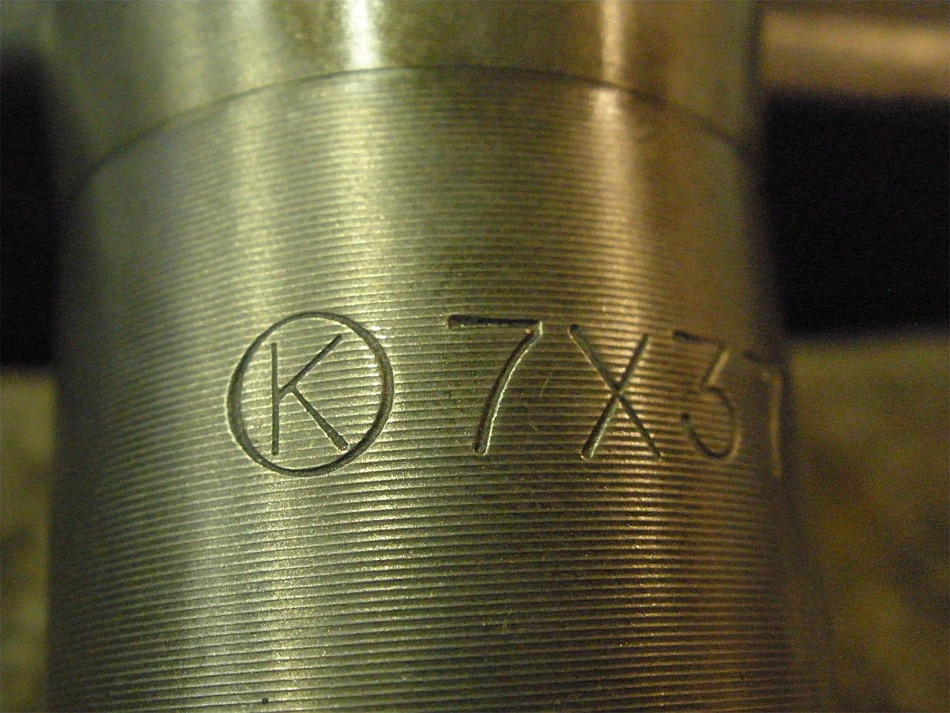
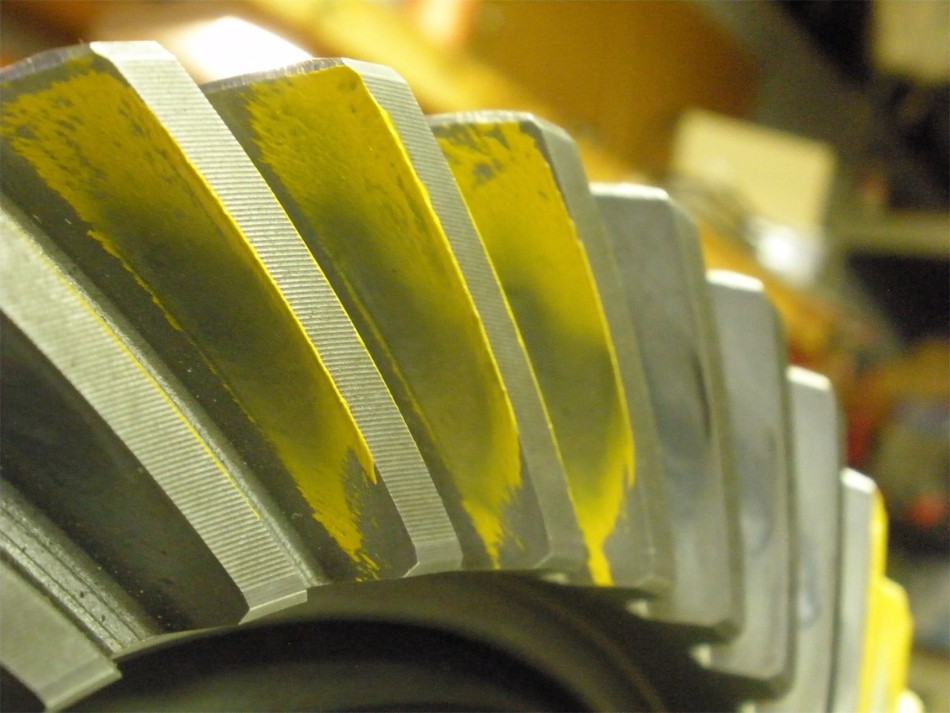
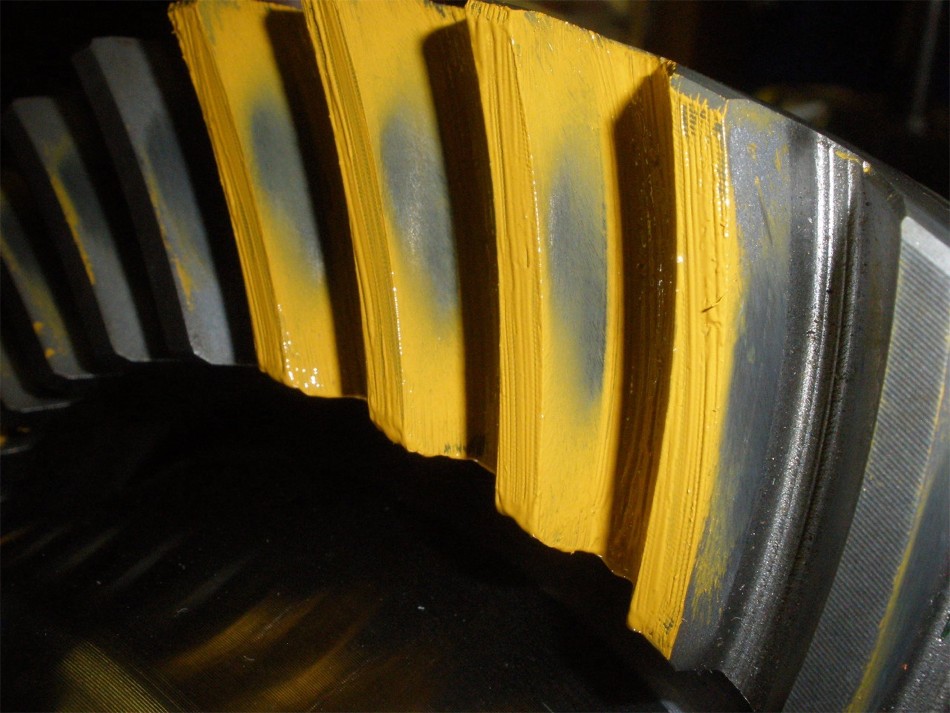
I like to call these "Circle K" gears. |
|
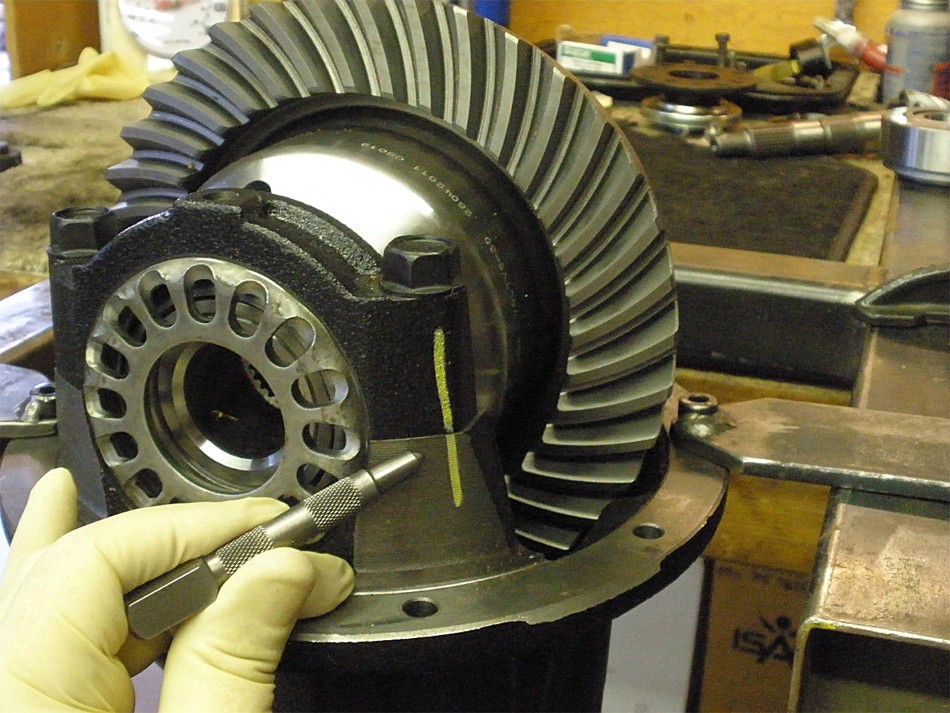
Normally, I mark both halves with a prick punch but the factory does a nice job with the yellow streak. |
|
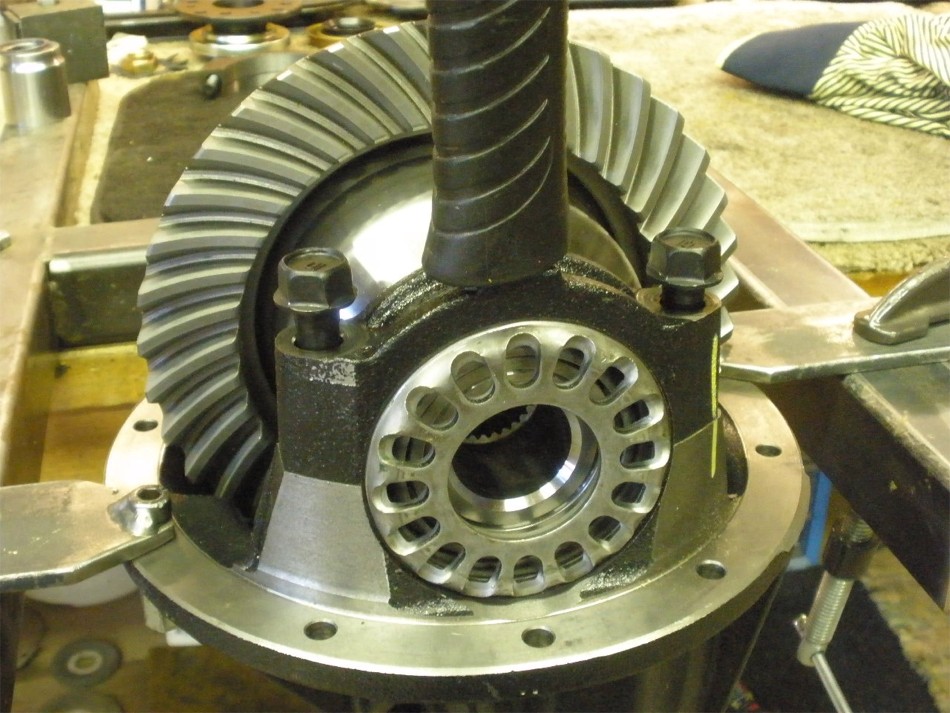
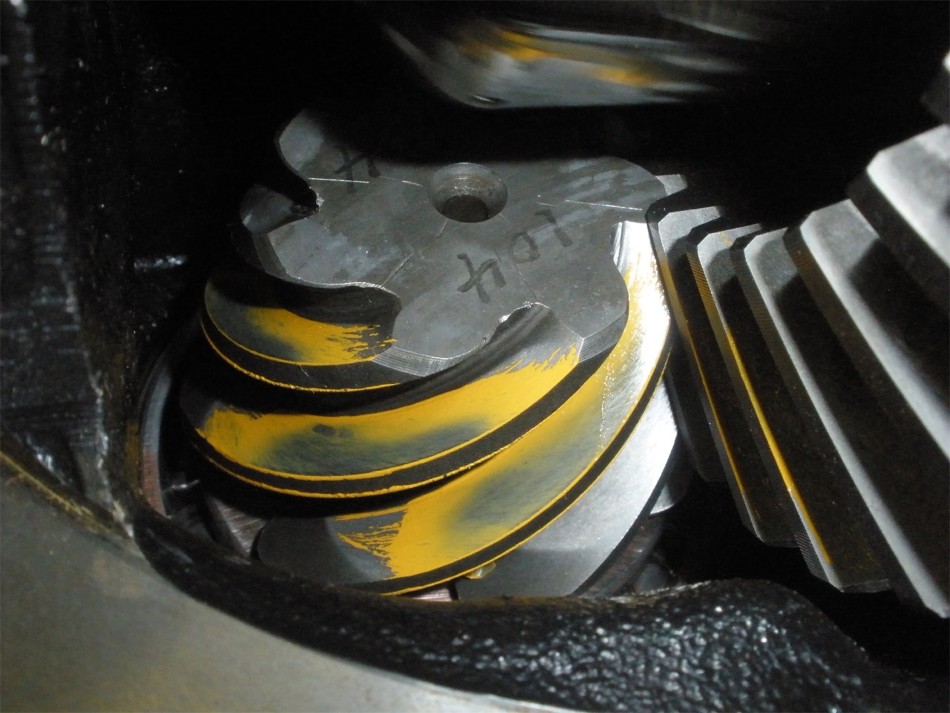
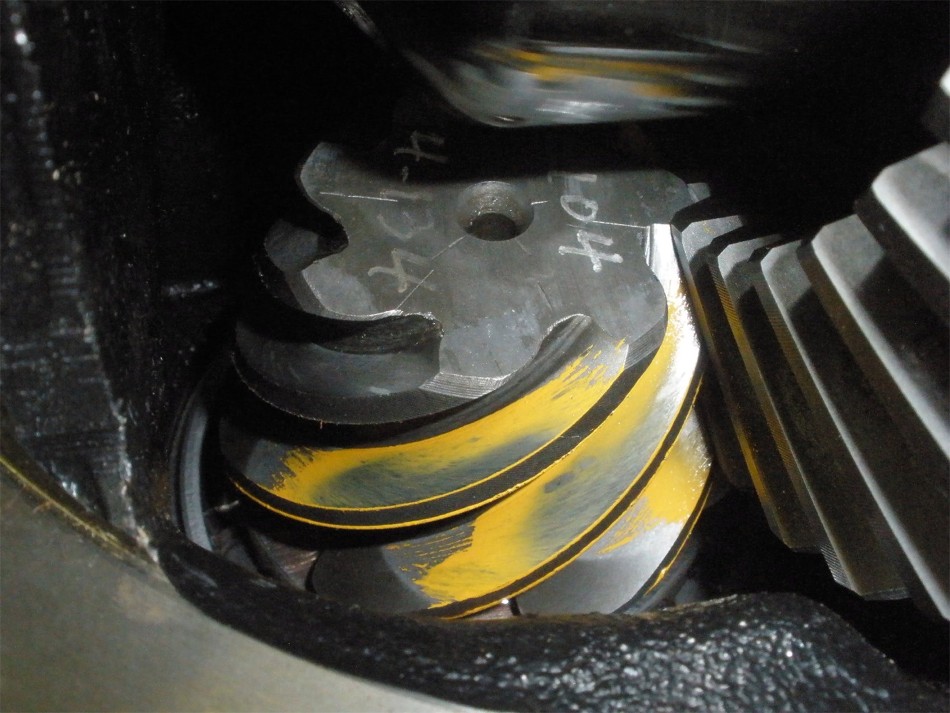
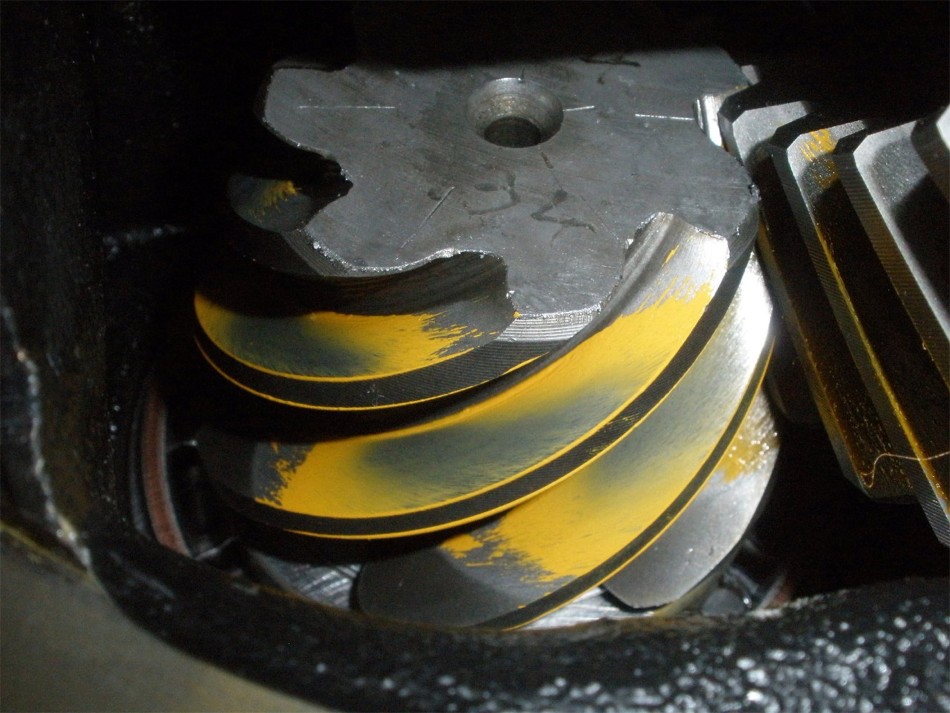
The Grizzly Locker is a well machined piece of art. |
|
|
|
The loosely bolted ring gear was removed and the surfaces were checked for burrs and high spots. All looks good here. |
|
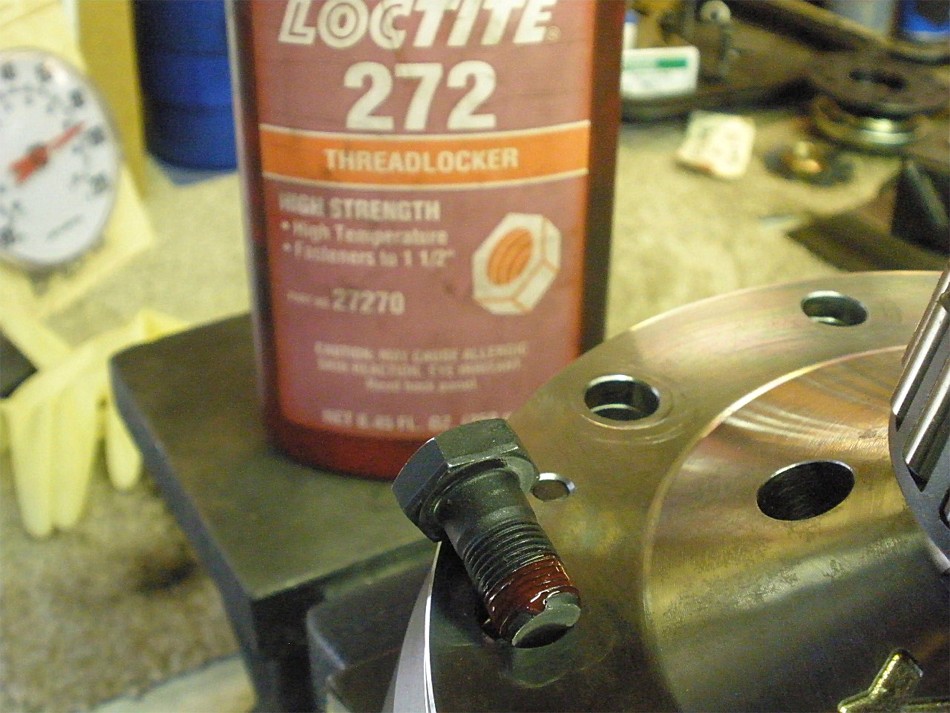
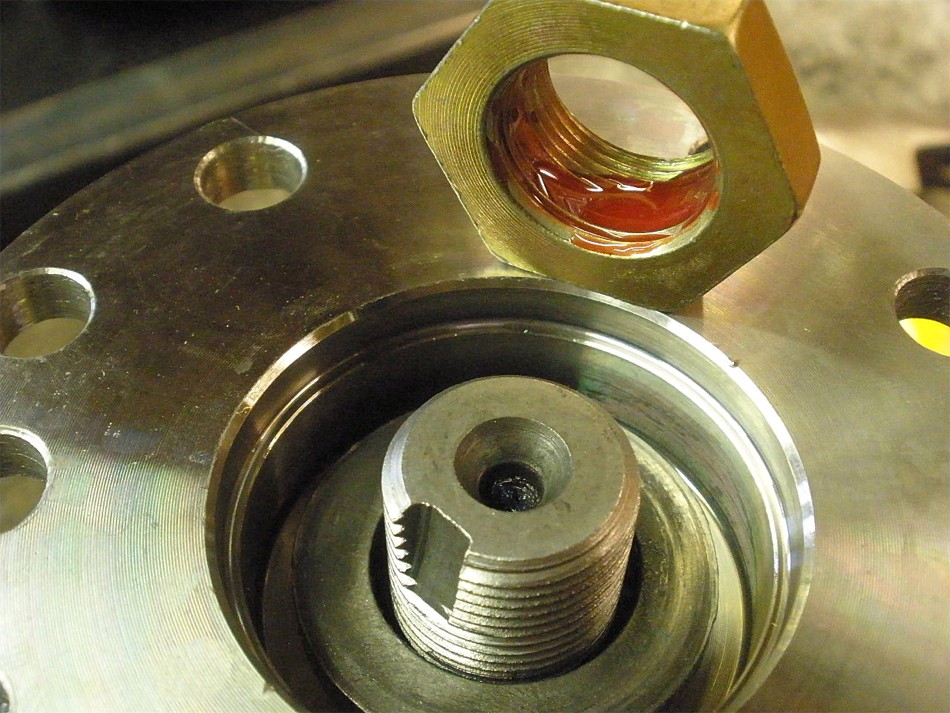
Red Loctite on the clean threads.... |
|
...and 75 ft/lbs on all ten 11mm x 1.0mm bolts. |
|
These ring bolts are 12.9 Japanese hardness...very hard. I have seen many 8.8 and 10.9 grades but can't remember the last time I saw a 12.9. |
|
Now, on to the pinion races. |
|
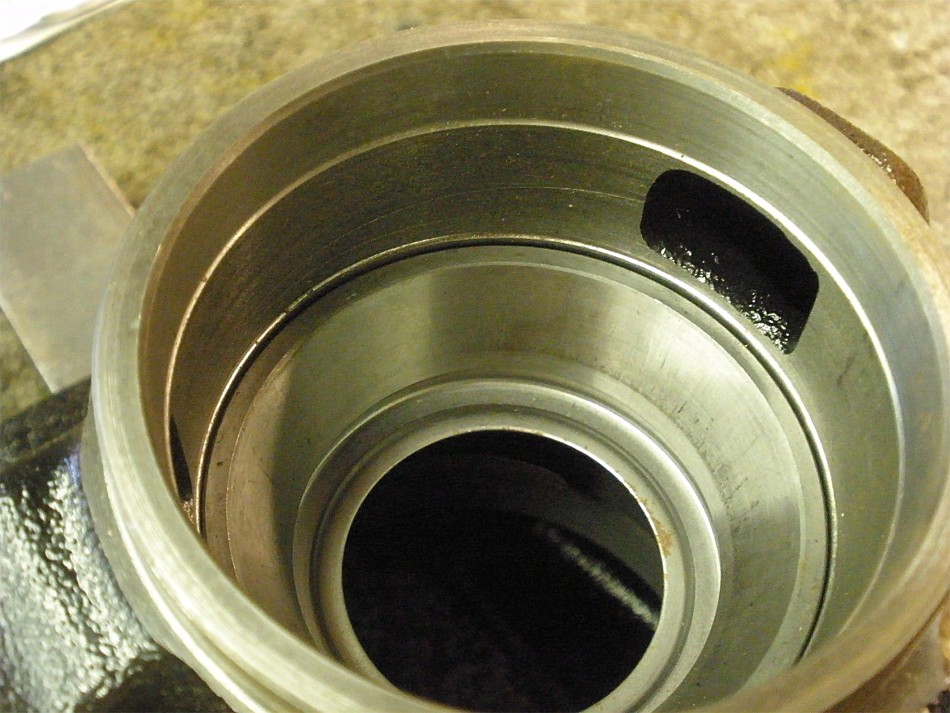
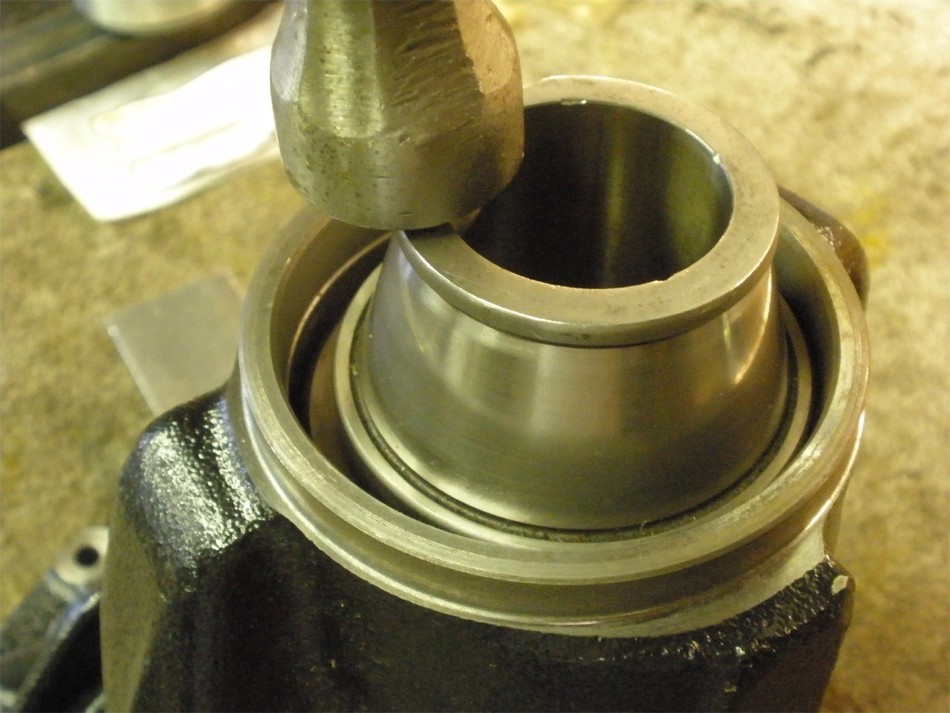
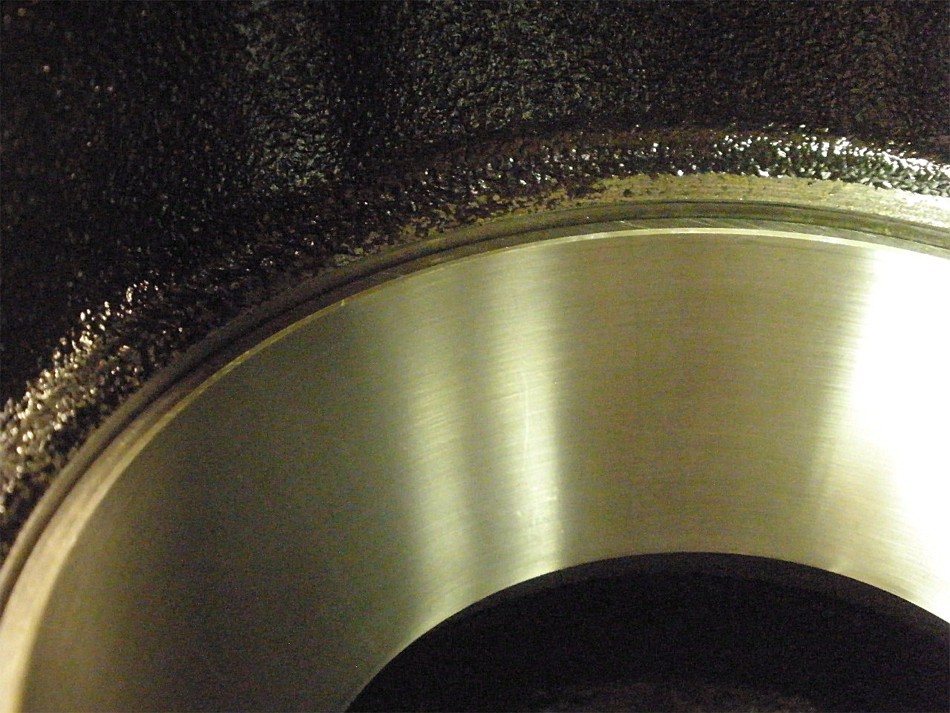
The outer was verified to be tapped in 100% and it was. |
|
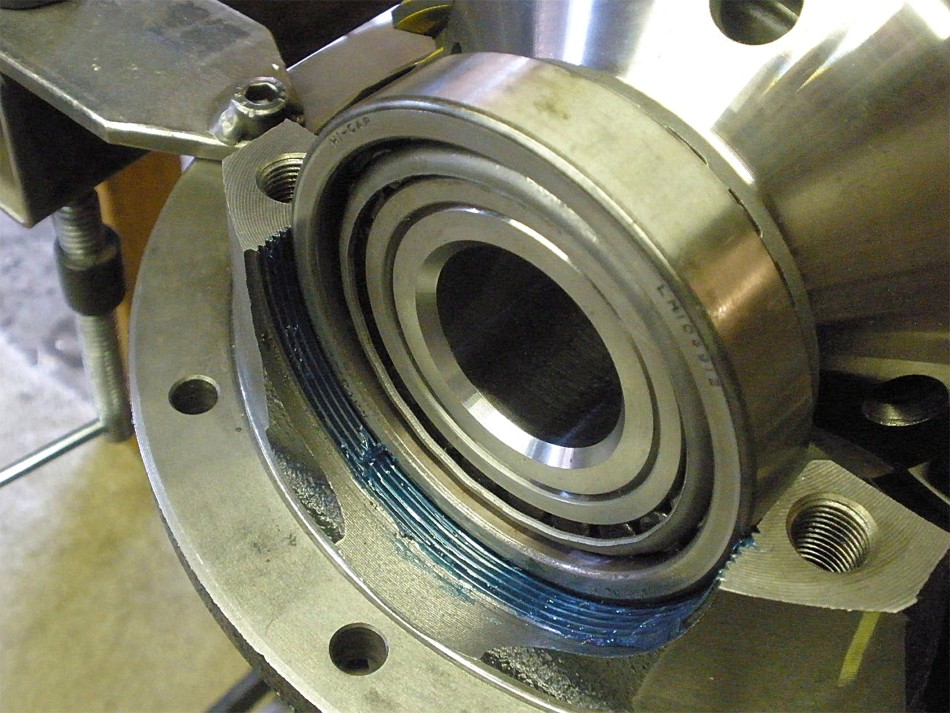
The same for the carrier bearings....they were seated all the way I noted. |
|
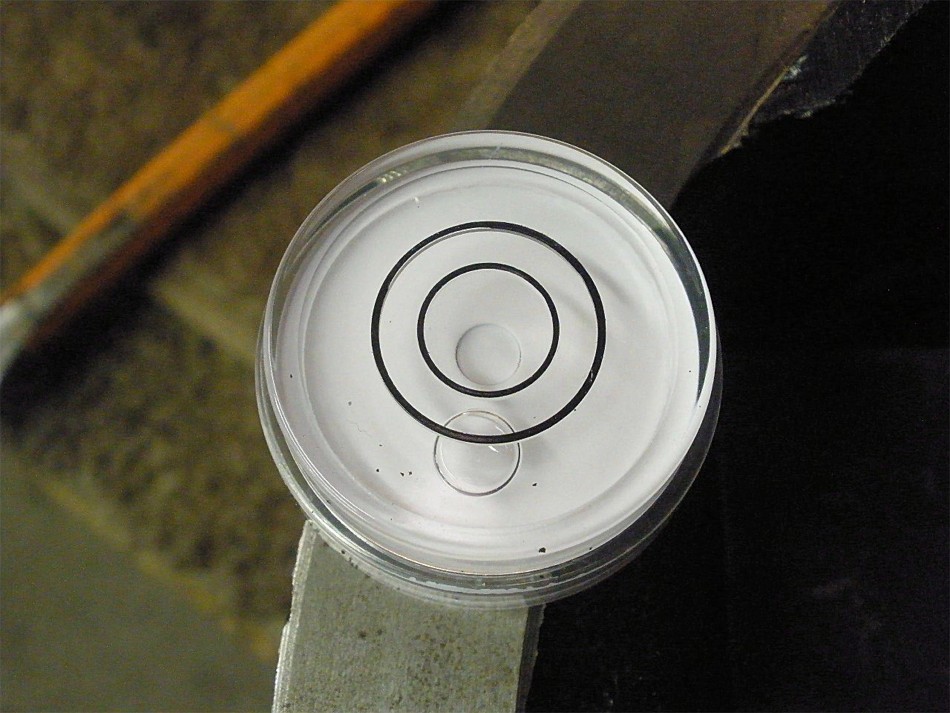
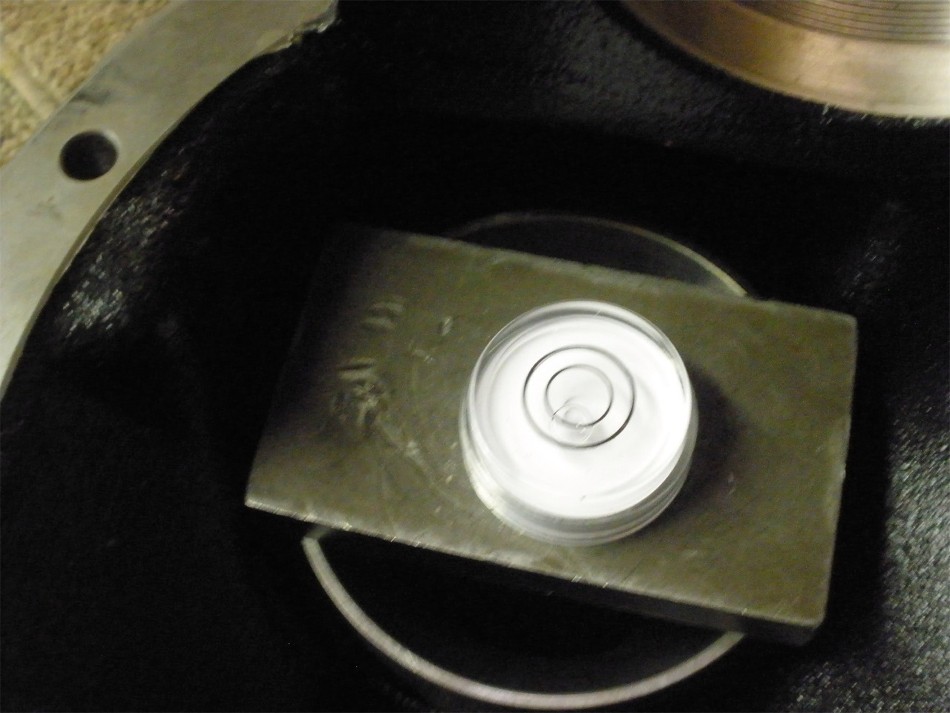
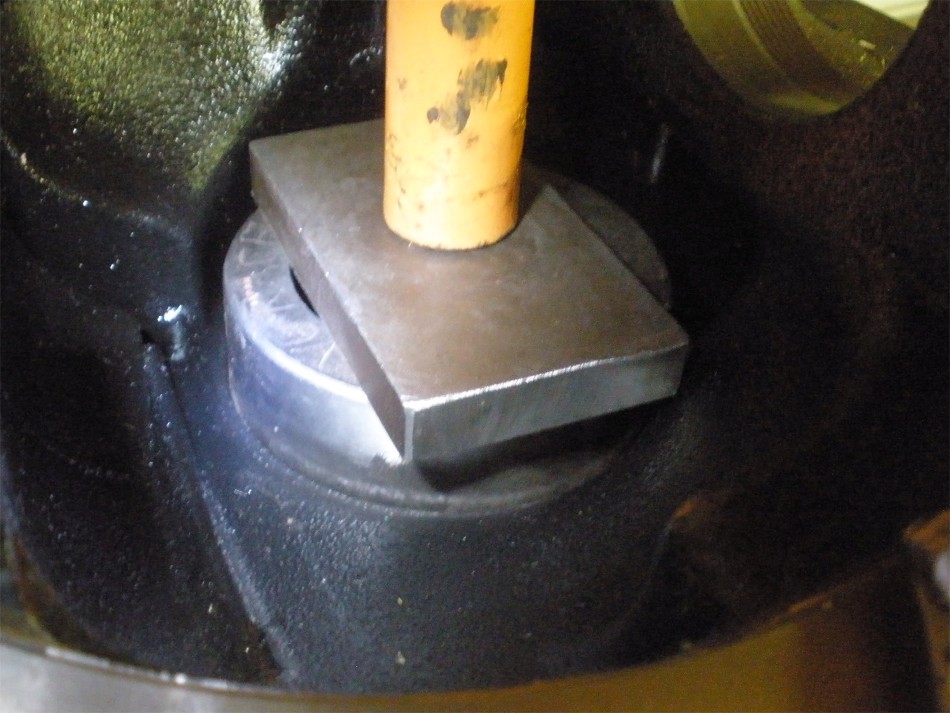
I like to use one of these $1 bubbles to reference a flat surface... |
|
...then I tap the large inner race in only a very short way with minimal tapping force. I then place the bubble over the race and tweak the race to place the bubble in the same spot as the other location. |
|
Now I know the race is setting in the hole fairly square/true so the press will now push the race in 100% with getting the race cocked in sideways. |
|
I hear about others that are not careful and just tap the race in til it's flush. As seen, it is recessed into the bore a bit more so it is important to seat it 100%. |
|
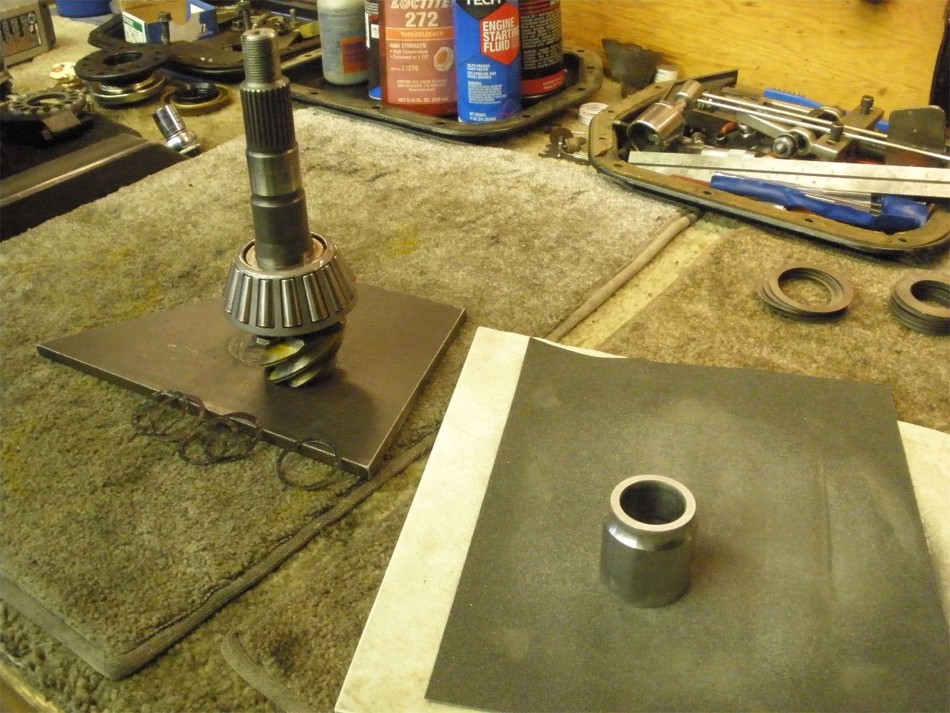
The starter shim chosen will be this .0775" shim. |
|
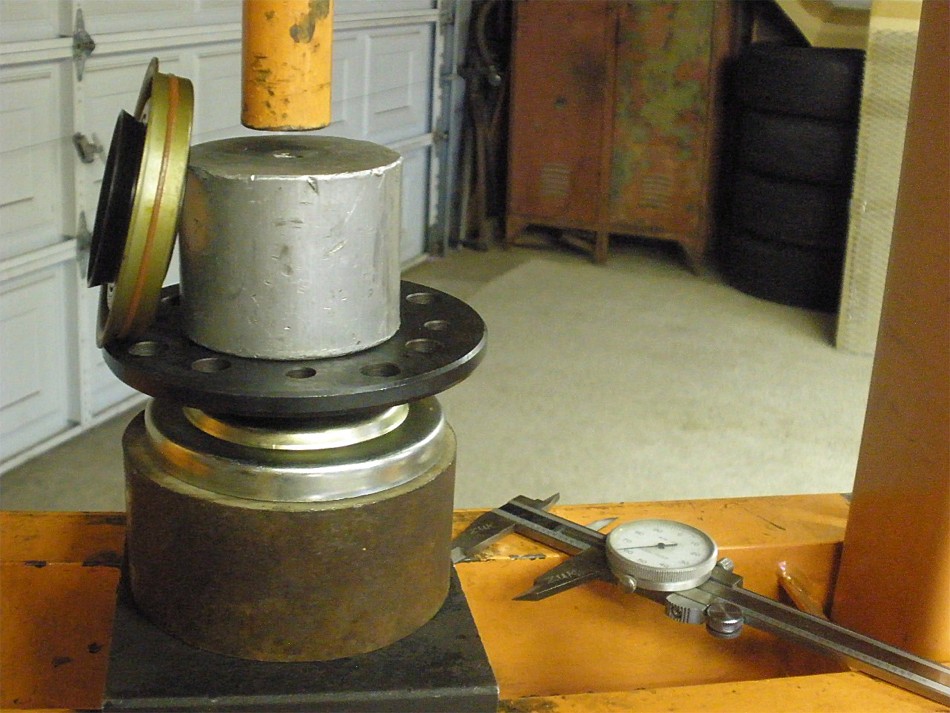
The new bearing is pressed on with the shim. |
|
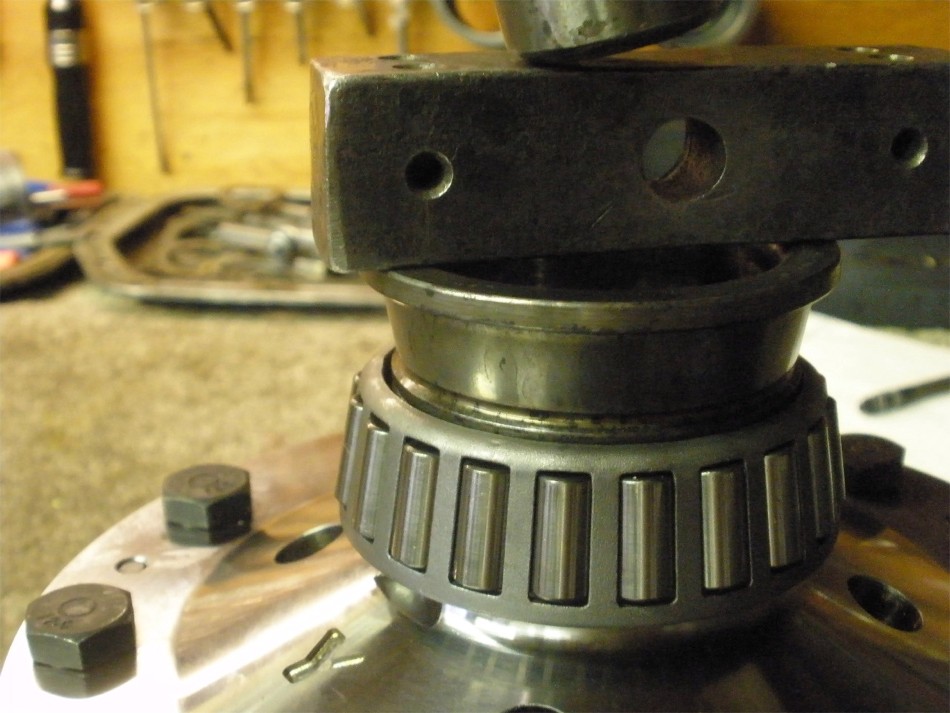
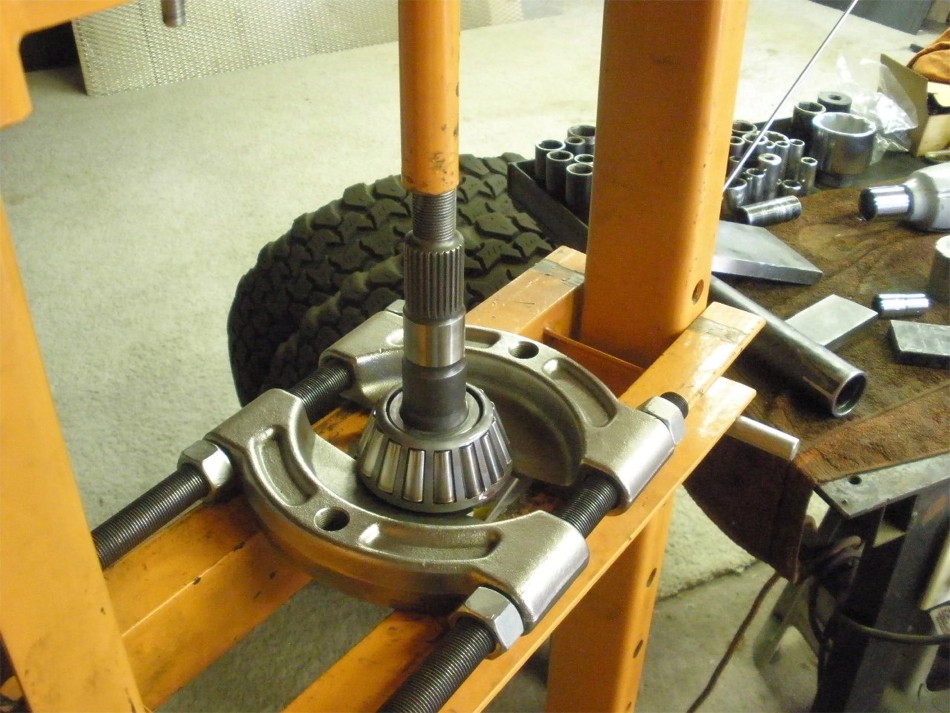
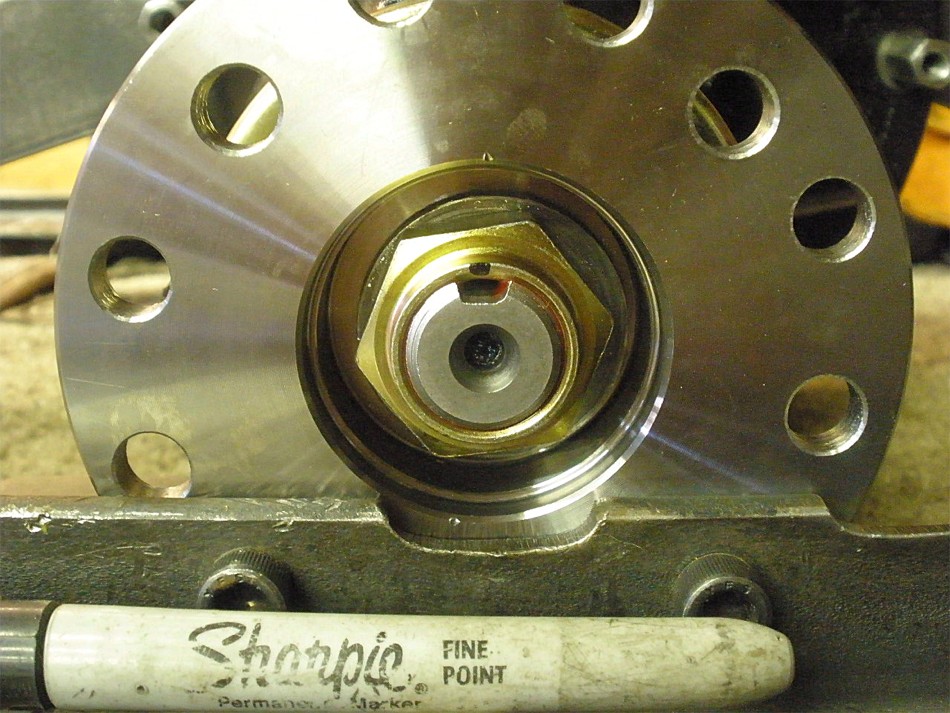
Place pinion on aluminum blocks...Place 3rd over the pinion...Then the smaller outer race...then the flange... then whack the flange down with the lead filled plastic hammer. Tighten pinion nut with the impact til it rotates snuggly and feels like about 10 inch/pounds of drag. |
|
I didn't oil up the outer pinion bearing very well so doing that now and double-checking the way the pinion flnage now turns by hand. |
|
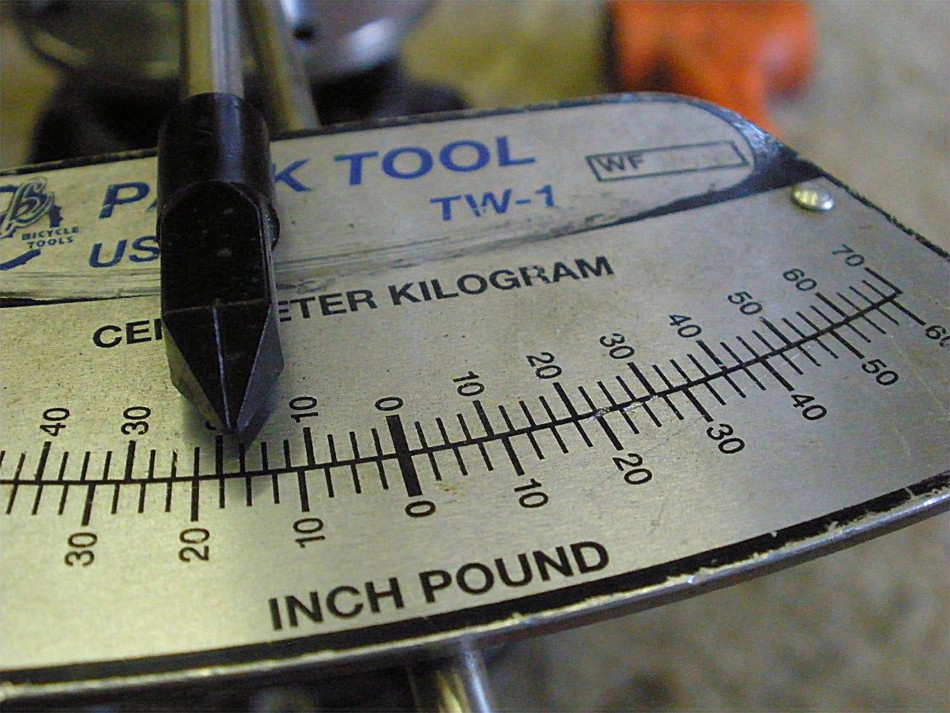
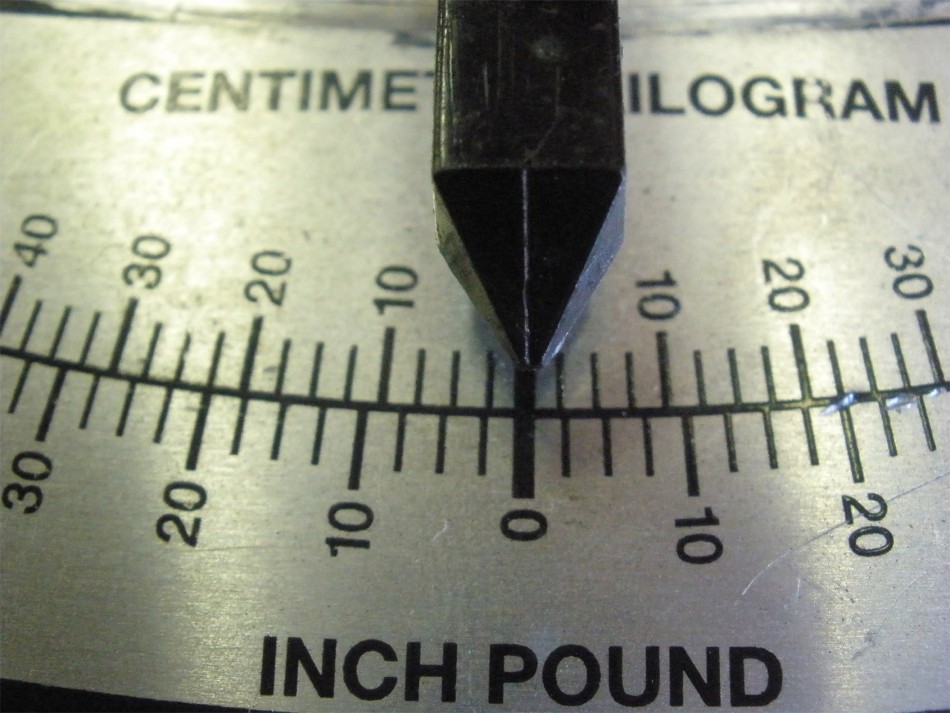
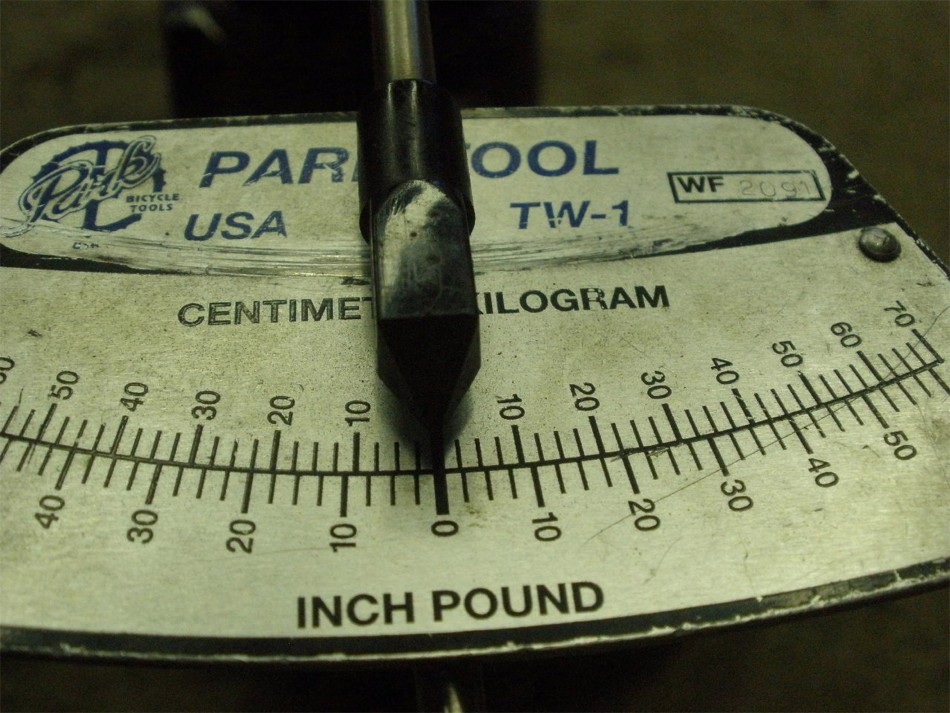
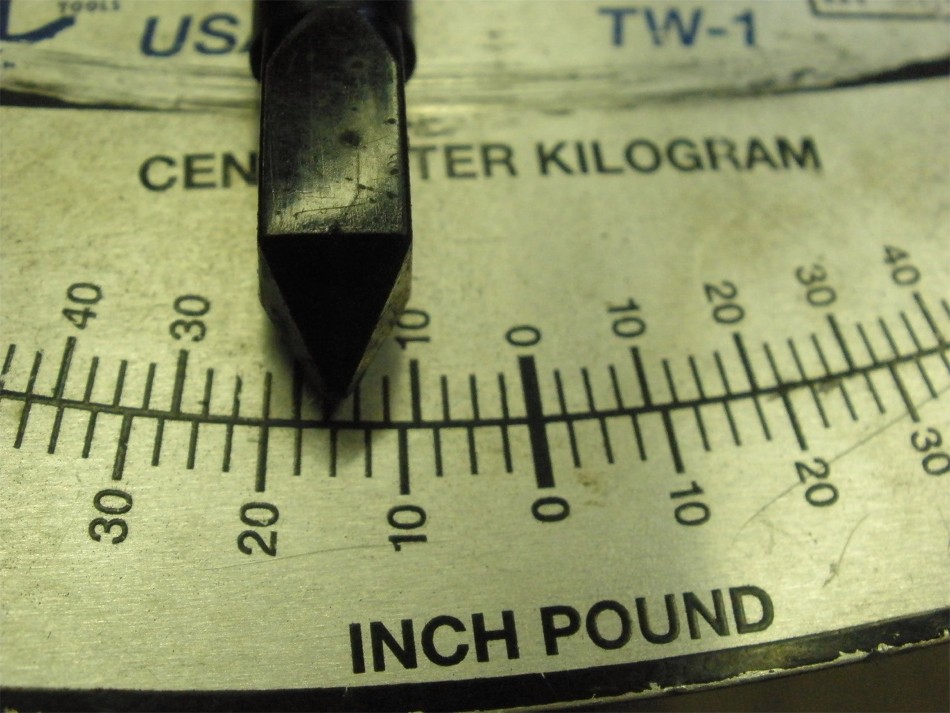
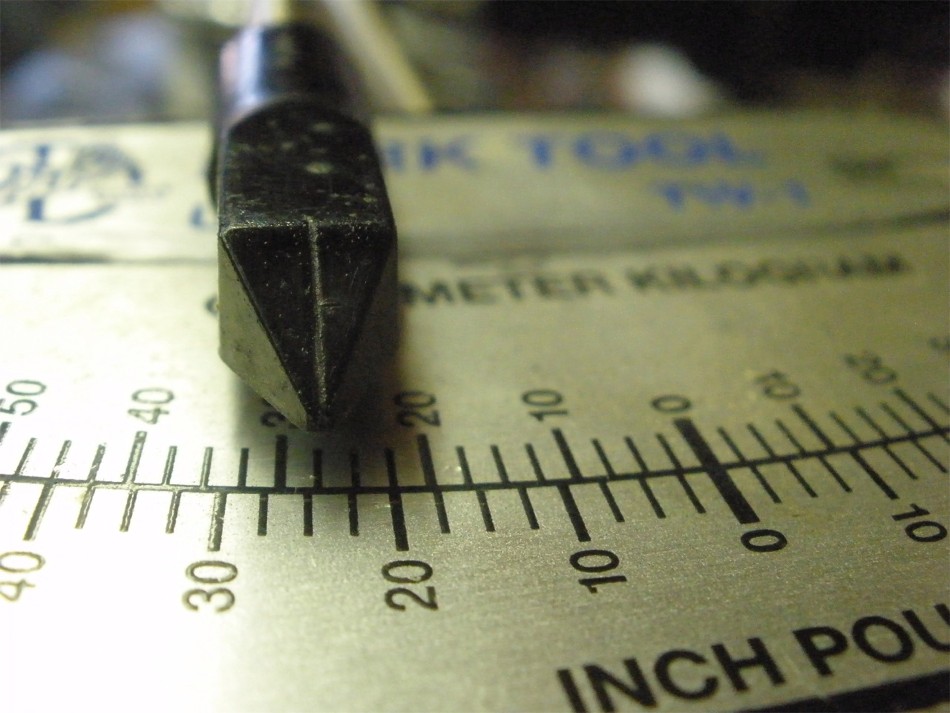
A quick check with the torque wrench shows about 16 inch/pound start torque. |
|
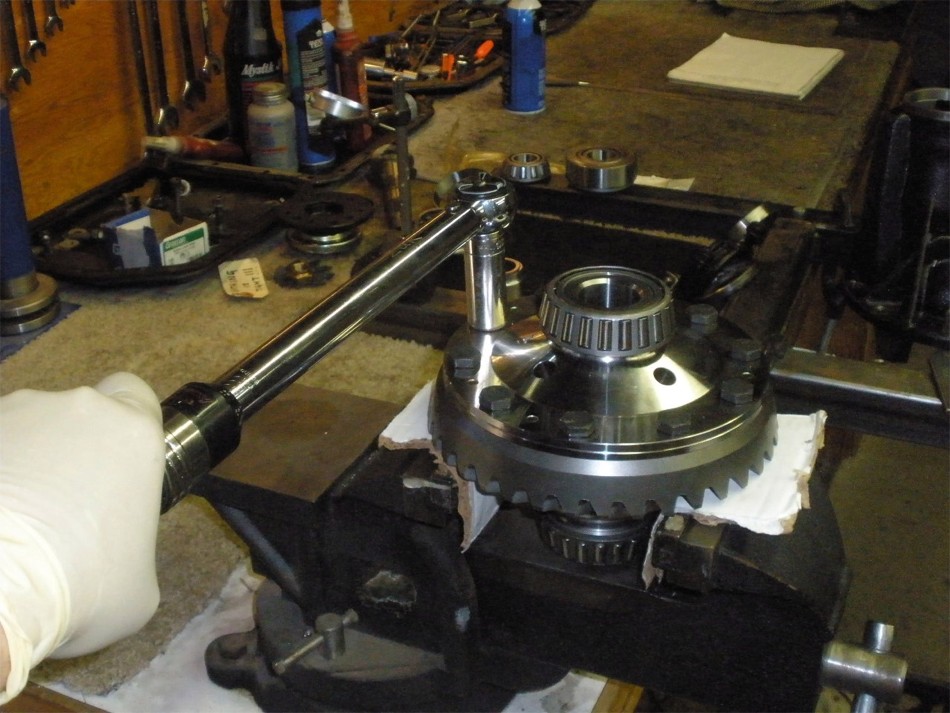
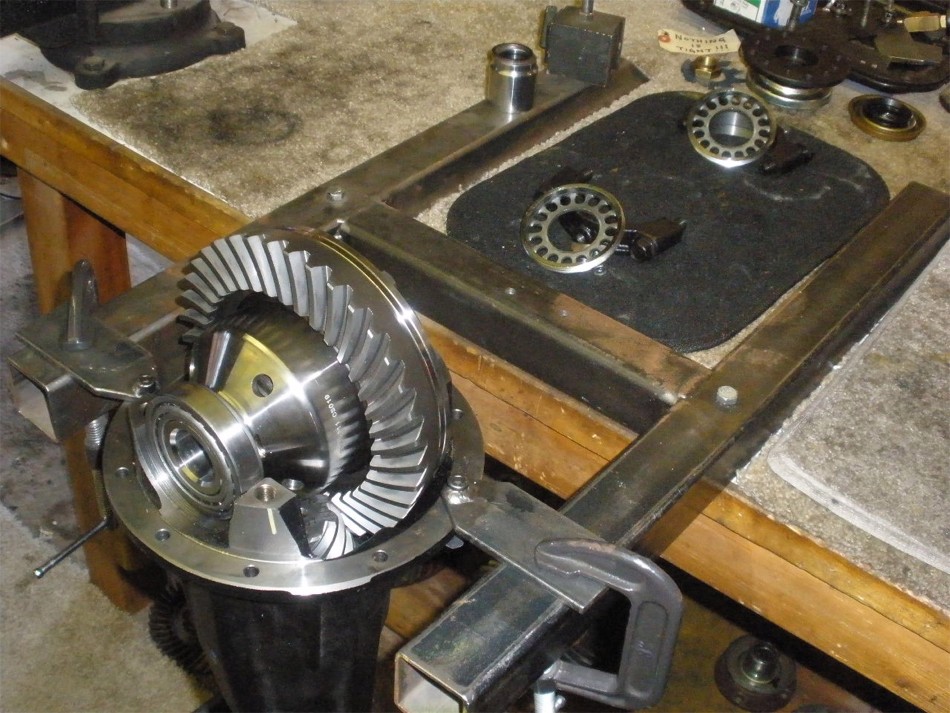
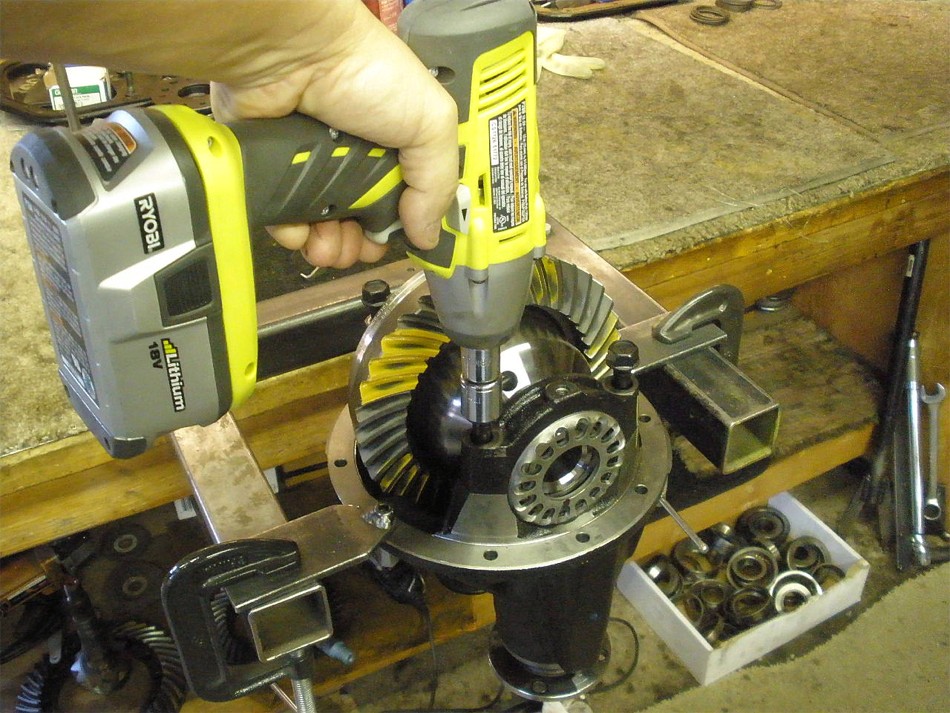
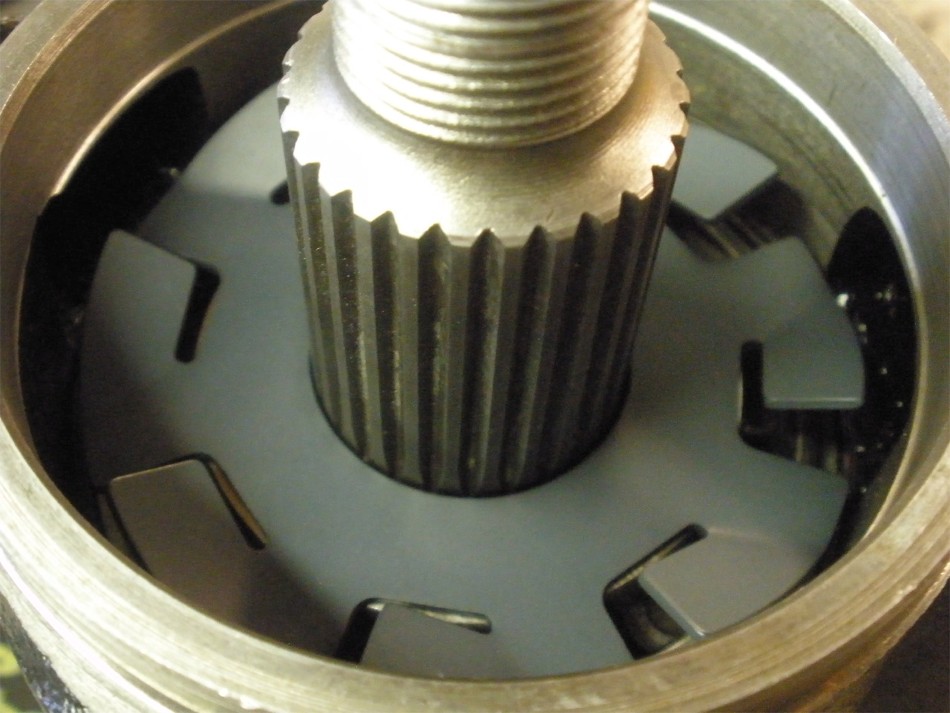
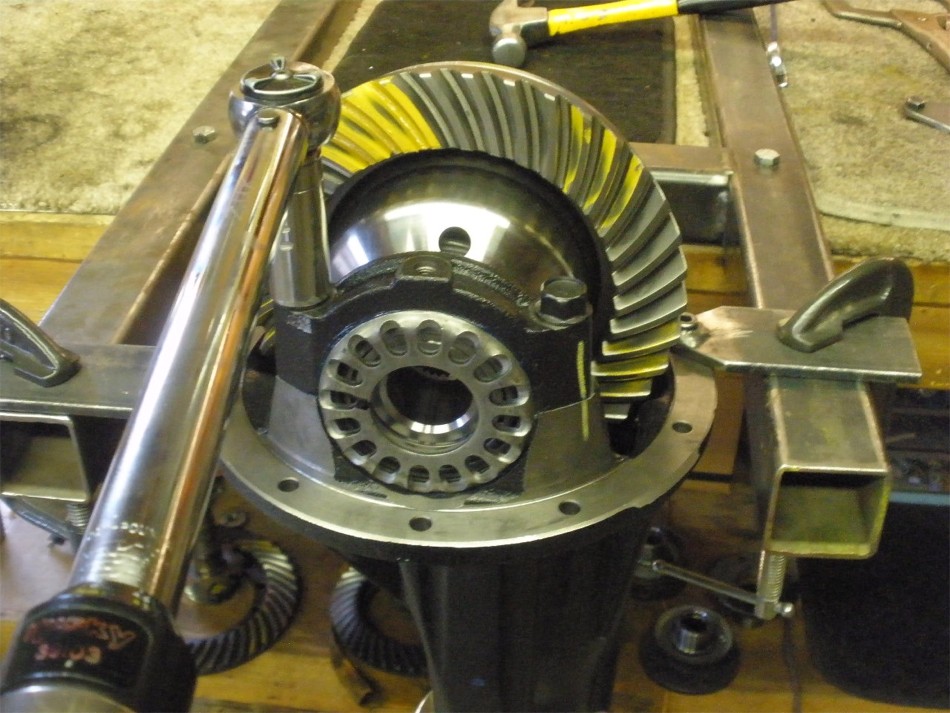
Now the Grizz Locker case assembly is loaded in place. |
|
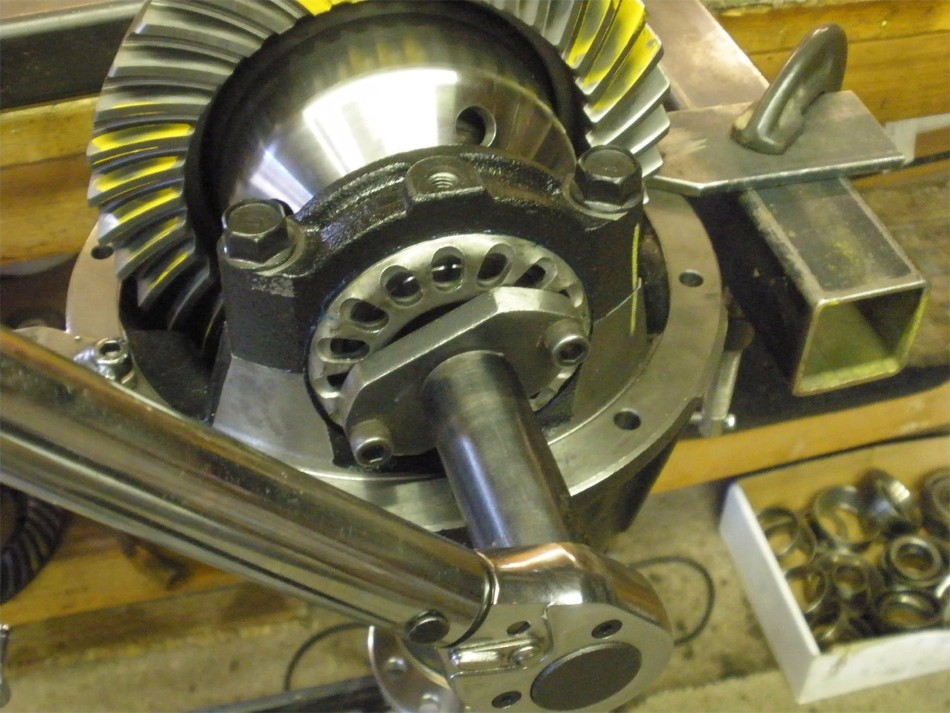
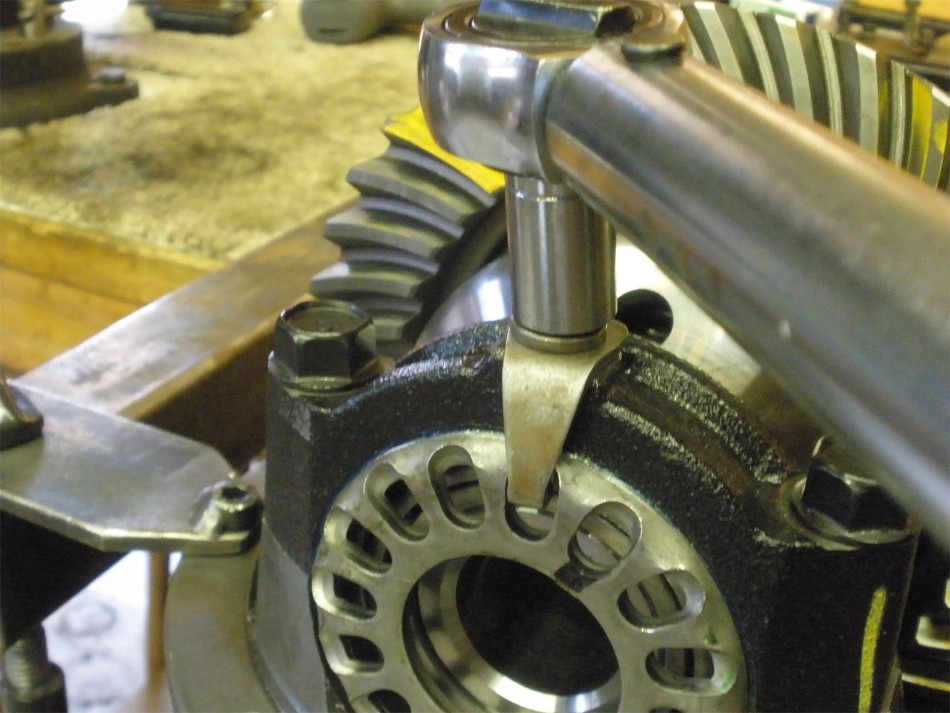
Caps are loaded in place. I like to use the rubber end of the hammer to tap it down. If the threads on the wheel adjusters are aligned properly then the hammer will seat it with a solid snap sound. |
|
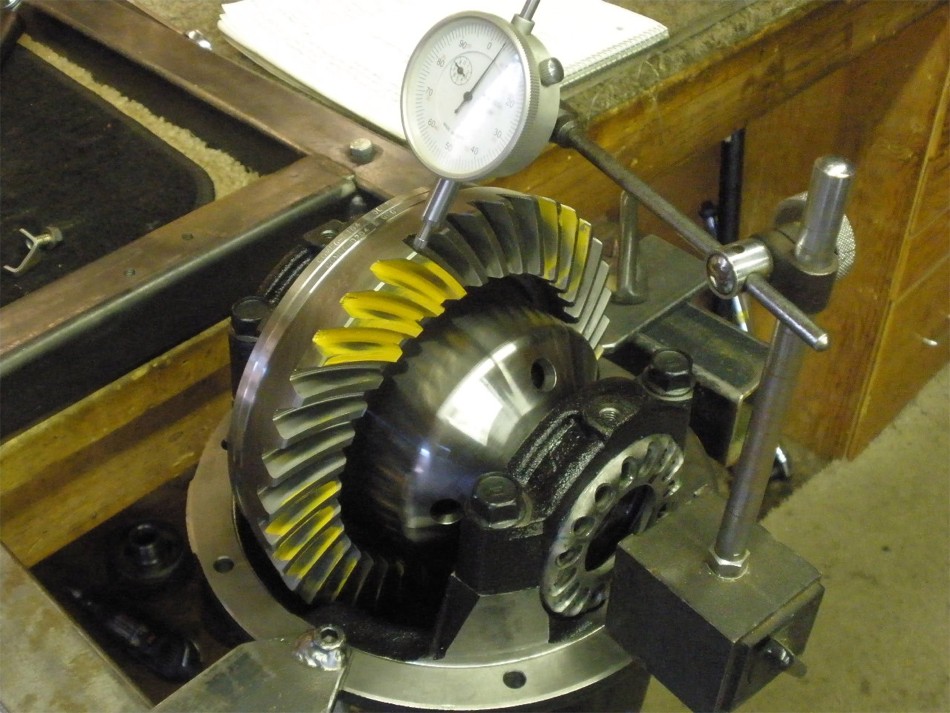
If I've seated the wheel adjusters correctly then I can still easily turn them even with the full 75 ft/lbs on all 4 bolts. I add some pre-load now to the carrier bearings while guiding the backlash into the area of about .008". For a basic paint check, the BL does not need to be exact. |
|
Apply some resistance here with a rag... |
|
...while turning the ring gear back and forth a couple times with a 17mm wrench. |
|
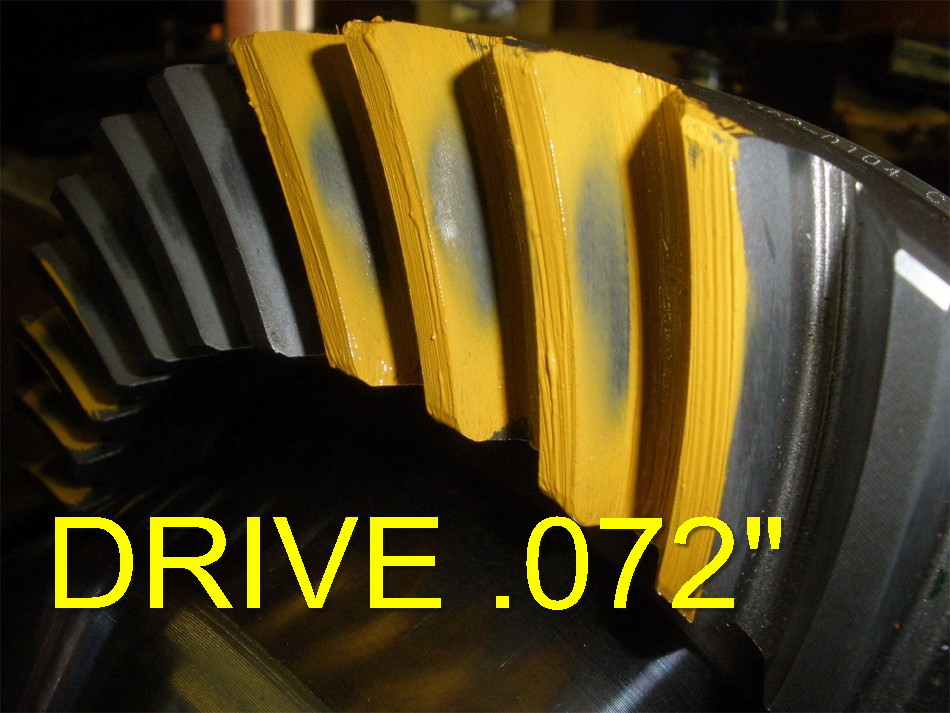
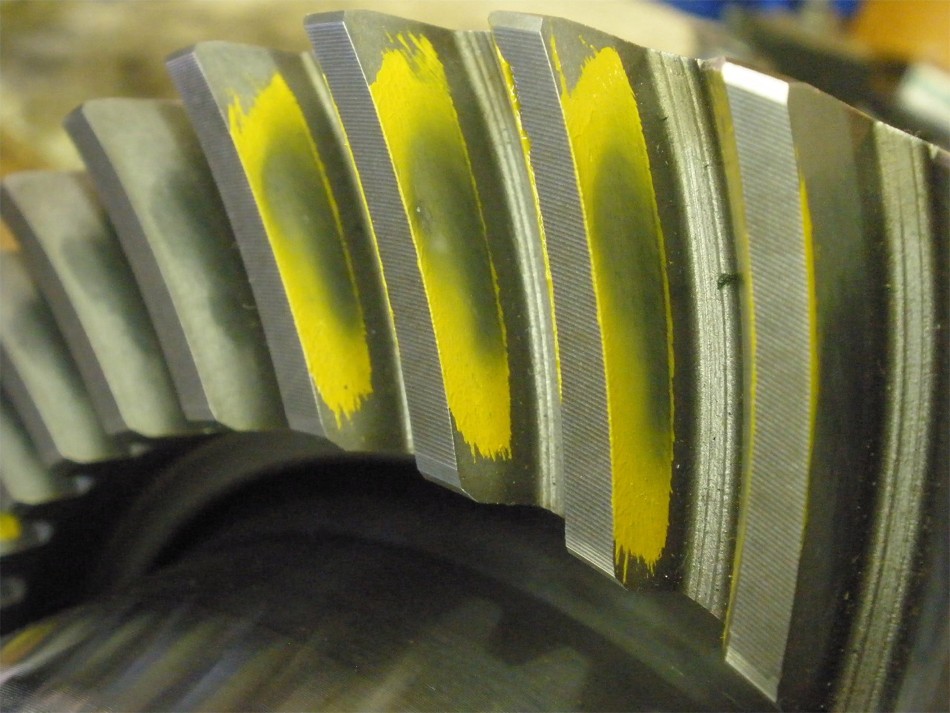
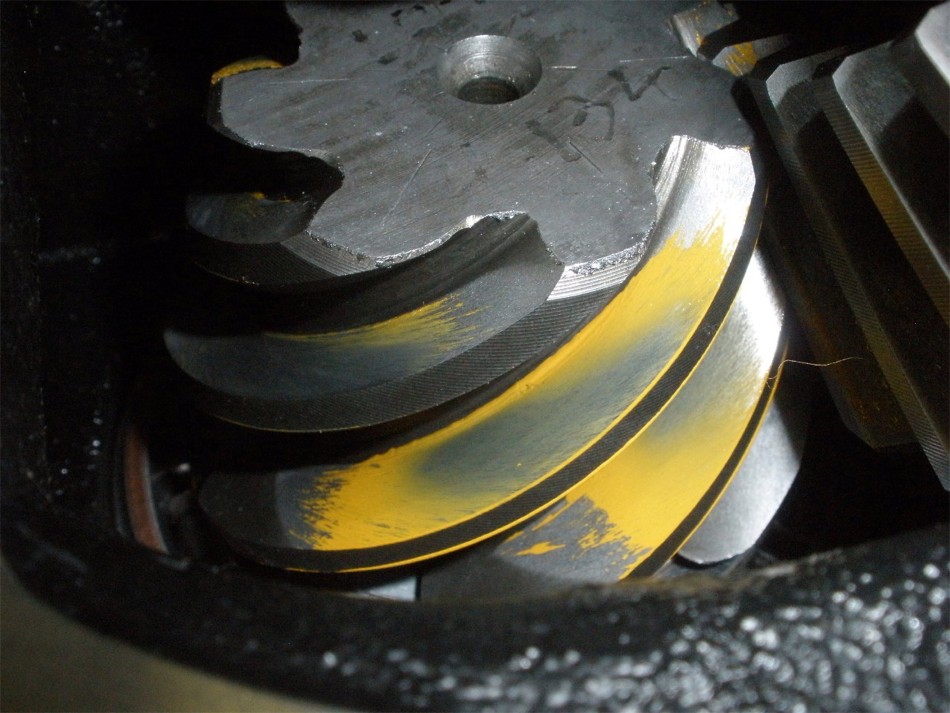
A nice, clean east to read pattern is visible. This is the drive side and I can see that it's too deep into the root of the tooth. |
|
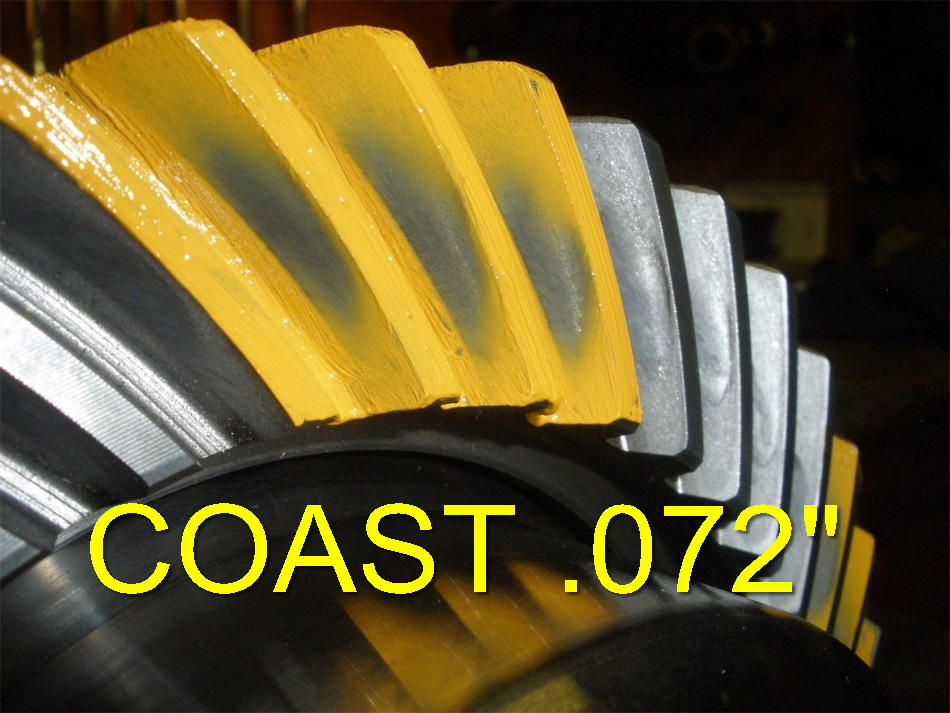
Coast is reflecting the same look. |
|
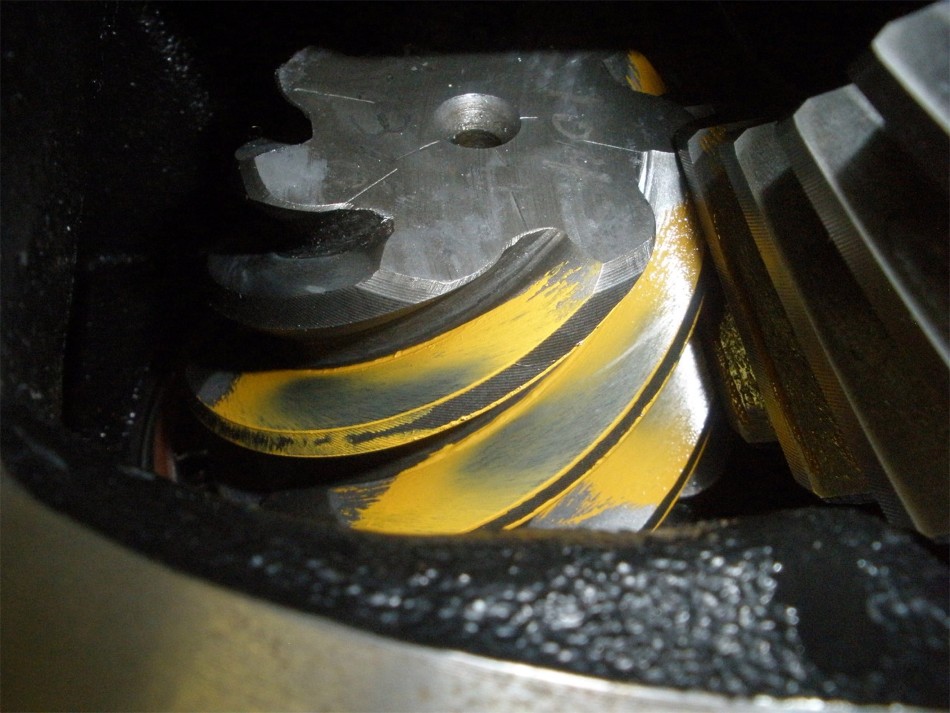
The pinion backs this up. If the pinion is showing too shallow then that implies that the ring gear will be too deep as is the case here. |
|
|
|
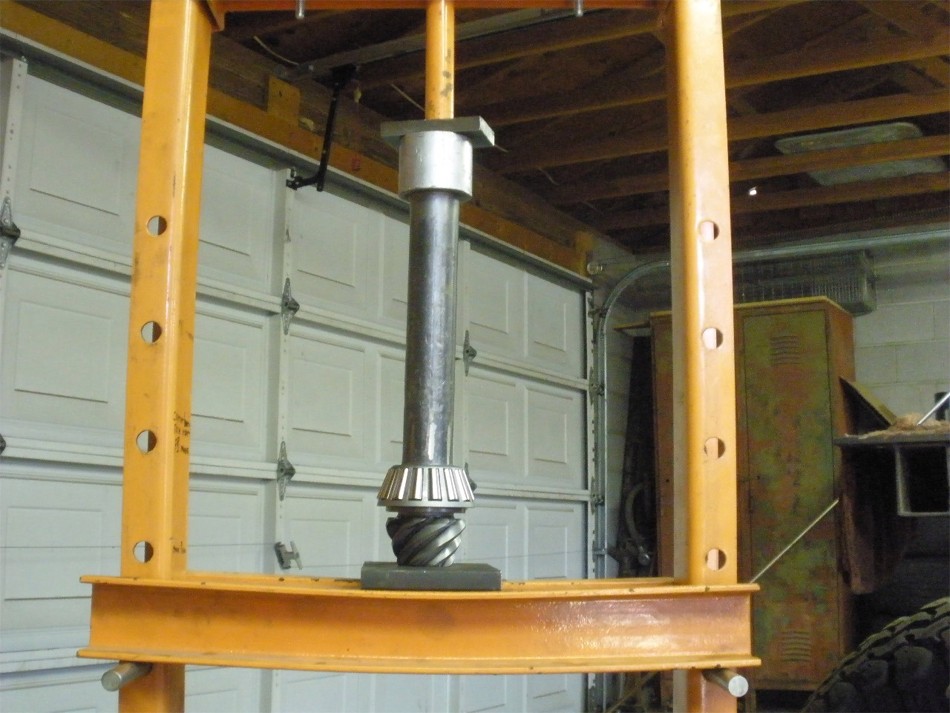
Now to break it down and re-shim with a thinner pinion shim. Here, I am gently pushing the pinion out. |
|
The large V6 pinion bearings have been known to press off very hard and having the right bearing splitter is a luxury that I have :) This is the large sized OTC-1130 bearing splitter. Prices very greatly online and the lowest price I found at the time of this typing was $115 with free shipping from www.amazon.com. |

|
The 077 is gone and this 071 will go in its place. |

|
Everything in reverse now....press the pinion bearing back on. |
|
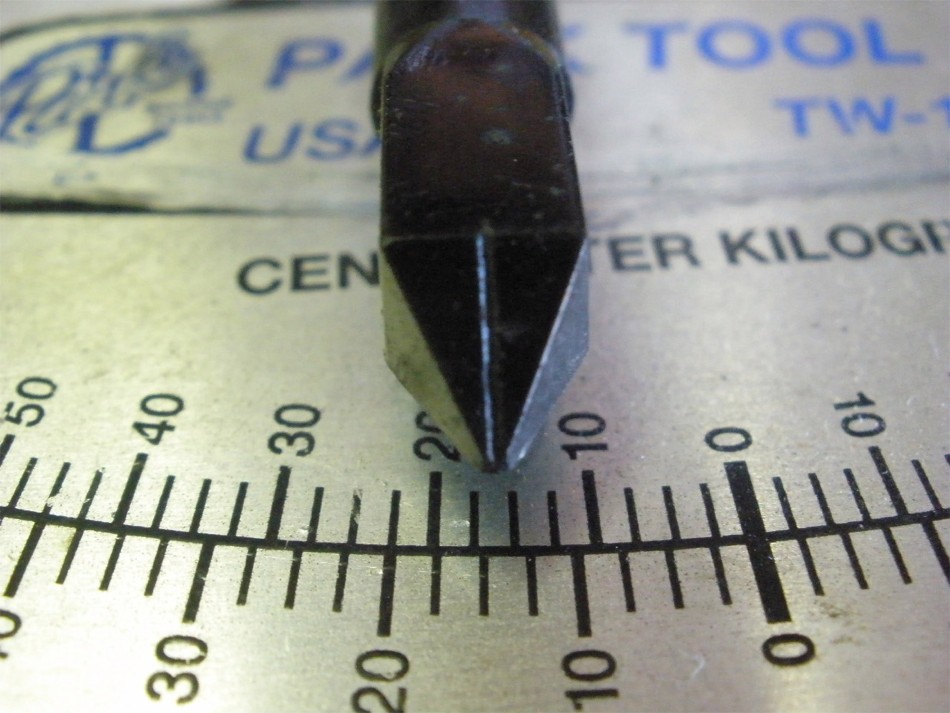
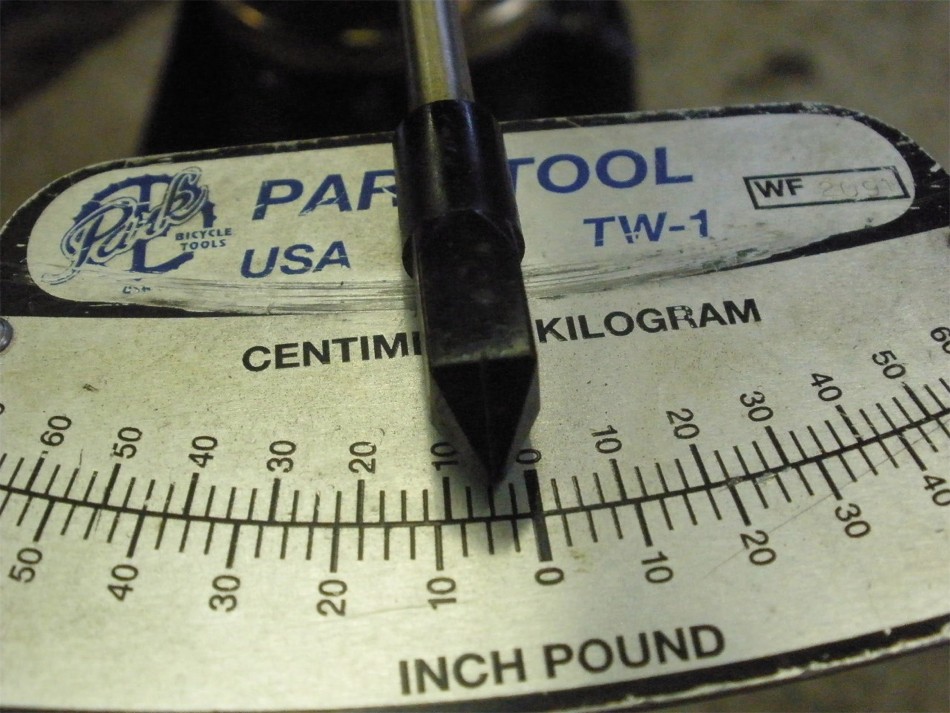
The pointers on these torque wrench can be tweaked by hand to re-align it with the zero. Mine was pretty close...maybe 2 or 3 microns off. |
|
Same thing....re-assemble everything and get the pinion preload in the 16 inch/pound ballpark like this. |
|
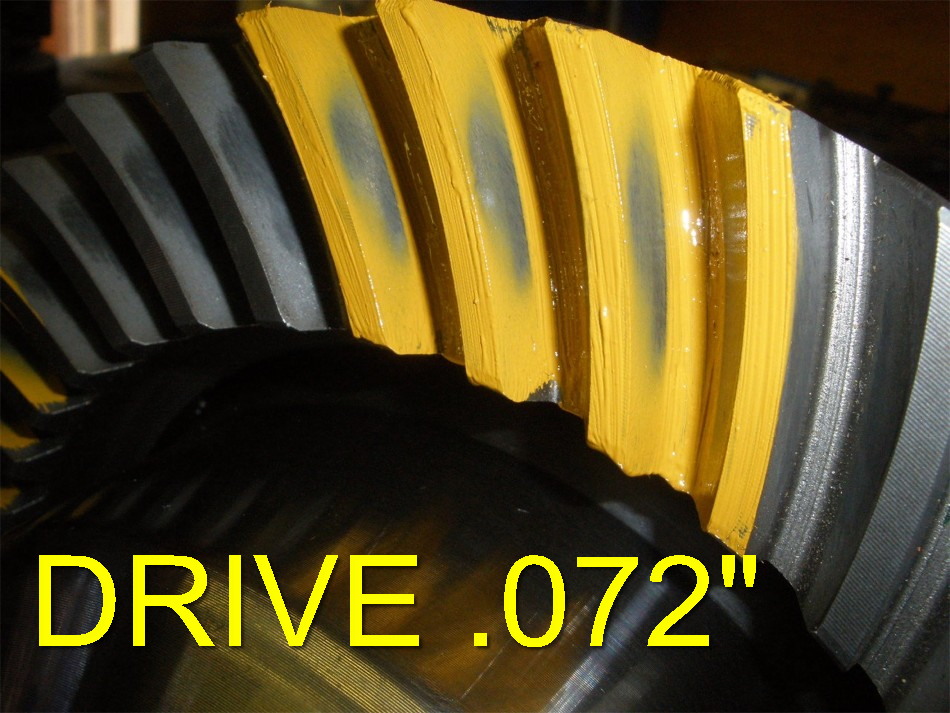
This re-painting looks much better. Still slightly deep but this is often my preferred result. |
|
Same drive but with a better angle to get rid of the casted shadow. |
|
Coast looks exceptional. |

|
The pinion looks great. I always reference the comet tail which tells me alot about the depth. |
|
... |
|
I also look at the reverse painted teeth. Drive. |
|
Coast |
|
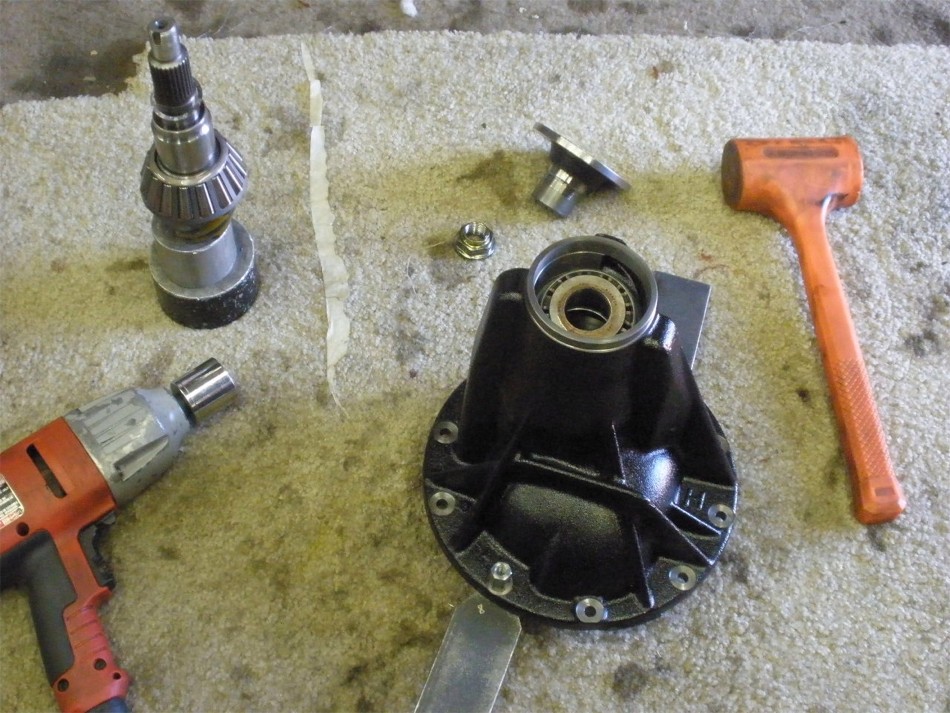
Now that the depth has been established, I can now dis-assemble and install the solid collar. |
|
I have a ton of shims not shown in the above picture but a good ballpark place to start is to measure the old crush sleeve if available but I did not have that option. |
|
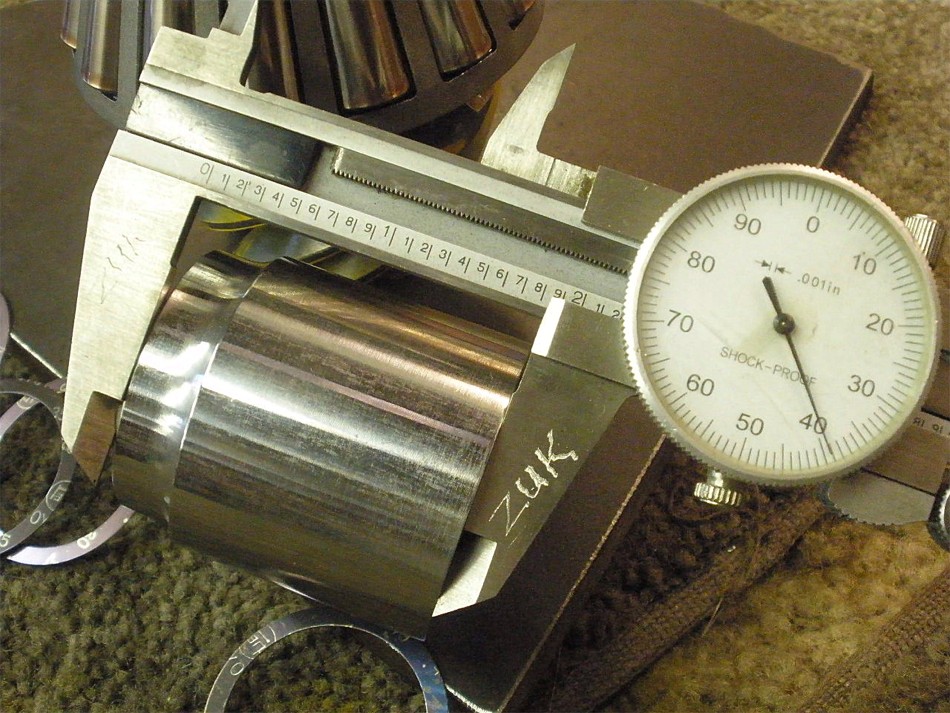
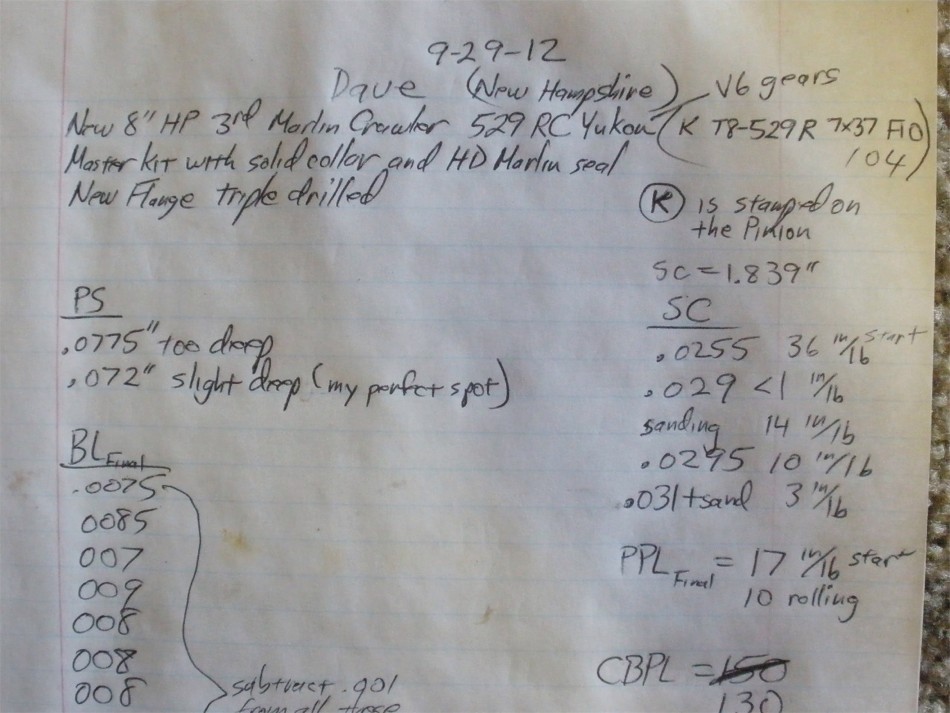
So, I measure the length of the collar... 1.839" shown here. |

|
Then I reference my cheat sheet on the wood above the main bench surface. 1.865" total length is an average for the V6 3rds. |
|
1.865 - 1.839 = 026 for the first shim try. Even though I have probably thousands of these shims there are only about 6 common actual sizes.... .010" 012 014 016 018 and 020. |
|
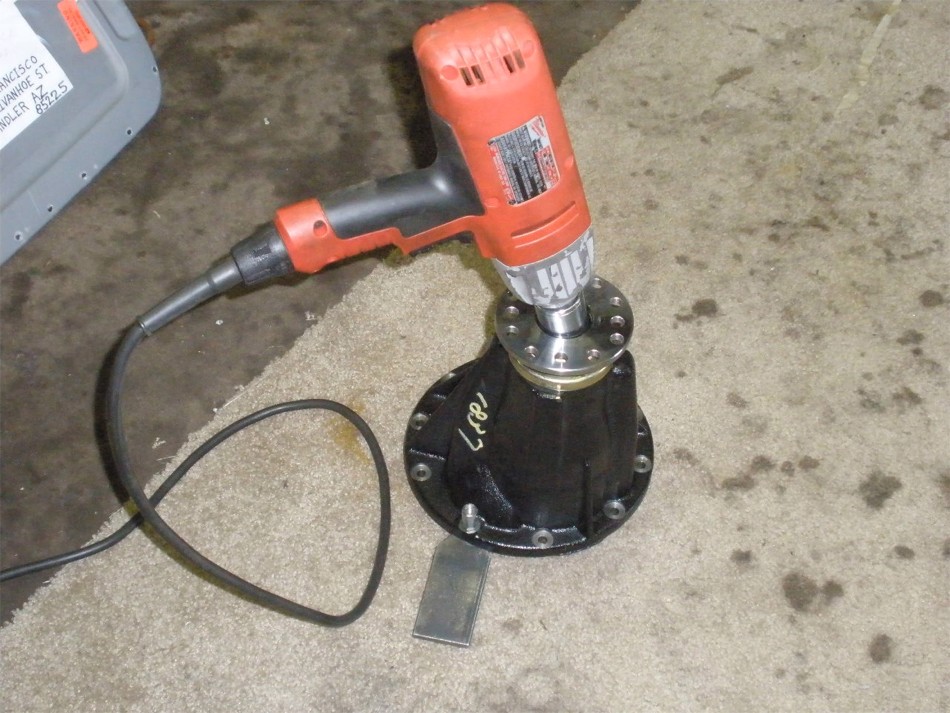
Load the pinion up and carefully tighten up the pinion nut with the electric impact. |
|
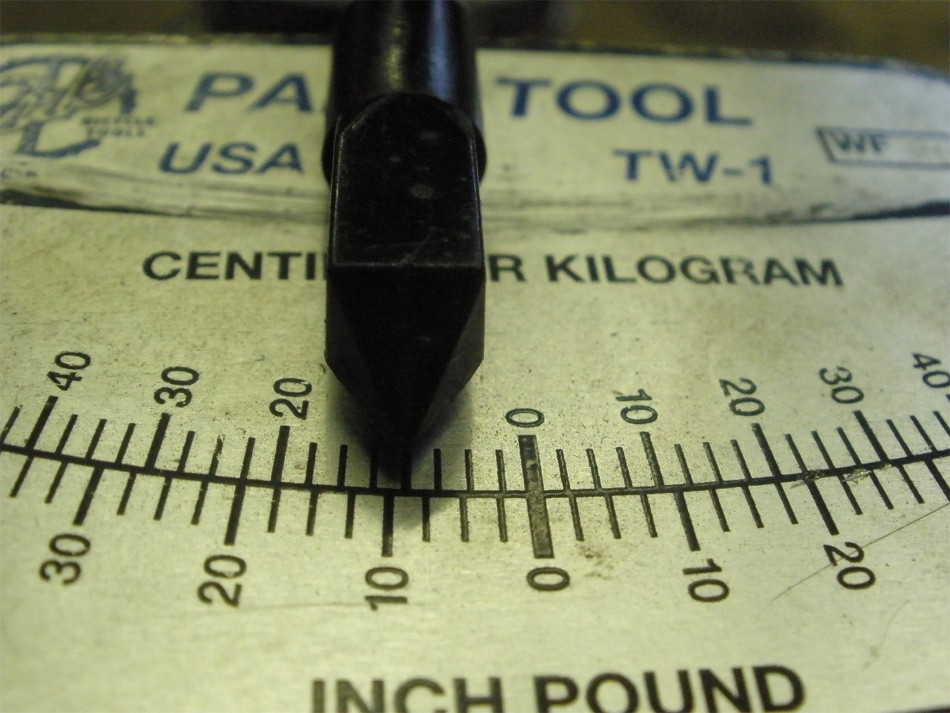
Way too tight at 35 inch/pound start torque...with lots of gear oil on the bearings also. |
|
I then added 4 thou to the shims and now it measures at zero or slightly above. |
|
I wanted to tweak it less than half a thou but the shim selection is not going to let that happen. Out comes the sanding paper and the super level surface of a piece of ceramic floor tiling. In less than 30 seconds, I can remove the required half thou(.0005")(12.5 microns) with 100 grade sandpaper. |

|
Re-assemble and now, for sure, I can feel the 2 or 3 inch/pounds of pre-load. This is where I want to stop. Why here? Because, even though I used my electric impact to tighten the pinion nut to take this measurement, the impact wrench is good for about 200 ft/lb of torque. In the end, I can use my 4 foot cheater bar and tighten the pinion nut another 10 or 20 degrees of rotation. That effectively compresses the solid collar up to 1 thousandths of an inch and that is enough for me to get an additional 10~14 inch/pounds of pre-load. Solid collars are just mild steel....steel is steel and it can be compressed a small amount with persuasion. |
|
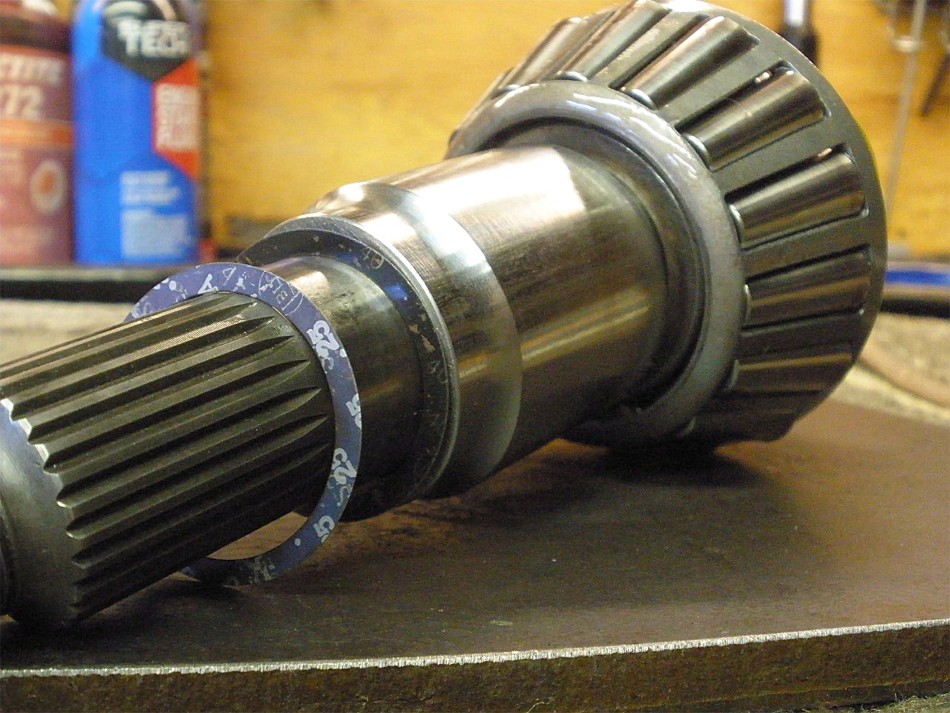
The heavy duty Marlin seal is a godsend if the flange seal surface is not perfect but it does have that steel lip that sometimes can rub on the dust lip of the flange. So, here I am tweaking the dust cover up just a smidge....just enough to make up for the lip on the seal(~.030"). |
|
The high pinion splash guard is in place... |
|
...and the Marlin seal is pressed in place. It has its own tiny bead of sealant already so none is needed from my tube. |
|
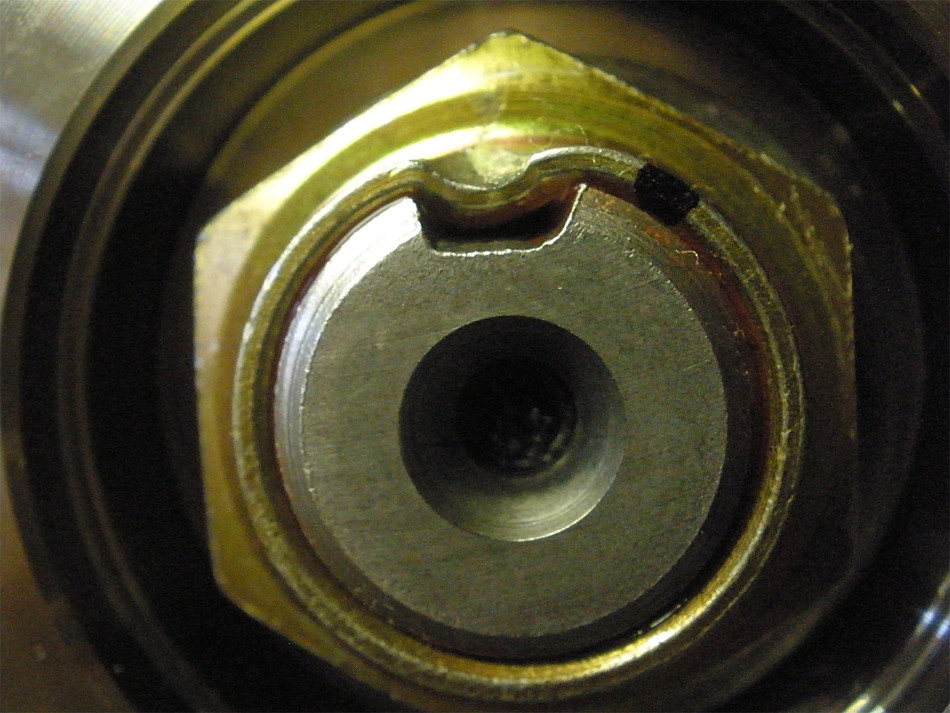
Here's a close-up shot of the seal lip that can sometimes rub the pinion flange dust shield if conditions are right. |
|
Flange, hardened washer,and then the nut with red Loctite. |
|
Tighten it to 200 ft/lb. |
|
I can now measure about 4 in/lb and some of that might be the resistance of the new seal rubber. |
|
I placed a reference mark with the sharpie. Then I used the cheater bar to tighten it more....maybe 20 degrees more. |
|
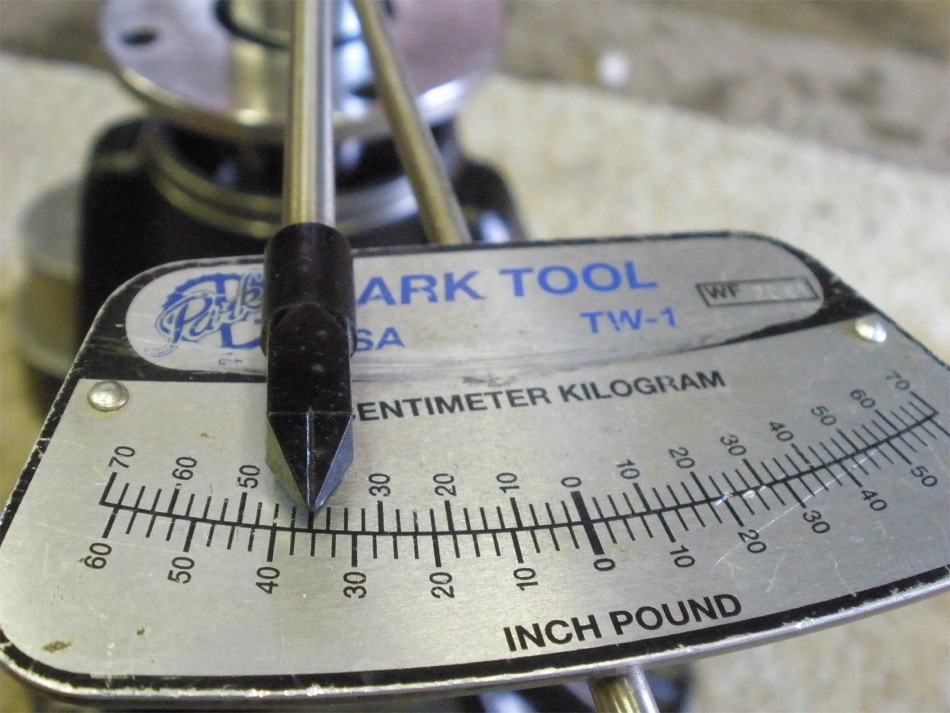
Now the pre-load checks in at over 15. Right in the target zone. That is start torque. |
|
If I rotate the pinion at the average rate of about 1 revolution/sec then I see that the pre-load drops to about 10 in/lb...rolling torque. |
|
DING and this end is now done. |
|
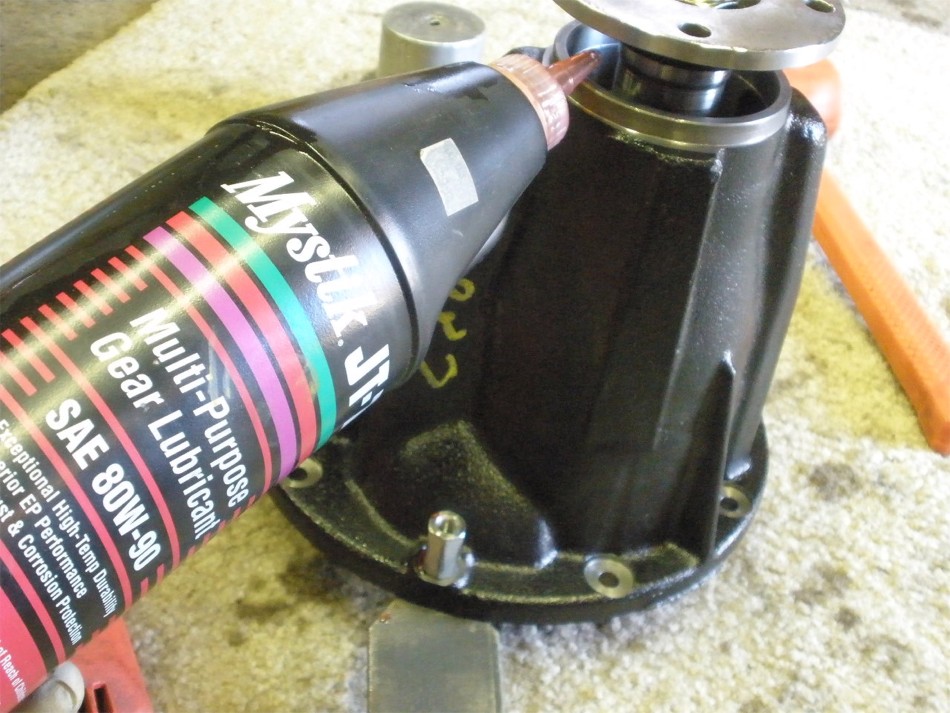
A thick grease is applied to the threads. |
|
Bearing caps are tightened to the full 75 ft/lb. |
|
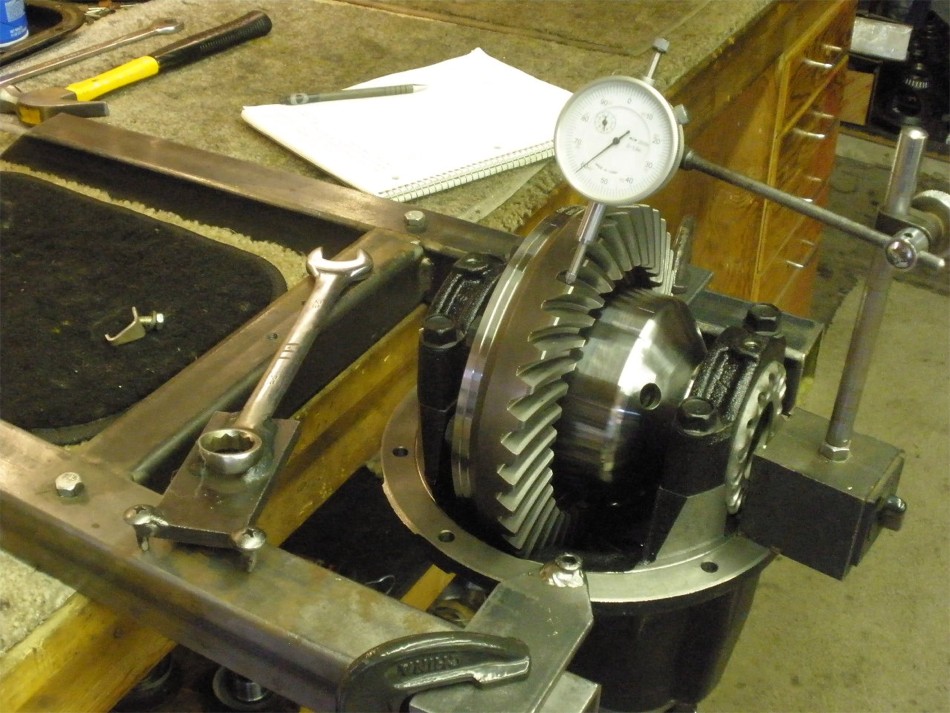
It's a front end application and it is a high pinion which sees greater strains when backing up so I shoot for 130ish ft/lbs on these wheel adjusters. I am also taking backlash measurements as I switch back and forth on each side....and guiding the BL to its .007" target. Before taking a backlash measurement, I make sure to rotate the pinion by hand while giving sharp RAPS on the solid side surfaces of the bearing caps....both caps...2 places on each cap. This will equalize the carrier bearing tensions on both sides. Not doing this could lead to false readings. |
|
I measured every 3rd tooth and recorded it. |
|
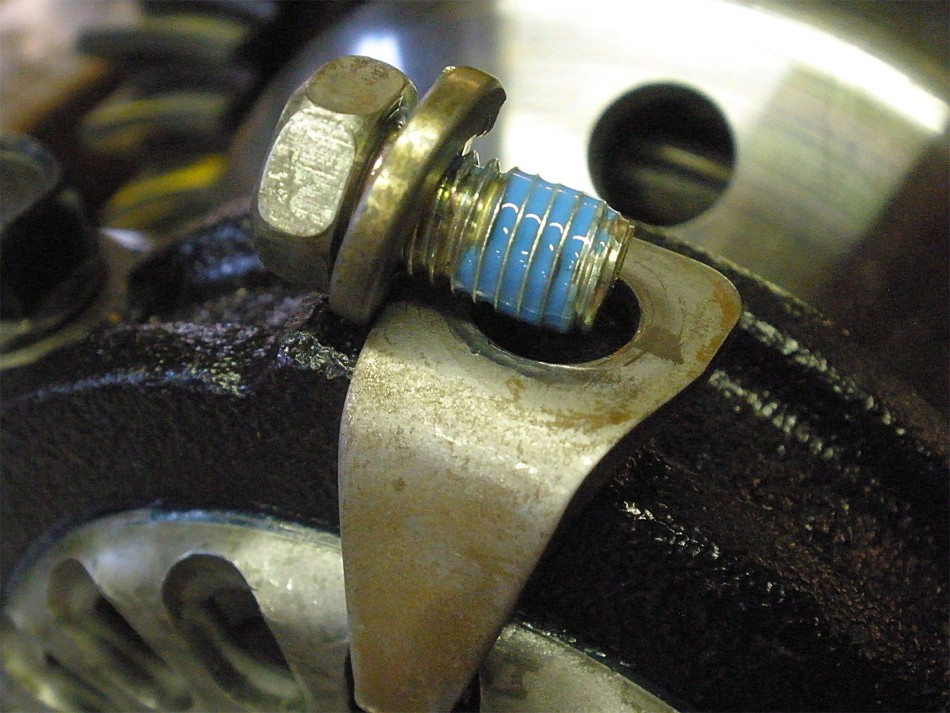
Satisfied with the BL and CBPL, I can now install the locktab bolt. |
|
10 ft/lb |
|
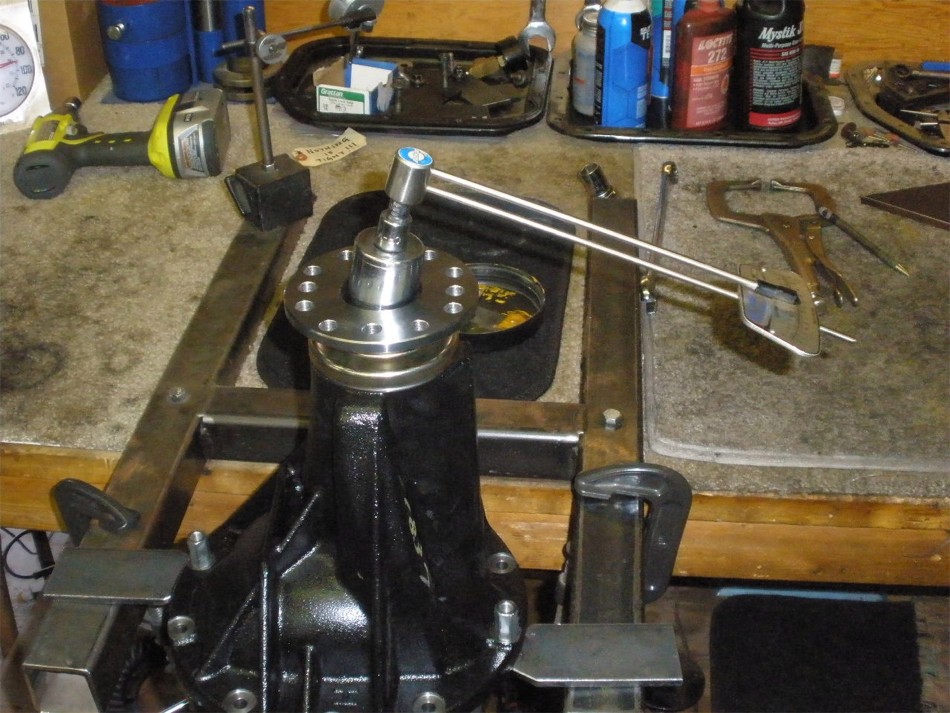
I can now measure the torque required to turn both the pinion and the ring gear. |
|
I am measuring about 24 in/lb start torque.....17 for turning the pinion and 7 for the ring doing the math. |
|
One more pattern check....drive looks great. |
|
Coast is sweet. |
|
Pinion agrees. |
|
... |

|
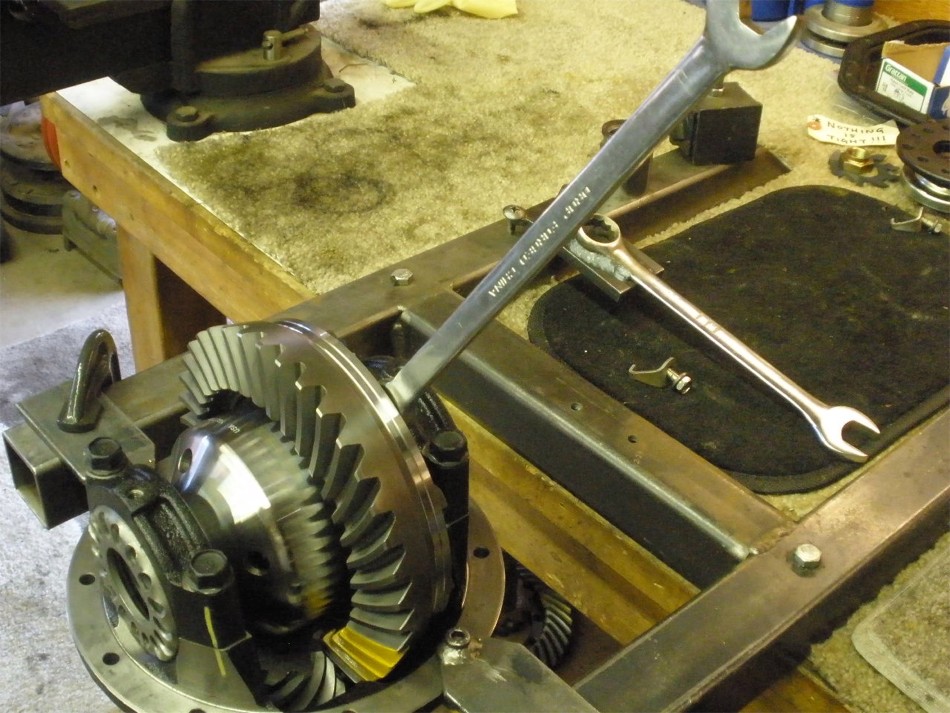
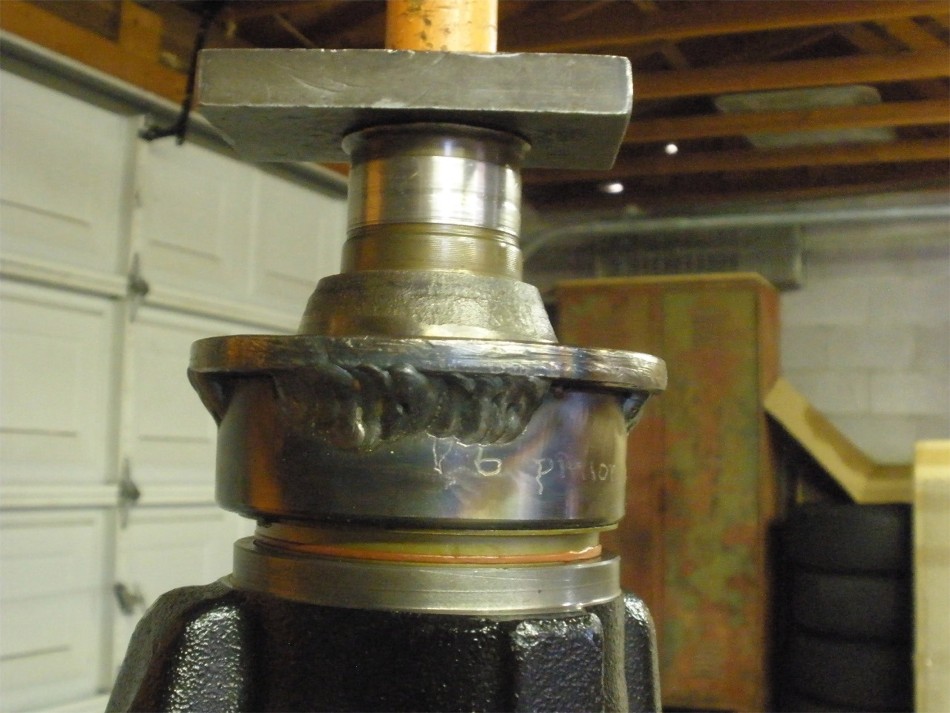
Important info is inscribed on the ring. |
|
... |
|
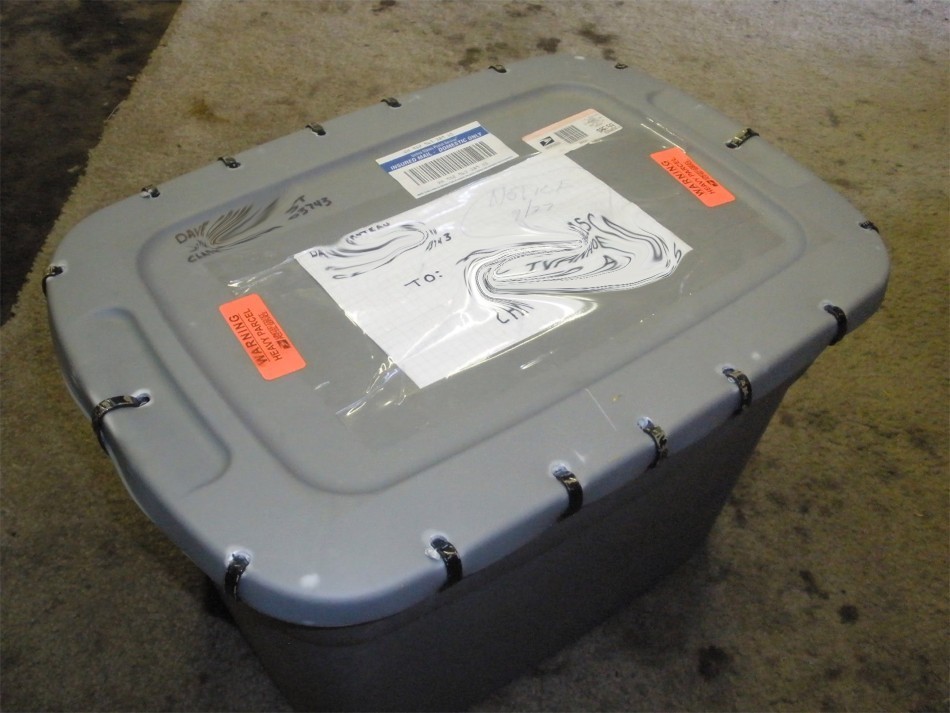
Ready to go back to New Hampshire |

|
