|
|
|
|
|
|
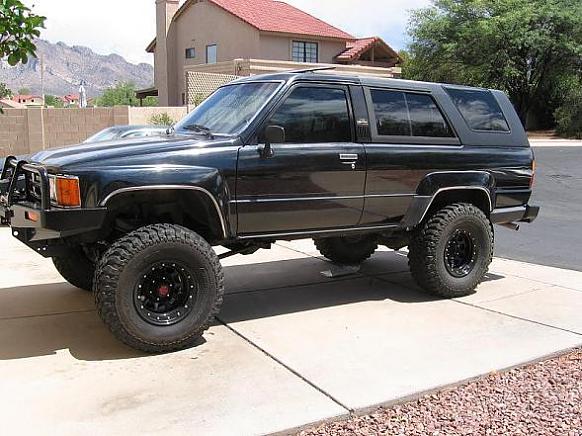
BEFORE....Duckie's 1986 Runner has a 4" ProComp lift. That means the rear has the economical 4" aluminum blocks. |

|
BEFORE.....I've always liked the looks and functionality of the early Runners. The removable fiberglass top is a big plus I think. |
|
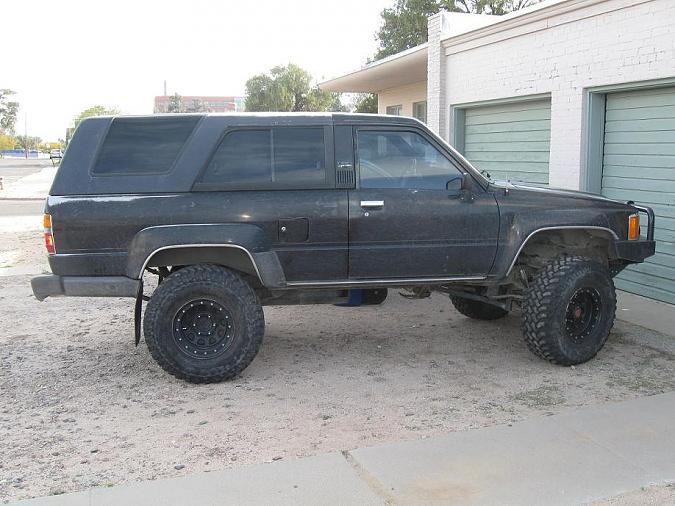
AFTER......Here, the 4" blocks have been removed and the 14" x 125 pound rated racing coils have been installed. I believe Duckie was able to get
about 4.5" of lift with the coils but the removal of the 4" blocks has neutralized the visual gains. Ditching the blocks and adding the coils
resulted in a tremendous improvement in the ride softness department. Future plans include longer shackles to give it an even better stance.
|
|
Here's the Yotatech link where Duckie posted about this coil mod Duckie's write-up.
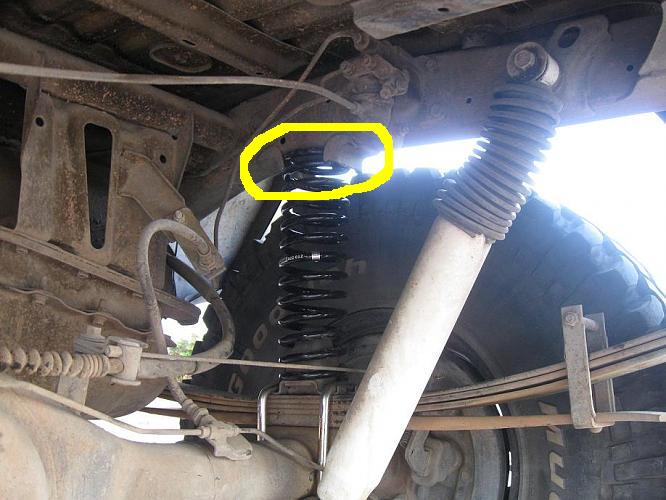
What I really like about Duckie's installation is that he cut the upper steel brackets extra short(about 1" long) as shown in the above pic. This means, that as
the coil cycles up and down, that the coil won't catch the sharp edges of the long retainer and make those twang noises. This short capture mount
is not a problem on a suspension system that has limited droop. Even if Duckie does add the longer shackles, I bet the 14" coils will still stay tight
even at maximum droop.
|

|