|
|
|
|
|
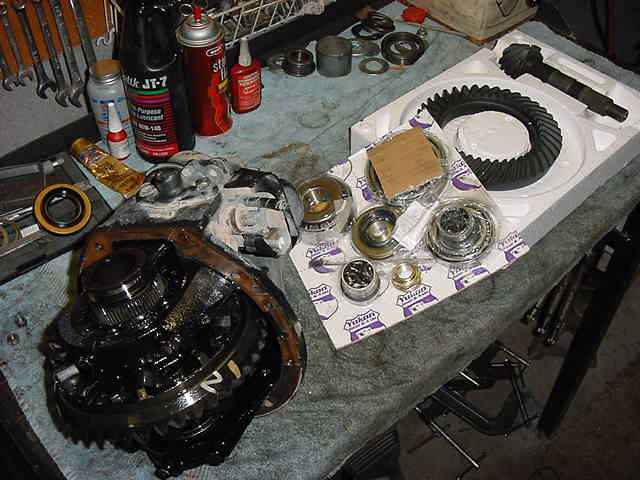
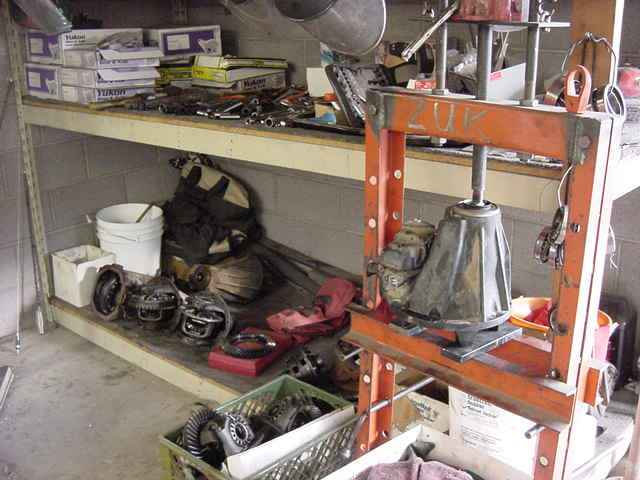
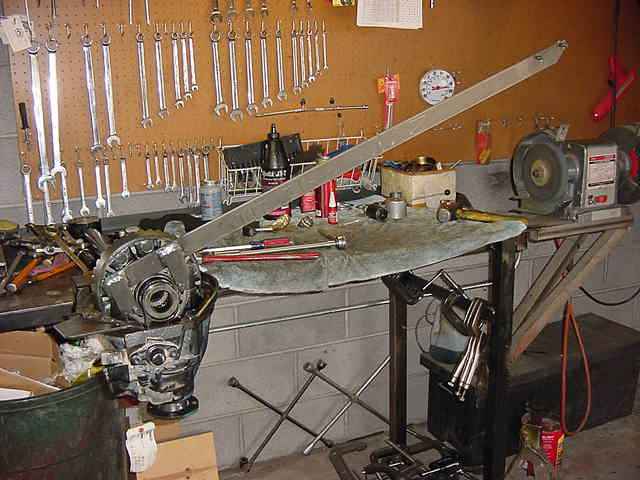
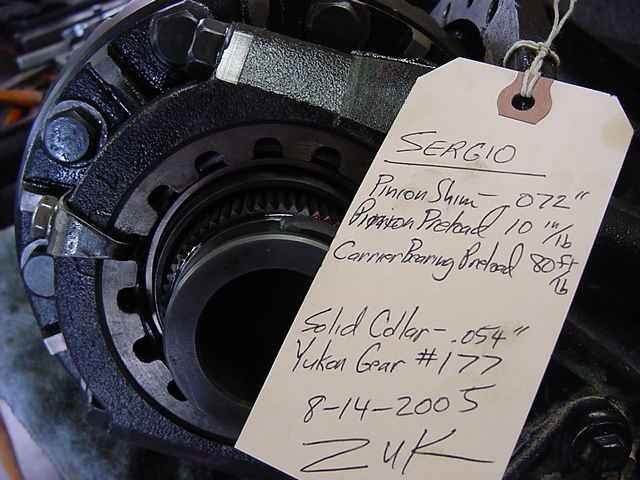
| Sergio drove 250 miles from Yuma, AZ in a rental in order to get his E-Locker regeared to 488. He also came with good quality Yukon V6 gears and a master install kit. Not shown is the heavy duty solid collar that will replace the crush sleeve. |
|
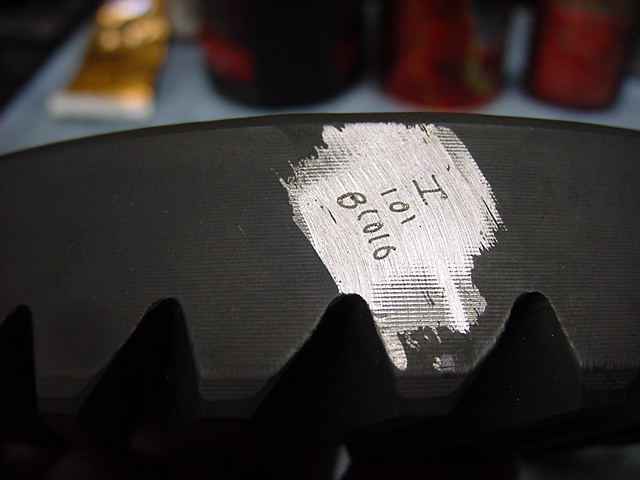
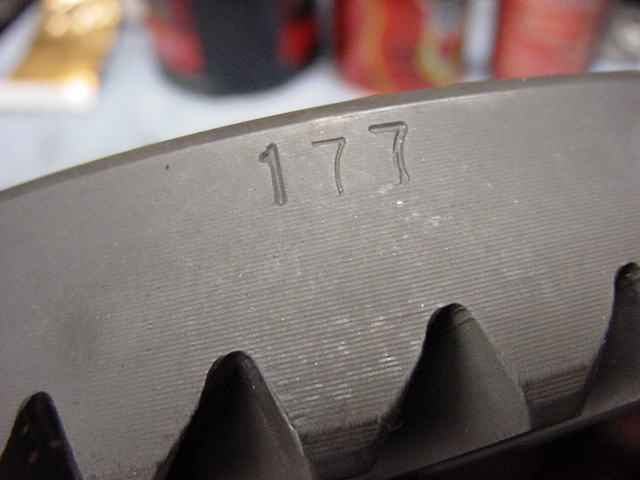
The Yukon gears had very few markings....the quality seemed to be there though. Even though this ring doesn't have the "double diamond" emblem, this type of scribing is characteristic of Richmond. |
|
|
|
|
|
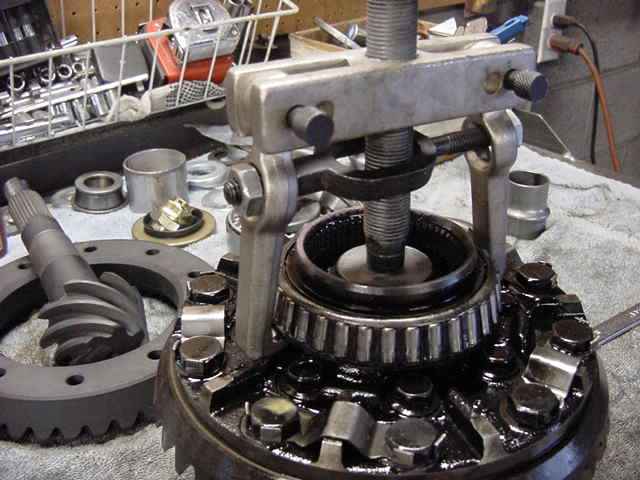
First, to replace the carrier bearings and ring gear. It could be a real challenge to remove this bearing....but this OTC differential bearing puller makes it easy! Just go to Ebay and type DIFFERENTIAL PULLER in the search bar to view the product for $49. |
|
The bearing went on easy with the 10 ton press. The press is old....like it's owner....but still has alot of life left in it :) |
|
As usual, I flat-filed the ring gear mounting surface and checked the run-out....less than .001". Good. |
|
Using wood supports on the big vise, I carefully tapped the ring on paying attention to keeping the holes aligned. I let the bolts pull it on the rest of the way. Loctite and 70 ft/lbs, of course. |
|
Now it's time to work on the other end....remove the old 410 pinion and re-use the old shim. This pinion was unusually tight so the press eased them out. |
|
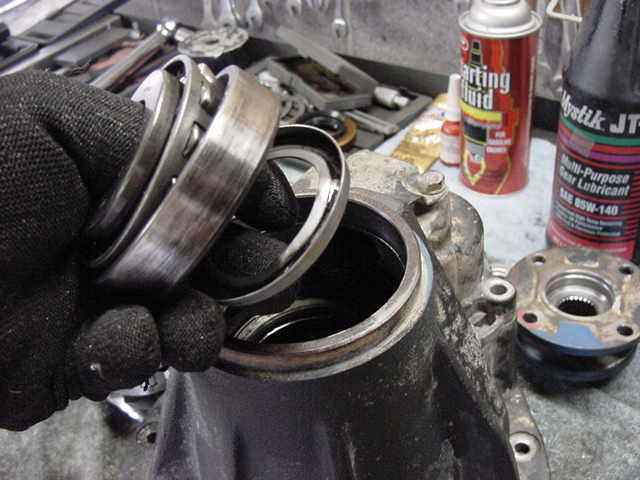
Remove the old outer pinion bearing.... |
|
The outer pinion bearing usually found on E-Lockers is STA3072....but the Yukon kit had a Timken 30306 bearing. After some measurements, I discovered that those will work just fine.... |
|
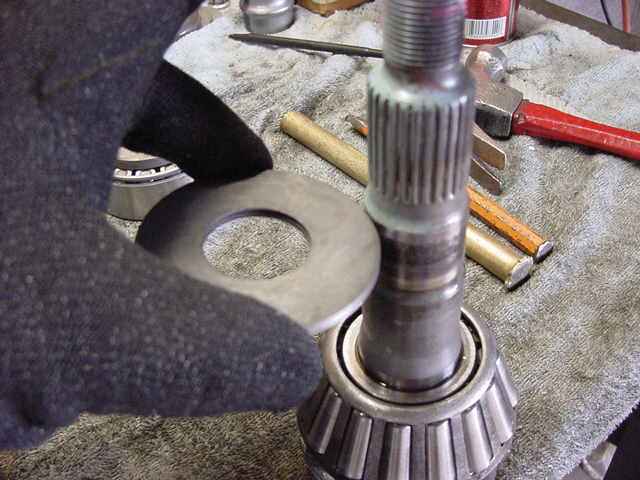
....as long as these 4 additional splashguards that were also supplied in the master kit are added under the flange. |
|
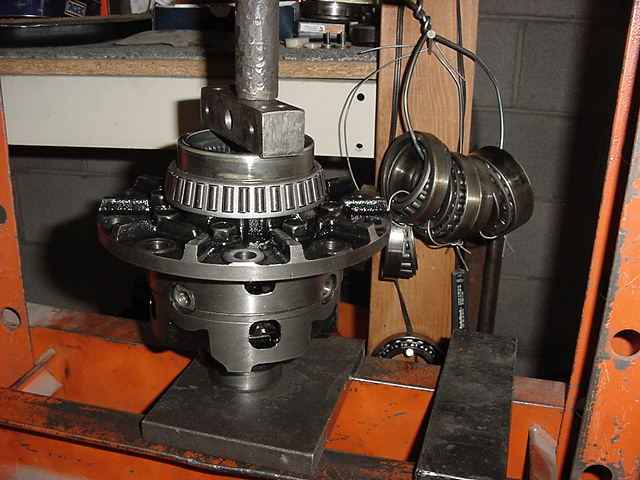
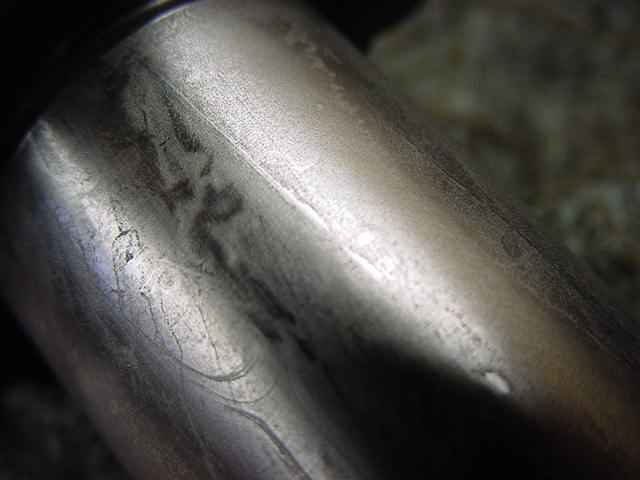
The massive inner pinion bearing went on much too hard. It wasn't that I couldn't press it on...it was more a matter if I could ever pull it back off. So I wet-sanded it with some 400 paper and in this pic, the surface imperfections/high spots can still be seen. After mild sanding, the bearing pressed on with normal force. |
|
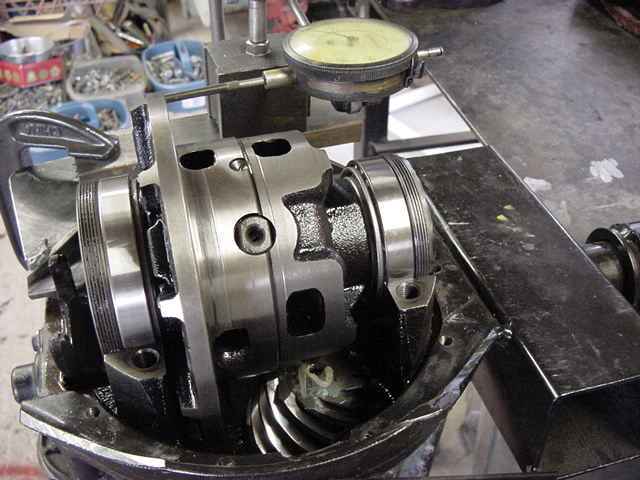
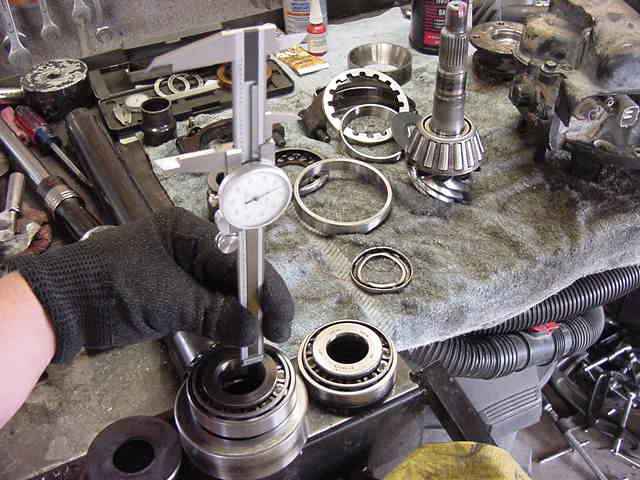
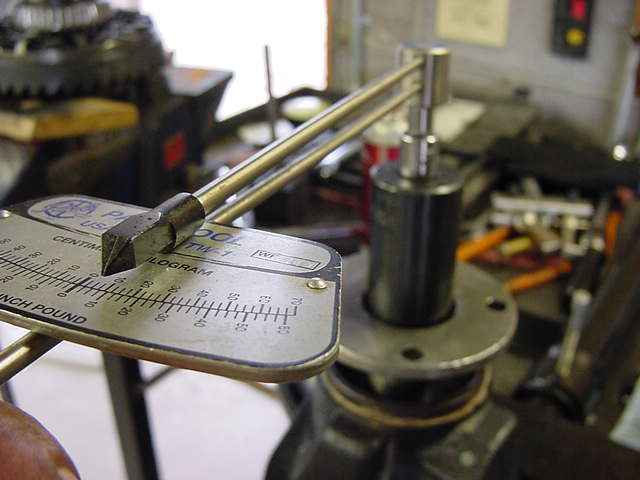
With the solid collar in place with .054" of shim, the pinion pre-load is a nice 10 in/lbs. |
|
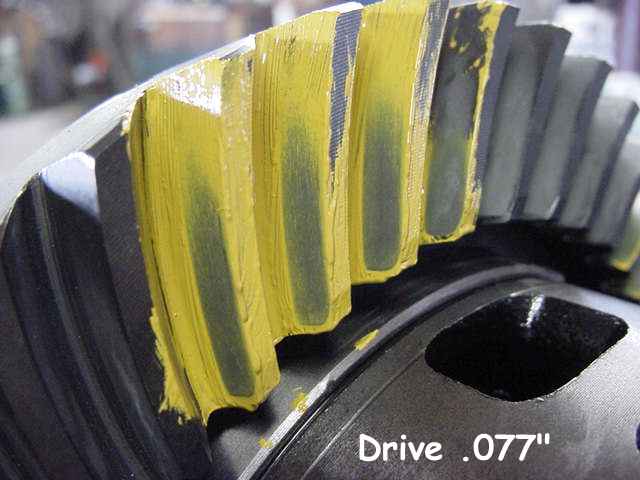
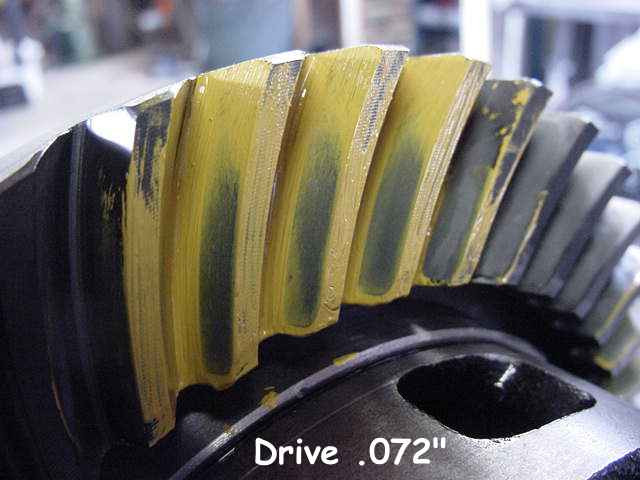
With the factory .077" pinion shim, the painted pattern has heavy toe. |
|
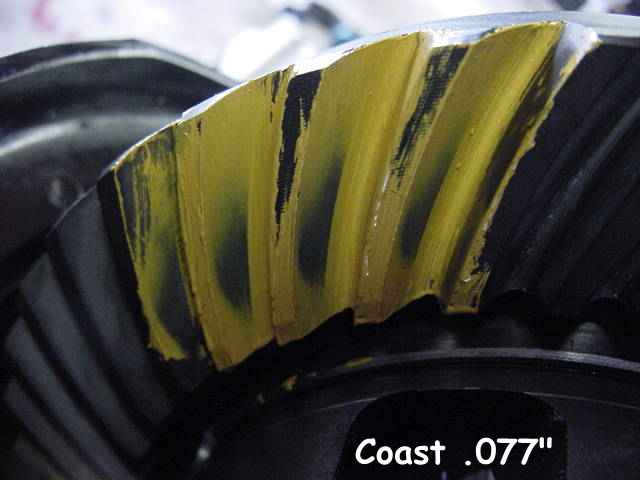
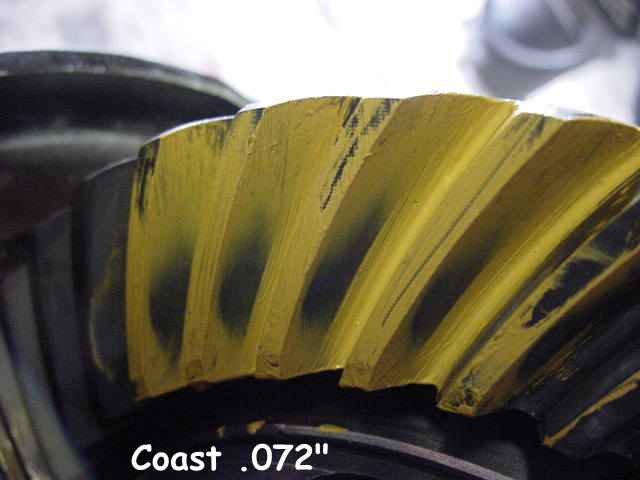
| The coast side appears deep also... |
|
Removing 5 thou, the pattern is still on the toe....this is with about 8~10 thou backlash also. |
|
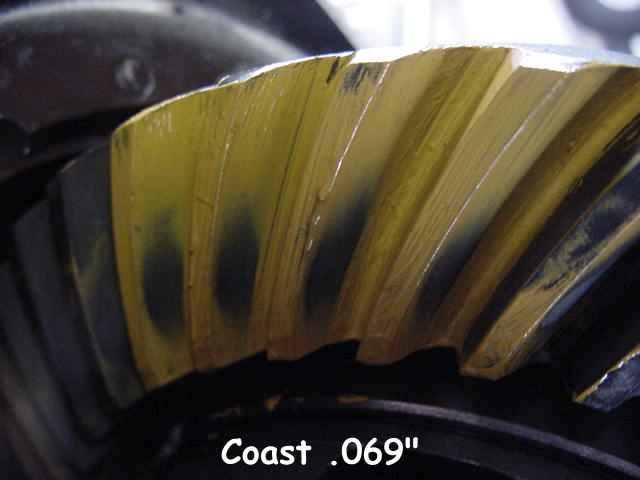
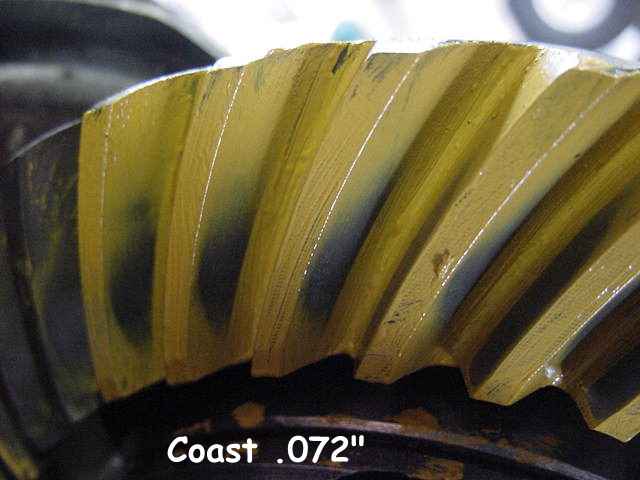
Coast is looking 'better'. |
|
Took off another 3 thou and it looks too shallow now. |
|
|
|
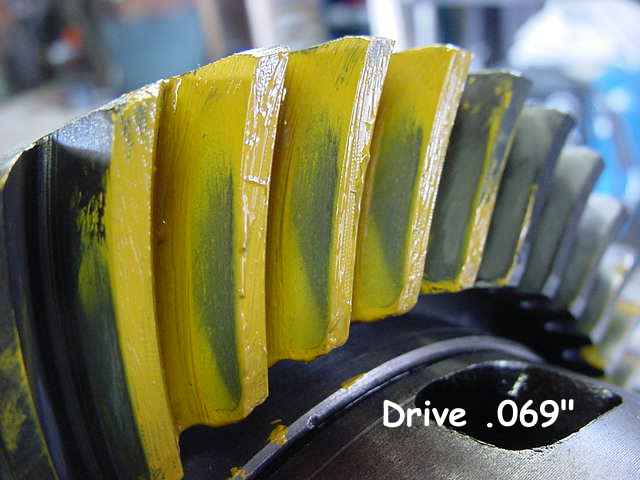
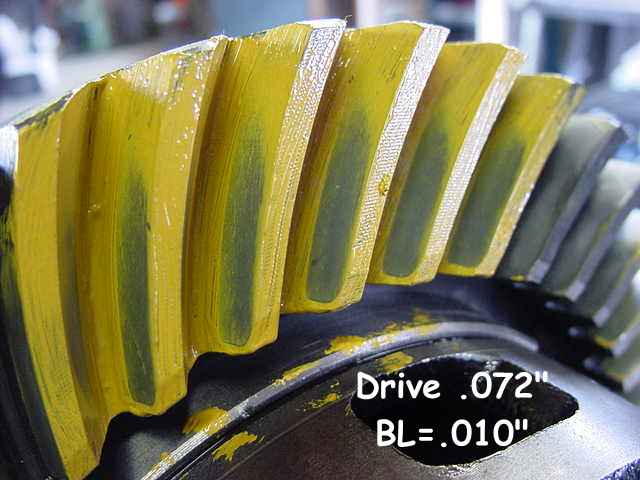
So I've added the 3 thou back in and maximized the backlash to almost 10 thou. This pattern can be considered a competition pattern. Under extreme torque stress the pattern moves dynamically closer to the heel so this is a good thing. |
|
|
|
So....you want to minimize ring gear deflections and maximize tooth contact strength....this is the tool to do it. |
|
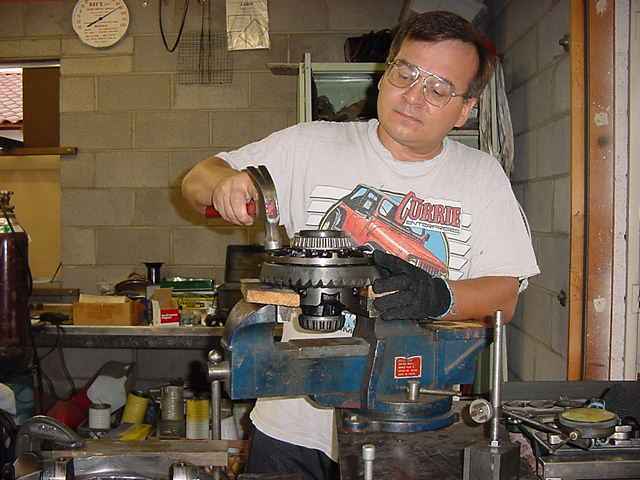
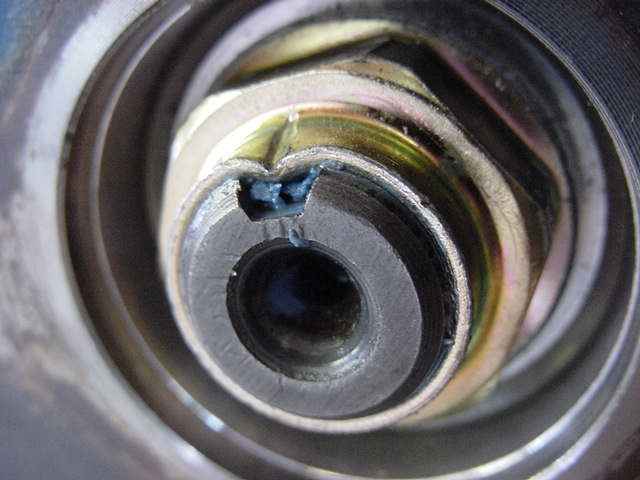
I used blue Loctite on the clean pinion threads...then slammed it down for 10 seconds with my impact... then dinged it. Sometimes I spot weld it to mess with people but not this time :) |
|
|

|