|
|
|
|
|
|
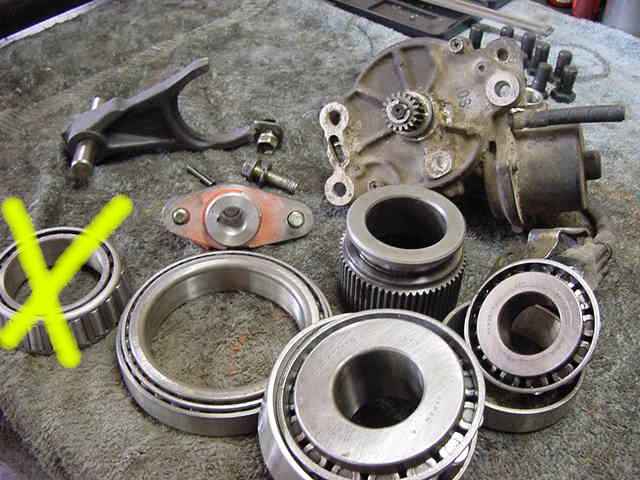
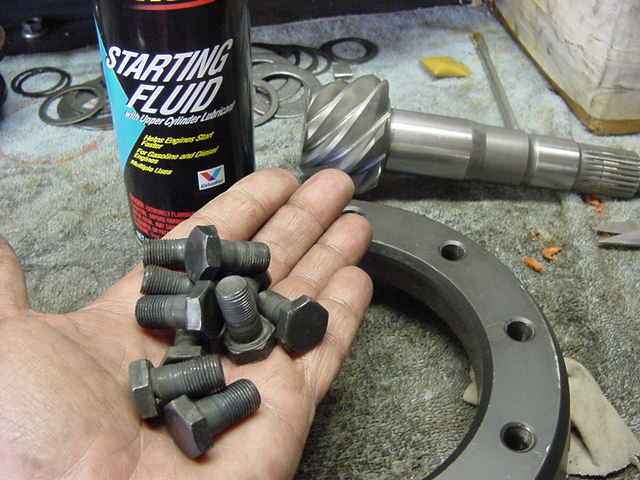
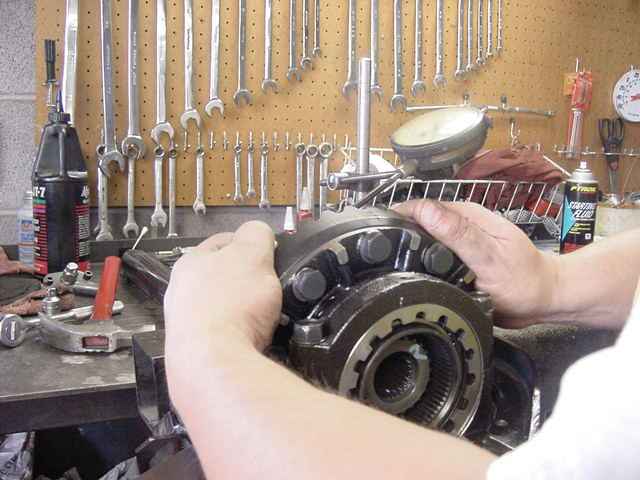
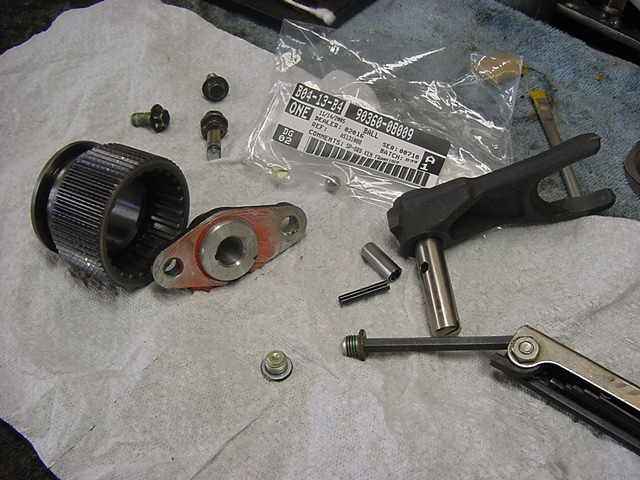
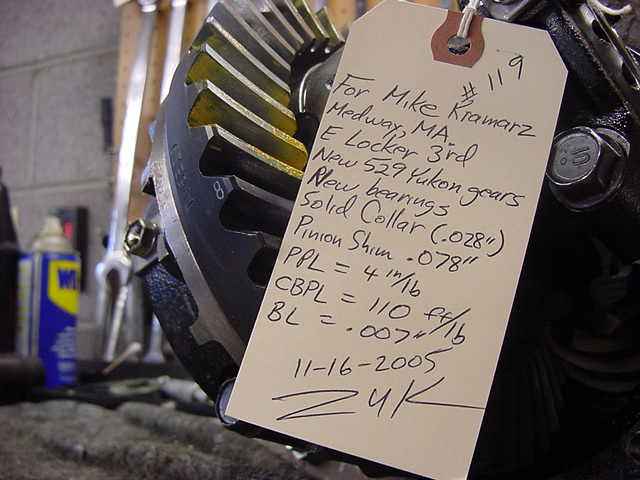
Mike, from Massachusetts, sent me an E-Locker that he had purchased from someone else that attempted to install new 529 gears and a cable conversion but possibly decided they were over their head on this project. Mike sent me everything that he was given with the Locker to bring it back to life. Only a few items were missing...the race for a carrier bearing, a steel ball, and 2 long 100mm bolts. |
|
|
|
The previous owner of this locker had pressed the old bearing on with no pinion shim. Not a problem. I have a special purpose puller that will easily remove the bearing with no damage. |
|
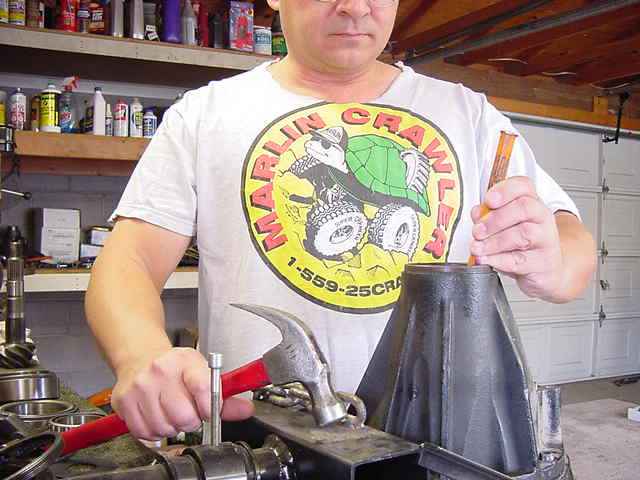
Here, I'm tapping in the new inner and outer pinion cups with a soft steel punch/chisel.
|
|
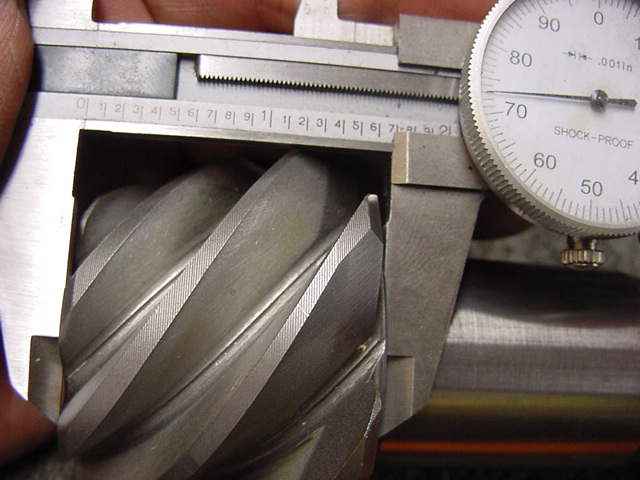
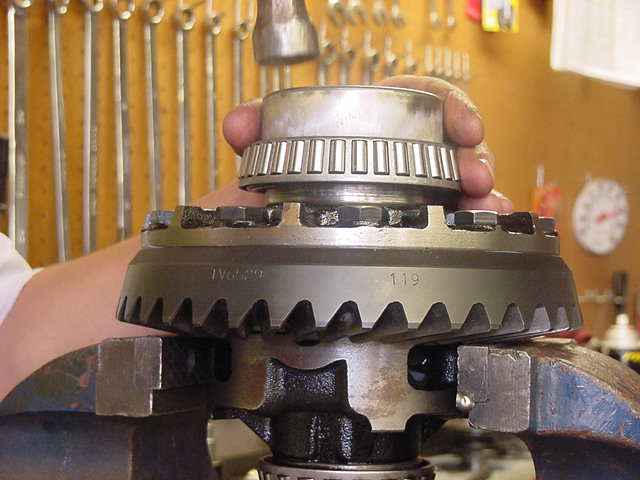
I had to confirm that this was a long pinion head (V6 version) and it was. |
|
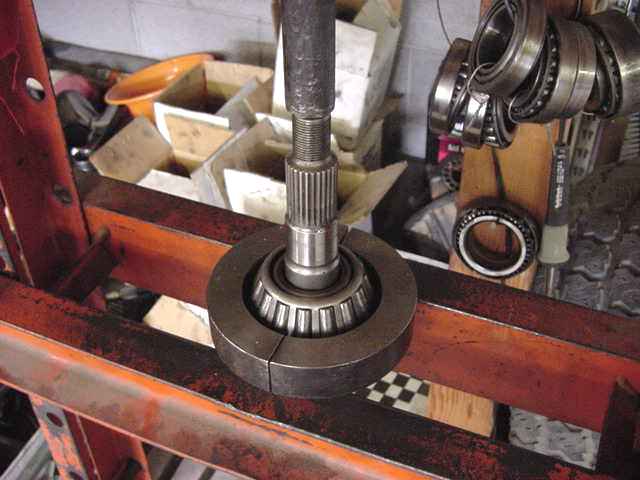
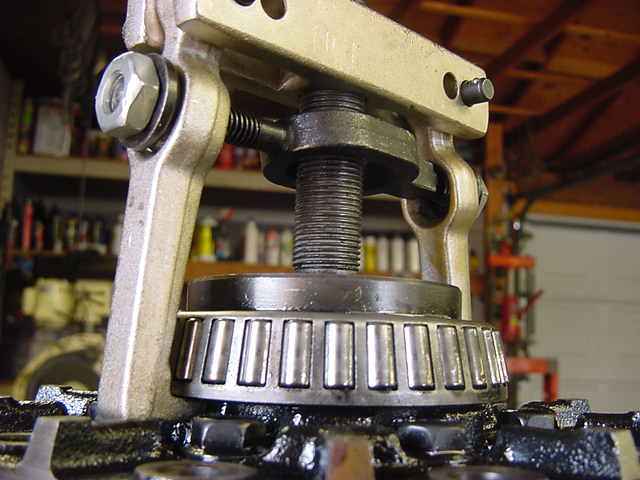
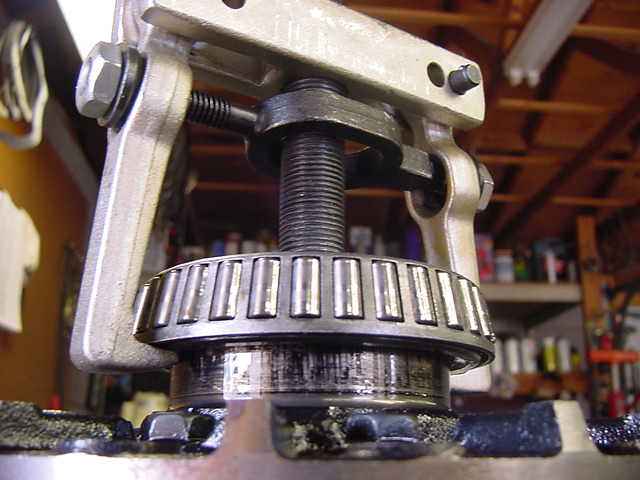
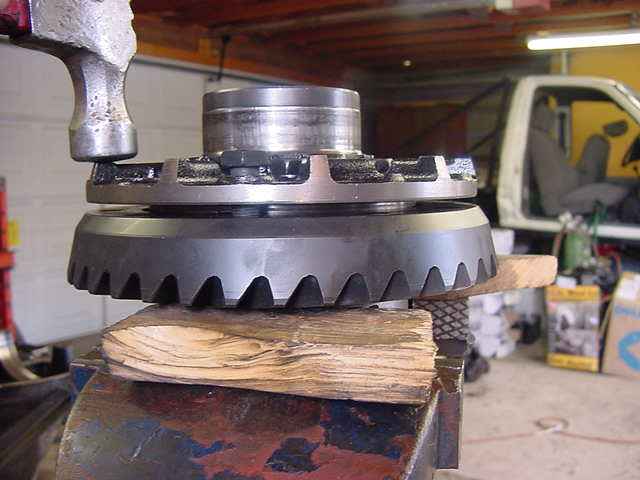
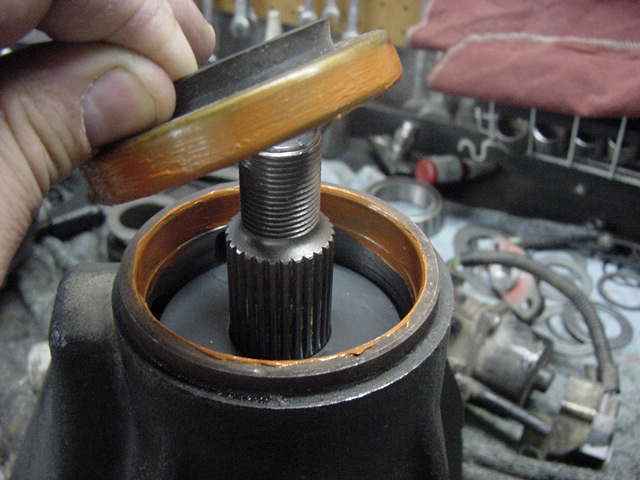
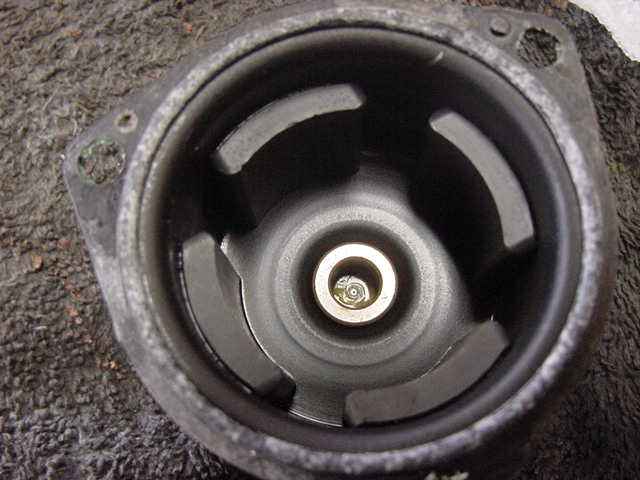
This is the monster ring gear side carrier bearing. |
|
No damage at all with the right puller. |
|
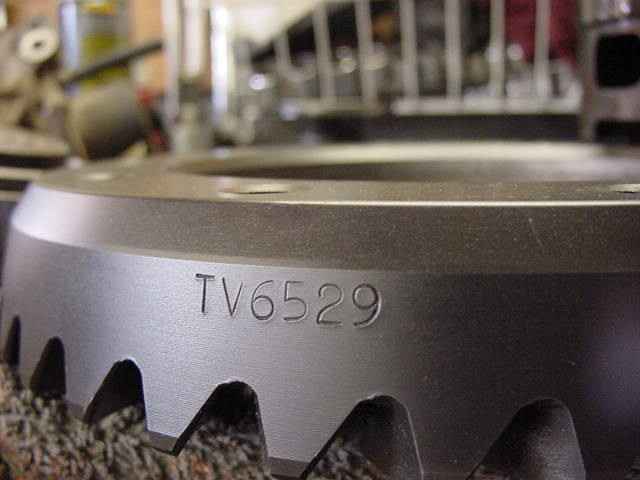
I removed the Yukon ring gear, inspected all surfaces, and prepped it for re-installation with loctite. |
|
I prefer to clean the oils off with starting fluid. Fastest evaporation rate. |
|
I tapped the ring gear far enough on to allow the ring bolts to catch and pull it on the rest of the way. As usual, blue Loctite and 70 ft/lbs. |
|
I was able to convince the new carrier bearing where it needed to be with a hammer. |
|
Being a V6 pinion, I chose a .078" shim. |
|
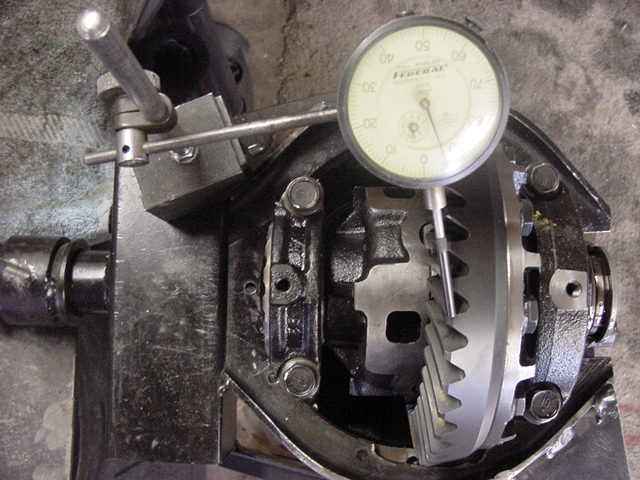
I installed the pinion without a solid collar this time and tightened the pinion nut just enough to simulate the correct pinion drag. The I installed the case and carrier bearing caps. I'm checking, in this pic, that the backlash is in the ballpark and it is. |
|
Looks like I got lucky...depth is right where it needs to be. Just need to tighten up backlash some. |
|
good |
|
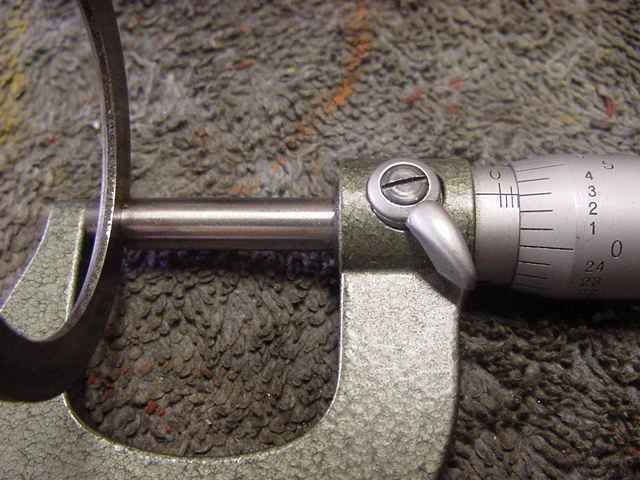
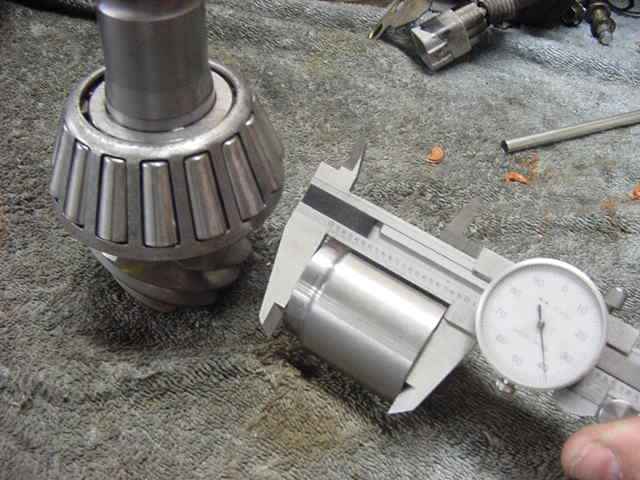
I am now ready to install the solid collar. I know that they come in 2 slightly different lengths depending on if you ordered them from Marlin or ALLPRO. This one measured 1.838" so I know to start with .030" for the shim....at least that's what I have written down in my secret book. If I had the slightly shorter collar (1.814") then I might use .054" for the starting value. |
|
I like to use a little RTV...the seal goes on a little easier and is less likely to leak. |
|
With my foot on the ground and my 200 pound gut pulling on it....isn't that 200 ft/lbs? I also use blue Loctite and generally stake the nut. Good luck getting it back off. :) |
|
|
|
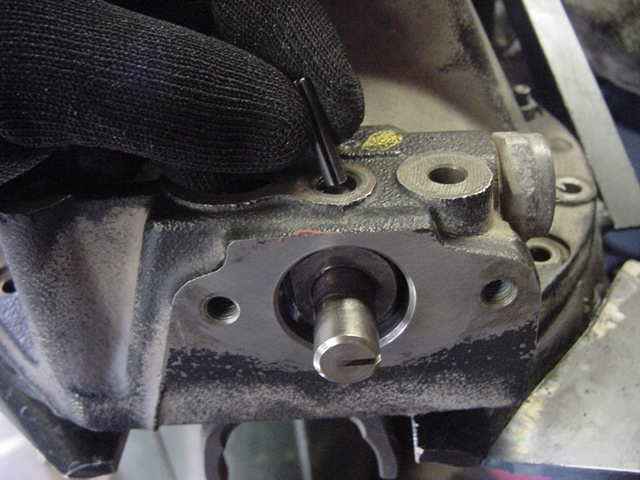
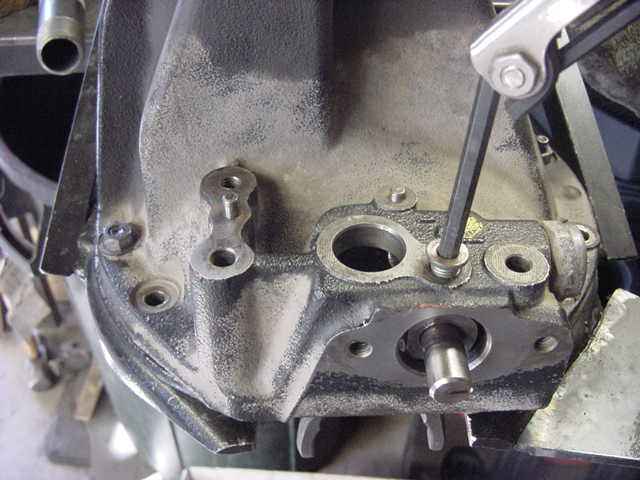
I properly installed the shifting fork and tapped this roll pin in with a punch. |
|
All this screw does is give good access to the roll pin. |
|
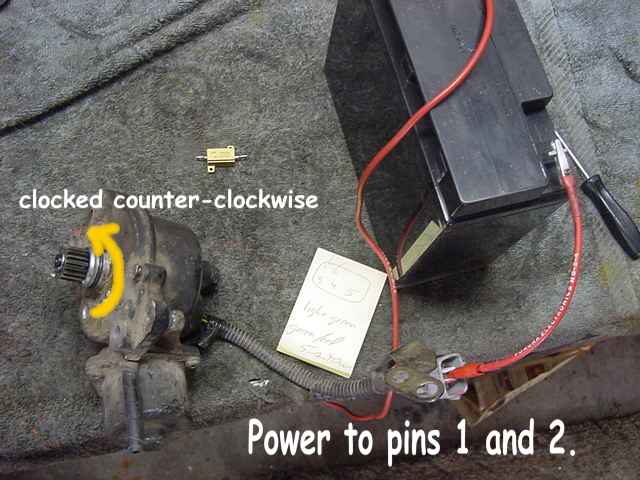
I used a small value resistor of a couple ohms to limit current and was able to get it to rotate counterclockwise to the desired clocking position. |
|
|
|
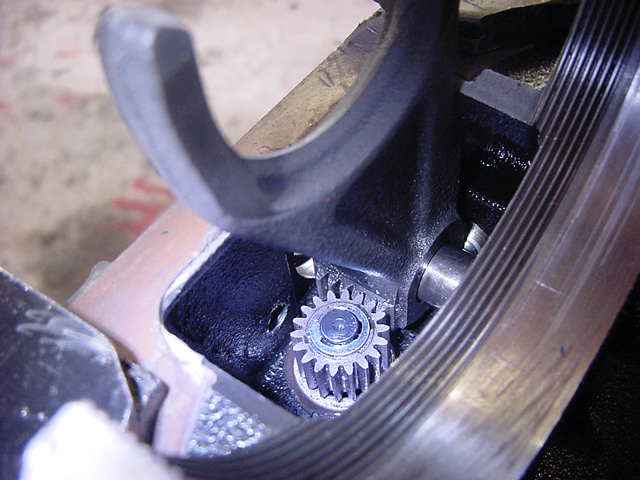
I have about 1/8" spacing here (to engage it with the next tooth would have put the fork right up against the case edge with zero gap). |

|
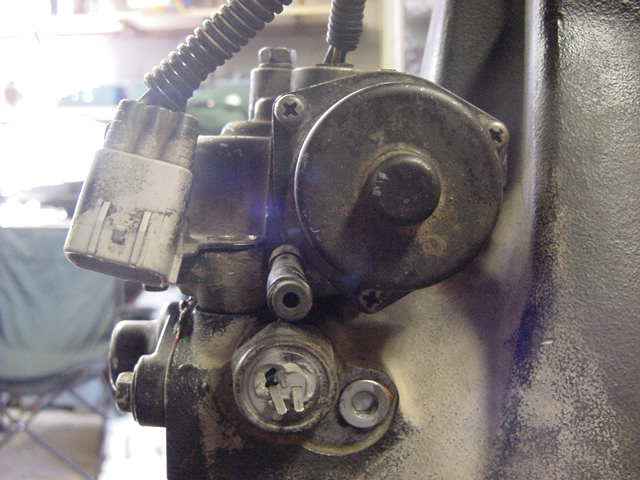
I did a visual inspection of the motor and was amazed how clean it was. Not a trace of dirt/dust or wear. |
|
Even the dab of factory grease in the bushing was "fresh". I used small amounts of RTV where appropriate when I assembled everything back together so that this motor stays water-tight. |
|
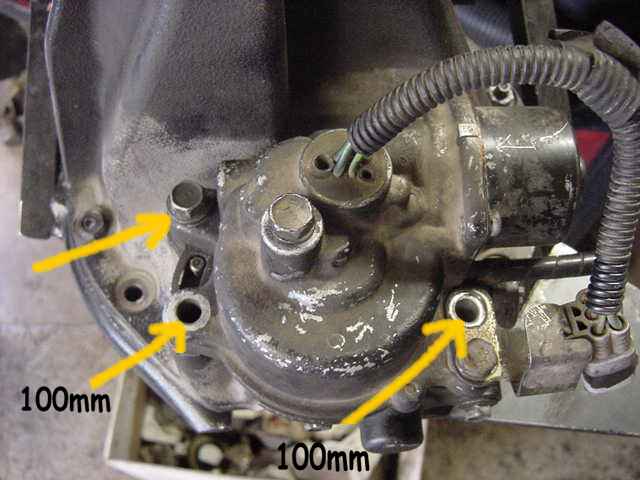
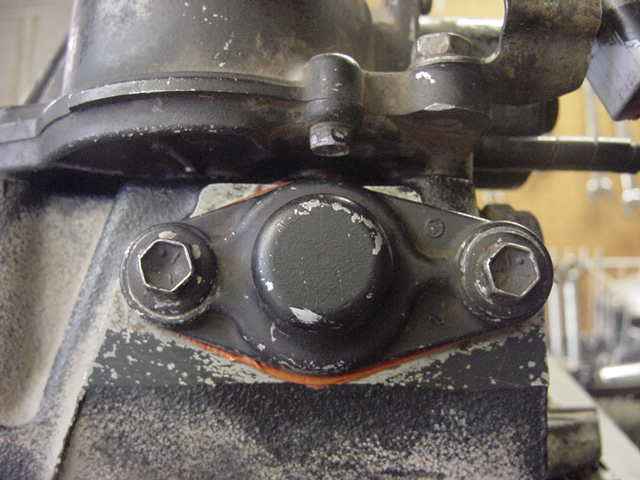
3 bolts secure the motor down. |
|
|
|
|
|
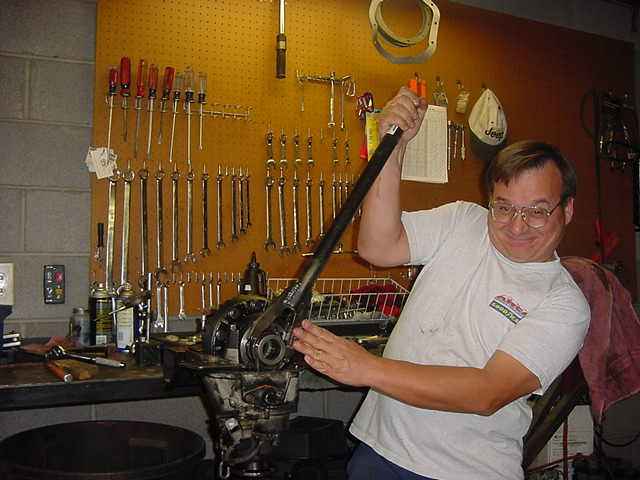
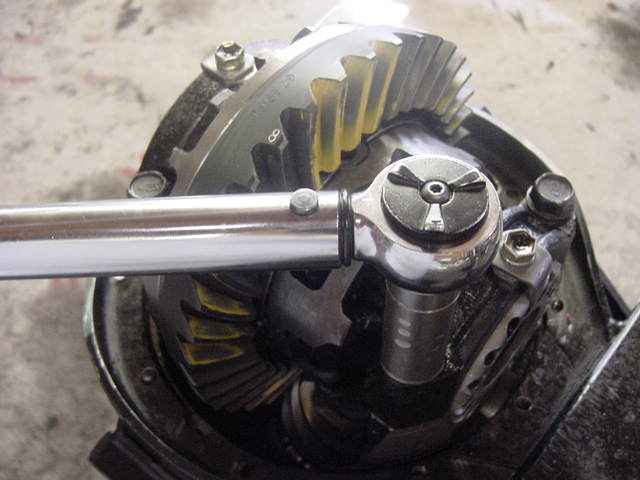
I have a custom spanner wrench just for the E-Locker bearings. Please do not accuse me of loose bearings. :) |
|
The usual...maintain the .007" backlash value while cranking the carrier bearings tight and taps from the hammer to equalize the bearing tension. |
|
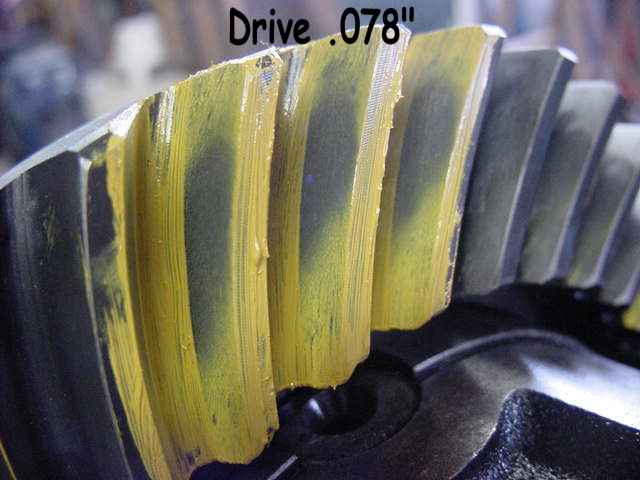
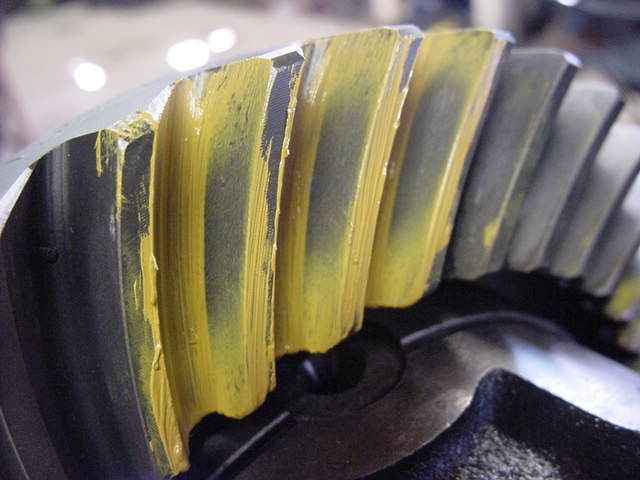
The drive side pattern looks very nice. I like the "wrench on the ring gear bolt and apply drag to the pinion yoke with a rag" method. |
|
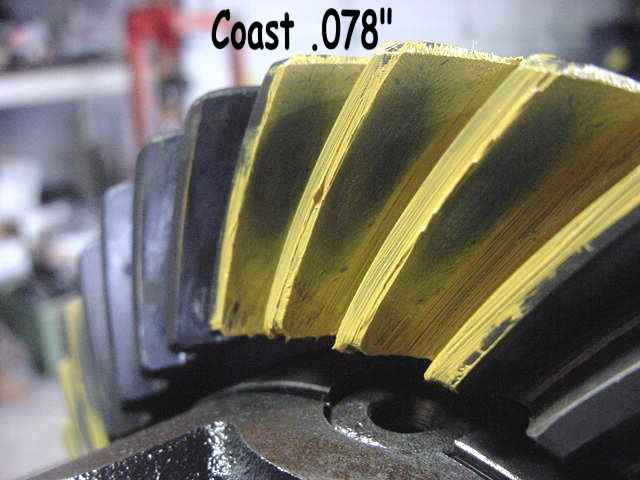
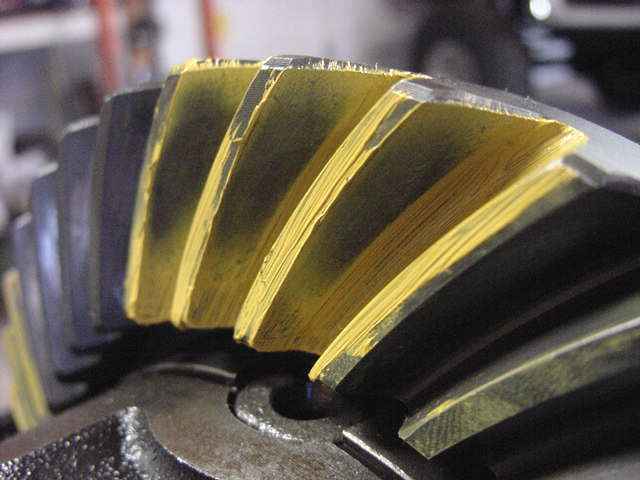
coast....nice |
|
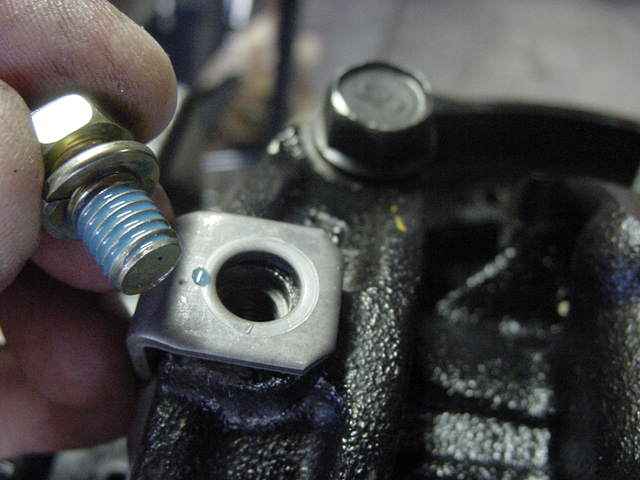
blue Loctite on the retainer tab also. |
|
I double-check to make sure I have 70~75 ft/lbs on the bearing cap bolts. |
|
|

|