|
|
|
|
|

|
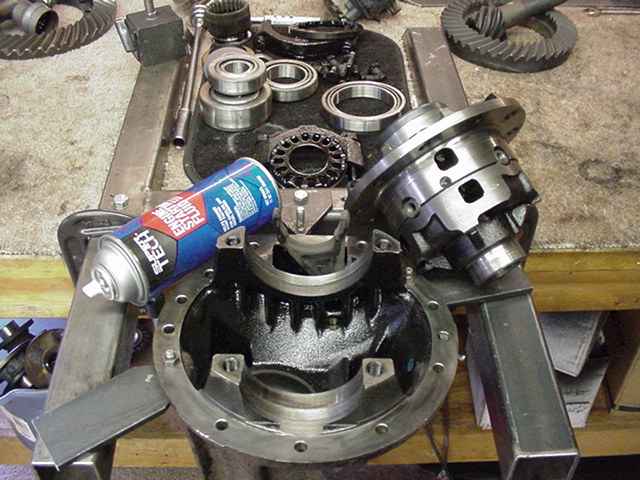
The front E-Locker is going to get the same treatment....cryo 571 gears and bearings with a solid collar upgrade. |

|
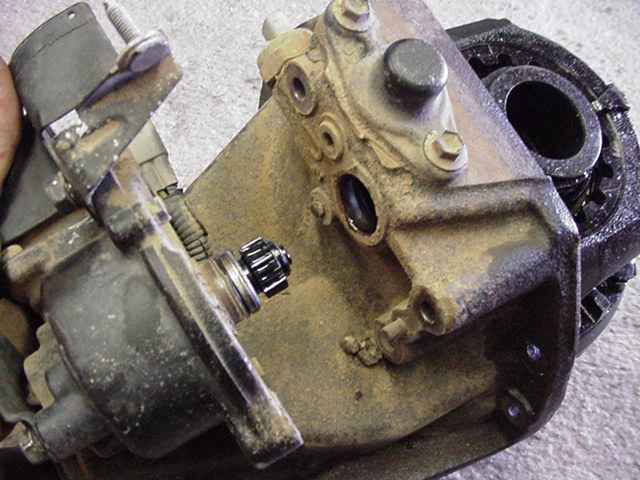
The E-locker was shipped to me in the locked position....5/8". The locking fork is actually pushed IN as far as it can go anyways so 5/8" is as big as it gets. For the records, when it is in the unlocked position, the gap is 1/16" or less... basically, the fork is OUT as far as it gets. |
|
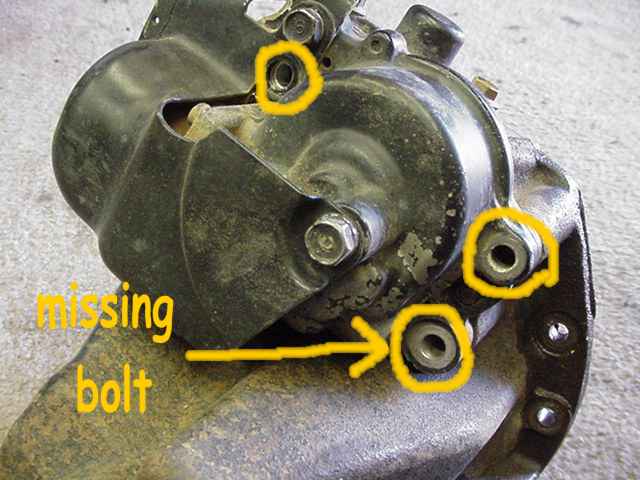
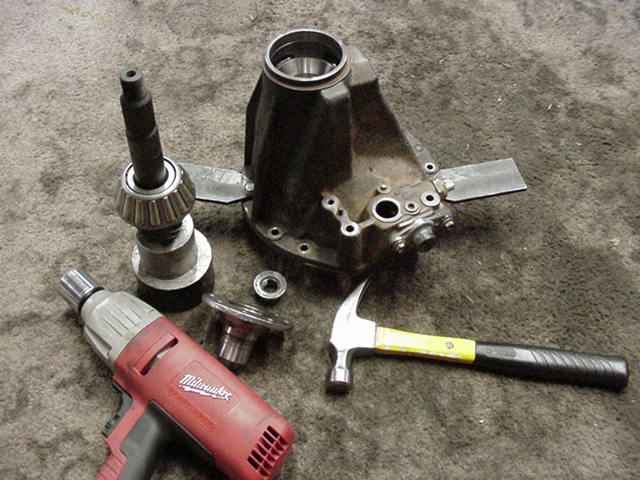
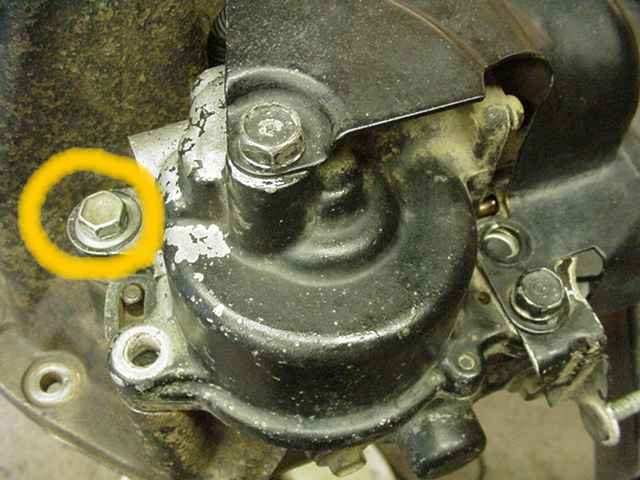
Normally, when I get the e-lockers, they have a bolt as shown above in that position. It keeps the motor from falling out. The other 2 bolts help hold the whole carrier in the axle axle housing. |
|
With nothing holding it in, I was able to wiggle the motor out. I prefer to remove the motor during the gear install process and this can be done safely as long as I note the position of the locking fork. When I put the motor back in at the end of this link, I will install a holding bolt for the trip back to Jim. |
|
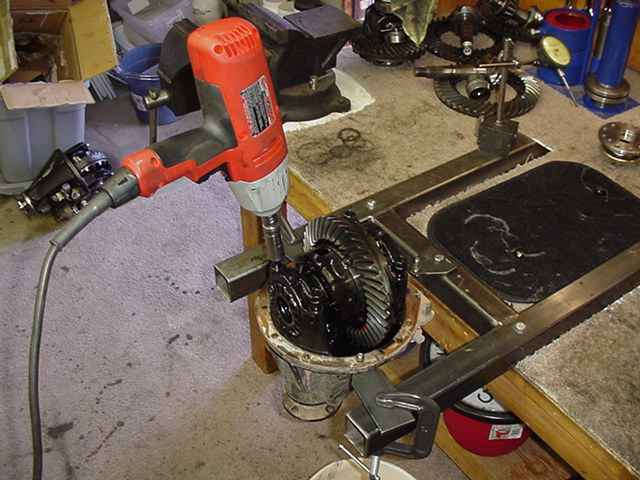
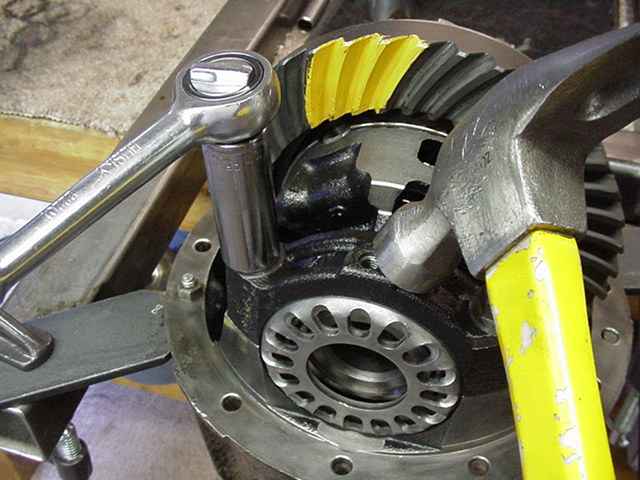
The teardown begins with removing the four 17mm bearing cap bolts. This electric impact is a wonderful time saver. |
|
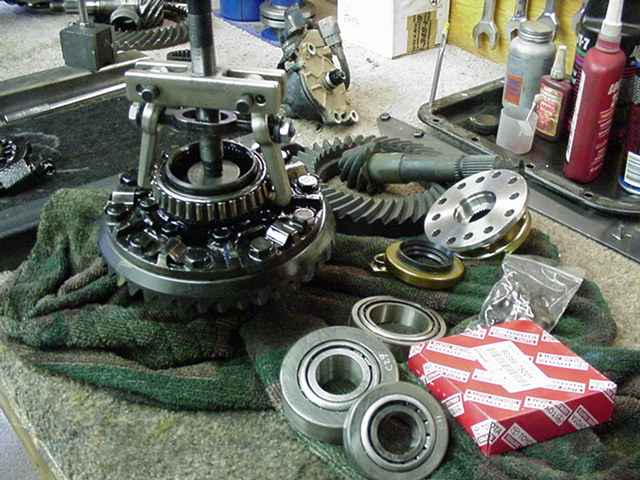
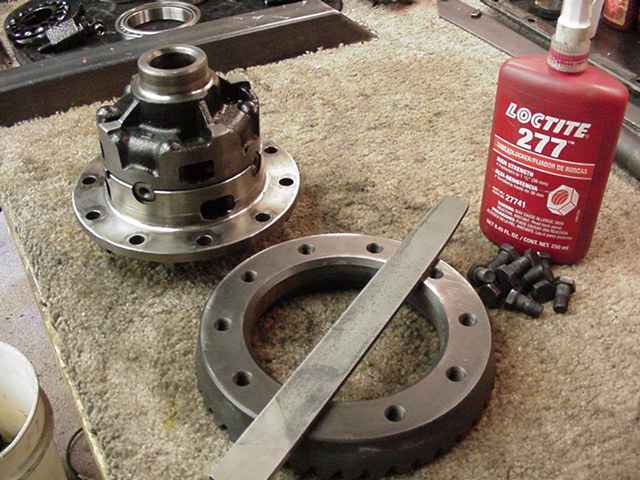
A new pinion flange will be used....also cryo treated bearings. Cryo treated Motive 571 gears. |
|
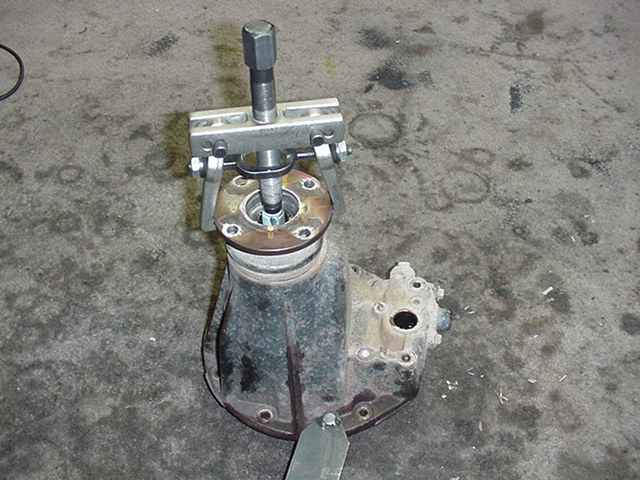
The flange was stubborn but was no problem with the "differential bearing puller". |
|
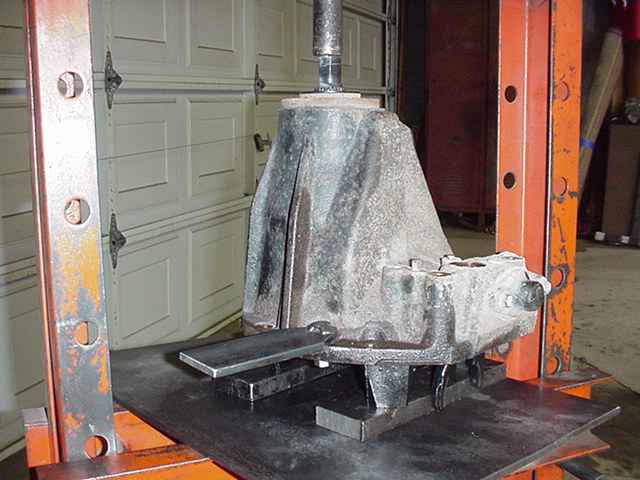
The pinion is pressed out....sometimes they almost fall out but not this one. |
|
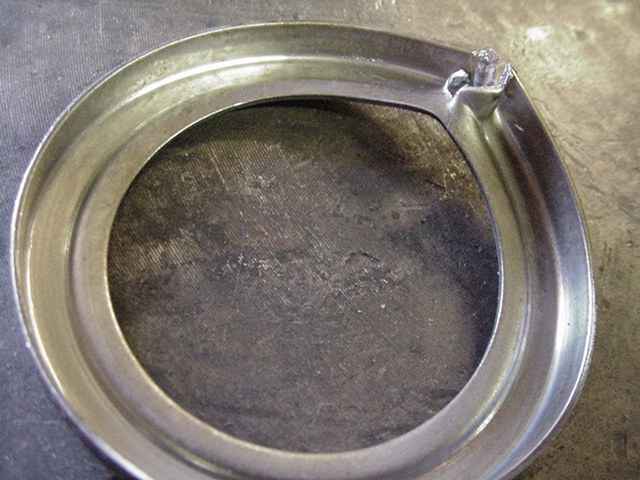
I use a sharpened extended punch to knock out the oil retainer/outer pinion race combo. |
|
One hard rap in the corner at this angle is enough to loosen the oil retainer. |

|
The race and the retainer are out in no time. |
|
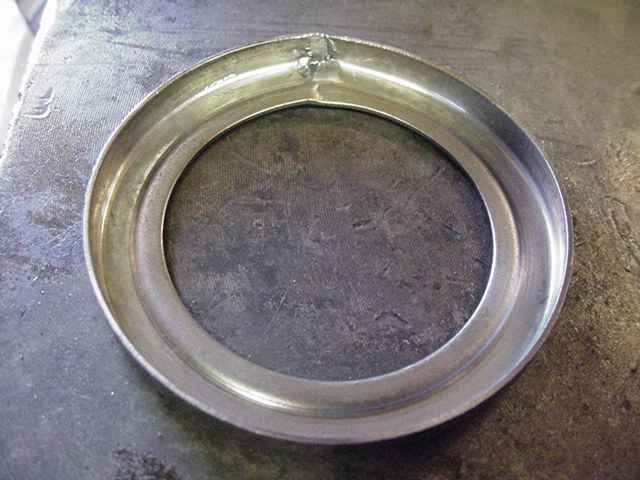
This retainer has alot of damage from the punch but it is still quite usable. |
|
Tap it down with a flat punch and it's like new. :) |
|
The damaged area is placed in the straight up 12 o'clock position where it doesn't retain oil anyways. |
|
Both inner and outer races are pressed in at the same time. |
|
I use starting fluid to clean all needed parts. |
|
Surfaces are filed and the ring gear is installed and tightened to 75 ft/pounds with red loctite. |
|
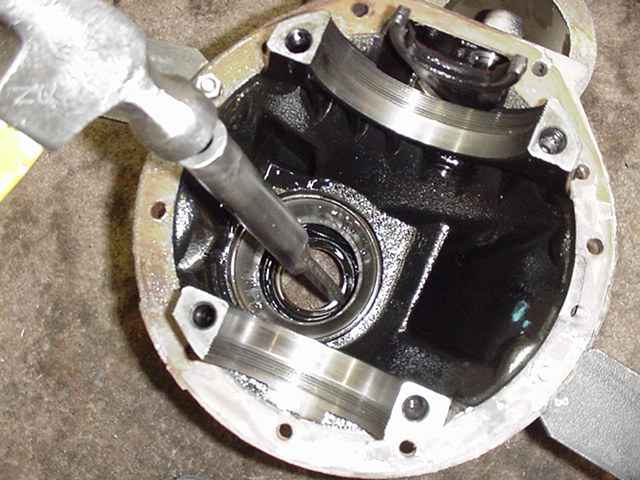
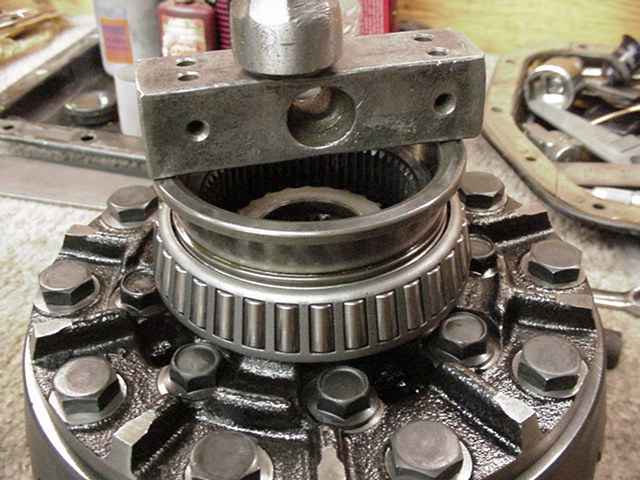
The cryo treated carrier bearings are tapped on. |
|
A .240" shim is pressed on with the cryo pinion bearing. |
|
The pinion assembly will be installed without a crush sleeve or solid collar. The solid collar will be installed when the proper pinion depth has been established. |
|
While the bolts are just barely loose and tightened slowly, the hammer taps the spanner threads into a better alignment between the top bearing caps and the lower carrier threads. |

|
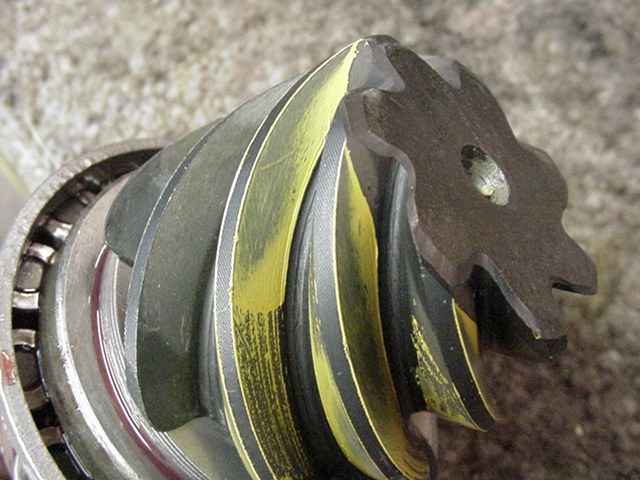
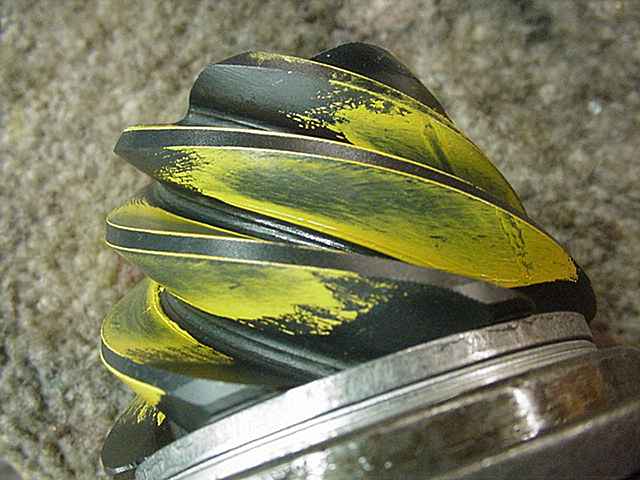
The first pattern check shows it's far too deep and favors the toe end. |

|
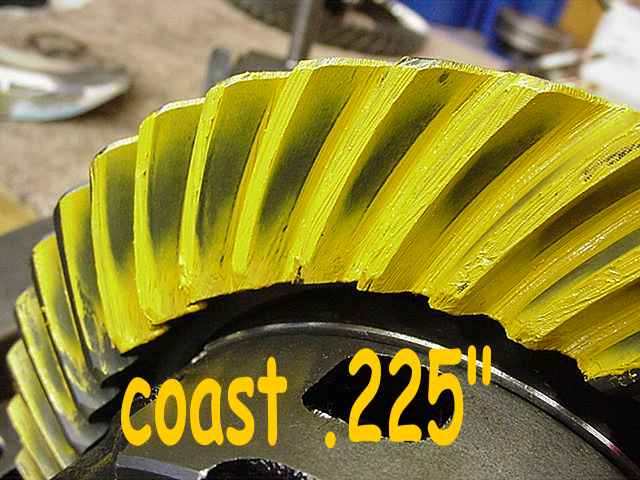
As expected, the coast is deep and favors the heel. |
|
Everything is torn down. |
|
Shallow on the pinion means too deep on the ring gear. |
|
... |

|
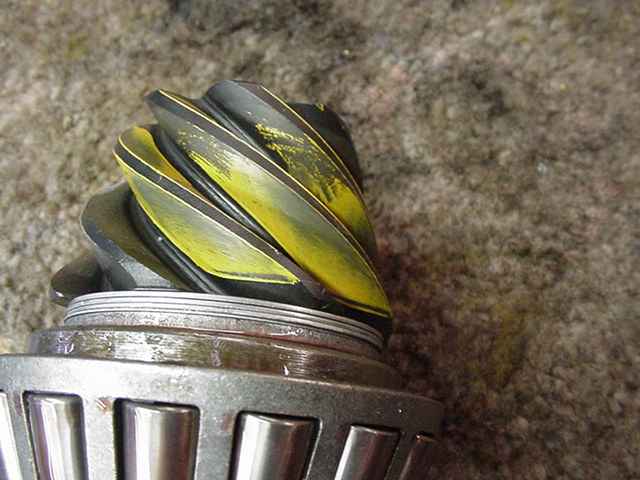
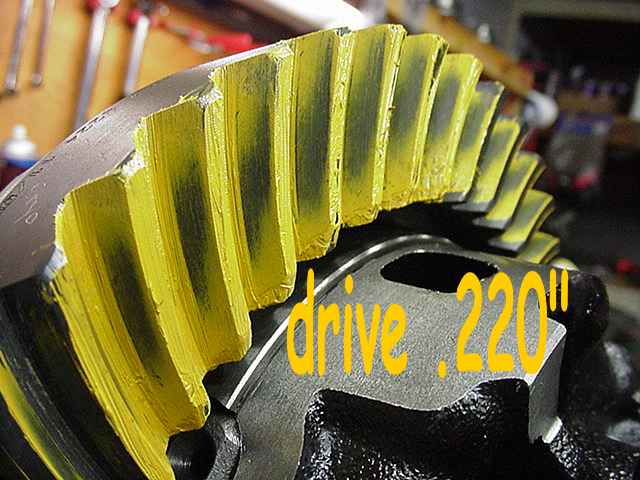
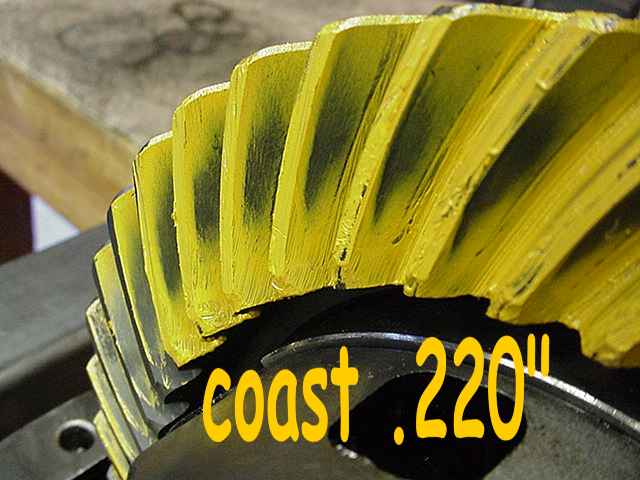
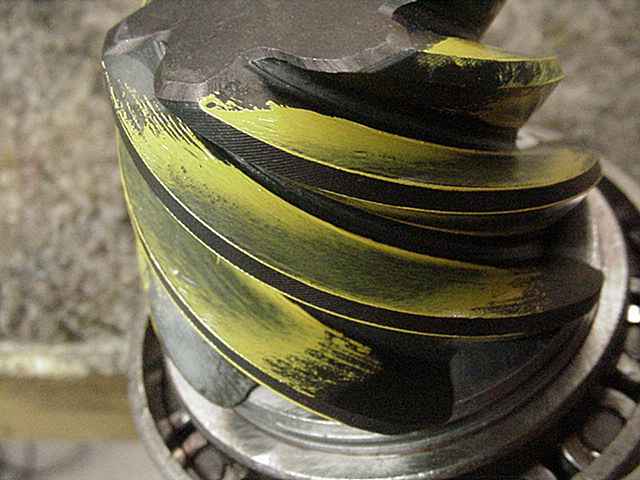
The .240 shim is removed and a big jump down to .220" is made. |
|
Appears slightly shallow. |
|
... |
|
...hmmm |
|
... |

|
I tore it down and added .005 to the pinion shimpack. I like this pattern much more...depth appears slightly deep which is excellent. |
|
... |
|
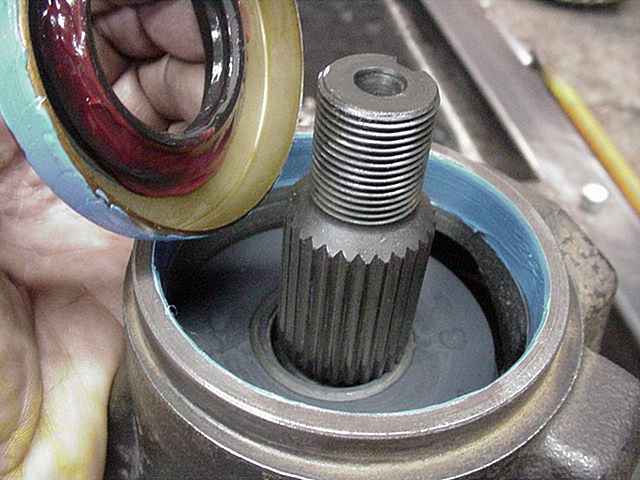
I skipped a few steps here. Pinion depth is very good so the solid collar is installed and, on the second try, I had 10 inch/pounds of rolling drag. As shown in the picture above, the seal is ready for install. The thick red grease keeps the spring from popping loose. |
|
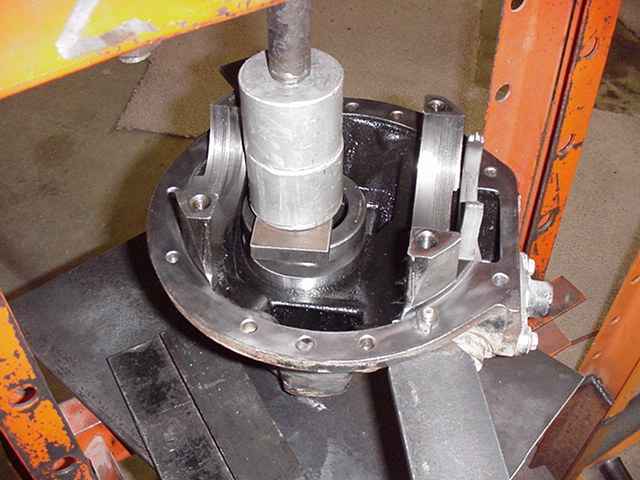
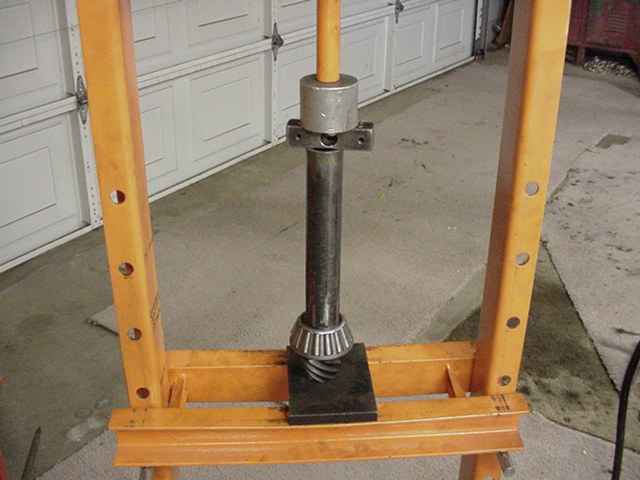
This homemade pinion installer works a-ok. |
|
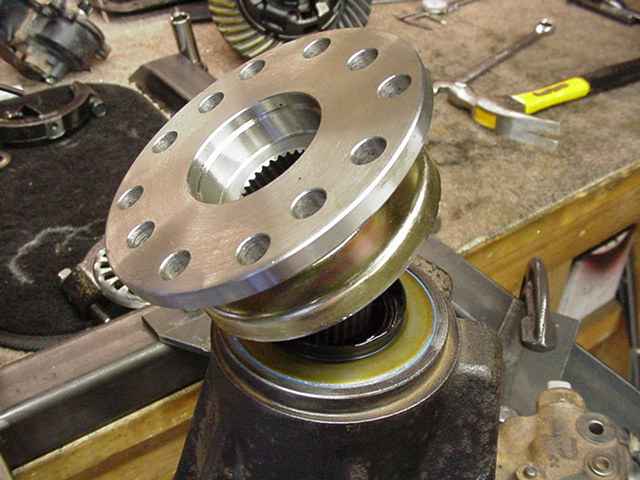
The new flange goes on. |
|
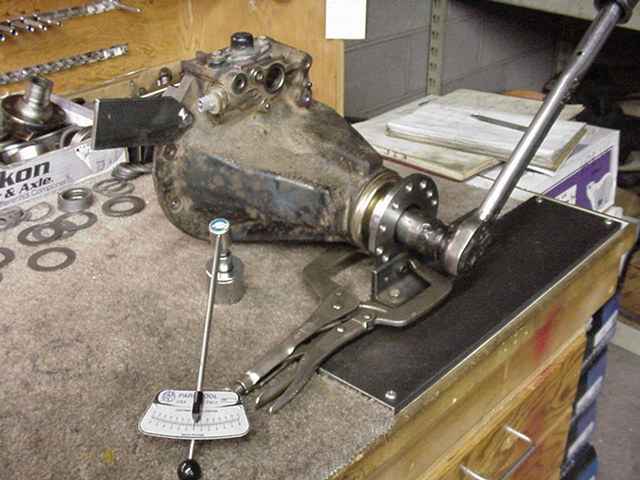
The nut is cranked extra tight with Loctite and PPL is monitored to make sure the soft shims don't compress too much and cause the PPL to creep up farther than the spec. |
|
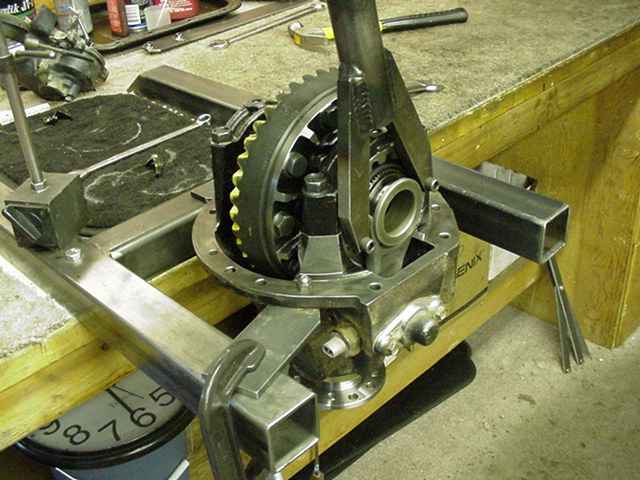
Both spanner wheels are tightened evenly with lots of smacks from the hammer to equalize tensions. |

|
Final pattern check.....using a 17mm wrench to turn the ring back and forth with a small amount of resistance on the pinion with a rag yields easy to read painted patterns. |
|
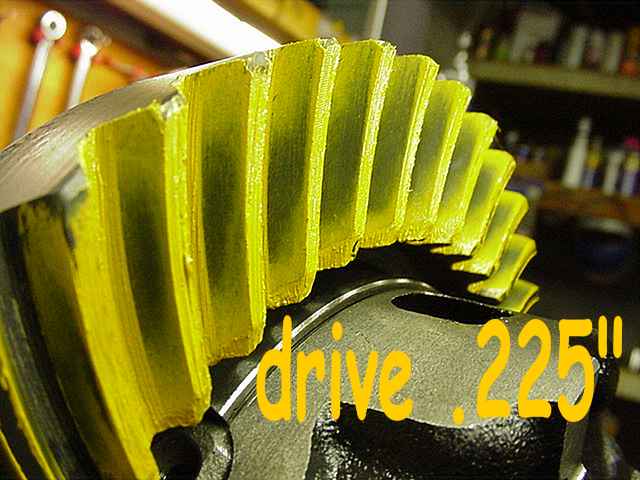
Good pattern with the proper pinion depth. |
|
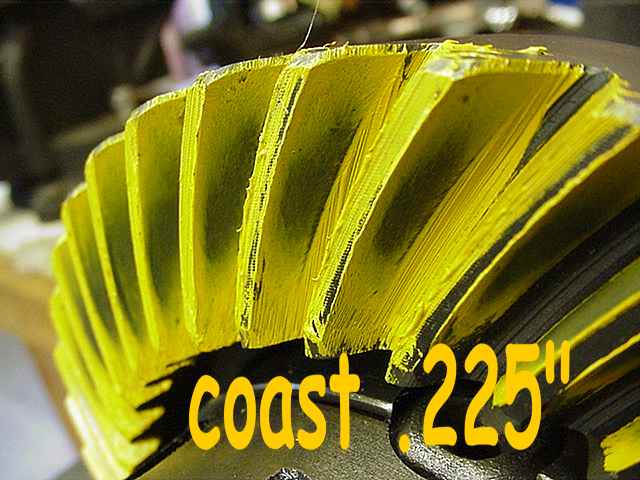
Nice coast. |
|
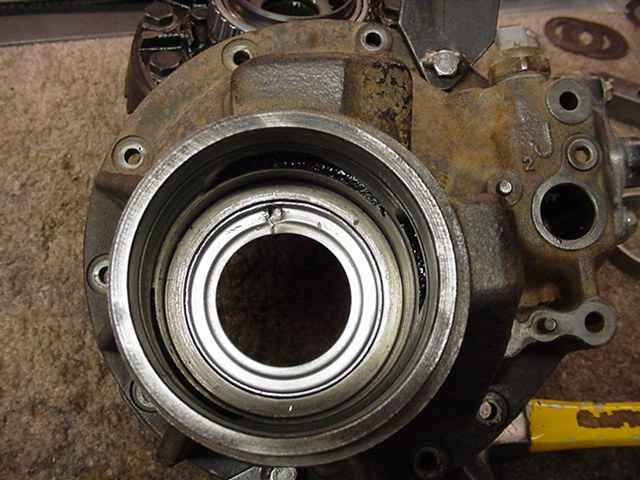
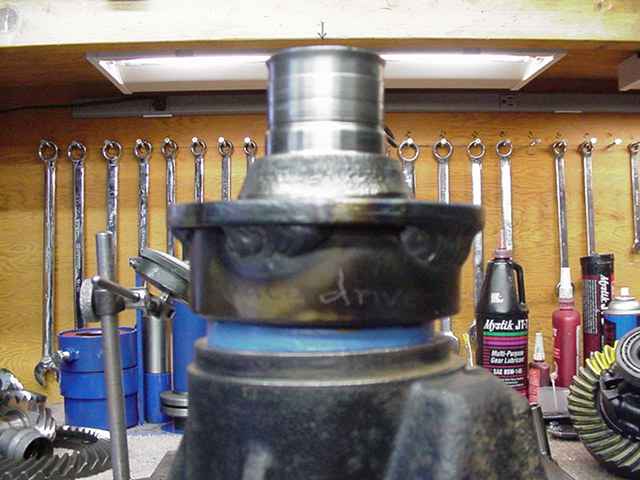
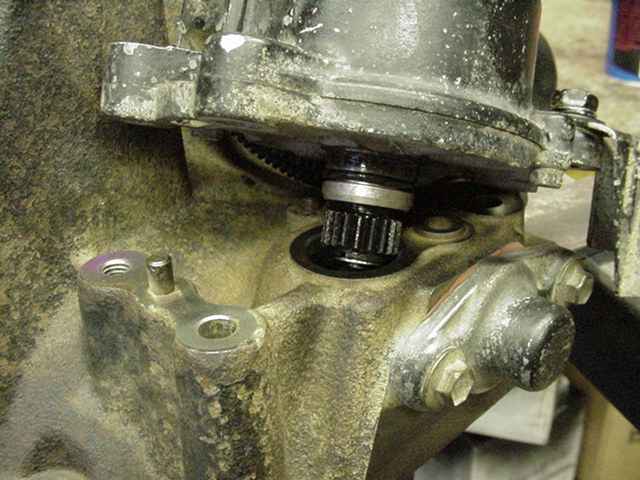
The locking fork is put in the proper position(5/8") while the motor is wiggled in place. |
|
I added this bolt to keep the motor in place while it's shipped to Jim. |
|
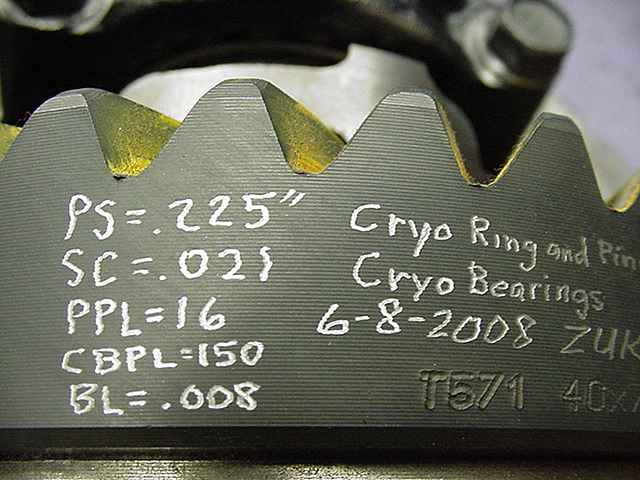
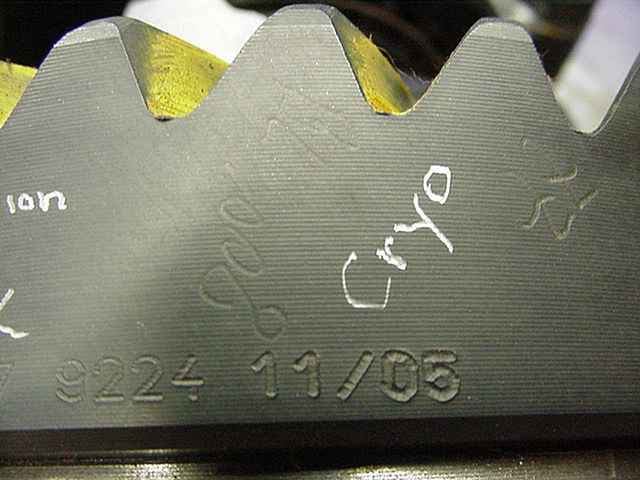
Ring gear is engraved with the specs used. |

|
... |
|
... |
|
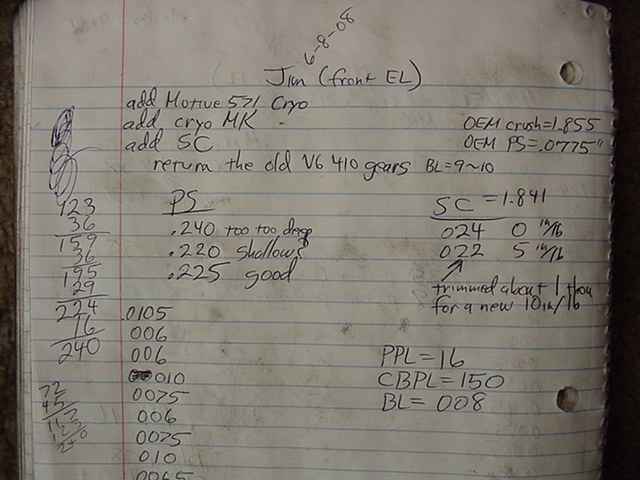
Notes I keep....Done :) |

|