|
|
|
|
|
|
Getting ready to put in a used 3rd that you just bought from a BBS?
.......or maybe just took yours out to put a lunchbox locker in? Well then, before putting
it back in now is a good time to crank those carrier bearing adjuster rings as tight
as you can. That would be about as hard as you can with a 12" long wrench. A differential
with 100,000 miles will have somewhat loose carrier bearings just through simple wear and tear.
By "re-energizing" the Carrier Bearing Pre-Load (CBPL), the effective strength of the
ring and pinion can be doubled. No actual need to actually measure backlash....just mark the
present position of both rings and tighten each an equal number of notches. Many times, it
is possible to get 6 notches from each side. That's a bunch. Now go pull your buds out
of that mud pit with your gears and don't worry very much about busting teeth. Start worrying
about those 30 spline axles ;)
|

|
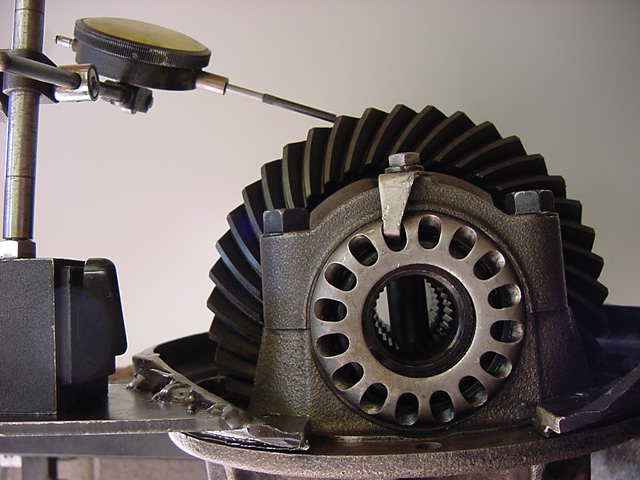
Using a dial indicator is not mandatory for this procedure but what the heck. Consider this a lesson in how to properly measure backlash. Here, I've lined up the dial indicator to be at a right angle to the axle centerline. This is the wrong way. |
|
This is the correct way...set the dial indicator at a right angle to the curvature of the tooth surface. This is referred to as NORMAL BACKLASH and is the way ring and pinion data sheets are specified. |

|
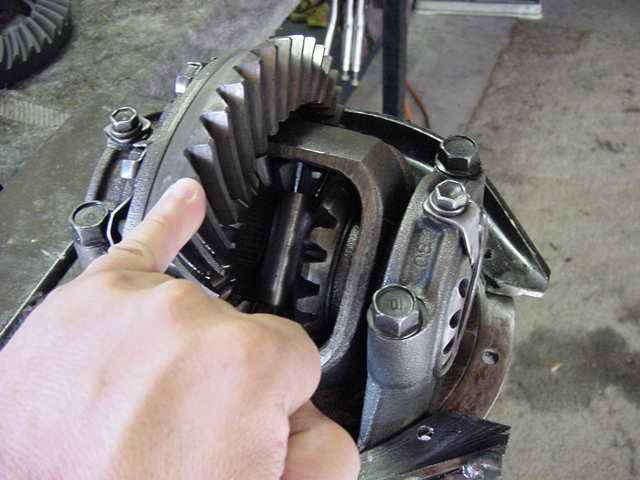
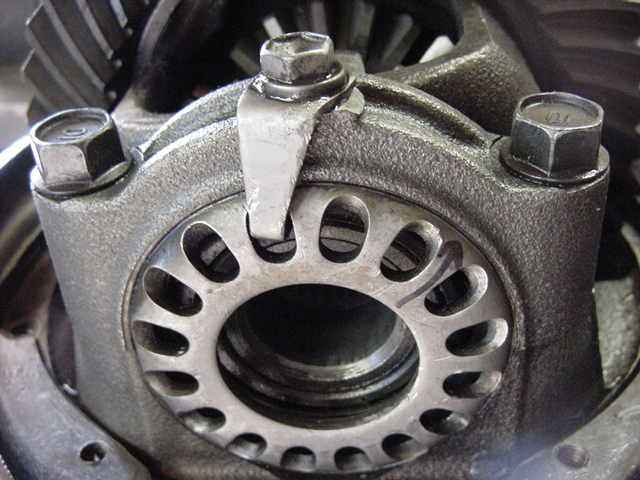
Back to business...Mark the adjuster ring on both sides as shown above. Remove the lock-tab bolt. |
|
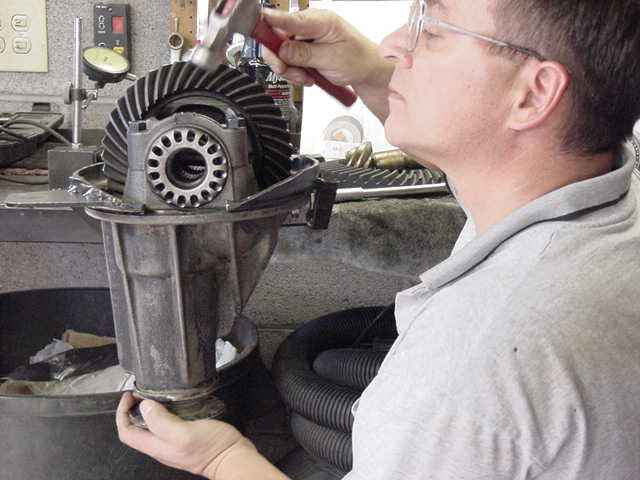
Turn the adjusters one or two notches at a time (to both sides). Use light hammer taps on the right spot while turning the pinion like I'm doing. This will "equalize" the bearings on both sides. Tighten then equalize again and again. |
|
Both adjusters have been rotated exactly 6 notches before I felt a pain in my groin. I would imagine that most other diffs would take less than 6 notches as this one I am adjusting was looser than loose to start with. |

|
I used my torque wrench as a check and it took over 80 ft/lbs of force before the adjusters started to move. |
|
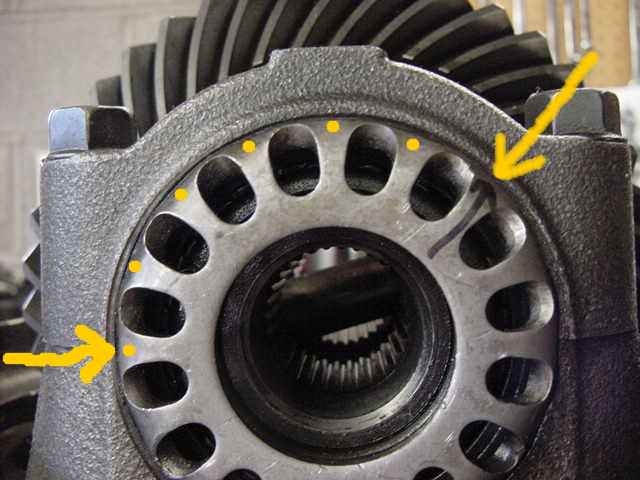
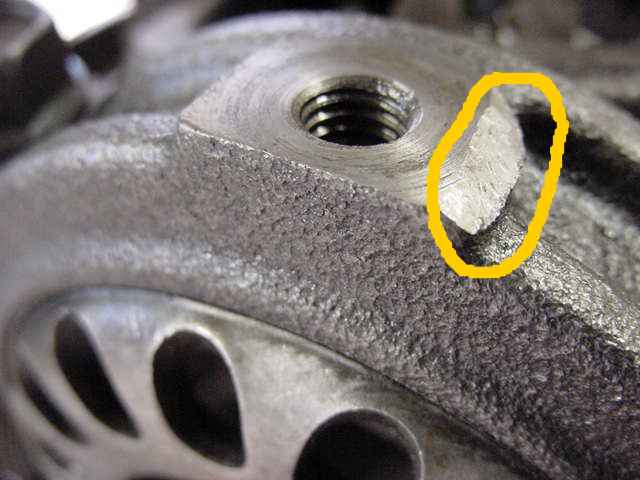
This is the sweet spot where I was tapping it with the hammer. Not directly over the threads for obvious reasons. |
|
Torque the cap bolts to 70 ft/lbs and tighten the lock-tab bolt to 10 ft/lb. Use Loctite if unsure. This diff will now have very little ring gear deflection which will allow greater torque strains without loosing teeth. |

|