|
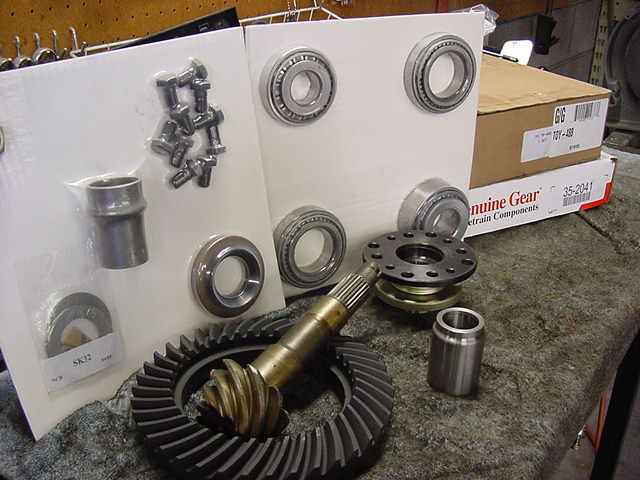
Initially, I wasn't going to do this install as Jeff had purchased a Genuine Gear. After
we discovered that they had slipped in a higher quality brand into the box then I was
ok with it. Jeff wanted it done right so he supplied the master kit, solid collar and
a new flange.
|
|
|
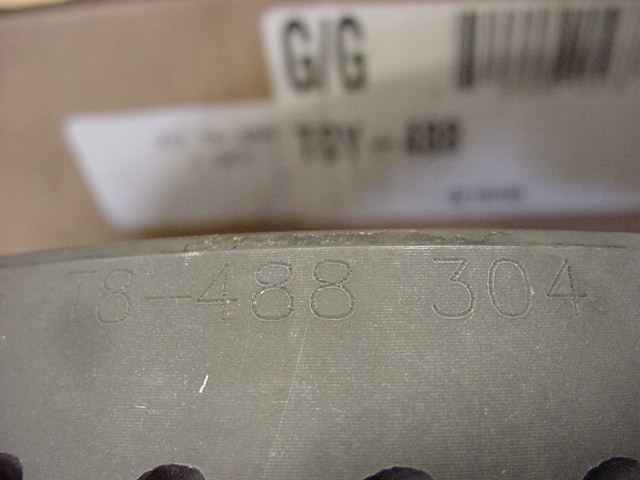
The ring gear had the "304" on it (Yukon). Nice to have a camera with a decent macro. ;)
|
|
|
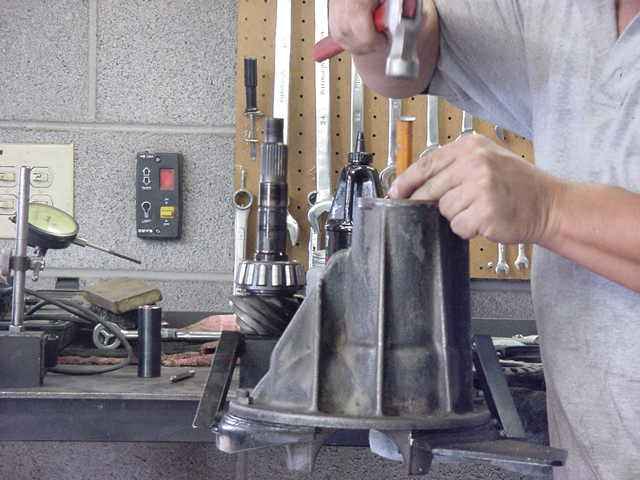
Tapping in the new races....(with a soft steel punch).
edit---Best to stay away from all punches...
use an old race to evenly "pat down" the new race.
Using a punch could result in "oscillating" pinion
preload measurements with the torque wrench.
1-8-2011 ZUK
|
|
|
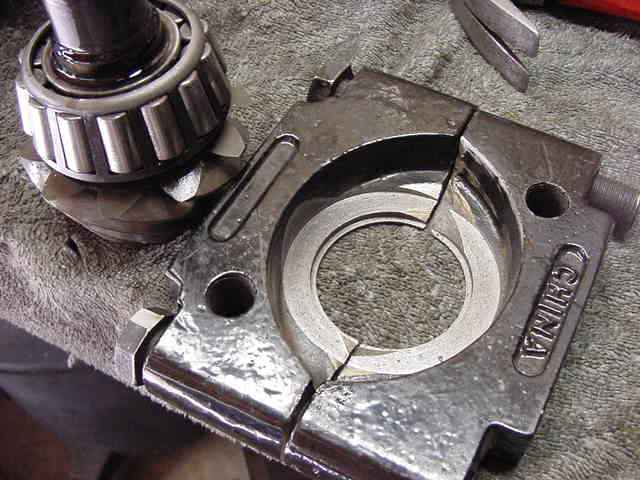
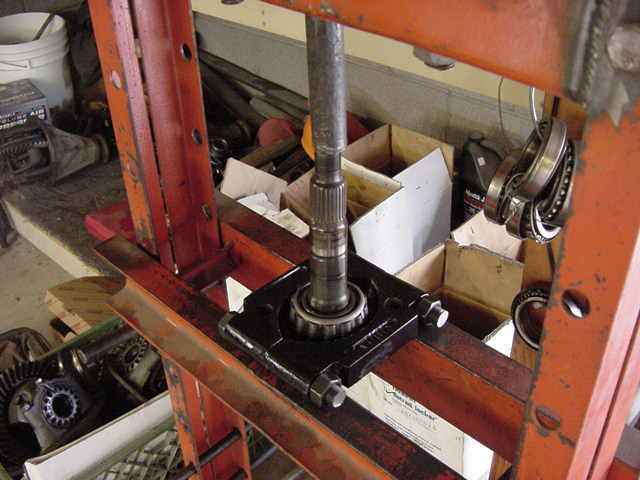
With the help of my machinist dad, I transformed a cheap Harbor freight bearing
separator into a special purpose bearing puller.
|
|
|
This allows me to remove even the most stubborn bearing and no damage...to the tool
or the bearing.
|
|
|
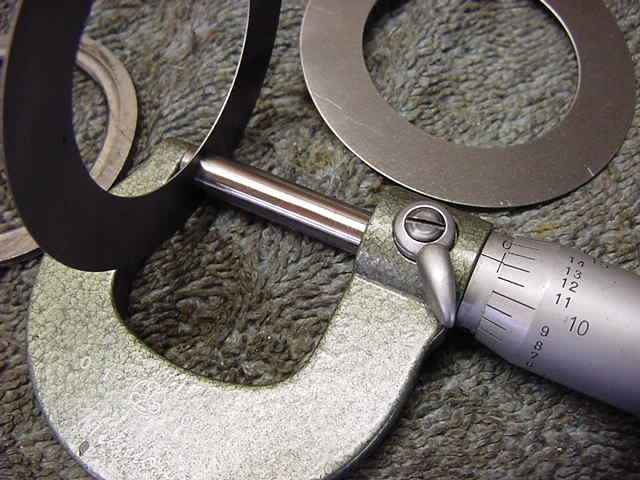
Micrometers can be had for as cheap as 20 bucks.....a must have for its precision.
|
|
|
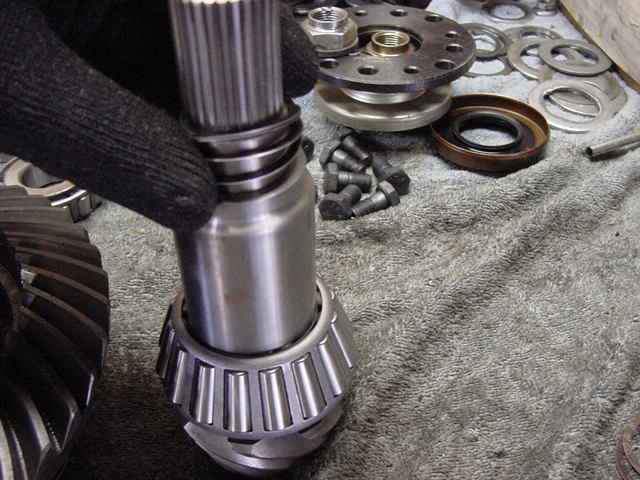
The solid collar is especially important in rear end use. I used .060" worth of
shims here.
|
|
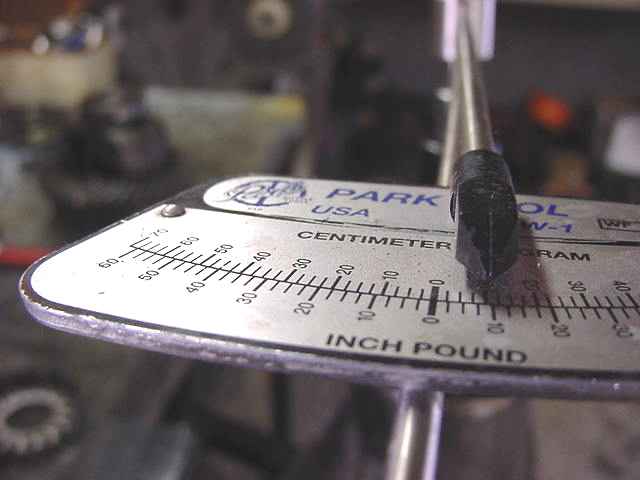
|
This resulted in a nice 10 in/lb of pinion drag.
|
|
|
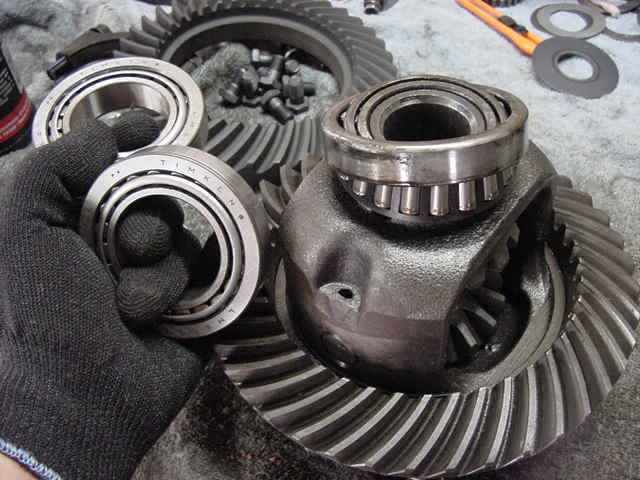
New Timken carrier bearings.....
|
|
|
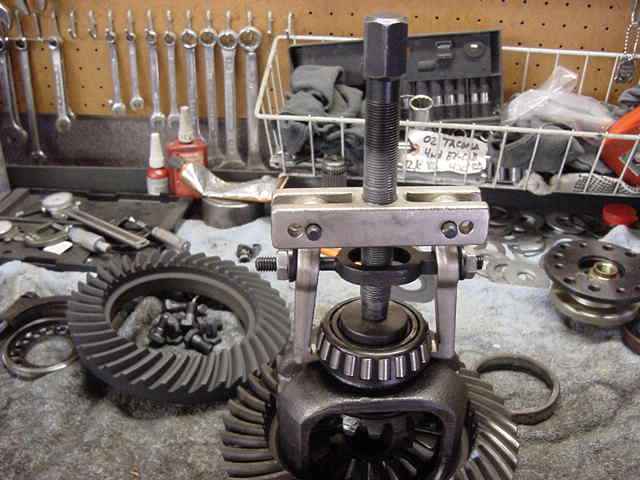
Best carrier bearing puller I've ever used. The pointy shape of the fingers
and the strap in the middle that pulls the legs together is a nice design.
|
|
|
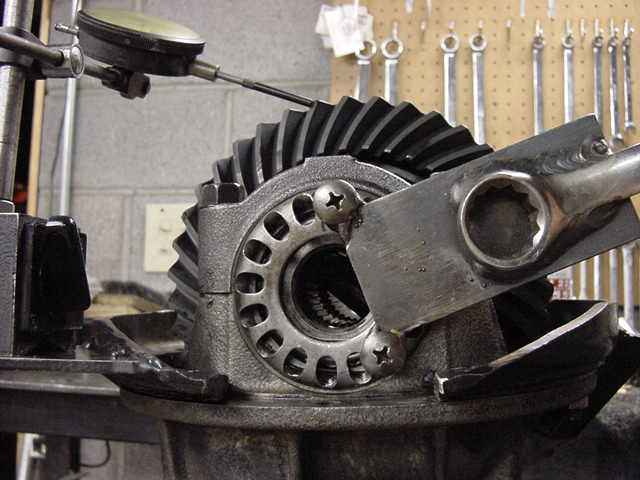
Almost ready to do a pattern check....just need to preload the carrier bearings some...
|
|
|
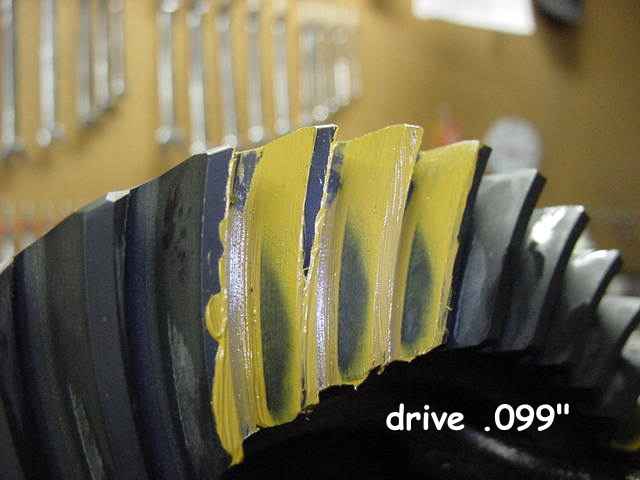
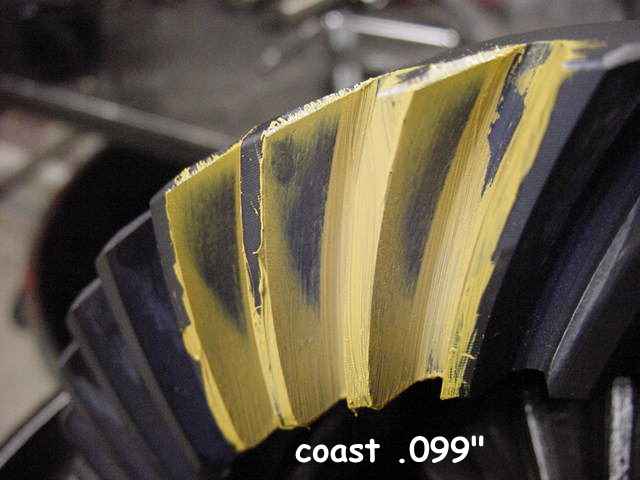
too deep...
|
|
|
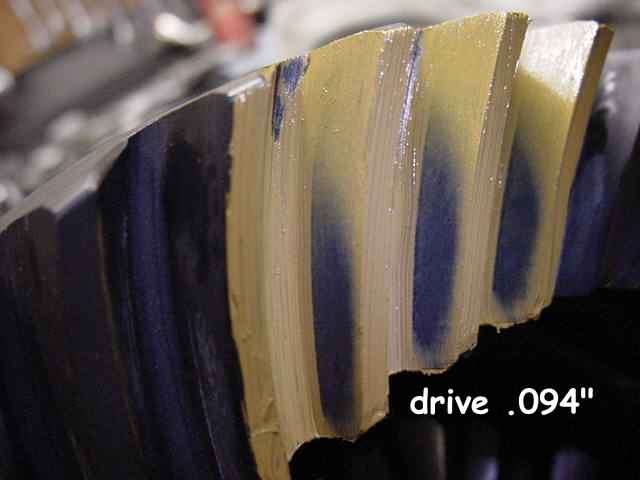
the coast agrees with that...
|
|
|
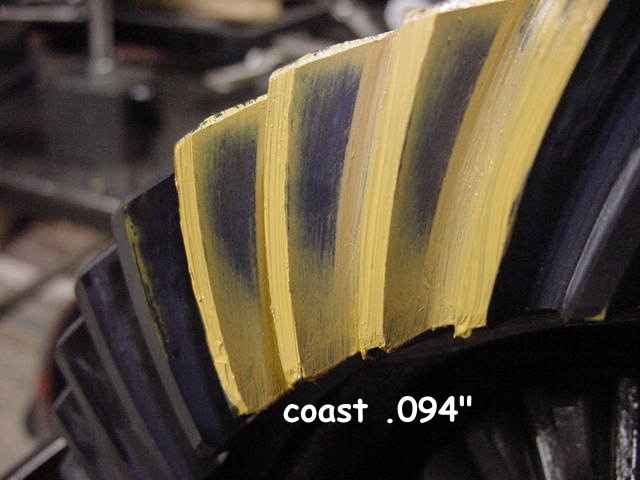
still a touch deep...
|
|
|
|
|
|
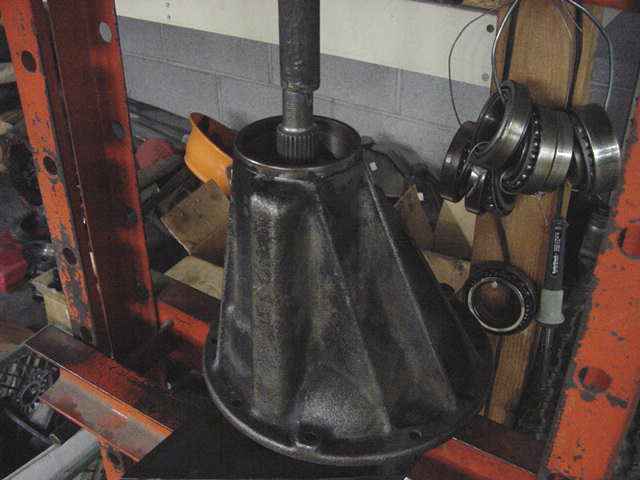
Everytime I changed the pinion shim, I made use of the press. I could have
used a hammer to beat the pinion shaft out but it might have dented the outer
pinion cup.
|
|
|
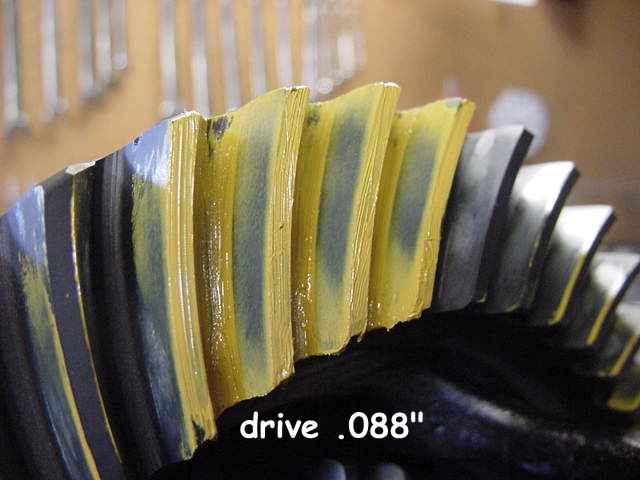
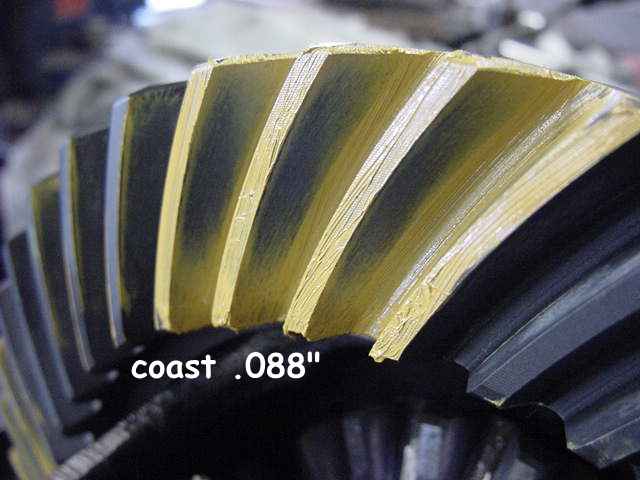
I got a little carried away and now the pattern went shallow.
|
|
|
|
|
|
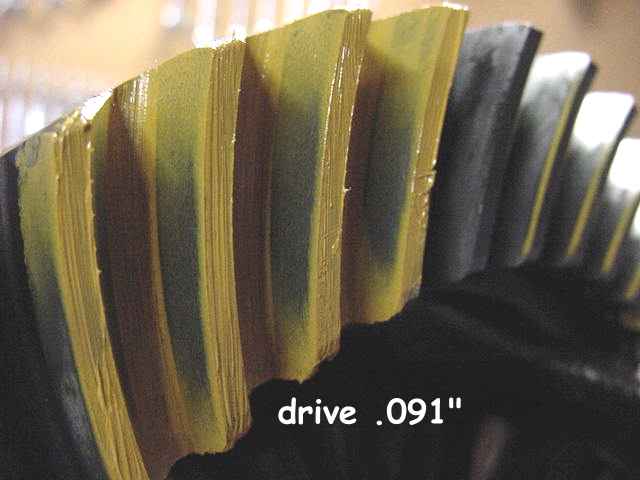
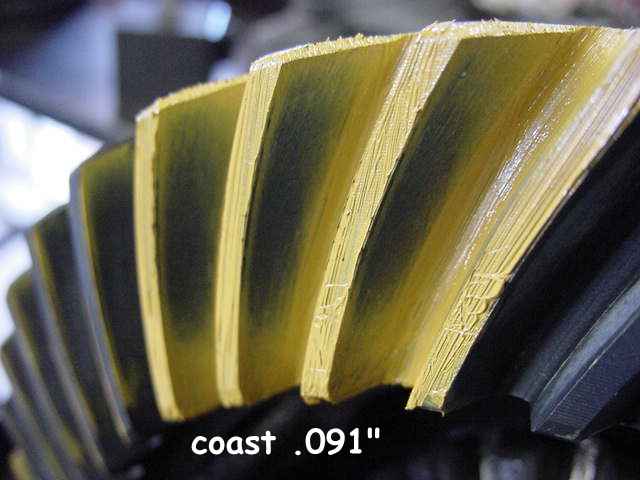
Good pattern with .091" pinion shim
|
|
|
coast looks nice.
|
|
|
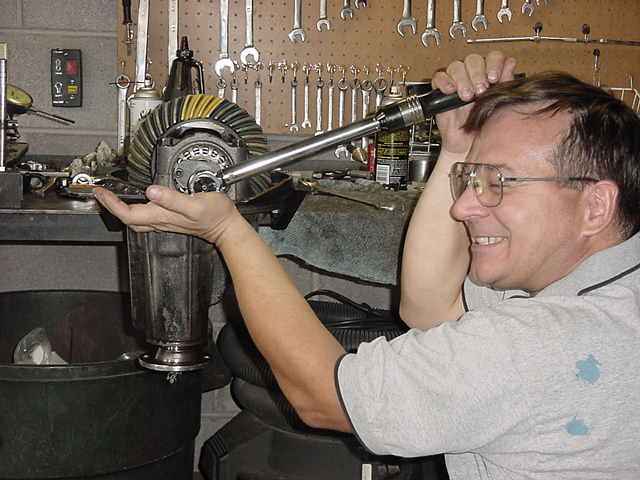
I might spend 20 minutes or more getting the backlash dialed in and some strong
carrier bearing pre-load.
|
|
|
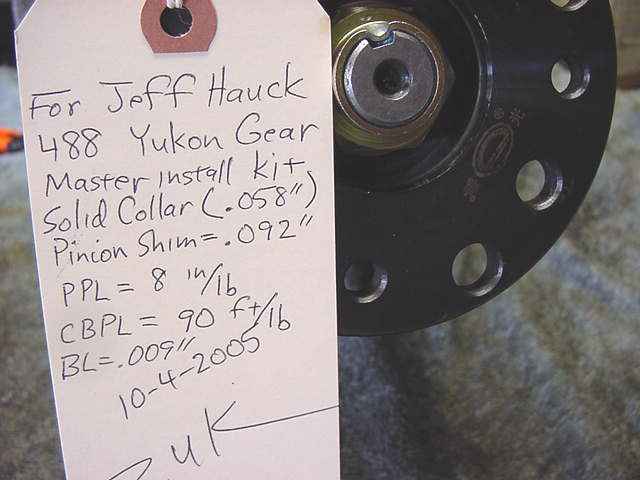
Done! :)
|

|