| Jason's 1987 SAS'd truck gets Nitro 529 gears/Harrop in a Marlin HP Diff Housing |
|---|
| (72 BIG pics loading) |
|---|
| AUGUST 19 2018 |
|---|
|
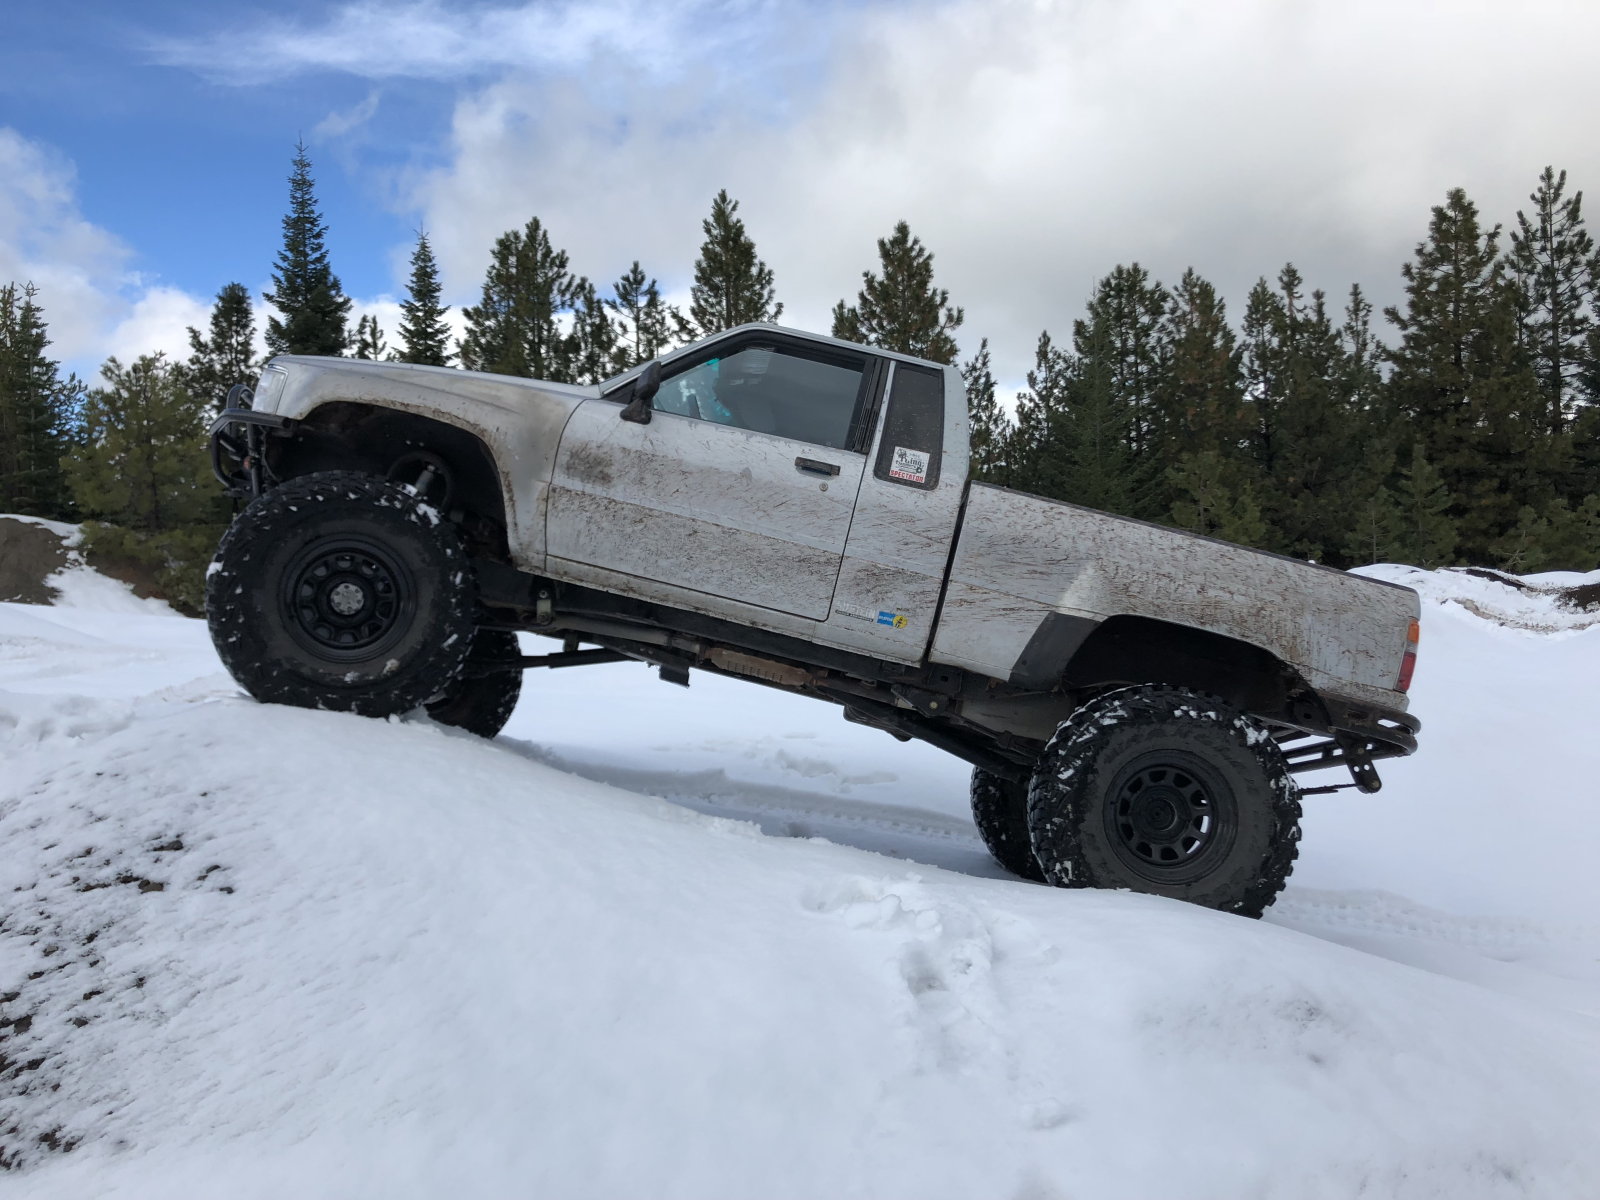
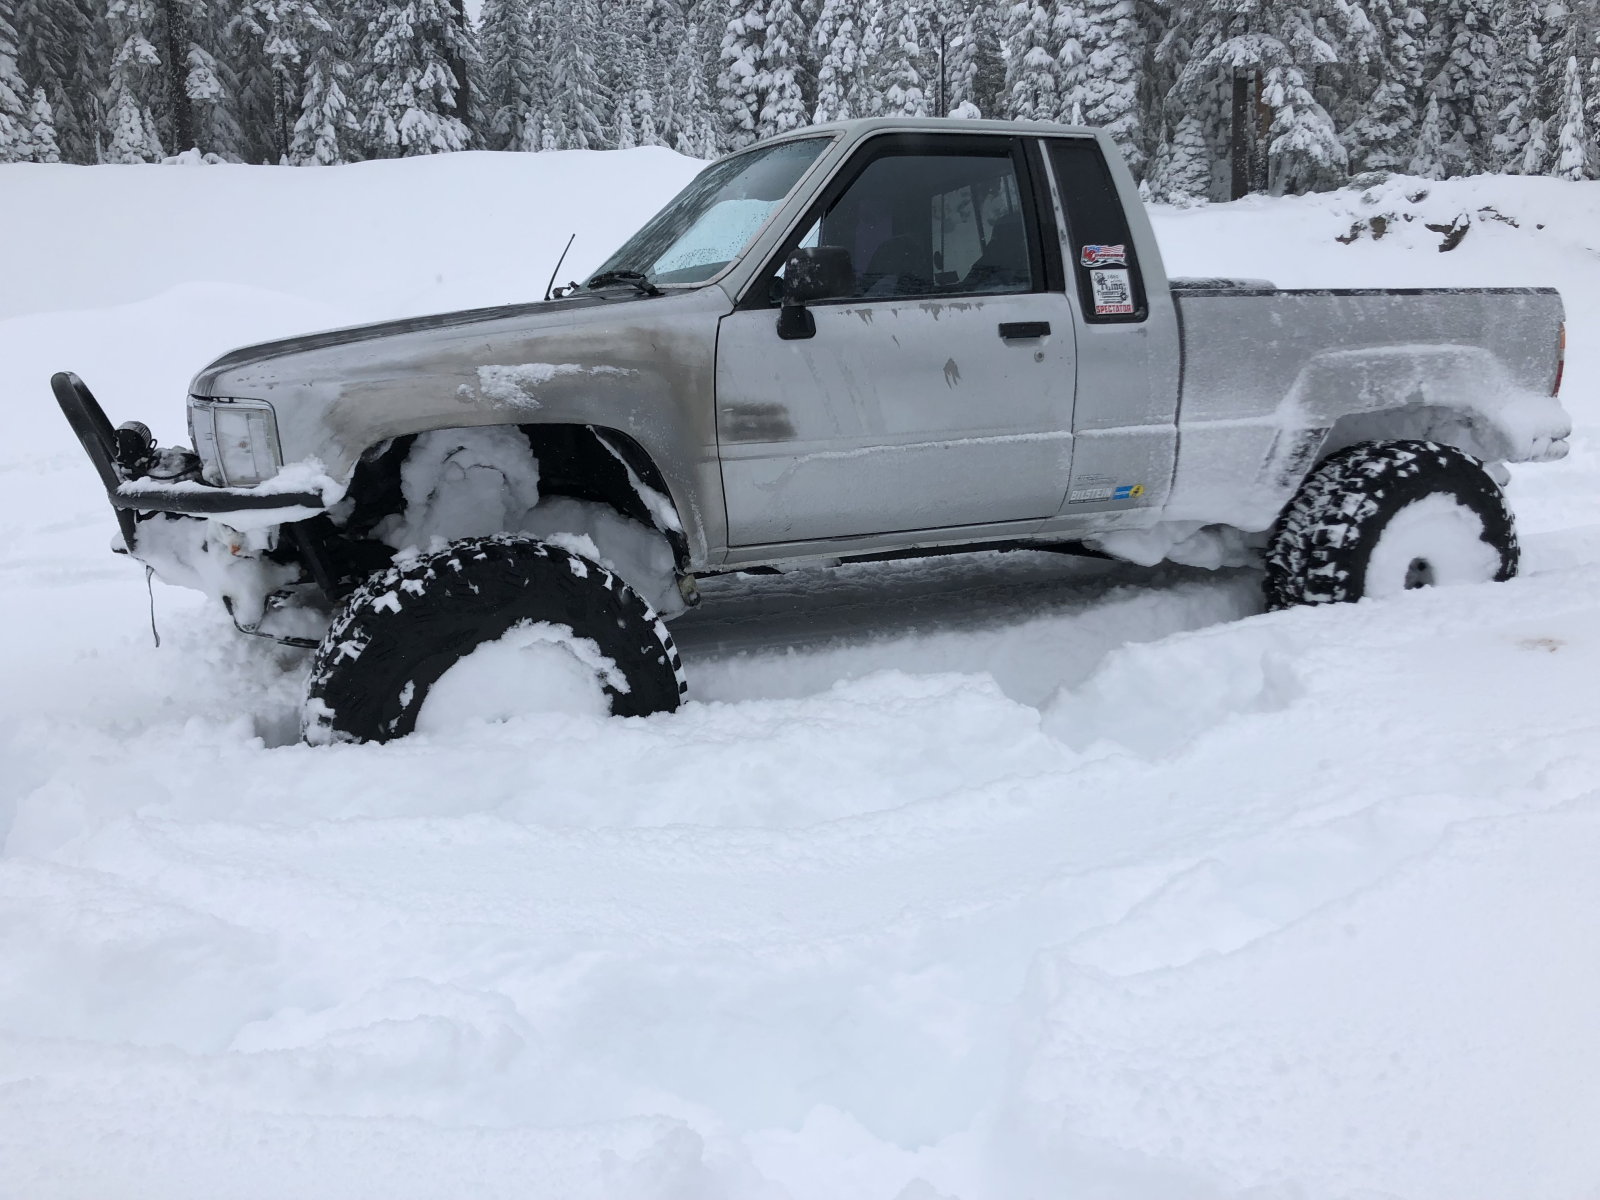
| Jason's lives up in Oregon where they have a lot of the white stuff in the winter time. |
|---|
|
|
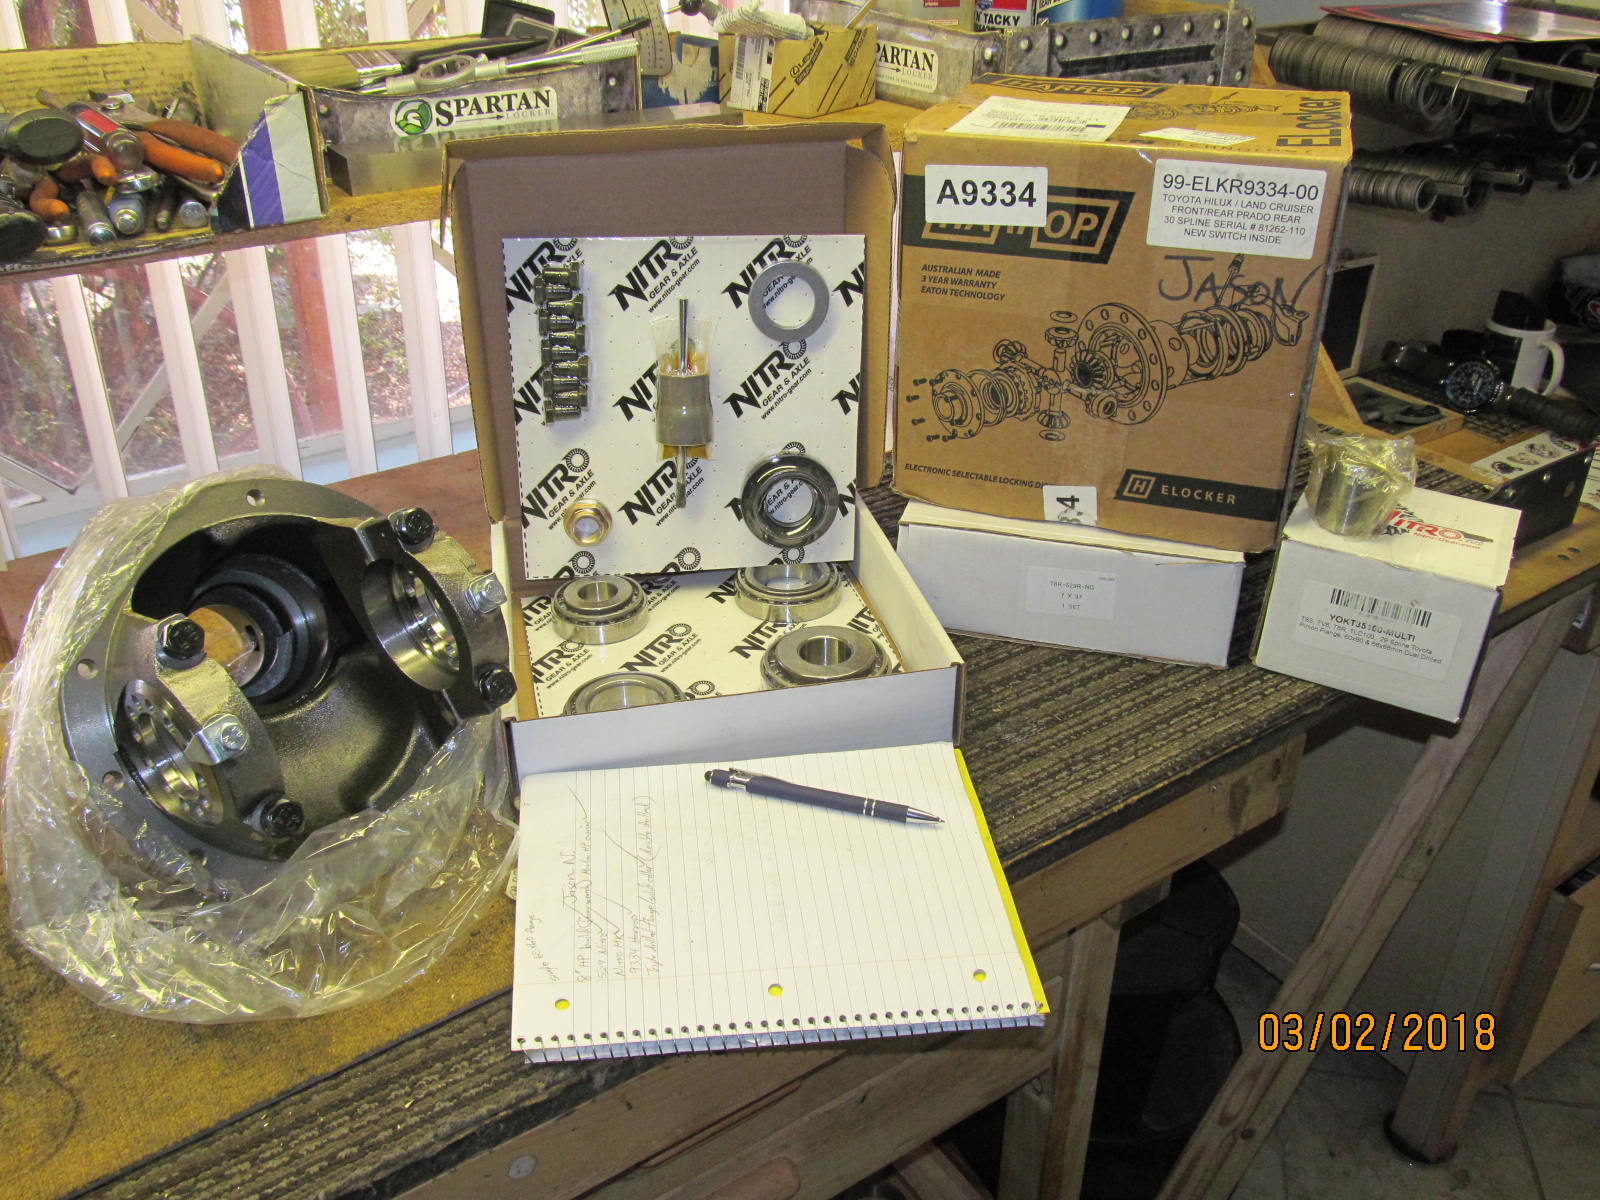
| It was time to upgrade the front to a bare High pinion 8" from Marlincrawler.com and install a set of Nitro 529 gears and Harrop electric locker. |
|---|
|
|
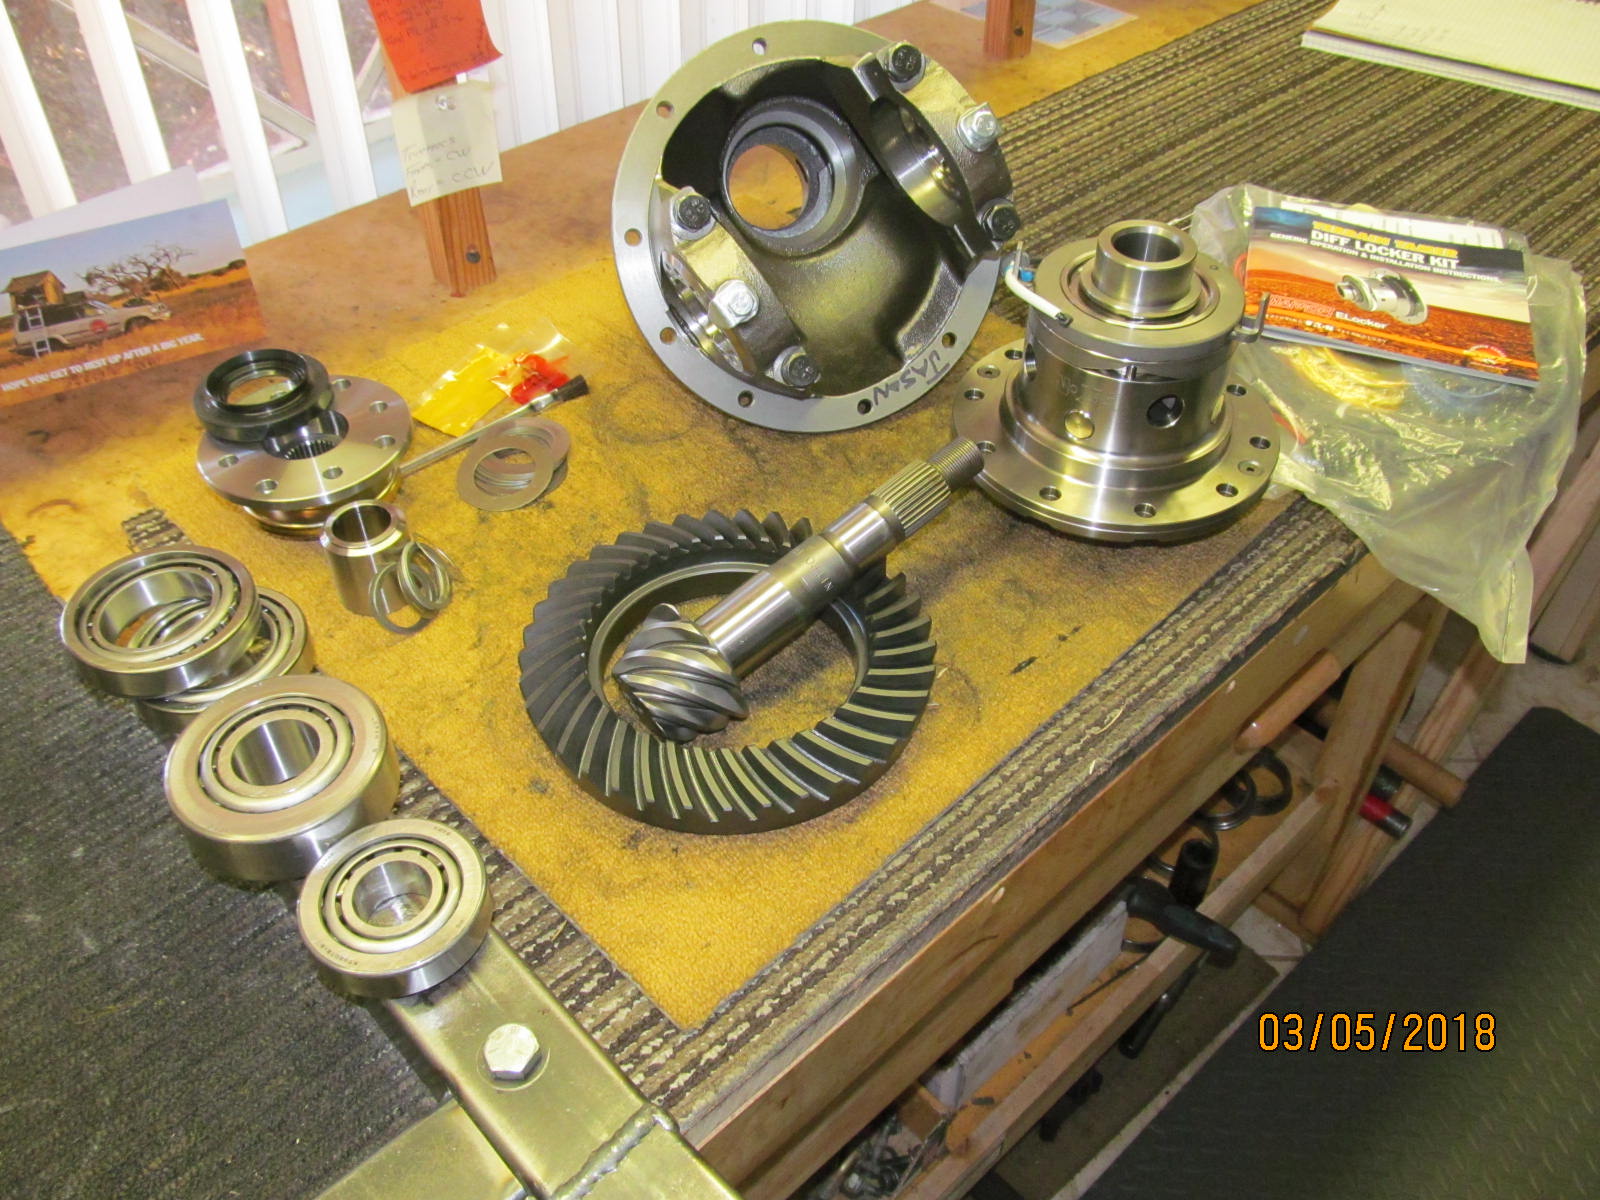
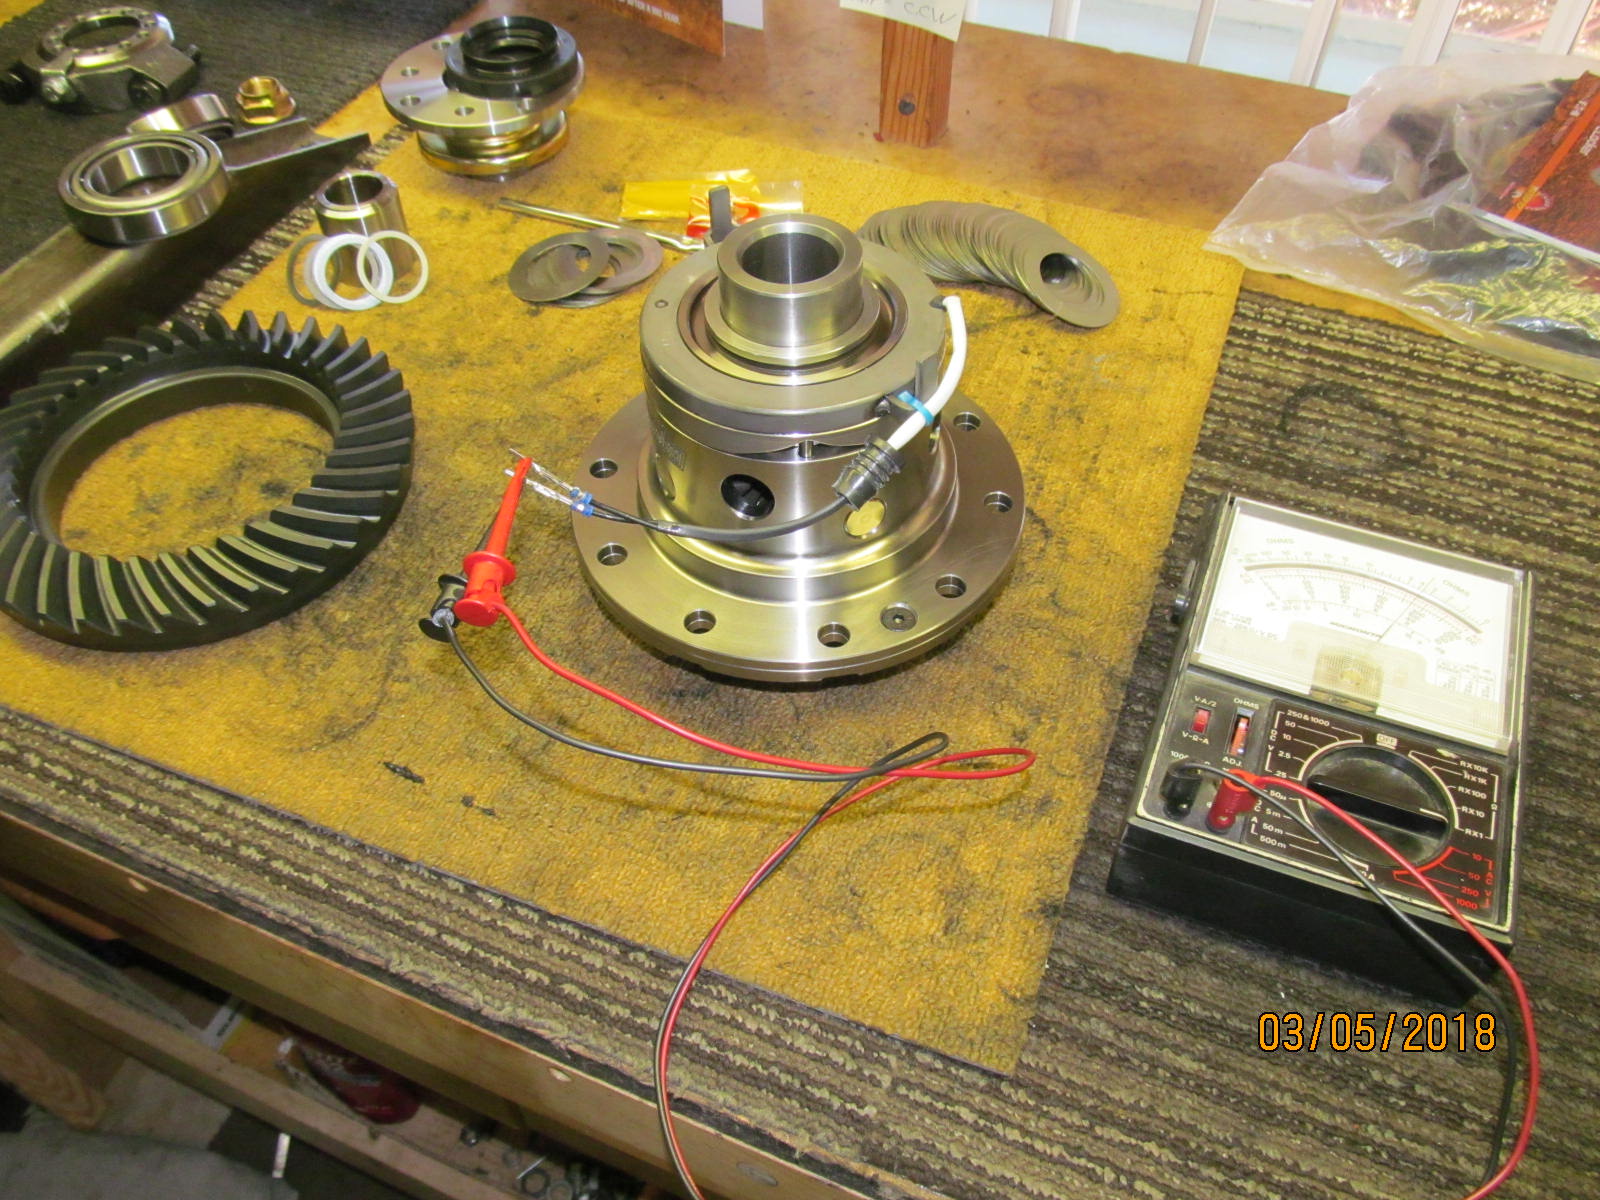
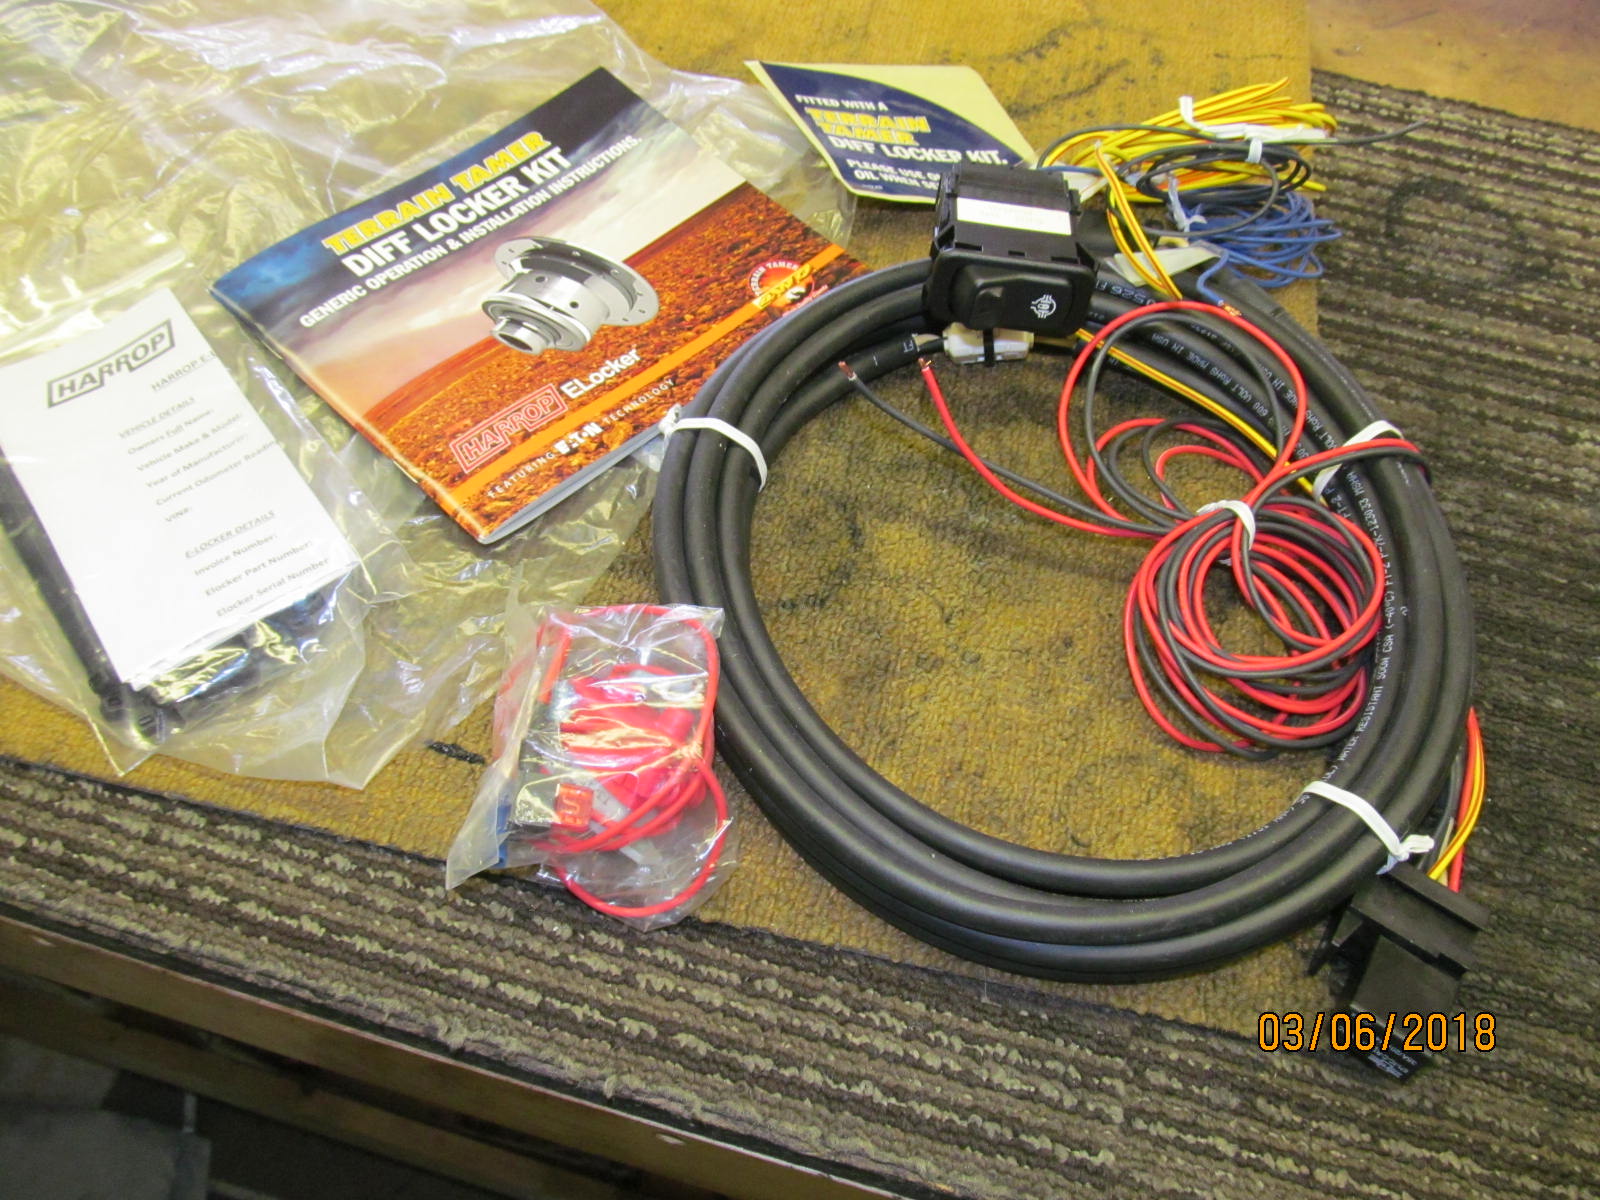
| Empty Marlin housing on the left...the Nitro V6 master kit.....the Harrop Elocker....529 Nitro gears and the solid collar/dual drilled flange. |
|---|
|
|
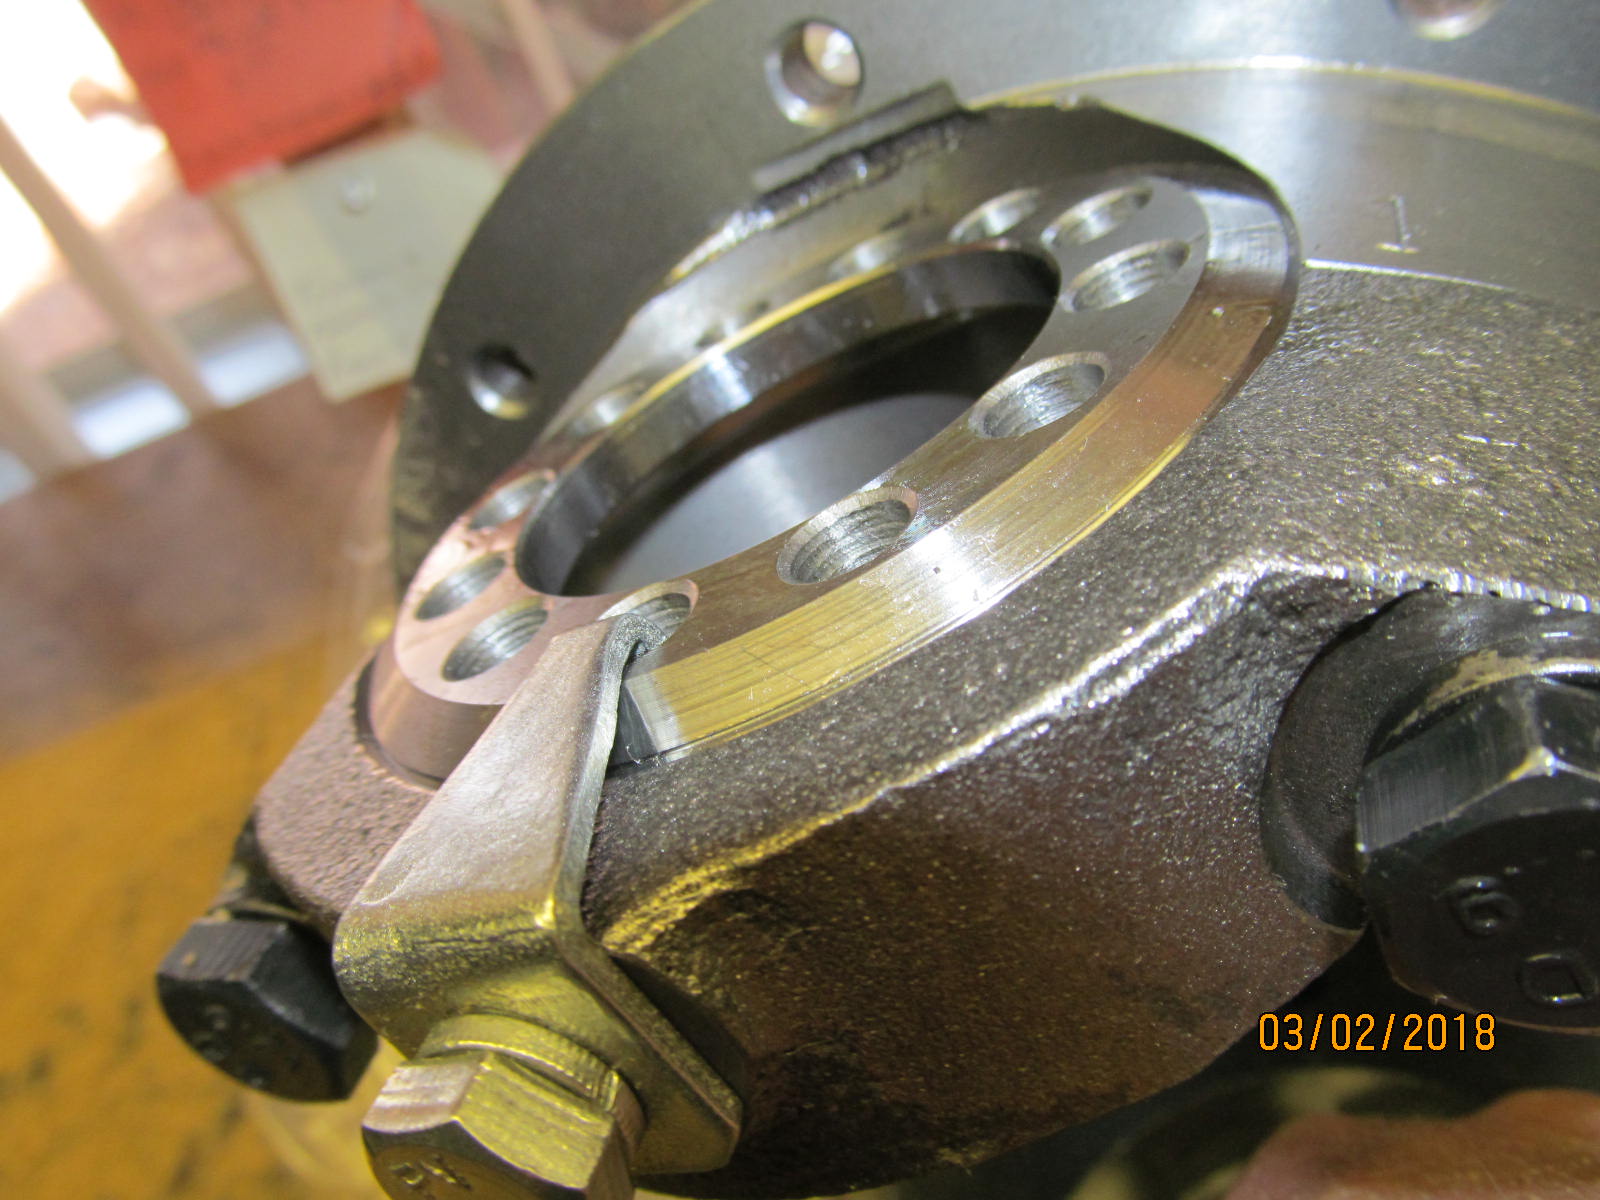
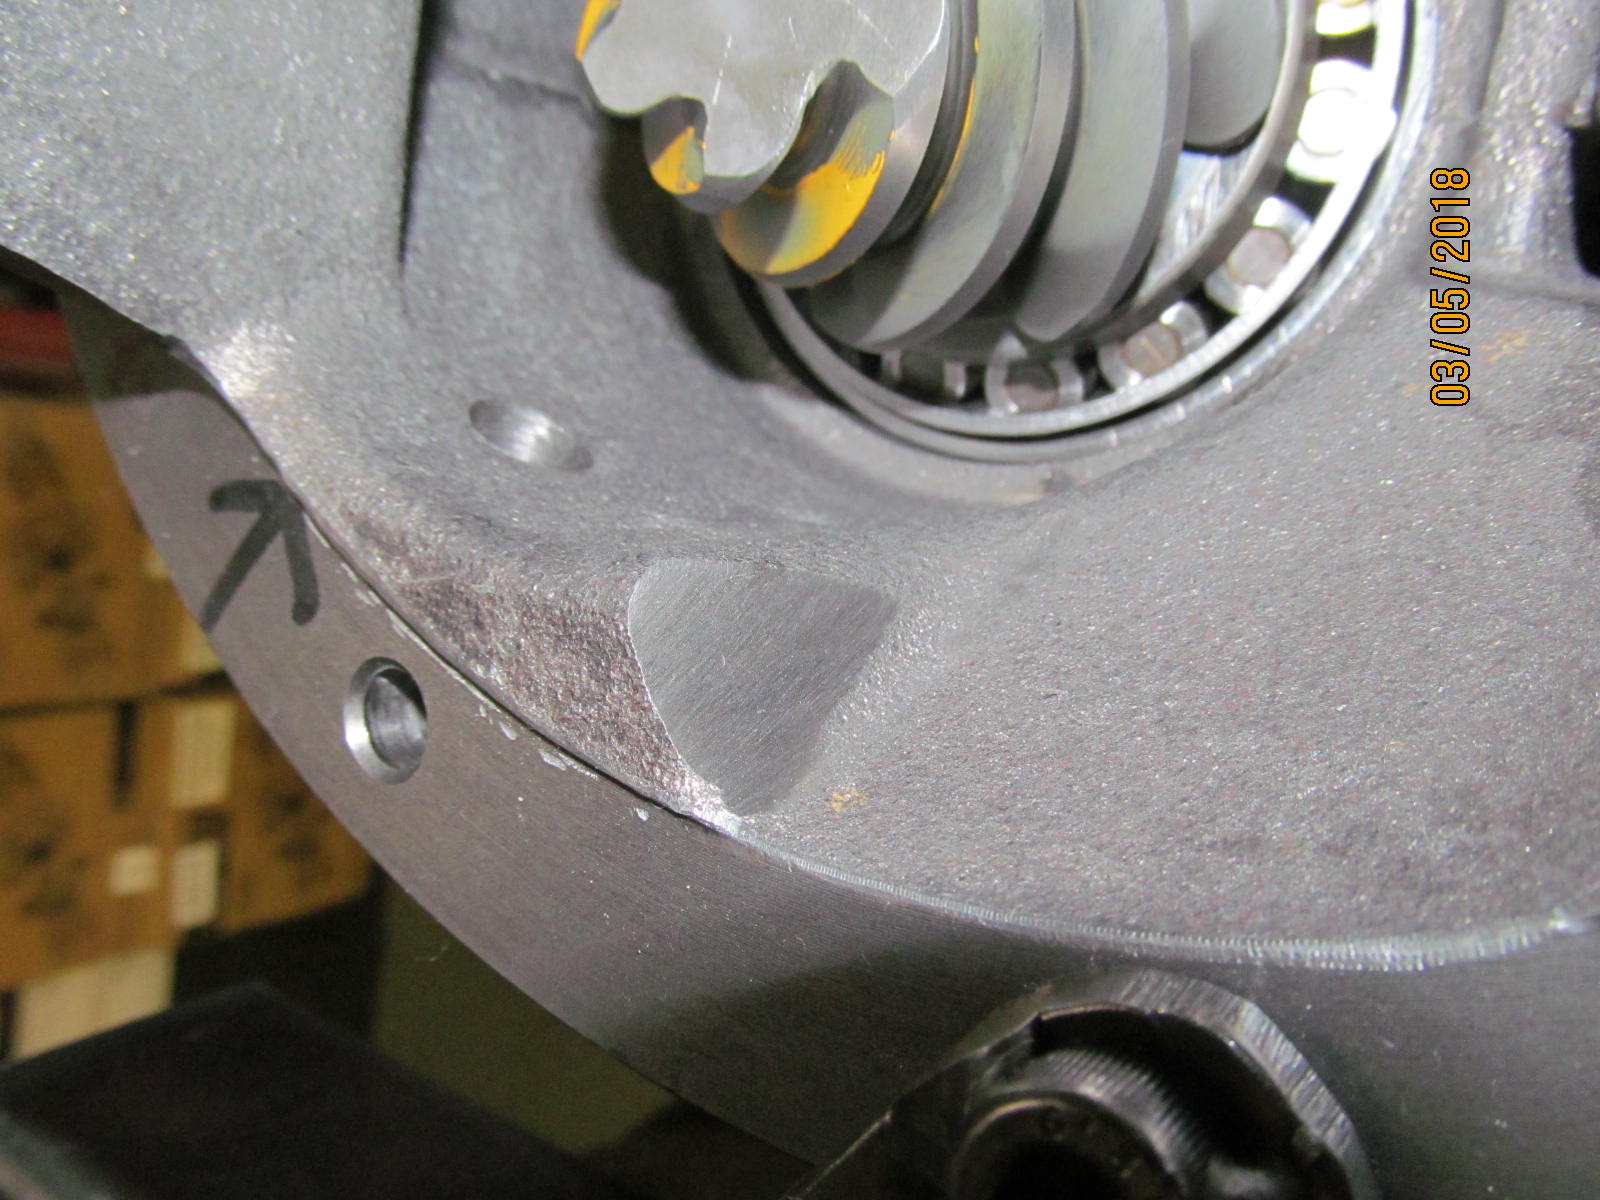
| They chamferred the circumference of the V6 wheel adjusters which was much needed. |
|---|
|
|
| Parts are unpacked and layed out. All looks to be here. |
|---|
|

|
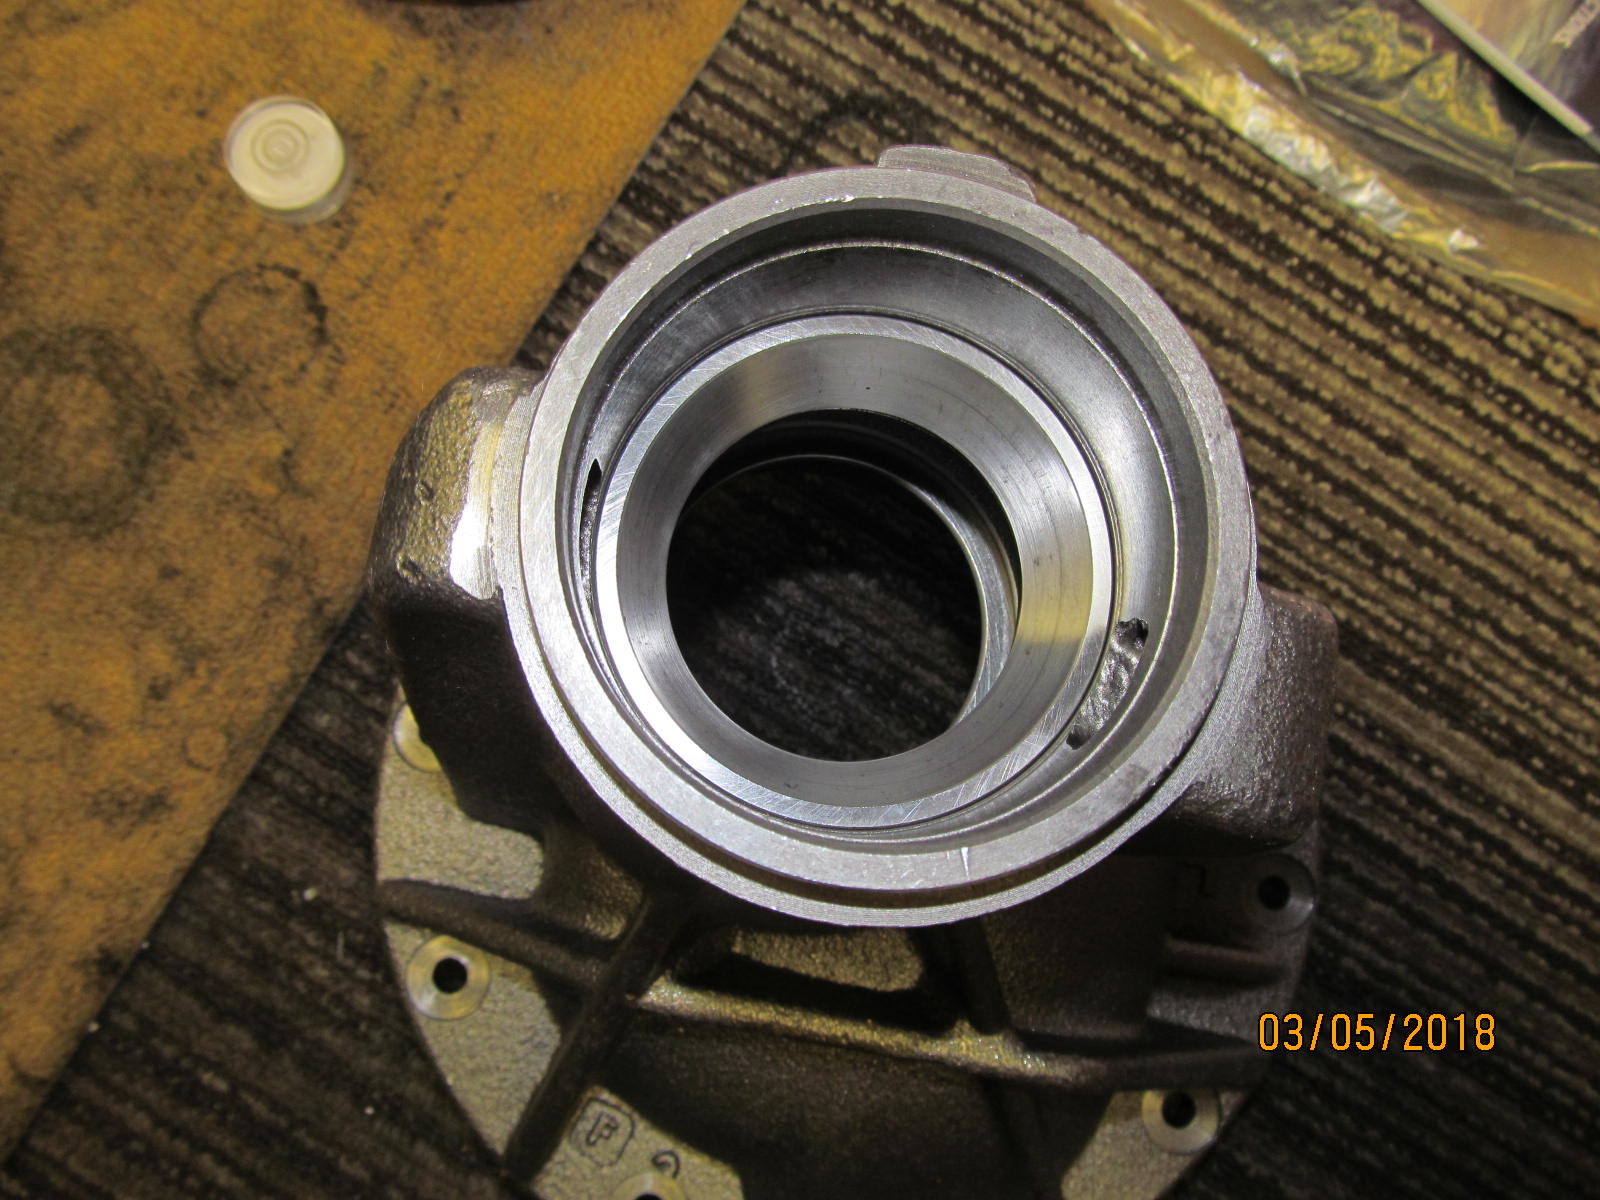
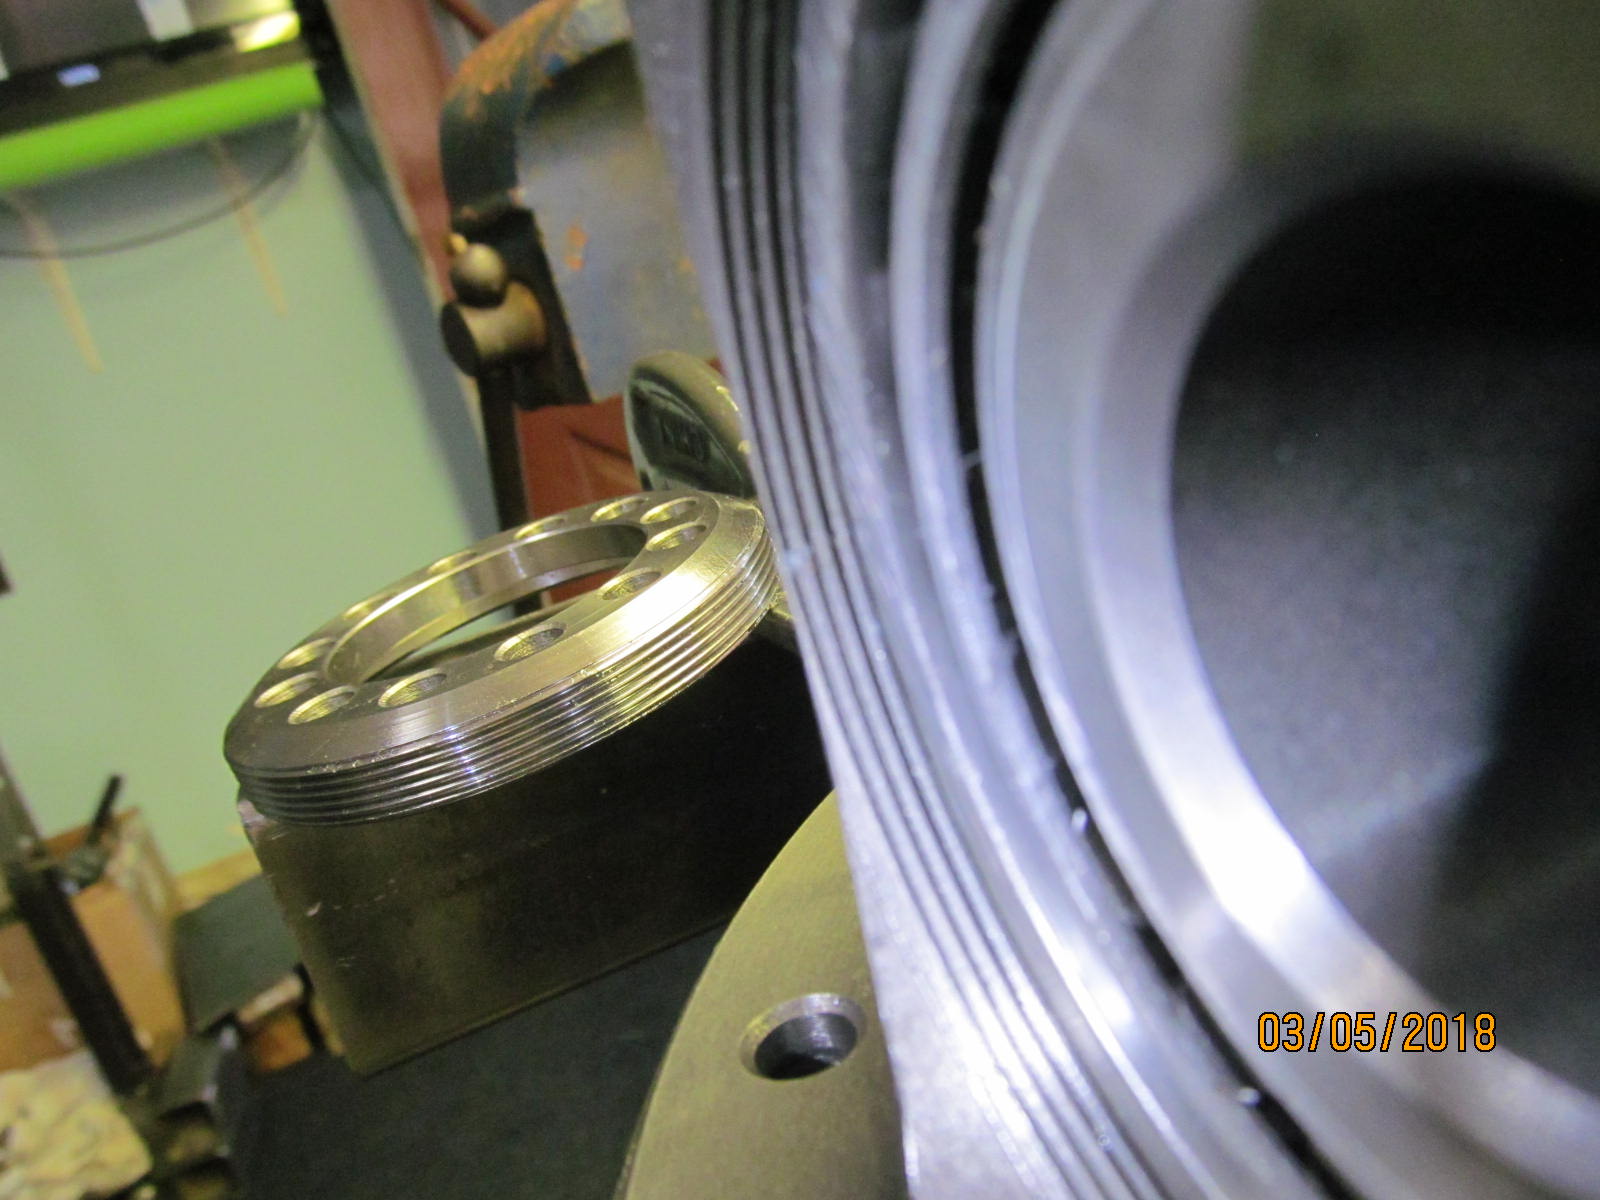
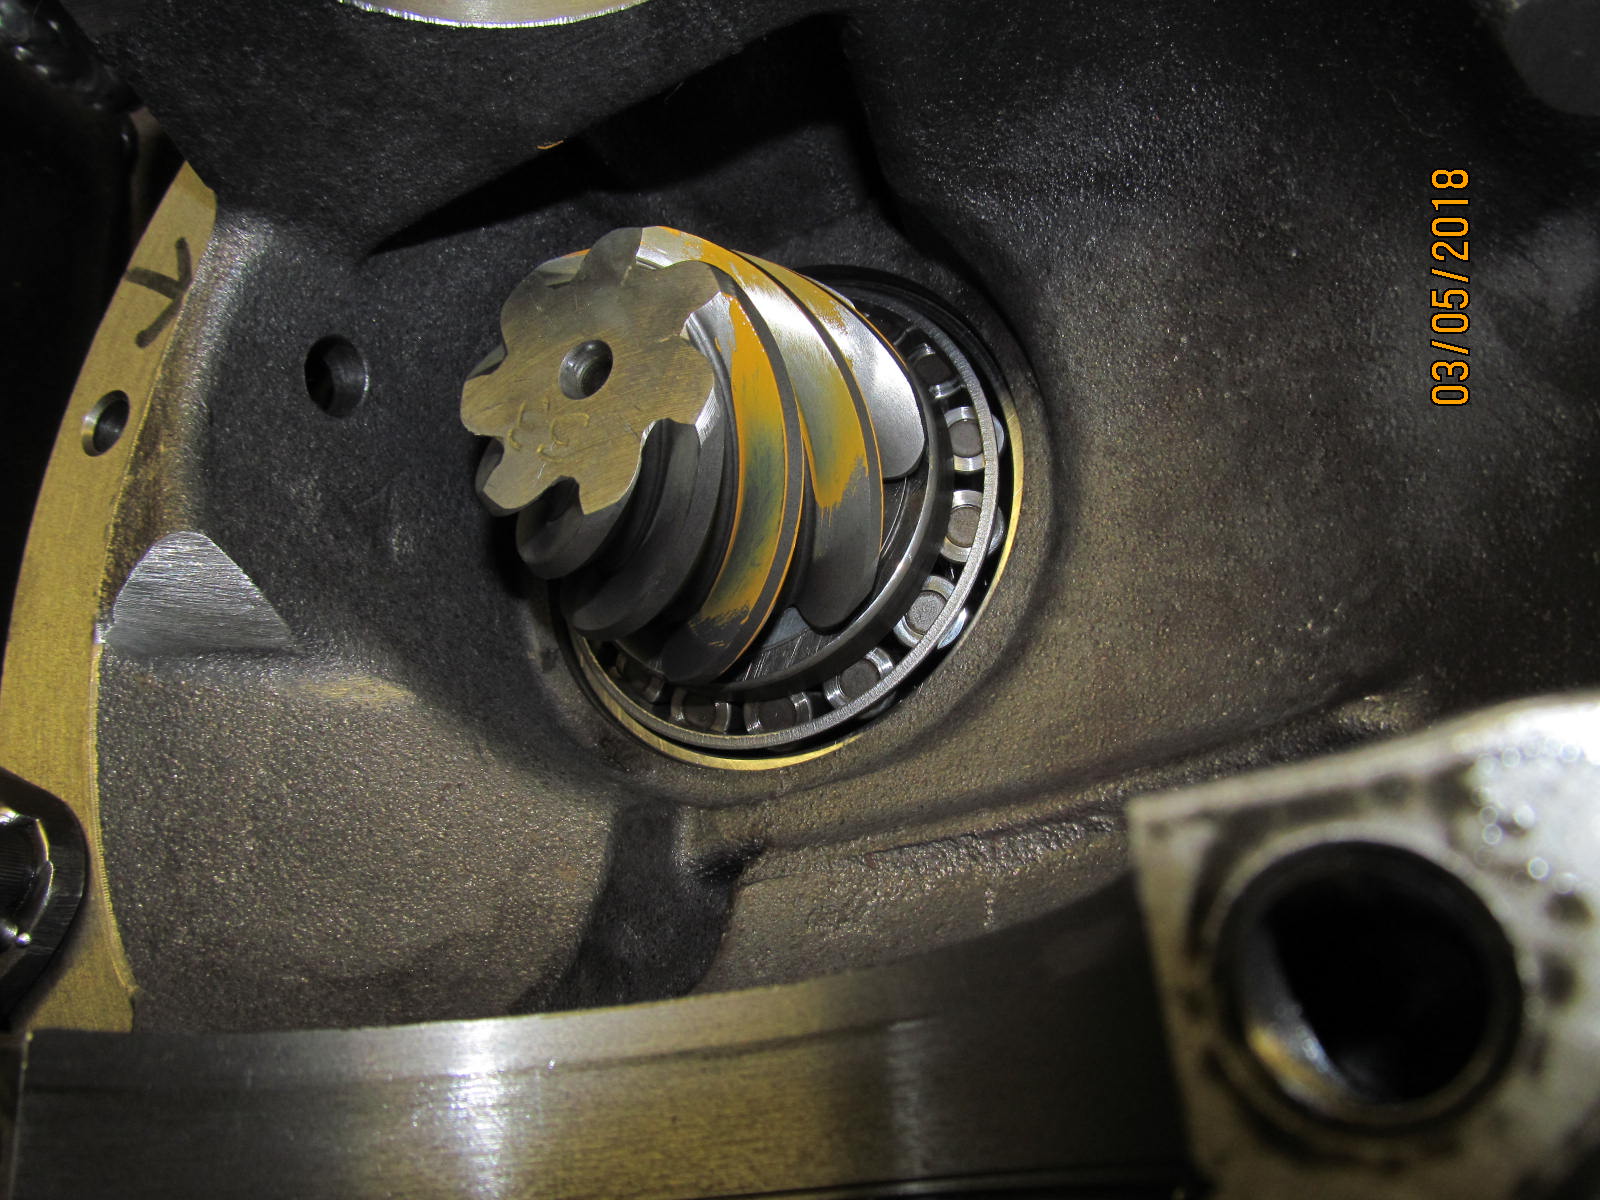
| The big inner pinion race is tapped in.....360 degree support, of course. |
|---|
|
|
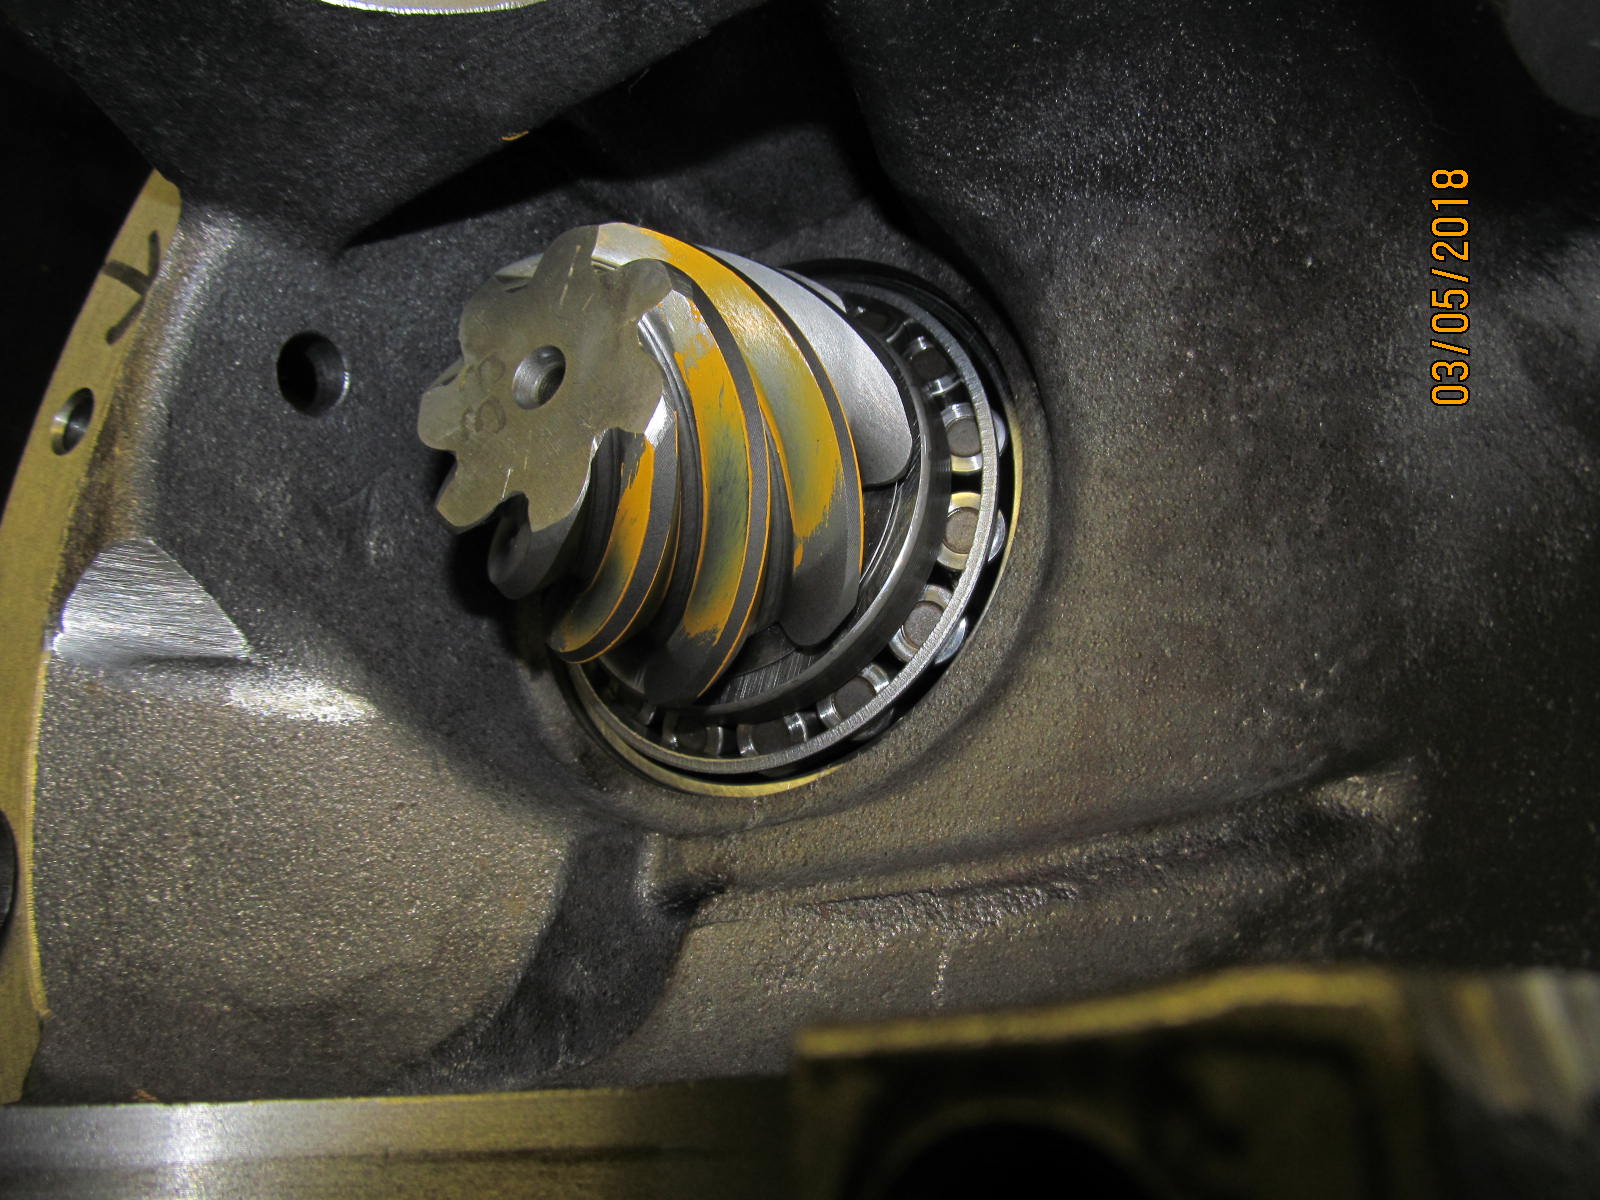
| Same with the small outer race. |
|---|
|

|
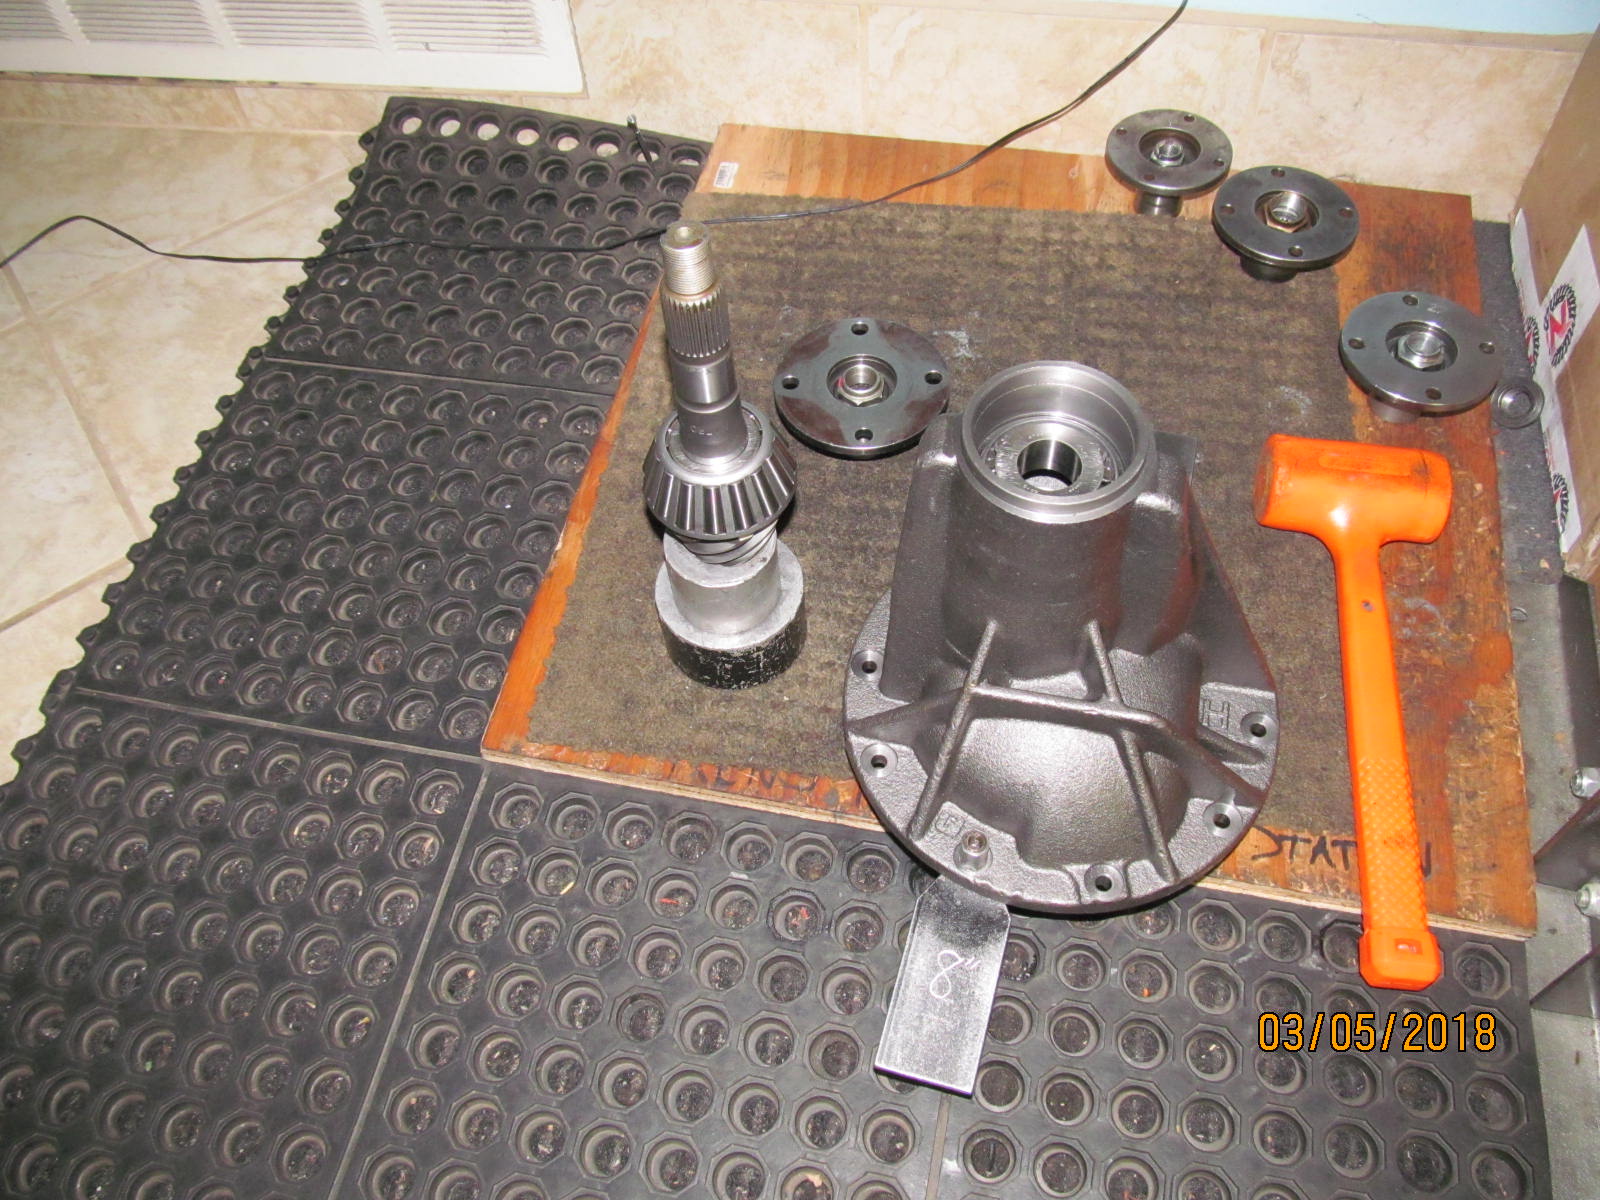
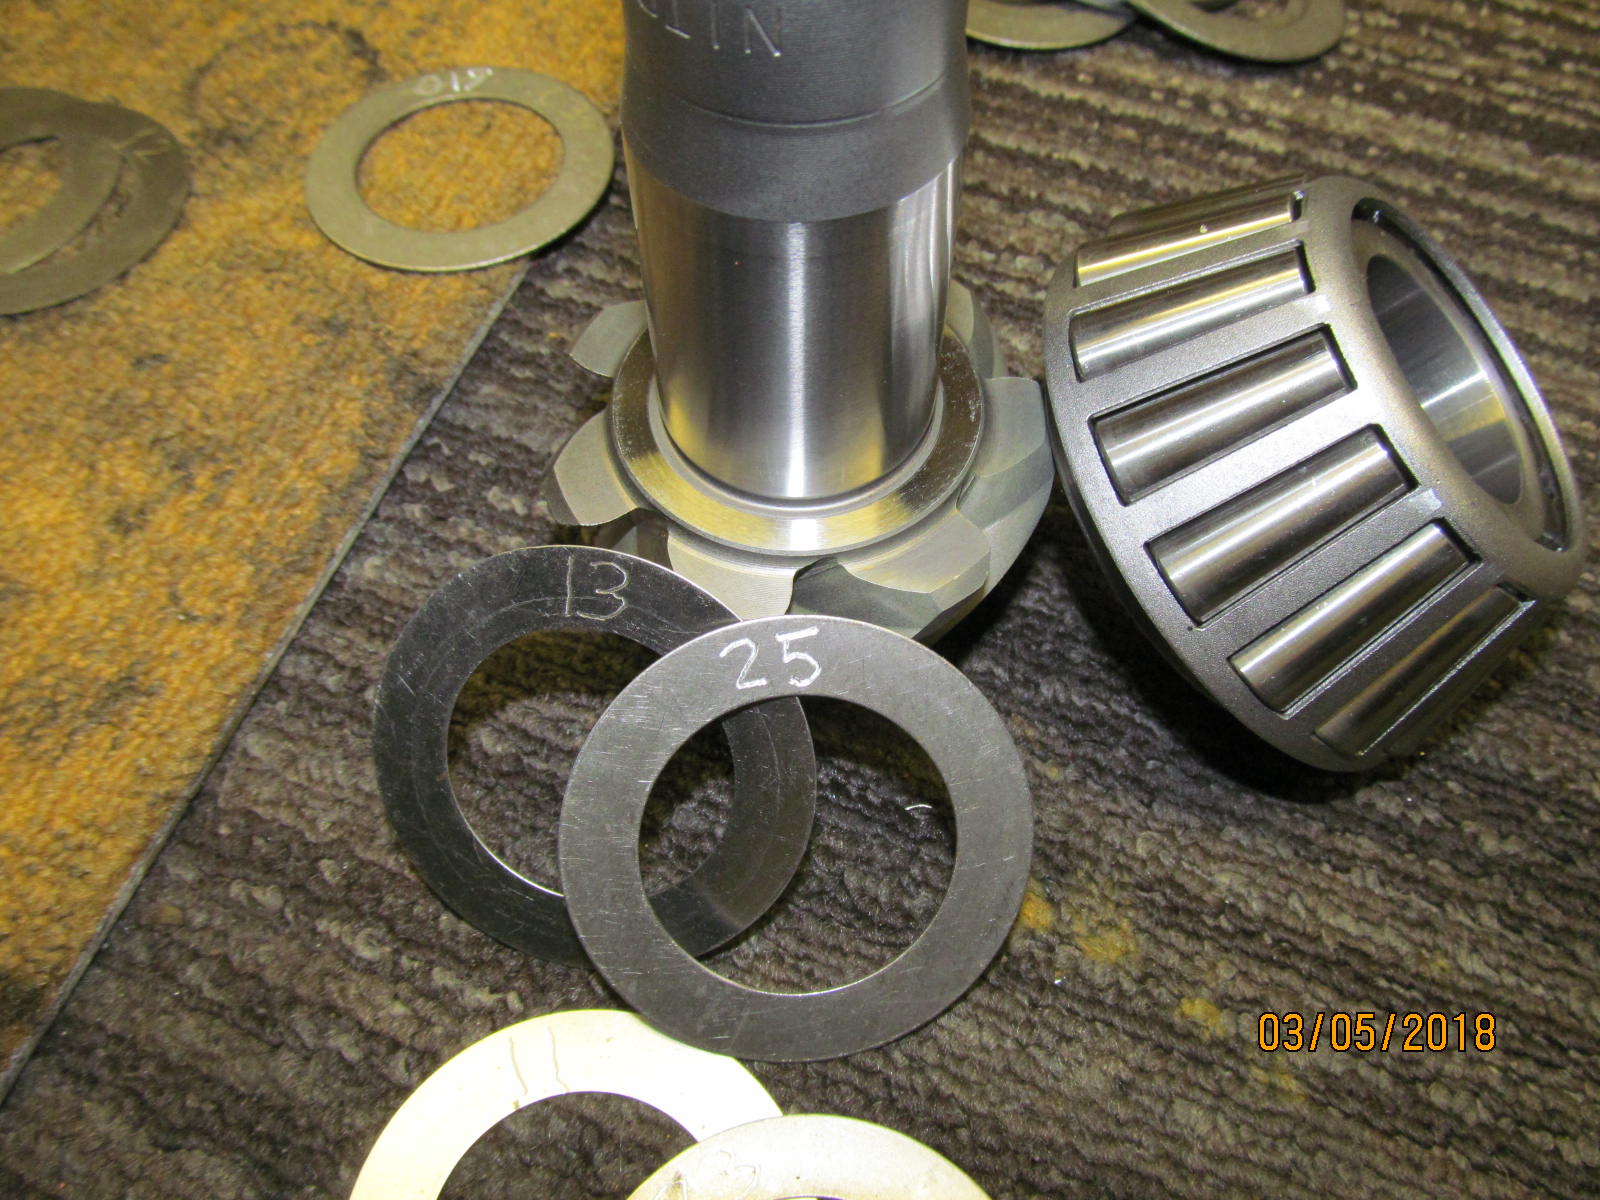
| Will start with a .076" pinion shim. |
|---|
|
|
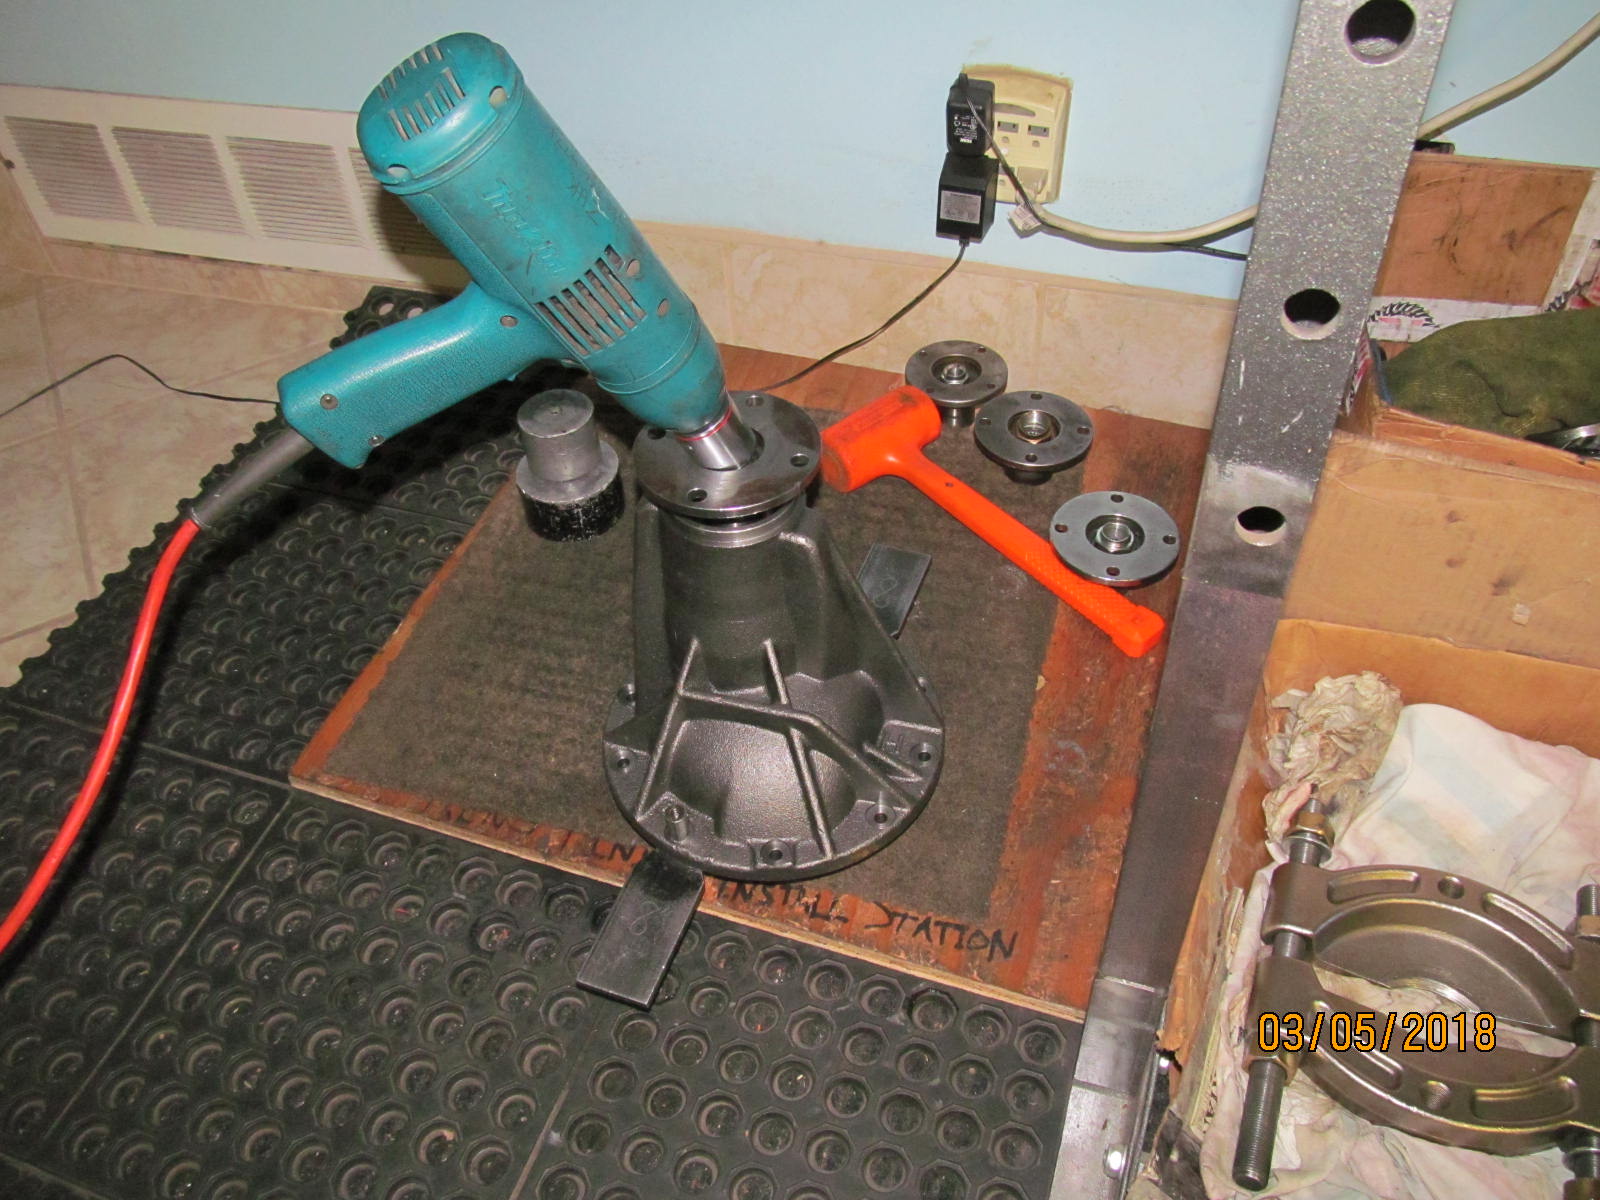
| The pinion loading station. |
|---|
|
|
Tighten the pinion nut til the estimated preload is somewheres in the neighborhood of 10~20 ft/lb.
This is only a pattern check so it's not critical. |
|---|
|
|
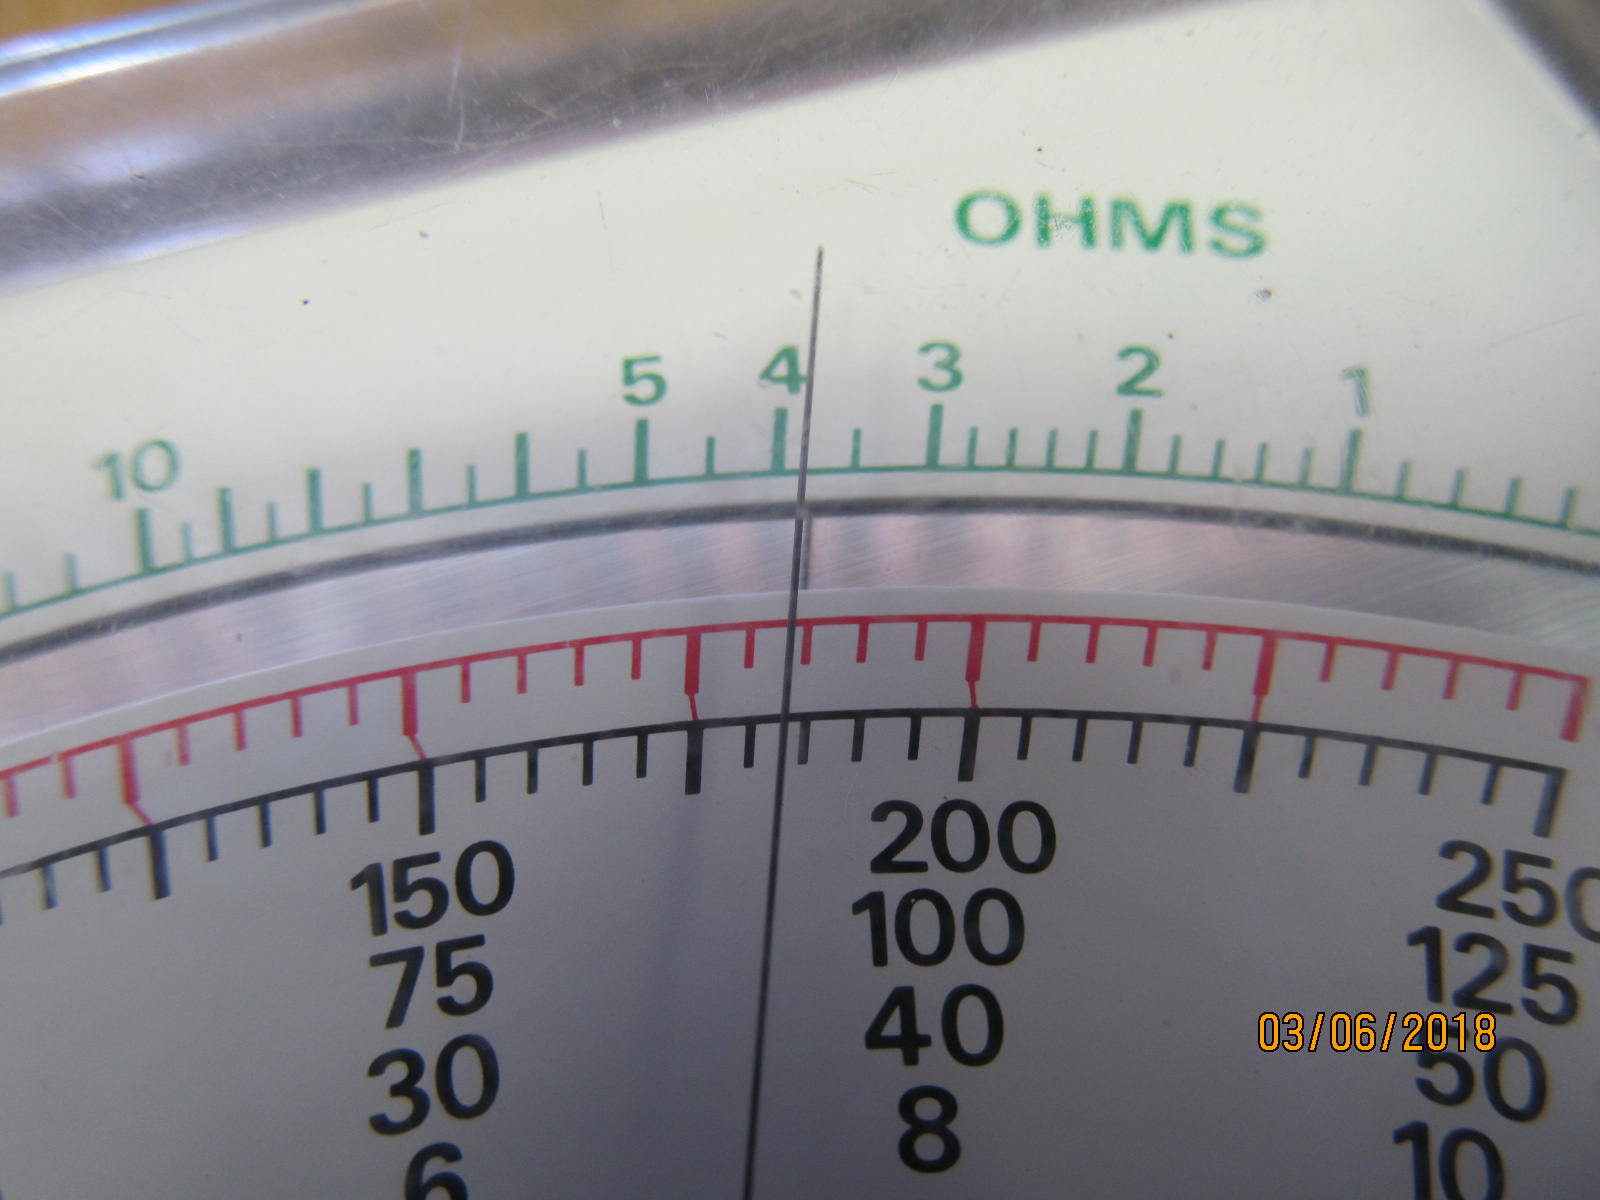
Now onto the other end. A quick check of the coil resistance of the electro-magnet.
Measuring about 4 ohms. |
|---|
|

|
| Surfaces were checked with a file and all was just fine. |
|---|
|
|
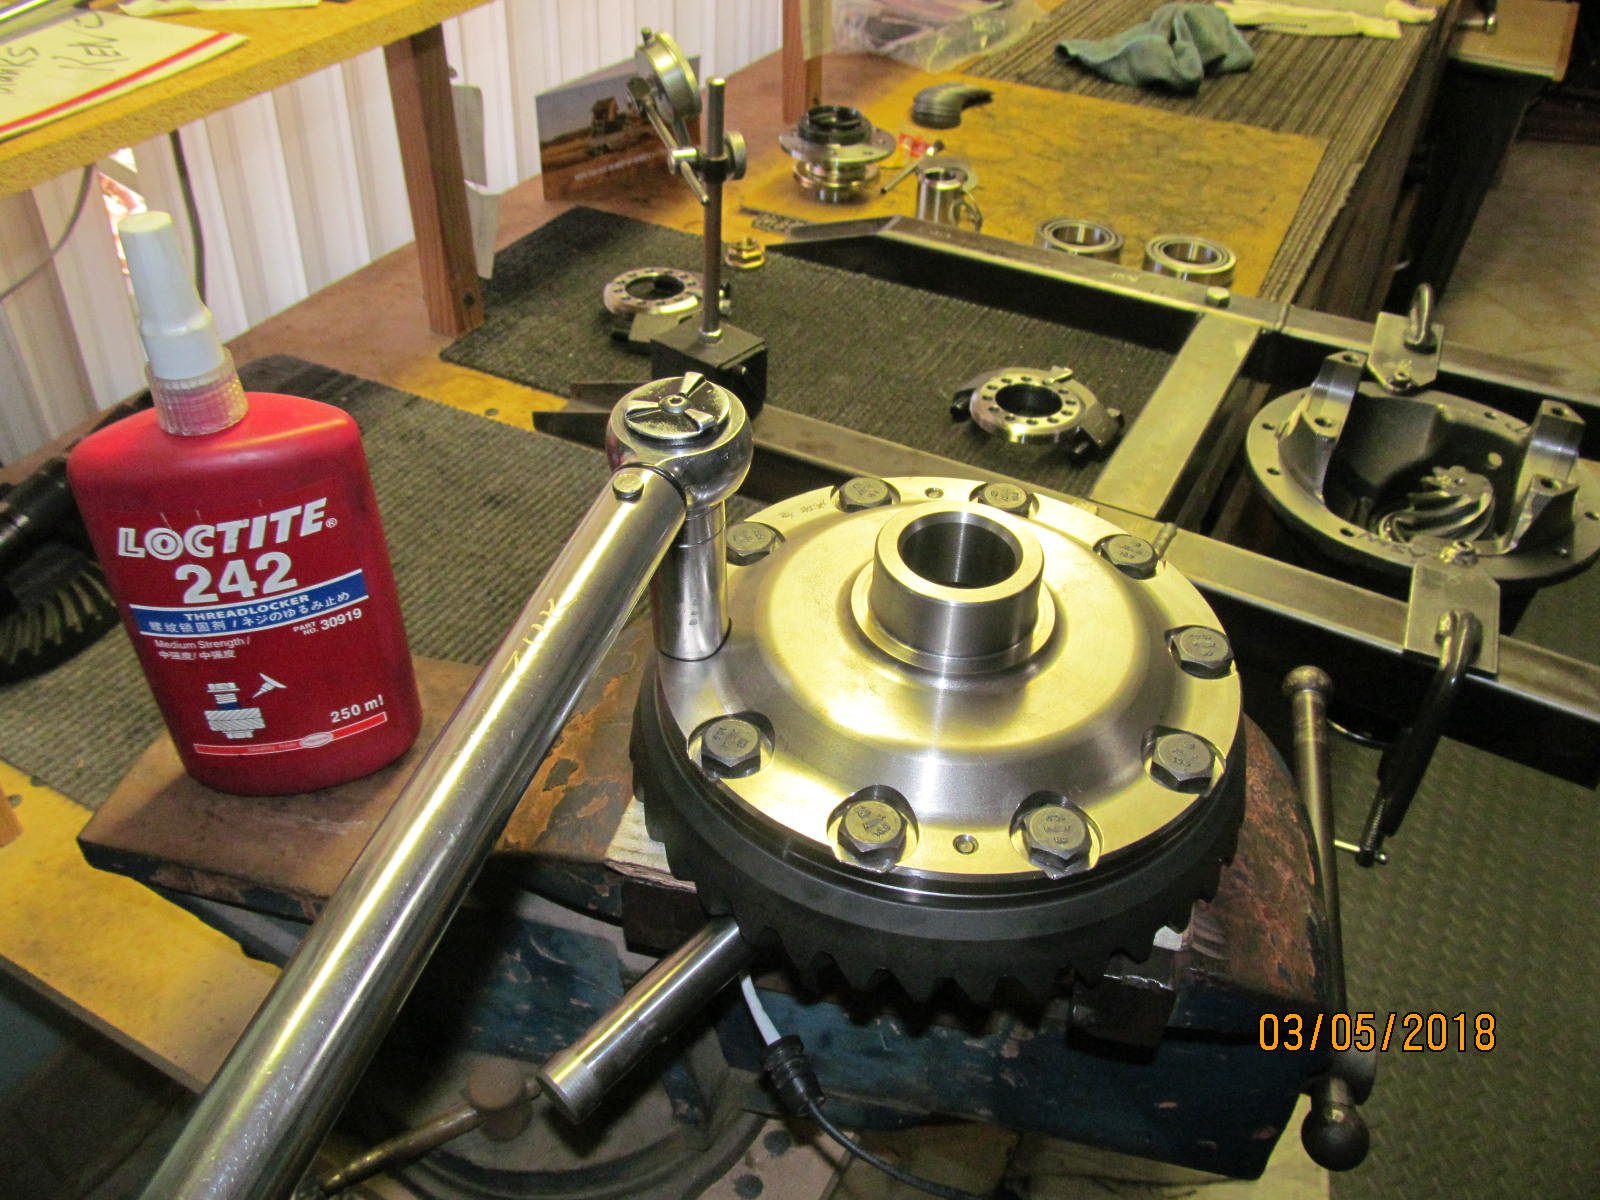
| 75 ft/lb and blue loctite. |
|---|
|
|
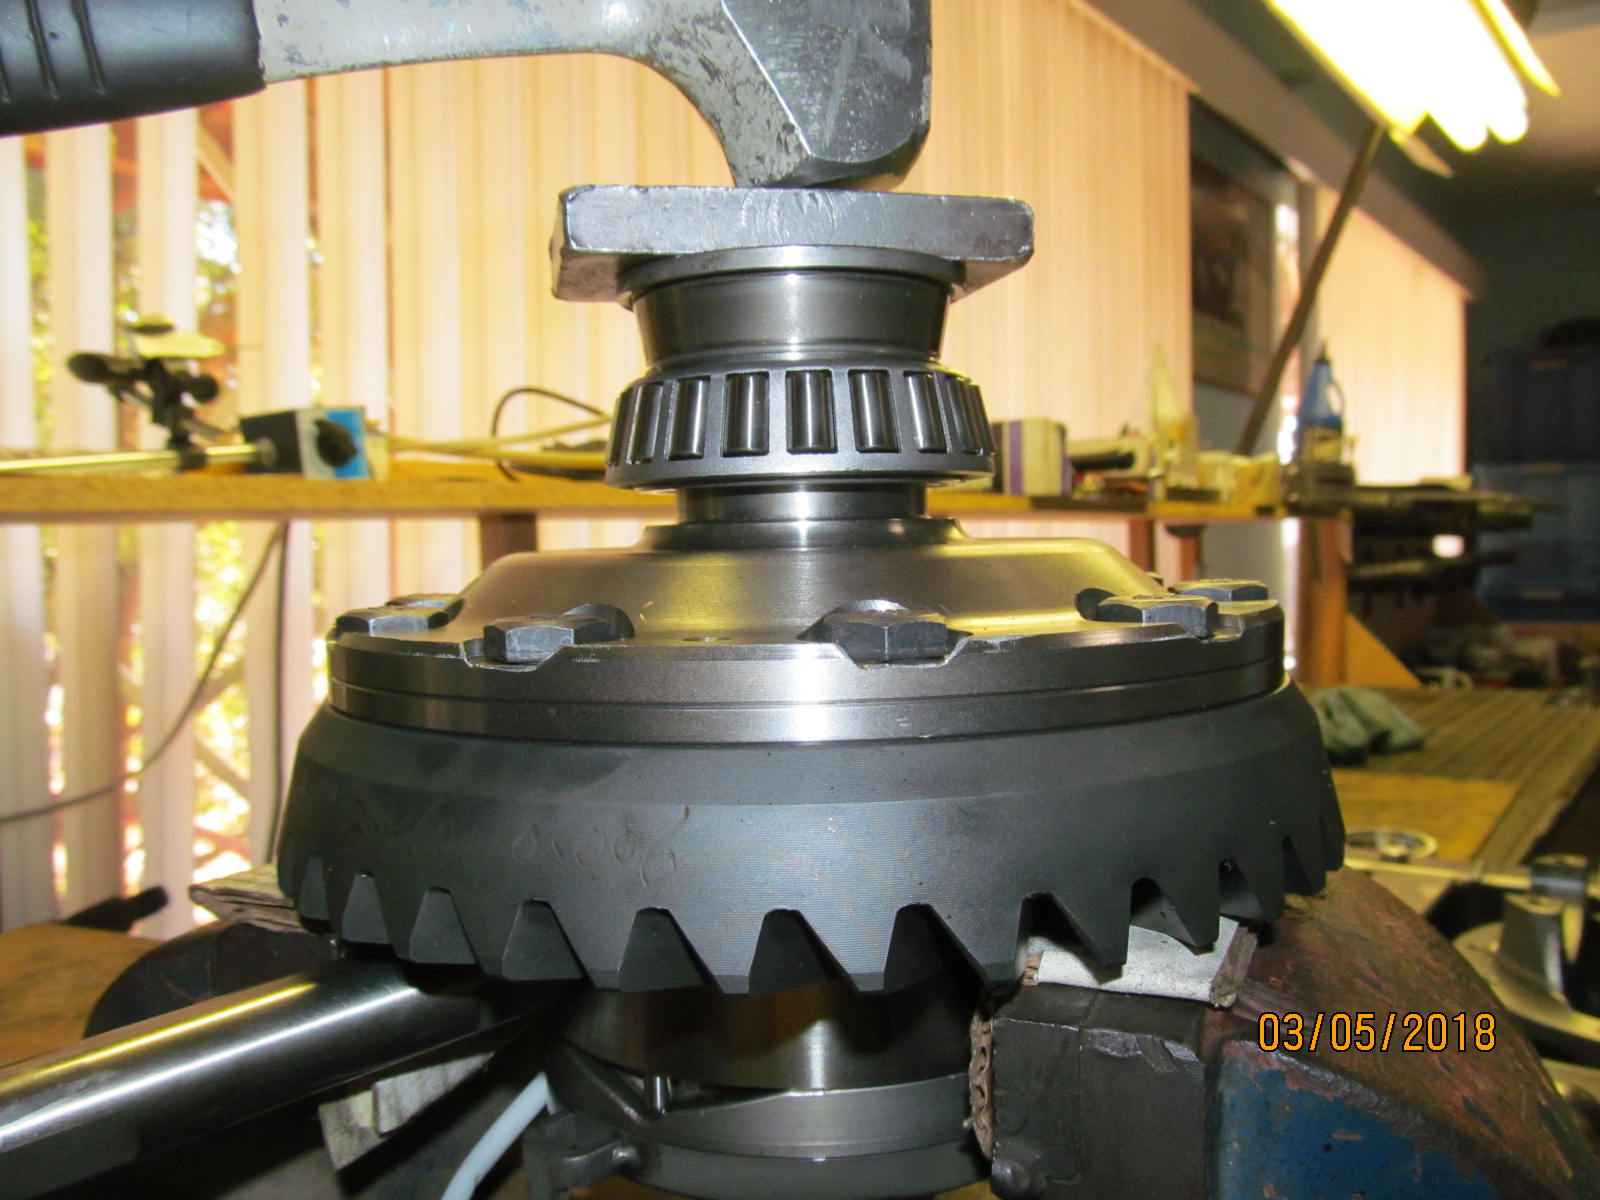
| The new Koyo carrier bearings were a very nice tight fit onto the journals. |
|---|
|
|
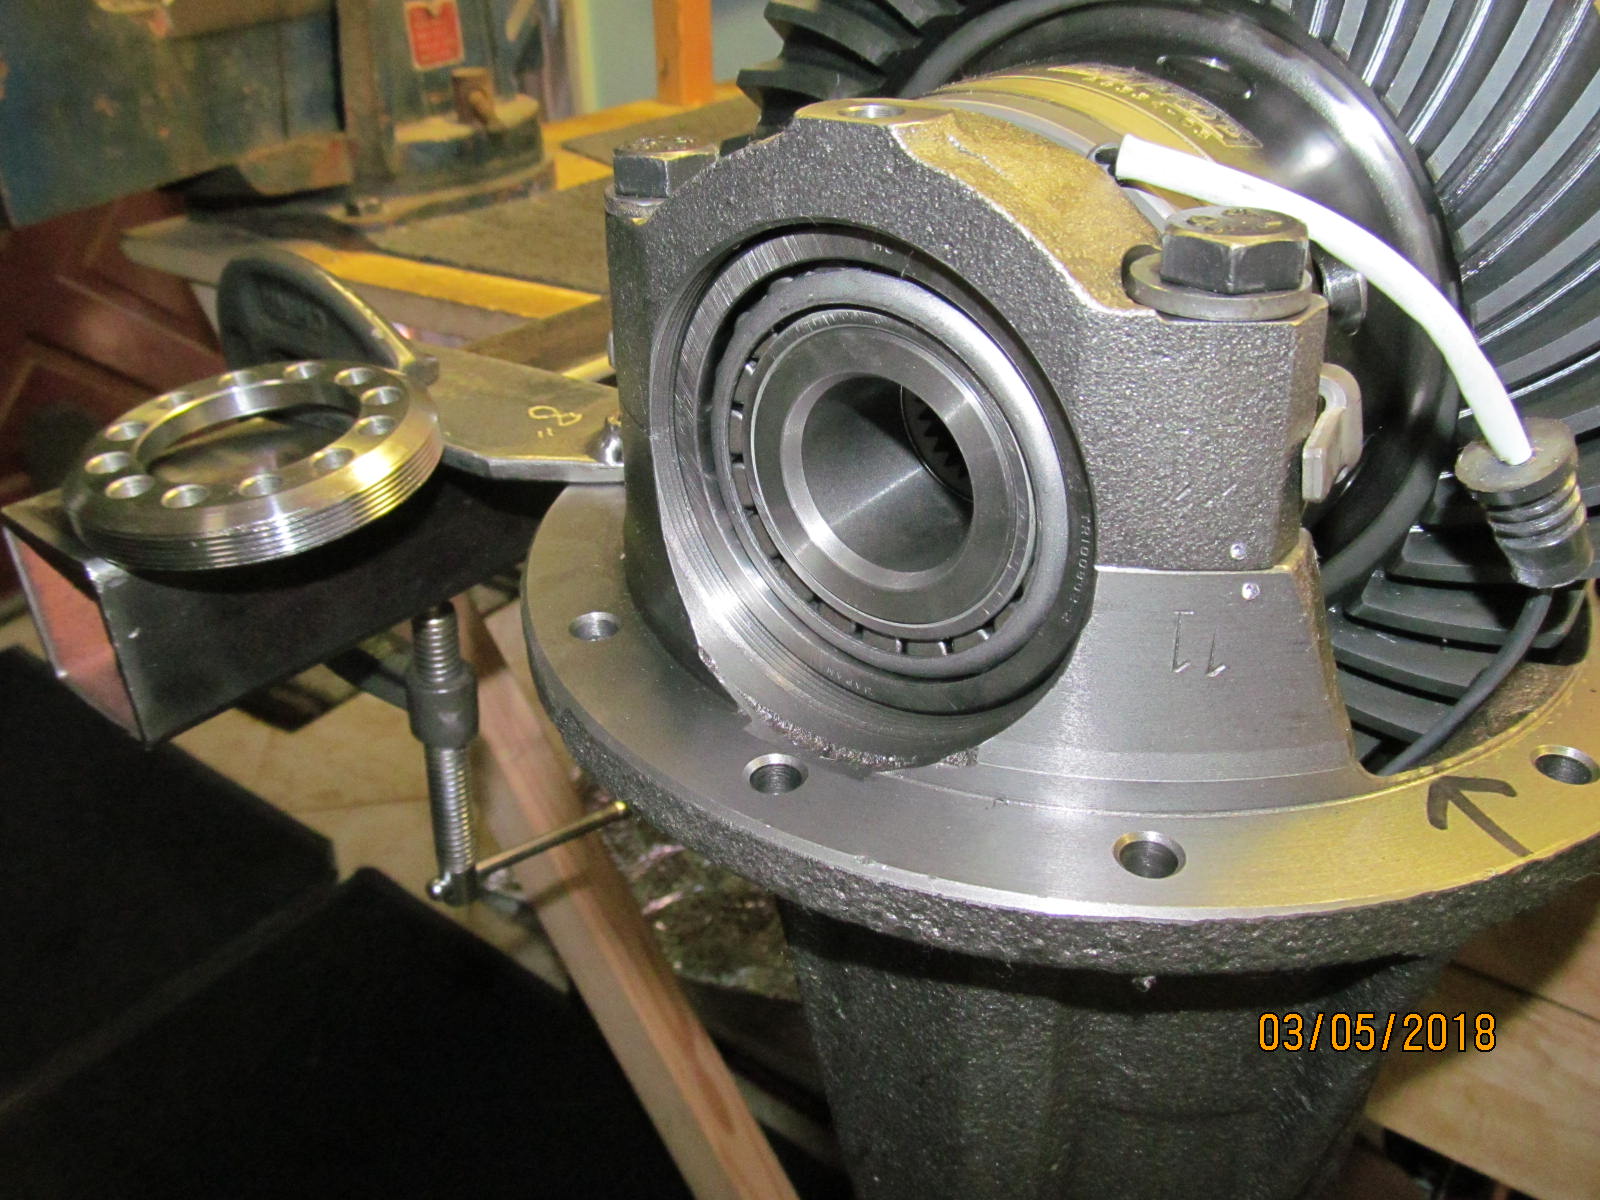
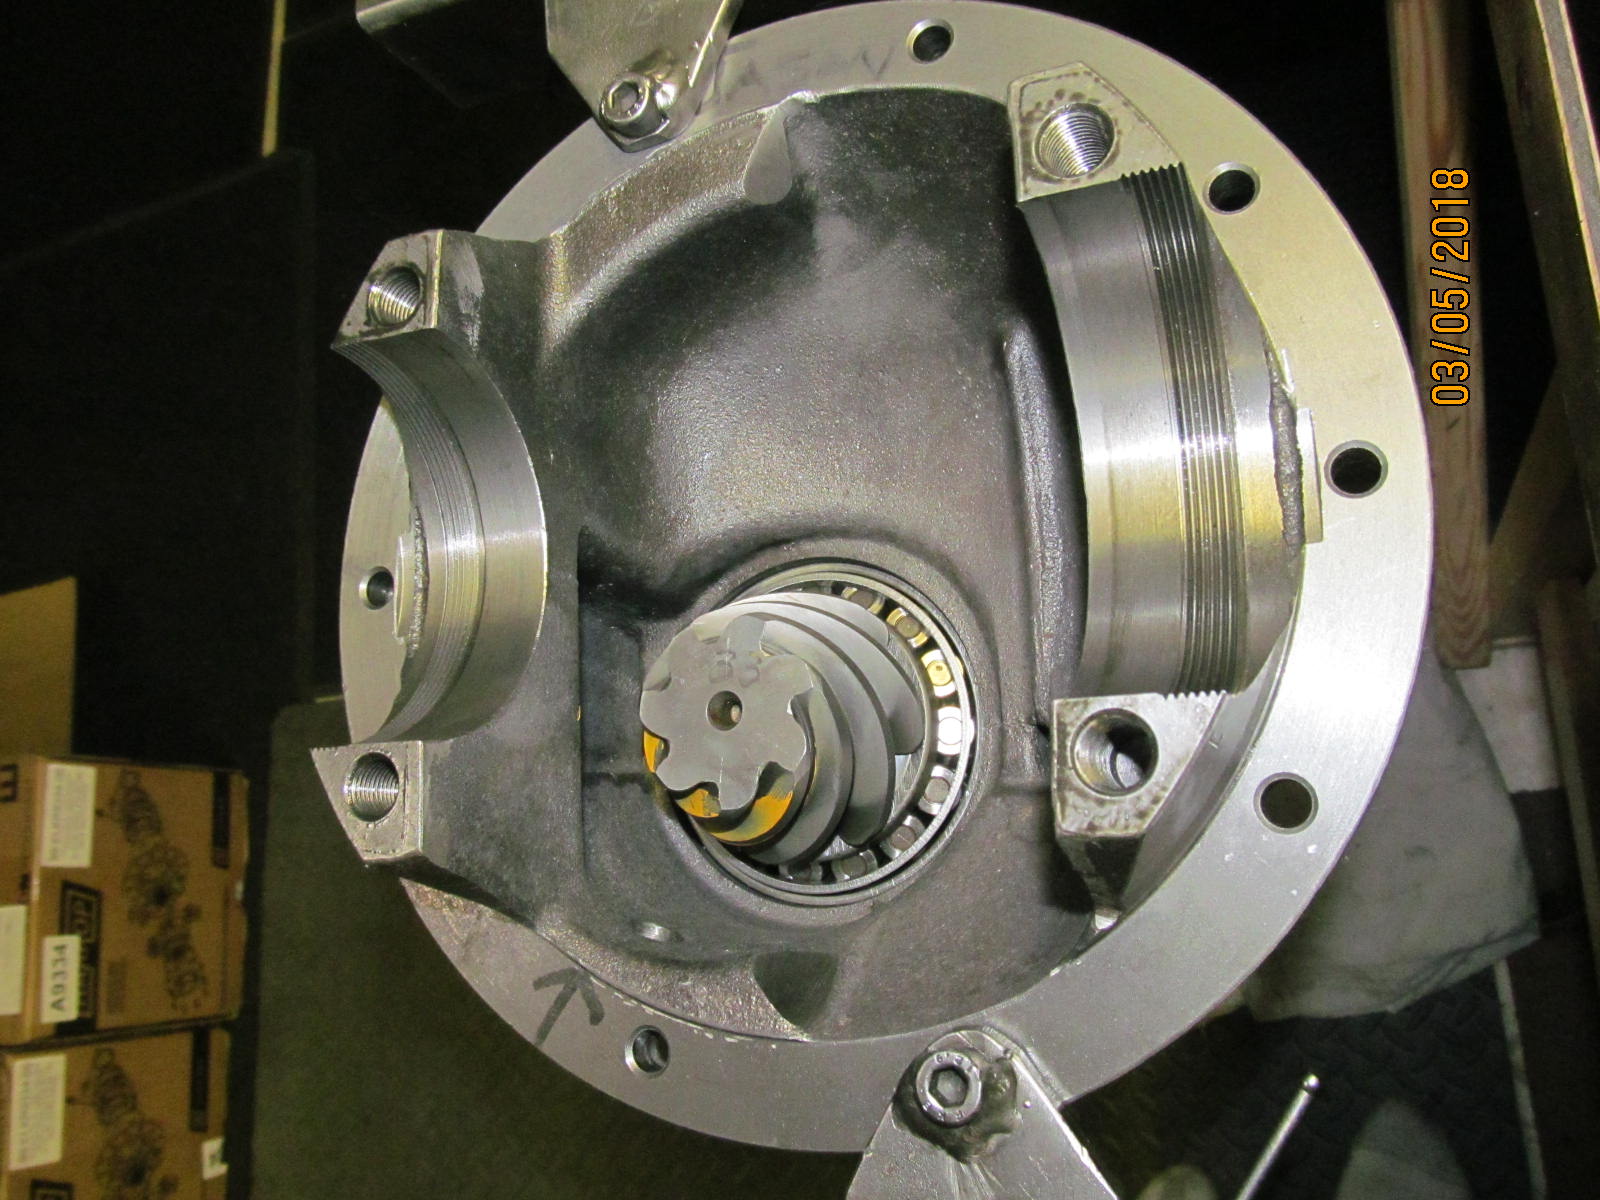
| The top bearing cap has to slide on horizontally first and then the 2 long bolts go in. |
|---|
|
|
Line the threads up...tighten the 2 bolts....and then thread the large wheel adjuster in.
Then dial in some bearing preload and backlash. |
|---|
|
|
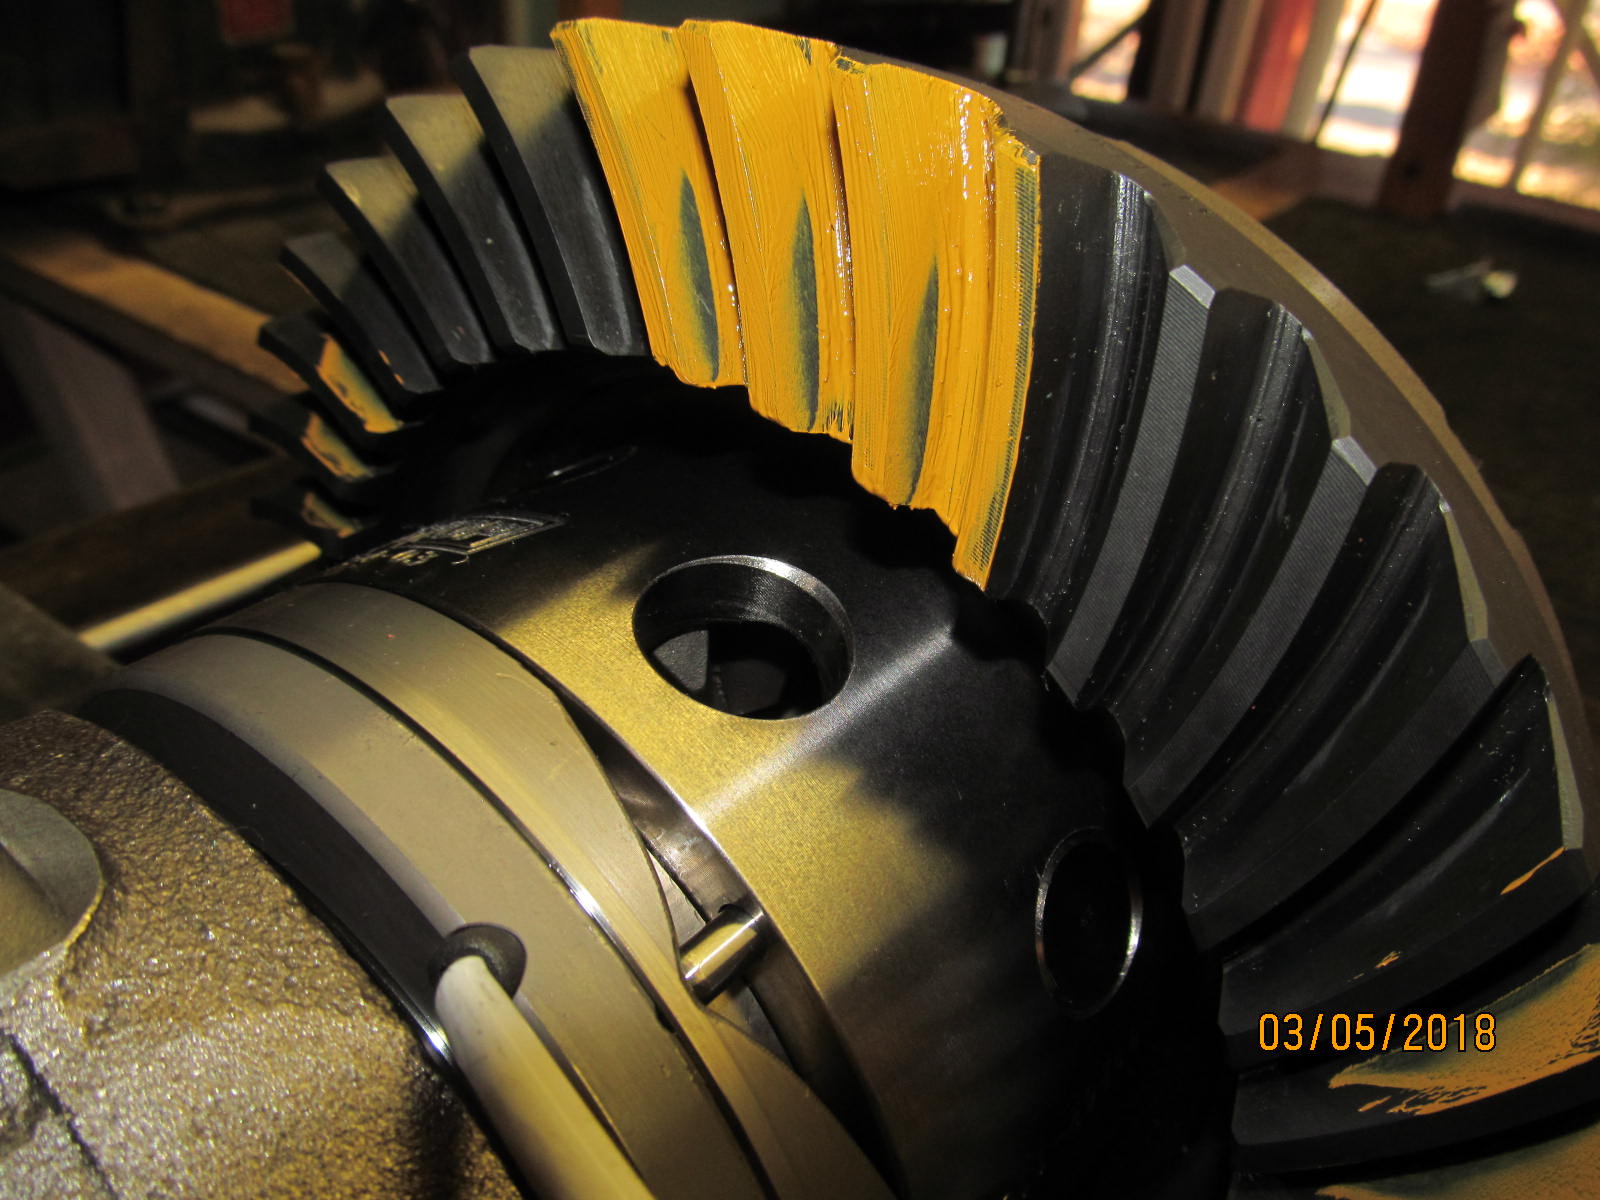
| First paint check and way too deep. This is the drive side. |
|---|
|
|
| Coast side. |
|---|
|
|
| Teardown and now trying a much thinner .034" |
|---|
|
|
| Drive.....much better but over-shot just a little. This is slightly shallow now. |
|---|
|
|
| Coast....can't complain. |
|---|
|
|
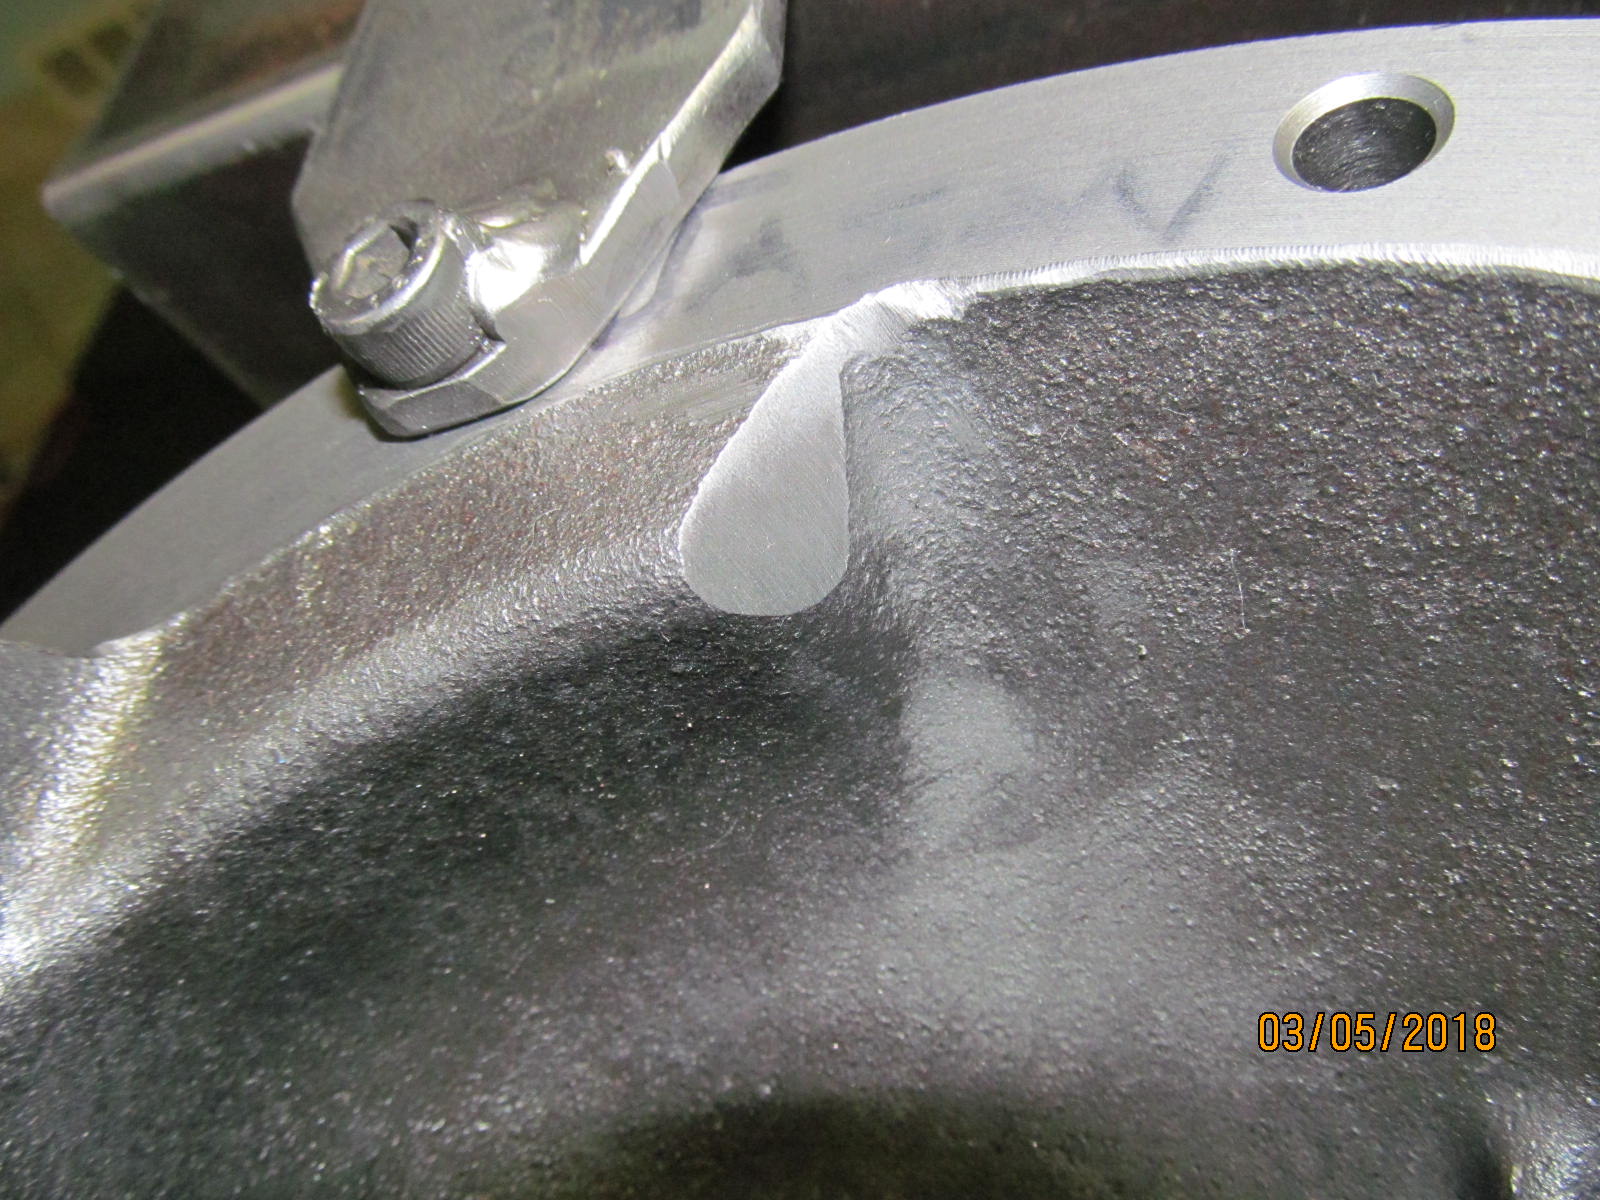
I did notice that the 529 ring gear was so thick that the teeth were almost hitting the tunnel groove
so did some clearancing with the flapper wheel. |
|---|
|
|
| Took about 20 seconds..... |
|---|
|
|
| .................................. |
|---|
|
|
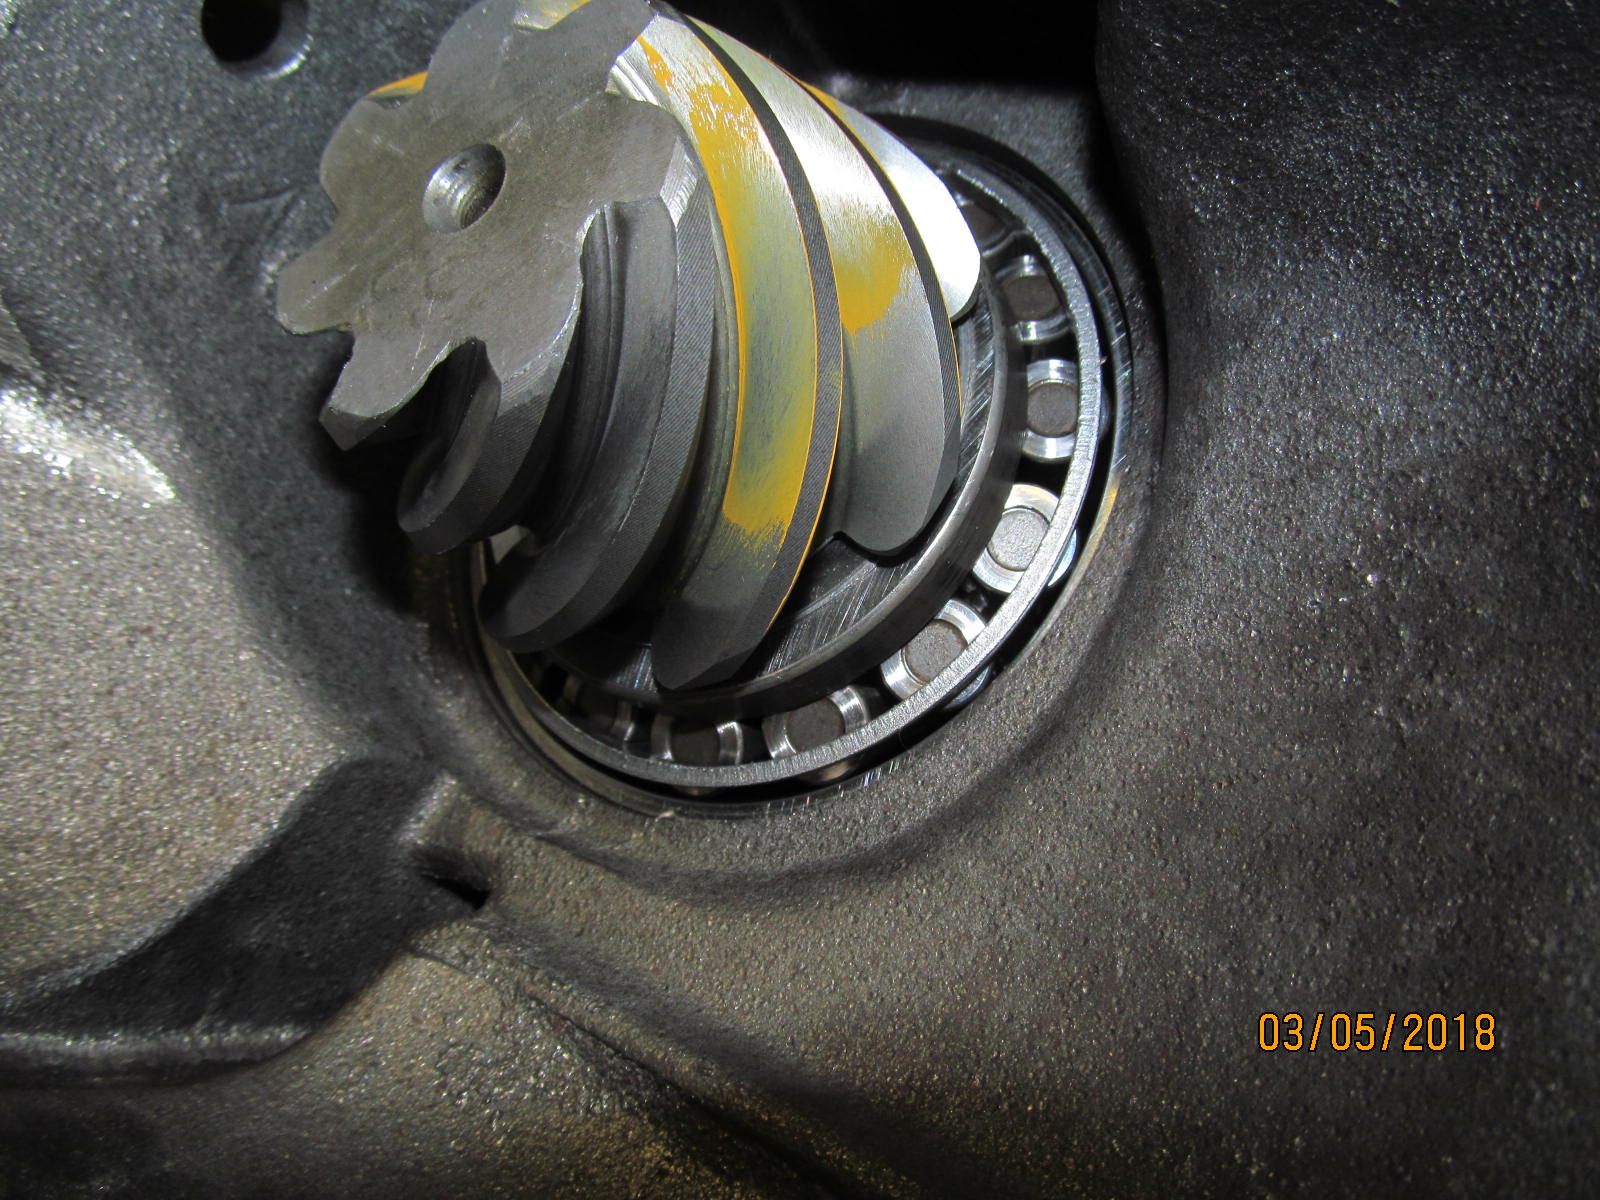
| A final look at the pinion paint shows that the comet tail is too deep into the root and that means to add more pinion shim. |
|---|
|
|
| ,,,,,,,,,,,,,,,,,,,,,,,,,,,,,,,,, |
|---|
|
|
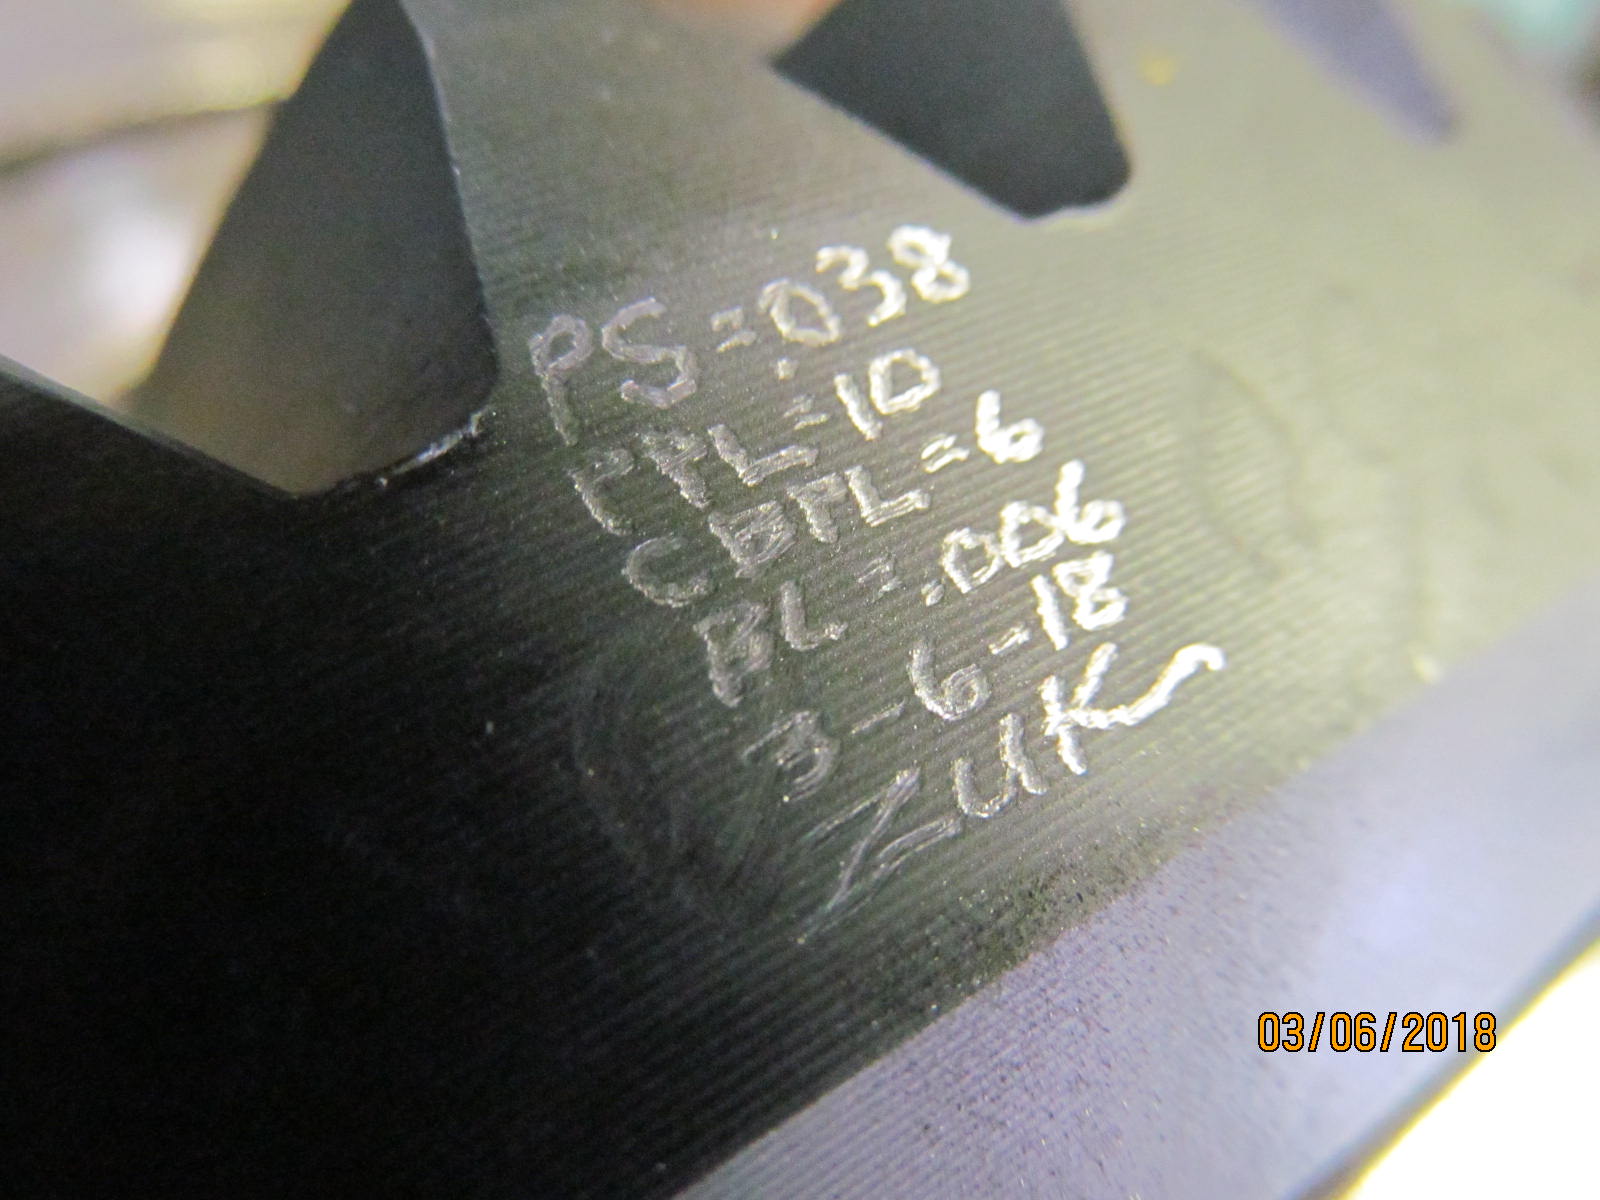
| So now to increase the thickness by .004" Now trying .038". |
|---|
|
|
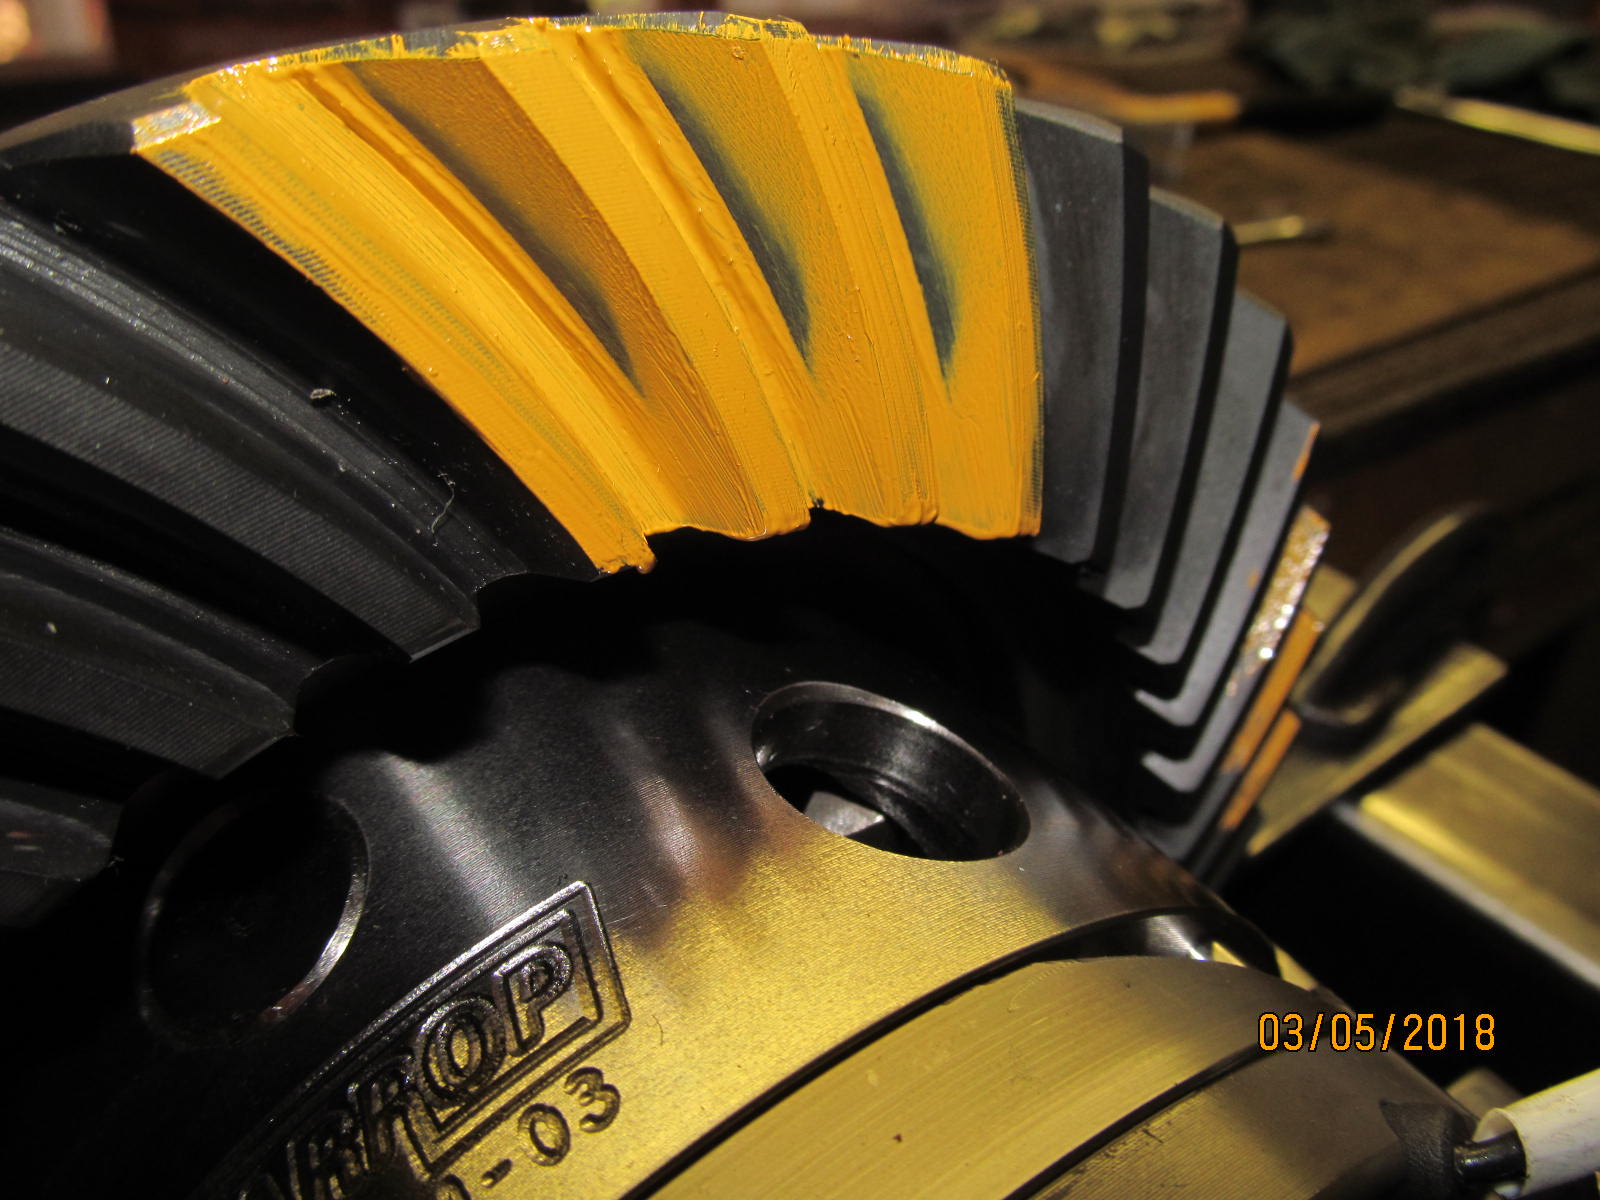
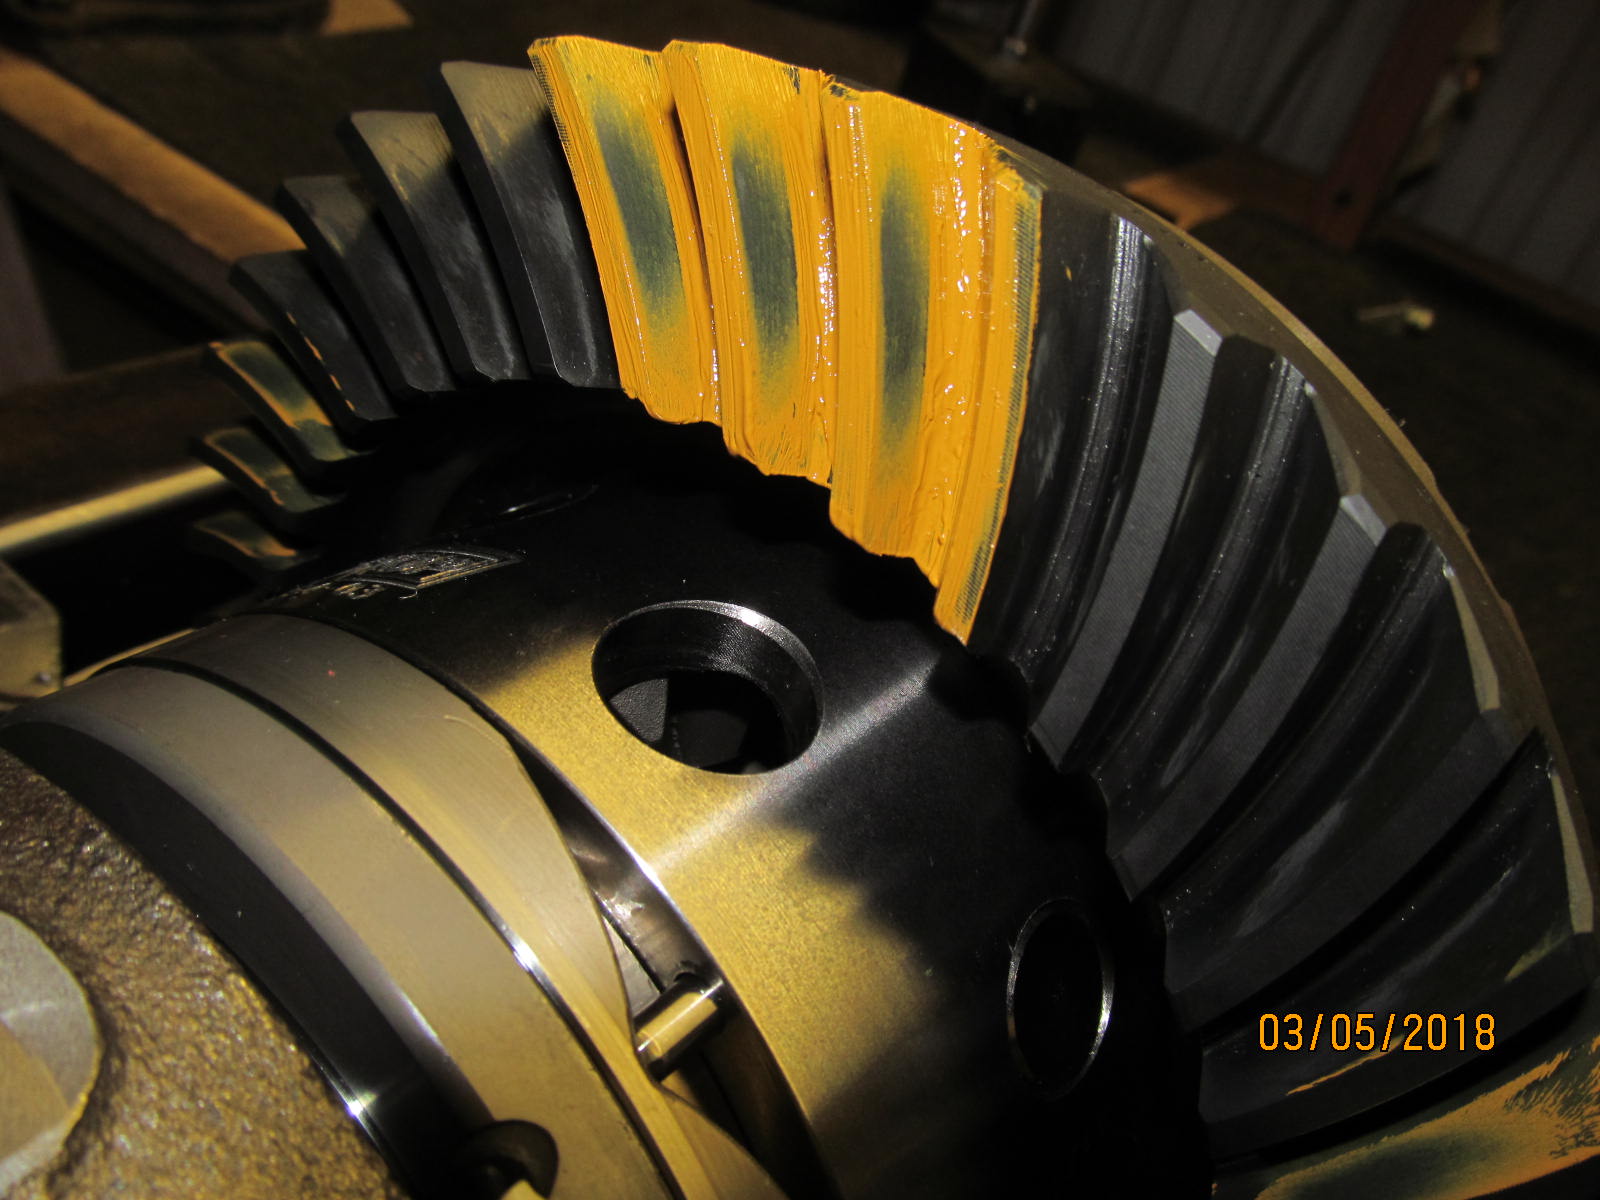
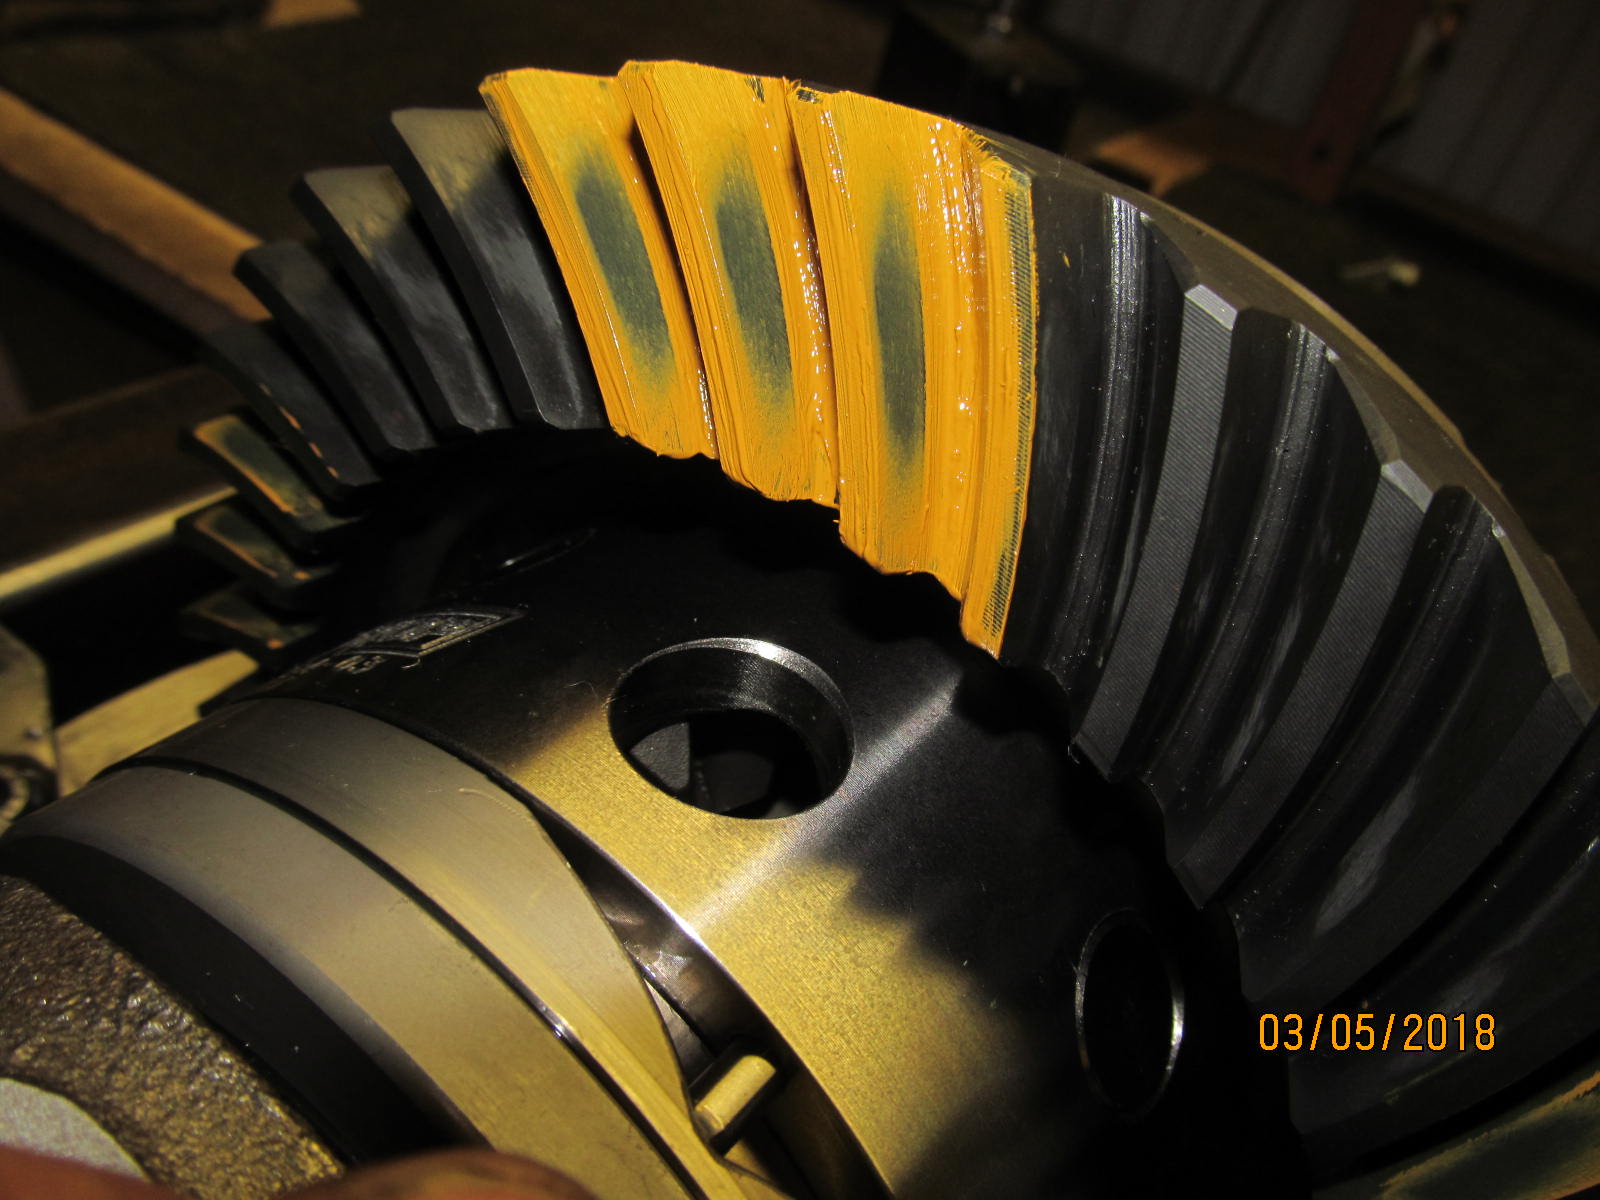
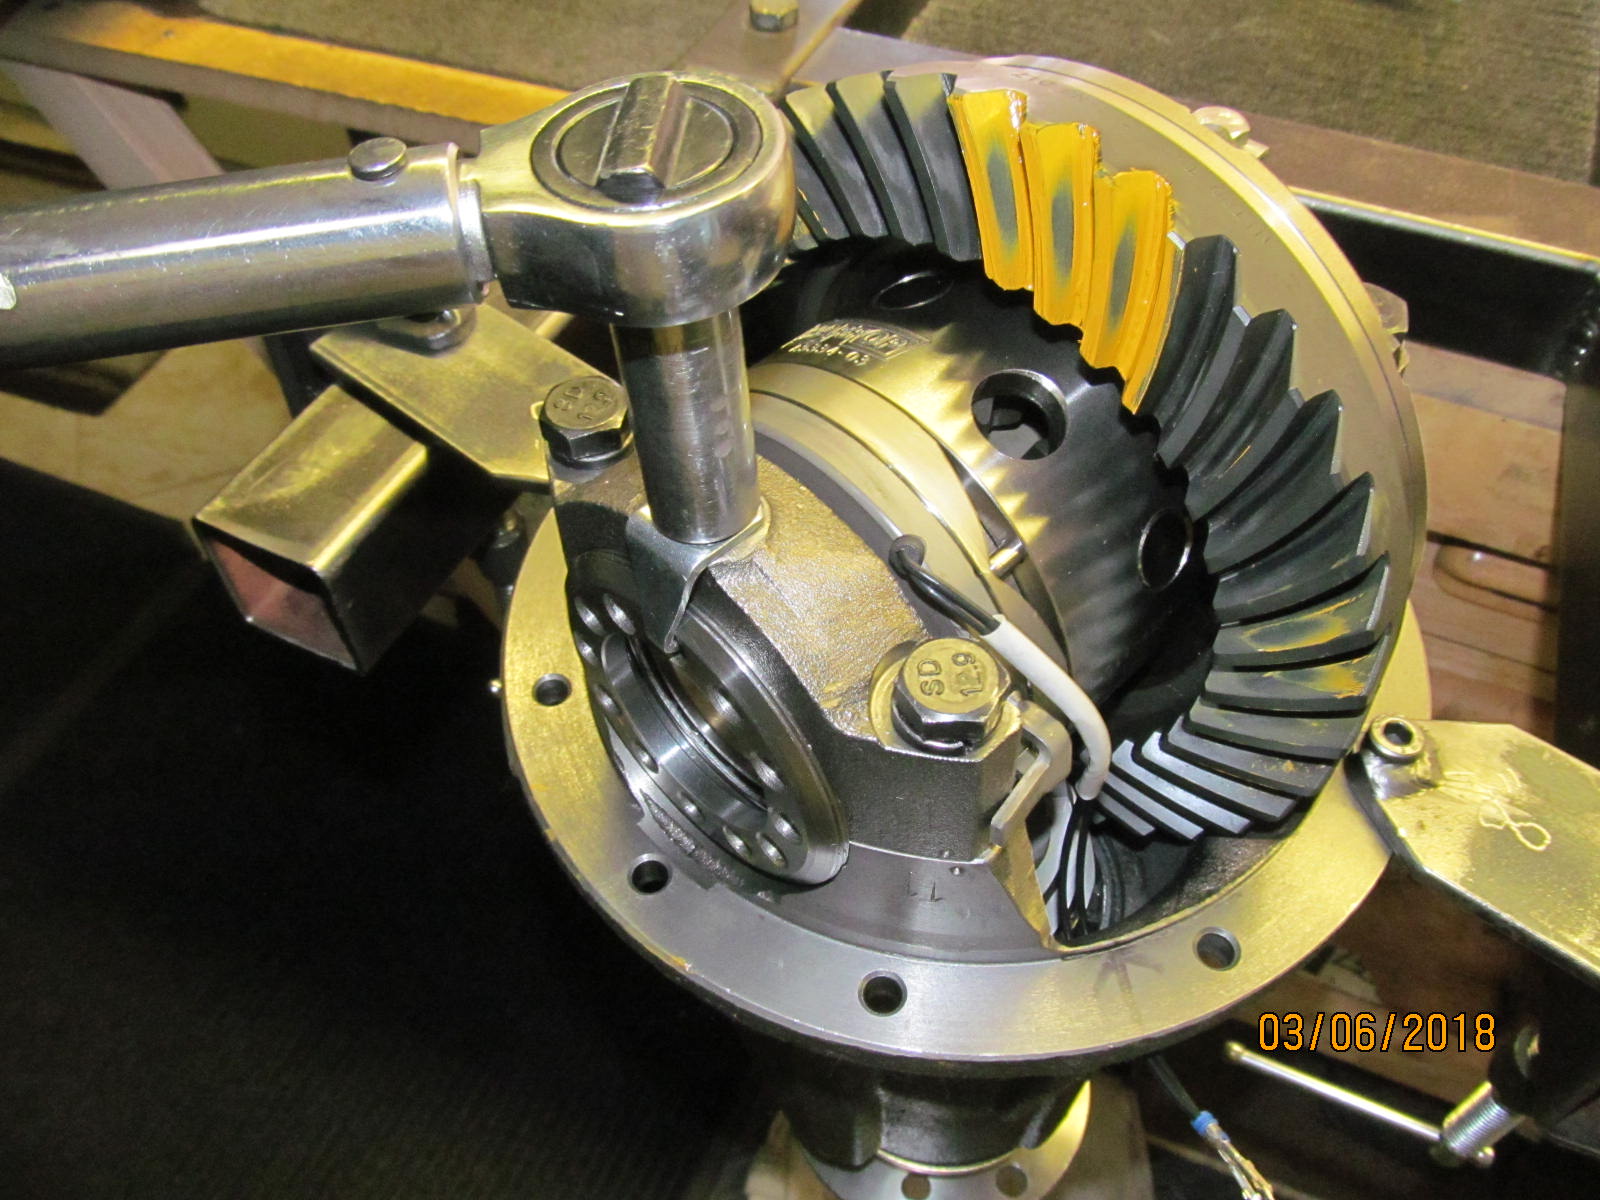
| Repaint.....Drive side....beautiful. |
|---|
|

|
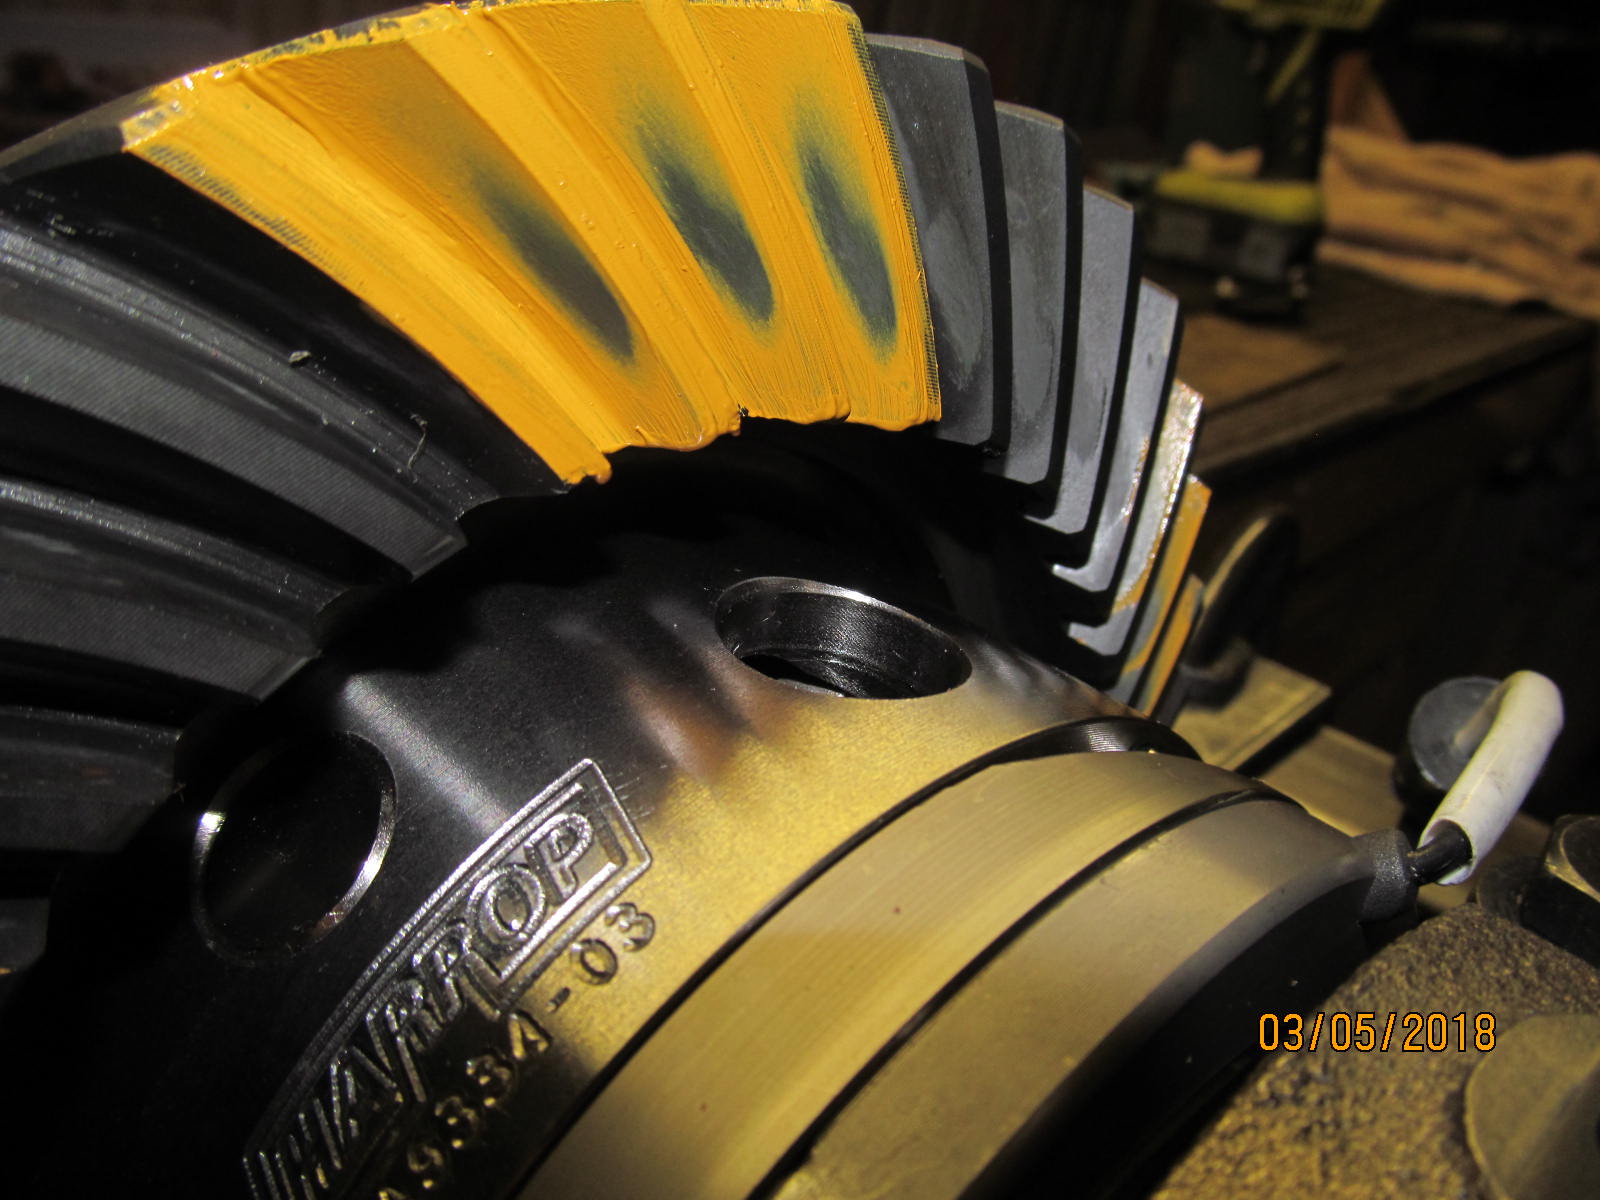
| Coast....very nice indeed. |
|---|
|
|
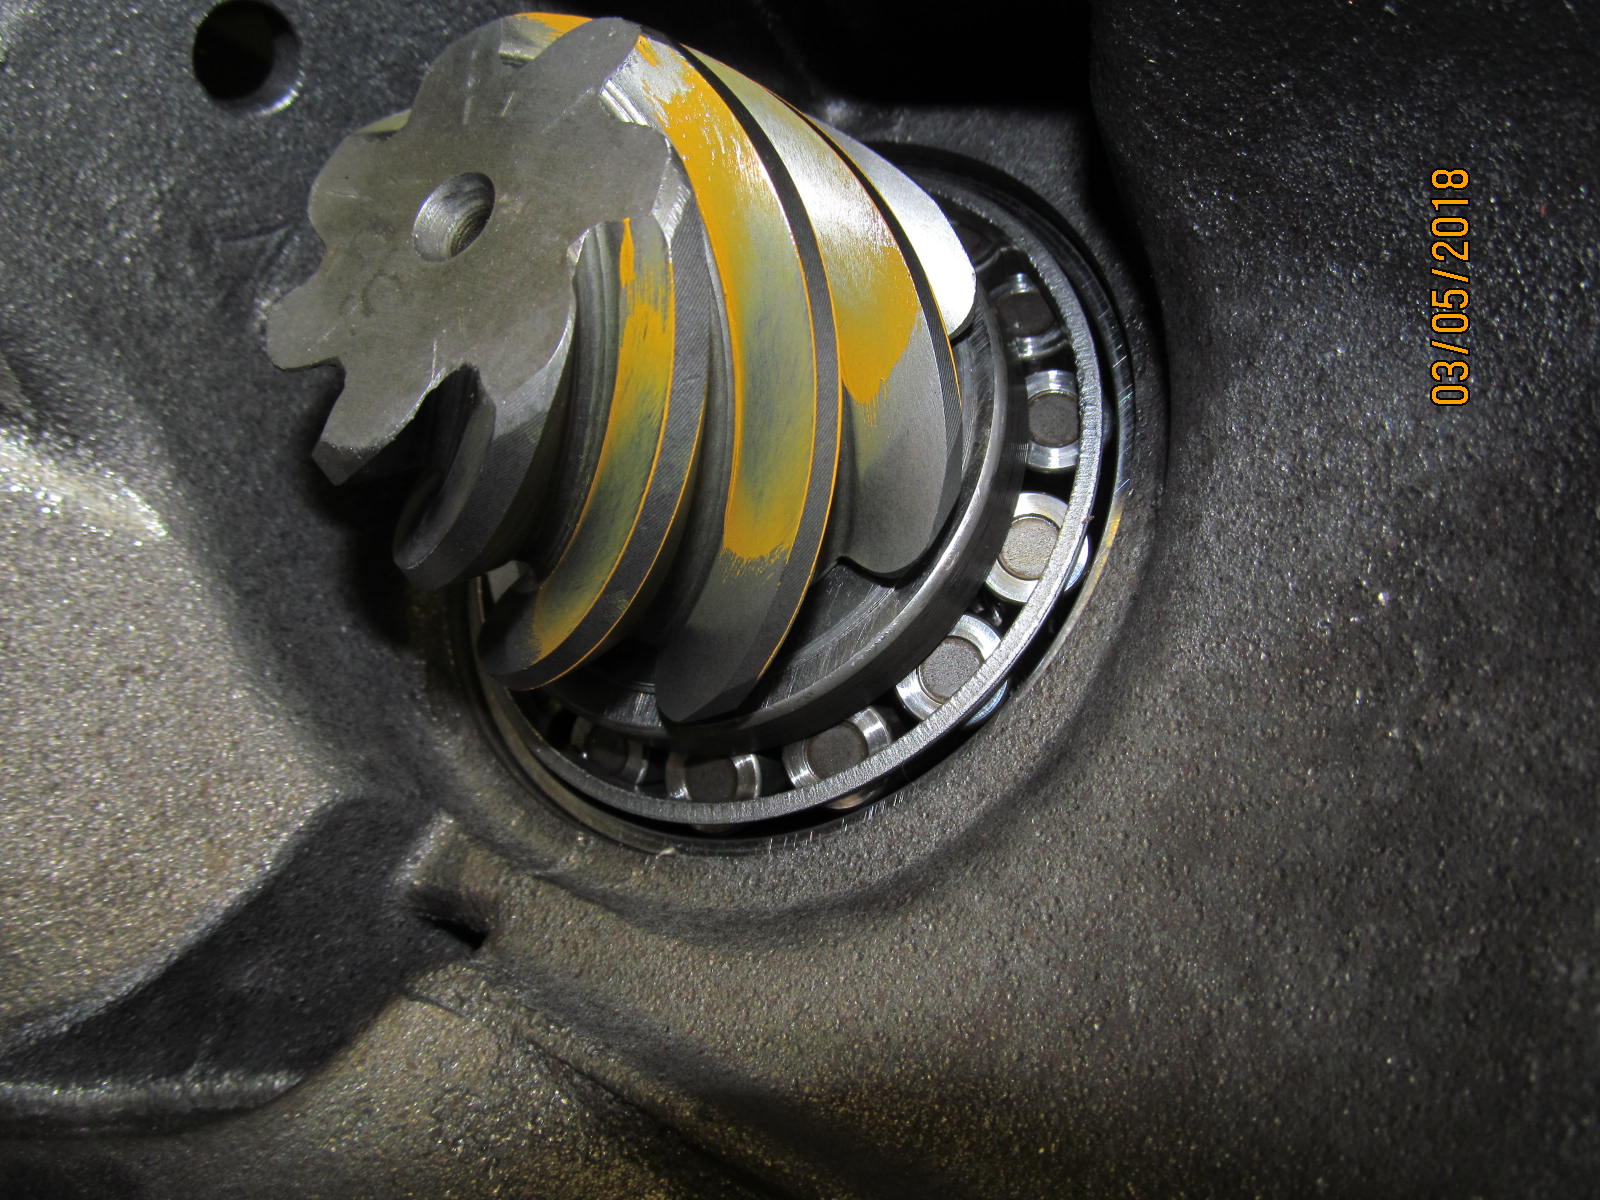
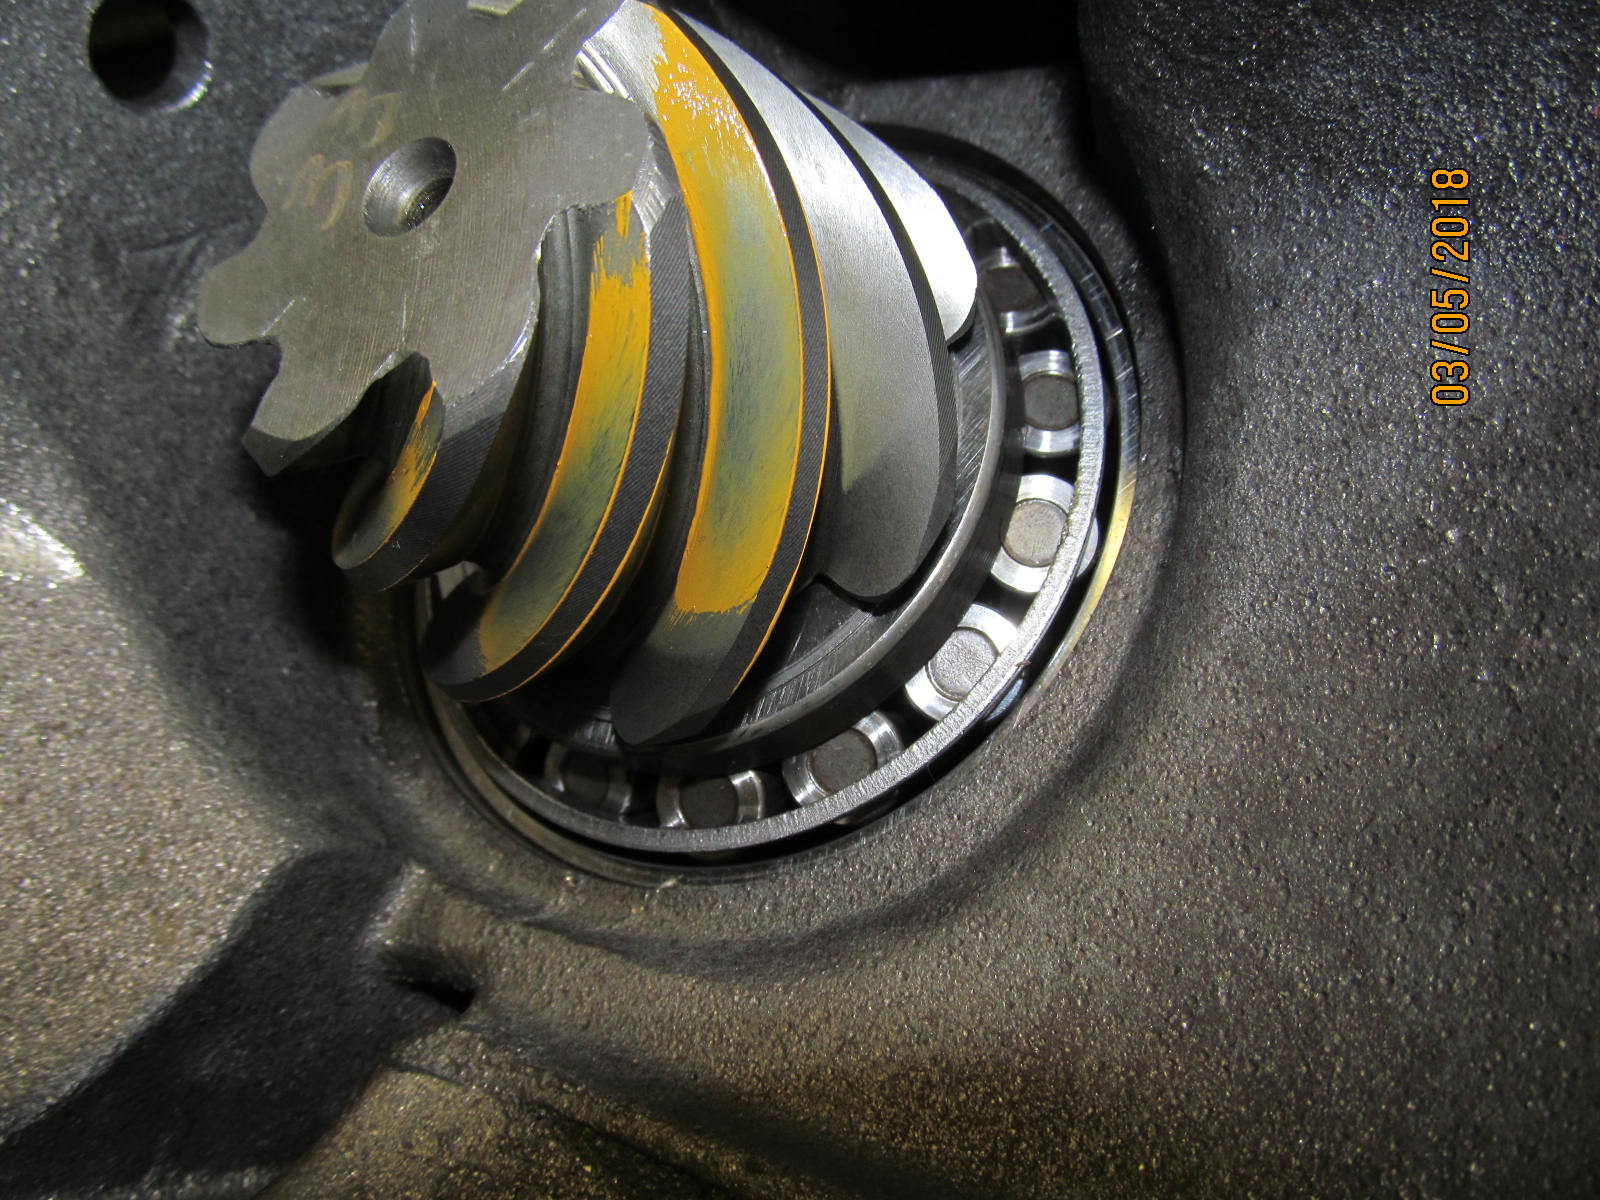
| Final confirmation....pinion tooth....comet tail is starting to feather out to the center. That means to leave it alone and button it up :) |
|---|
|
|
| ;;;;;;;;;;;;;;;;;;;;;;;;;;;; |
|---|
|
|
| //////////////////////// |
|---|
|
|
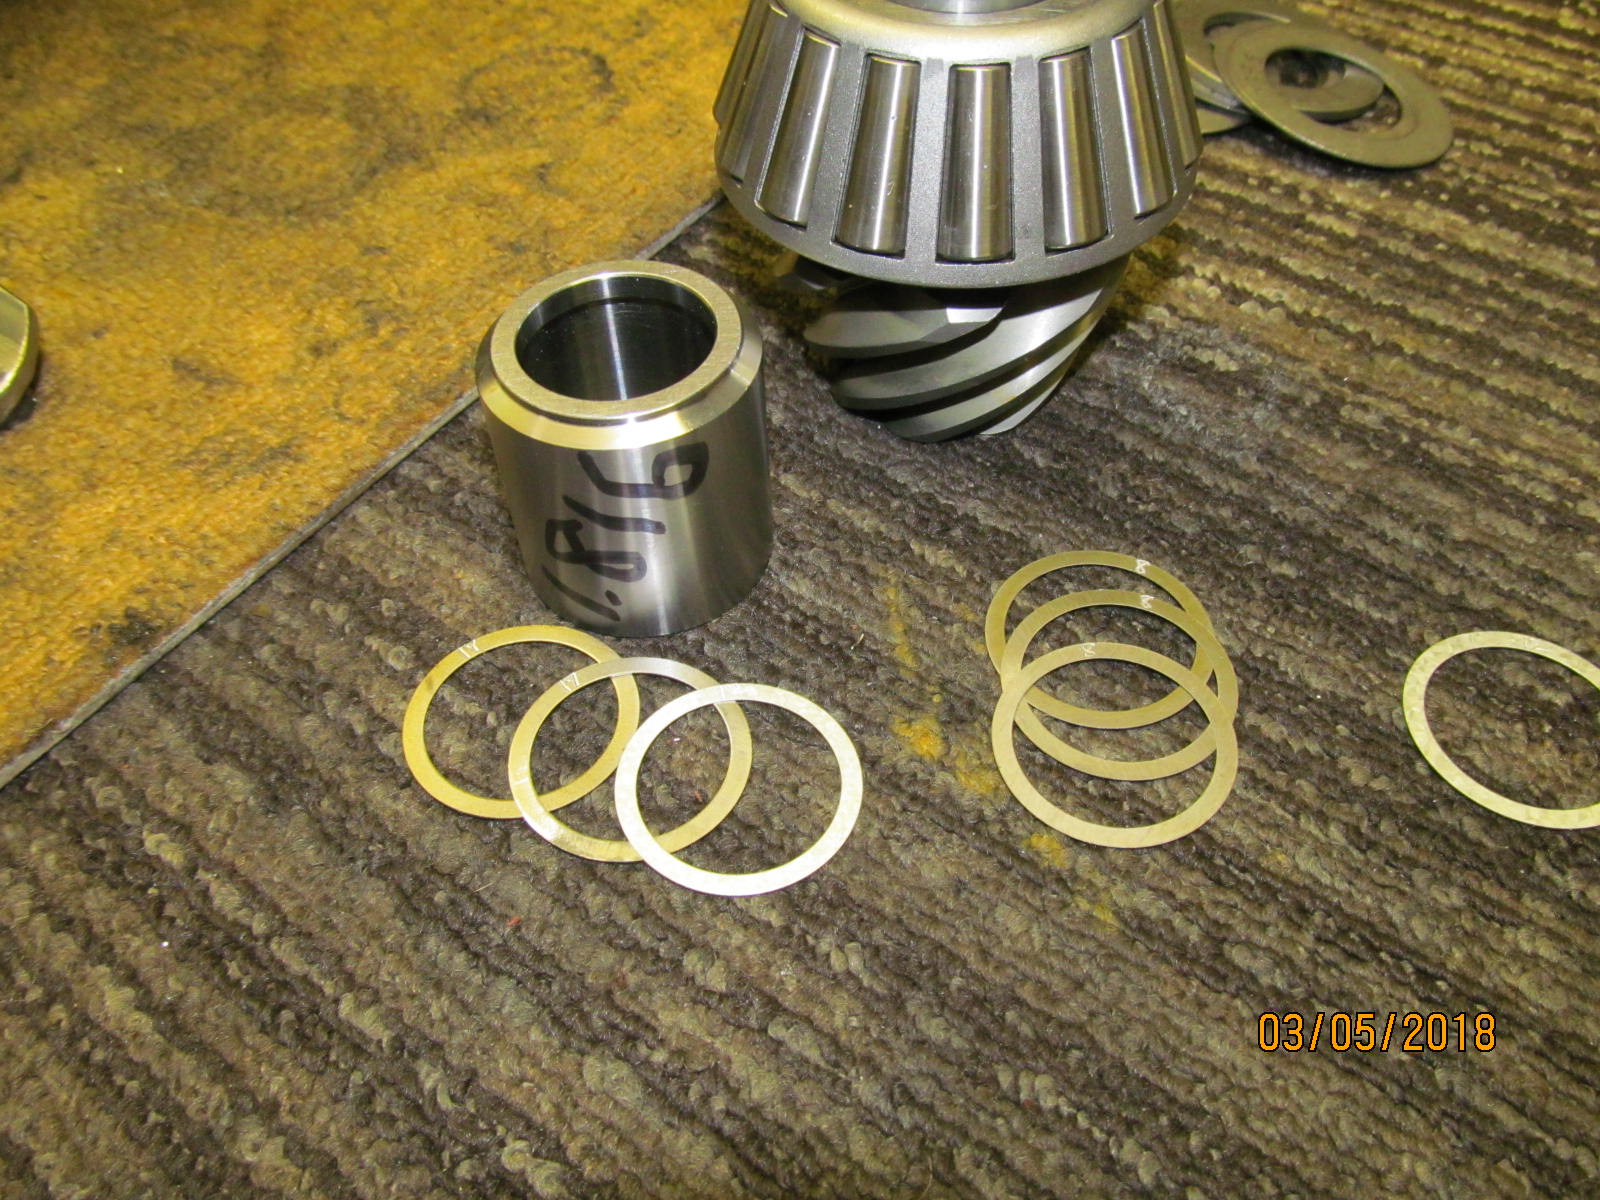
| Now to set the solid collar in place....took about 7 tries on this Hi-pinion to get it right. |
|---|
|
|
| 3 adjustments on pinion depth...... |
|---|
|
|
| 7 on the solid collar. |
|---|
|
|
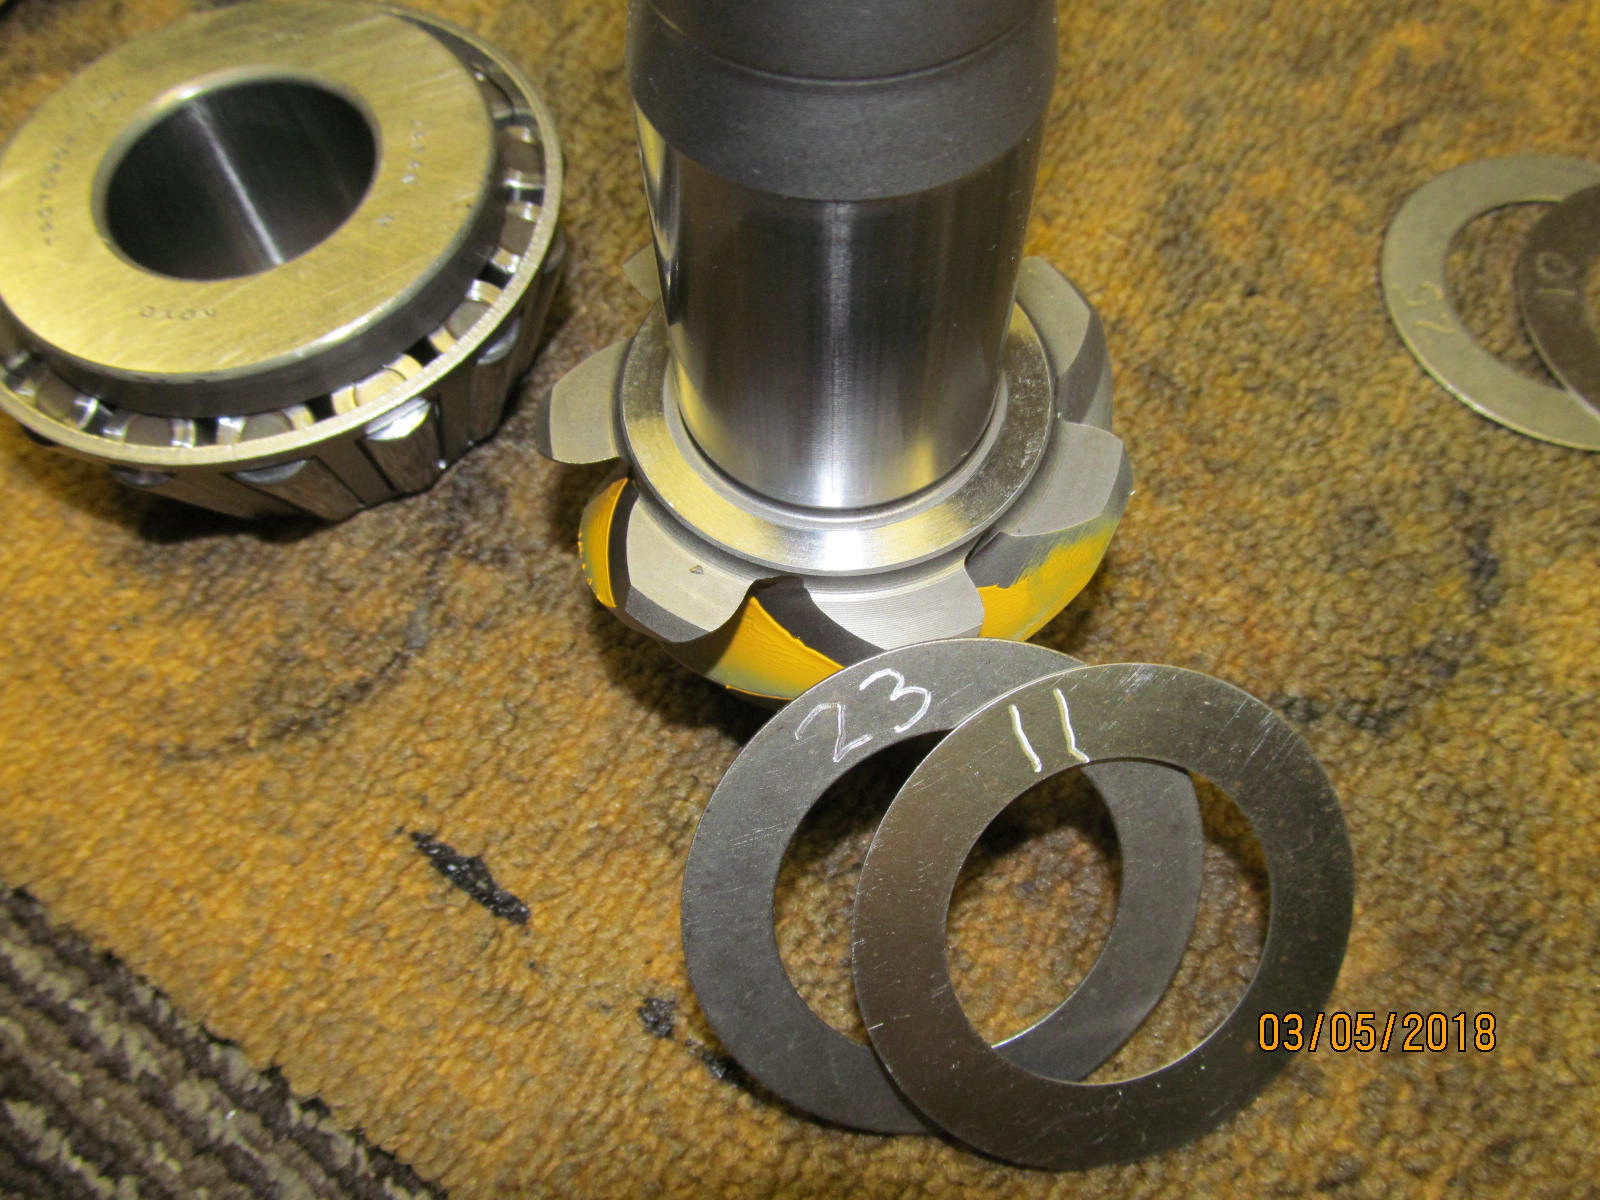
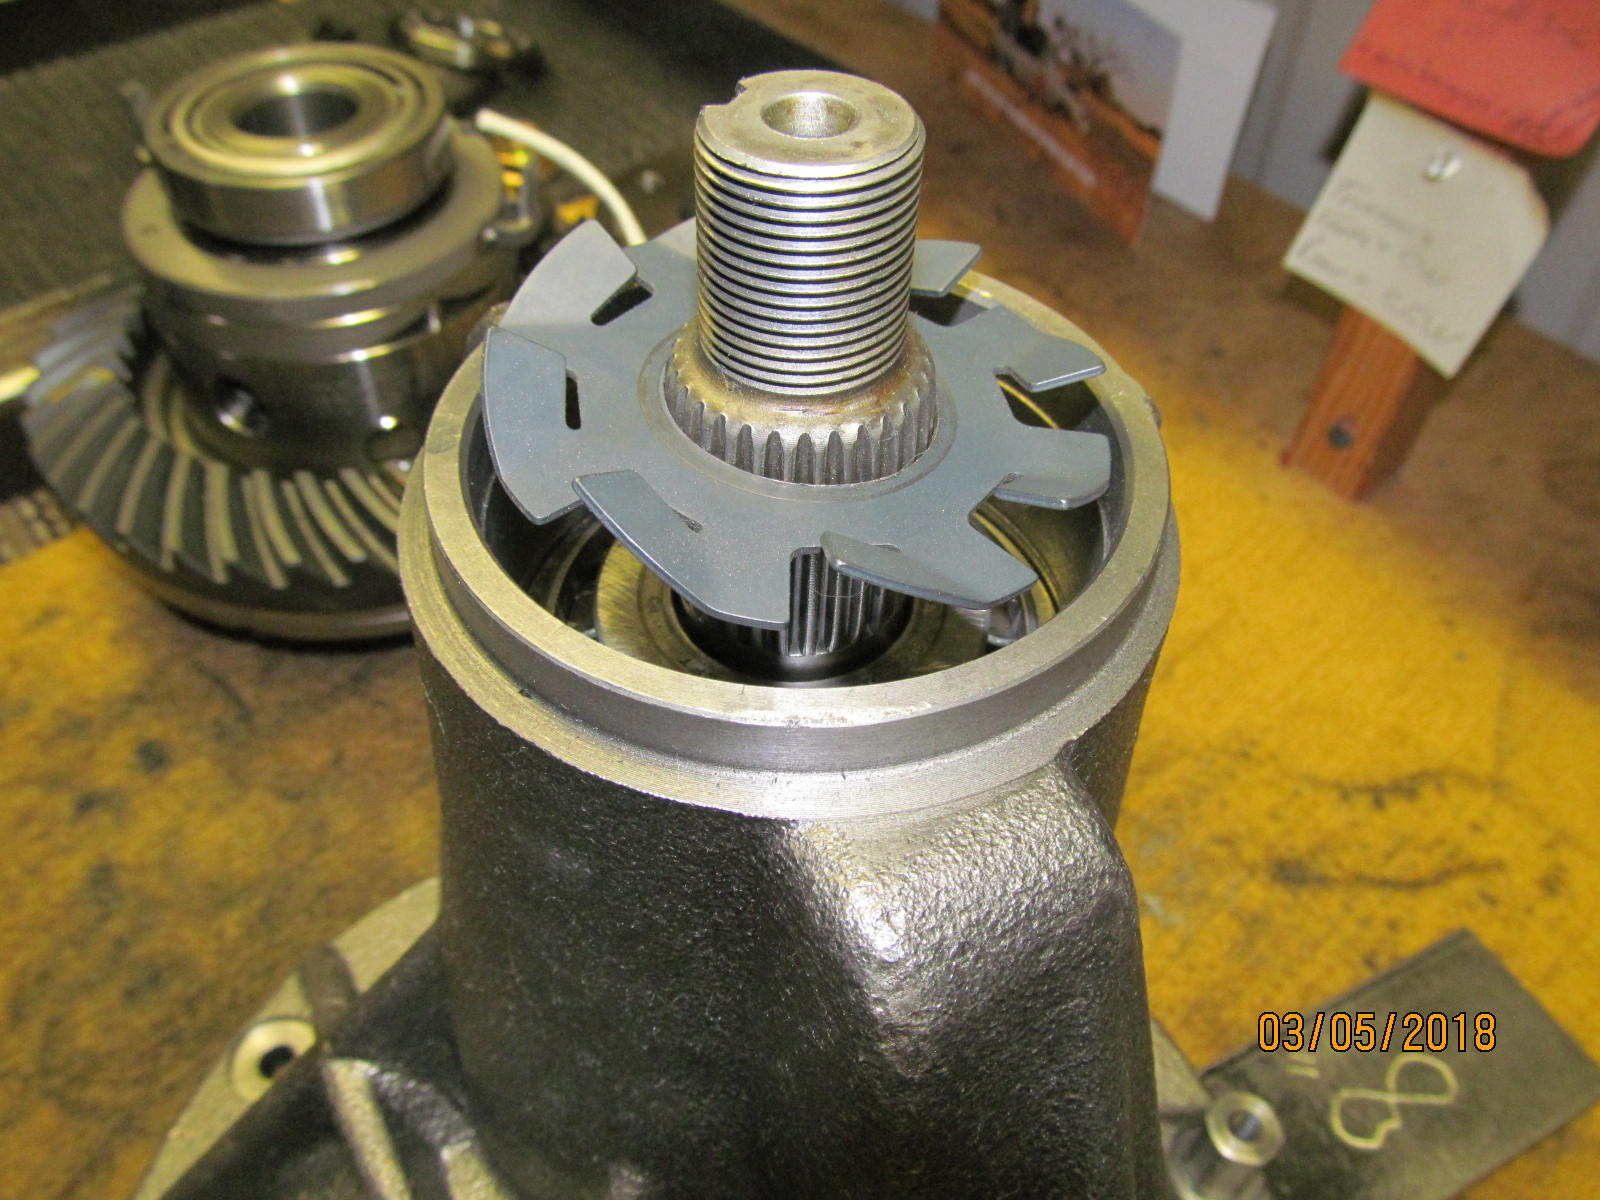
The 27 spline fanblade slinger will fit with a slight enlargement of the center hole.
A Makita 1/4" die grinder and 3 minutes did the trick. |
|---|
|
|
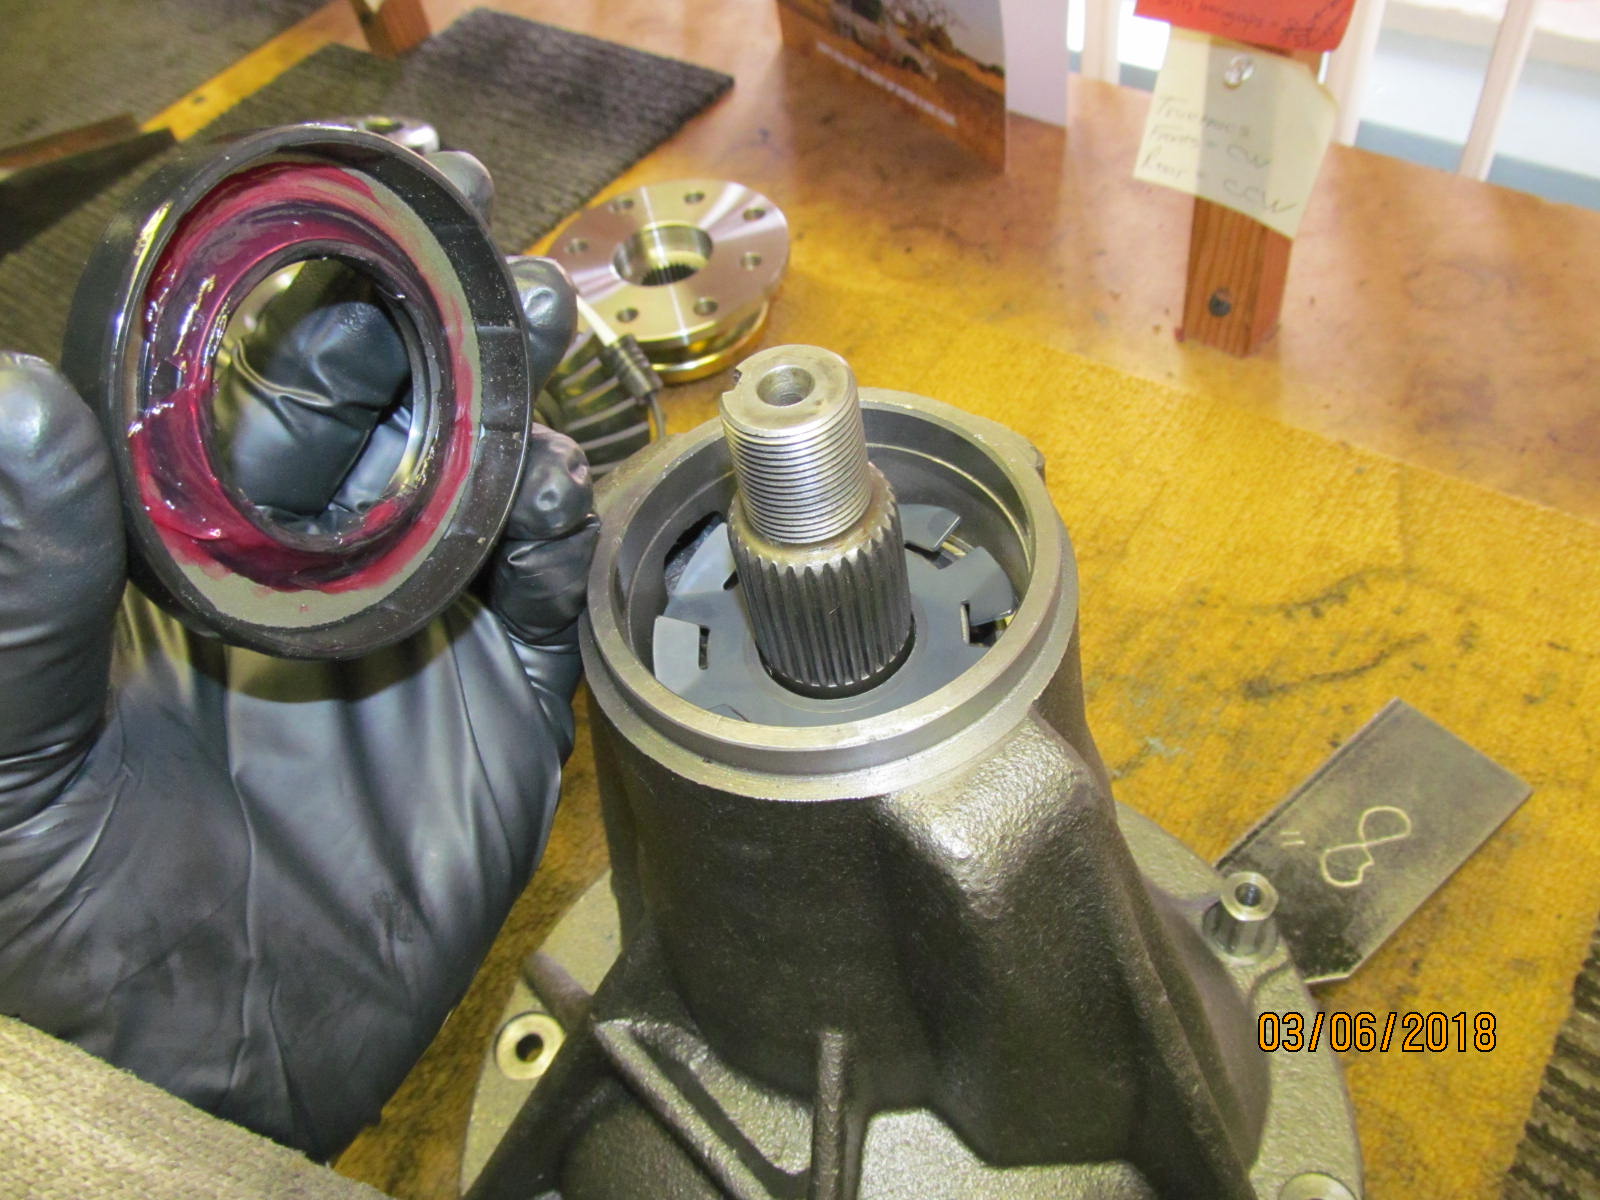
| Grease on the garter spring prevents the spring from popping off during the install process. |
|---|
|
|
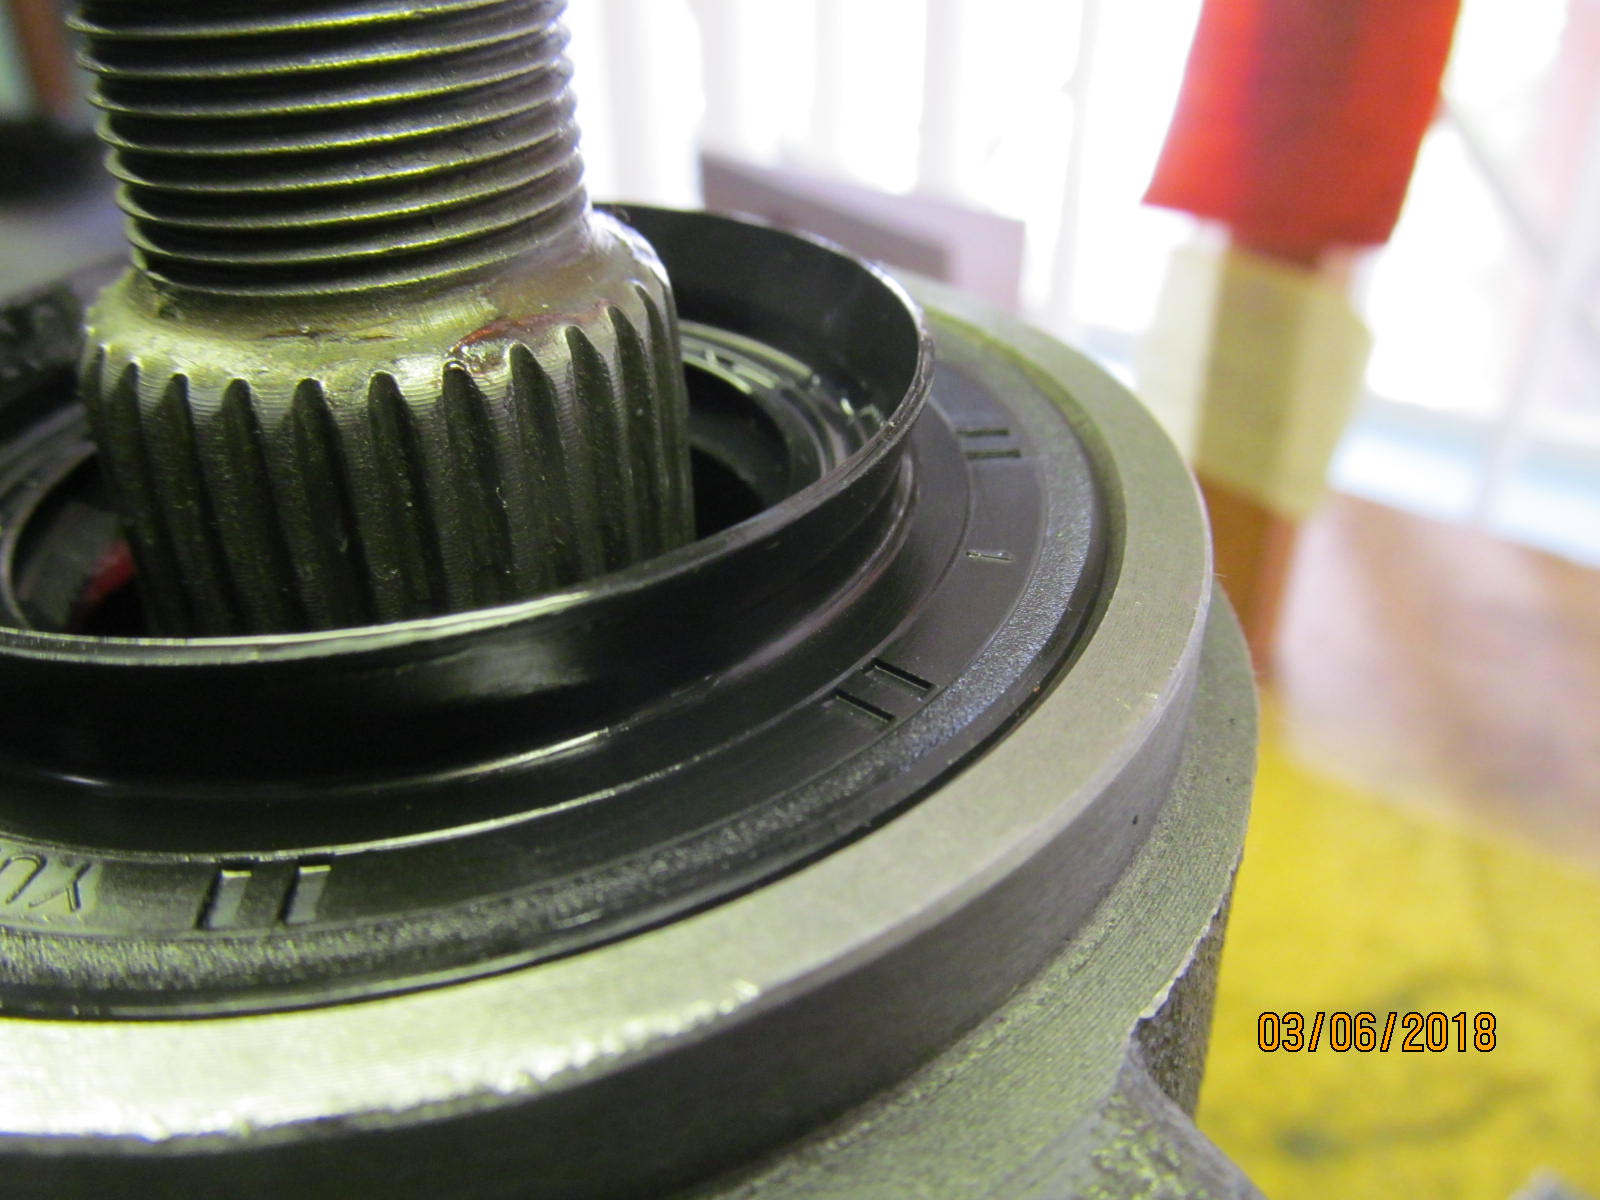
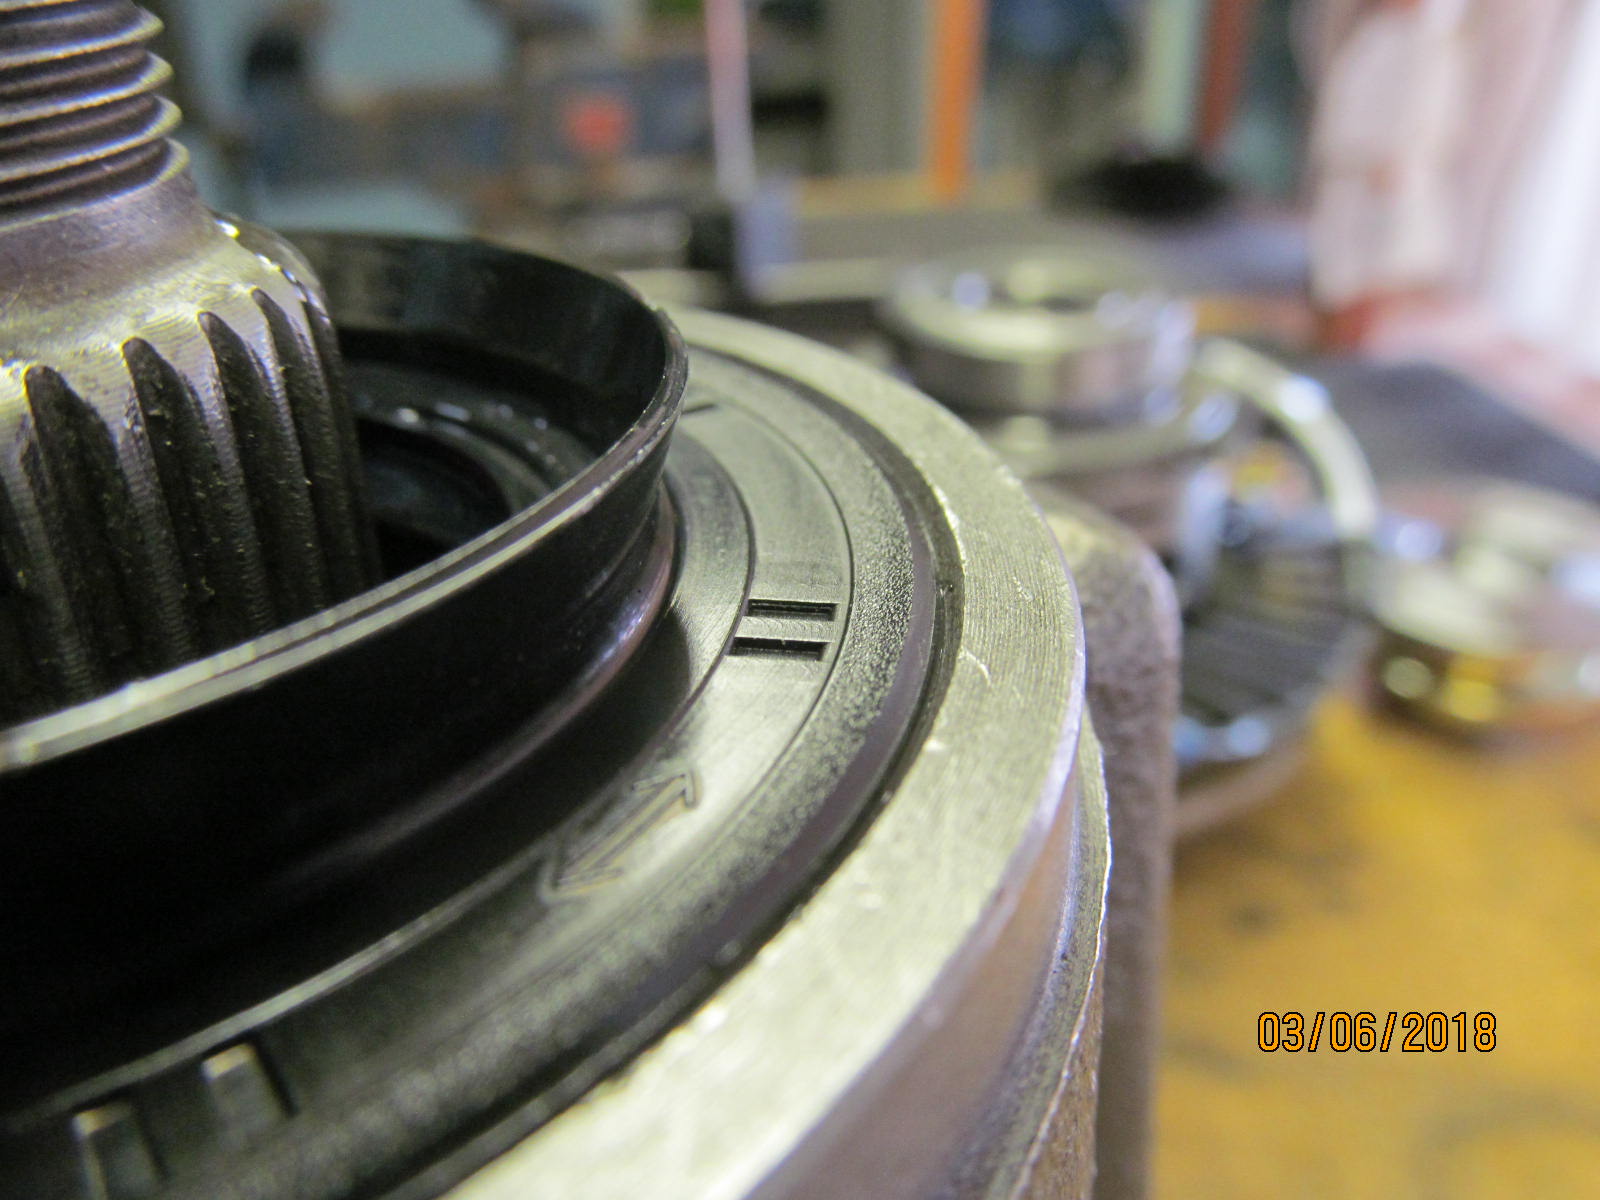
| The Yukon brand seal appears to be a quality seal. |
|---|
|

|
| ;;;;;;;;;;;;;;;;;;;;;;;;;;;;;;;;;;;; |
|---|
|
|
| ============================= |
|---|
|

|
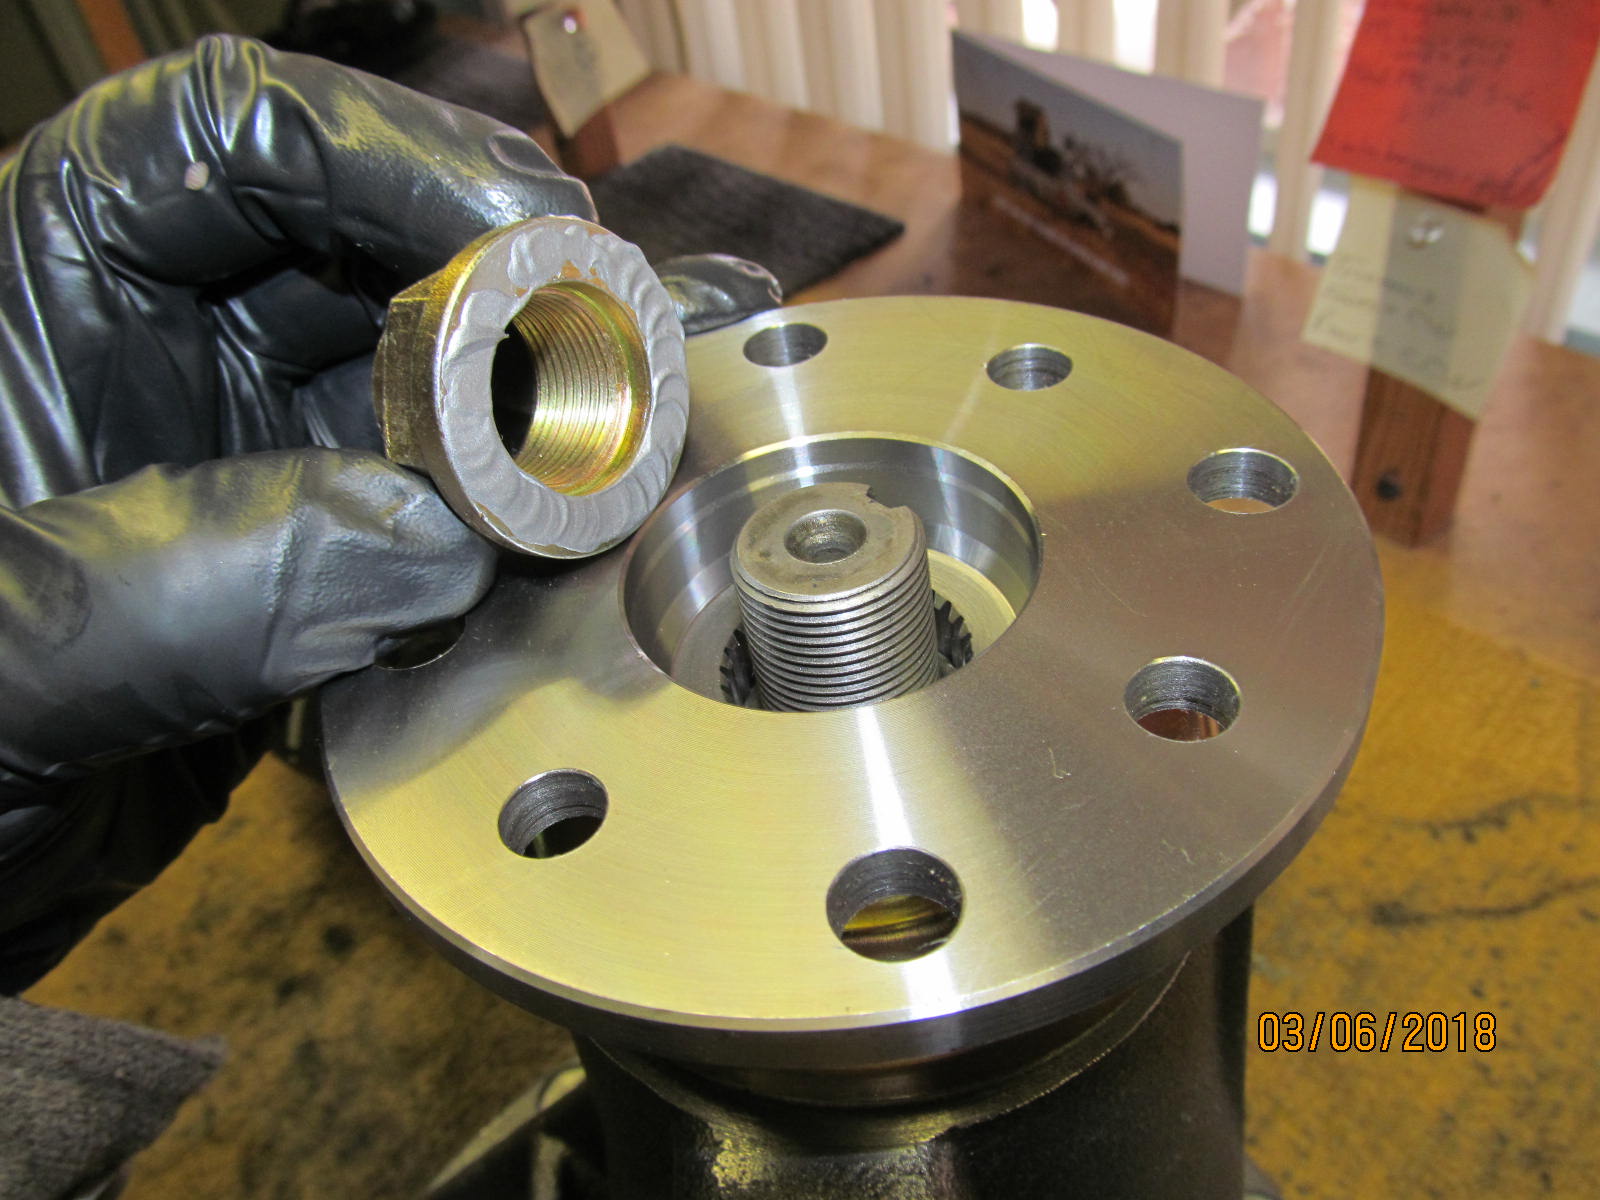
| The new flange is next. |
|---|
|
|
| Anti-seize on the flat surface...not shown but also applied to the pinion threads. |
|---|
|
|
| All that anti-seize really helps in dialing in the pinion preload. |
|---|
|
|
| This side goes together like usual. |
|---|
|
|
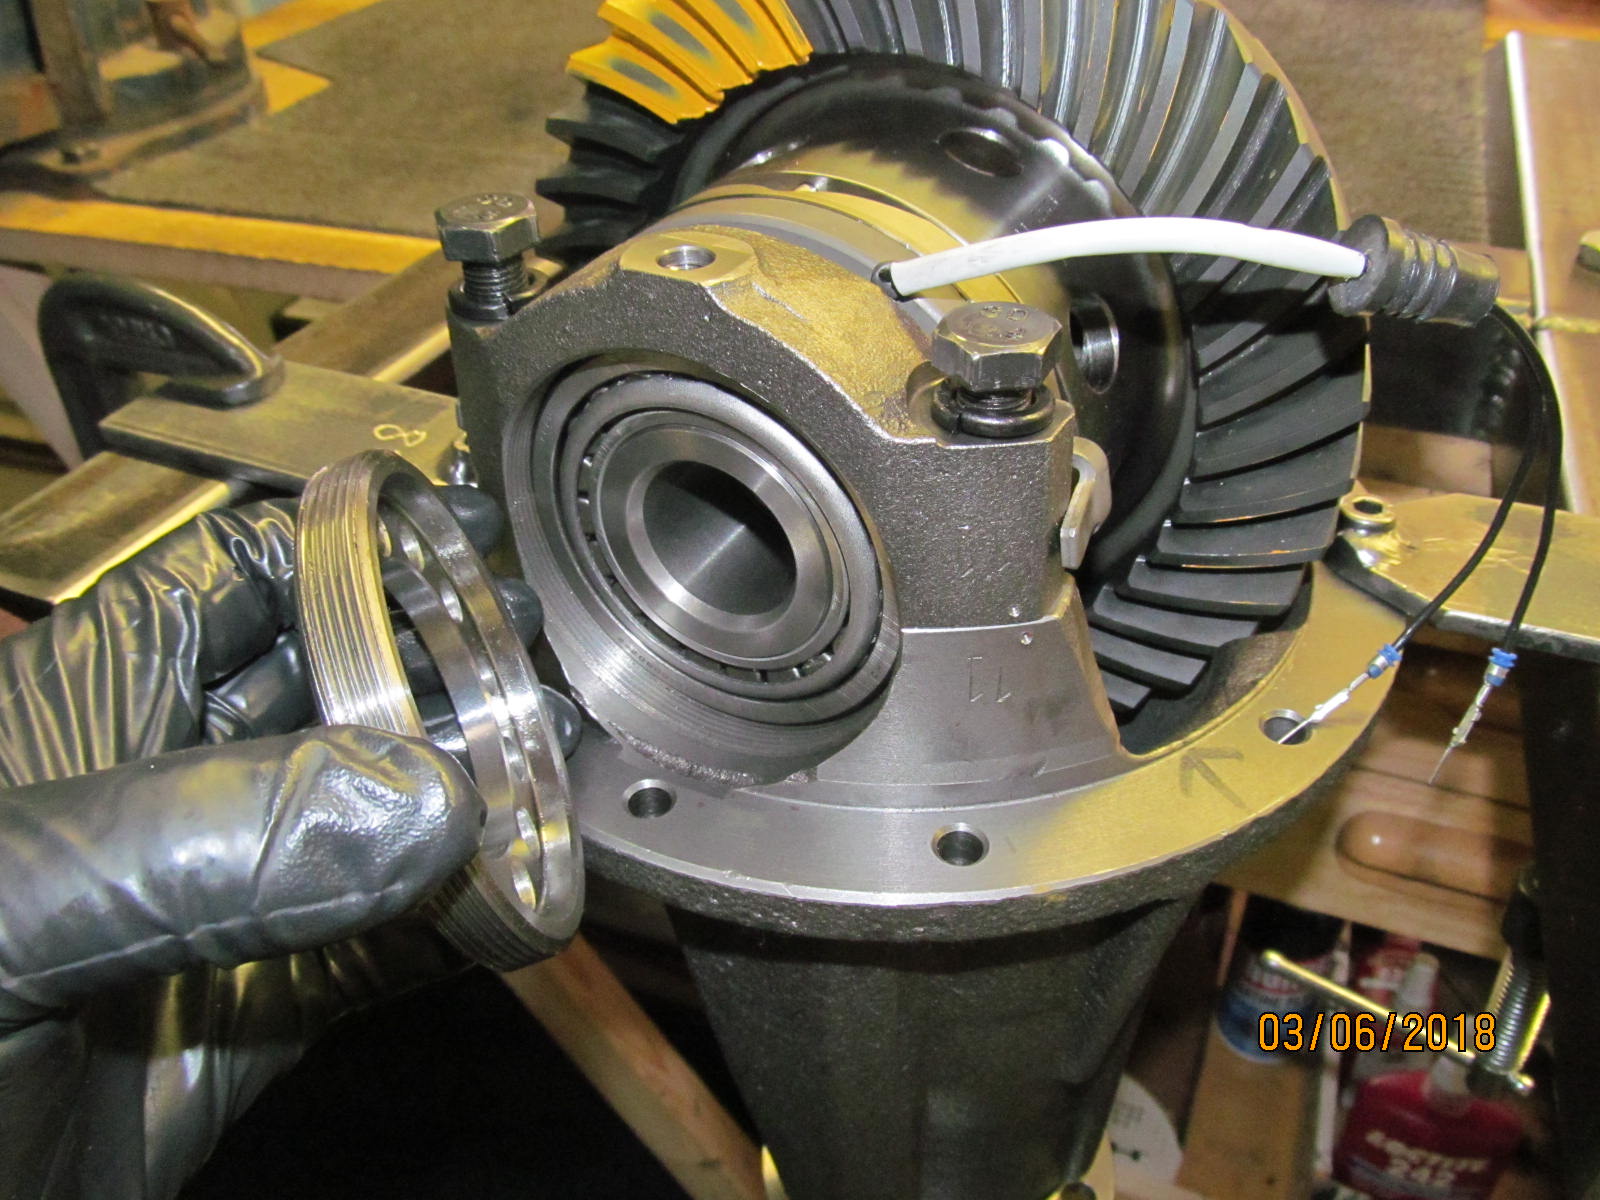
| This side requires a little order of assembly as mentioned earlier. |
|---|
|
|
The 2 long bolts are tightened and the wheel adjuster freely threads in.
A quick final check of the locktab freeplay shows 1 mm. |
|---|
|
|
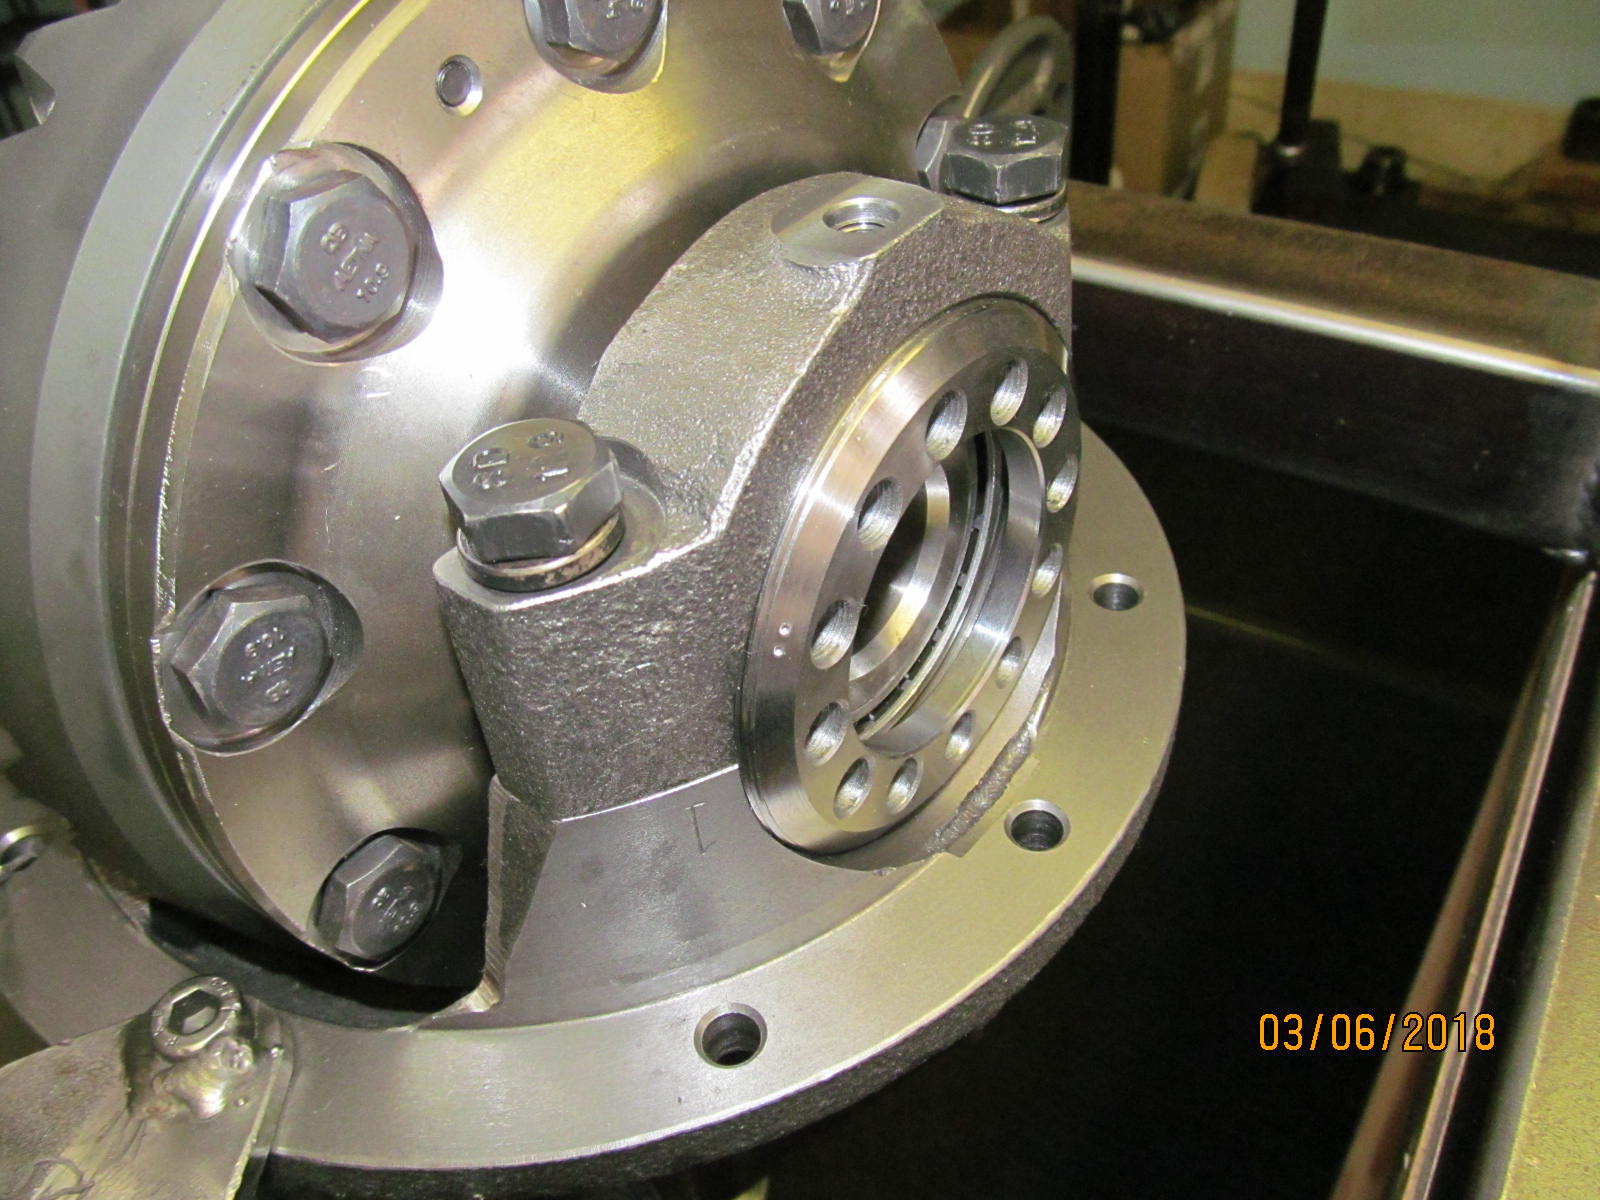
| The wheel adjuster threads in smoothly. |
|---|
|

|
| Now the 4 bolts are torqued to the 70 ft/lb spec. |
|---|
|
|
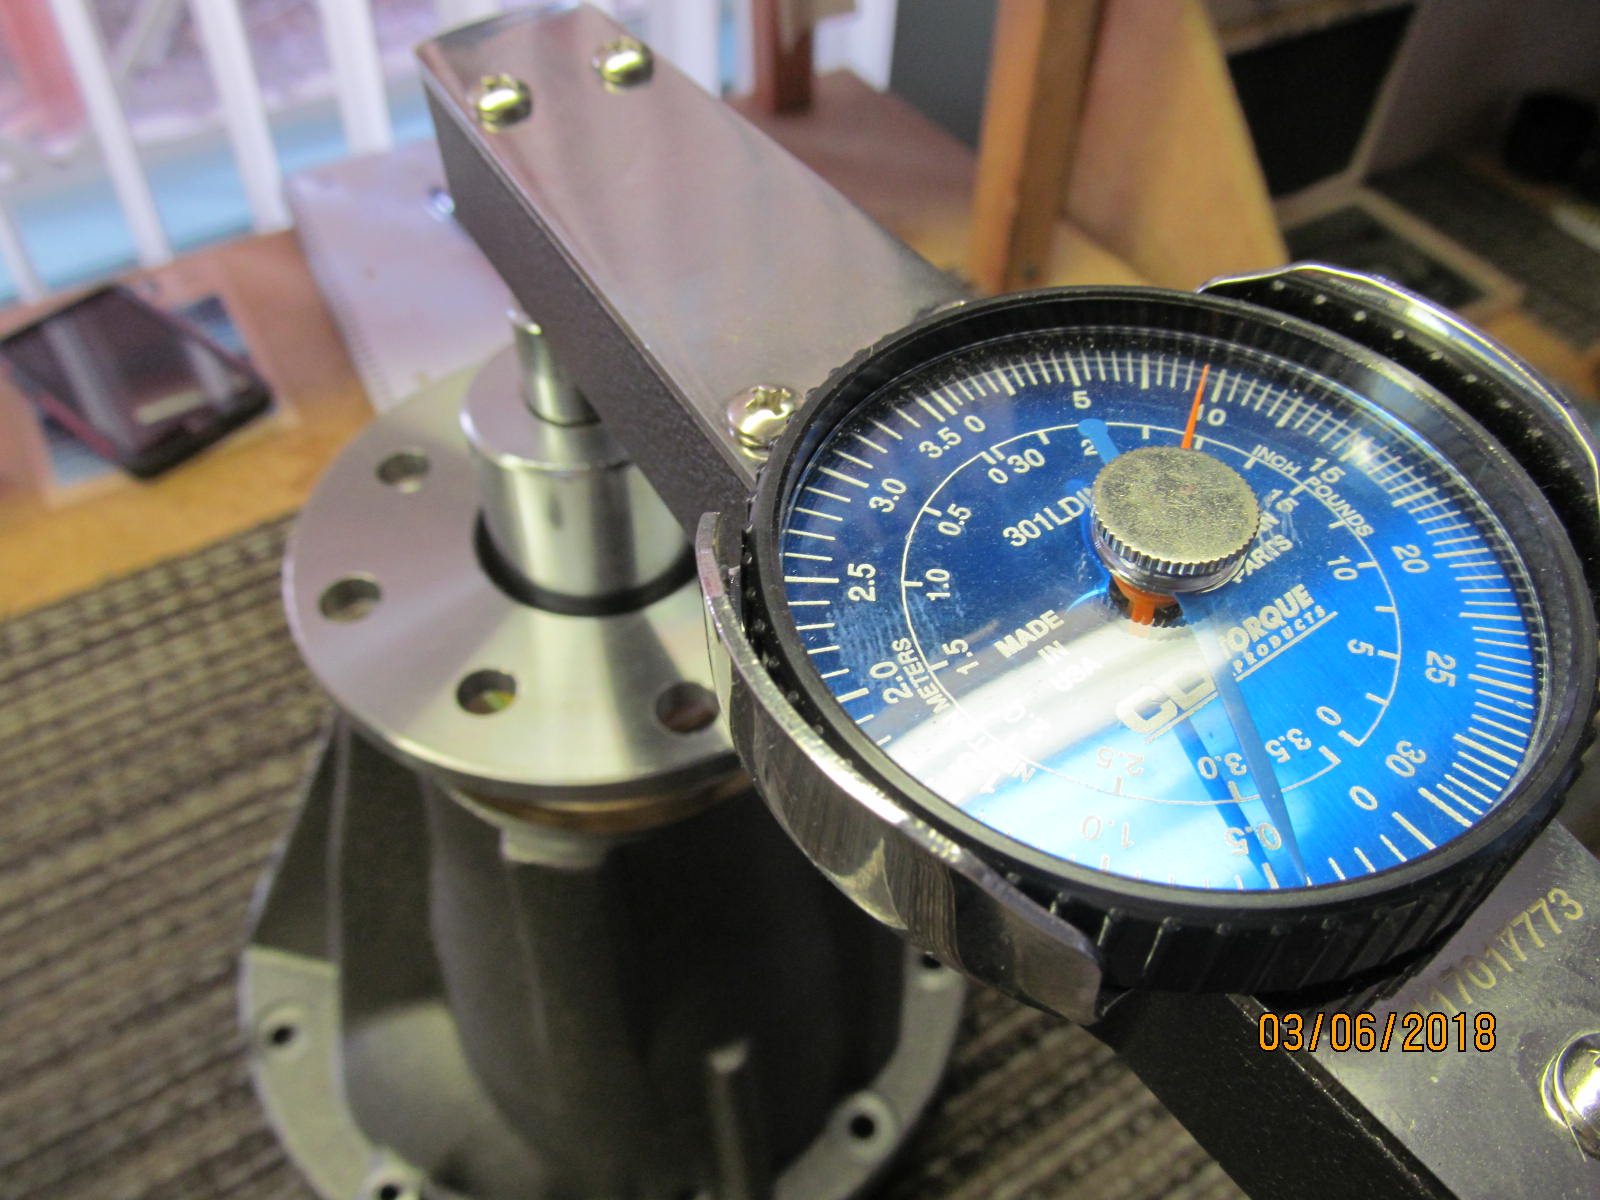
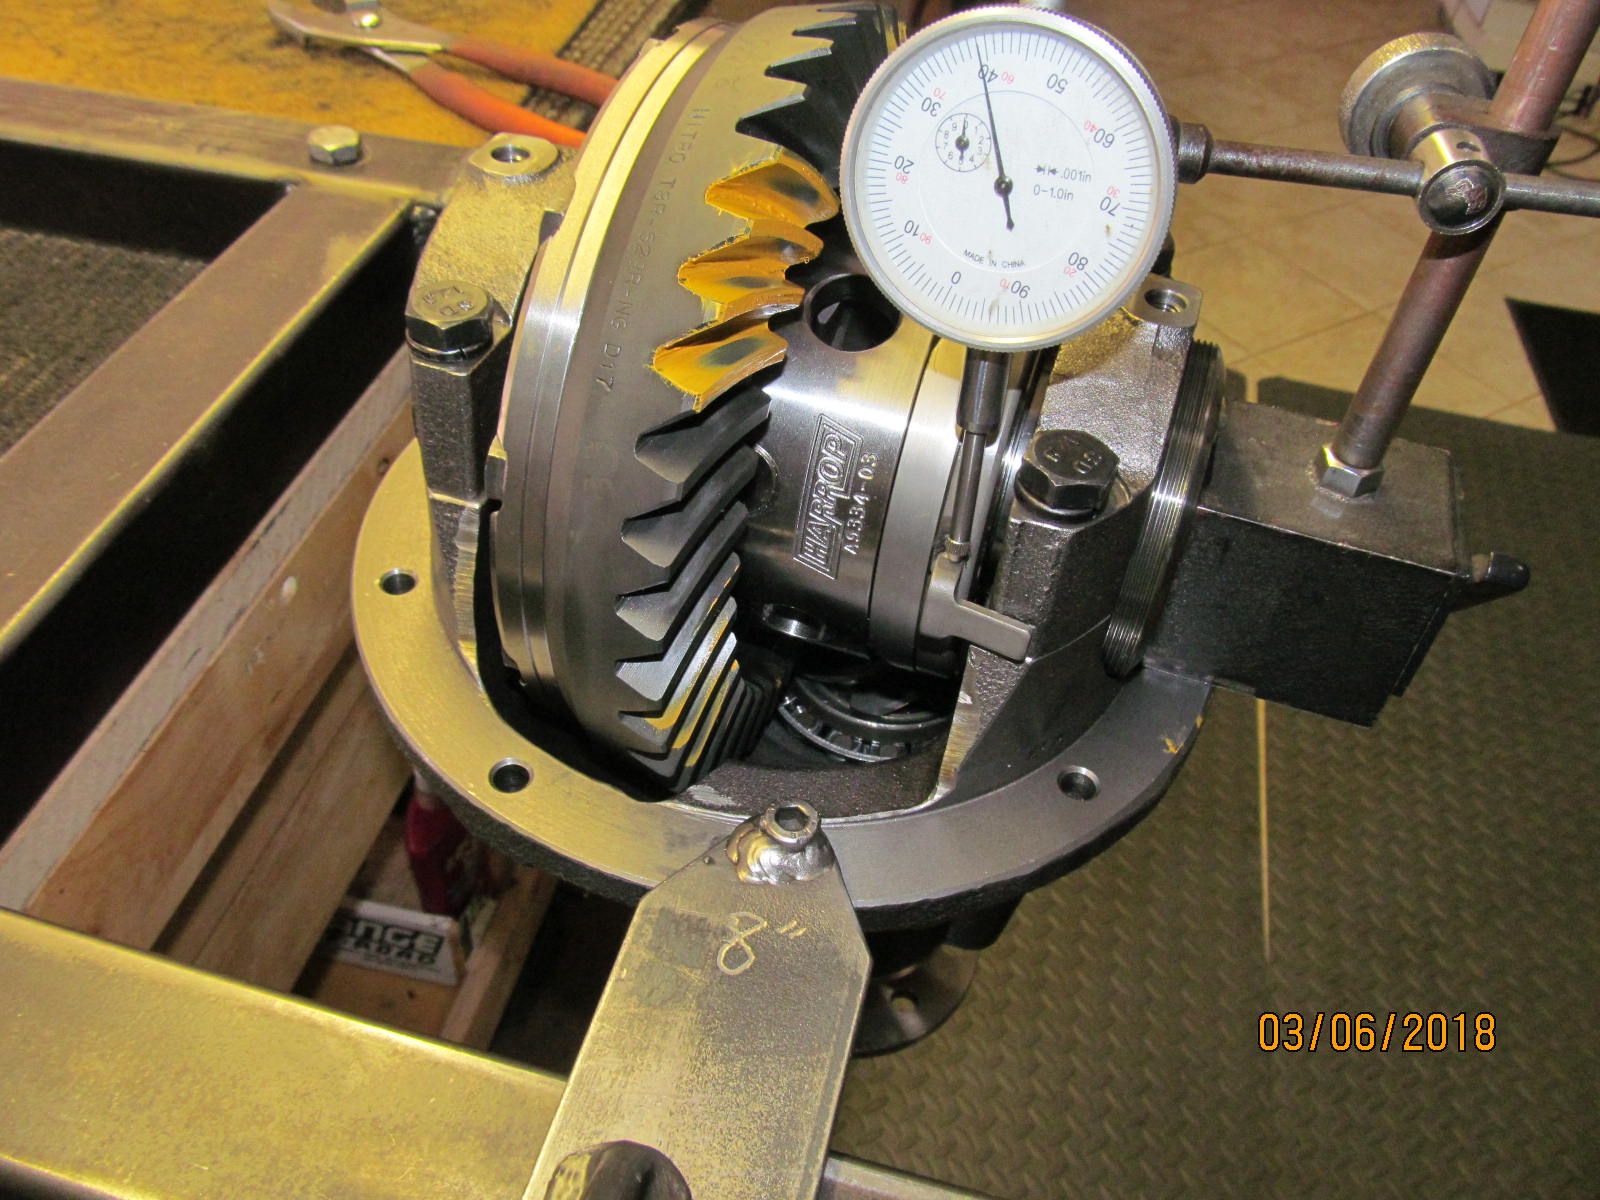
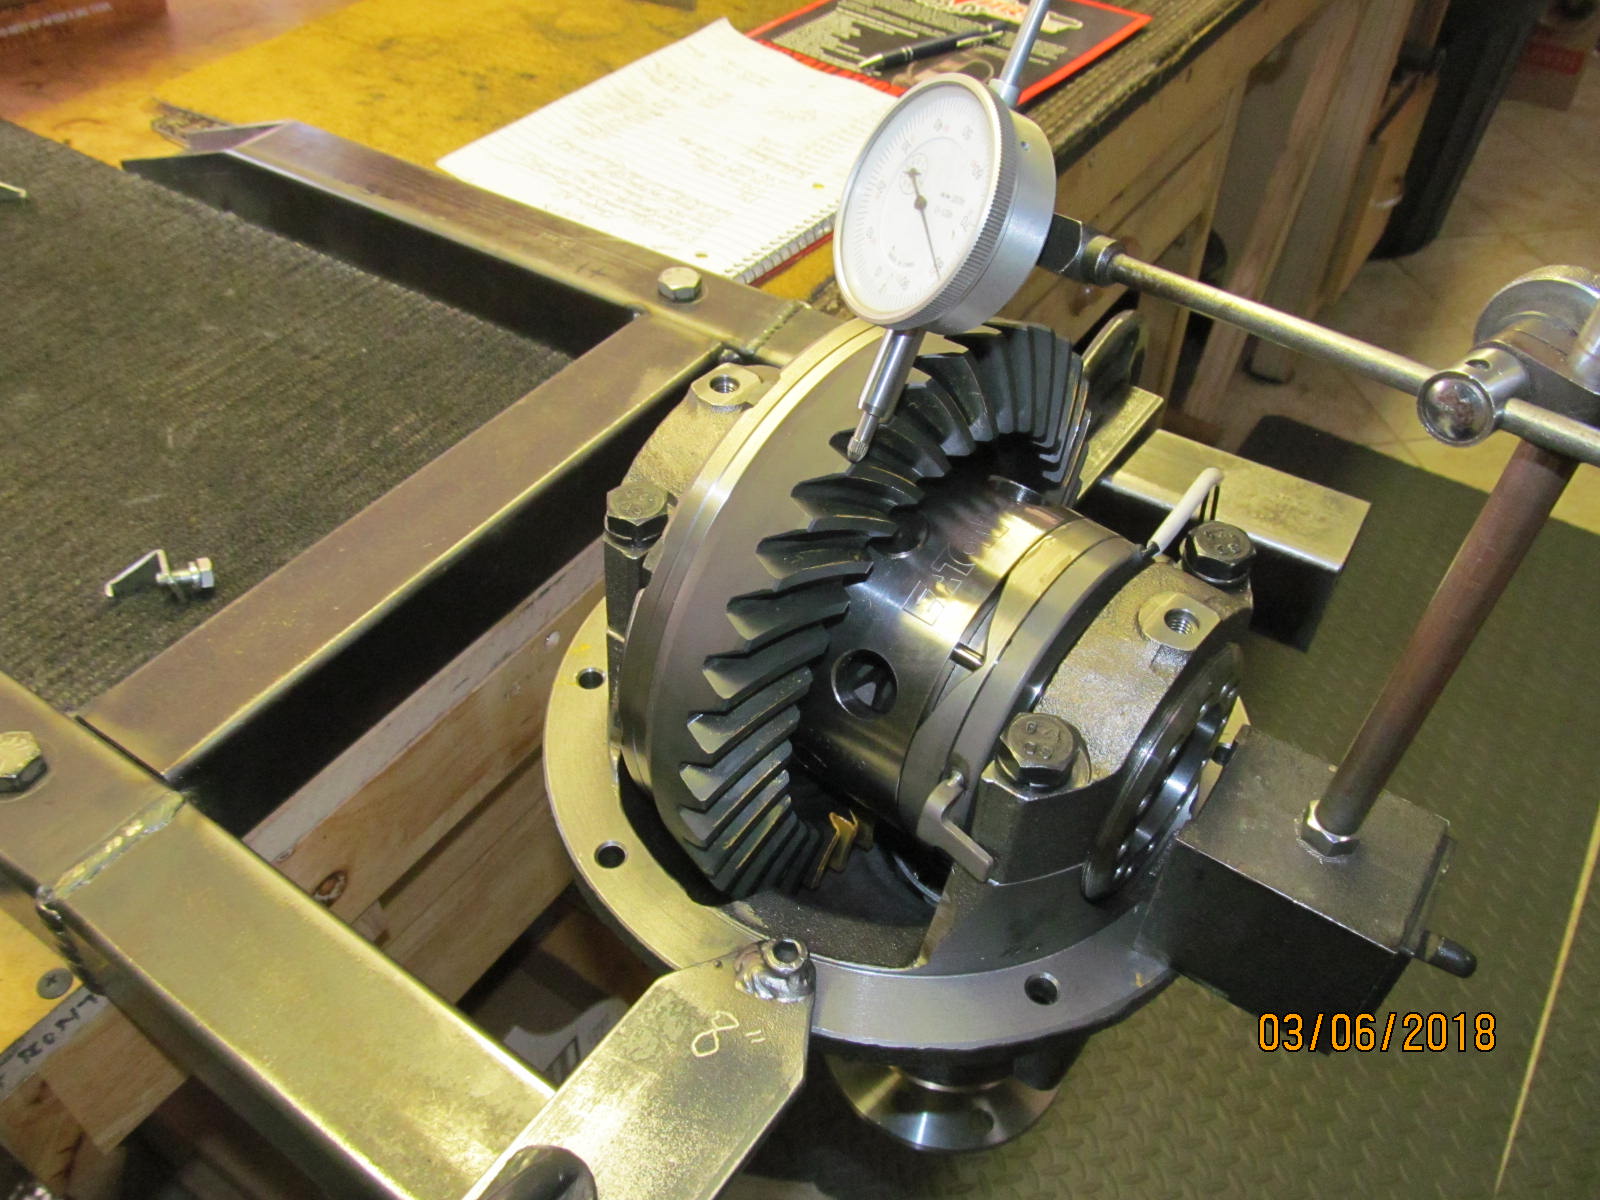
Bearing preload is set/measured at 6 in/lb (as measured from the pinion flange end).
Backlash is recorded on every other tooth for 20 measurements. |
|---|
|
|
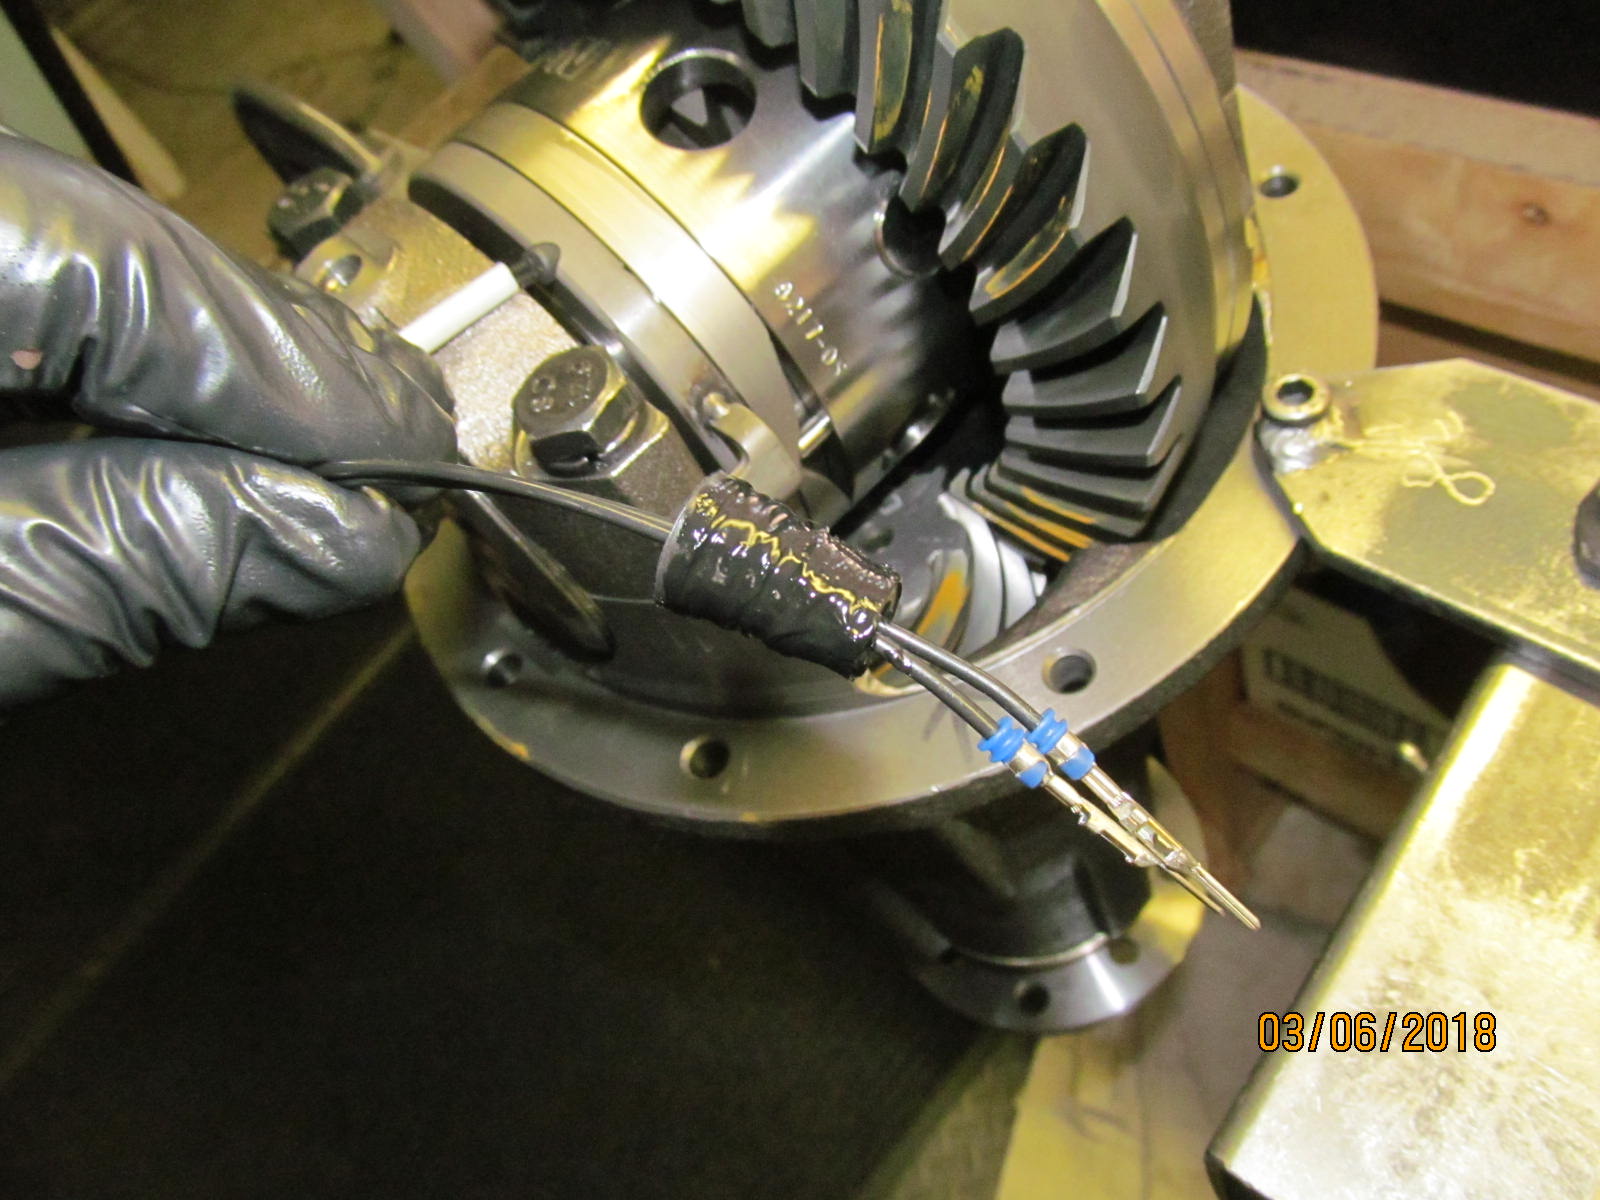
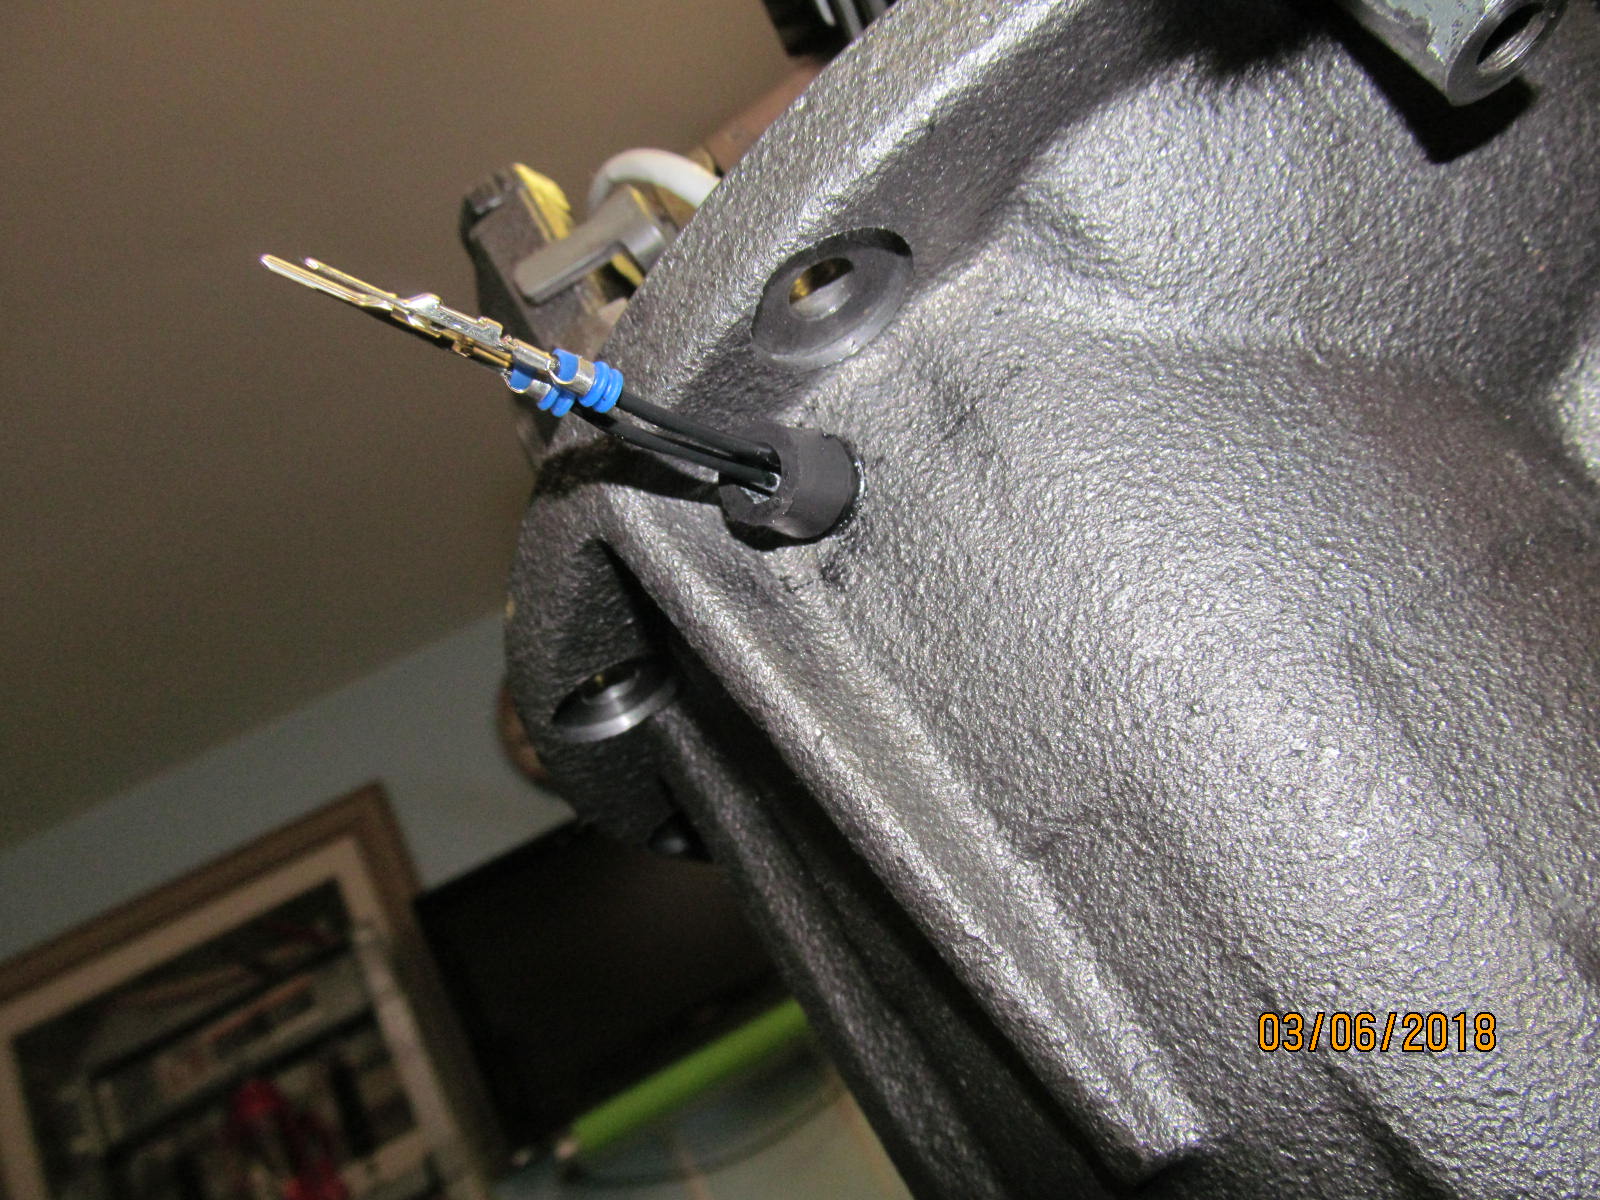
| A small amount of rtv is applied to the rubber grommet. |
|---|
|
|
| The rubber grommet now pushes thru about 3 times easier ;) |
|---|
|
|
| ;;;;;;;;;;;;;;;;;;;;;;;;;;; |
|---|
|
|
| 10 inch/pounds with Loctite |
|---|
|
|
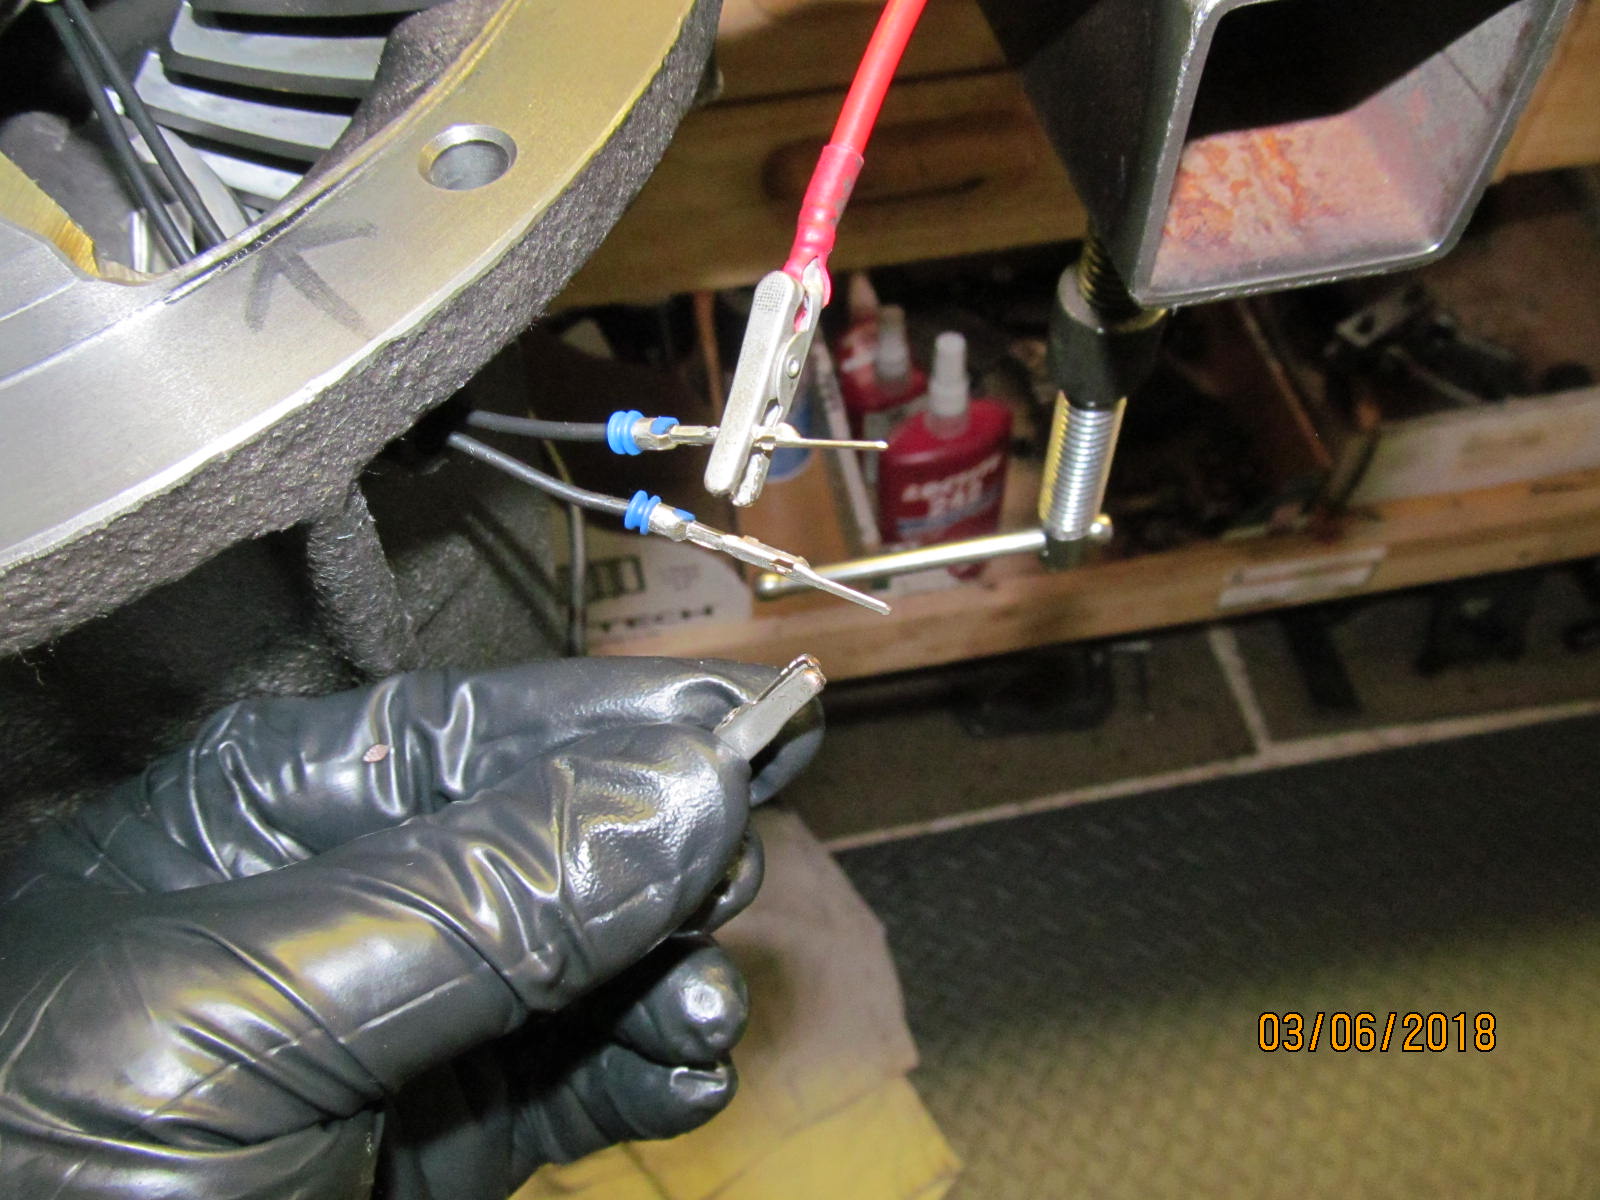
3.9 ohms of resistance. There is no Harrop spec on this but it seems to be a very common number.
Ohms Law says that with 16 volts and 4 ohms that the amperage will be 4 amps.
So, the reality is, the Harrop only draws about 3.5 amps on a good day. |
|---|
|
|
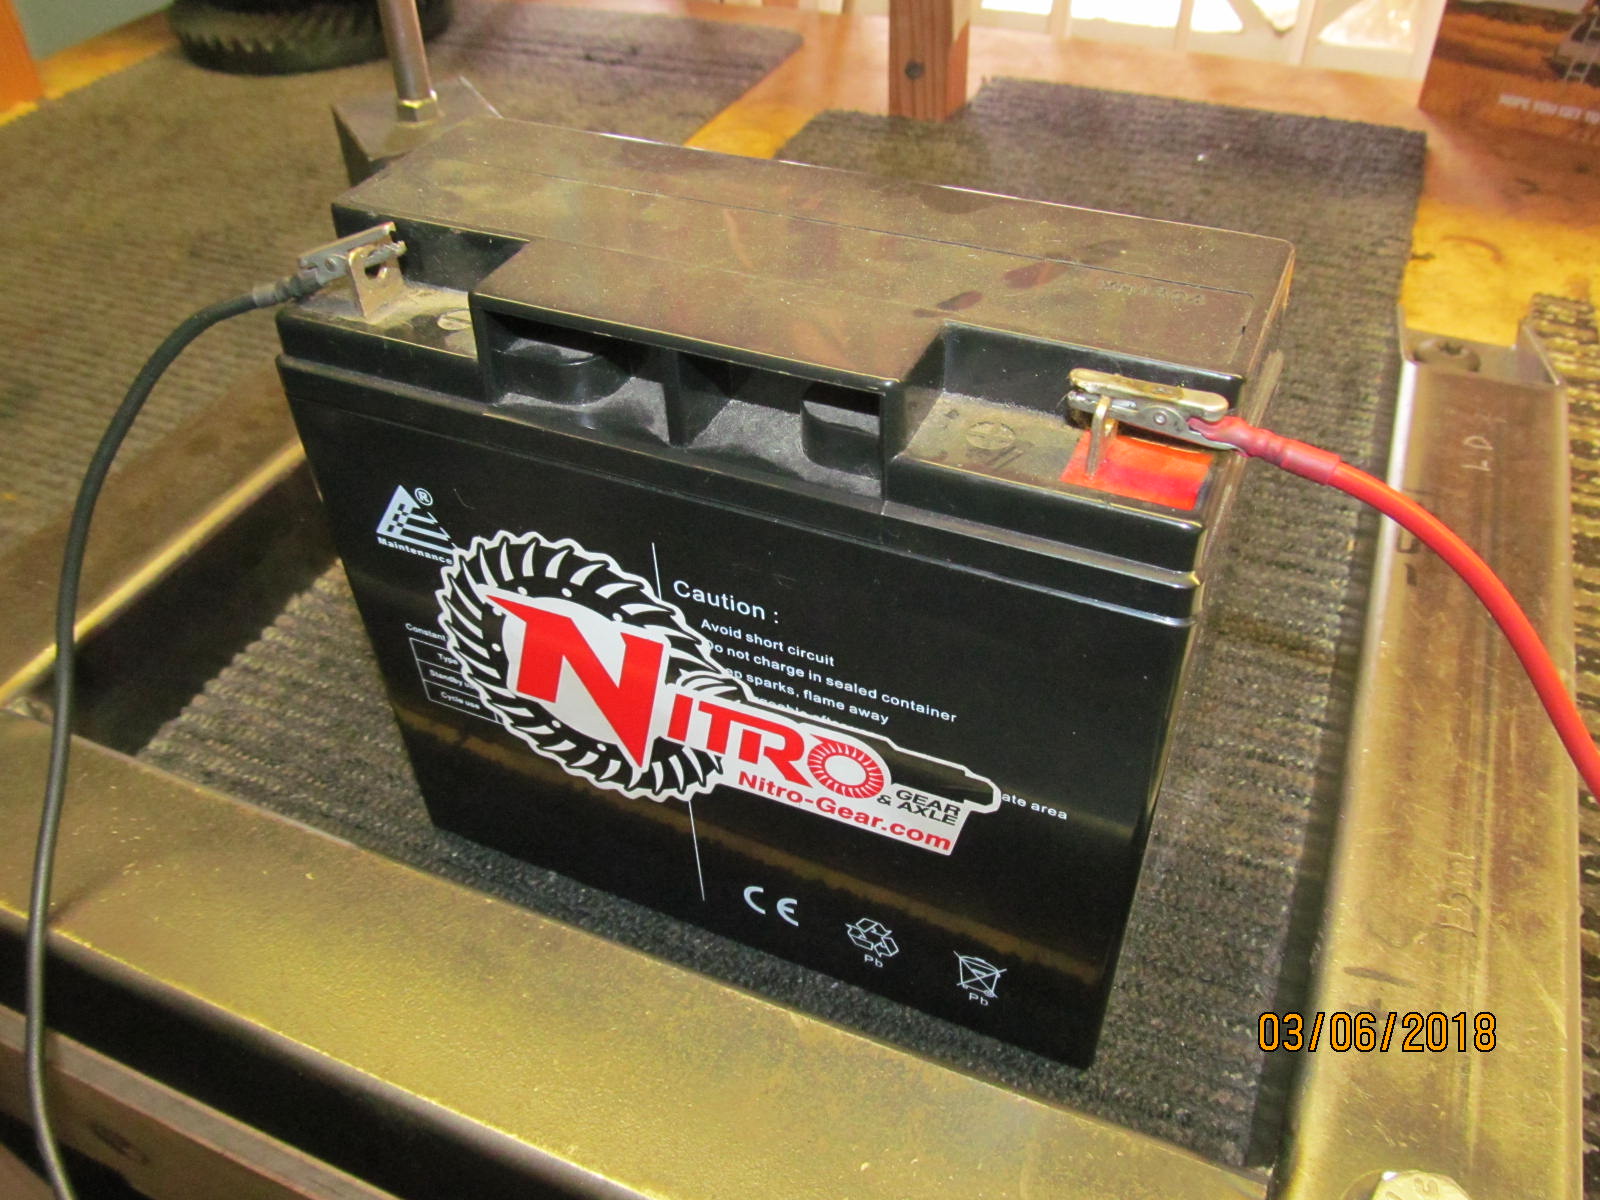
| This is my Sealed Lead Acid battery that has served me well for a number of years. |
|---|
|

|
| 12 volts is applied to the 2 wires....no particular polarity. |
|---|
|
|
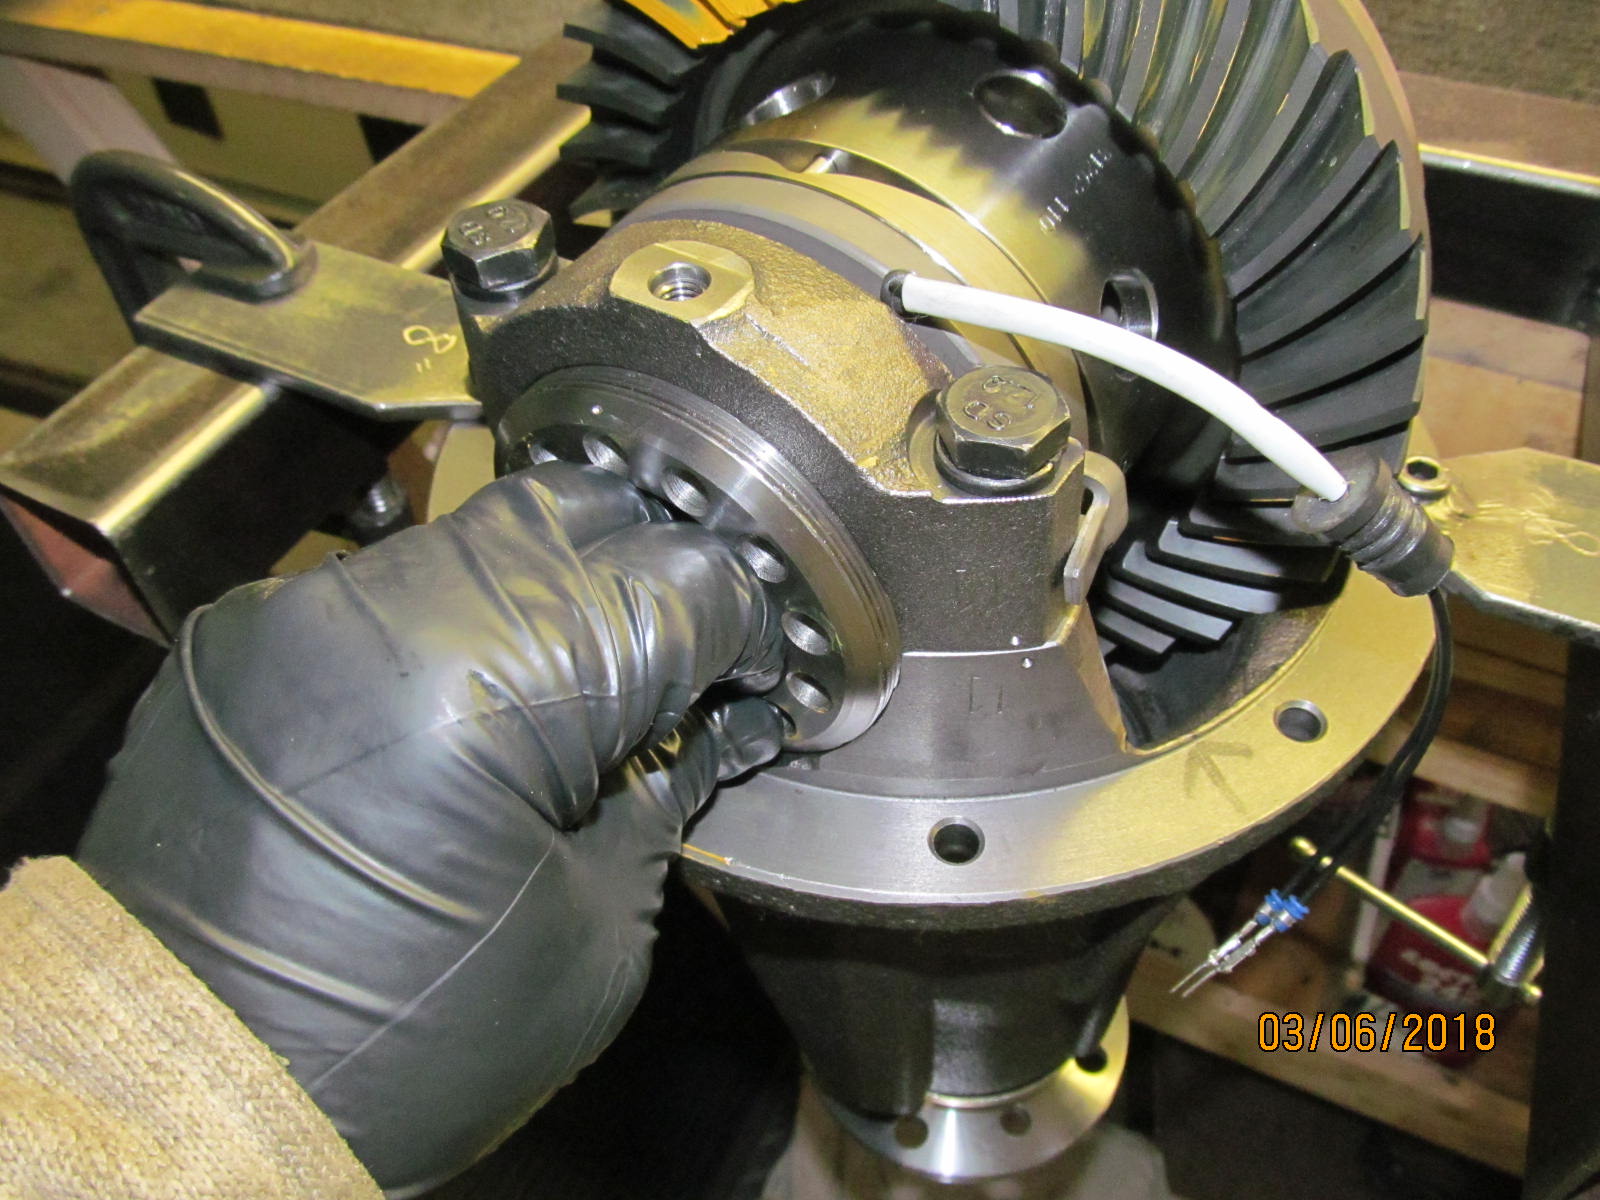
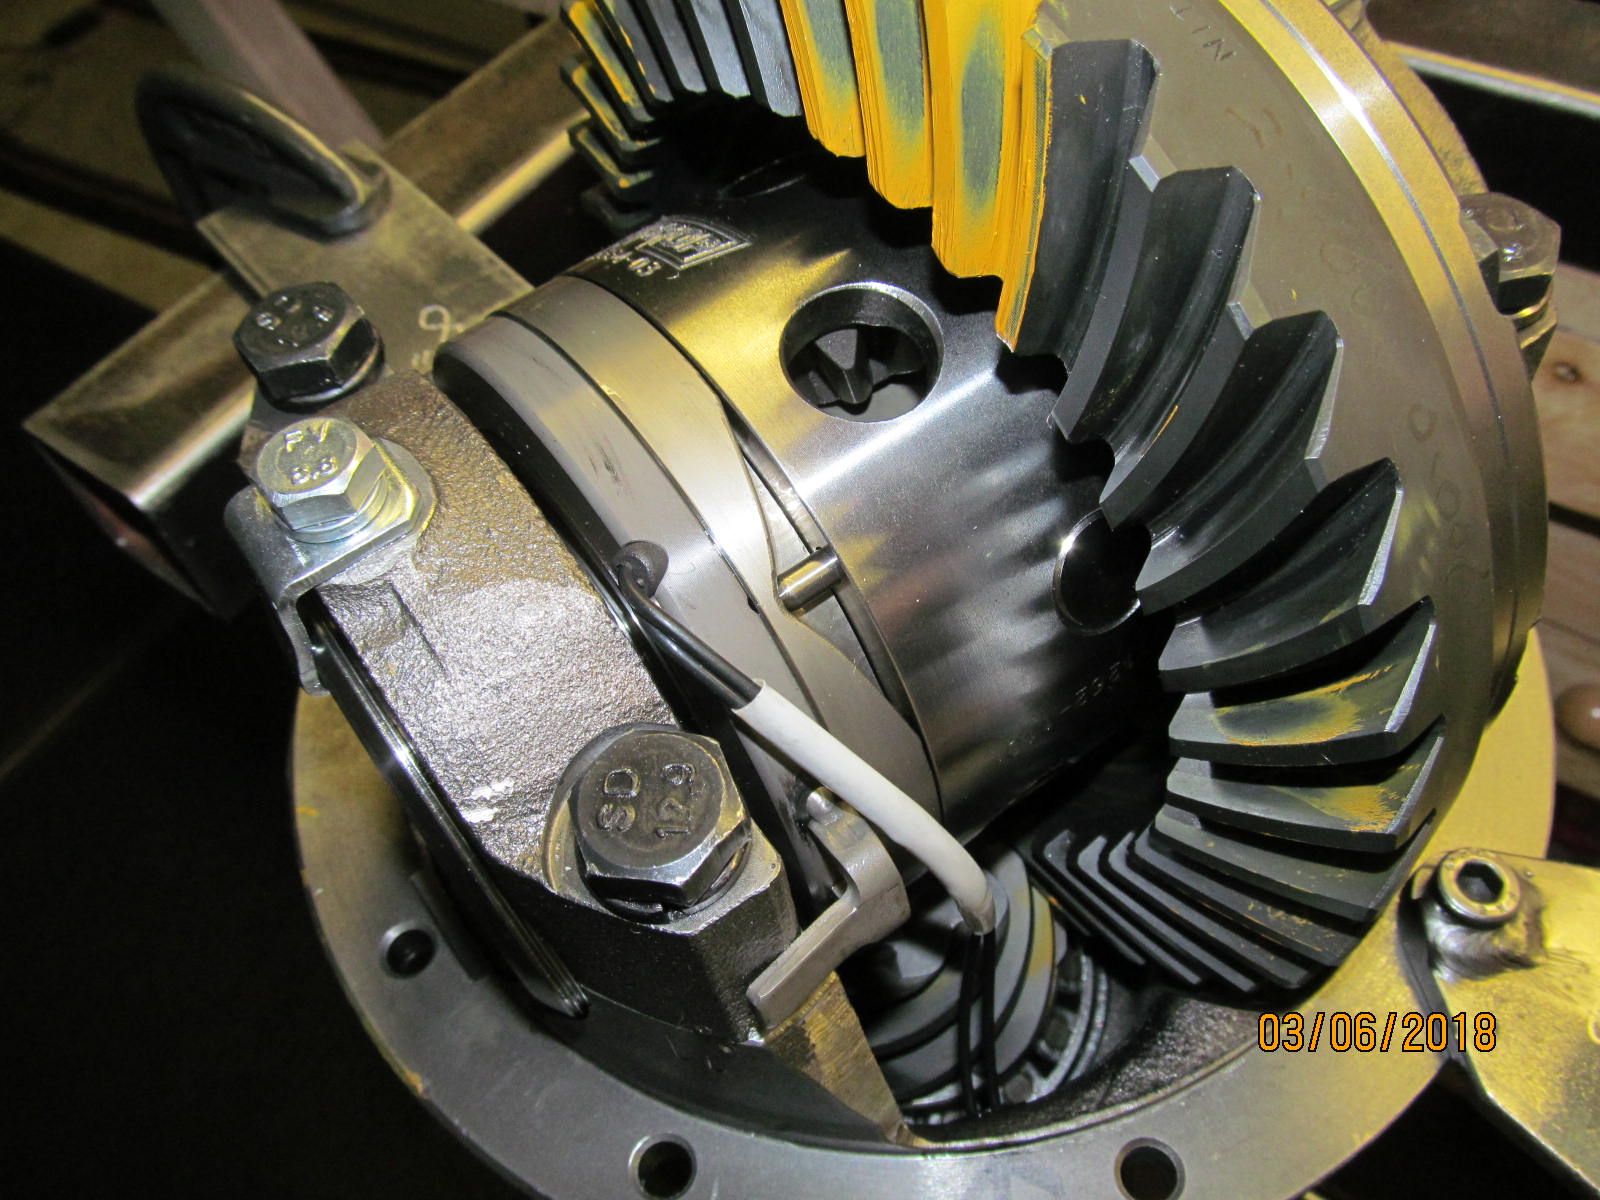
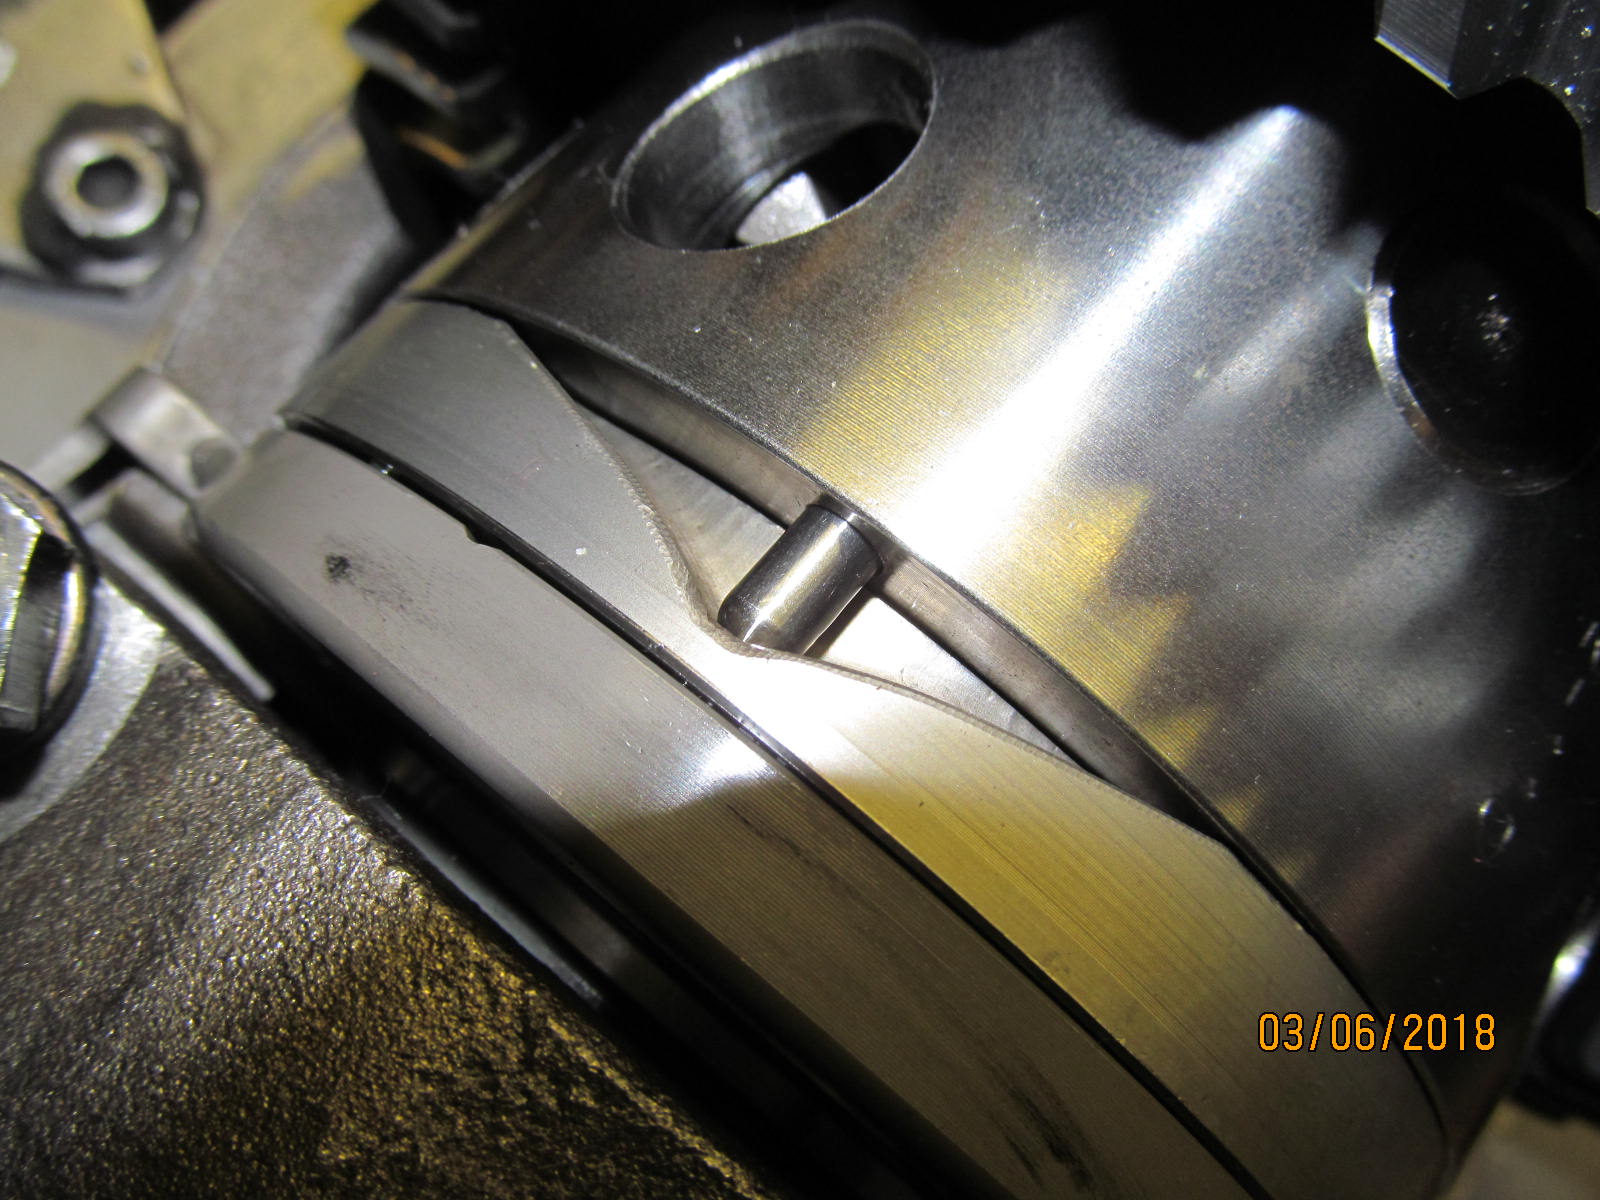
| The locker is not "active" until the 3 pins start to recess into the holes....the driveshaft has to turn a small amount. |
|---|
|
|
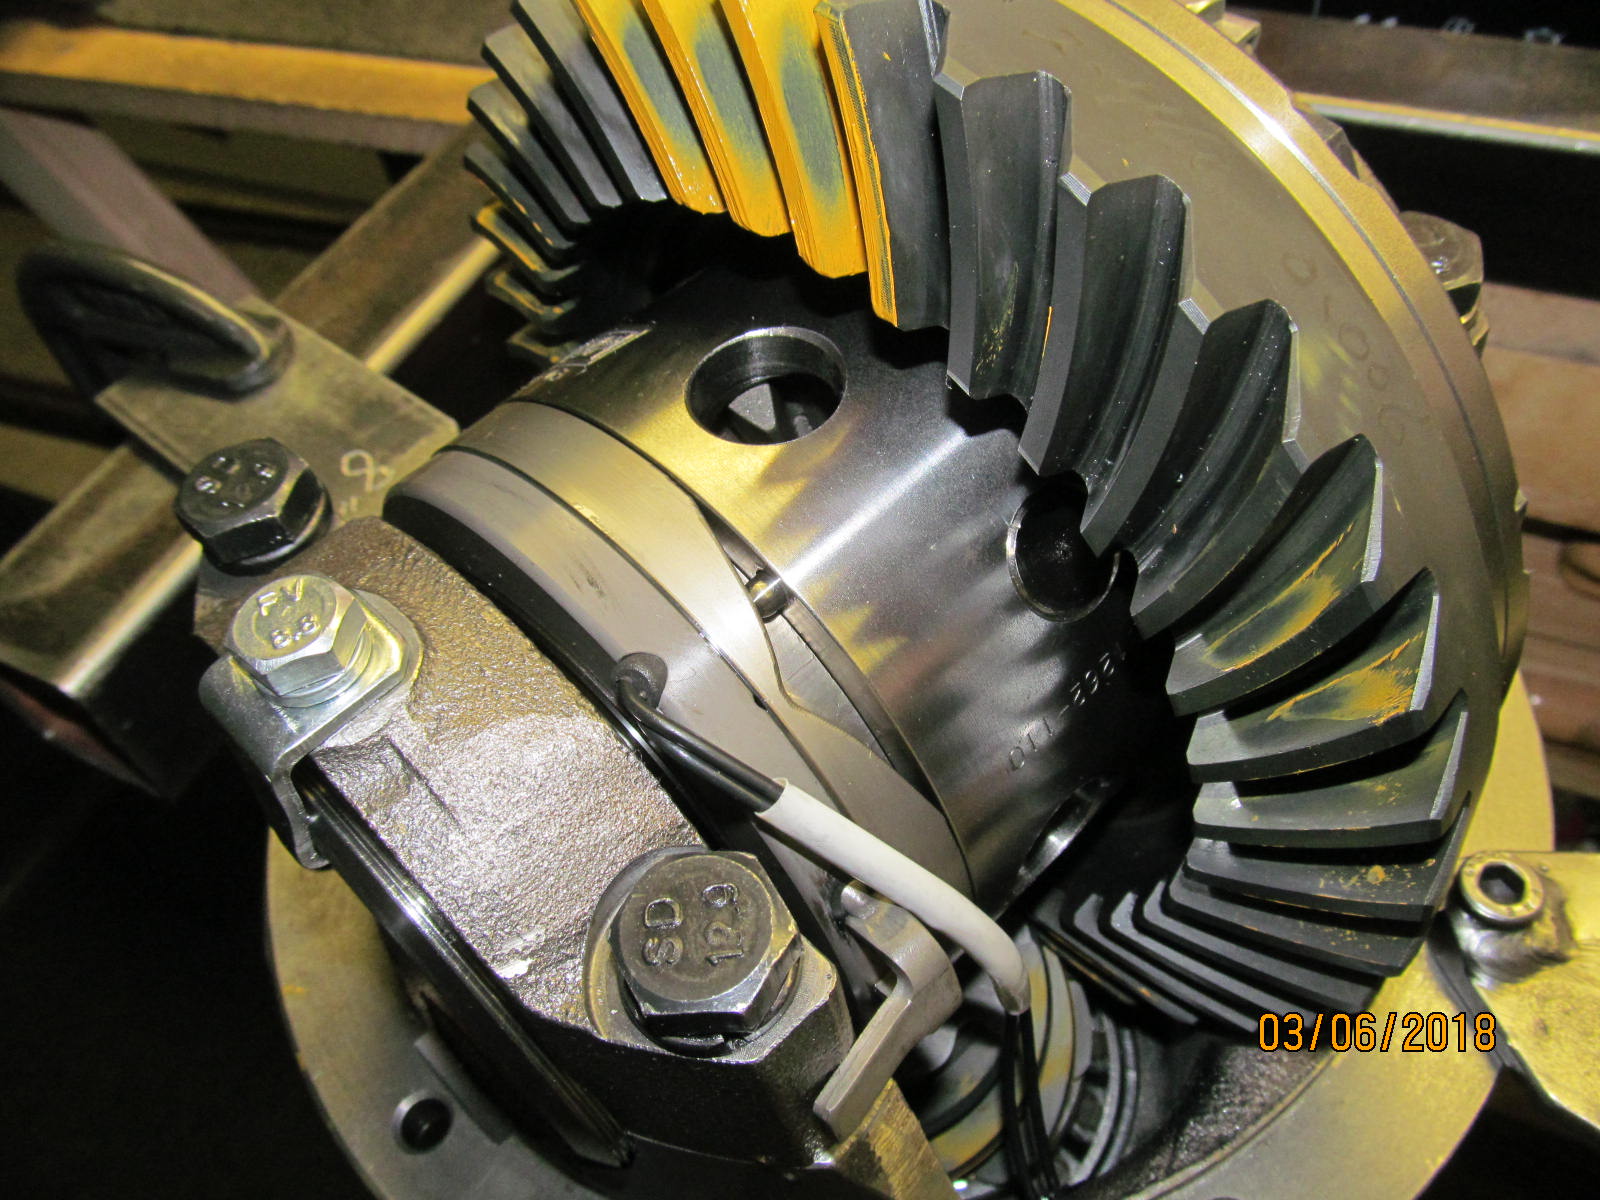
| The ring gear has to turn a small amount..... causing the pins to recess in as shown. |
|---|
|
|
| Locker fully engaged. |
|---|
|
|
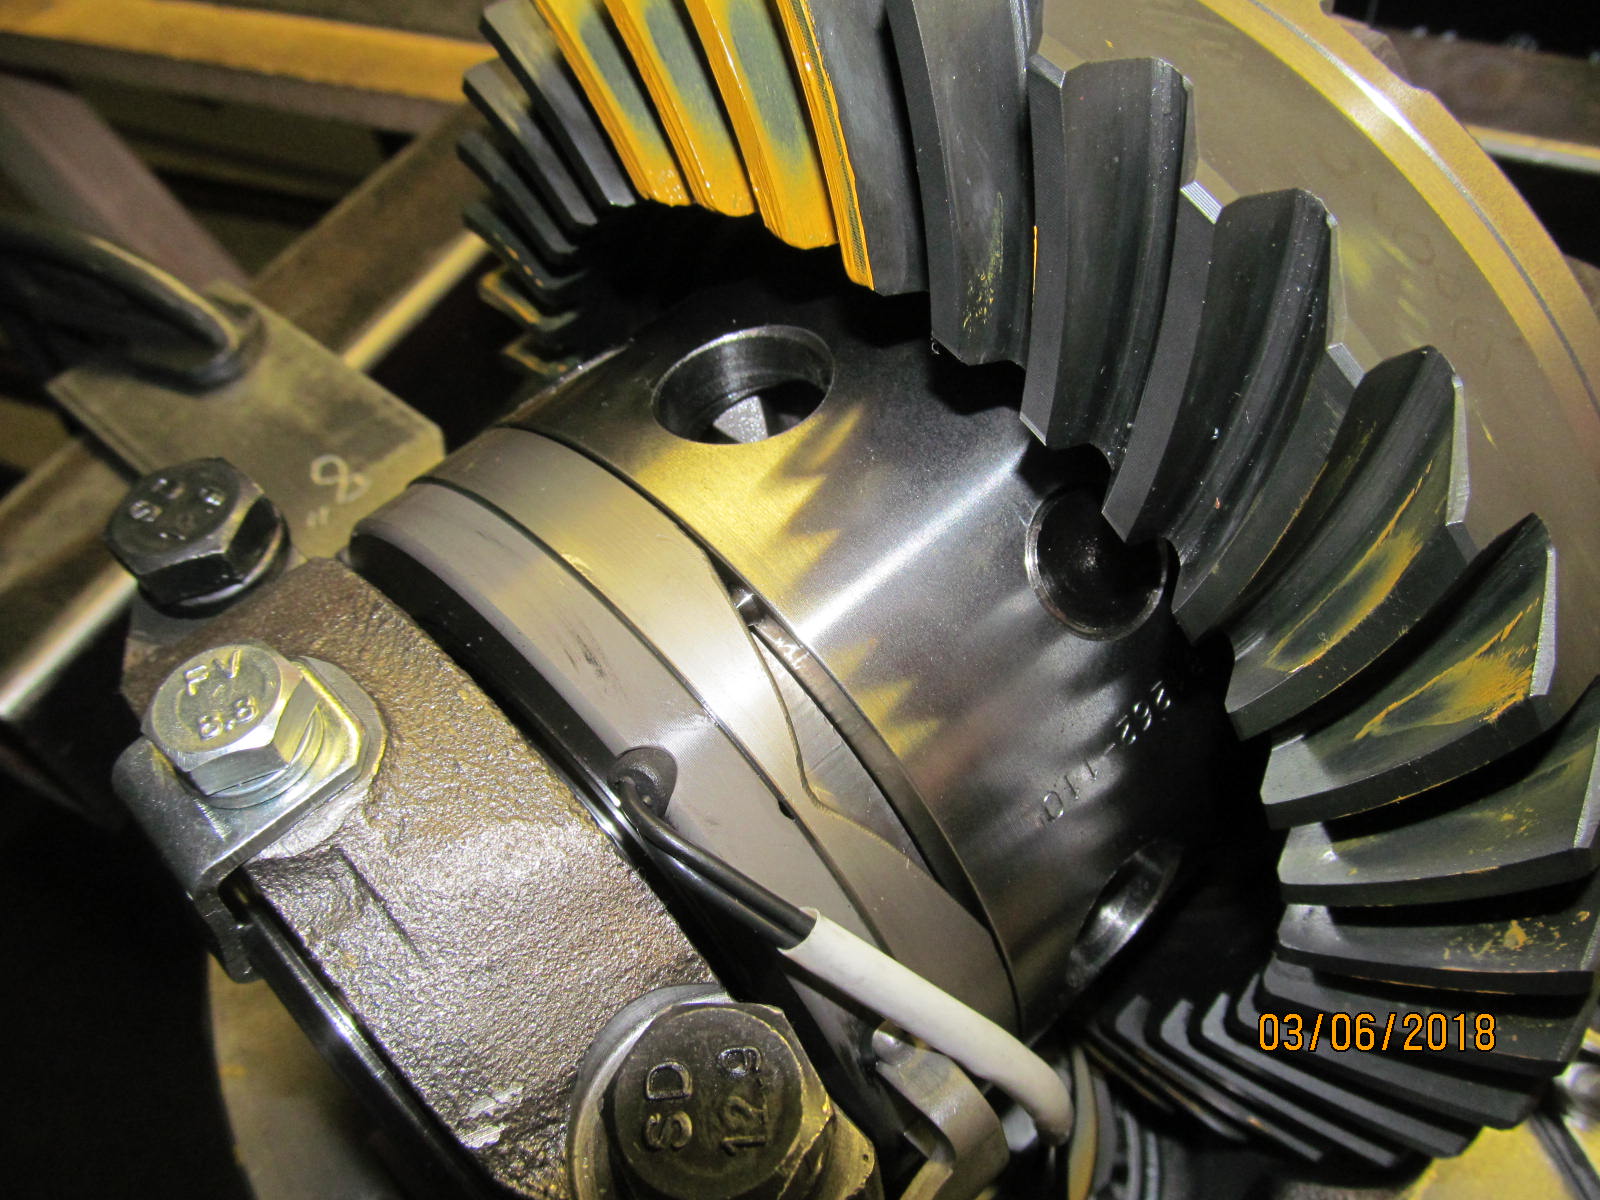
| Additional turning of the ring gear causes the grey ramp ring to move with the pin. |
|---|
|
|
| Now remove the 12 volts............. |
|---|
|
|
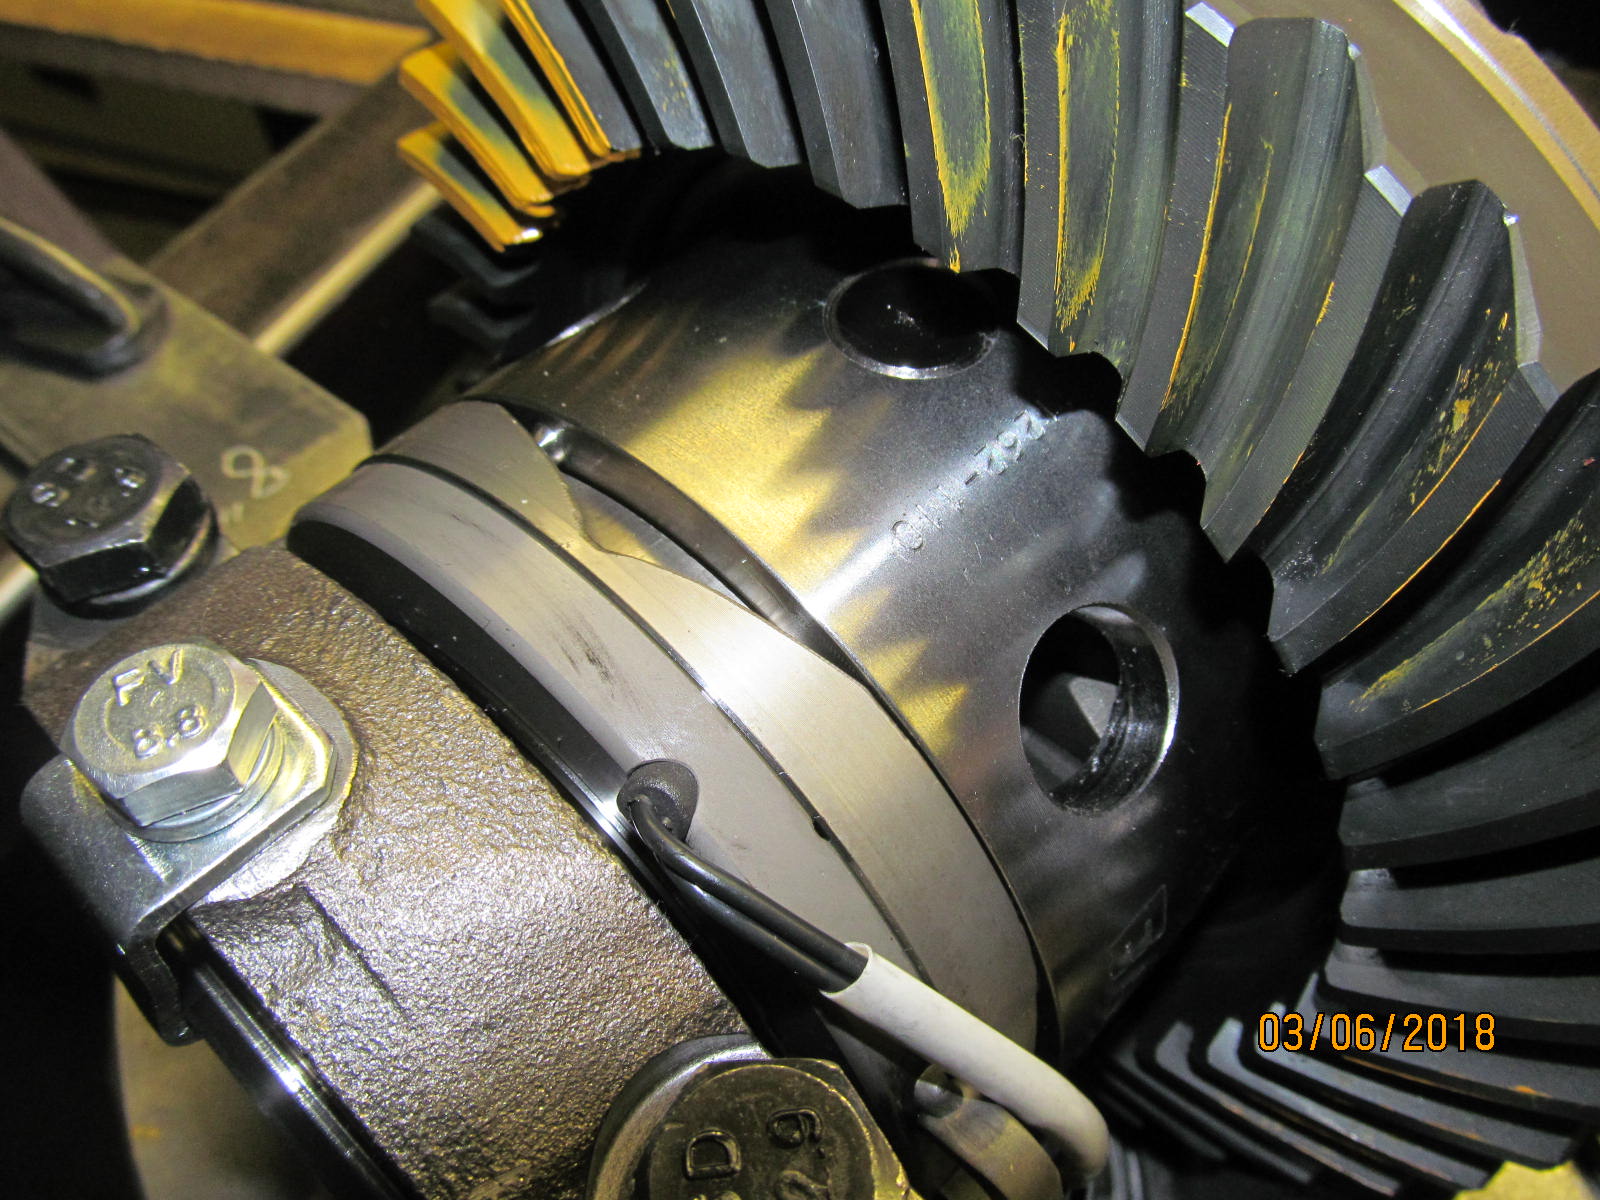
...and the ramp ring snaps back into place due to the strong internal spring on the other side of the pin.
Locker is now unlocked. |
|---|
|

|
| Basic specs are inscribed. |
|---|
|
|
| ;;;;;;;;;;;;;;;;;;;;;;;;;;;;;; |
|---|
|
|
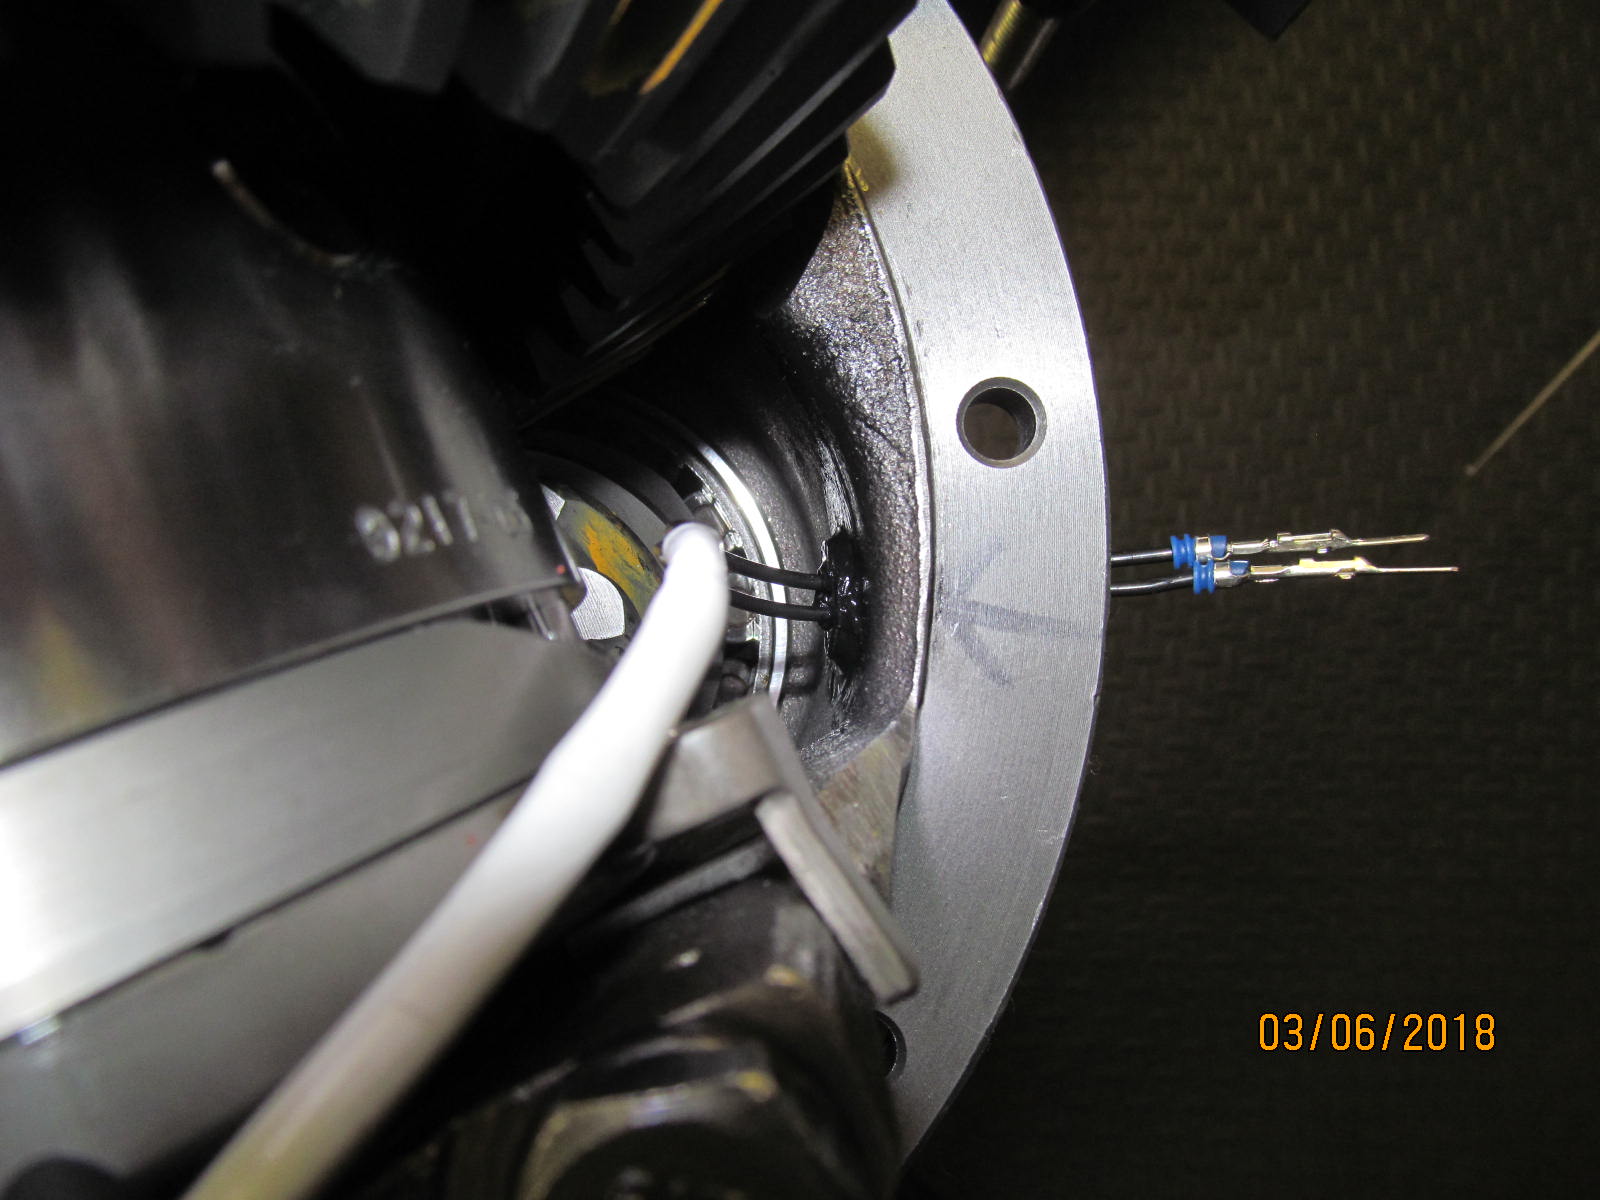
| This is the harness. |
|---|
|
|
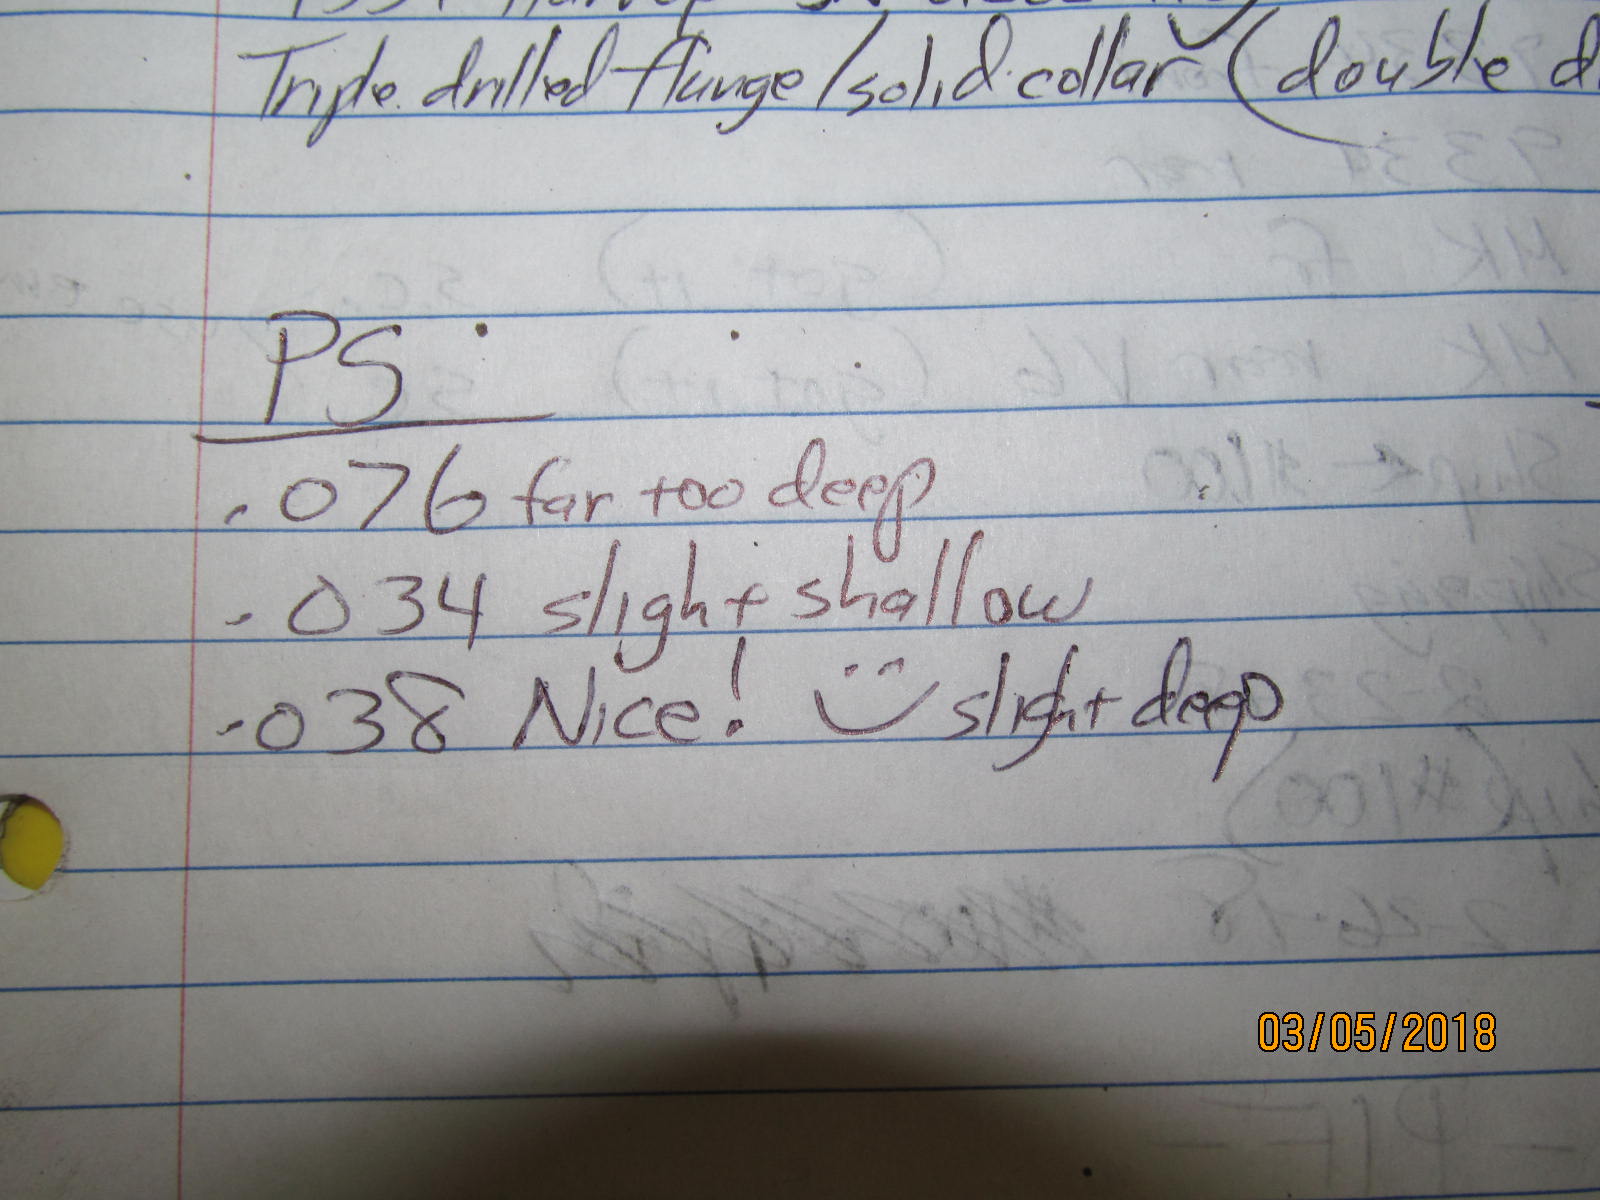
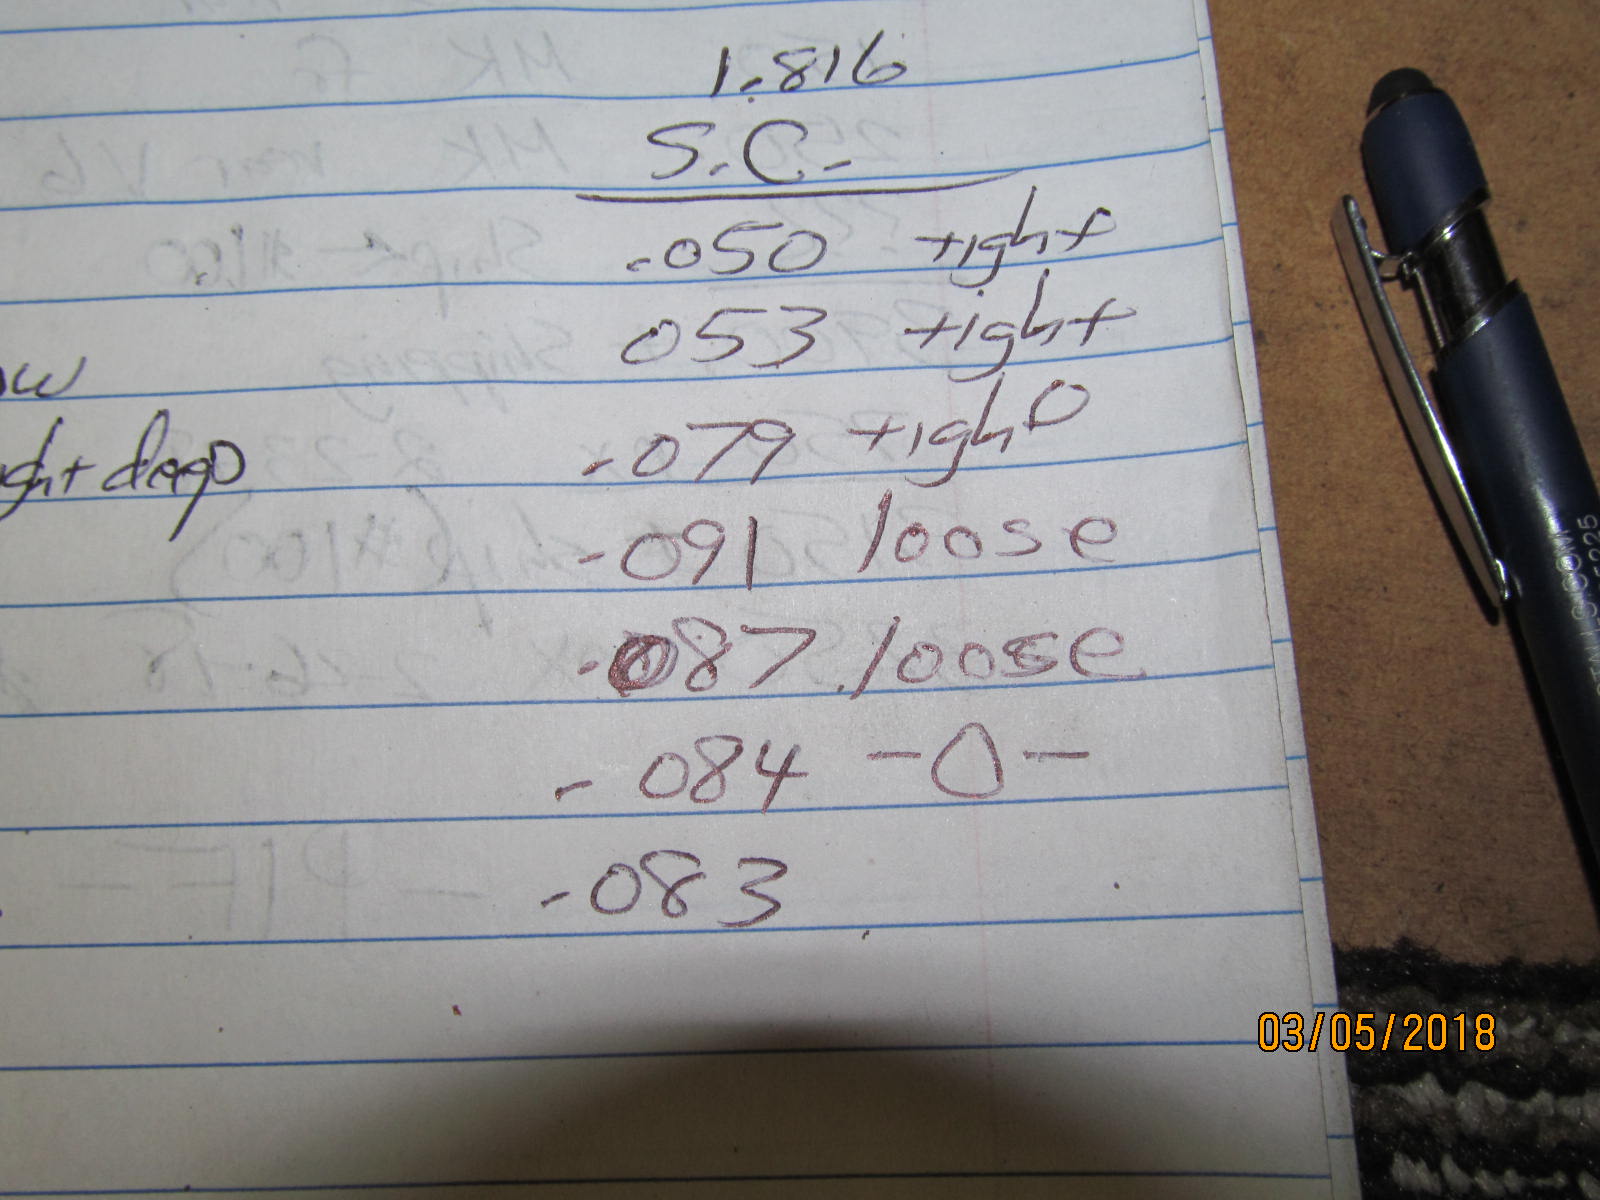
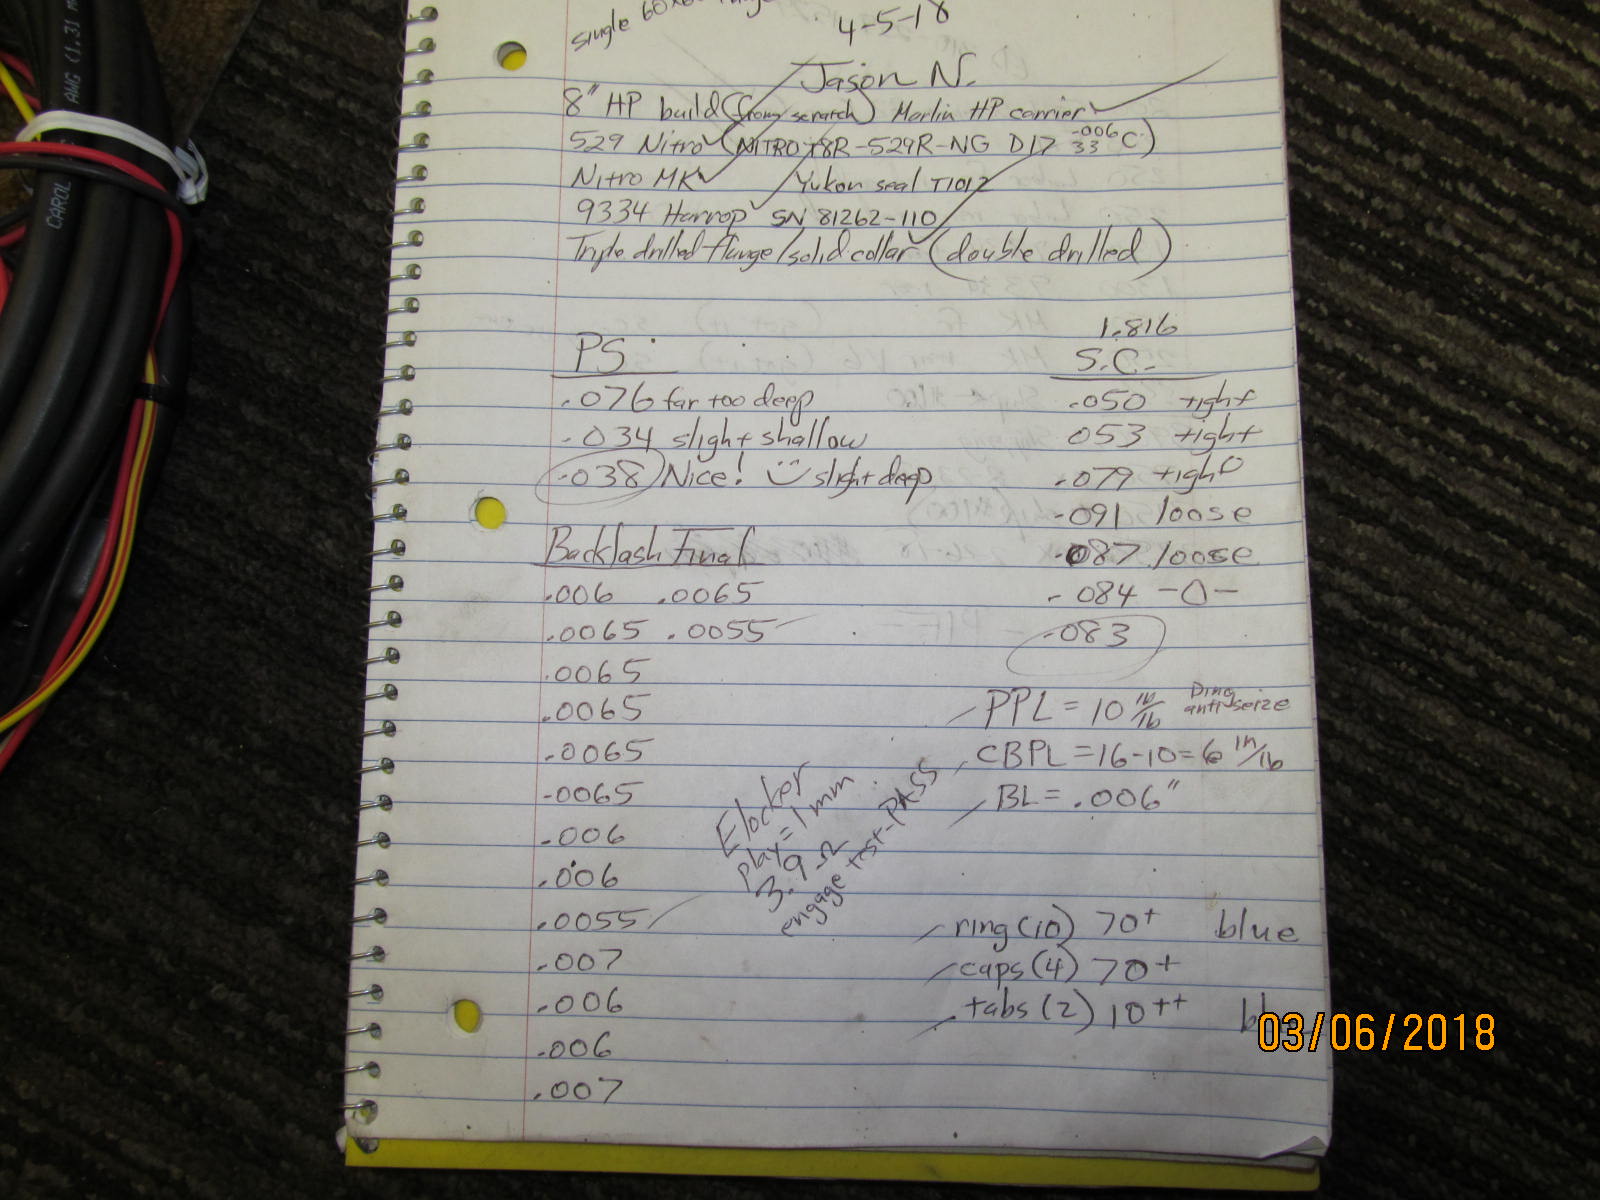
| The recorded notes. |
|---|
|
|
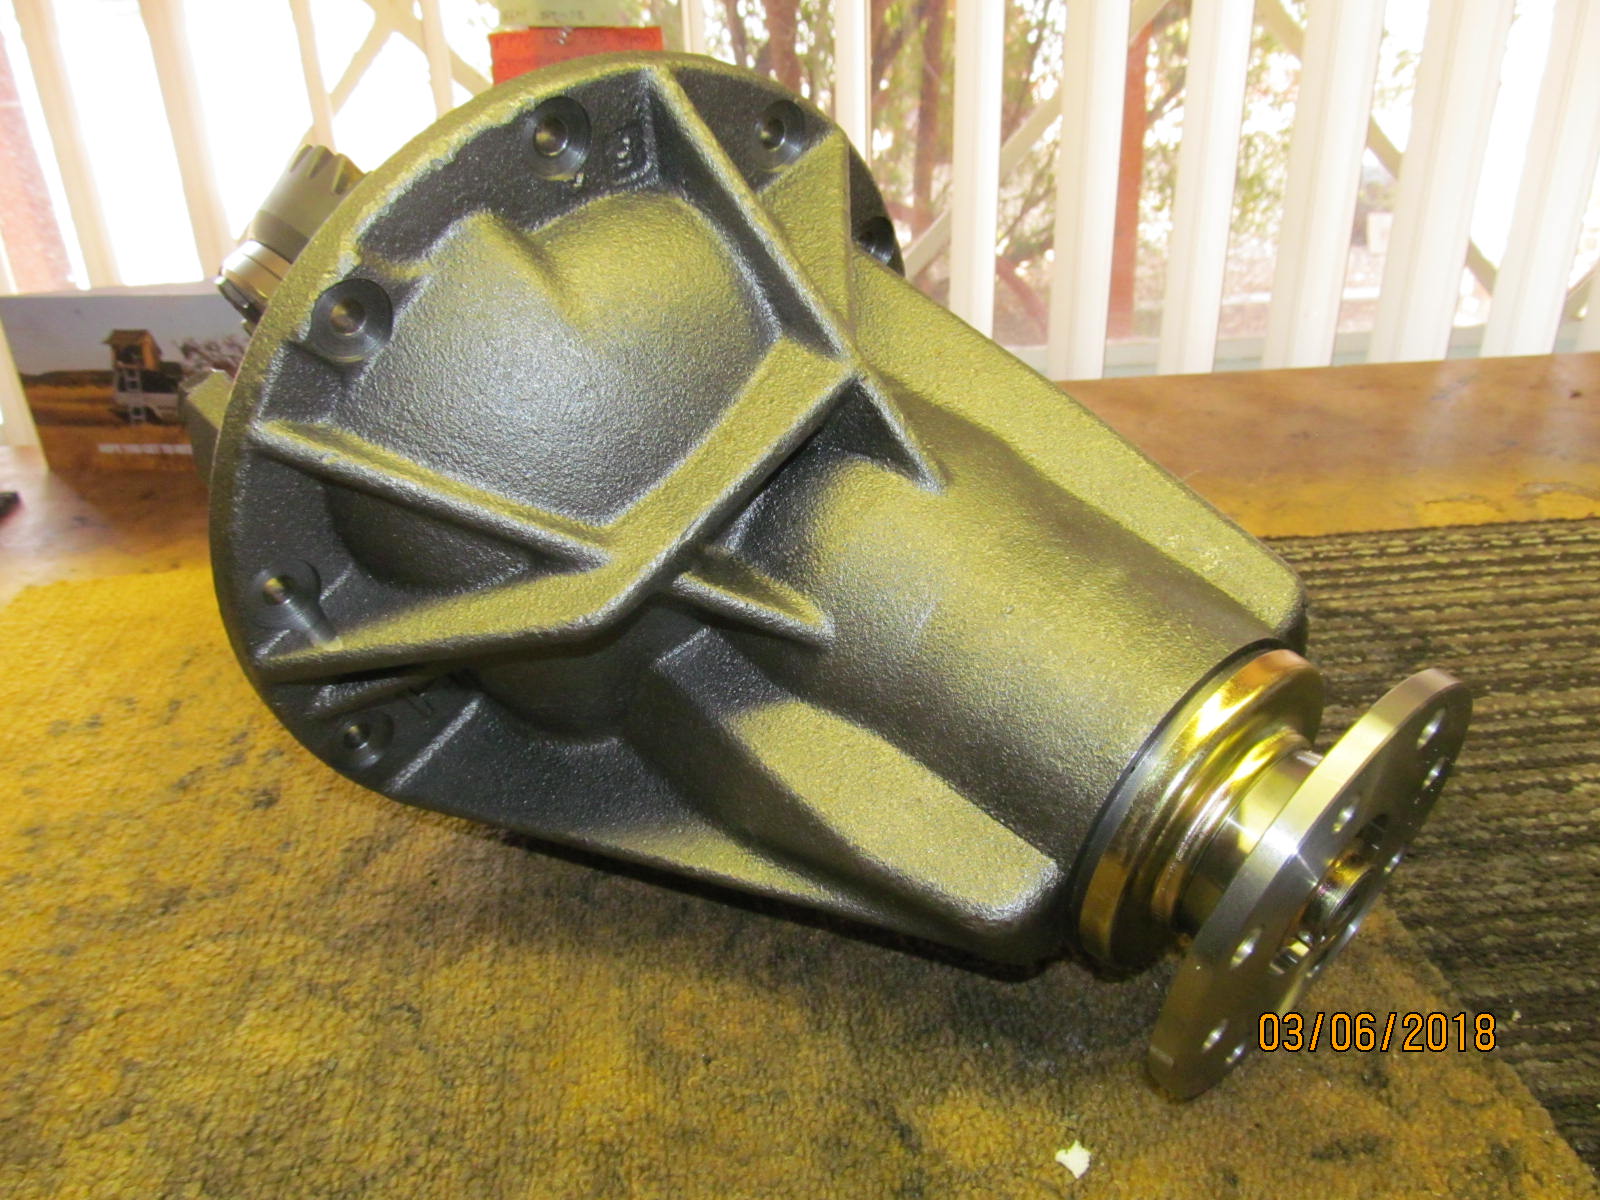
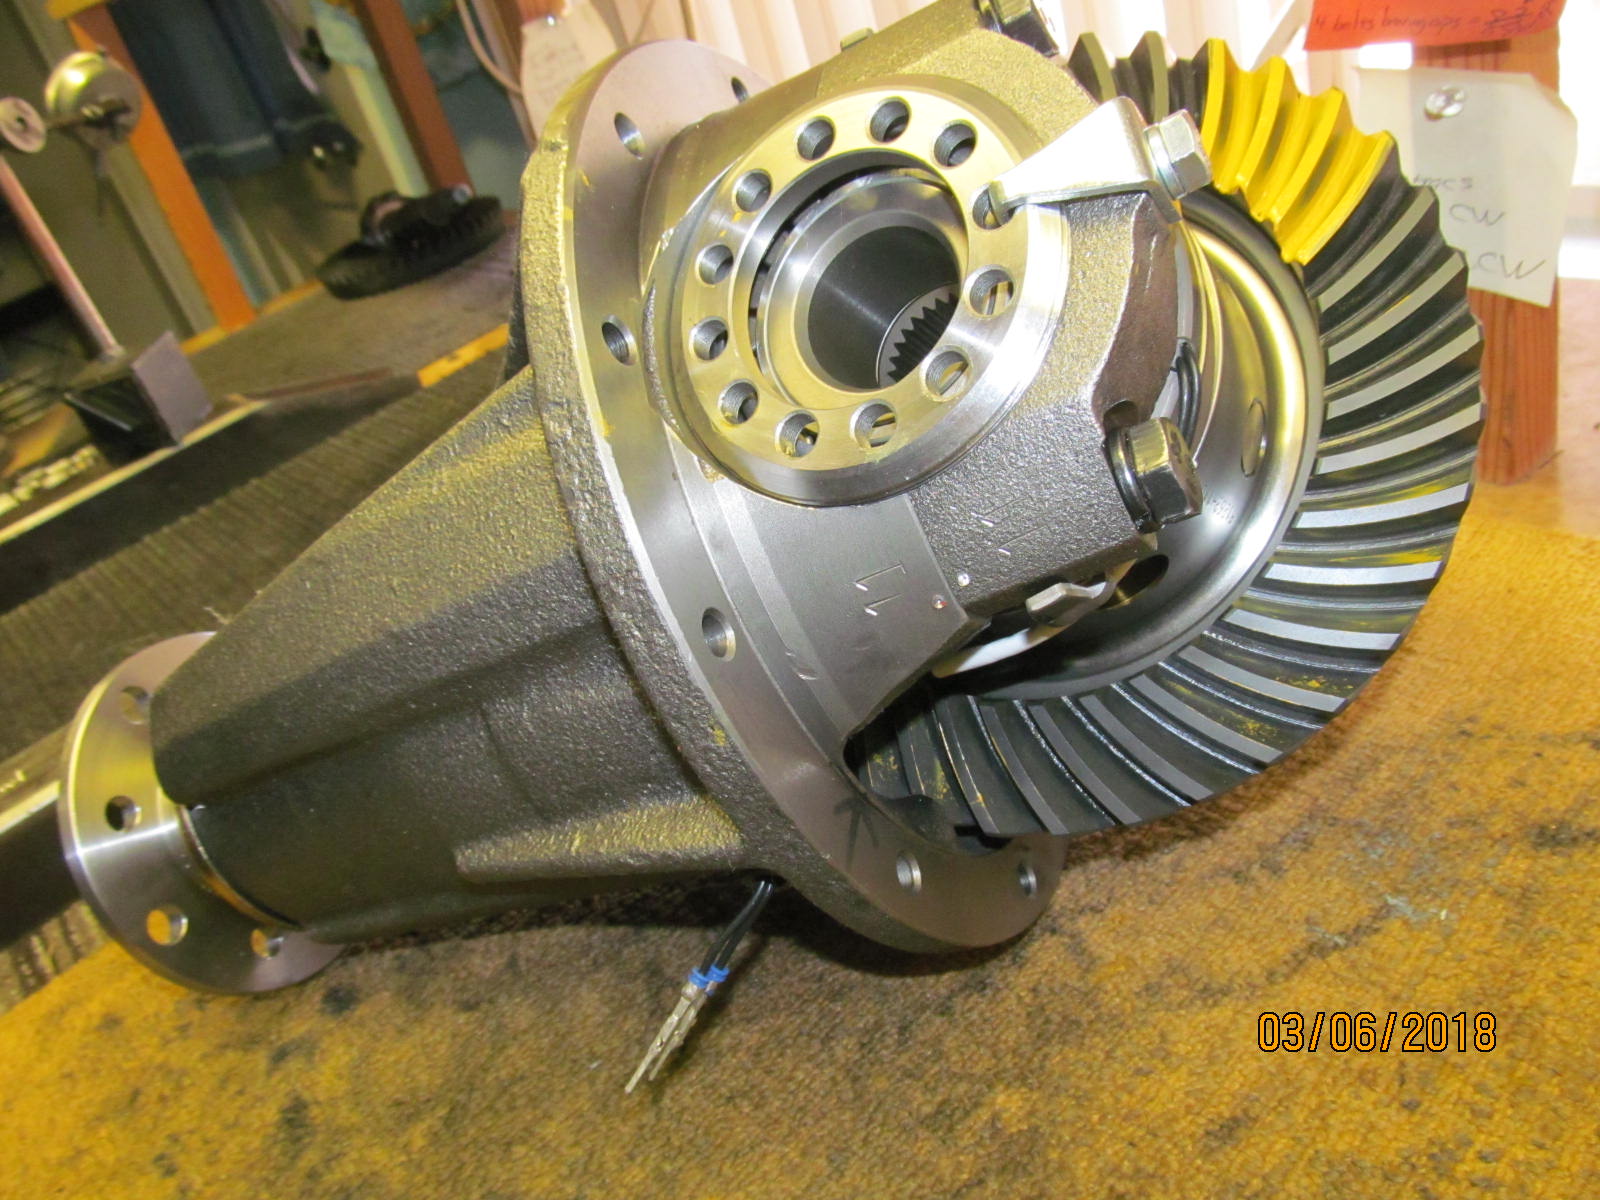
| Sure is a pretty High pinion 529 Harrop 3rd |
|---|
|
|
| :) |
|---|
|
|

|