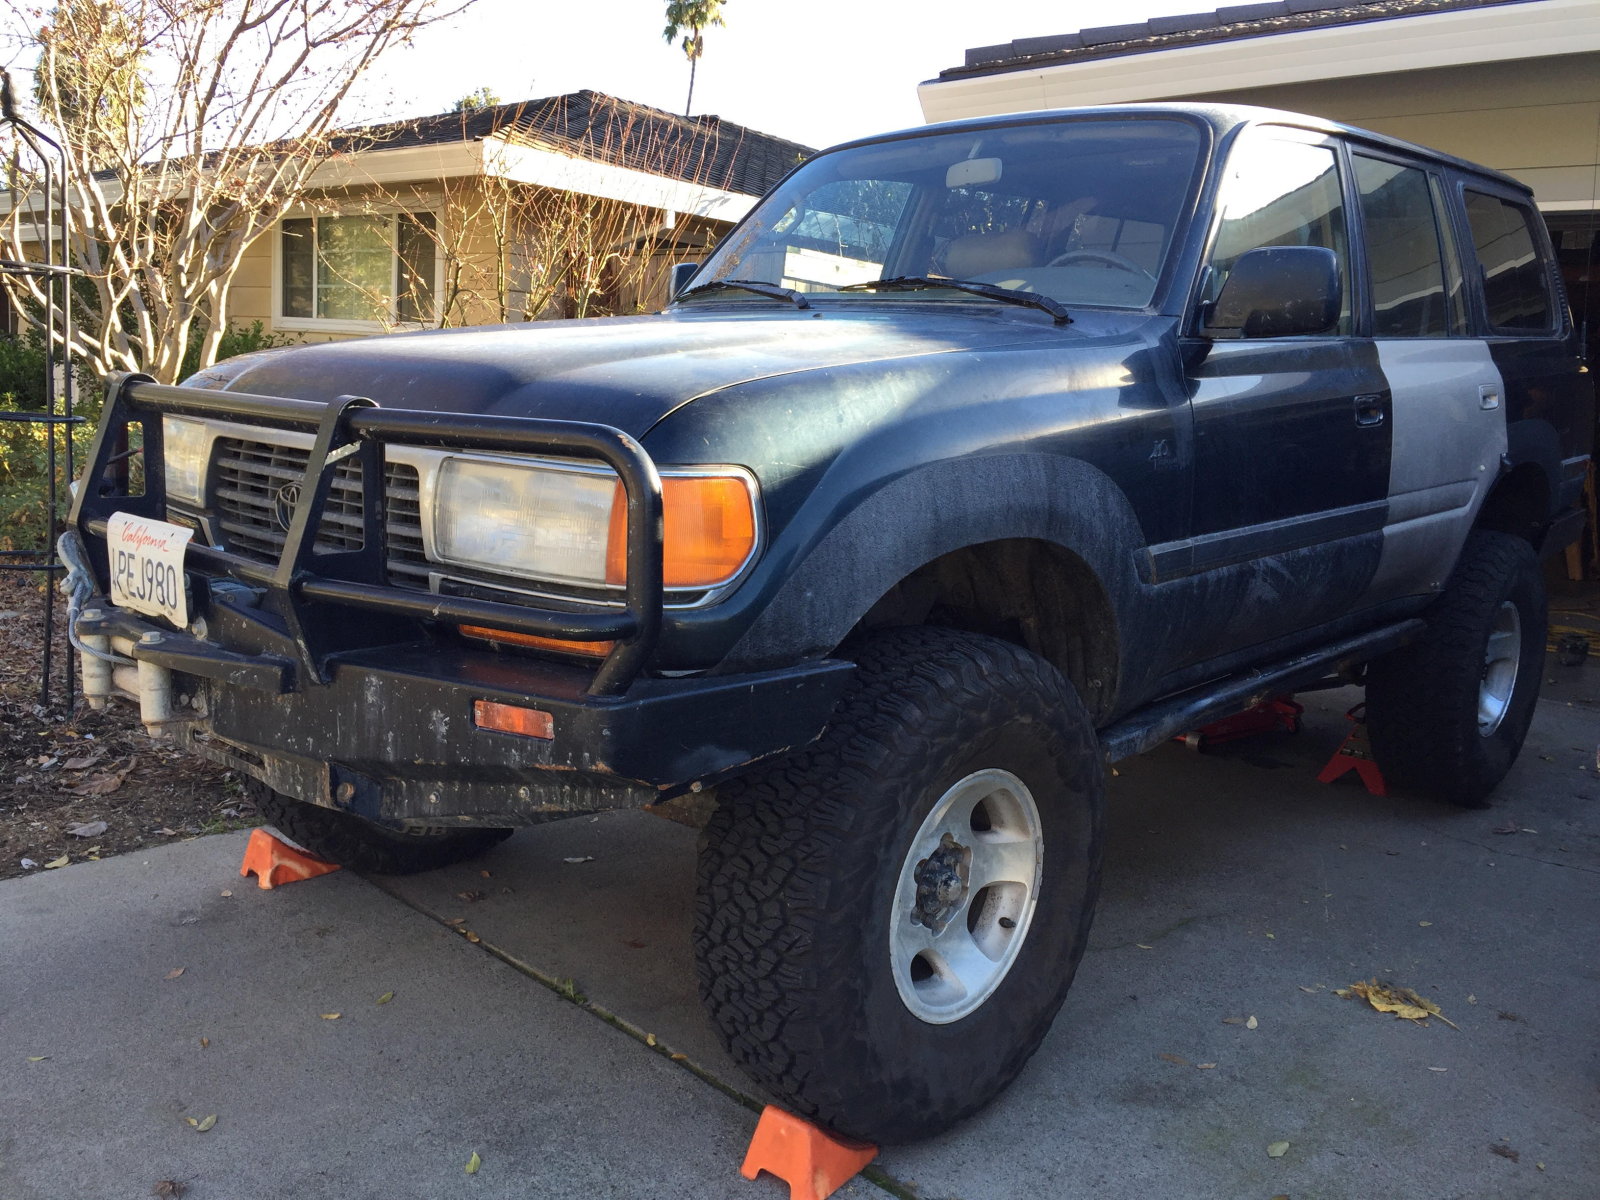

I did an initial build in 2001 with a 2 1/2 inch lift, a Slee rear bumper, and a set of sliders.
I used it like that for general use, some camping and a couple of trips up the North Coast
of California.
A few years later I added a front ARB bumper and a Warn M12,000 winch. After that we started doing
yearly trips to Moab
In about 2006 I added front and rear ARB airlockers with 4.88 gears and 35 inch tires. I continued
to take the truck to Utah, Death Valley, Mojave etc all over California. A "J" spring spring lift
went in around then too.
In 2008 or so I added Slee's first set of 4 inch springs. I needed more weight carrying capacity
so in about 2012 went to the Slee 4 inch progressive, heavy springs. These are great and I've
stuck with them. Early this year the transfer case got the Marlin 3:1 transfer case gears. The truck also has
dual batteries, a 160 watt solar system and a sleeping platform in the back. I've slept 100s
of nights back there. in the last 17 years. You'll note in the pictures that I have an off
color door. I crushed the original door on a tree in Deer Valley and replaced it with a door
off of Craig's list. People have come to recognize my truck due to that door so I may just leave it!
Anyway, the truck isn't all that pretty but it's perfectly maintained and I hope will go another
160K miles. As to why I'm changing to Harrop lockers-I figure it's time to go though the diffs
as maintenance, and I really like the Harrop I put in my FJ60. So it was time for all new
stuff-lockers, gears bearings, all of it. I want my differentials starting back at 0 miles.
So that's the story. 120k miles of fun and adventure. It's been a great truck.

Follow this link for the REAR 9.5" install
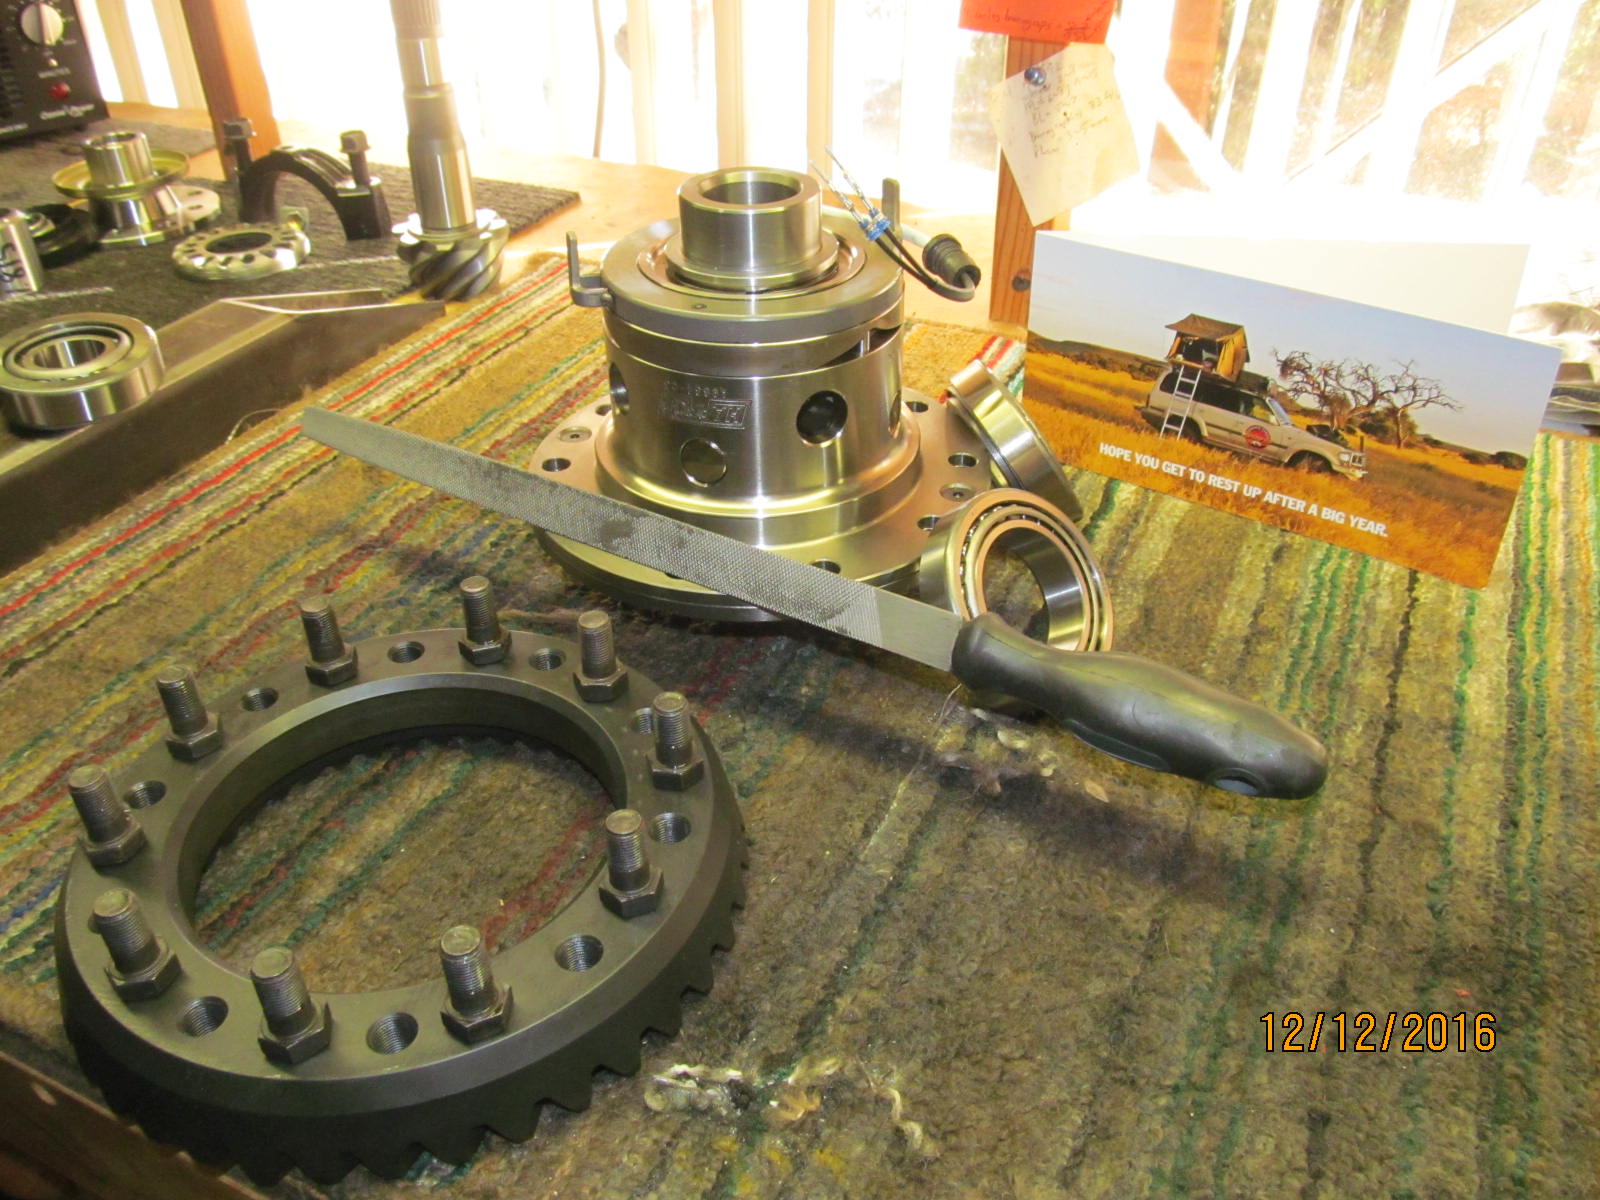
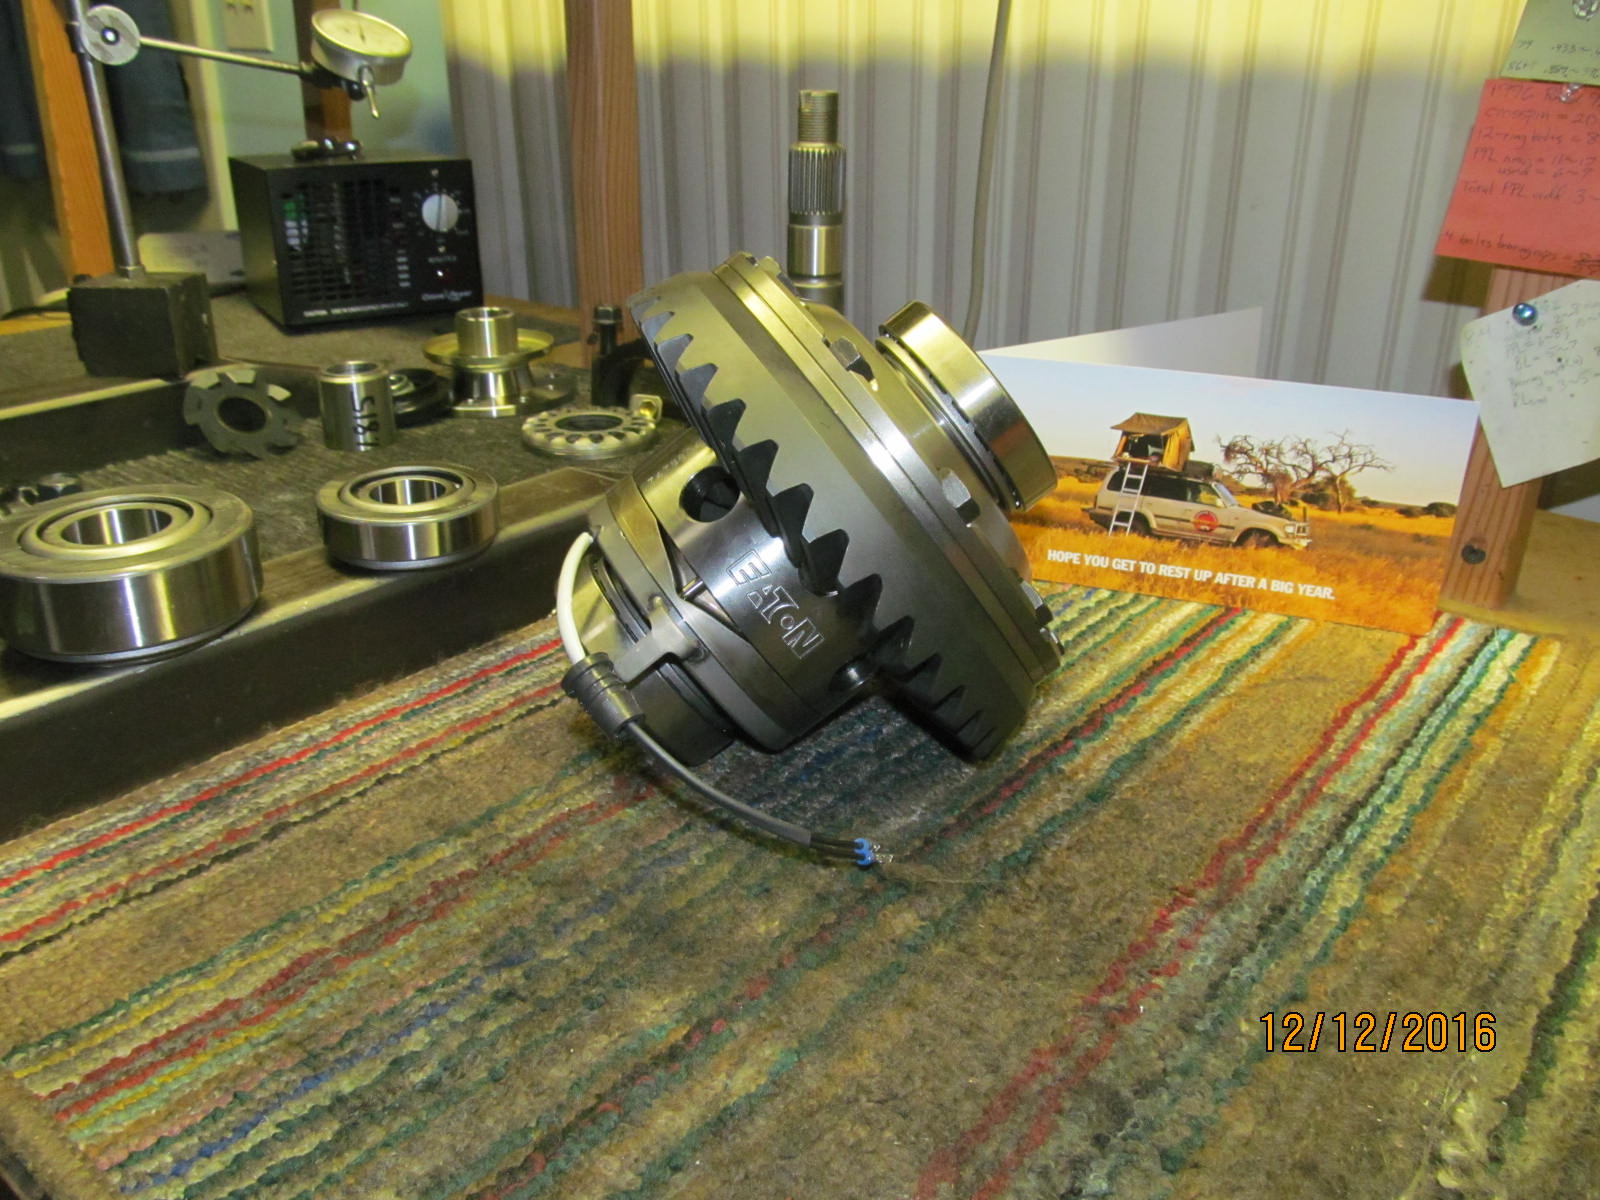
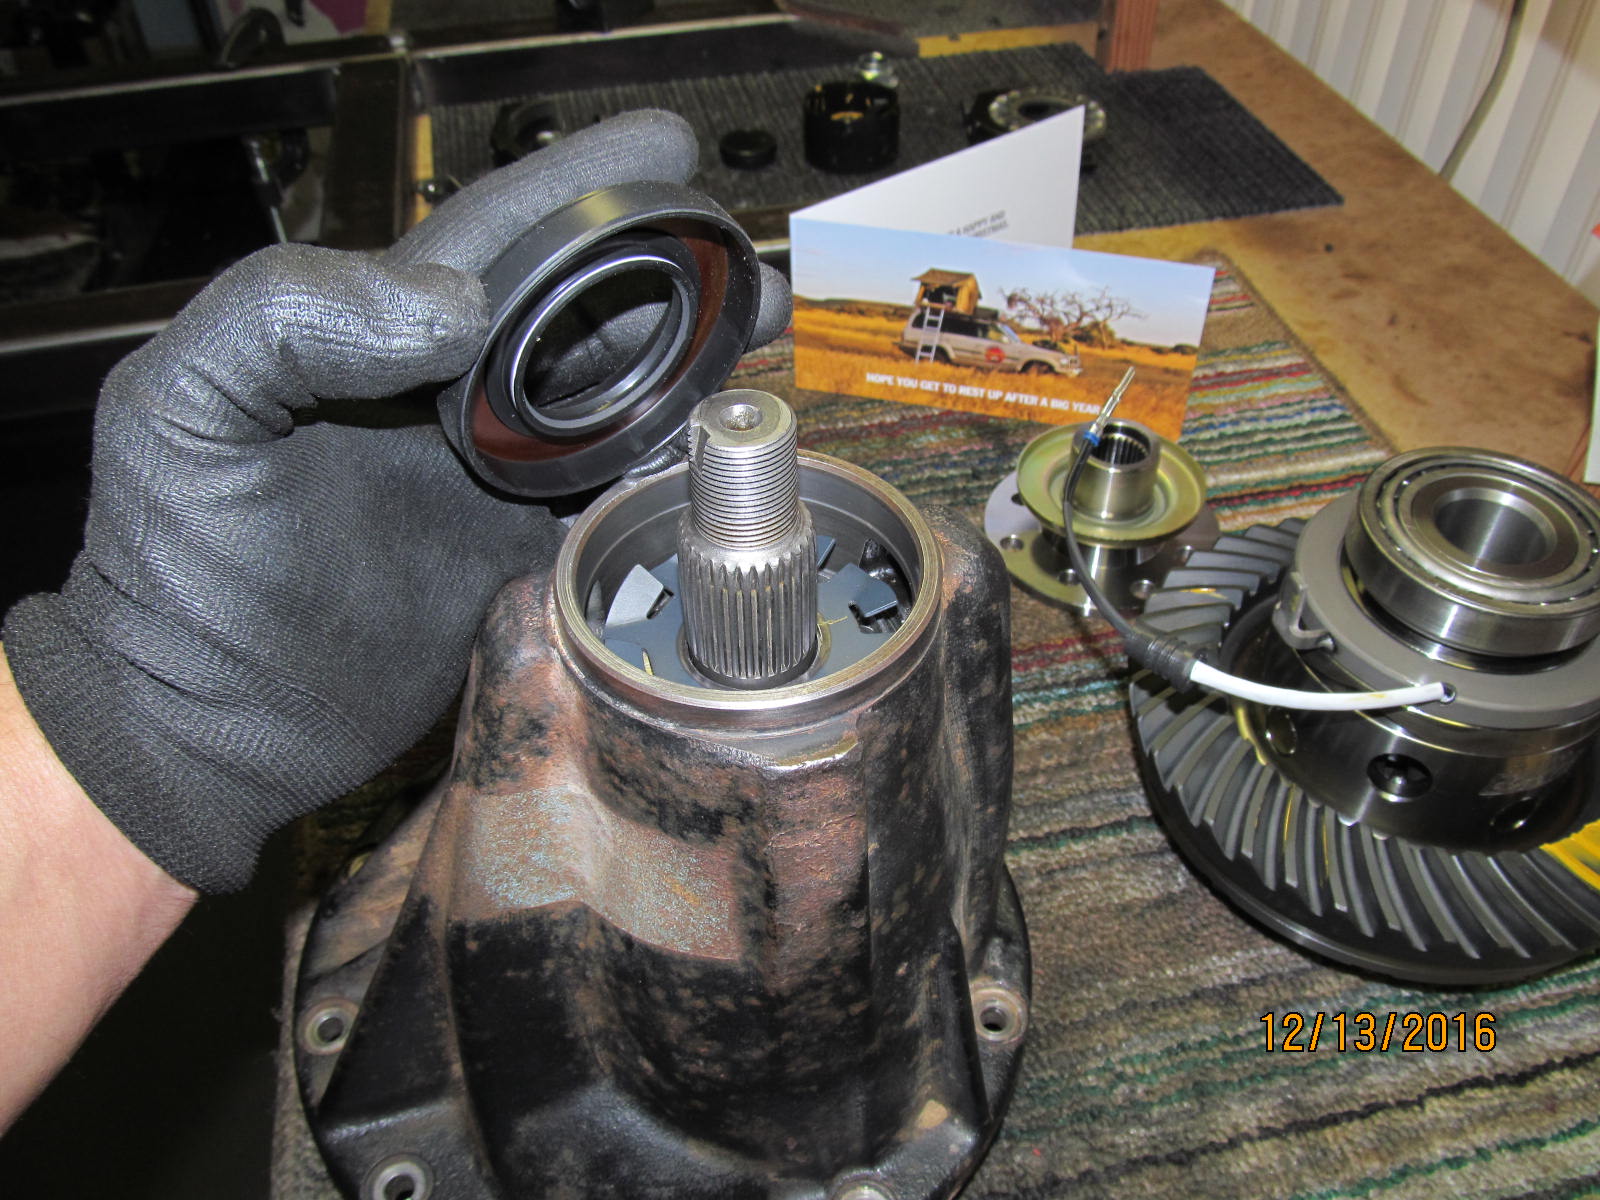
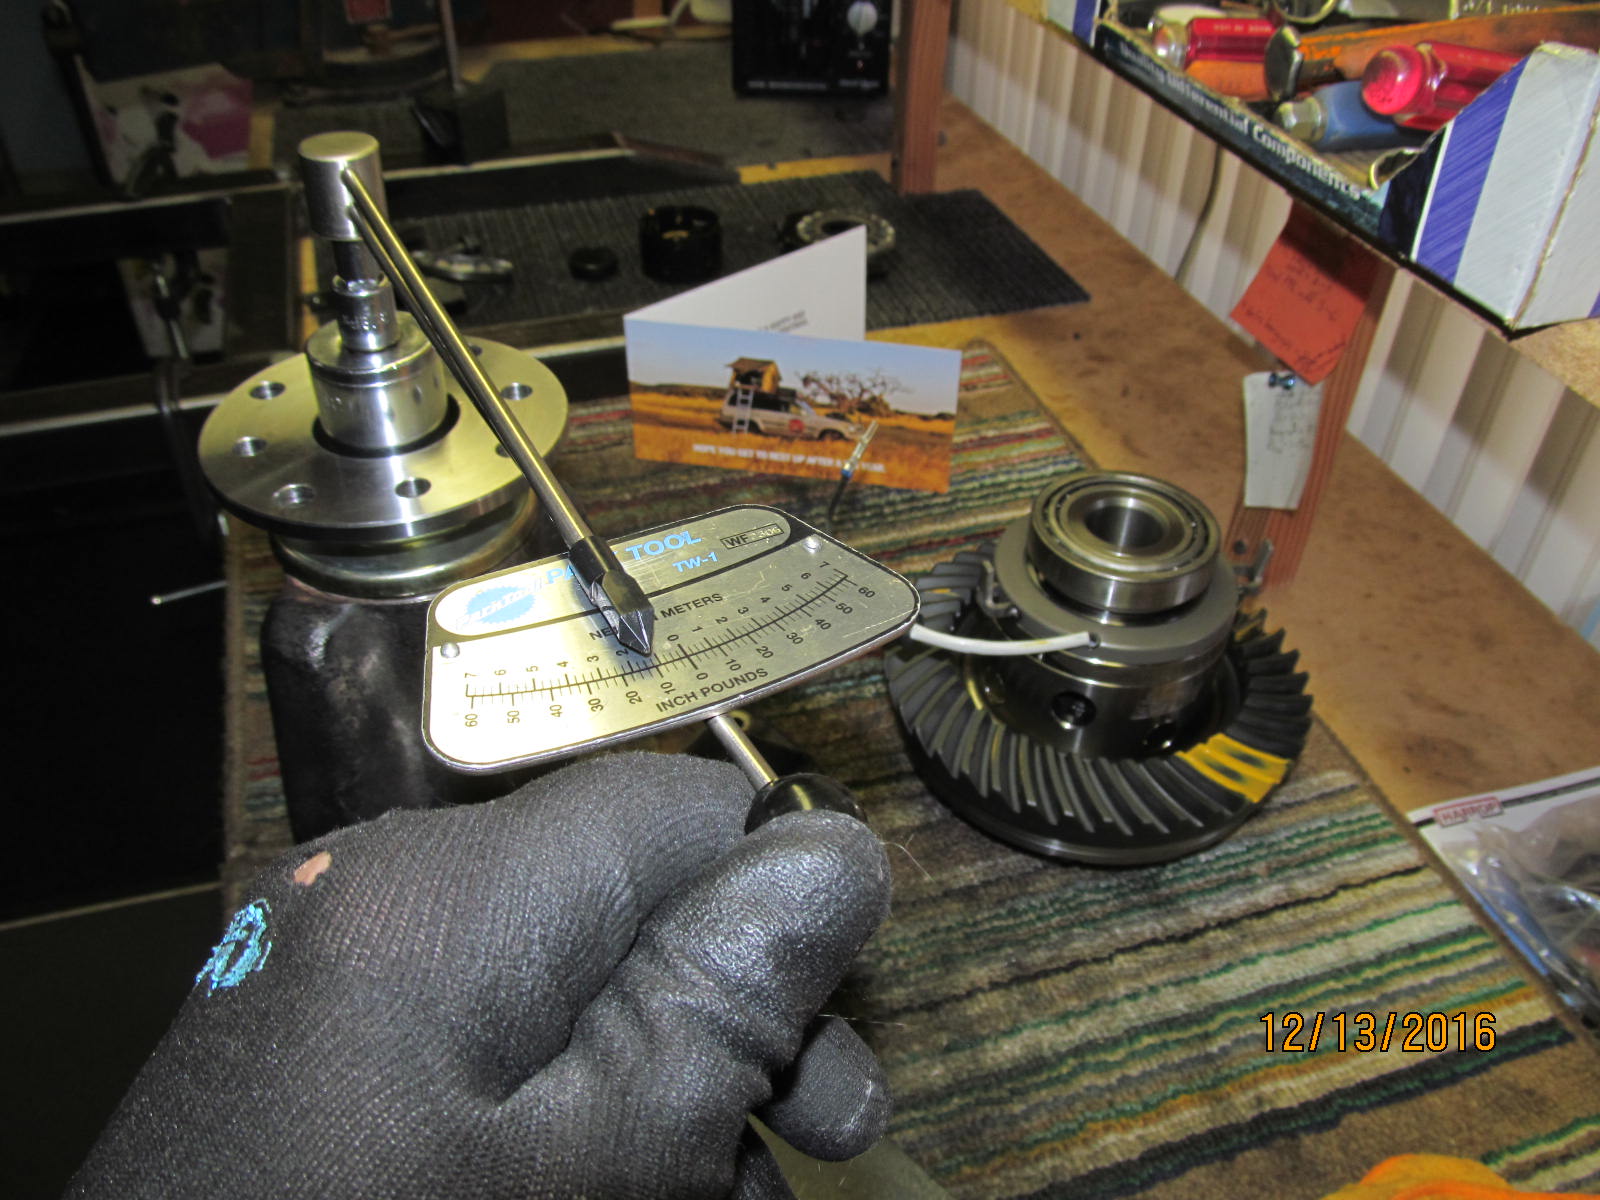
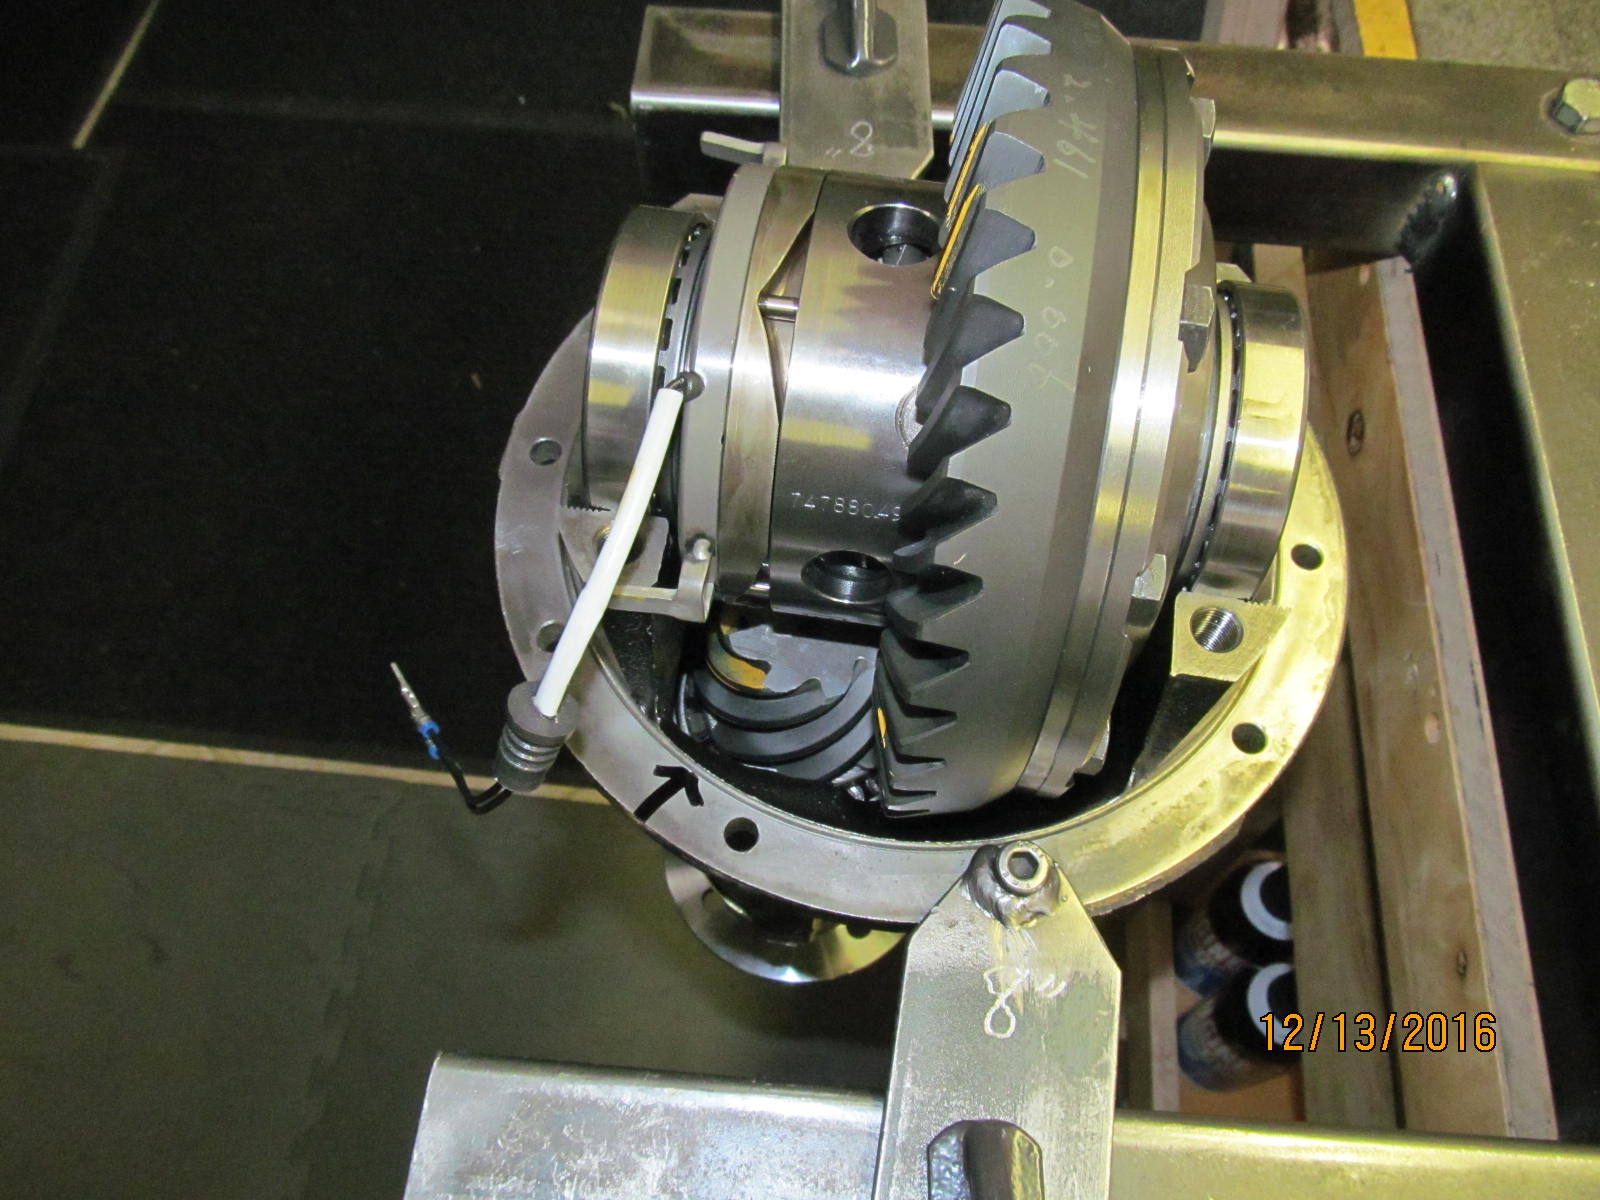
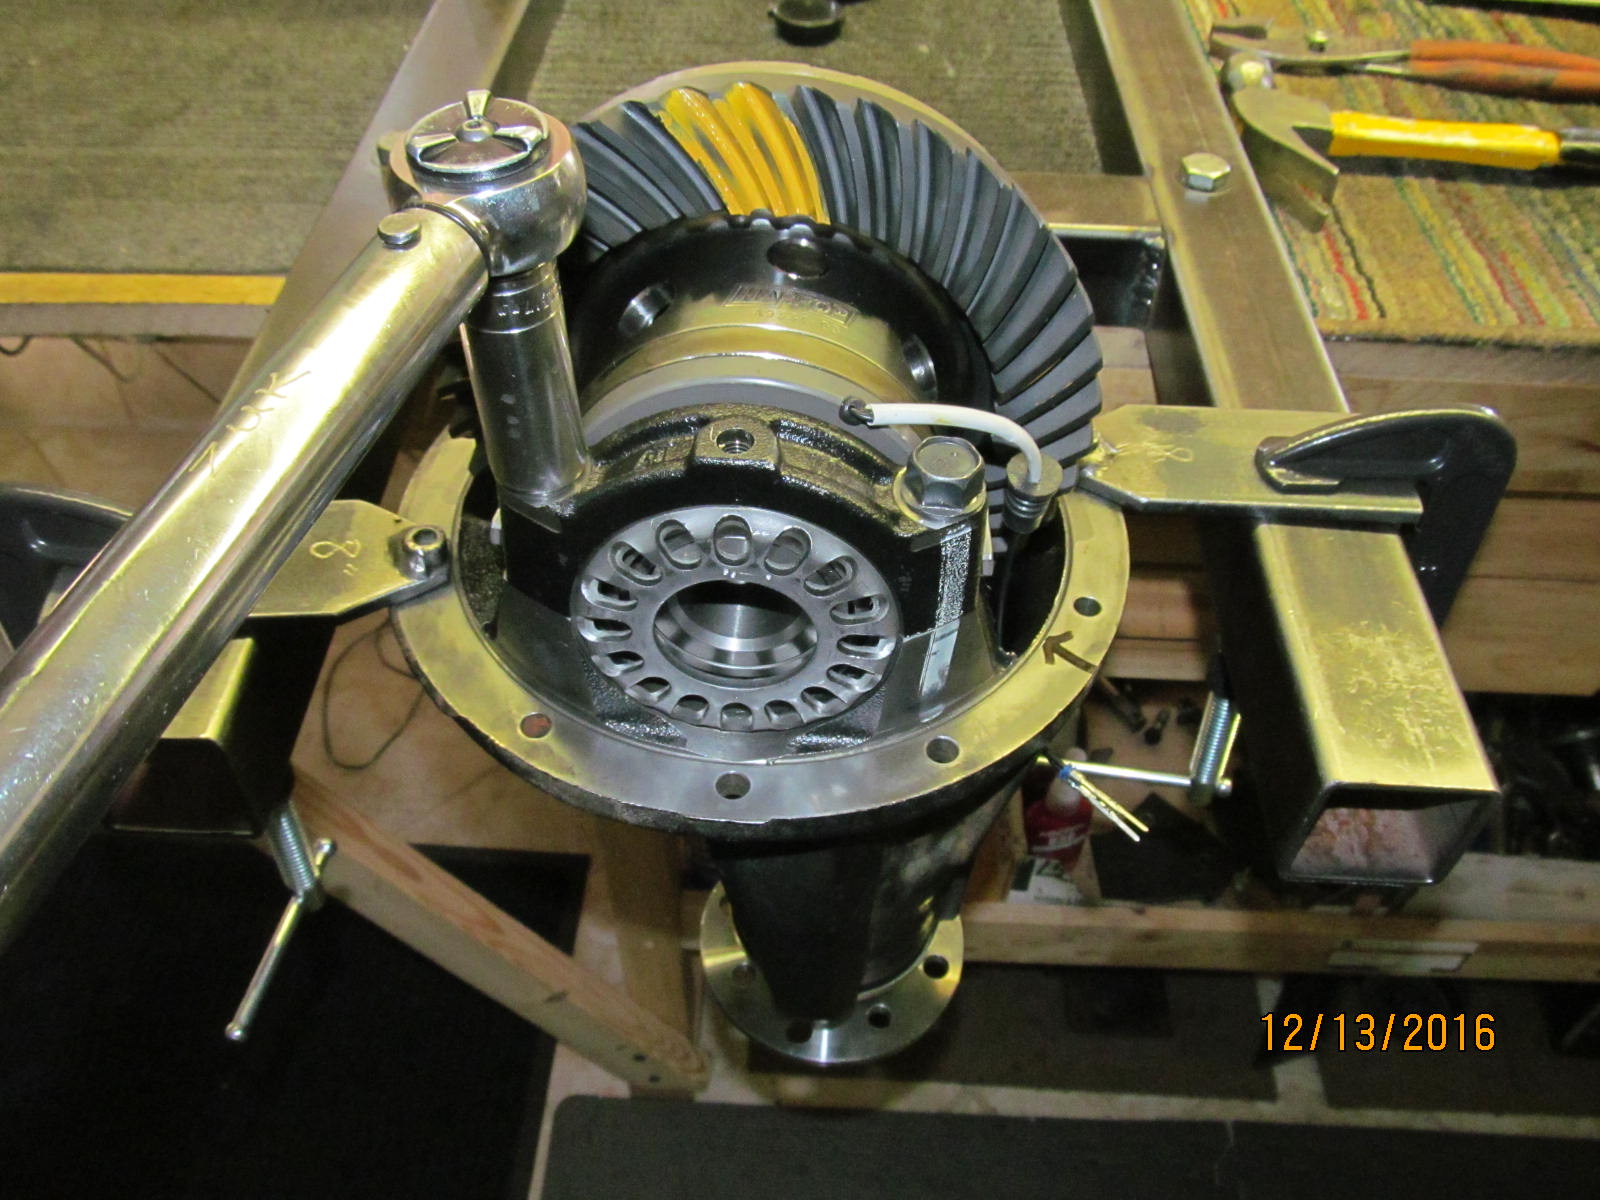
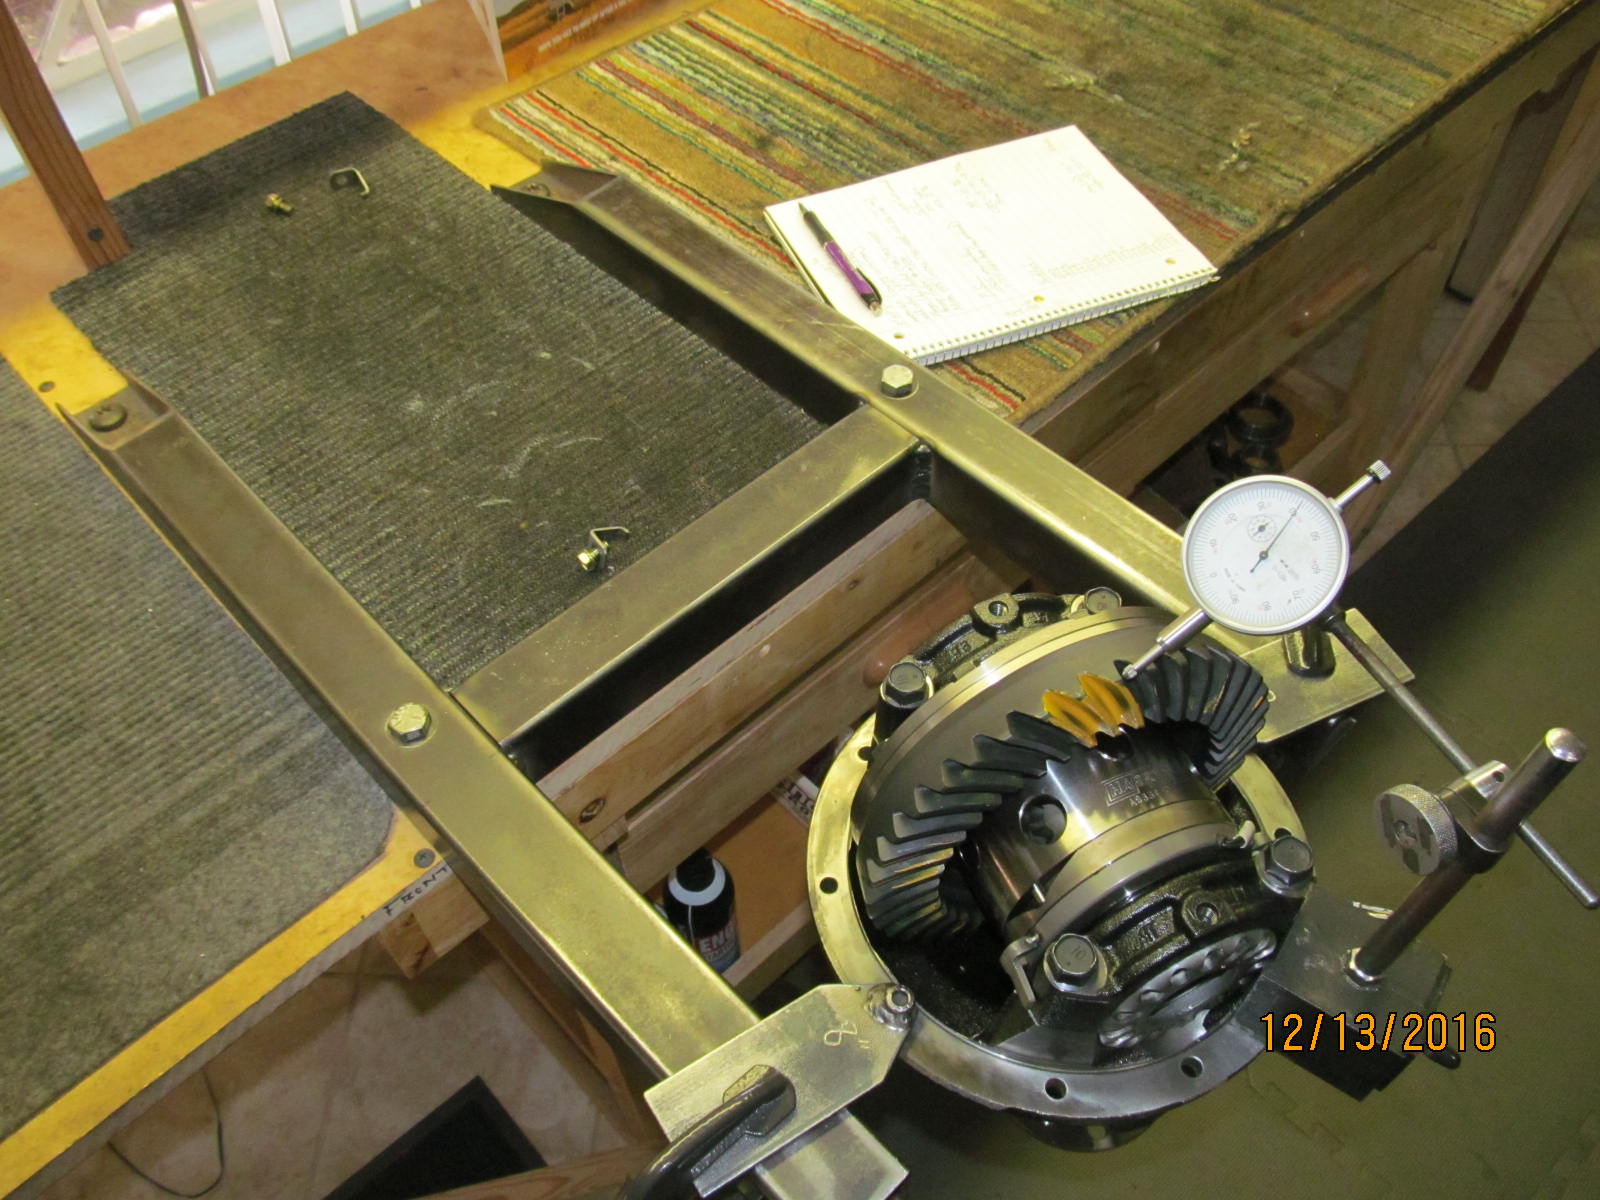
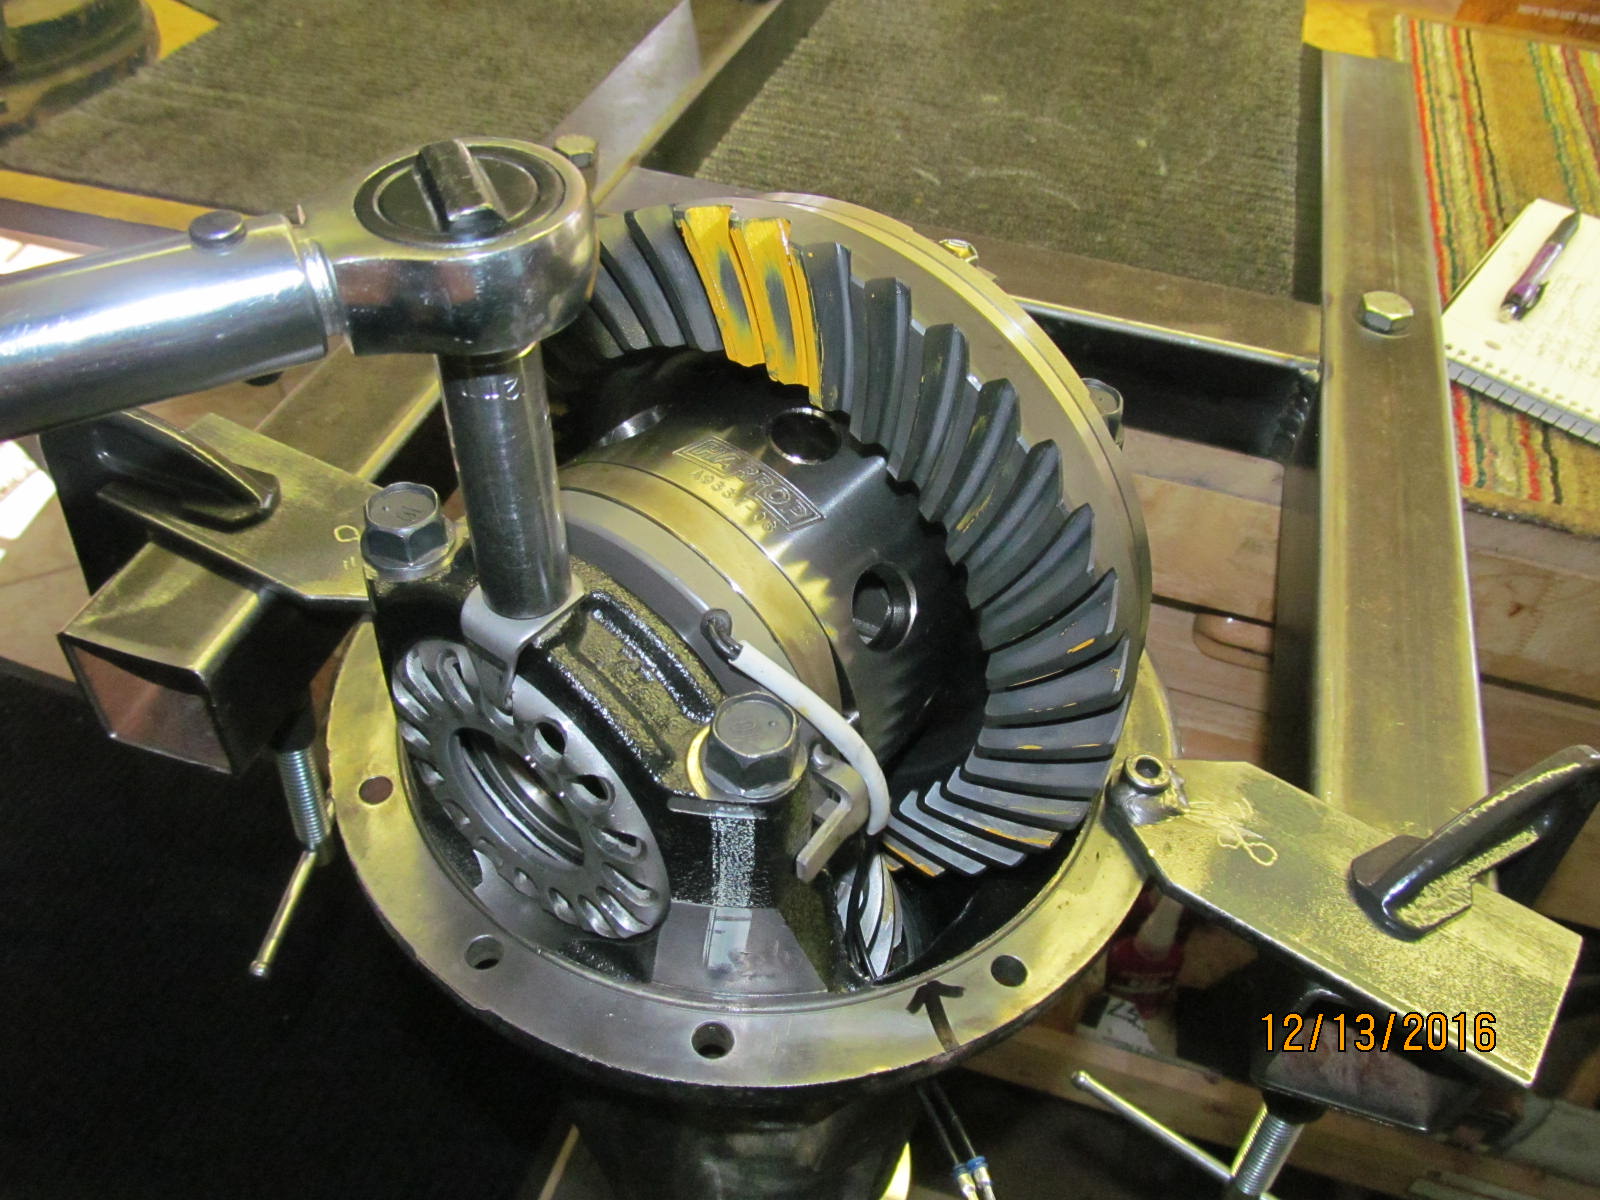
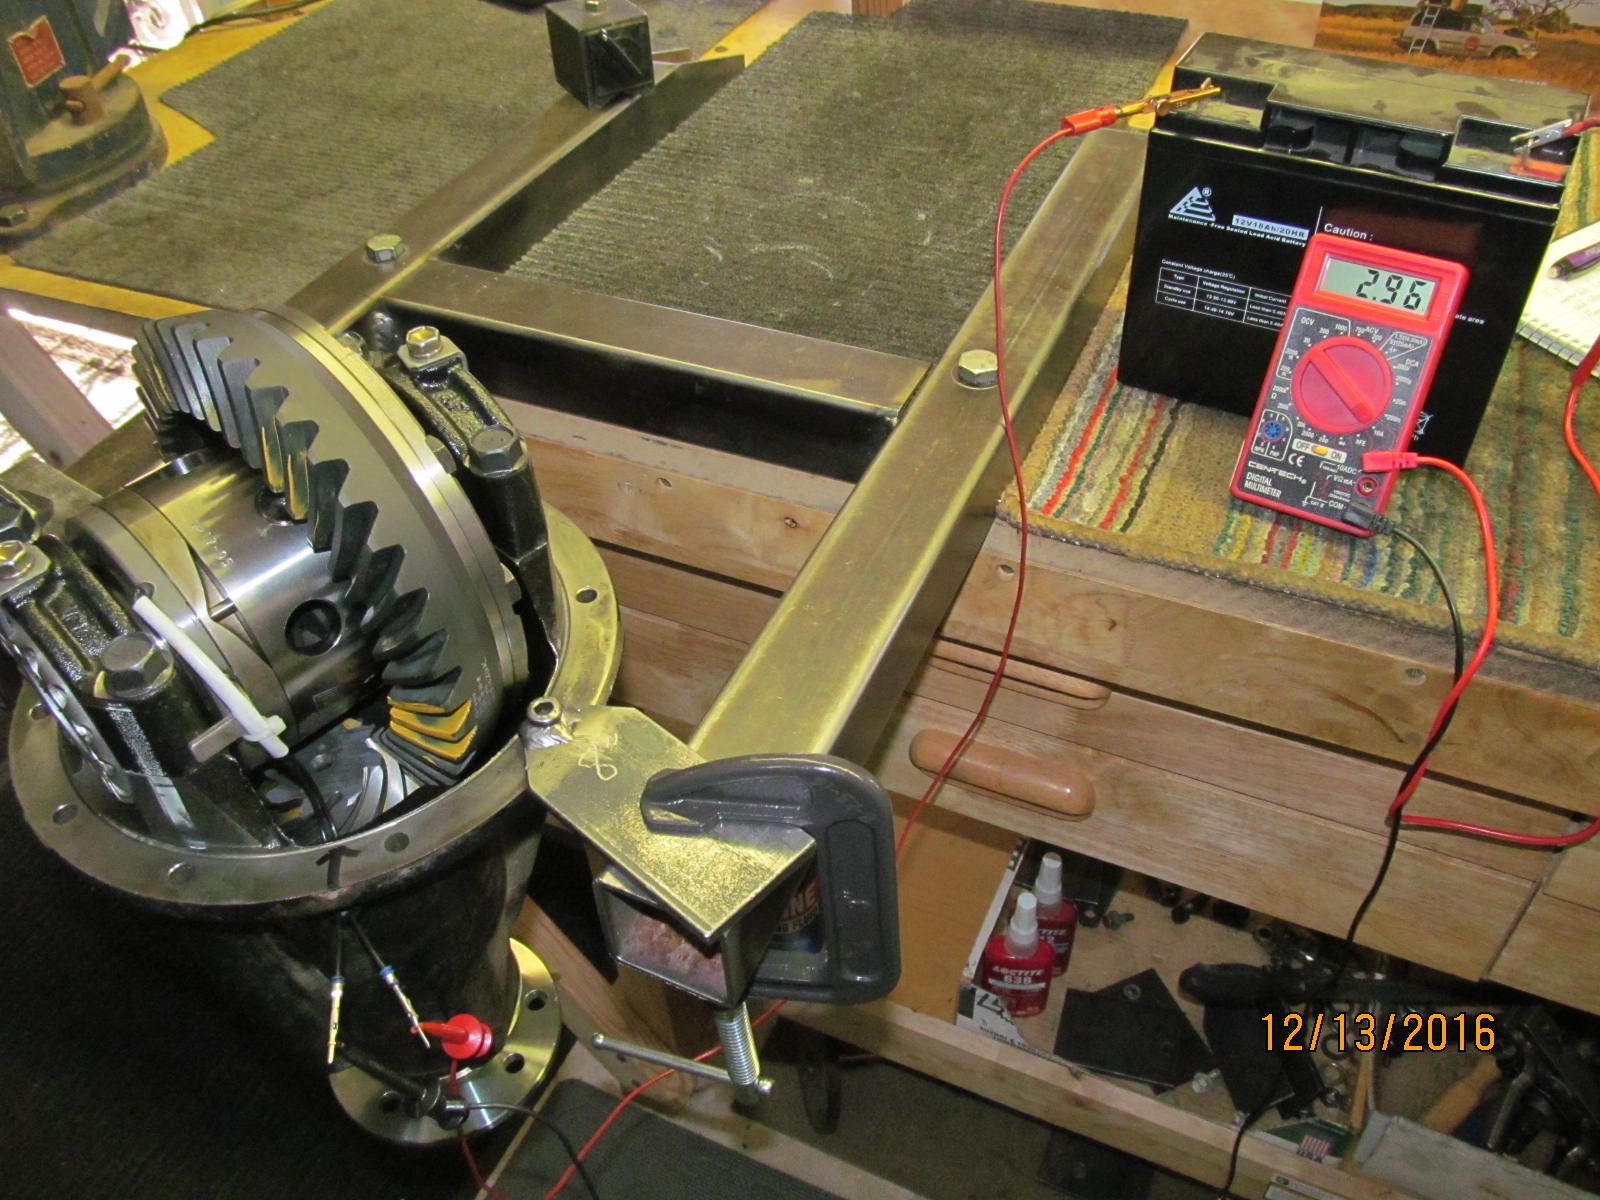
Andrew ordered up the bearings and gears and Harrops for me as shown in the pic.
Gears and bearing kits from Cruiser Outfitters.
Harrop Elocker from YotaLockers.com
The #9334 elocker is for the 8" hi-pinion FJ and the 8" low pinion pick-up and 4Runner....
both 4 cyl and V6 models.
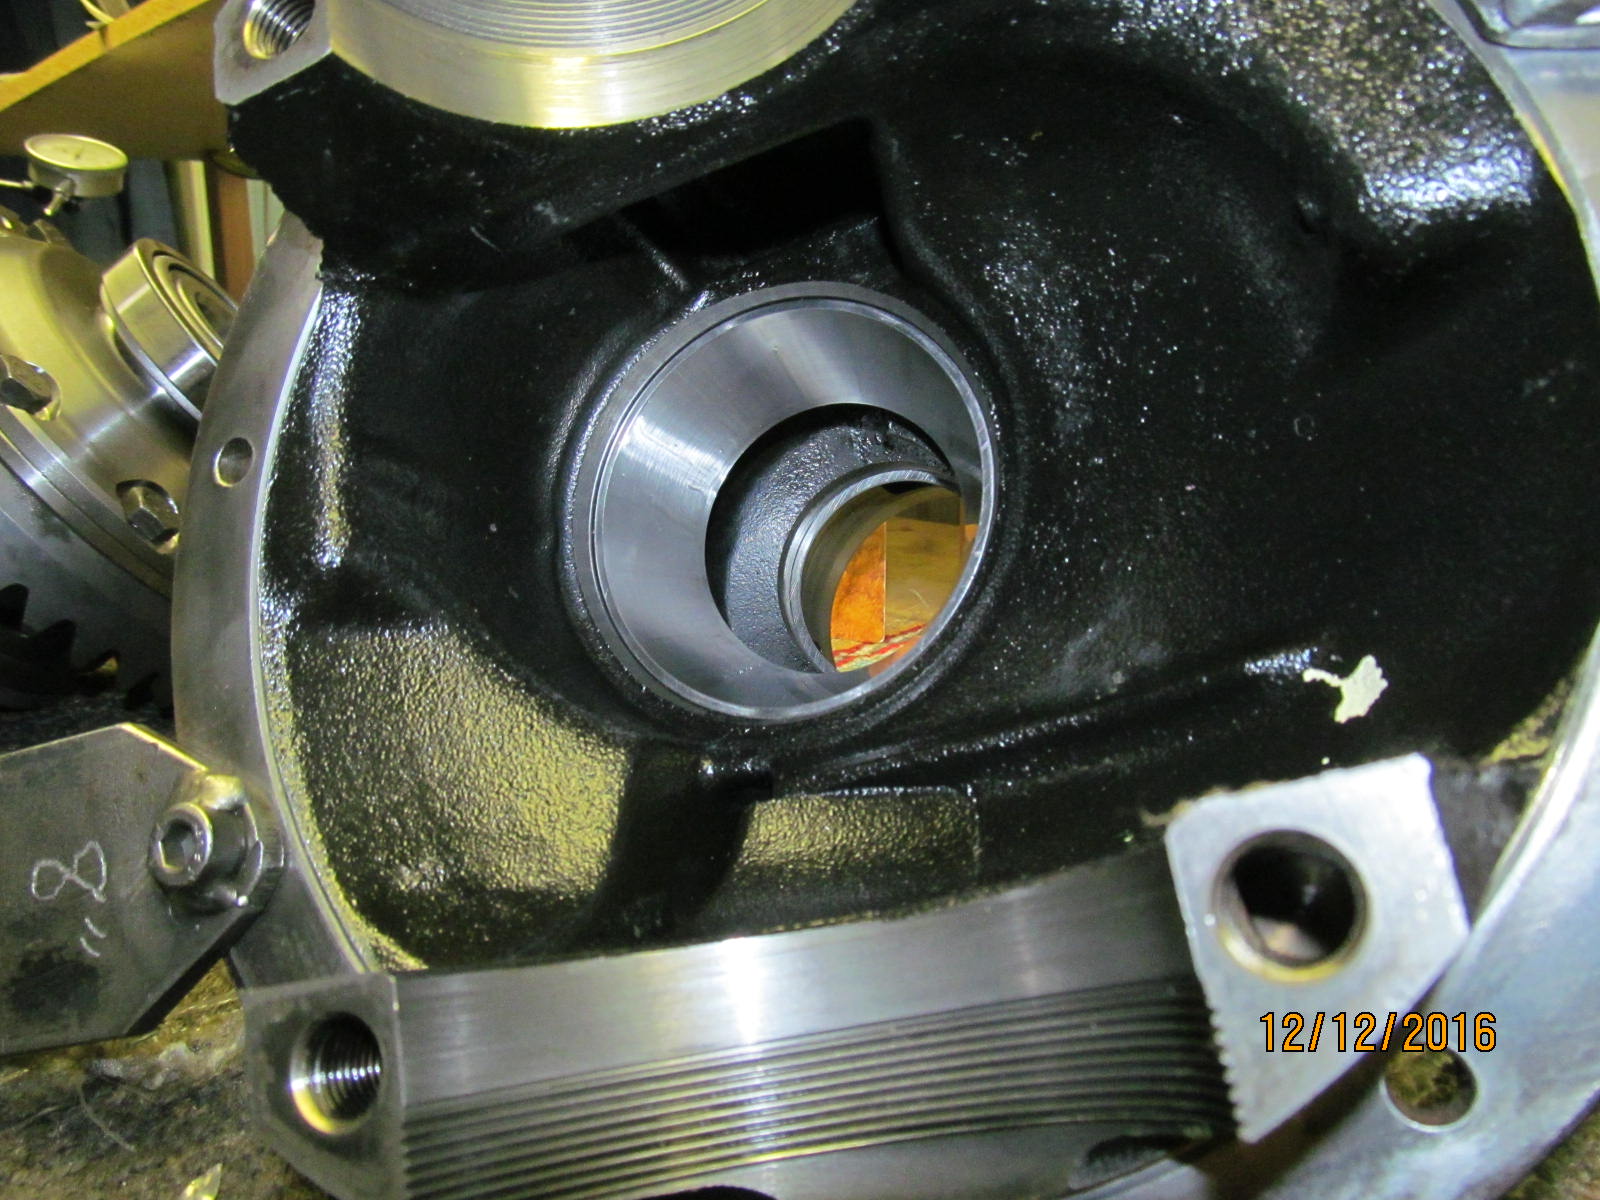
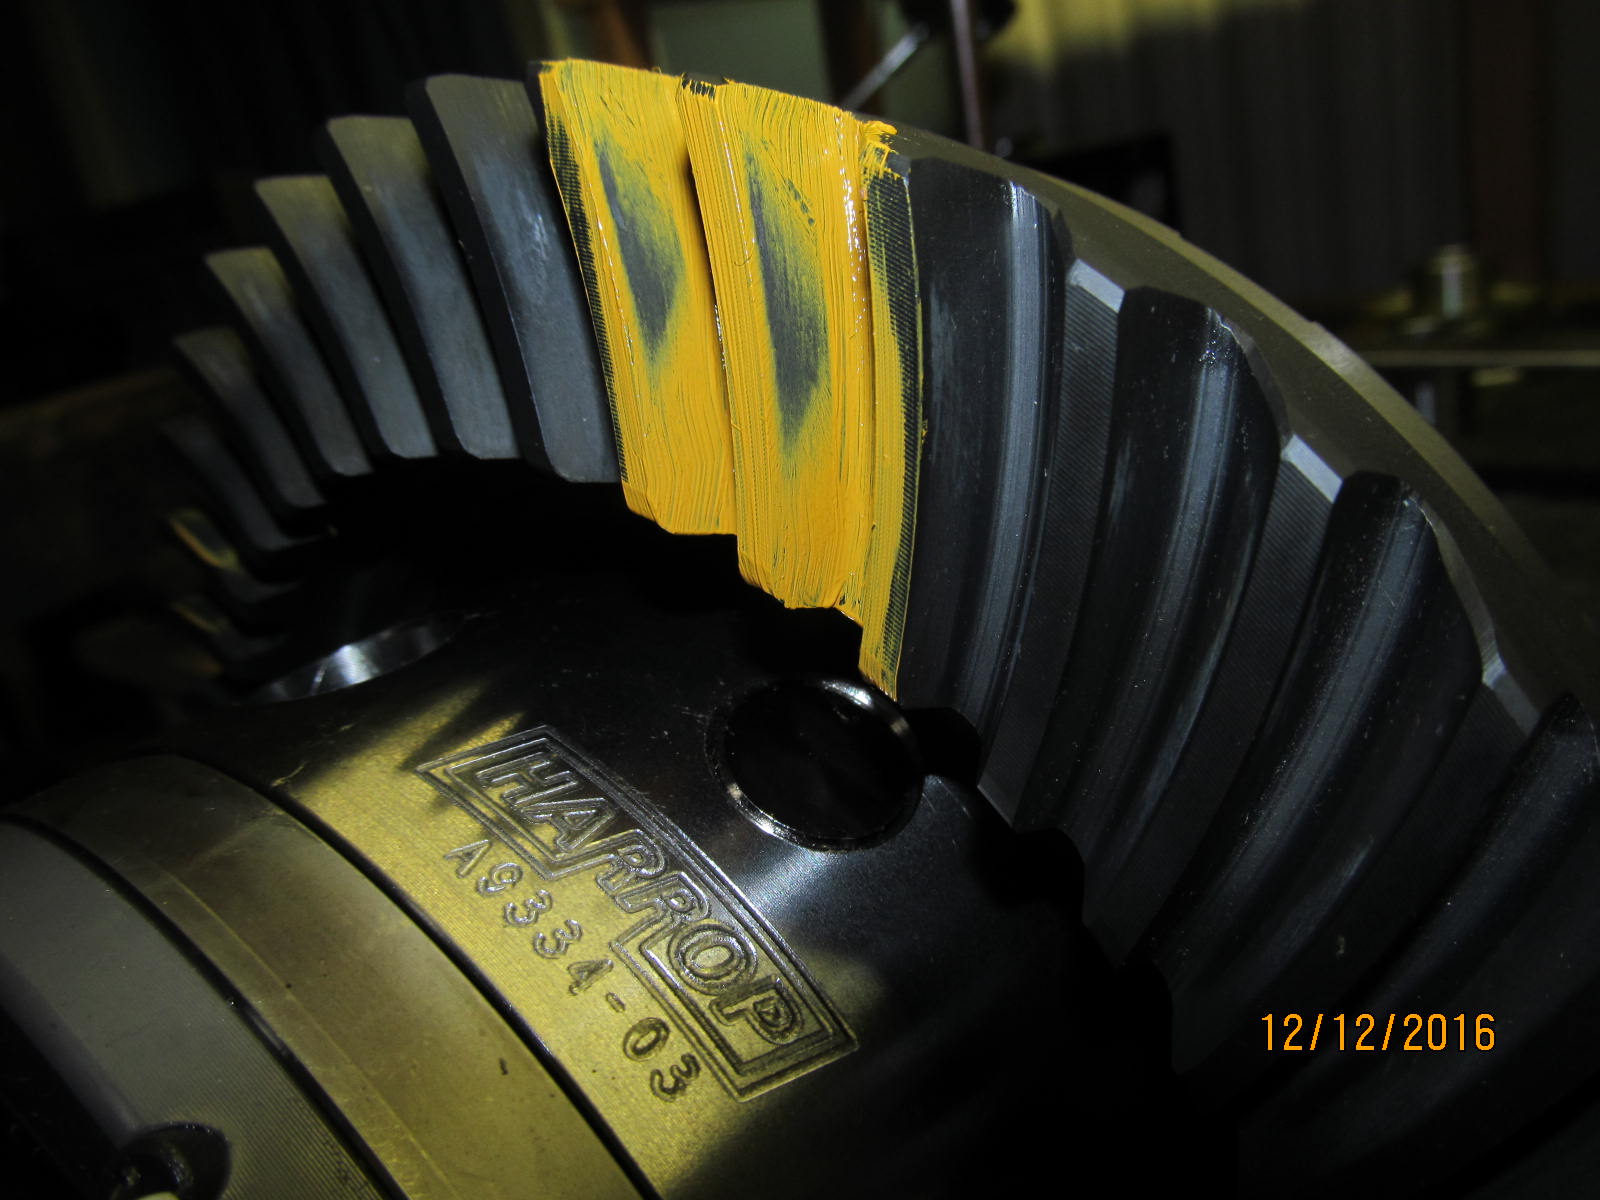
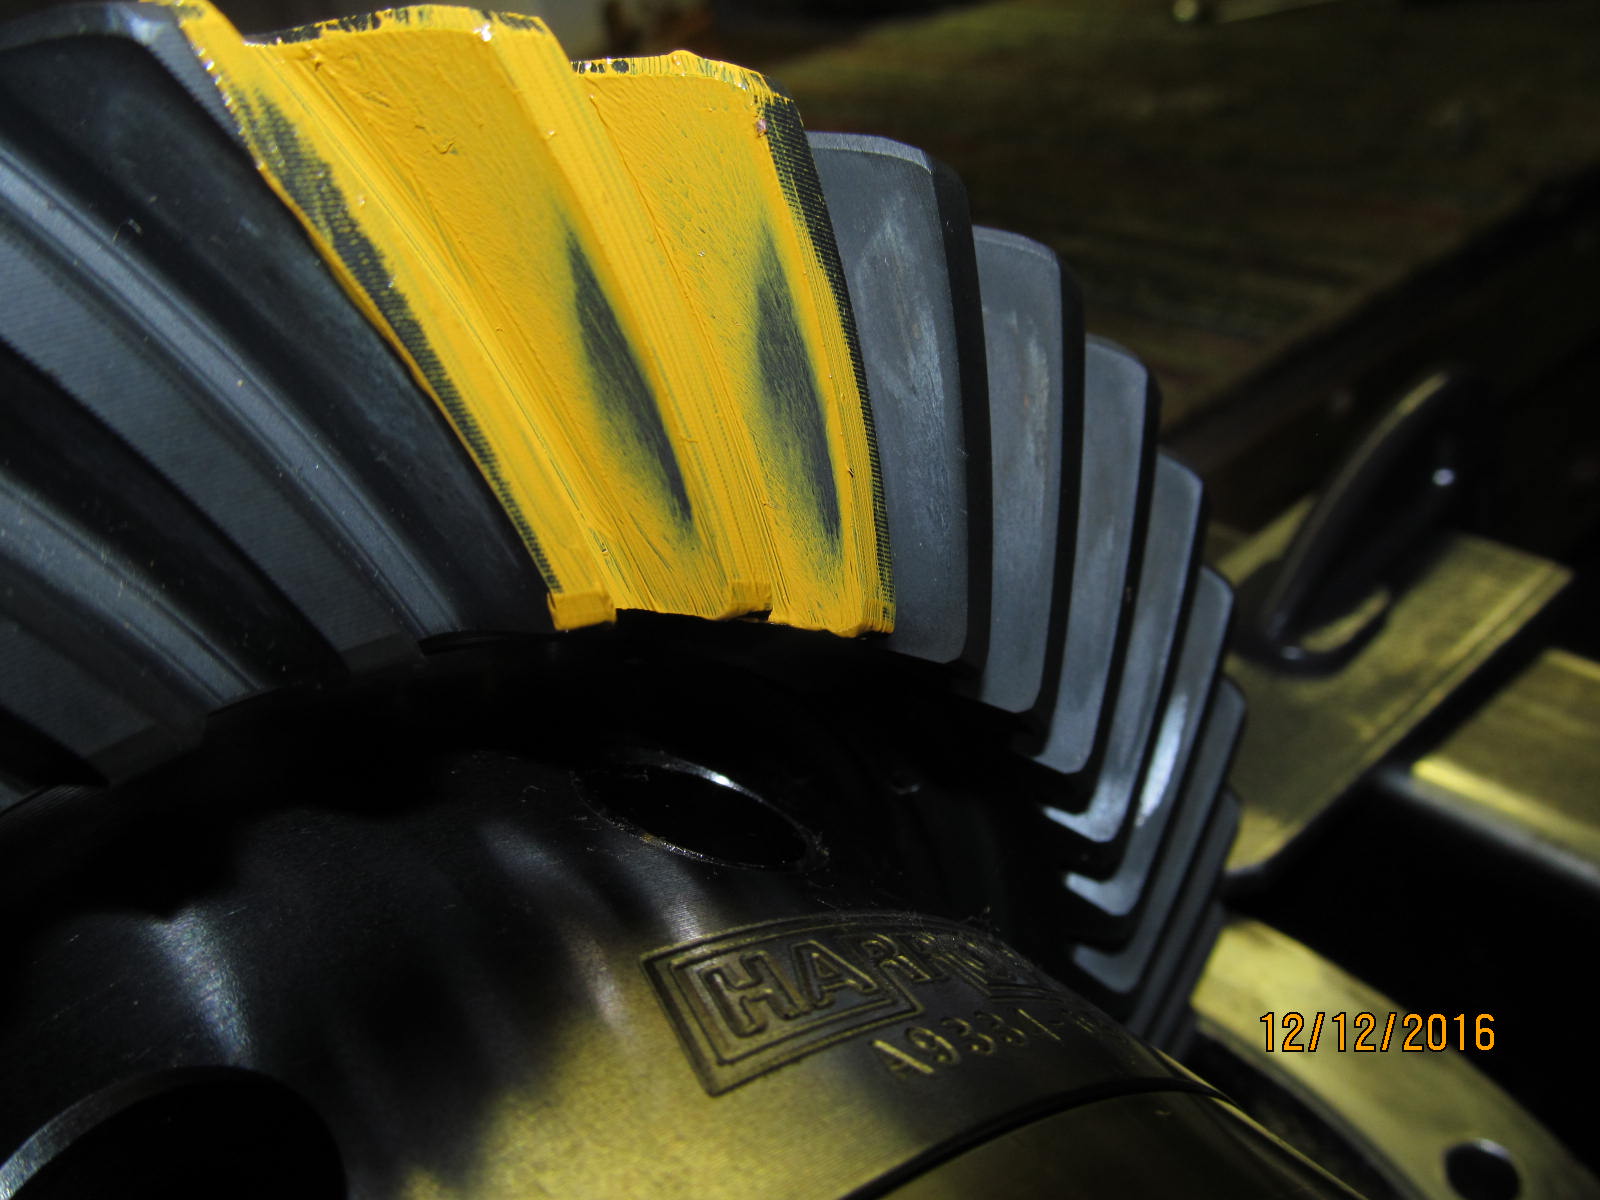
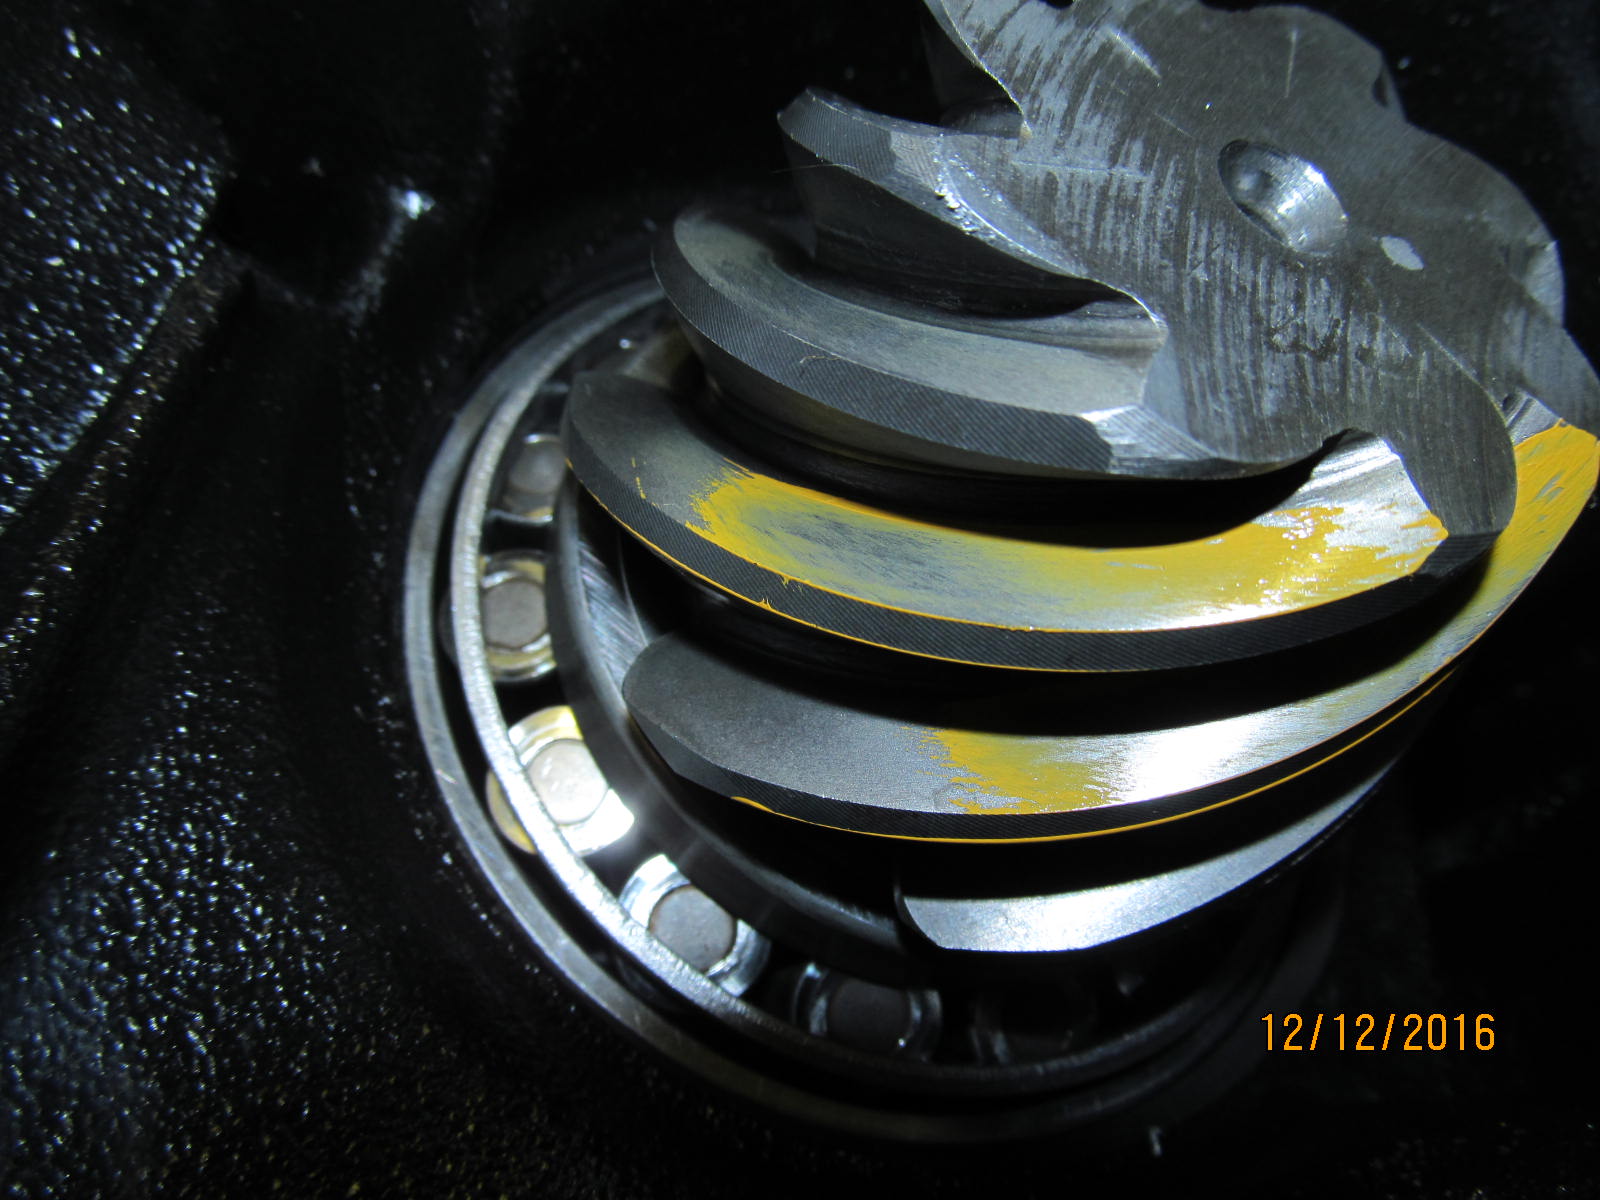
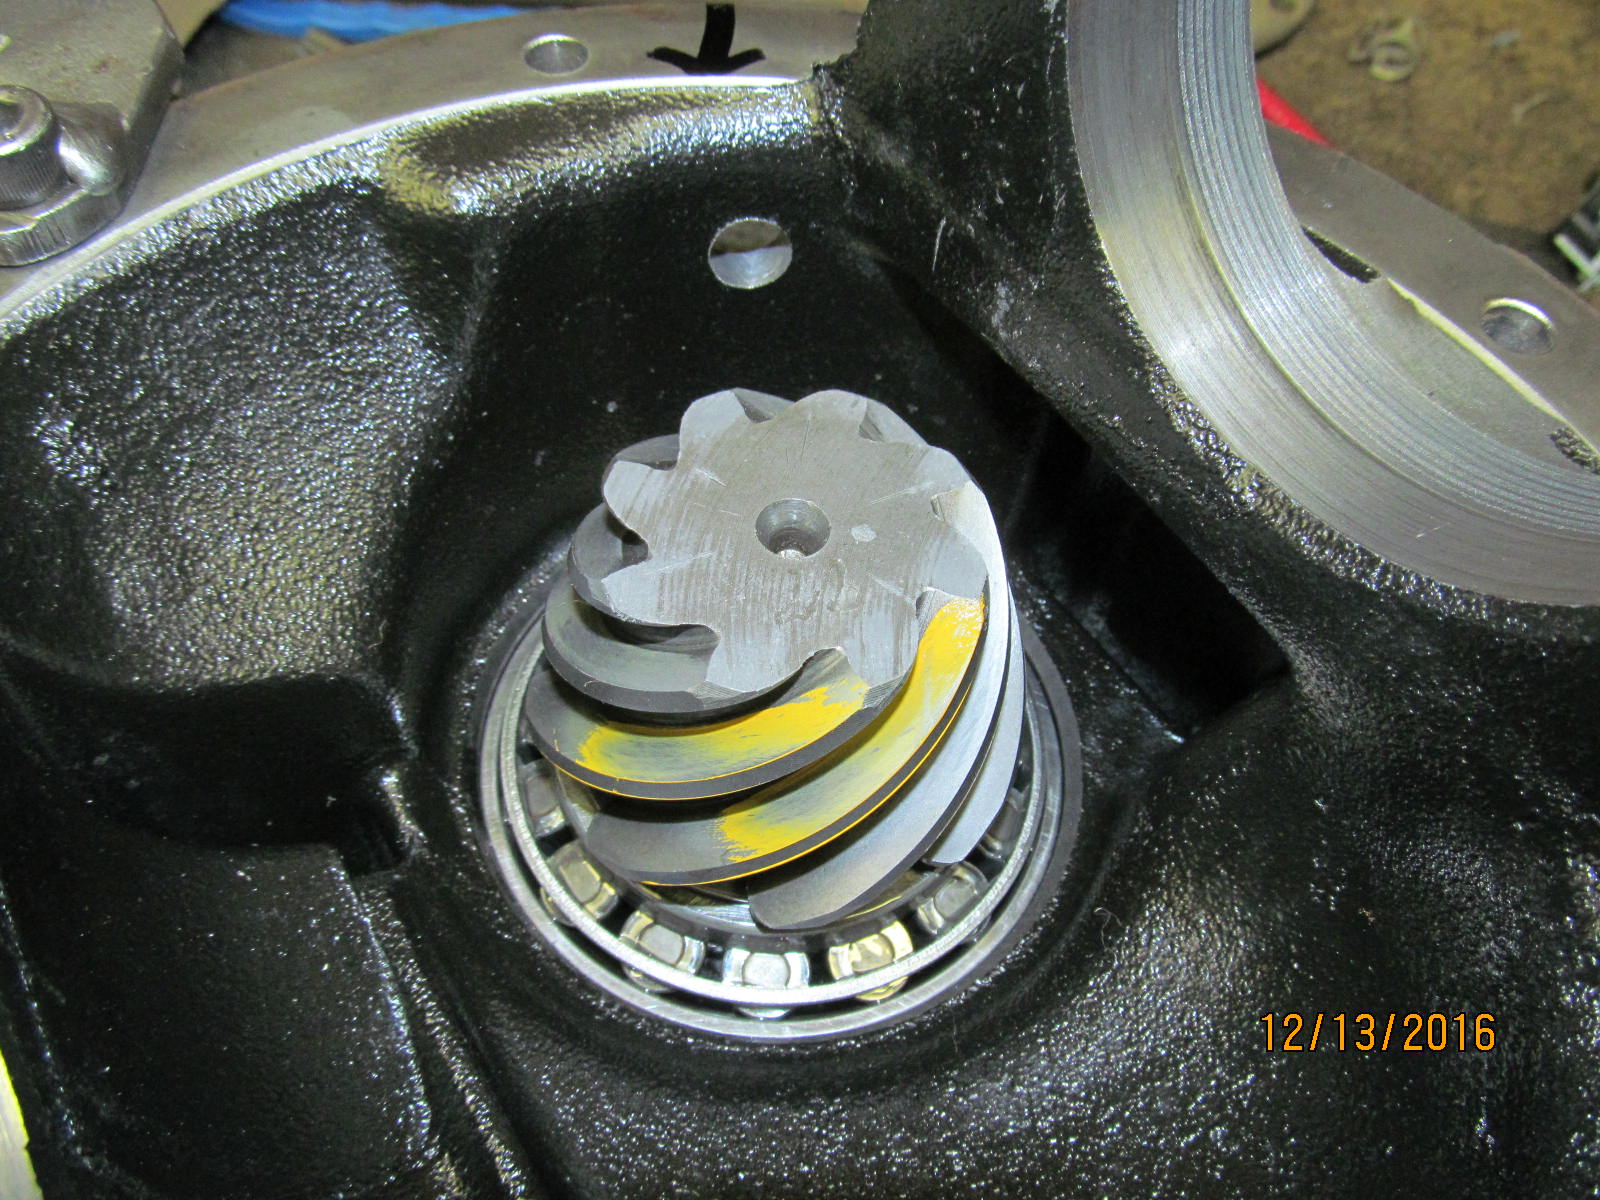
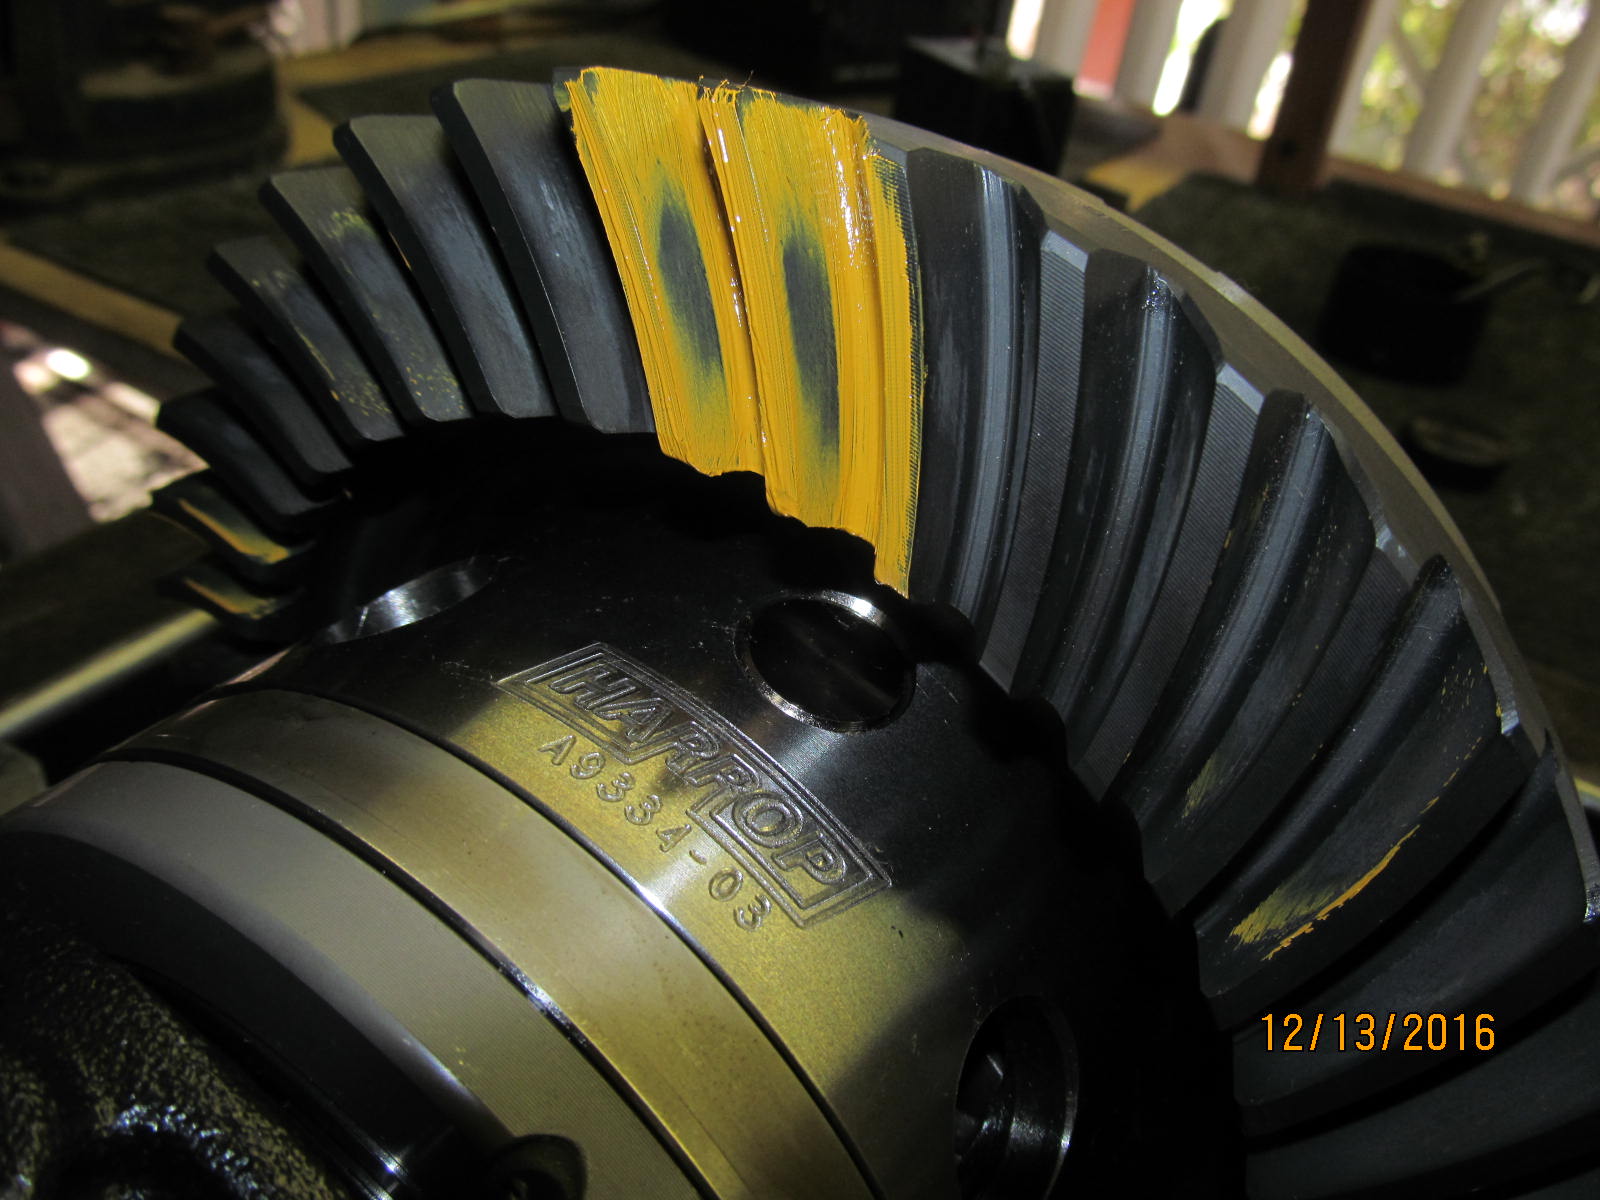
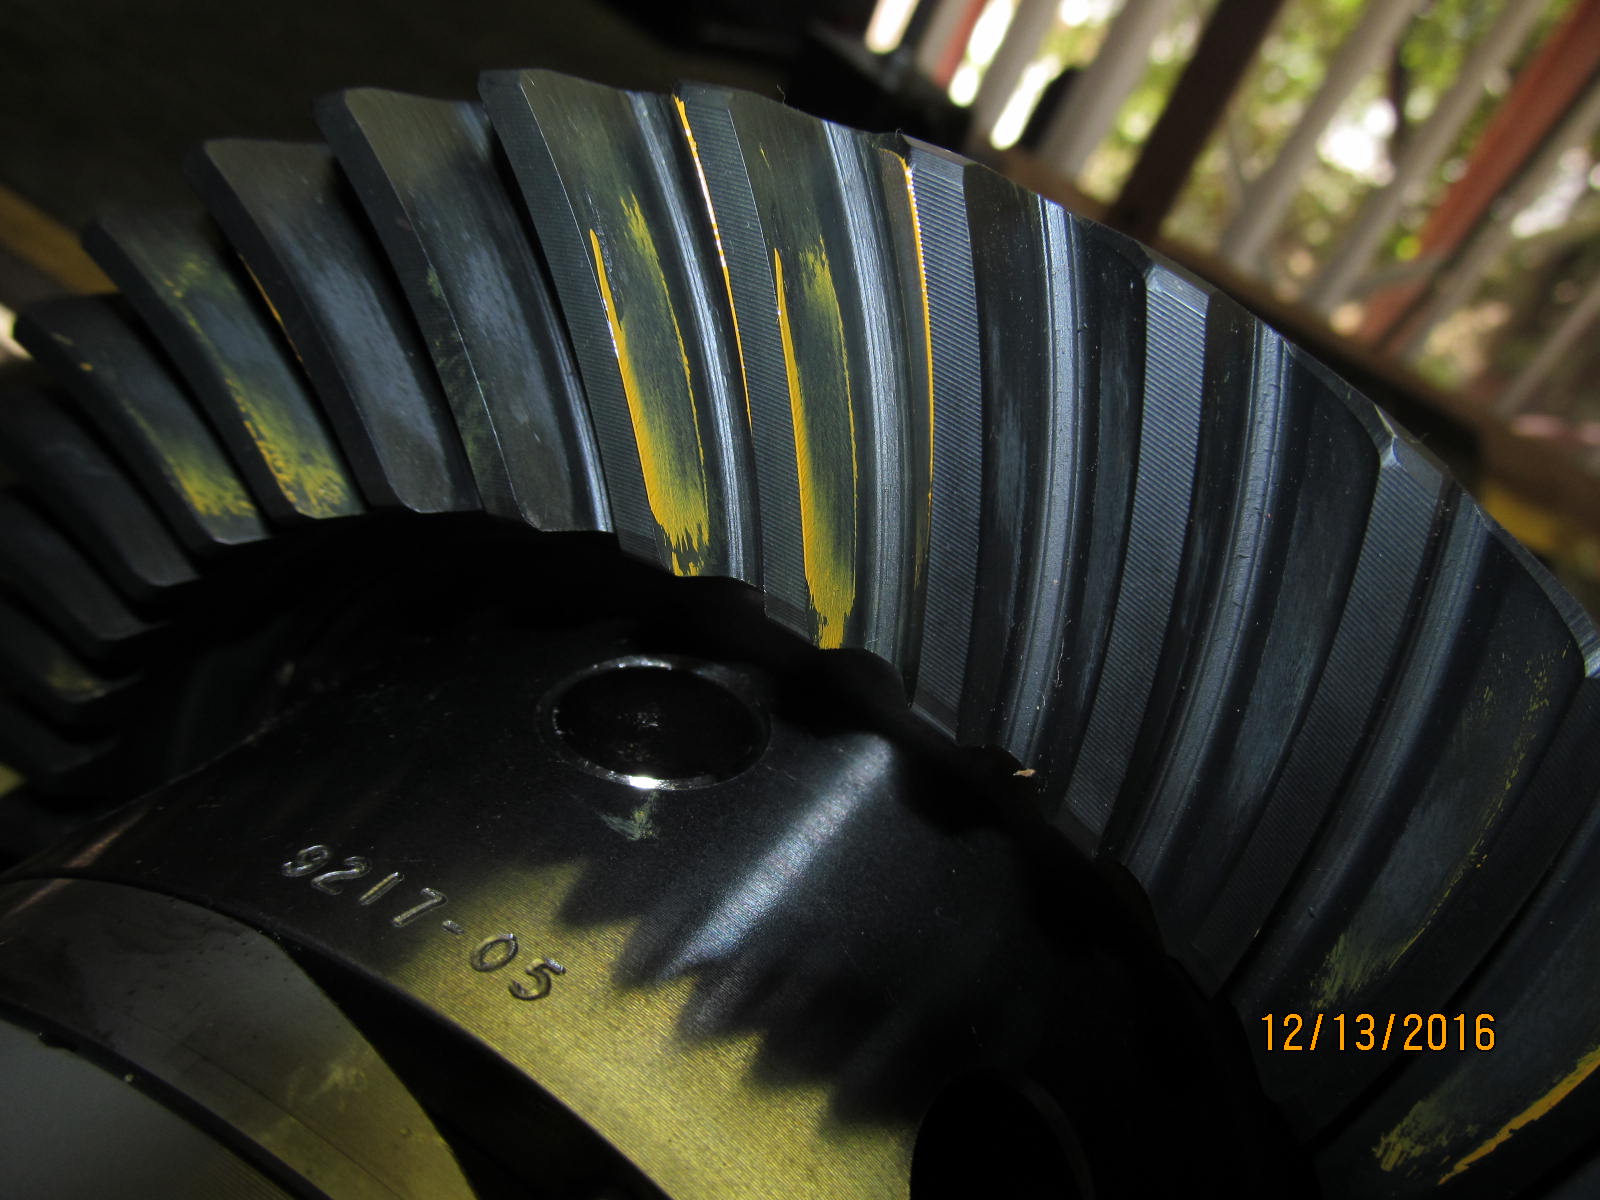
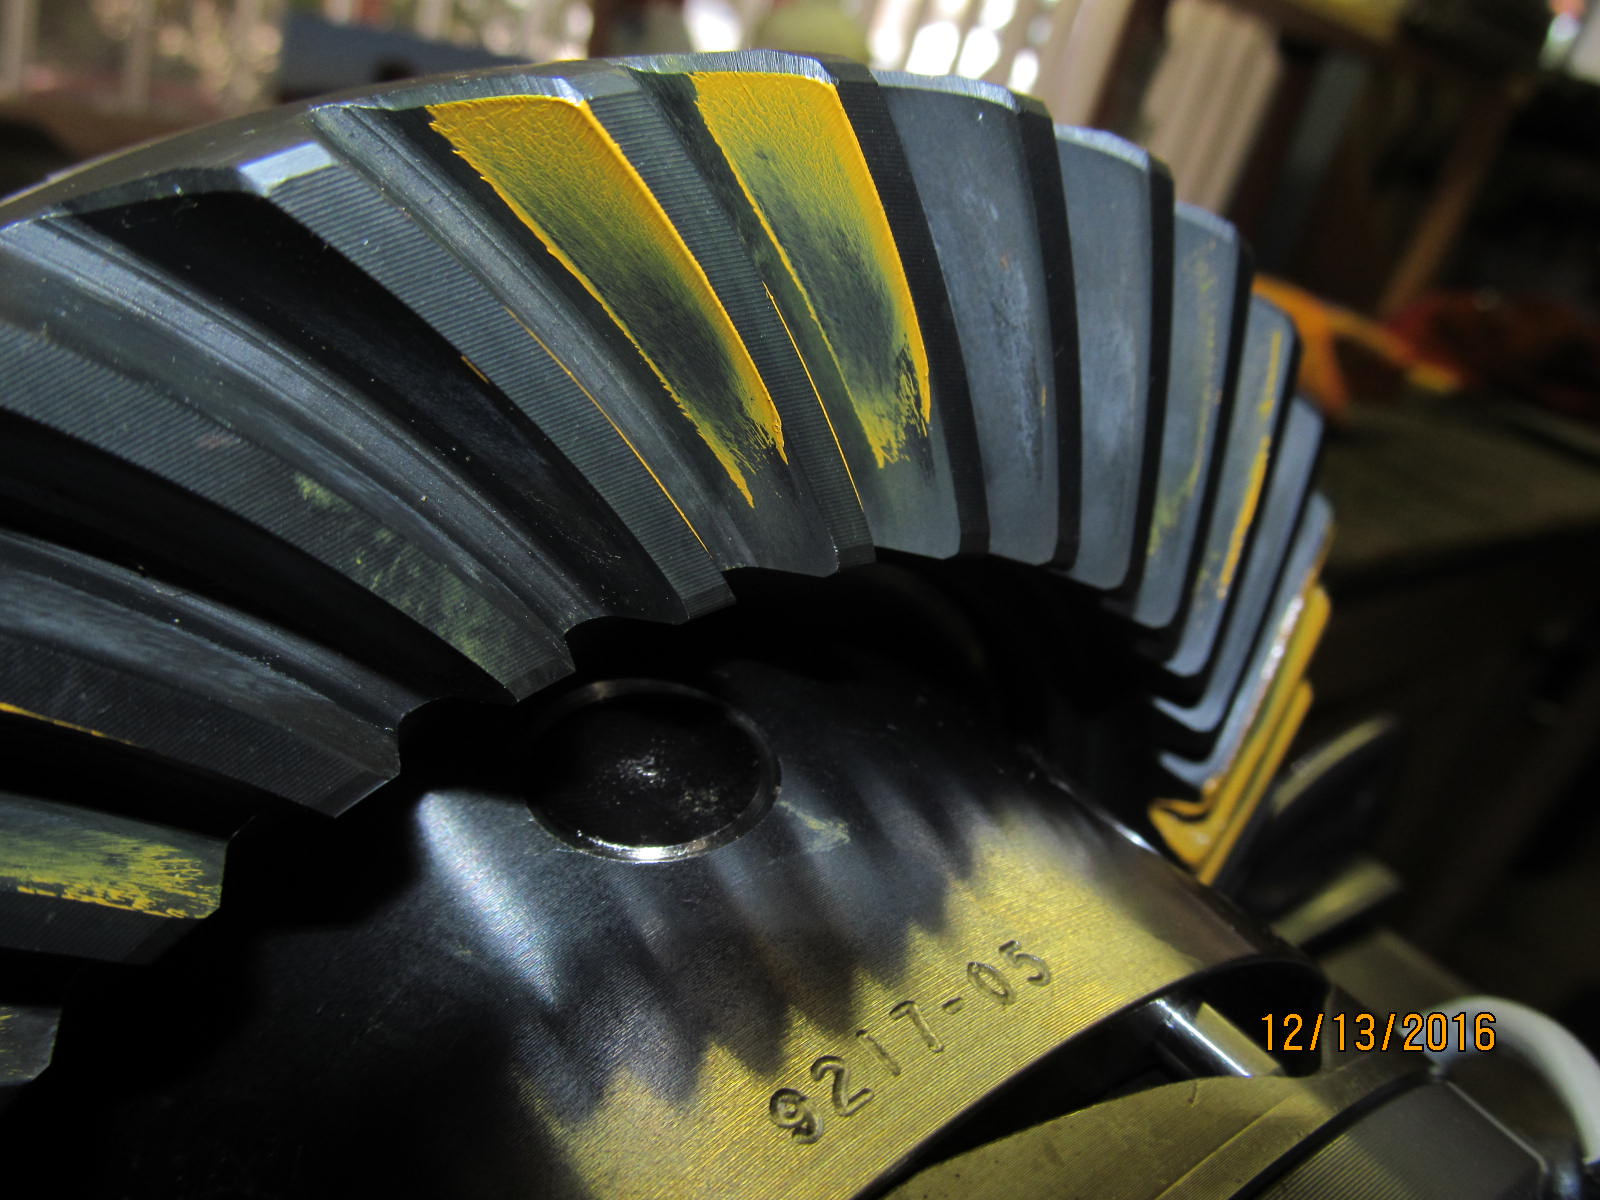
over the ring gear seating surfaces and no burrs or unusual high spots found.
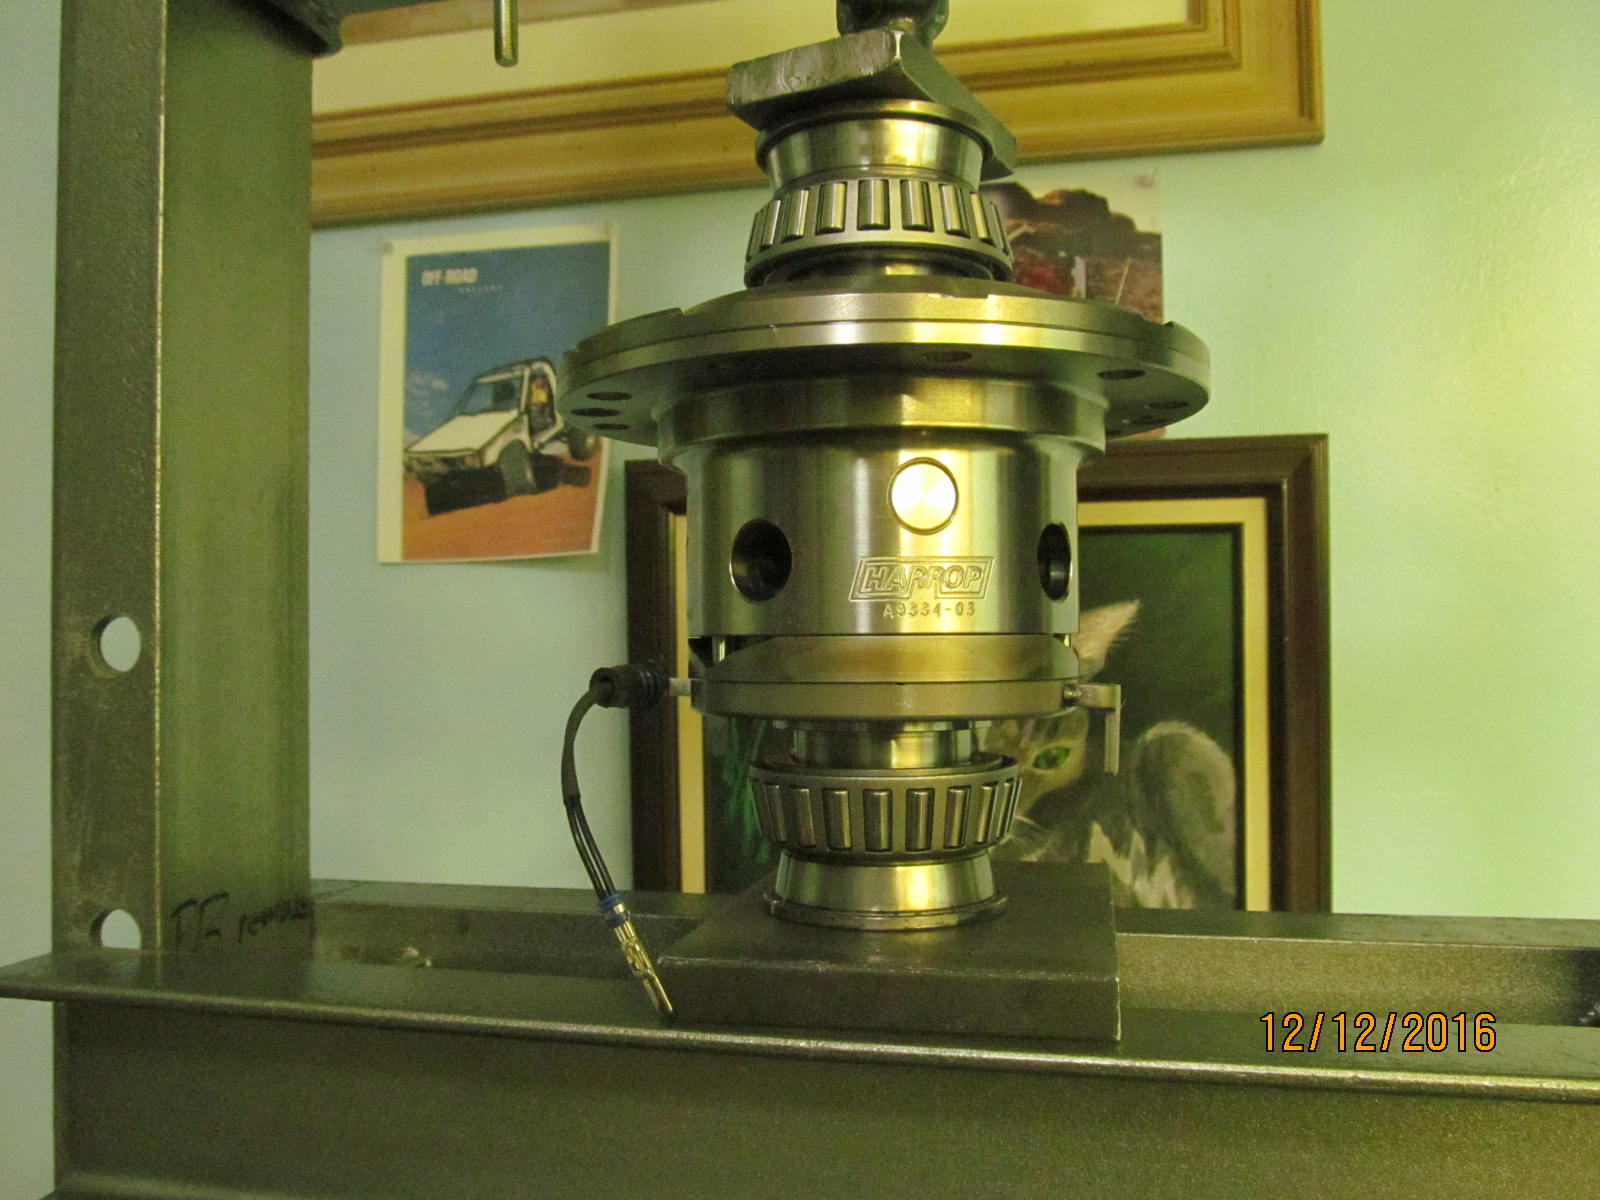
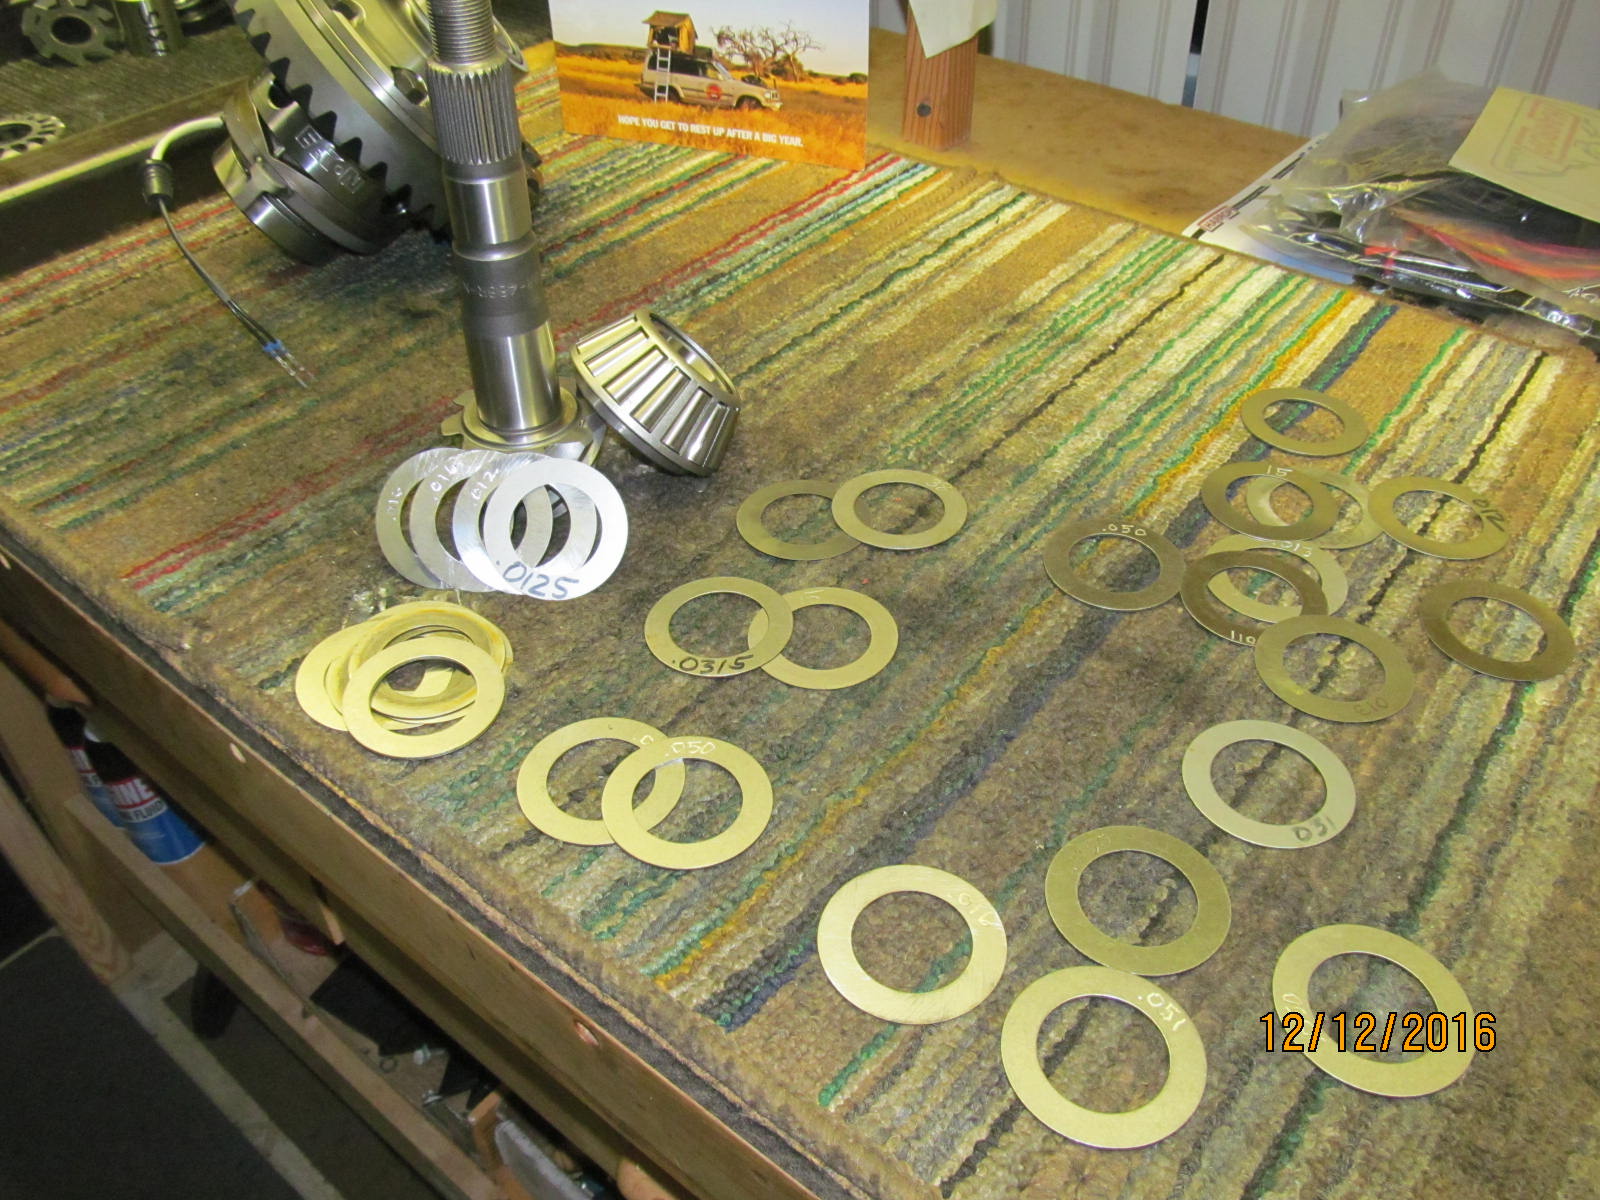
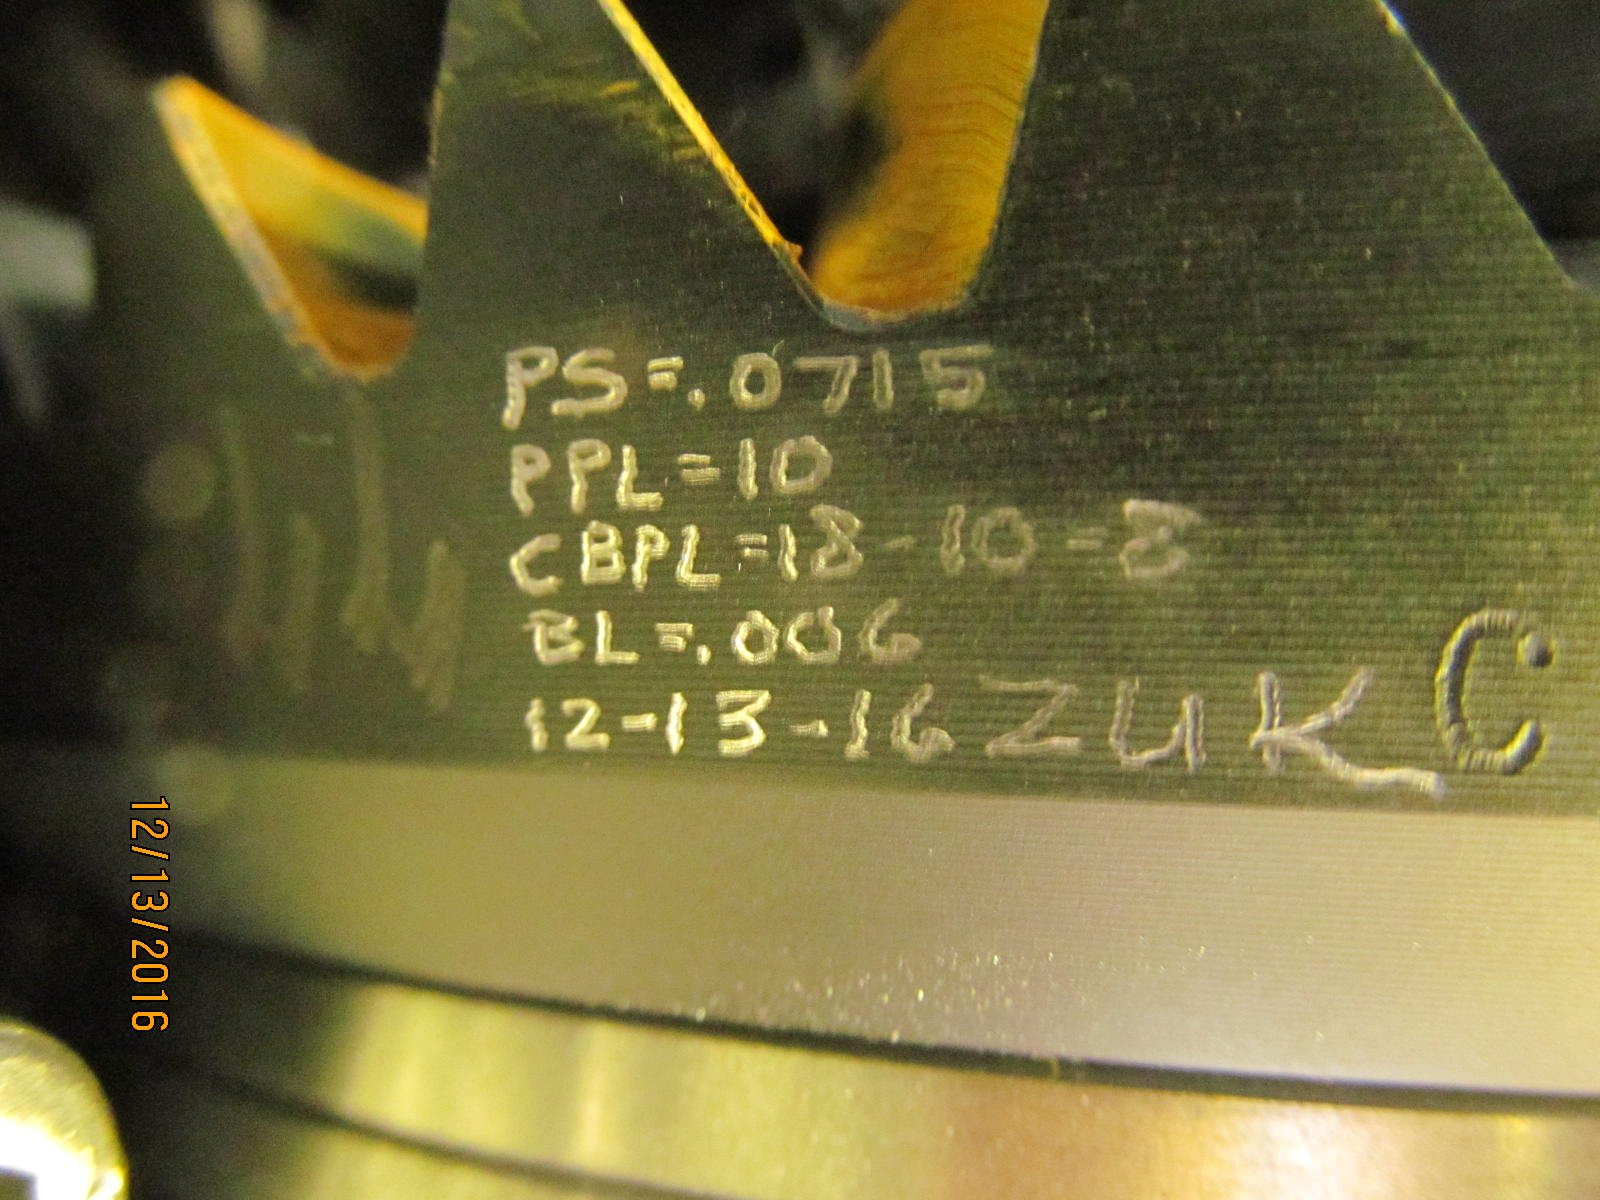
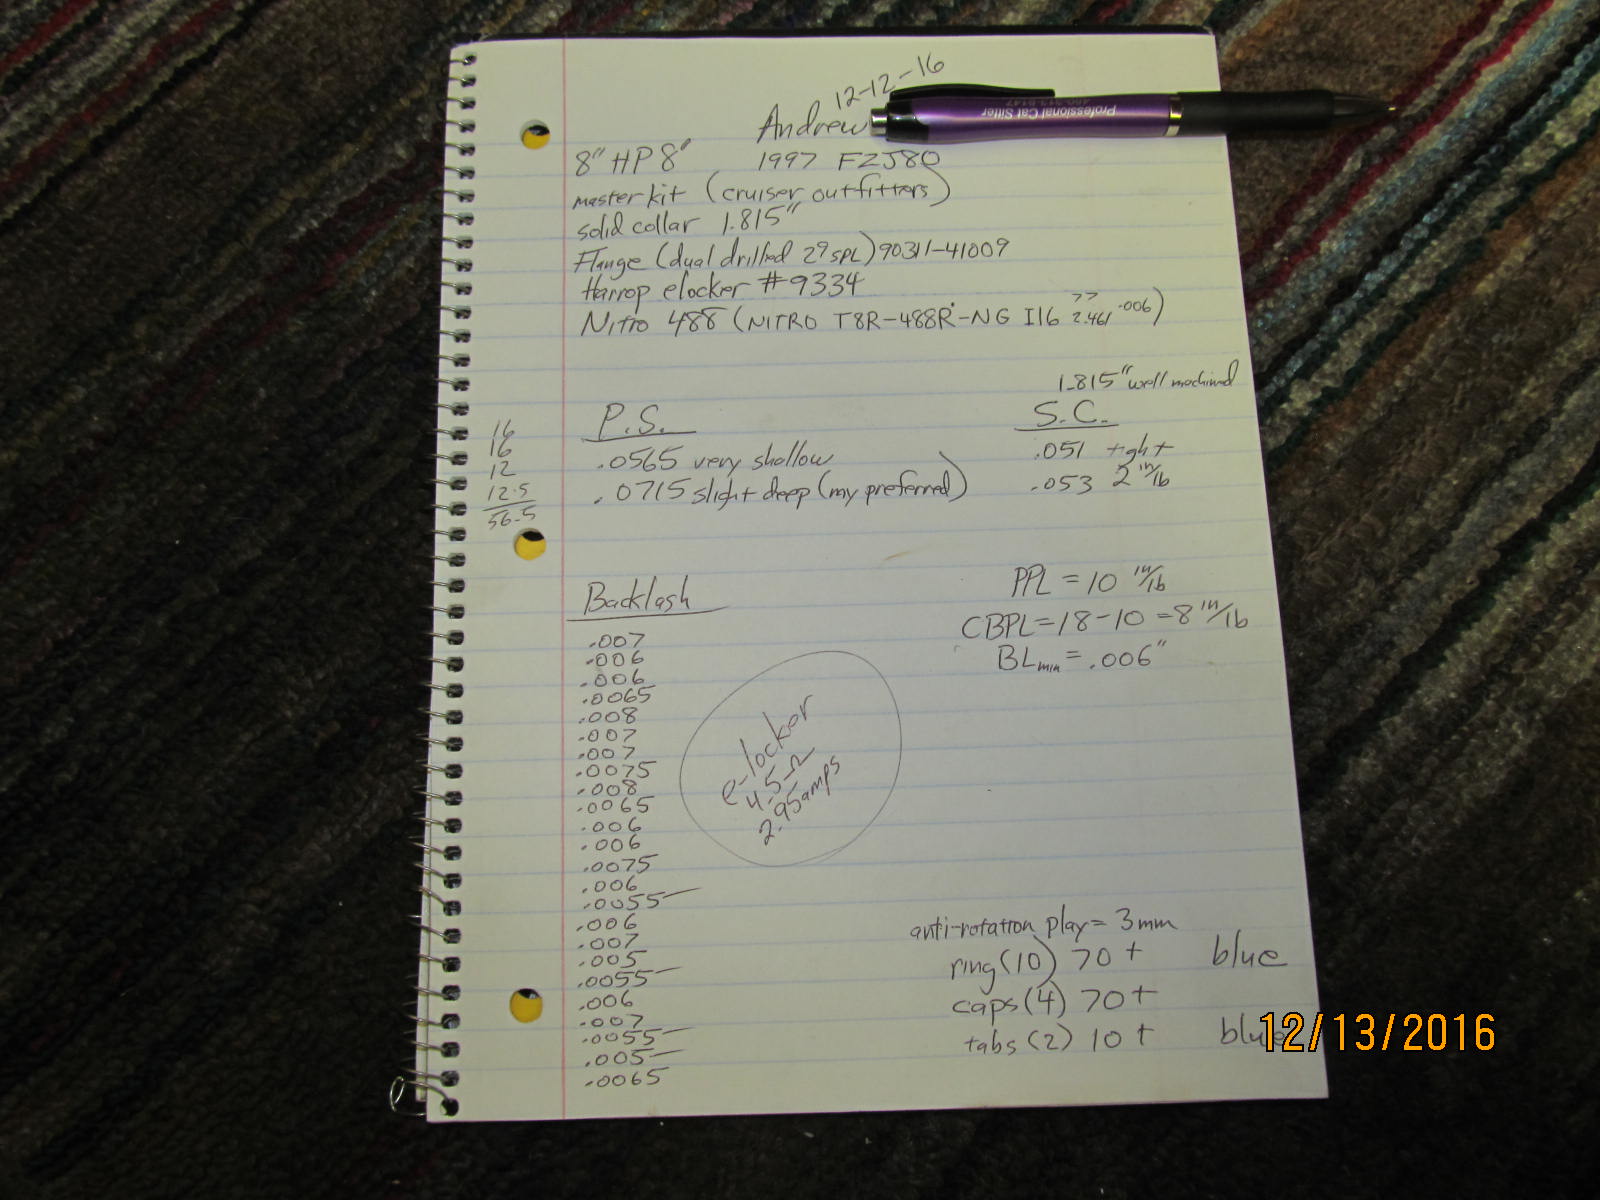
I added them up wrong and ended up with .056" for this first try.

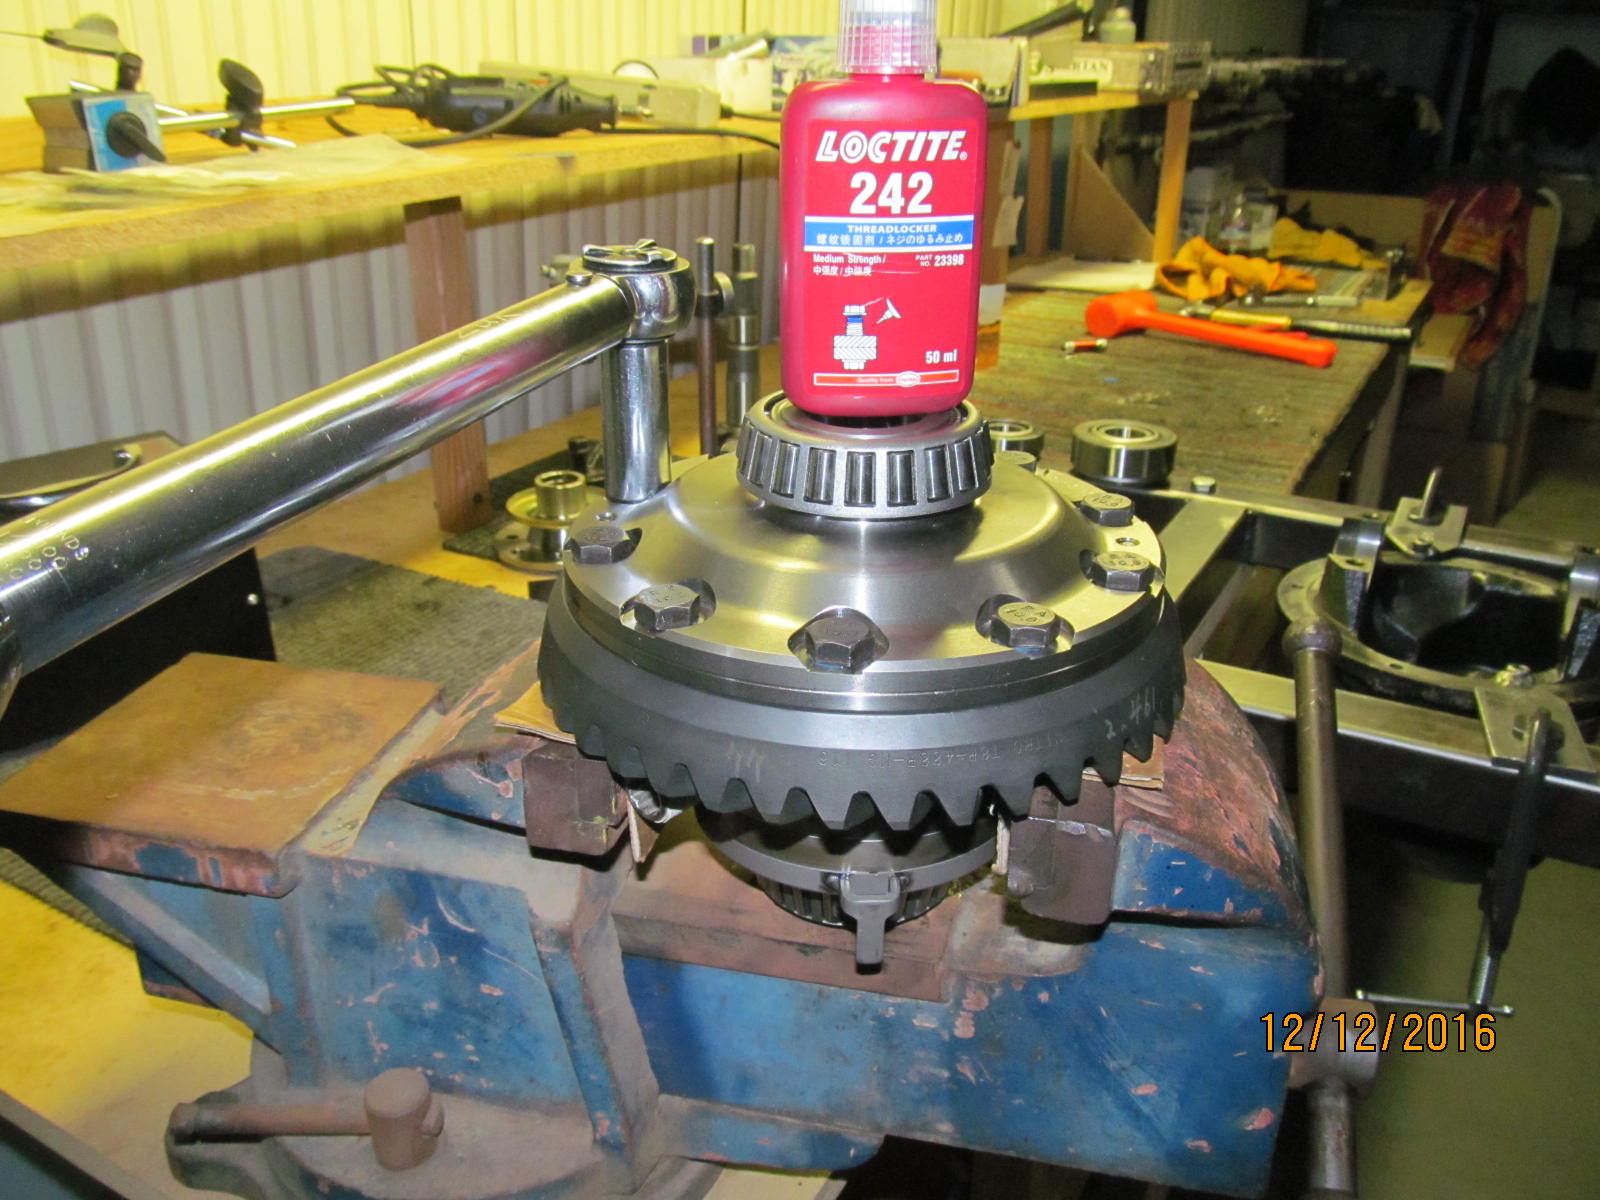
This means that strength will favor the ring tooth and the much larger pinion tooth sees a small amount
of increased stress. The net effect is a stronger yet still quiet ring and pinion set-up.
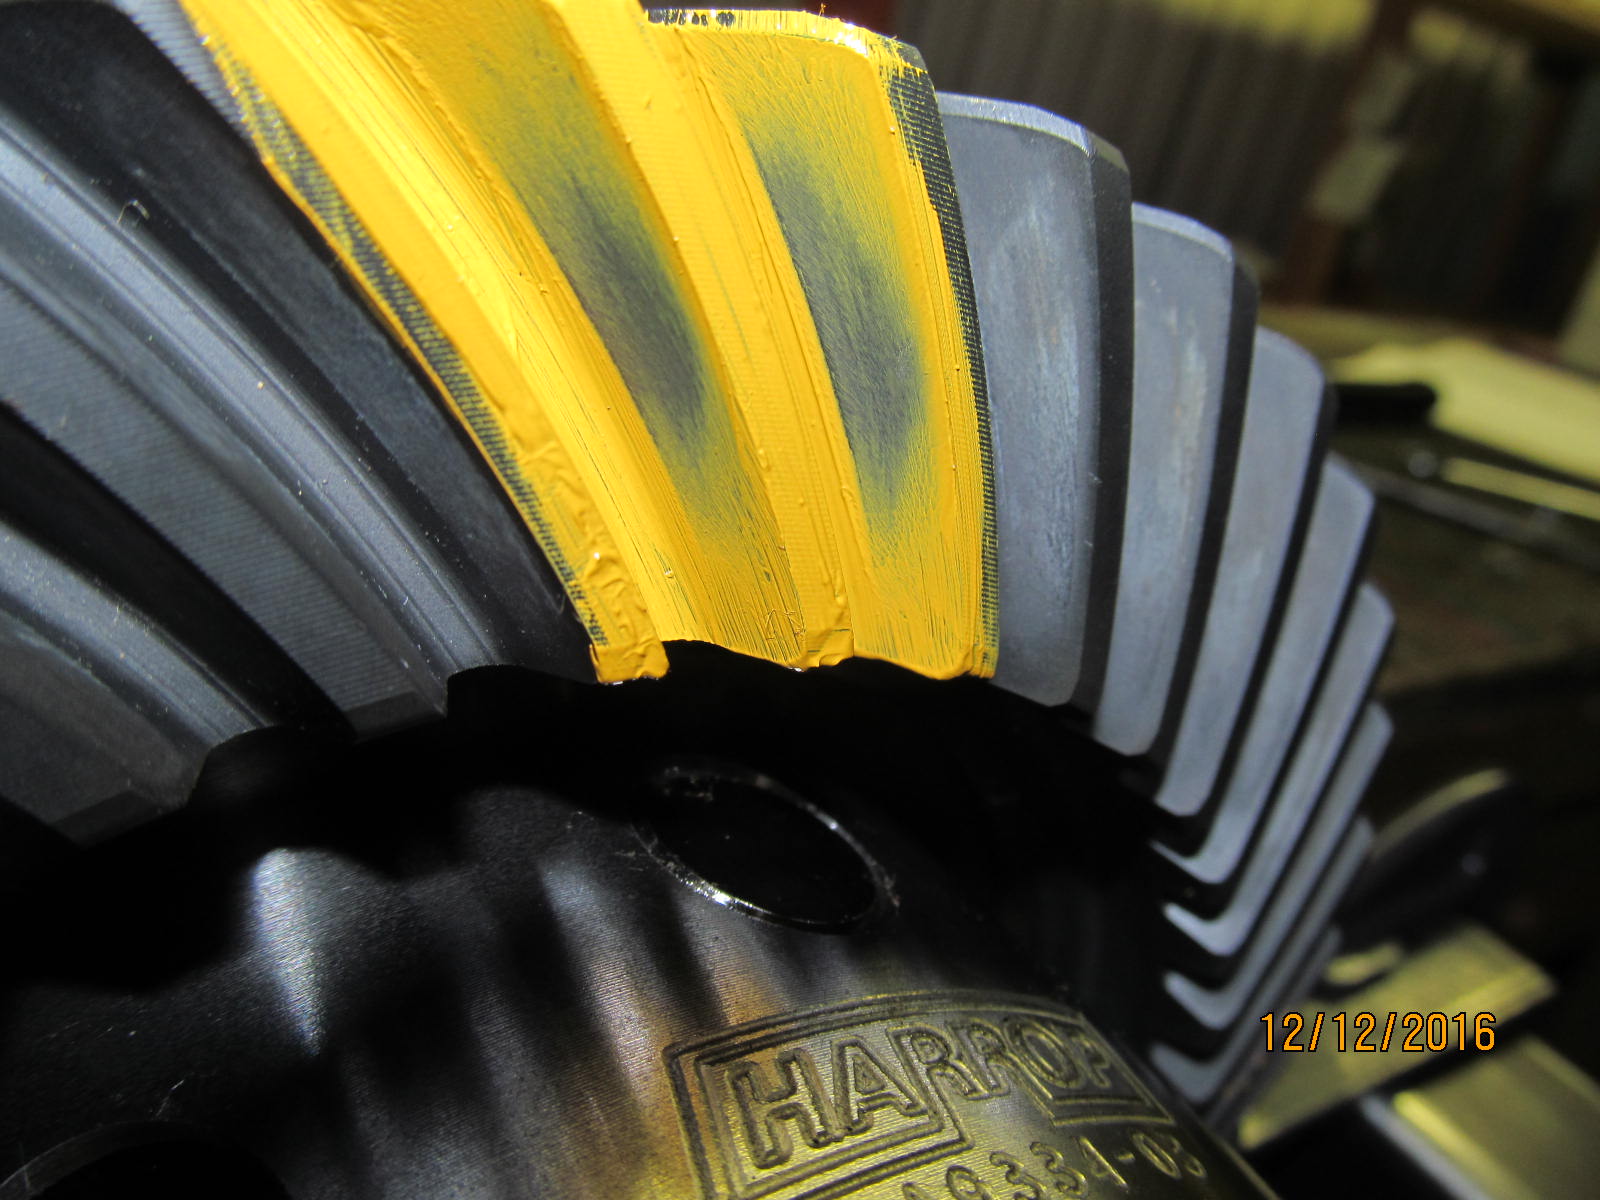
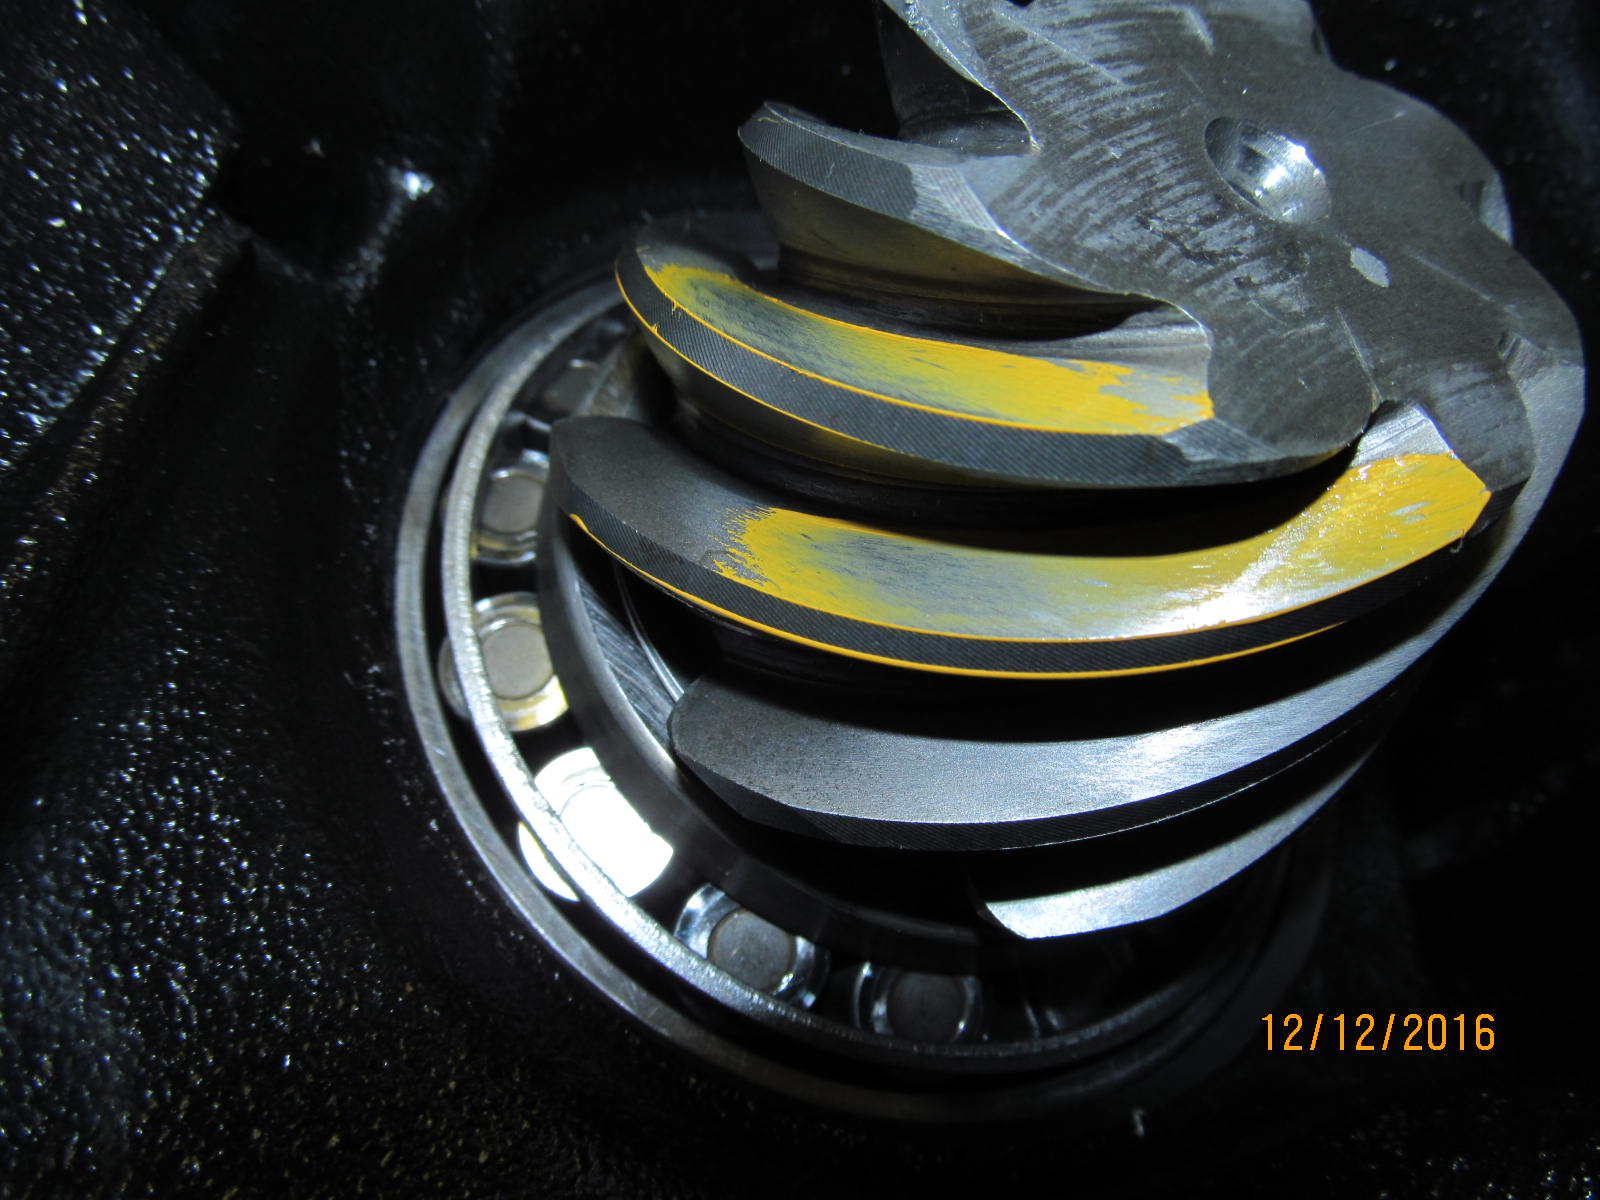

so a .051" shim was tried and that resulted in a too tight pre-load. Try #2 was a lucky one...
added .002" to the shim and proper preload was reached. Usually takes 3 or 4 or 6 tries to
get it just right.
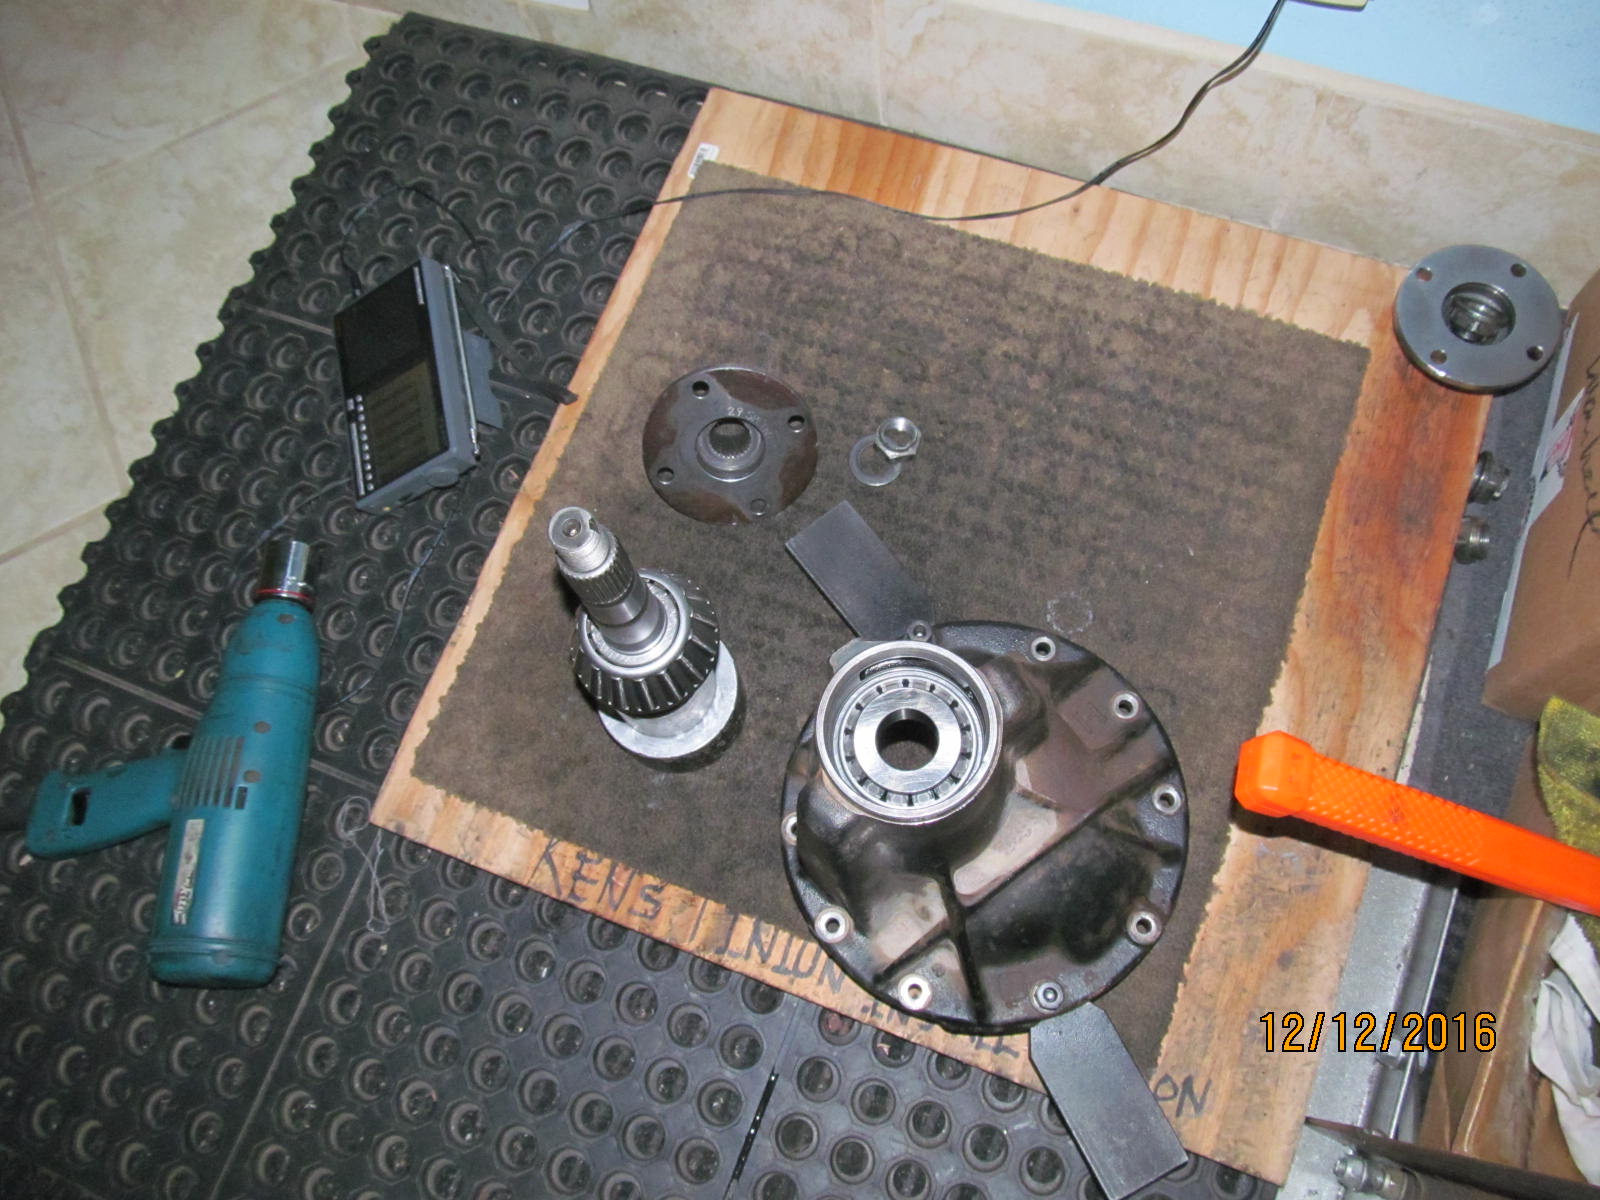
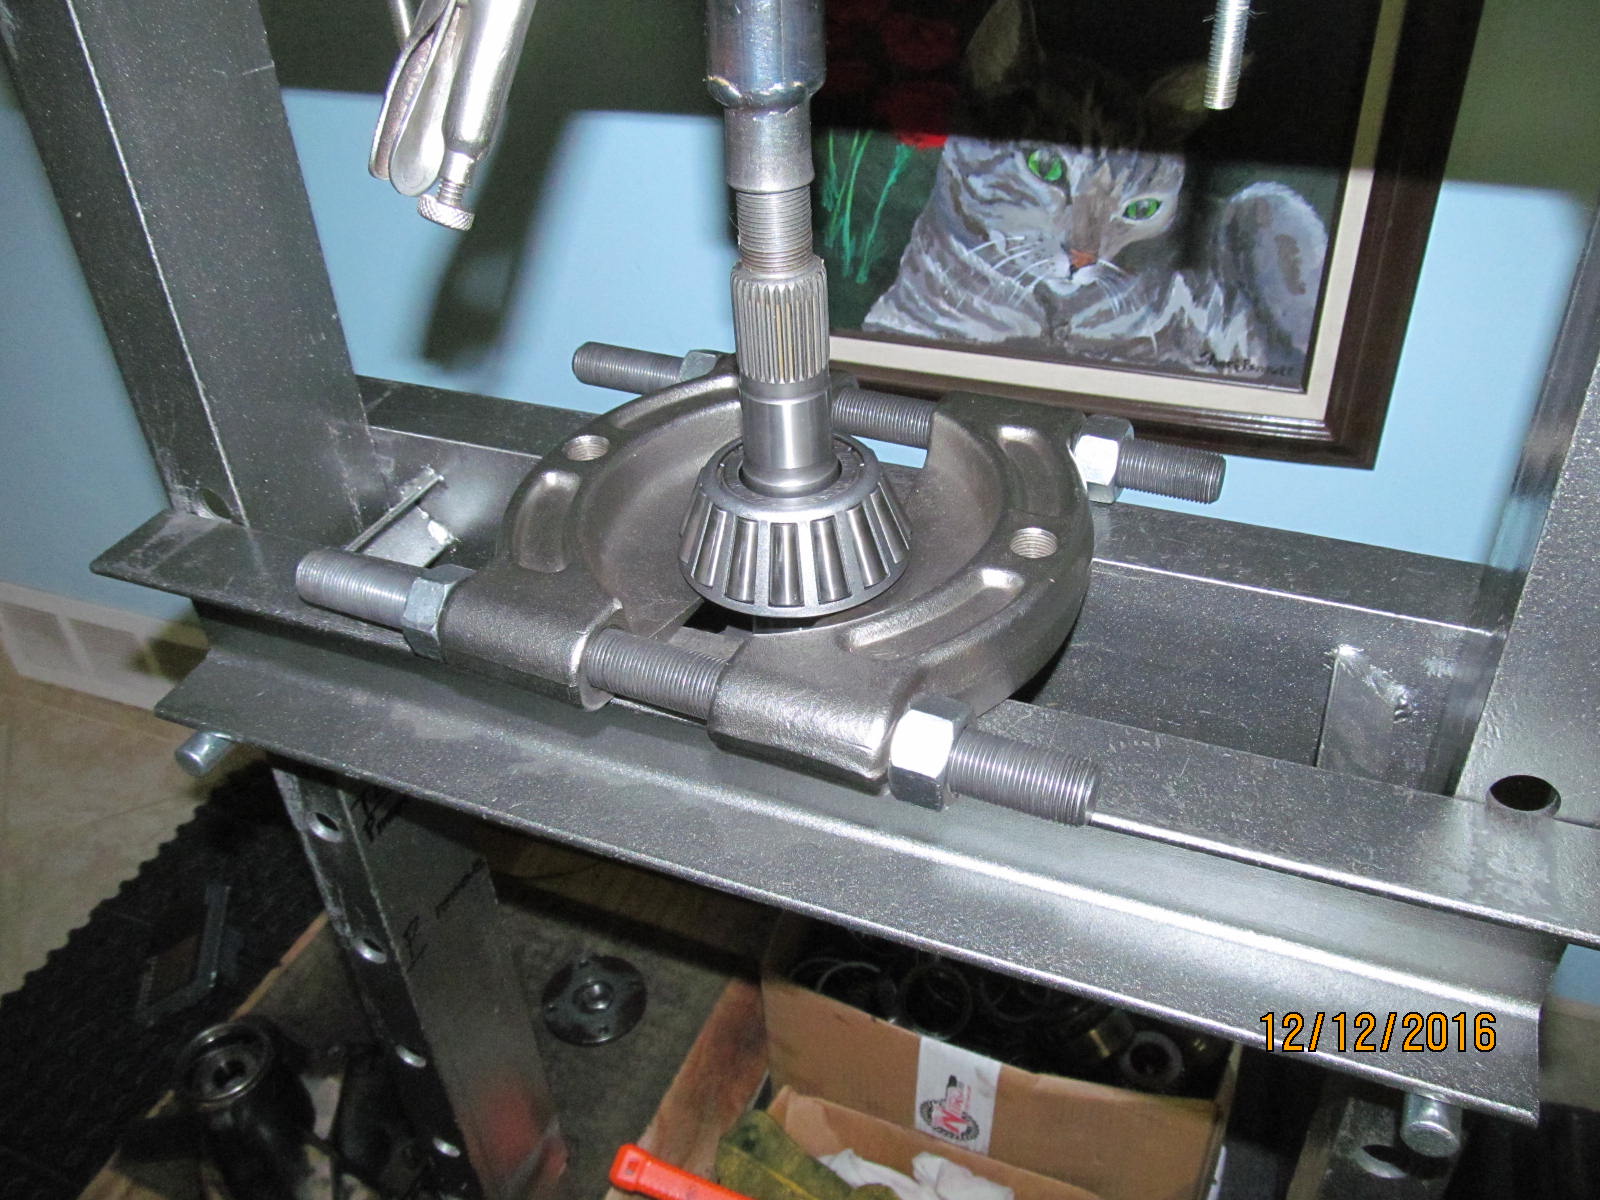
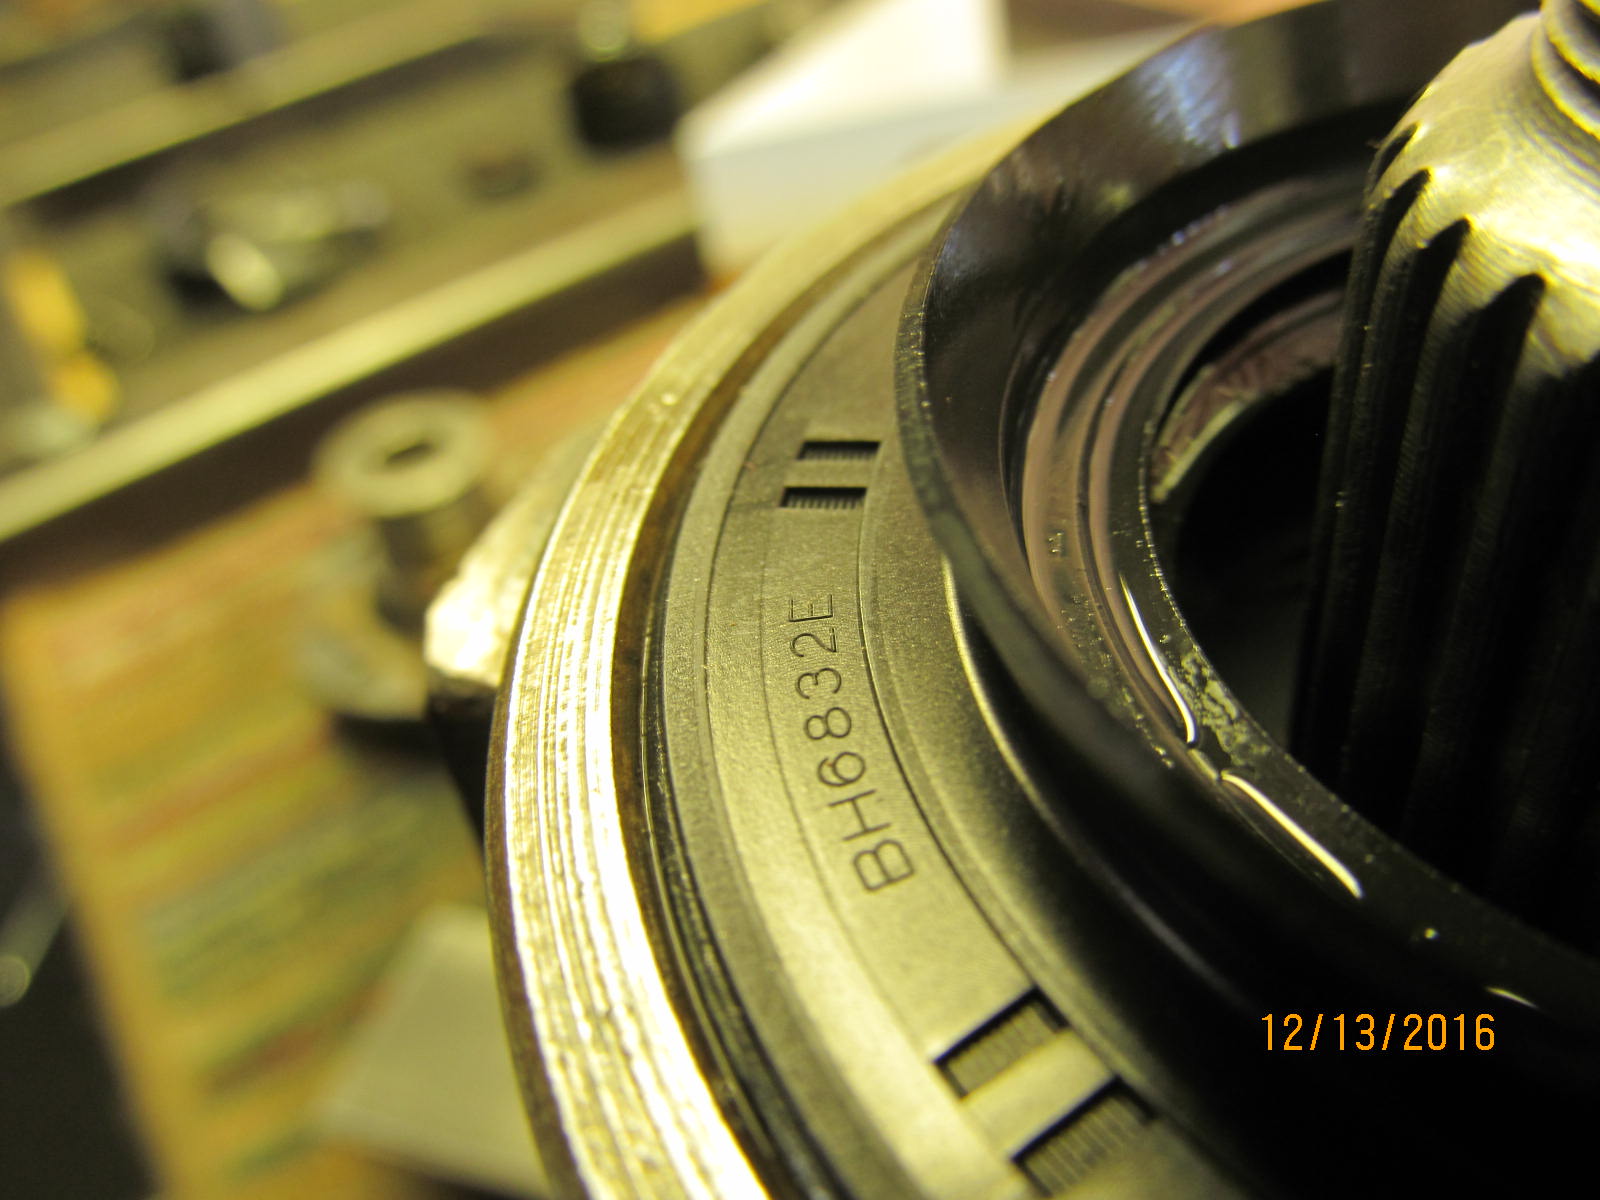
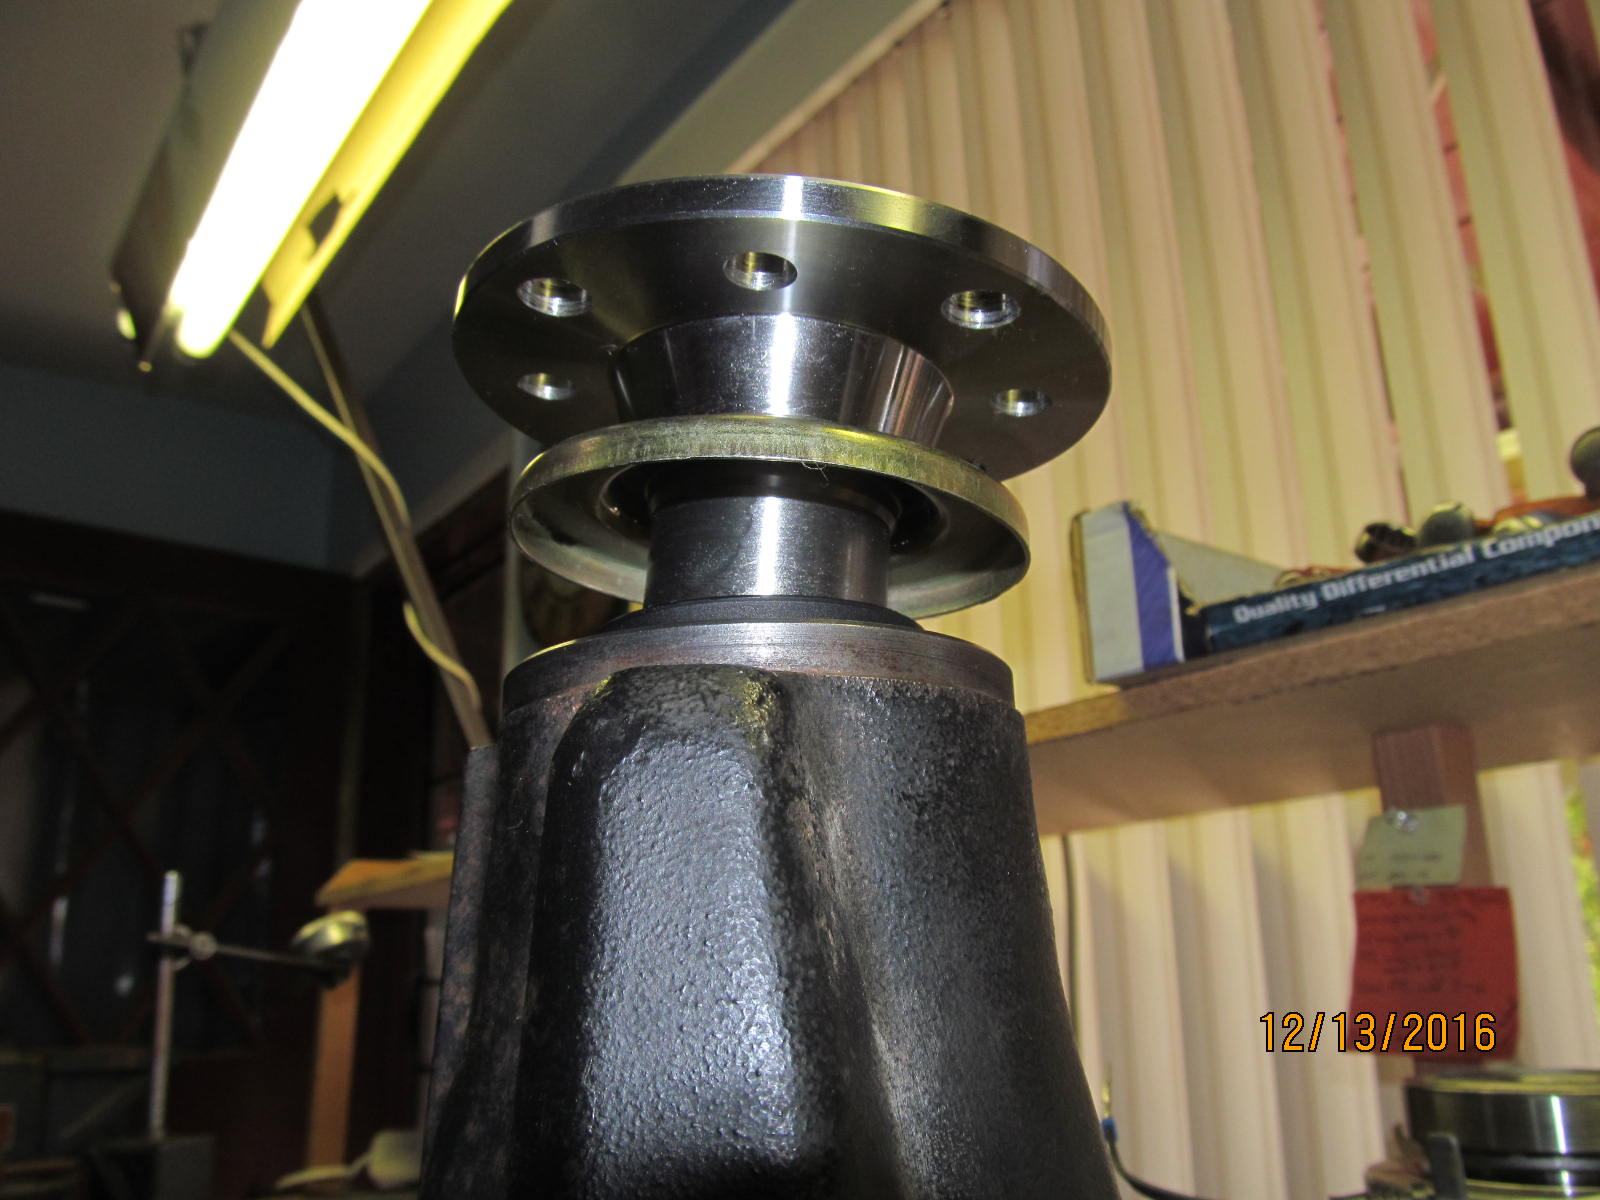
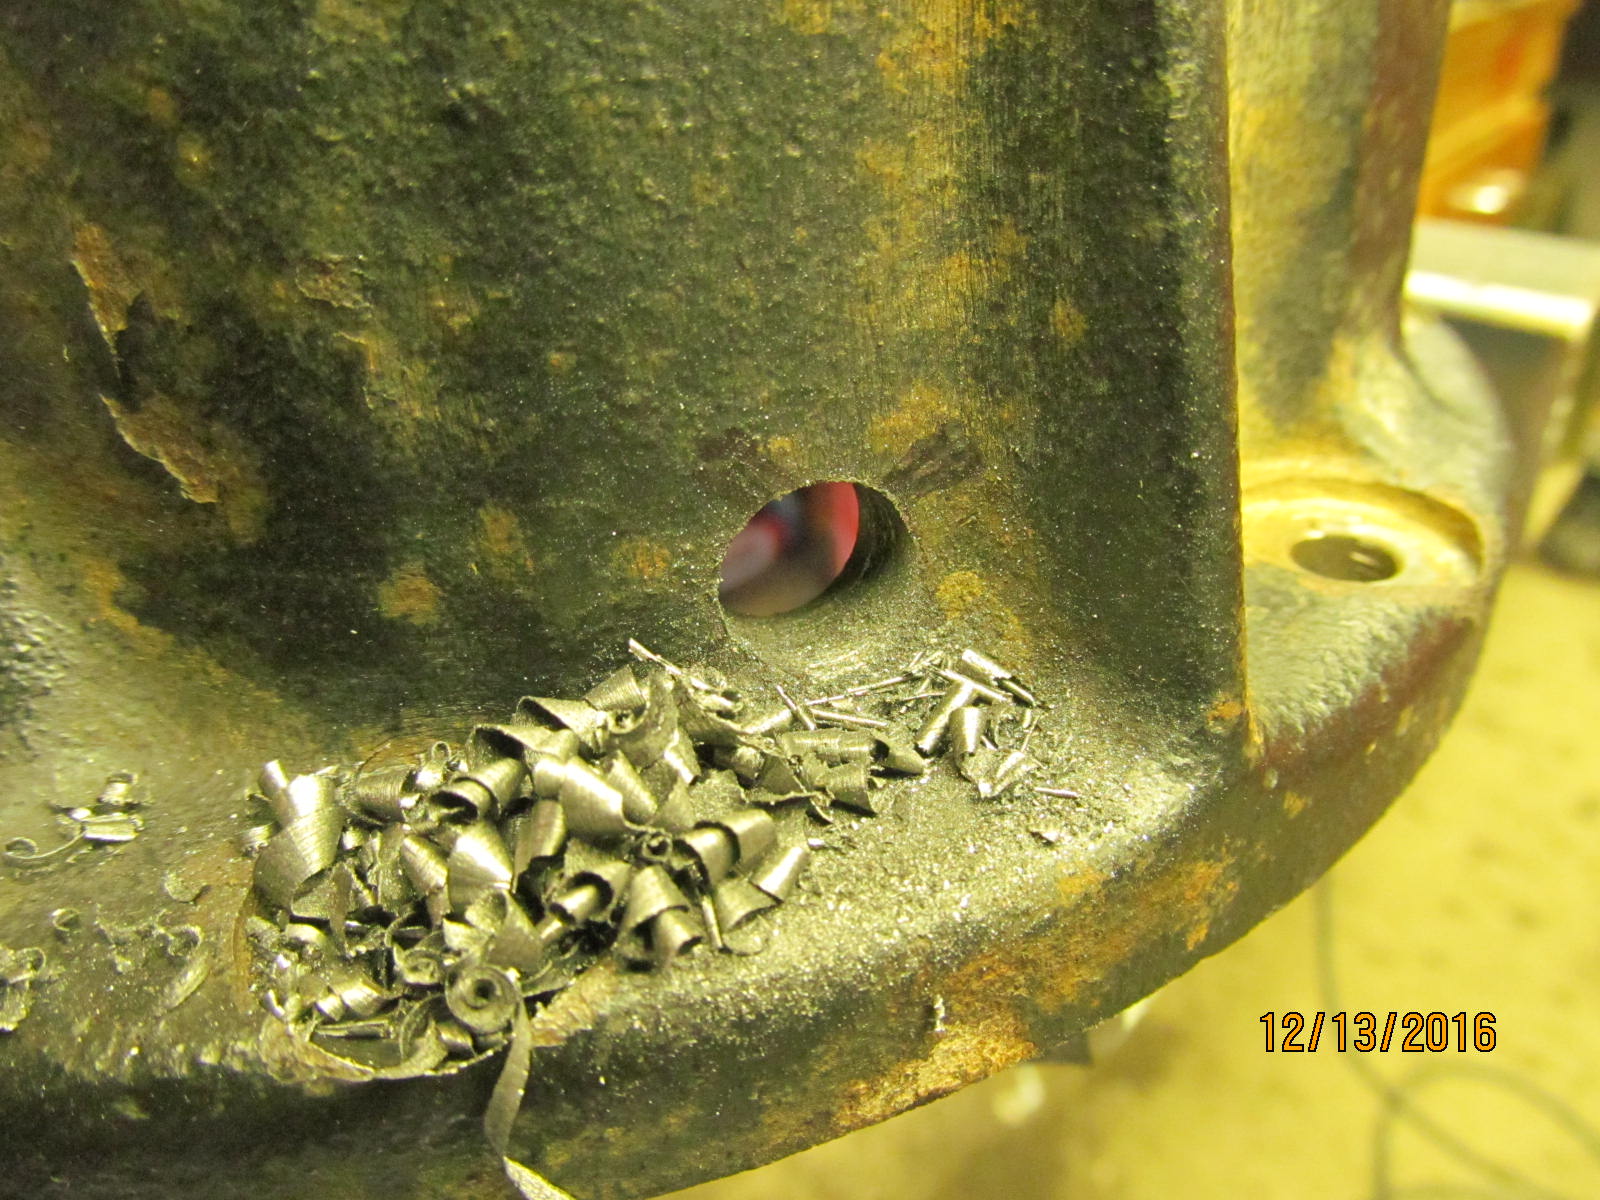
diameter 29 spline shaft and the old 27 spline splash guard slipped right on. This happens
rather easily IF you happen to have a Makita GD0601 1/4" die grinder and 4 minutes grind time.
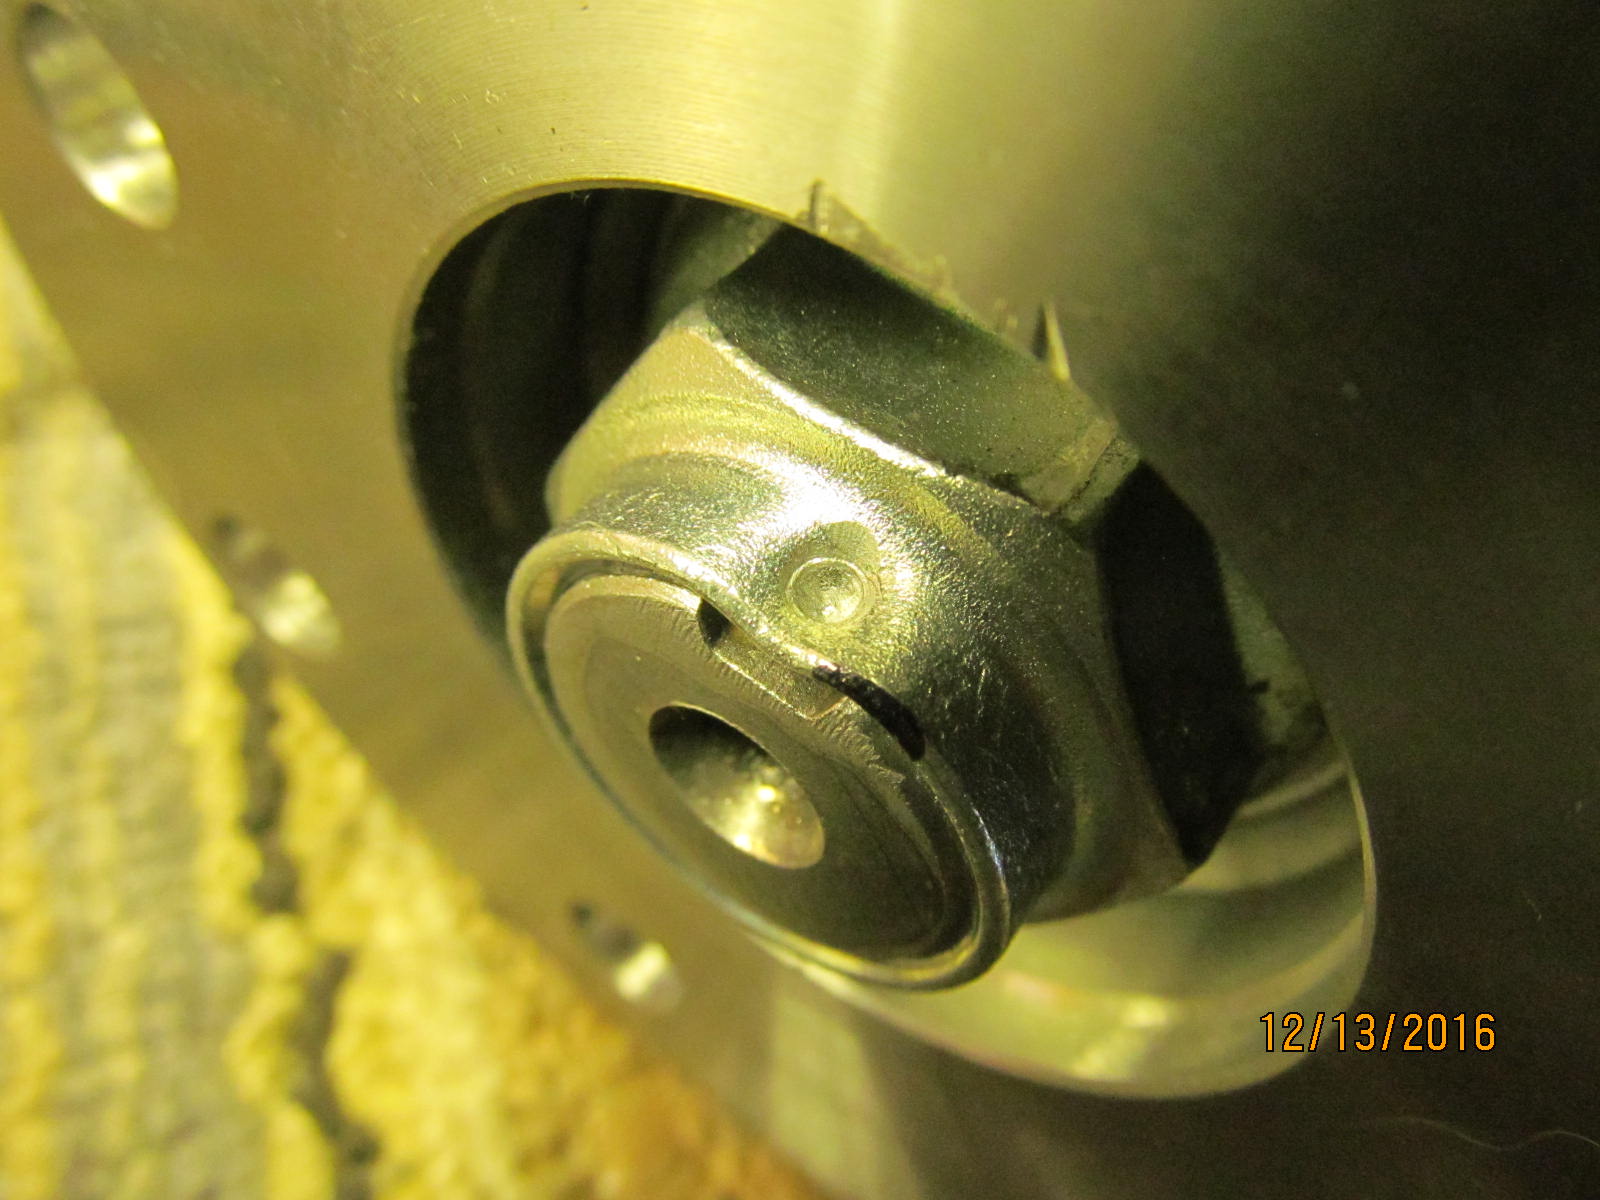
is to be drilled for the grommet.


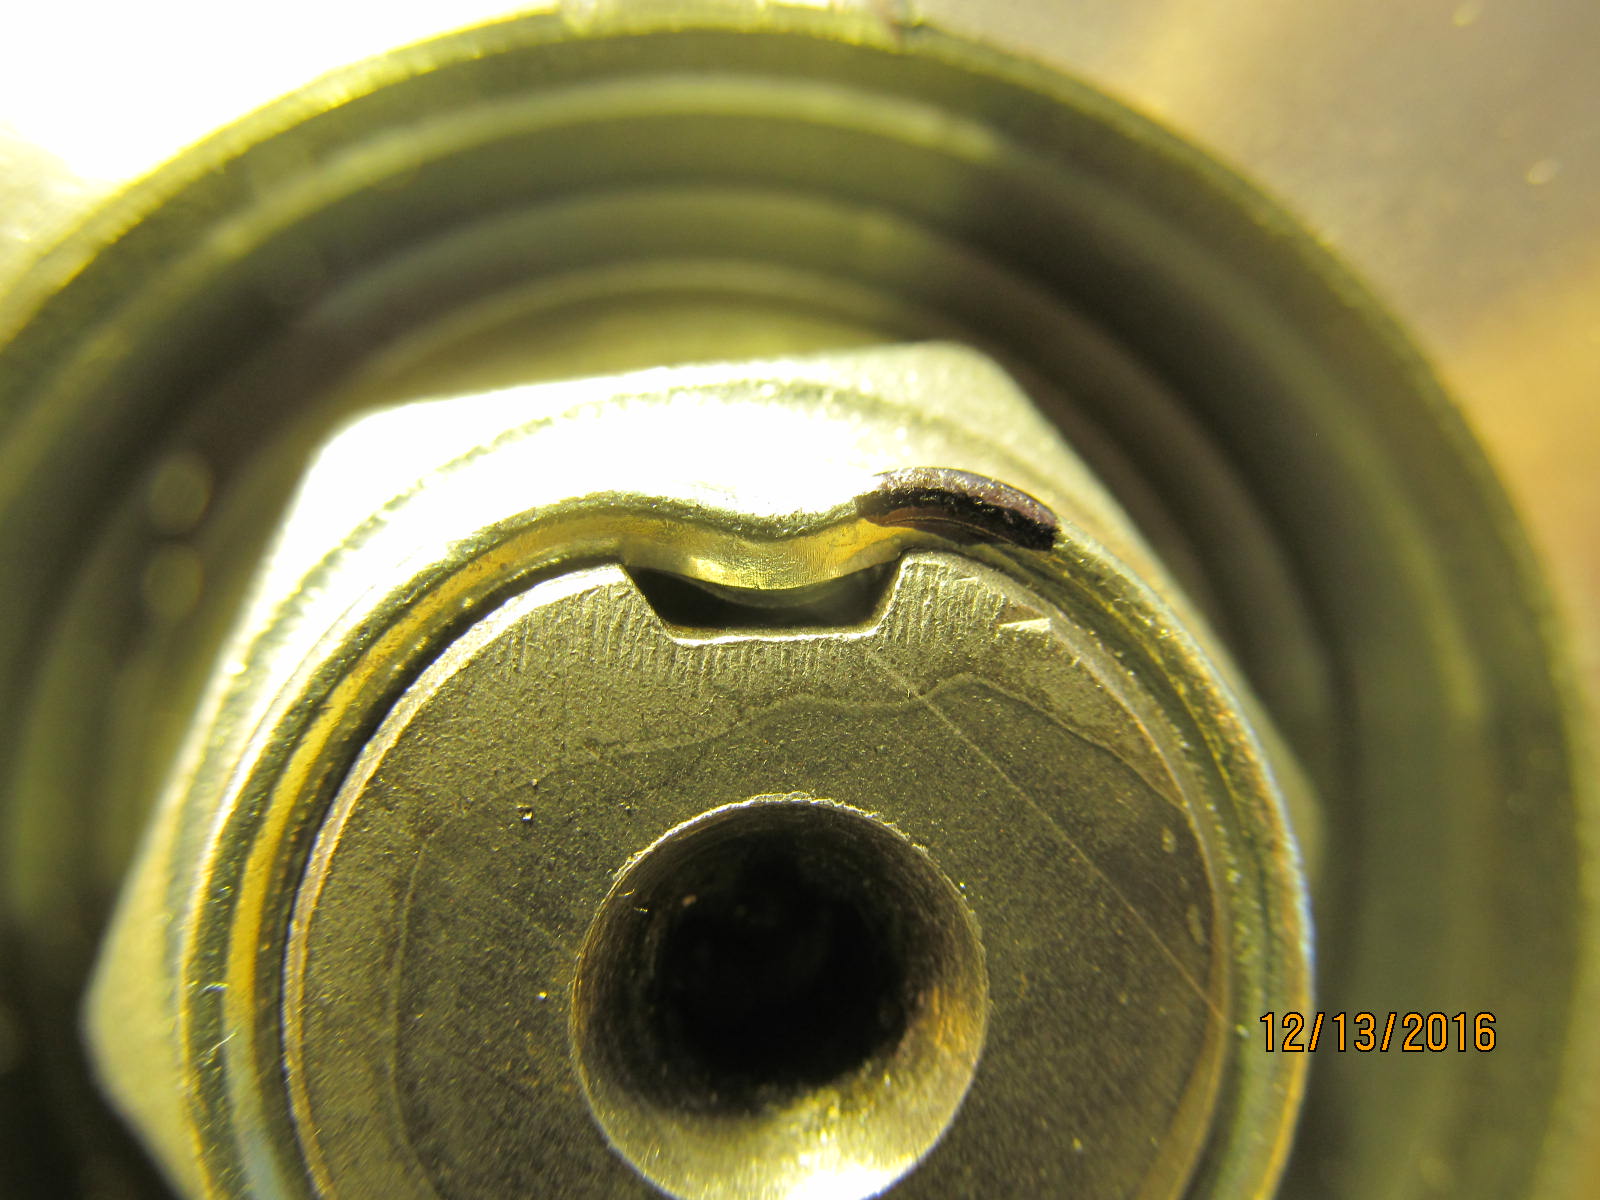
fitted much too tight....had to bend the tabs out a smidge.
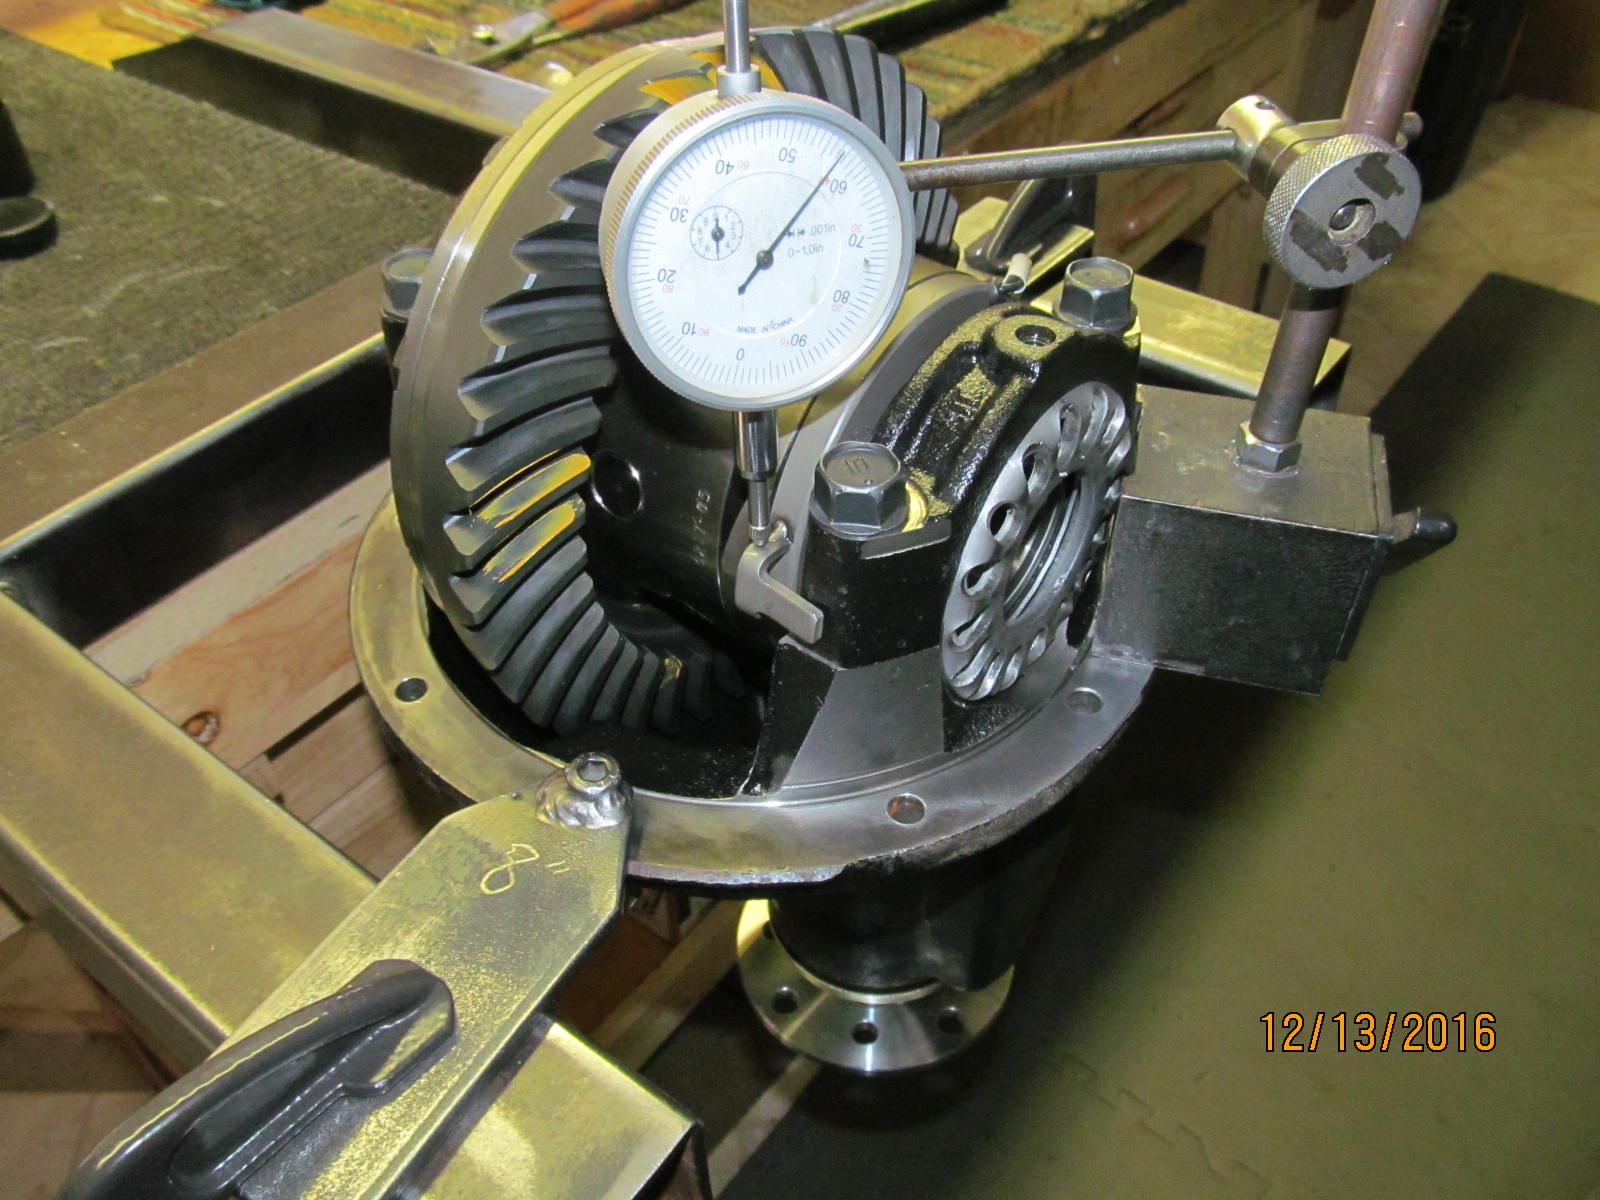
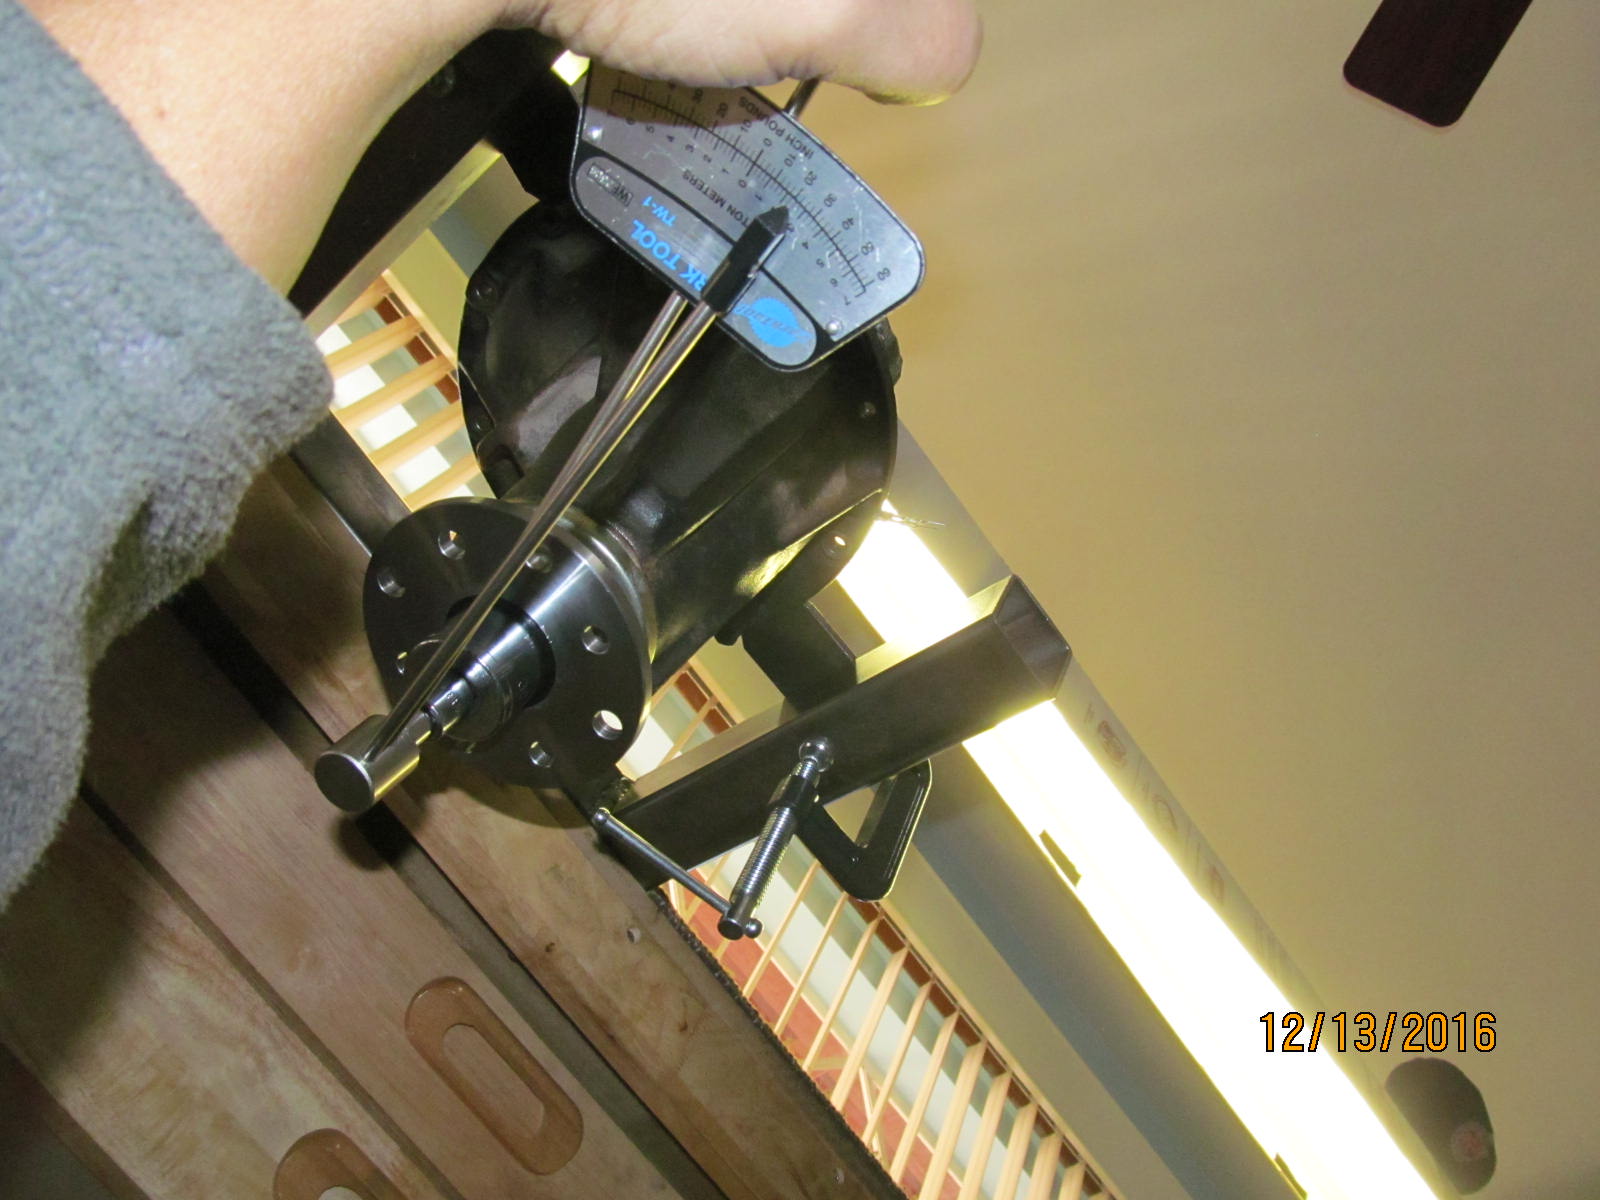
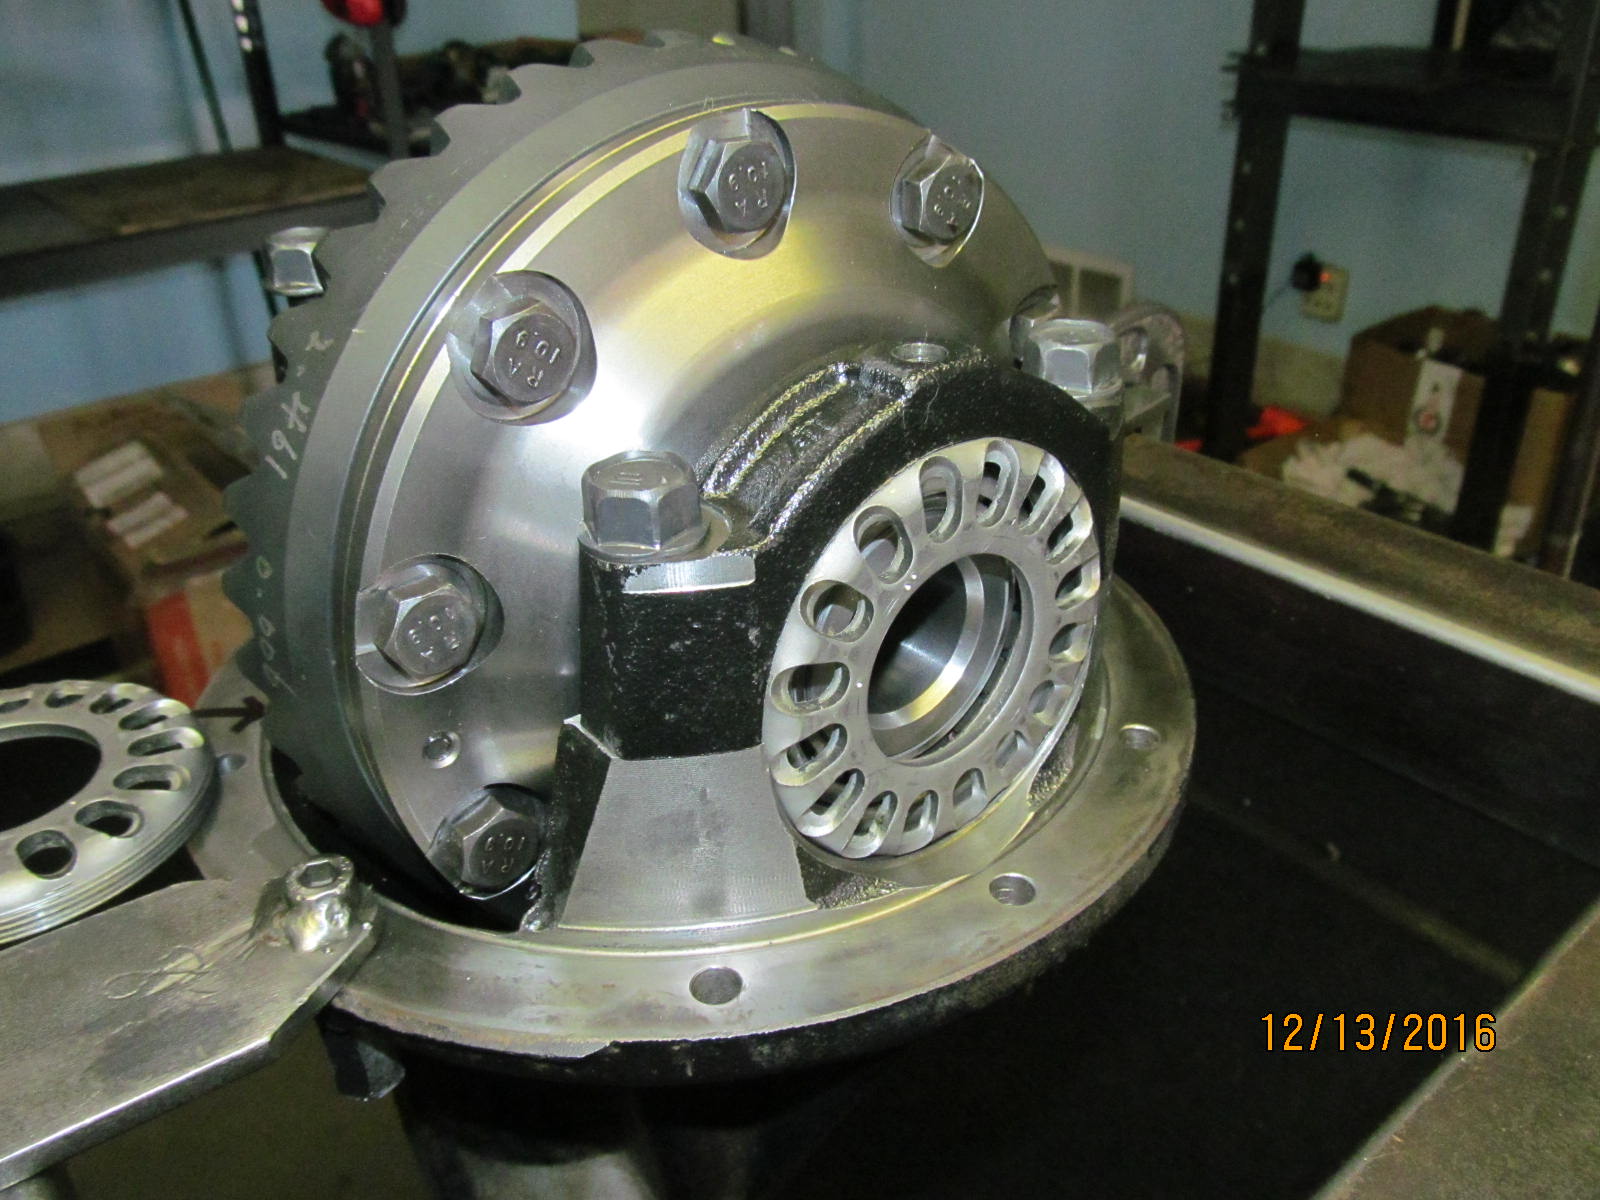
pinion preload of 10 and that leaves 8 for the actual carrier bearing preload.

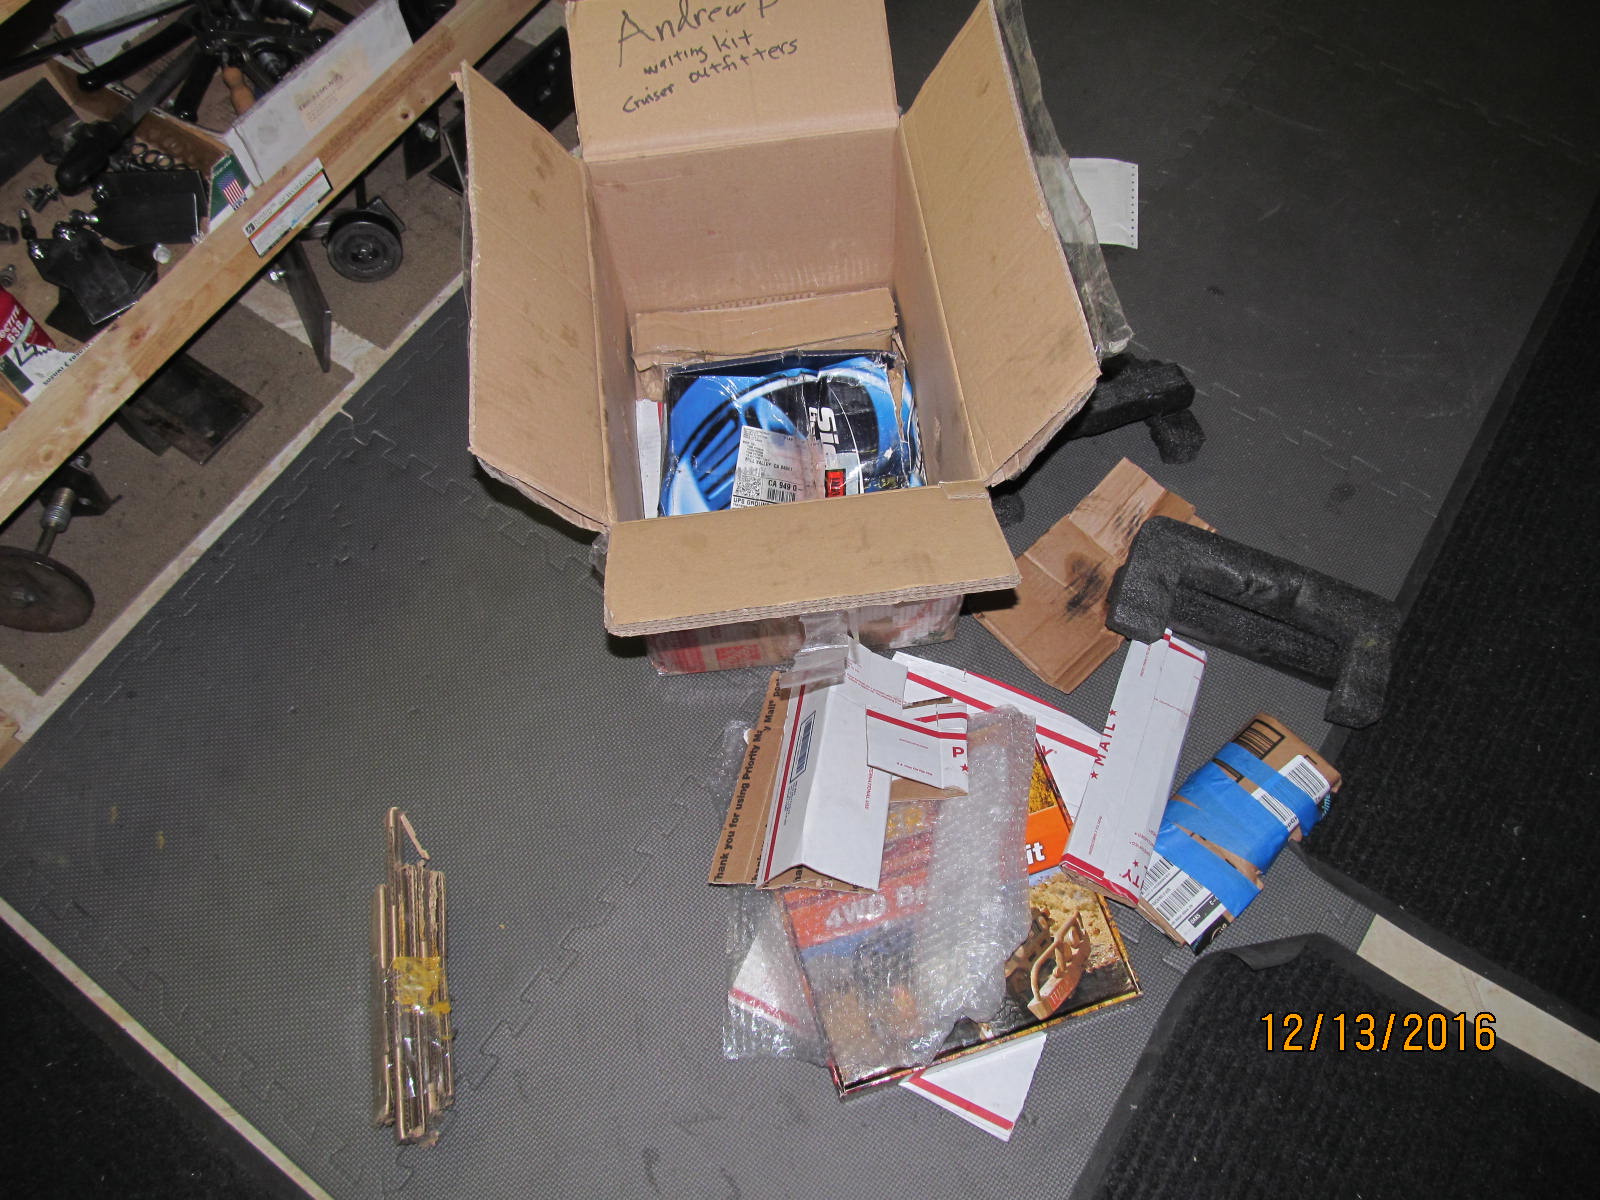
the floor deck. Box in a box....and the boxes are both double corrugated.
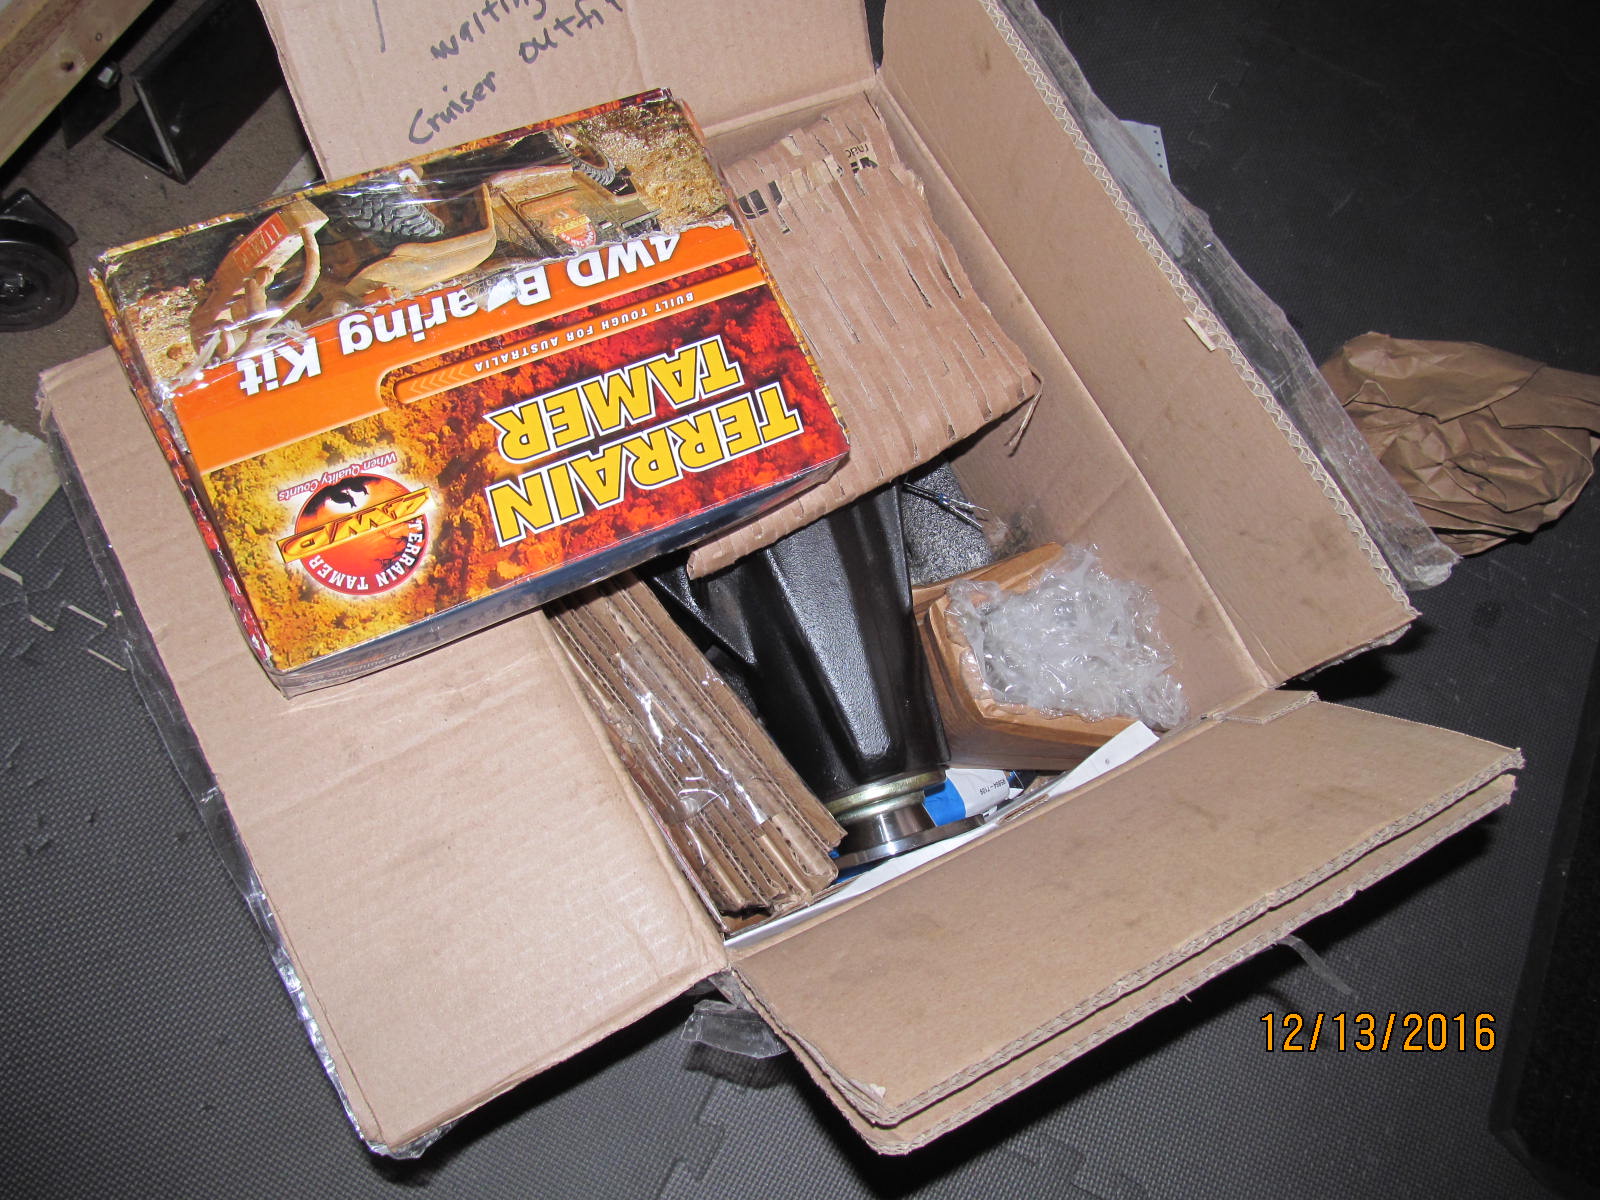
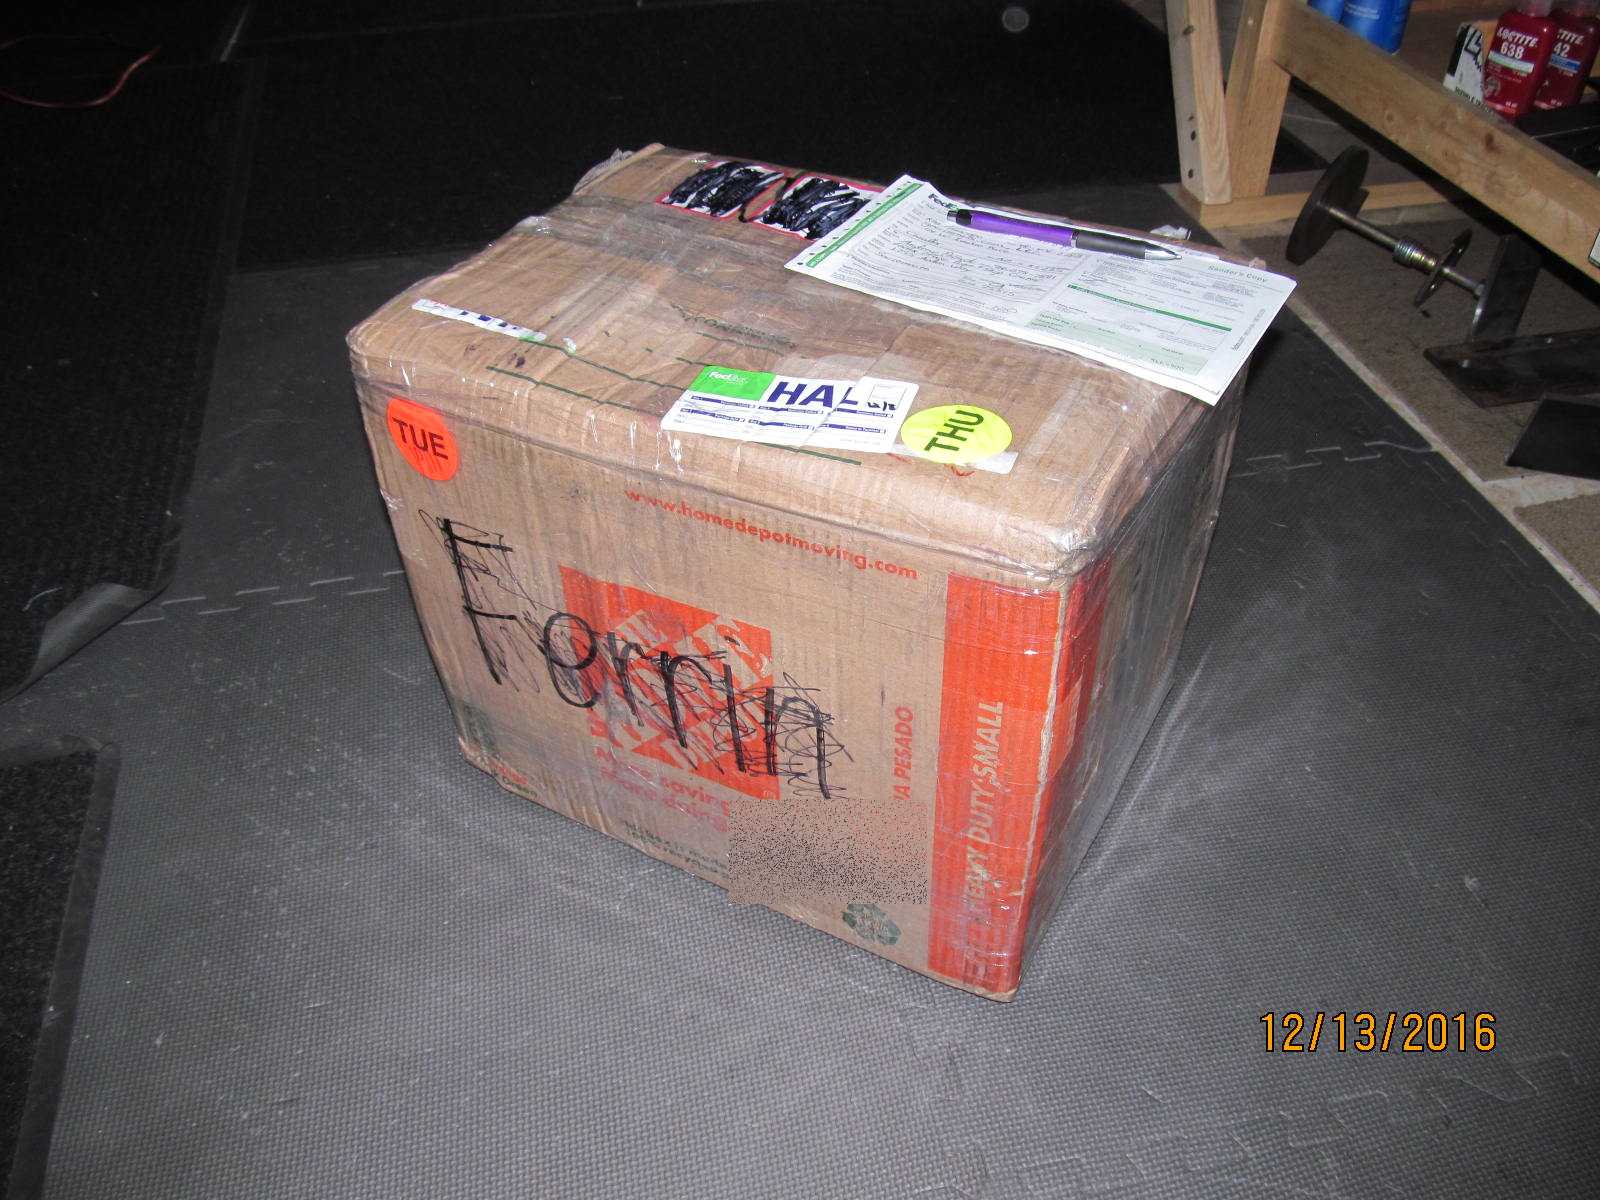
This box had a ton of strong scotch tap wrapped in every which way direction....
so theoretically, you would think that fedex would be fine with it. Well,
they almost refused it on Andrew's end due to mucho tape. Live and learn.
