|
Harrop Electric Locker Install in 8 Inch V6 Rear 3rd 1990 Toyota Pick-up
|
|
(88 BIG pics loading)
|
|
JULY 18 2016
|
|
|
|
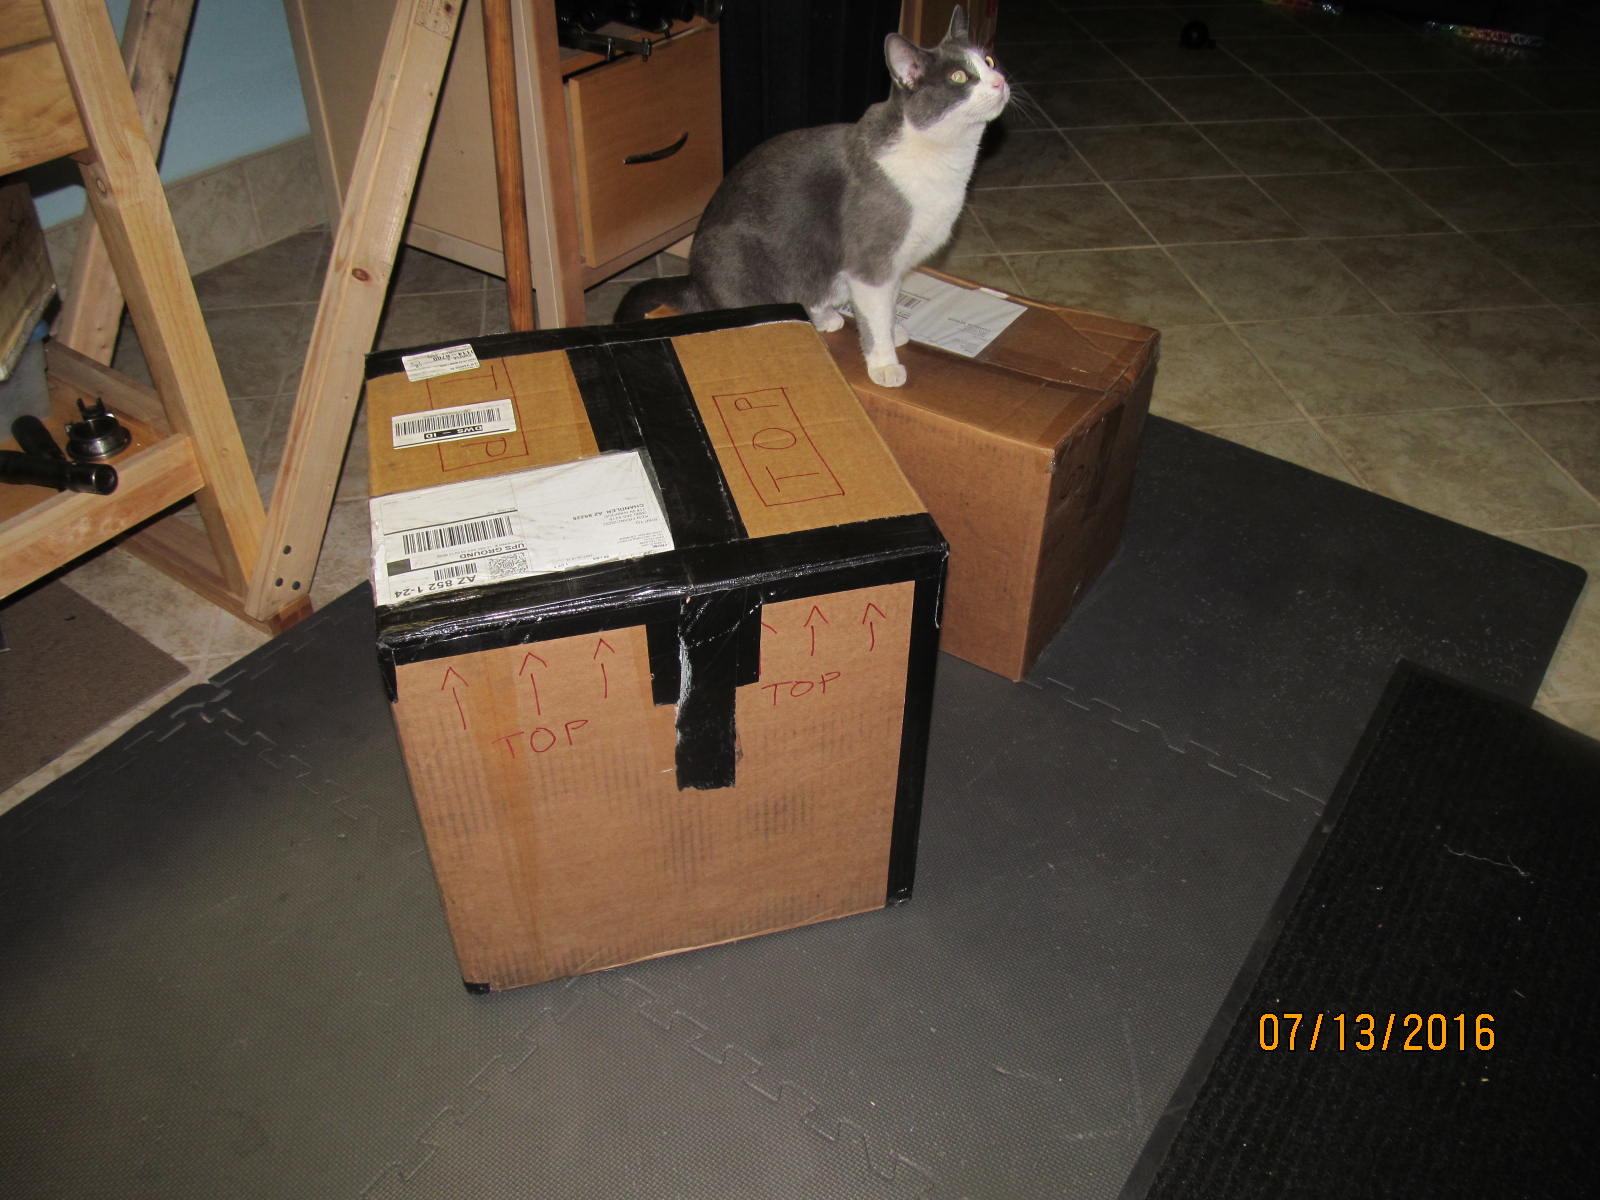
As received from Stephen. And Cola is waiting for me to open the Nitro Gear box.
|
|
|
|
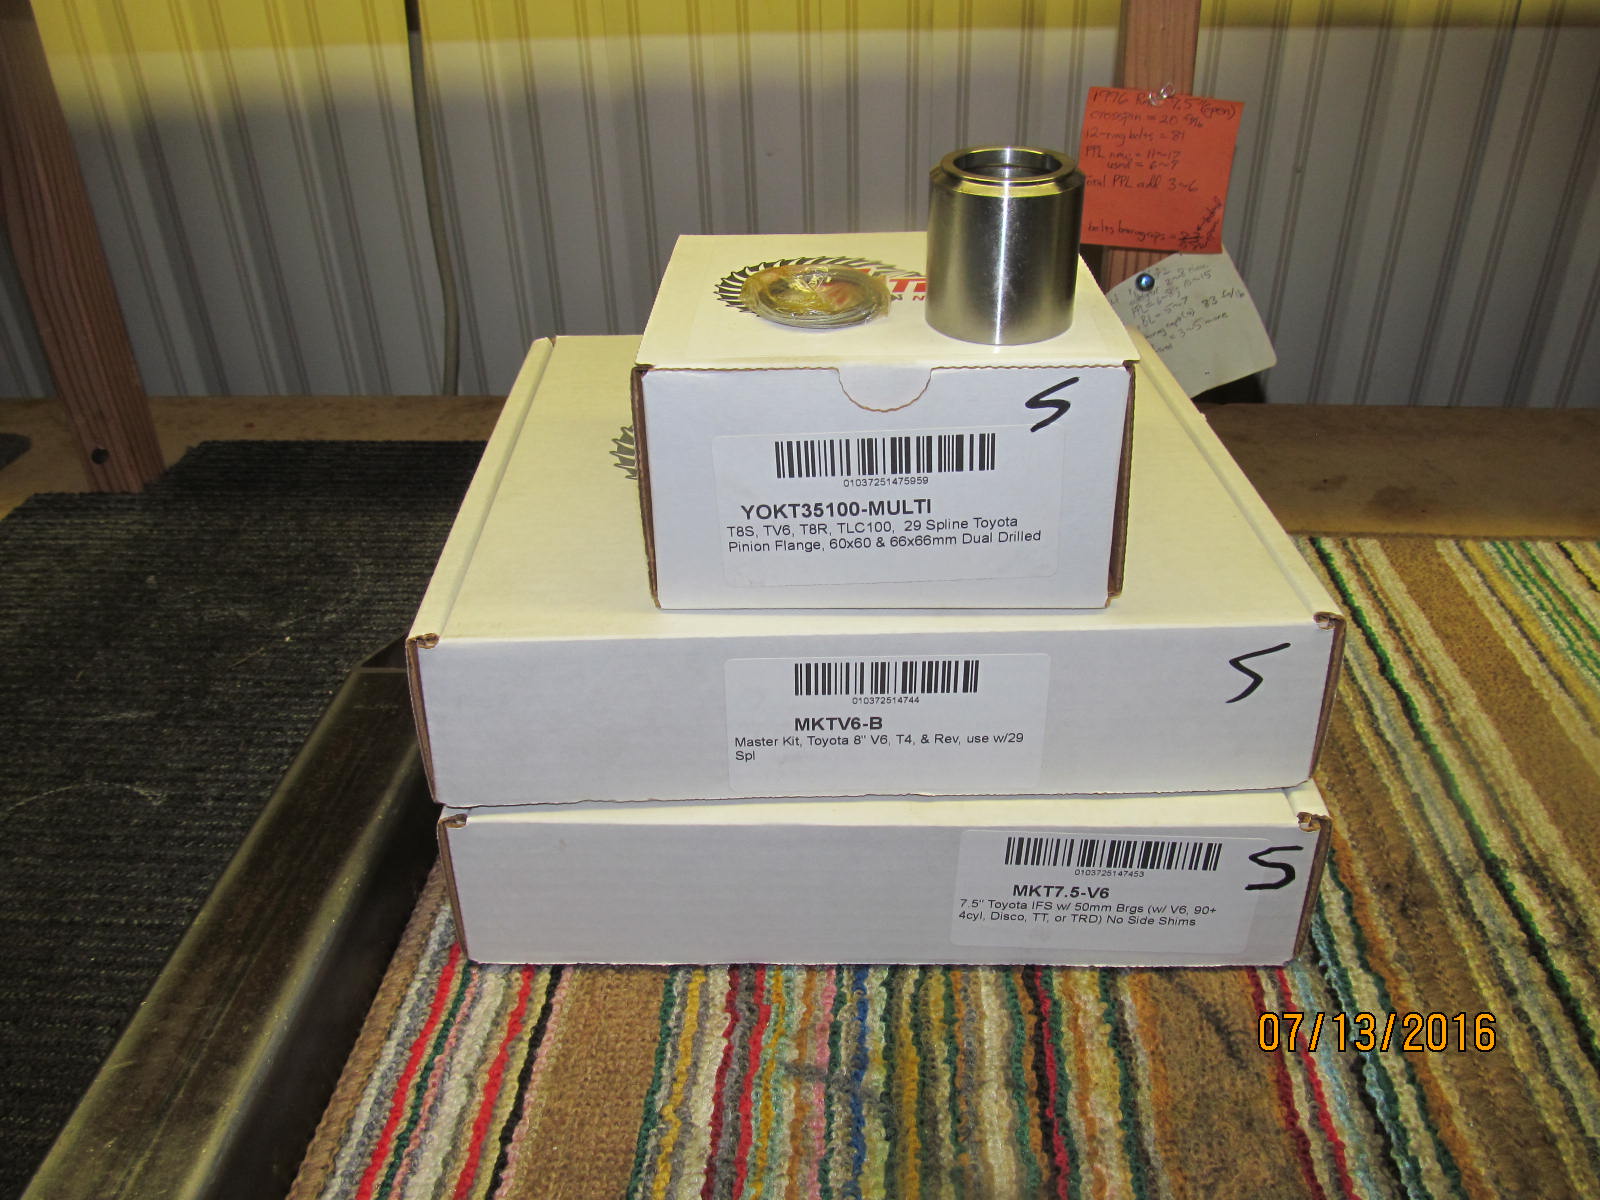
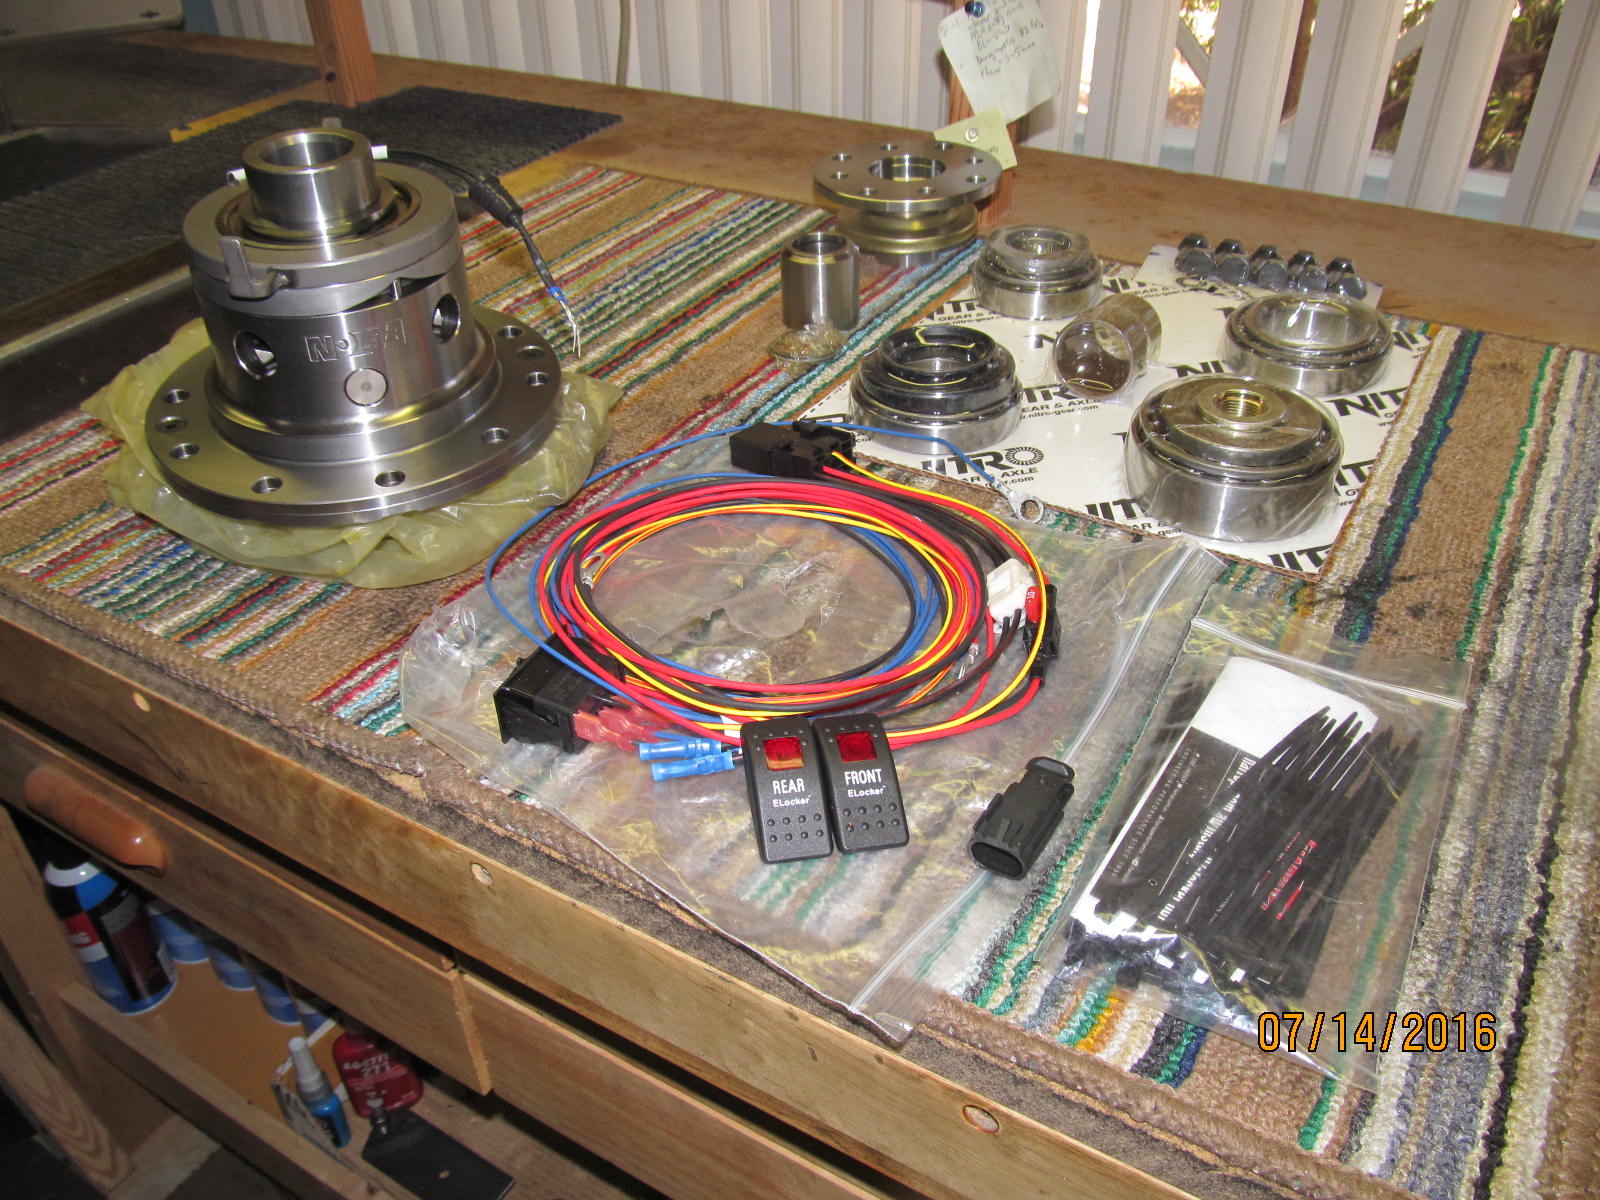
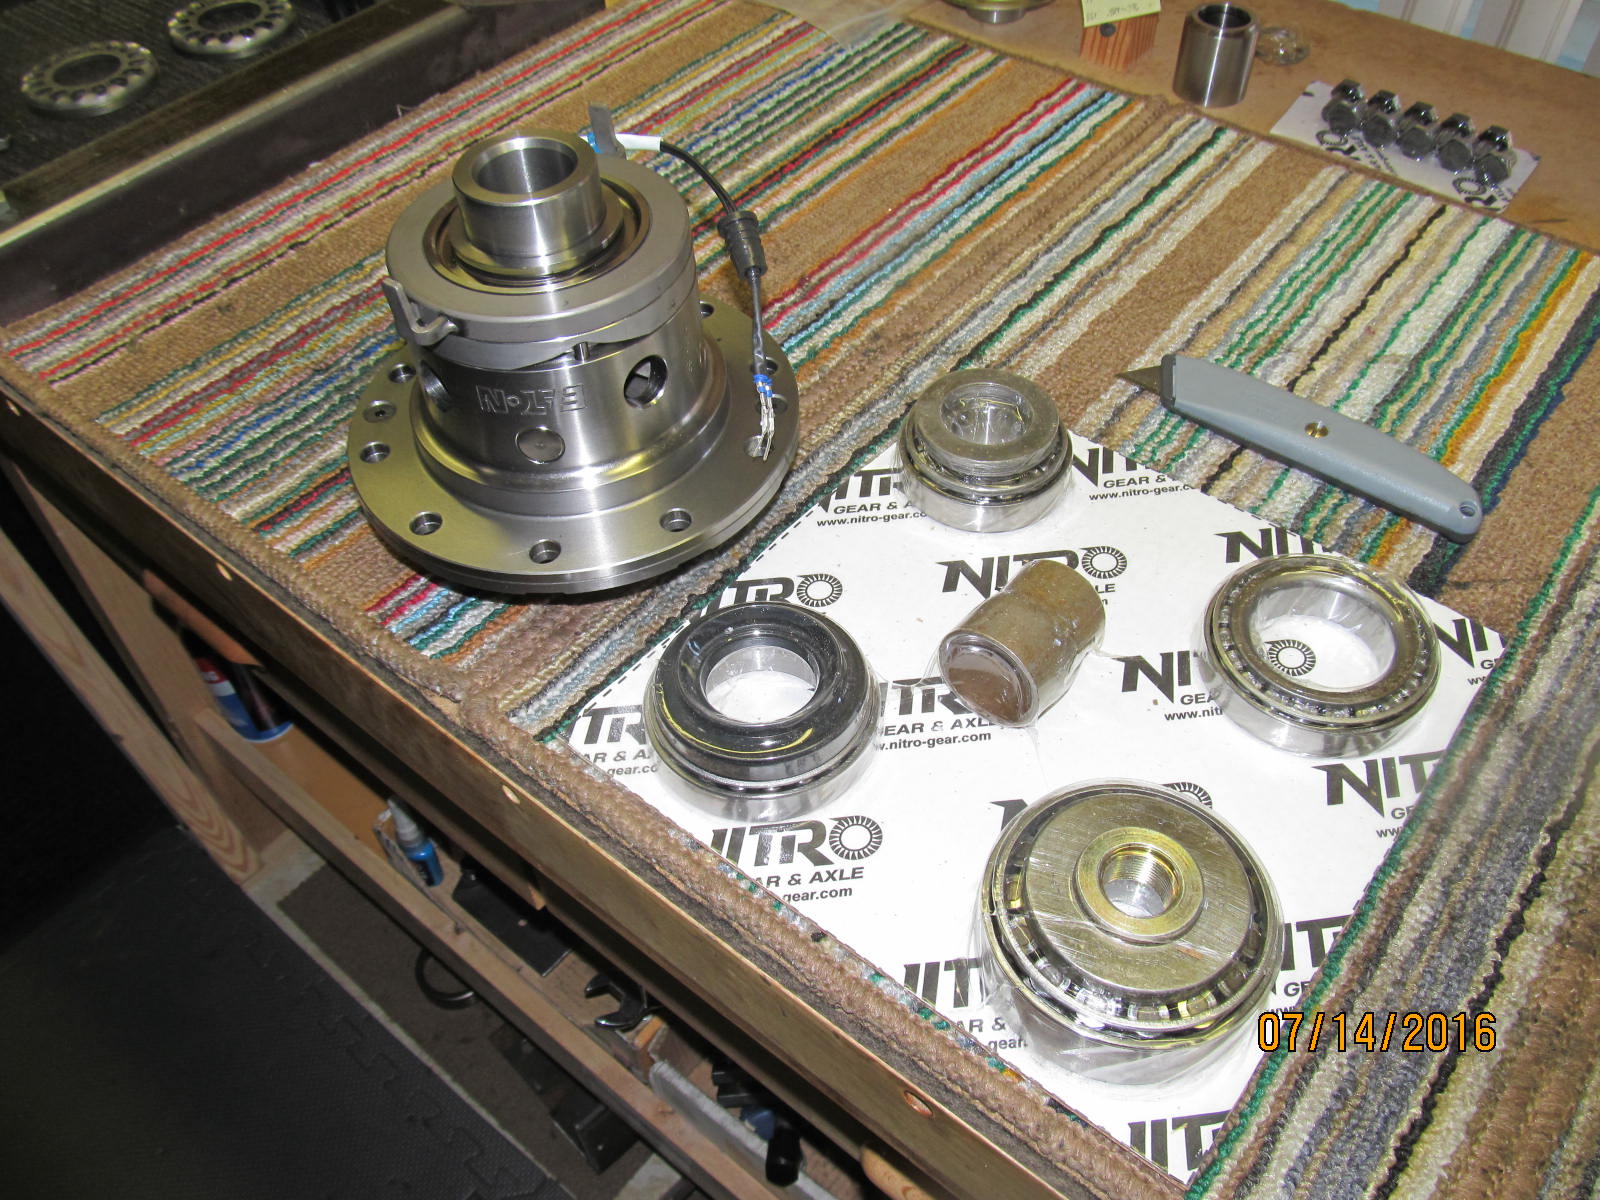
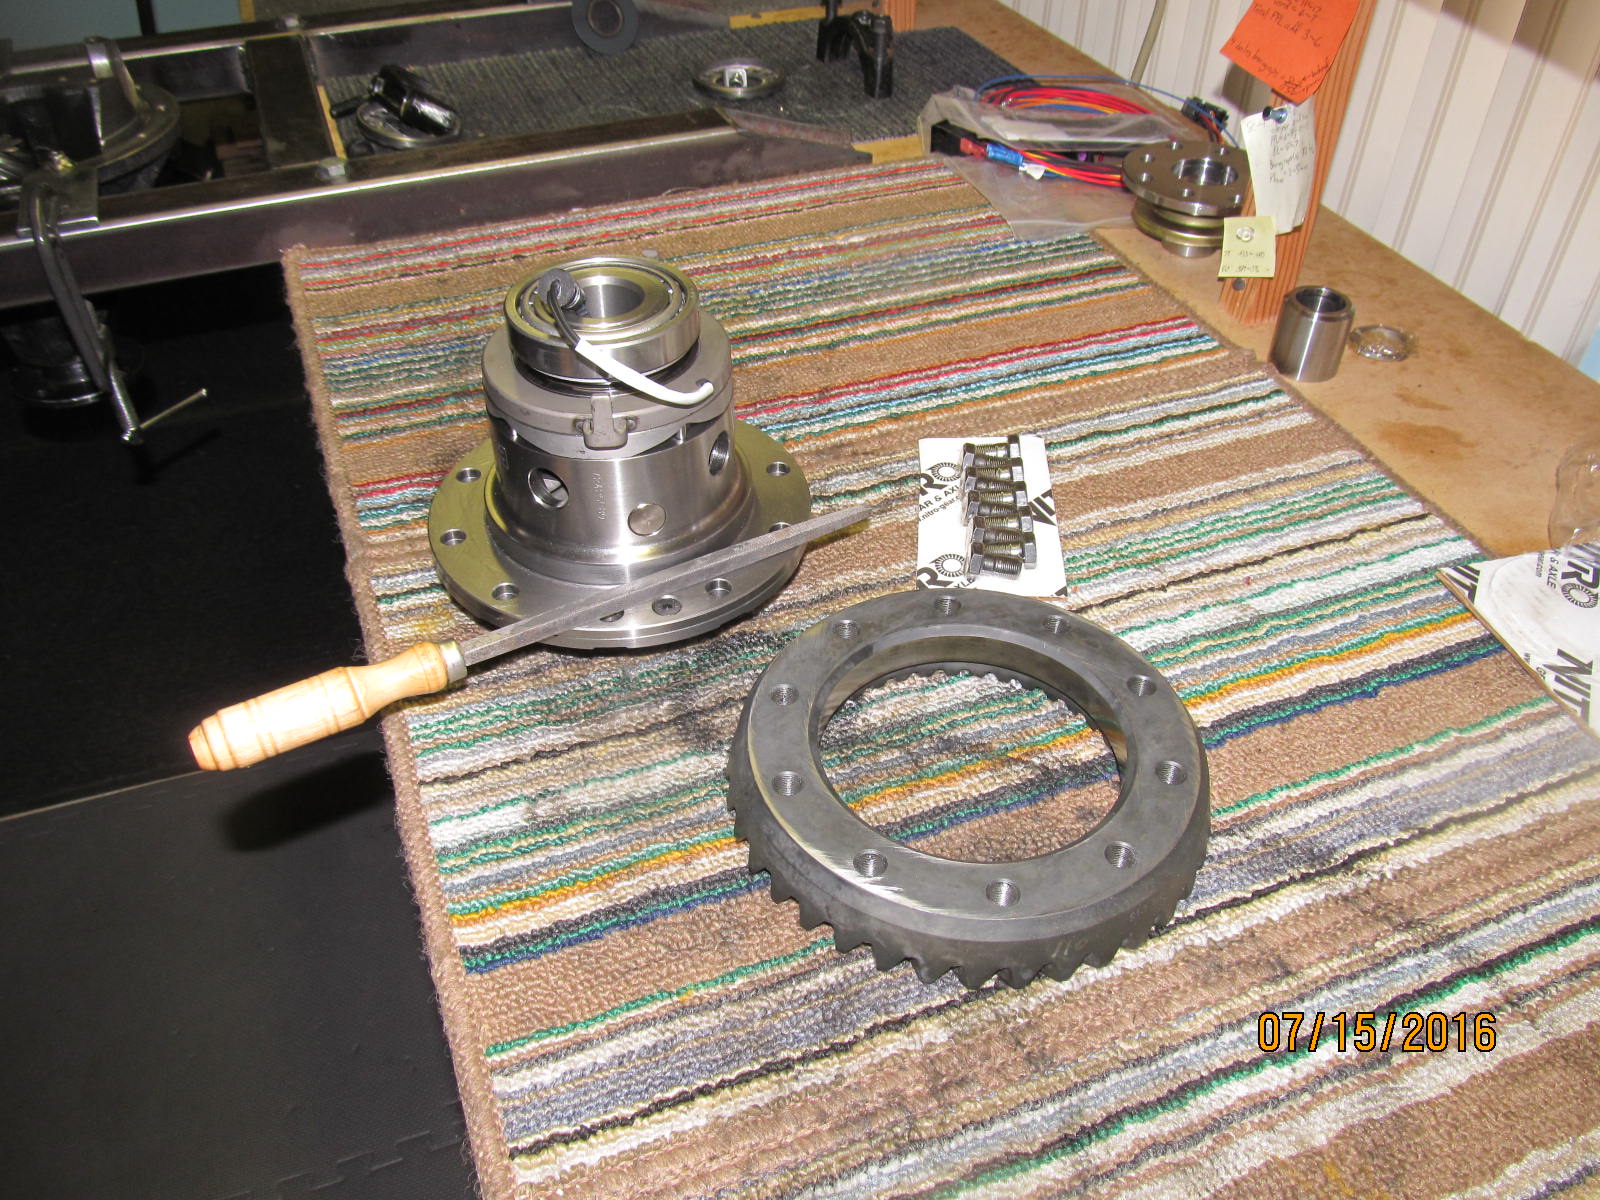
Top to bottom...the solid collar...dual drilled 29 spline flange...V6 8" rear master kit...front 7.5" master kit.
The 529 Nitro 29 spline gears were ordered a little late so while waiting for those to arrive now is a good
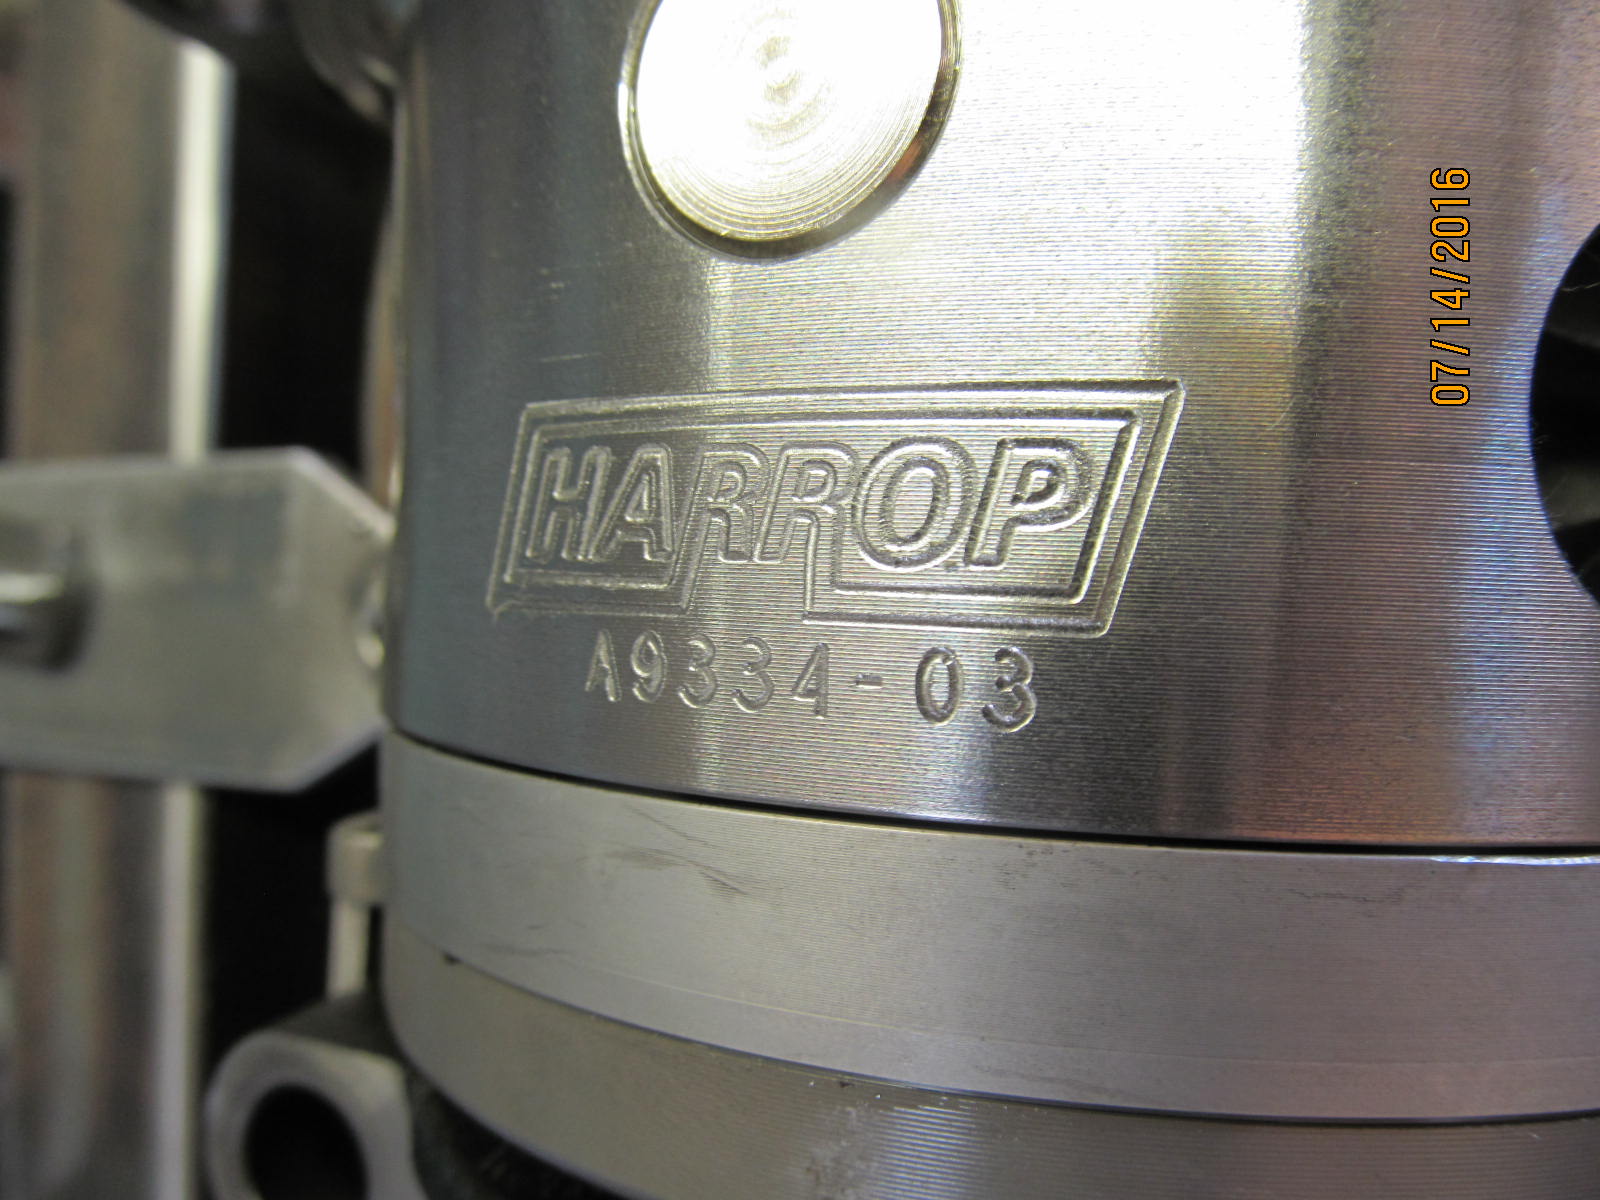
time to clean, put in races, and show how well the 9334 Harrop e-locker fits in the
very common 8" rear low pinion 3rd member.
|
|
|
|
|
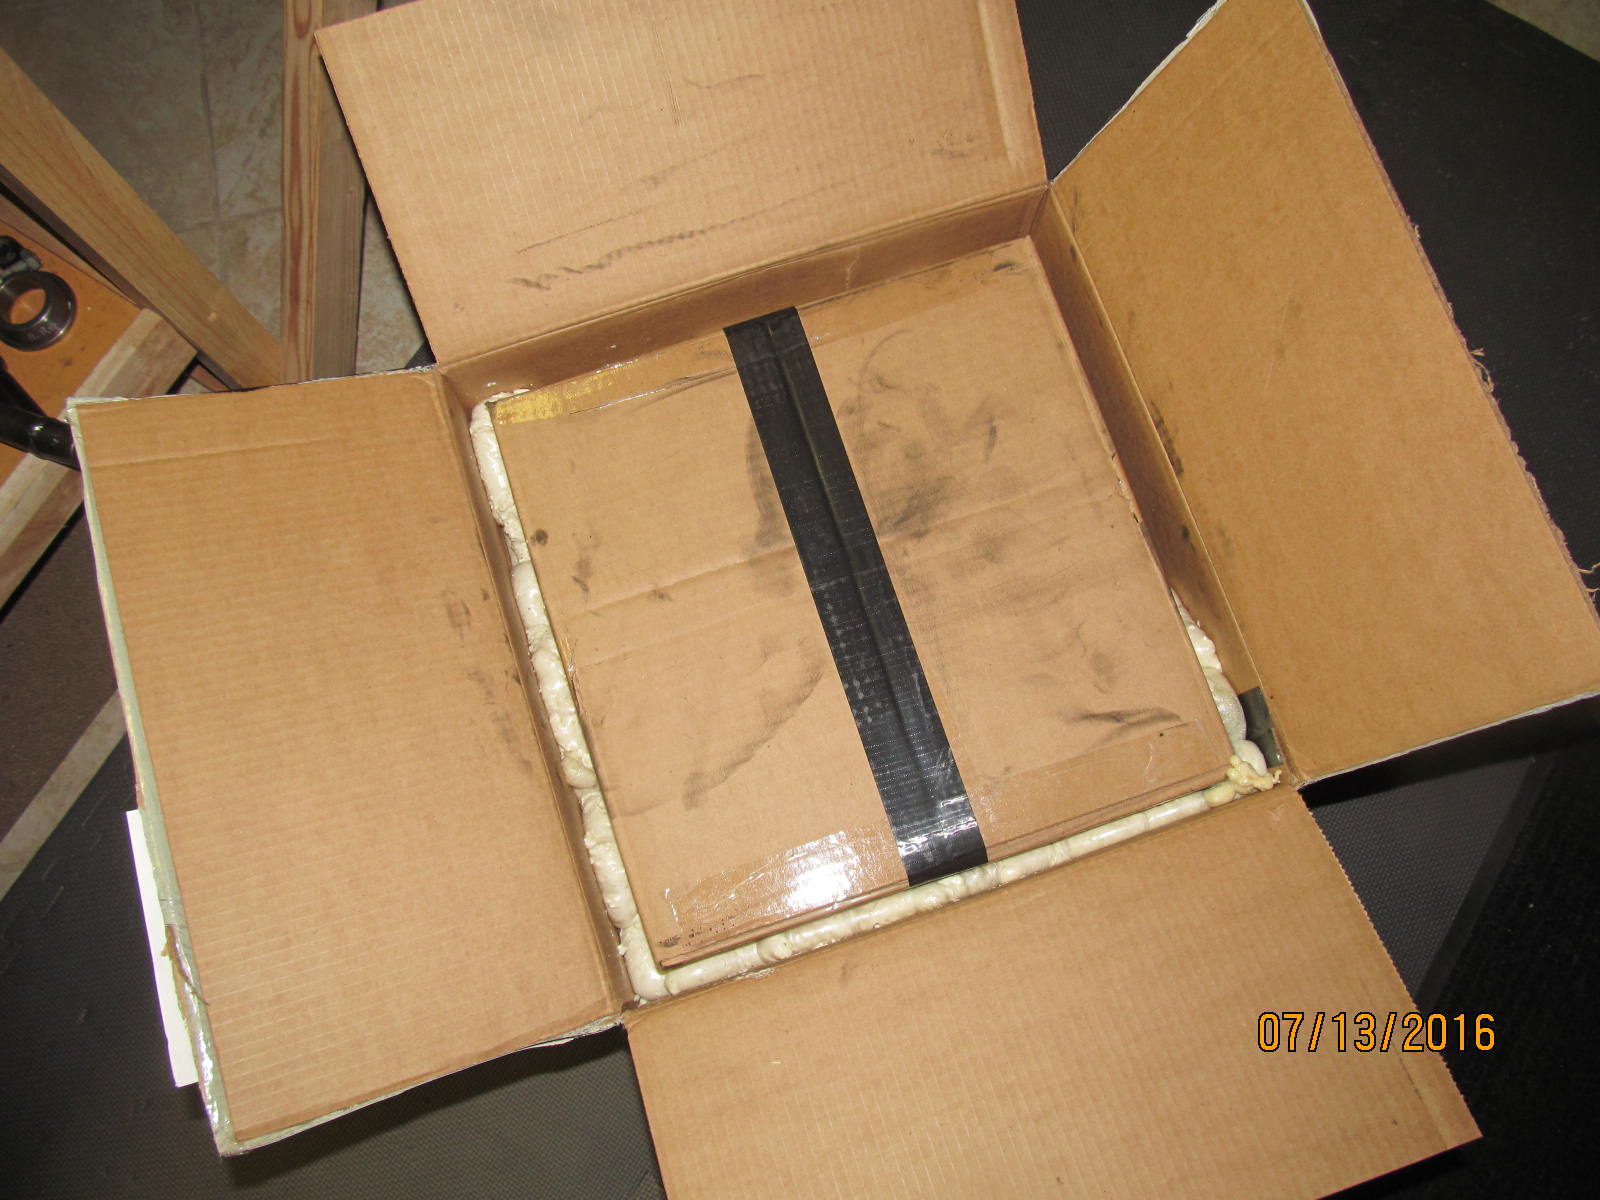
There's a v6 3rd deep in this double/double box.
|
|
|

|
A double corrugated box inside a slightly smaller double corrugated box with the expandable spray foam
to add another layer of protection. Then 2 pillows of foam to keep the 3rd from banging around inside.
|
|
|
|
|
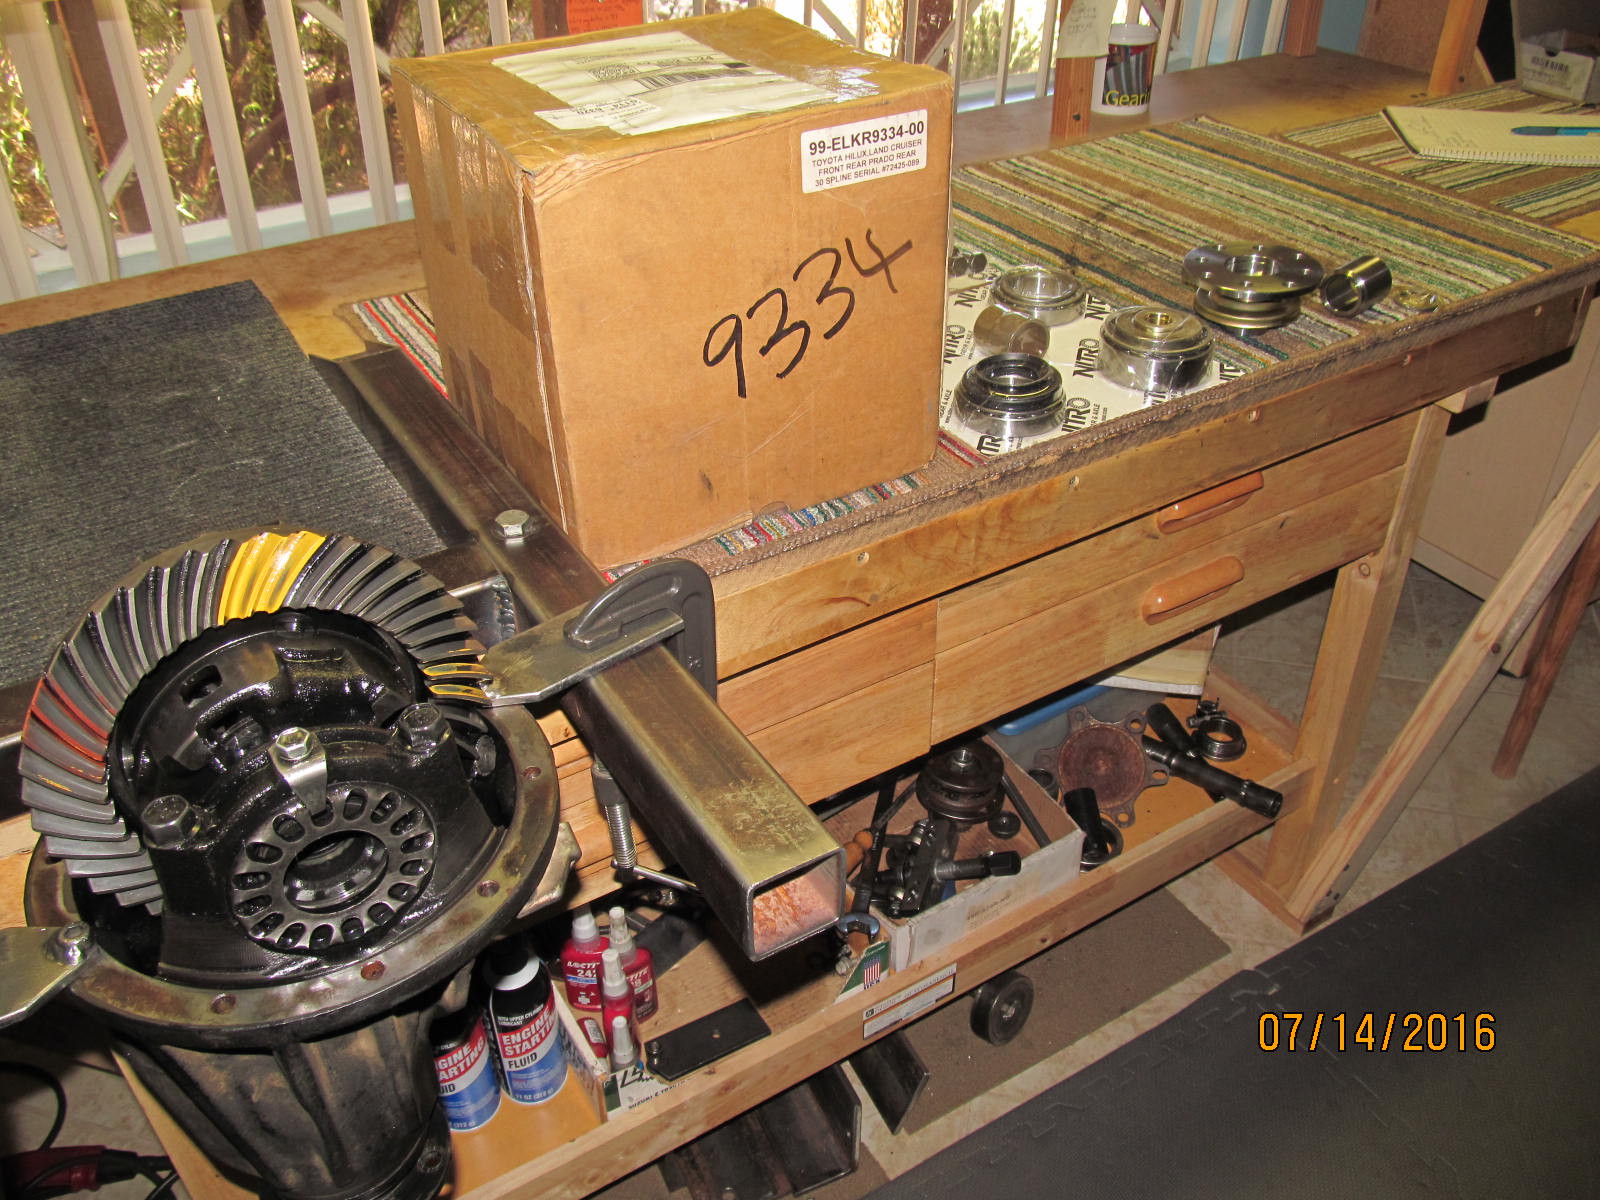
Still waiting for the Nitro 529 but there is so much I can do here to get the 3rd ready.
|
|
|
|
The Harrop is unpacked....very simplistic....just a locker and a wire harness.
actual instructions are found online right here....
Harrop Operating and Installation Instructions
To inquire or order a Harrop e-locker....
Contact Ward Harris (National importer/authorized dealer for Harrop) at 1-800-224-7801
or email info@cruiserbrothers.com
|
|
|
|
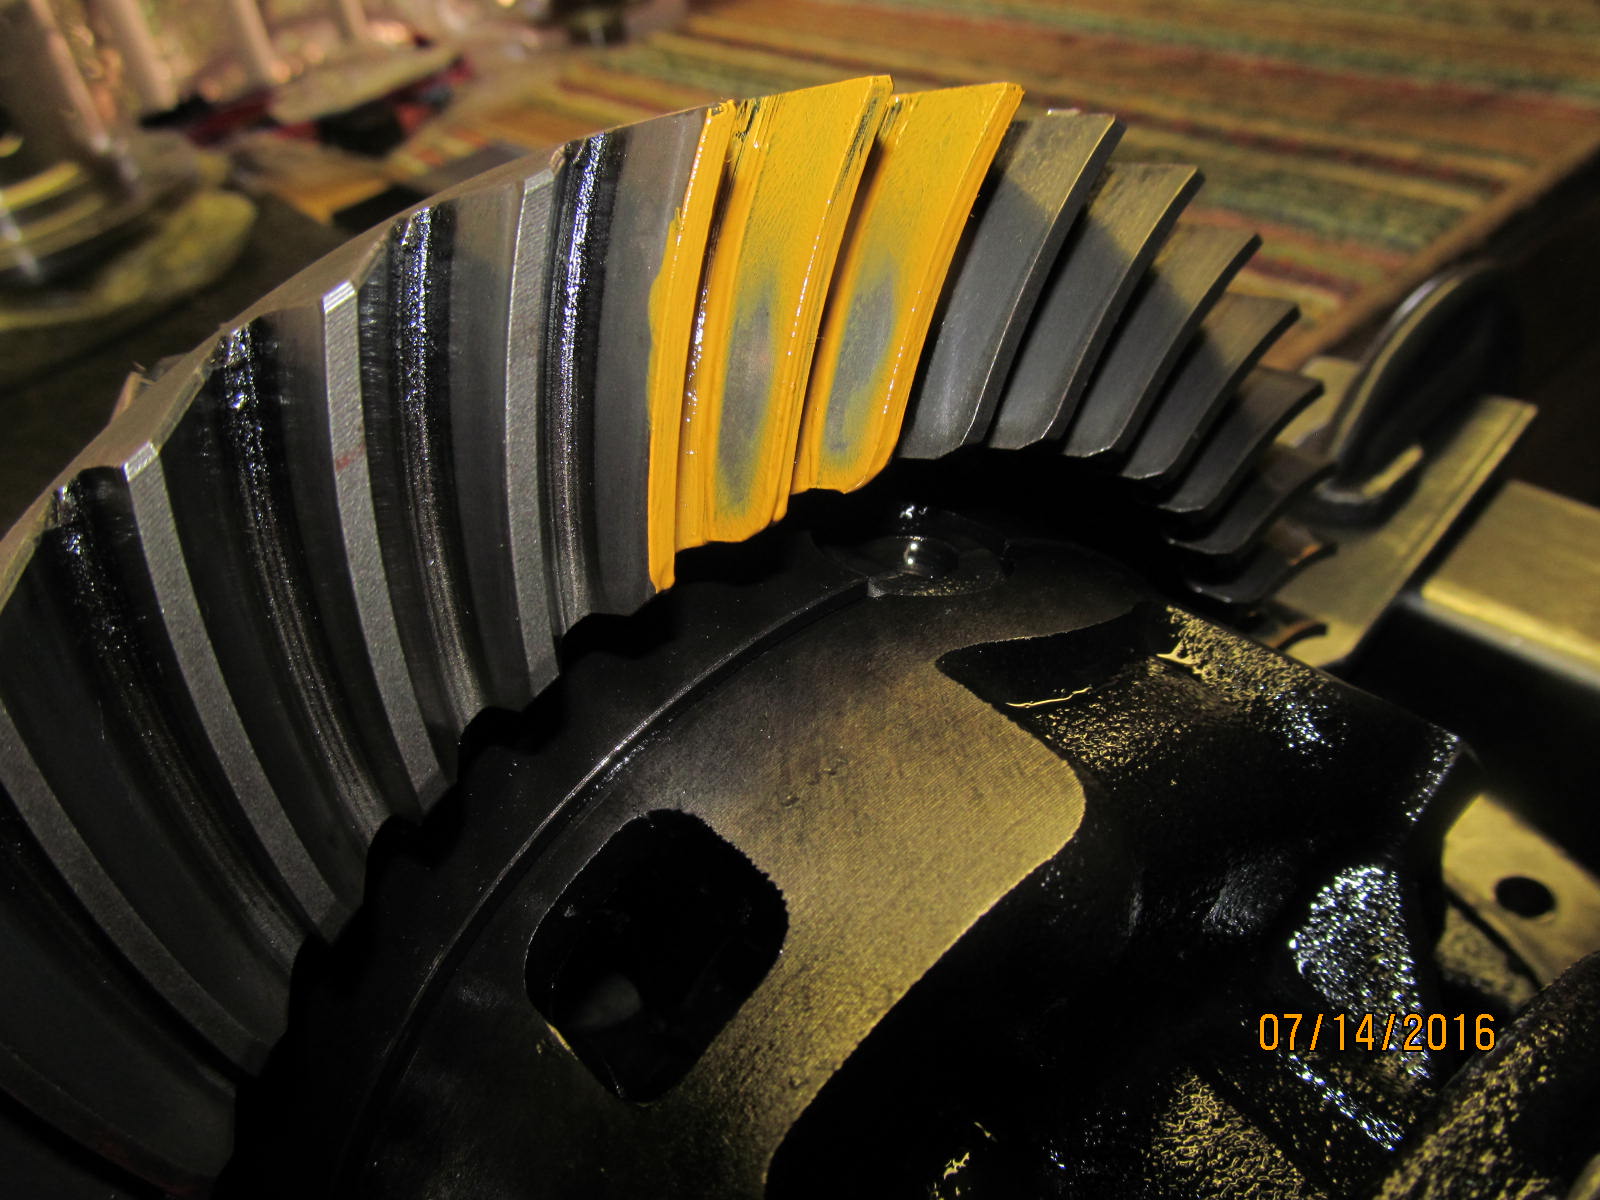
Stephen still had the factory 4.56 gears and a quick paint shows they still have a nice pattern.
fyi....Stephen wants to sell them....115 shipped, contact ZUK at gearinstalls@gmail.com
|
|
|
|
|
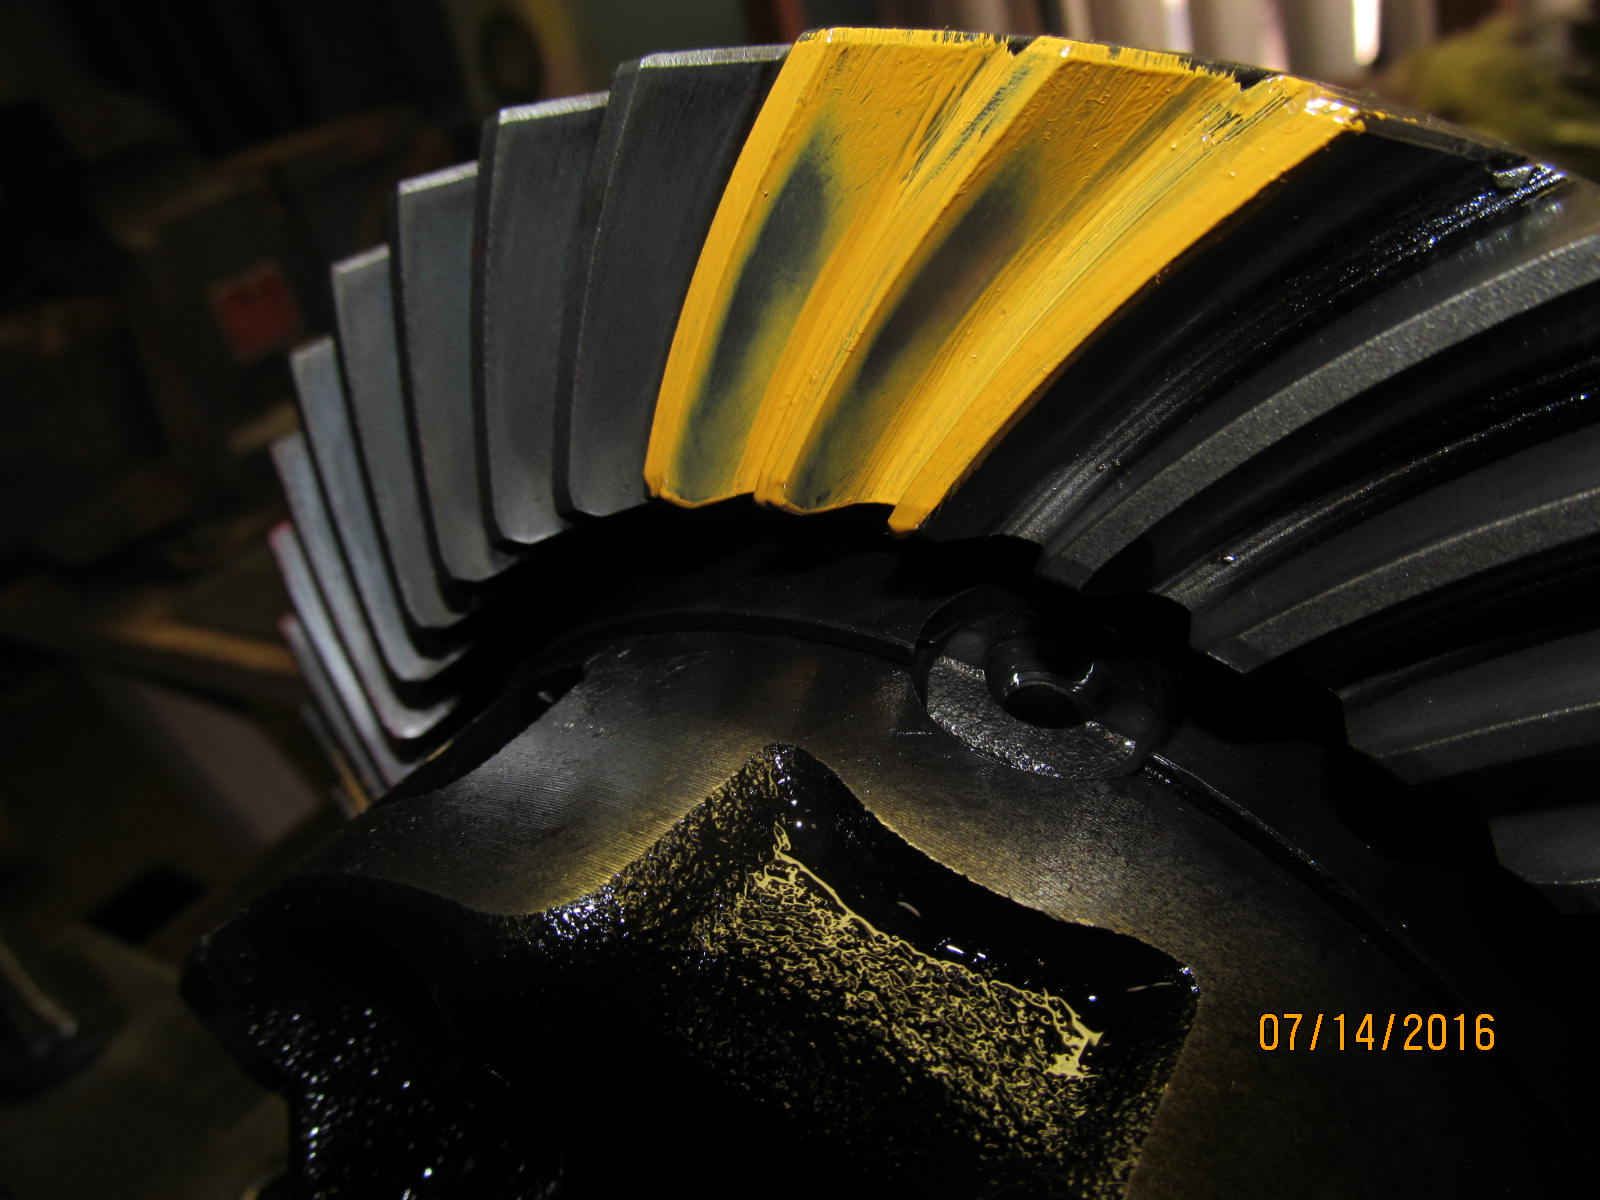
Coast side.
|
|
|
|
|
The teardown begins.
|
|
|
|
|
Don't forget to ding one bearing cap before removal.
|
|
|
|
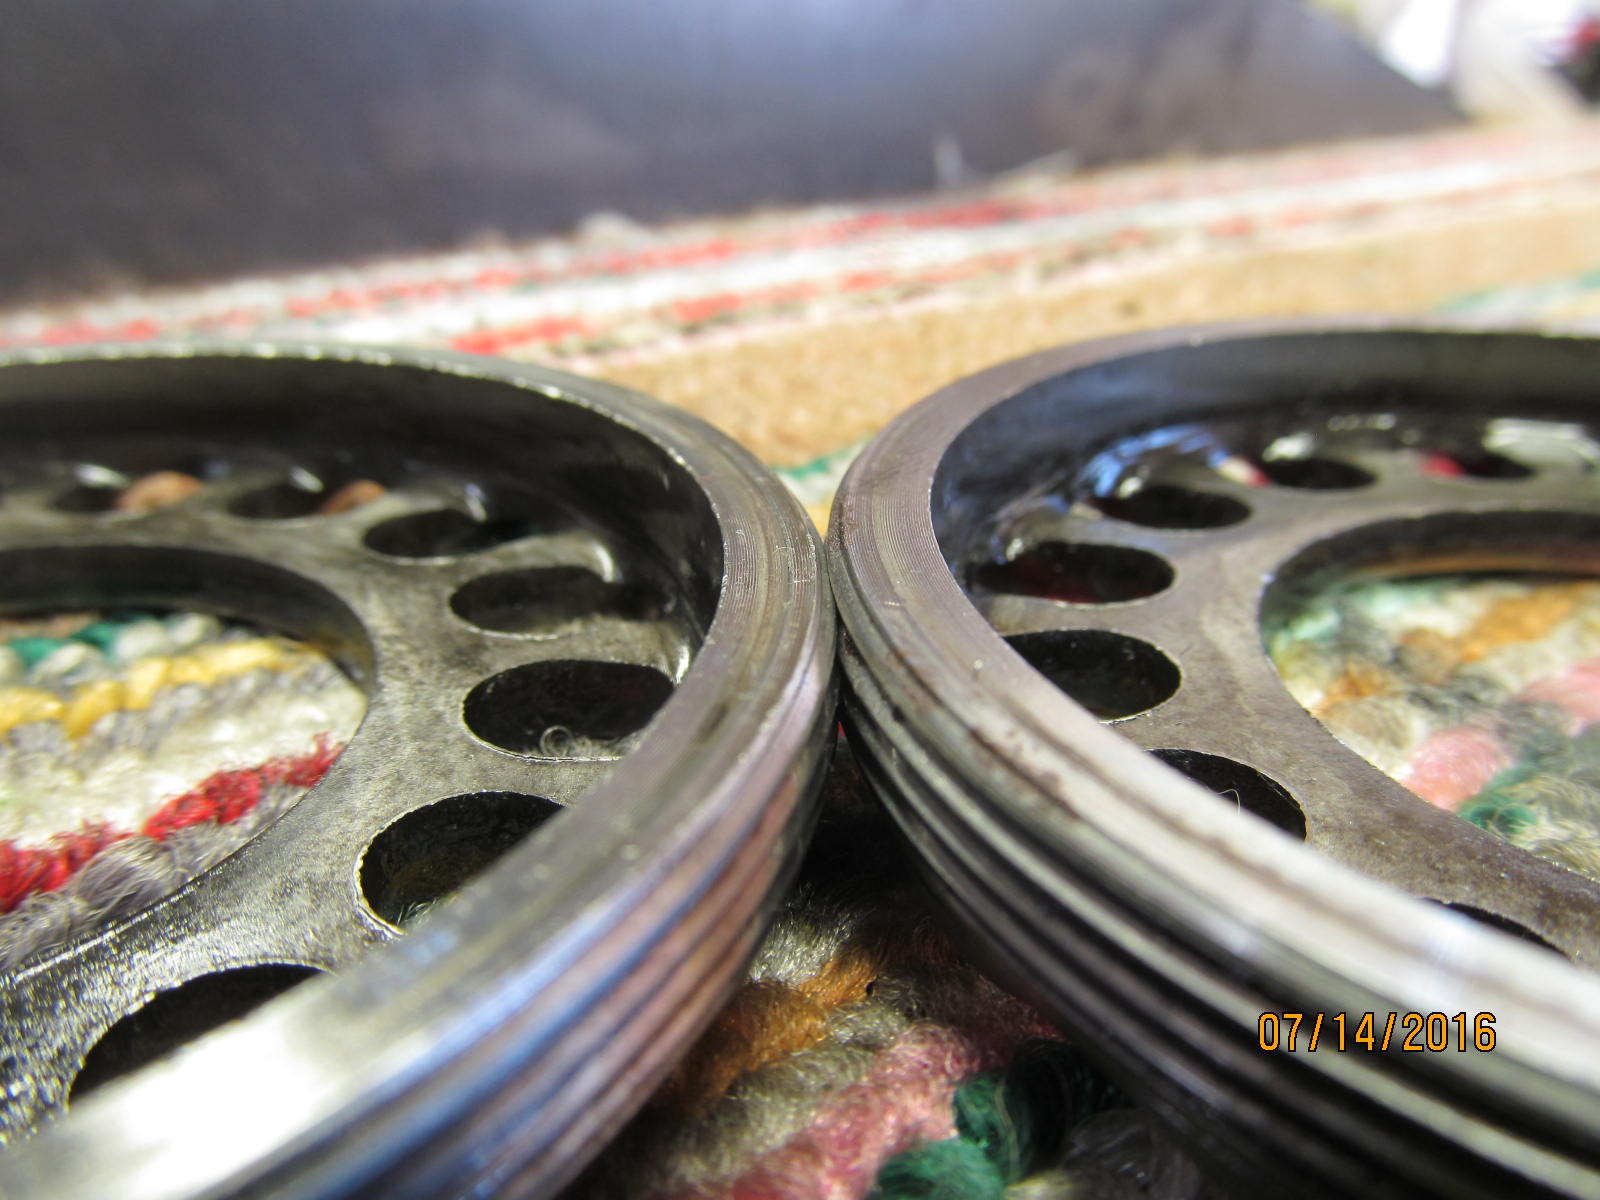
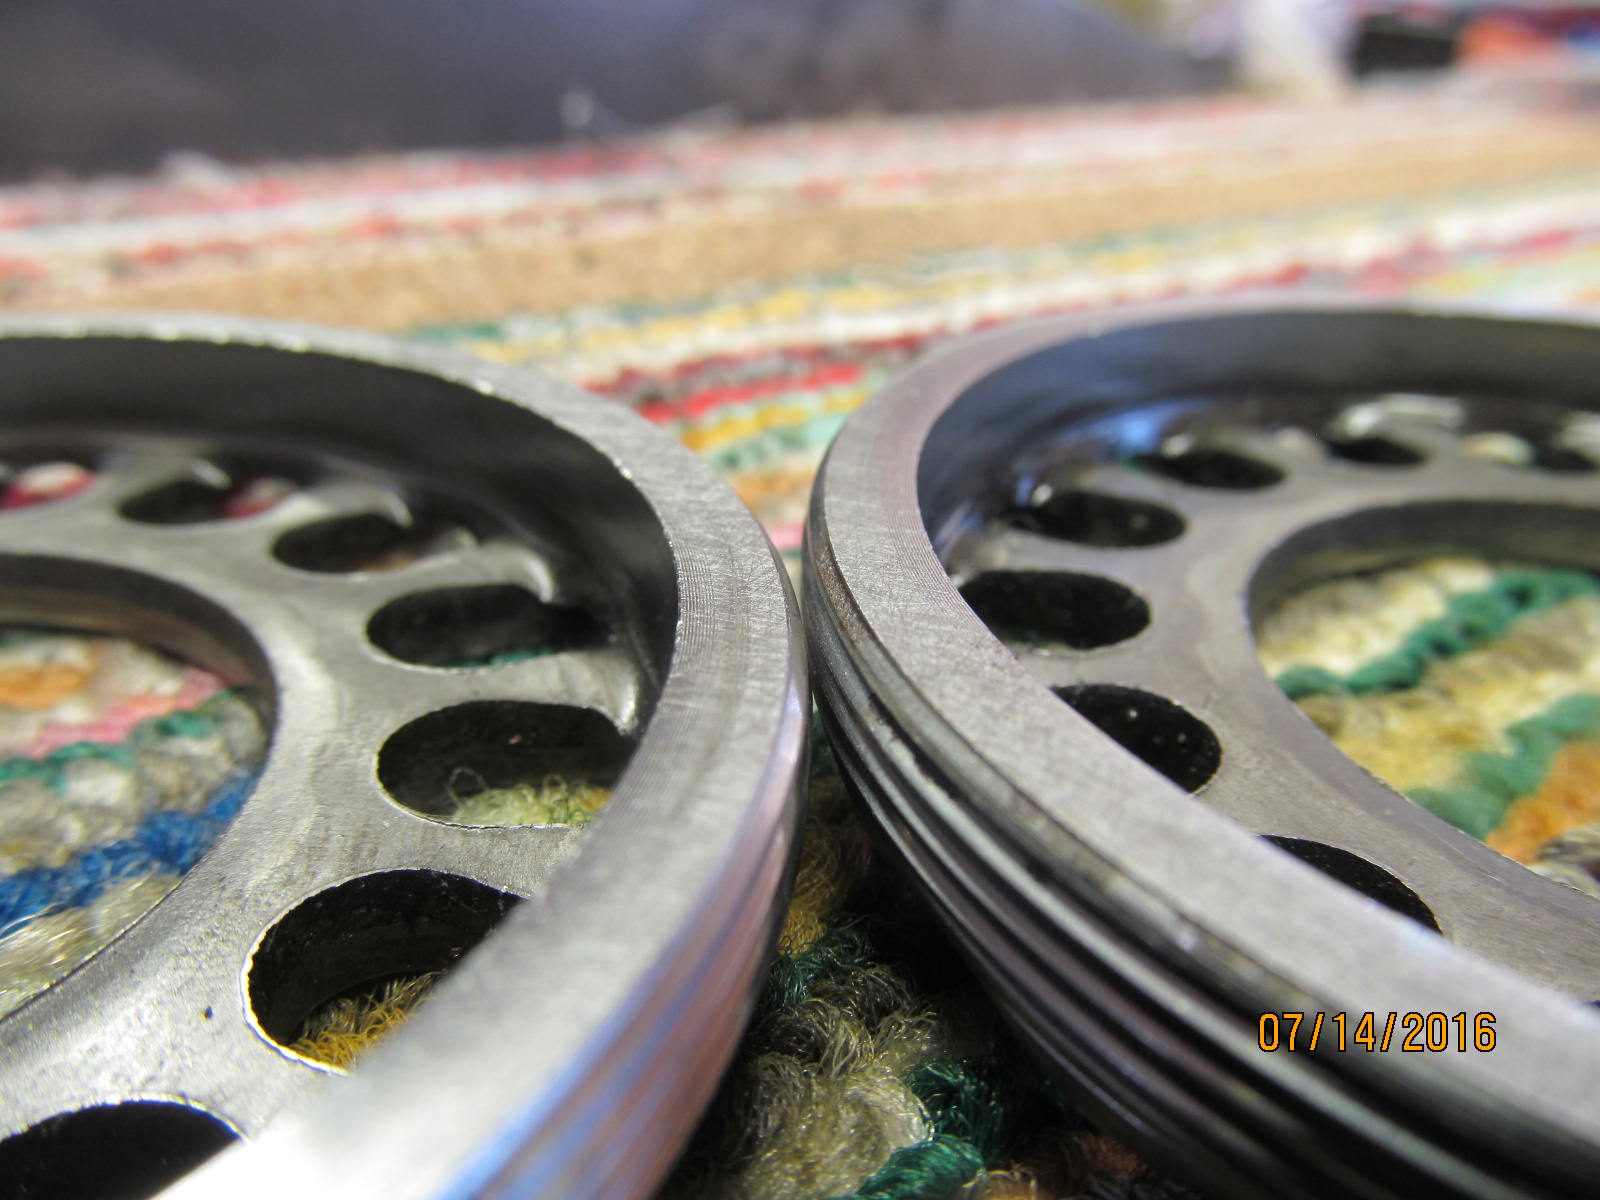
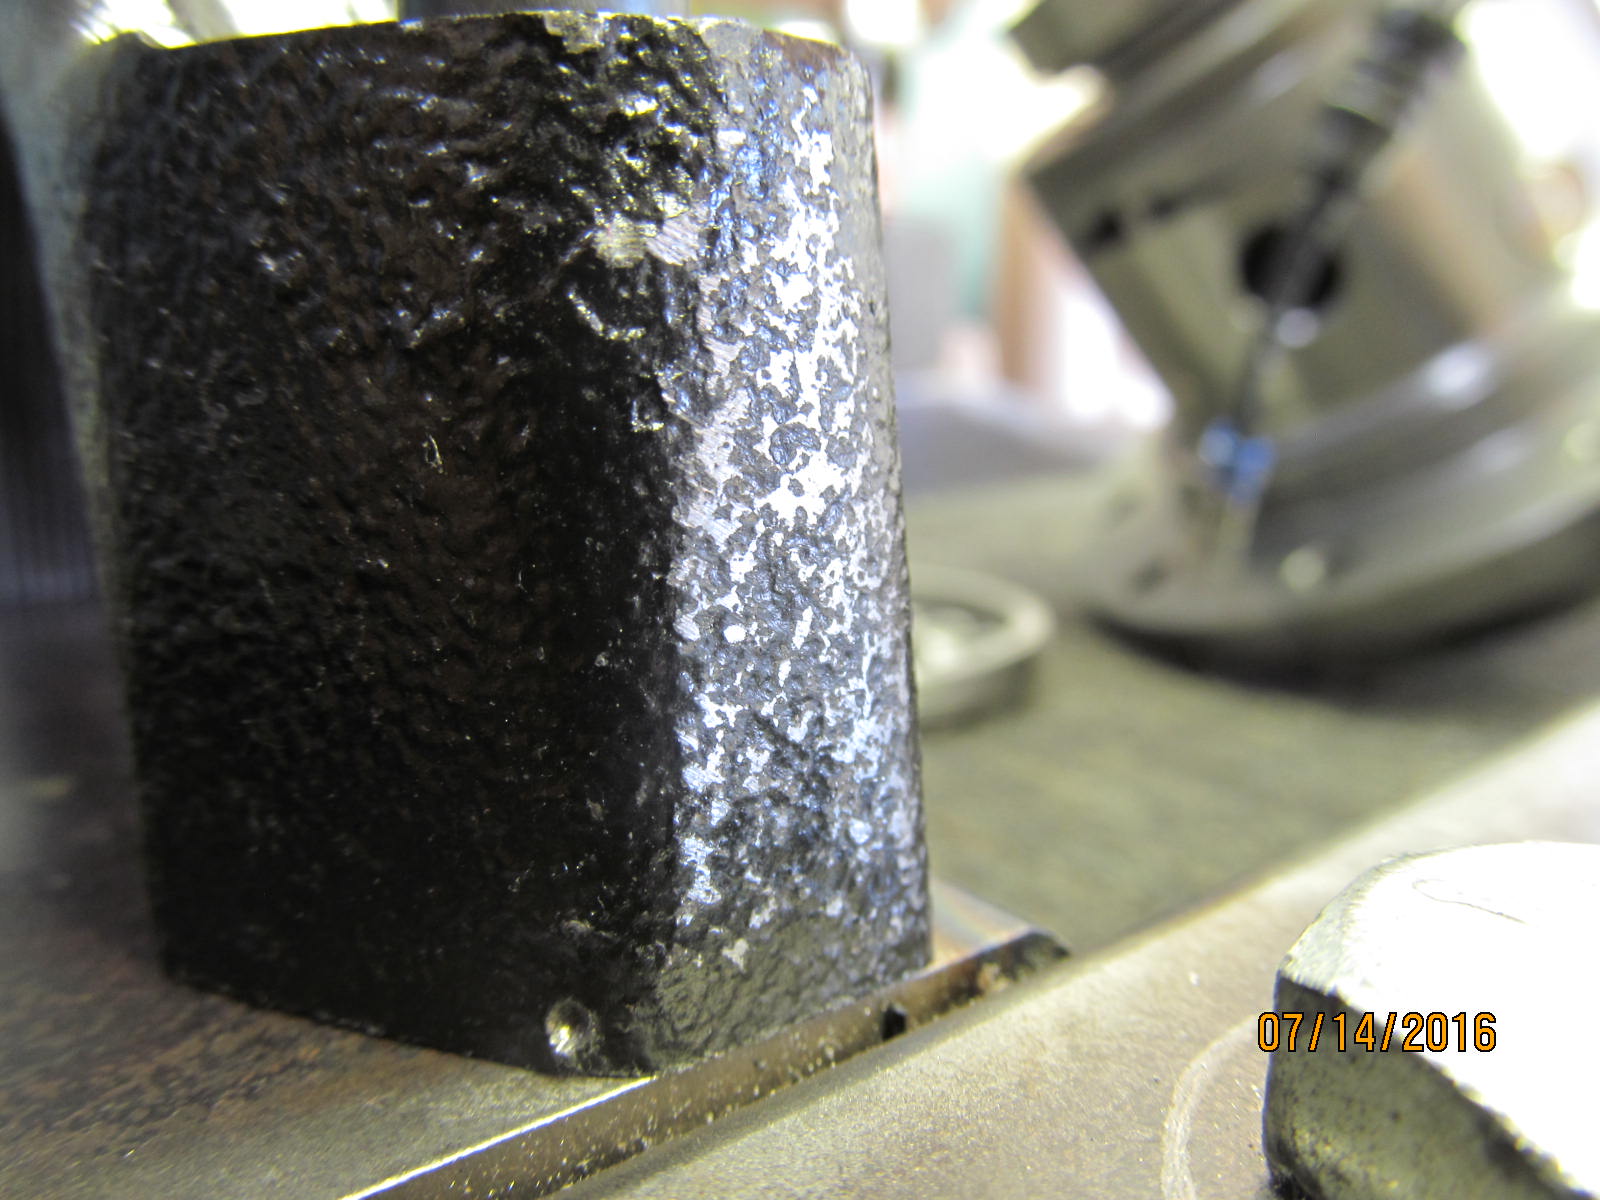
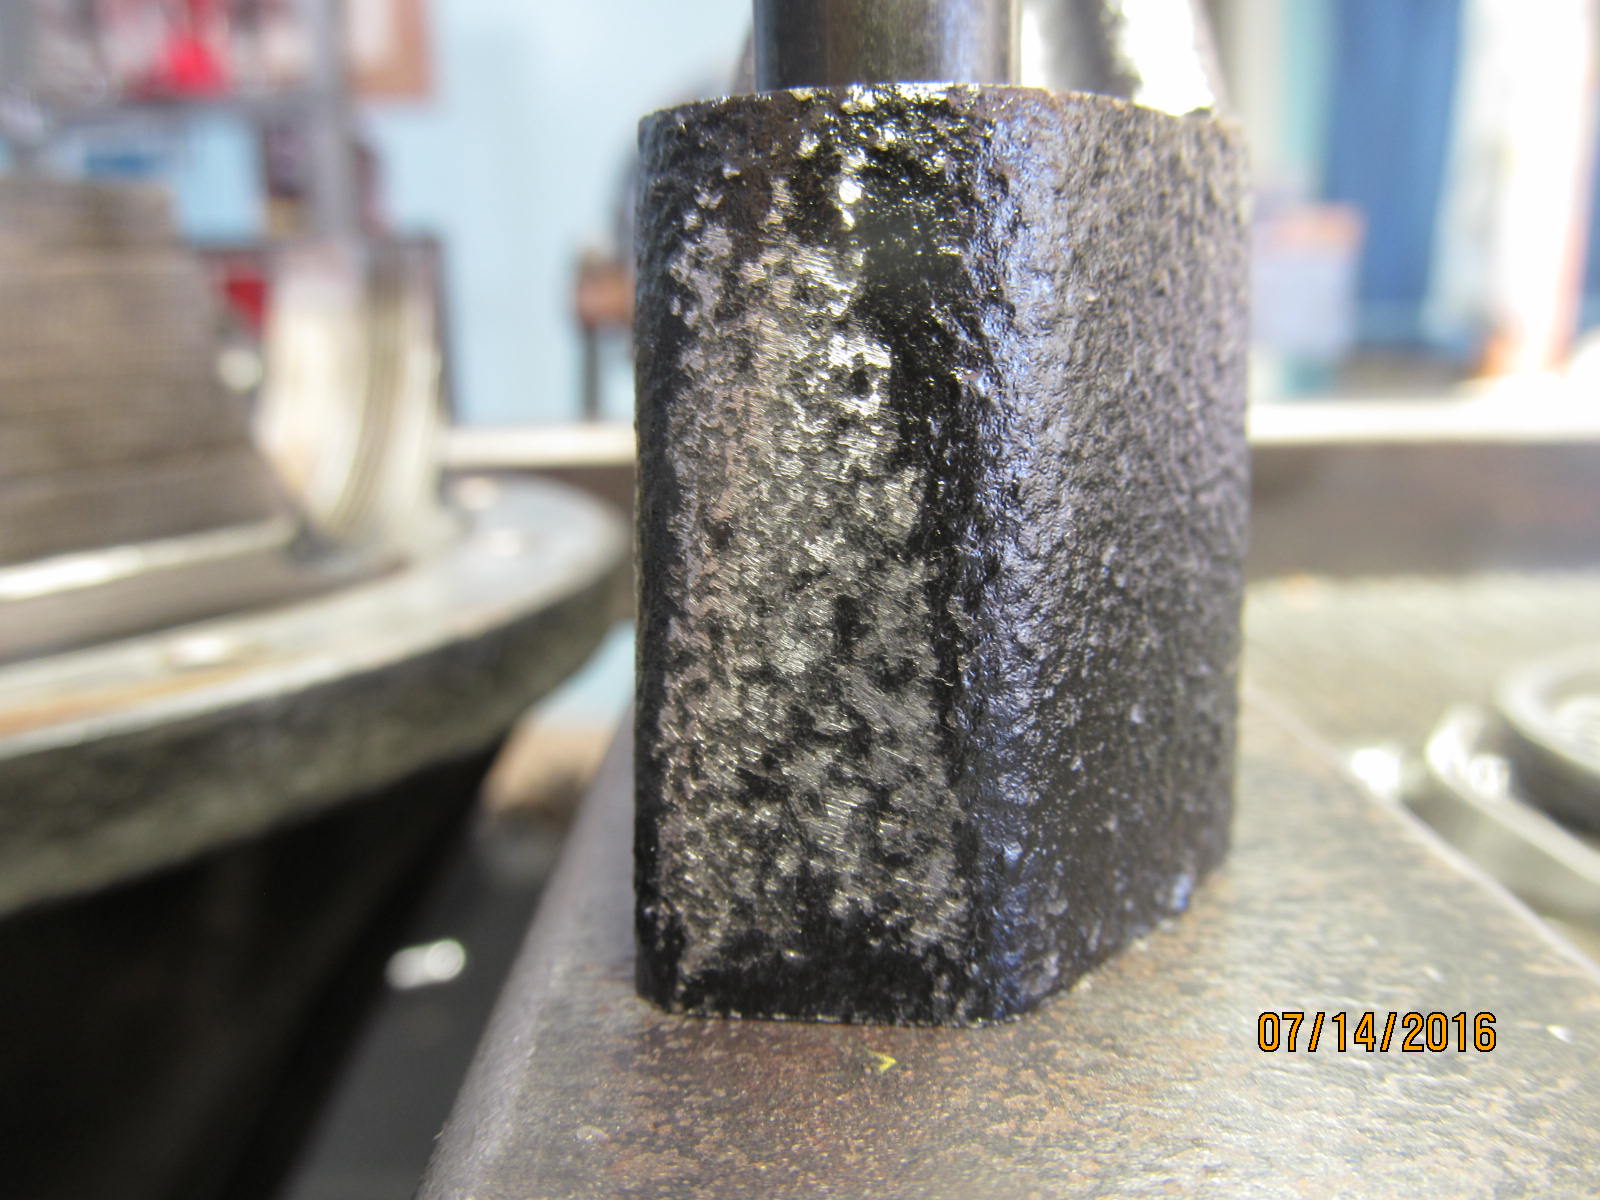
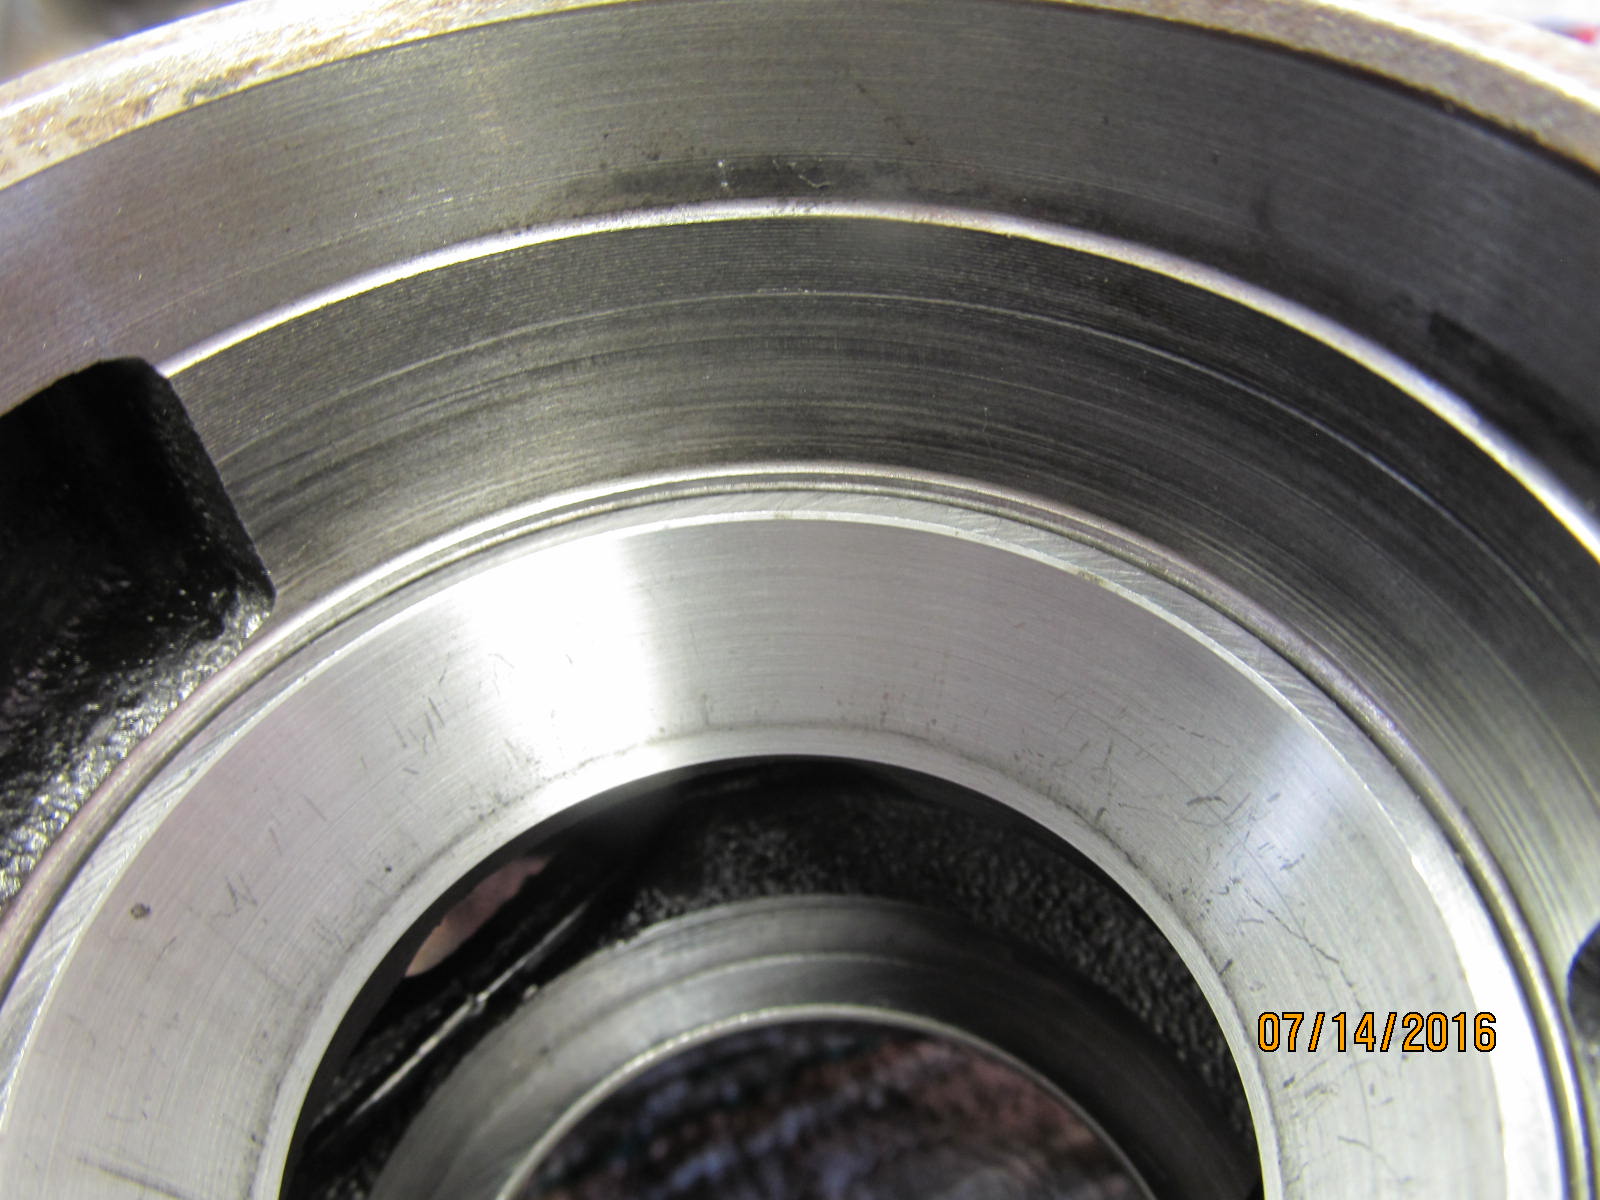
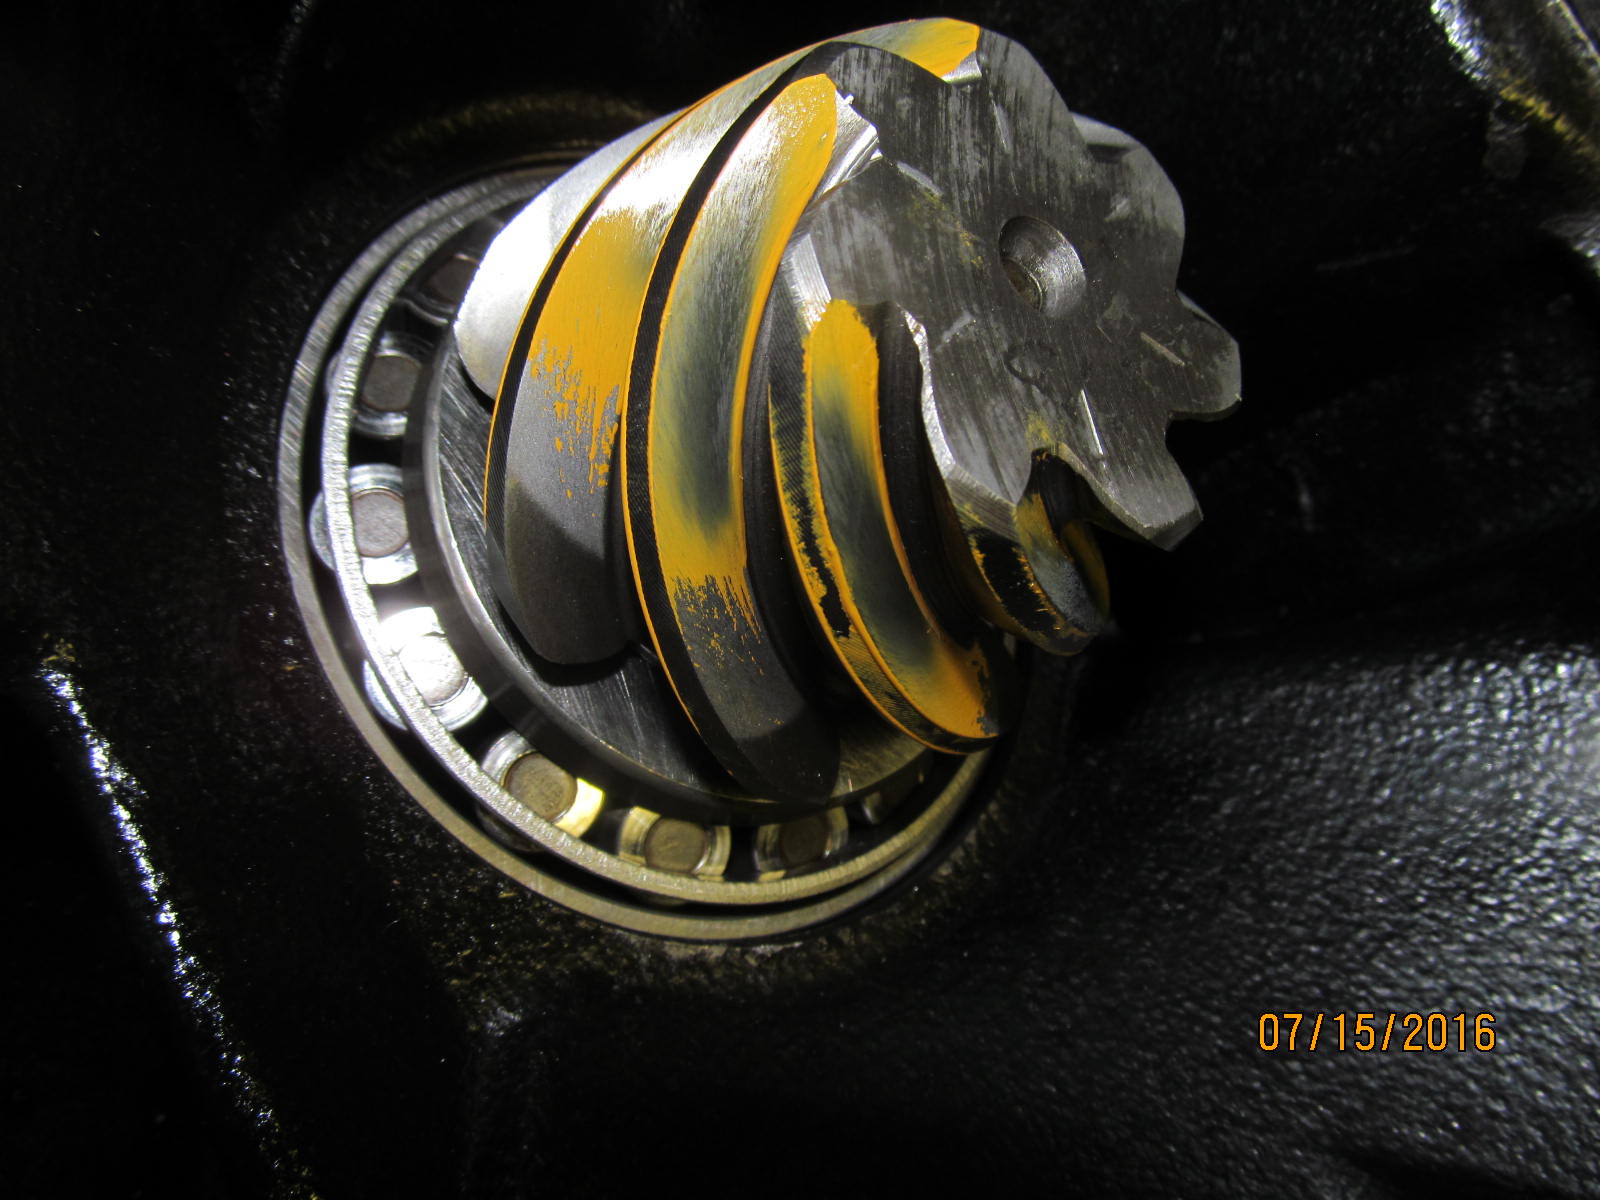
Most of the time the adjuster wheels have a wear groove of some sort in them...the camera doesn't do it justice...
but the groove was very pronounced in real life.
|
|
|
|
|
A sheet of #100 sandpaper on a flat surface took care of the issue.
|
|
|

|
I go thru a lot of "starter fluid" as it cleans the oils off the parts so well.
Bearing caps and wheels were sprayed clean.
|
|
|
|
|
Then I jumped over to the Harrop and the Nitro kit.
|
|
|
|
|
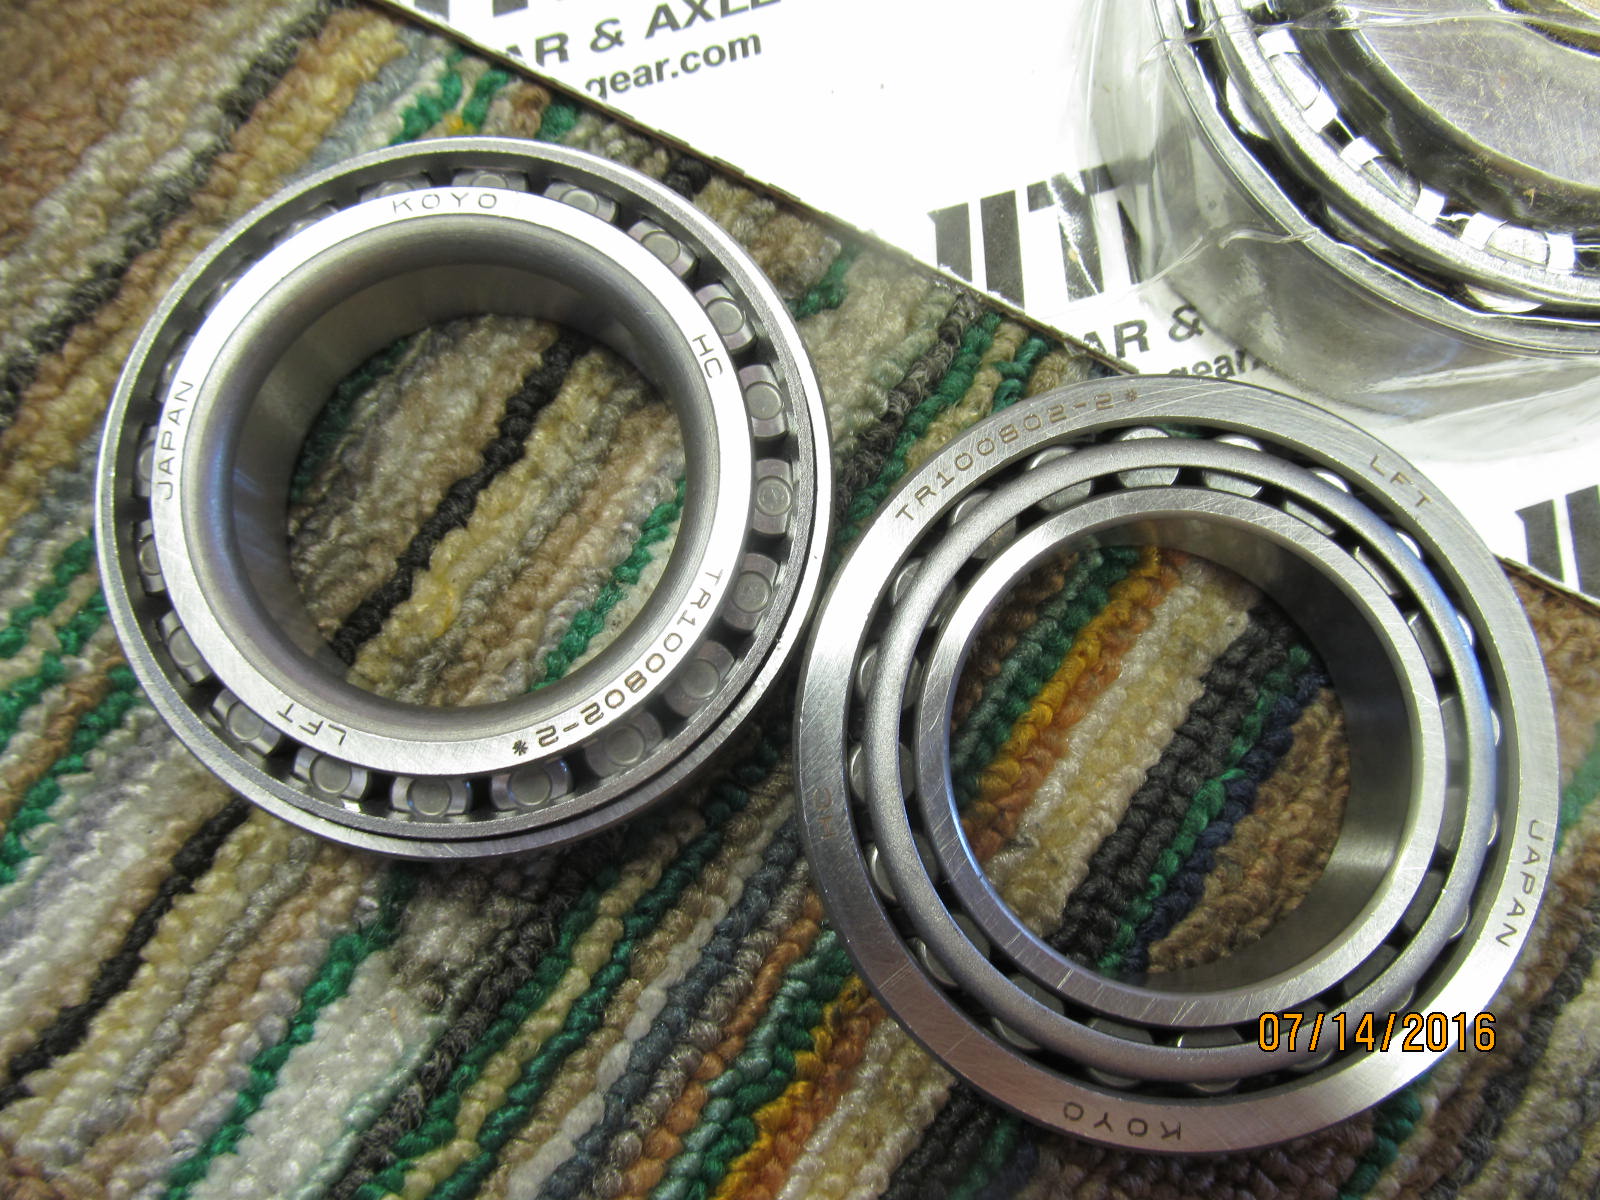
The 2 KOYO carrier bearings can go on the Harrop right now.
|
|
|
|
Bearings are a tight press onto the 50mm journals.
fyi---You guys out there with the 1980's and 90's pick-ups/Runners with 2.4L engines and the
resultant smaller carrier bearings can use this exact same Harrop...just have to use
"conversion bearings" (part number 90368-50024)
If you have a 3.0 V6, like Stephen does here, then you would use the normal
v6 carrier bearings that come in the normal rebuild kit.
|
|
|
|
|
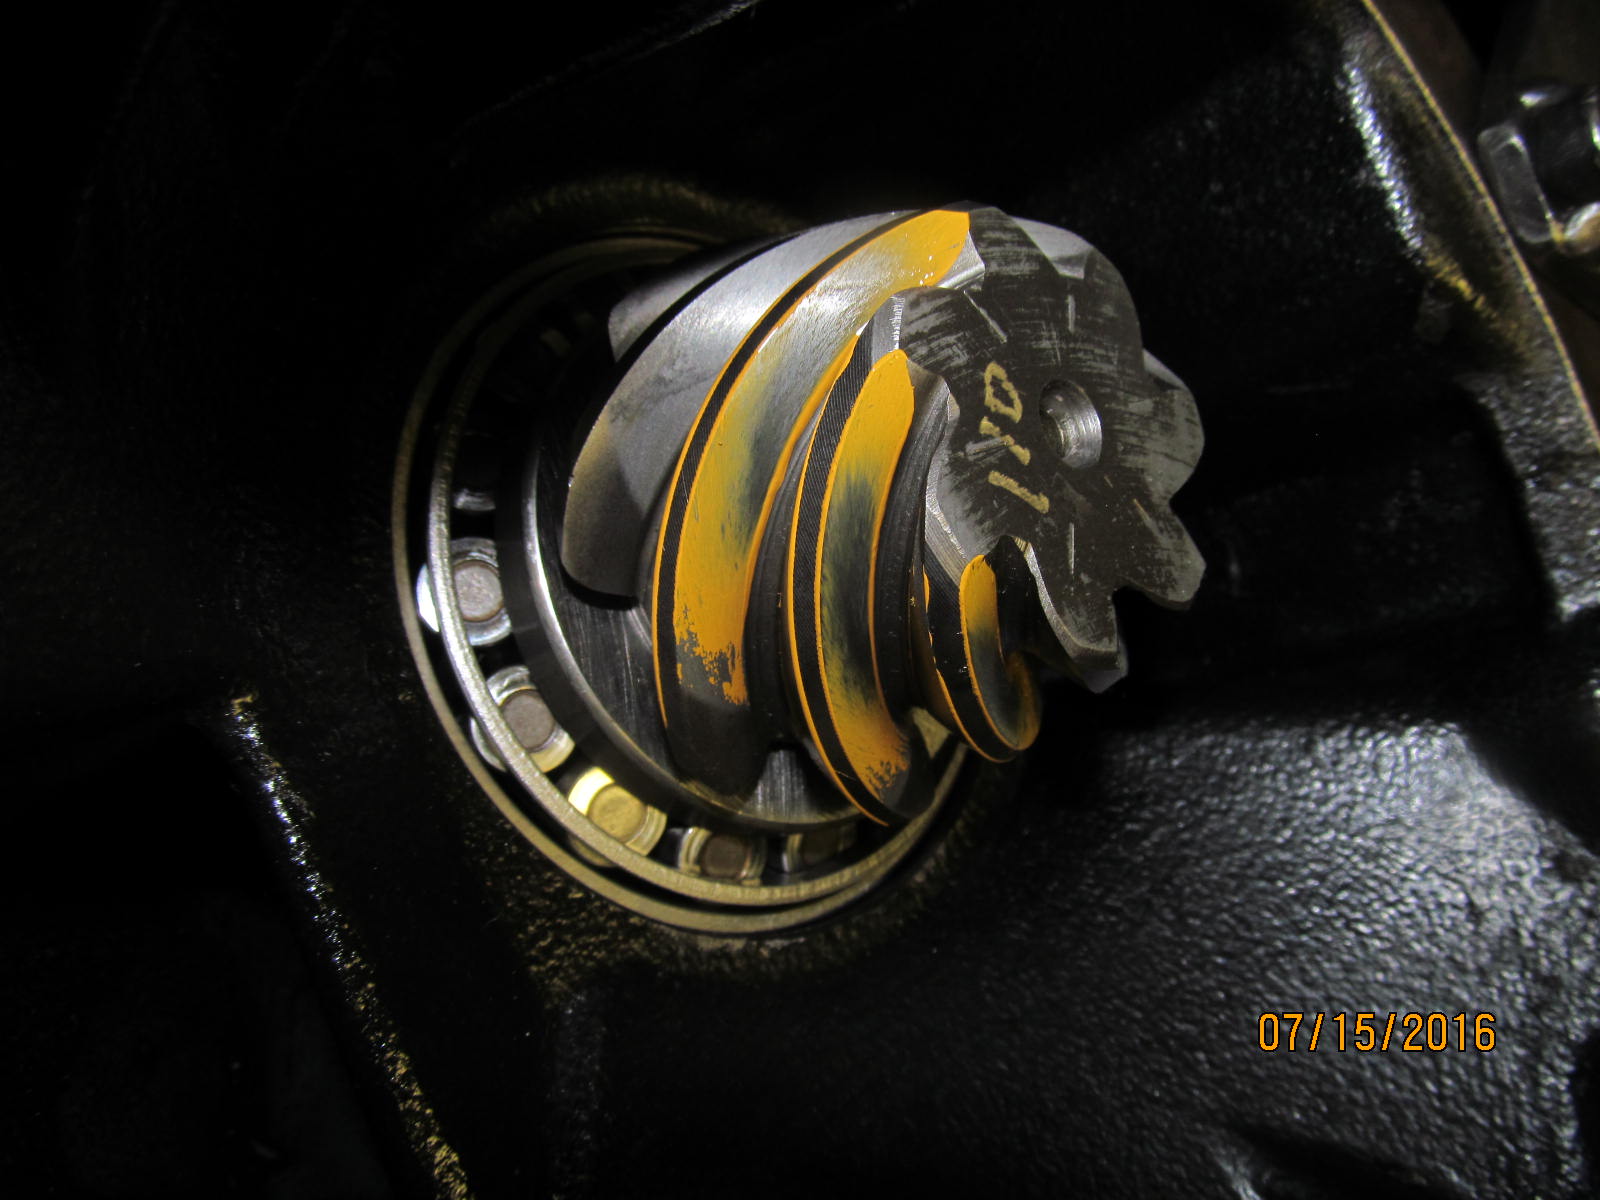
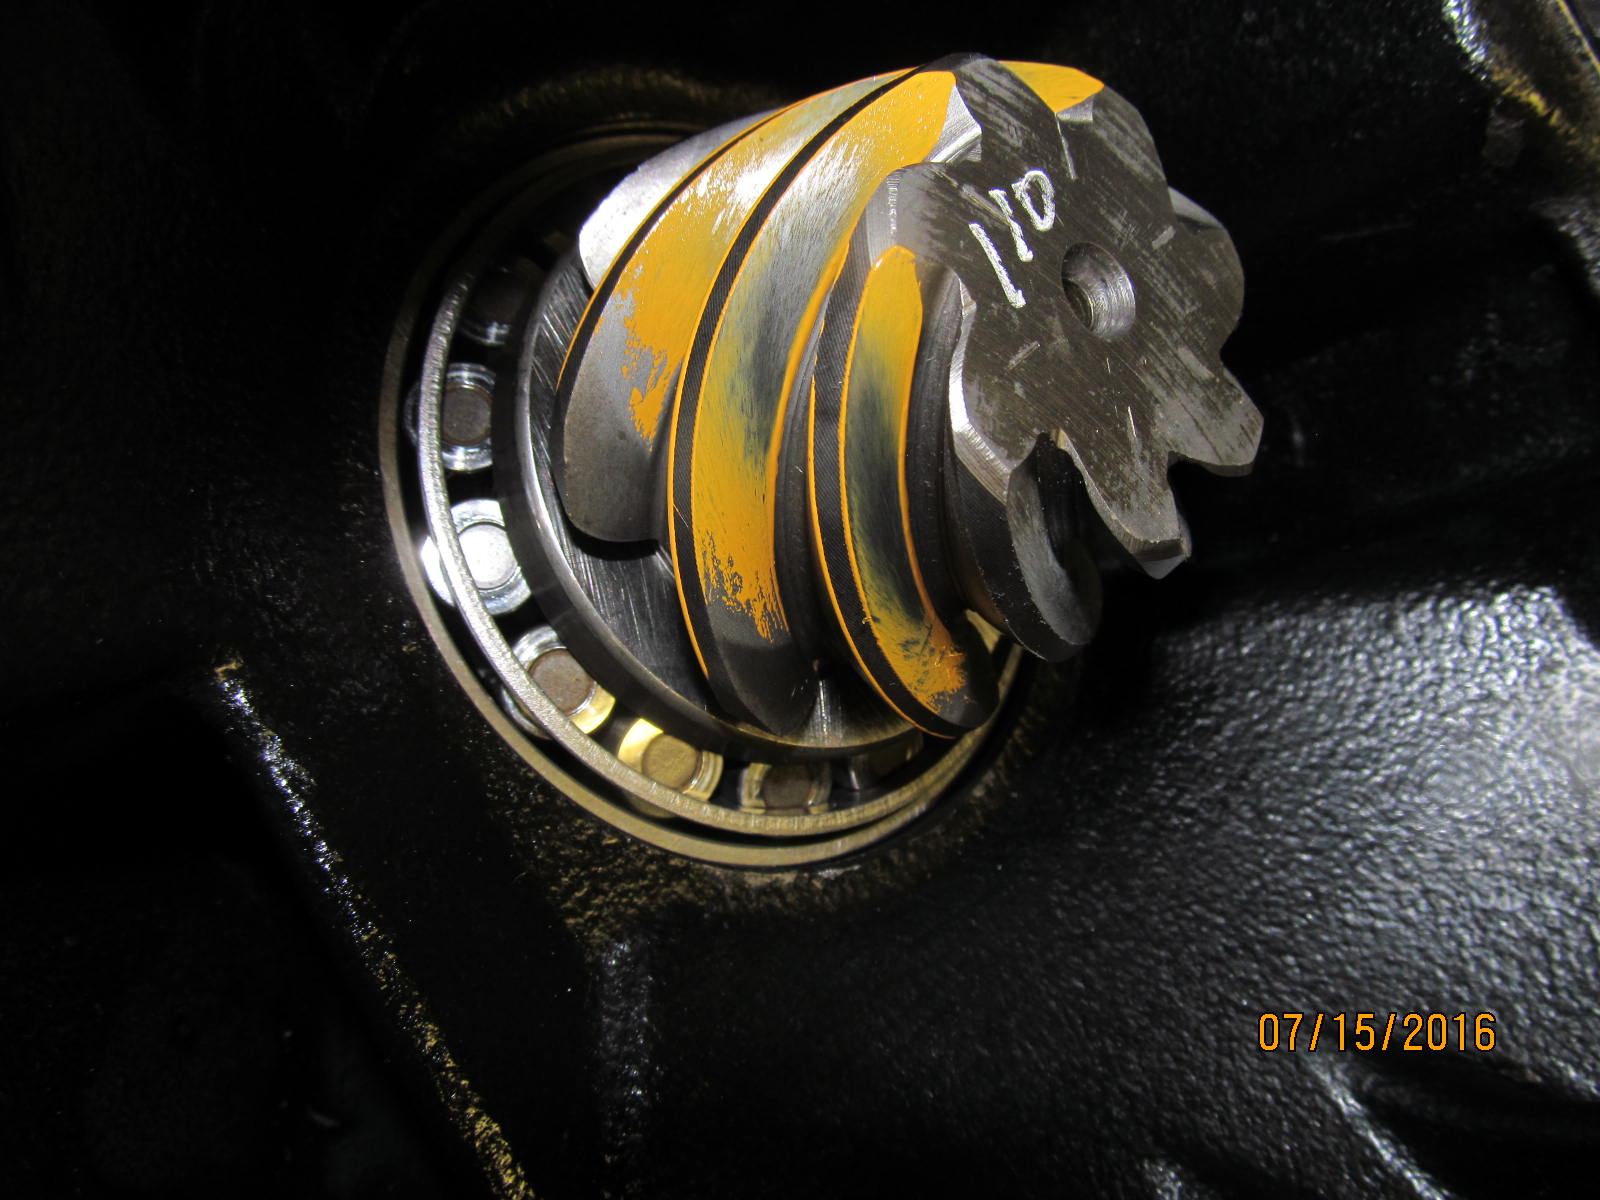
A slight bending out on the anti-rotation tabs....
|
|
|
|
|
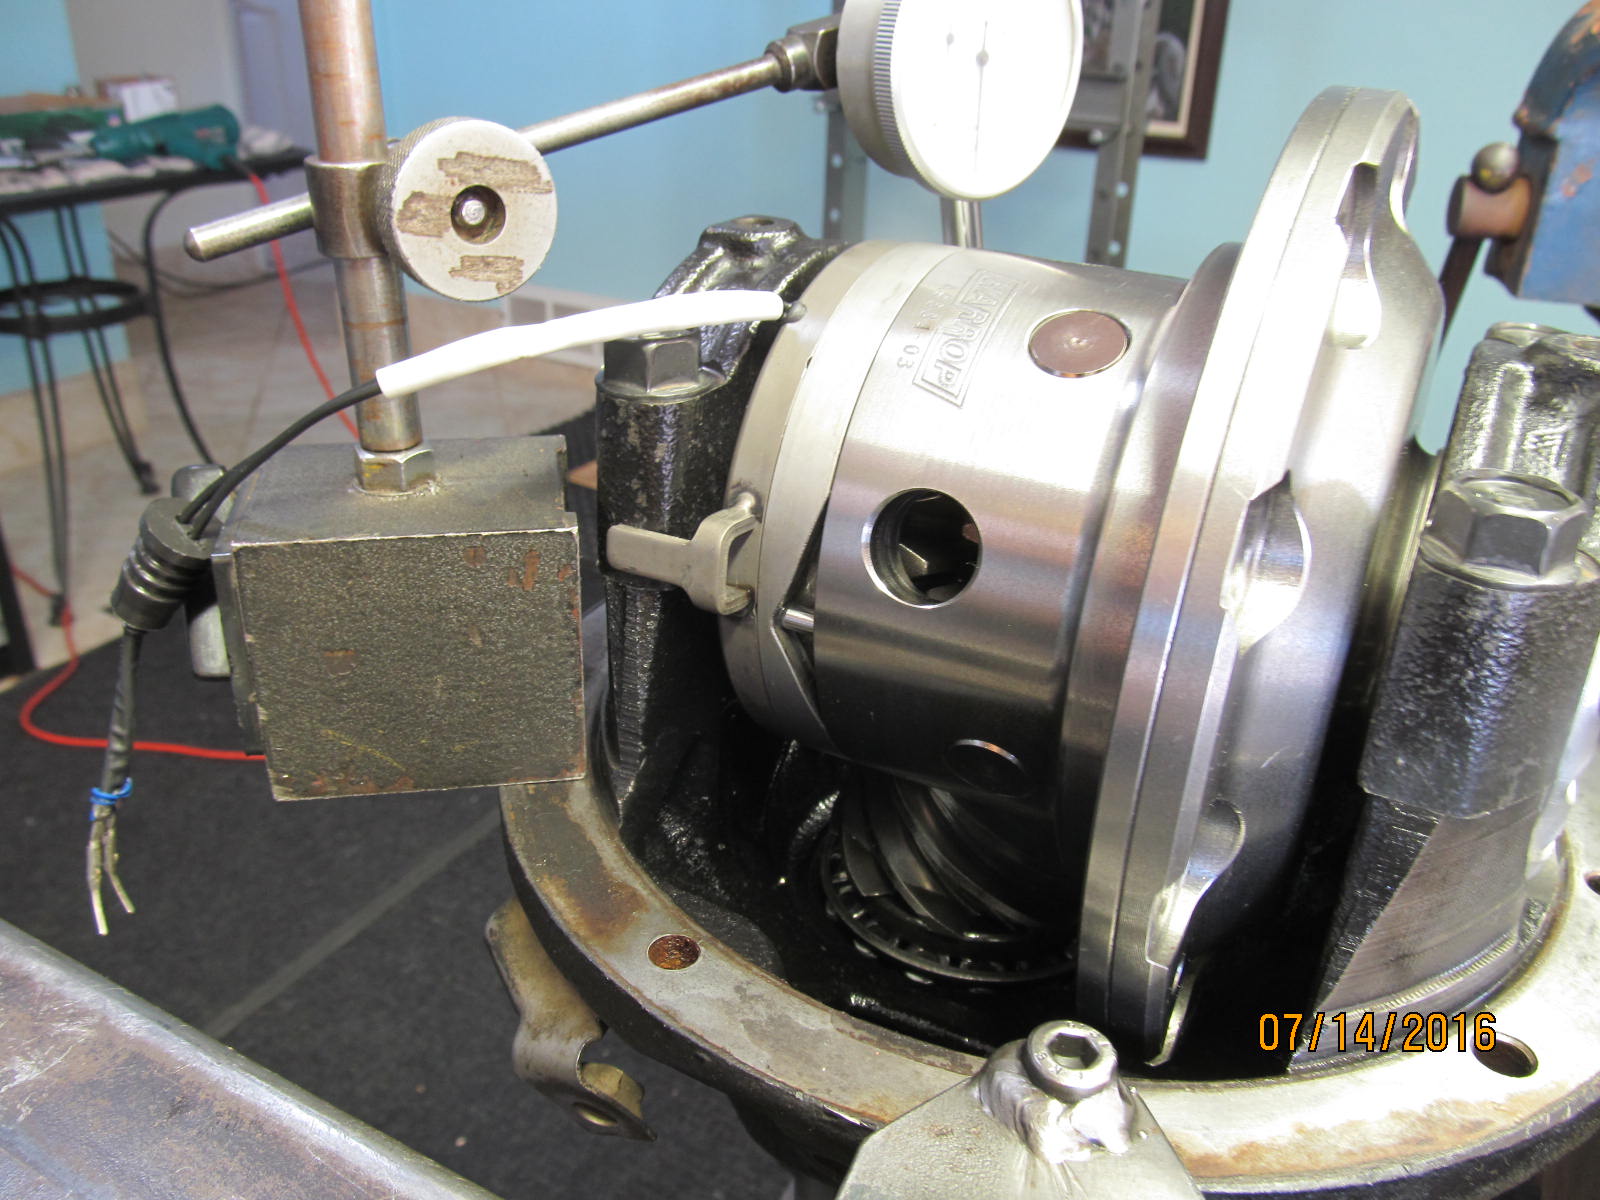
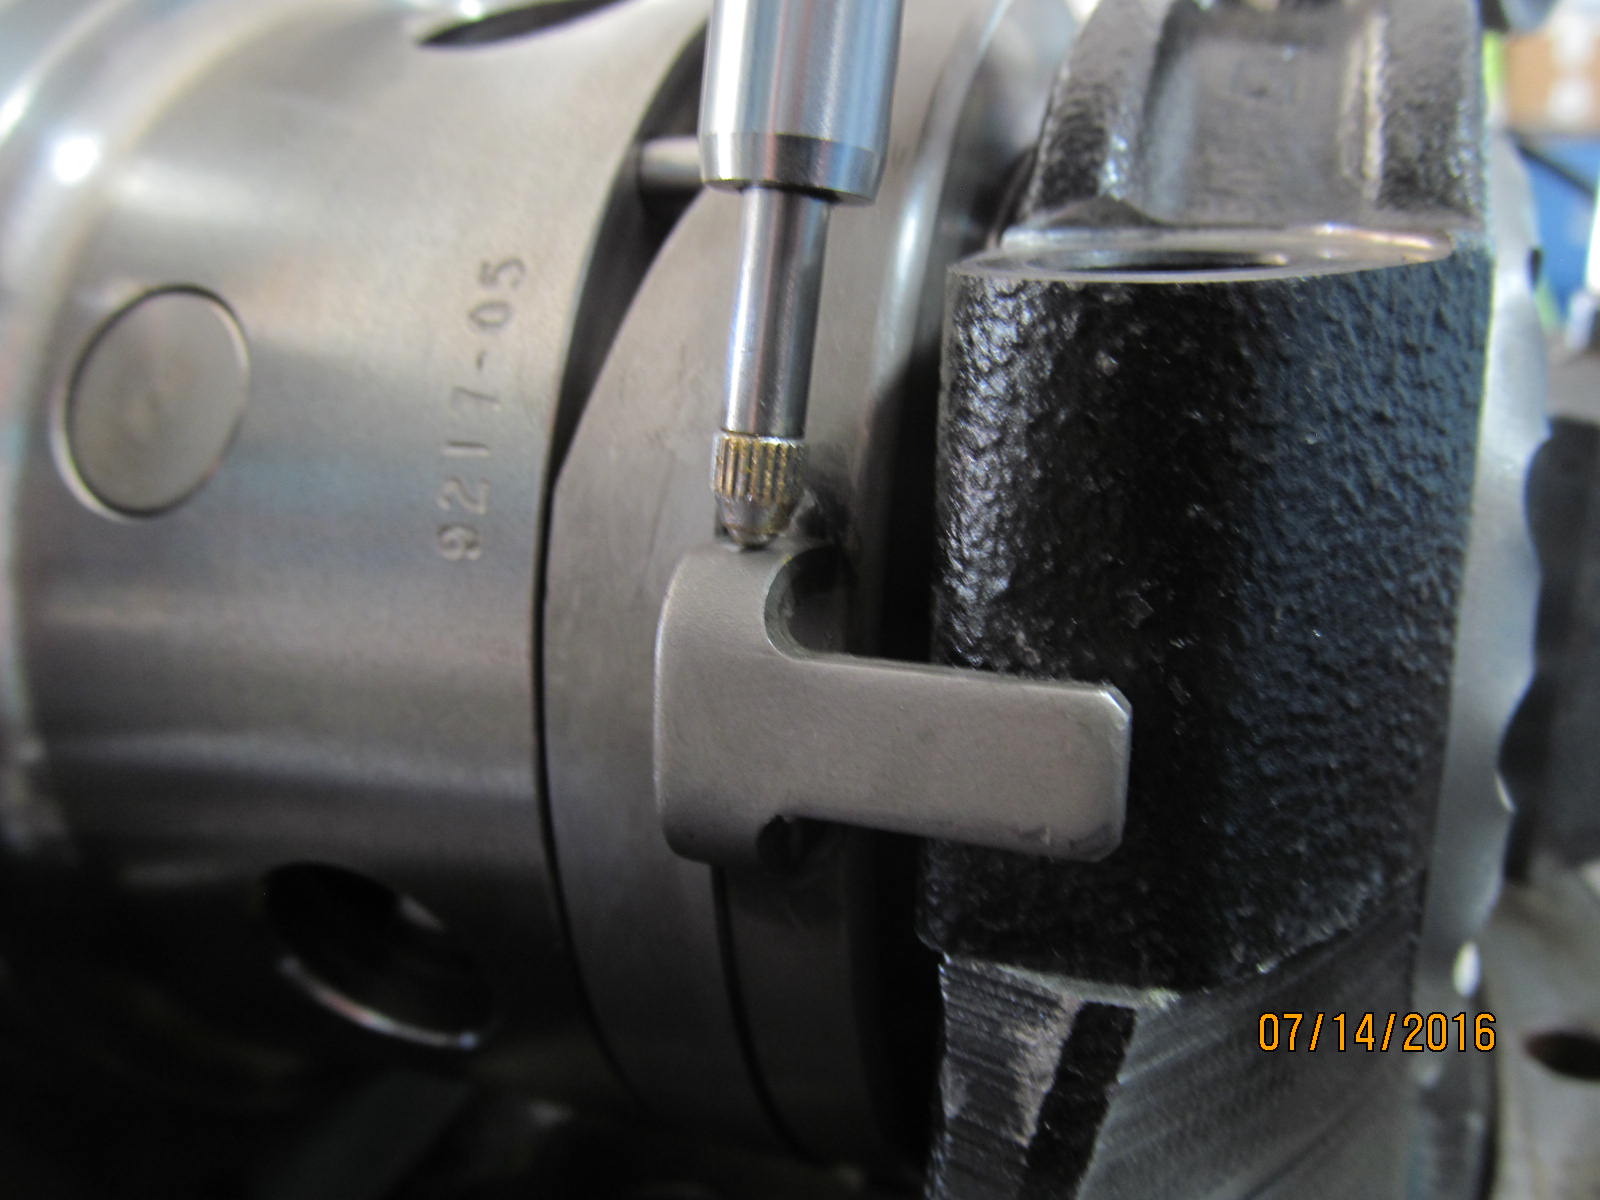
Per the Harrop pdf instructions...verify approx 2mm of radial freeplay.
|
|
|
|
|
,,,,,,,,,,,,,,,,
|
|
|
|
|
2mm is .080" and bending the tab out is one way to increase the freeplay.
|
|
|
|
|
,,,,,,,,,,,,,,,,,,,,
|
|
|
|
|
A coarse file can tweak the freeplay a little bit if needed.
|
|
|
|
|
Not done here but a flapper wheel would REALLY allow for more freeplay.
|
|
|
|
|
A double check and all looks good in the freeplay department.
|
|
|
|
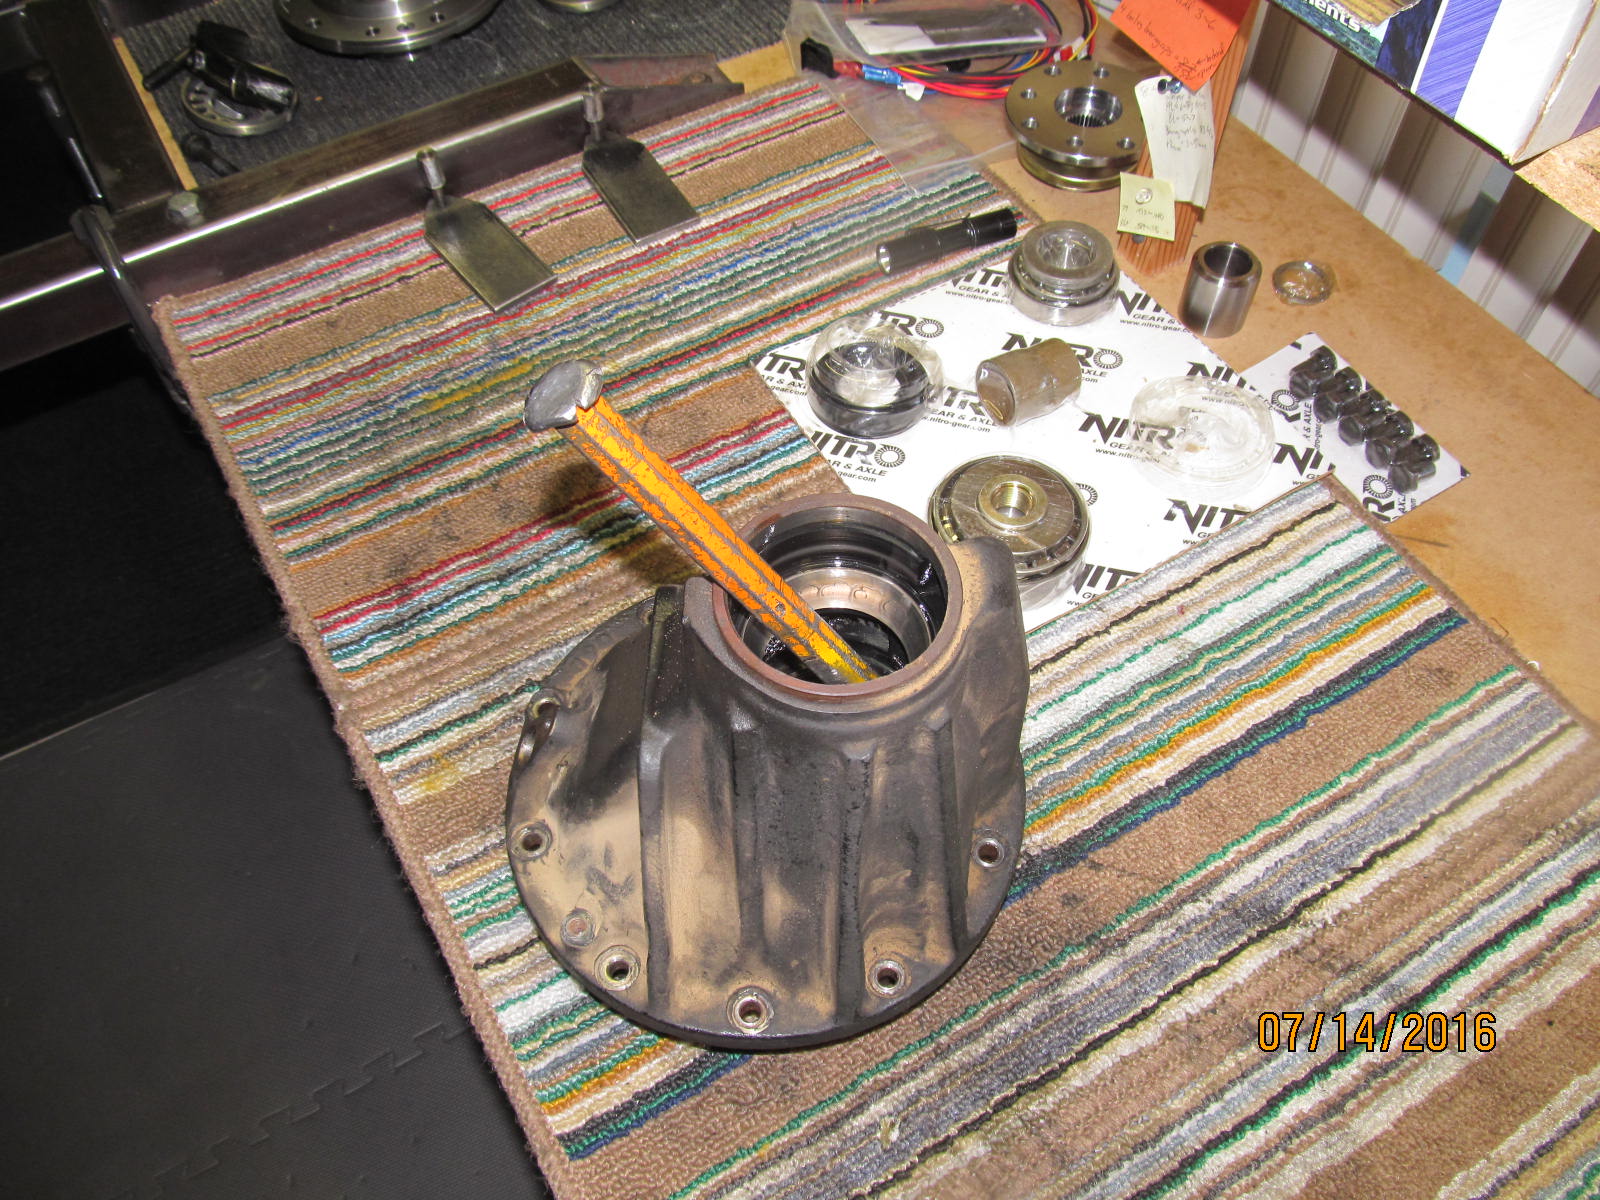
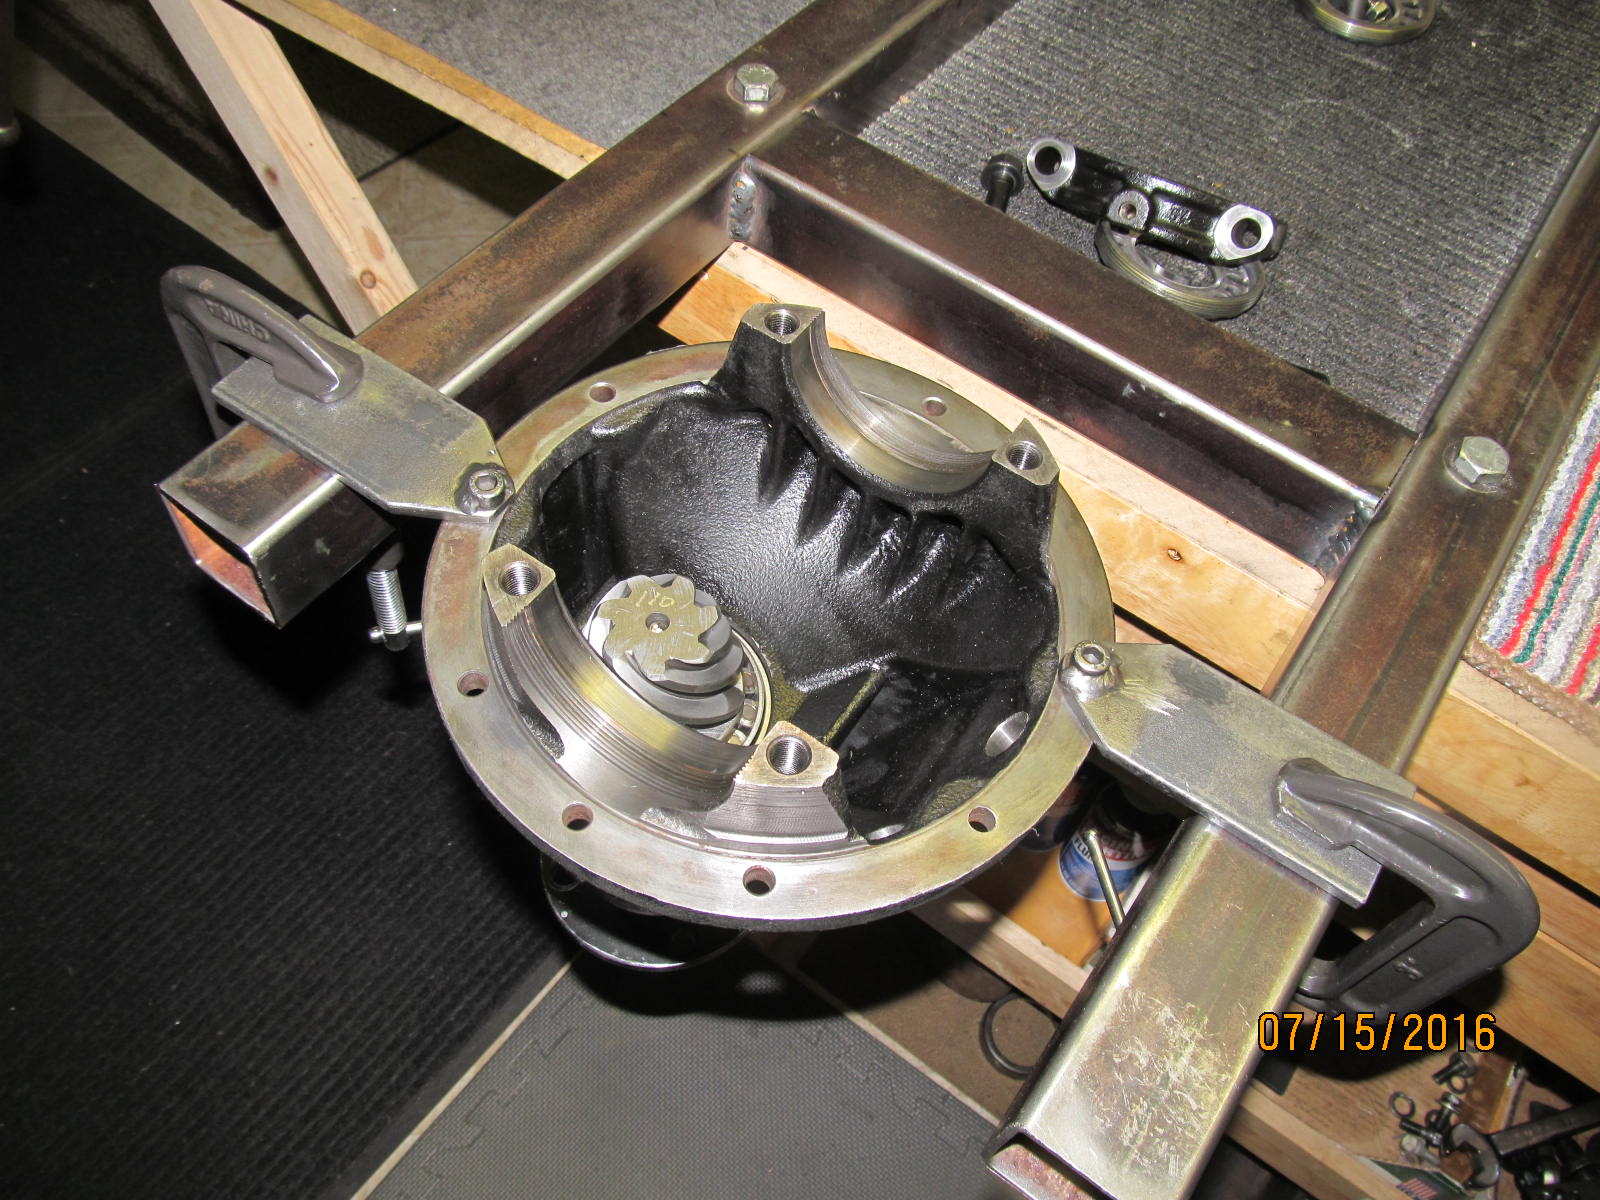
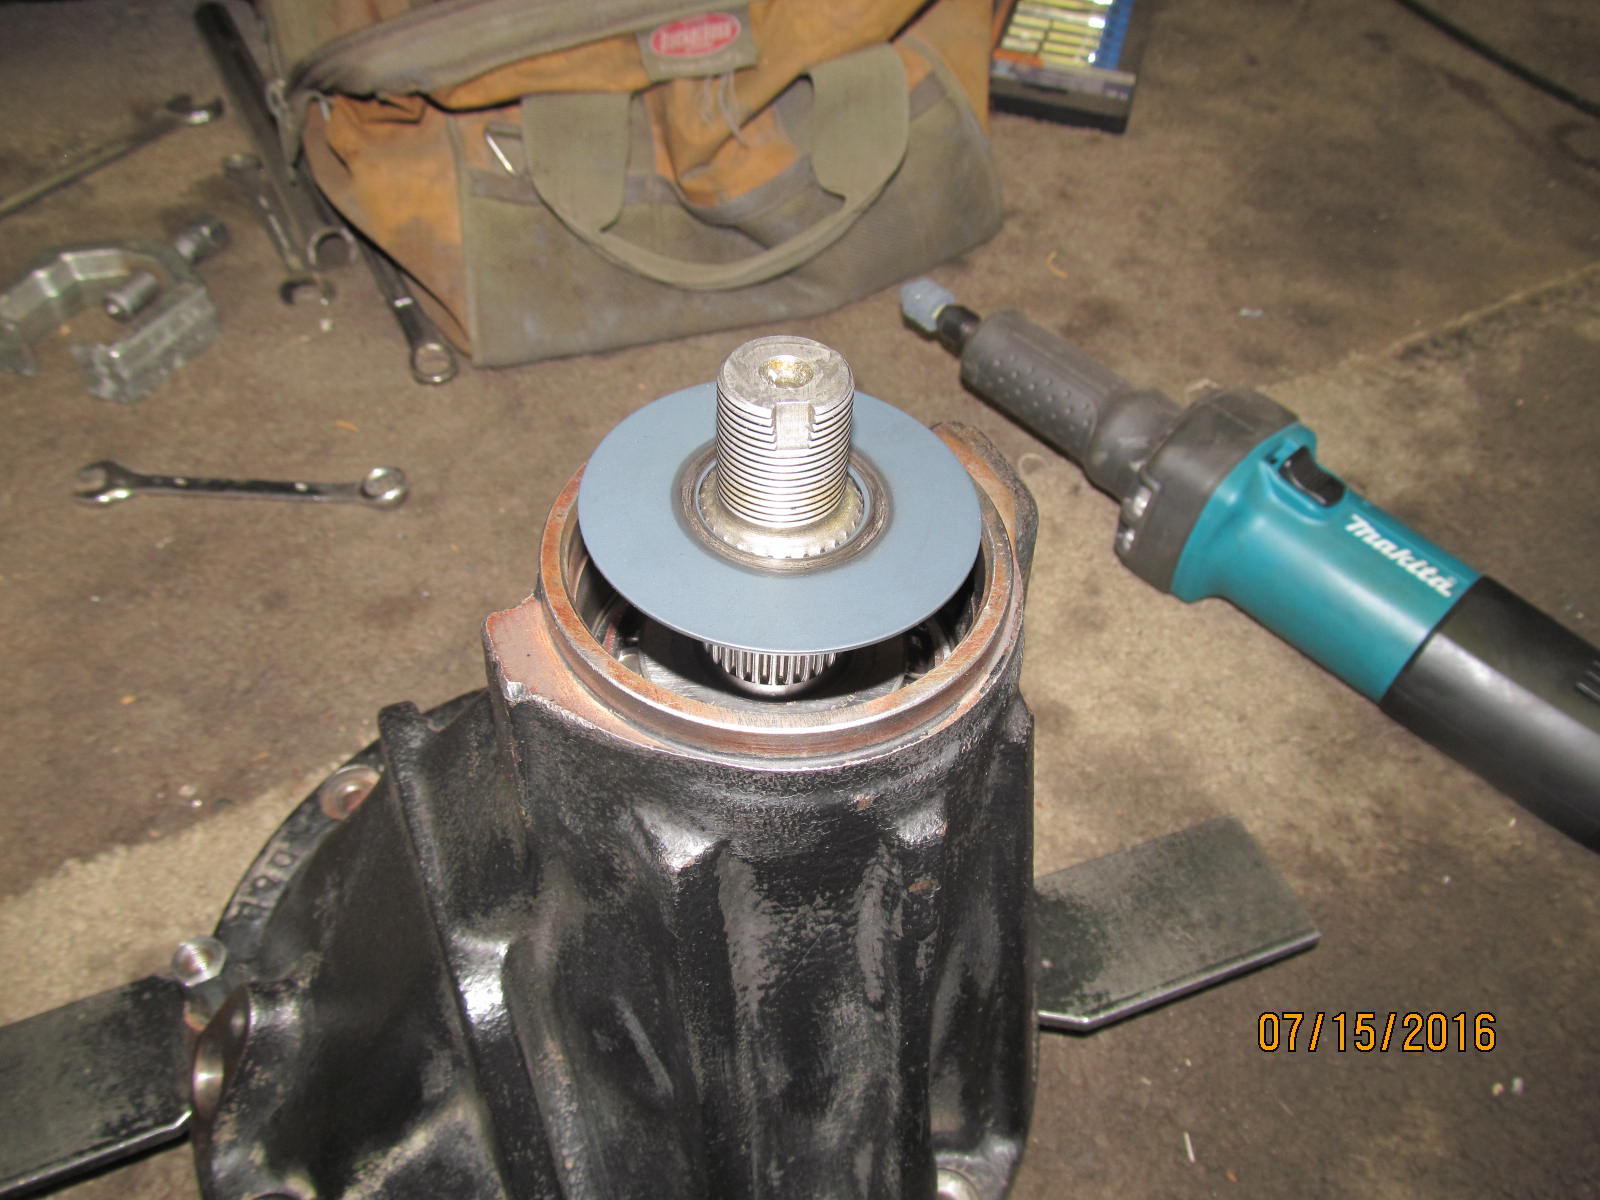
Still waiting for the 529 gears so let's get this end prepared as much as possible.
About the only real thing we can do is put new races in.
Remove the pinion flange....
|
|
|
|
|
...push the pinion out.
|
|
|
|
|
Old pinion seal is pryed off and disposed of.
|
|
|
|
|
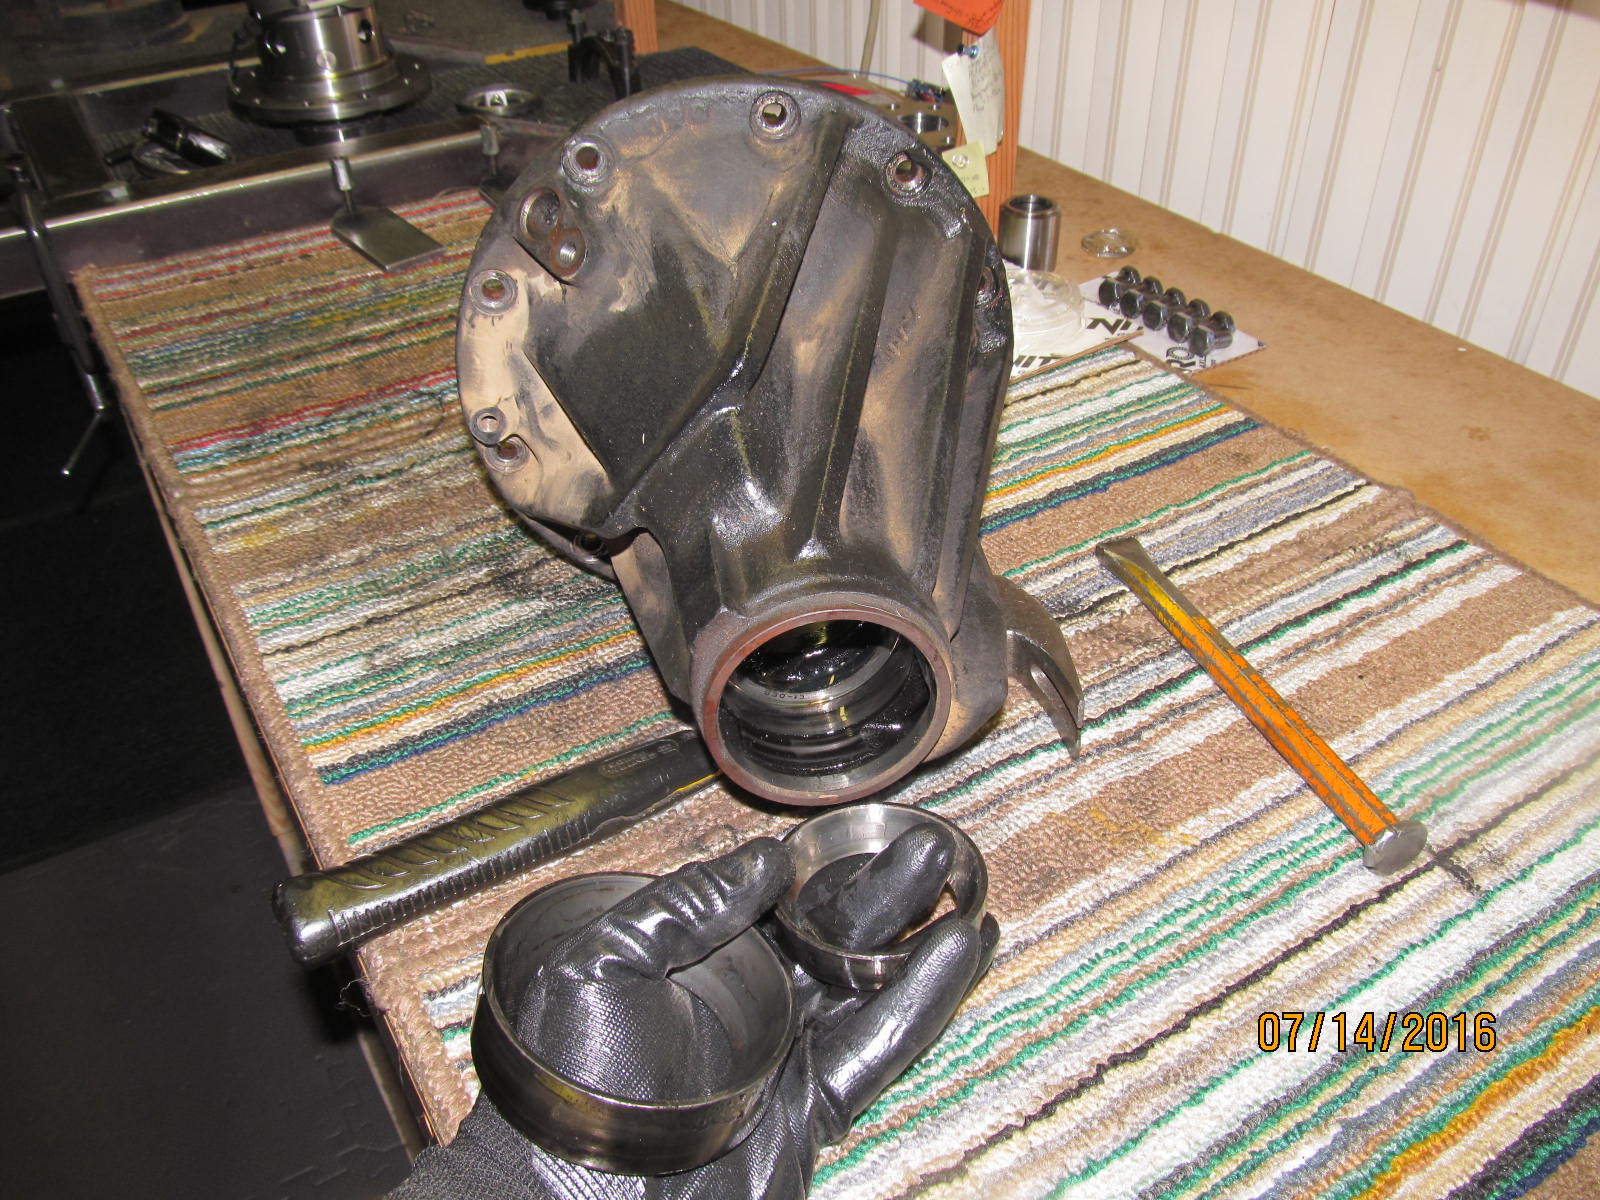
Both original races can now be tapped out.
|
|
|
|
|
,,,,,,,,,,,,,,,,,,,,,,
|
|
|
|
|
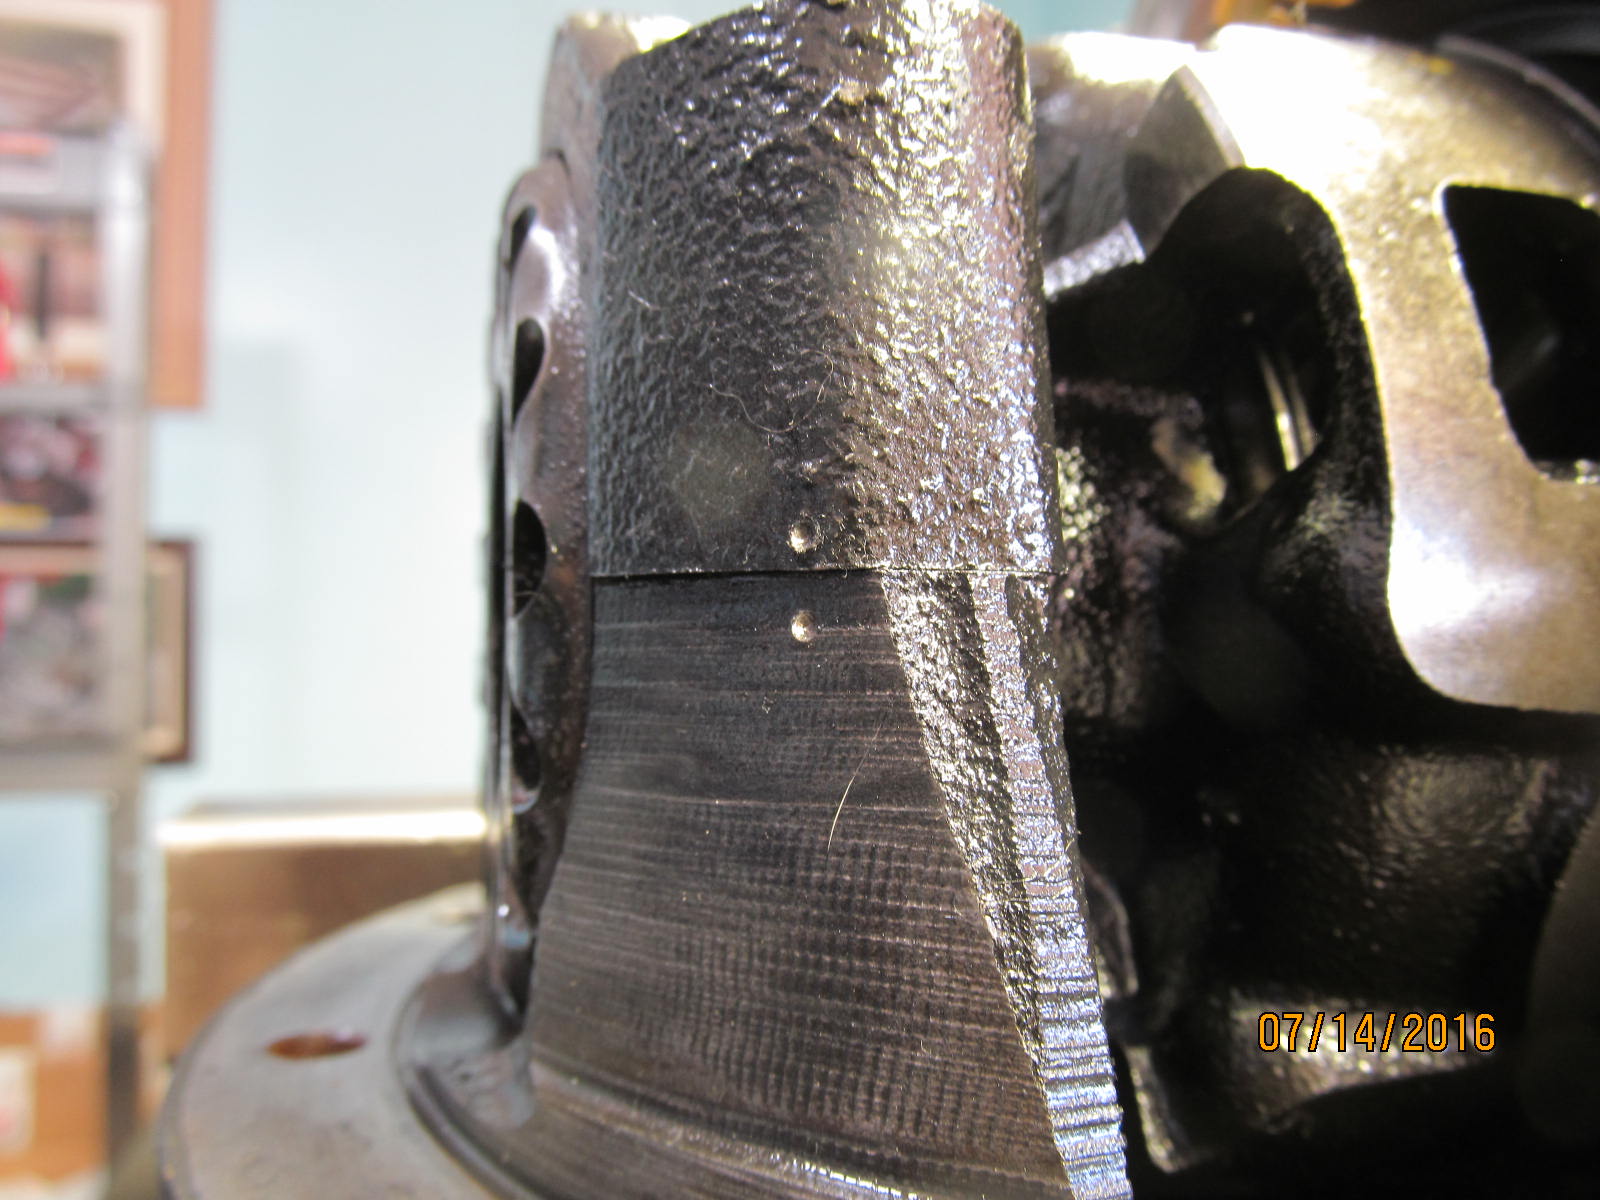
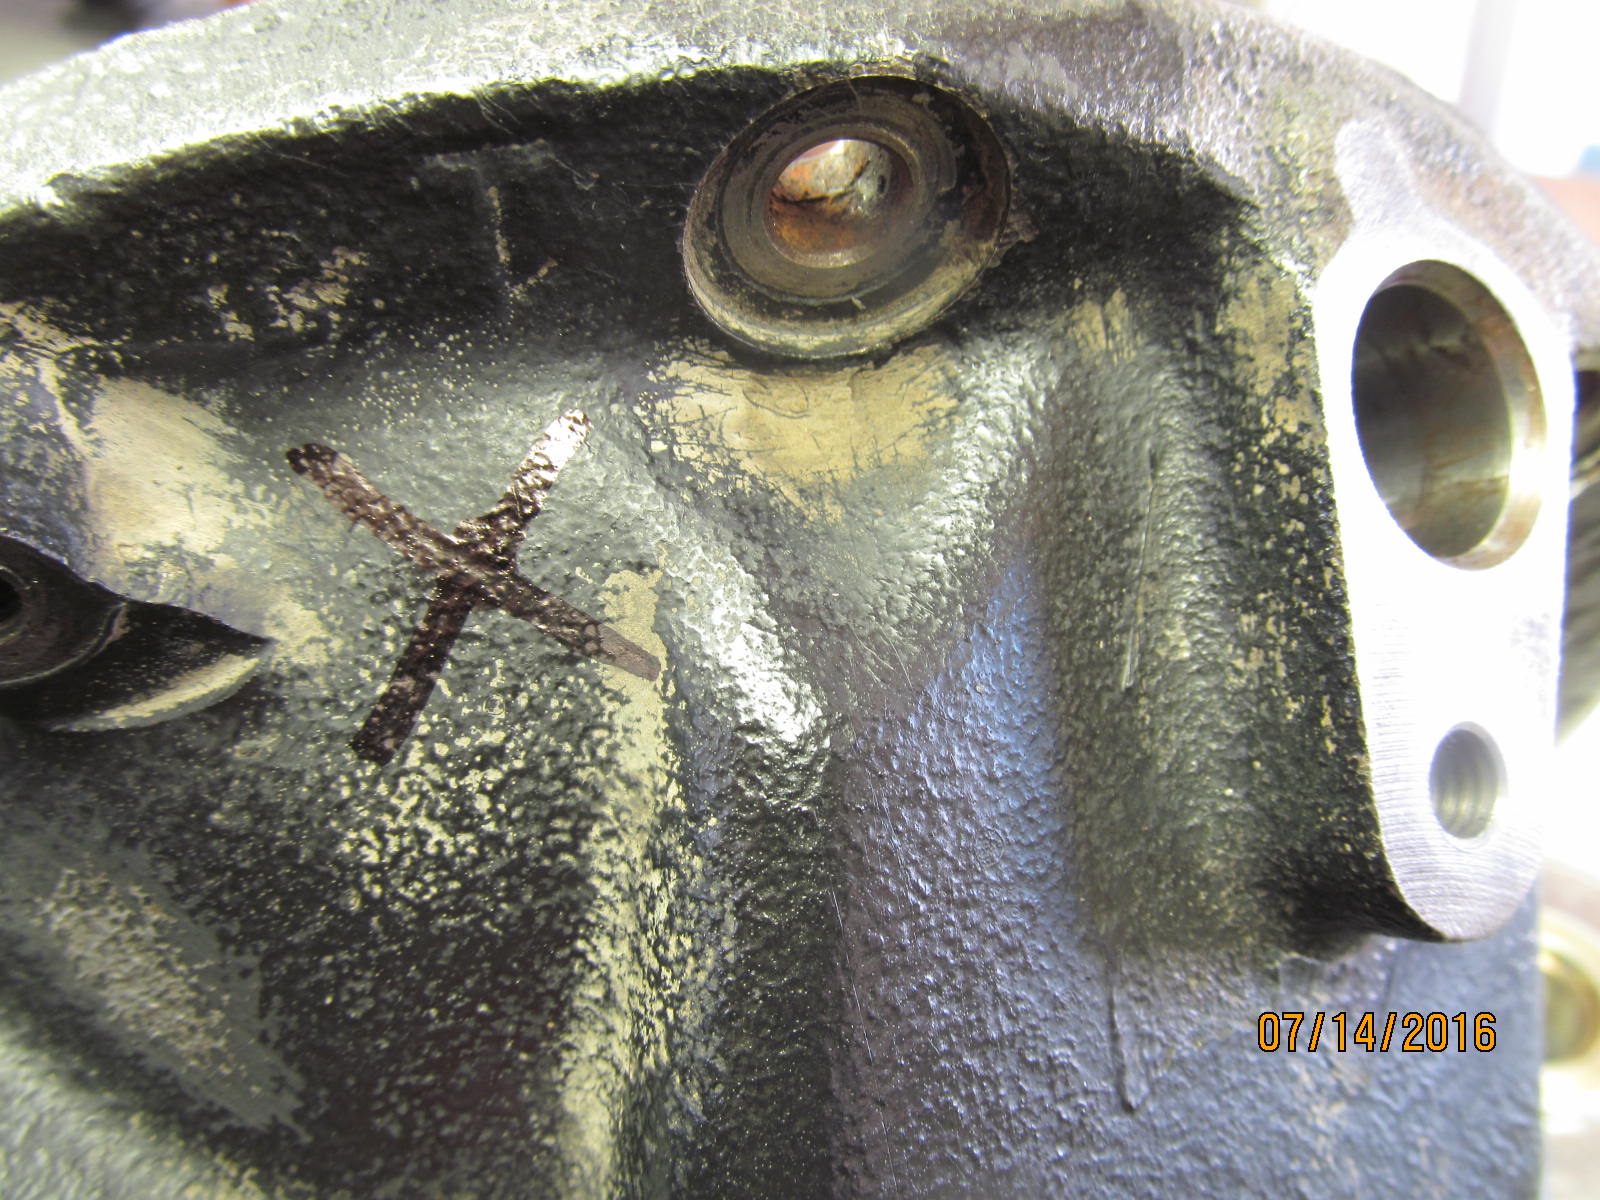
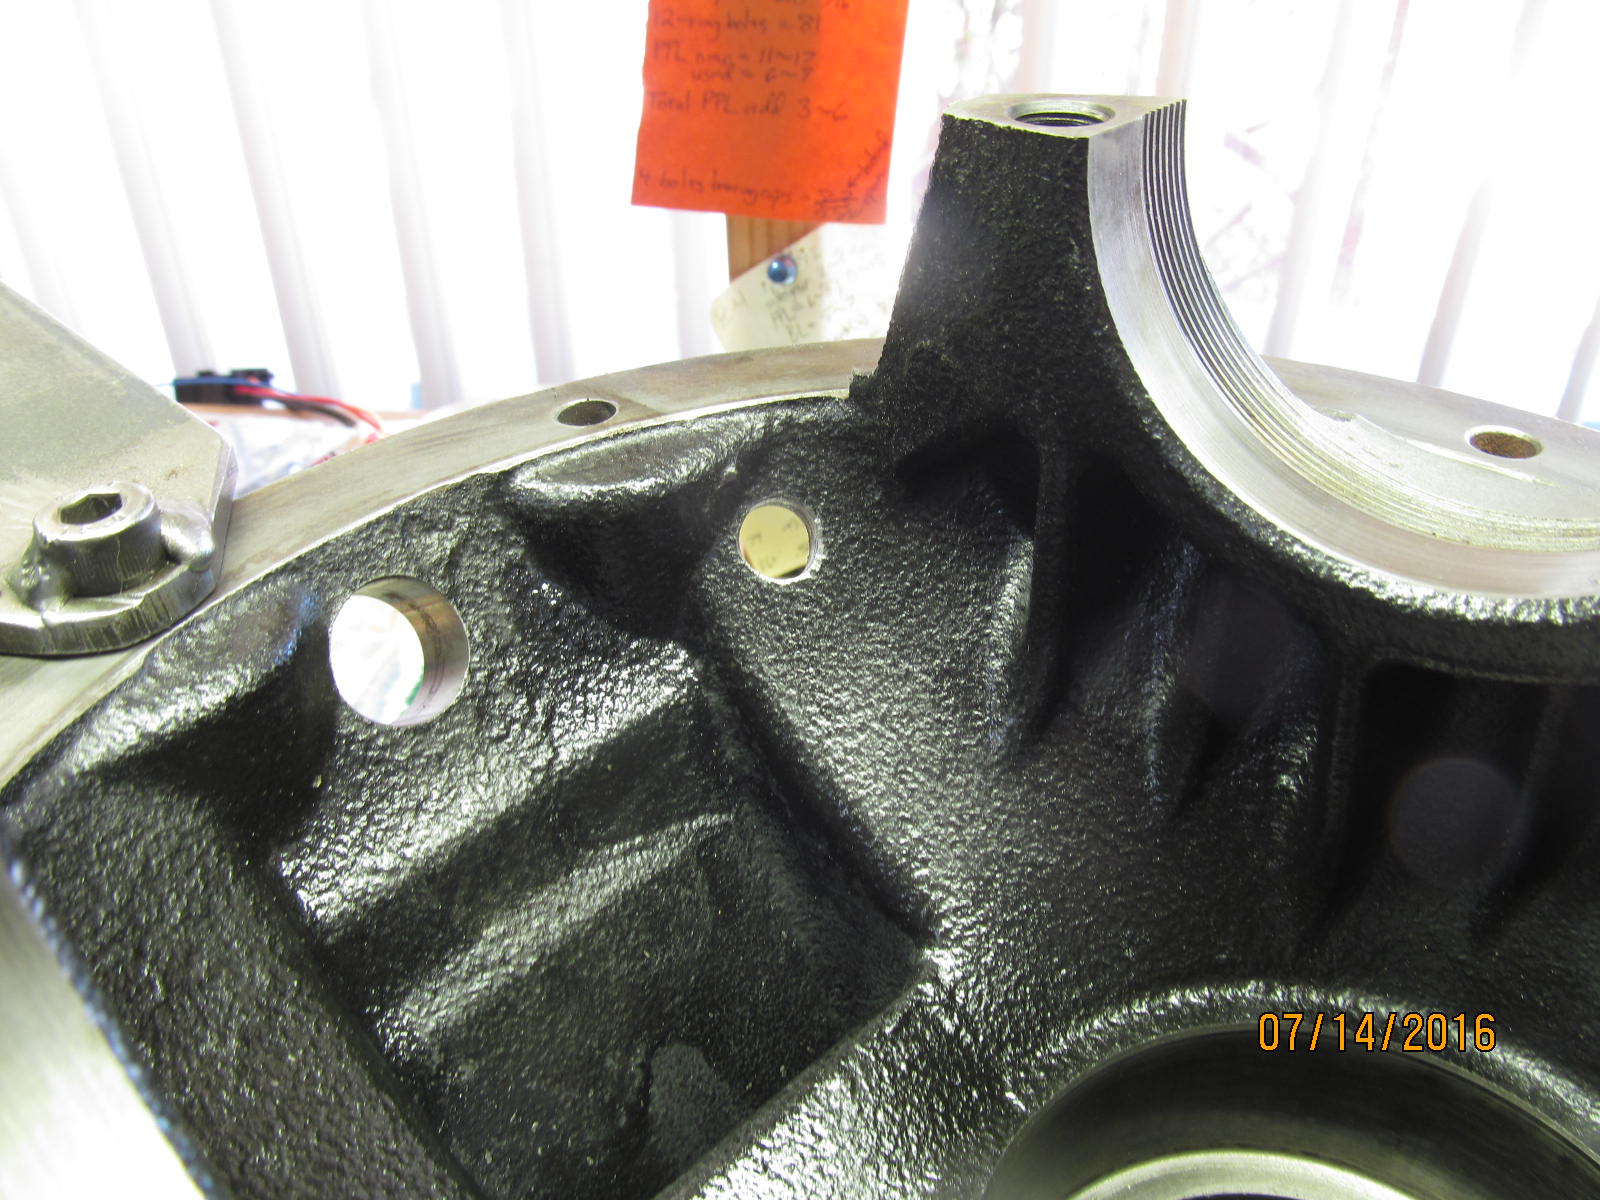
With the 3rd gutted now is a good time to mark and drill the hole.
|
|
|
|
|
Drill a 29/64" hole.
|
|
|
|
|
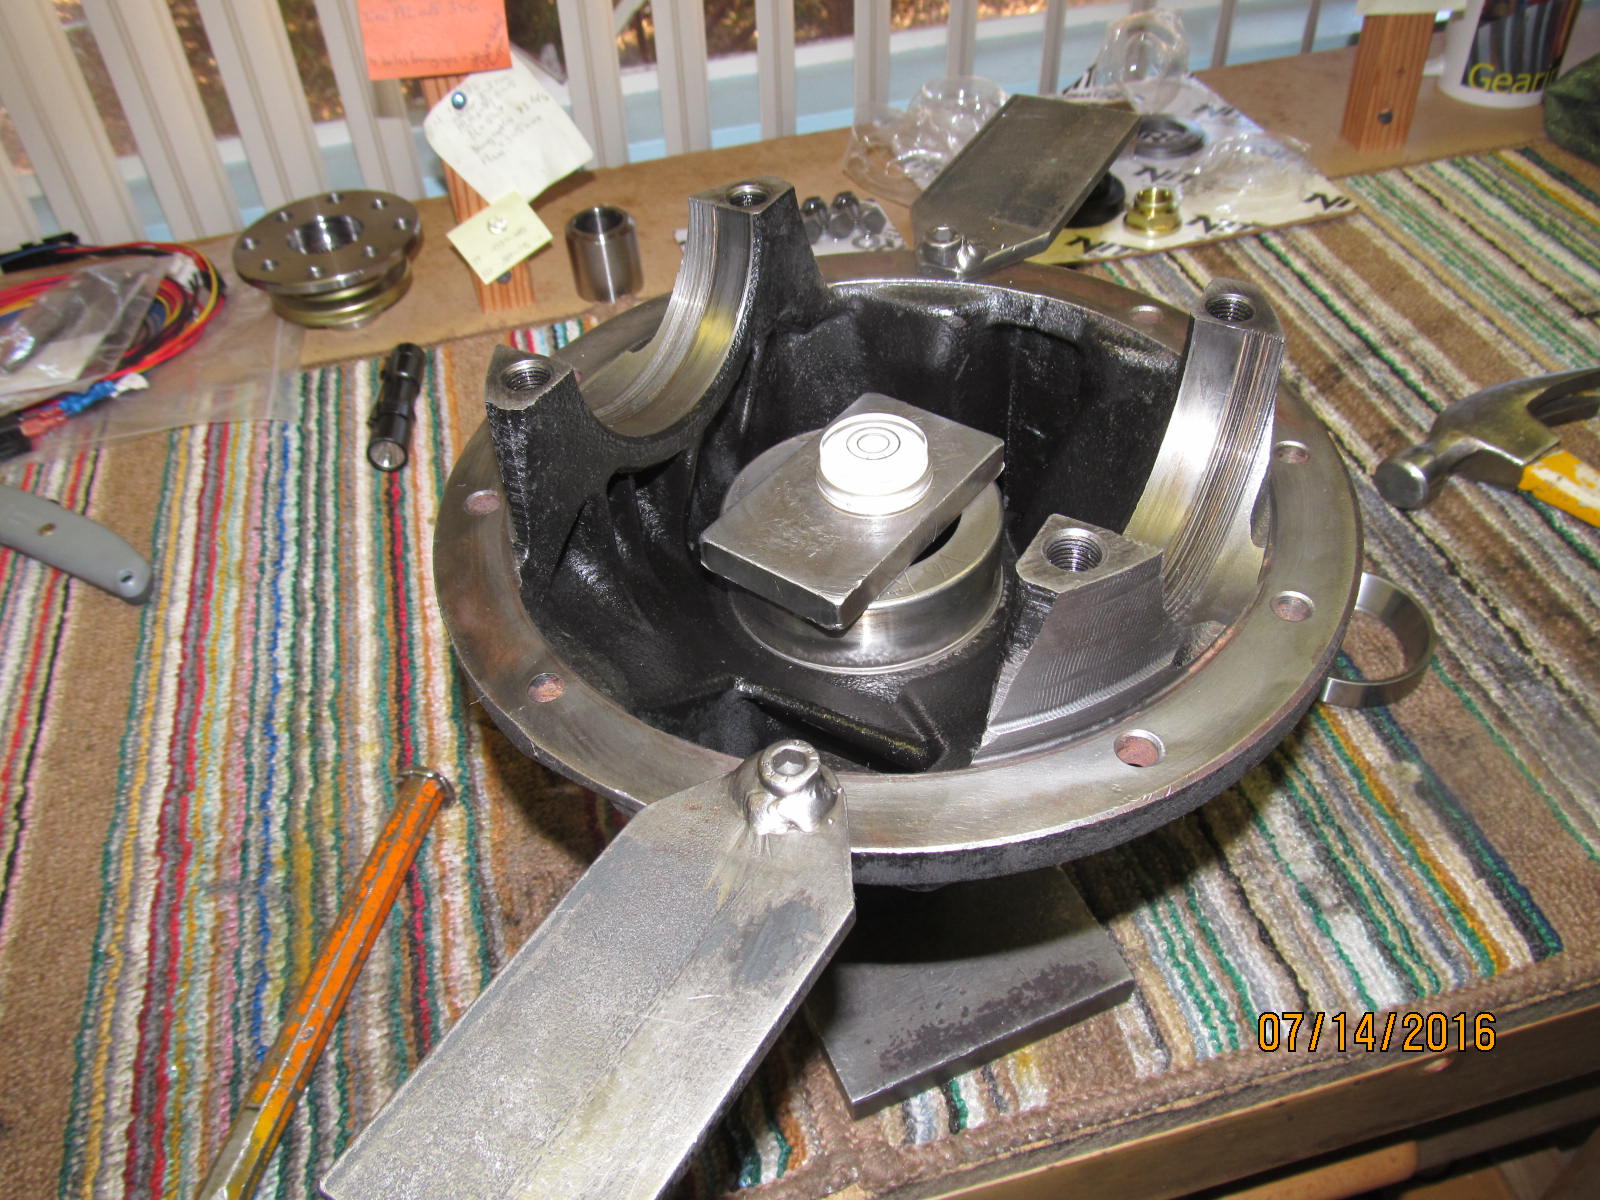
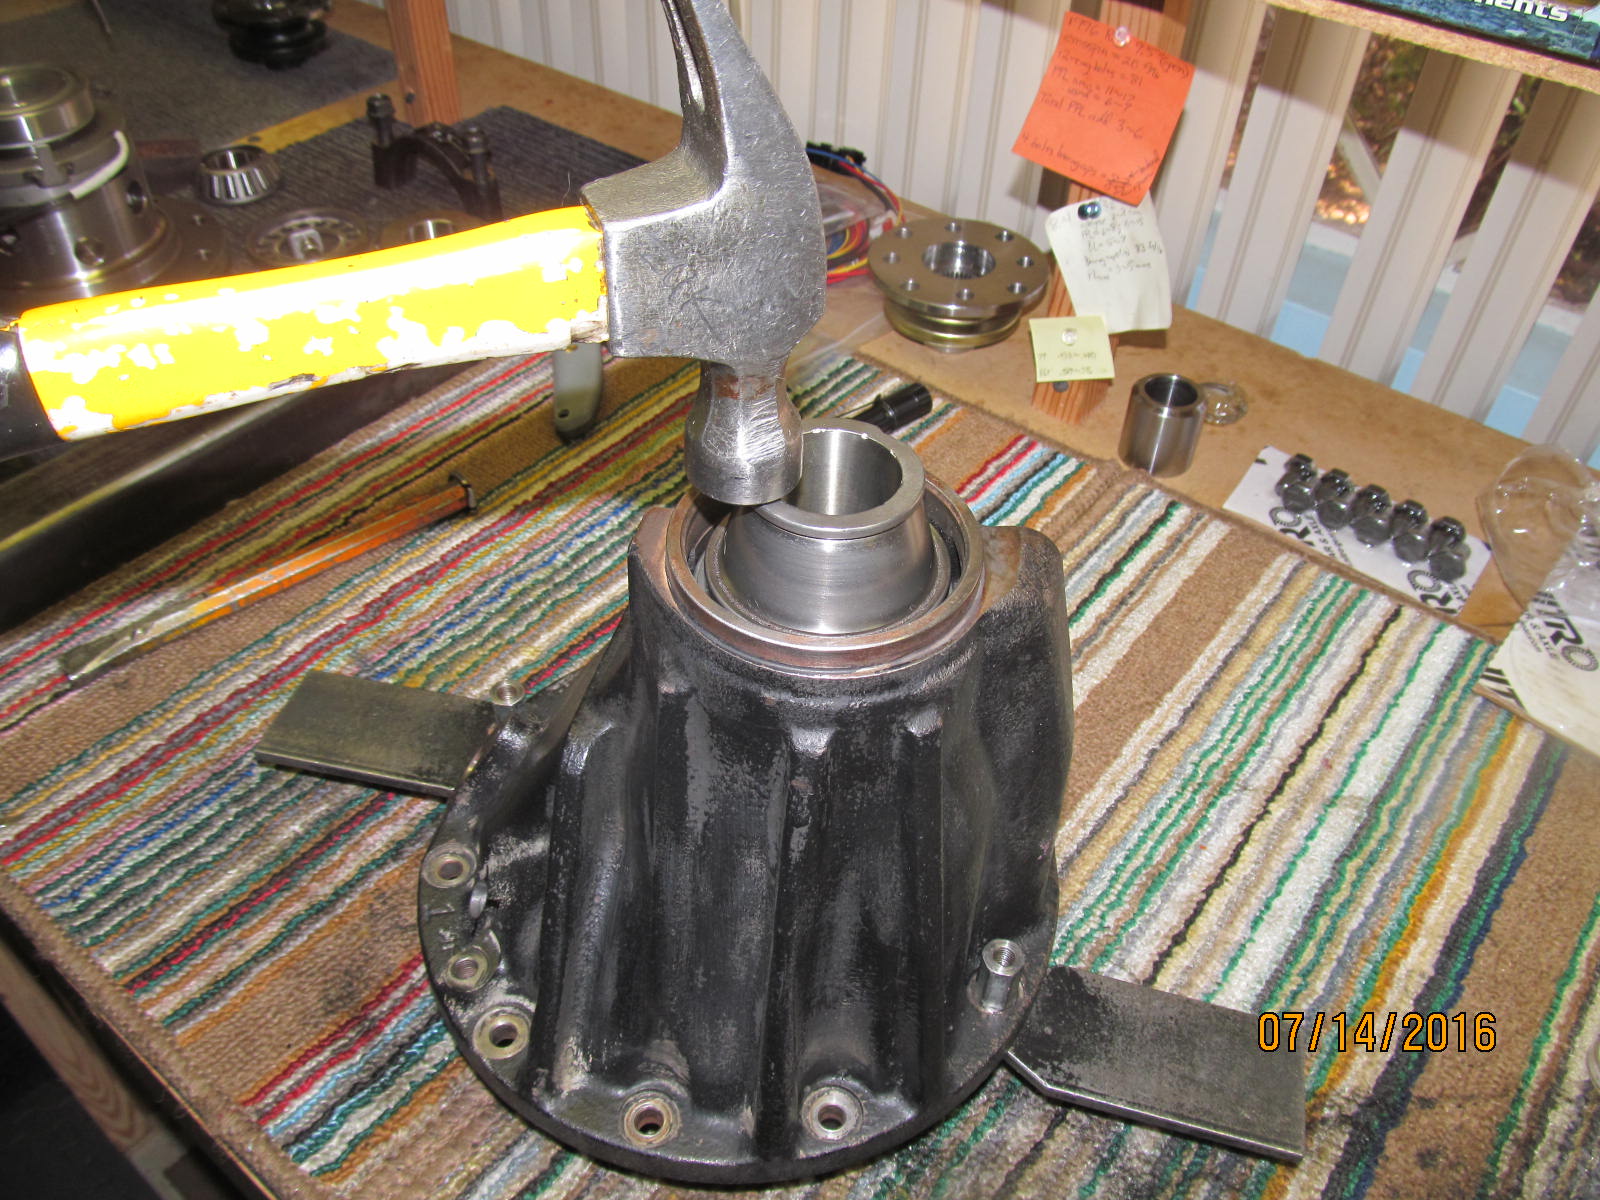
Both races will be tapped in...tapped in without harsh direct chisel contact.
|
|
|
|
|
A bubble is used to keep the race going true all the way in.
|
|
|
|
|
100% seated.
|
|
|
|
|
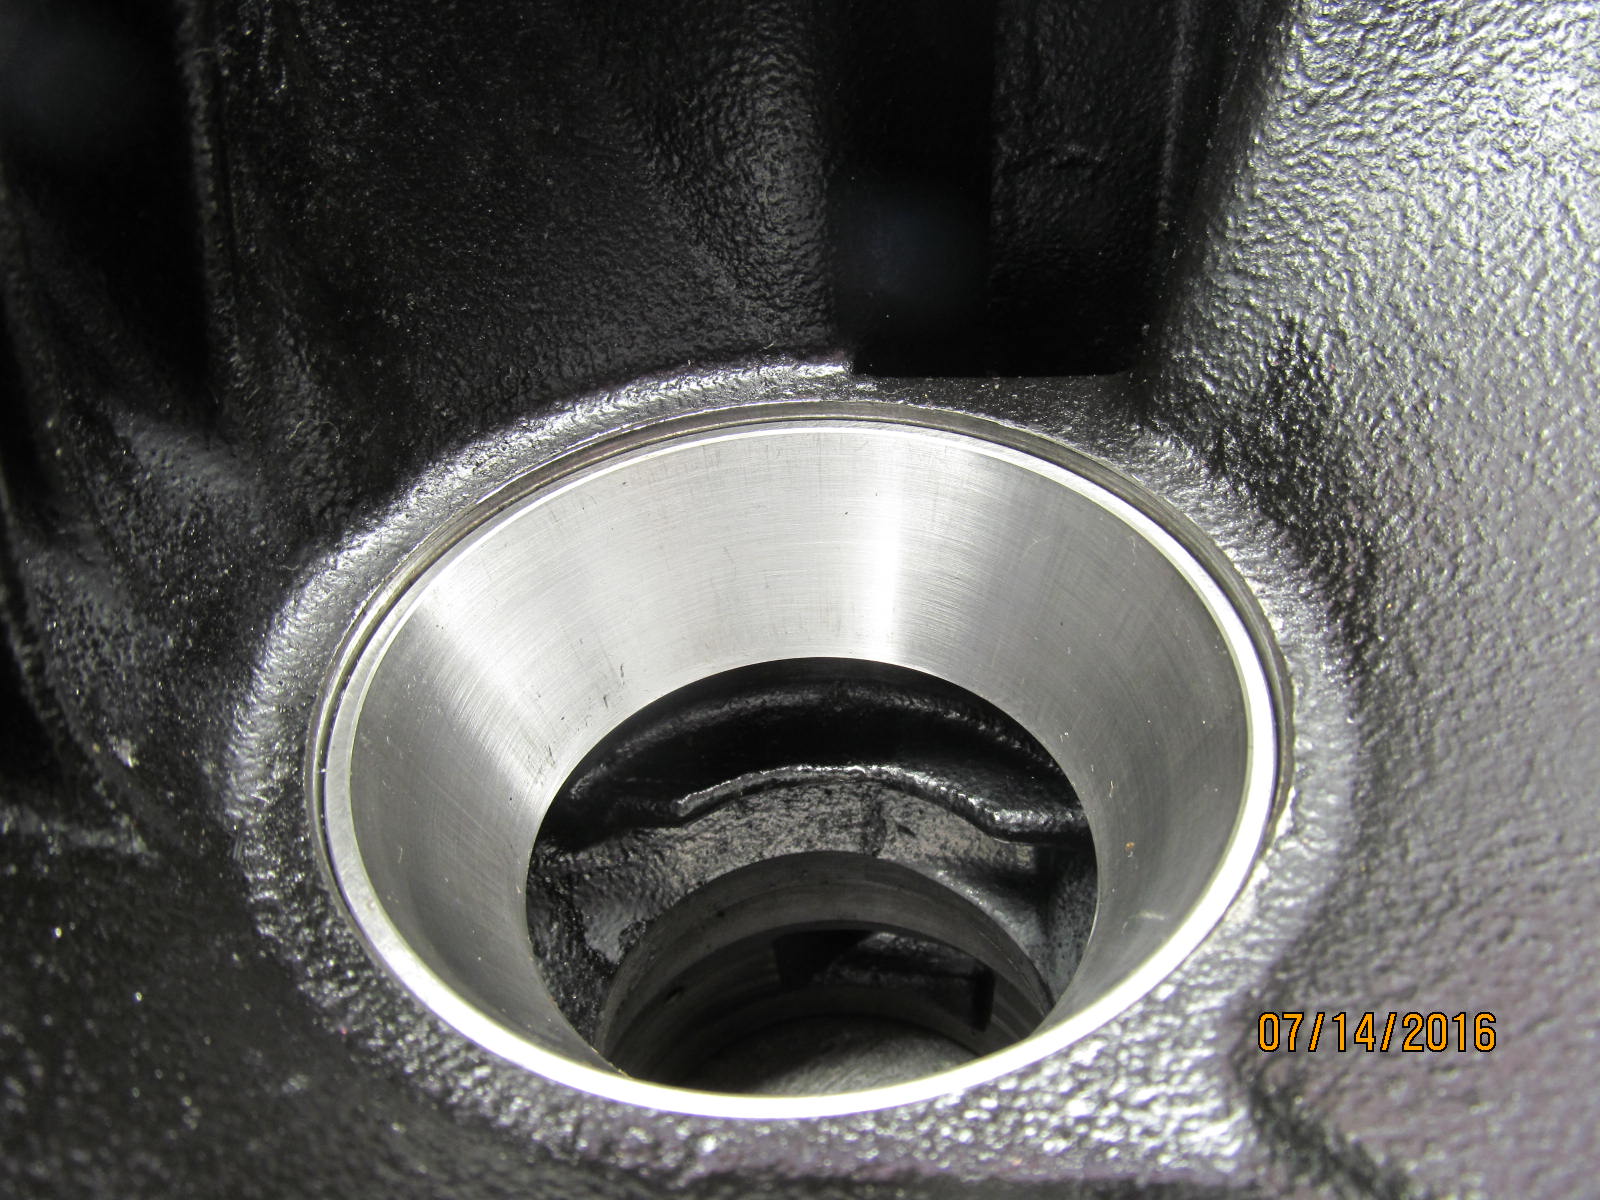
The outer race goes much faster.
|
|
|
|
|
100% seated also.
|
|
|
|
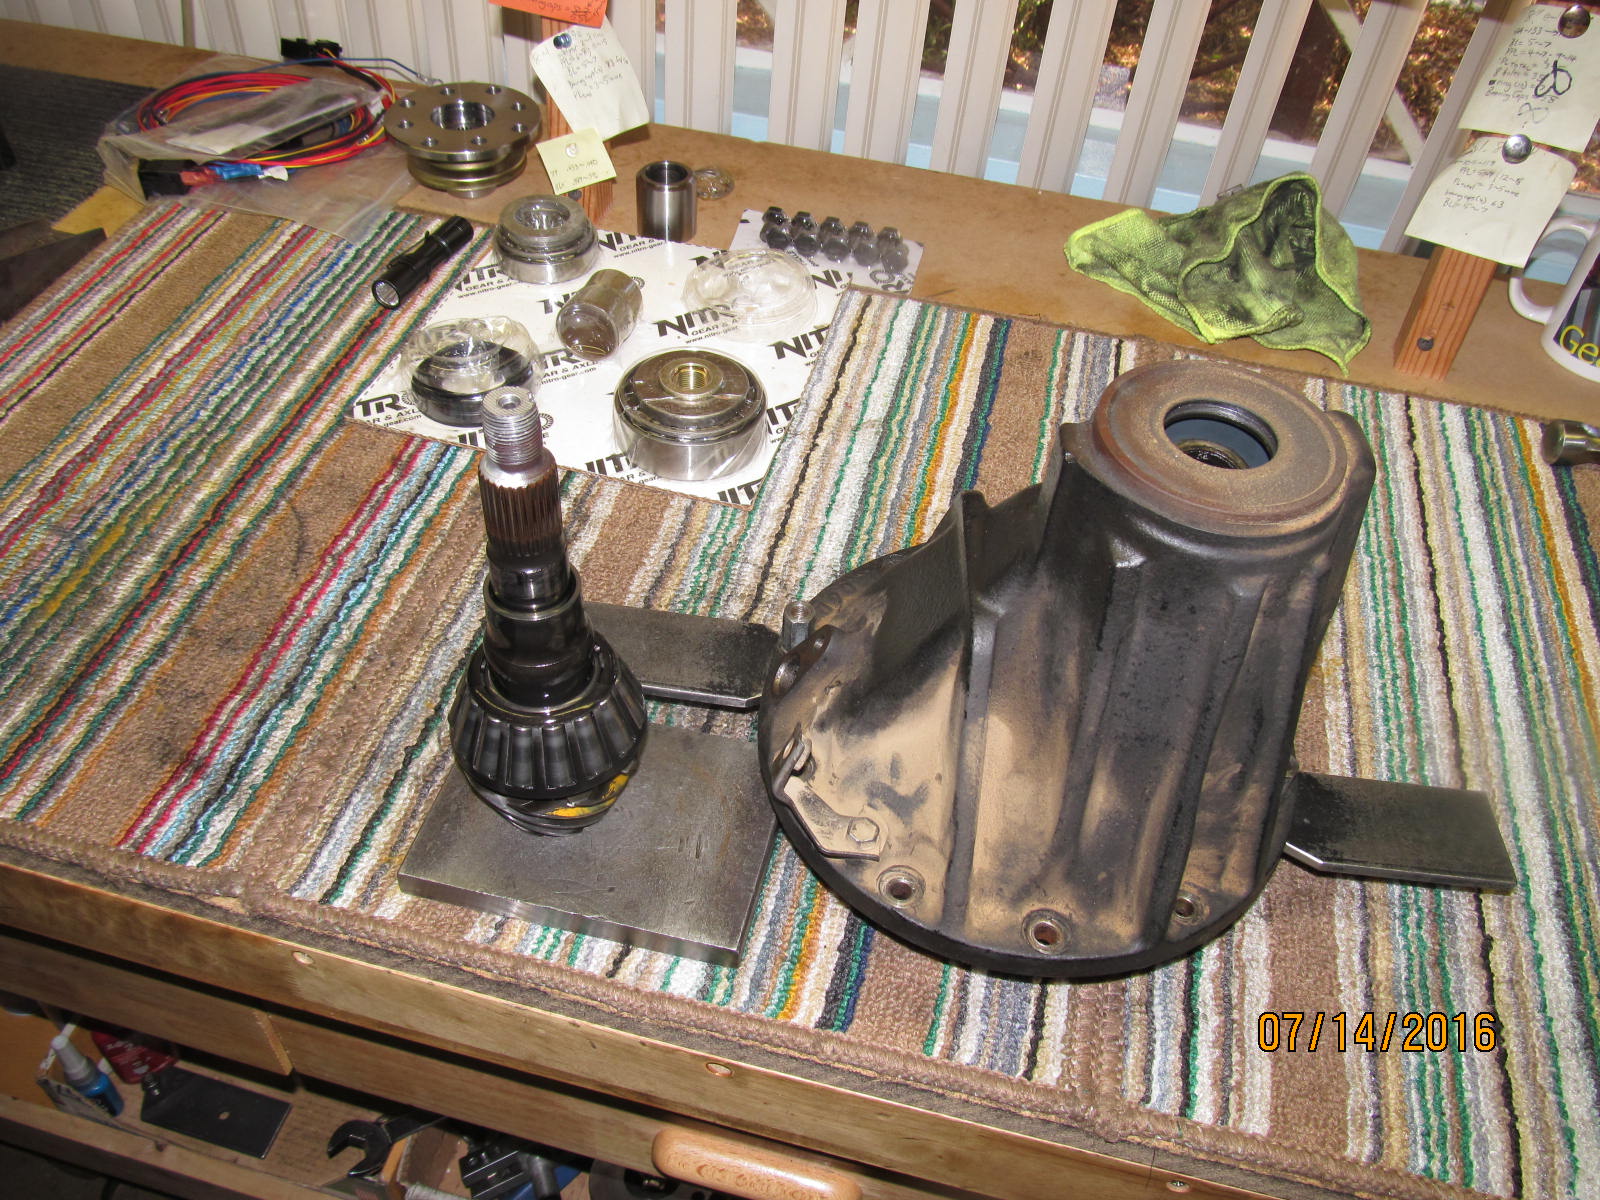
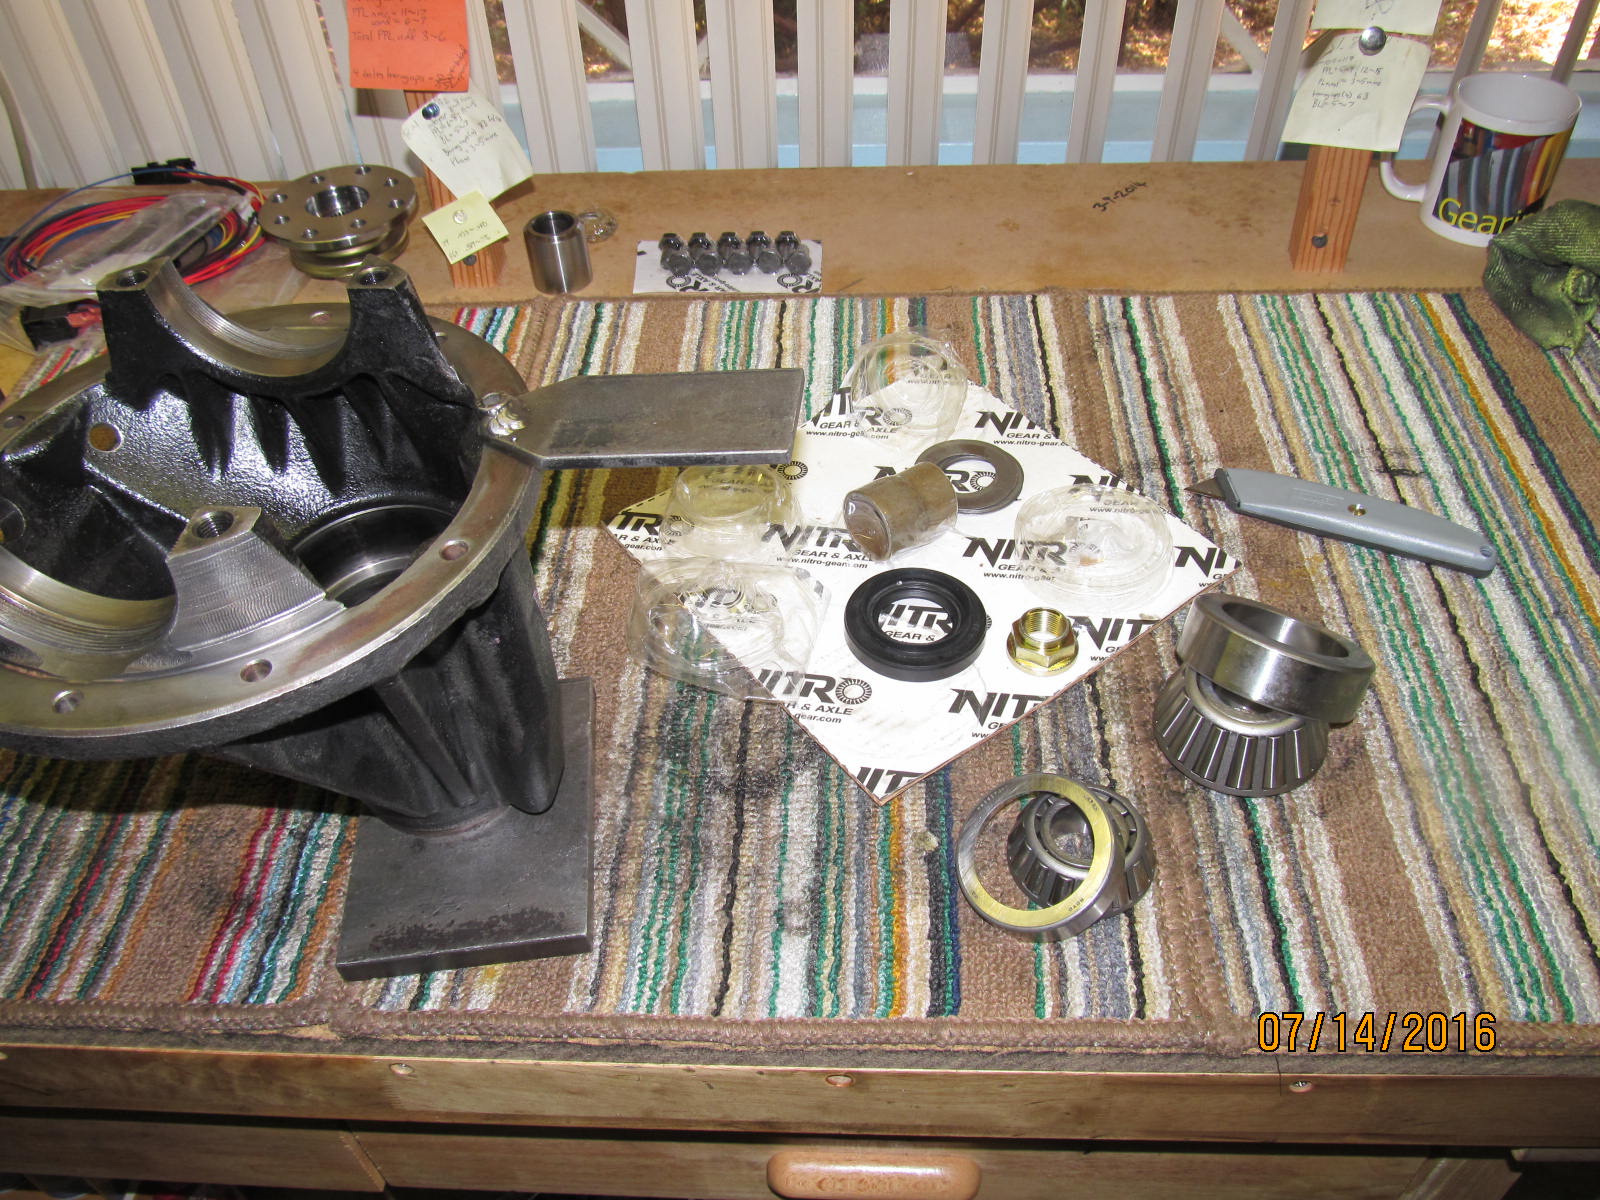
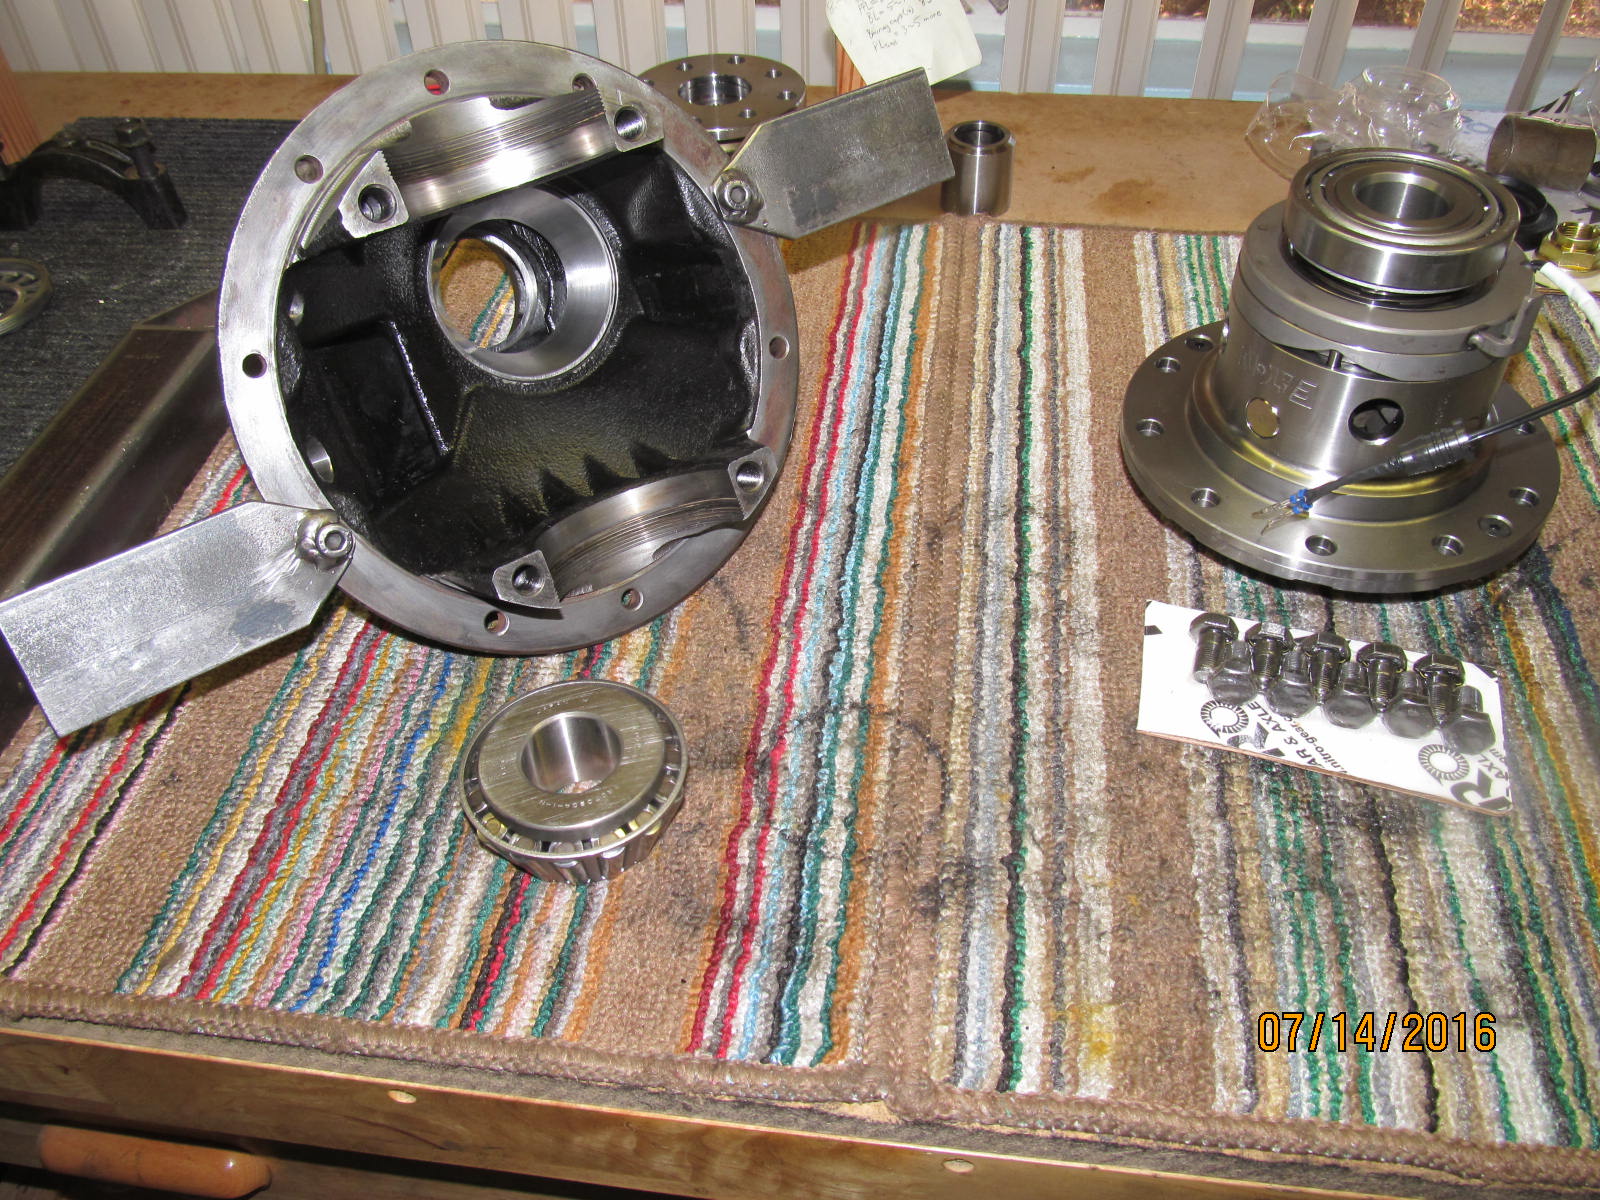
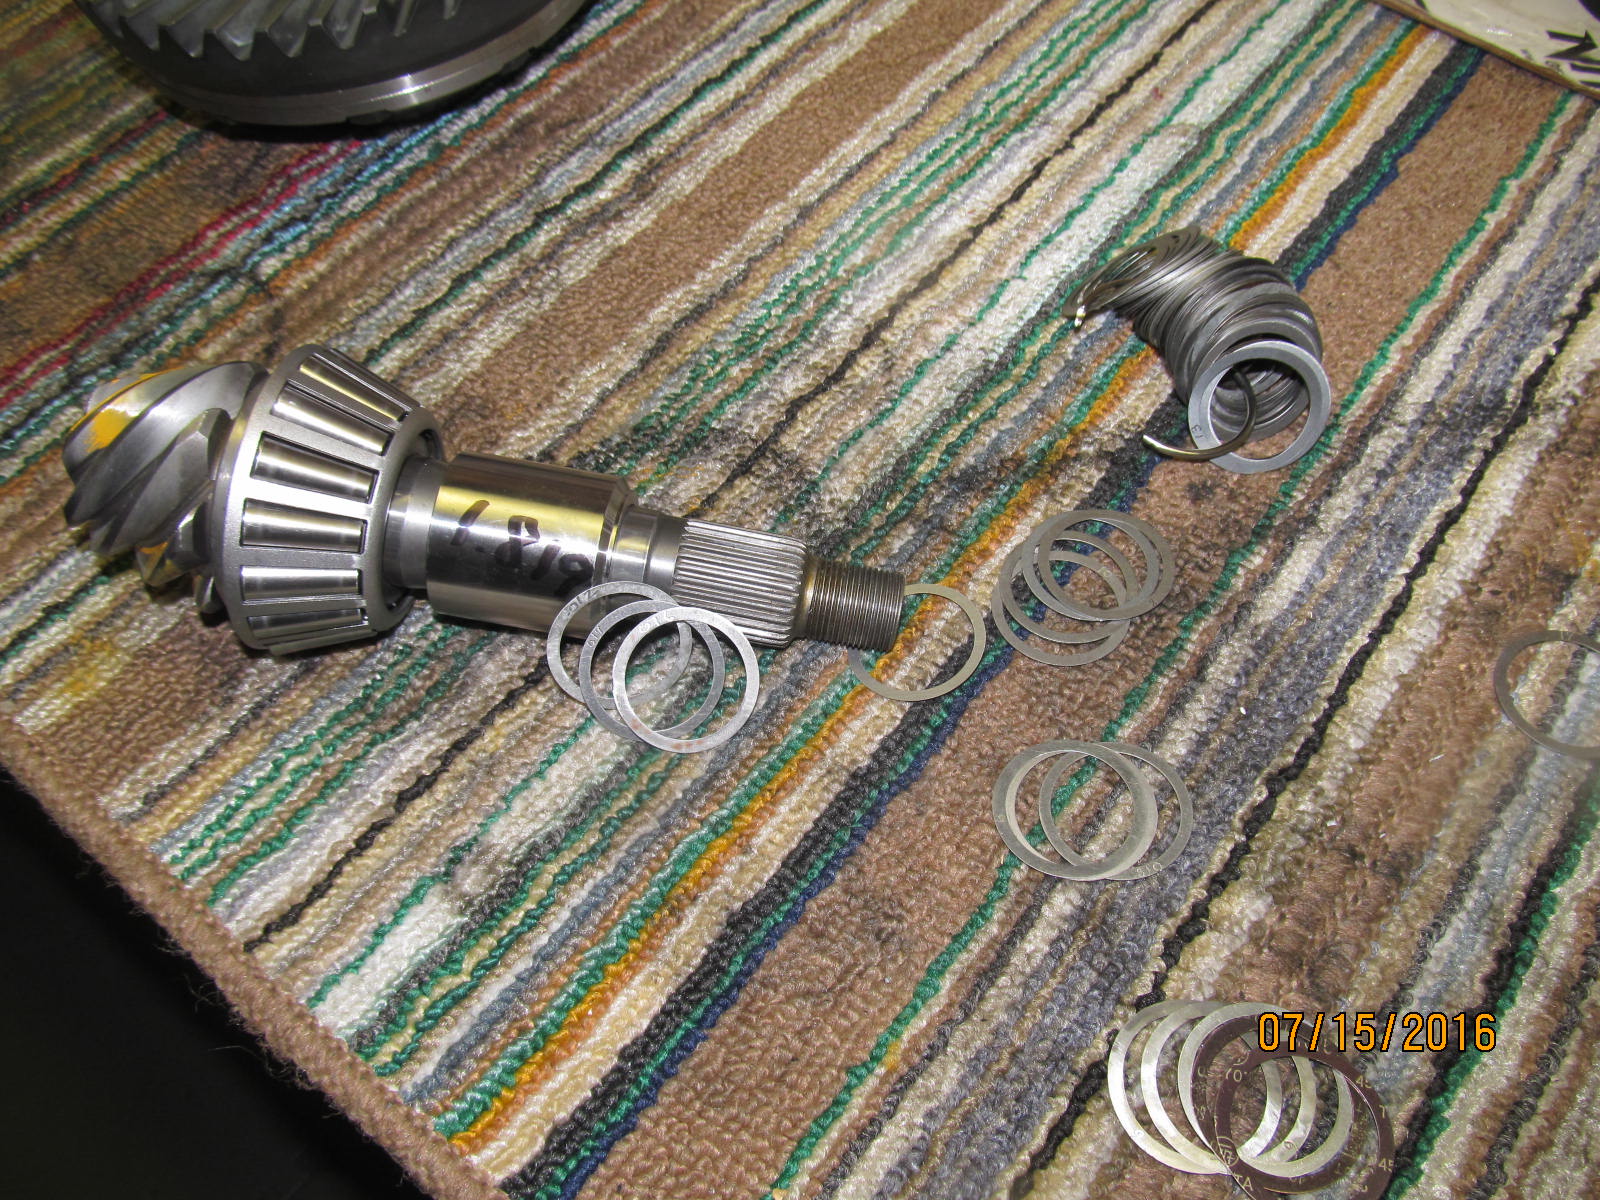
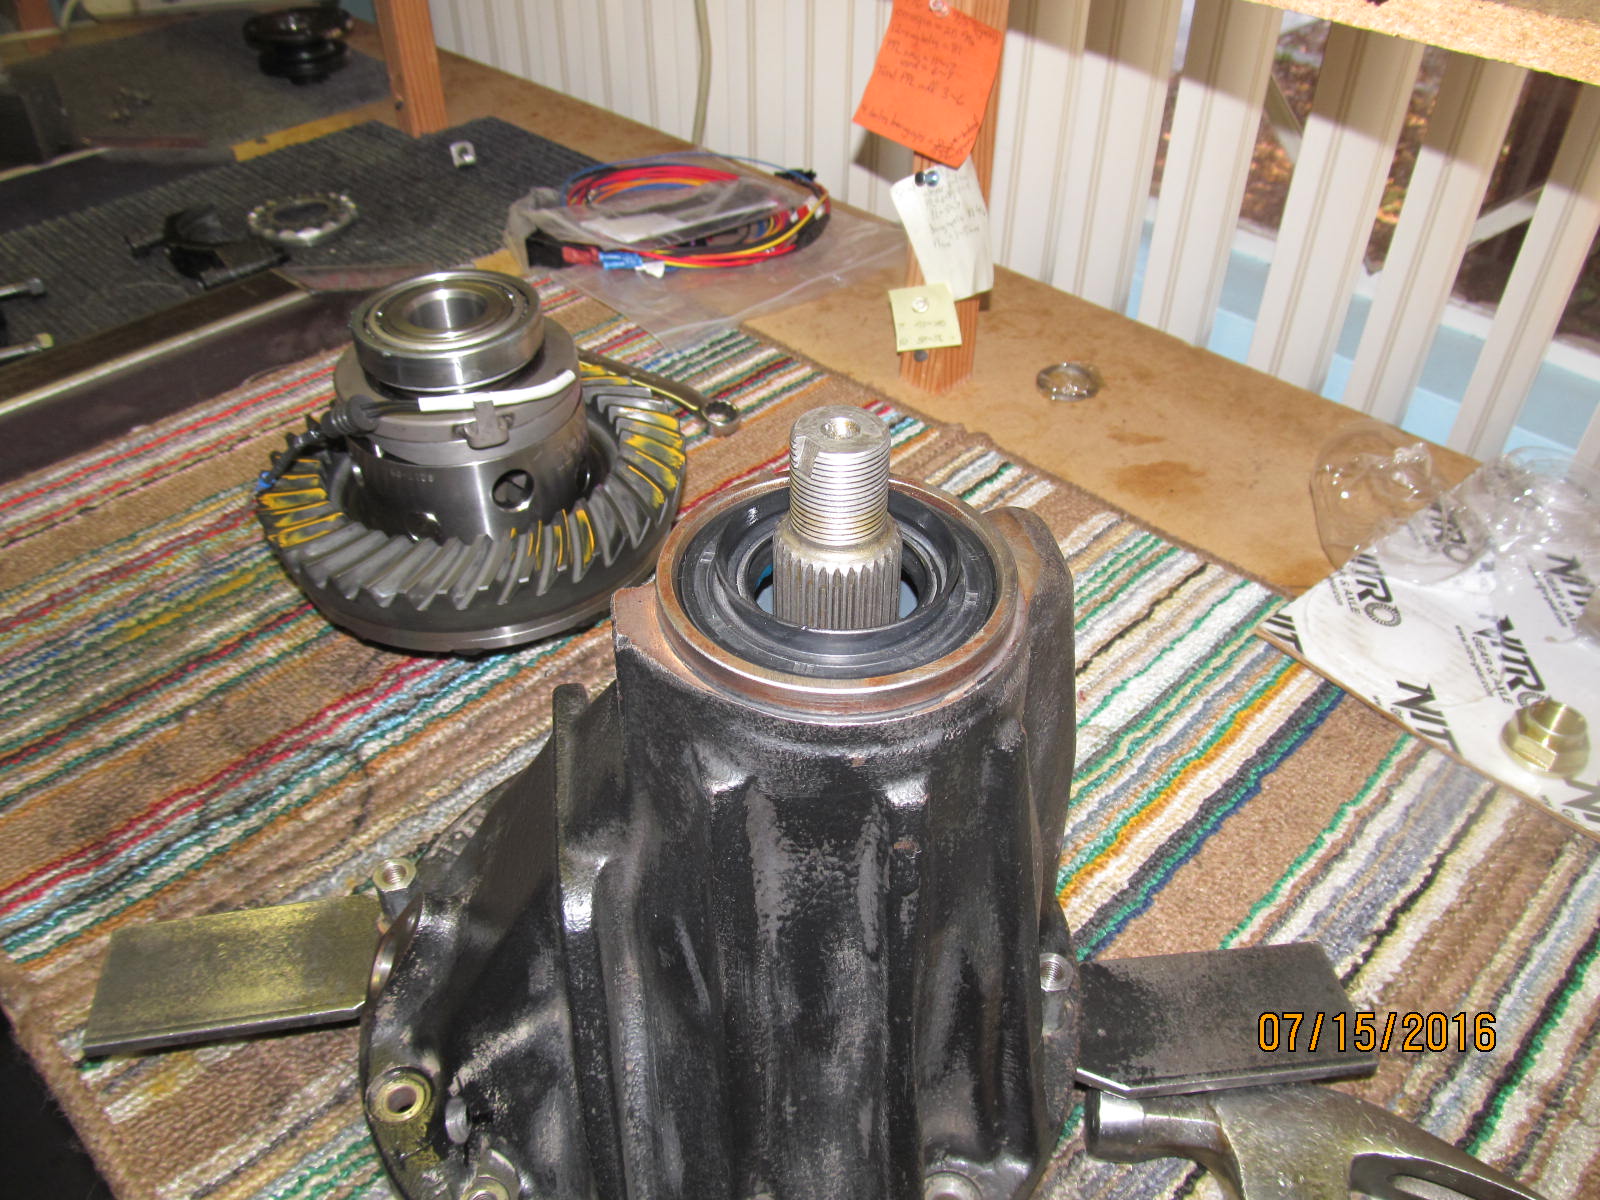
So, now all has been done that can be done without a 529 ring/pinion.....
On the left, the 3rd has been disassembled, washed, cleaned up, and hole drilled....new races tapped in.
On the right, new carrier bearings have been pressed on.
|
|
|
|
|
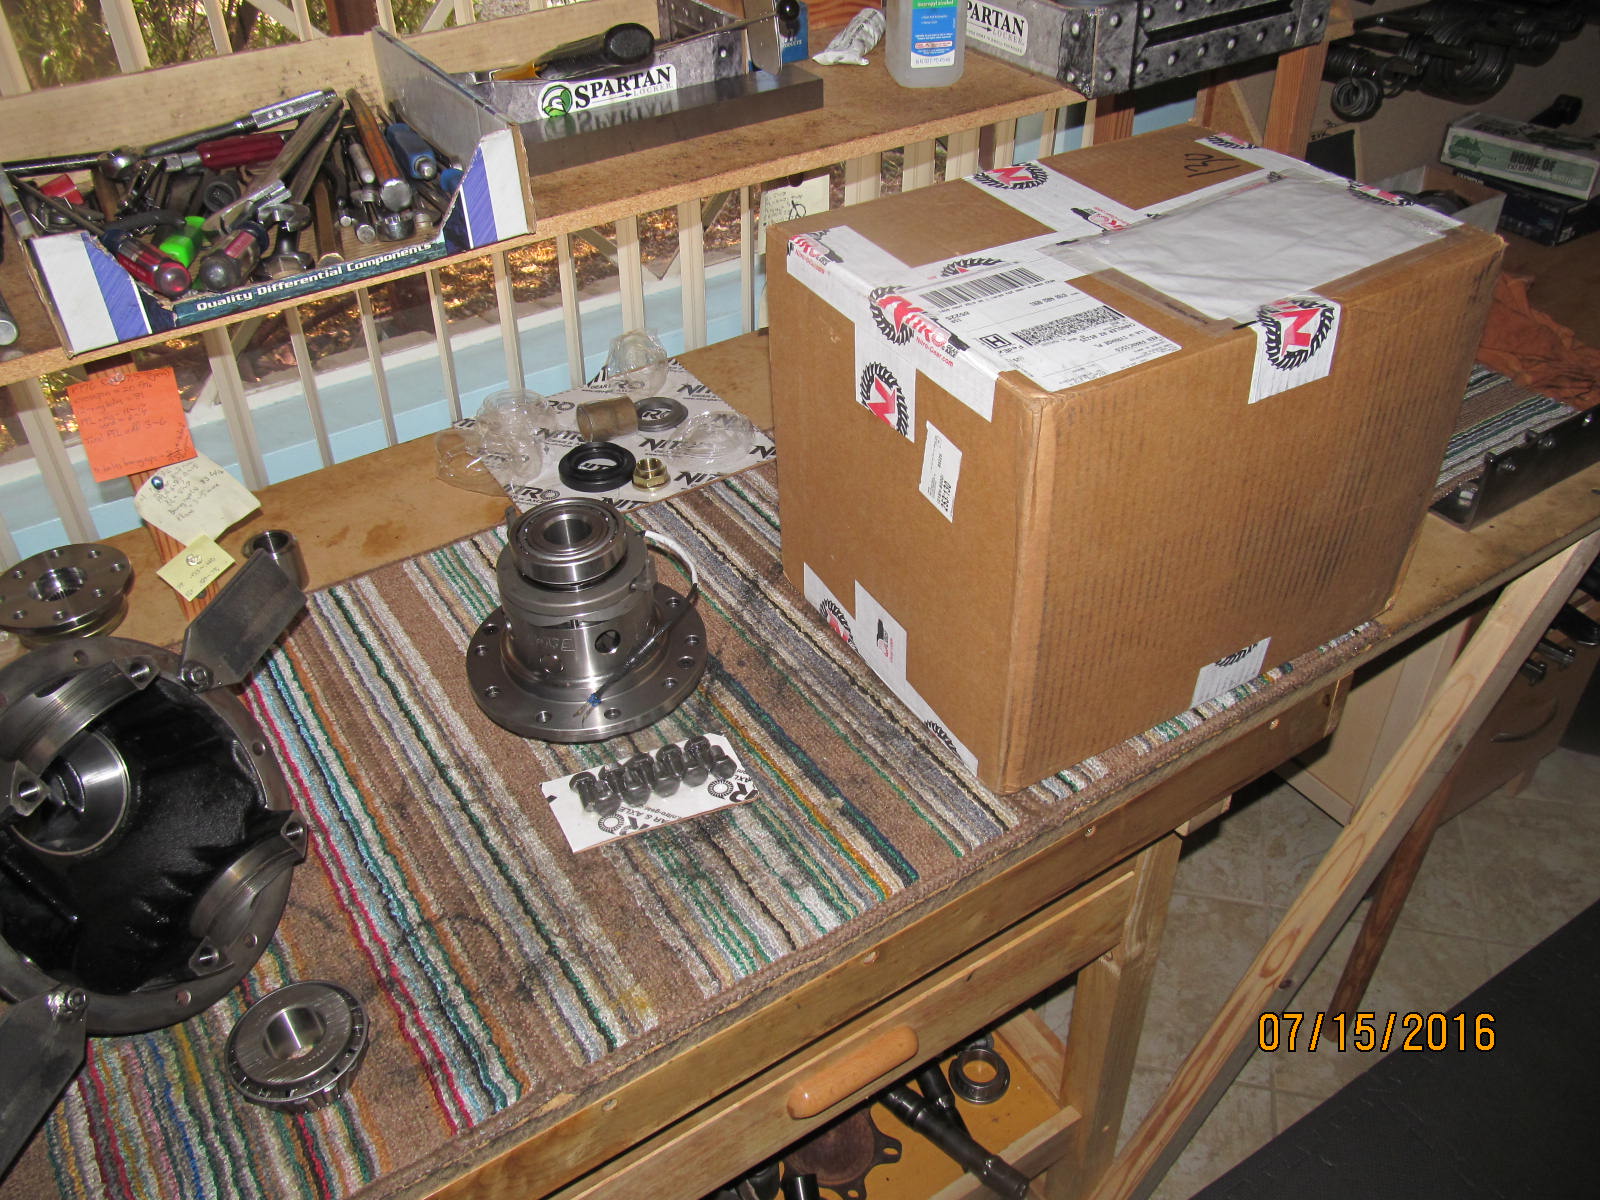
The next day a package arrives from JustDifferentials.com
|
|
|
|
|
Nitro 529 gears.
|
|
|
|
|
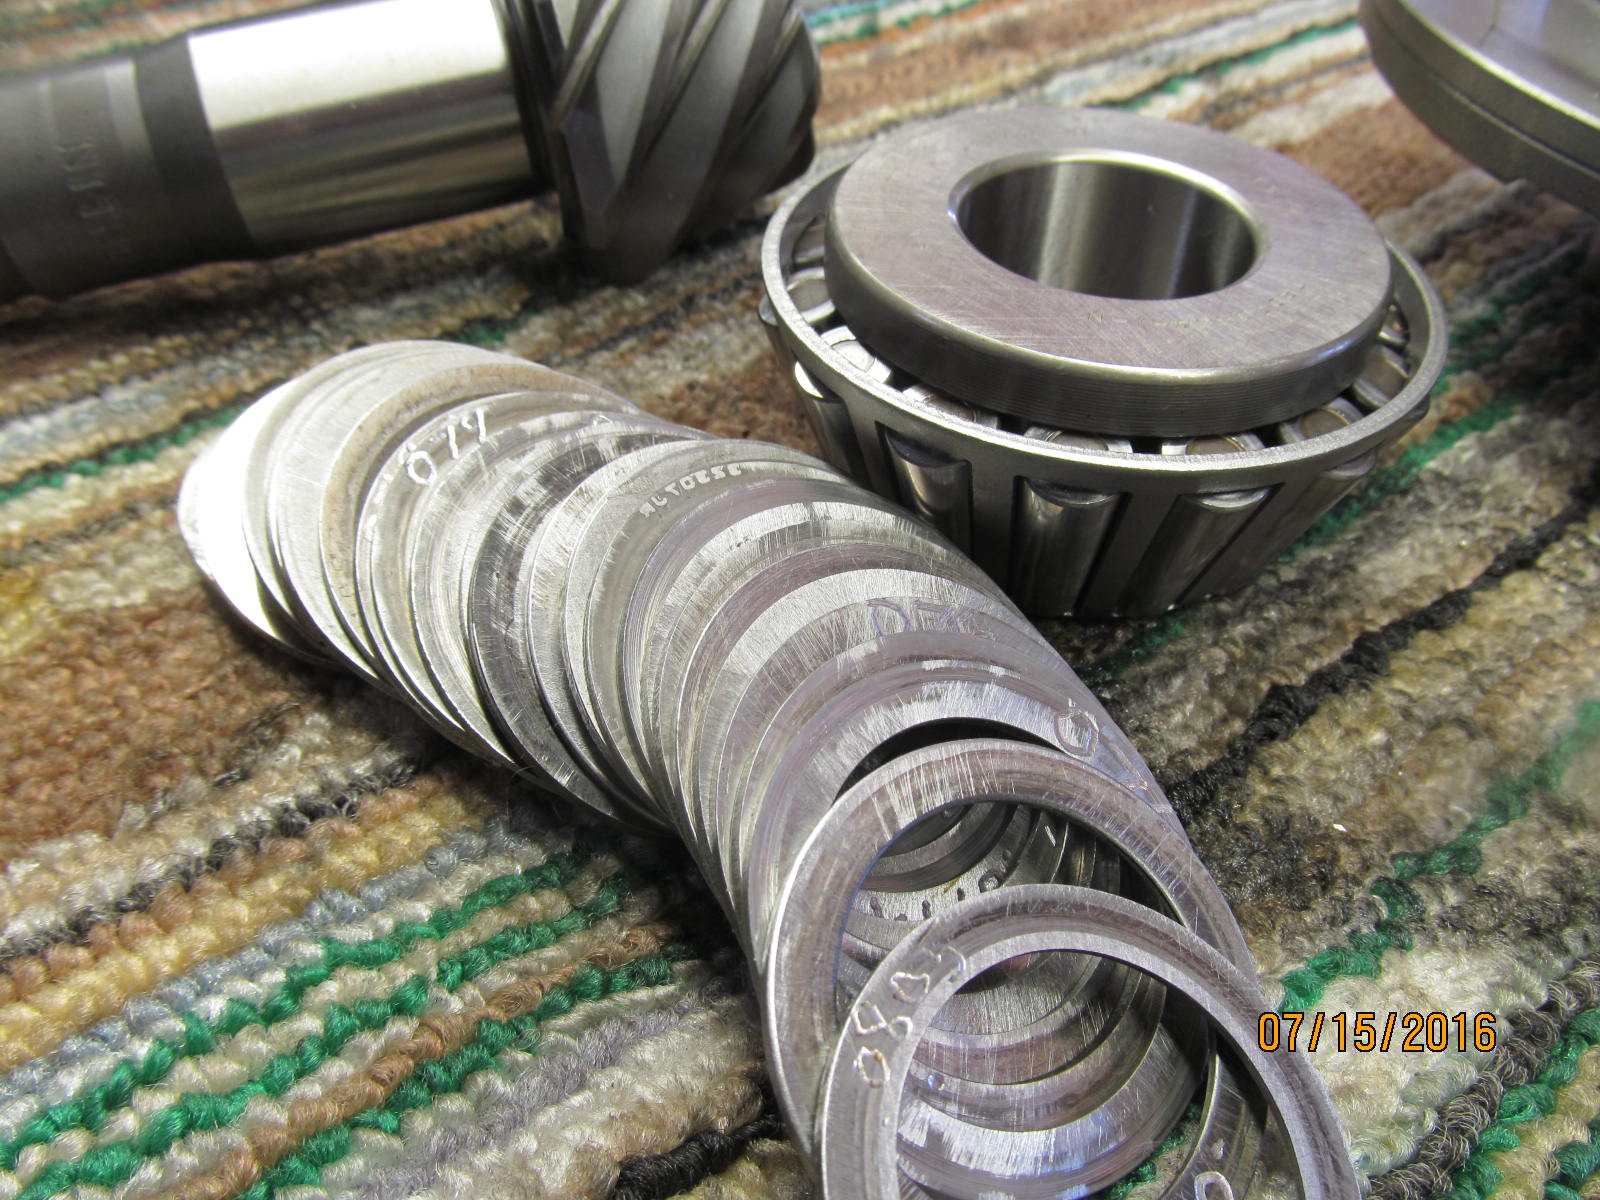
I have several thousand aftermarket pinion shims to choose from but I also have an OEM selection.
|
|
|
|
|
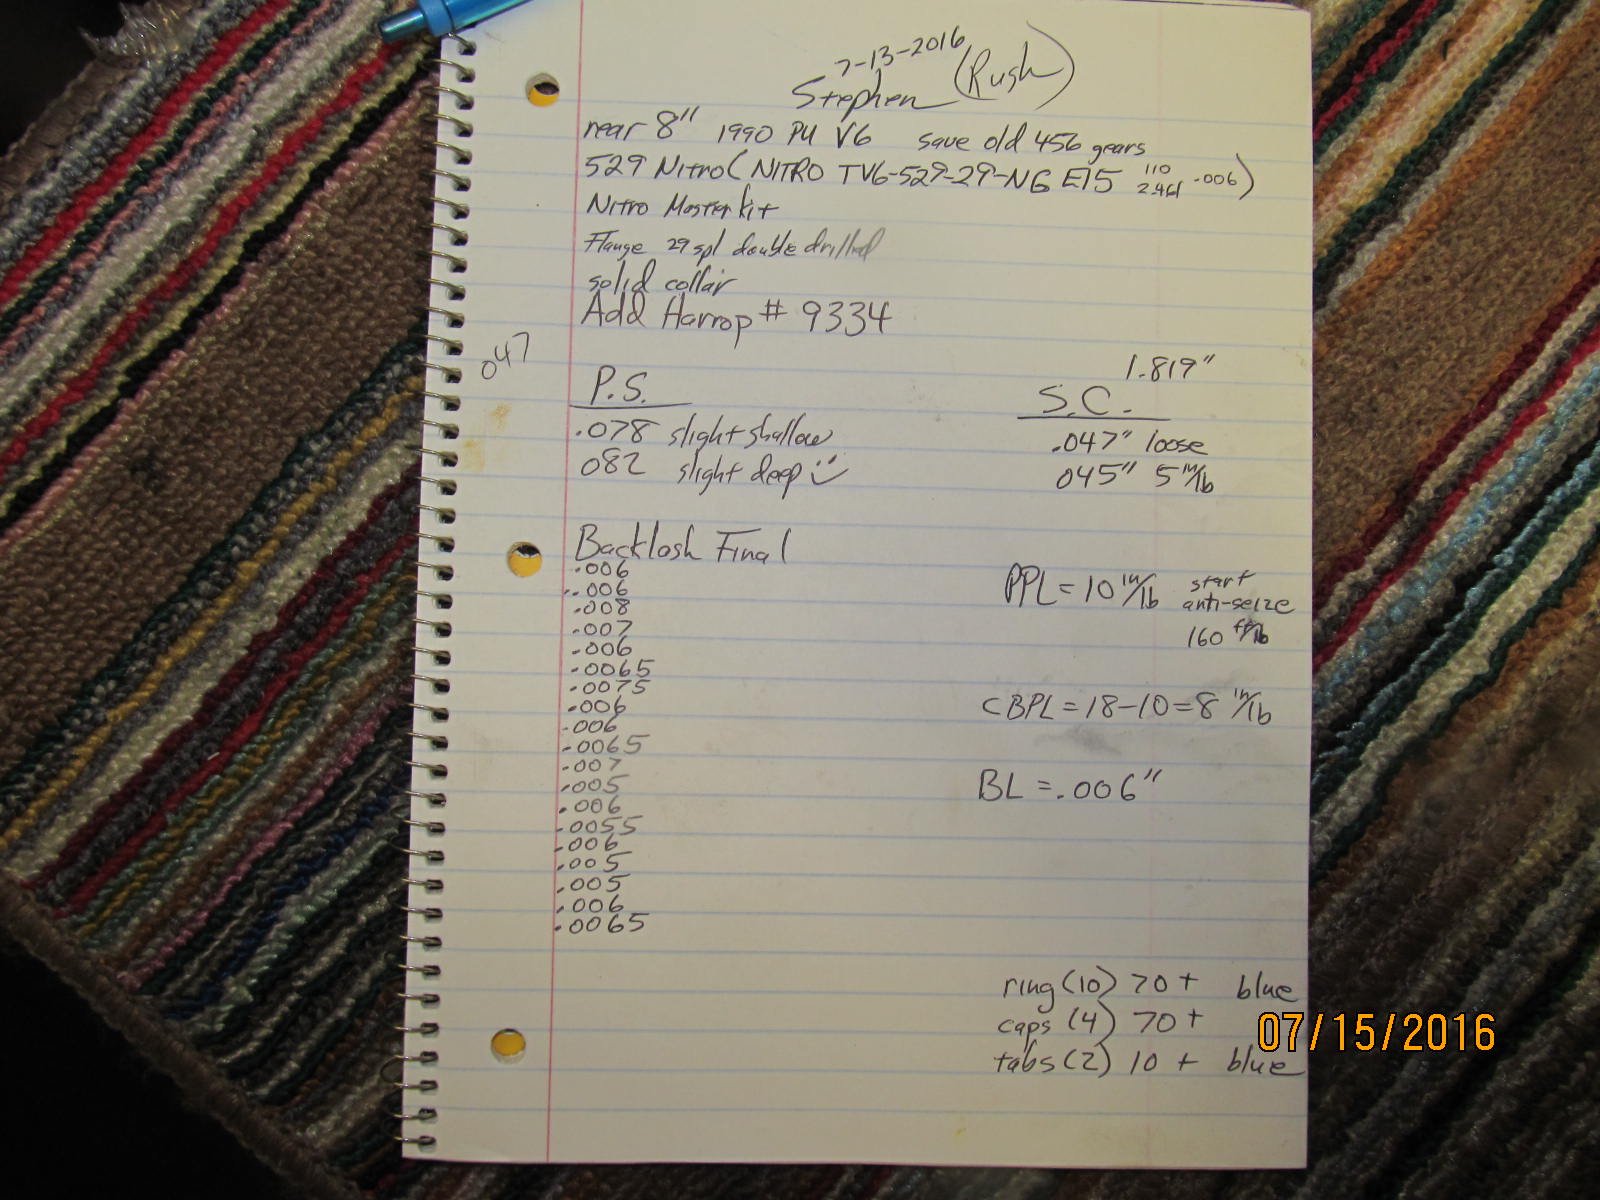
.078" pinion shim is chosen.
|
|
|
|
|
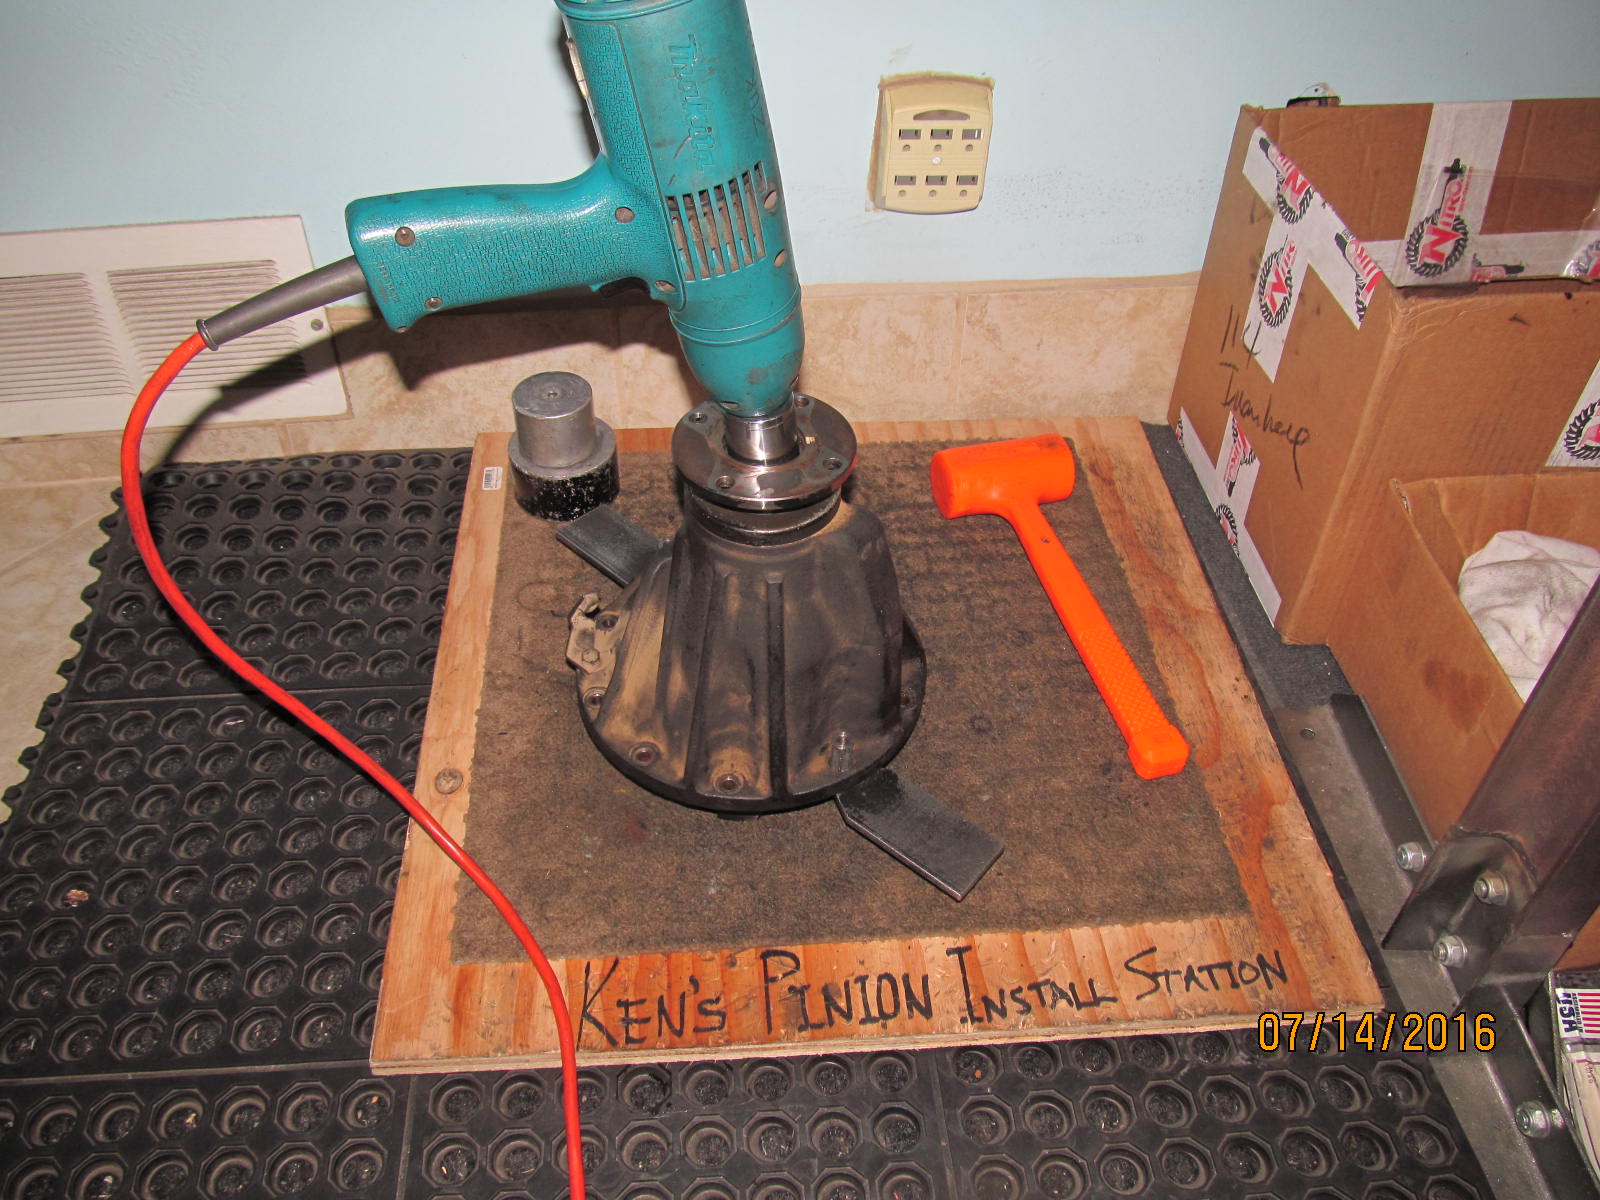
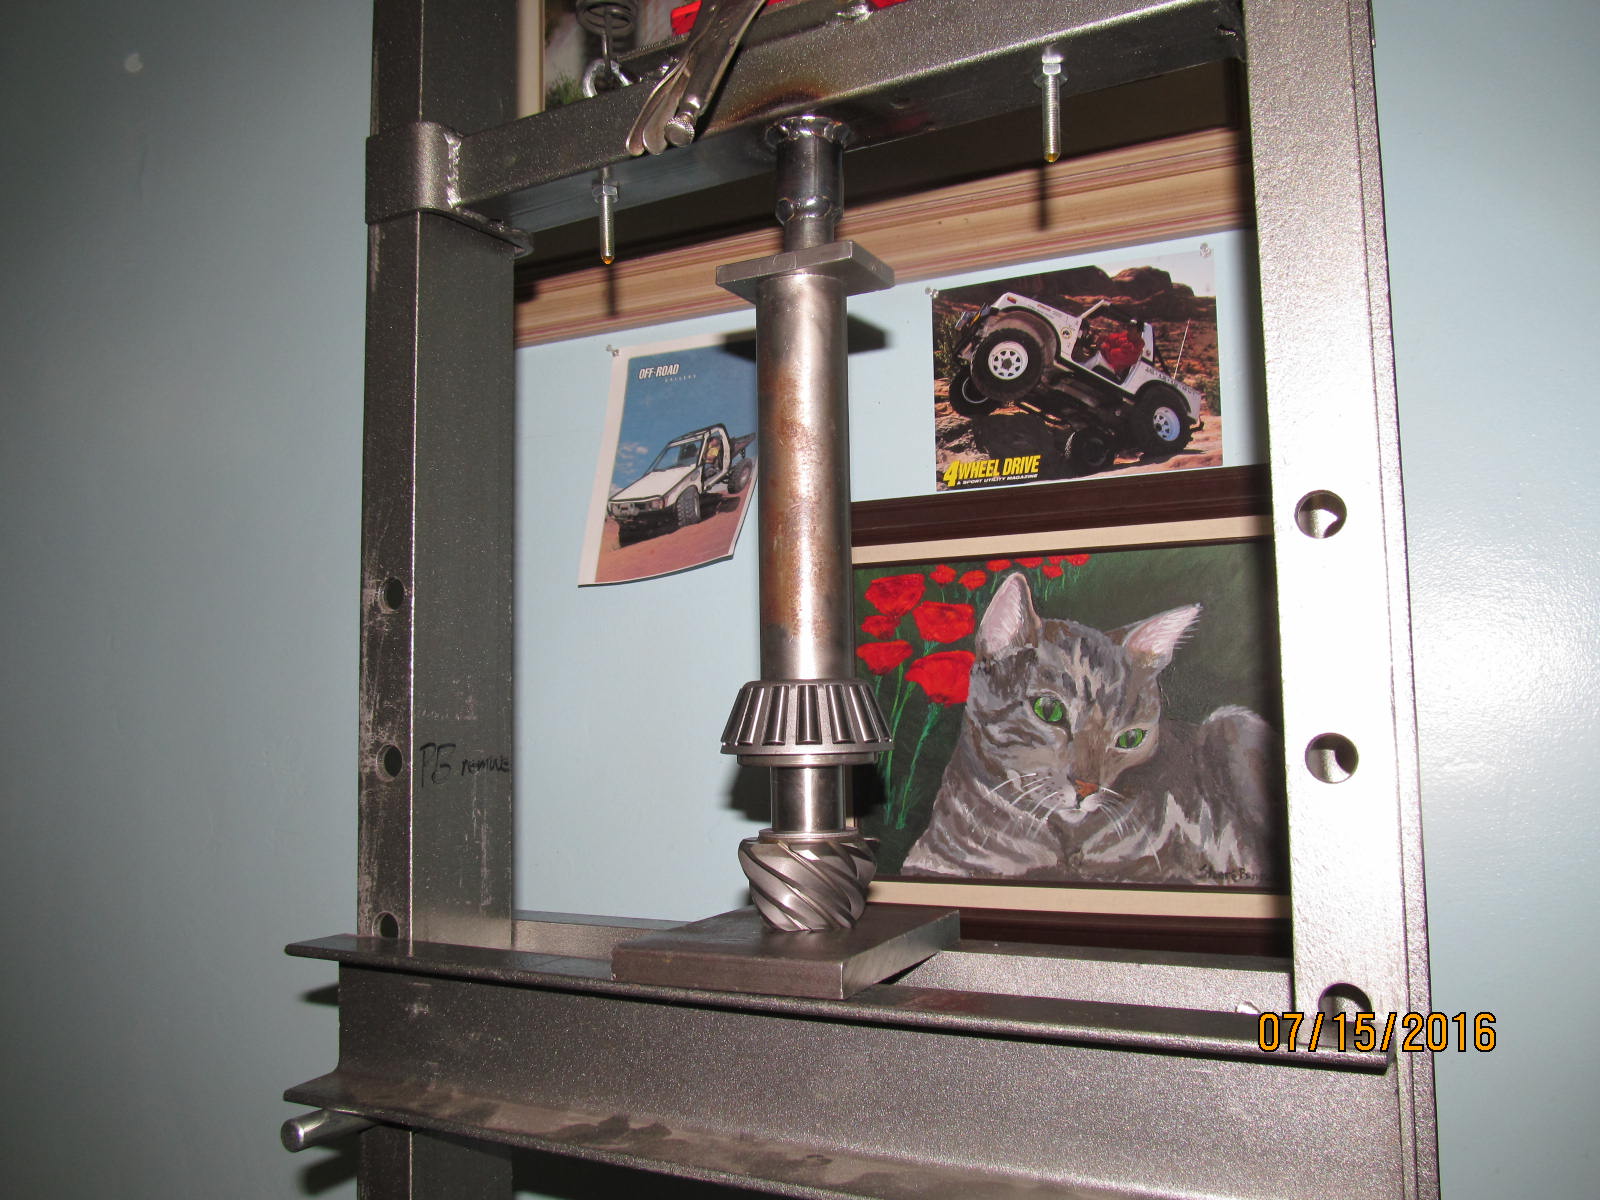
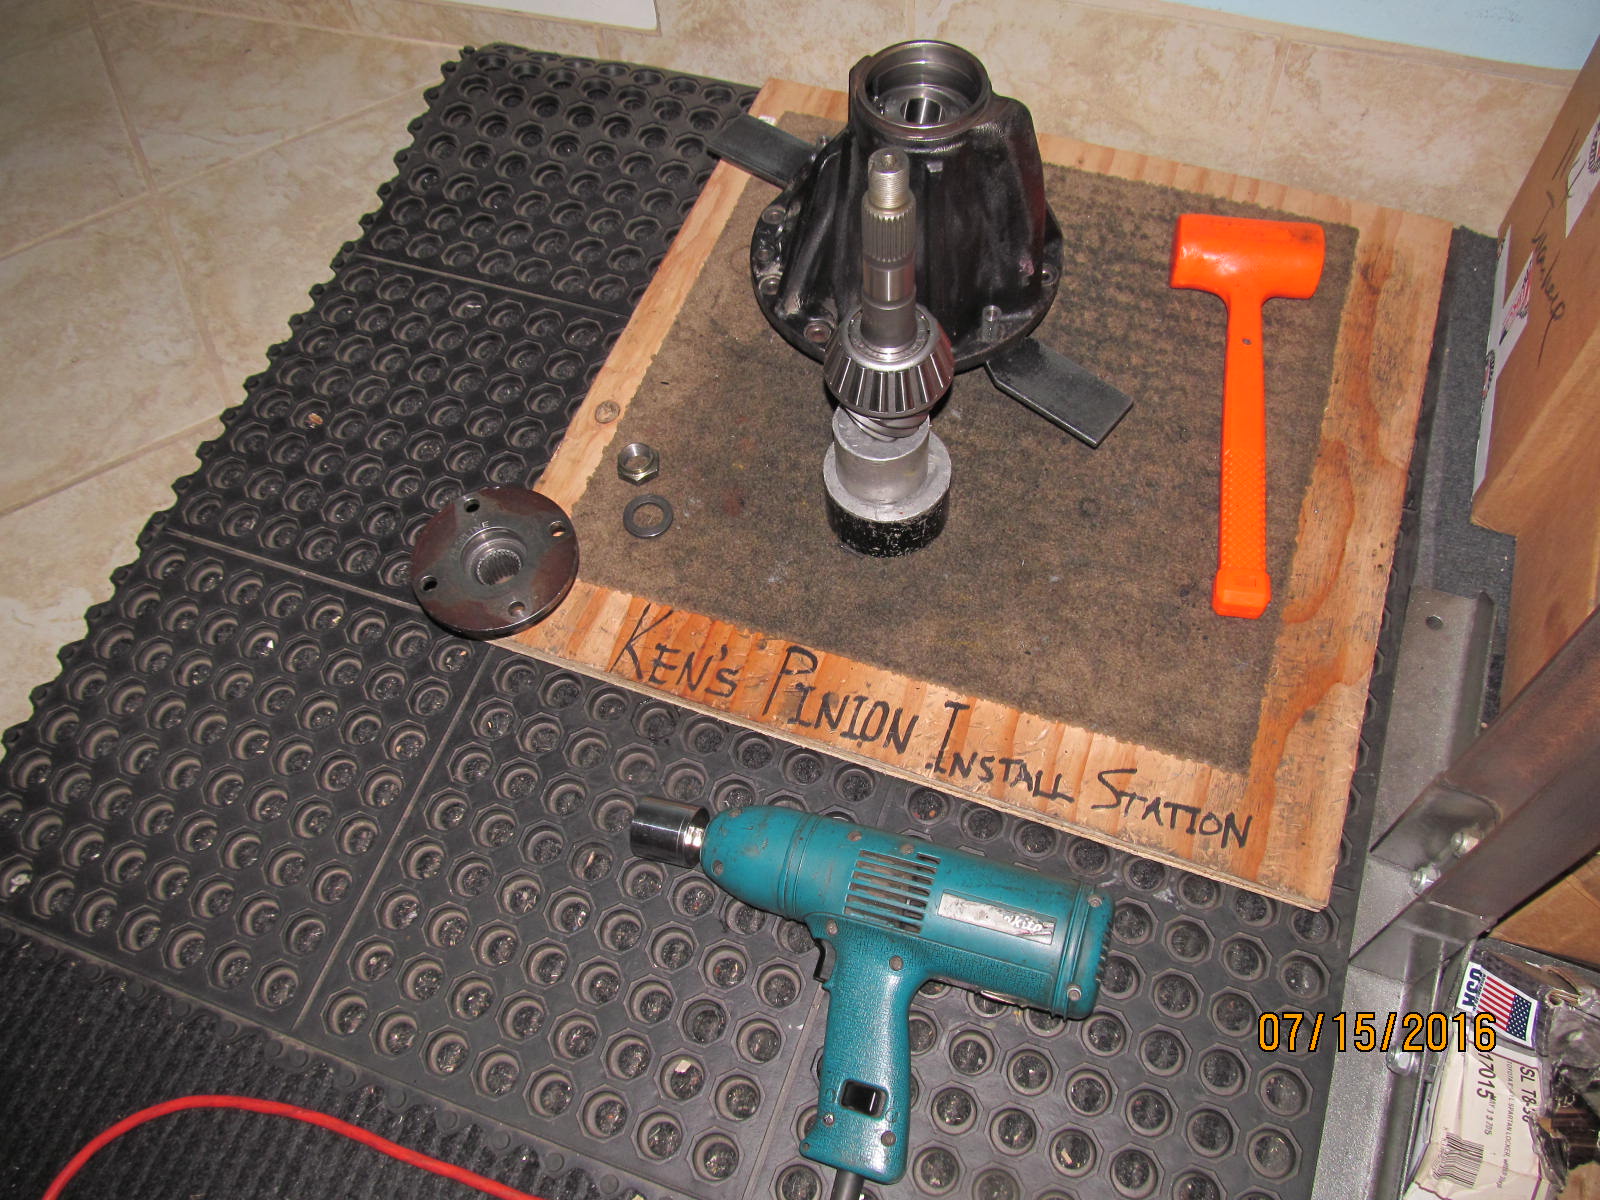
The pinion assembly is put together....the electric impact and the orange hammer make it happen.
|
|
|
|
|
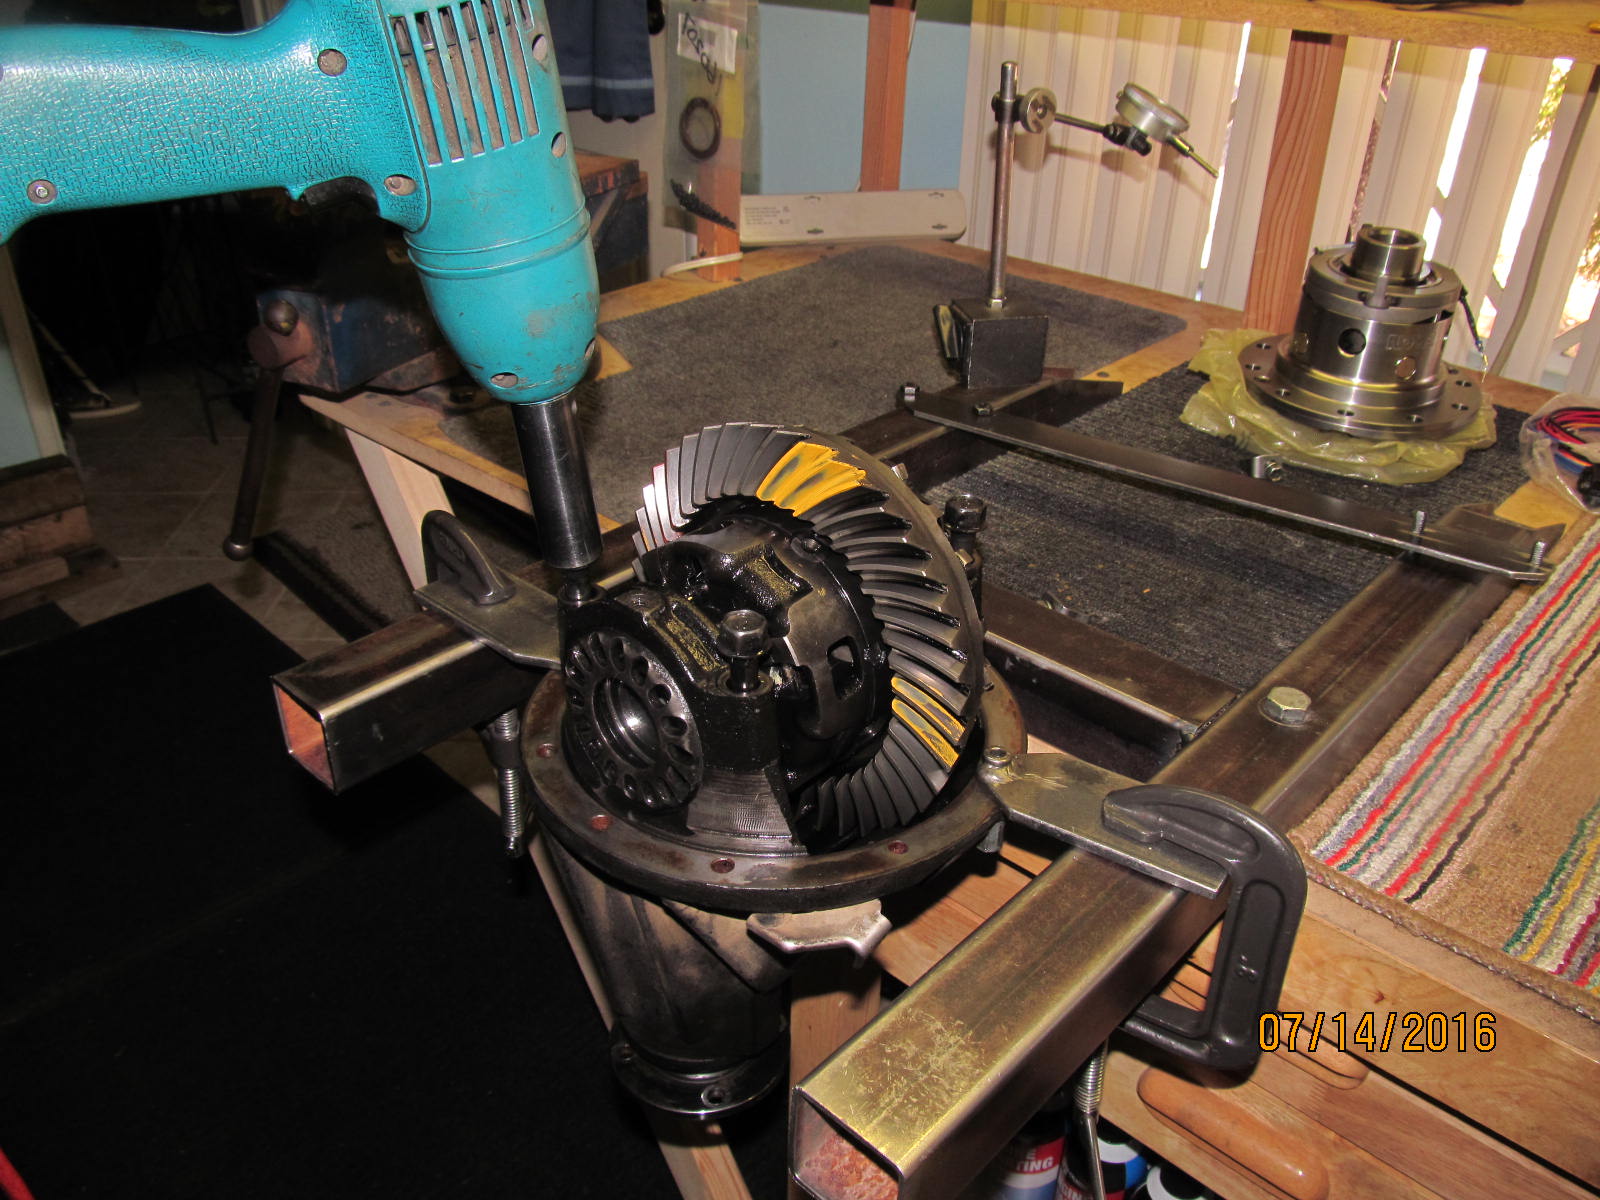
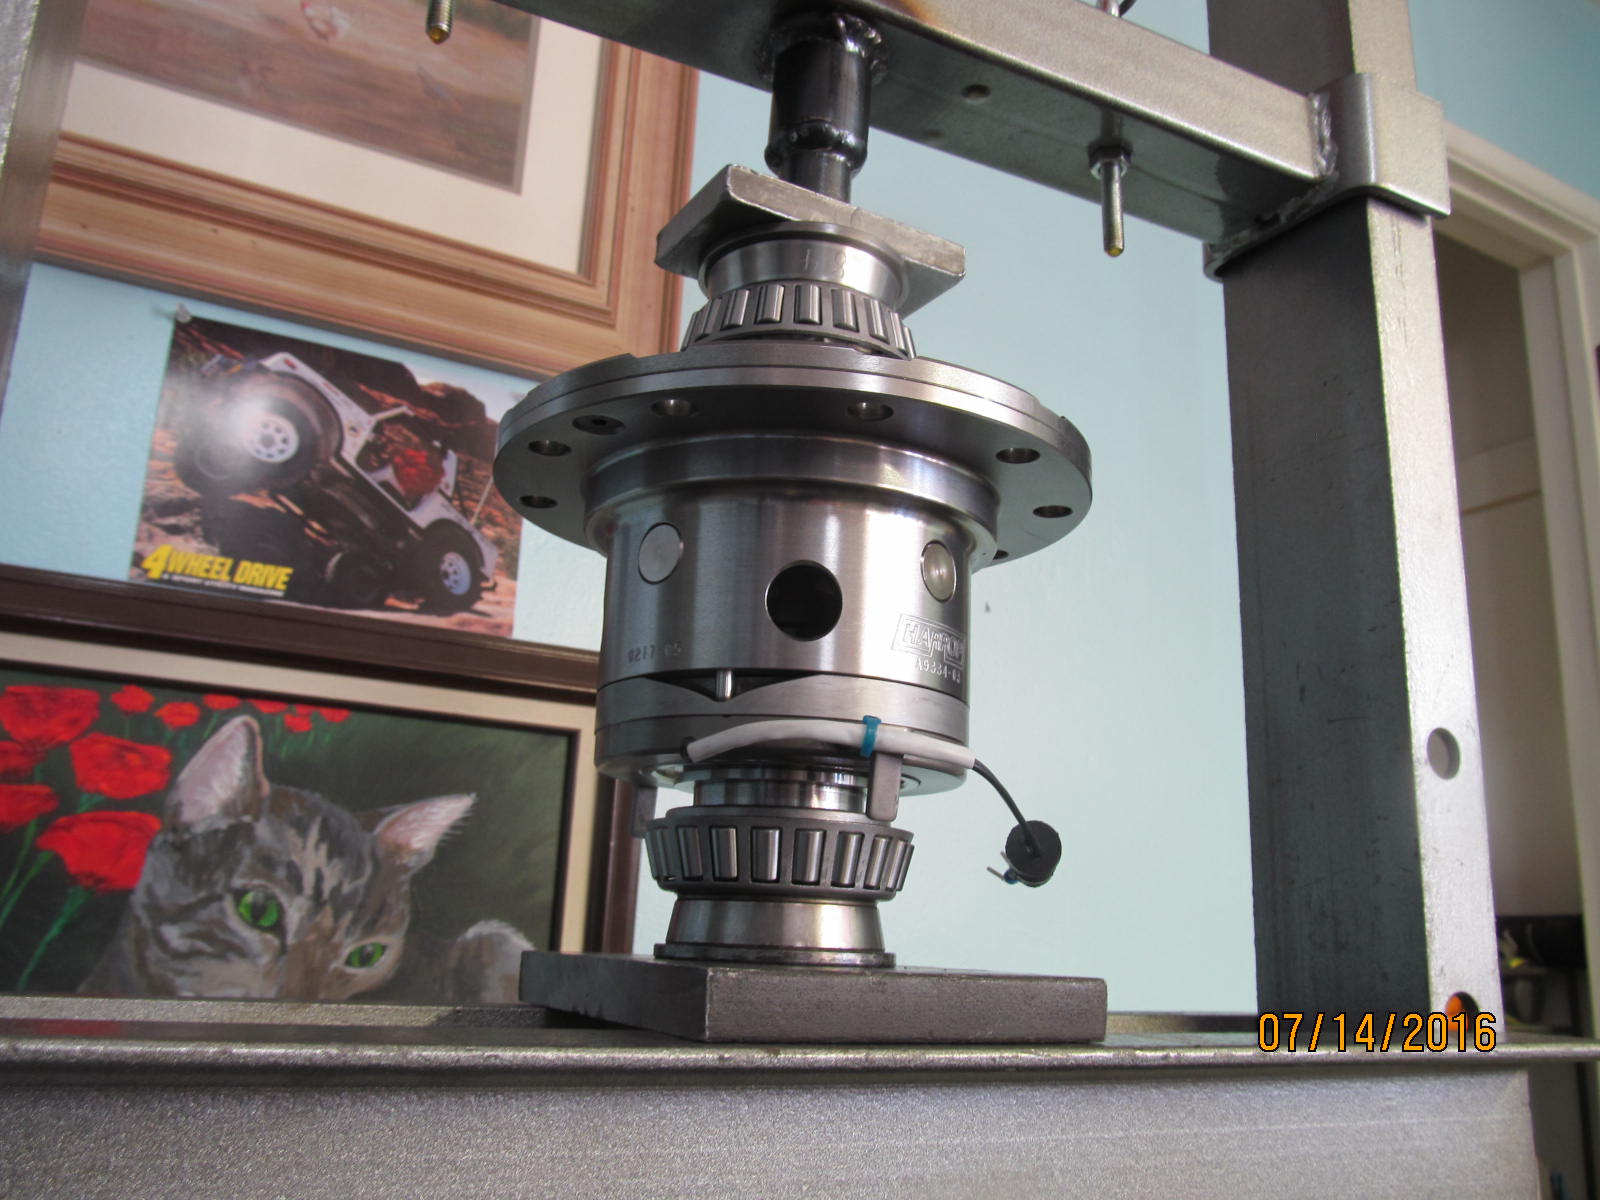
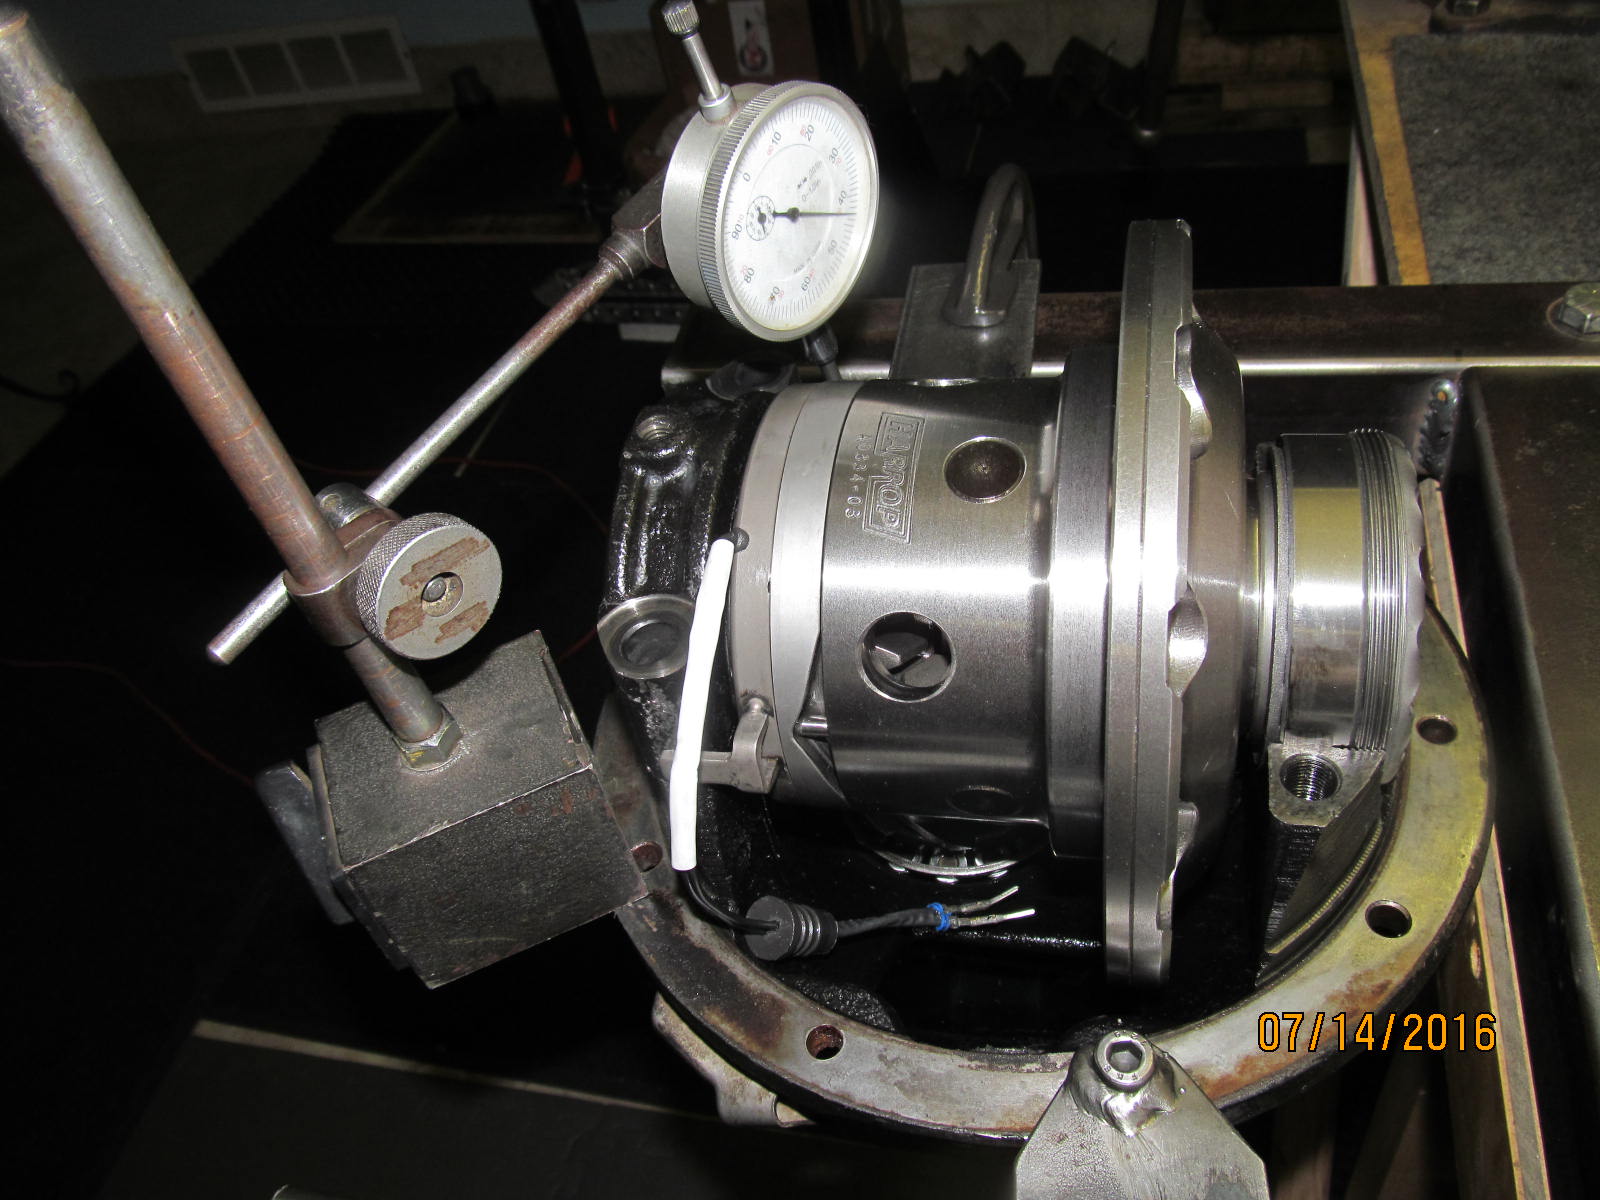
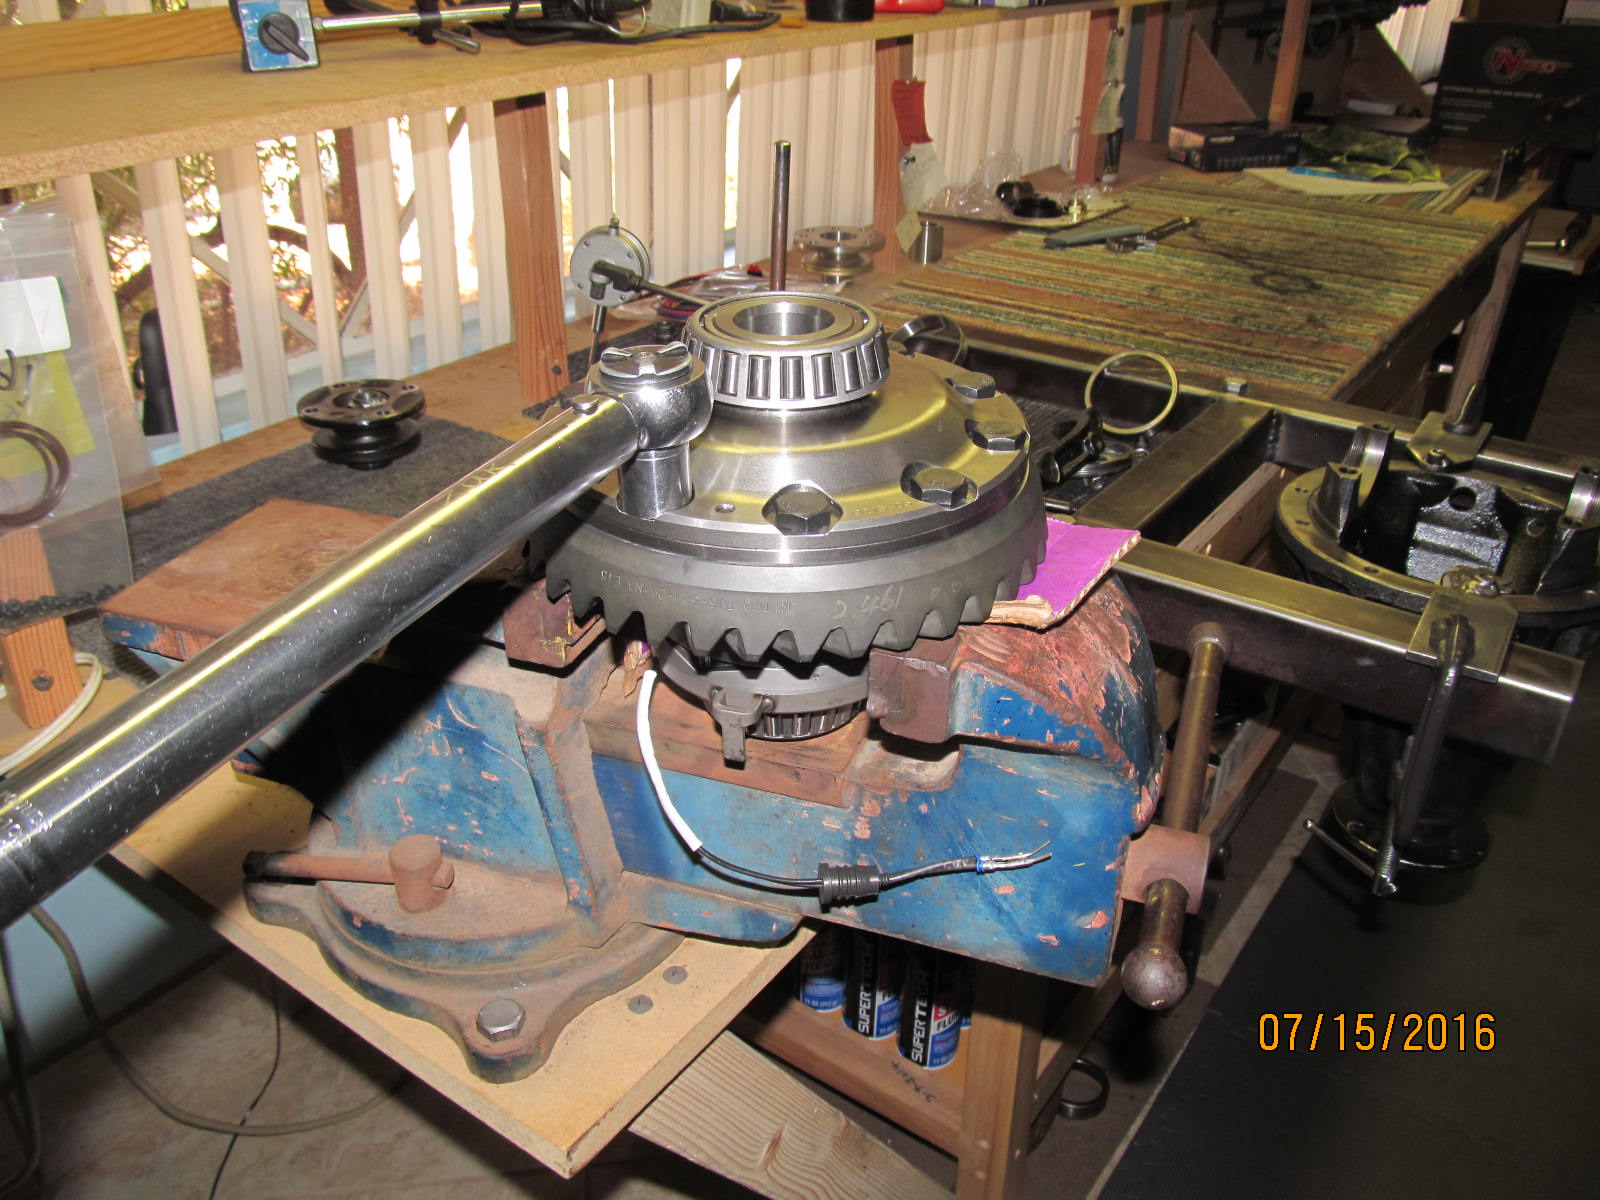
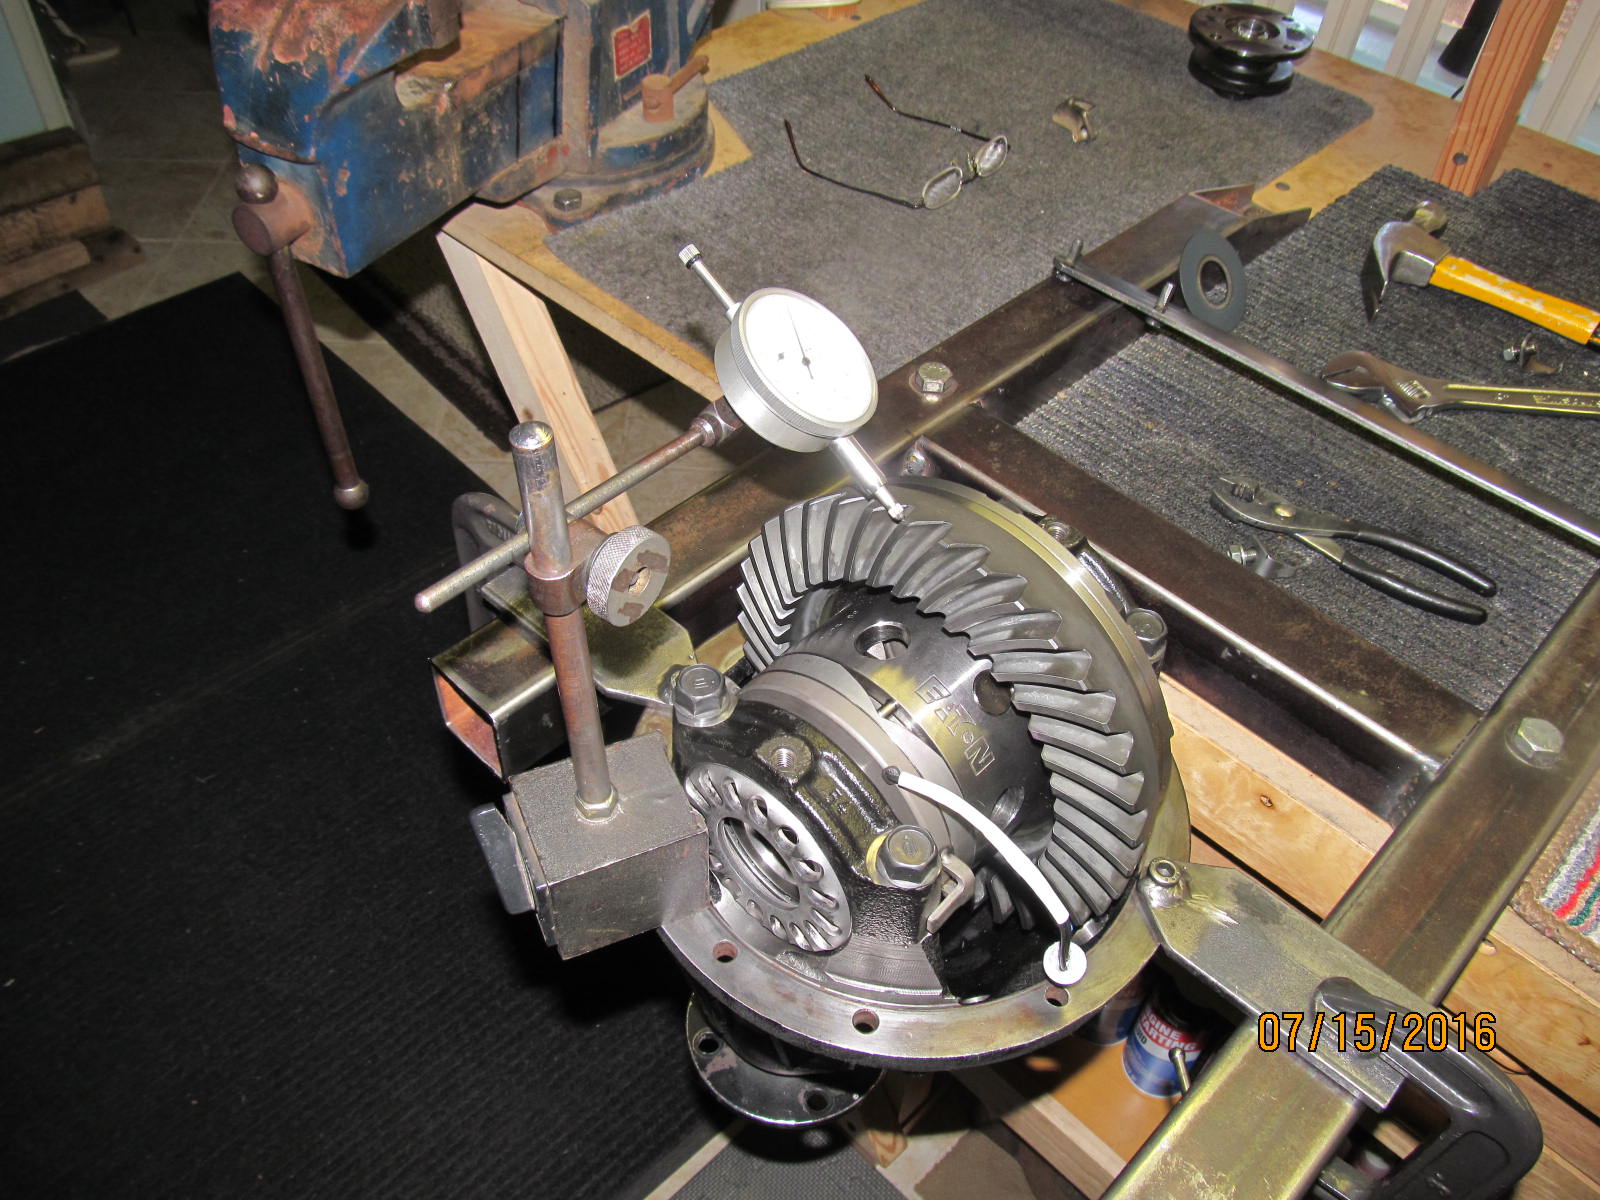
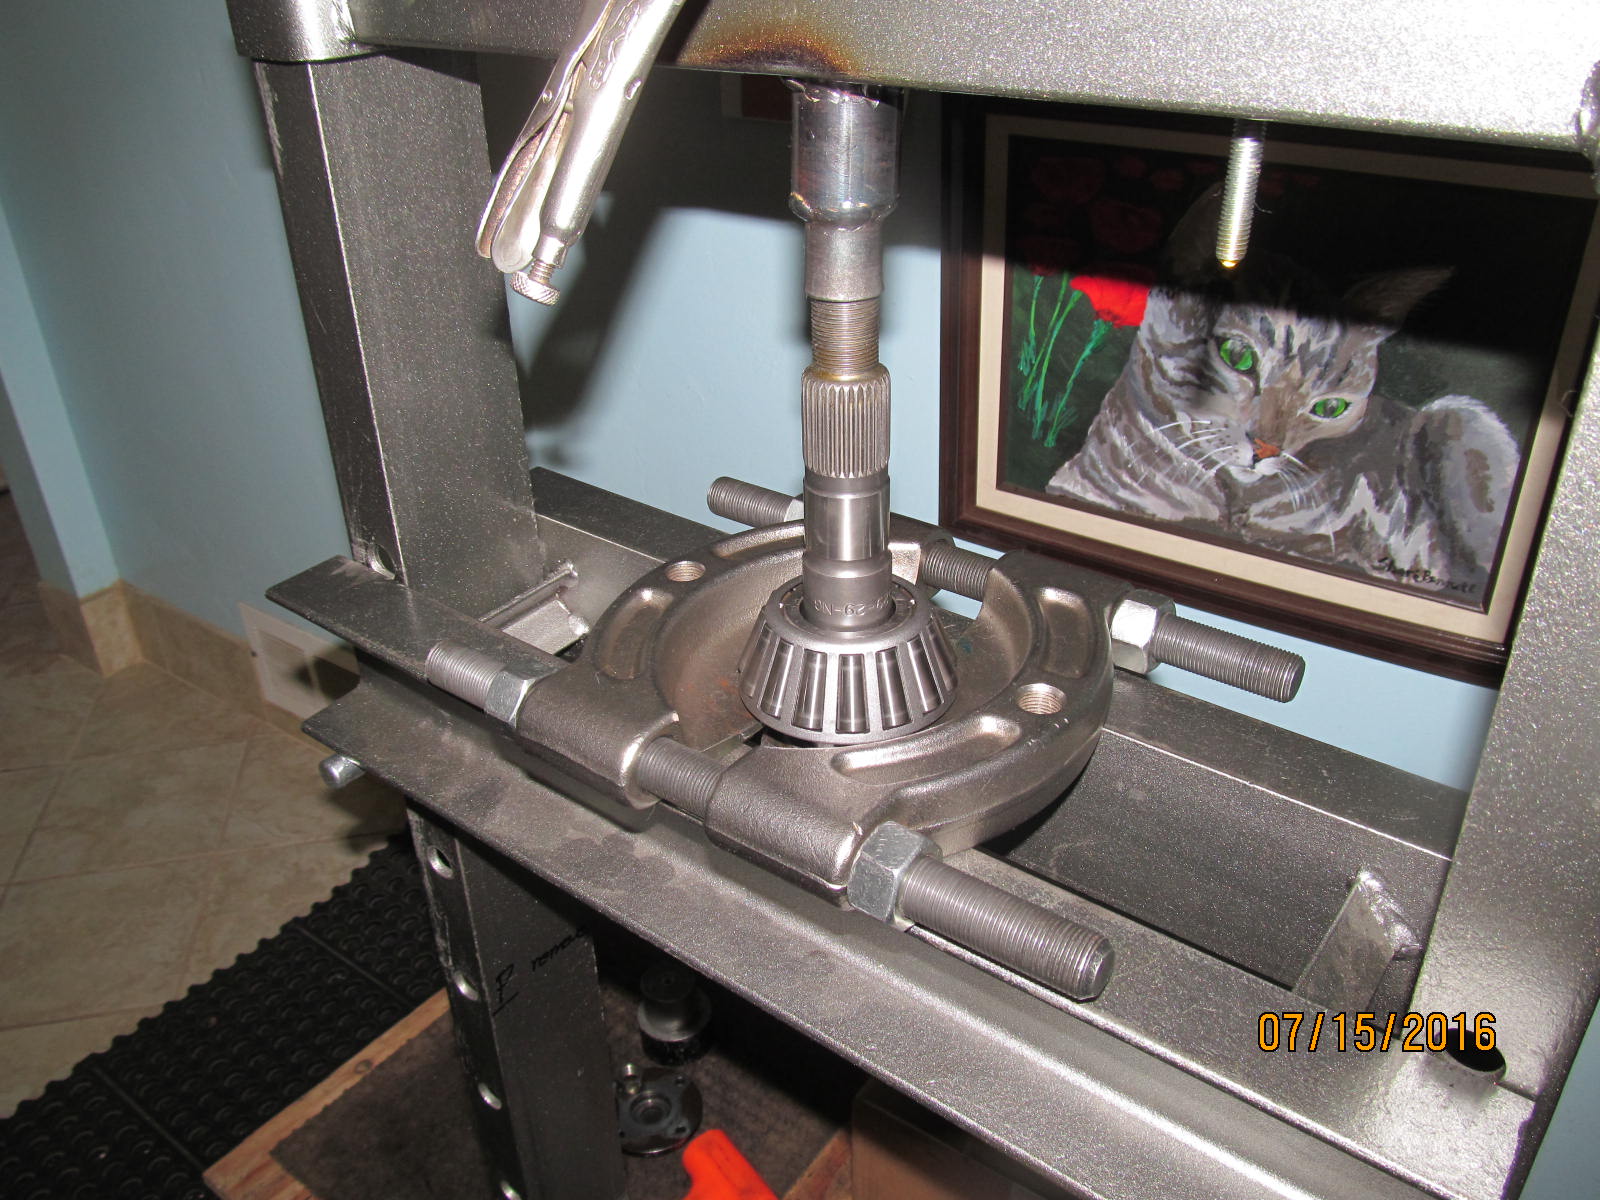
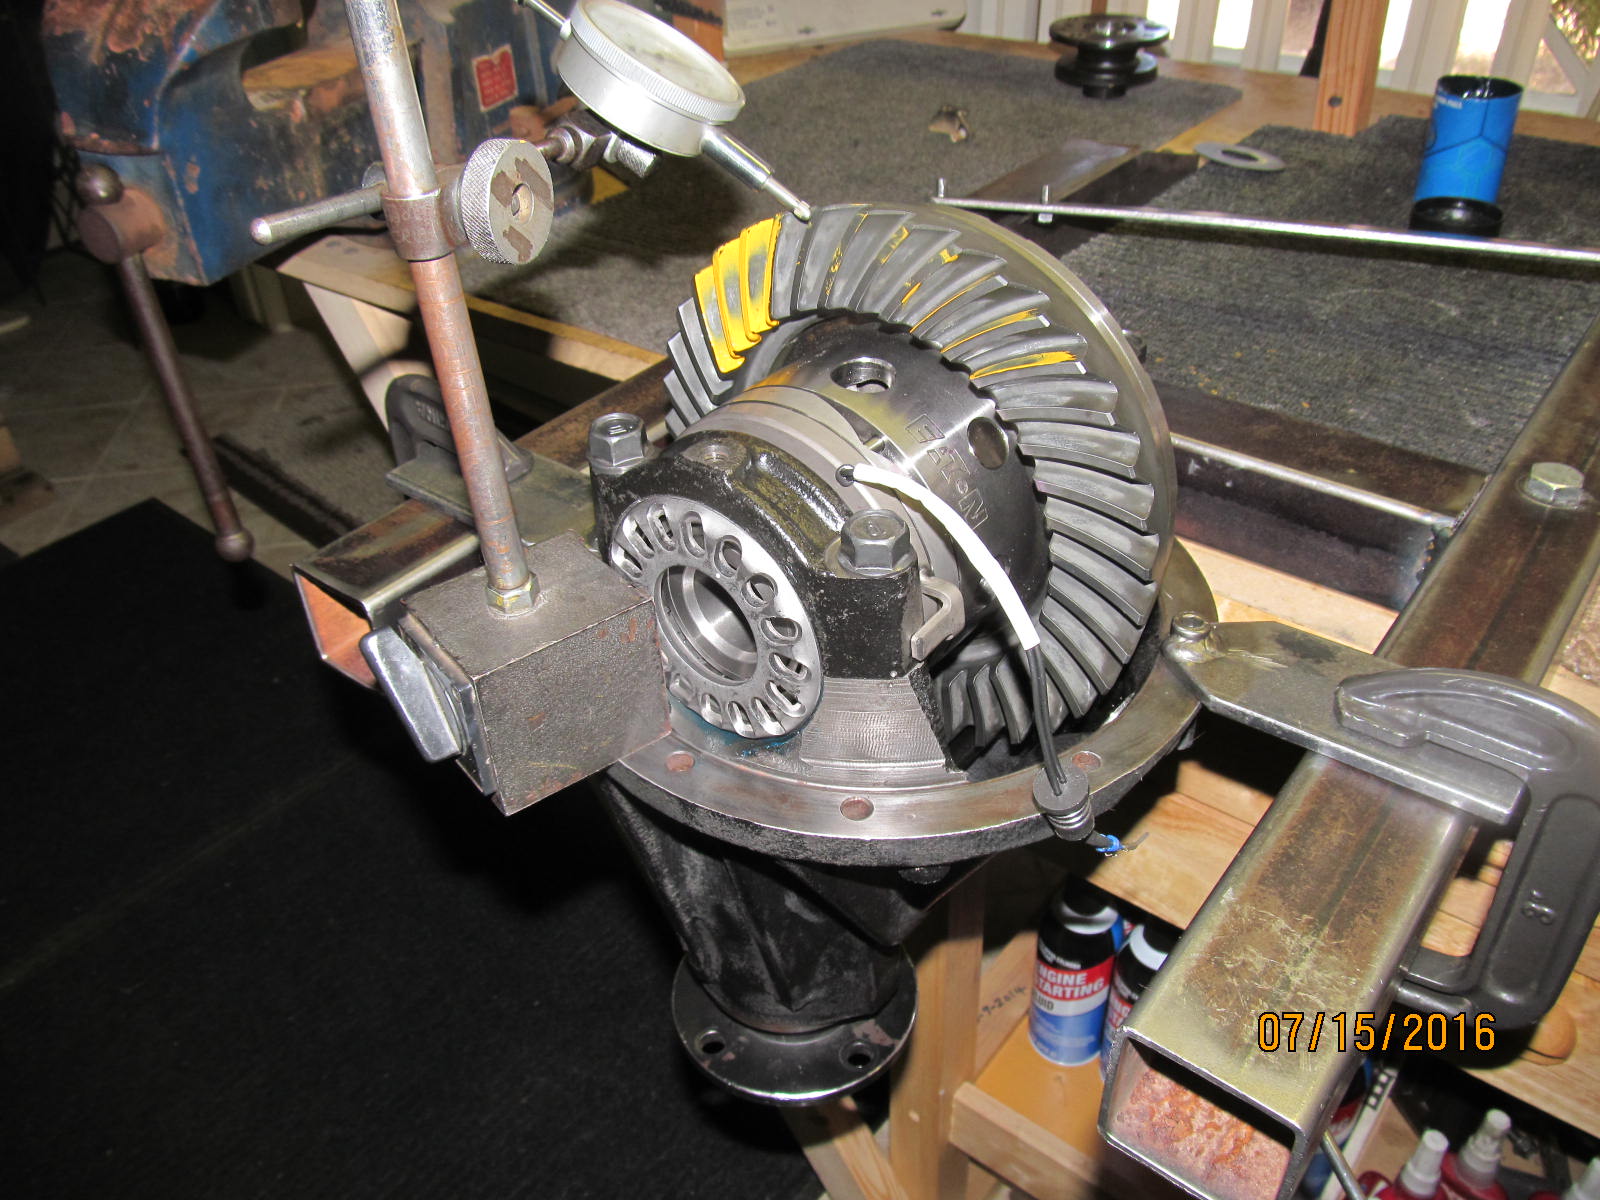
Mounted in the fixture waiting.....
|
|
|
|
|
Both surfaces are checked with a coarse file. All was just fine.
|
|
|
|
Sometimes, the ring gear will not quite slip over the anti-rotation tabs.....a slight bending of the
tab or a zing with a flapper wheel will make life good again.
|
|
|
|
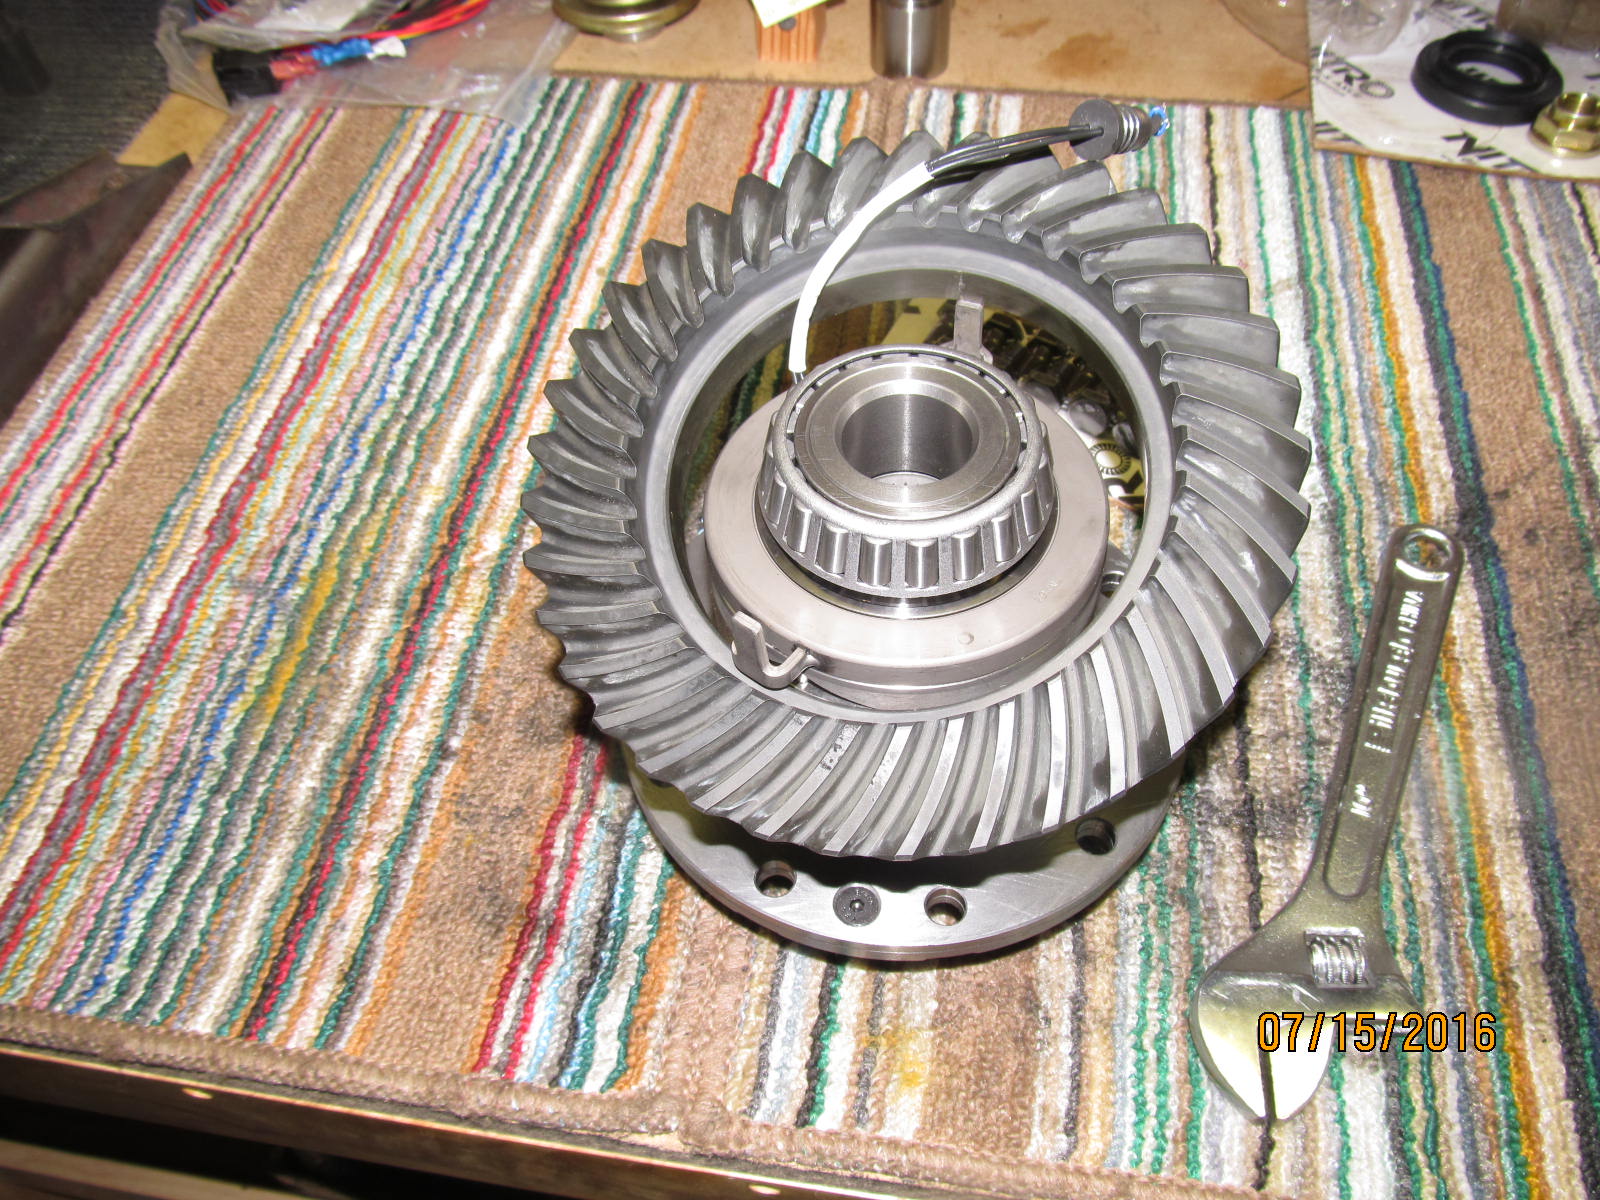
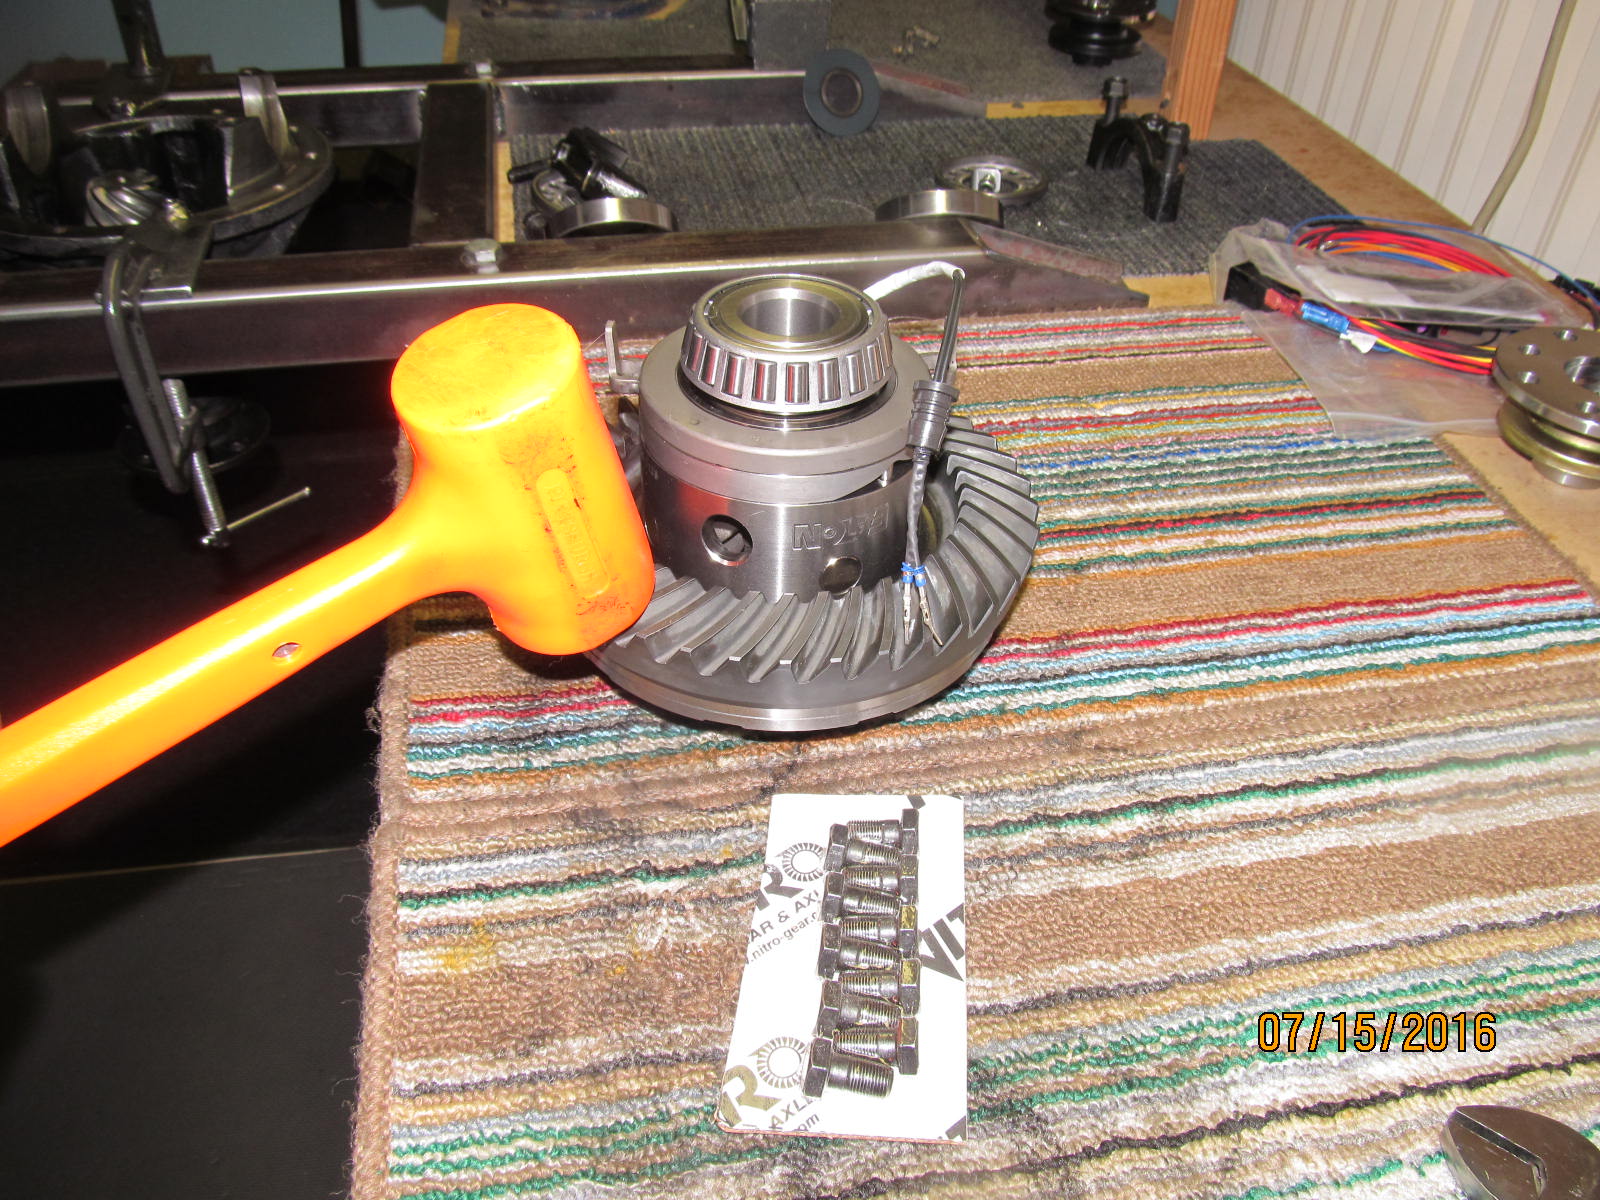
The precision machining of the Harrop (and the Nitro ring gear, too) meant only a few light taps was
needed to seat the ring down flat.
|
|
|
|
|
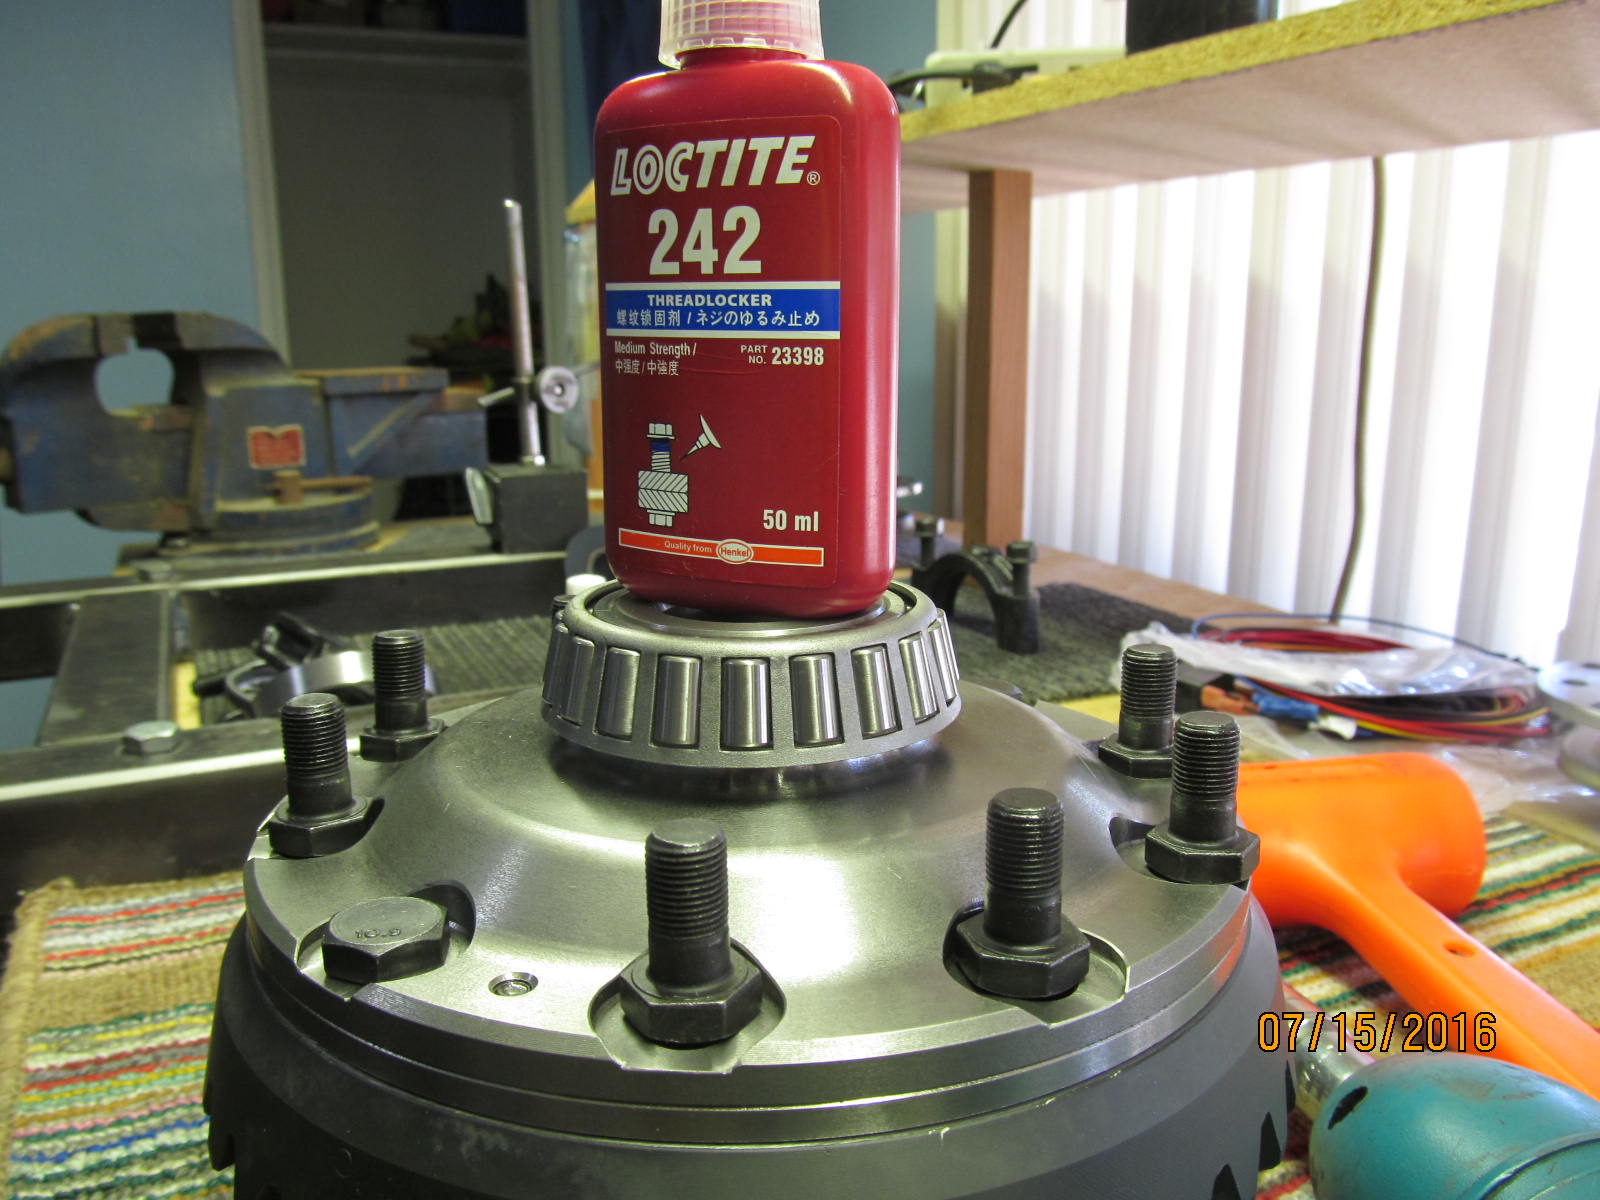
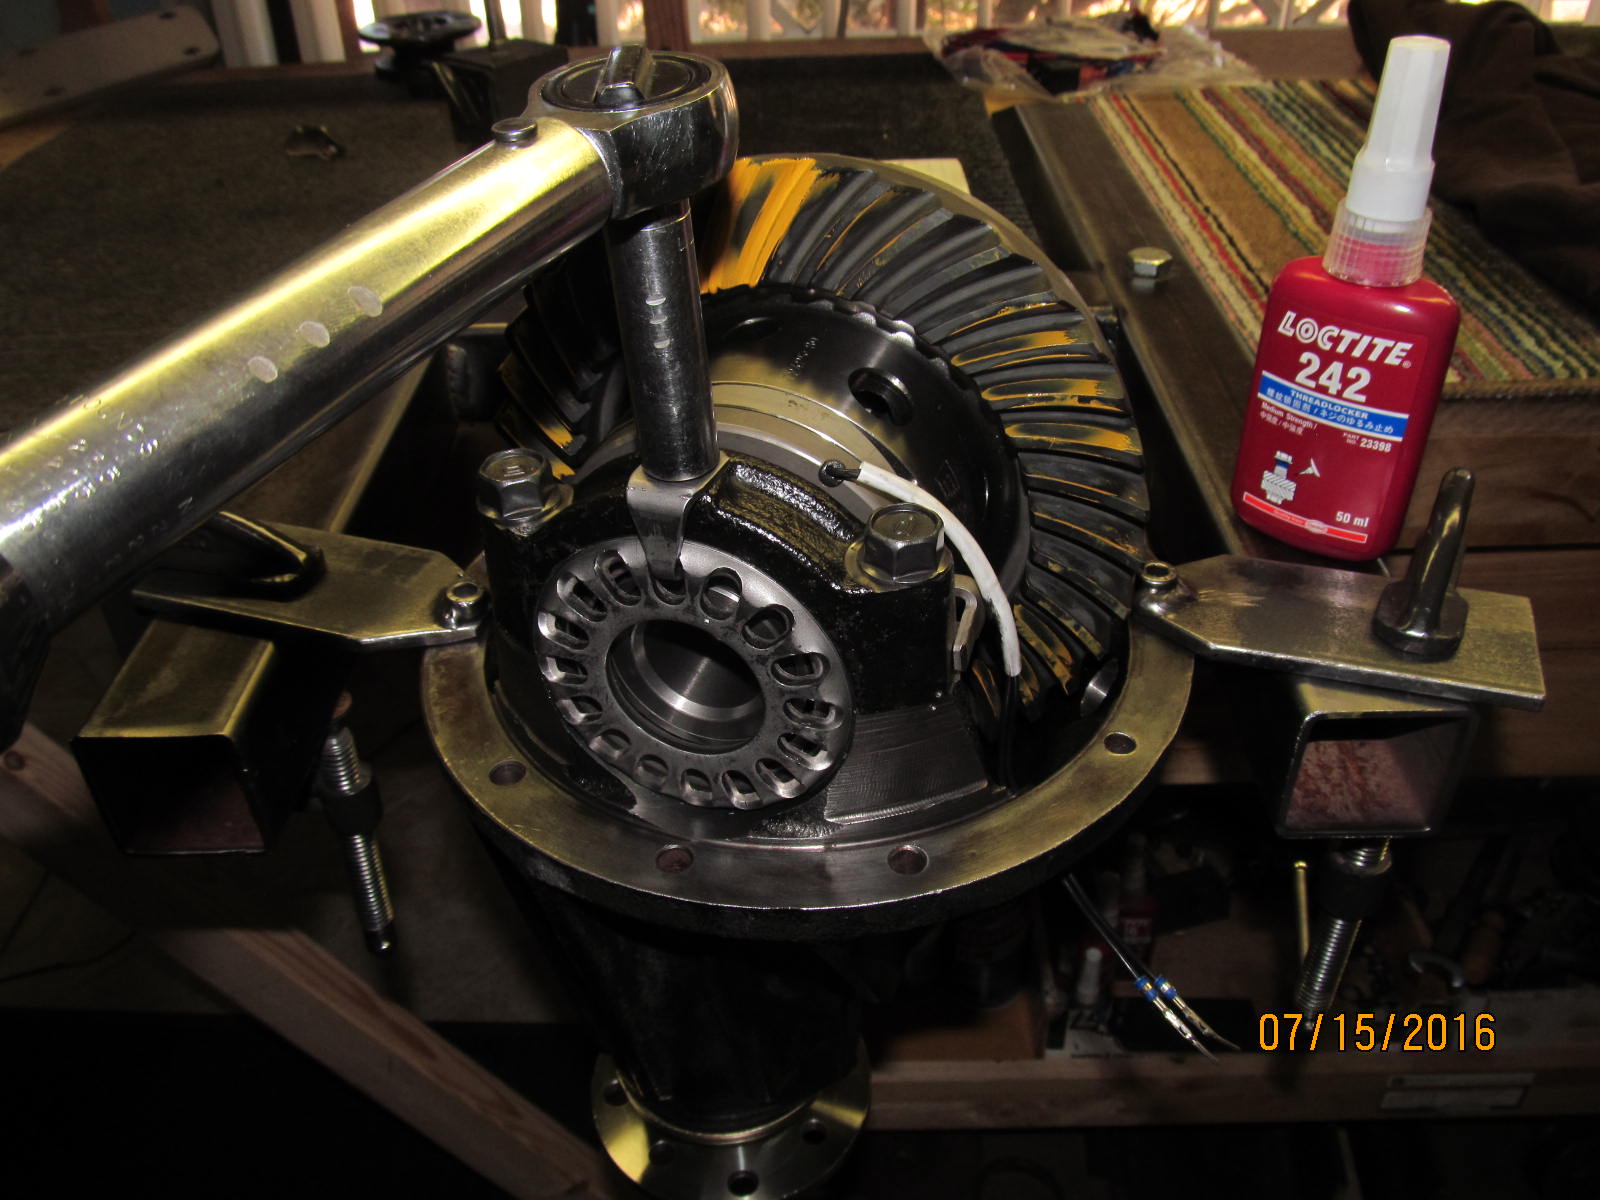
"Blue" matters too. #242 Loctite is a good choice, also.
|
|
|
|
|
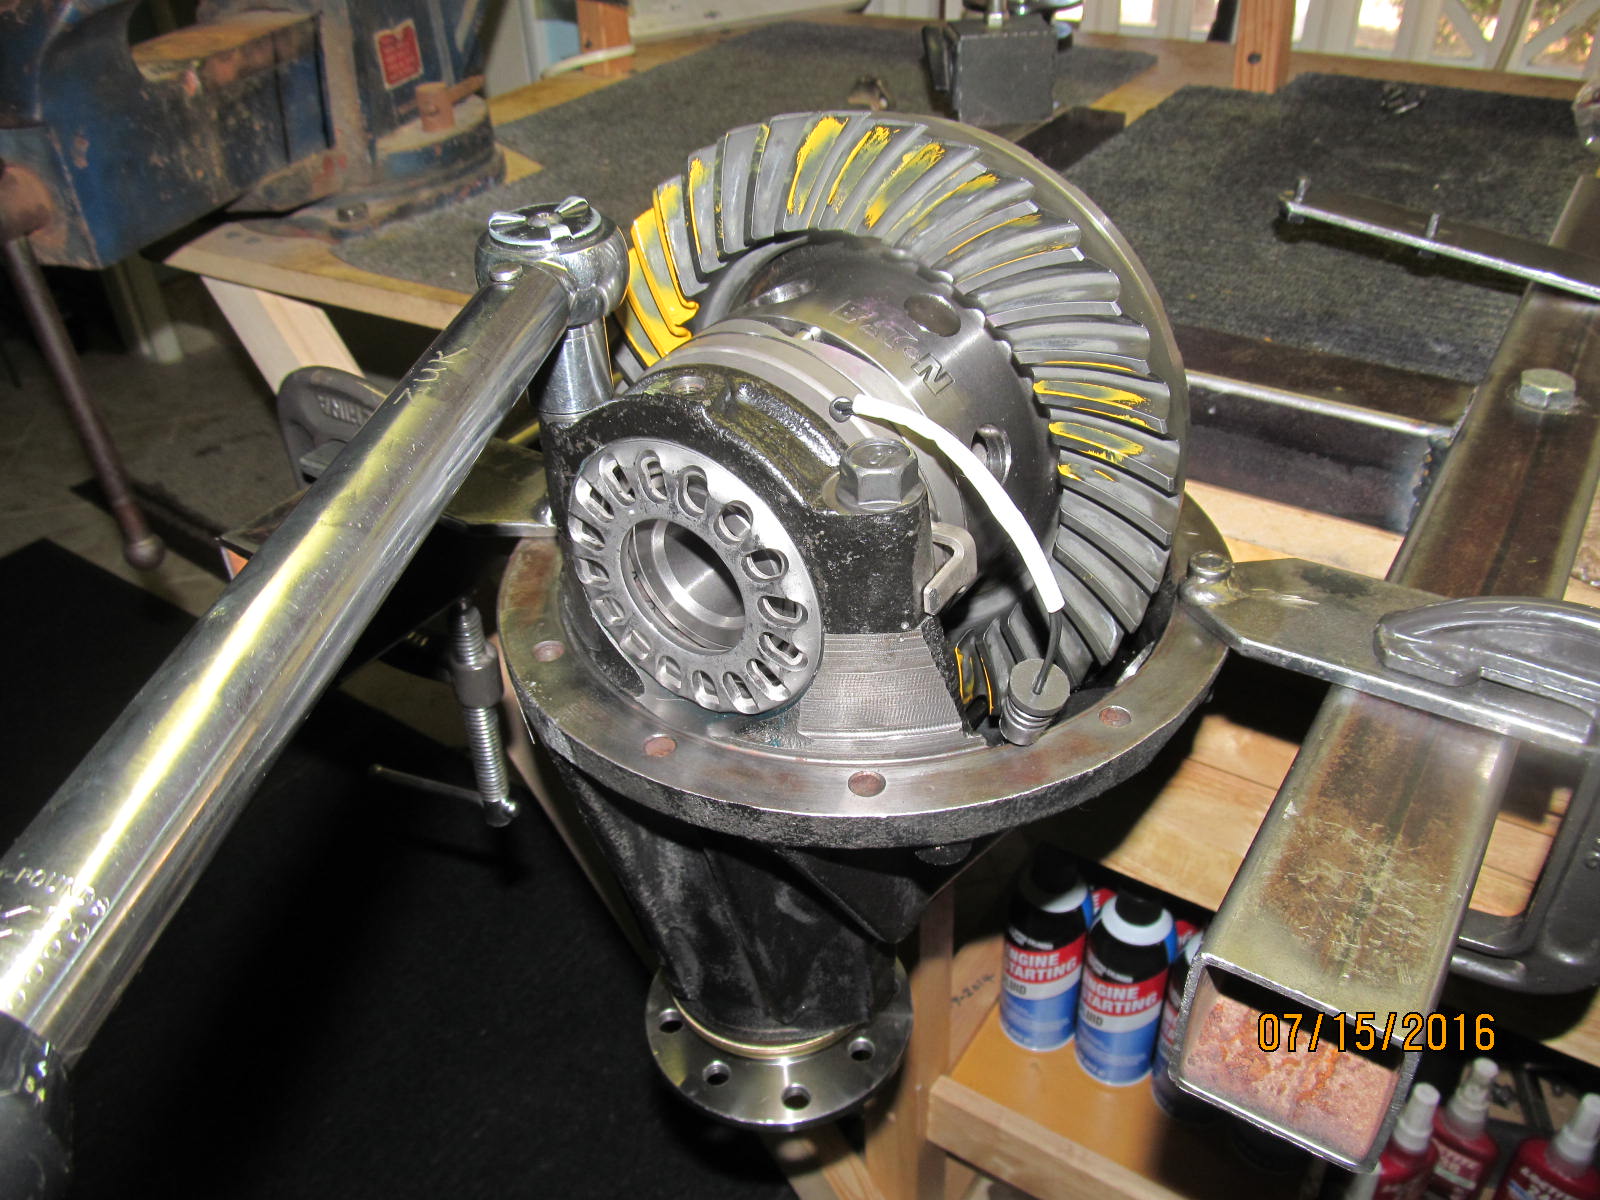
70 ft/lb....no marring allowed on the beautiful Harrop cases so a little cardboard goes a long way.
|
|
|
|
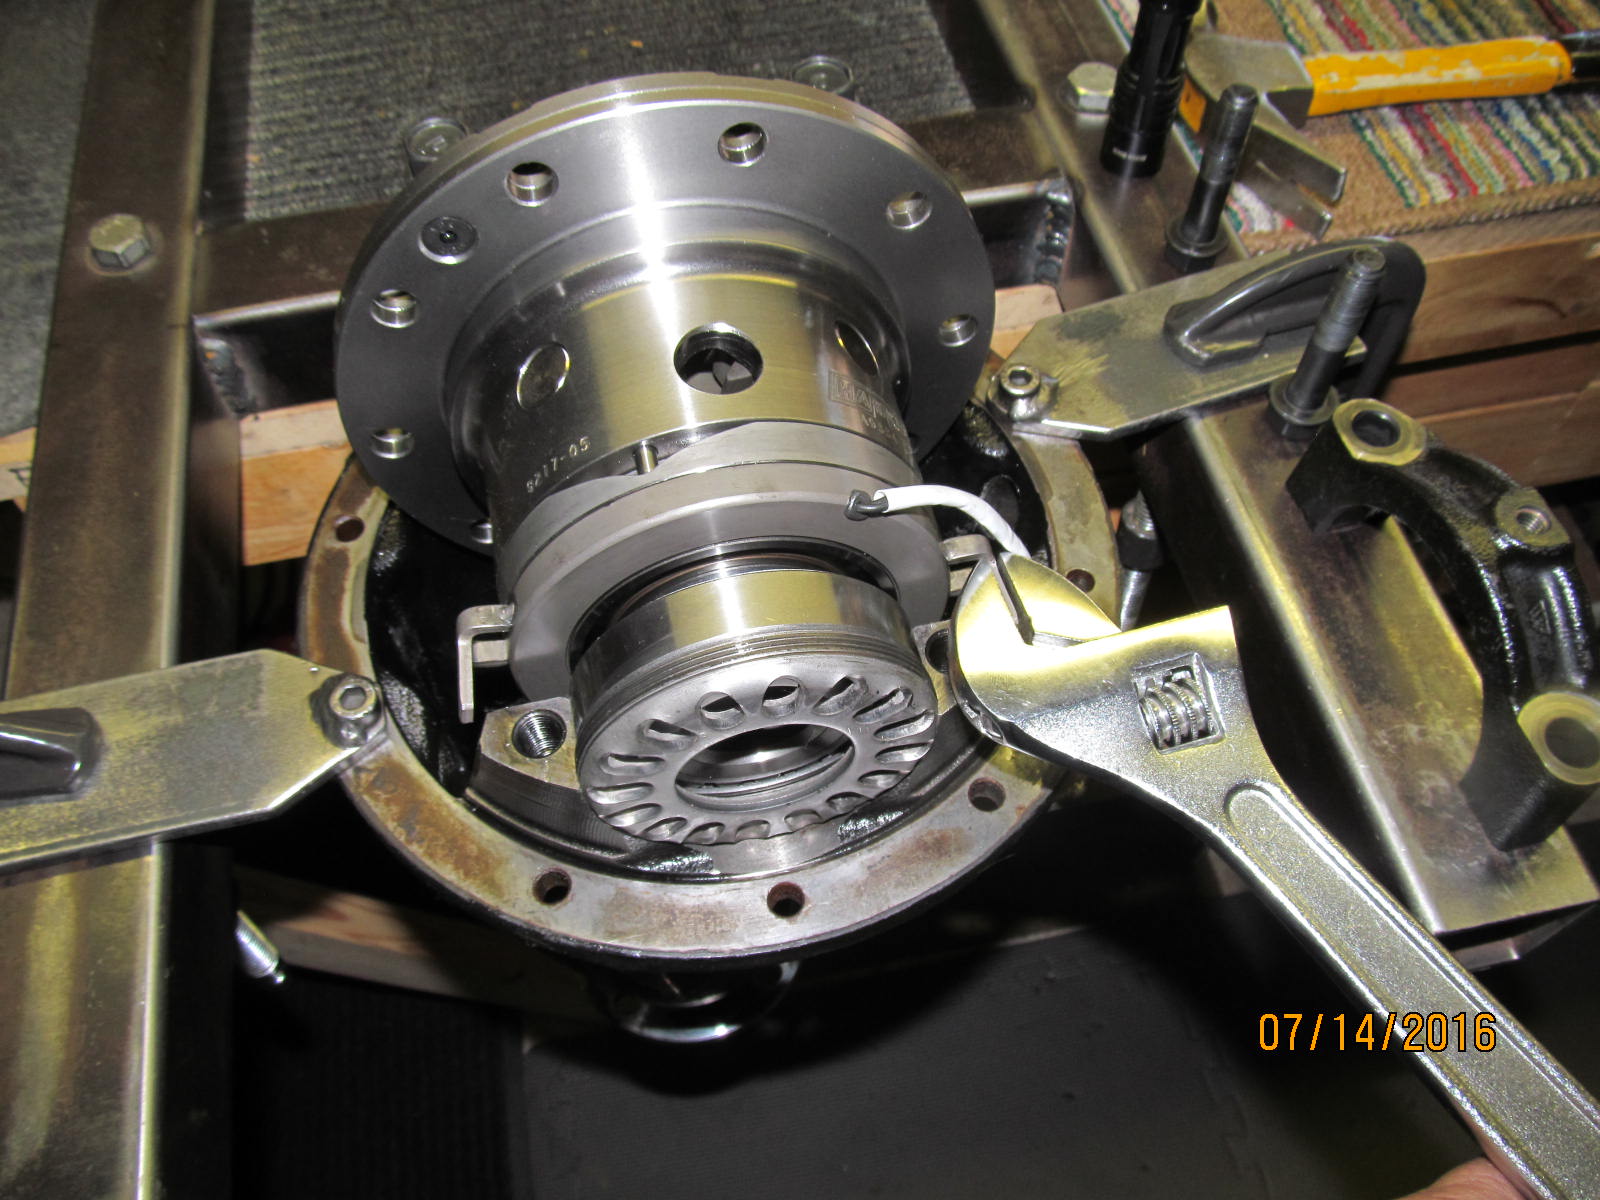
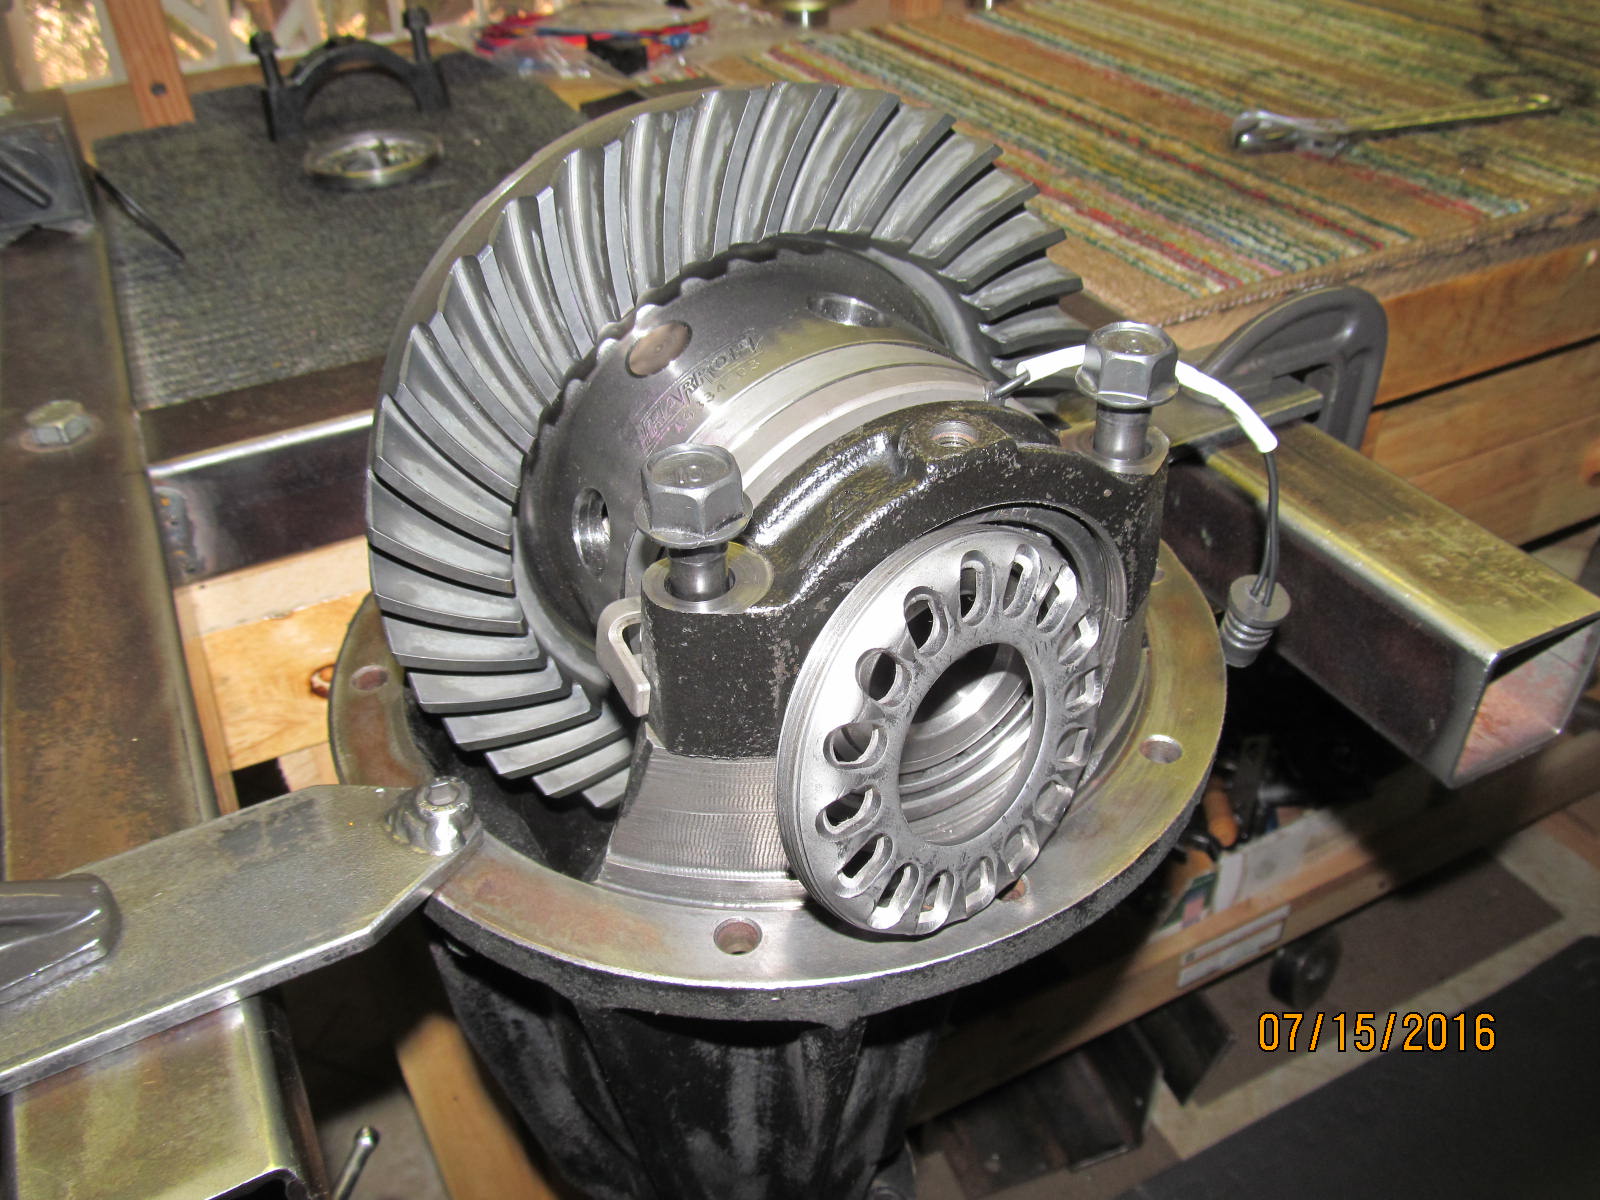
Because of the likely interference with the anti-rotation tabs, the bearing cap should be slid in place
horizontally. Then the 2 long bolts can be threaded in.
|
|
|
|
|
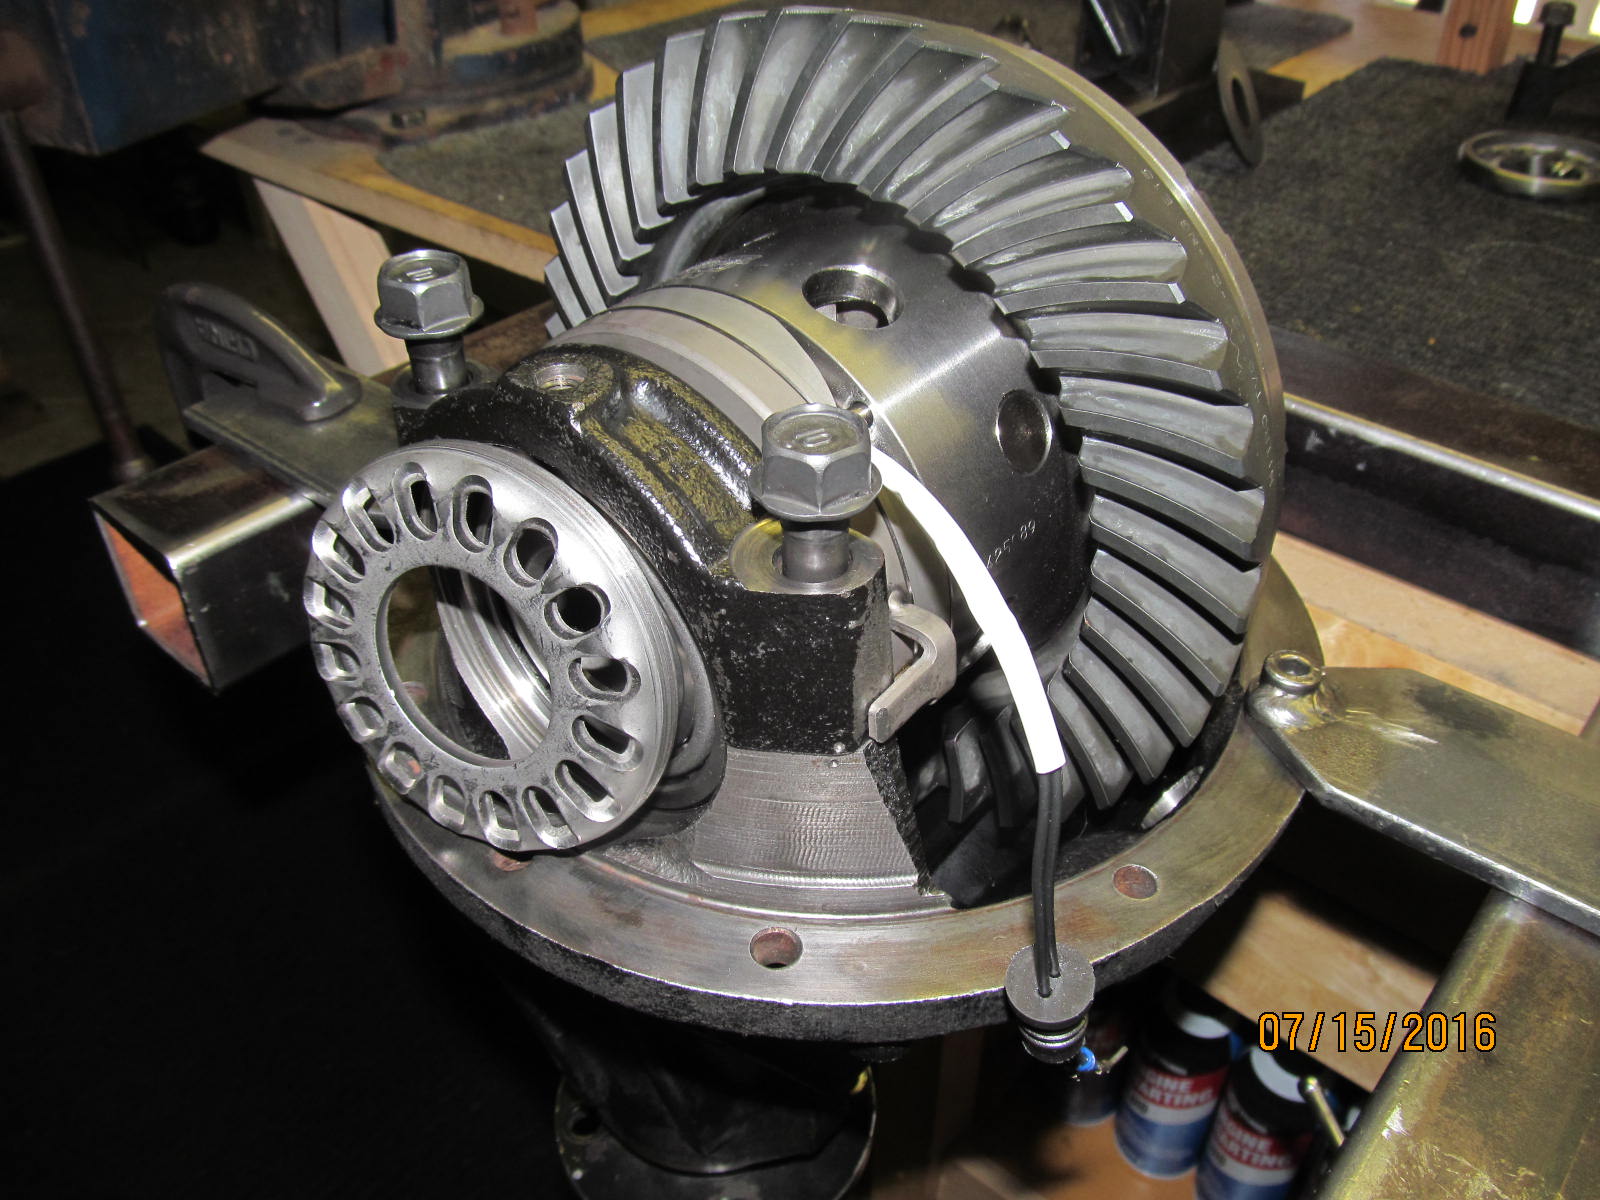
Just nip the long bolts down making sure the adjuster wheel threads are perfectly lined up.
|
|
|
|
Thread the wheel in and snug the bolts down.
Set the backlash in the ballpark.
|
|
|
|
|
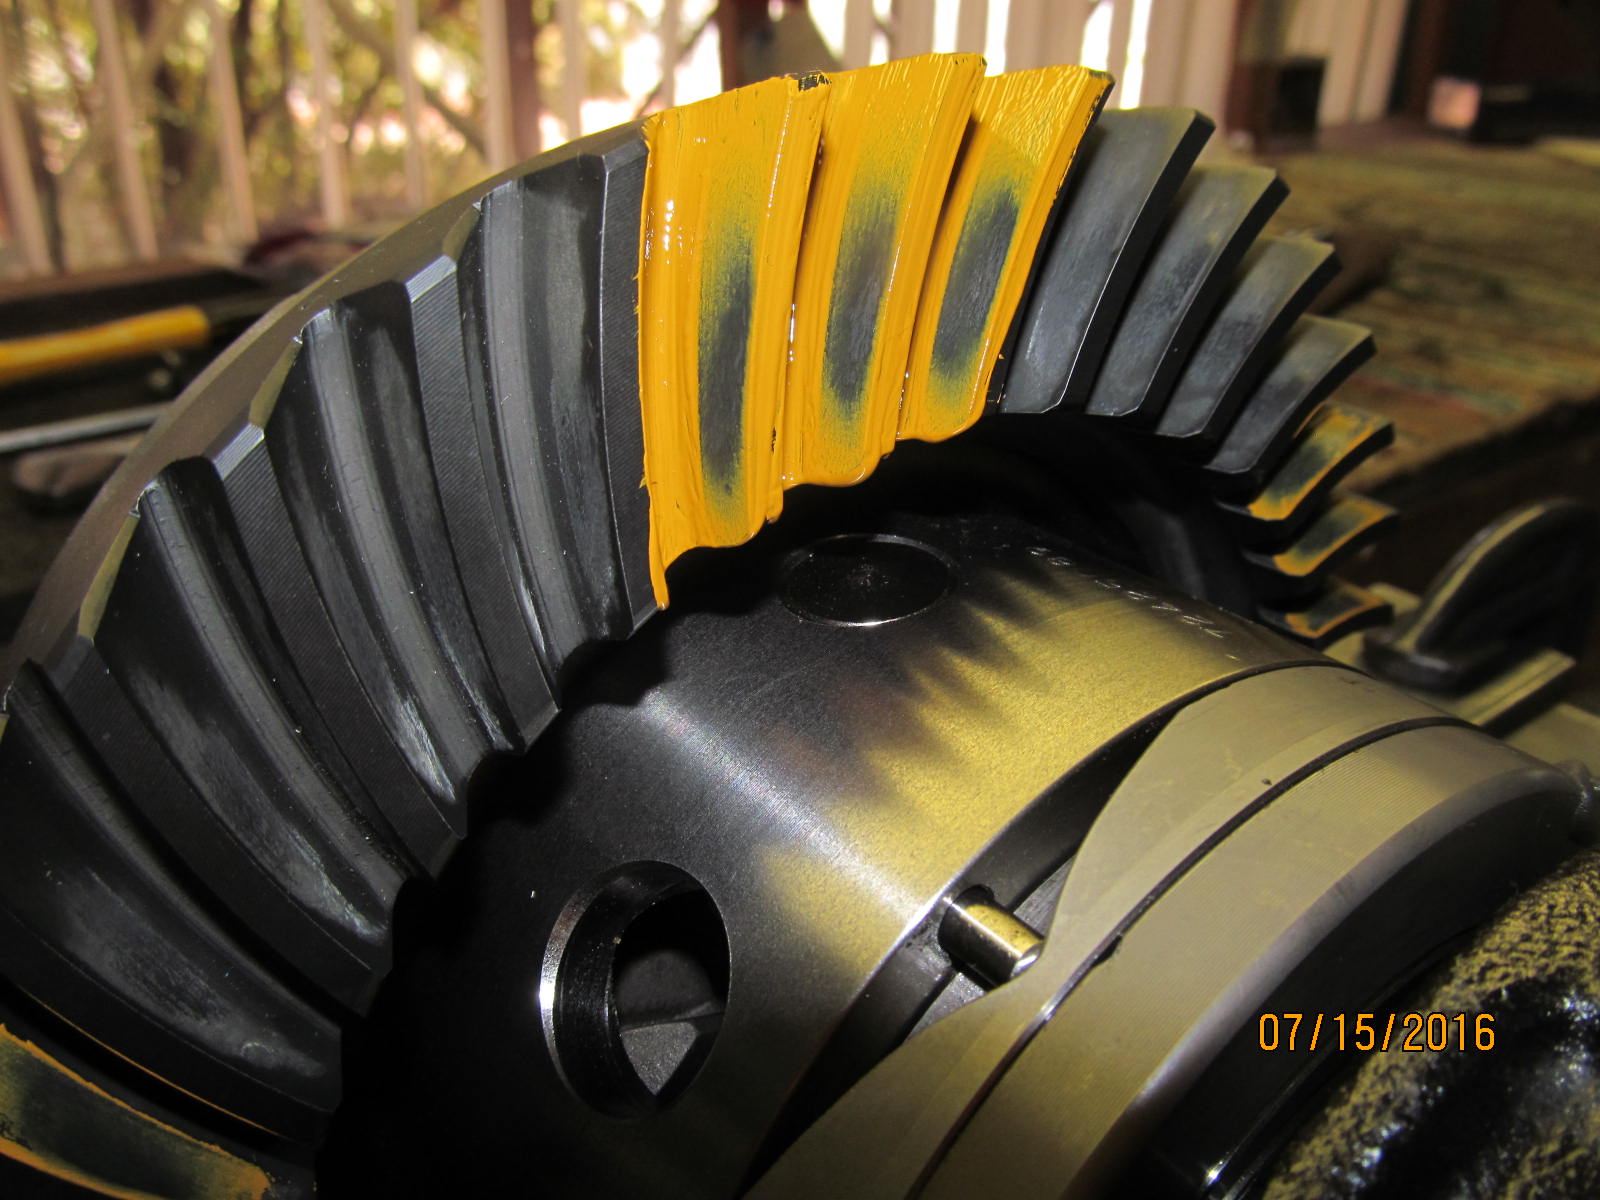
Drive side.....close but slightly shallow still. I may add .004" more and see what happens.
|
|
|
|
|
Coast
|
|
|
|
|
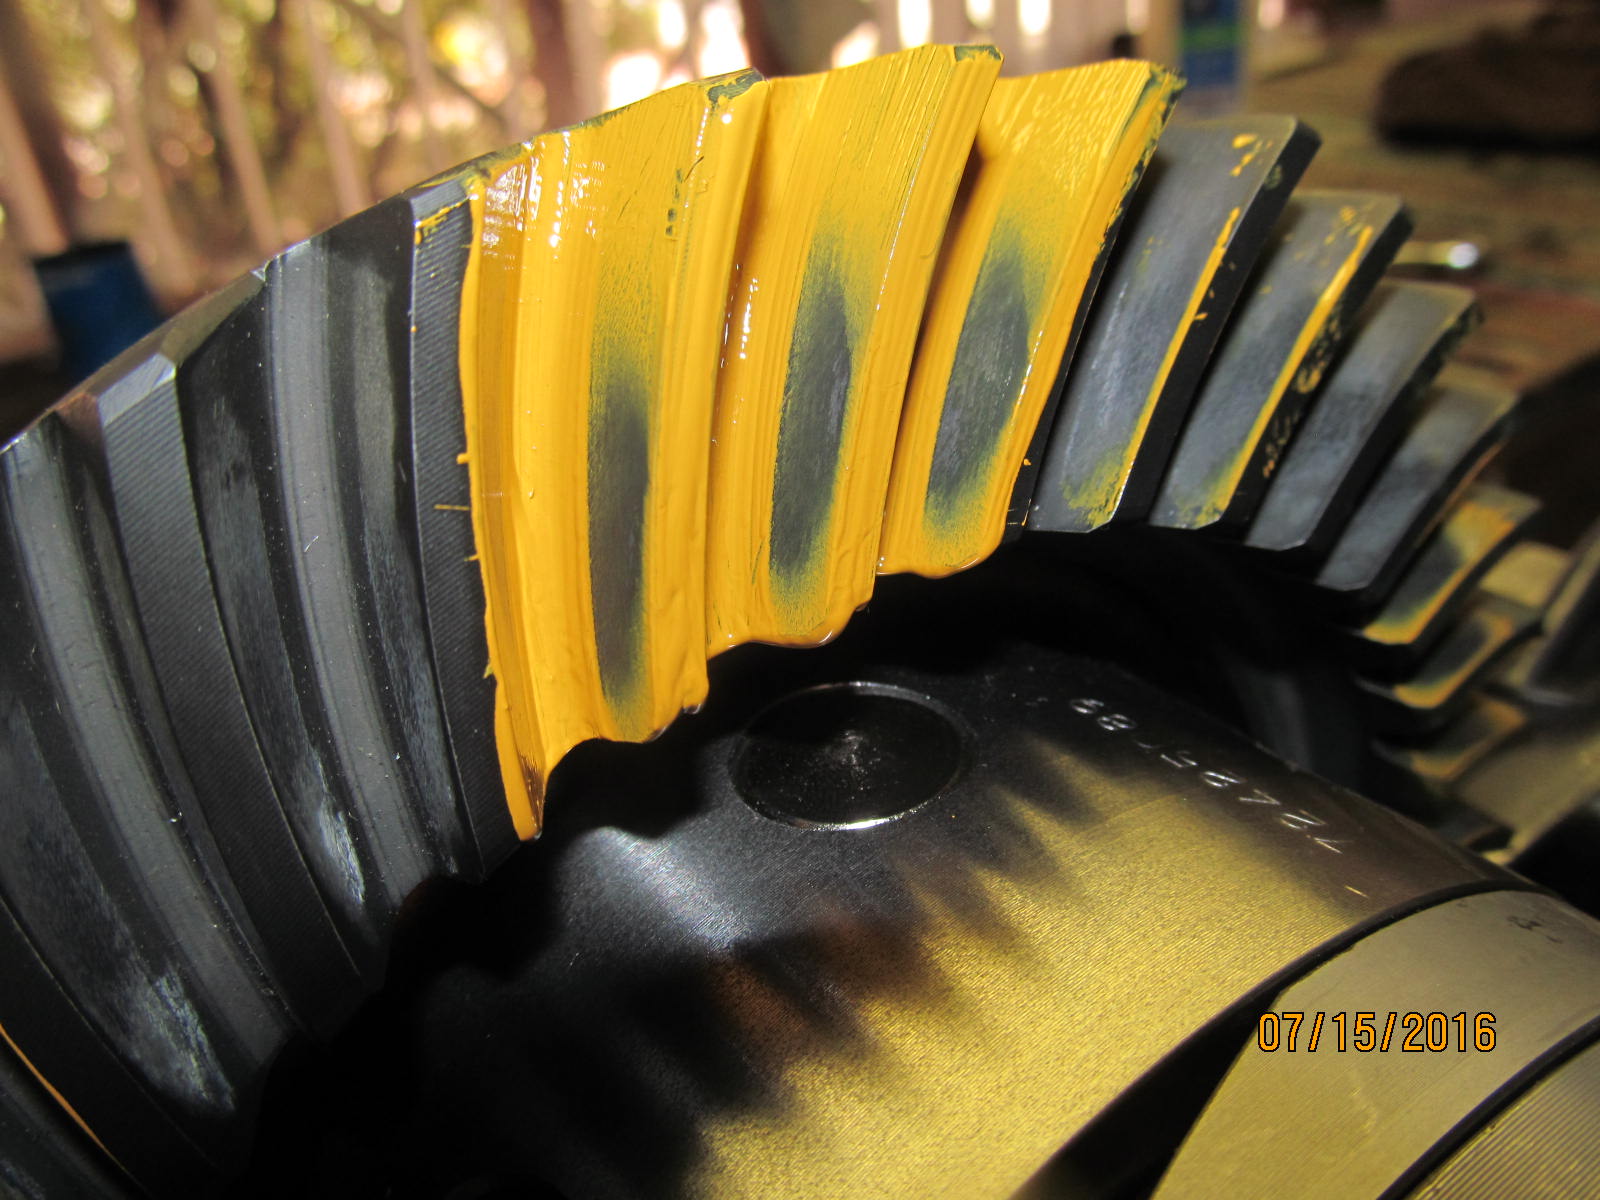
Drive reverse painted. Says it's too shallow.
|
|
|
|
|
Drive side...comet tail deep into the root indicating a shallow condition on the ring gear.
|
|
|
|
|
,,,,,,,,,,,,,,,,,
|
|
|
|
|
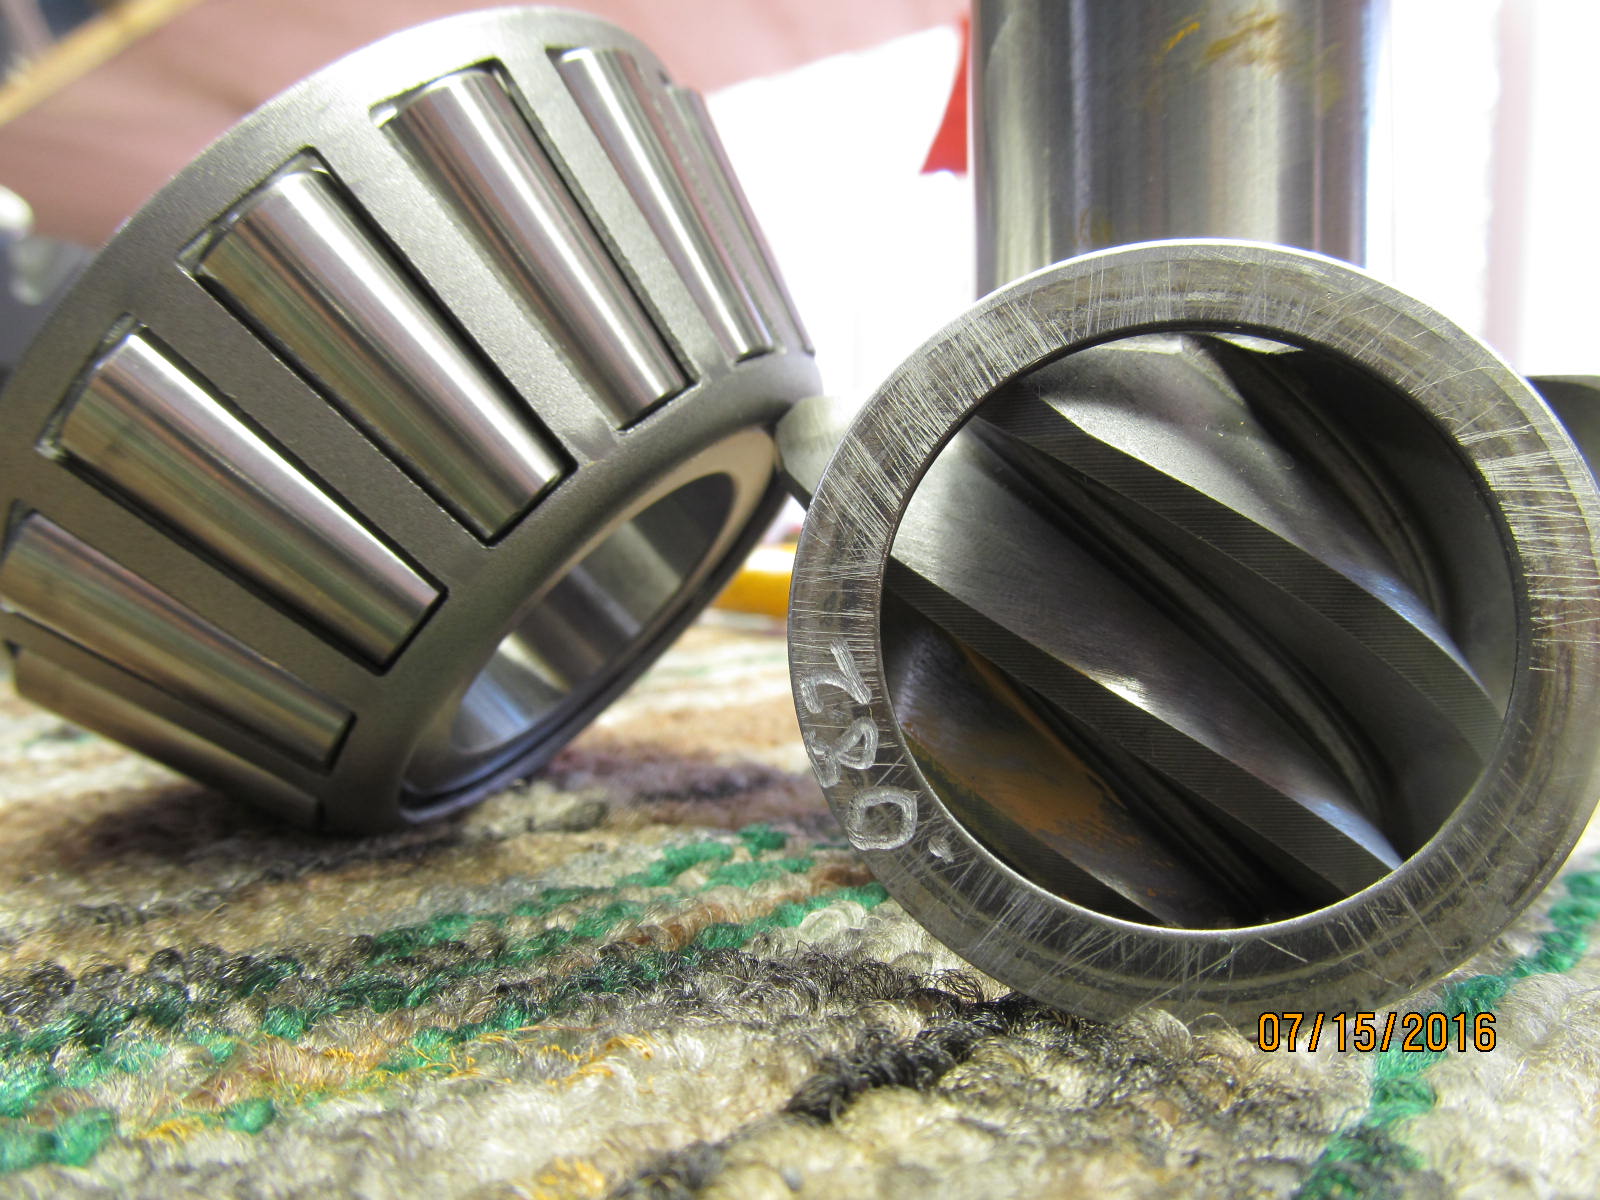
Disassemble ....remove the big pinion bearing.
|
|
|
|
|
.082" will be winner.
|
|
|
|
|
Re-assemble...set the backlash and establish some carrier bearing preload.
|
|
|
|
|
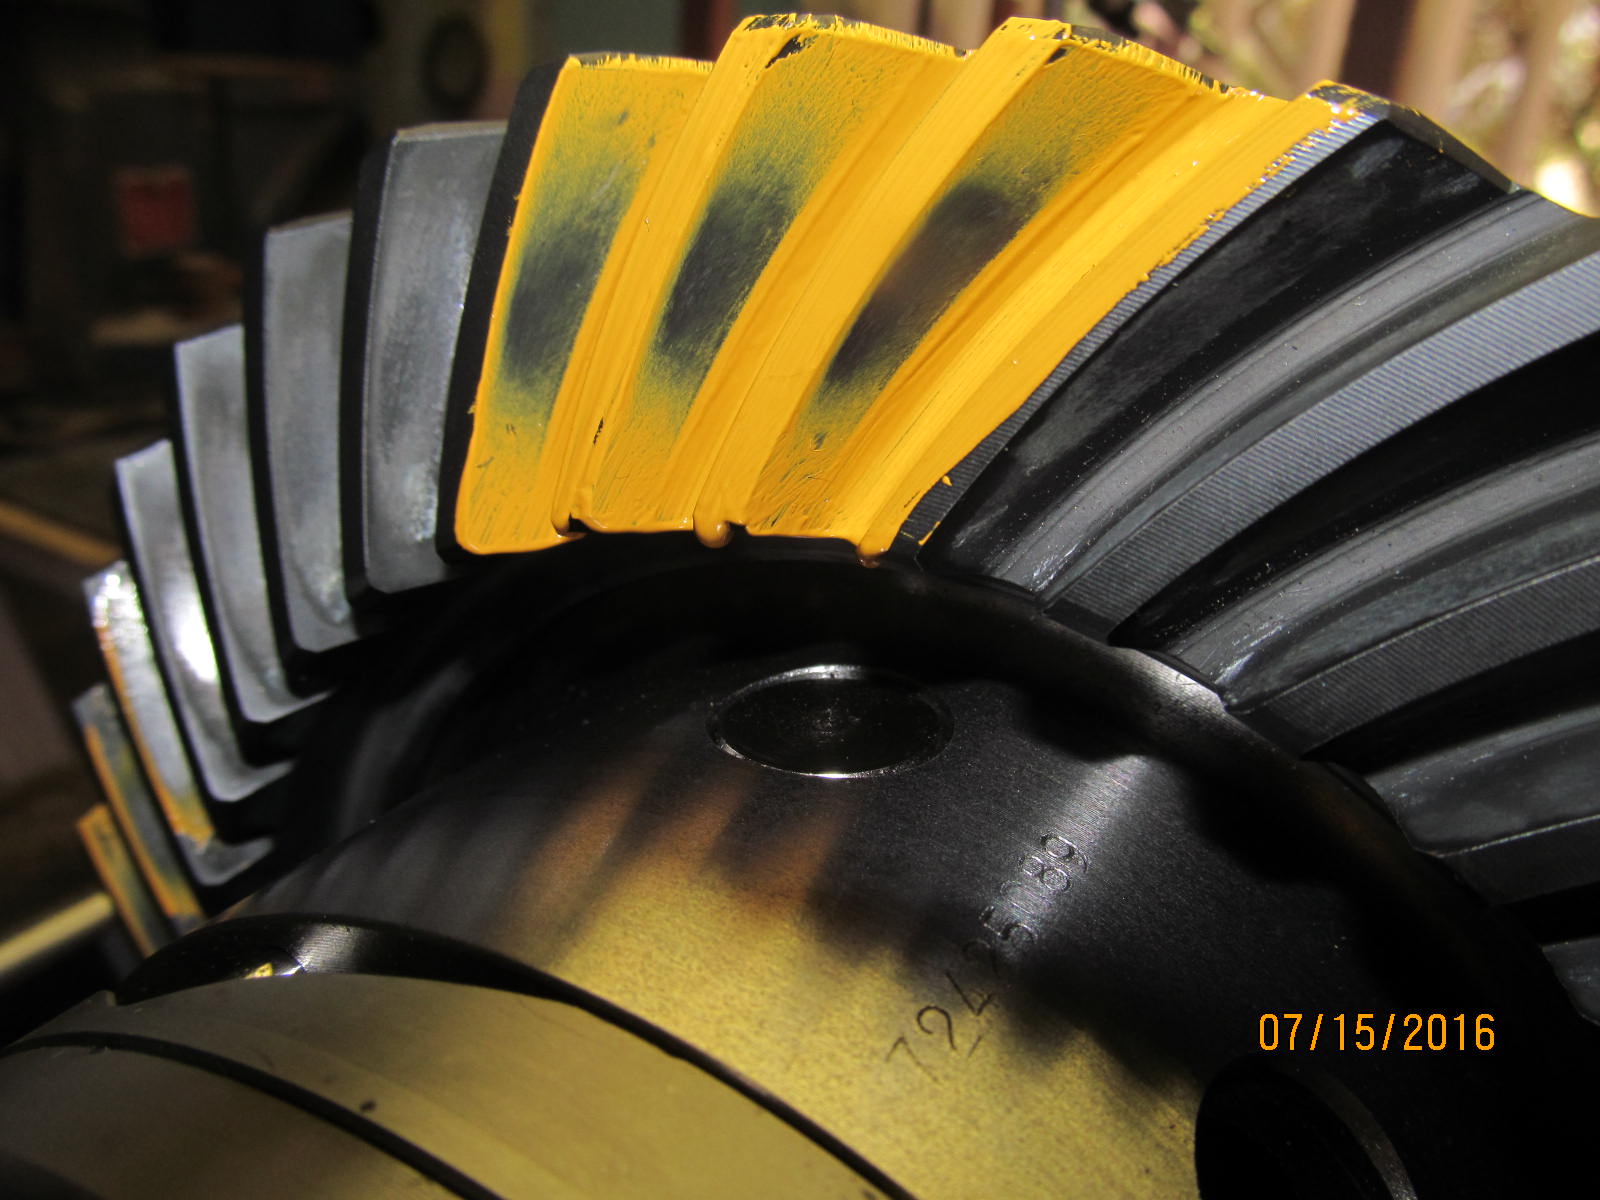
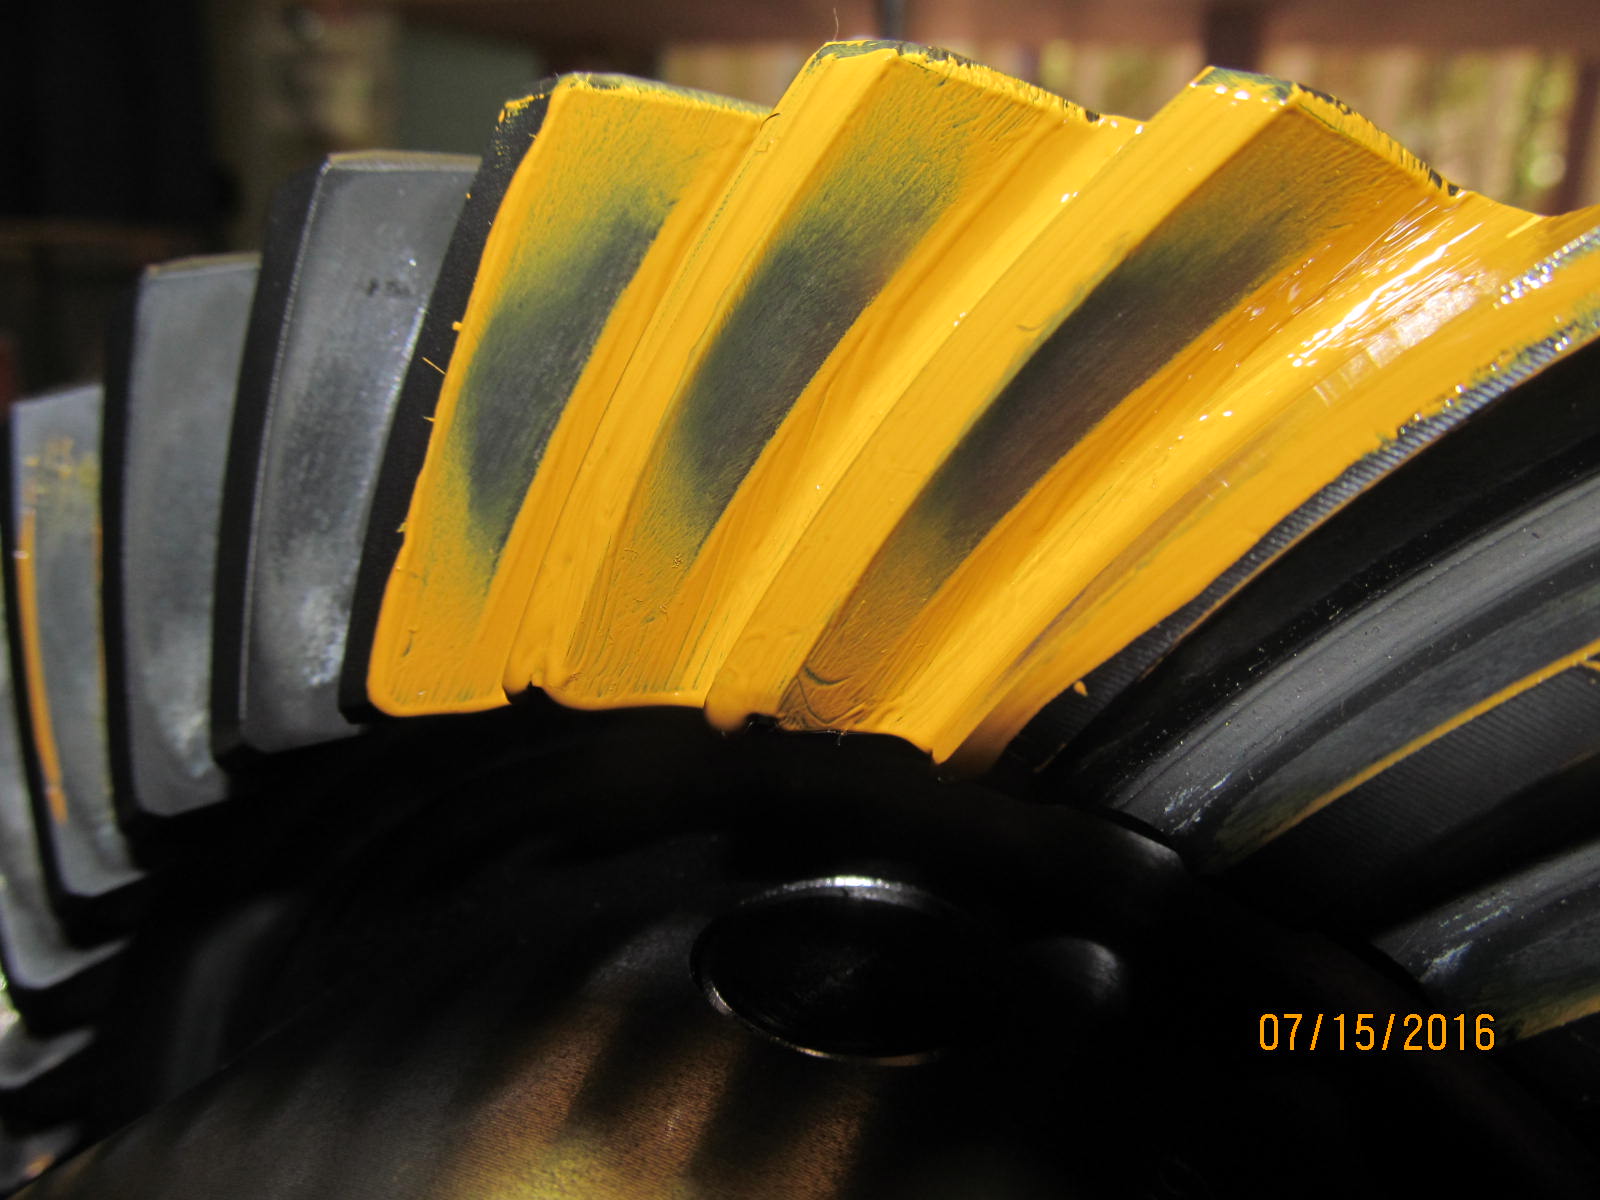
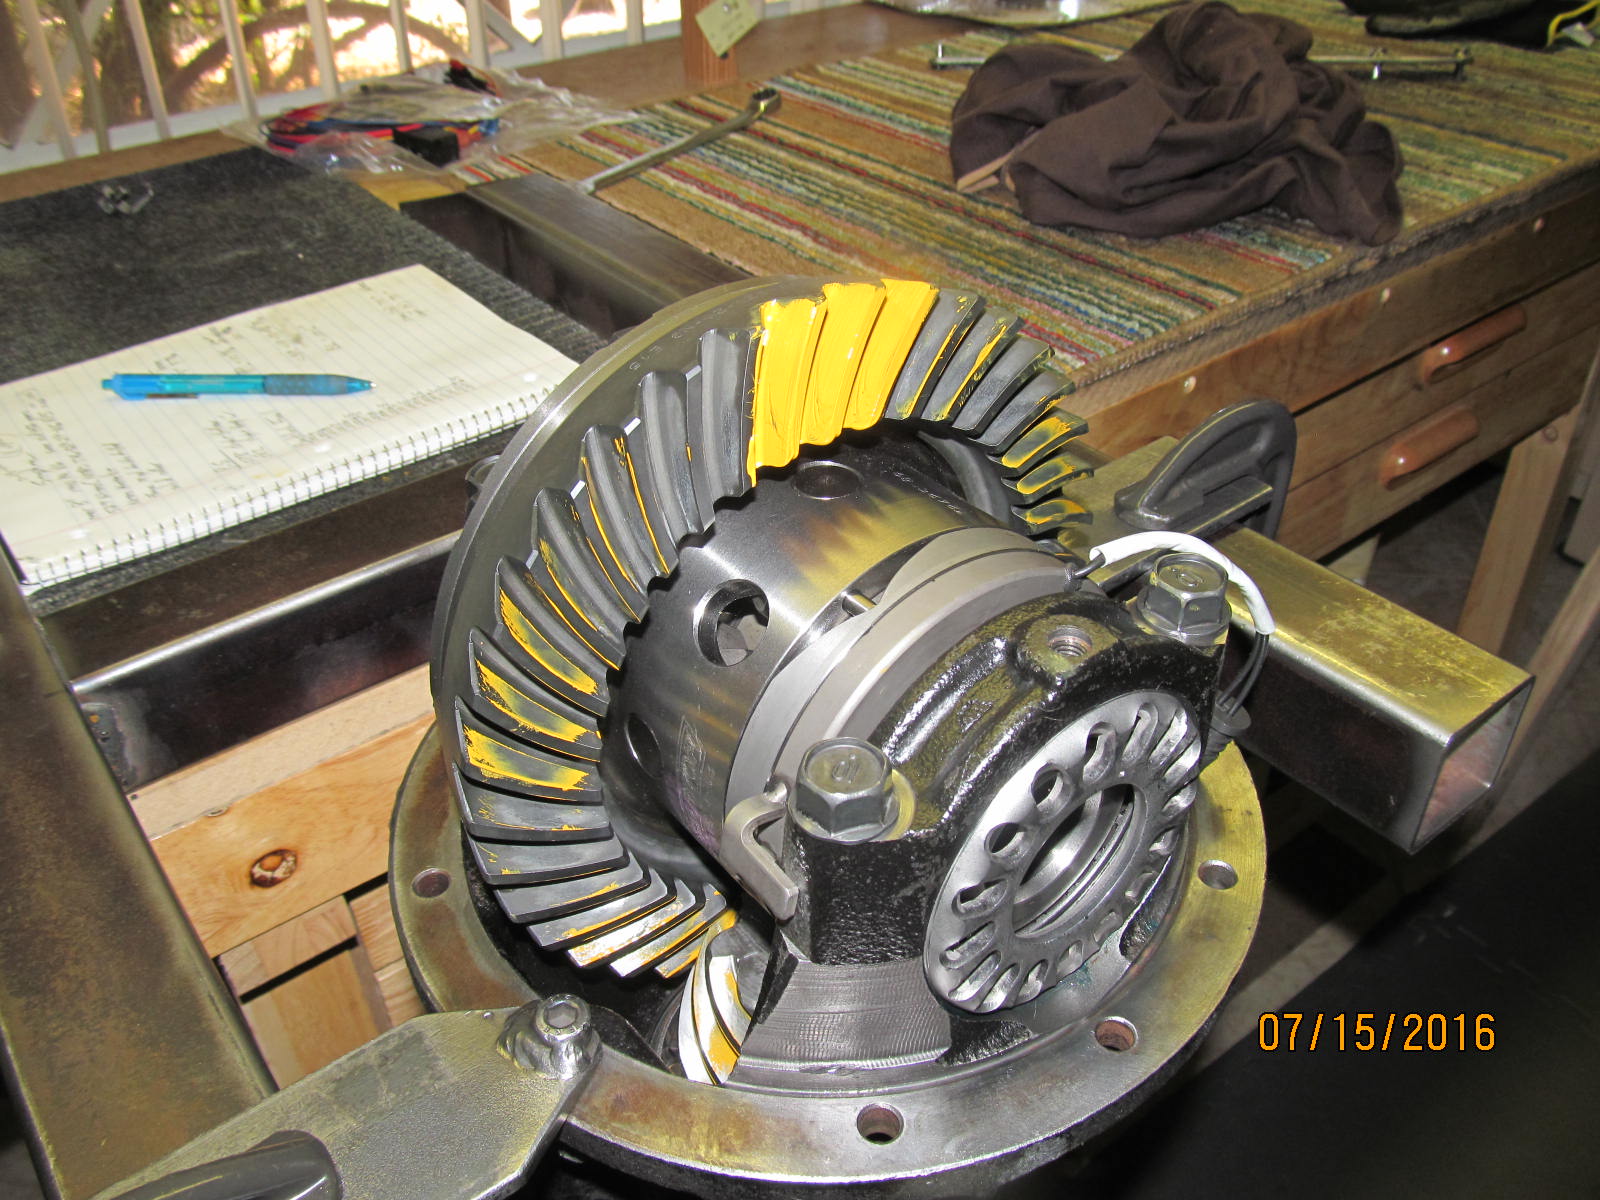
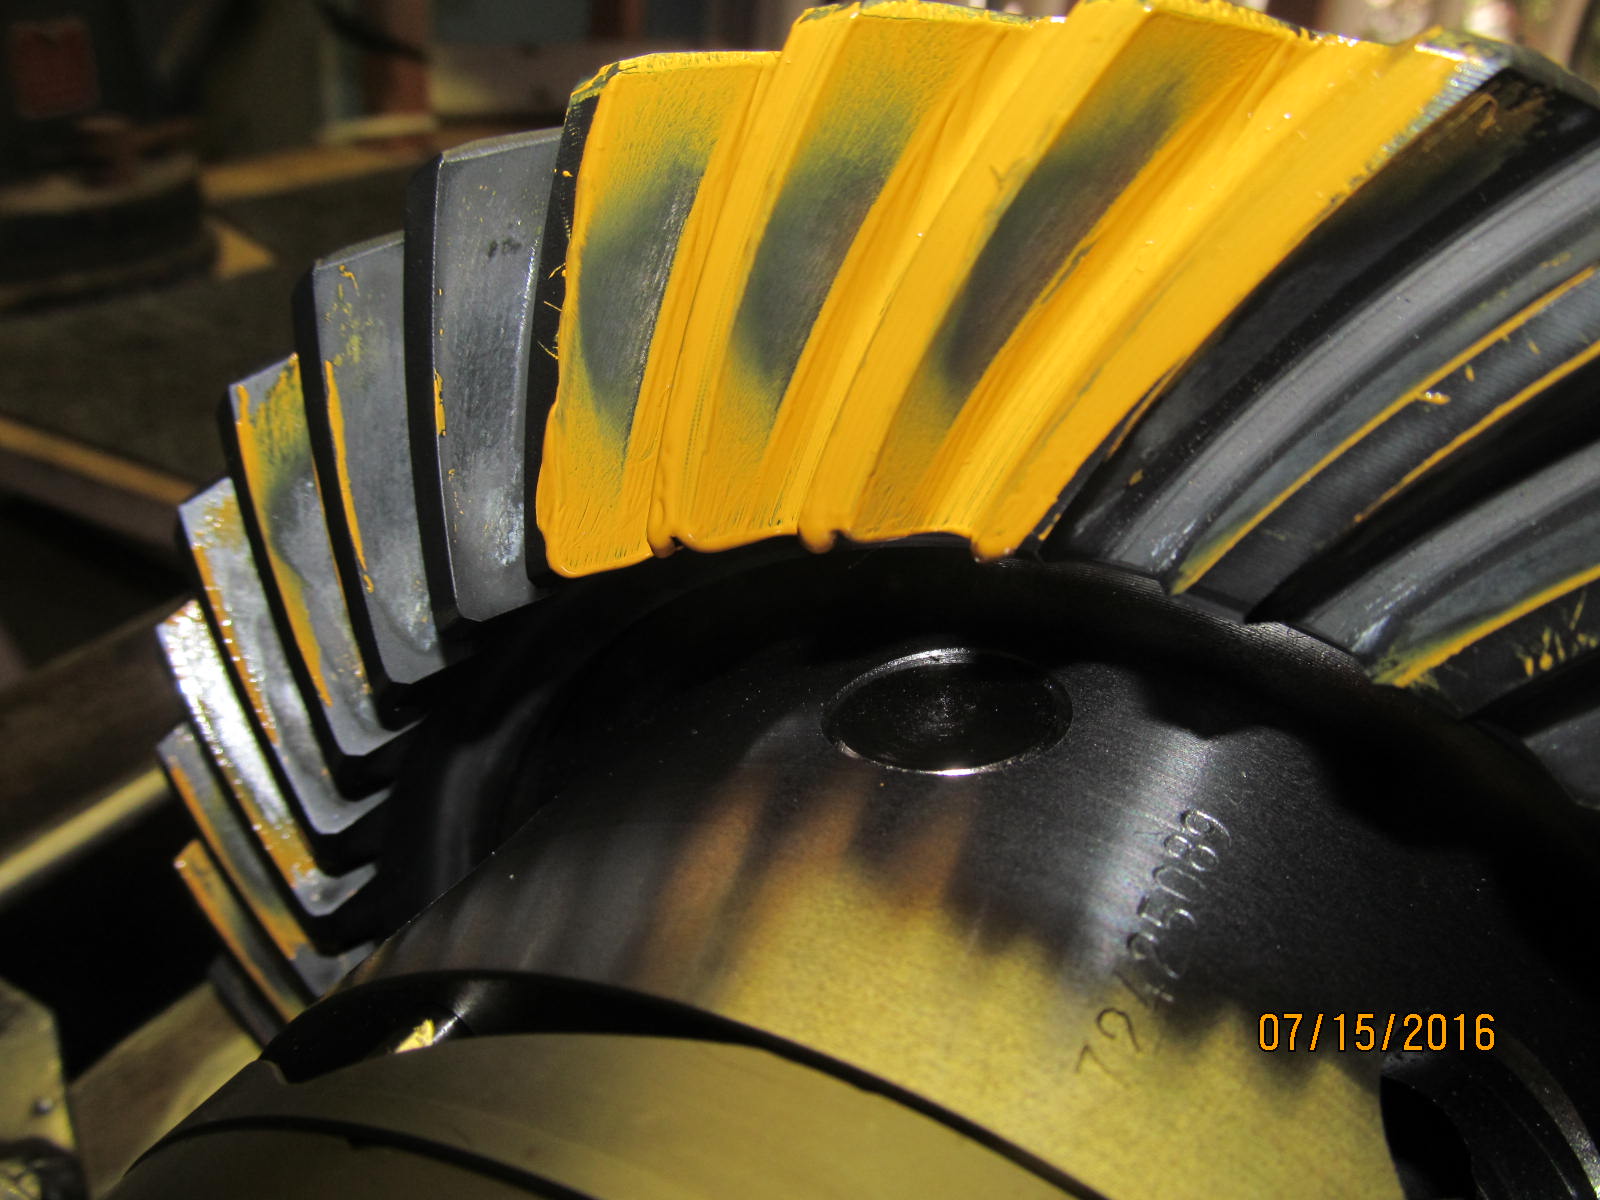
Drive--- Now that's is what I like to see.
|
|
|
|
|
Coast---
|
|
|

|
|
Reverse paint agrees.
|
|
|
|
|
Look how the comet tail is shifting away from the root. That's what we want to see.
|
|
|
|
|
,,,,,,,,,,,,,,,,,,,,,
|
|
|
|
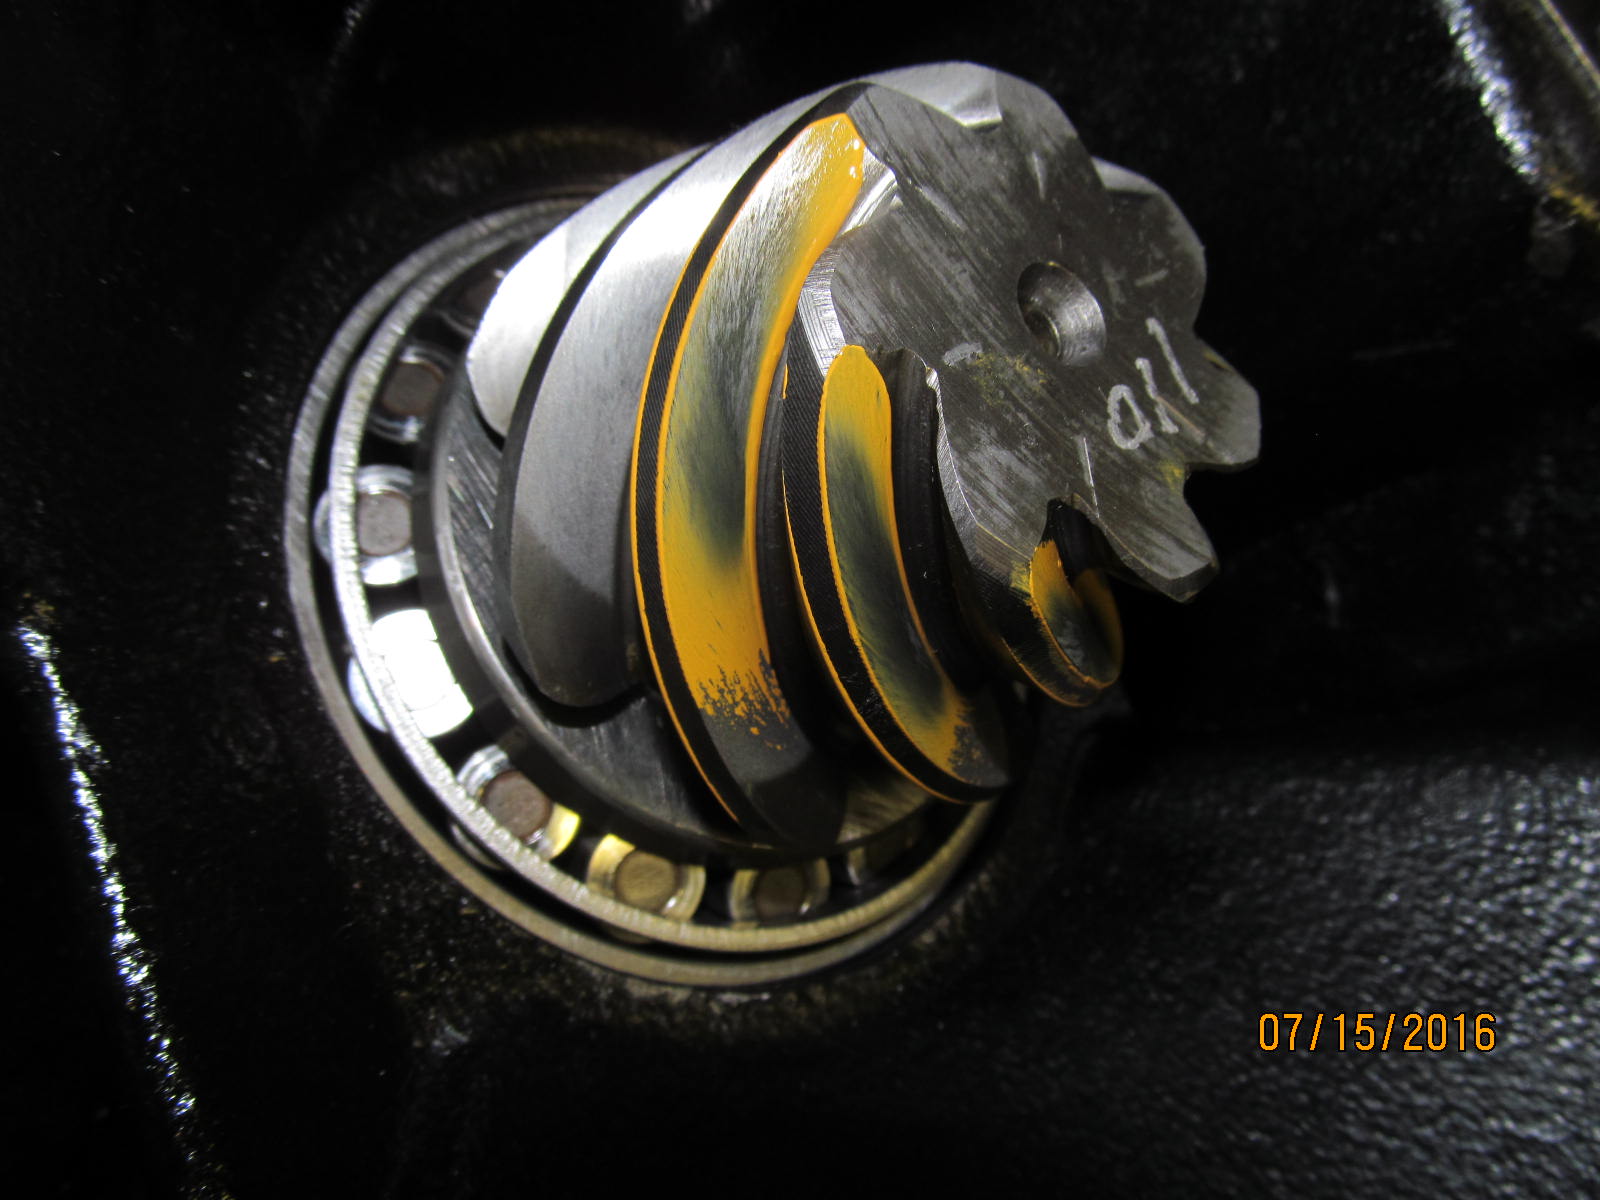
Now to disassemble again and load the solid collar in place. Take my best guess
and try .047"....slightly loose. Second try with .045" and perfect.
Usually doesn't work out that well.
|
|
|
|
The larger pinion diameter will not allow the original oil slinger to drop on.
Most shops, with no other option, will just leave the oil slinger off.
|
|
|

|
|
Took less than 5 minutes with a 1/4" high speed die grinder and the issue went away.
|
|
|

|
|
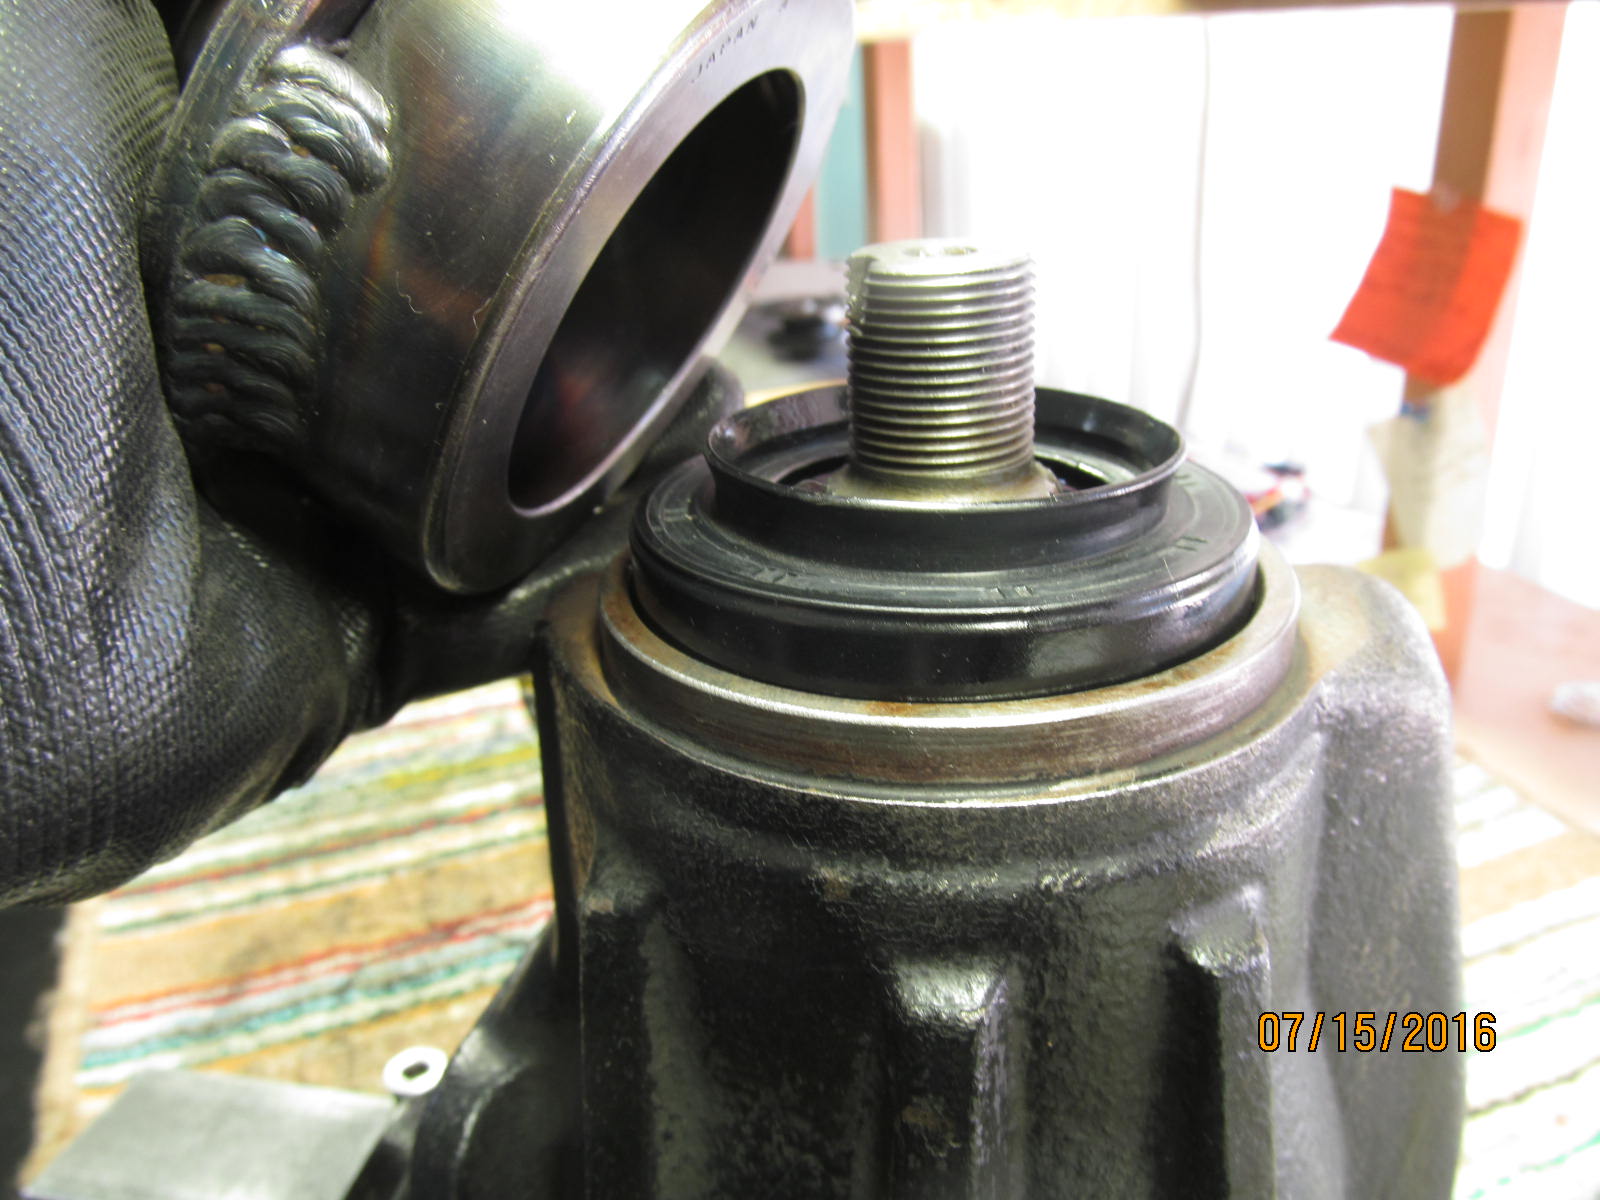
Checking the fit of the rubberized pinion seal.....
|
|
|
|
|
....pushing it on and seeing the rubber lip fold over for a good seal.
|
|
|
|
|
Seal is hammered down evenly.
|
|
|
|
|
,,,,,,,,,,,,,,,,,,,,,,,,
|
|
|
|
|
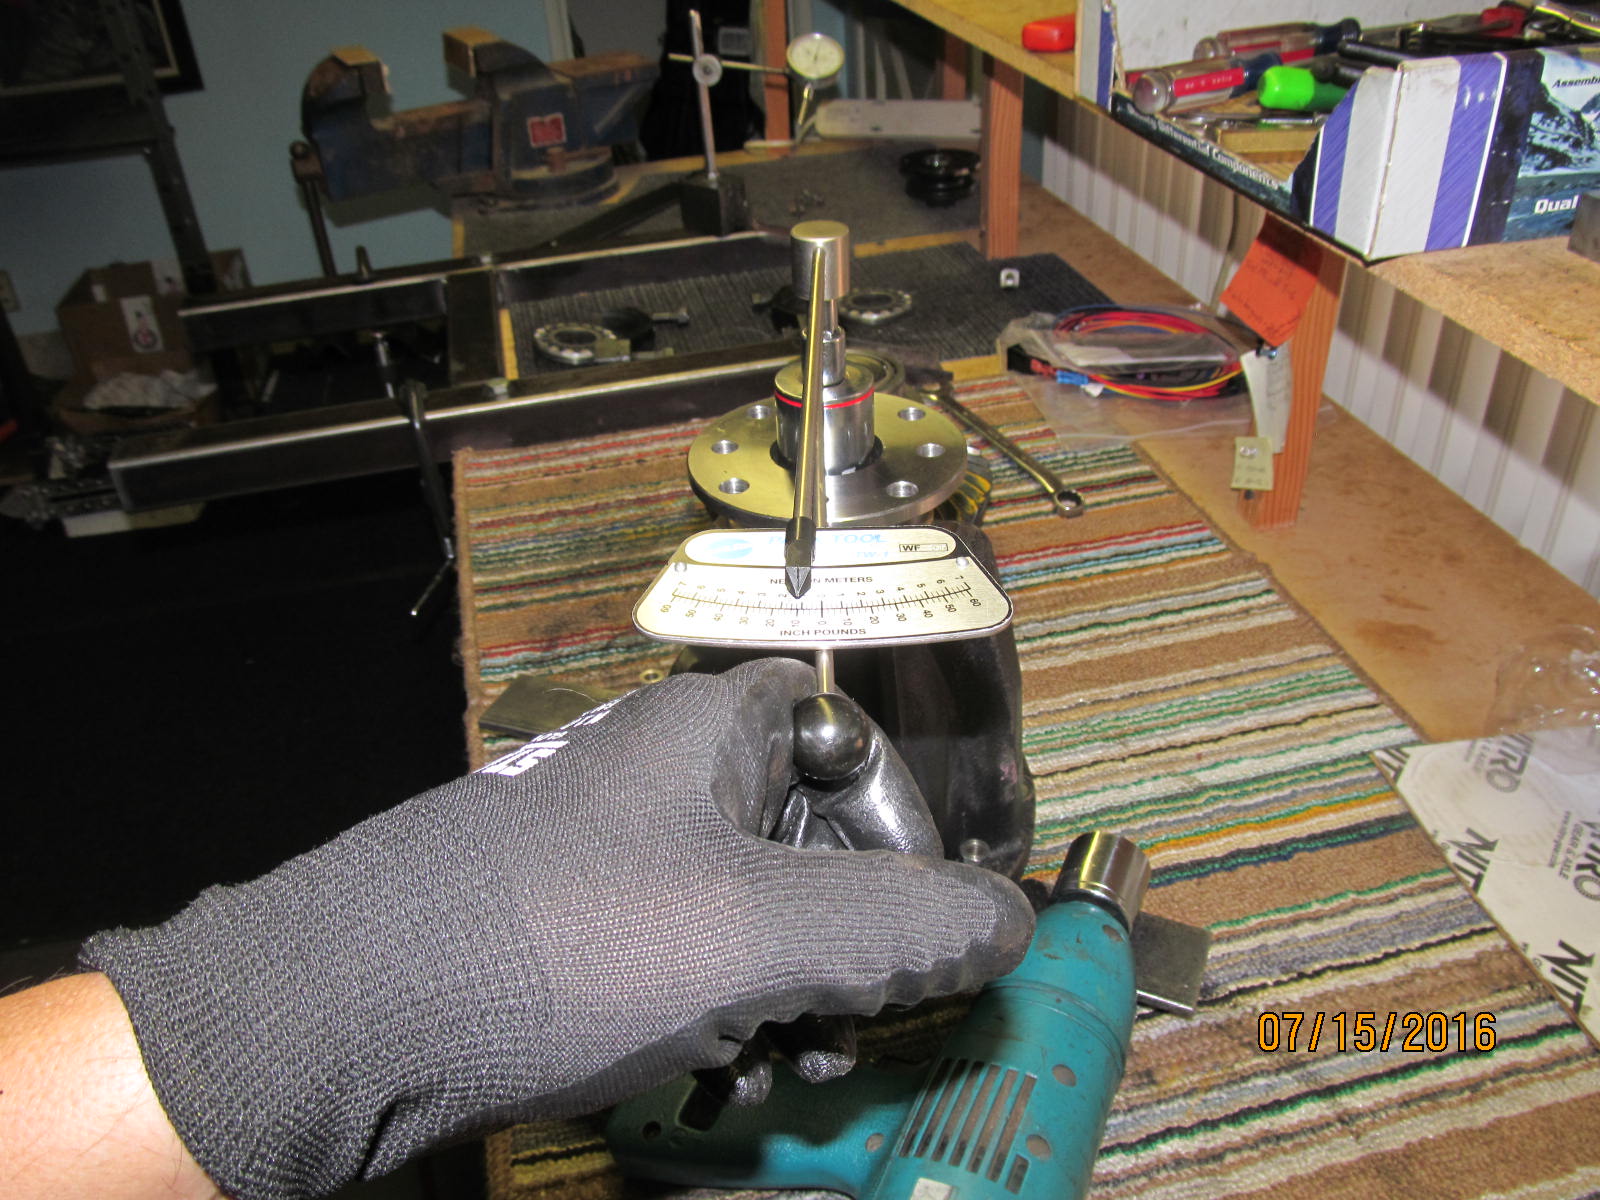
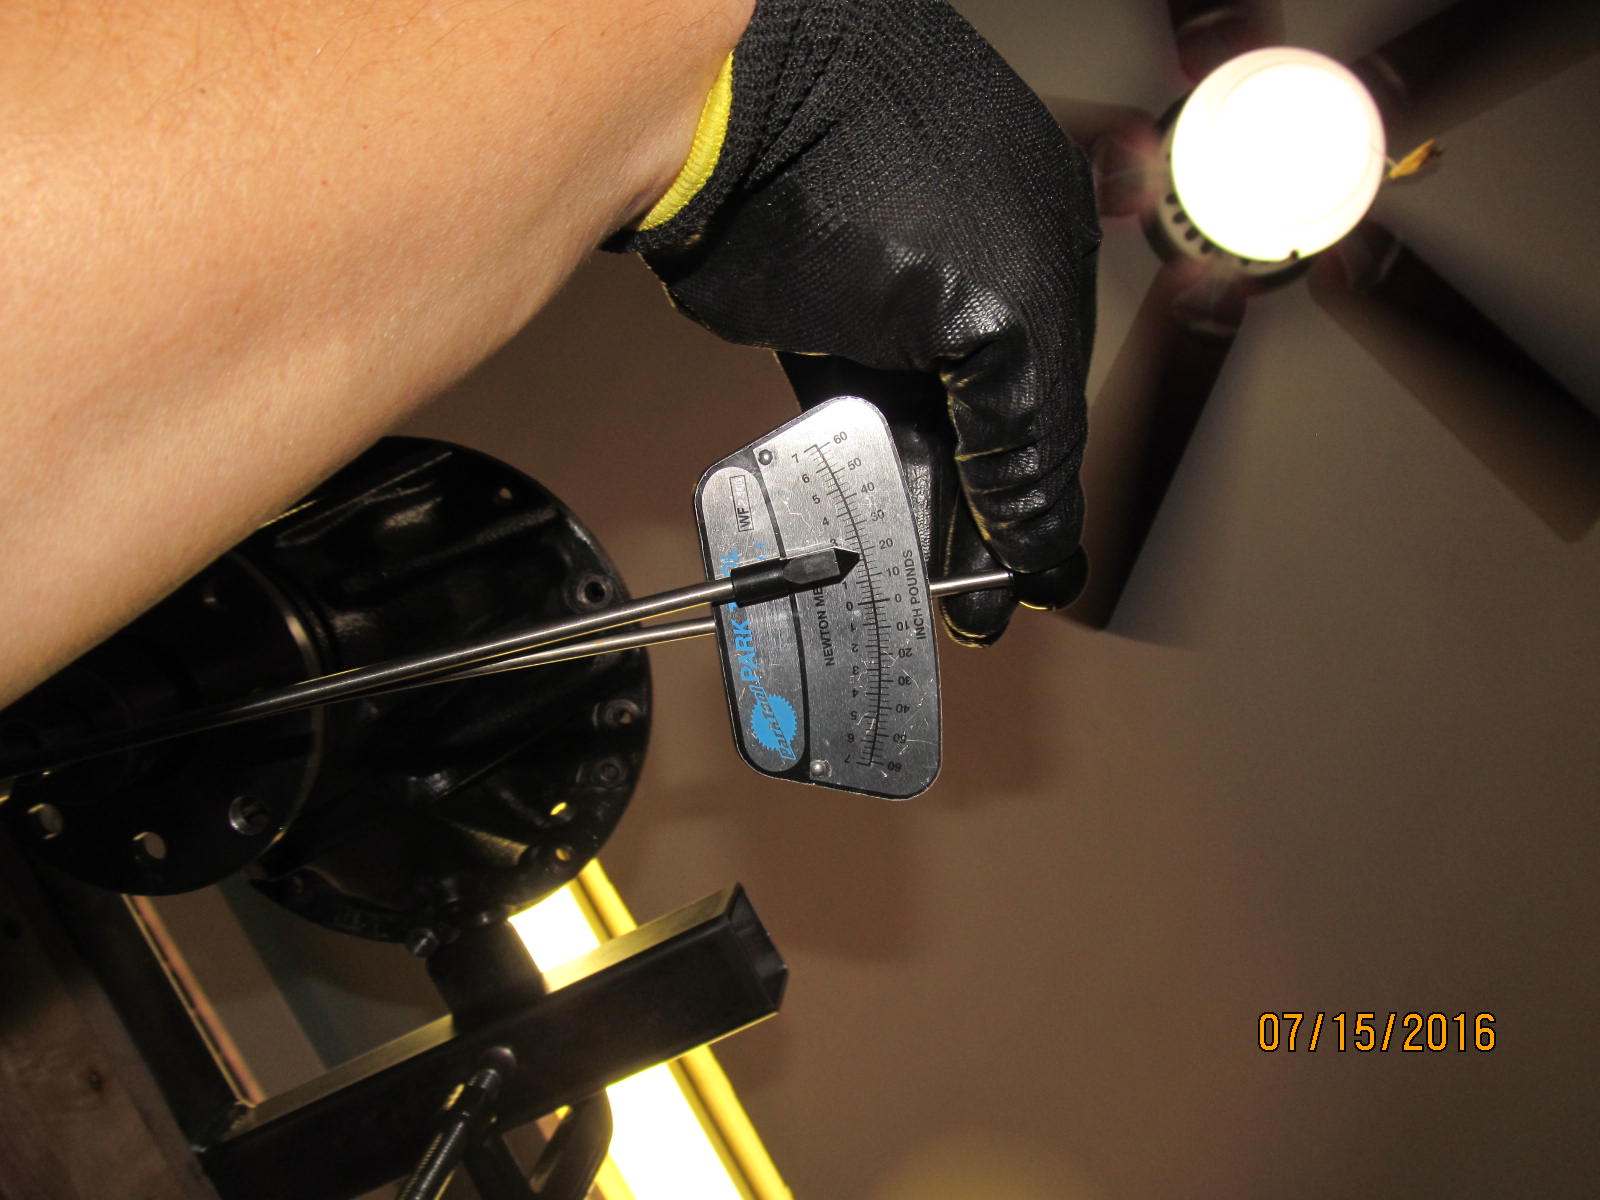
Tightened until a nice, smooth 10 in/lb pinion preload was repeatably noted.
|
|
|
|
|
DING and the pinion end is complete.
|
|
|
|
|
The 4 bearing cap bolts are final tightened to 70 ft/lb.
|
|
|
|
|
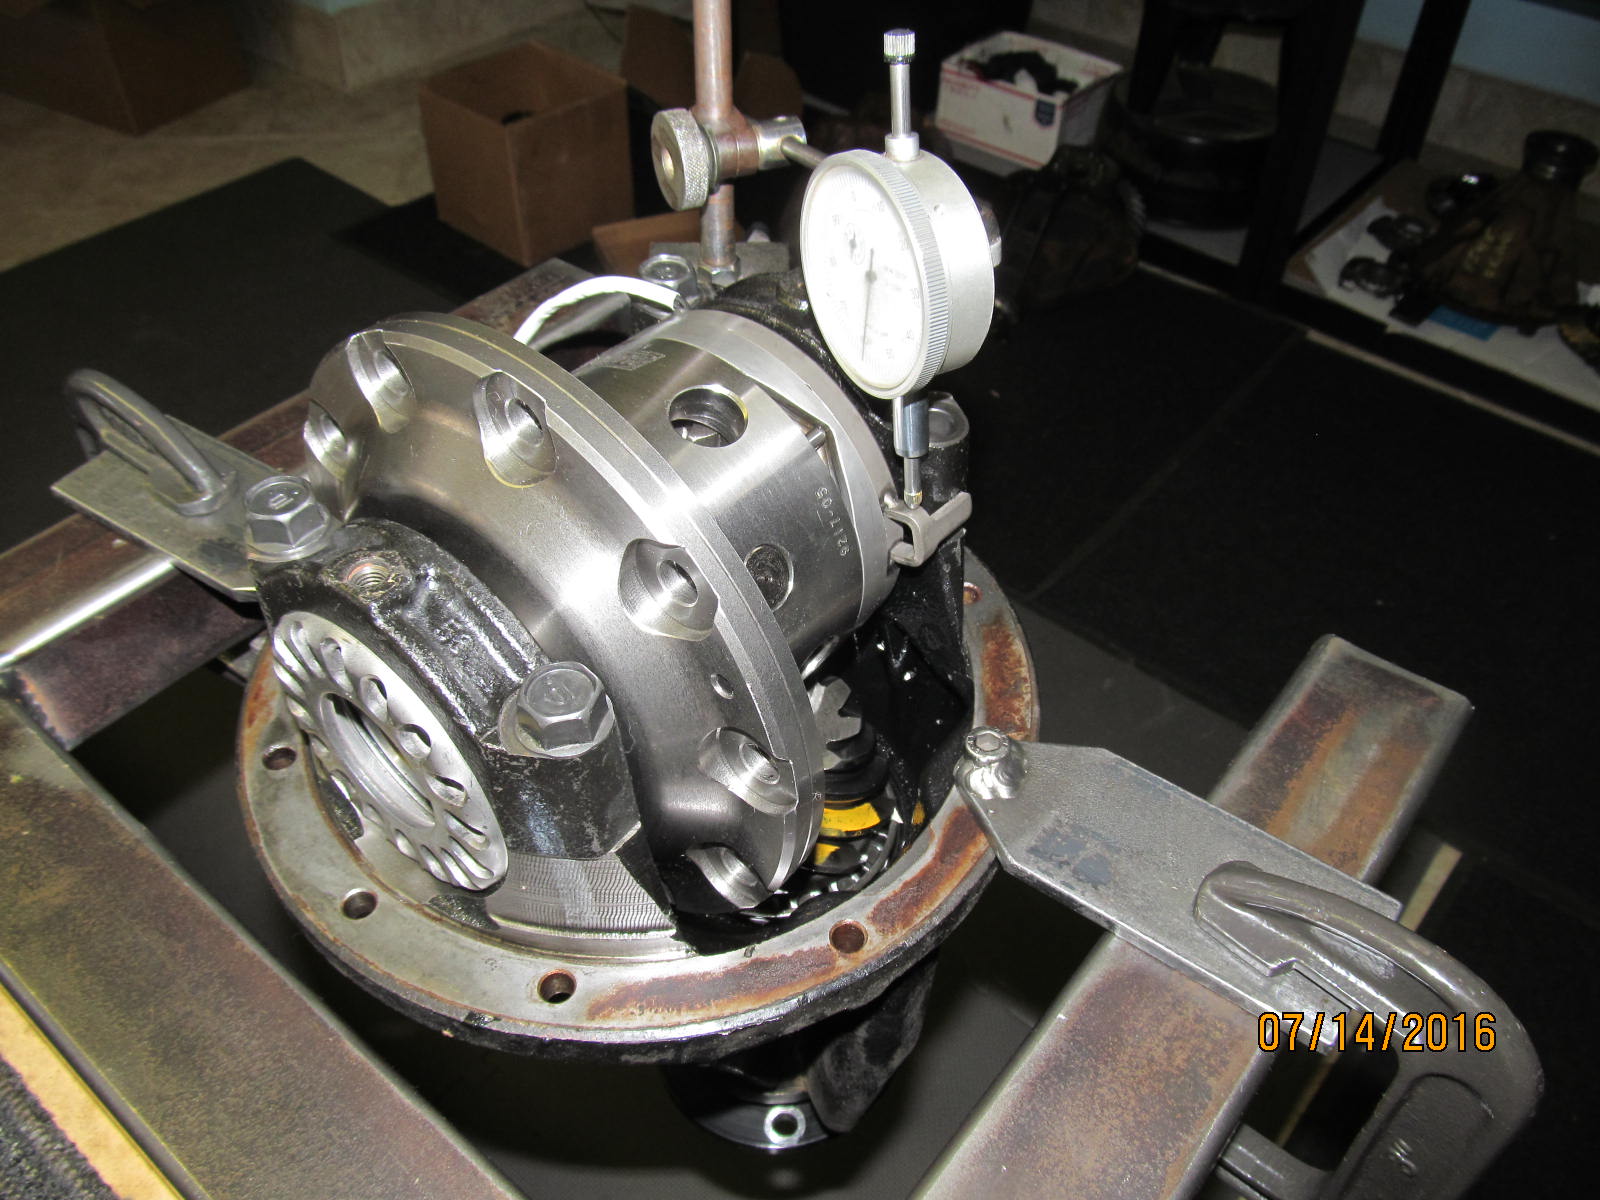
The TOTAL preload checked in at 18 in/lb.
|
|
|
|
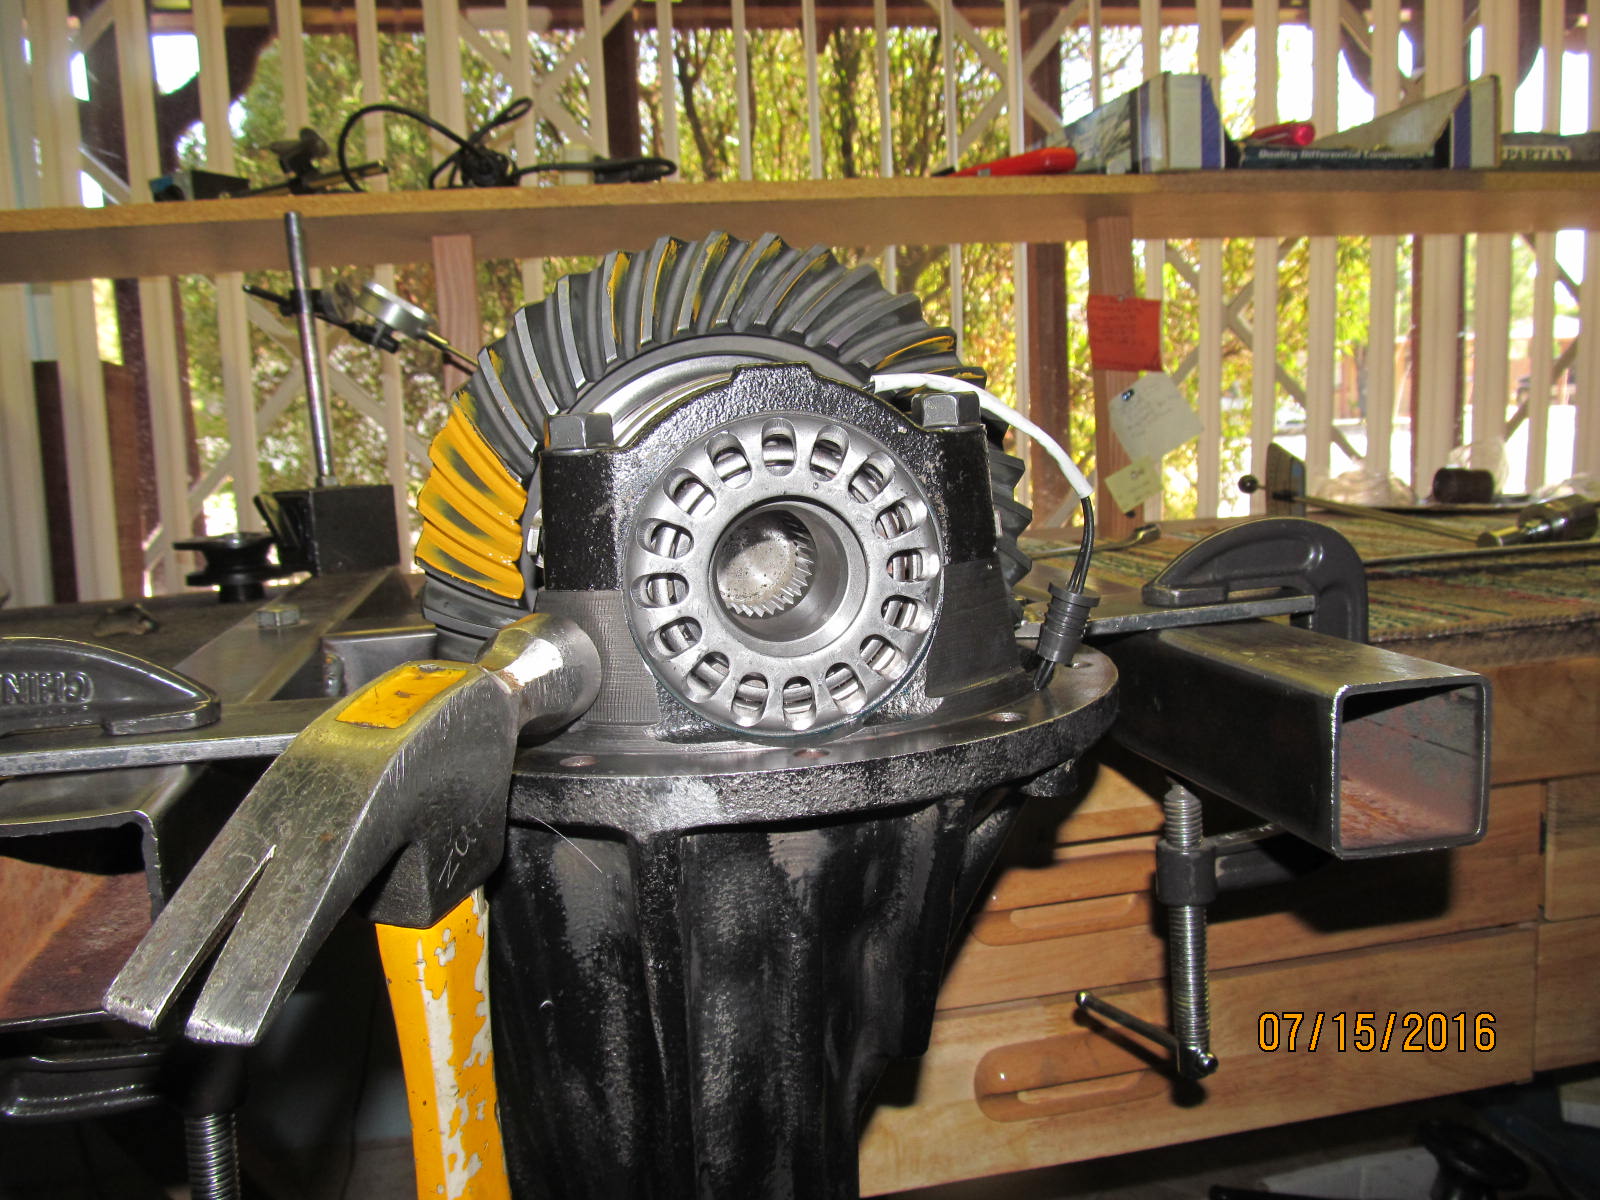
Some good hammer whacks on the 4 corners like this to make sure the tensions on the 2 carrier bearings
are truly equalized and the backlash measurements will be valid.
|
|
|

|
|
Checking backlash on every other tooth.
|
|
|
|
|
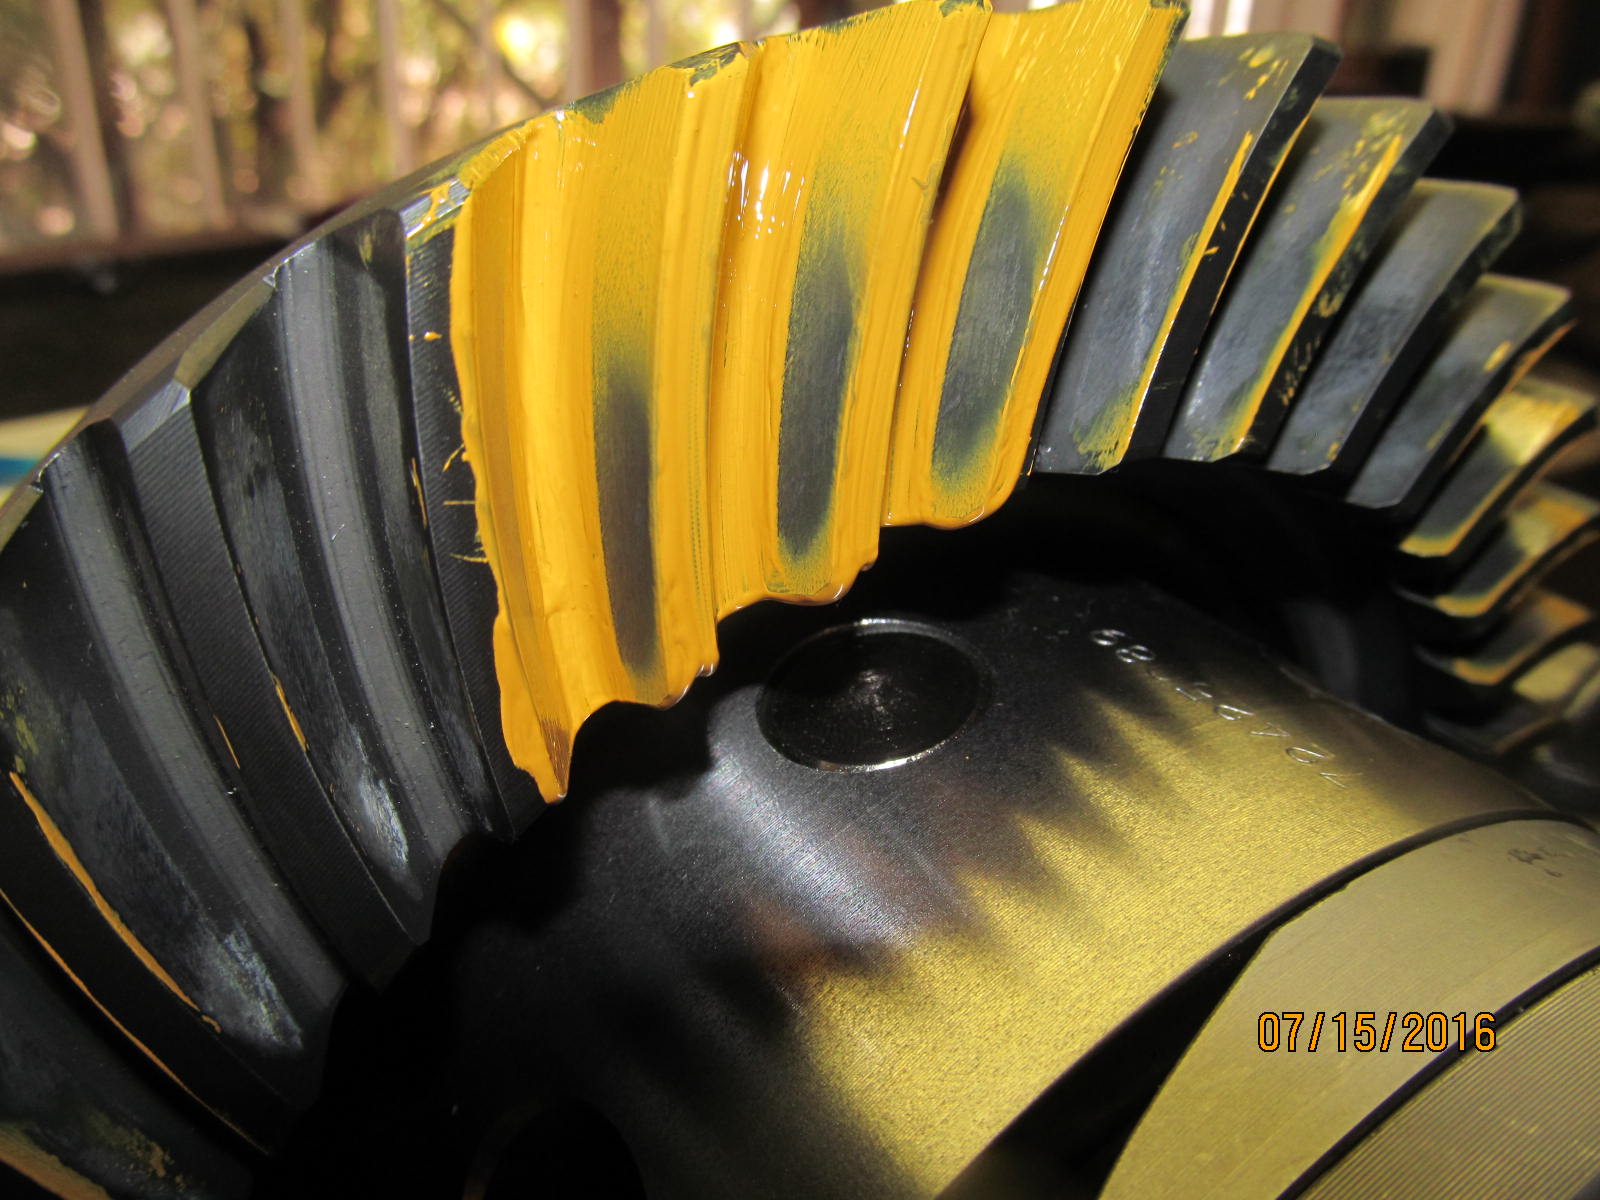
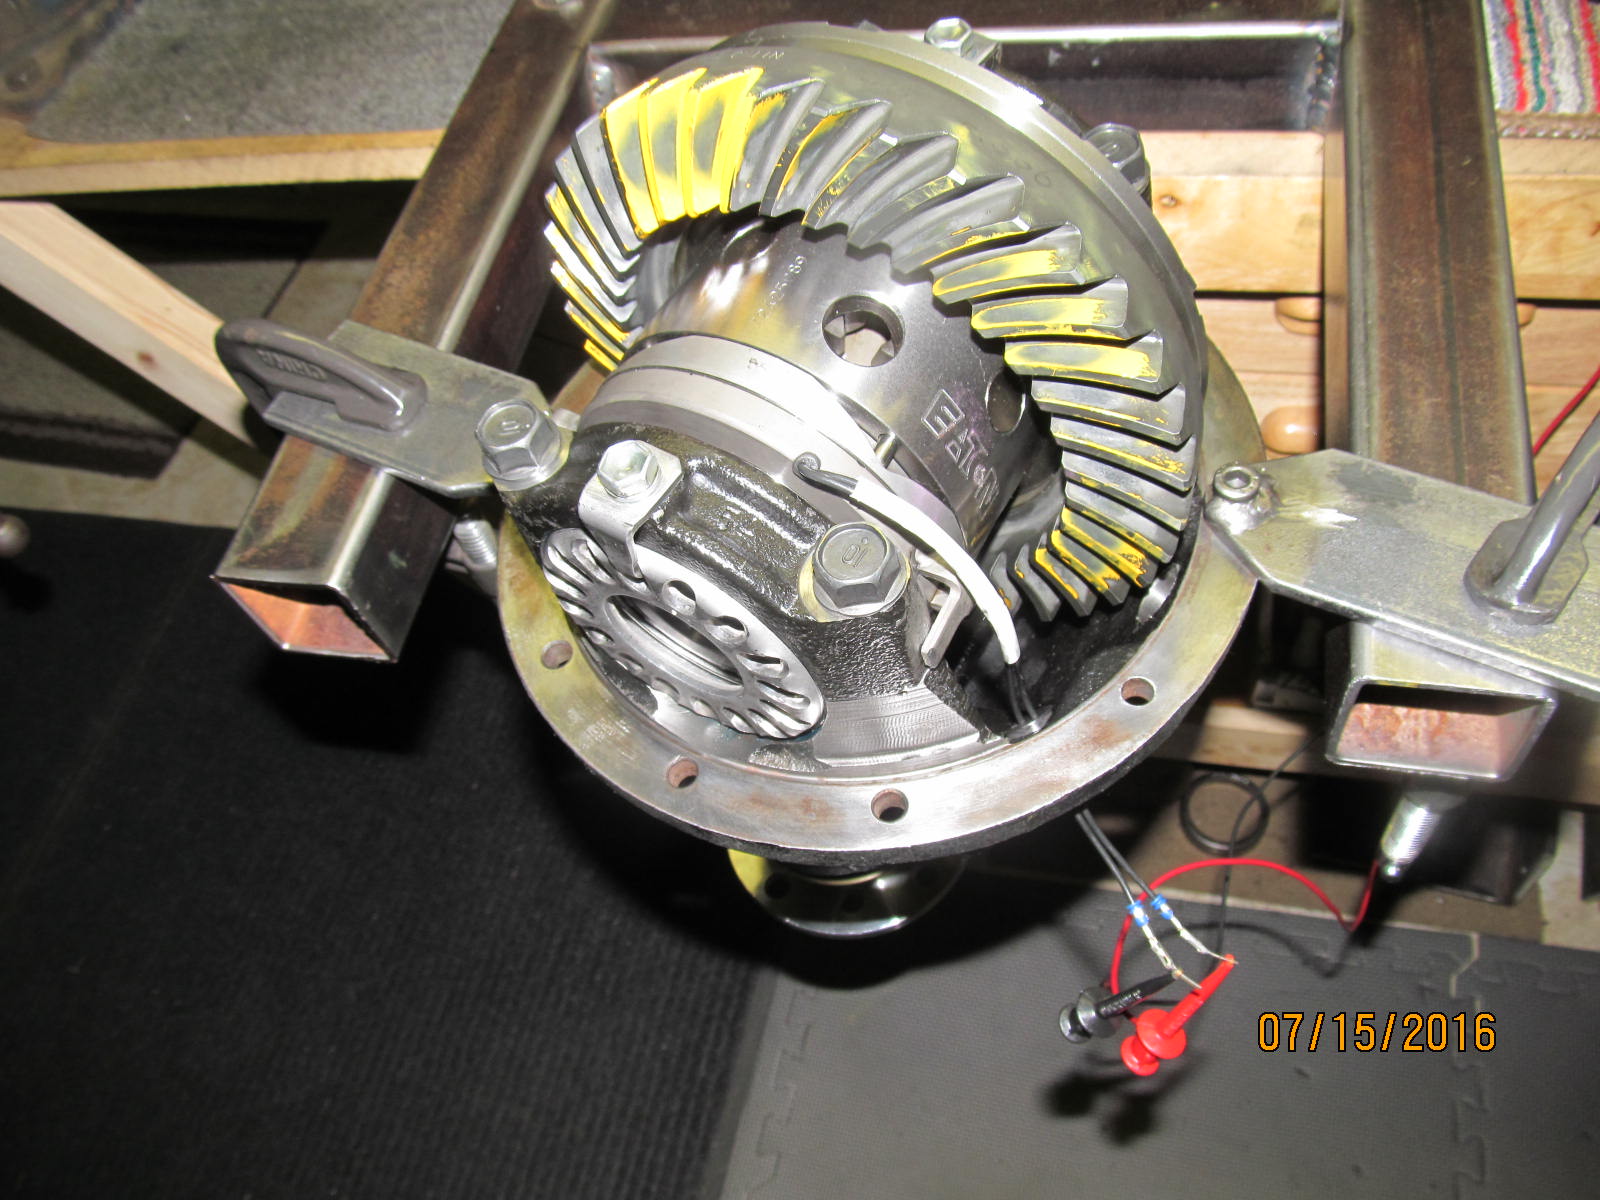
One final paint.
|
|
|
|
|
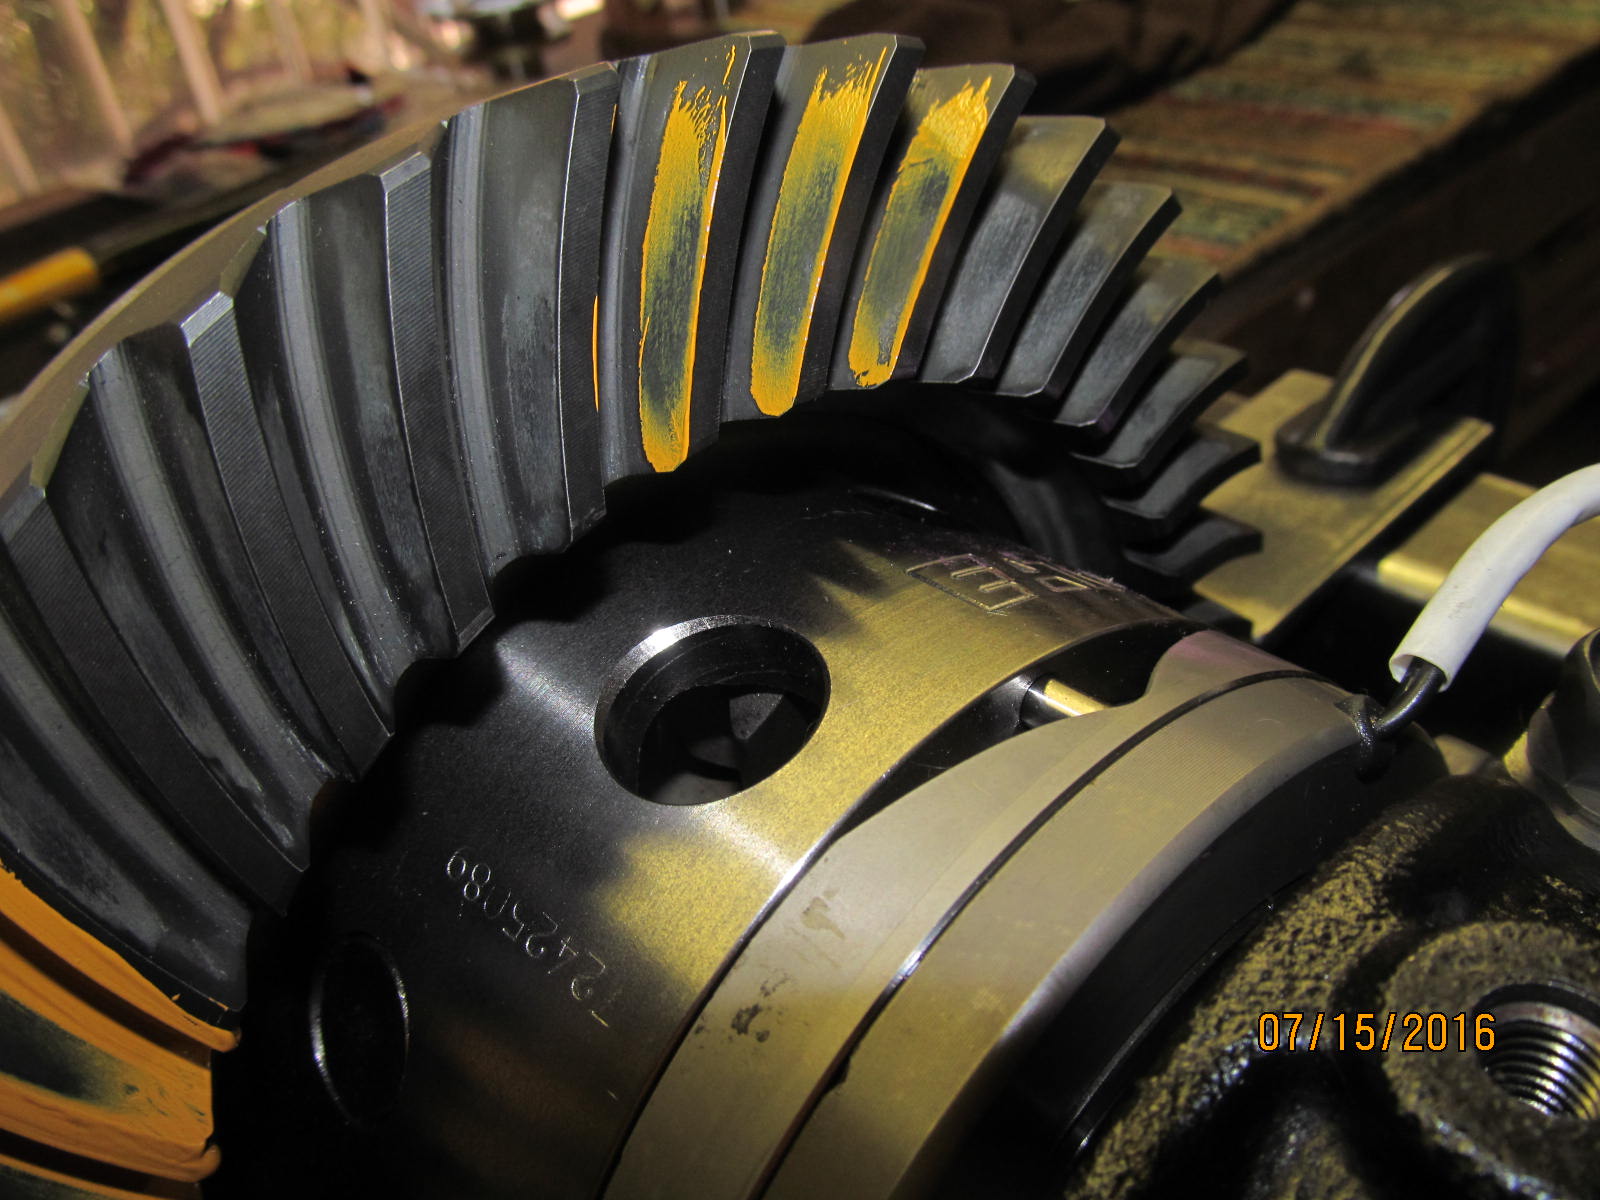
DRIVE....Looks great.
|
|
|
|
|
COAST.....nice.
|
|
|
|
|
The heat shrink tubing was cut off.
|
|
|
|
|
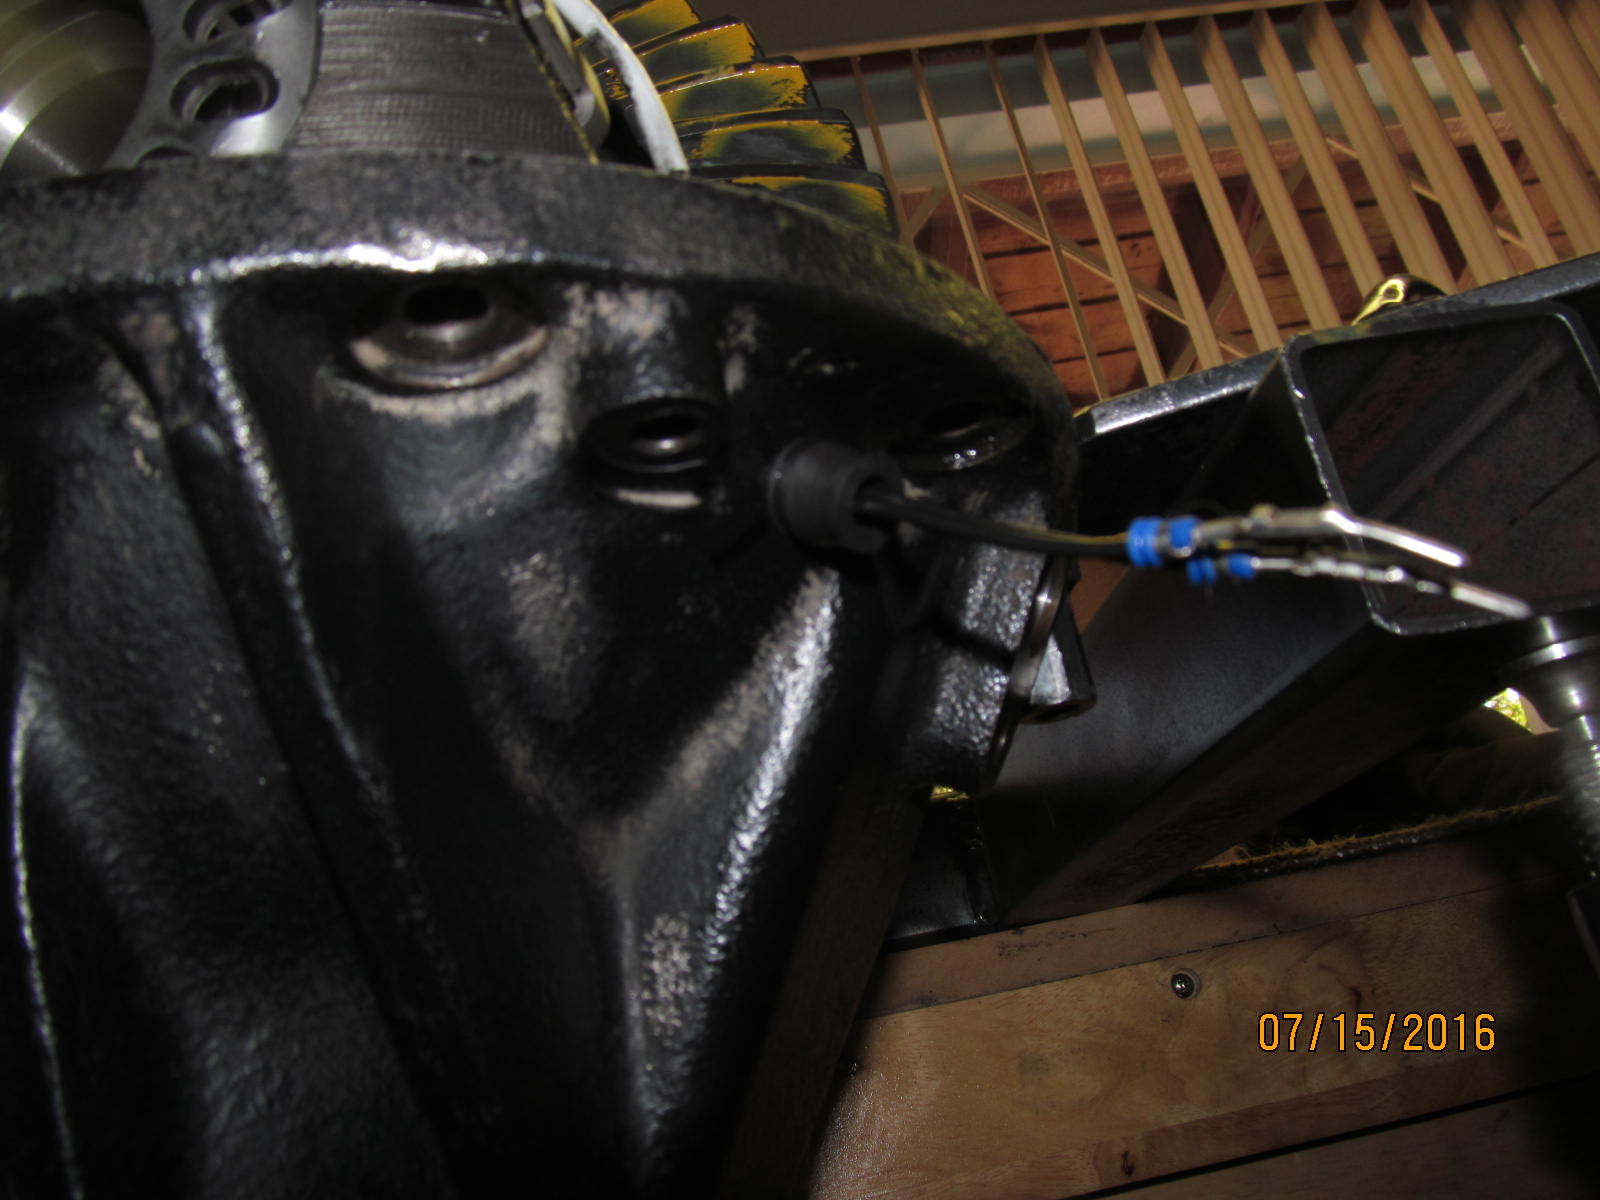
Takes some effort to get the rubber grommet fully thru the hole but it is doable.
|
|
|
|
|
10 ft/pound and blue loctite.
|
|
|
|
|
Oops, almost forgot this is an ELECTRIC locker and does not use AIR.
|
|
|
|
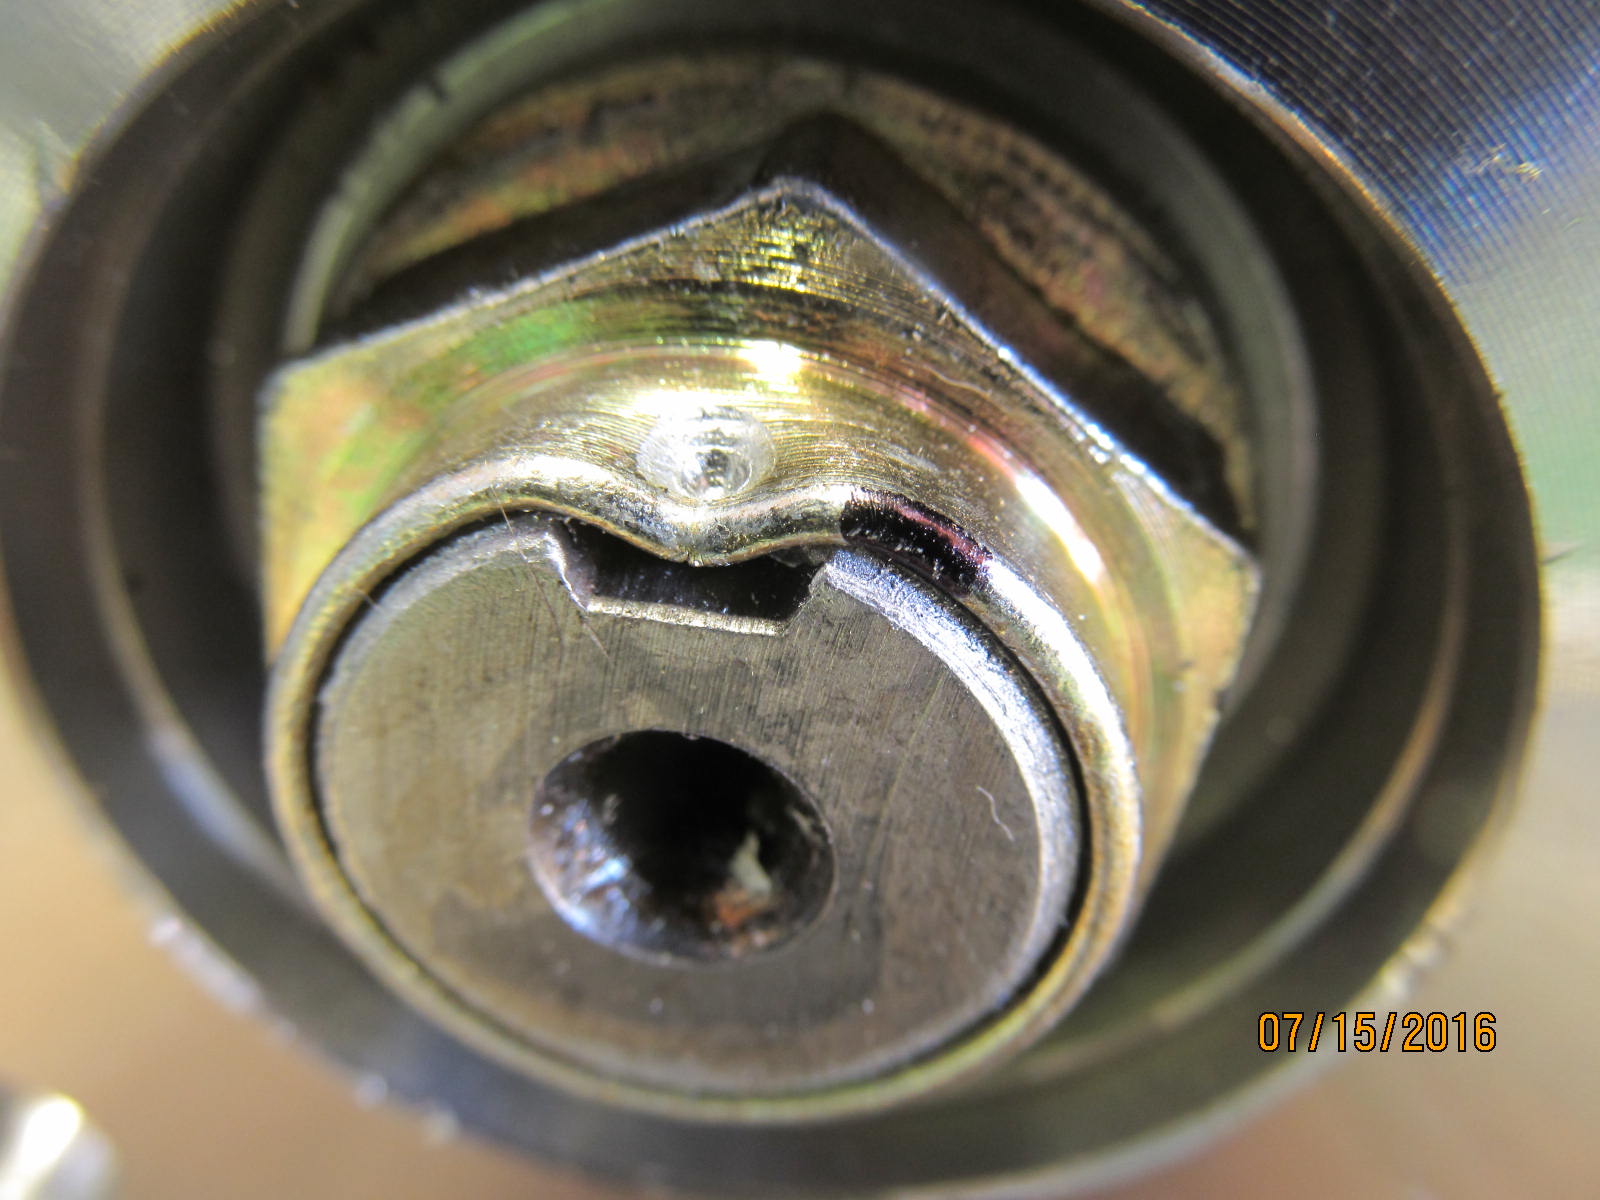
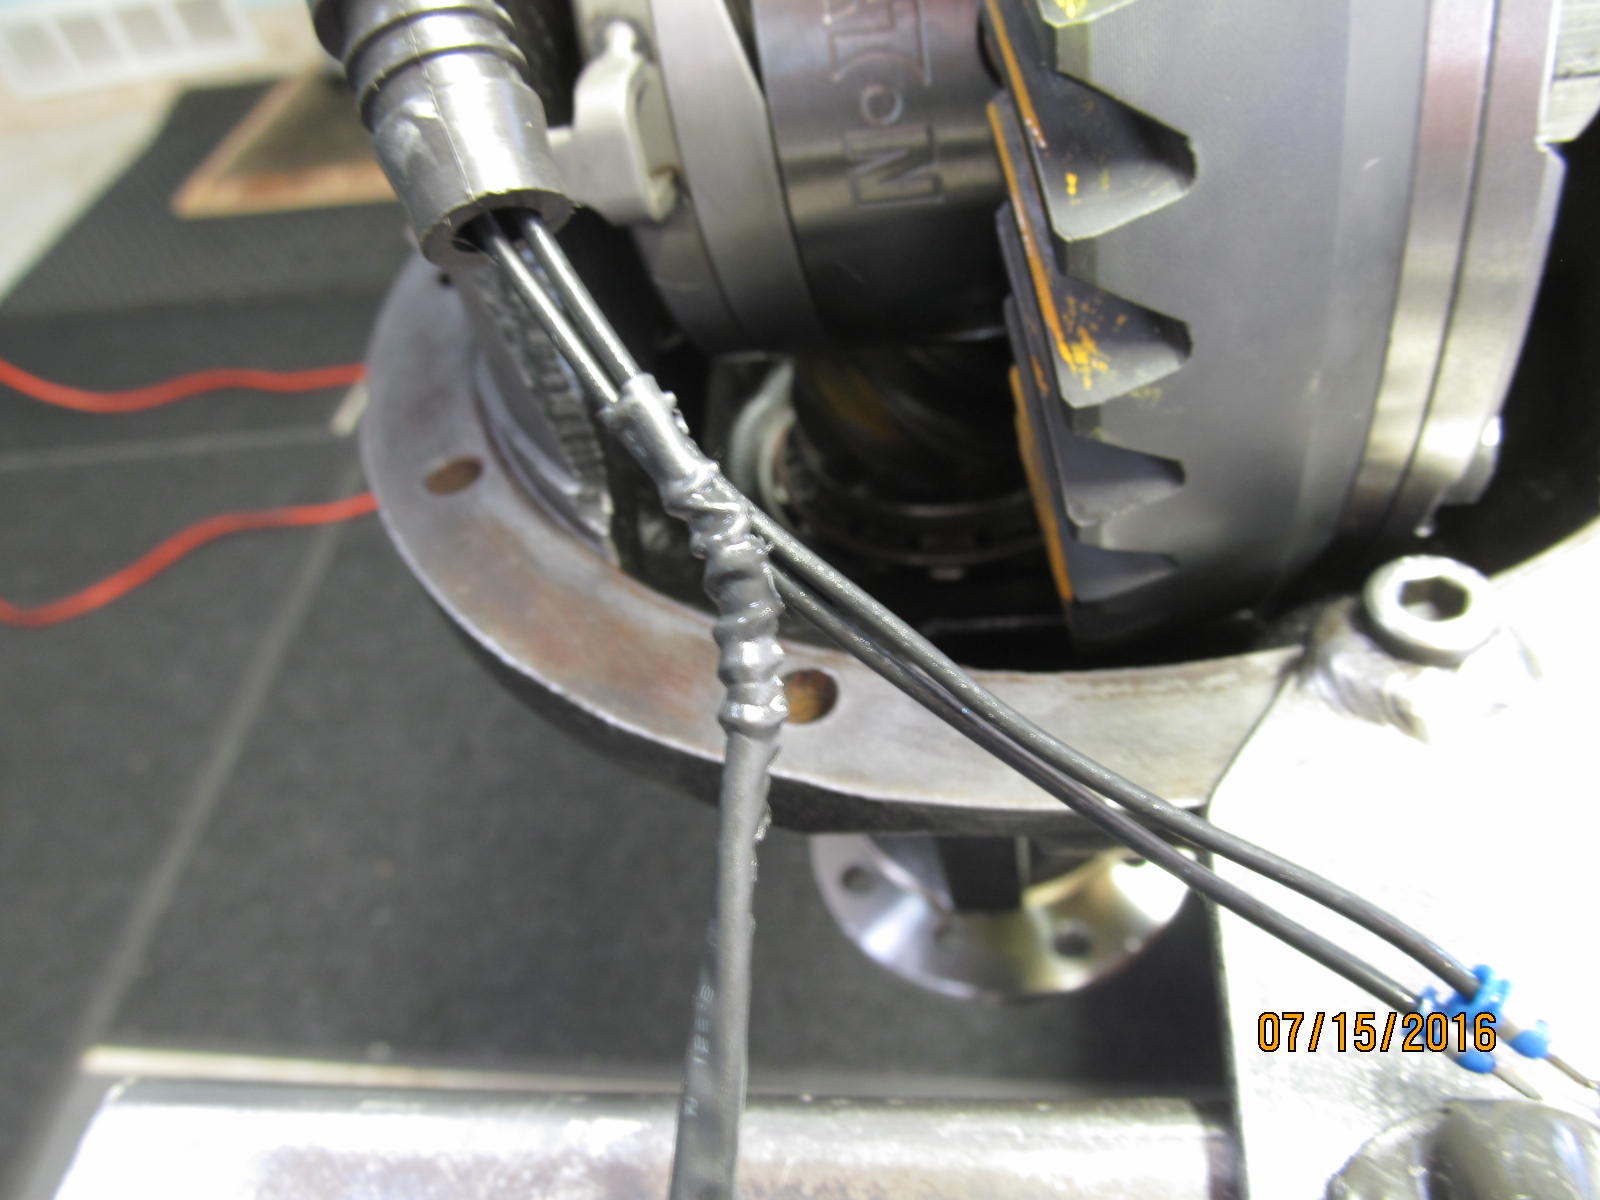
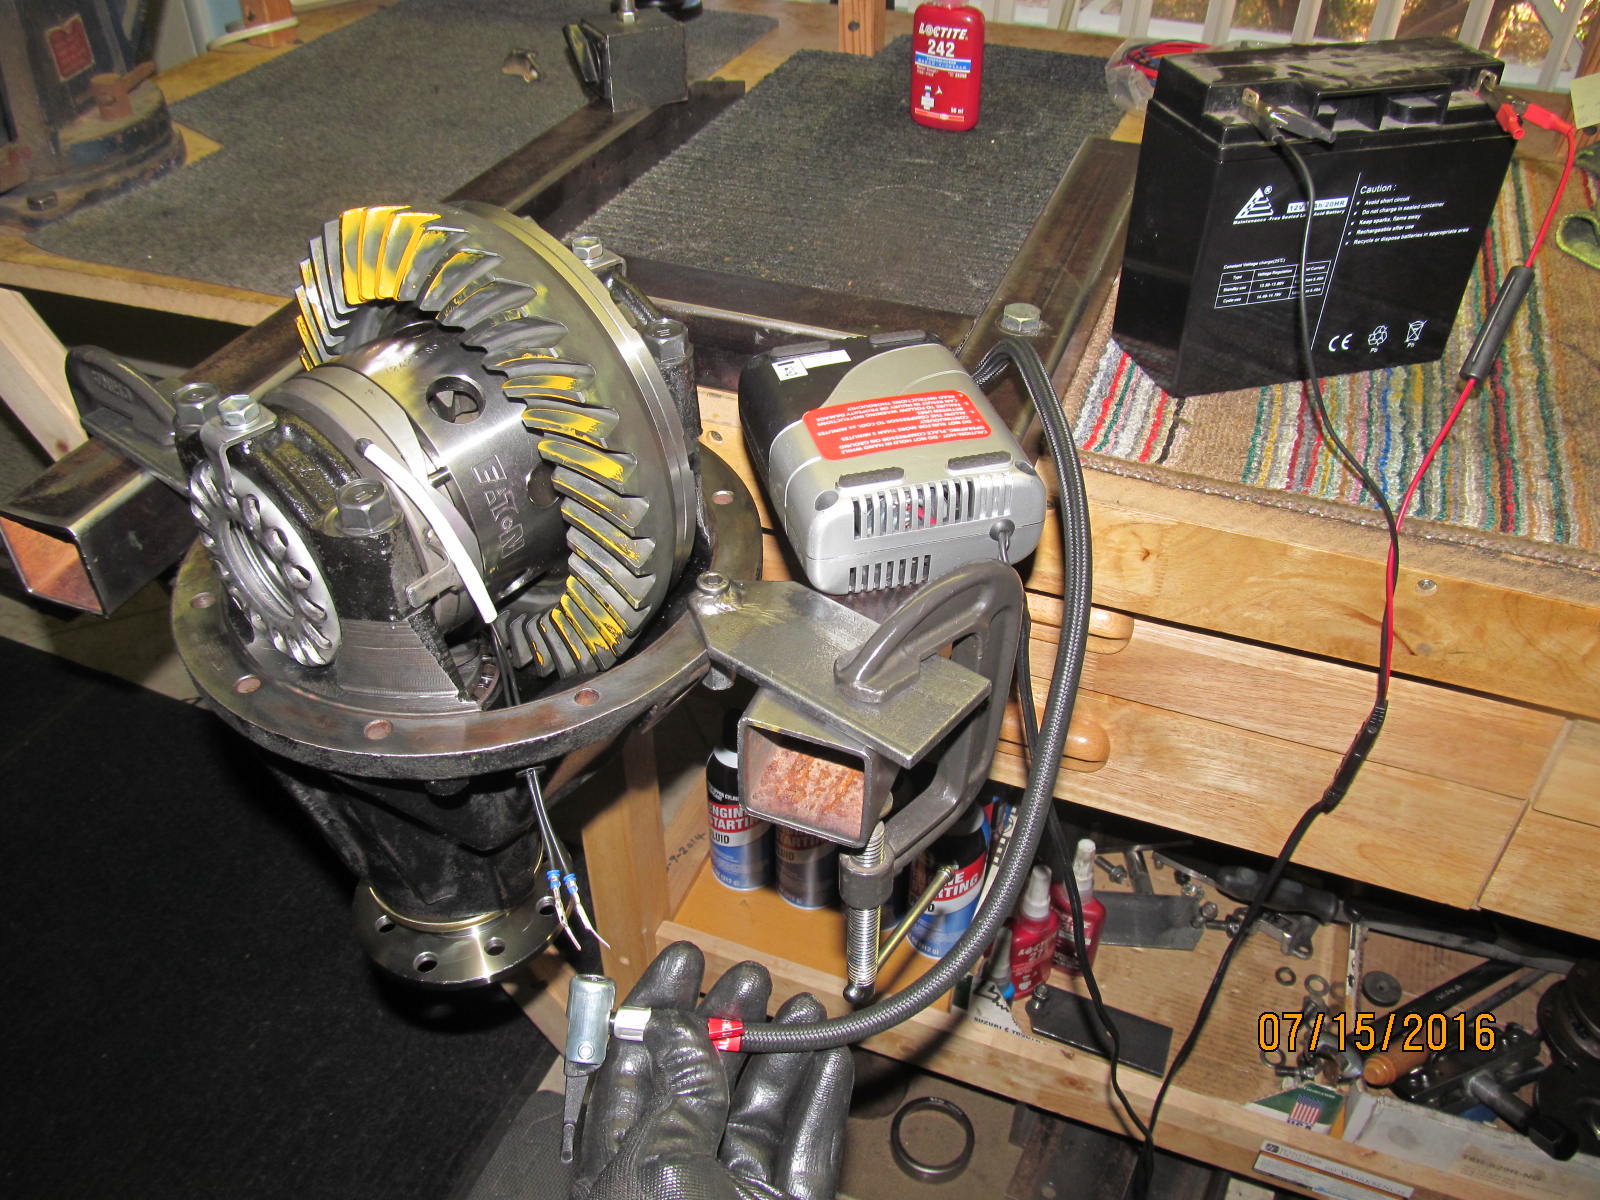
Apply 12v, doesn't matter on the polarity, just hook it up and verify the 3 steel rods start to ramp into the case
when the pinion shaft is turned. Not shown or mentioned but for the locker to engage or ramp properly
the sidegears have to be "secured" before the pinion is turned. To simulate having the tires on the ground.
|
|
|
|
|
,,,,,,,,,,,,,,,
|
|
|
|
|
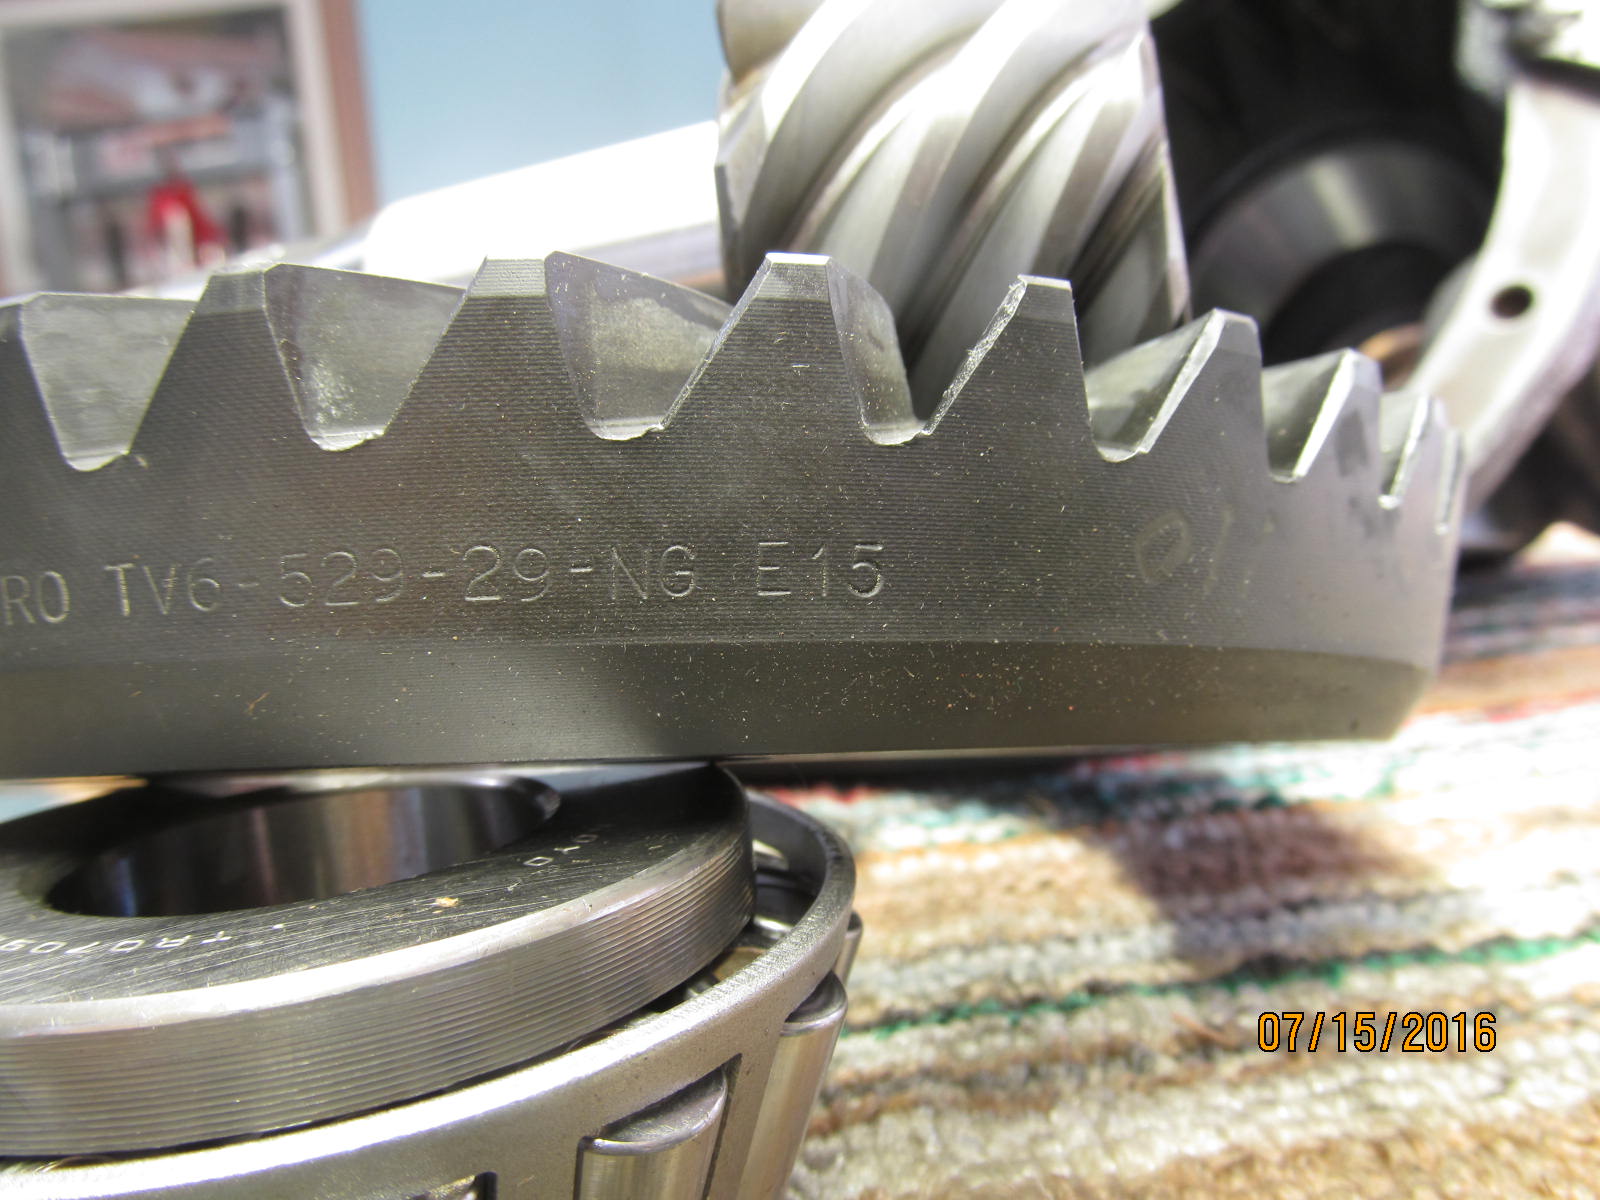
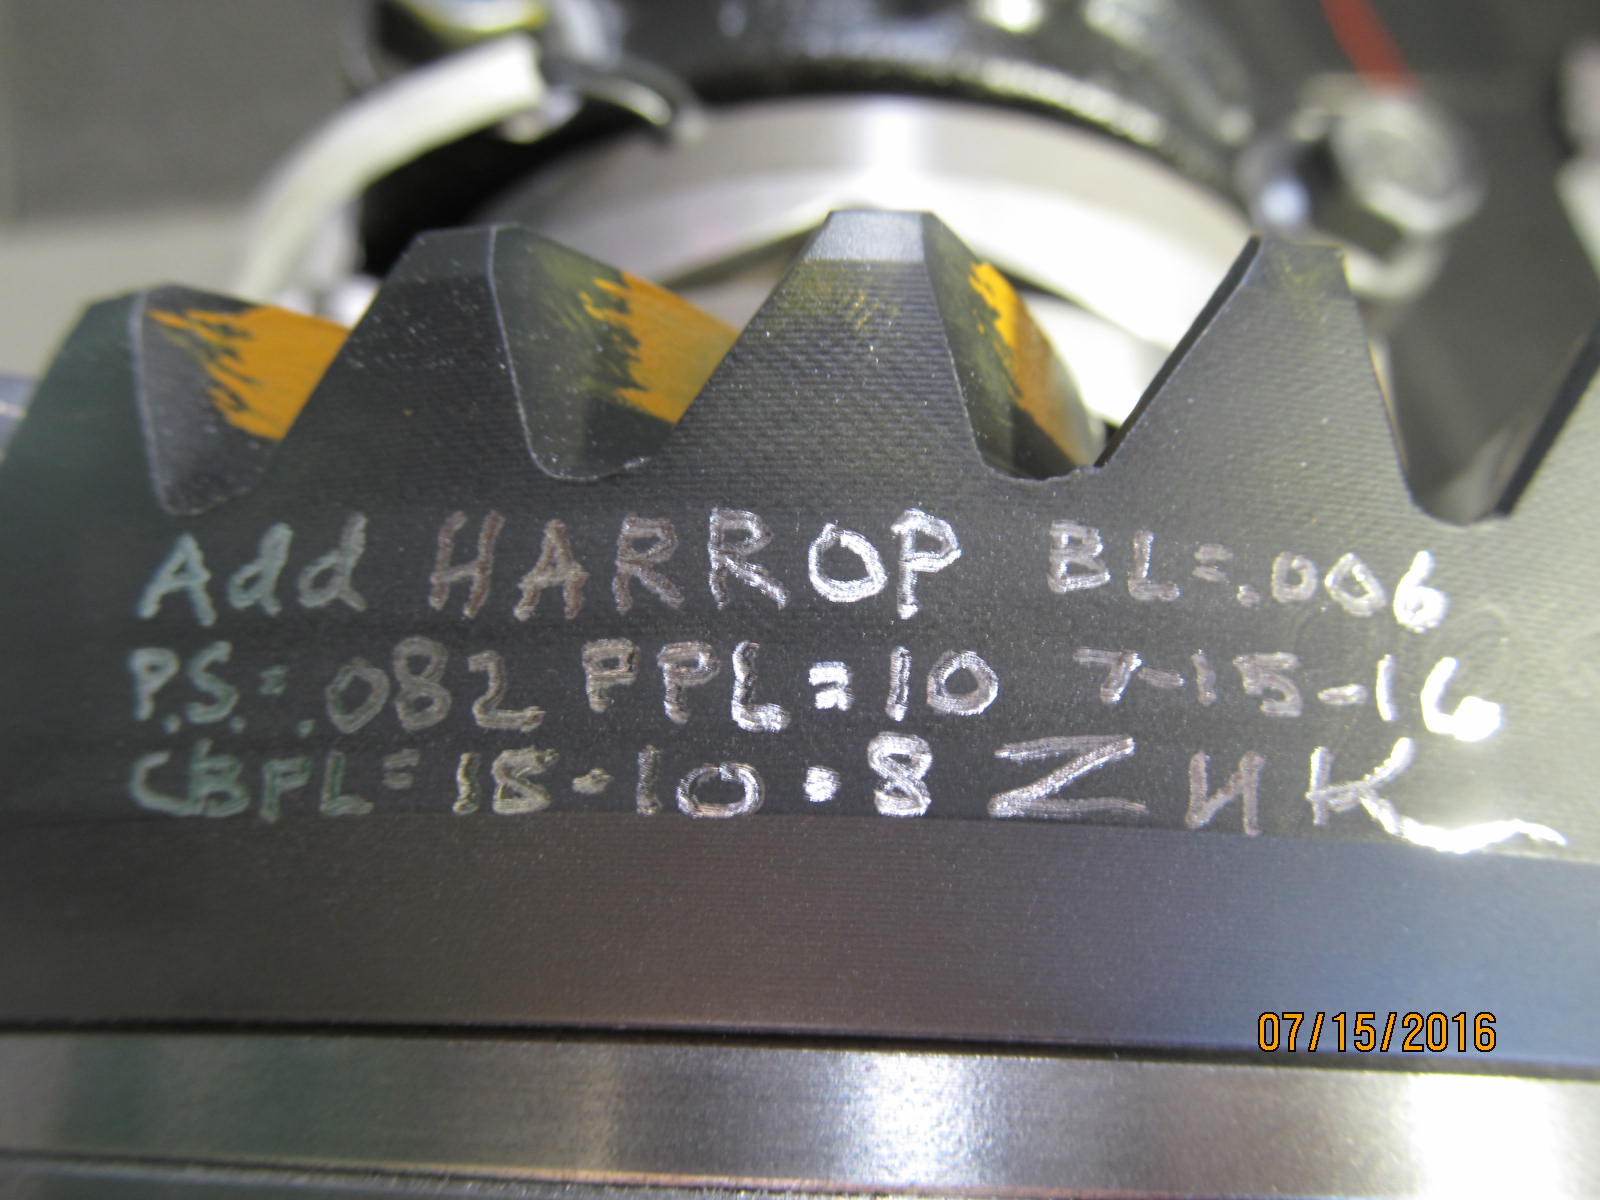
specs engraved
|
|
|
|
|
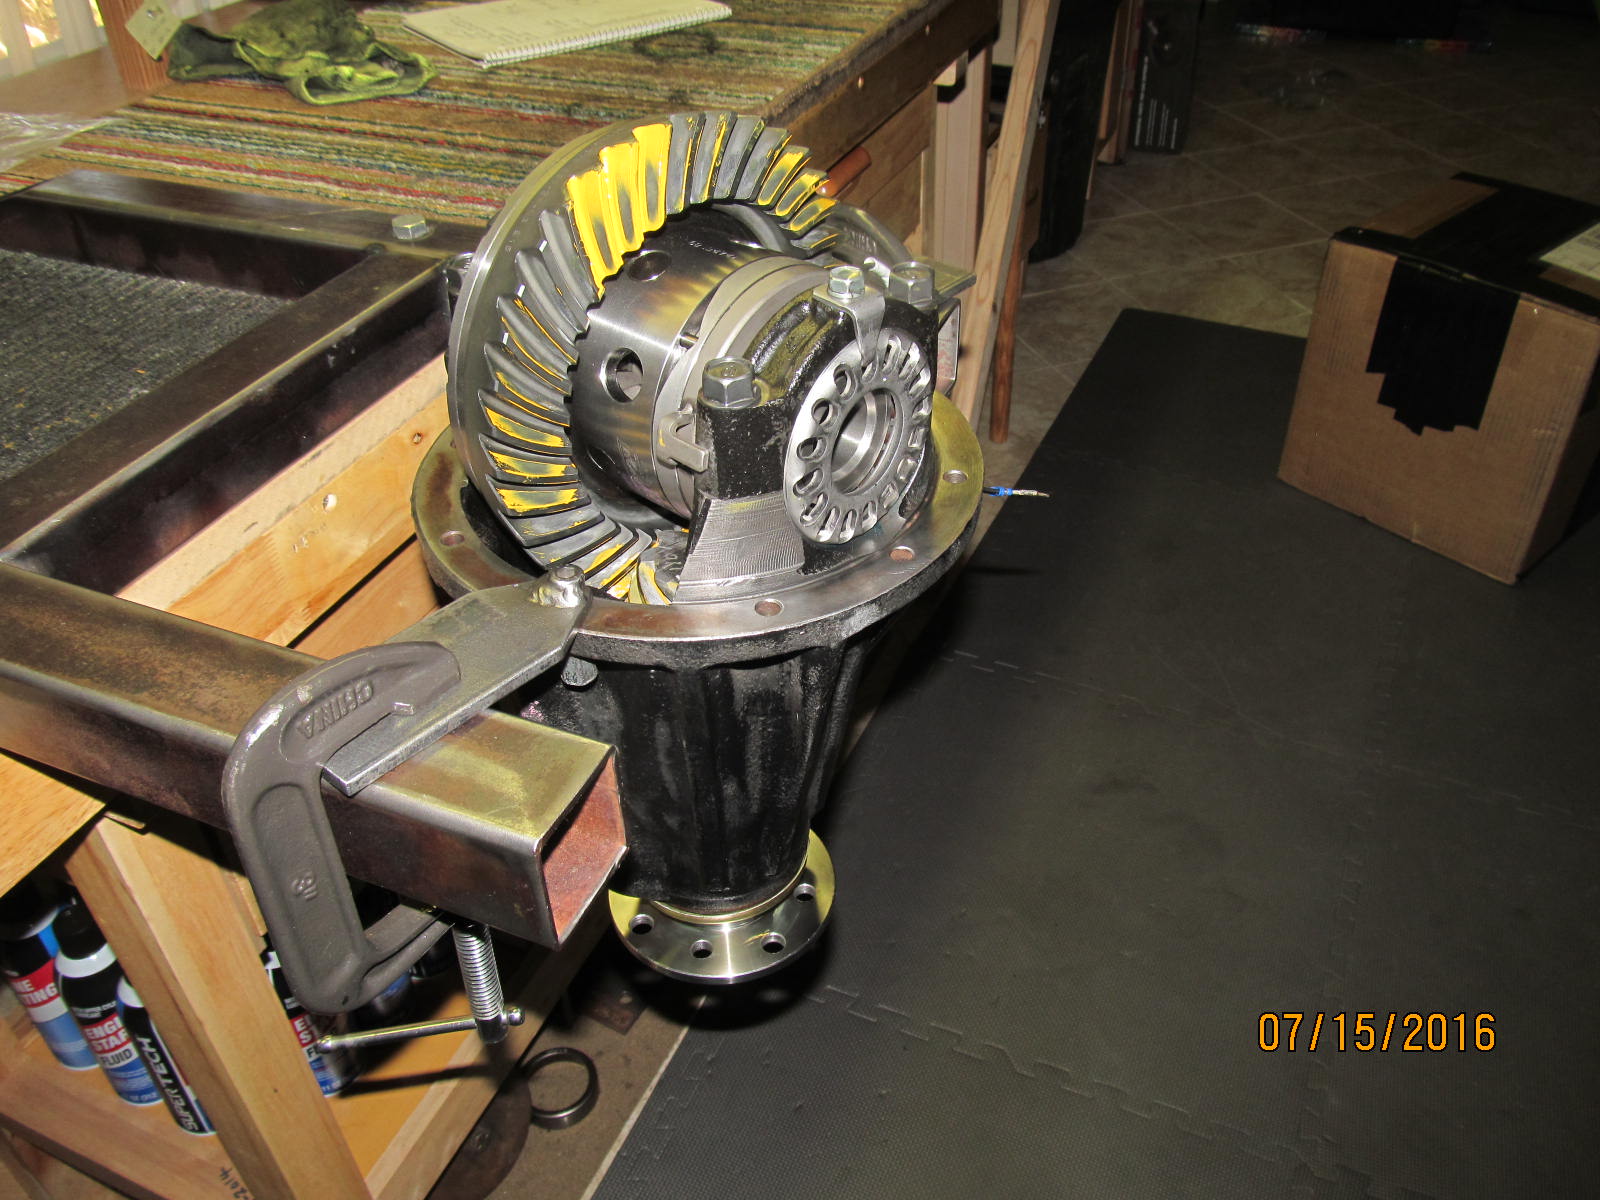
Done :)
|
|
|
|

|