|
Harrop Elocker Install For Tom's 1997 FZJ80 Front High Pinion 3rd
|
|
(50 BIG pics loading)
|
|
OCT 1 2016
|
|
|
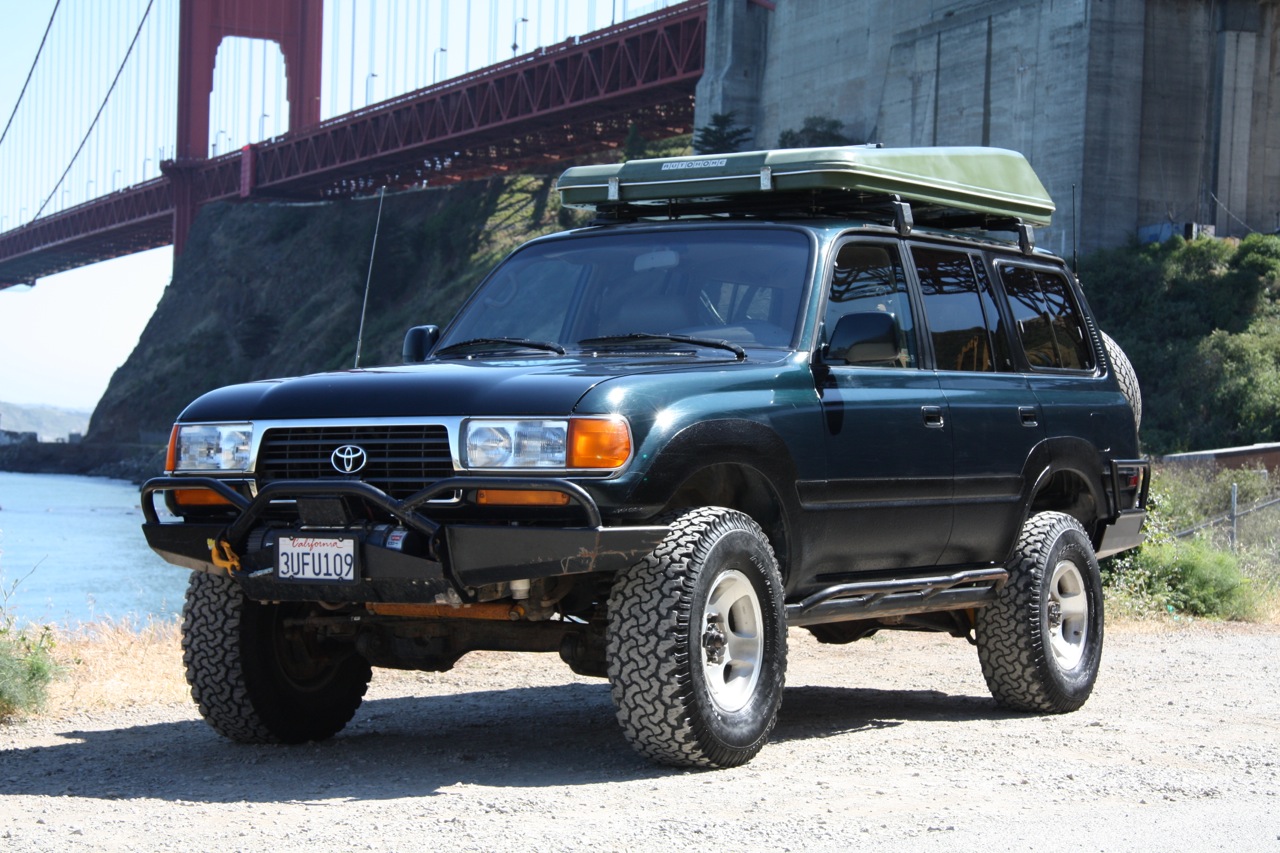
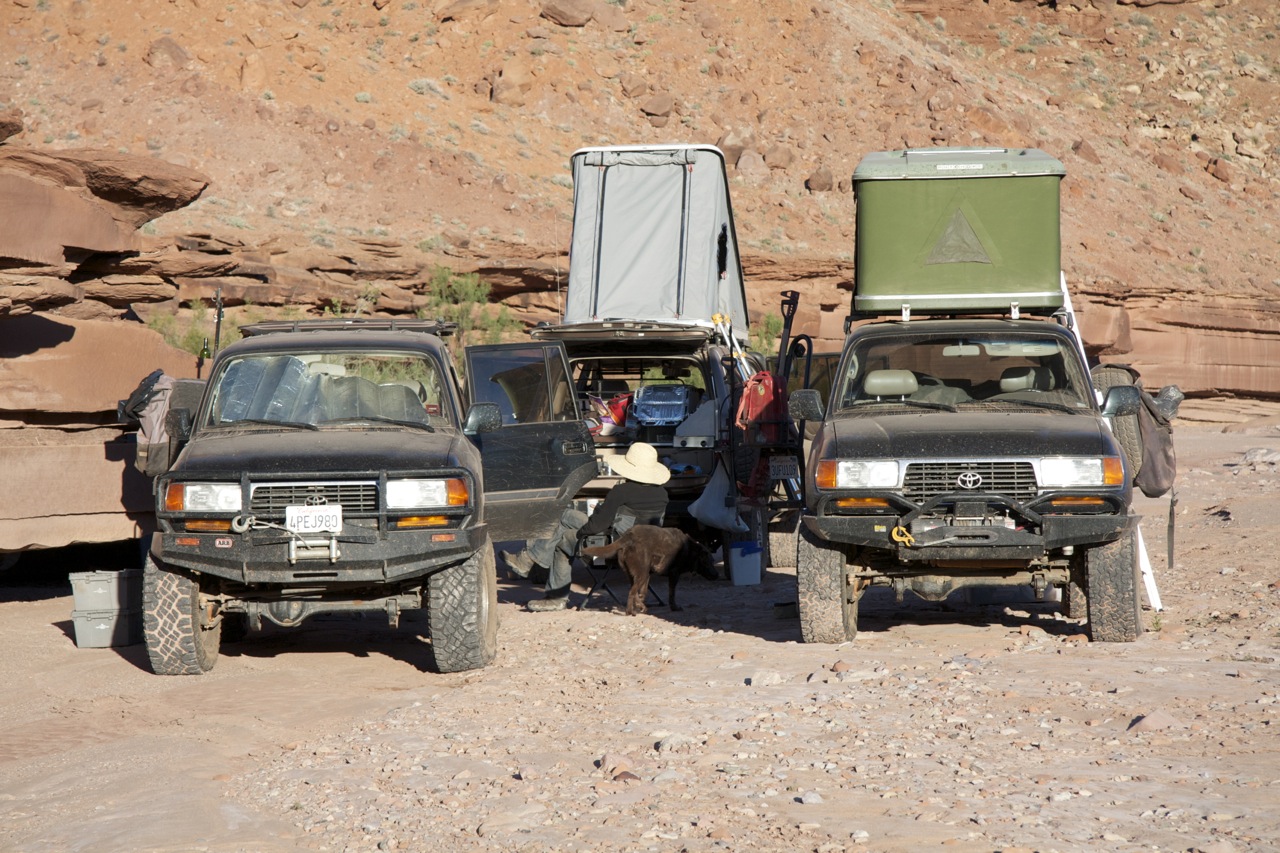
Tom's 97
2.5" OME heavy lift
Nitro Sport Shocks
4x4 Labs rear bumper
Slee Short Bus front bumper and transfer skid plate
Metal Tech sliders
On board air system
Dual batteries
|
|
|
|
|
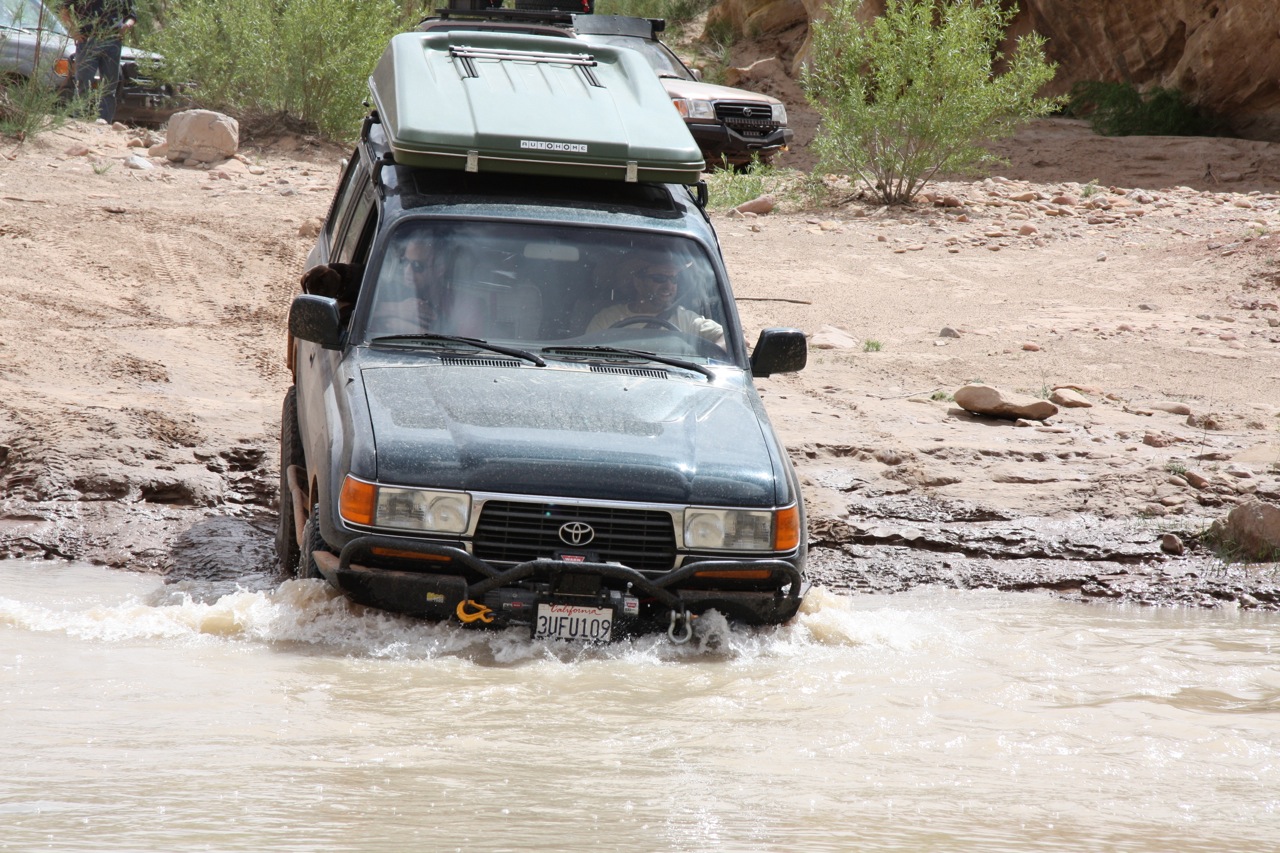
water....
|
|
|
|
|
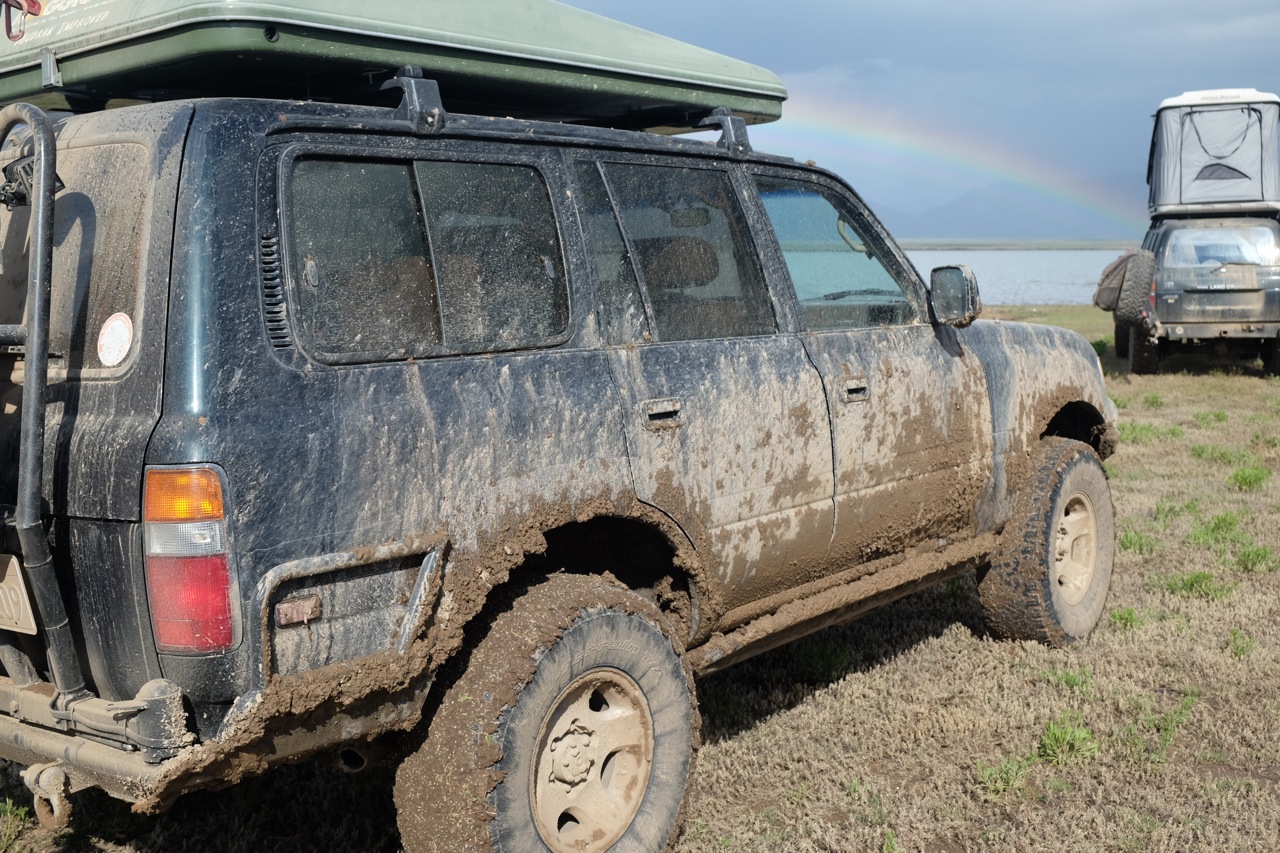
mud...
|
|
|
|
|
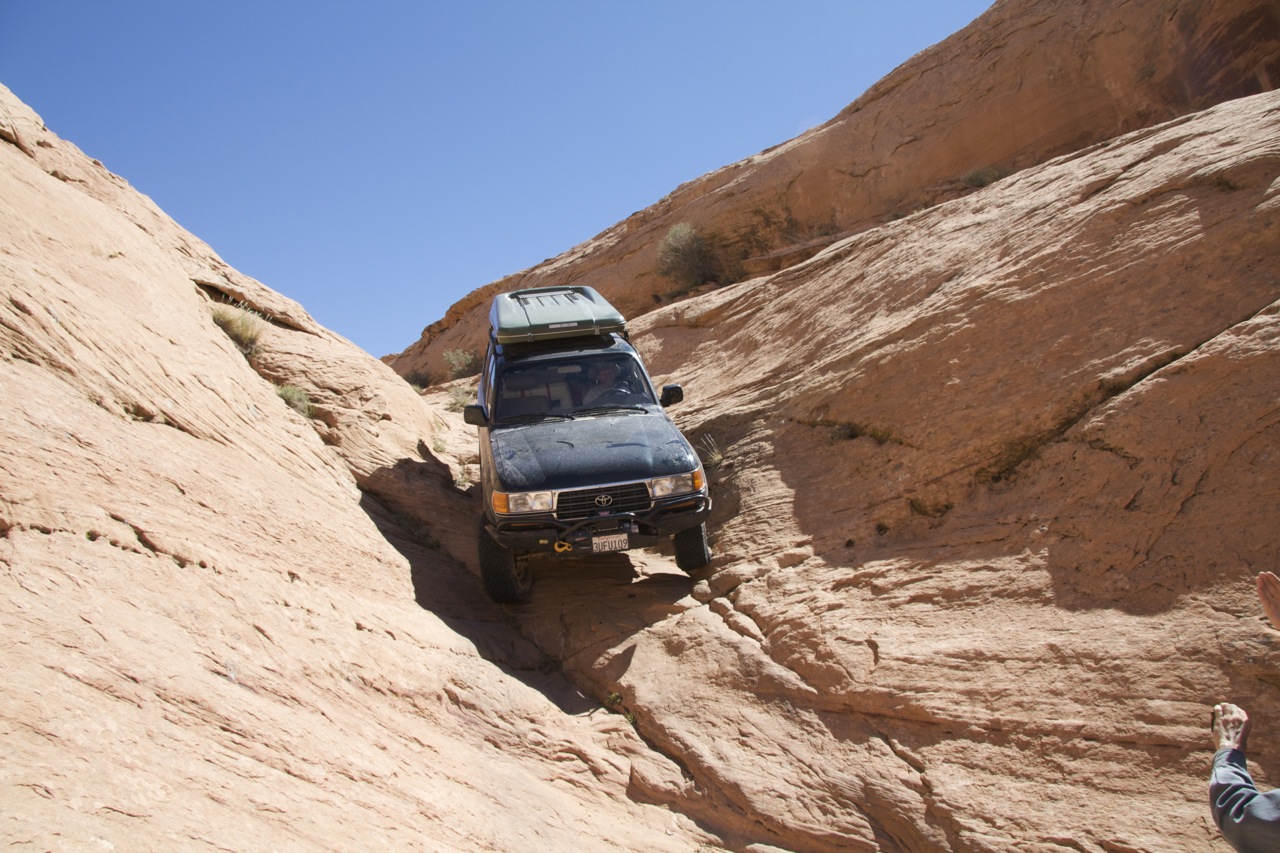
and rock. This is on the Mormon Trail in Utah.
|
|
|
|
Toms a camper guy, too. Half the fun is getting there...
and the other half enjoying it camping overnight.
|
|
|
|
|
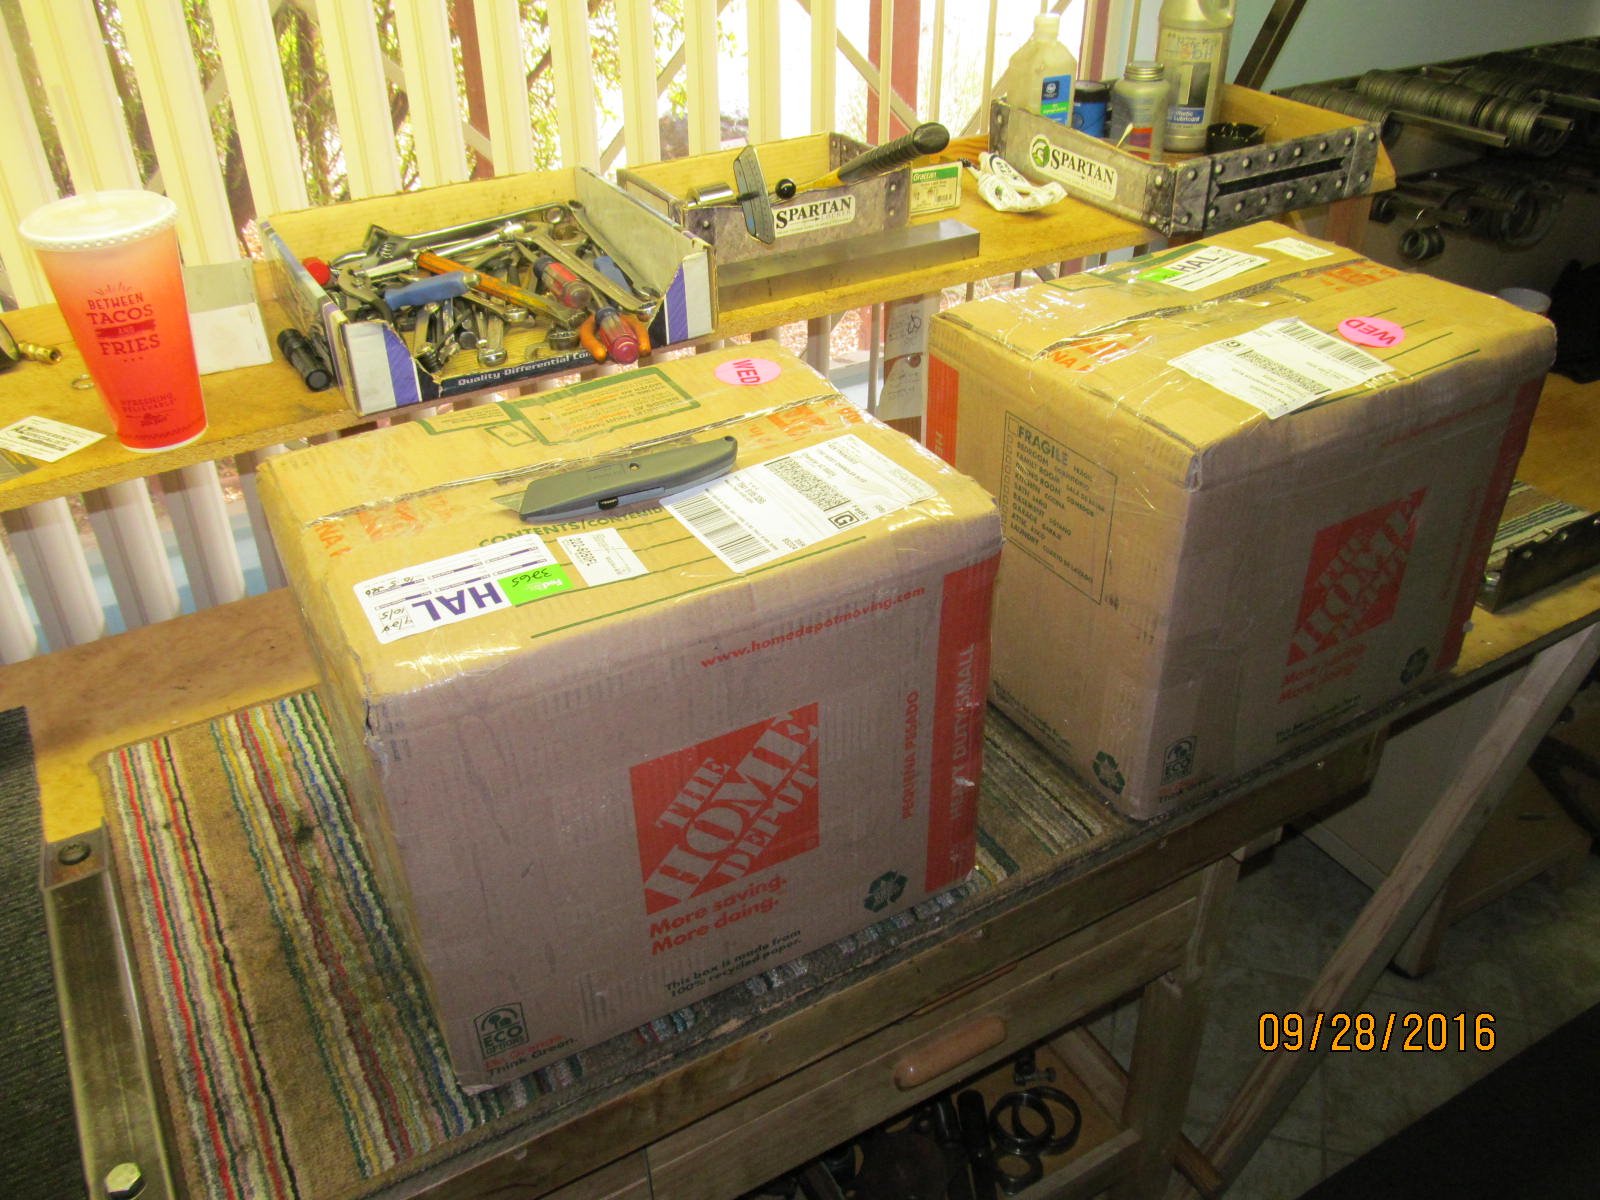
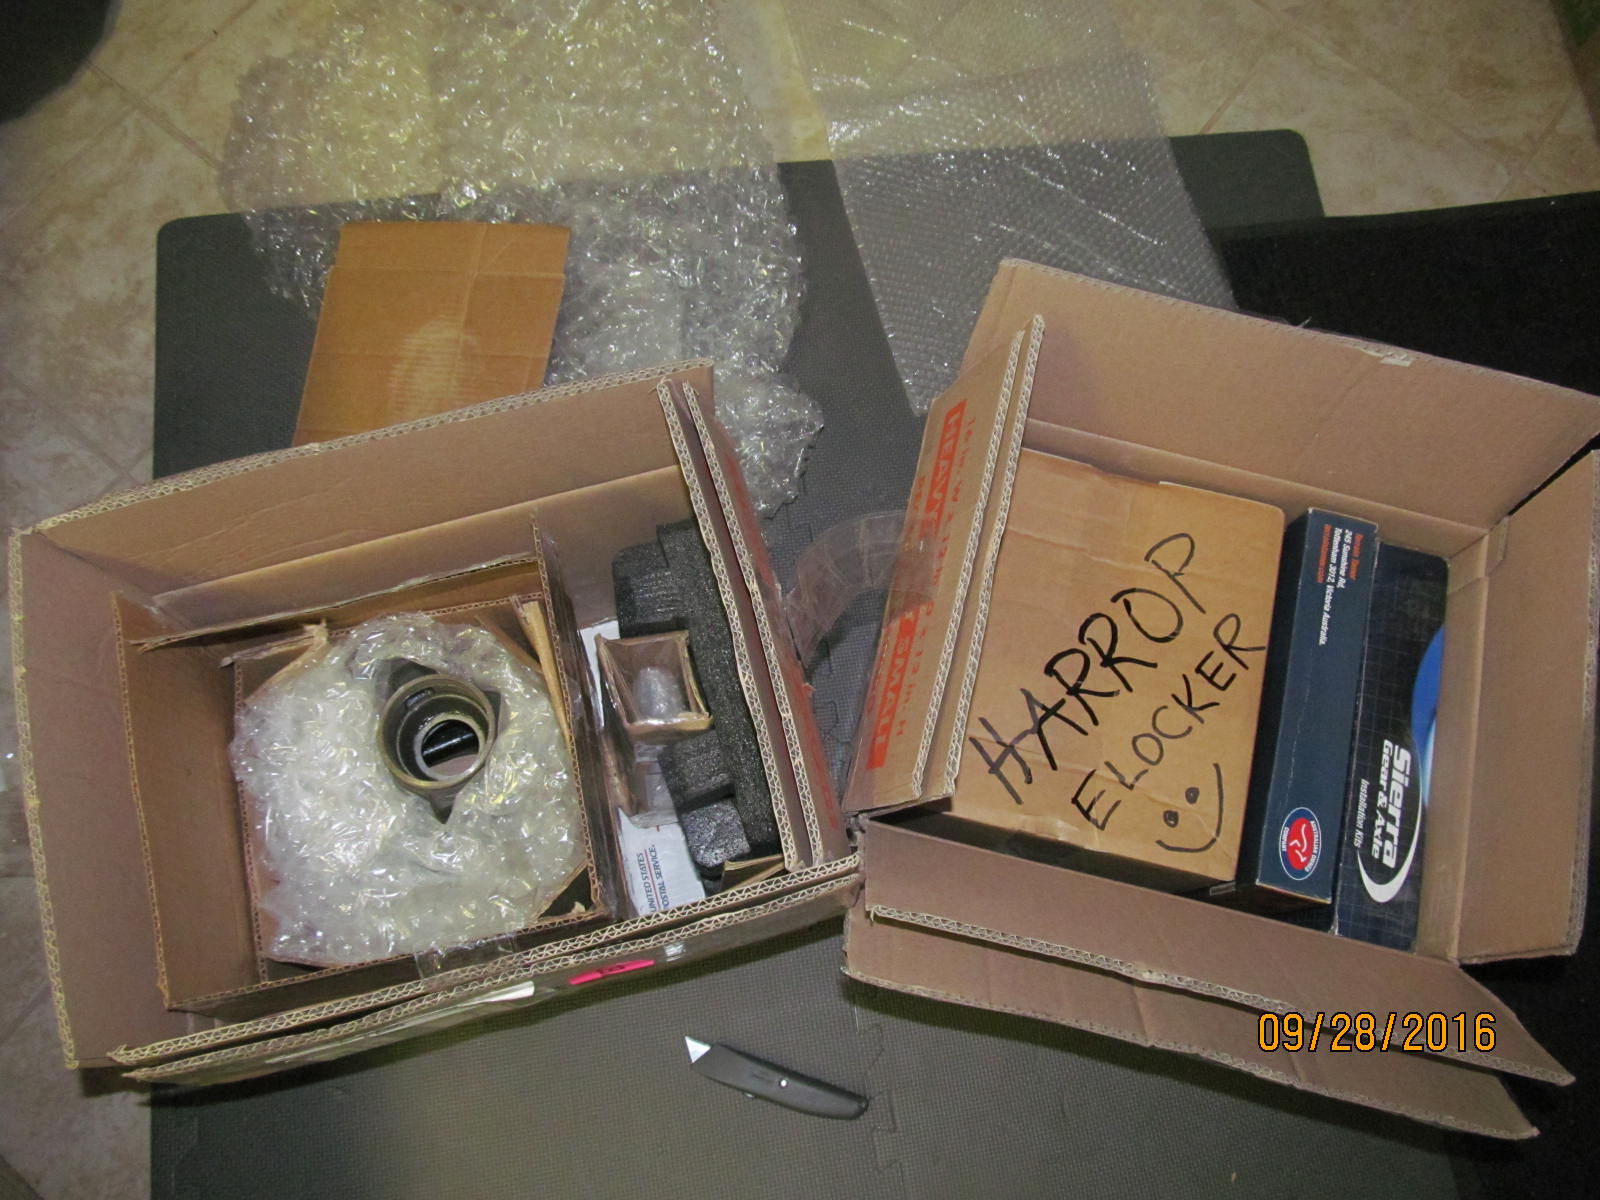
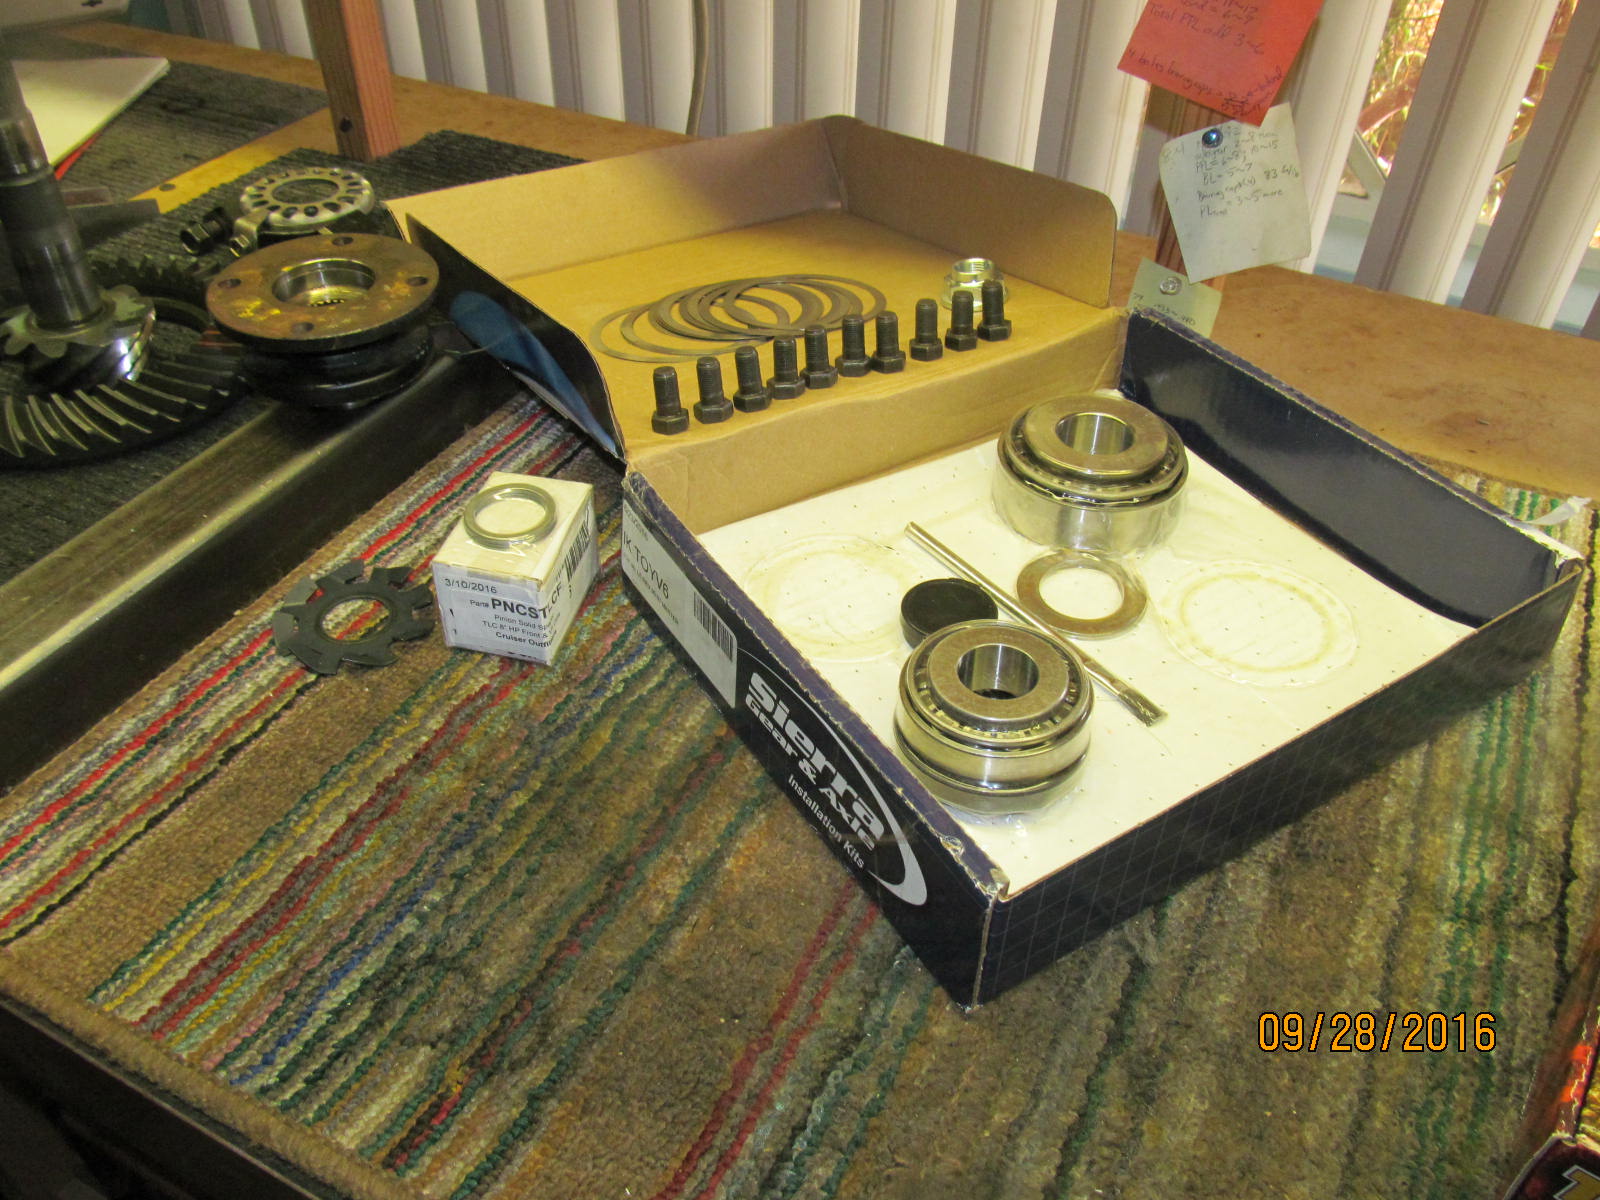
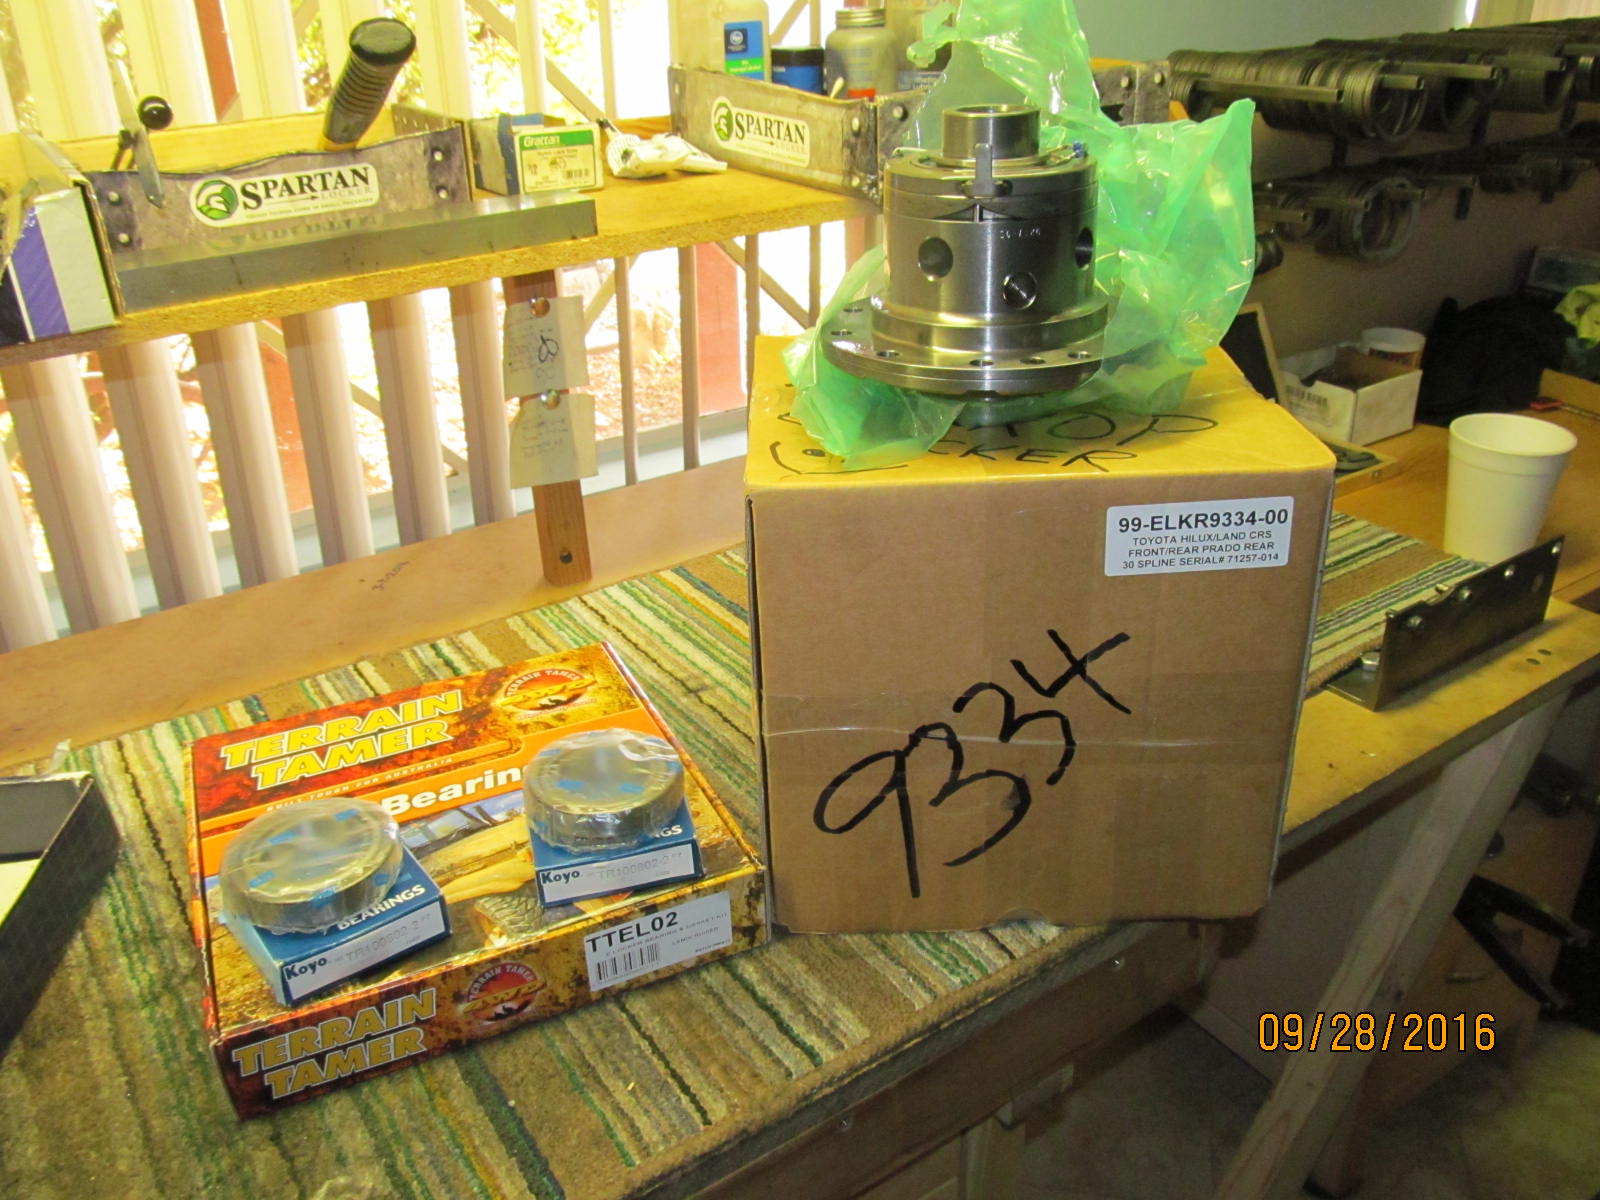
So, I received these 2 boxes from Tom.
|
|
|
|
|
A bare front HP 3rd in one and all the goodies in the other.
|
|
|
|
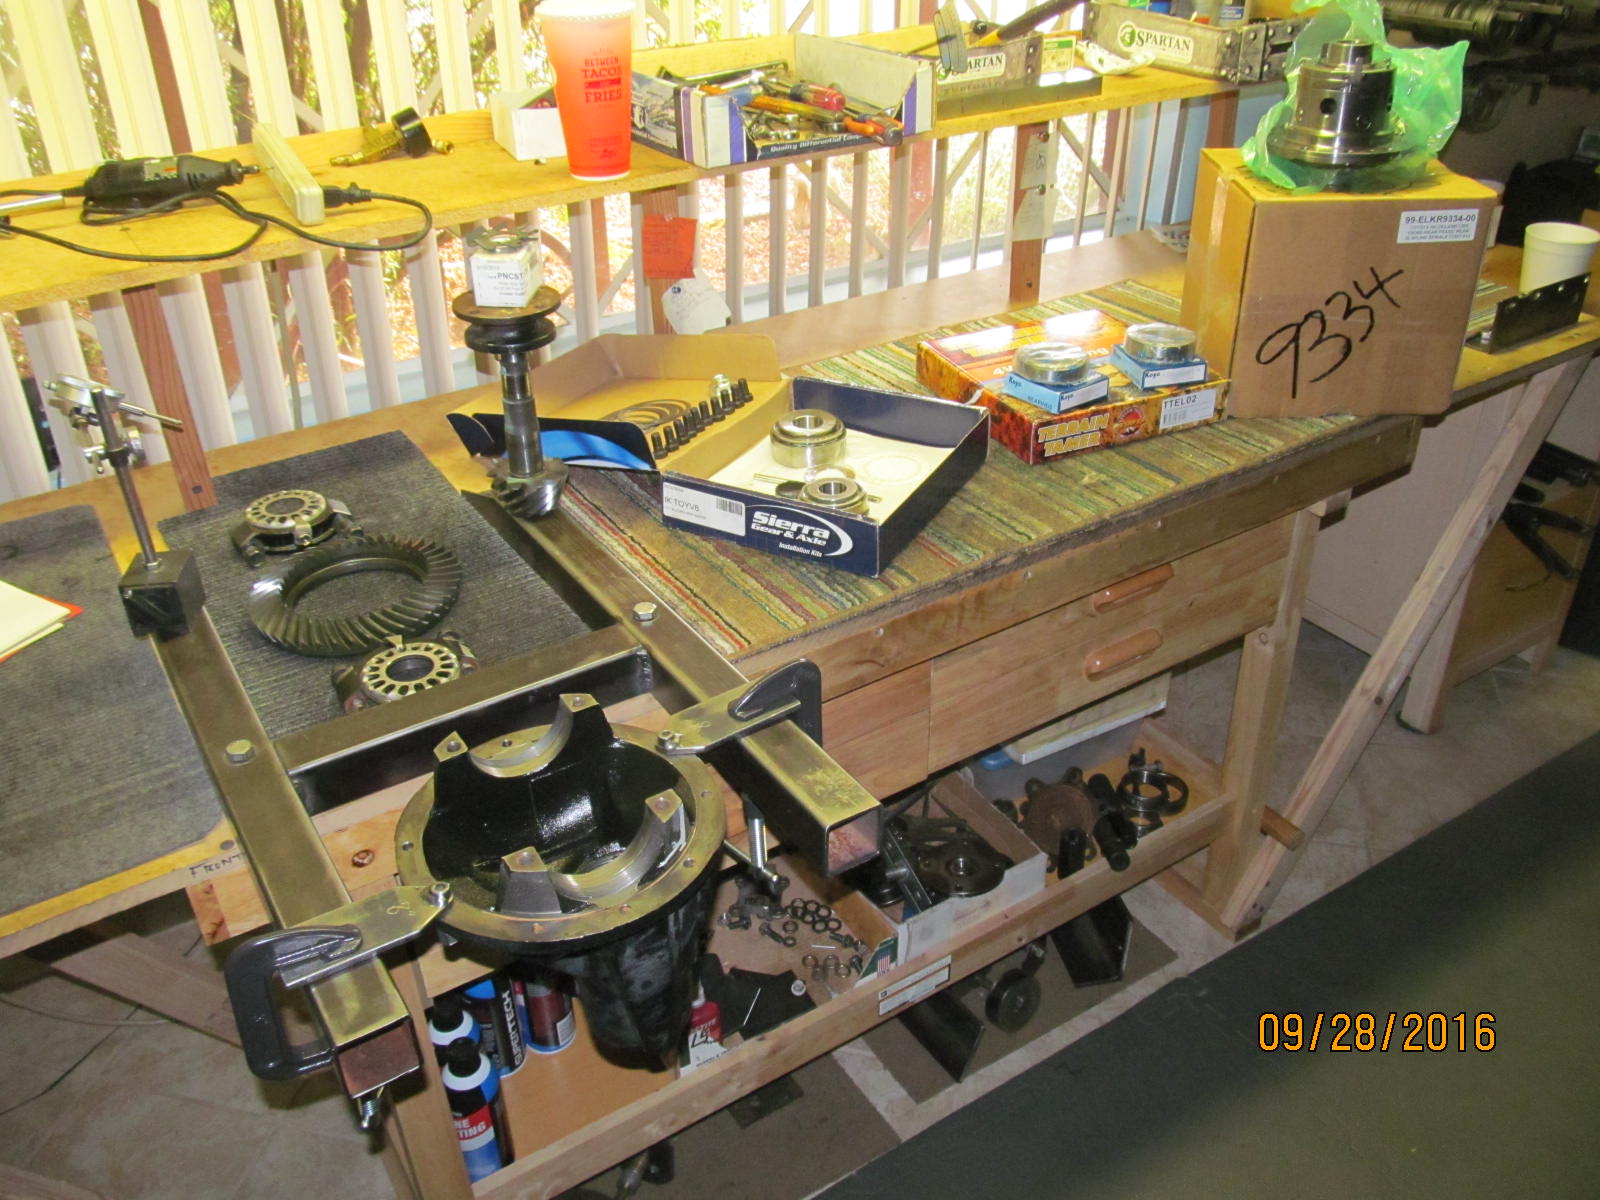
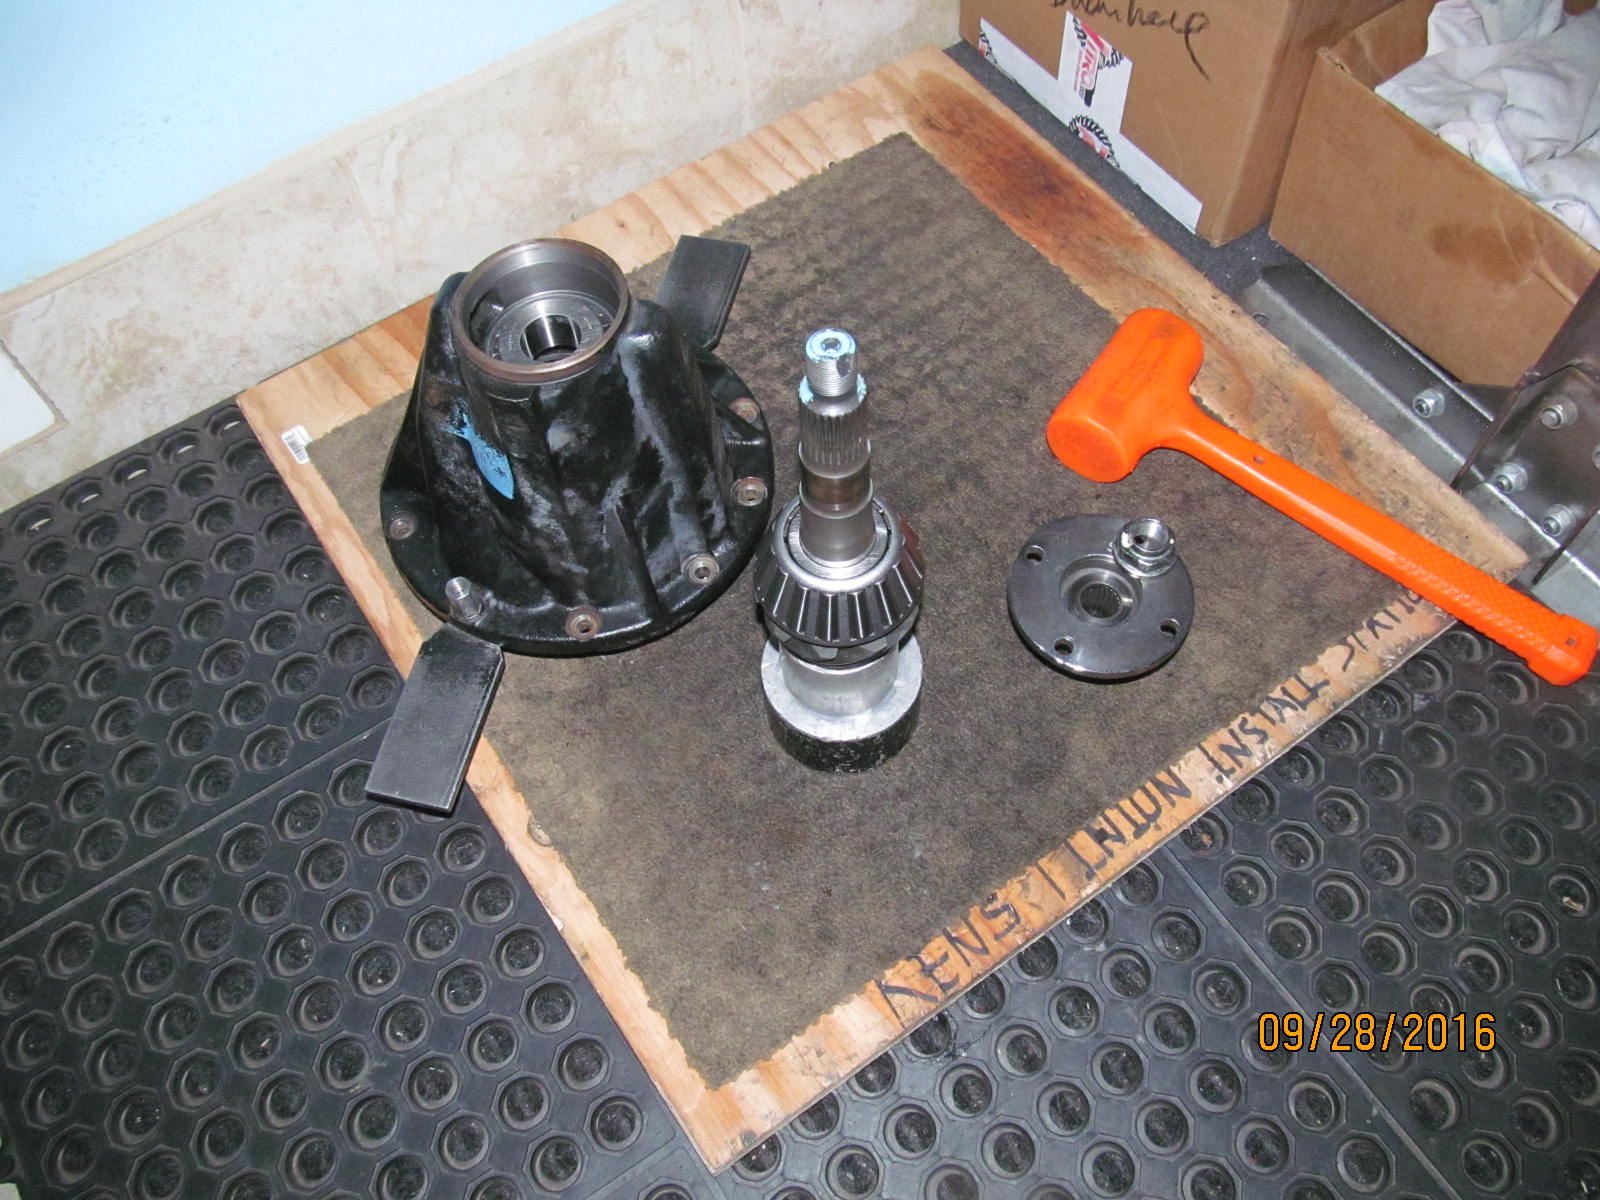
Everything is laid out on the bench. The used 410 ring and pinion only has 60,000 miles on it and
has been in storage since 2003.
|
|
|
|
Since the carrier bearings are already included in the Harrop box then only a pinion kit
with the 2 bearings is needed. Cruiser Outfitters supplied the kit and also the solid collar.
|
|
|
|
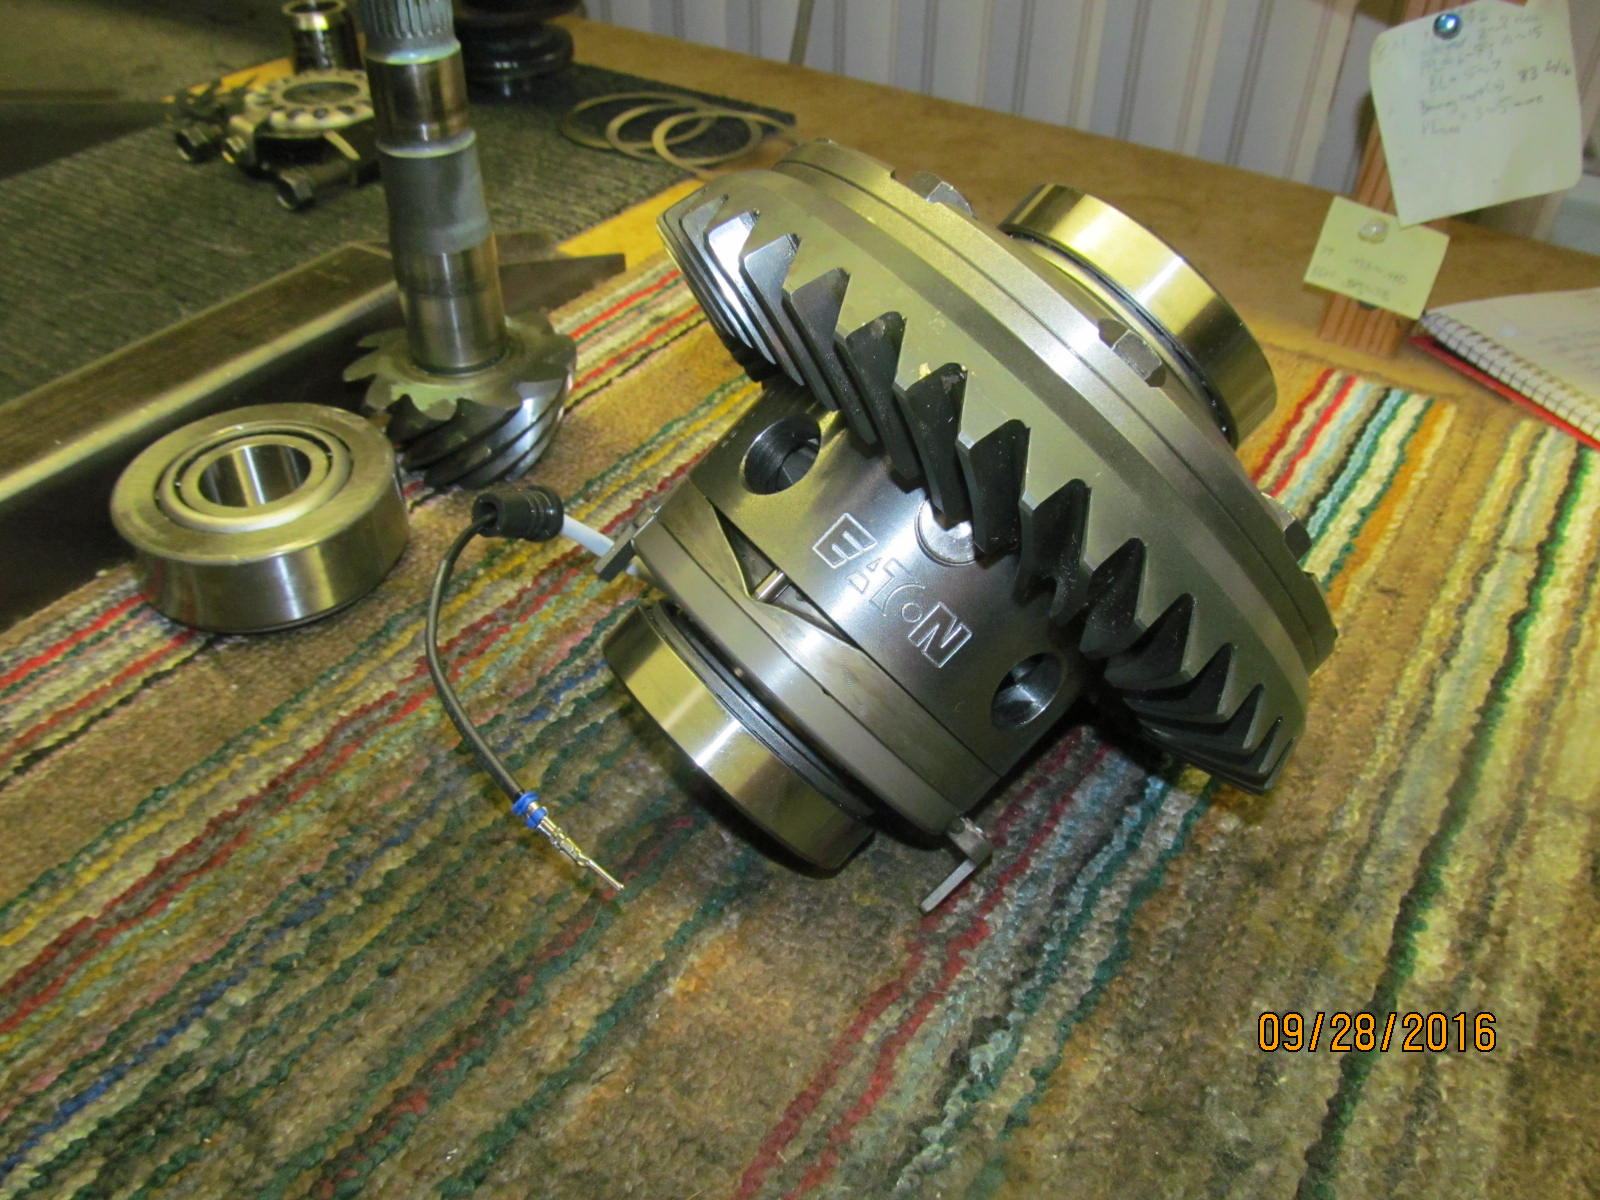
The Harrop elocker included the carrier bearings and came from....
Contact Ward Harris (National importer/authorized dealer for Harrop) at 1-800-224-7801
or email info@cruiserbrothers.com
|
|
|
|
|
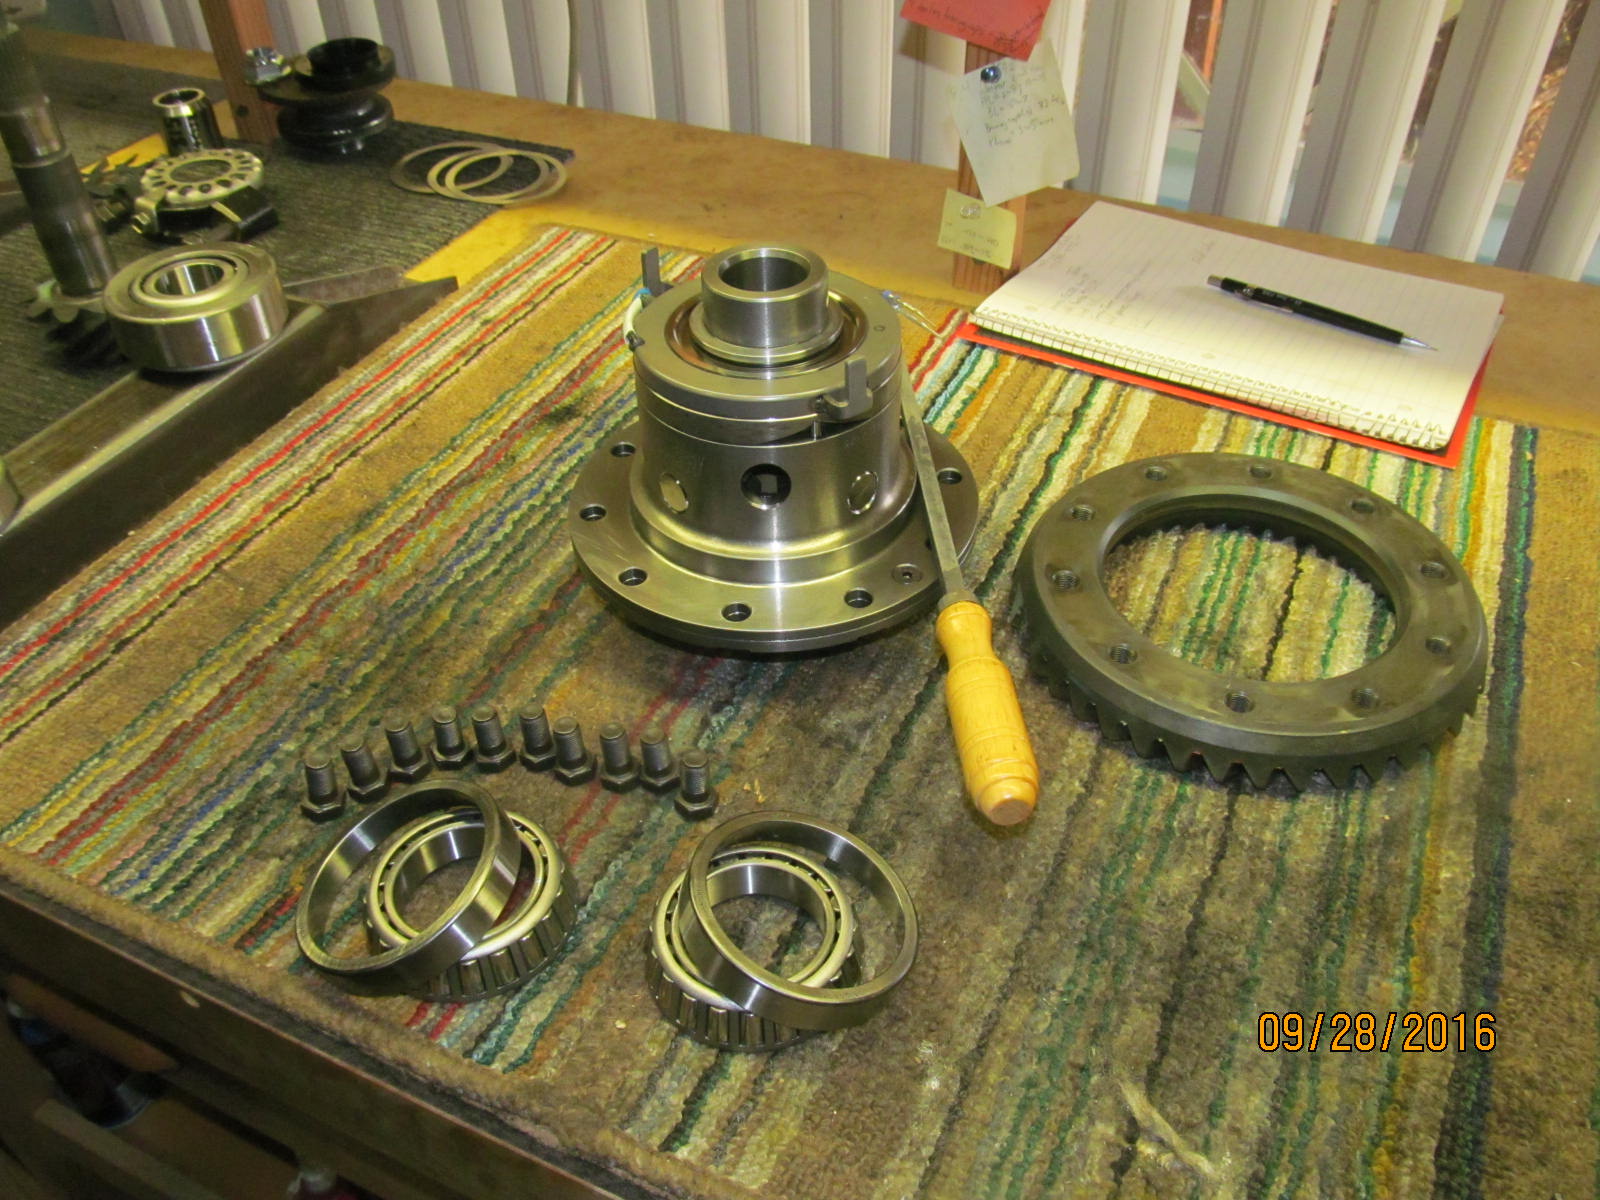
File check on the 2 surfaces and all is smooth....no burrs, no high spots.
|
|
|
|
|
Carrier bearings are started and the ring gear bolts are snugged finger tight.
|
|
|
|
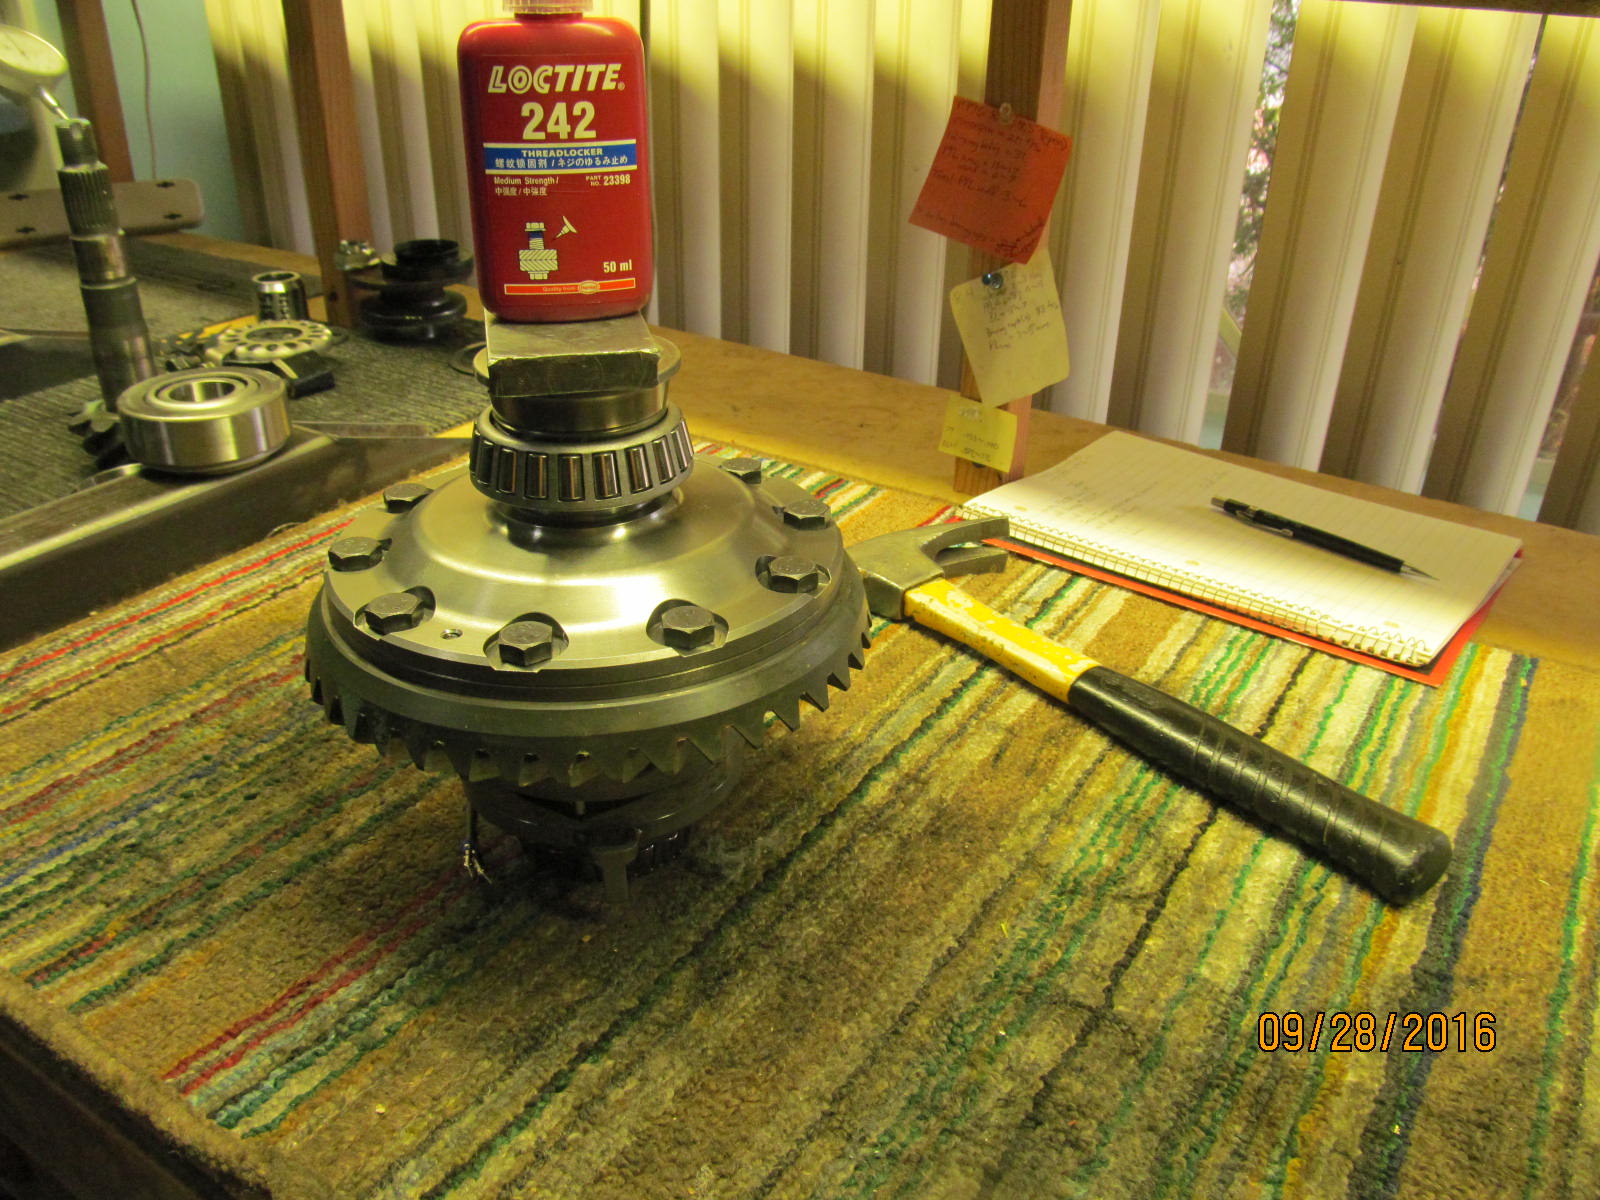
The carrier bearings were pressed on all the way and the pressure also allowed me to
tighten the 10 ring bolts to 70 ft/lb with blue Loctite.
|
|
|
|
|
This end done....
|
|
|
|
|
A common .0795" is pressed on with the new bearing.
|
|
|
|
|
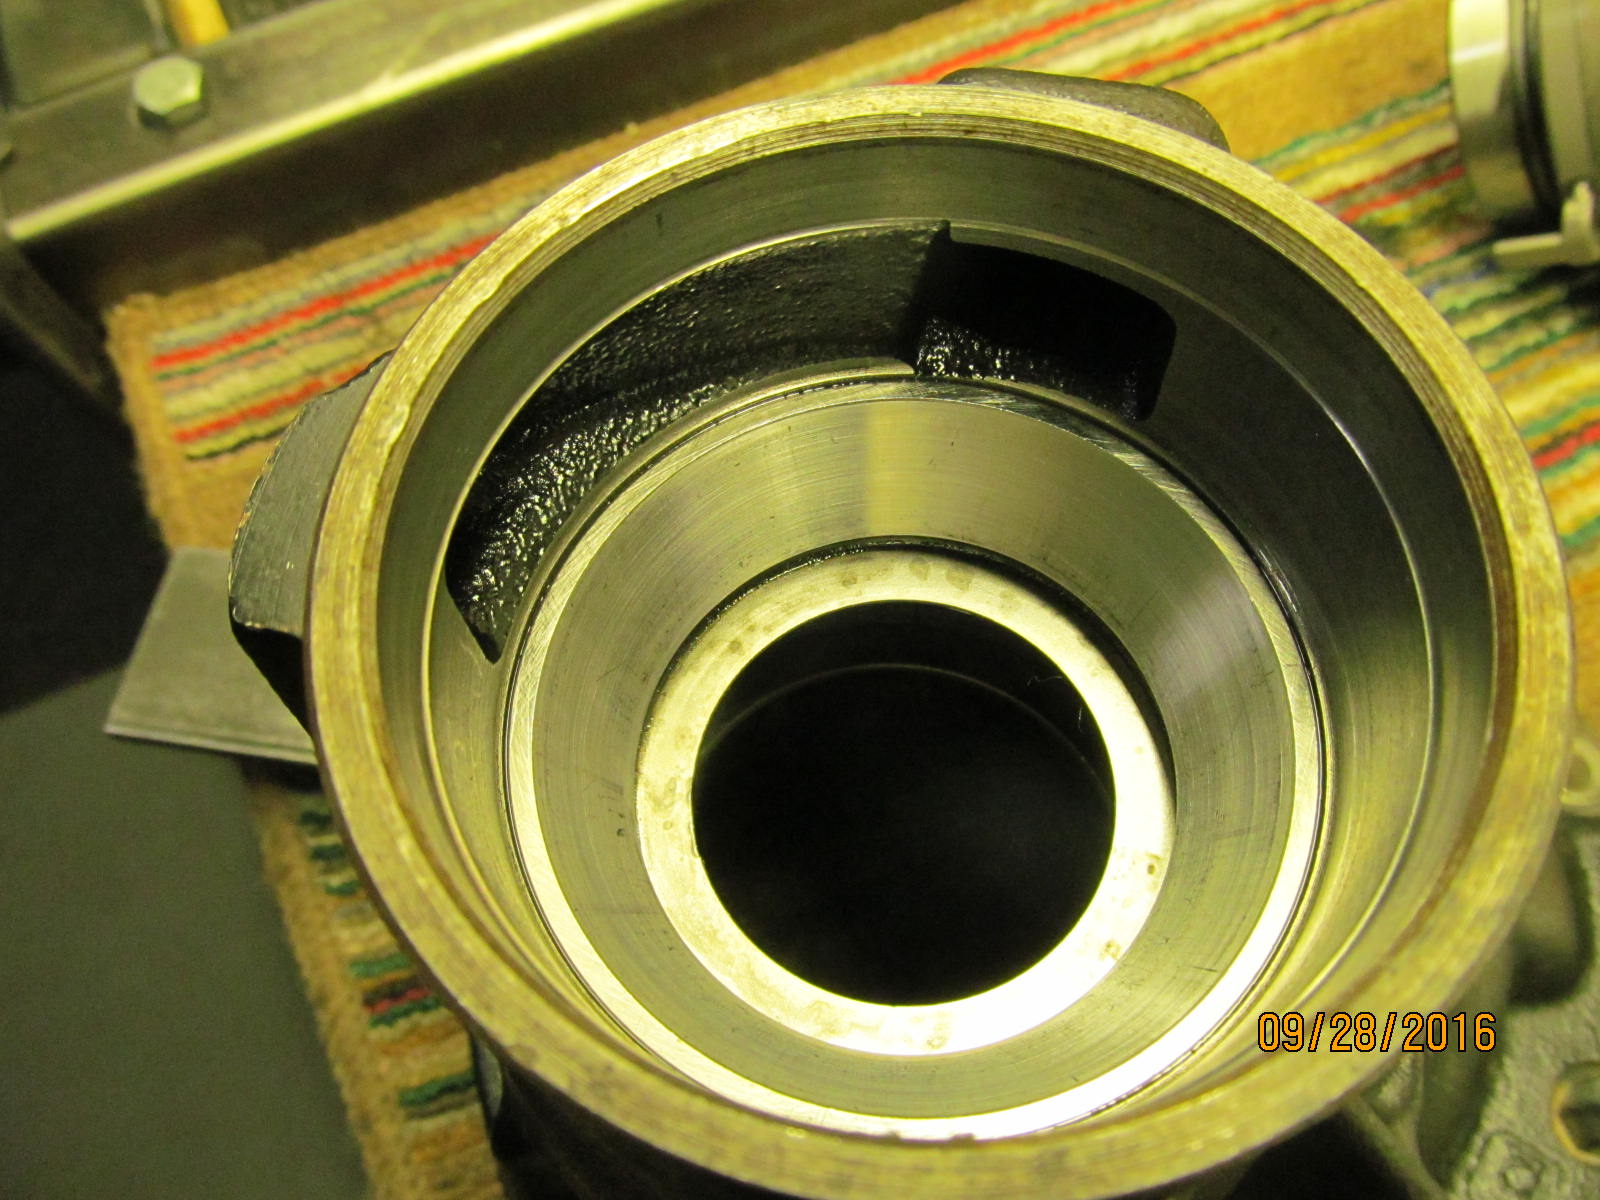
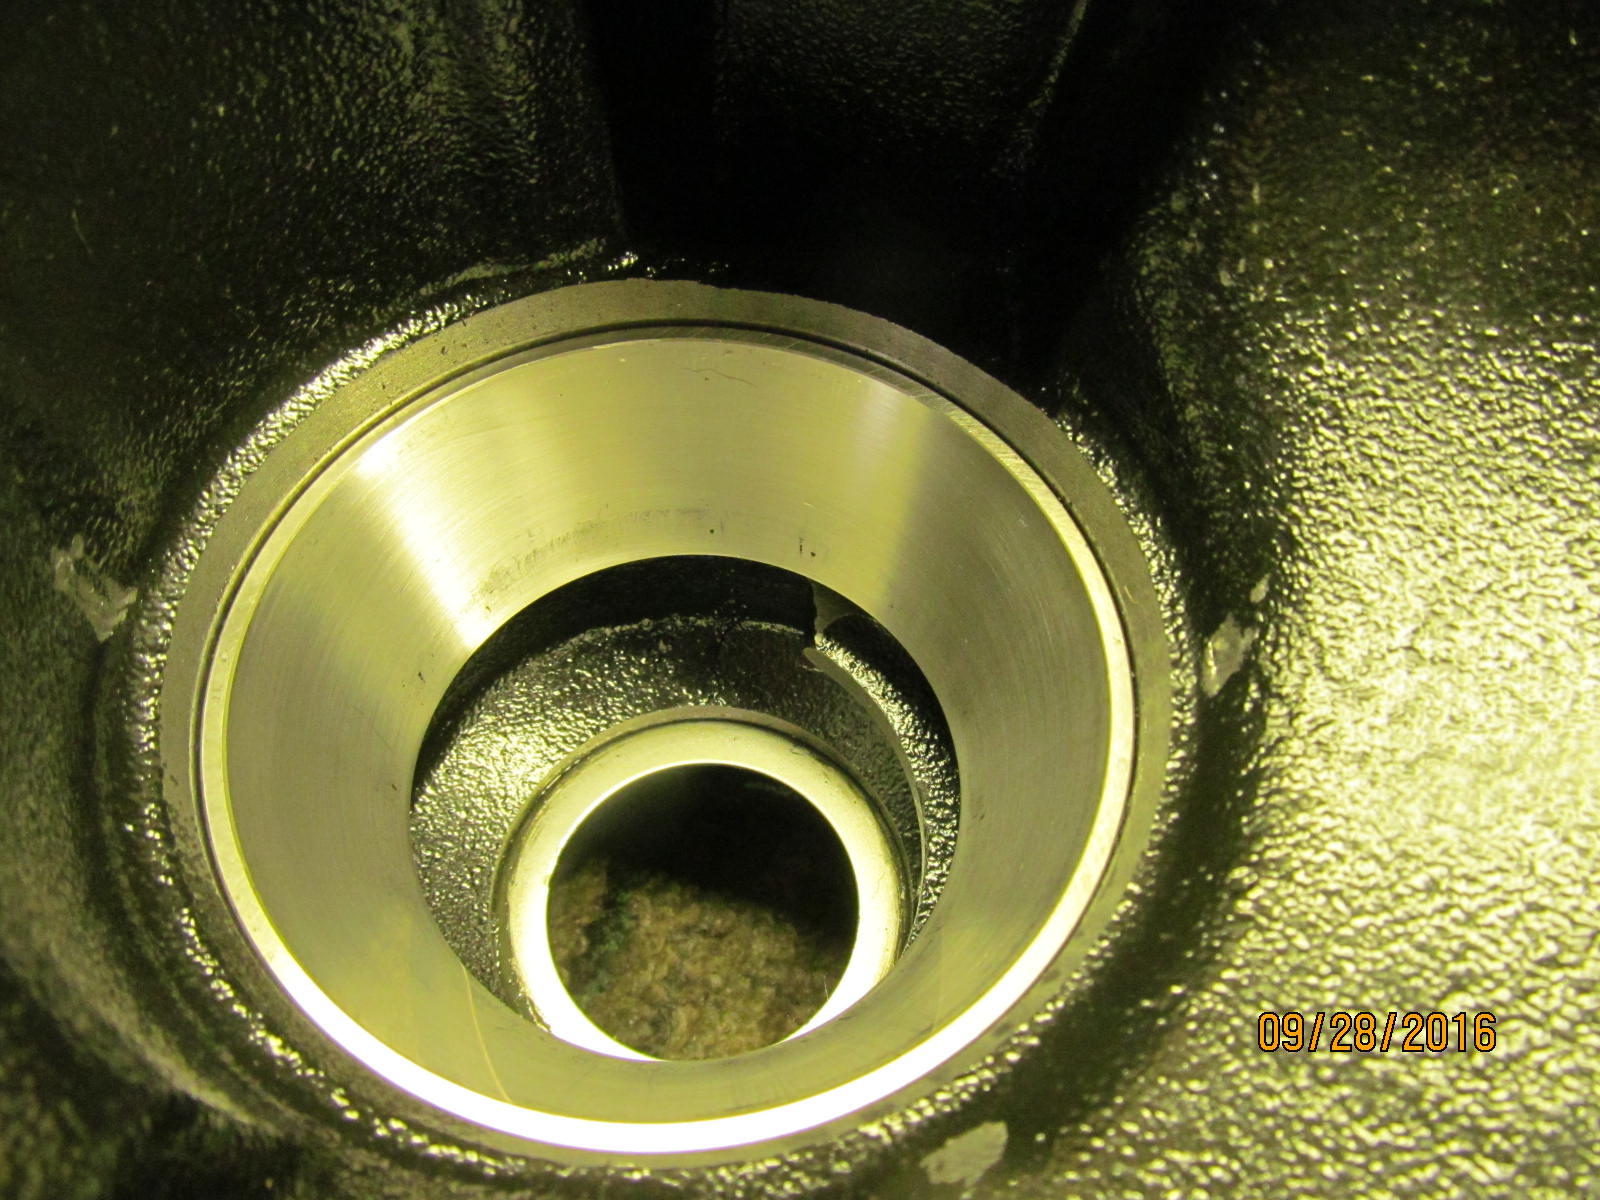
New race fully installed. Notice the oil retainer is still there and 100% undamaged.
|
|
|
|
|
The large inner race went in with no fuss.
|
|
|
|
|
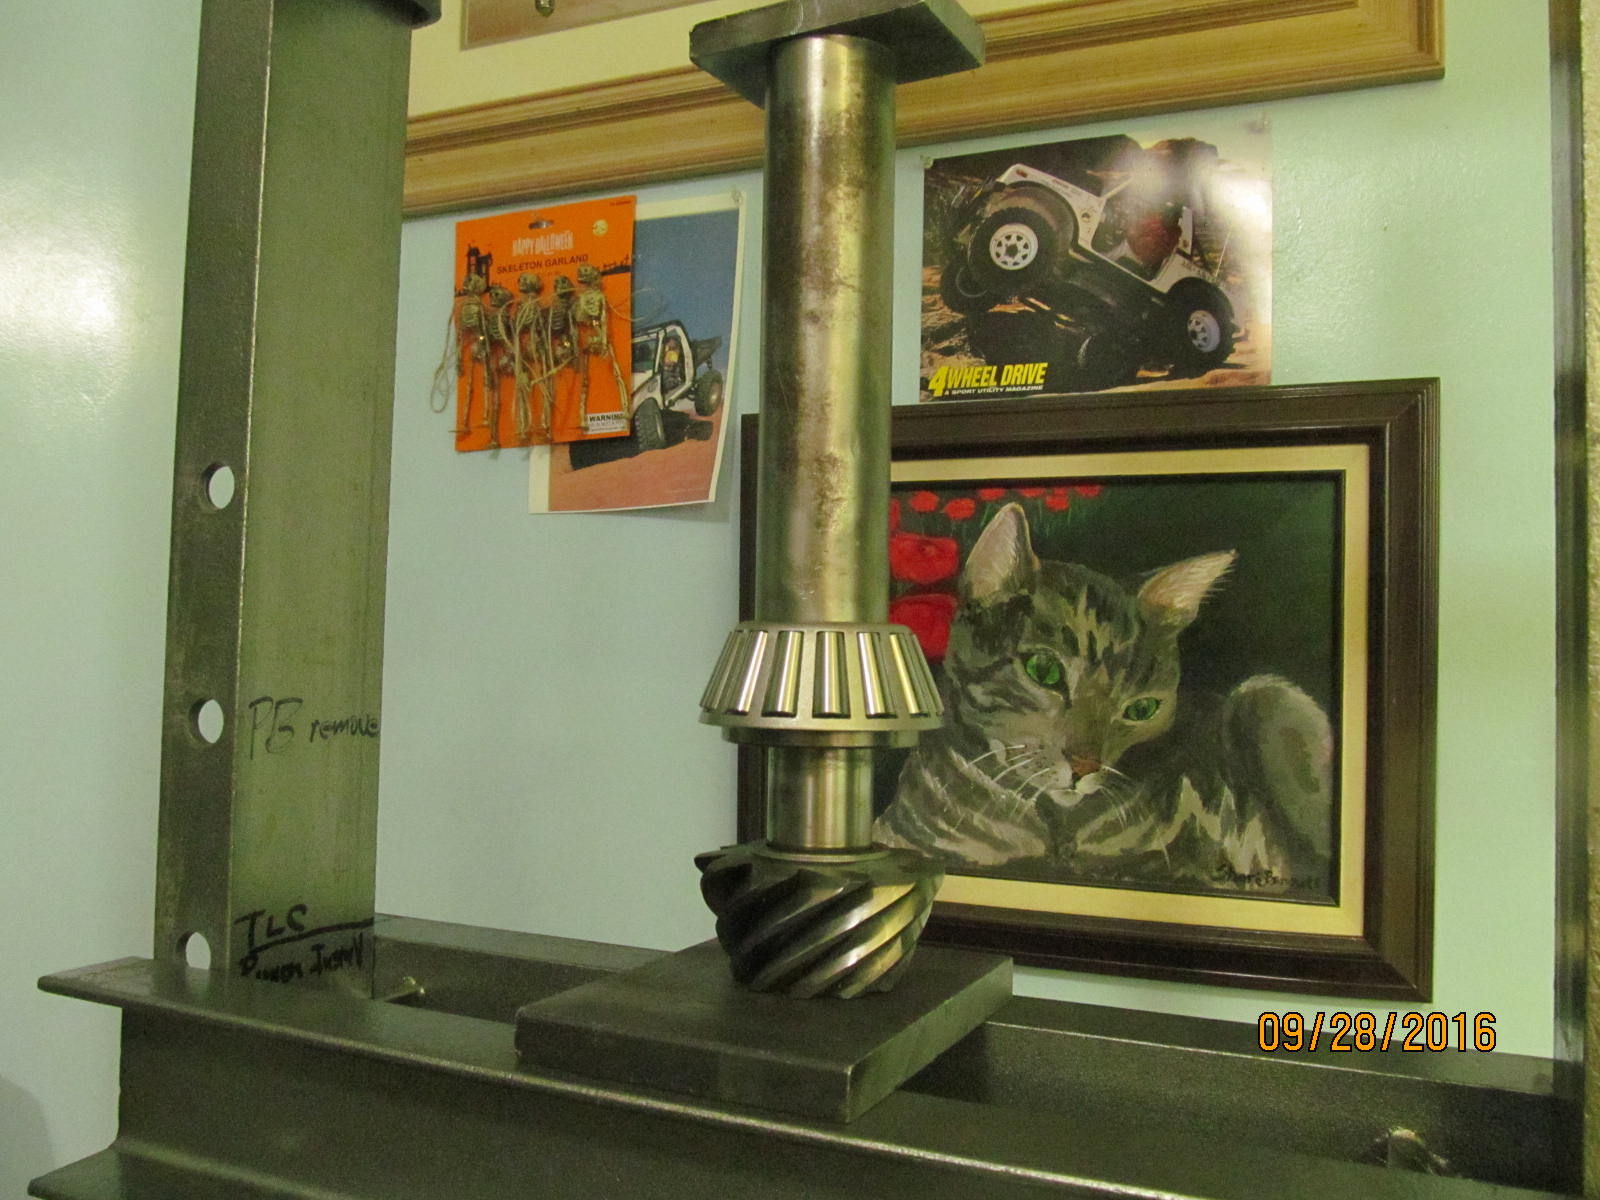
And now the pinion and flange are installed.
|
|
|
|
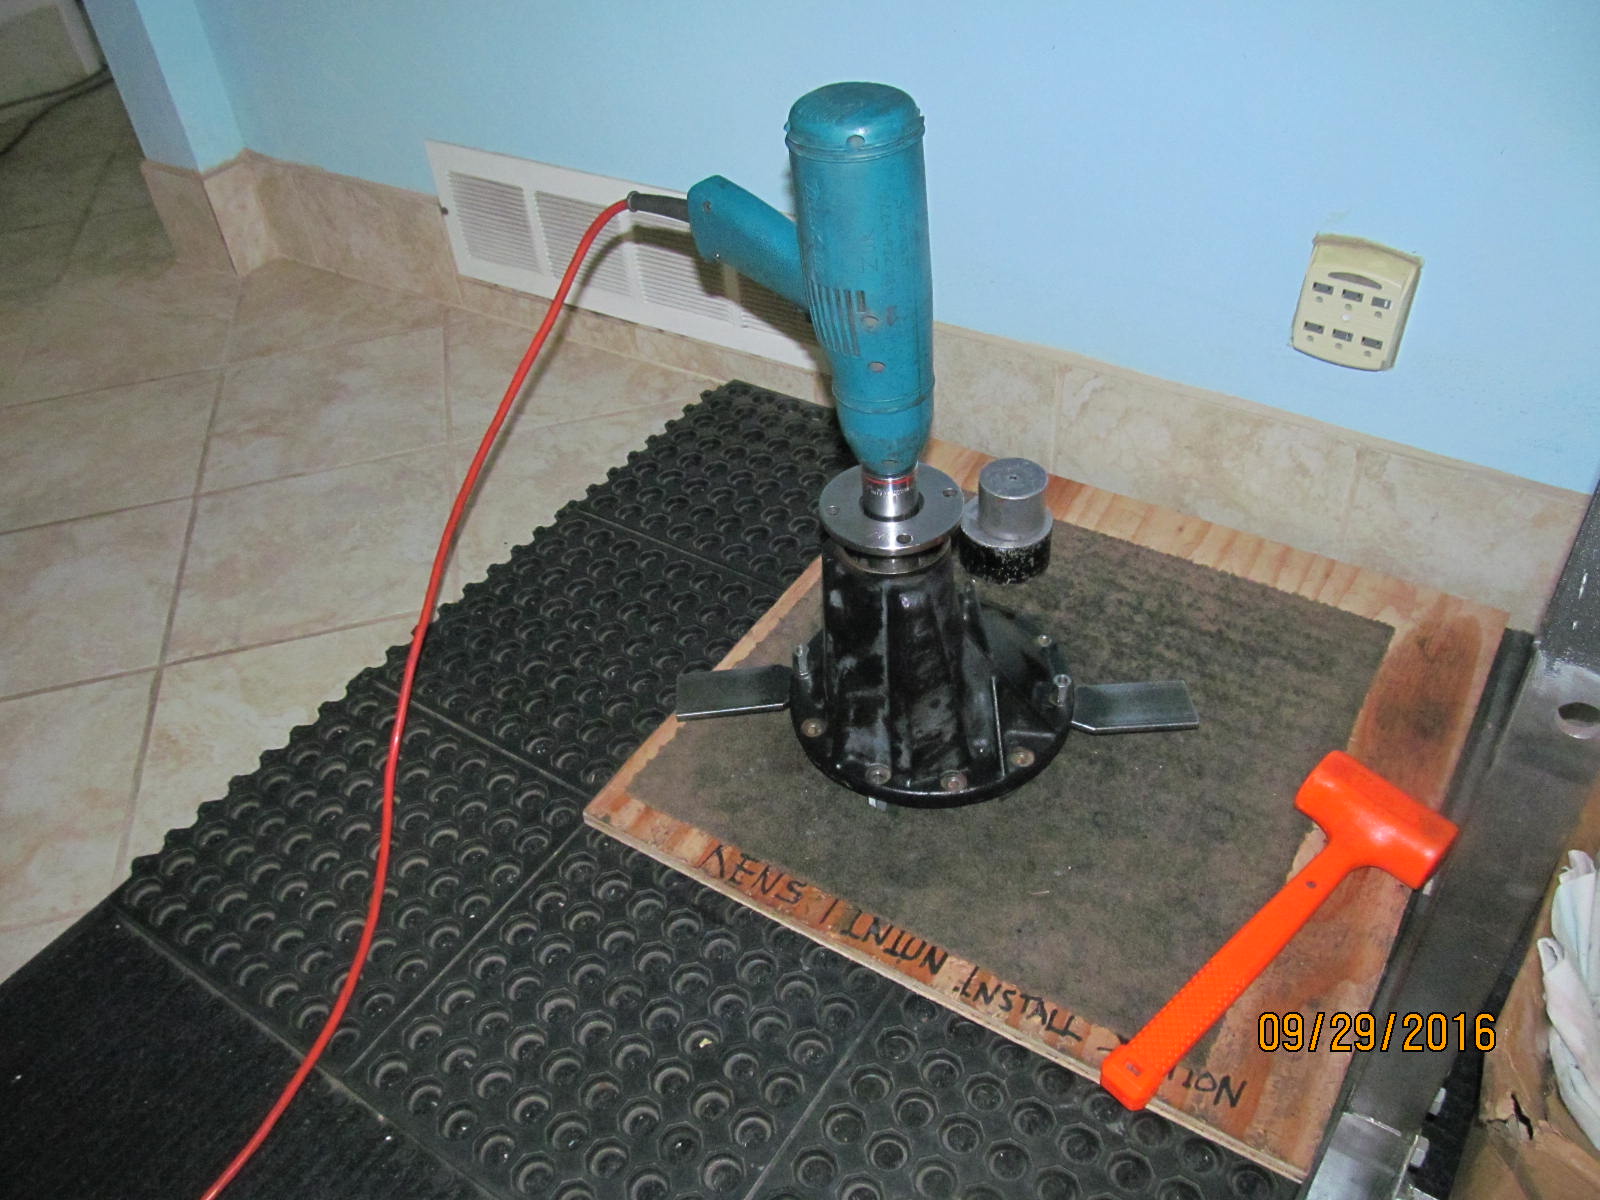
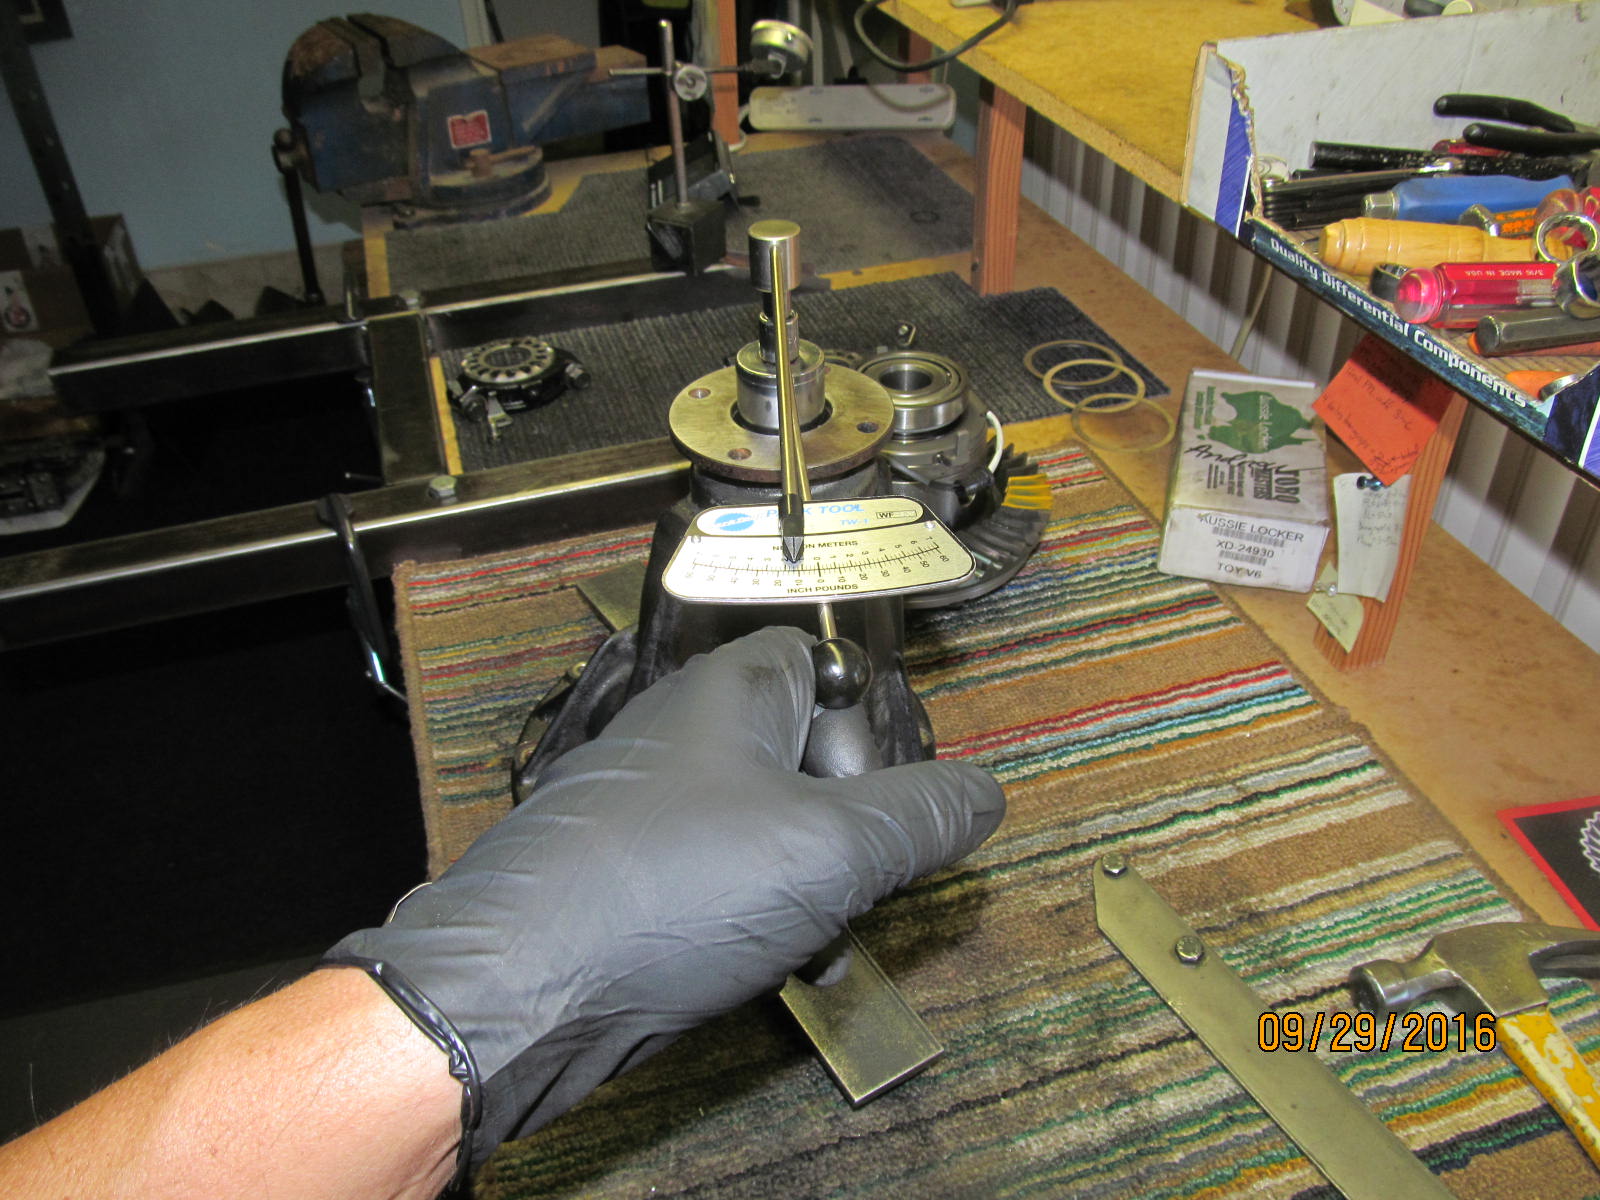
The electric impact allowed the gradual tightening of the pinion nut. This is just for a paint
check so having exactly 10~15 in/lb is not critical.
|
|
|

|
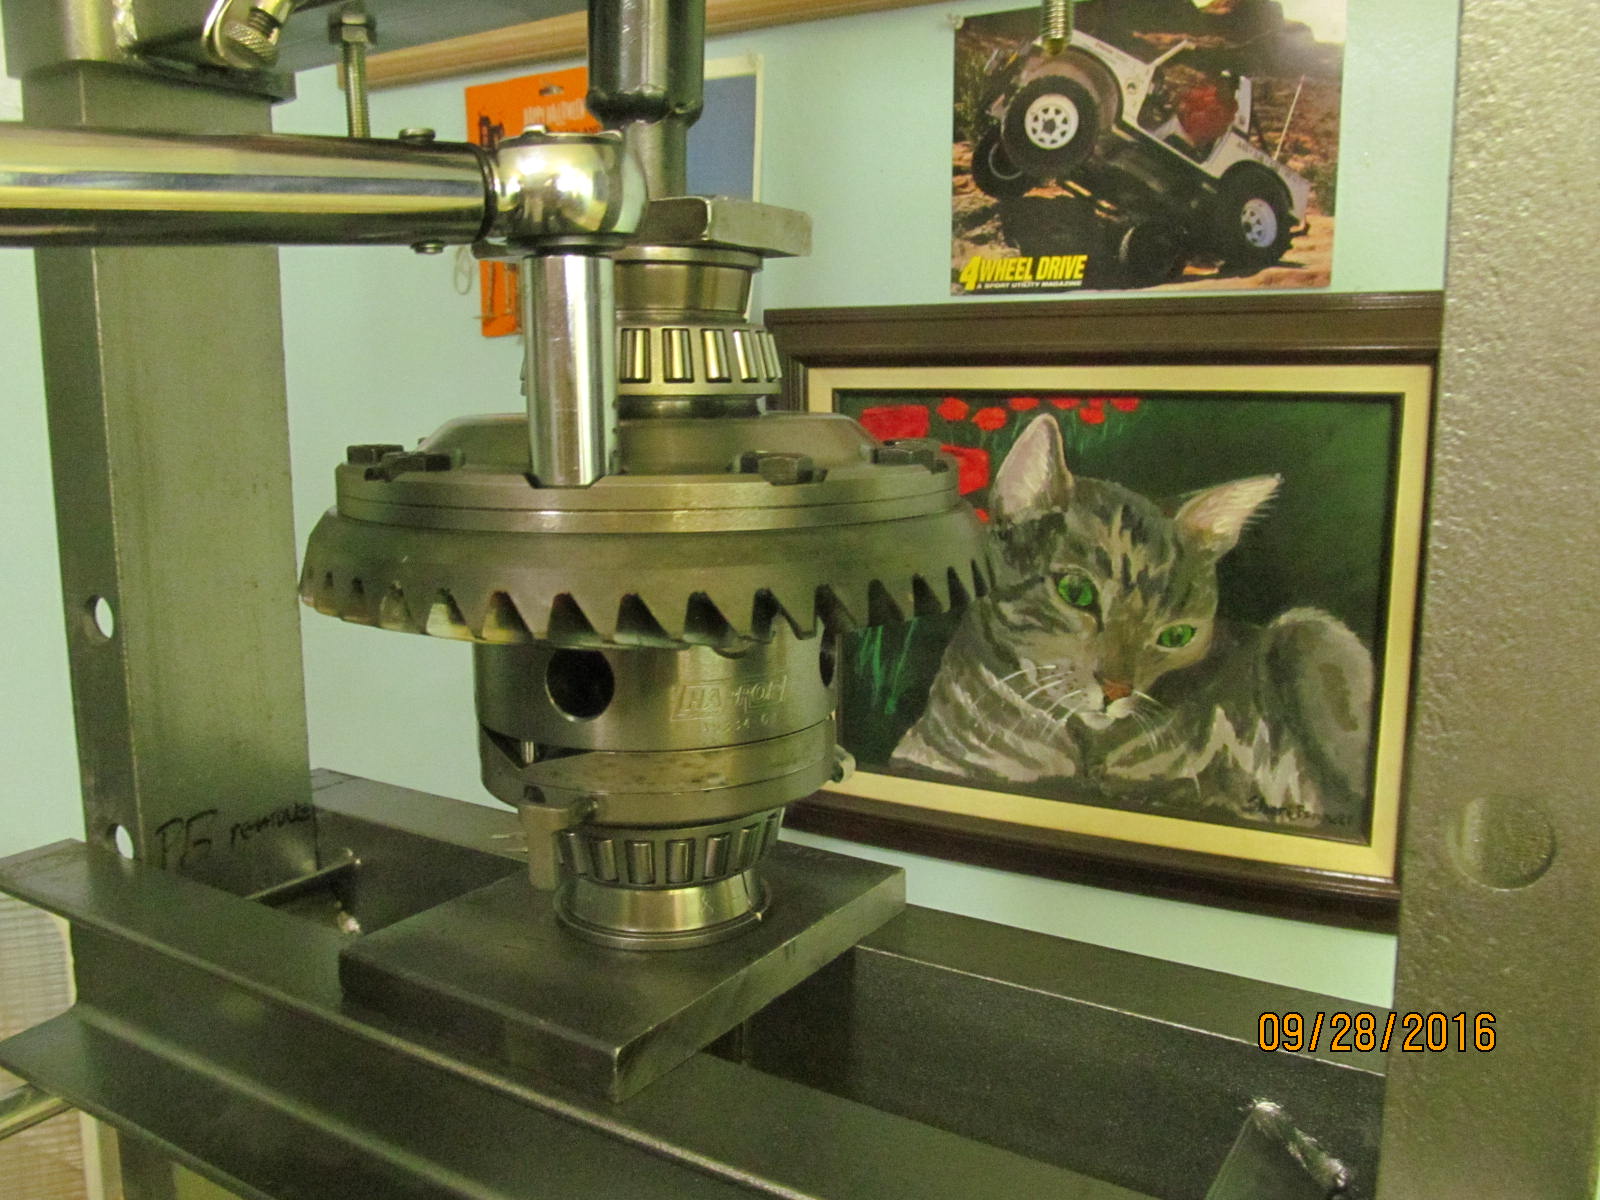
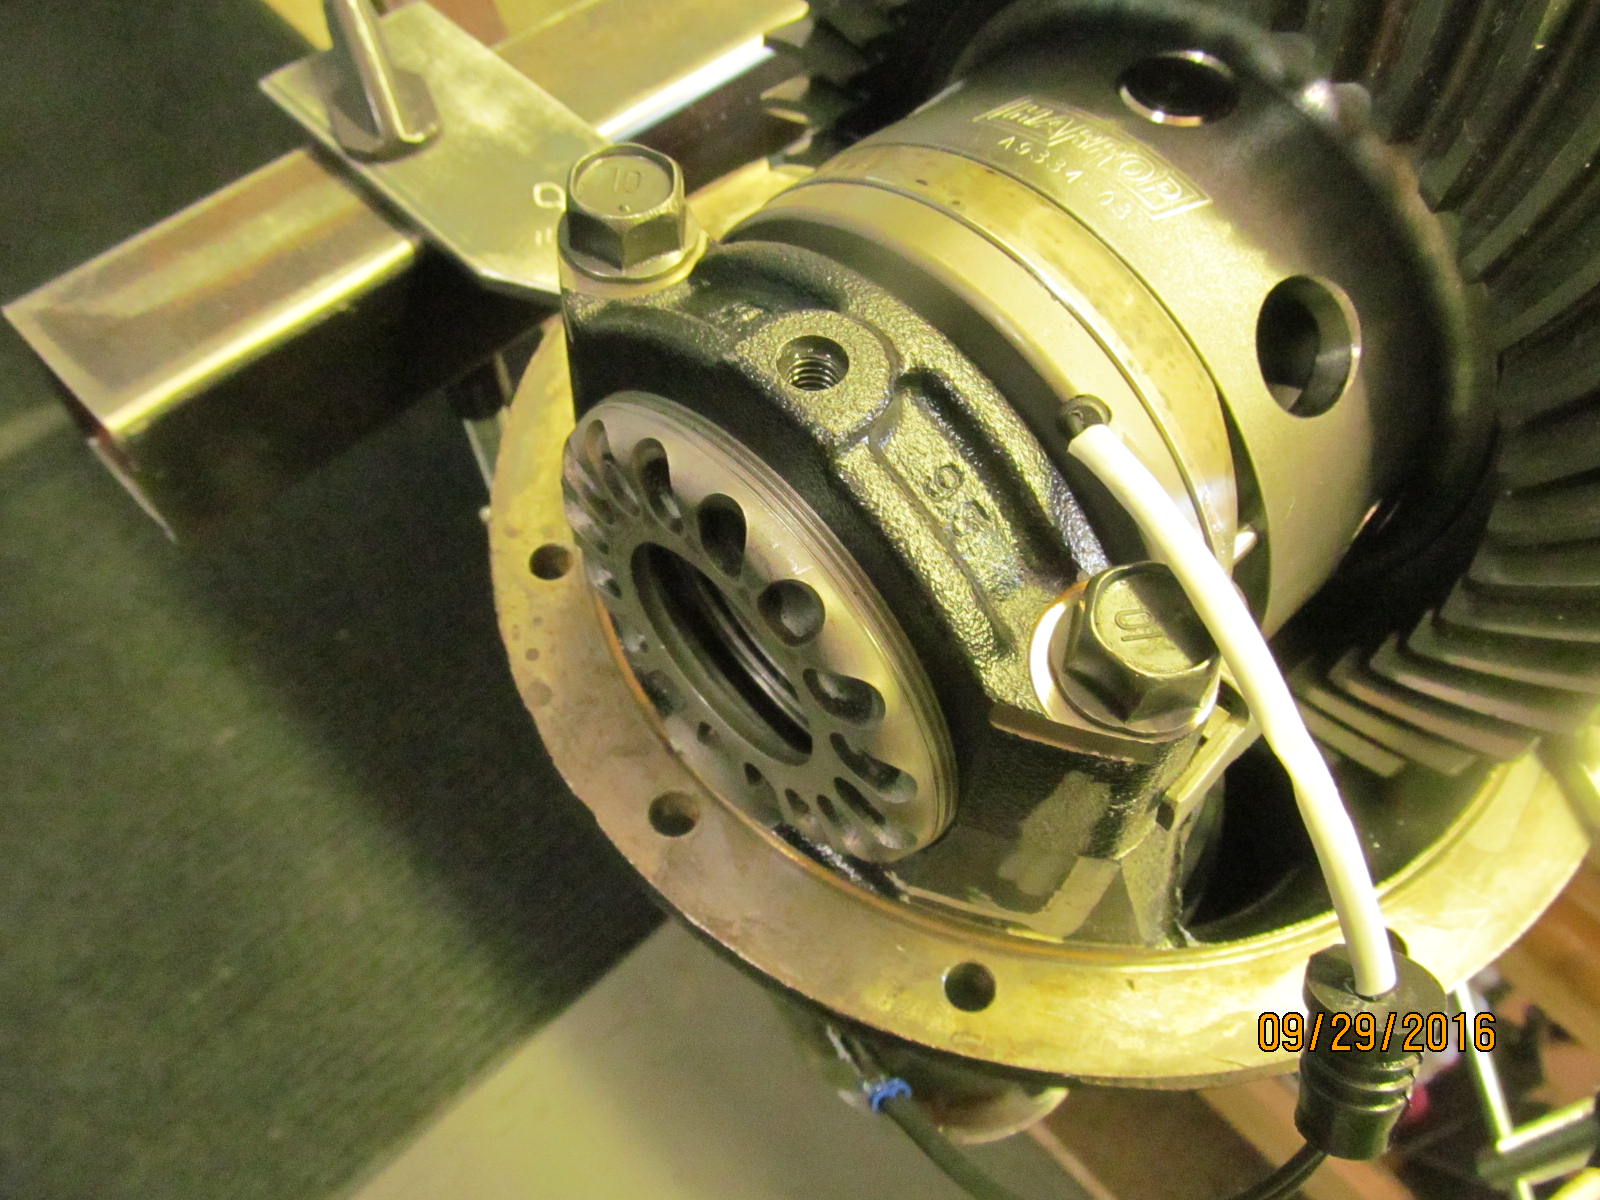
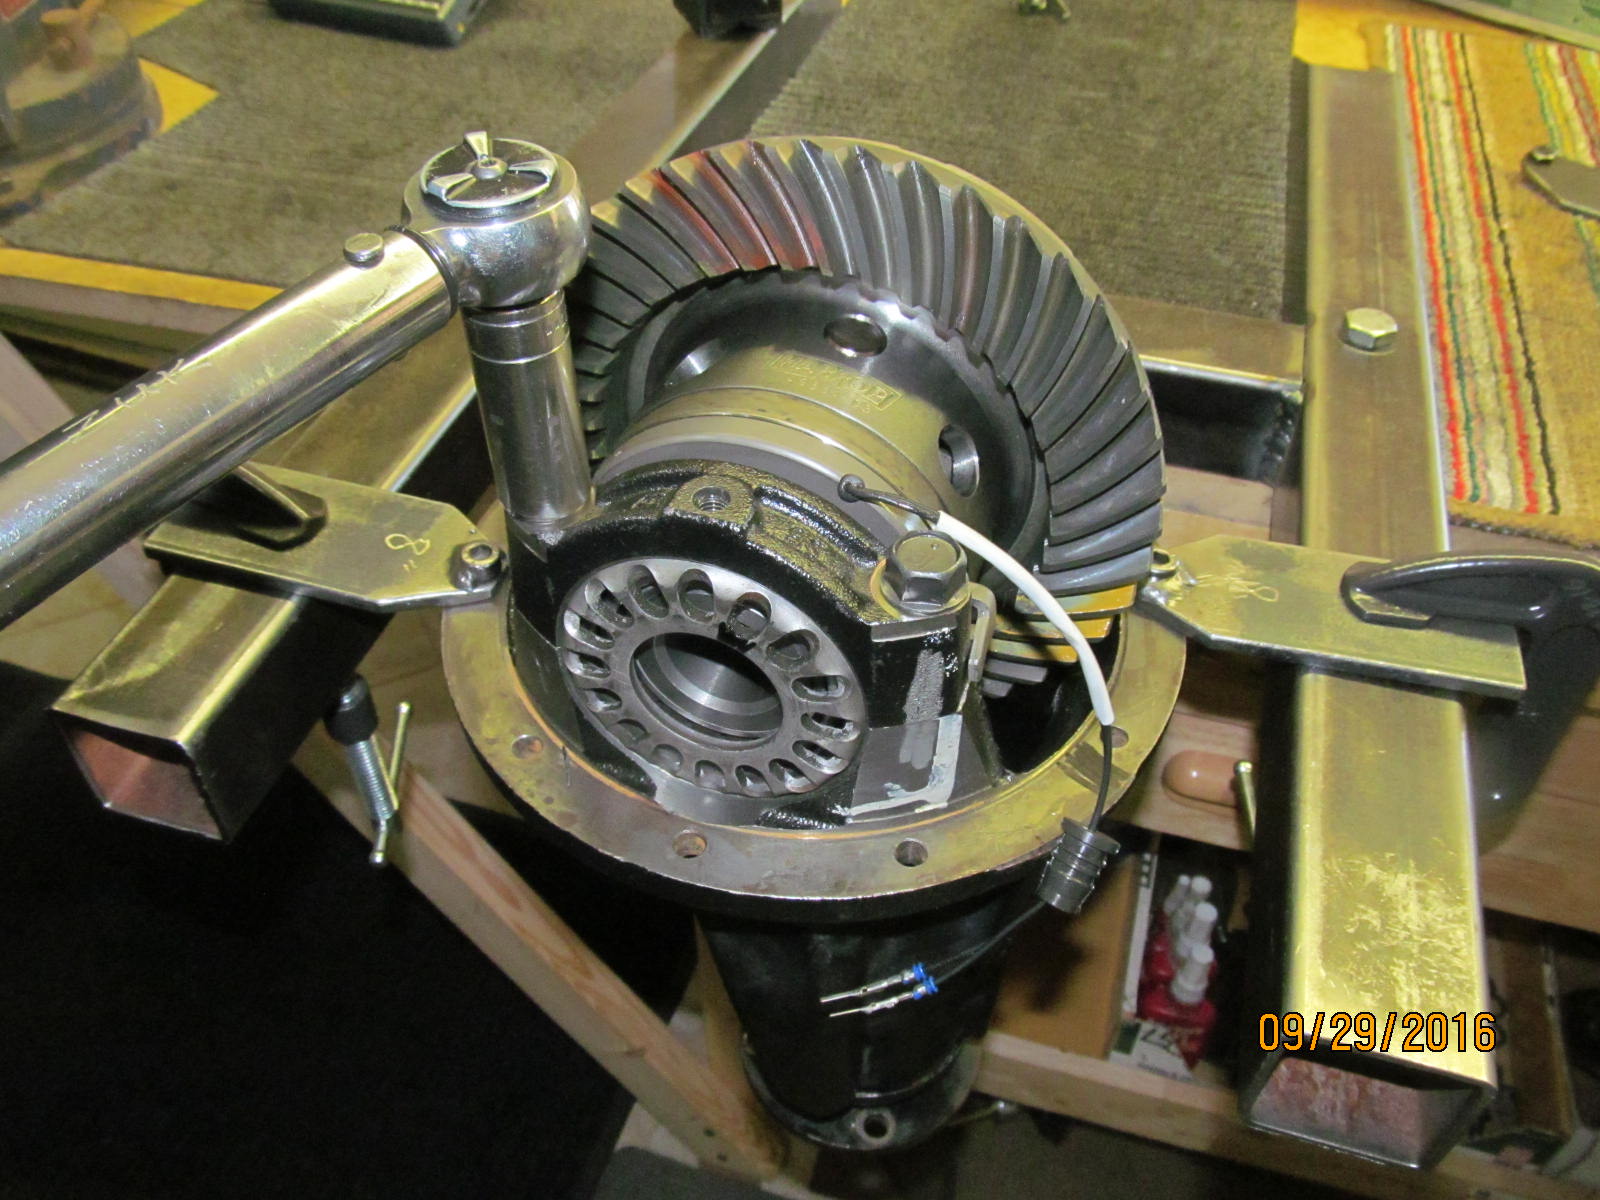
Elocker is now dropped in place. The upper bearing cap is slid in horiontally.
Some bending of the tabs may be required.
|
|
|
|
|
1mm of freeplay is measured. This will be adjusted for the recommended 2mm on the next go around.
|
|
|
|
|
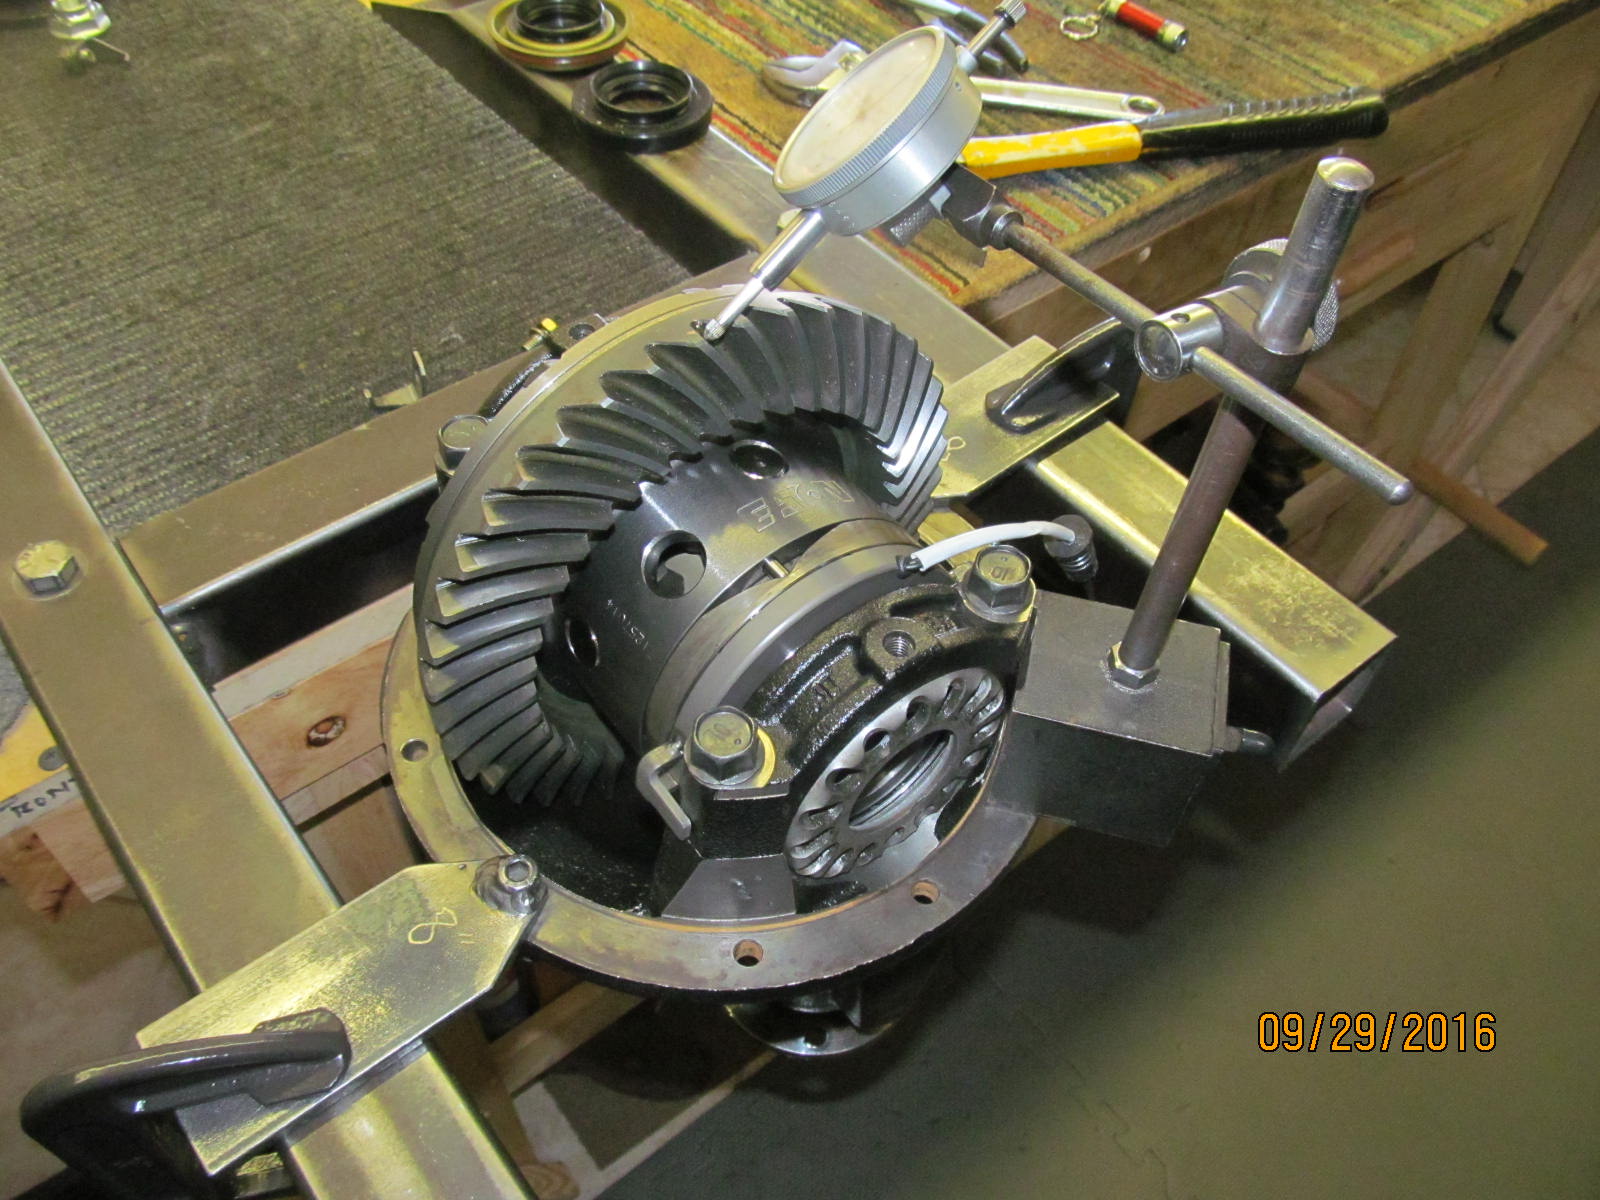
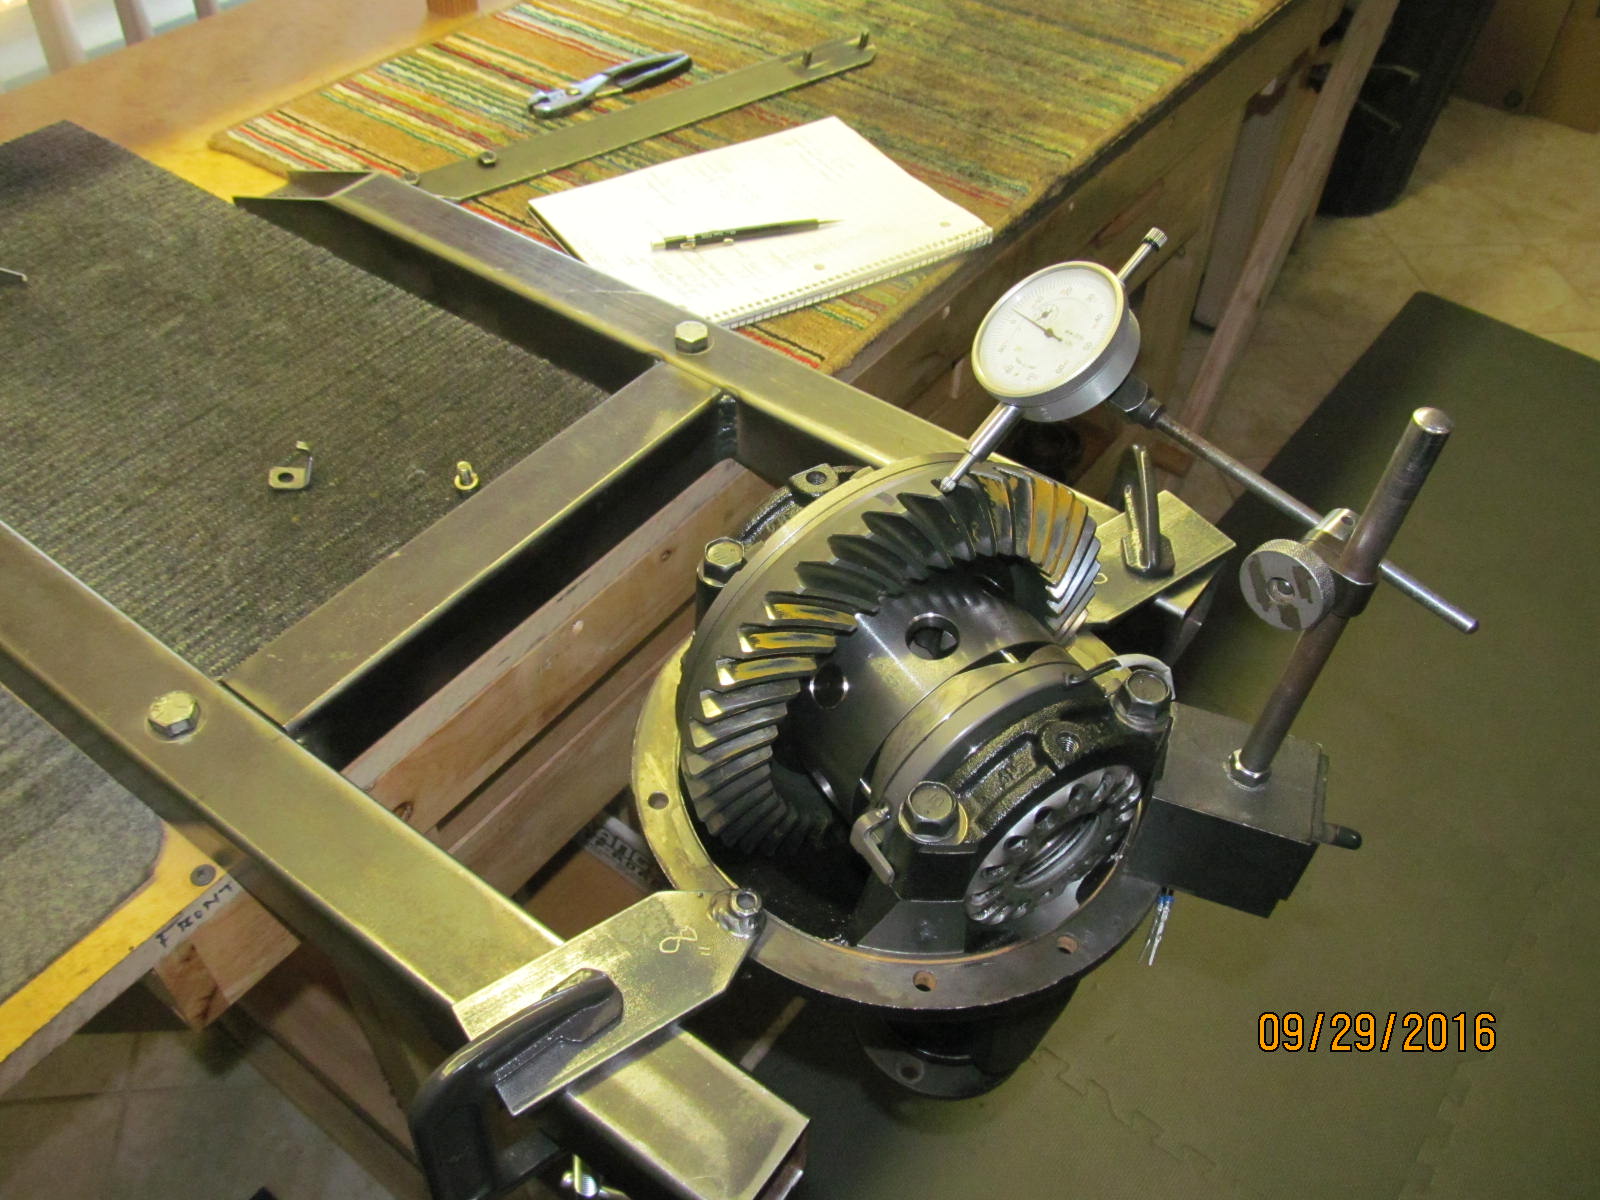
The wheel adjuster self started easily enough. Bearing cap bolts tightened.
|
|
|
|
|
Backlash is set along with some bearing pre-load.
|
|
|
|
|
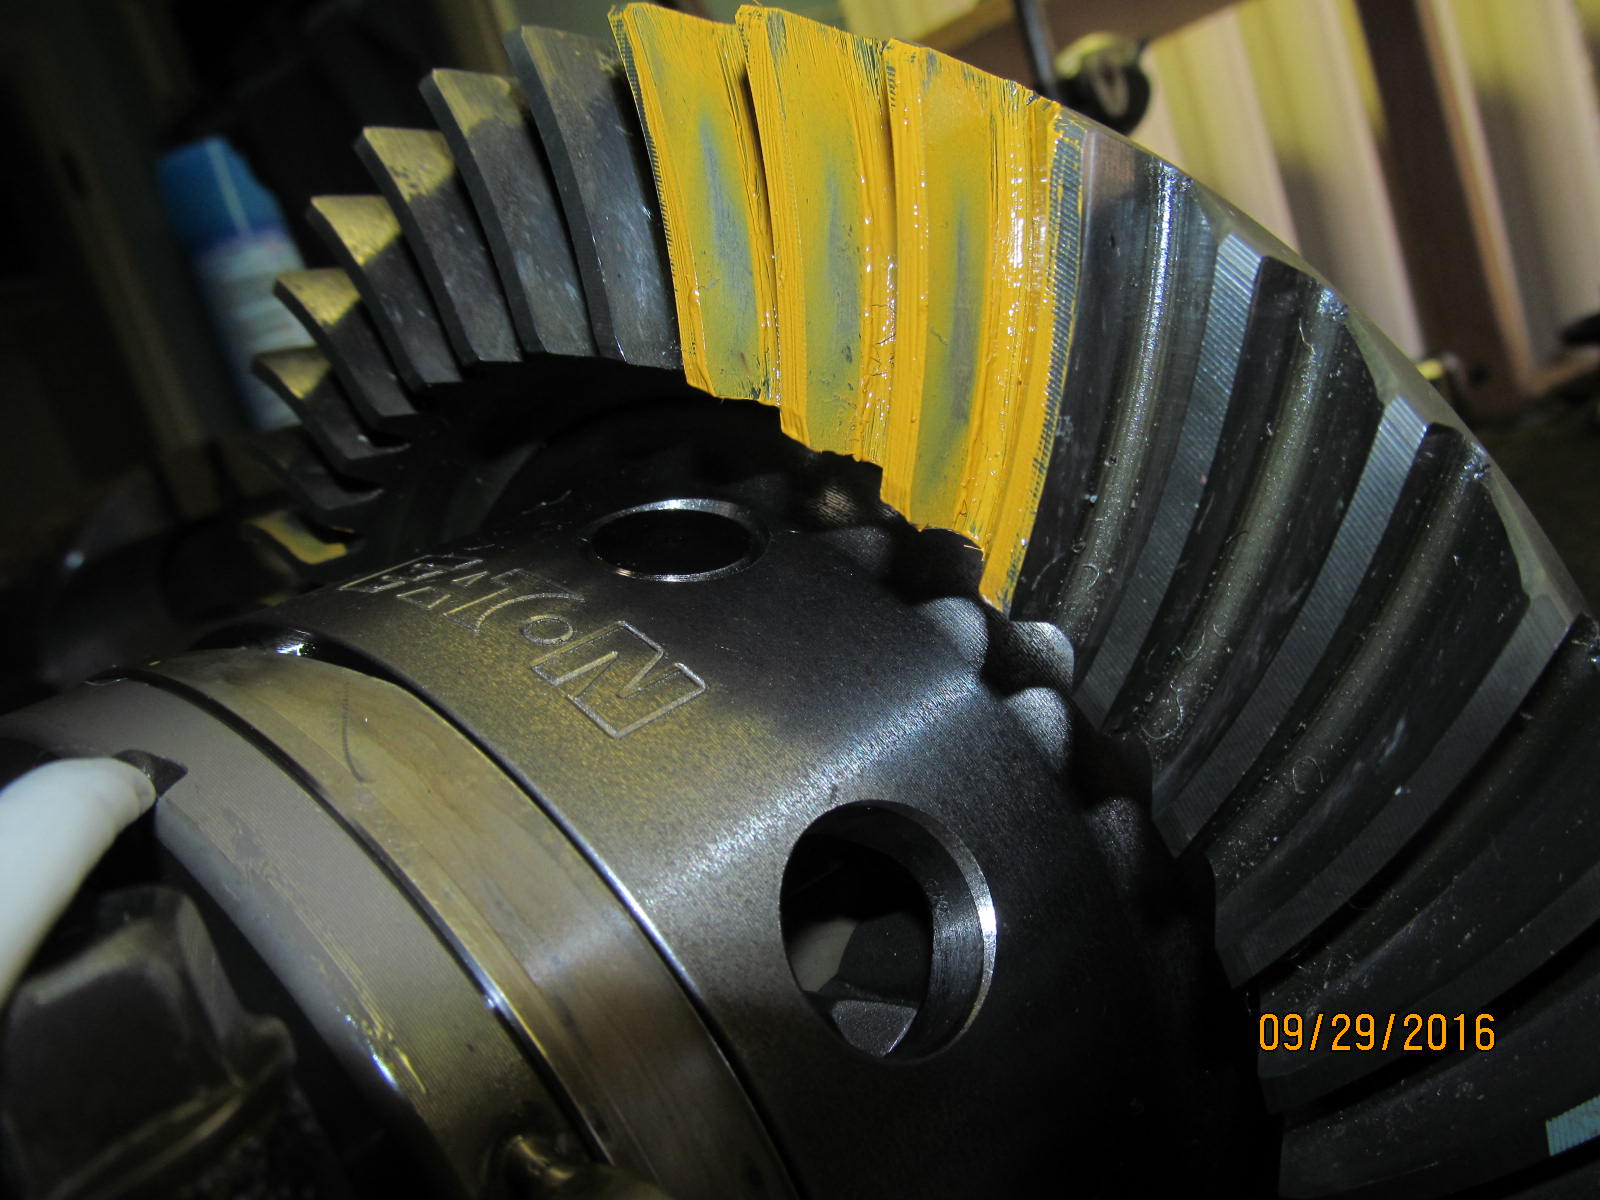
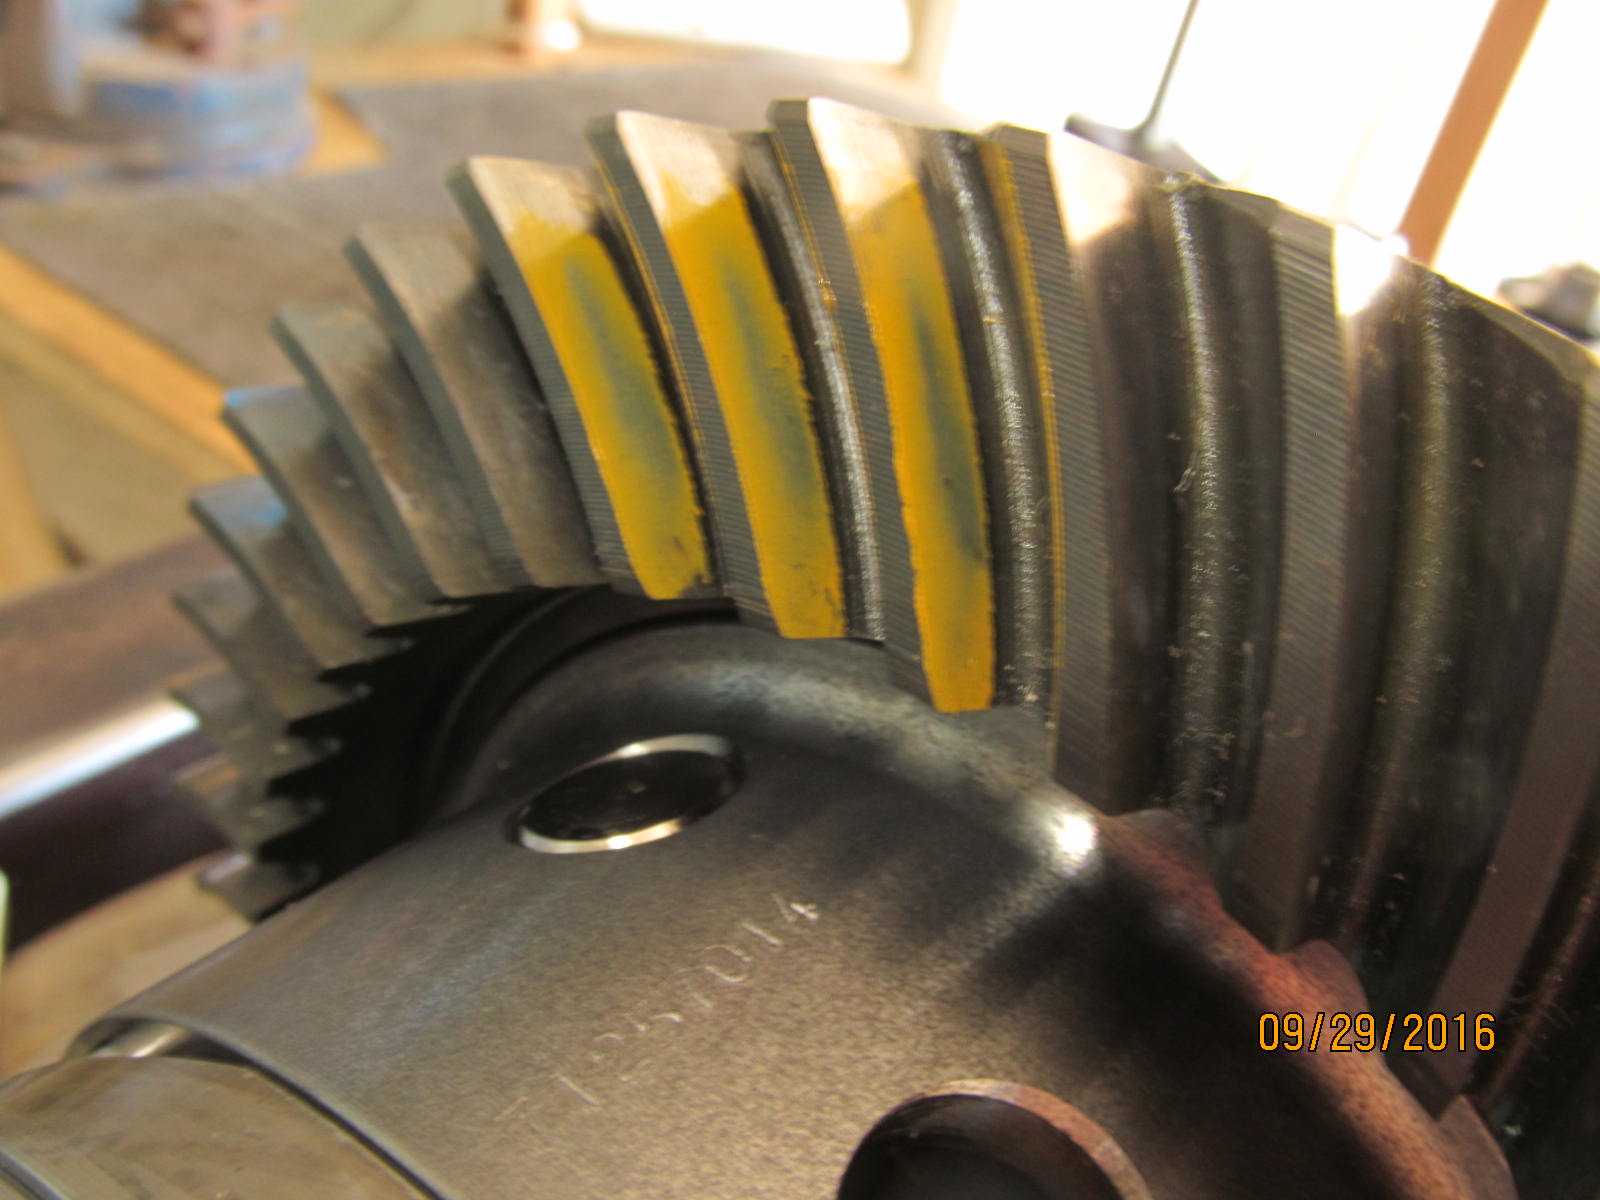
Drive side appears good. These are used gears.
|
|
|
|
|
The coast looks very good.
|
|
|
|
|
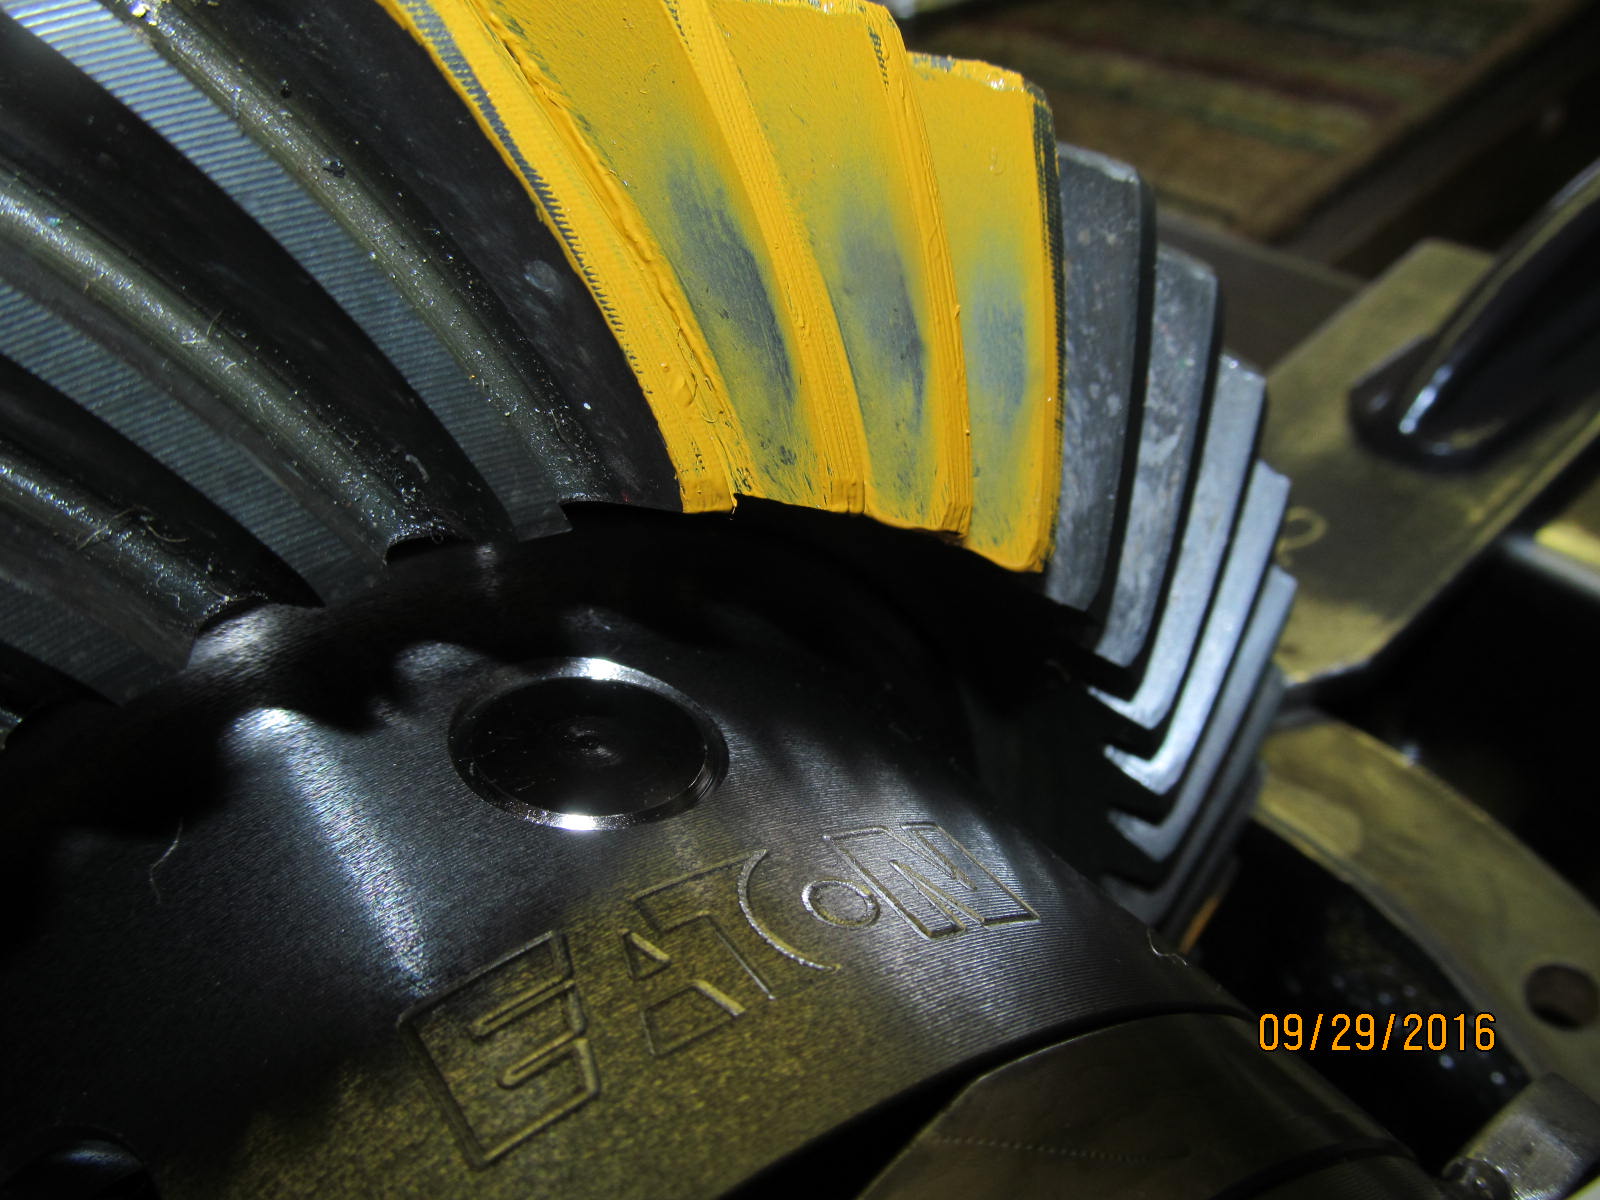
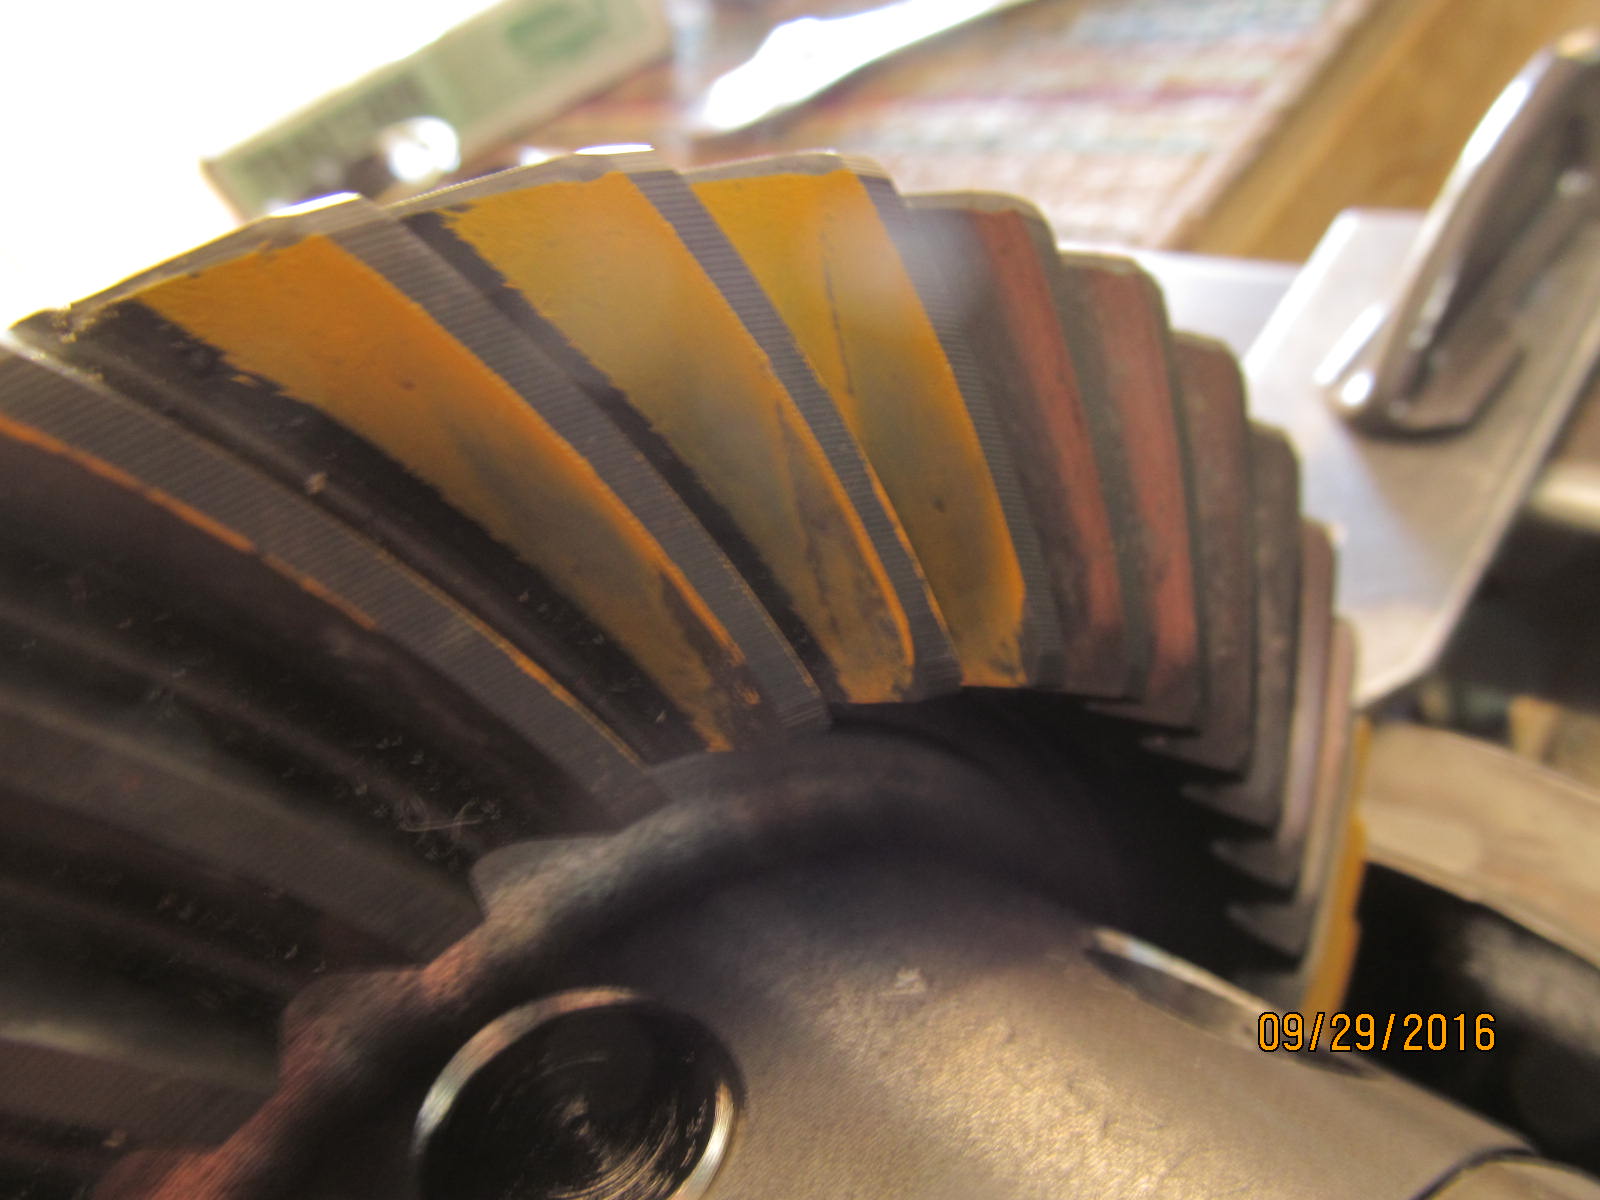
This is the reverse painted drive side.
|
|
|
|
|
Reverse painted coast side.
|
|
|
|
|
Comet tail is right where it should be.
|
|
|
|
|
.................
|
|
|
|
|
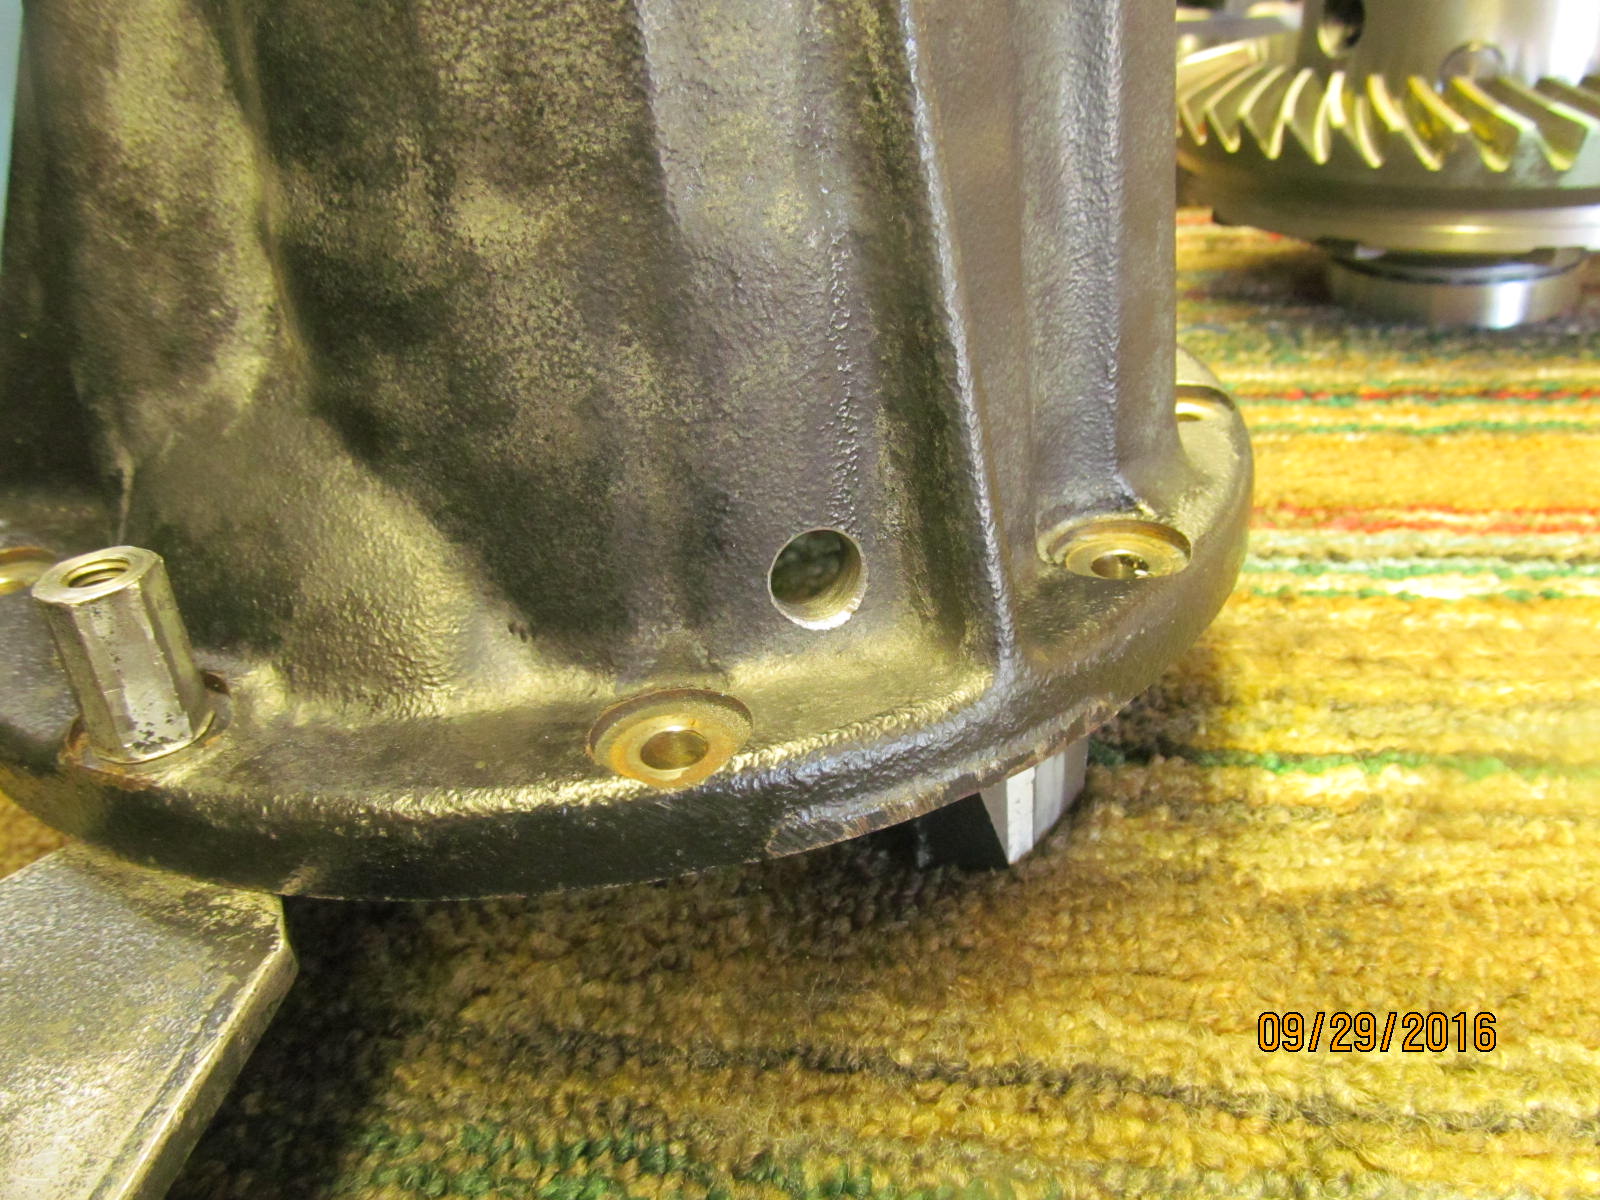
The .453" hole is drilled facing down so no drilling chips land in the 3rd.
|
|
|
|
|
Time to now installl the solid collar.
|
|
|
|
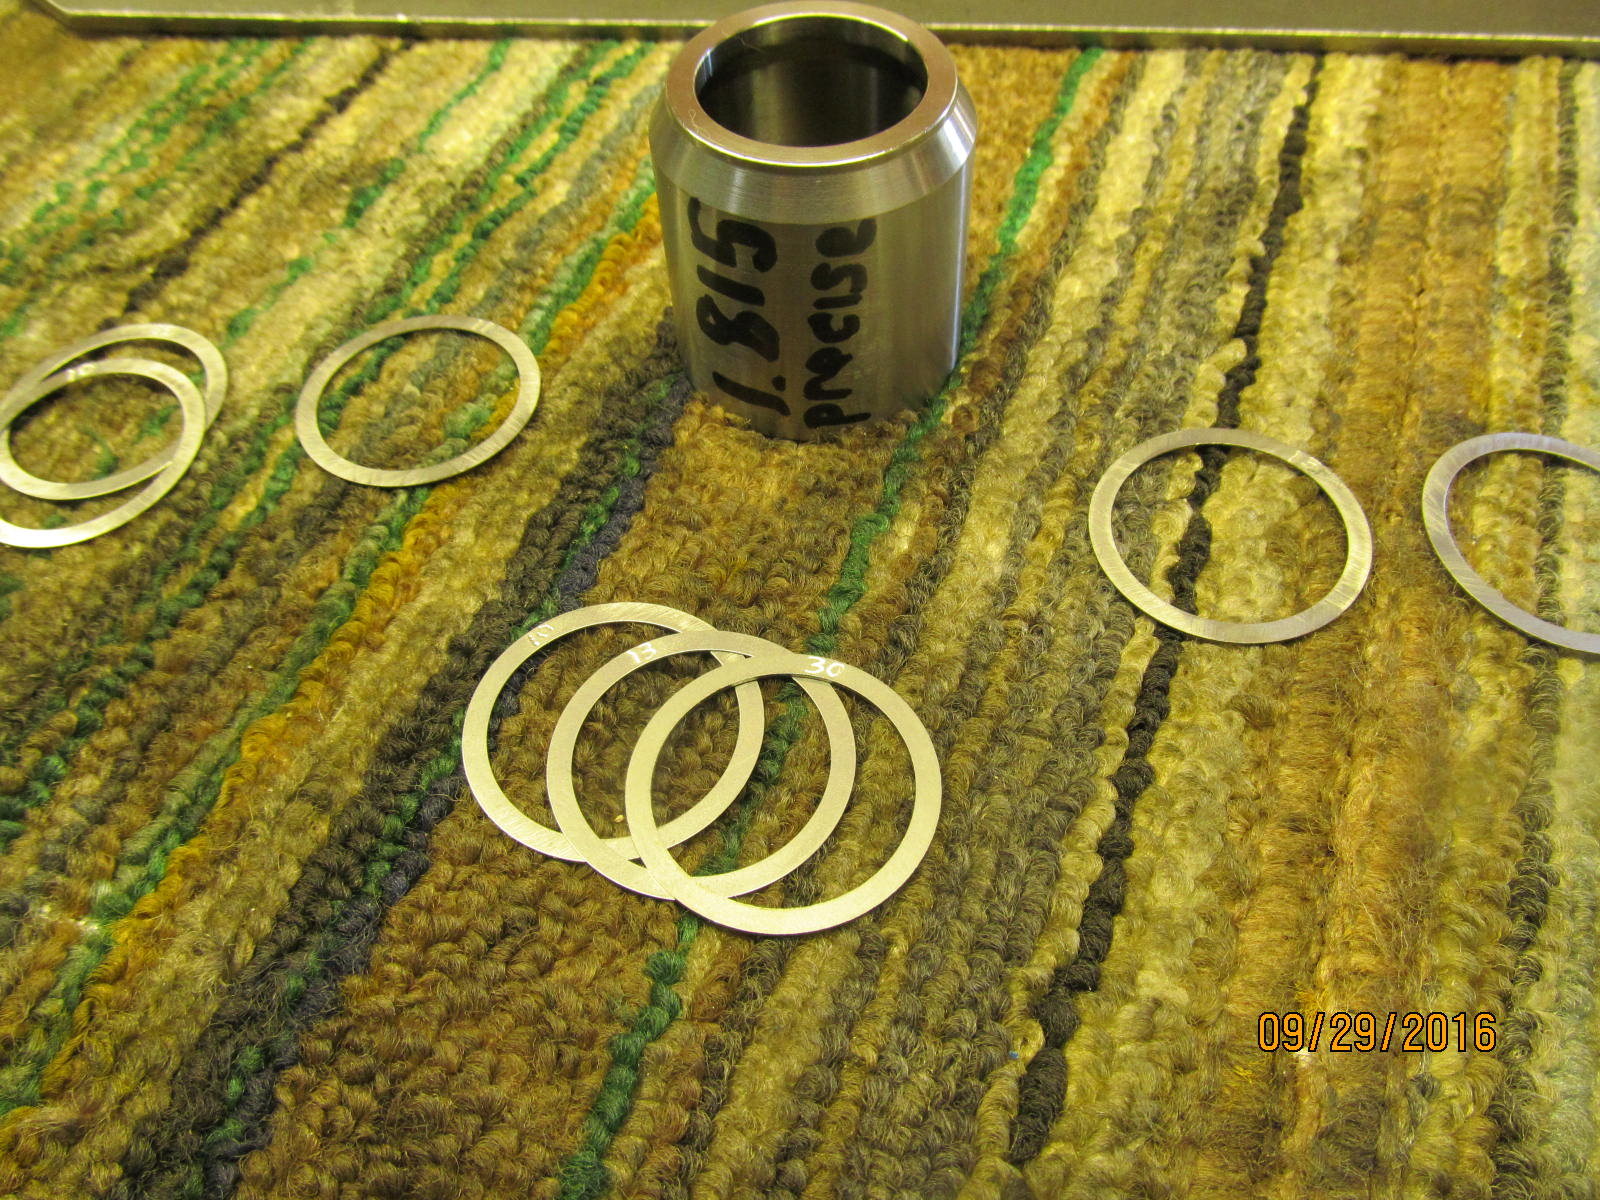
The solid collar was machined well. It measured 1.815" consistently around the top
which doesn't happen all the time. If I shim it with .053" then the total
would be 1.868".
|
|
|

|
Turns out that was too loose so re-shimmed to .050" and got the perfect 3 in/lb preload
and that's with tightening up the pinion nut with the electric impact to about 150 ft/lb
level. This means if I tighten it to about 250 ft/lb then the collar will compress a
little and give me about 10 in/lb preload.
|
|
|
|
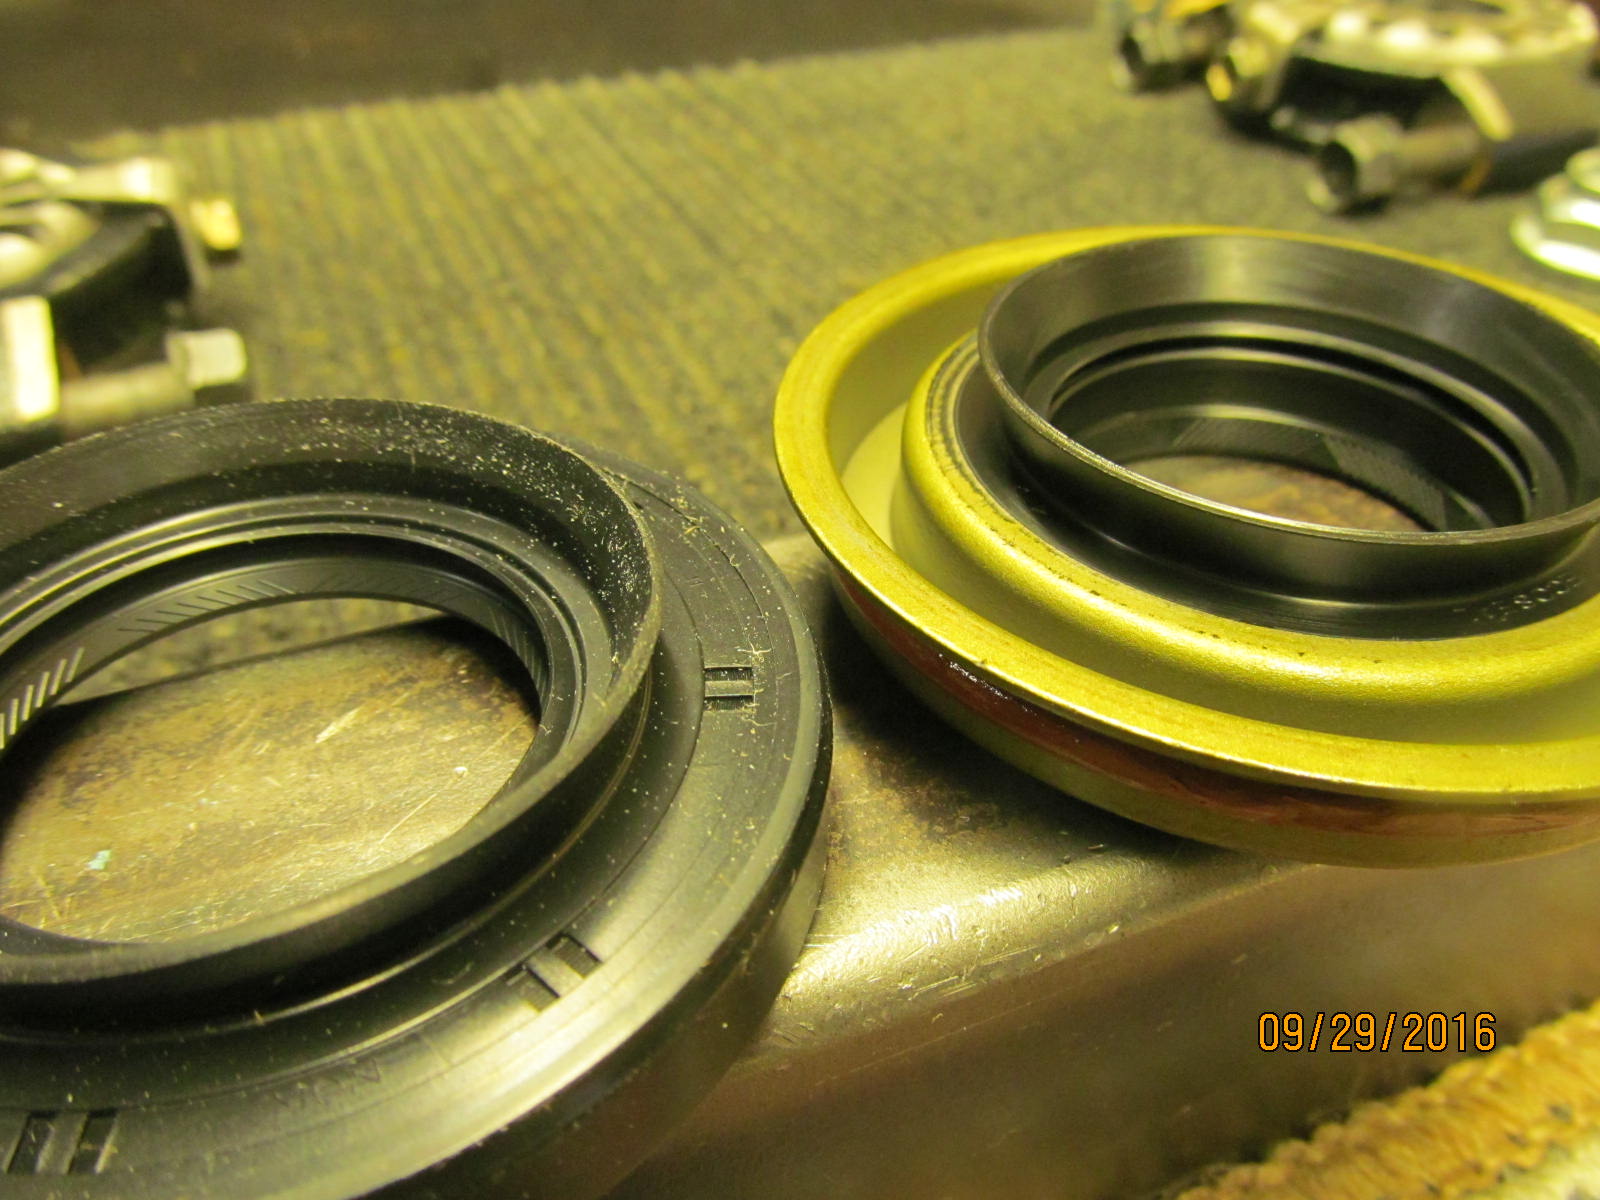
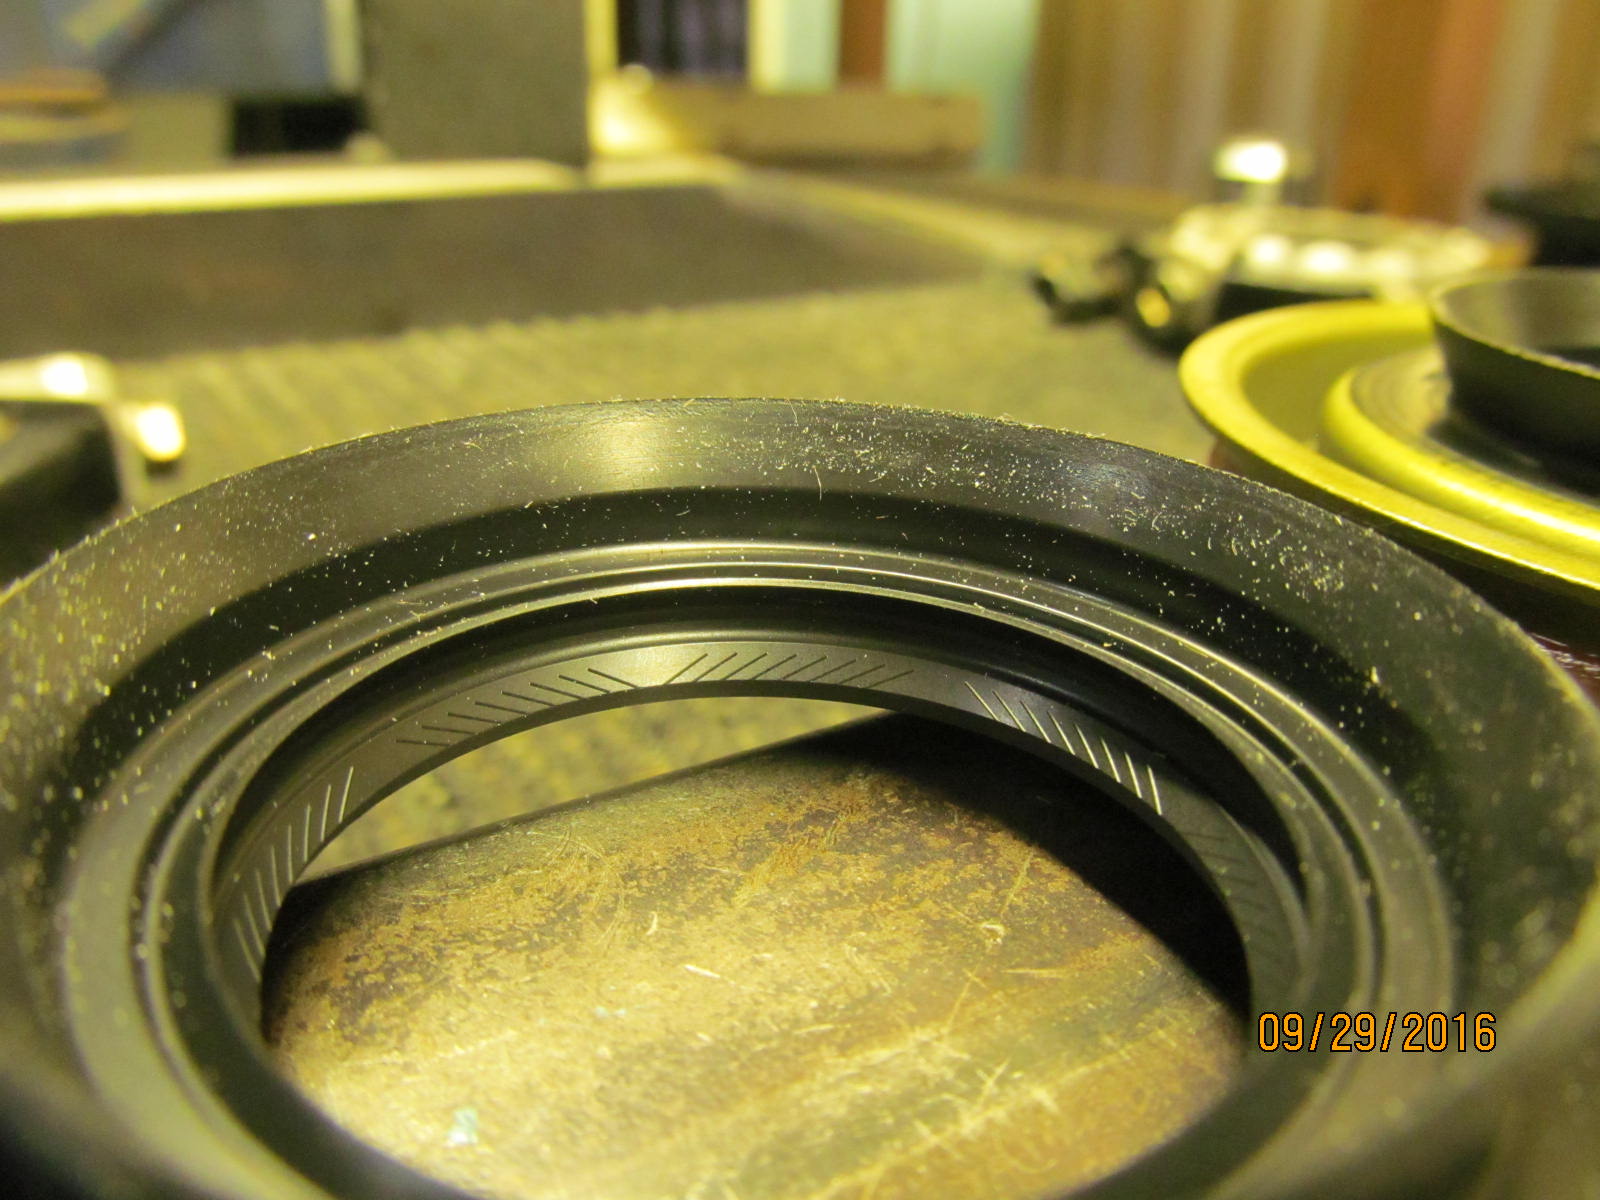
With the solid collar set, now to put the seal in. The rubberized seal supplied in the kit is
not a bad one but, with us re-using the old pinion flange, thought it would be good insurance
against leaks if we use the Marlin eco seal. 3 sealing lips and they are placed in
different spots which means they don't ride in the factory generated groove.
|
|
|
|
This is the rubberied master install kit seal......
The Canon SX150 has a fantastic macro mode....although the particles on the seal appear to the
casual eye to be dust and dirt particles, they are in fact actual molecules.
|
|
|
|
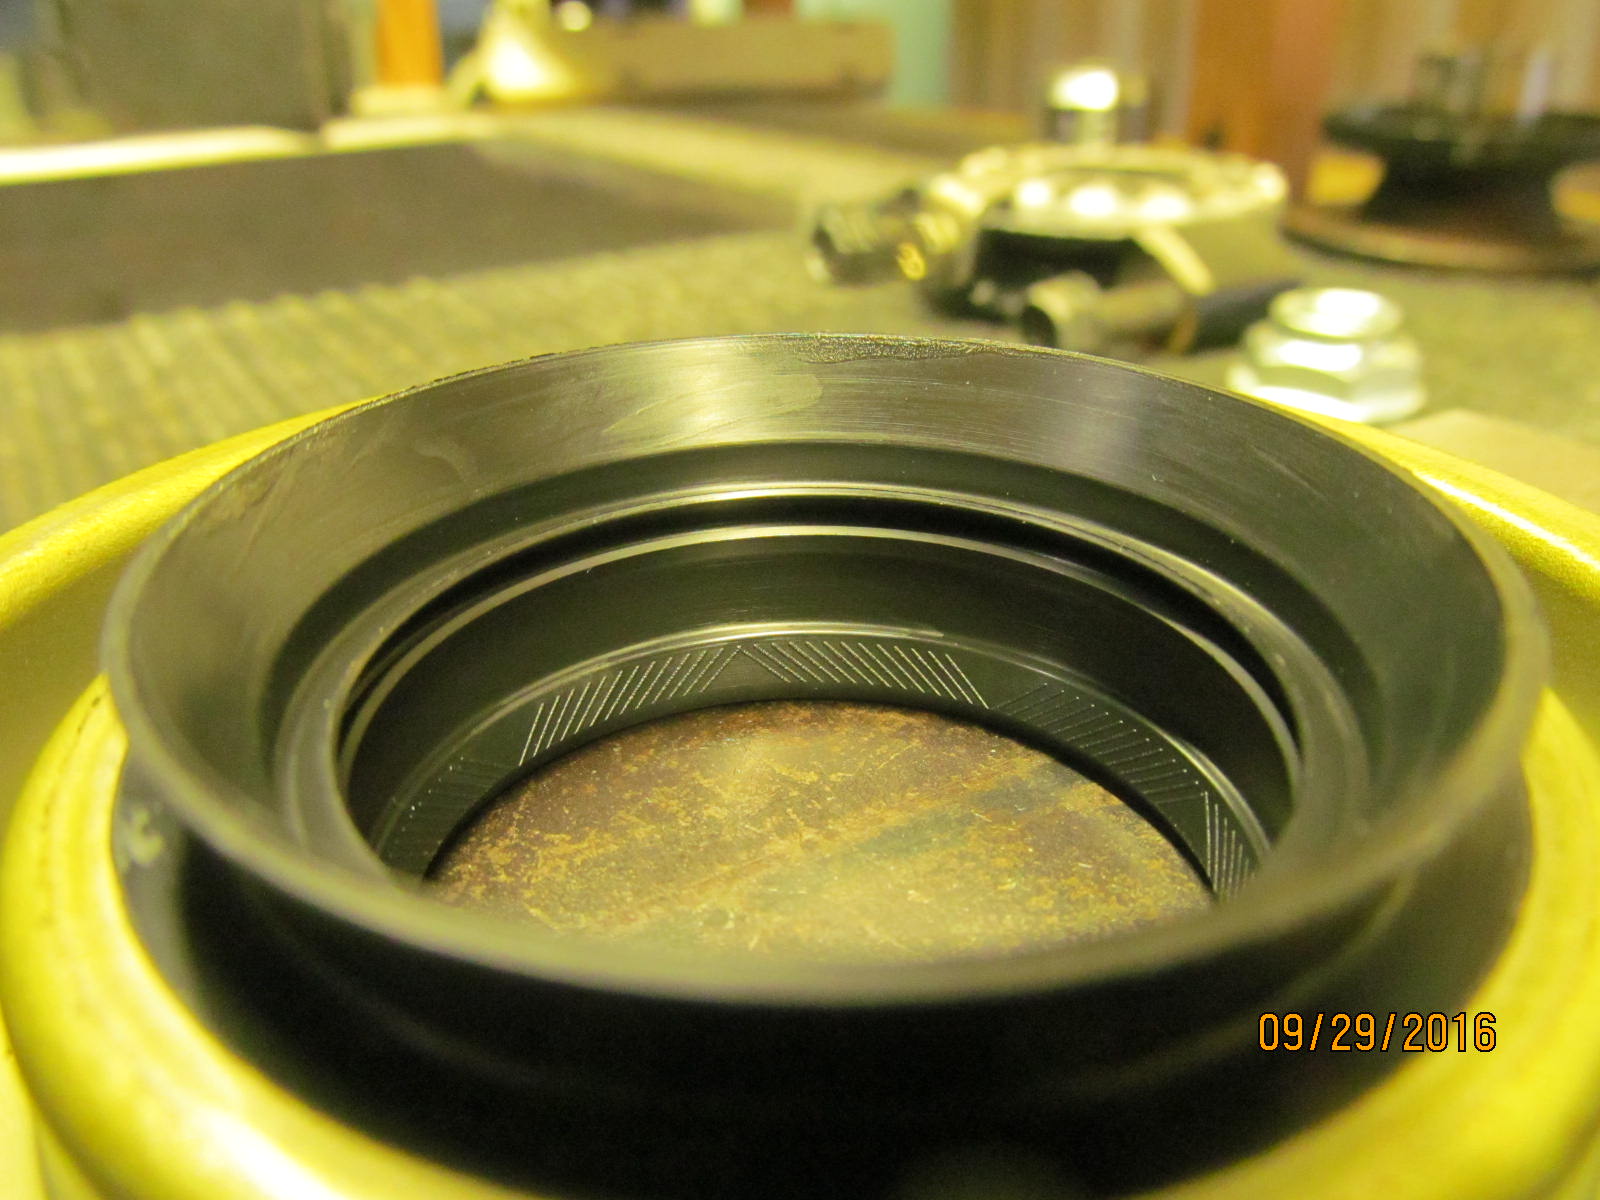
Marlin seal. Apparently, the molecules have been absorbed by the special rubber compounds
and that results in a better sealing seal.
|
|
|
|
|
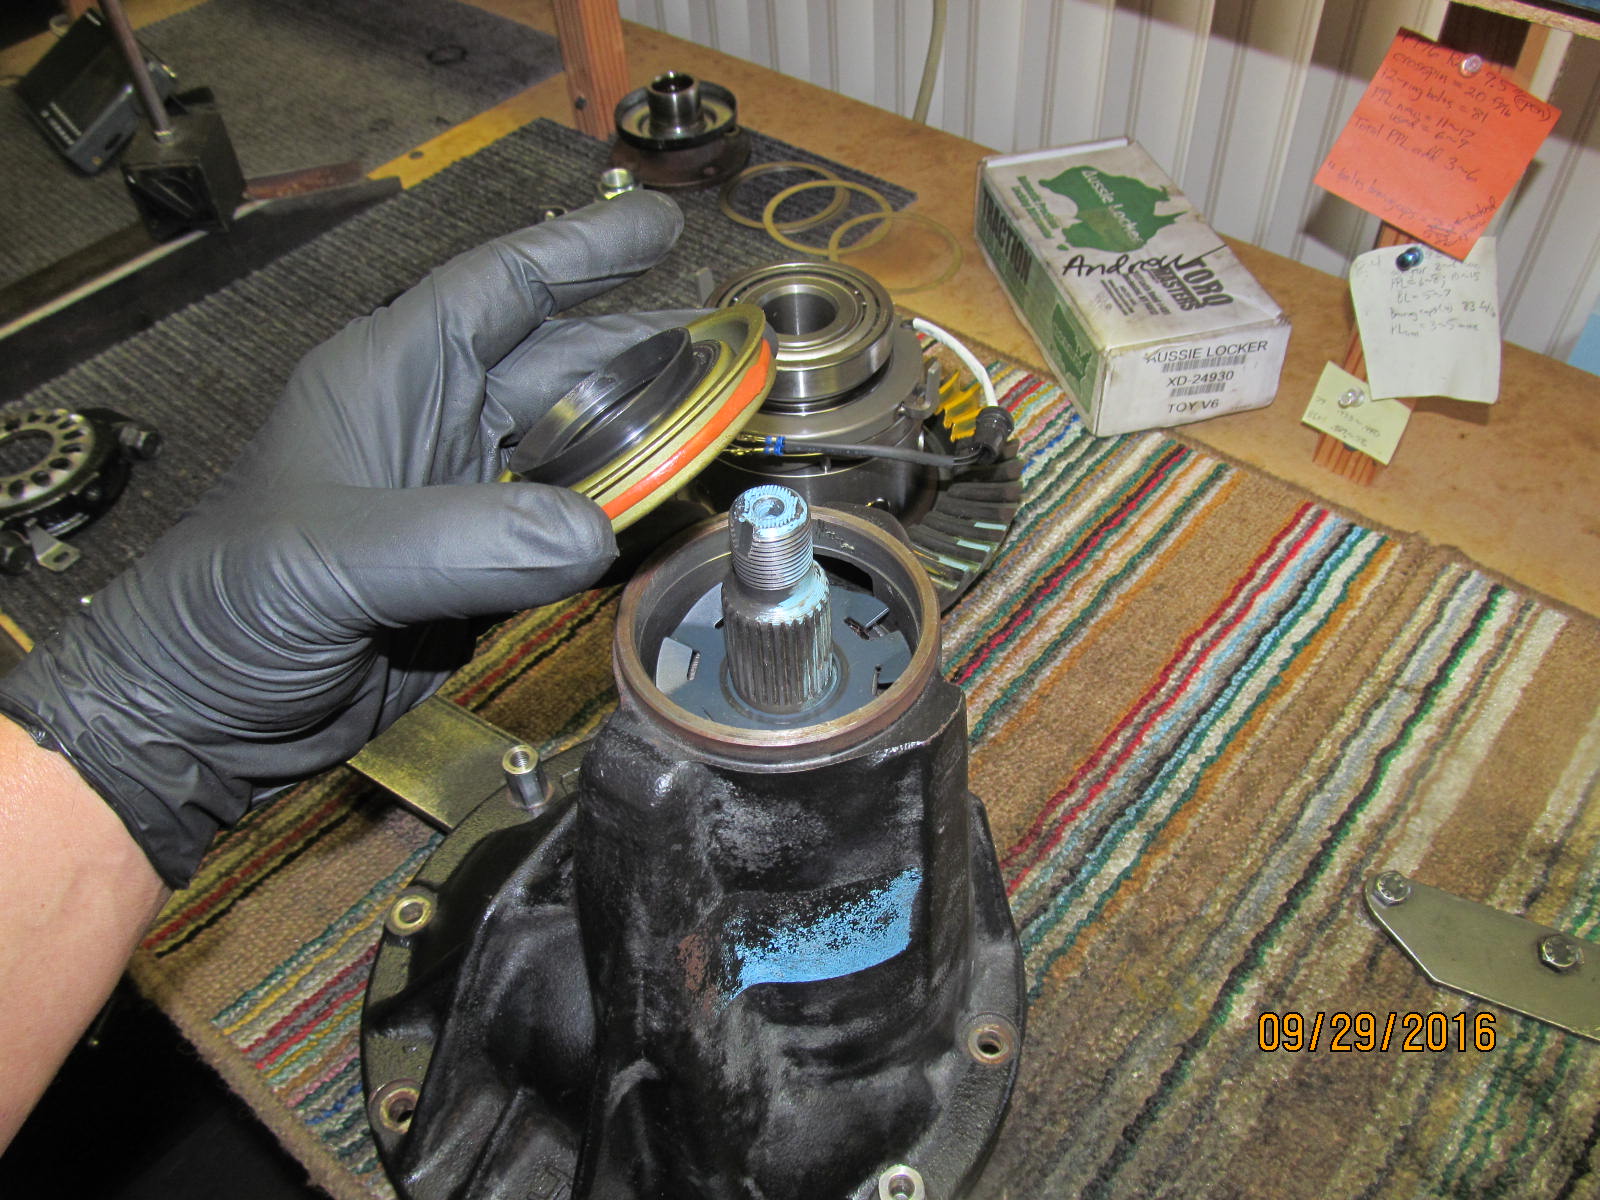
Now, back to business. Time to install the Marlin eco seal.
|
|
|

|
|
bang bang bang.
|
|
|
|
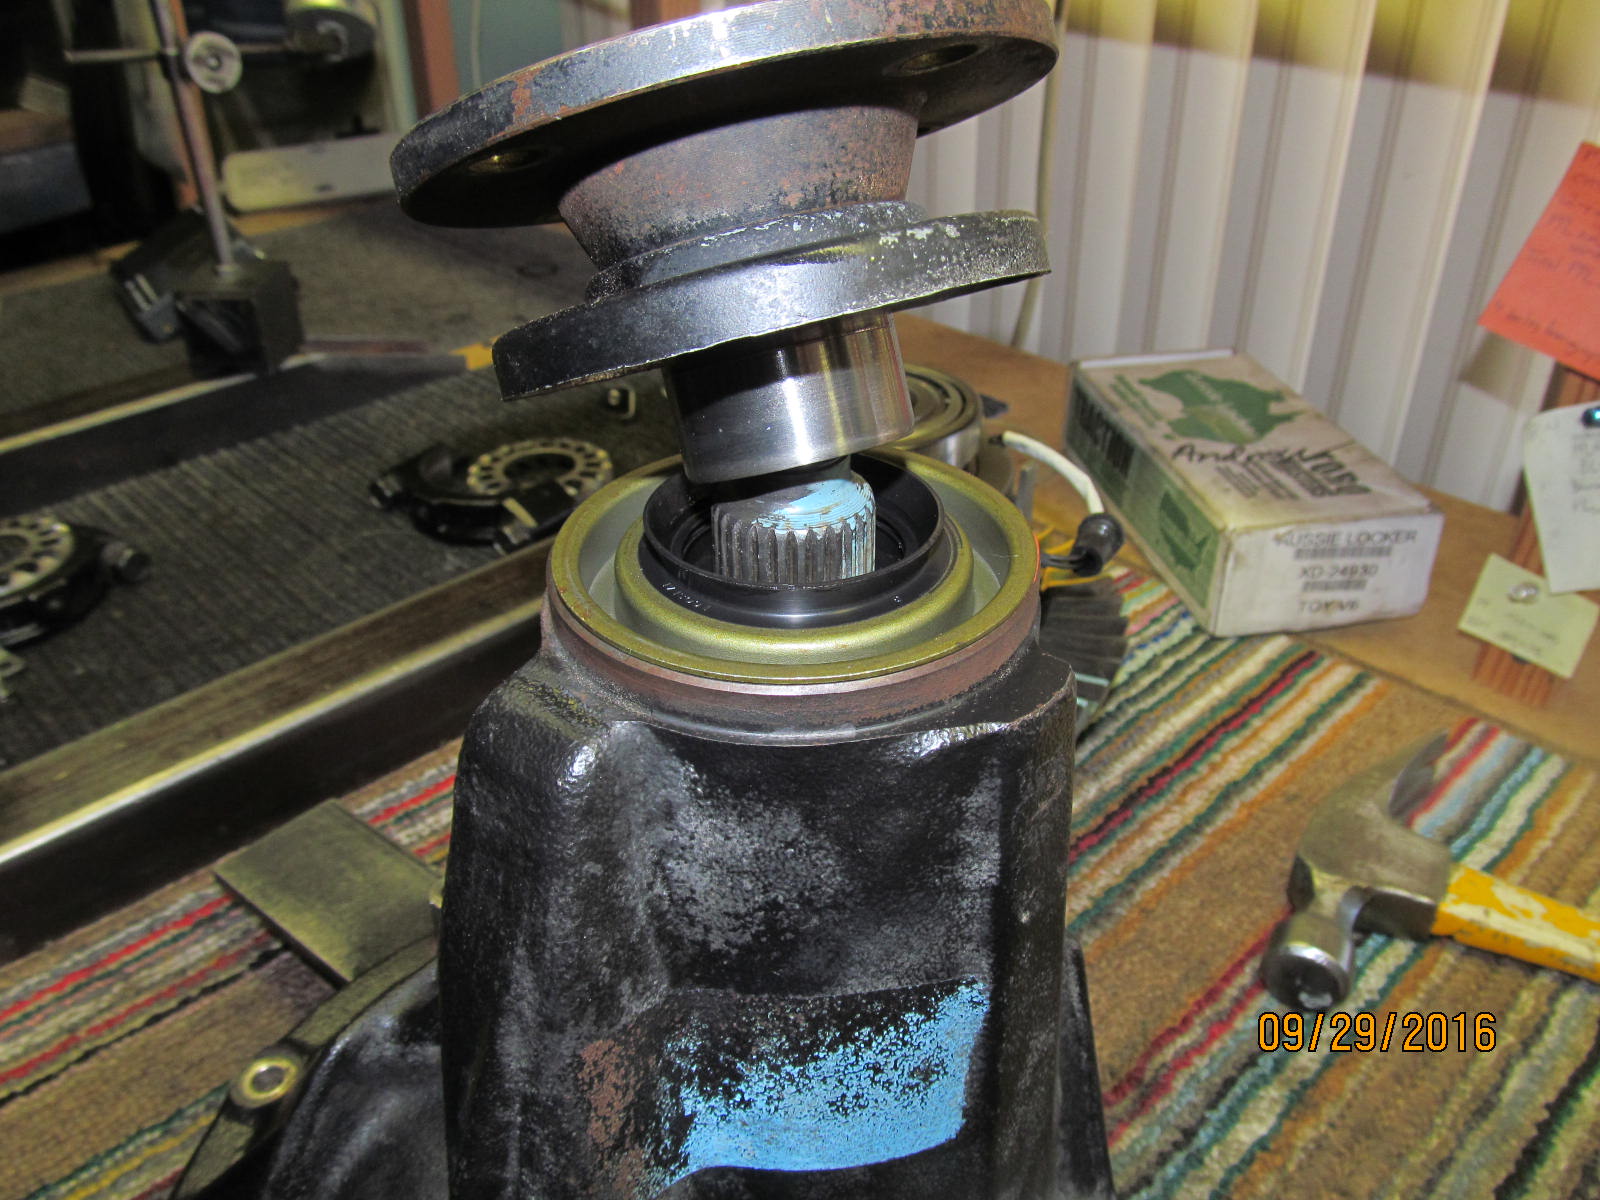
The oem flange has a little wear lip but the 3 Marlin seal lips ride in totally
different spots so this is really a good thing.
|
|
|
|
|
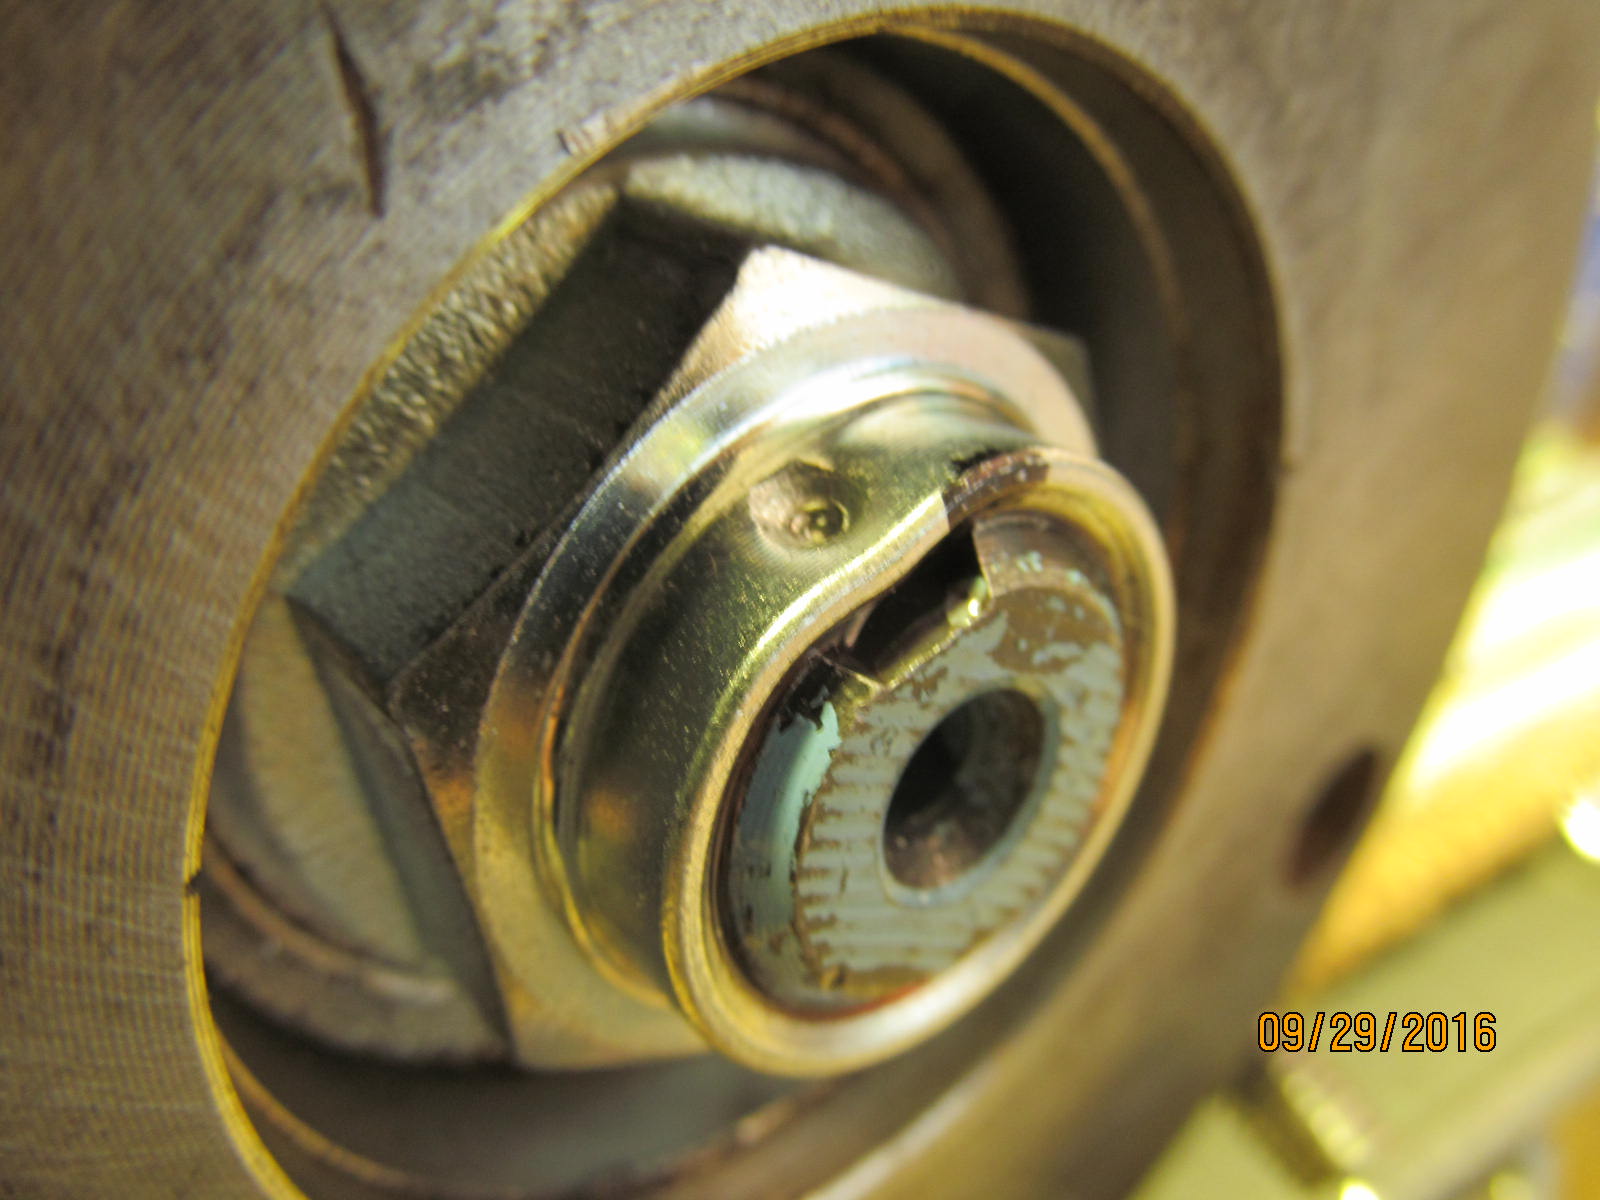
Tighten the nut extra tight....11 in/lb of pinion pre-load now. Perfect.
|
|
|
|
|
DING!!!! and this nut will not loosen on its own. This pinion end is complete....onto the elocker case now.....
|
|
|
|
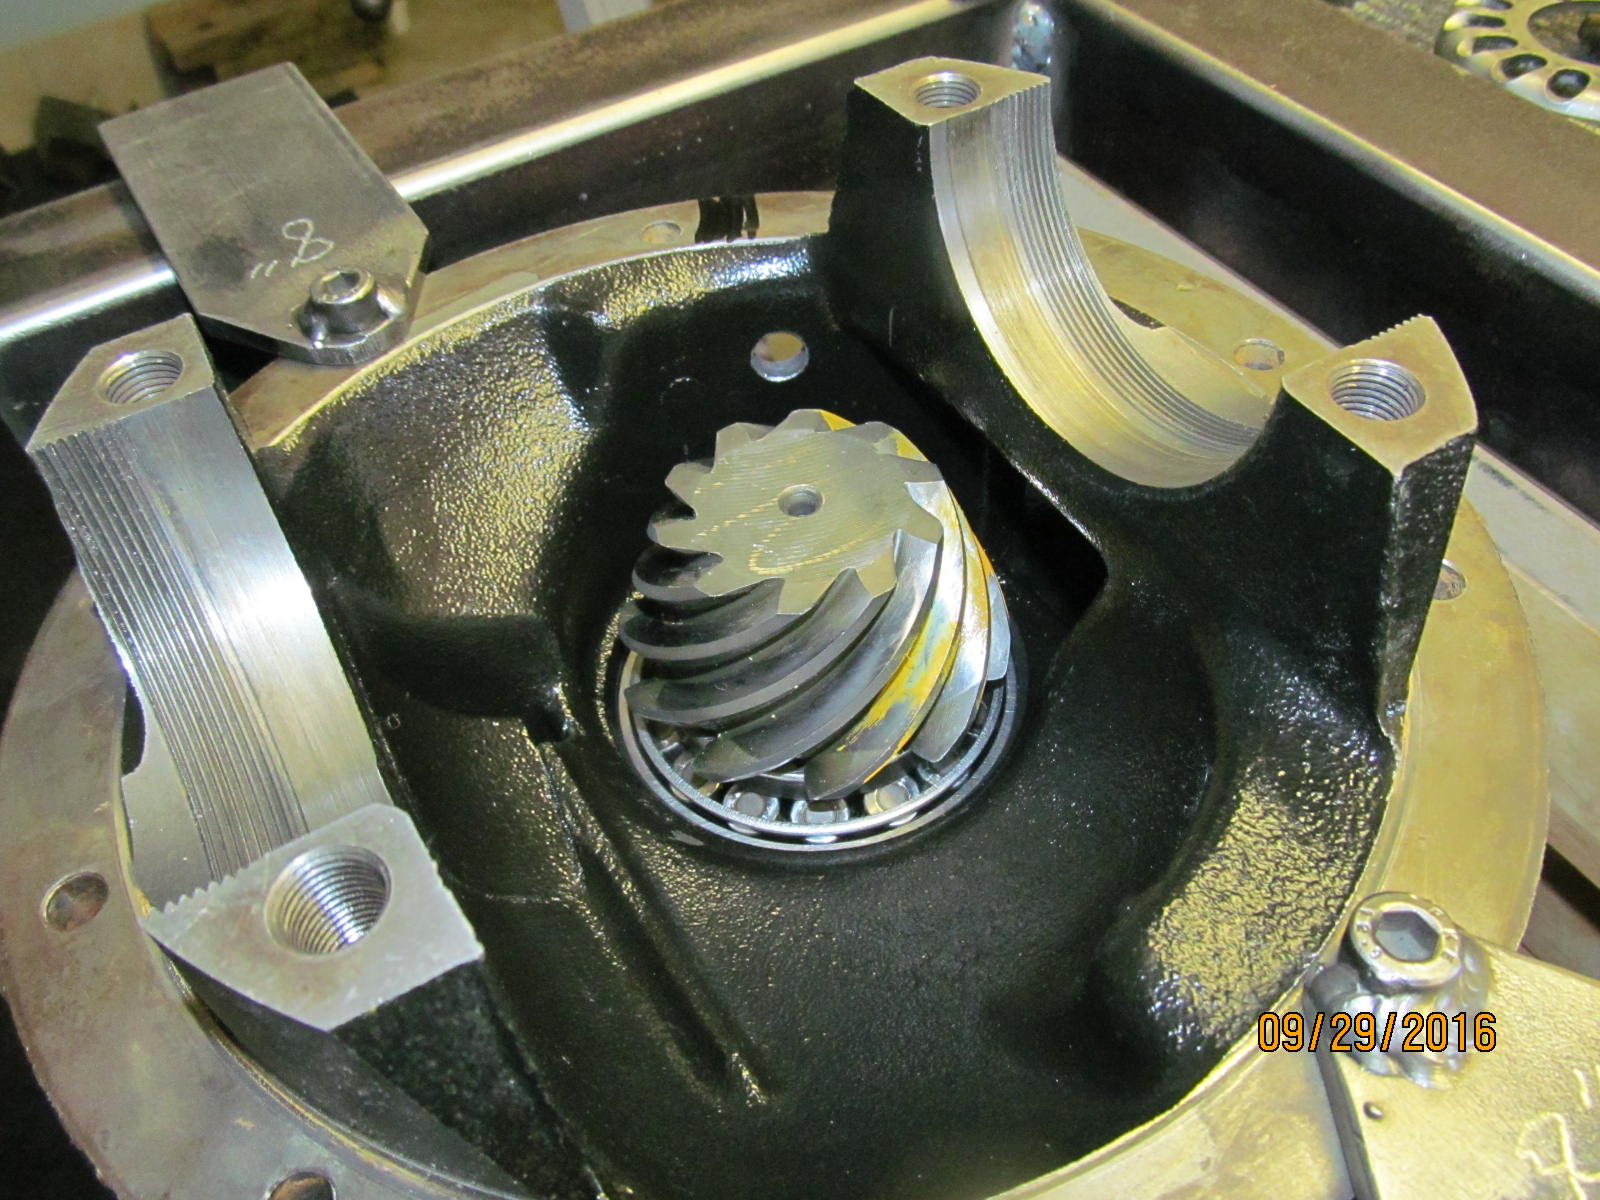
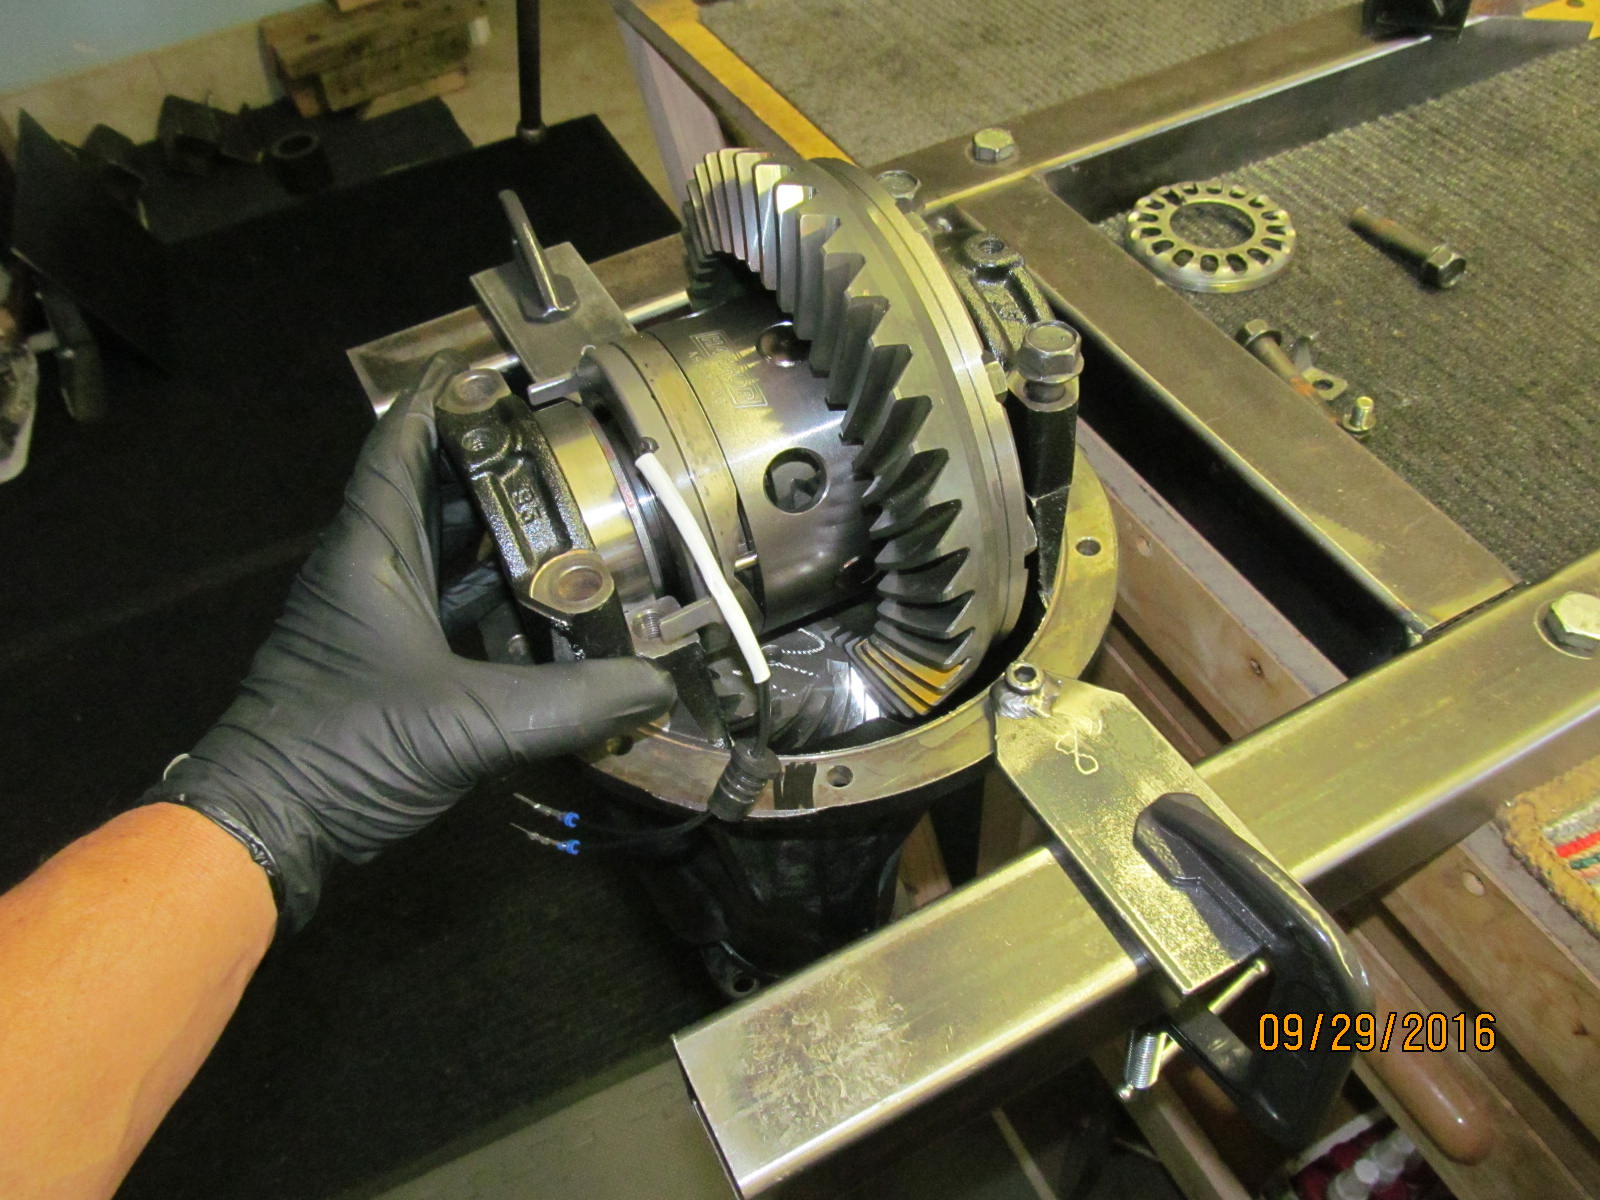
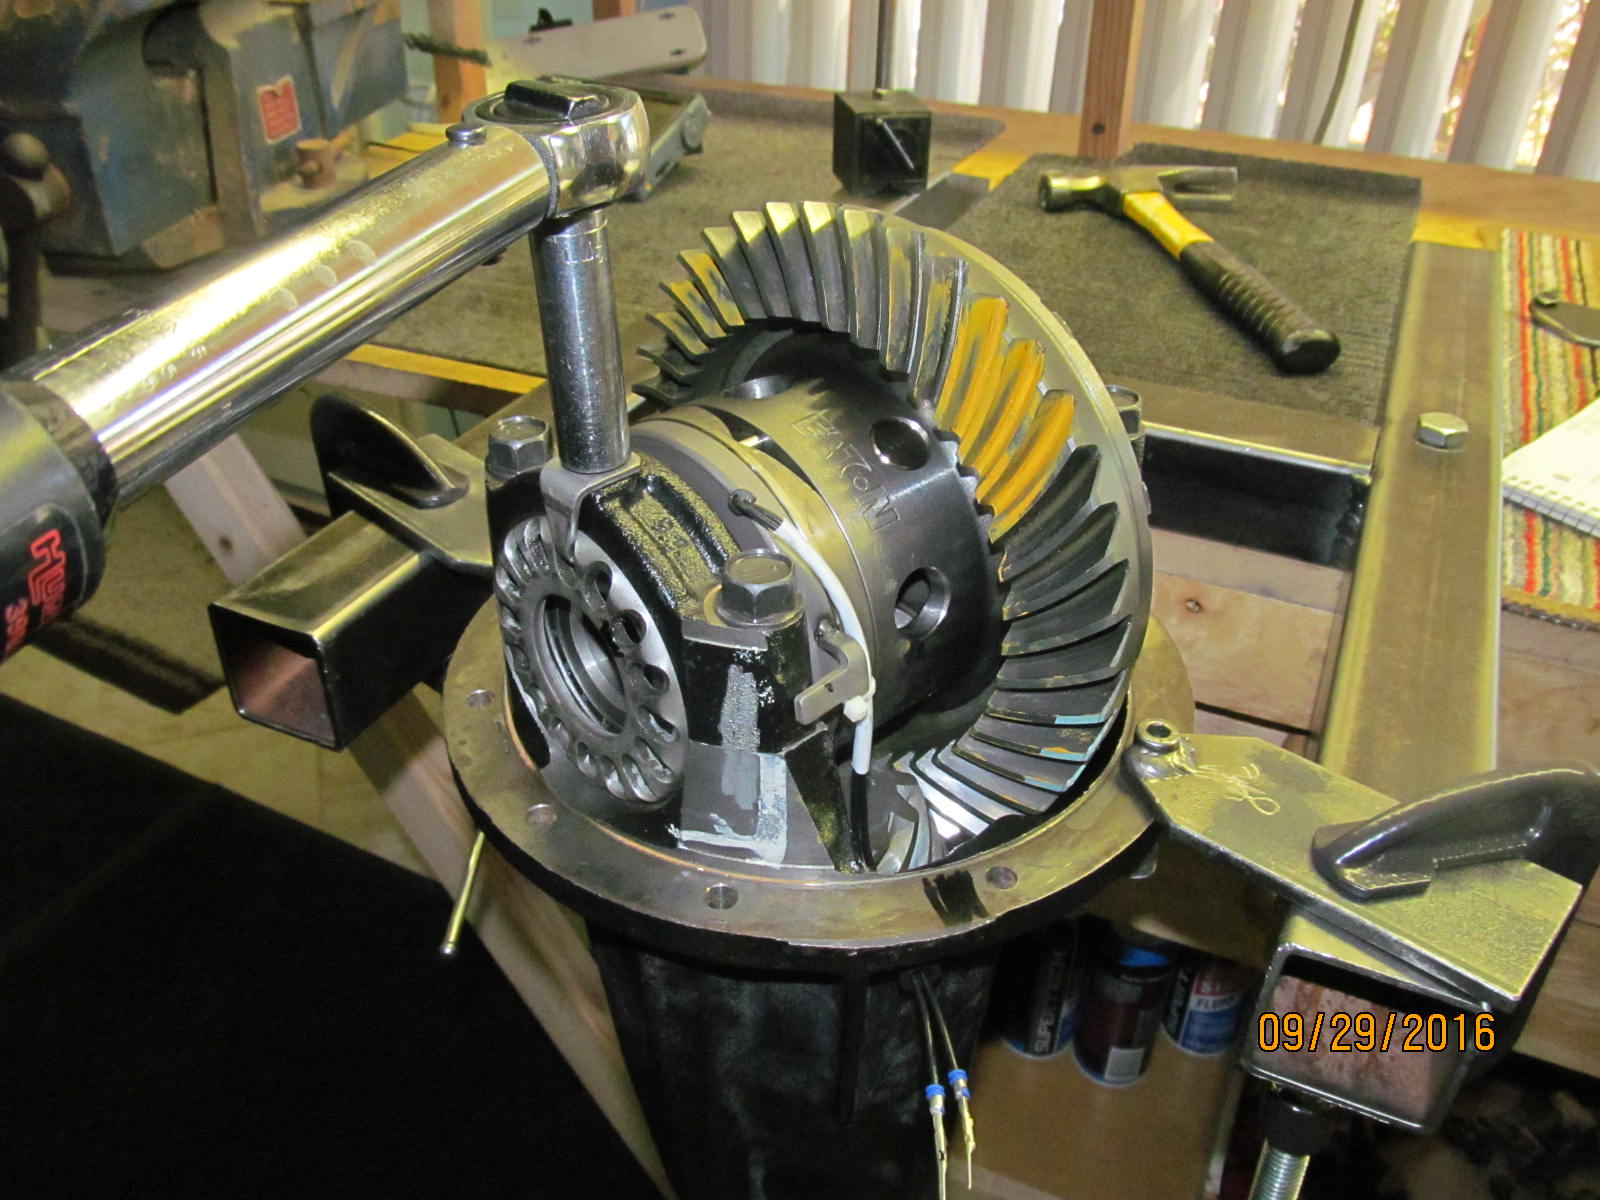
The Harrop is dropped in, right bearing cap drops in place easy, left bearing cap
has to slide in horizontally as shown.
|
|
|
|
|
Some adjusting of the tabs and now the freeplay is a nice 2.5mm.
|
|
|
|
|
70 ft/lb on all 4 bolts and no loctite.
|
|
|
|
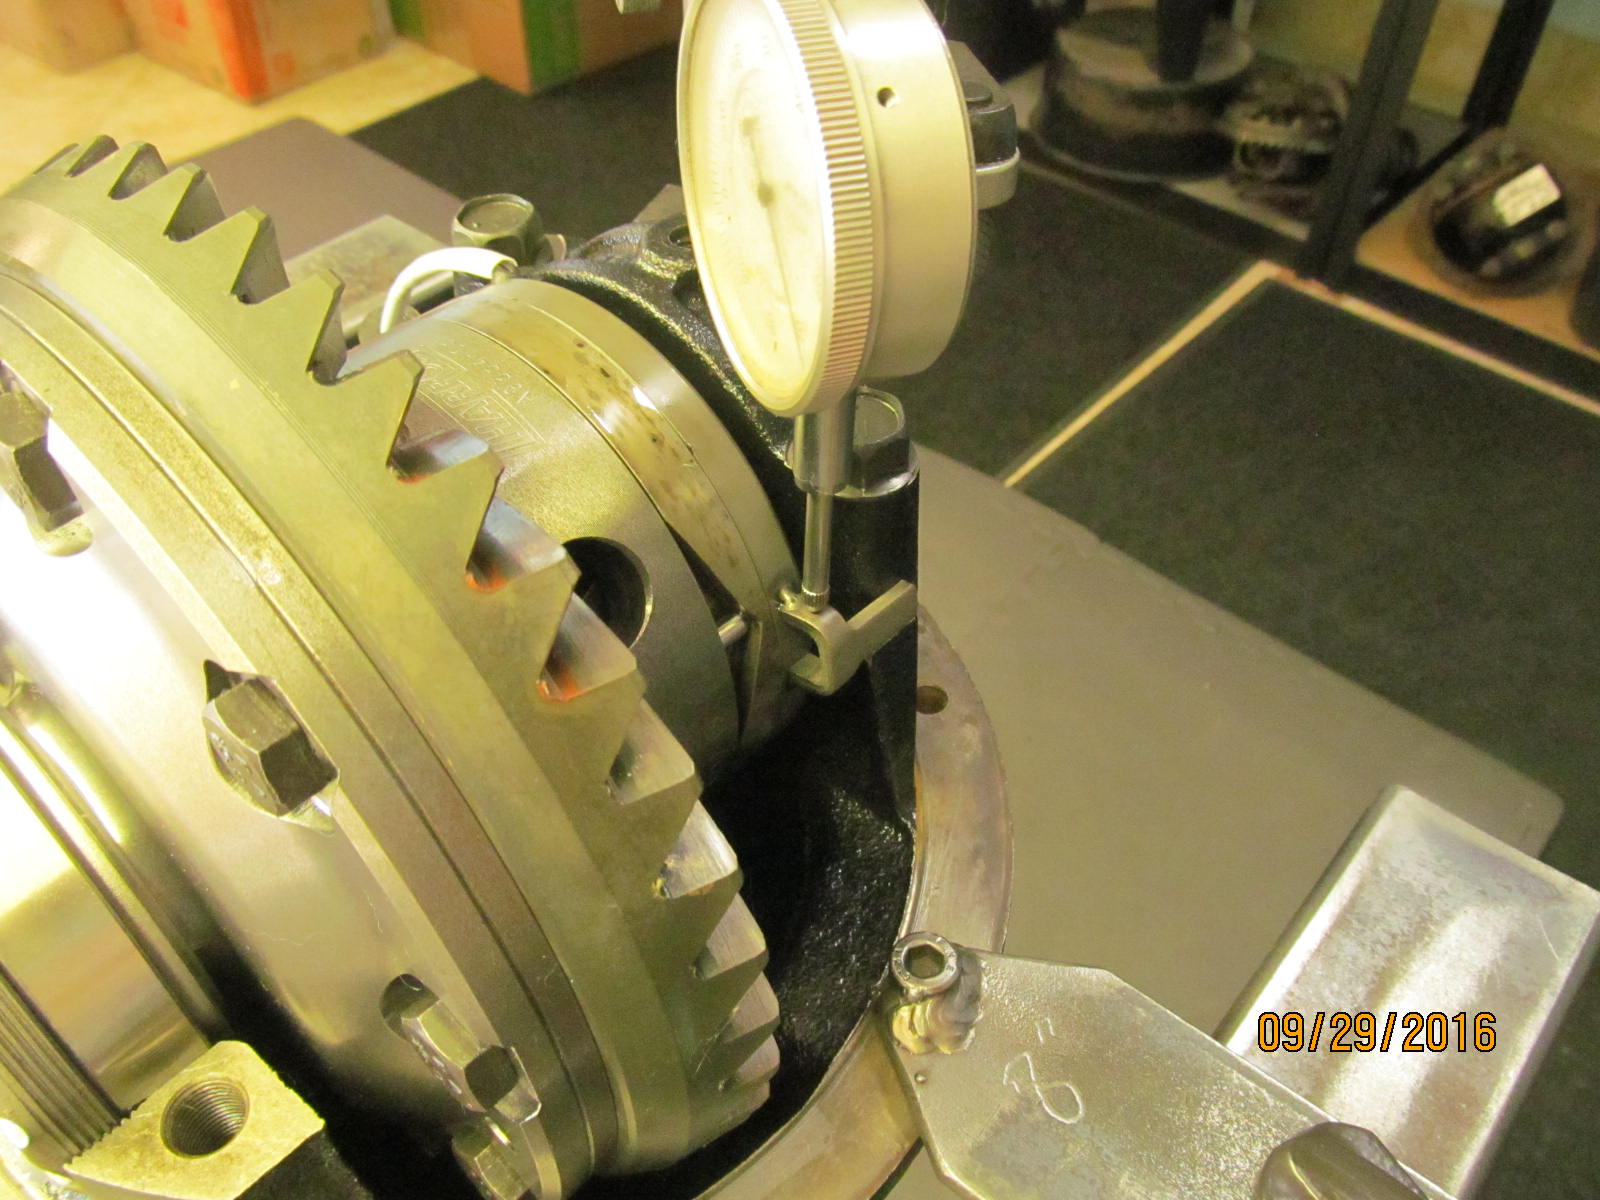
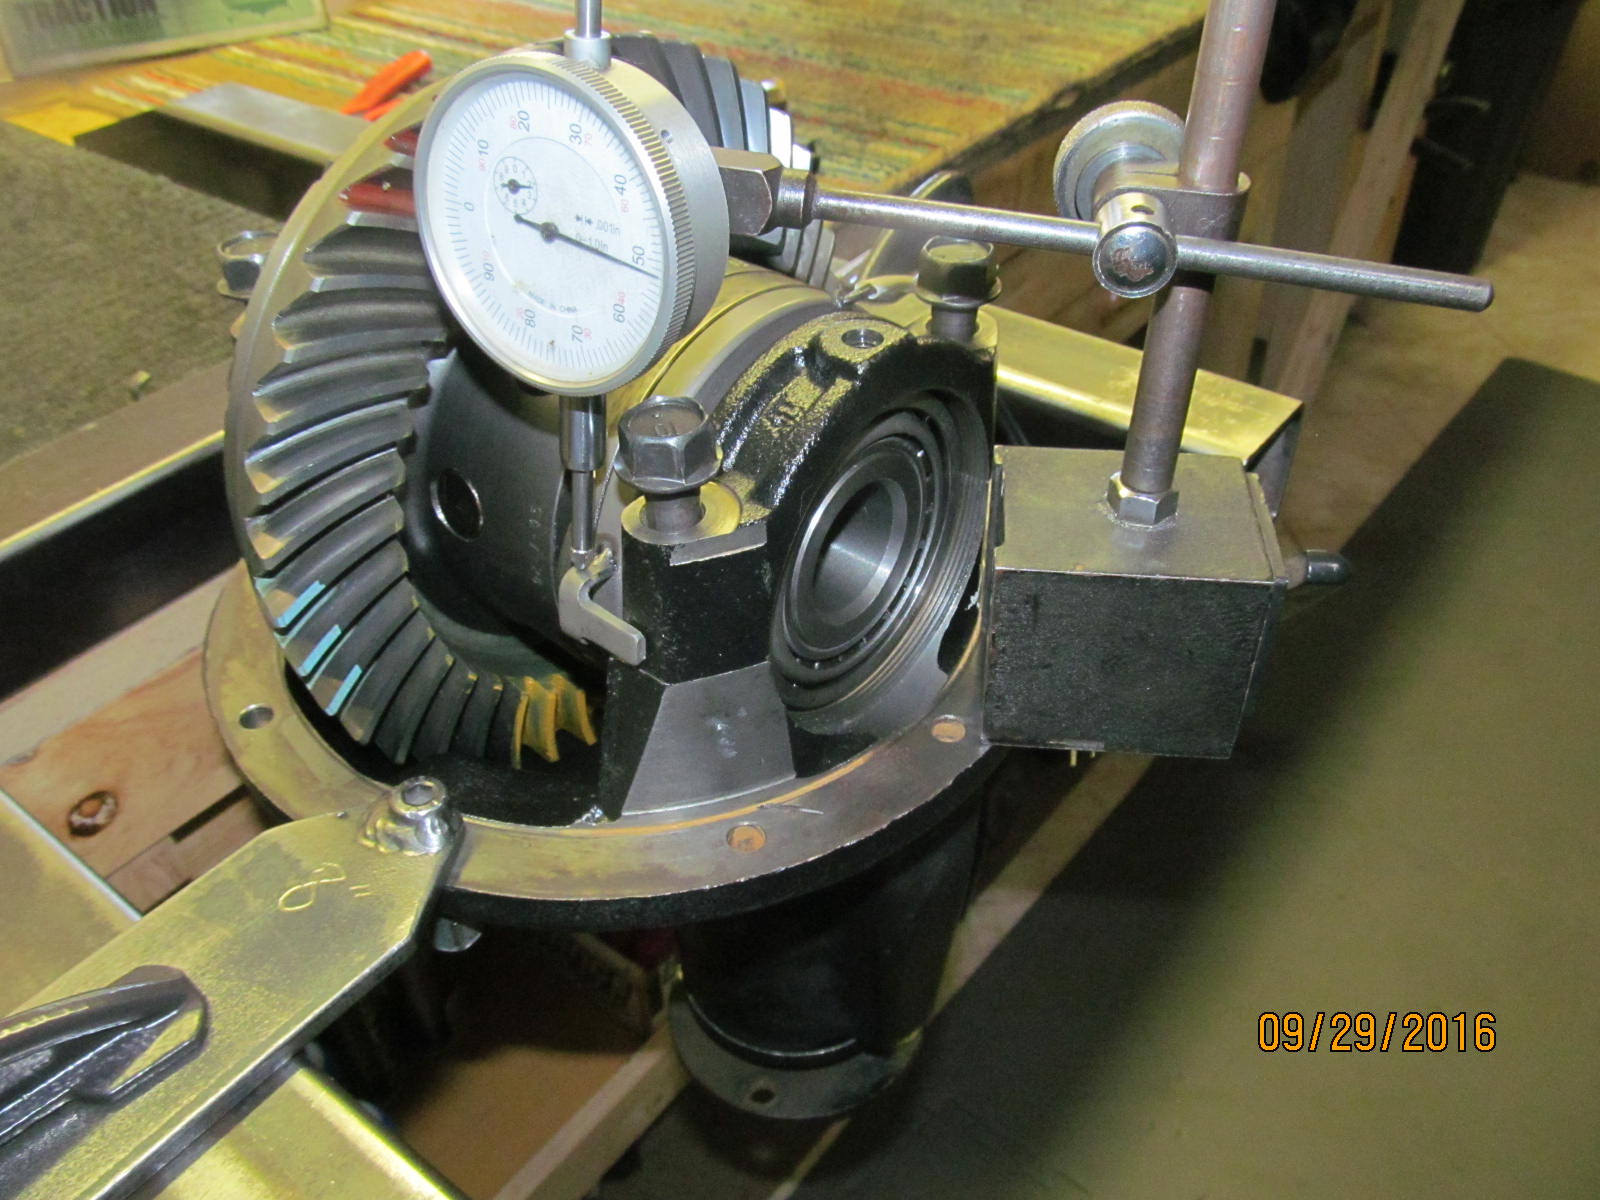
The adjuster wheels are crank tight for carrier bearing preload and the backlash is fine tuned at the same time.
Backlash was recorded on every other tooth for about 21 measurements.
|
|
|
|
|
Once I was sure of the preload and backlash then I could tighten the locktab bolts to 10+ ft/lb.
|
|
|
|
|
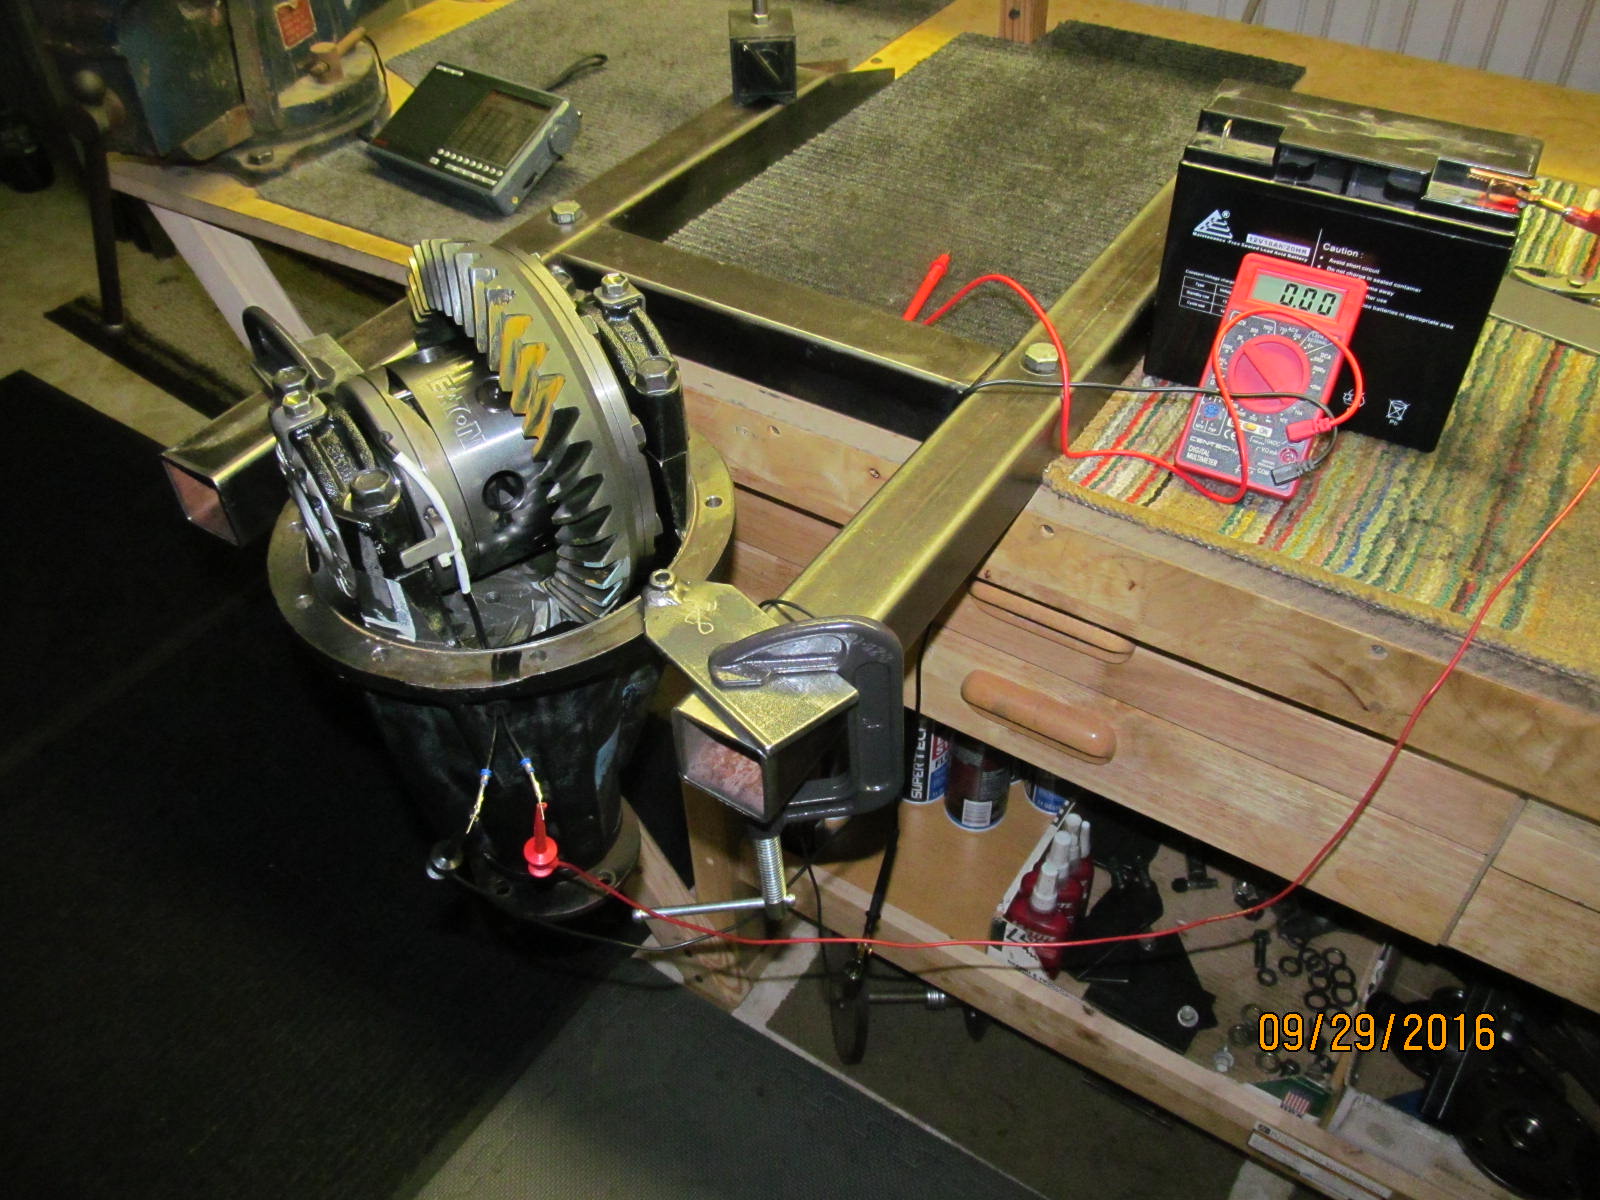
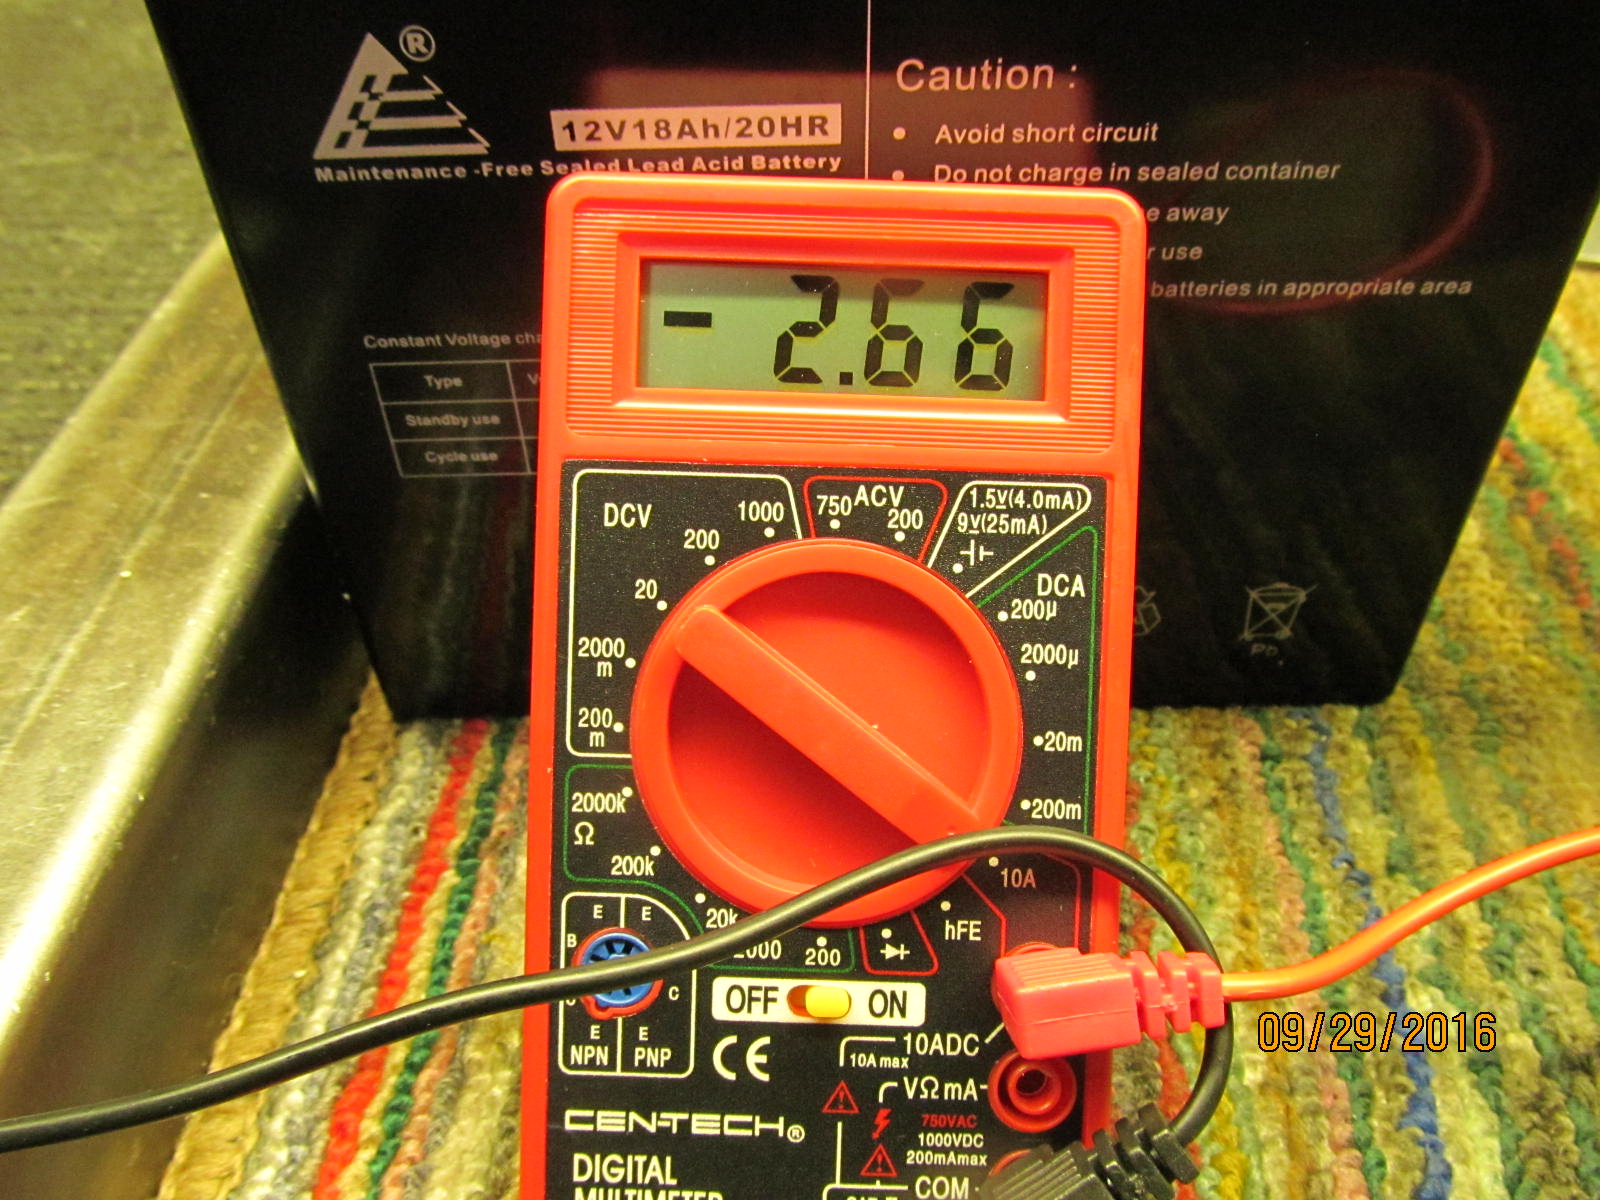
Checking locker operation and current draw.
|
|
|
|
Less than 3 amps of draw so almost any thin wire will suffice just fine(I used telecom wire
in my own personal harrop install).
|
|
|

|
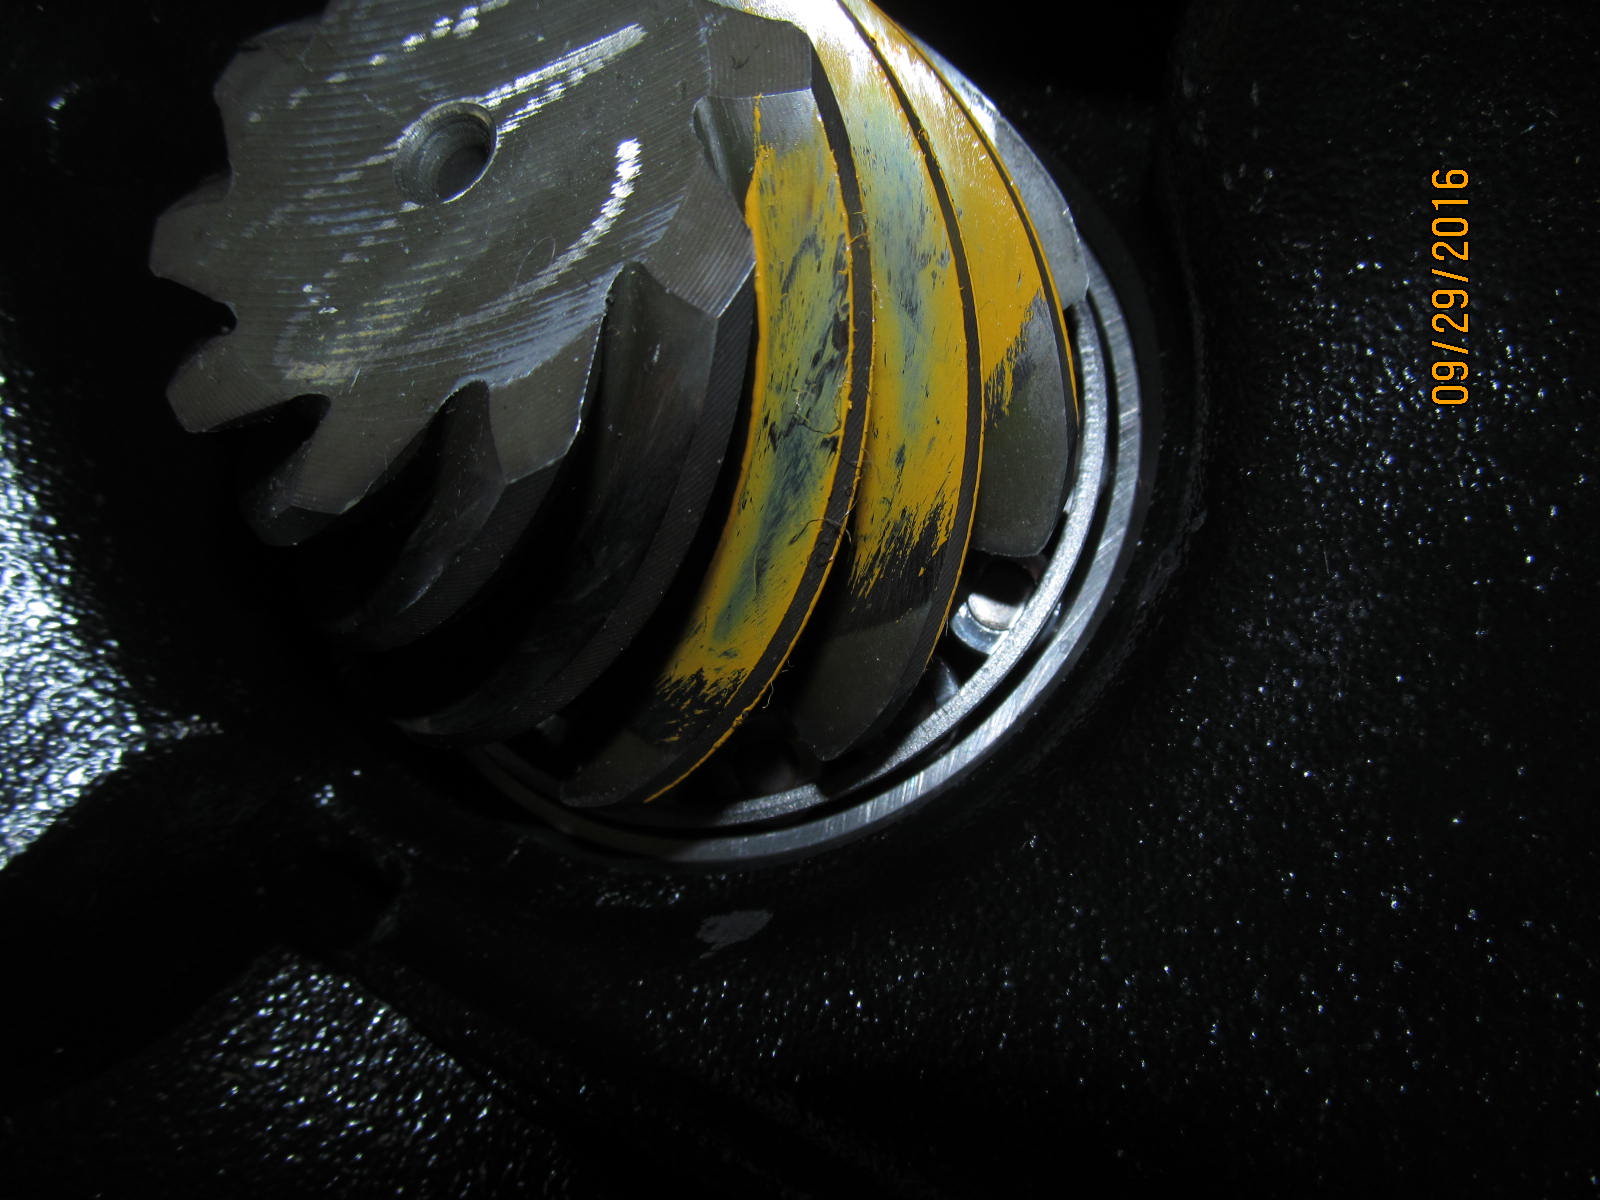
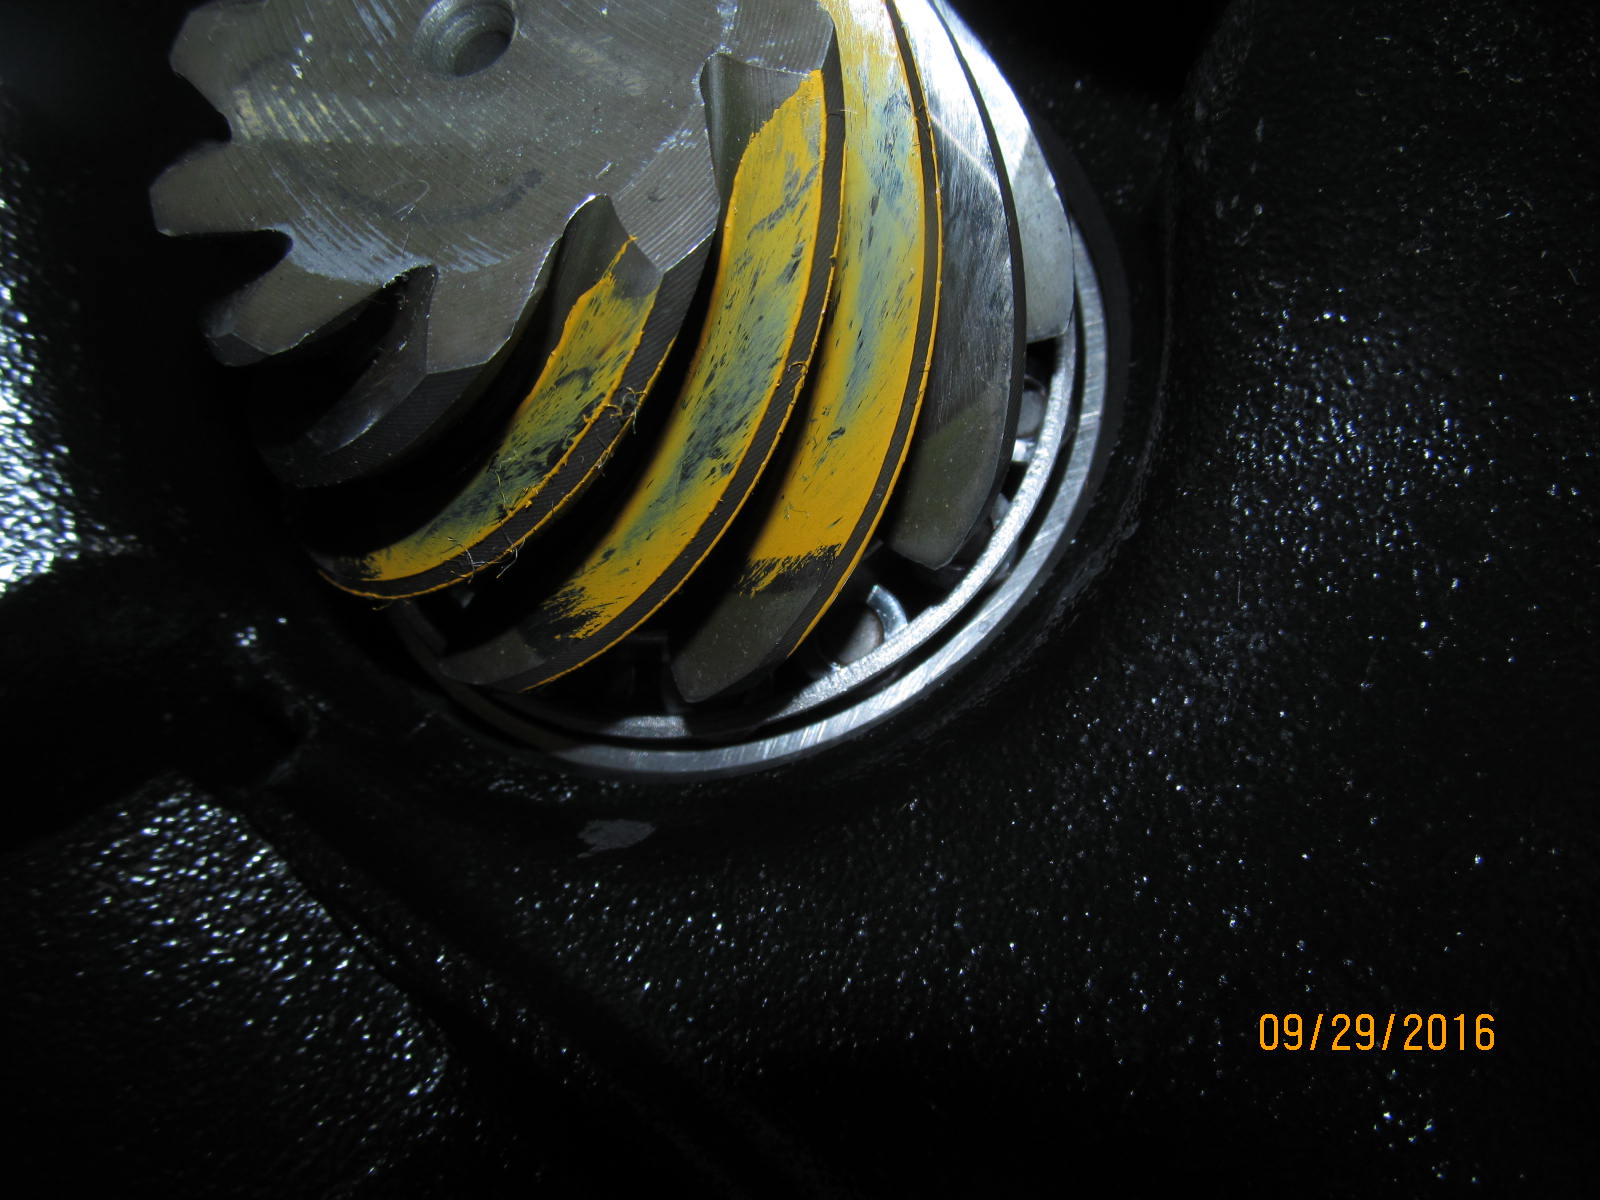
With the locker engaged, the 2 rings "lock" together and the 3 pins start to ramp into the holes
as I turn the case slowly.
|
|
|
|
|
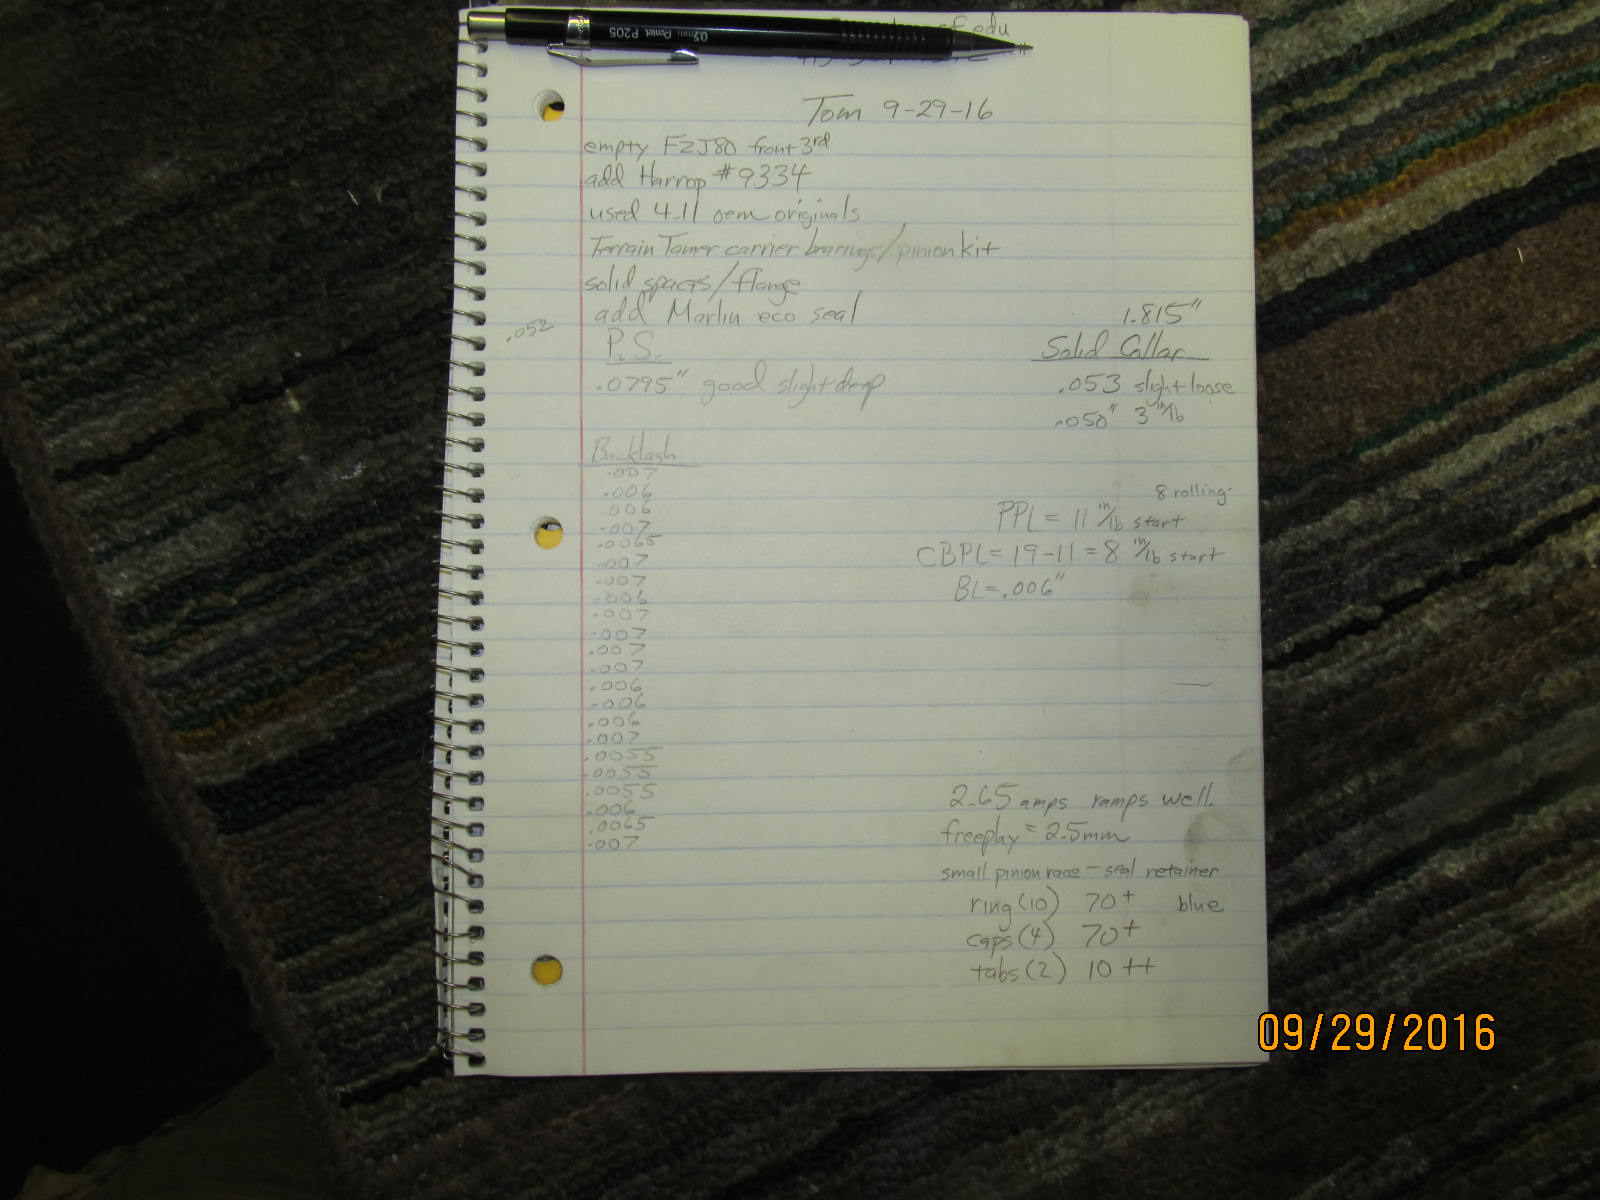
Notes of Tom's install.
|
|
|
|

|