|
|
|
|
|
|
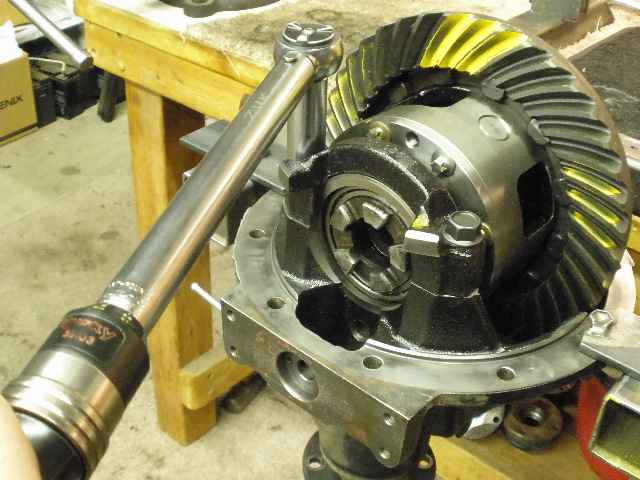
Harry sent me both of his diffs from his 1994 Landcruiser. He plans to upgrade to 35" tires so 488 gears were in order. This link is on the rear 9.5" e-locker. At the very end of this page is a link for the front 8" high pinion e-locker 488 gear install. |
|
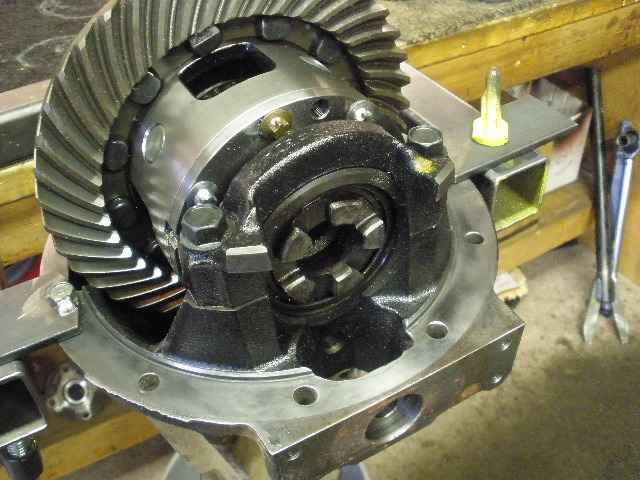
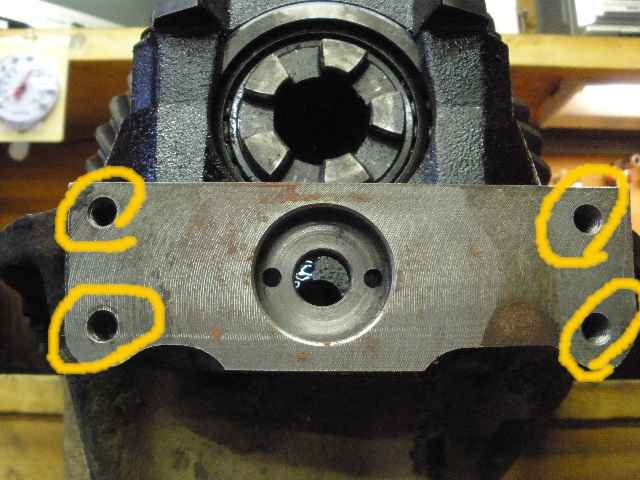
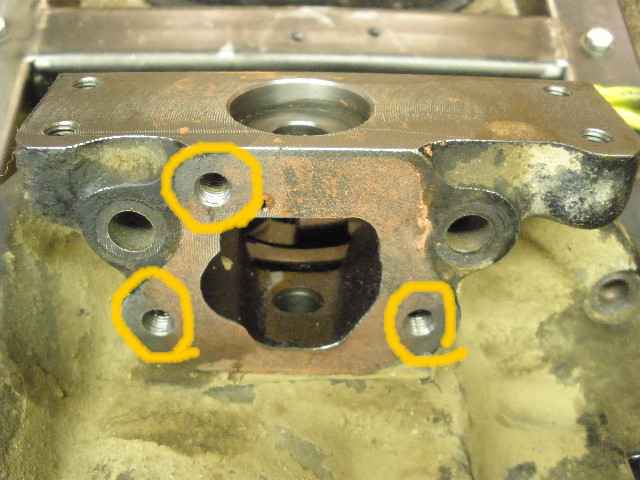
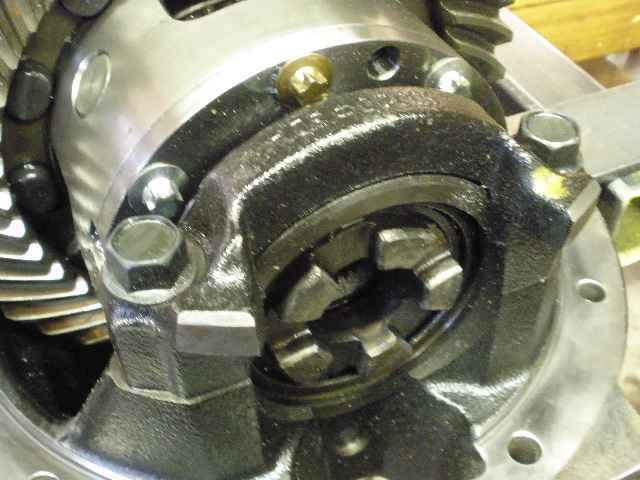
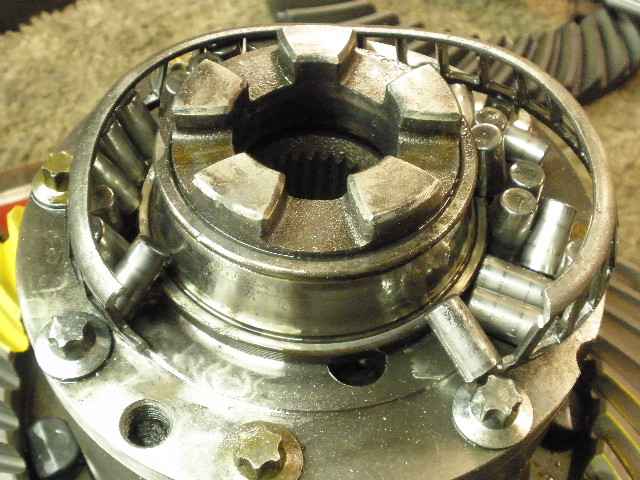
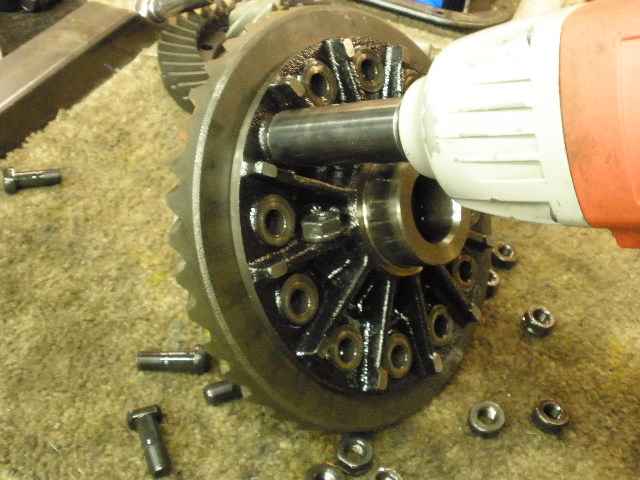
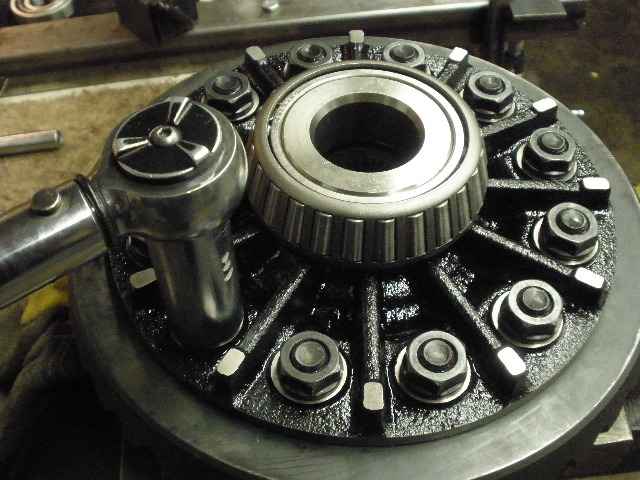
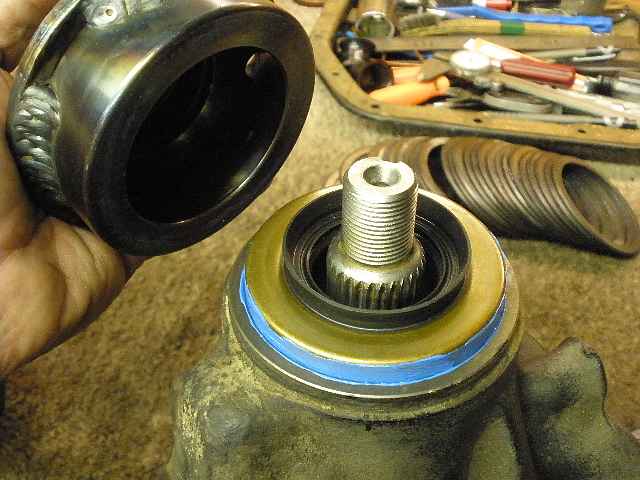
I recommended to Harry that he remove the e-locker motors from both diffs. Both are easy to remove. This rear 9.5" motor involves removing 7 bolts and off it comes....no worries about syncing up the teeth. |
|
... |
|
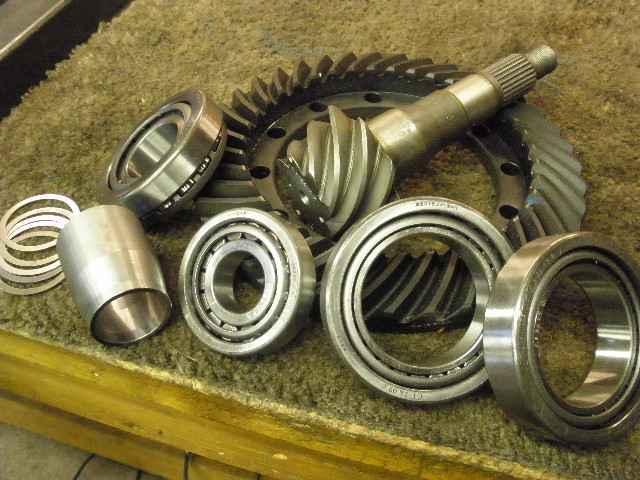
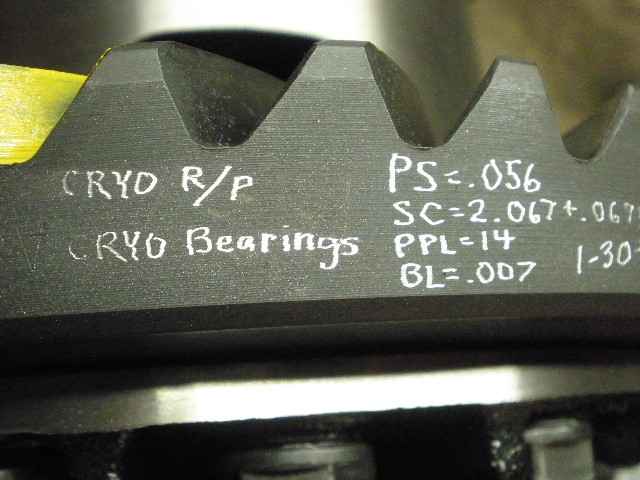
Harry wanted maximum dependability on the trail so I recommended that he get at least the ring and pinion cryo-treated. After some discussion, the 4 bearings were also cryo-treated. Doing so to the bearings greatly improves their wear resistance and this translates into keeping their pre-loads much longer. There is a professional cryo-treatment shop that I like to use about 30 miles away called Cryogenics International. The solid collar was not cryo'd :) |

|
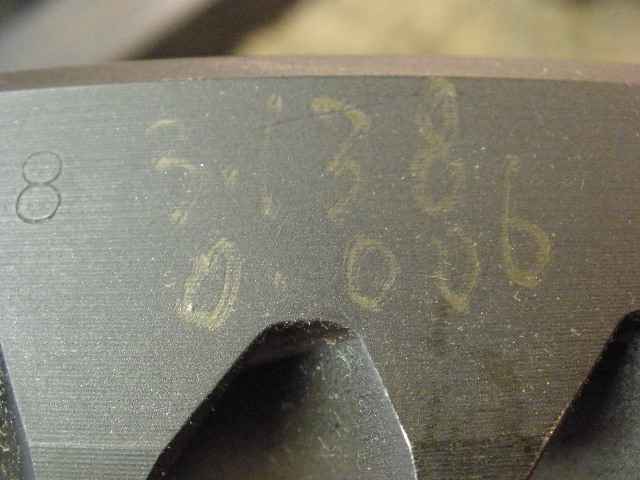
These are the markings I found on these Nitro Gears for the 9.5" LC ring. I scribed the C1-26-09 as the date that these went thru cryo. |
|
The guys at Just Differentials had some say-so as to the contact parameters for their own 'in-house' gears. I do like the way these set up, I admit. Motive would be my second choice. I have mixed feelings for the others, at least in the Toyota application. |
|
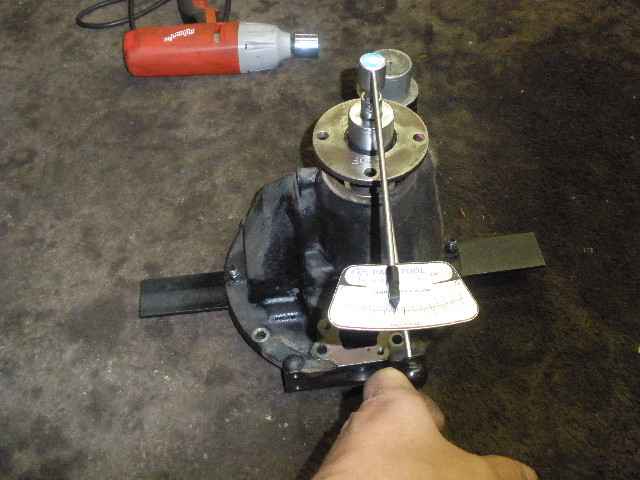
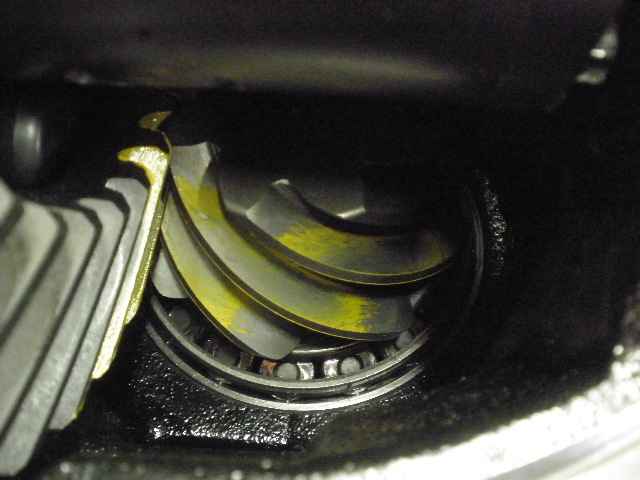
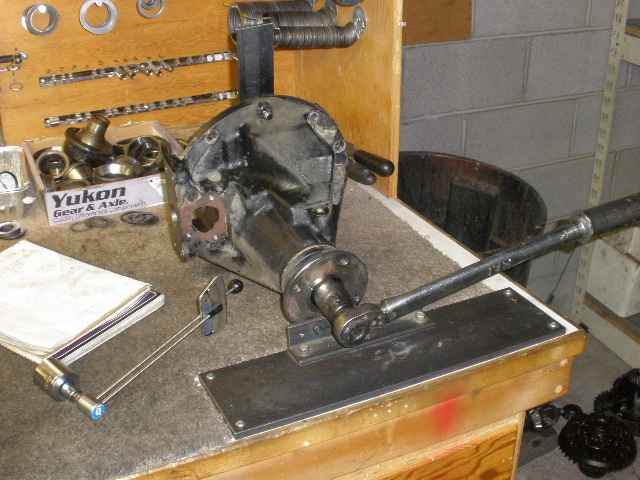
The first order of business is to remove the center case itself. Remove the 2 bearing caps and pry the case out. |
|
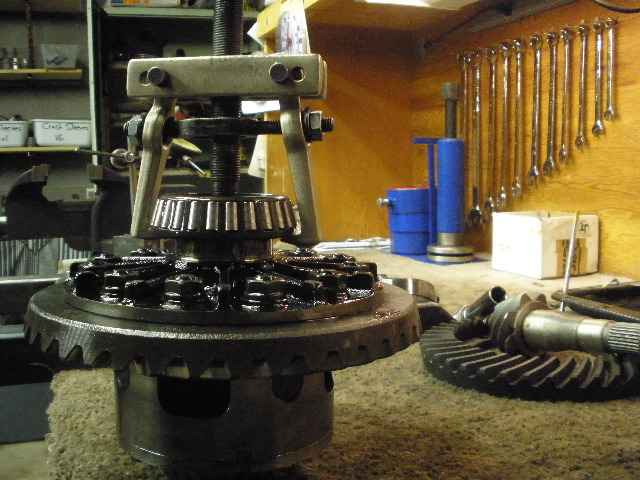
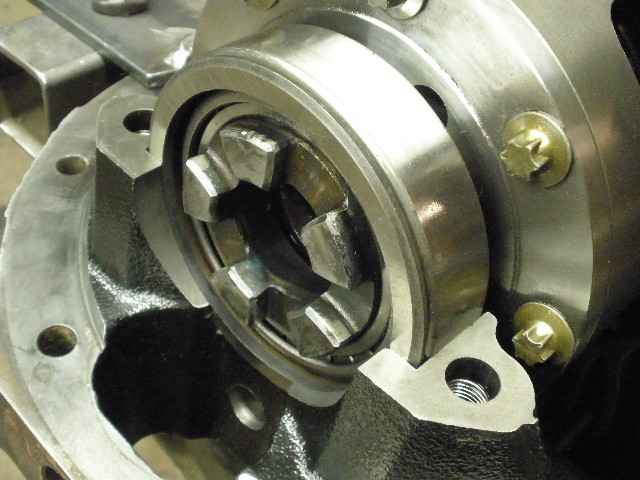
The OTC-4520 side bearing puller makes easy work of removing the carrier bearings...even these monster-sized bearings found only on the e-locker version. This bearing on the ring-side comes off easy... |
|
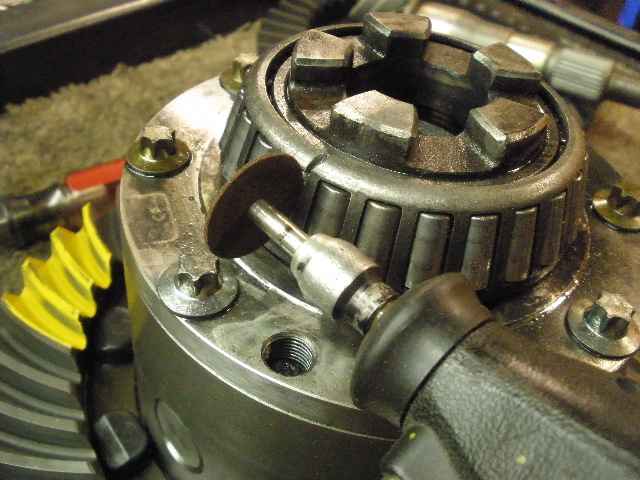
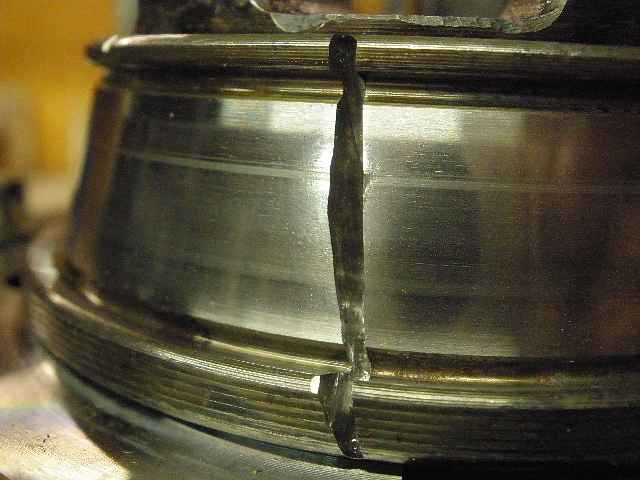
...unlike the one on the case-side. Those 8 small e-socket bolts are on so tight that removing the lid to gain access from the underside becomes unrealistic. And, there's not enough room to get the puller fingers under the cage so that leaves us with using the dremel tool with the mini-cutting wheels. Cut the cage... |
|
...spread the cage and clean it out. |
|
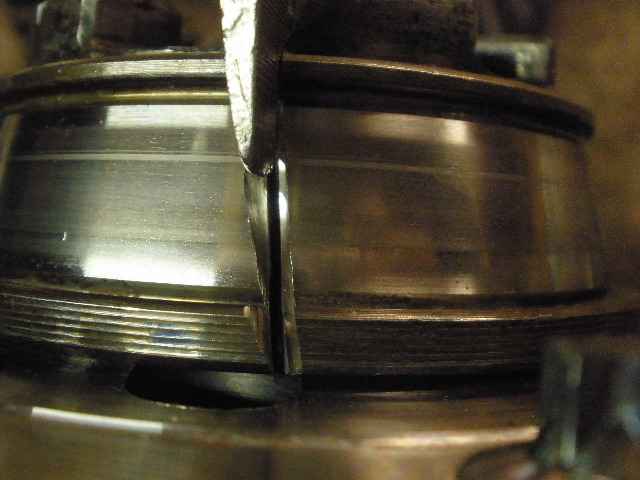
Continue using the mini-cutter and cut down without hitting the main journal itself. Even if the journal is nicked, it's only to be considered 'cosmetic'. |
|
A very light tap with a normal screwdriver and hammer will crack the bearing open and off it comes. The whole process is less than 5 minutes. |
|
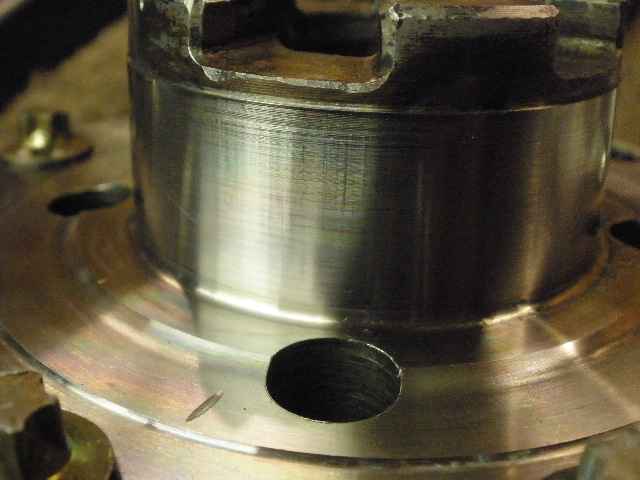
No cutting nicks on the journal. |
|
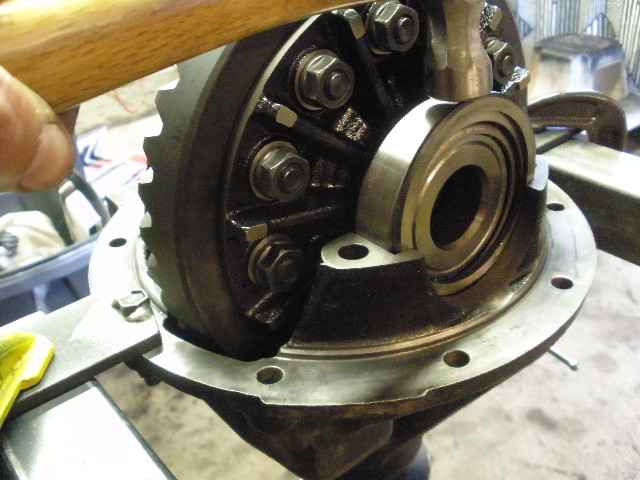
Remove the 12 ring bolts with your weapon of choice. |
|
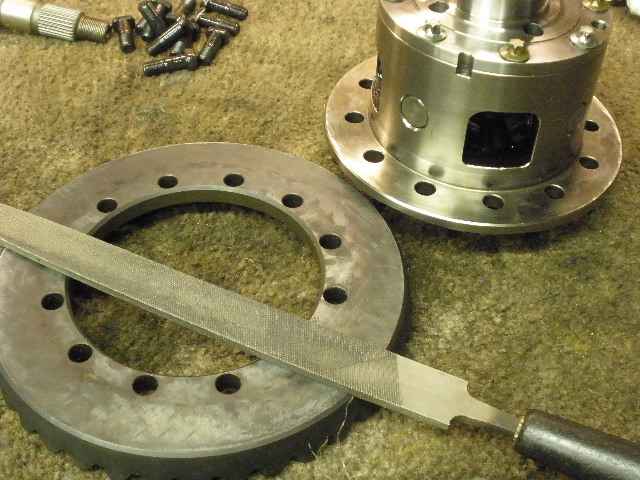
Both surfaces are filed....no unusual high-spots found. |
|
Before I bolt the ring-gear on, I think I'll press both carrier bearings on first. |
|
The ring was a very tight fit but the bolts had enough reach where I could use 2 of them to pull the ring on evenly with relative ease. |
|
Red loctite and 100 ft/lbs. |

|
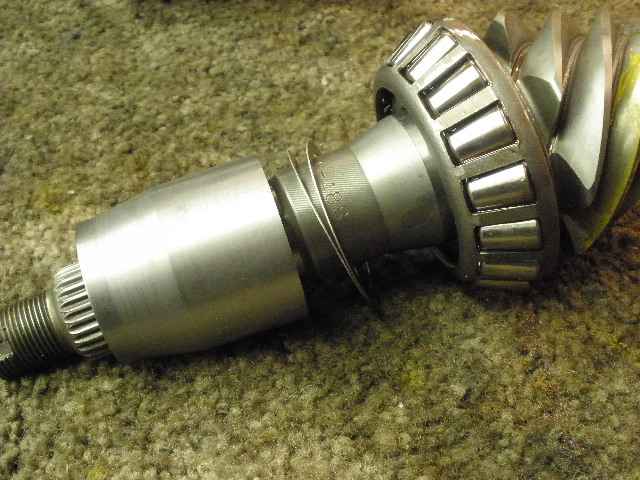
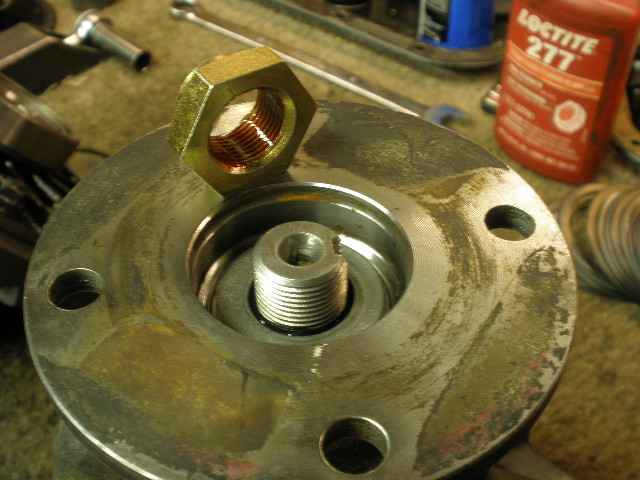
Now onto the pinion end of things...the side bearing puller doubles as a nice flange puller. |
|
Push the pinion out...remove the seal...remove pinion bearings. |
|
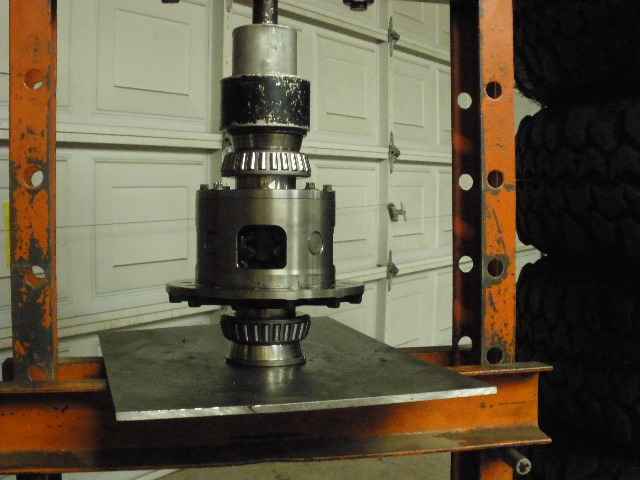
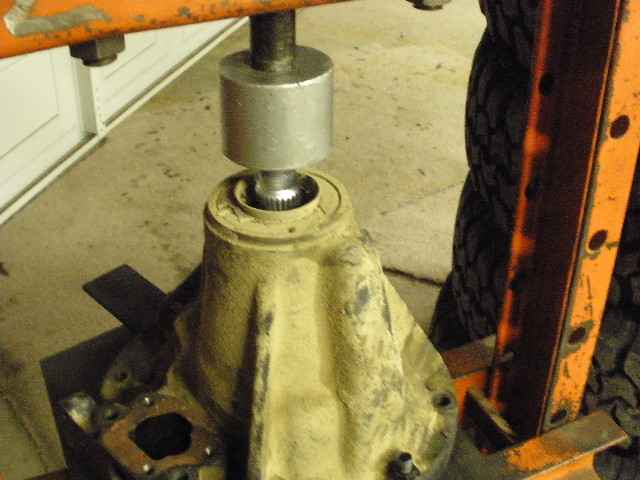
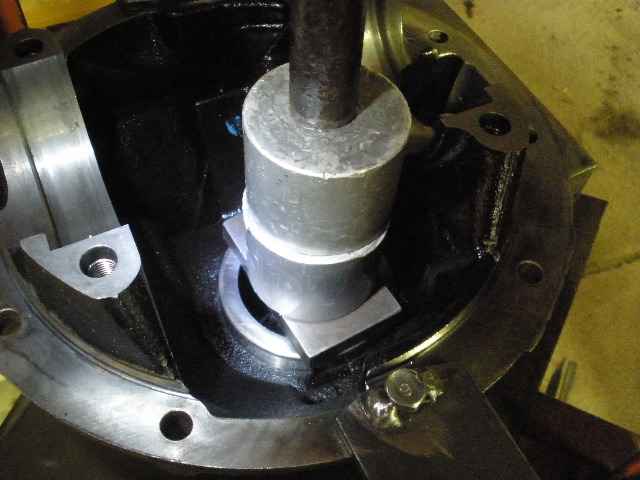
The press makes easy work of inserting both of the pinion races. |
|
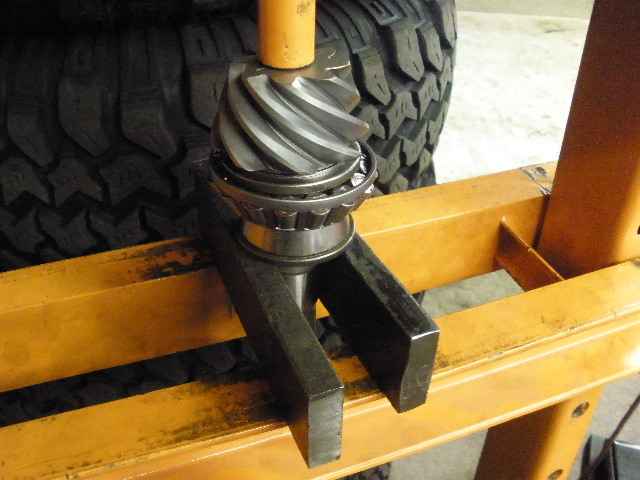
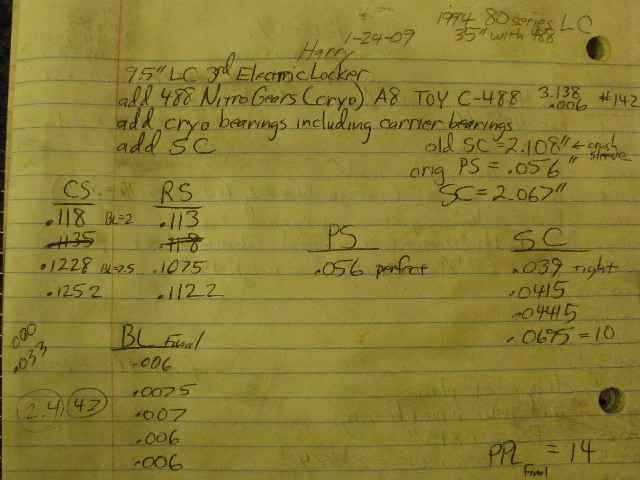
The inner pinion bearing is pressed on with a .056" shim. |
|
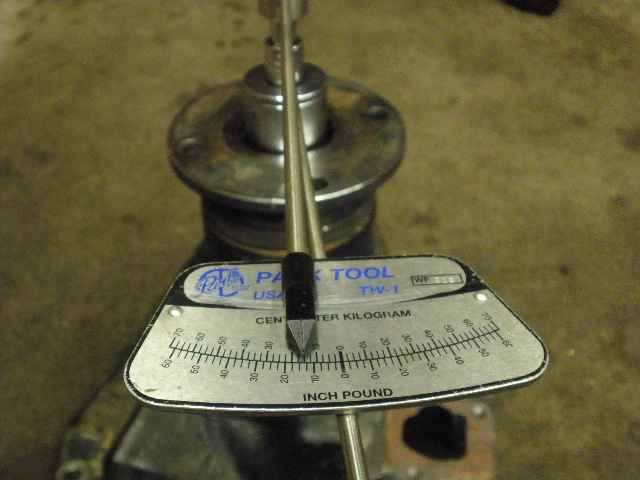
No solid collar or crush sleeve yet....just tighten the nut up 'til about 10 in/lb of pinion drag is measured. |
|
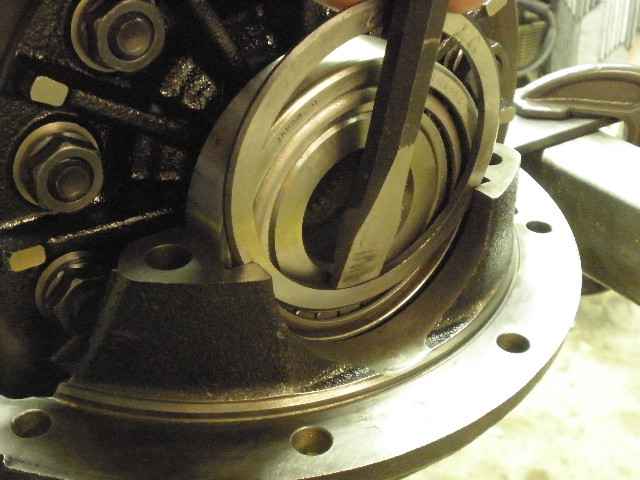
Load the case up and start with the original carrier bearing washers and see if the CBPL and BL are close enough for a test paint. There was enough CBPL with the original washers but the BL only measured .002"...too tight for a good paint. |
|
...so, by substituting in some washers that opened up the BL and still kept the pre-load reasonably high, then a paint could be done. |
|
Nice depth. |
|
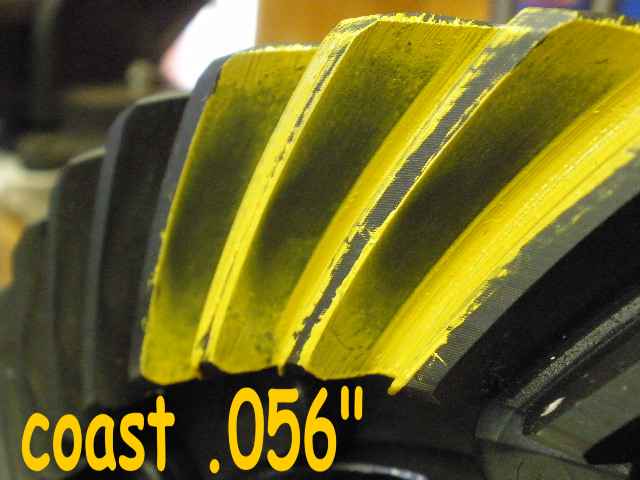
Coast looks good also. |

|
Sometimes, I look at the nearby teeth that get 'reverse painted' by the residual paint on the pinion to get a better overall picture of the depth. This paint above confirms the perfect depth. |
|
...coast |
|
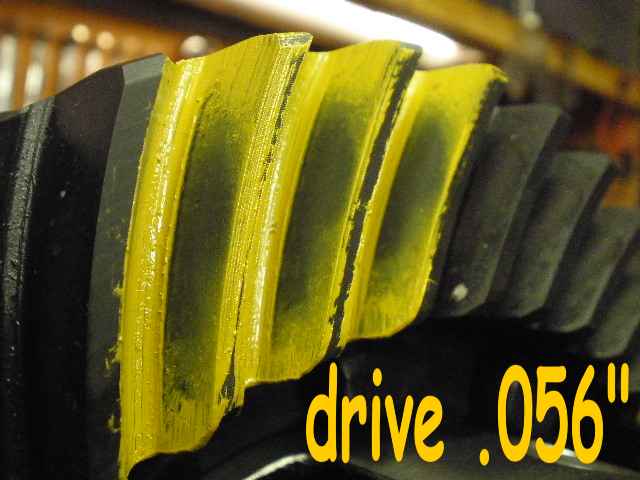
Pinion paint (drive) looks nice also. |
|
With the proper pinion depth already established, now the solid collar can be installed...it took me 4 times to get the PPL at 10 in/lb. |
|
Now the new seal can be tapped on. I made my own seal installer...gotta use those old races for something :) |
|
Clean threads and red loctite on the nut. The electric impact rams the nut on close to the 200 ft/lb recommended value... |
|
...but the cheater bar can buy me another 1/8 of a turn or so. That tends to crush the soft solid collar shims just a bit more...enough to increase or improve the PPL by 2~4 more inch-pounds. That breaker bar shown used to be a clicker style torque wrench....I think it was a cheapie one from Harbor Freight....Well, anyways, it wasn't clicking right so out came the MIG welder and now it makes for a nice solid breaker bar...even the 30mm socket is migged to it! :) |
|
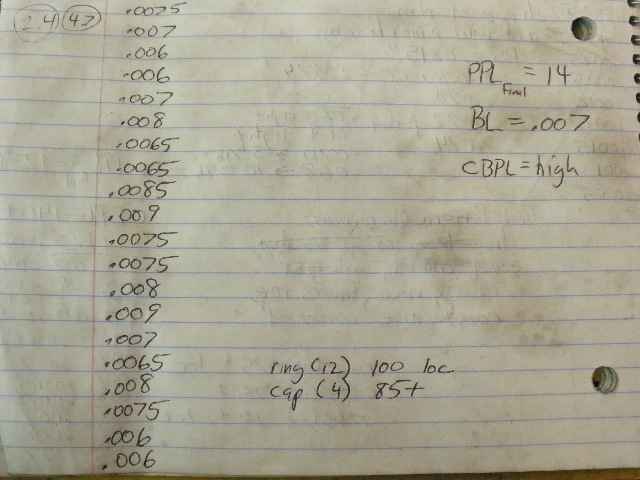
With that extra crank of the nut, PPL was up to a perfect 14 inch/pounds. |
|
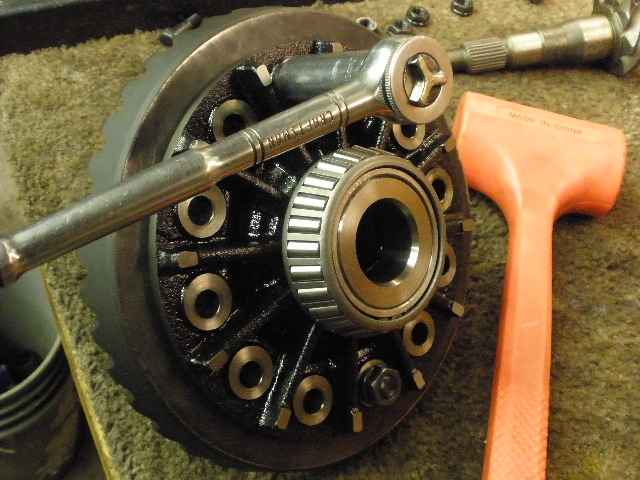
Due to the way the 5 teeth stick out, the washer gets dropped in with the case at the same time. |
|
I already knew the CBPL was fair so I will add .003" to each side for more pre-load. I also knew the BL was about .0075" so I could reduce that just a little if I wanted so I will add another .001" to the ring side. Summing it up...add .003" to the case side and .004" to the ring side(see notes at end of page). I know the carrier bearings are being pre-loaded enough when I have to use the soft edge rounded chisel to coax the washer in place, as shown above. |
|
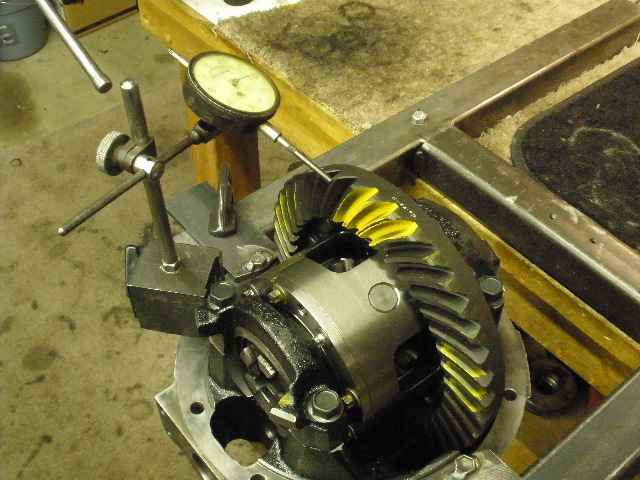
Backlash was measured in 21 spots and ranged from .006" to .009"...very typical and acceptable. |
|
It took considerable effort to rotationally wiggle the ring back and forth indicating the CBPL was very good. This is important for resisting ring deflections under high torque loads...this basically strengthens the gearset. This is something over-looked by many gear installers. |
|
The bearing cap bolts are checked and verified at 85 ft/lbs. |
|
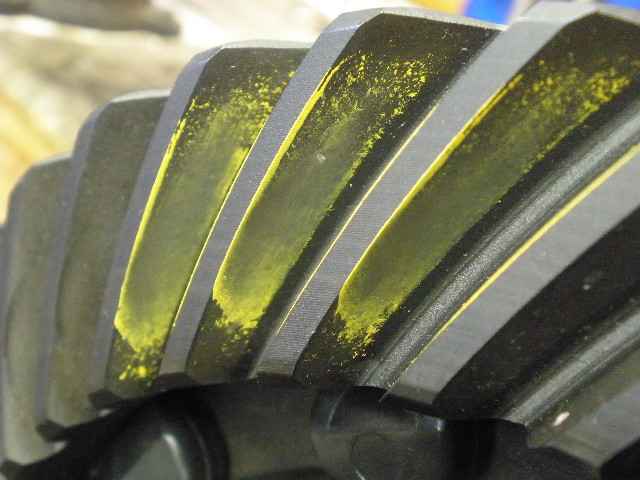
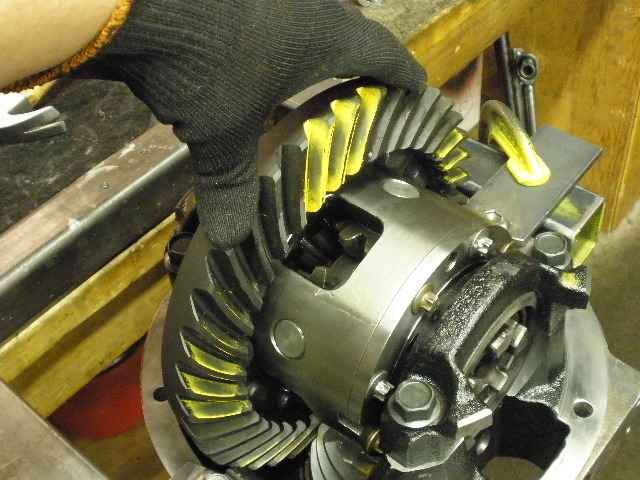
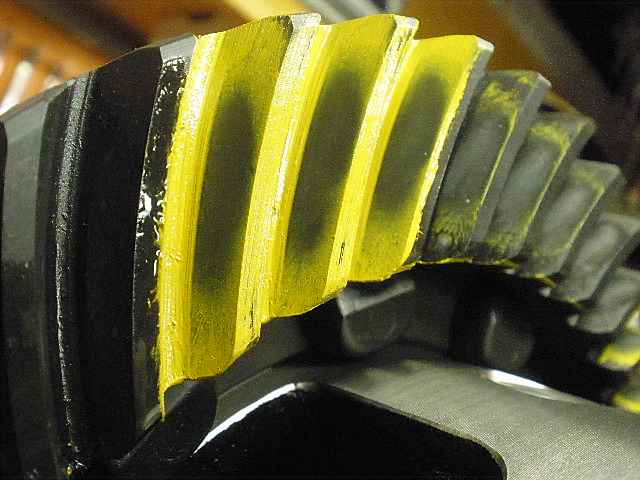
The teeth are re-painted and the drive side pattern is a beauty. There's nothing wrong with these Nitro Gears.
Thumbs-up from me! |
|
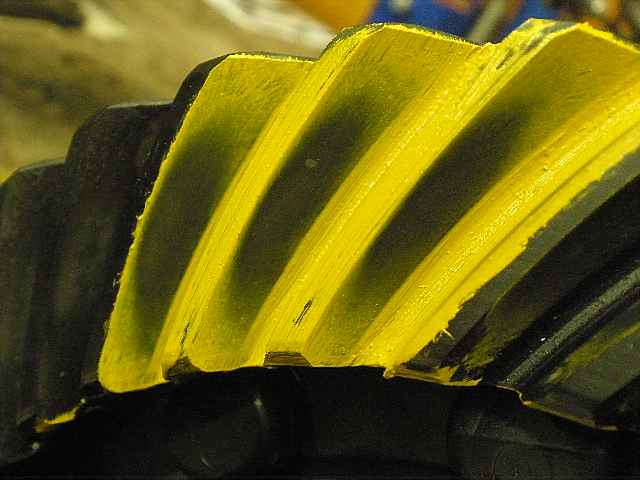
Coast side patterns can look deep...shallow....or have an unusual shape. These are classic elipticles/ovals. These exceptional lapped-in patterns say something good for the manufacturing process. |
|
Specs measured are dremeled on the ring. |

|
... |
|
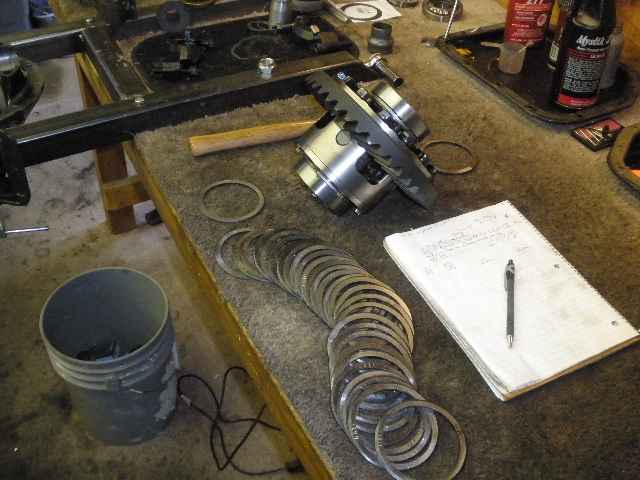
Notes taken... |
|
ZUK :) |

|
