|
|
|
|
|
|
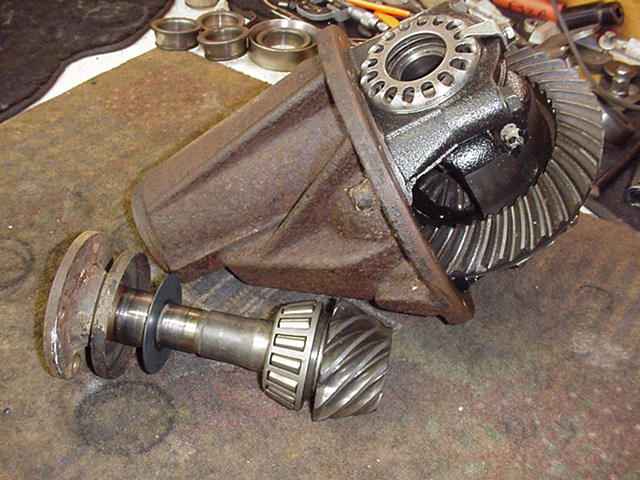
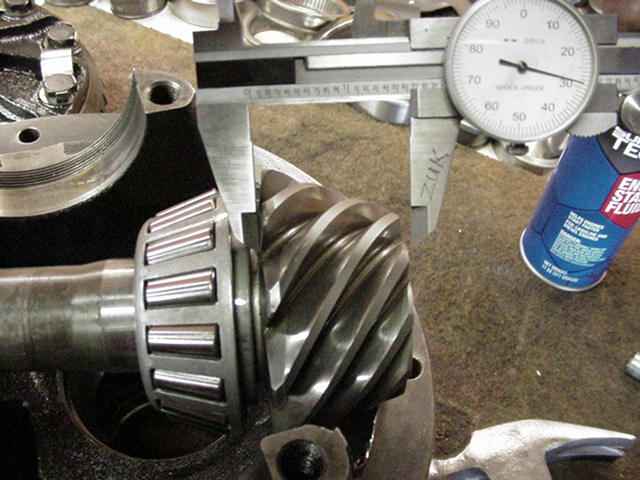
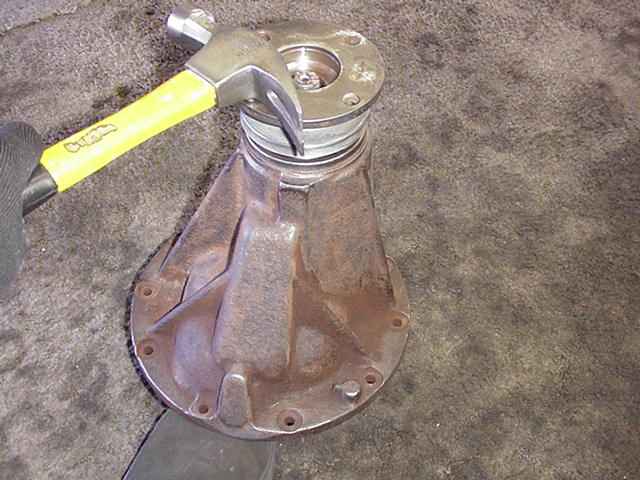
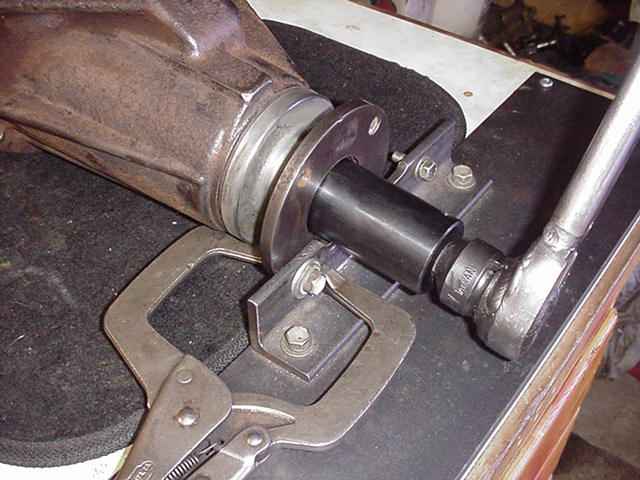
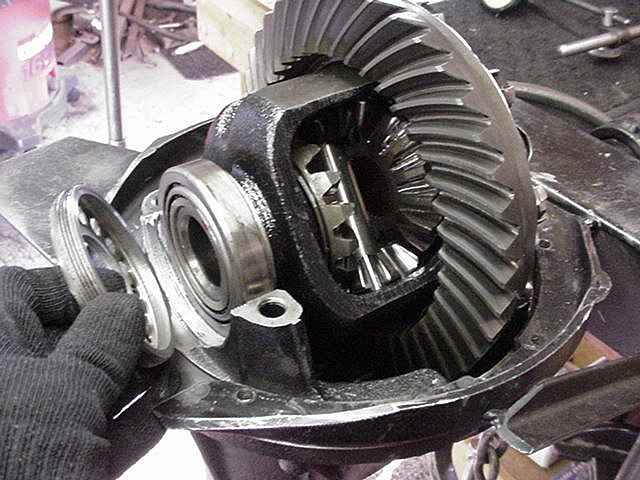
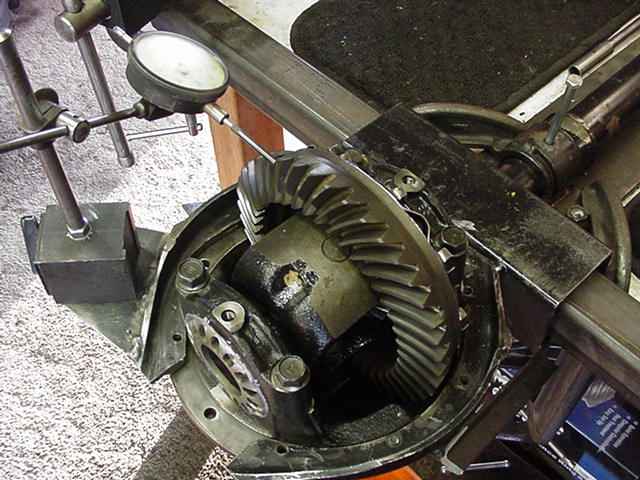
Jim is from Pomfret, Connecticut has a 1992 4x4 Toyota 22RE pick-up with 95,000 miles. The truck has had an annoying noise coming from the rear 3rd. Upon disassmbly, Jim discovered the outer pinion bearing was badly scarred. The local machine shops didn't want to touch this job and Jim was hesitant about tackling this himself so after a few emails and a couple of days, the 3rd was on my bench delivered as seen in the above pic. |
|
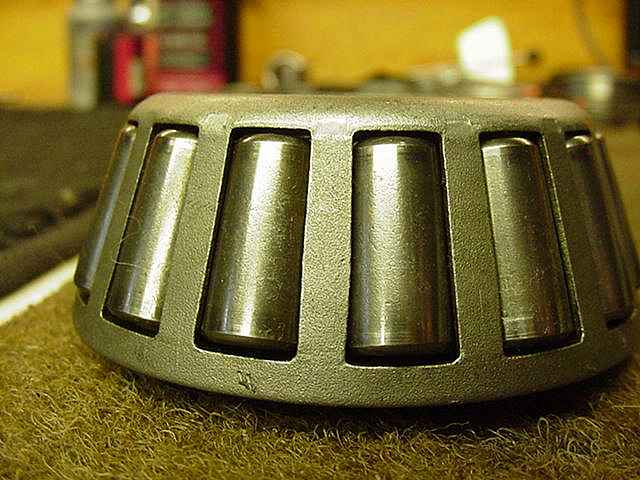
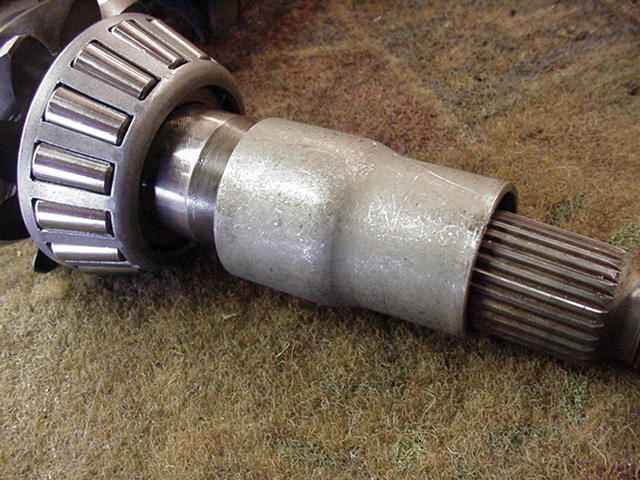
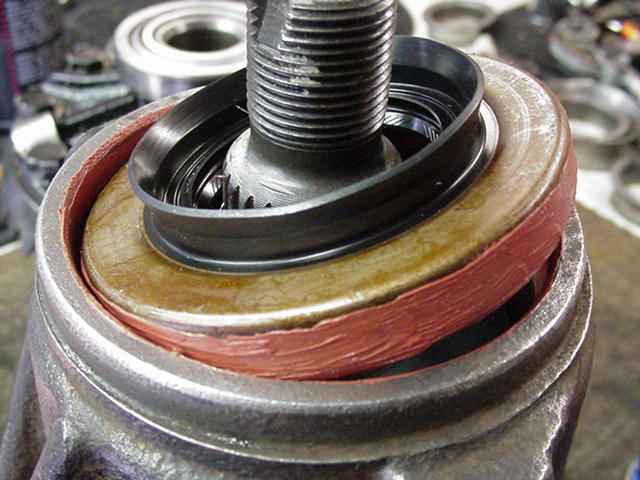
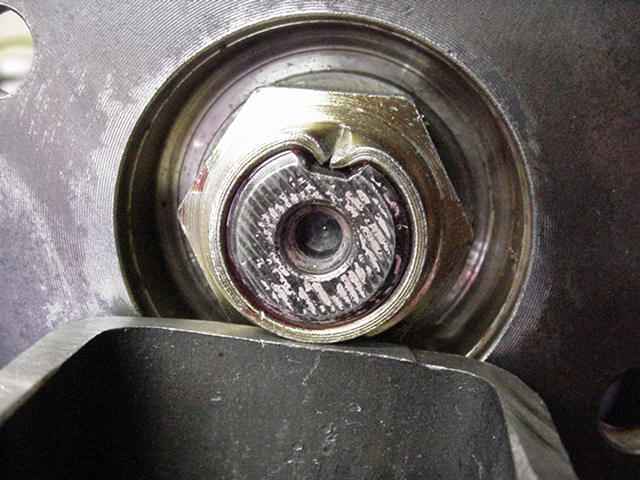
The damaged outer pinion bearing was not sent to me but this is the larger inner bearing and some of the pitting damage can be seen. |
|
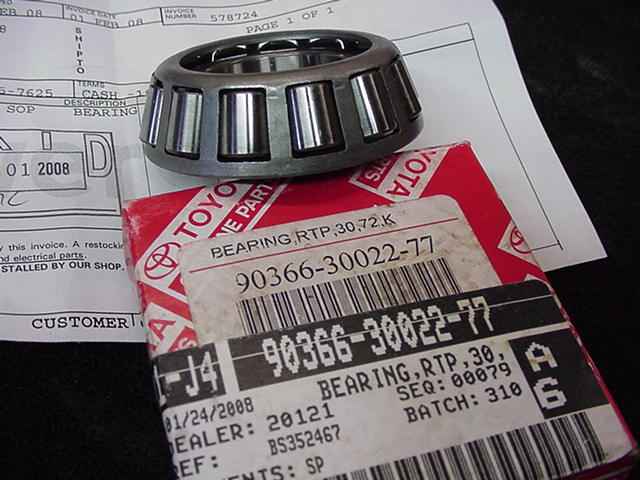
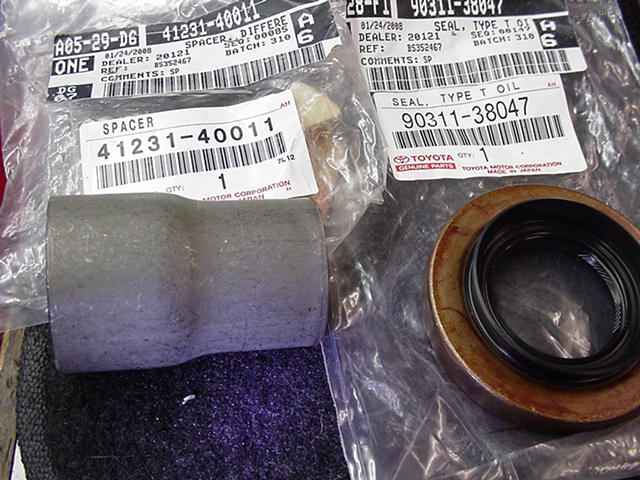
This is the new outer bearing that Jim included in the tote (race has already been installed). |
|
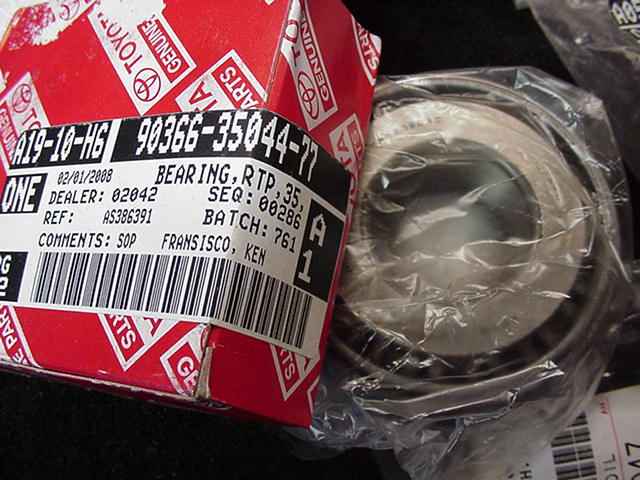
This is the new inner bearing that I purchased locally here in the Phoenix area. How tough can it be to spell "Ken Francisco"
correctly? |
|
Jim also sent the OEM factory crush sleeve and seal. |
|
Certain tools make the job go easier...here, I'm using the press and a bearing separator to remove the old pinion bearing... |
|
...and the new bearing is pressed on with the original pinion shim. |
|
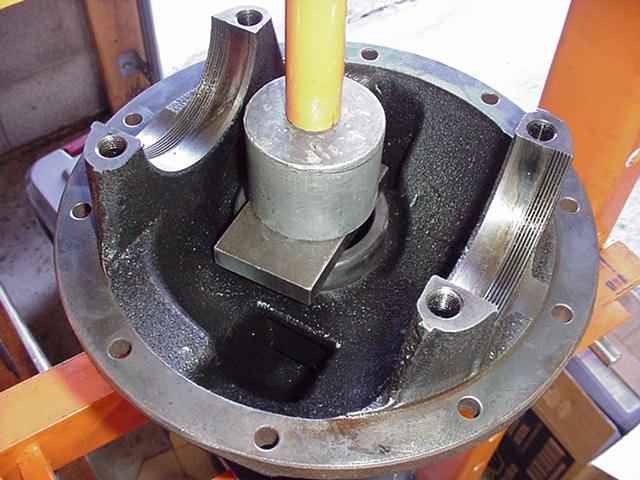
The new race is also pressed on. Seen is an aluminum puck, a steel plate, and an old pinion race to push the new race in. |
|
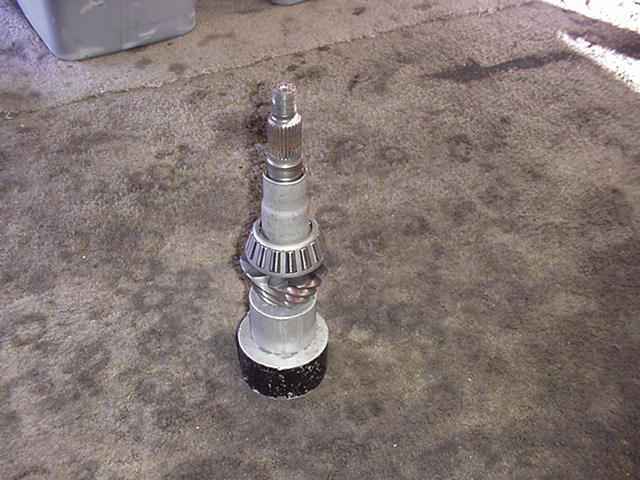
Might be interesting to note that even though this is a 22RE 4 cylinder 3rd that it has the longer pinion head
commonly referred to as a V6 pinion. Actually, all 4 cylinder trucks from 86 to 95.5 have the larger pinion
head....same as the V6 equipped trucks. Only the 79~85 trucks have the short pinion head version. For what it's worth, I prefer the
small pinion head gear sets as they are cheaper, more readily available, and just as strong.
|
|
The new crush sleeve goes on... |
|
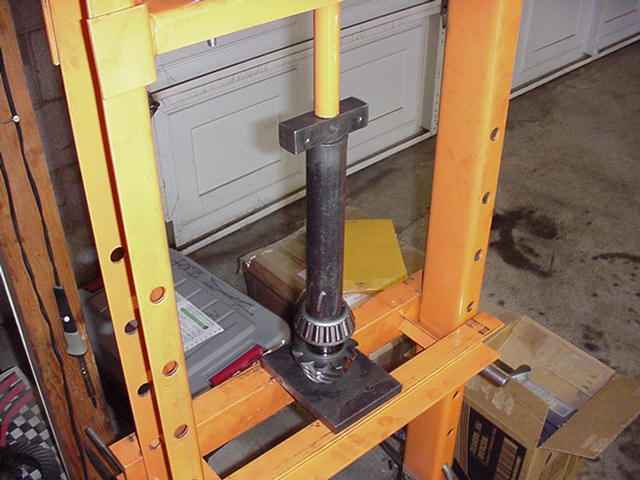
pinion is elevated on blocks... |
|
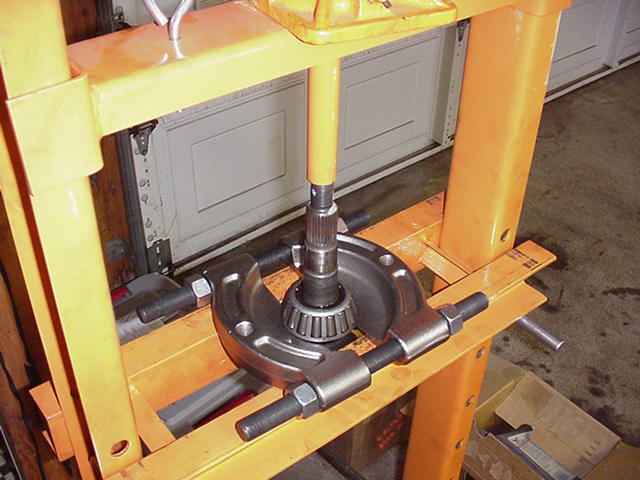
carrier is placed over it... |
|
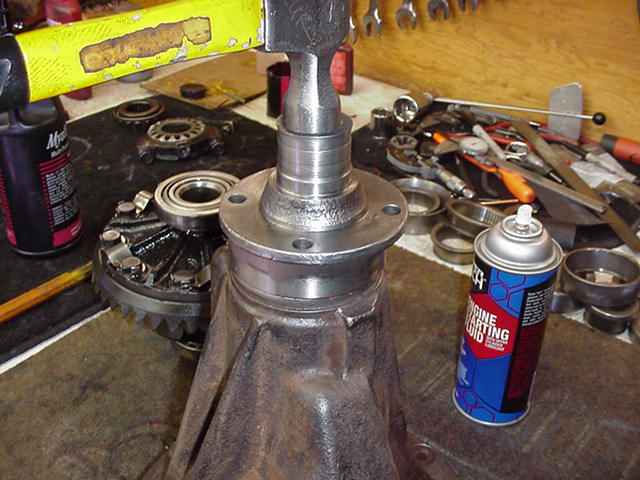
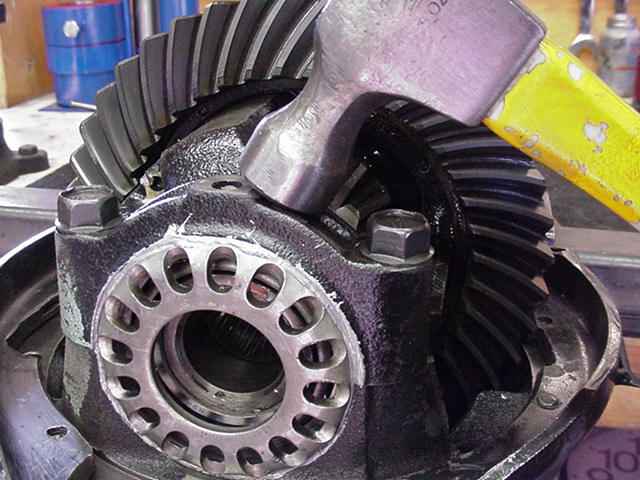
outer pinion bear and a sacrificial flange is tapped on with a hammer... |
|
The flange slips off and now the seal is prepped. Not shown is the splash guard installed just under the seal. |
|
The seal is smacked on using a beater flange I have just for this purpose. Not shown is the thick red grease I goop on the inside of the seal to prevent the tiny spring from popping out during the 'smack' operation. |
|
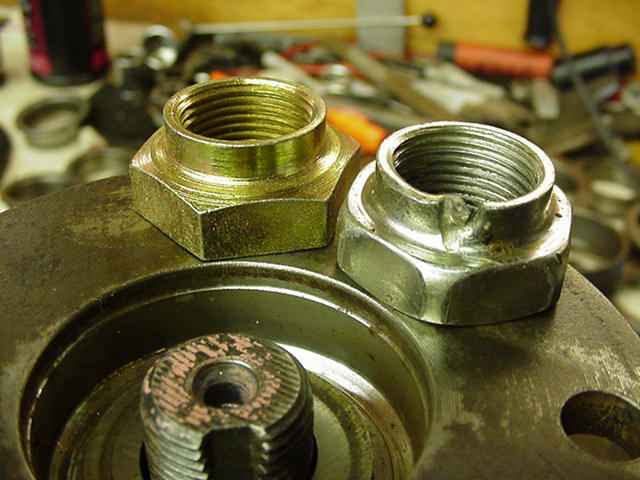
Jim's flange is now installed...sometimes it's ok to re-use a pinion nut but not today. The threads looked too scarred so a new one will be installed. Besides, crushing a fresh sleeve is very hard on old threads. |
|
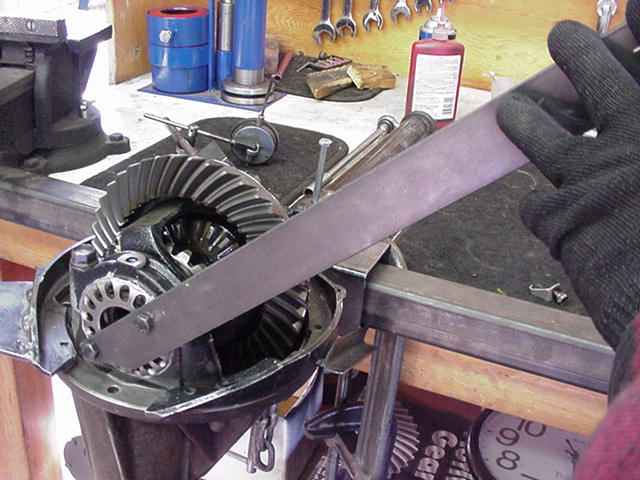
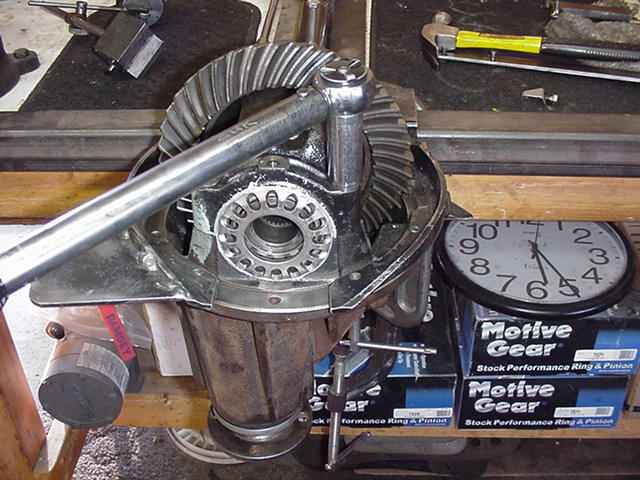
With the flange secured to the corner of my bench, the new crush sleeve will yield to my 4 foot bar. |
|
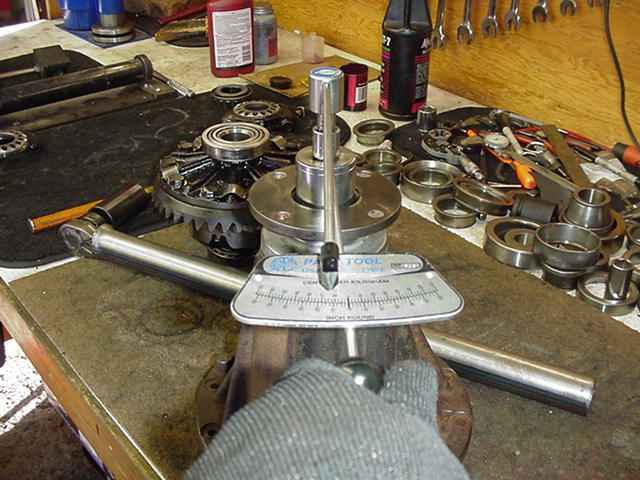
These are new pinion bearings so I crushed it 'til 14 inch/pounds was reached. |
|
With the generous coating of red Loctite on the threads the dinging of the nut might be considered optional but I ding it anyways. |
|
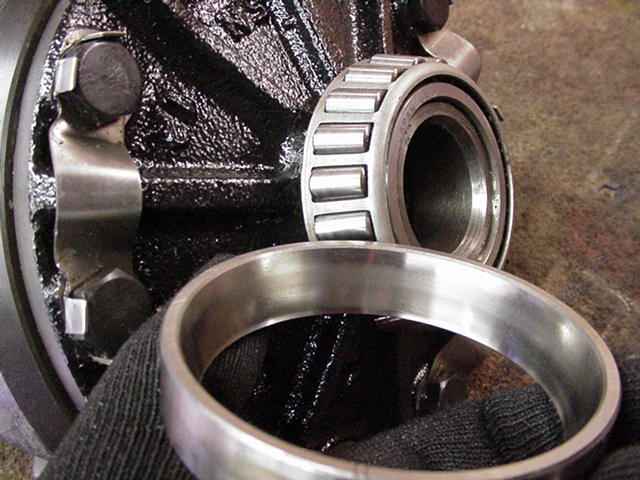
With the top end done now it's on to the other end...the carrier bearings are inspected and appear in good shape. |
|
Anti-seize is splashed heavily on the threads and the spanner adjuster rings are carefully thread matched. It is easy to mis-match the threads and experience can help here. |

|
More anti-seize on the bearing cap threads... |
|
...then thread the bolts in 3 or 4 turns then carefully tap down the cap til it "naturally self aligns" and seats down flat. Another little trick is to lightly tap the cap in the place shown above while lightly snugging(~8 ft/lb) the 2 bolts. This will help self-center the threads on the two halves such that the spanner ring will turn easier during the pre-load tightening process. |
|
Now it's time to snug each side a little at a time and lots of hammer hits. Since I have a jig, I also turn the pinion by hand while a smack the bearing cap. This really helps to self center the case between the 2 bearings. Tensions are equalized and backlash won't change after the first few road miles. |
|
The 17mm cap bolts are torqued to 75 ft/lbs. |
|
Since Jim sent me the pinion removed from the carrier I could not take a baseline backlash reading but I know that Toyota sets their gears generally at .006 so that's what I aimed for. After all is verified then install the lock tabs with red loctite and 10 ft/lbs(not shown). |
|
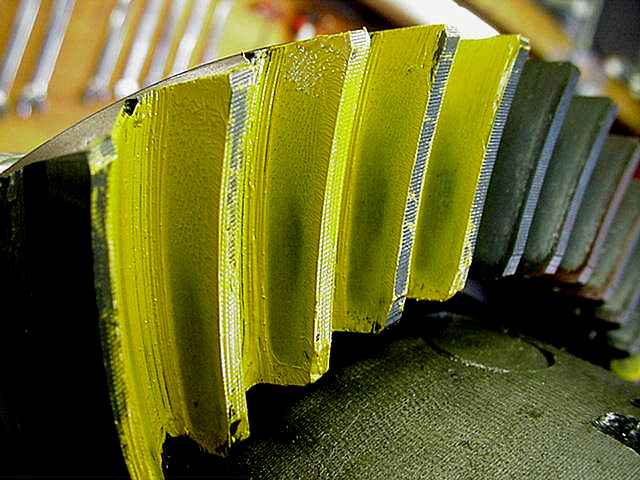
A paint check shows all looks good. Driveside. |
|
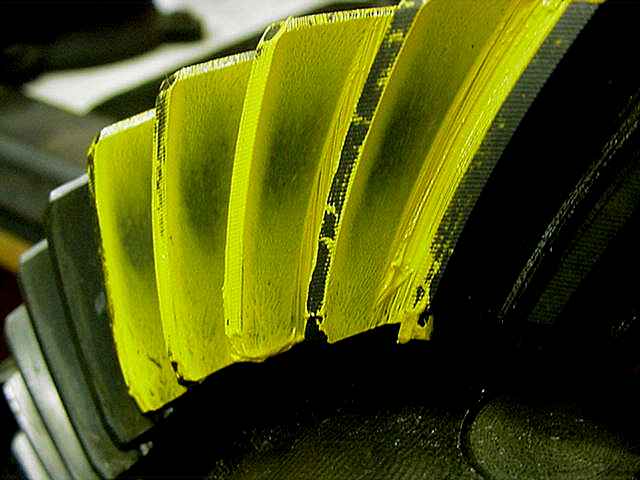
Coastside. |
|
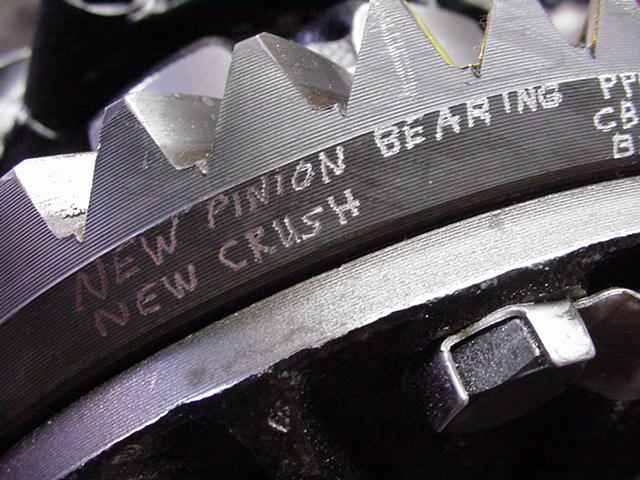
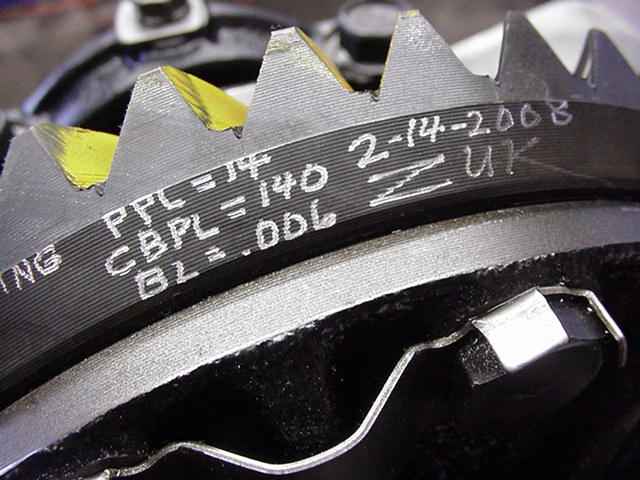
Related info is scribed onto the ring. |
|
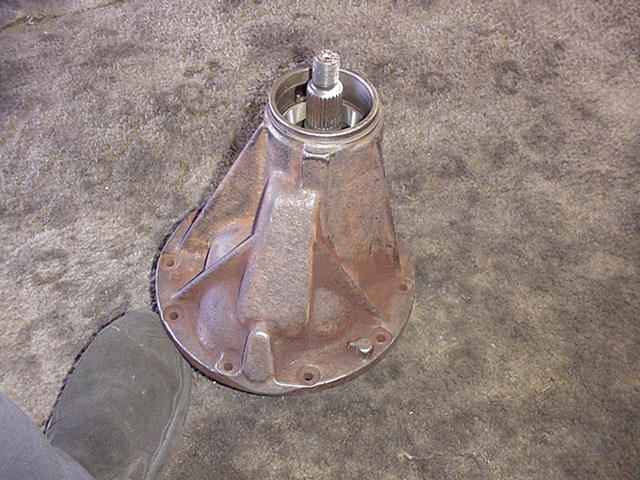
Back to Connecticut! |

|

