|
|
|
|
|

|
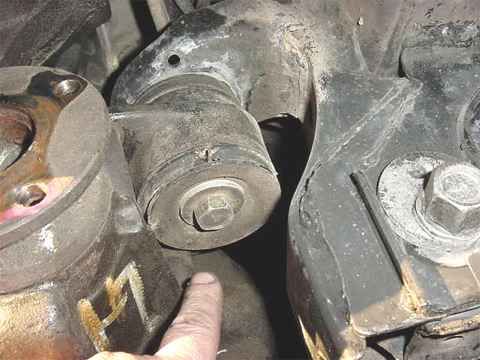
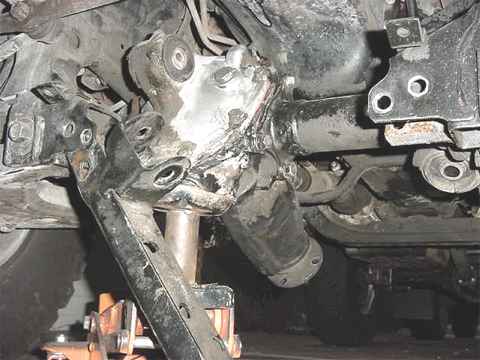
Dropping the front IFS 3rd is easy. Just need some basic tools.......a pair of 14mm closed-end wrenches, a long pair of closed-end 17mm wrenches, a 1/2" ratchet with 19mm socket and a 3 foot cheater bar. .......drain the oil. Use a 15/16"(24mm) socket on the drain plug. 3 large rubber mounts secure the IFS center section in place. 19mm socket. OK to remove the frontal mount bolt in the above pic. |

|
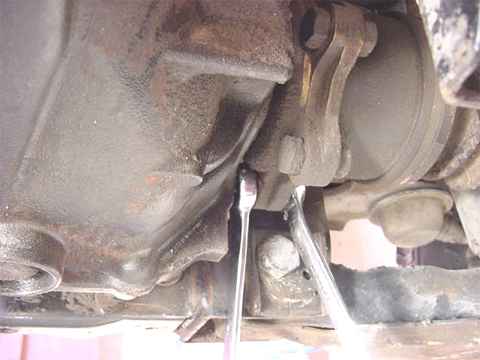
Here's the 2nd one......Use a 19mm or 3/4" shorty wrench to catch the free spinning nut on the topside. Don't remove it yet and leave a couple threads to hold it in. Also, to the left of my finger....remove those six 17mm nuts. The bolts don't turn as they are pressed in but a wrench can be used on them to prevent the CV joint from freely rotating. Again the nuts are really tight.....at least mine were. The joint will then crack apart but won't fully separate yet. |
|
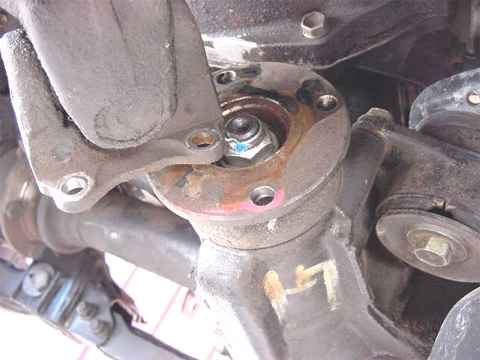
Last big rubber mount...19mm....same thing, loosen it but don't remove quite yet. The nut on the top-side is welded so no wrench needed there. On tight aren't they? |
|
Don't forget to the 6 nuts on the right side CV.....17mm closed-end wrenches....
|
|
Good time to get the driveshaft out of the way.....I used a pair of long 14mm closed-end wrenches. Mine were on very tight....an open end wrench probably would have rounded all the corners. |
|
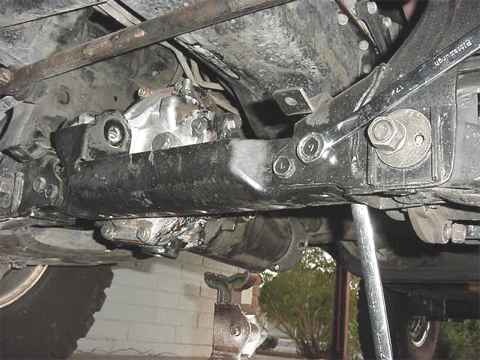
Use a pair of 17mm wrenches to remove the 4 crossbrace bolts/nuts. |
|
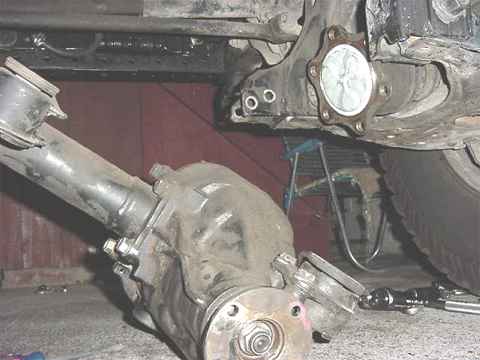
Probably best to use a floor jack to support the 3rd while the cross-brace is being wrestled out. Should pretty much drop straight down. Might be a tight fit with rust and such so persuasion might be needed. |
|
Not shown in the above pic, but with the 3rd still supported by a
floorjack but lowered down some, it should be fairly easy to use a
couple of large screwdrivers to separate the CV's. Pump the floorjack
to different heights and it helps in removing the CV ends. Notice that
the CV ends are sealed up.....so it's possible to just let them hang,
put the cross-brace back in, and drive around town with no 3rd.
|
|
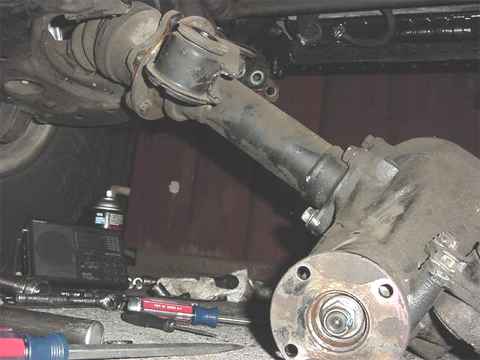
The left side will separate on the top end of that long coupling tube. |
|
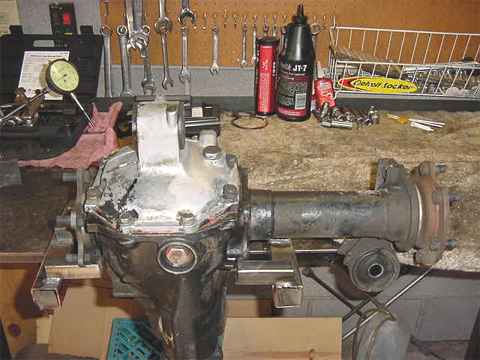
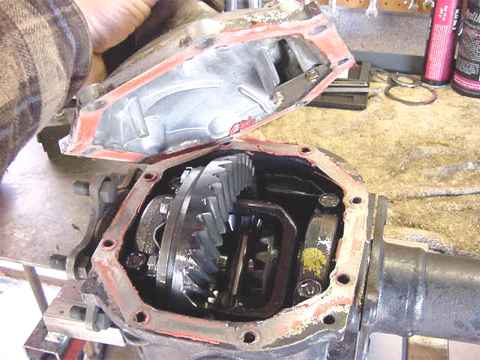
Almost done. Just have to remove the inner axle assemblies.....the short one on the left and the long one on the right. |
|
Removed all the 14mm bolts and tap the cover off. Remove the 4-17mm bolts that hold the right side tube in place. |
|
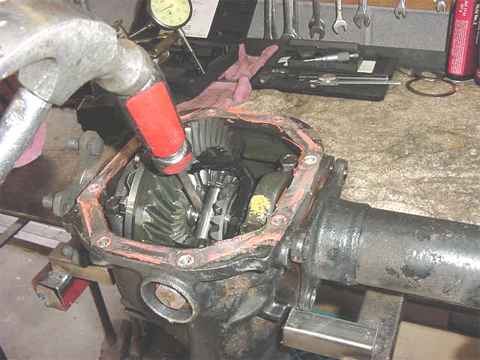
To get the axles out just drive a large screwdriver on each side of the diff center pin......they will push out. |
|
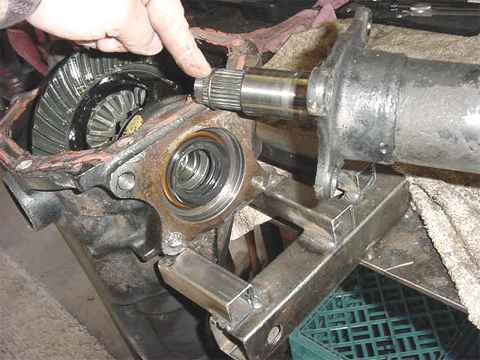
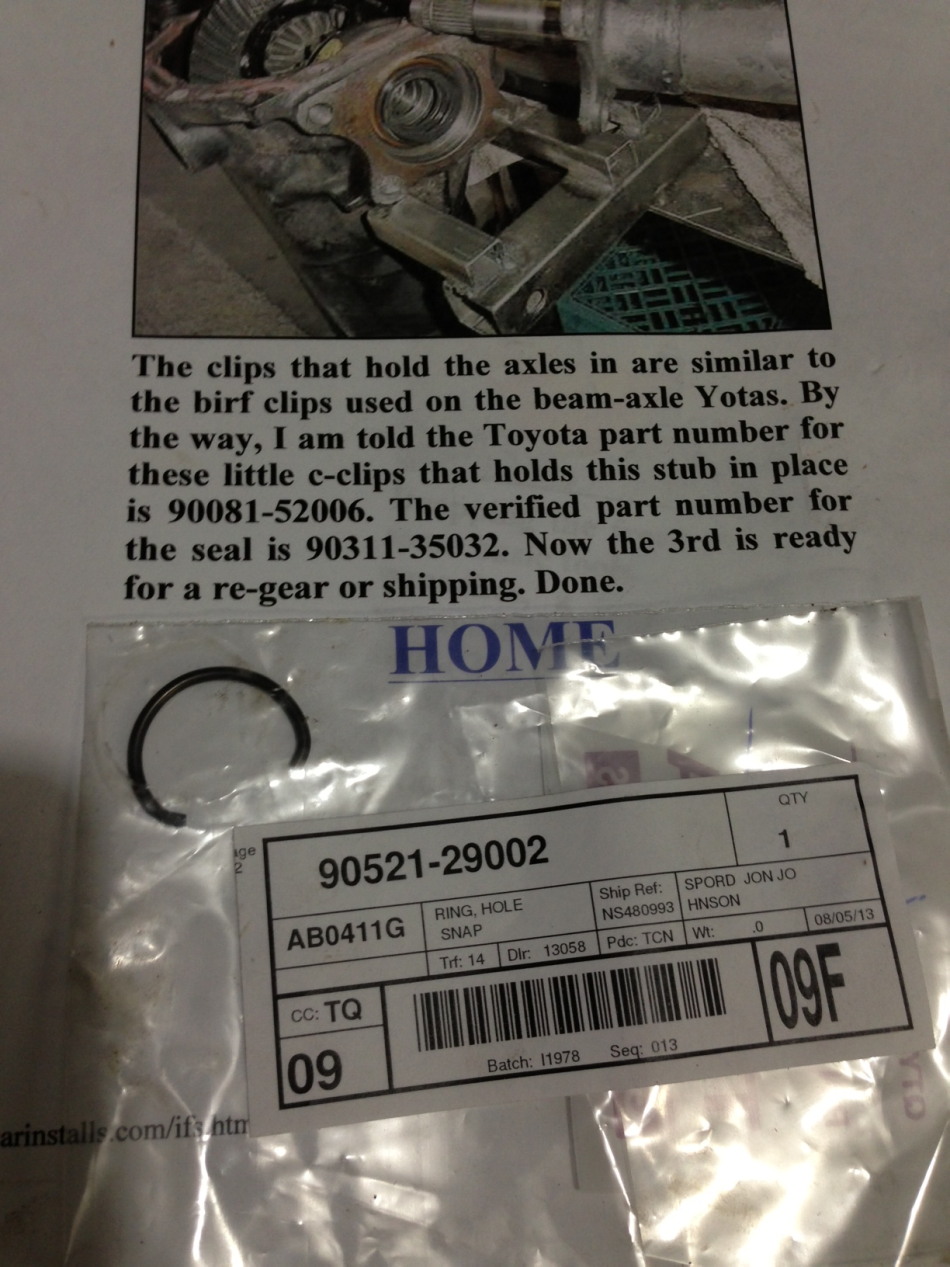
The clips that hold the axles in are similar to the birf clips used on the beam-axle Yotas. The verified part number for the seal is 90311-35032. Now the 3rd is ready for a re-gear or shipping. Done. |
|
8-11-13--- Thank you Jon for sending me the above pic with the verified axle stub c-clip part number....picture is worth a 1000 words :) IFS 7.5" inner axle c-clip is 90521-29002 |