|
Jason From The Island of Kauai Gets Nitro 4.88 Gears
|
|
(61 BIG pics loading)
|
|
MAY 10 2014
|
|
|
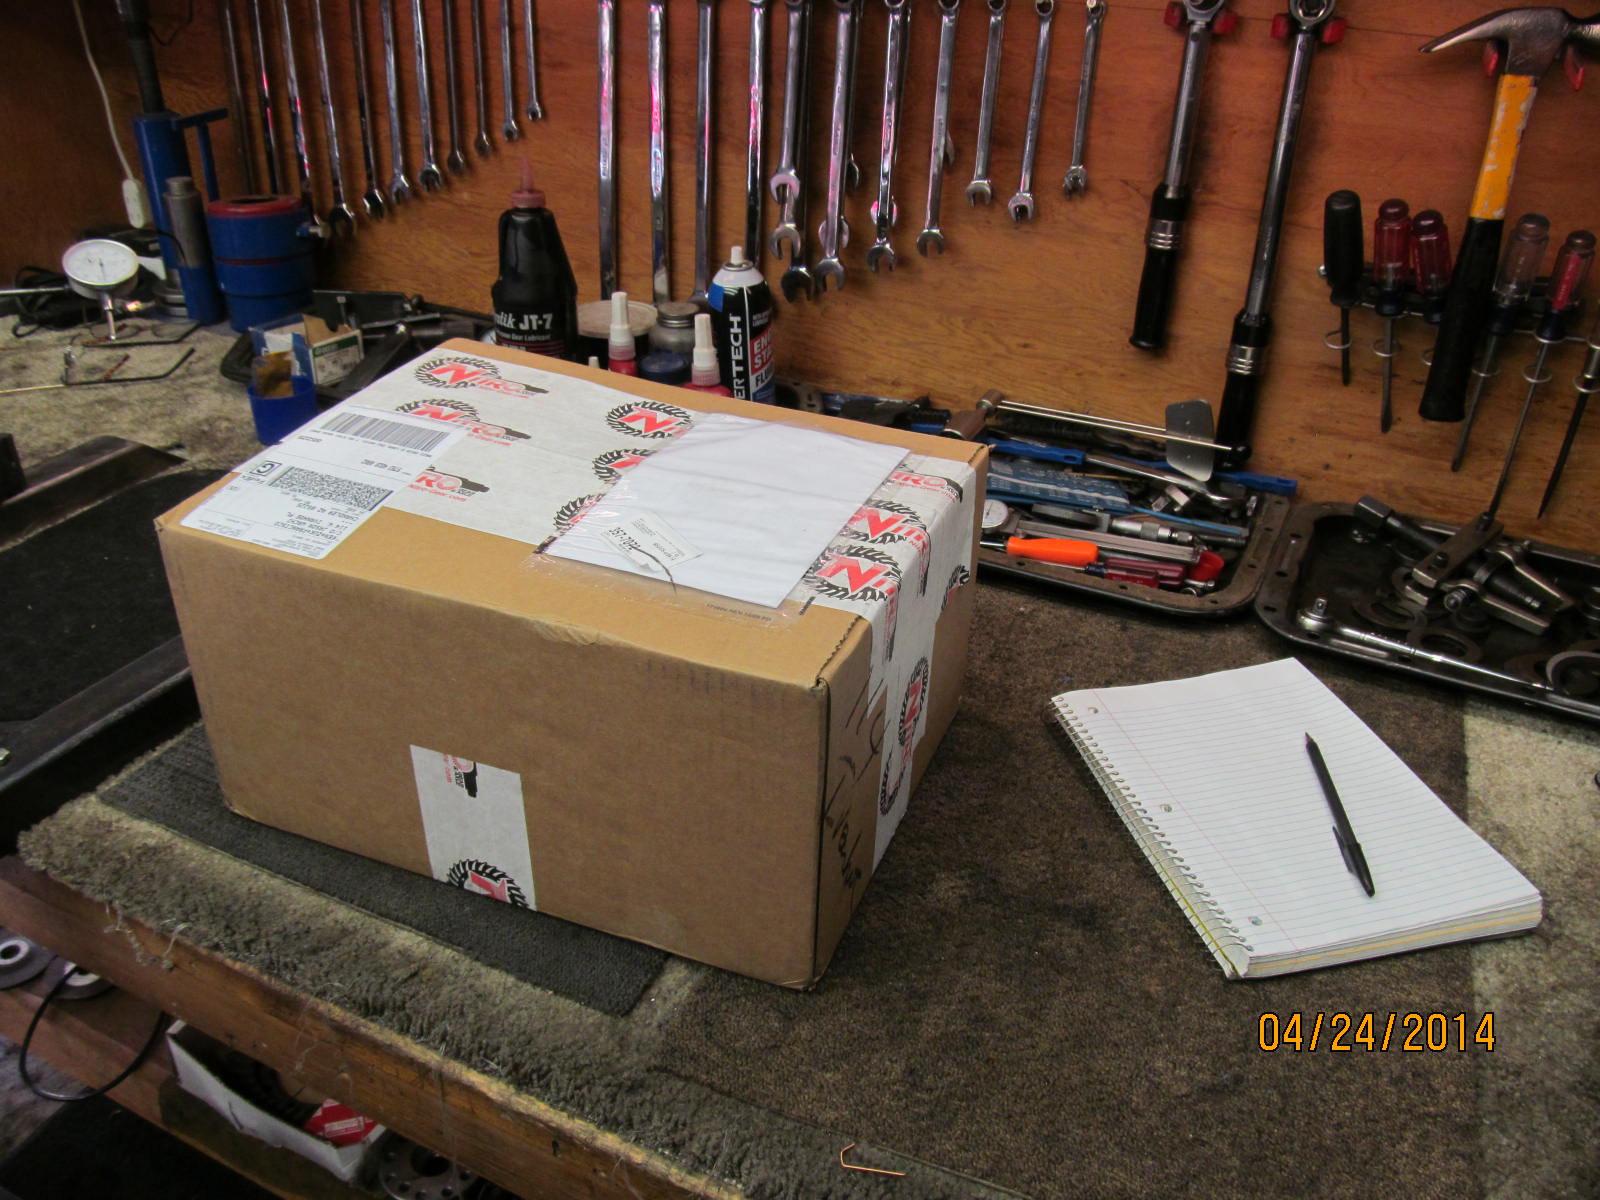
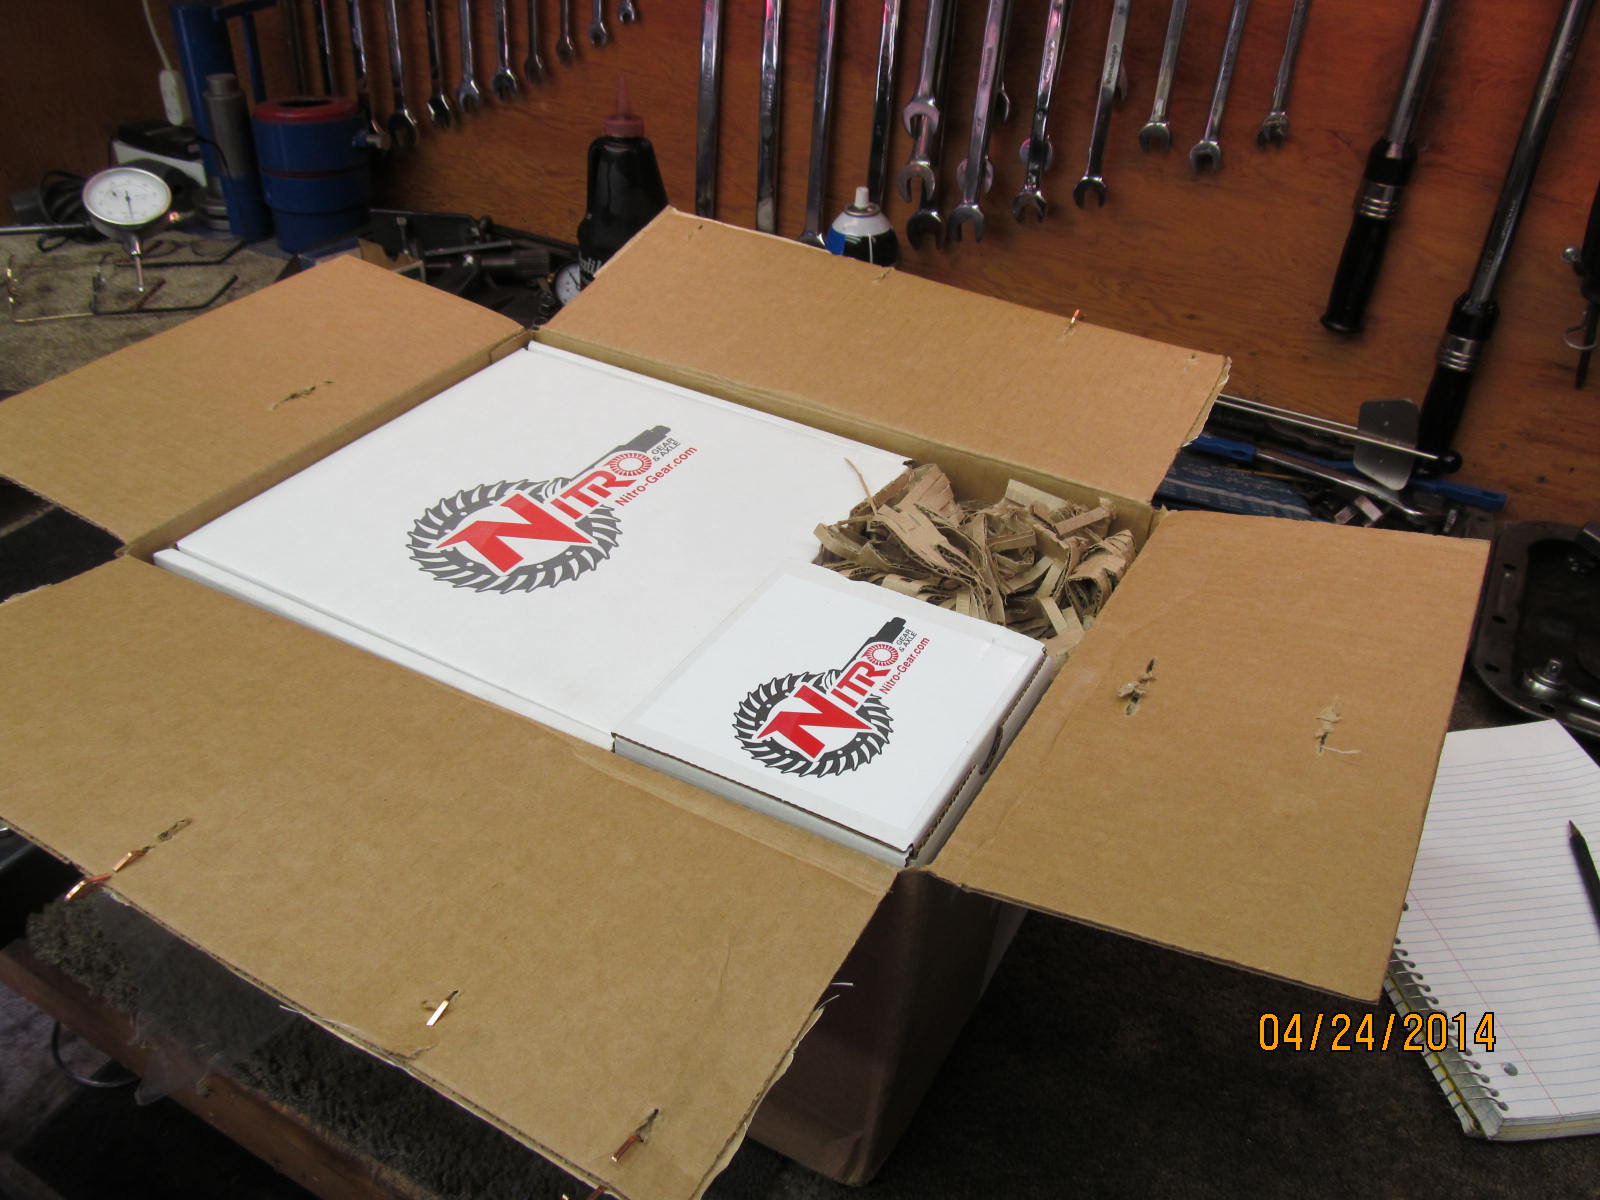
Jasons 1993 Toyota pickup has 210,000 miles and it looks like it ran low recently on gear oil and the 488 gears are
now toast. After some email exchanges, a package from JT's arrives.
|
|
|
|
|
............
|
|
|
|
|
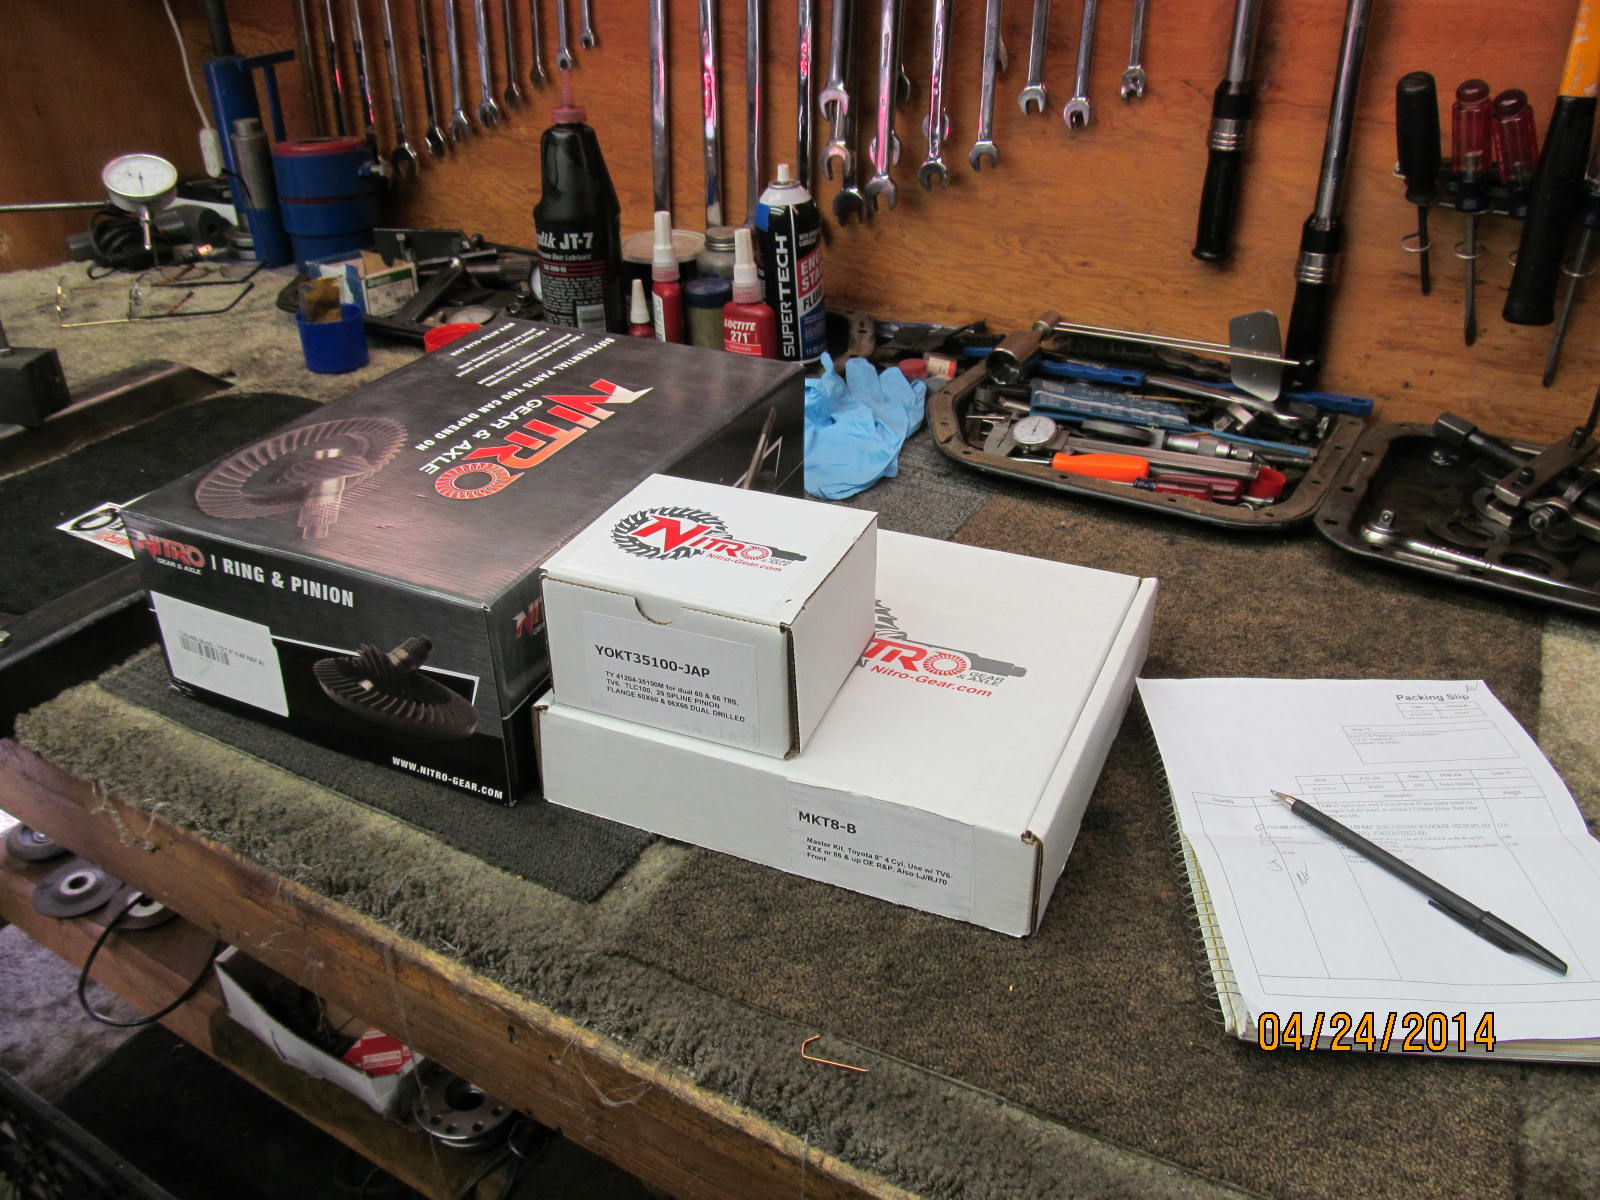
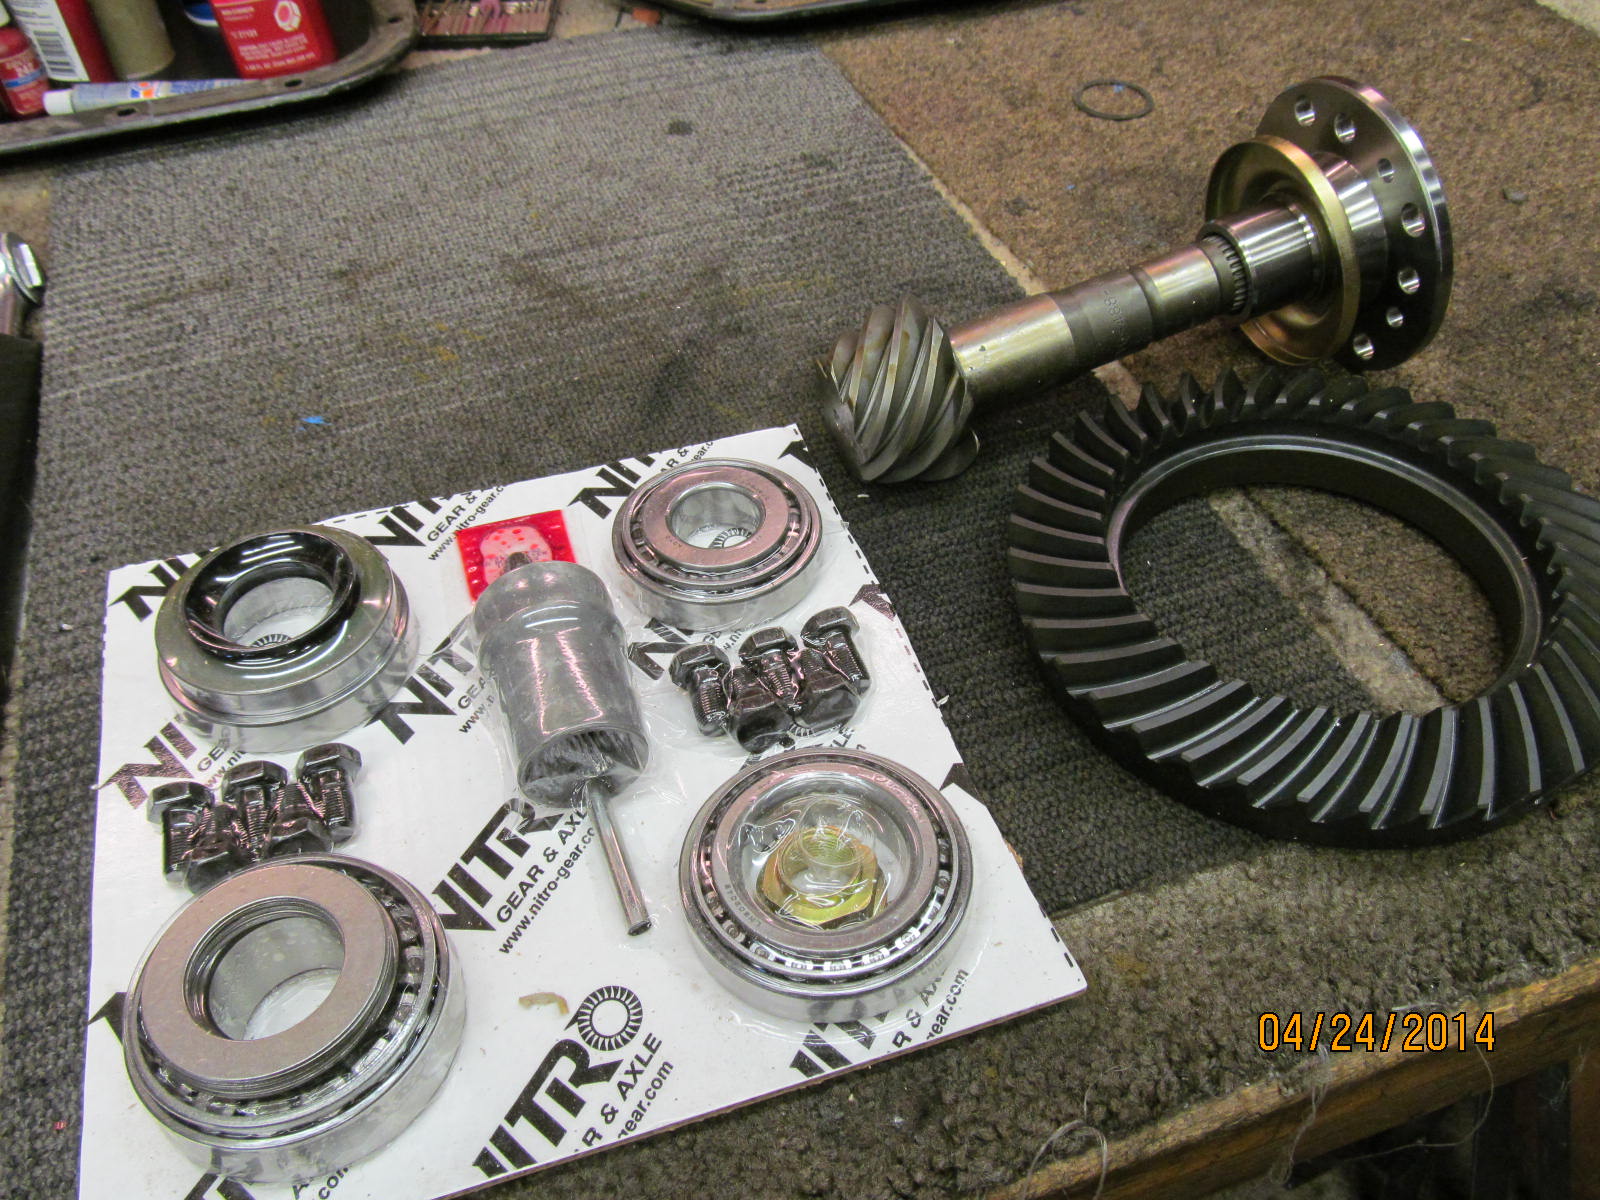
Nitro 488 29 spline ring/pinion...29 spline multi-drilled flange....master install kit.
|
|
|
|
|
...........
|
|
|
|
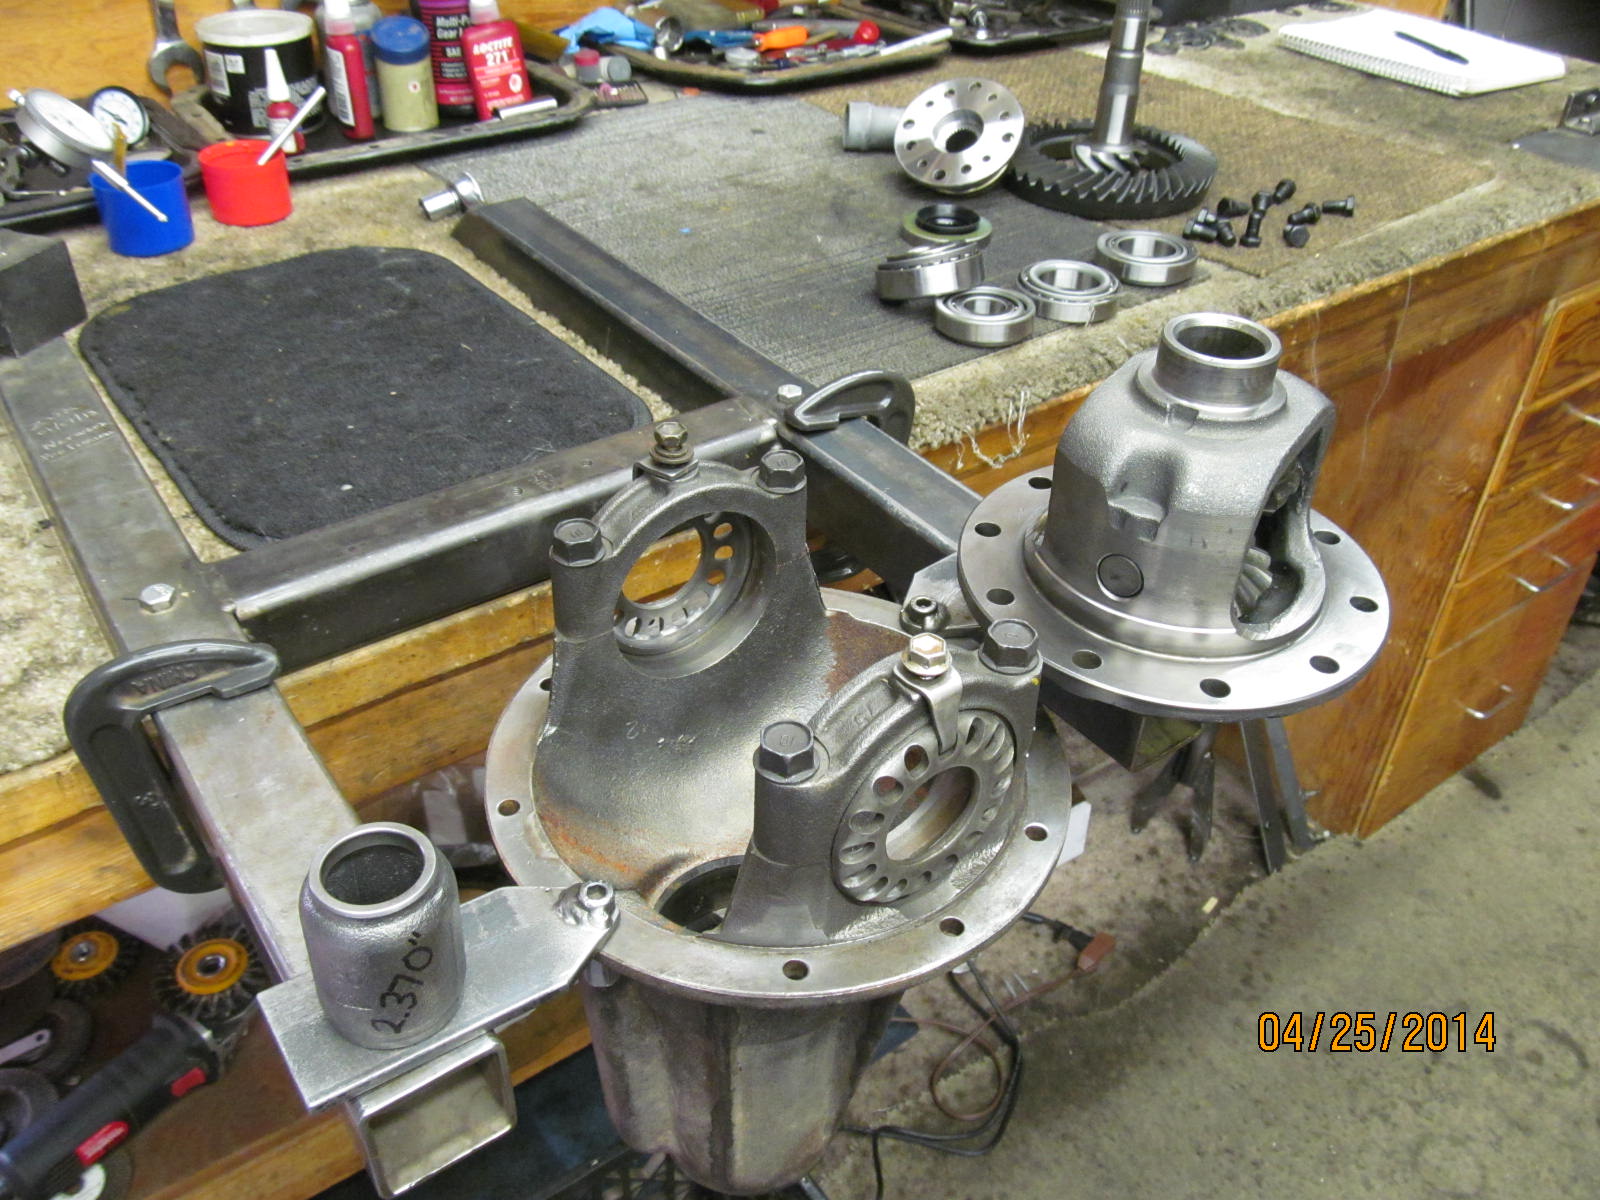
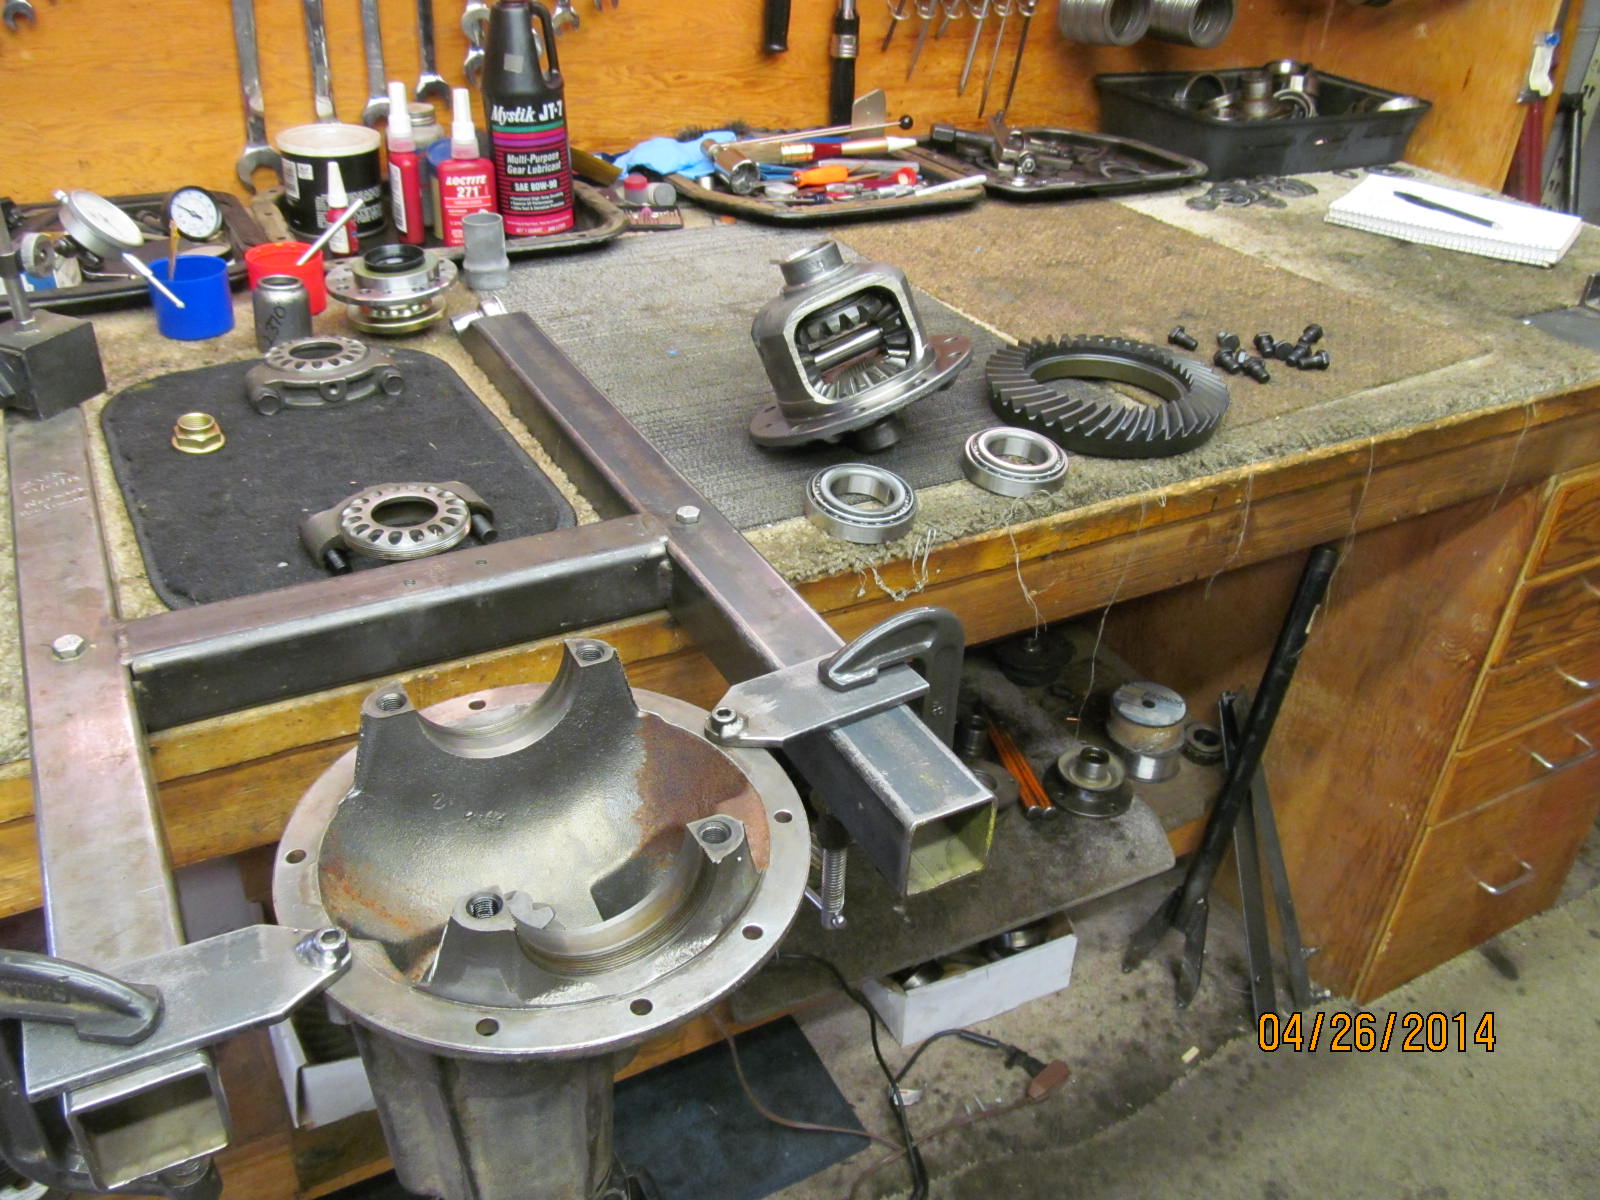
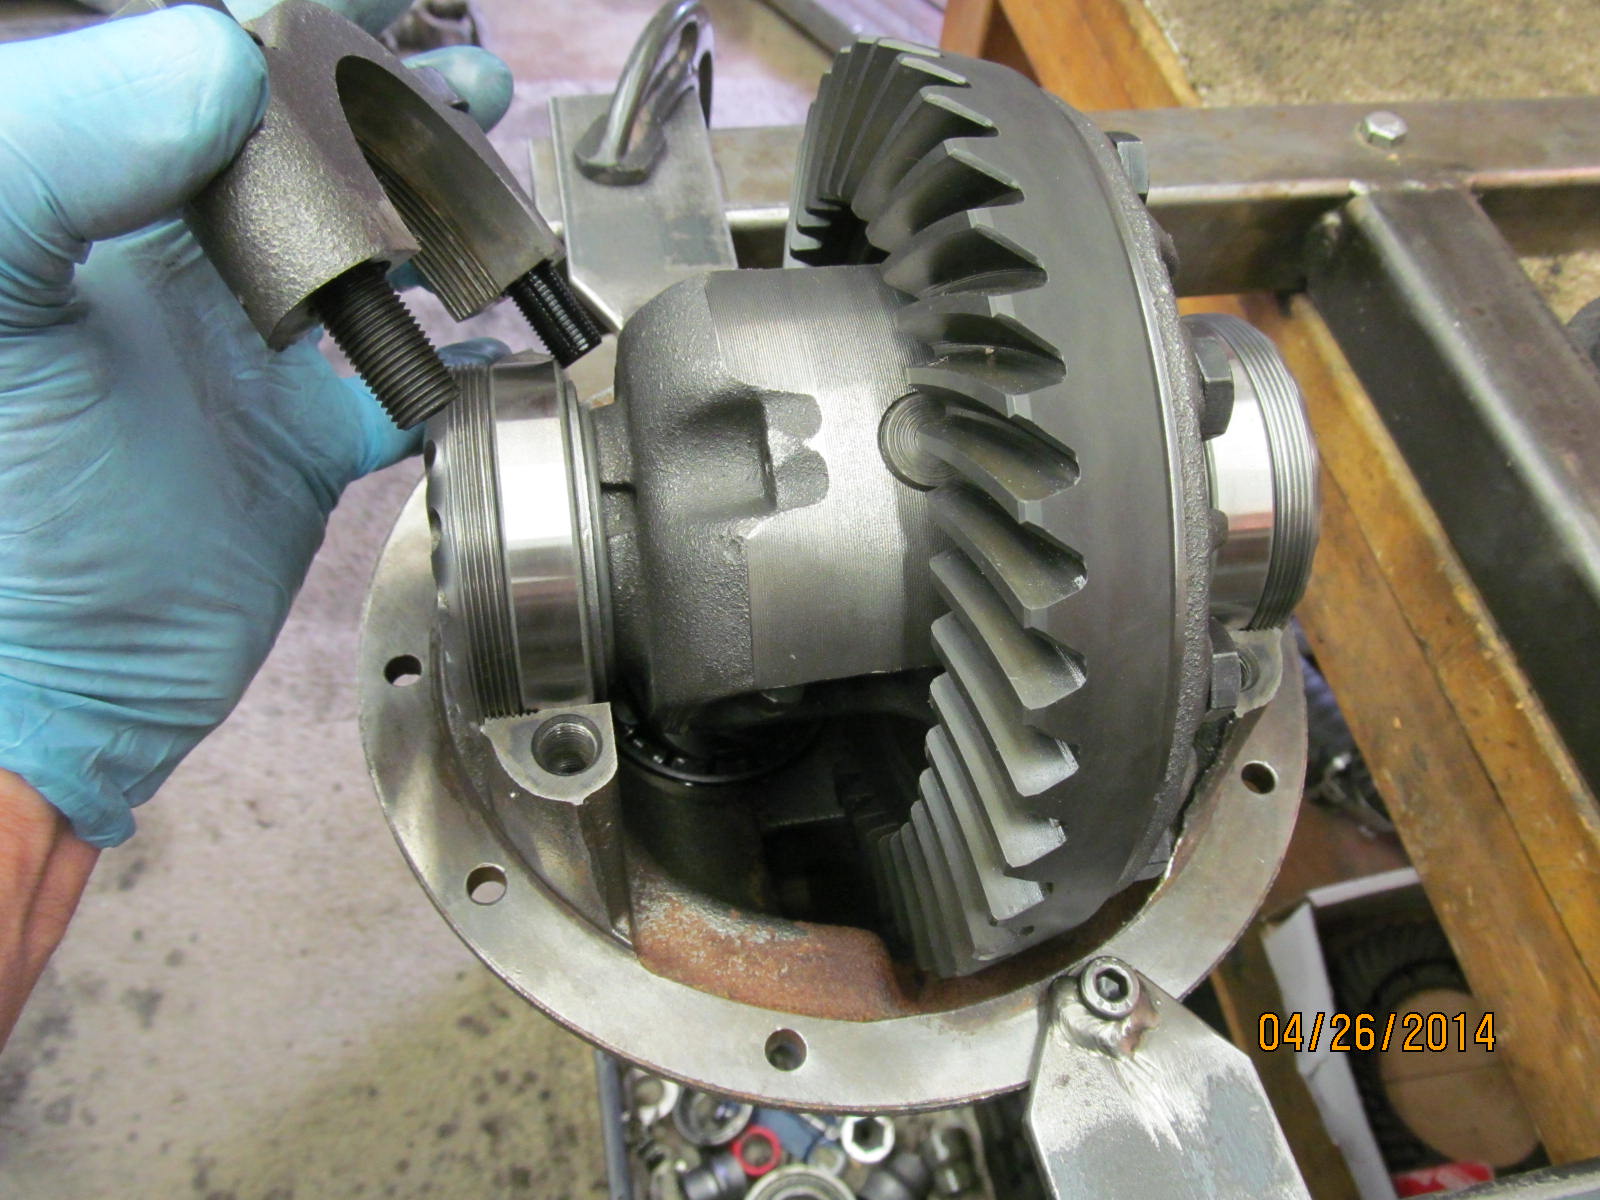
Because of where Jason is and the cost of sending a 65 pound 3rd to me, it was decided to use a core that I happen
to have. So, I have a solid collar, a basic core, and a basic 2 pinion differential case for this project.
|
|
|
|
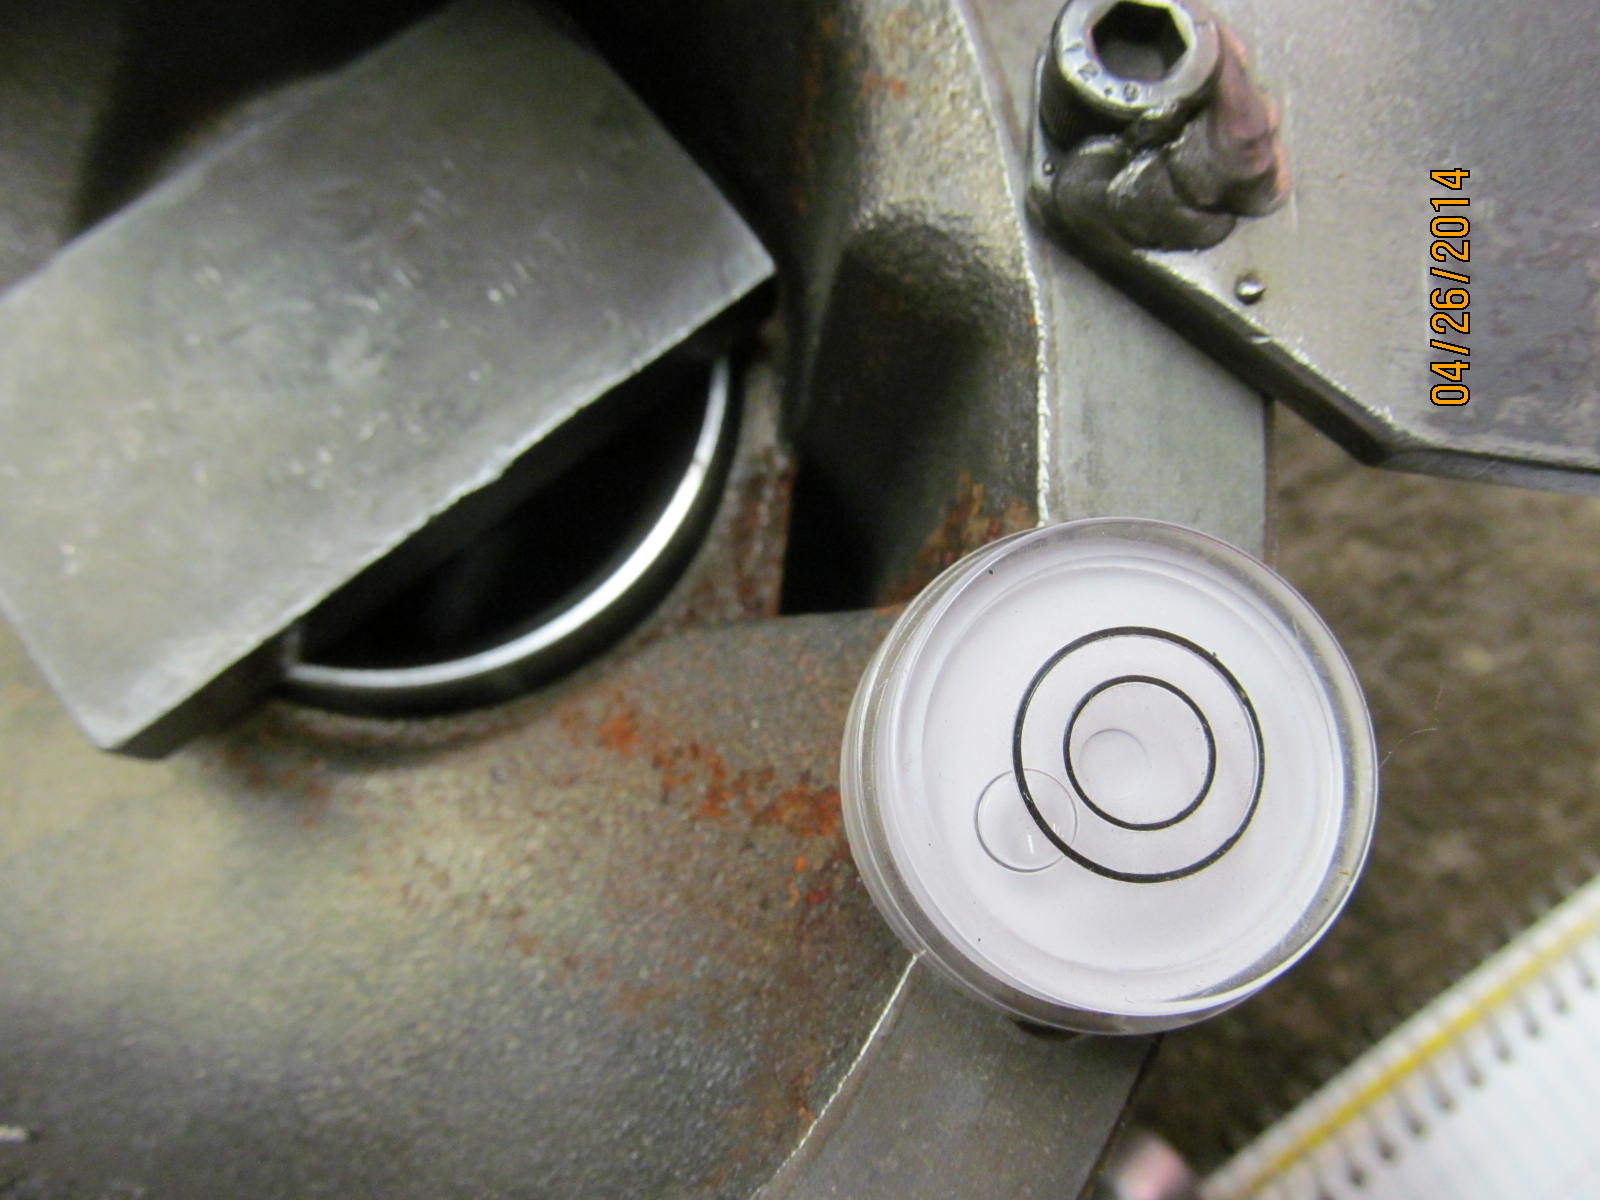
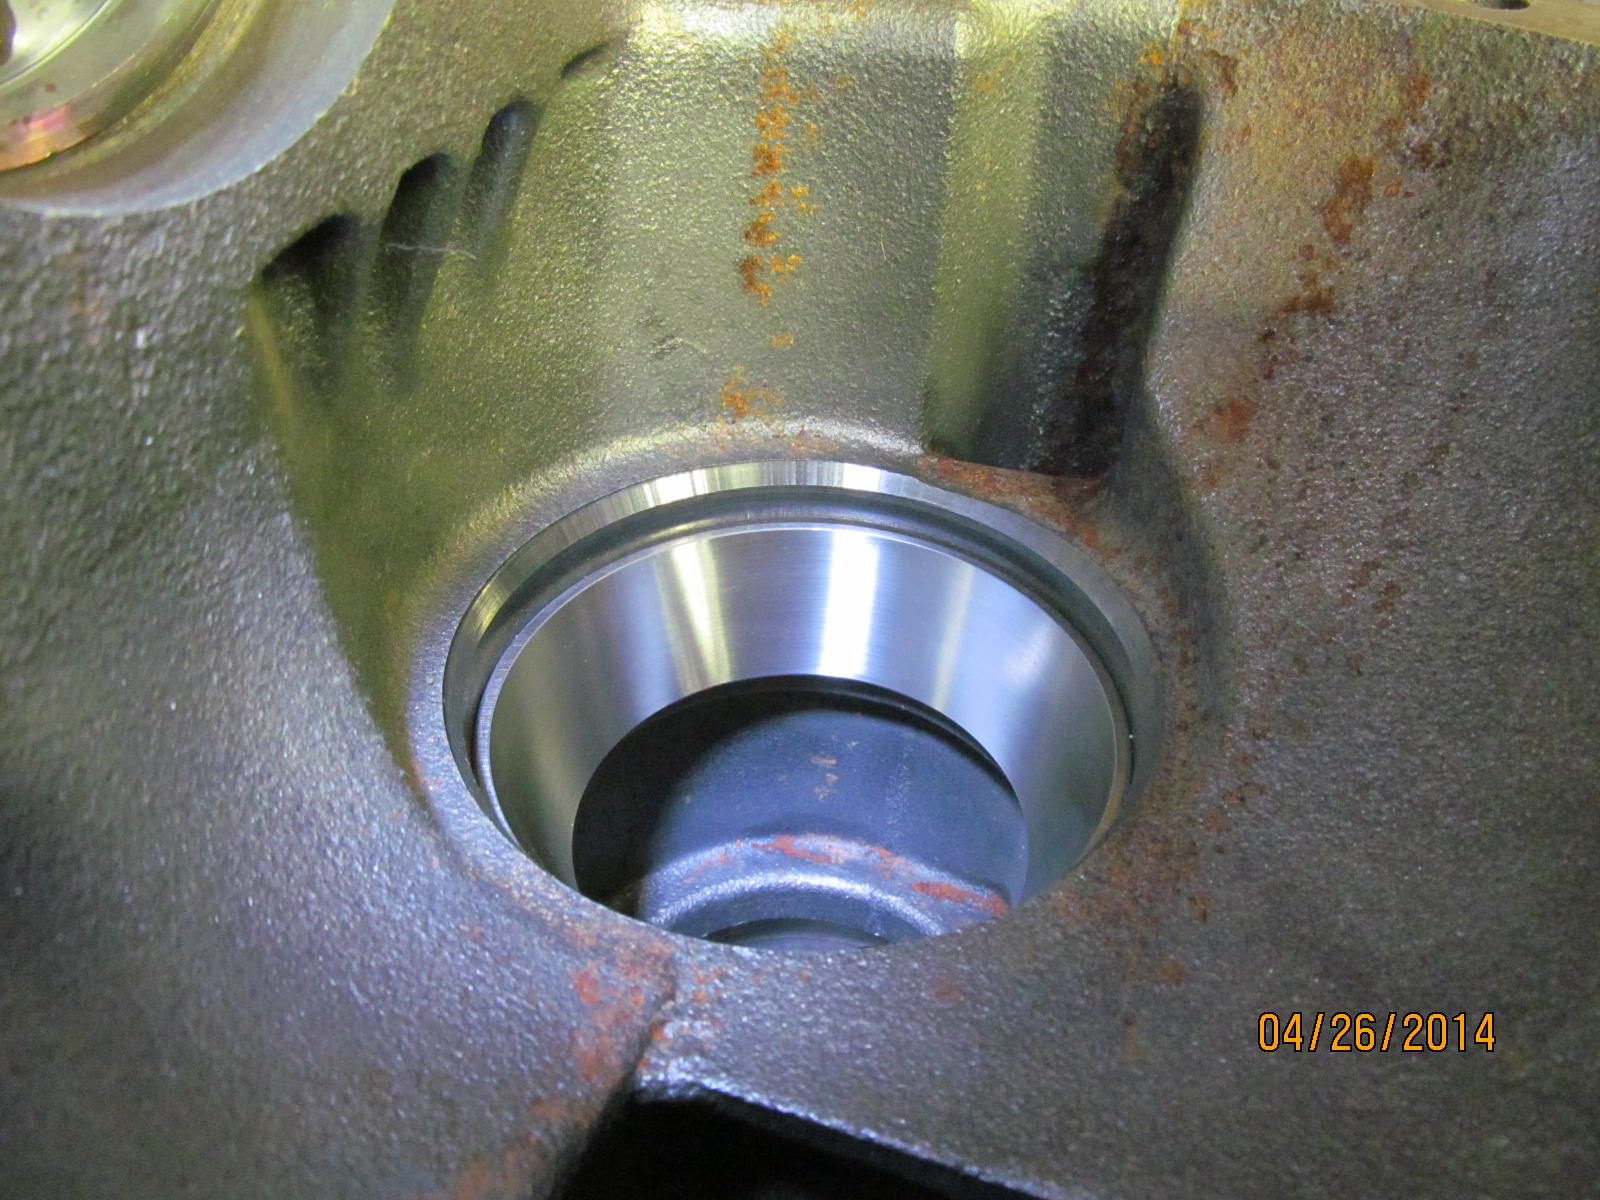
The large rear pinion race is tough to press in sometimes. The trick is to get it started straight
so I use a "bubble"......
|
|
|
|
|
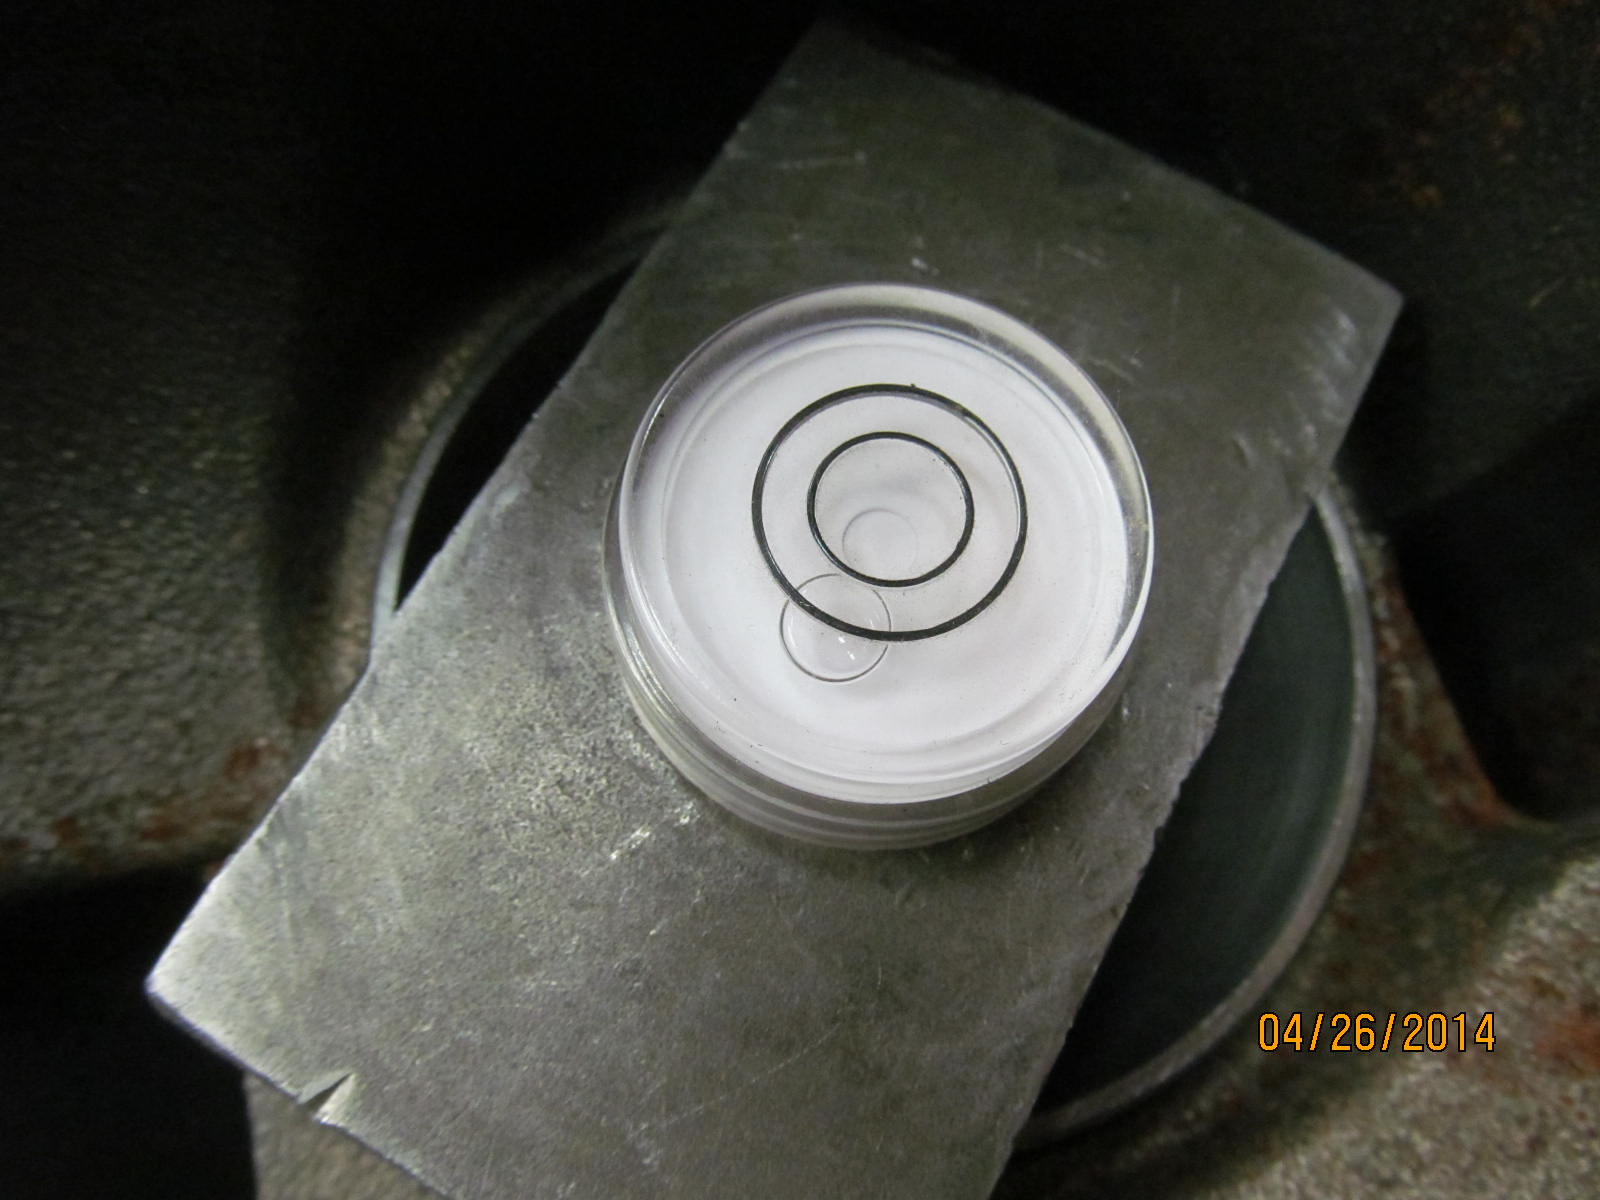
...and make sure the bubble placement is the same before I apply pressure from the press.
|
|
|
|
|
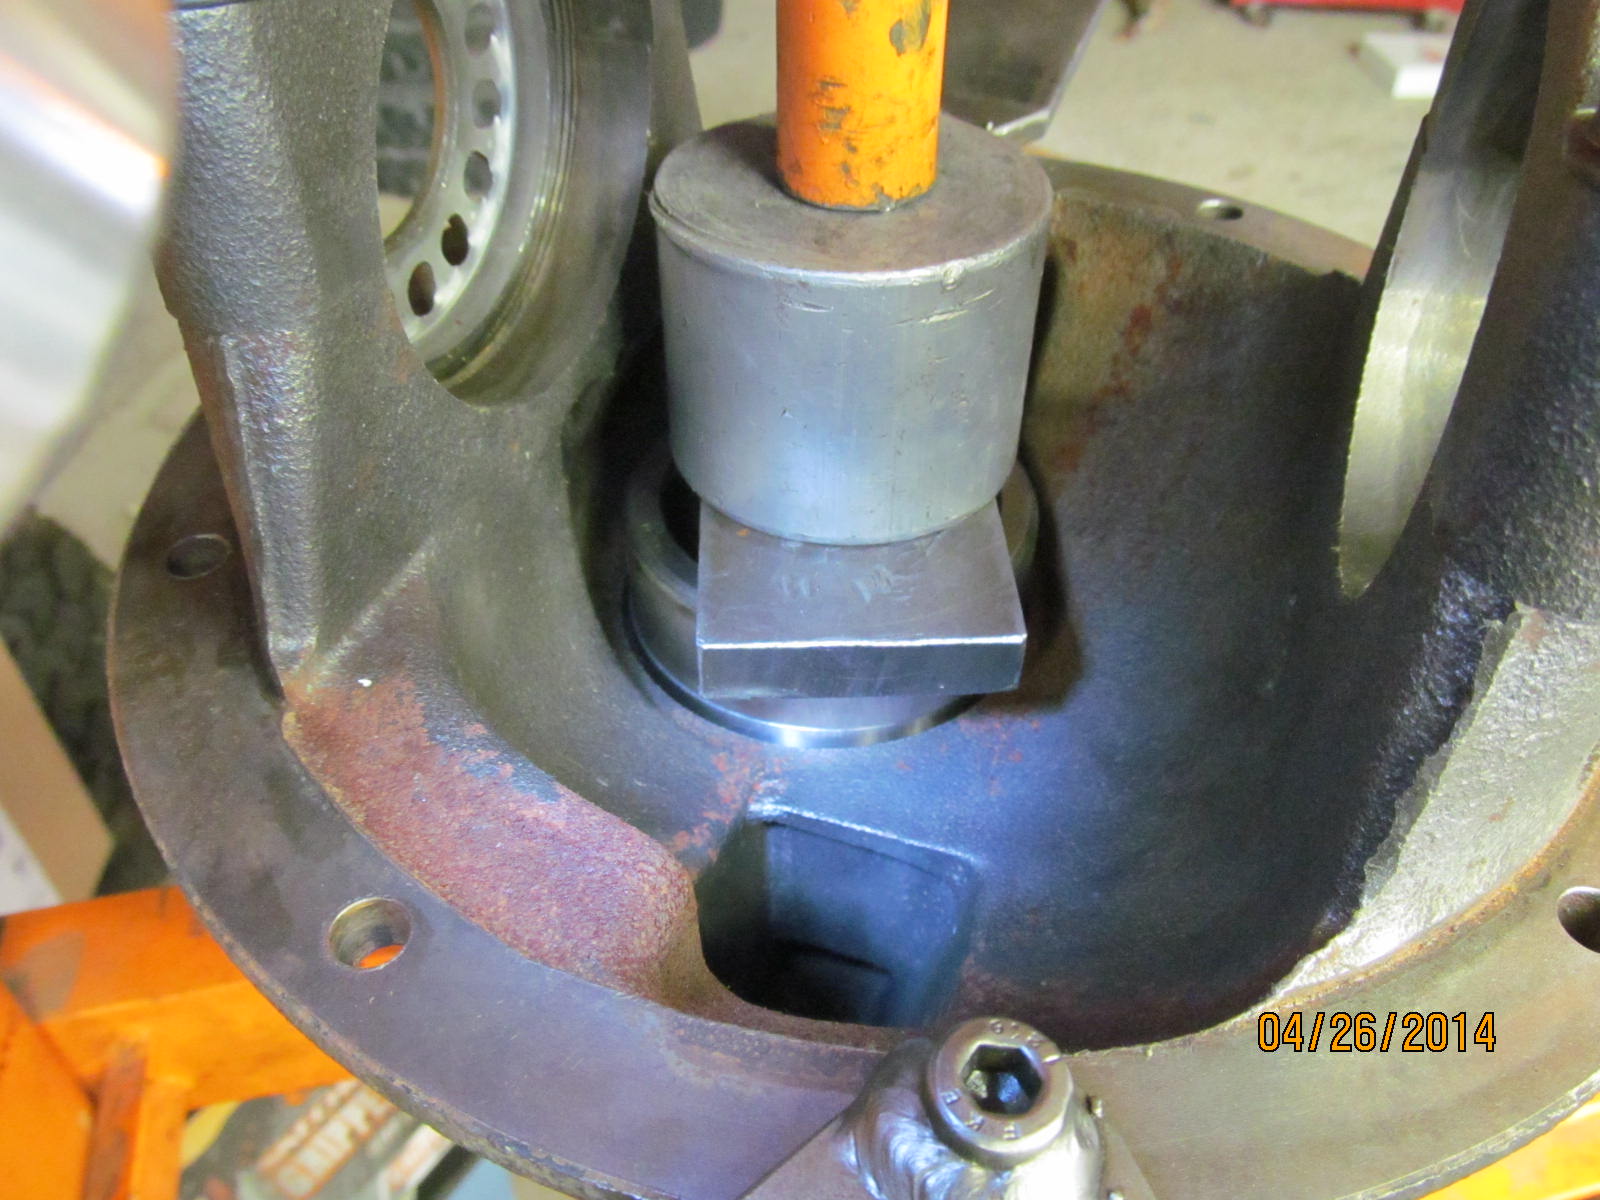
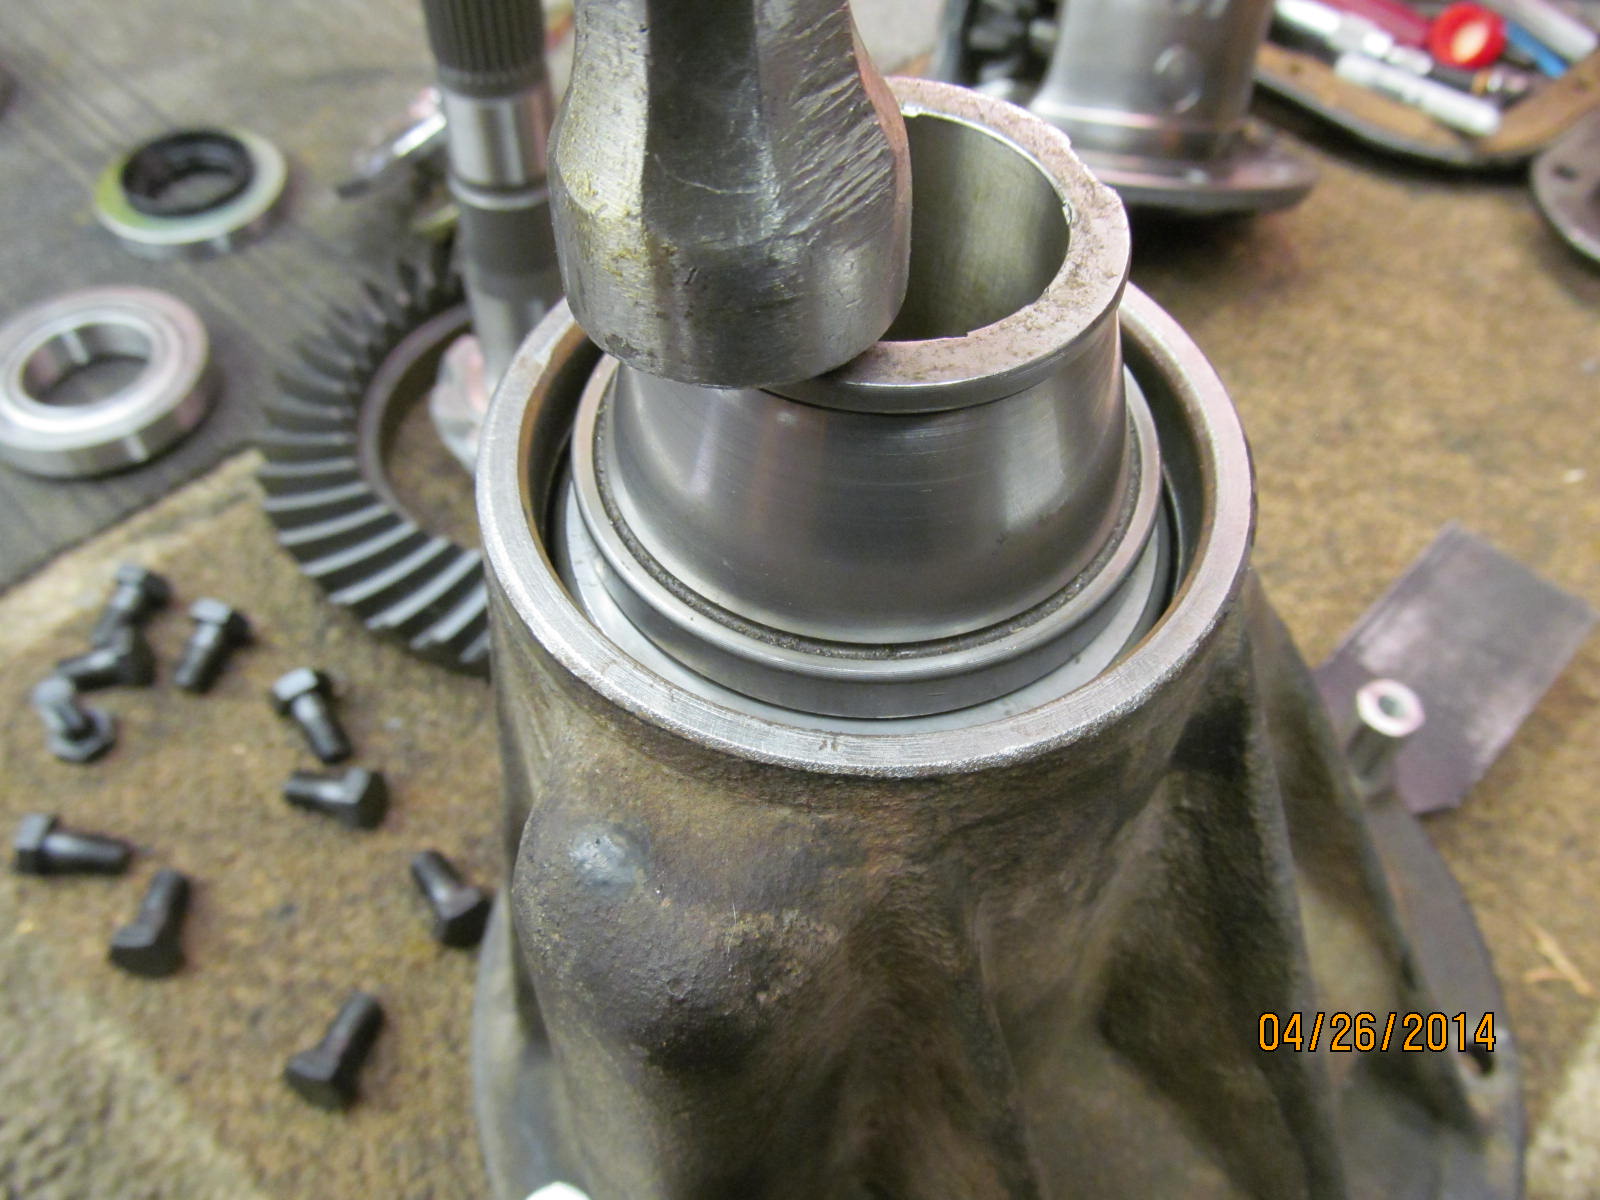
Save your old races. They come in handy for pushing bearings in place.
|
|
|
|
The race goes down a long way. If a chisel was being used, it's very easy to think you have the race bottomed out
when it's not.
|
|
|
|
The small front race is more straight forward....just use some old bearing parts and a hammer to tap tap
it fully in place.
|
|
|
|
|
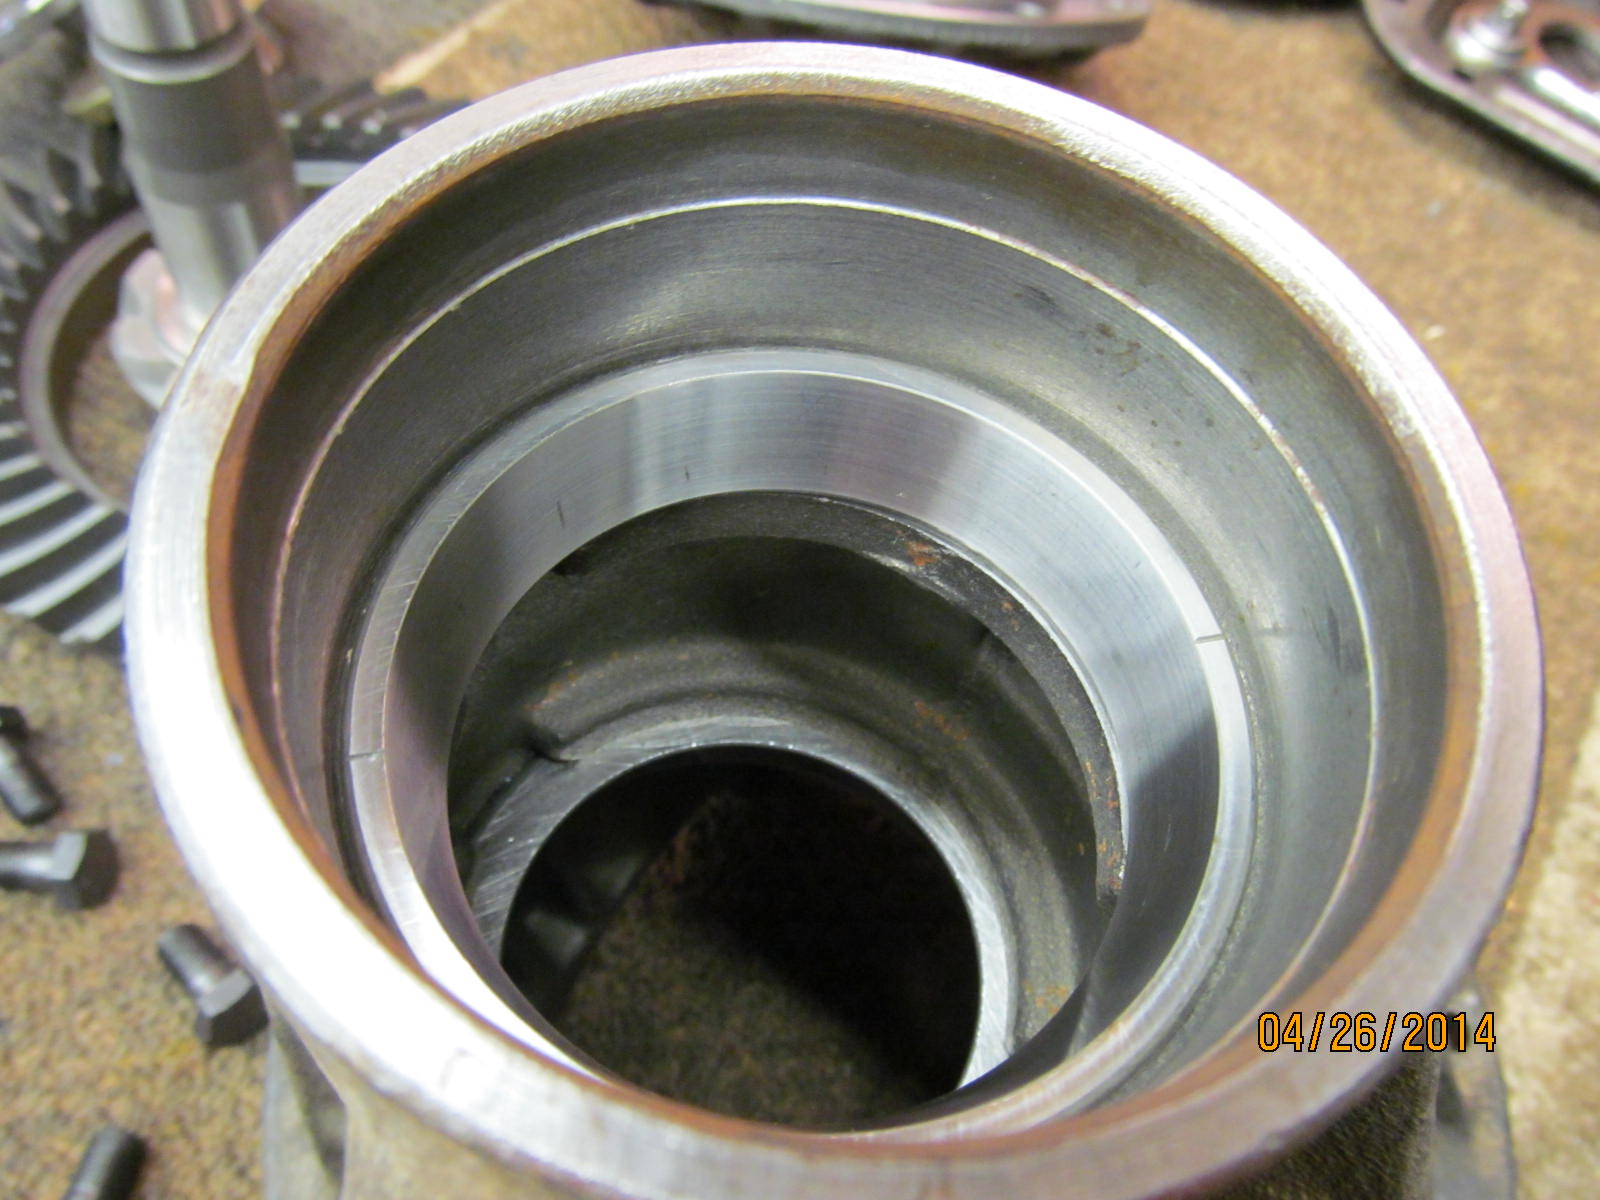
Front(outer)race is verified in 100%.
|
|
|
|
|
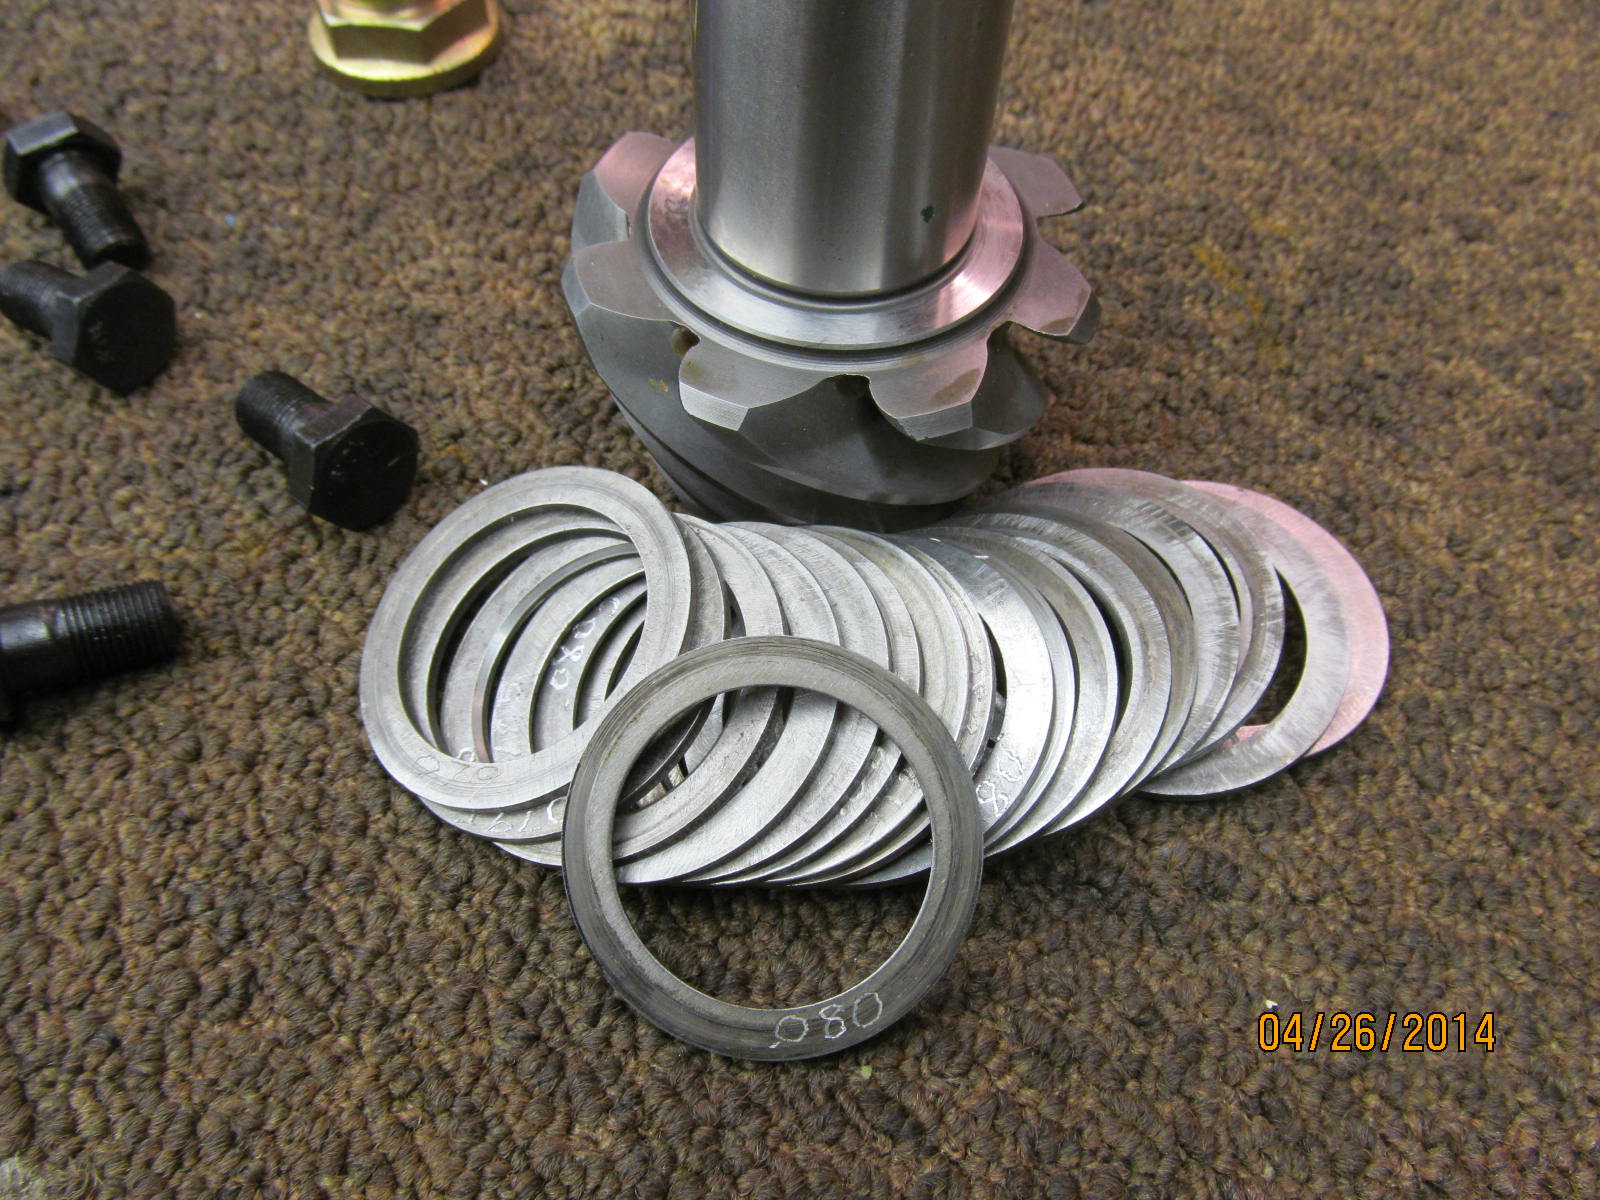
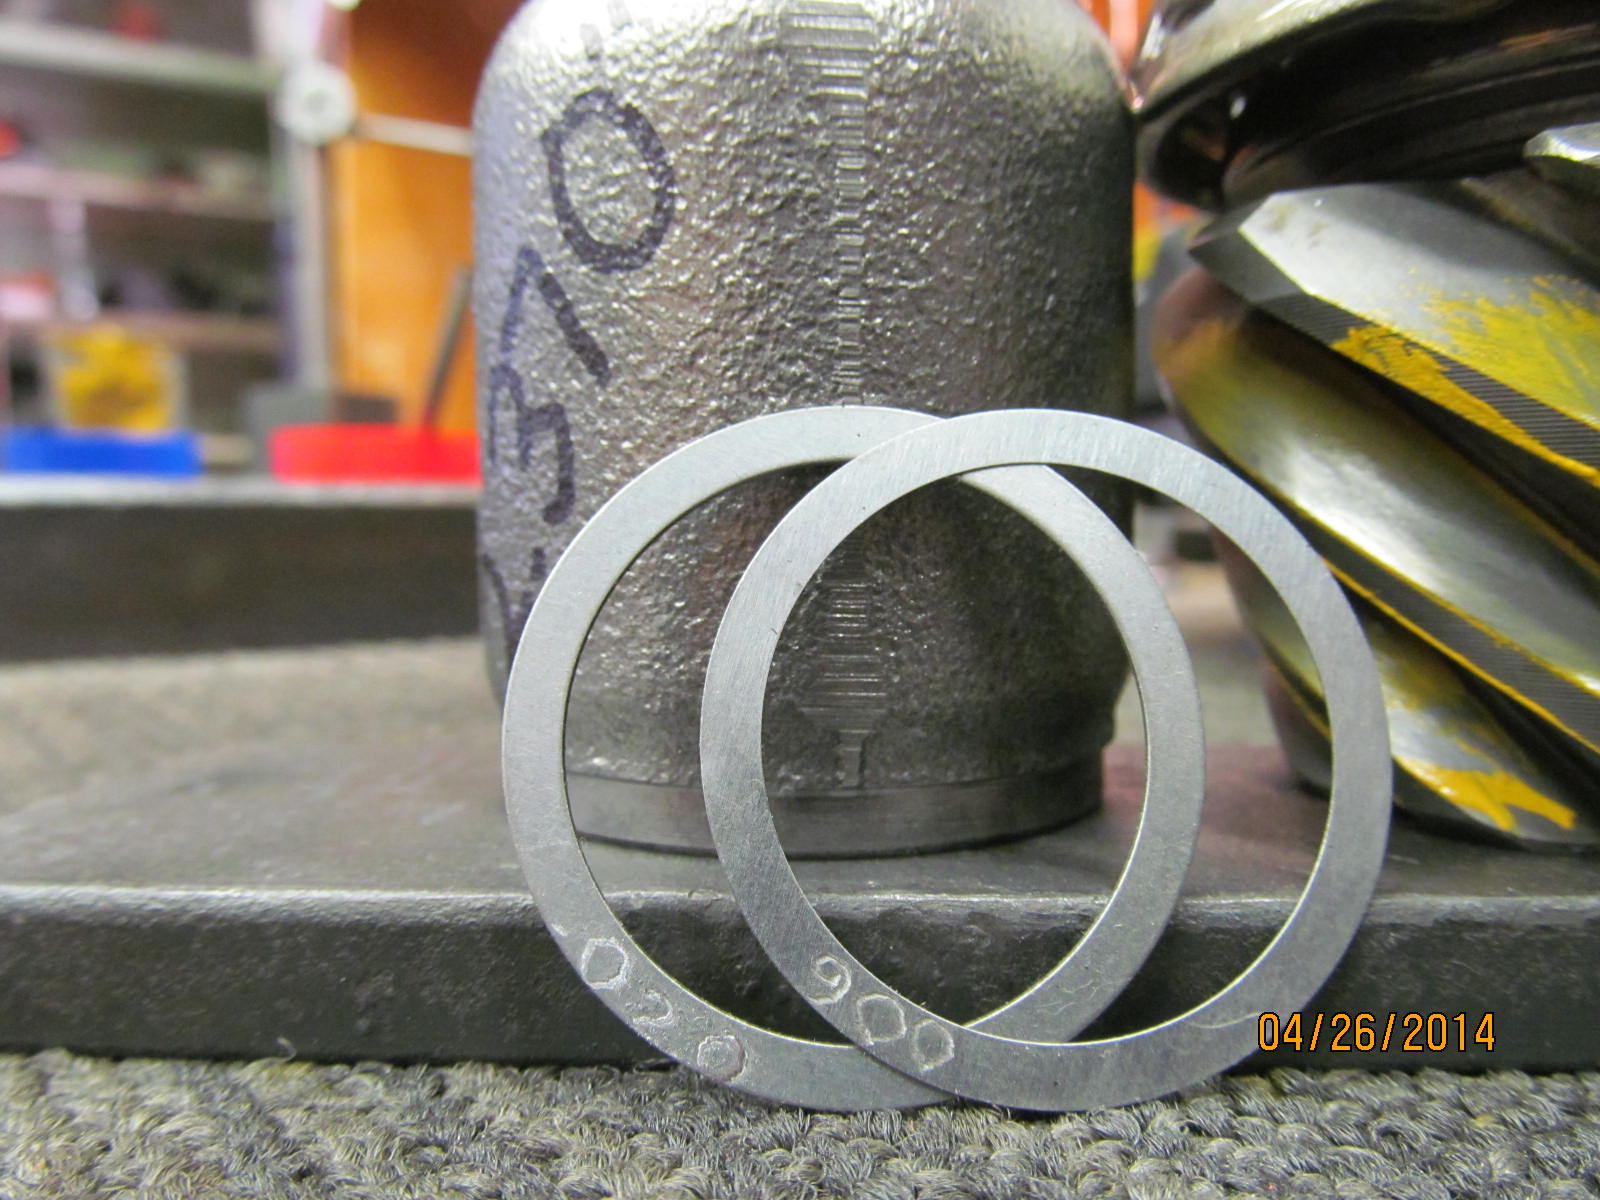
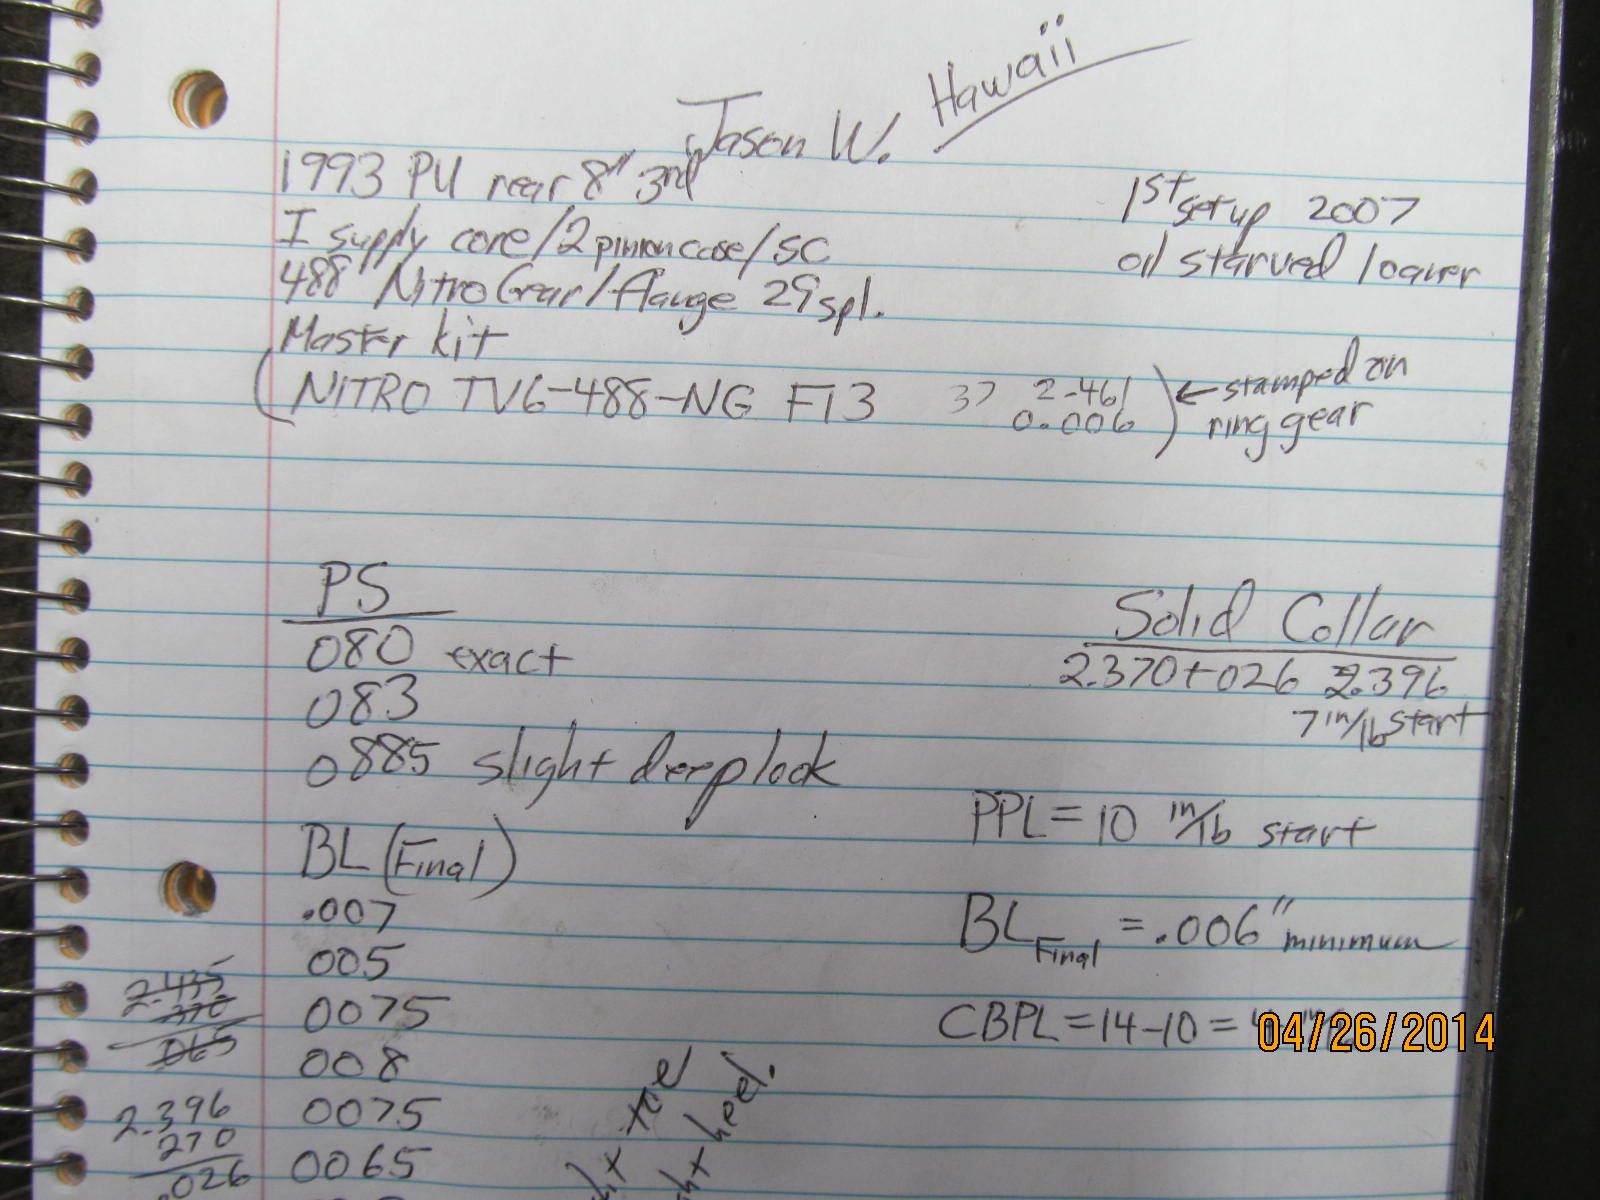
.080" is the 1st choice for this Nitro gear set.
|
|
|
|
|
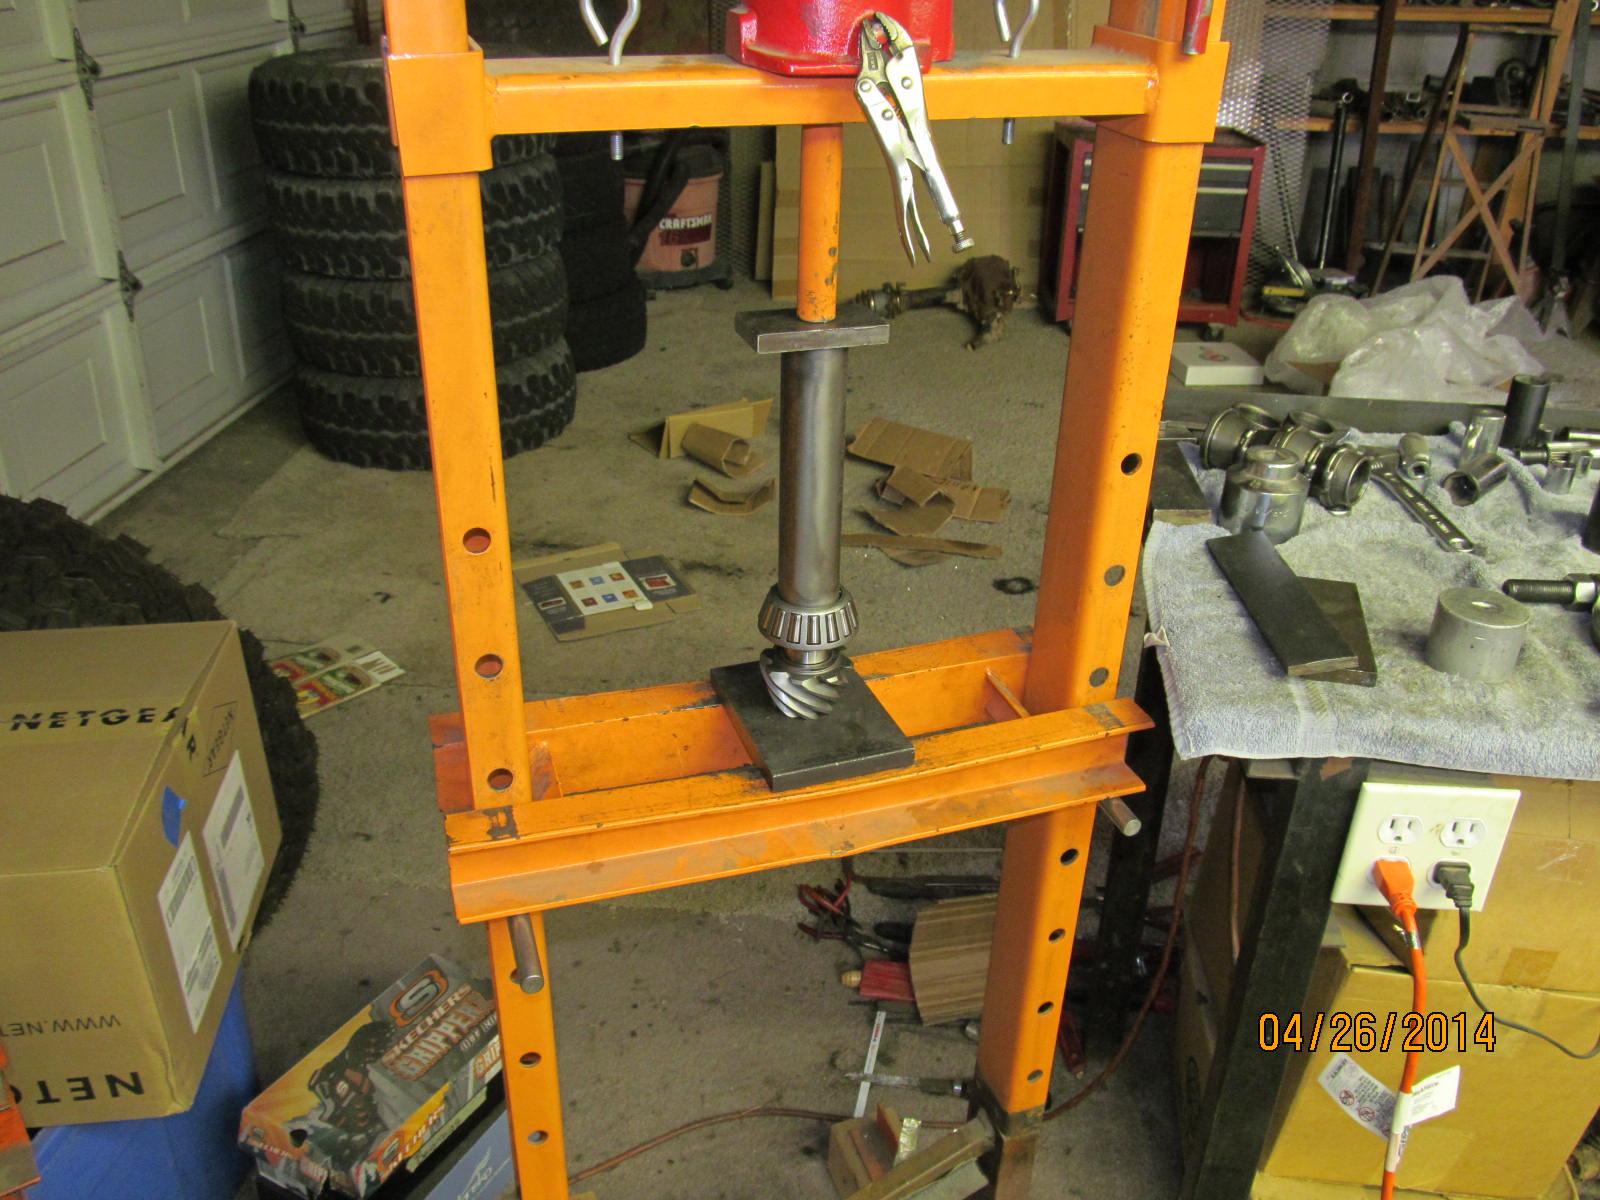
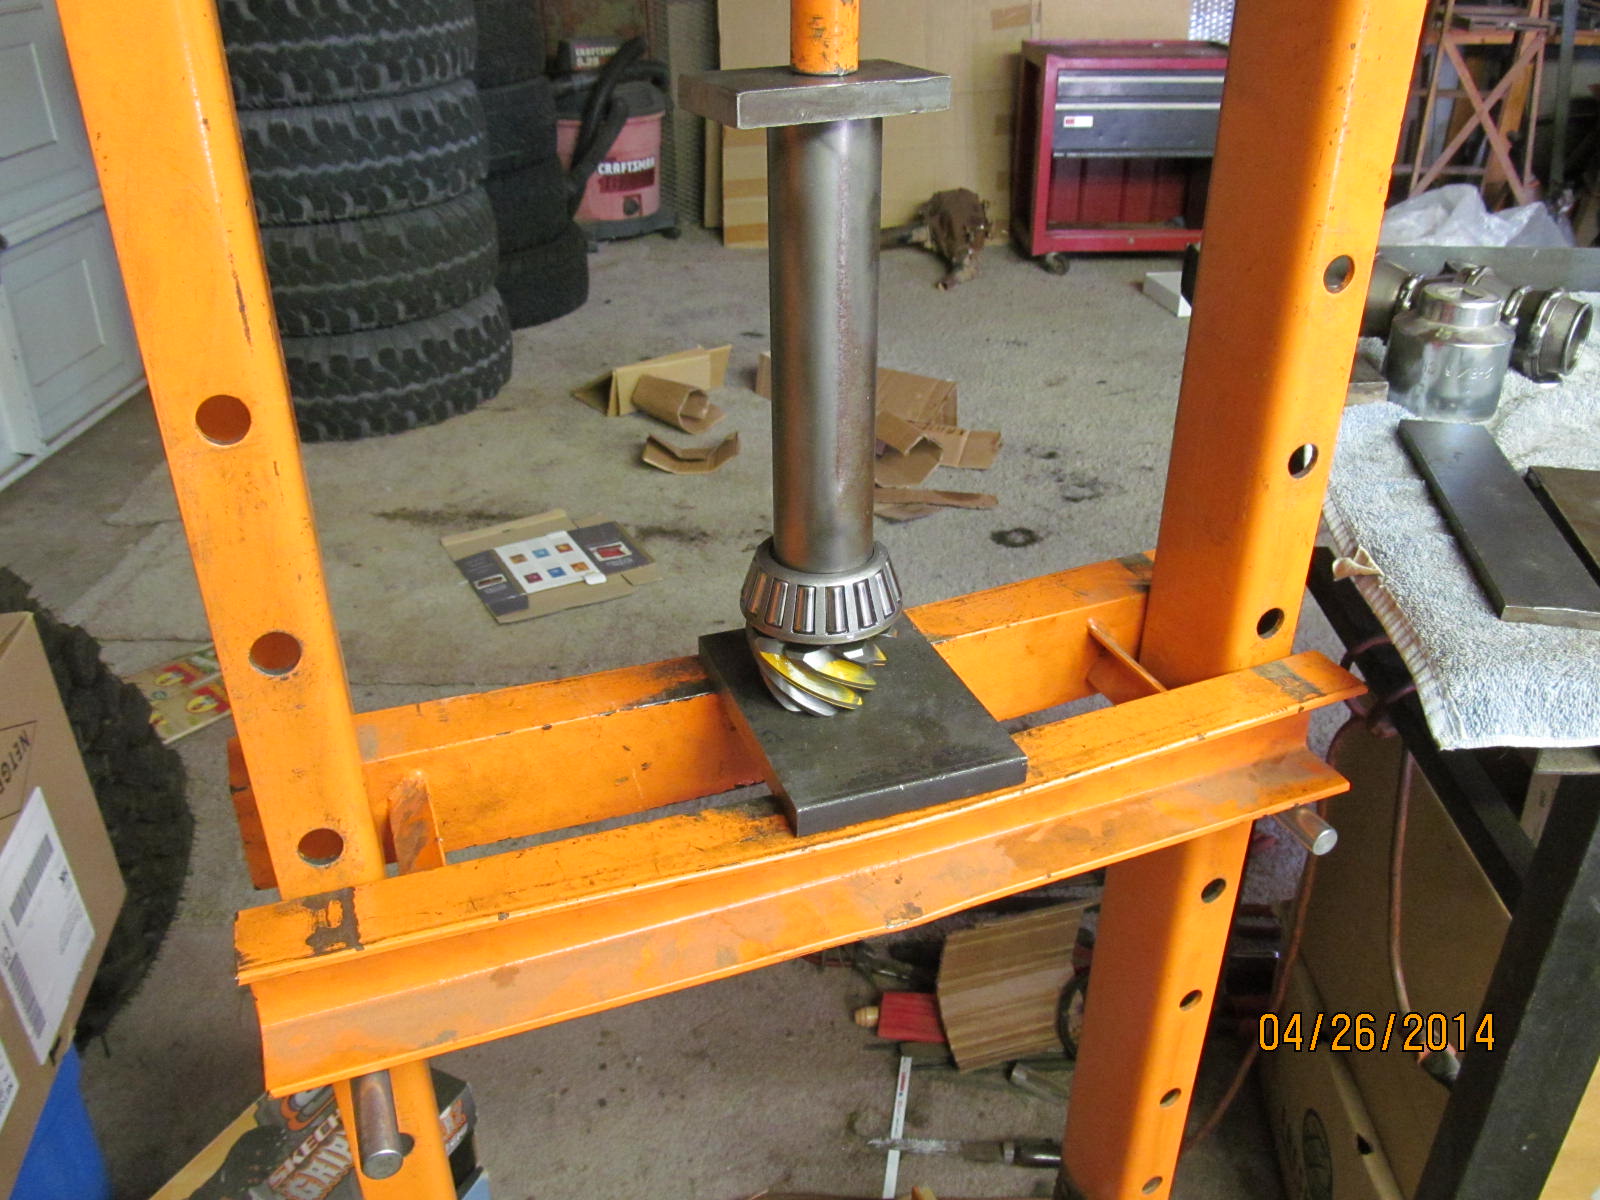
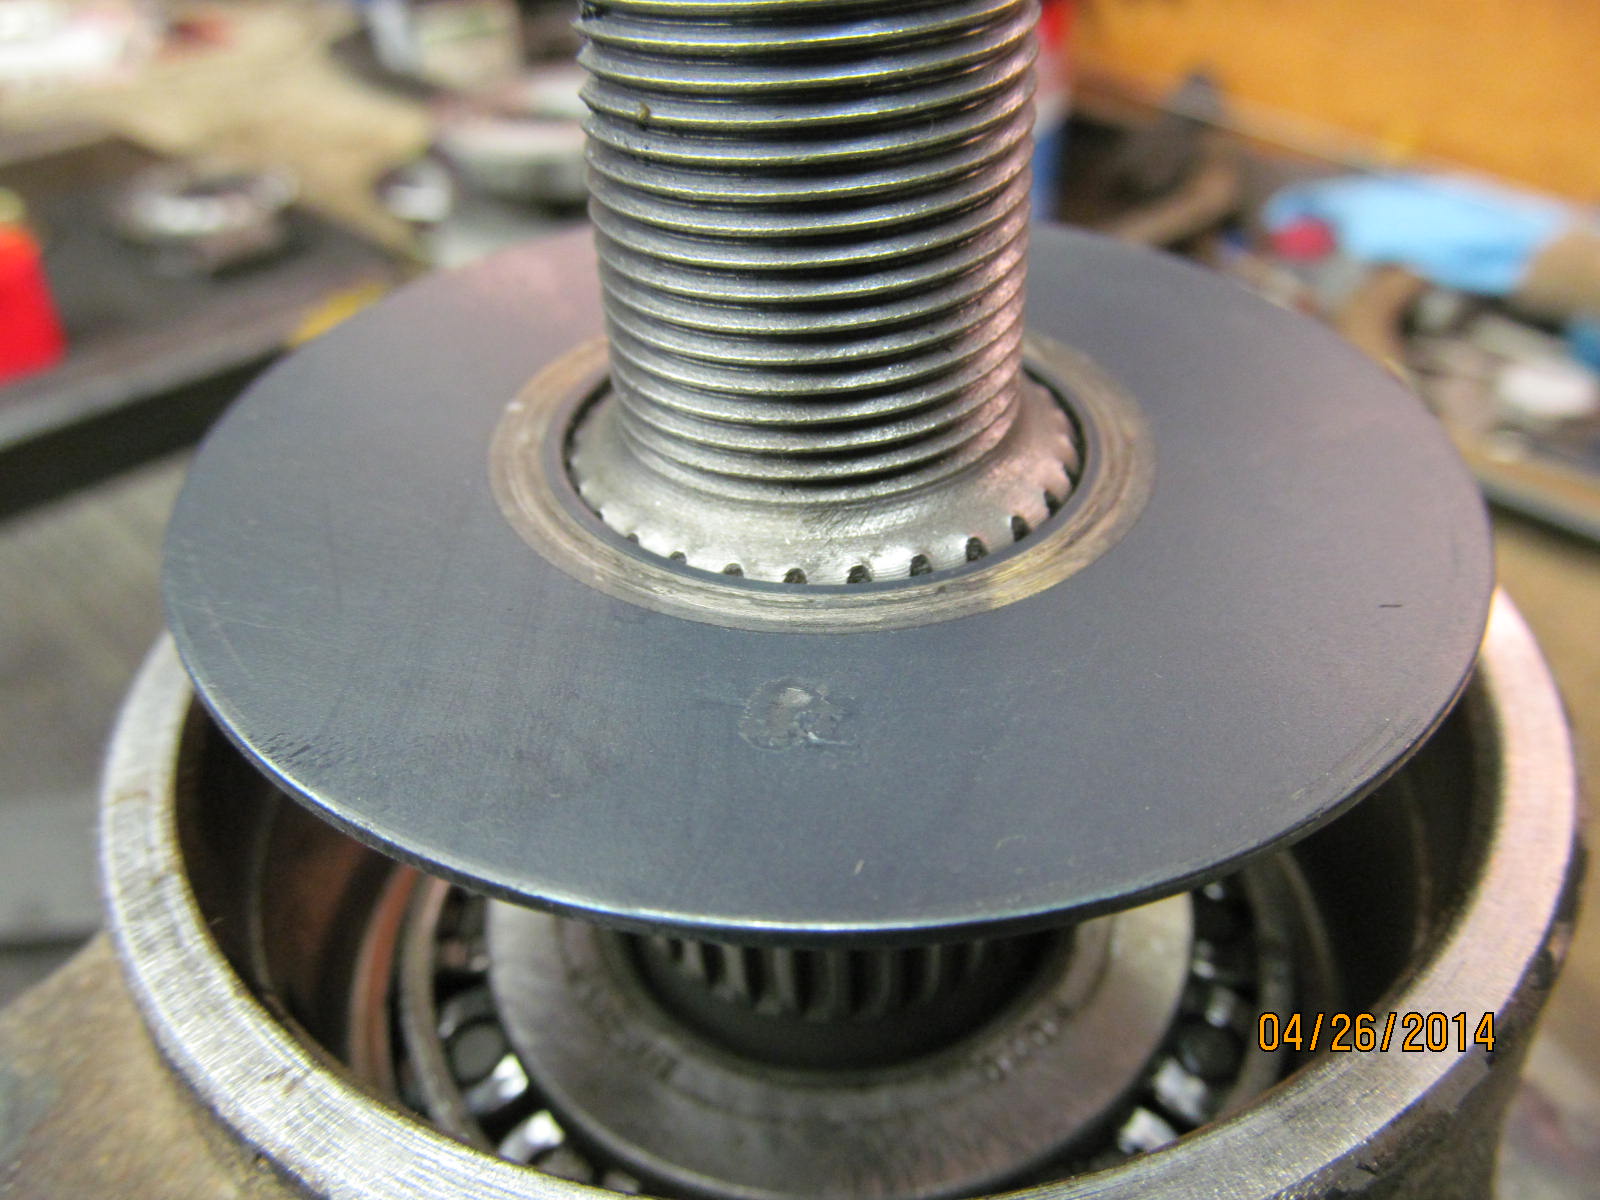
Press the big bearing on with the Harbor Freight press.
|
|
|
|
|
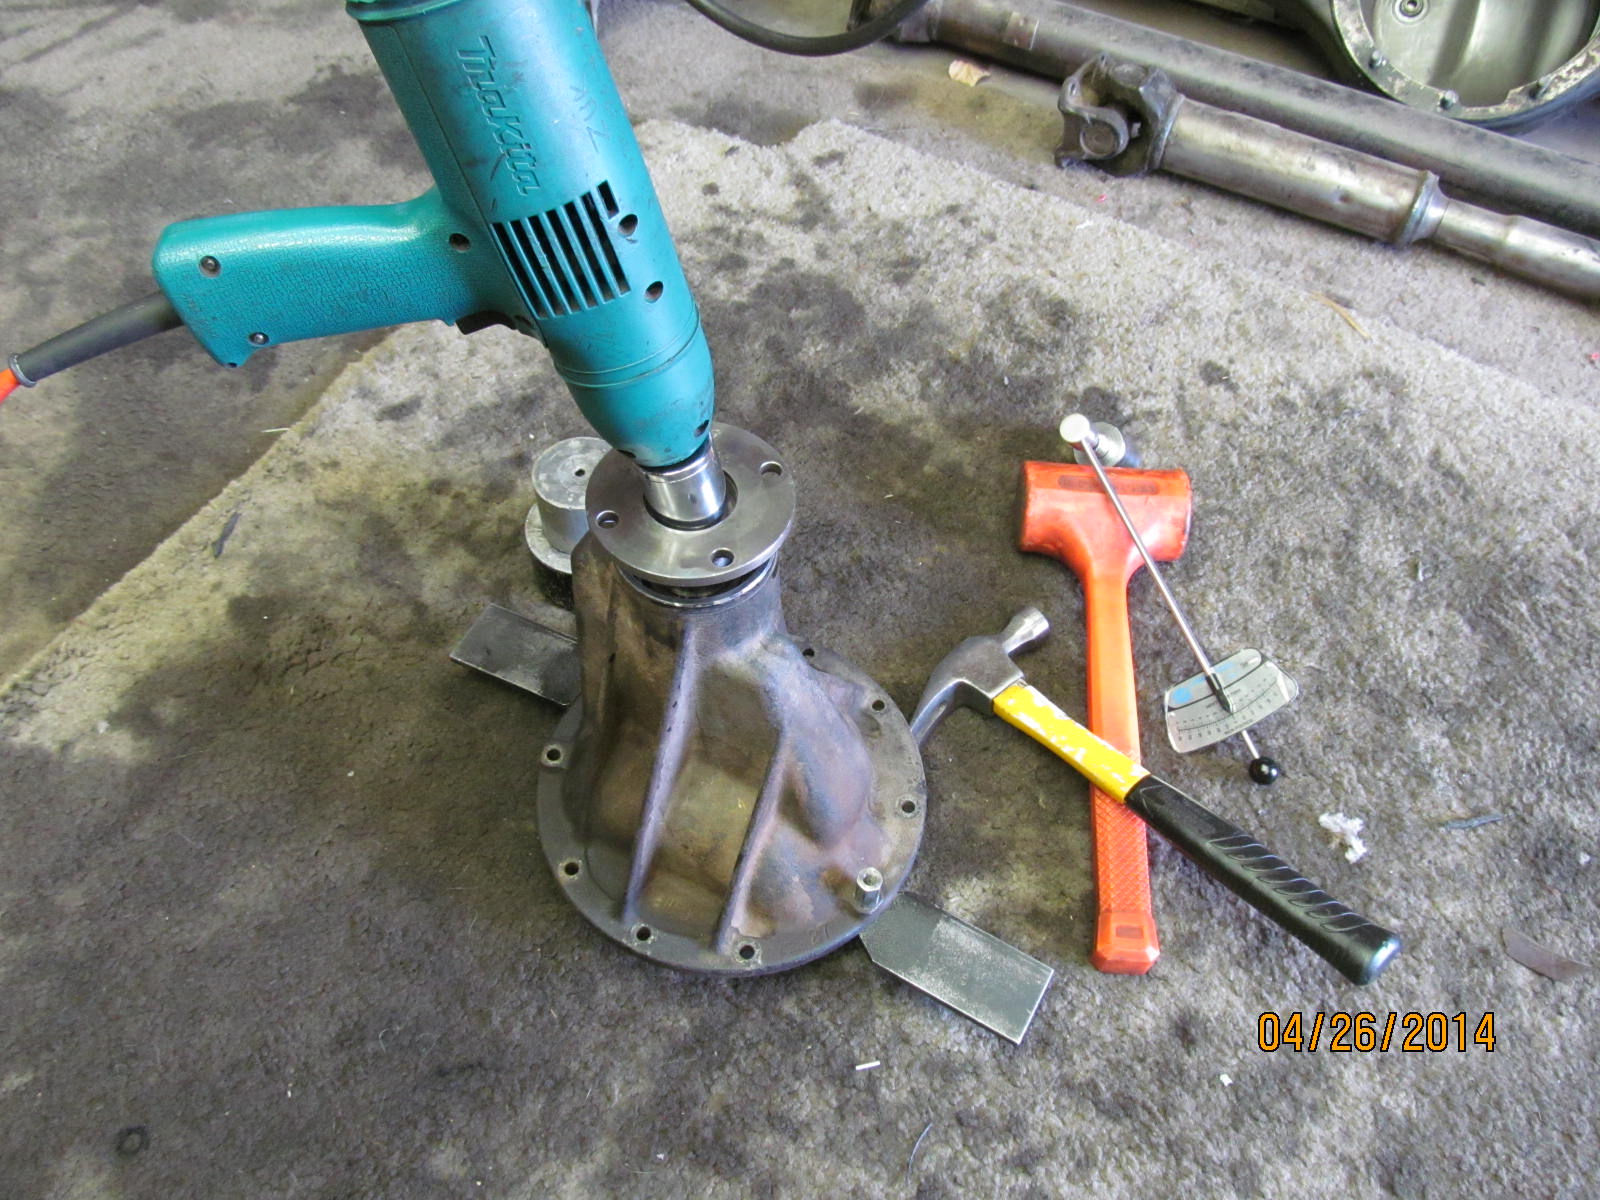
Installing the pinion assembly is a straight forward operation with the right tools.
|
|
|
|
|
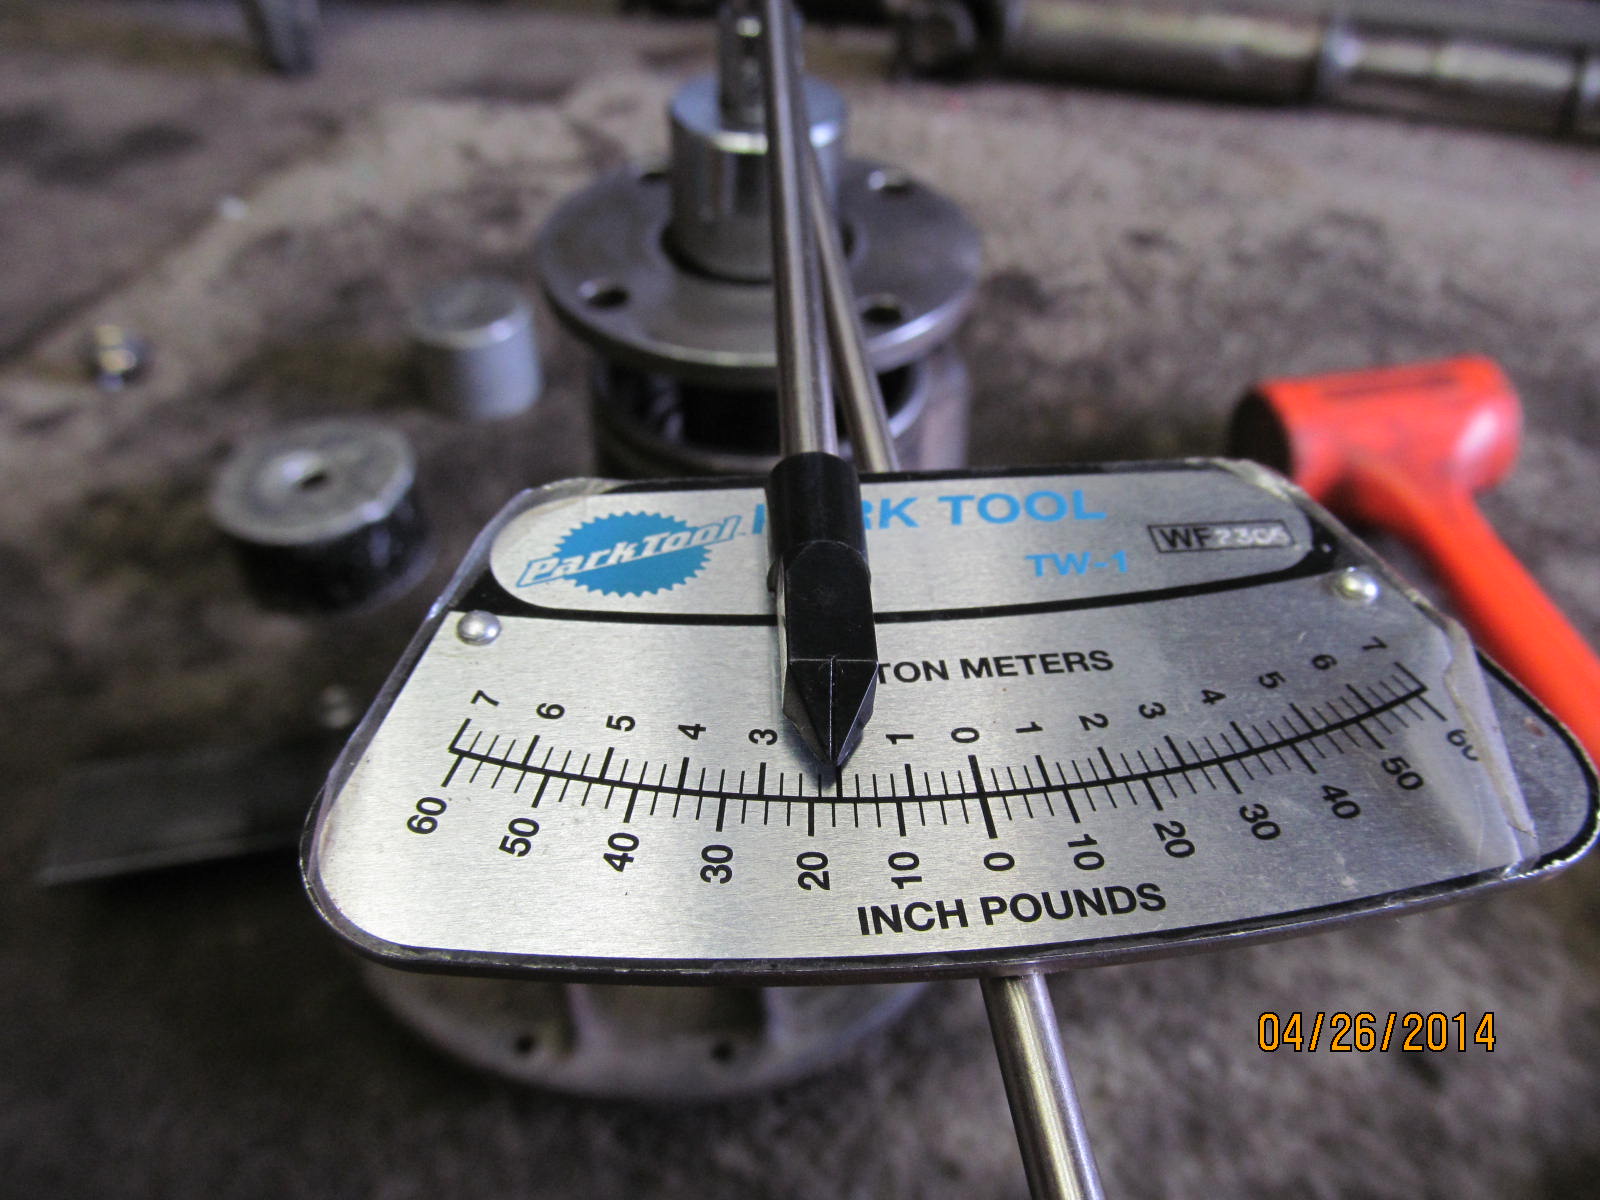
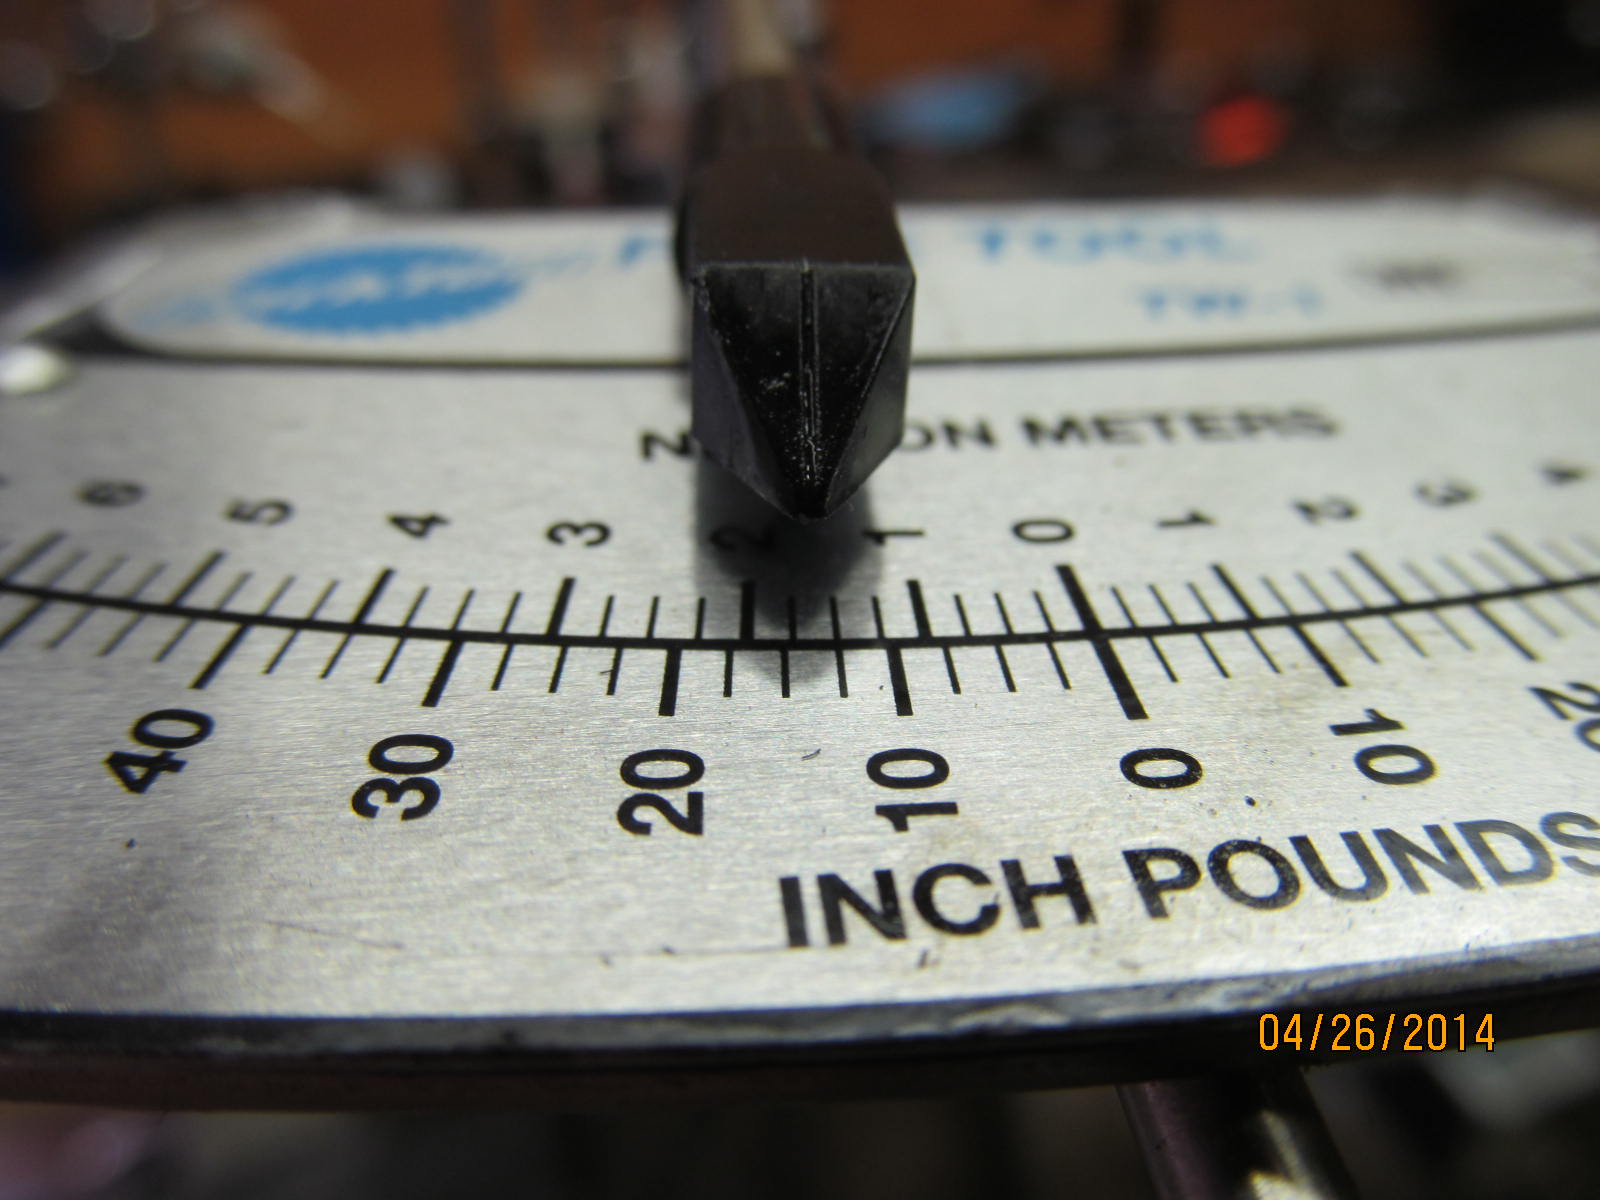
For this paint check, 18 in/lb is aok.
|
|
|
|
|
Now to prep the case end.
|
|
|
|
|
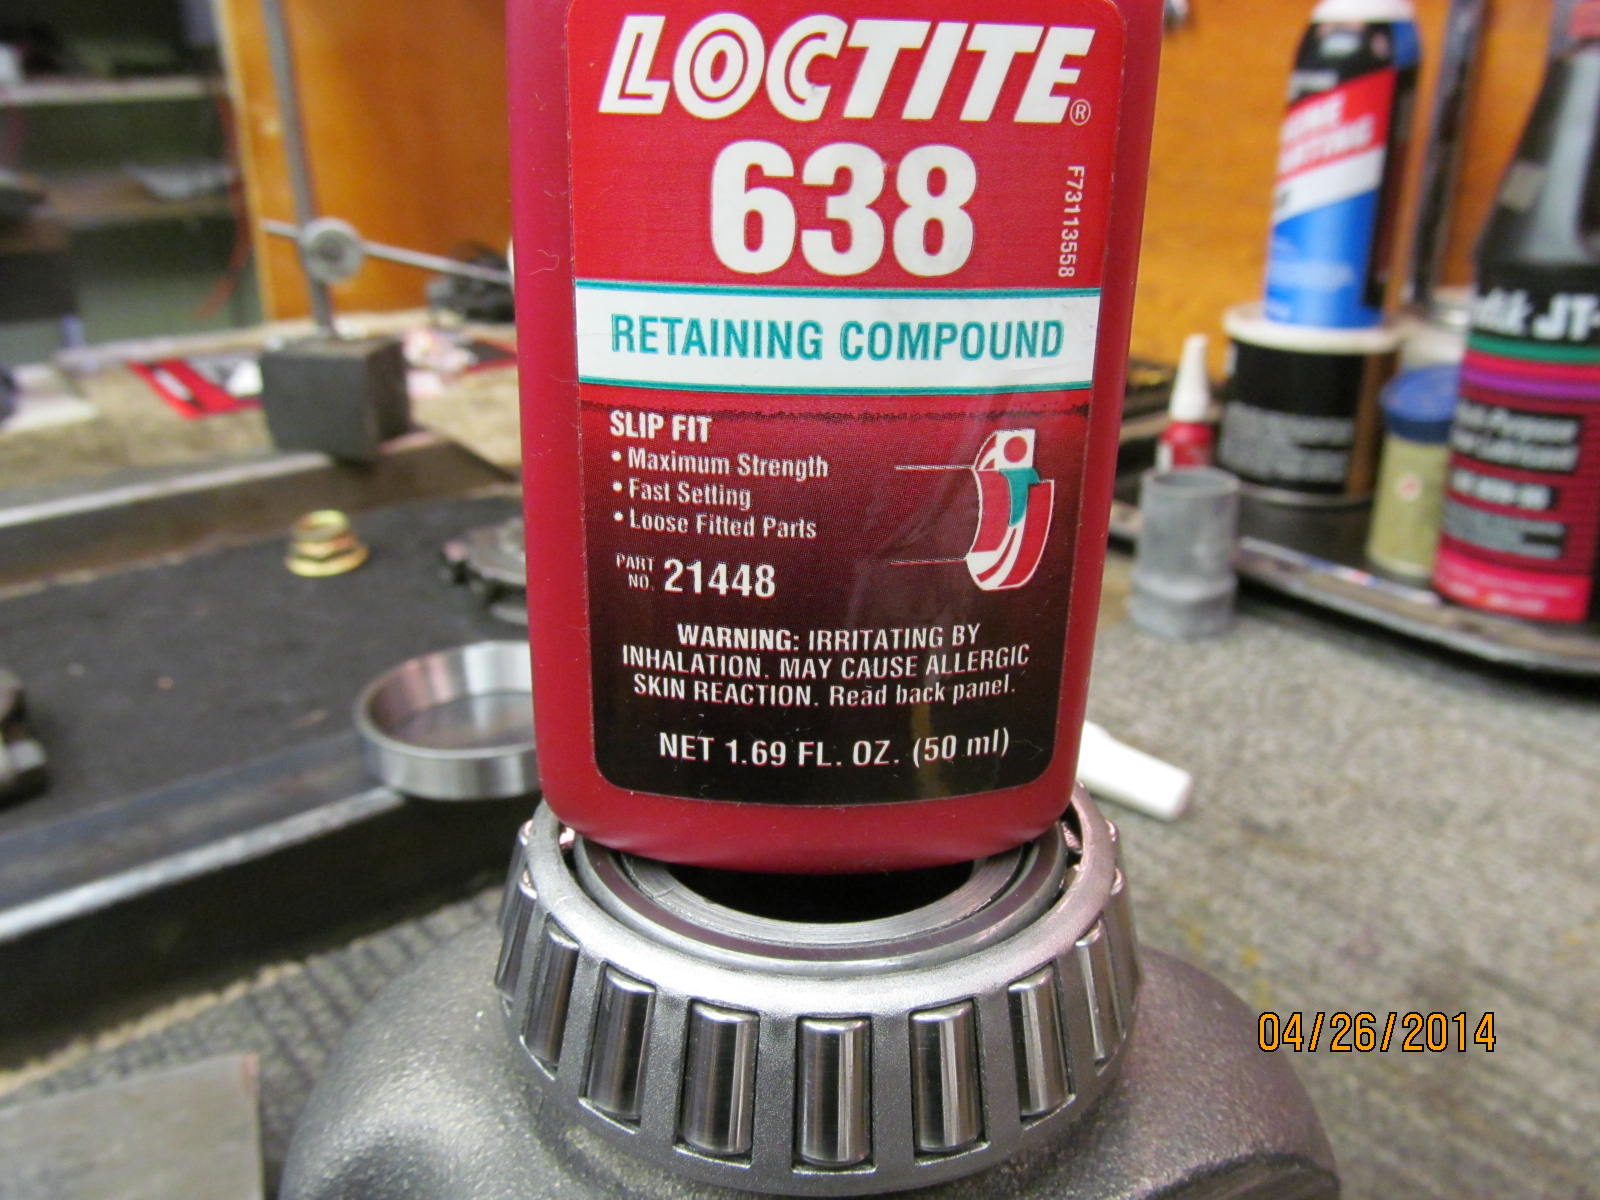
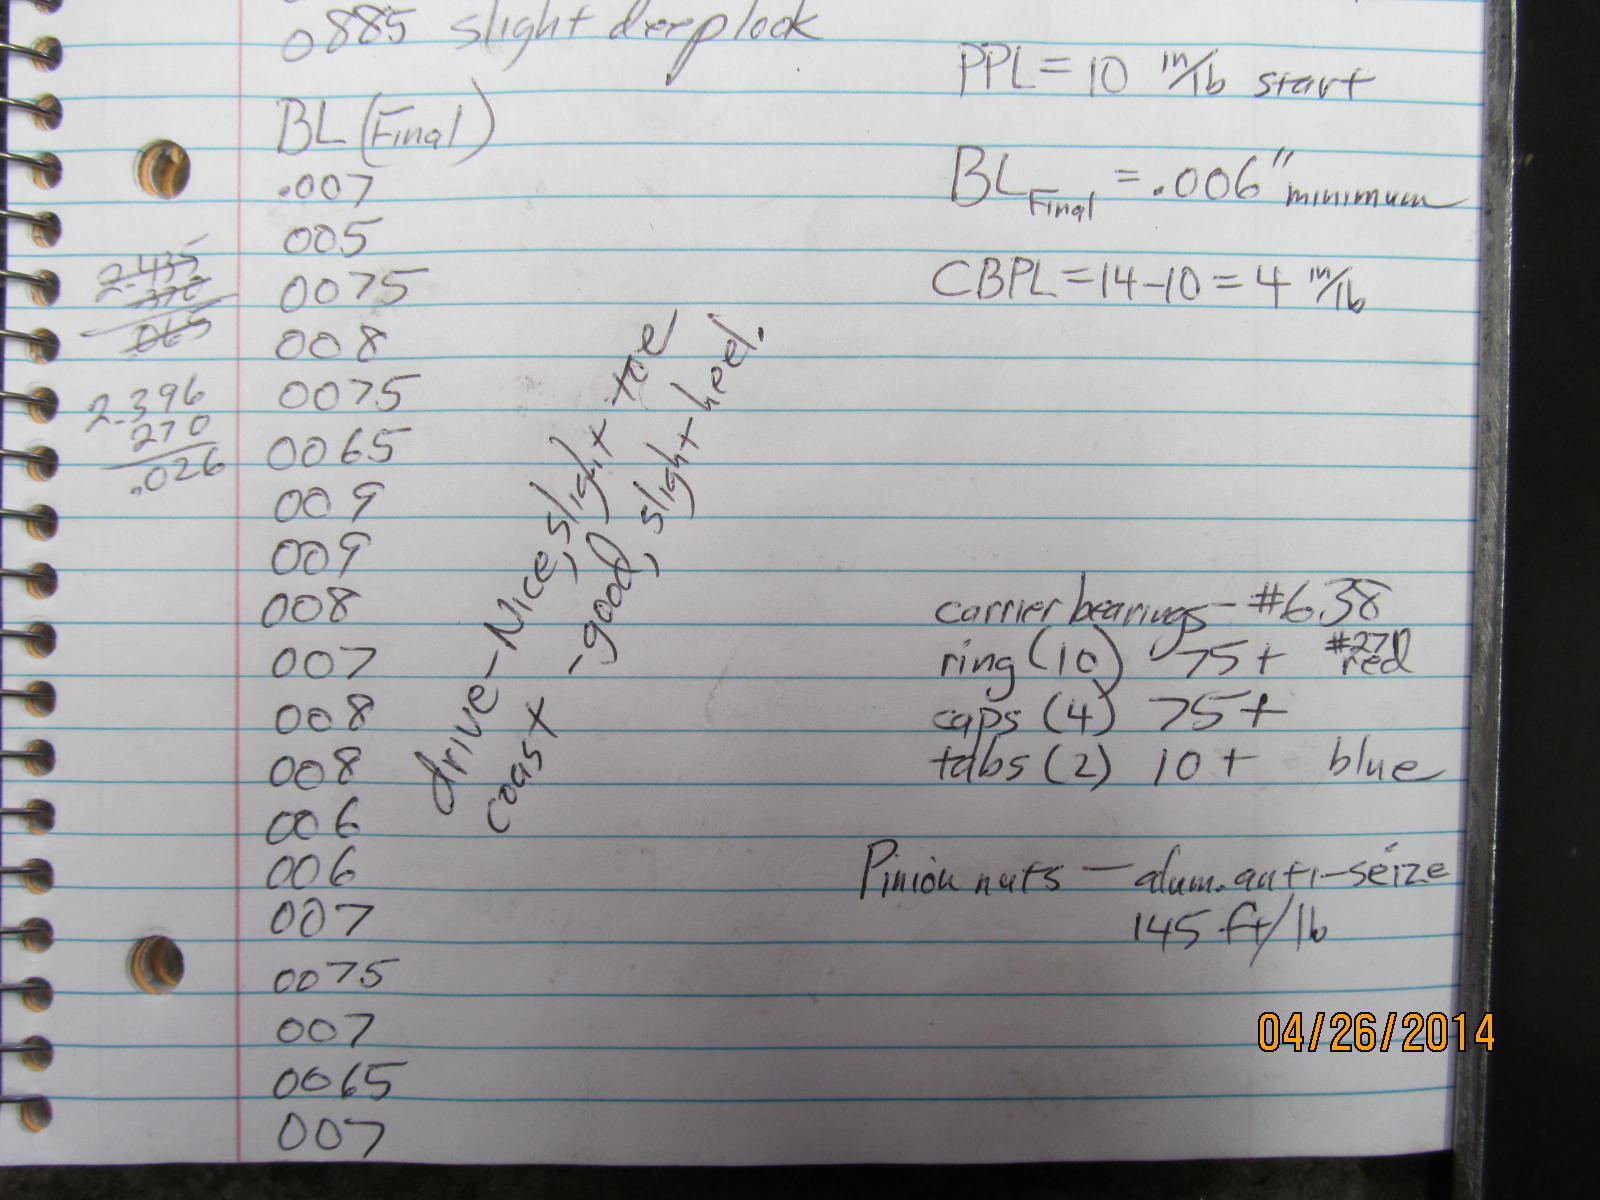
The carrier bearings did not press on as tight as I wanted so #638 retaining compound is employed on both sides.
|
|
|

|
|
The course file found no burrs or high spots on either mating surface.
|
|
|
|
|
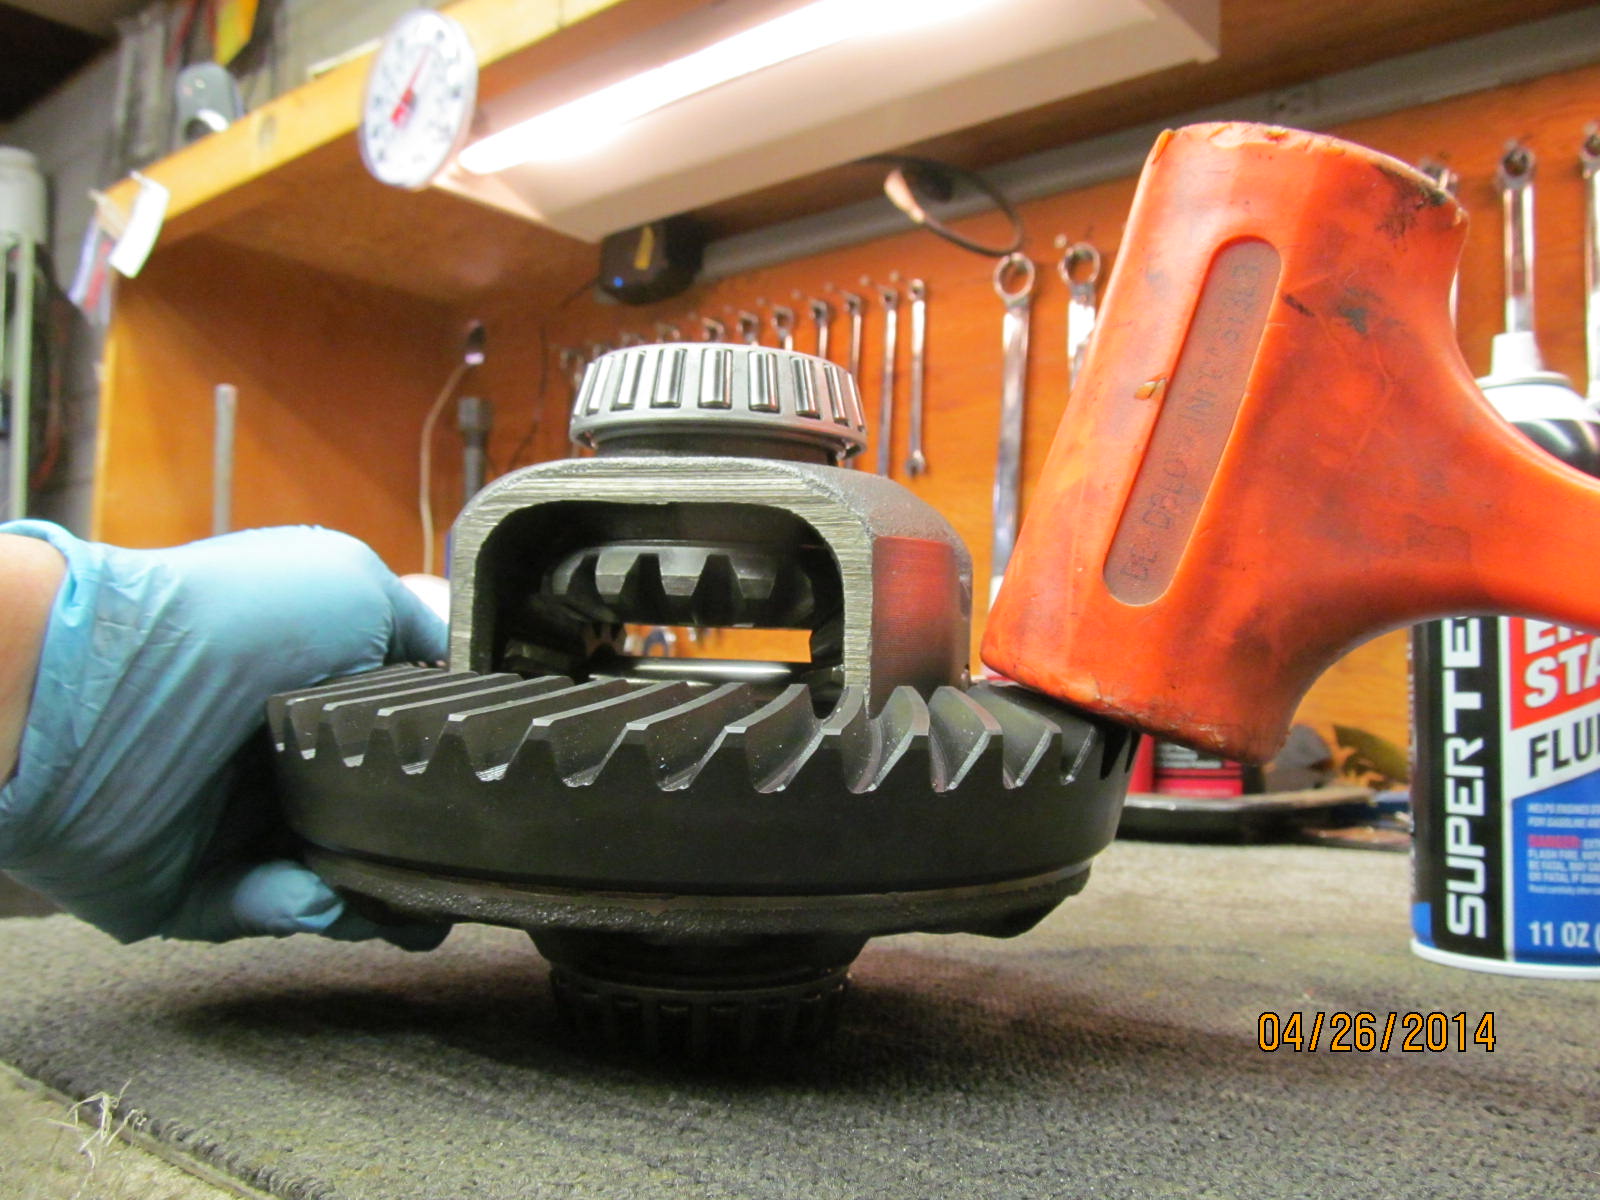
The ring was a tight fit but I was able to get it to seat down with the lead filled plastic hammer.
|
|
|
|
|
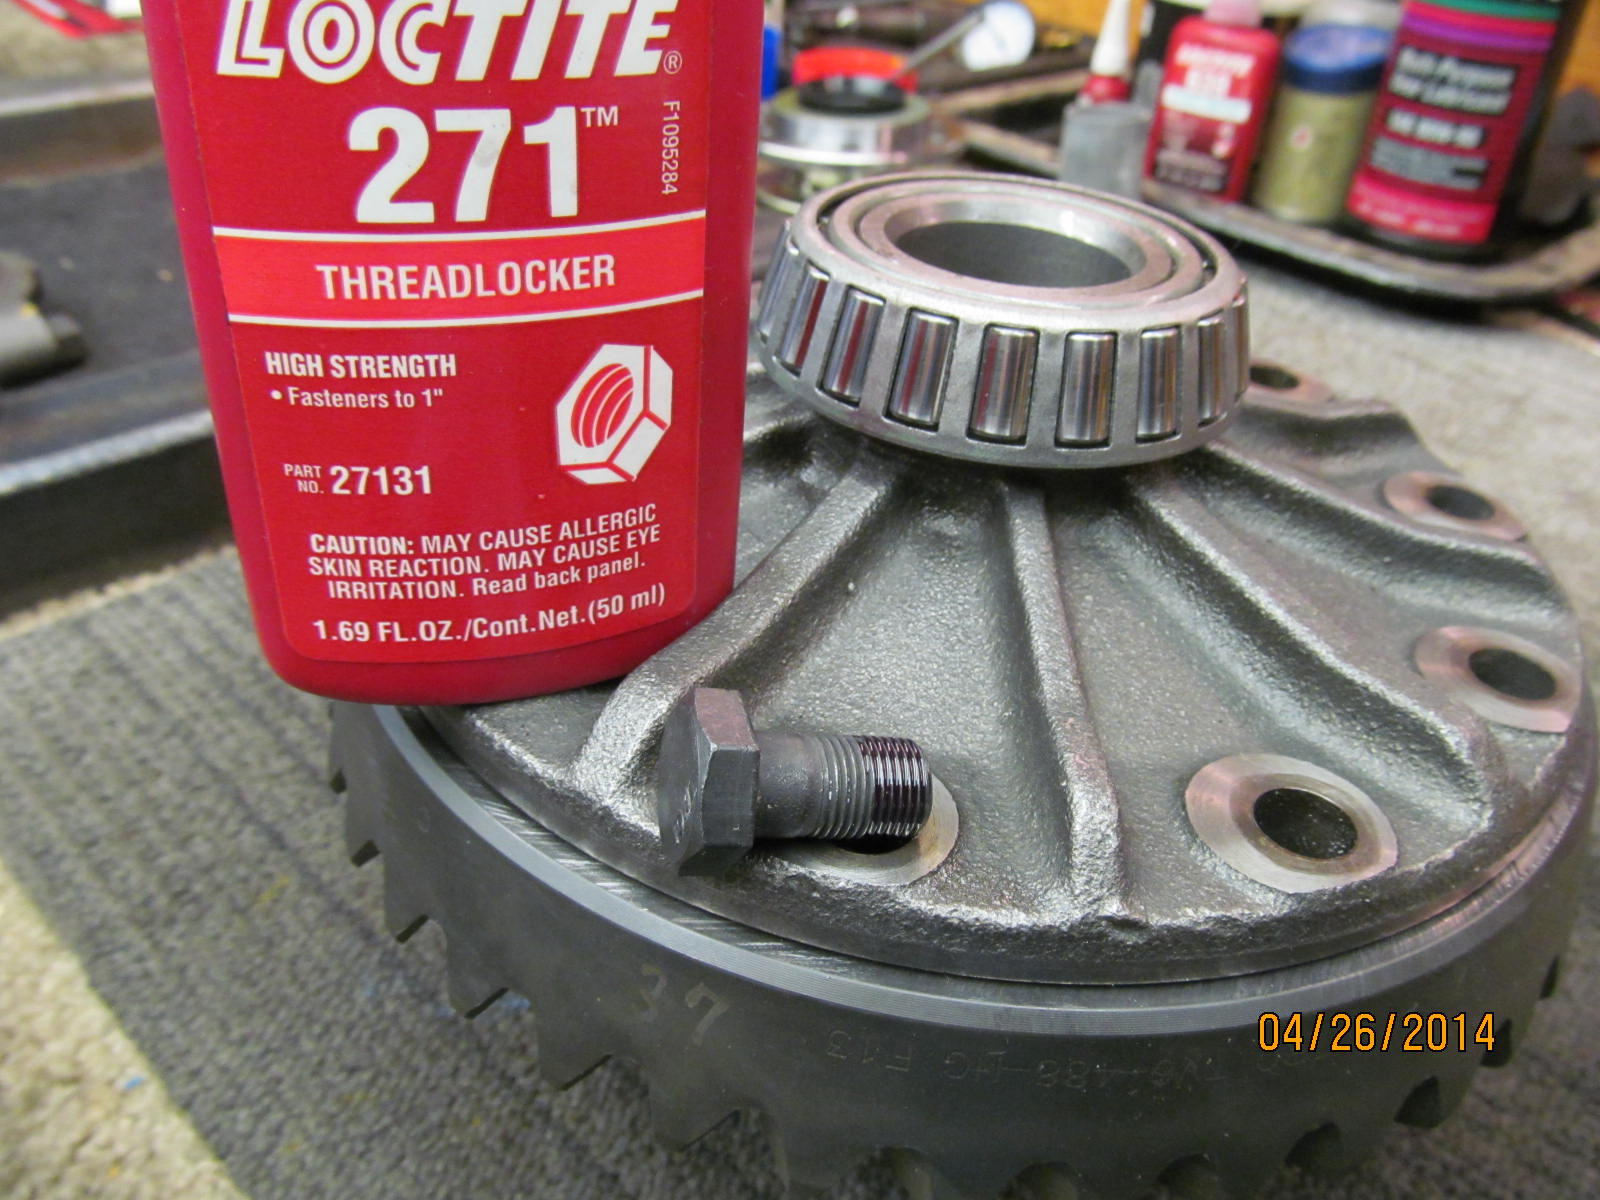
Red loctite on all 10 ring gear bolts.
|
|
|
|
|
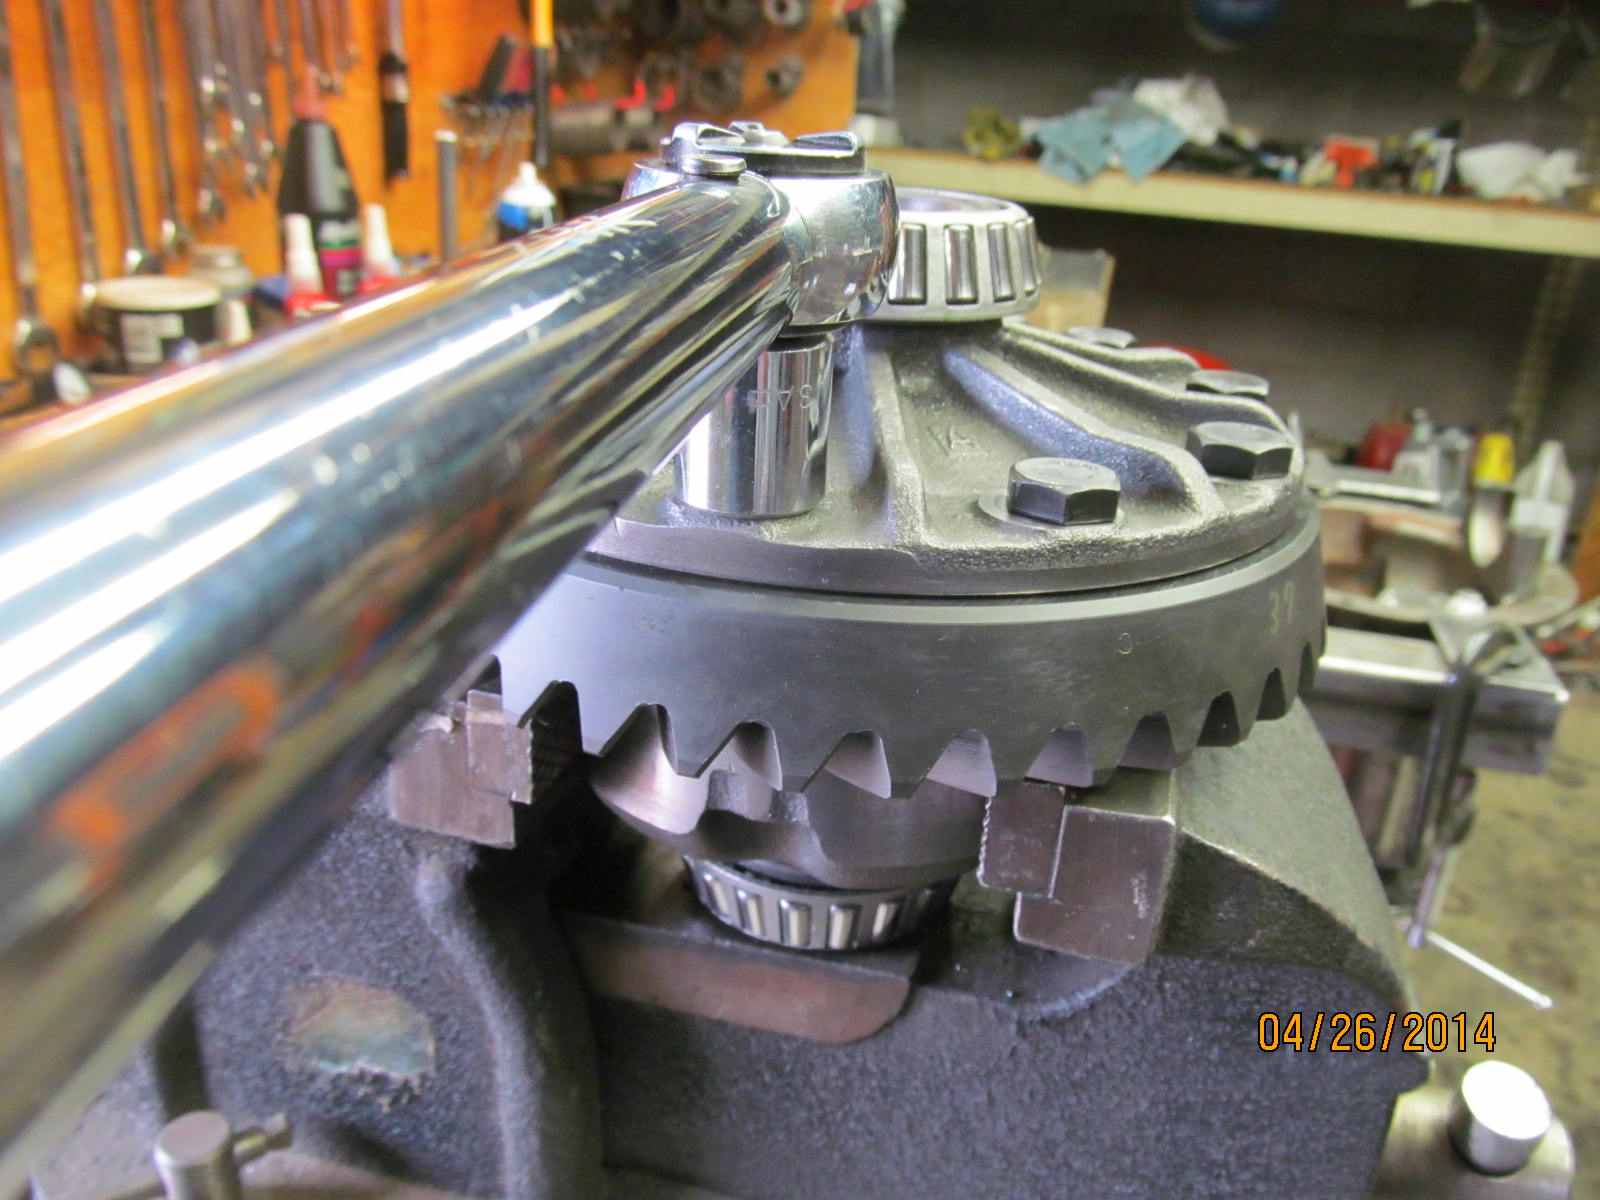
75 ft/lbs.
|
|
|
|
|
I use extreme care when aligning the bearing caps...it's too easy to damage the threads.
|
|
|
|
|
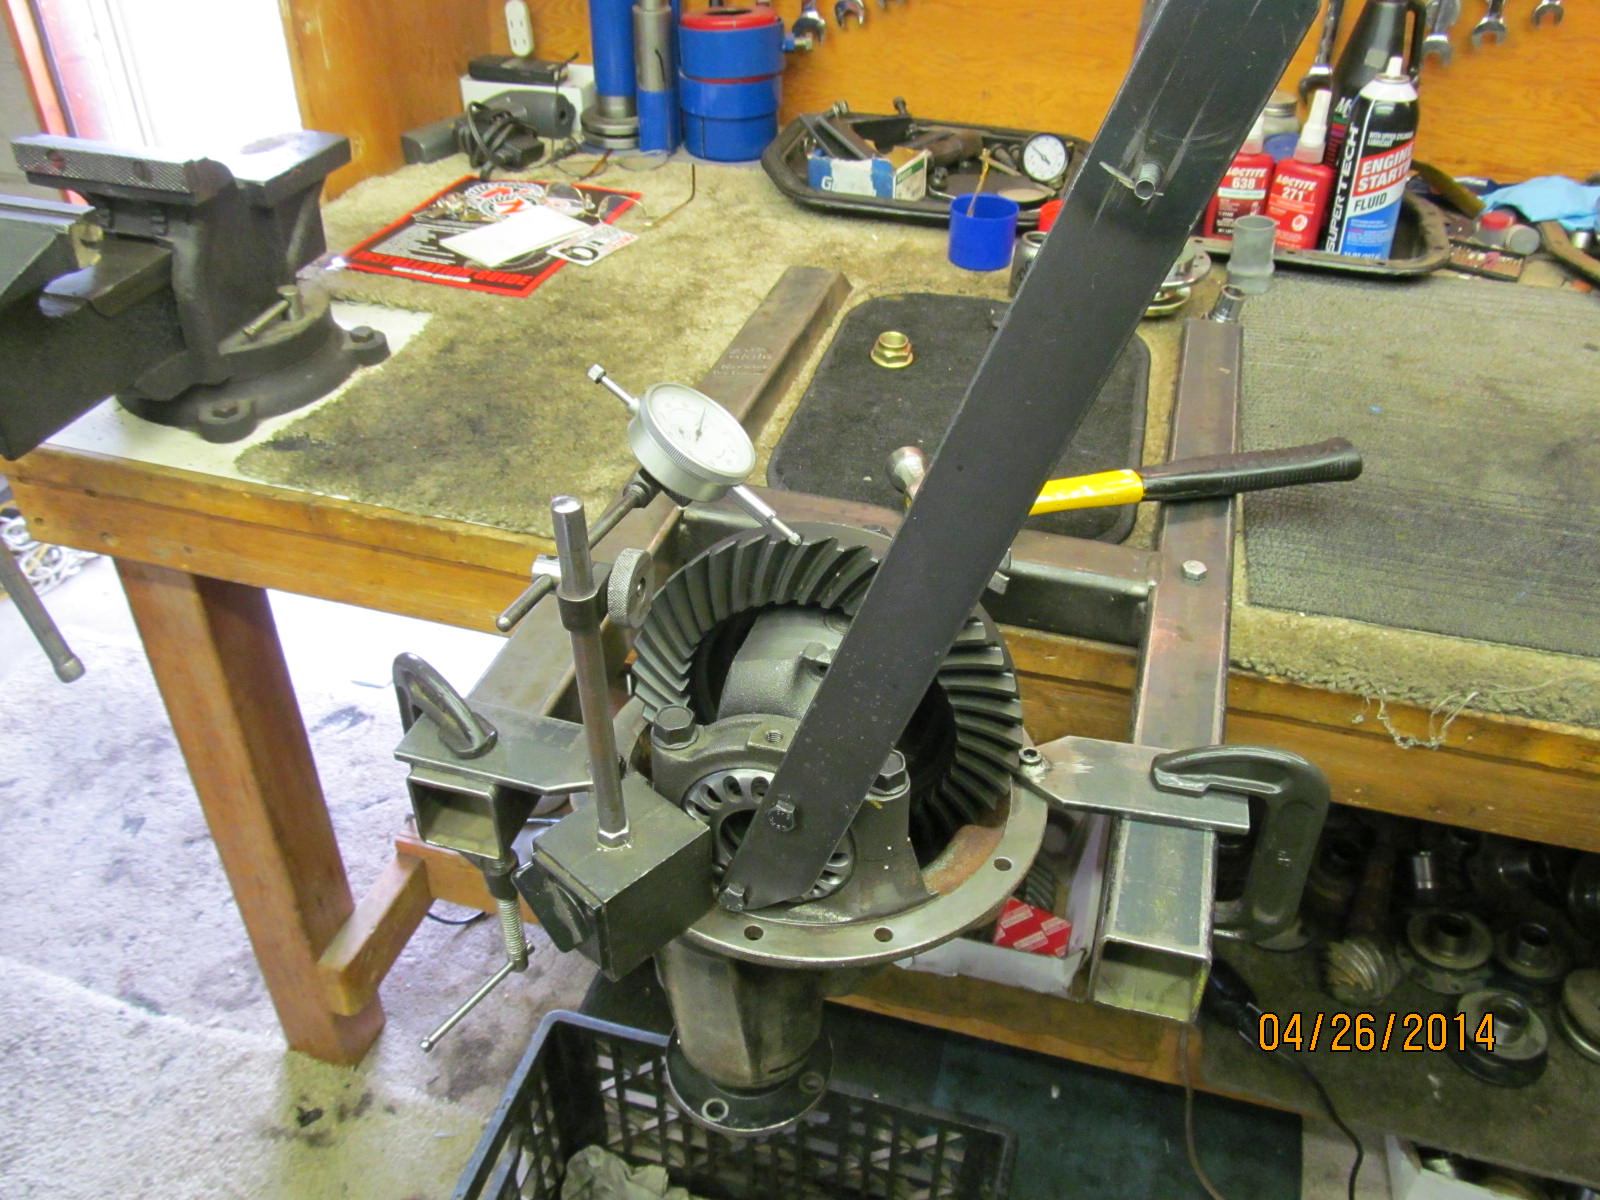
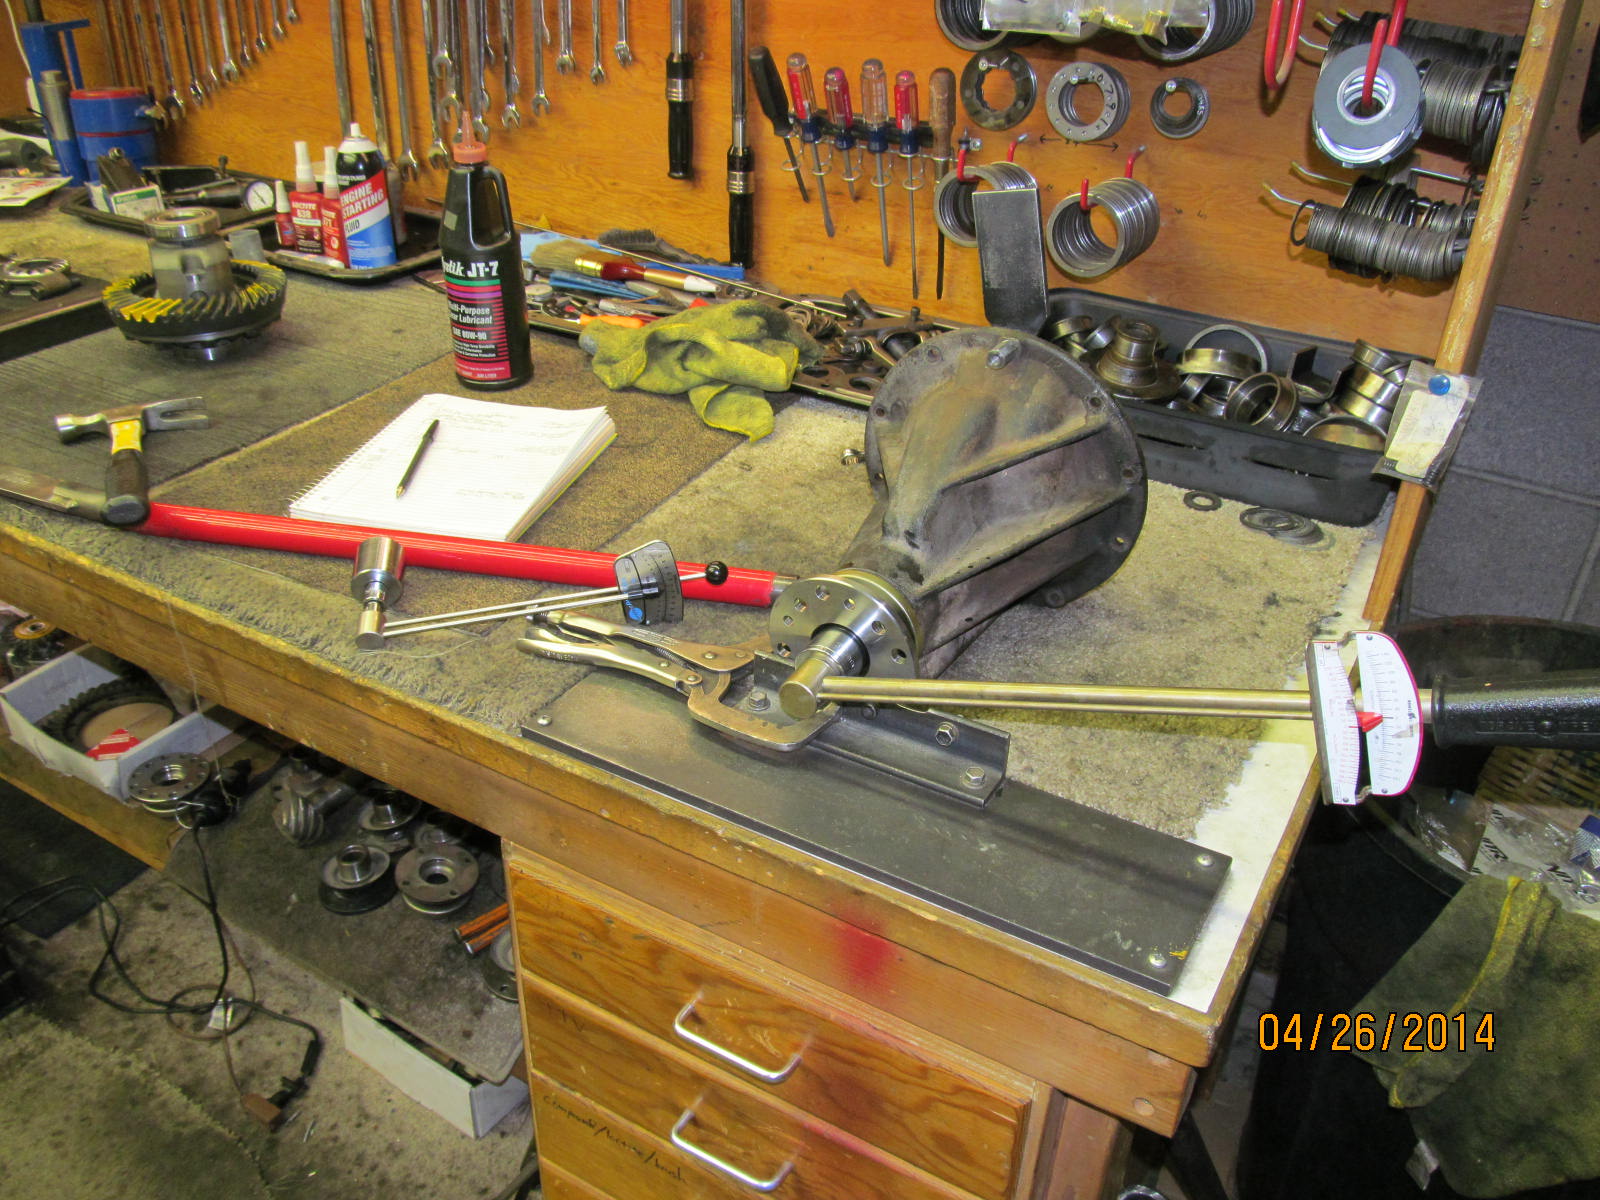
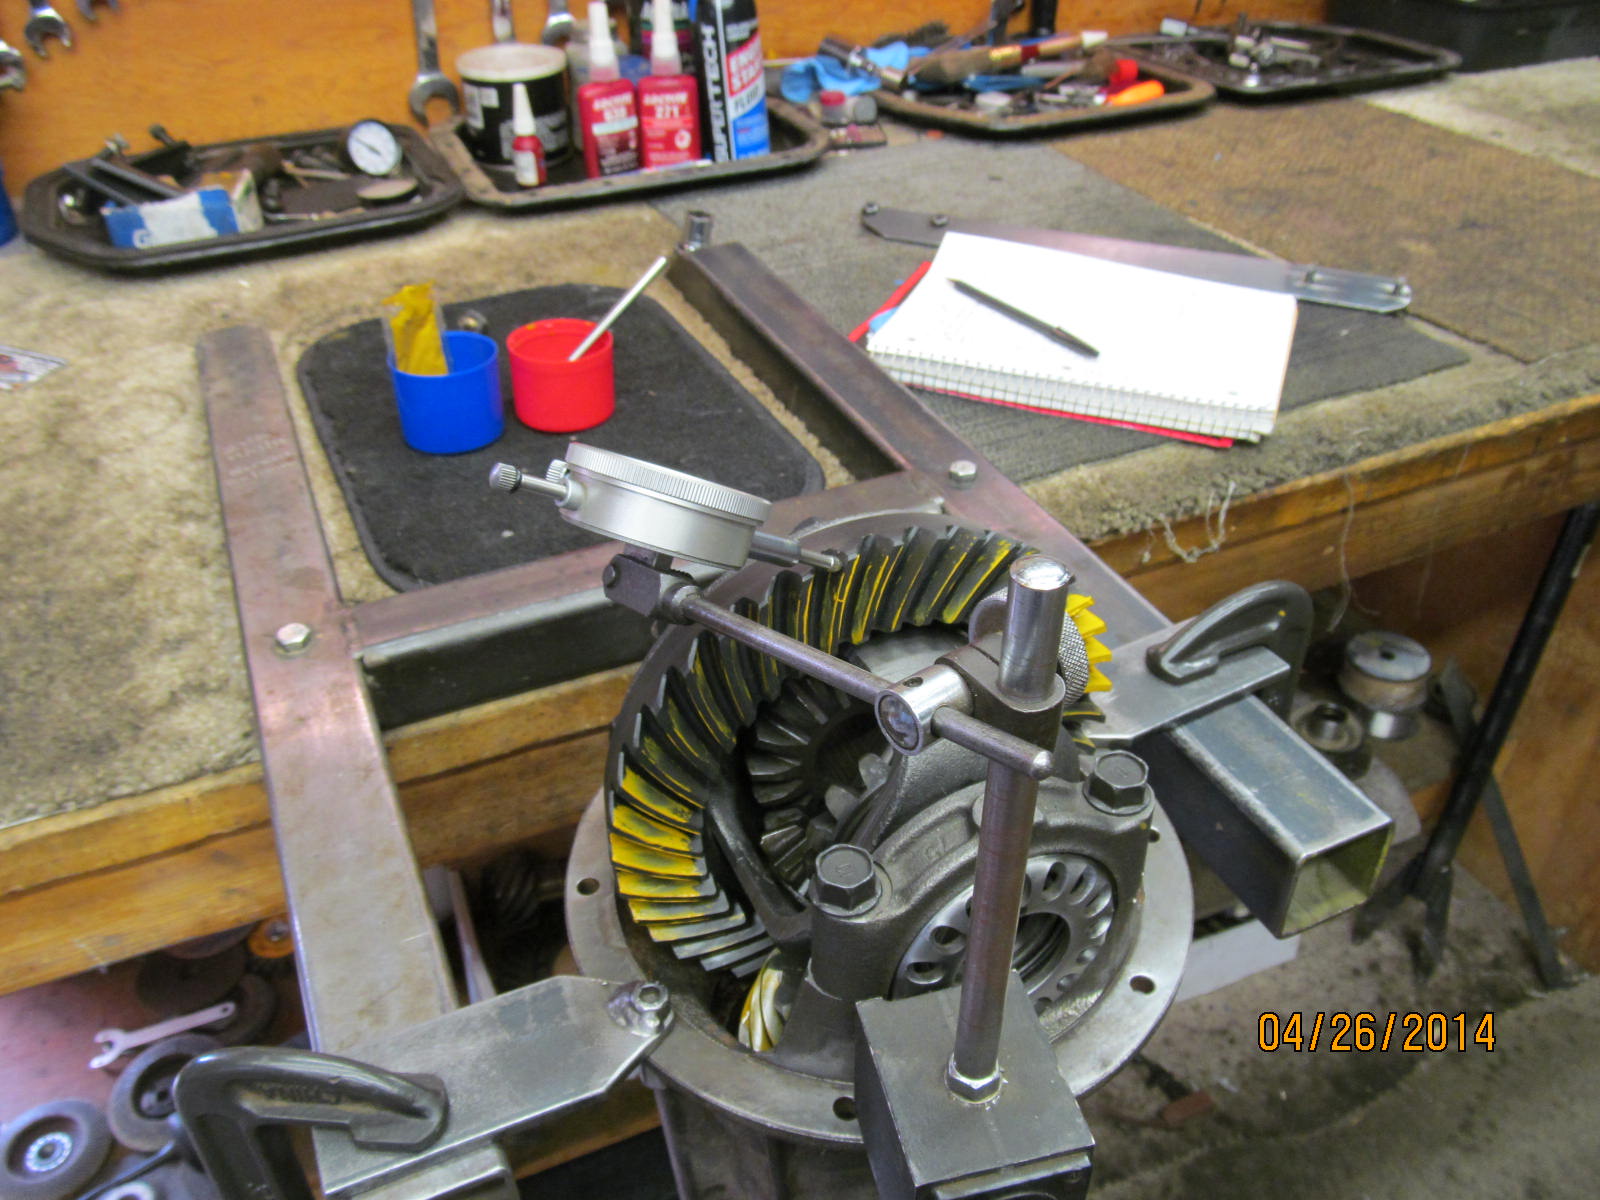
Dial in some sort of bearing pre-load while guiding the backlash in the .008" zone.
|
|
|
|
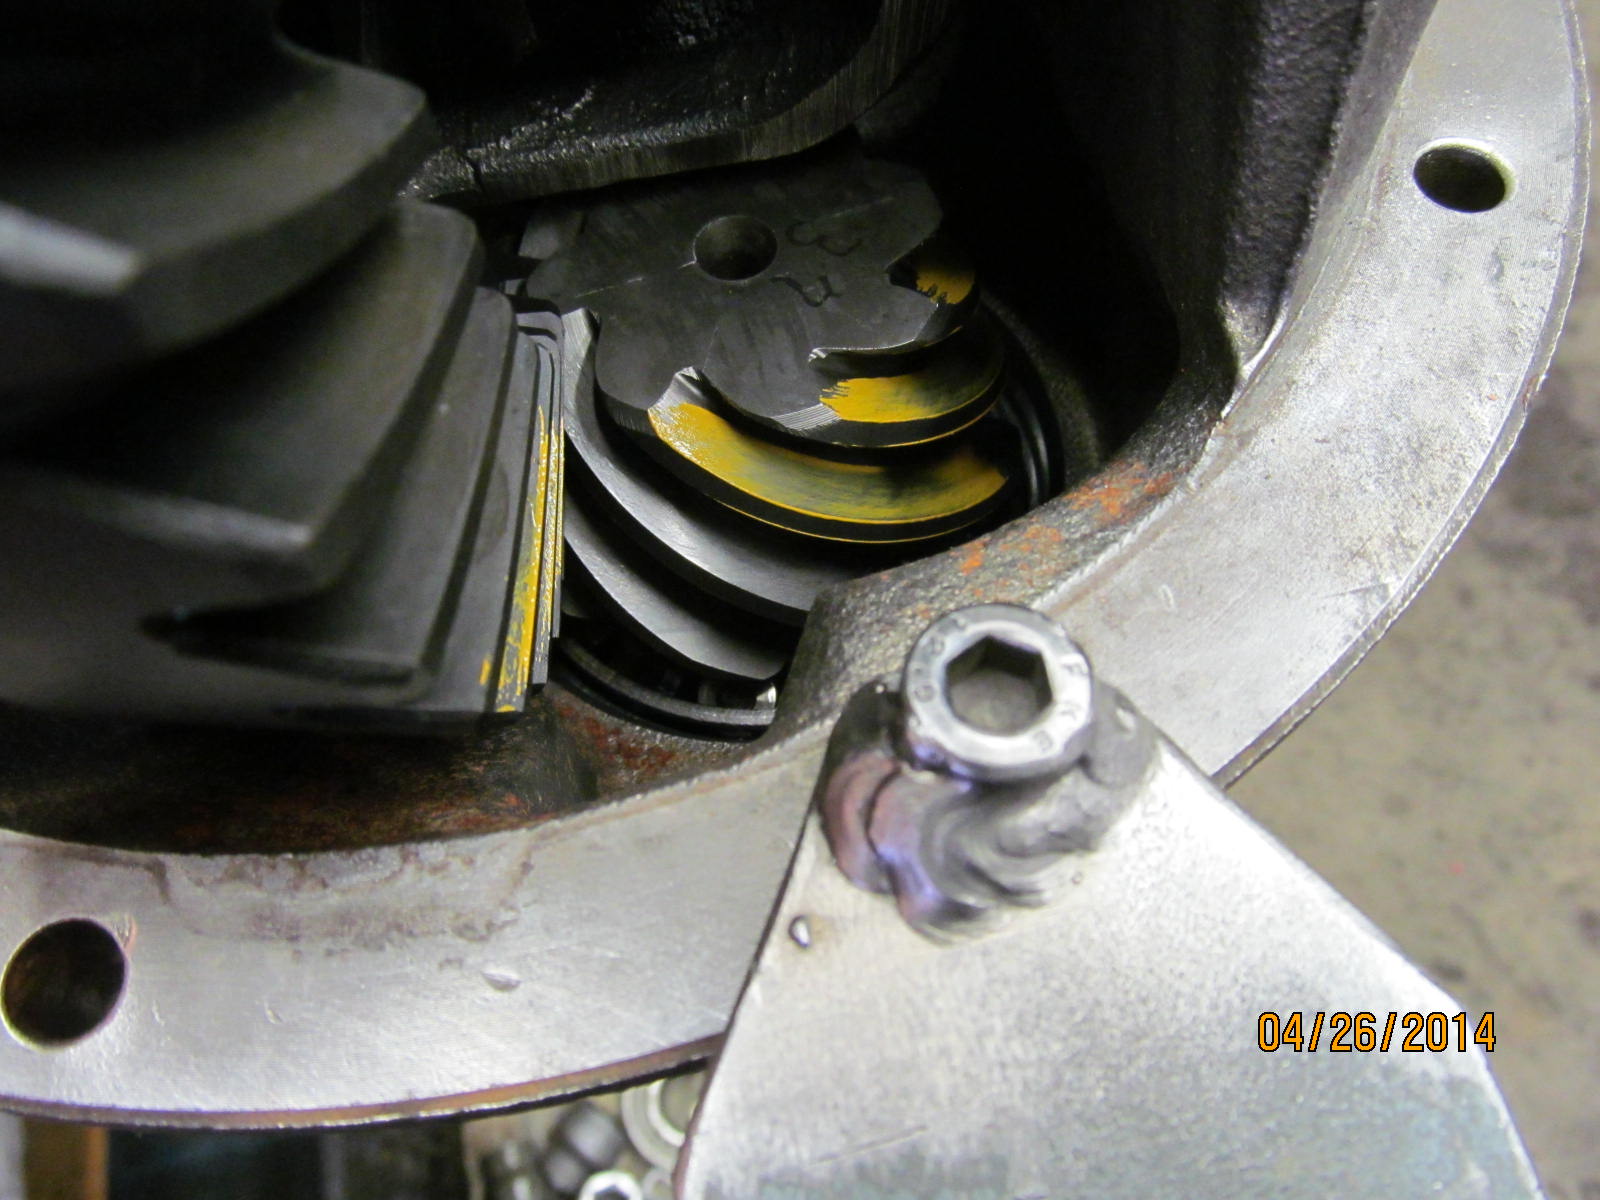
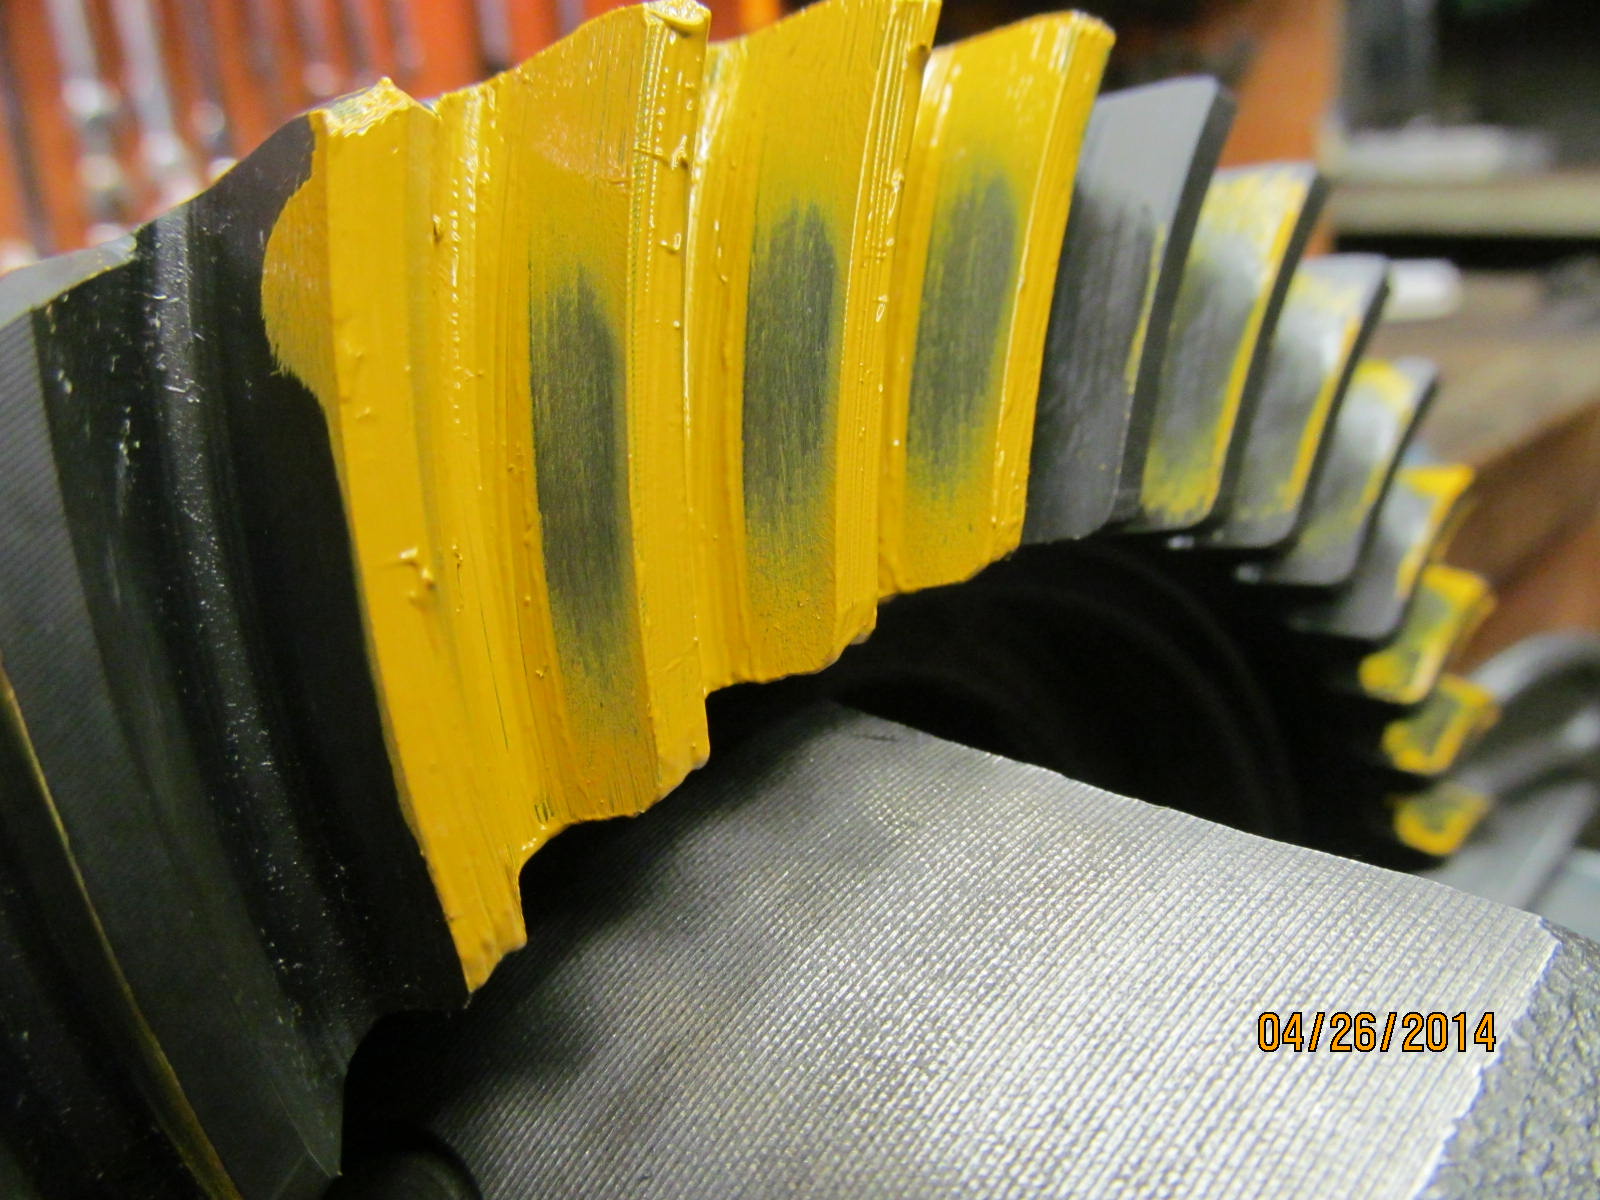
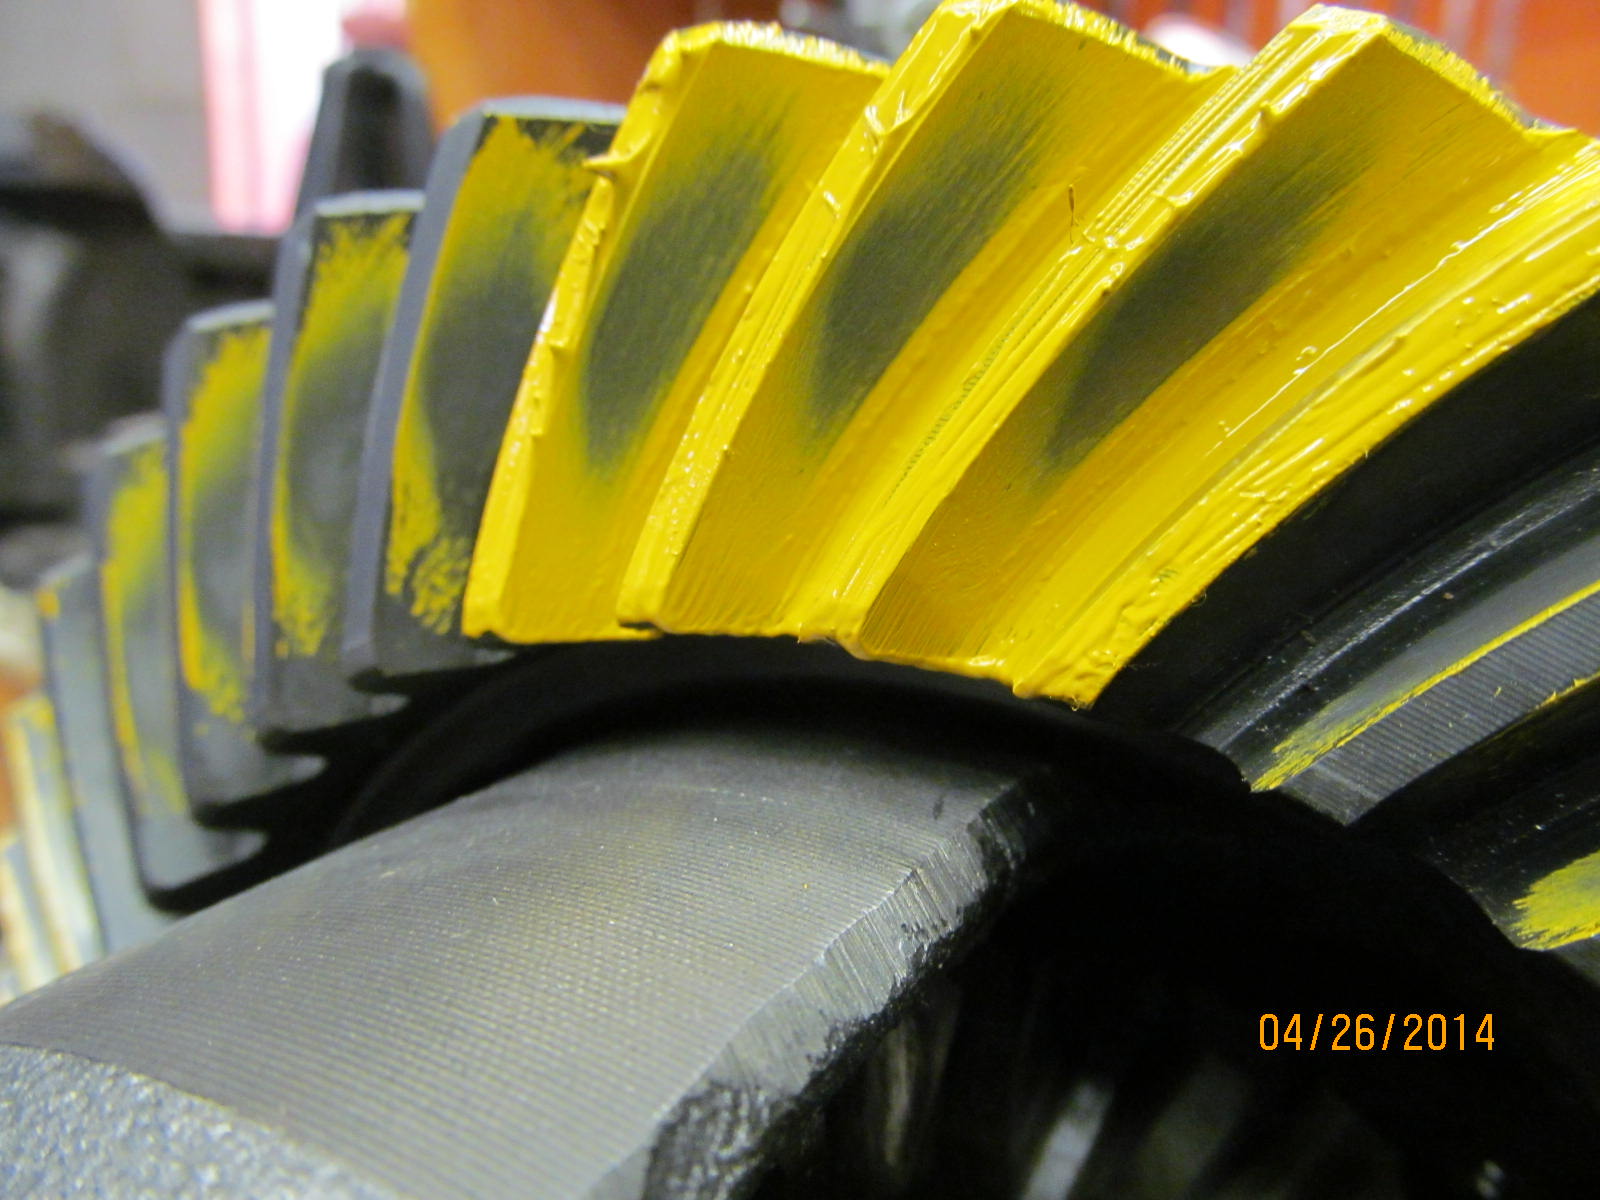
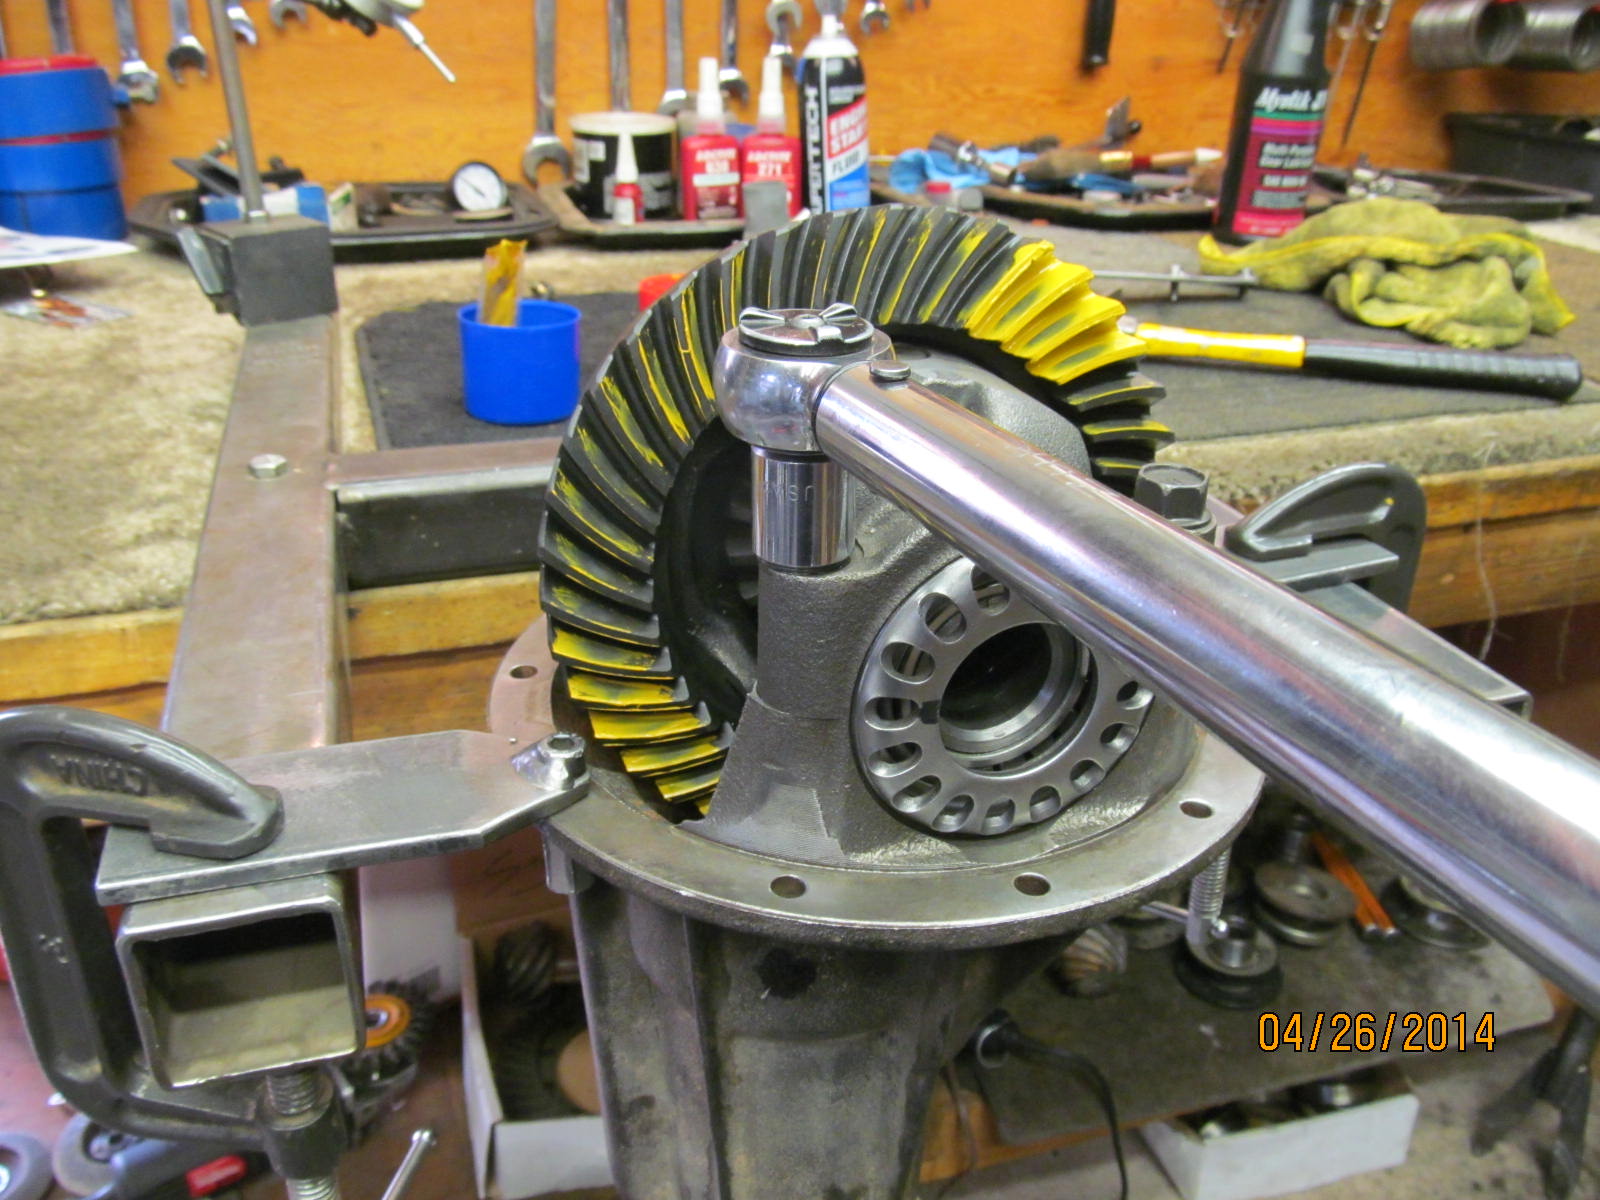
DRIVE----very near centered and appears to be "exact depth" but I think we can go for that "slight deep" look
with a little thicker shim.
|
|
|

|
|
COAST----centered.
|
|
|
|
|
.......
|
|
|
|
|
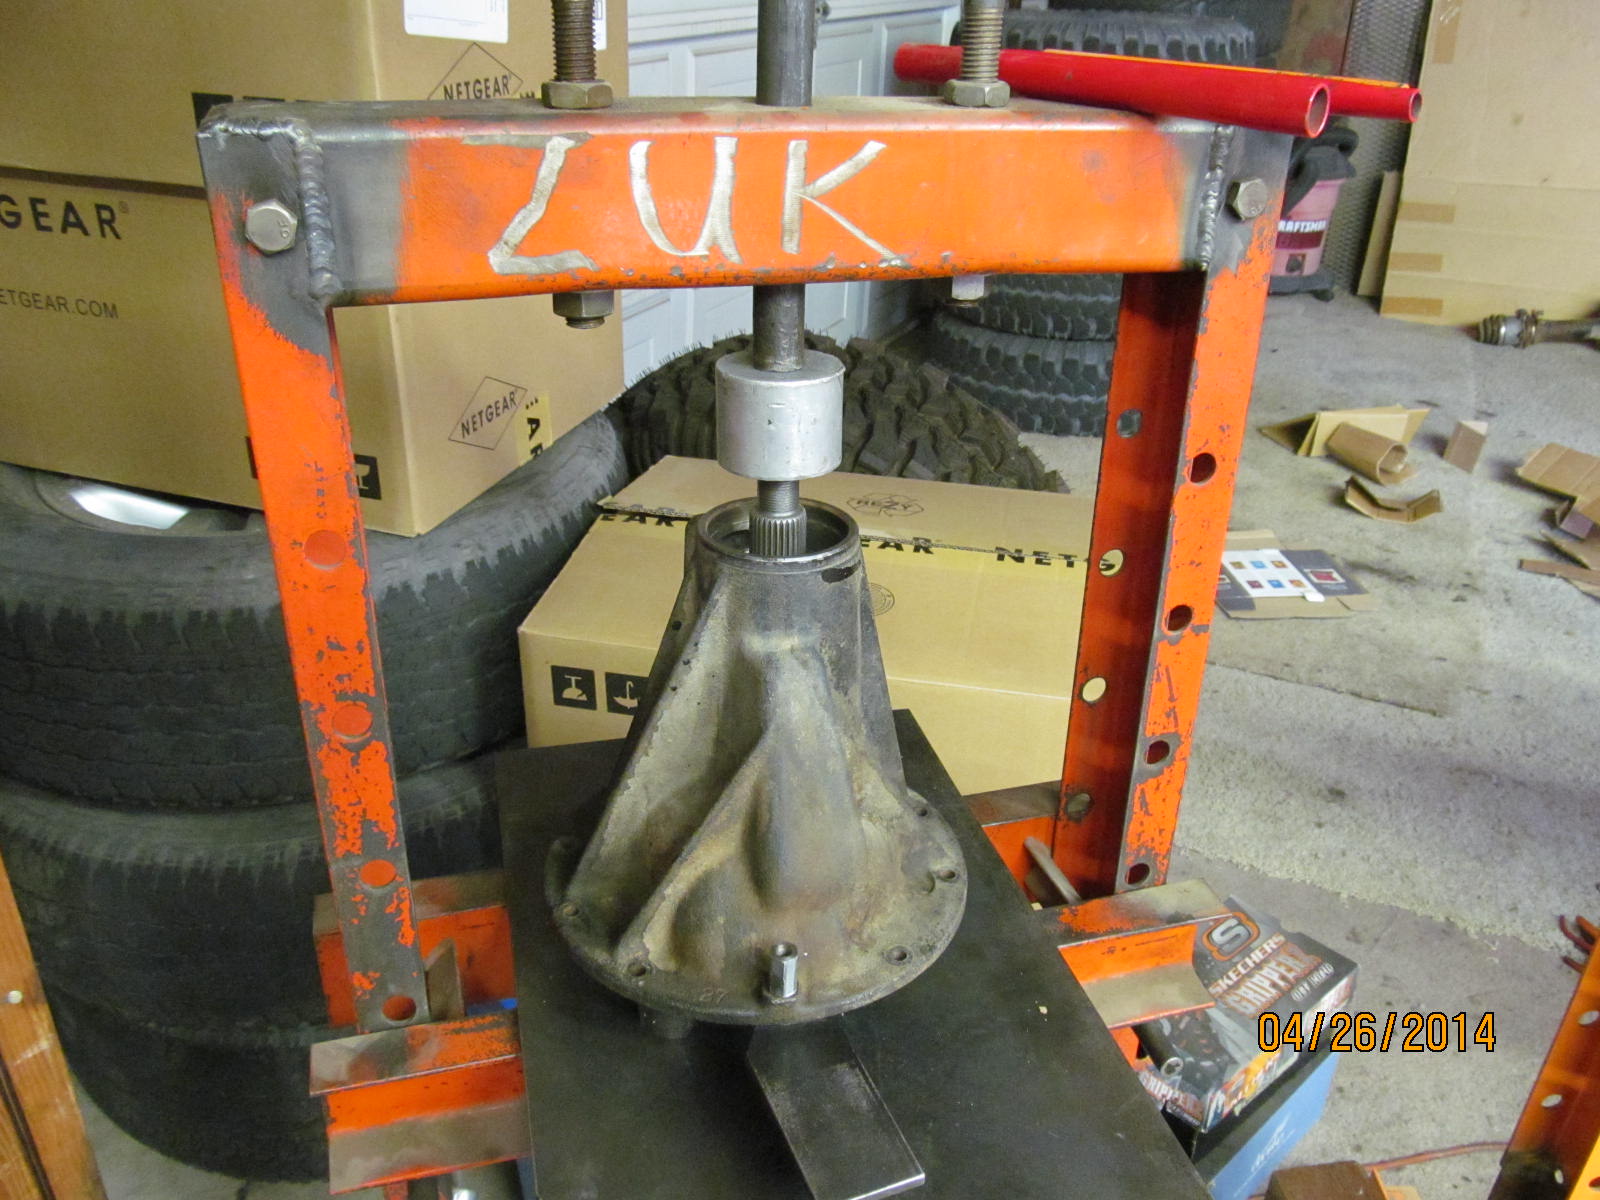
Now to push the pinion assembly out.
|
|
|
|
|
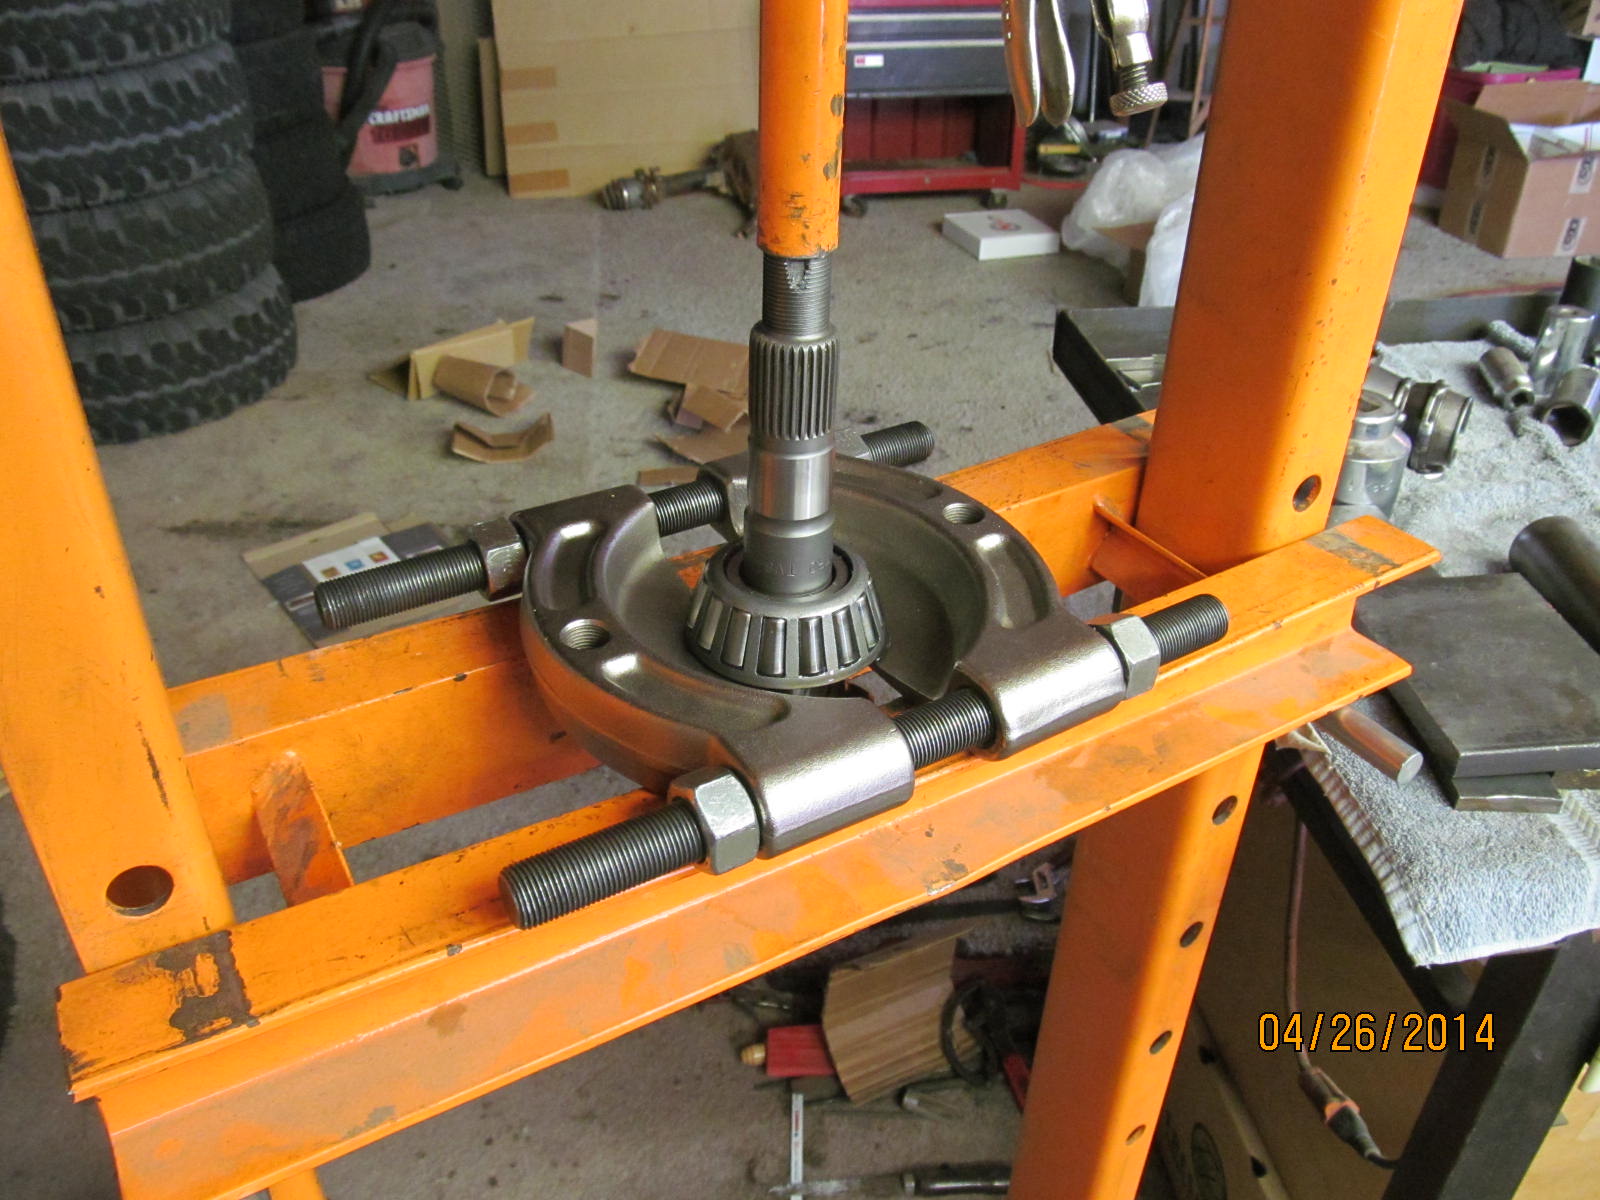
Remove the bearing...
|
|
|
|
|
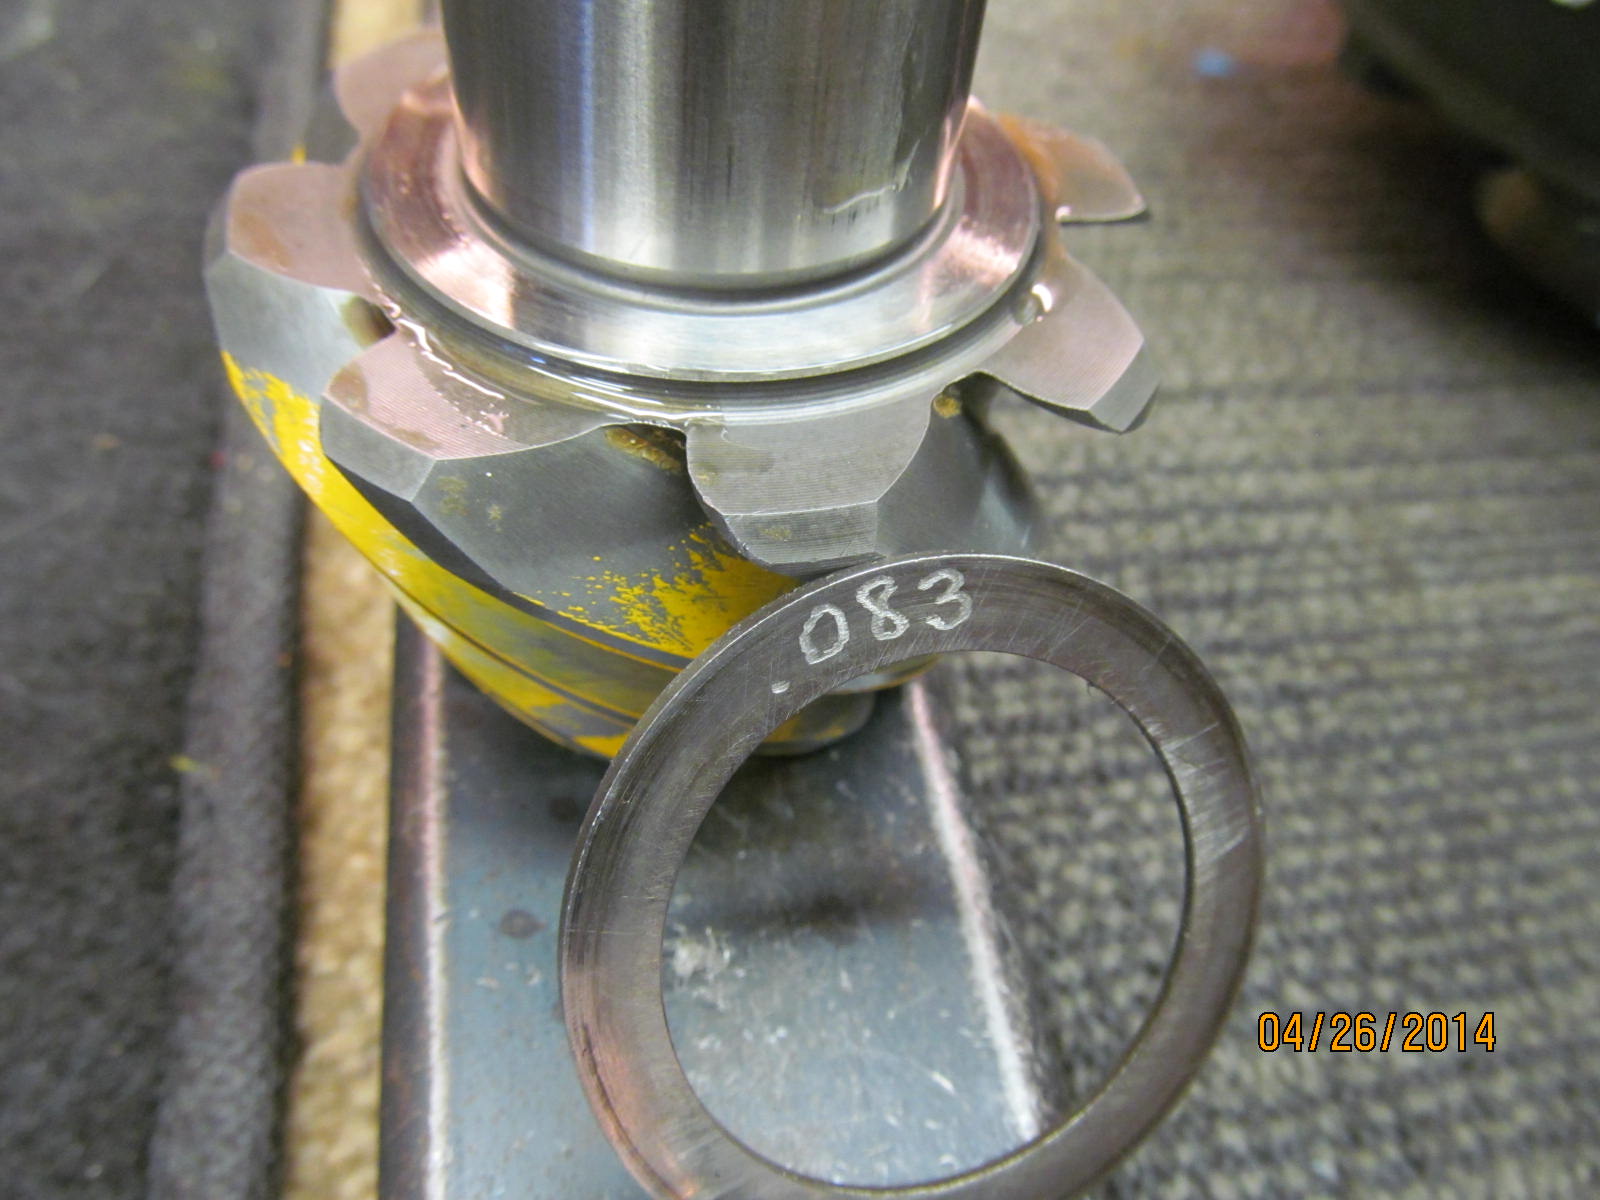
...and substitute this .083" shim in place of the 080.
|
|
|
|
|
Press the bearing on.
|
|
|
|
|
Use the electric impact to gently nudge the pre-load to about 10~20 in/lb.
|
|
|
|
|
Another paint check...hmmm, didn't move hardly at all in terms of a deeper look.
|
|
|

|
|
COAST---not much change.
|
|
|
|
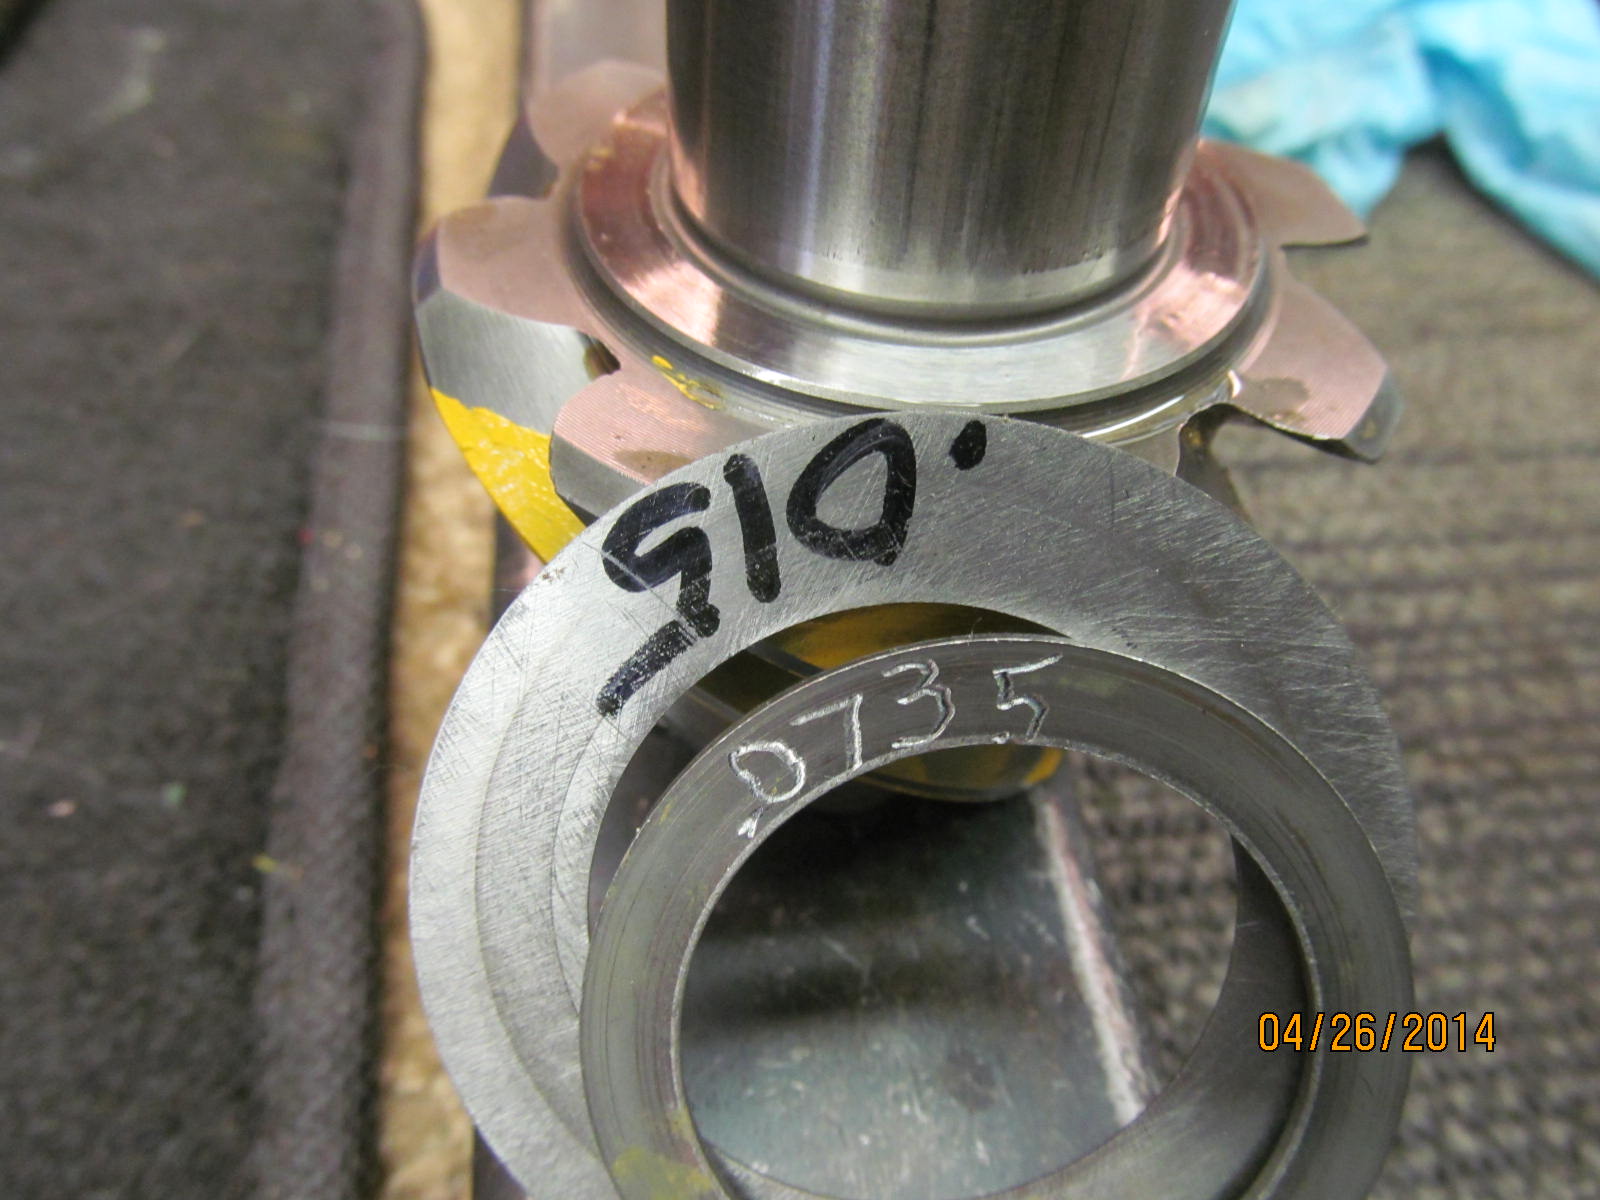
I didn't make a big enough change by adding only .003"....this pinion shim is .0885" and, doing
the math, is an additional .0055" deeper.
|
|
|
|
|
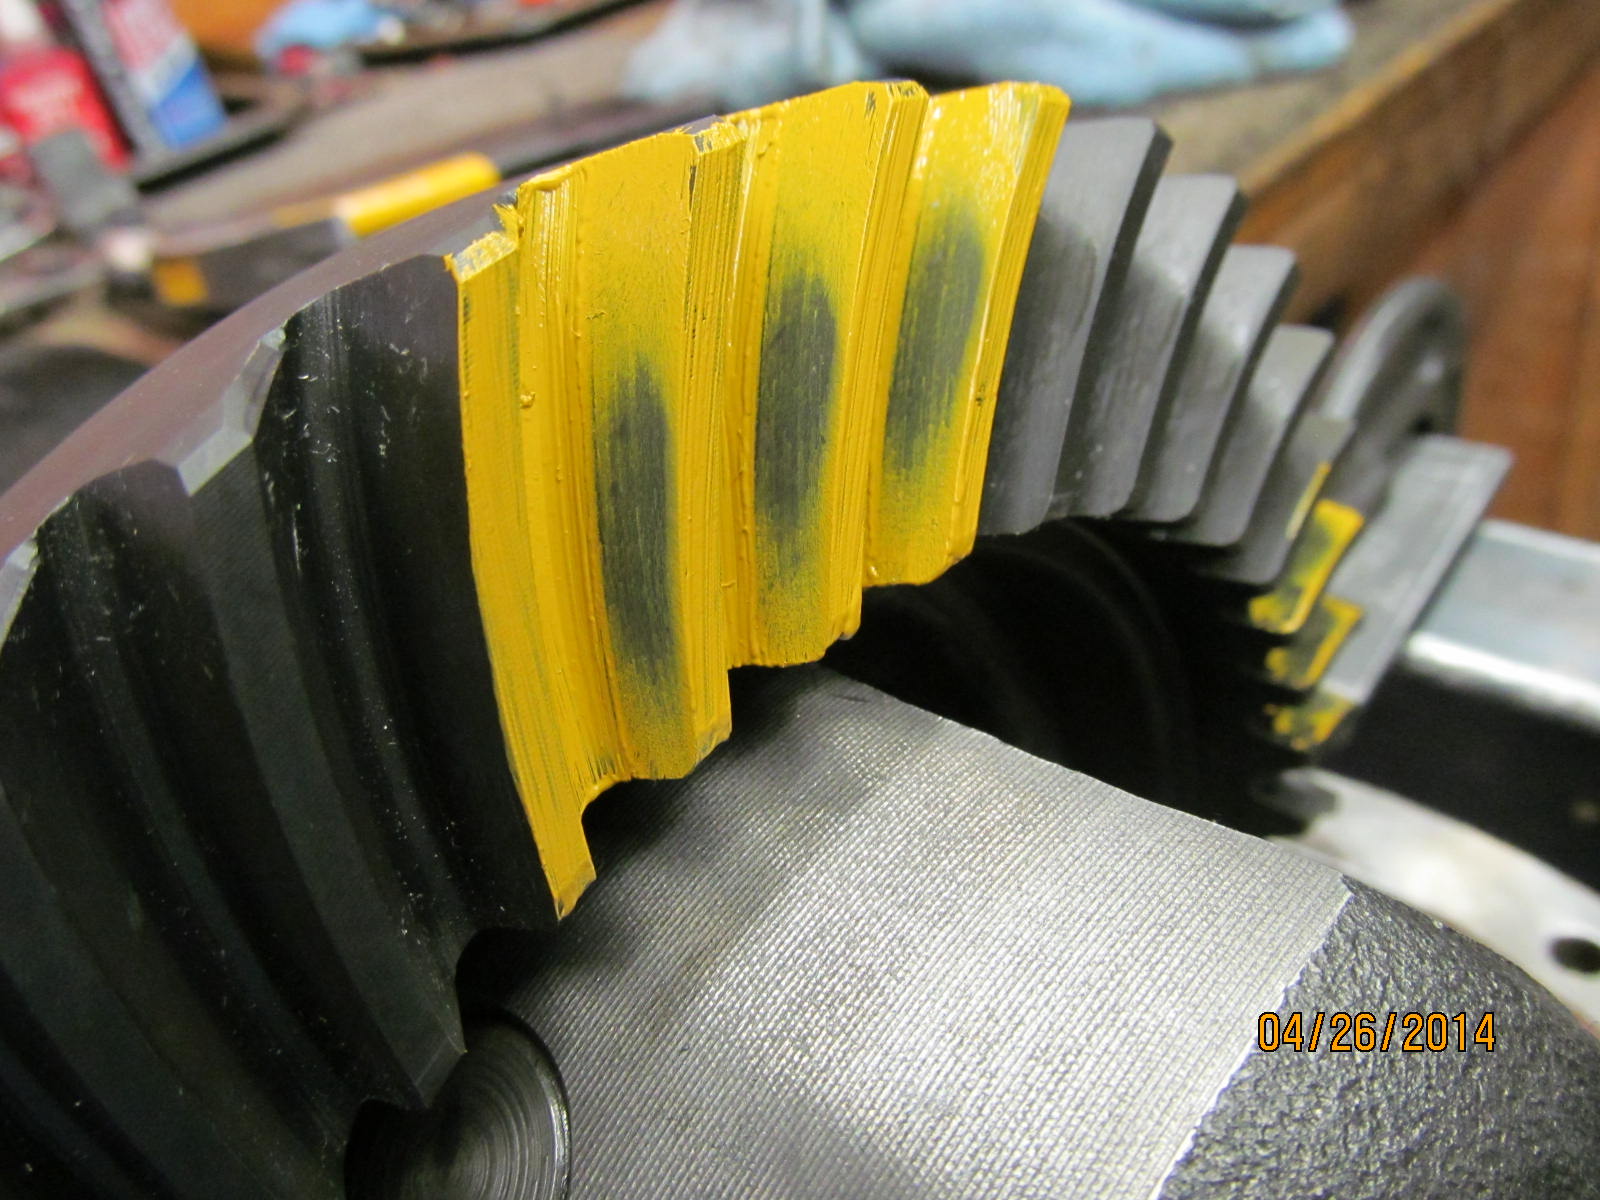
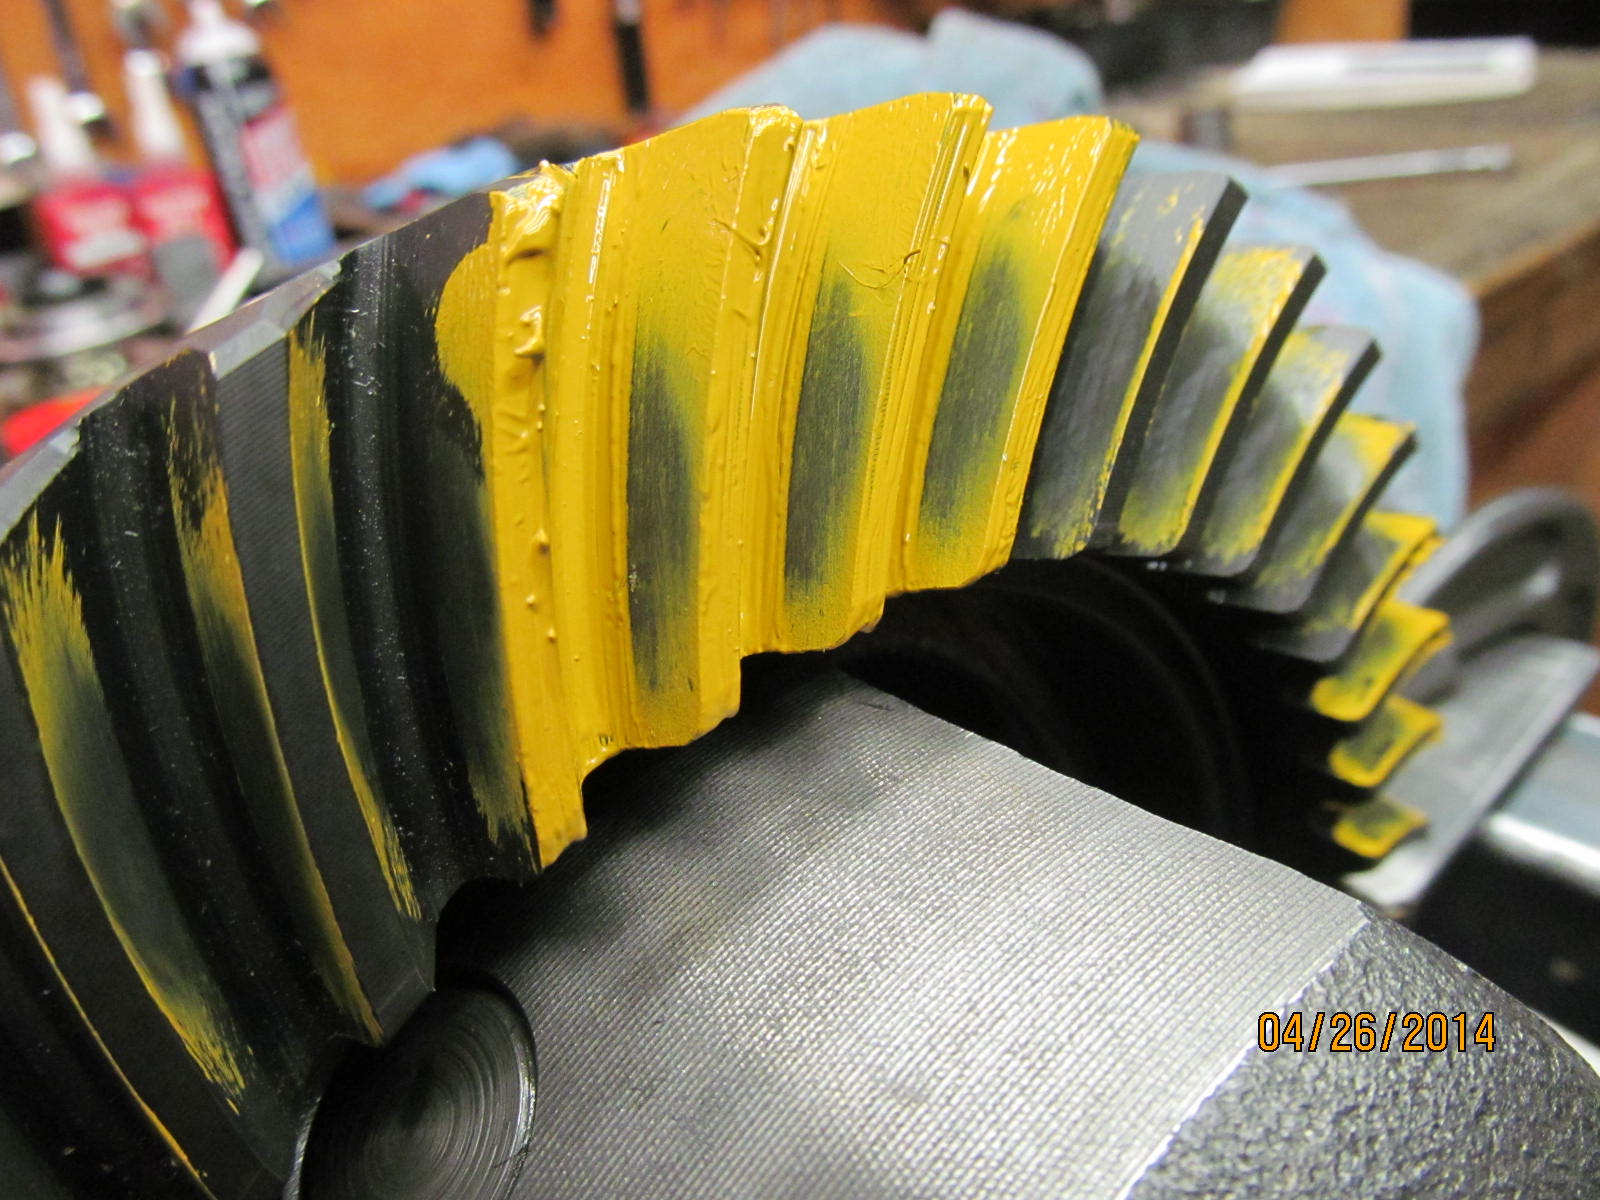
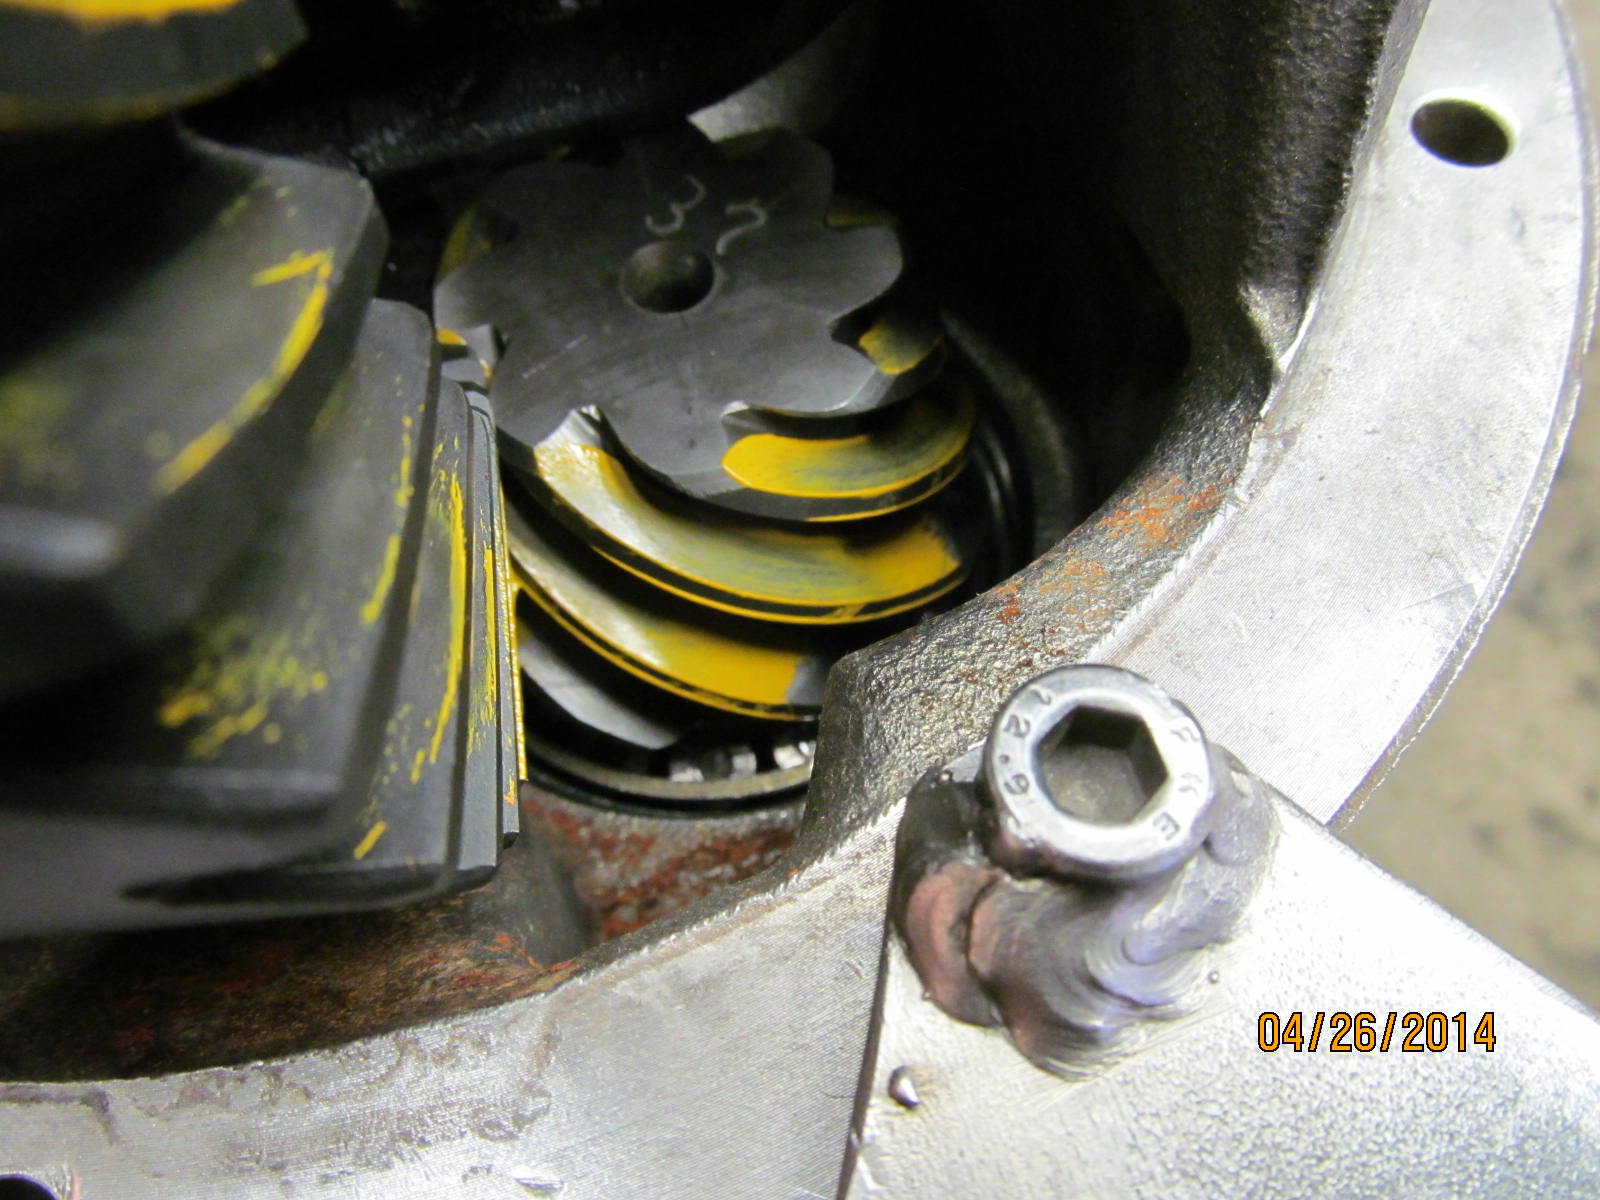
Now this is much better. Has the deep look...slight favoring of the toe.
|
|
|
|
|
COAST---depth looks slightly deep and favors the heel ever so lightly.
|
|
|
|
|
Not a very good pic of the pinion...again.
|
|
|
|
Now to remove the pinion again but this time to install the solid collar. On the first try, I had 7 in/lb PPL
with a .026" shim on the solid collar.
|
|
|
|
|
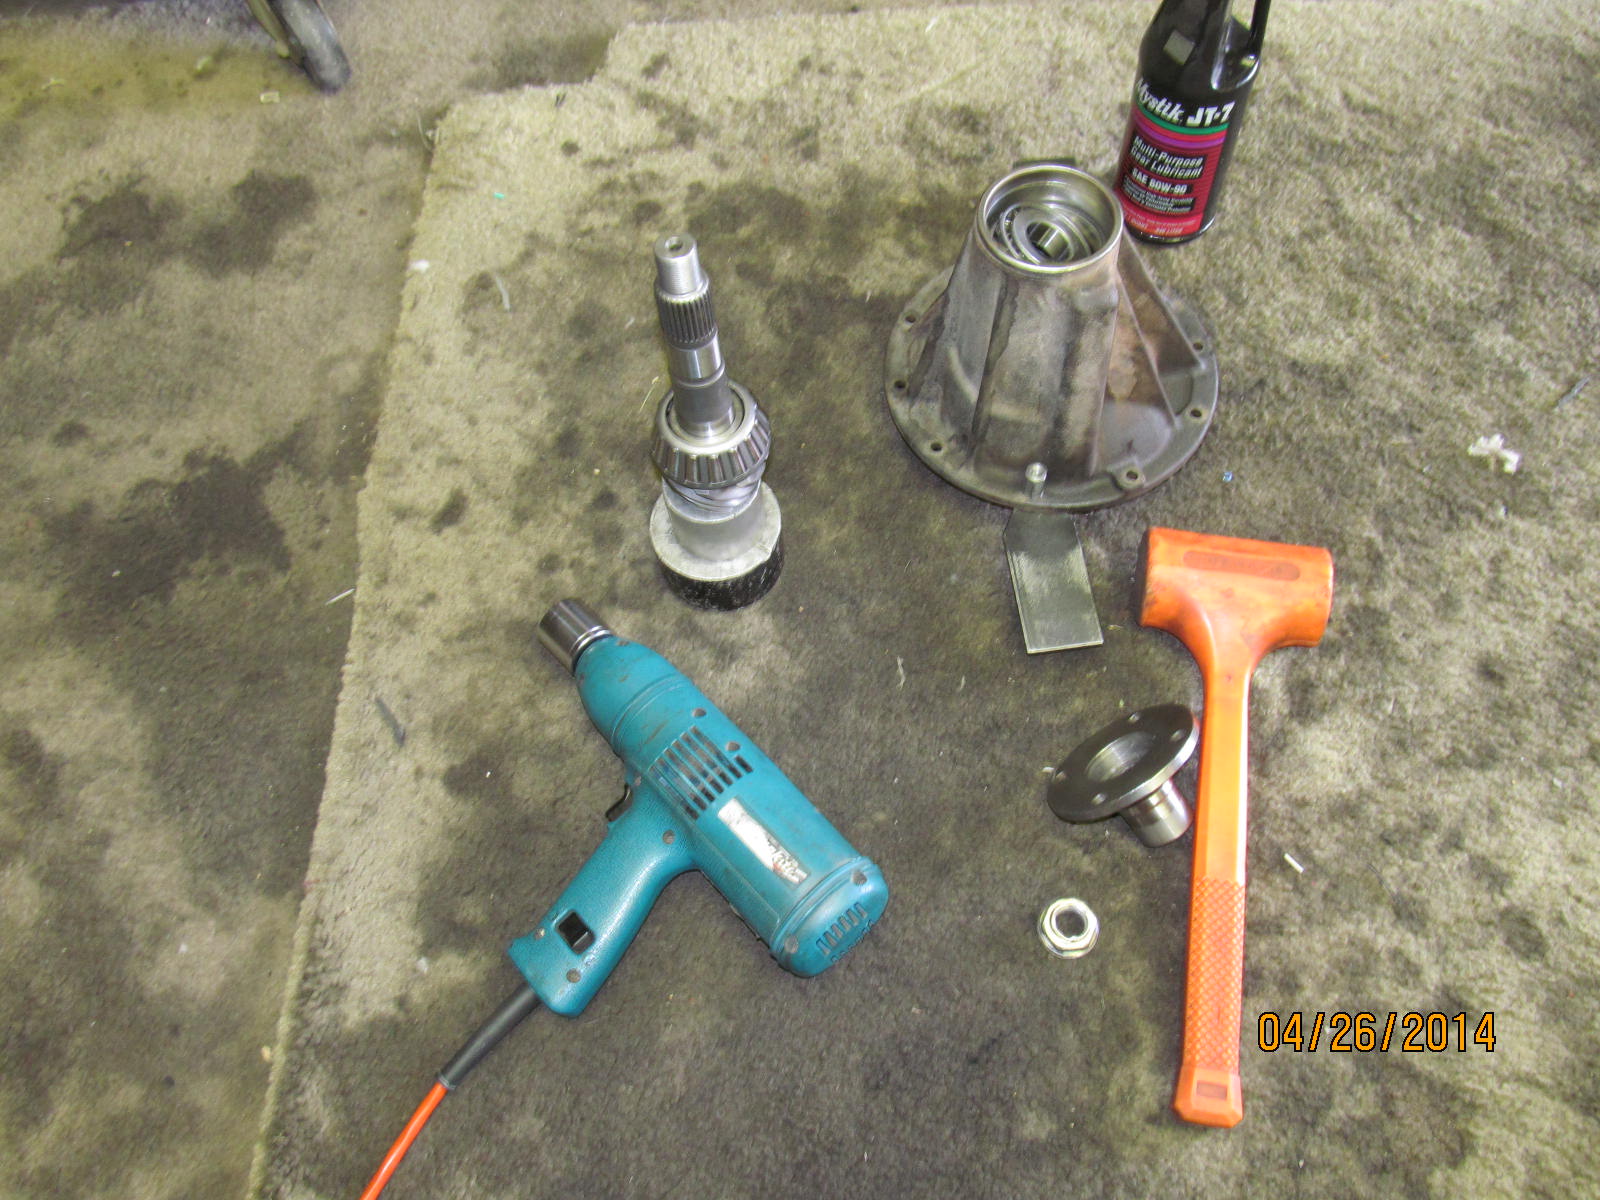
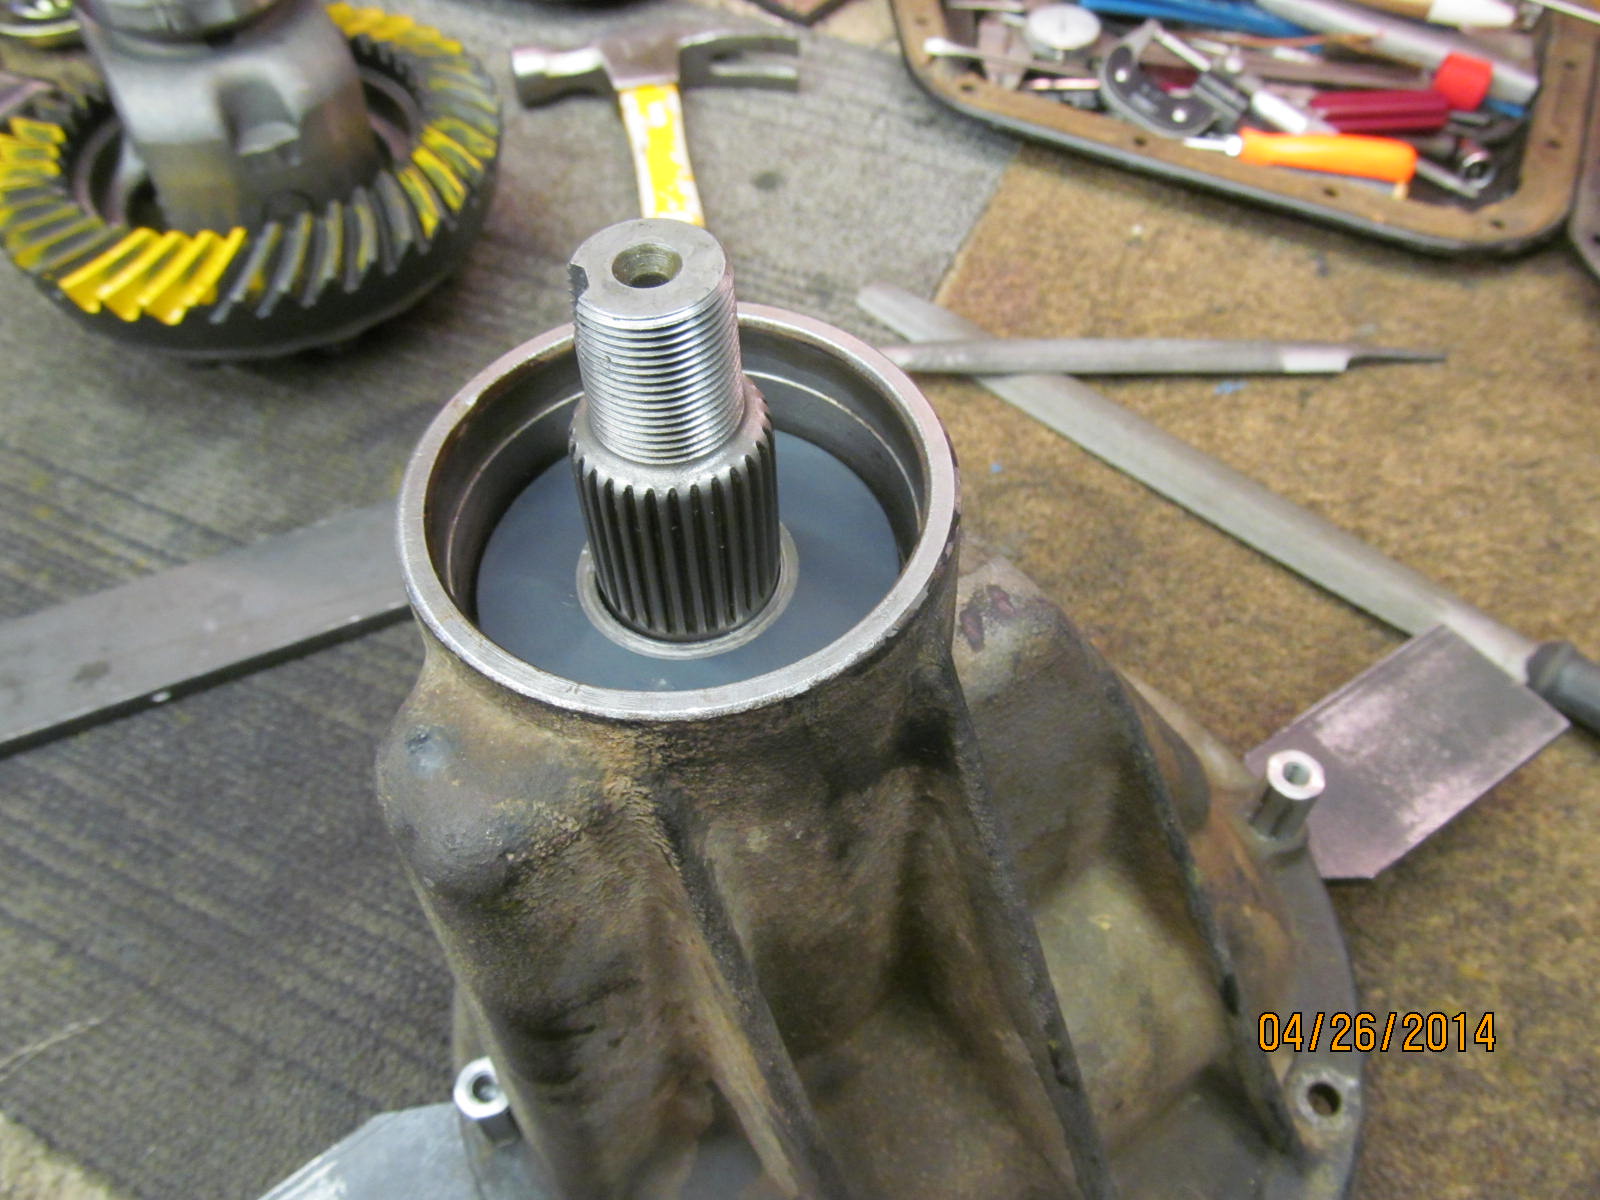
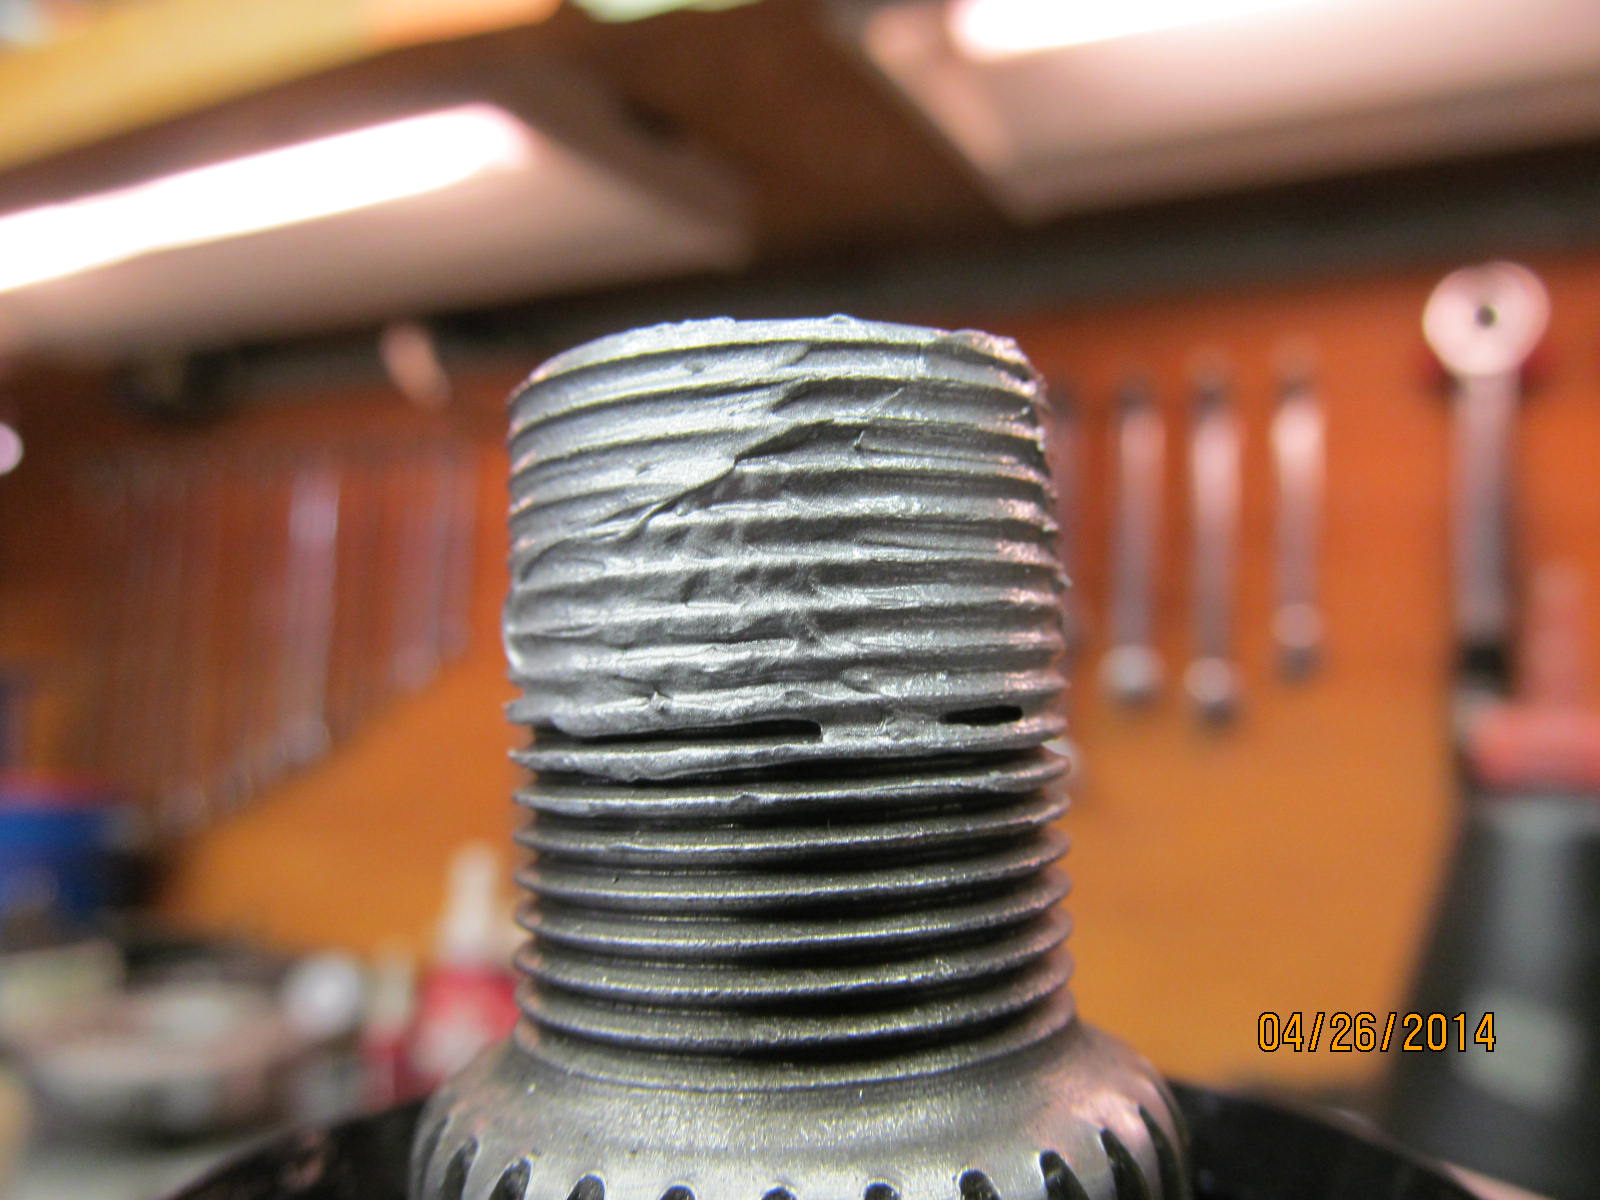
This is the splashguard designed for the 27 spline pinions...and this is the fatter 29 spline pinion.
|
|
|
|
By using a "half round" type of metal file, enough material can be removed in about 4 minutes to
make a proper fit.
|
|
|
|
|
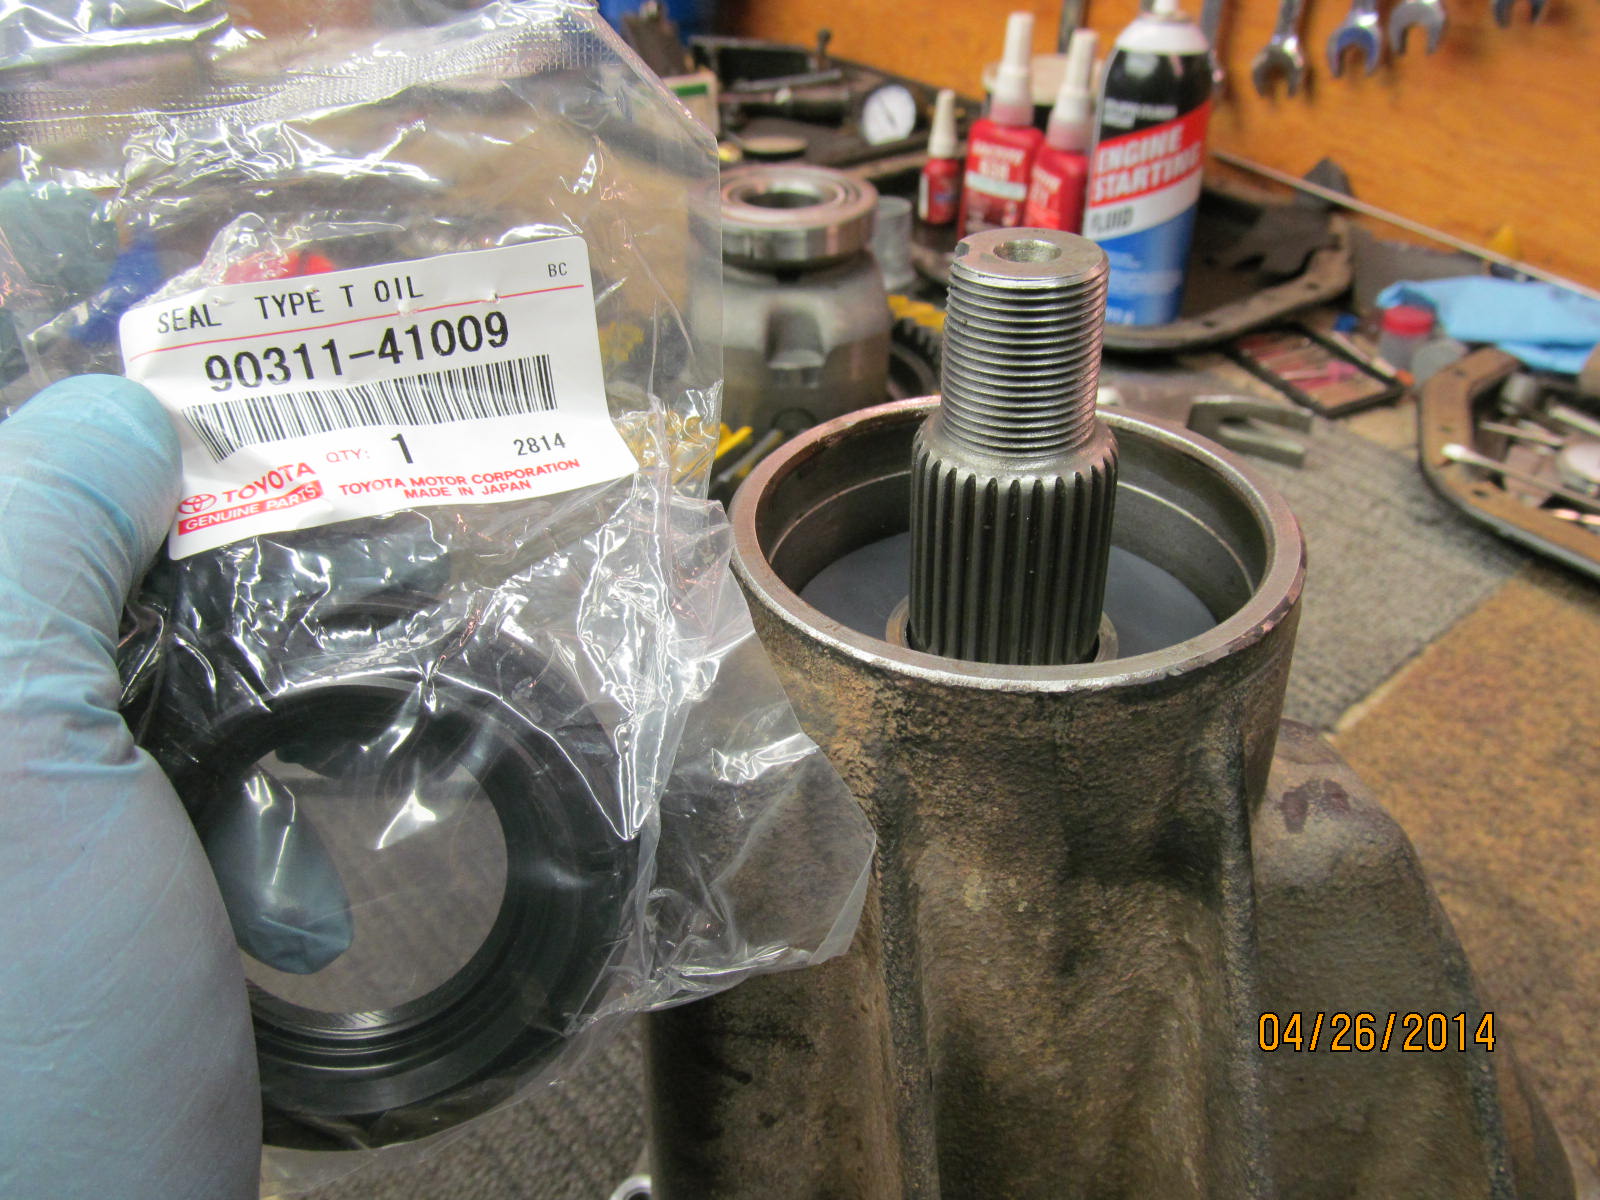
90311-41009 OEM pinion seal will be used on this 29 spline pinion.
|
|
|
|
|
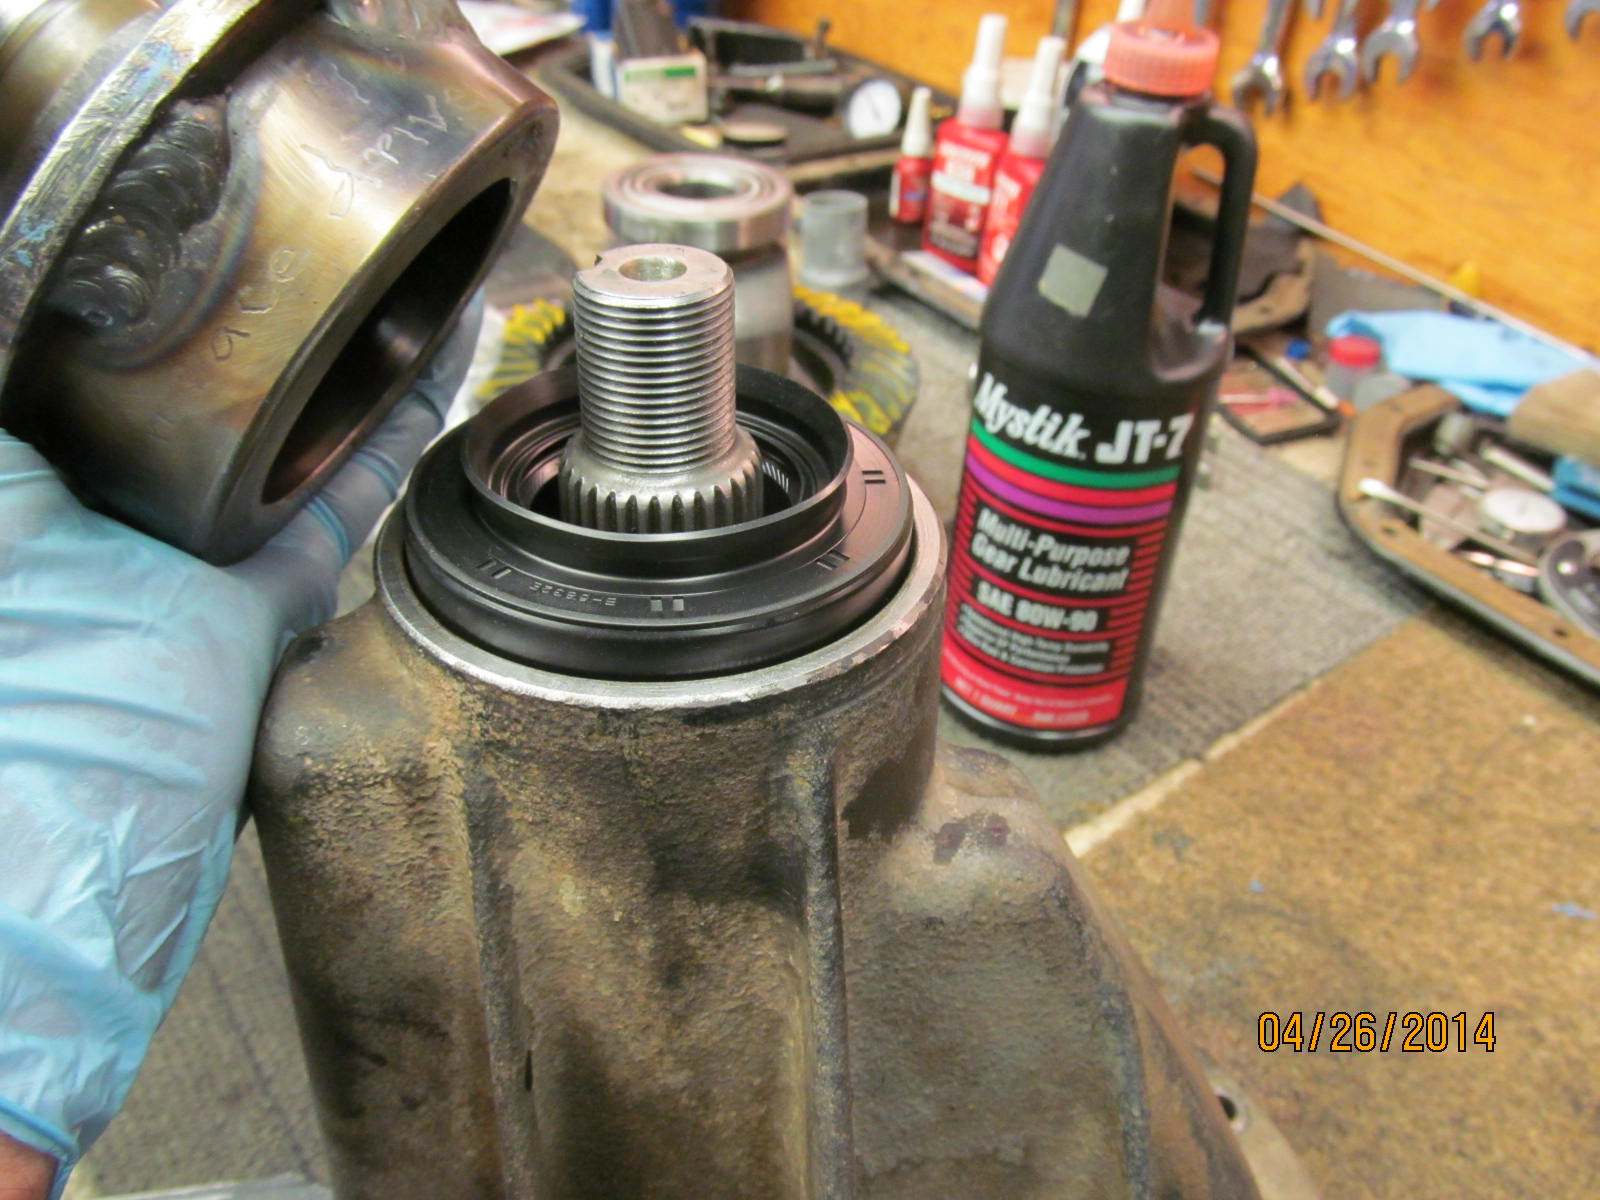
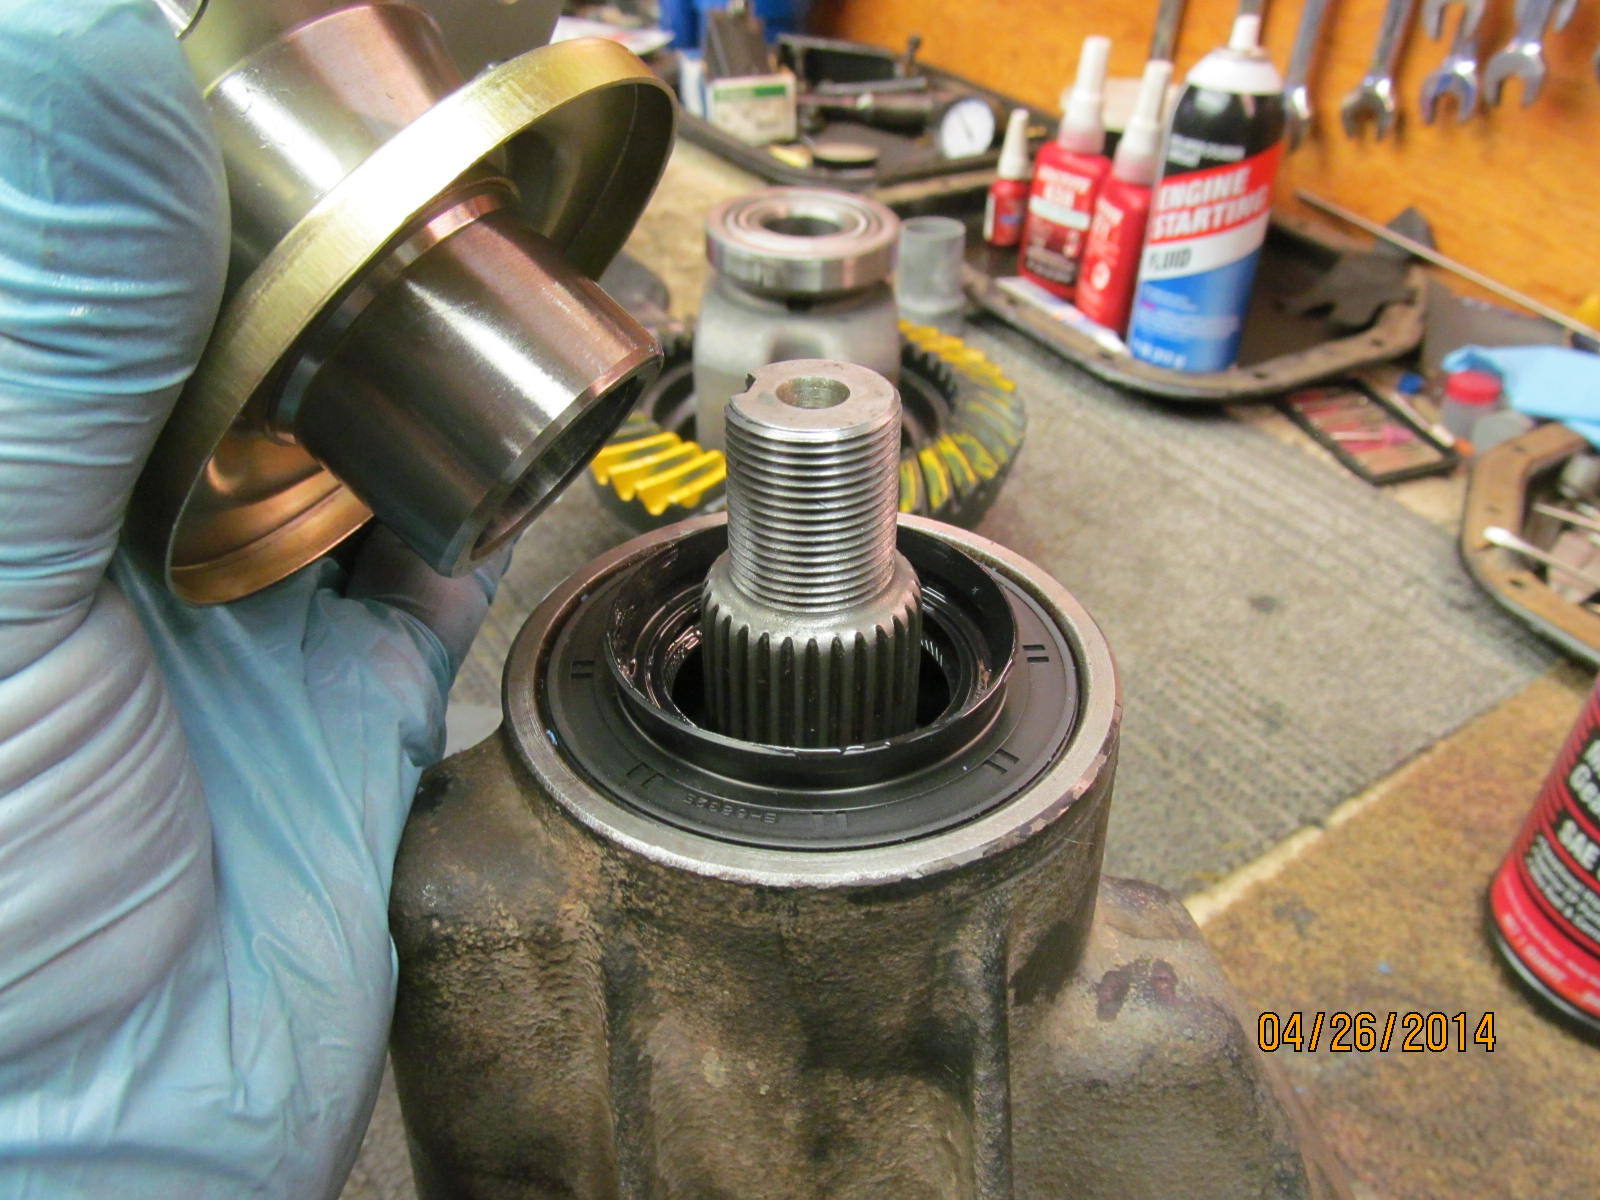
This homemade tool will knock the seal down evenly and fully.
|
|
|
|
Gear oil is applied to all contact surfaces to prevent a dry start-up condition and to minimize the drag
of the rubber when I check the final PPL value.
|
|
|
|
|
I used to apply a red Loctite to the pinion threads....
|
|
|
|
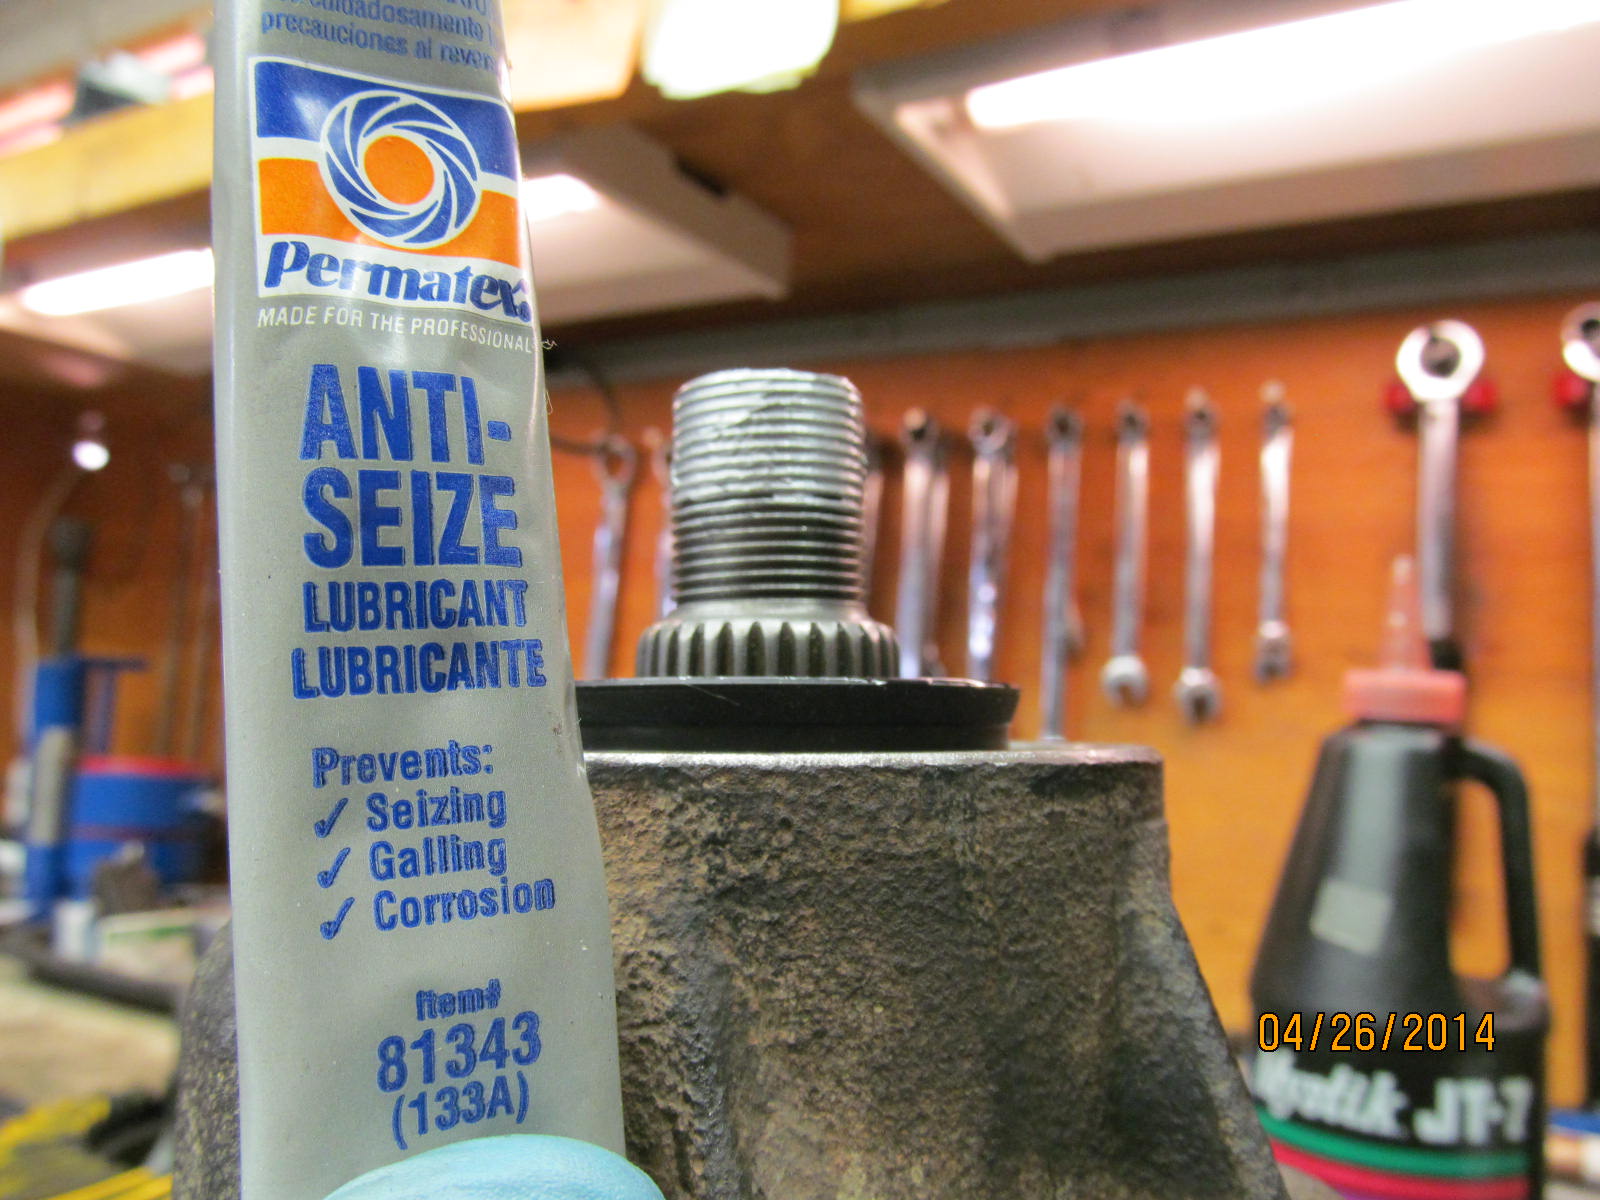
....but, after much thought, decided it was not needed and possibly a hindrance. I have already deformed/destroyed
one 30 mm socket because I did not use an anti-seize compound on the threads
to help reduce the spiral thread resistance.
|
|
|
|
After tightening the 30mm nut as much as the electric impact would allow, the torque wrench was employed to tweak
the ppl to its final desired value of 10 inch/pounds start torque.
|
|
|
|
|
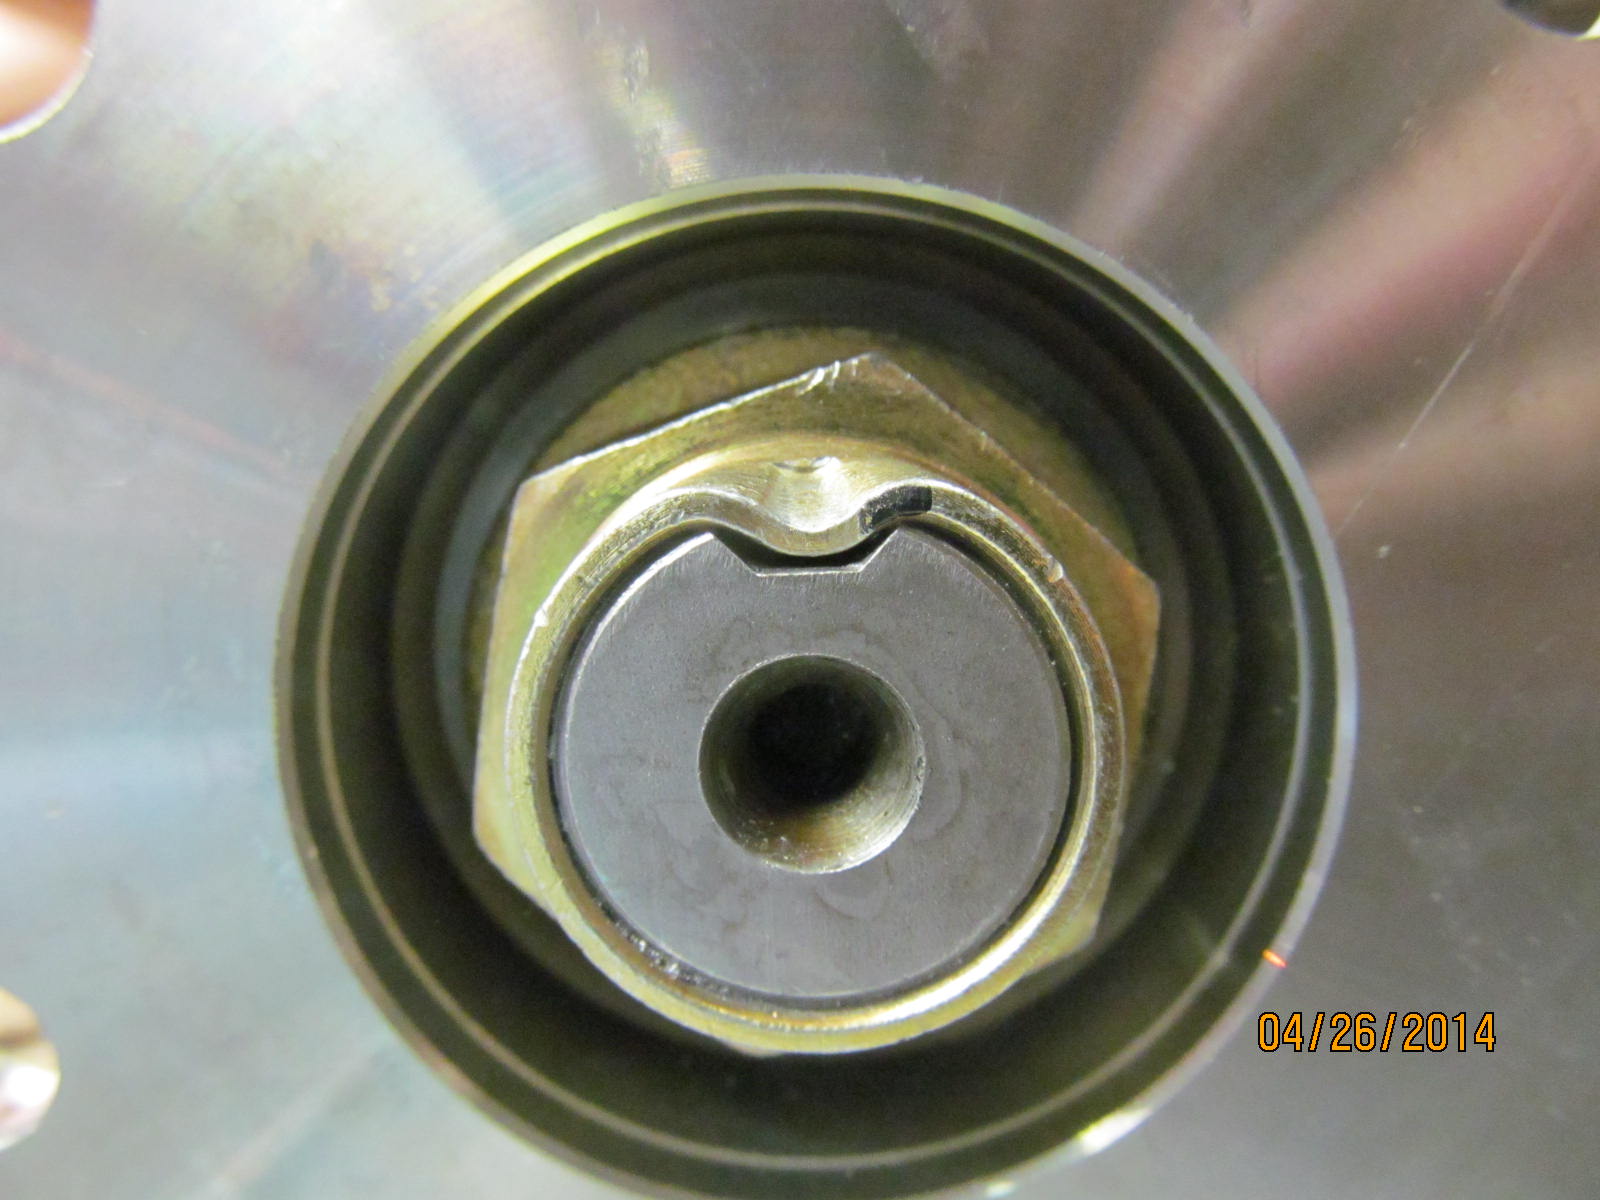
Once the nut is dinged it will never loosen up on its own.
|
|
|
|
|
75 ft/lbs on all 4 bearing cap bolts.
|
|
|
|
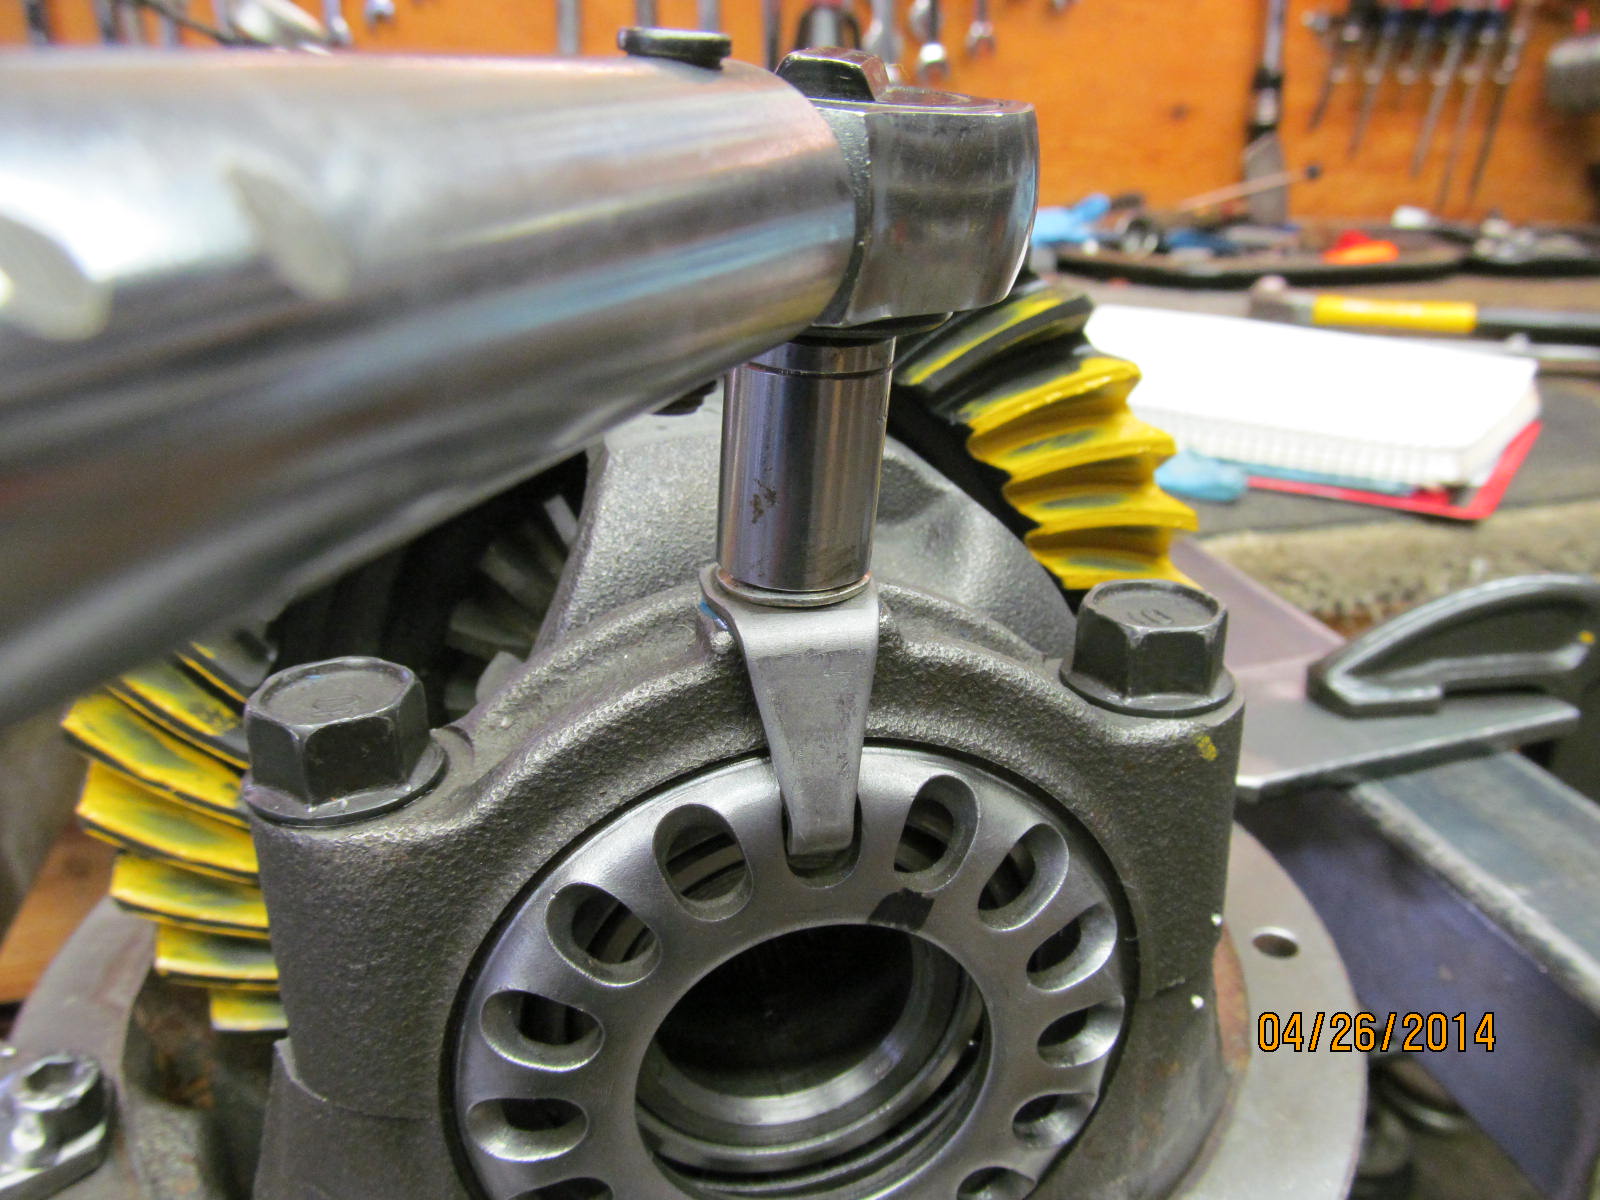
Backlash is dialed in and carrier bearing preload is nudged in place by tightening the adjuster wheels 1 notch
at a time.
|
|
|
|
I am measuring 14 in/lb start torque here. That's the force required to turn both the pinion and ring gear. That
means my pinion preload is still 10 in/lb and, doing the math, the carrier bearing preload is 4.
|
|
|
|
|
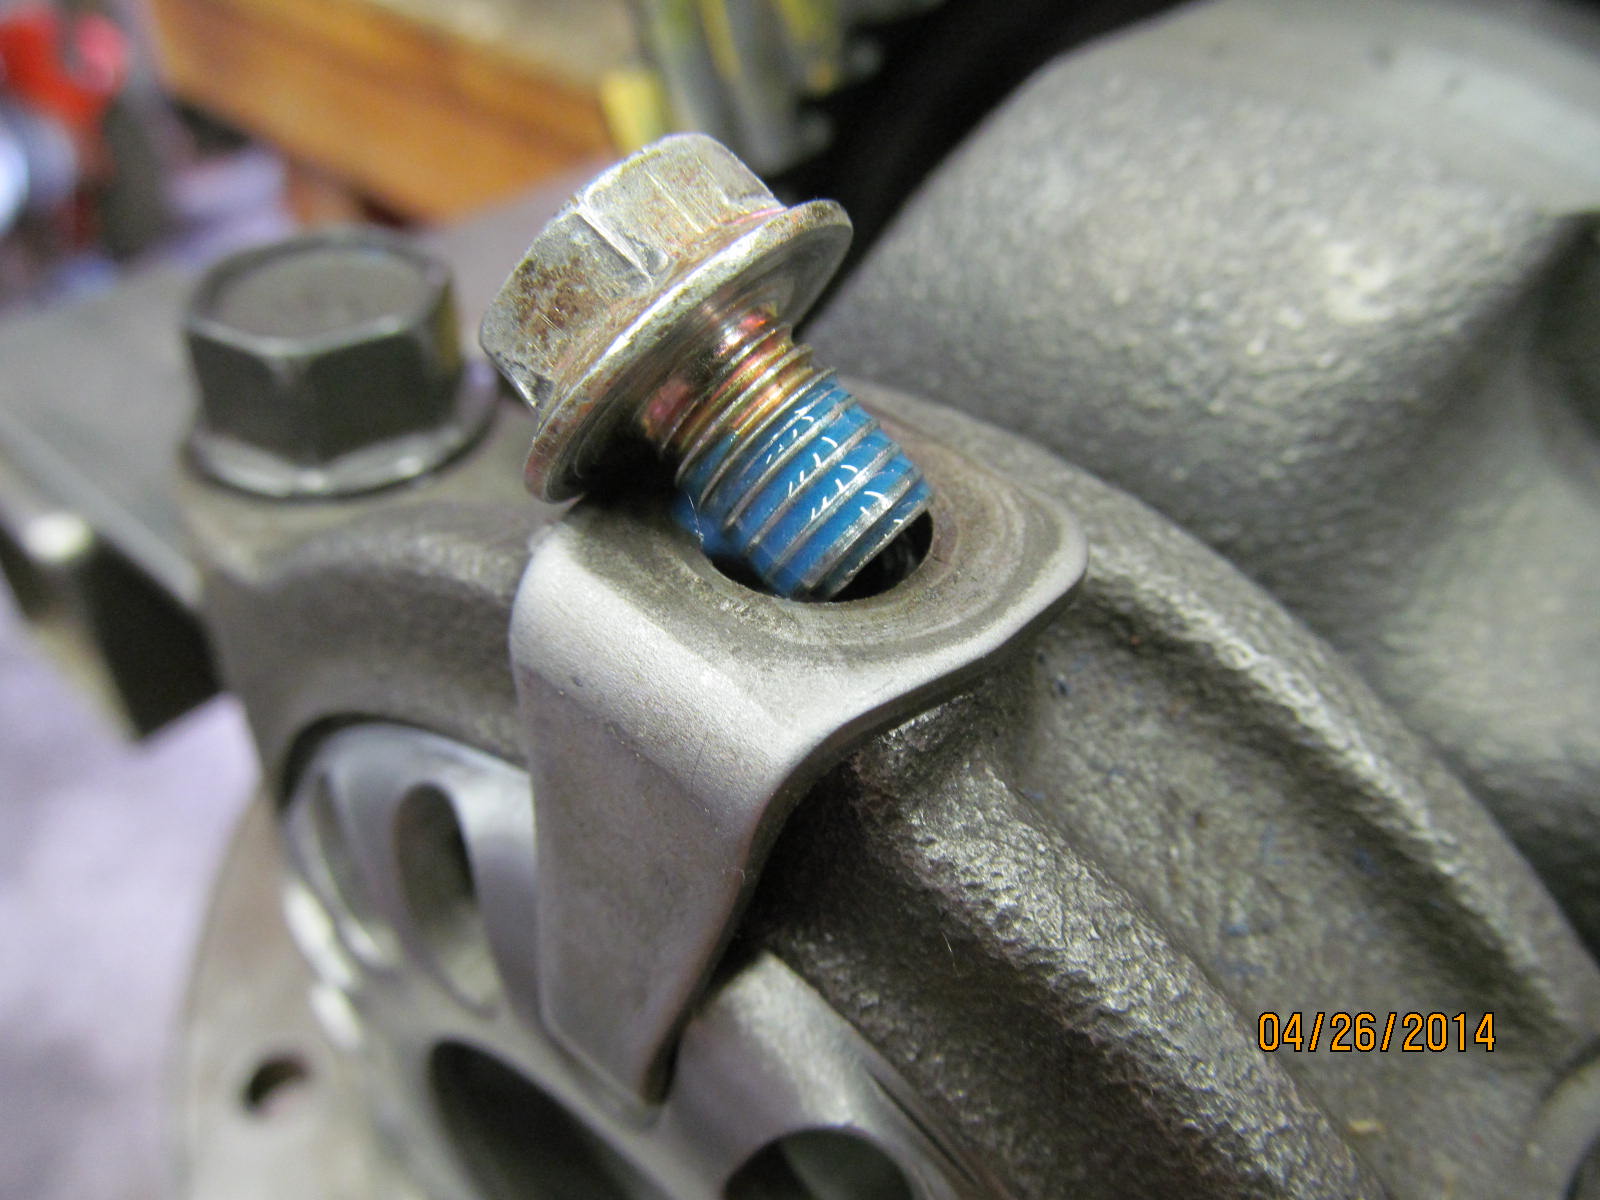
The lock tabs can now be secured....blue loctite(medium strength)....
|
|
|
|
|
....and 10 inch/pounds.
|
|
|
|
|
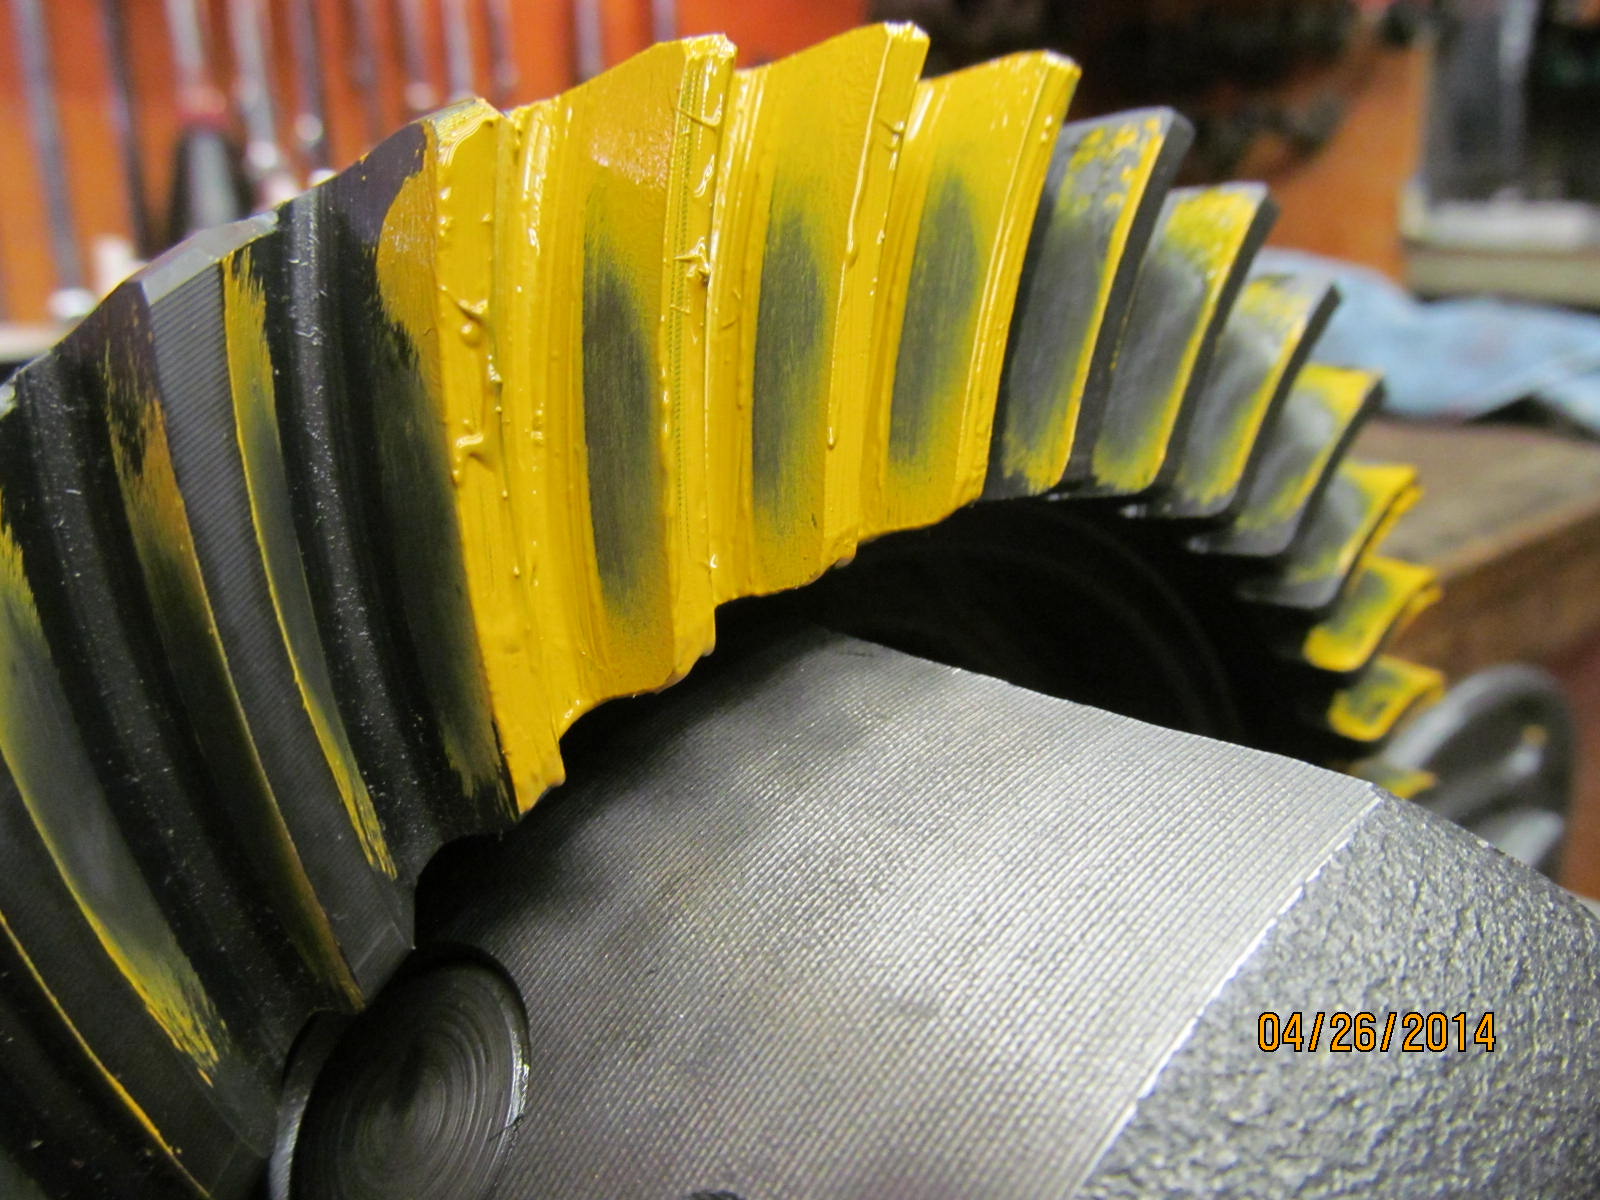
One final paint check and the drive side looks slight deep and a slight favoring of the toe. Excellent.
|
|
|
|
|
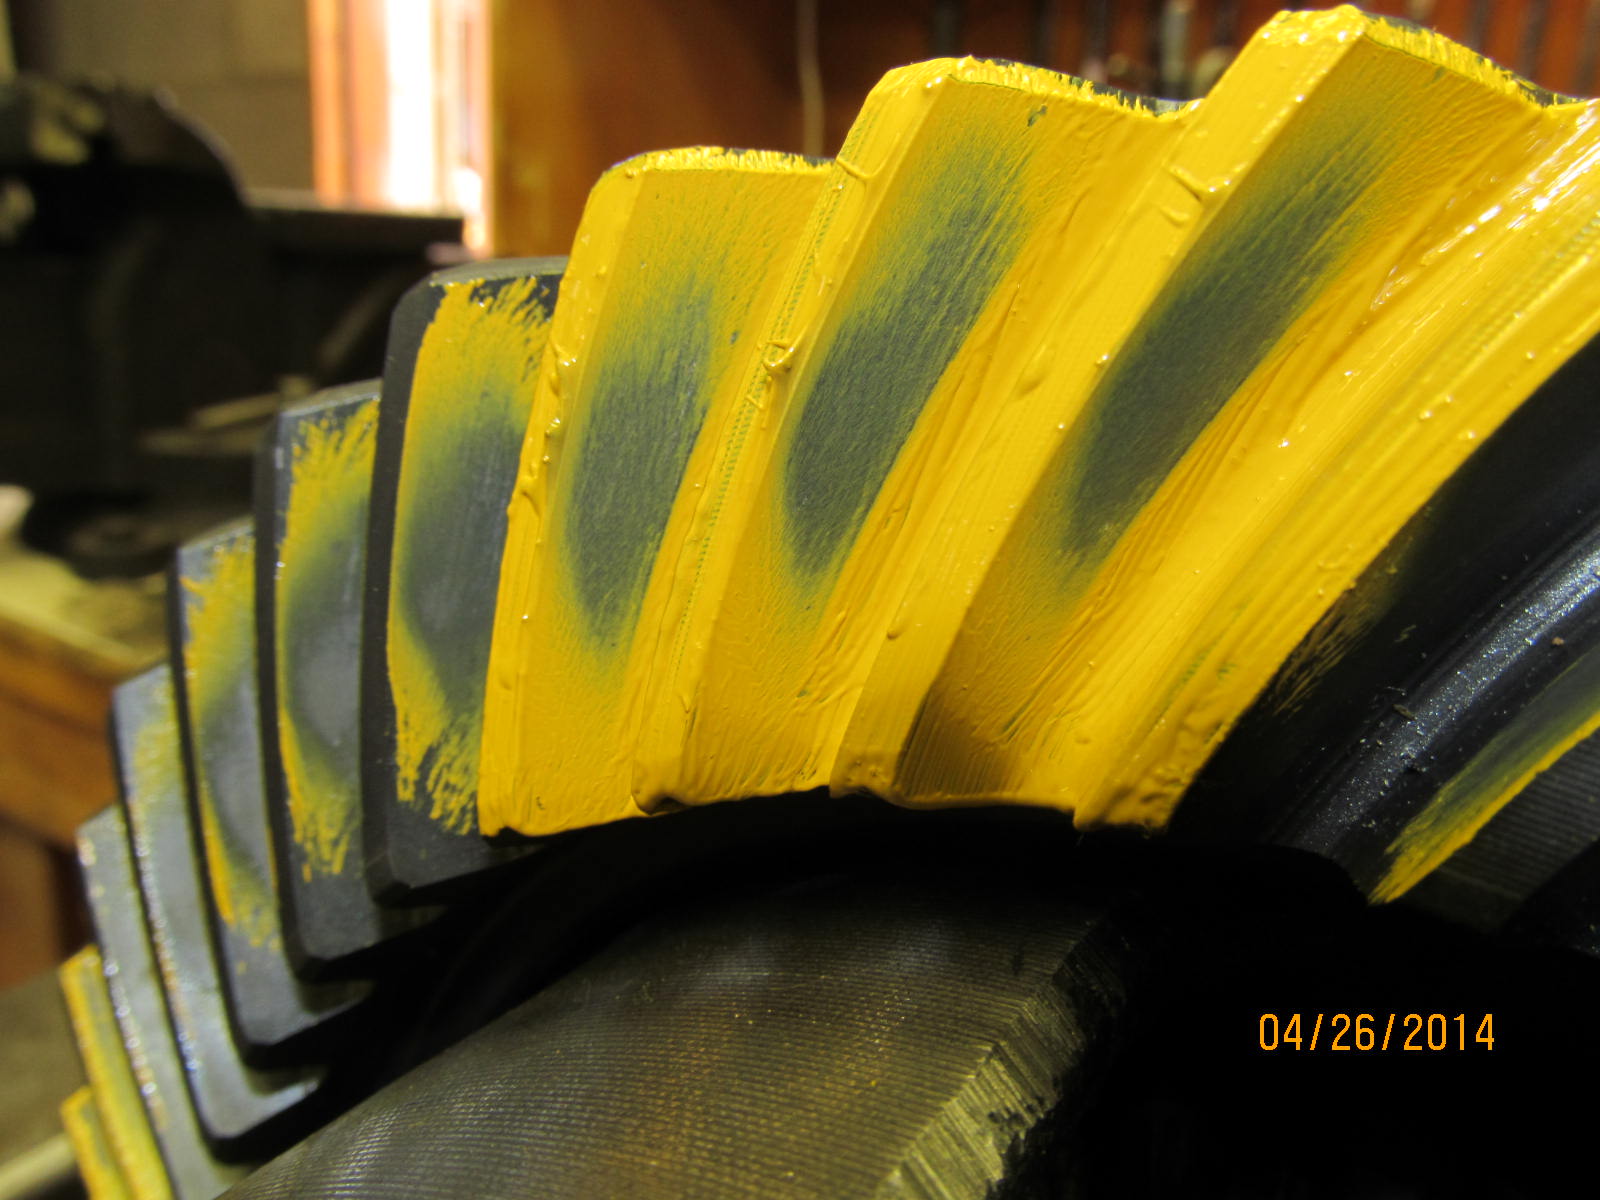
Coast looks pretty good, too. Deepish look and favoring the heel a little.
|
|
|
|
|
....................
|
|
|
|
|
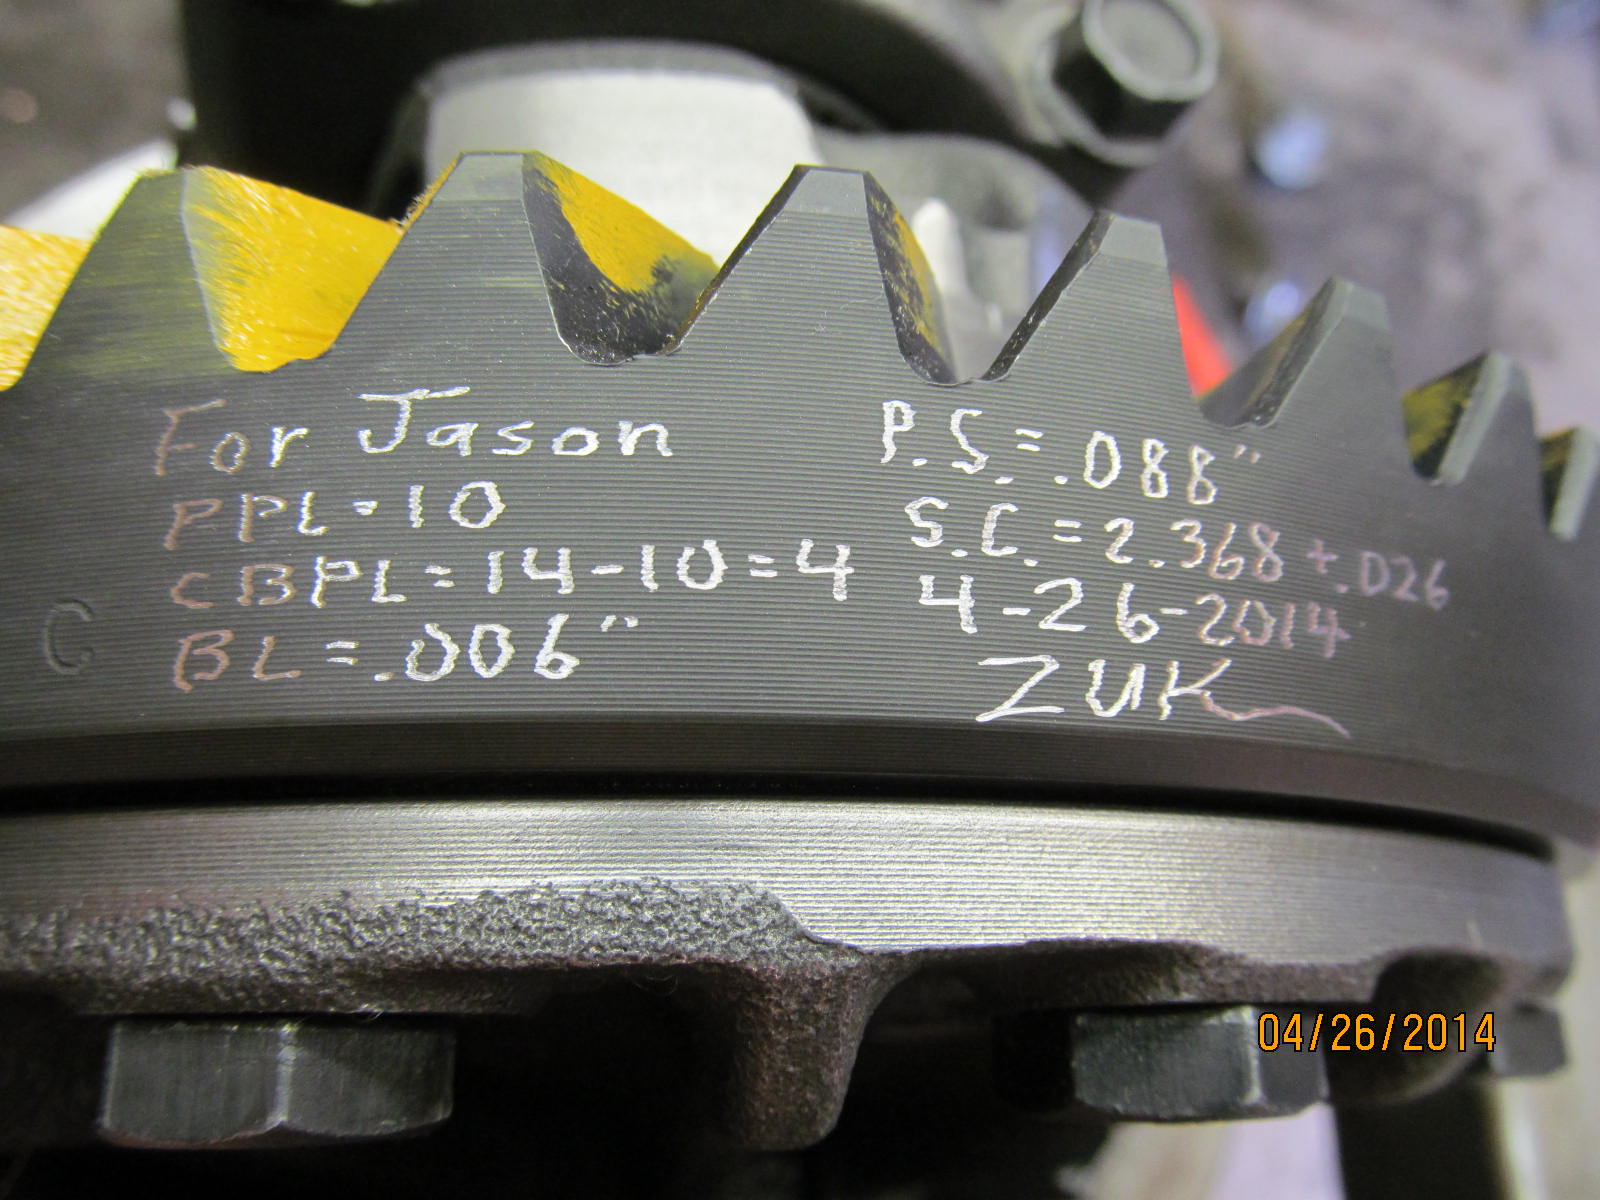
A snap shot of my assembly notes.
|
|
|
|
|
..................
|
|
|
|
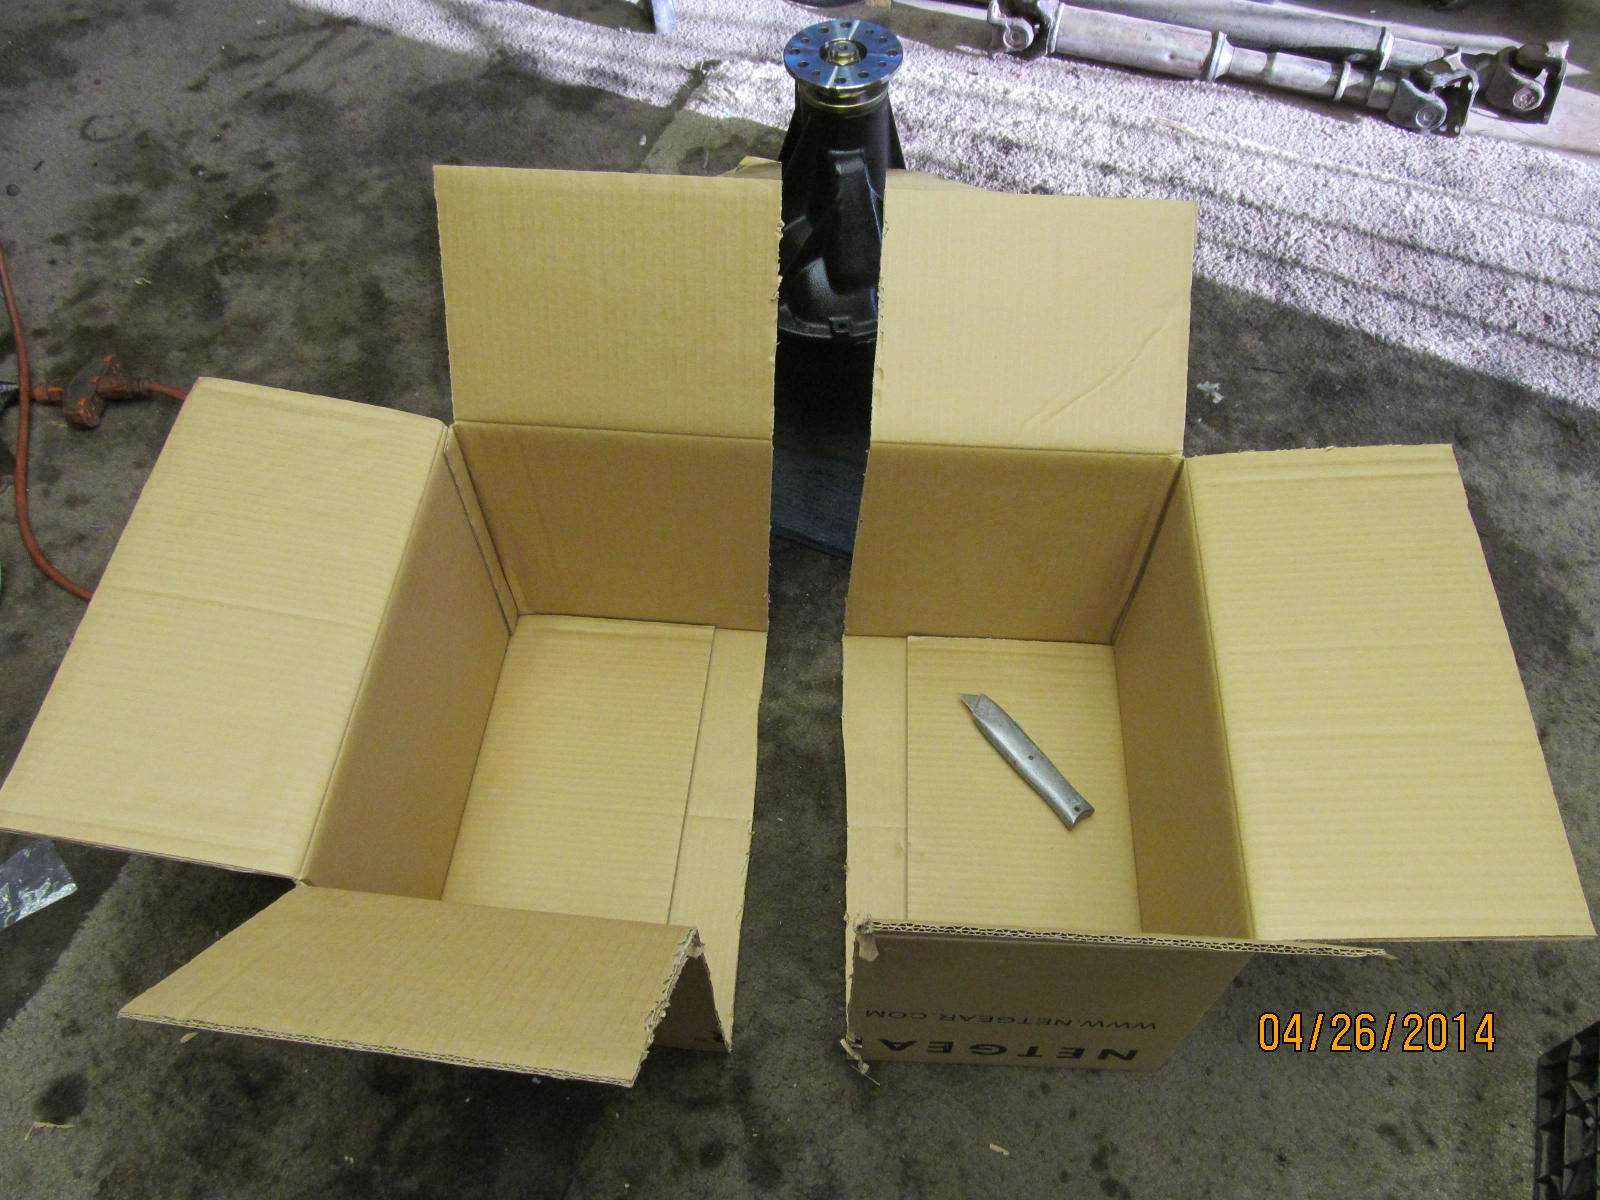
And, since this was going USPS to Hawaii which has a weight limit of 70 pounds max, a light but strong
rectangular box was created. Cut in half....
|
|
|
|
|
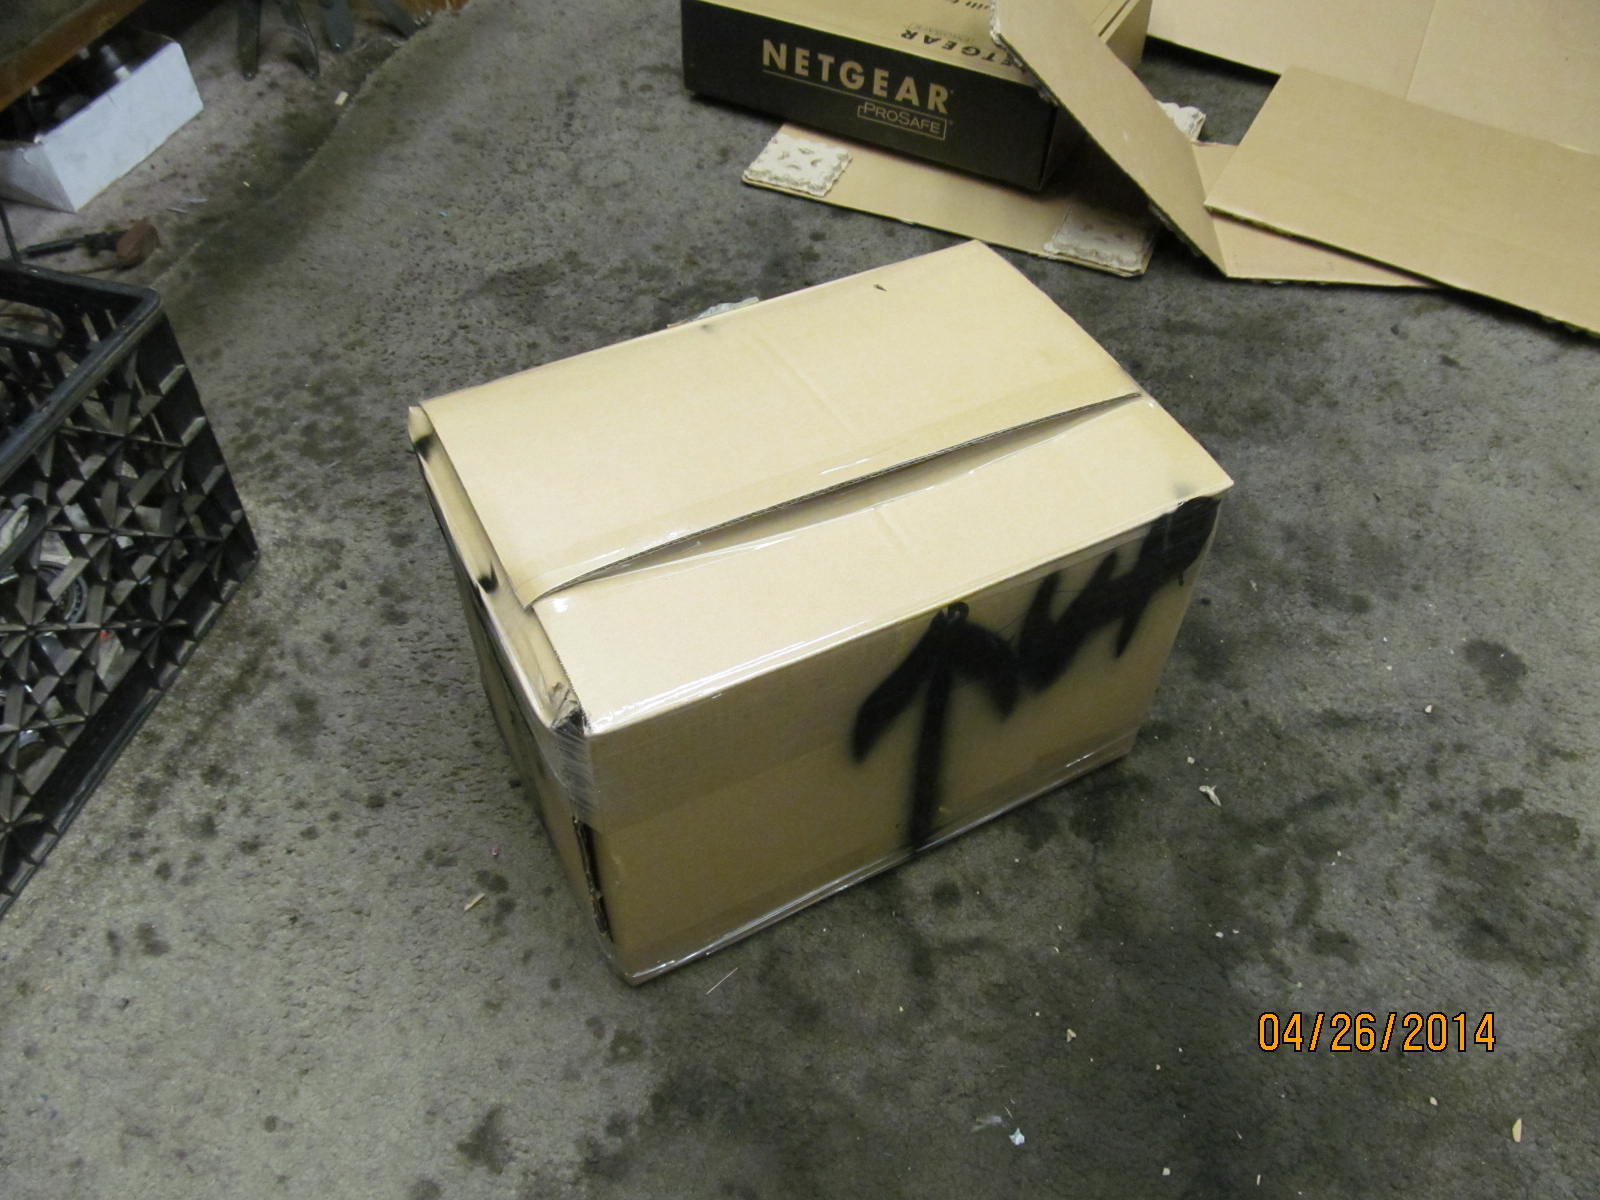
....and slide them together to make a super duty box.
|
|
|

|