|
Flipping Truetrac Gears and New 4.56 Nitros for a Rear 7.5" Gear Install
|
|
(51 BIG pics loading)
|
|
JUNE 19 2016
|
|
|
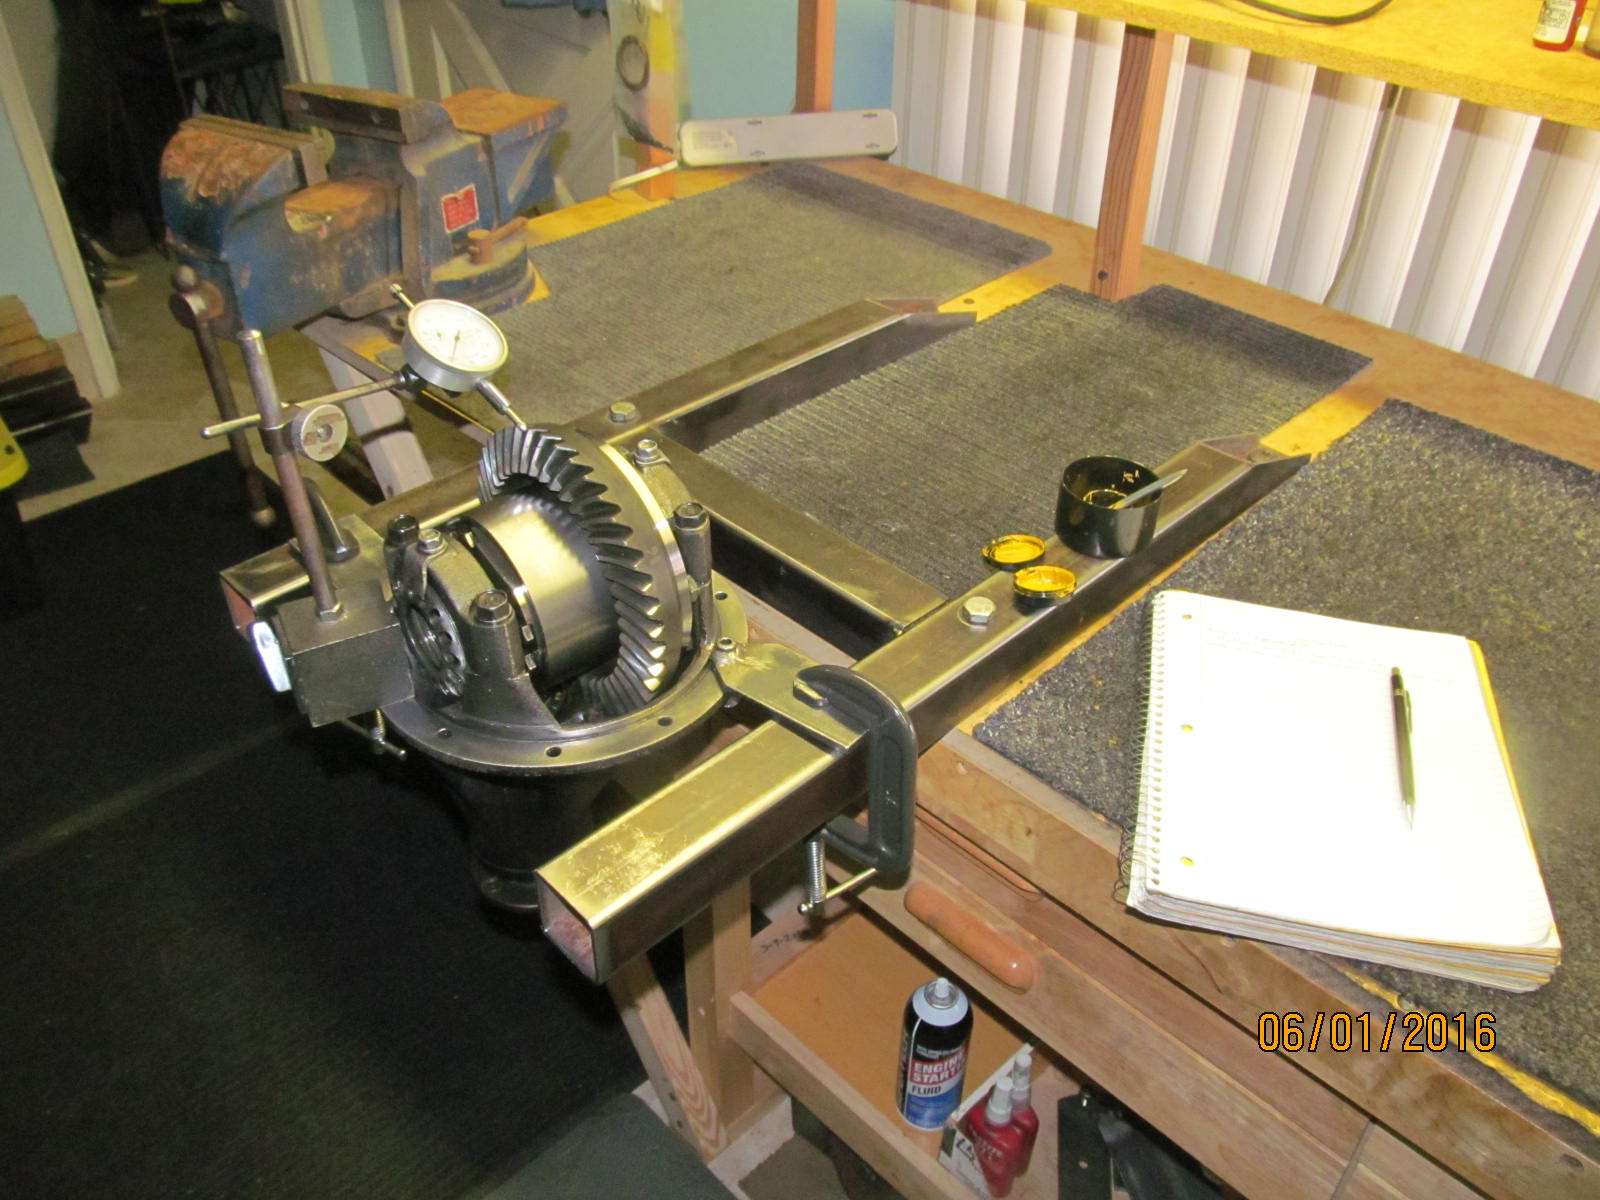
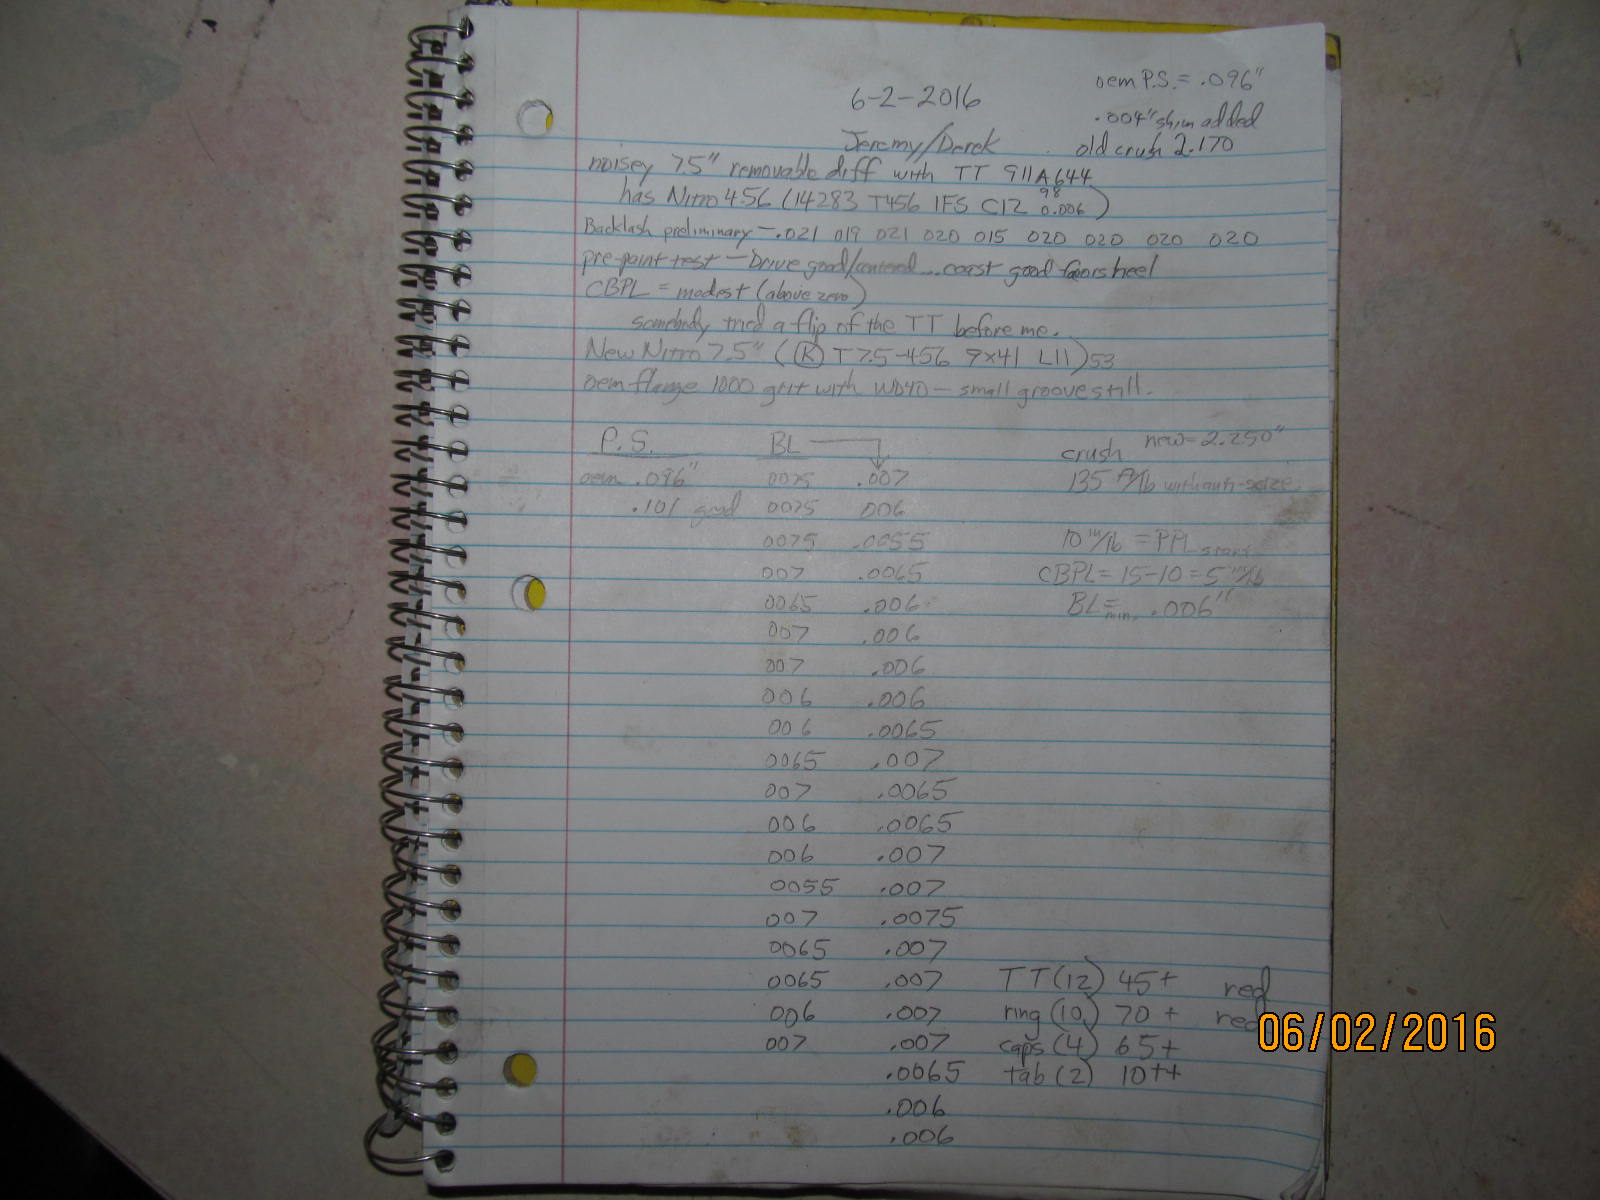
Jeremy is local and brought over this 7.5" diff to have new 4.56 Nitro gears installed and new bearings.
Taking some preliminary notes and noting the backlash on these old 456 Nitro gears was excessively
wide at about .021". Pattern ok. Some load bearing wear.
|
|
|
|
|
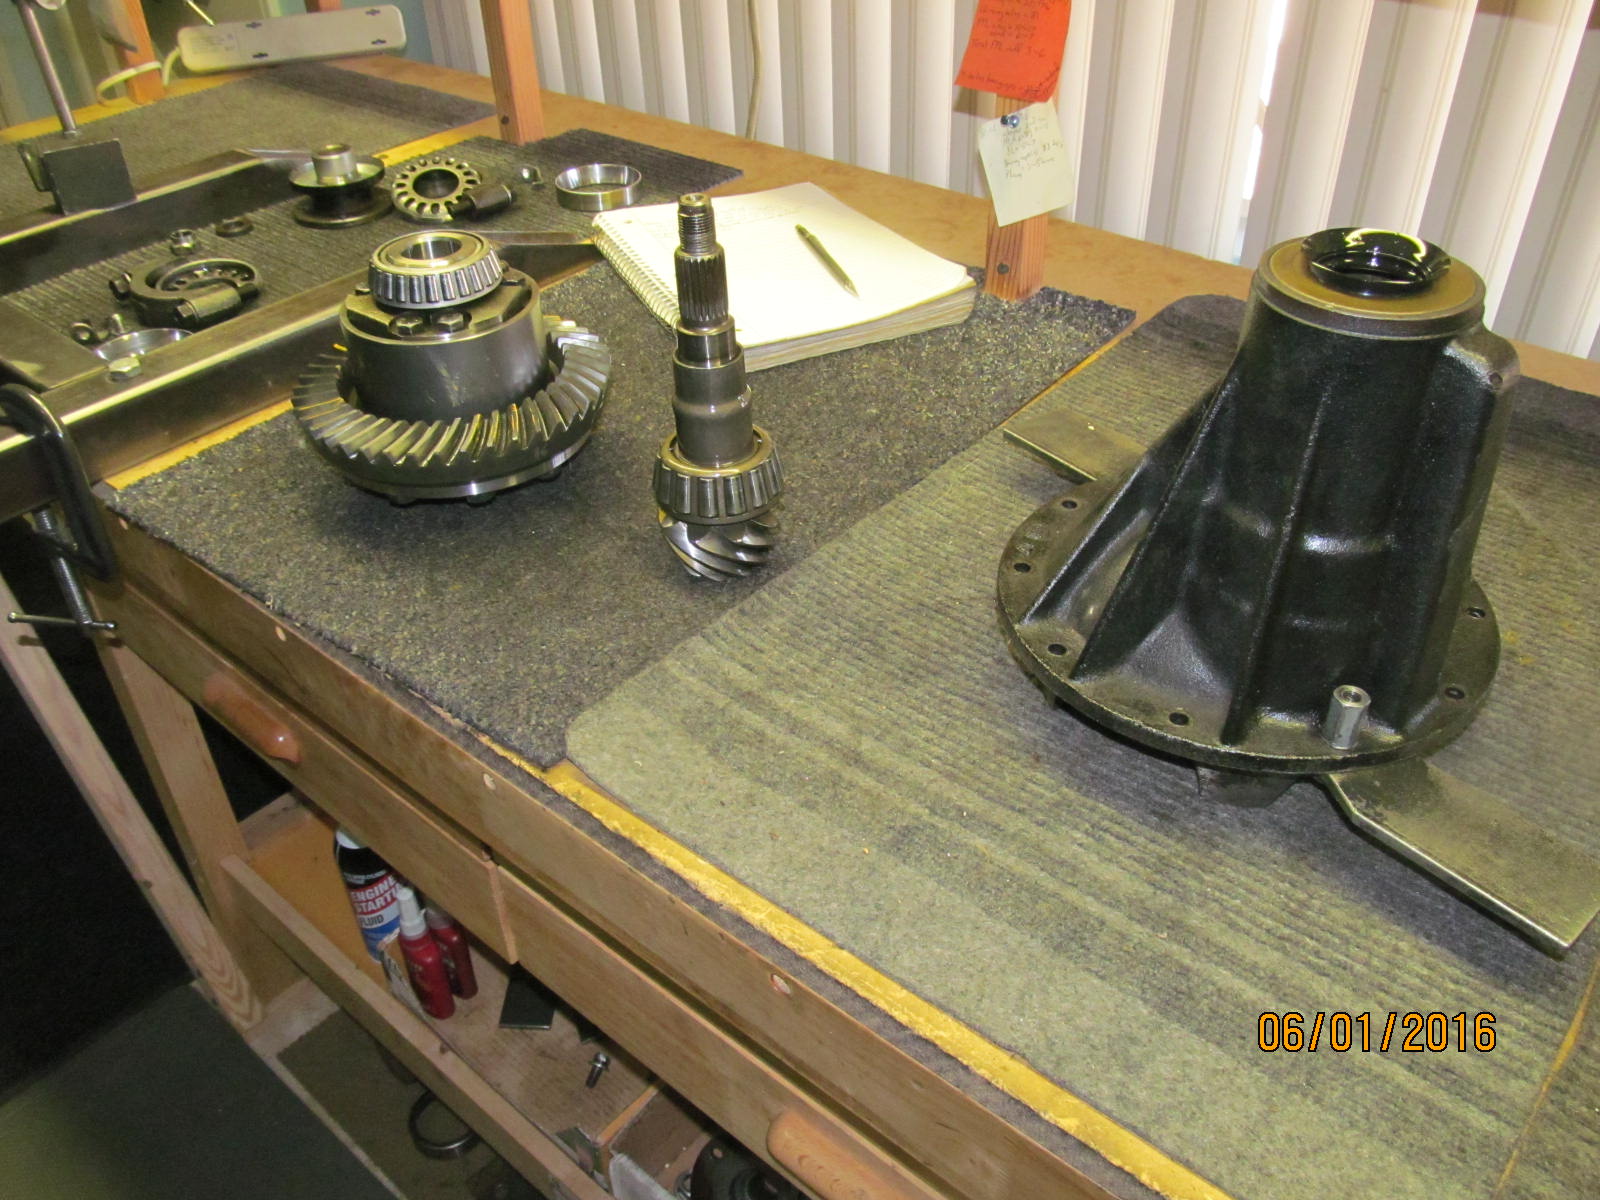
Truetrac assembly was removed and now the old Nitro pinion can be pushed out.
|
|
|
|
|
Old Nitro ring/pinion to be discarded(returned to Jeremy) and TT will be inspected.
|
|
|

|
The previous installer apparently re-used the oem crush sleeve....that I do not consider a real issue....
it's the thin .004" shim used with it was too thin and sized wrong and did not center on the crush
collar's surface that could have resulted in a potential loosening of the pinion.
|
|
|
|
|
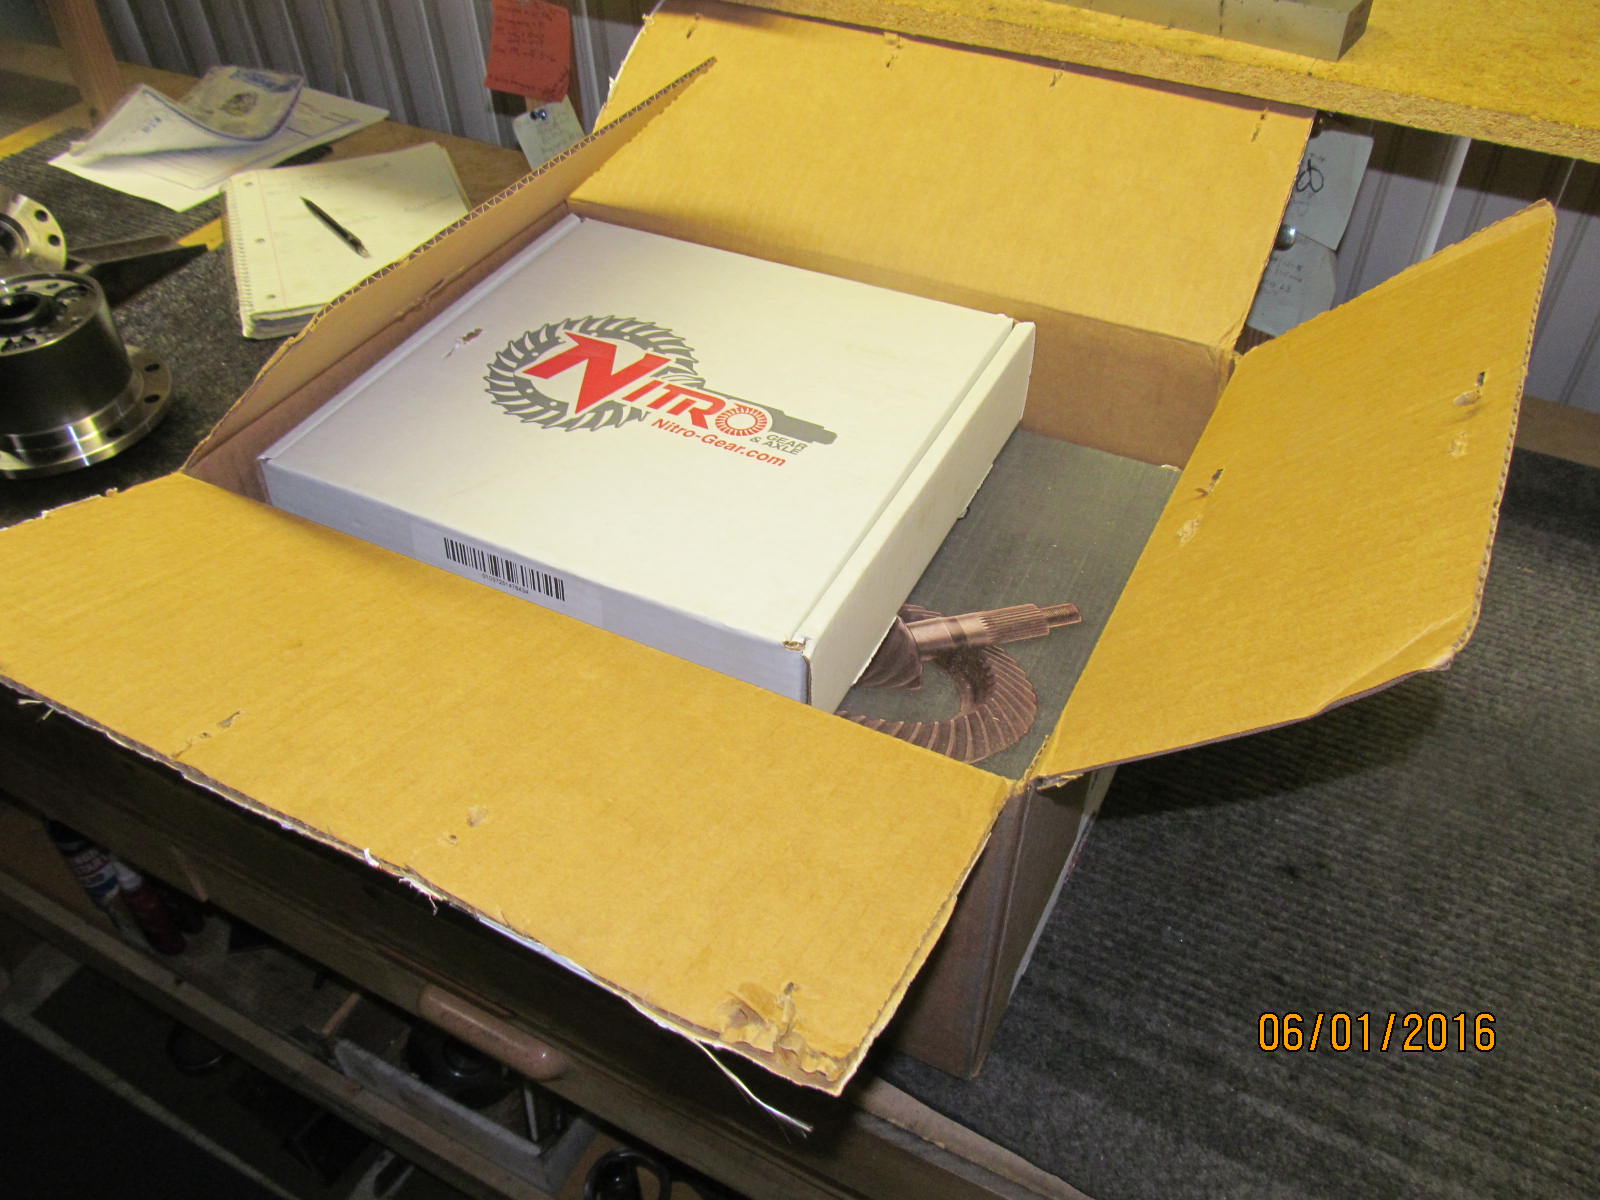
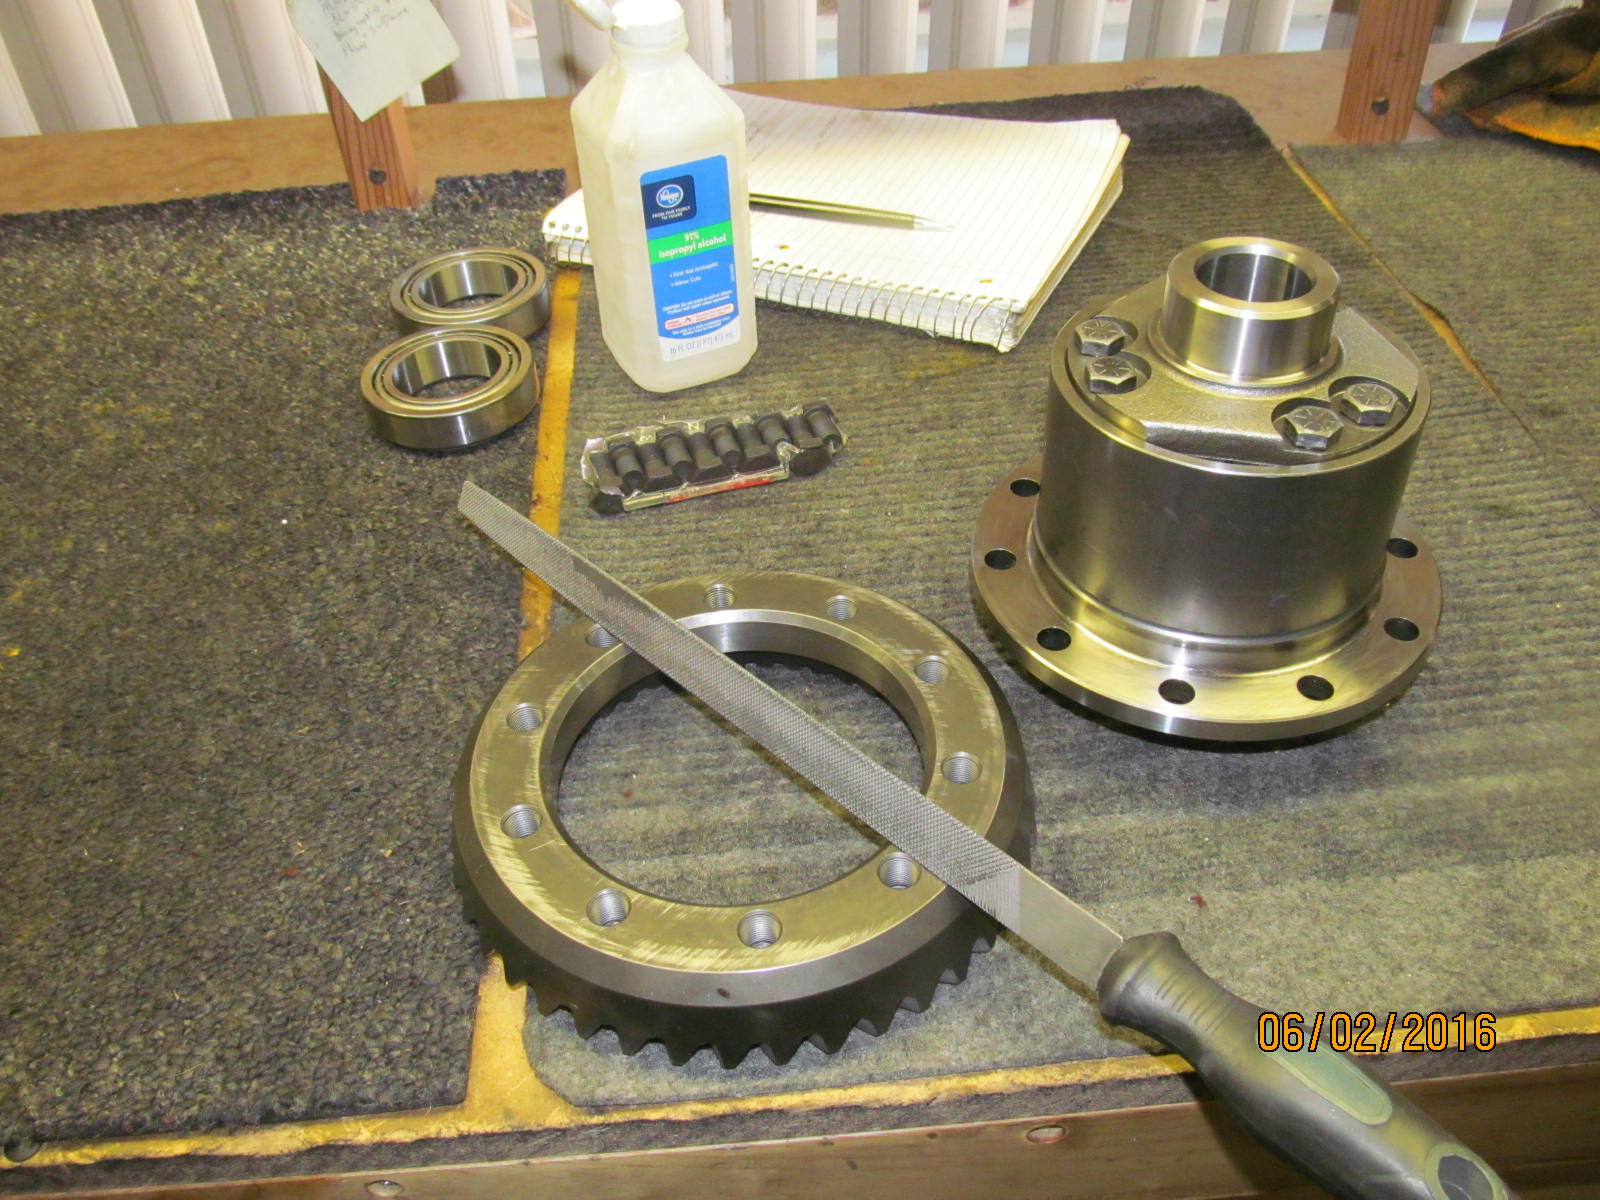
Jeremy also supplied the new Nitro 4.56 ring/pinion and install kit purchased from JustDifferentials.com.
|
|
|
|
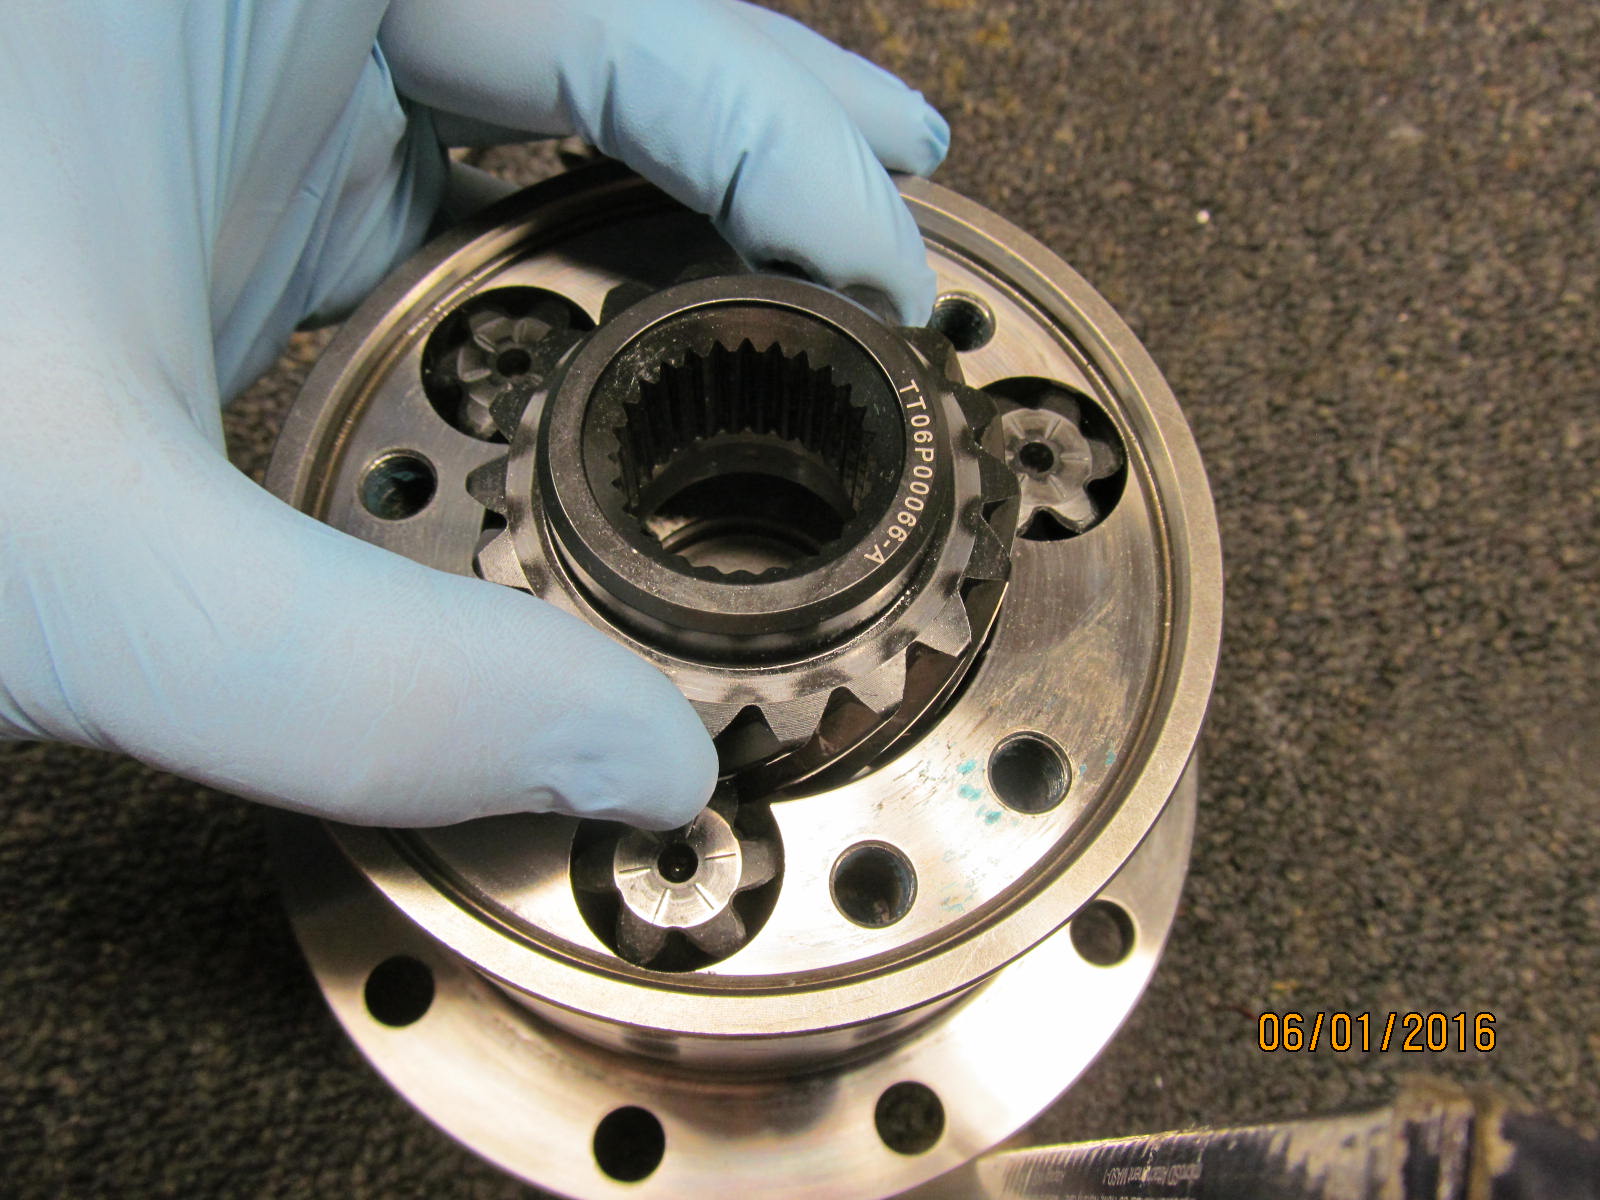
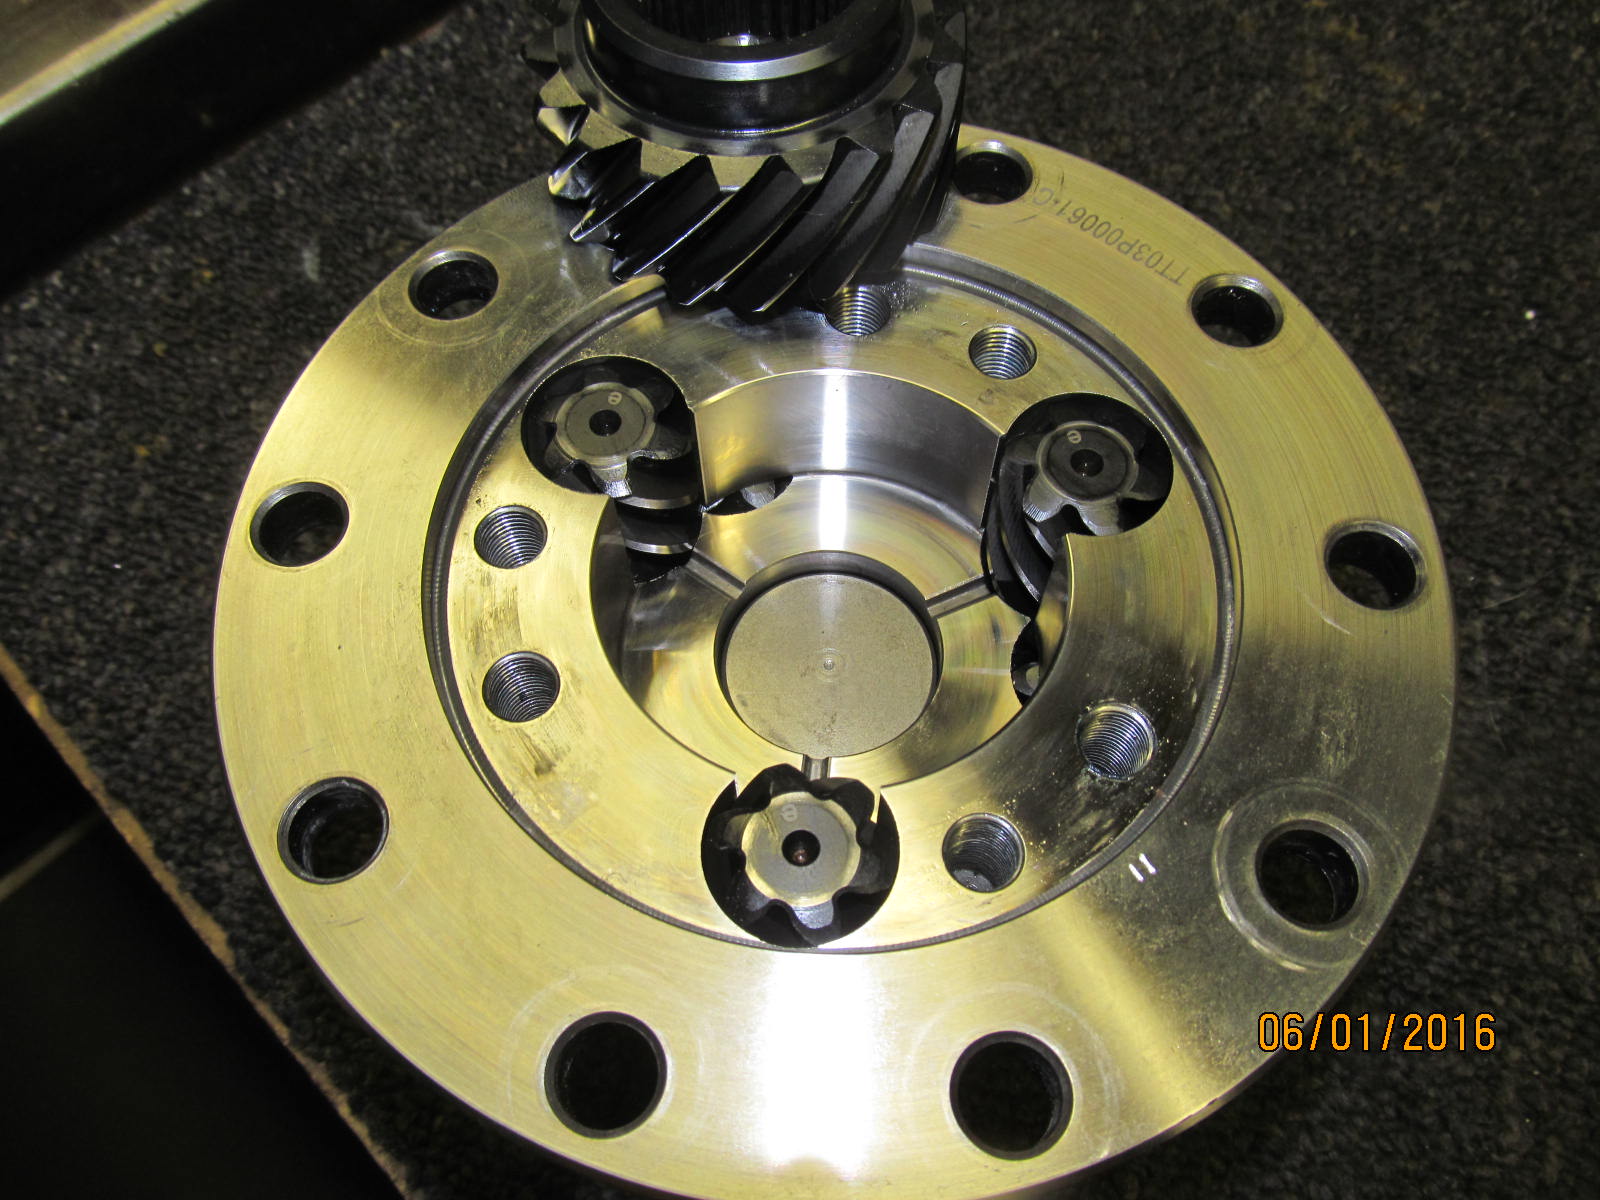
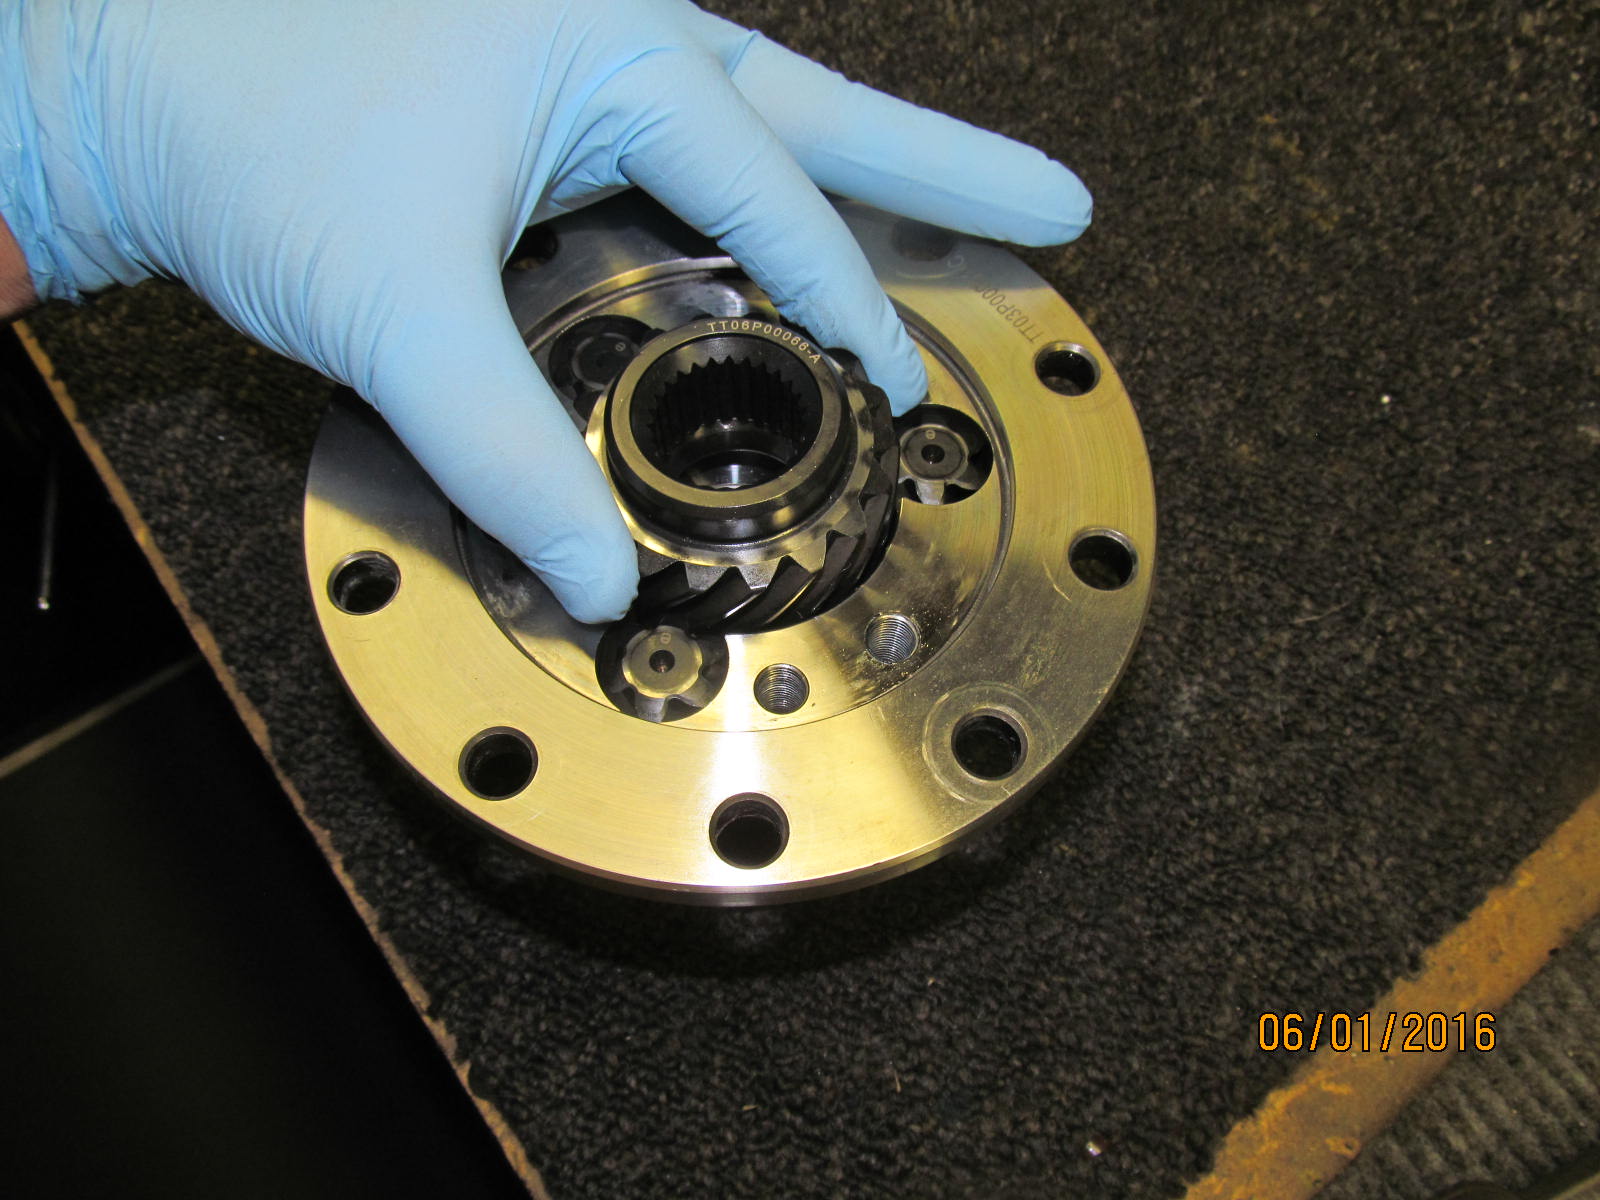
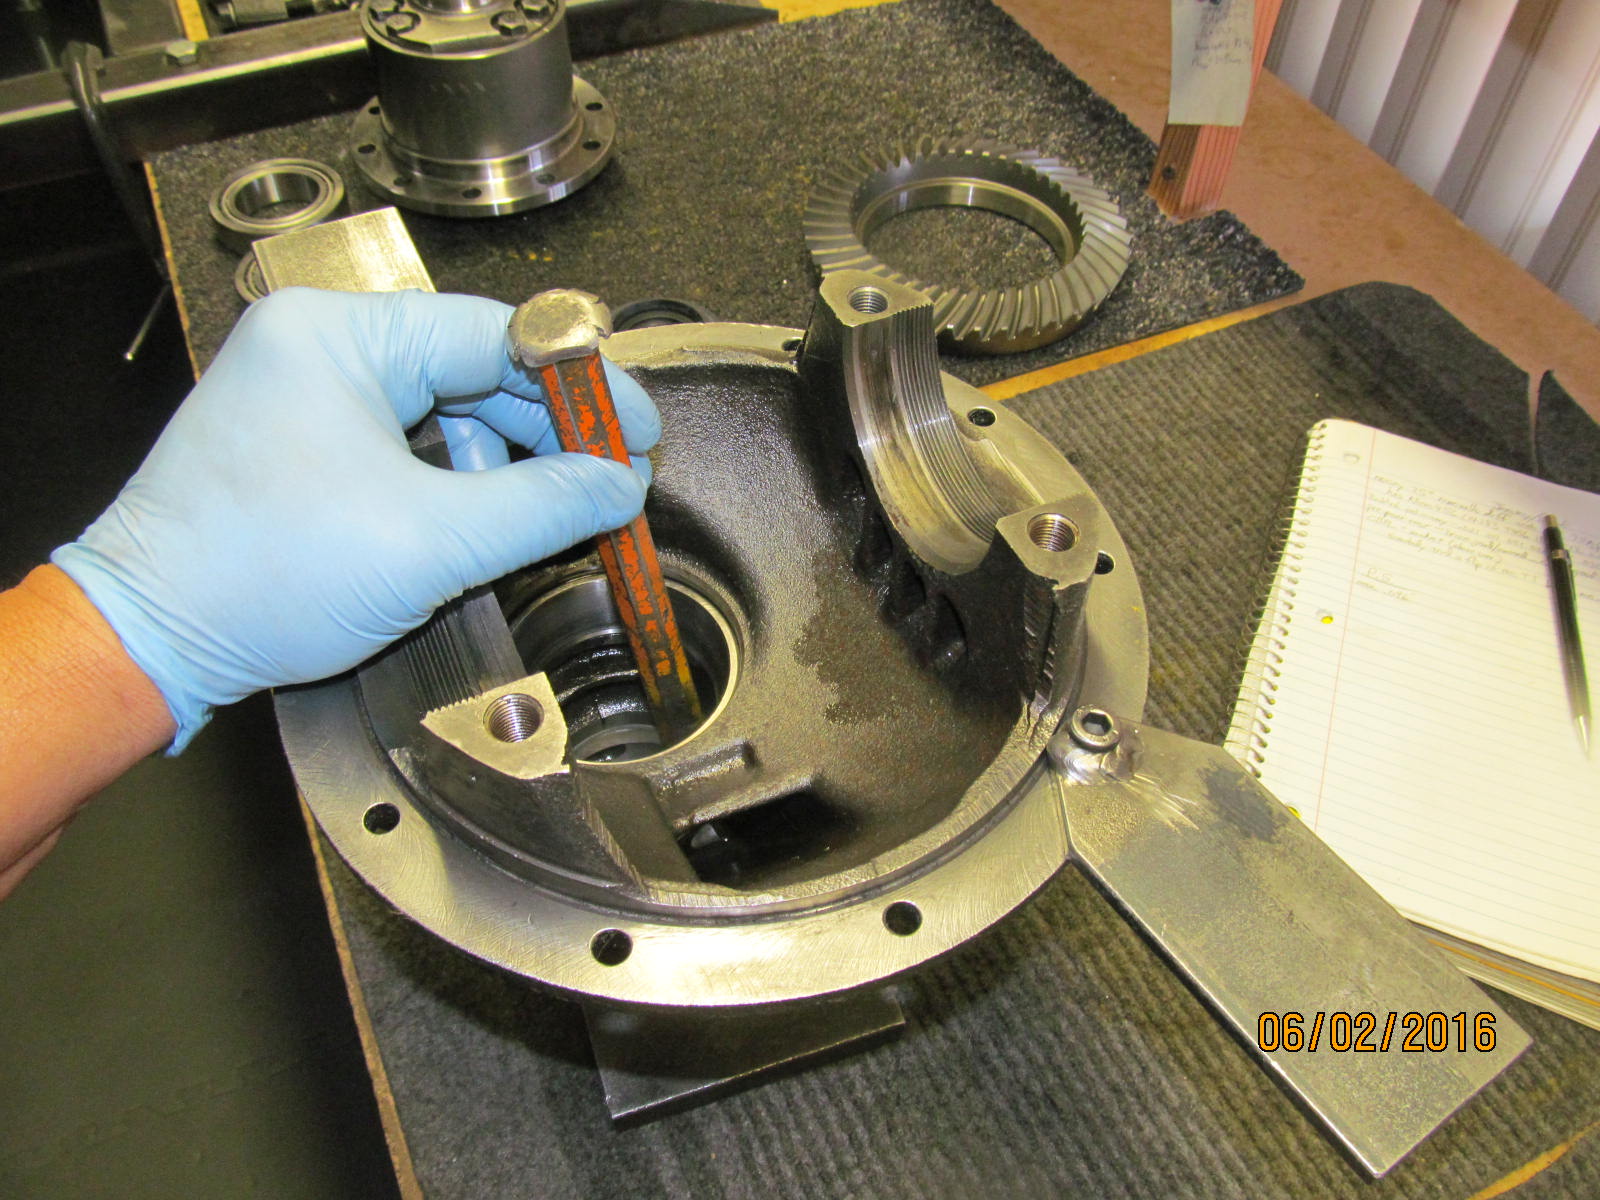
Removed the old 456 ring gear and, using a pointy object, I can see that the swirl of the outer pinion
is clockwise. That means the large central sidegear swirls the opposite counter-clockwise and that
means this is still set up for front end use. Have to change that around.
|
|
|
|
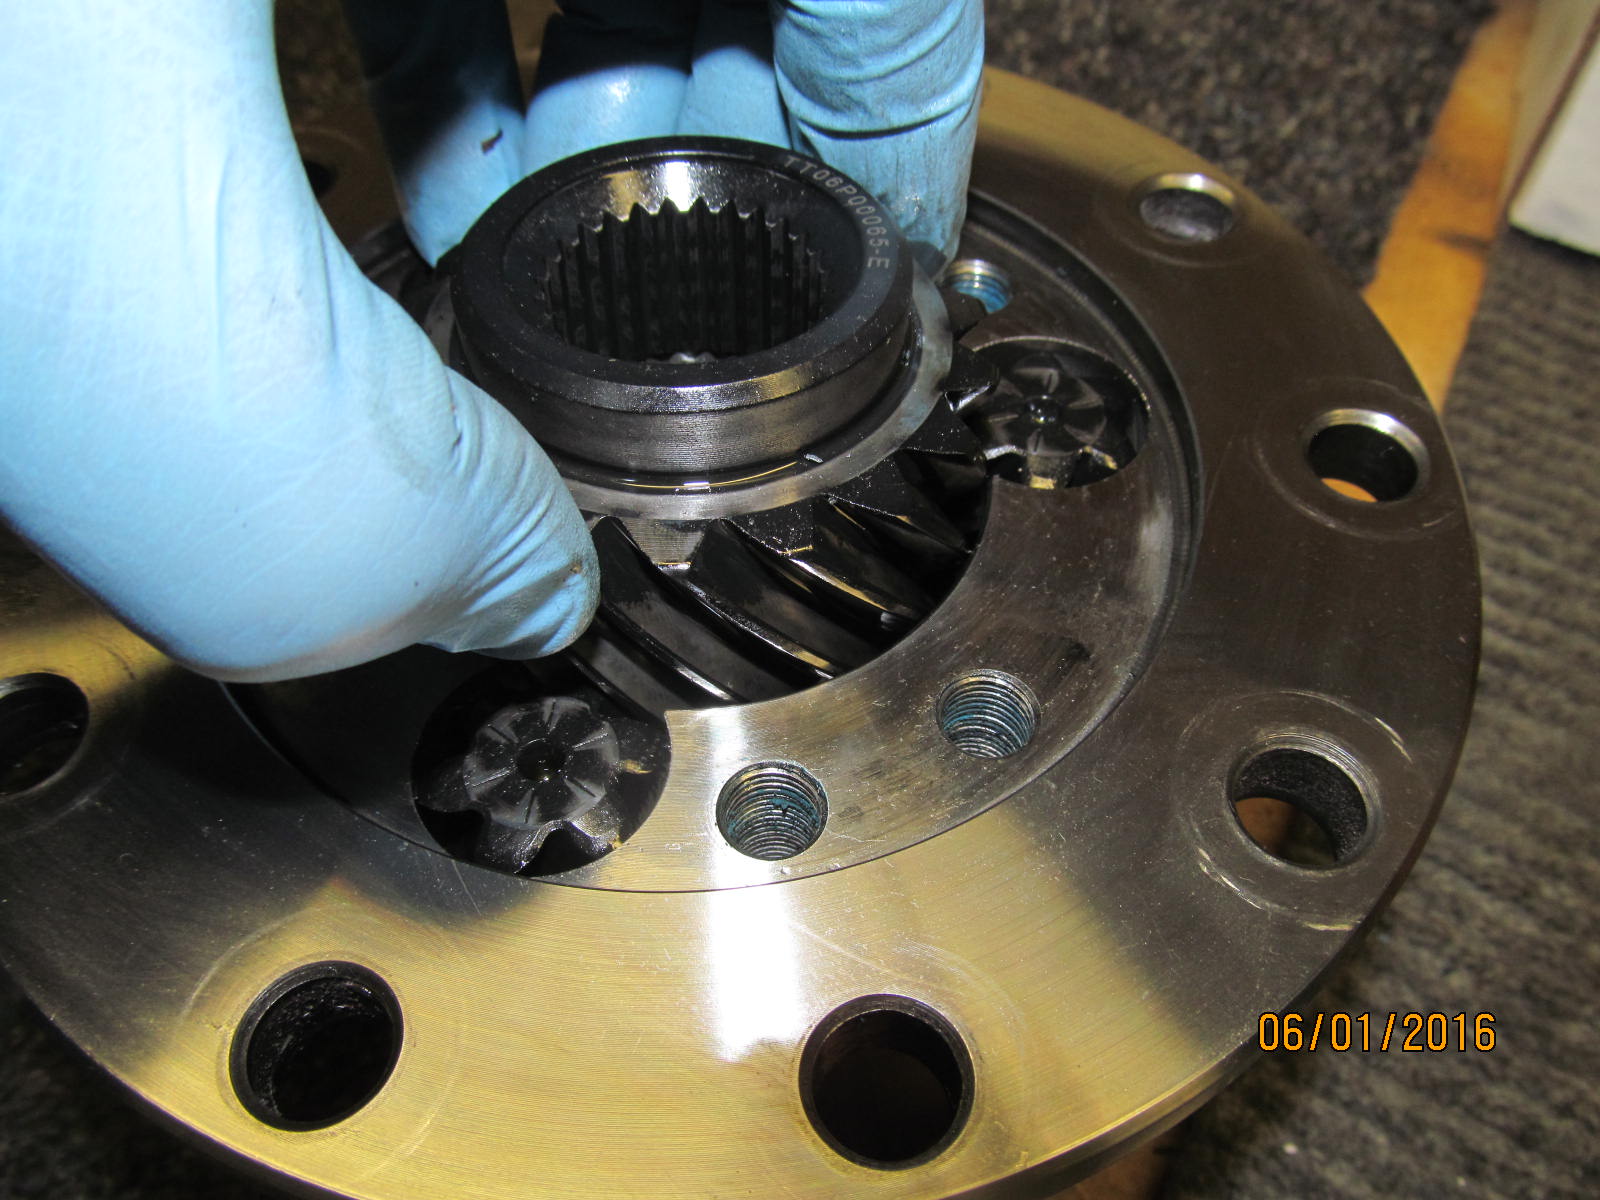
With the cap end off, you can see that as the sidegear comes out that it turns counter-clockwise.
We want it to be clockwise. So, first to remove the sidegear and the 3 pinions.
|
|
|
|
|
Remove the cover on the ring gear side.....
|
|
|
|
|
...the sidegear comes out with a clockwise rotation. Remove these 4 gears now.
|
|
|
|
Here's everything. The 2 end cap lids are probably identical but I still marked them so that I know which
side they remain on.
|
|
|
|
|
This one had alot of blue loctite in the threads so best for me to chase them out.
|
|
|
|
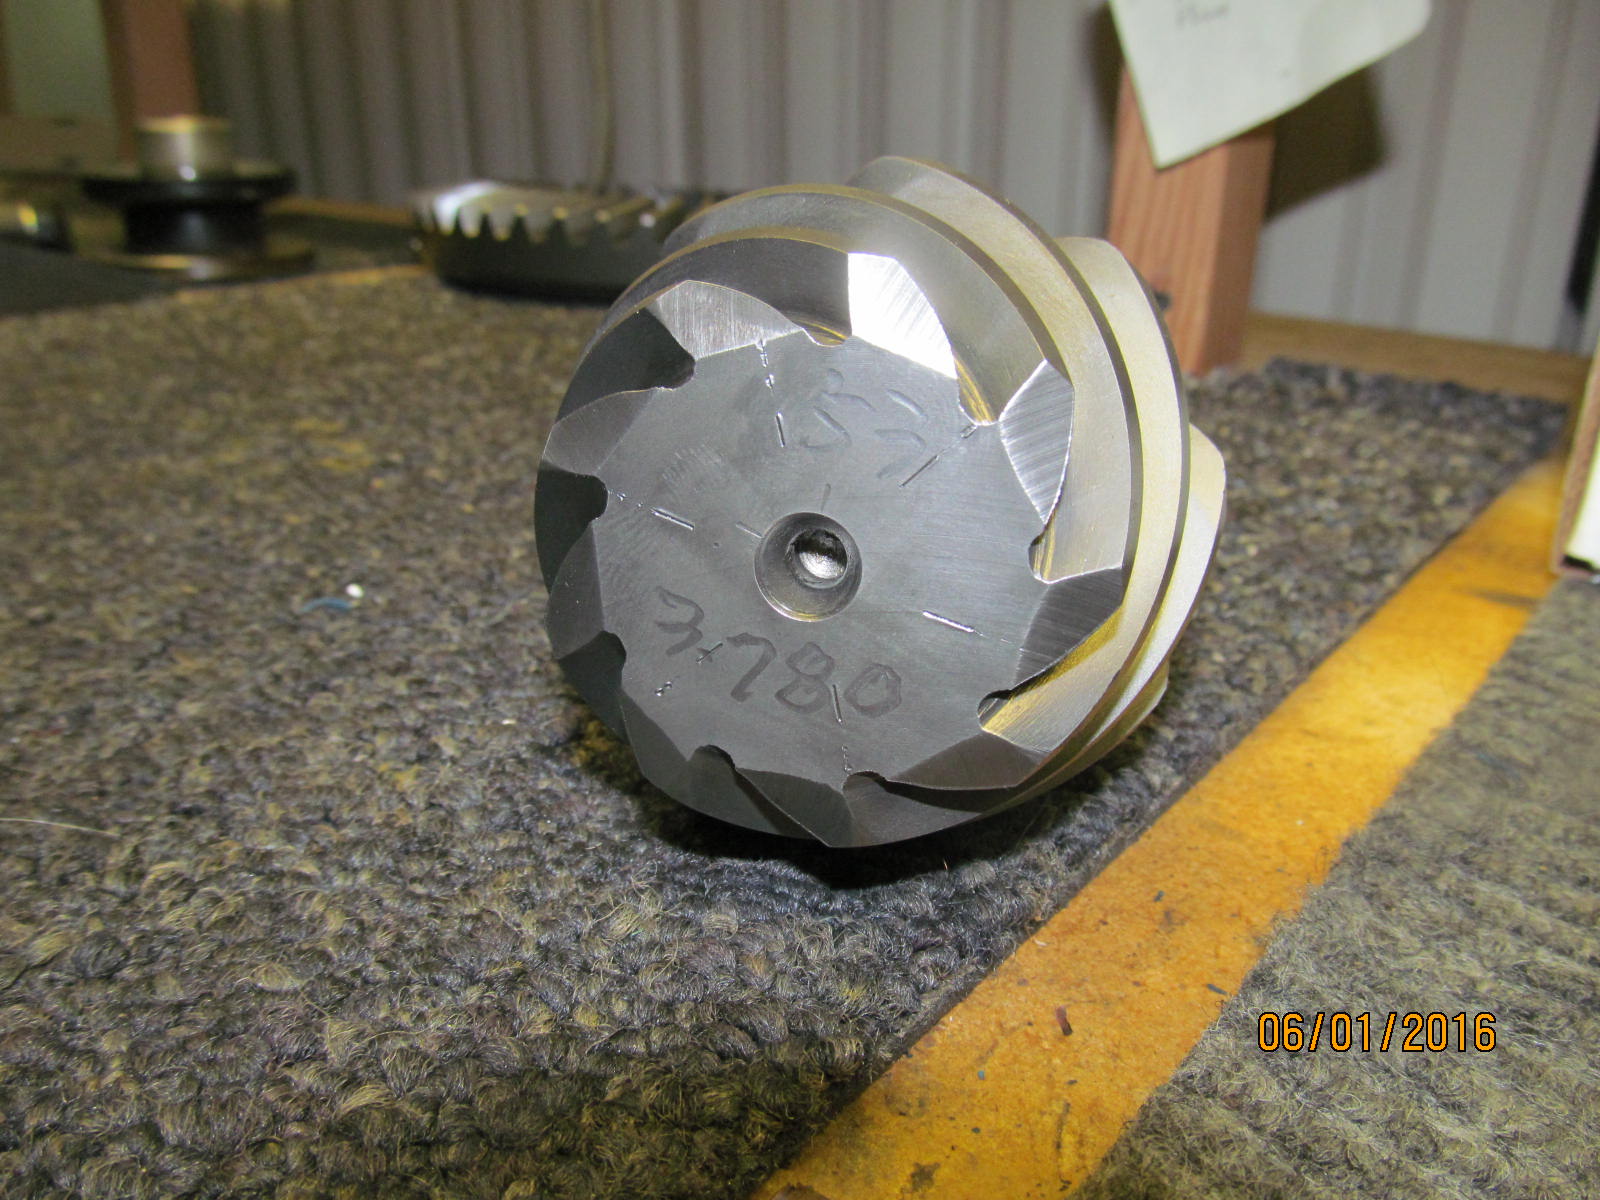
Switch the 4 gear pieces to opposite sides. As can be seen, the large sidegear will now swirl
CLOCKWISE when REMOVING it...and the pinion gears have a natural
counter-clockwise swirl.
I'm not sure if the real reason for CW rotation of this sidegear in rear
applications is for maximum strength or if it acually increases the torque
transfer to the light wheel.
|
|
|
|
|
Remaining 4 gears go on the ring side. Don't forget the steel spacer that goes in the middle.
|
|
|
|
|
As shown, it now turns counter clockwise if you were to remove it....opposite of the other side.
|
|
|
|
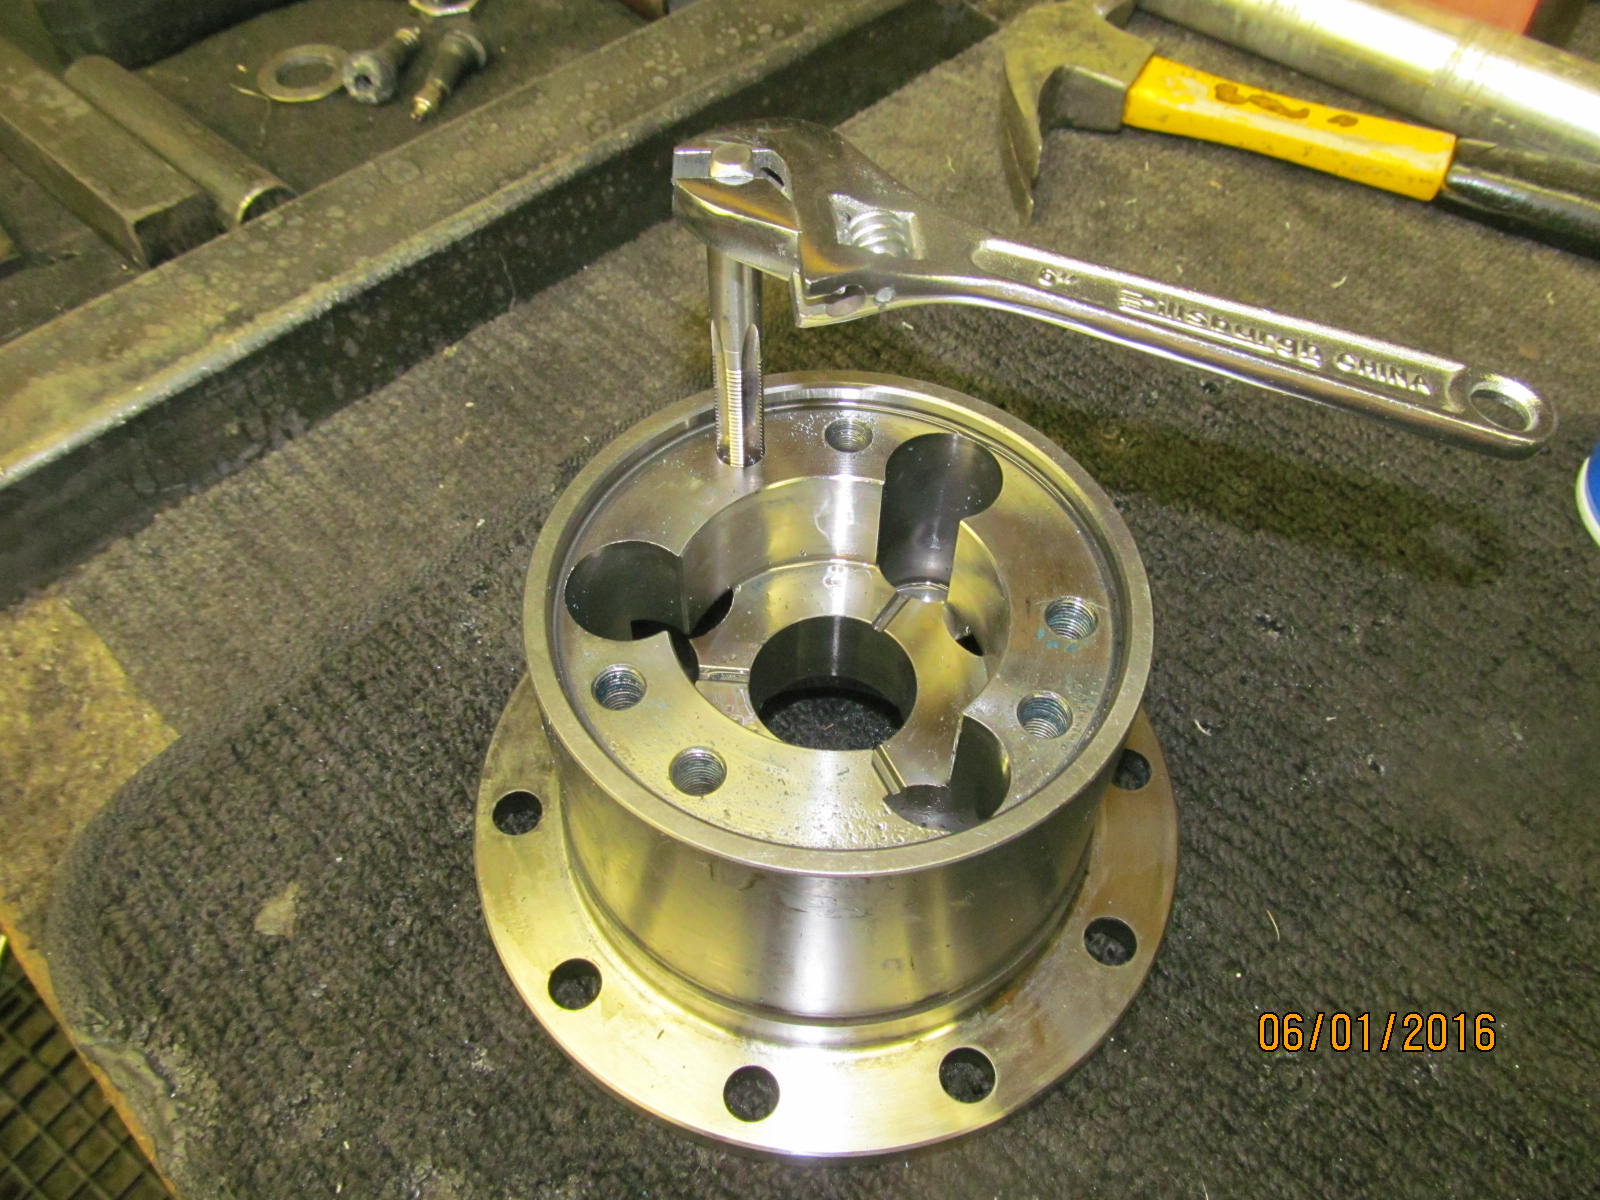
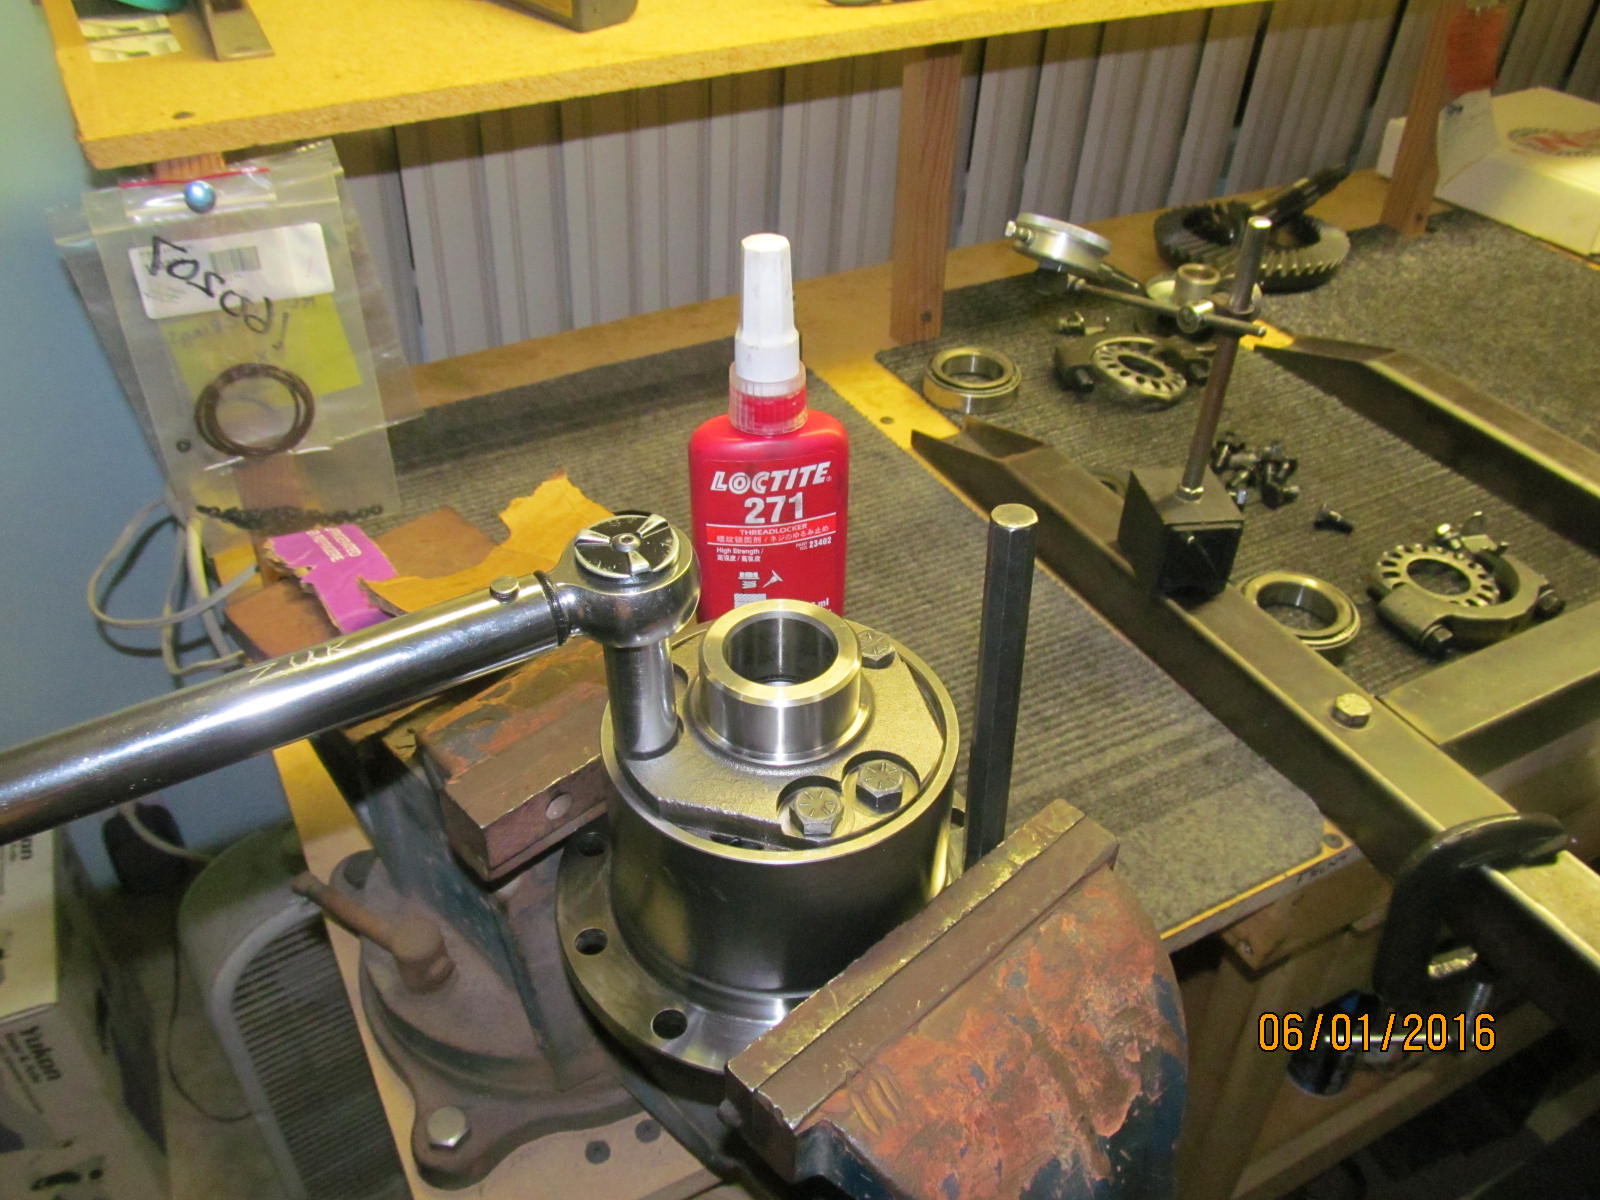
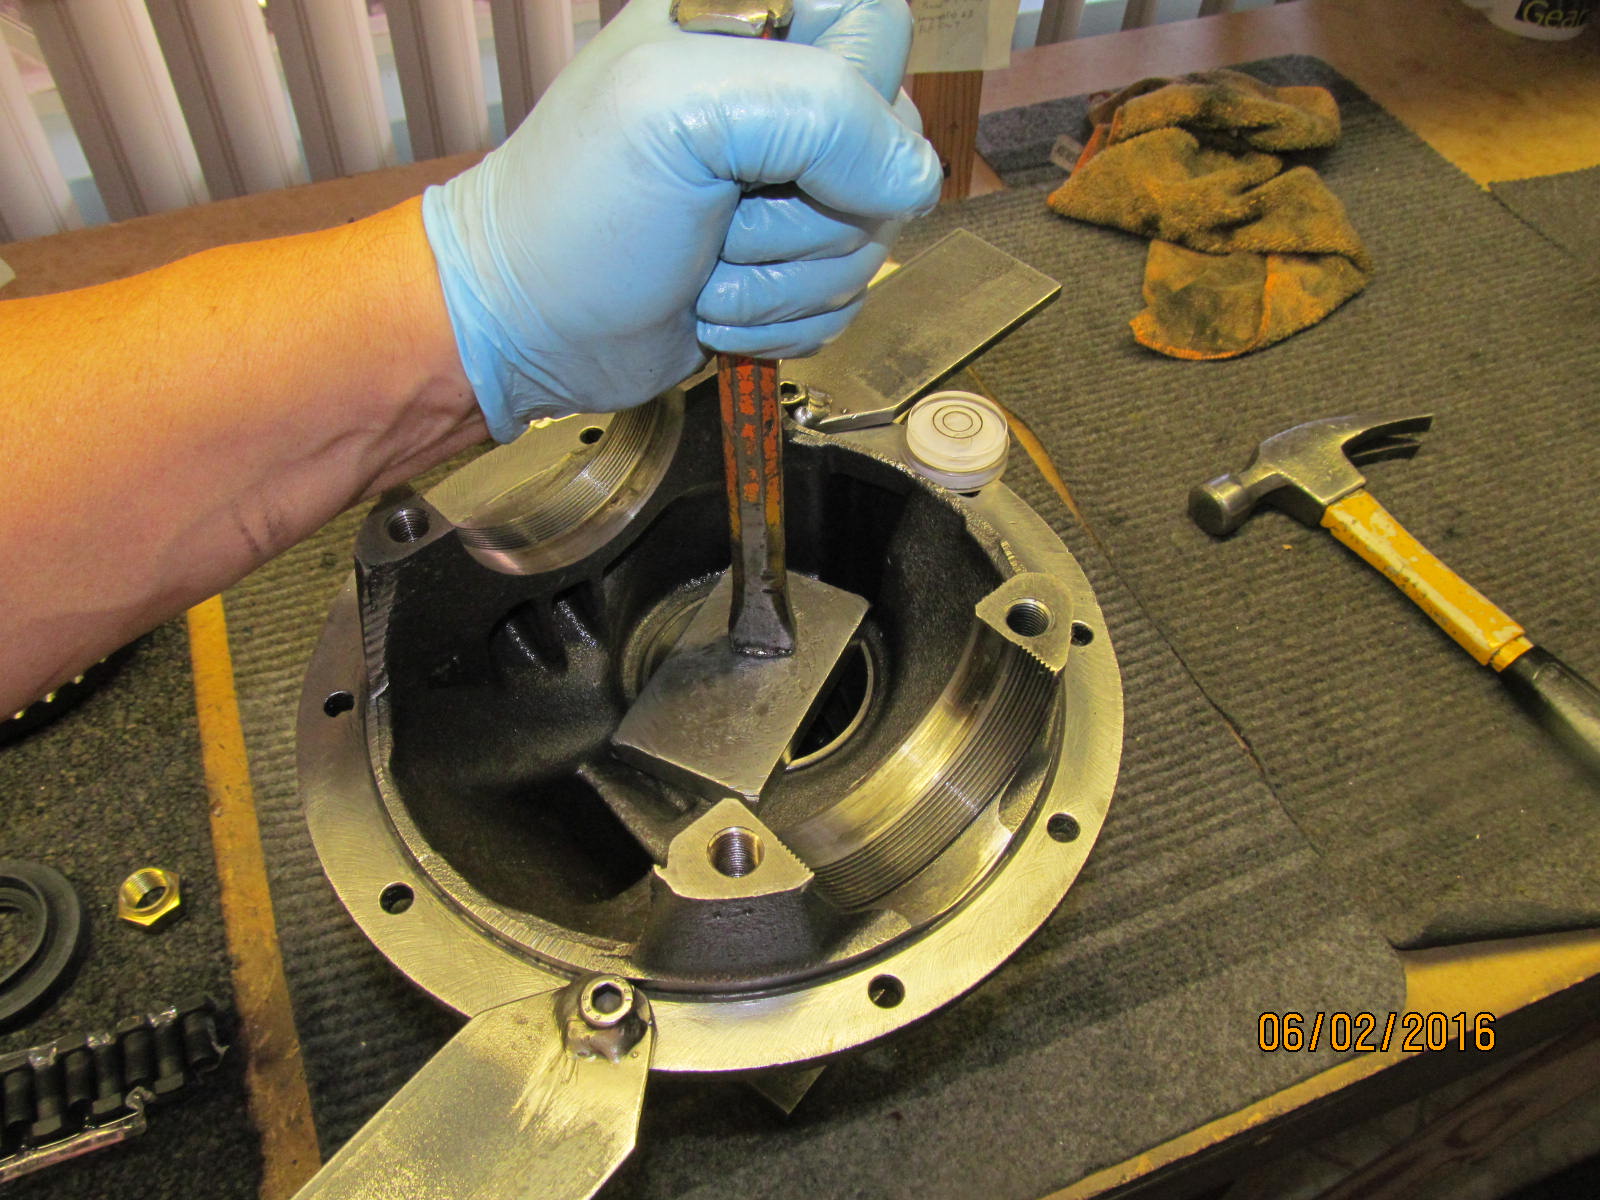
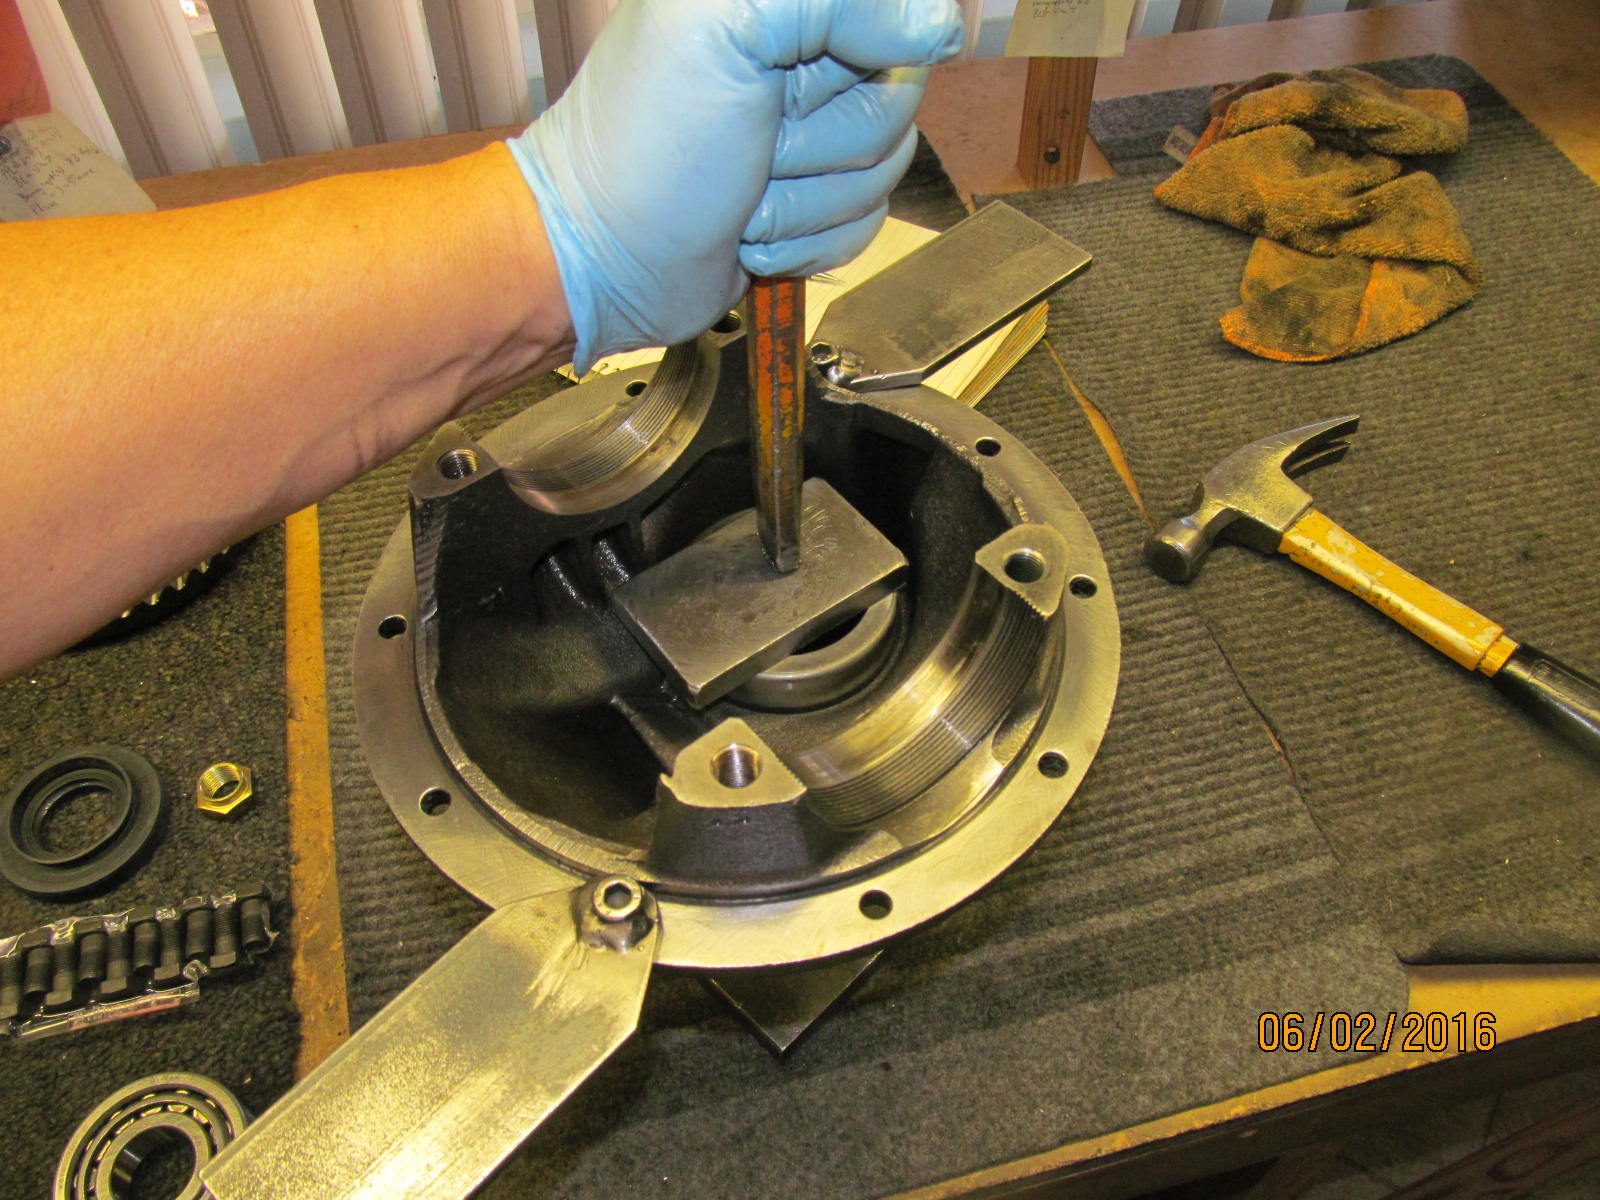
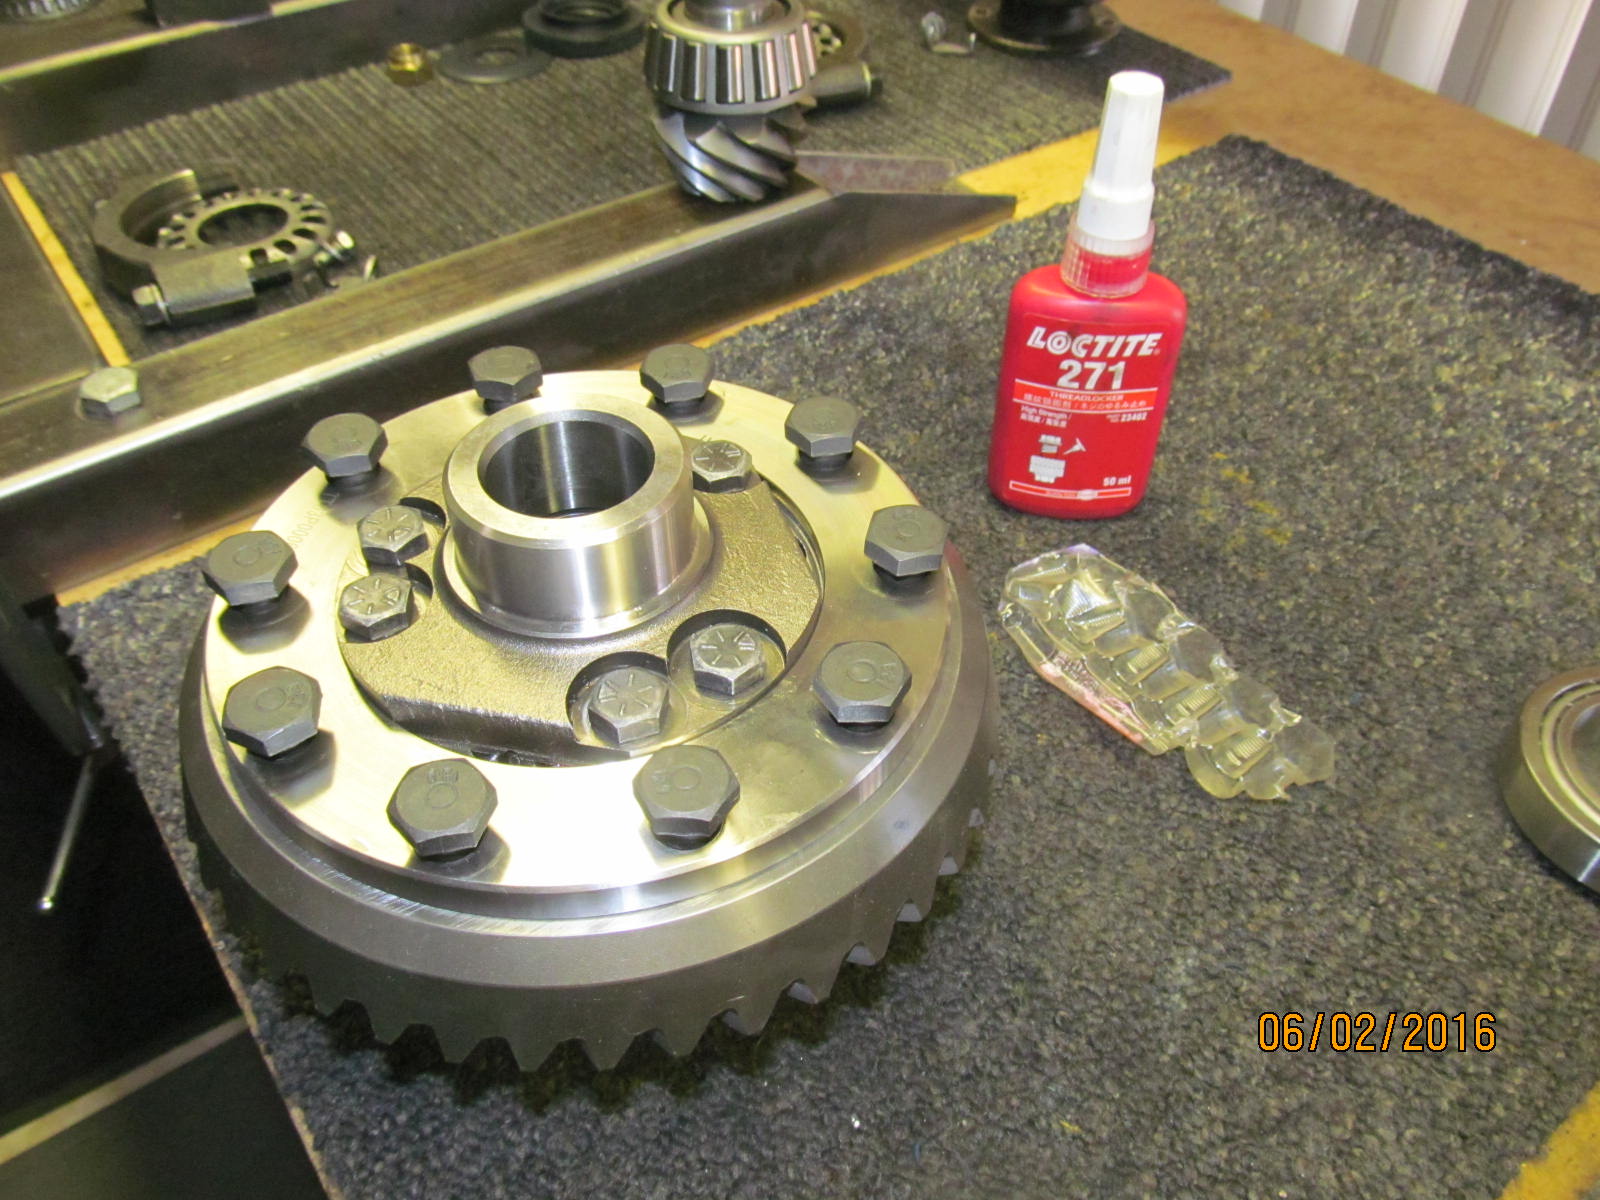
After Googling it.....grade 8 fine thread....dry vs. lubricated threads....
I determined 45 ft/lb is a good number with blue loctite
for all 12 of these 3/8" x 20 bolts.
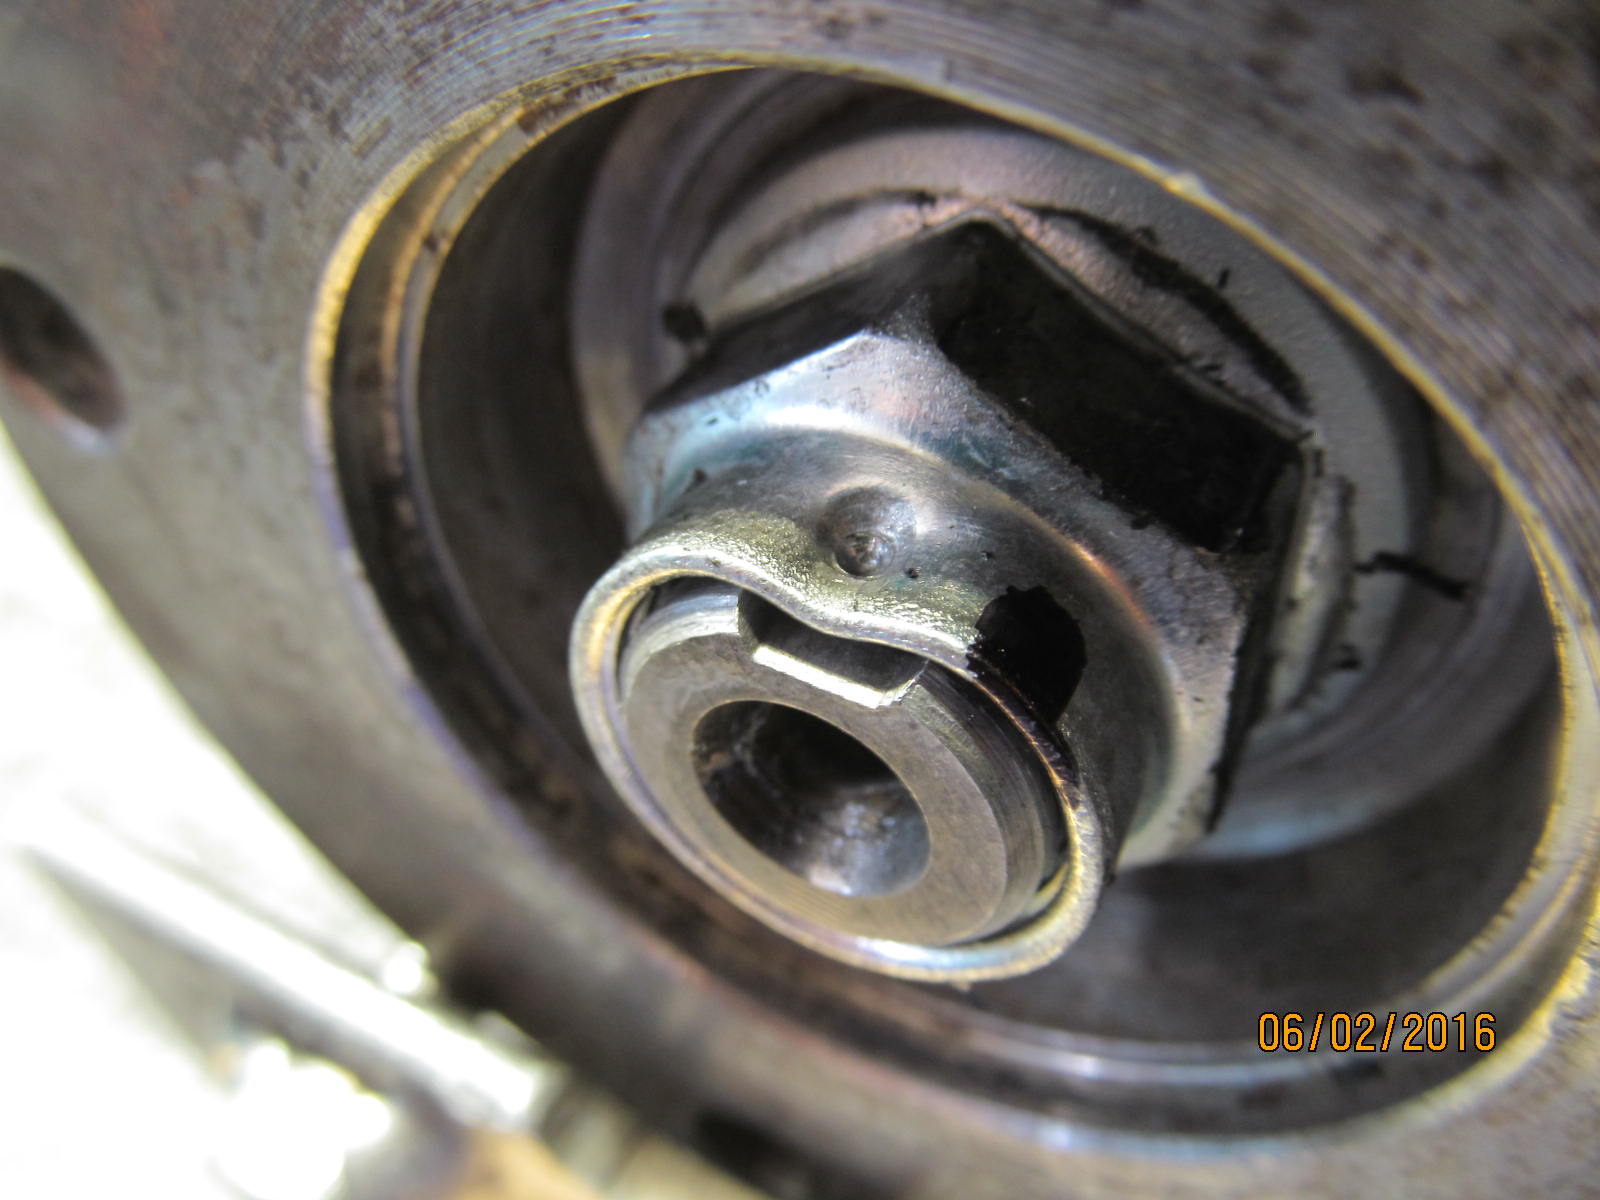
No reason to clamp the jaws and mar up the well machined surface of the
case so the long, pointy punch is actually jamming it in place.
|
|
|
|
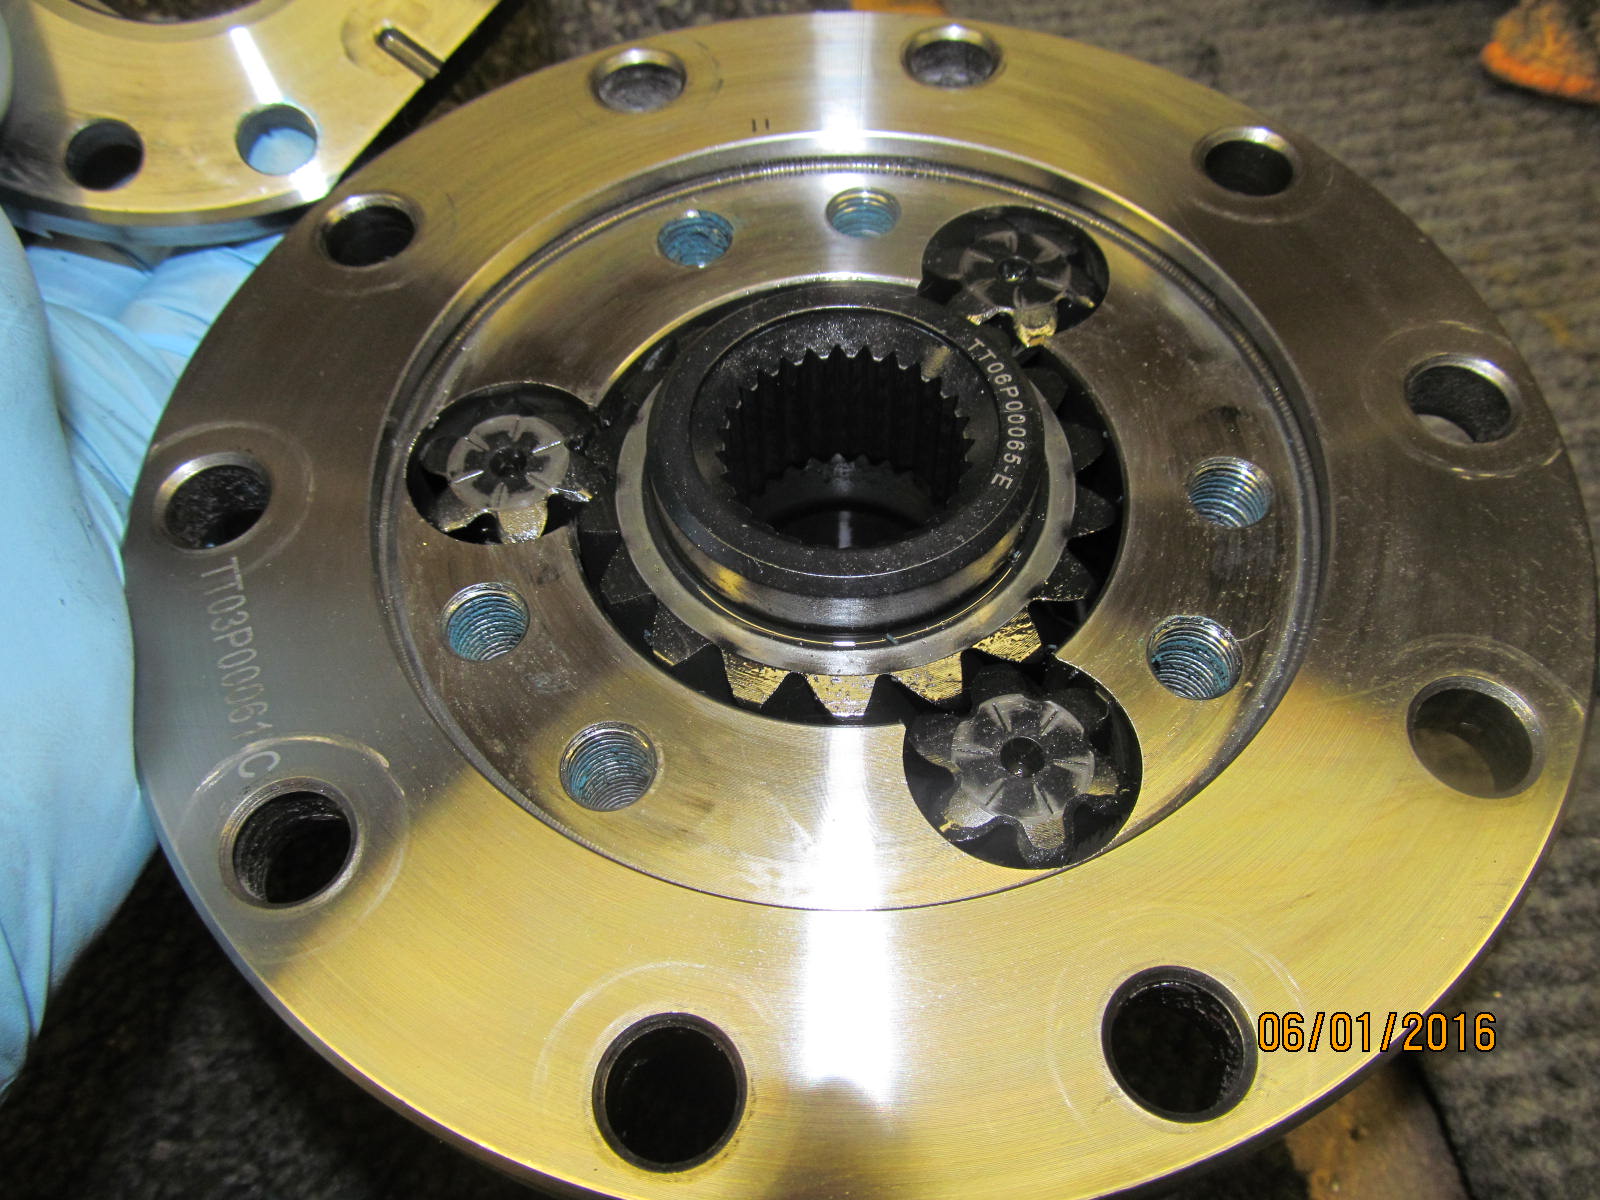
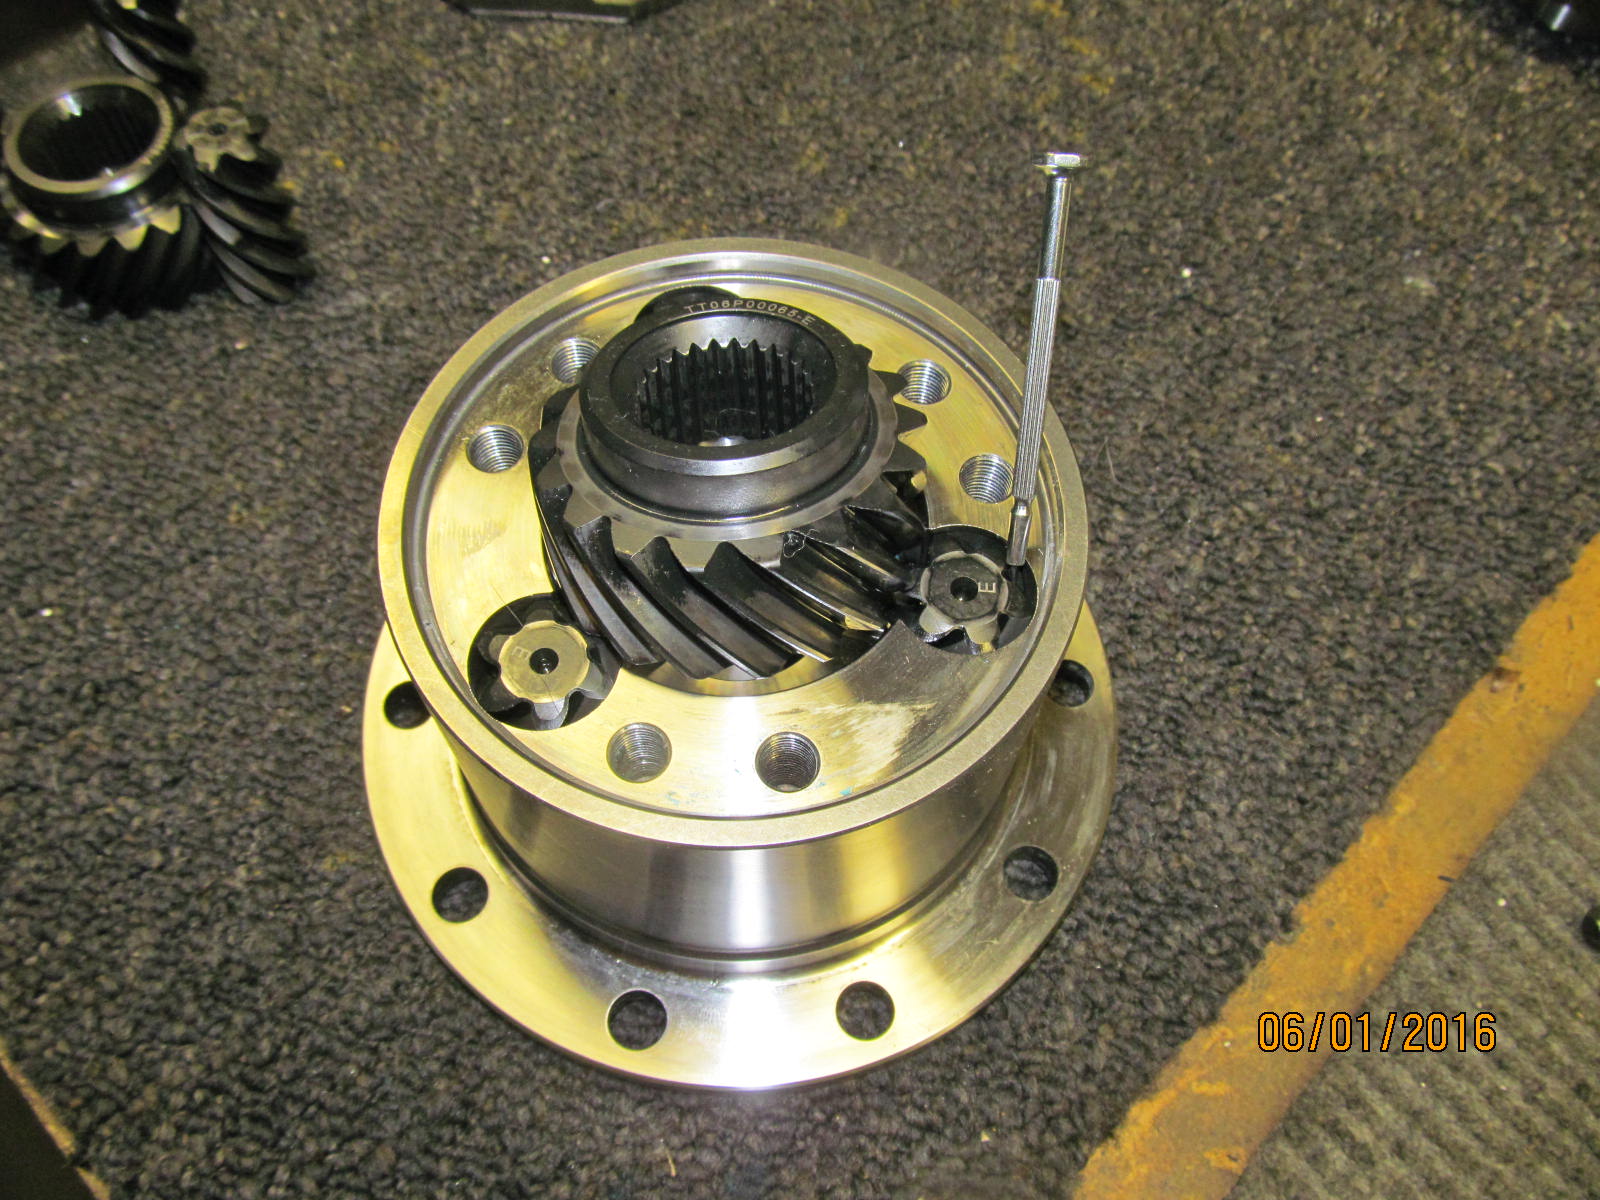
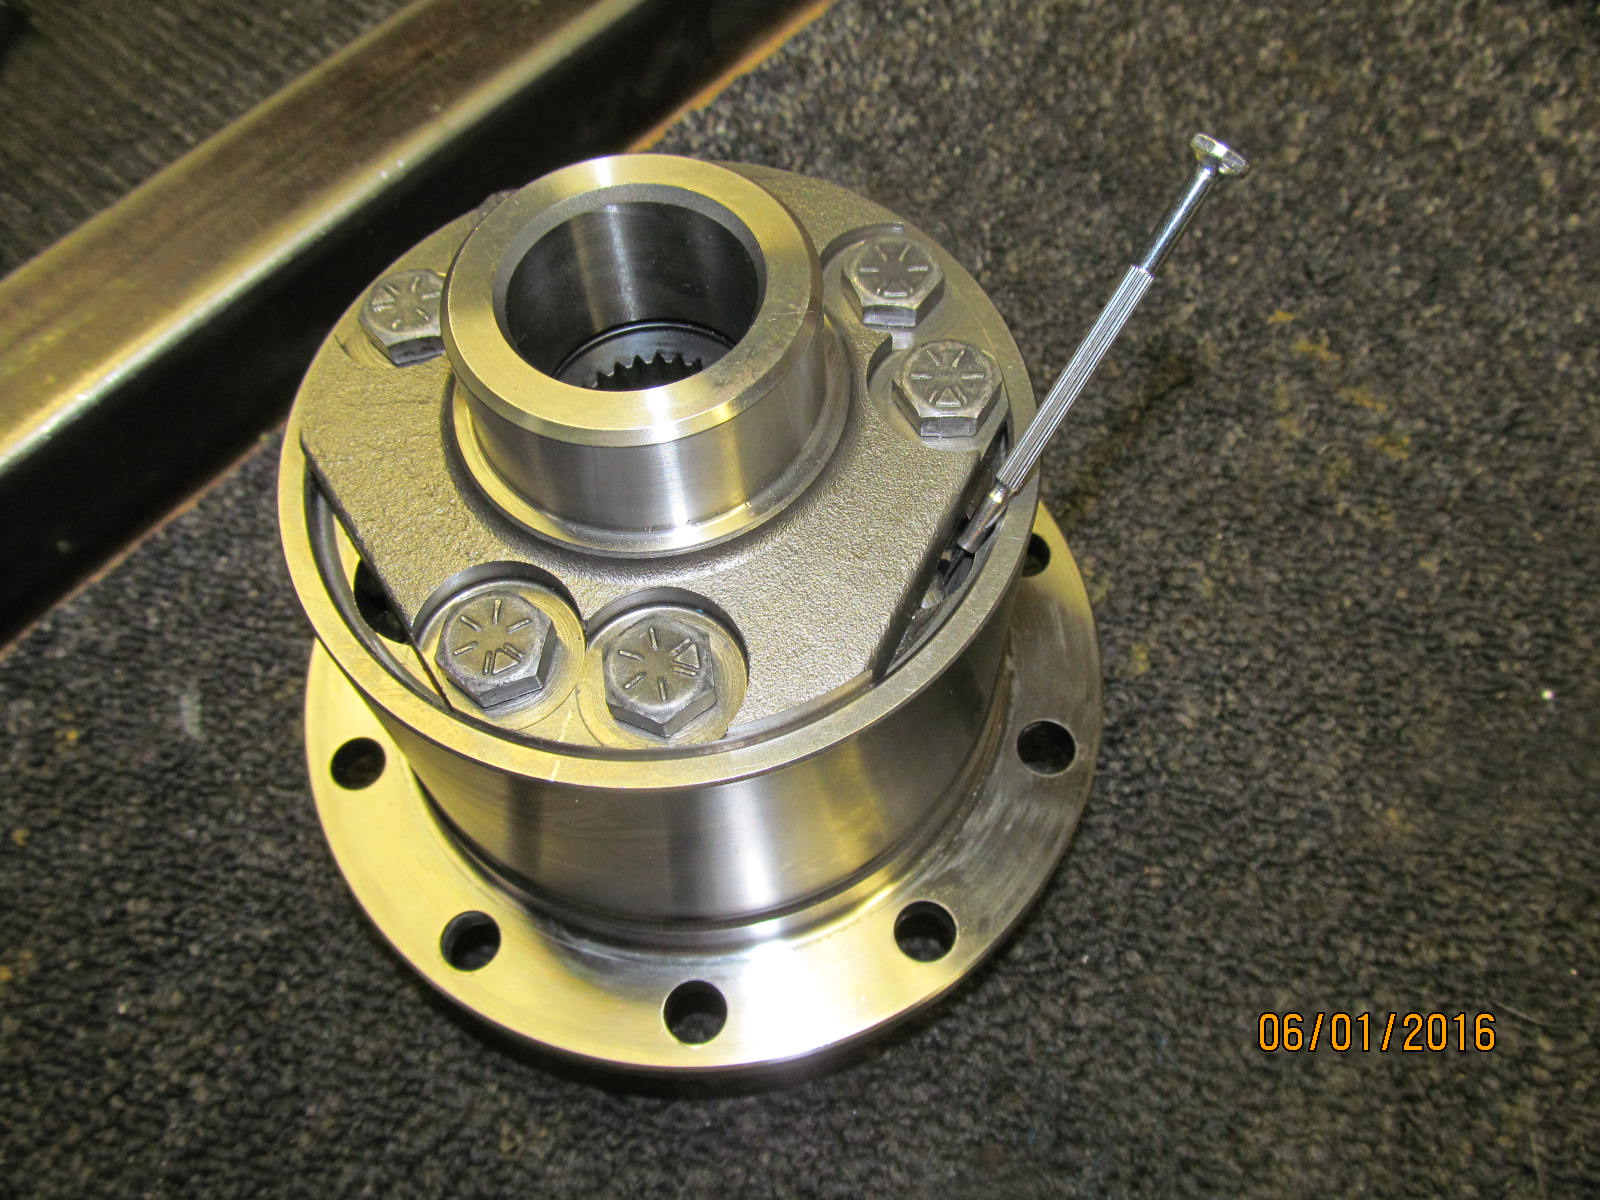
The TT does not have to be taken apart to determine if the sidegear on this side is a clockwise
rotation(for rear applications)....just have to observe (if you have enough light) or put
a slender object in the pinion gear to determine its natural swirl and, as shown here,
it swirls CCW meaning that the sidegear in the middle is CW so all is good.
|
|
|
|
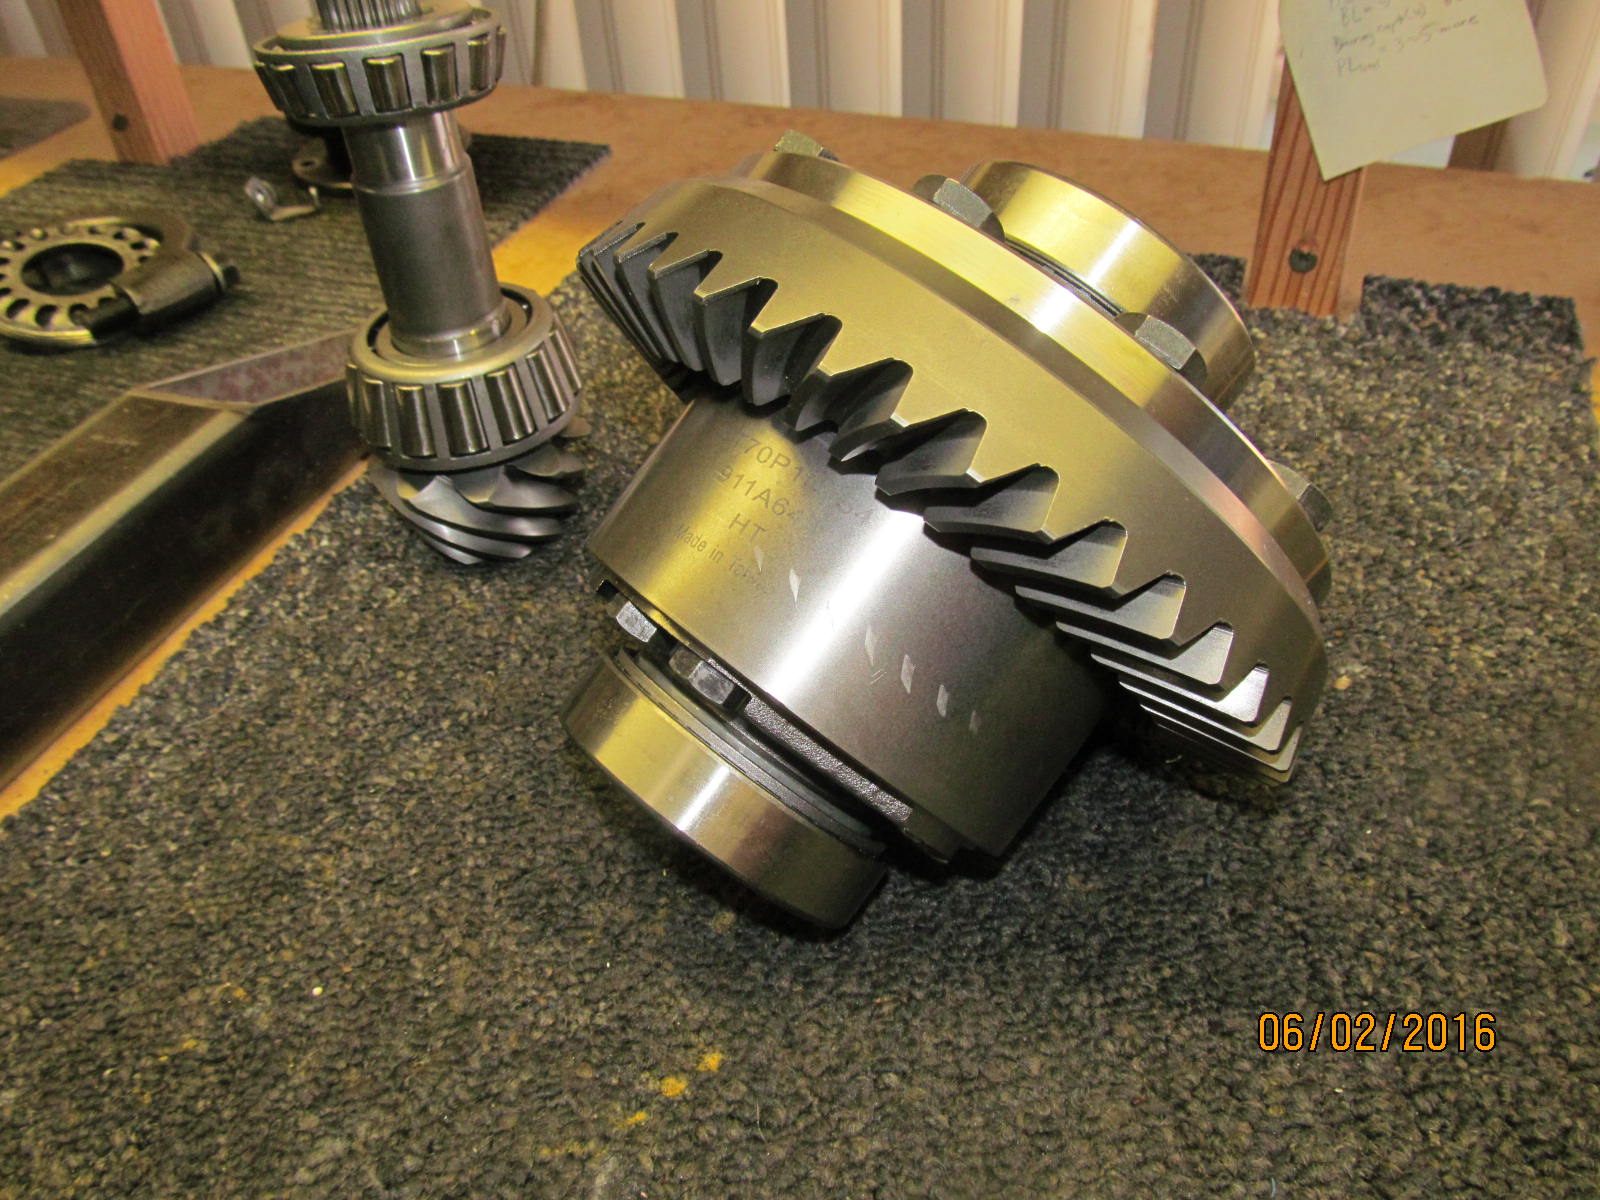
I saw some light contact on the TT case with the old Nitro 456 pinion so, to play it safe, the flapper wheel
took off some un-needed material on the toe end of the new Nitro 456.
|
|
|
|
|
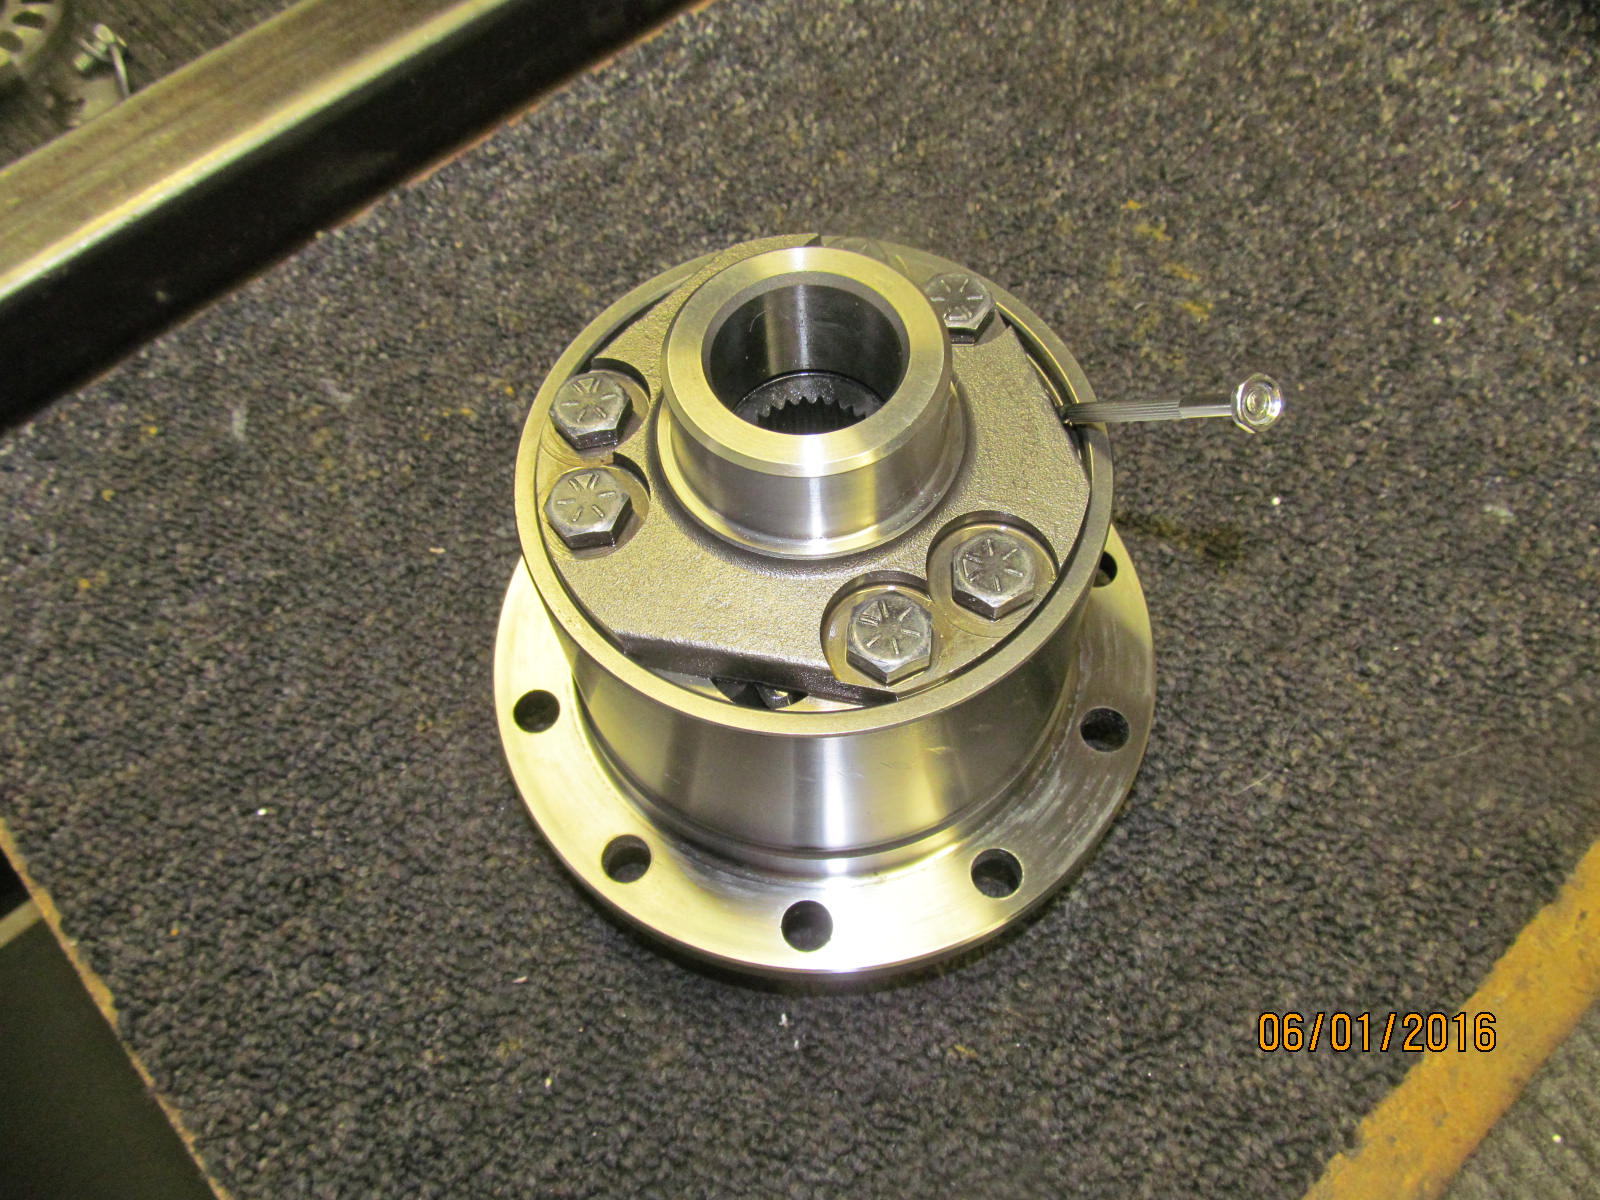
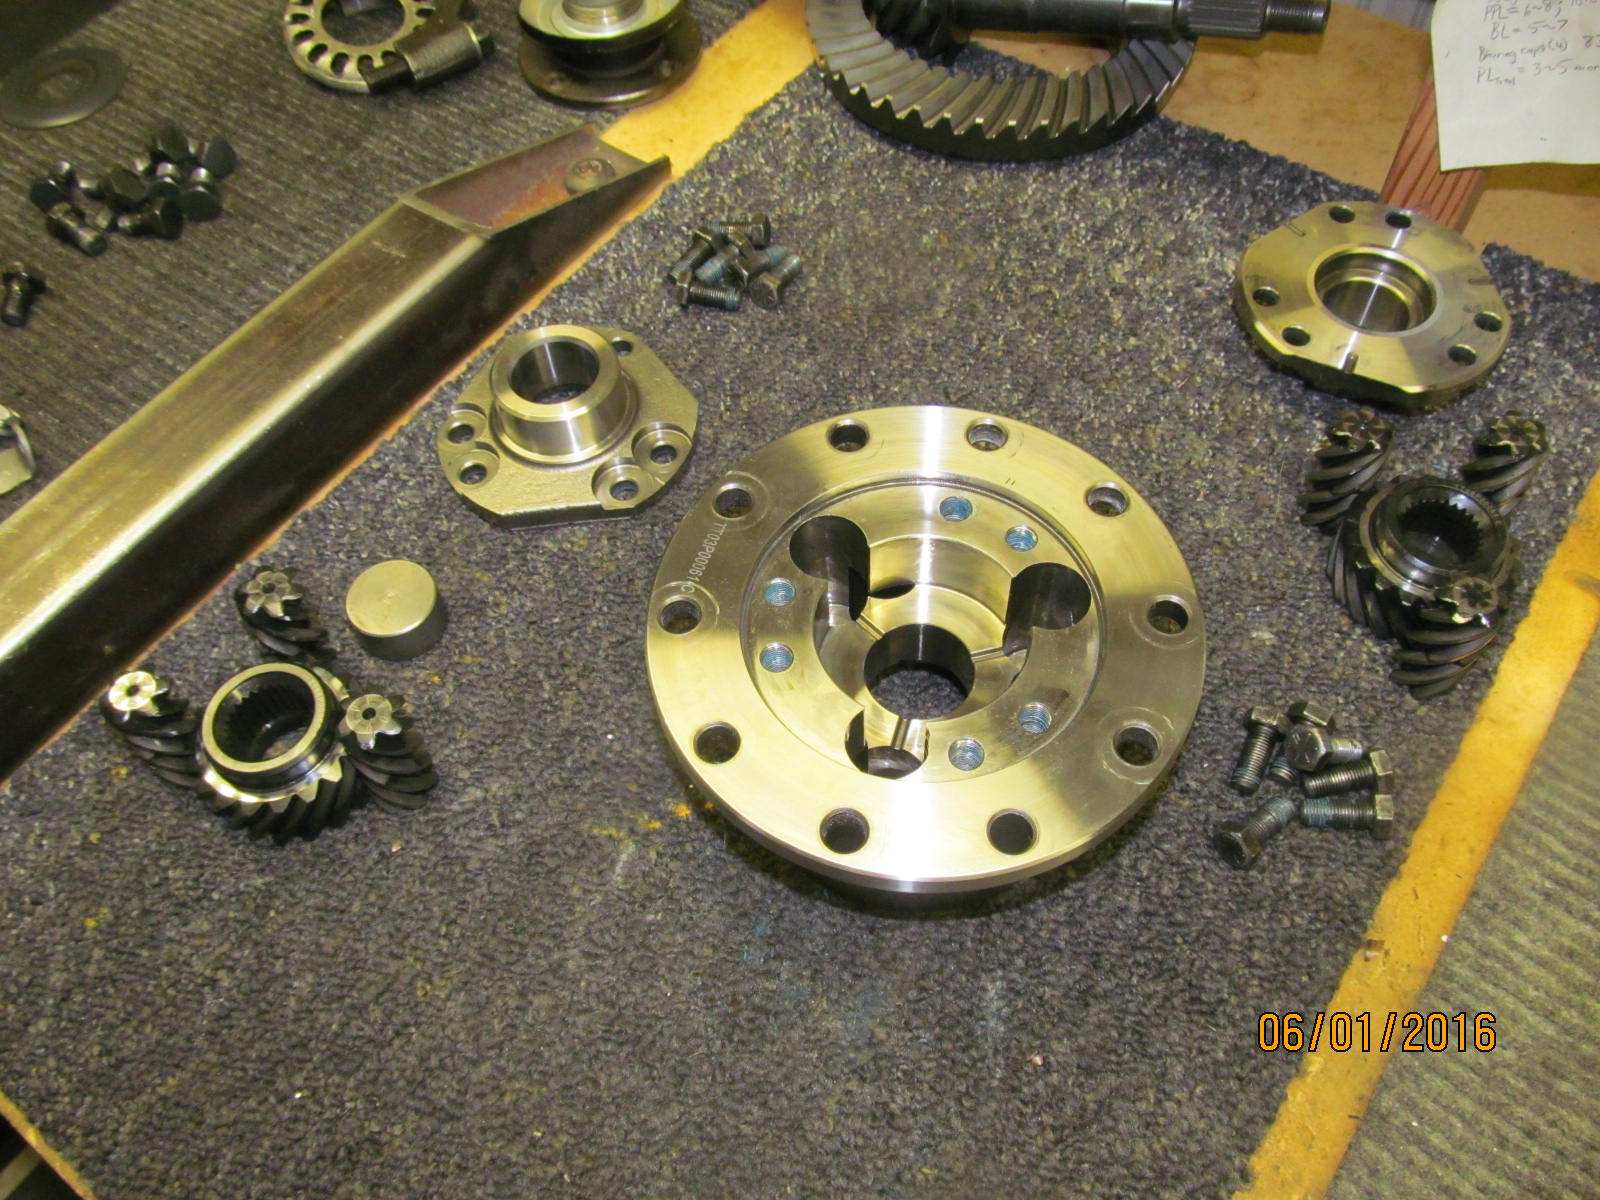
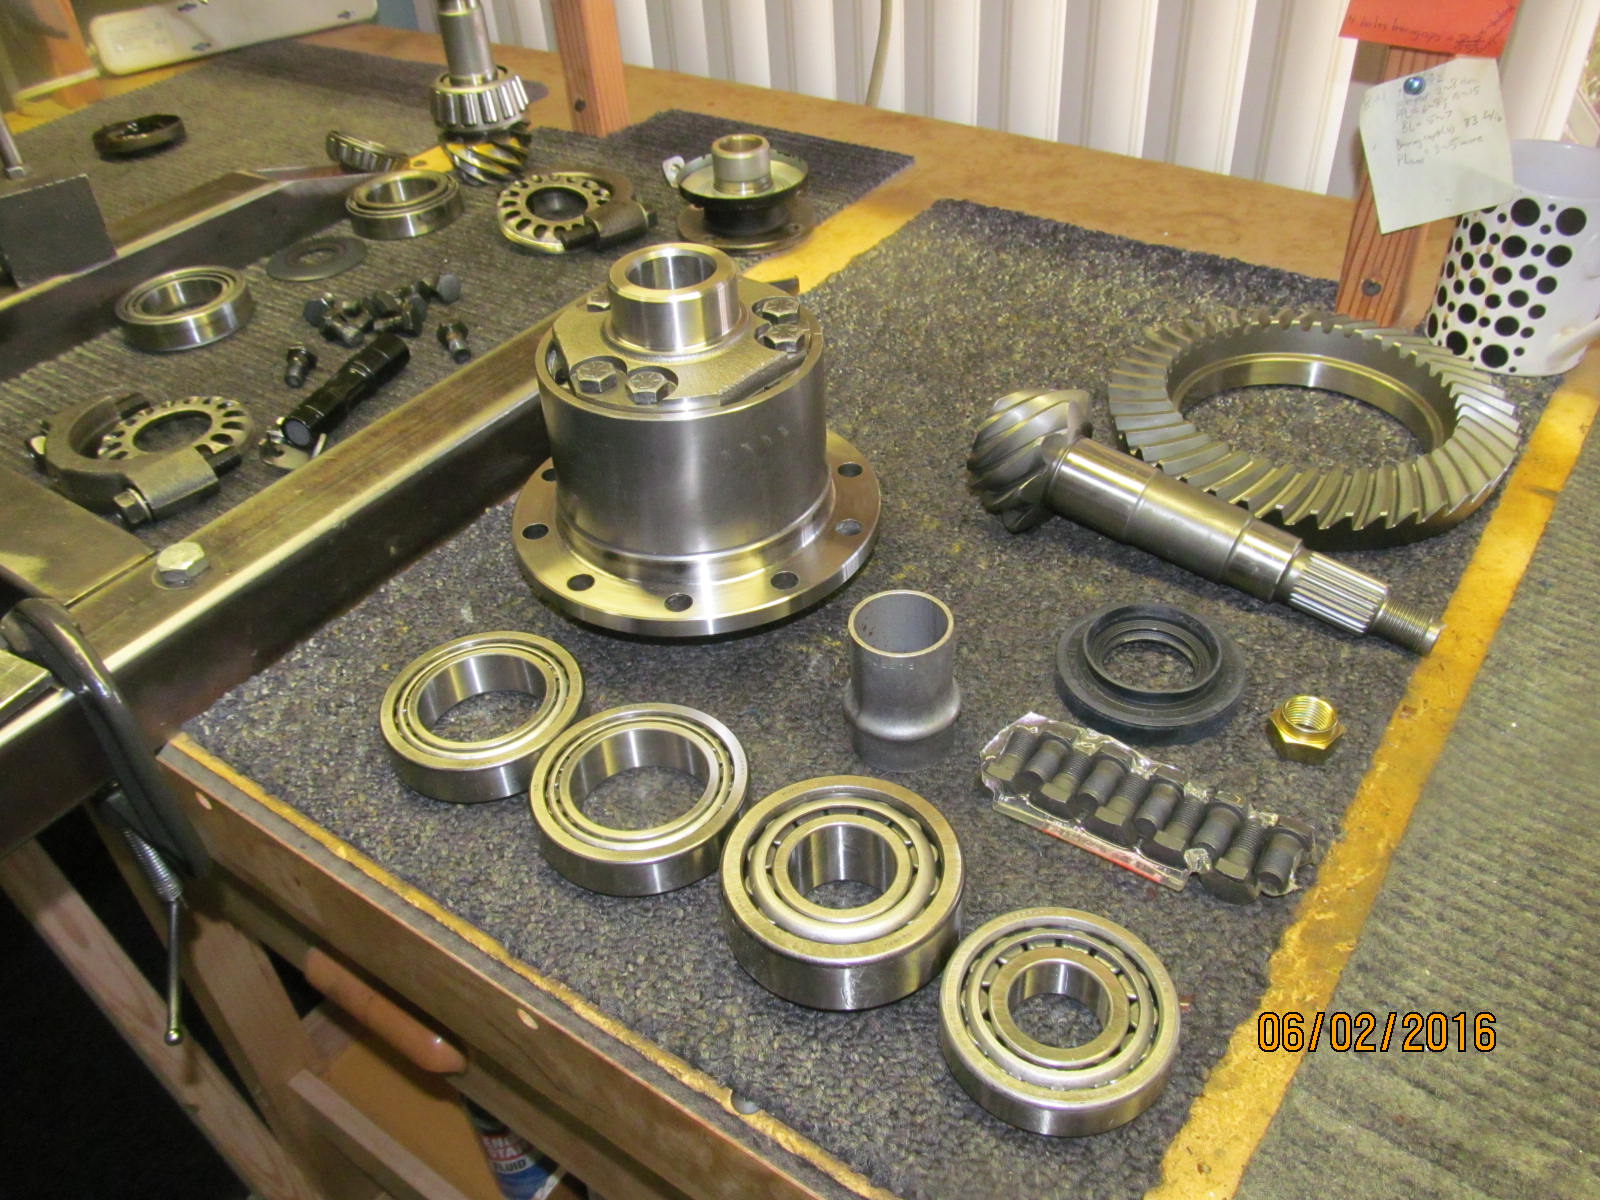
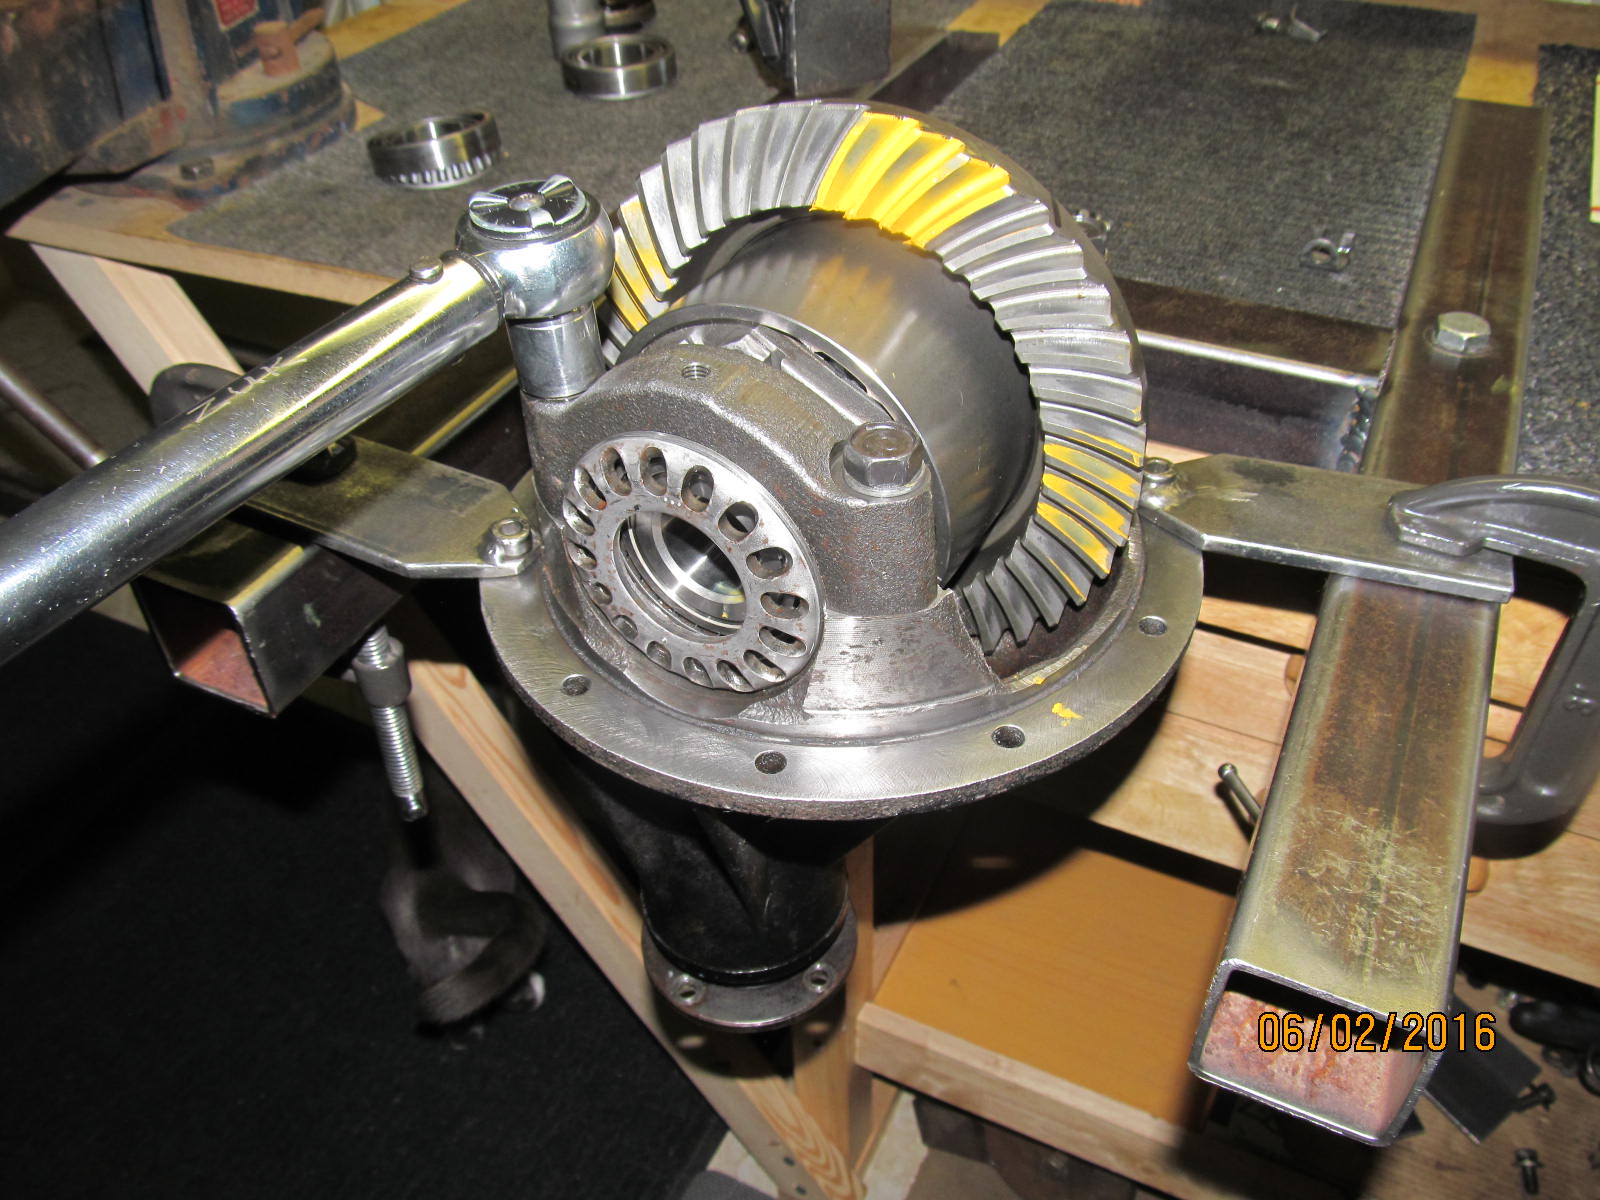
TrueTrac is now ready for its rear application and everything is layed out.
|
|
|
|
|
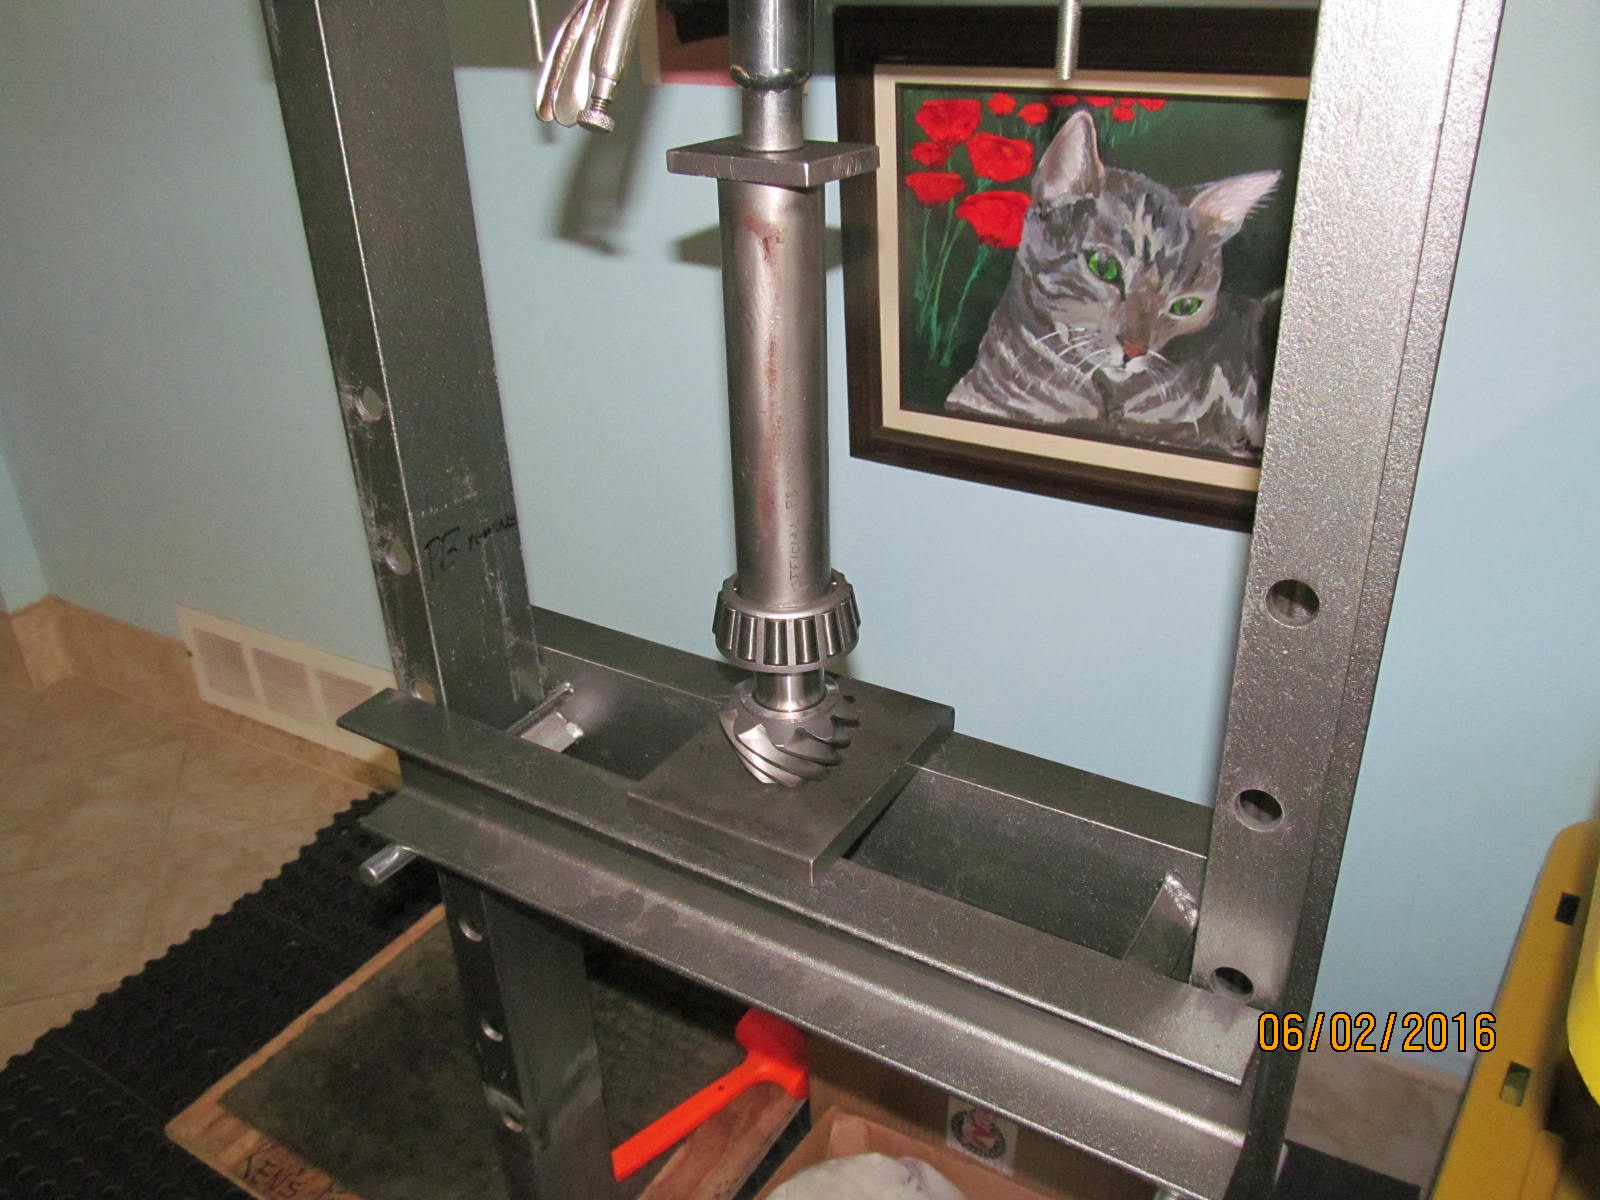
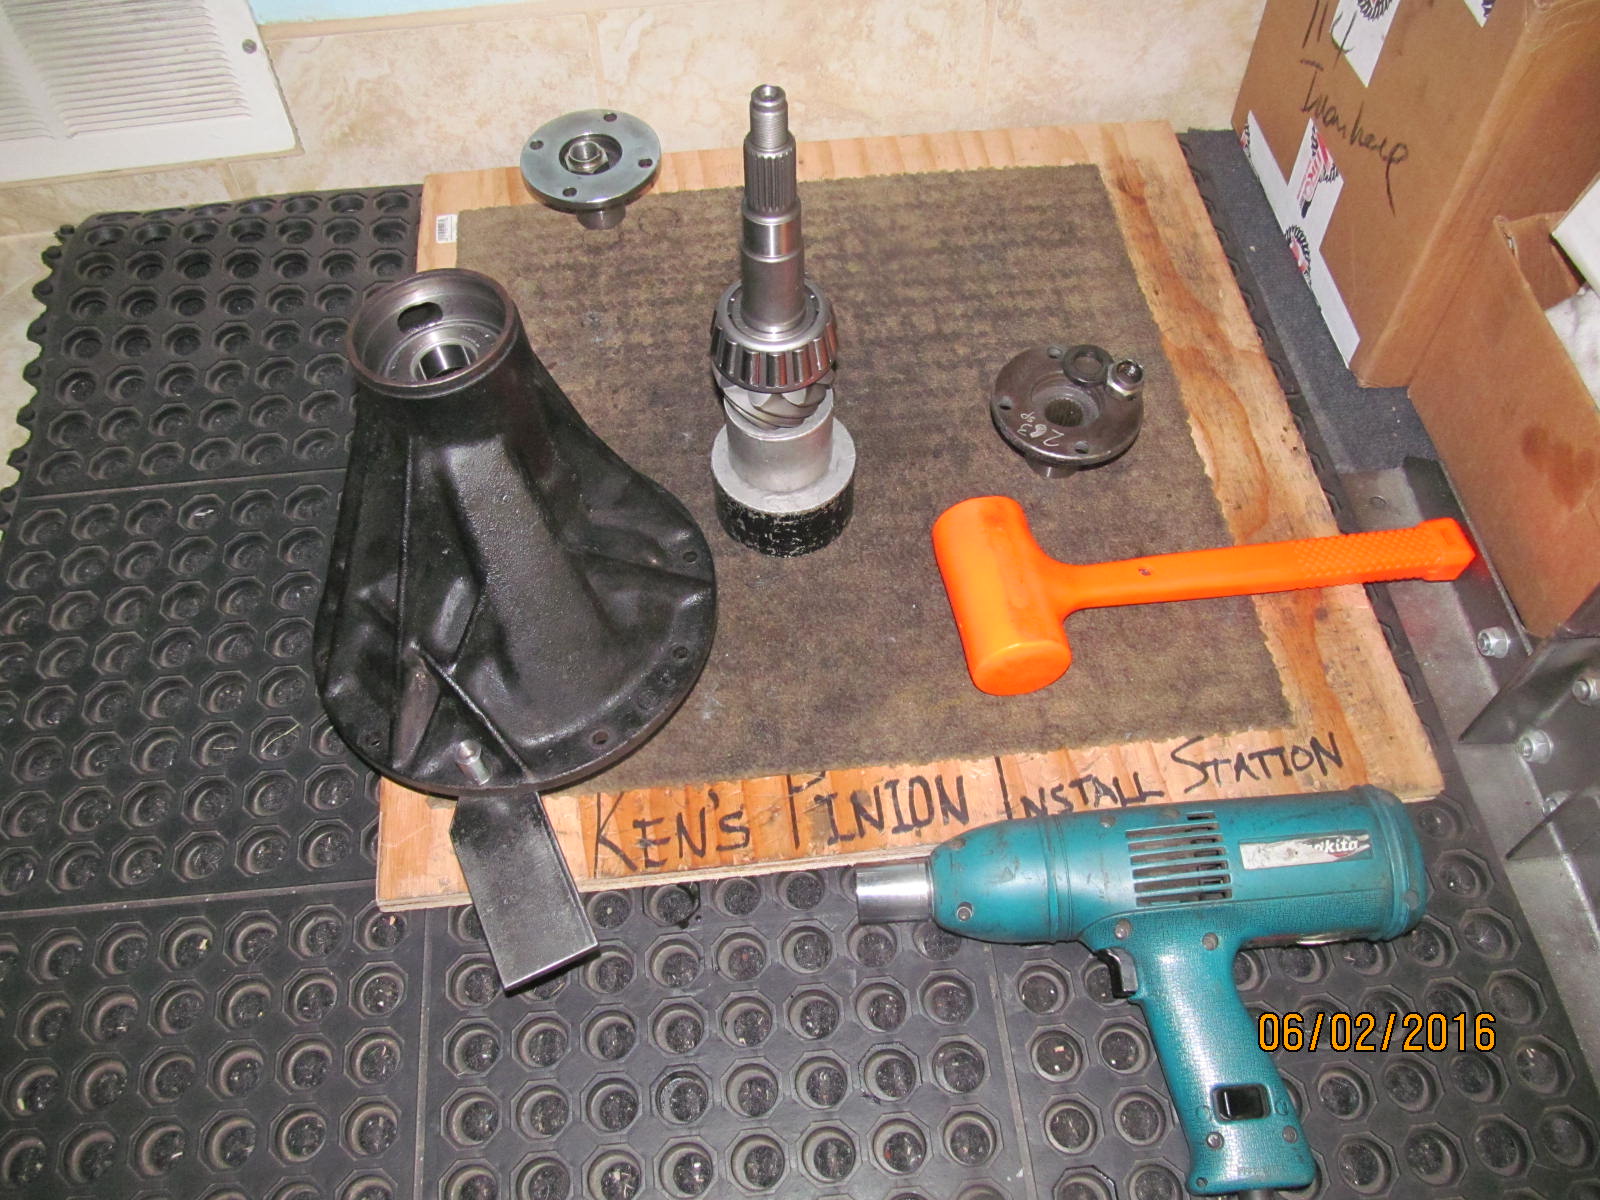
Pressing the starter .096" pinion shim on the new pinion with a new Koyo bearing.
|
|
|
|
|
Old races get tapped out.
|
|
|
|
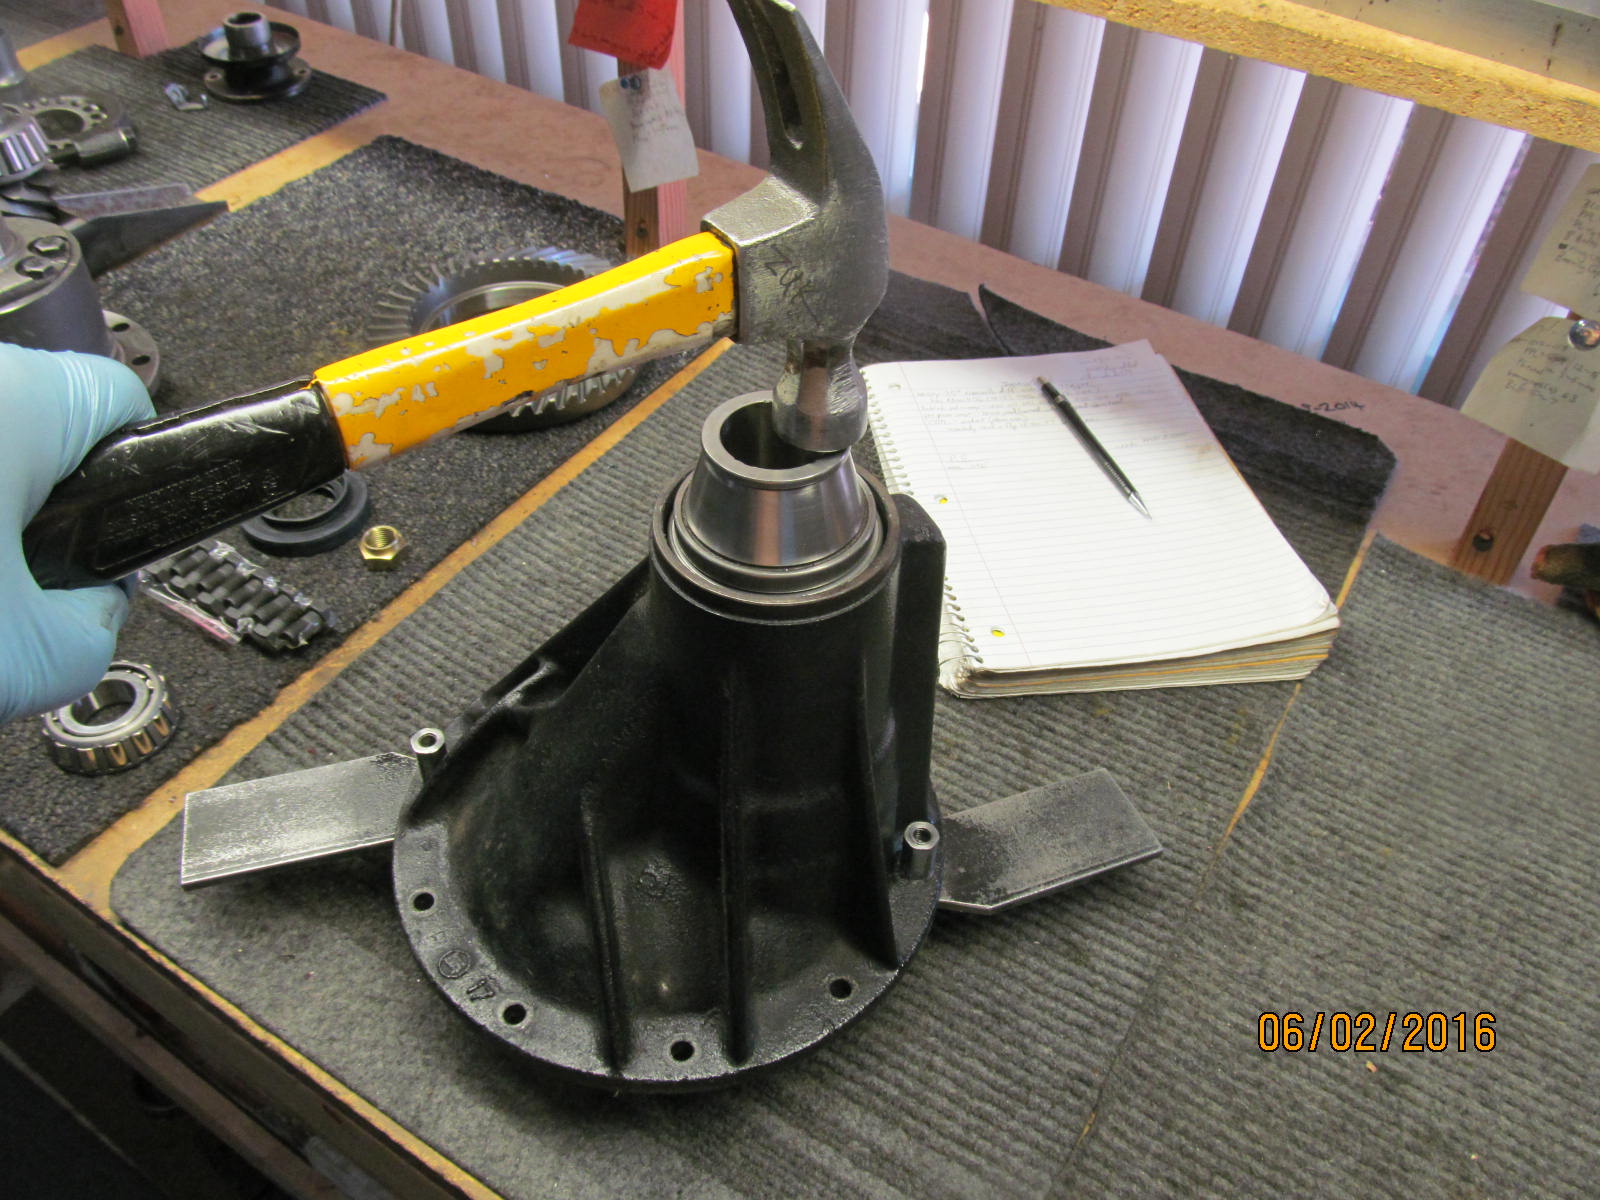
New ones get tapped in. I stay away from direct brutal contact with the chisel.....I use something to
spread the impact energy out.
|
|
|
|
|
Then an old race can pound the new race home all the way.
|
|
|
|
|
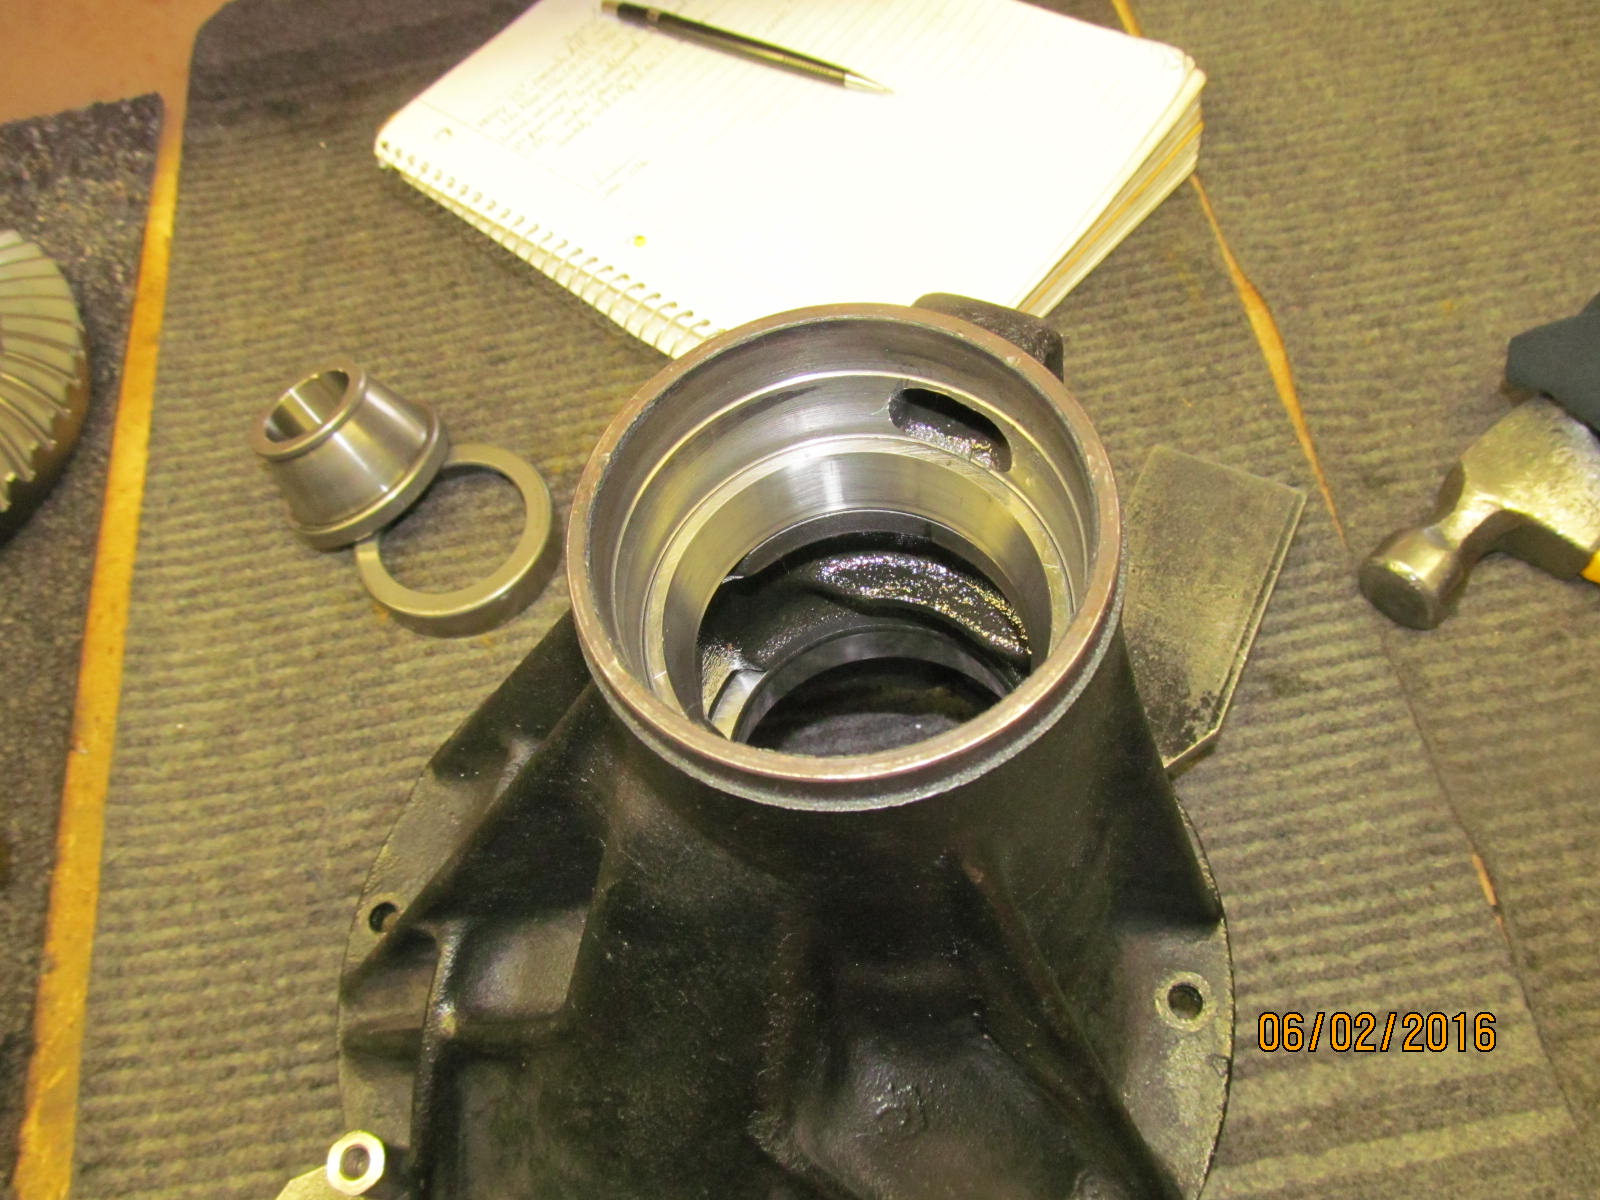
100% seated down for sure.
|
|
|
|
|
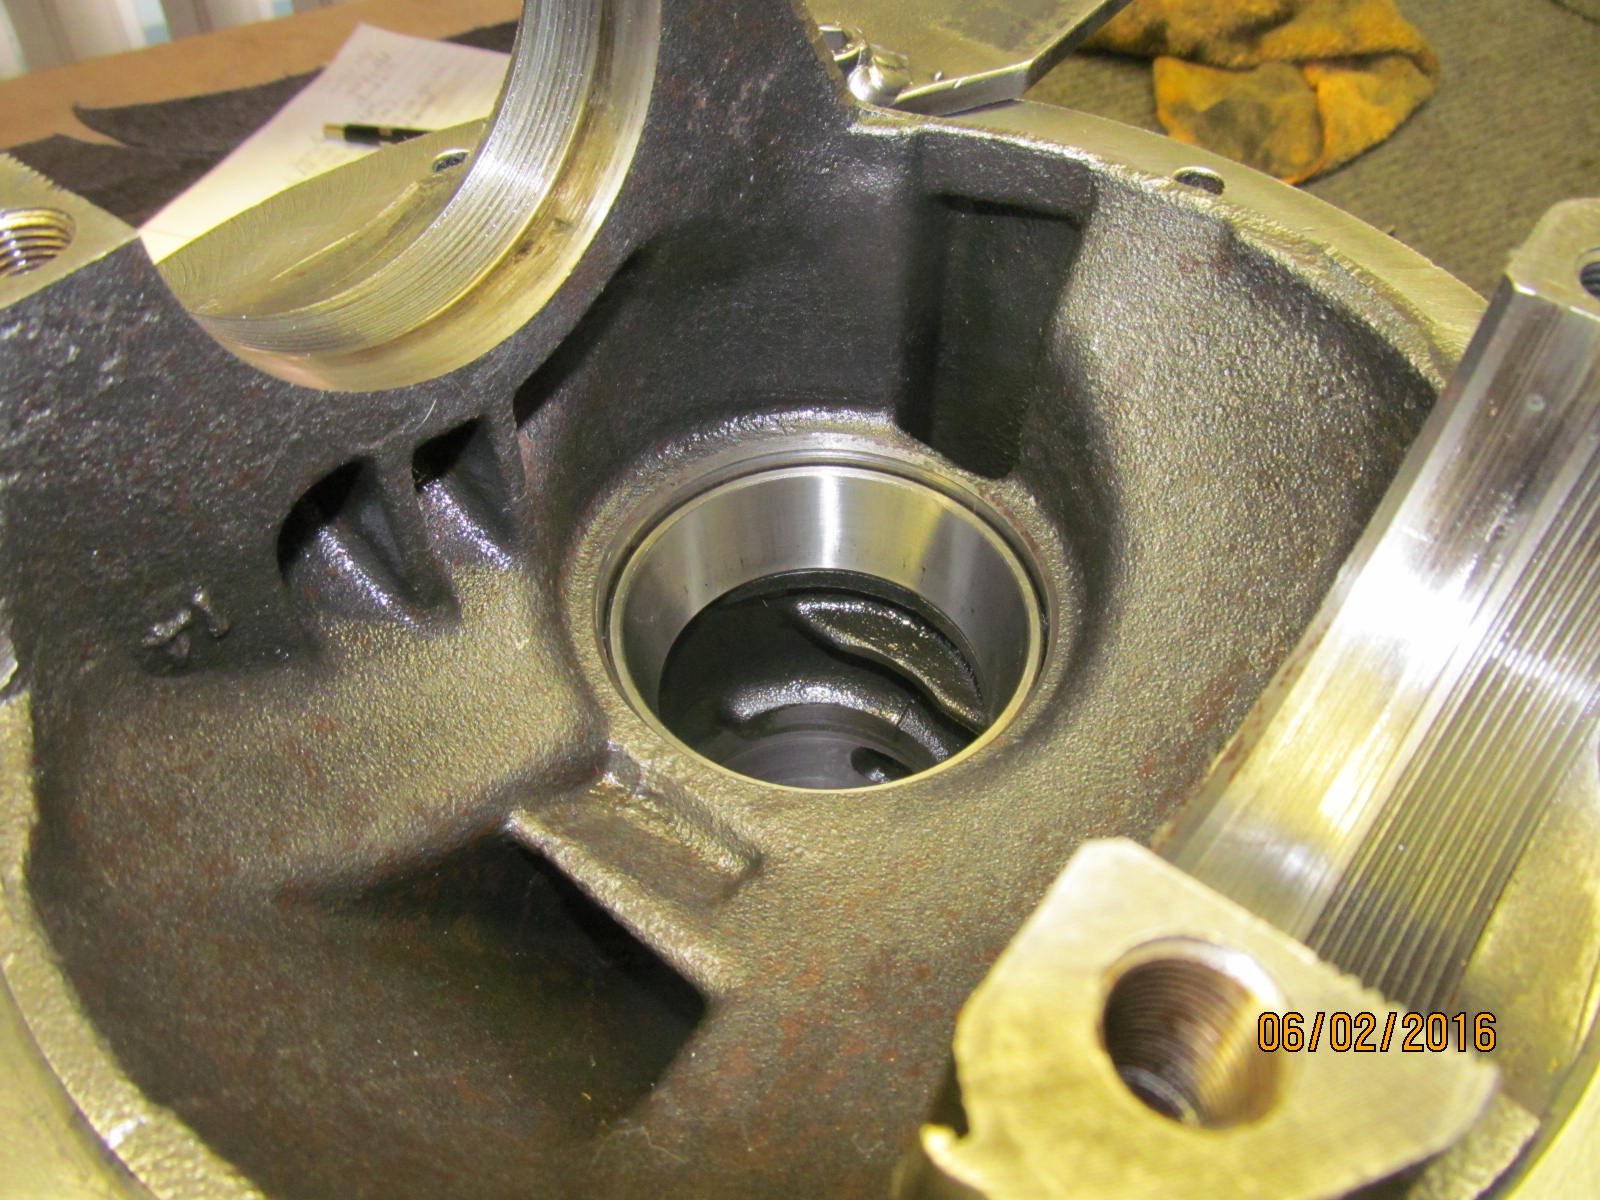
The small outer race is much easier to start it straight and fully seat it.
|
|
|
|
|
Bingo.
|
|
|
|
|
Both surfaces checked with a file....all good.
|
|
|

|
|
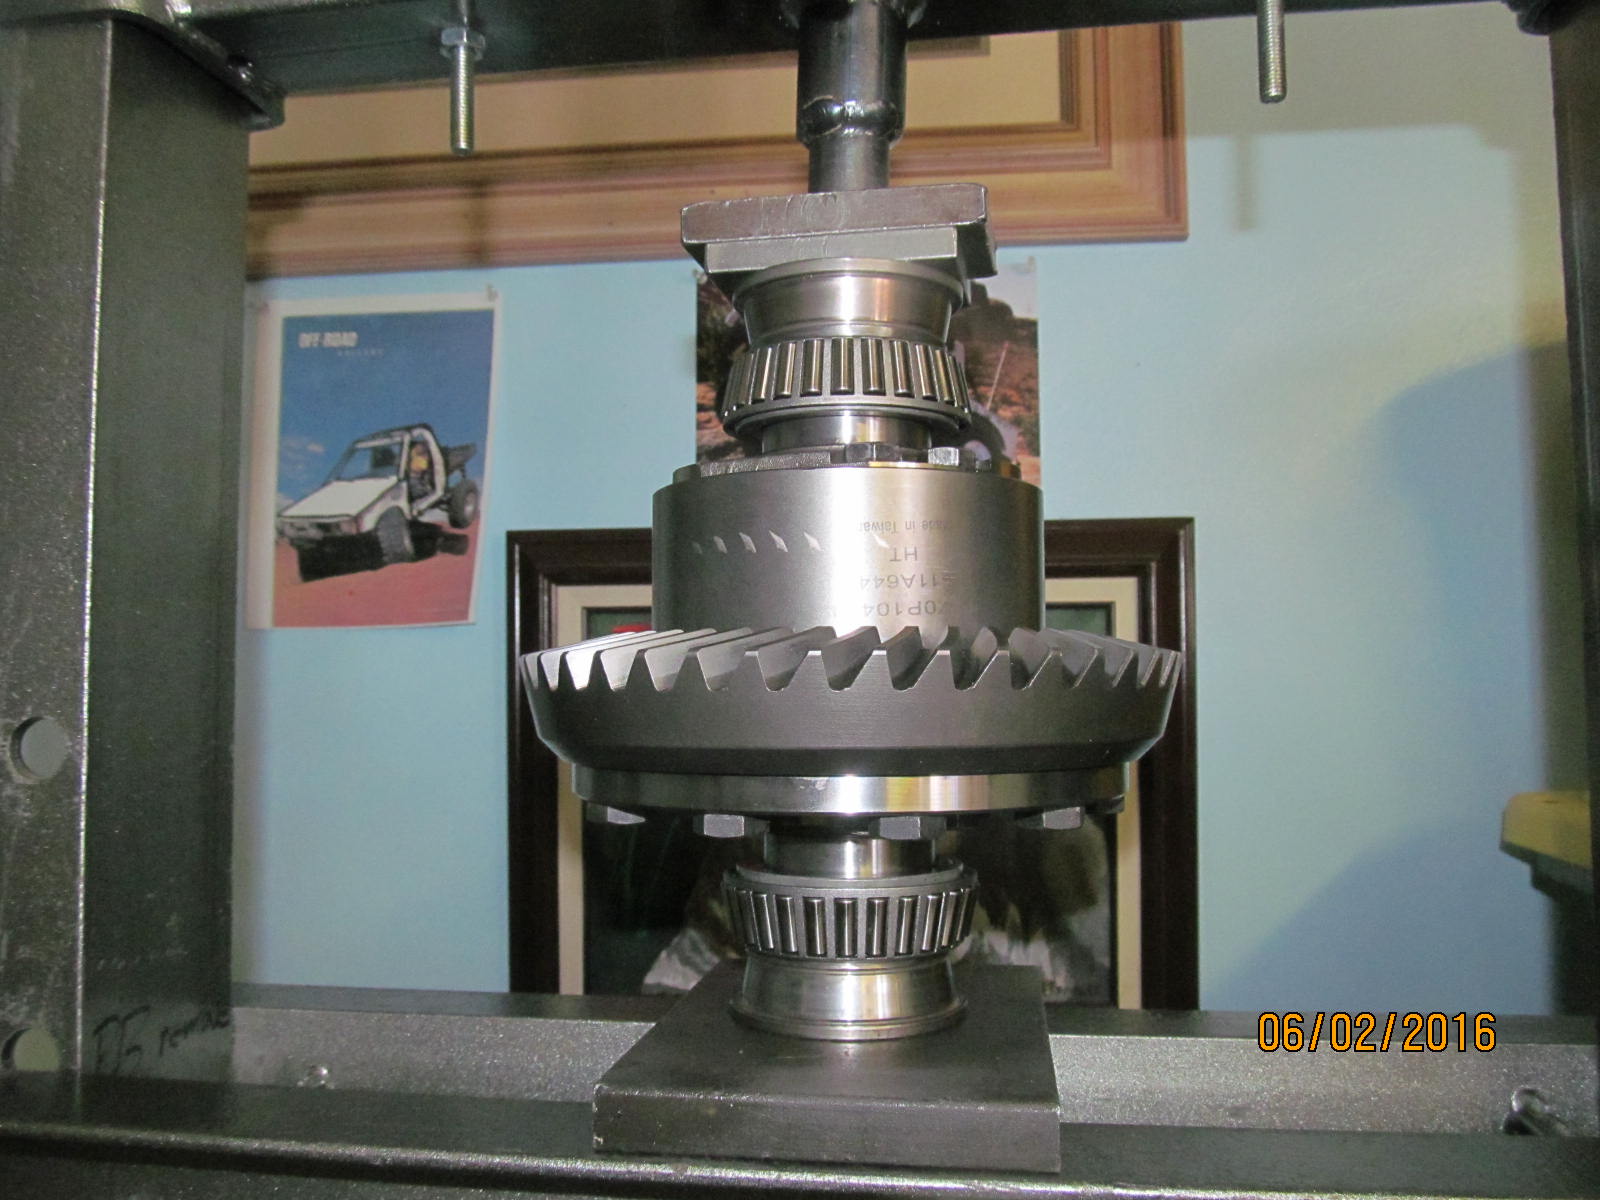
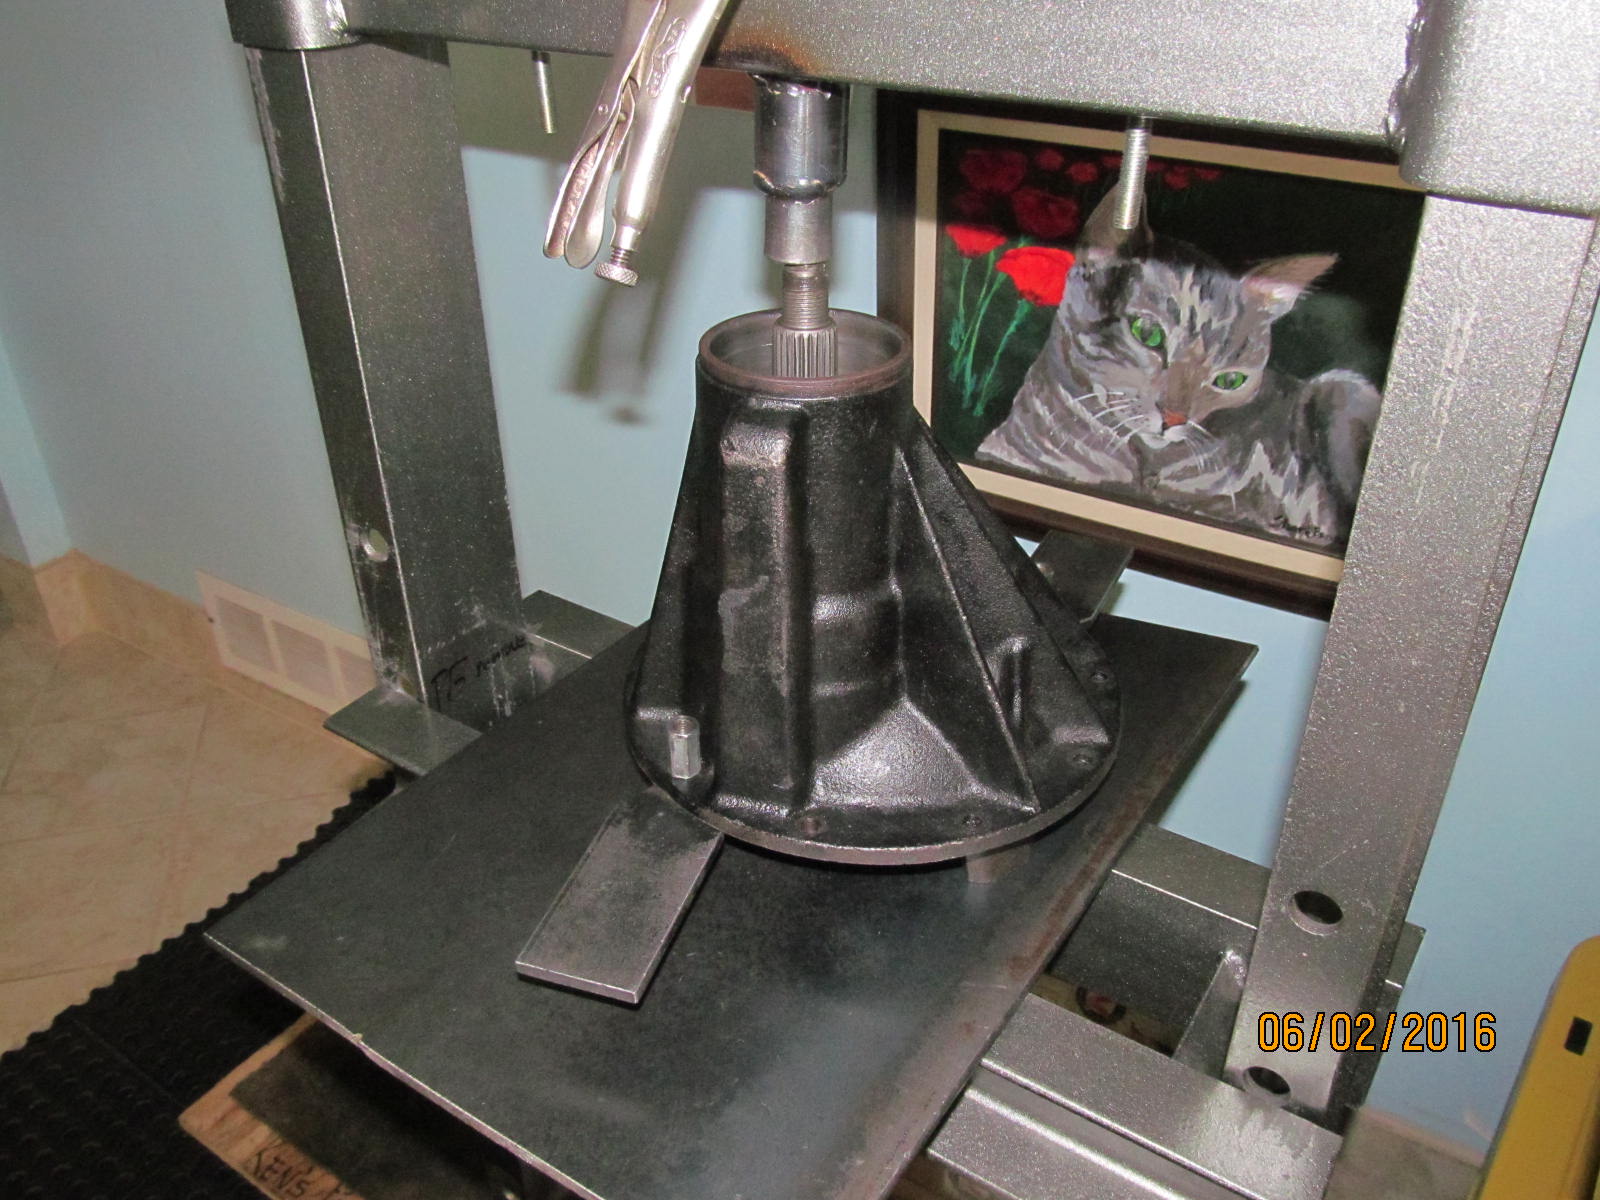
This one was a tight fit and a little help from the 12 ton was welcomed.
|
|
|
|
|
New ring gear bolts get the red loctite.
|
|
|
|
70 ft/lb on all 10 bolts.
That's the 1992 flatbed truck I used to wheel.....and the 1990 efi Sami that was in Moab,Utah way too much.
|
|
|
|
|
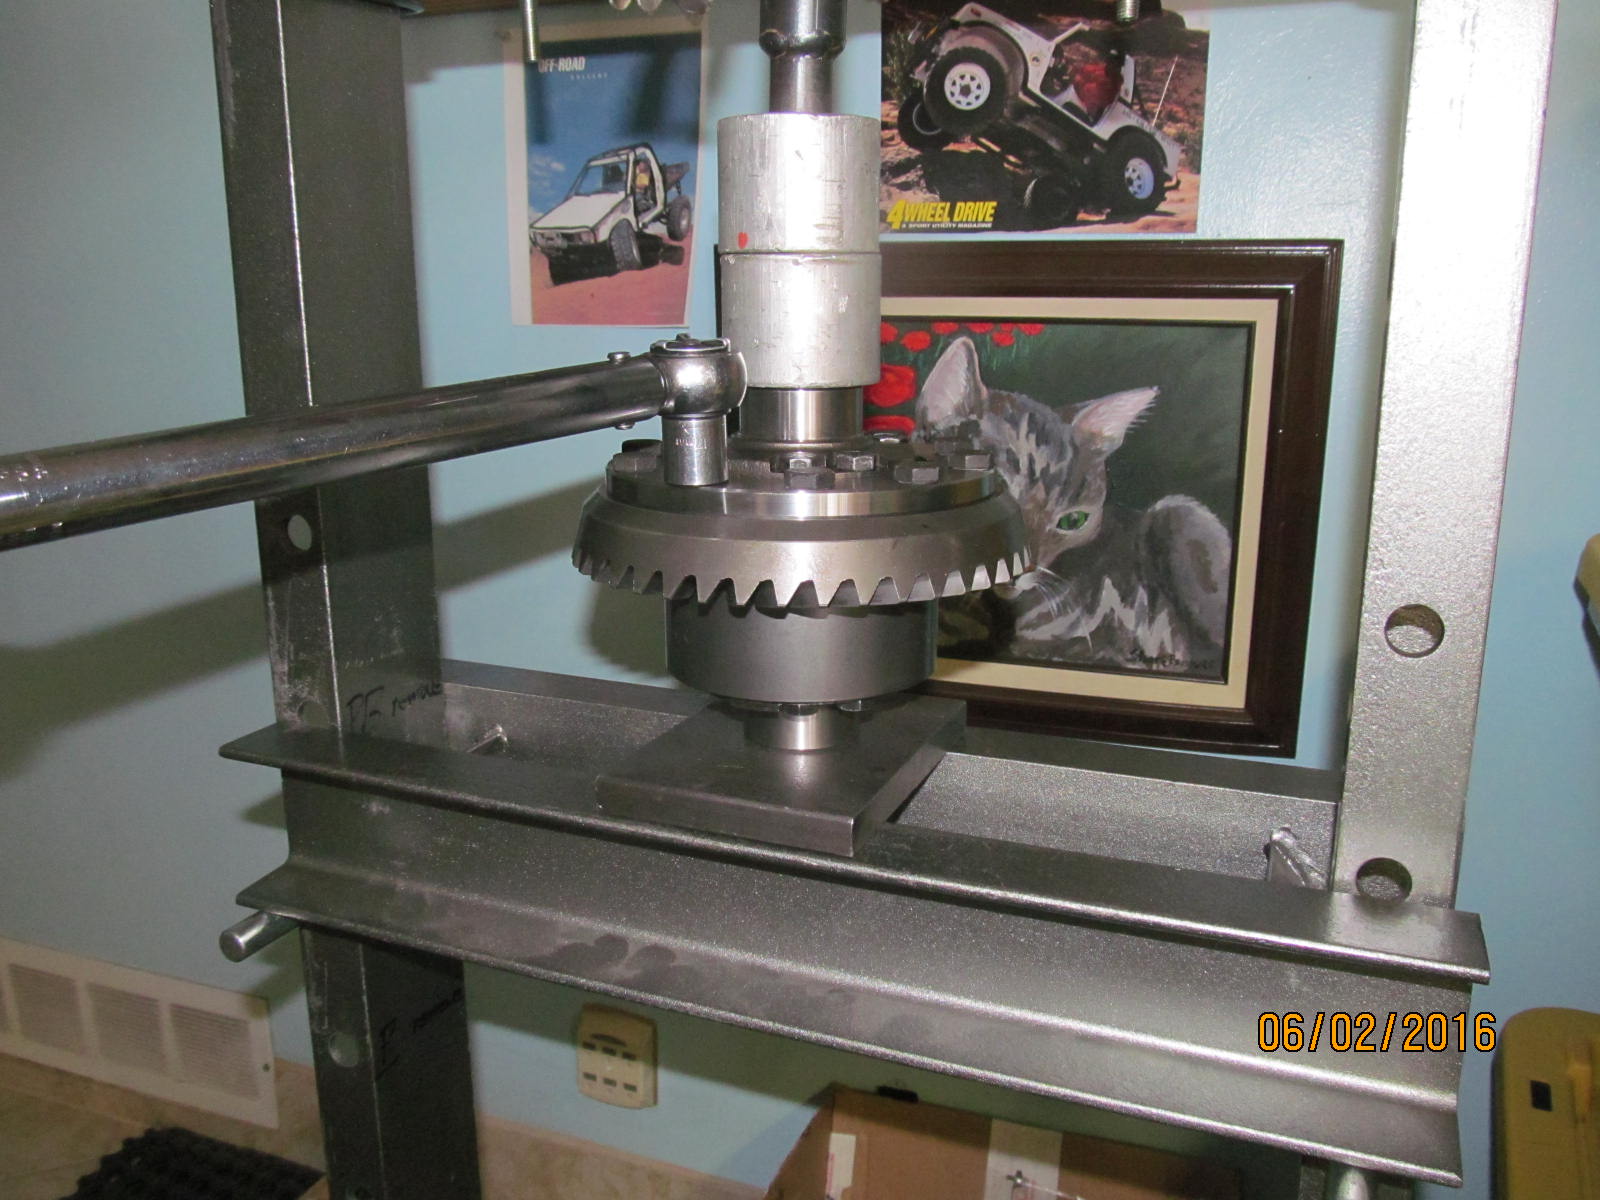
New carrier bearings were a good tight press onto the large 50mm journals.
|
|
|
|
|
Pinion is waiting...TT case is waiting....
|
|
|
|
|
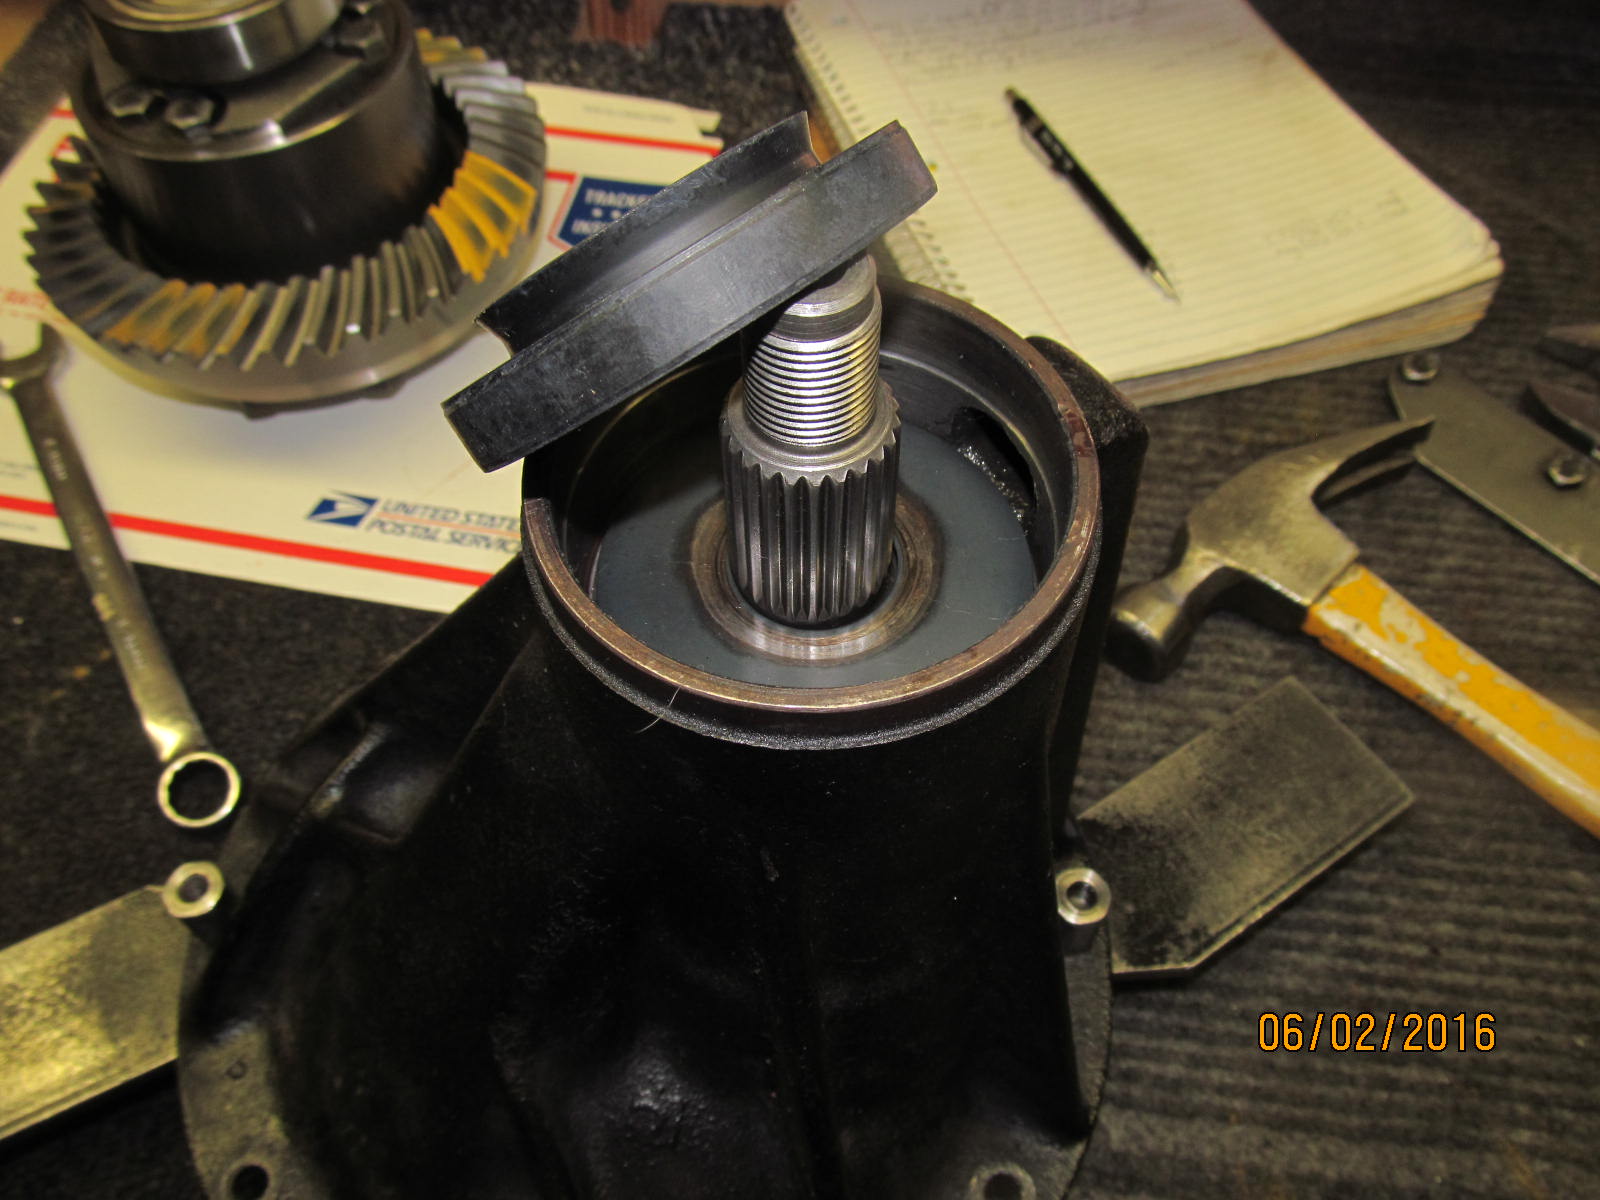
...now to load the pinion up for a paint test. No crush sleeve at this point.
|
|
|
|
|
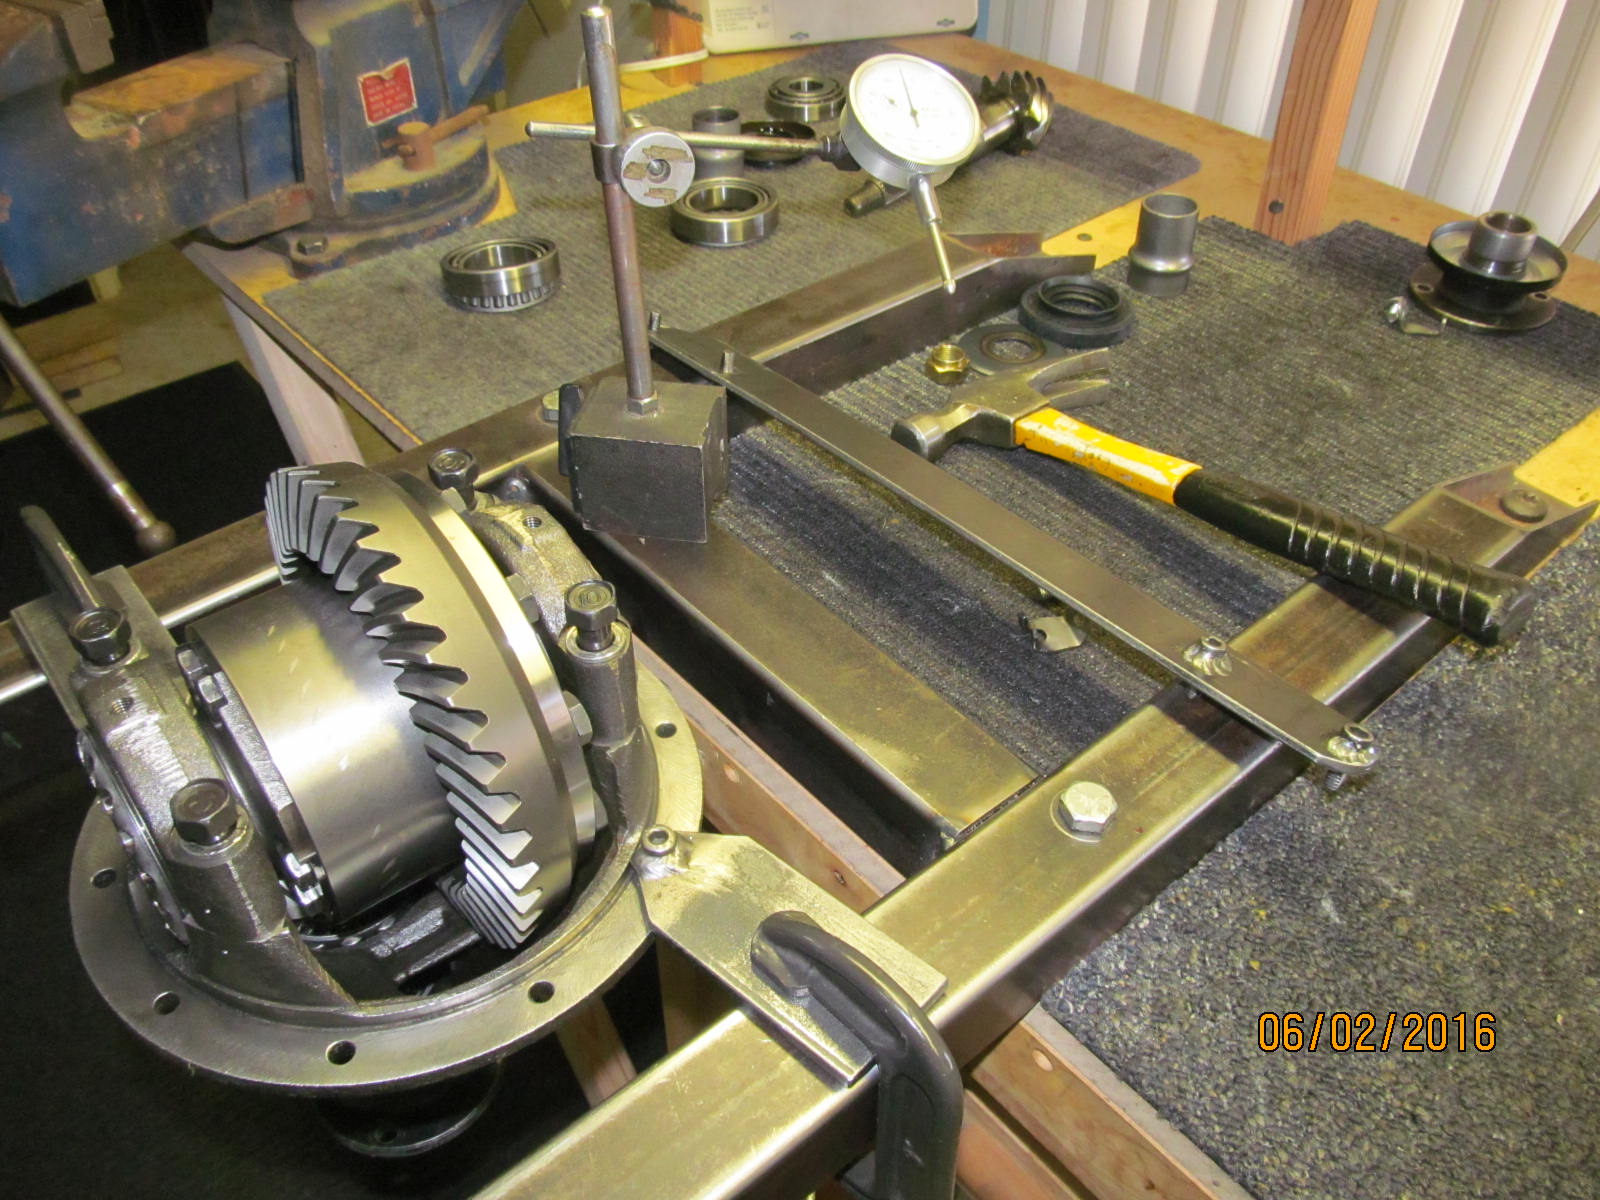
TT is loaded in place and the 4 bearing cap bolts are tightened modestly.
|
|
|
|
Non-critical at this point for a paint test so backlash is set close to spec but not perfect...
same with the bearing preload.
|
|
|
|
|
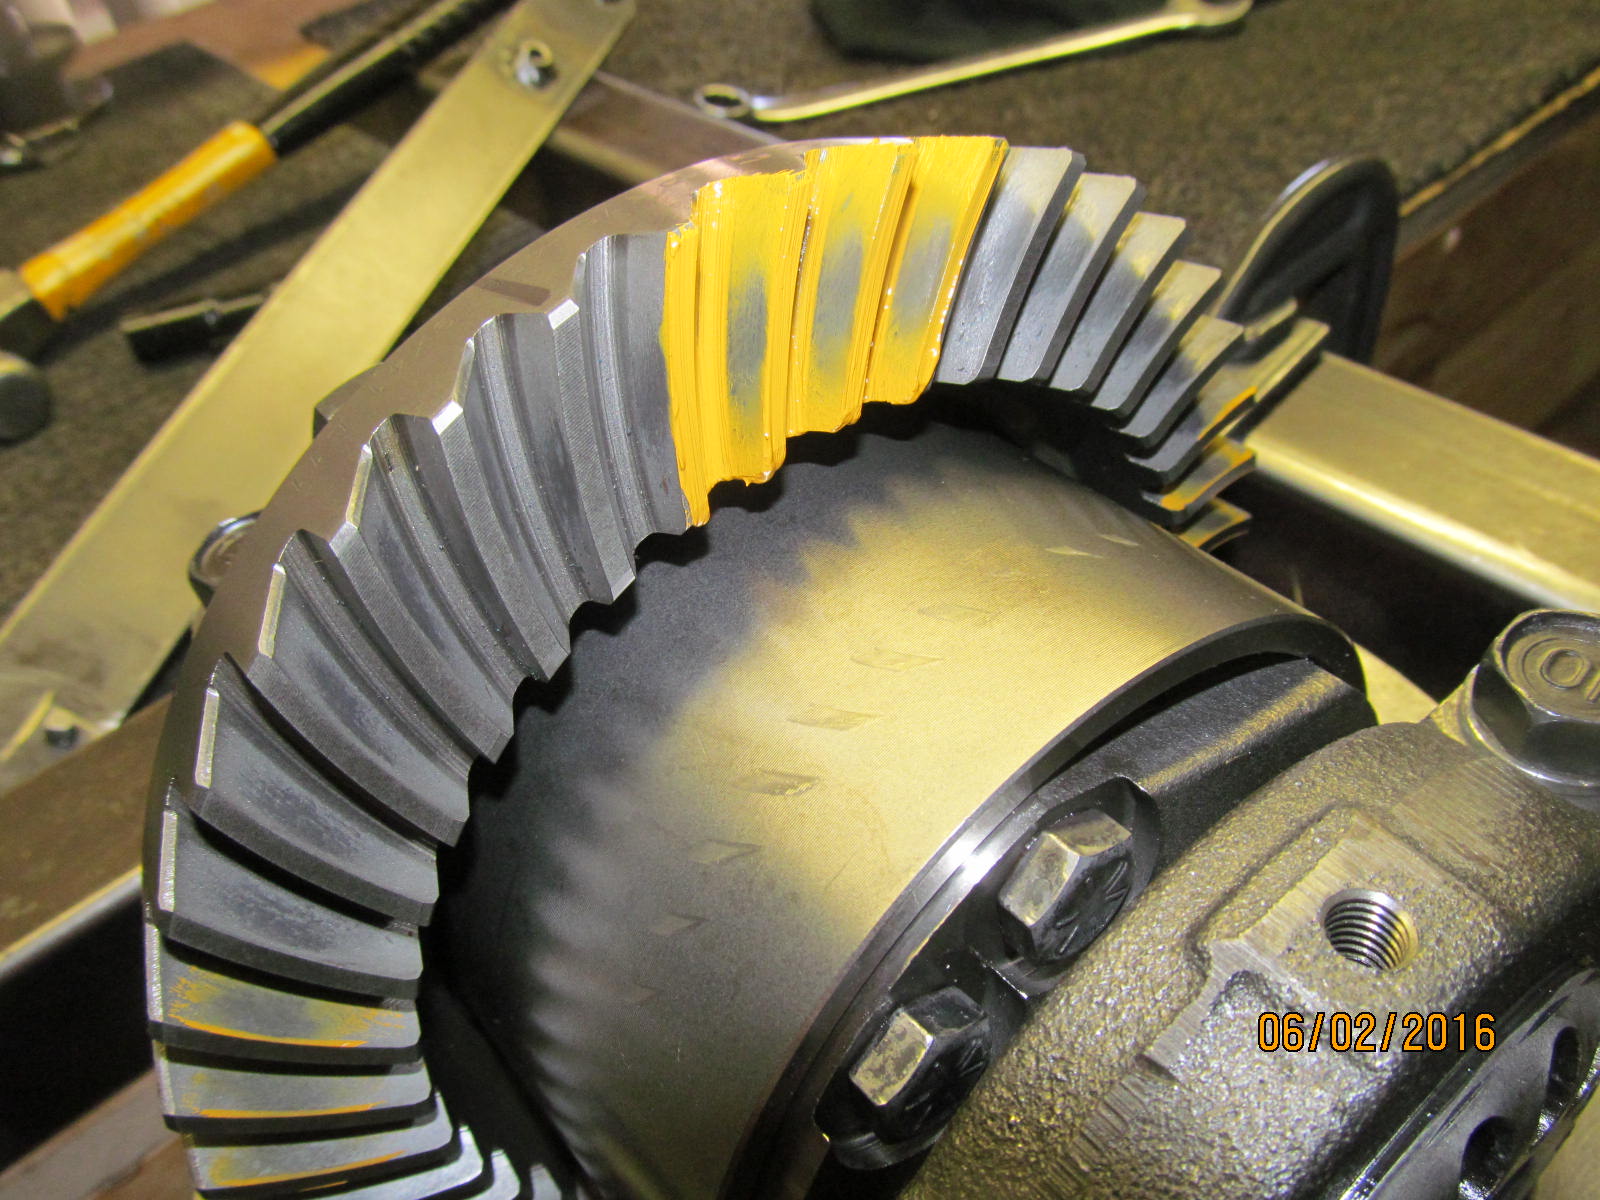
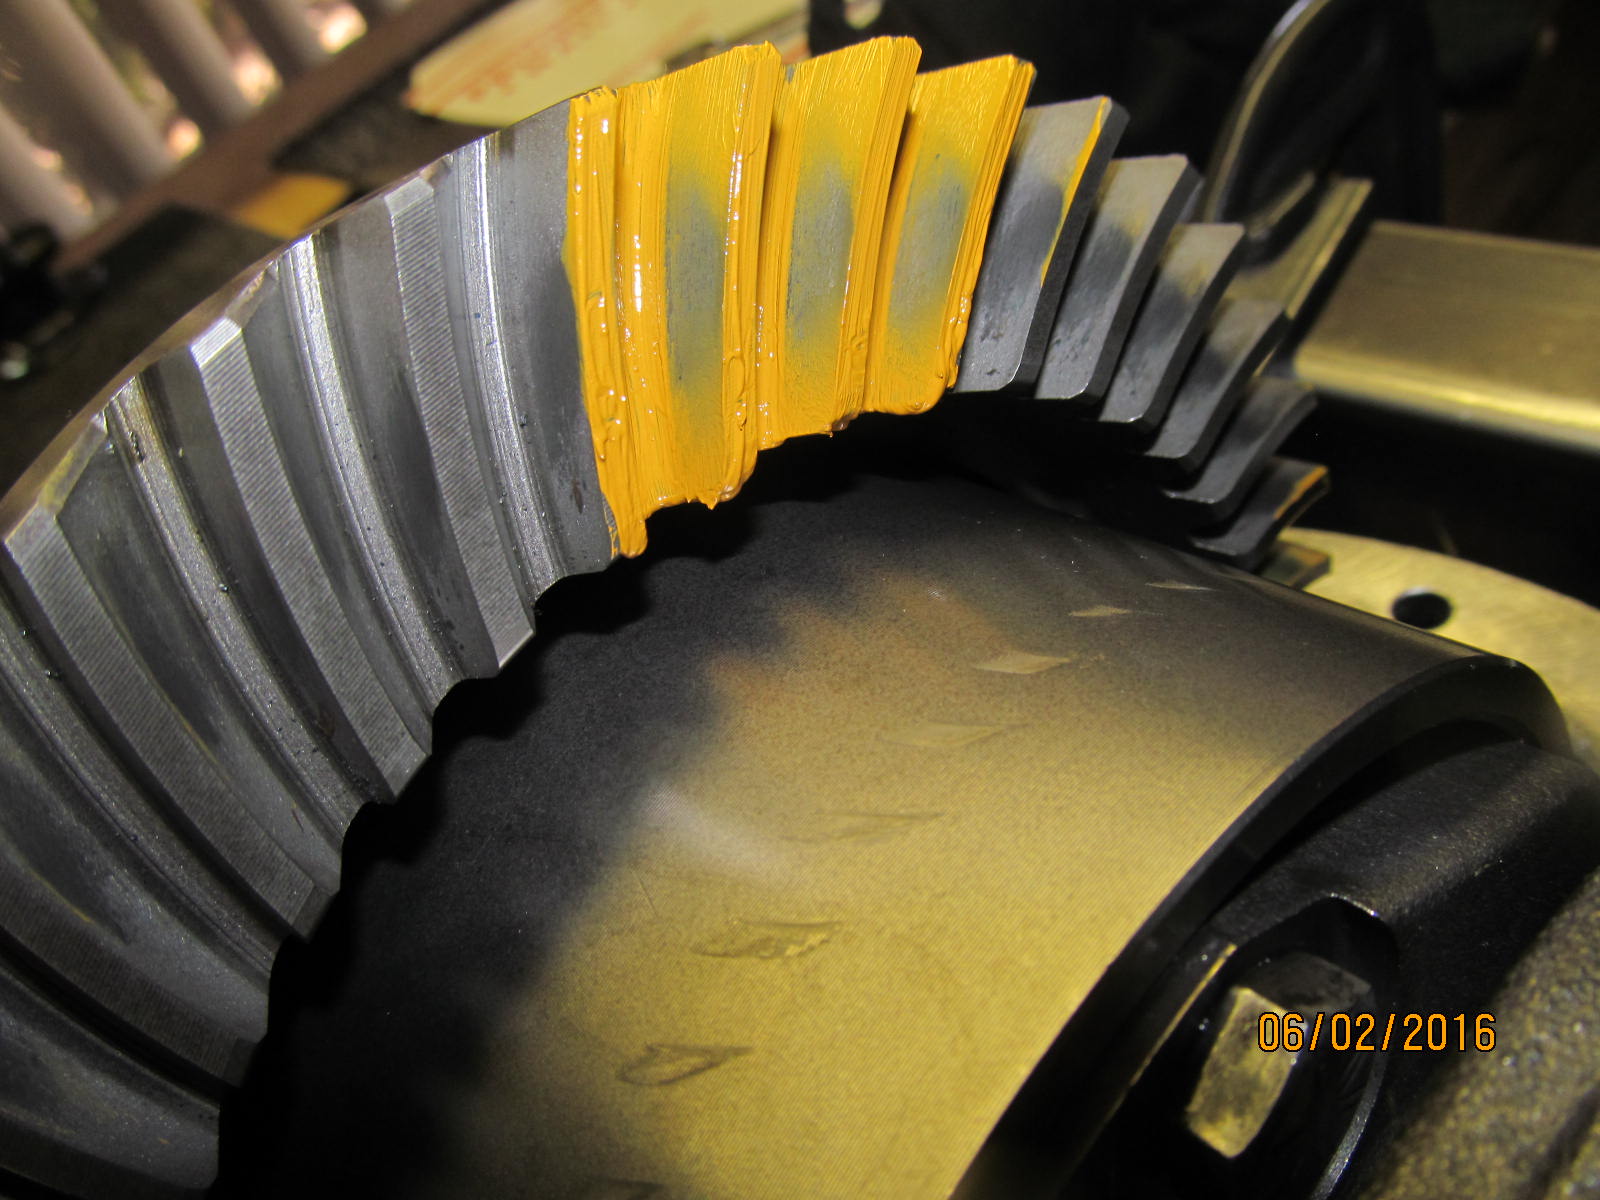
The resultant paint swipe on the drive side shows slight shallowness maybe.
|
|
|
|
|
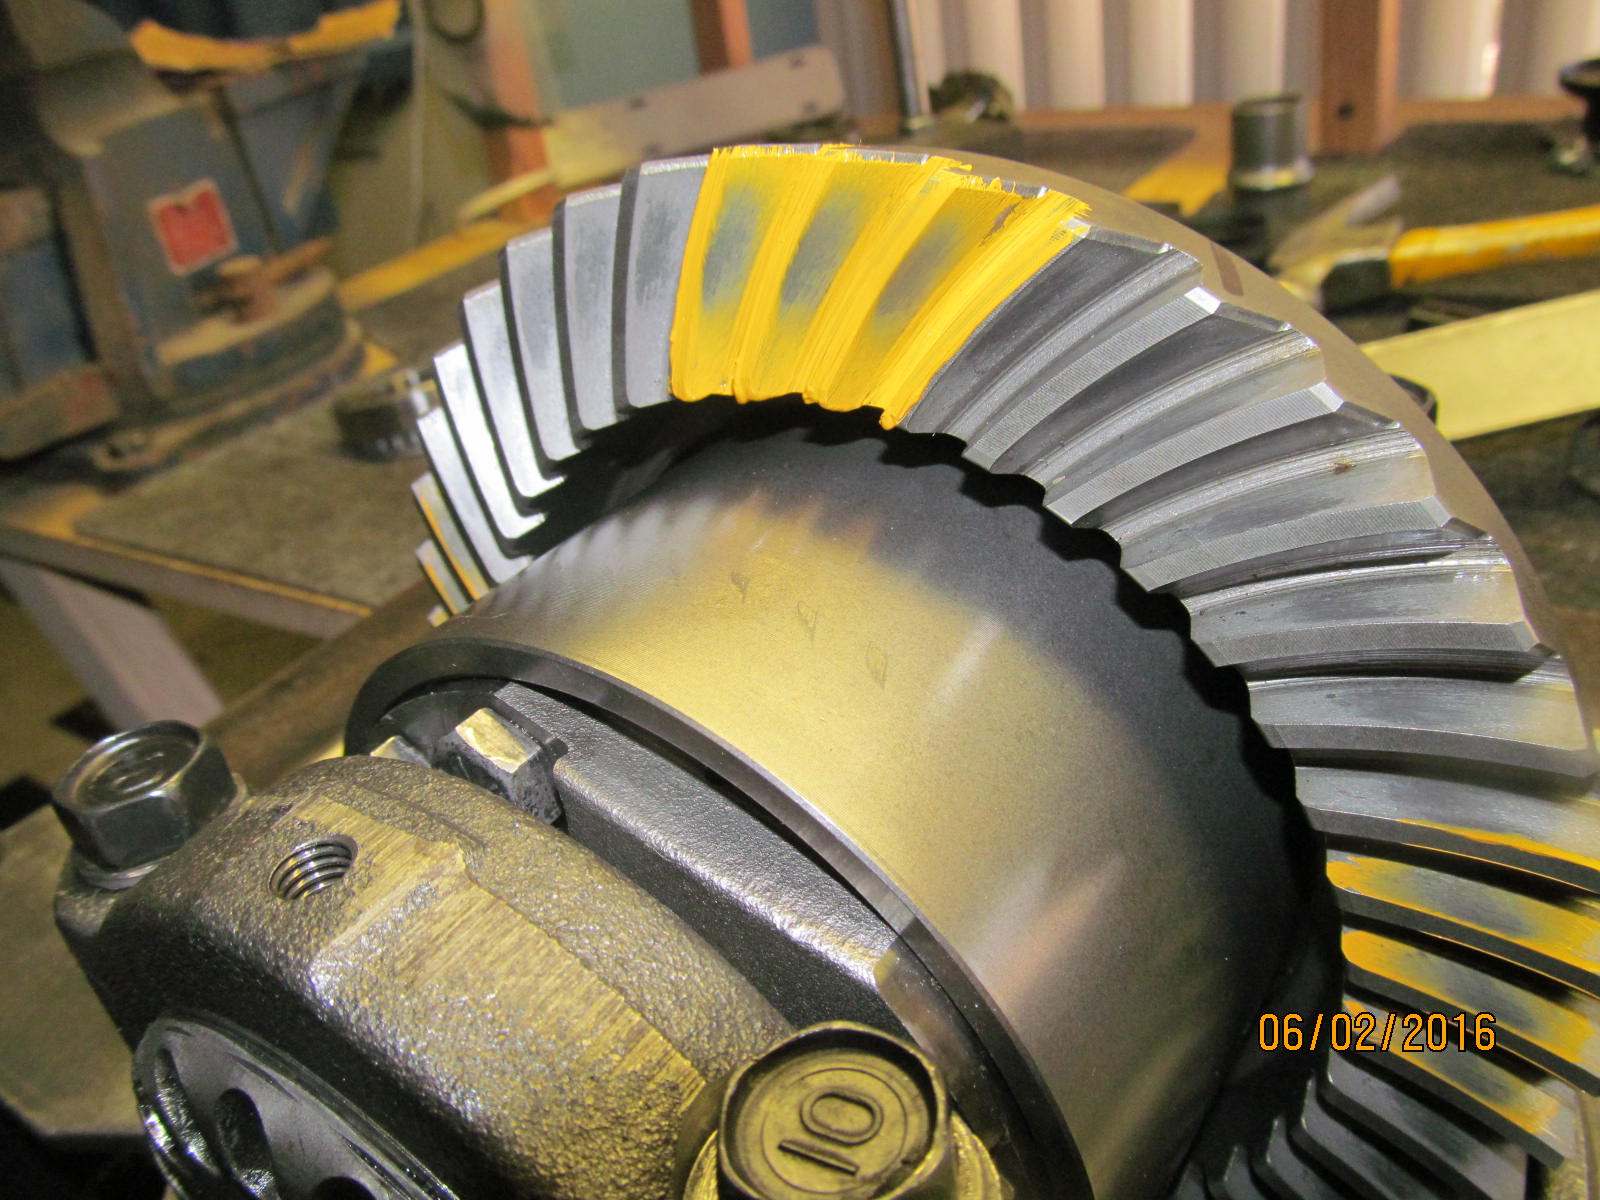
Coast.
|
|
|
|
|
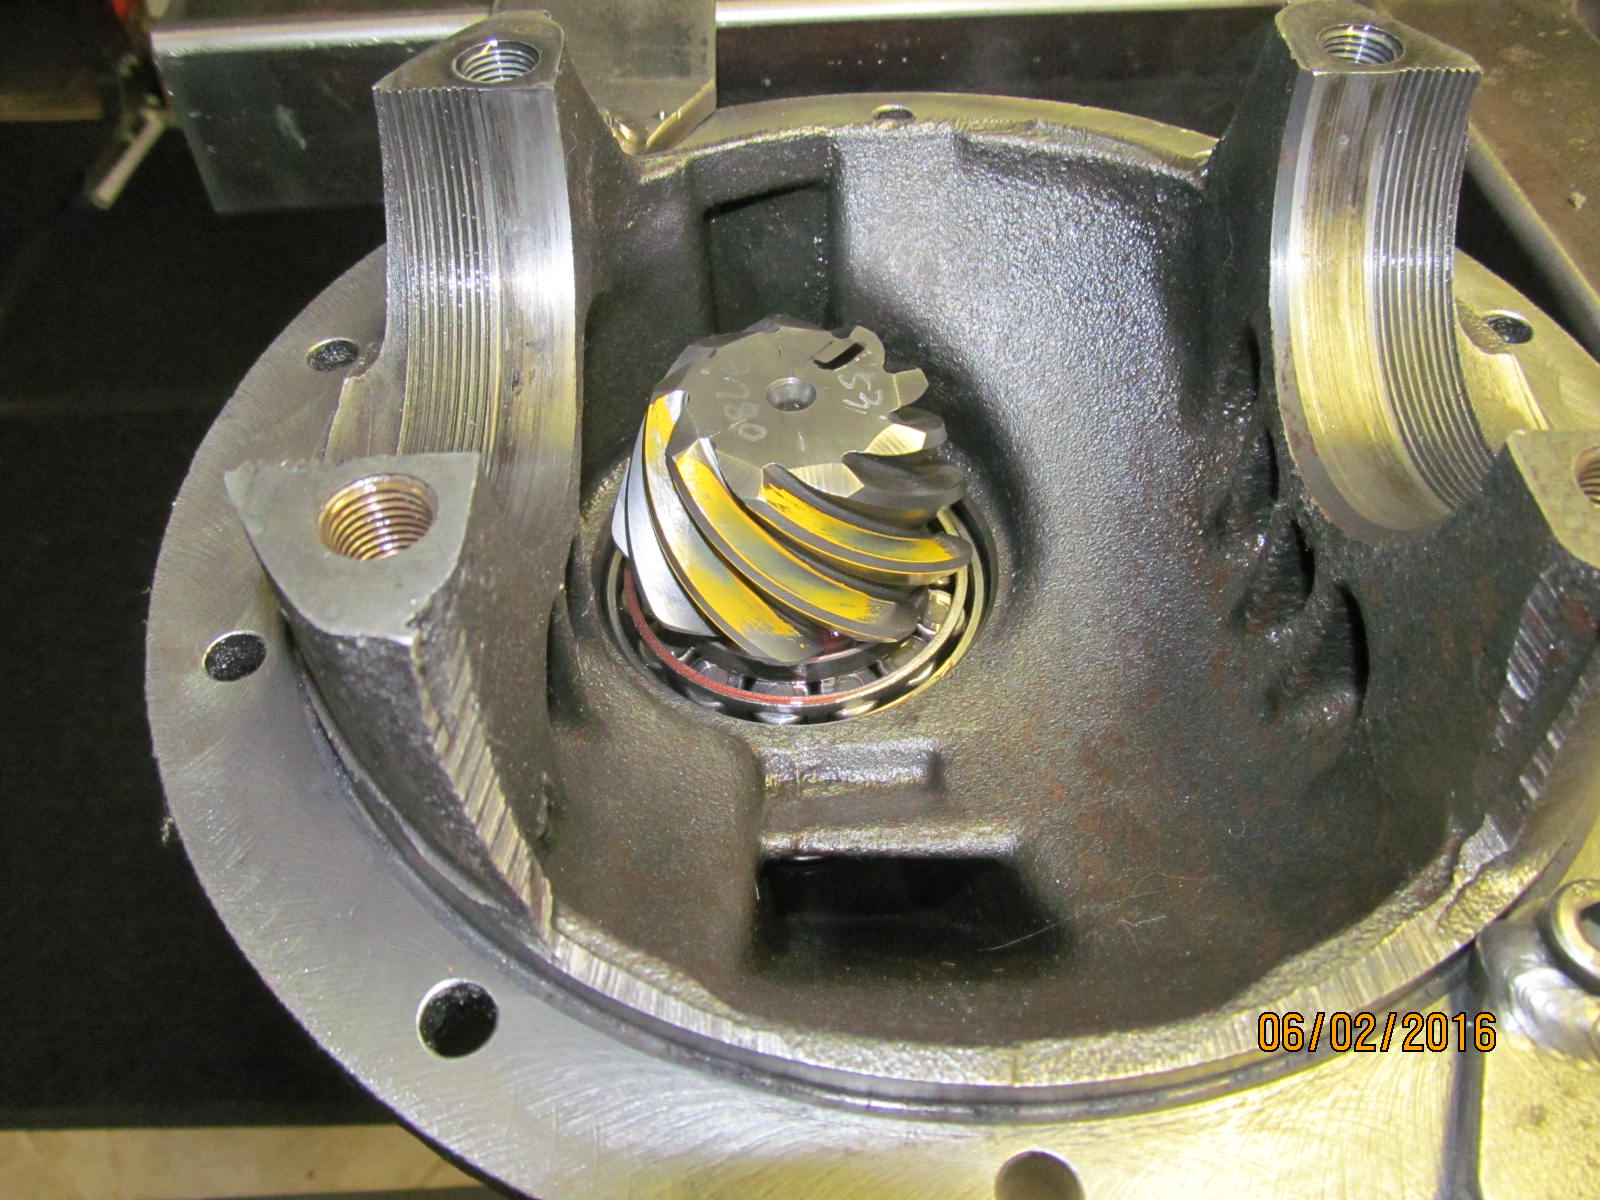
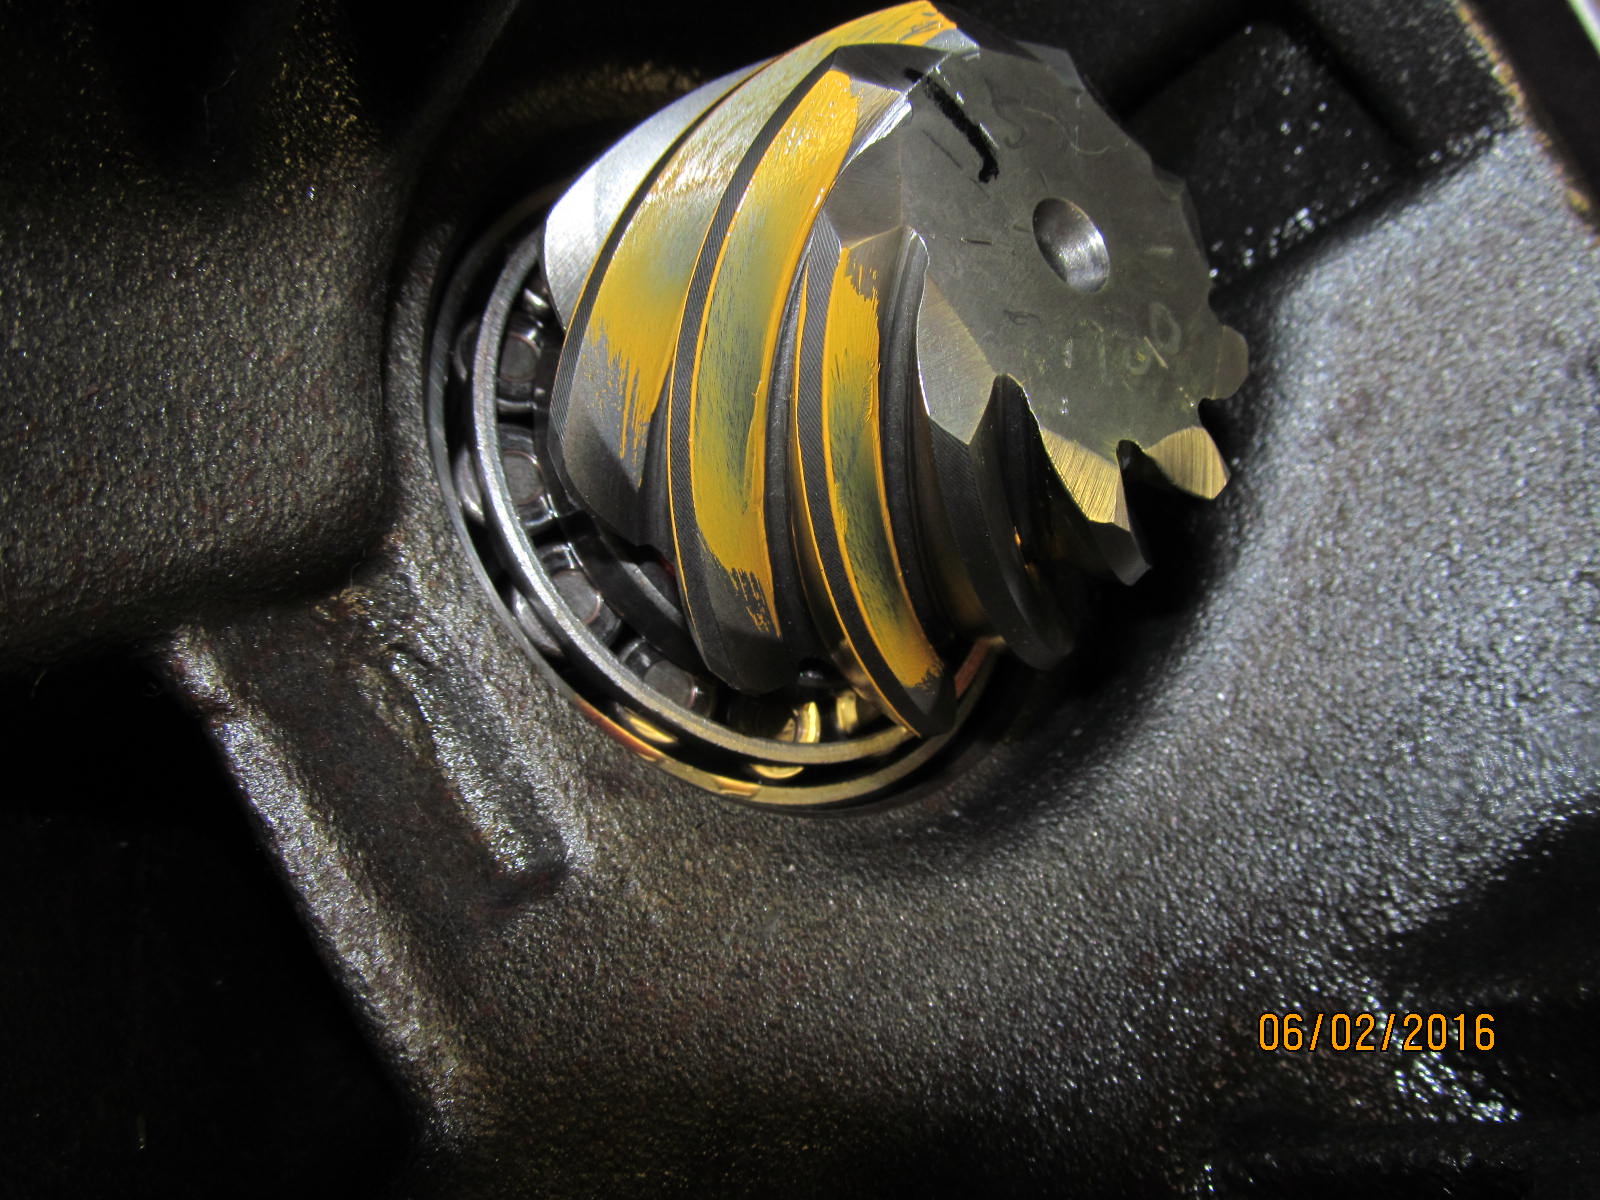
Pinion drive side.
|
|
|
|
|
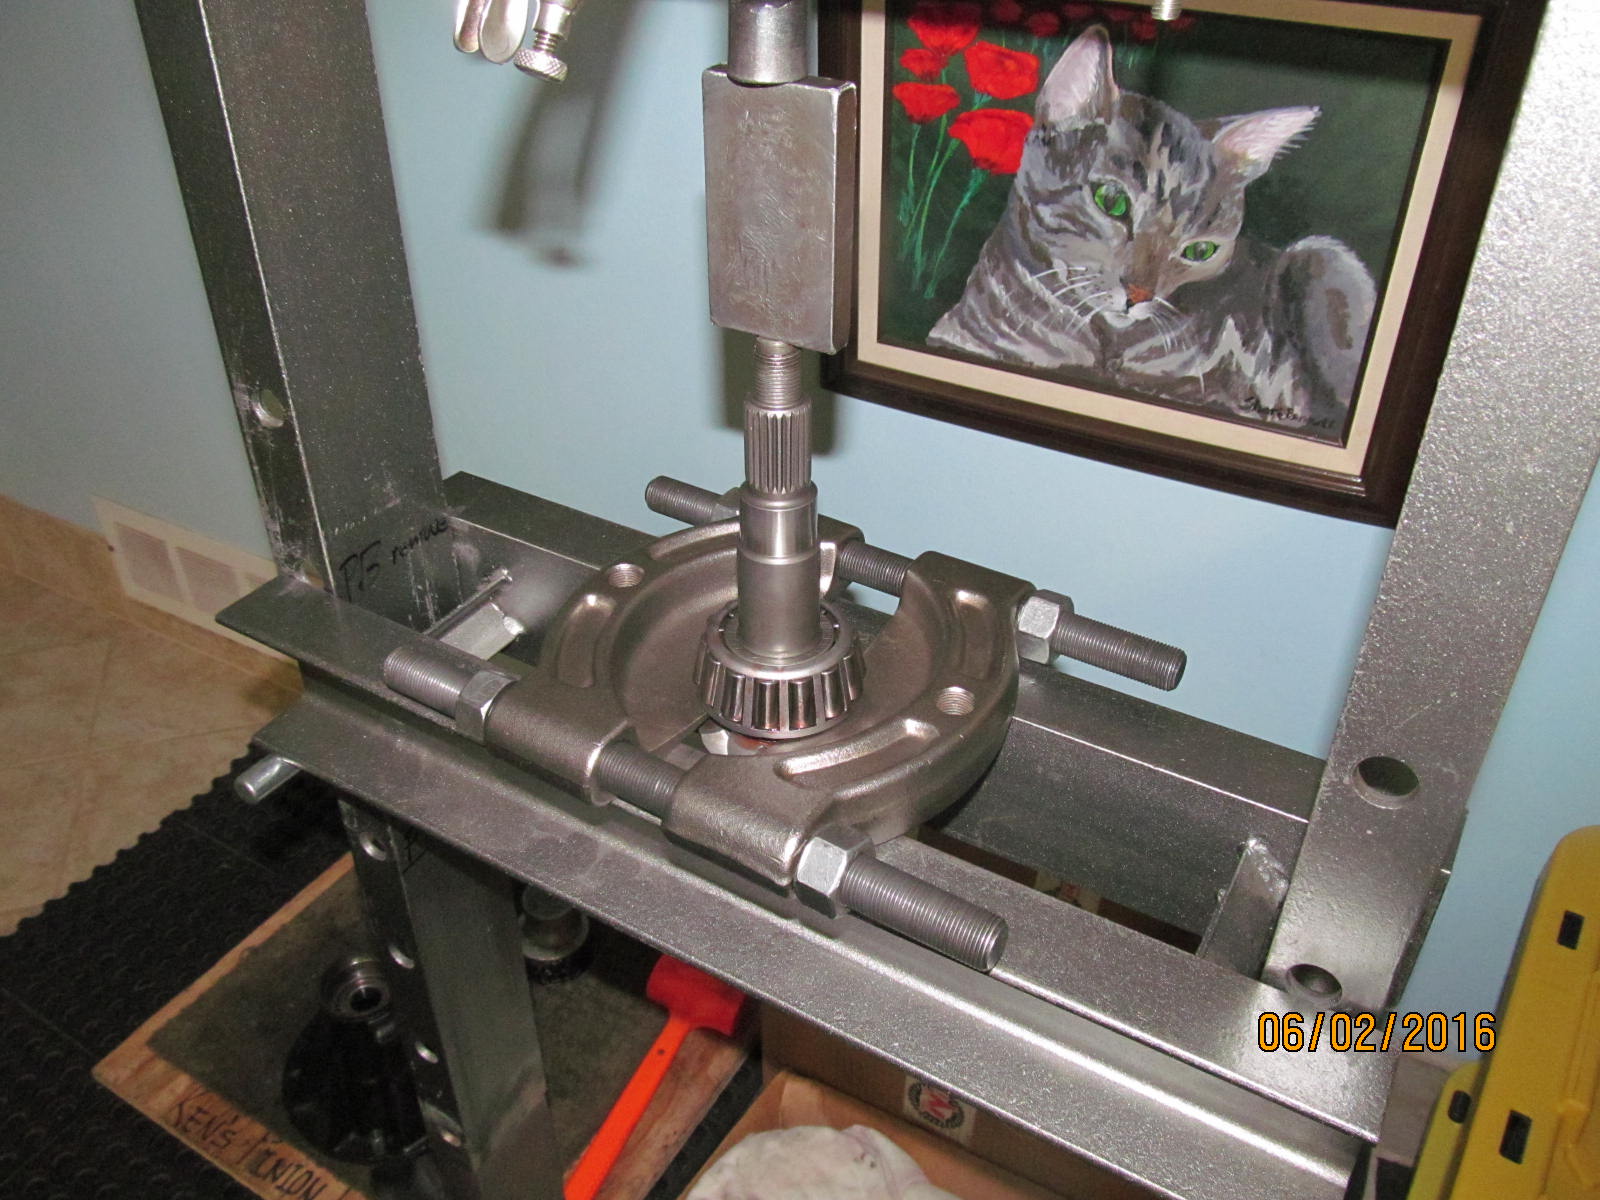
Time to go a little deeper....remove the TT and press the pinion out.
|
|
|
|
|
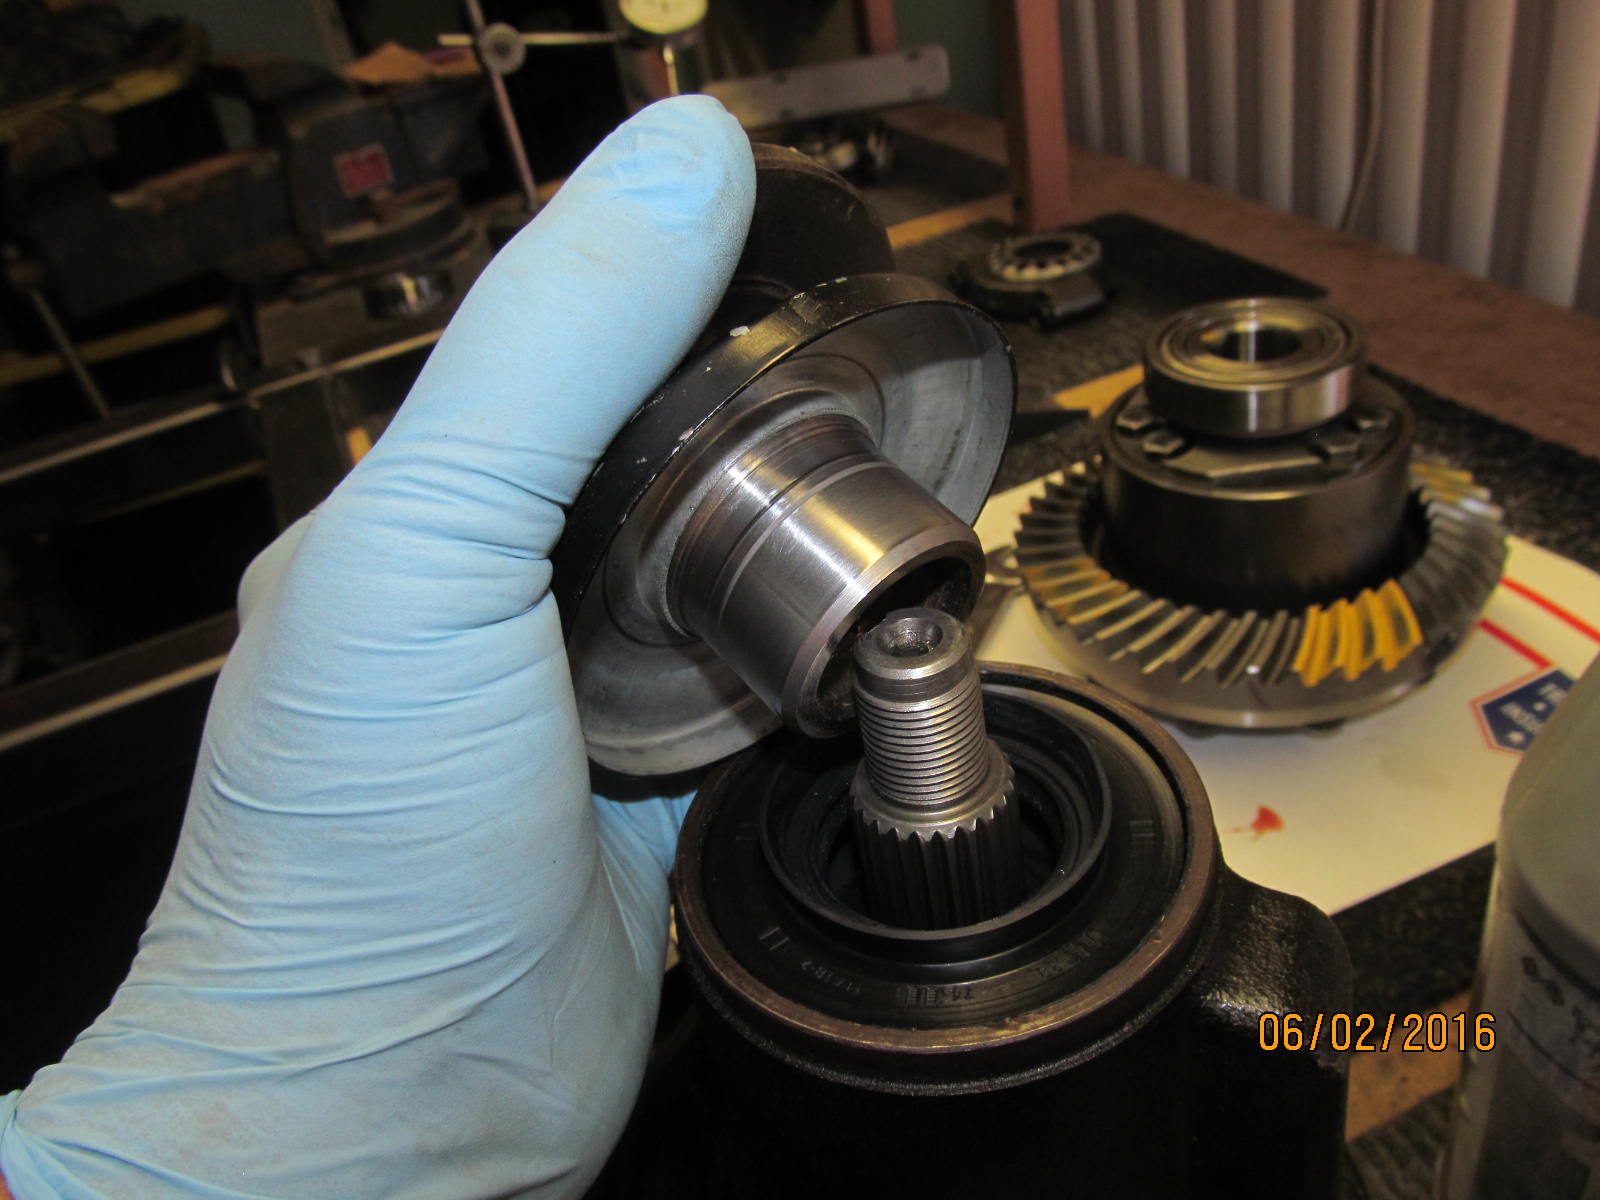
Bearing comes off easy with no damage with the right tools.
|
|
|
|
|
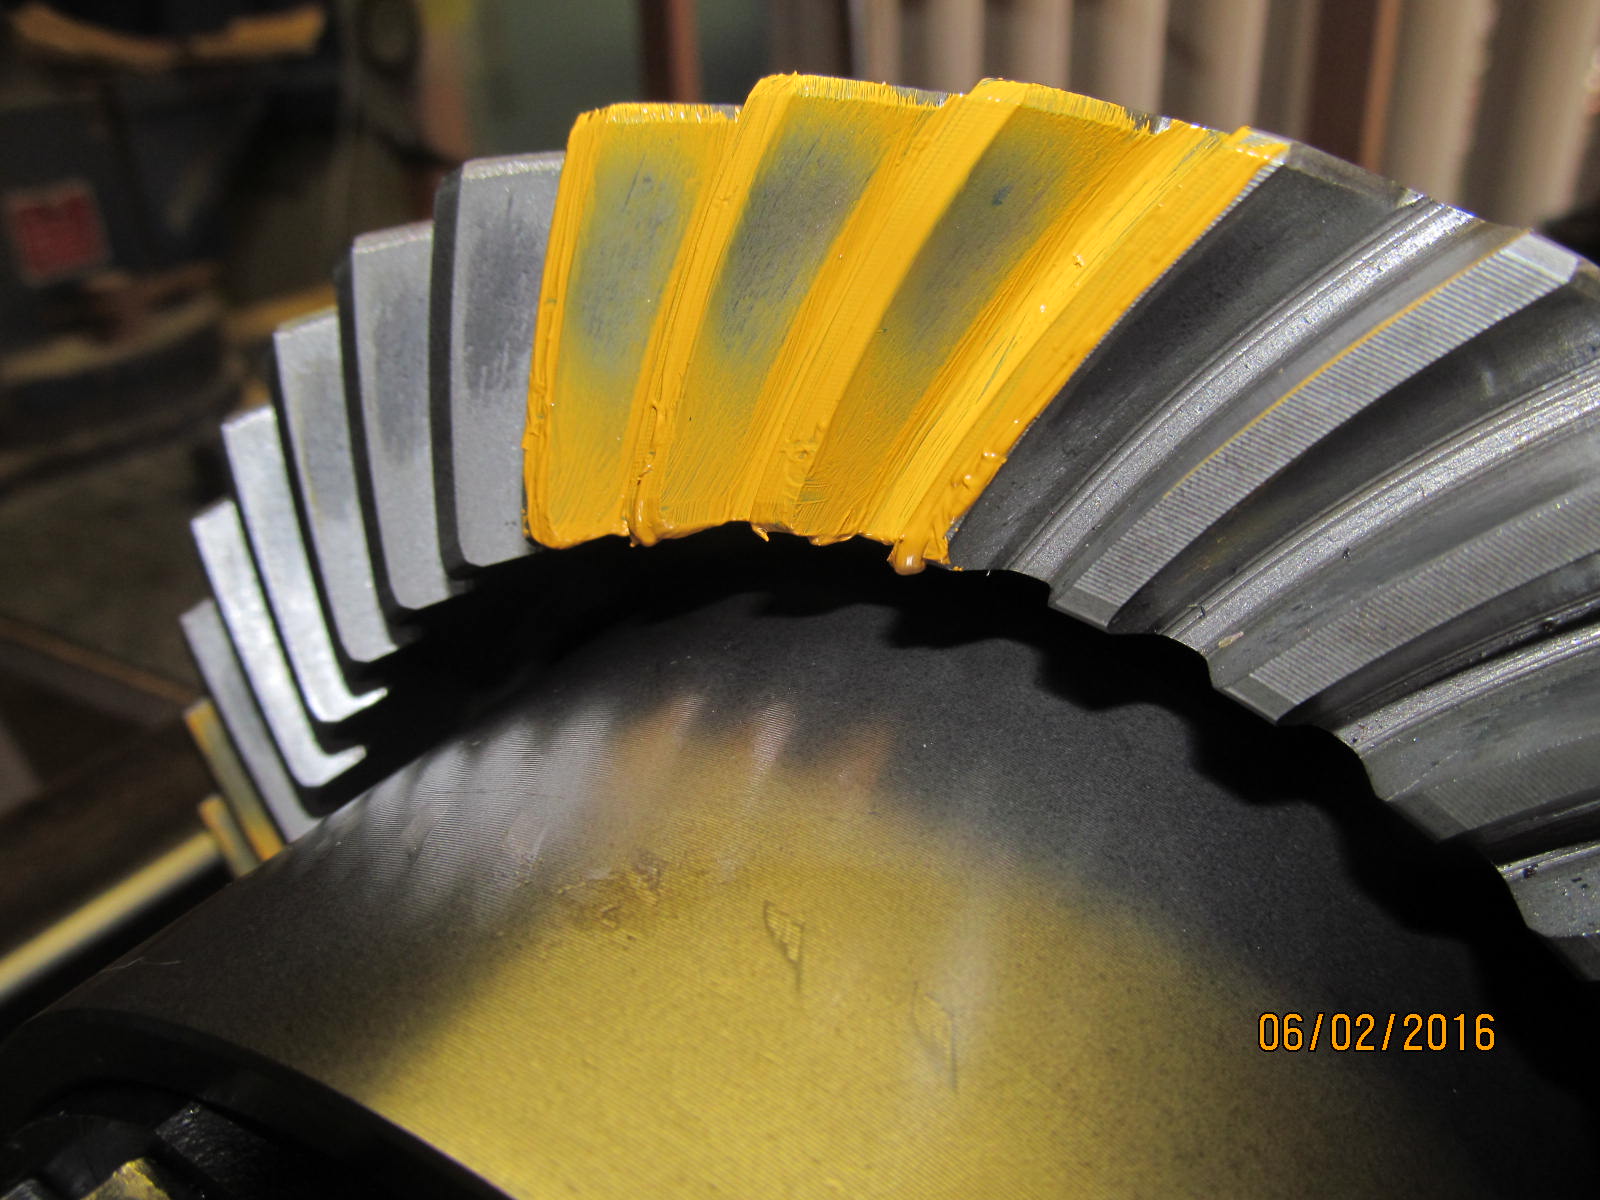
Change shim, put everything back together and this is with .101"(.005" deeper) and looks good.
|
|
|
|
|
Coast.
|
|
|
|
|
Pinion drive side.
|
|
|
|
|
I pressed the pinion out and this time the new crush does get slipped on...and now the seal.
|
|
|

|
|
All surfaces get some gear oil and the seal is tapped home.
|
|
|
|
|
I like to use wd-40 and some 600~1000 grit sandpaper to smooth out the flange seal surface.
|
|
|
|
|
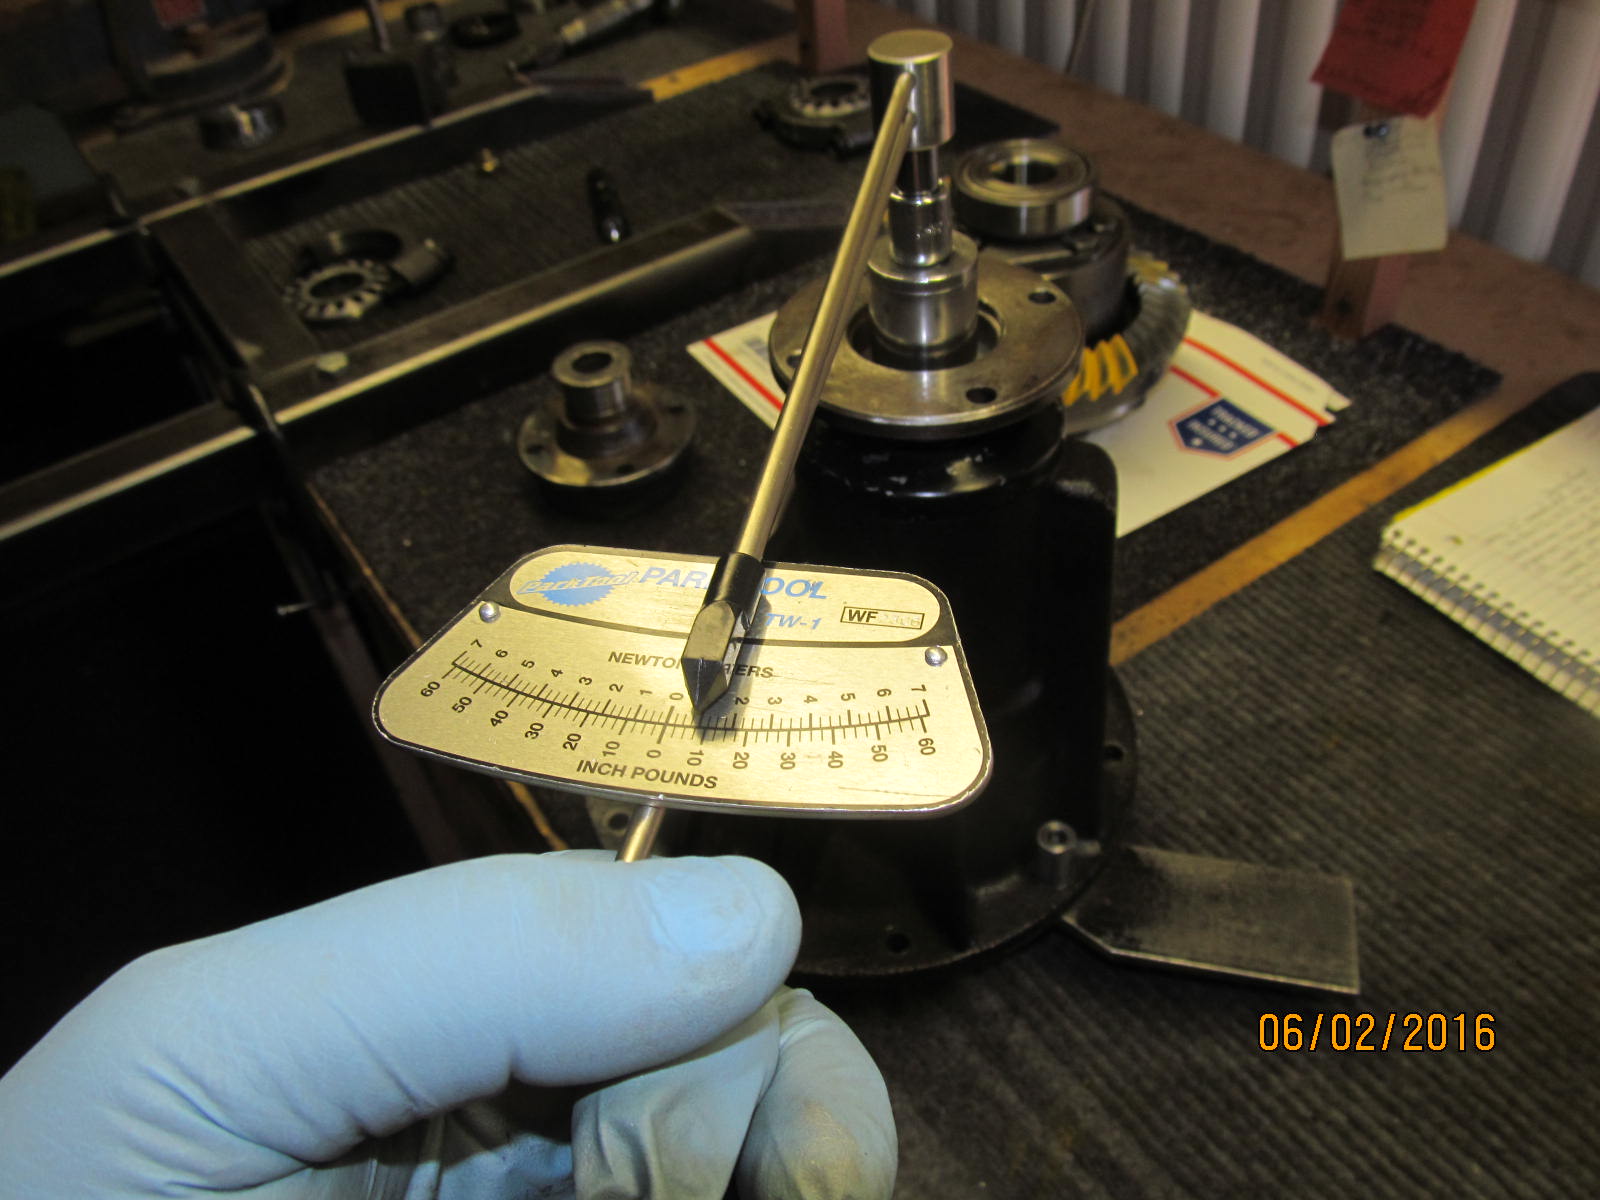
A nice light 10 in/lb for PPL is good with me.
|
|
|
|
|
Ding and this end is now done.
|
|
|
|
TT goes back in and 70 ft/lb on all 4 bearing cap bolts. No loctite....just leave the residual gear oil
on the threads and it's good to go.
|
|
|

|
|
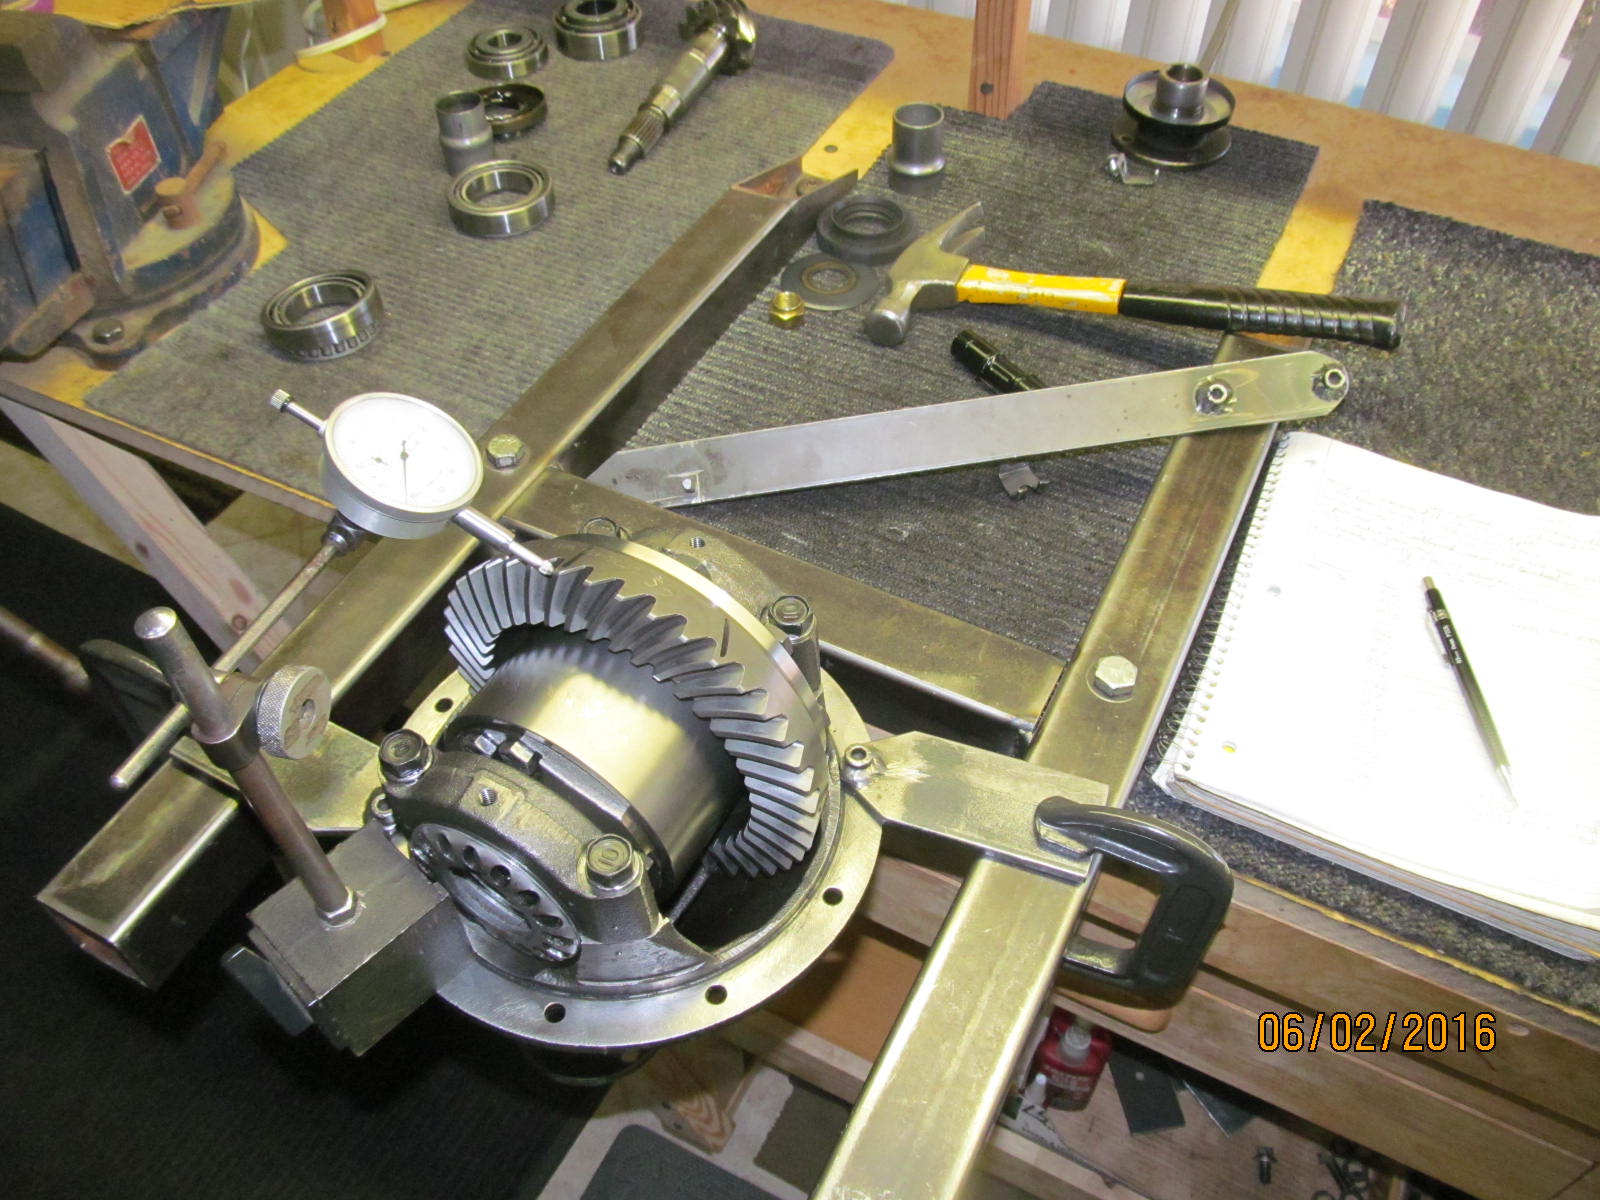
I dialed in the required CBPL and set the backlash checking it in about 20 places.
|
|
|
|
|
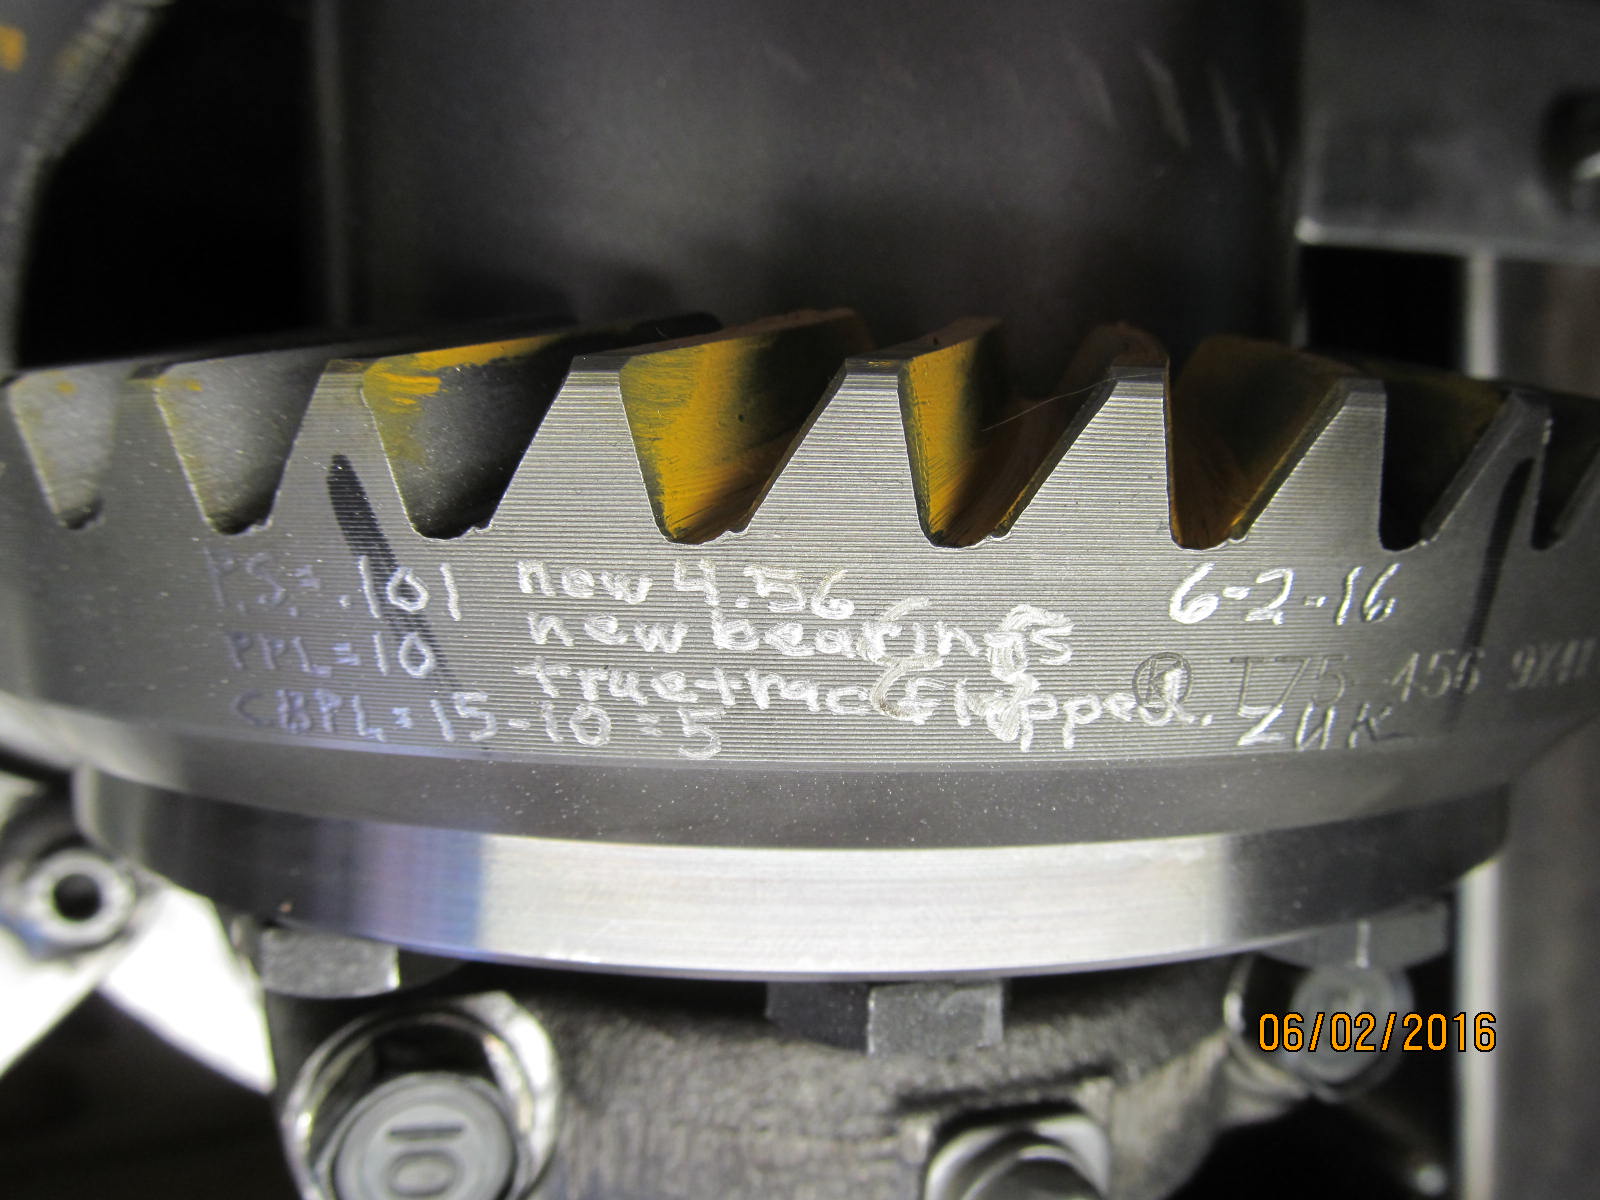
The data and the date coding...
|
|
|
|
The notes that shows basically that all the bolts were checked for torque and all the gear specs were
actually measured.
|
|
|
|

|