Bearing rebuild for a 2000 Tacoma 8" e-locker
|
|
(56 BIG pics loading)
|
|
SEPT 28 2014
|
|
|
|
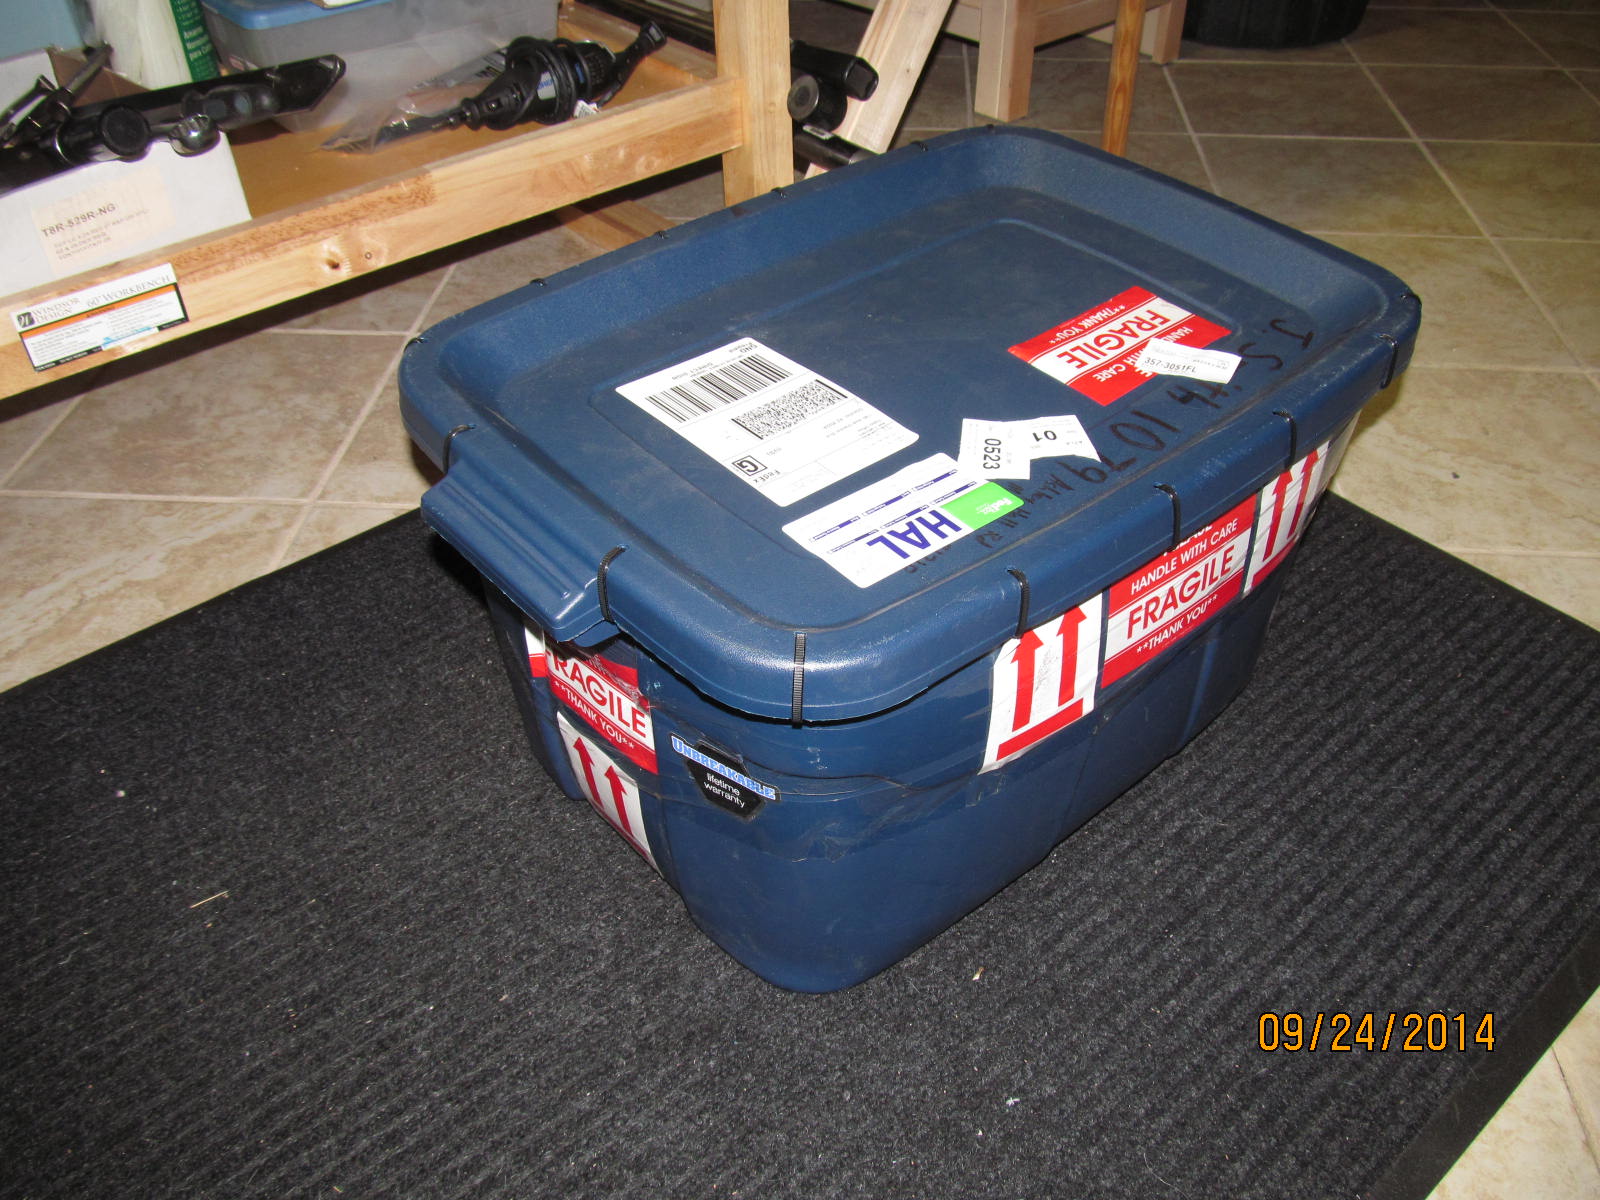
Received from John....a well packaged tote with an 8" e-locker inside.
|
|
|
|
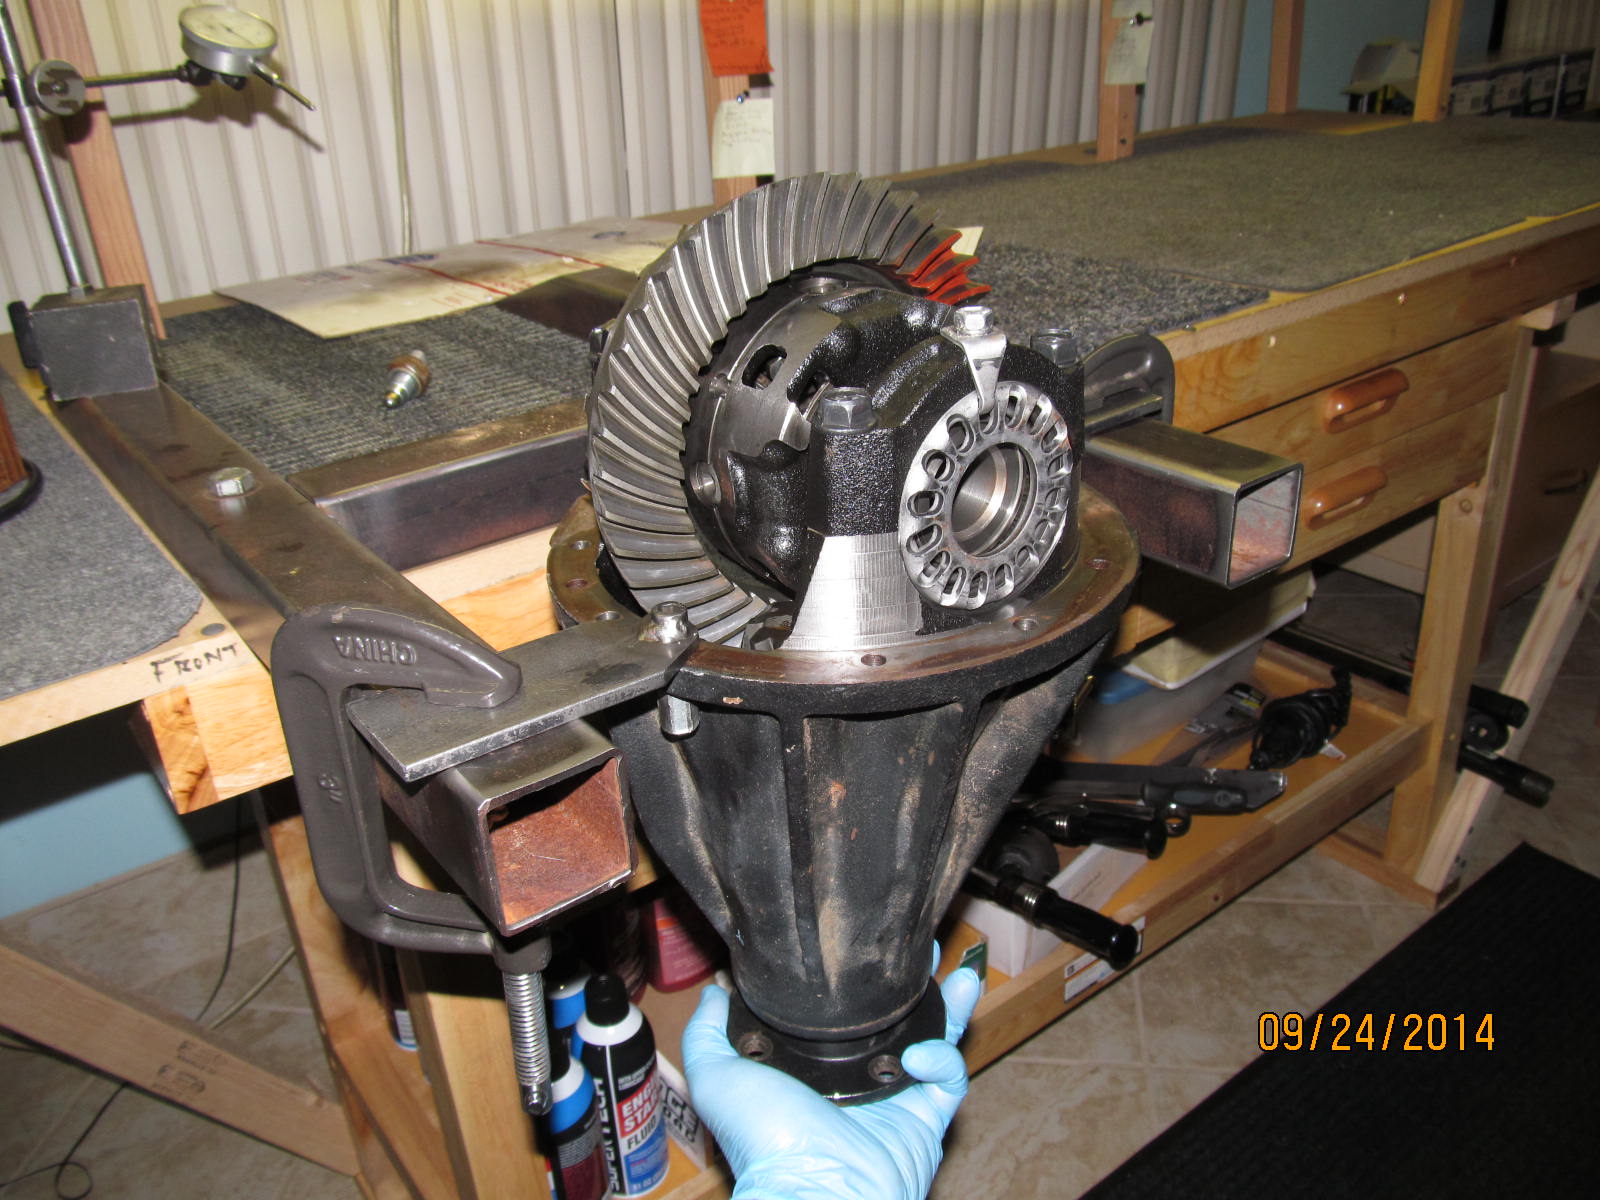
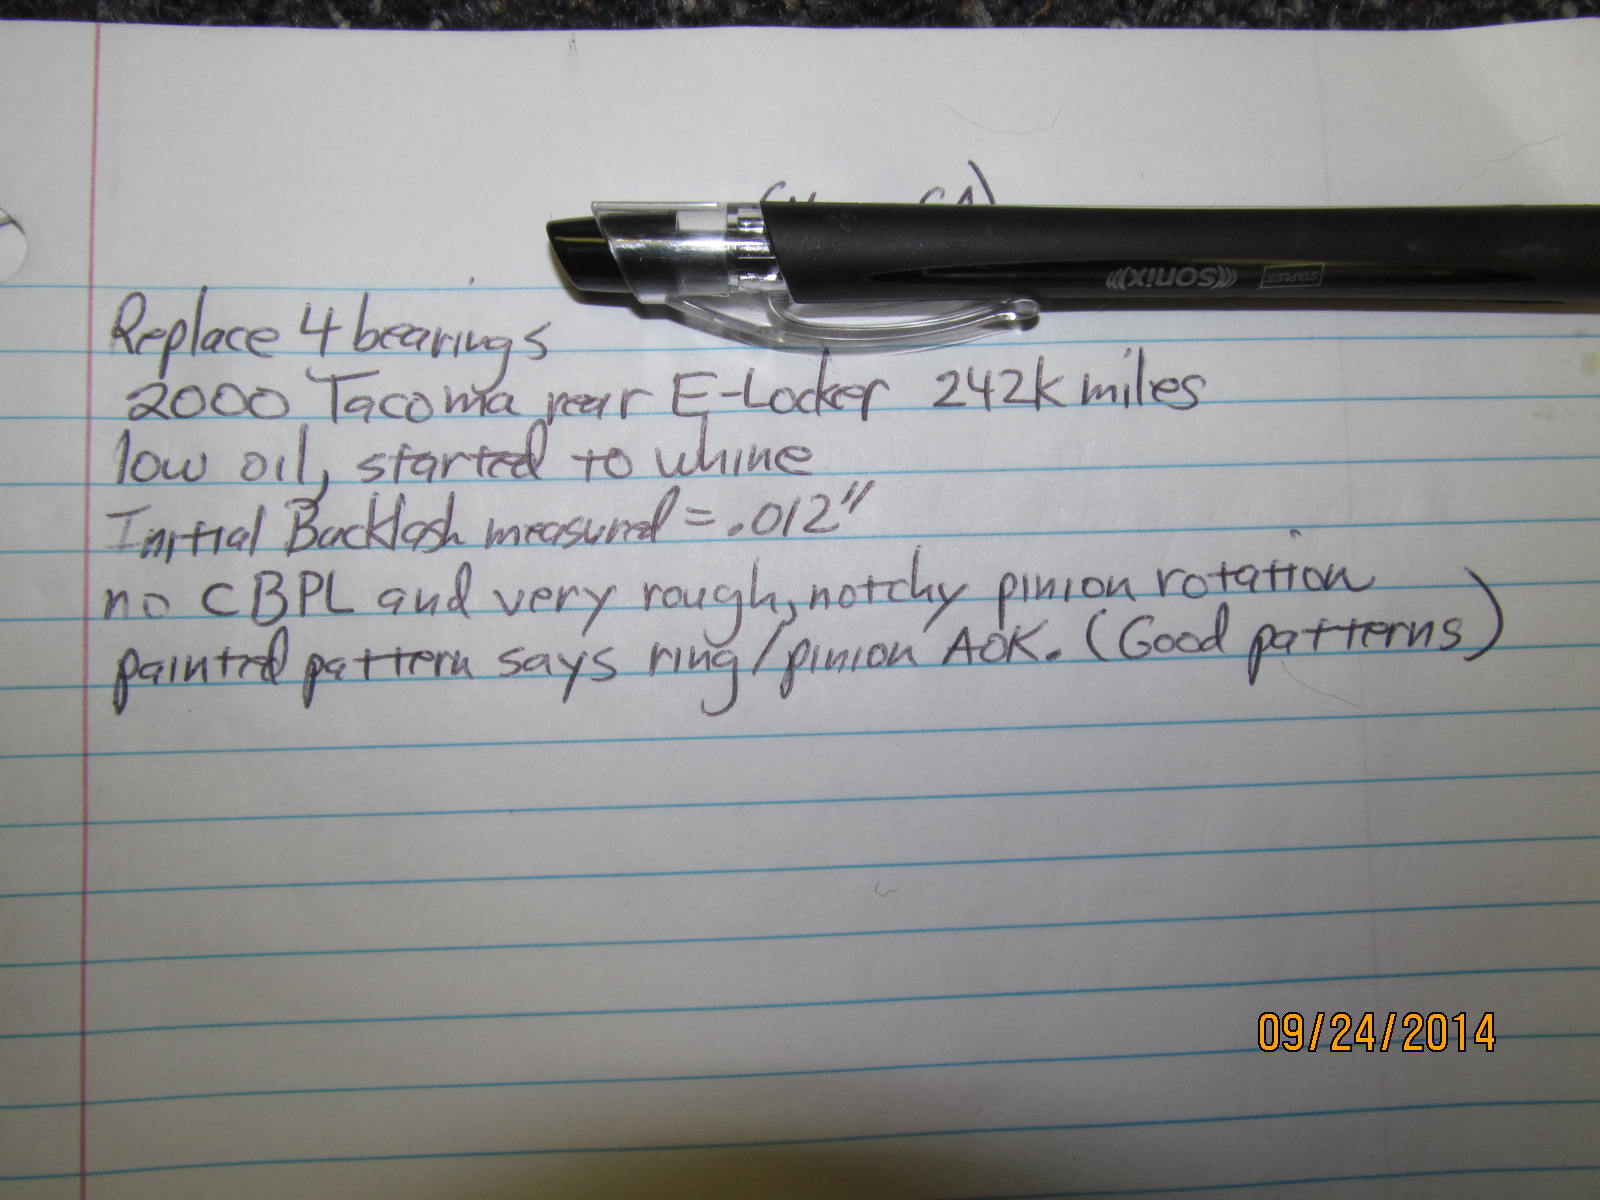
There are no words to describe how hard and rough this pinion turns. Loosey
goosey is not one of them.
|
|
|
|
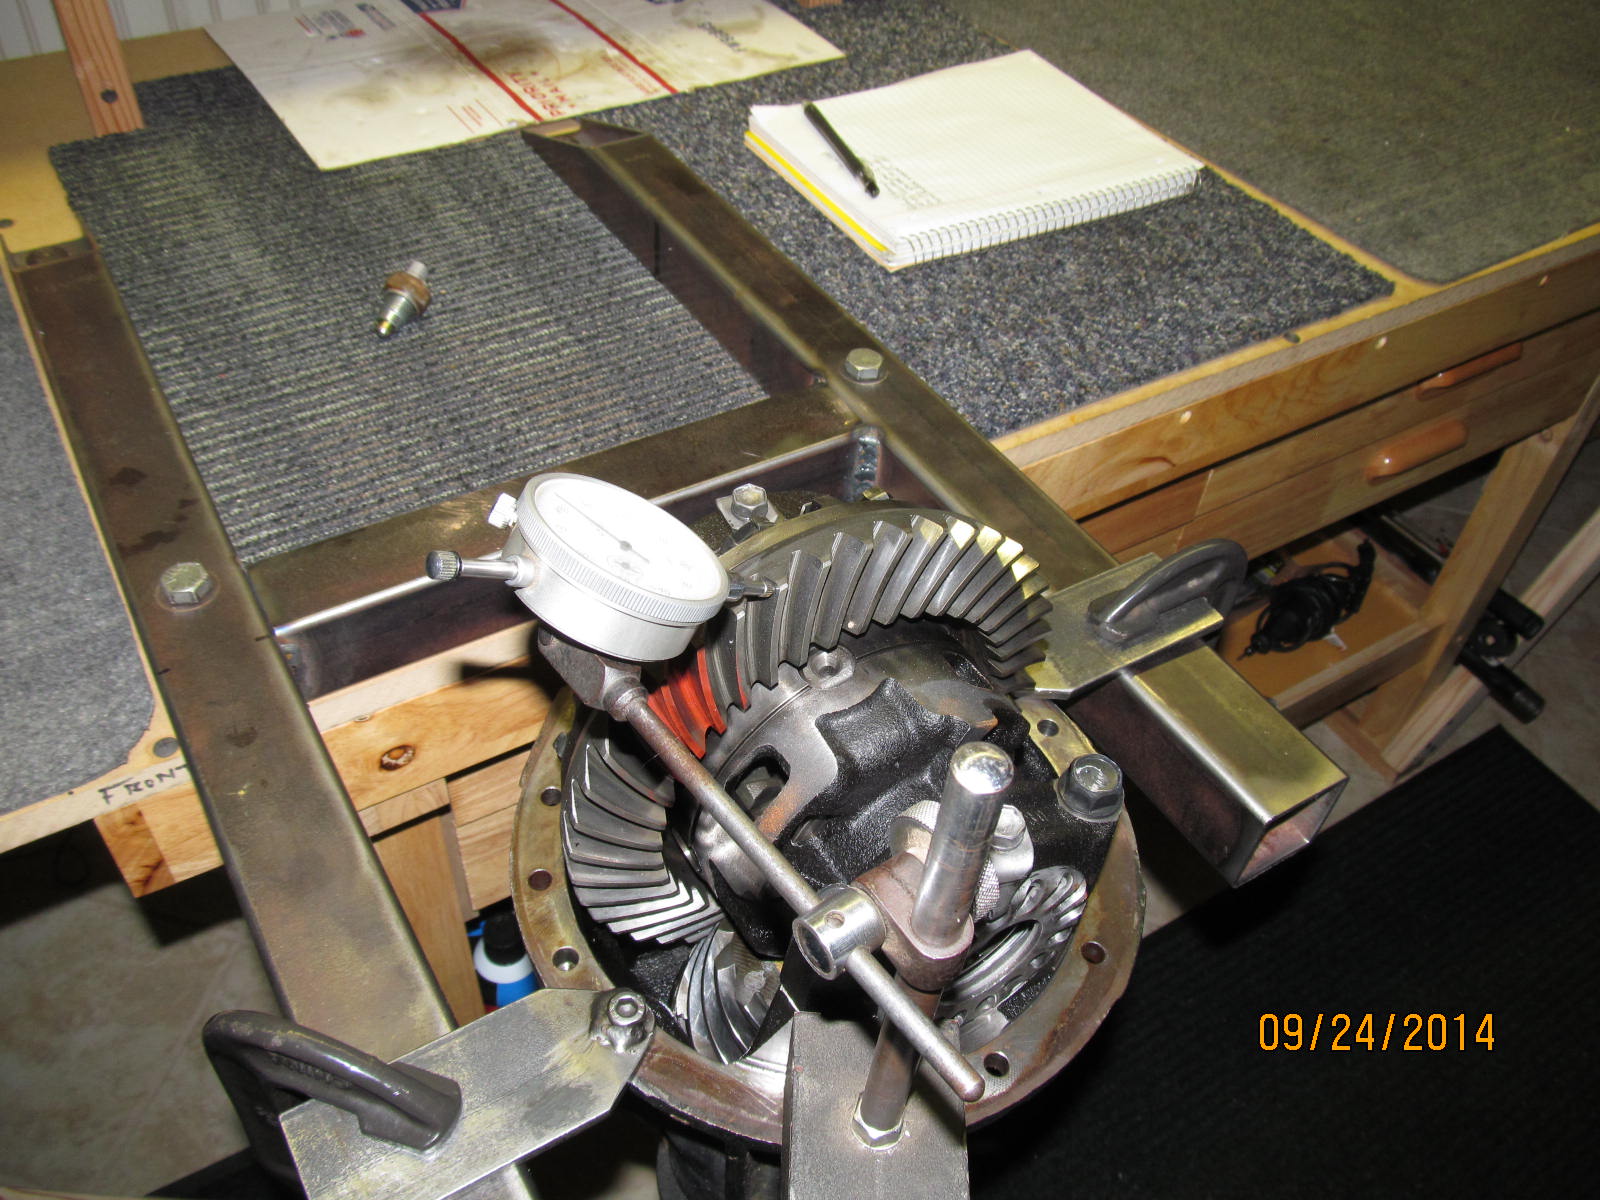
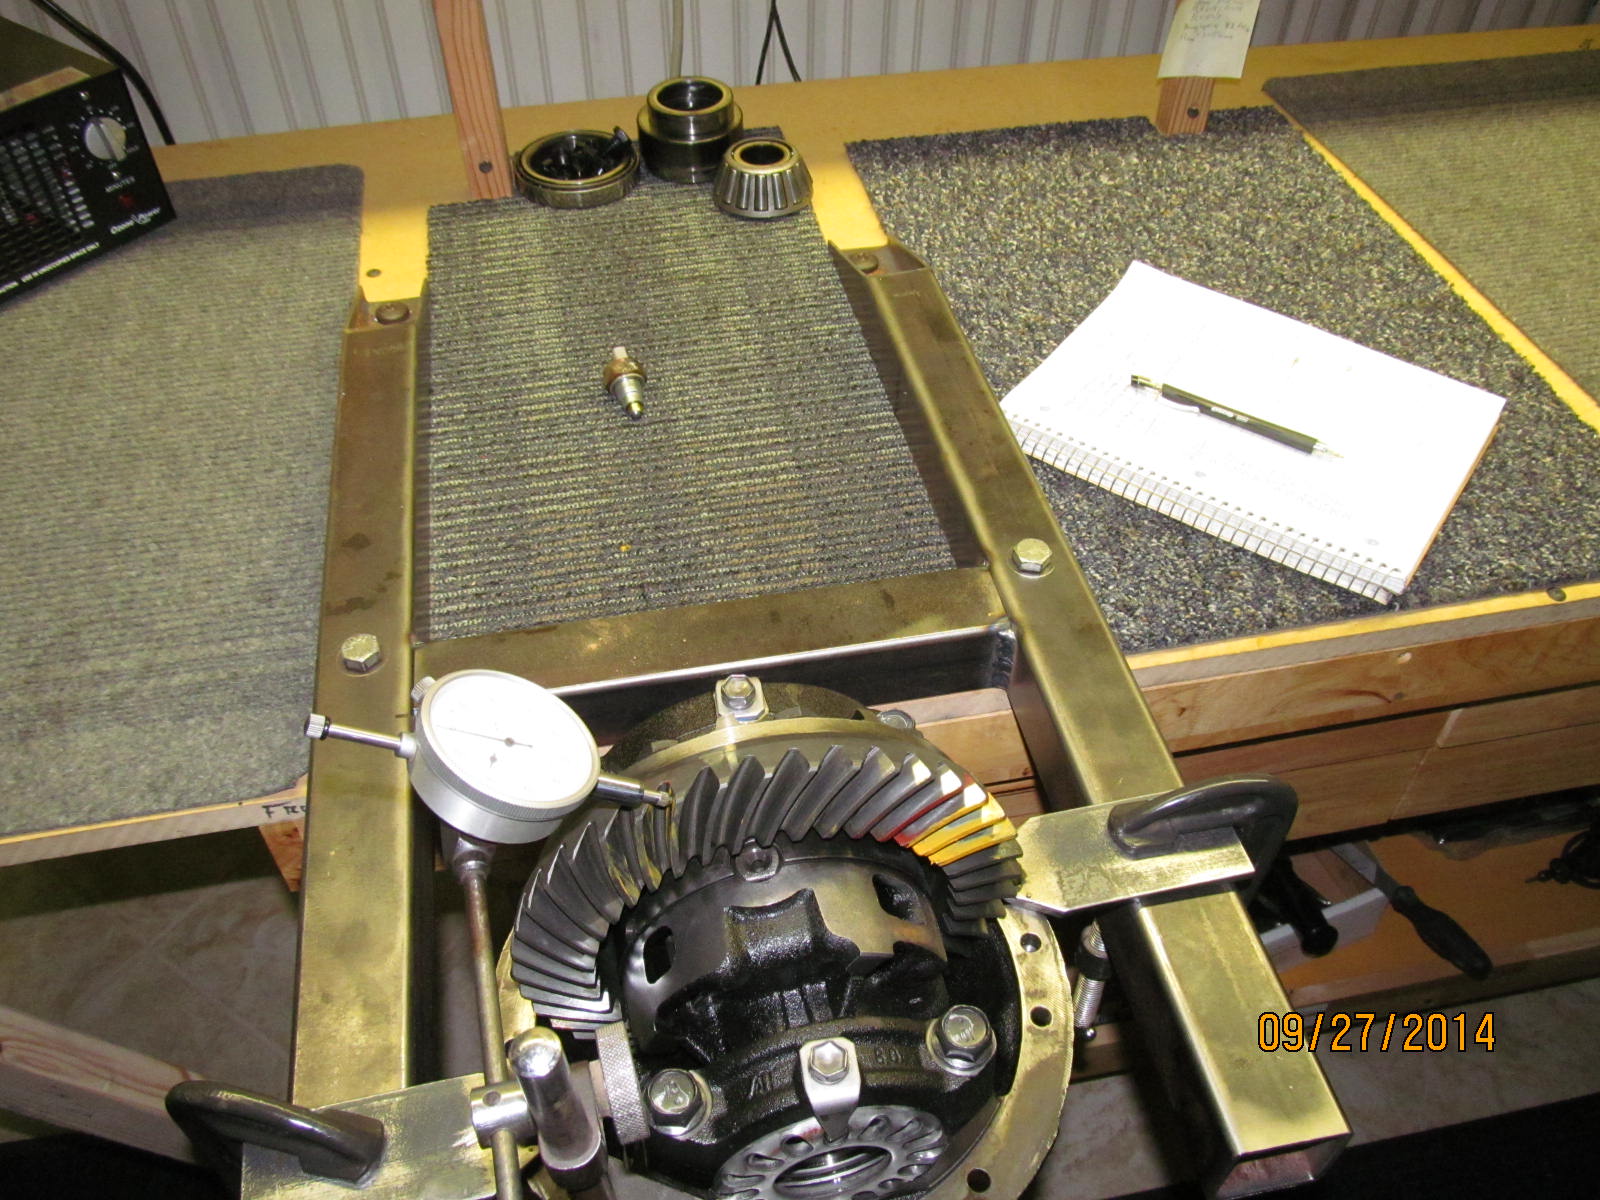
Checking the backlash here and was a little wide at .012". Note the sensor
in the background. John did the right thing and removed the actual e-motor
assembly. Too easy to damage in transit and that's one component you don't
want to damage being that it is so high dollar. Anyways, the sensor has
plastic on it and it's so easy to take off anyways that I will just
recommend zipping it off with a 27mm socket (1 1/16th inch) and,
that way, there is nothing that can possibly break in transit.
|
|
|
|
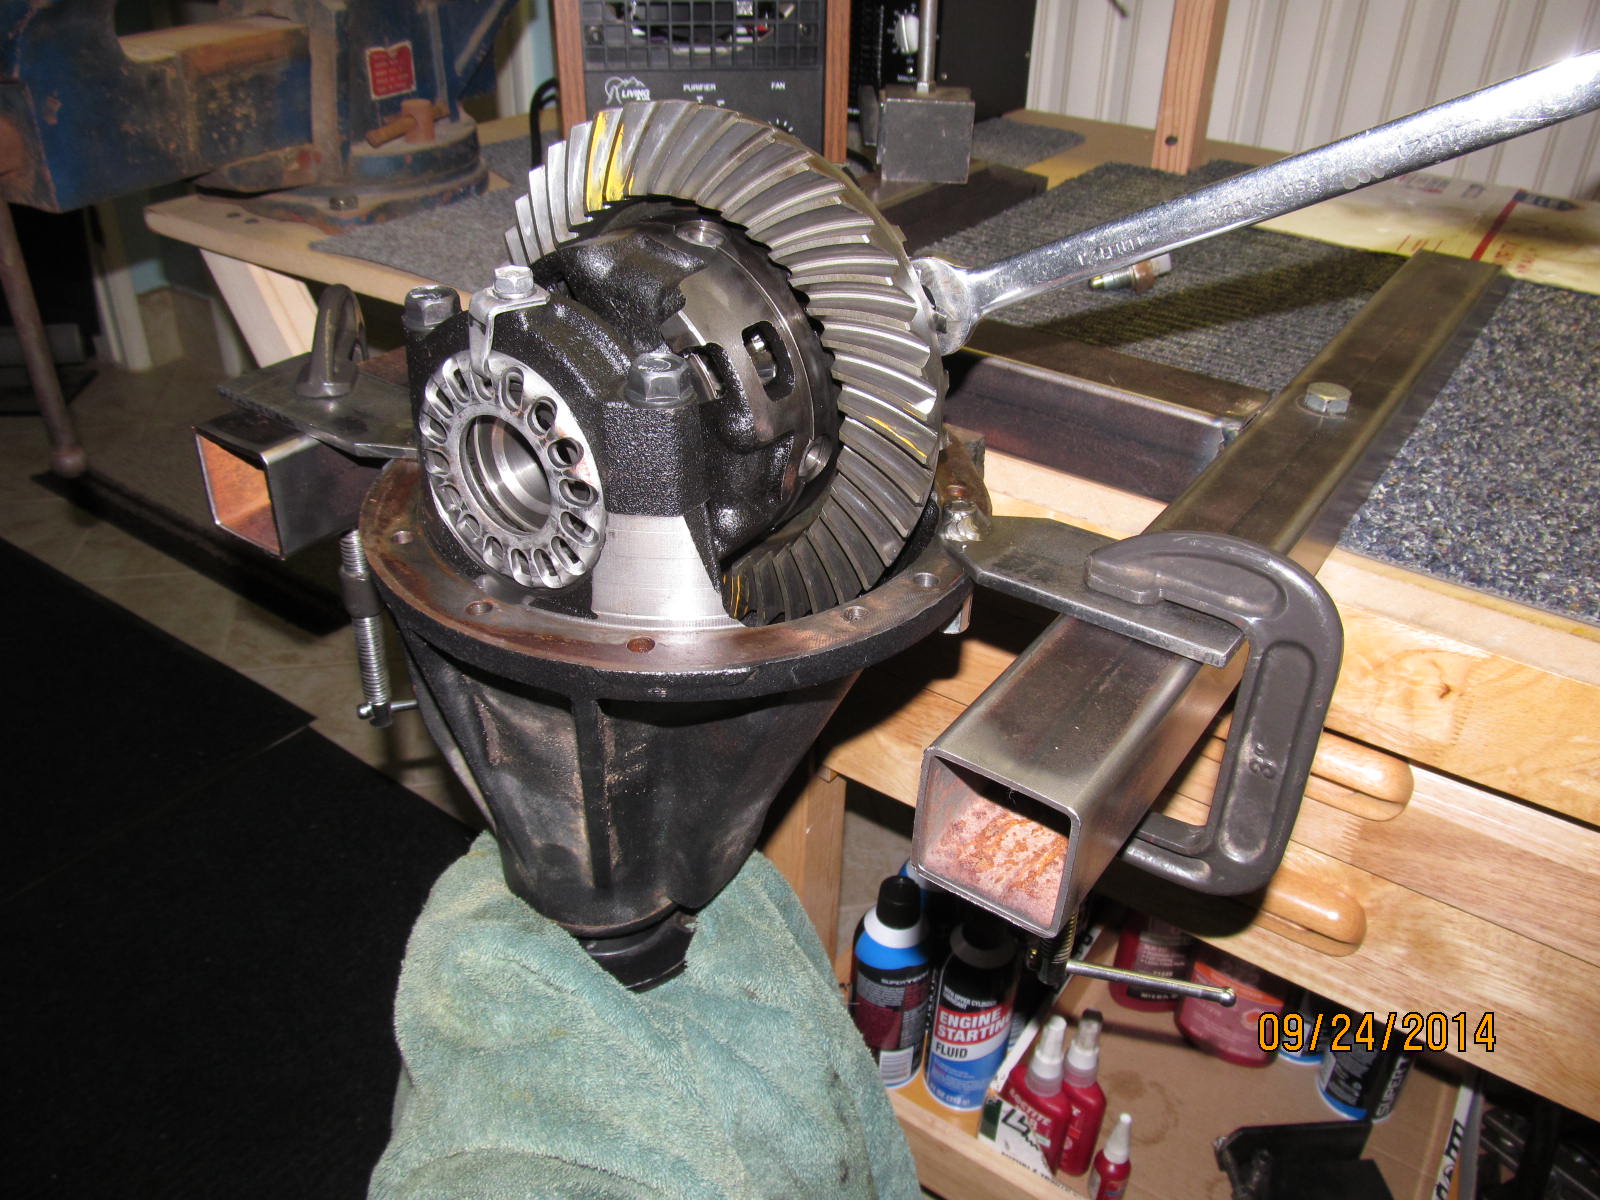
Using a rag to offer some resistance, turn the ring back and forth 3 times
with the 17mm wrench.
|
|
|
|
|
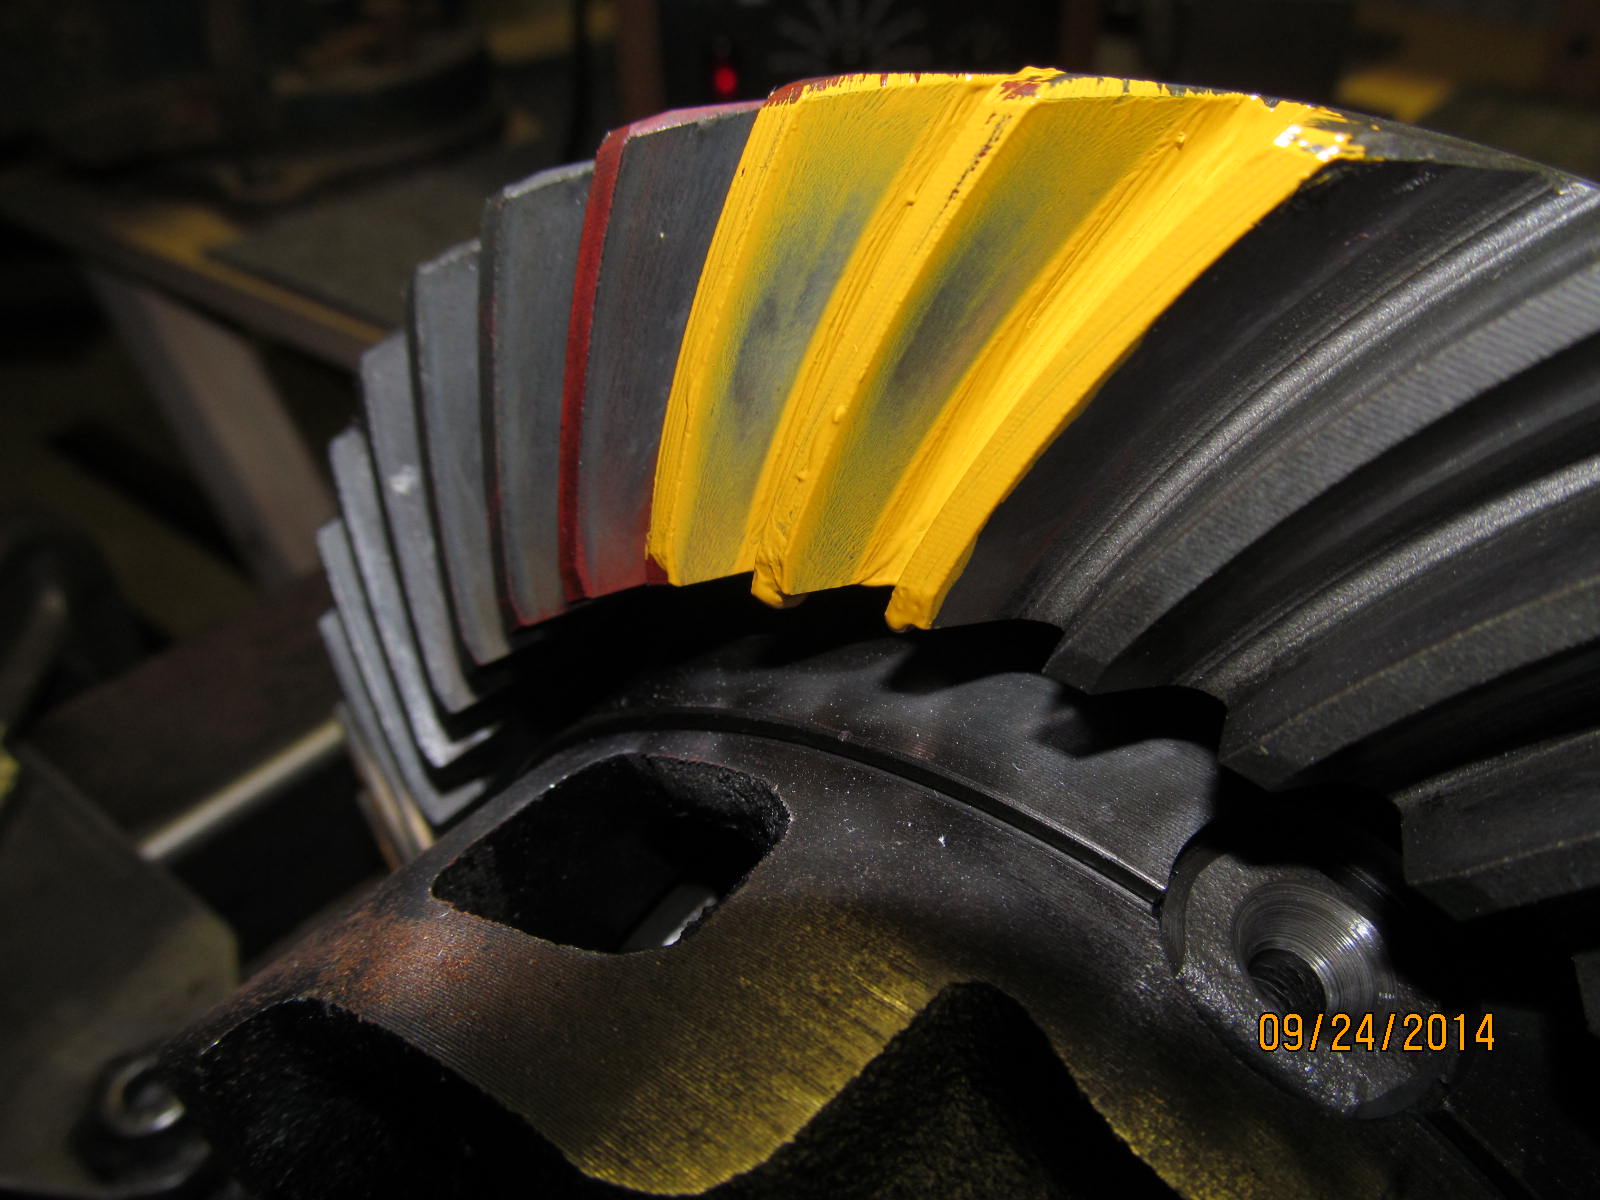
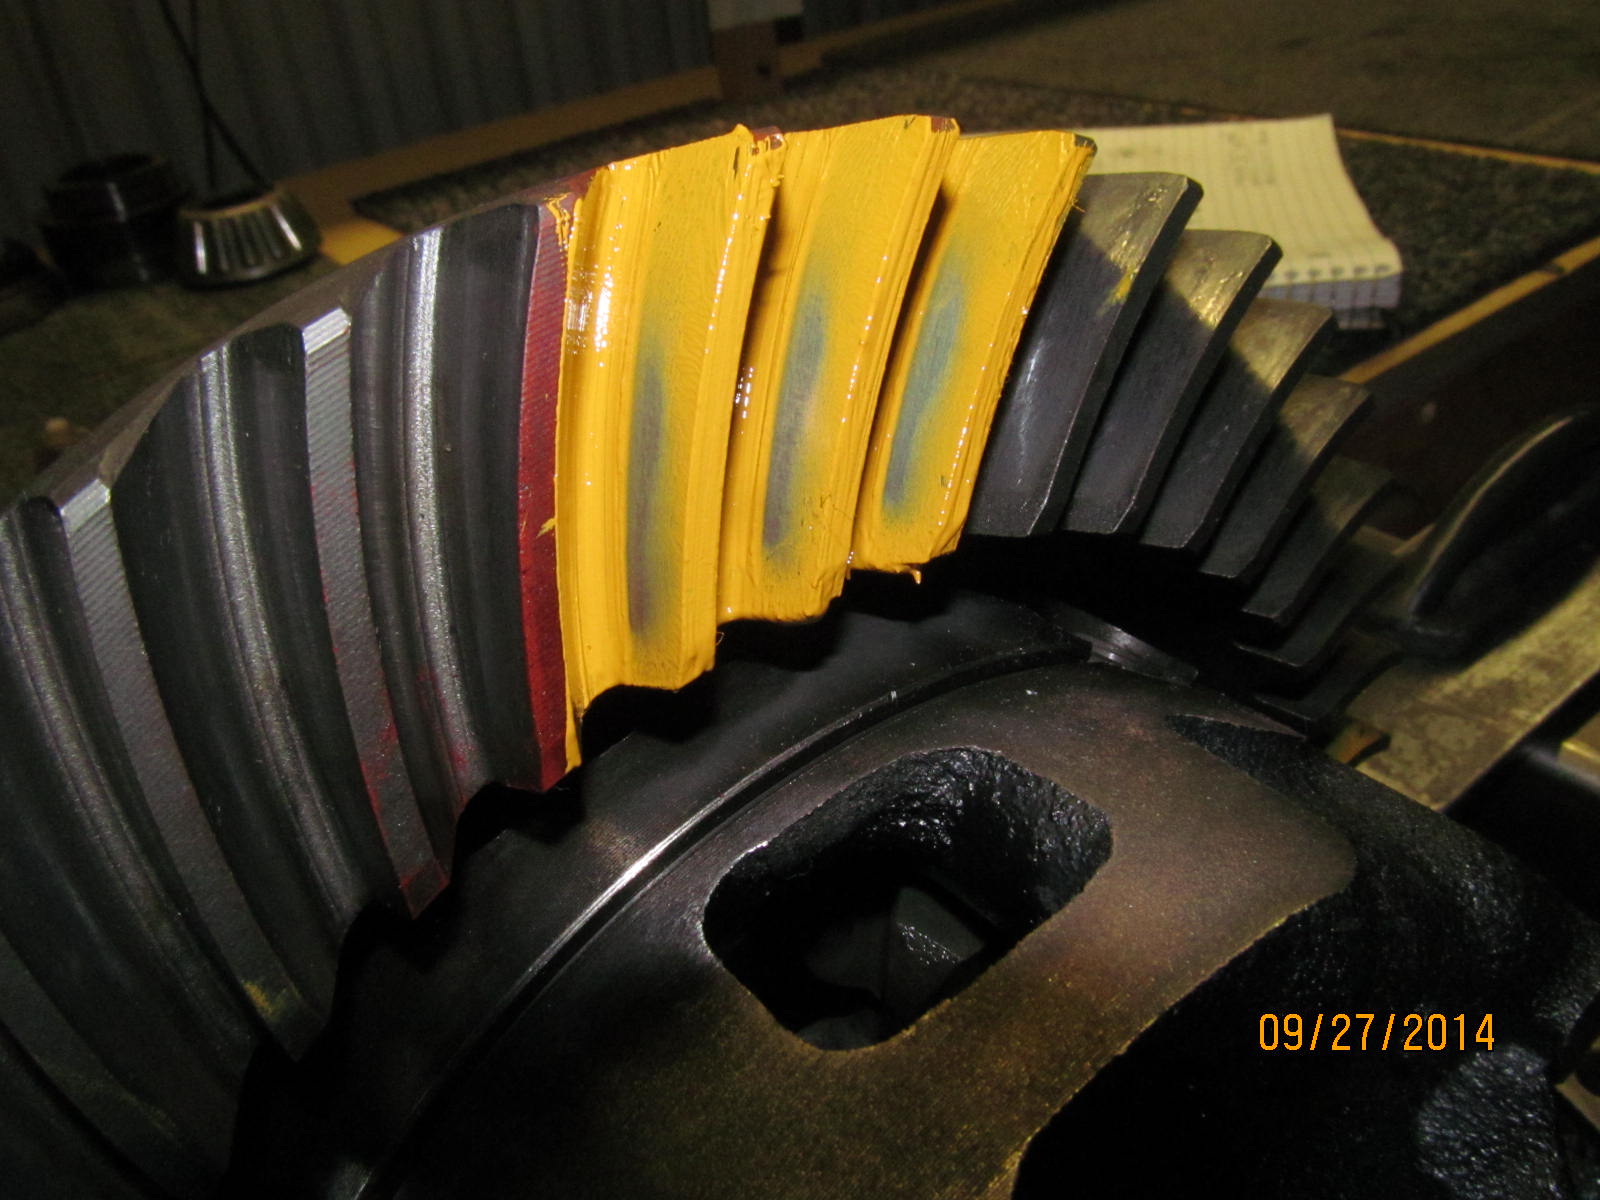
The drive side looks pretty good for 242k miles....some creeping towards the outside heel.
|
|
|
|
|
Coast looks centered.
|
|
|
|
|
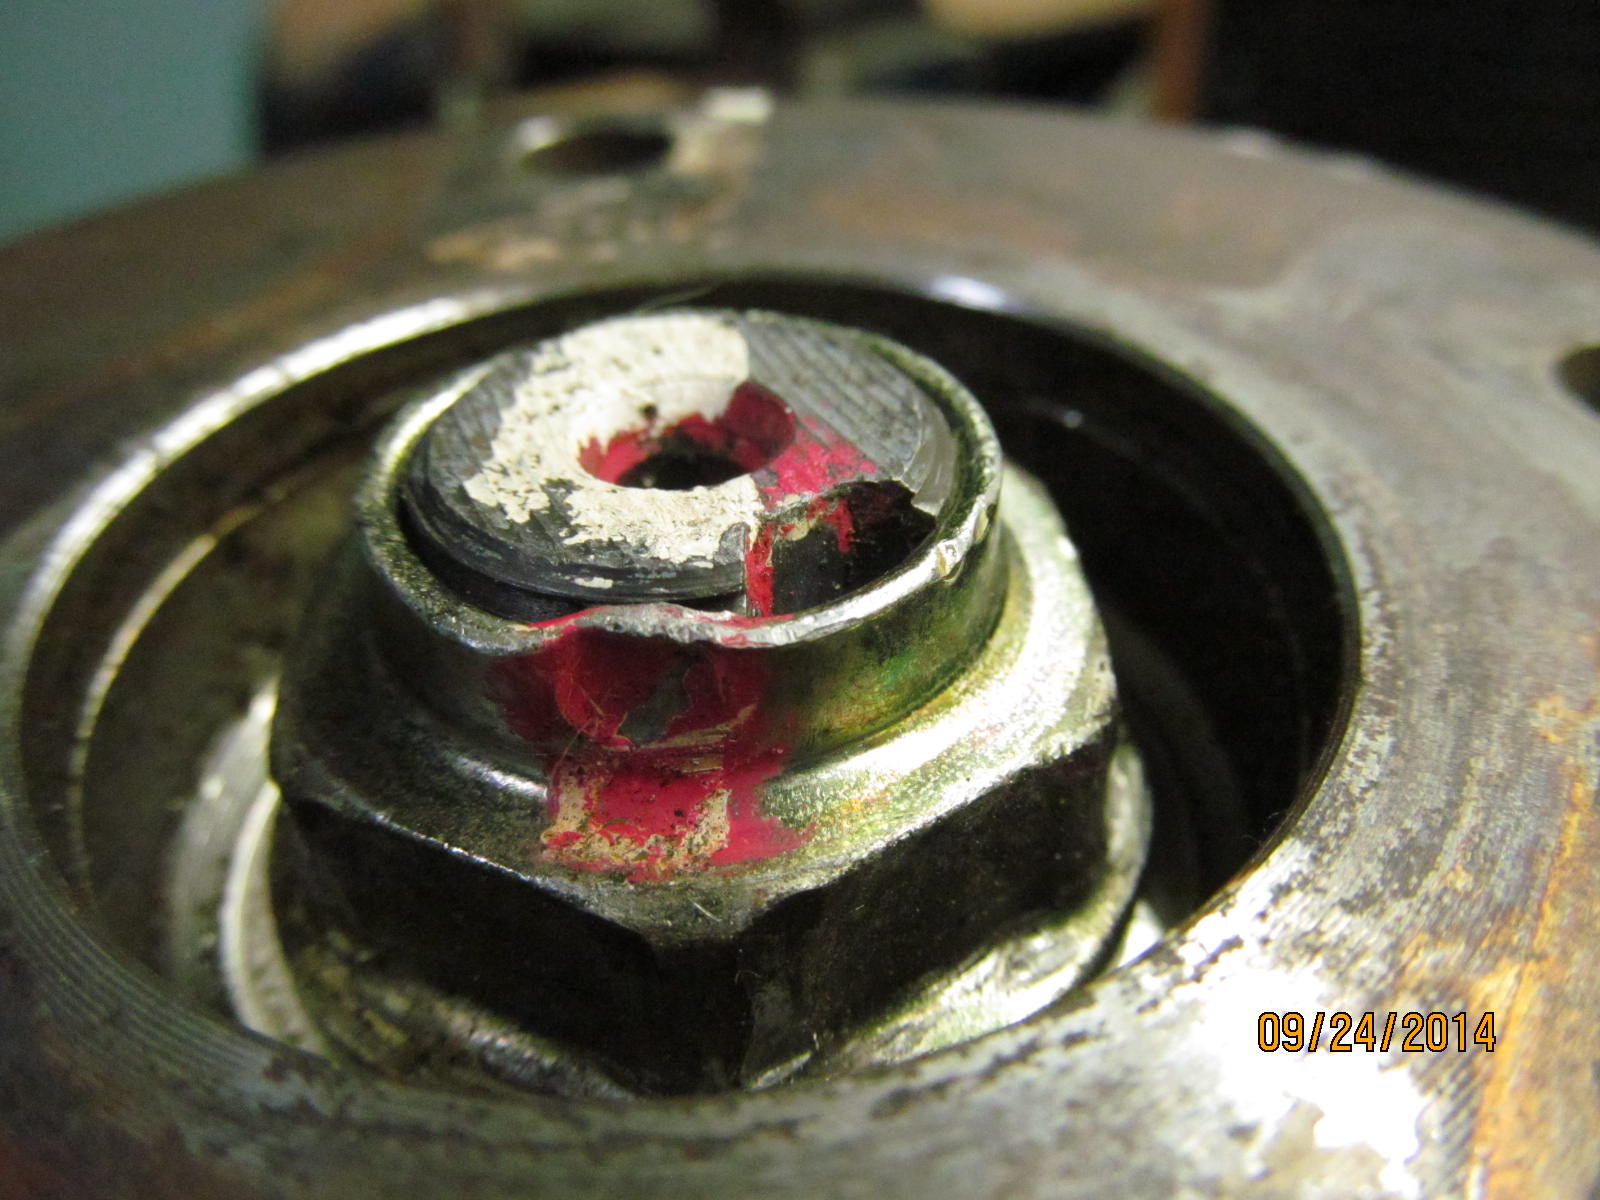
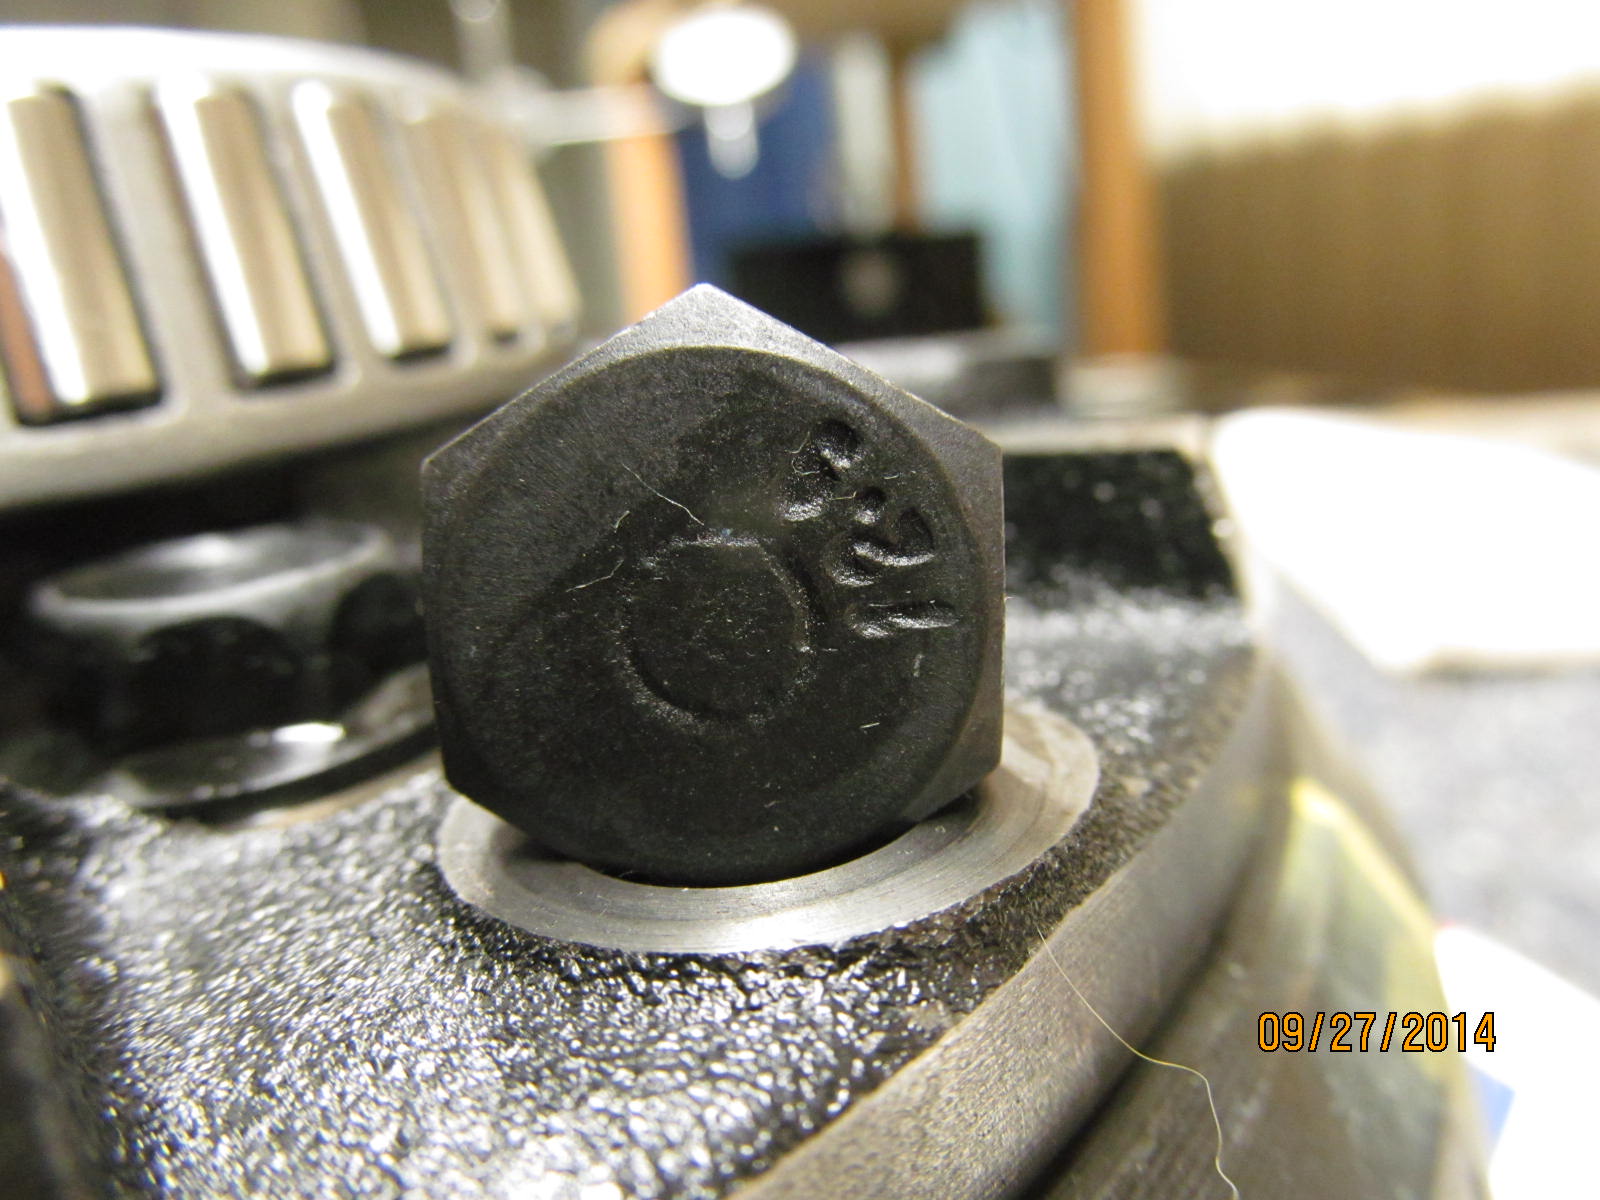
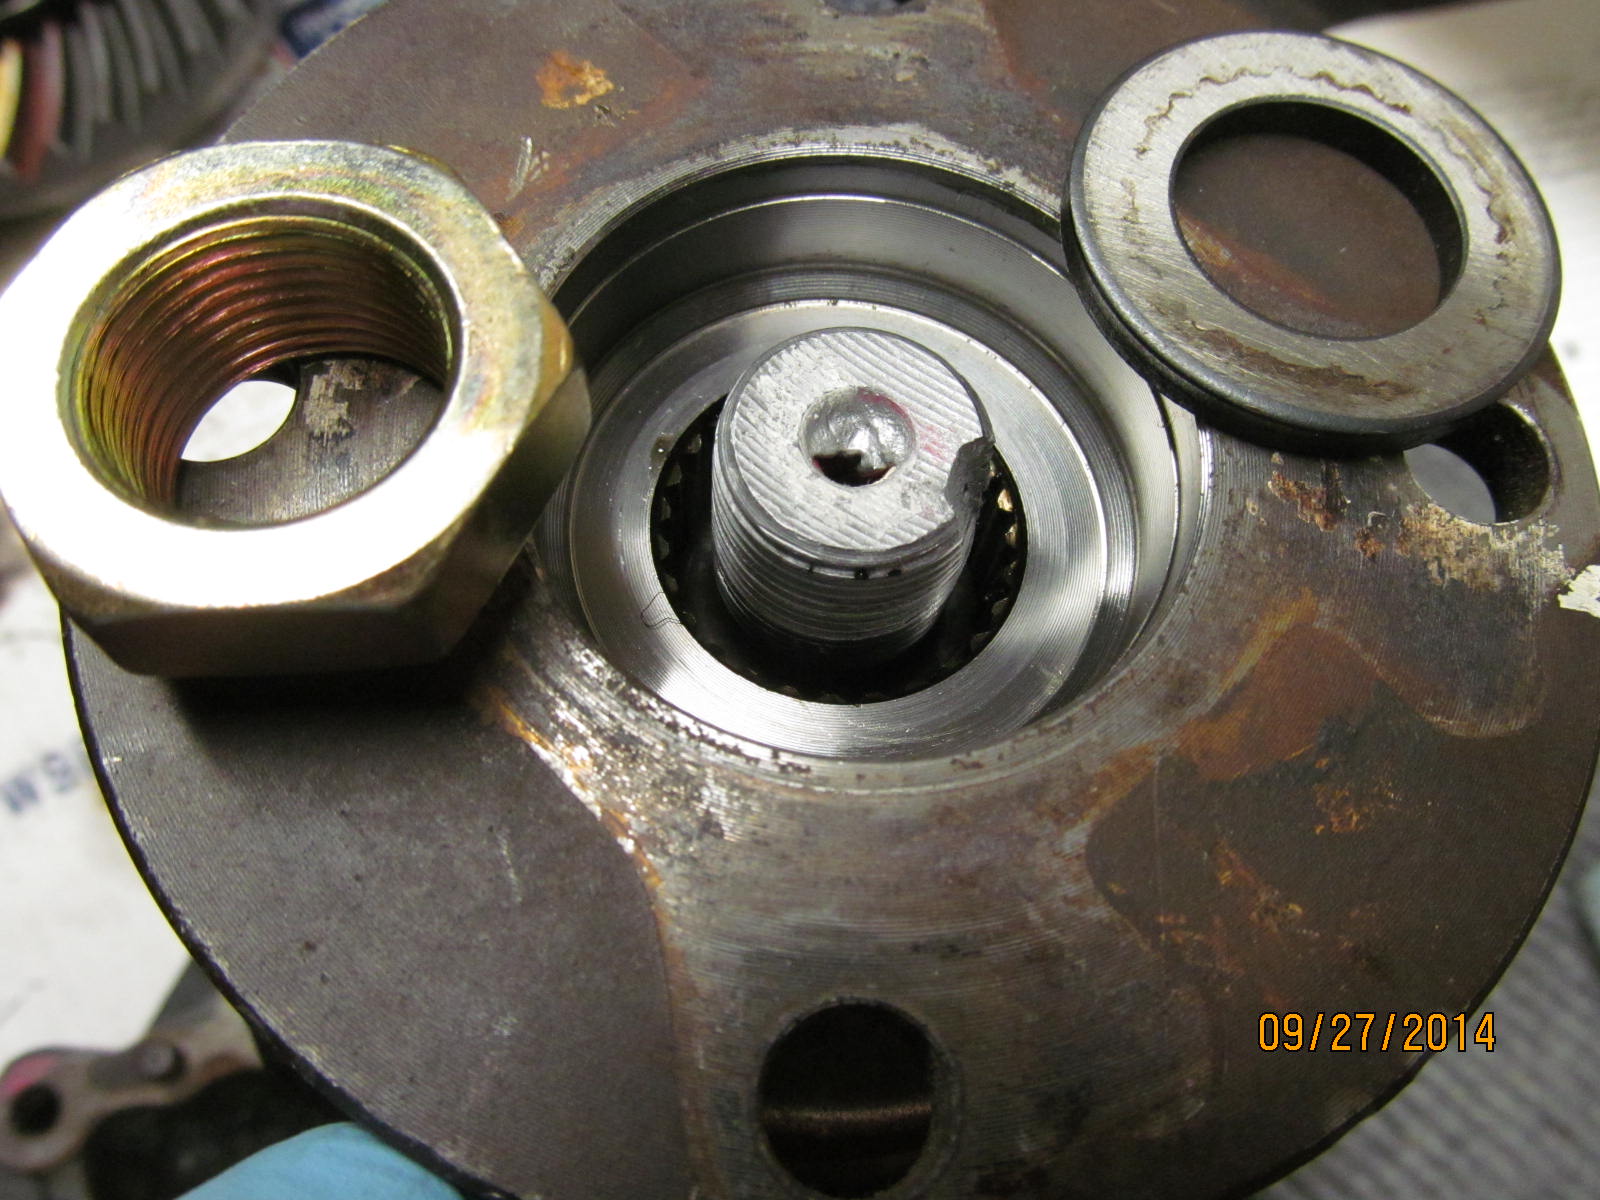
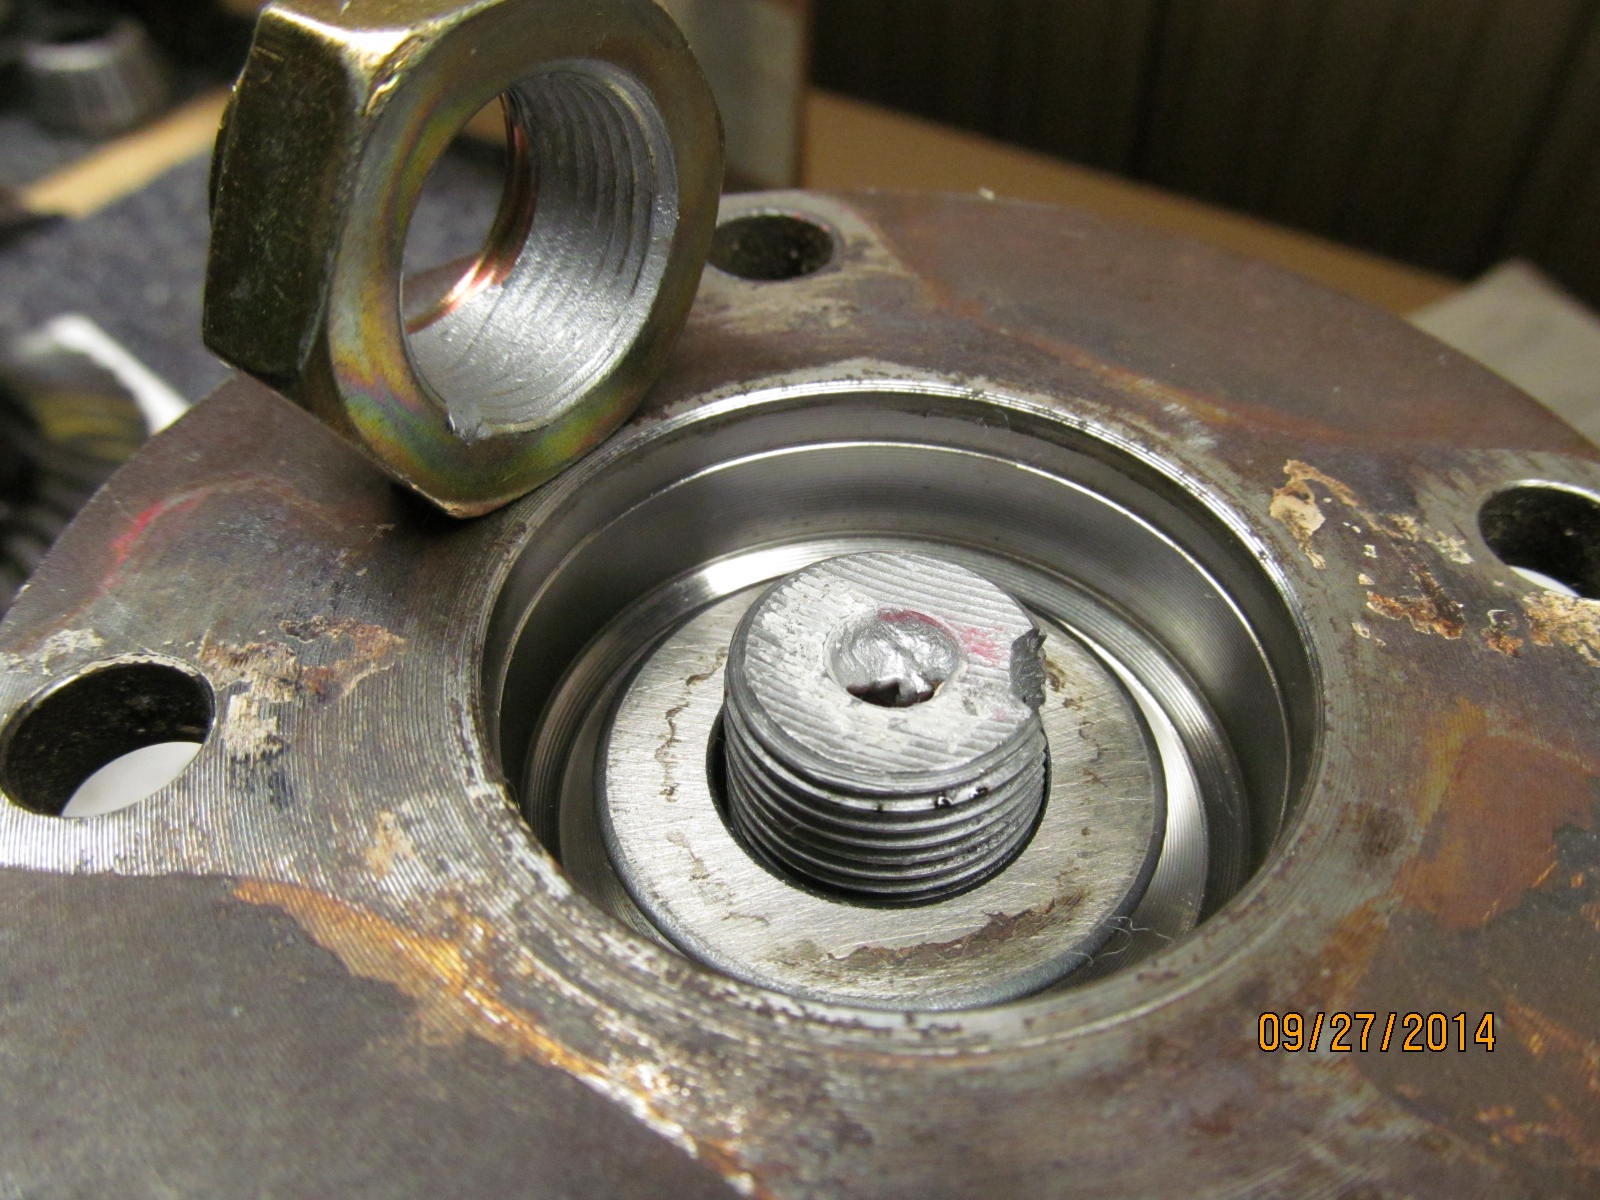
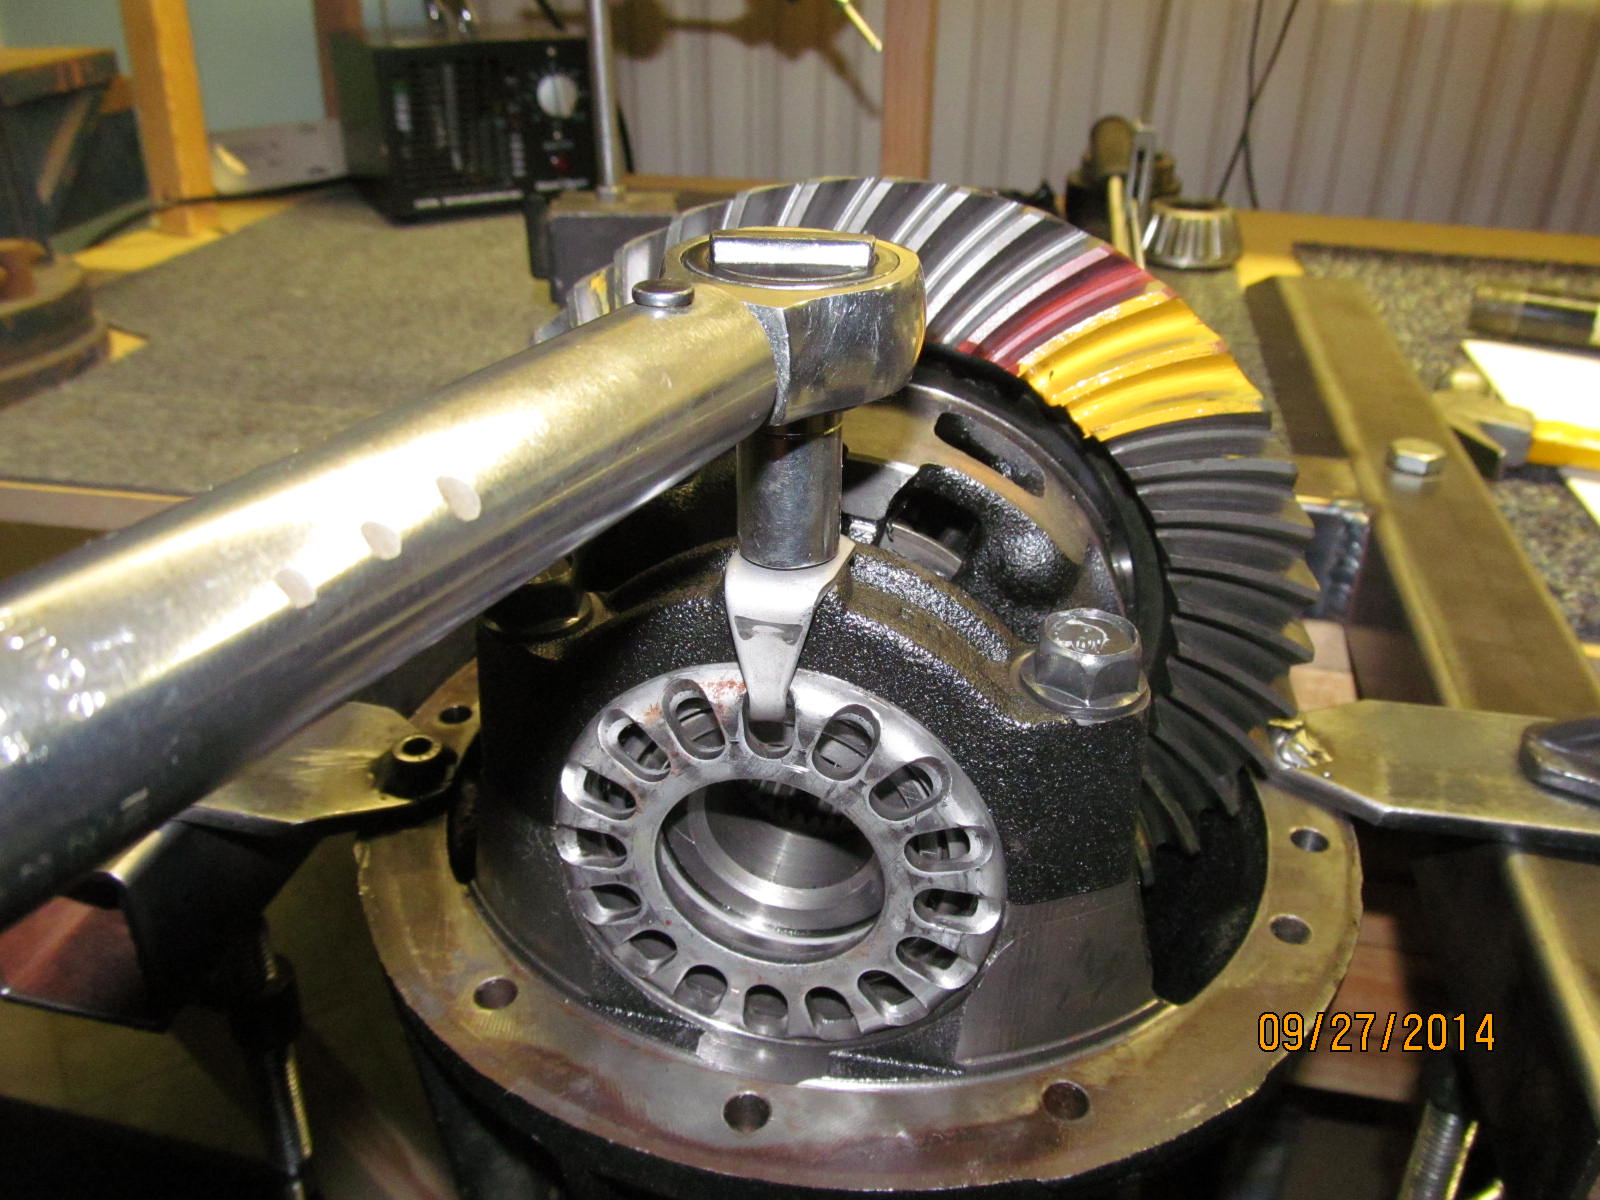
Somebody before John had made an adjustment to the pinion nut.
|
|
|
|
|
Very notchy....took over 30 in/lb to start the pinion to turn.
|
|
|
|
|
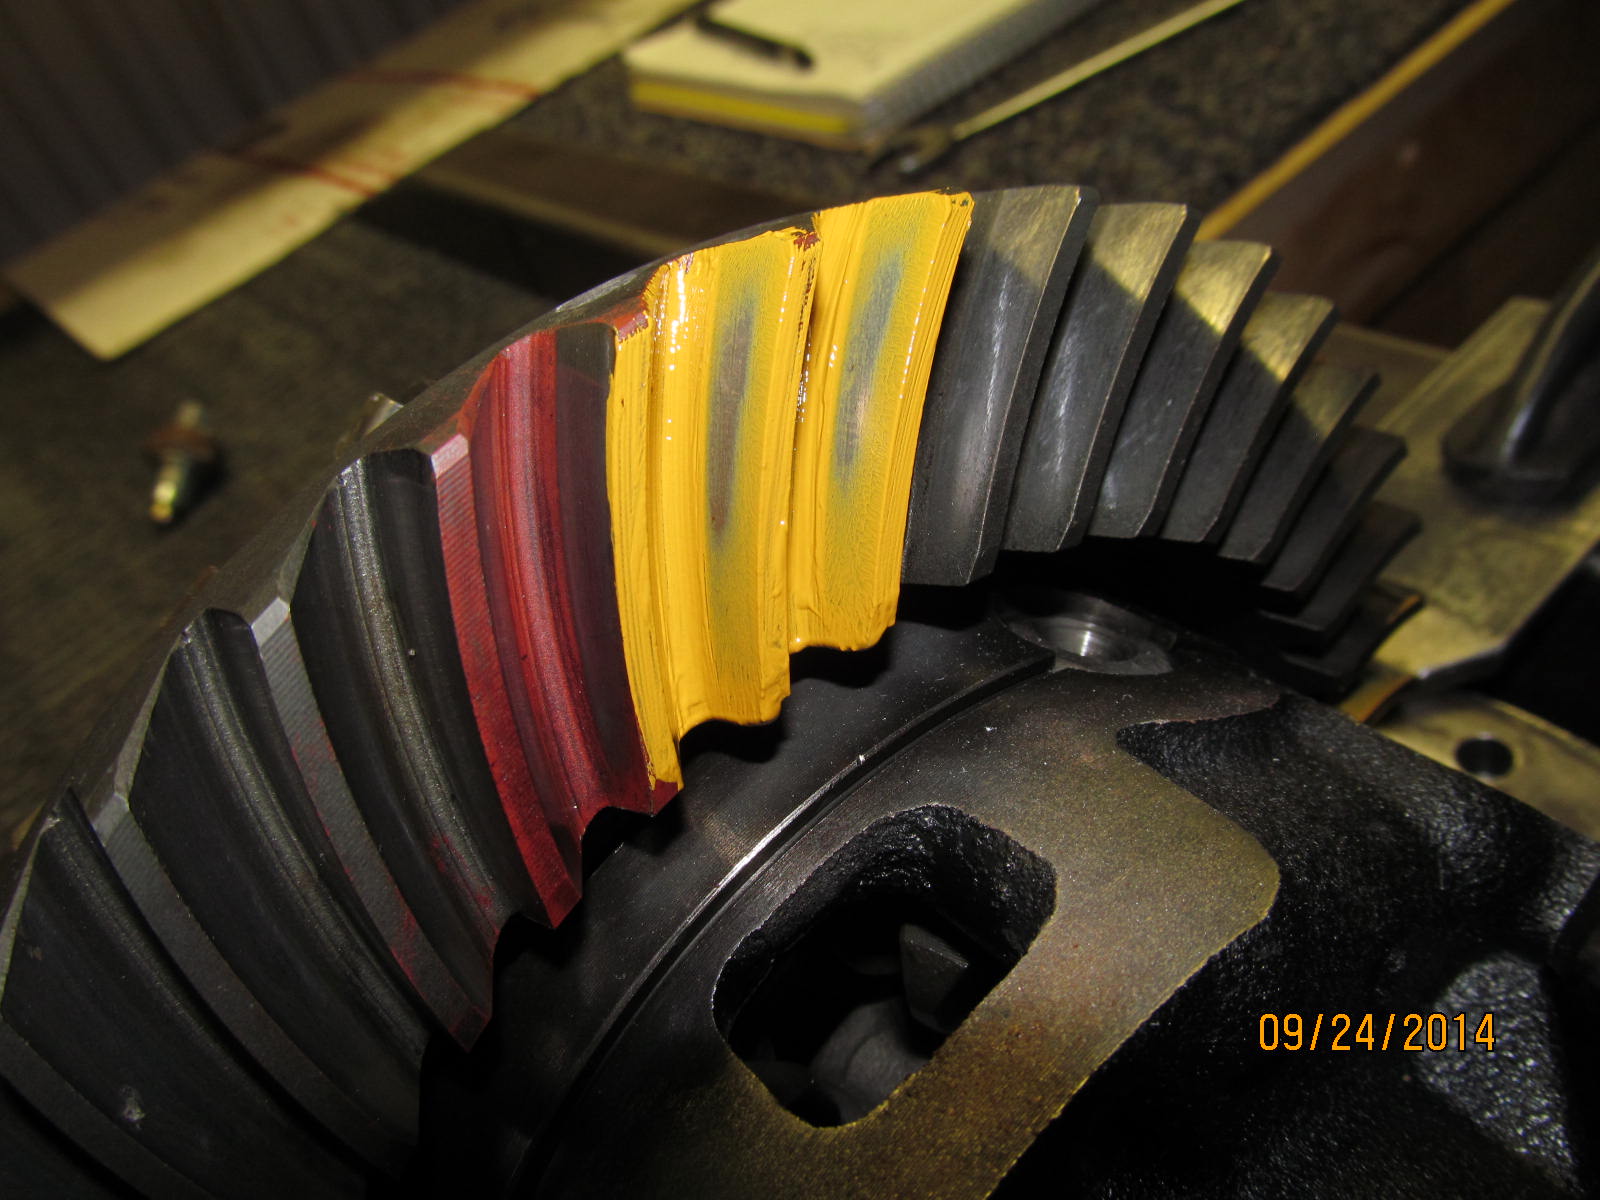
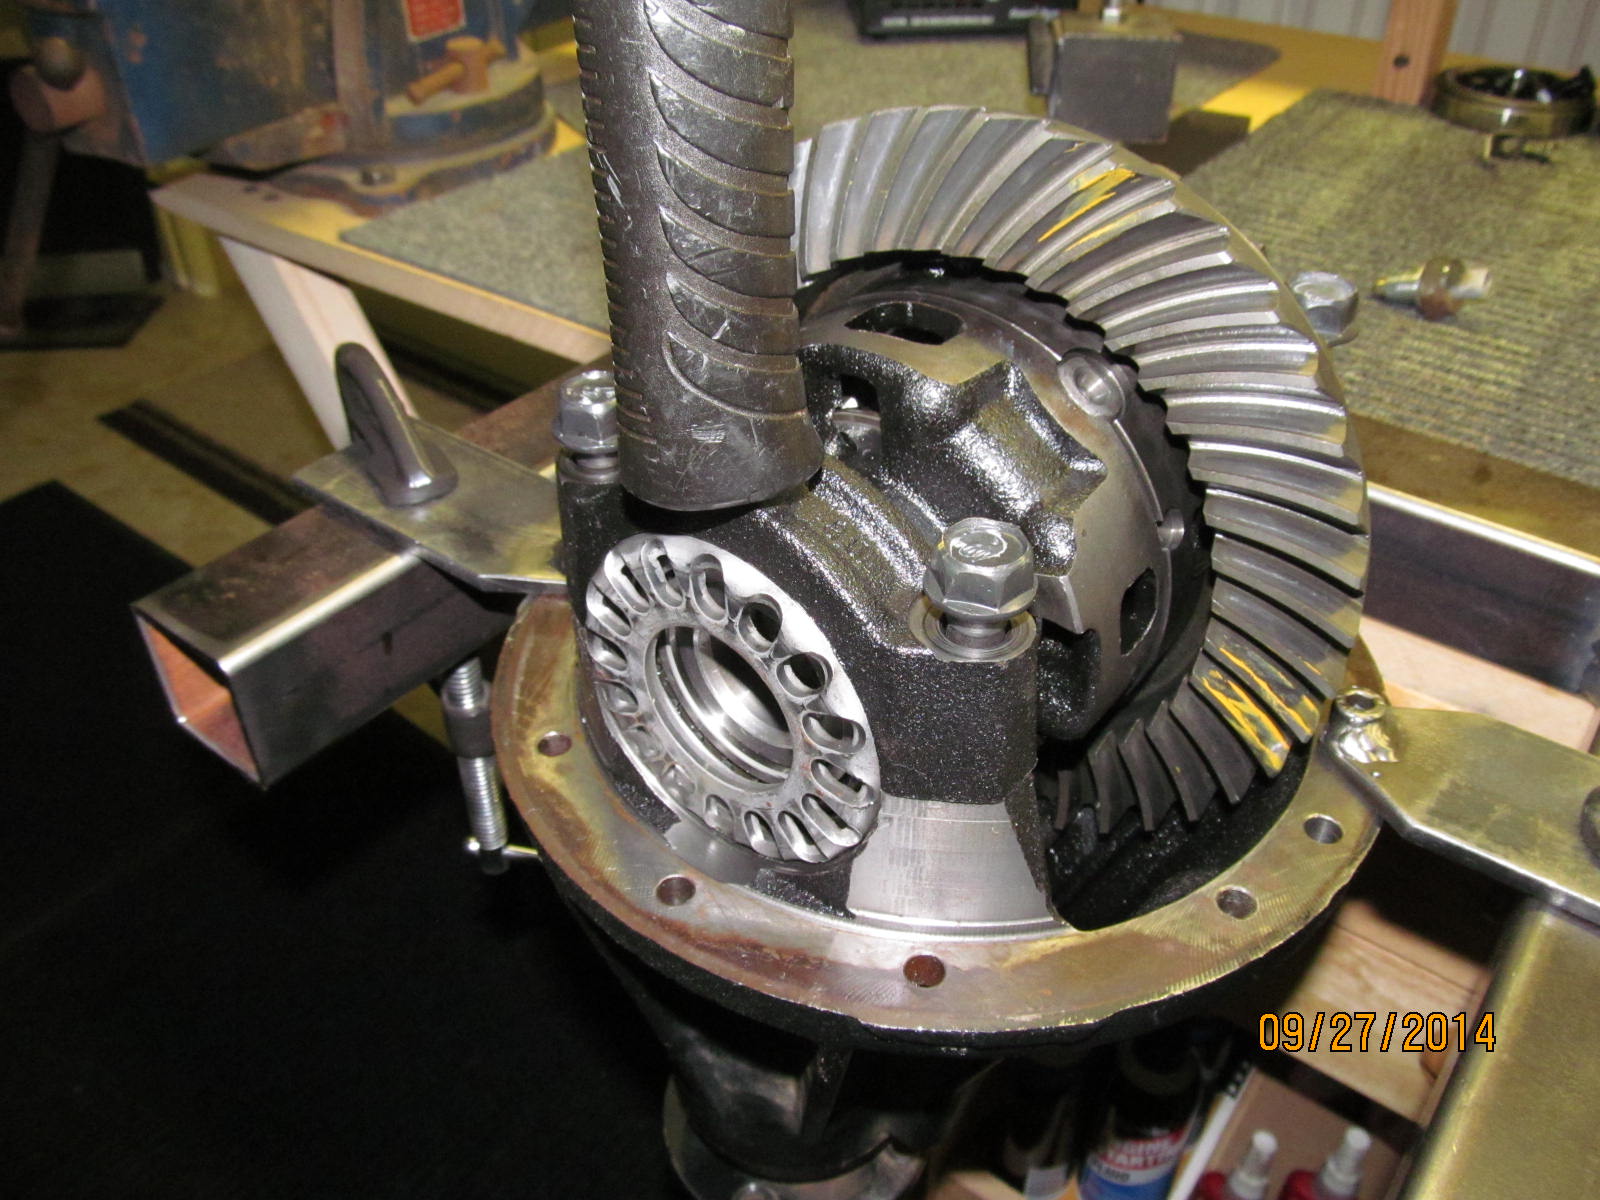
Initial findings. The important thing is the ring and pinion is still ok based on the painted patterns.
|
|
|
|
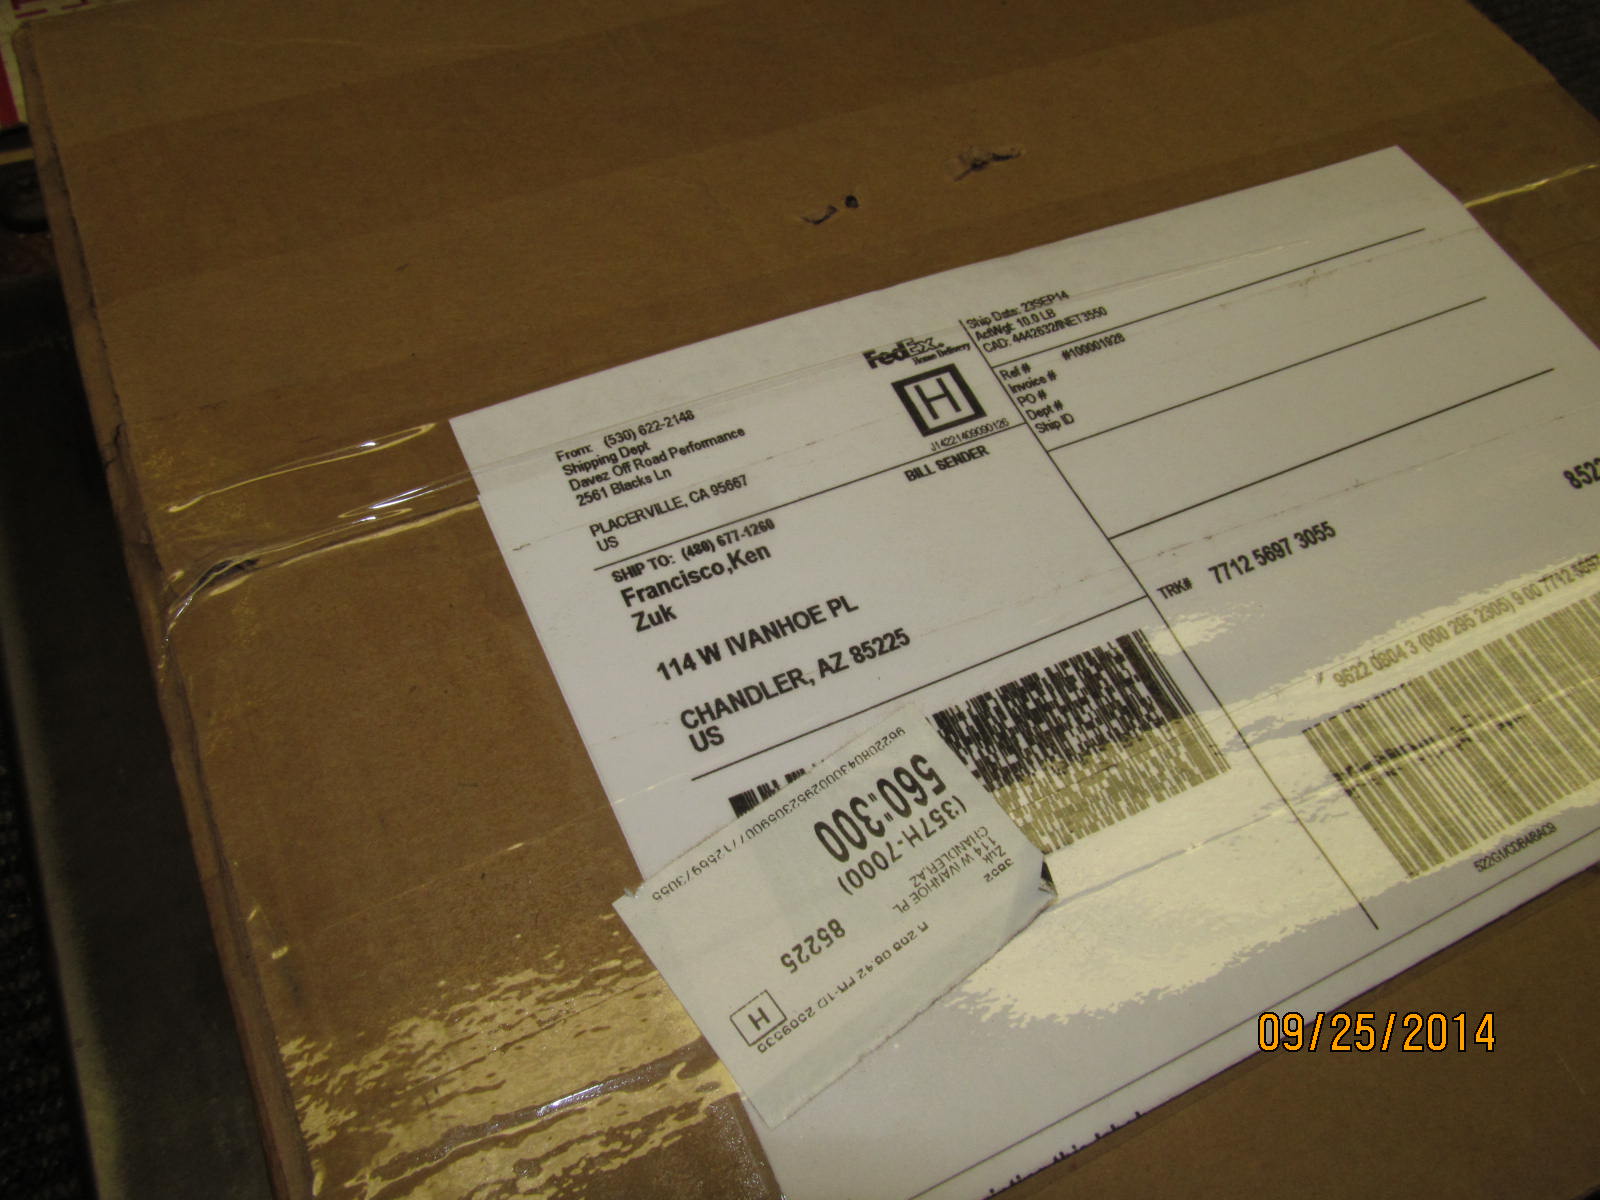
A package arrives in quick order from Davezoffroadperformance.com
Dave is a very busy guy and is tough
to get in touch with thru the cell phone......best way is to email him at
support@davezoffroadperformance.com
|
|
|
|
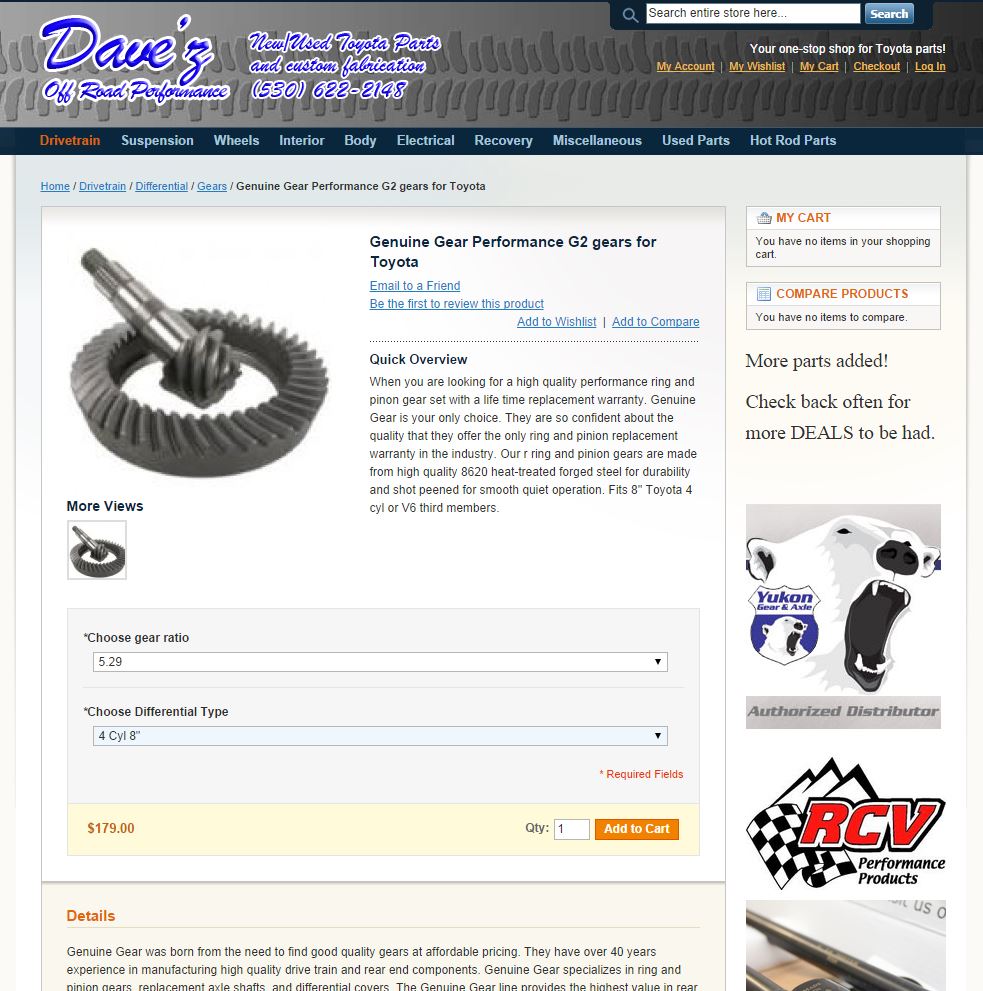
G2 Gears are twice lapped and shot peened and it shows in the
fit/finish and the way they setup. The price shown above may
vary as this link gets older and older.
|
|
|
|
|
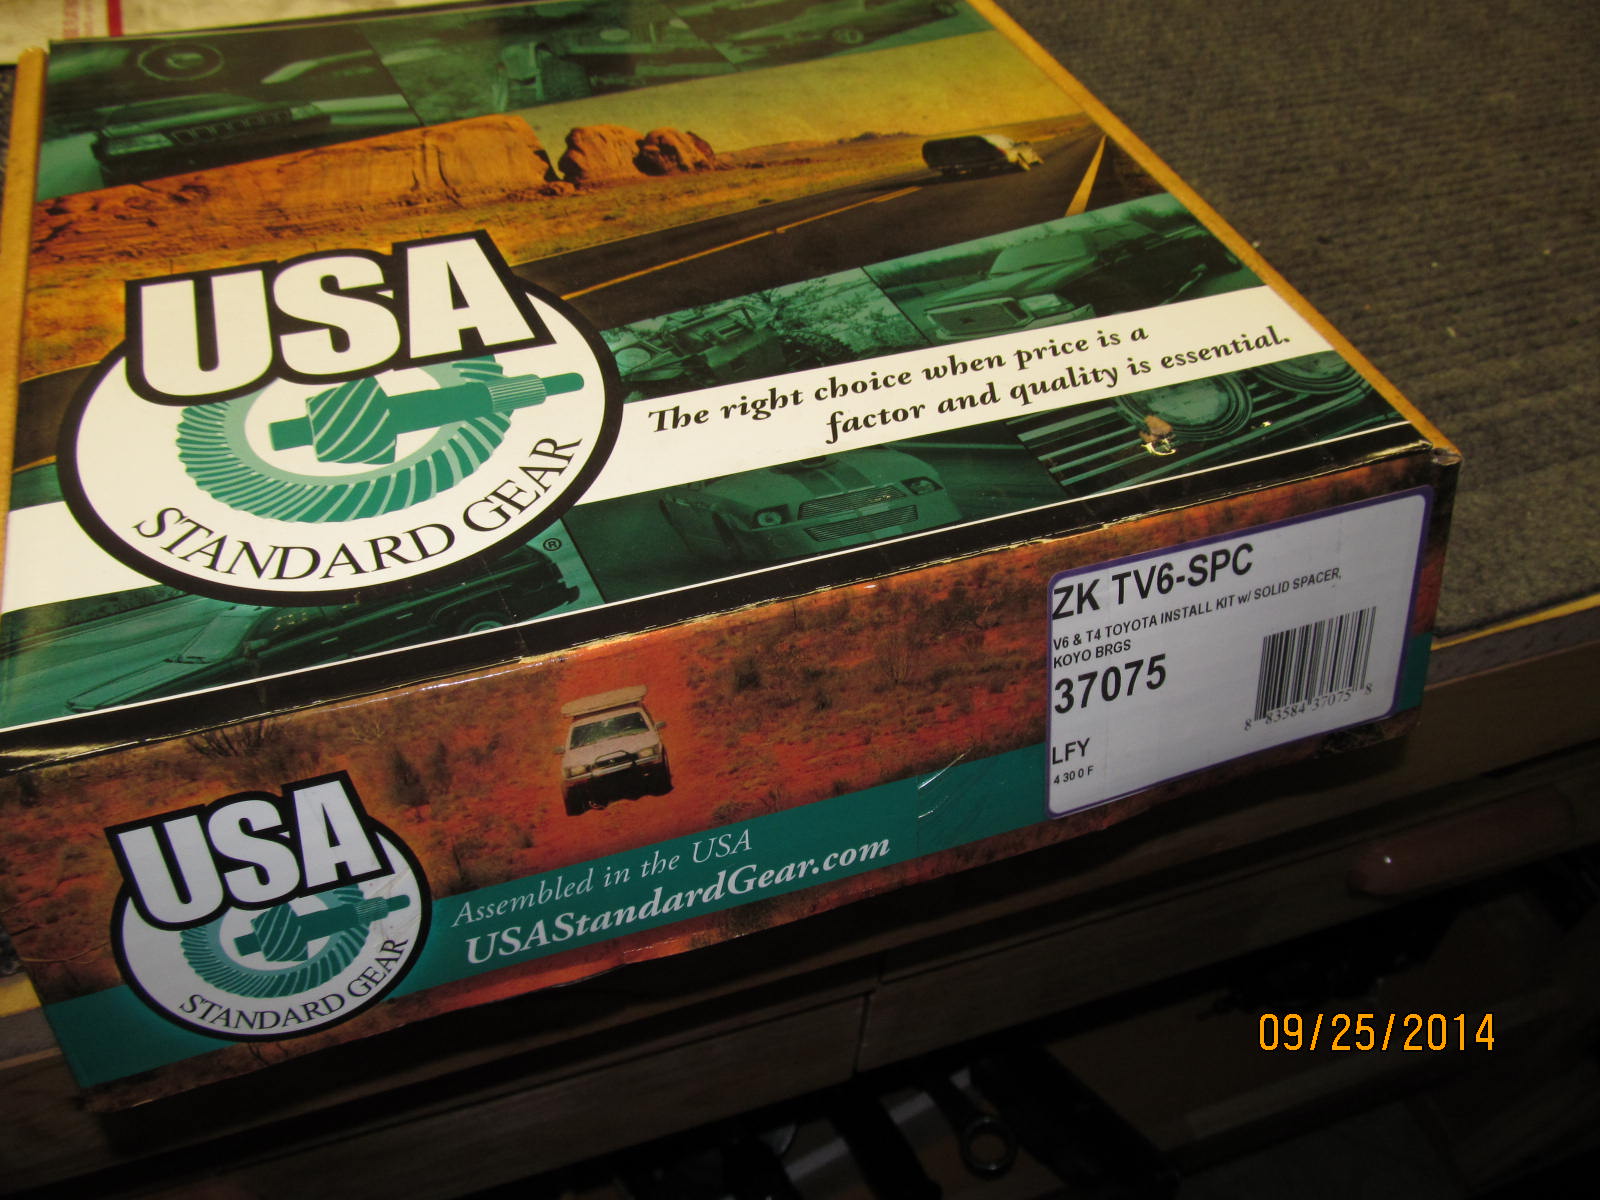
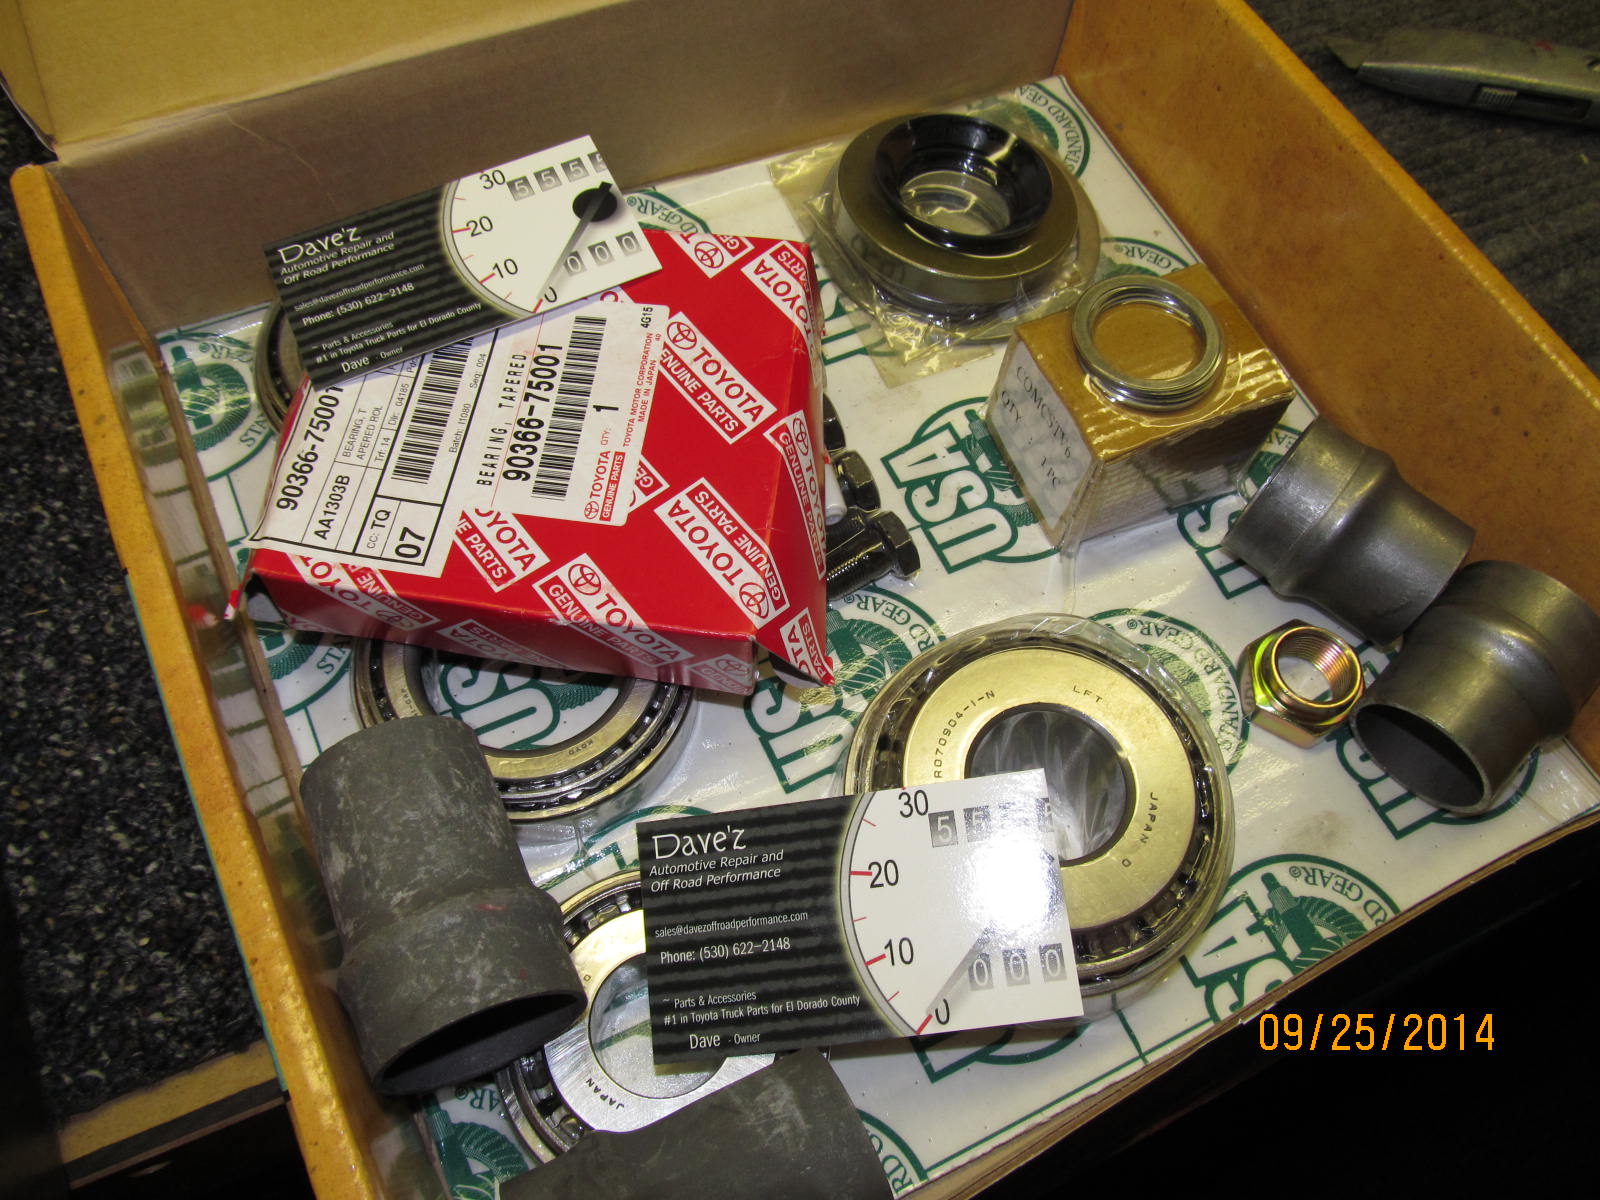
In the box was another box...USA Standard Gear master Install kit.
|
|
|
|
|
Koyo bearings and a solid collar for John's e-locker. This looks like a nice quality kit.
|
|
|
|
|
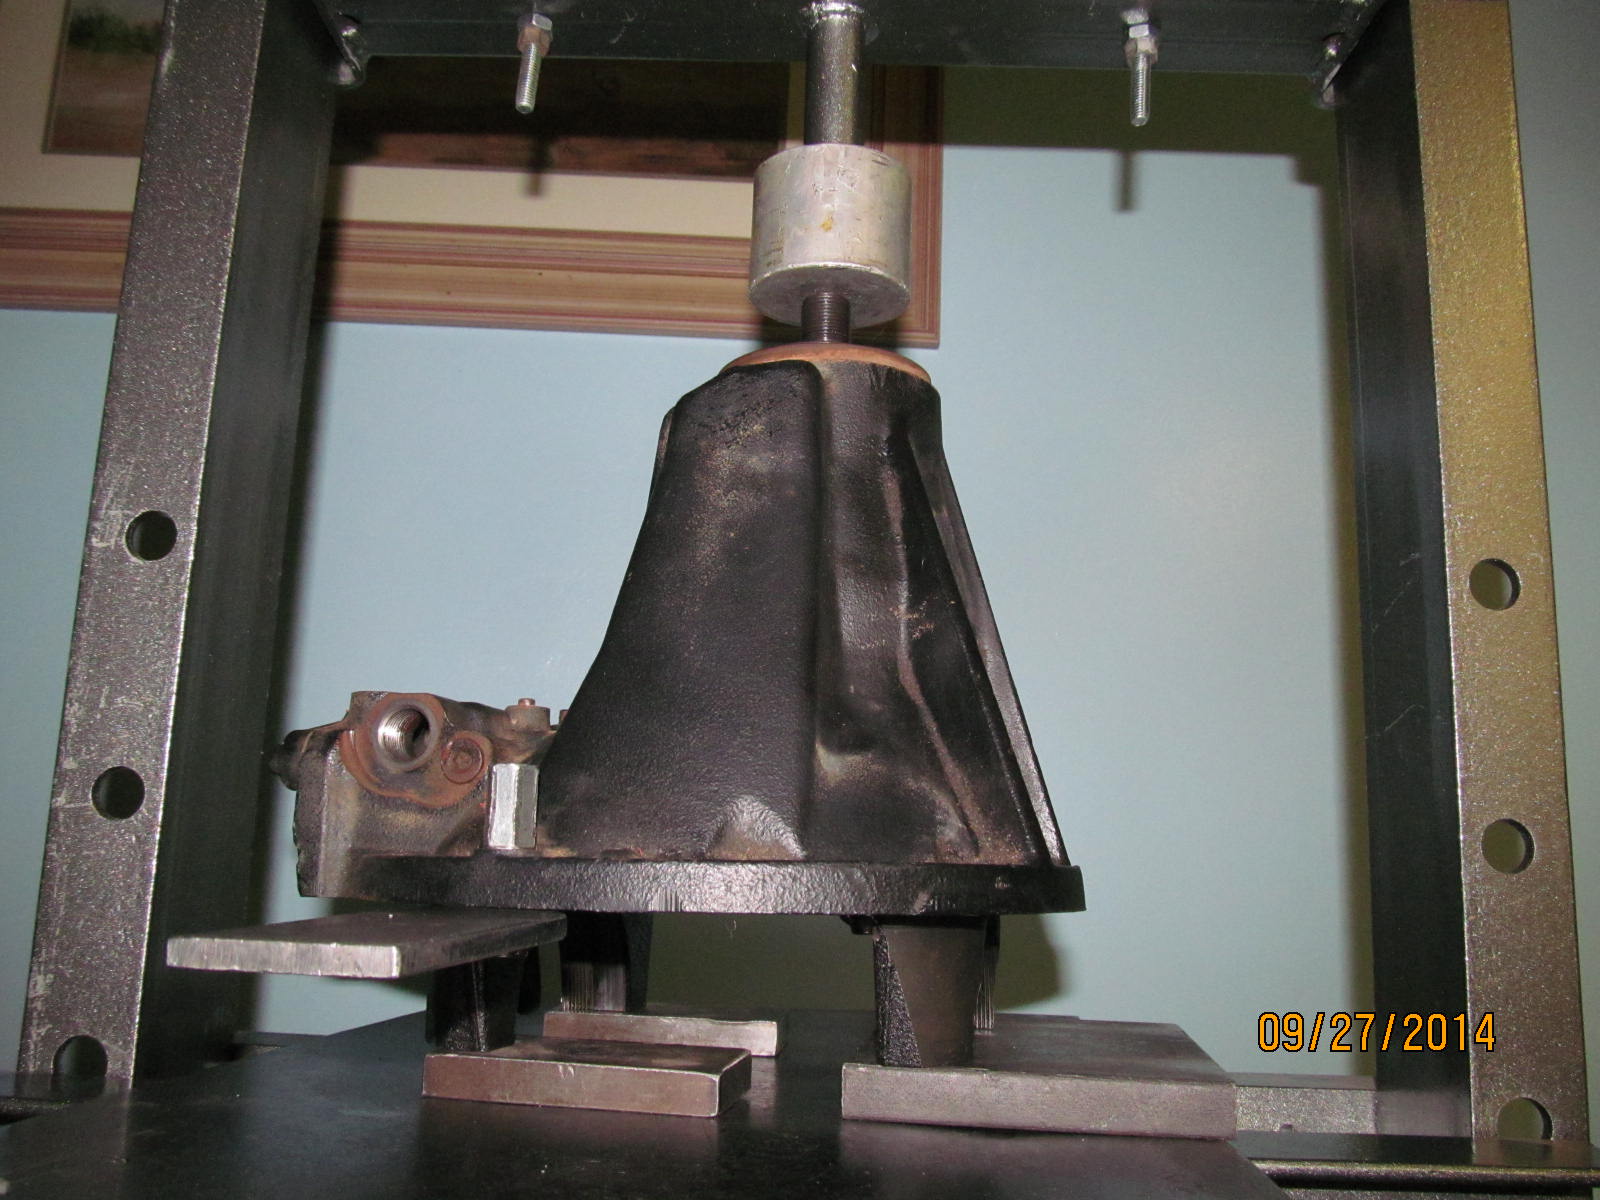
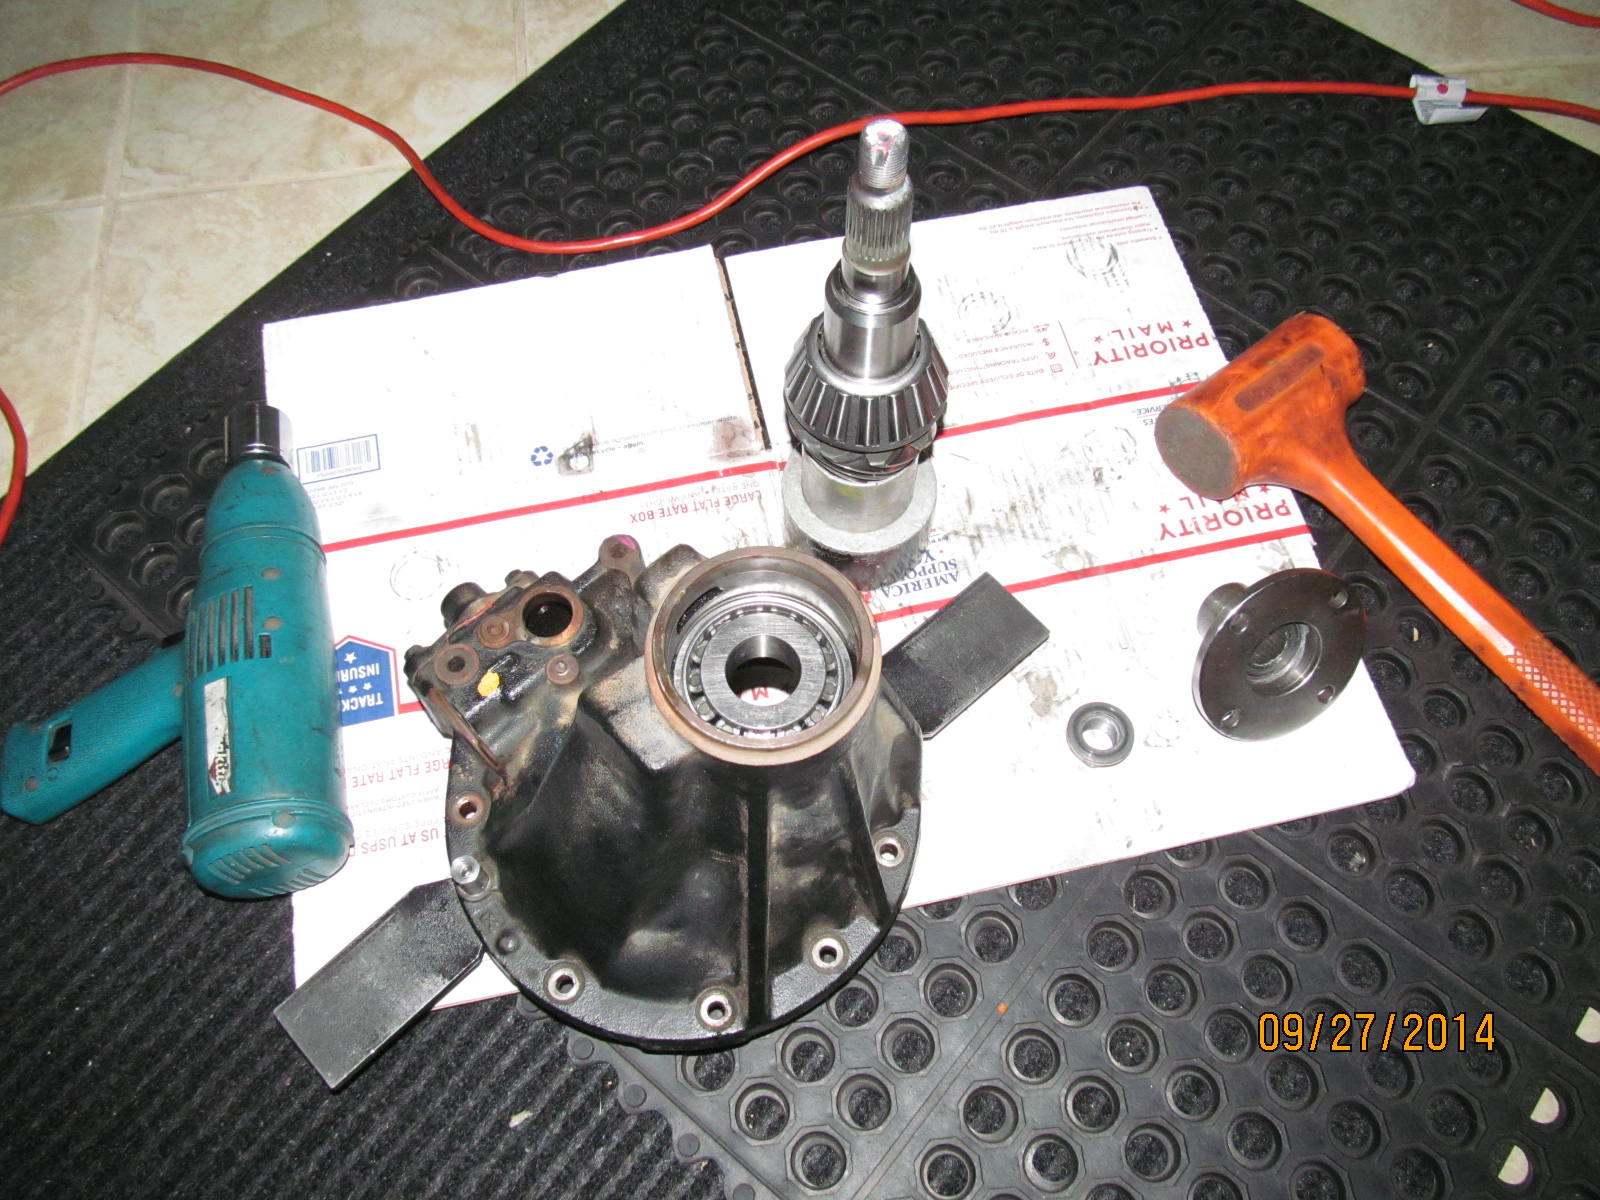
Dis-assembly begins.
|
|
|
|
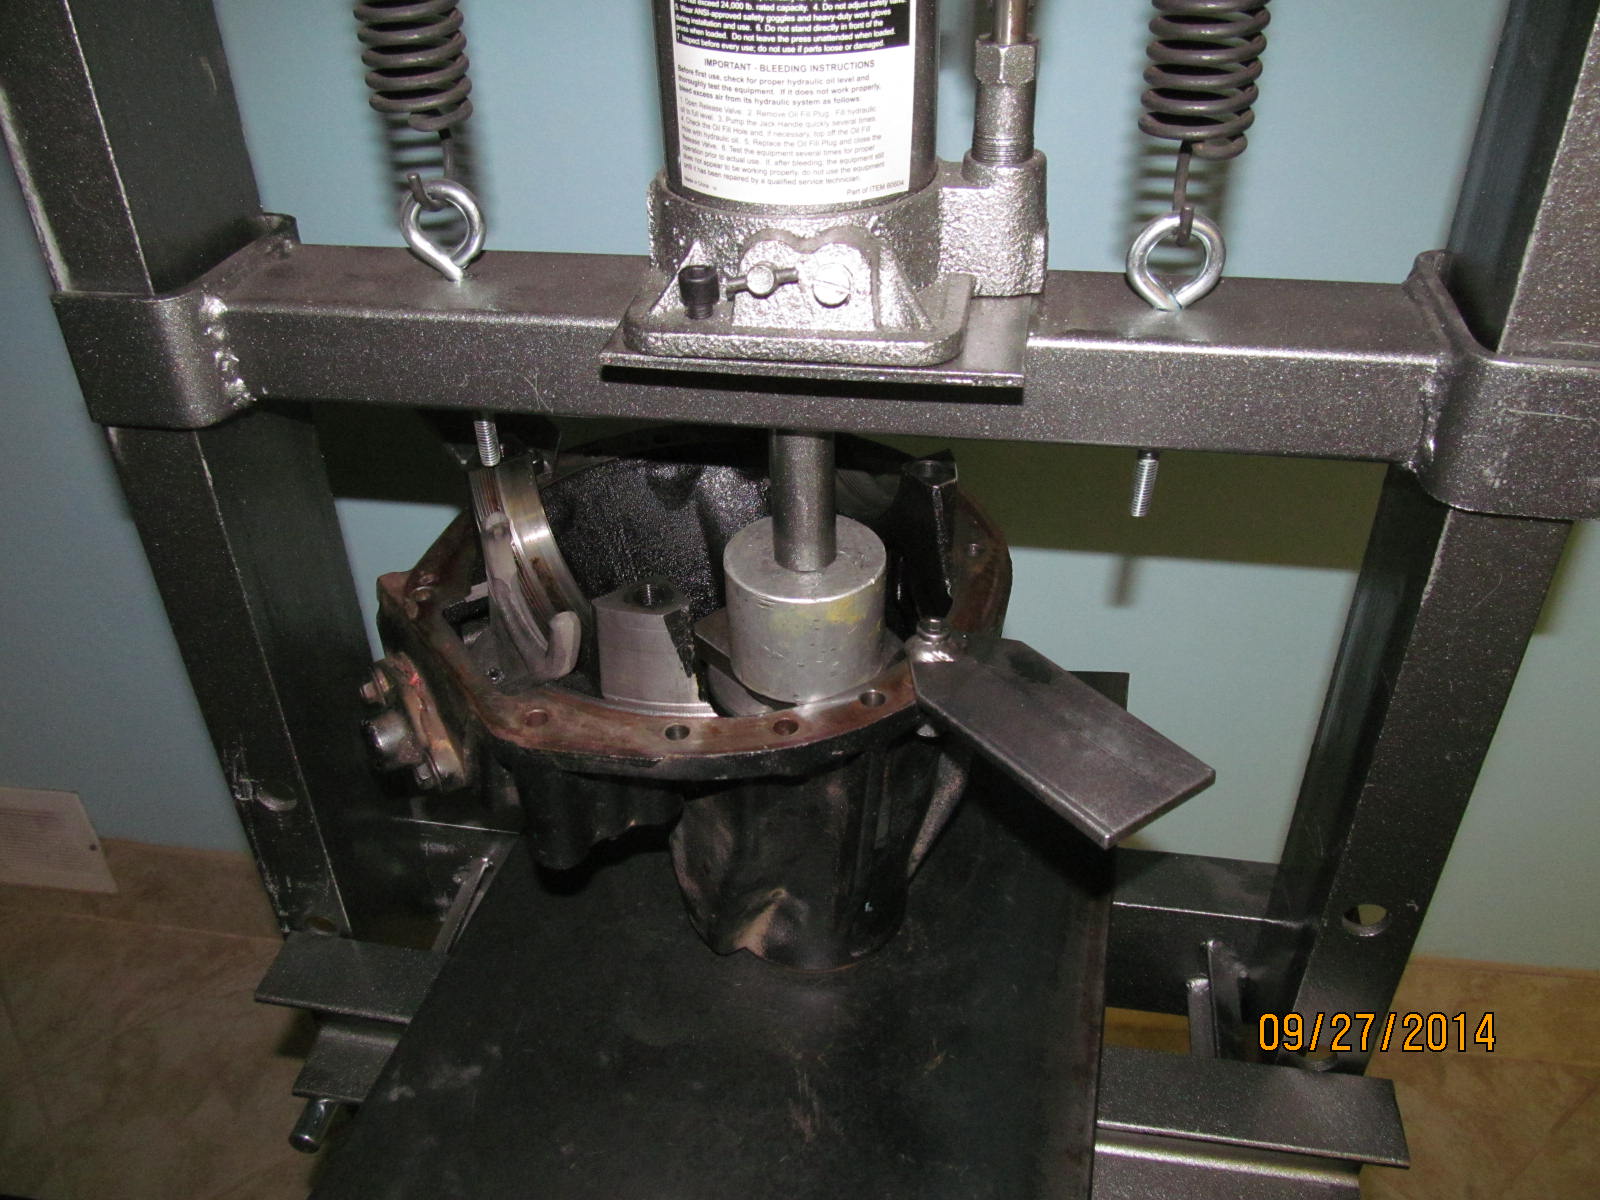
The monster e-locker carrier bearing was a good tight fit but the OTC-4520 side bearing puller made quick
work of it.
|
|
|
|
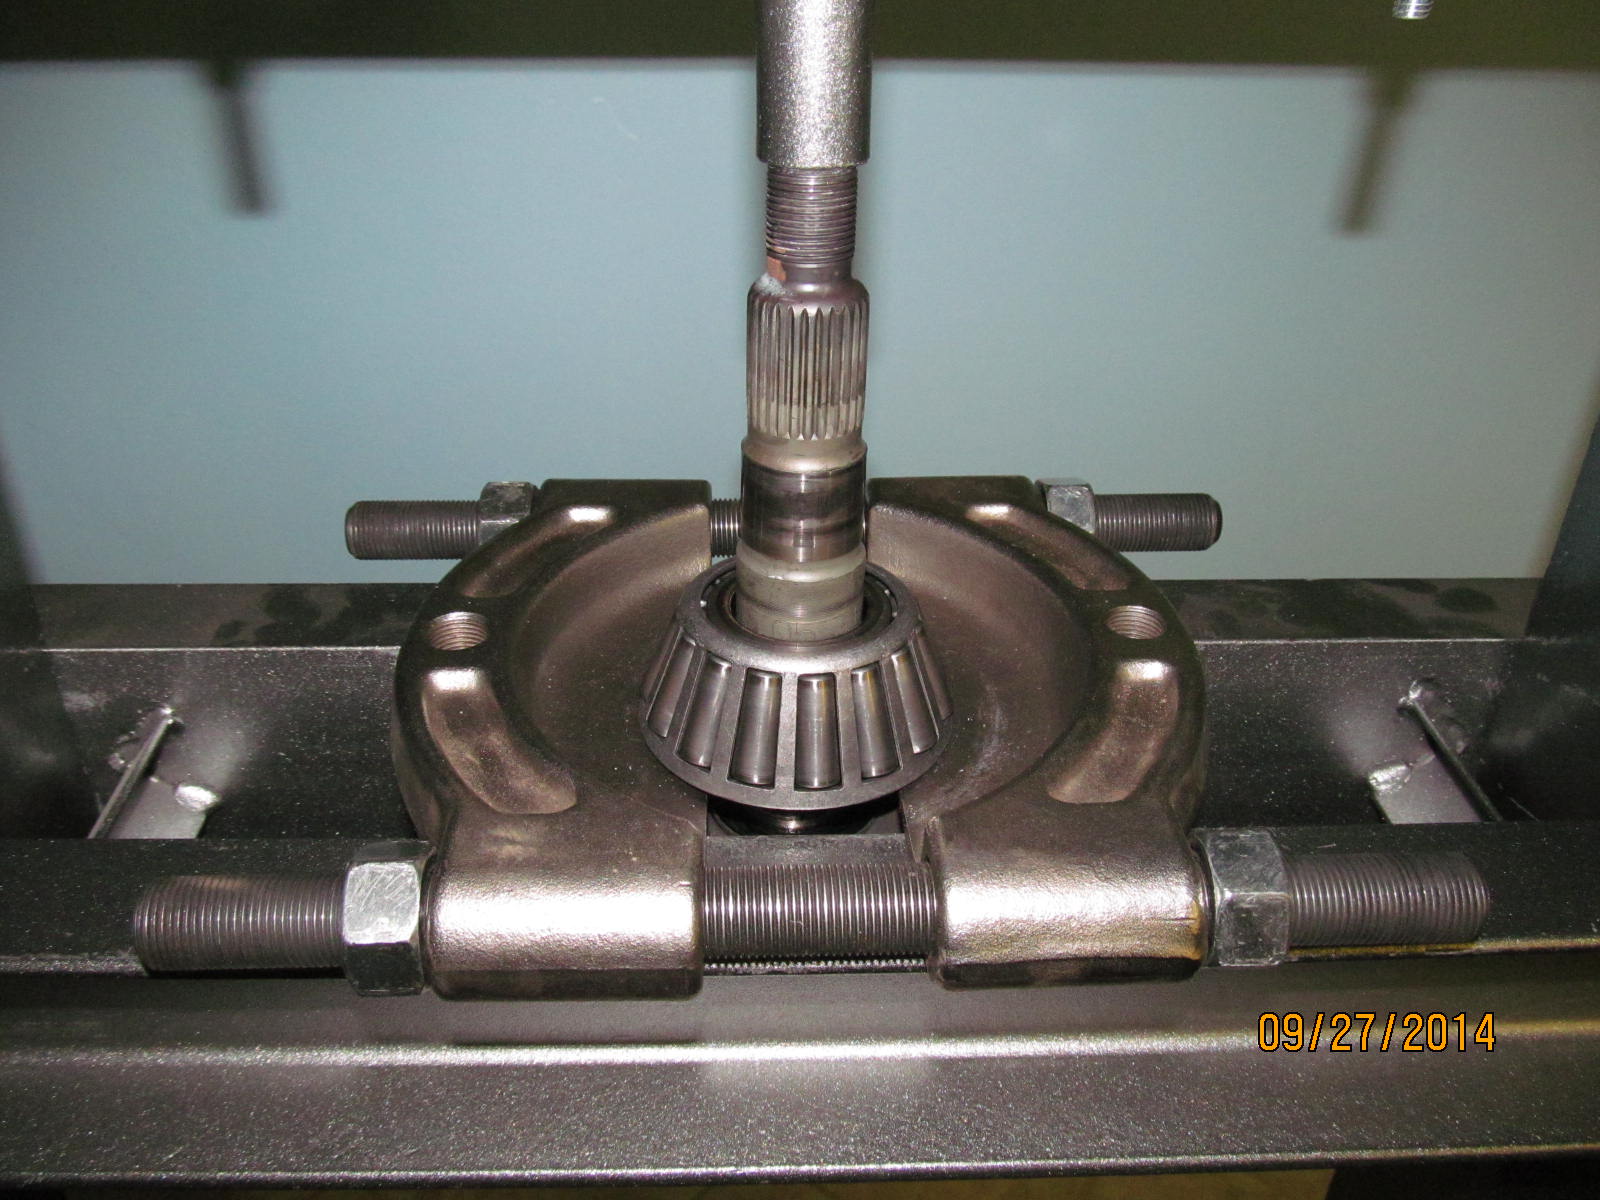
Even this one was on amazingly tight. That's a commercial grade ionizer in the blurry background. It's used to
burn the gear oil smell out of the air. It's very effective.
|
|
|
|
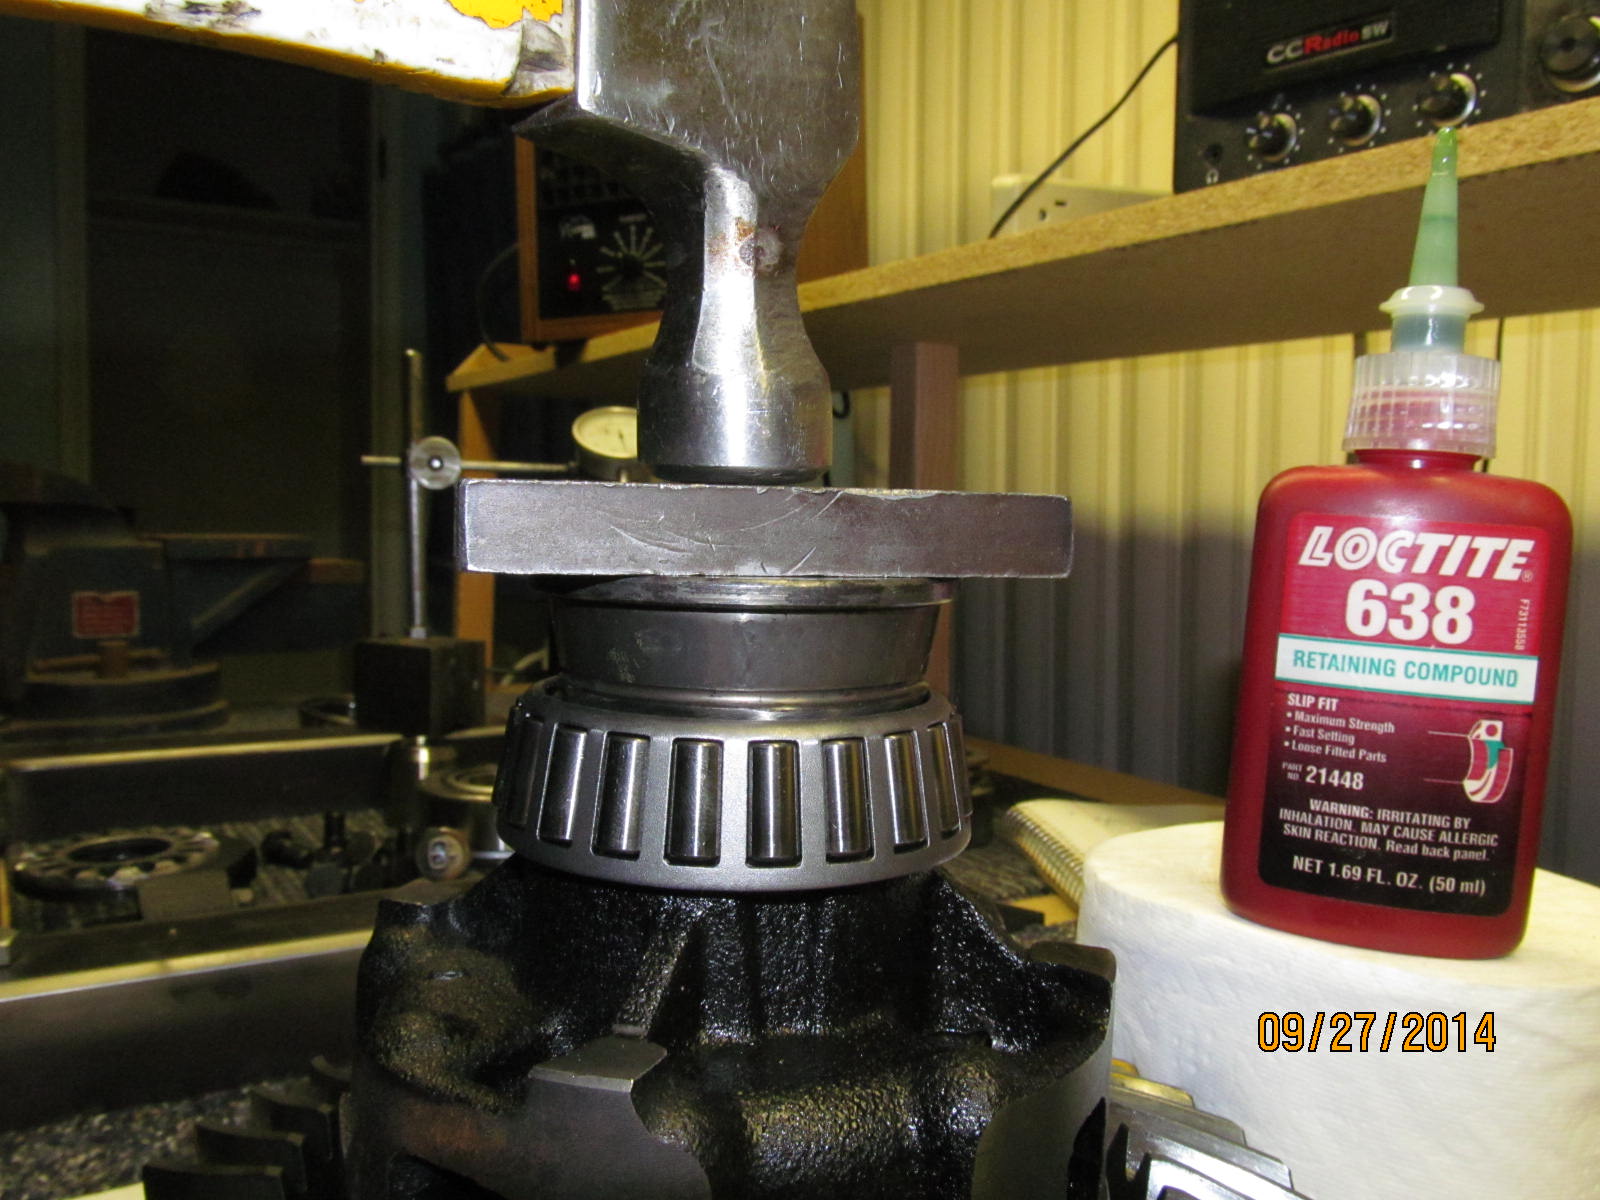
The new Koyo bearing can be tapped in place. It was a very tight fit but I still used some
#638 retaining compound.
|
|
|
|
|
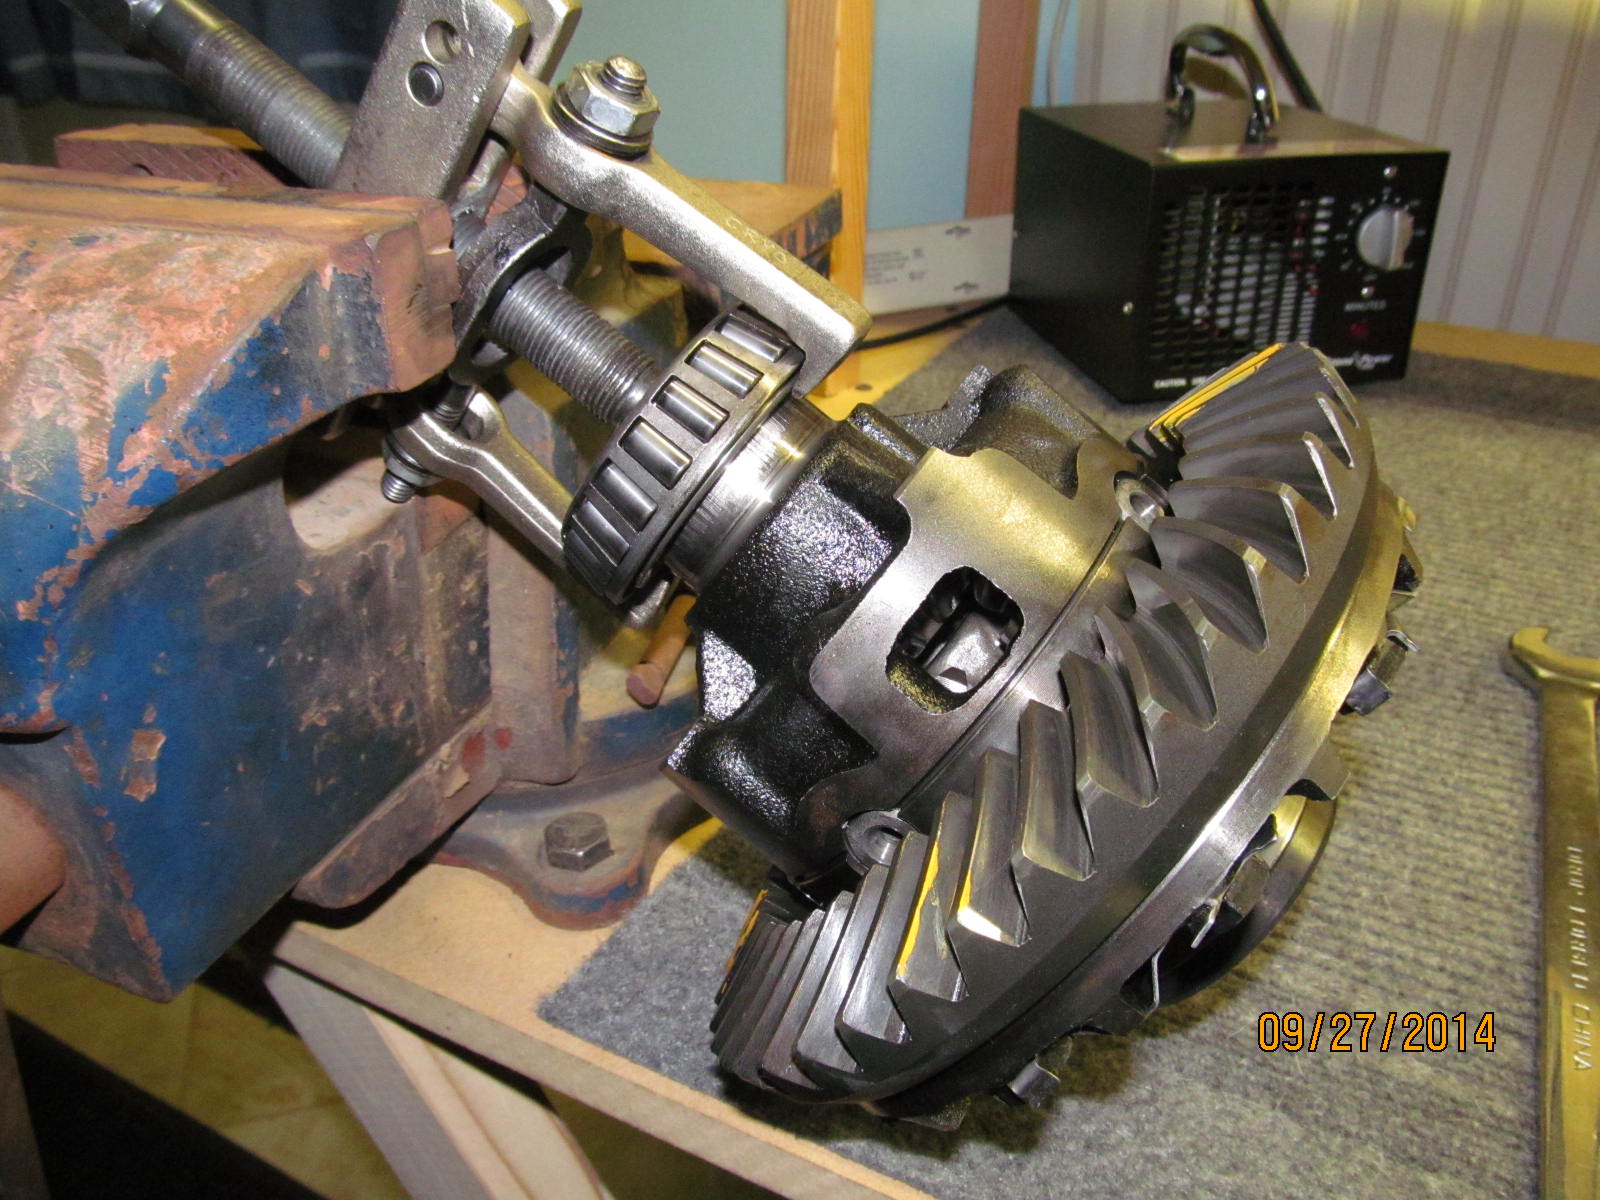
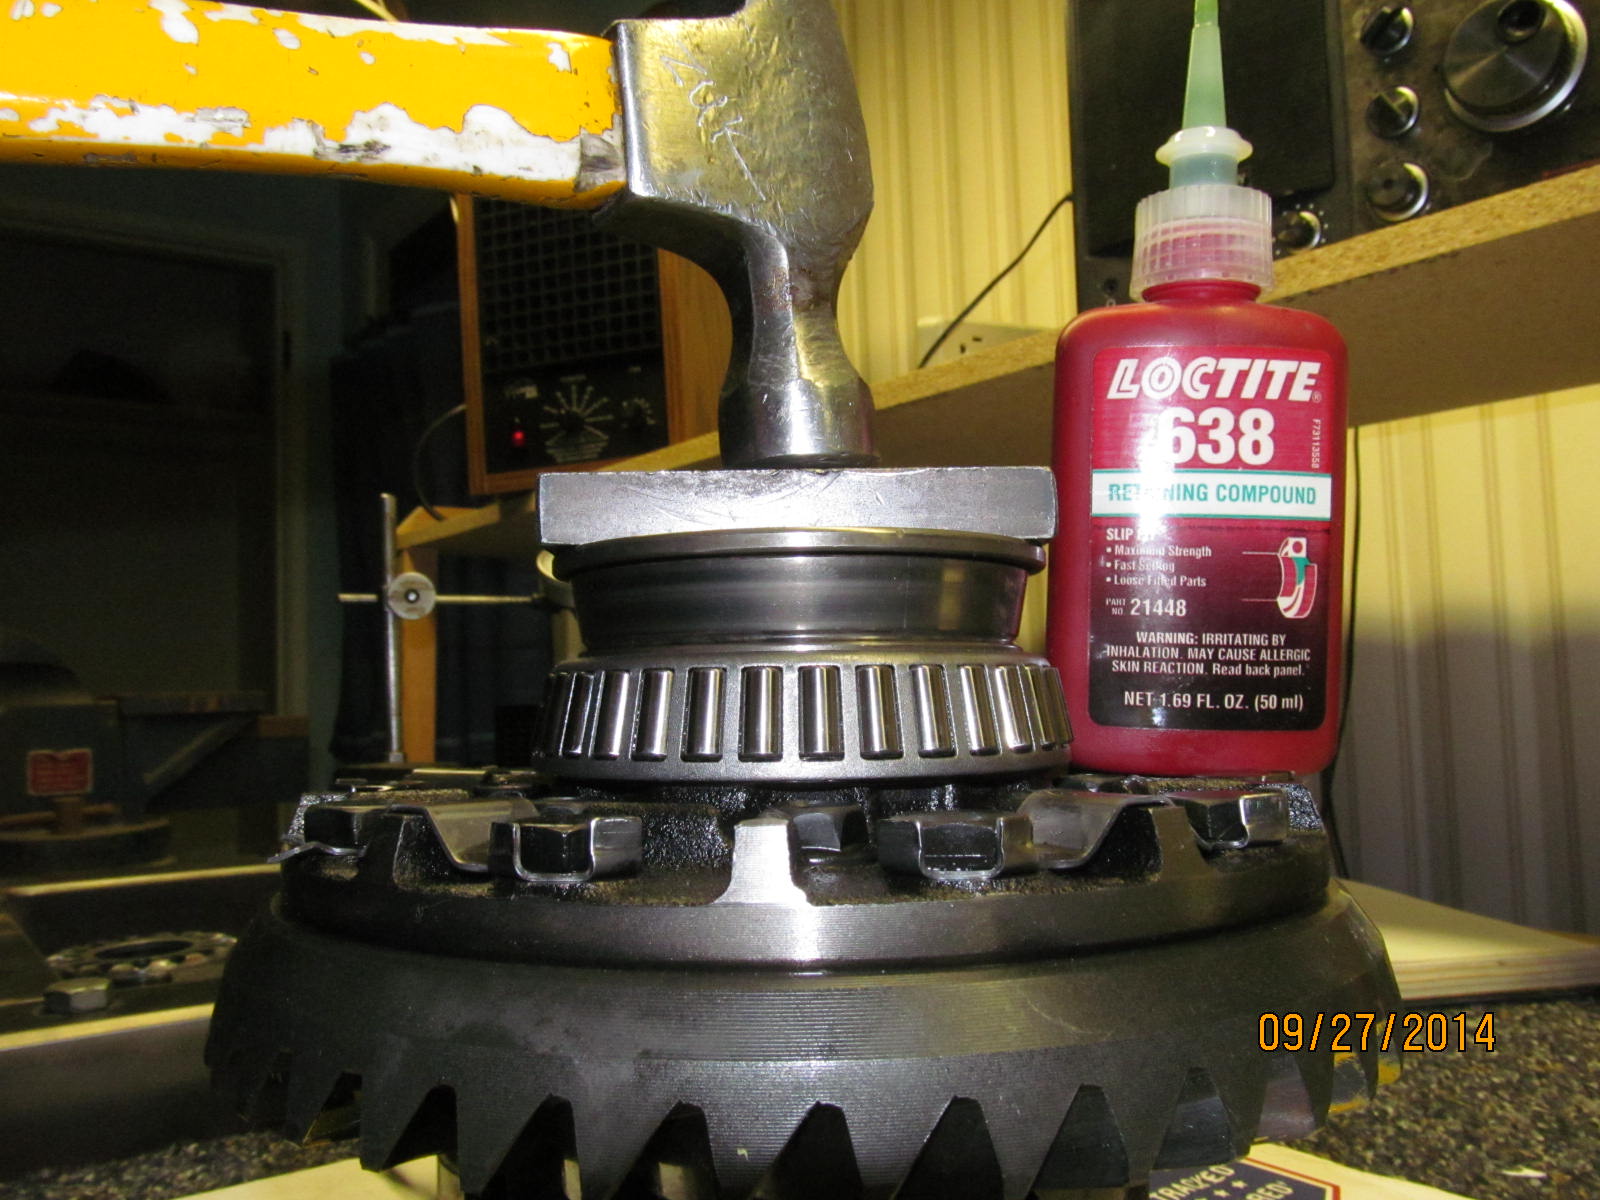
Same with the over-sized carrier bearing on the other side.
|
|
|
|
|
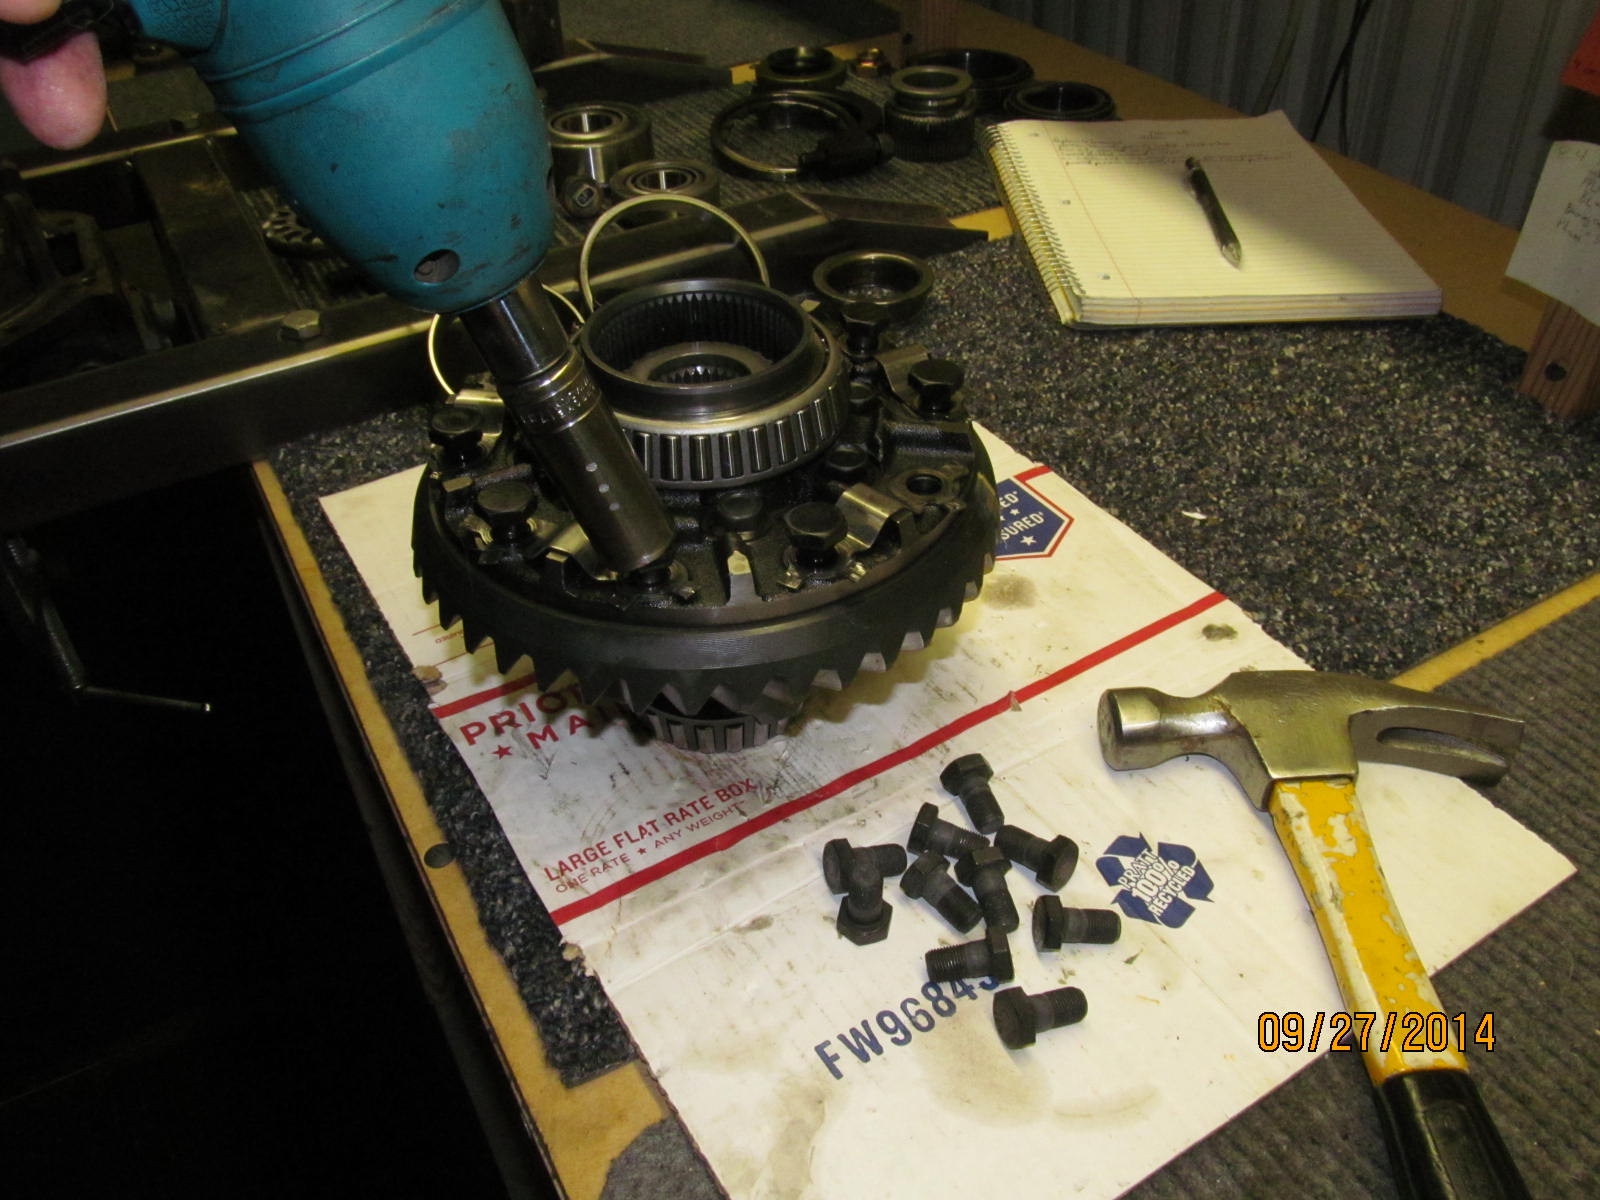
Since the kit had new bolts, might as well put them on....and get rid of those annoying Toyota lock tabs.
|
|
|
|
|
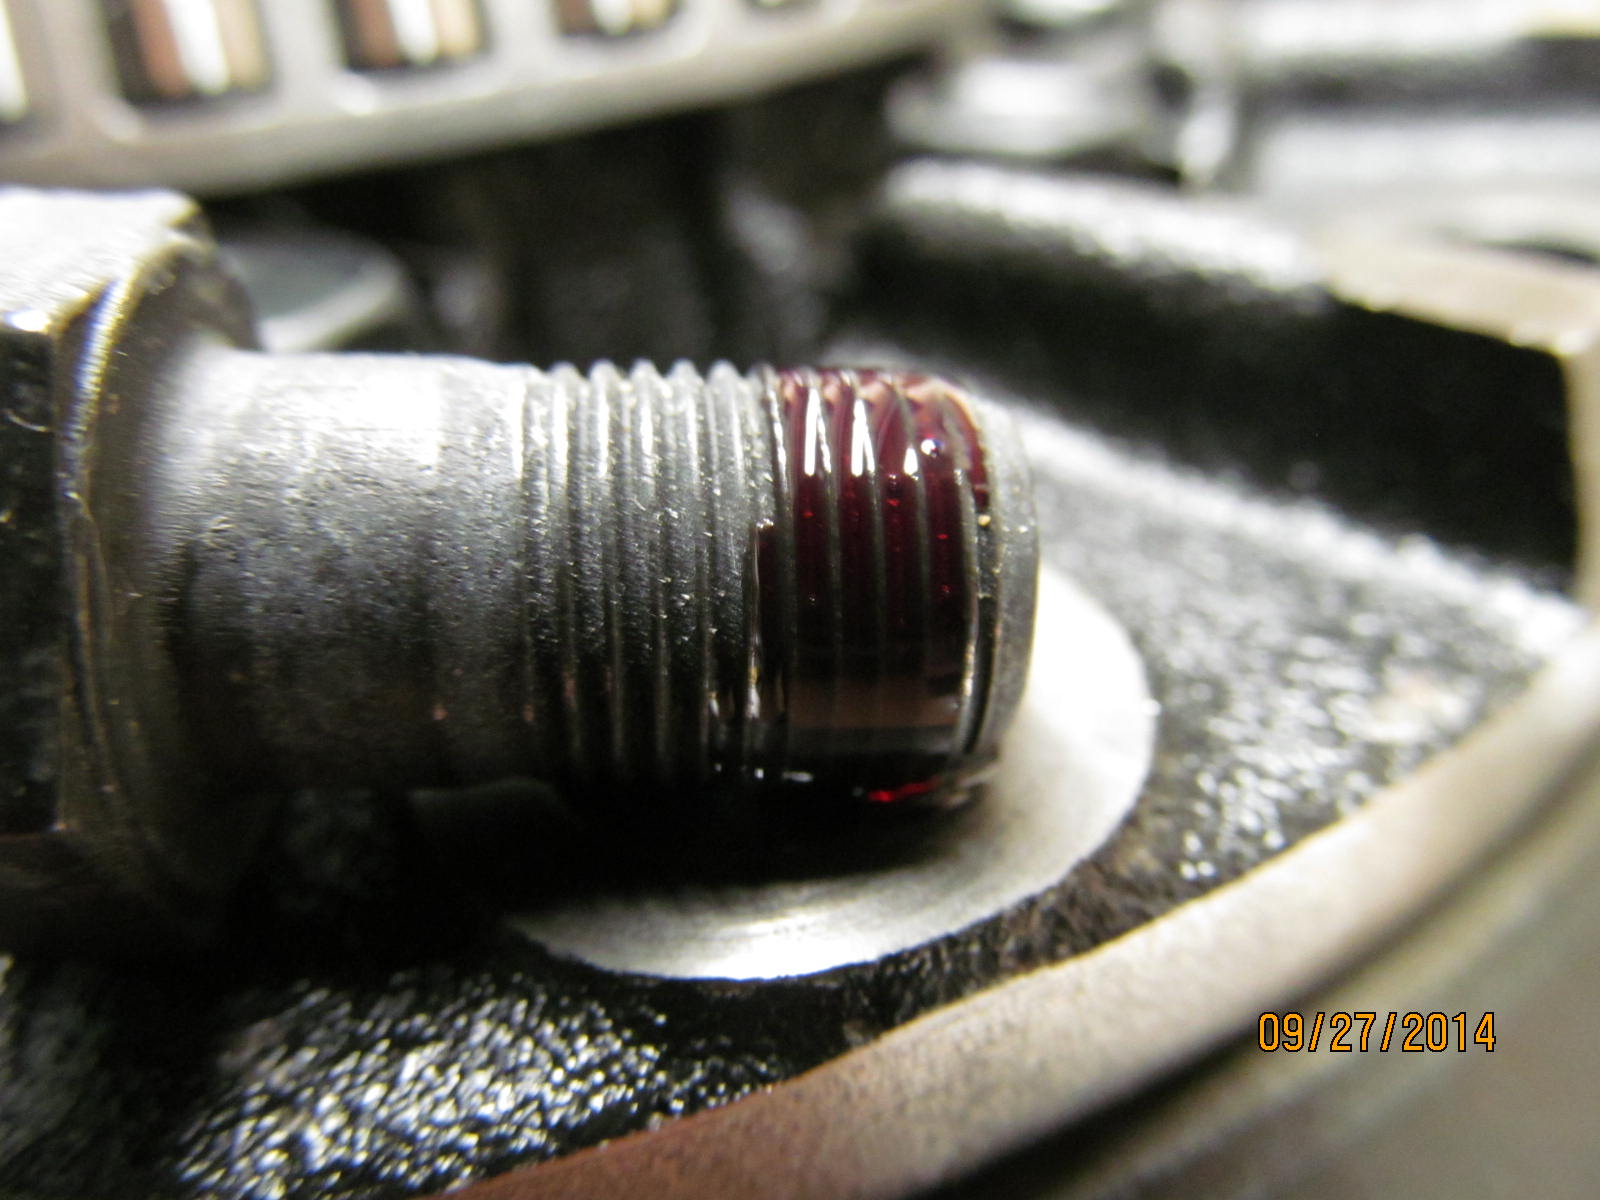
High strength red locktight works excellent.
|
|
|
|
|
The 10 bolts included in the kit had 12.9 hardness stamped on them which is exceptionally hard.
|
|
|

|
|
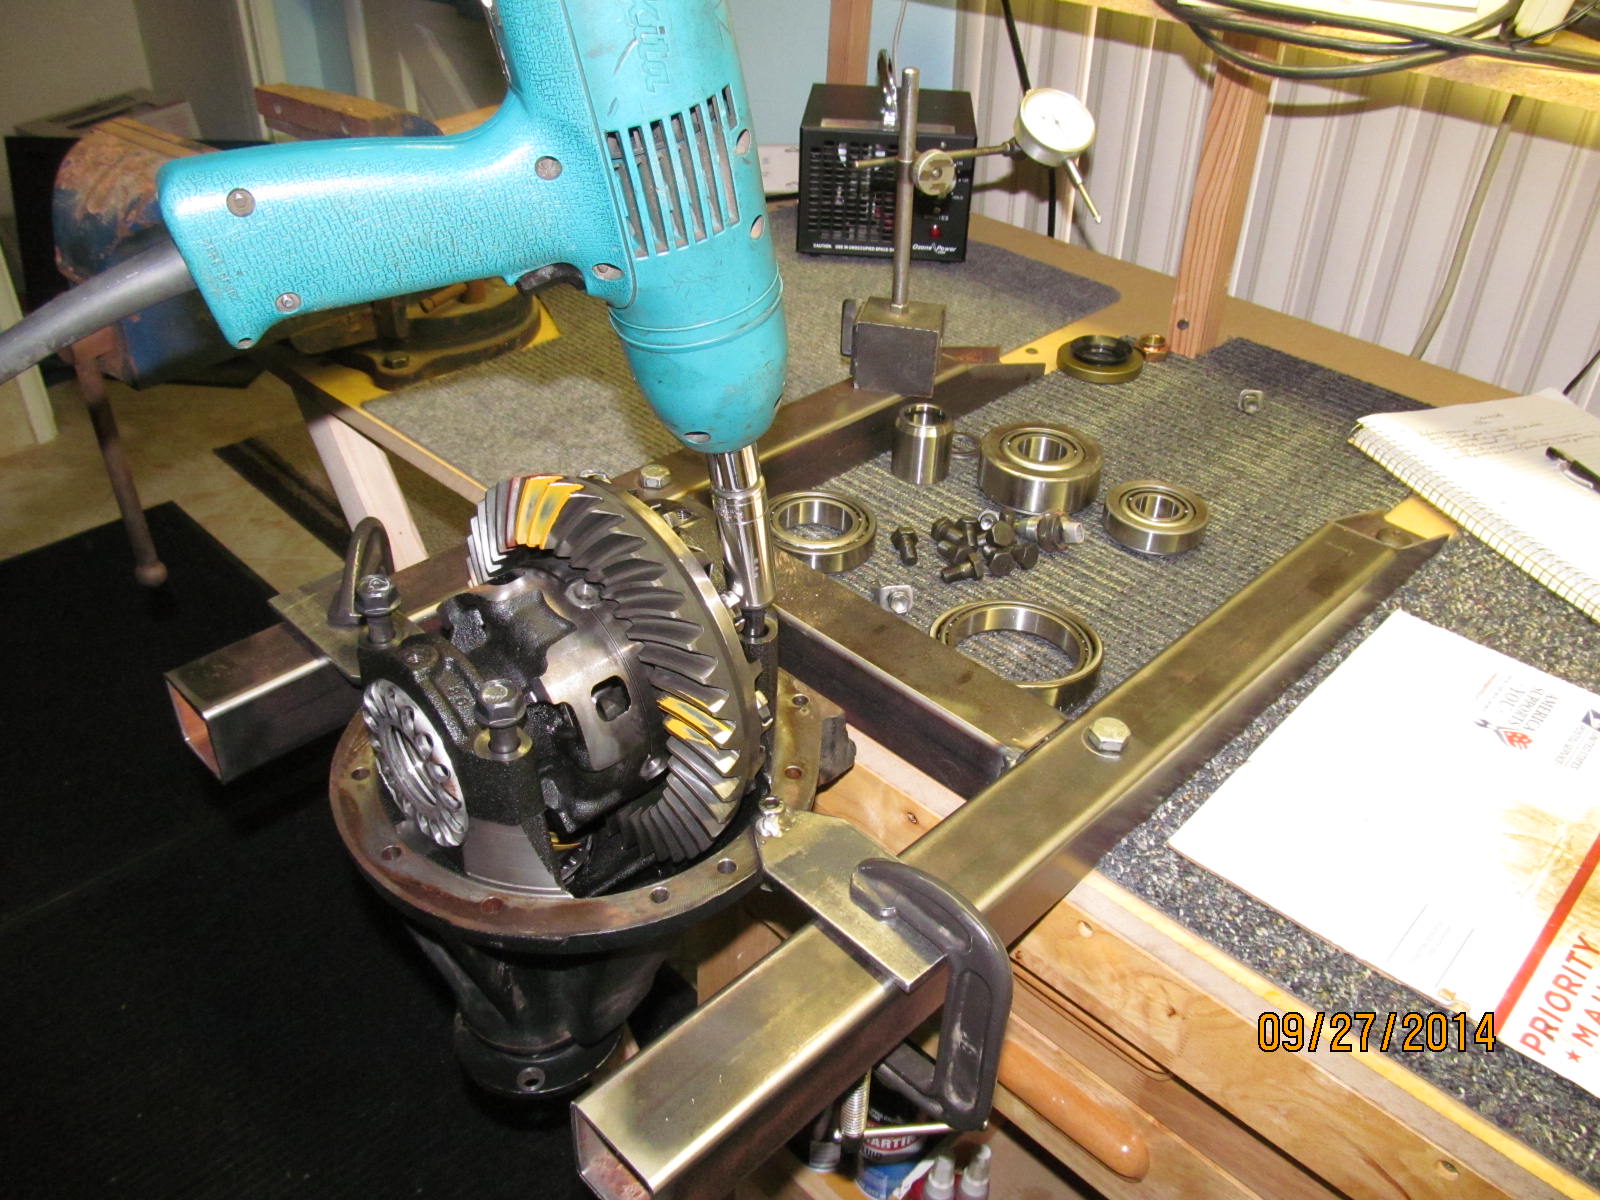
75 ft/lbs on all 10 ring bolts. Trying out this new torque wrench I just picked up at Pep Boys Auto Center.
|
|
|
|
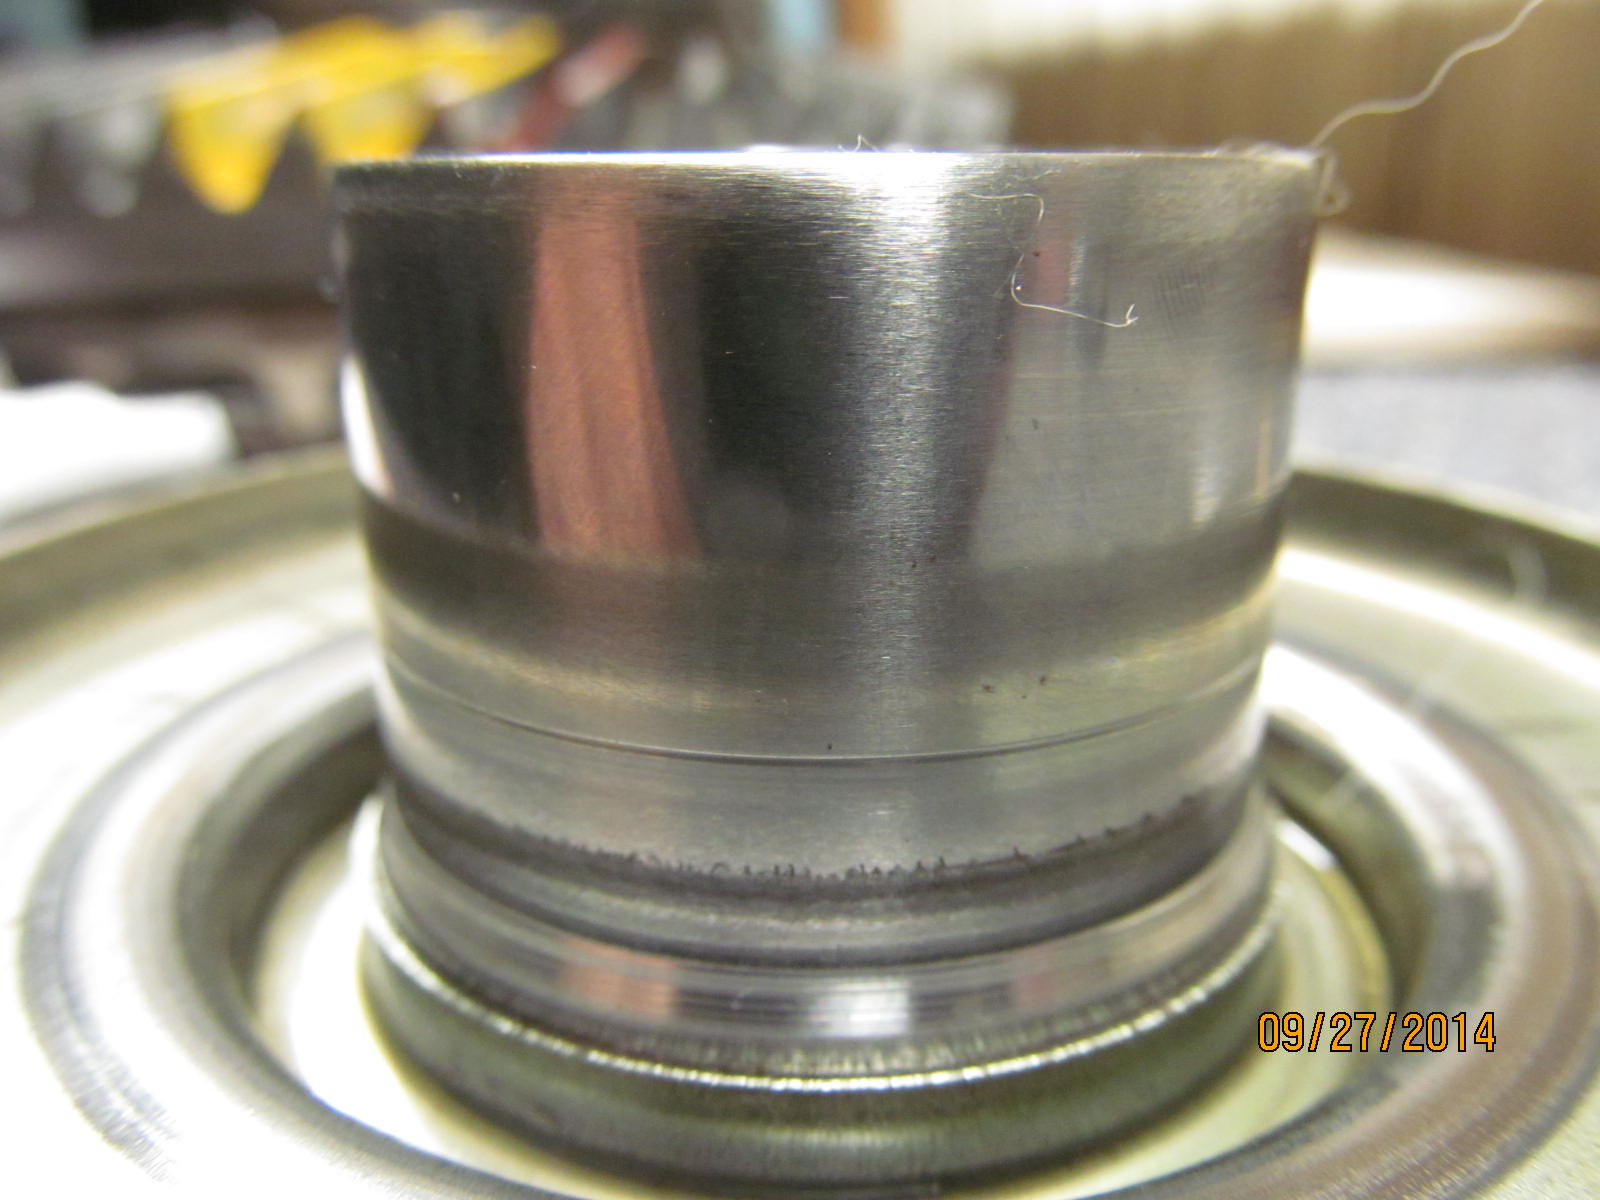
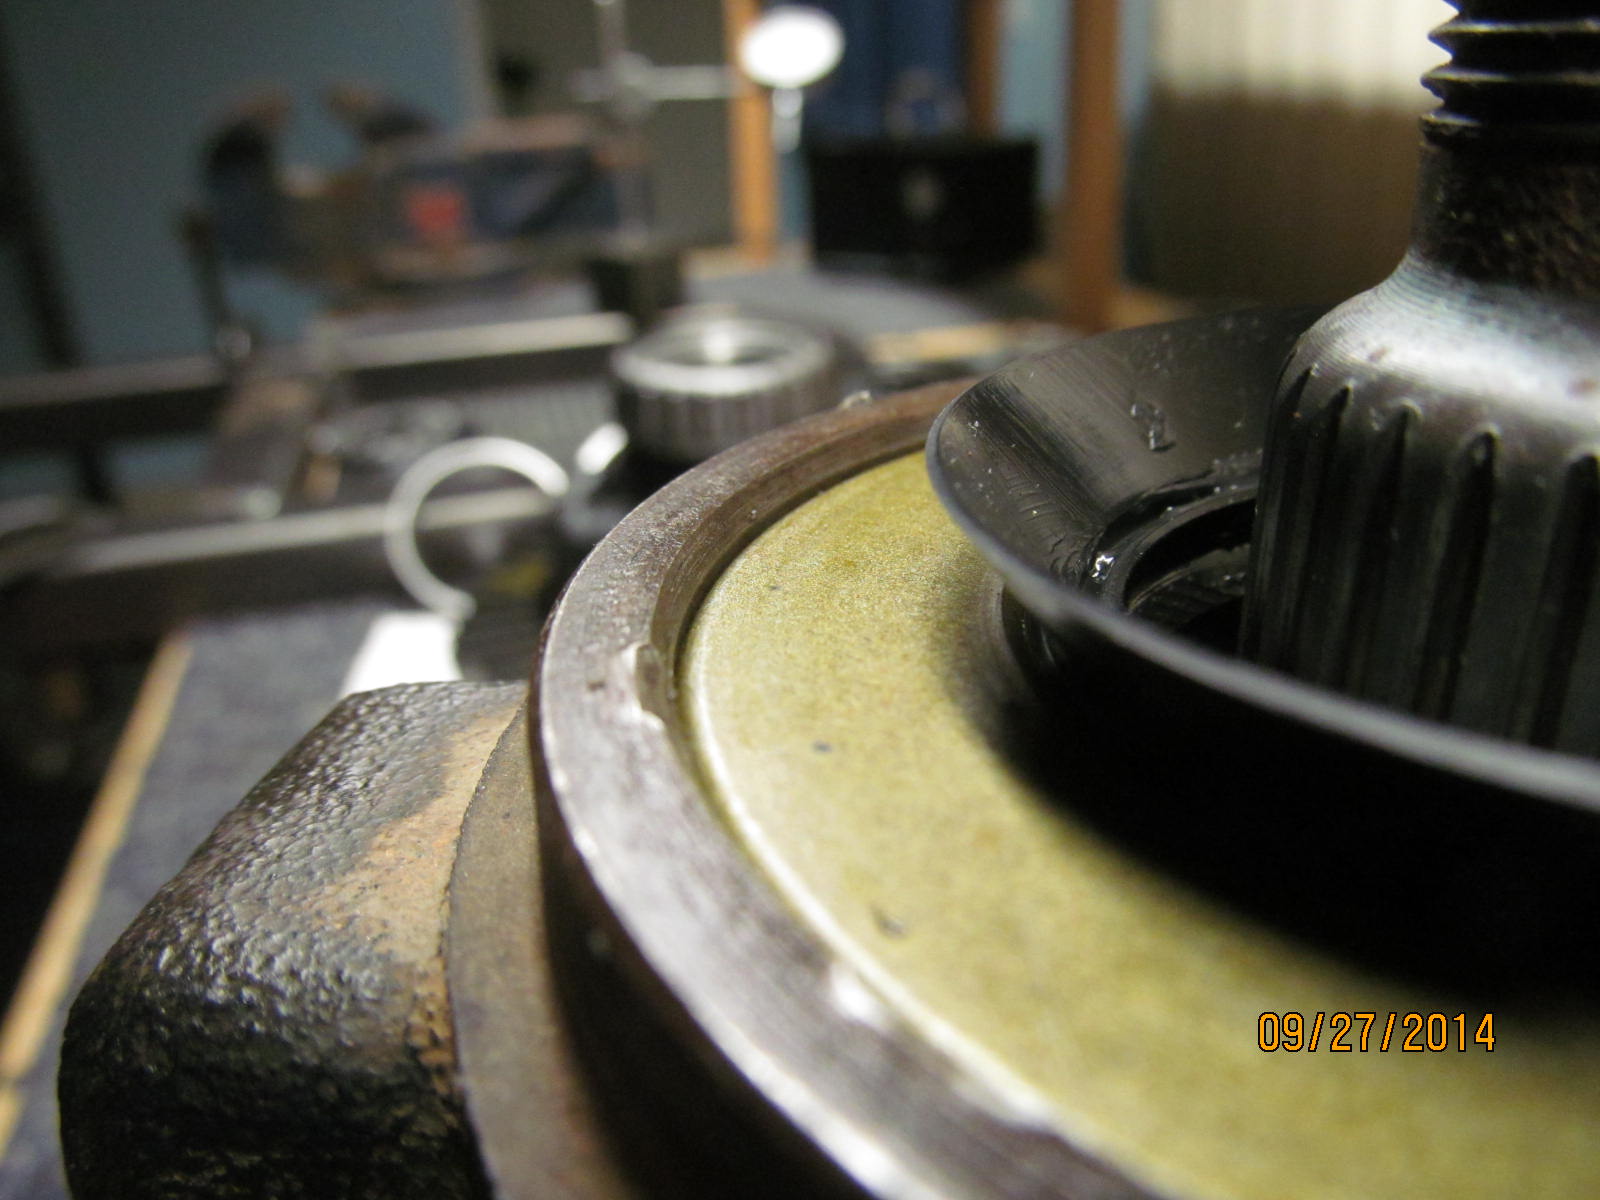
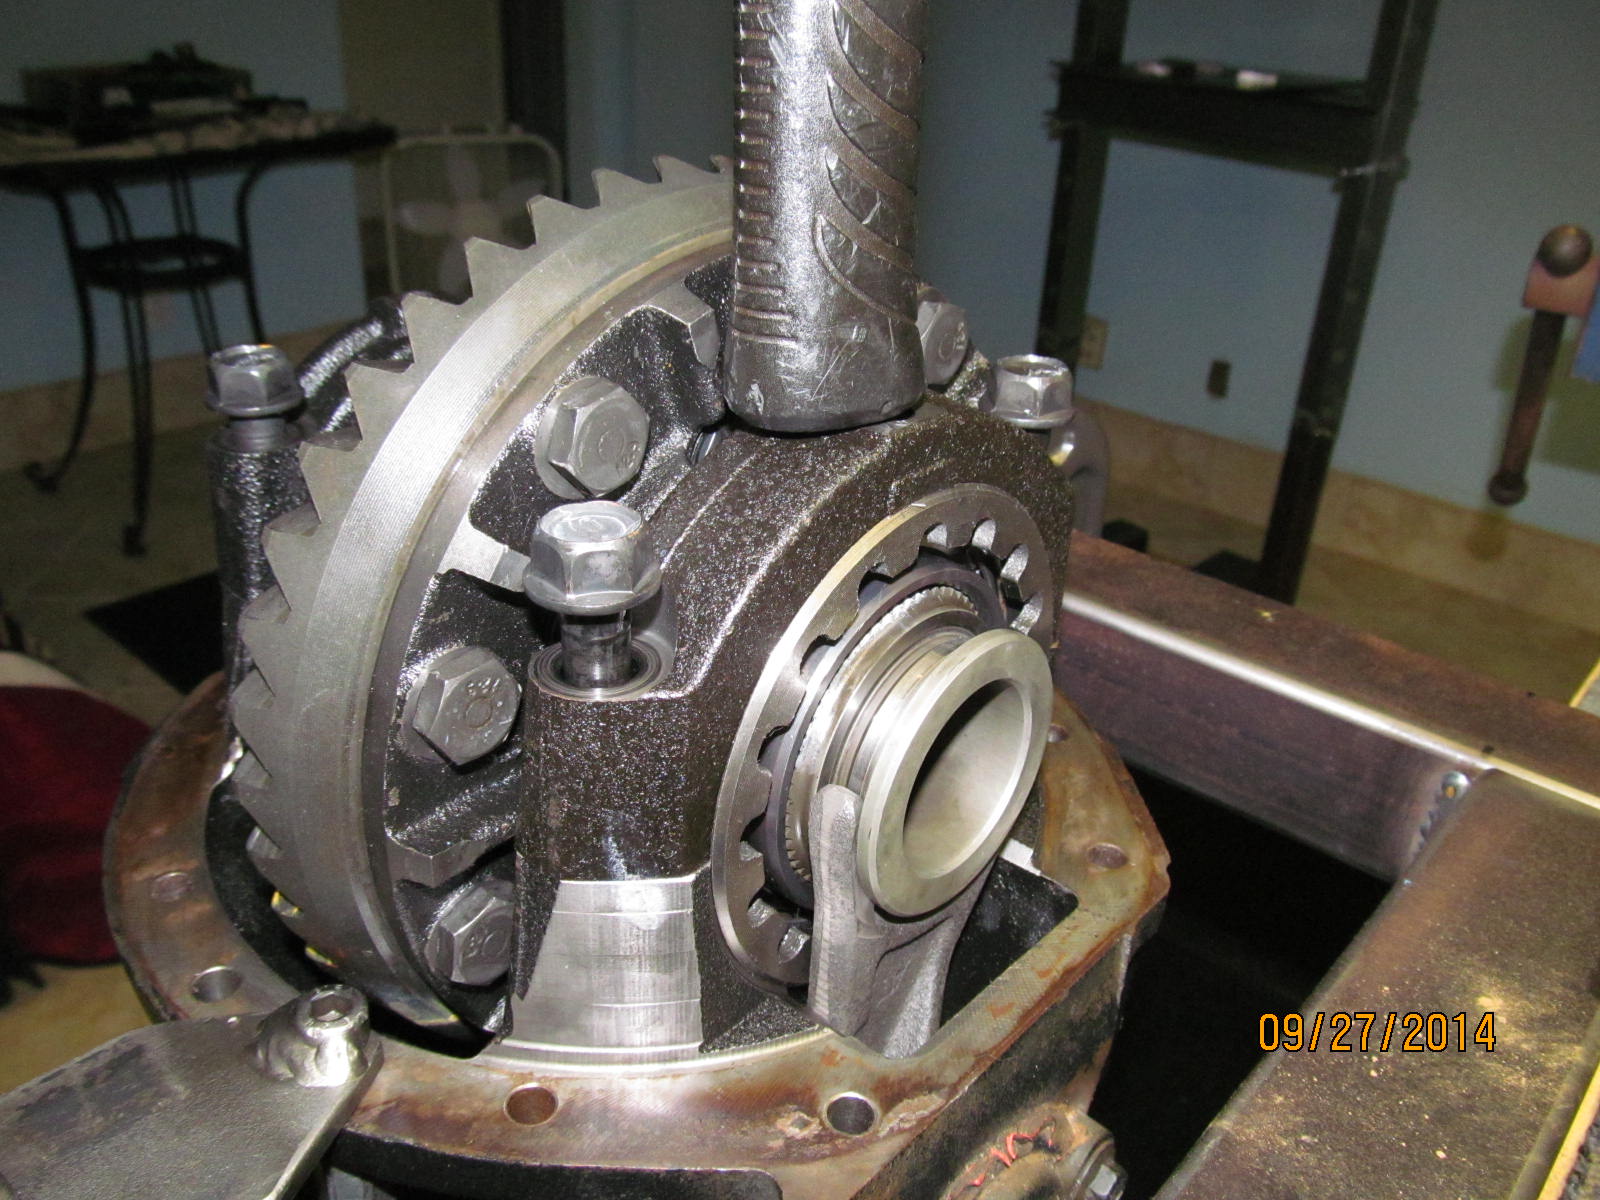
The pinion flange looks in very good shape. It has one small notch but it's down low....in a non-standard
seal zone.
|
|
|
|
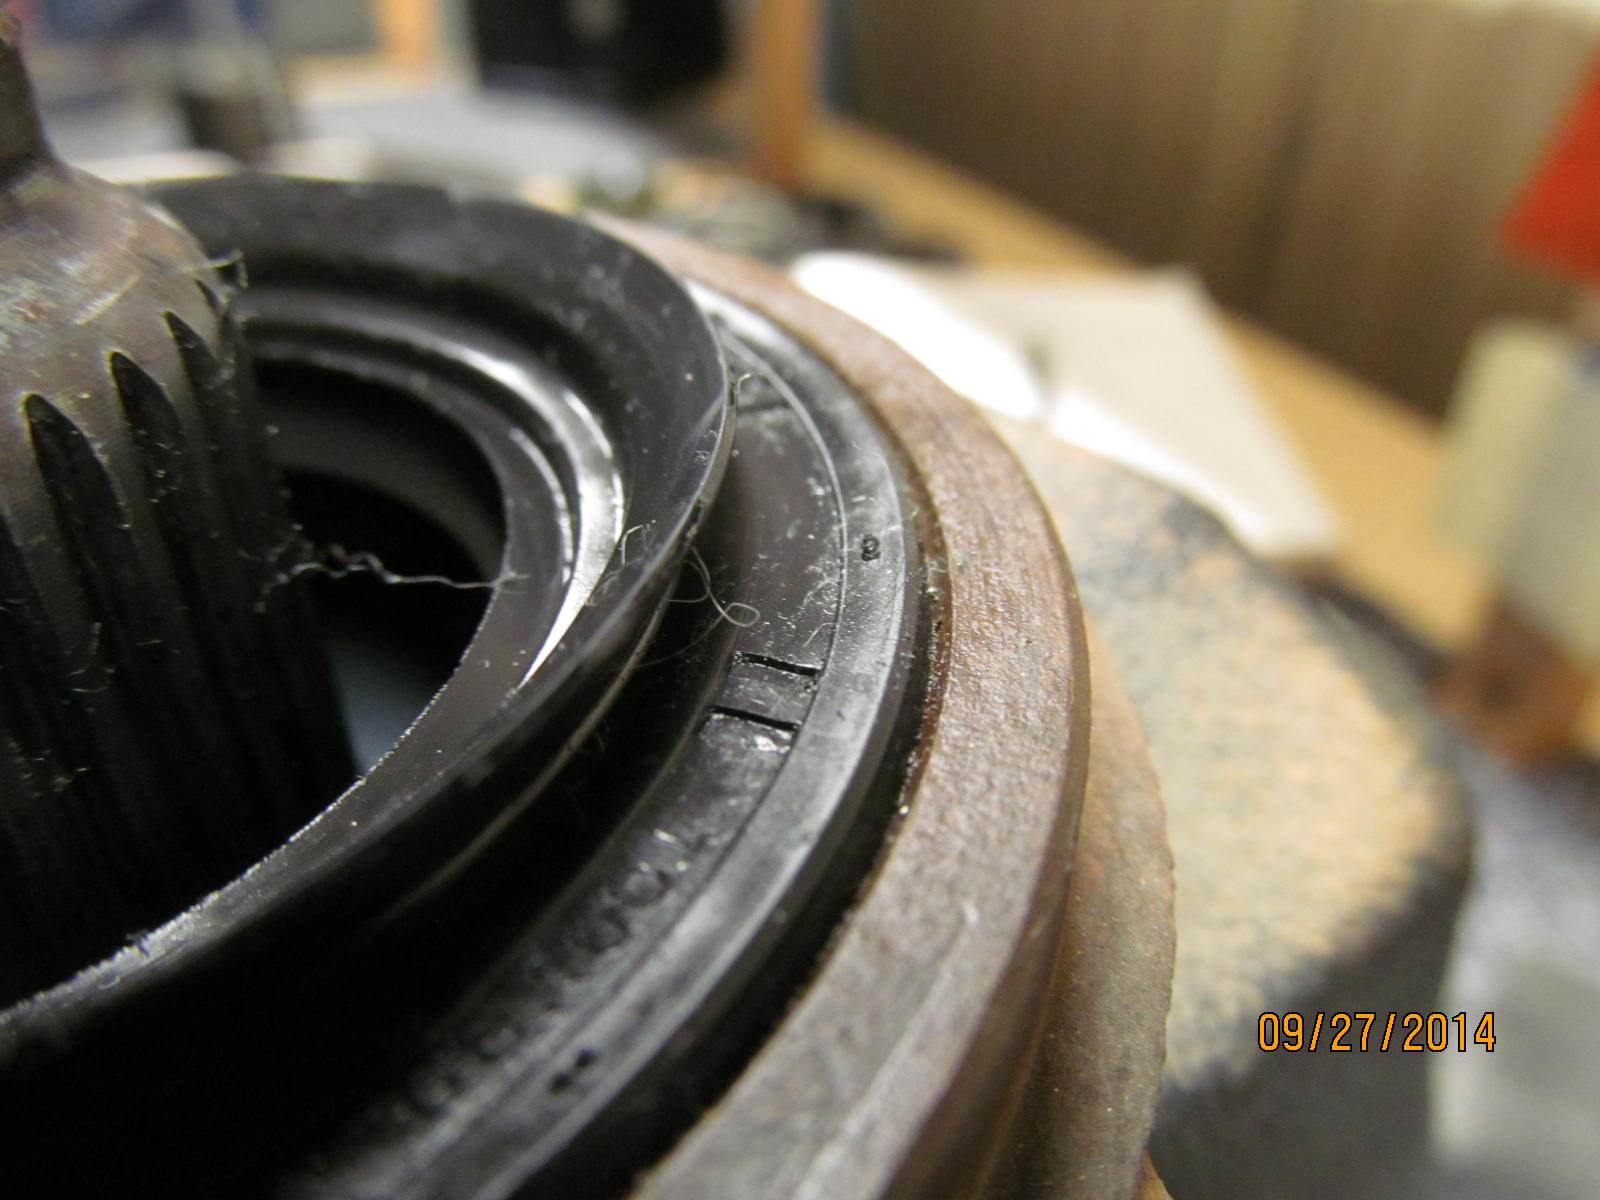
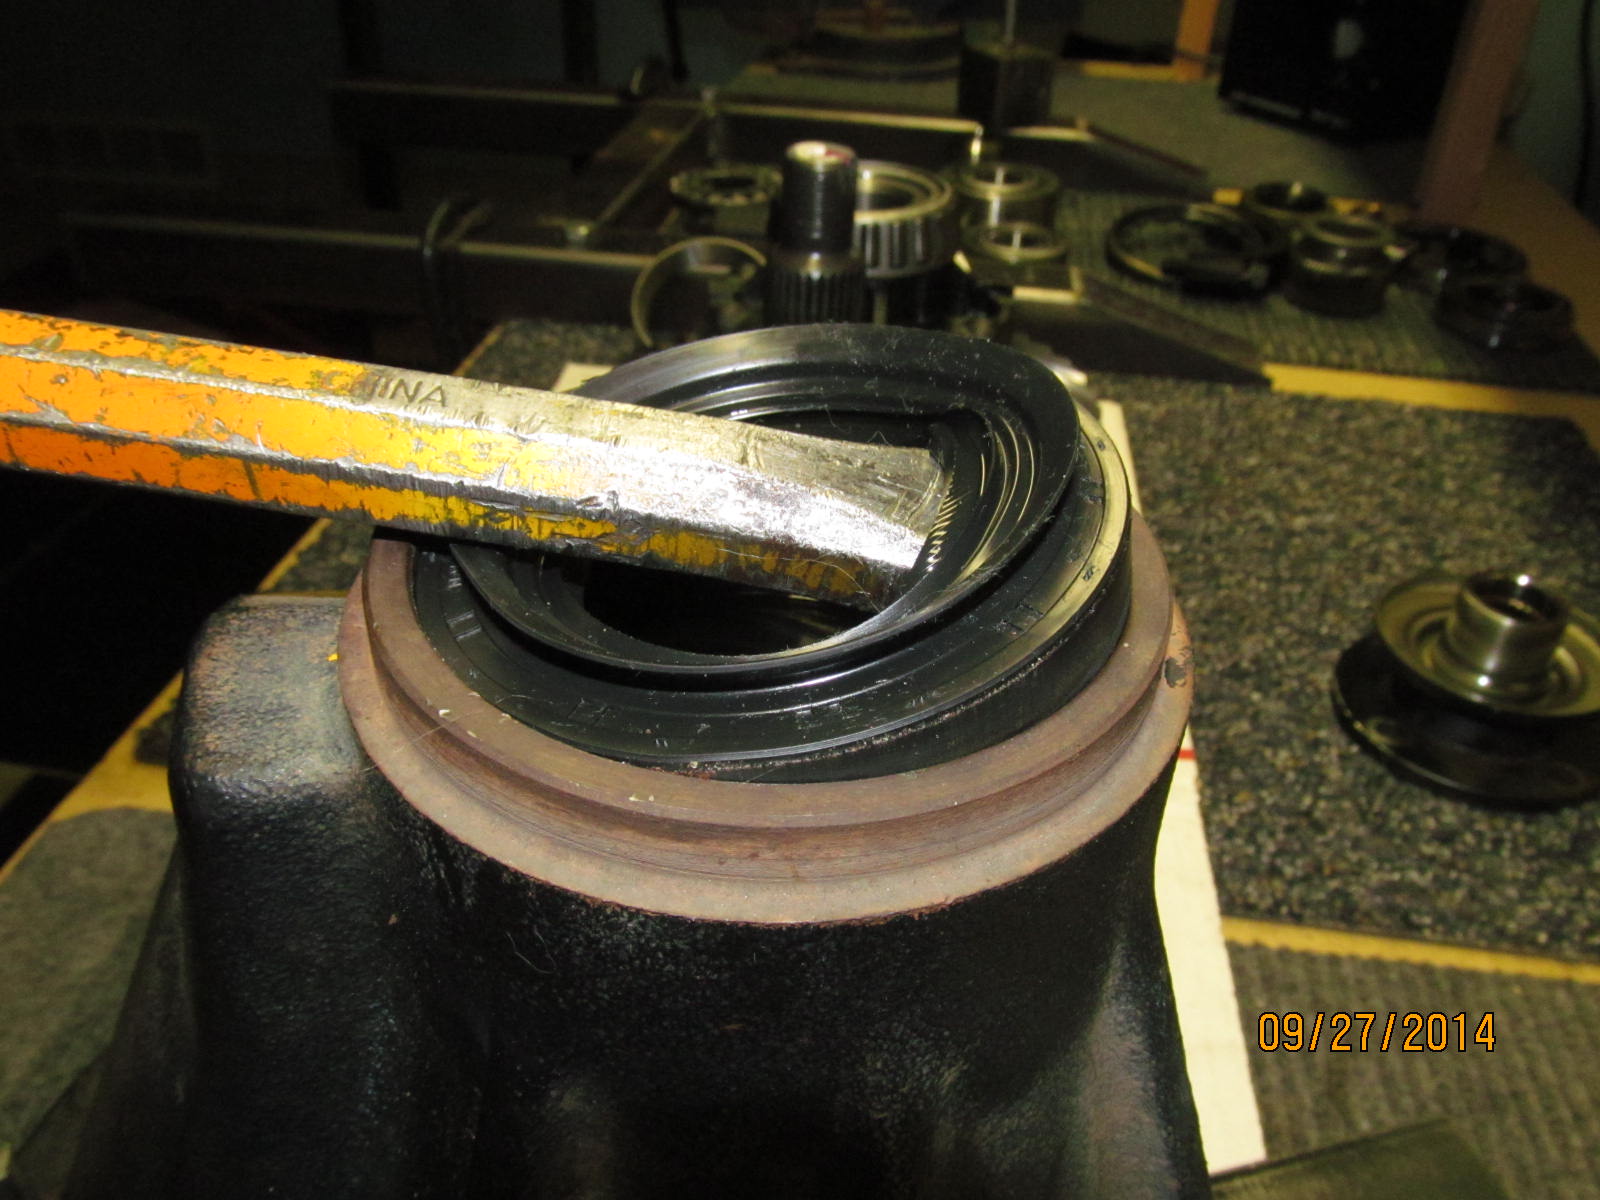
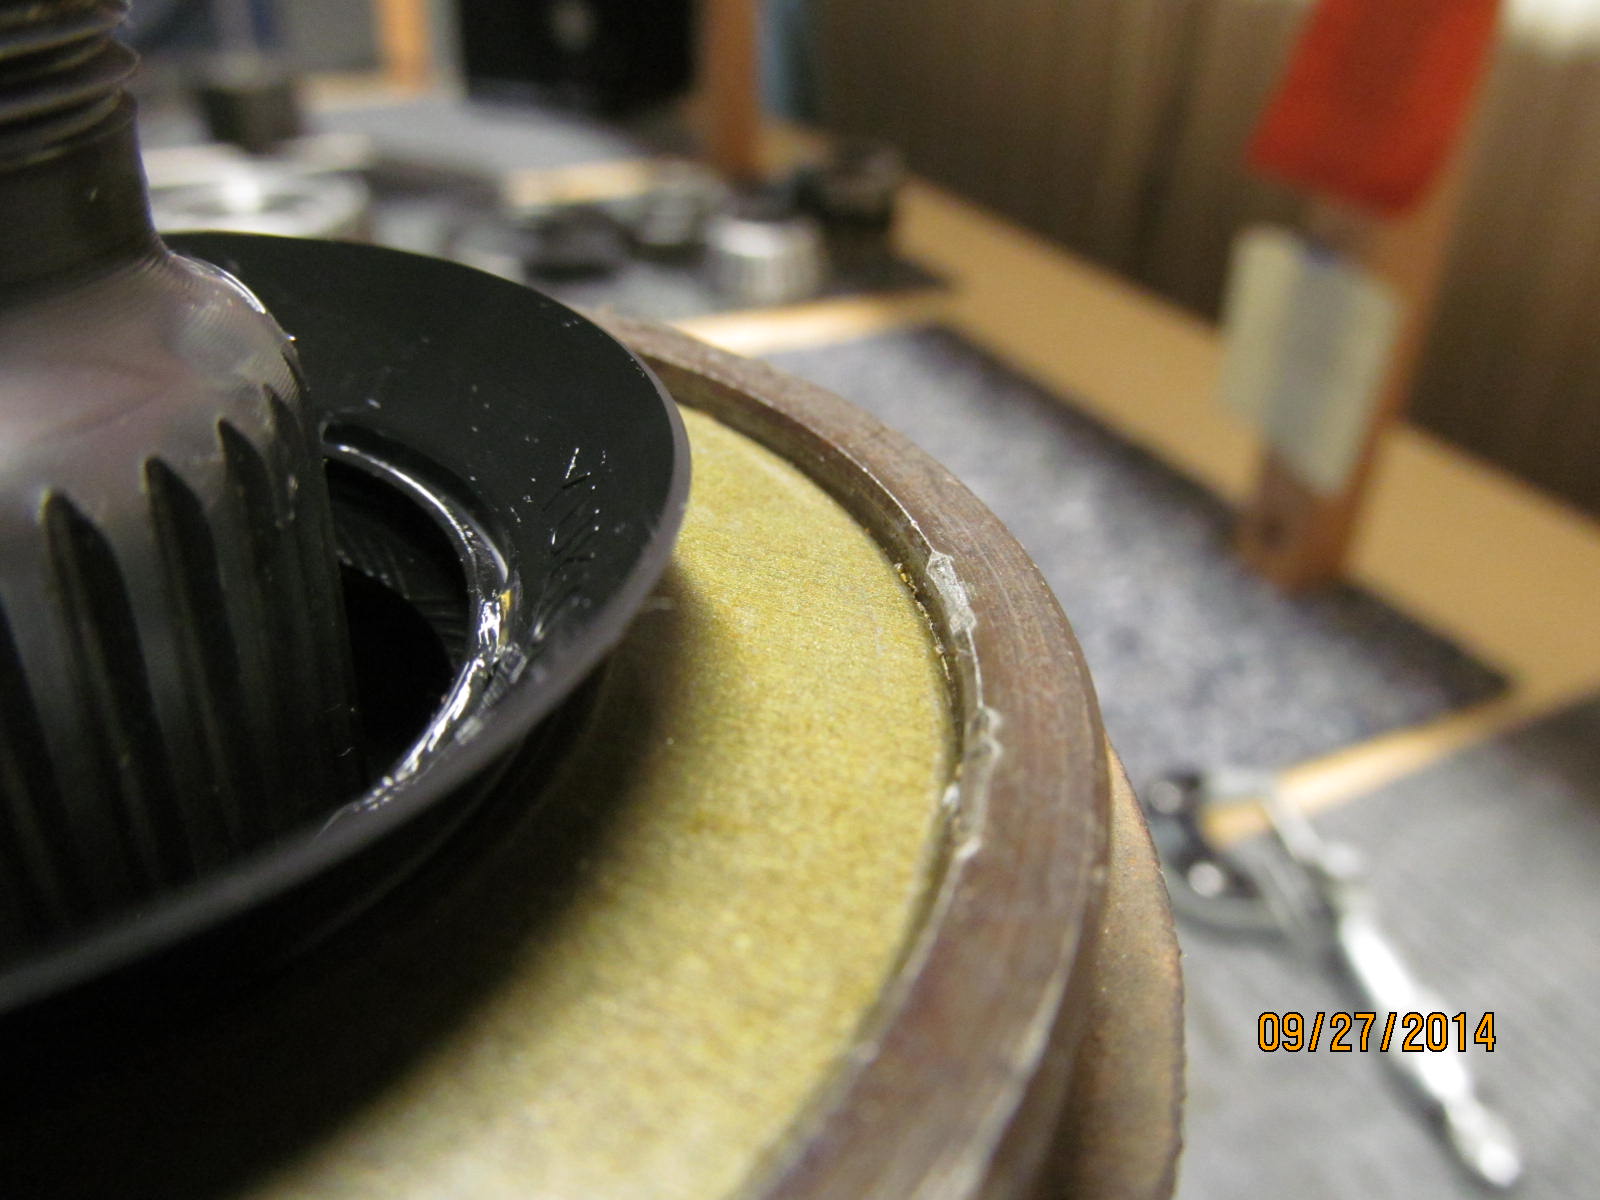
Here's the condition of the old seal before I remove it. It appears to be a Genuine Toyota seal but I'm
pretty sure a previous owner before John put this one in. This side was not quite tapped down enough...
|
|
|
|
|
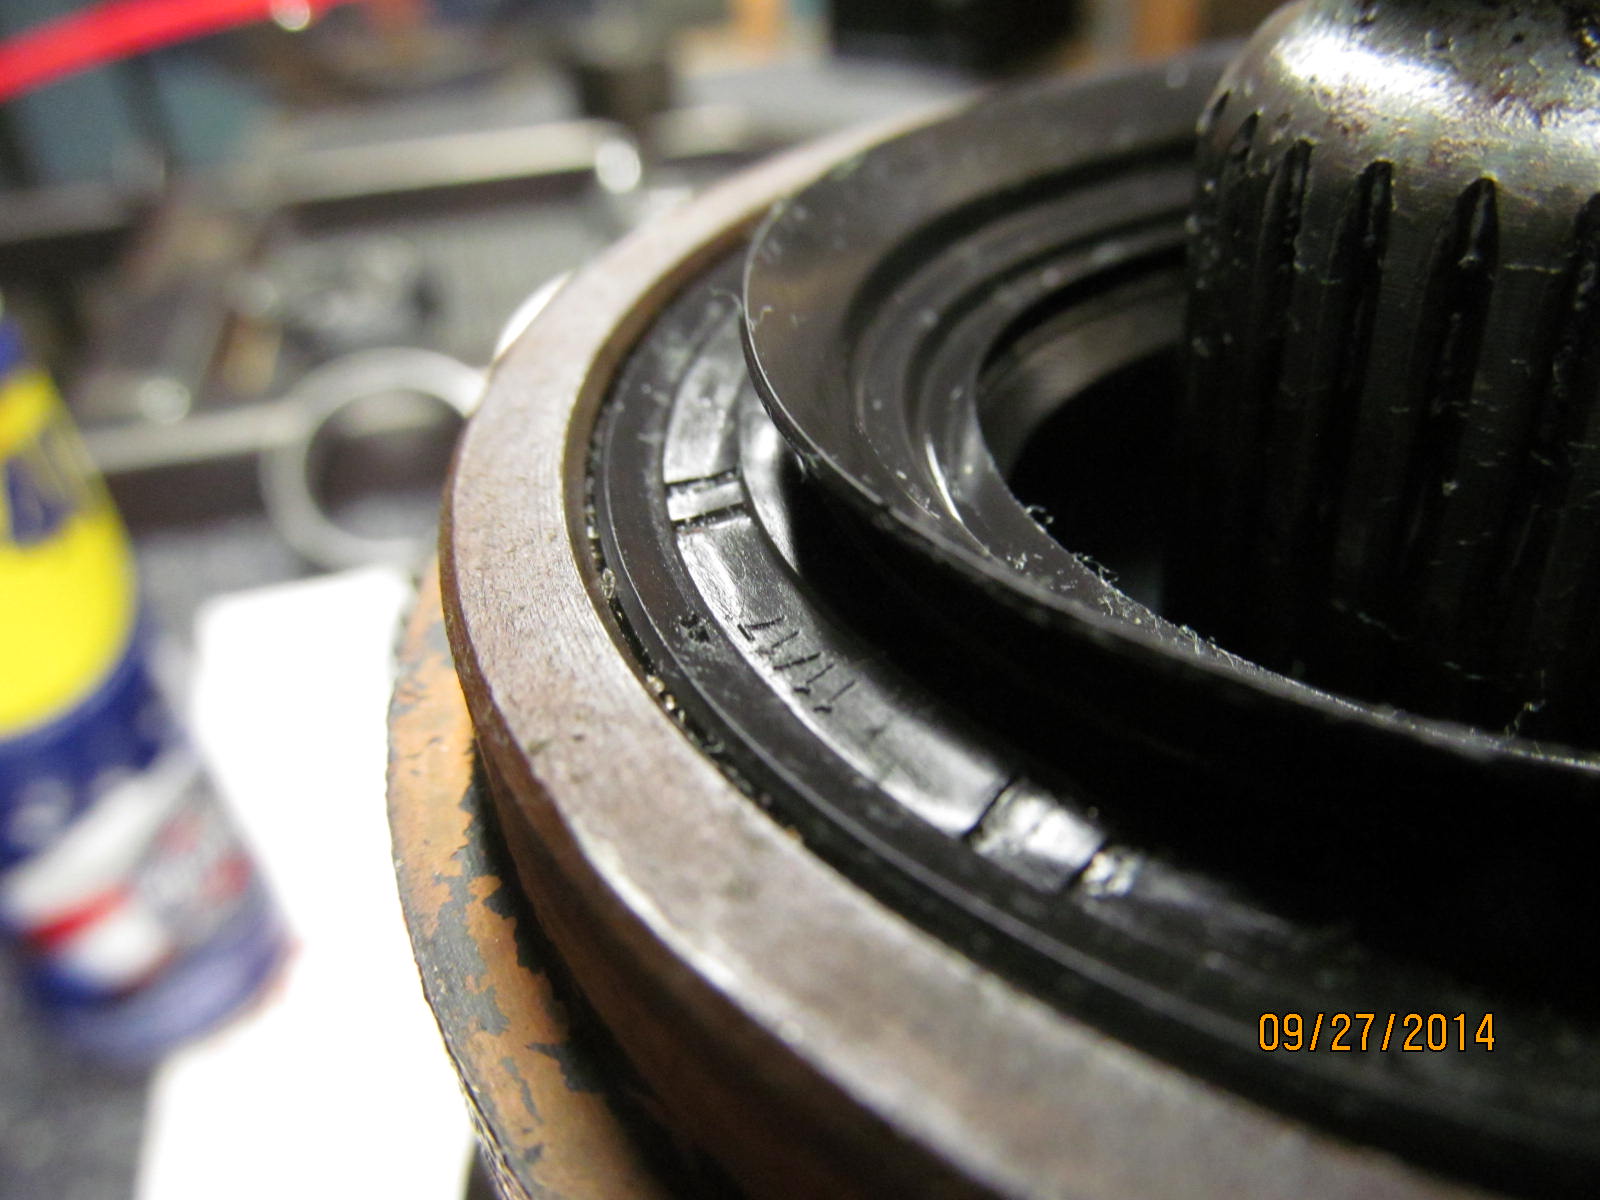
...while the other side was too far down and is collapsed in probably from using a too small socket.
|
|
|
|
|
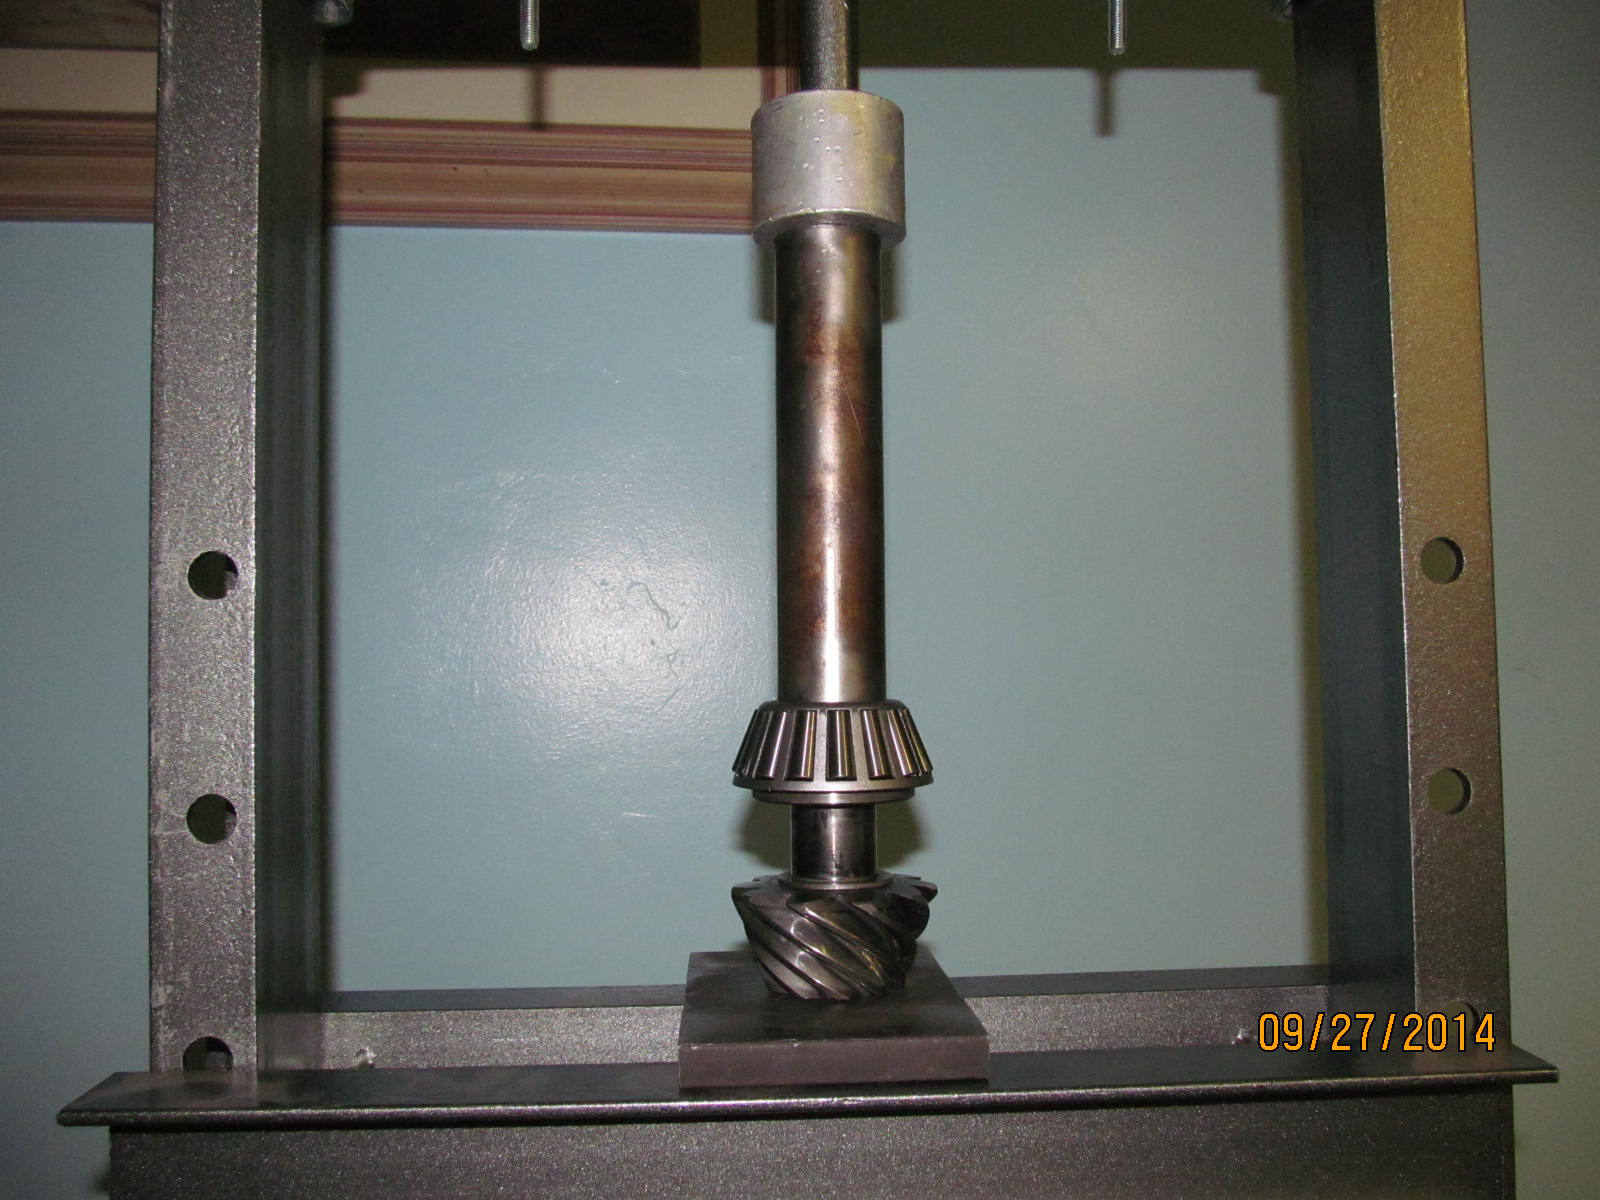
Press the pinion out...
|
|
|
|
|
Then use your favorite means to get the old seal out.
|
|
|

|
|
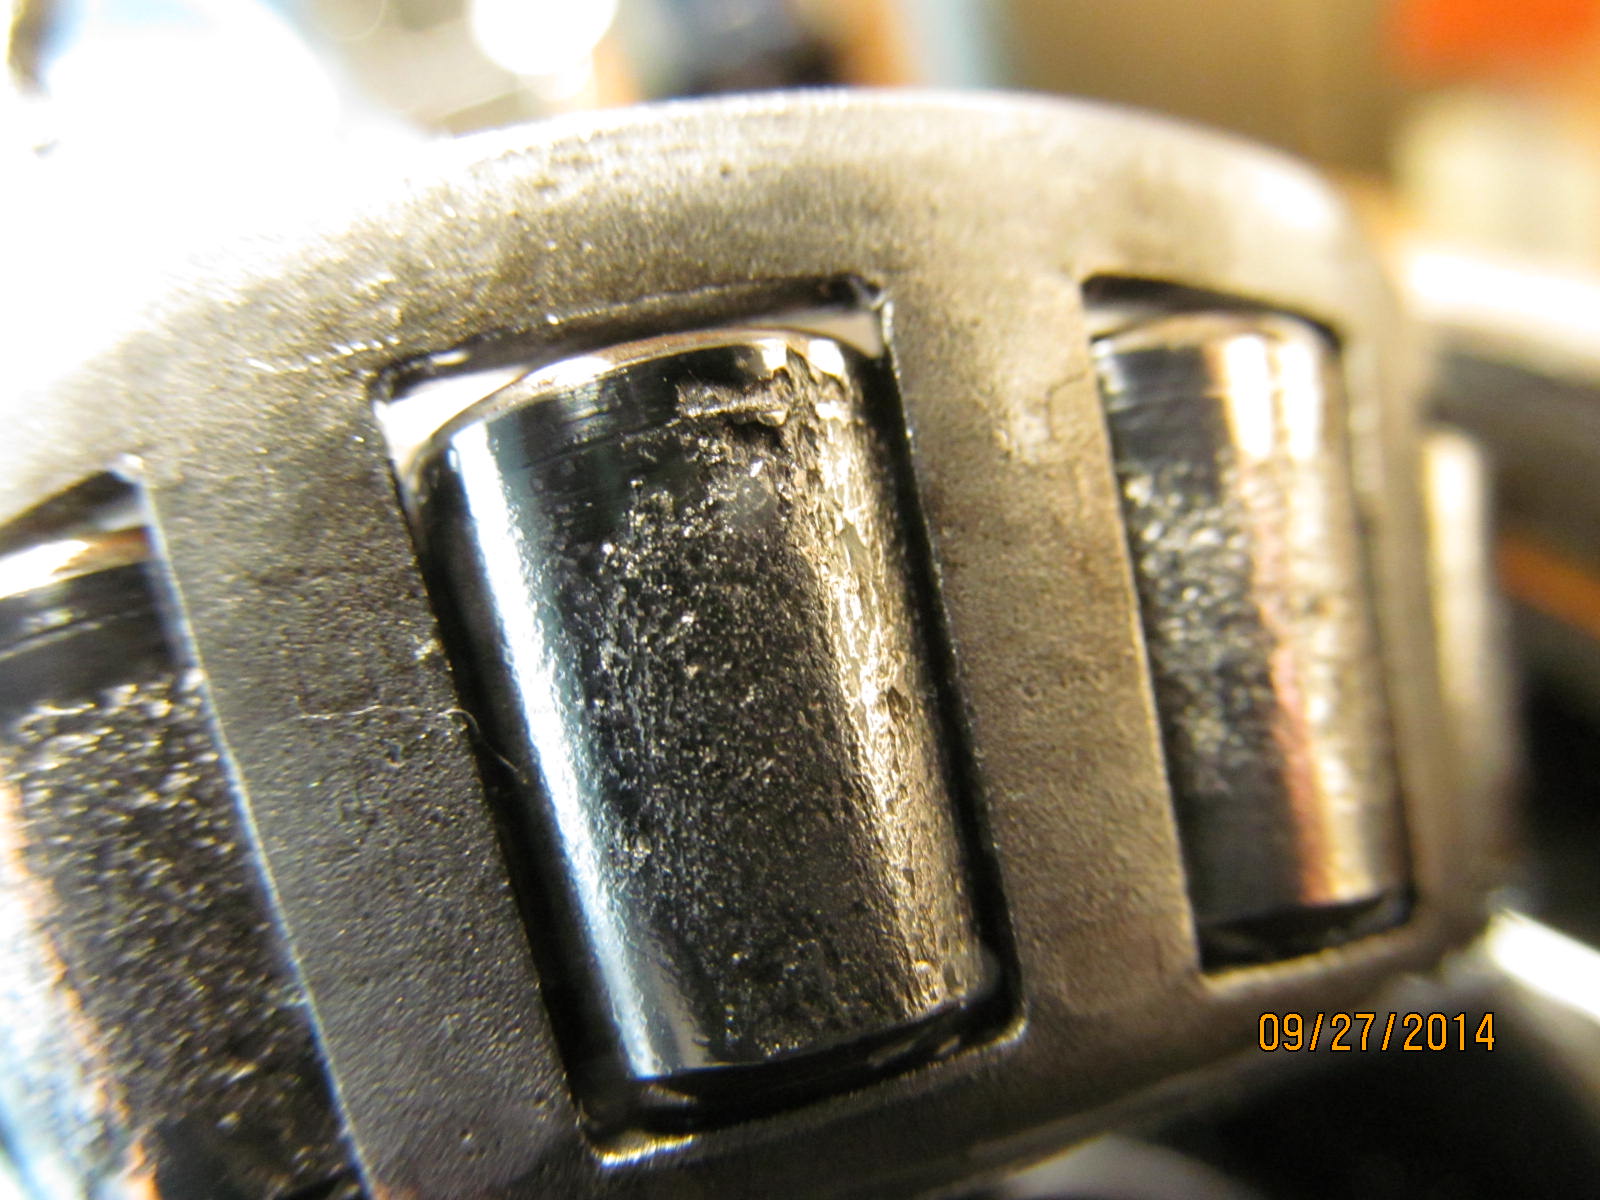
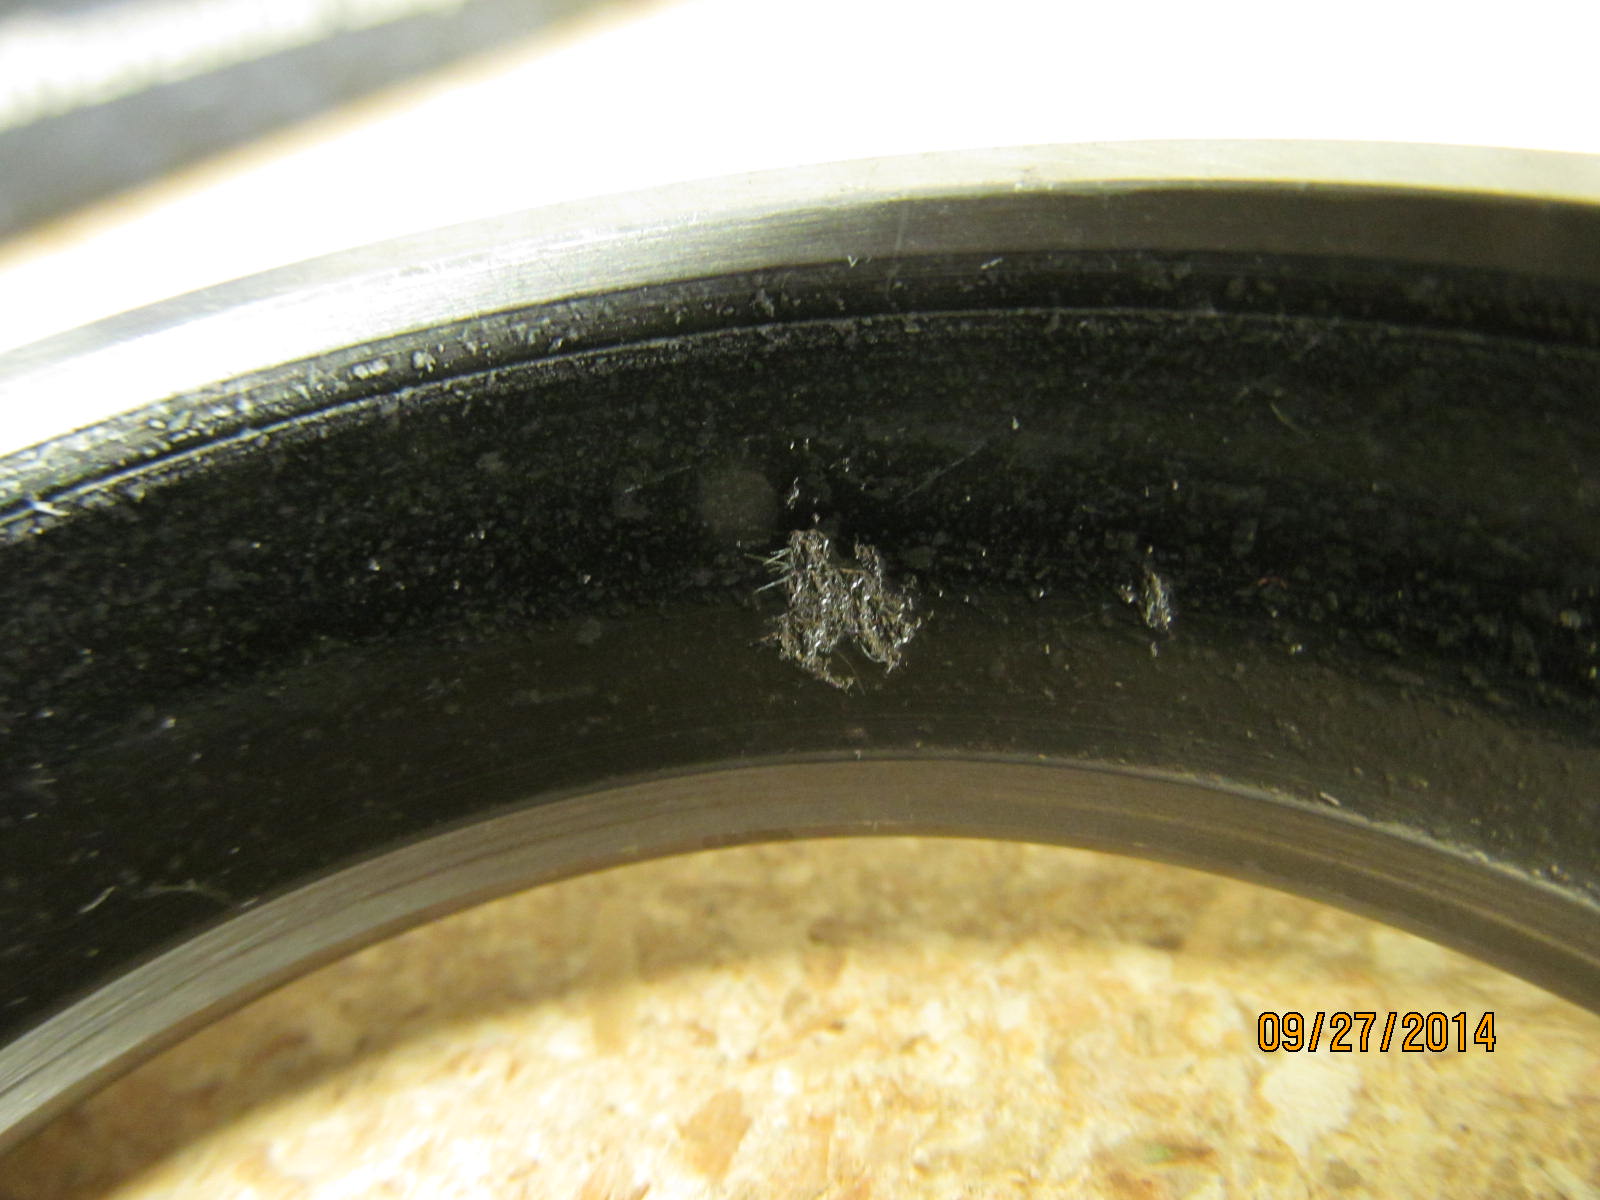
Wow, the small outer pinion bearing sure was headed for total destruction.
|
|
|
|
|
Another shot...
|
|
|
|
|
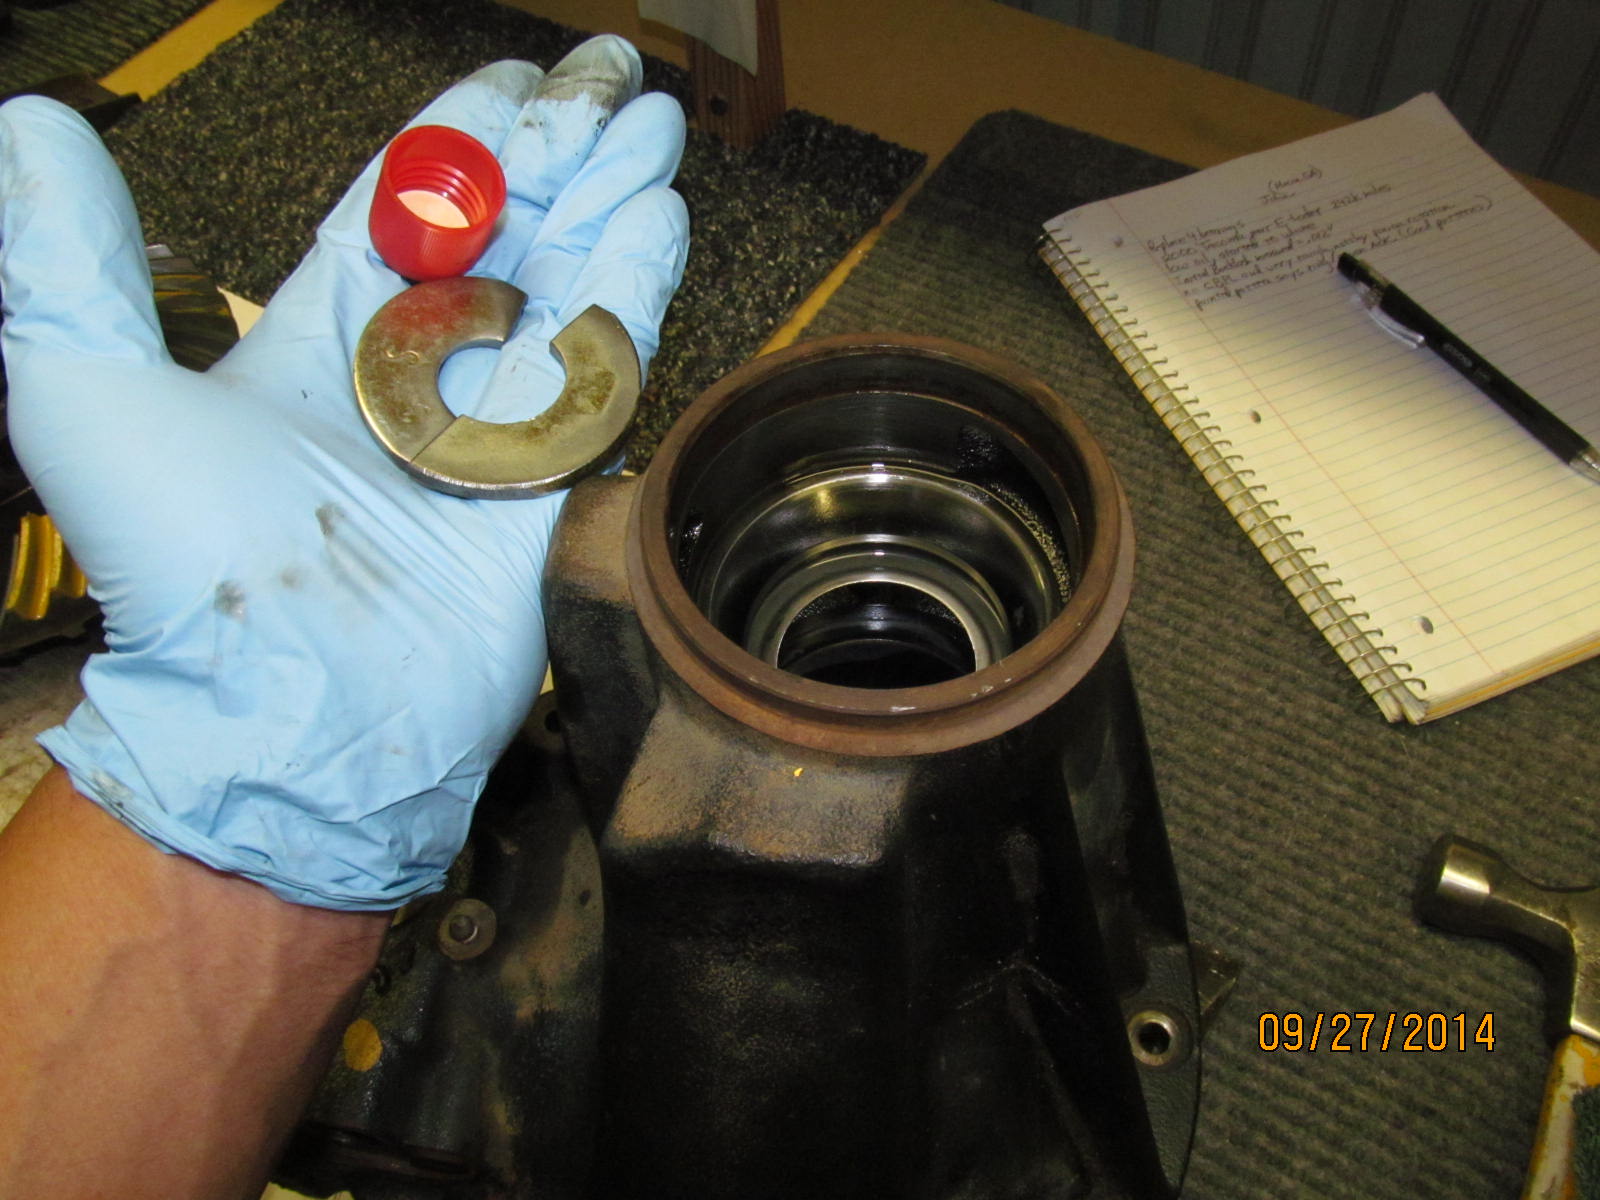
To get the race out without damaging the oil retainer right below it is easy with a couple of large half washers.
|
|
|
|
|
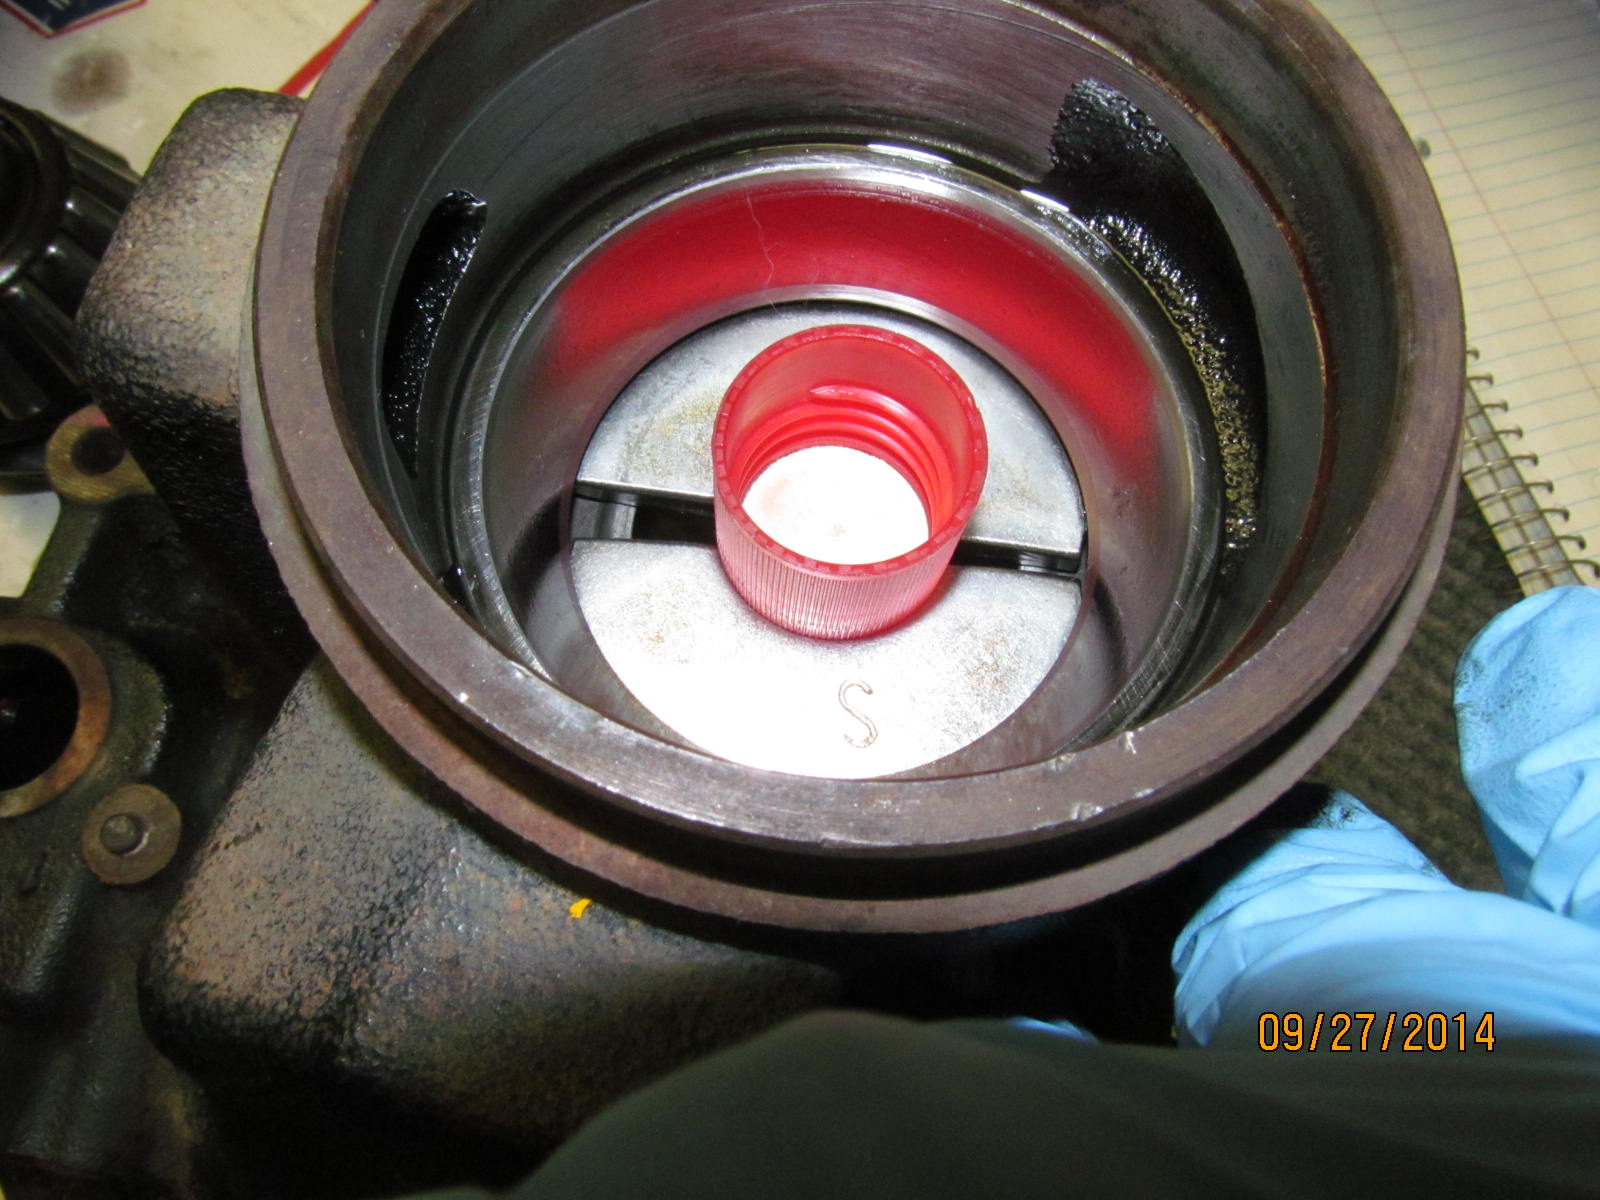
The red plastic cap was the perfect size to capture the half-washers and keep them located.
|
|
|
|
|
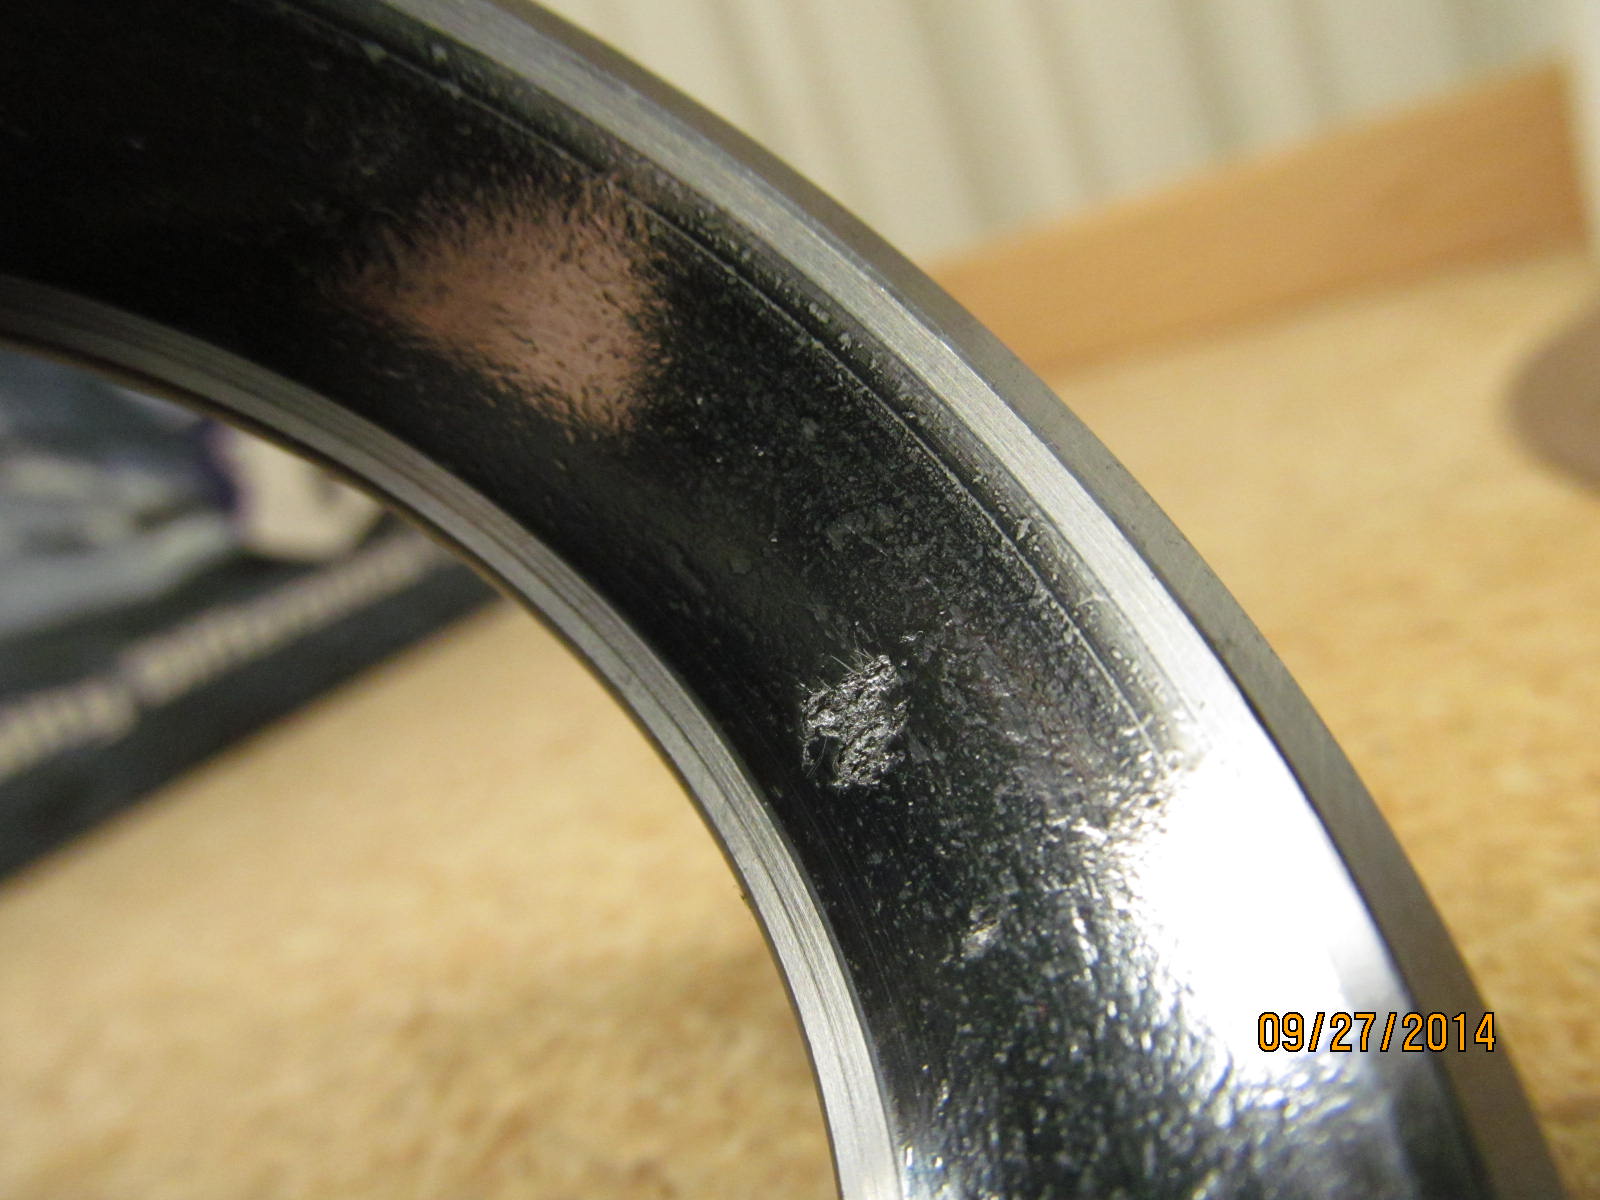
The pinion race is out and besides the moon cratering, it also has some spots missing some chunks of material.
|
|
|
|
|
.....................
|
|
|
|
|
Save your old bearing parts....they are very useful for tapping in the new races.
|
|
|
|
|
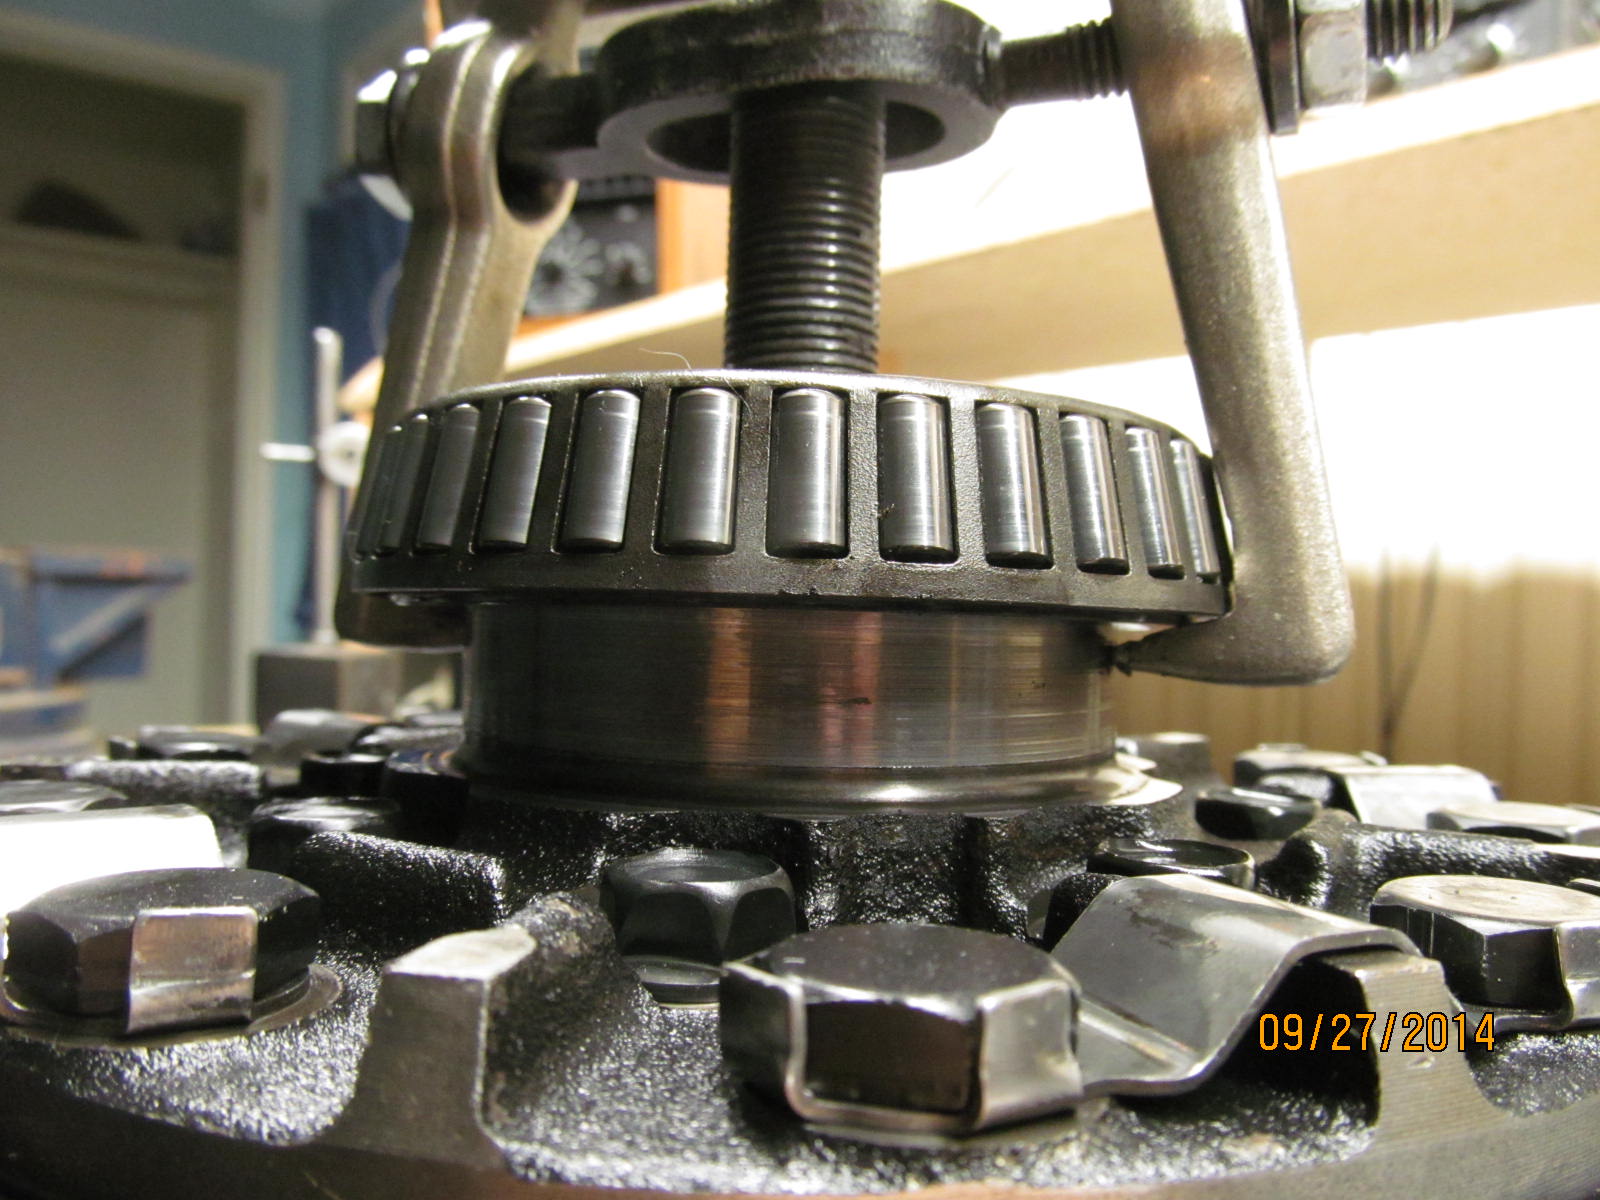
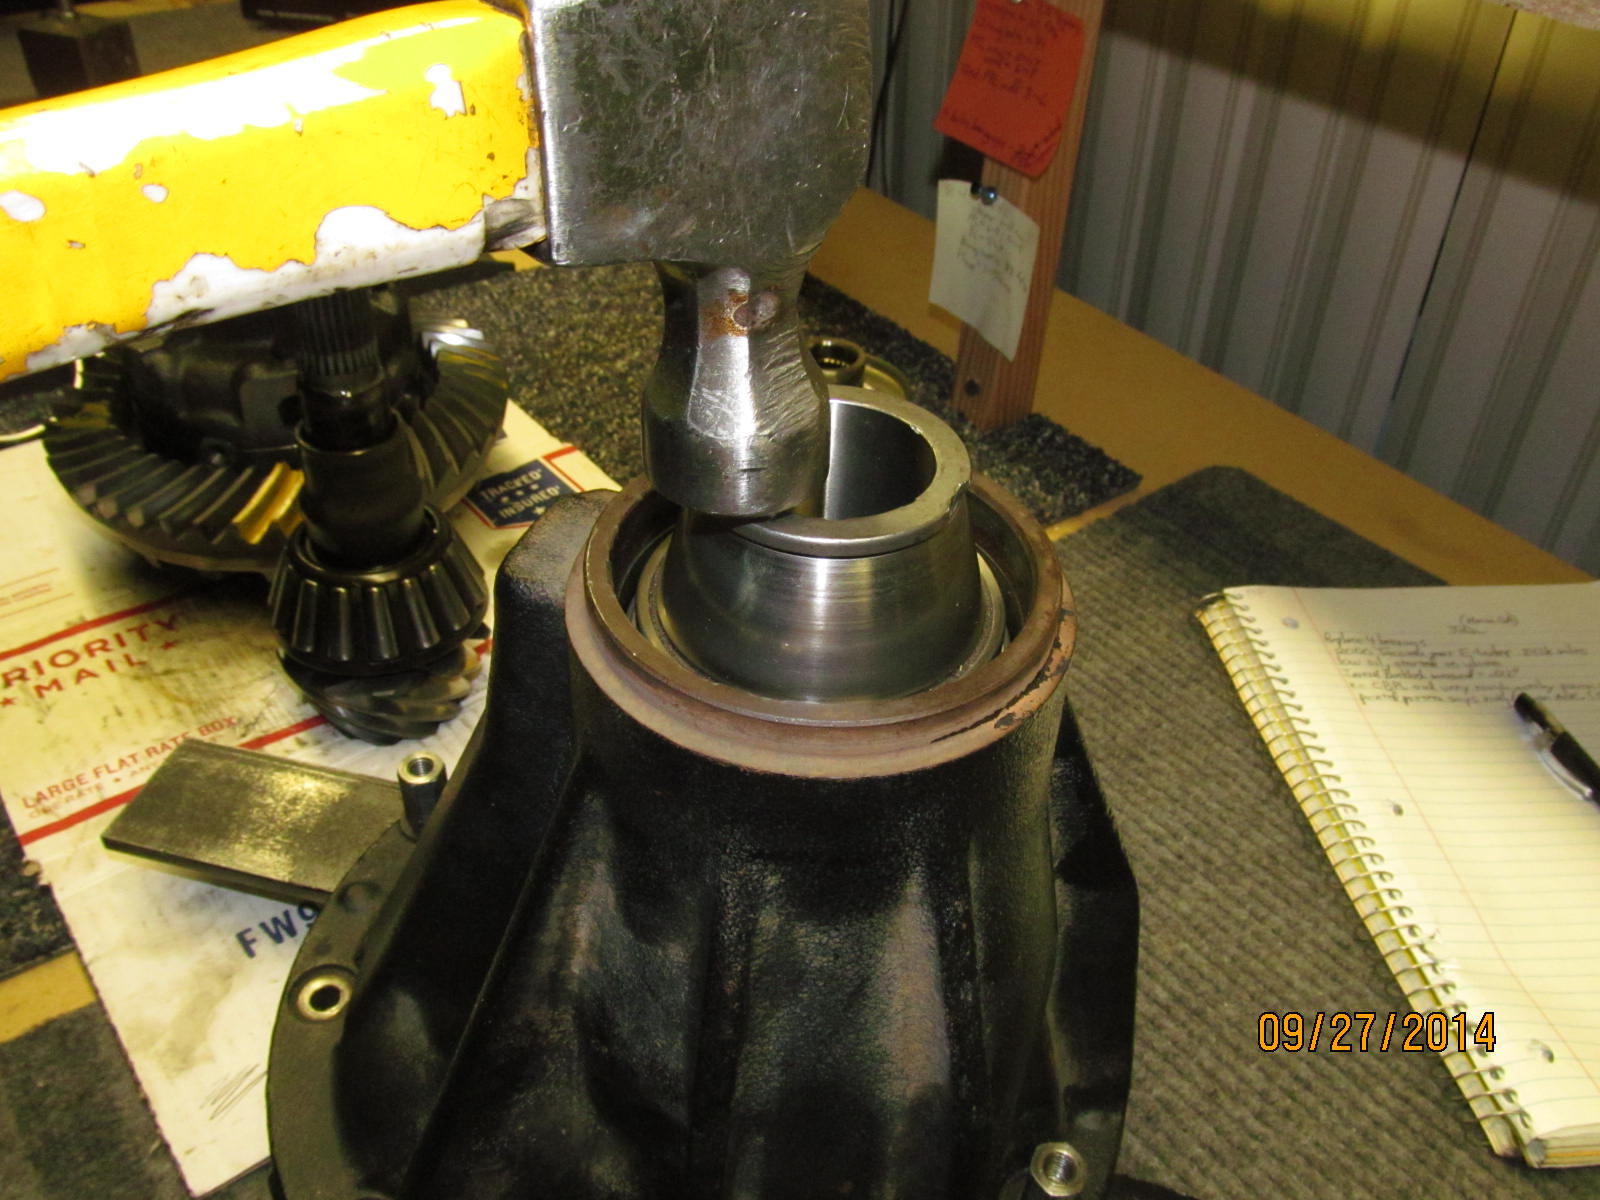
The large inner pinion race is best pressed in evenly with the 12t Harborfreight press.
|
|
|
|
|
This bearing was also on very tight.
|
|
|
|
|
Pressing on the new bearing with the factory .080" pinion shim.
|
|
|
|
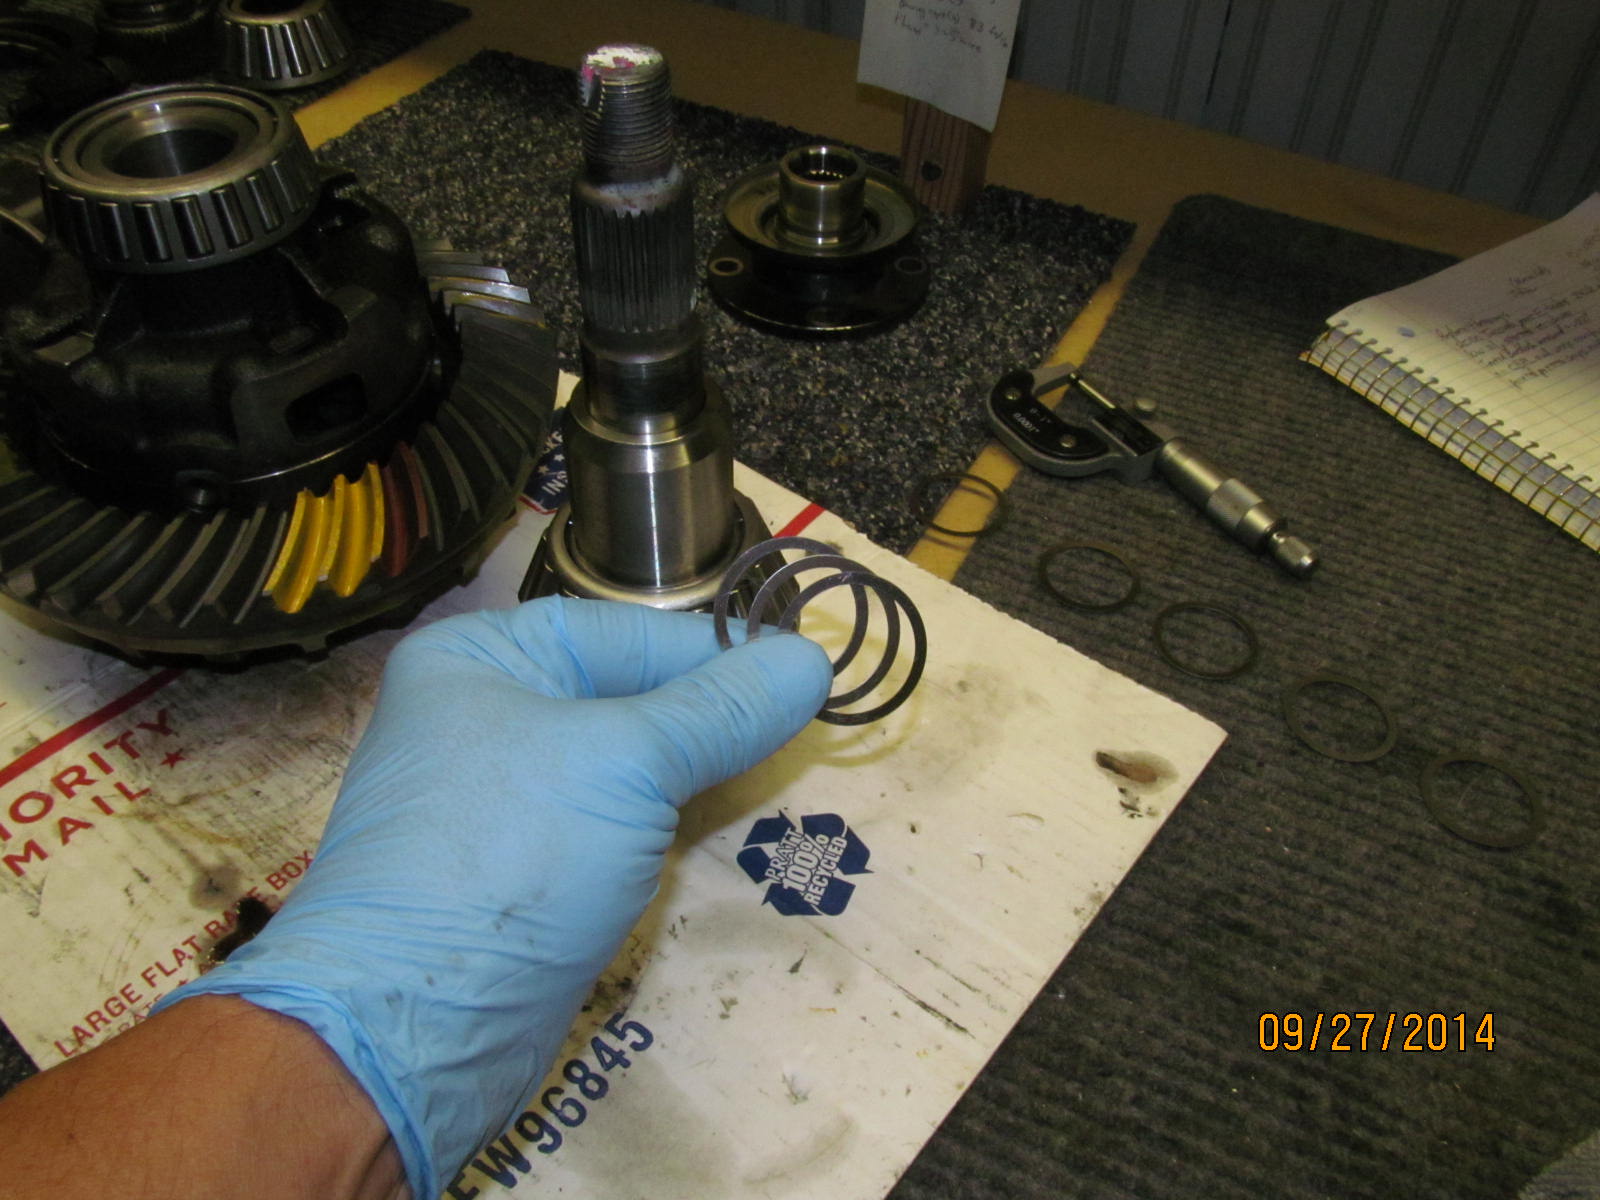
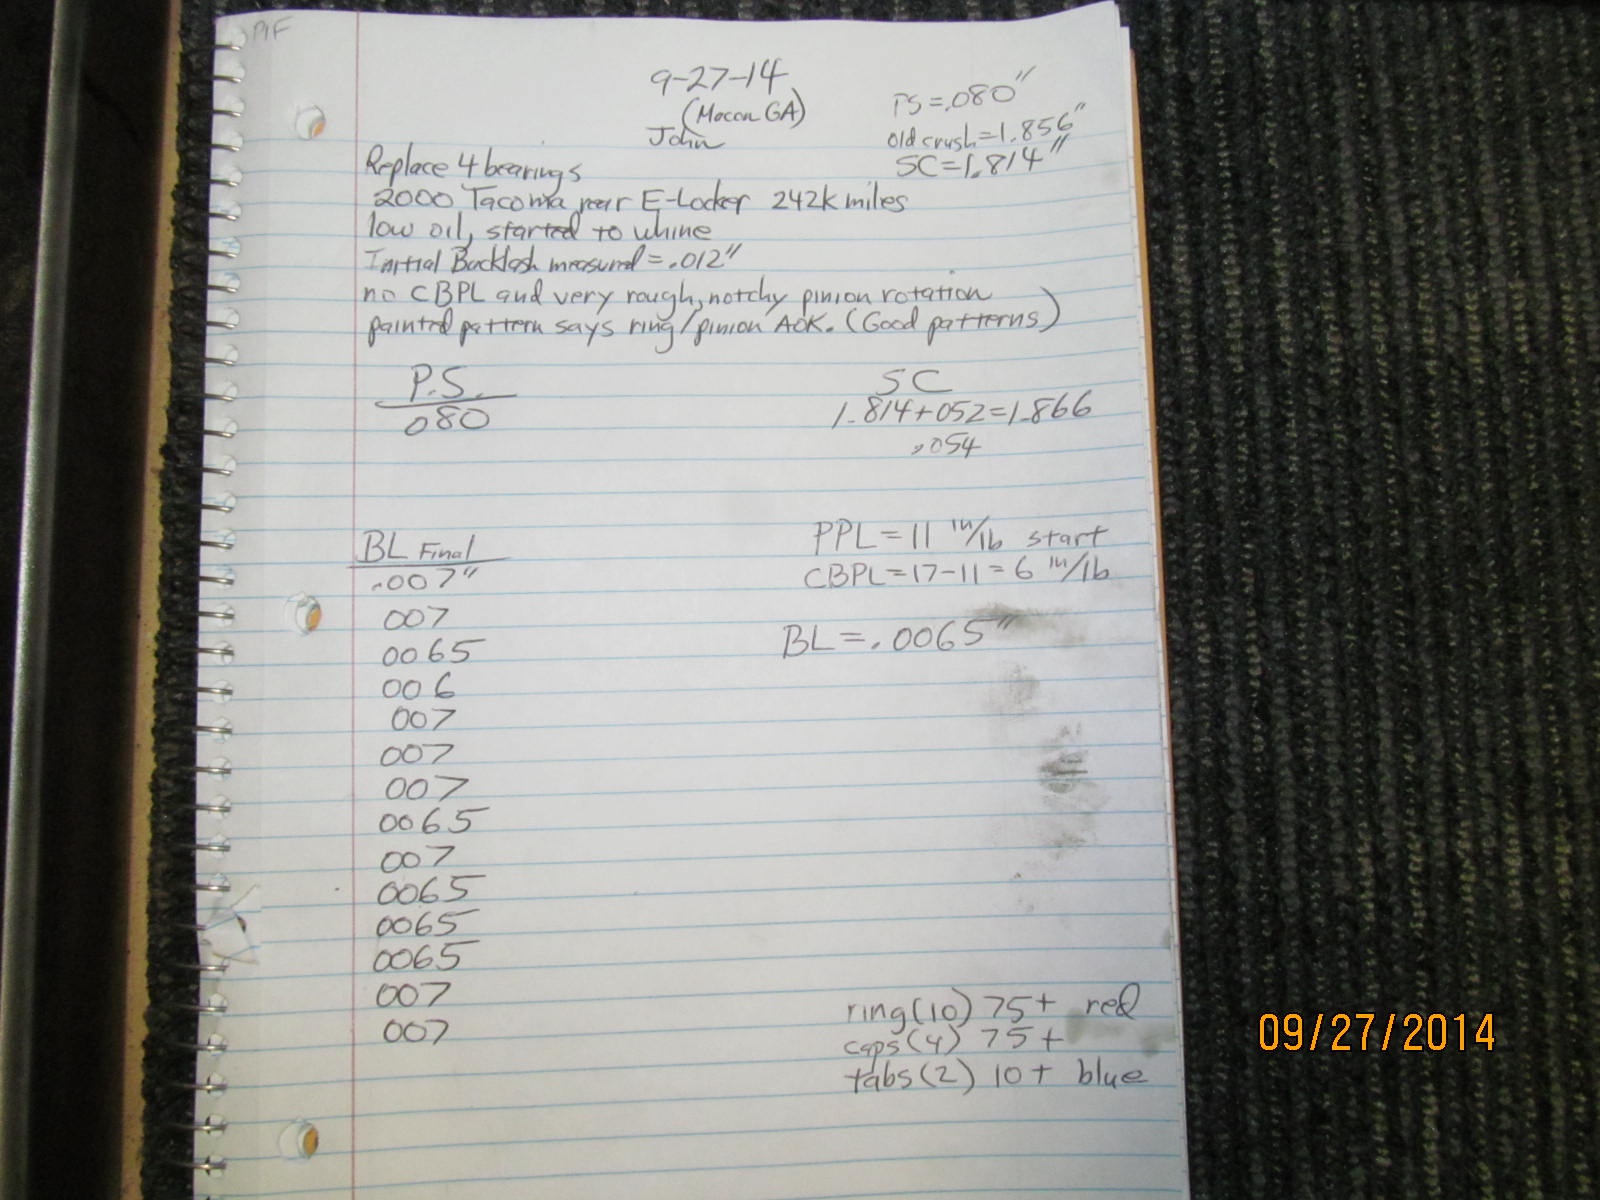
The solid collar is next. I know it's going to be close to 1.866" total length. The solid collar
measured 1.814" evenly all the way around the collar which is not always the case but apparently
USA Standard Gear has it under control. 1.814 plus .052" (1.866" total) shown in the pic
is my first try....
|
|
|
|
I'll ram a used nut down using my shop flange. The shop flange does not have a dust cover so I can pour oil
down onto the bearing to get a smooth measurement. I was close but the pinion drag was too tight so
it was dis-assembled and a shim that was .002" thicker was the winning ticket.
|
|
|

|
Grease on the garter spring and some black rtv on inside diameter of the bore. Probably not needed but it's
something I do mostly from habit.
|
|
|
|
|
...................
|
|
|
|
|
....................
|
|
|
|
|
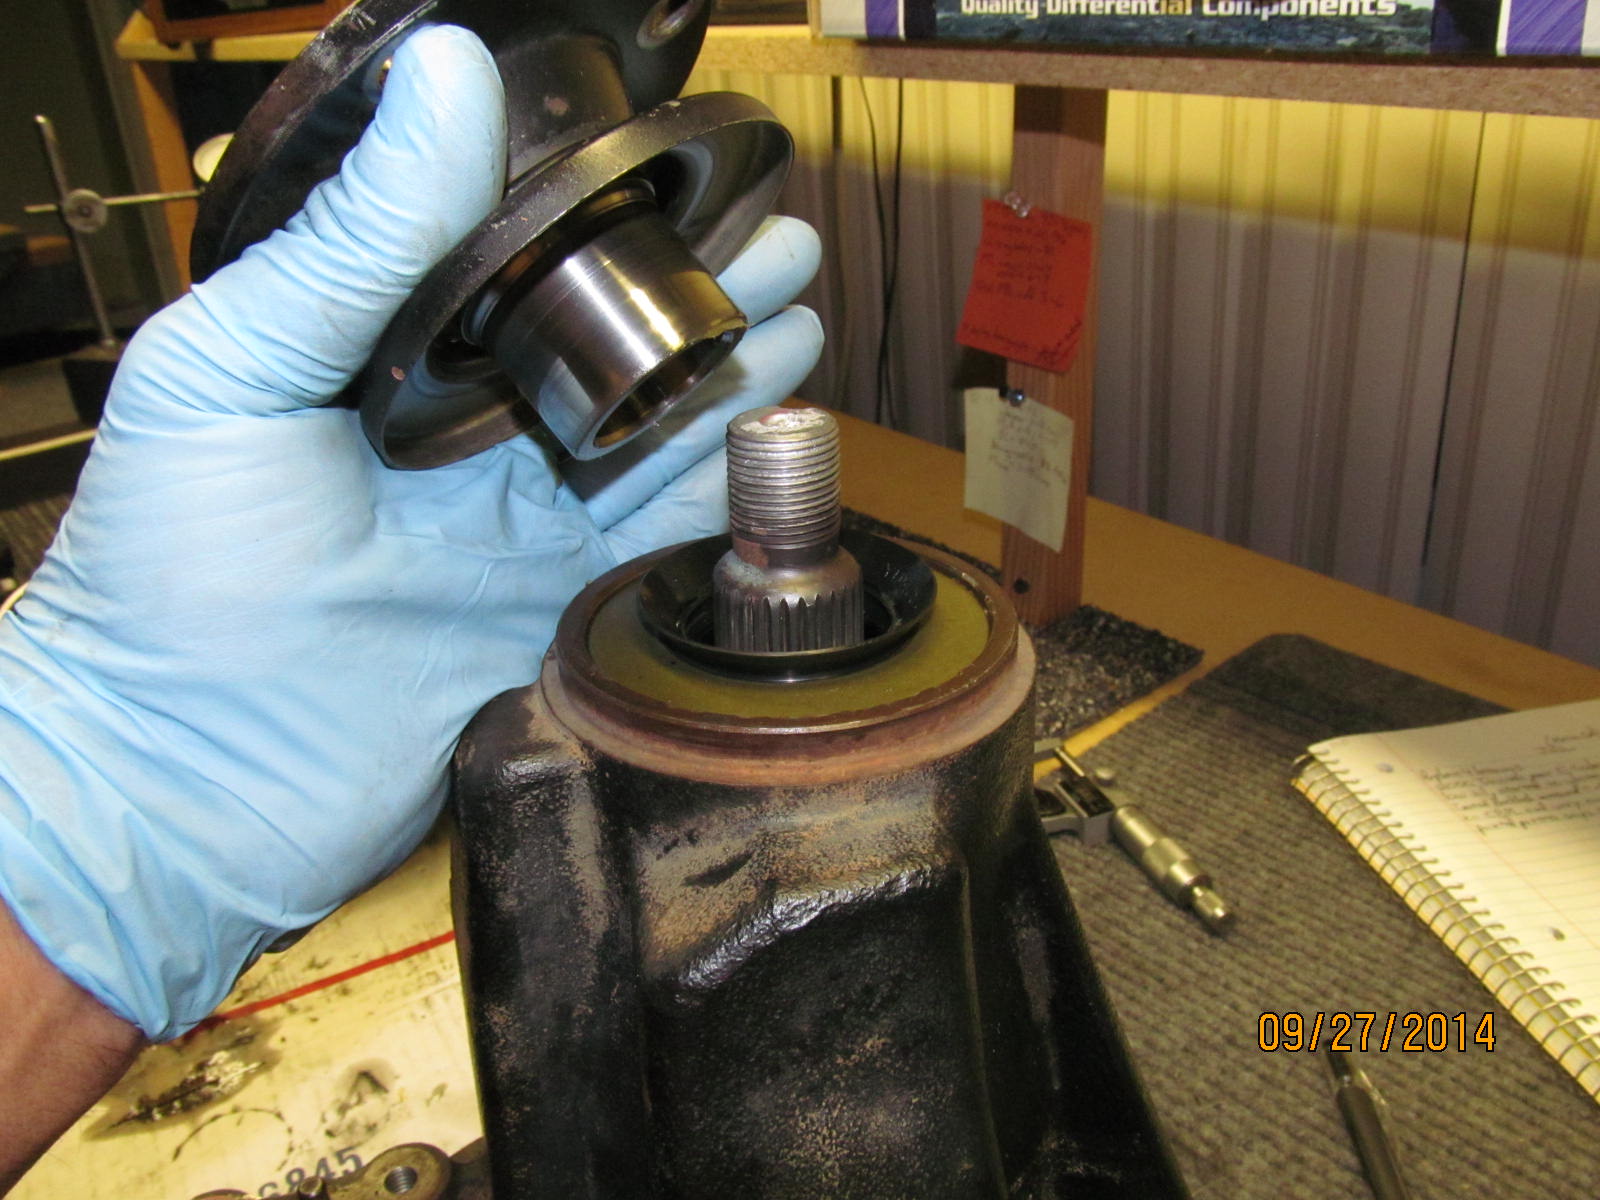
After verifying that the garter did not somehow manage to free itself, the flange can now go on.
|
|
|
|
Material can be ground off the bottom of the nut during the tightening process if a good hardened washer
is not used.
|
|
|
|
Lots of aluminum based anti-seize can really reduce the thread resistance and allow that pinion nut to
develope some serious clamping forces.
|
|
|
|
|
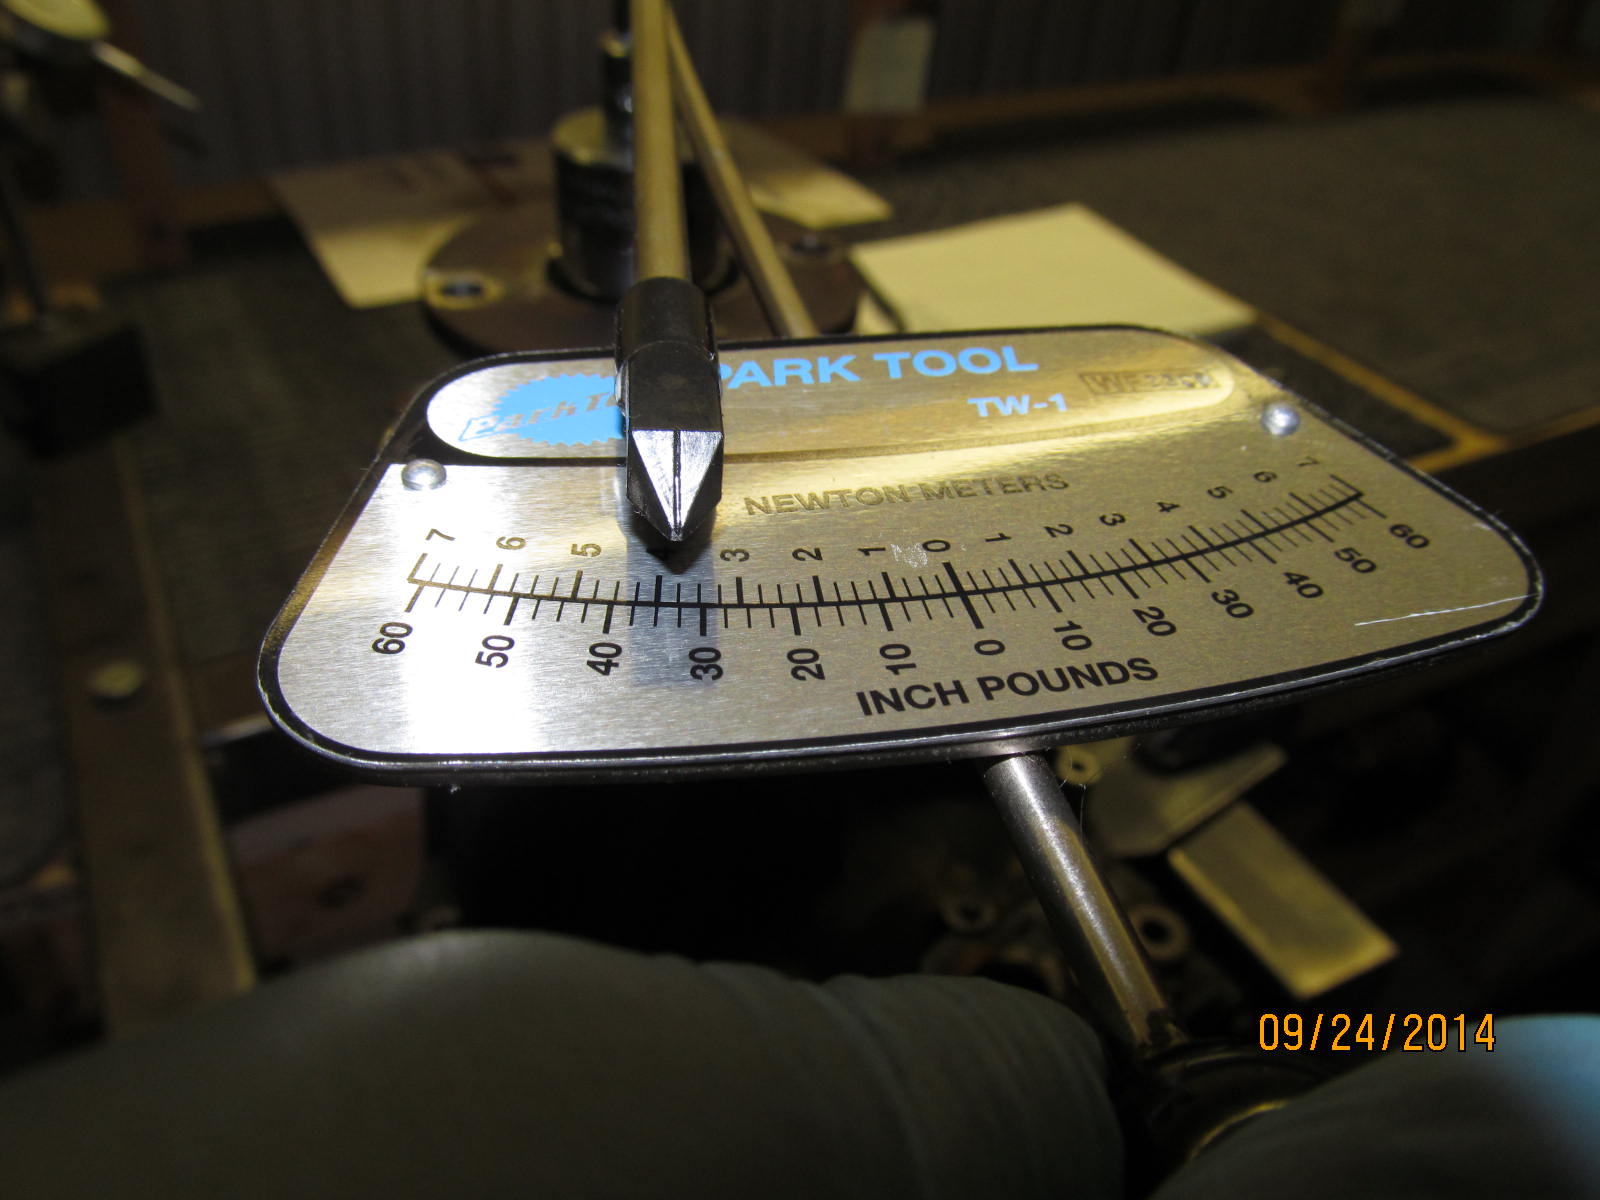
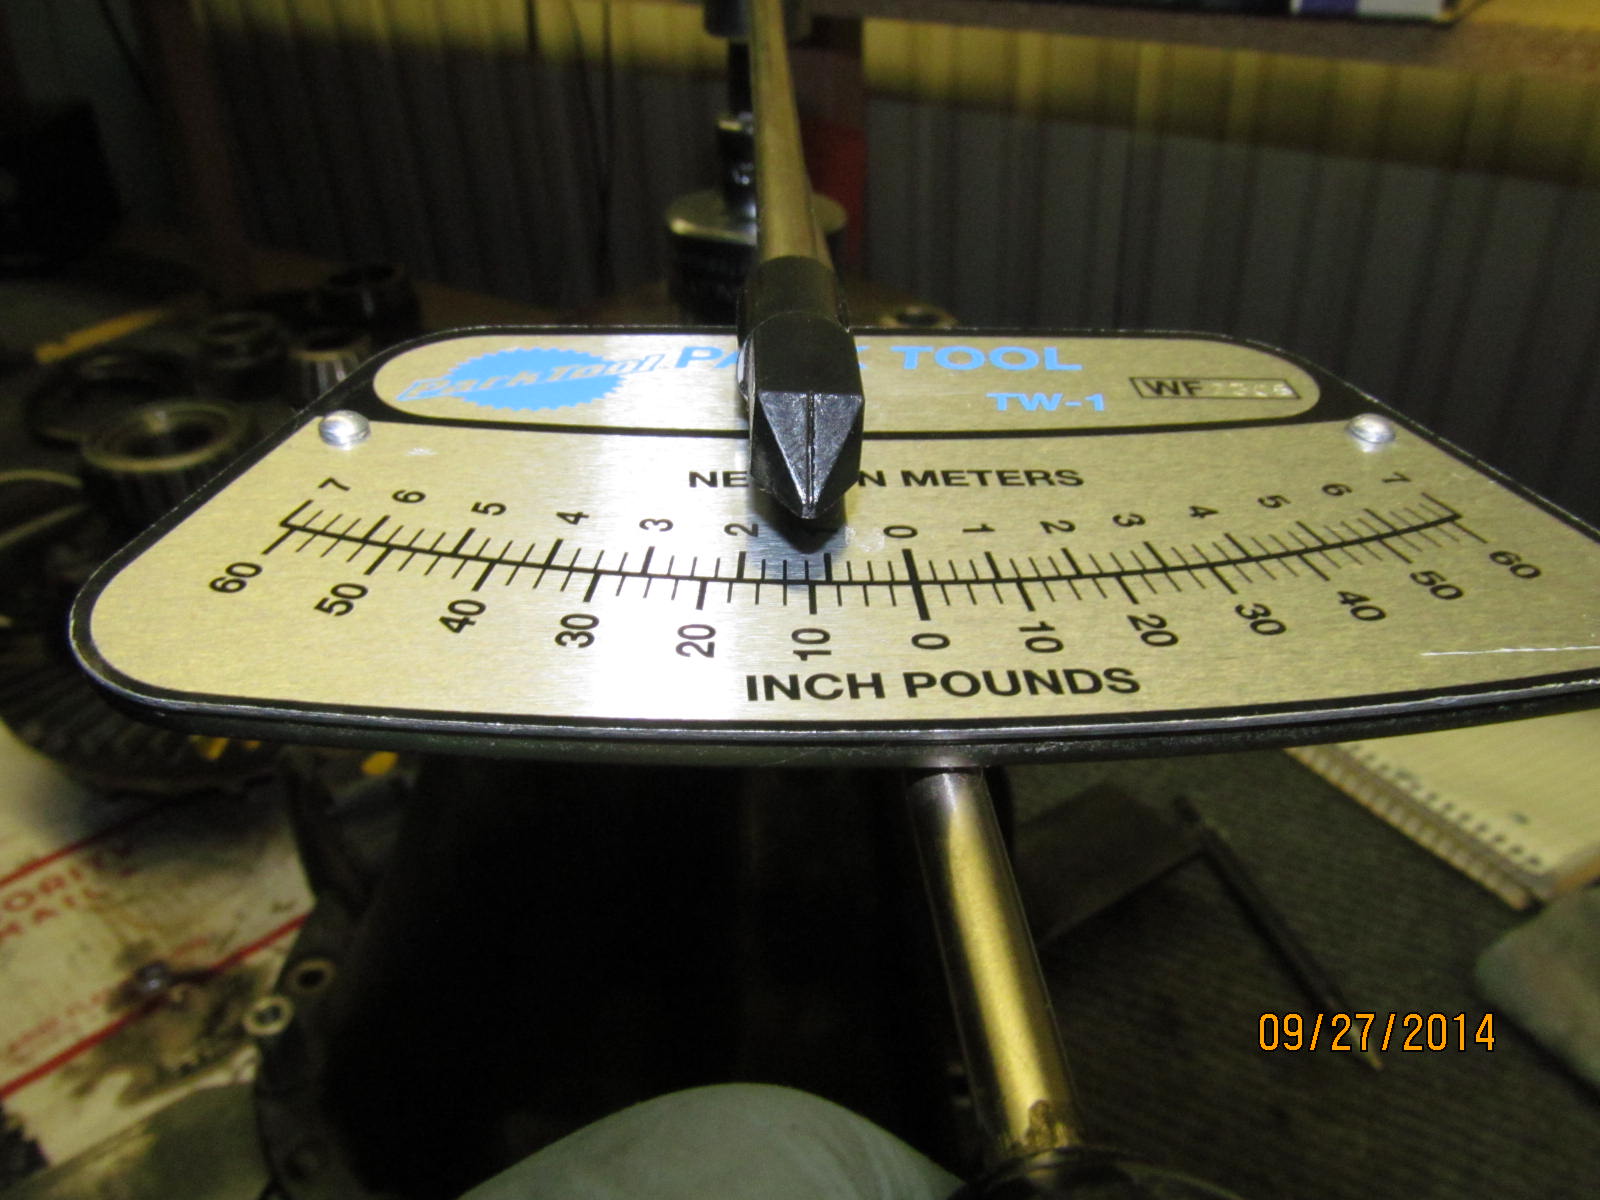
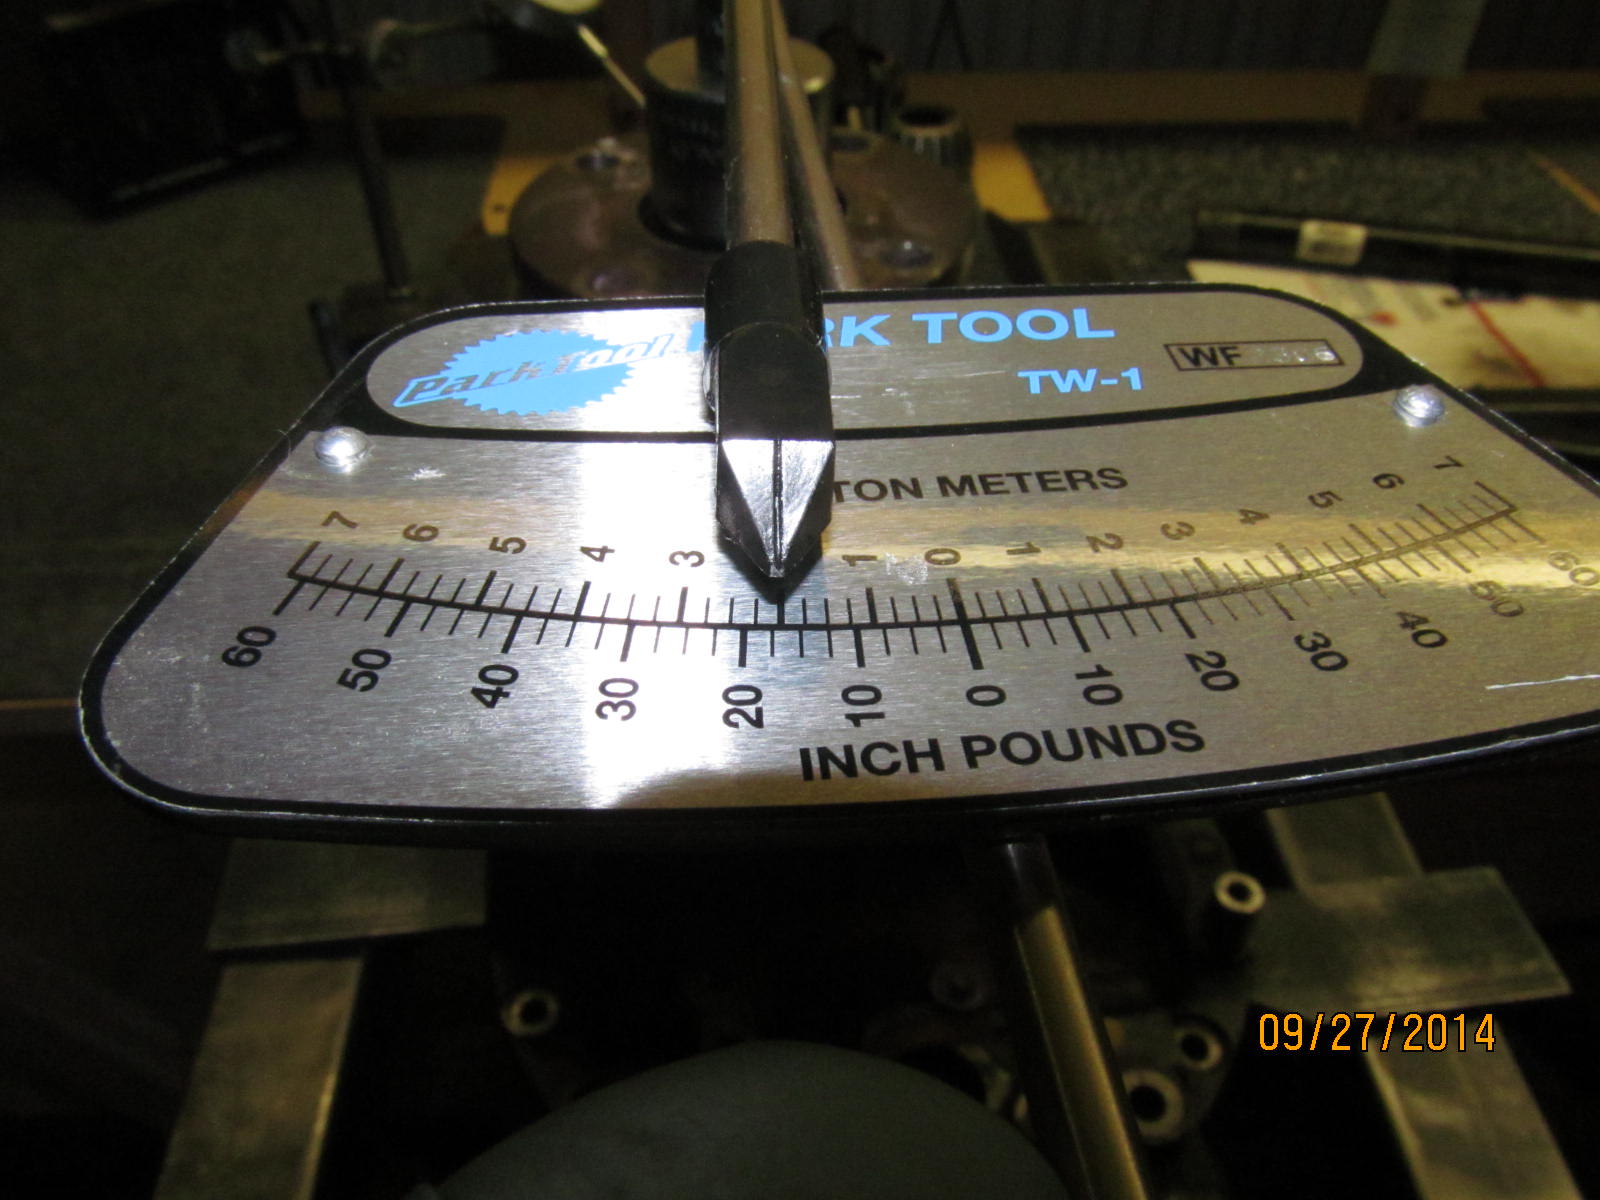
11 in/lb start torque for a final pinion preload measurement.
|
|
|
|
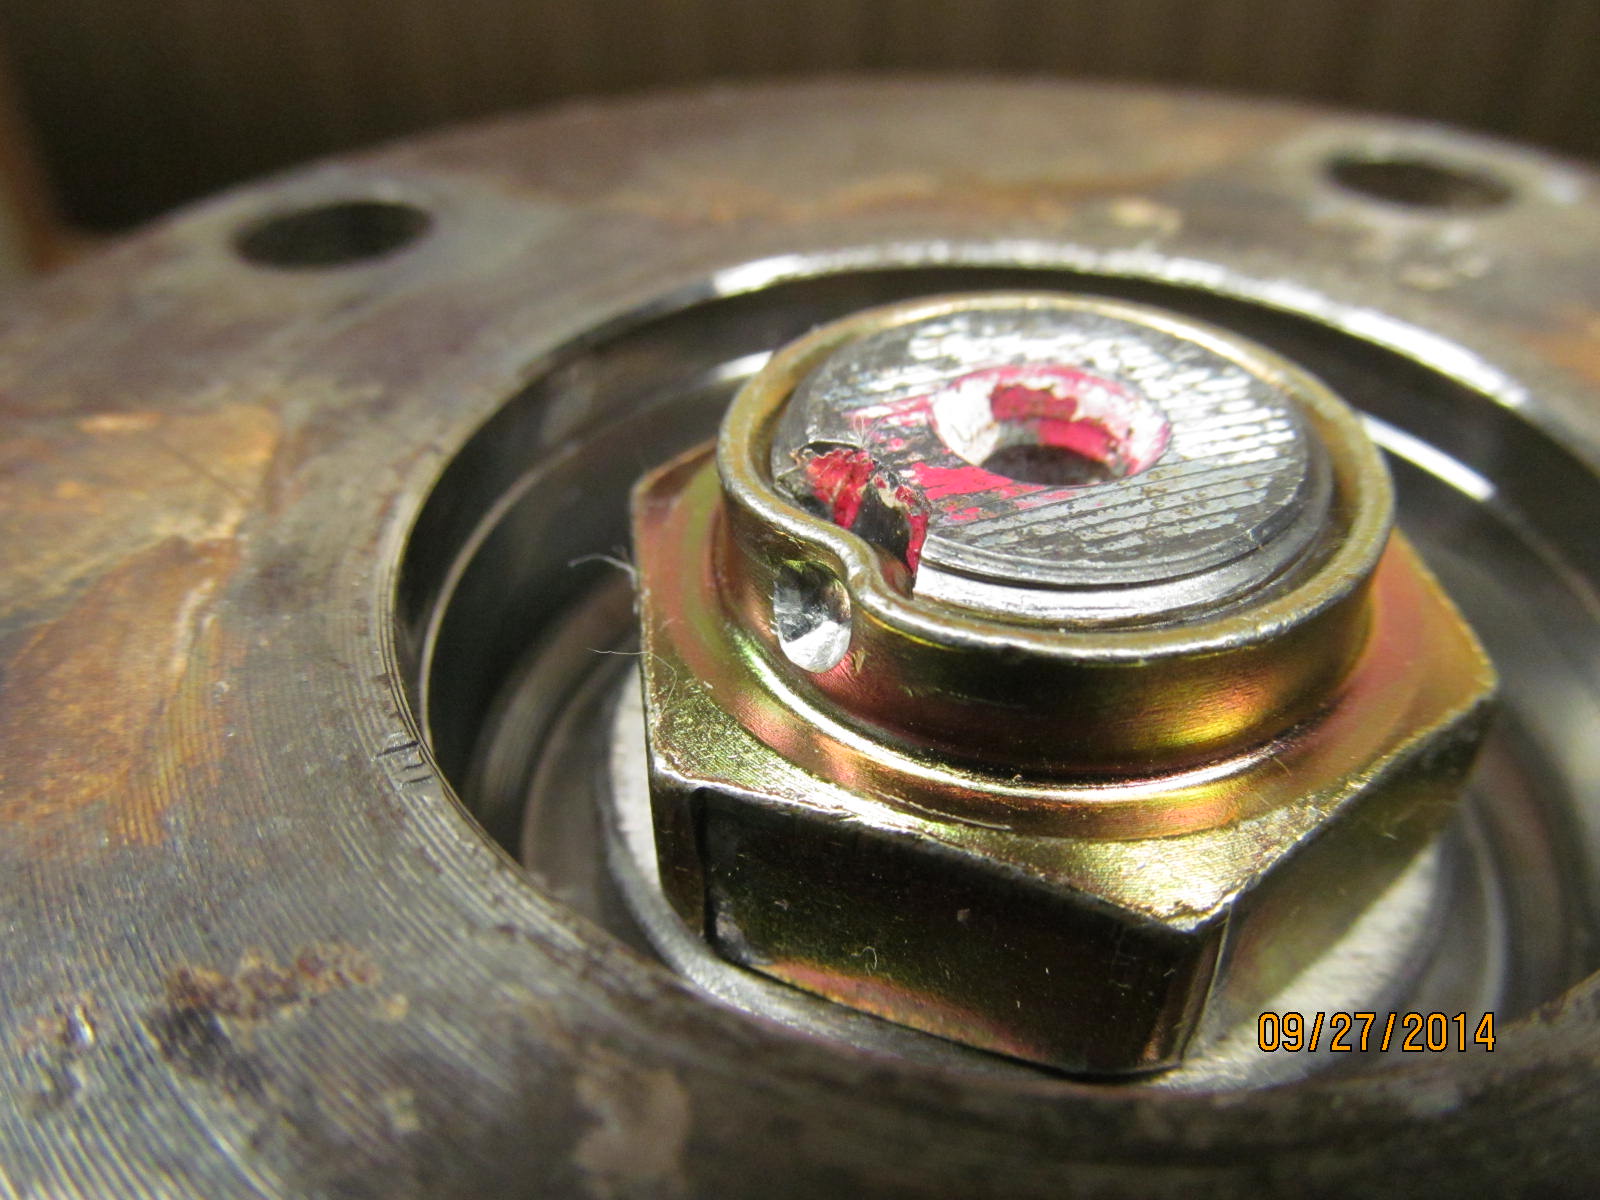
The nut will never loosen up on its own accord. It looks so clean and not even any anti-seize residue.....
starting fluid can really work wonders :)
|
|
|
|
It's too easy to mis-align the threads...so start the 2 long bolts and use the rubber end of the hammer
to snap it down in perfect alignment every time (assuming the adjustment wheel was set down
in place correctly in the first place).
|
|
|
|
|
BAM!! Nice solid connecting noise if all was done right.
|
|
|
|
|
75 ft/lb on all 4 bolts. If everything is in alignment then the wheel adjusters should turn freely.
|
|
|
|
Here, I am measuring the combined pinion bearing drag with the carrier bearings also.....total is 17.....
and knowing that the PPL was 11 inch/pounds must mean the the actual CBPL is 17-11=6 in/lb.
Just what I like to shoot for.
|
|
|
|
|
10 in/lb on the lock tabs.
|
|
|
|
|
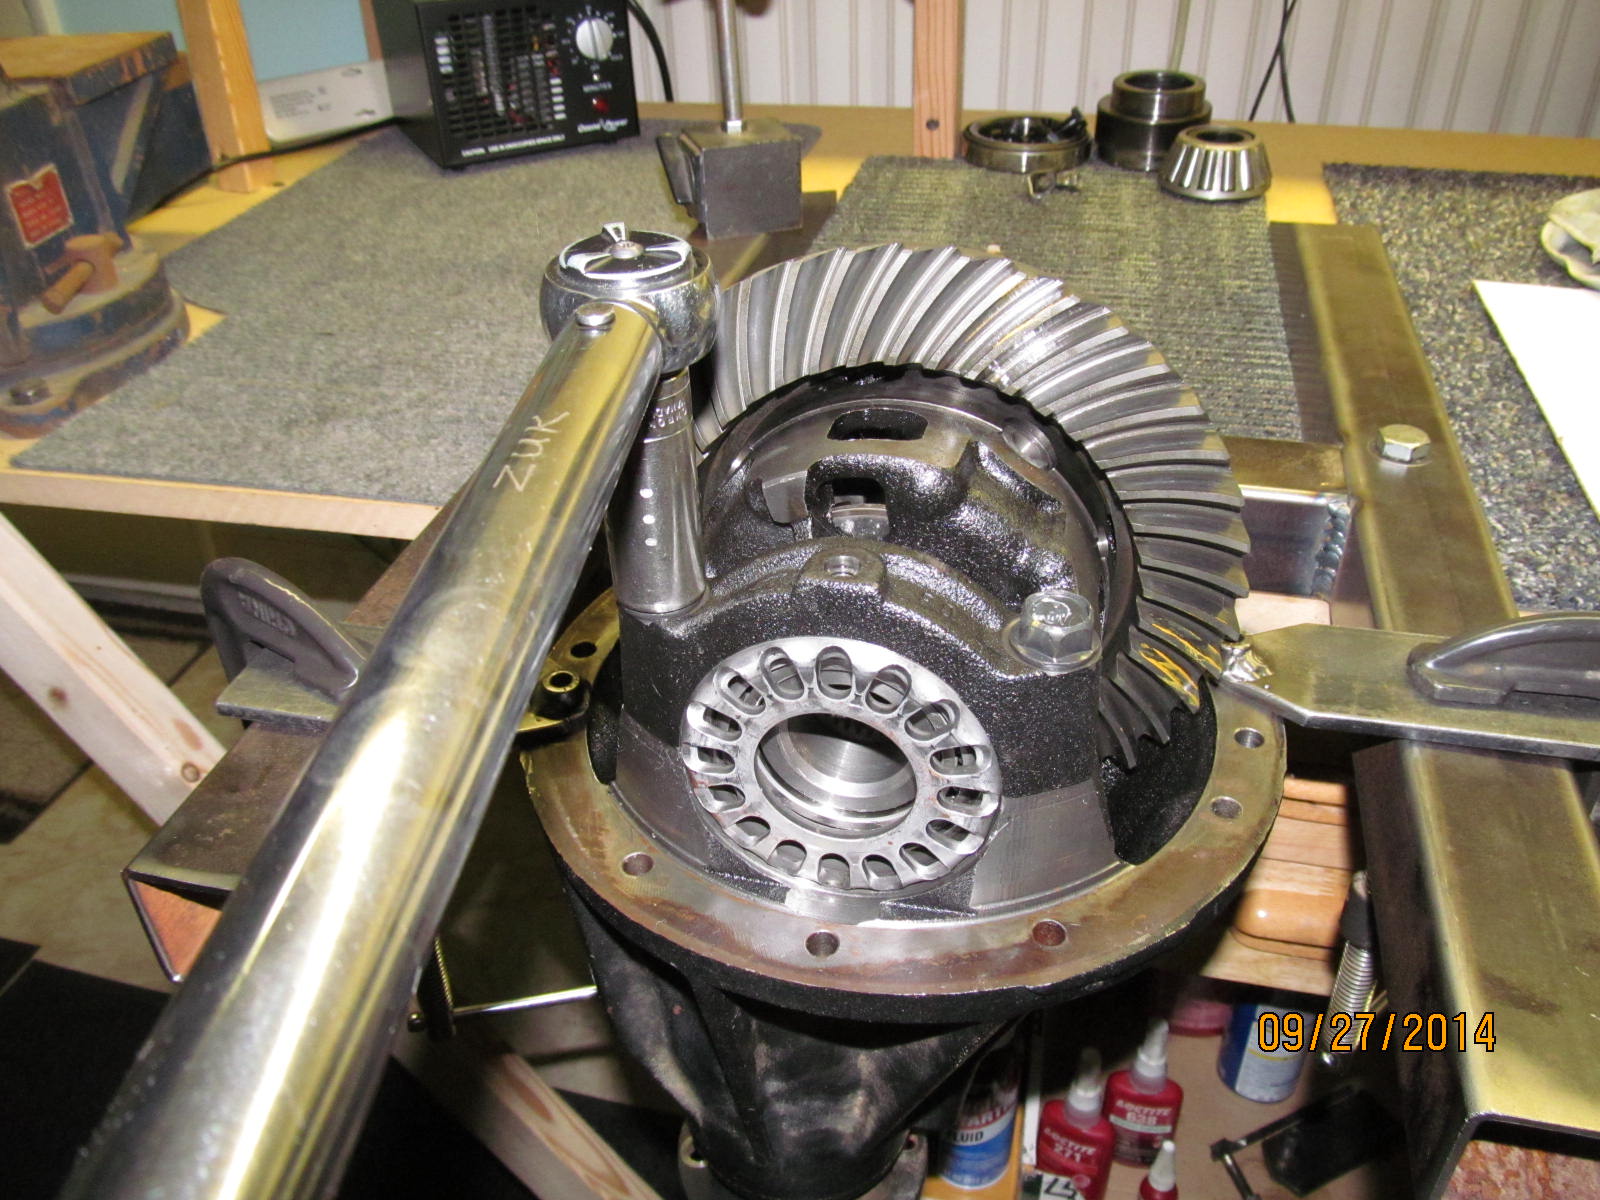
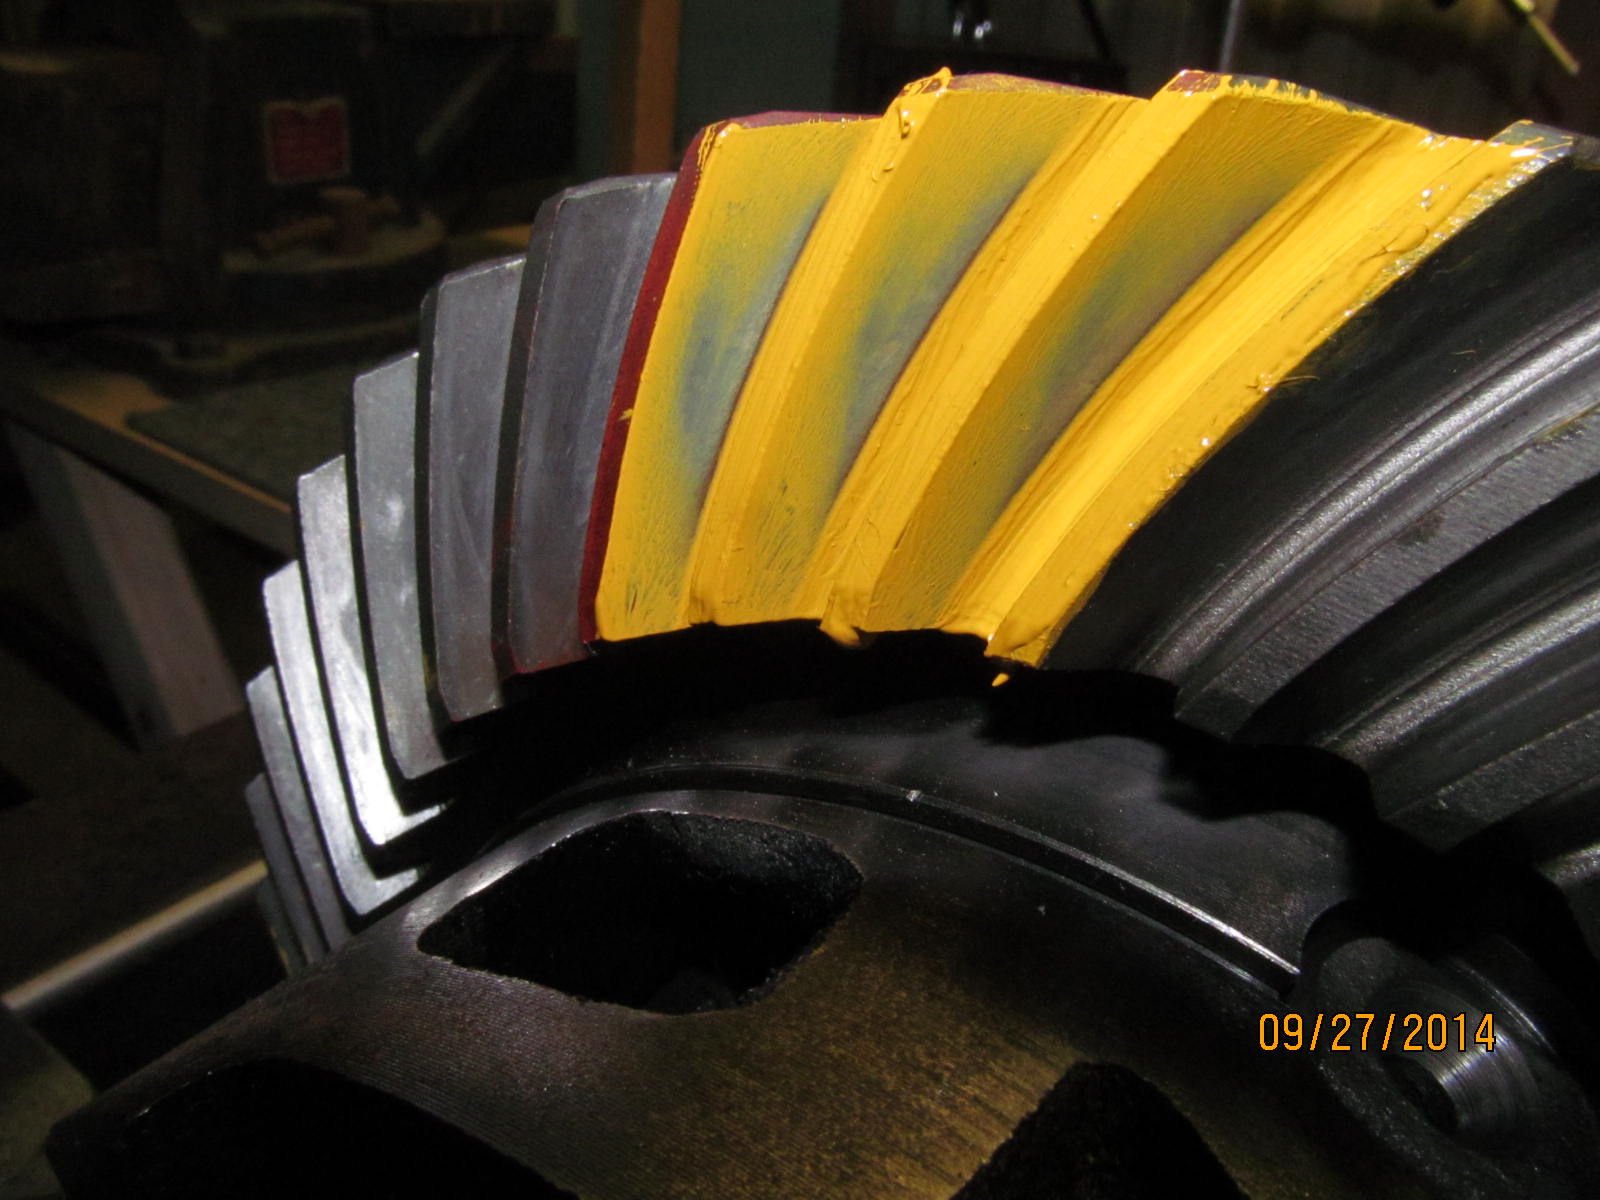
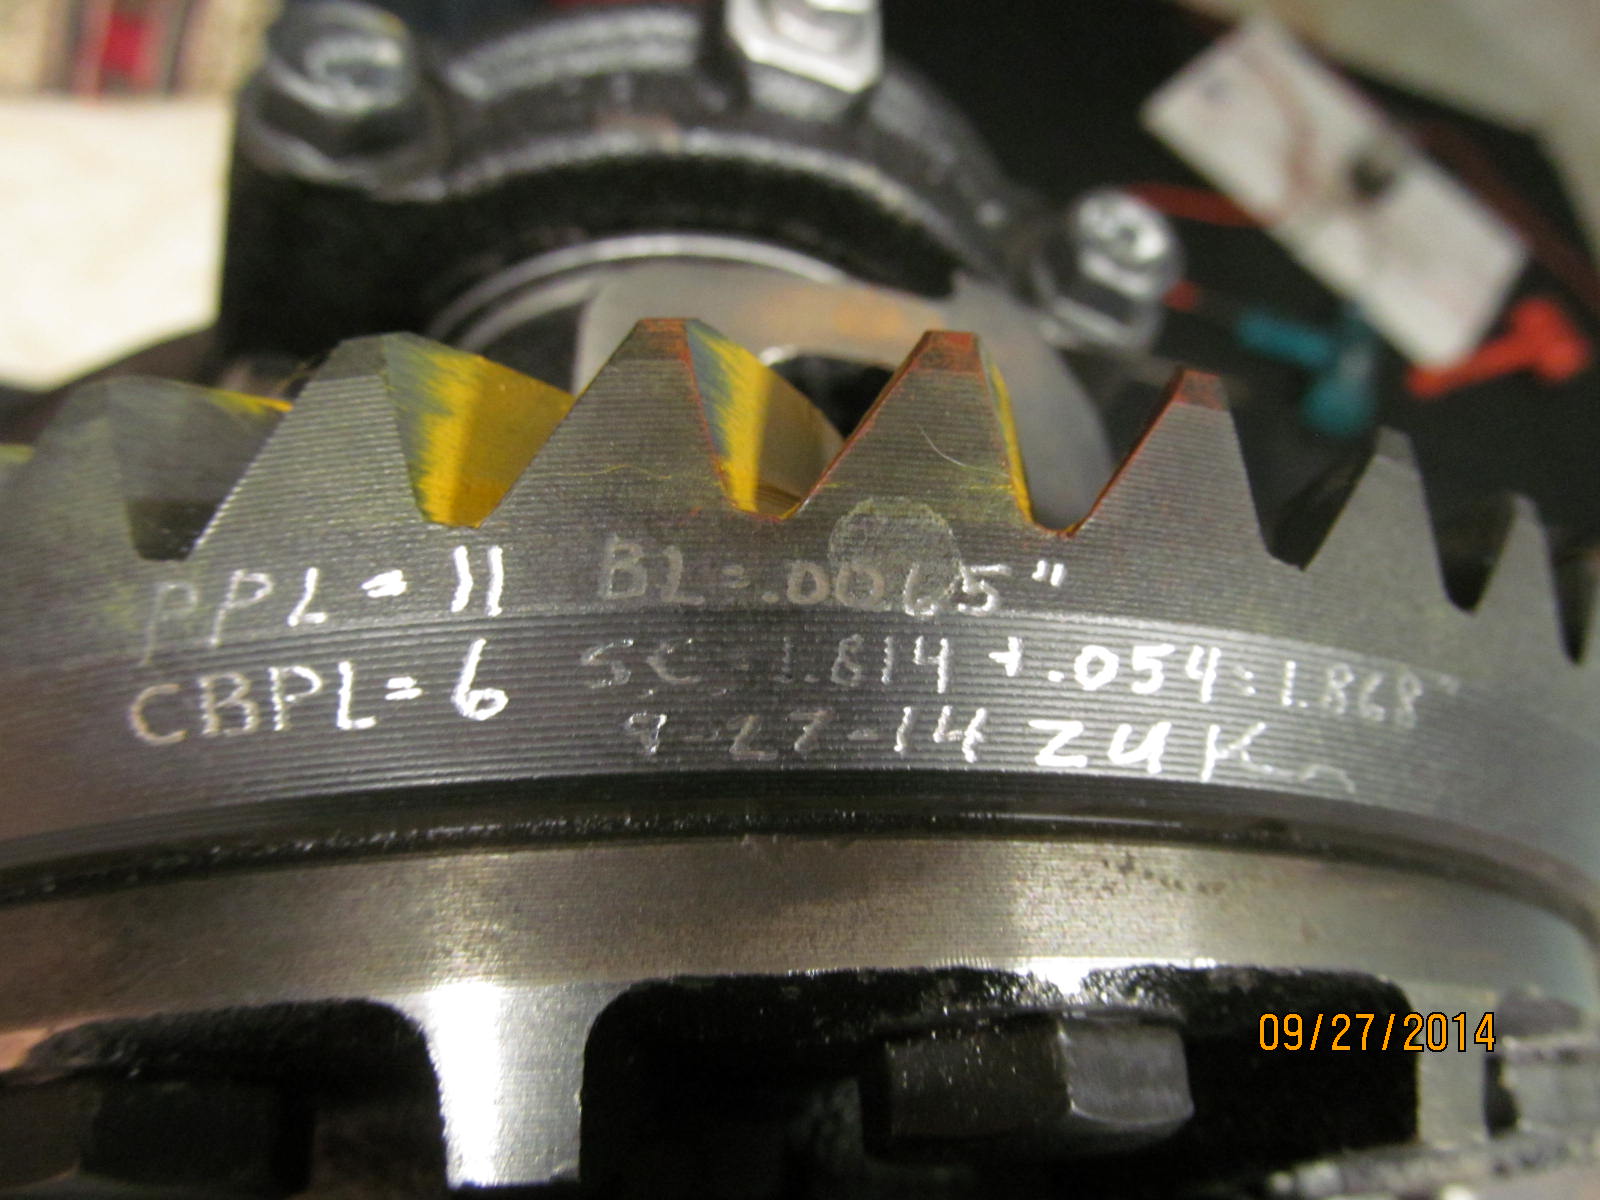
Backlash is noted on every 3rd tooth. Just like factory at .0065"
|
|
|
|
|
The drive side pattern is excellent. Slight toe and close to the root.
|
|
|
|
|
Coast has some out of place wear due to most likely being run loose in the distant past but will recover with time.
|
|
|
|
|
Specs are recorded for John.
|
|
|
|
|
....................
|
|
|

|