|
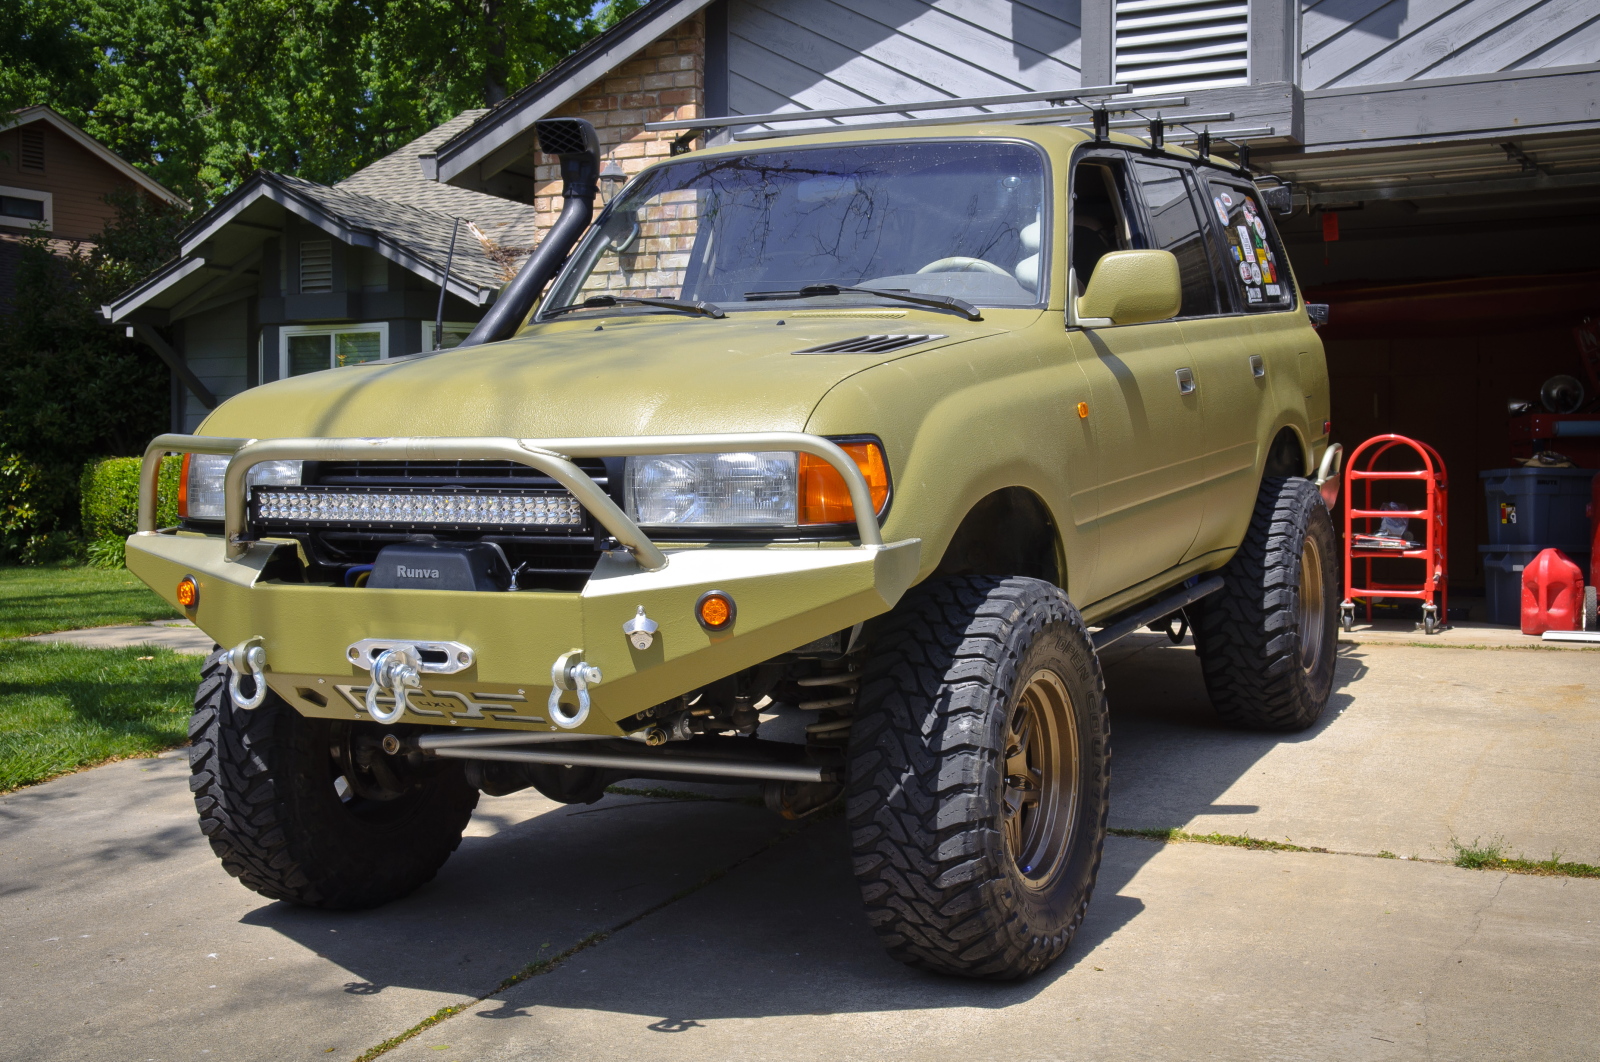
Nitro 529 gear install for the front 8" of Jose's 1996 FZJ80
|
|
(88 BIG pics loading)
|
|
JUNE 8 2014
|
|
|
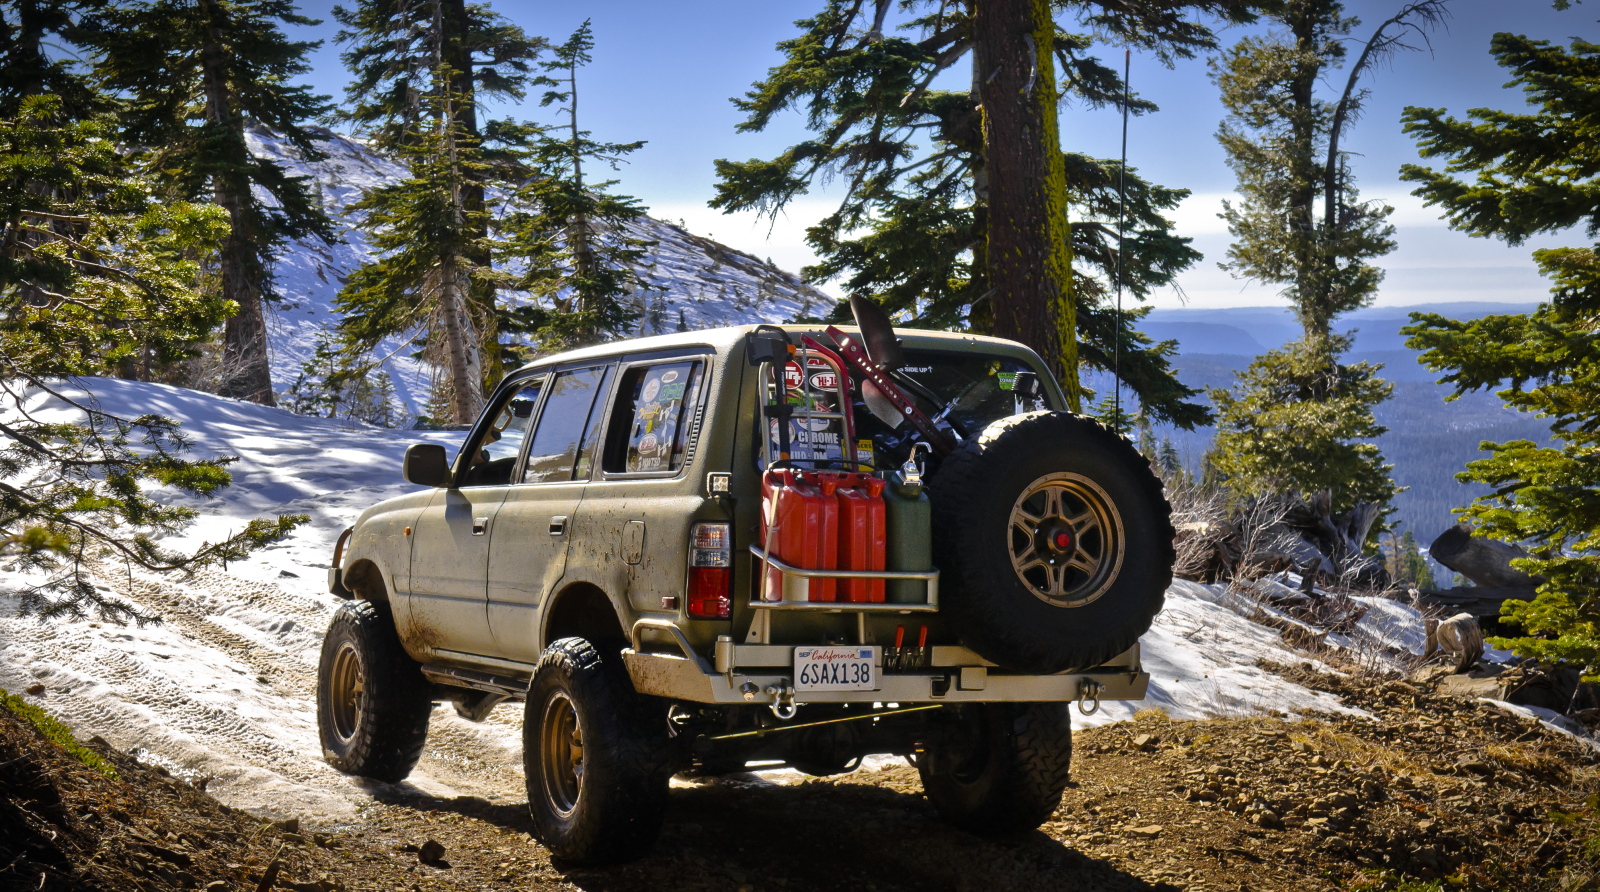
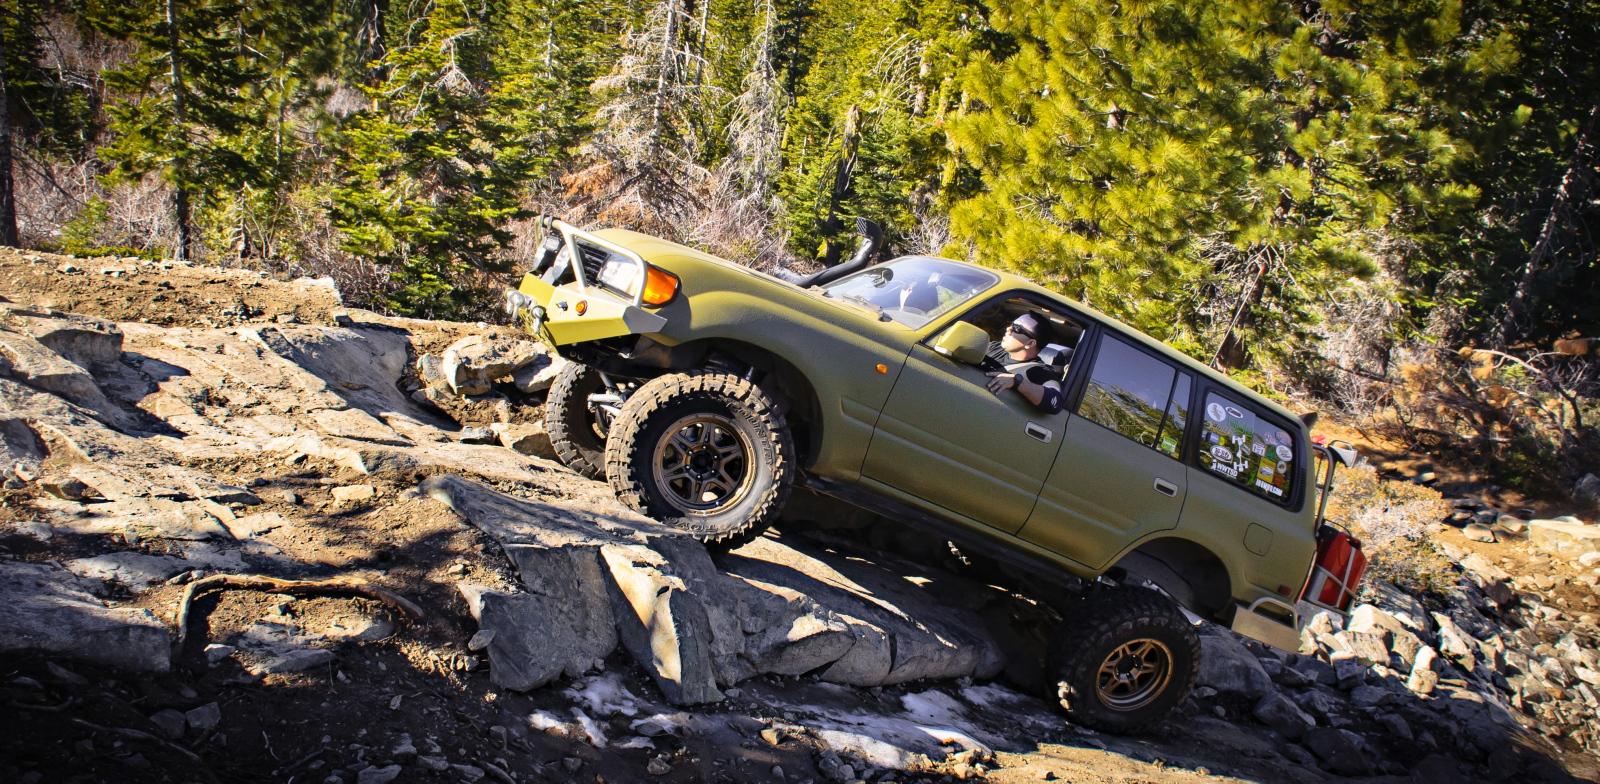
As the pictures show, Jose has one nice FZJ80 with 170k miles. The plan was to have the rear e-locker 9.5" 3rd
done locally, and the smaller 8" e-locker hi-pinion front would be sent to me.
|
|
|
|
|
529 Nitro gears/master kit/solid collar all from JustDifferentials.
|
|
|
|
|
Jose also had the front 529 gears cryo-treated at PerformanceCryogenics located in Lincoln, CA.
|
|
|
|
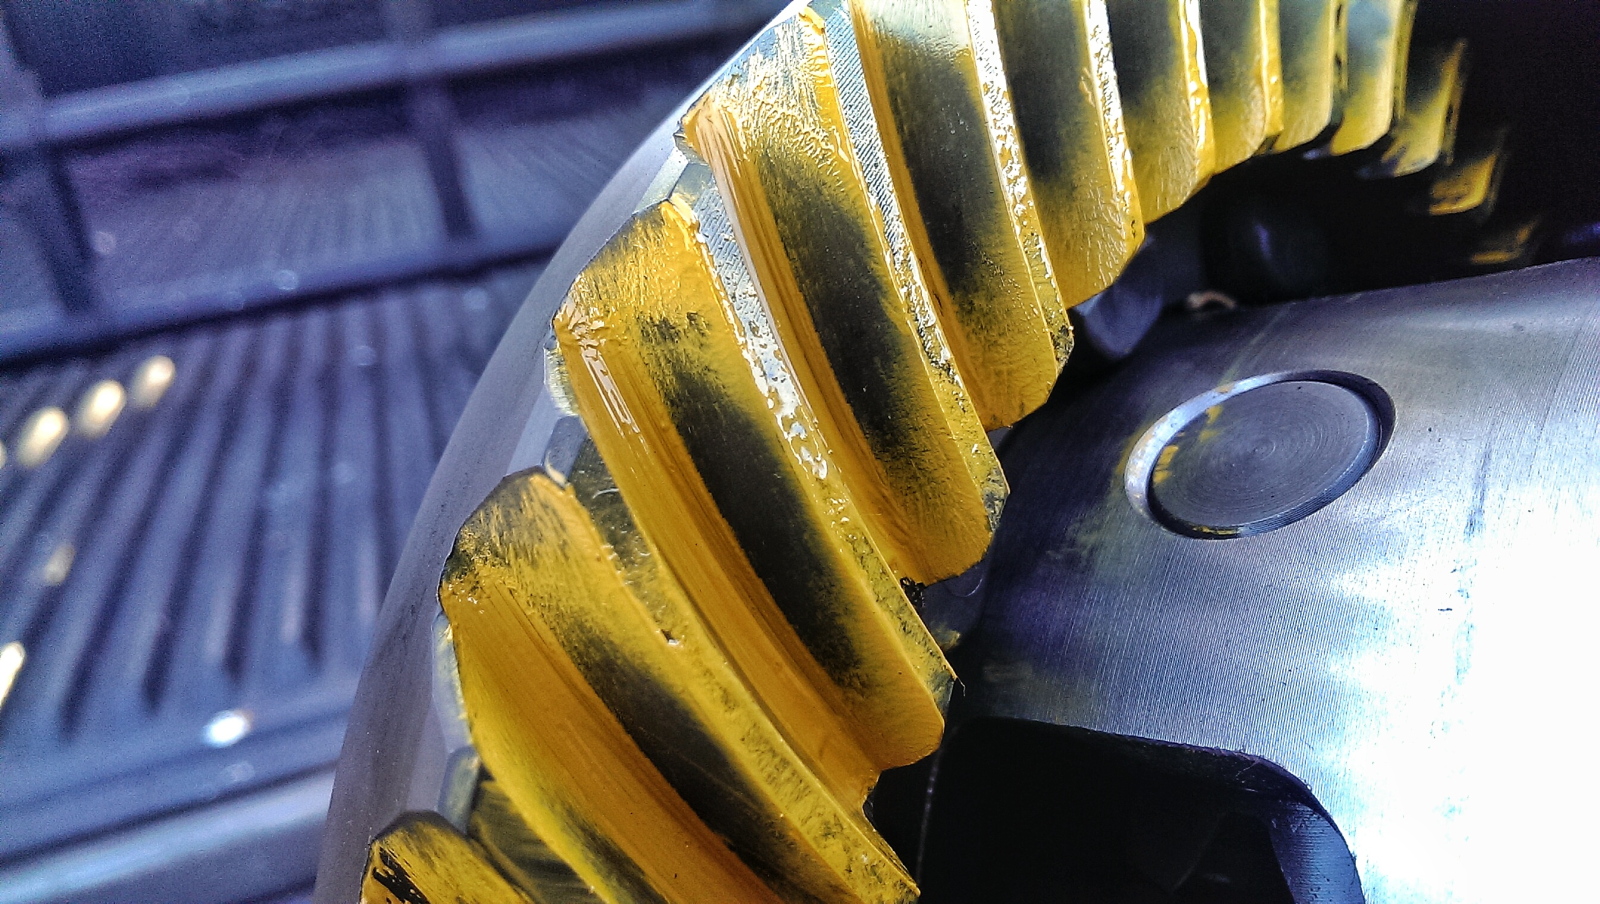
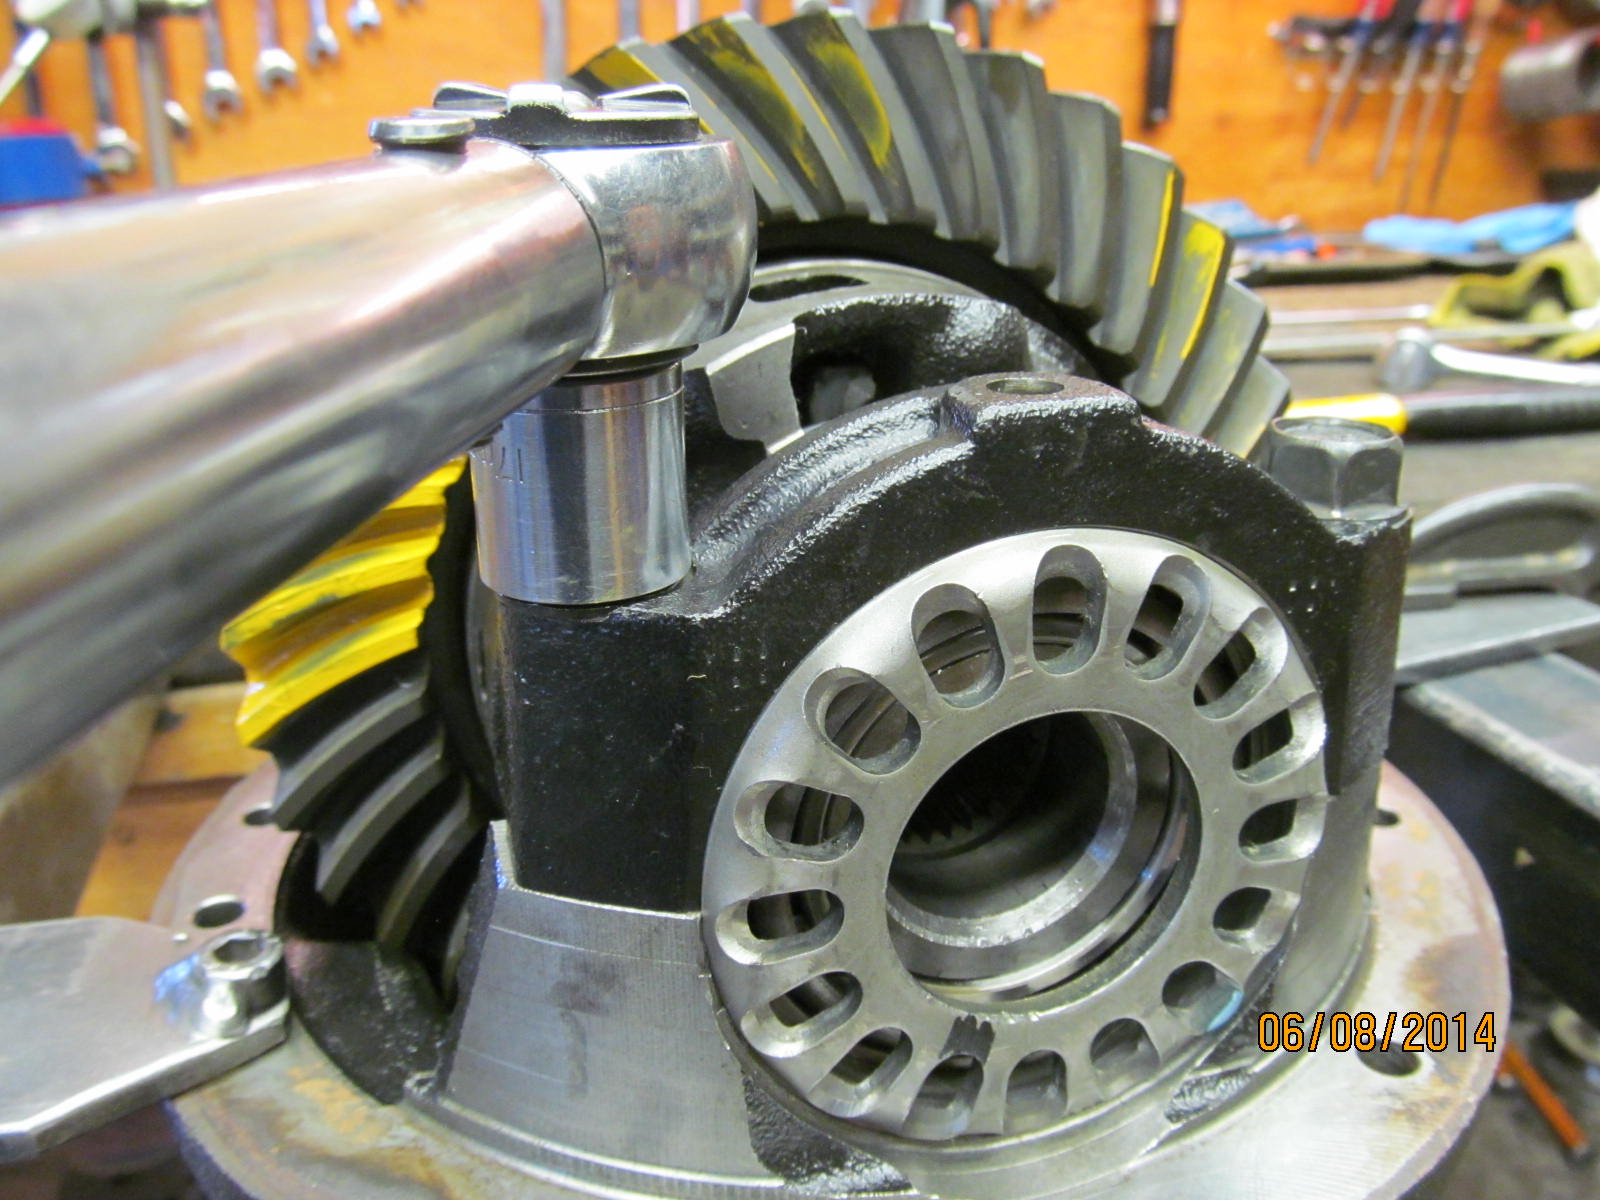
The massive e-locked rear 9.5" was done locally. This is the drive pattern that Jose was able to capture with his
camera and as can be seen it is my favorite depth...."slight deep".
|
|
|
|
|
Coast side looks great too.
|
|
|
|
 Good job River City Differentials Good job River City Differentials
|
|
|
|
|
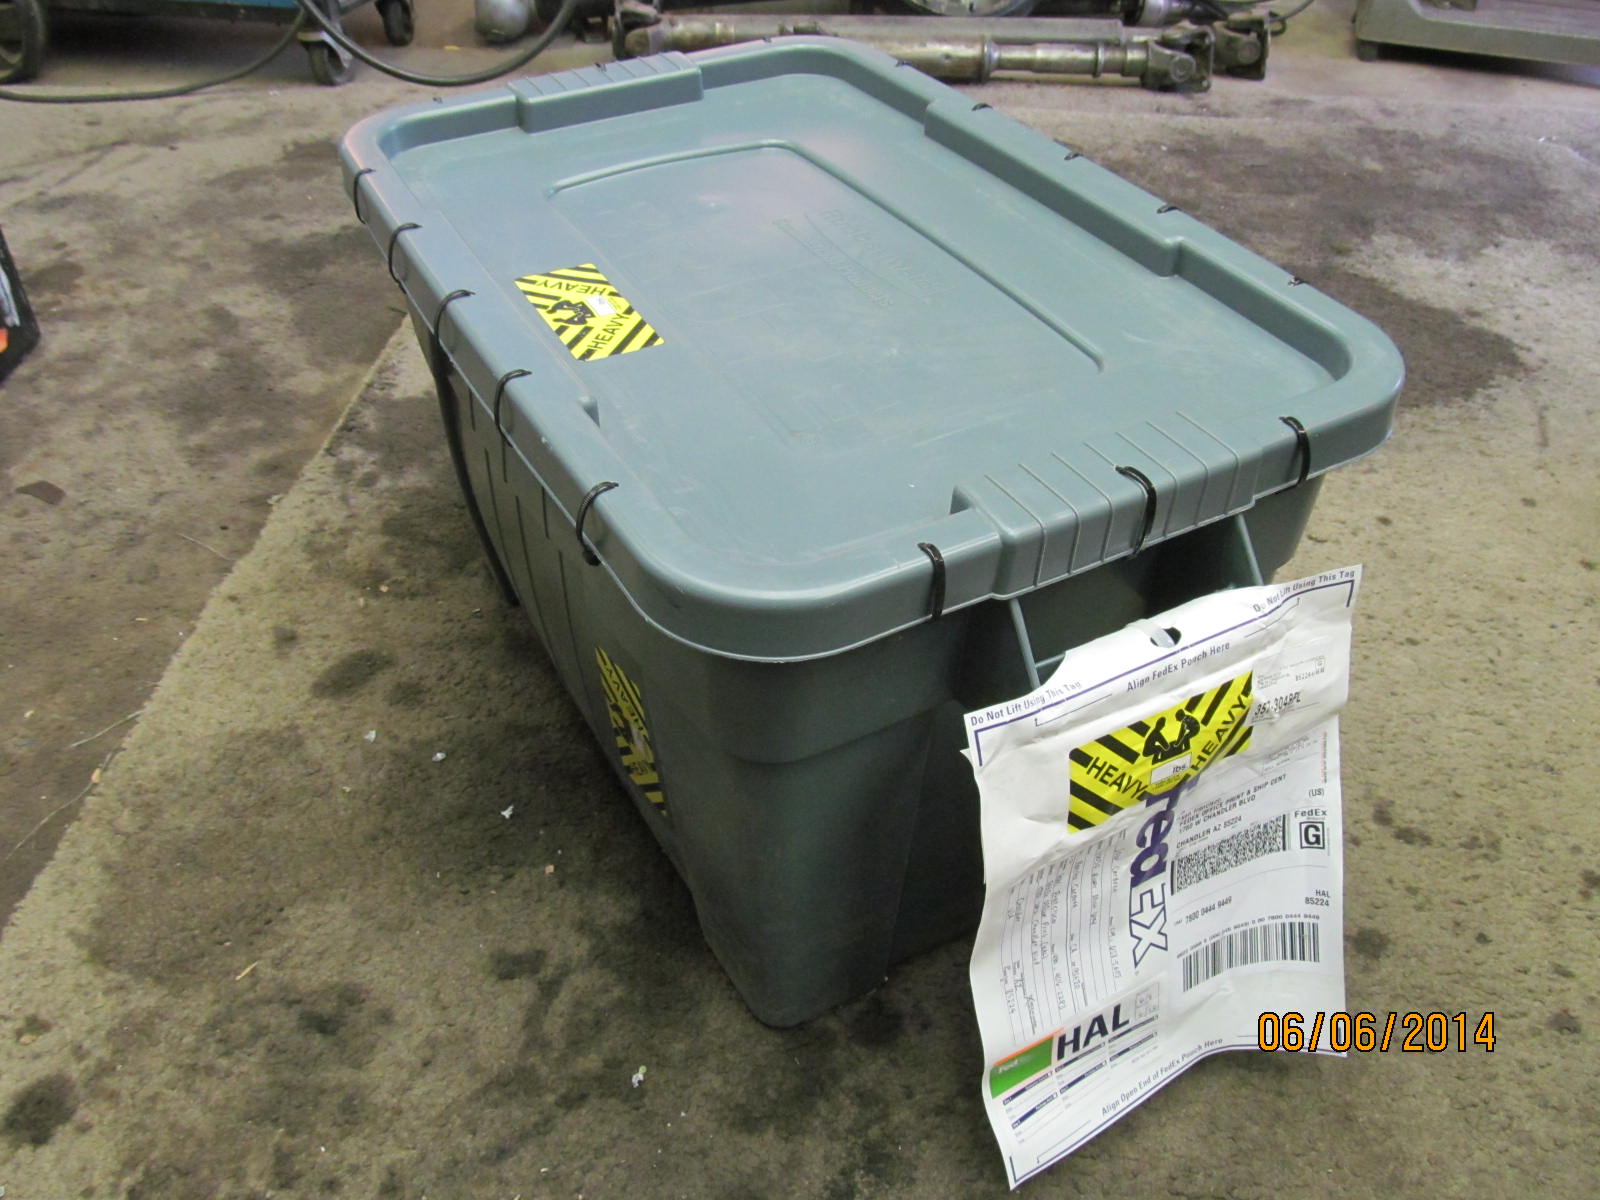
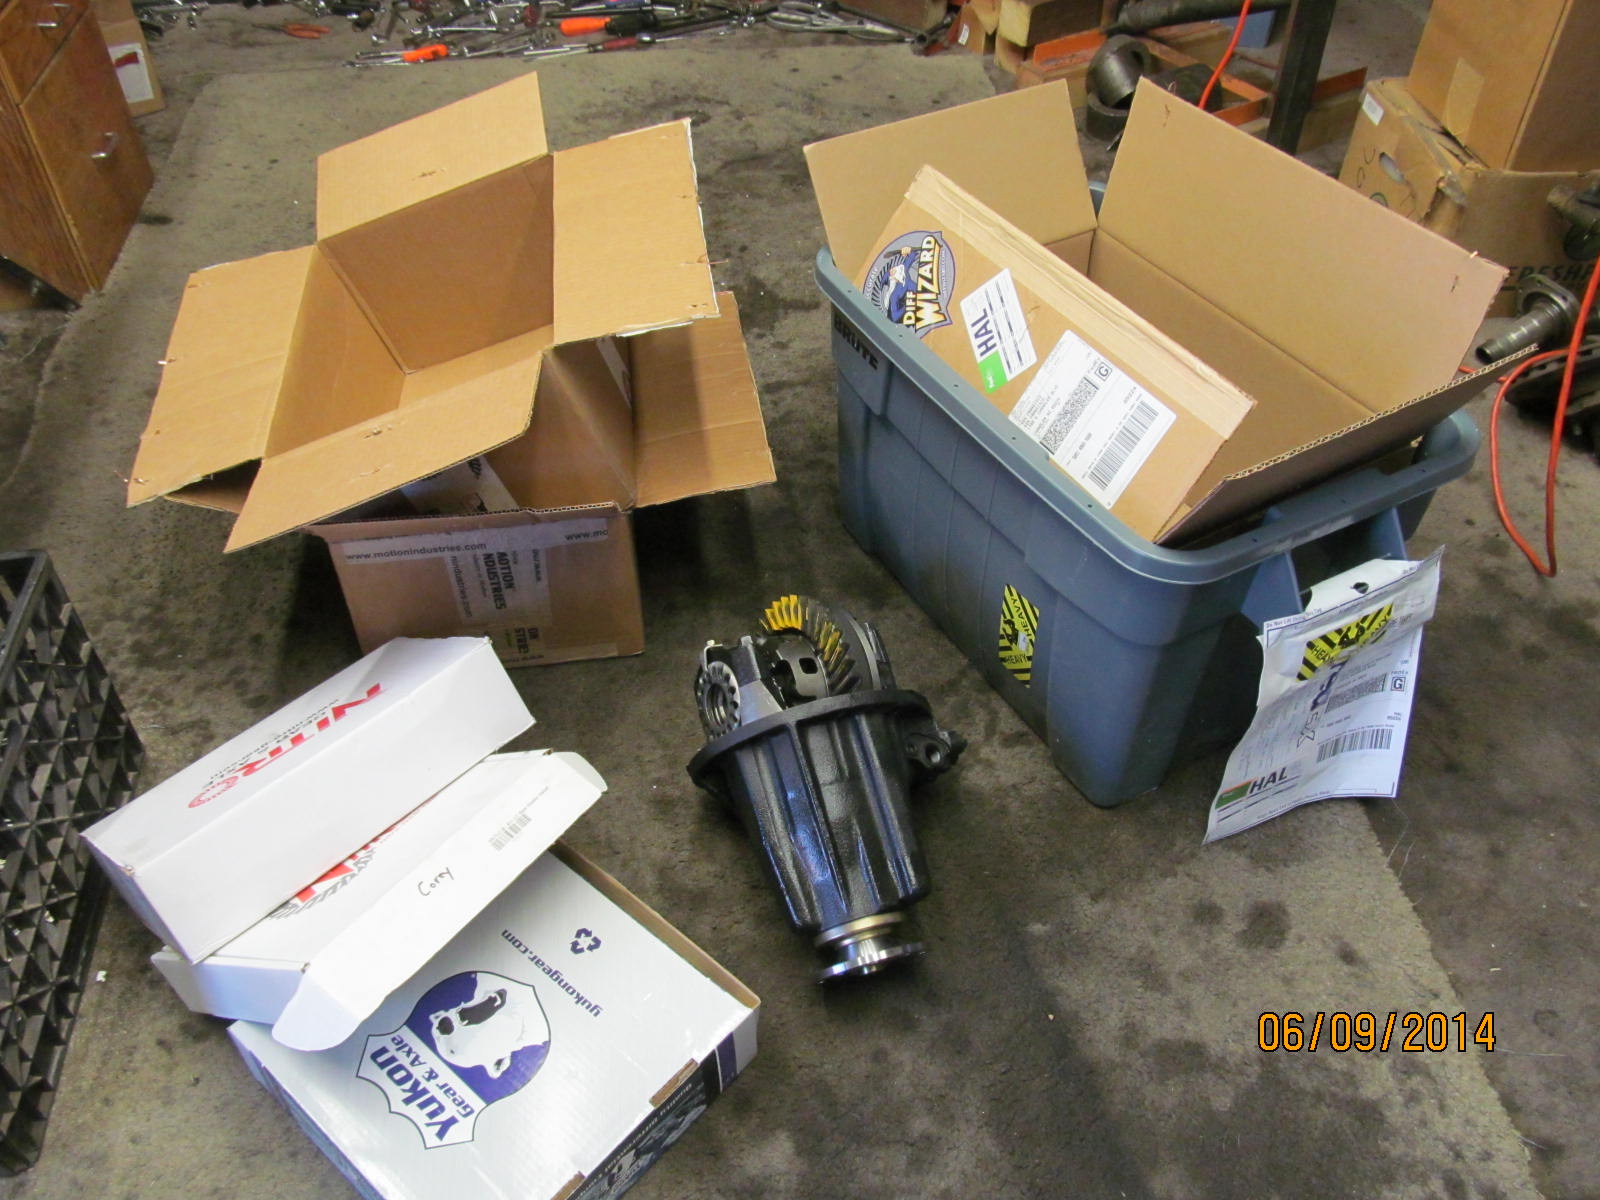
Package arrives.
|
|
|

|
|
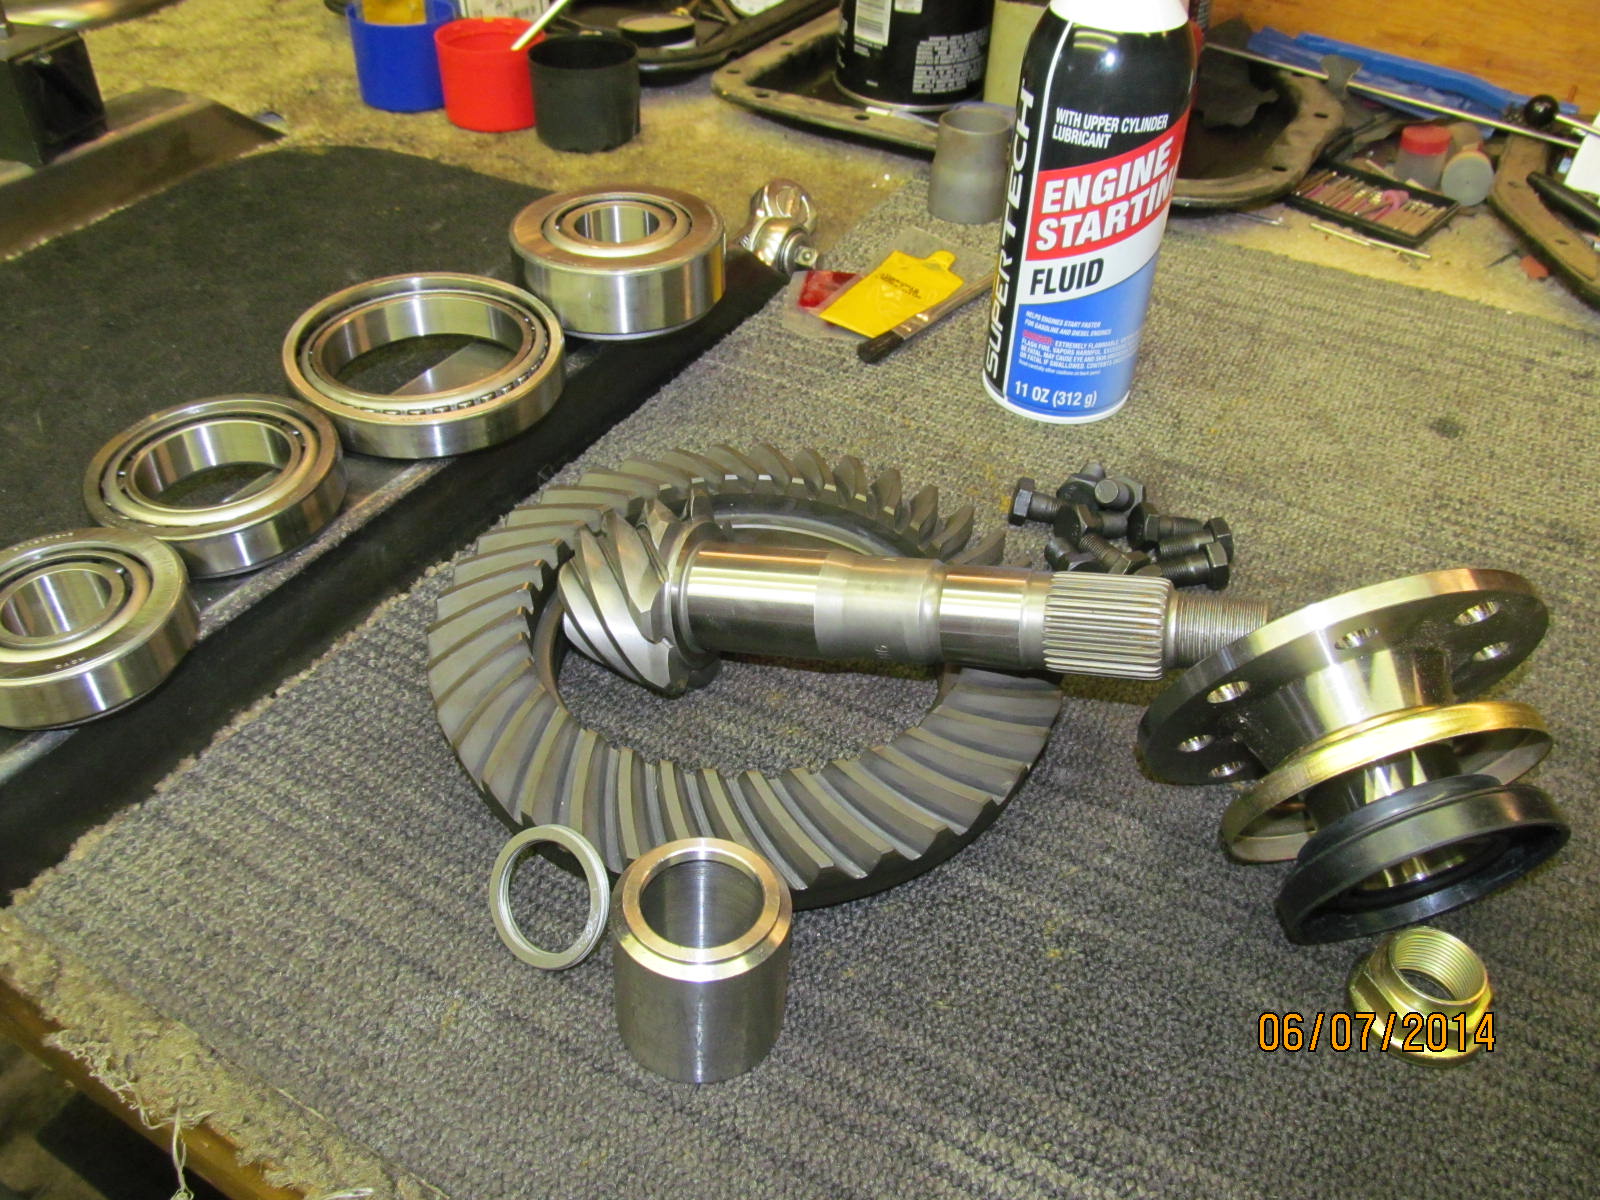
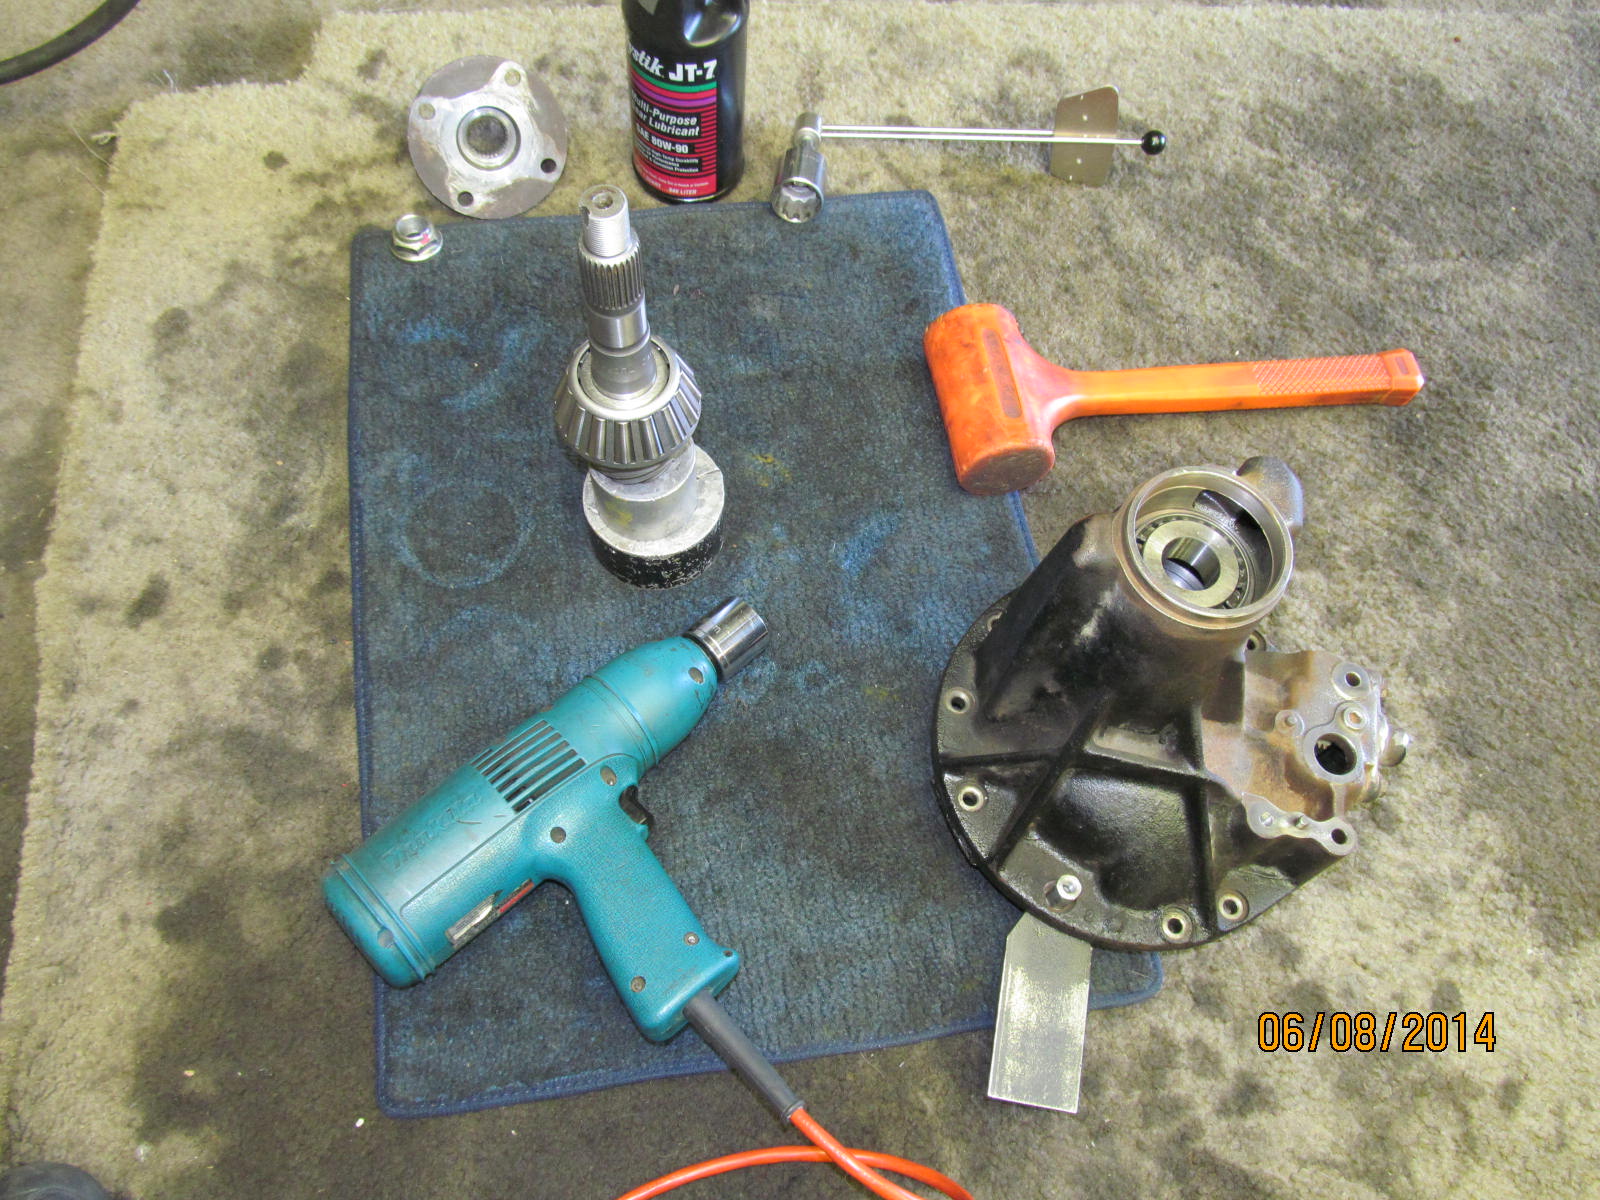
Parts are organized.
|
|
|
|
|
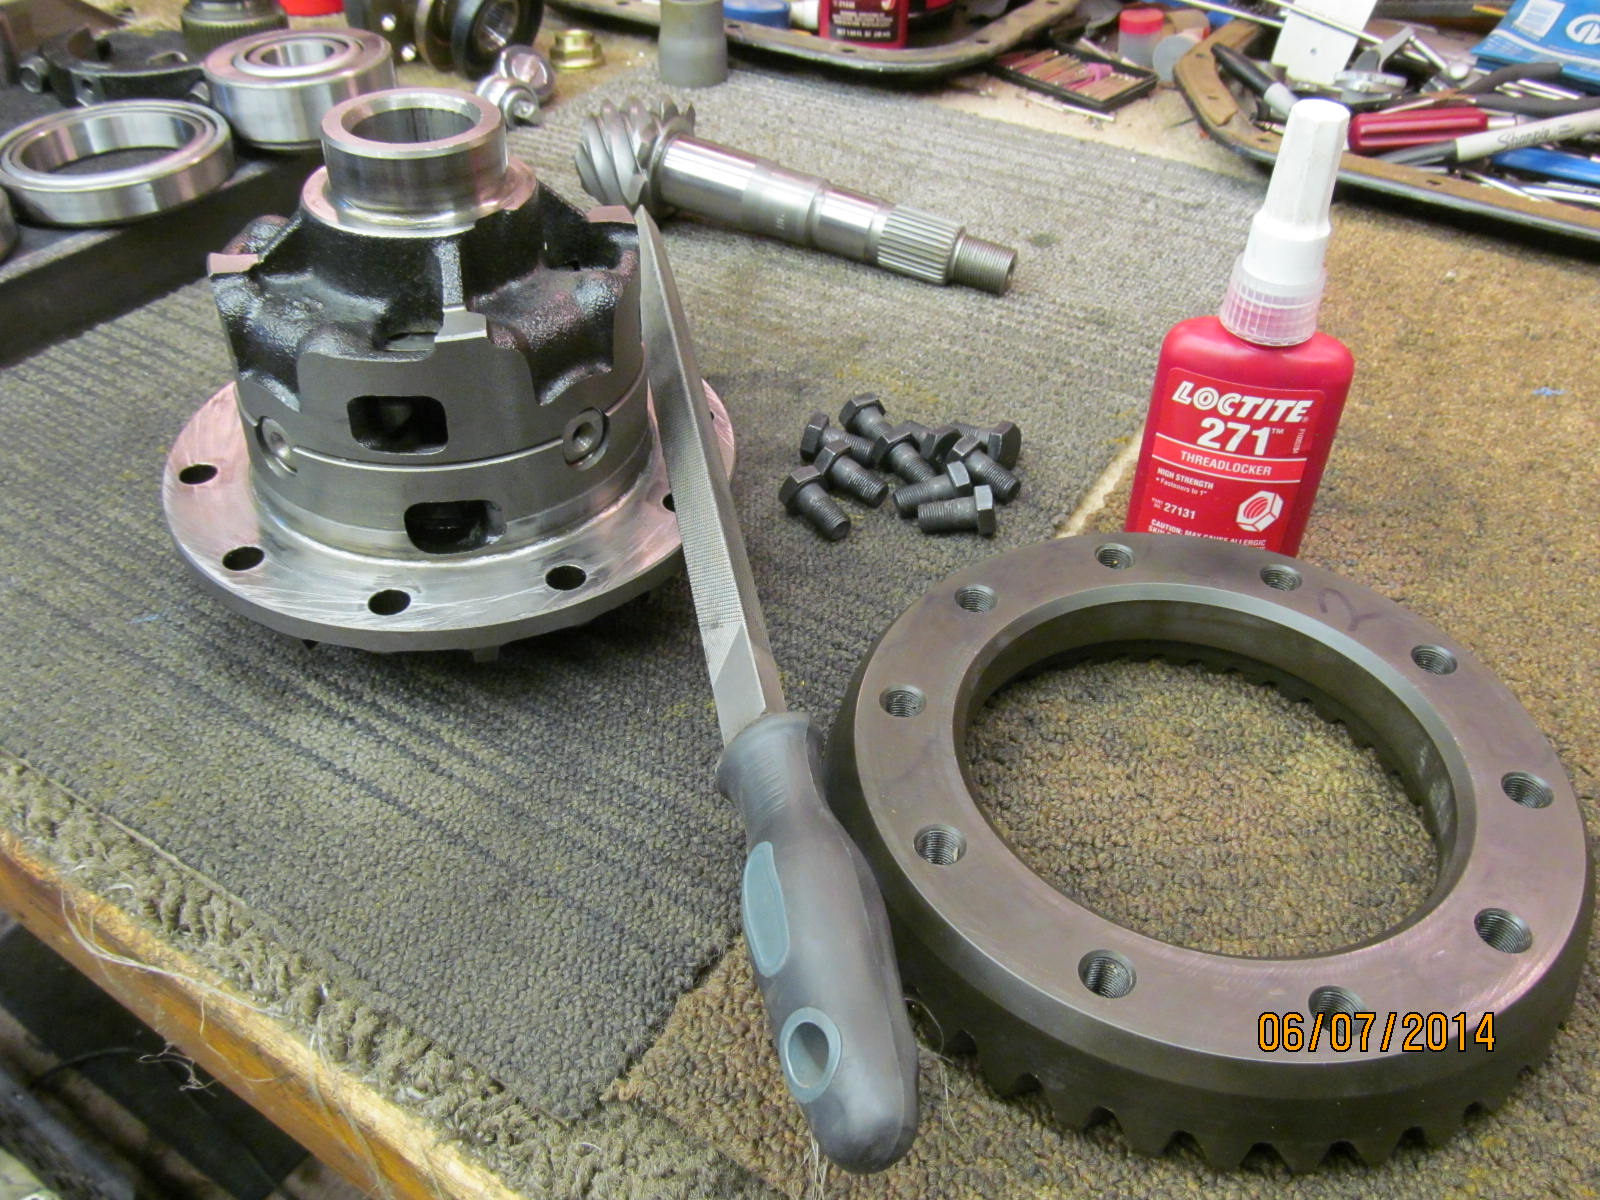
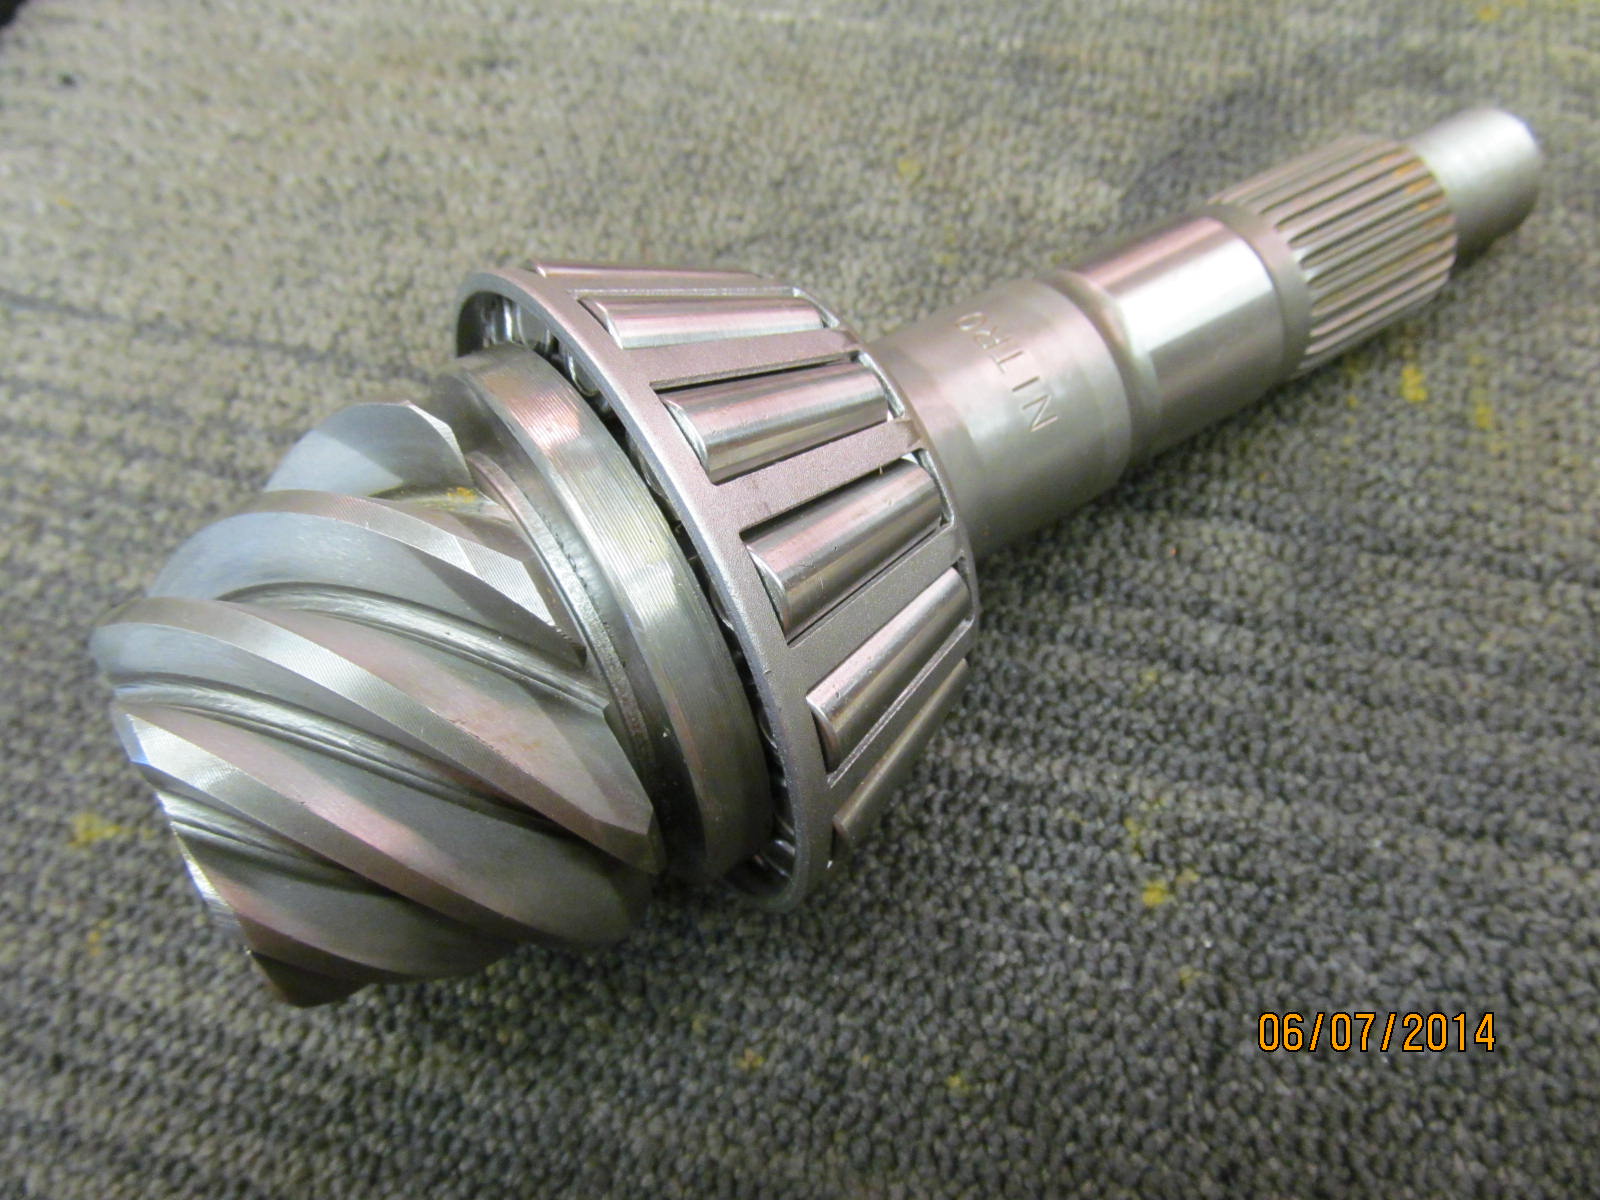
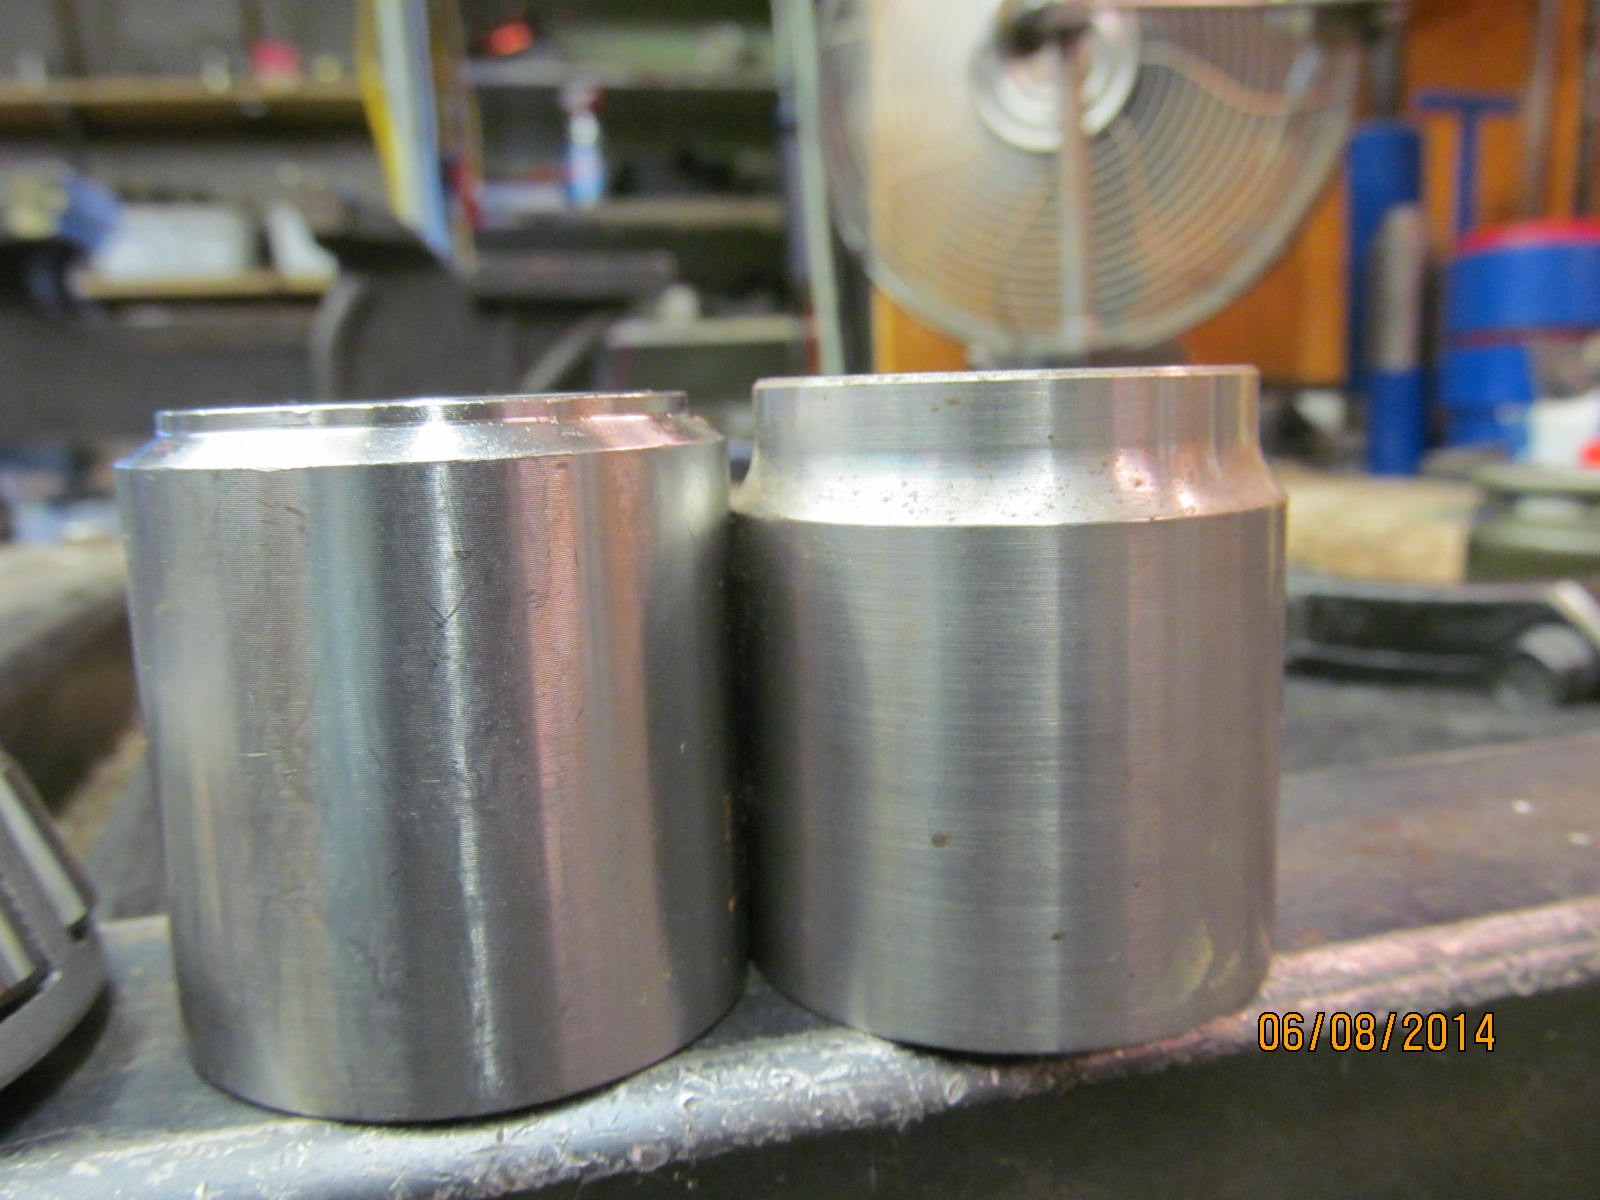
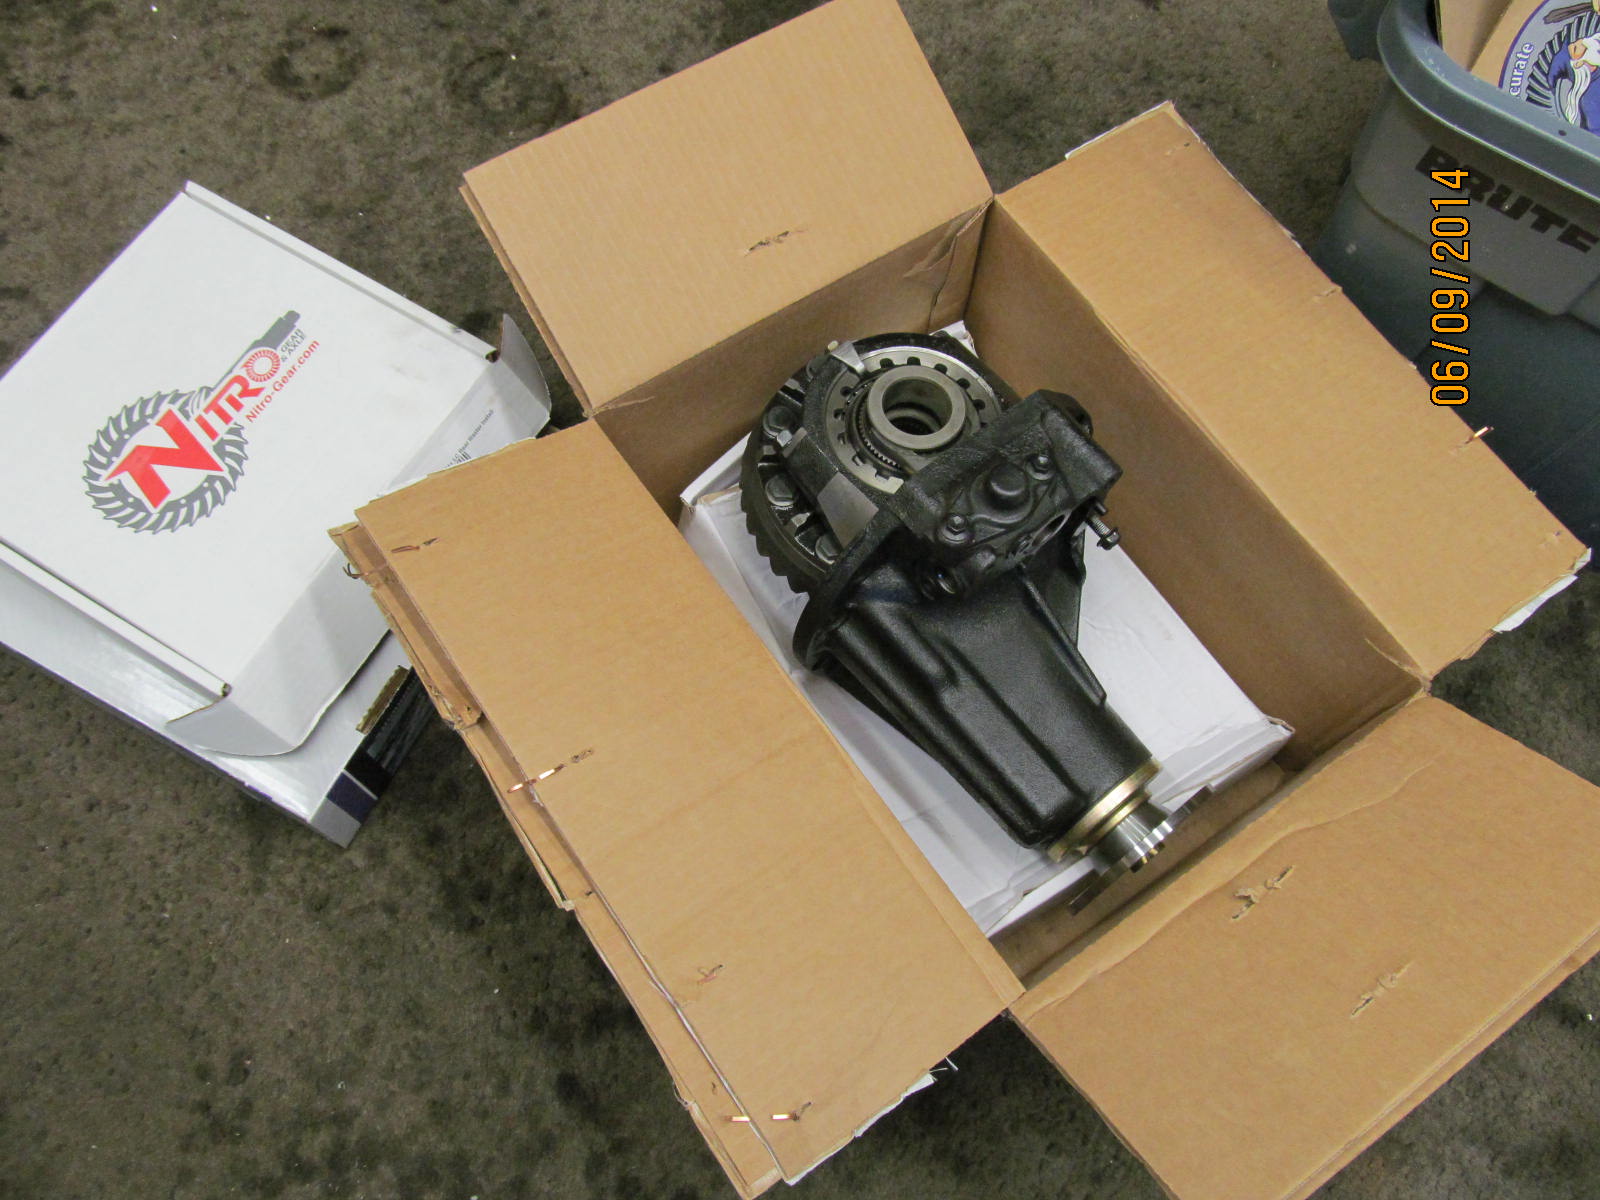
Everything is here....all 4 bearings....the cryo 529 Nitro Gear(29 spl)...solid collar...and new 29 spline flange.
|
|
|
|
|
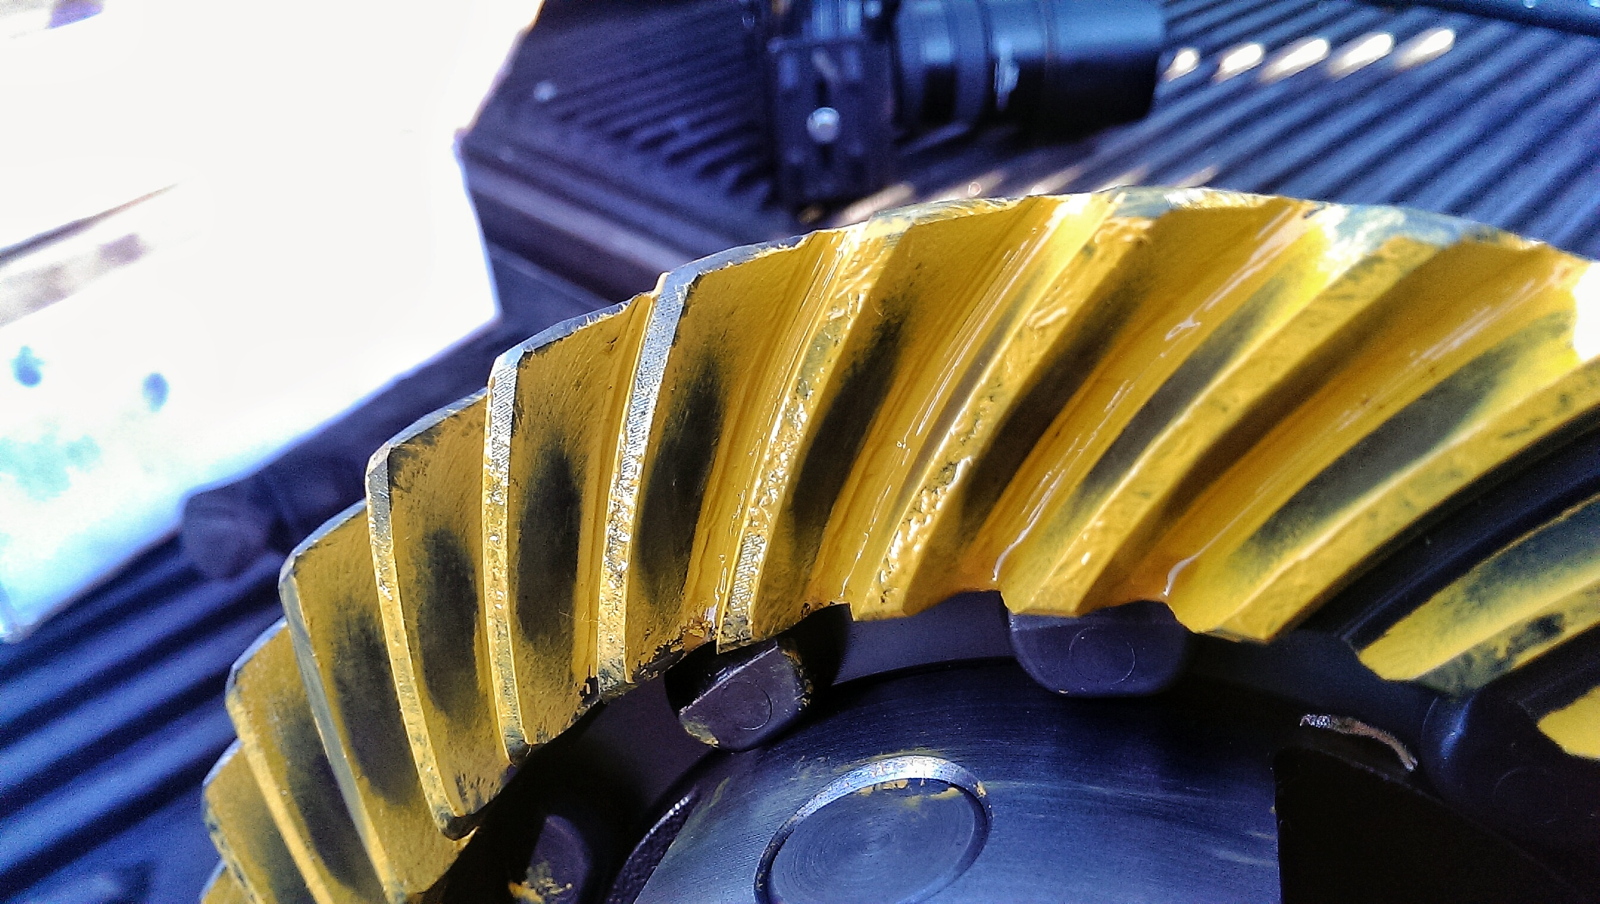
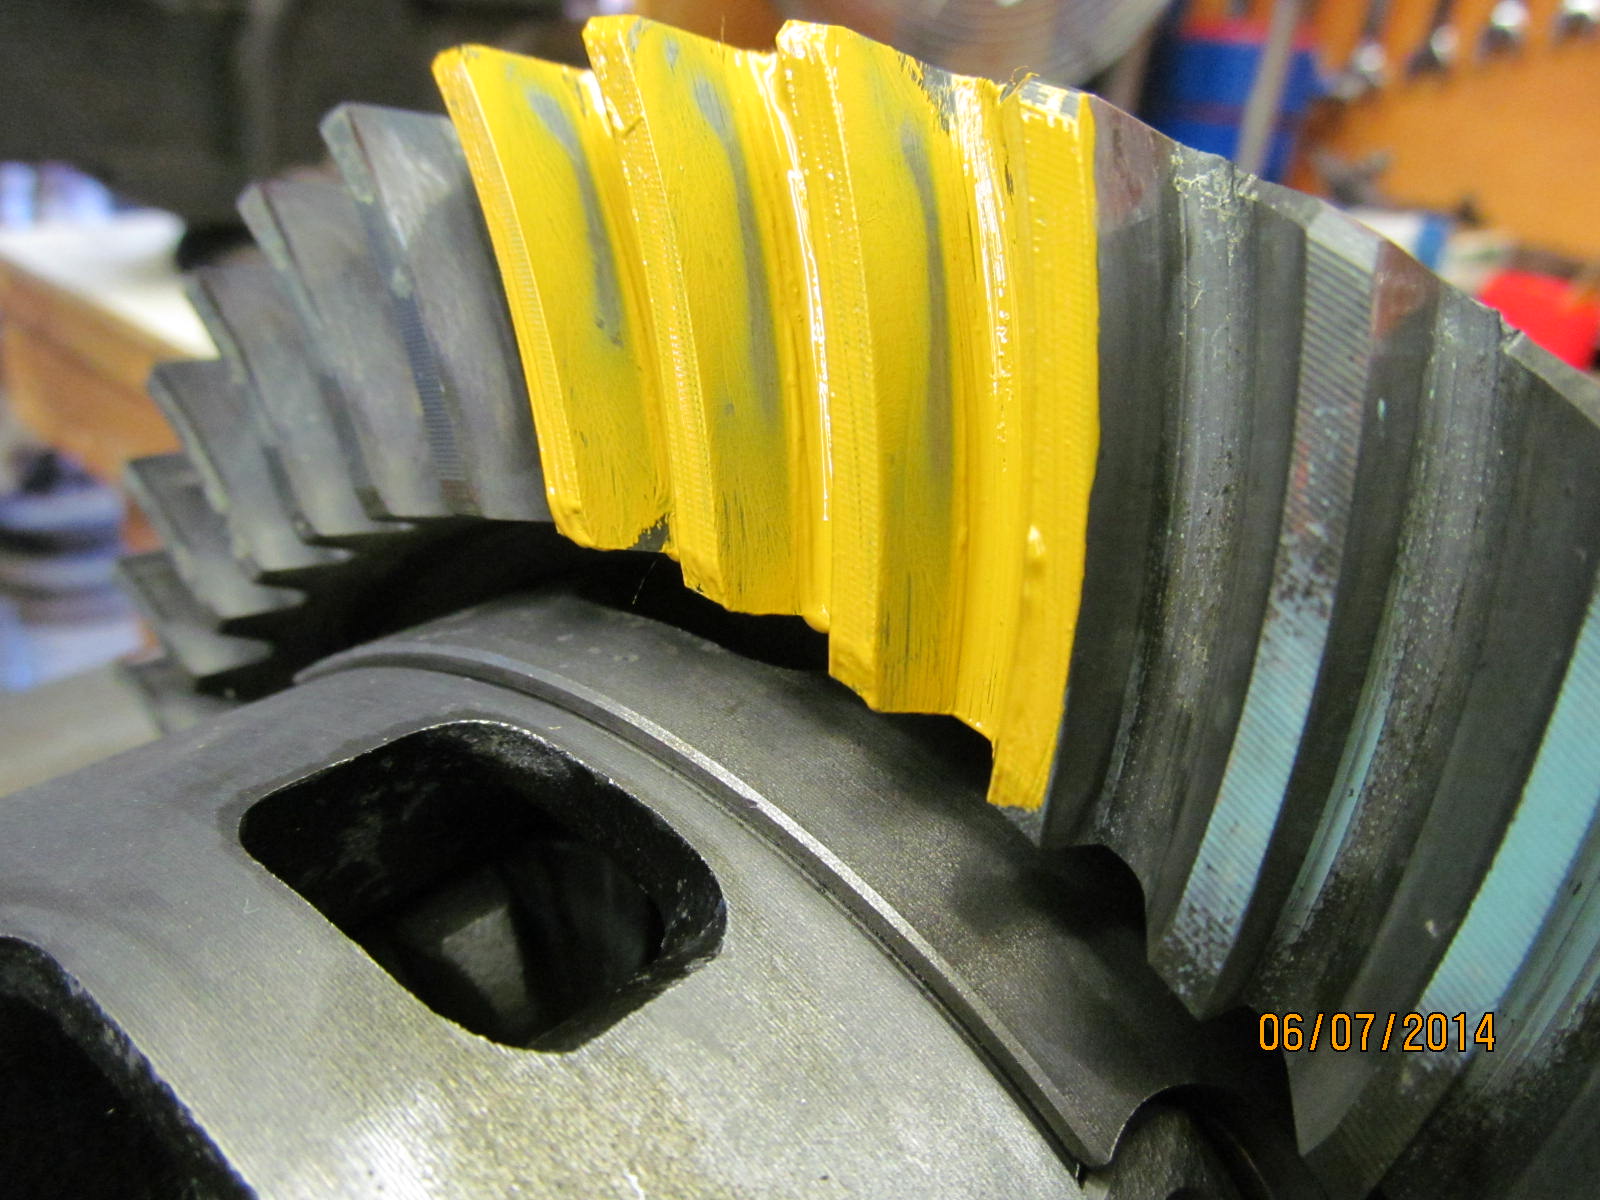
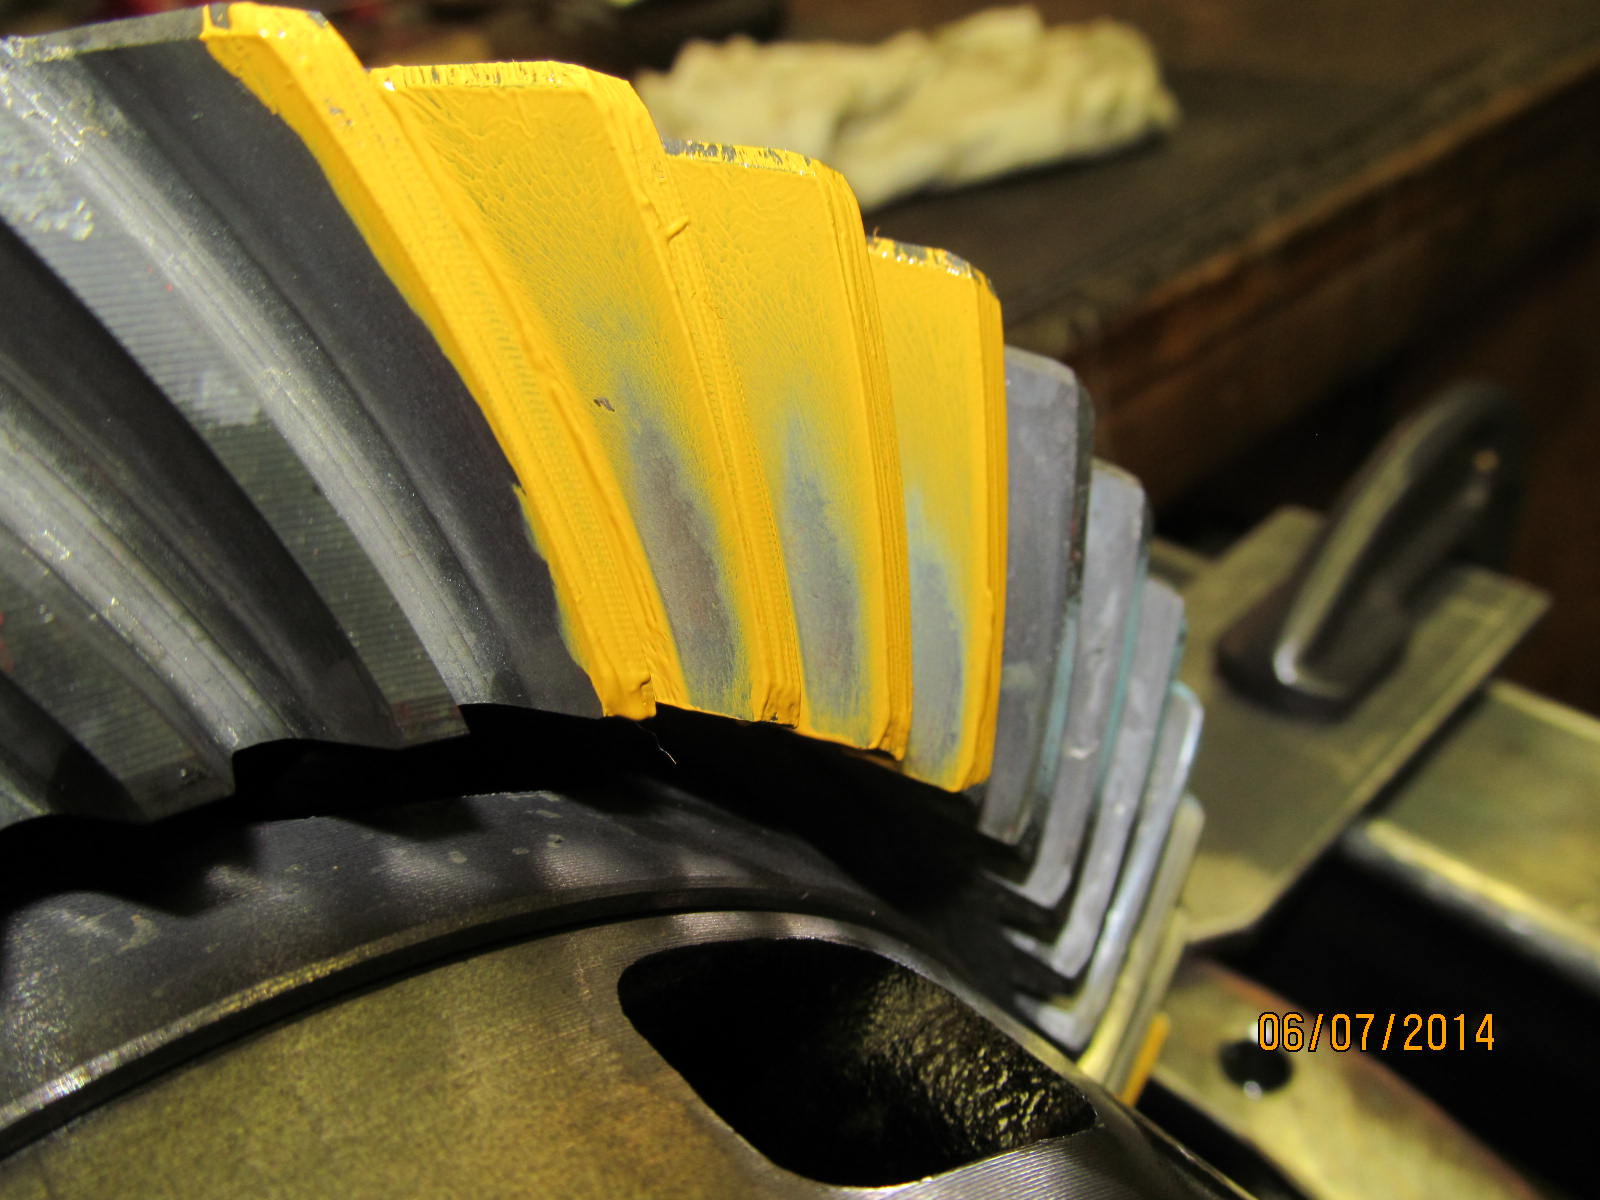
A preliminary paint check shows the old gears are beat up pattern-wise.
|
|
|
|
|
...........
|
|
|
|
|
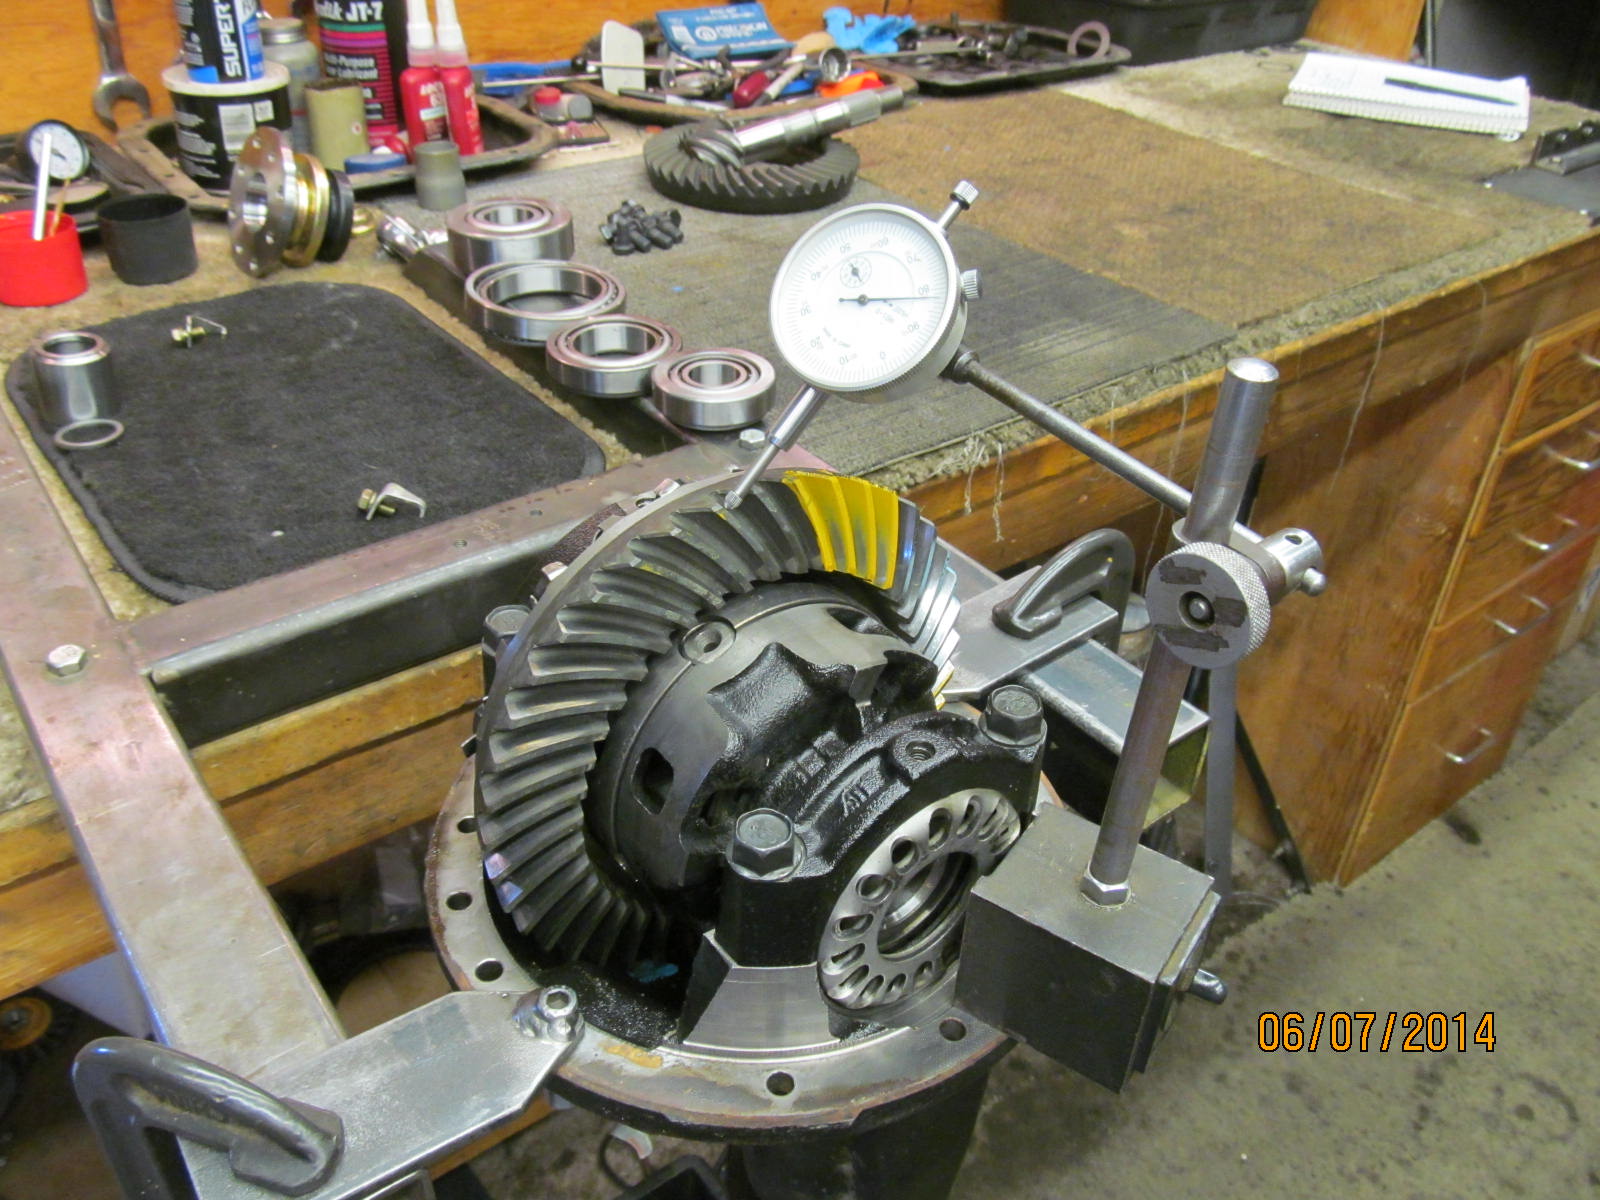
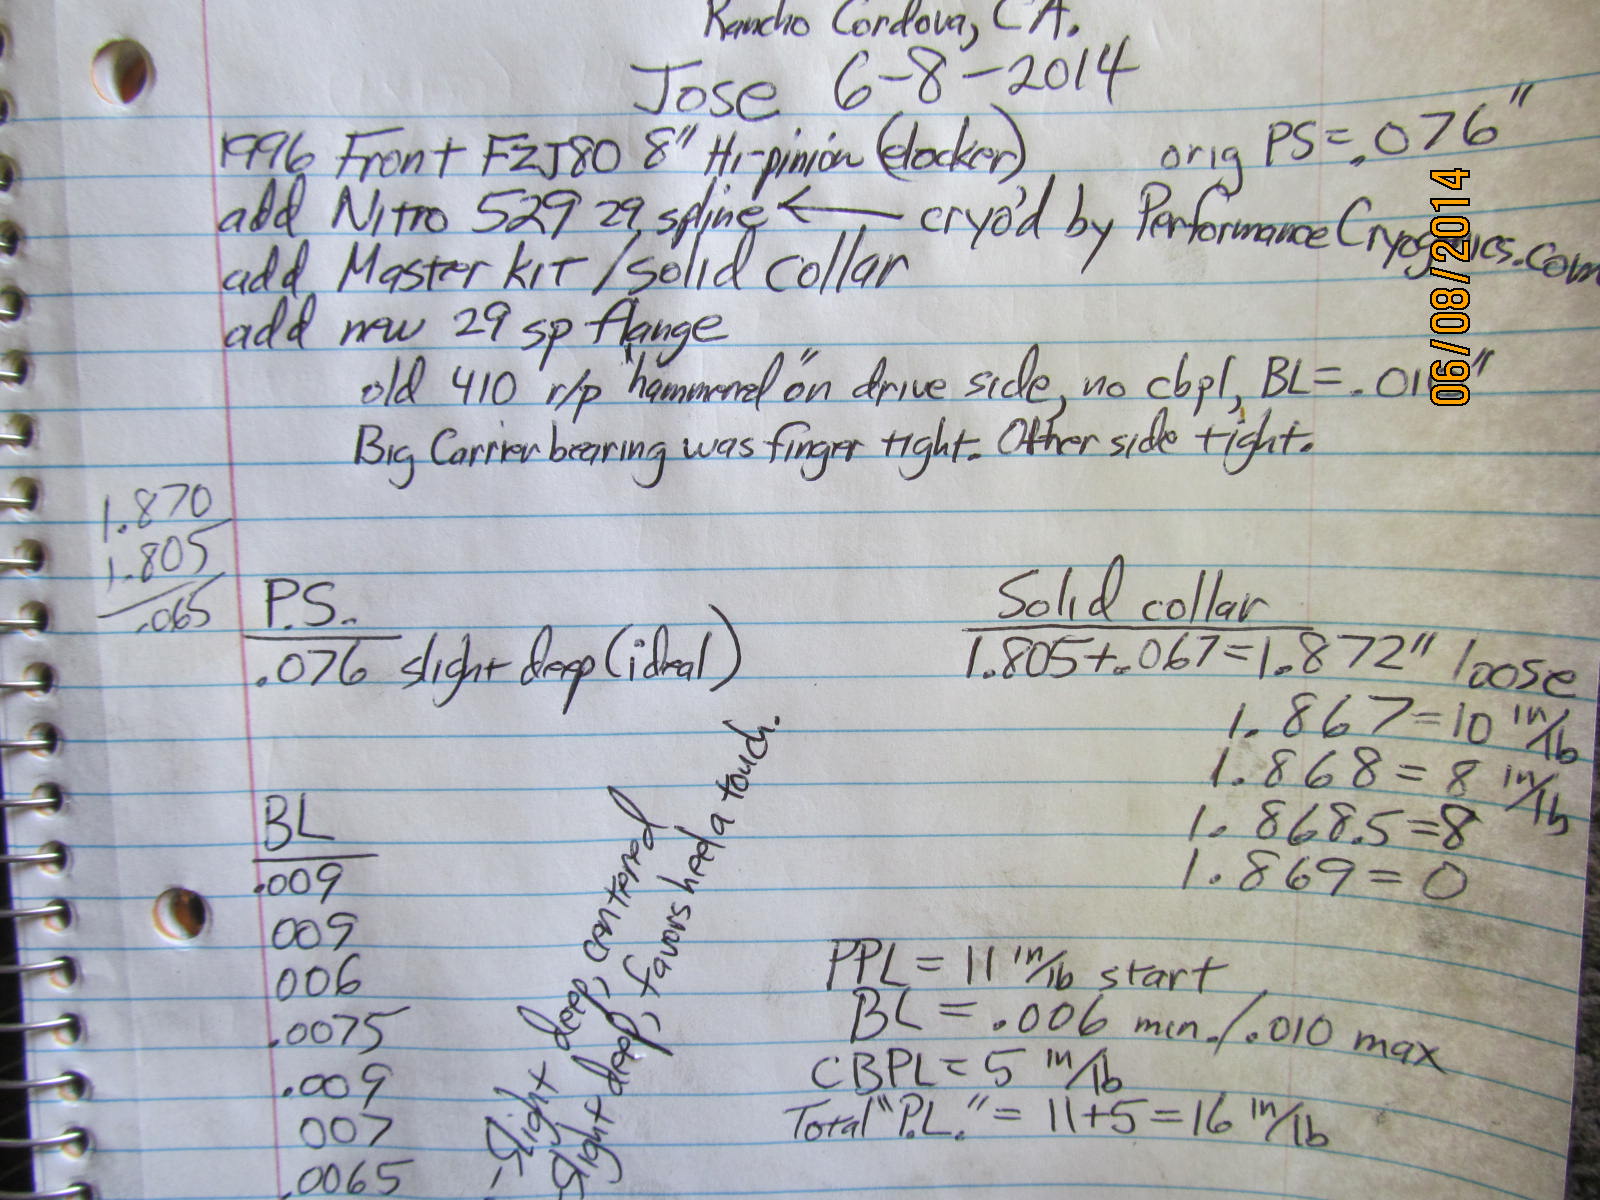
Backlash was about .010" and is to be expected with old worn bearings.
|
|
|
|
|
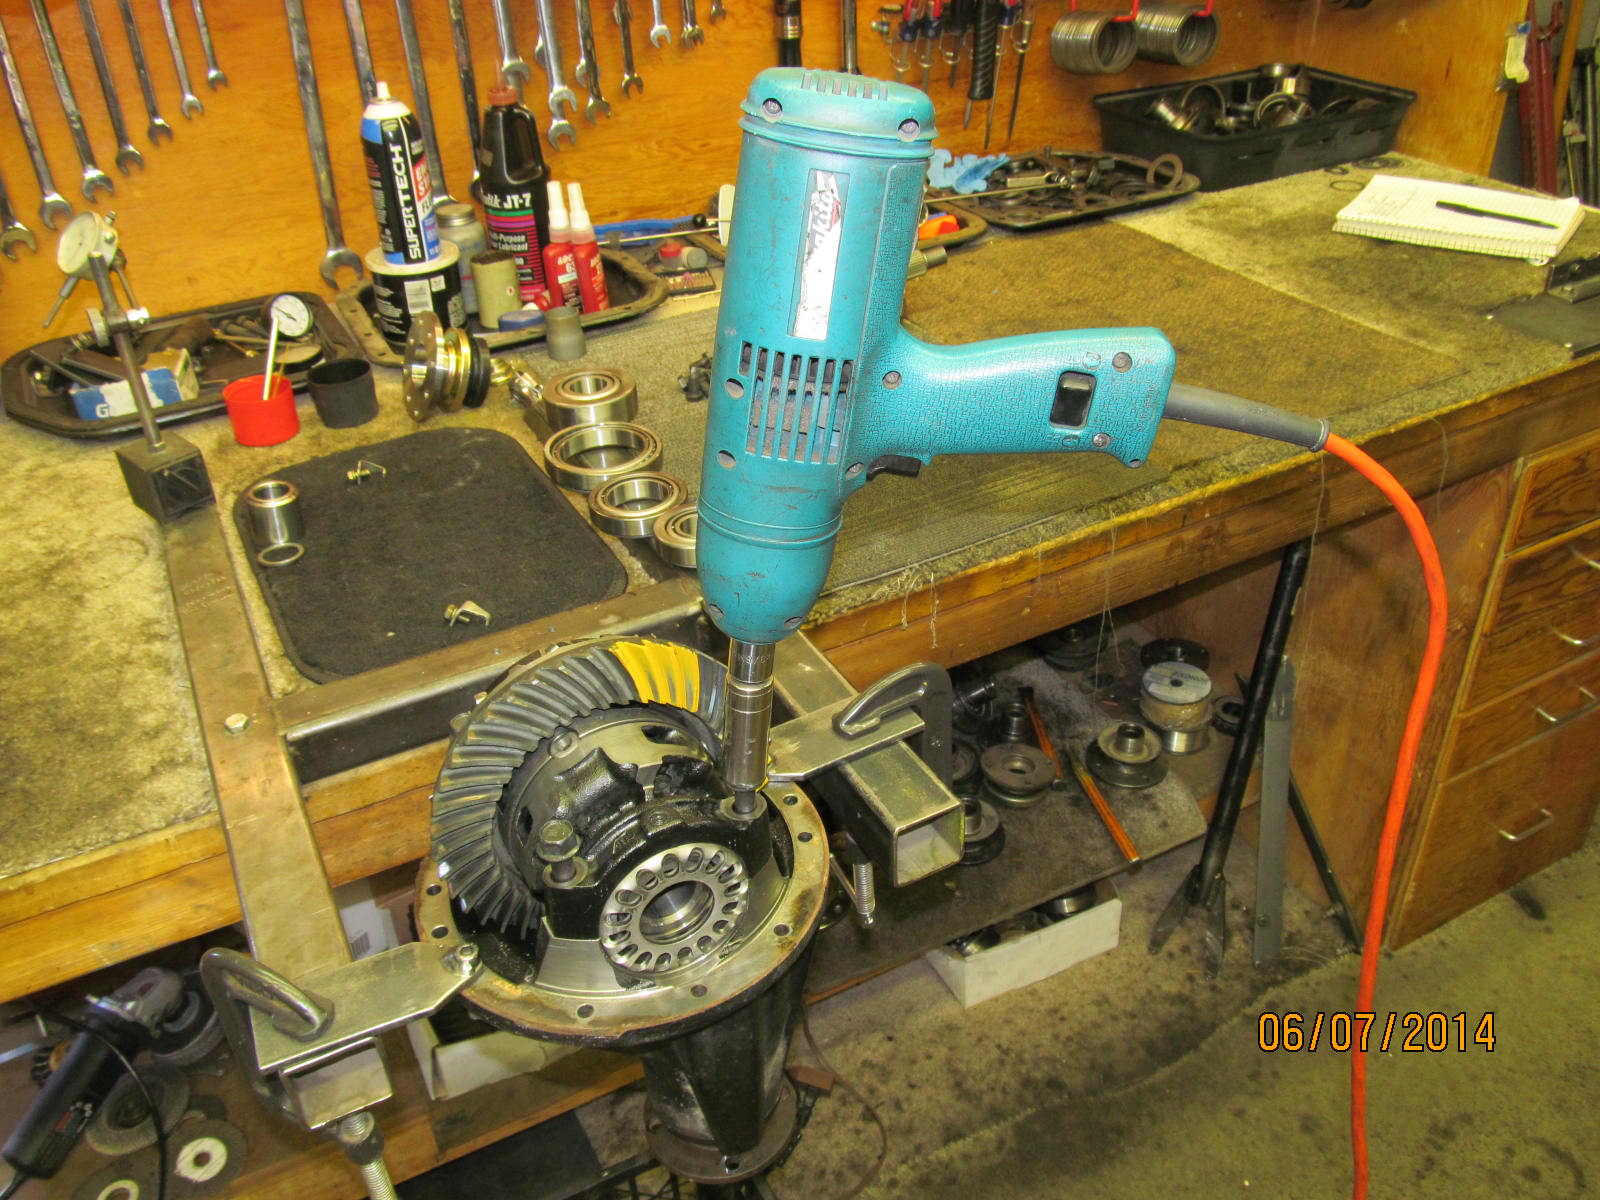
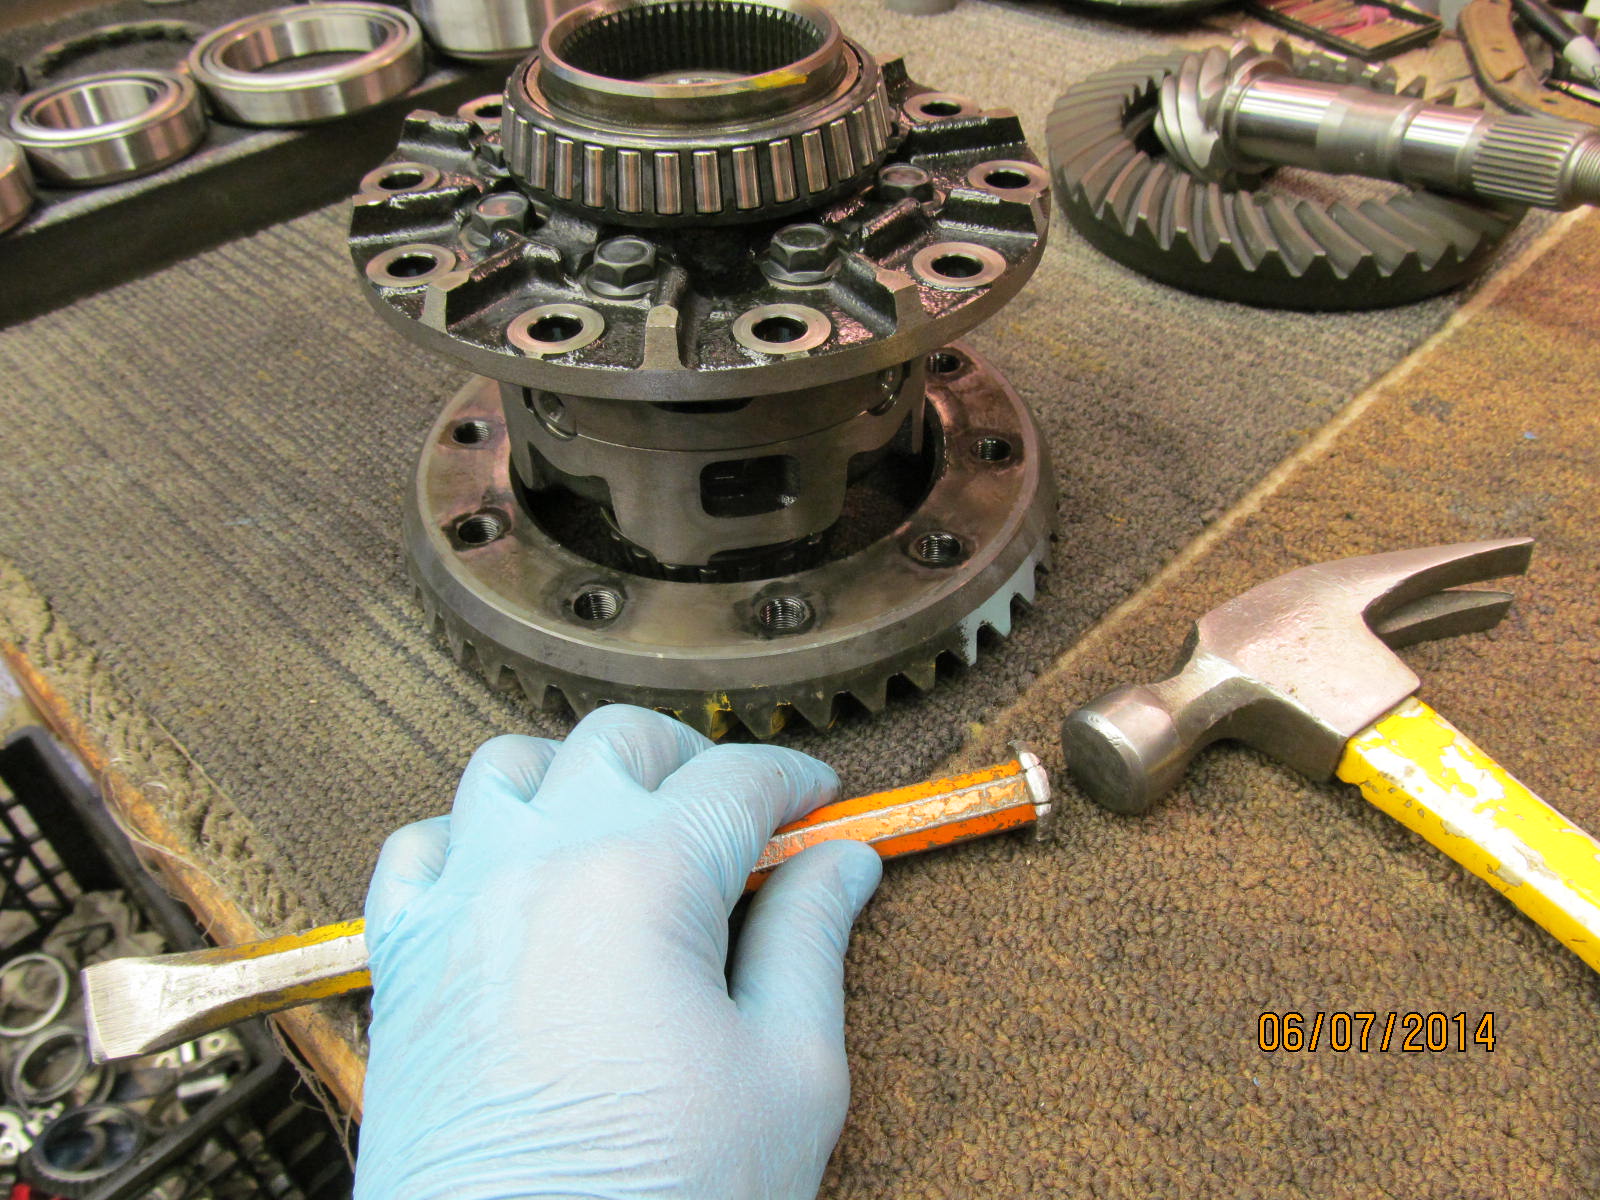
The electric impact makes teardown so much quicker.
|
|
|
|
|
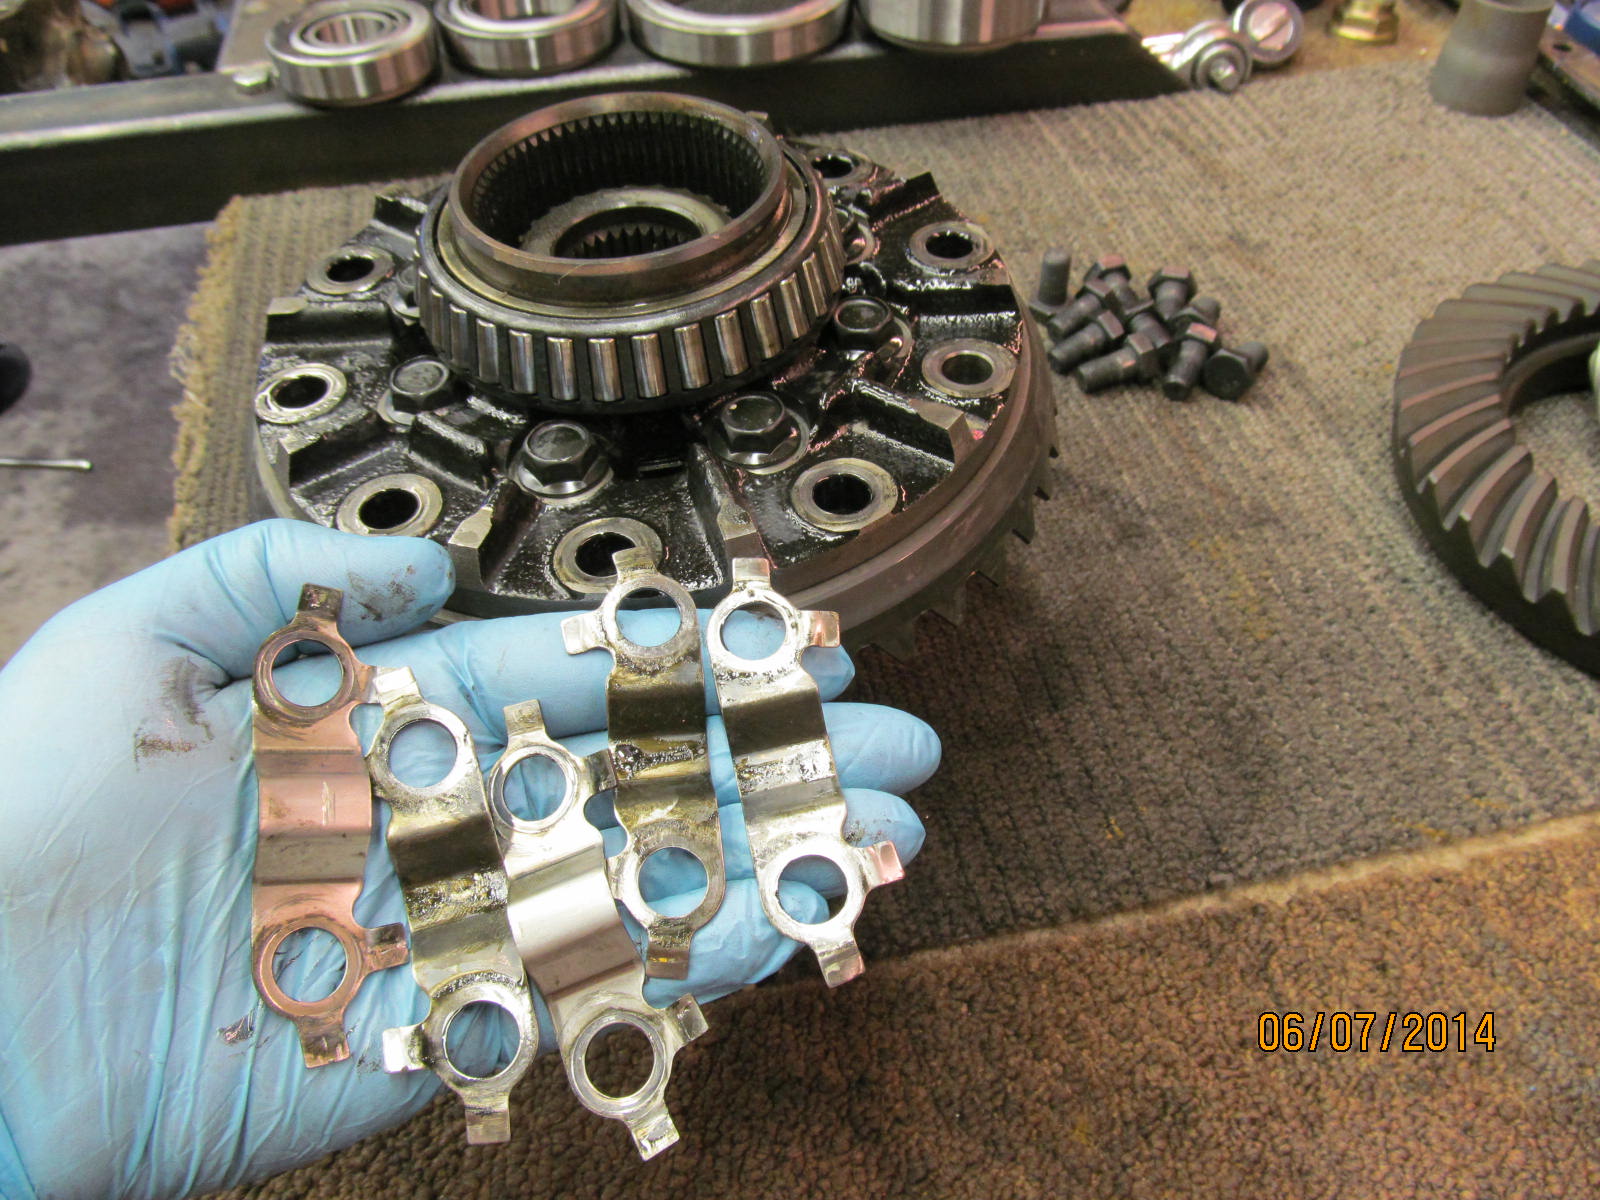
Never re-use these.....they are worthy of the garbage can.
|
|
|
|
|
Old ring is tapped off.
|
|
|
|
|
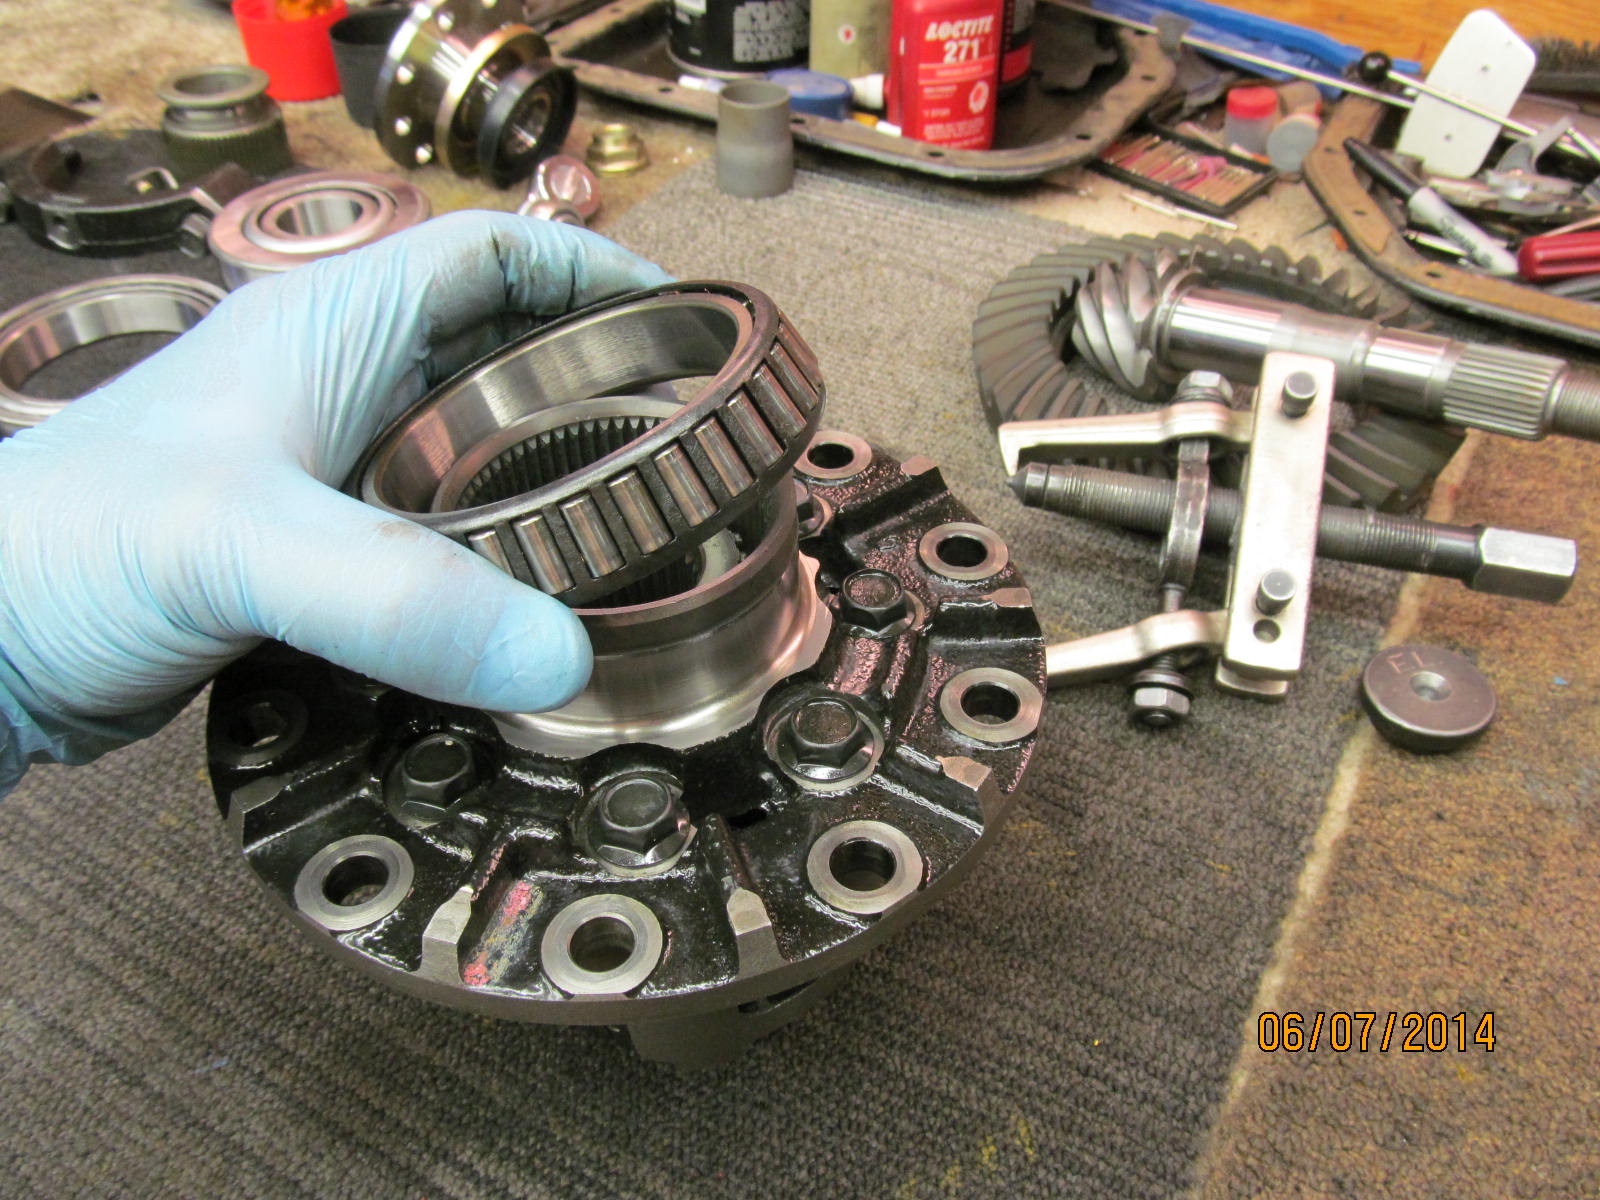
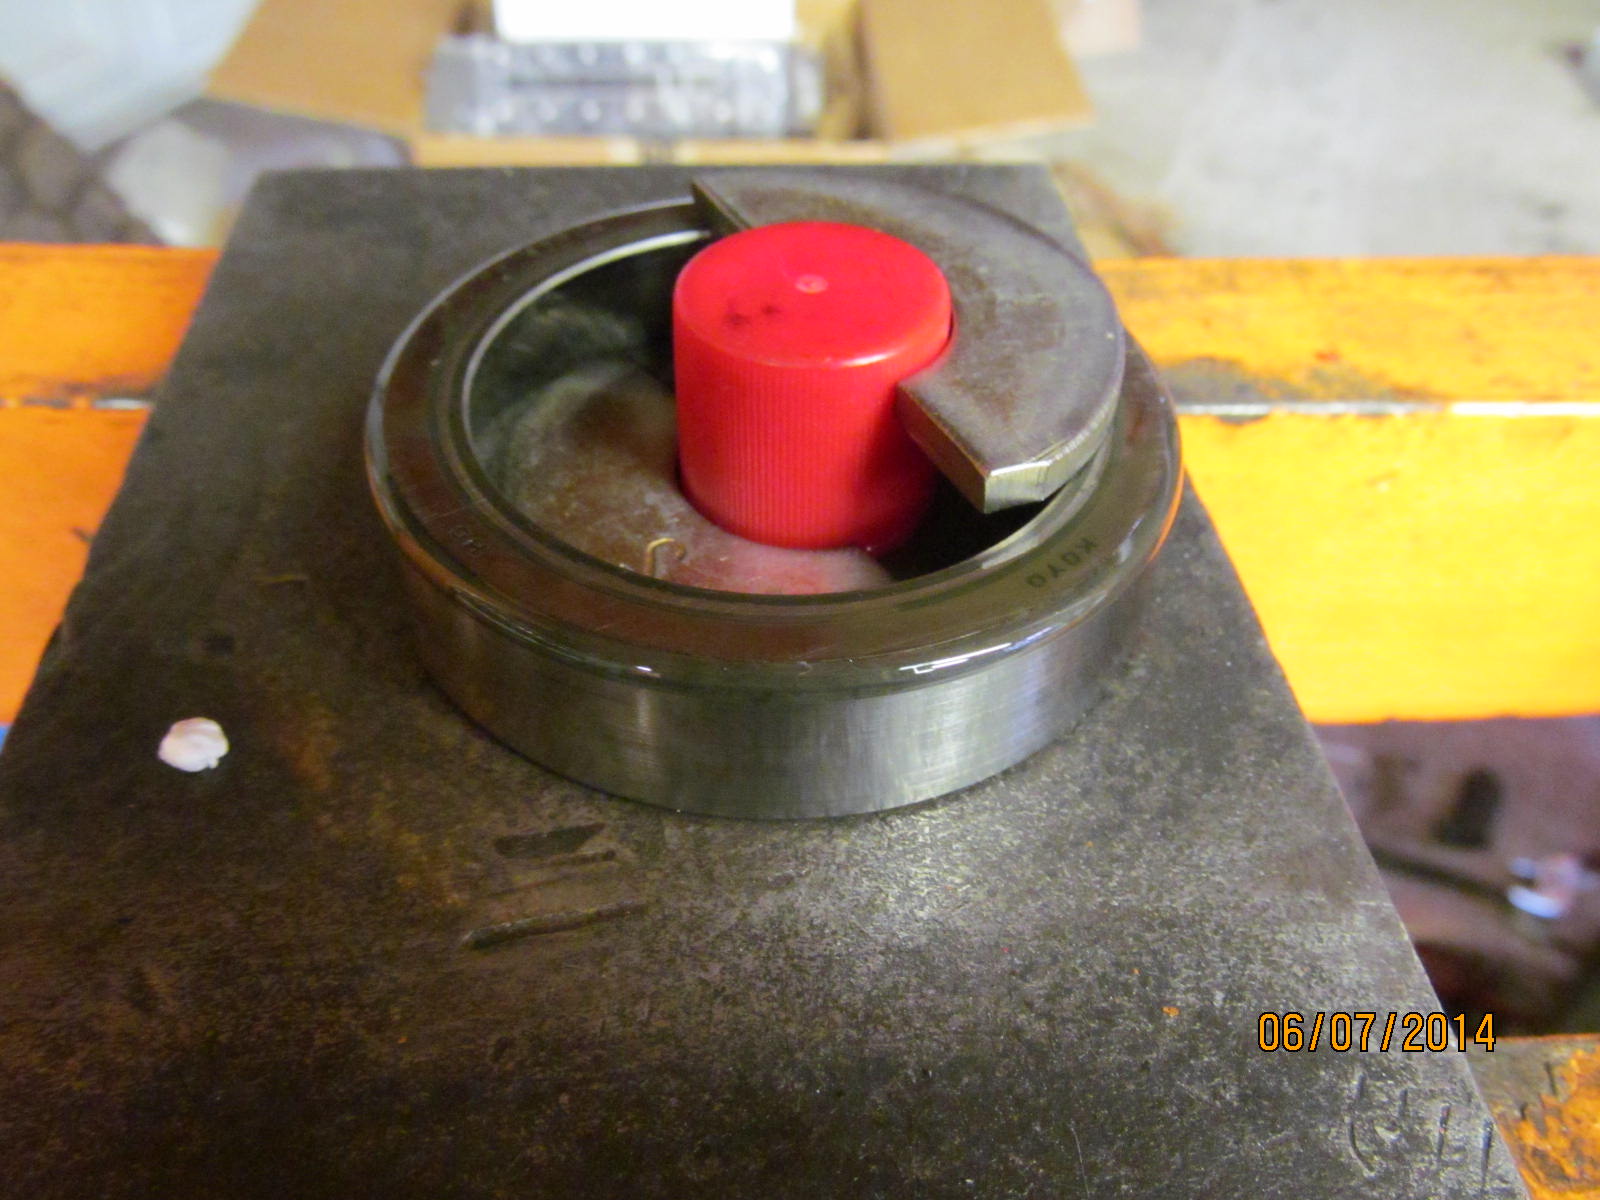
This carrier bearing came off with just my fingers. Sleeve lock retainer will be used on the new one.
|
|
|

|
|
This smaller one took alot more effort.
|
|
|
|
|
These 8 long case bolts are checked and they were all tight at 40 ft/lbs verified.
|
|
|
|
|
Both surfaces are checked with the 3 sided file.
|
|
|
|
|
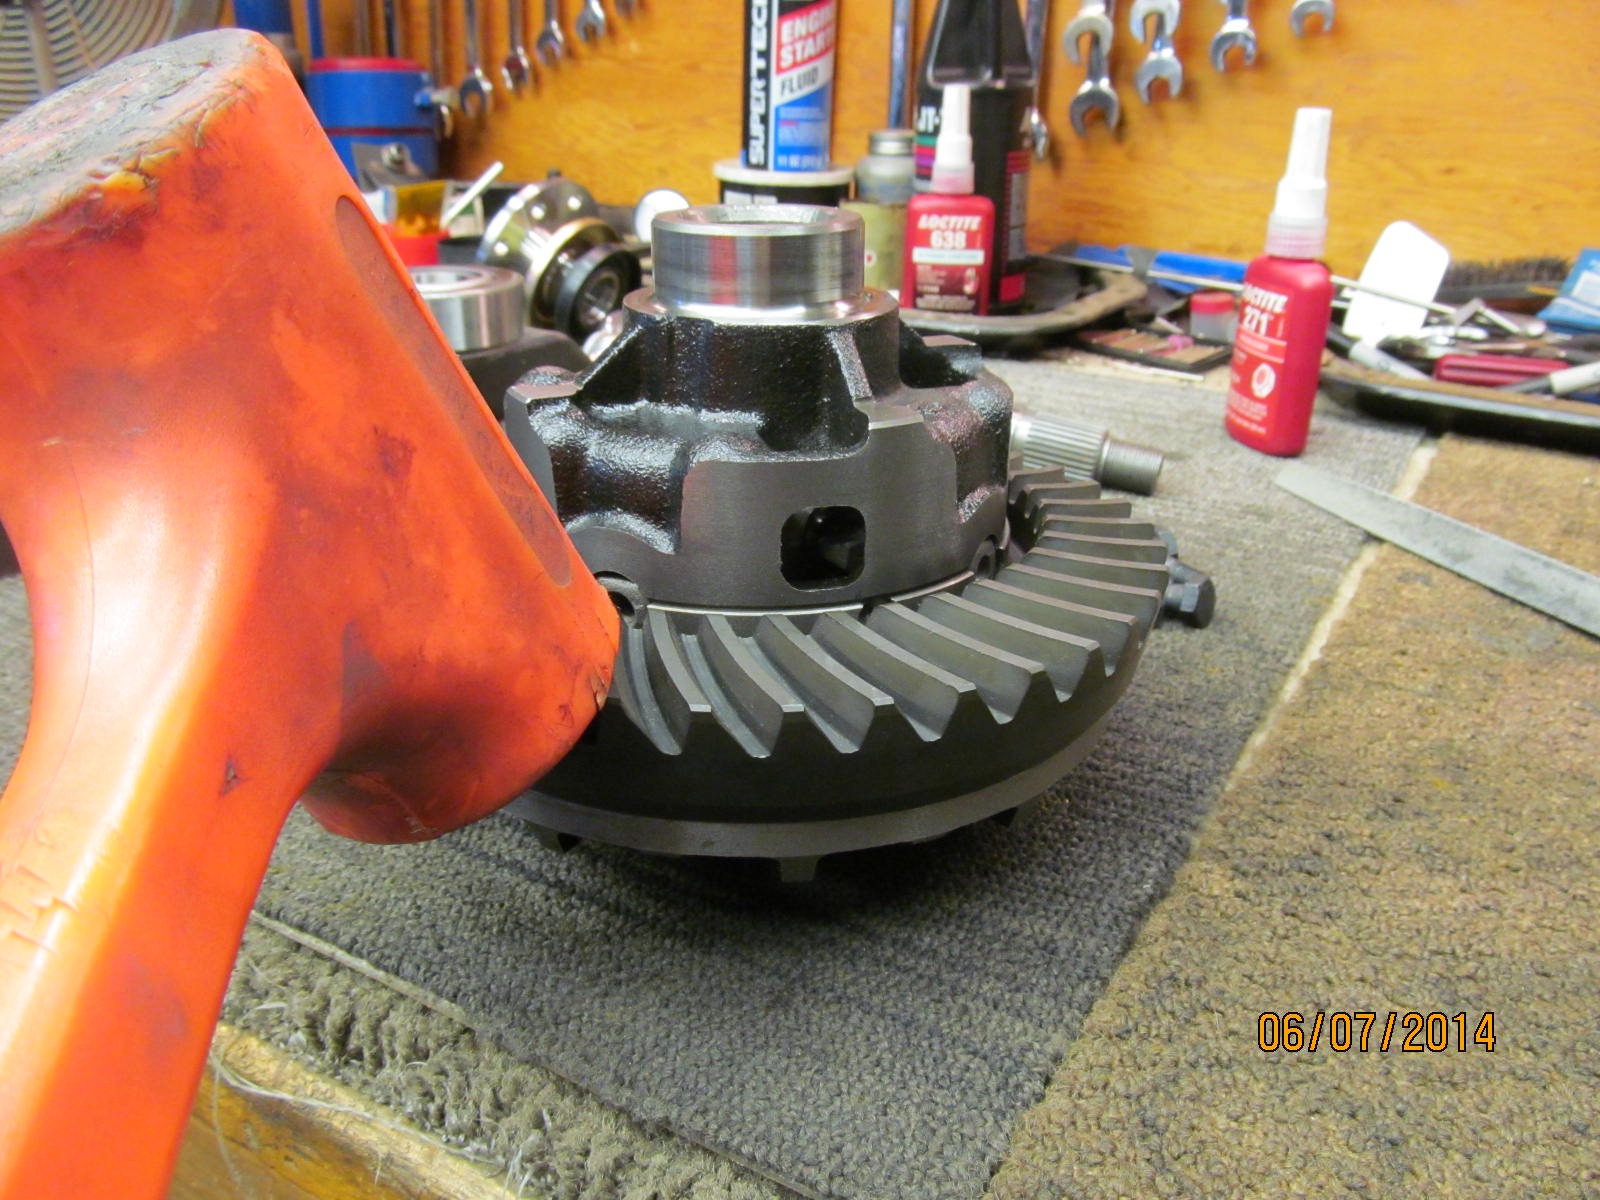
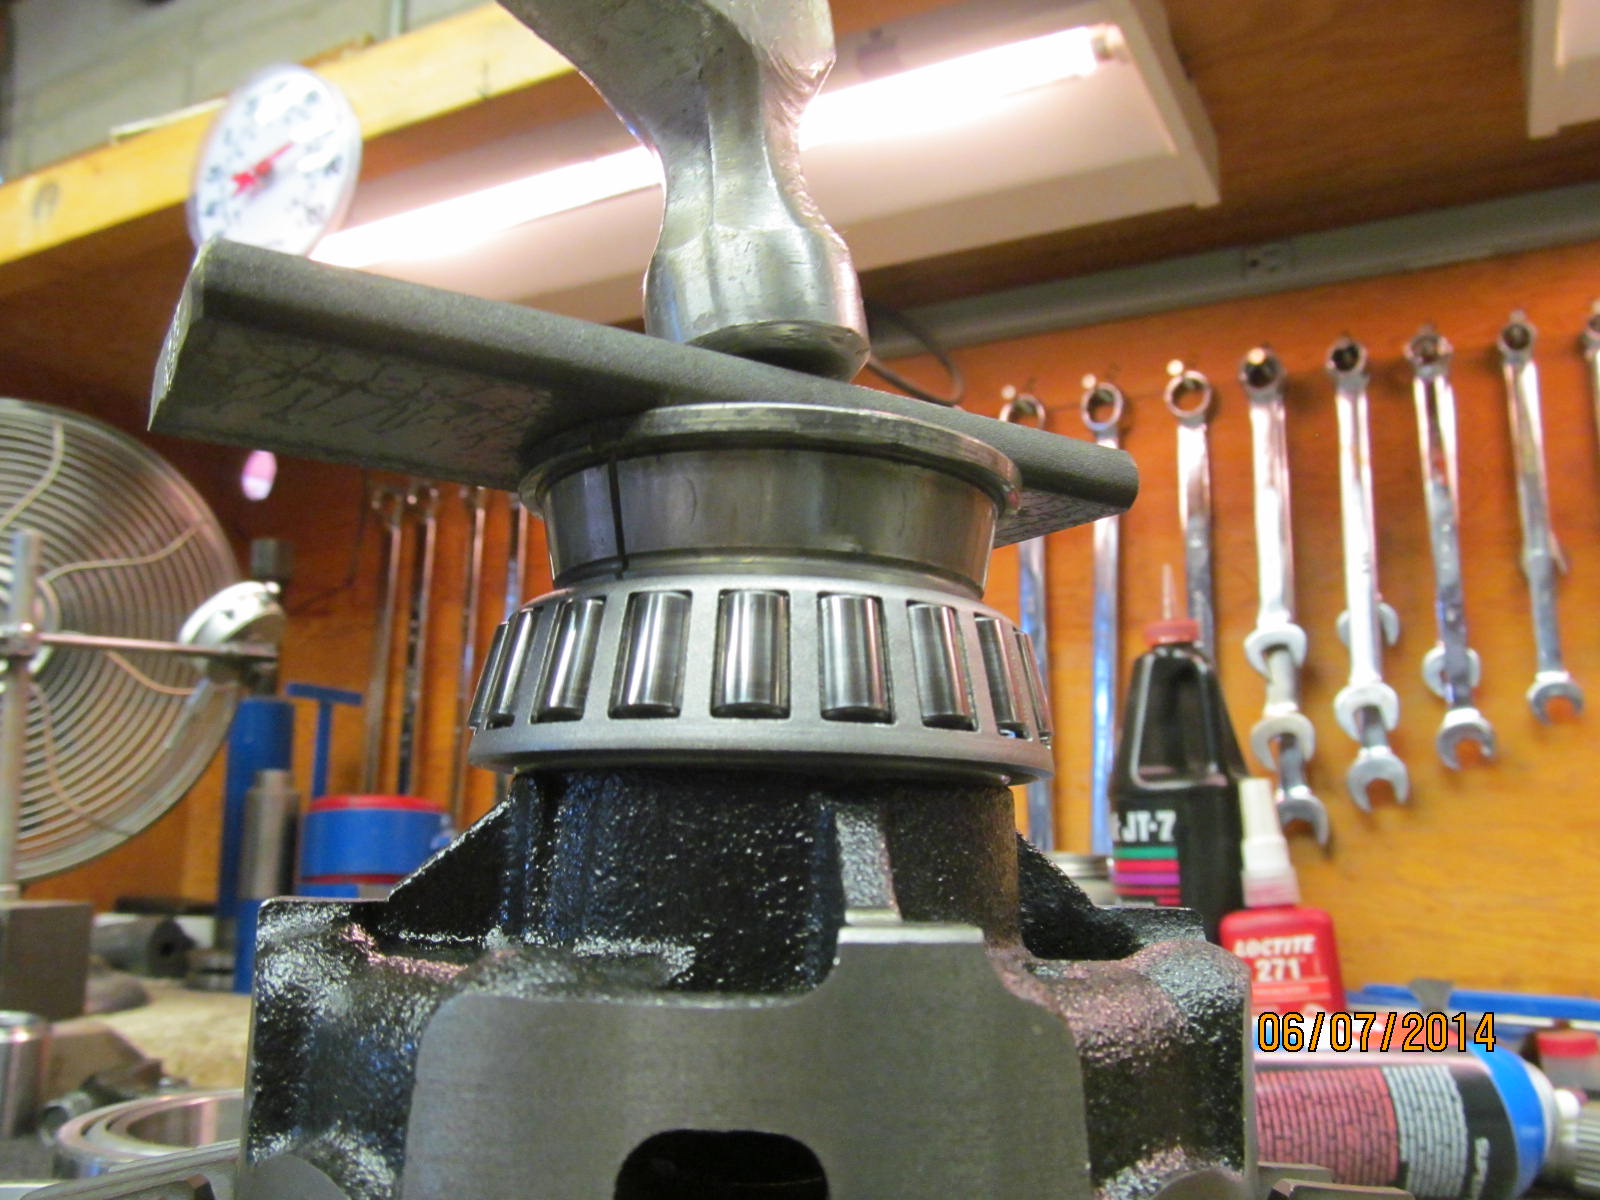
A snug fit but the lead filled plastic hammer convinced the ring gear as to where it needed to be.
|
|
|
|
|
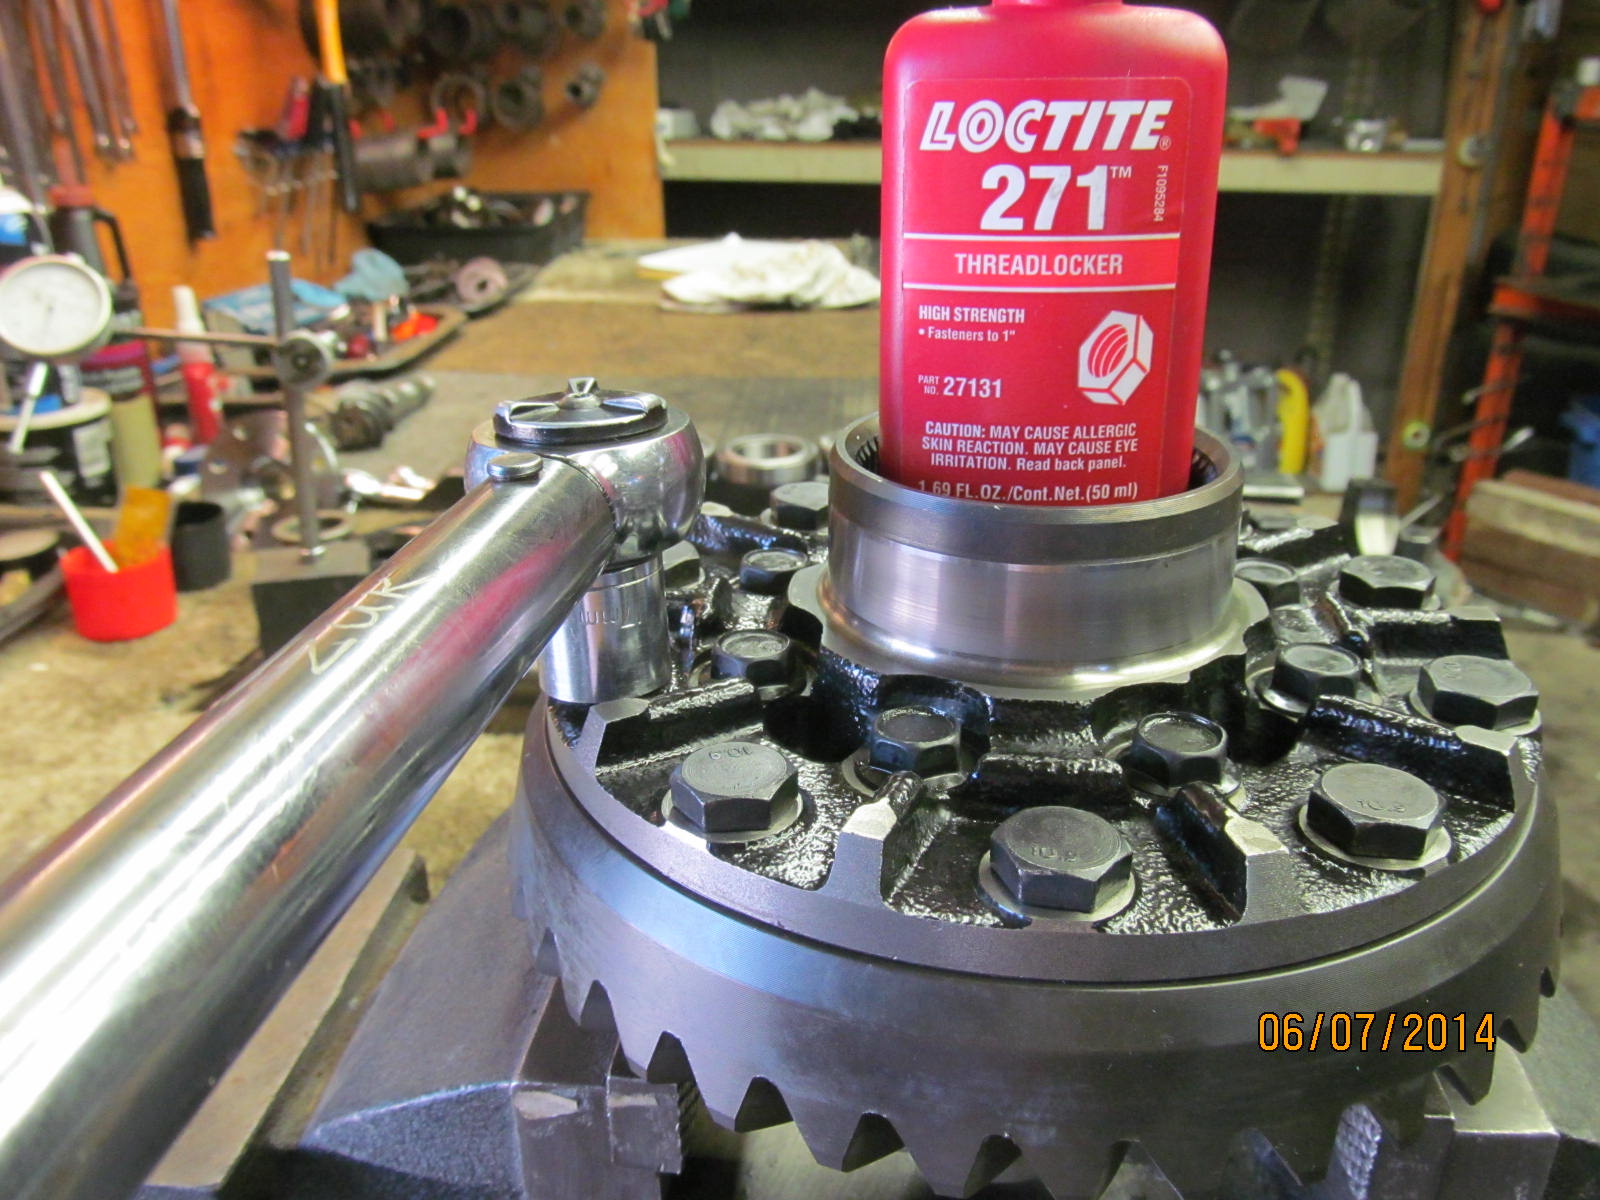
75 ft/lb with #271 on all 10 ring gear bolts.
|
|
|
|
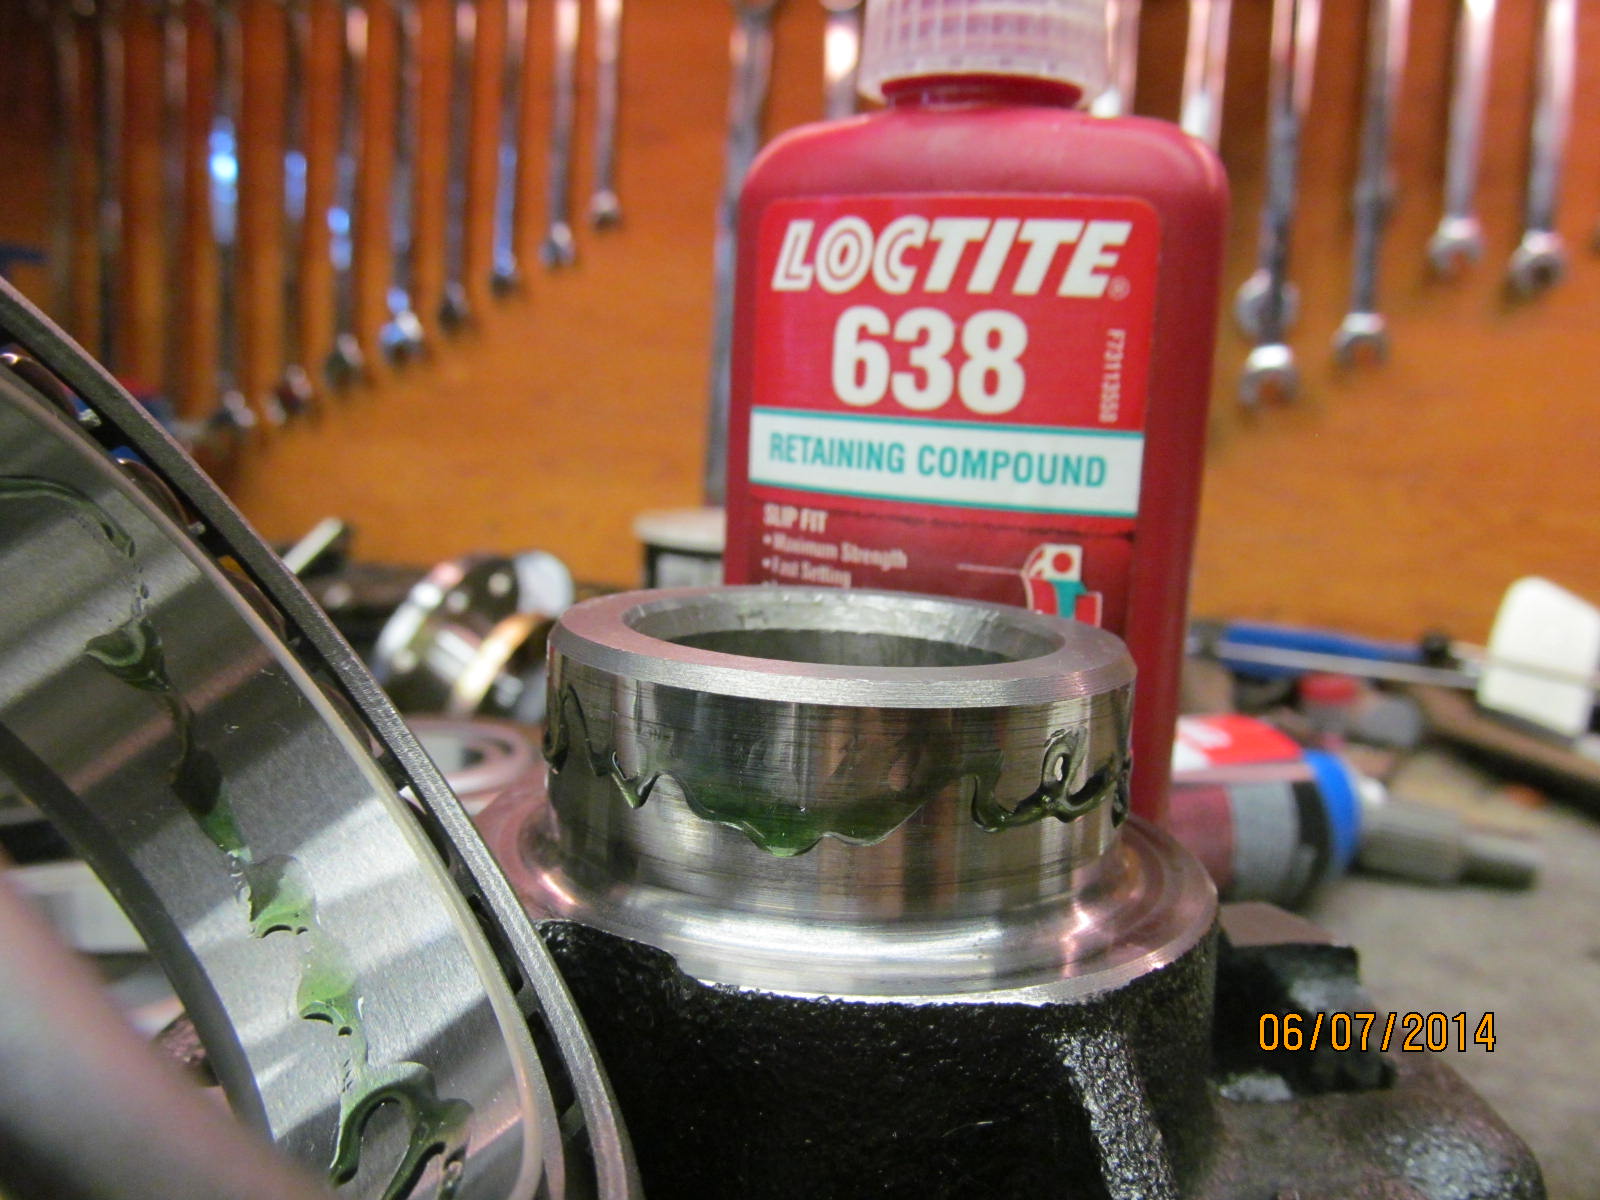
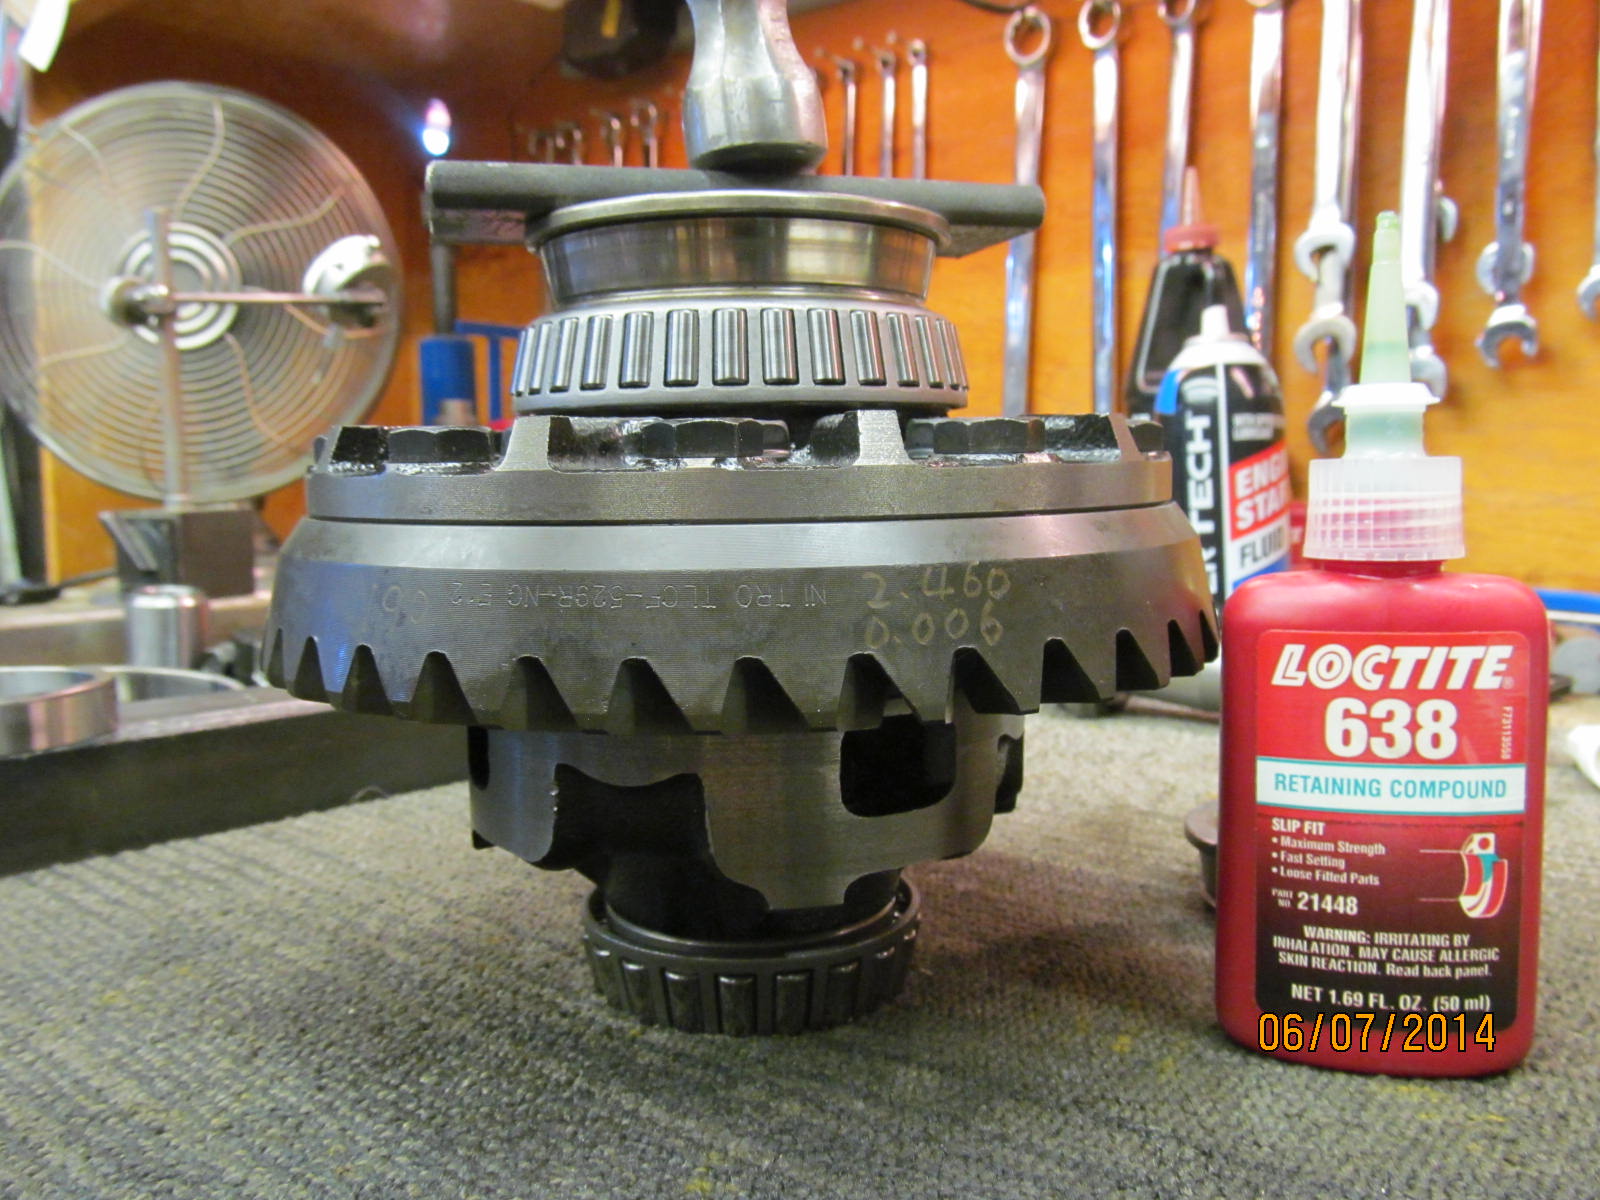
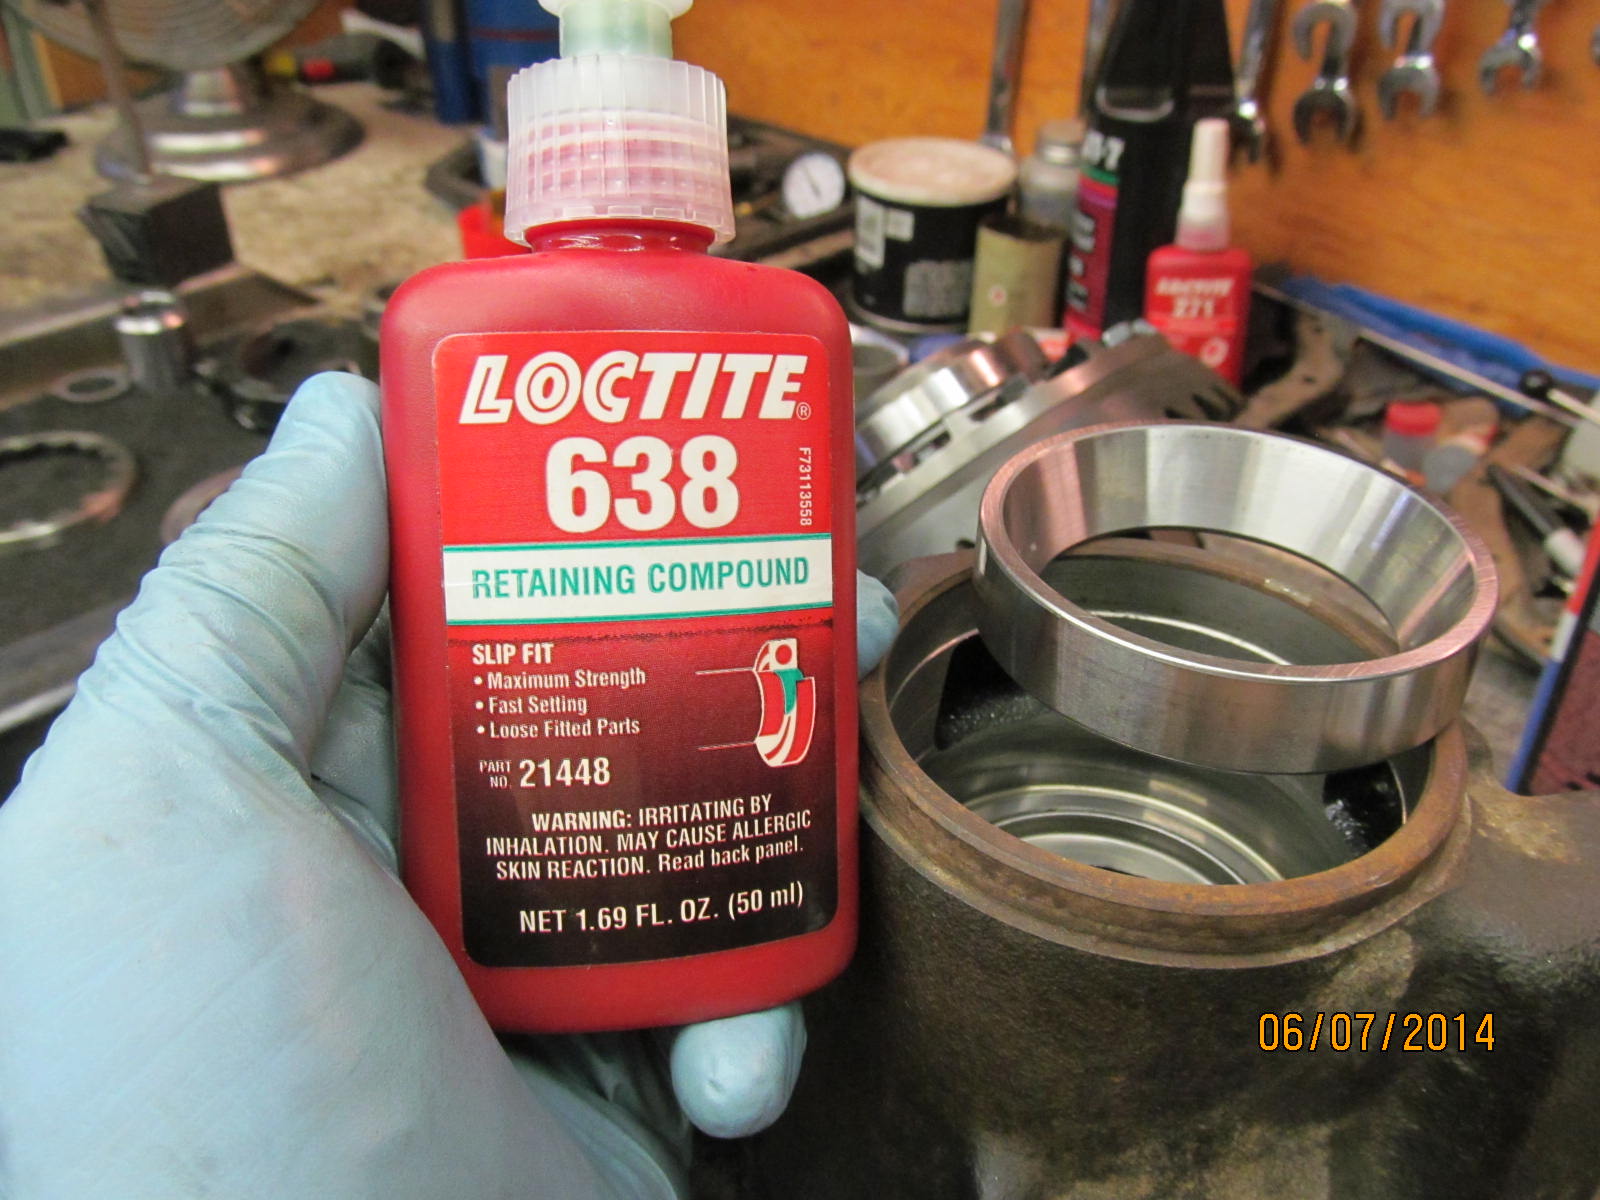
This carrier bearing probably did not need #638 but it got it anyways. I used a clean latex glove to spread the
retainer around. The pores of the metal were all thoroughly saturated in the green stuff.
|
|
|
|
|
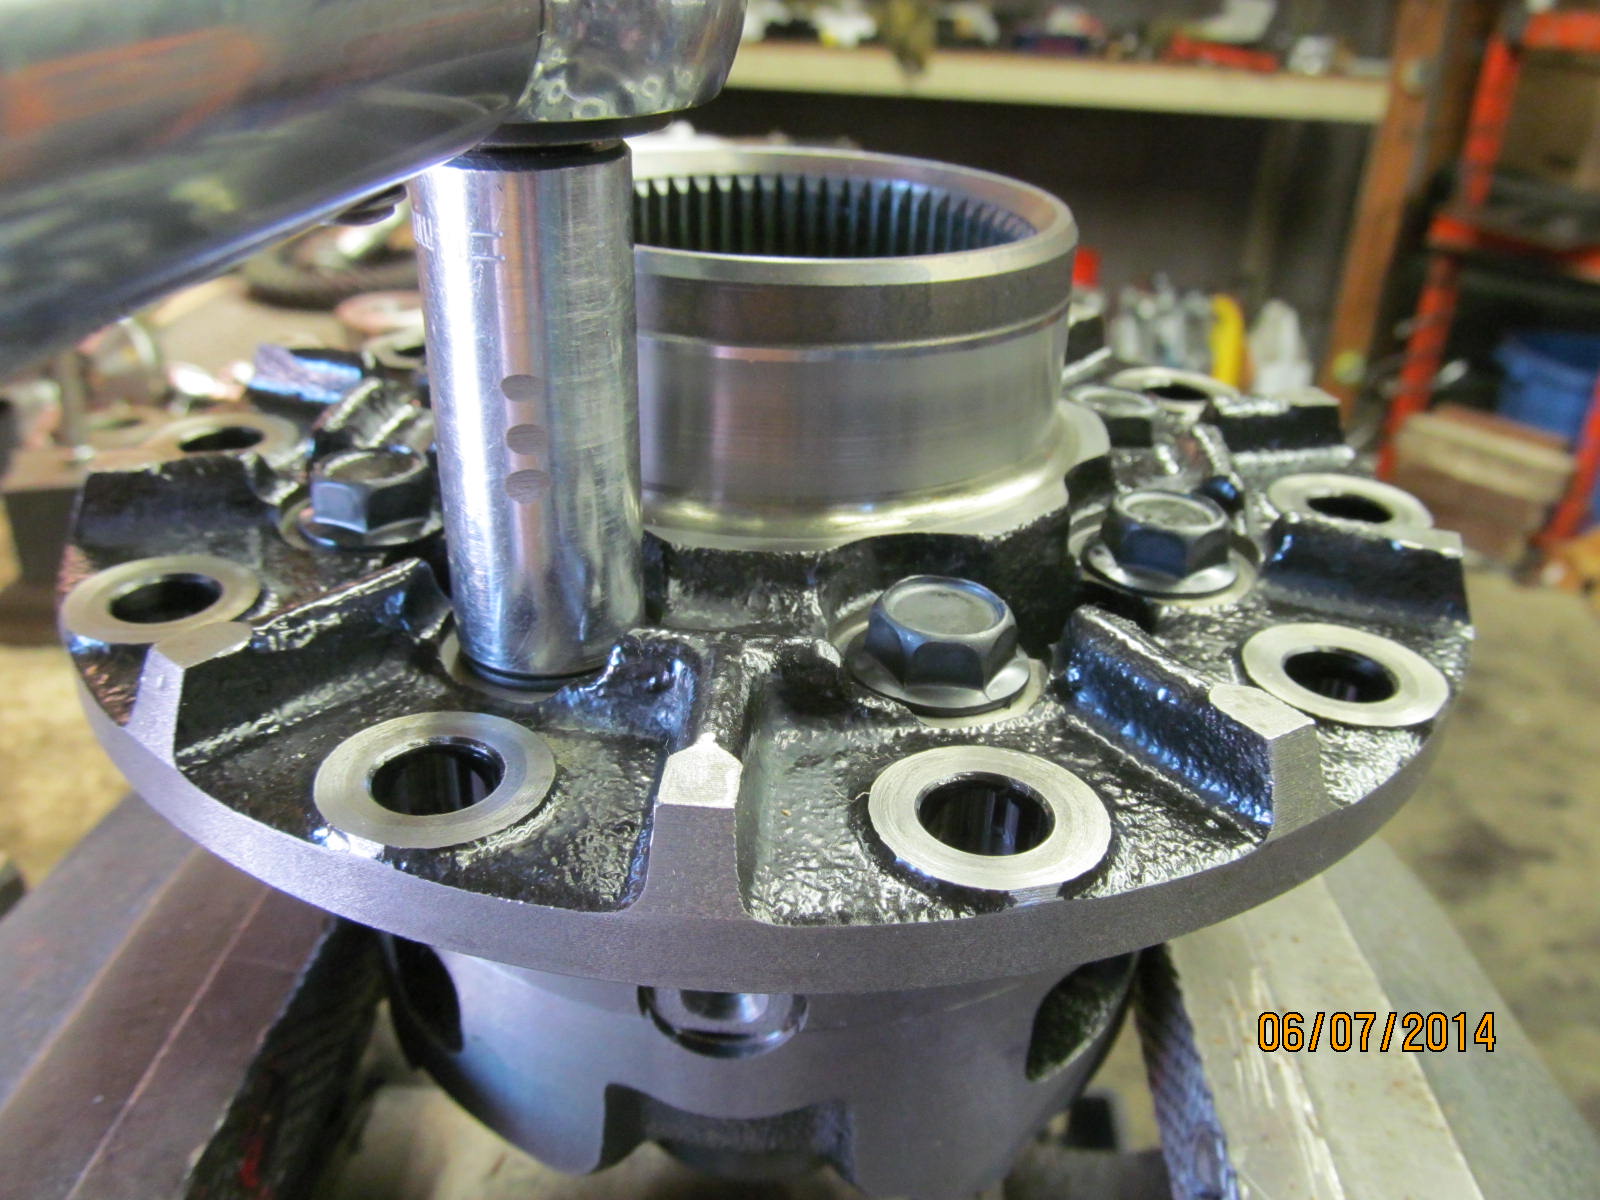
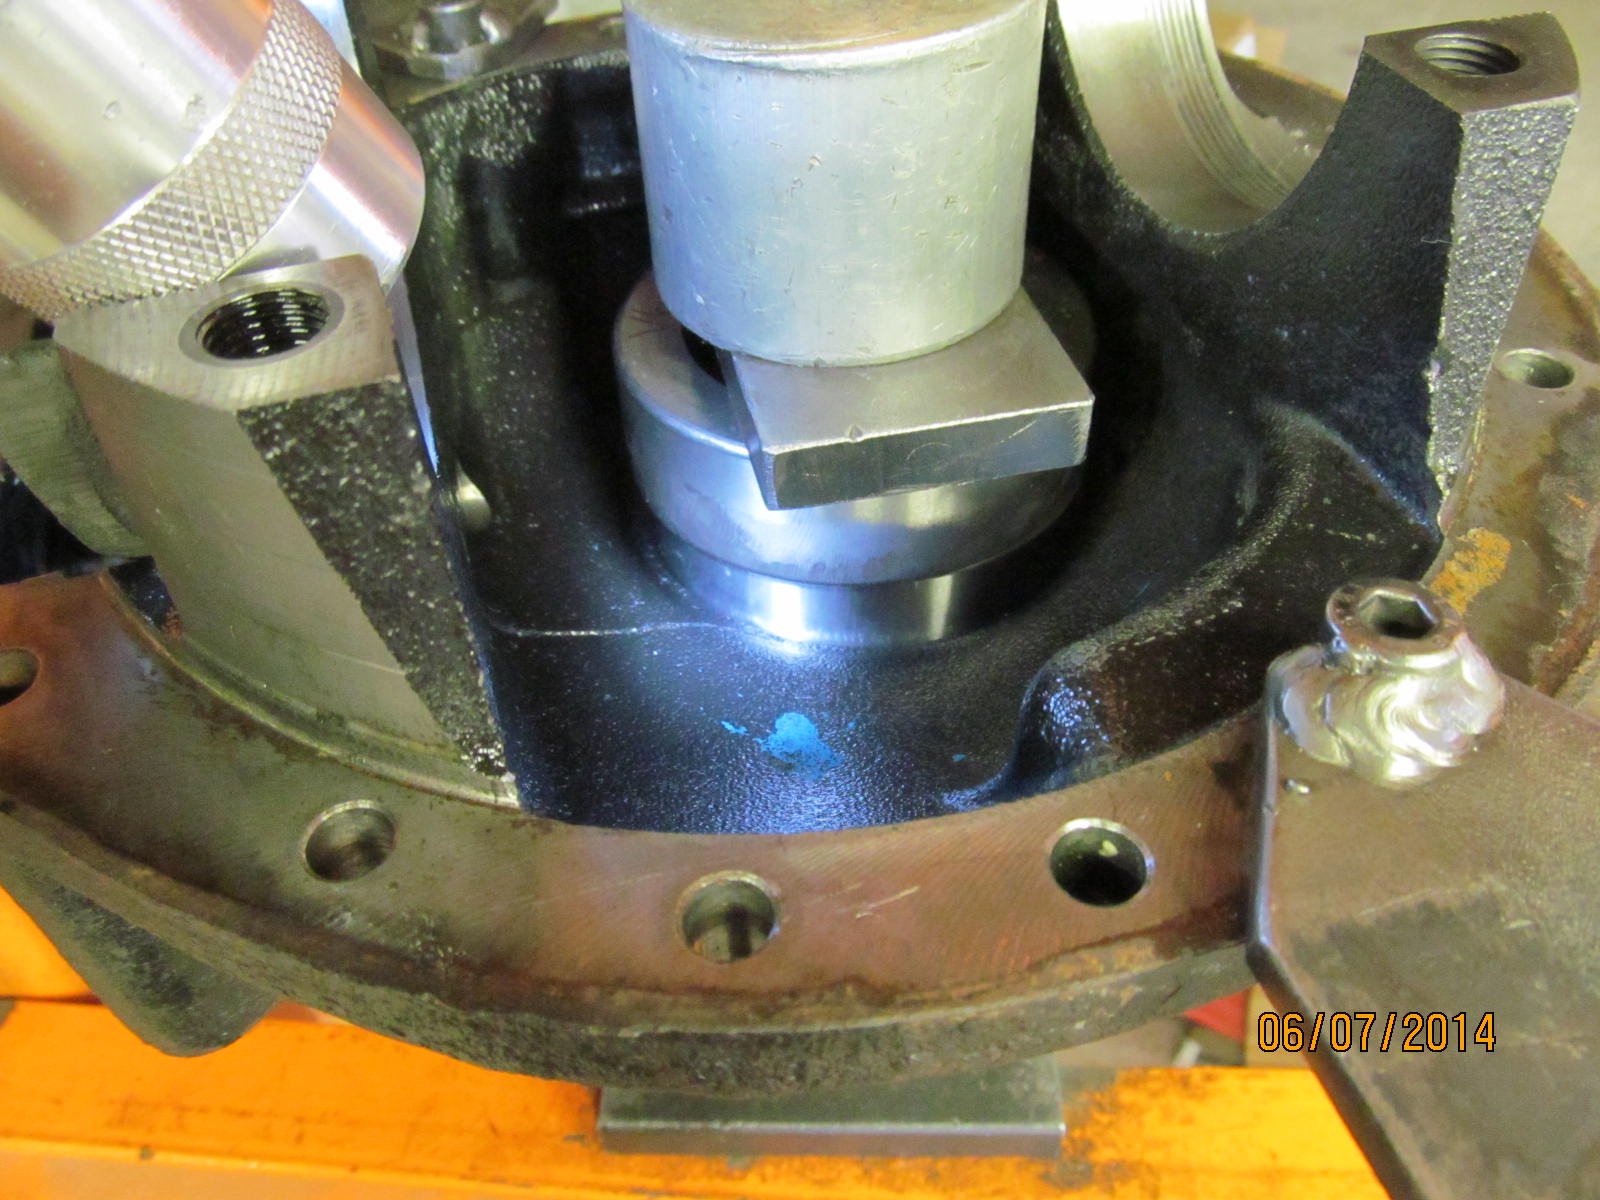
Tap the bearing on.
|
|
|
|
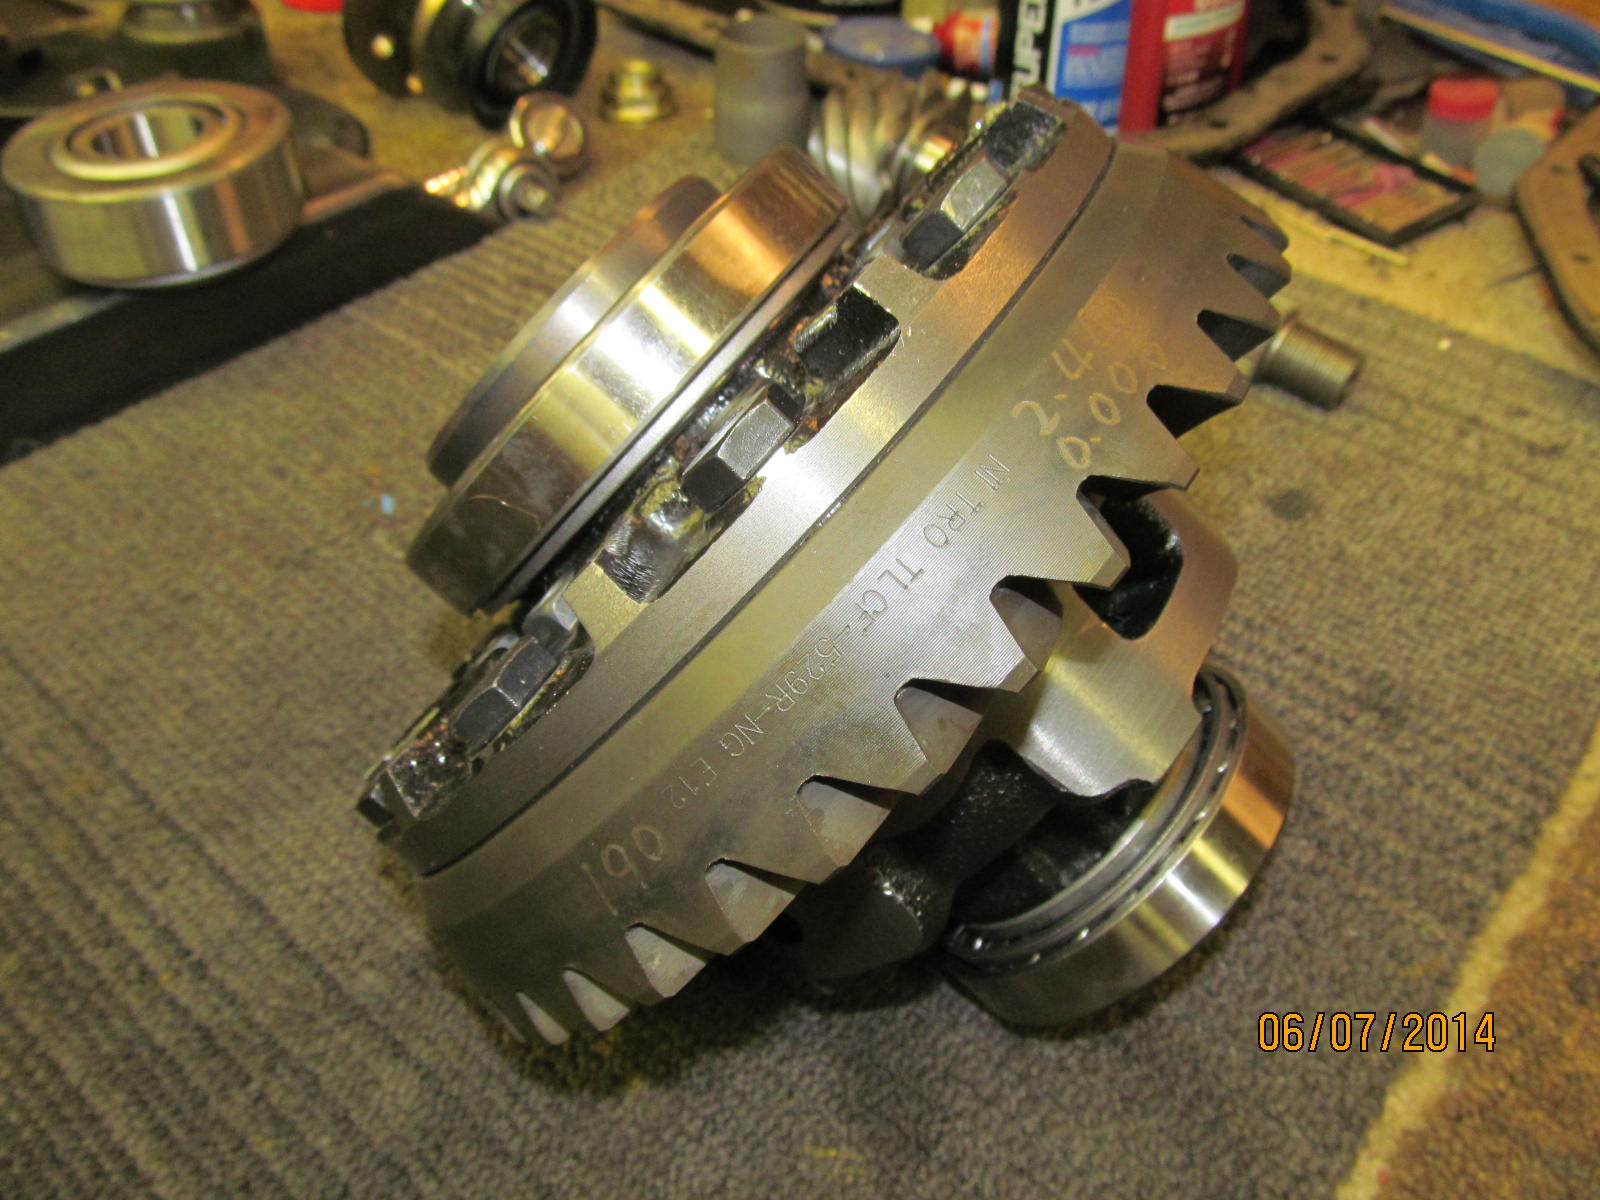
This is the massive carrier bearing that was loose so it will also have fresh retainer fluid spread
on a clean, oil-free surface.
|
|
|
|
|
This assembly will set-up for 24 hours to cure.
|
|
|
|
|
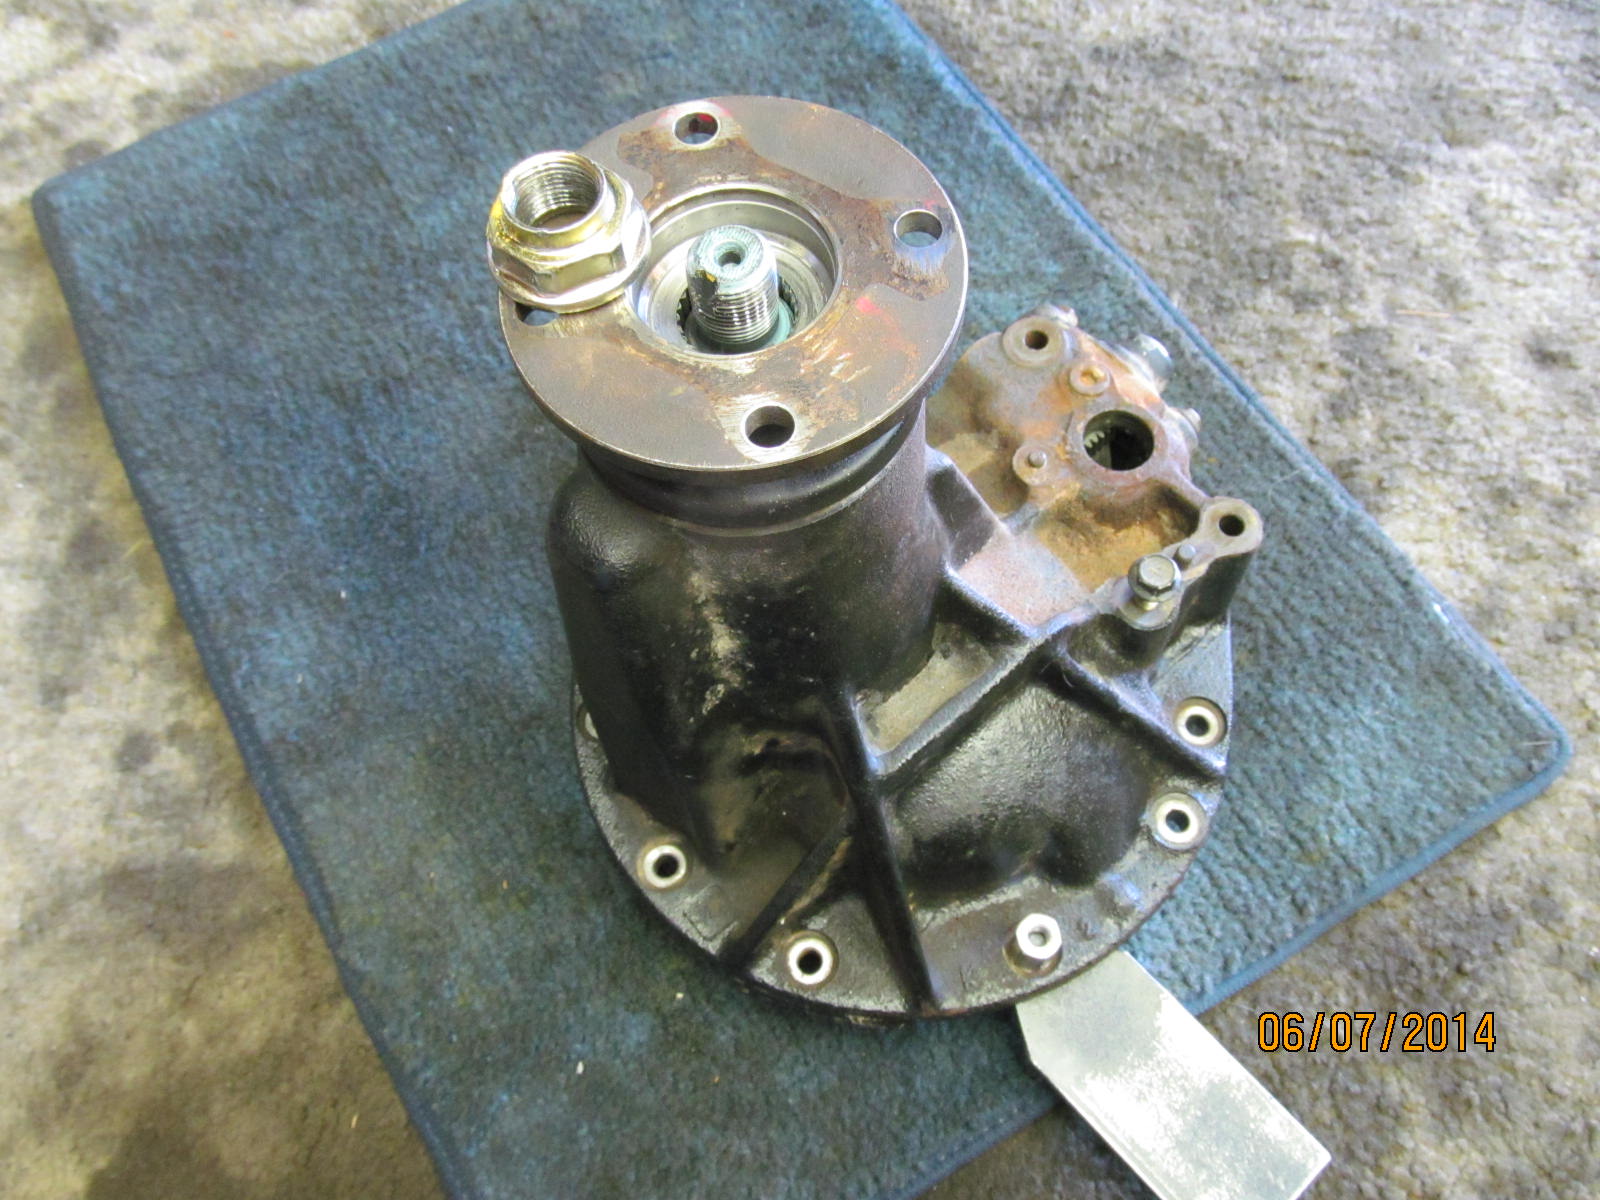
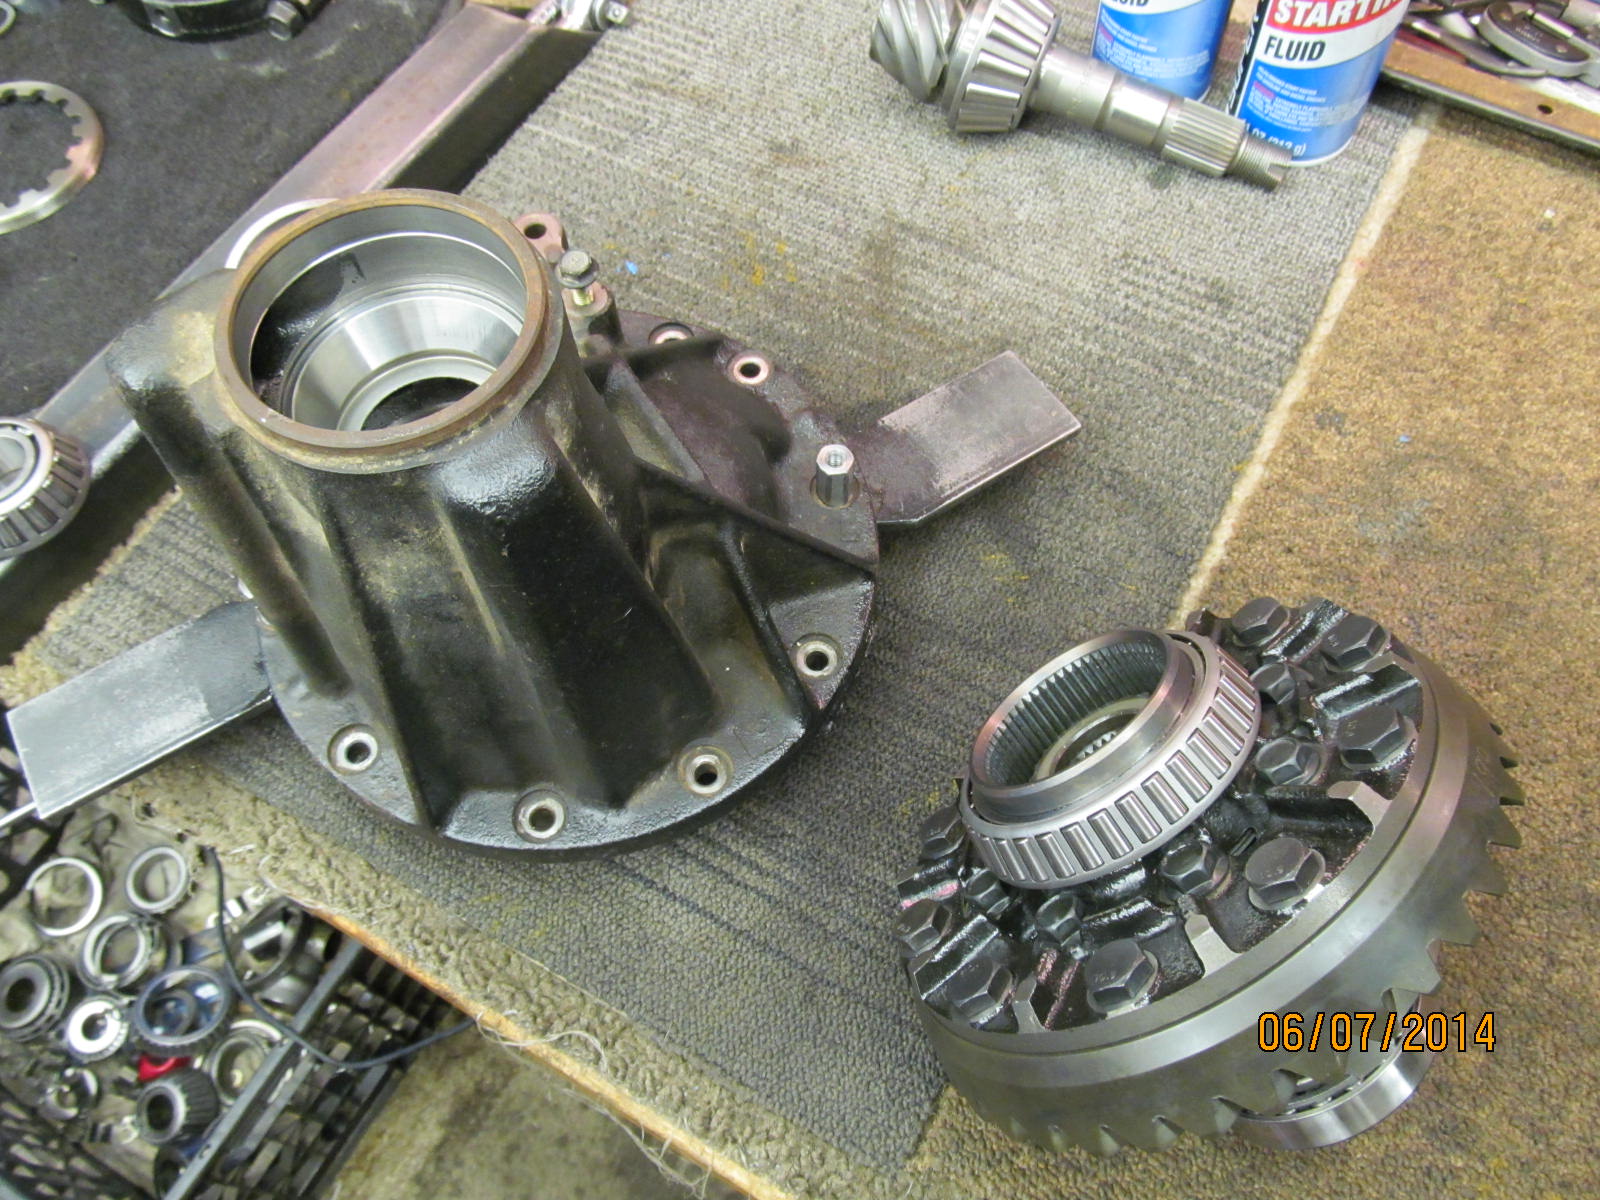
In the meantime, the other end can be dis-assembled and cleaned.
|
|
|
|
|
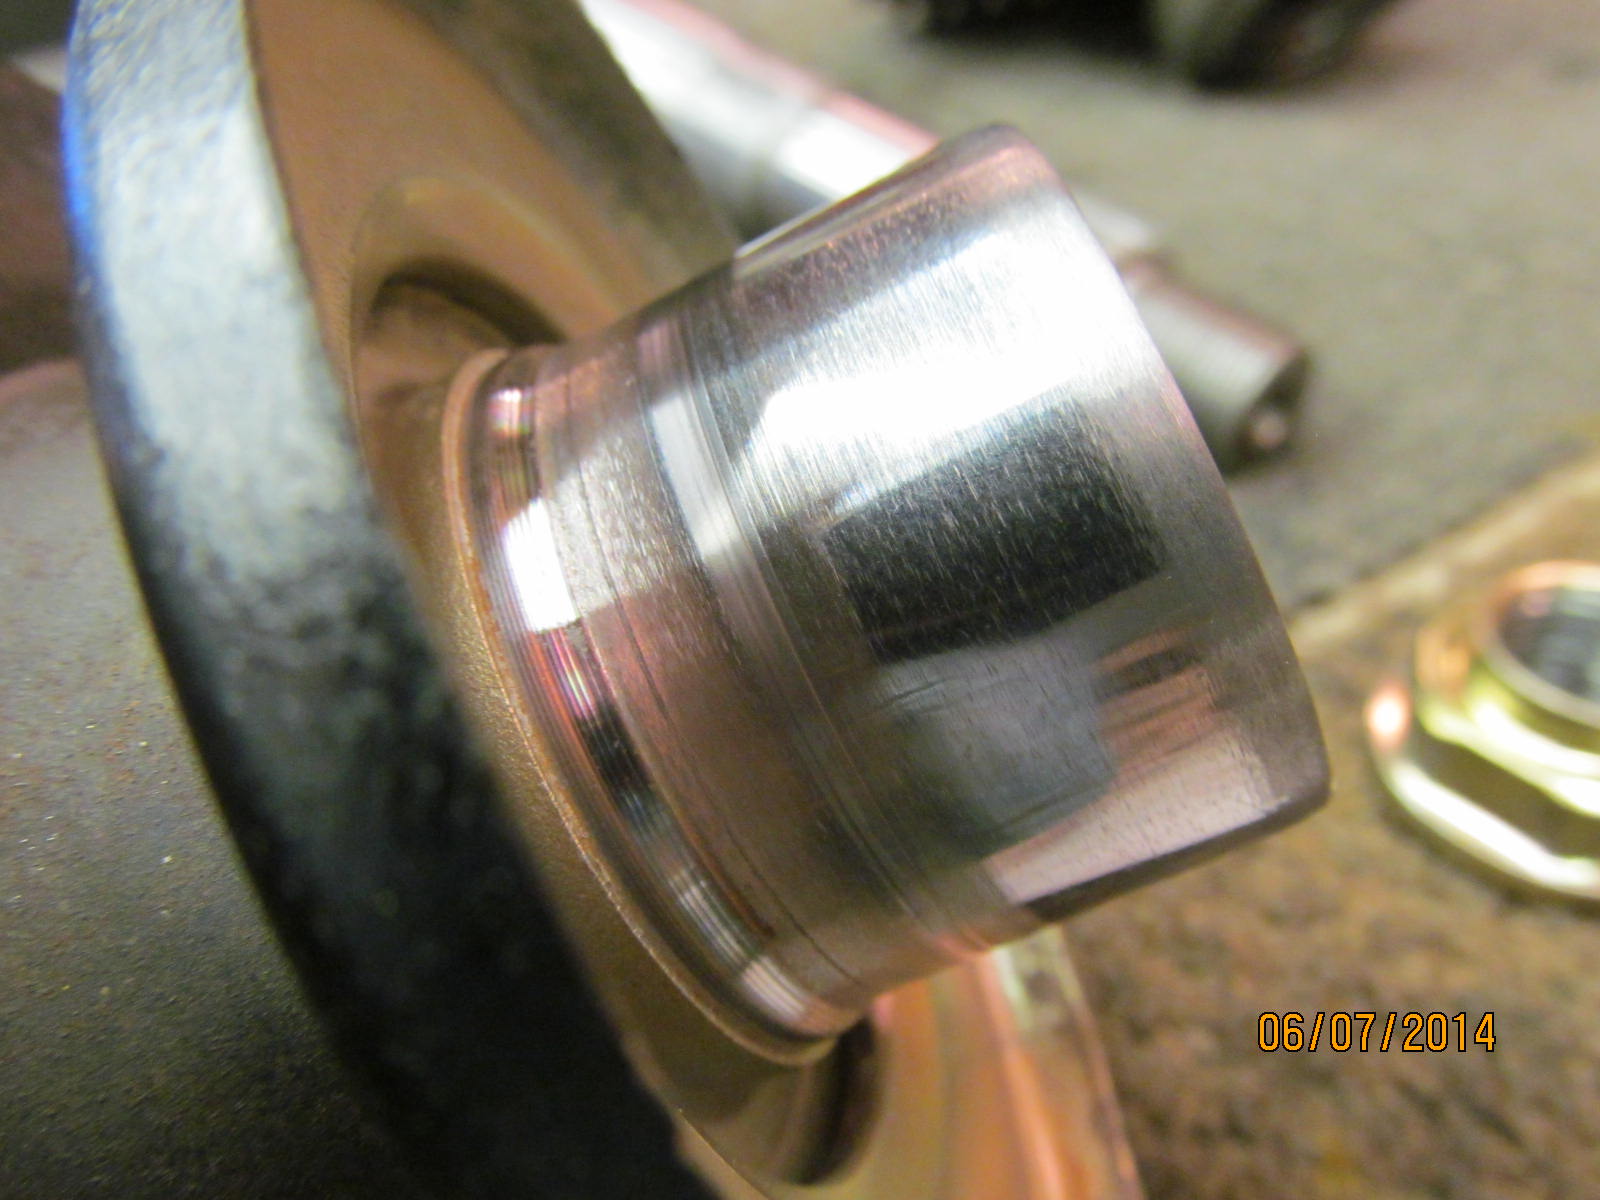
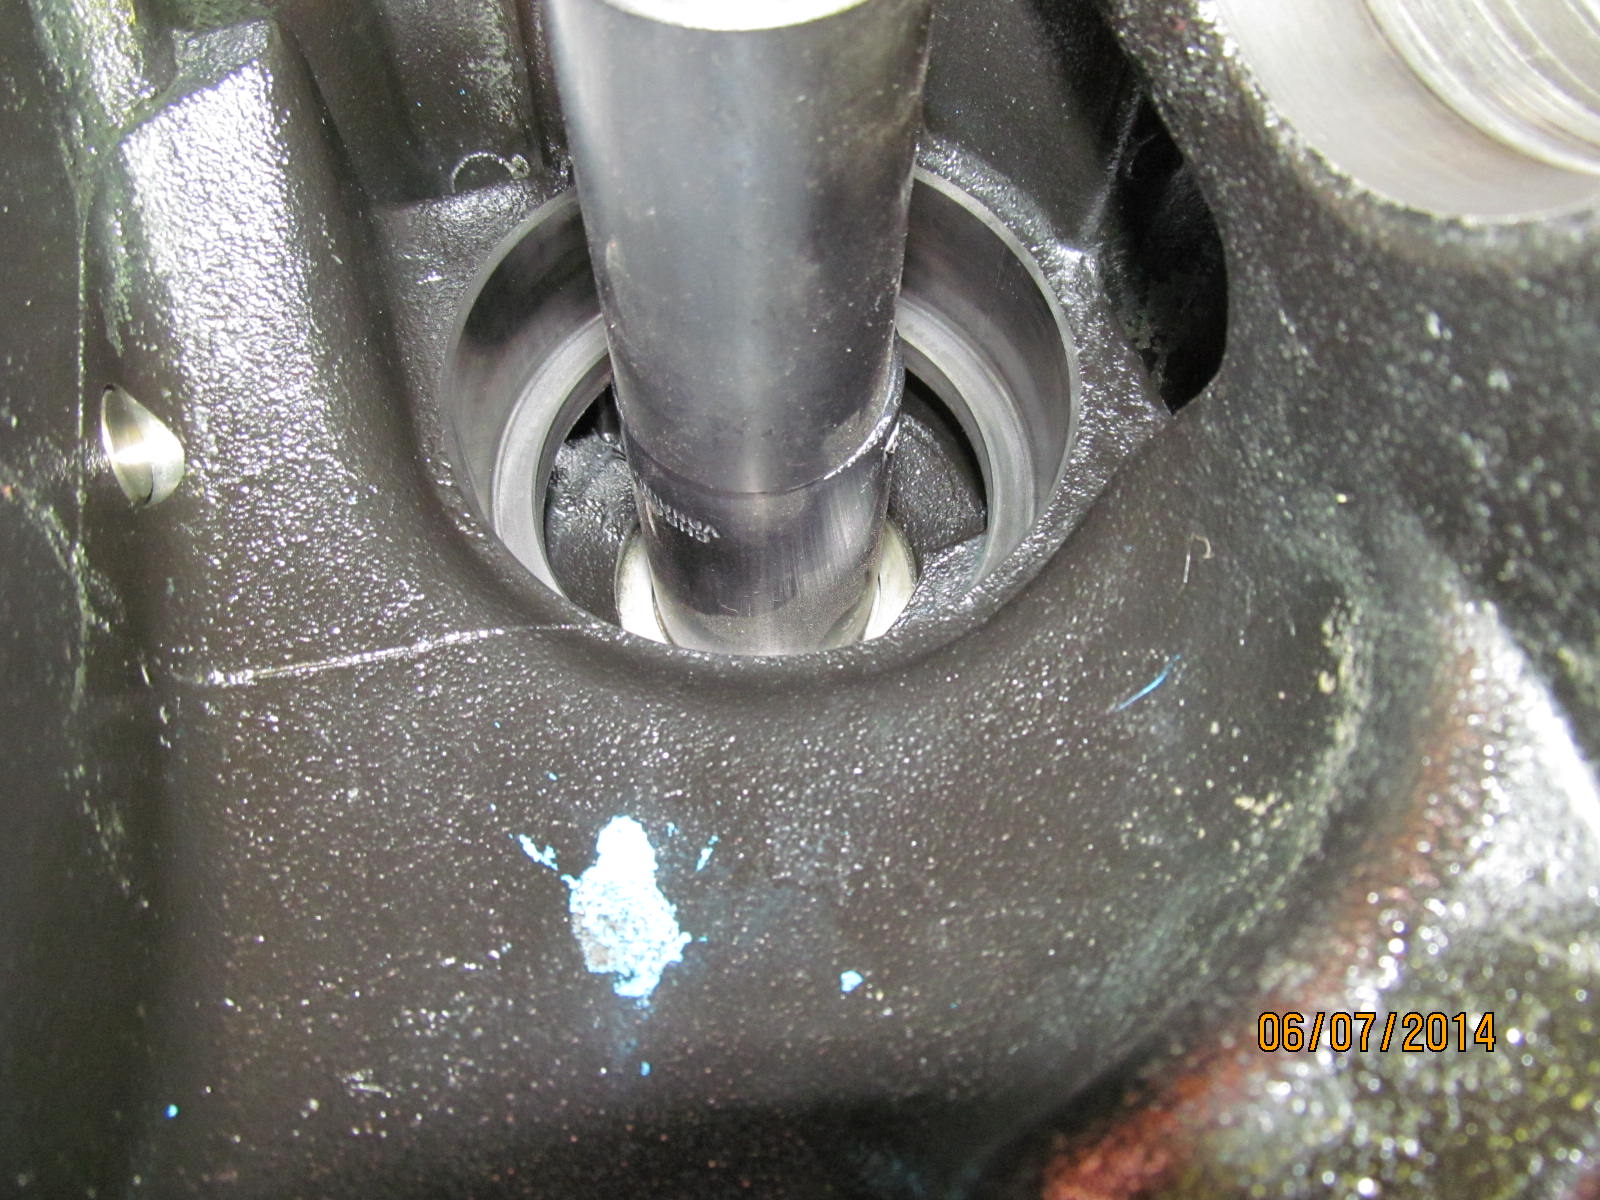
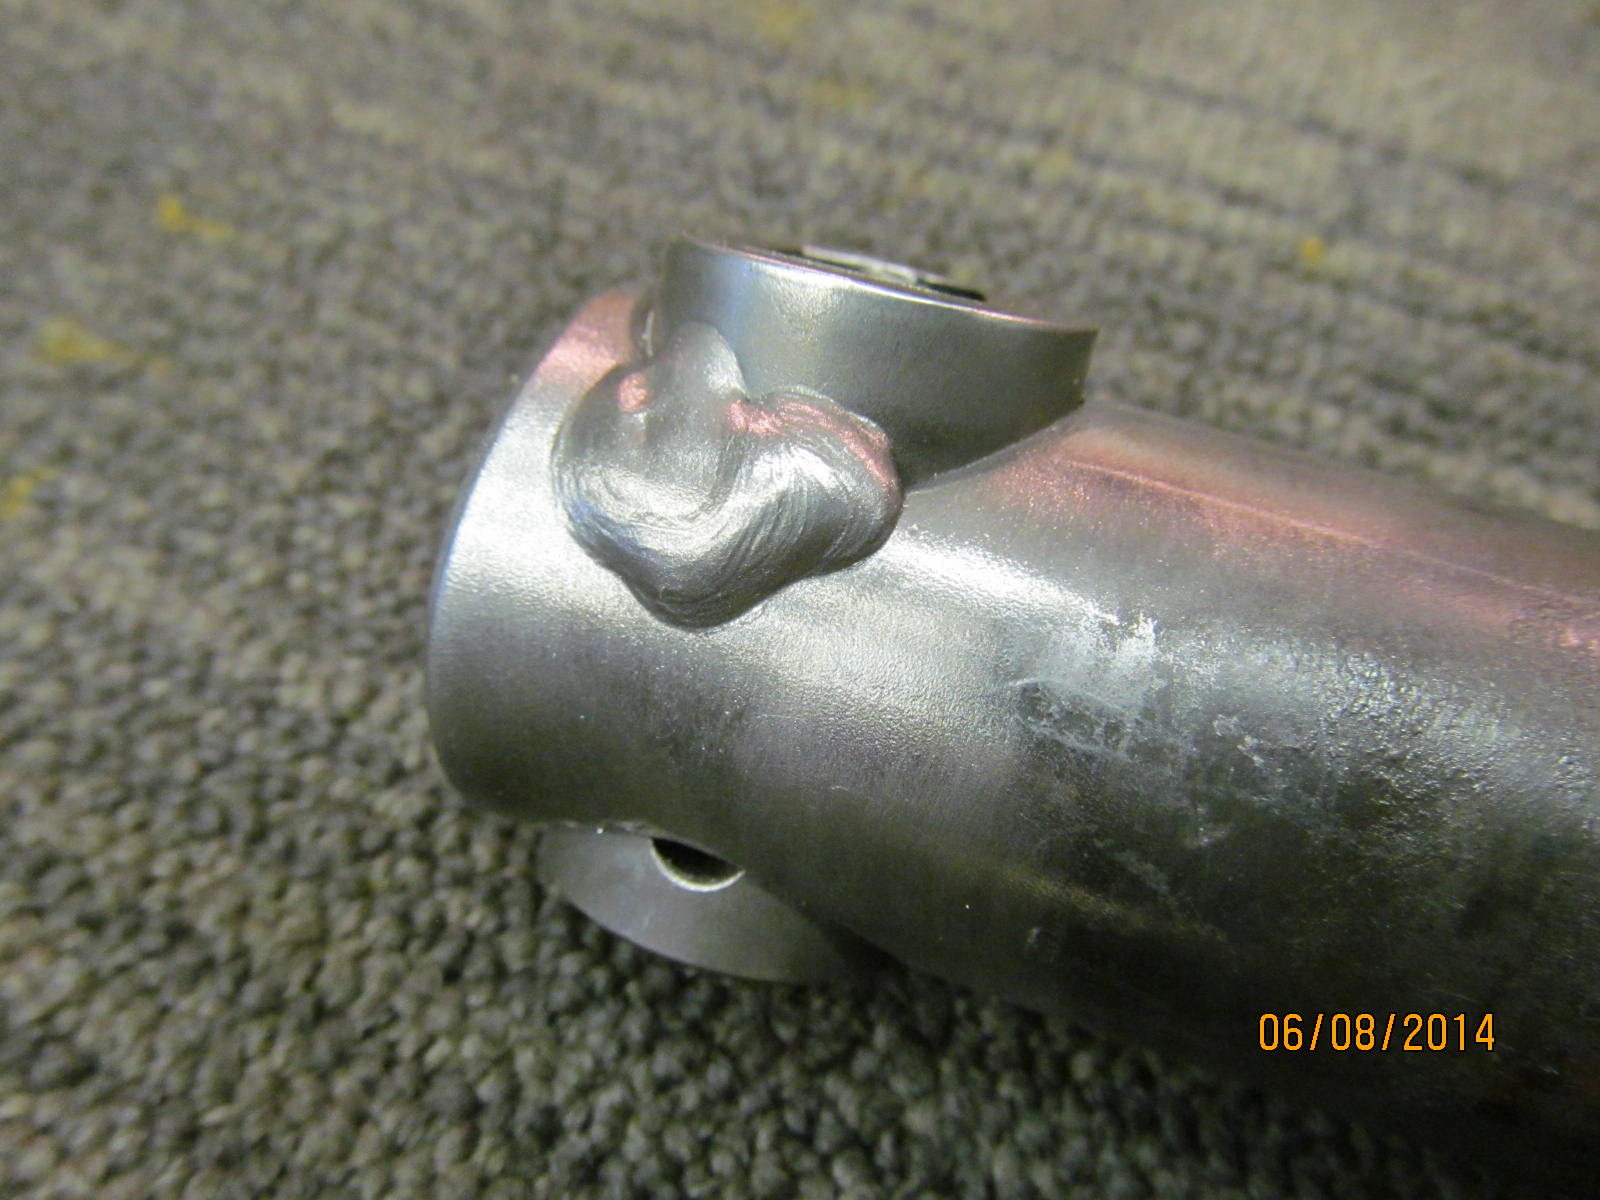
The old flange had a seal wear groove that I could distinctly feel with my calloused fingers.
|
|
|
|
|
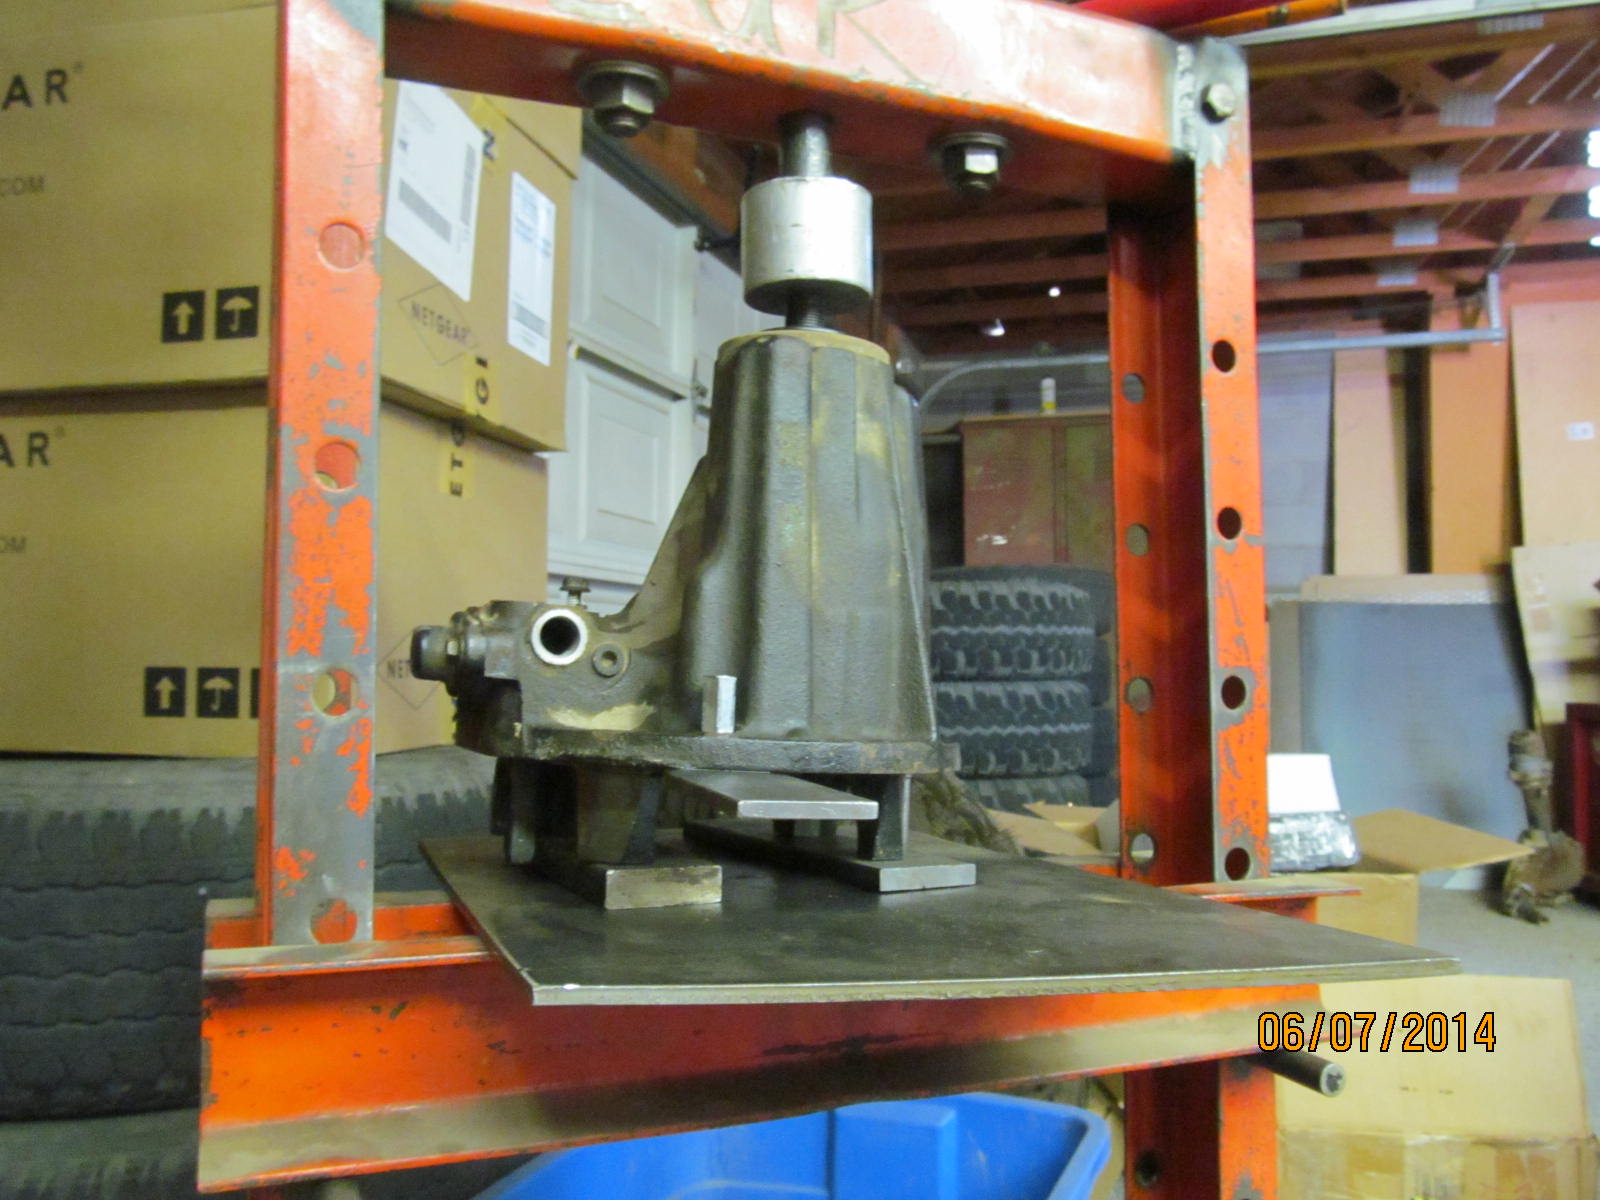
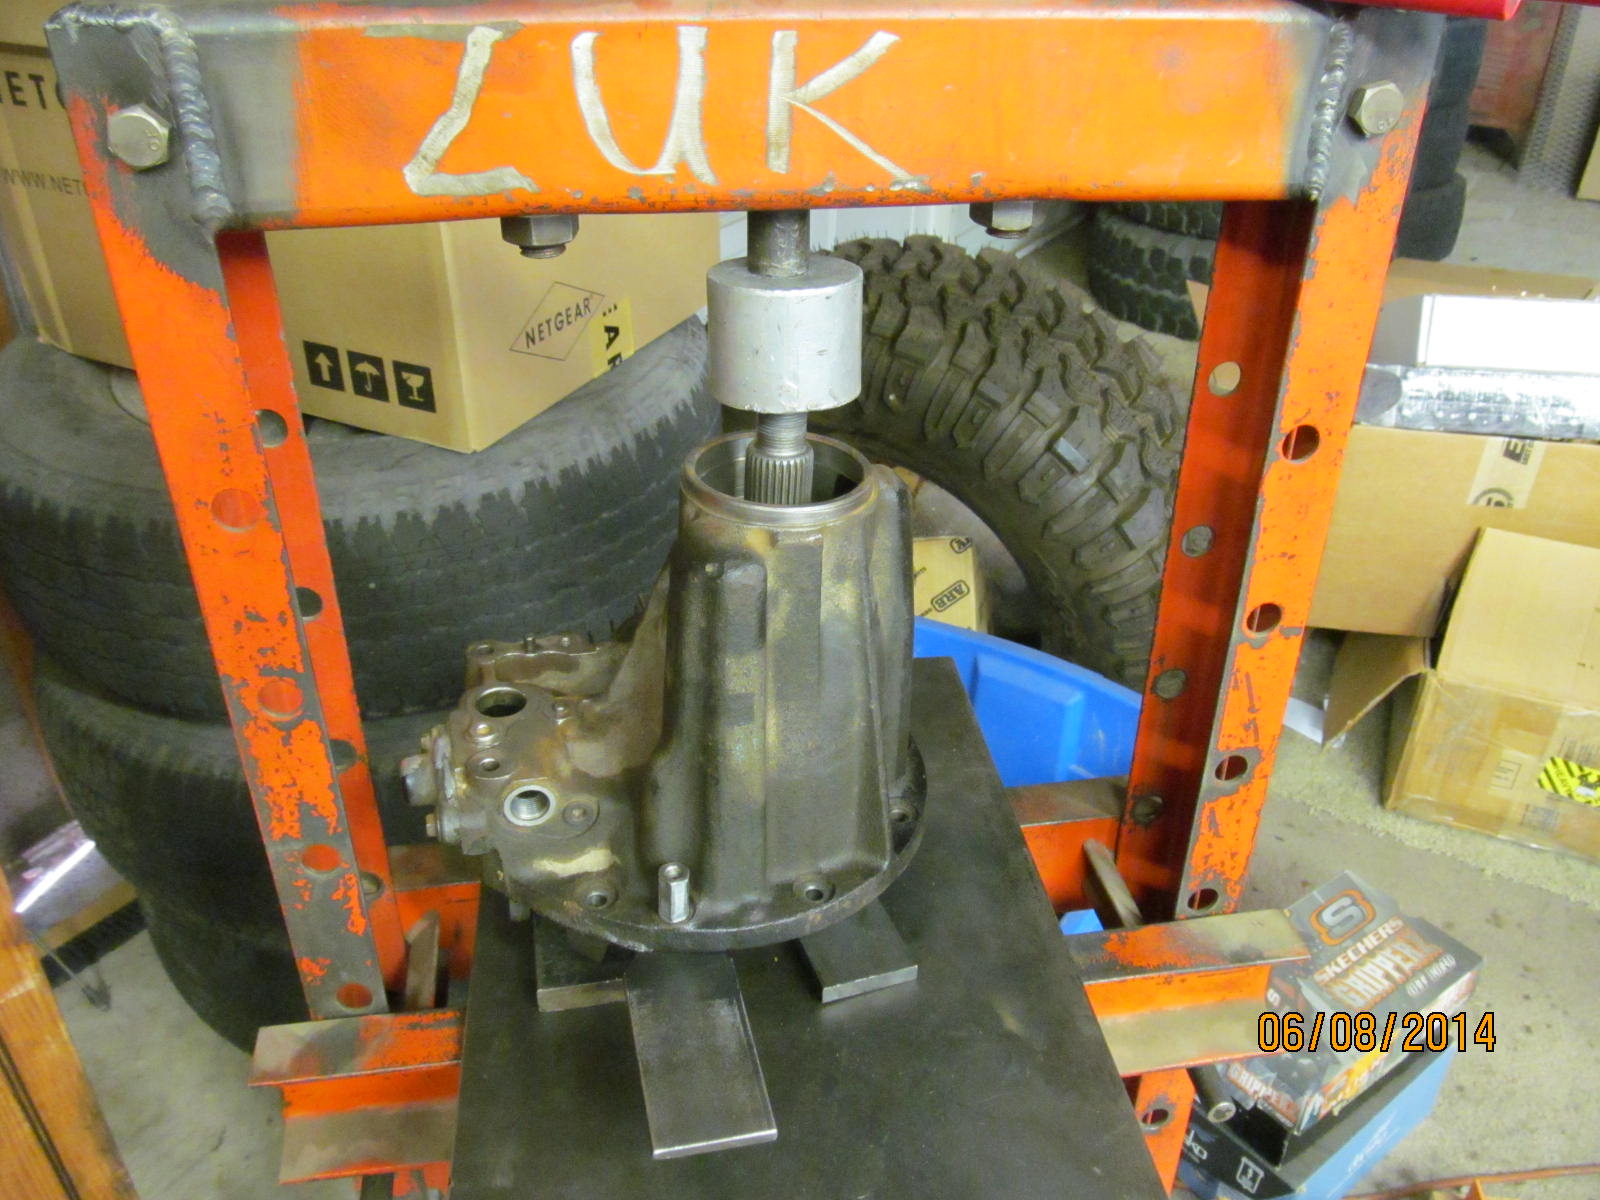
Press the old pinion out...
|
|
|
|
|
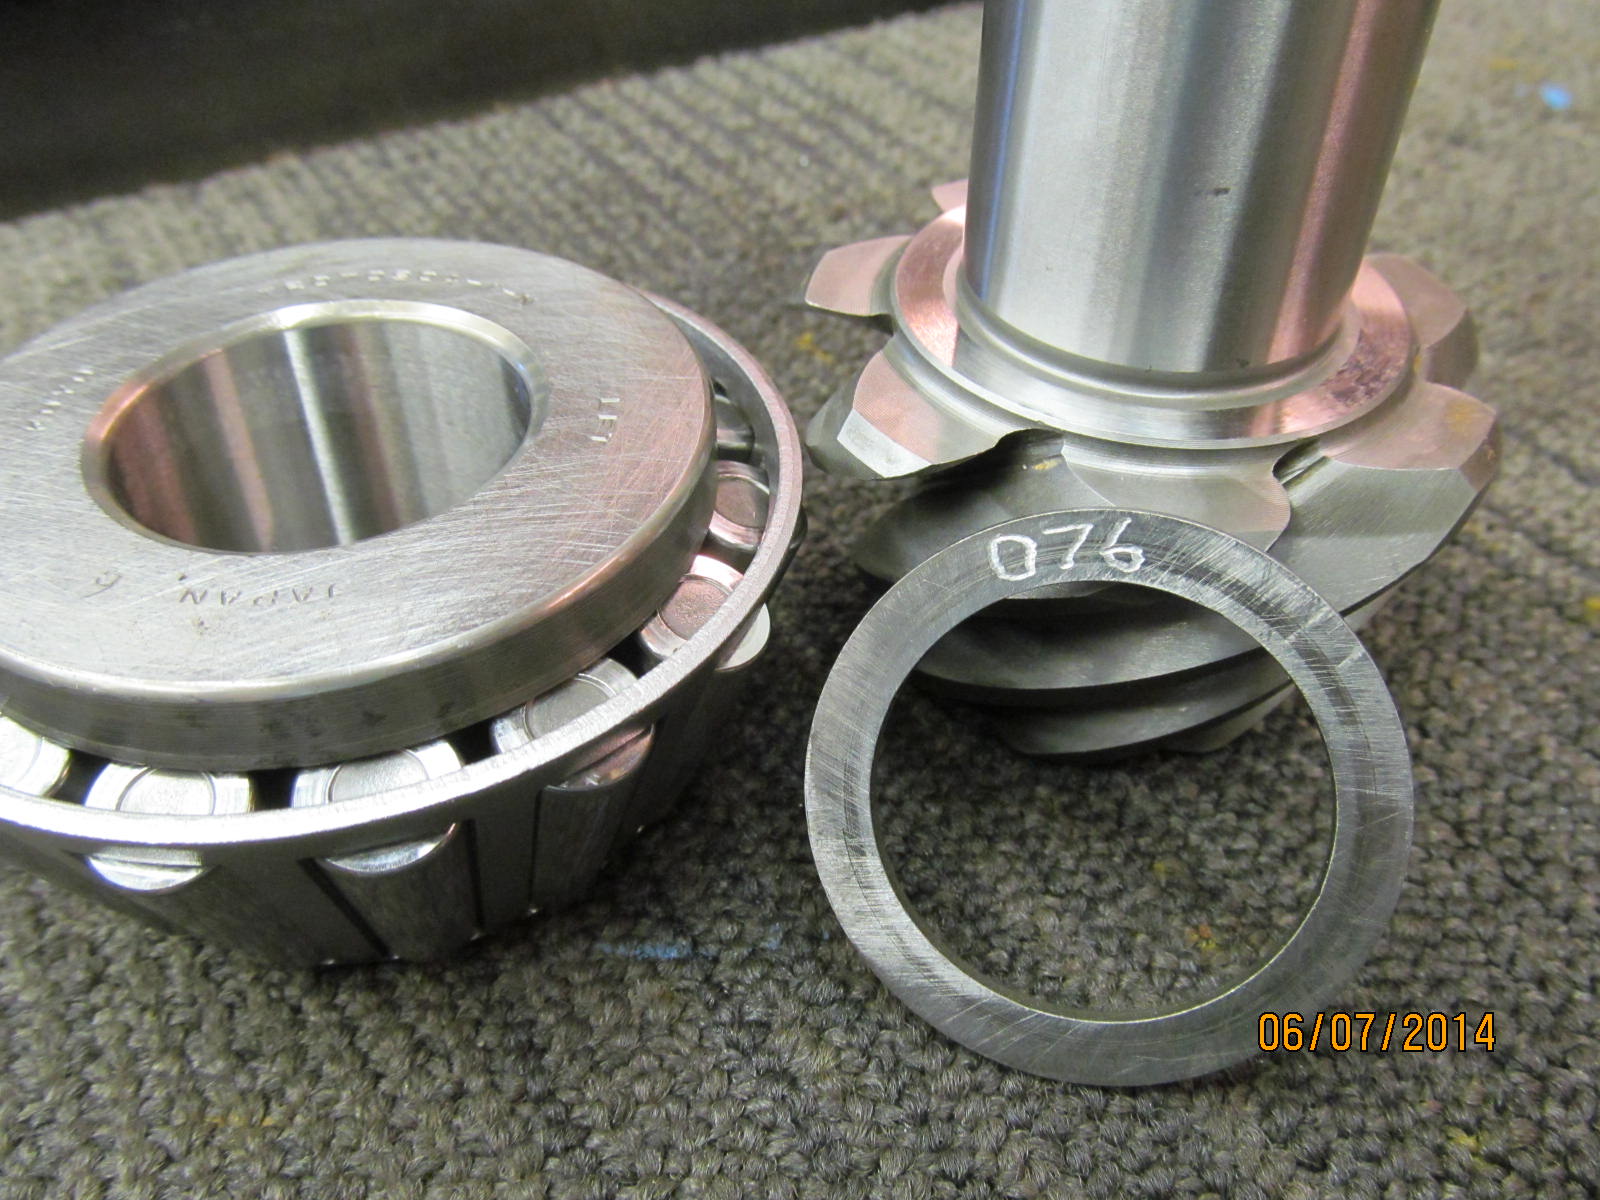
...and get the new pinion ready with the oem .076" shim.
|
|
|
|
|
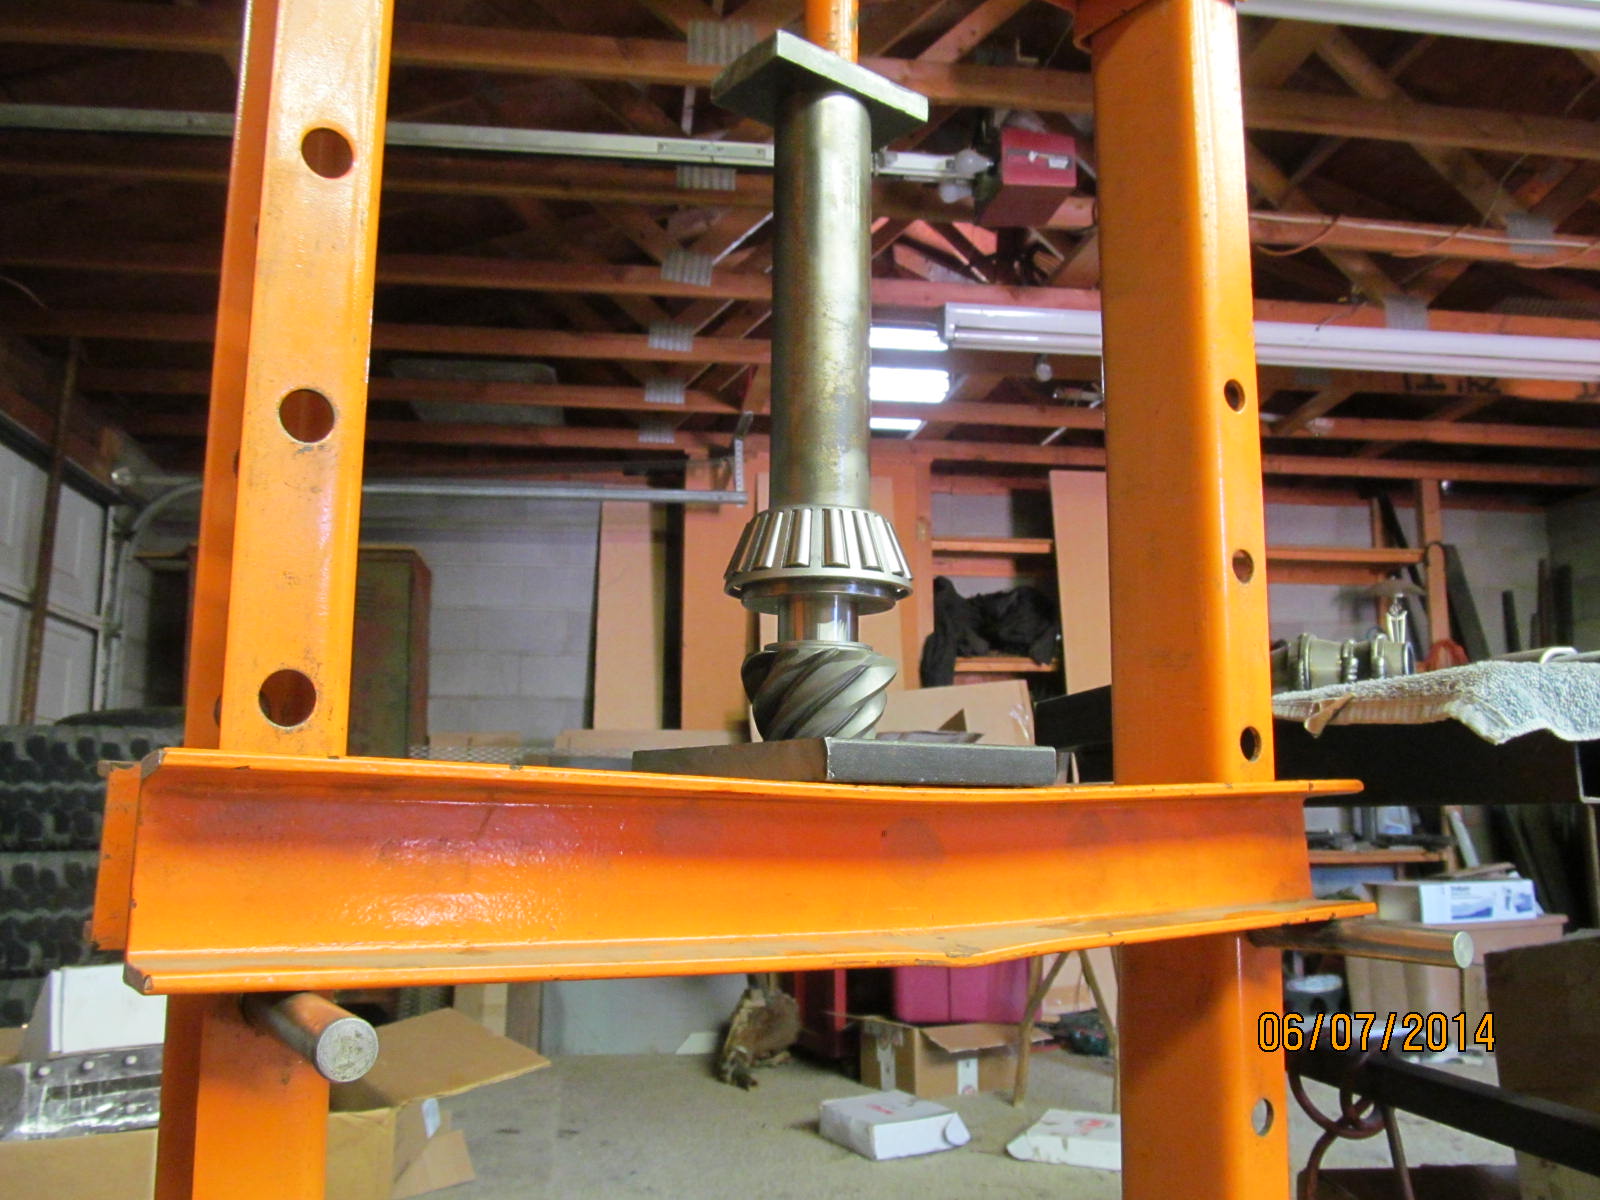
Press the shim and new bearing on.
|
|
|
|
|
....
|
|
|
|
|
Old inner race is tapped out with a chisel and hammer.
|
|
|
|
|
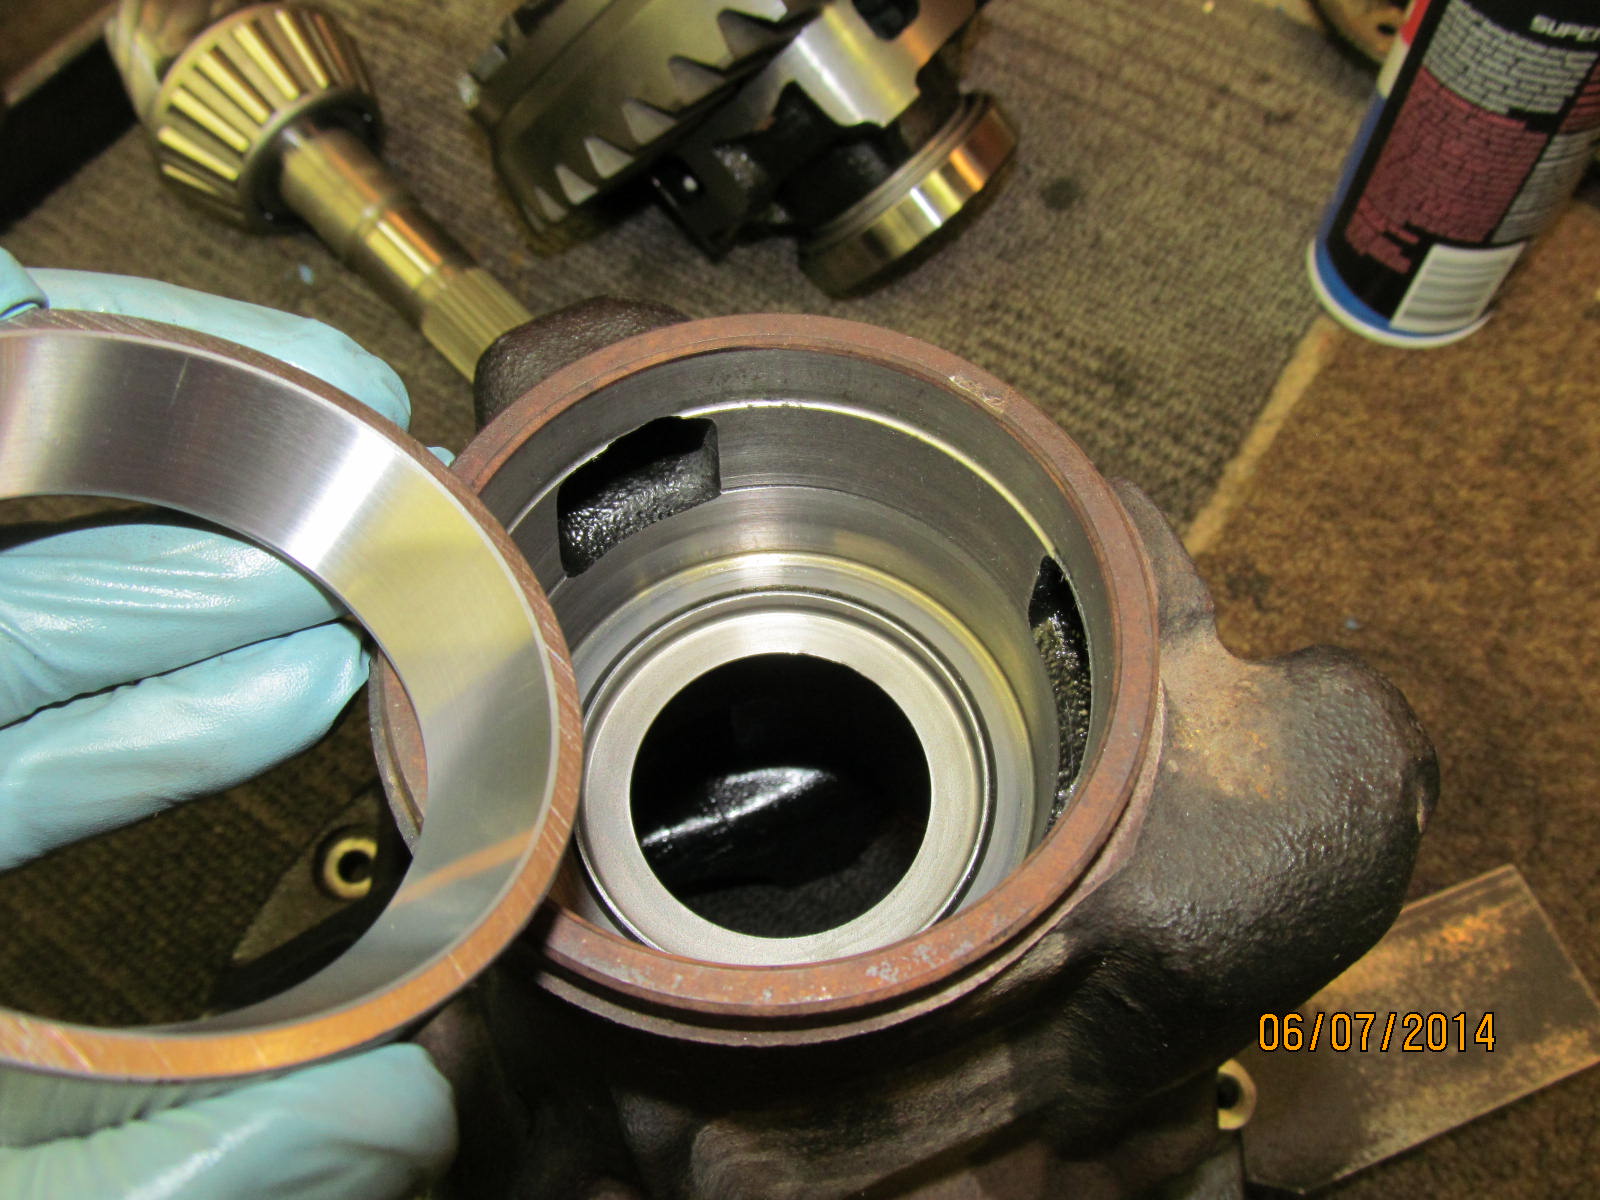
This will allow me to remove the outer race with 0% damage to the oil retainer seen in the hole.
|
|
|
|
|
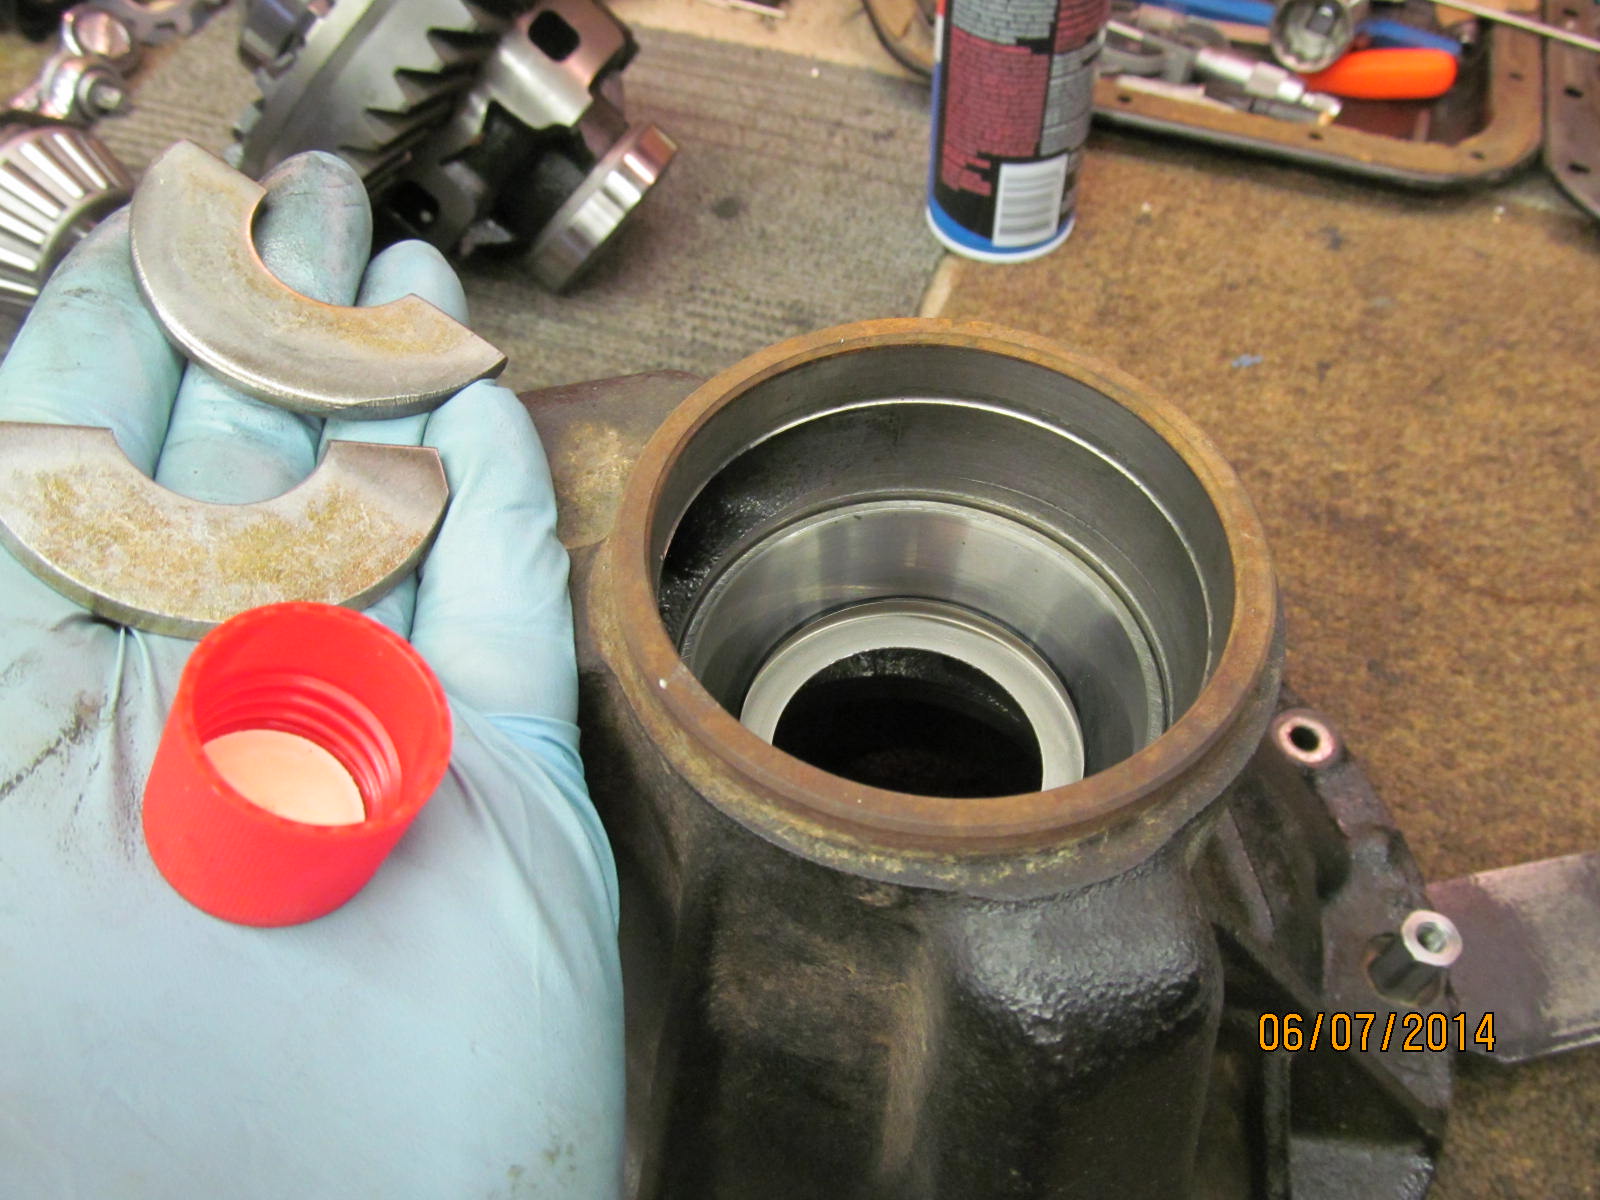
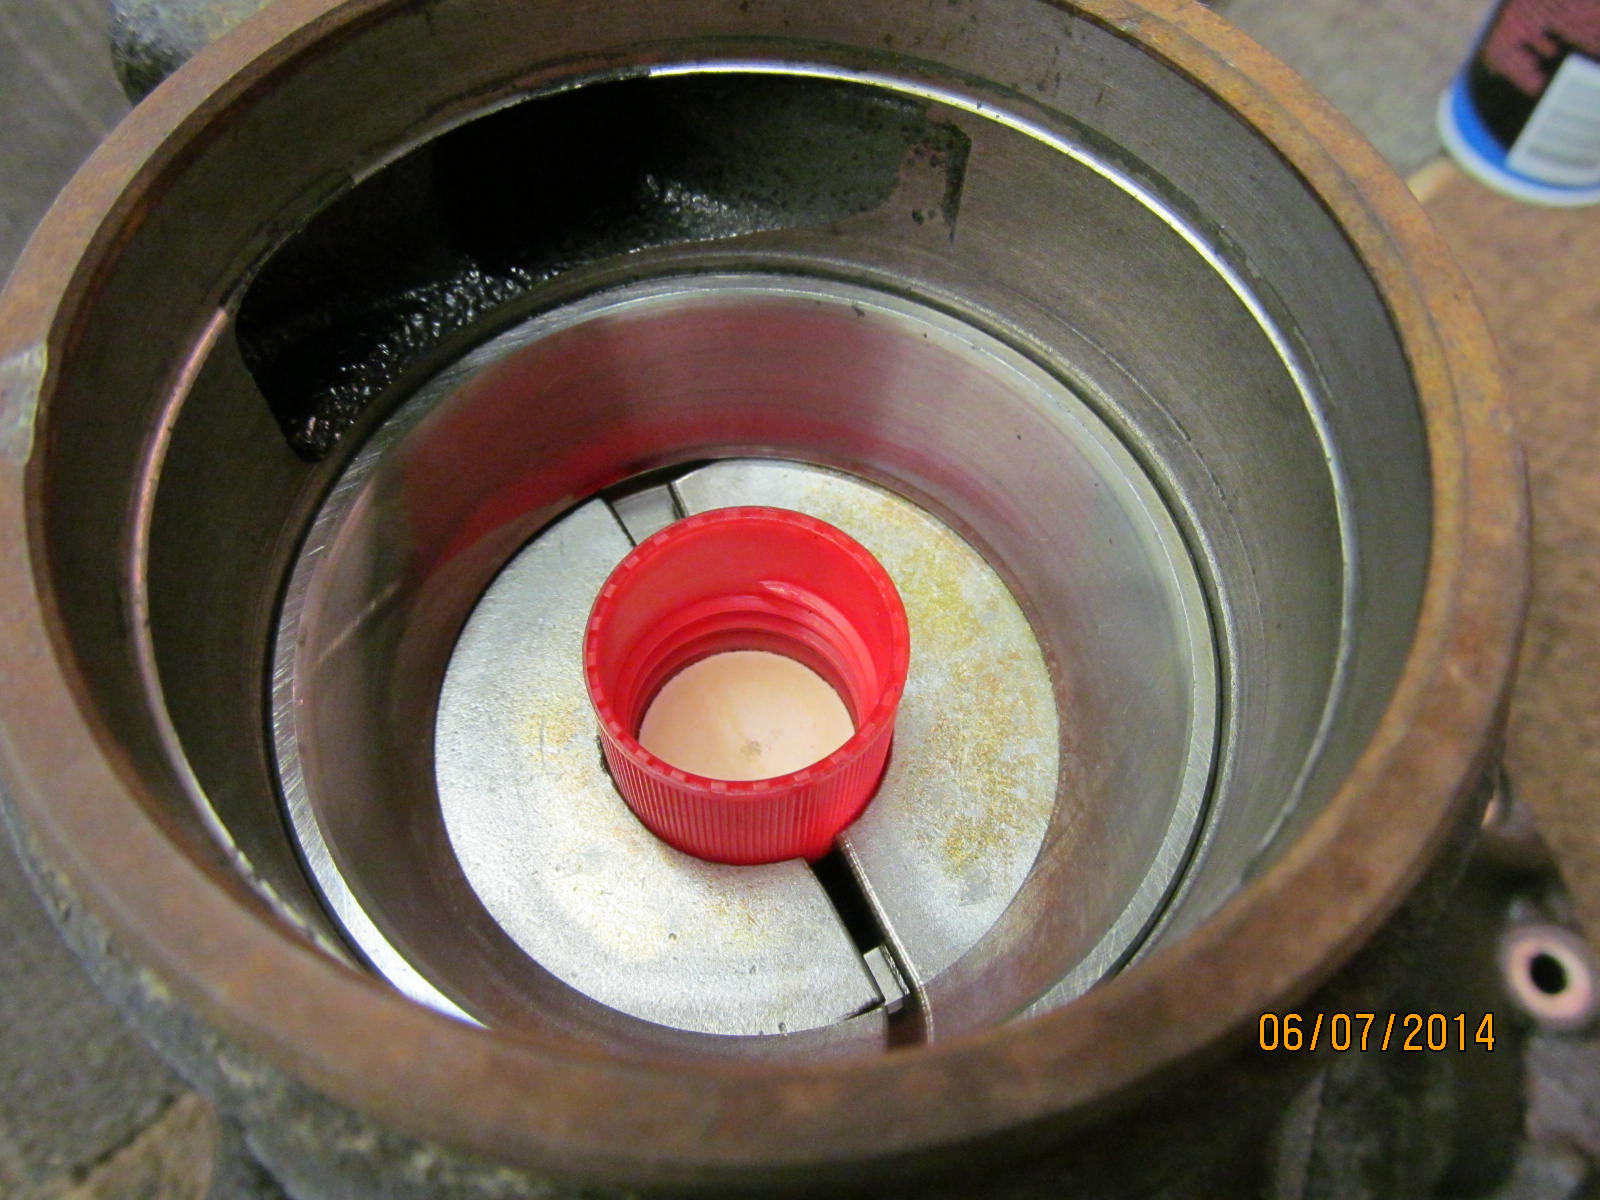
Locate the half-washers under the race and use a convenient plastic cap to keep them spread tight in the hole.
|
|
|

|
|
As seen from the other side of the hole.
|
|
|
|
|
A 30mm thick-walled impact socket was just the right size to push it out.
|
|
|
|
|
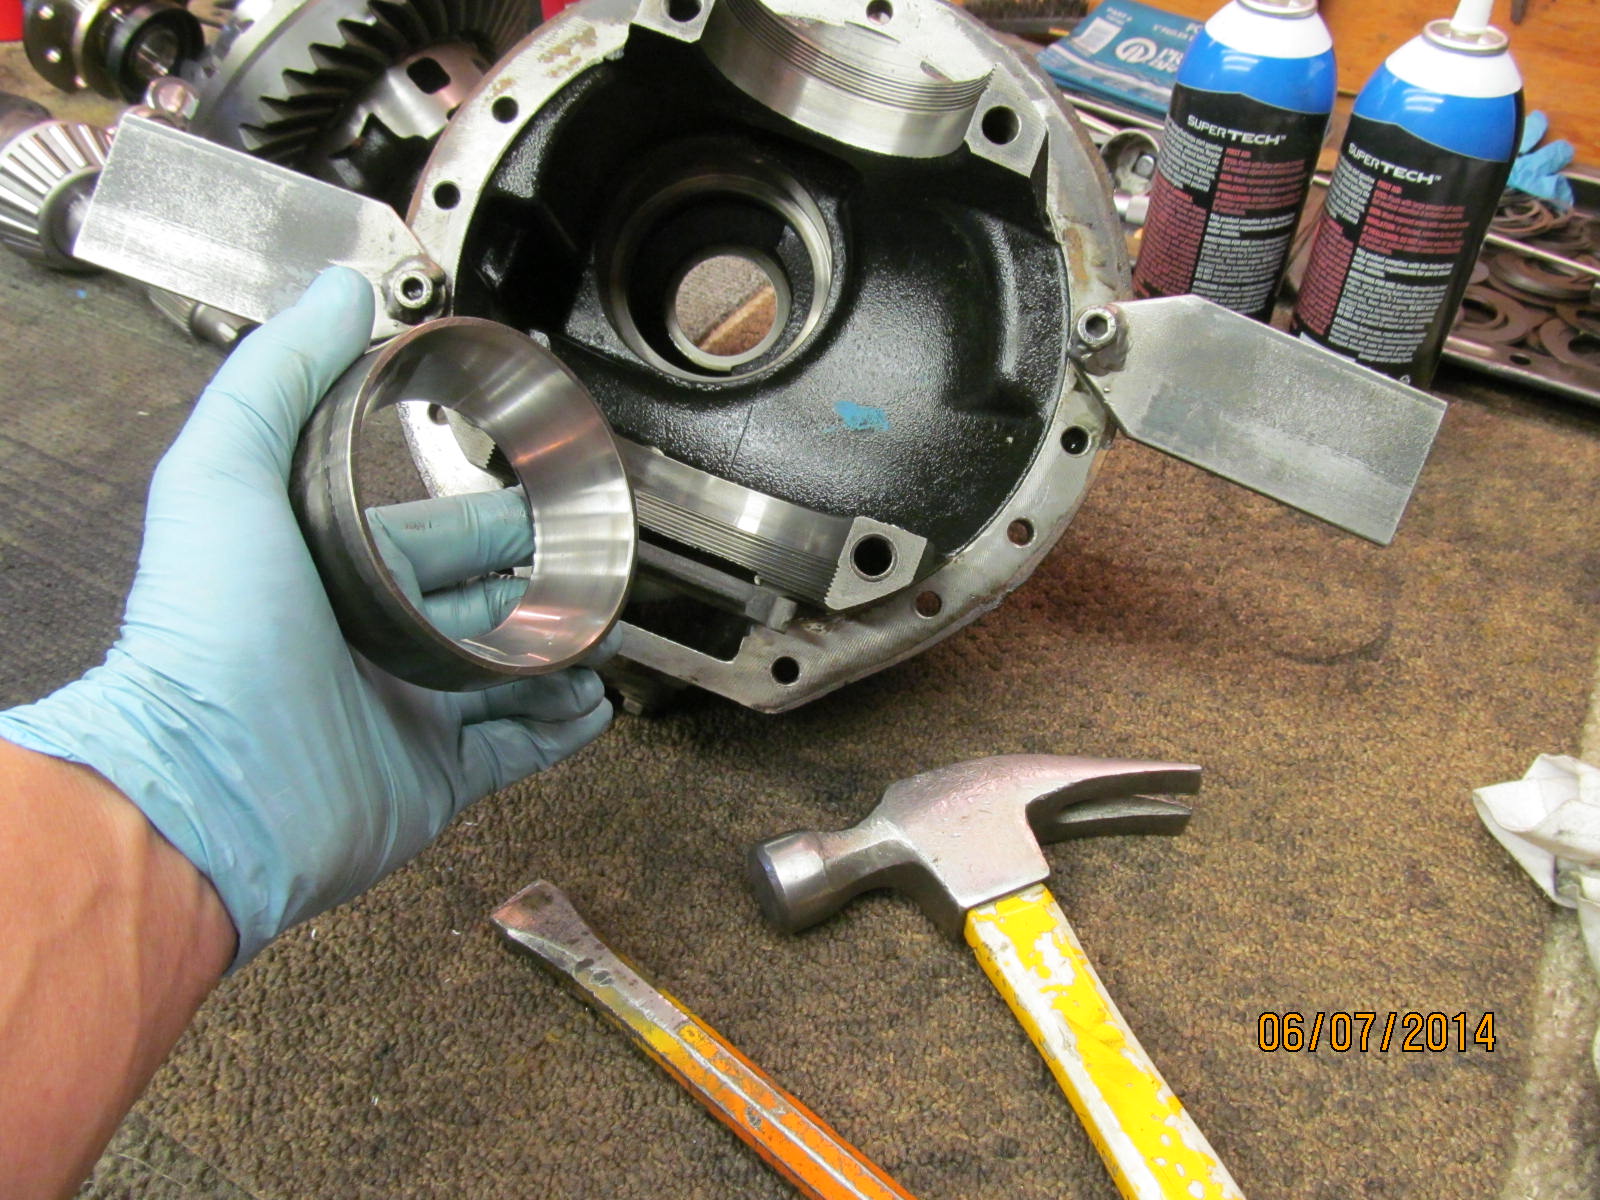
And with very little effort the small outer race dropped out.
|
|
|
|
|
The new race is now ready to go in.
|
|
|
|
|
But as I was getting ready to tap the race in I then realized the new race had fallen in place all by itself.
|
|
|
|
|
It too would see retainer compound.
|
|
|
|
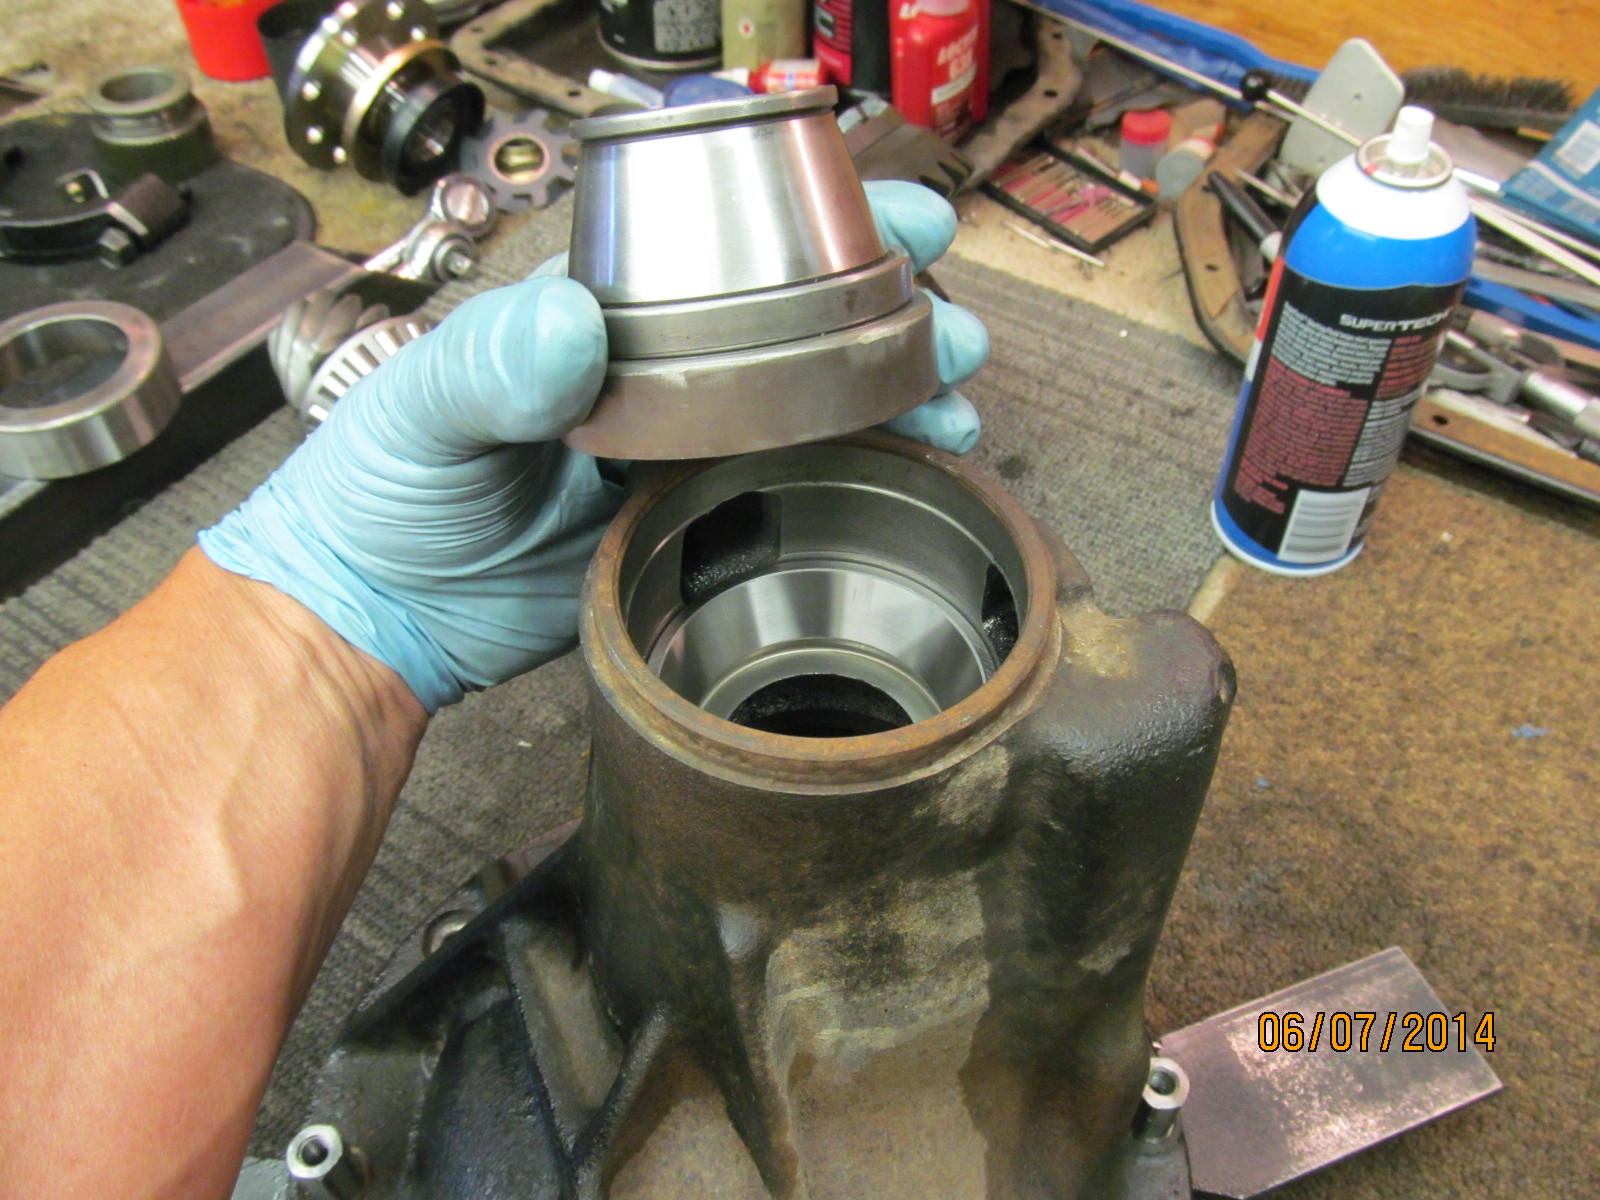
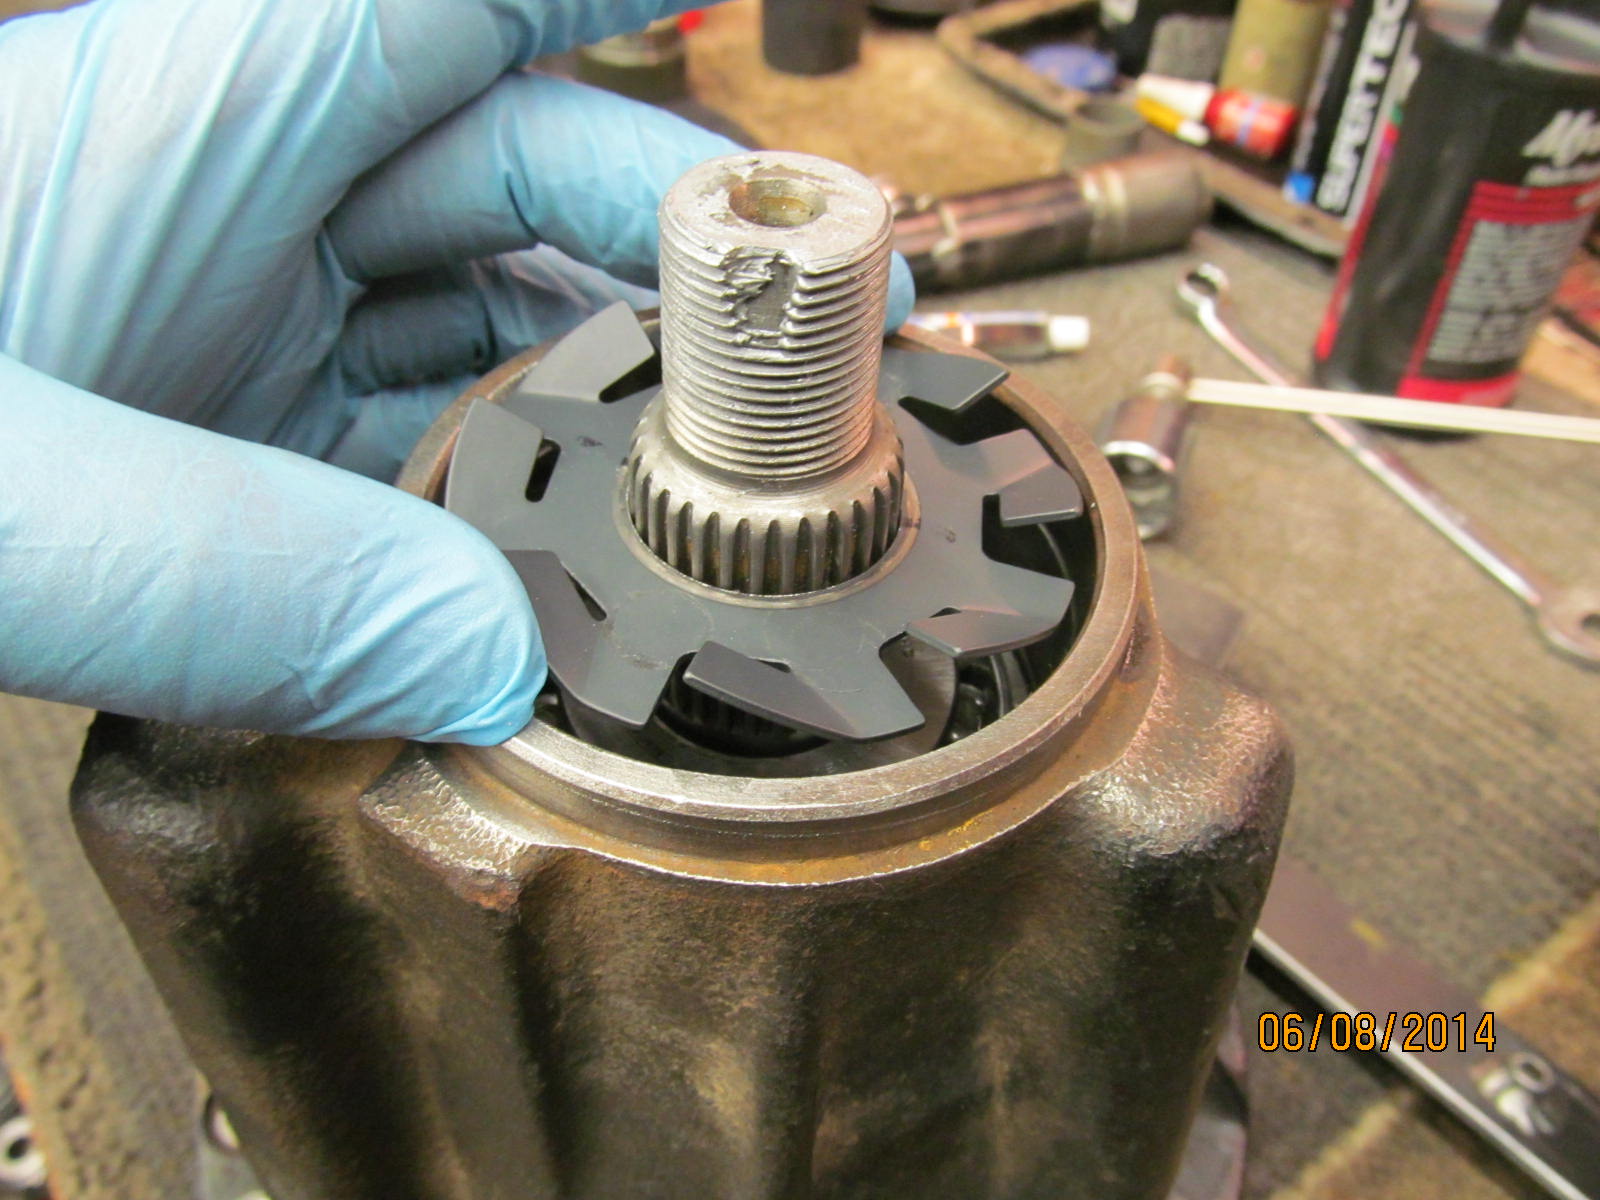
The large inner pinion bearing can be a challenge to get in with just using a press. The trick is to use a bubble
leveler to make sure the race is sitting true.
|
|
|
|
|
.......
|
|
|
|
|
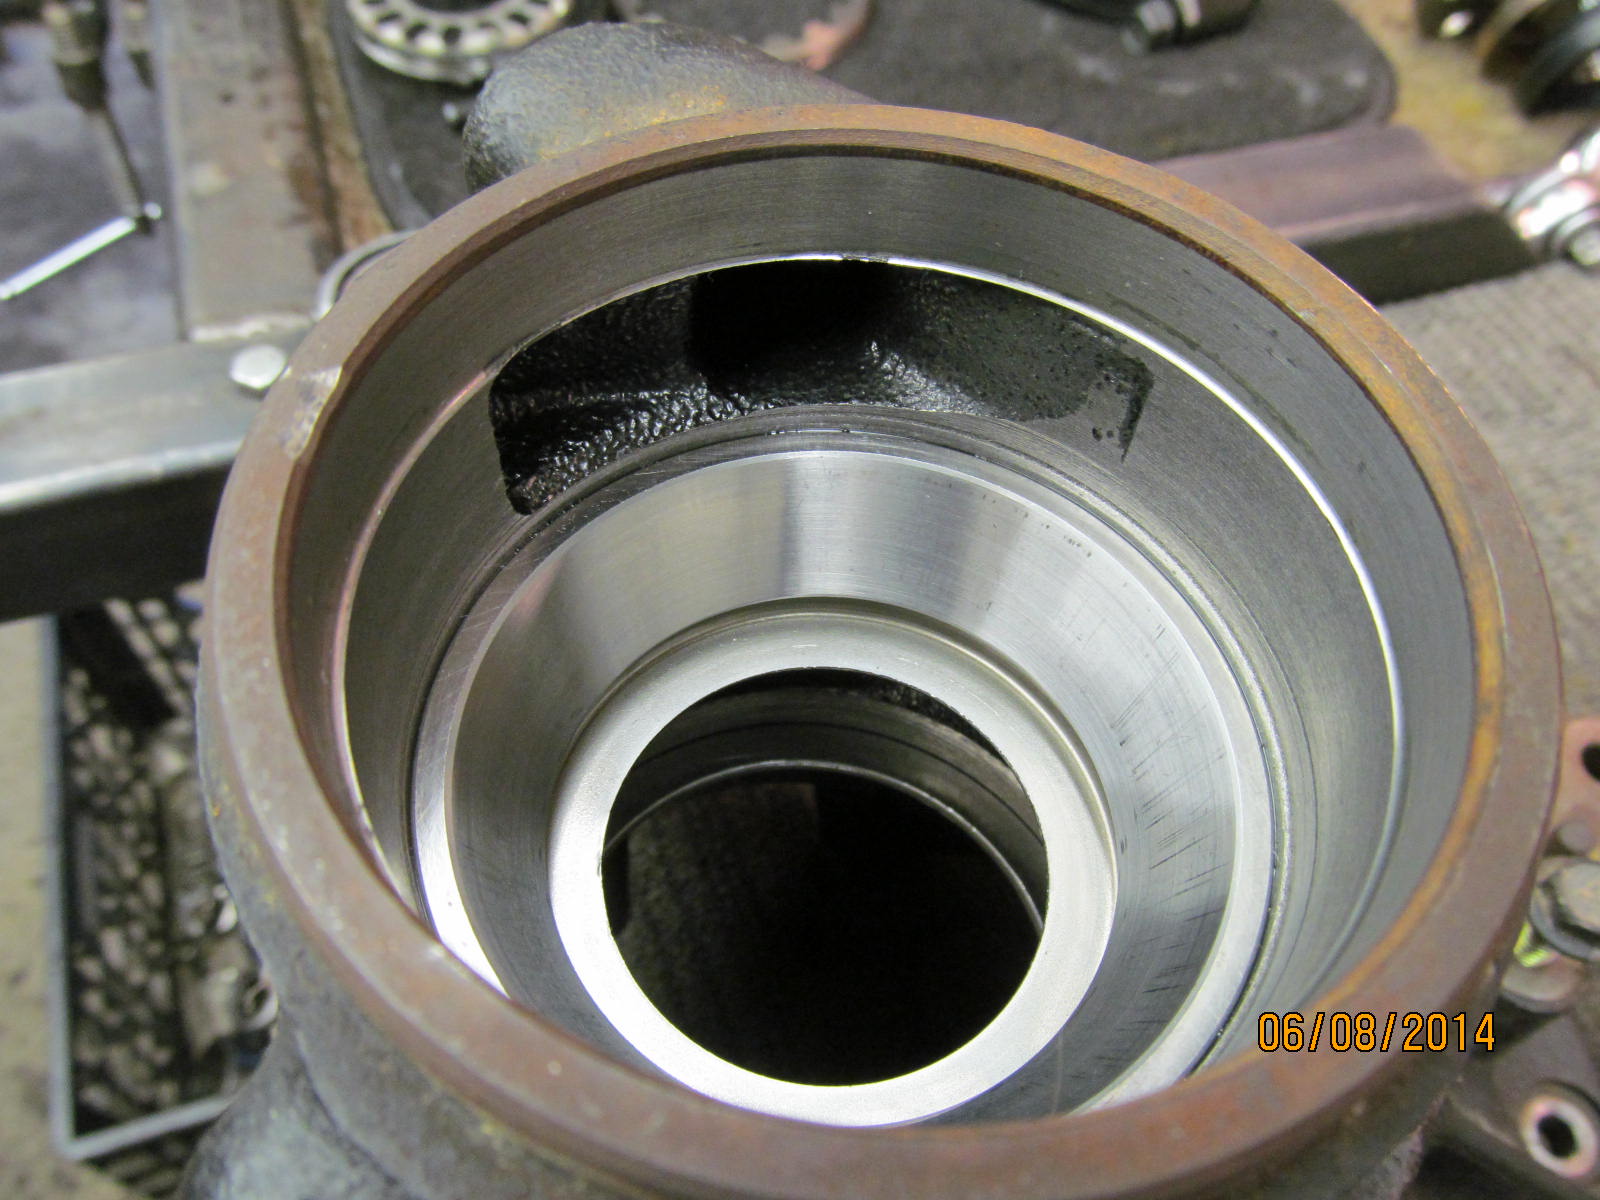
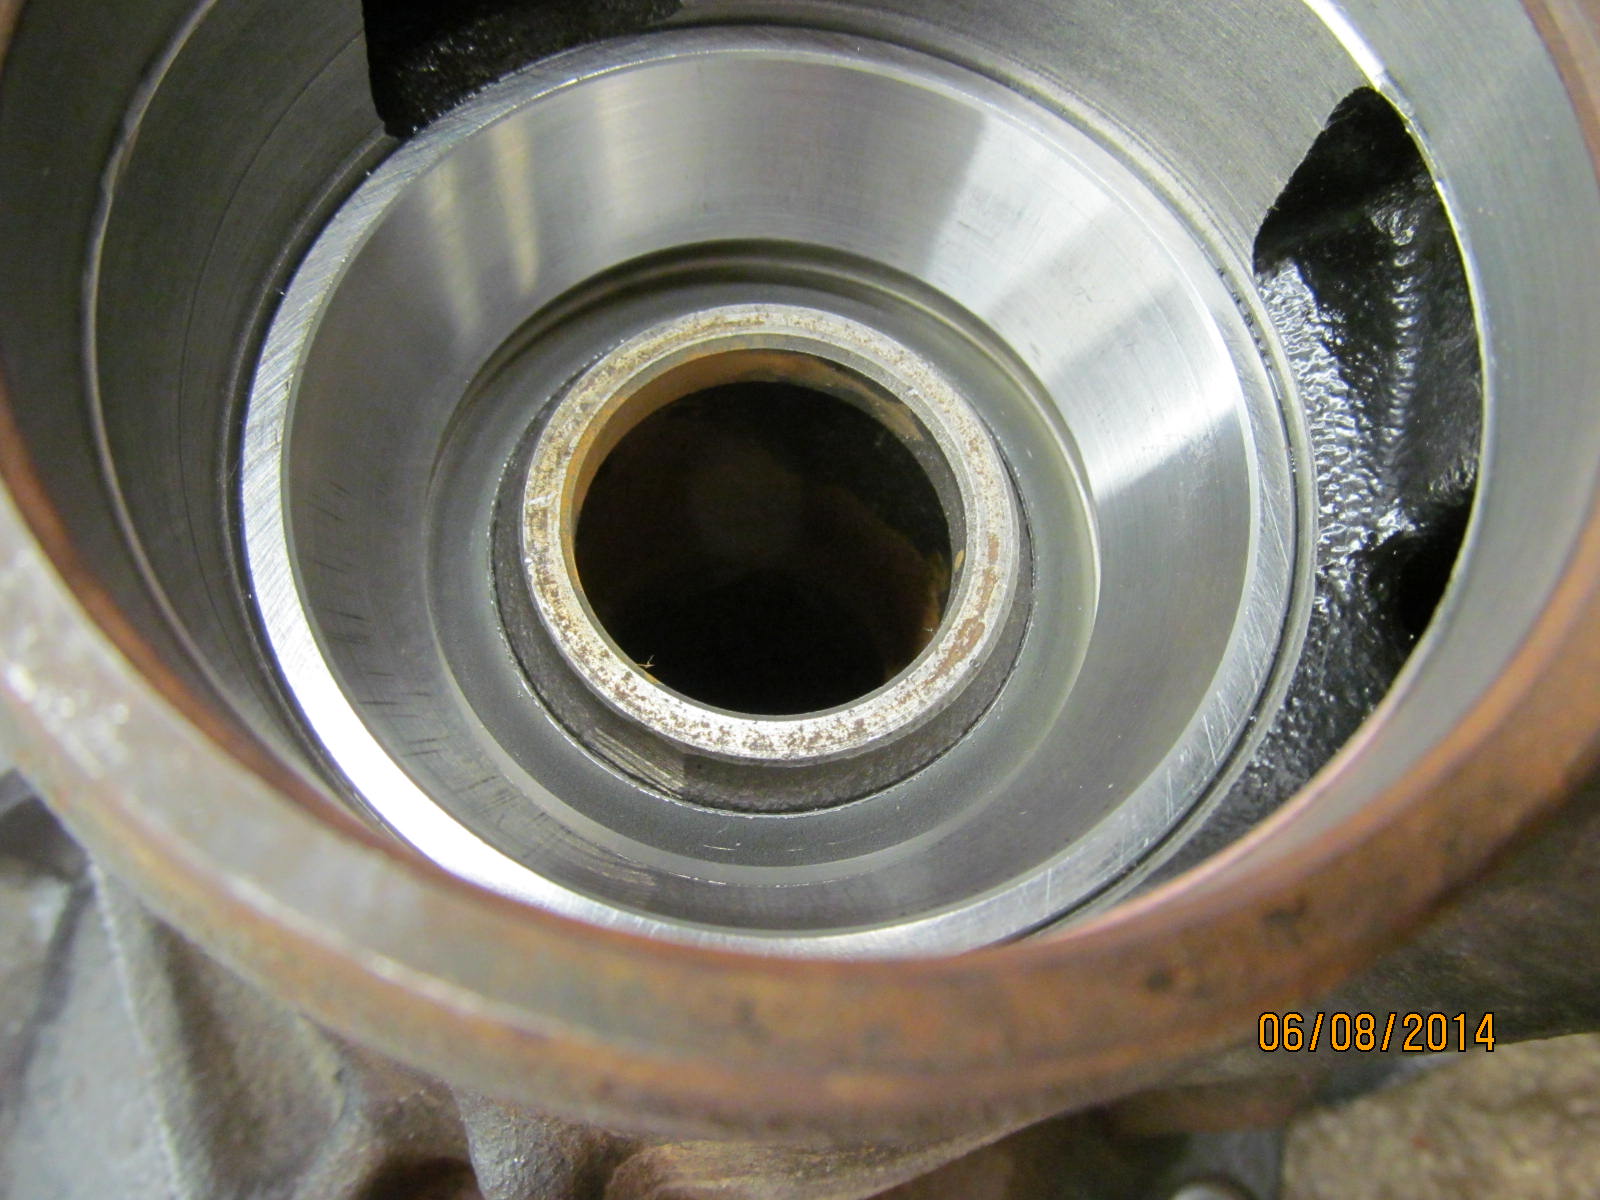
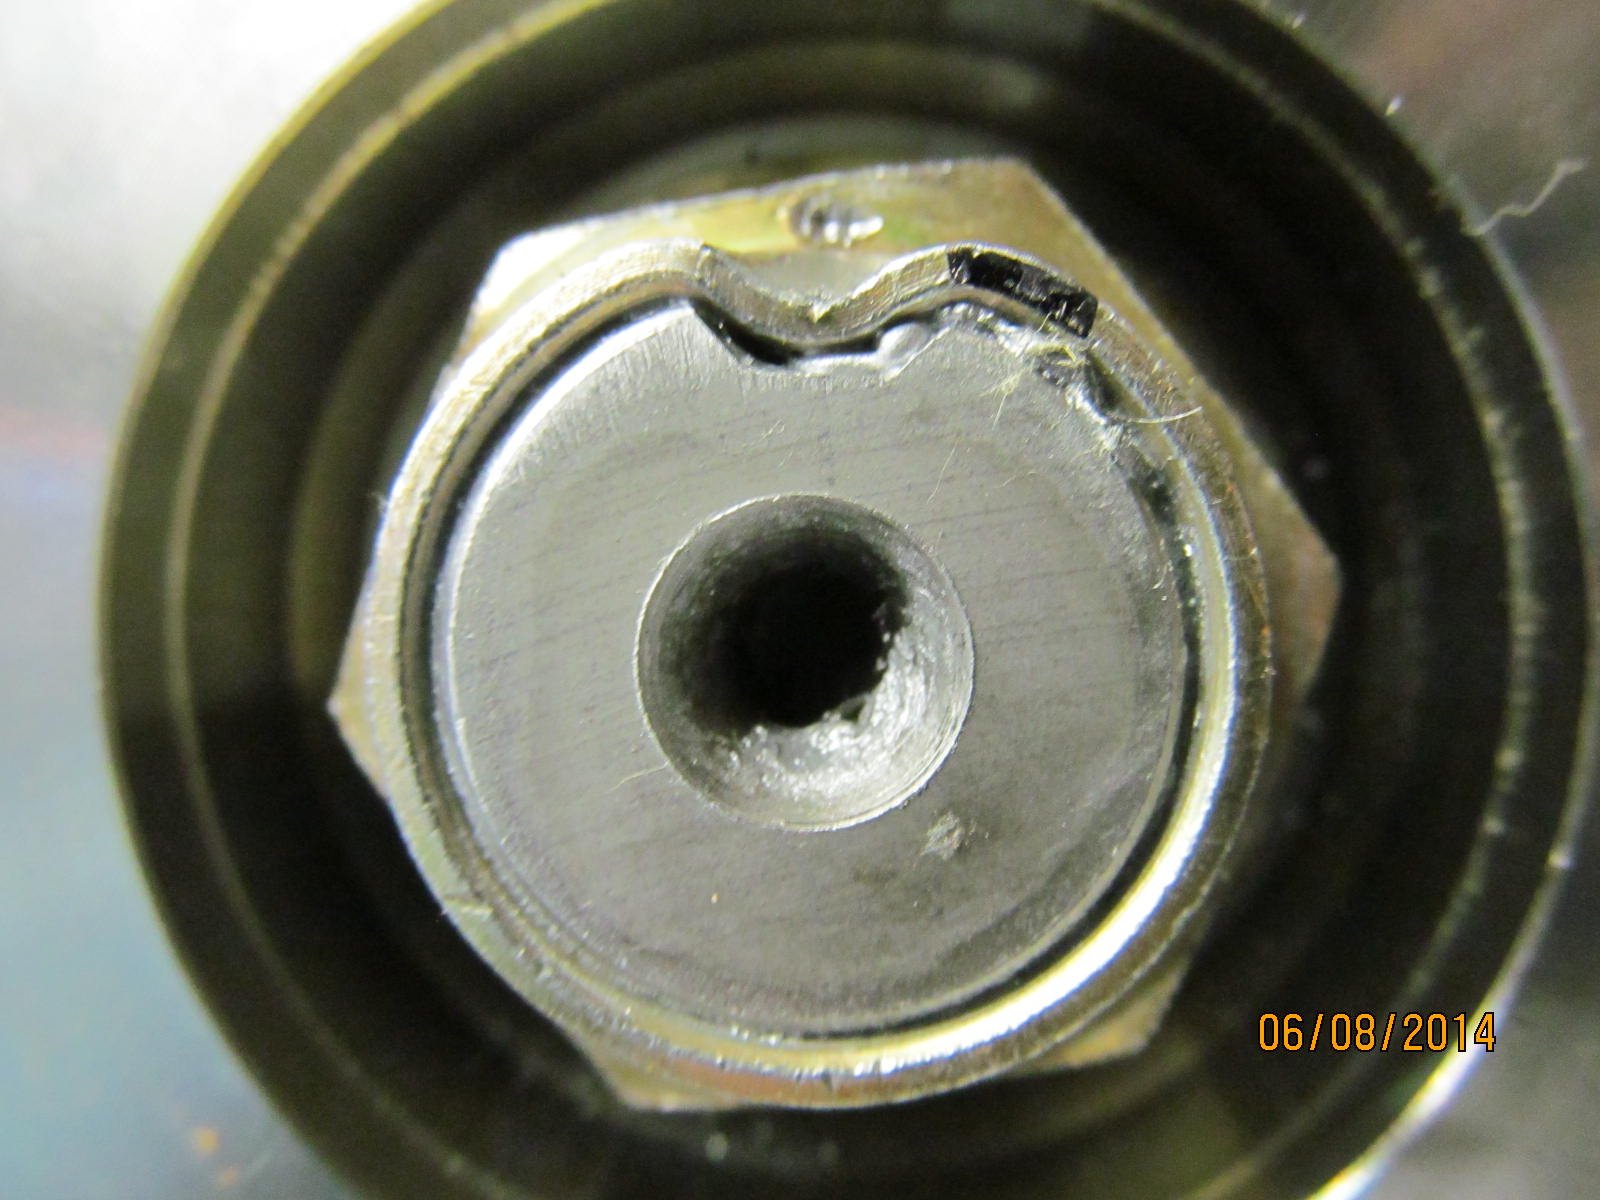
No damage to the oil retainer ....totally undisturbed.
|
|
|
|
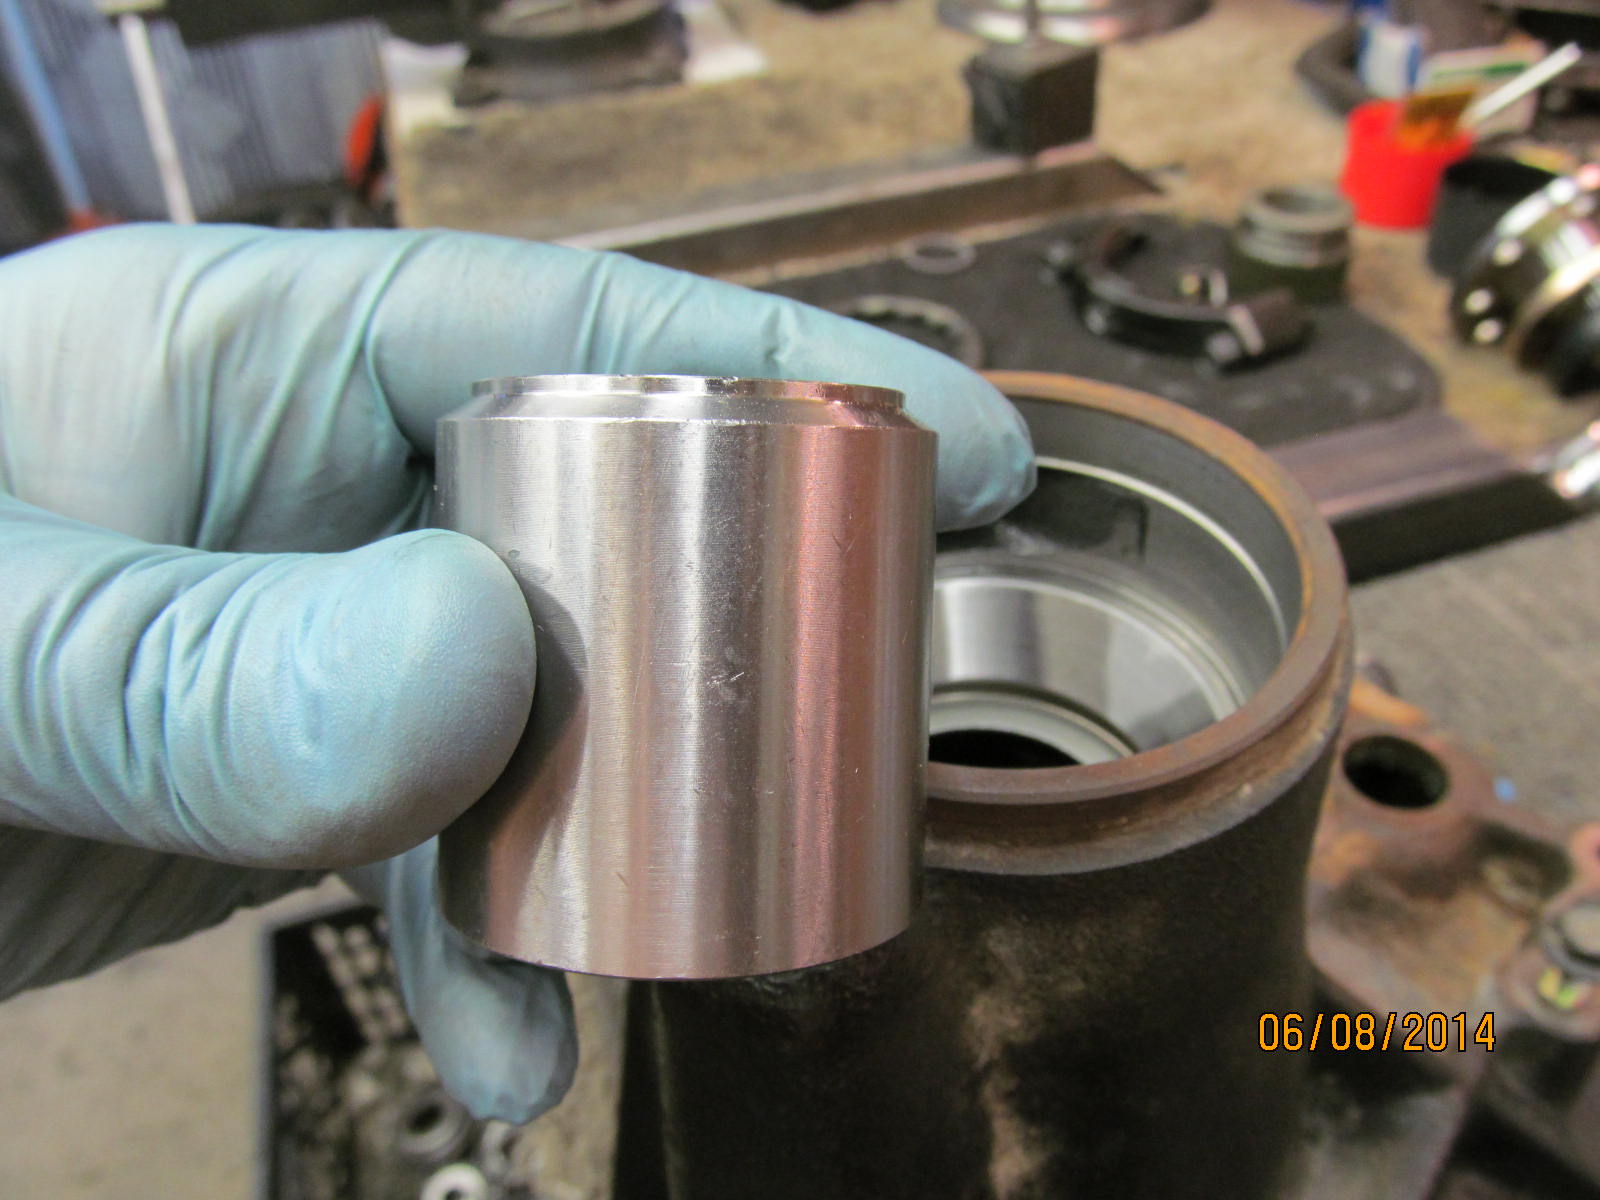
Here's the problem...that very tiny upper shoulder on the collar will almost surely contact the oil retainer
but I have a way around that.
|
|
|
|
|
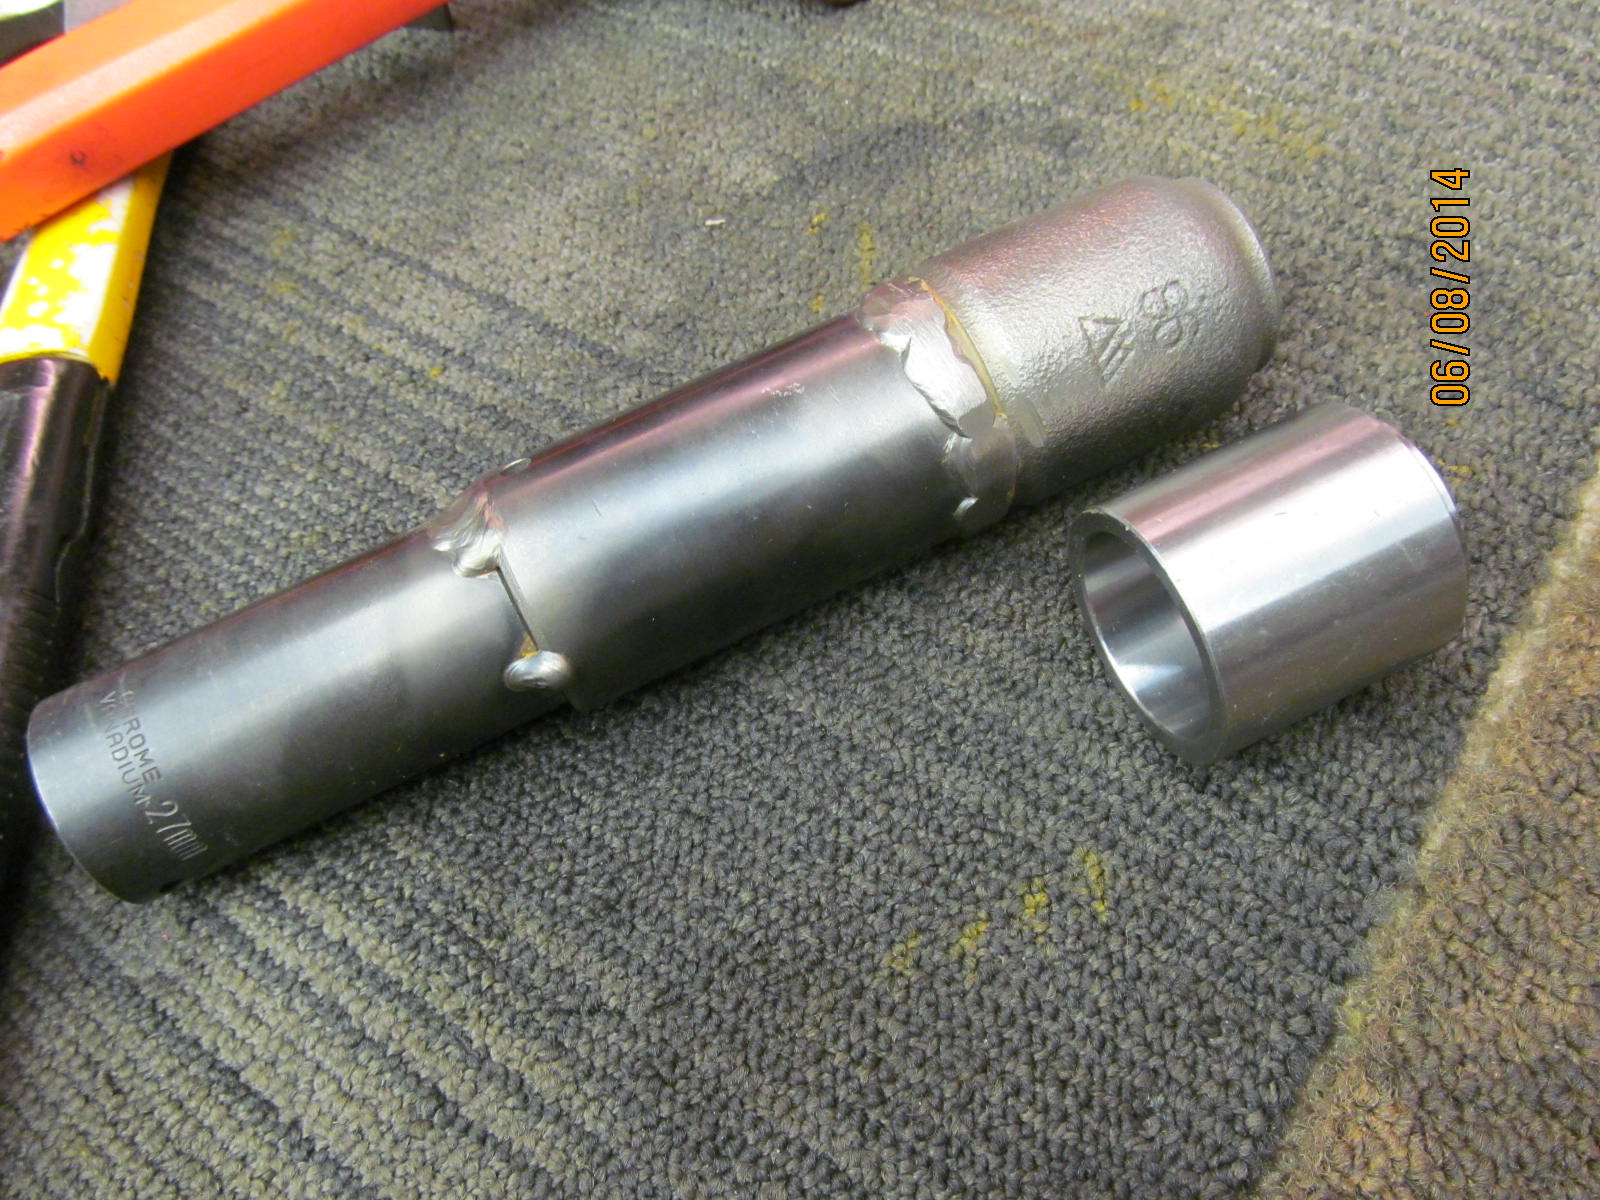
Another homemade tool...a genuine OEM solid collar and a couple of large sockets.....and a welder.
|
|
|
|
I firmly hold the assembly inside the hole...apply about 30 pounds of even pressure... and rap it a
few time with a hammer.
|
|
|
|
|
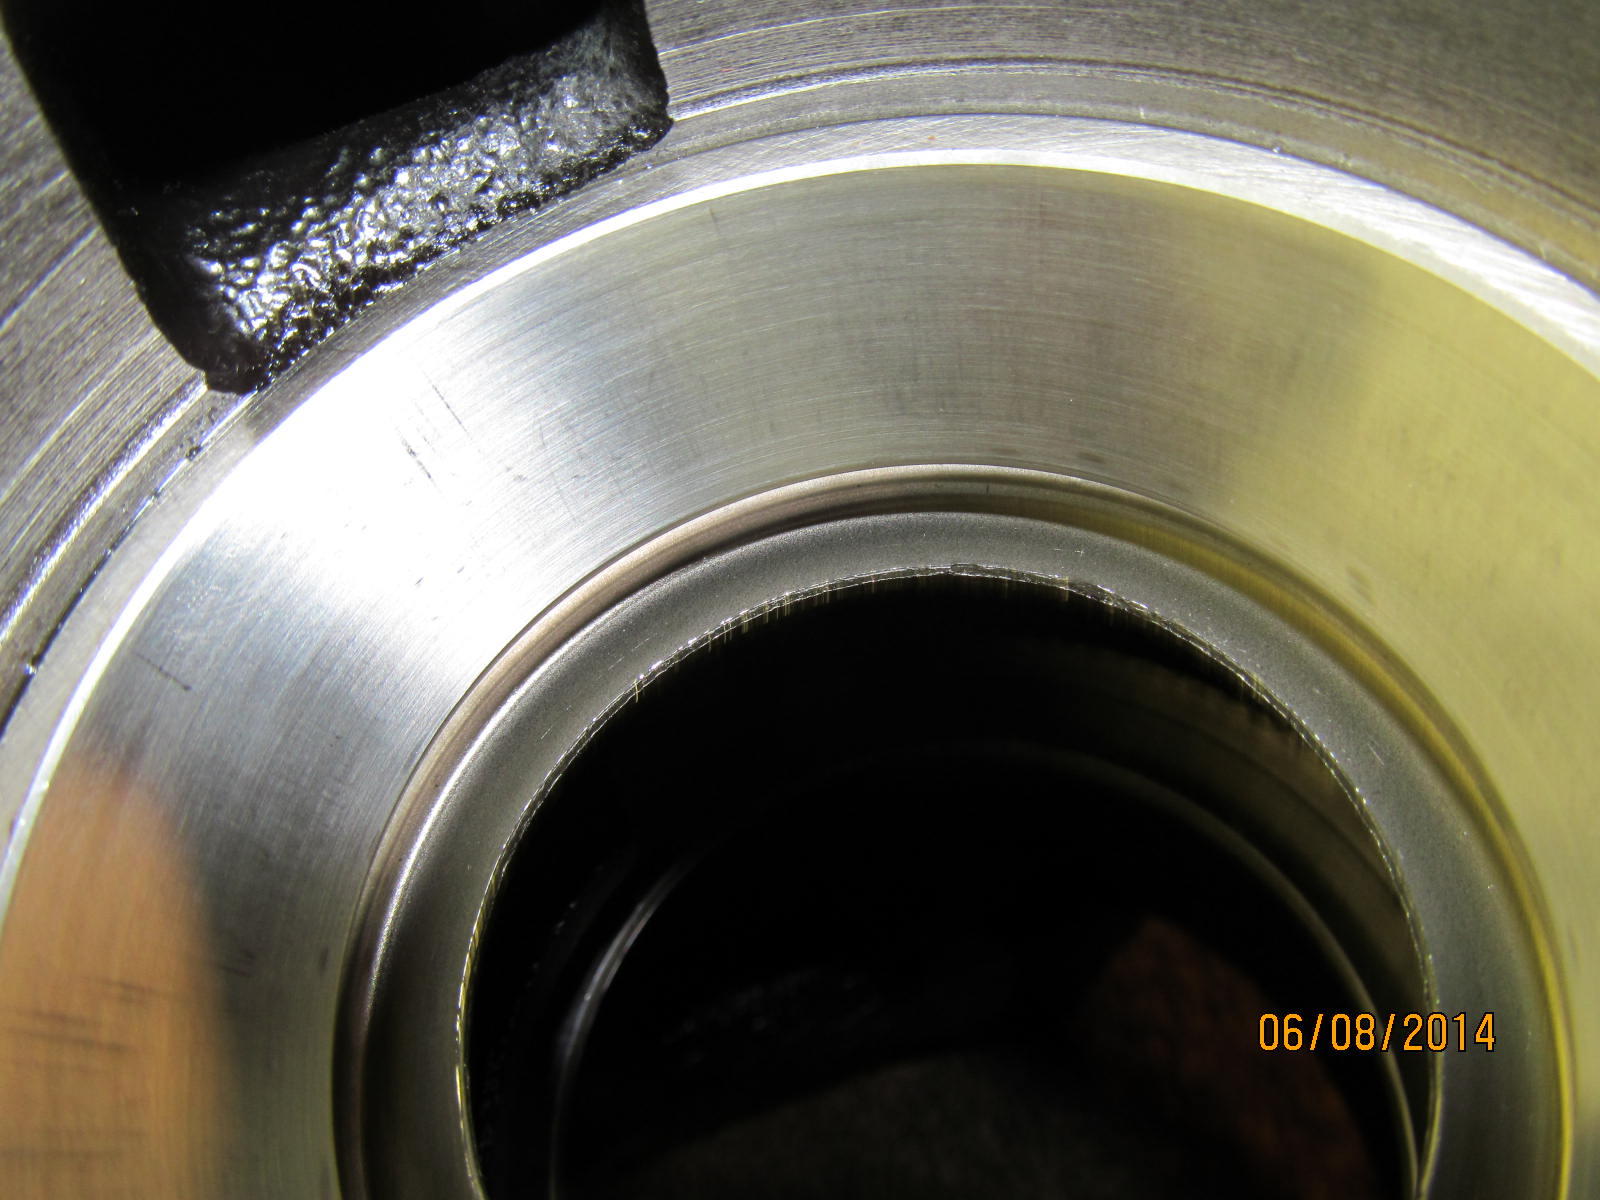
It has the effect of flaring the retainer out pretty evenly overall and the solid collar now clears just fine.
|
|
|
|
On the left is the common variety with no shoulder....on the right is the Marlin collar. It clears just fine and the
oil retainer does not need any flaring at all. fyi MarlinCrawler.com
|
|
|
|
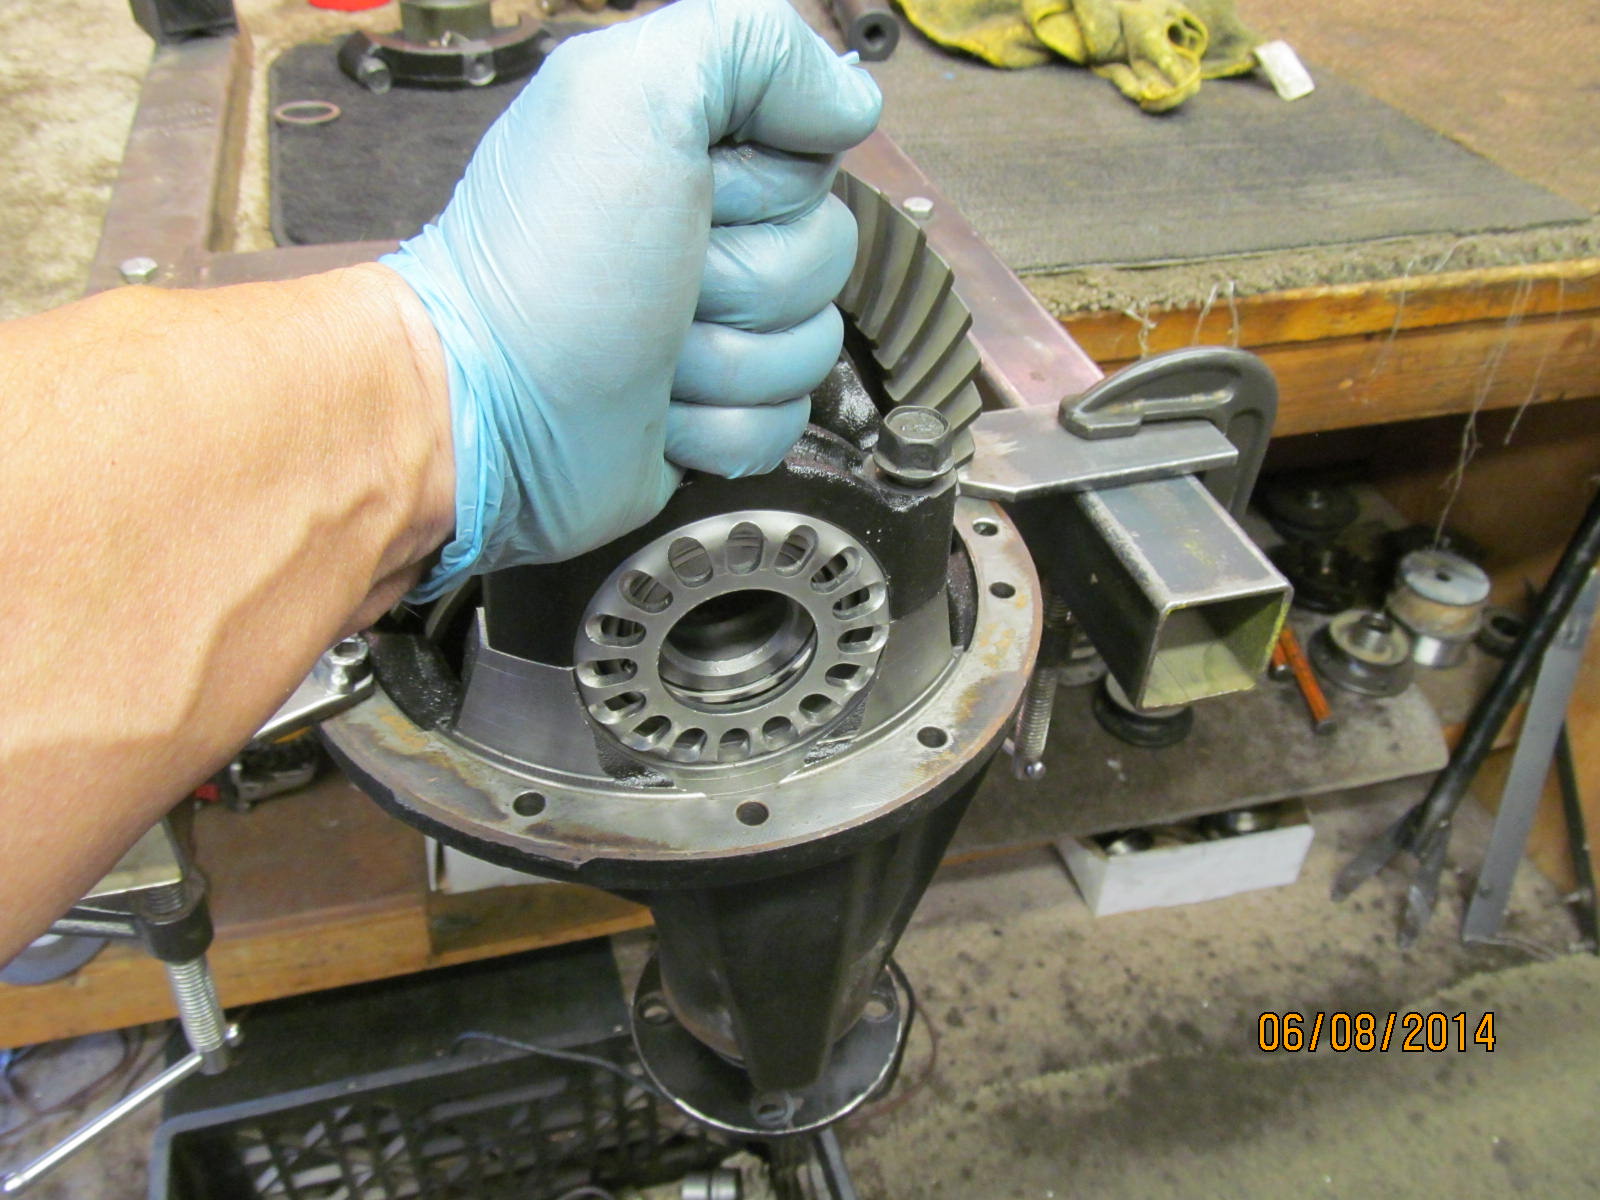
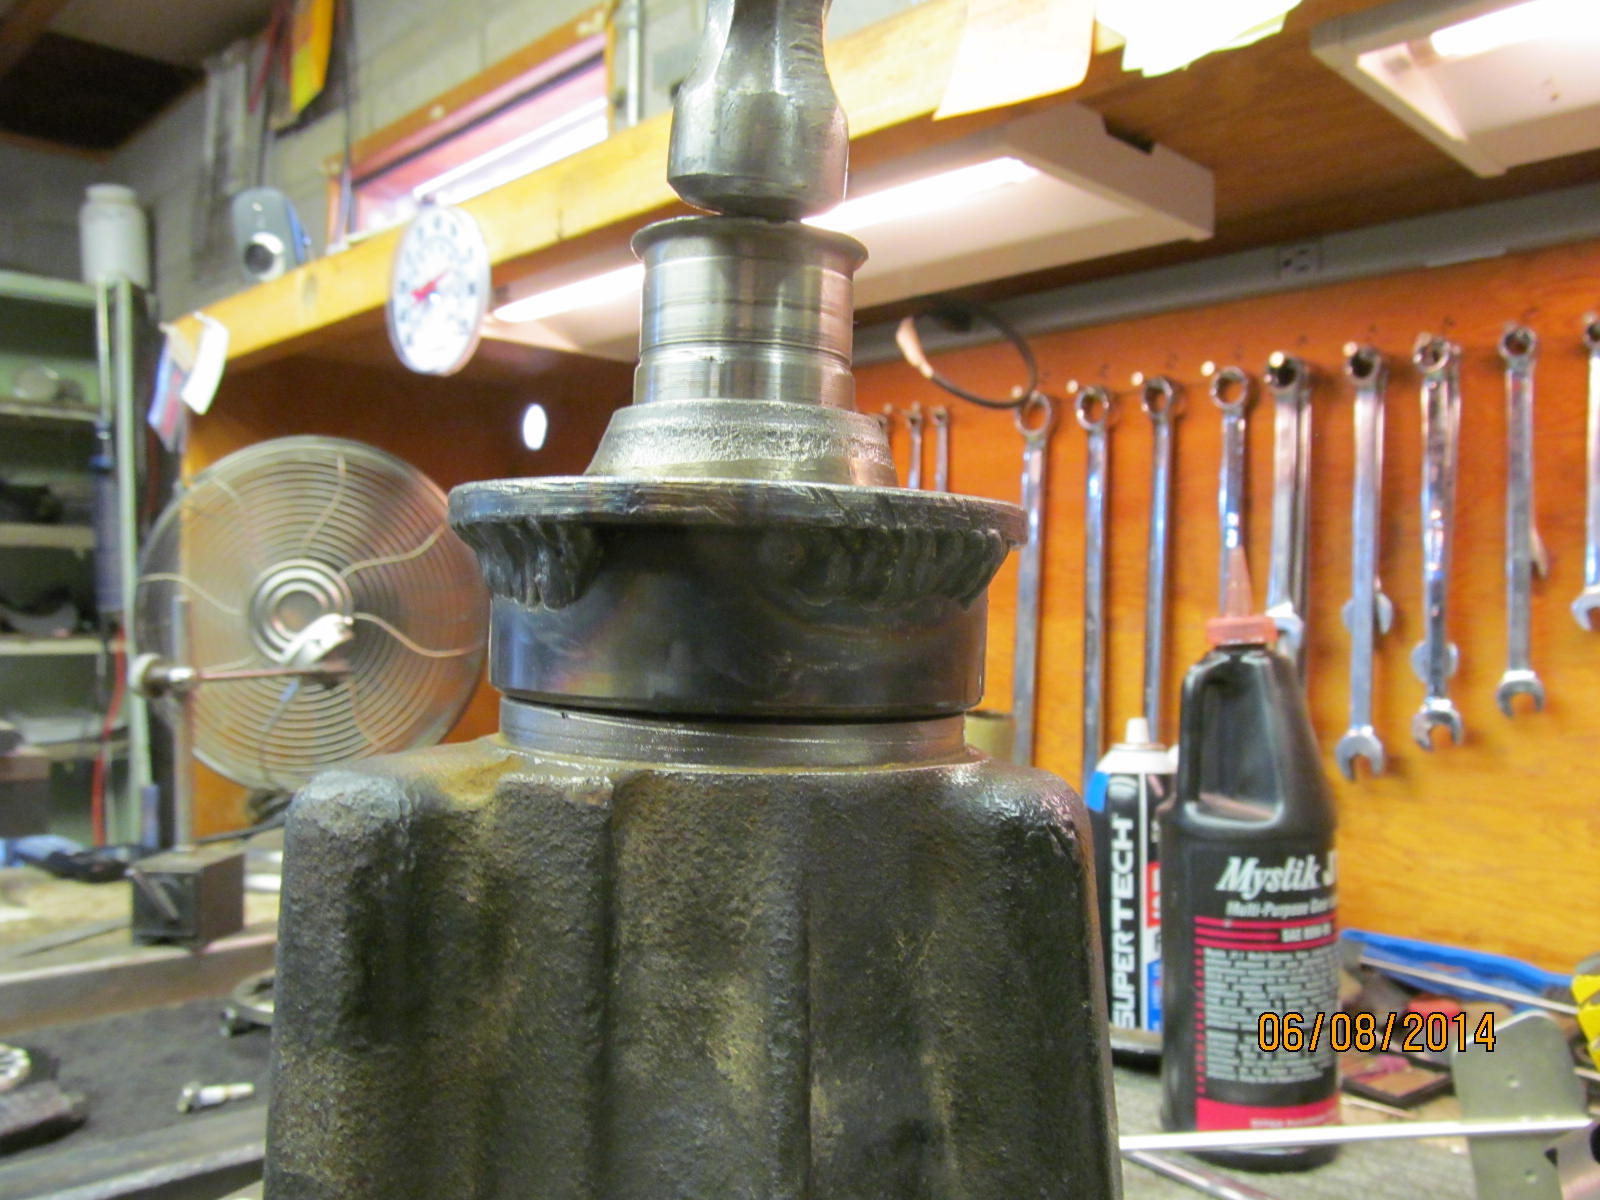
Place main body of 3rd over the pinion....place pinion flange on...tap down til the nut screws on and then use the
electric impact for pulling down the flange all the way. Splash about a teaspoon of gear oil on both bearings......
|
|
|
|
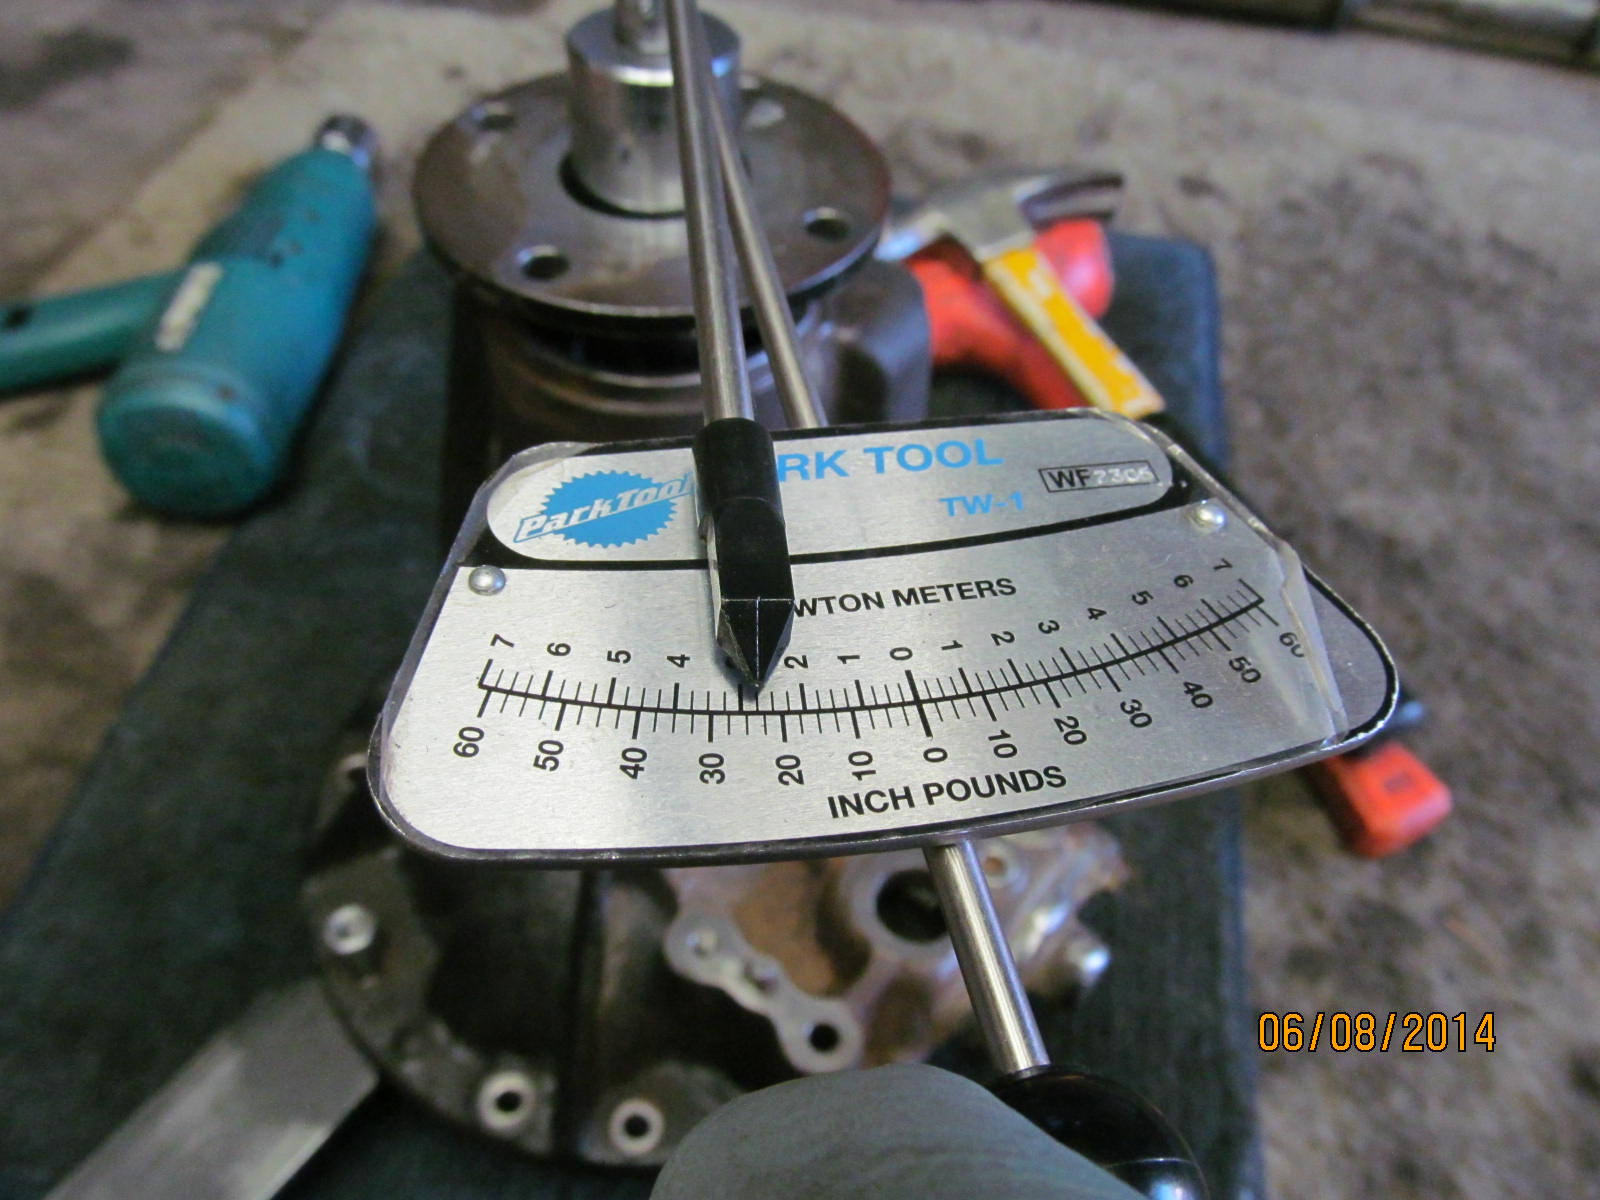
...and then verify that the pre-load is around 20ish. This is just for a paint check and the extra pre-load has
a tiny effect, at best, on the pattern distortion.
|
|
|
|
|
I clean all the threads and start the wheel by hand. I'm very careful that it is riding in the threads correctly.
|
|
|
|
Then I start the 2 long bolts with maybe 3 or 4 full threads and smack down the top cap assembly.....with
either my fist or the rubber handle of the hammer. It makes a nice, solid fully seated noise if the
threads are in a happy mesh.
|
|
|
|
While I am typing up this very write-up now, I am listening to Native American Indian flute music tunein.com...
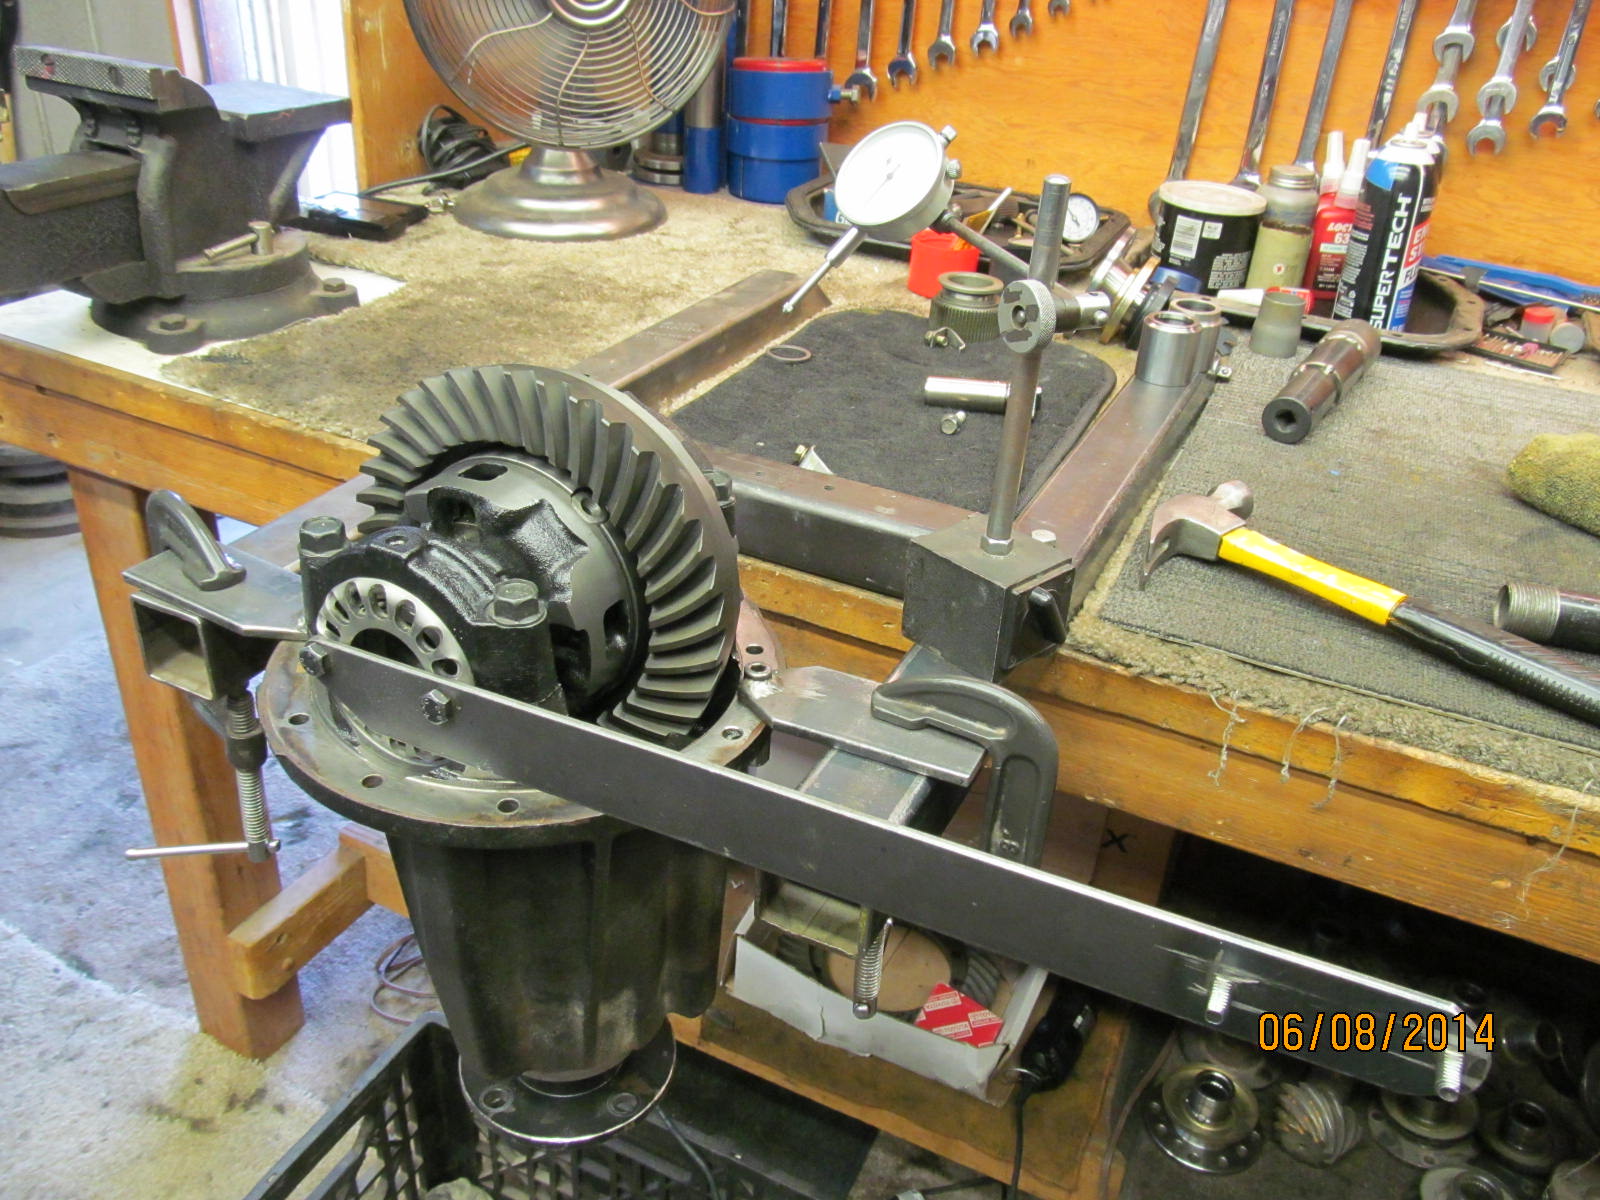
but I digress again  Above, I use my favorite wheel adjuster tool for getting the backlash somewhat close for Above, I use my favorite wheel adjuster tool for getting the backlash somewhat close for
this paint test and to also put some carrier bearing pre-load (CBPL) on the 2 bearings.
|
|
|

|
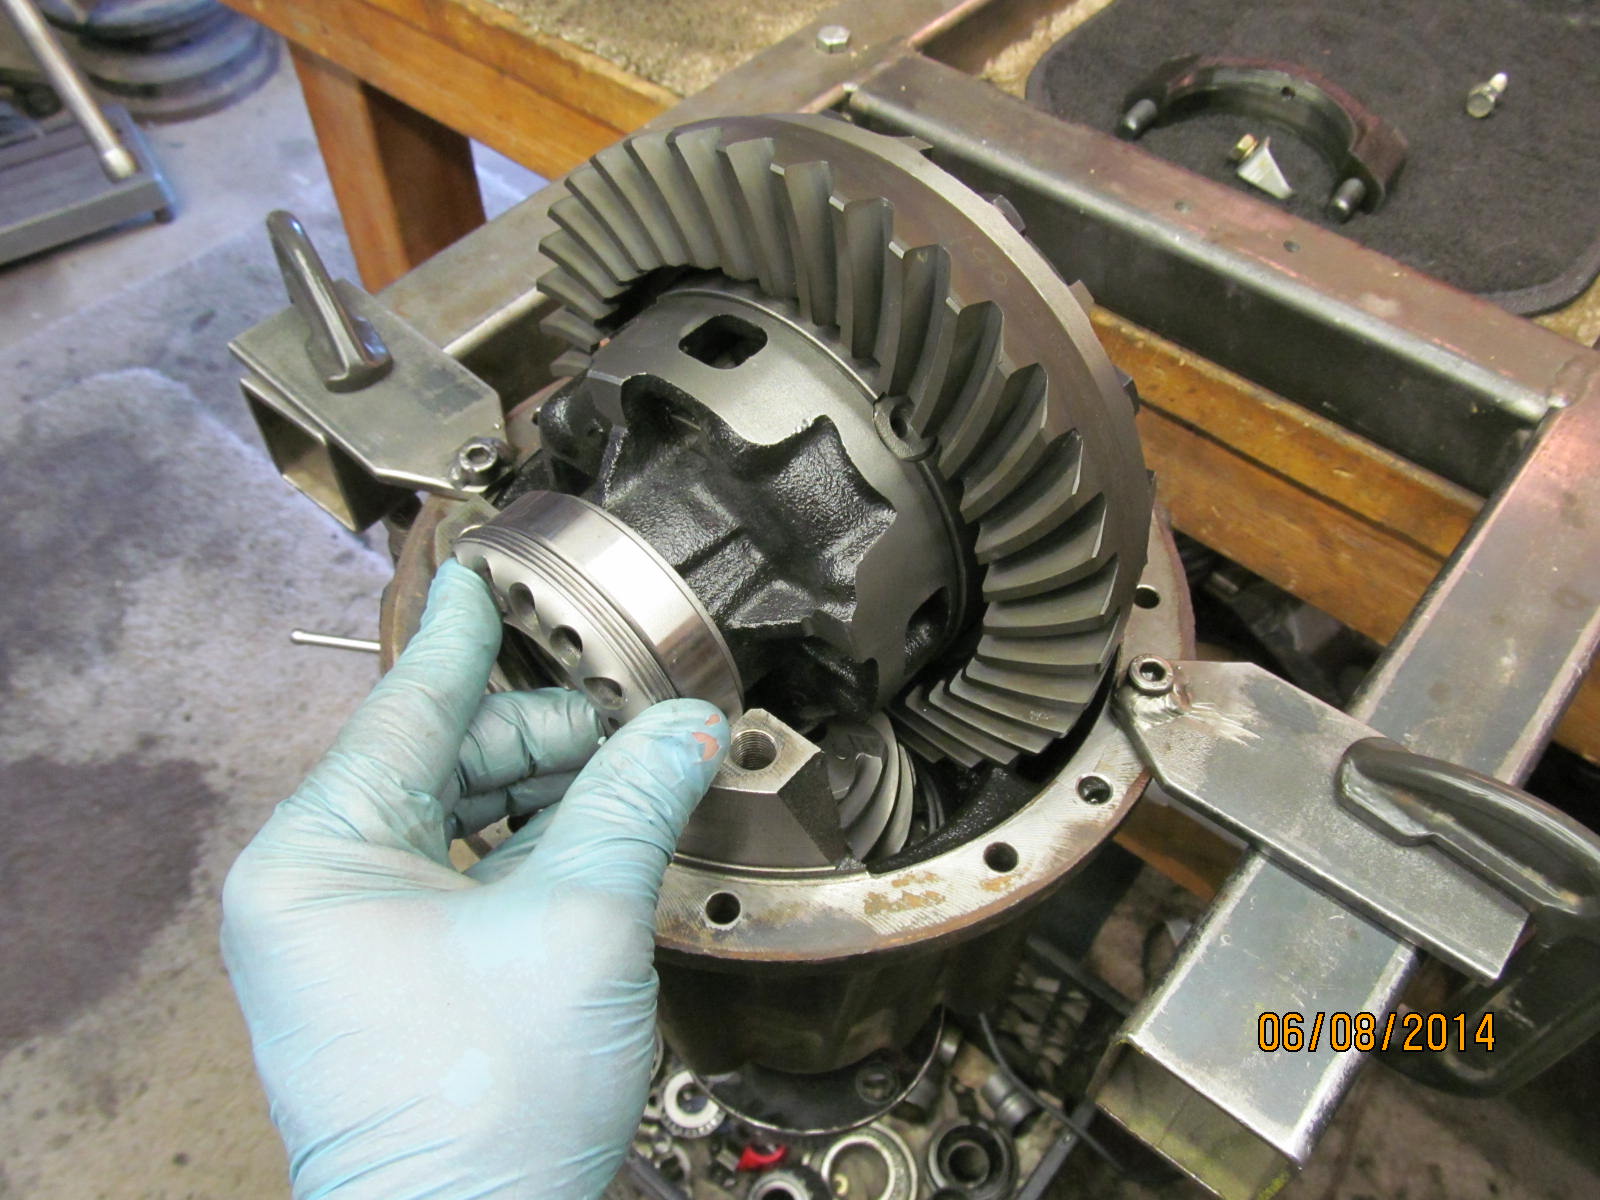
Wow....NICE drive pattern....as good as the pattern that River City Differential got on the rear 3rd. Pattern is
centered here and has a "slight deep" look. Some reasons why "slight deep" is good as opposed to
"perfect depth" is three-fold...
1---pinion tooth is stronger than the ring gear tooth by its very nature(tooth length and helix angle).
2-----With increasing contact pressure, the pinion is pushed back into the hole a few thousandths.
3---------The pinion recesses down into the hole with time as the race and rollers wear down.
|
|
|
|
|
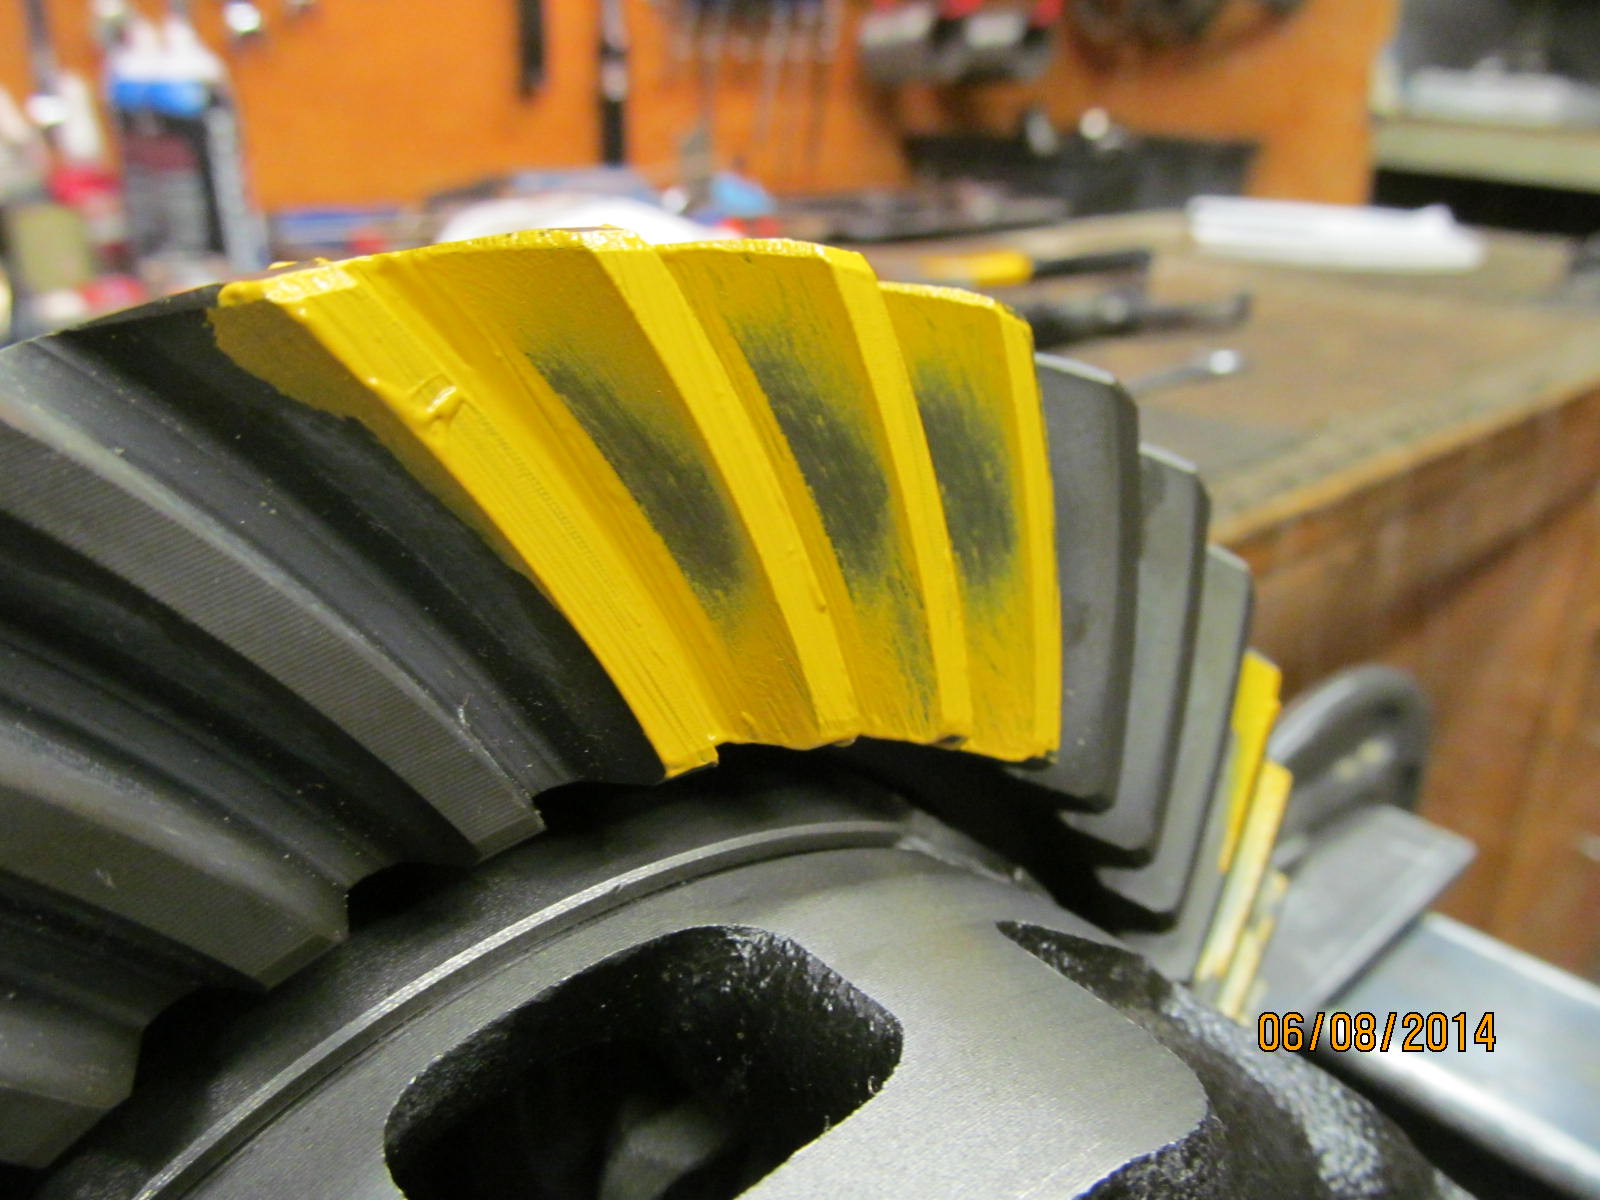
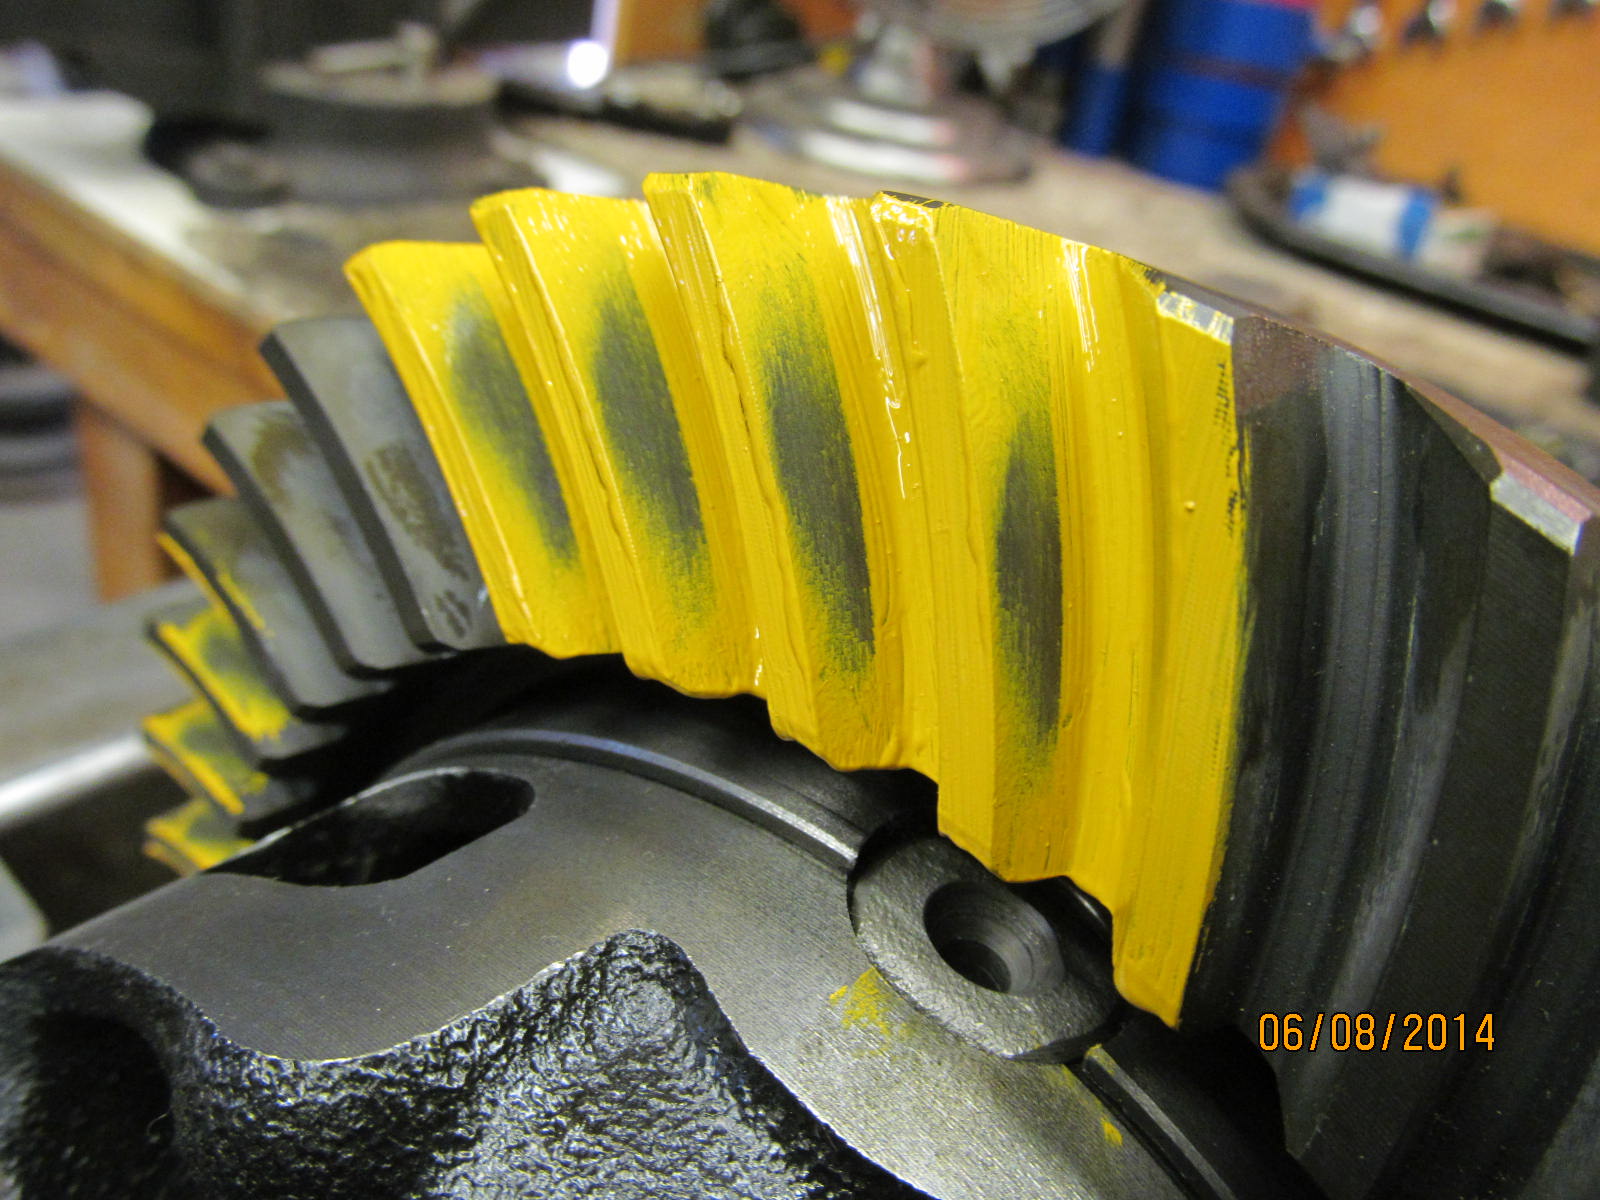
Coast side has a deep contact patch and is slightly to the outside(heel).
|
|
|
|
|
With pinion depth established, now it's time to dis-assemble and put the solid collar in.
|
|
|
|
|
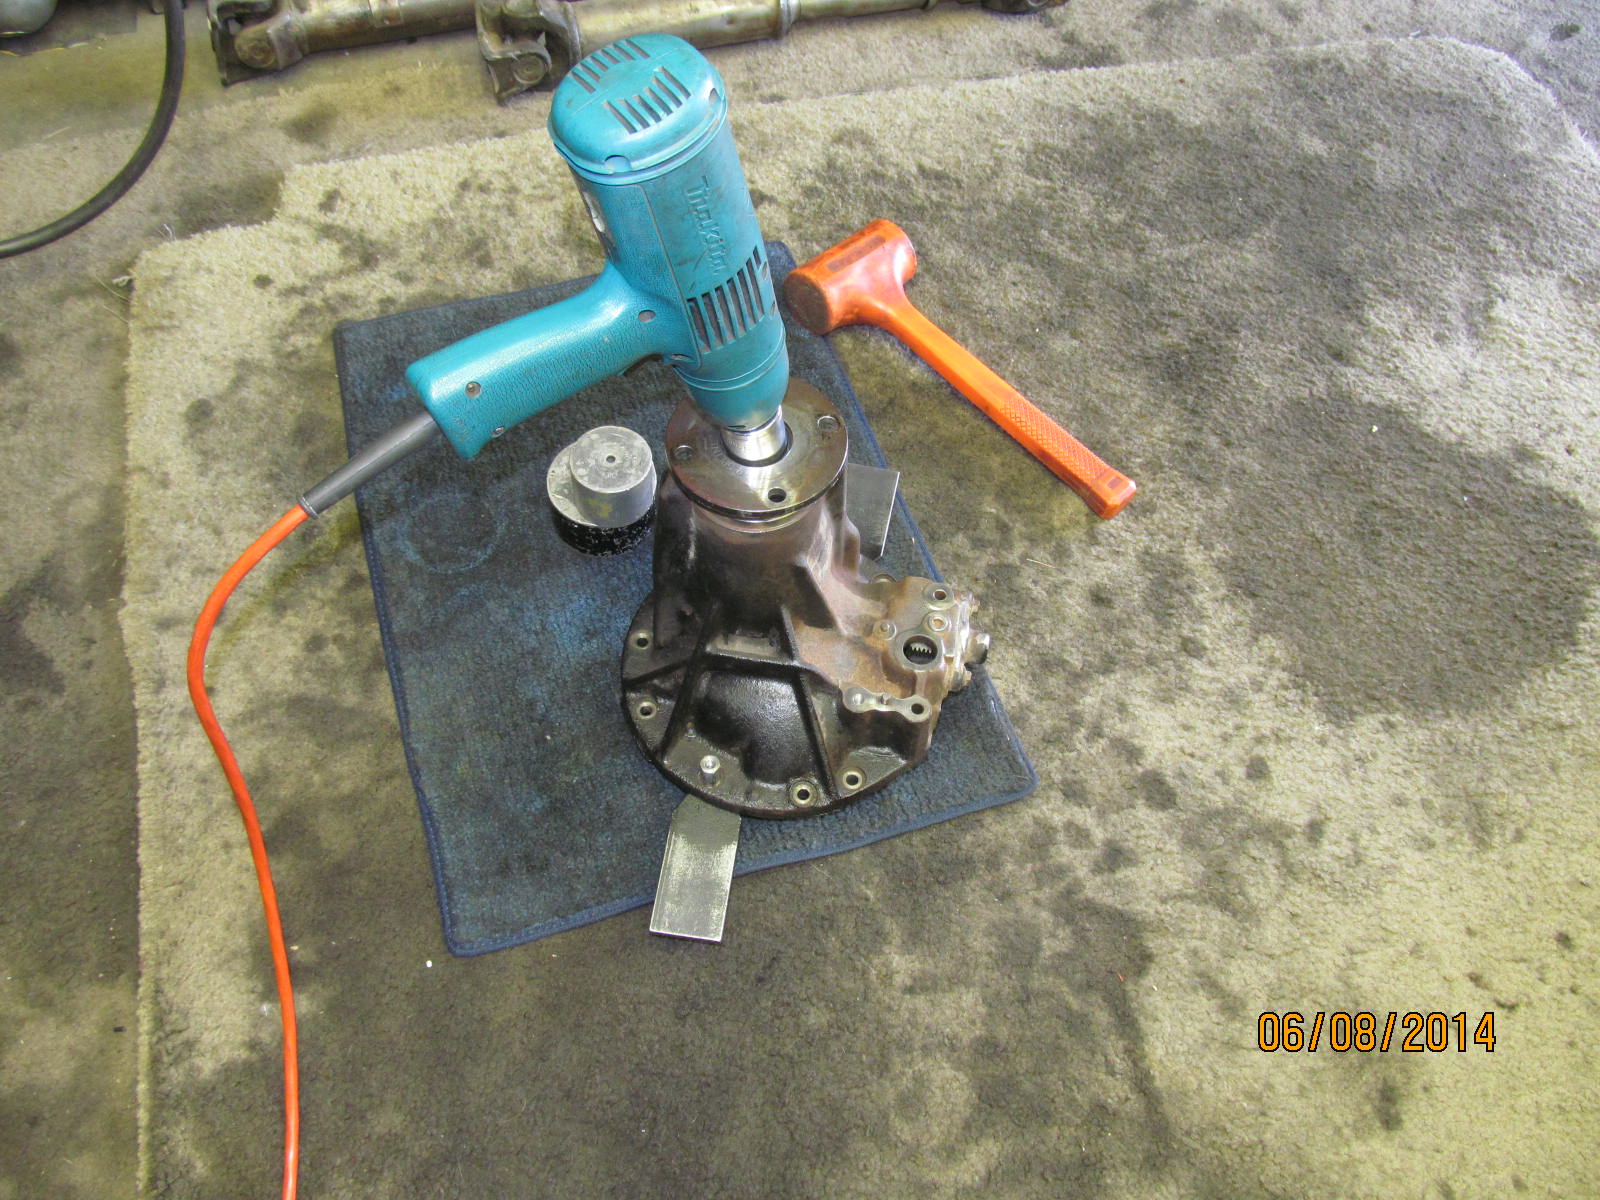
Press the pinion out.
|
|
|
|
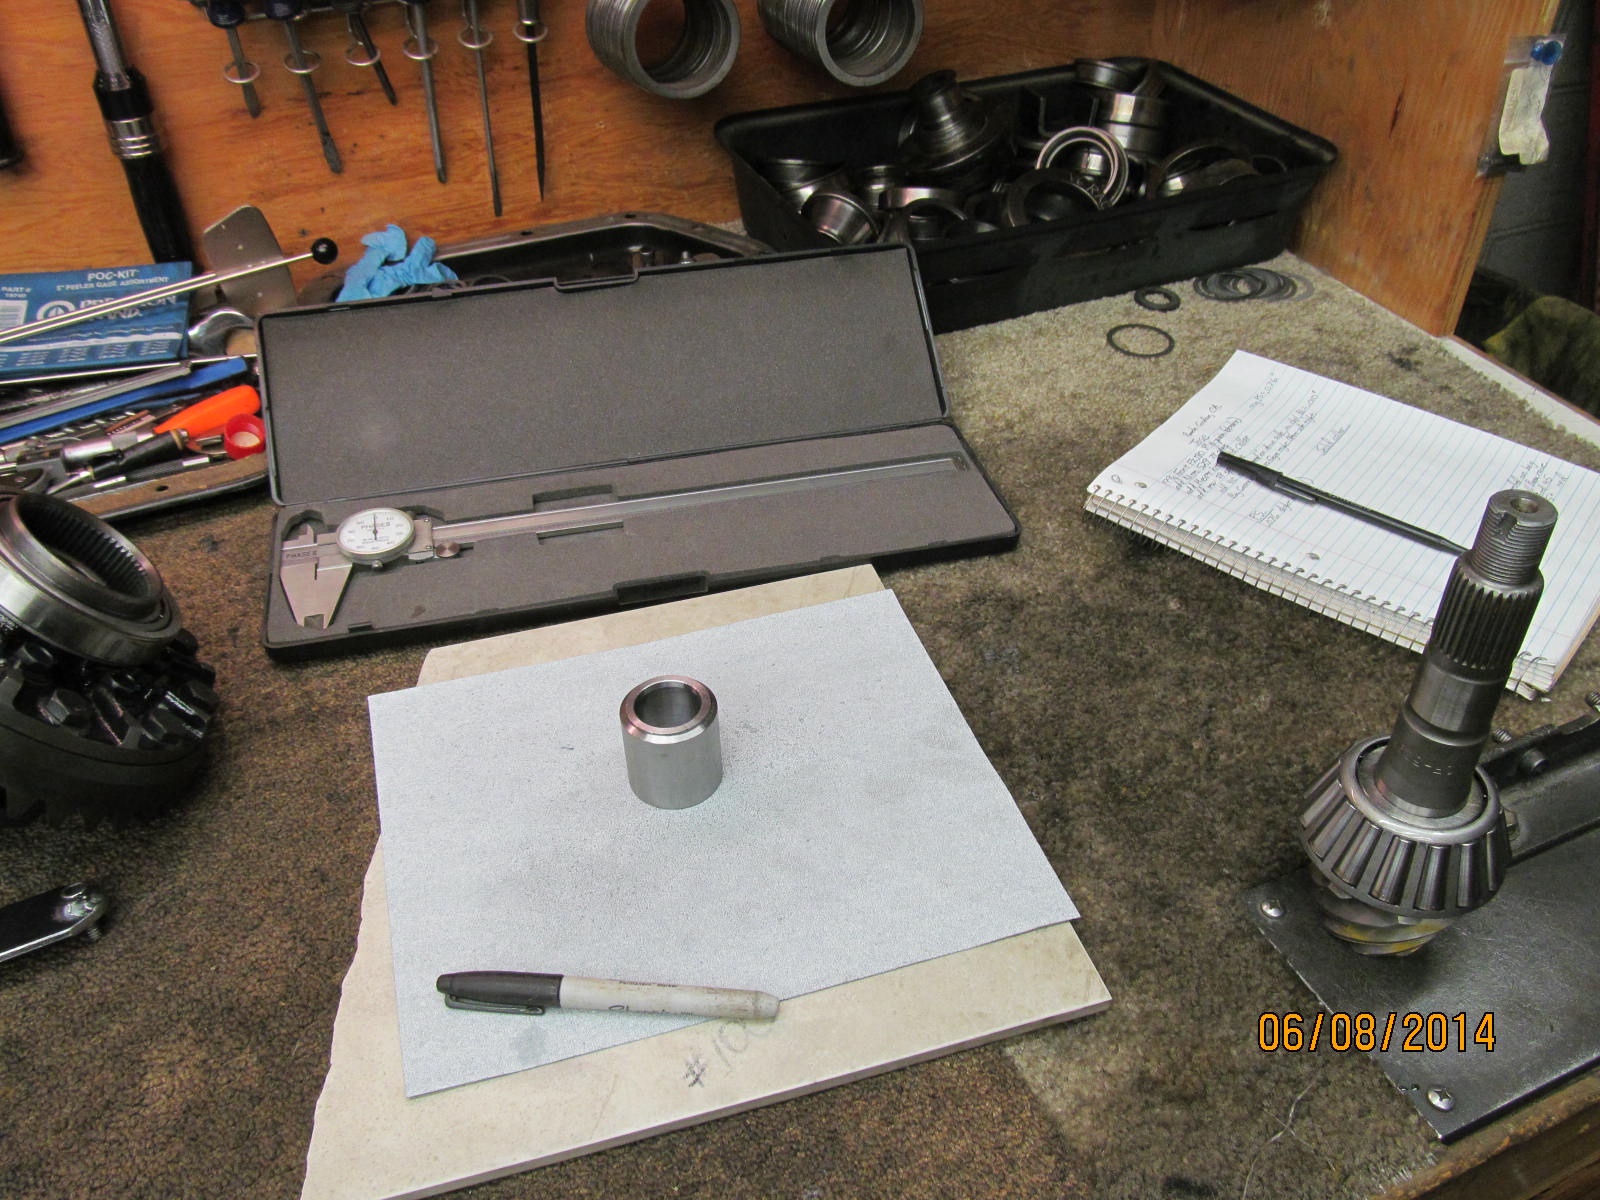
Sometimes, the collar does not read equally all the way around its contact surface so I fine tune it with a
flat surface and sandpaper. The long 12" calipers with the big jaws come in handy for this measurement.
|
|
|

|
1.805" plus .067" shims equals a total 1.872"....1.867" is a more common final length but let's try this and see
what happens as my notes indicated at the end of this link, it was loose. 4 more tries and it was good to go.
A solid collar is more time consumming to get right but it's worth it to me.
|
|
|
|
The splash guard designed for the smaller 27 spline pinions would not fit over this thicker 29 spliner...nothing
a little filing with a half round file wouldn't take care of.
|
|
|
|
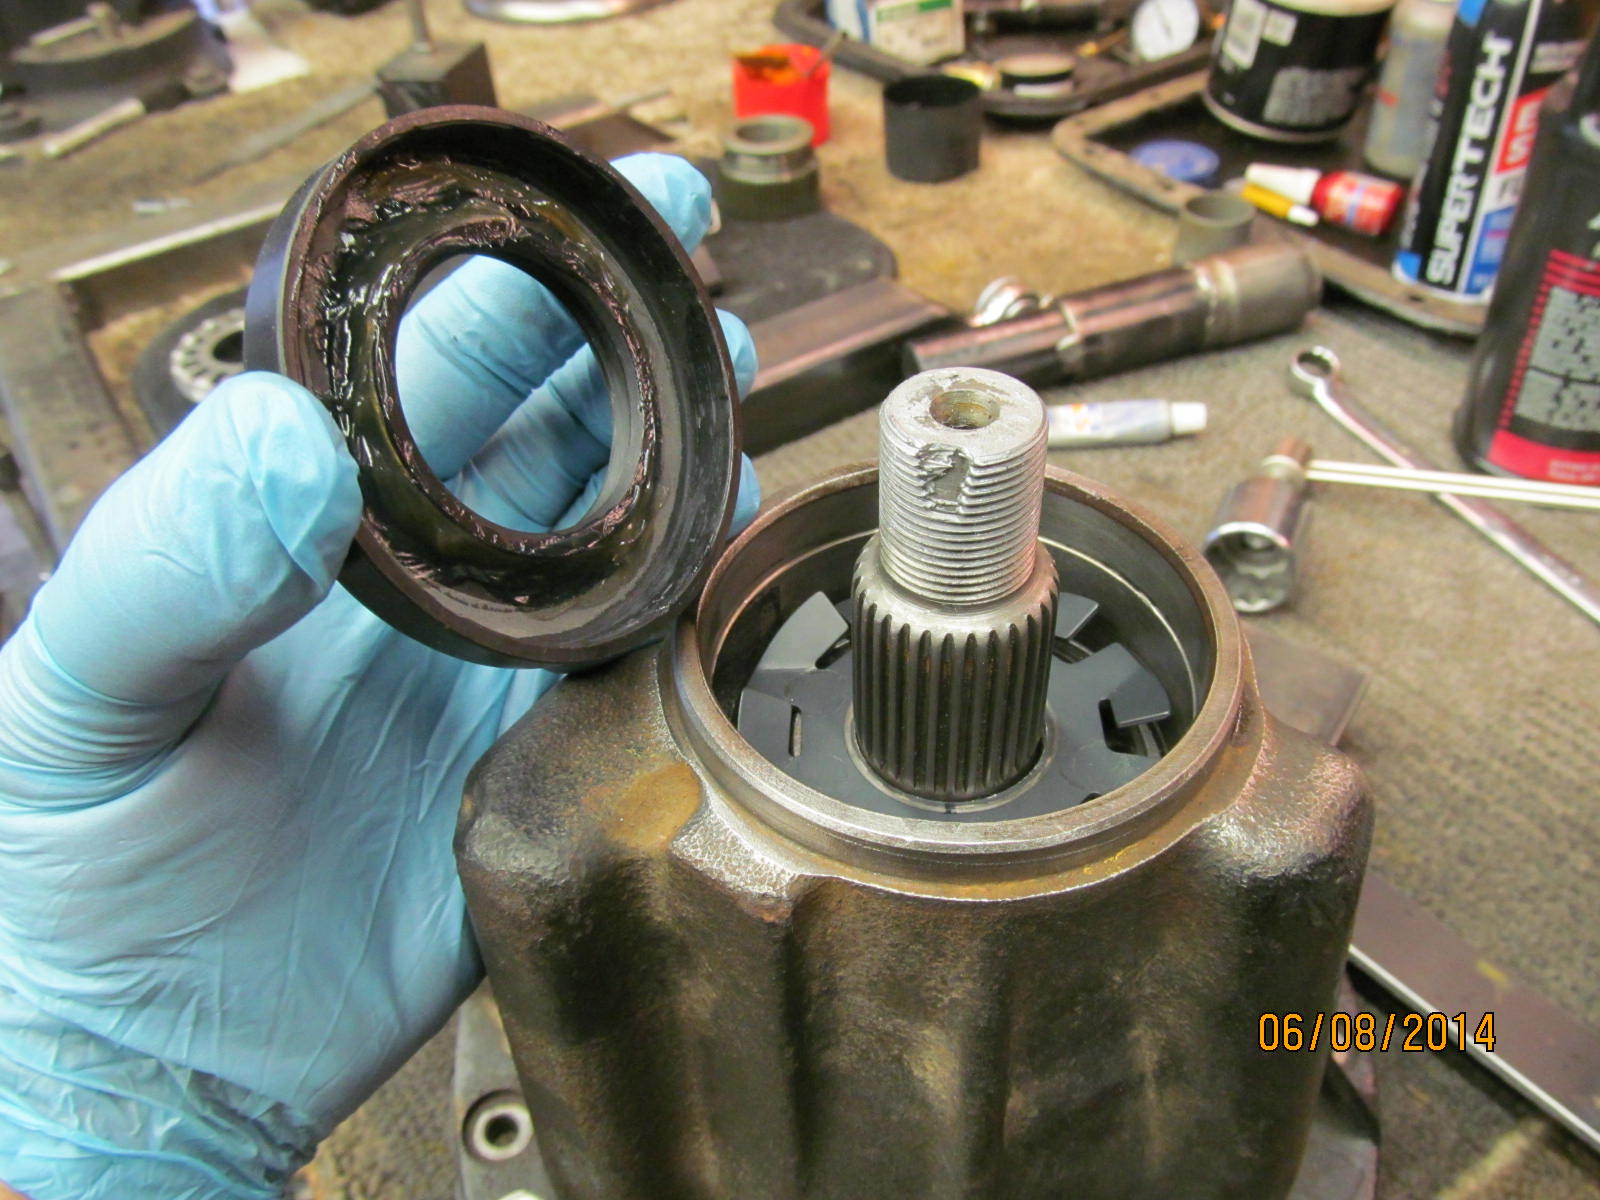
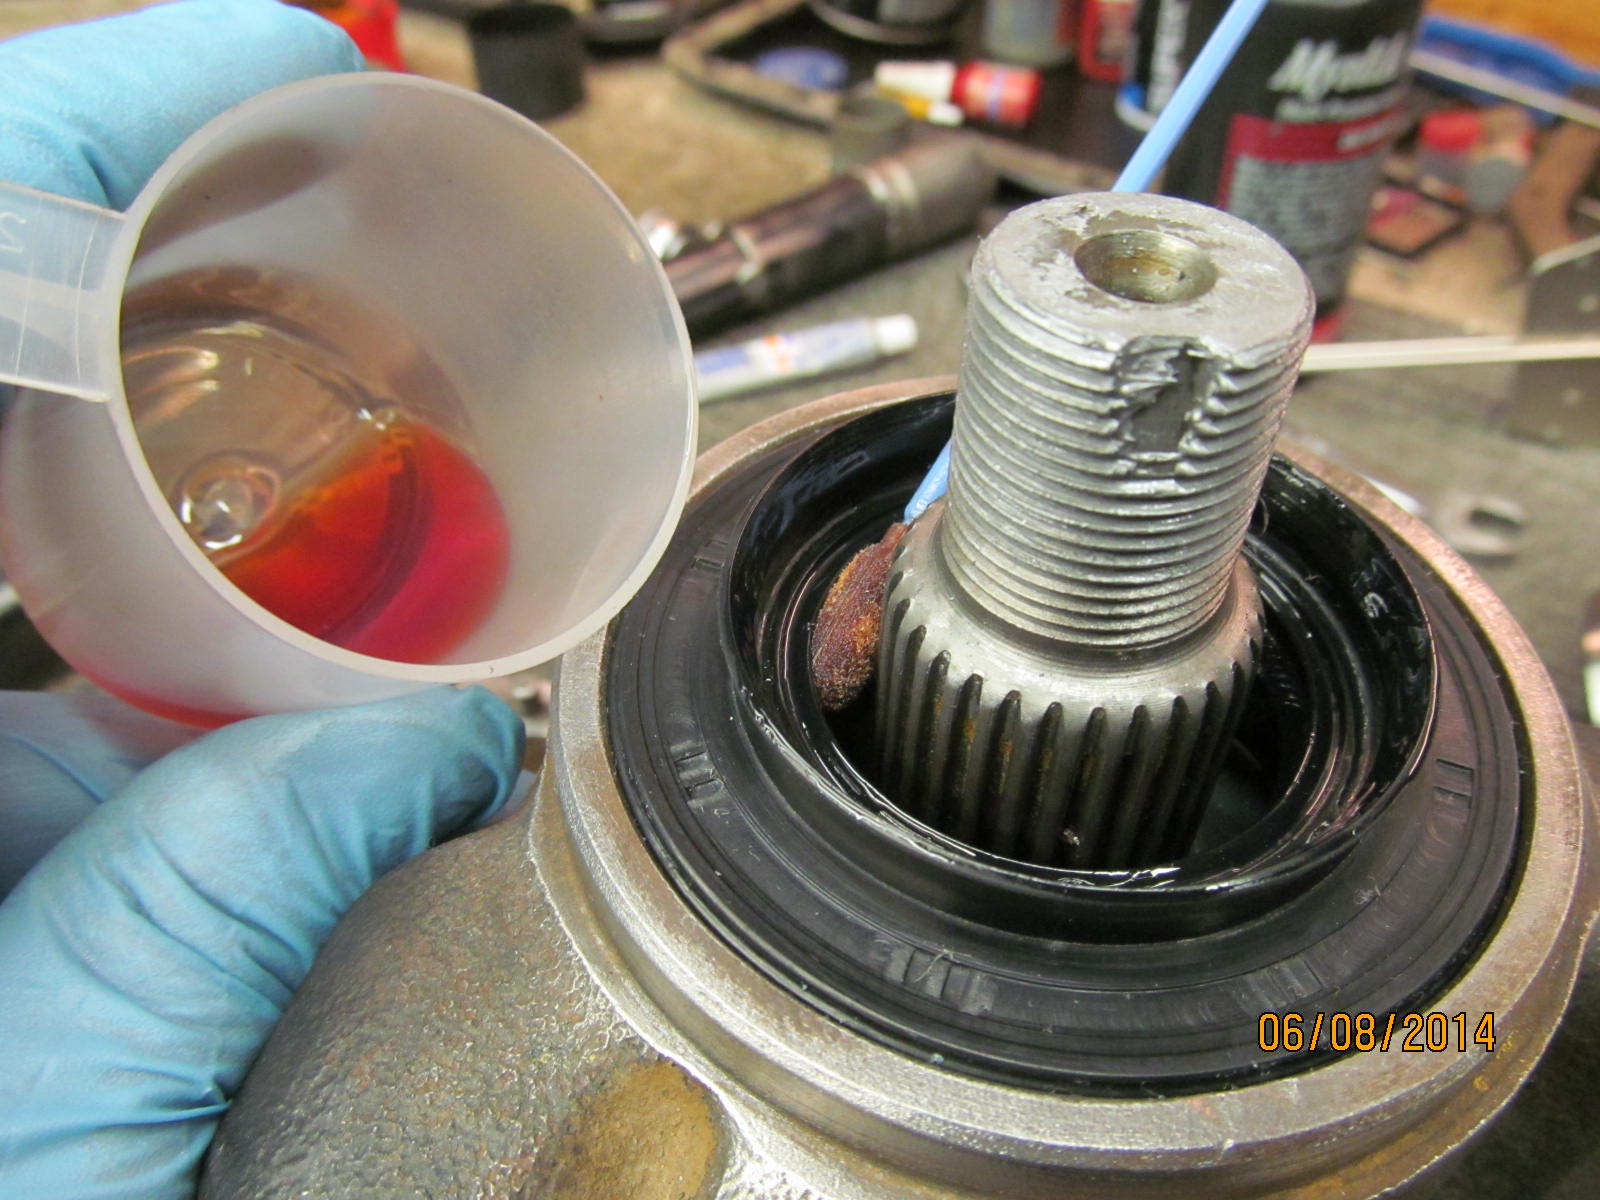
Rubberized 29 spline pinion seal has grease applied to the tiny garter spring. A light coating of gear oil
to the outside edge of the rubber seal contact is ok, too.
|
|
|
|
|
My seal insertion tool.
|
|
|
|
|
Gear oil is applied to all contact surfaces.
|
|
|
|
|
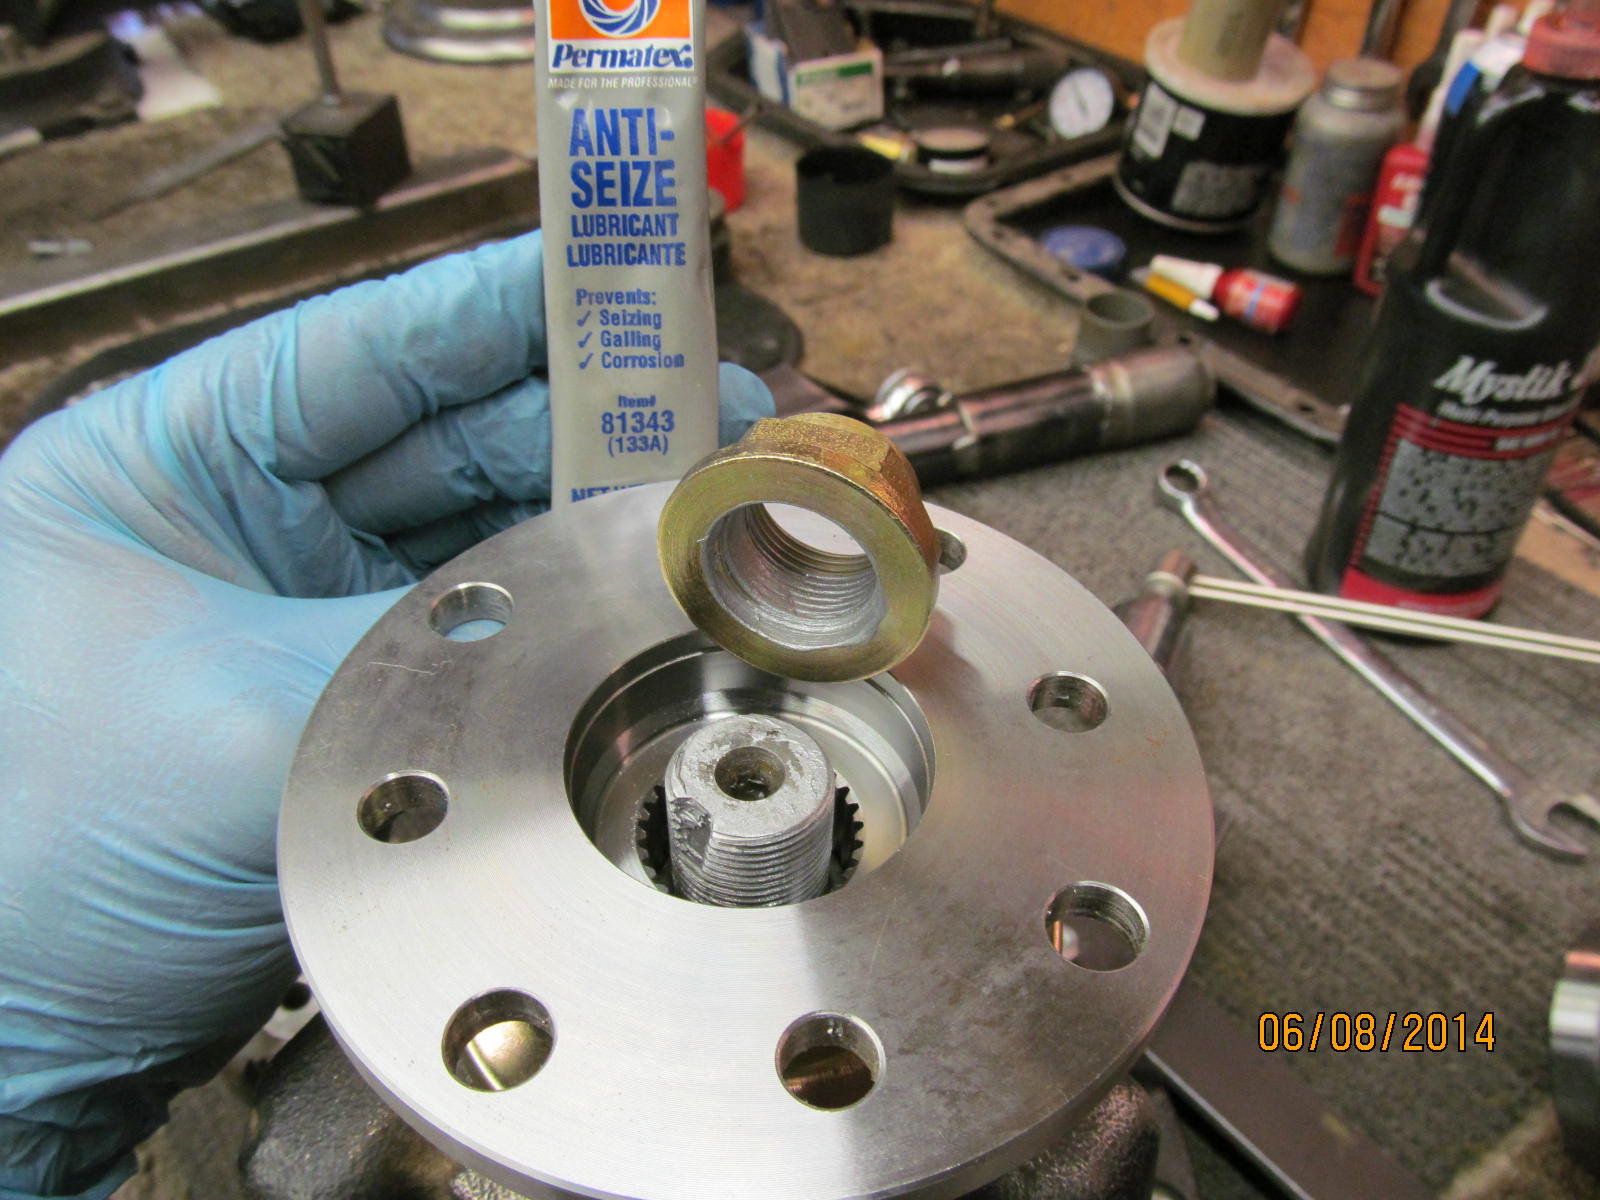
Anti-seize is aok in my books. Saves on thread damage during extreme tightening.
|
|
|

|
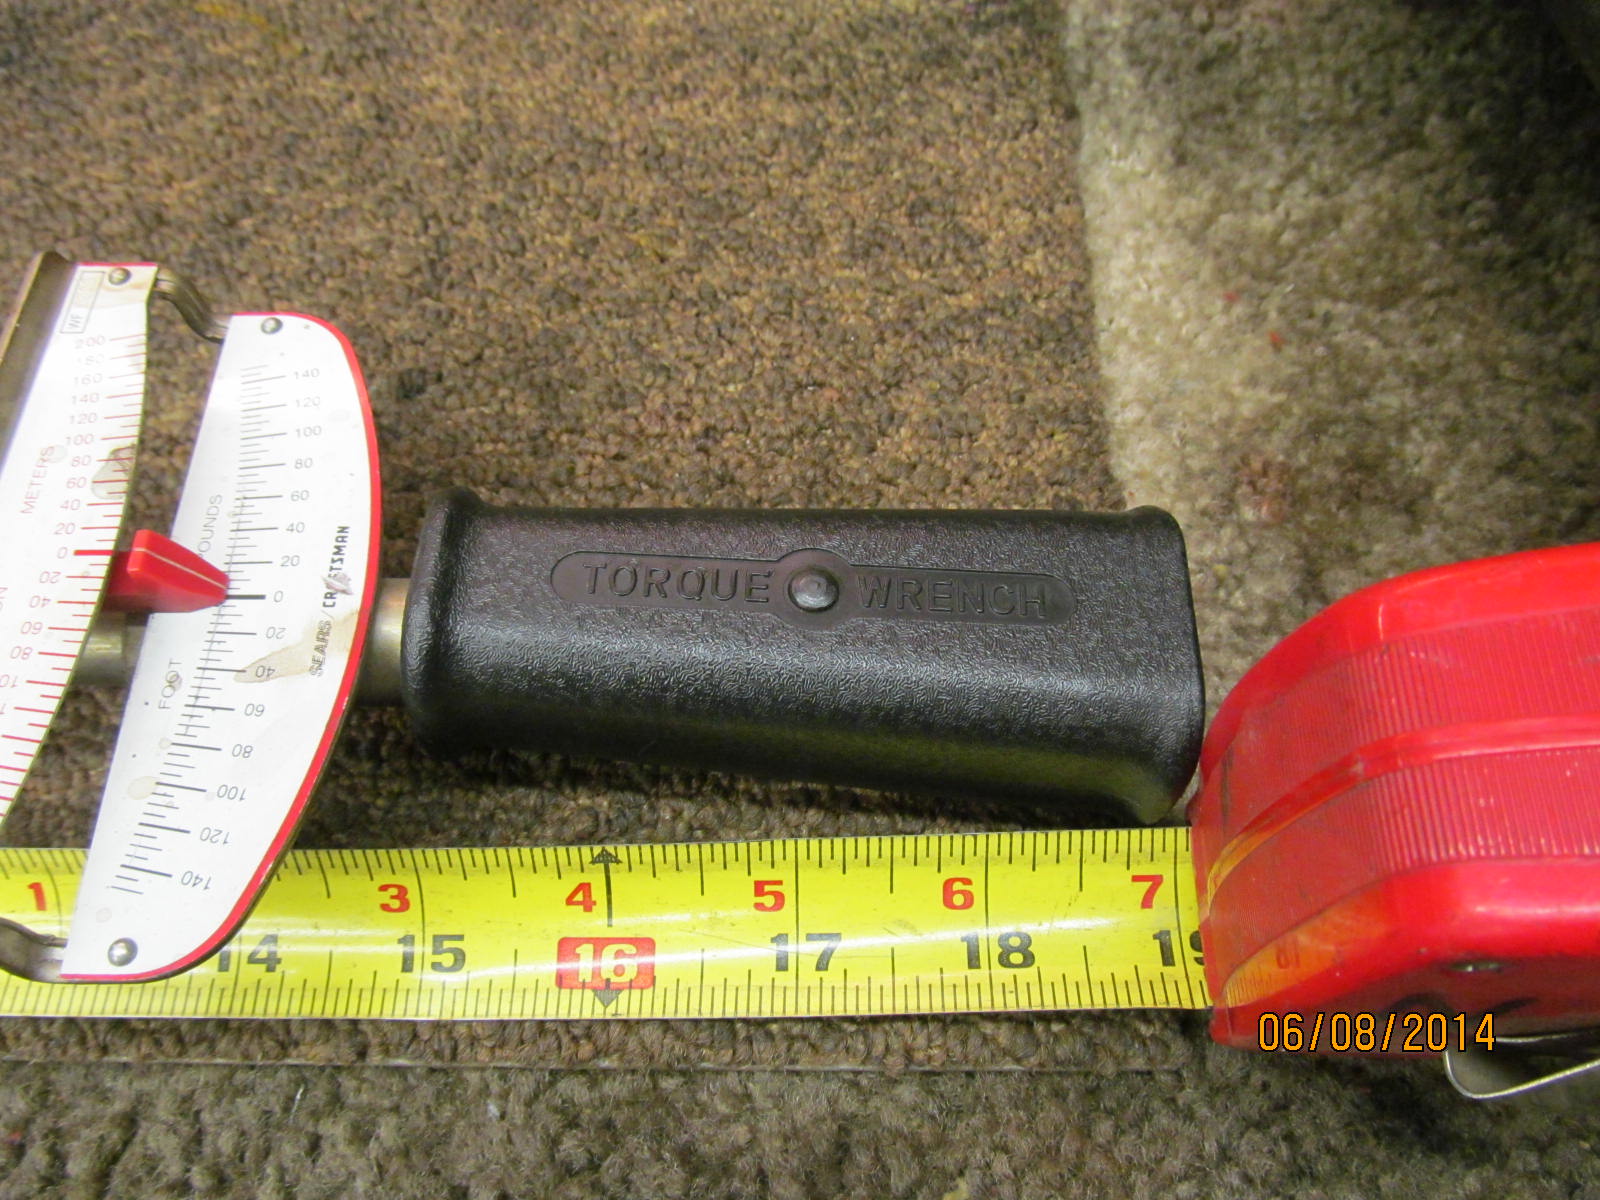
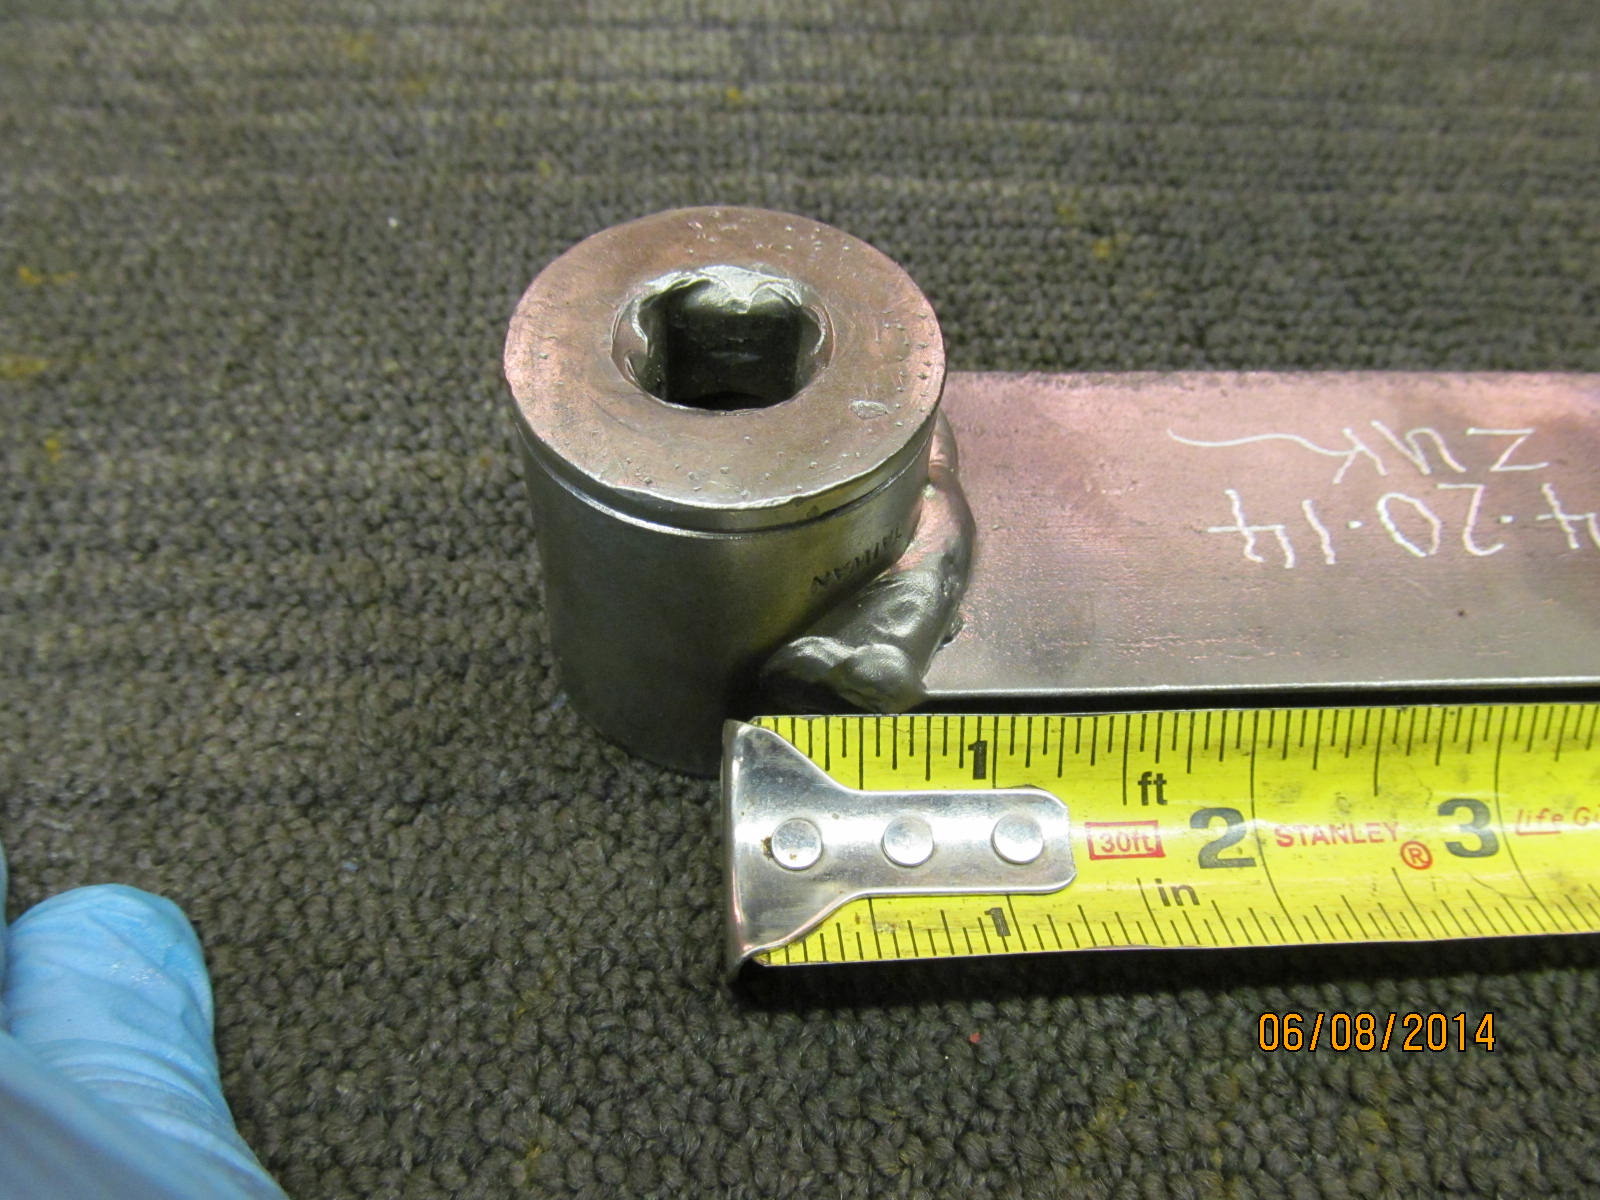
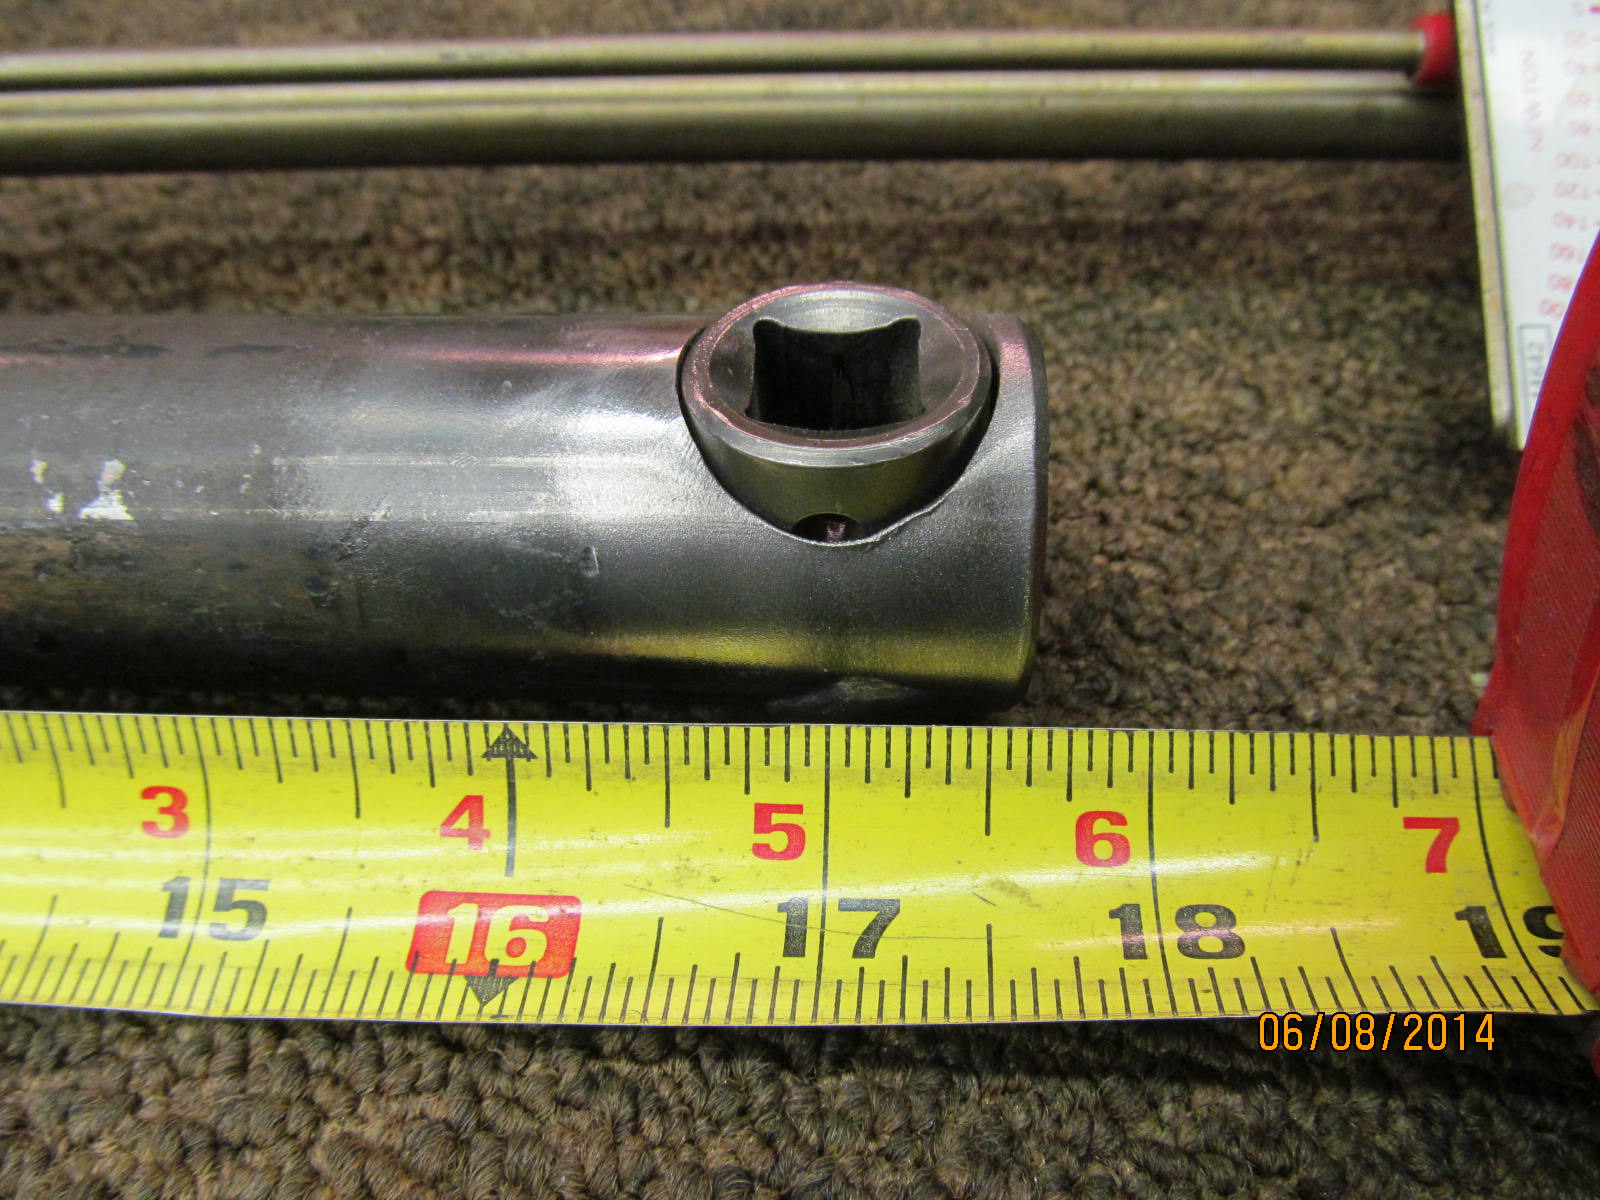
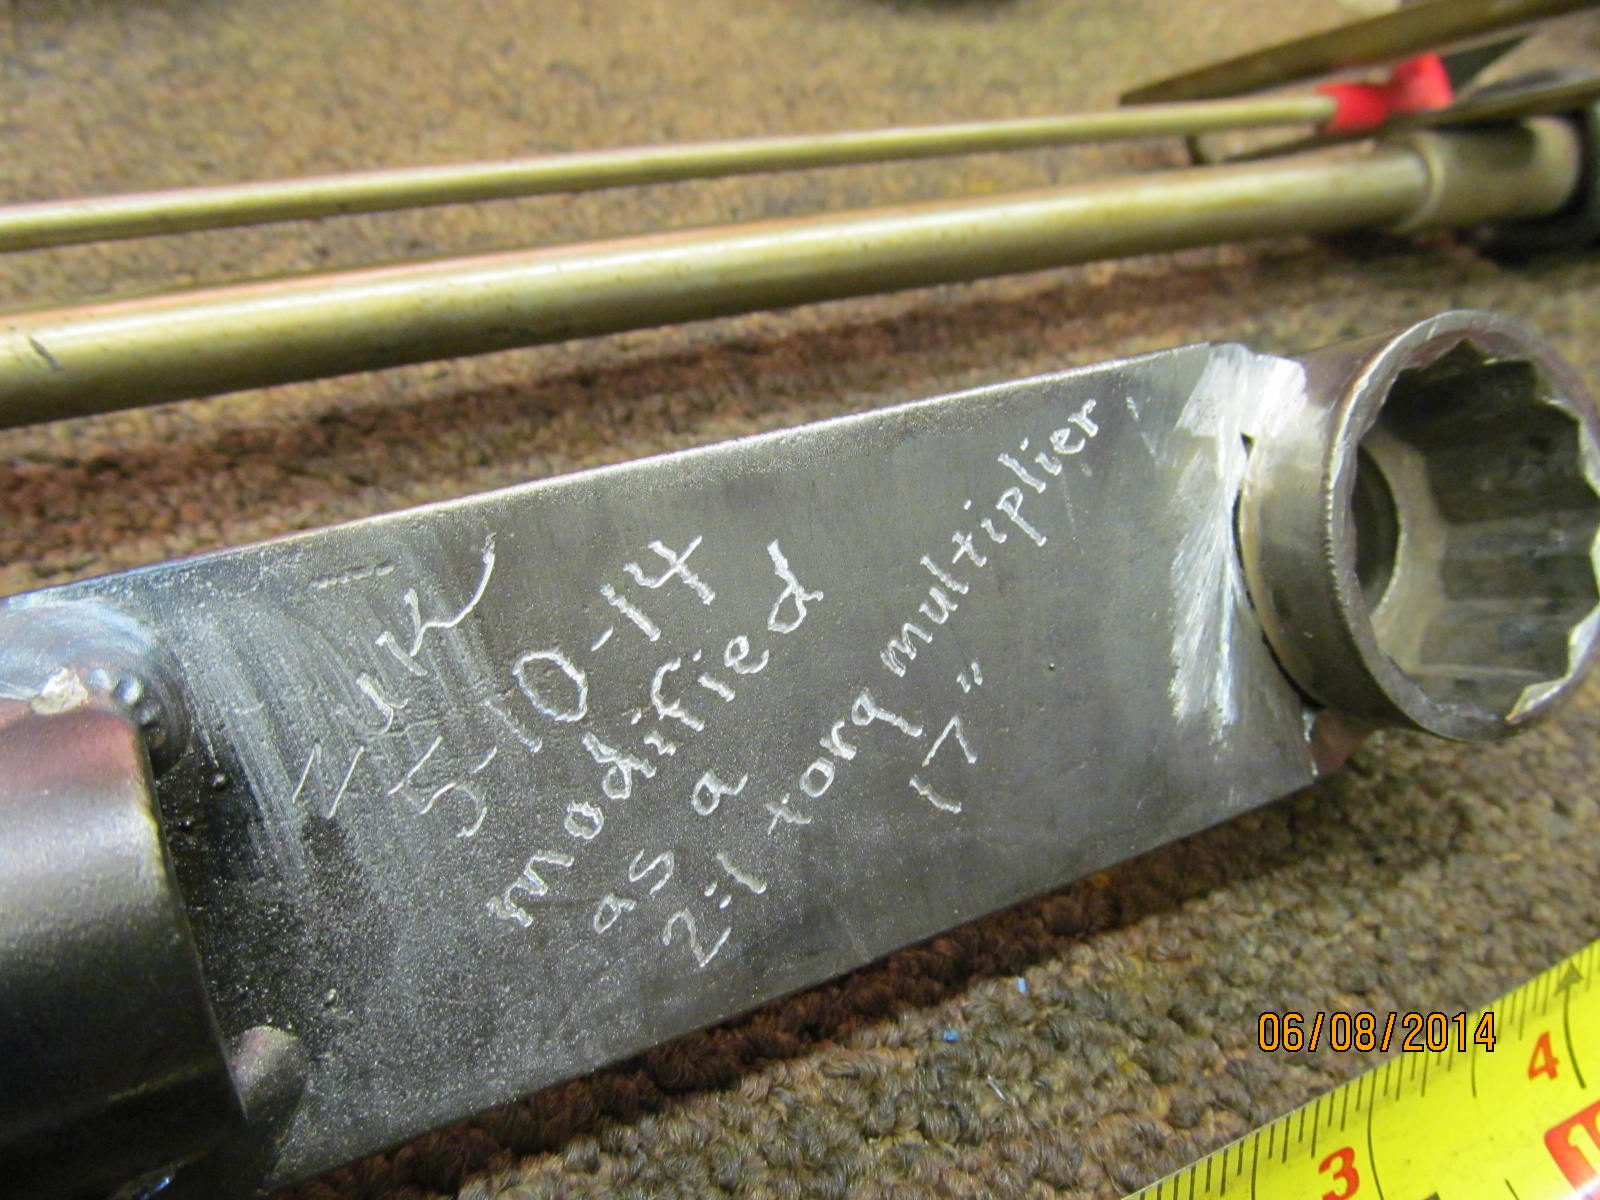
This is my 2x torque multiplier. It allows me to measure torque values up to 300 ft/lb on a
150 ft/lb rated torque wrench.
|
|
|
|
|
A light tap-tap while turning the pinion equalizes the carrier bearing roller tensions...
|
|
|
|
|
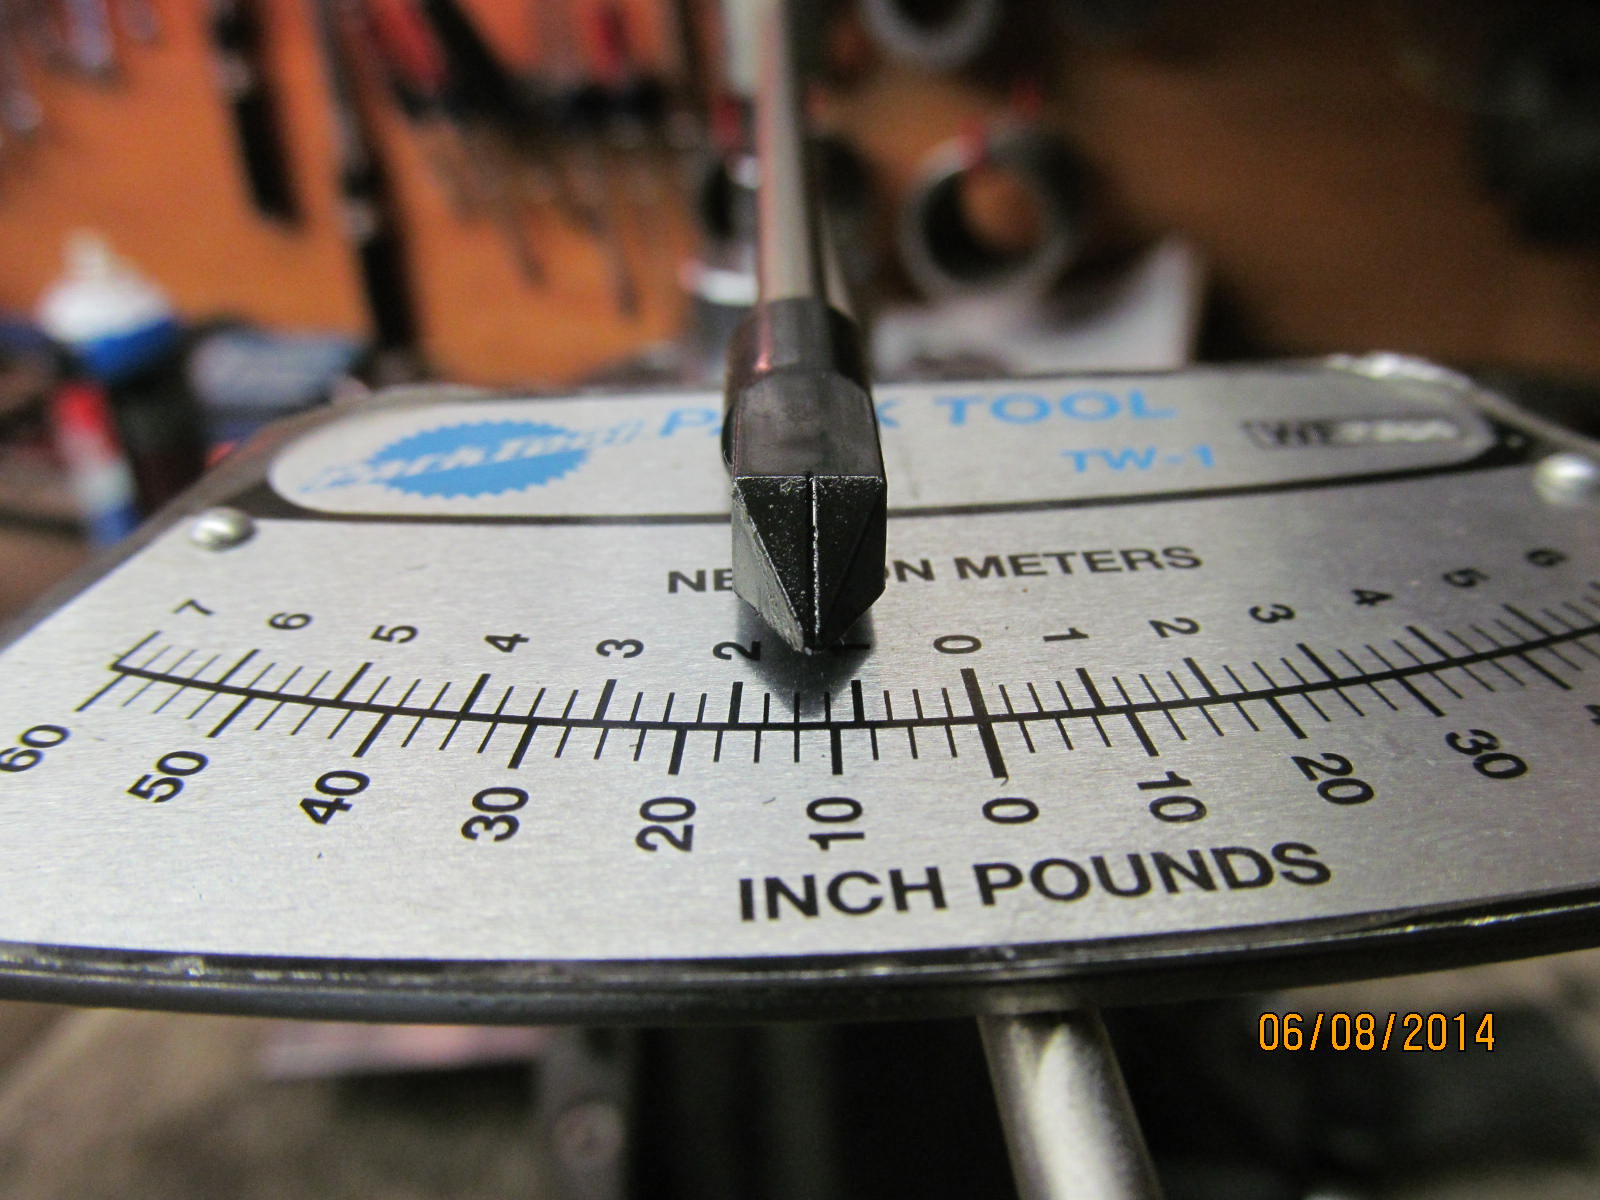
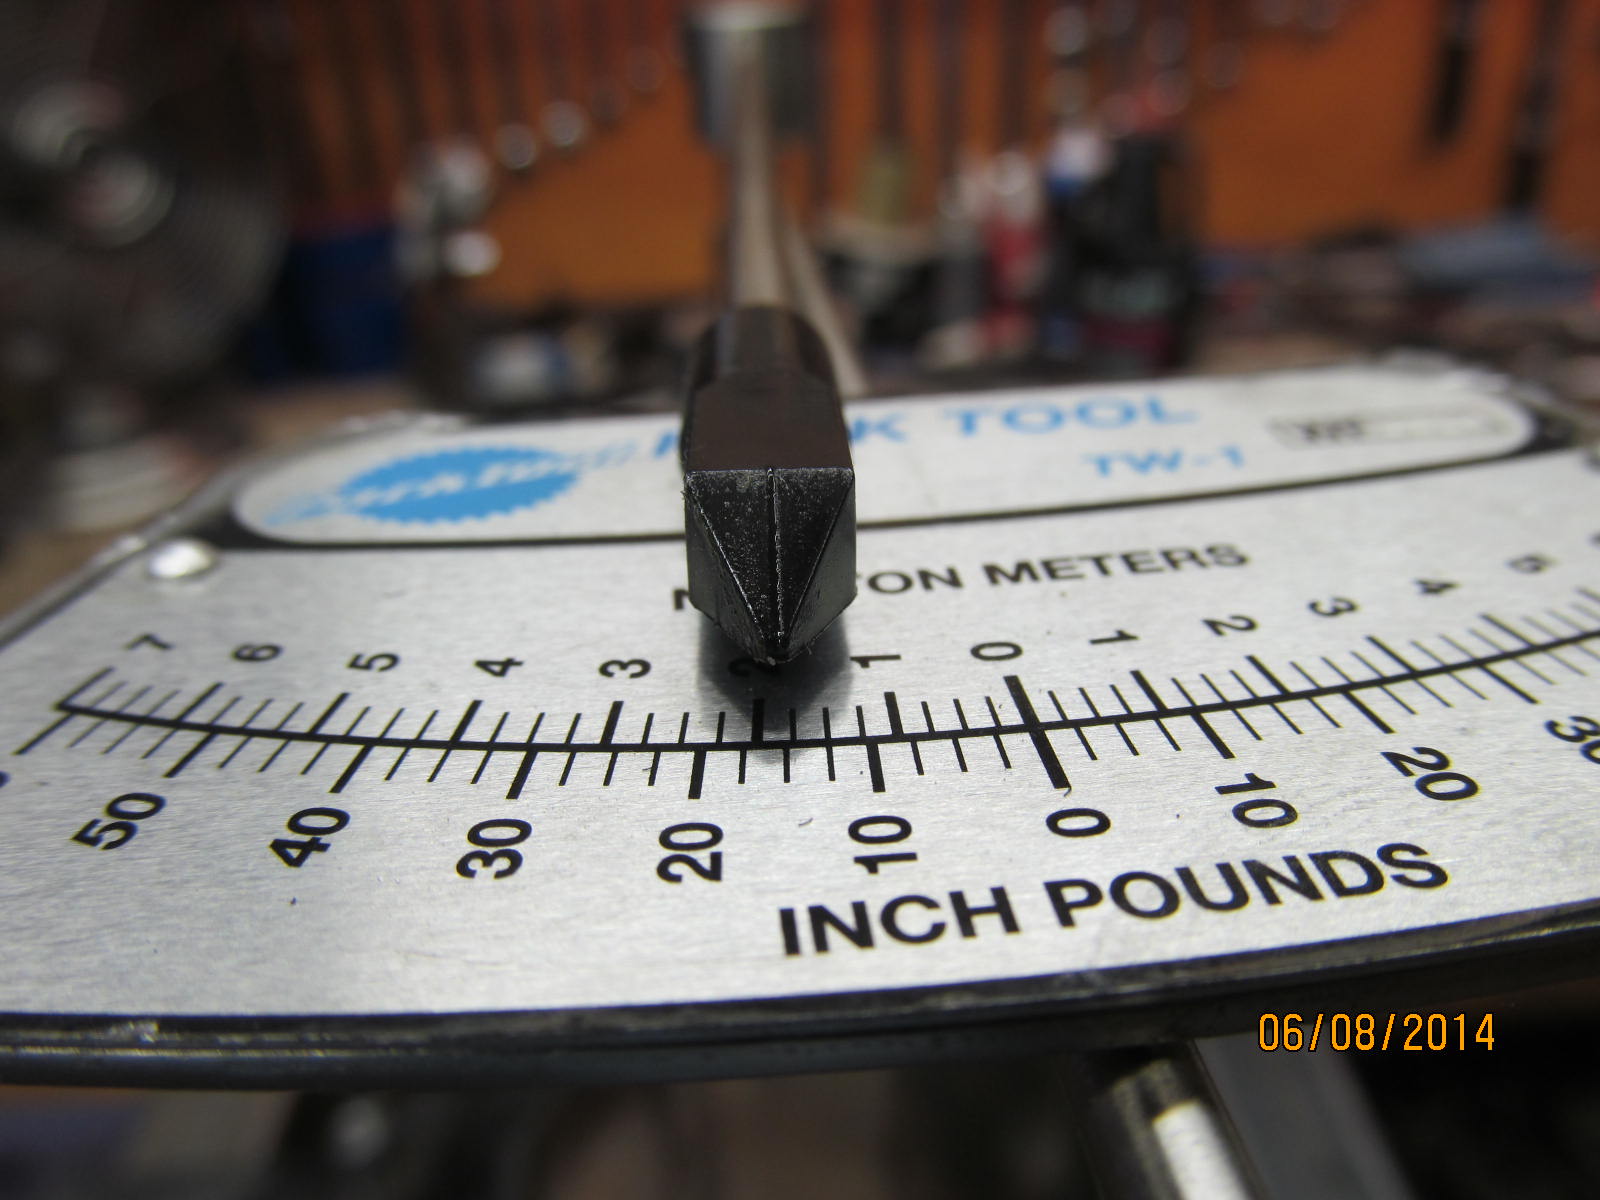
...and allows for more accurate PPL readings. 11 inch/pounds start torque is perfect for Jose's gear install.
|
|
|
|
|
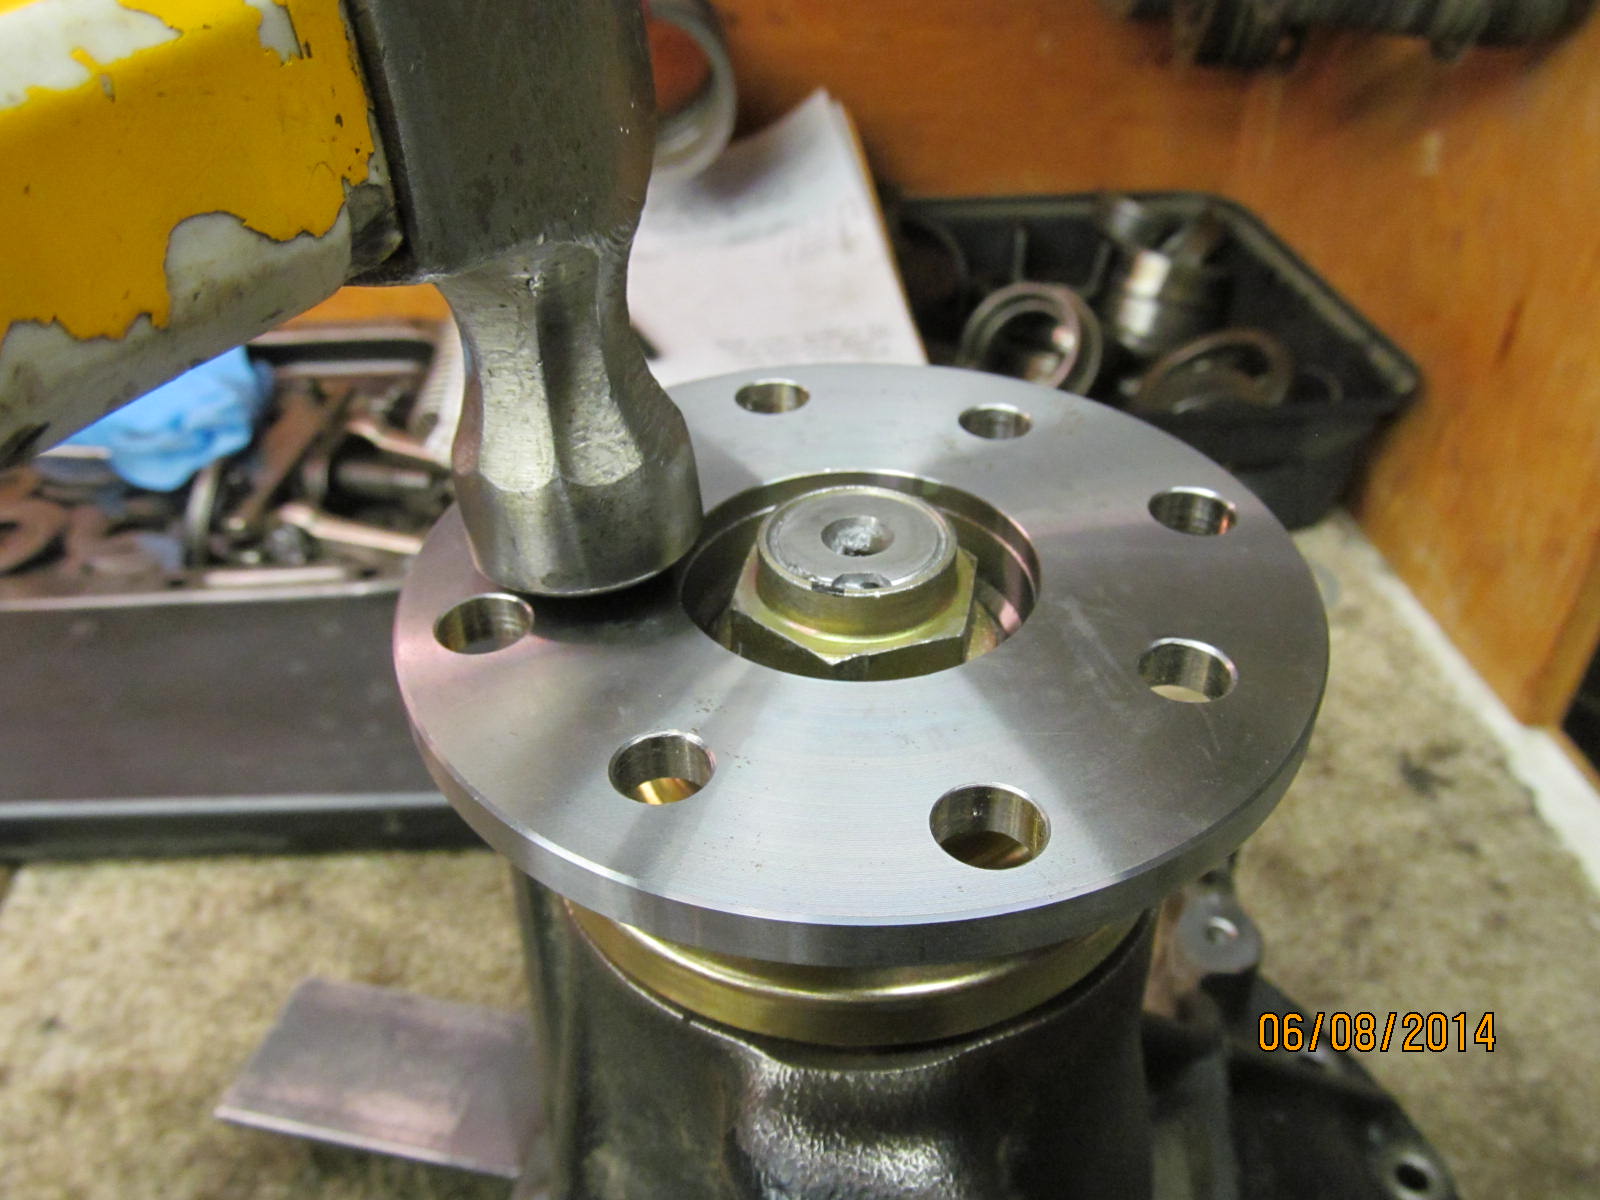
DING! and this nut will stay put without human intervention.
|
|
|
|
|
My 2x multiplier...
|
|
|
|
|
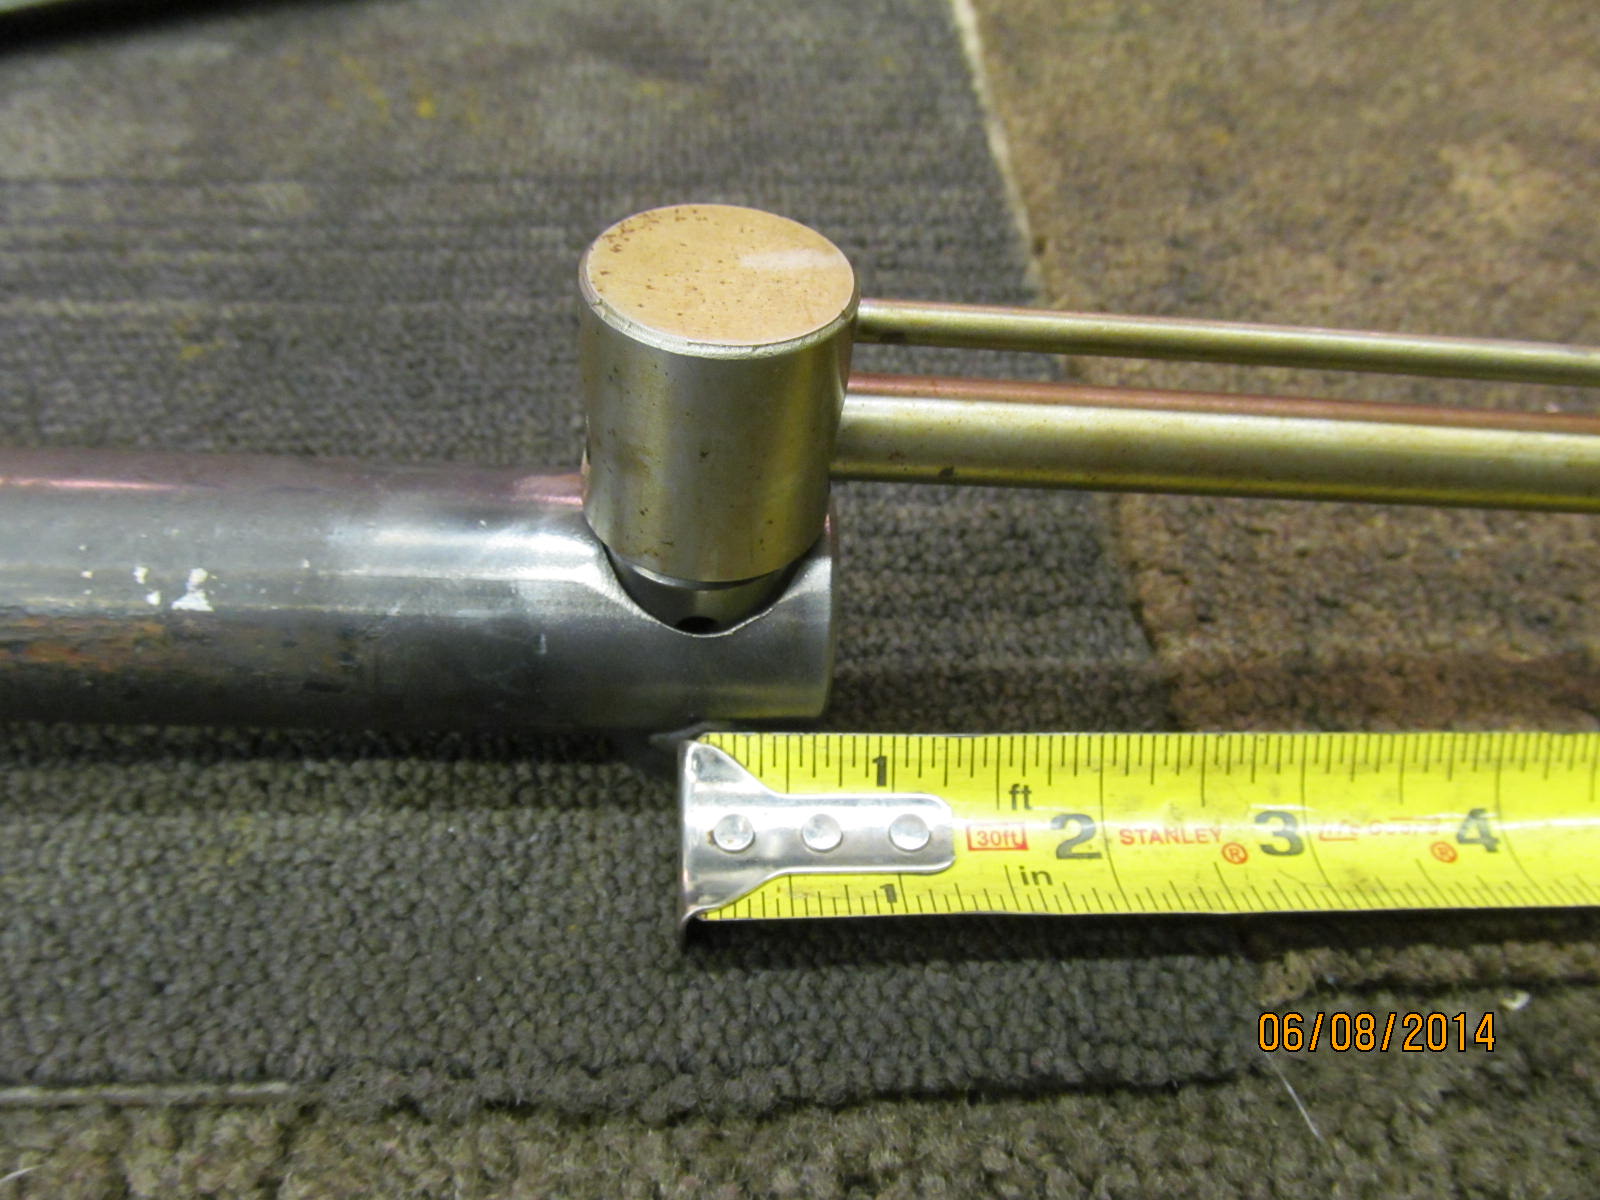
Torque wrench distance I noted from here....
|
|
|
|
...to here is 17 inches. That seemed to be a very common number when I surfed the internet
about this multiplier setup.
|
|
|
|
|
And from here....
|
|
|
|
|
...to here is the same 17 inches.
|
|
|
|
|
...............
|
|
|
|
|
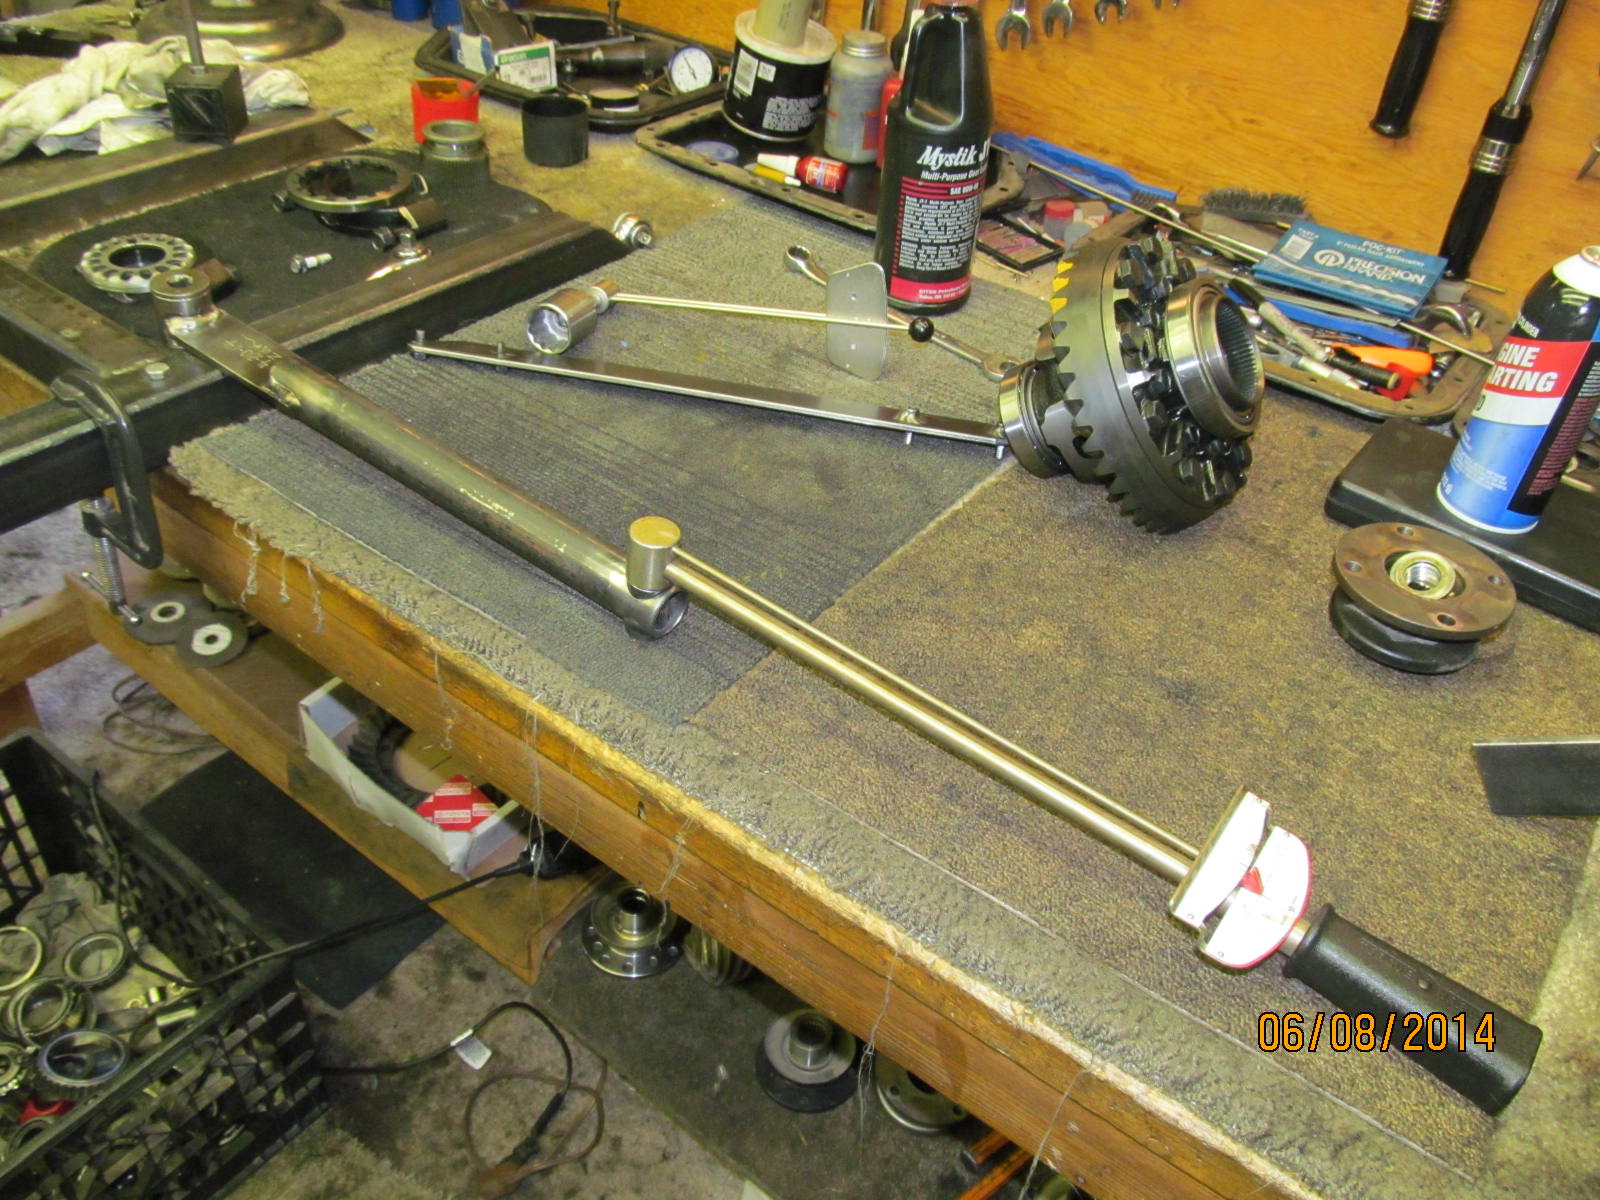
Glad I made this tool aide :)
|
|
|
|
Skipped a few steps and this case end is assembled...case dropped in place...bearing caps in place...
75 ft/lb on all 4 long bolts...set BL....tighten adjusters to get good CBPL.
|
|
|
|
|
Final pattern check...driveside....slight deep. Great.
|
|
|

|
|
Coast...nice.
|
|
|
|
|
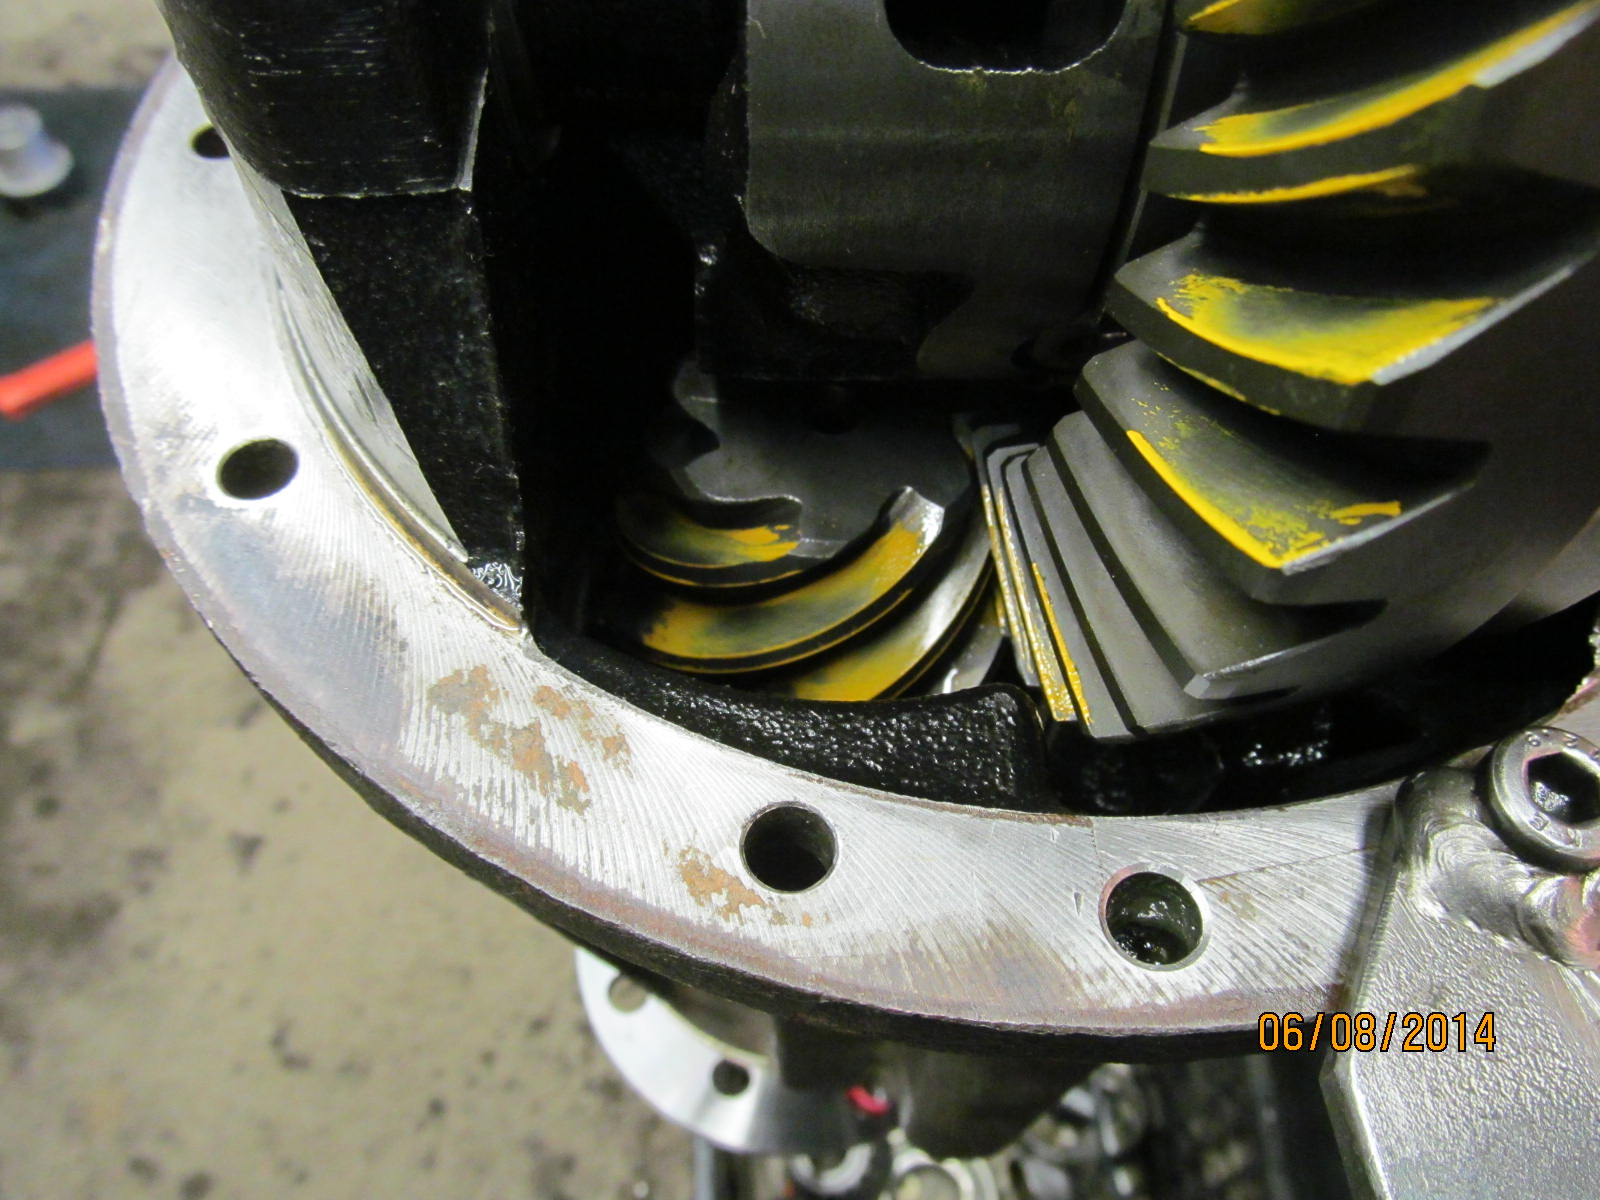
Drive side of pinion tooth ....heel end (left side) has a good footprint.
|
|
|
|
|
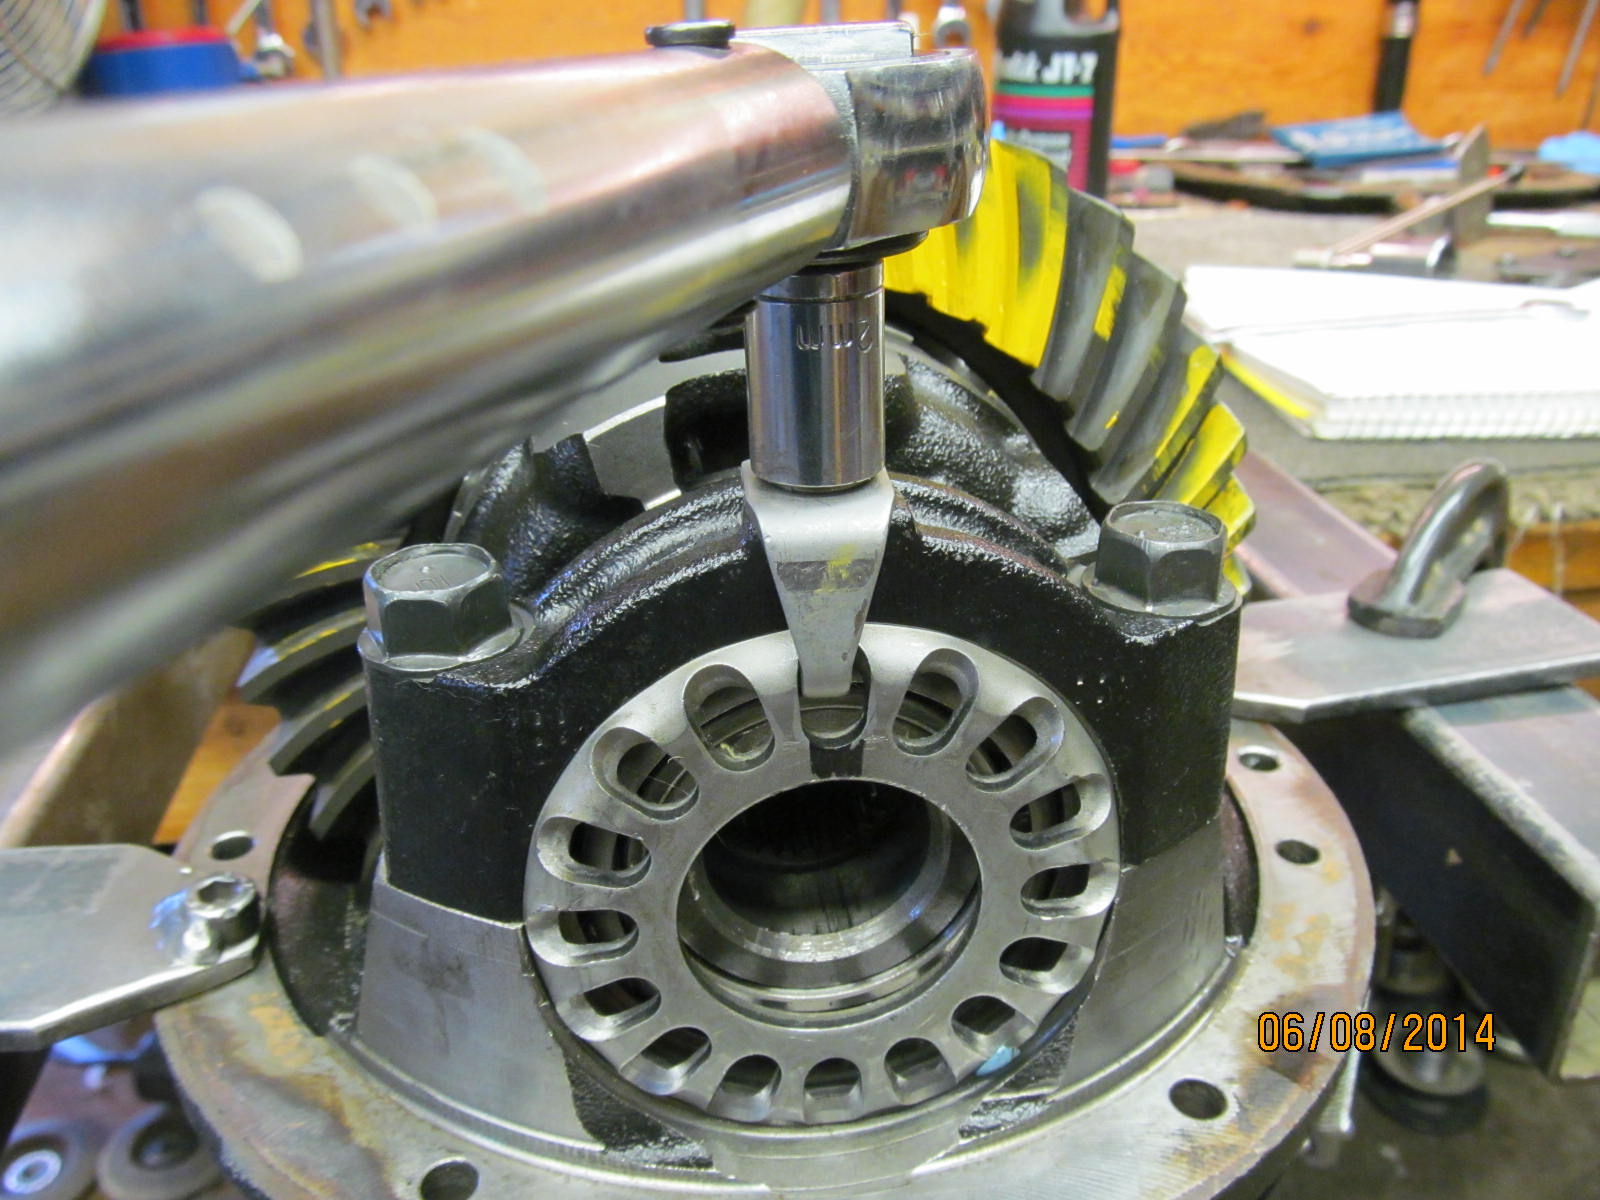
Required force to turn both the pinion bearings and carrier bearings. 16 inch/pound start torque.
|
|
|
|
|
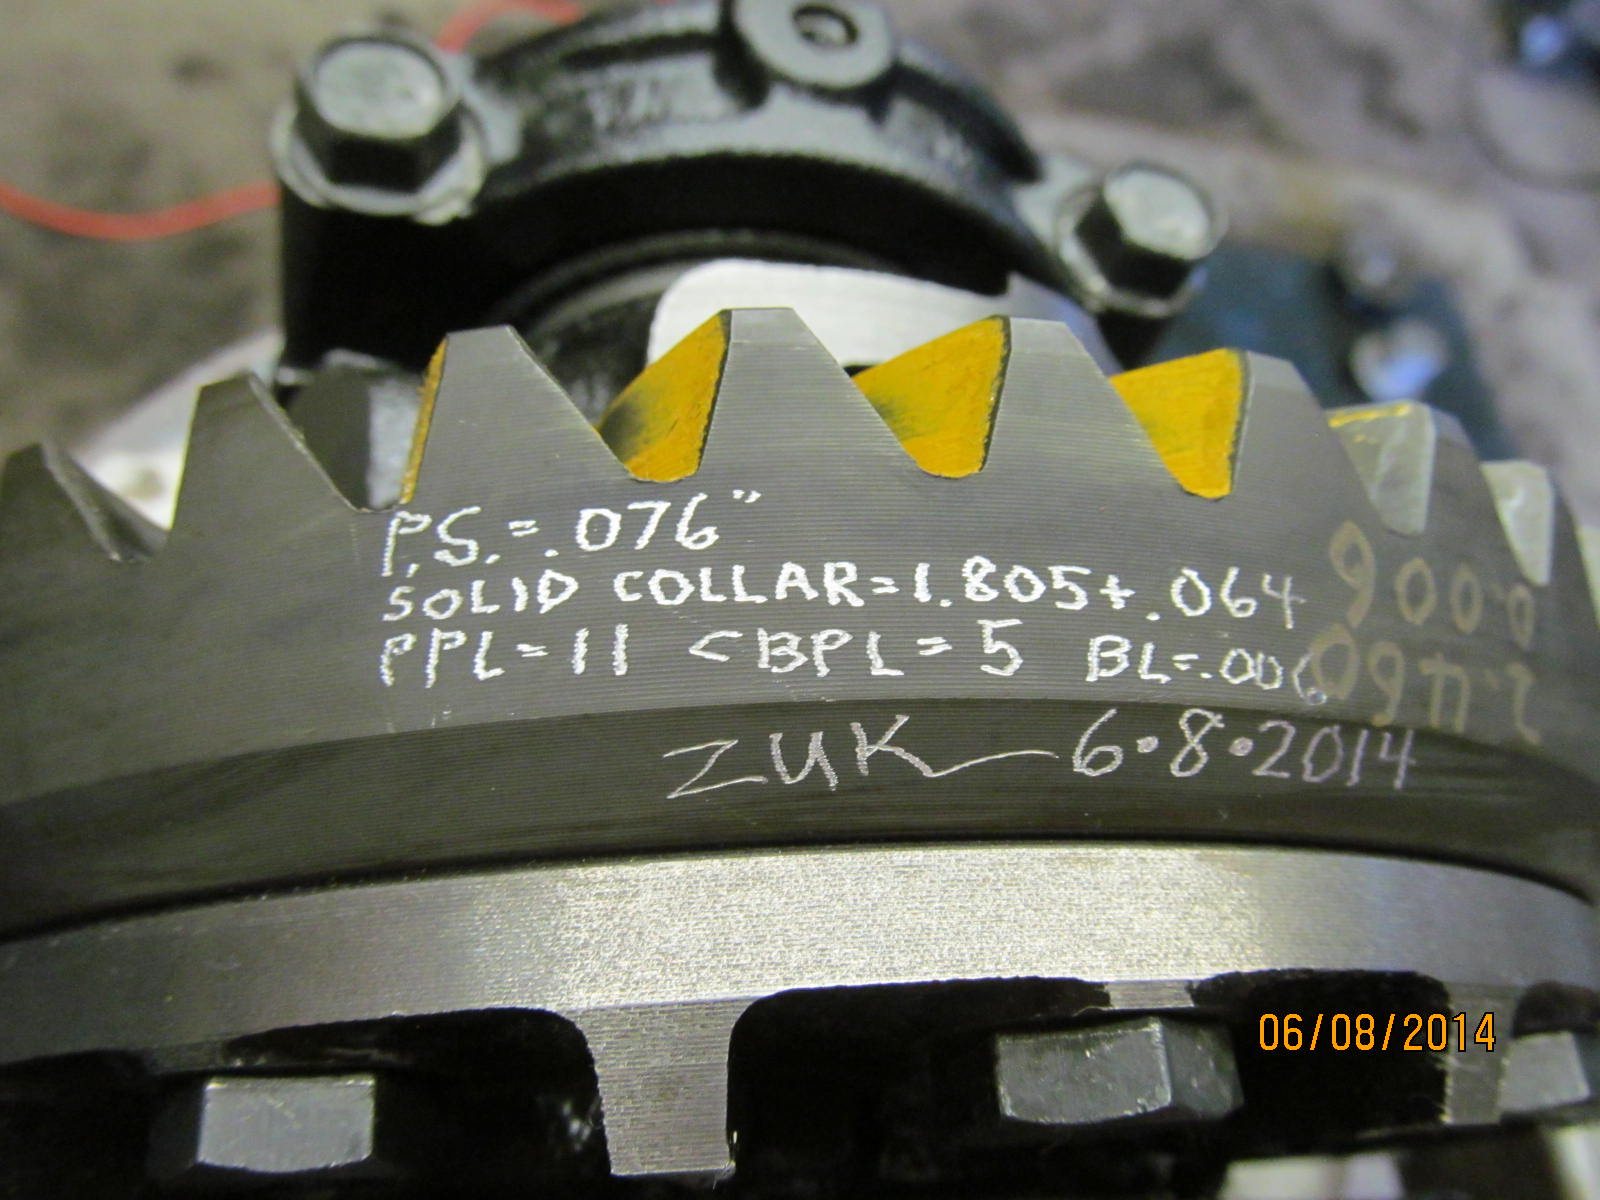
Specs are inscribed on the hardened ring gear. A diamond impregnated dremel bit does this easily.
|
|
|
|
|
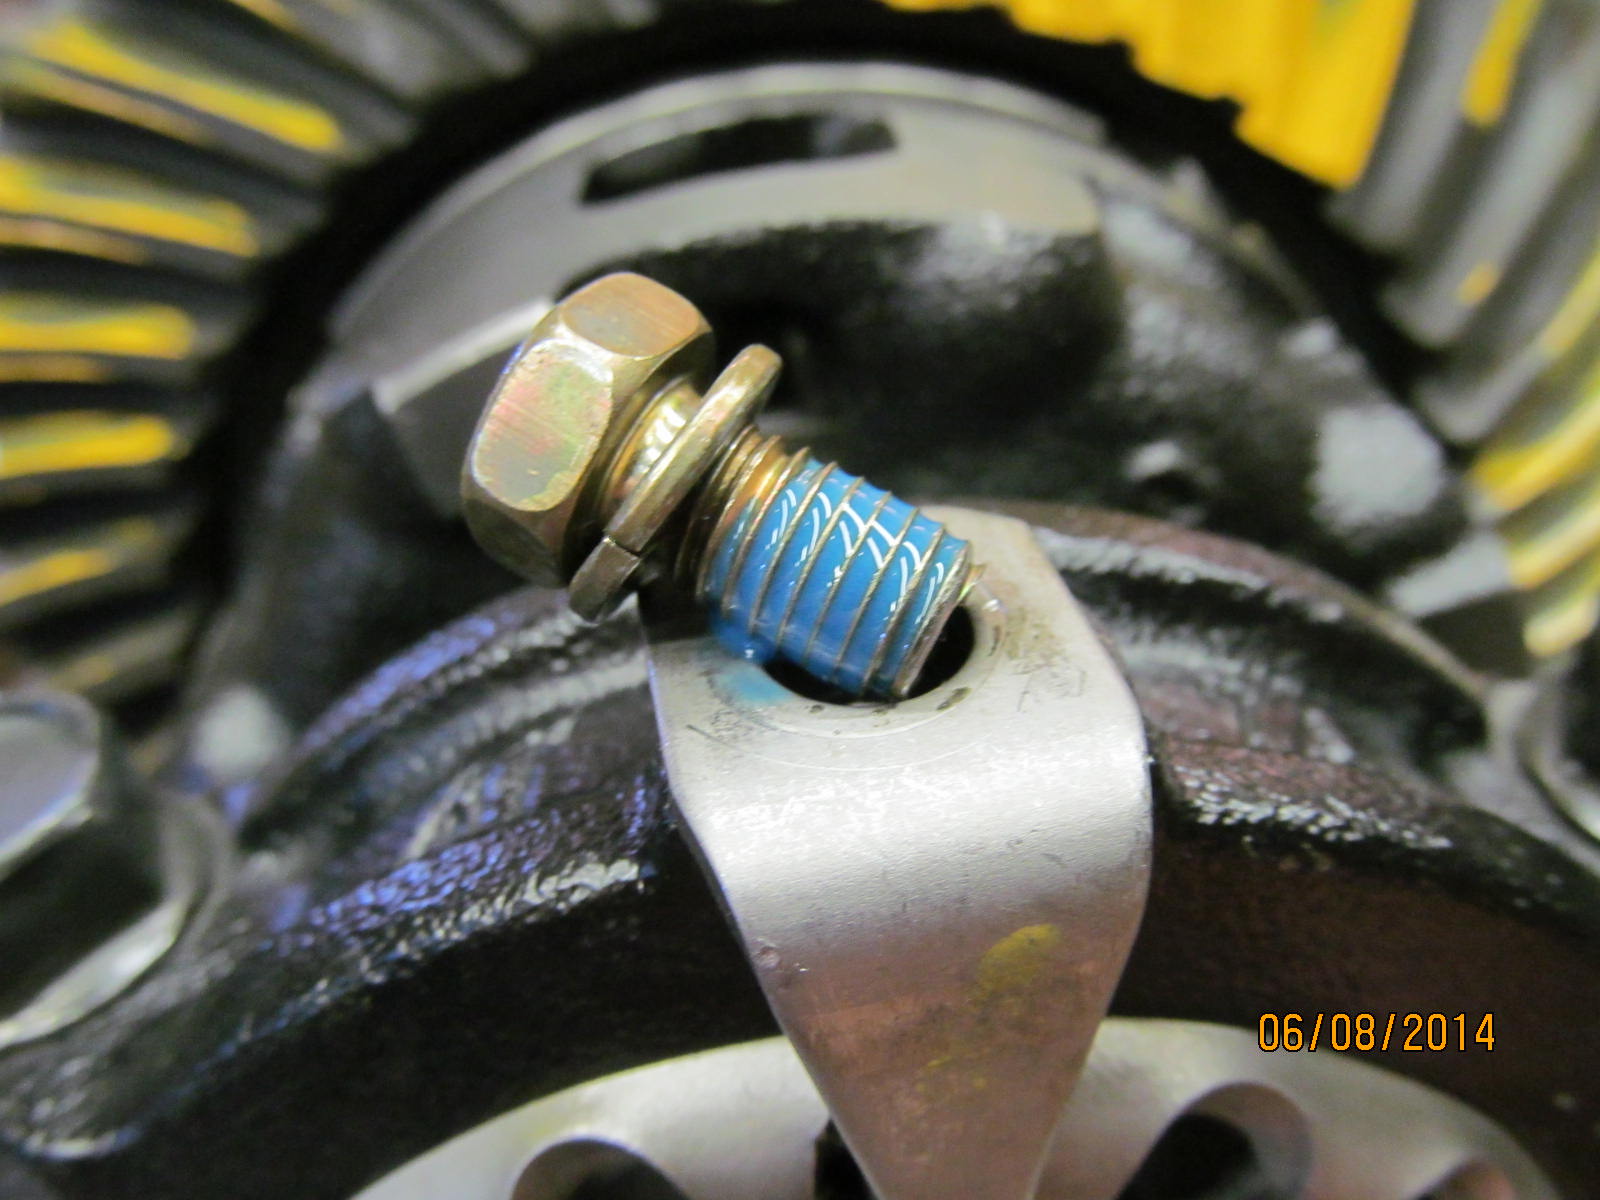
Only have the lock tabs to secure now. Blue loctite medium strength.
|
|
|
|
|
10 ft/lbs
|
|
|
|
|
Specs are logged.
|
|
|
|
|
.......
|
|
|
|
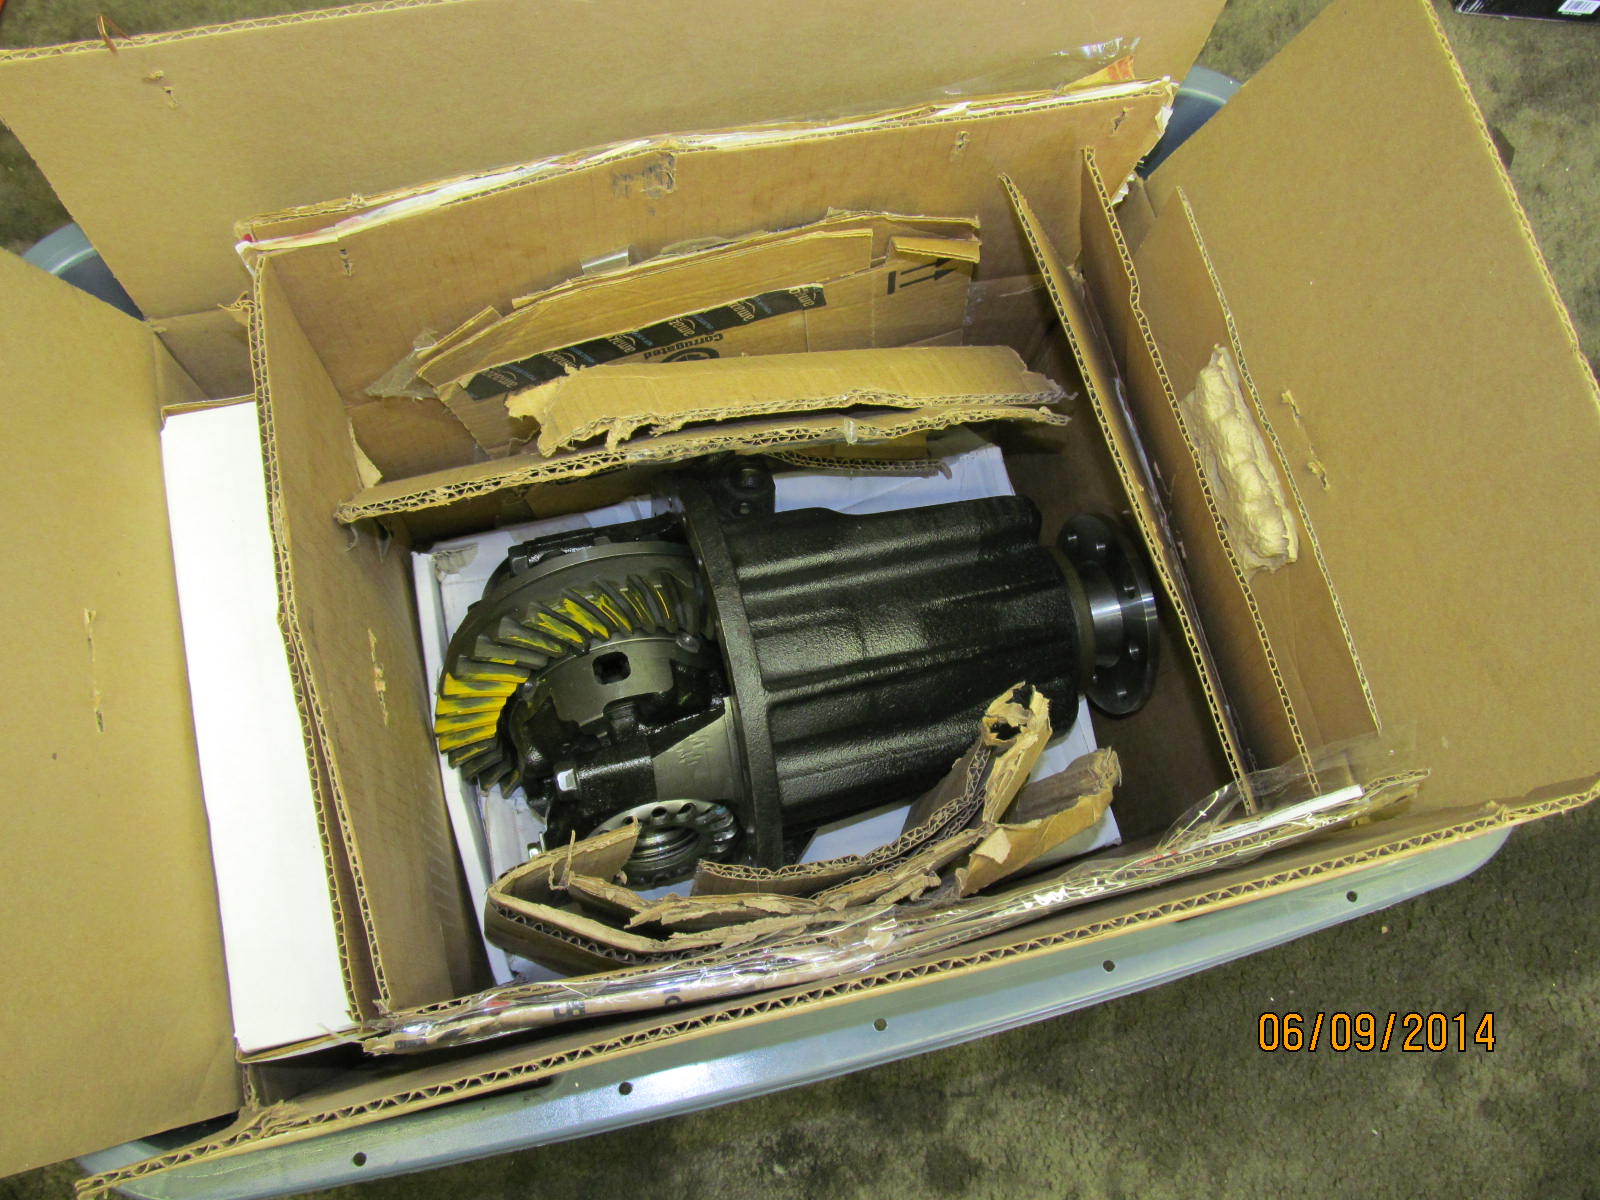
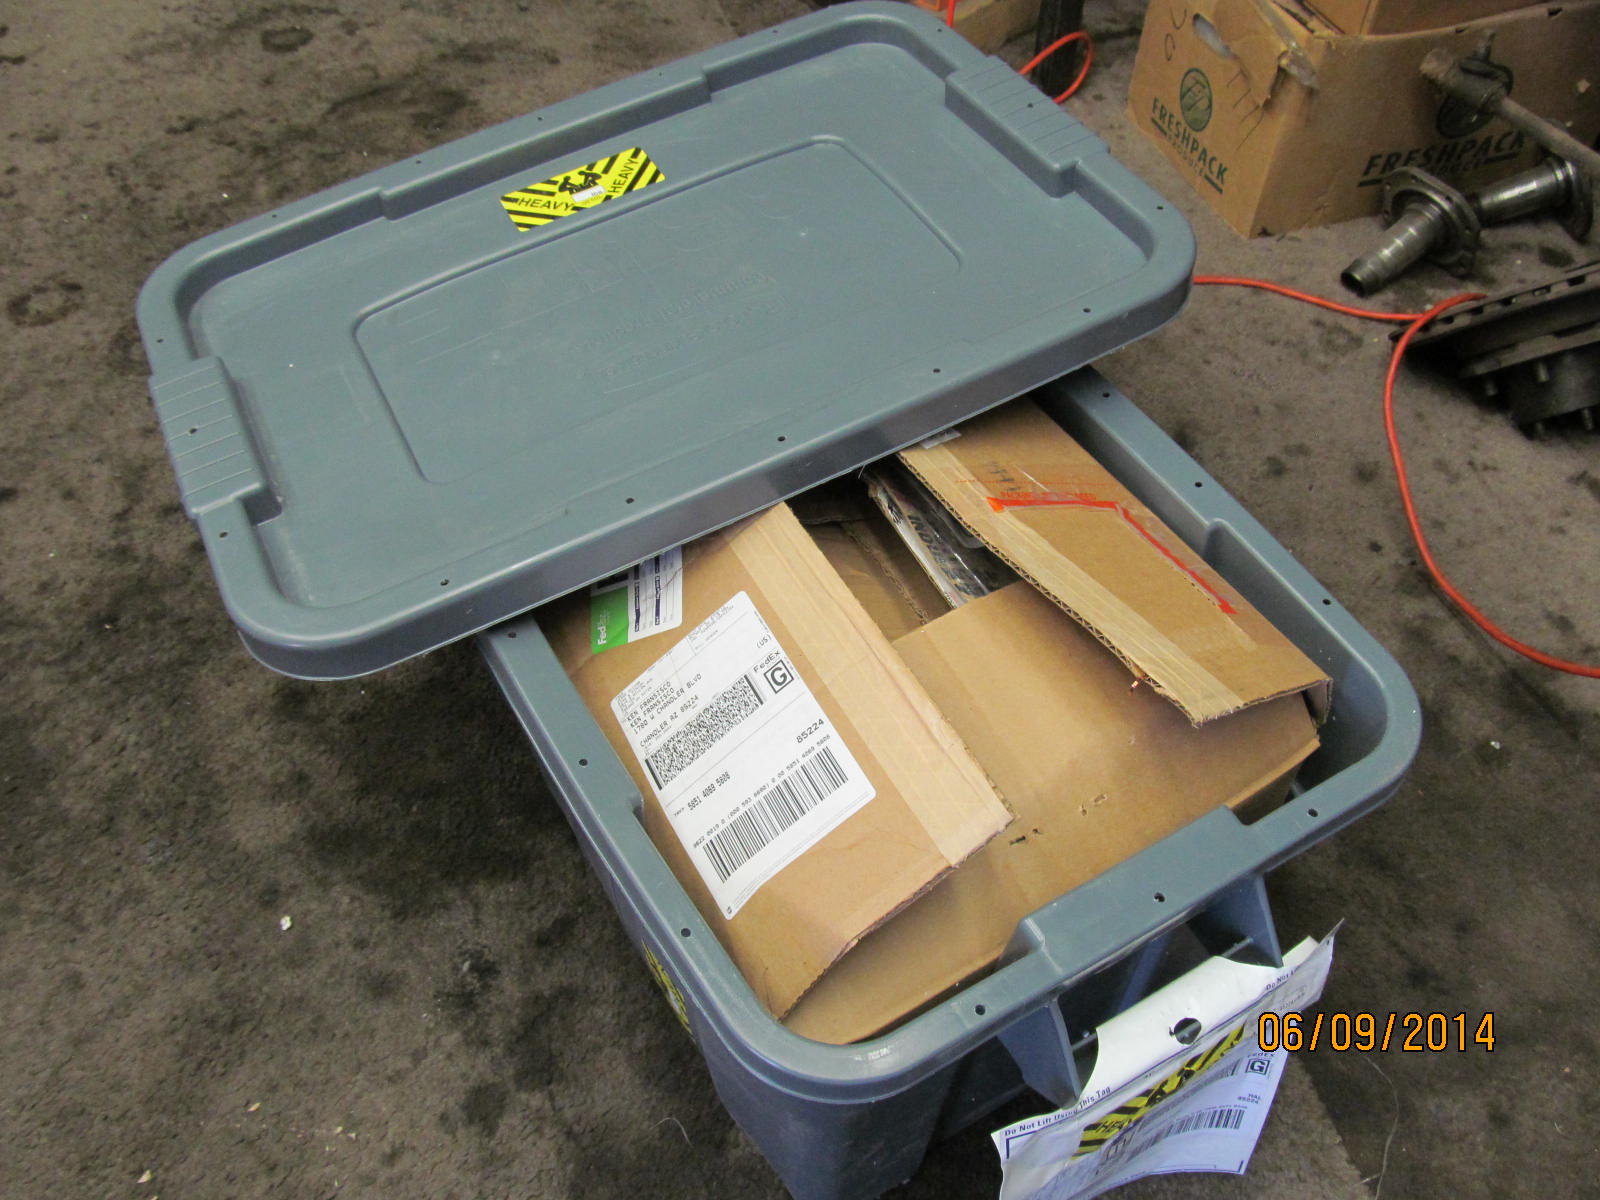
The tote that Jose sent the 3rd to me in was actually a very sturdy one.
I gathered up some boxes I had laying around.
|
|
|
|
When I thought about it, it didn't seem like a very good idea to have the e-motor aluminum
cap pointed straight up....or straight down.
|
|
|
|
So, off to the side was the logical place :) And lots of cardboard padding to cushion it
and keep it from moving around during transit.
|
|
|
|
Fold all the cardboard lips over and there was not even the need to tape it....
it was an overall tight fit in the tote.....nothing to shift around inside.
|
|
|
|
|
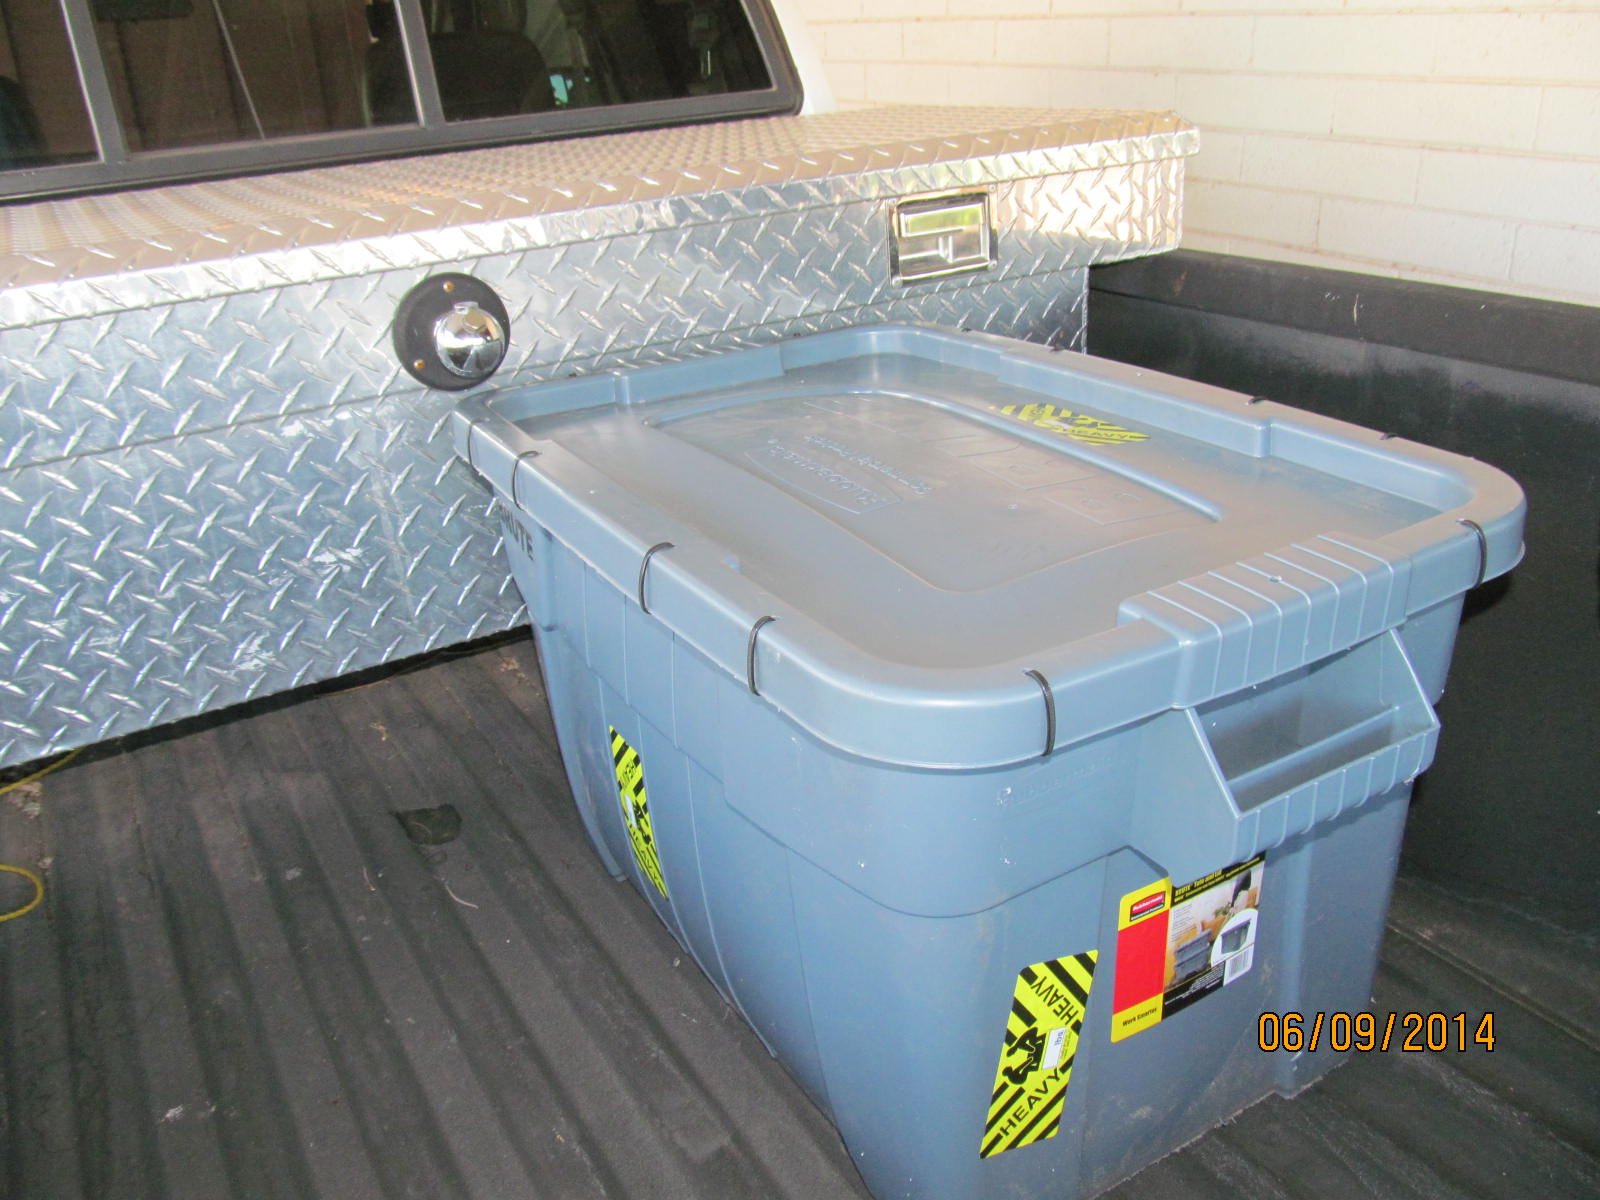
Off to the Kinkos/Fedex place to get this back to Jose
|
|
|

|